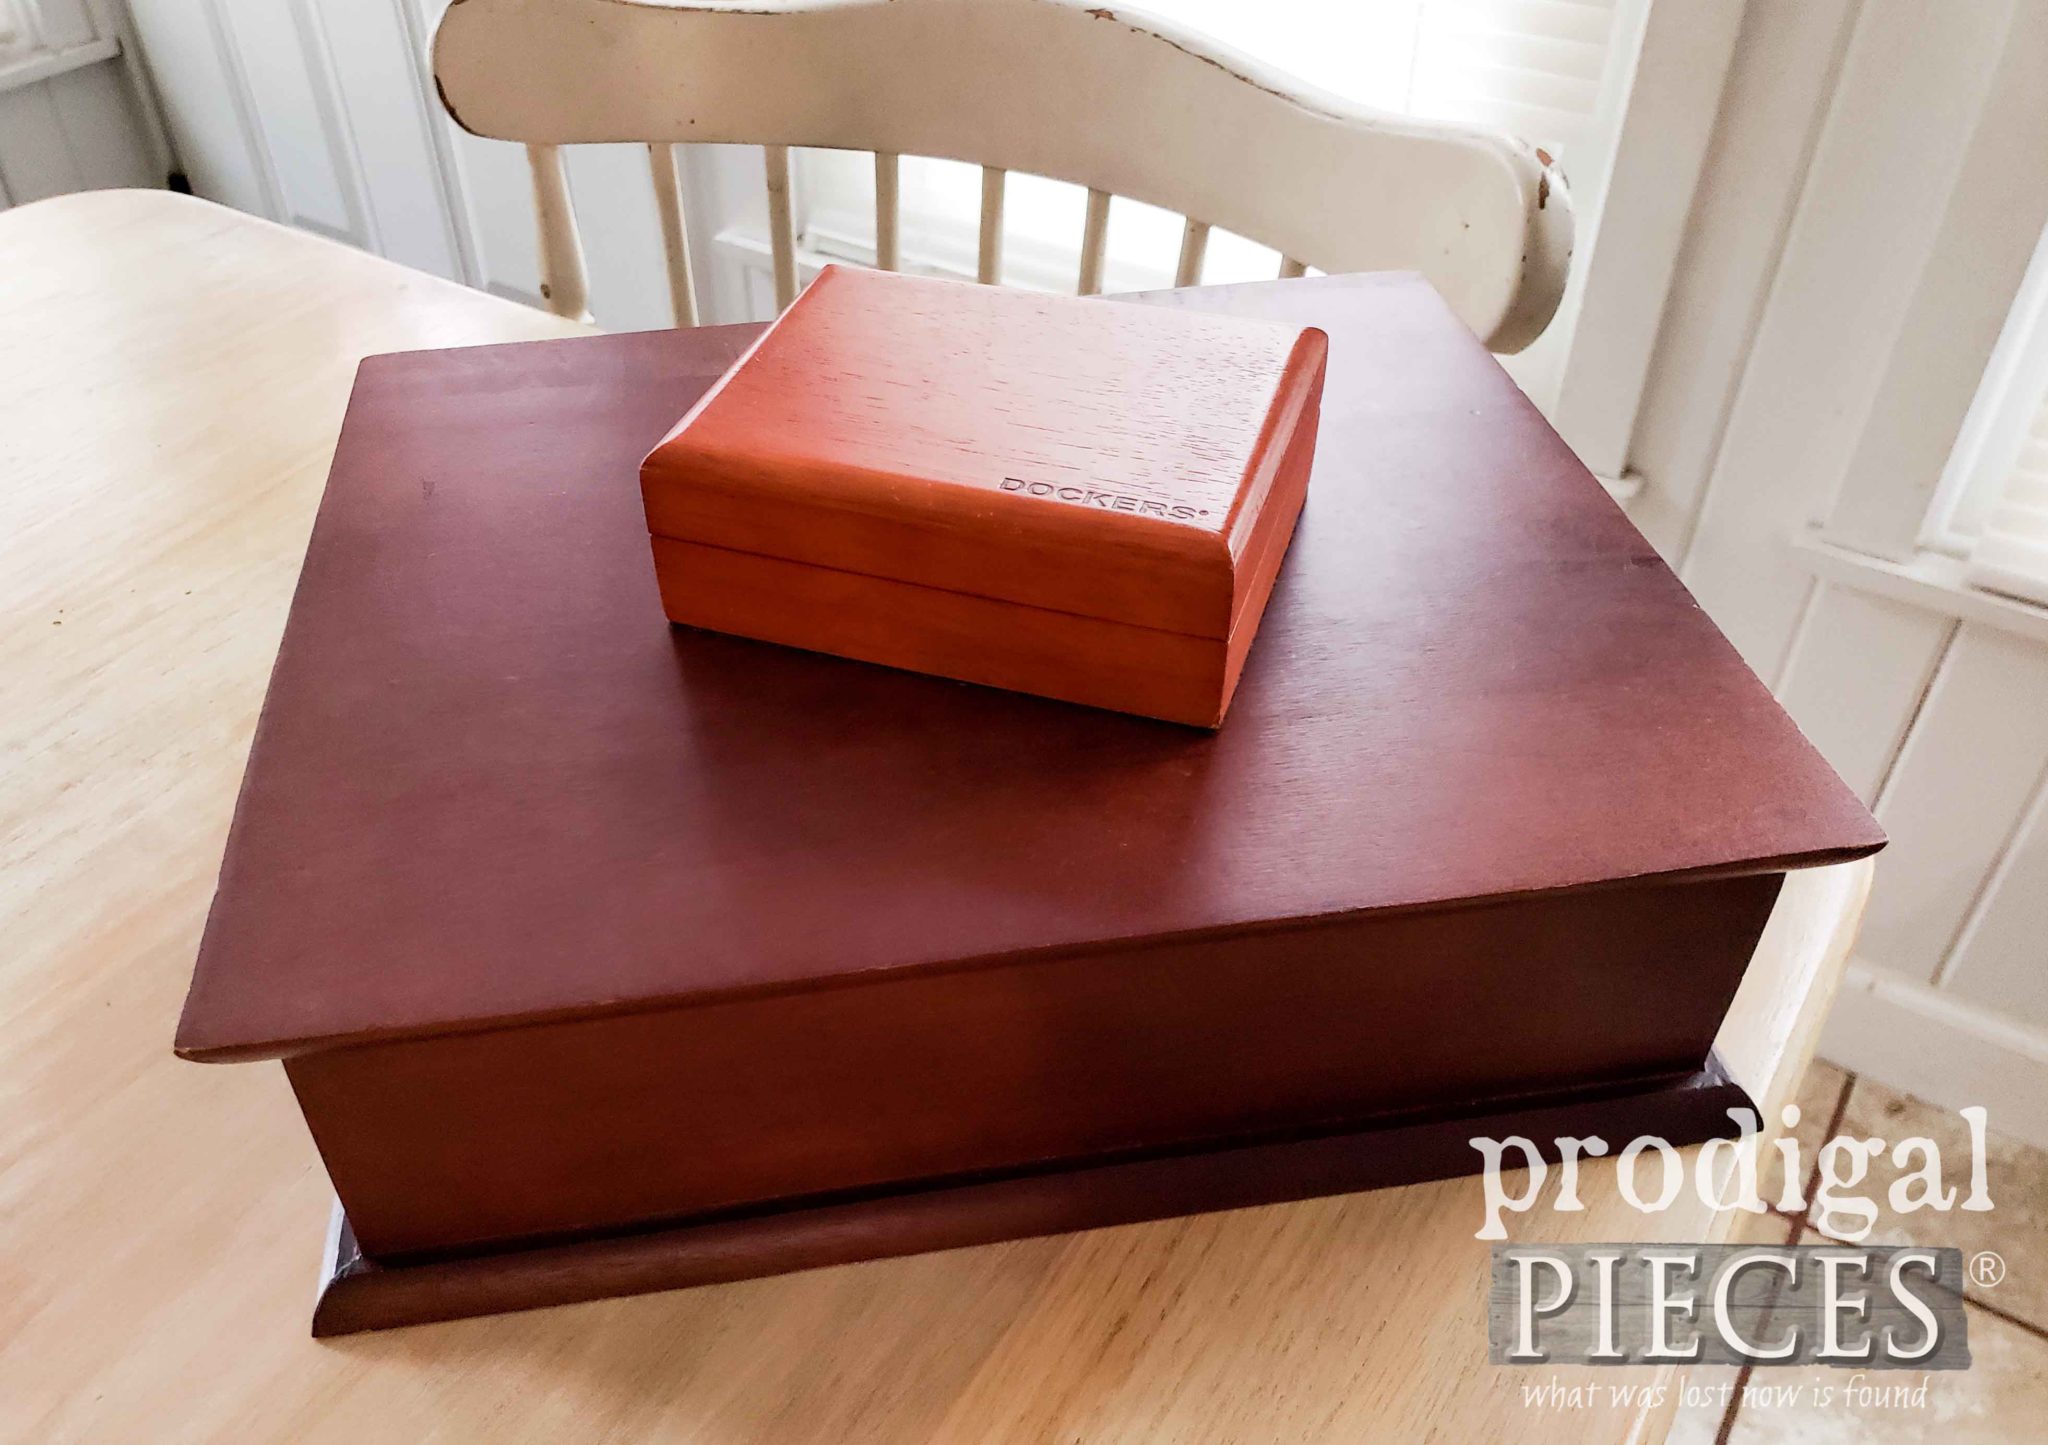
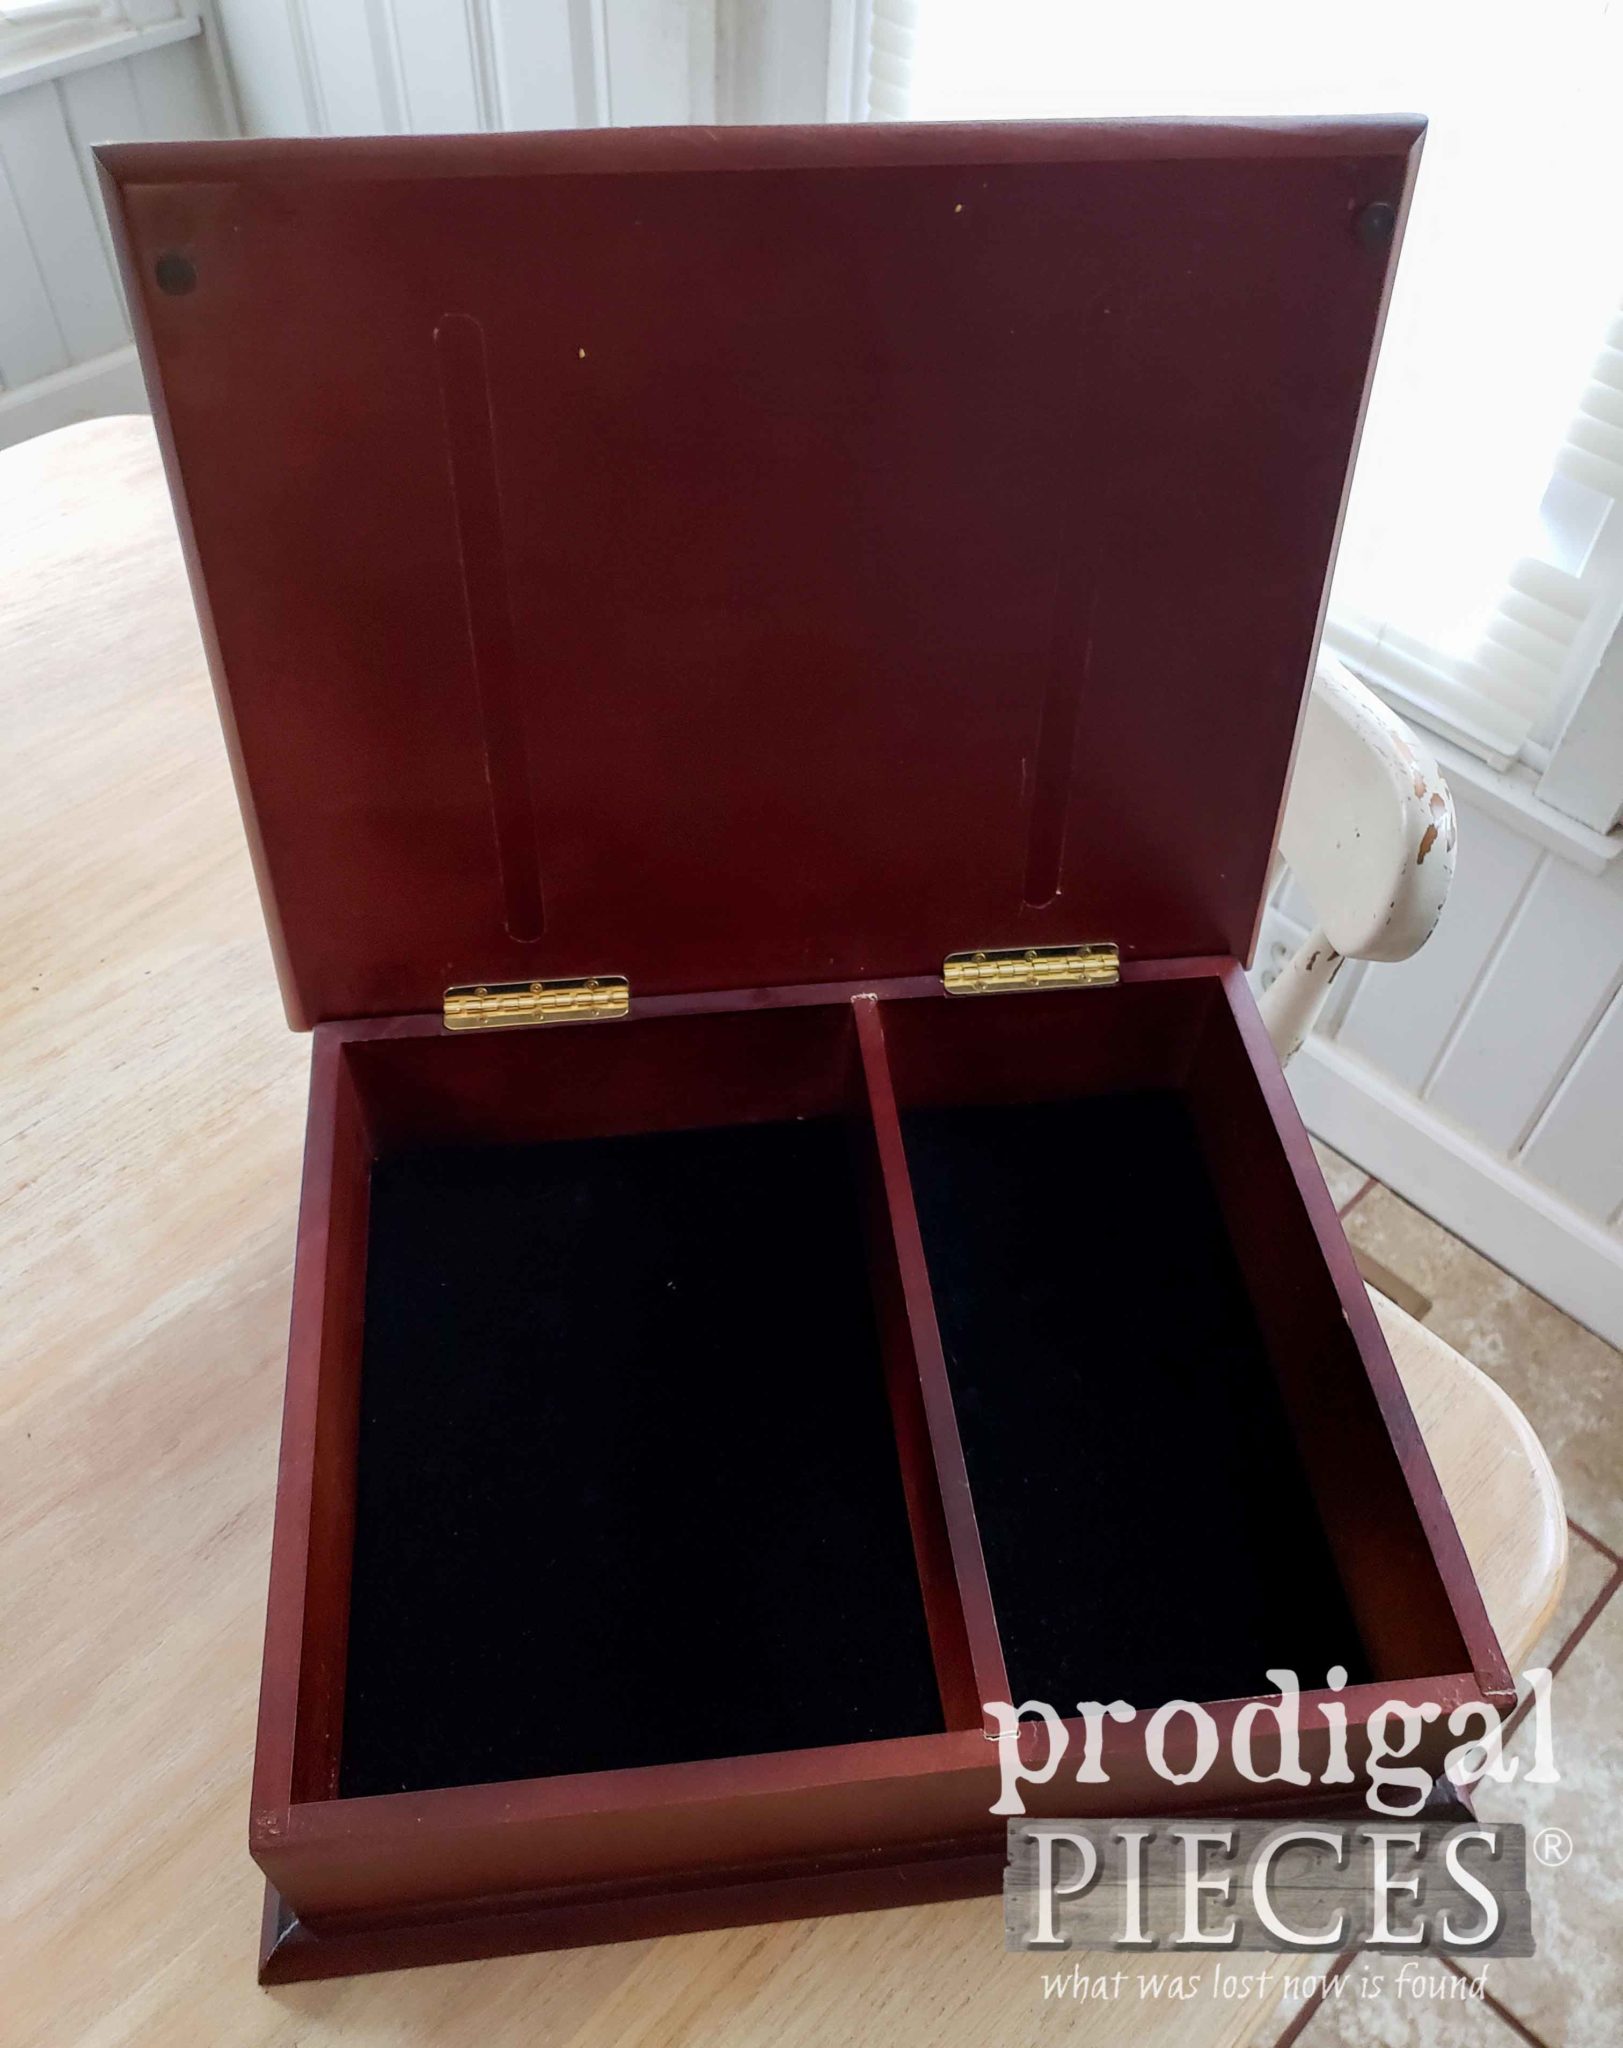
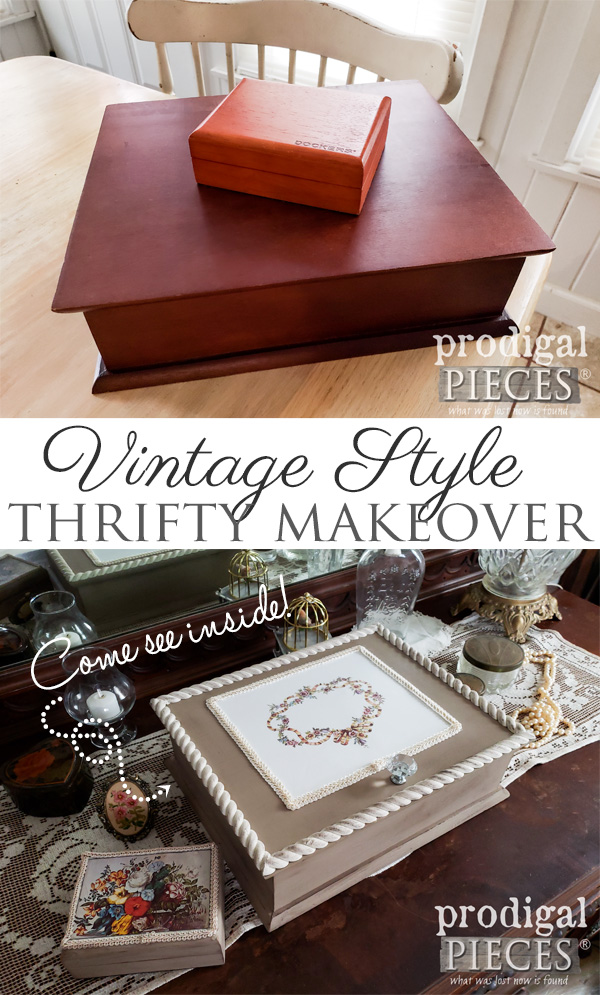
Who doesn’t love to find cool boxes to hide their junk in? If you don’t then we can’t be friends. JUST KIDDING! Seriously though, do you see potential in these two? I say they are fantastic candidates for a thrifty makeover. Bring on the DIY fun!
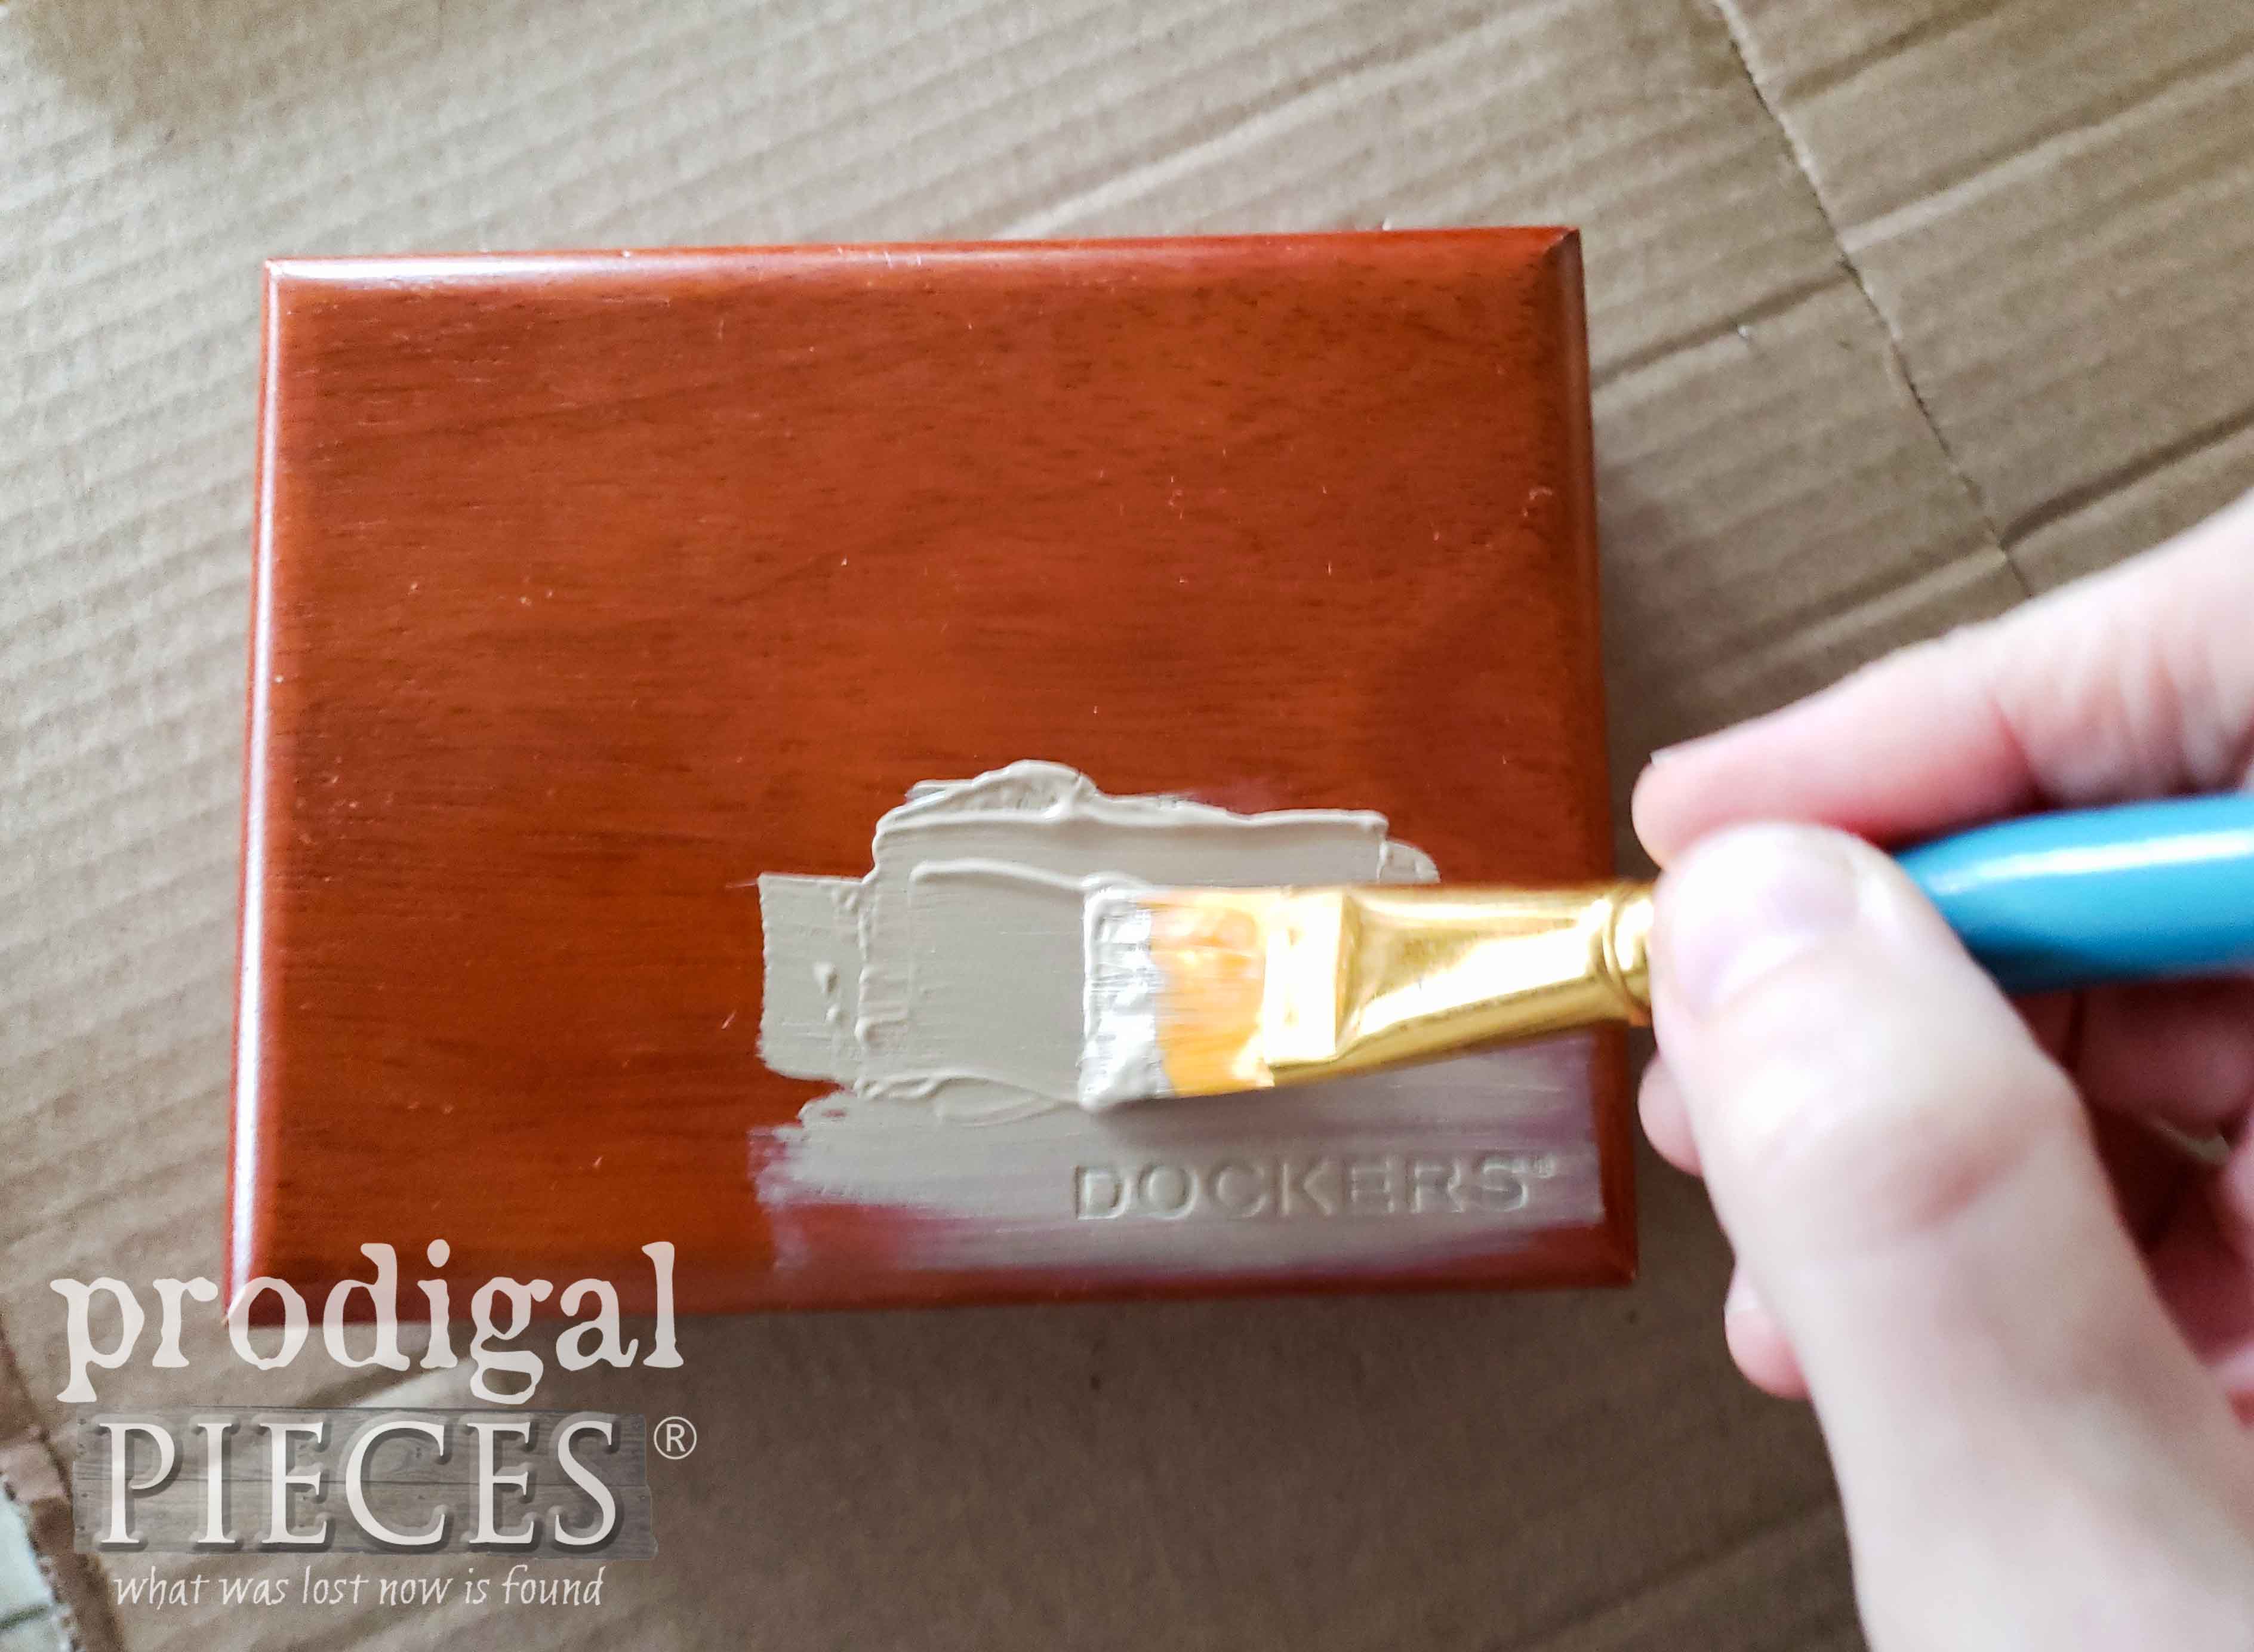
The smaller box on top was given to me.It’s a watch box for a Dockers brand watch. 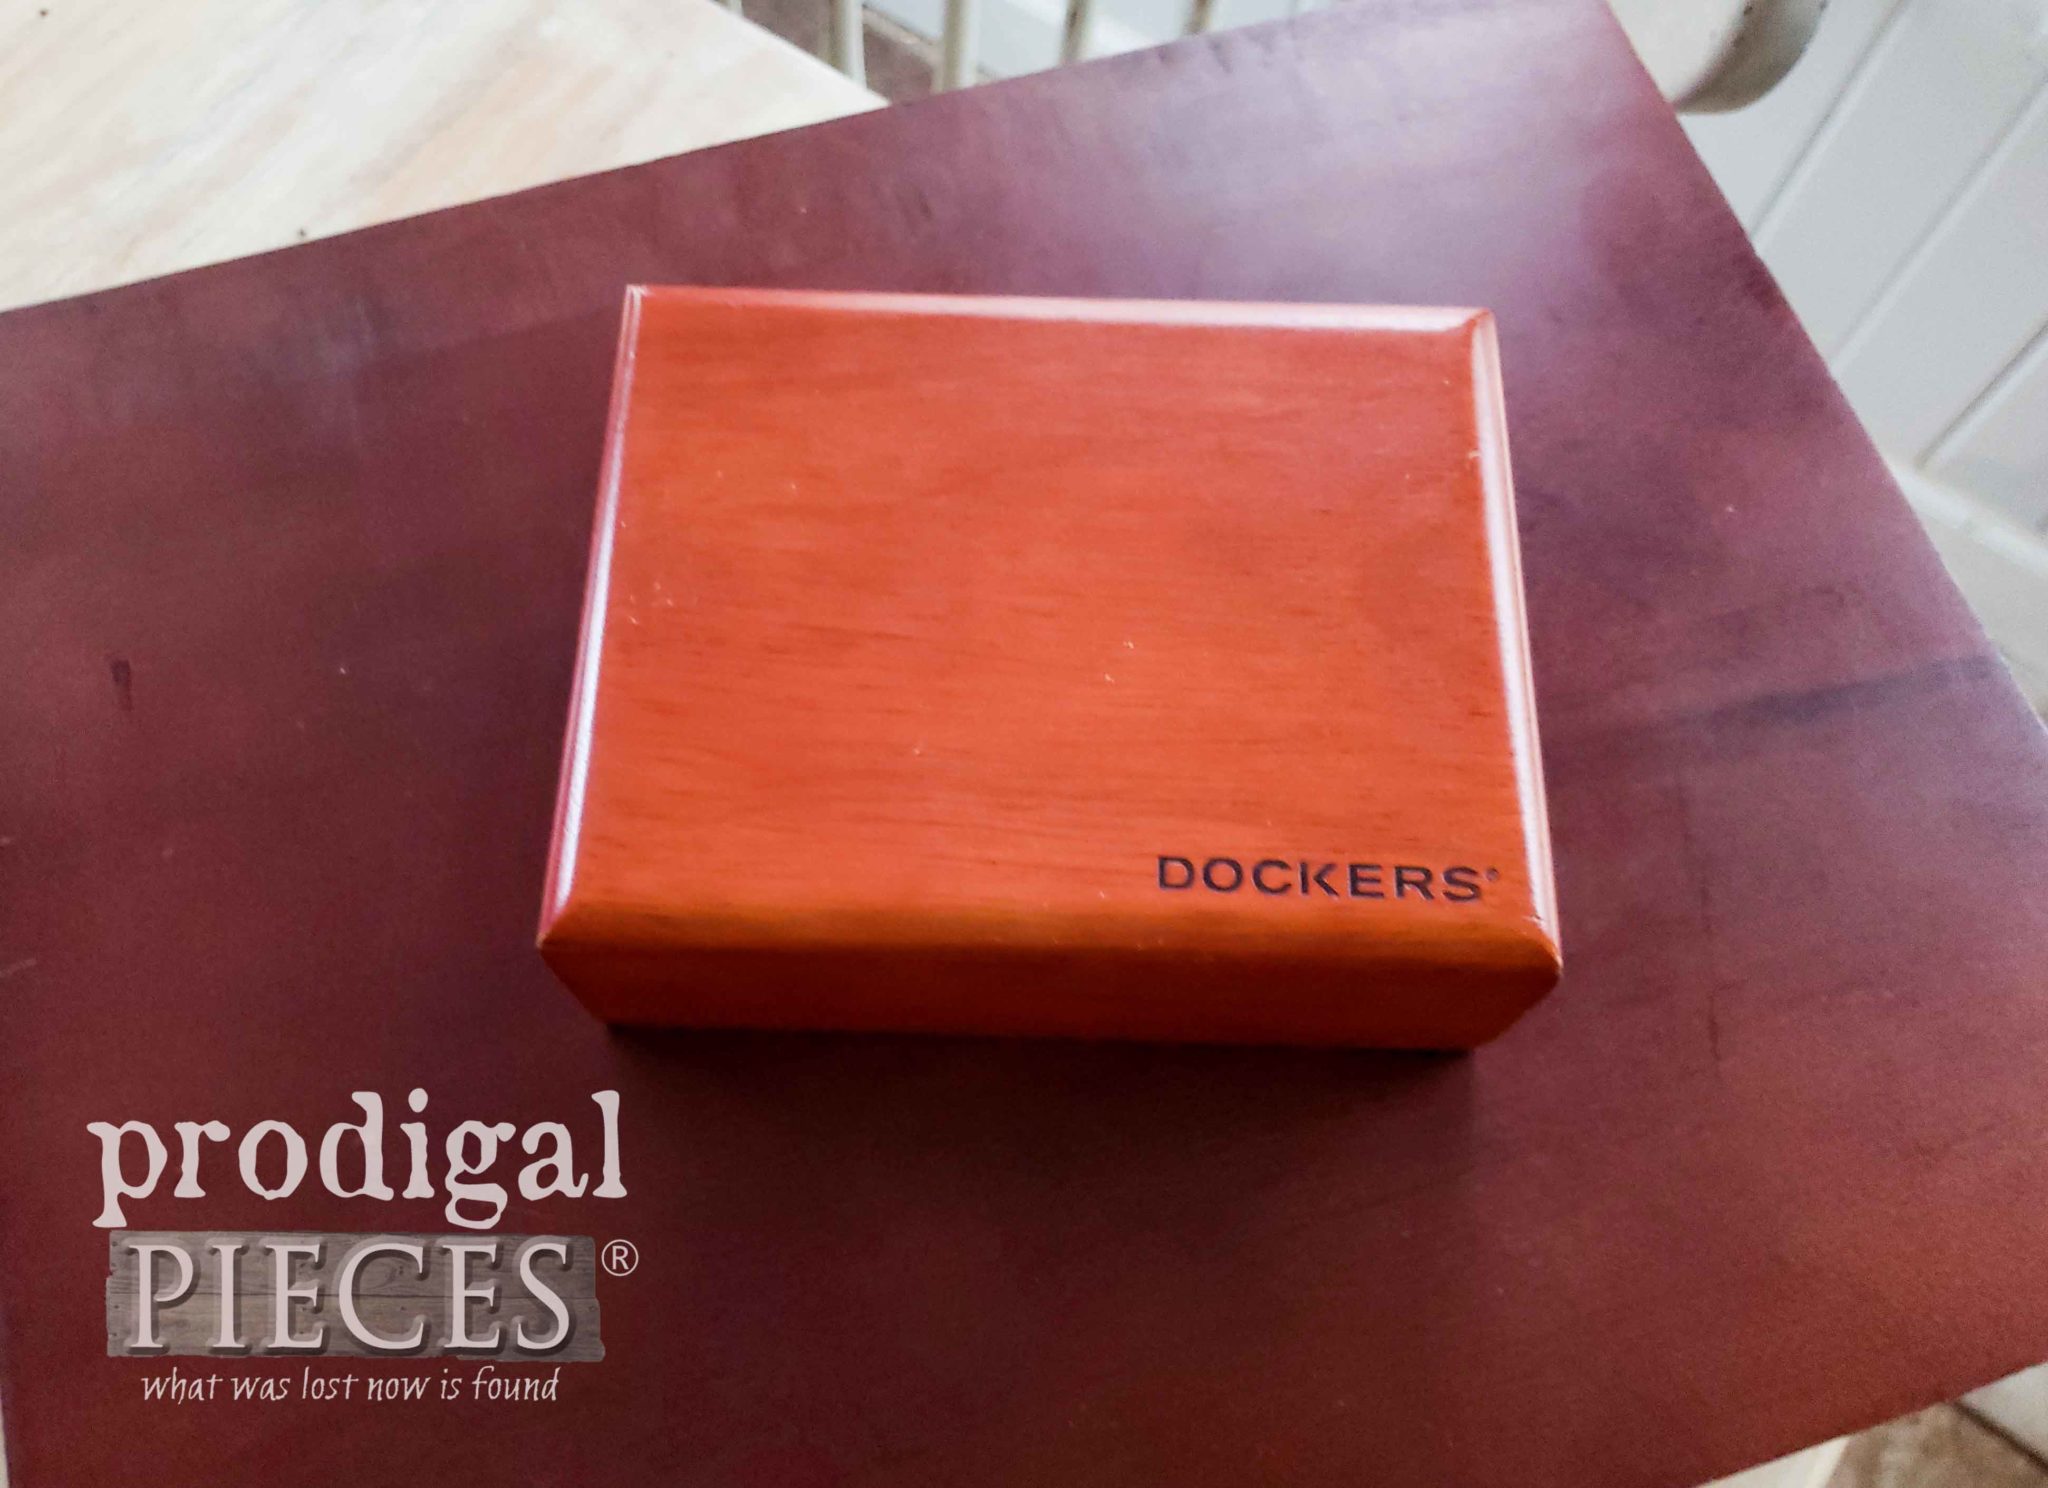
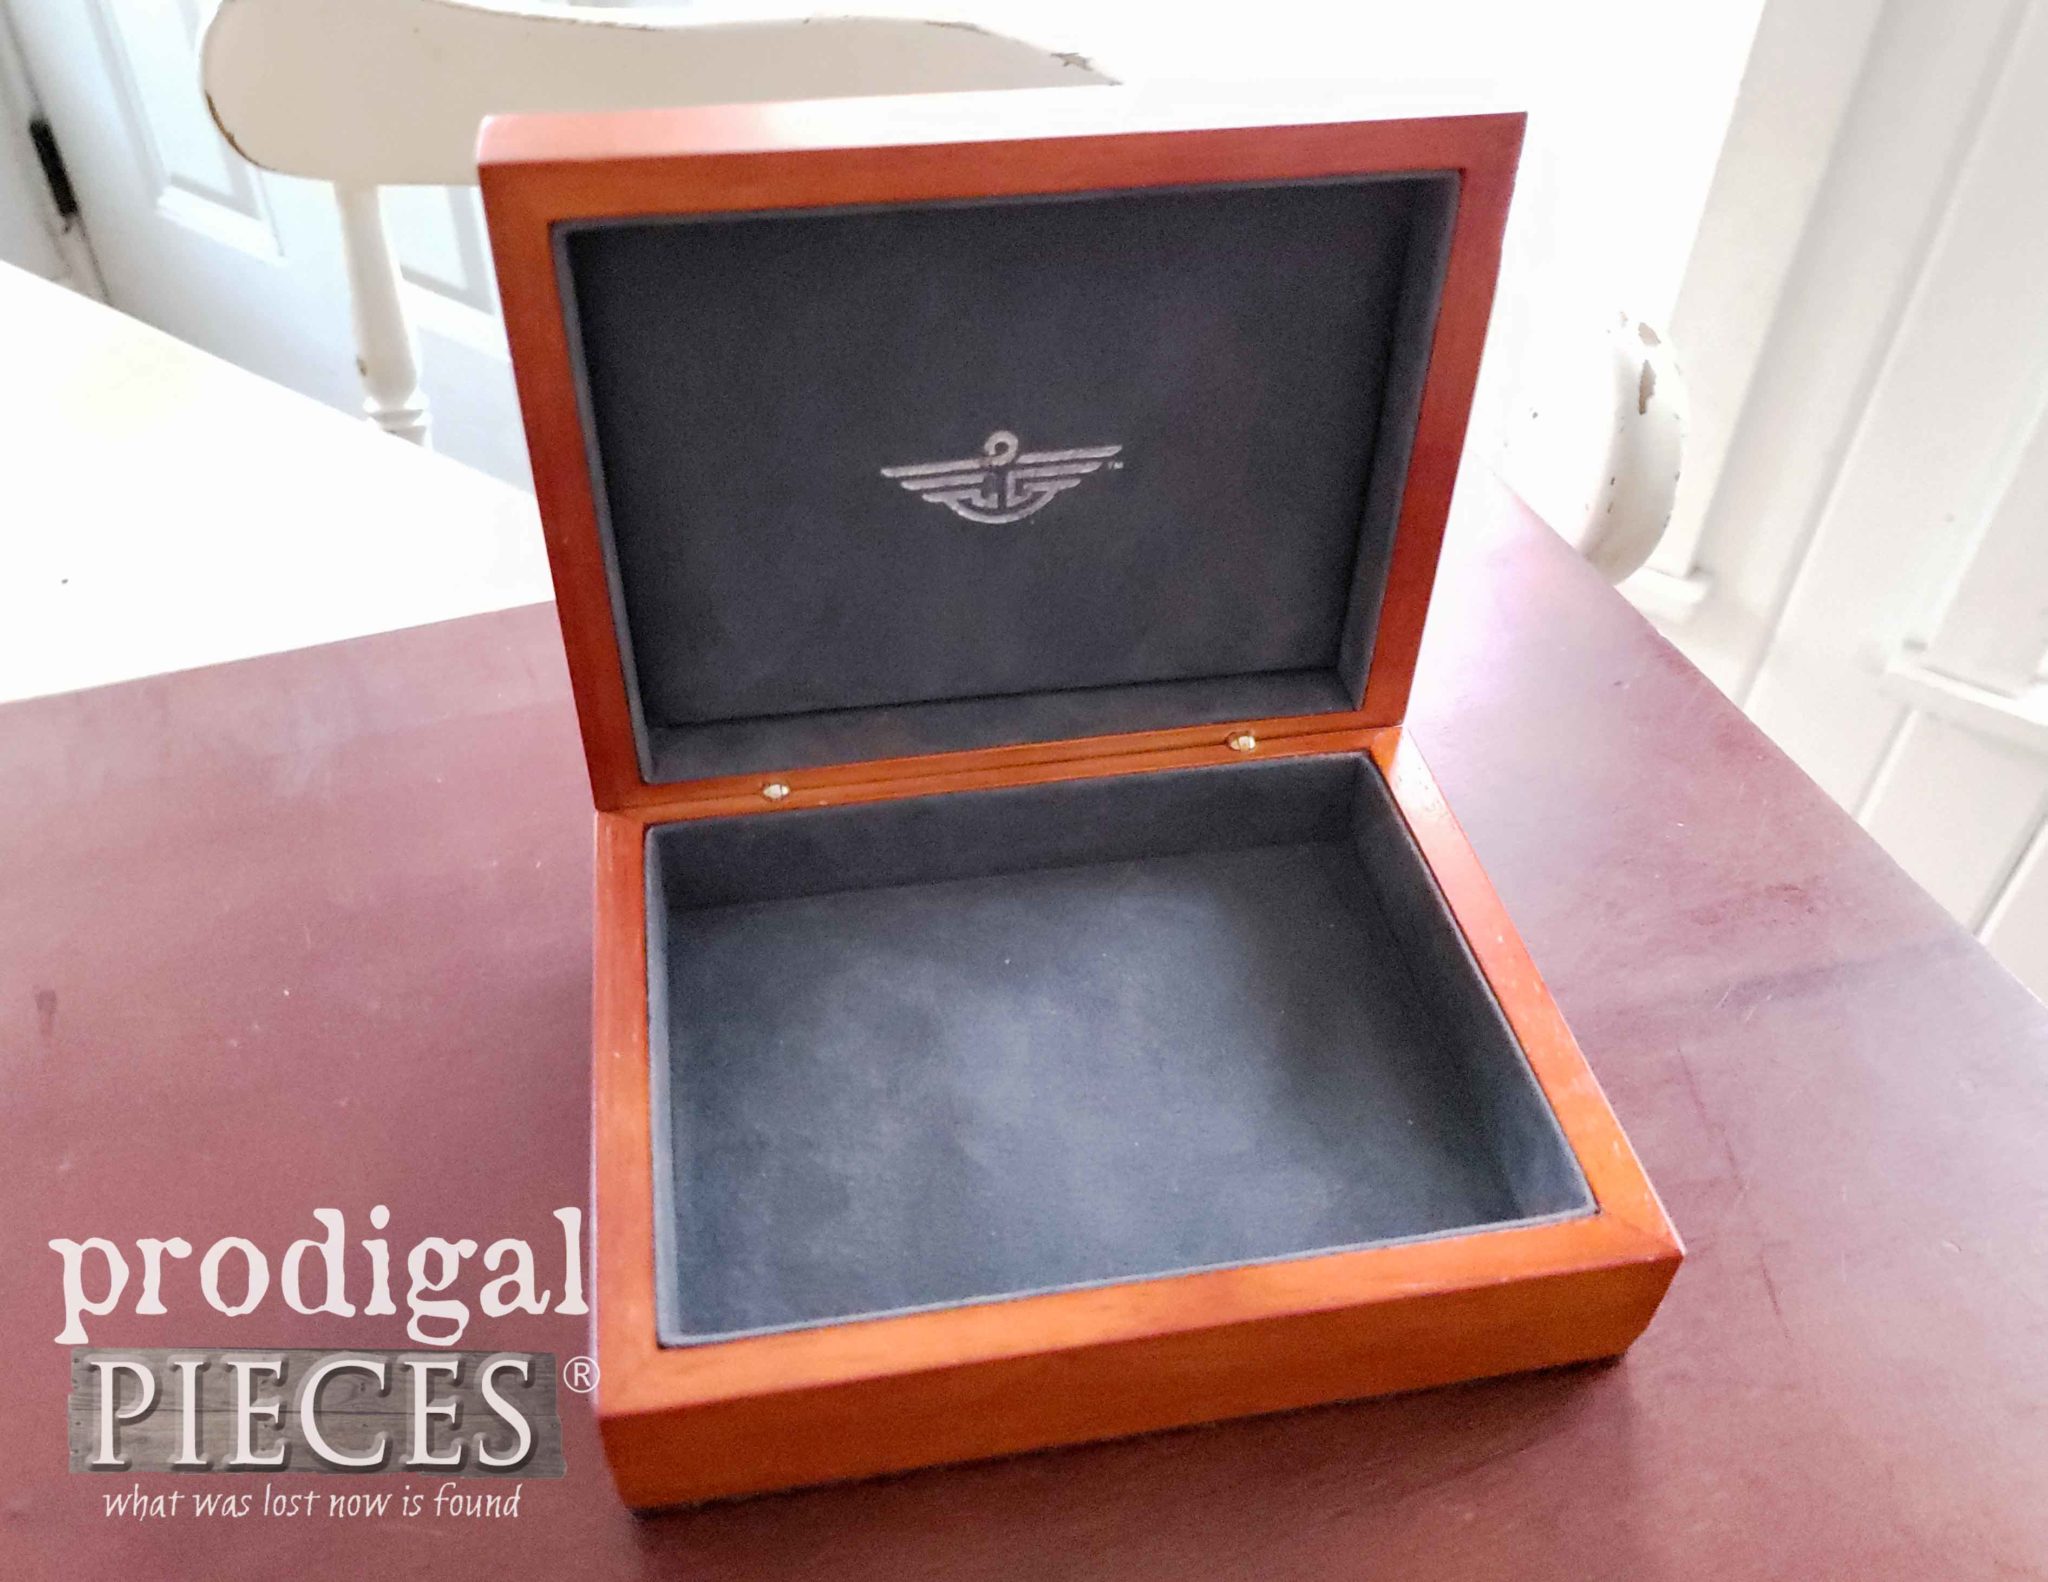
It appears to be in great shape and the lining is excellent too.
Next, the bigger box on the bottom came from a thrift store. I’m not sure of the original purpose as it wouldn’t have held flatware or jewelry, but maybe some other precious goods from a gift set. Either way, I grabbed it to make it new.
DIY TIME
First, I gave them both a couple of coats of paint. You knew I was going there, right? No, I don’t paint everything, but I wanted this set to be cohesive.
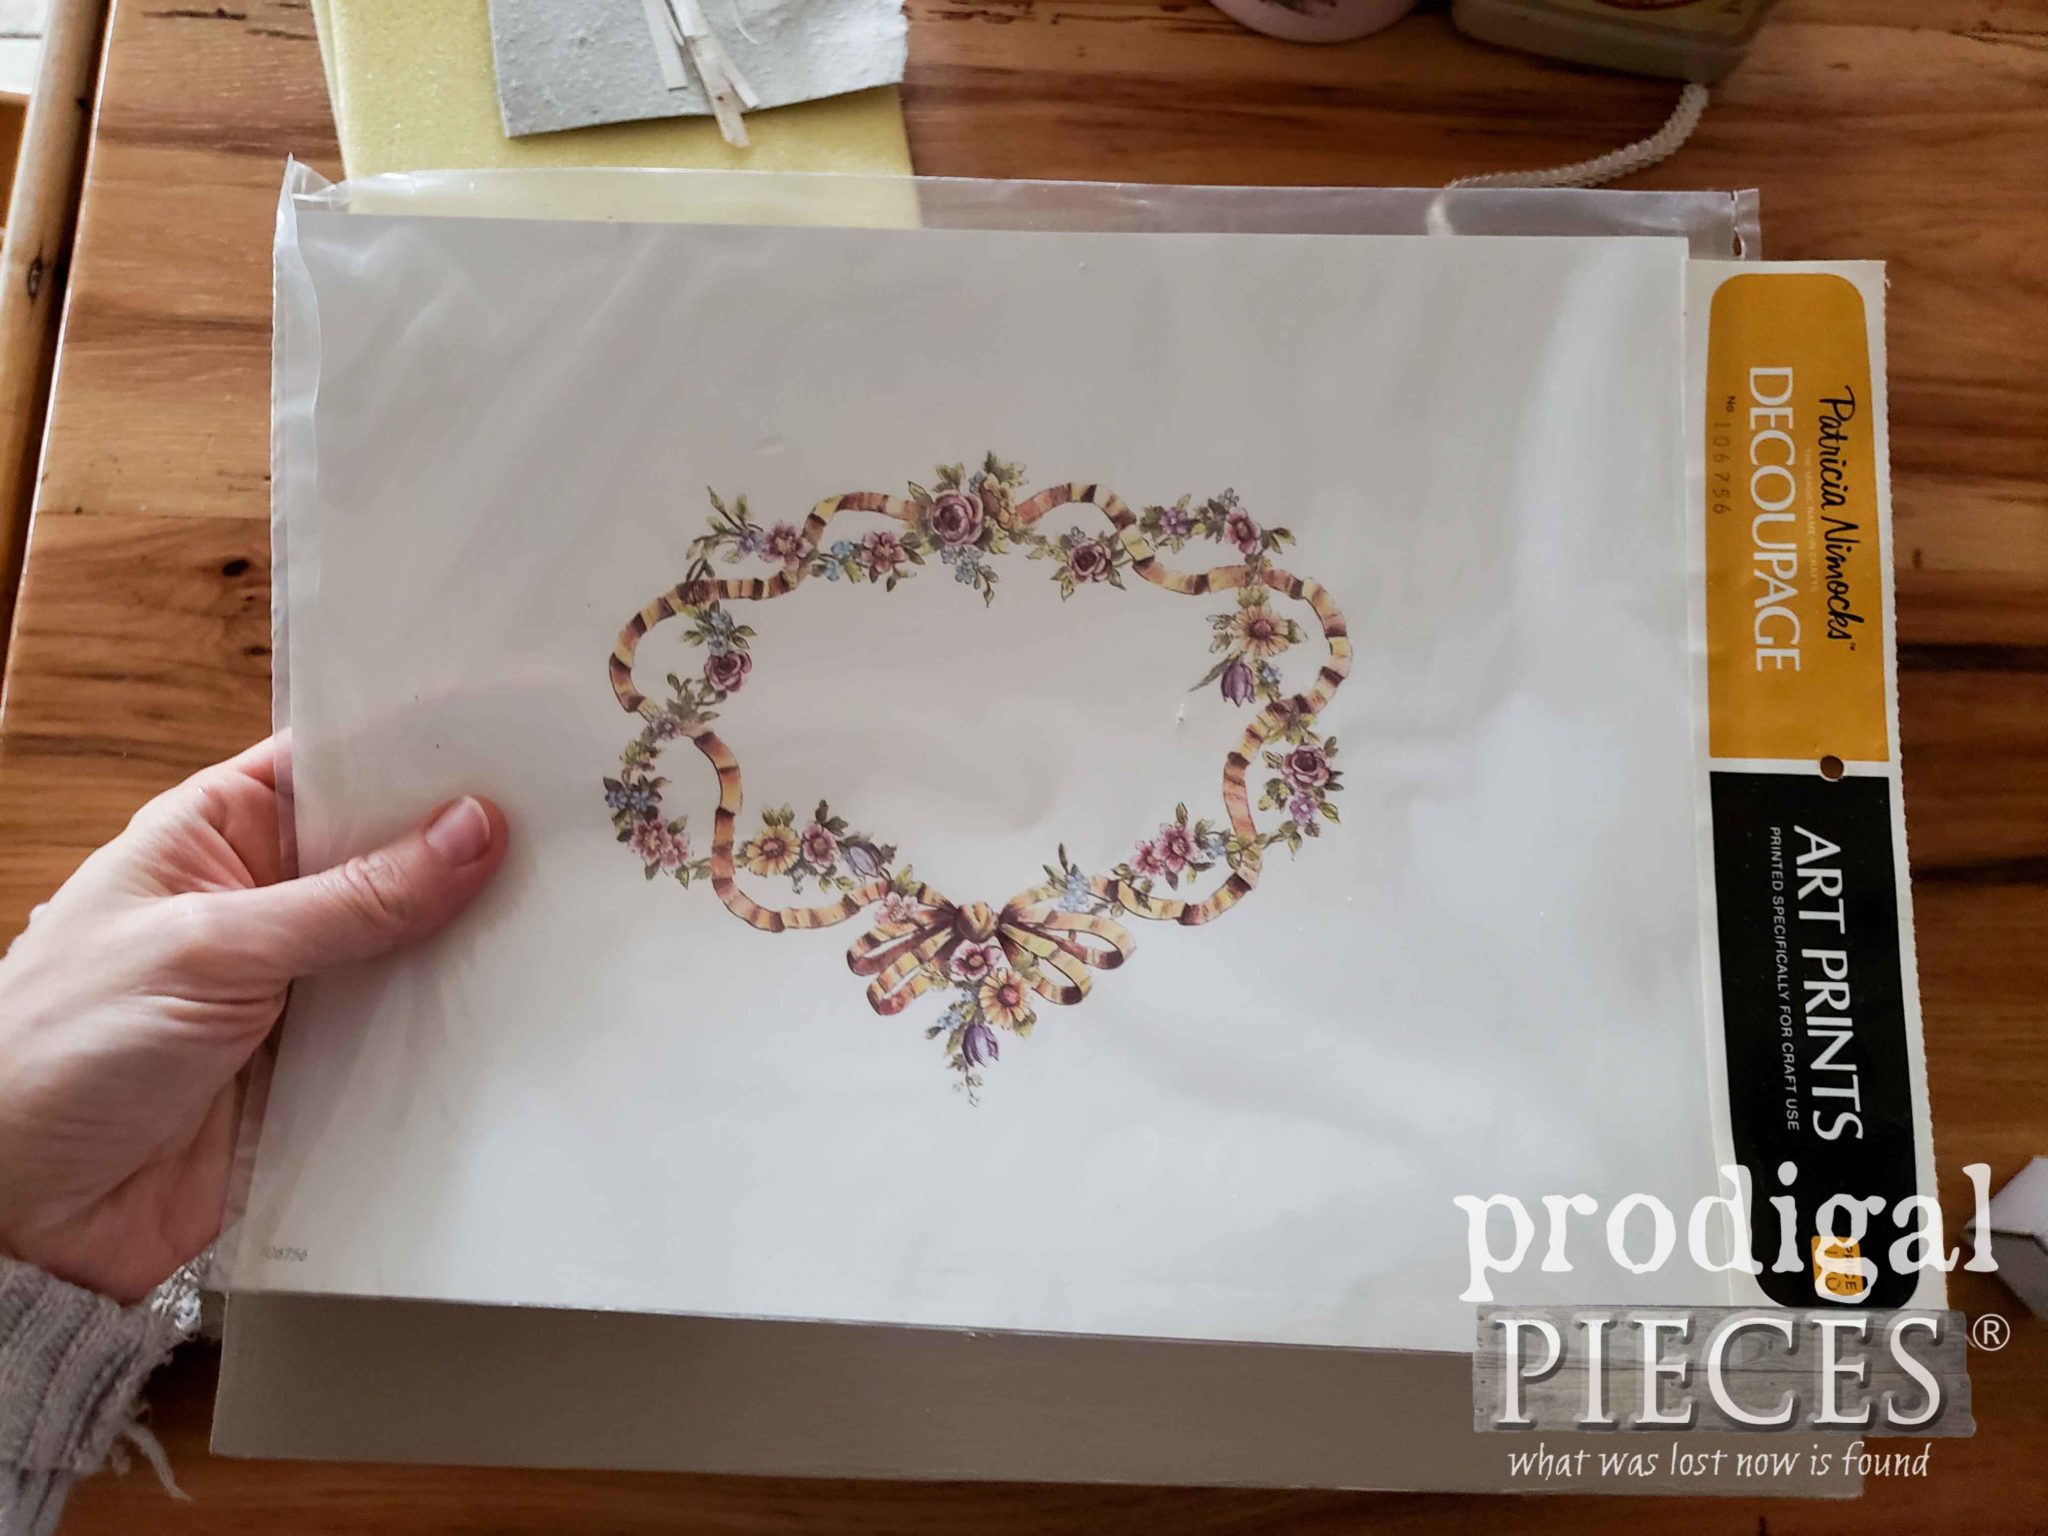
After the paint cured, I dove into my stash of vintage decoupage art.
Now, if you don’t have such a stash, I have to tell you that you need to get one. tee hee. So many uses for them! The story goes… I got my hands on a ginormous lot of artwork from a lady getting rid of it at a garage sale.
At this point, consider yourself warned that I really got into working on these. Like completely absorbed. So… there’s not a lot of process pics, but I will describe what I did. It’s cool for a girl to just have fun, right?
NEXT STEPS
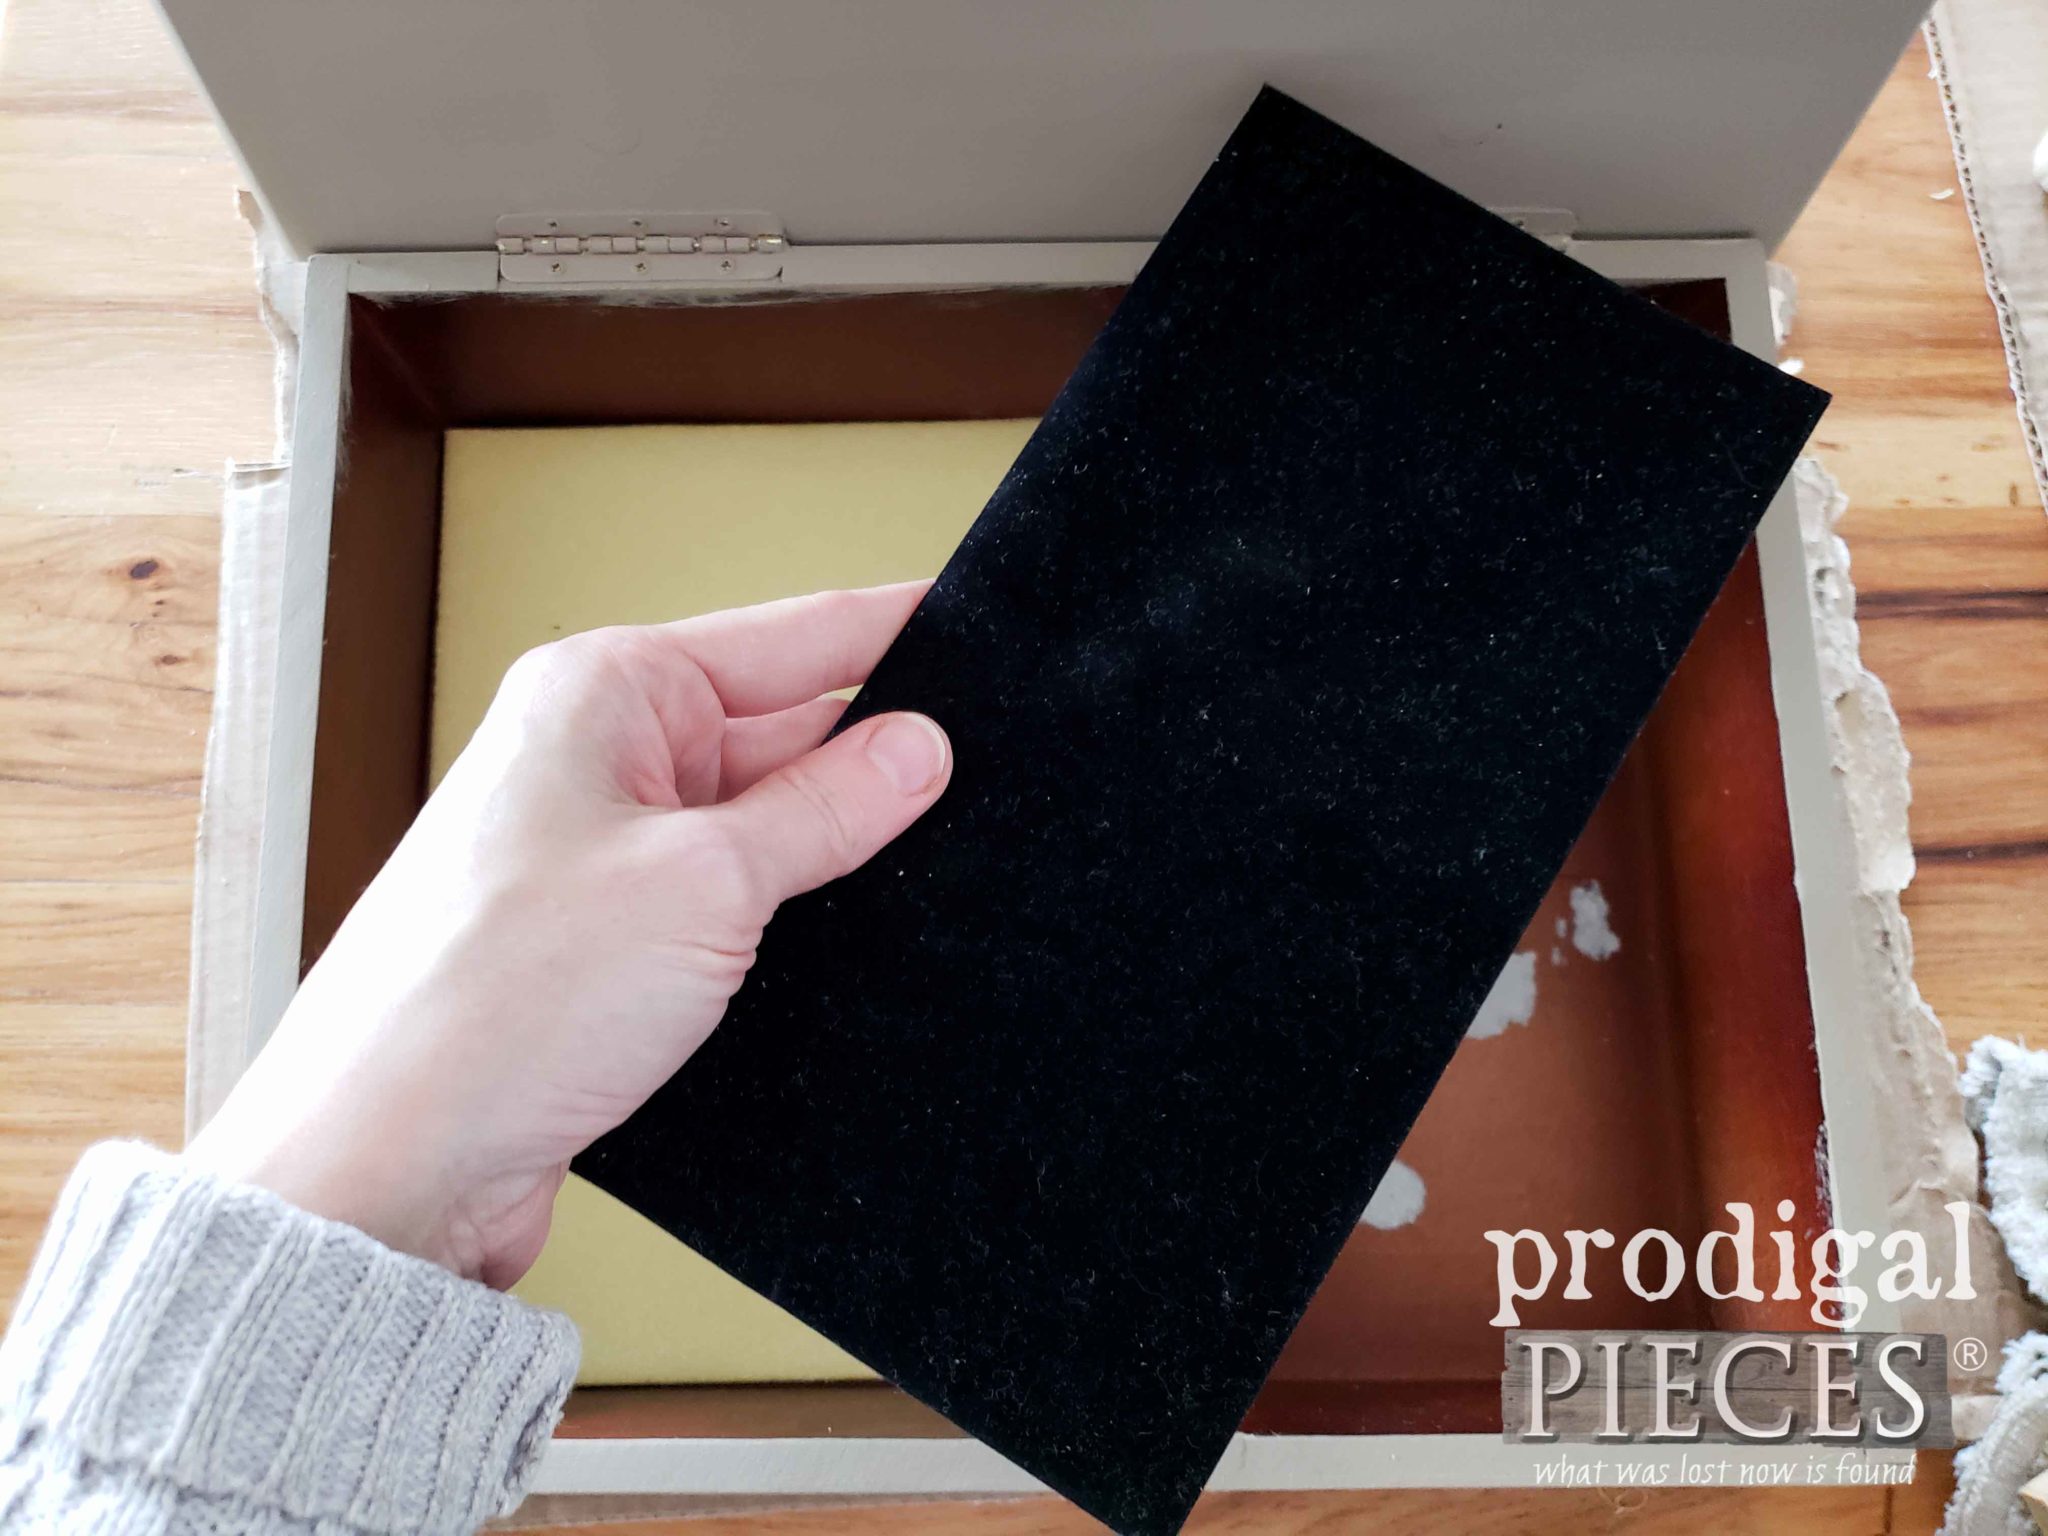
Okay, so after I put on the art on the top, I decided to yank out the black velvet lining of the larger box. There was nothing wrong with it, other than it wouldn’t match the finished look I was after with this thrifty makeover.
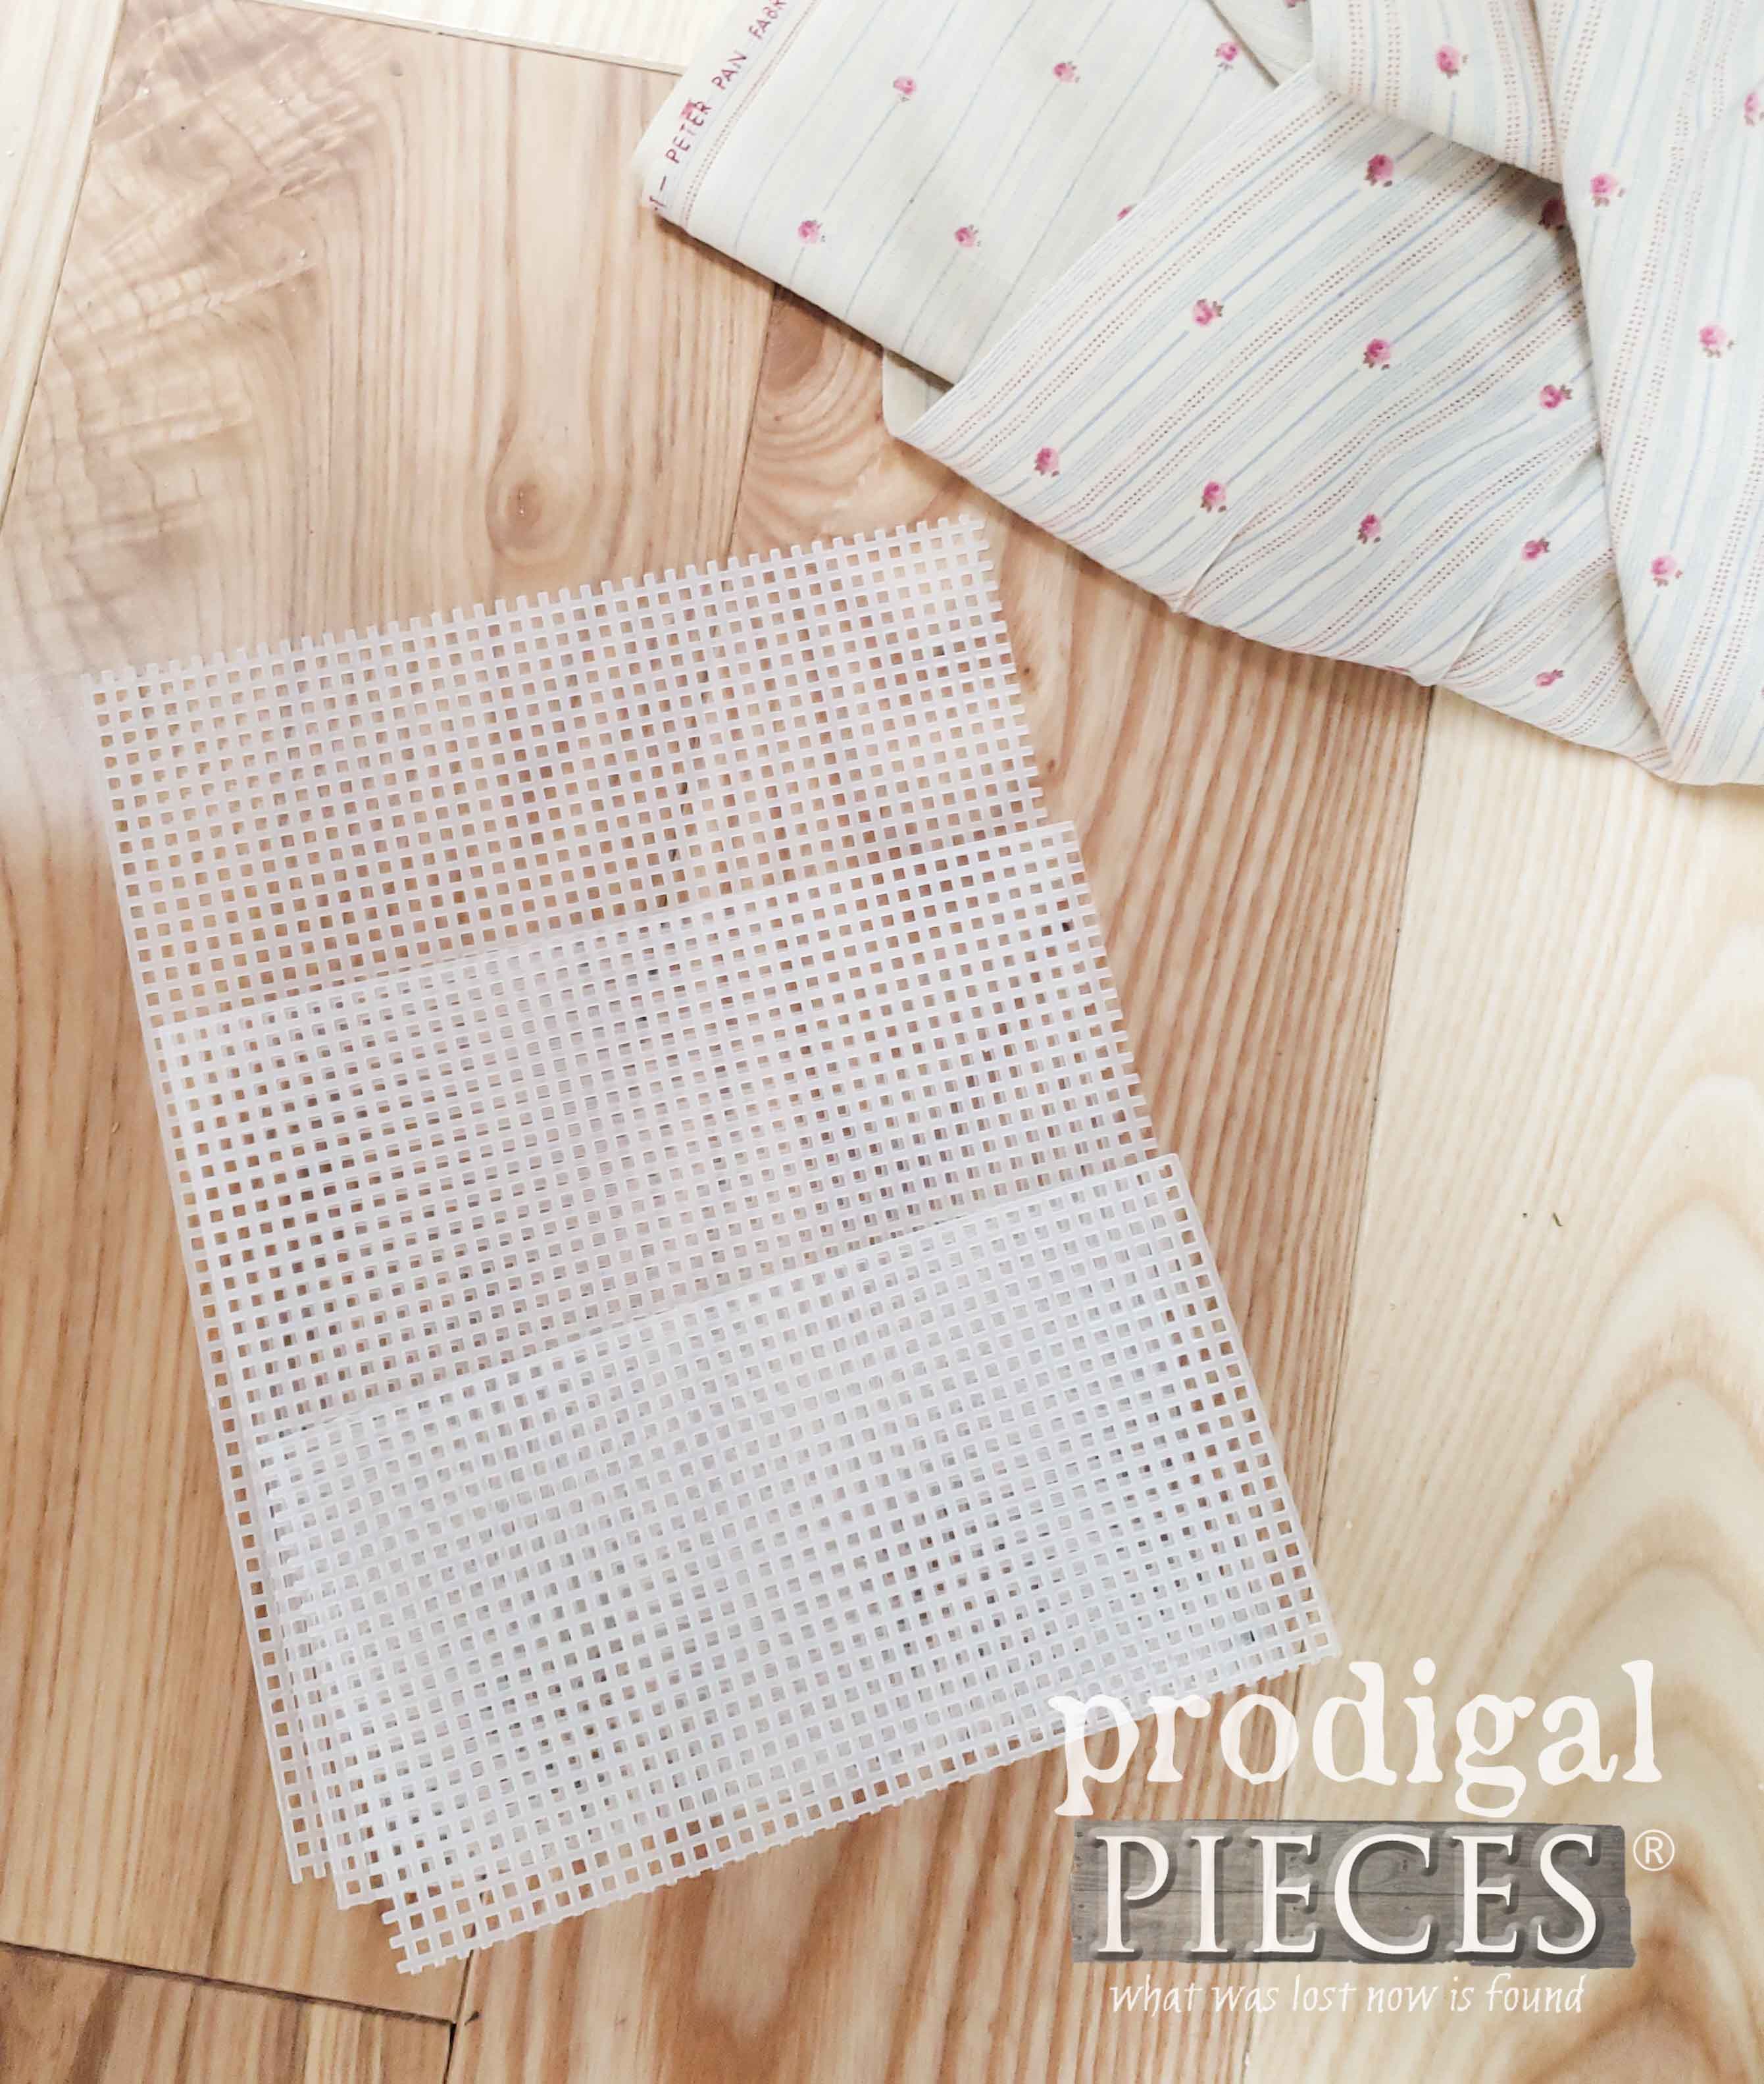
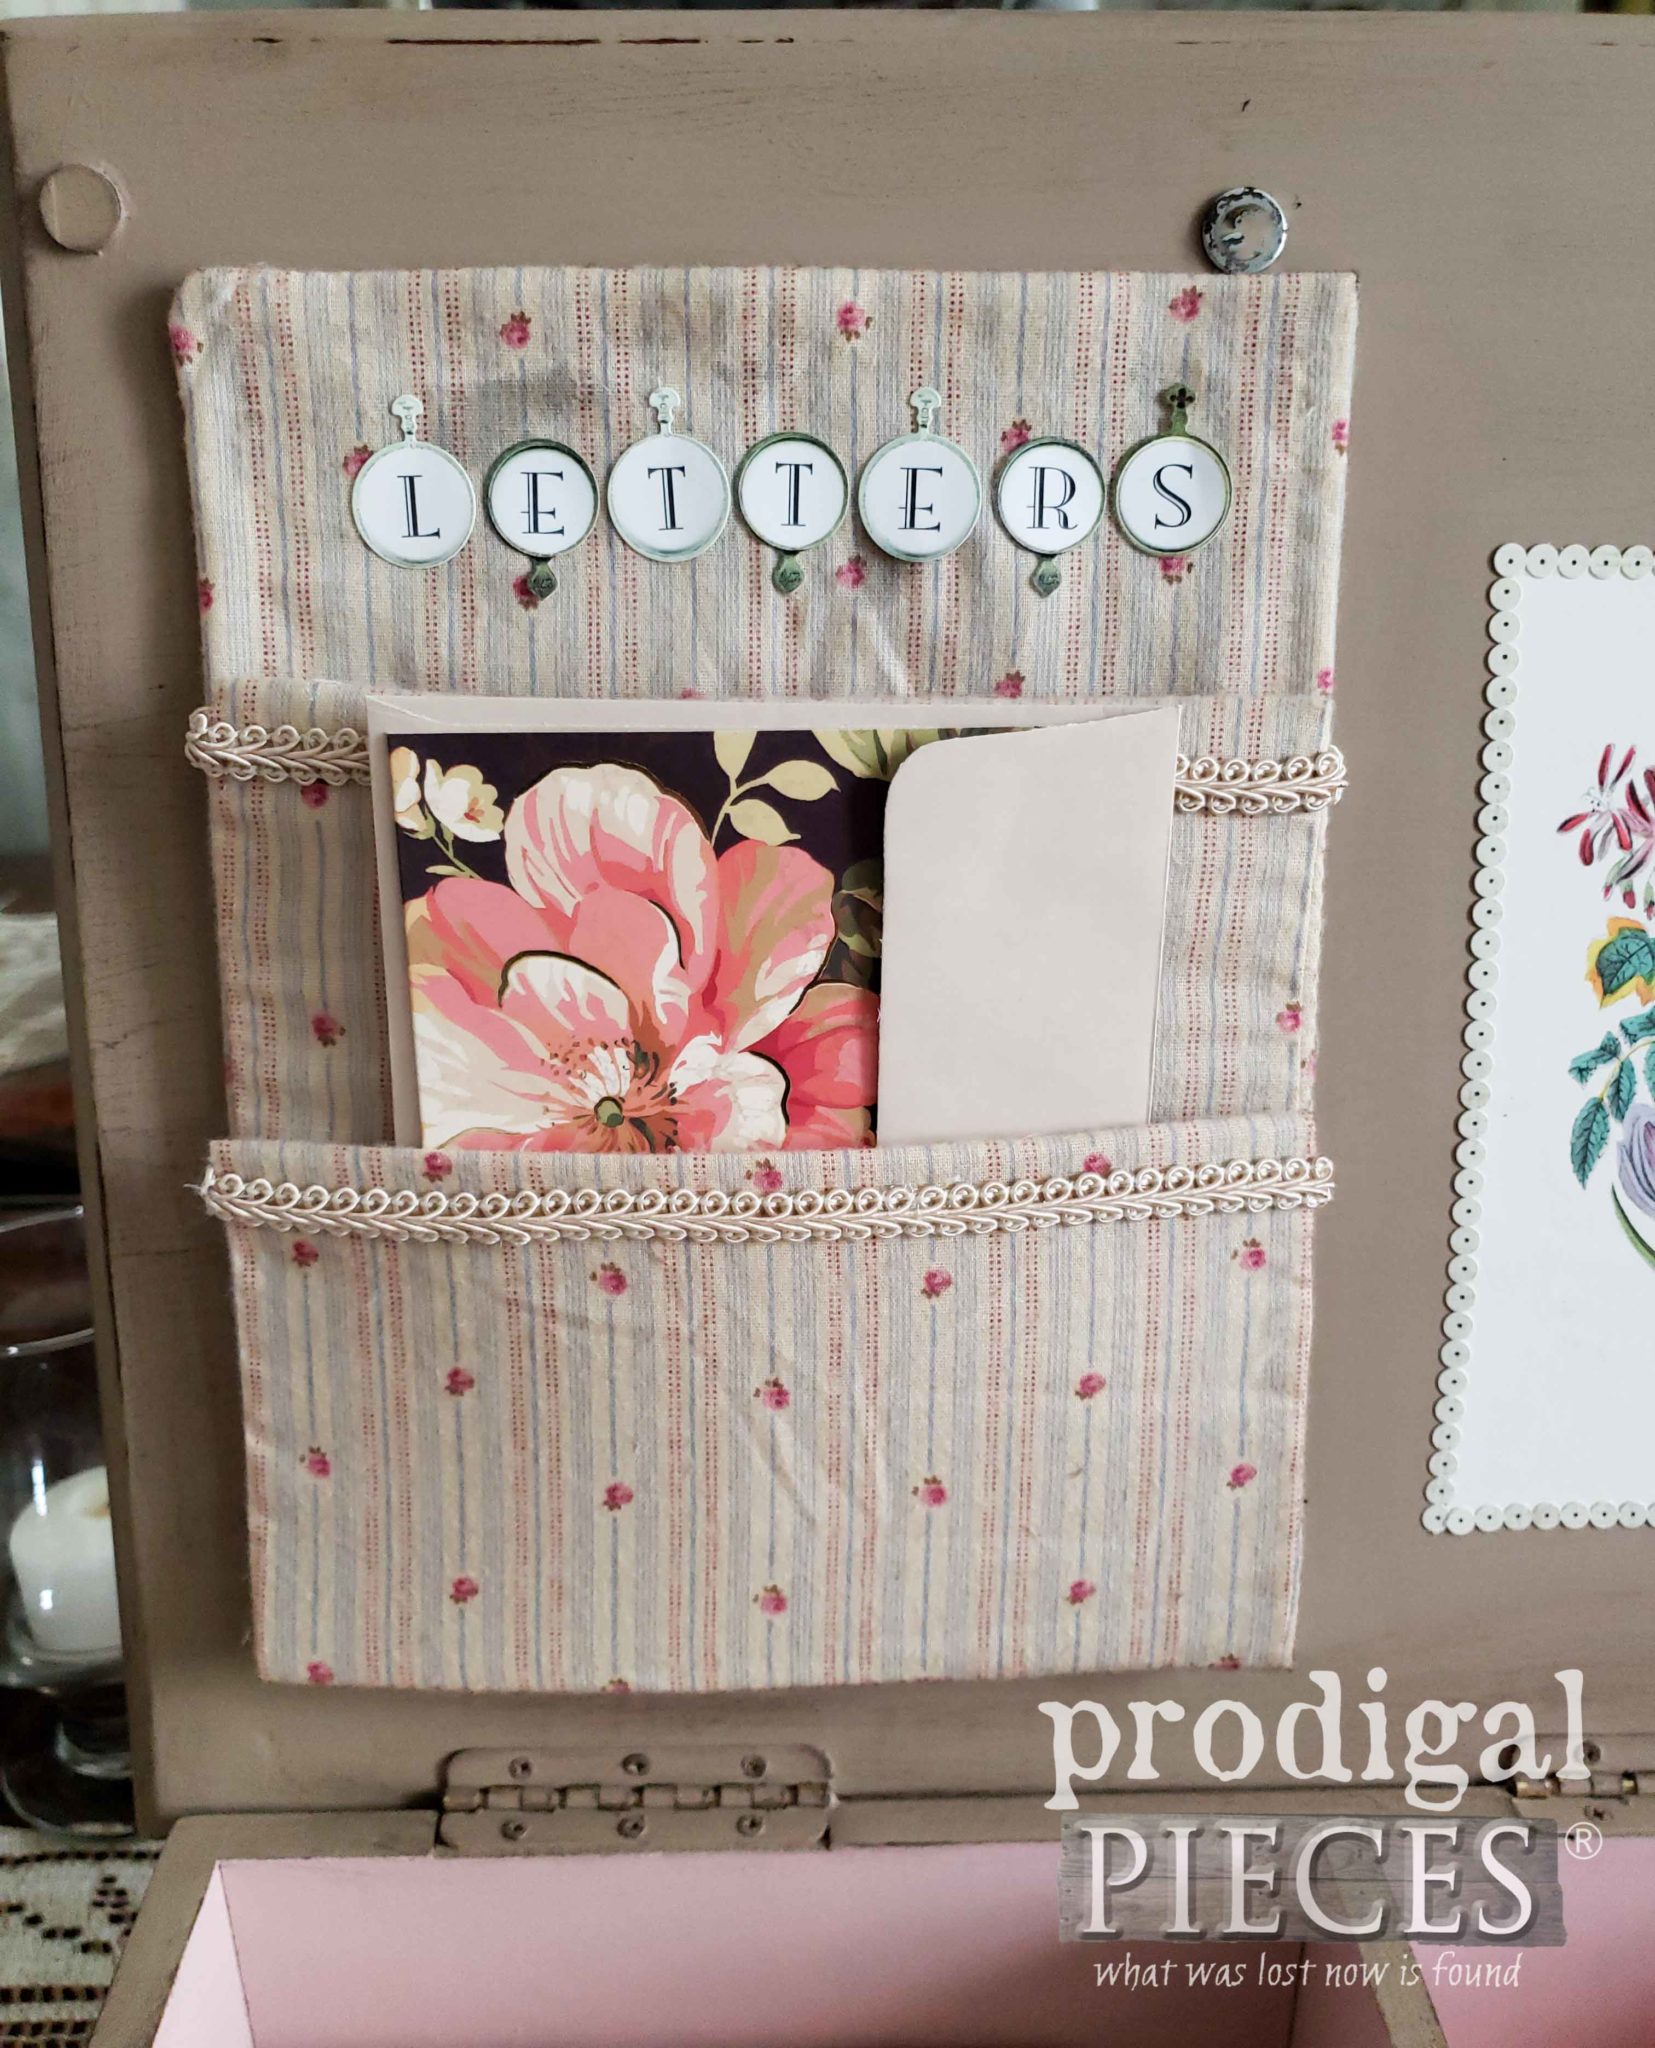
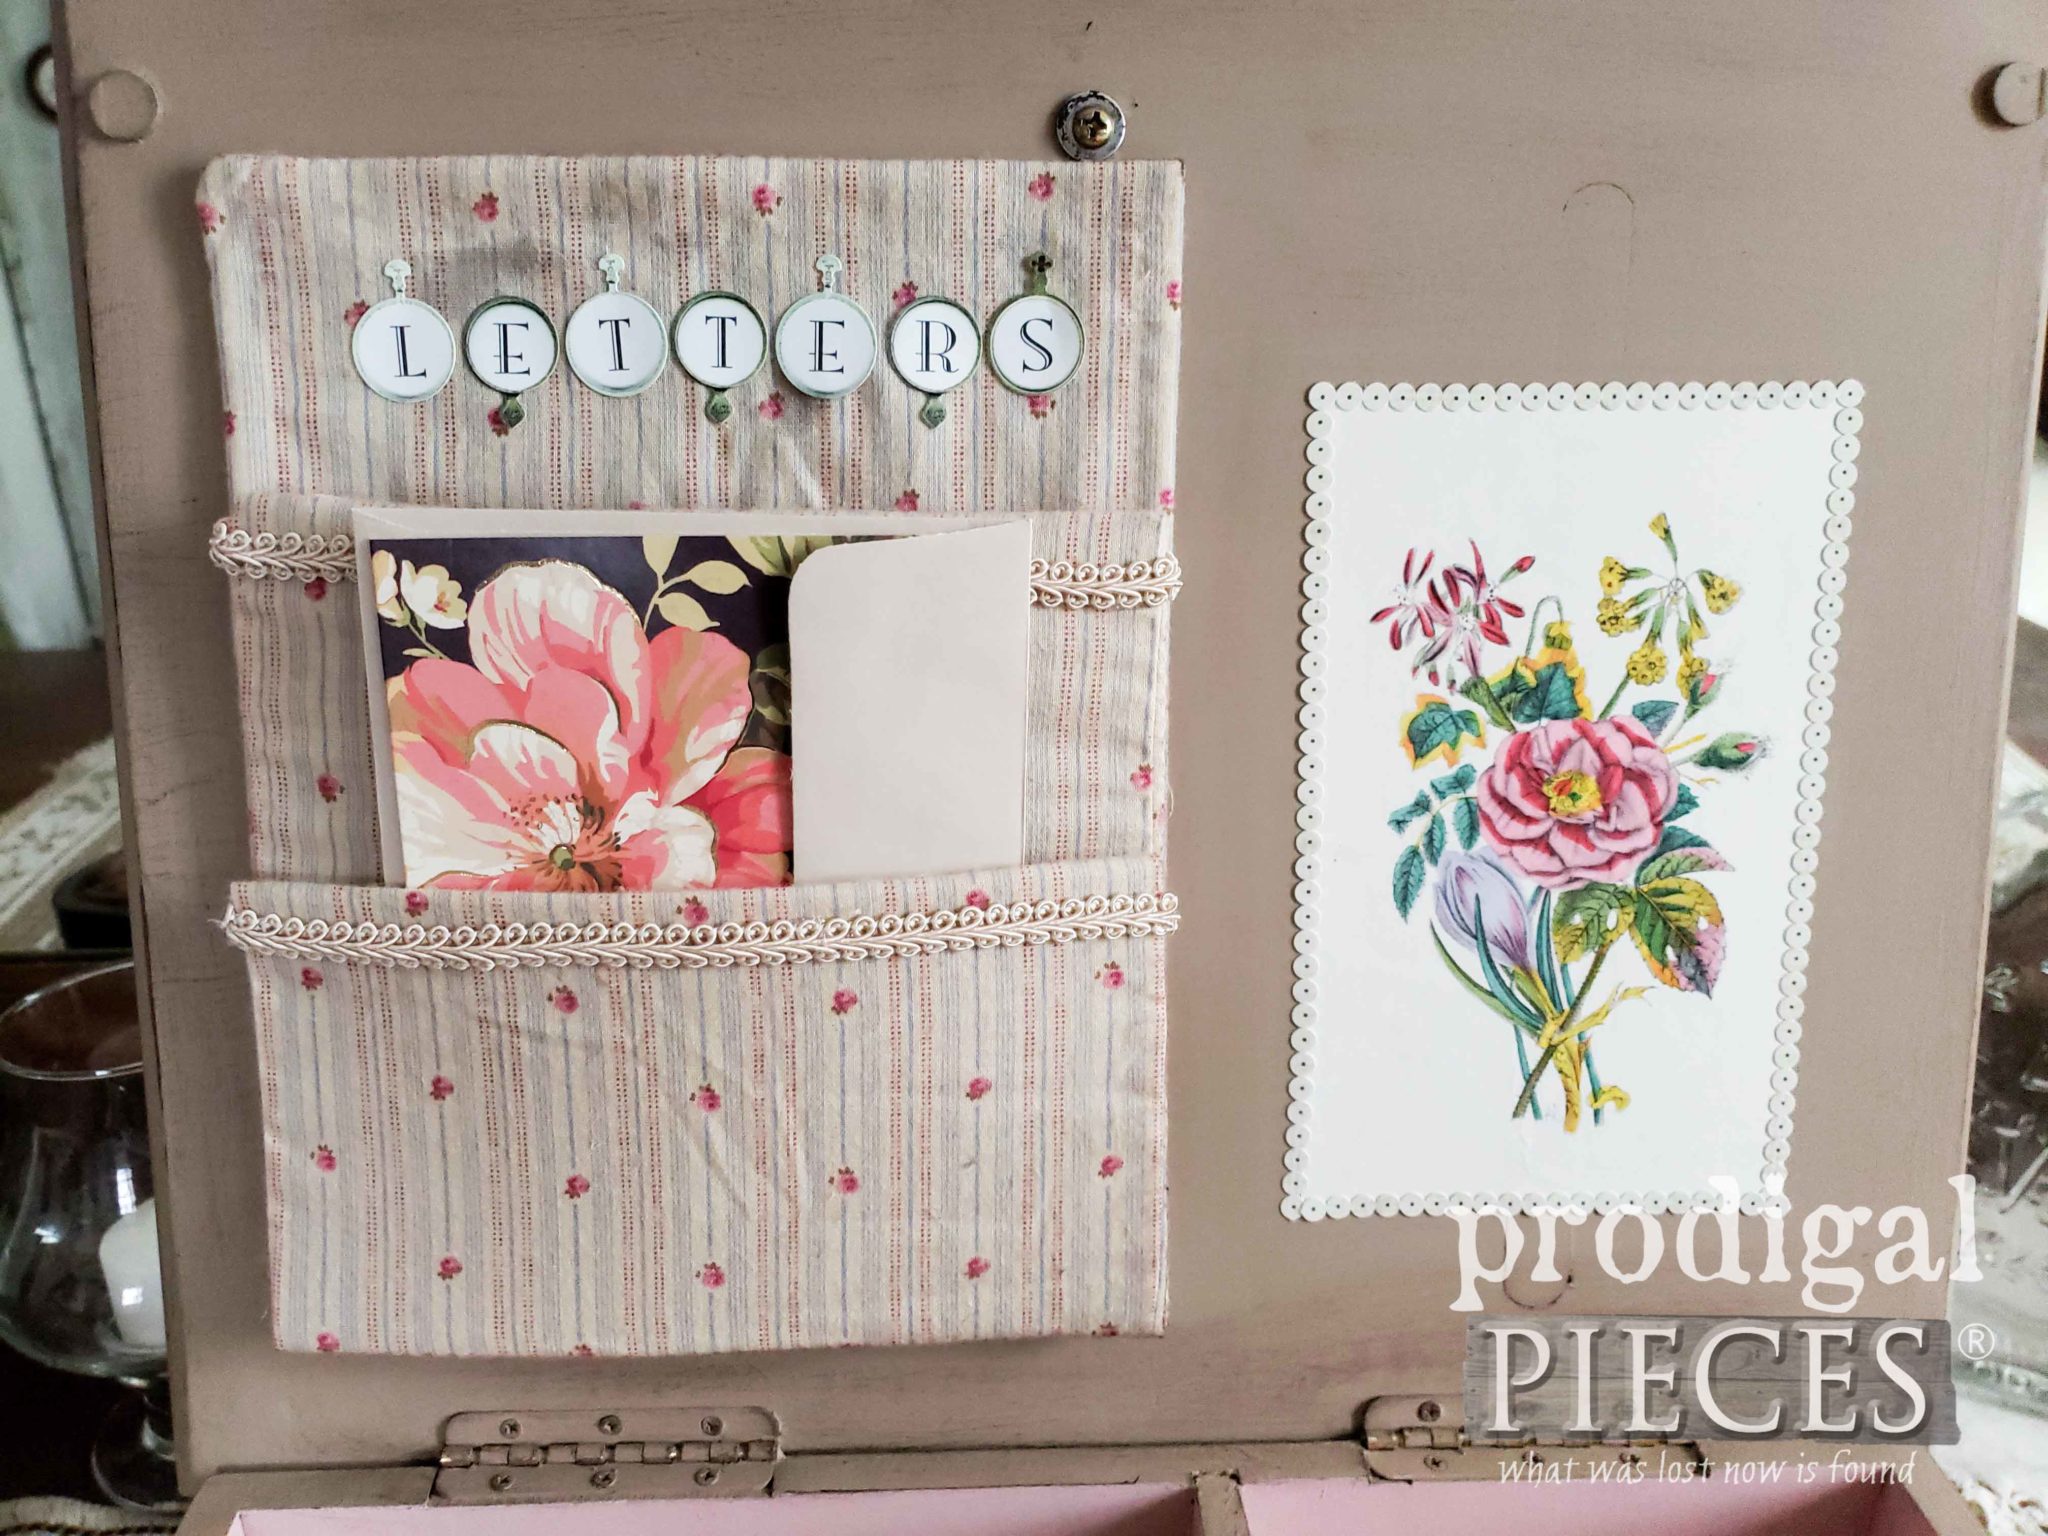
I have saved the velvet for another project, but also recovered the foam pads that lined the bottom with a pretty vintage fabric. For added function I wanted to add some pockets to the underside of the lid. In order to do that, I cut a few pieces of this plastic webbing and covered it with the same fabric I used to recover the bottom foam lining.
The fabric has the tiniest roses and delicate striping. I love the antique feel it has – so pretty.
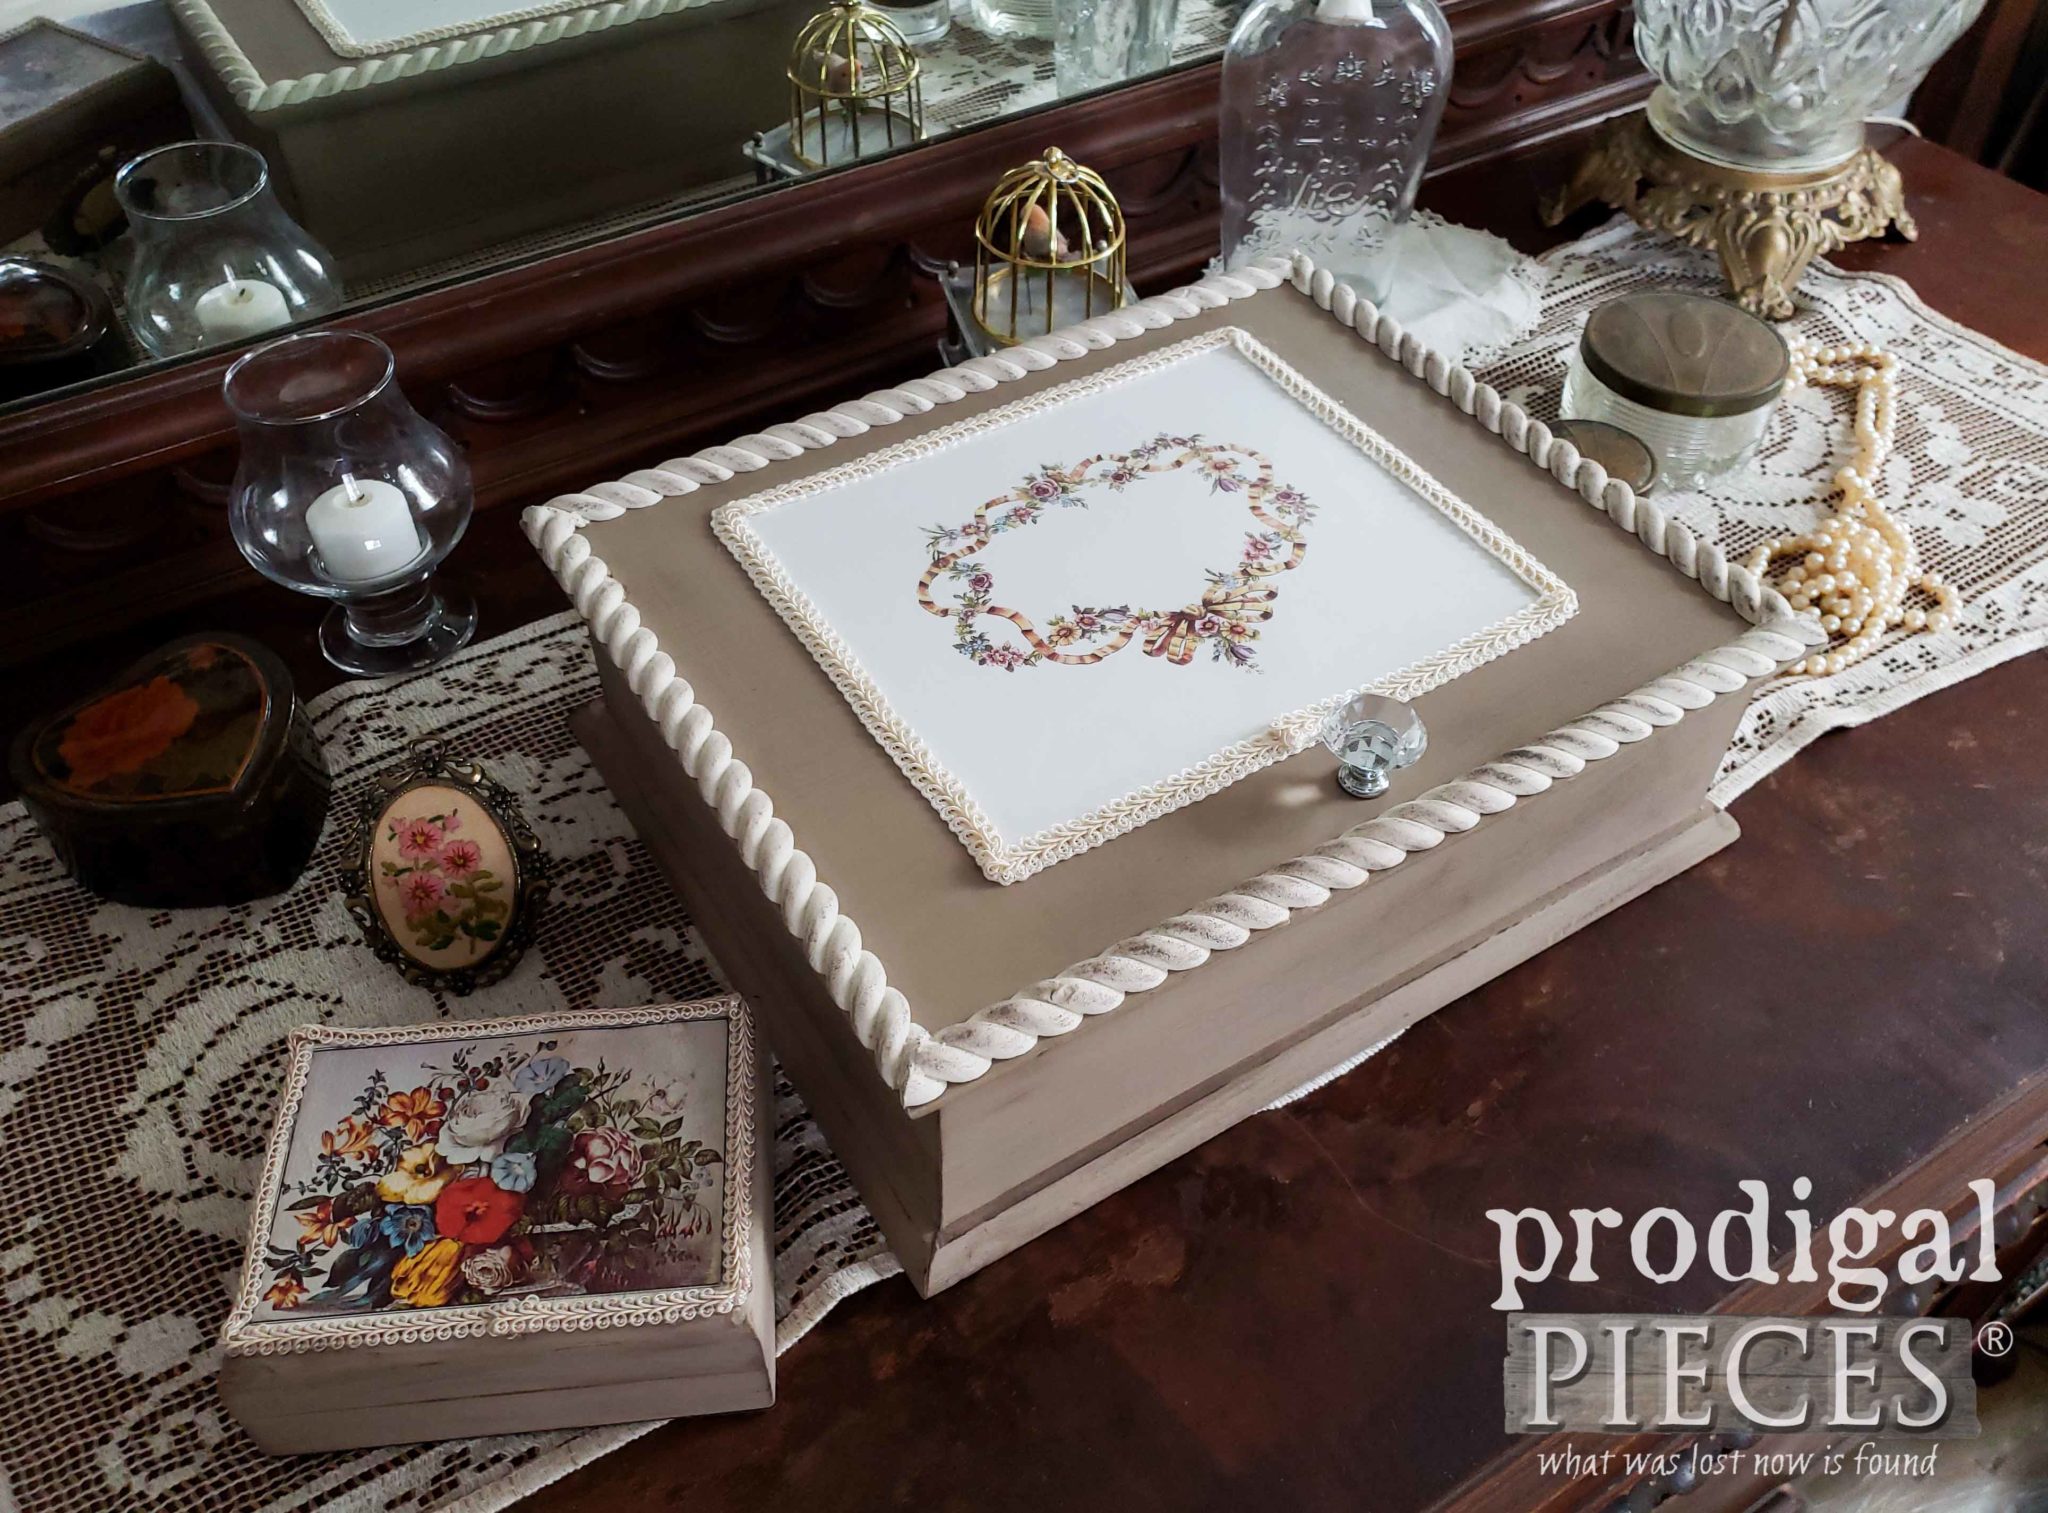
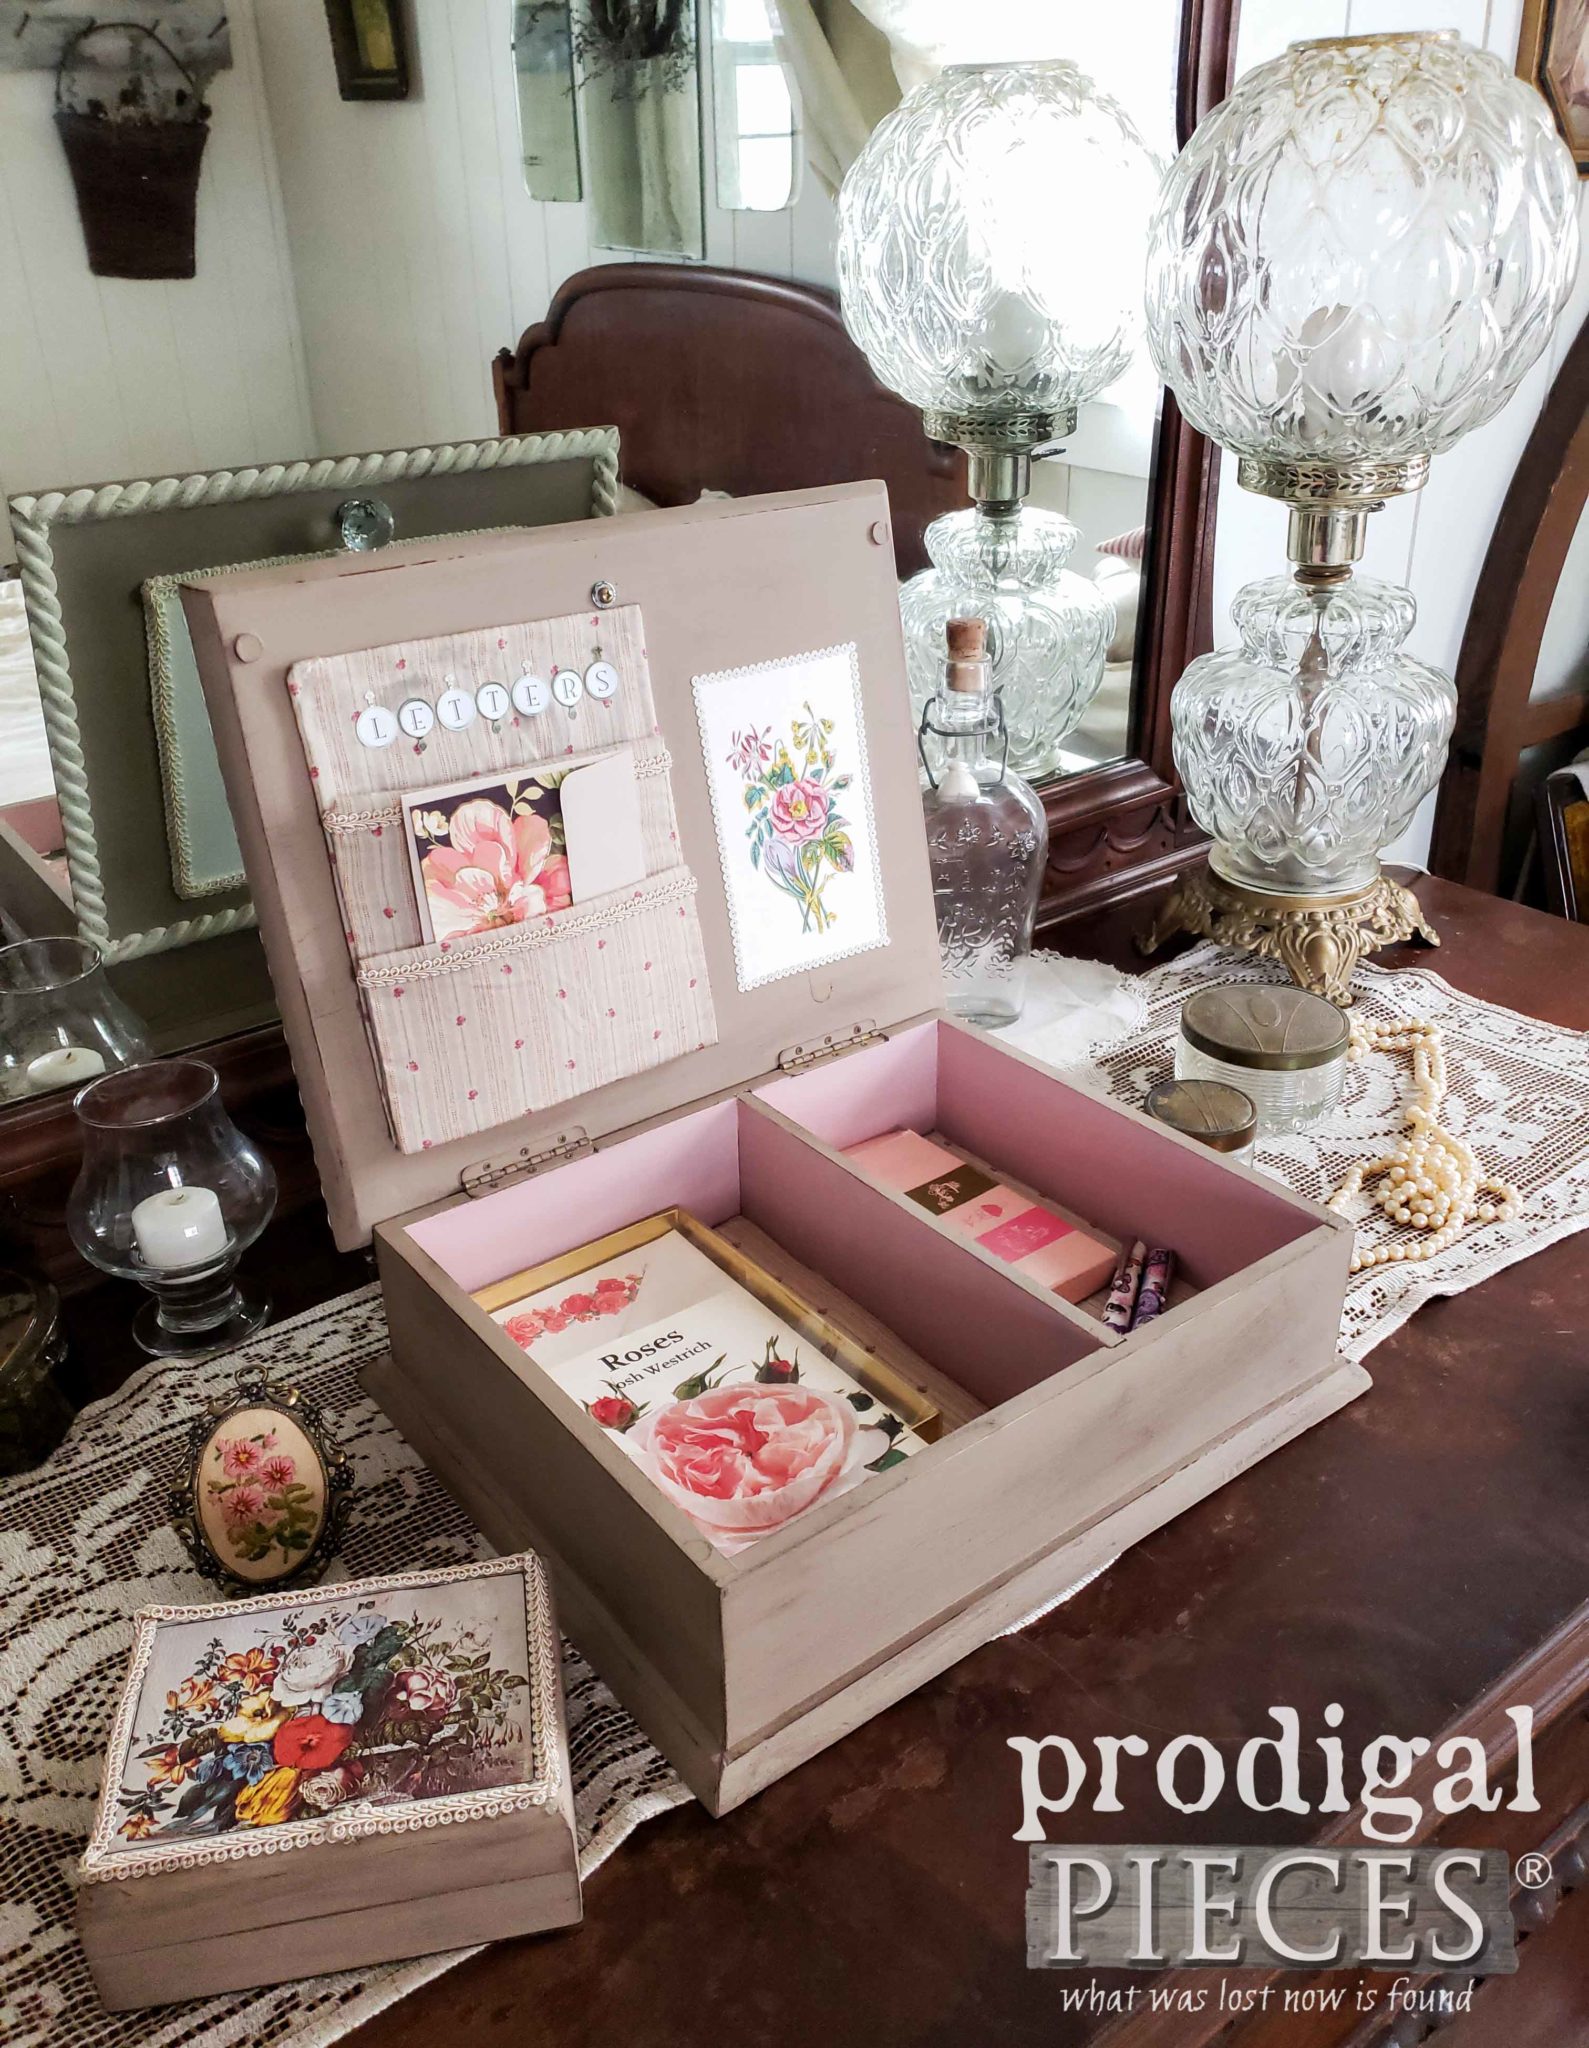
Finally, here are the results of my thrifty makeover of these two thrifted boxes. I fussed and fussed with the detail work, but that is the fun of doing a DIY project.
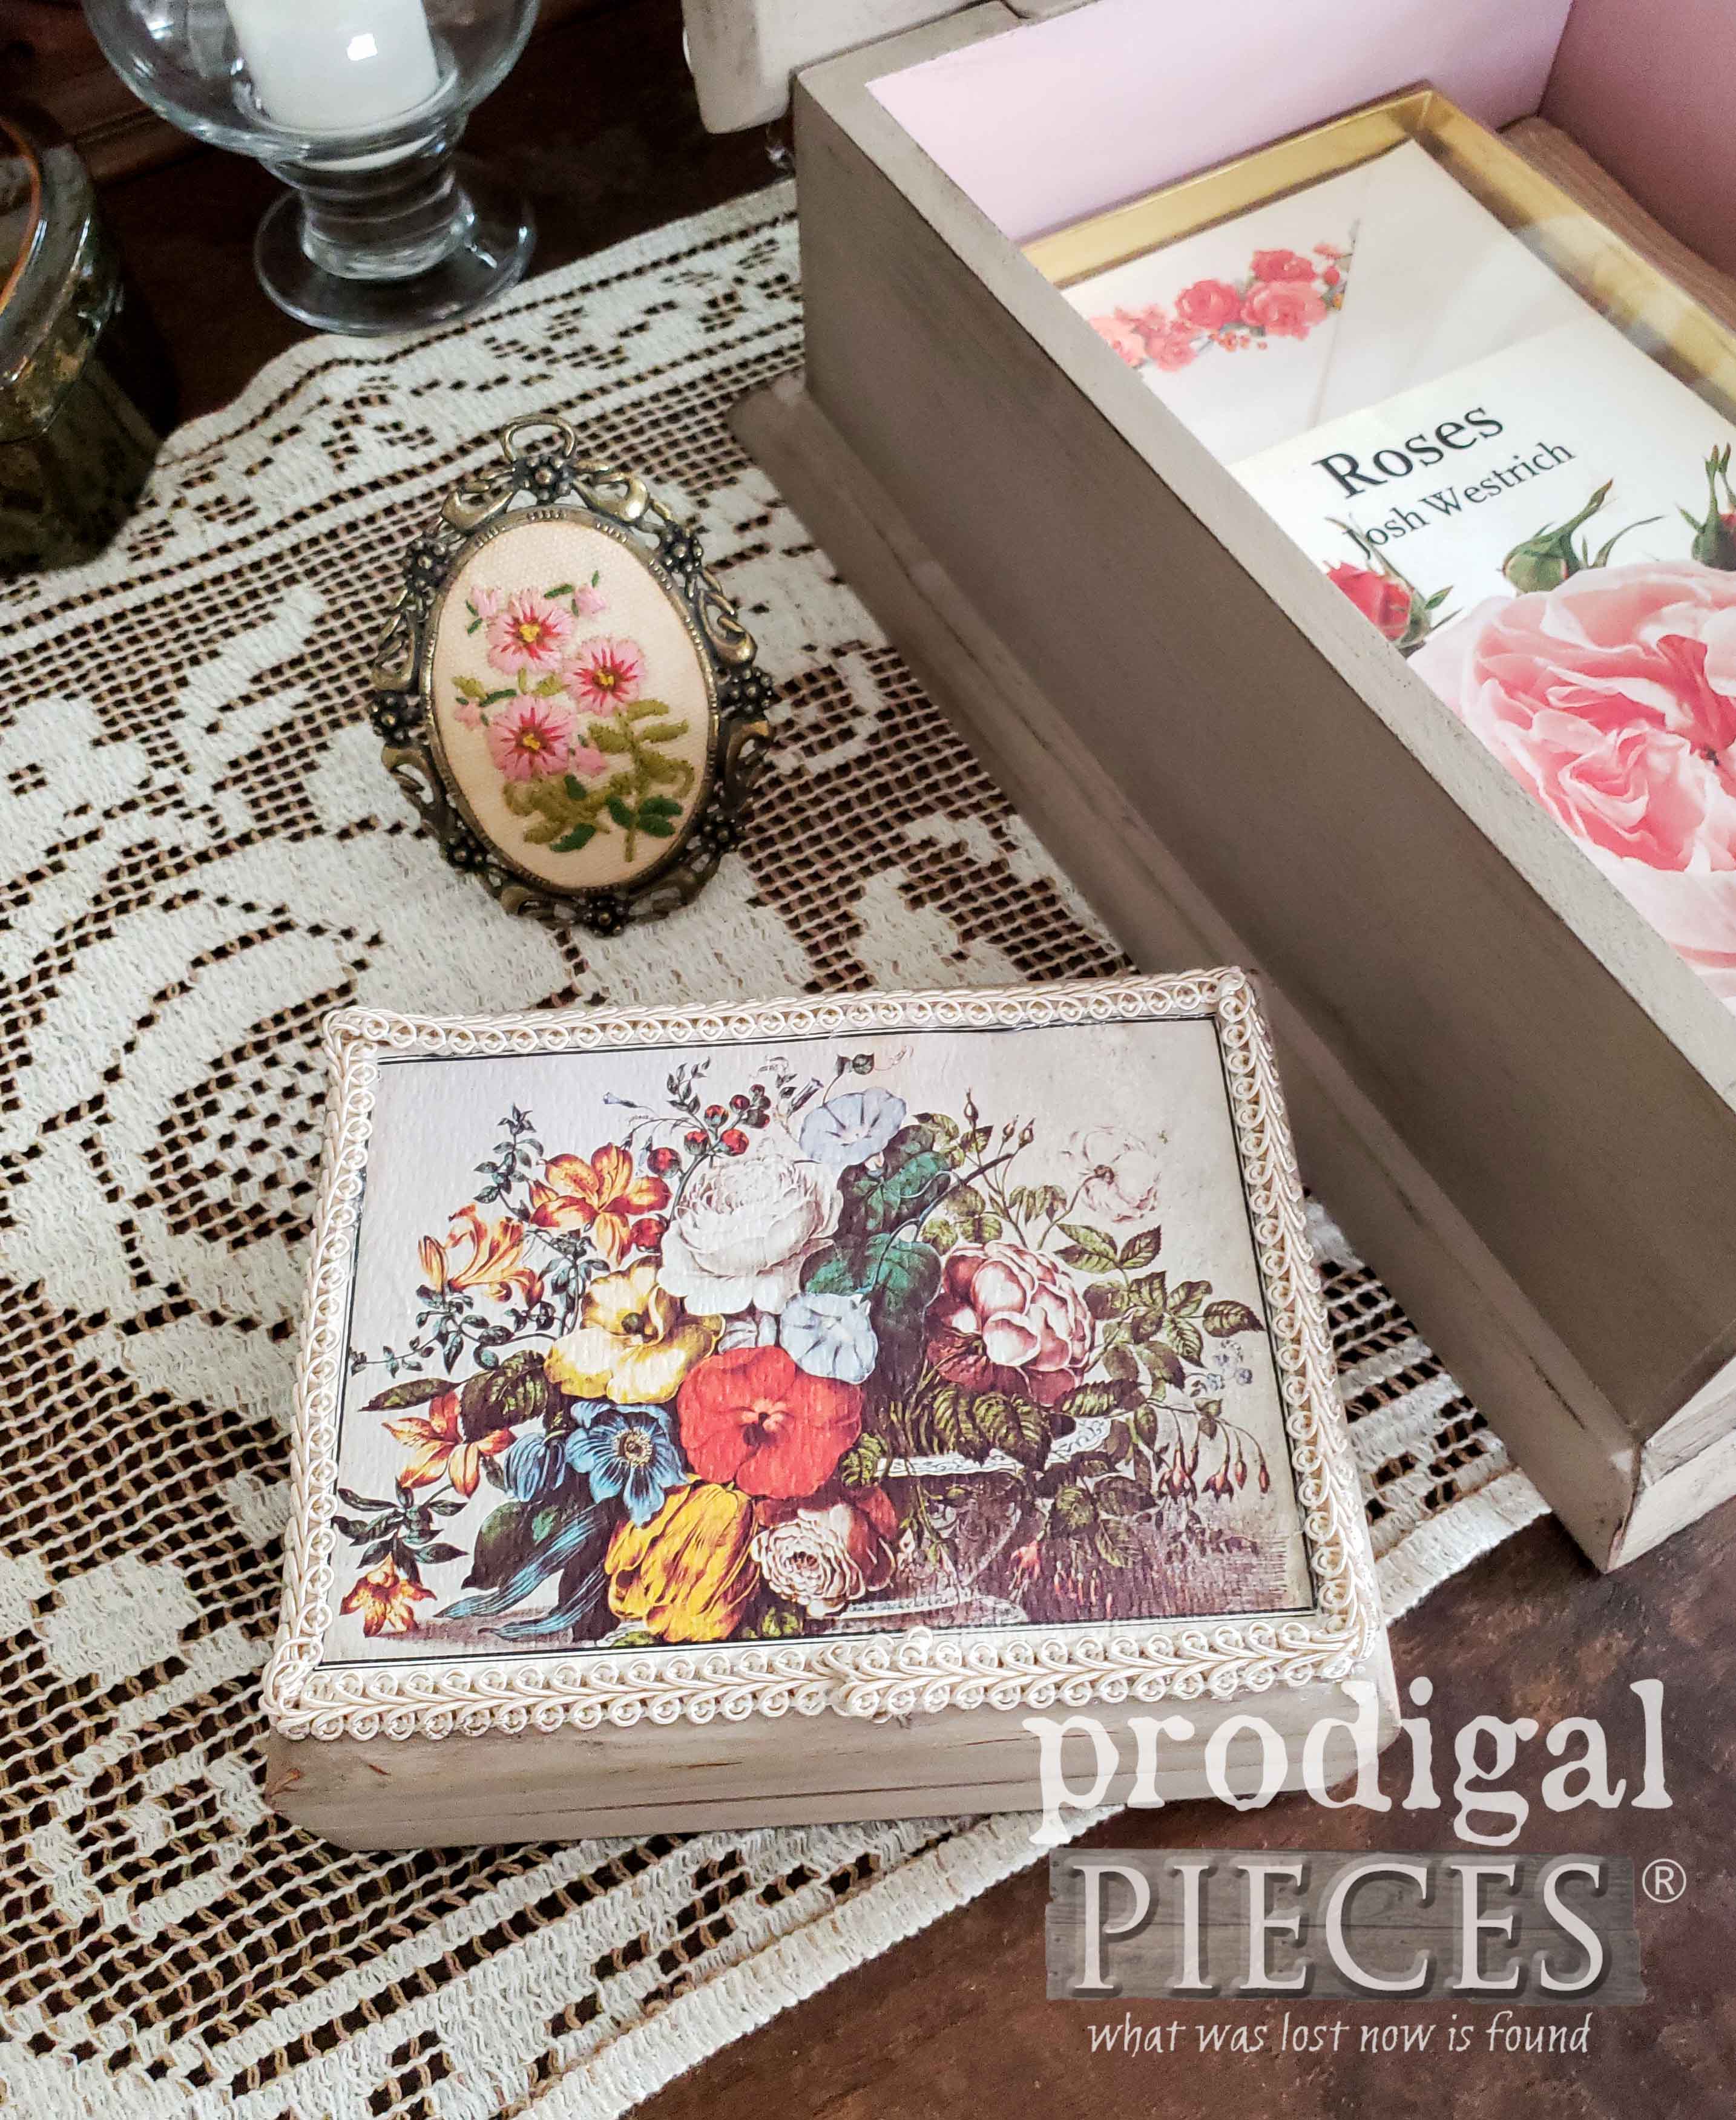
These wooden boxes have become a beautiful dresser set. Don’t they look as though they came from days gone by? The little box features vintage artwork framed by trimmings on the exterior.
FUN REVEAL
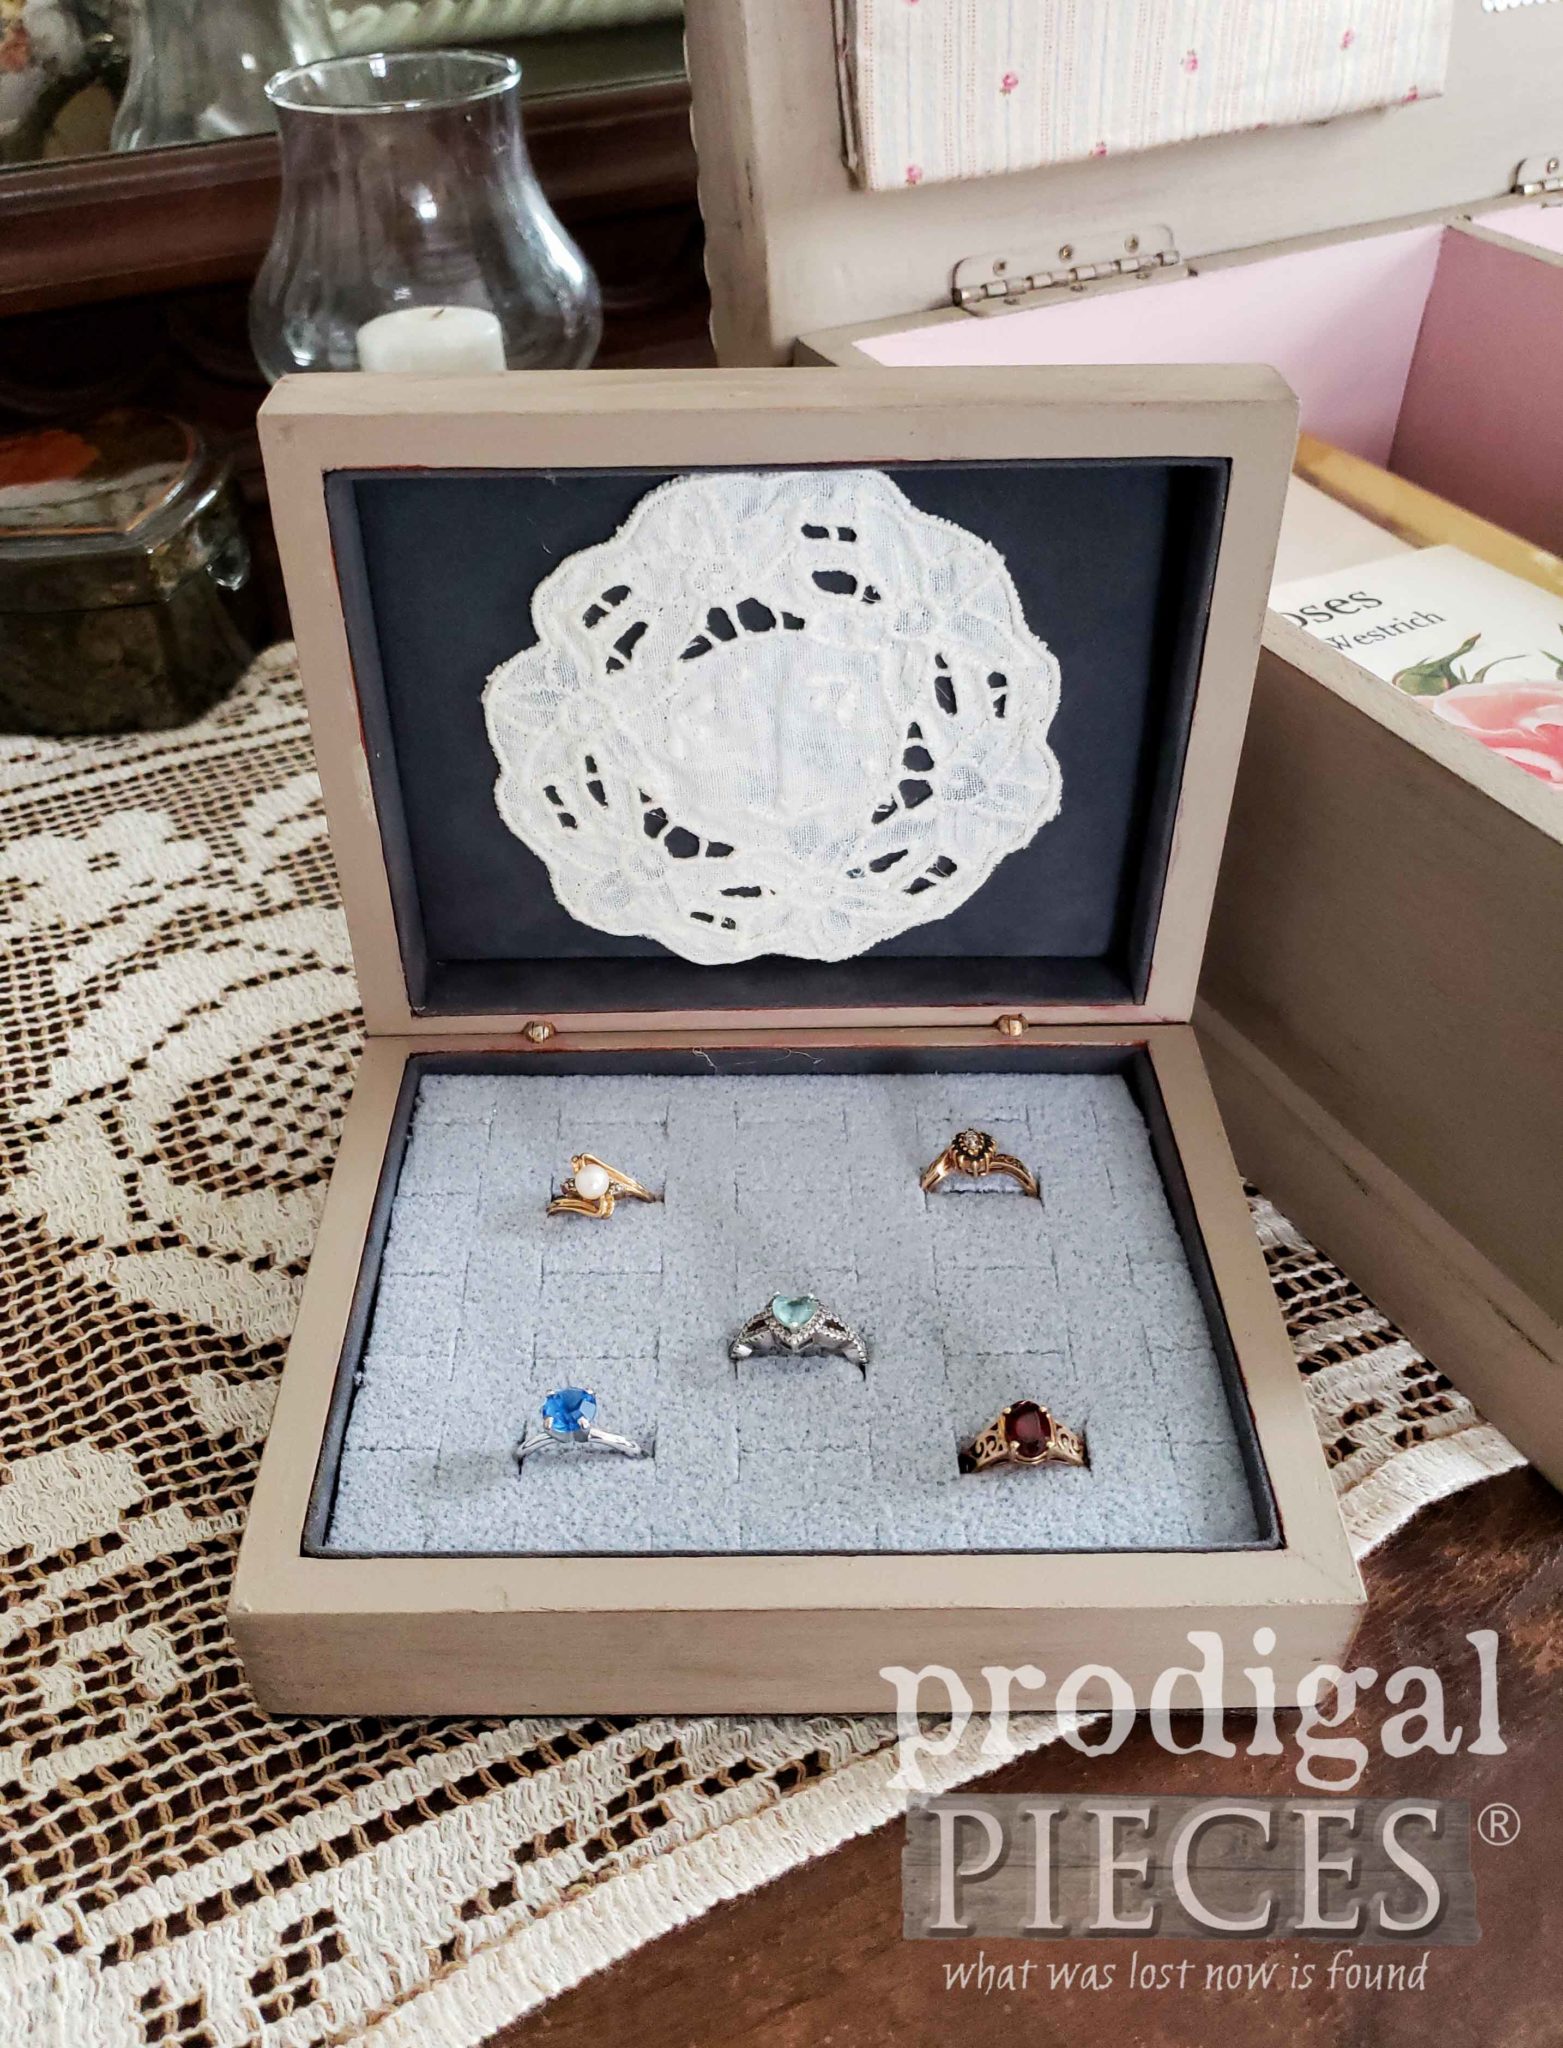
Meanwhile, the box interior is now functioning as a ring box. I’ve inserted the same ring holders foam I used on my repurposed cupboard door jewelry cabinets seen HERE in this post.
However, the larger box got a bit more lovin’. I used the decoupage art to create a center panel with trimmings. But I also added the braided wood on the outer edge to dress it up and add texture too.
In addition to the outside goodness, I also added finished off the interior with a bit more decoupage art and the fabric covered goodies I mentioned. My vision for this was for it to become a stationery box/keepsake box – a place for memories and letters received and yet to be sent.
I feel like a handwritten letter is a lost art and I want to encourage its revival. What do you think?
Either way, my goal is to inspire you to look for the potential in the cast-offs. Making our house our home is one of the best adventures life gives us.
Both of these boxes are now available for purchase in my online shop. Which one for you?
SHARE
Additionally, pin and share this thrifty makeover to inspire others to do the same. It’s fun!
Up next, this antique desk is not only getting a new life, but a new purpose. See the new look and function HERE.
To get these DIY tips & tricks in your inbox, be sure to sign up for my newsletter. Until next time!





The boxes are so sweet. A new life ahead for them.
Thank you! You can see how I got lost in working on them. tee hee!
You are so talented….I think with 6 children you almost have to be because everything is so costly,,,keep it up you are also inspiring.
Thank you, Lynn. 🙂 I would be this way even if monetarily rich…it’s in my life’s blood. Hugs!
Adorable Larissa! Now how did you attach the decorative trim? Glue gun???
Thanks! I meant to add that I hot glued the fabric trim and nailed and glued the wood trim.
Just as sweet as sweet can be, Larissa! I have the same question as Cathy–how did you attach the decorative trim?
You are so fun, Cate. Thank you! I hot glued the fabric trim and nailed and glued the wood trim.
Wonderful! Love wood boxes! These are special!
Wahoo! You made me giggle! 😀
Good job! I’m thinking the large box may have been a tea box. Teas in bags were often kept in tea boxes on the “tea” table. Maybe……..?
It could be or I think from a game. It had no wear at all, so hard to tell. 😉
There’s just something about a wooden box that I find irresistible! You certainly dressed these two up in romantic splendor! I’m with you on reviving the fading art of handwritten letters. The big box looks like it would serve as a sweet place to keep stationary, pens and stamps.
You and me both, Paula. Funny, huh? Thanks you for the love.
They turned out so adorable. Love the vintage look to them. Great job Larissa!
I’m so glad you enjoyed my work. Thank you!
Such a beautiful transformation of 2 wooden boxes! Love the beautiful vintage look you gave them!
You know I had fun with this. I’m delighted to hear you enjoyed it. Thank you!