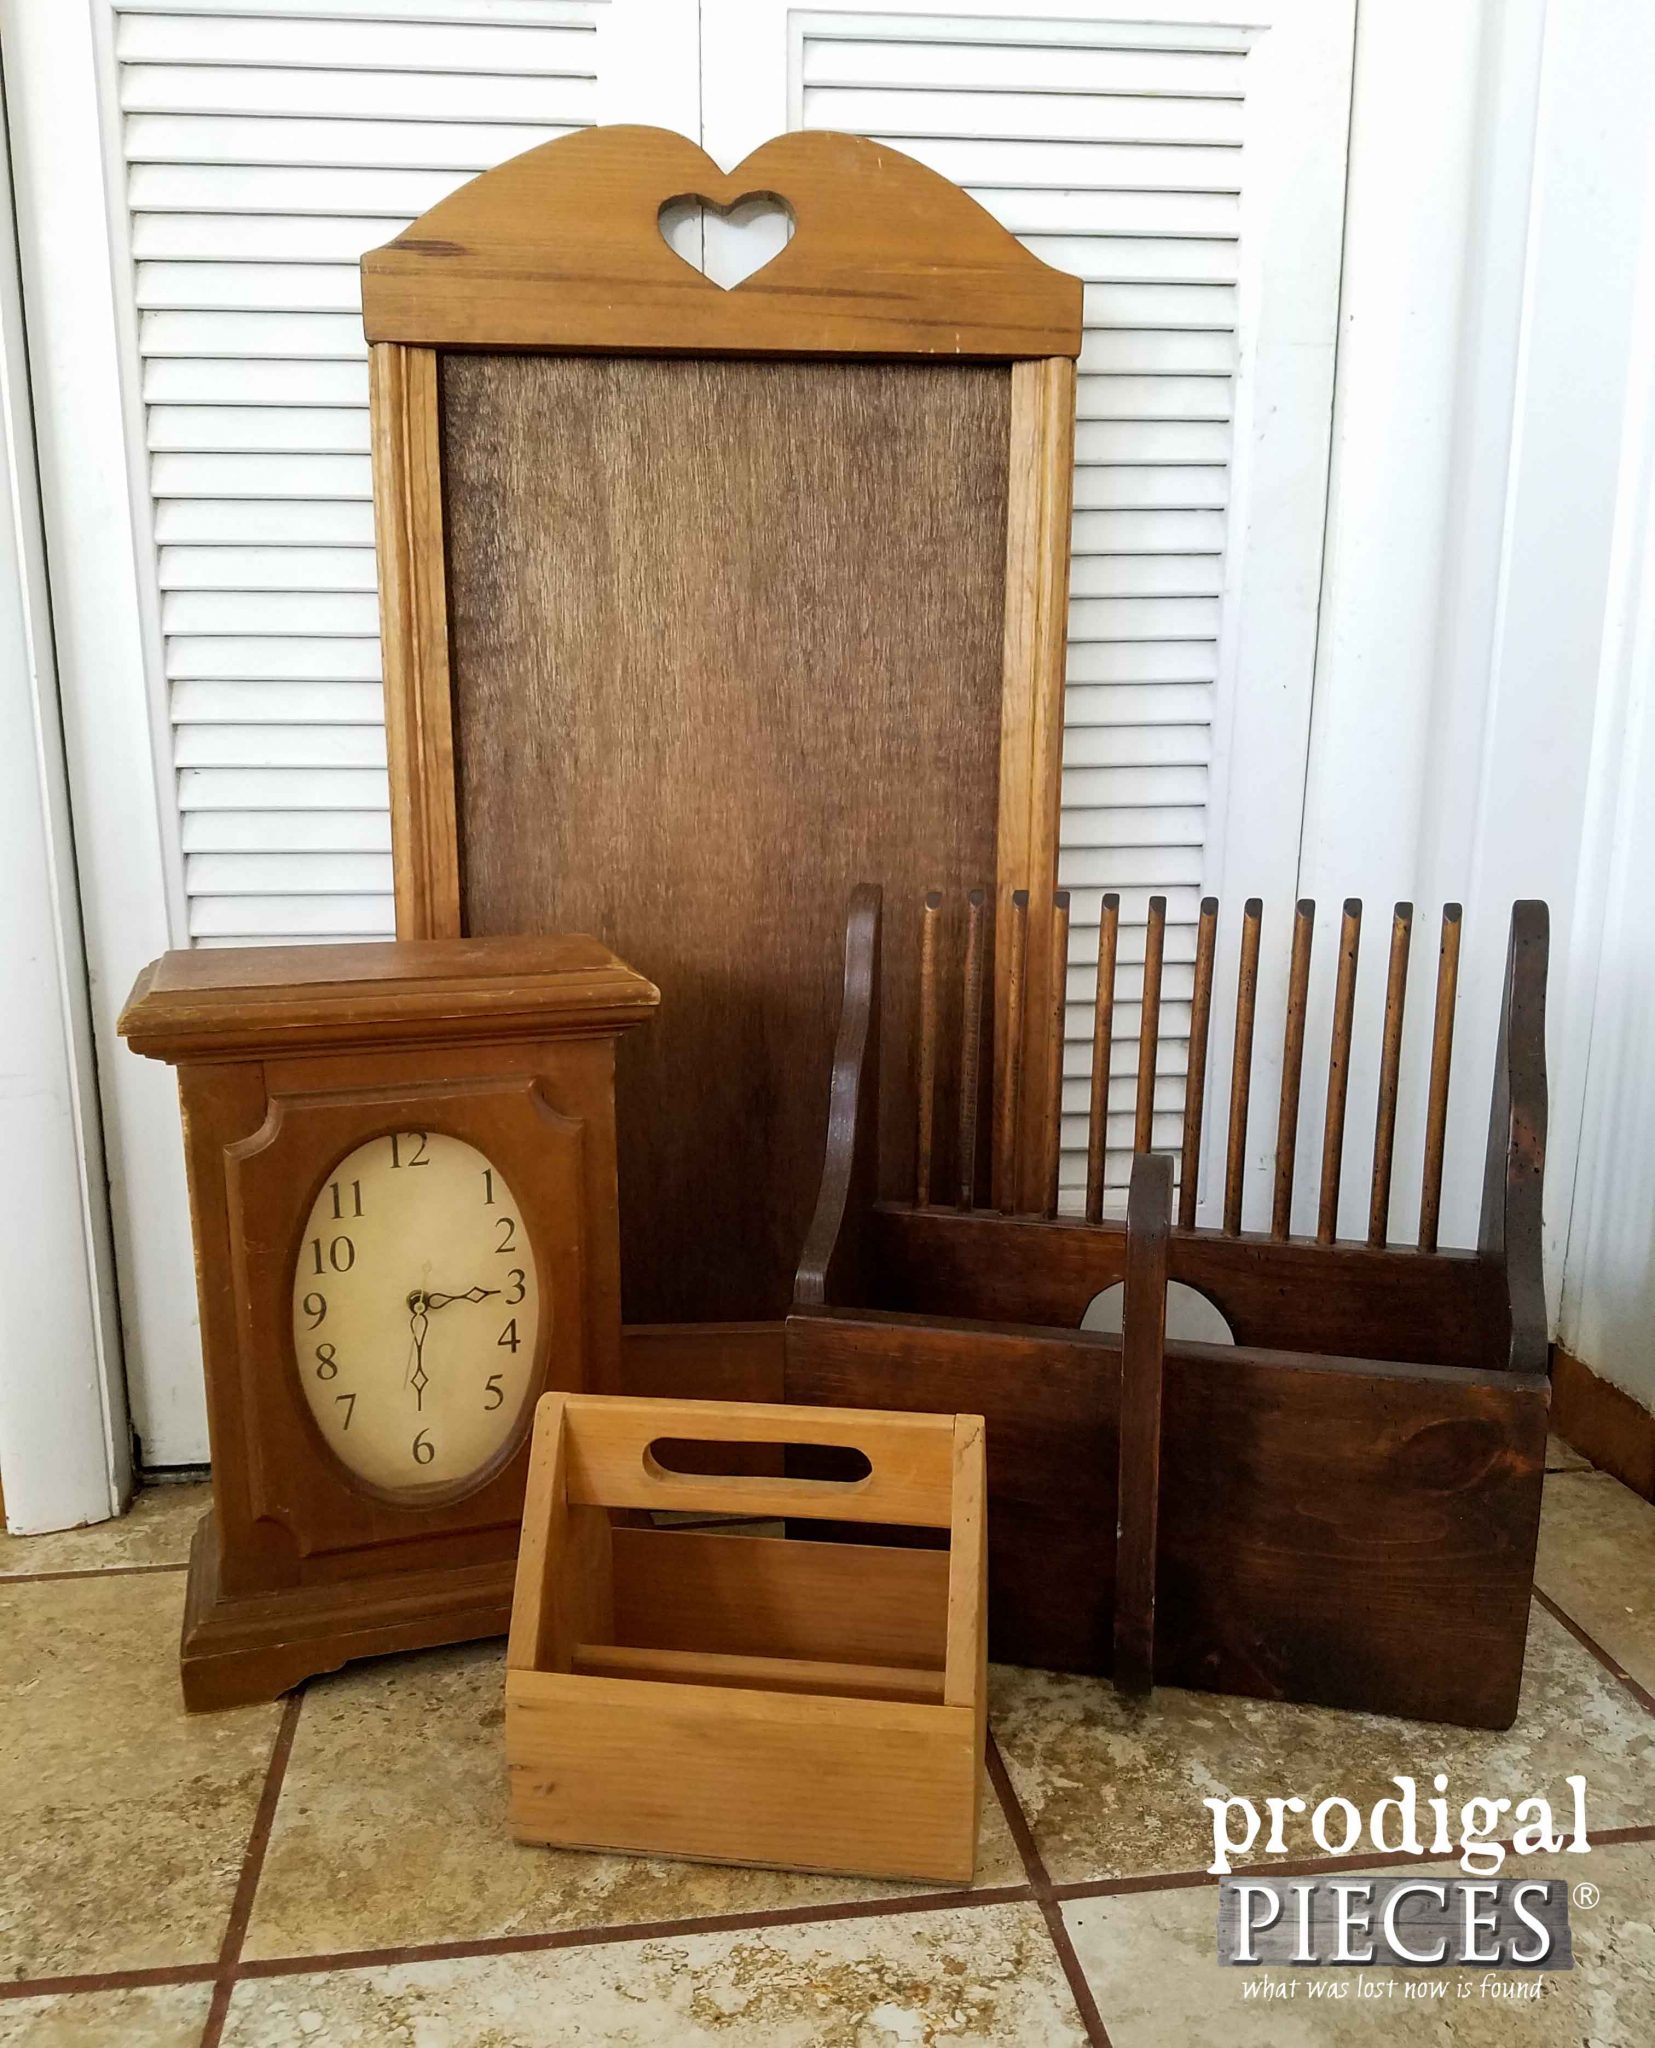
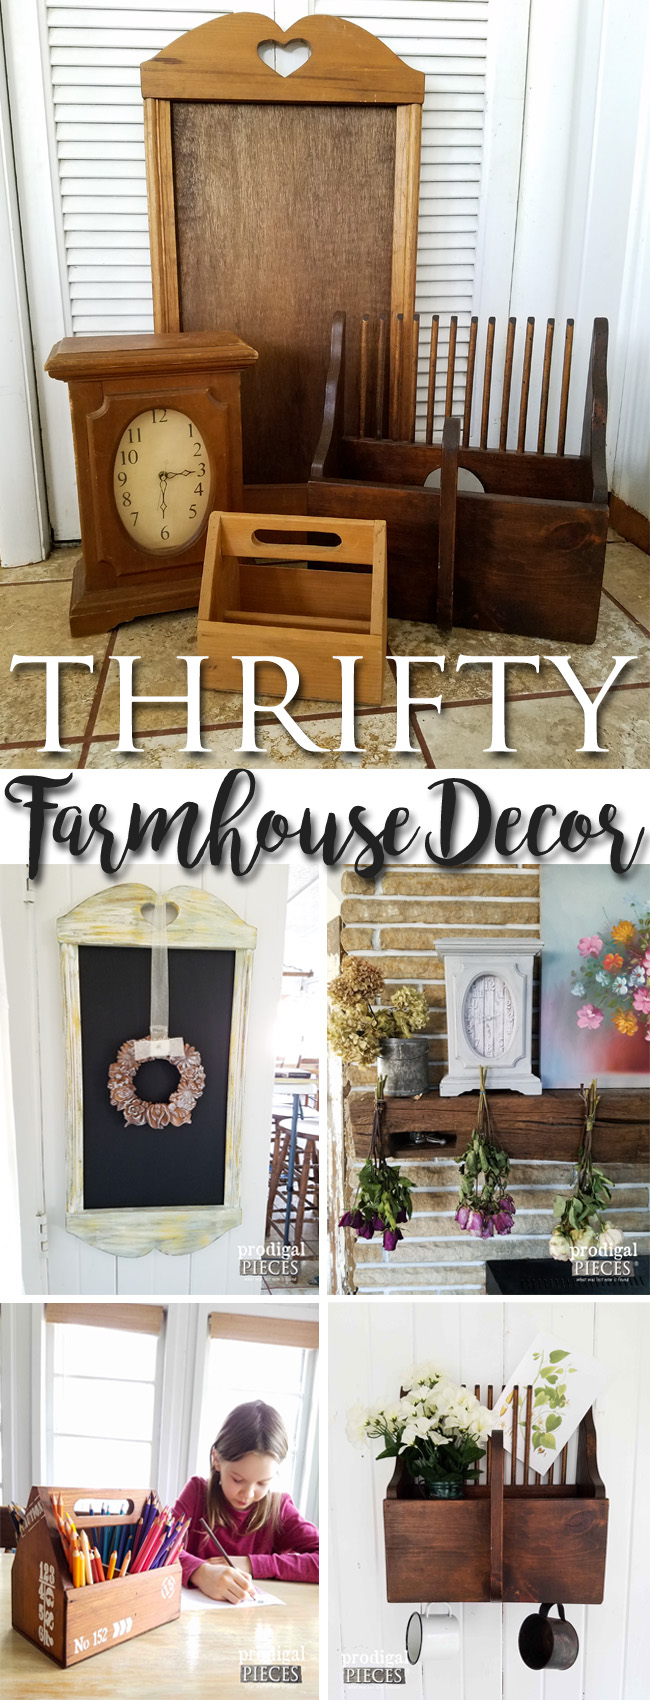
Who doesn’t like to have a good score at the thrift store? If you’re not raising your hand…ummm…I can honestly say that we are not kin. hee hee hee. Seriously though, take a look at what I got in this stash in one trip. A clock, a caddy, a wood thingy (I actually know what it is, do you?), and a large empty framed wall decor. I want to show you how I turned them into some thrifty farmhouse decor. Let’s get our DIY on!
When I go thrifting, I’m always on the lookout for these outdated wooden pieces because they offer much potential. Likewise, since I am not a box store junkie for my home decor, I like to make it my own by personal touches and updates, or even finding a new purpose for it which, I believe, causes intrigue in my decor.
DIY TIME
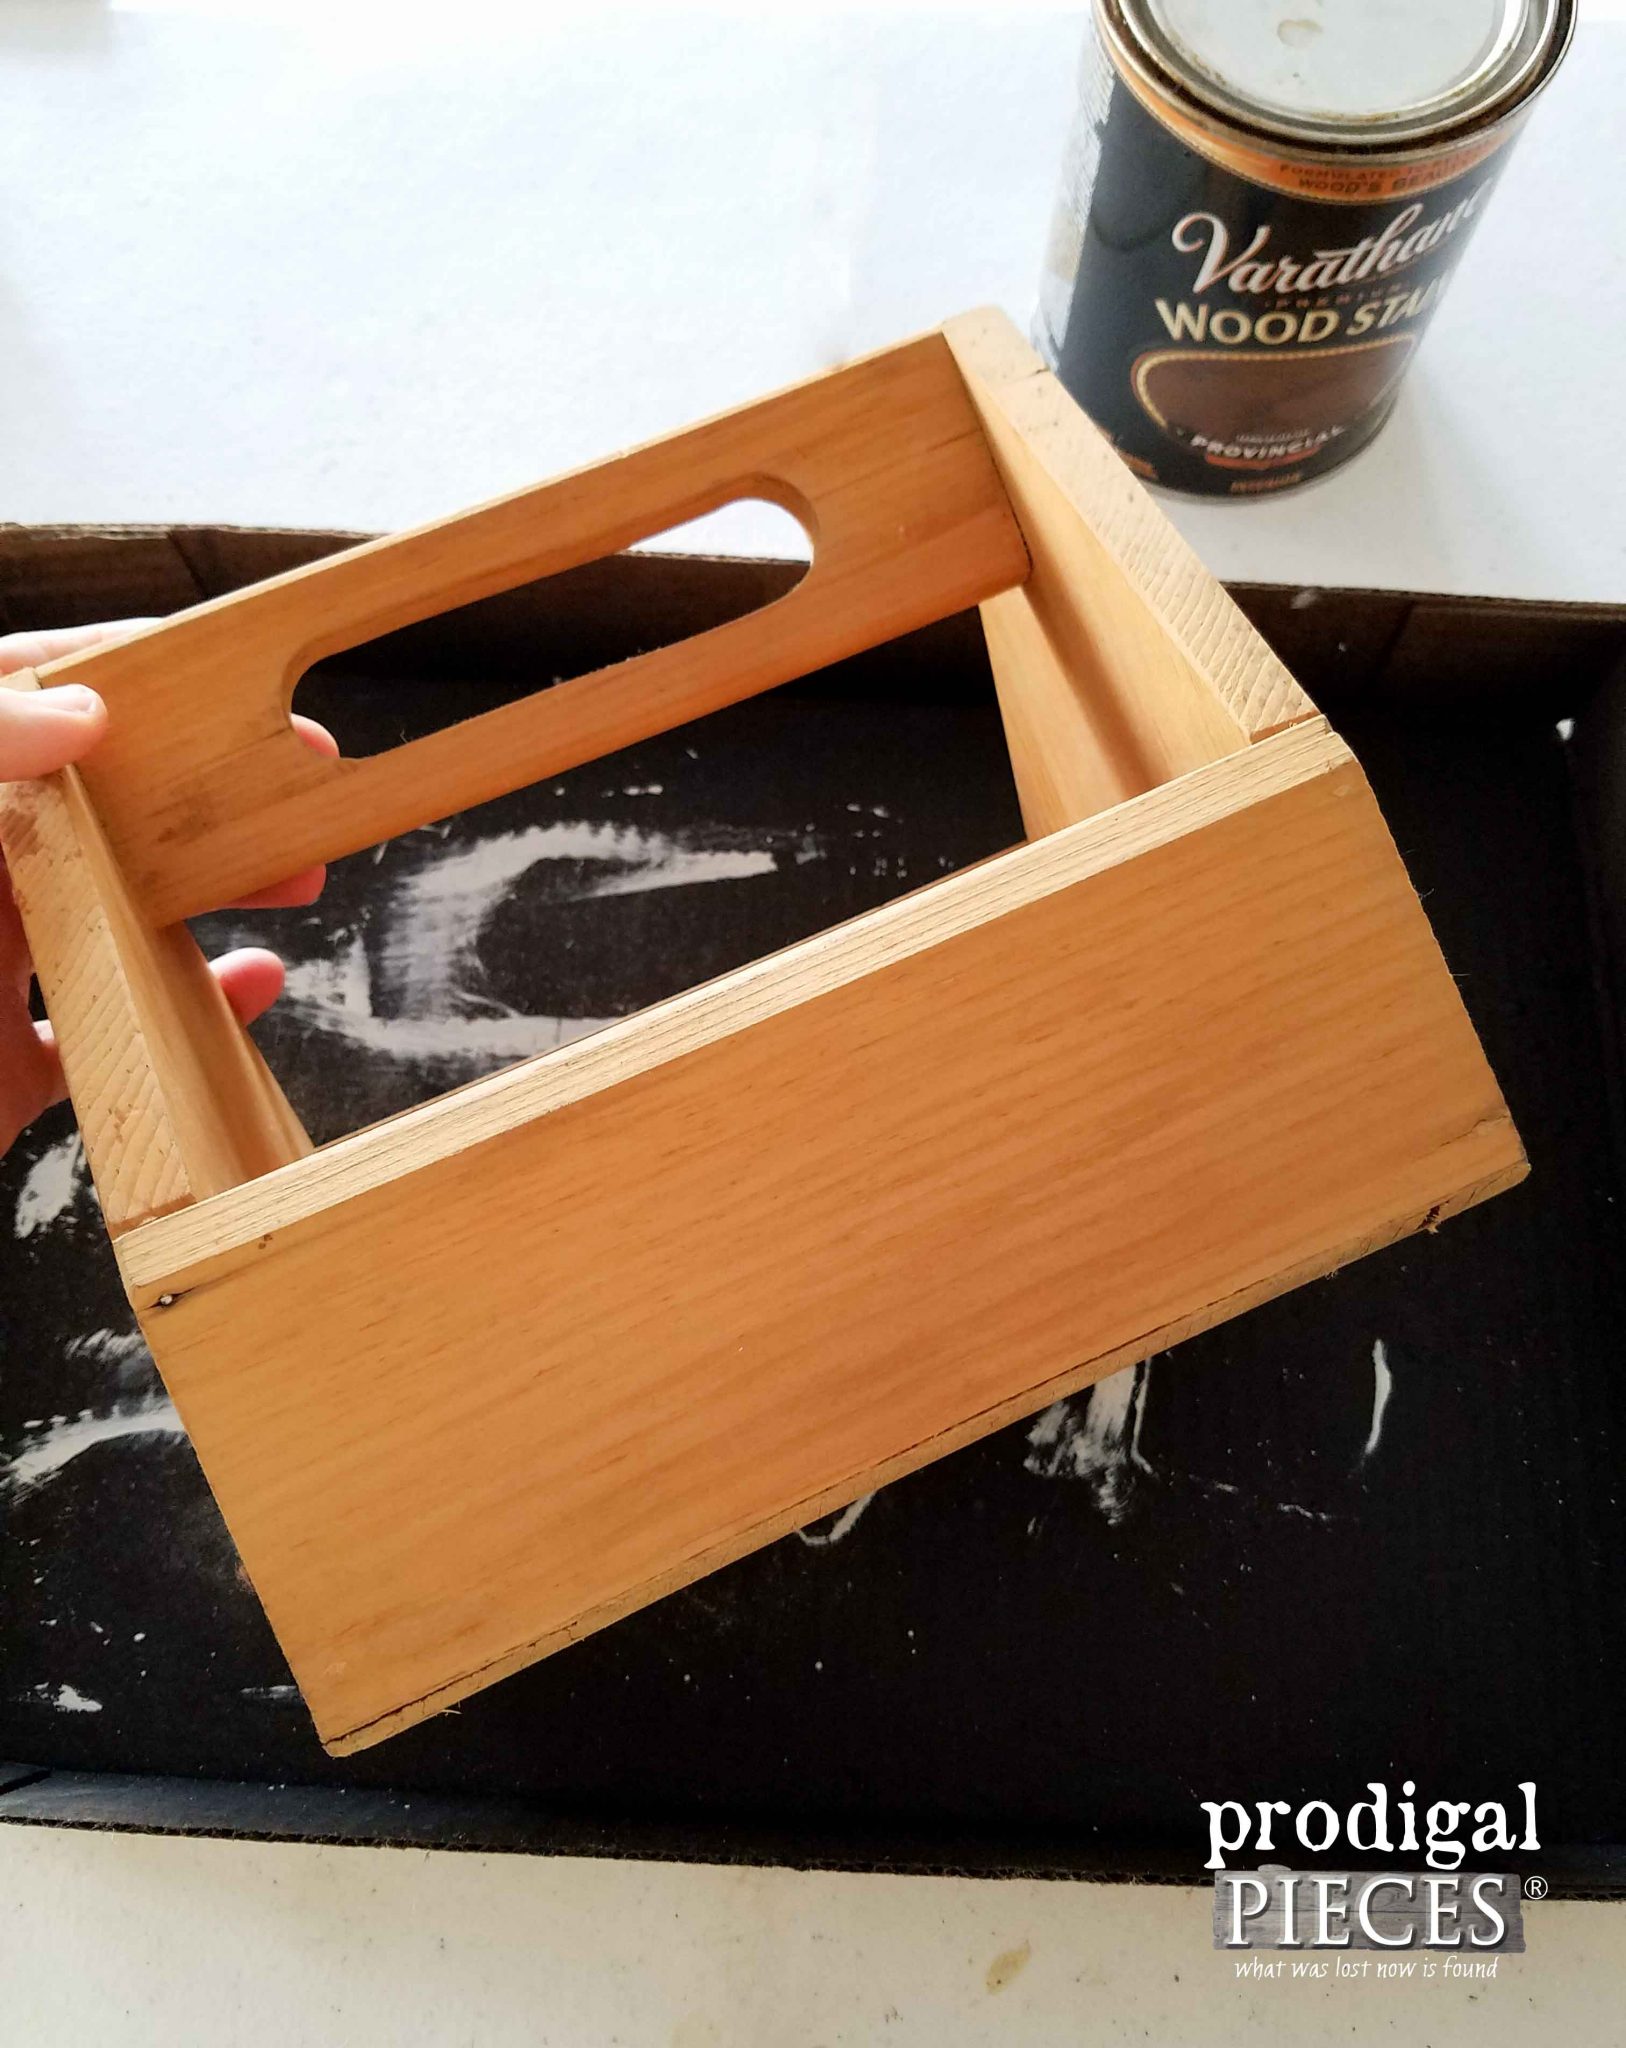
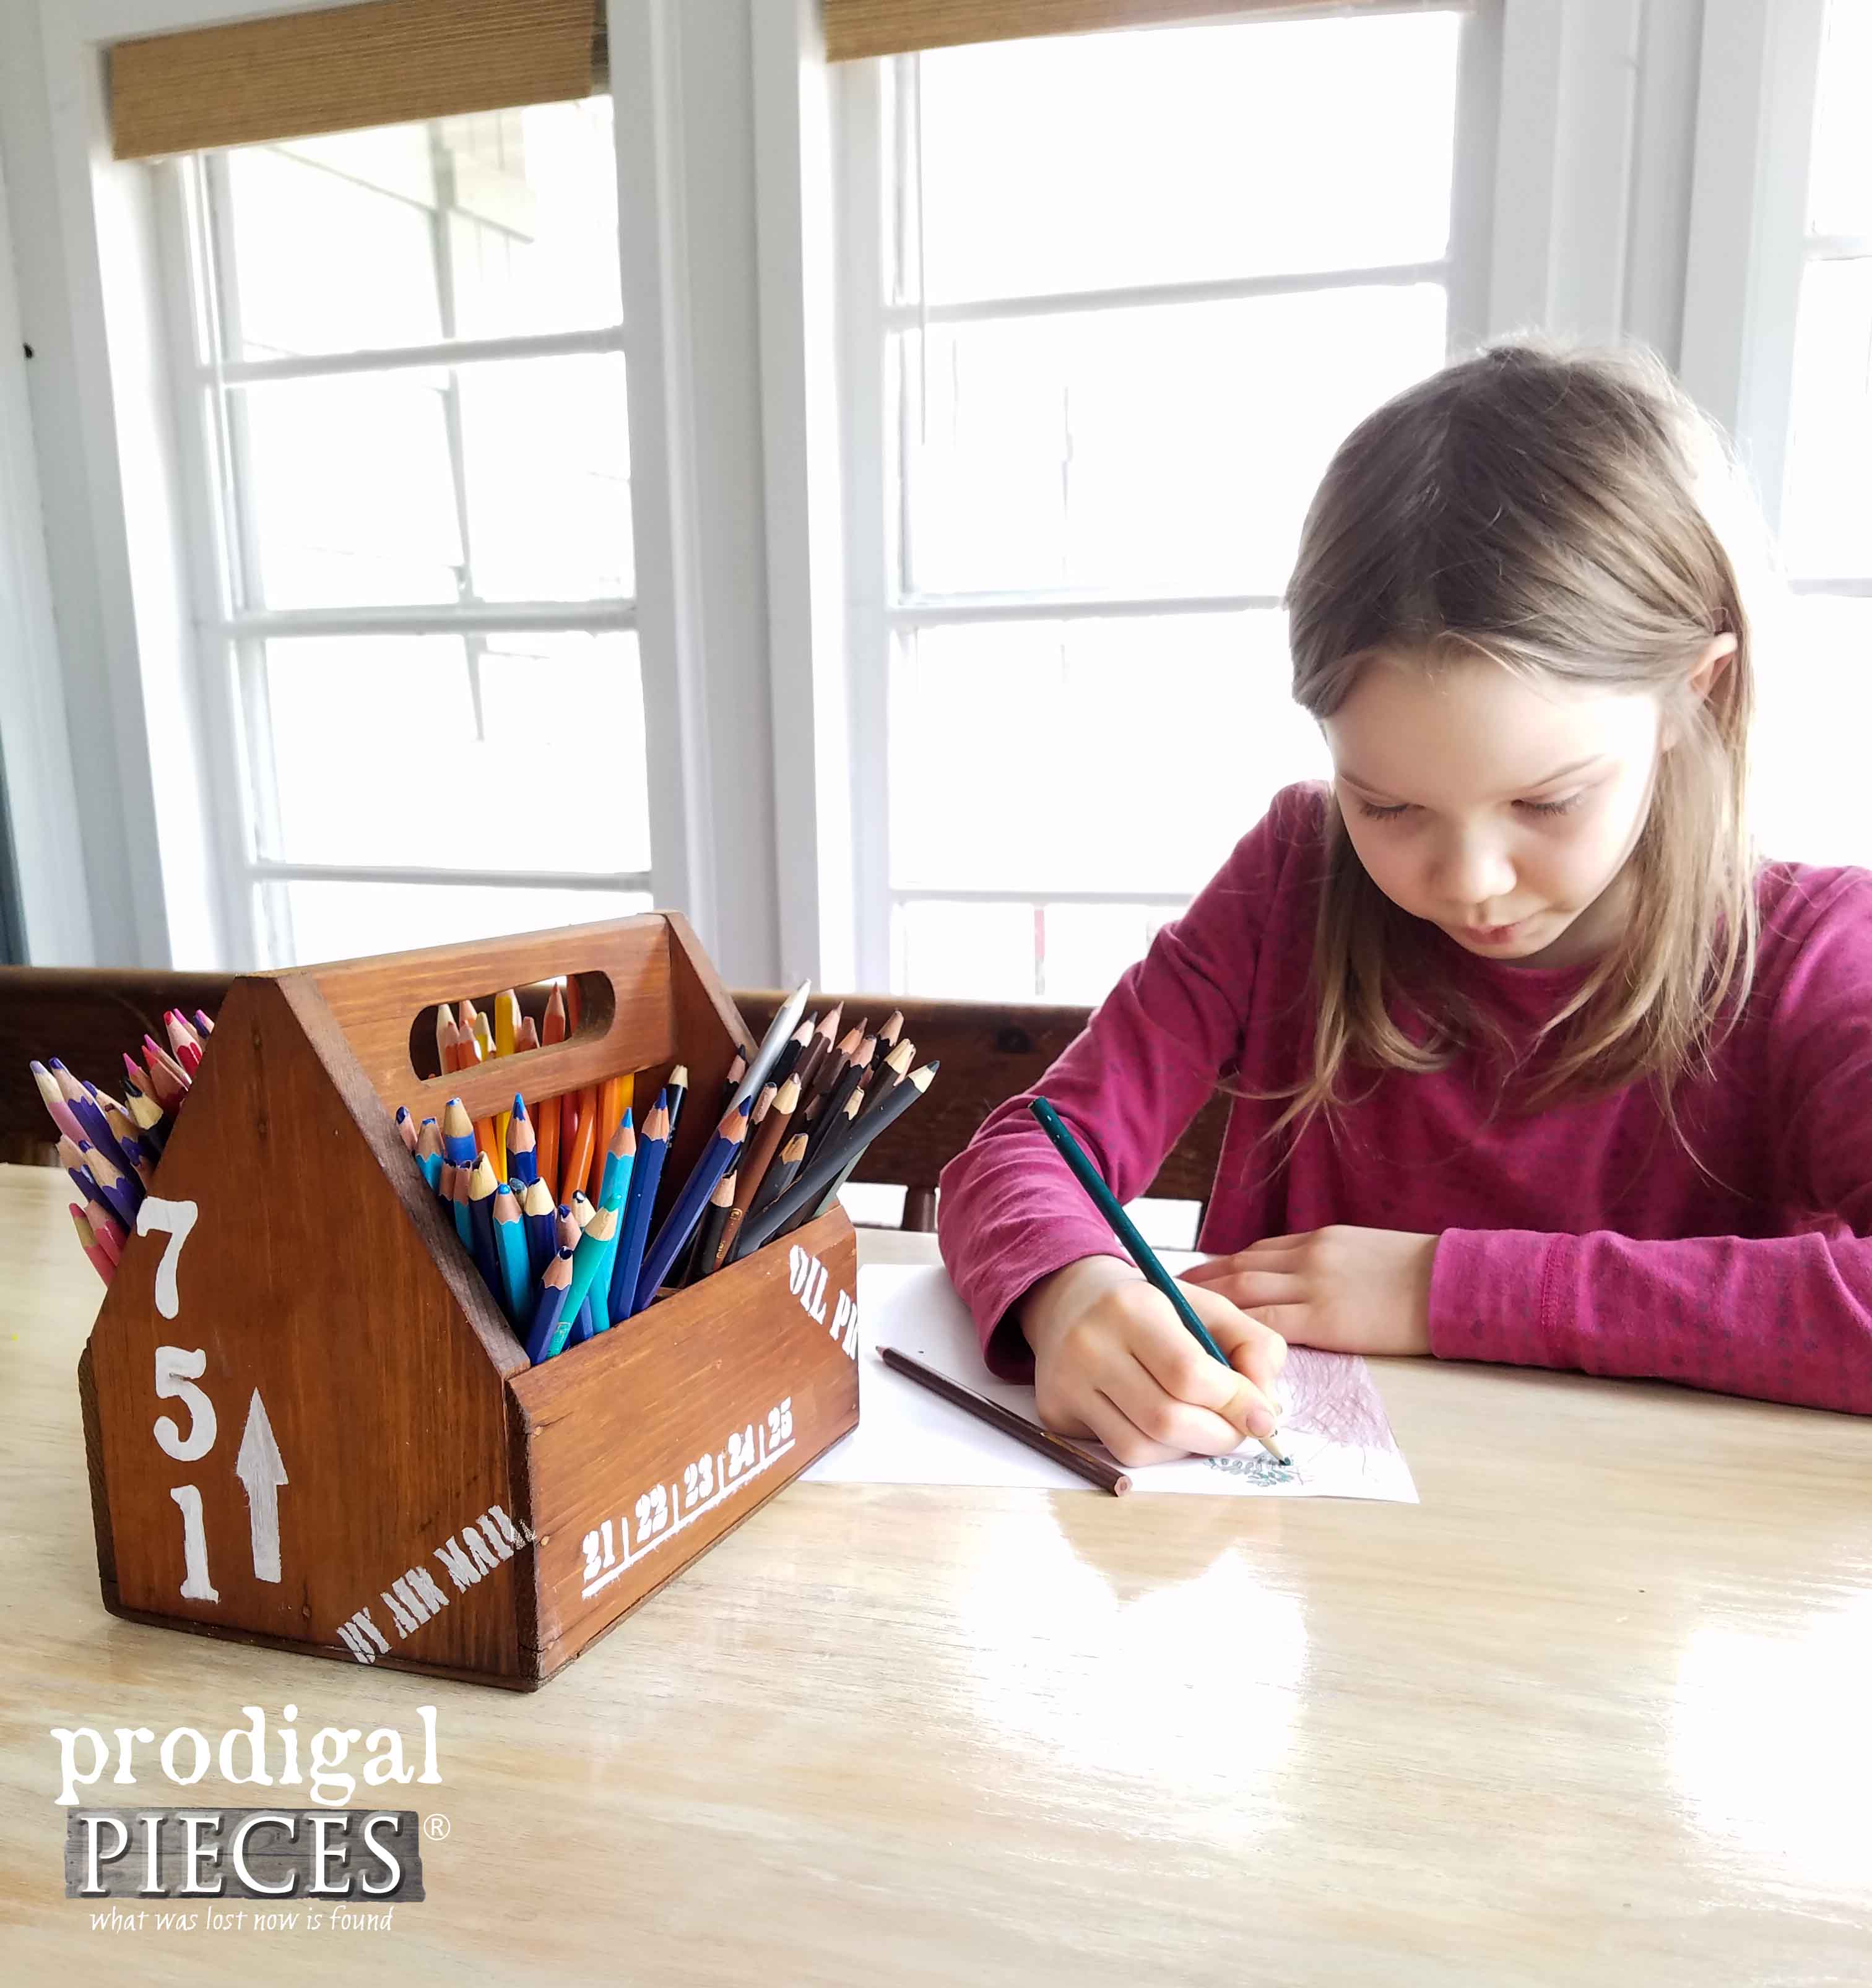
First, let’s start with that little wood napkin caddy. Isn’t it cute? It is raw wood and my first thought was to simply stain it.
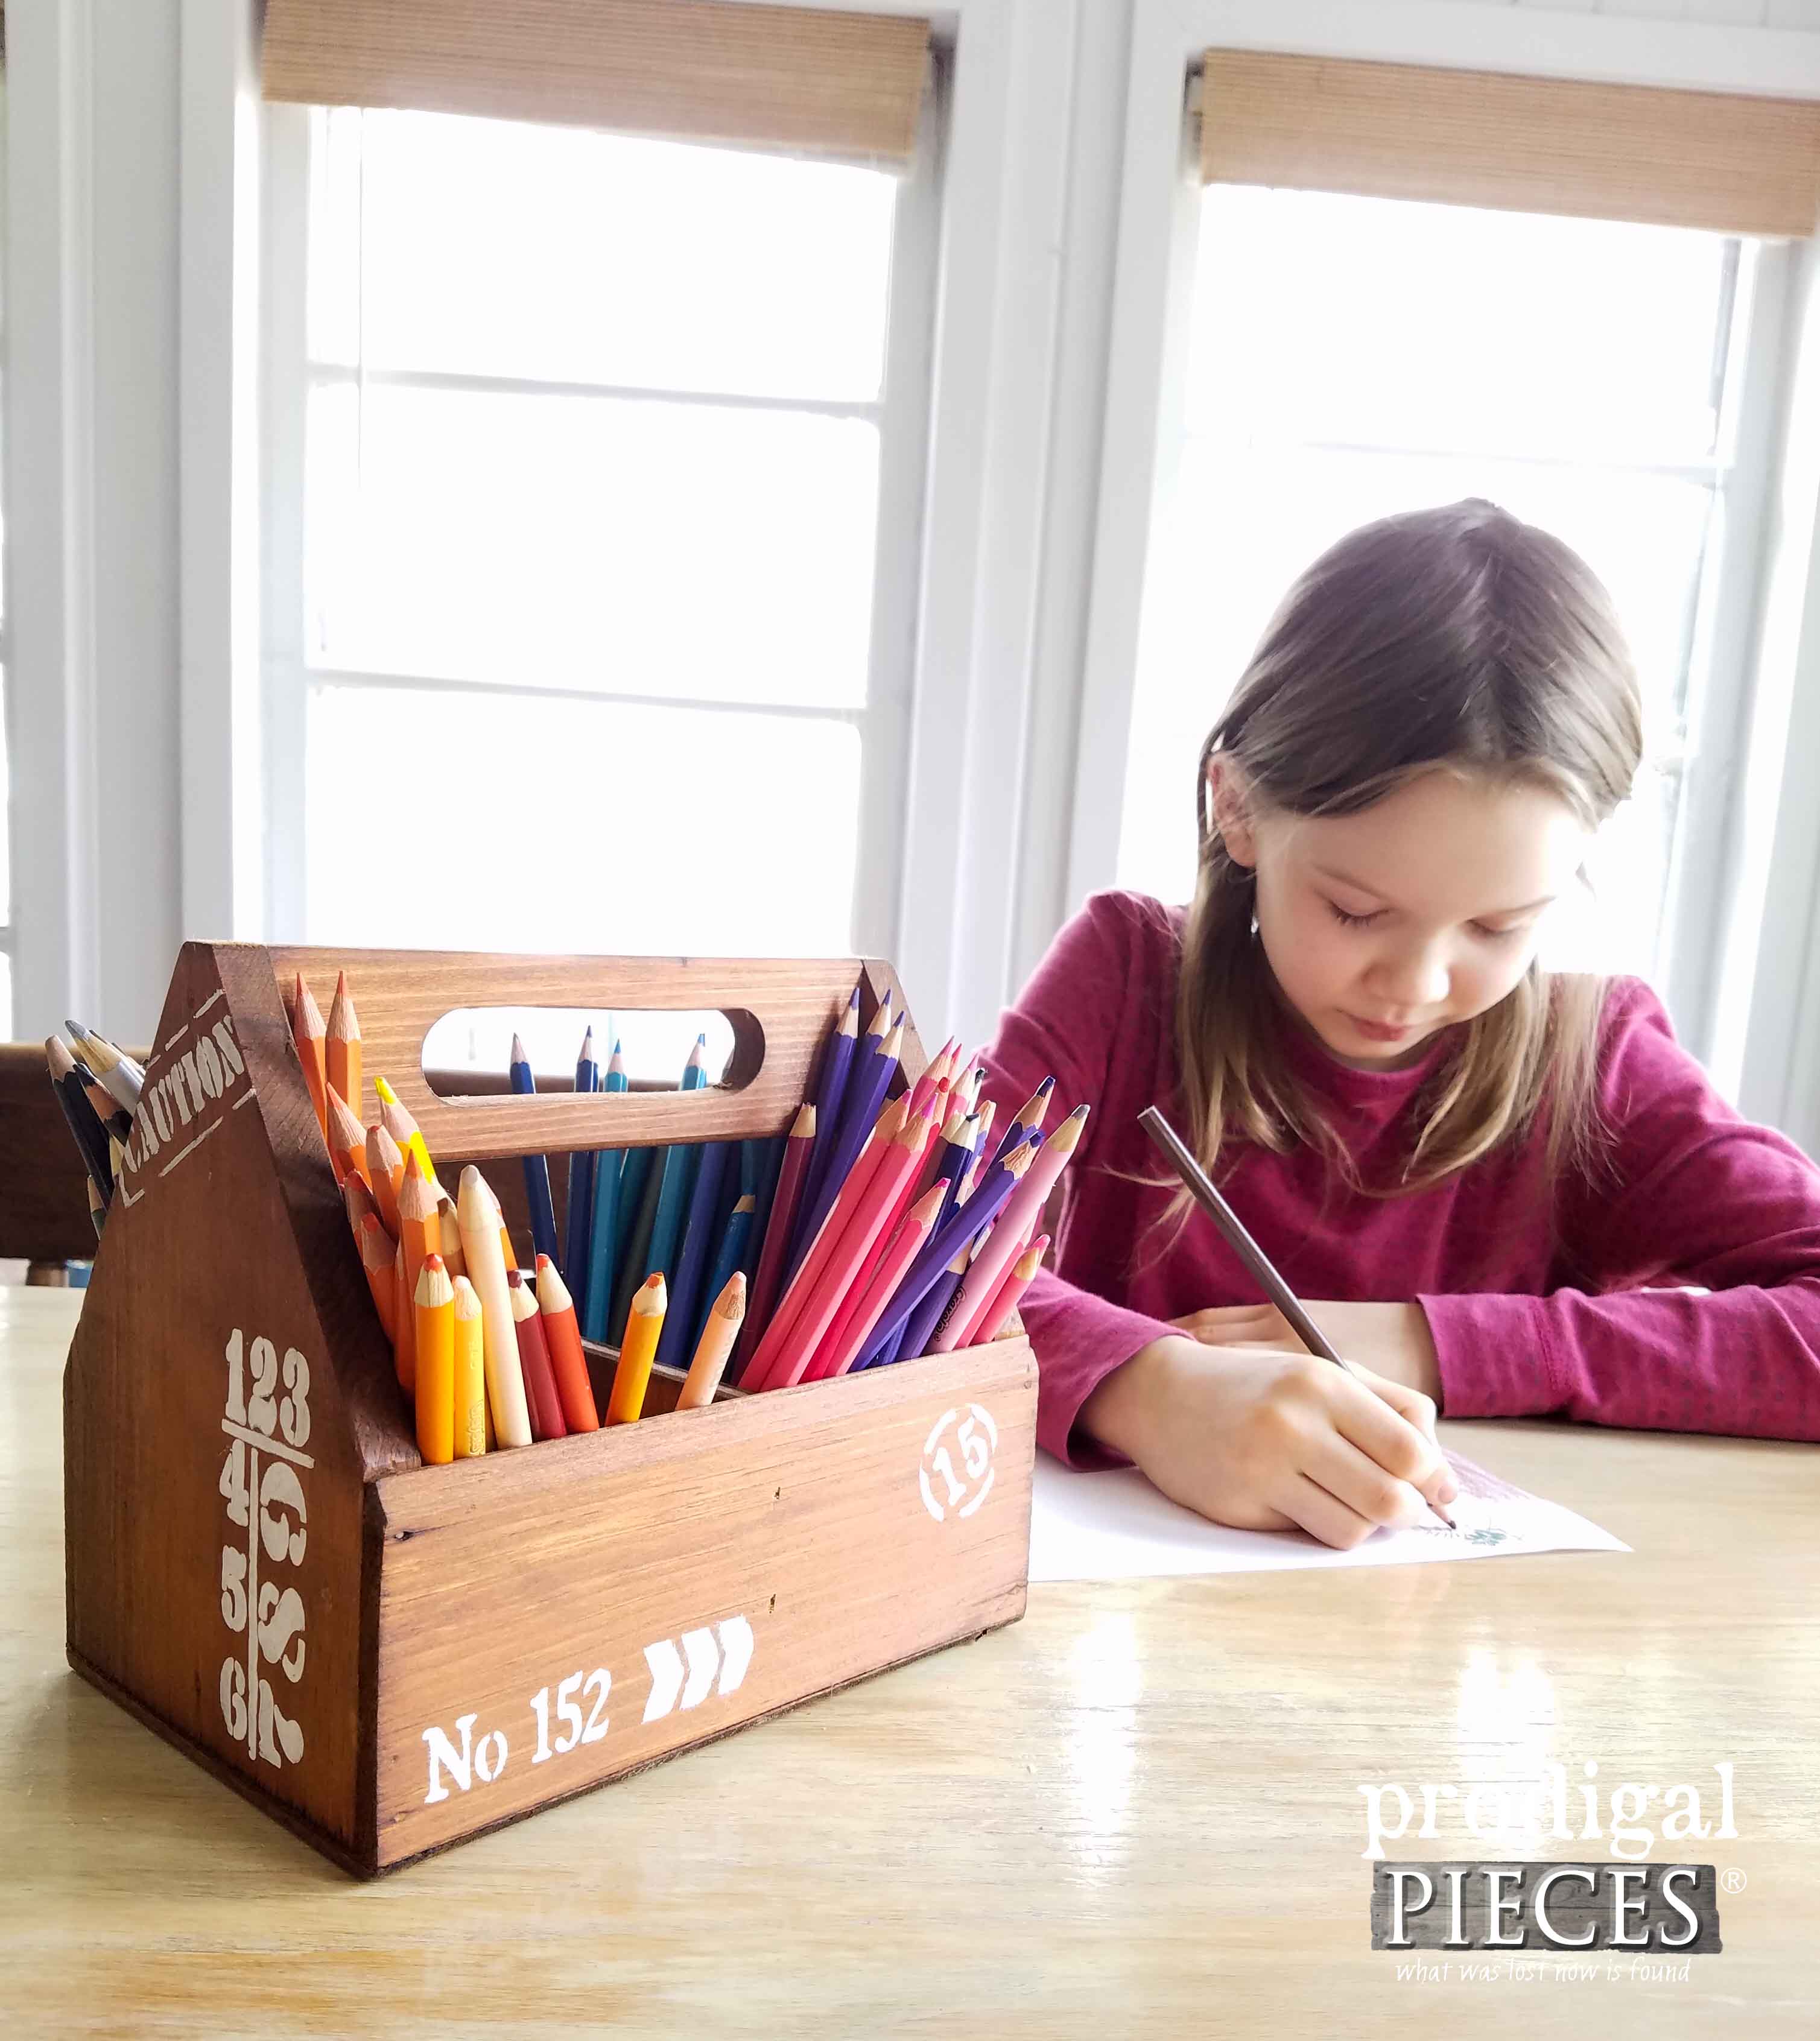
First, I cut a piece of wood to turn the inside into four segmented sections. Since my kids have long used a large plastic cup for their colored pencils, it was high time this mama did something cute. That cup was always flipping over dumping the contents – no fun. Plus, they always bickered about finding the right color. No more, I tell ya.
I have shared before how easy it can be to update these raw wood pieces and give them an entire new look with stain in this post. My choice of stain for this caddy was Provincial, the same color I used to update my barn beam mantel. Once the stain was dry, I used this Andy Skinner stencil that I previously used on our patio table to give it some whimsy. How much more fun is this new look?
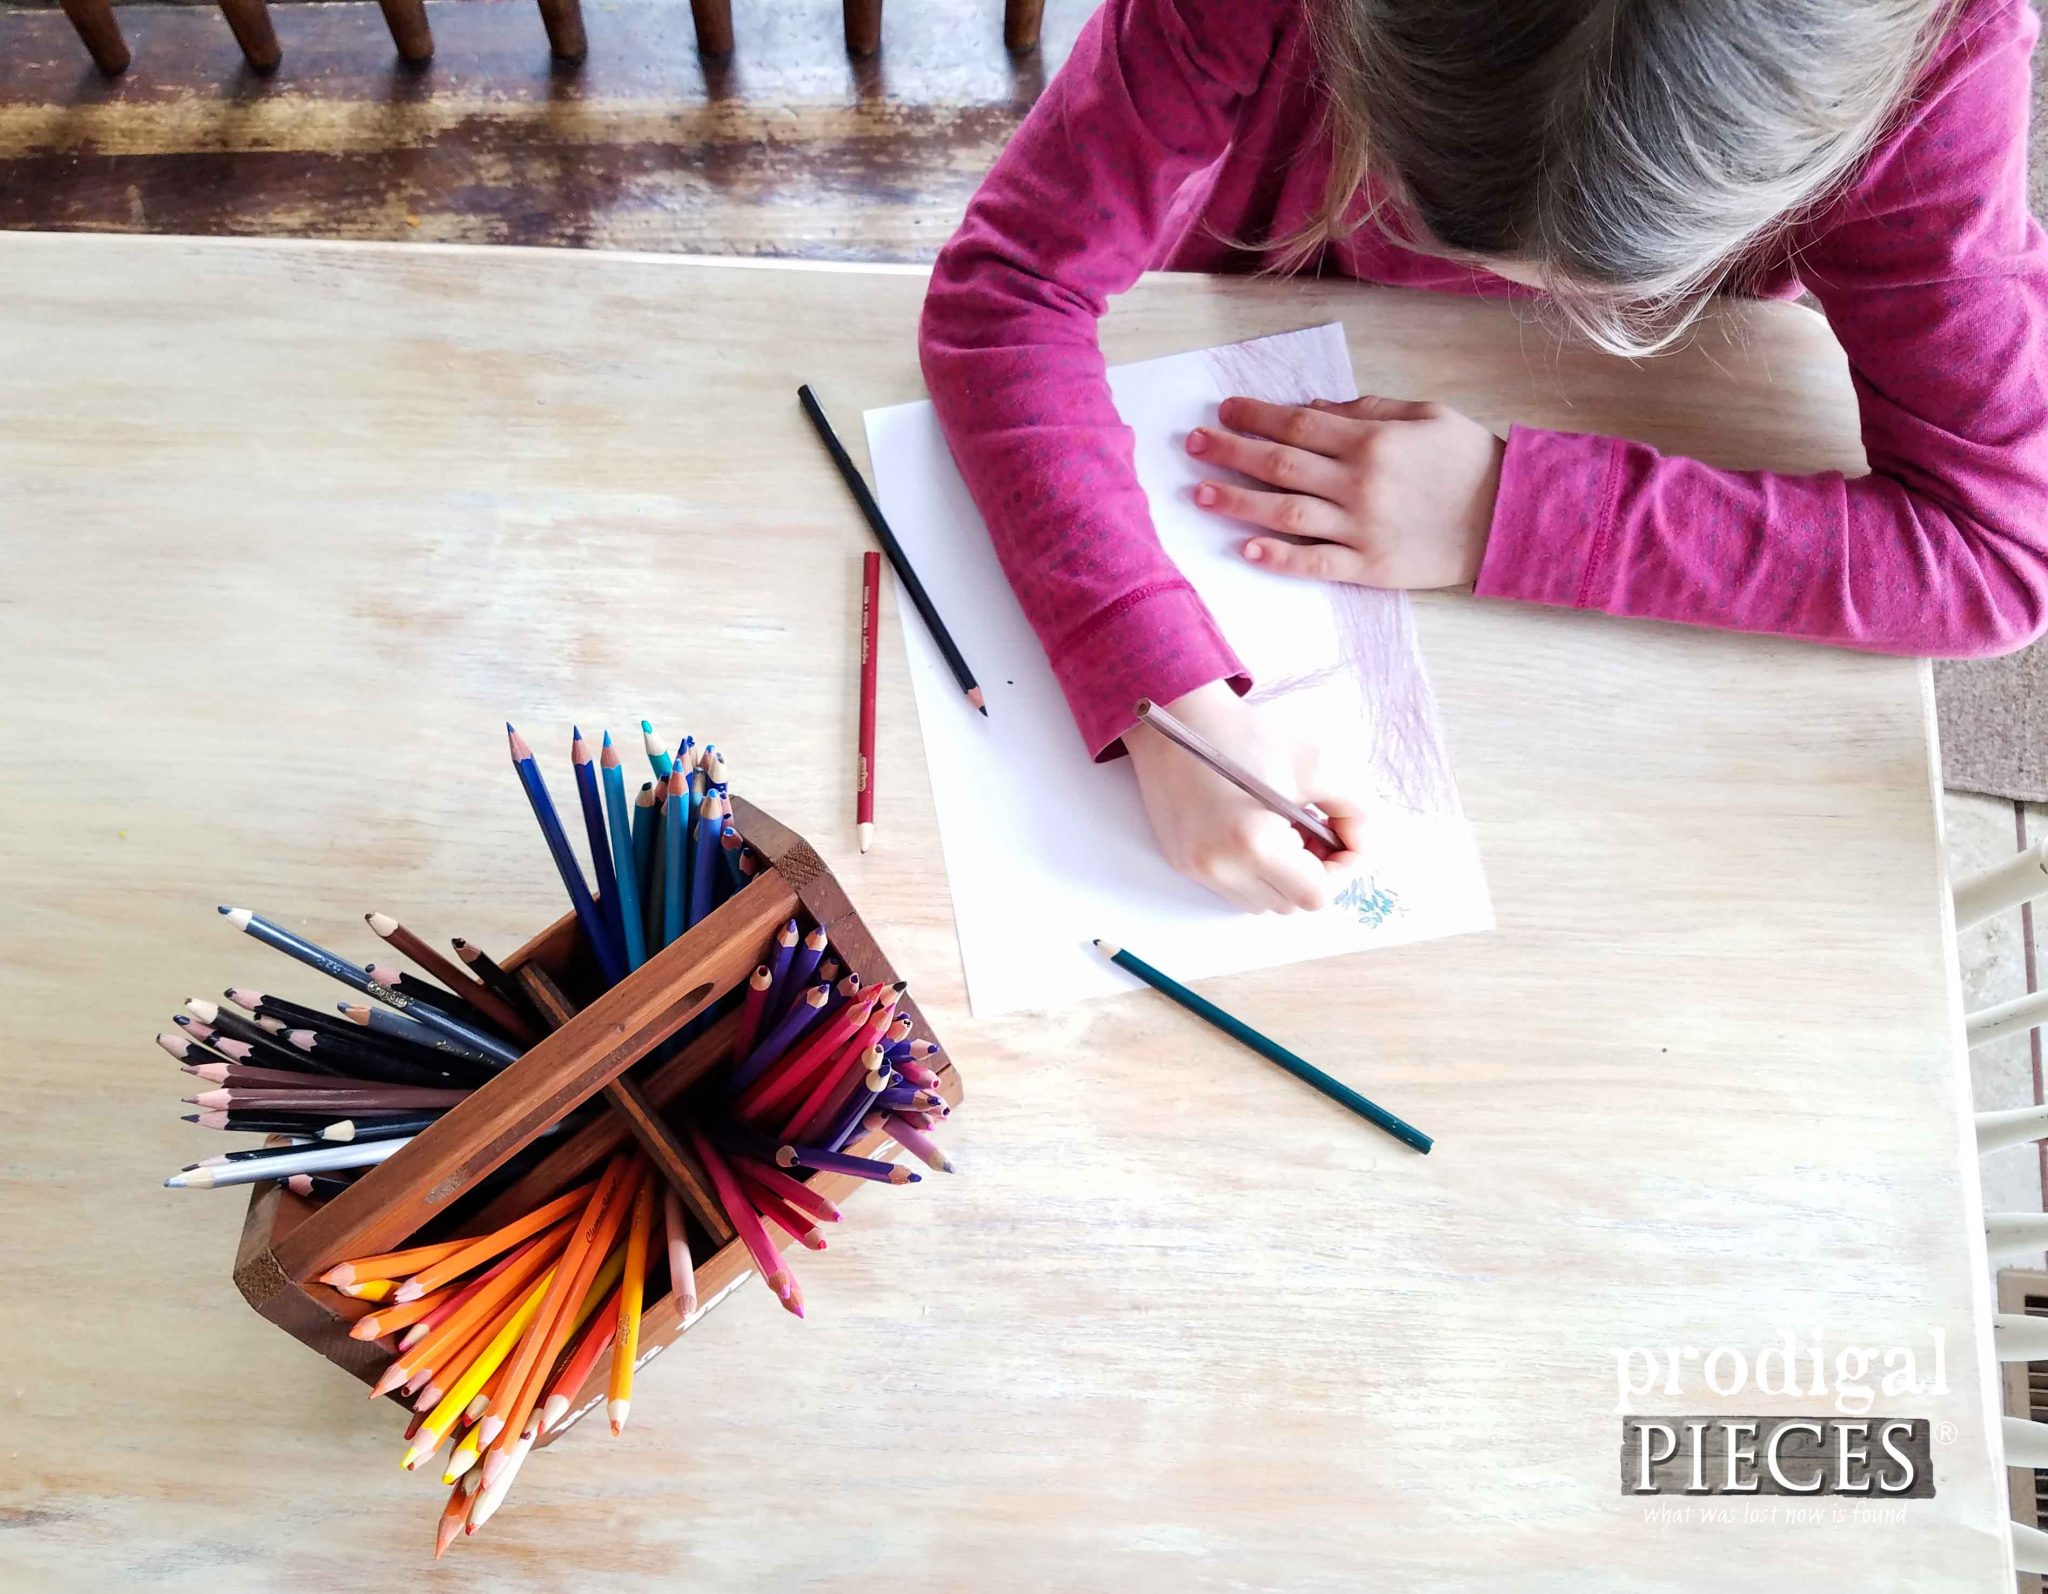
My kids love it (and so does this organized mama). They can carry the pencils easily, see the colors they want, and it had made my life easier for our homeschooling times. whew!
WHAT IS IT?
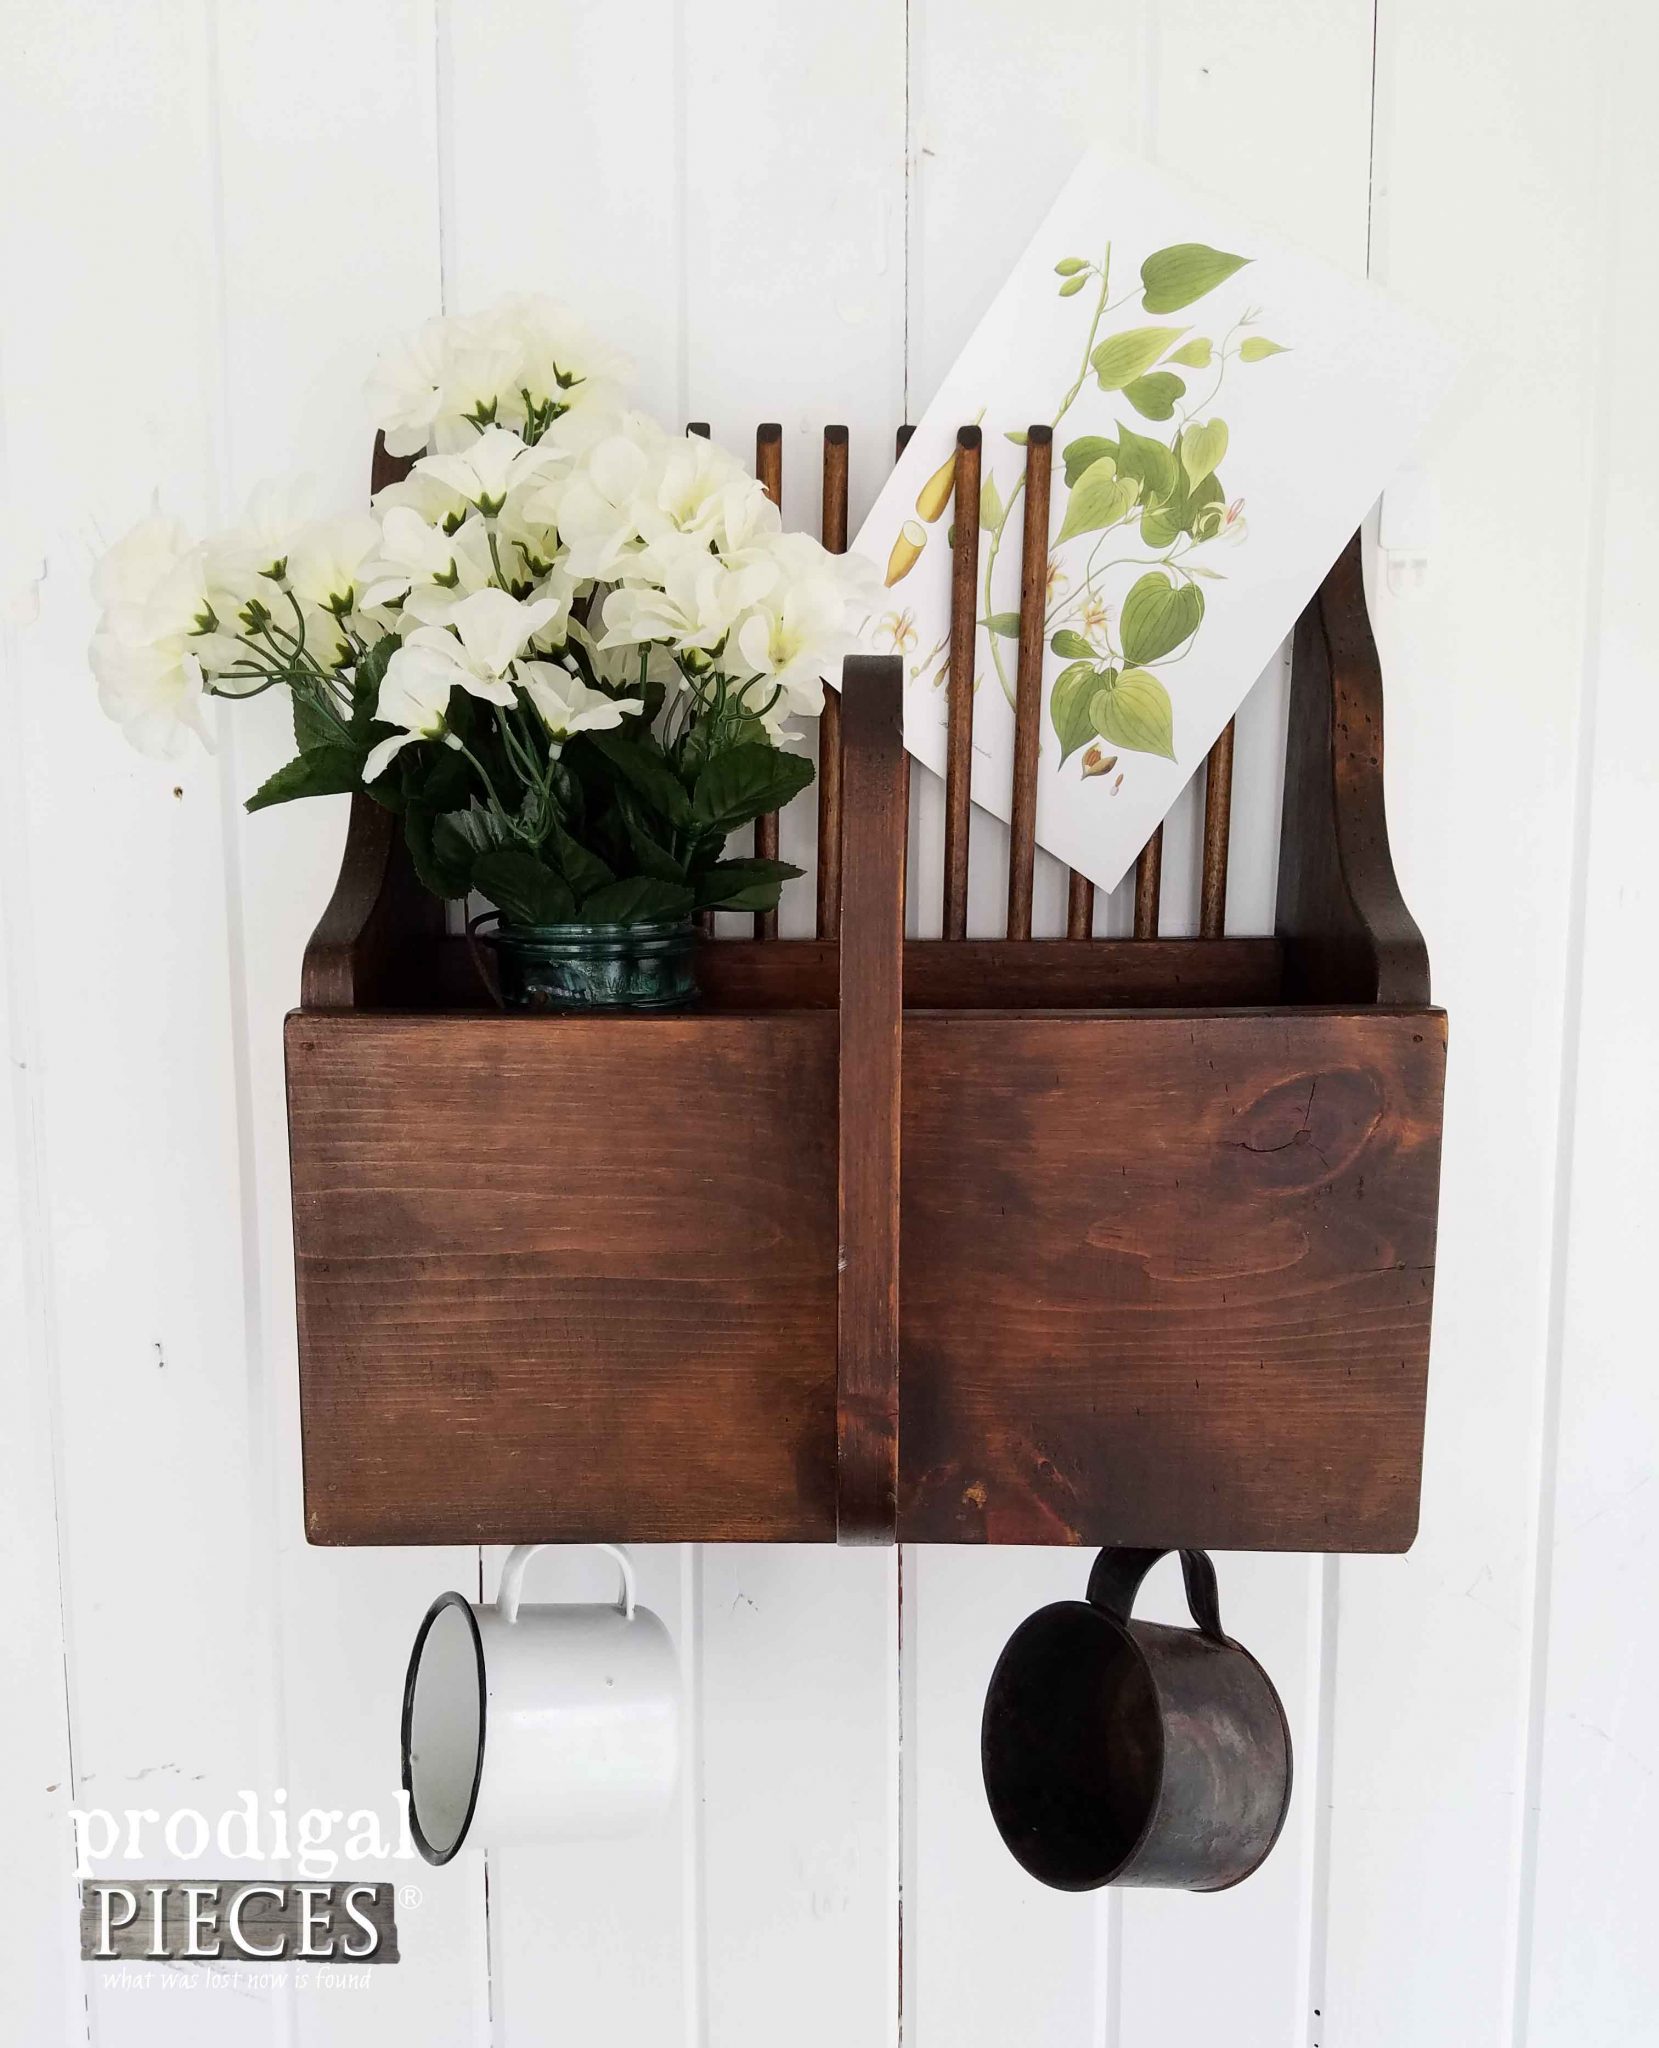
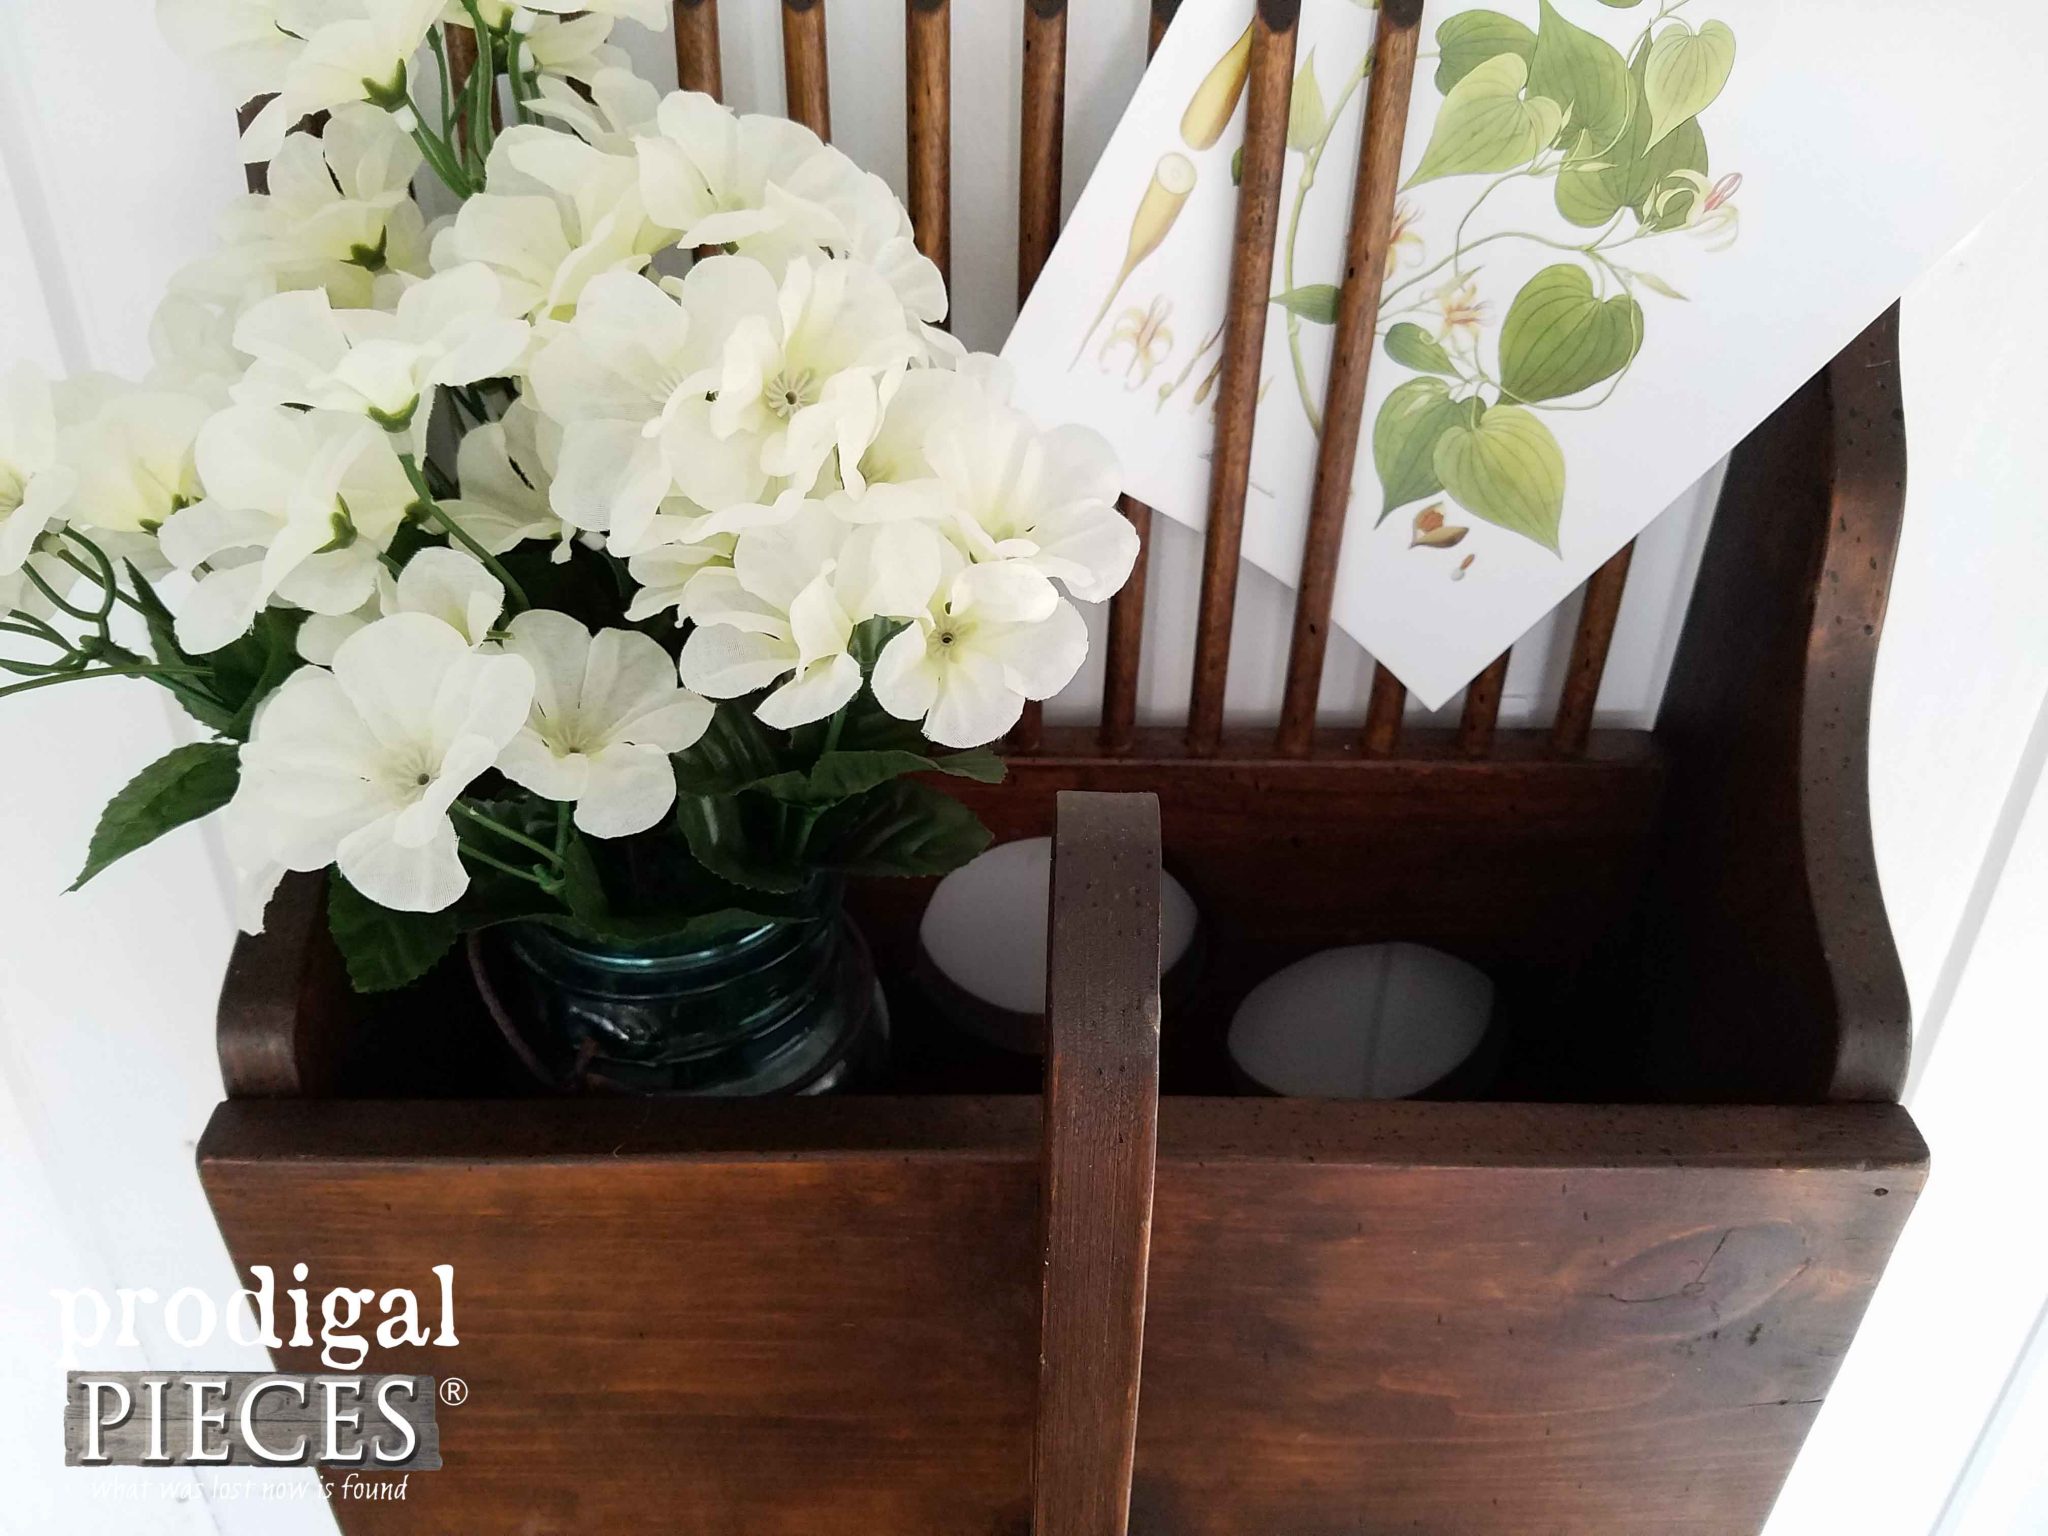
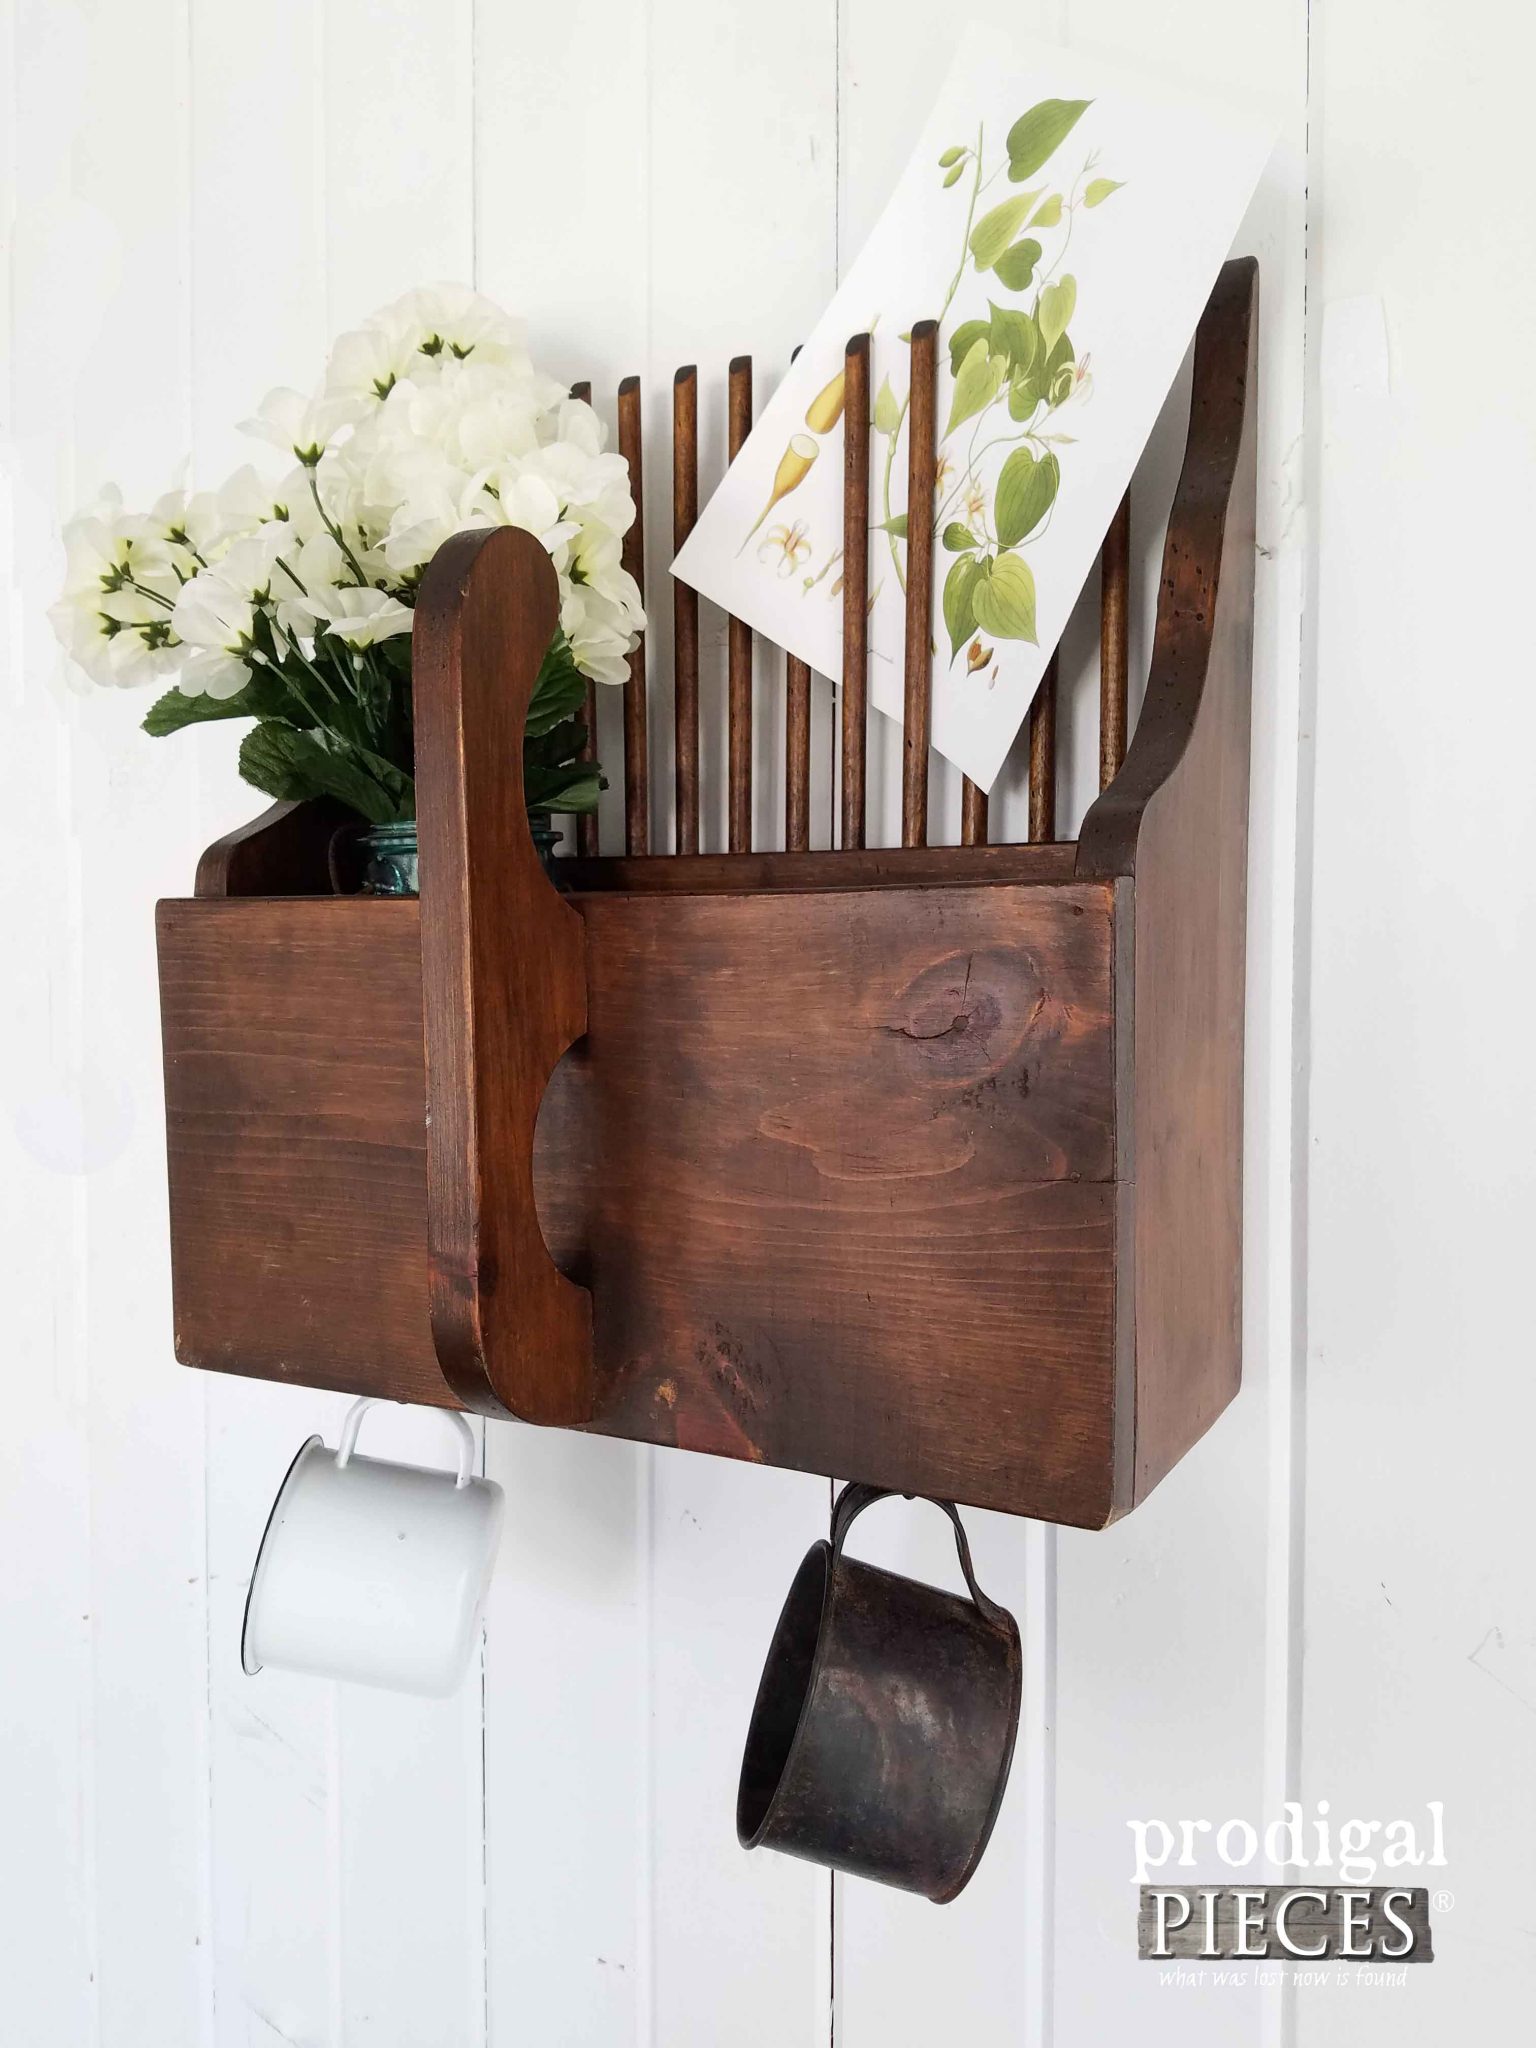
Next, onto that wood thingy I so intelligently described above. Do you know what it is? If you look closely, you will see a handle on the front as it is sitting. Inside are 3 large holes on the back side. Any guesses? It is a handmade apple picker. You would scoop up apples with it by running it on the ground and then filtering them out through the holes into your bucket. So cool!
I thought it would make a quirky wall pocket since I don’t have an orchard. sigh…bummer. However all it needs are some sawtooth hangers added to the back (which I might add can be removed to make use of this cool tool at any point in the future).
Voila! It is not a rustic wall pocket, complete with cup hangers after I added a couple of hooks.
I love it! Not only can it hold magazines in a bathroom, but also use it in the laundry…just so many possibilities.
BRING ON THE PAINT
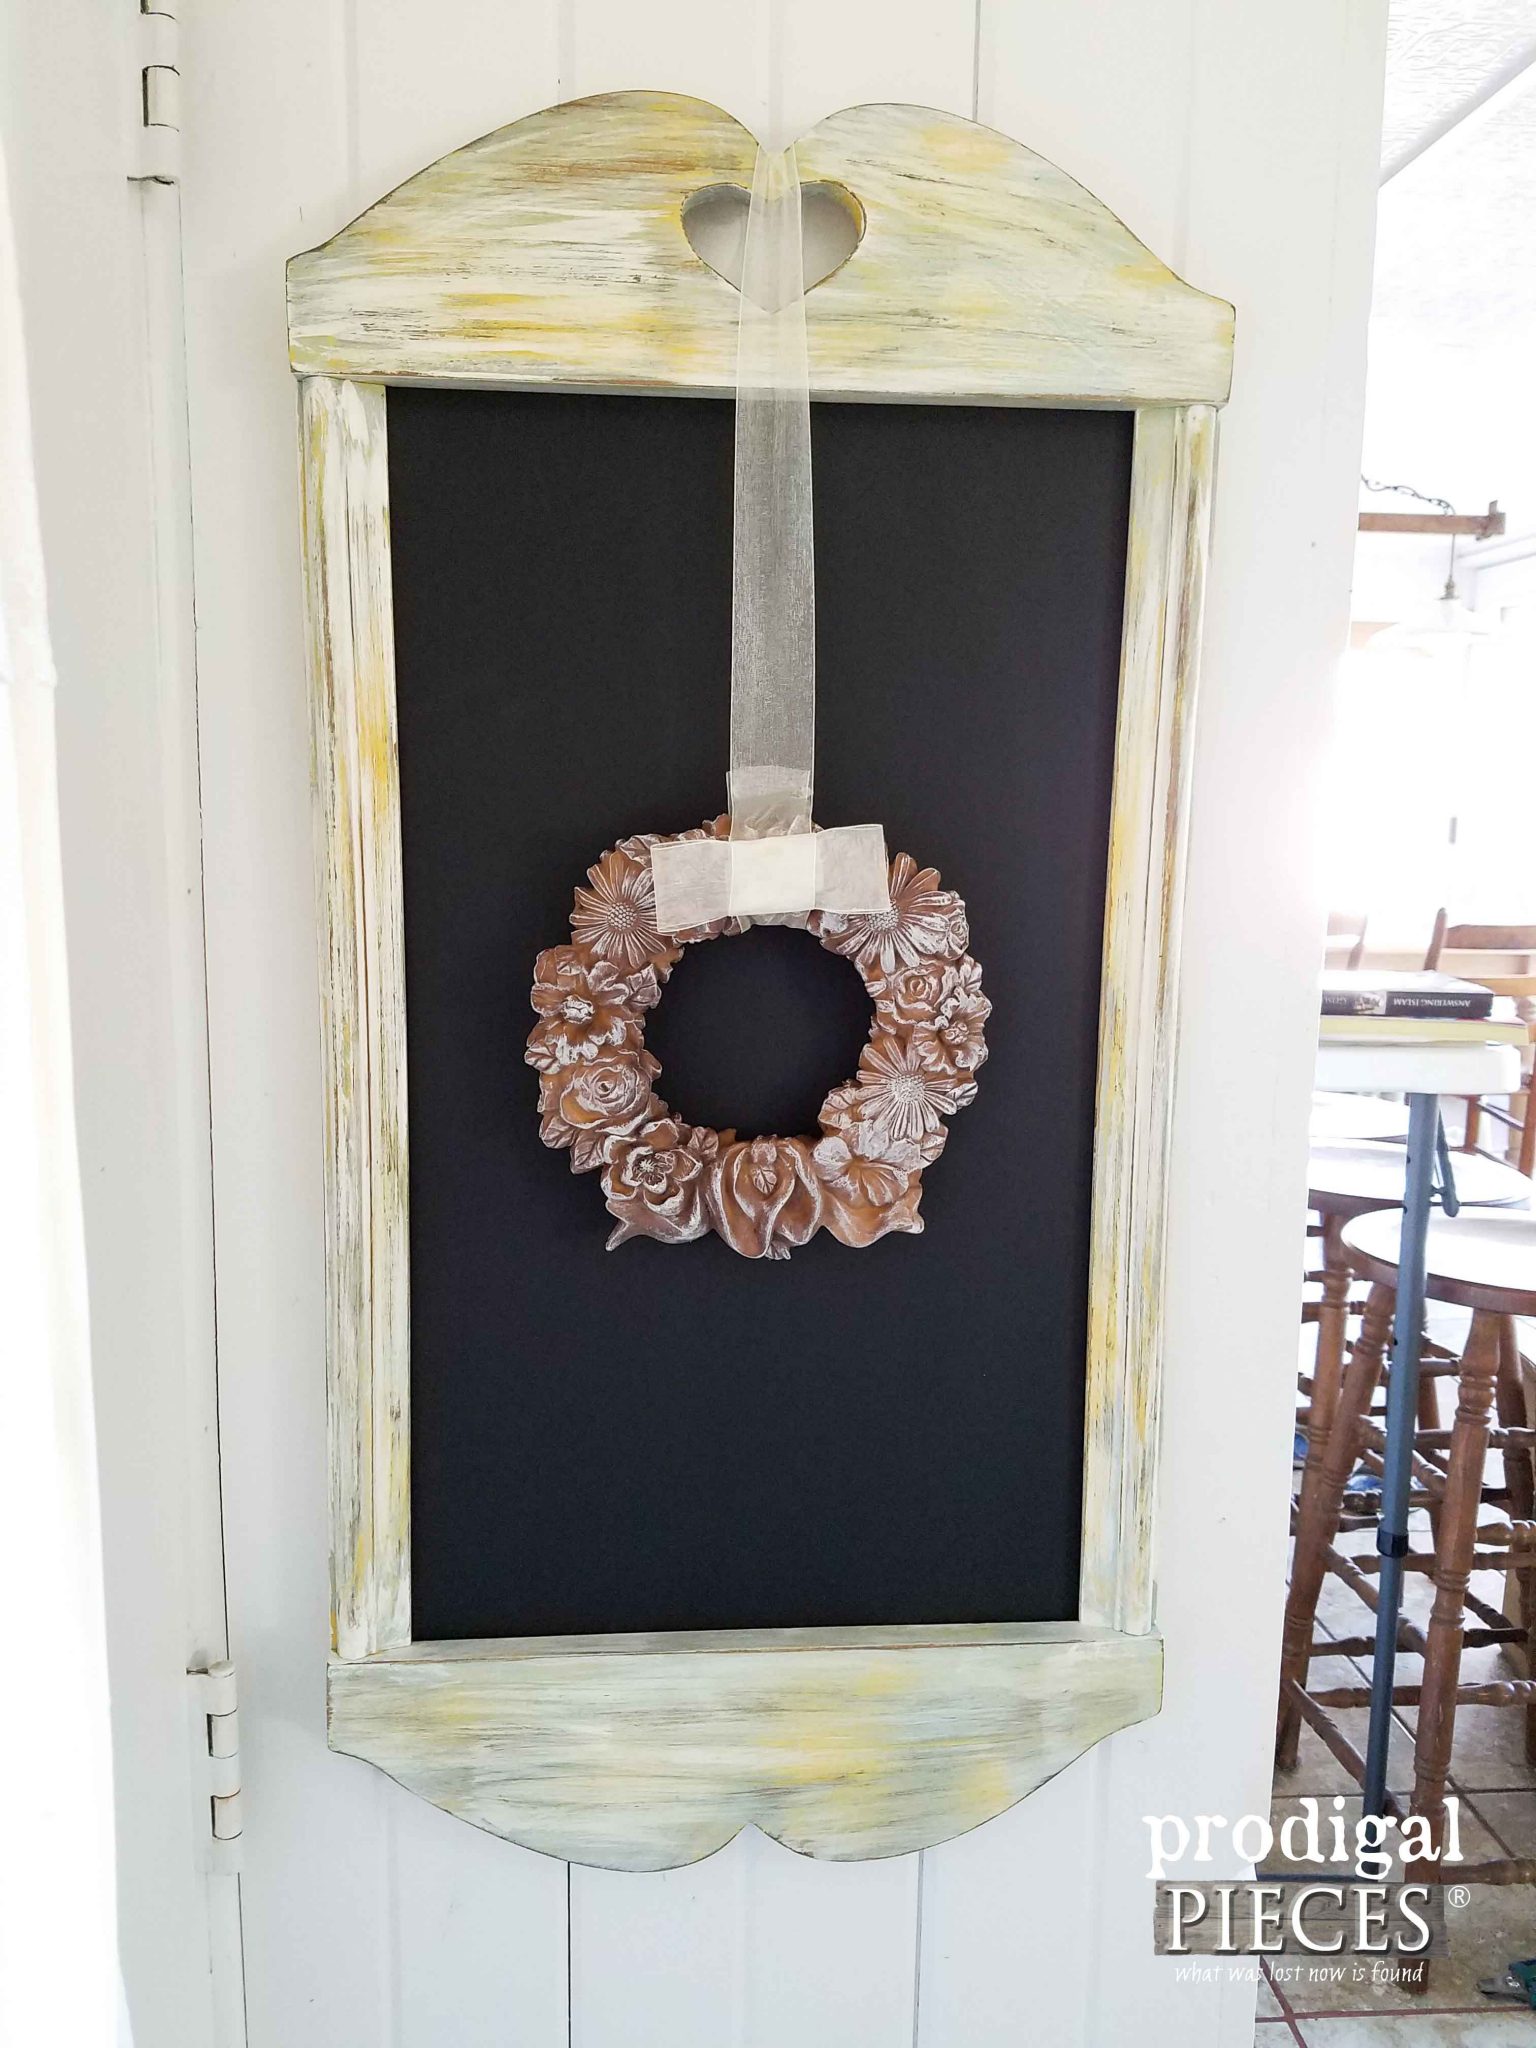
Next up, that large wall decor I found was missing the original contents, so it basically was an empty frame with backing. If you know me, I love to make DIY chalkboards, so that was a no-brainer for me. tee hee hee. But first, I wanted to brighten up that frame.
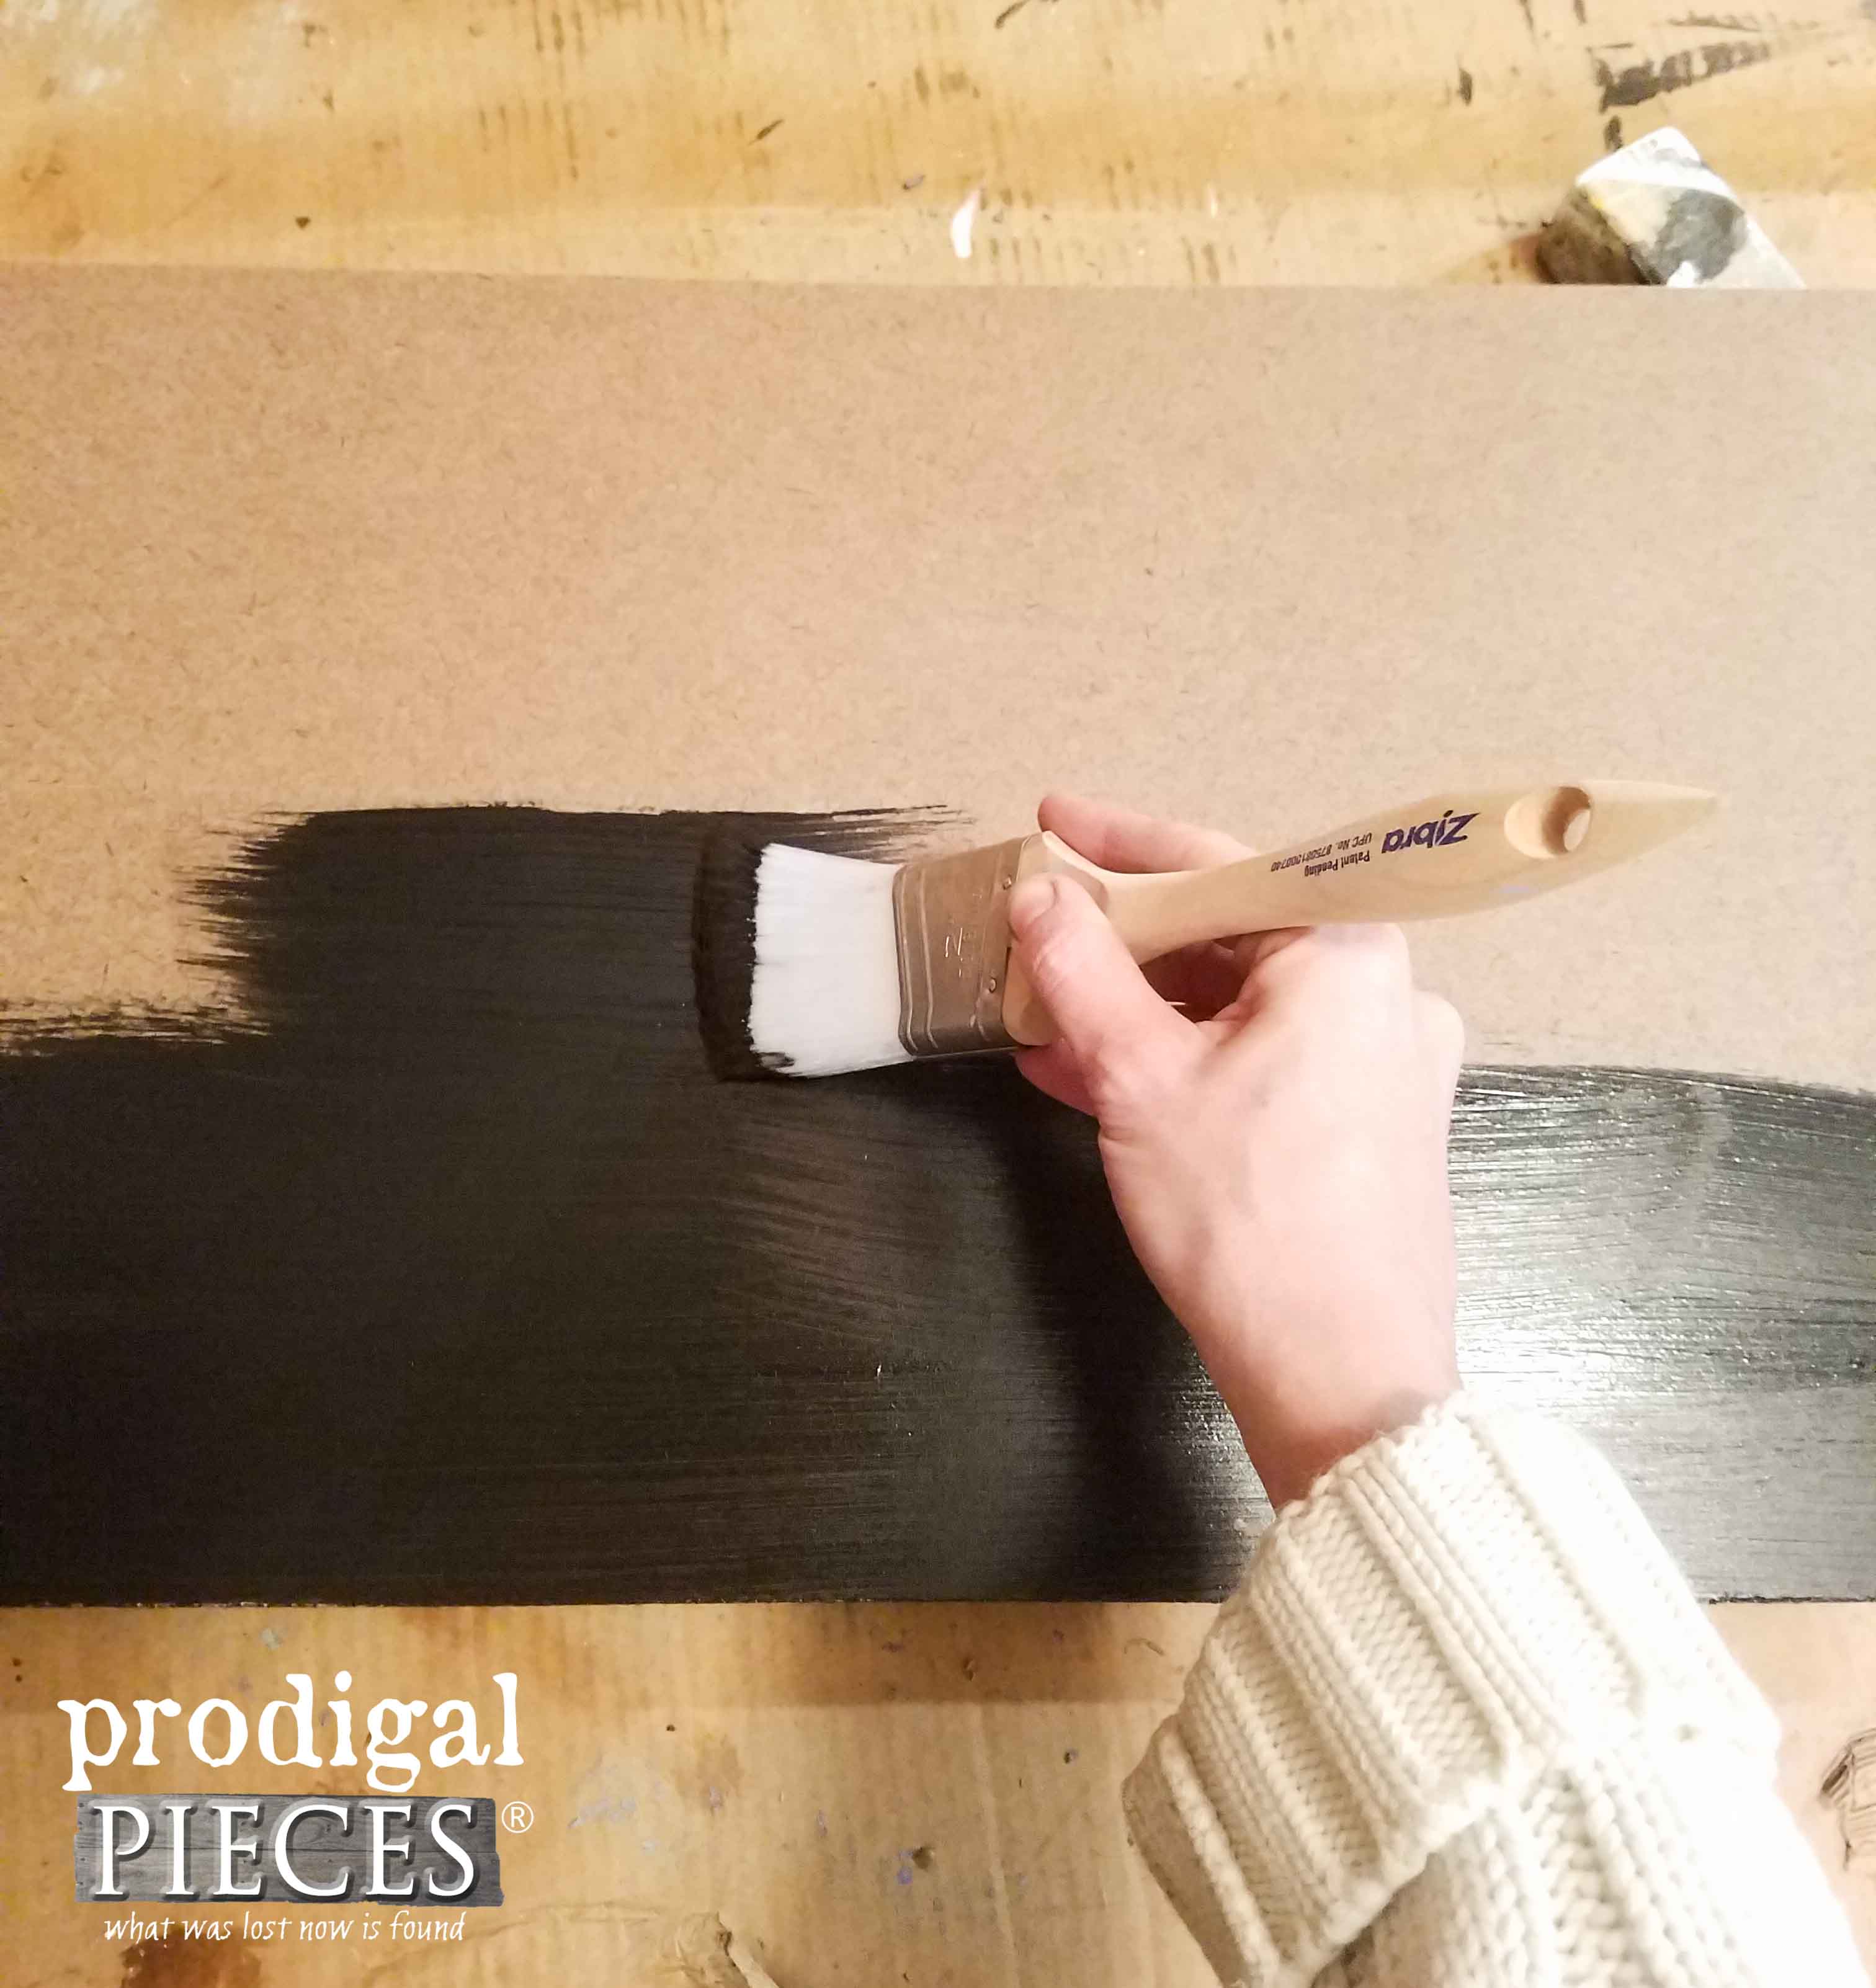
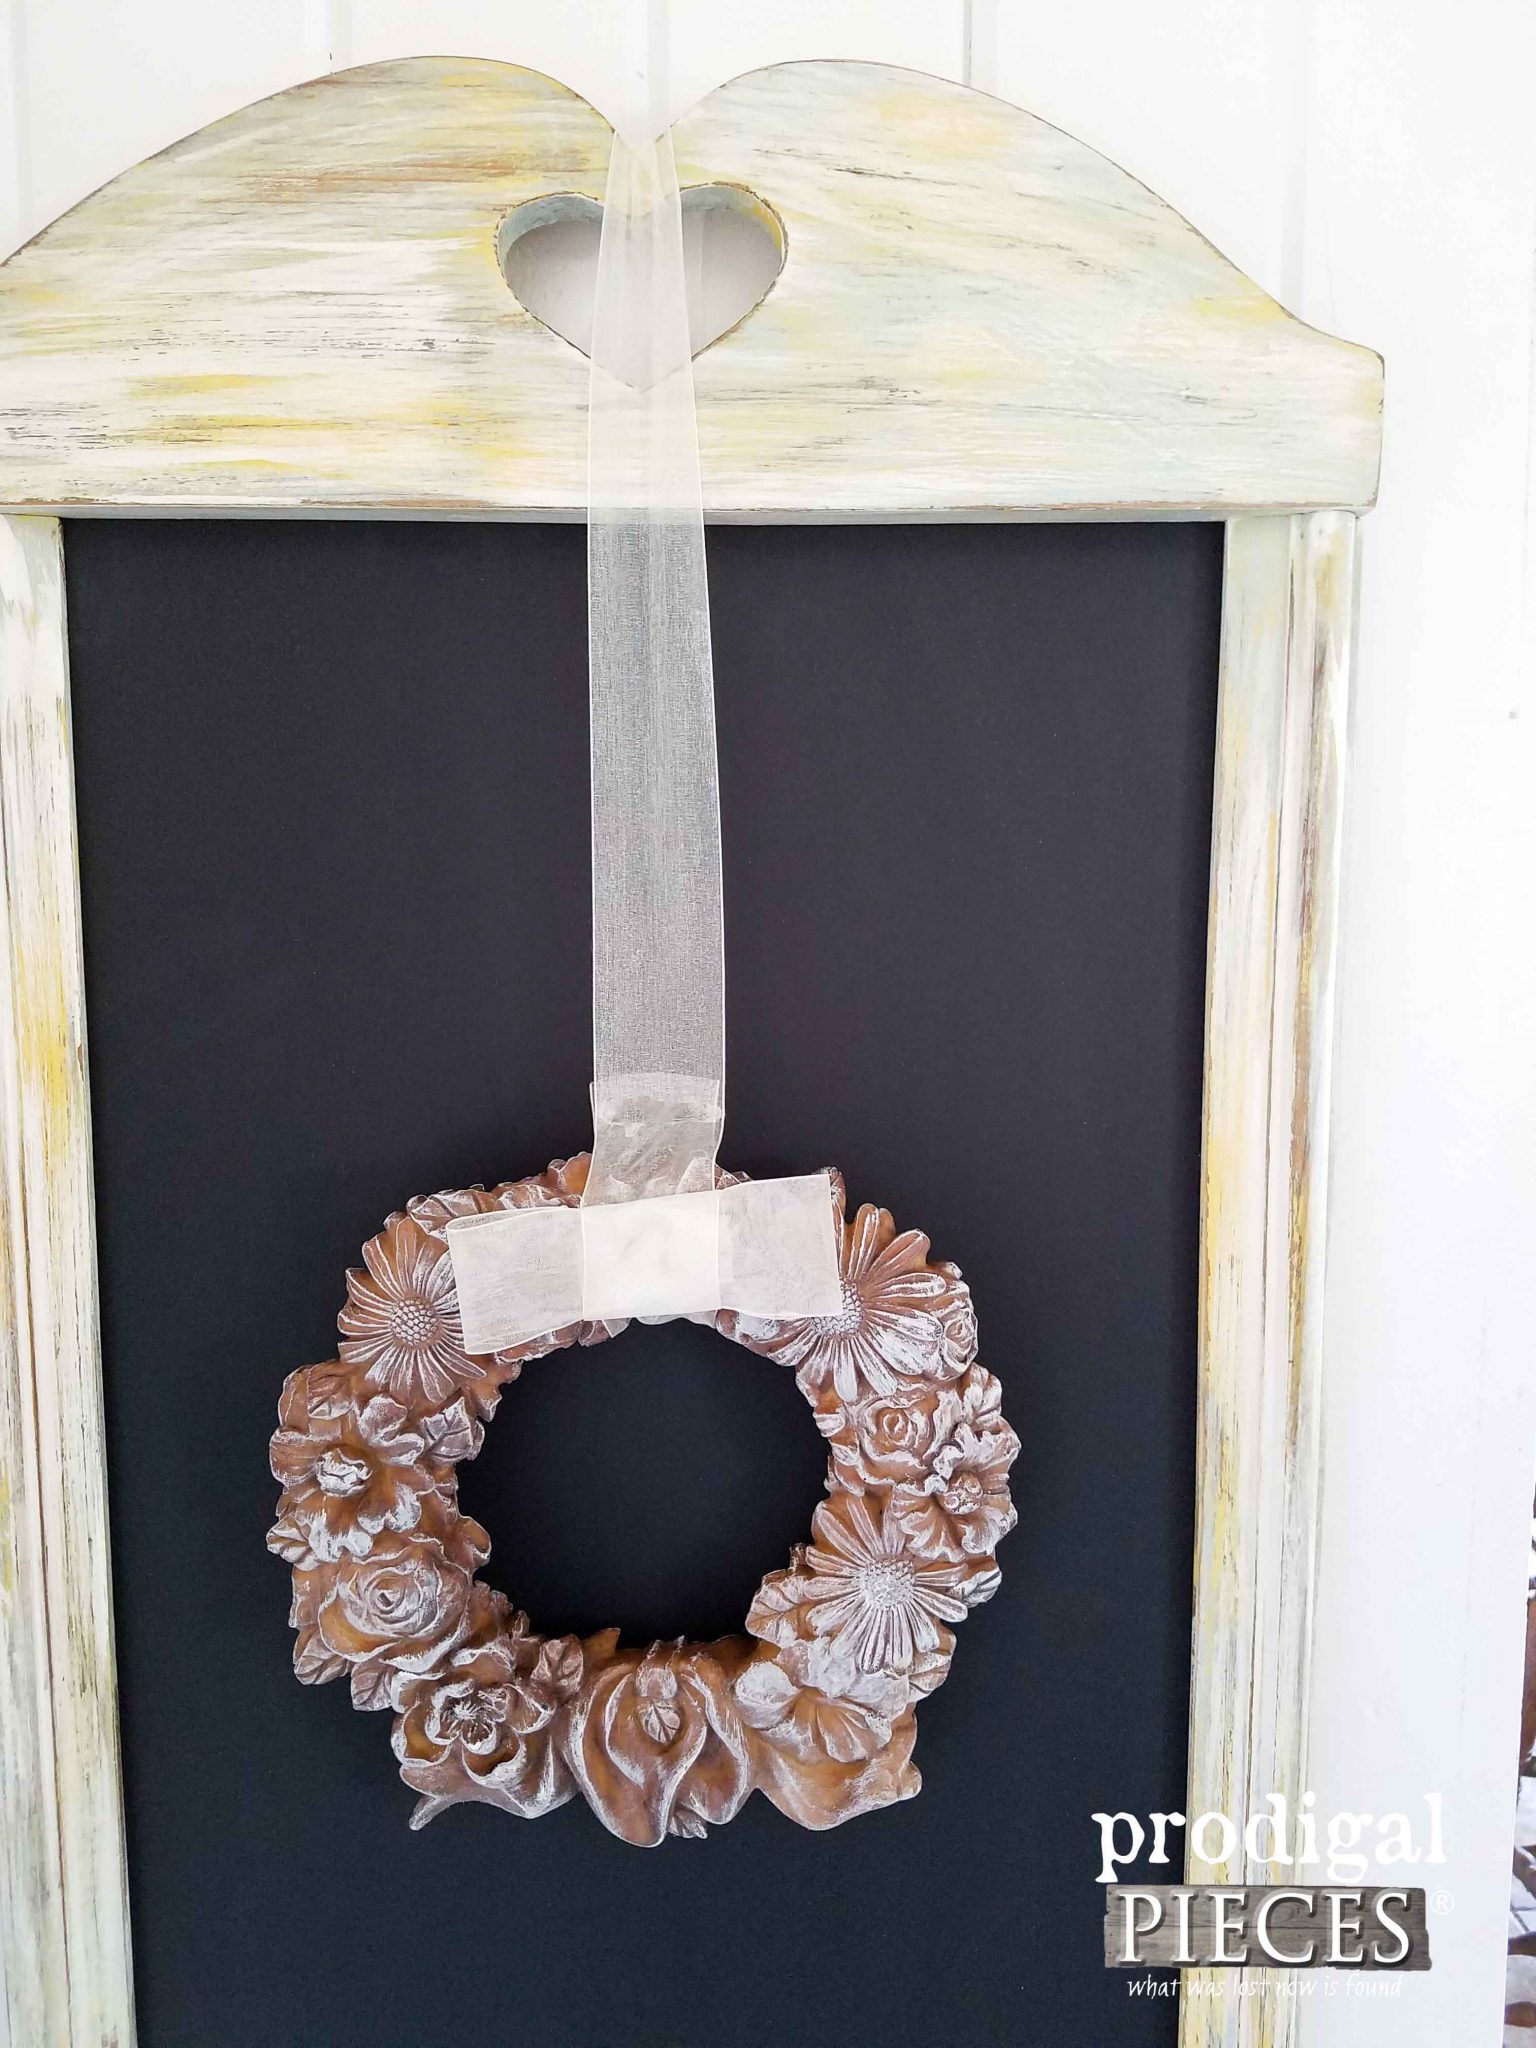
I used DecoArt Chalky Paint in Vintage for the base coat, and then did a wash of a yellow and white. However, for the backing, I cut a piece of hardboard and then painted it a couple coats of flat black. (no expensive chalkboard paint needed)
Then, once all is dried, it’s ready to go to add to my thrifty farmhouse decor arsenal. Fun!
What a great piece to have in most any room. You can use it as a chalkboard or as a backdrop to make lovely wall decor.
WHAT TIME IS IT
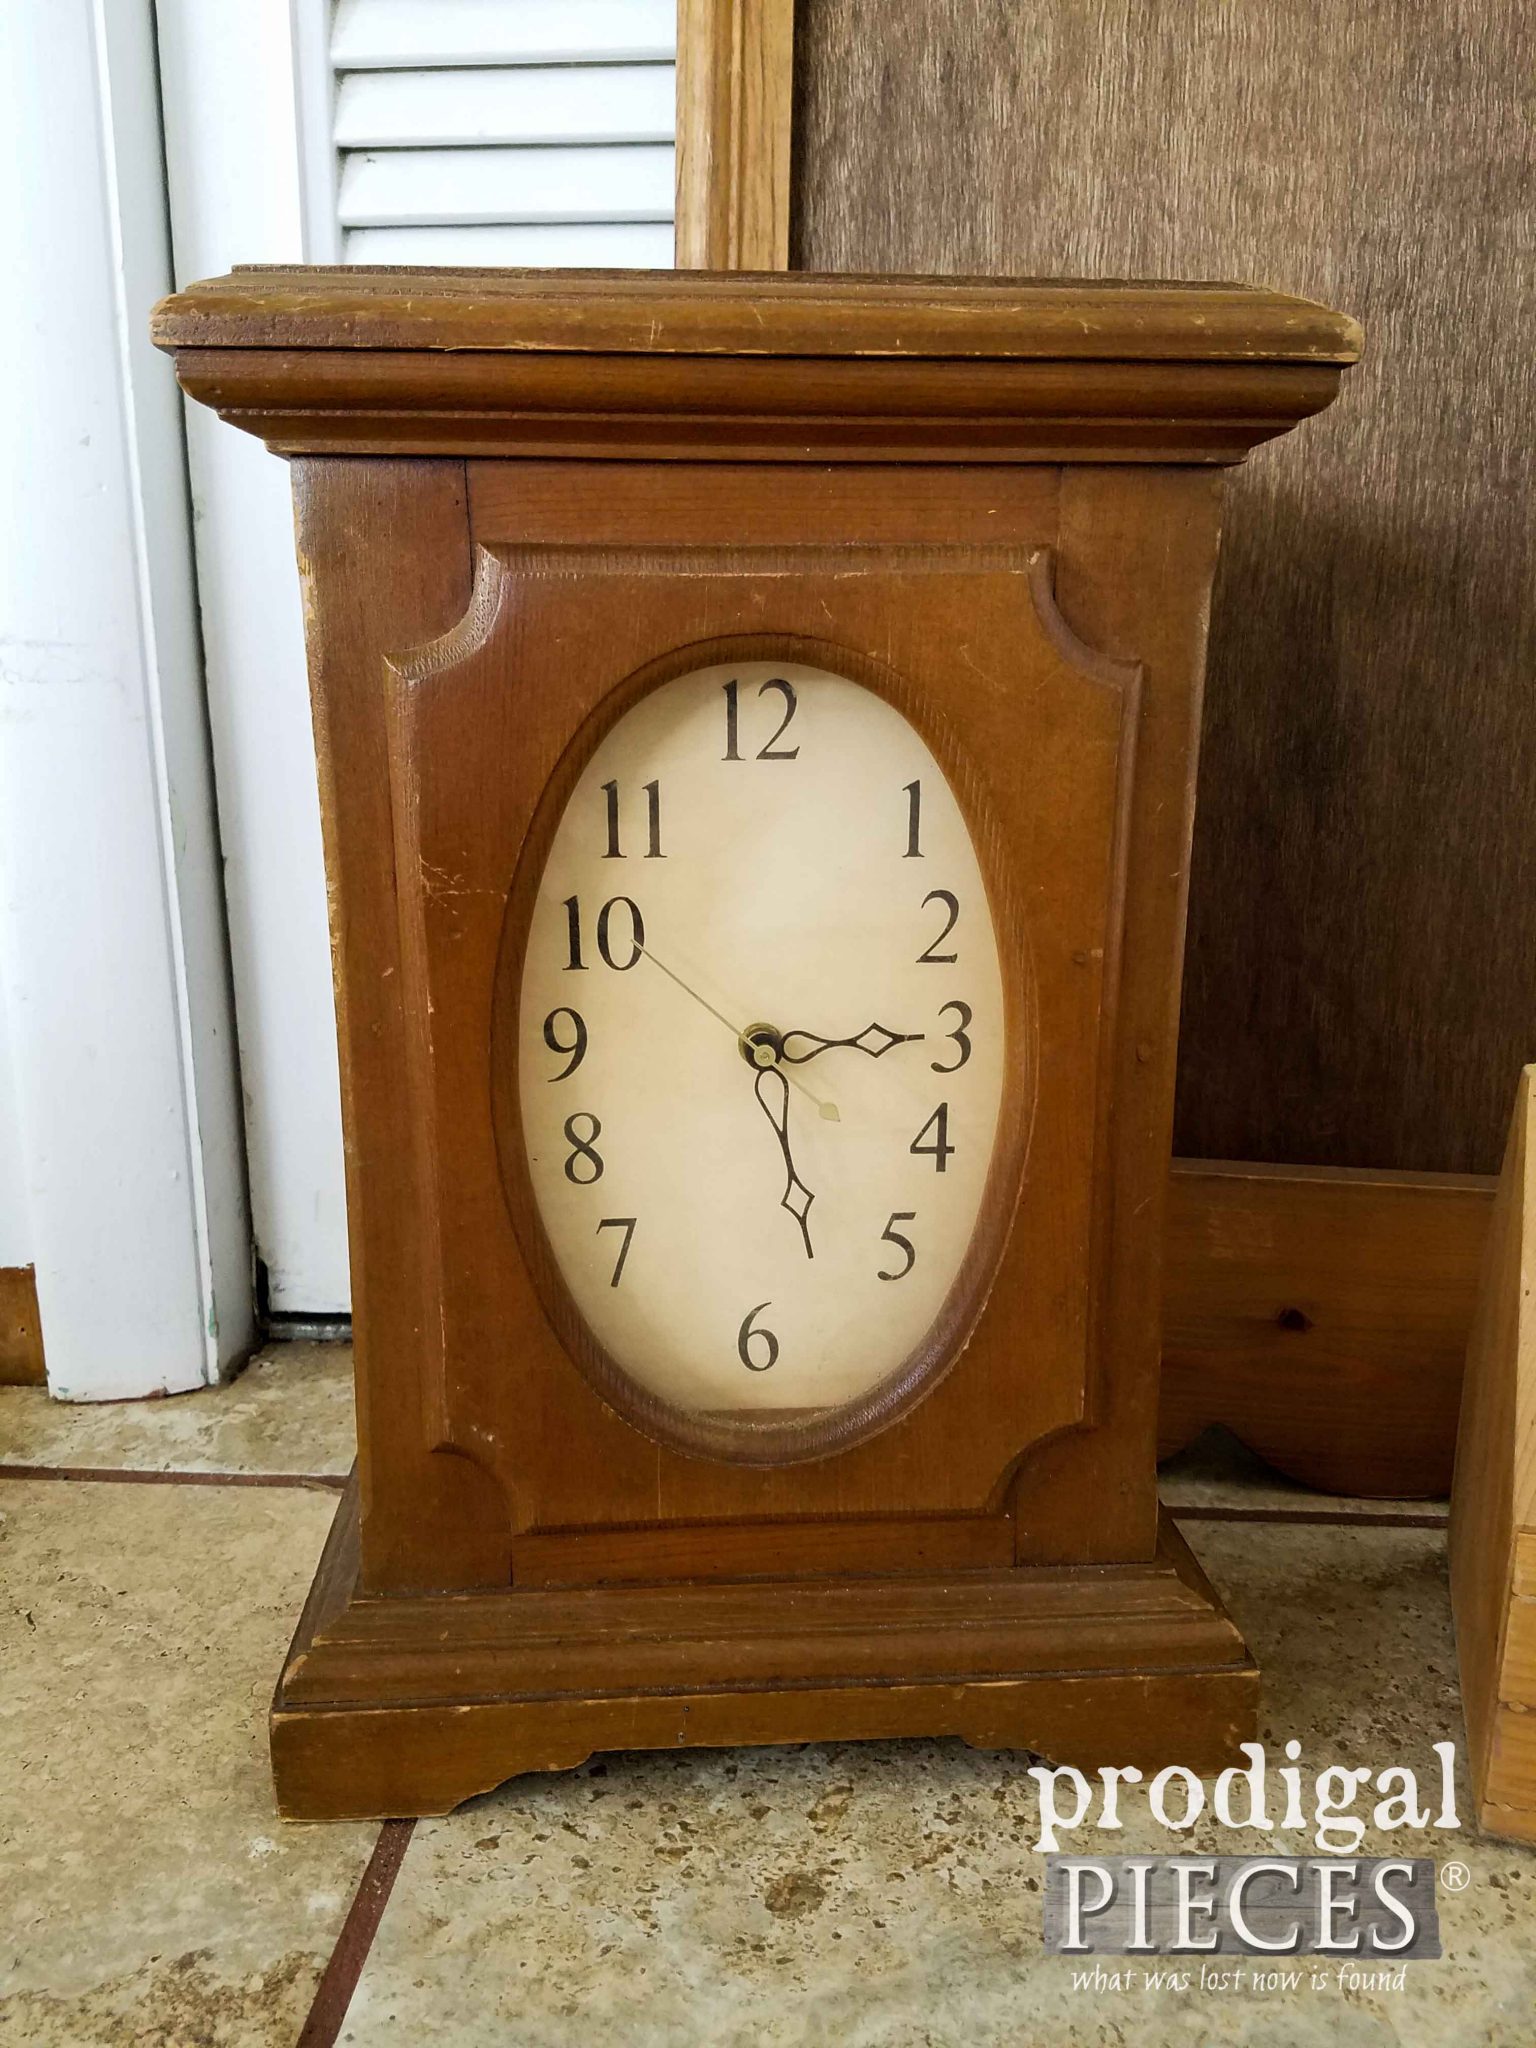
Last, but not least is the clock. It was actually given to me by a friend who knows I love to repurpose. Also, it was also the same day I found these other items. To me that clock face was ugly, so I took it all apart and designed my own. I actually think this is a woodshop class project because Ashley Smith signed her name to it. Ashley rocked it! So cool.
TIP: If you’re looking to design a clock face for whatever purpose, you can find a ready-made printable selection of clock faces here.
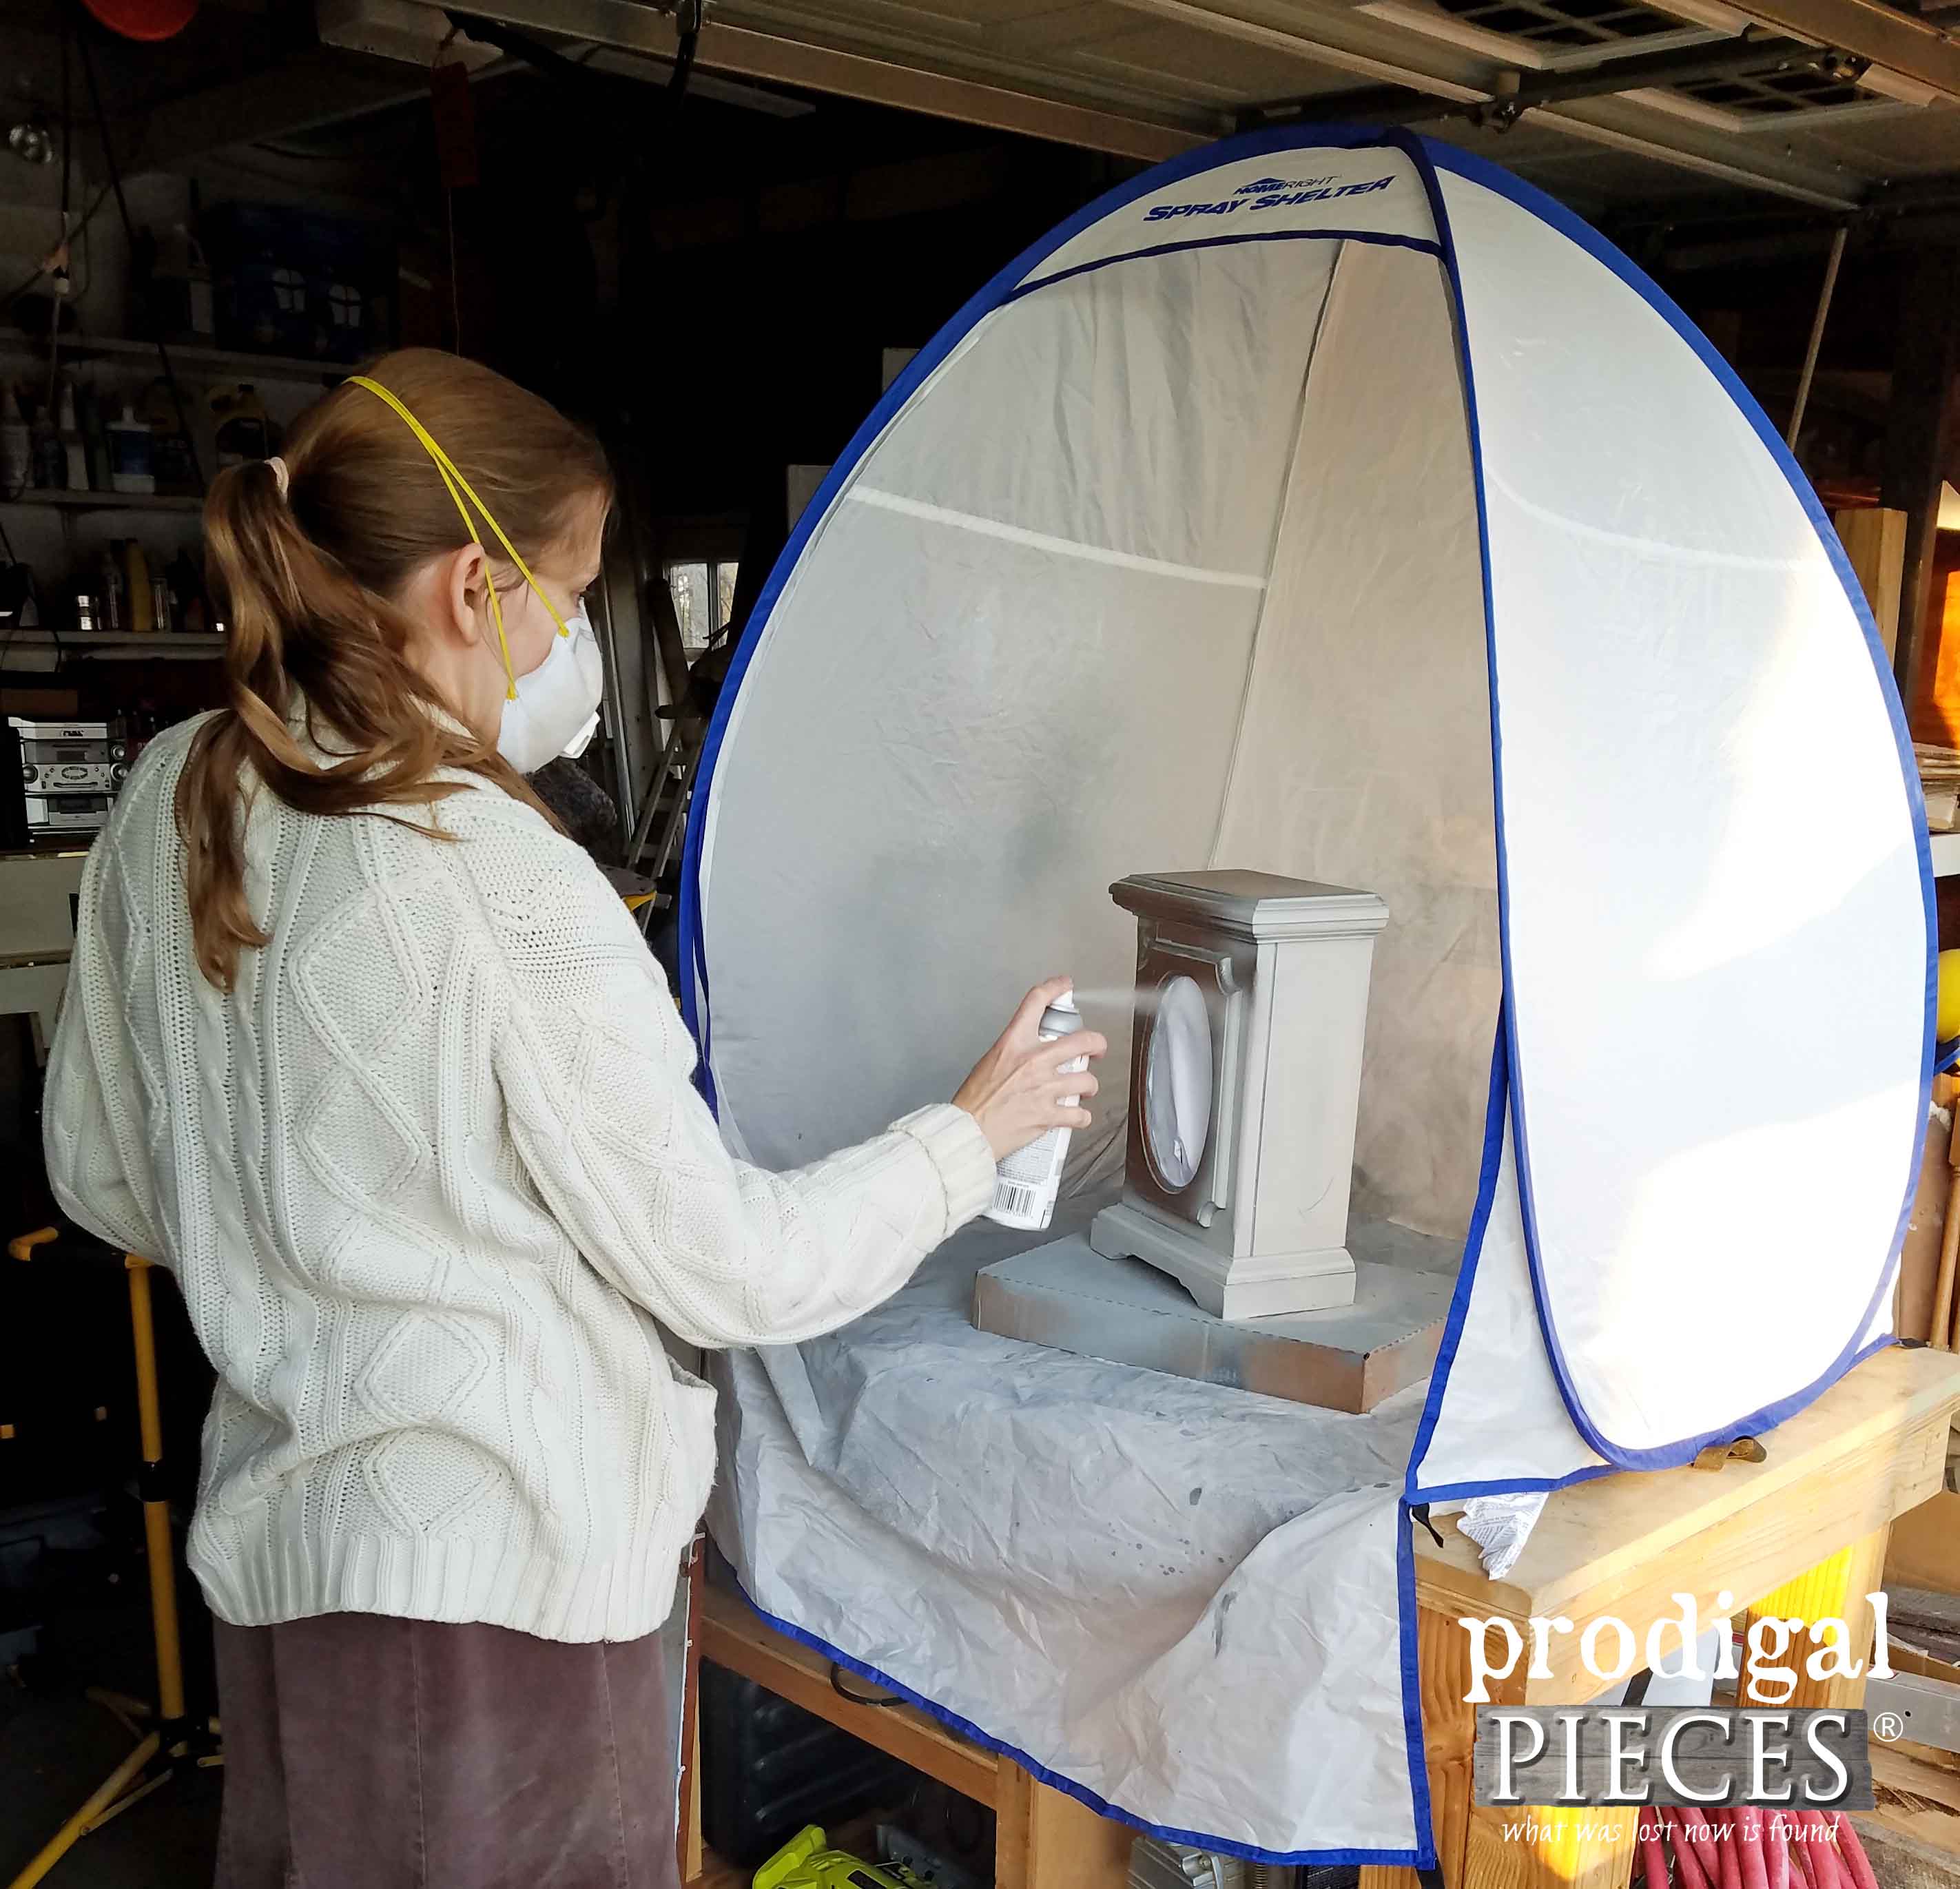
To get the look I wanted for my thrifty farmhouse decor, I first used my handy spray shelter and gray paint to give it a few coats. If you don’t have one of these tents, you seriously need to treat yourself. I LOVE IT! See how much I’ve used in these DIY posts.
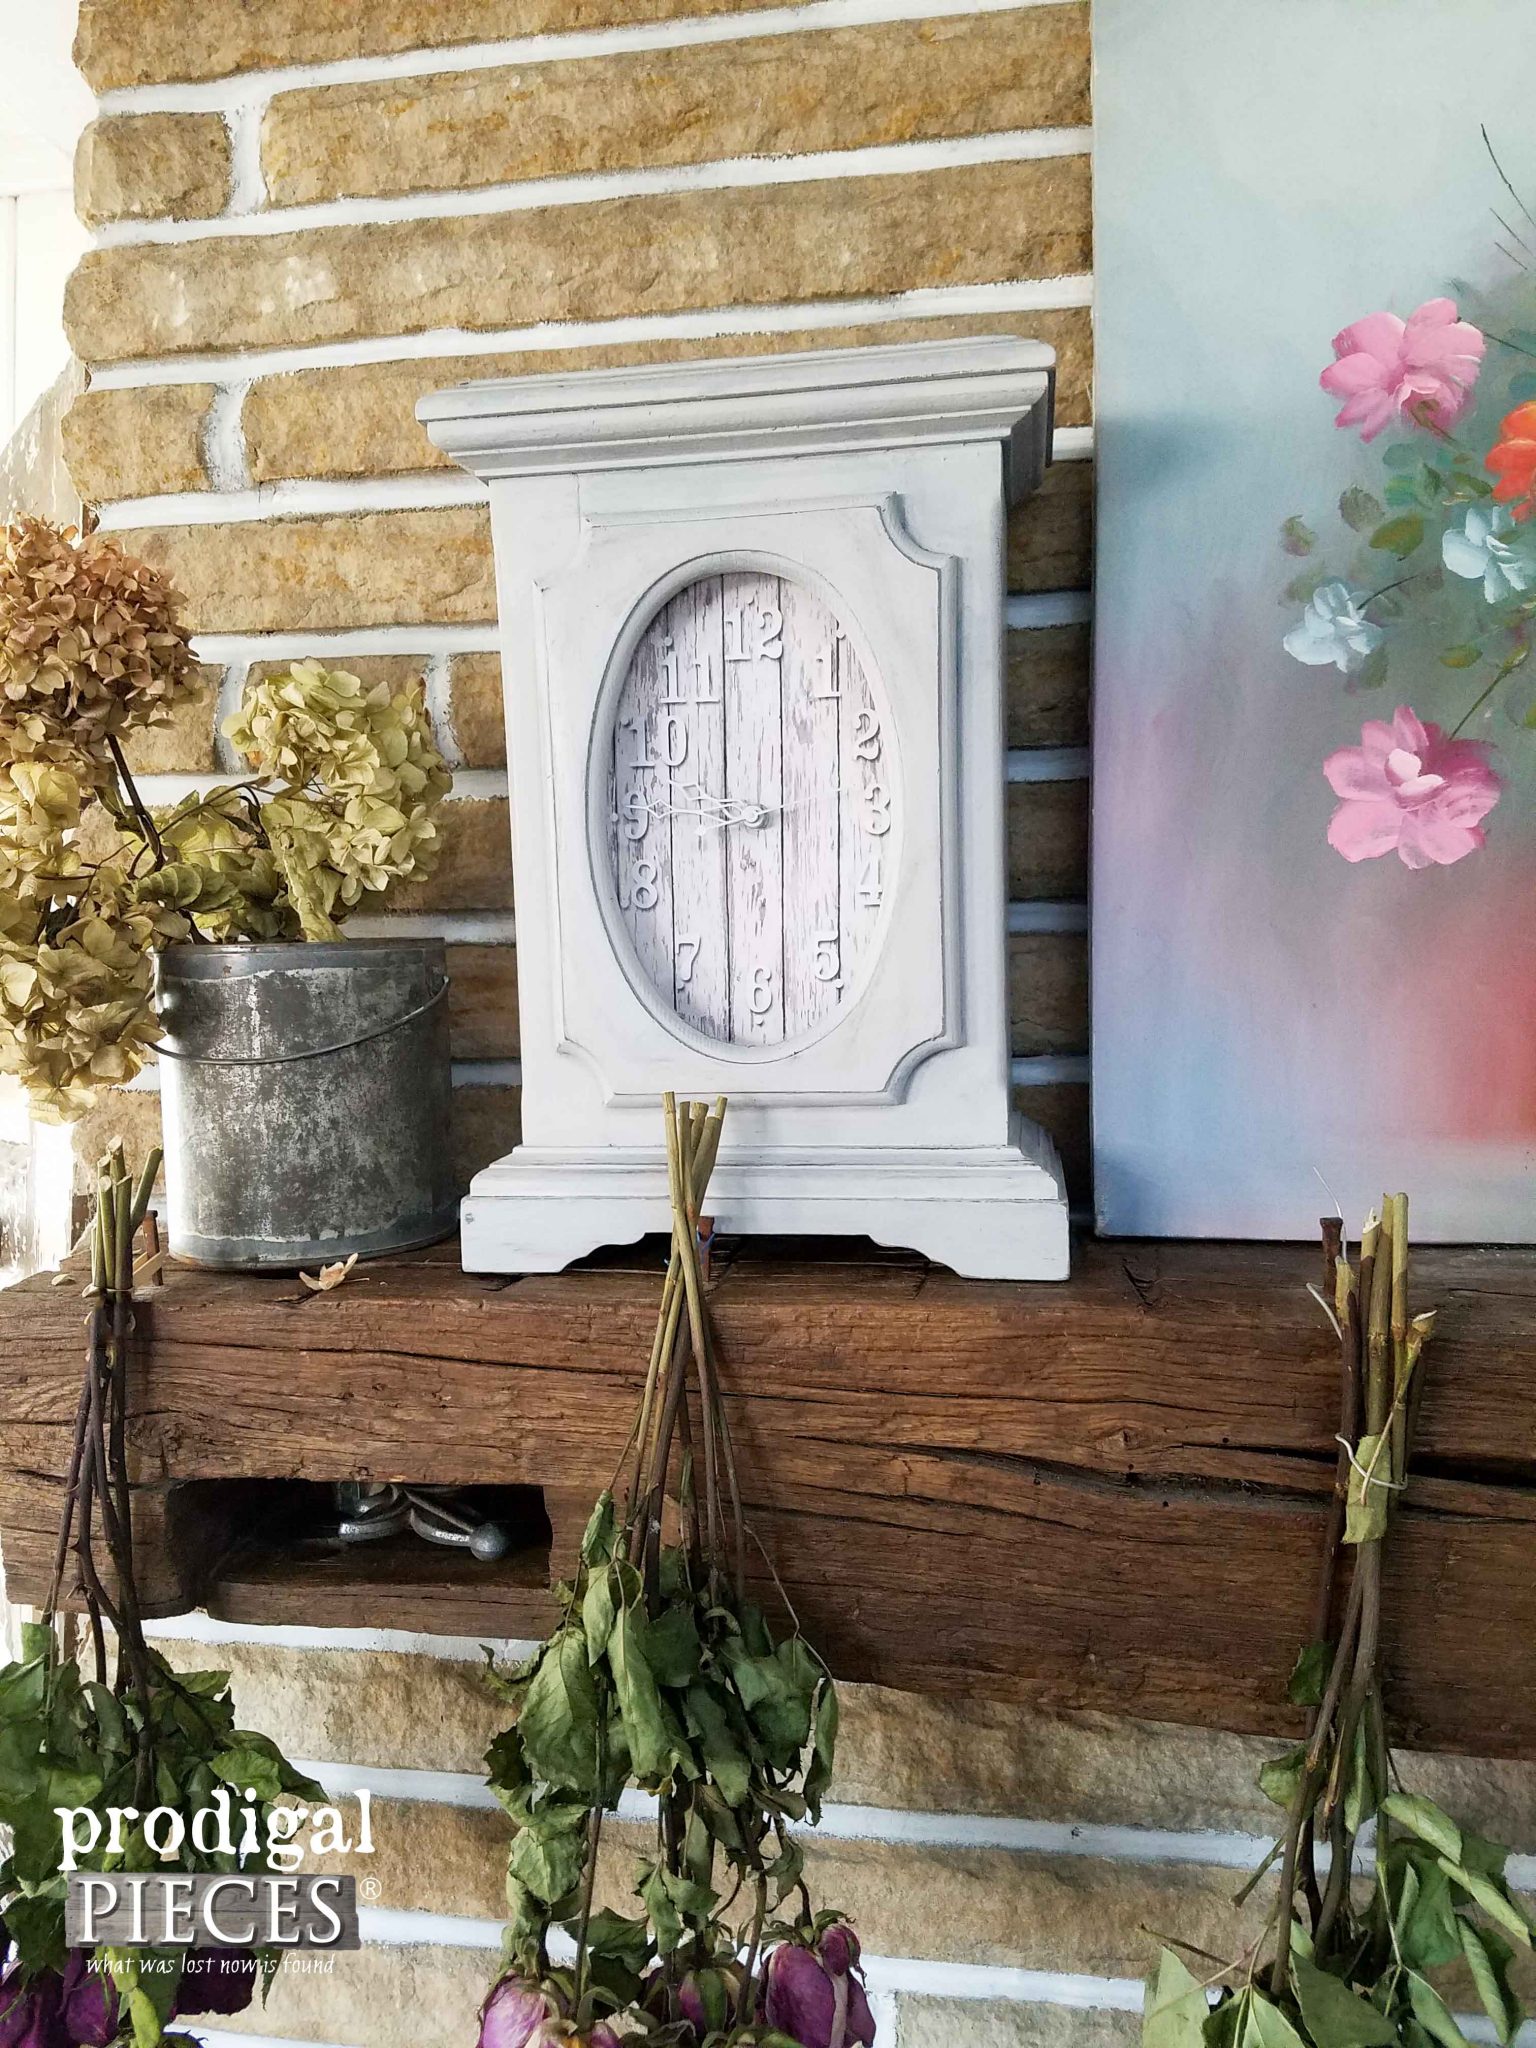
Finally, after the paint cured, I added a bit of dimension with some waxes and put it back together. What a difference, eh?
If you’re not into DIY or simply love my projects, all but the pencil caddy can be found in my shop. Yay! (SOLD)
WRAP-UP
Well, now you’ve seen four makeovers in one post. I truly hope that encourages you to head out and start a project of your home. Likewise, making our house a home doesn’t have to break the bank. It can be fun to make things new with a little bit of DIY.
Additionally, pin and share to inspire others to make their own thrifty farmhouse decor too!
Finally, to get these DIY tips & tricks in your inbox, be sure to sign up for my newsletter. PLUS, you will get your FREE Furniture Buying Checklist and special discount to my shop.
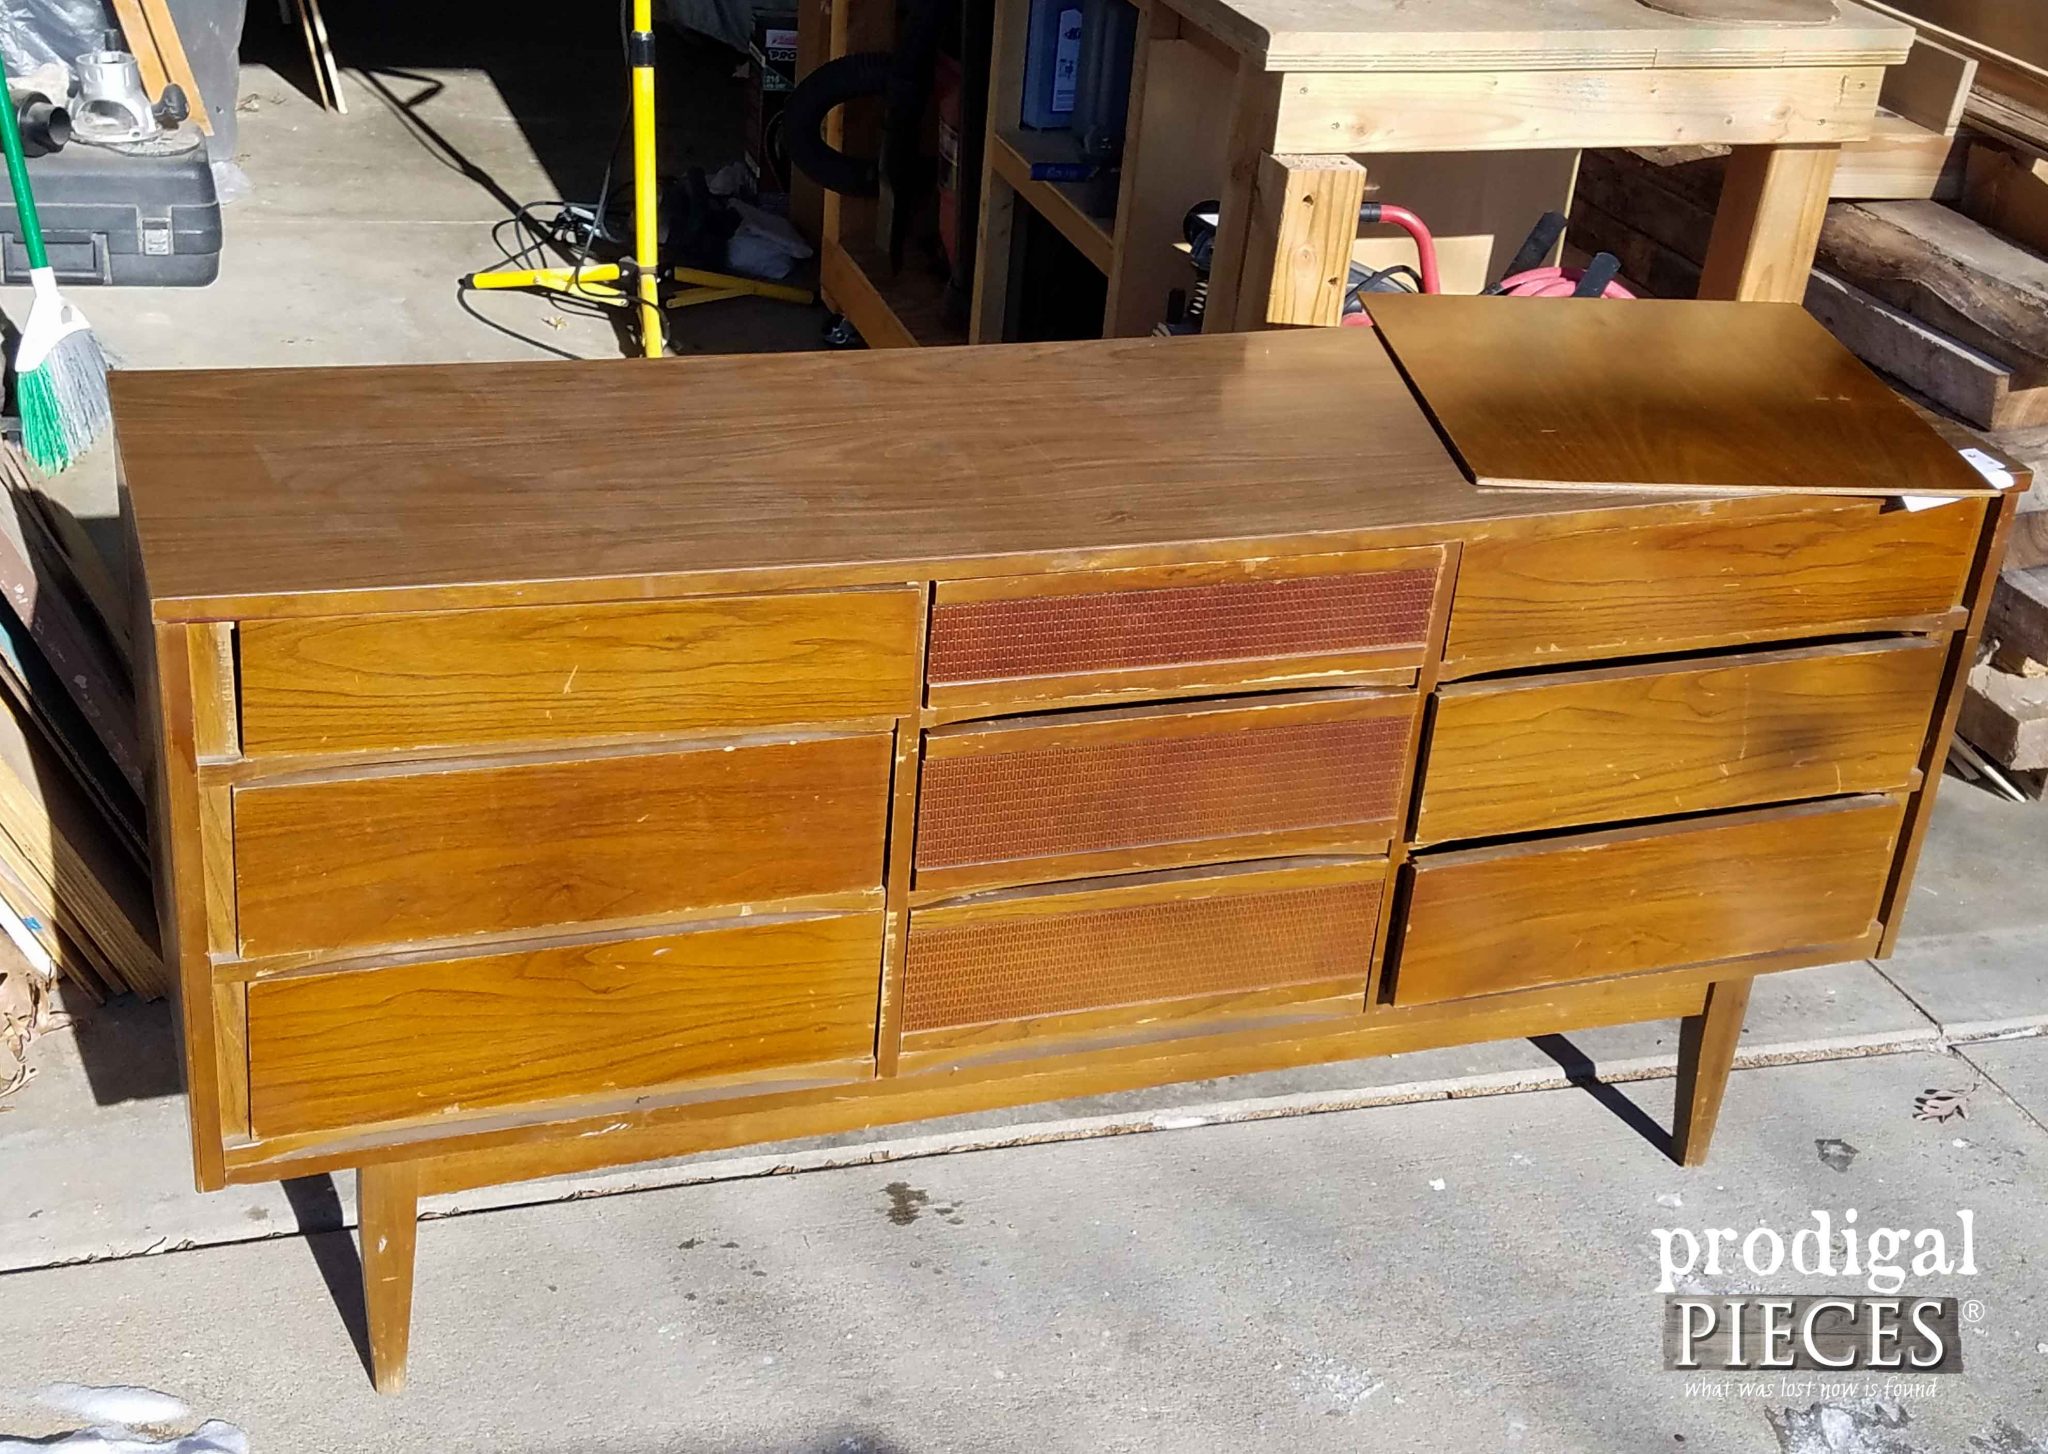
Up next, I will be giving this broken down dresser a face-lift like you’ve never seen before. SEE THE AFTER HERE.
To get these DIY tips & tricks in your inbox, be sure to sign up for my newsletter. PLUS, you will get your FREE Furniture Buying Checklist and special discount to my shop. Until next time!



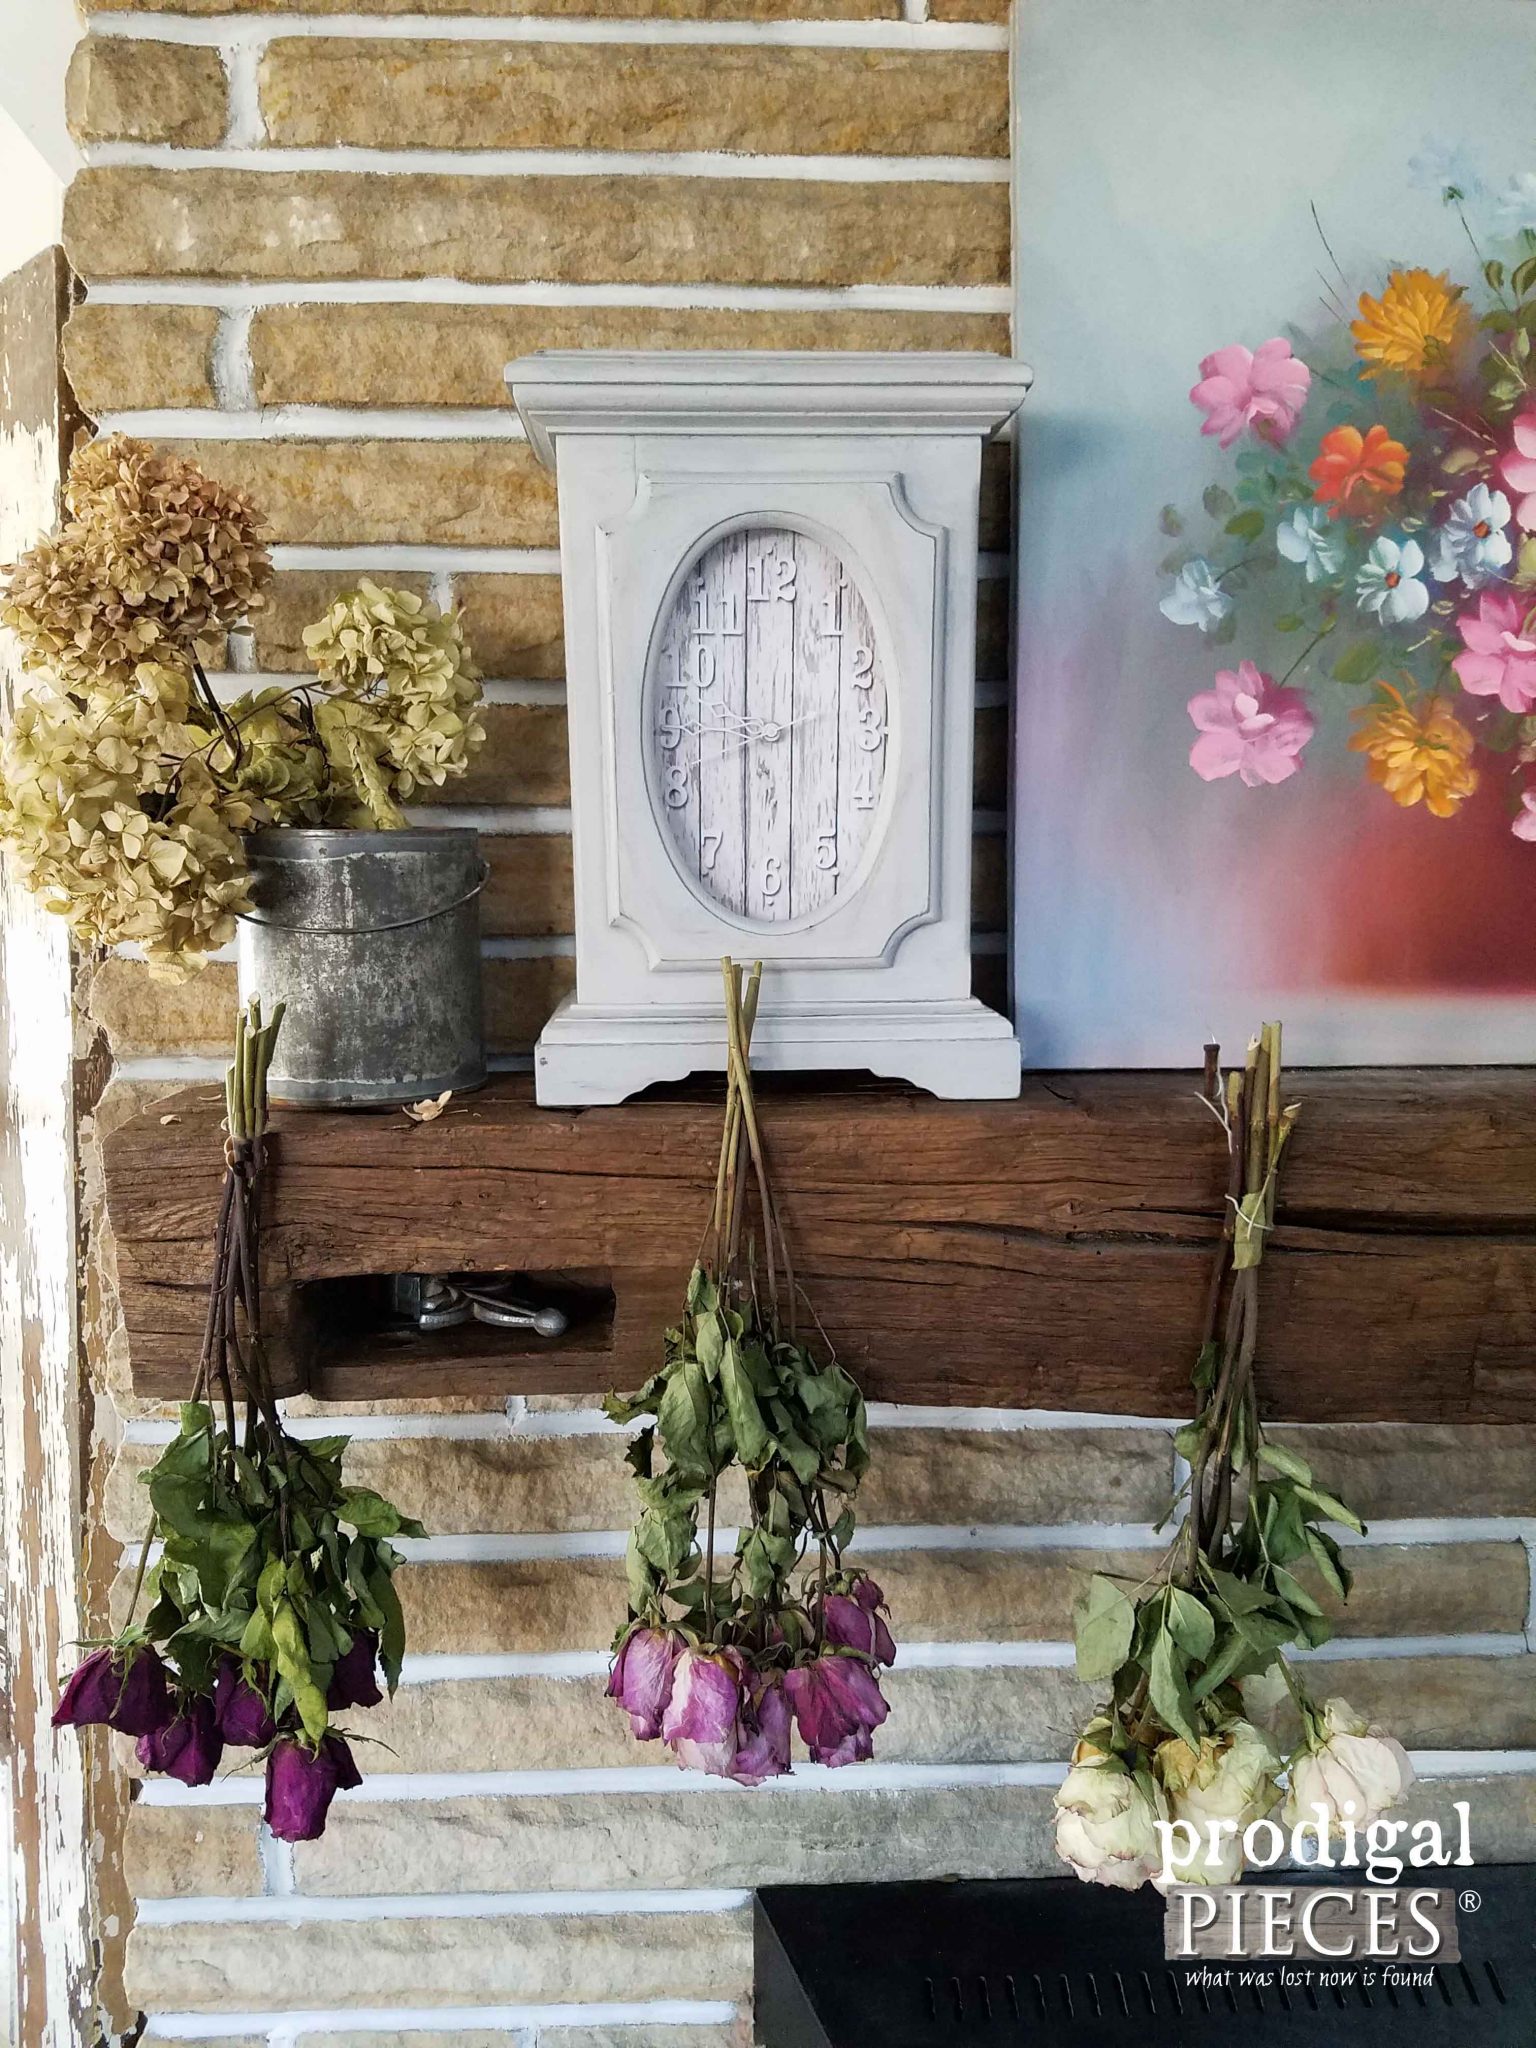

Larissa, you’ve been busy ! Great makeovers! I see in the clock picture that you are drying rose bouquets…. what do you do with them ? I always dry the roses my husband buys me, but really dont know what to do with them afterward. Ideas ?
Thanks! I use them just as is, pretty hanging on my mantel. But also make dried flower wreaths.
Lots of fun projects Larissa. I love t he way you redid the clock face with the added dimension on the inside.
Thanks, Mary!
Very nice Larrissa!
Thank you!
Larissa, I have one of your “wood thingys”, but mine is a cranberry picker. There are no big holes on the back of it like there are on yours. I’ve had mine for probably 35 years…….
So cool!
Nice haul! Nice upgrades too!! : ) That apple picker is so cool and turned out even better than I was imagining! Well done!
I’m happy to hear it, Becky. Thank you!
Wow, nice haul, Larissa! I love how you transformed all of these pieces but I especially was swooning over that adorable clock. Pinned.
I was like…I better leave now before I come home with too much! ahahaha…thanks, Marie!
Larissa,
You are the bomb! Love seeing your before & afters…inspires me. 🙂 Hubsy is retiring shortly and I’m a disabled homemaker so these ideas on how to repurpose old things & make lovely new things for our wee-little-farmhouse-to-be are such a blessing! <3
How fun are you?! 😀 Thank you so much. Sounds like you two will have fun – I wish you the best!