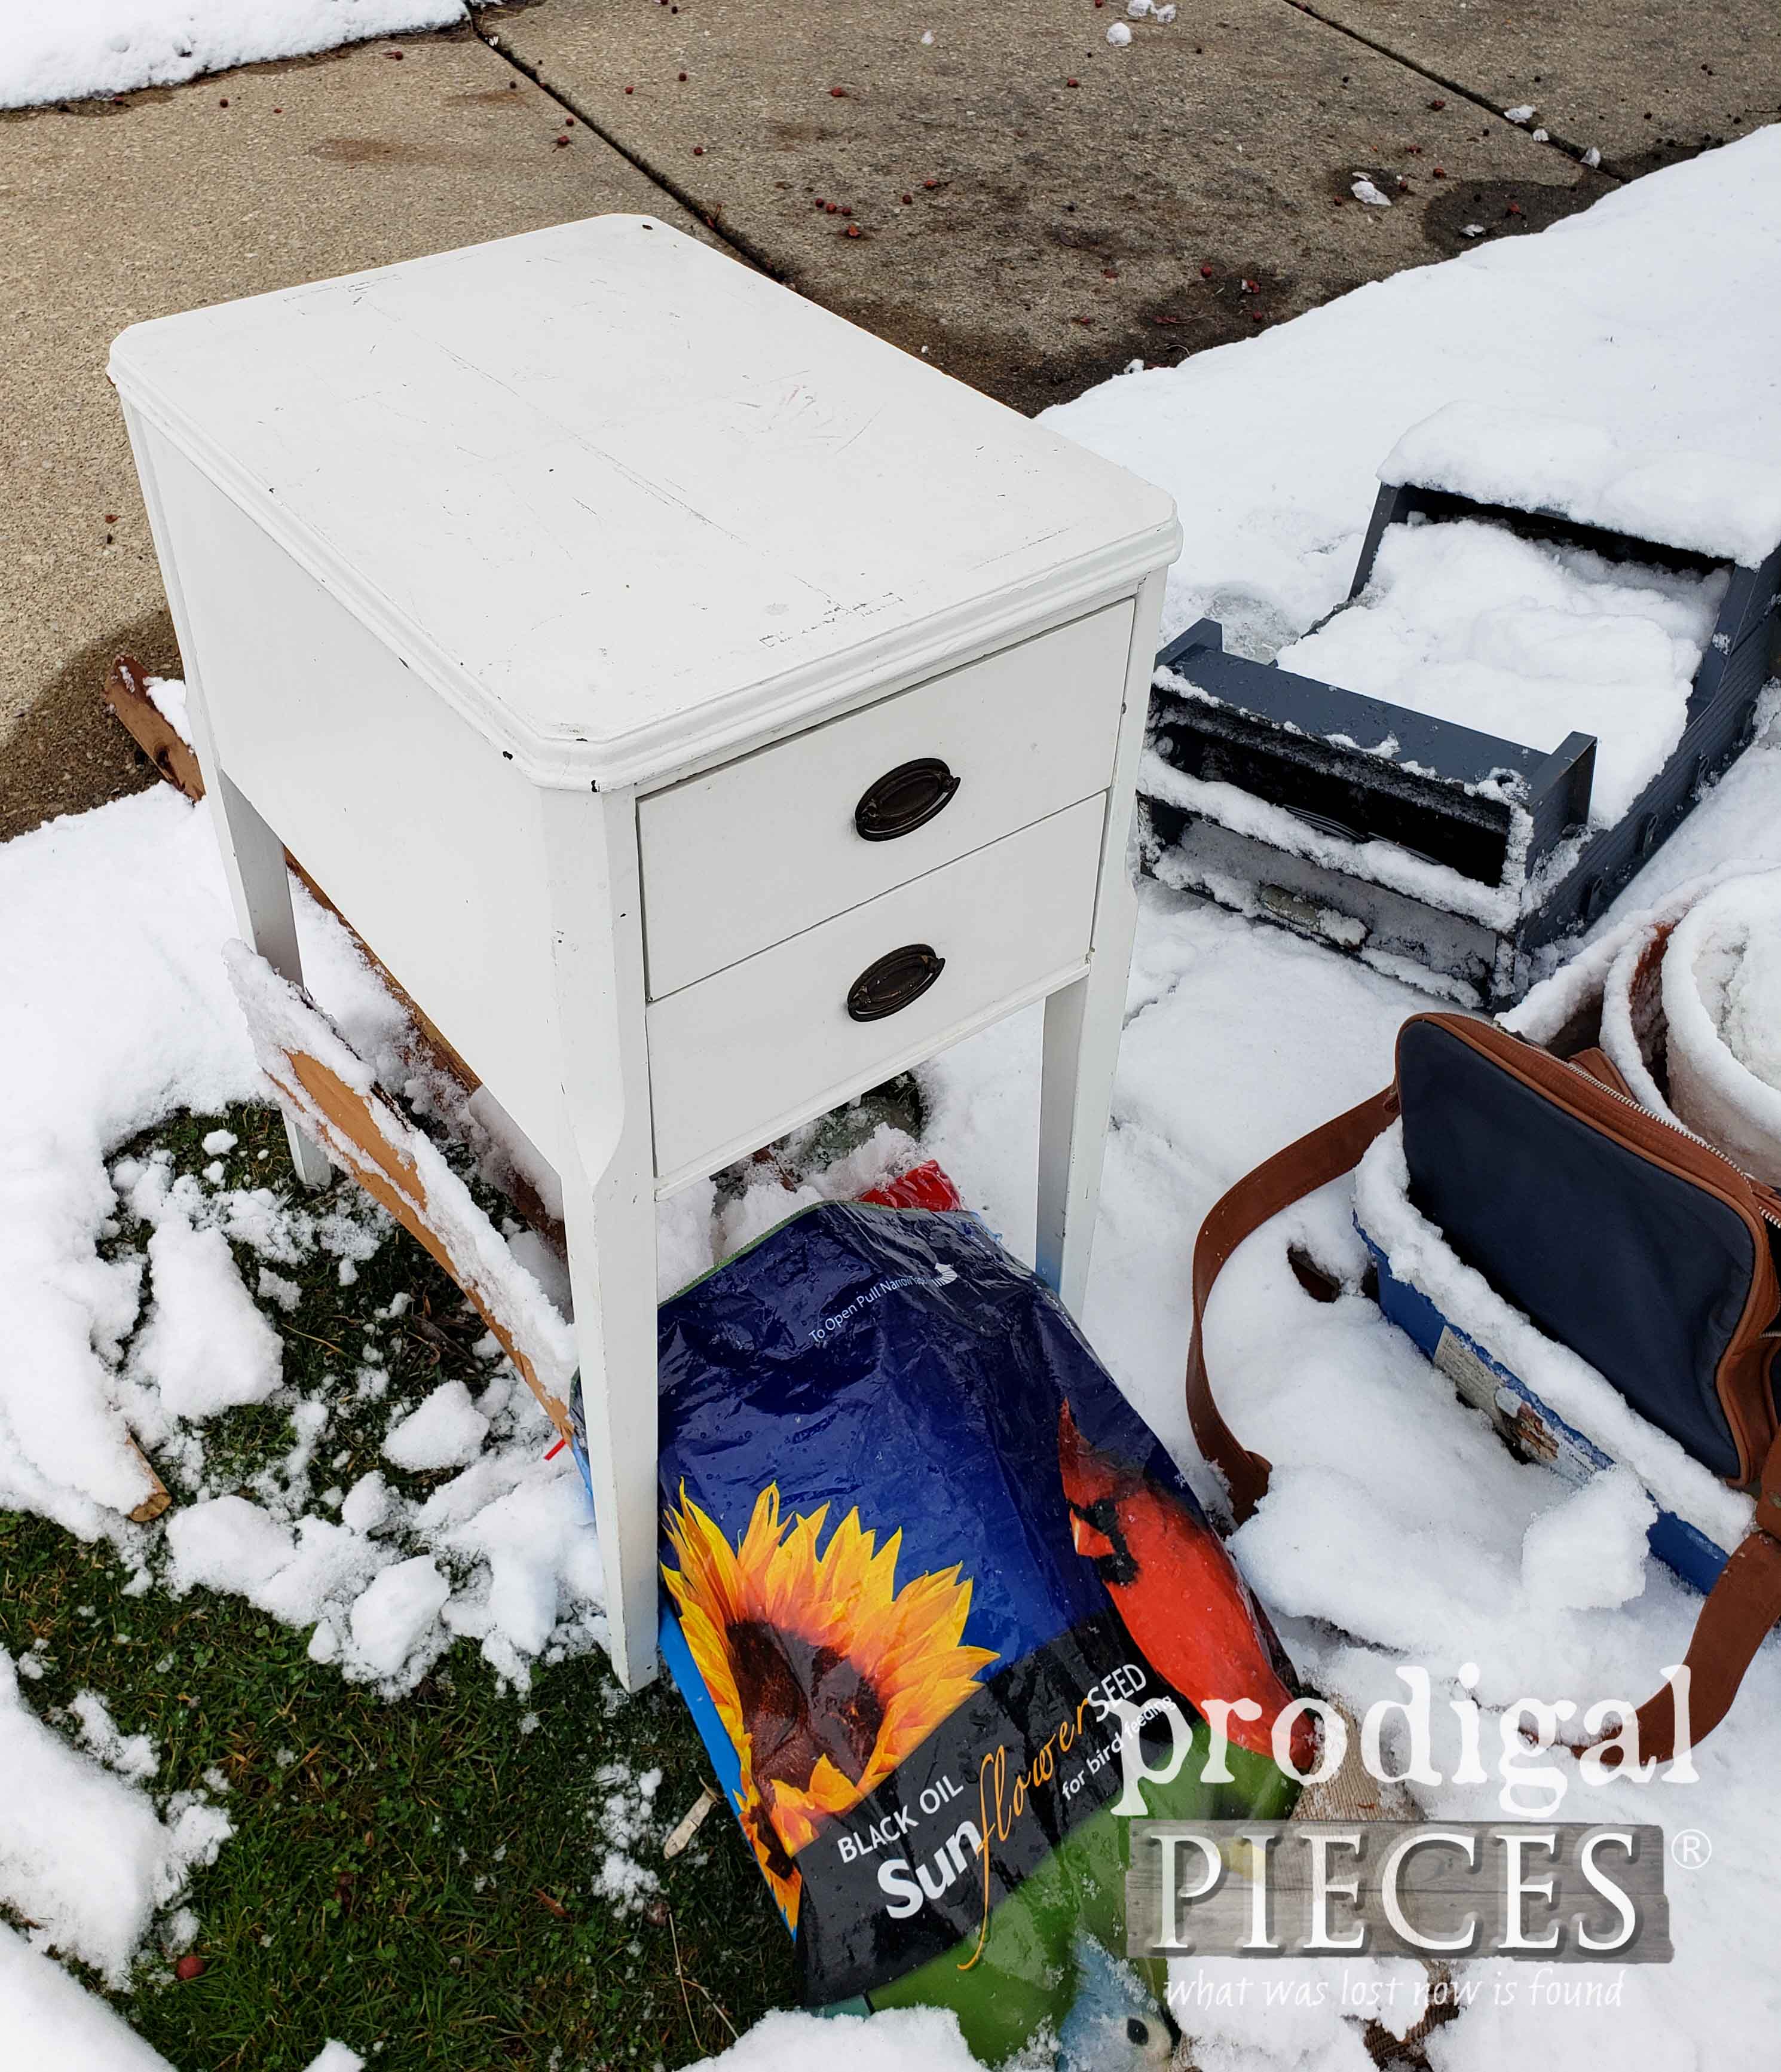
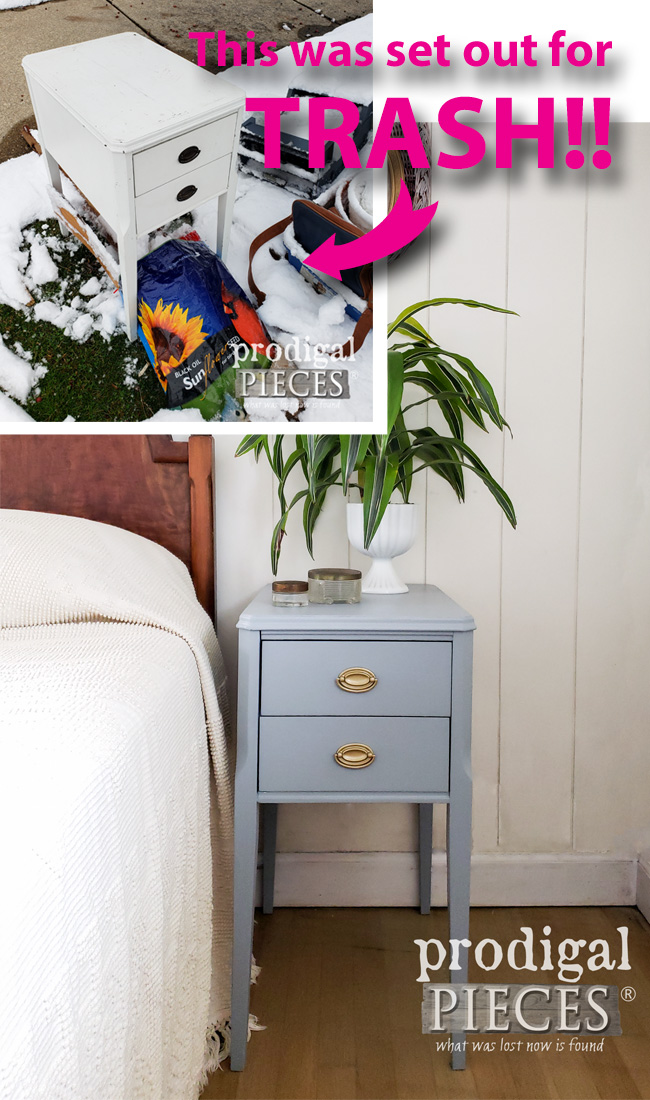
What could be more fun that sharing a furniture makeover with you? Adding some furniture-loving friends to join me in sharing with you. Yay! It’s Furniture Fixer Uppers day and we have much to share. For today, I’m eager to show you this vintage nightstand I found set out for city trash spring clean-up.
Did I jump out of my car and run to snag it? No. Actually, I drove right by and went about my shopping. {{gasp}} I am at the point that if it’s still there when on my way back I’ll grab it so good things will at least not go to the trash. I always have more than enough projects I can handle. Since it was still there and passed my inspection, I eagerly took this cutie home. To know more of what I look for in project piece to pass muster, sign up for my newsletter to get my FREE furniture buying guide.
THE REPRIEVAL
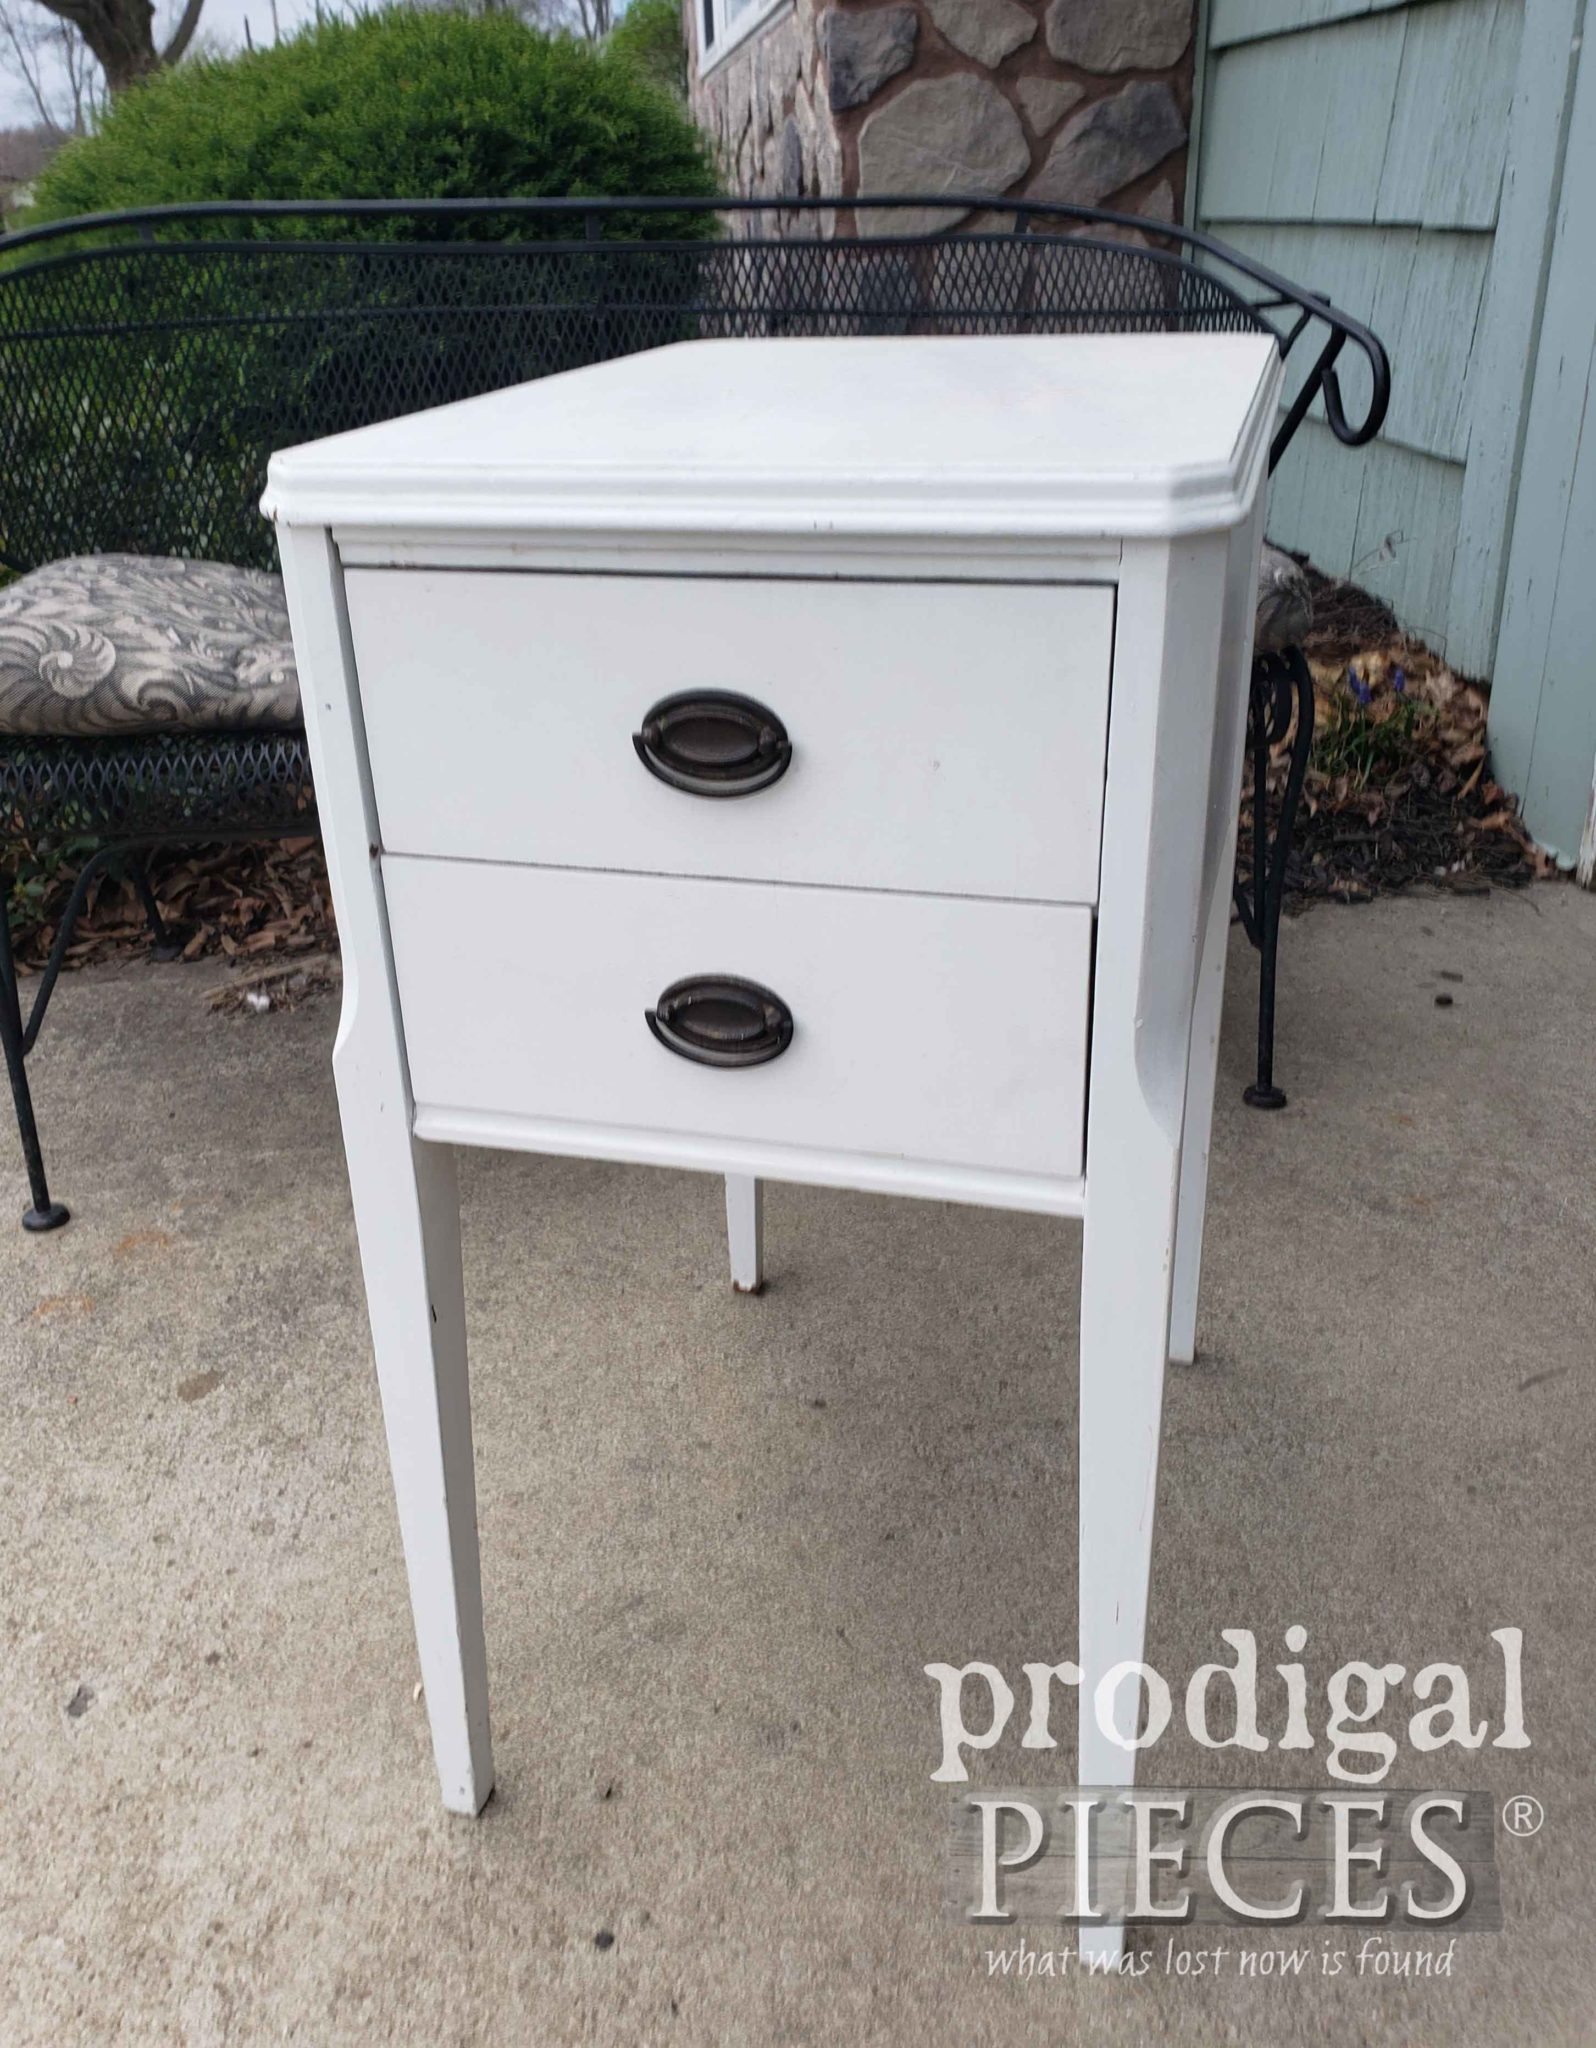
Here is this vintage nightstand at home, rescued from the mean old trash truck. tsk. While this isn’t a high-end piece, it’s still solid wood. Even if it wasn’t I could still salvage the legs and even the hardware for future fun.
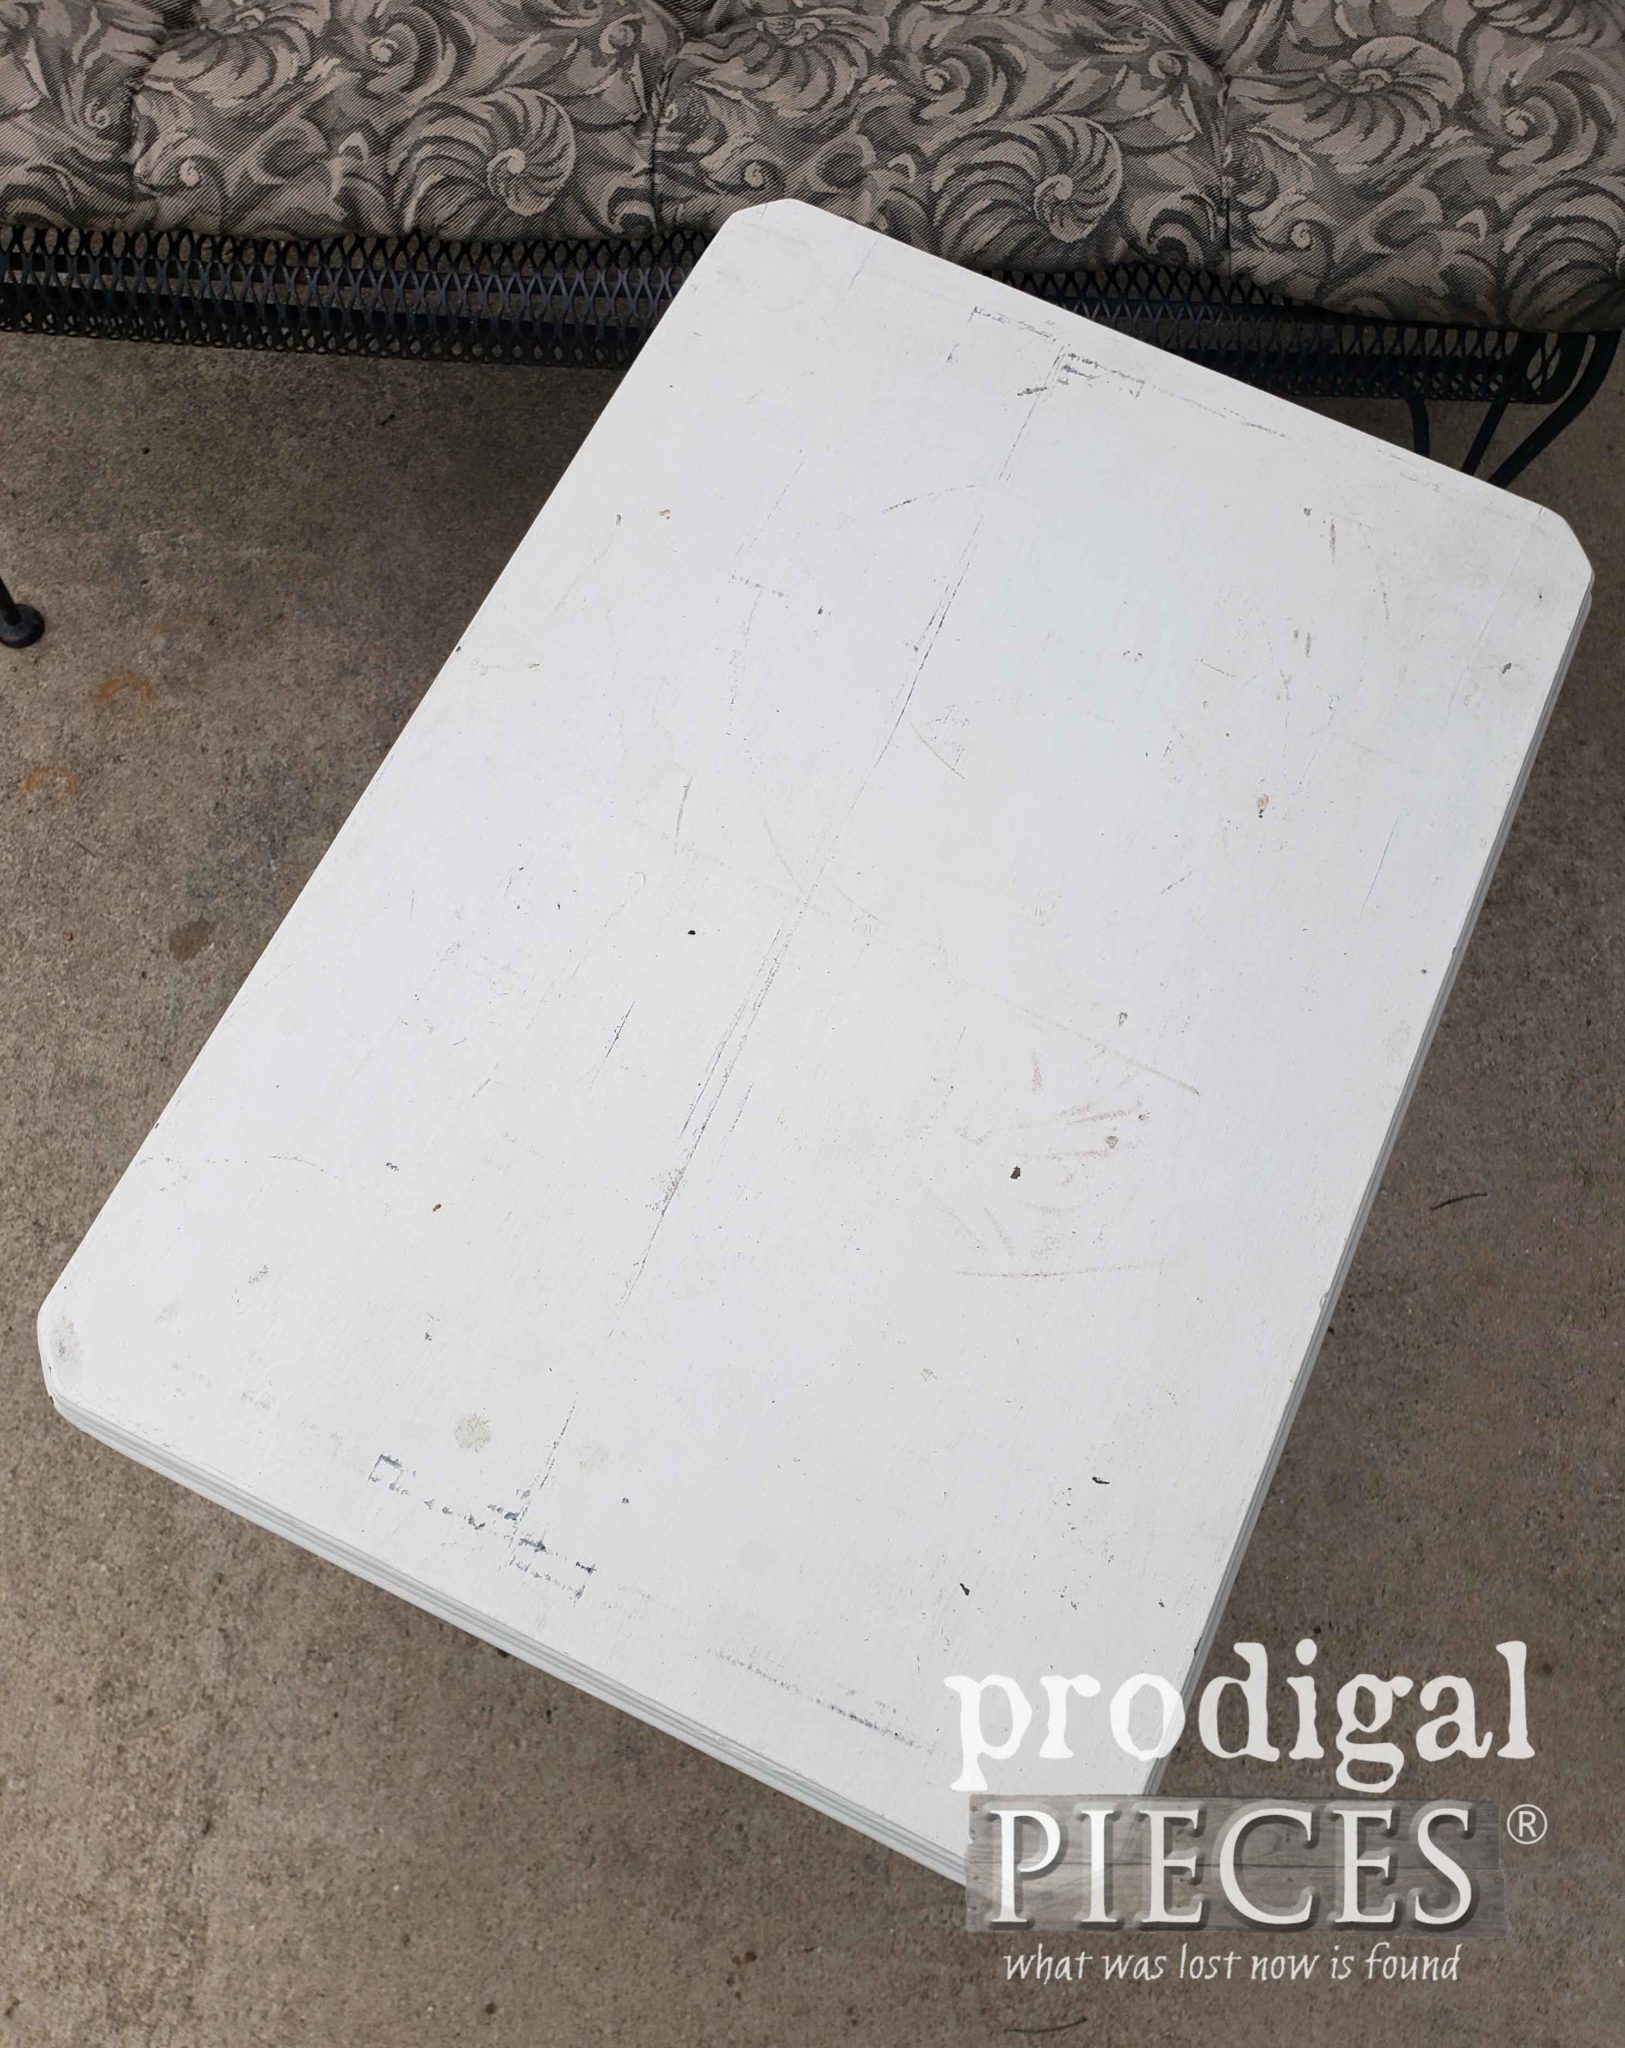
Thankfully, however, it was solid enough to save and even could be used as-is with the wear and tear. The top had many dents and dings, but those are fixable. And, while normally I have decided against fussing with previously painted piece (long story), this one was small enough it shouldn’t be an issue.
My goal in today’s project is to show you how you can update a previously painted piece and give it an updated look (so that you won’t set it out for trash…haha).
DIY TIME
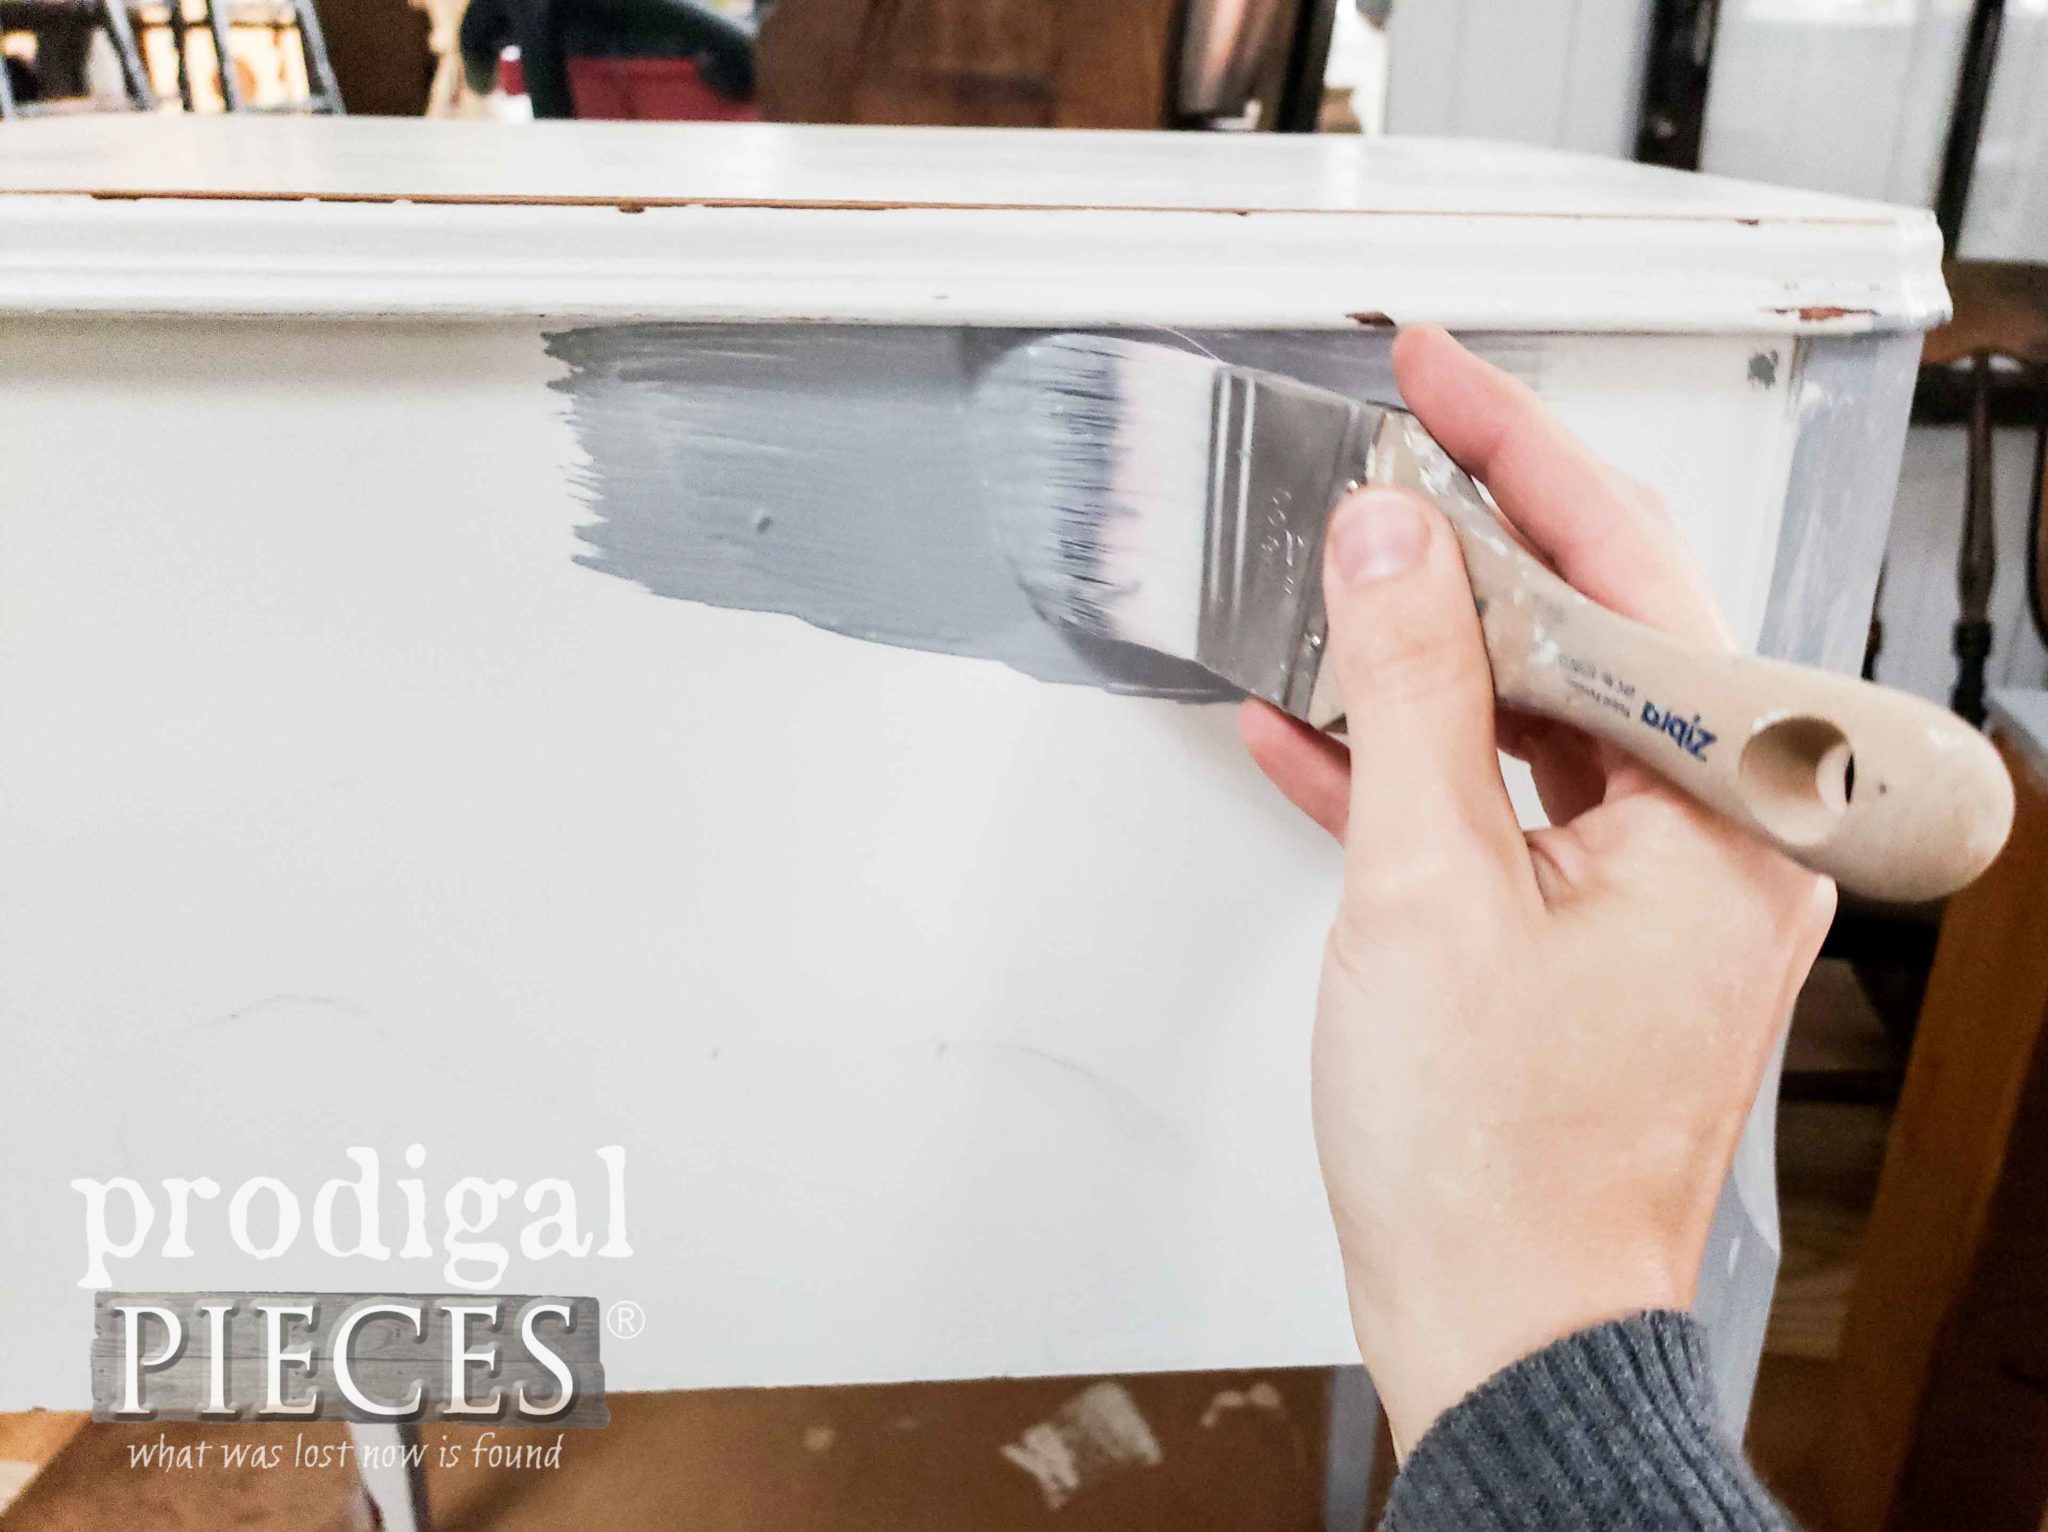
First, I made all the necessary repairs – filled holes with wood filler, tightened up joints, and cleaned like crazy. Then, once everything was evened out with a light sanding with my sander, I give it a fresh coat of paint.
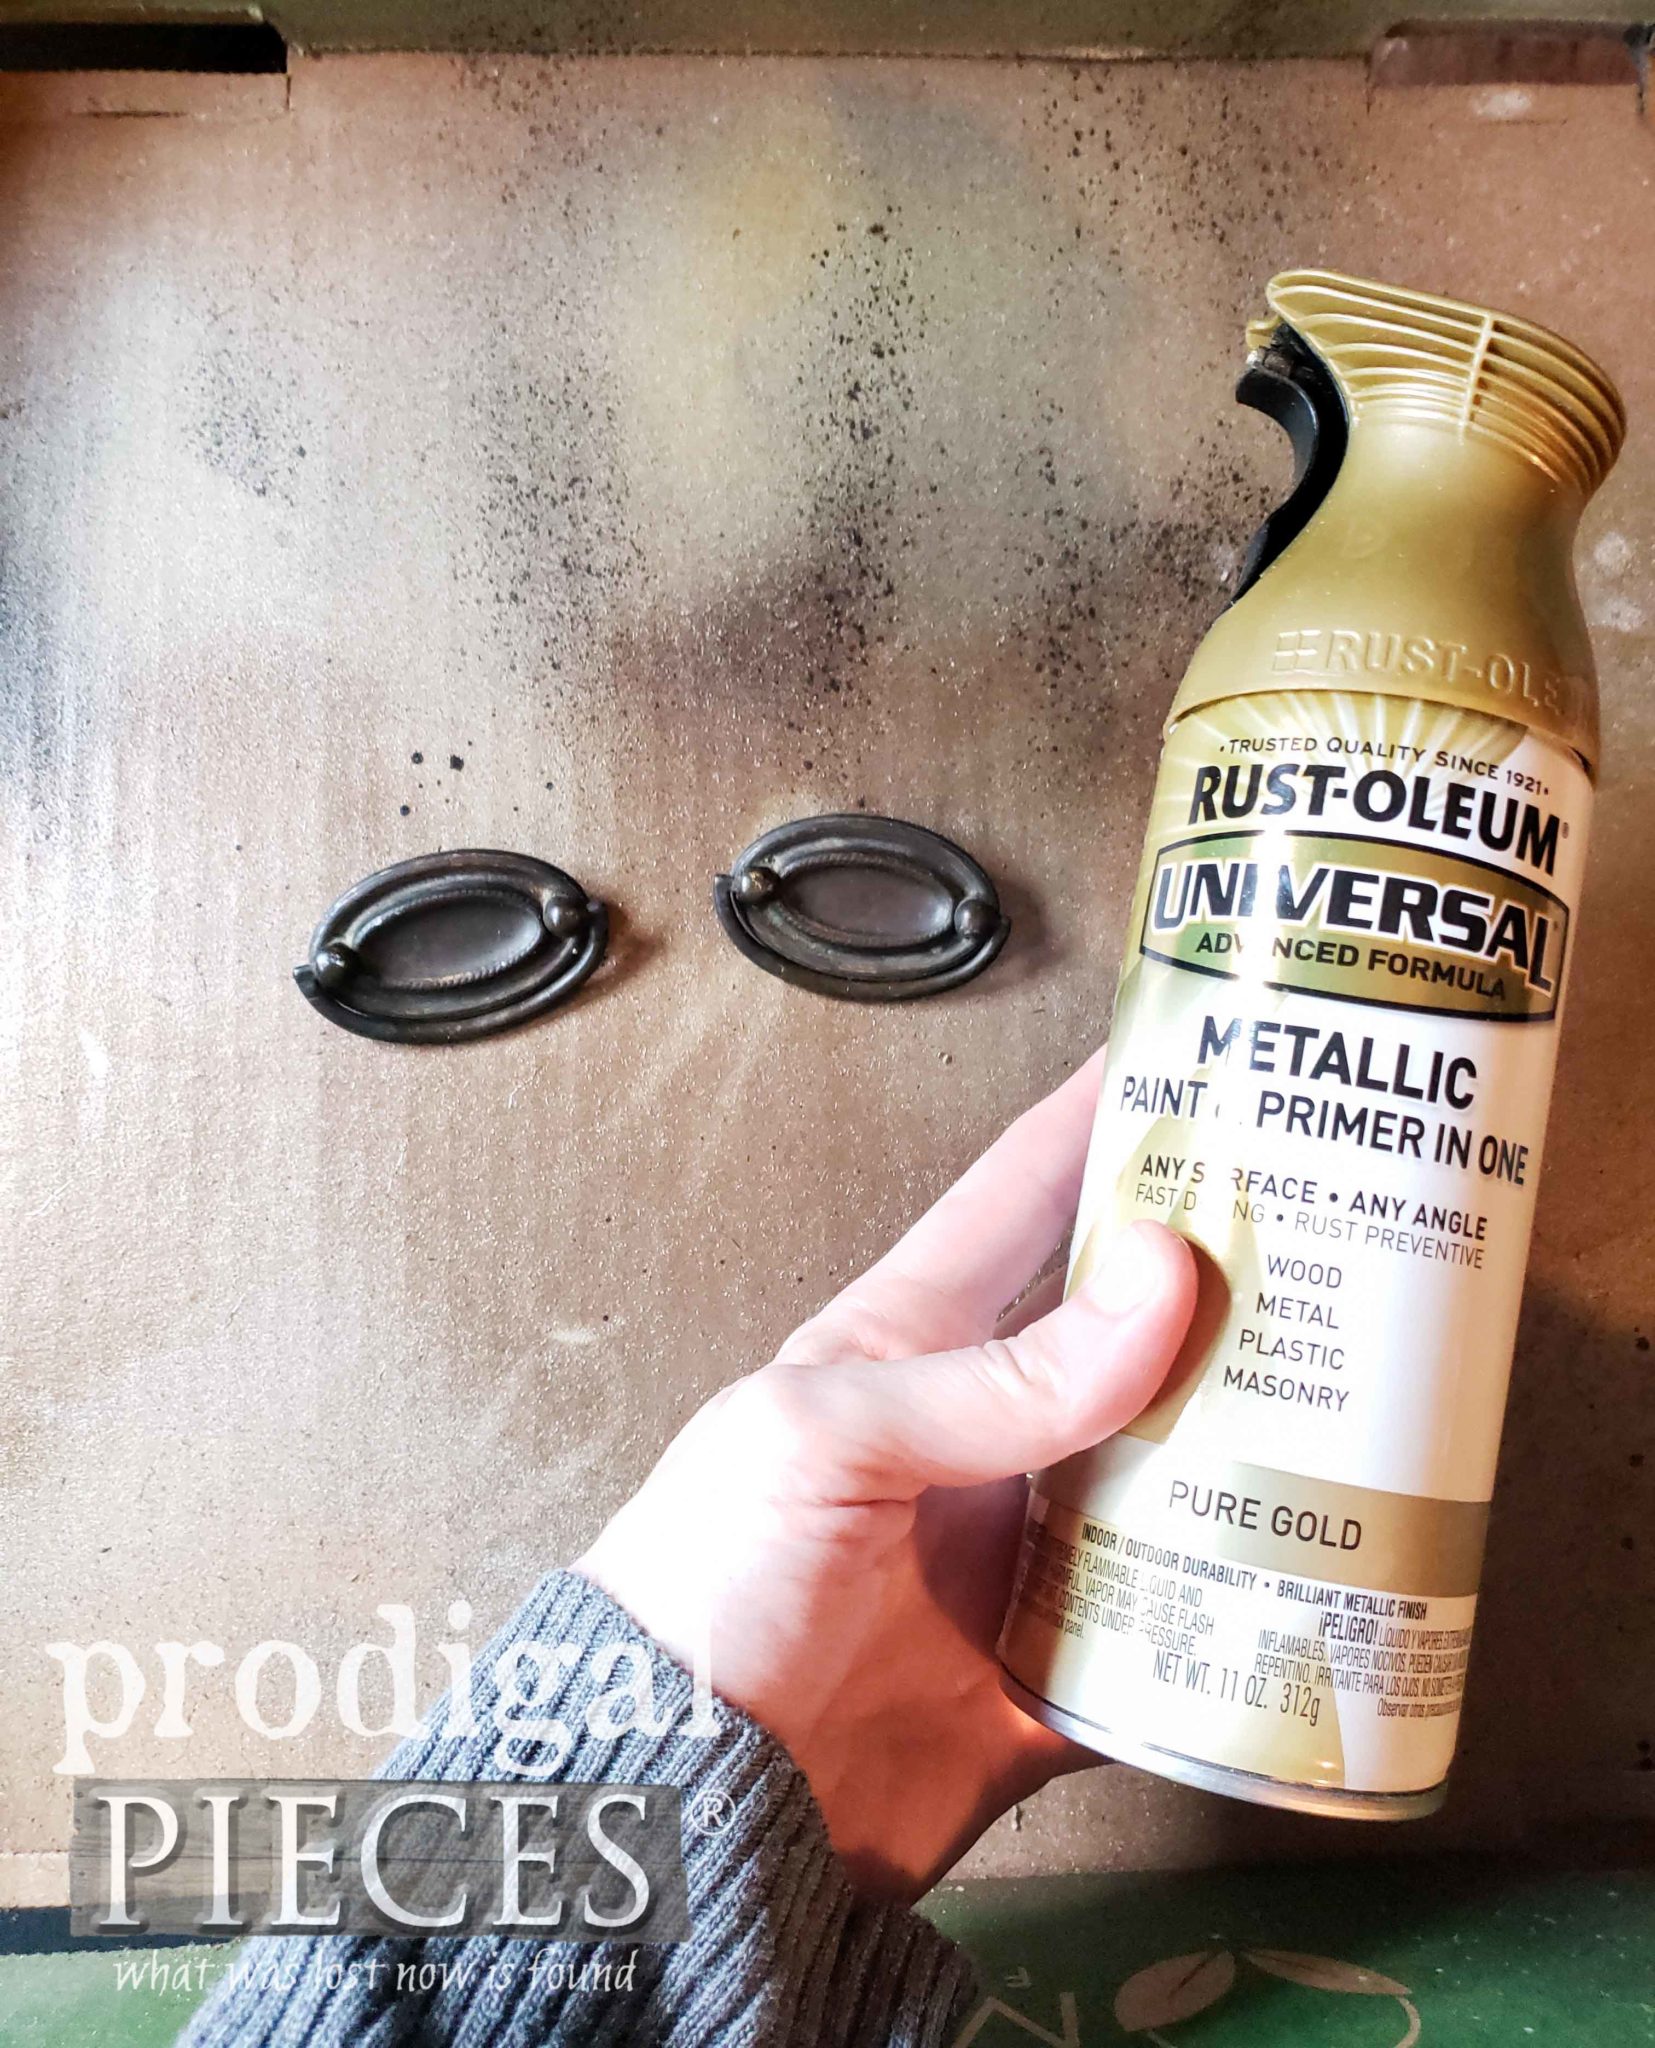
Next, while the paint cures, I set about to update the hardware. Unfortunately, I had hoped the pulls were brass, but they were just a steel make.
TIP: to test for brass, use a magnet. If not magnetic, real brass. This also works on silver and copper-look items. I carry a magnet with me at all times for this reason. A girl’s gotta be ready!
Time to break out my gold spray paint and give them some spunk.
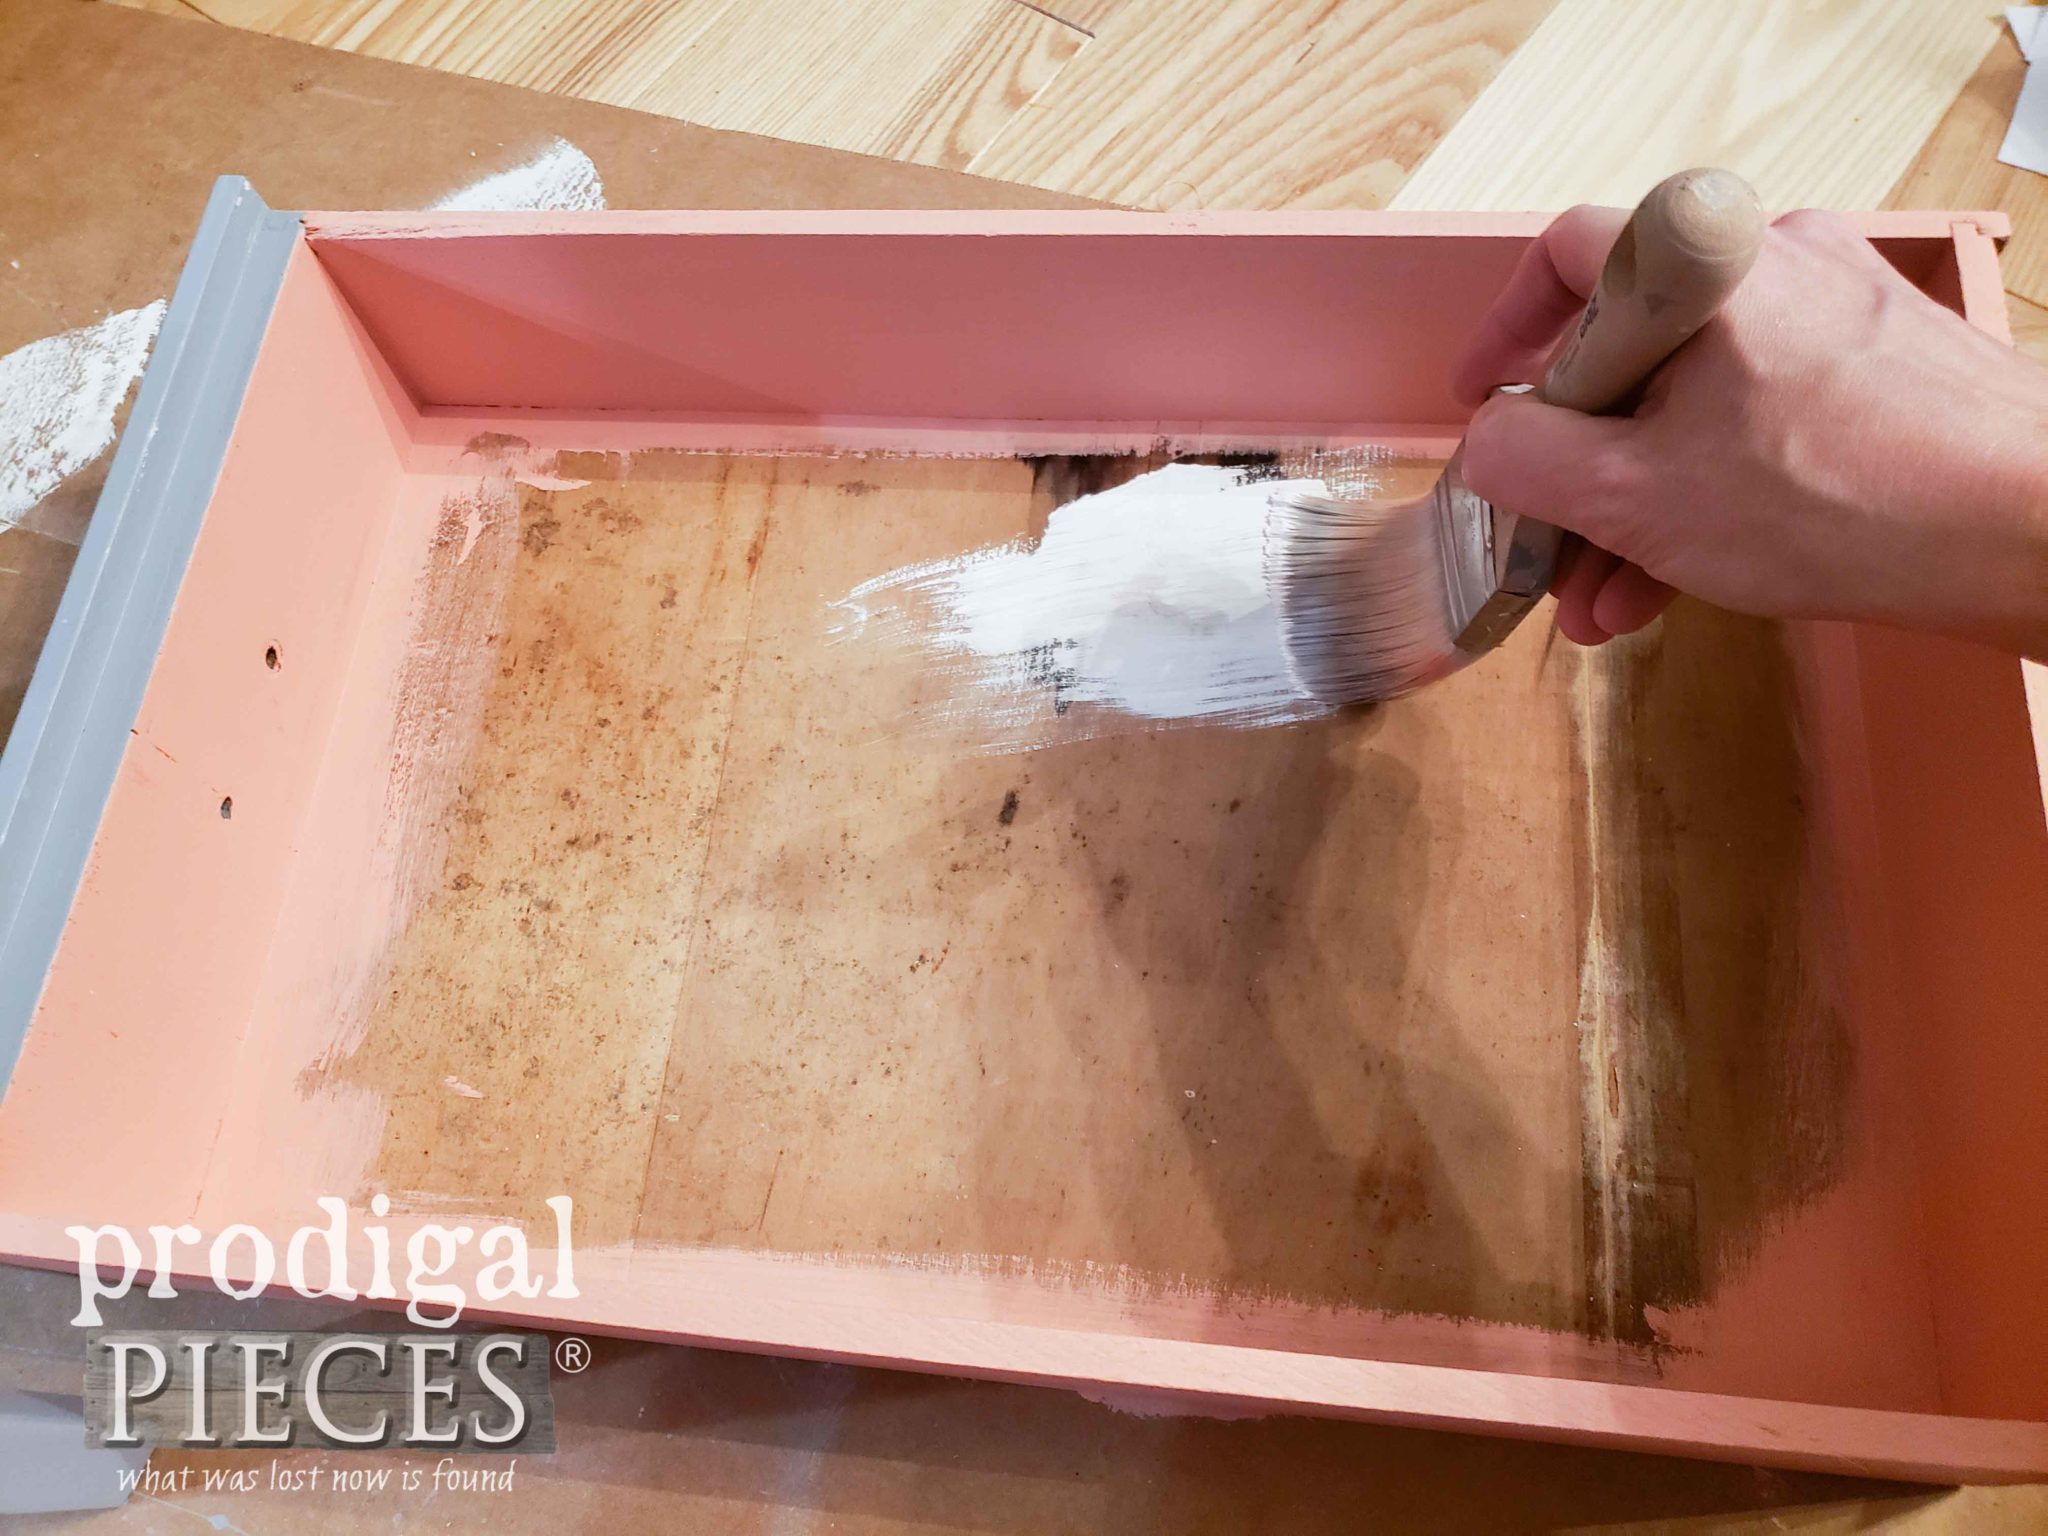
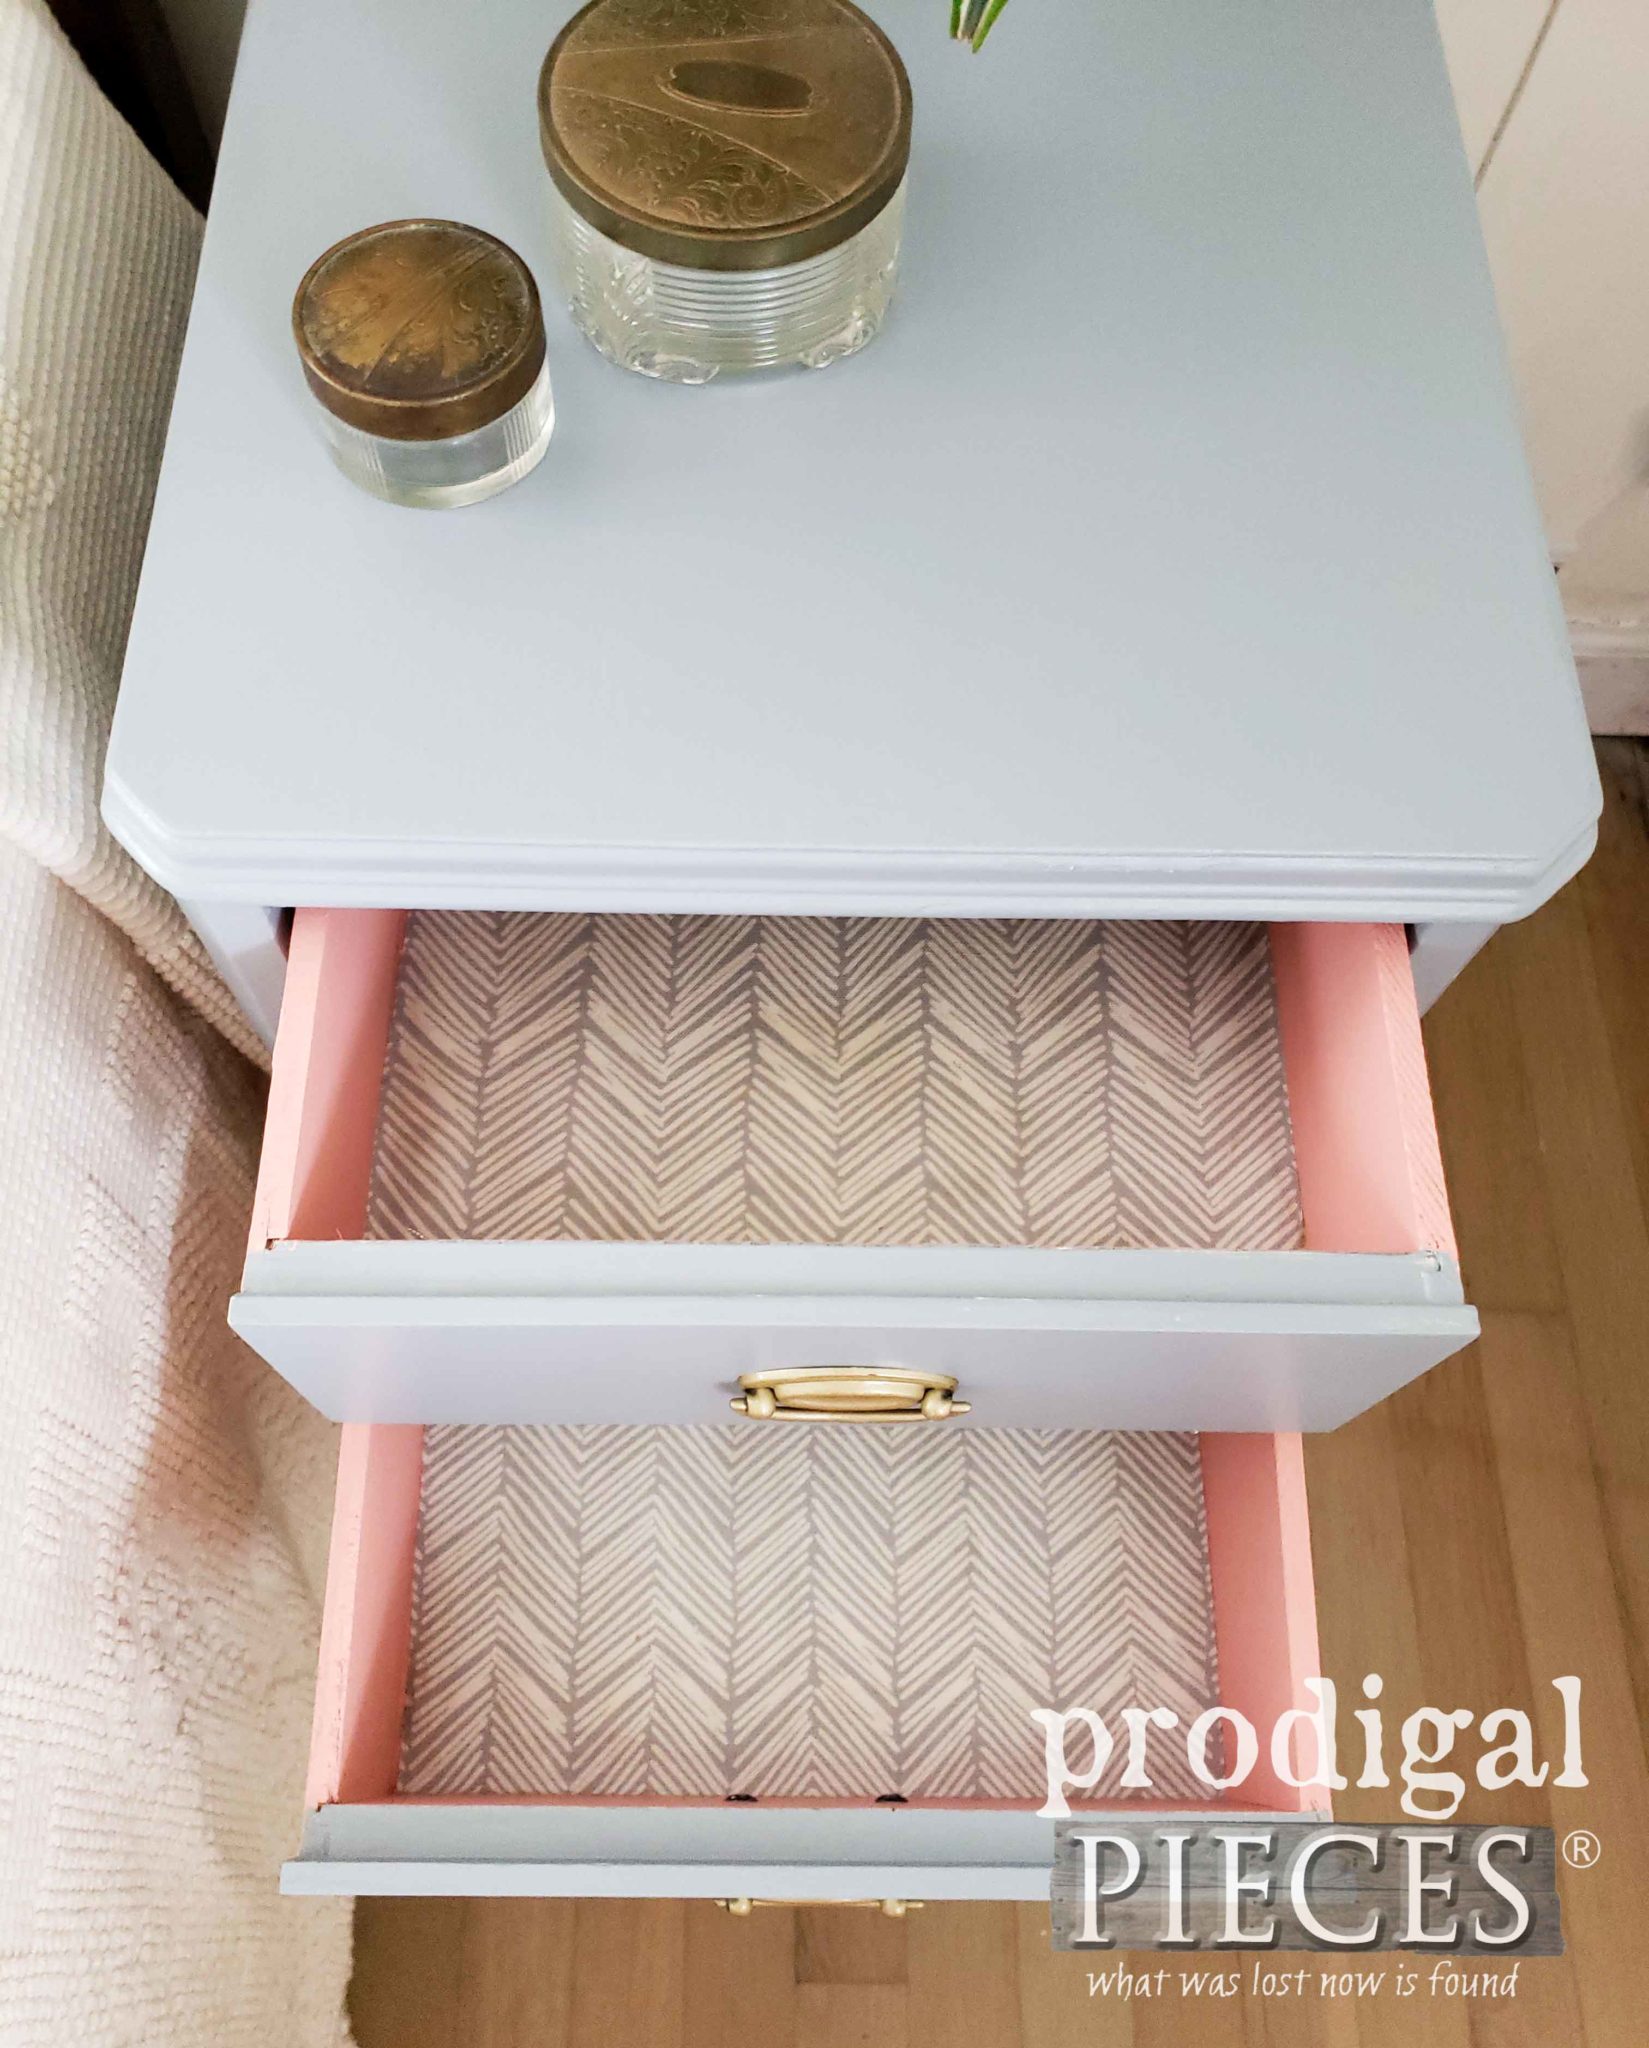
Then, the drawers got much needed lovin’. They aren’t dove-tailed, but still solid wood and plenty of life left. The only problem is that they are dingy and stained. If you have drawers that need some TLC, paint and paper (or fabric lining) are a easy and affordable solution to update.
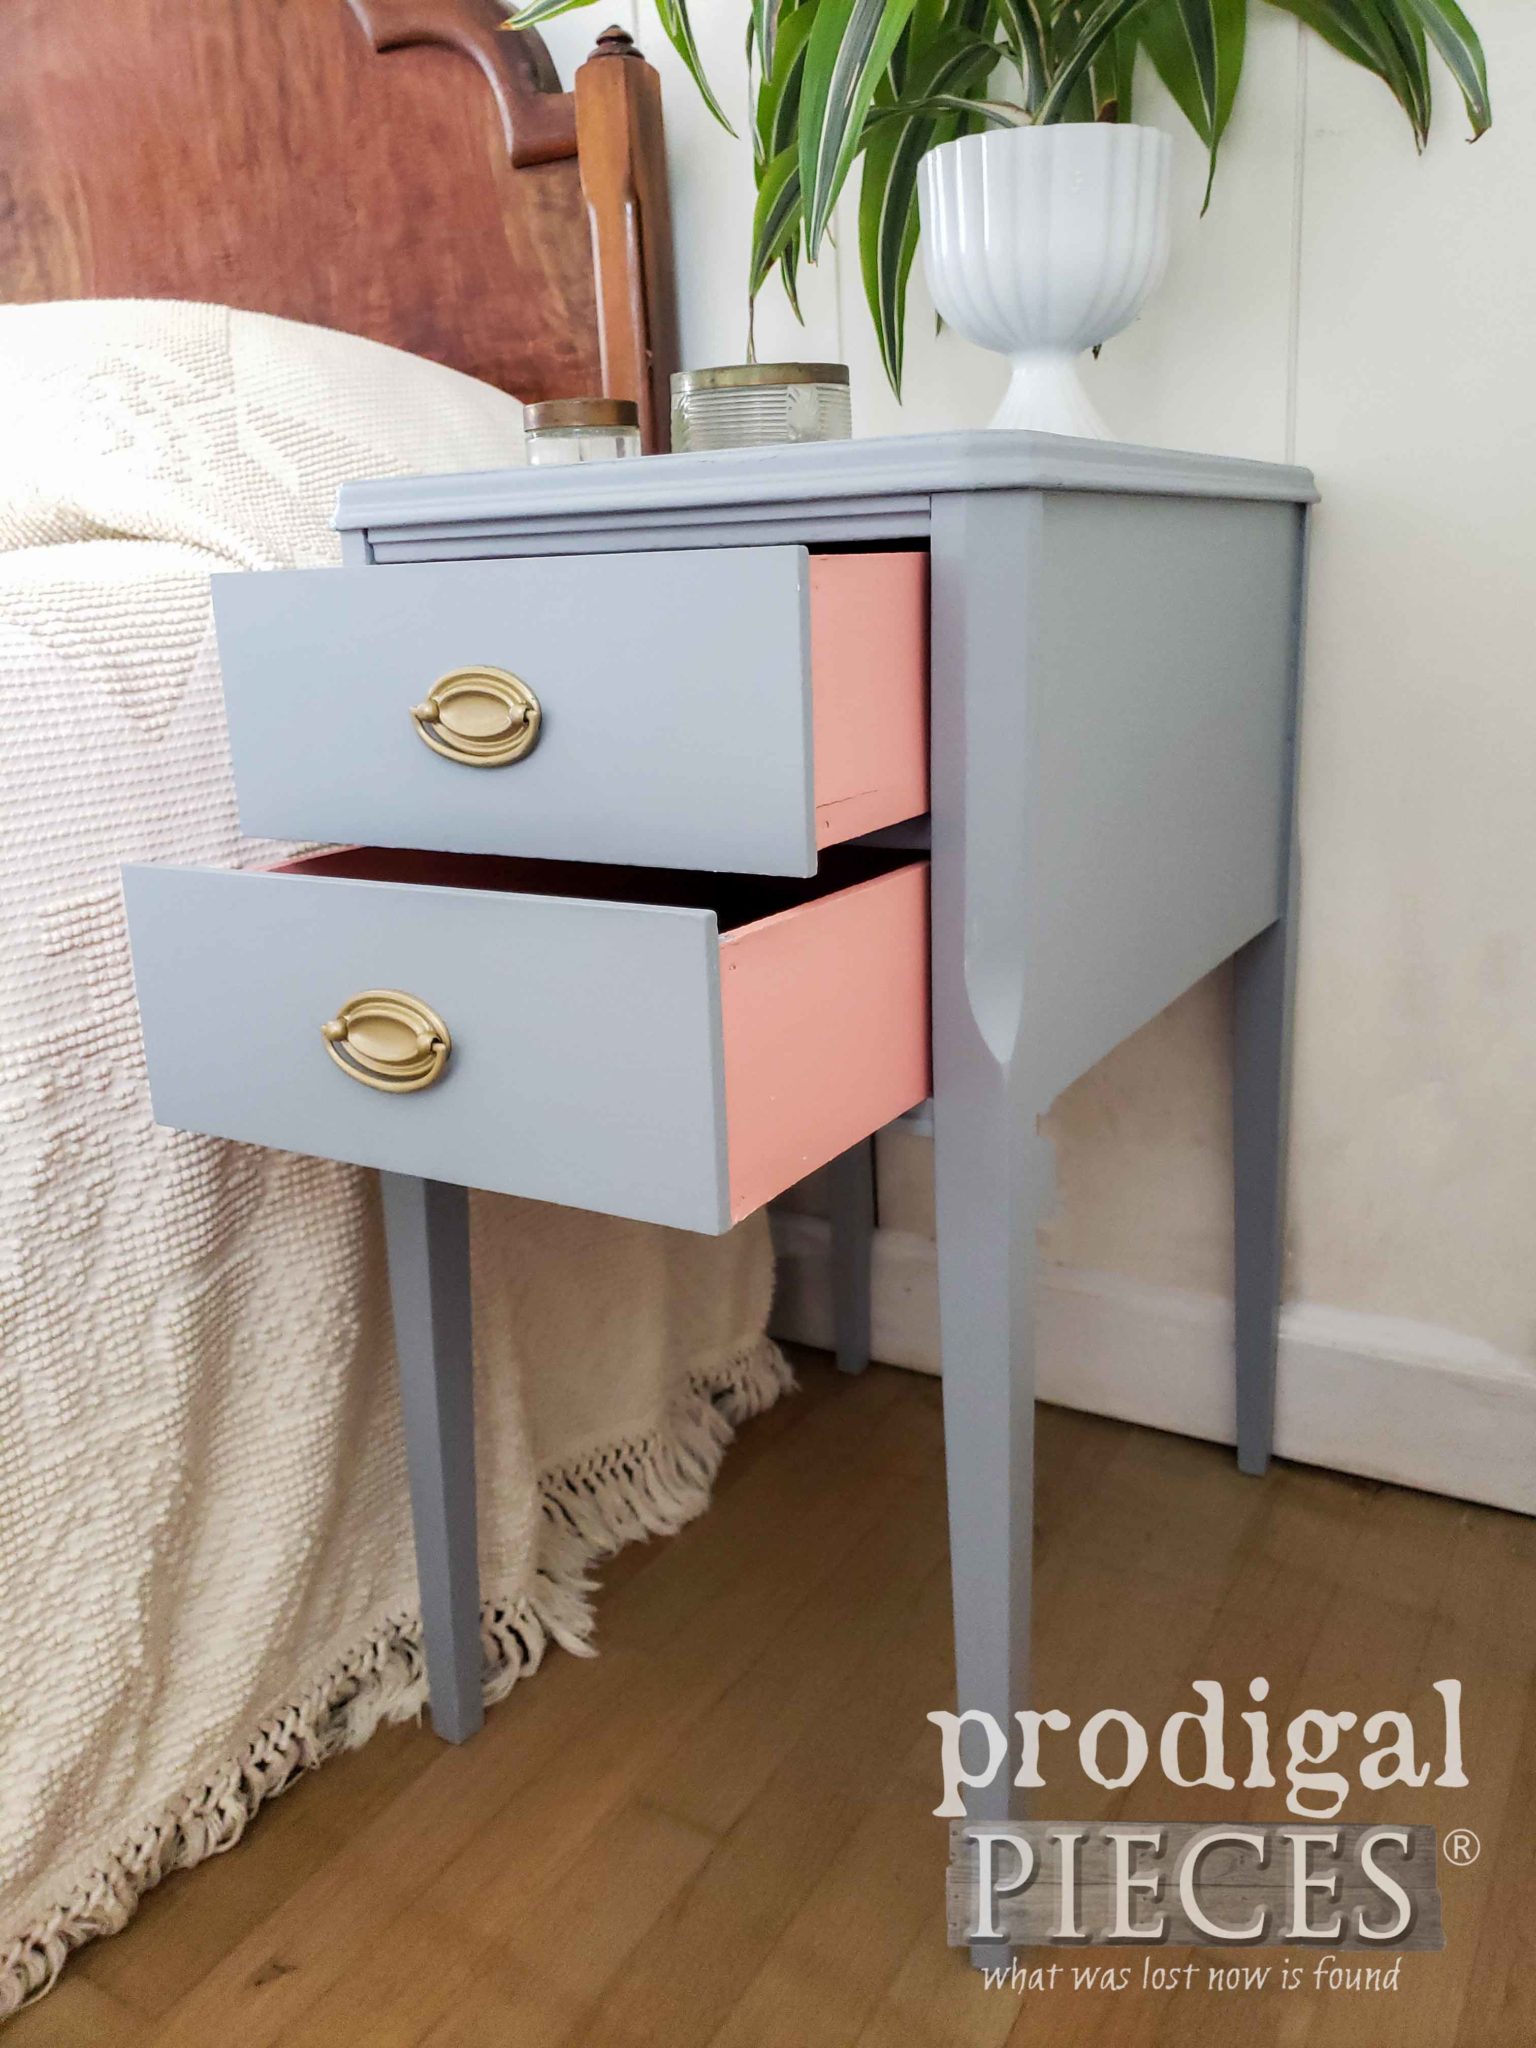
For this vintage nightstand, I chose to use a custom mixed blush pink to paint the drawer sides. Since the interior of my drawers had stains I was concerned about bleed-through. Another easy fix with Kilz, a stain-blocking primer.
ALMOST DONE
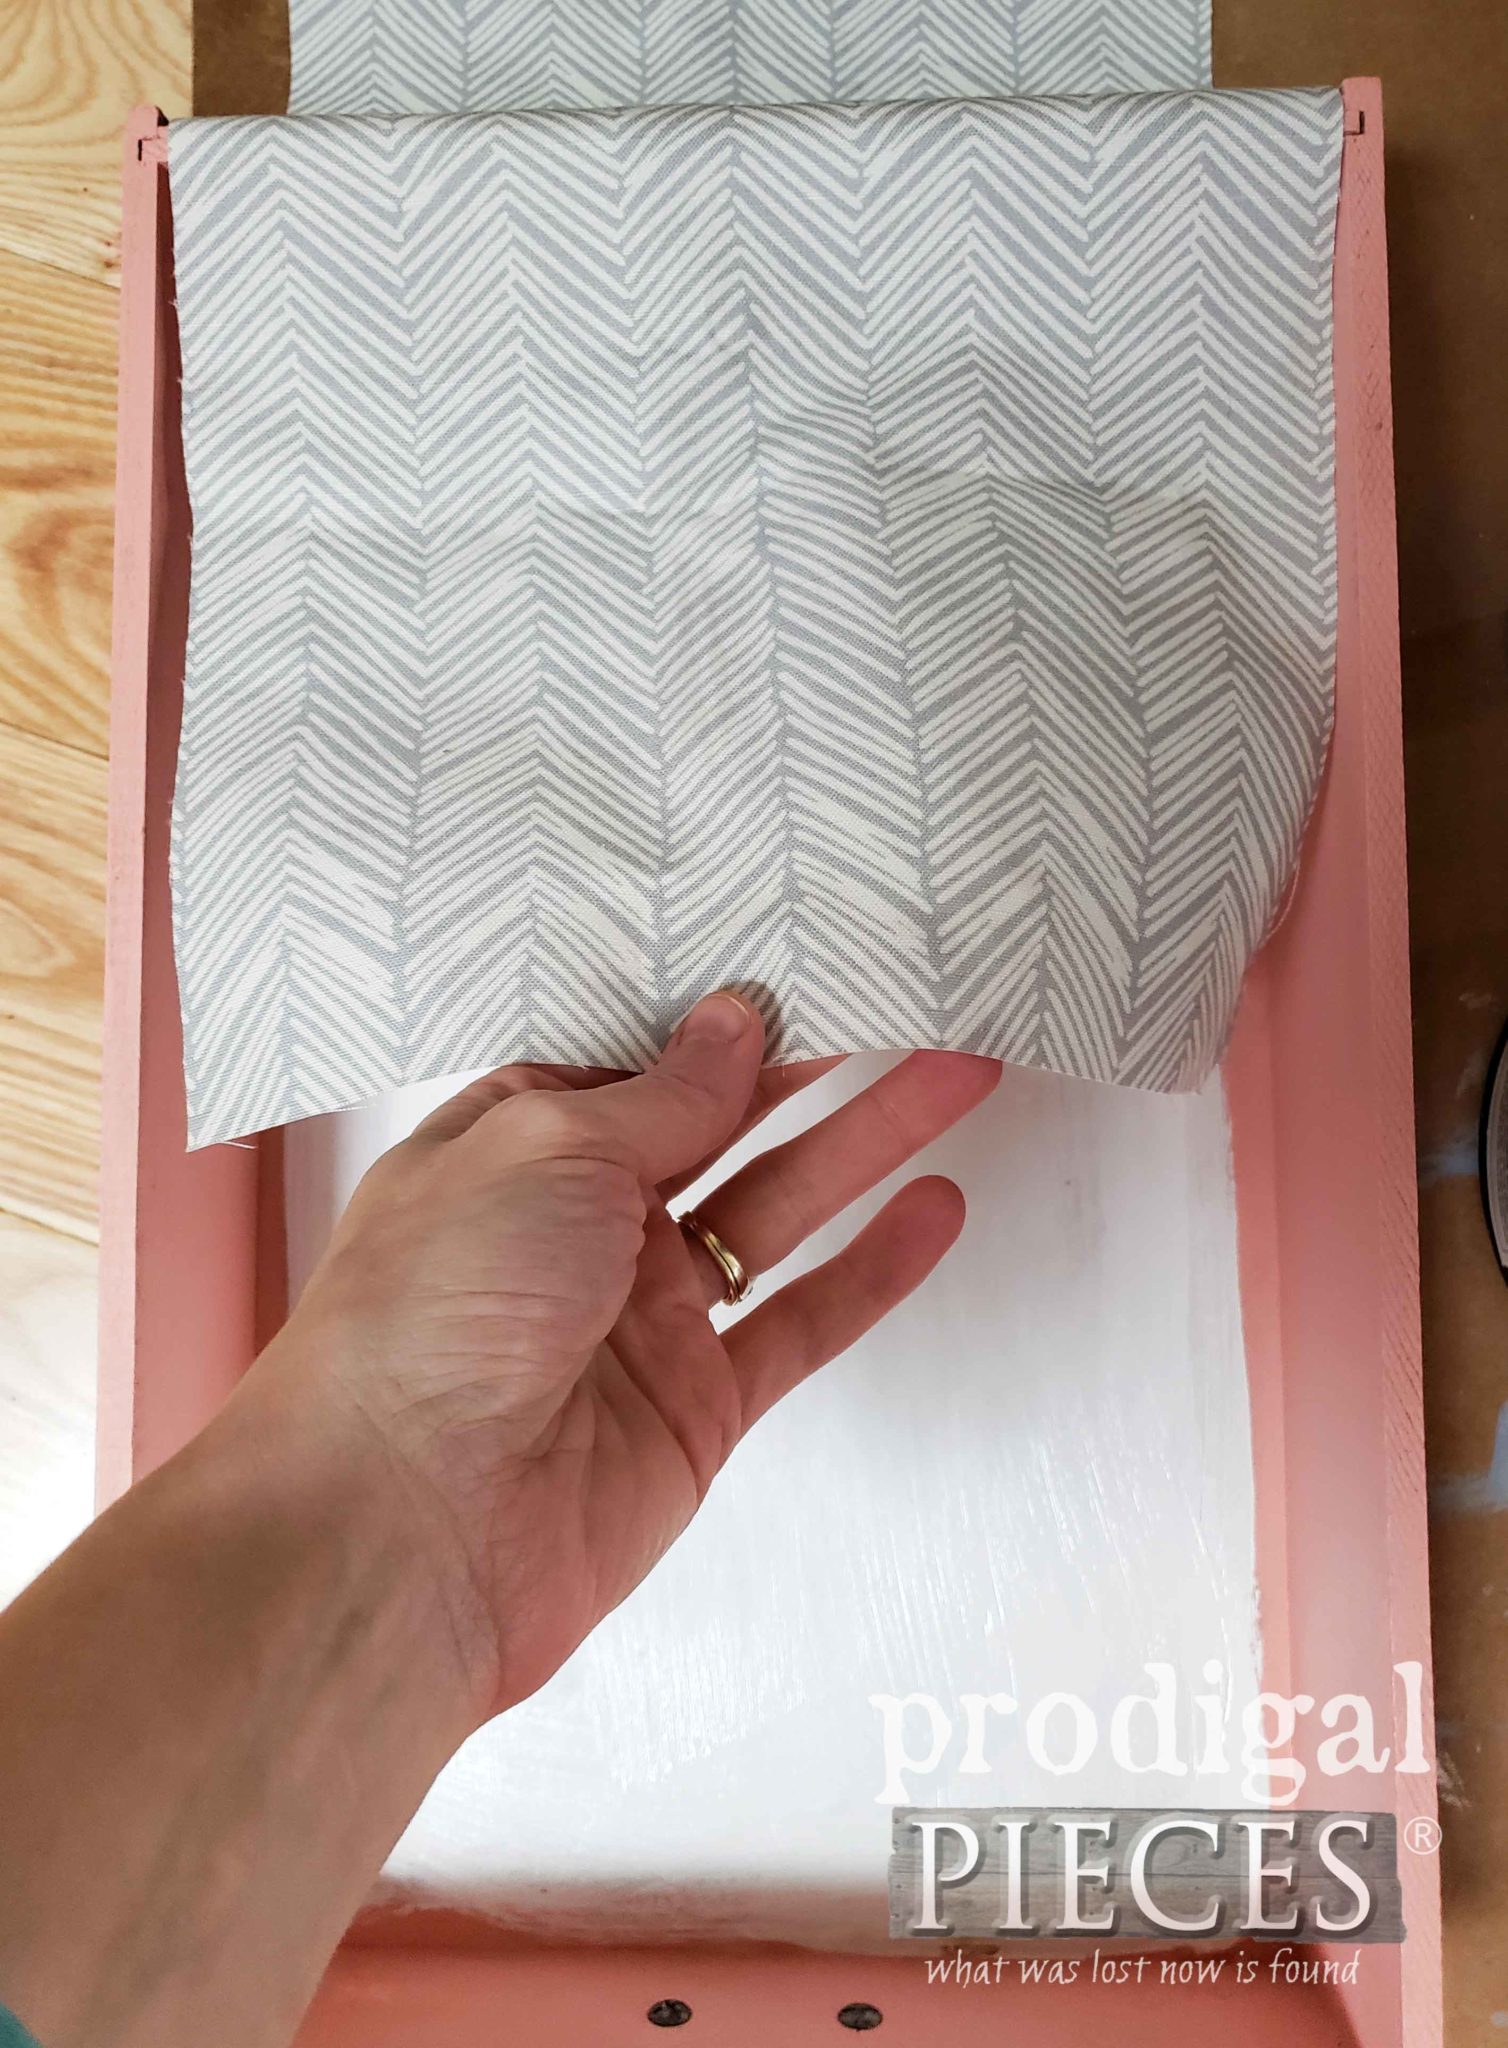
Last, I used this same modern upholstery canvas I used on this vintage Mid Century Modern dining table set made of laminate (YES, you can paint laminate!). This nightstand is from the same era and this modern update will suit it well. My preference is to use a rotary cutter and mat for clean edges, and wallpaper paste to adhere. You can also use a homemade decoupage paste with thinned school glue, but this paste is a bit stronger.
Just brush in an even coat of paste, place in fabric, and smooth out any air bubbles. Easy!
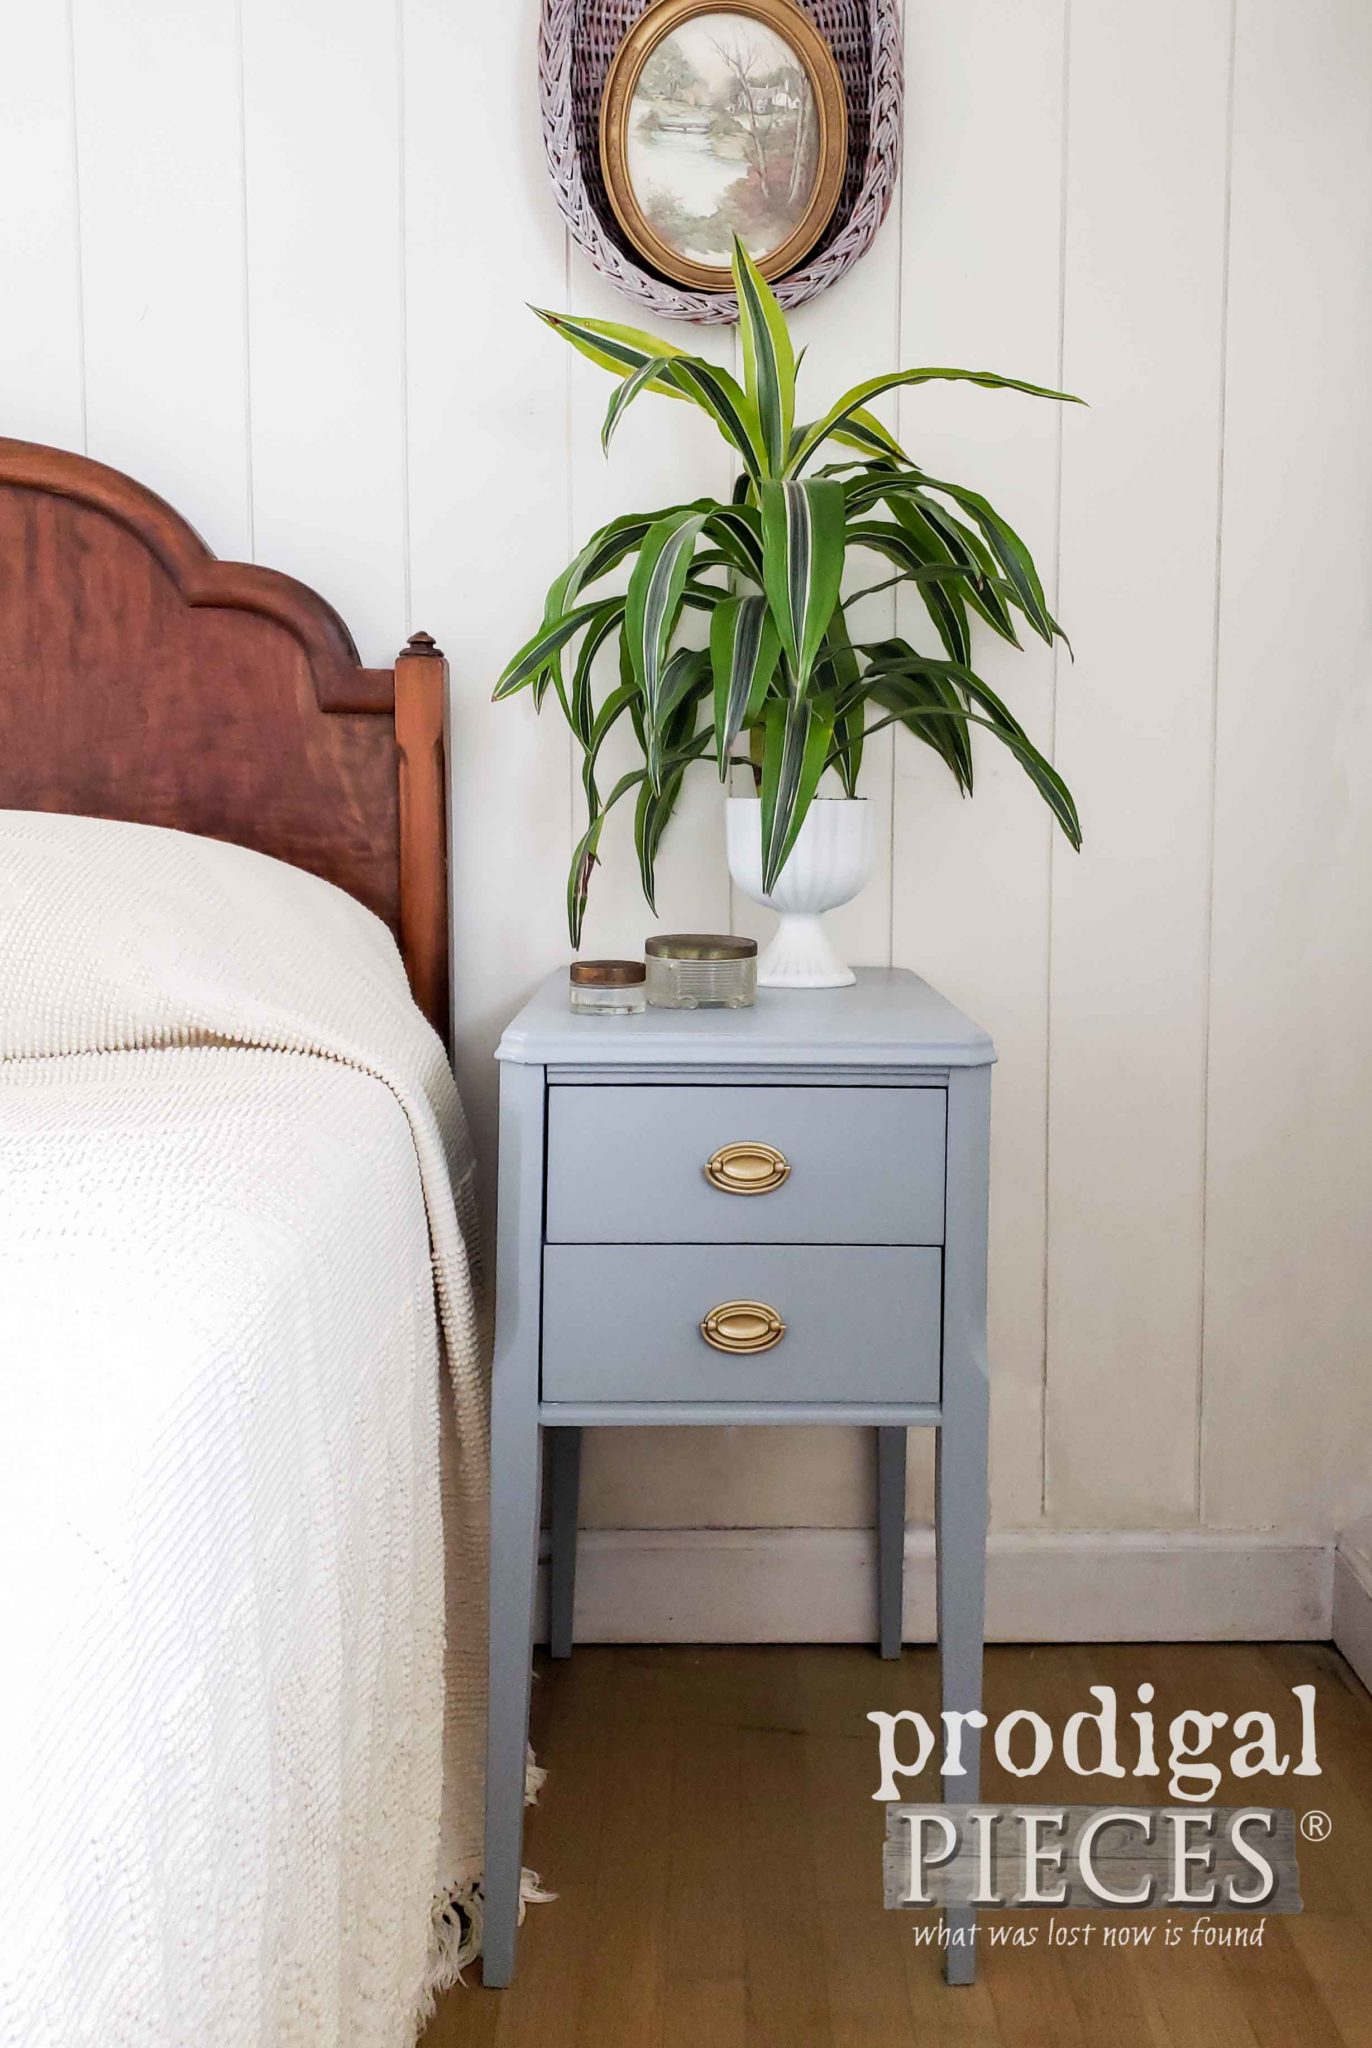
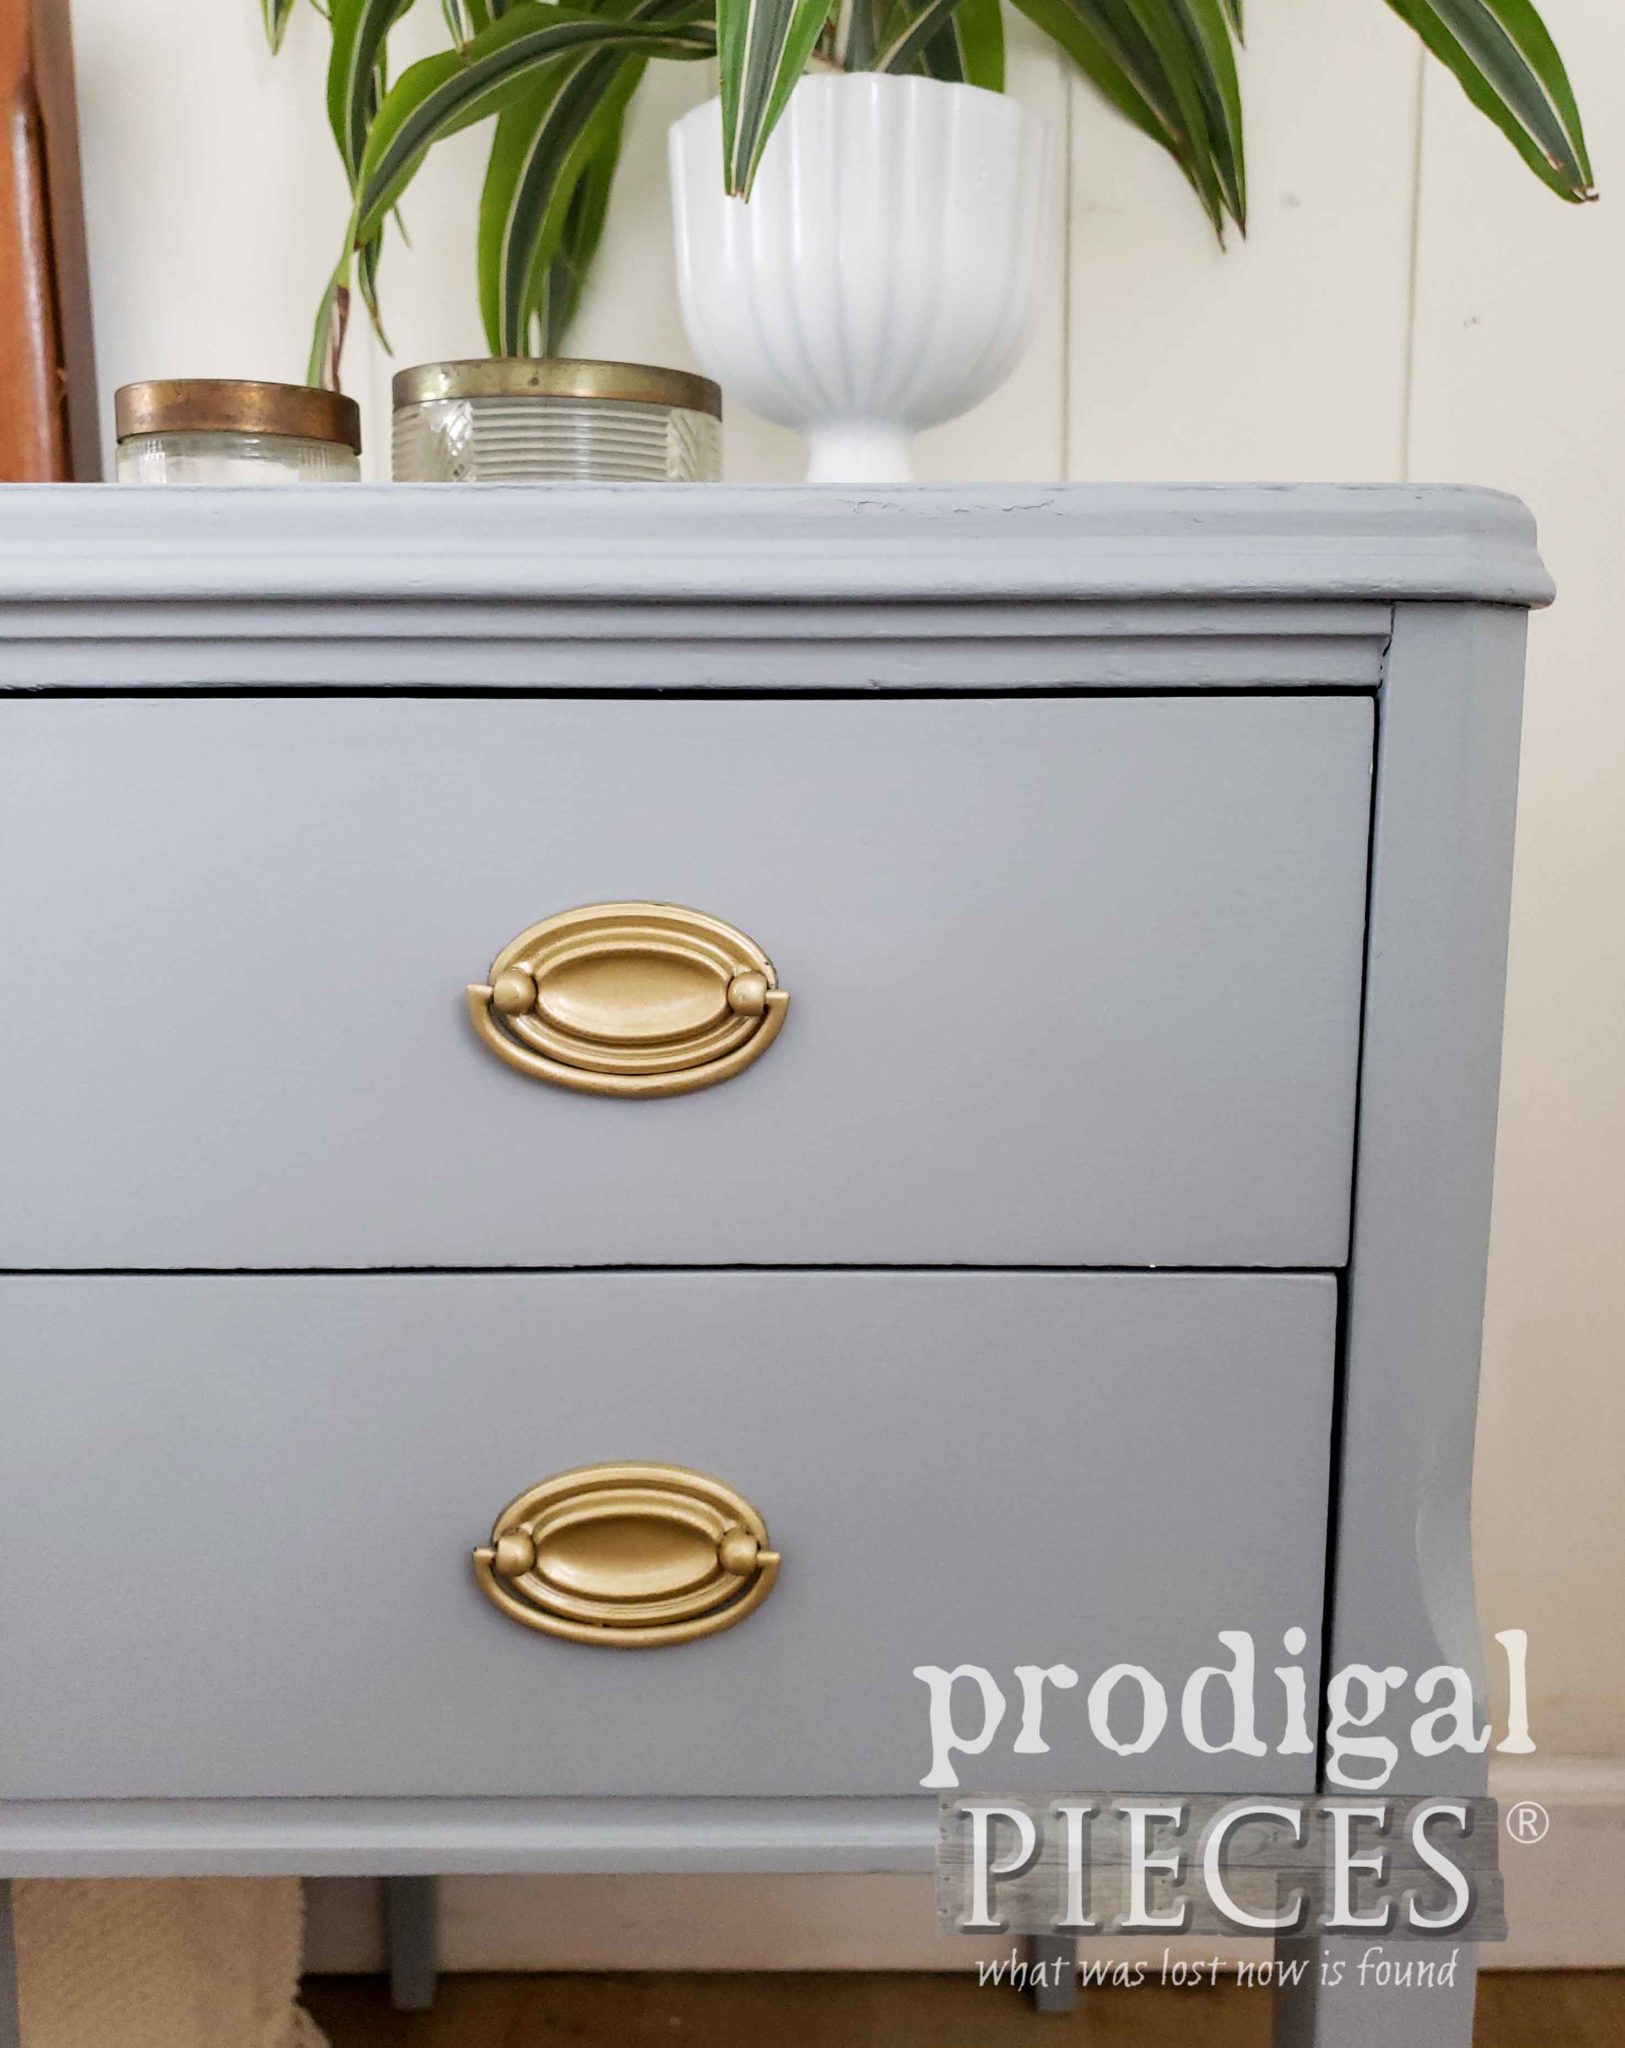
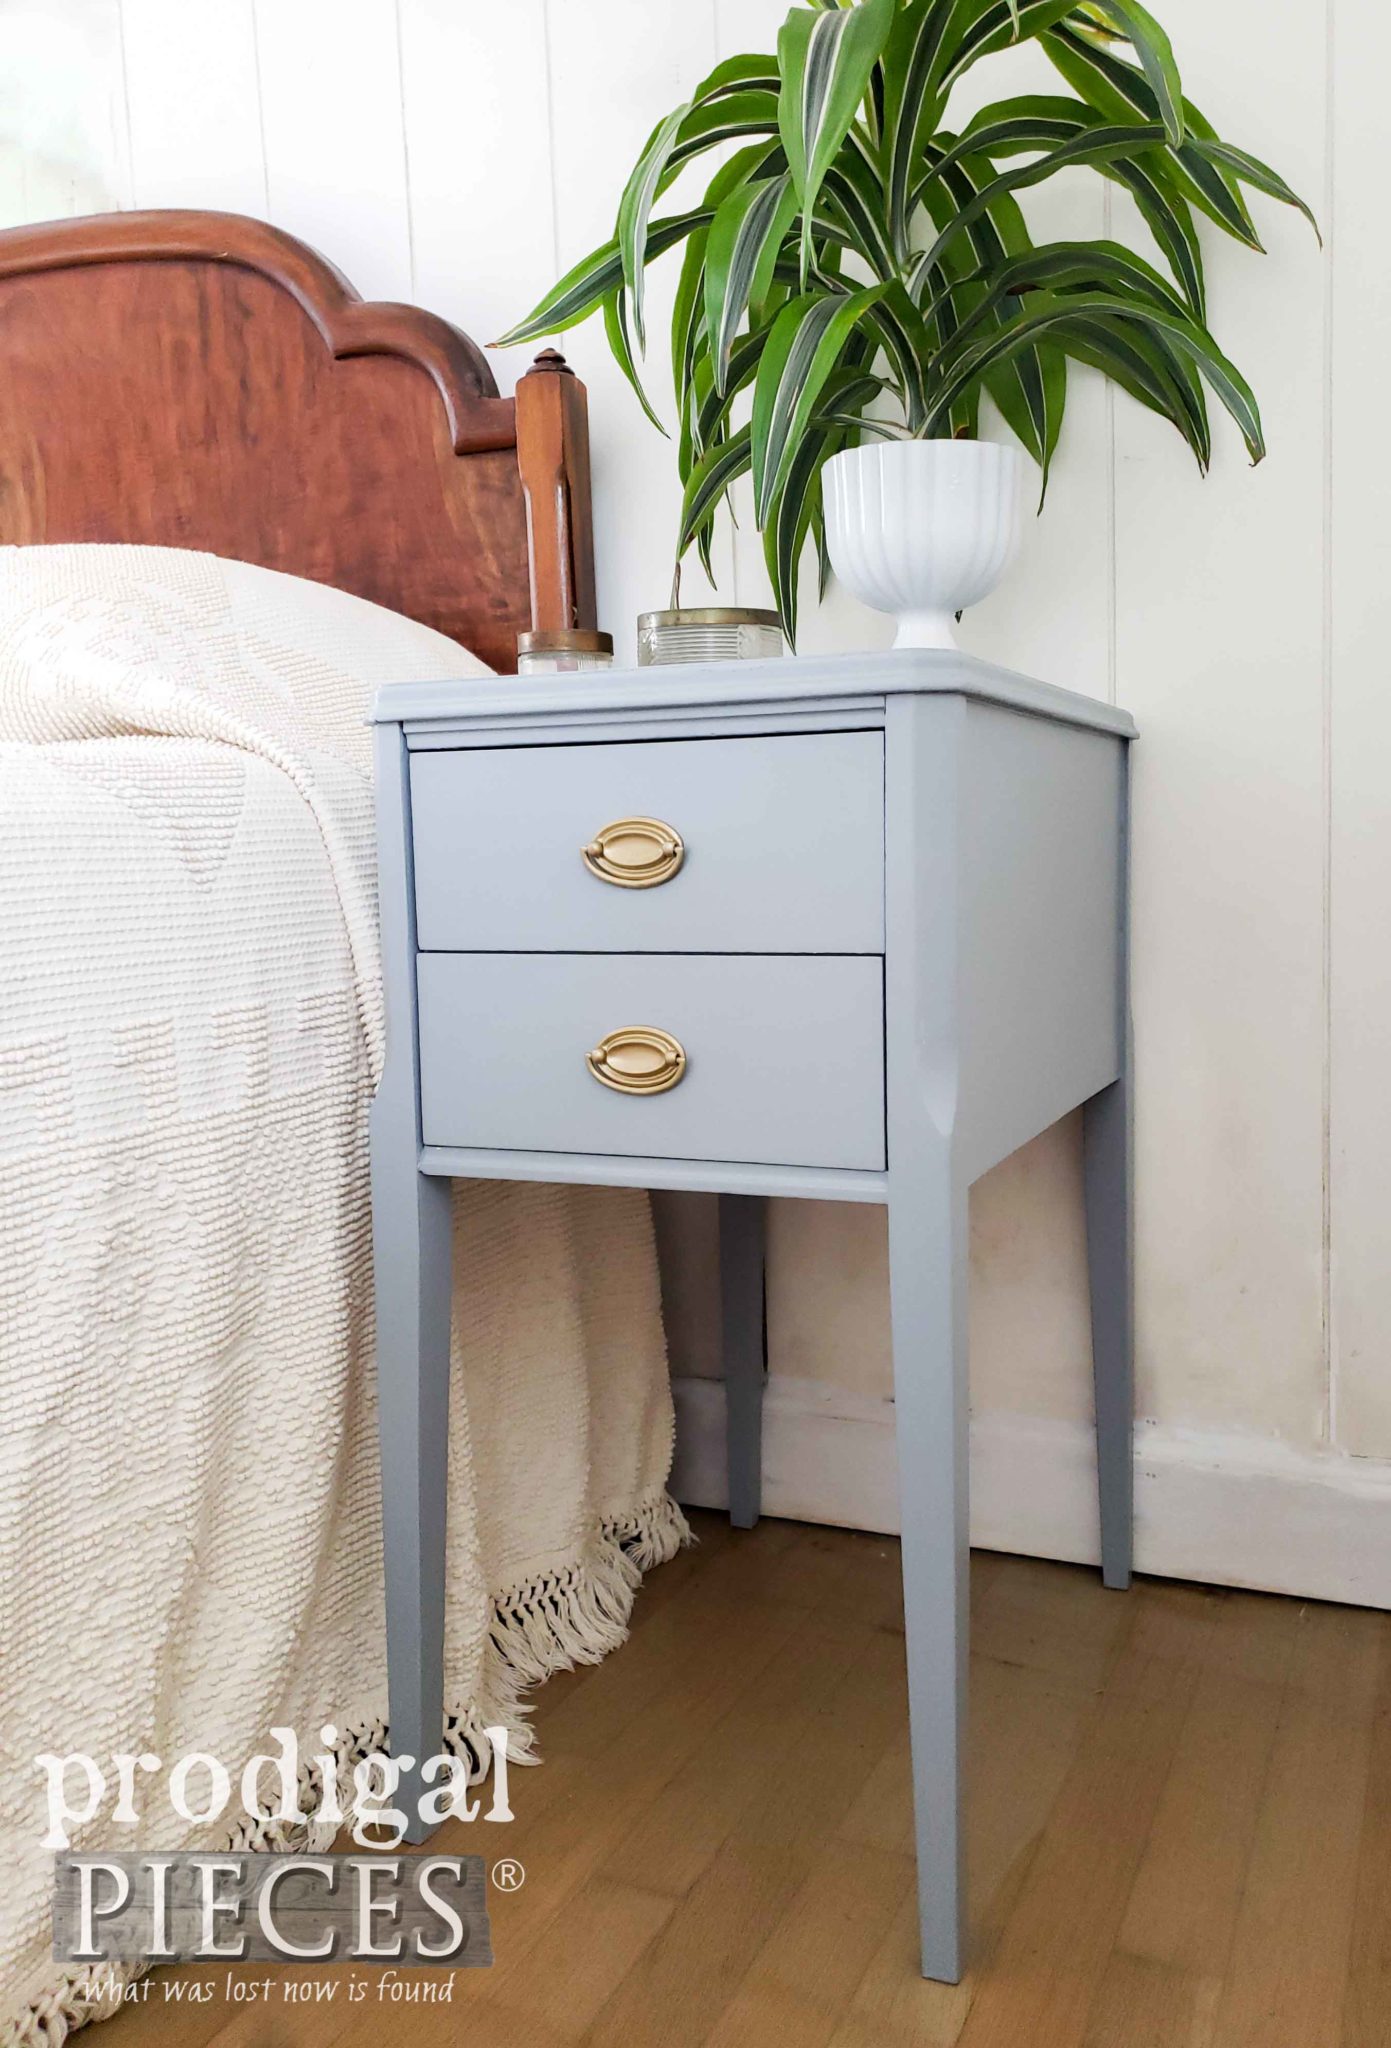
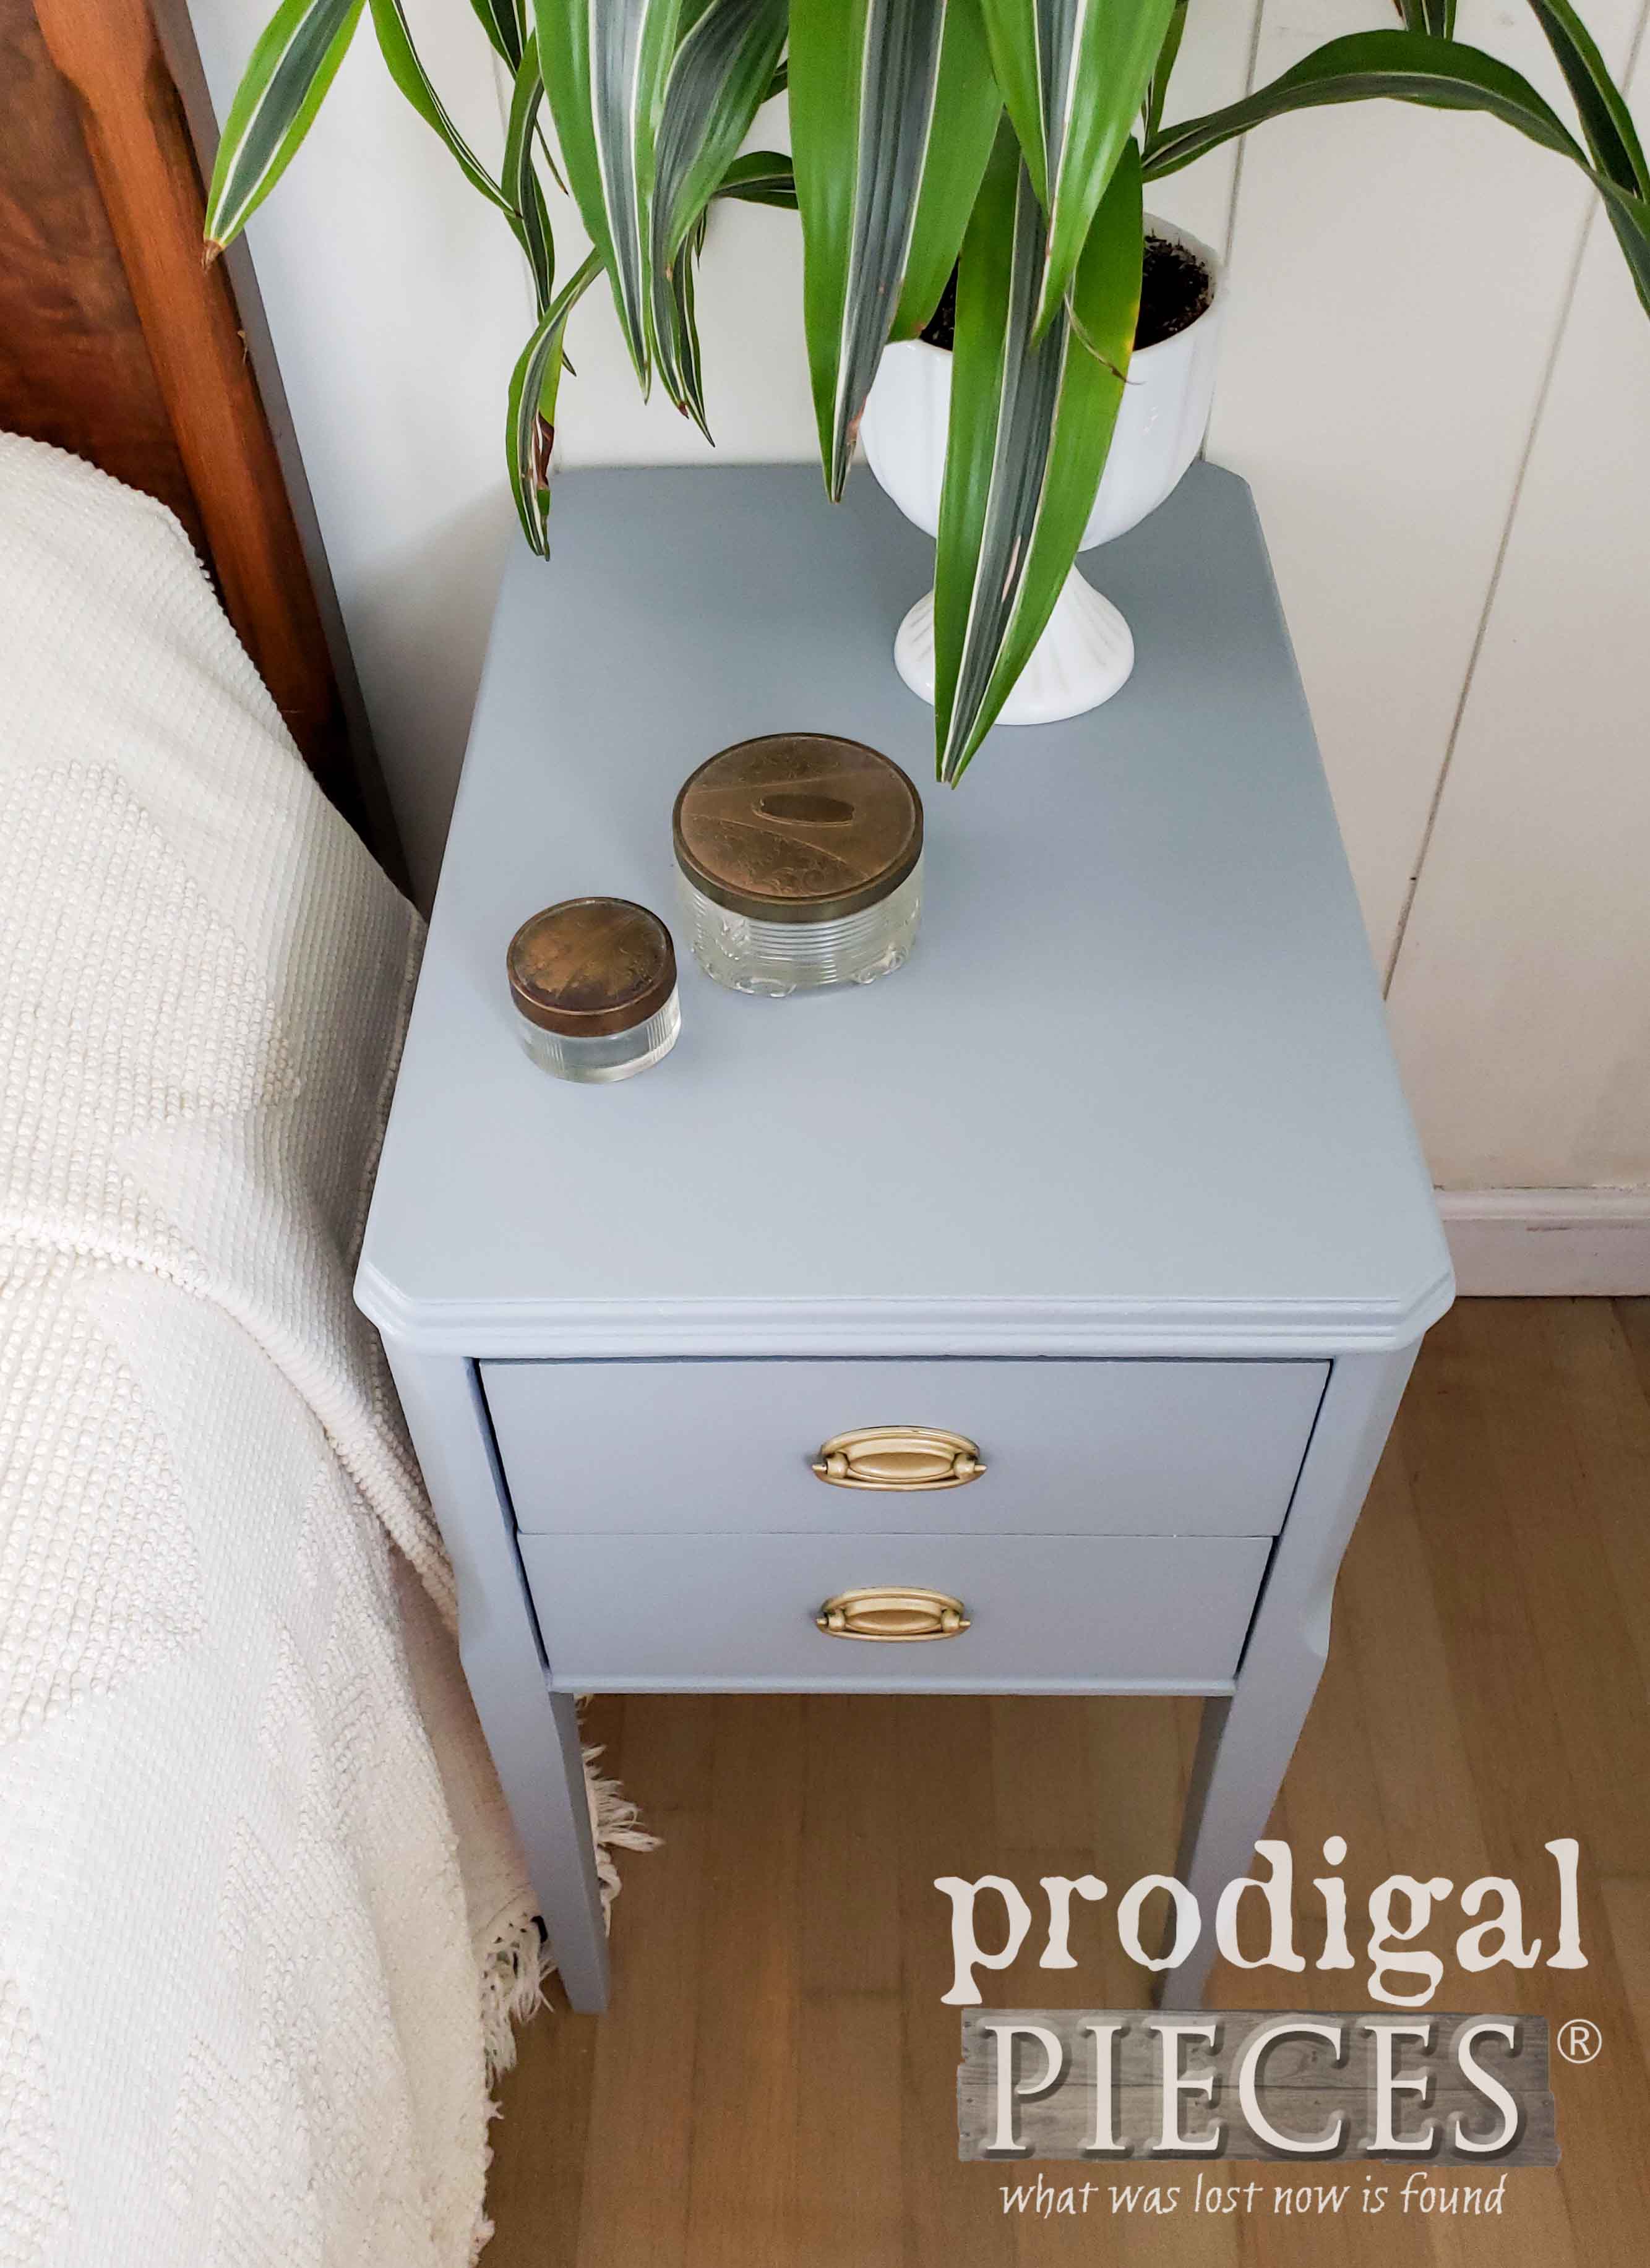
Now this vintage nightstand found curbside is done and ready for many more years as a sweet accent to your home.
Those pulls now have a fresh new look and the nightstand no longer looks worn down.
SAVED
eep! How about those fun peek-a-boo drawers? A pop of color is what this needed to liven up those worn-down drawers.
My goal is to show you that even if you have a piece of furniture that you’ve given up on – hang on! It just needs a bit of TLC so it can be restored and refreshed.
If you’re interested in making this nightstand your own, you can find it and much more available in my online shop.
Do pin and share this vintage nightstand makeover. Let’s inspire others to see past the curb and latch on to the potential.
Up next, I’ve got these set of thrifted baskets that are going to get a new look and purpose. Join my DIY fun OVER HERE.
Before you go, be sure to sign up for my newsletter. Time to see what my friends have for you below!
Check out these Furniture Fixer Upper projects for you:
- Just the Woods
- Confessions of a Serial DIYer
- The Interior Frugalista
- Petticoat Junktion
- Girl in the Garage


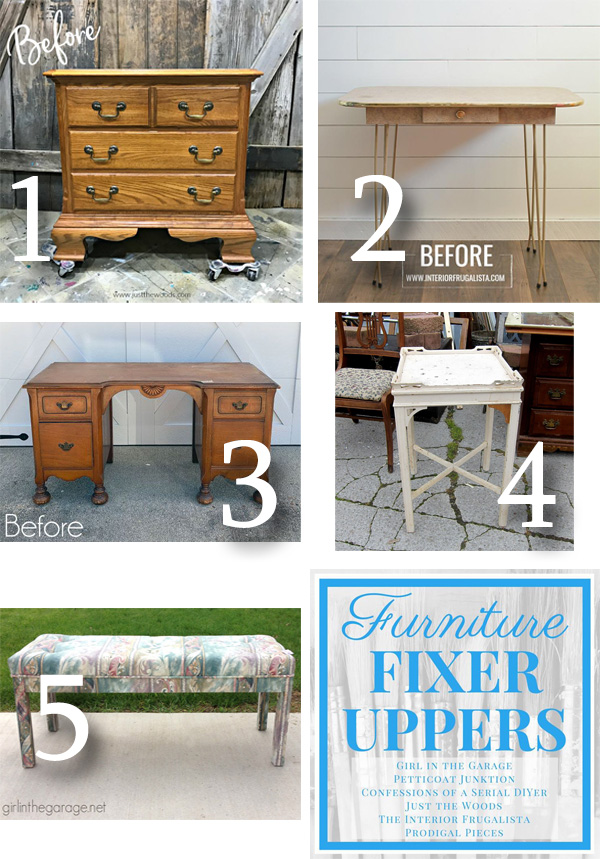

I wonder if anyone ever sees their trash in your blog and has regrets about it. The pieces turn out so beautiful and usable!
haha…I have wondered the same. 😉 I’m so glad you like it, Debbie.
If the previous owner could see their nightstand now! Love the surprise pop of color on the inside and the pretty fabric. You definitely turned this trash into such a pretty treasure 🙂
I always wonder…tee hee. Thank you for the love, Marie. Maybe I should show them? 😀
beautiful! Larissa, how do you “clean” wood? Do you wash ? spray with Lysol ? I have a chest of drawers I picked up and it needs cleaning, but I’m afraid water will damage the wood. How do I make sure it’s clean ? what I see, and what I don’t see ?
Thanks! It depends on what needs cleaned…sometime a light mist and damp rag, but mostly the sun to removed the unseen. Just bake it. 😉
Looks great! Good for you for rescuing it and giving it a new life.
So good to hear from you, Paula. Thank you!
Lovely! Beautiful simplicity, such calm colors. The drawer liner is the cherry on the top!
You’ve made my day, Becky, Thank you! I love to add those touches as a sweet surprise.
Love love love that color and the inside drawer detail! Pinned! 🙂
Thank you so much for the love, Denise. I so enjoy your work too.
Wow, I really like the night stand. You did such a great job.
Fantastic! I’m so glad to hear it, Shirley. Thank you!
What a great save! I can’t believe someone would just throw it out on the curb. Maybe they were hoping someone like you would rescue it! Love the soft blue-gray with the gold hardware! XOXO
Yeah, around here they know it saves them a trip to donate it at the thrift store. More fun for me! 😀
Such a lucky find! It looks chic in gray and gold, and the fabric liner is perfect. xo
Thank you, Jen. 🙂
What a great find! I love the colors you used and the pretty pops of color in the drawers!
I couldn’t believe it was still there when I came back through. Yay! Thank you, Kaycee
this is so pretty! love the pop of color and modern no distressing. It has such a crisp fresh look
Yeah, the original distressing was too real…haha. Mid Century calls for clean lines. I’m glad you like it. 😀 Thanks, Kandice.
I really like how this turned out and am glad you rescued it from the trash.
Fantastic to here, Barb. Thank you! 🙂
I love it! Simple update that made a big difference. What color / paint did you use on the table?
Thanks!! It was a custom color I mixed with what I had on hand. 😀