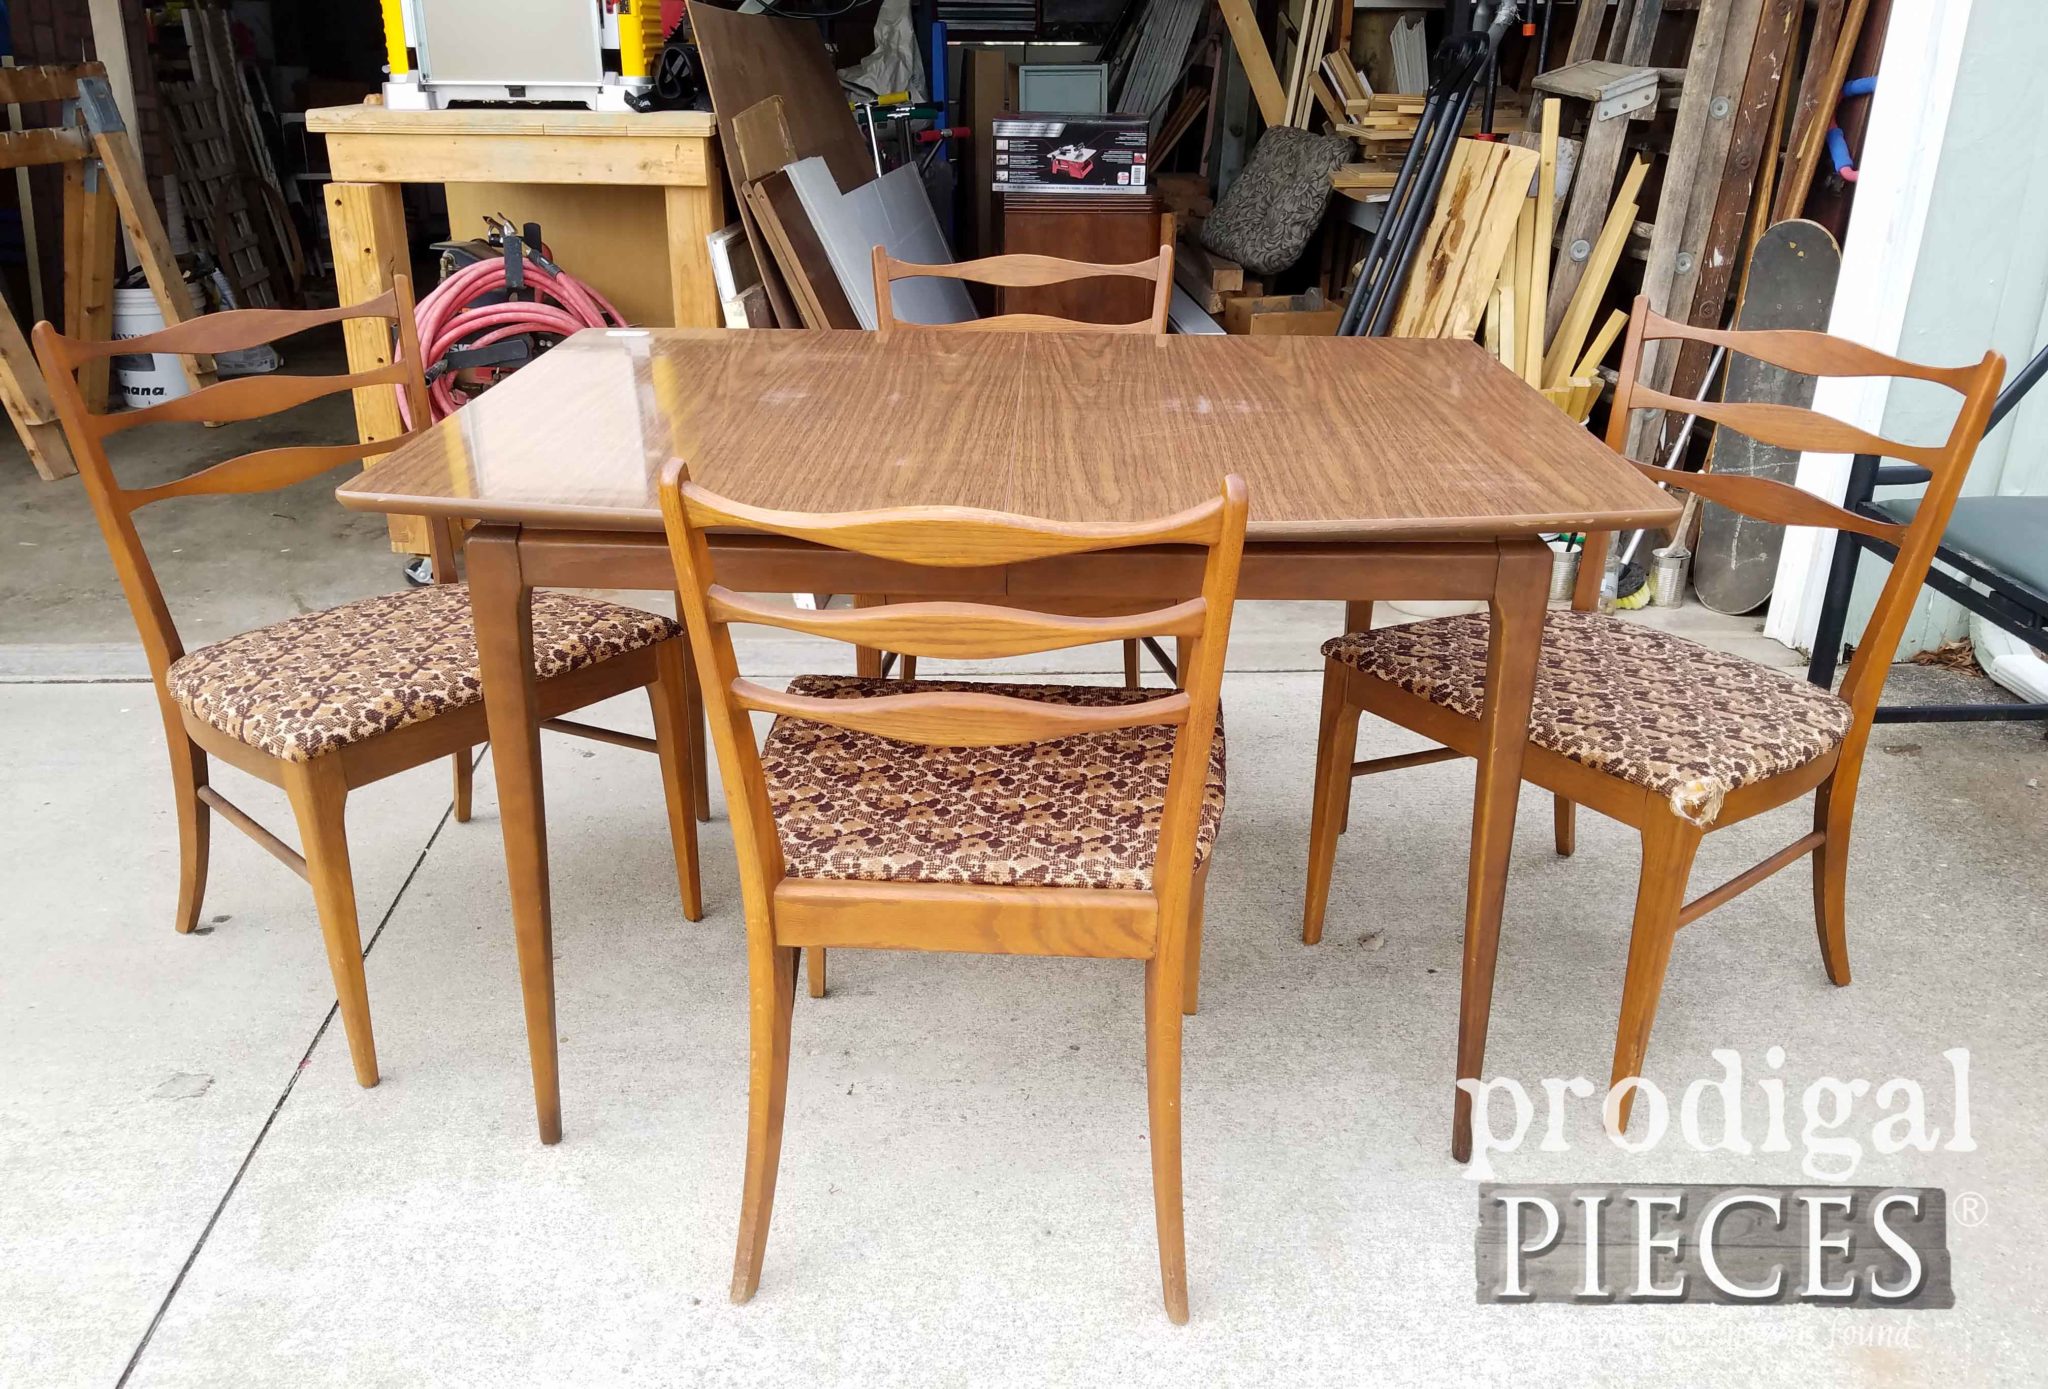
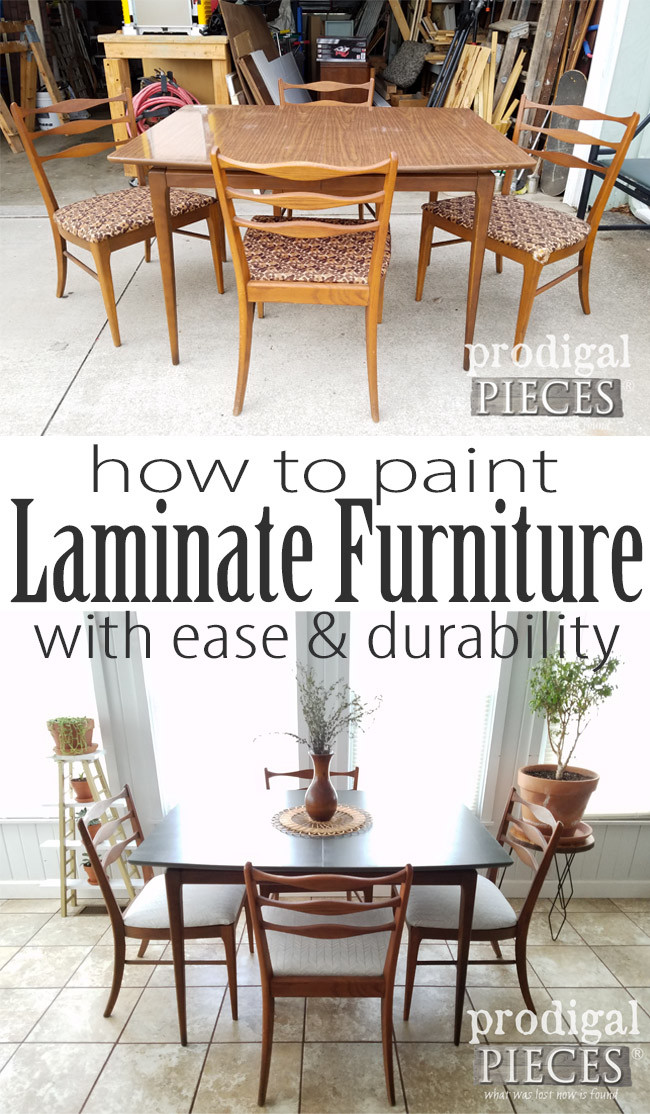
It’s the second Tuesday of the month and that means it’s Trash to Treasure time! A super fun day where my blogger friends and I put together a group of makeovers and DIY fun to inspire you. My project for today is this vintage Mid Century Modern dinette set I found at the thrift store. Will you just look at those lines? mmm… Bummer is that the top is laminate, but the rest is gorgeous oak. Time to show you how to paint laminate furniture easily. Let’s get our DIY on!
When I walked into the thrift store looking for a piece of artwork to stage with, I gasped when I saw this dining set sitting there. Yes, farmhouse and rustic is my thing, but I do love most any era, particularly the lines of the Mid-Century style. I did a beeline to it and pulled each chair out to sit on it and test them. I also crawled underneath to see if there were any markings. It even came with two extra leaves.
MID CENTURY
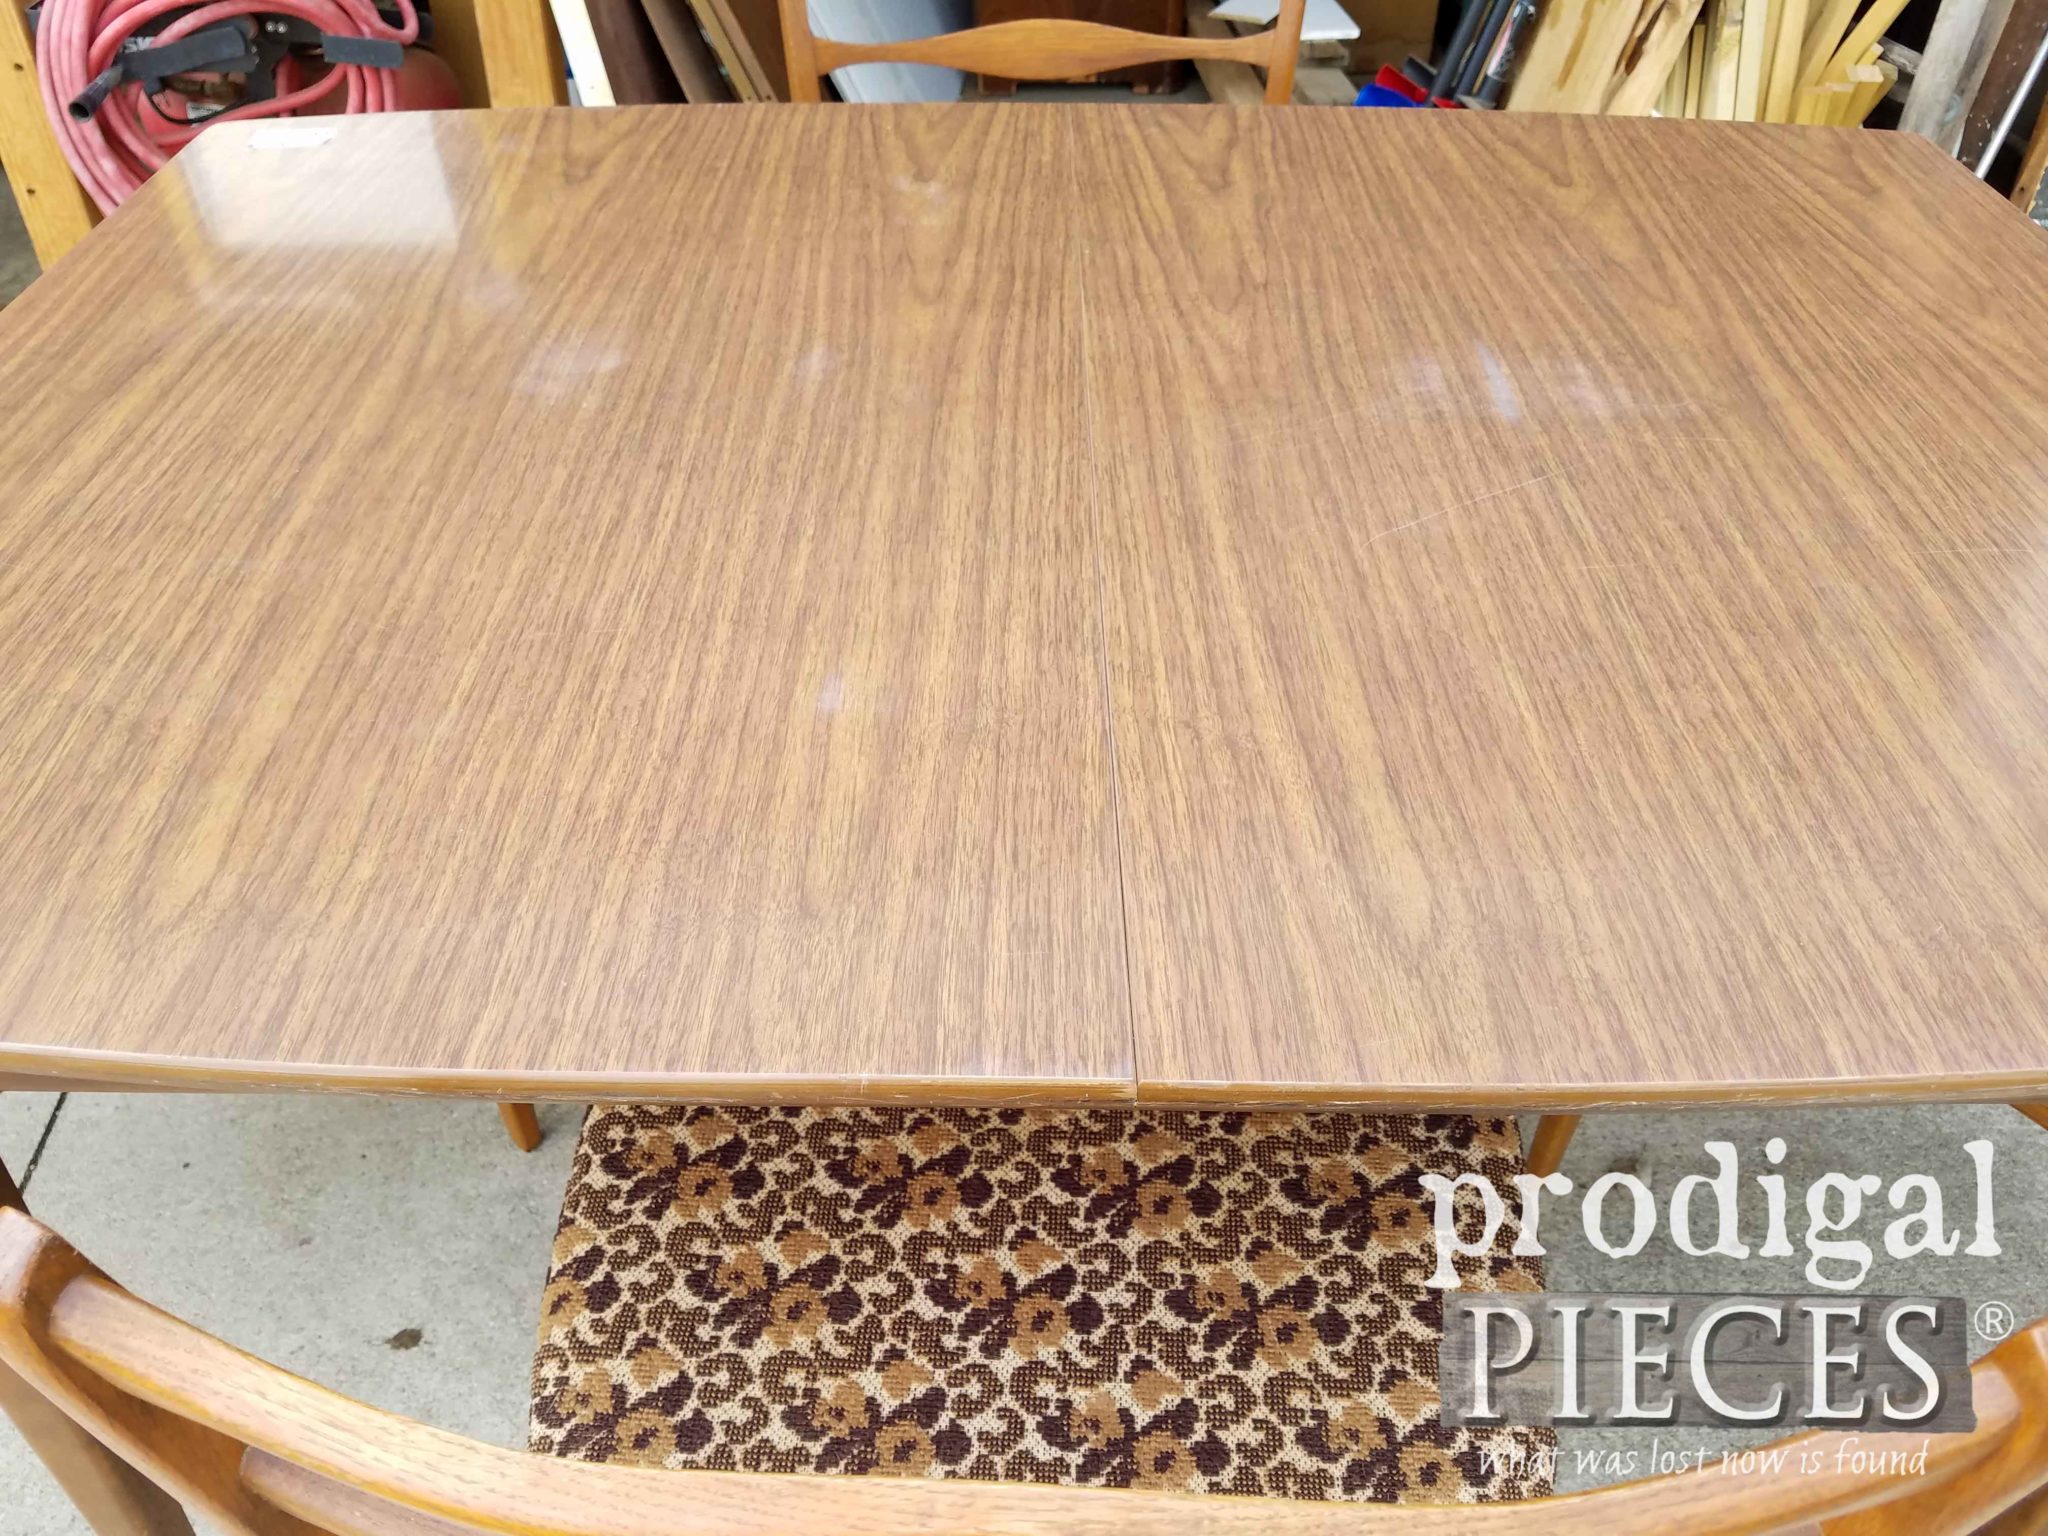
It totally looked like a Lane or Broyhill set, but I haven’t found the markings yet. What I did find, however, was original upholstery and the worn laminate top. Many ask, “Why would they use laminate??” Well, it’s durable and many thought to be superior to a wood veneer, and it’s also easy to maintain.
PROBLEM
Problem is, you can’t find modern furniture built this well to last the test of time. I bought it and then, thankfully, had the store deliver it for free since I live close by. Mama had a happy dance!
Many turn their noses up at laminate furniture, but I take it on full bore. I have done many Mid-Century pieces you can see HERE that have had the laminate and they are awesome to work with. To paint laminate furniture, it’s all about two things: (1) prep work and (2) priming. I’m going to layout the steps for you, but you will be amazed there’s not much to it. I be you’ll be grabbing up those laminate pieces the next time you see them. tee hee!
DIY TIME
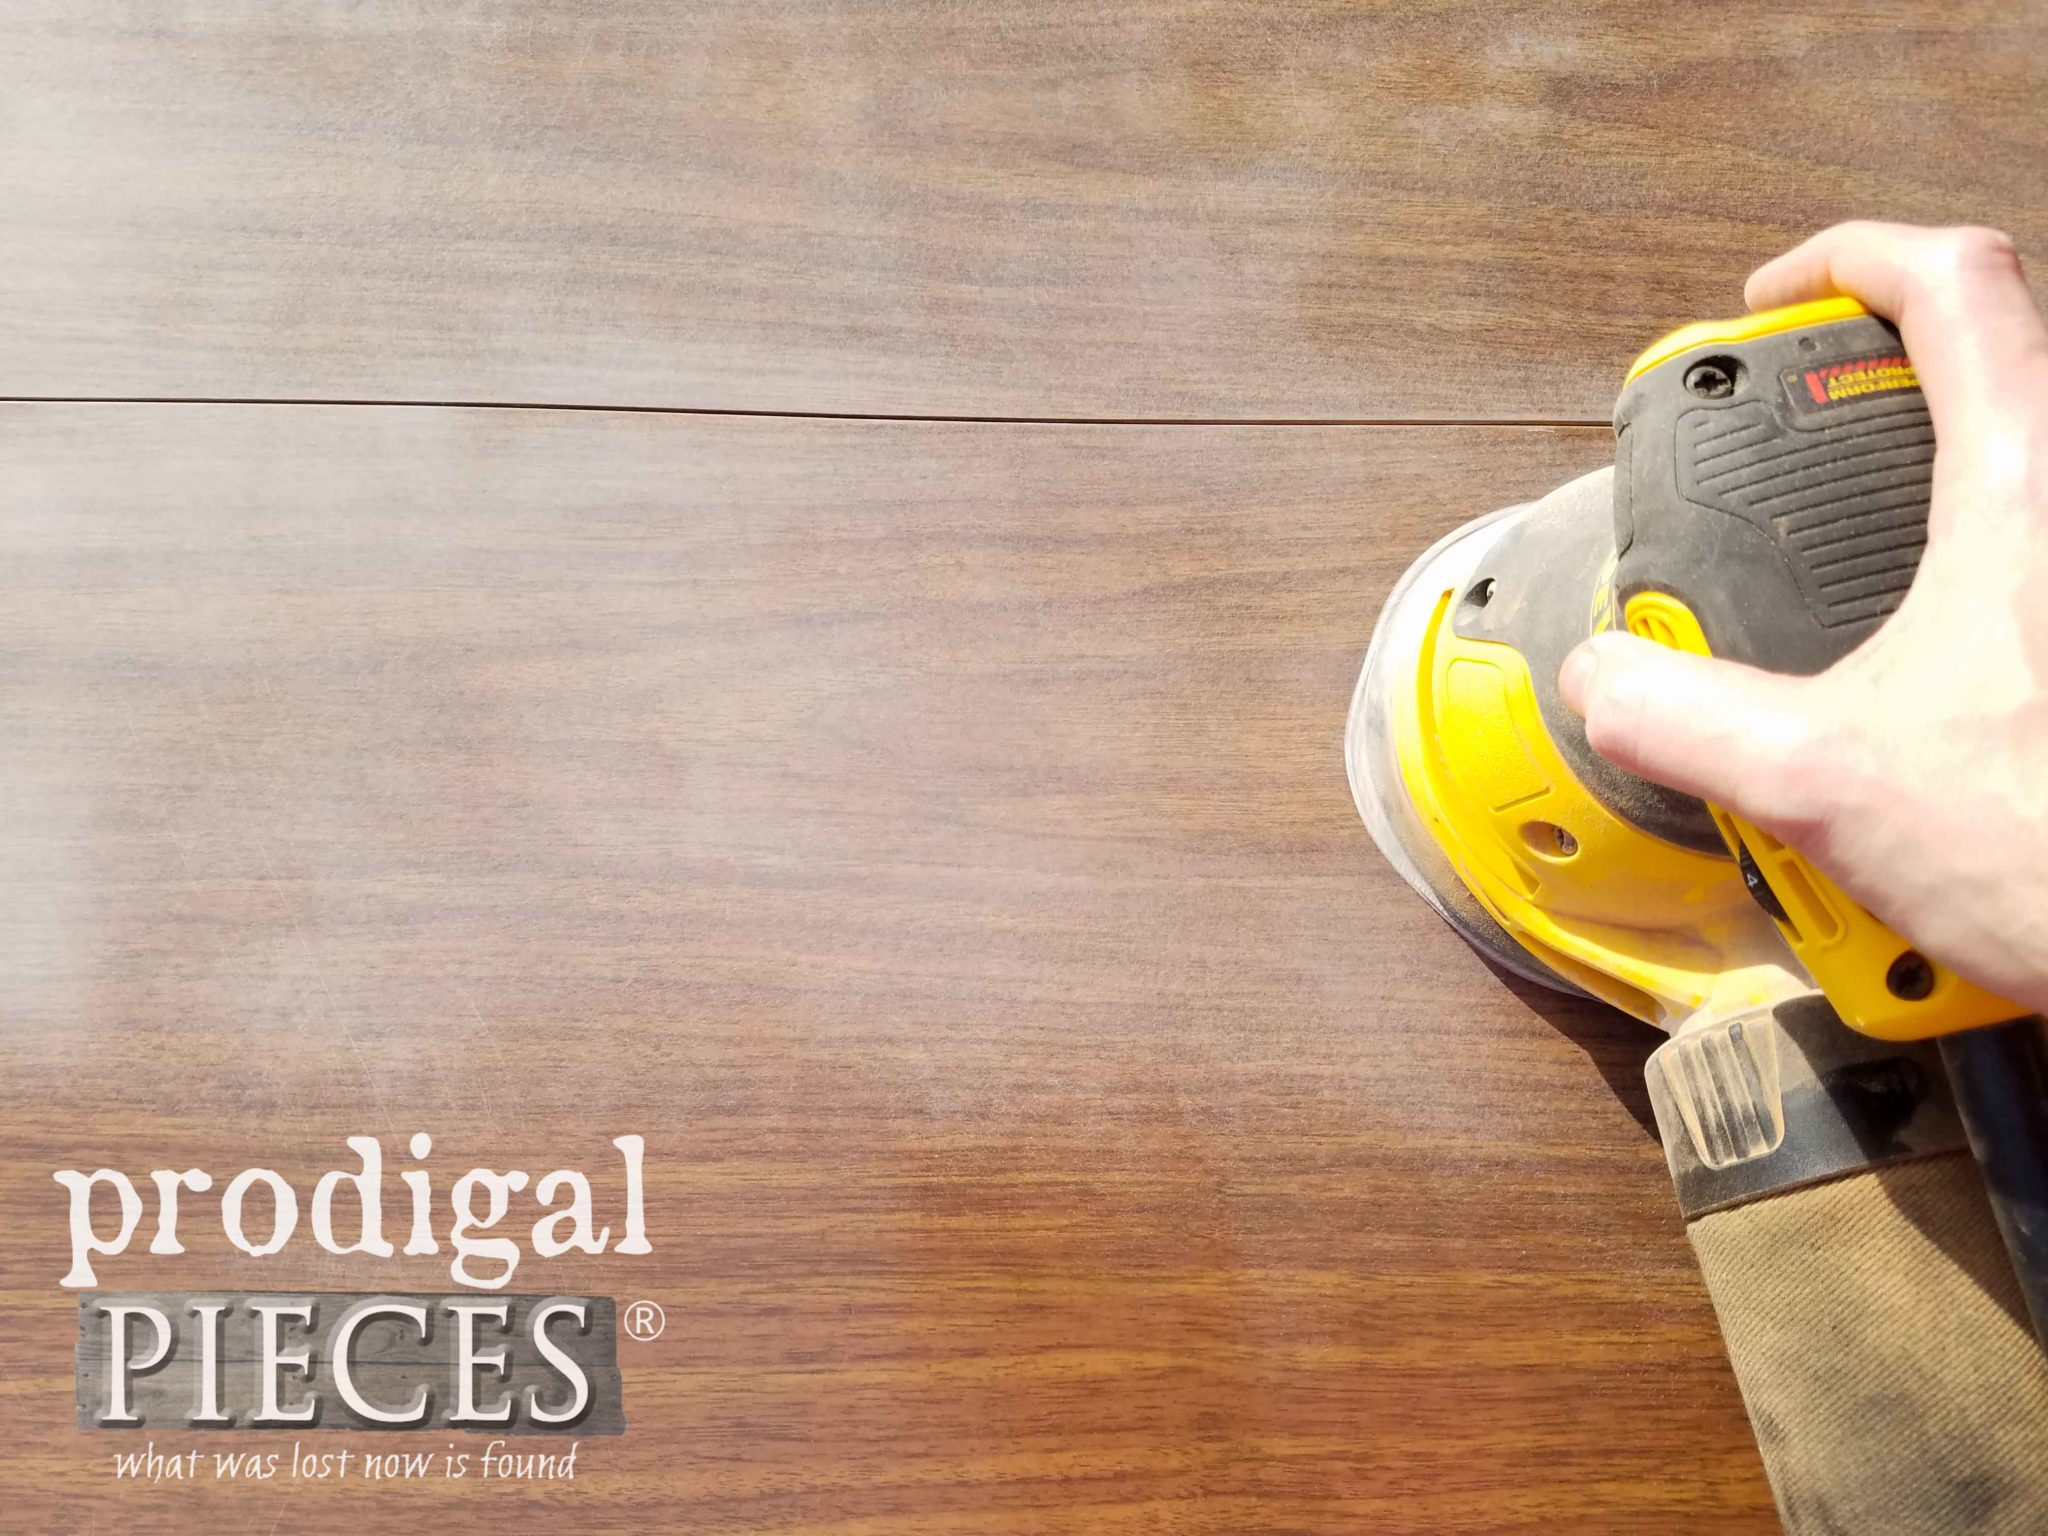
First, I use my sander with 120 grit paper on it to get rid of any scuffs, etc. and to give the surface tooth. Many will say that you don’t need to sand, but I tend to disagree even though I’ve done it both ways. I say that an ounce of prevention is worth a pound of cure when it comes to surfaces like this tabletop that will see much daily action. Since it doesn’t take much time, I say, why not?
Once sanded, I cleaned it all up to get rid of any gunk or film that may be present, even on wood, and creates an awesome surface to adhere to.
NEXT STEPS
Let the surface air dry and then it’s time to prime. Now, in the past I’ve only used a product called Gripper. It does amazing things! You can see it recently used on this Broyhill Hutch Desk.
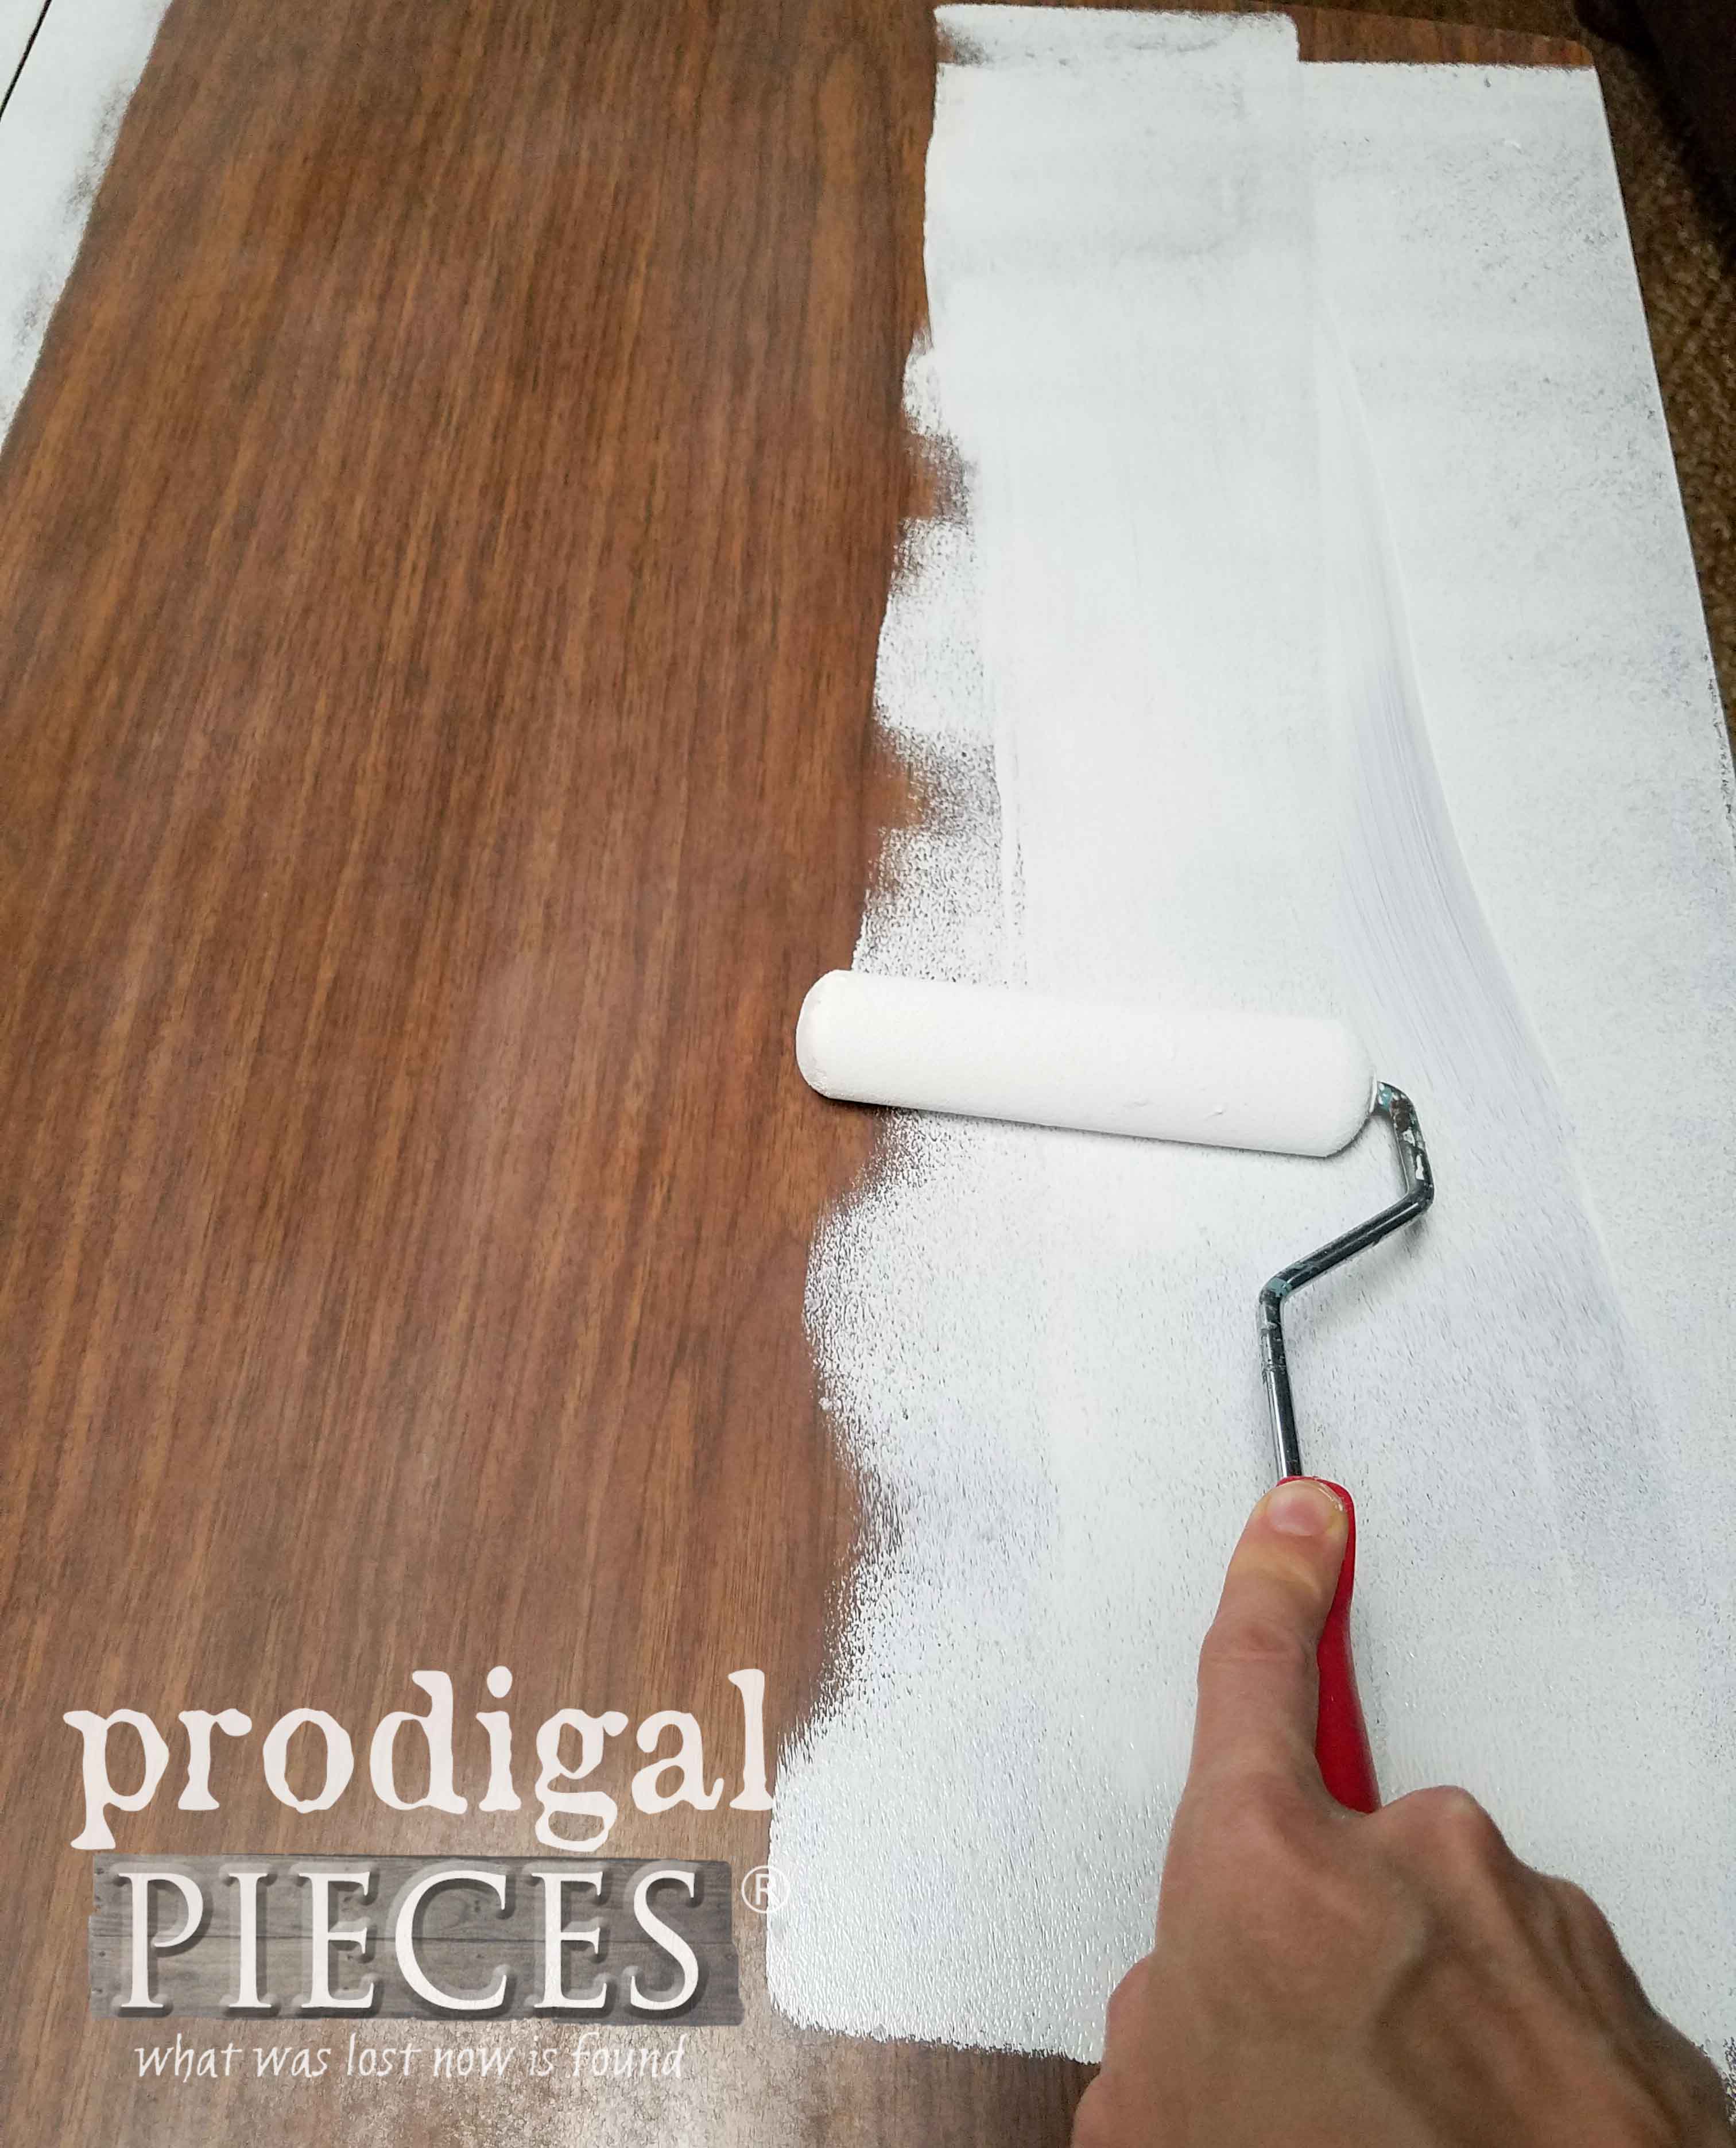
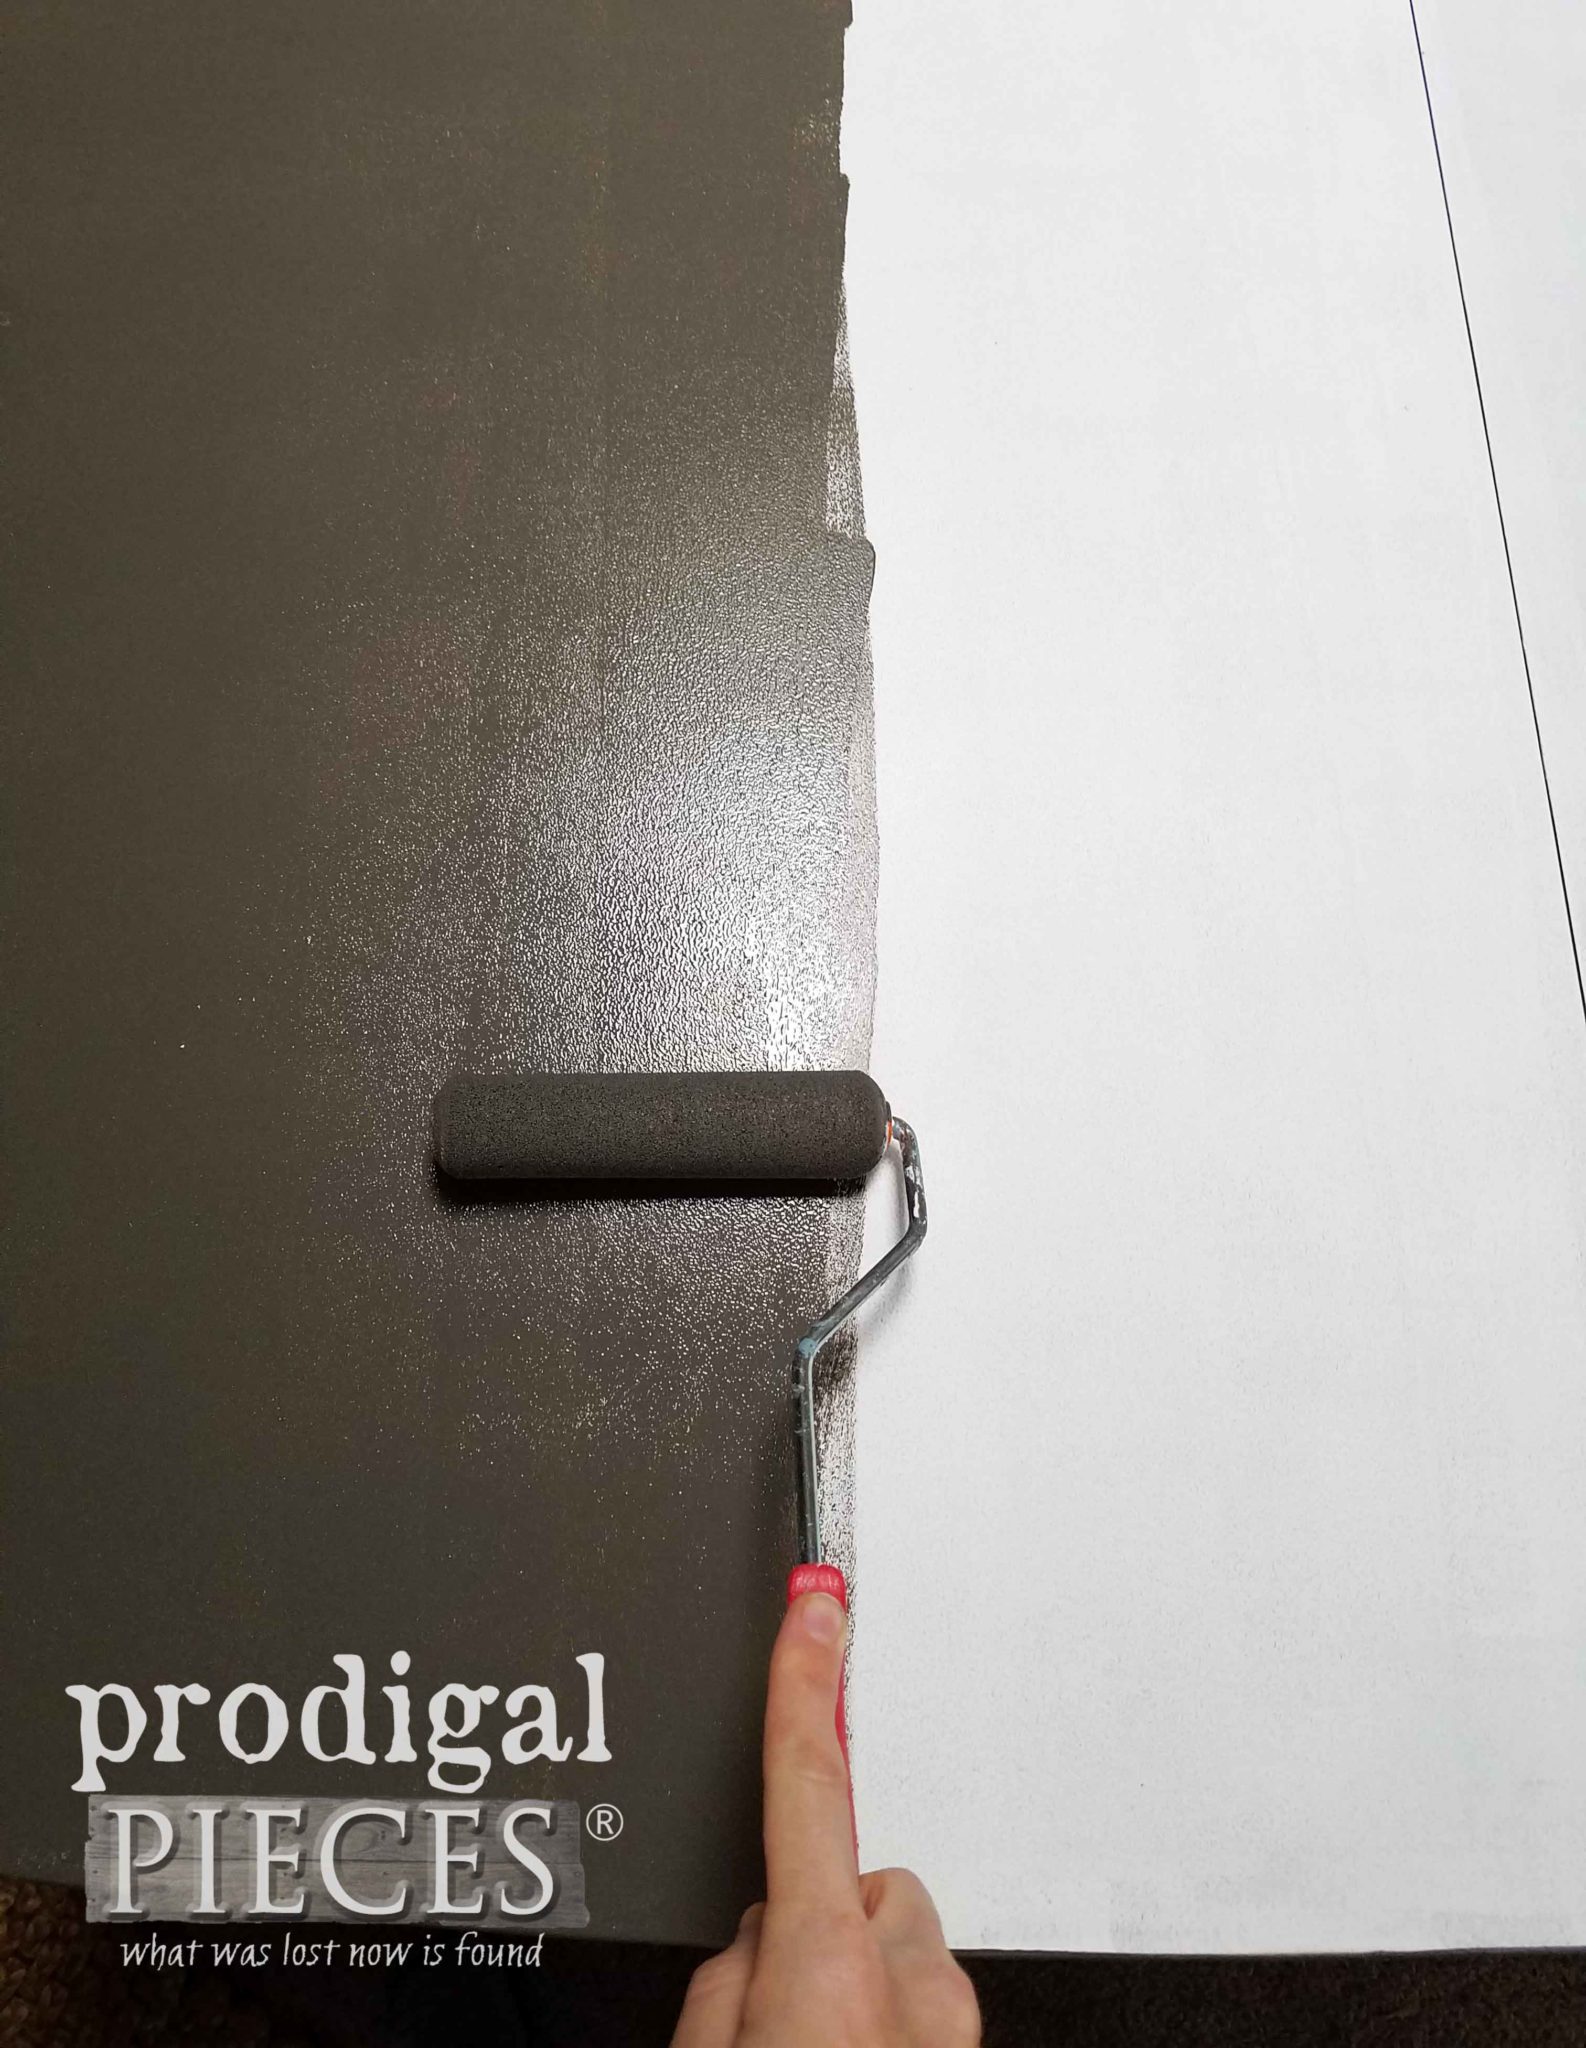
In most instances, I would be using my favorite sprayer to apply the primer. However, just to show you that even a great end result can be achieved without a sprayer, I chose to use my other go-to method, a micro foam roller. I roll out the primer in nice even coats, and then let cure for about 2 hours. Easy-peasy.
TIPS
TIP: to make clean up easier, I line my paint tray with a plastic grocery store bag making sure it is turned inside out to prevent any ink from getting into my paint or primer. I just tape it in place for a snug fit, and when done I recycle the bag. Less mess and less waste to the landfill.
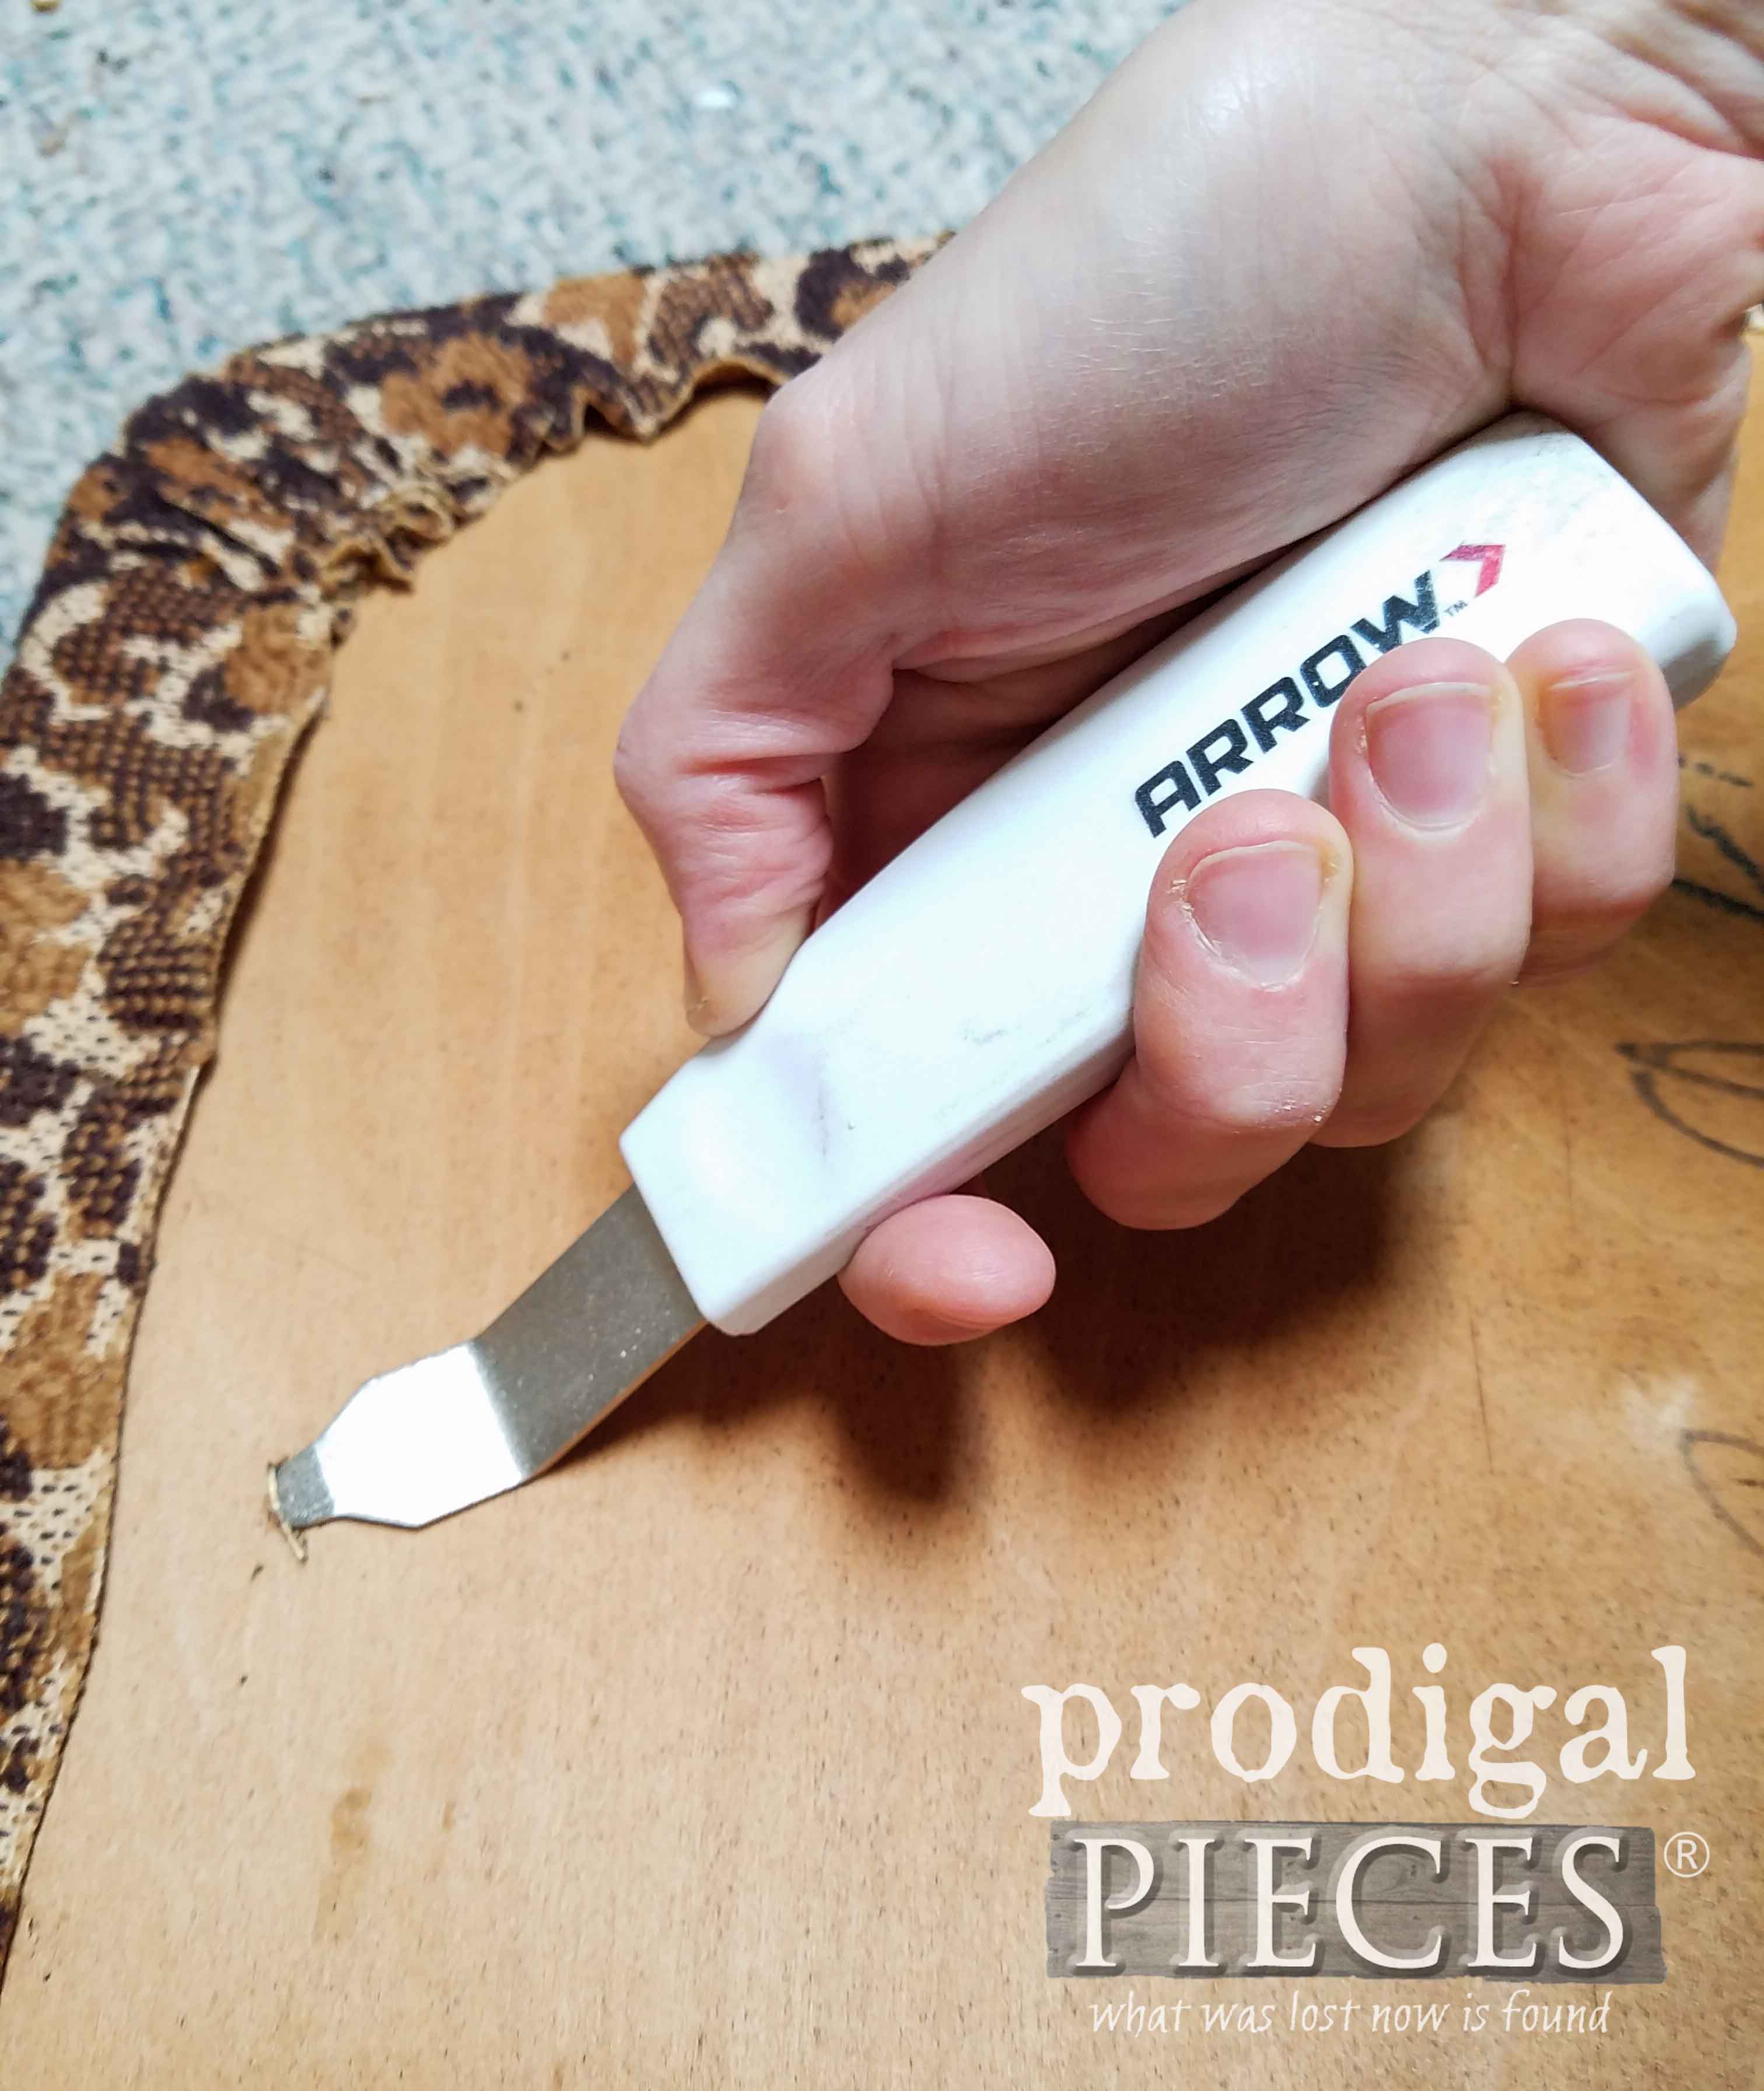
While the primer is curing, I tackle the upholstery. One of my favorite handy tools is this stapler puller that only costs a couple of bucks. It saves my knuckles and hands, and make the job go SO much faster. You gotta get one for upholstery or any project that involves staples.
UPHOLSTERY
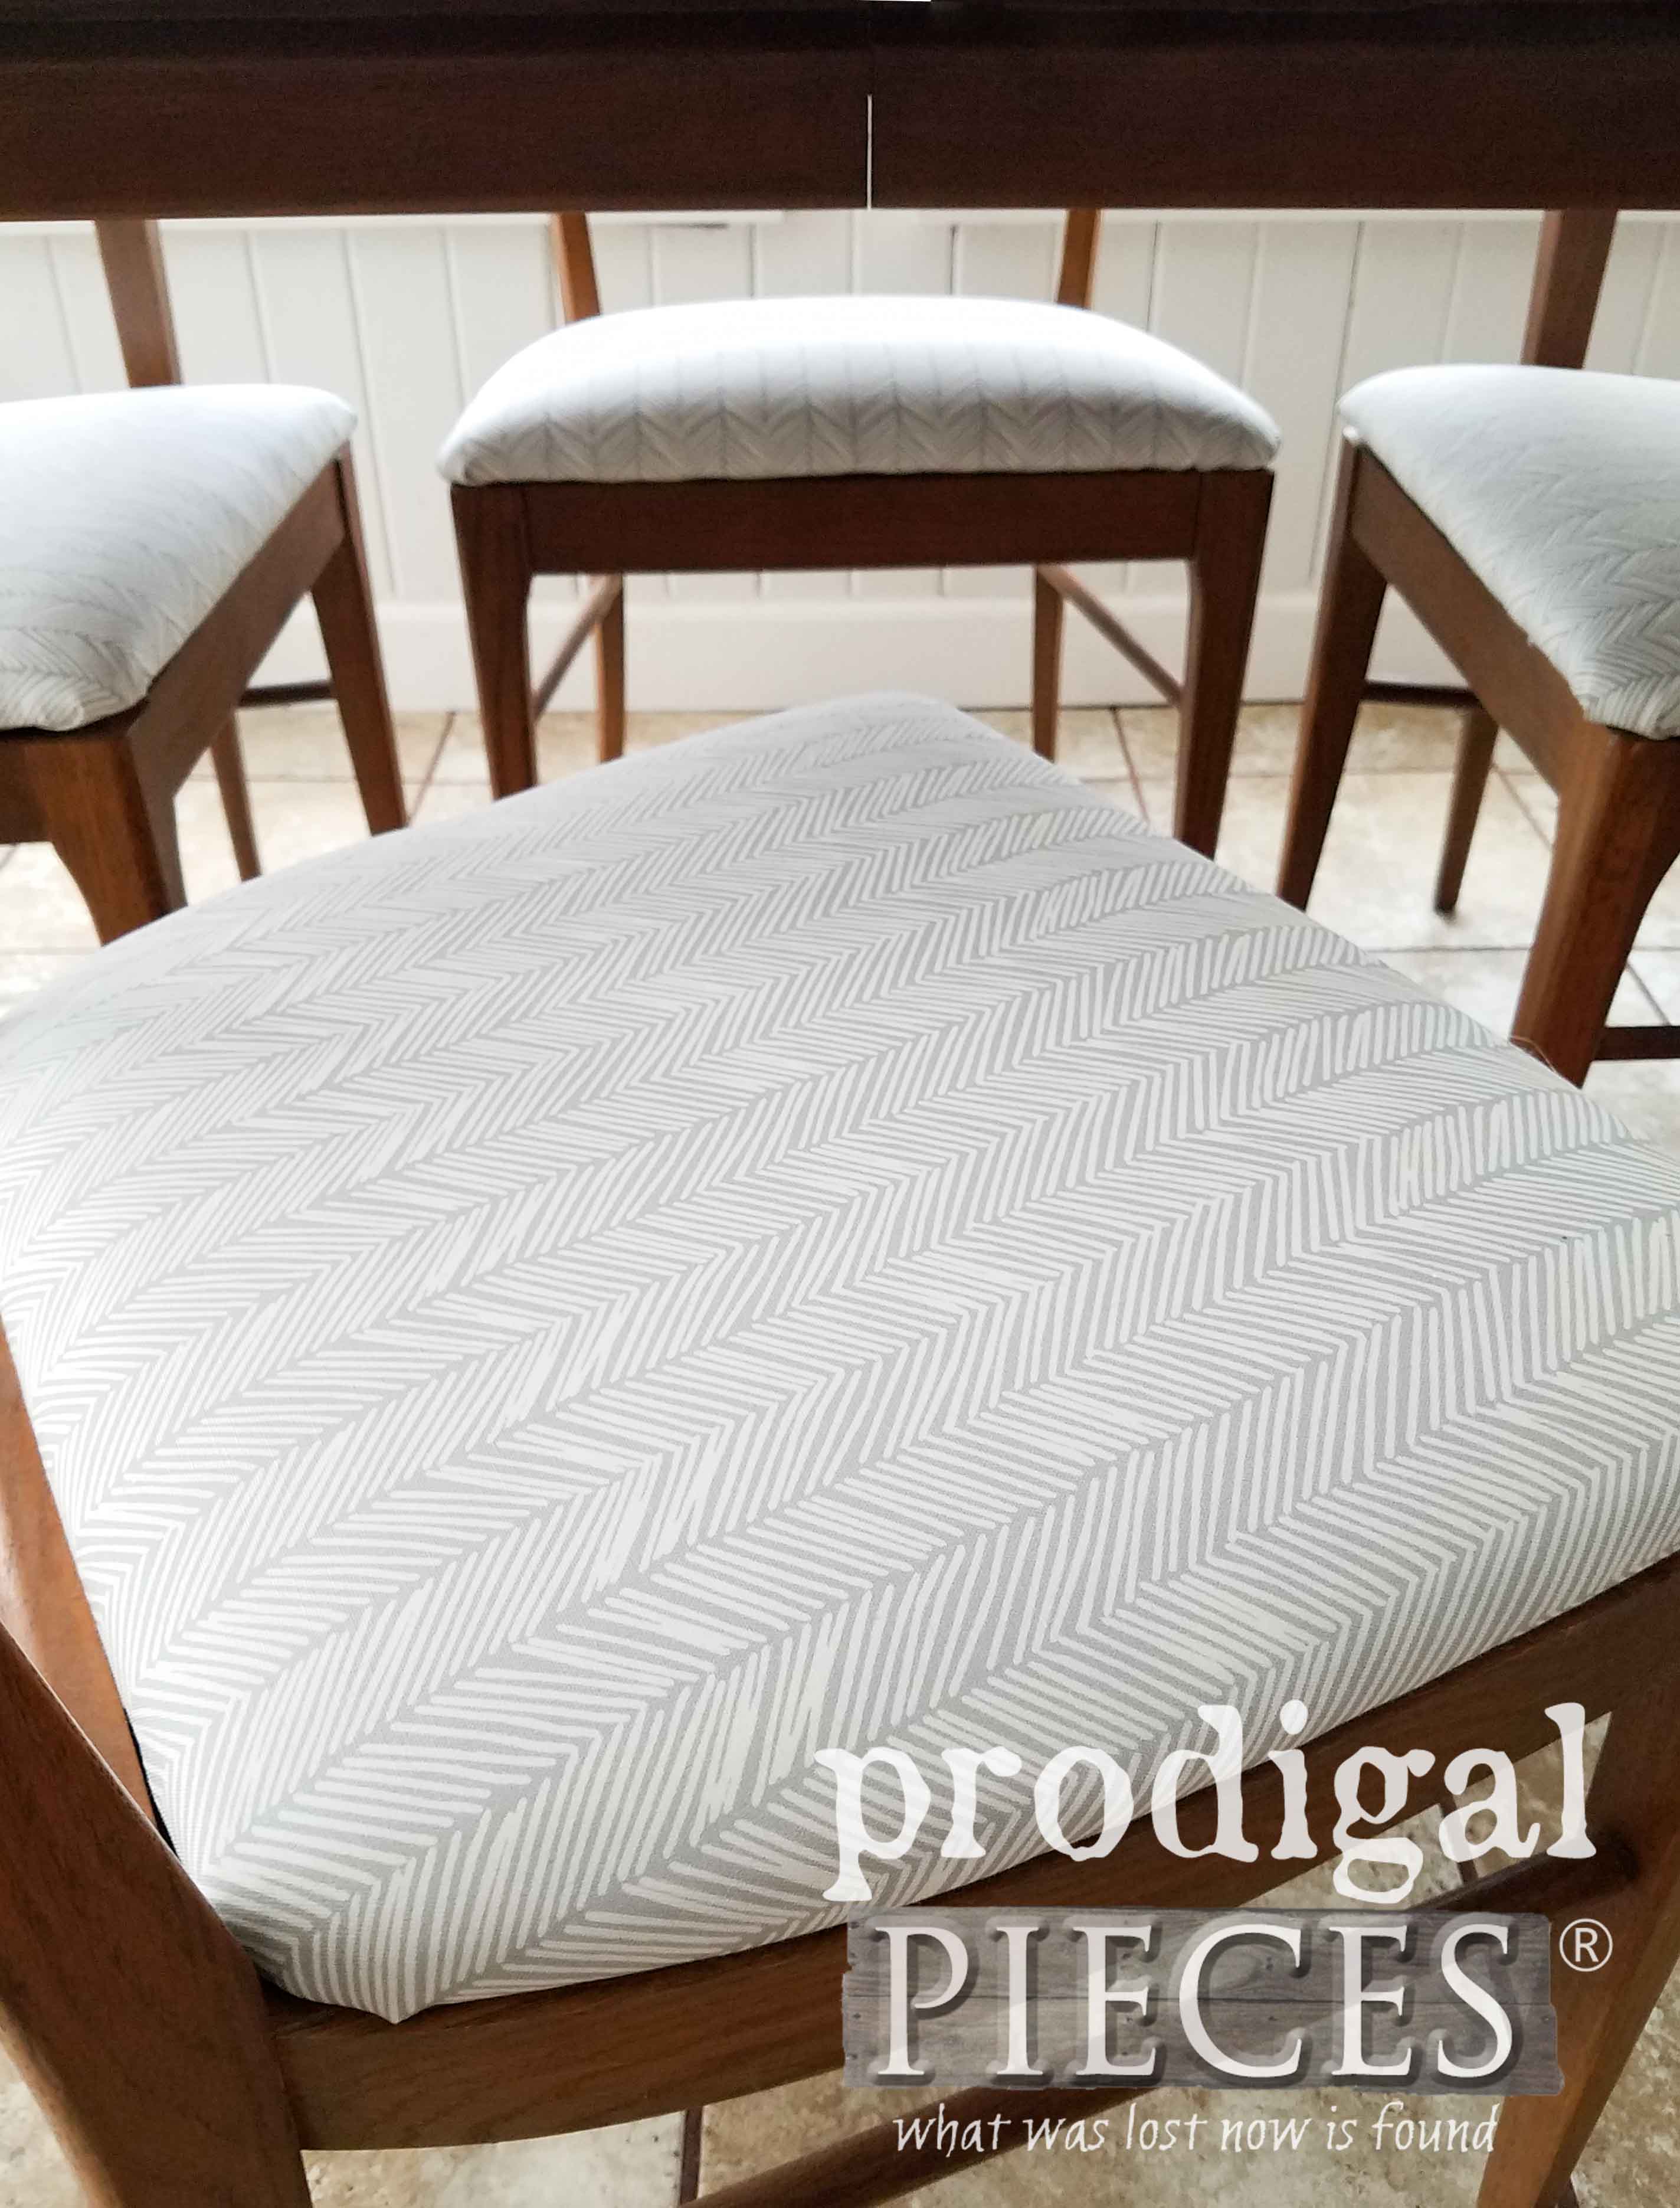
I have to say this is one of the bluckiest upholstery removals I’ve had because of the foam underneath had disintegrated into nothing and the fabric was kinda gross. It felt so good to pull it off! Now with a blank slate I cut my new fabric, foam, and batting. You can read how to easily update basic upholstery in this post I created for you over here.
Another must have is my stapler. For years I used a basic handheld kind, and it killed my hand and wrist. Not so with this cordless gem. I had these seats knocked out in 30 minutes from starting with fabric cutting and attaching it all to the seats. Woot!
Before I reattach the seats, I clean up the chair frames and table skirt and legs, then touch up with some stain to cover the knicks. No need to paint that gorgeous wood.
PAINT LAMINATE
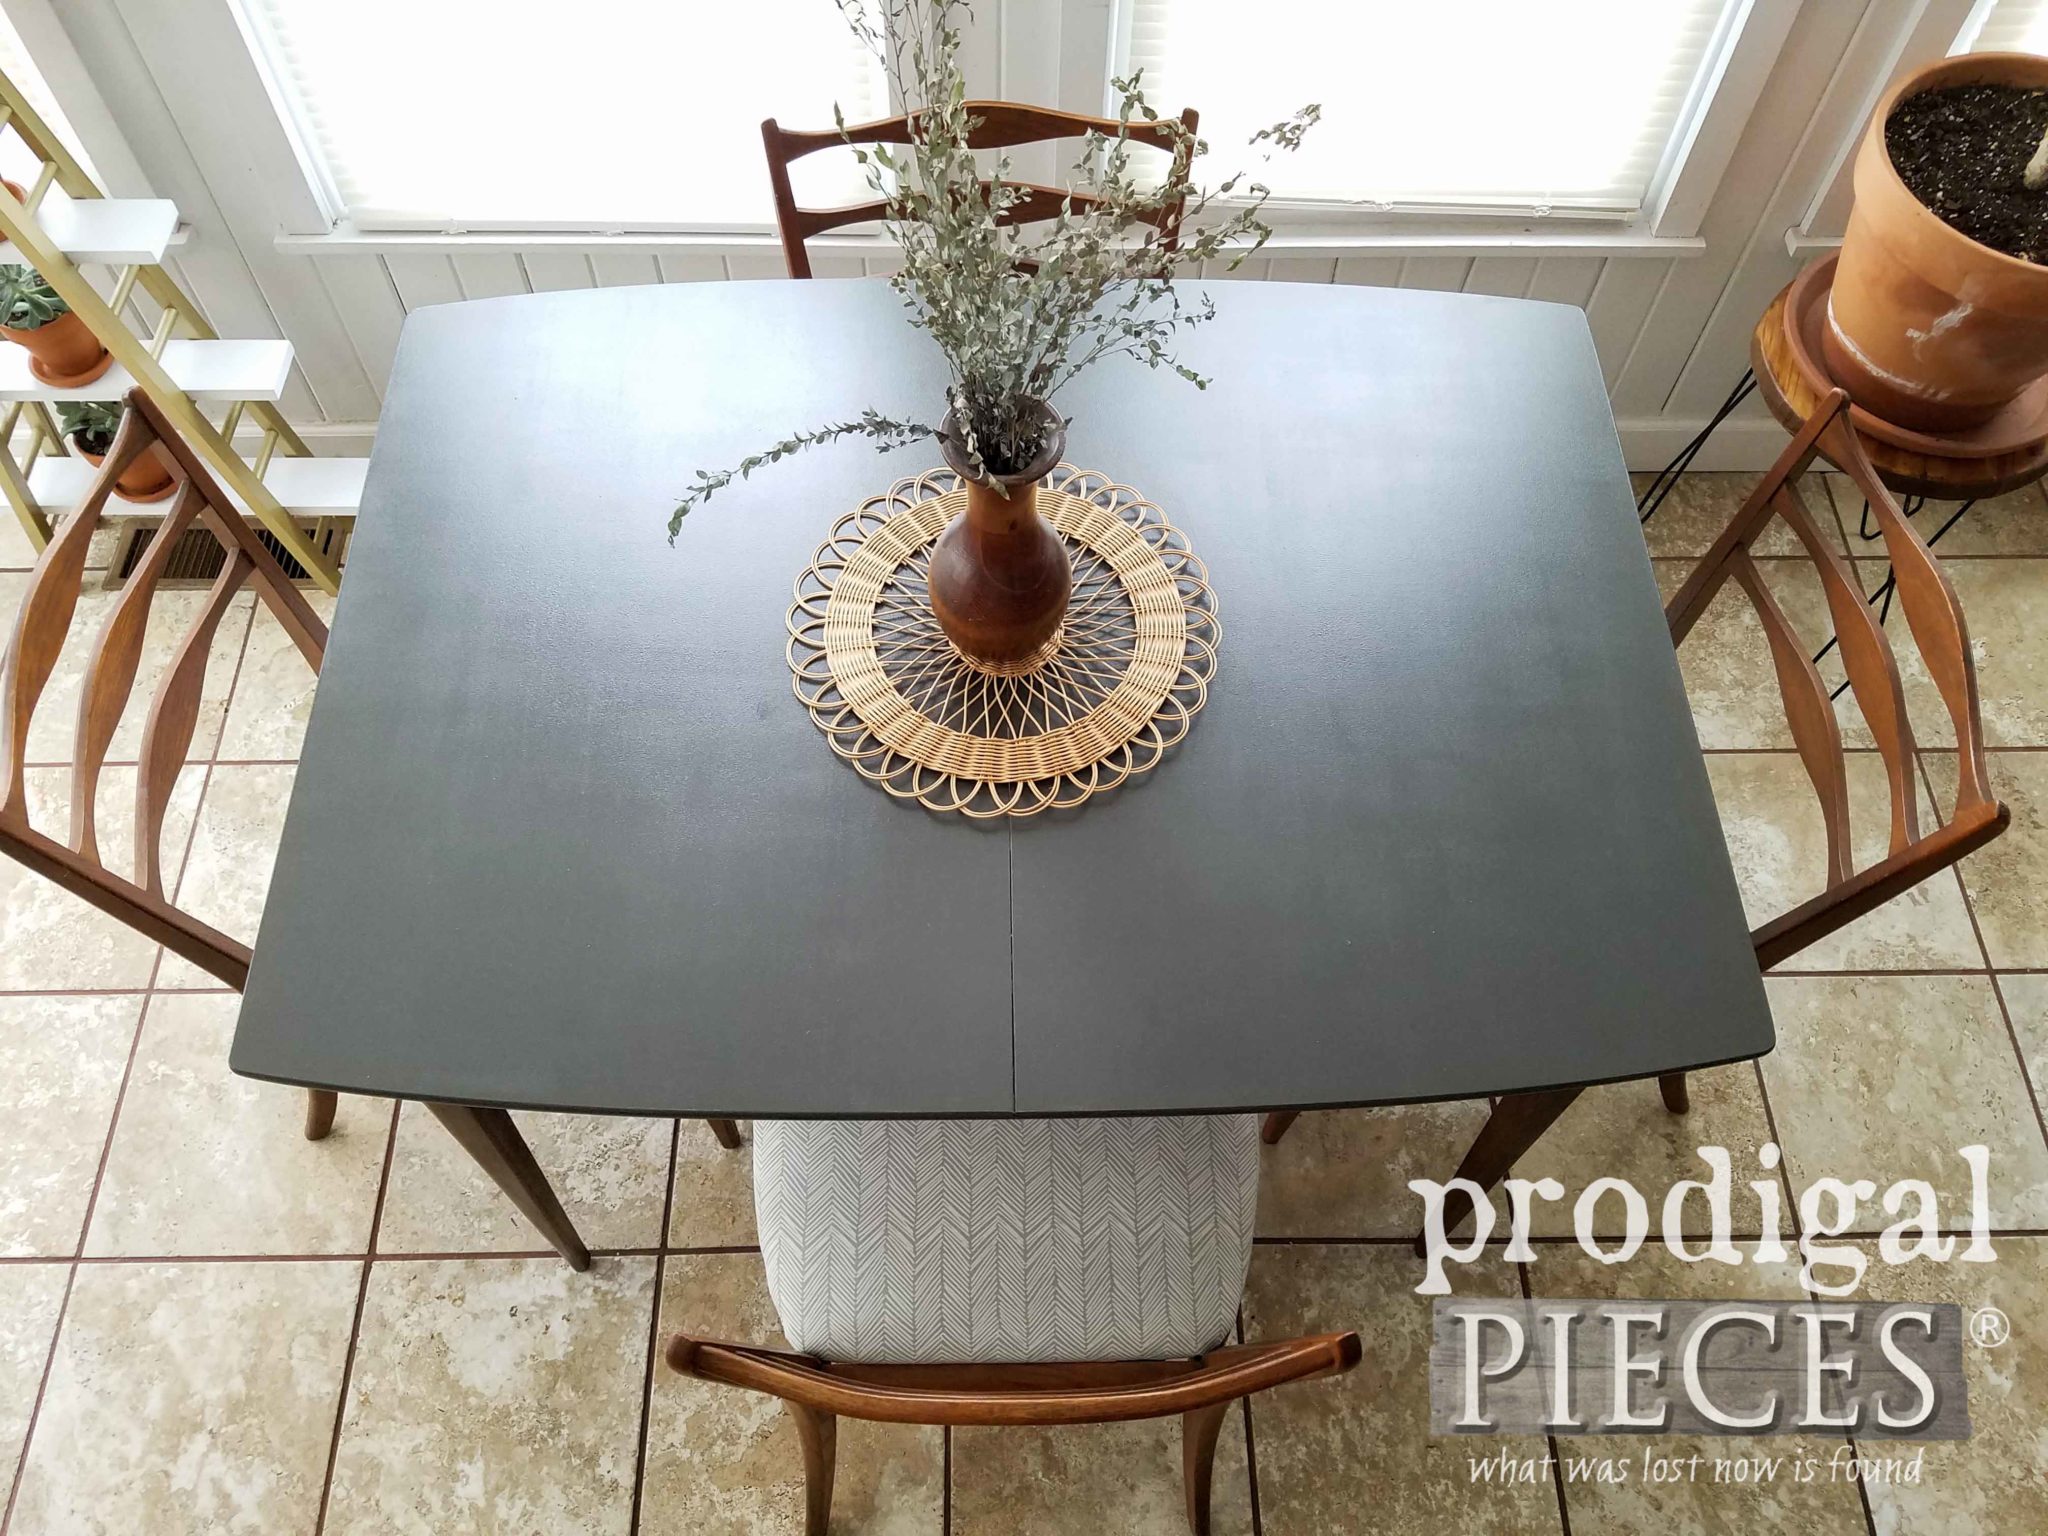
Now back to the tabletop and moving on with our paint laminate furniture tutorial. {{fist pump!}} To make a neutral surface that will fit into most any decor, I chose to use a dark gray paint with a hint of brown.
All I do is switch my micro foam roller to a new one and line my tray with a new bag to keep it all clean. I apply two coats with a 2-hour cure time in between, making sure to roll it out smoothly.
For the last step, I use a gloss finish in two coats as well, letting cure 2 hours in between. During that cure time is when I can get other things done, like reattaching the seats, and doing and final check to make sure the set is ready to go, or even housework, errands, etc. So easy to paint laminate furniture!
THE REVEAL
Are you ready to see this set renewed? I am!
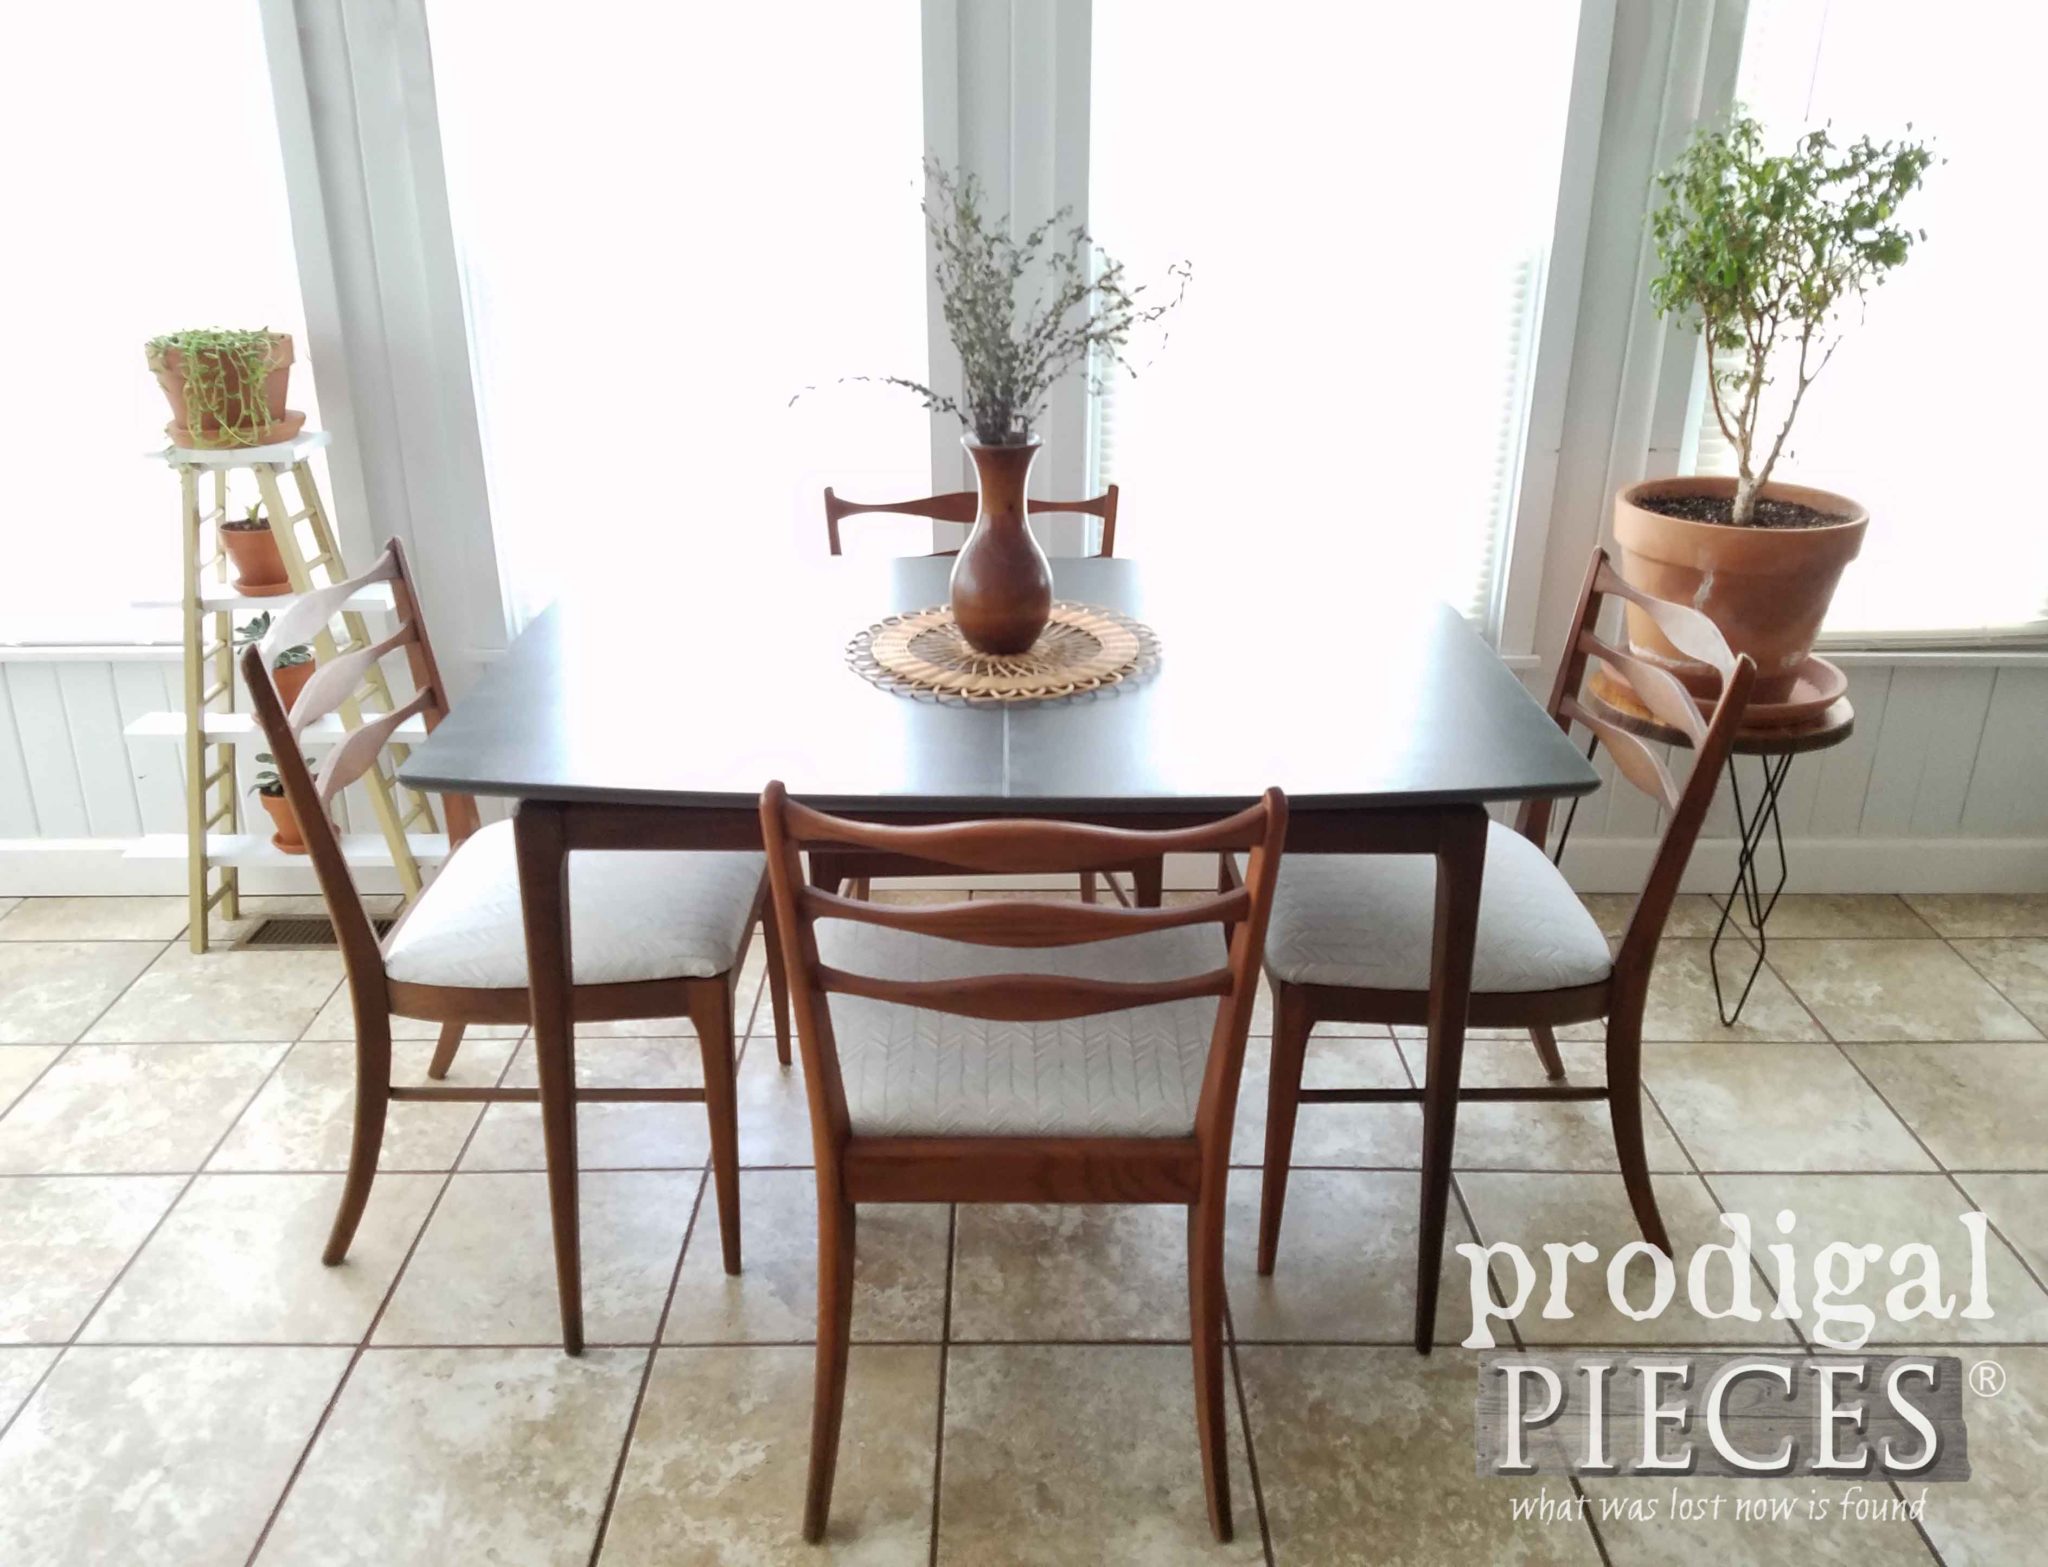
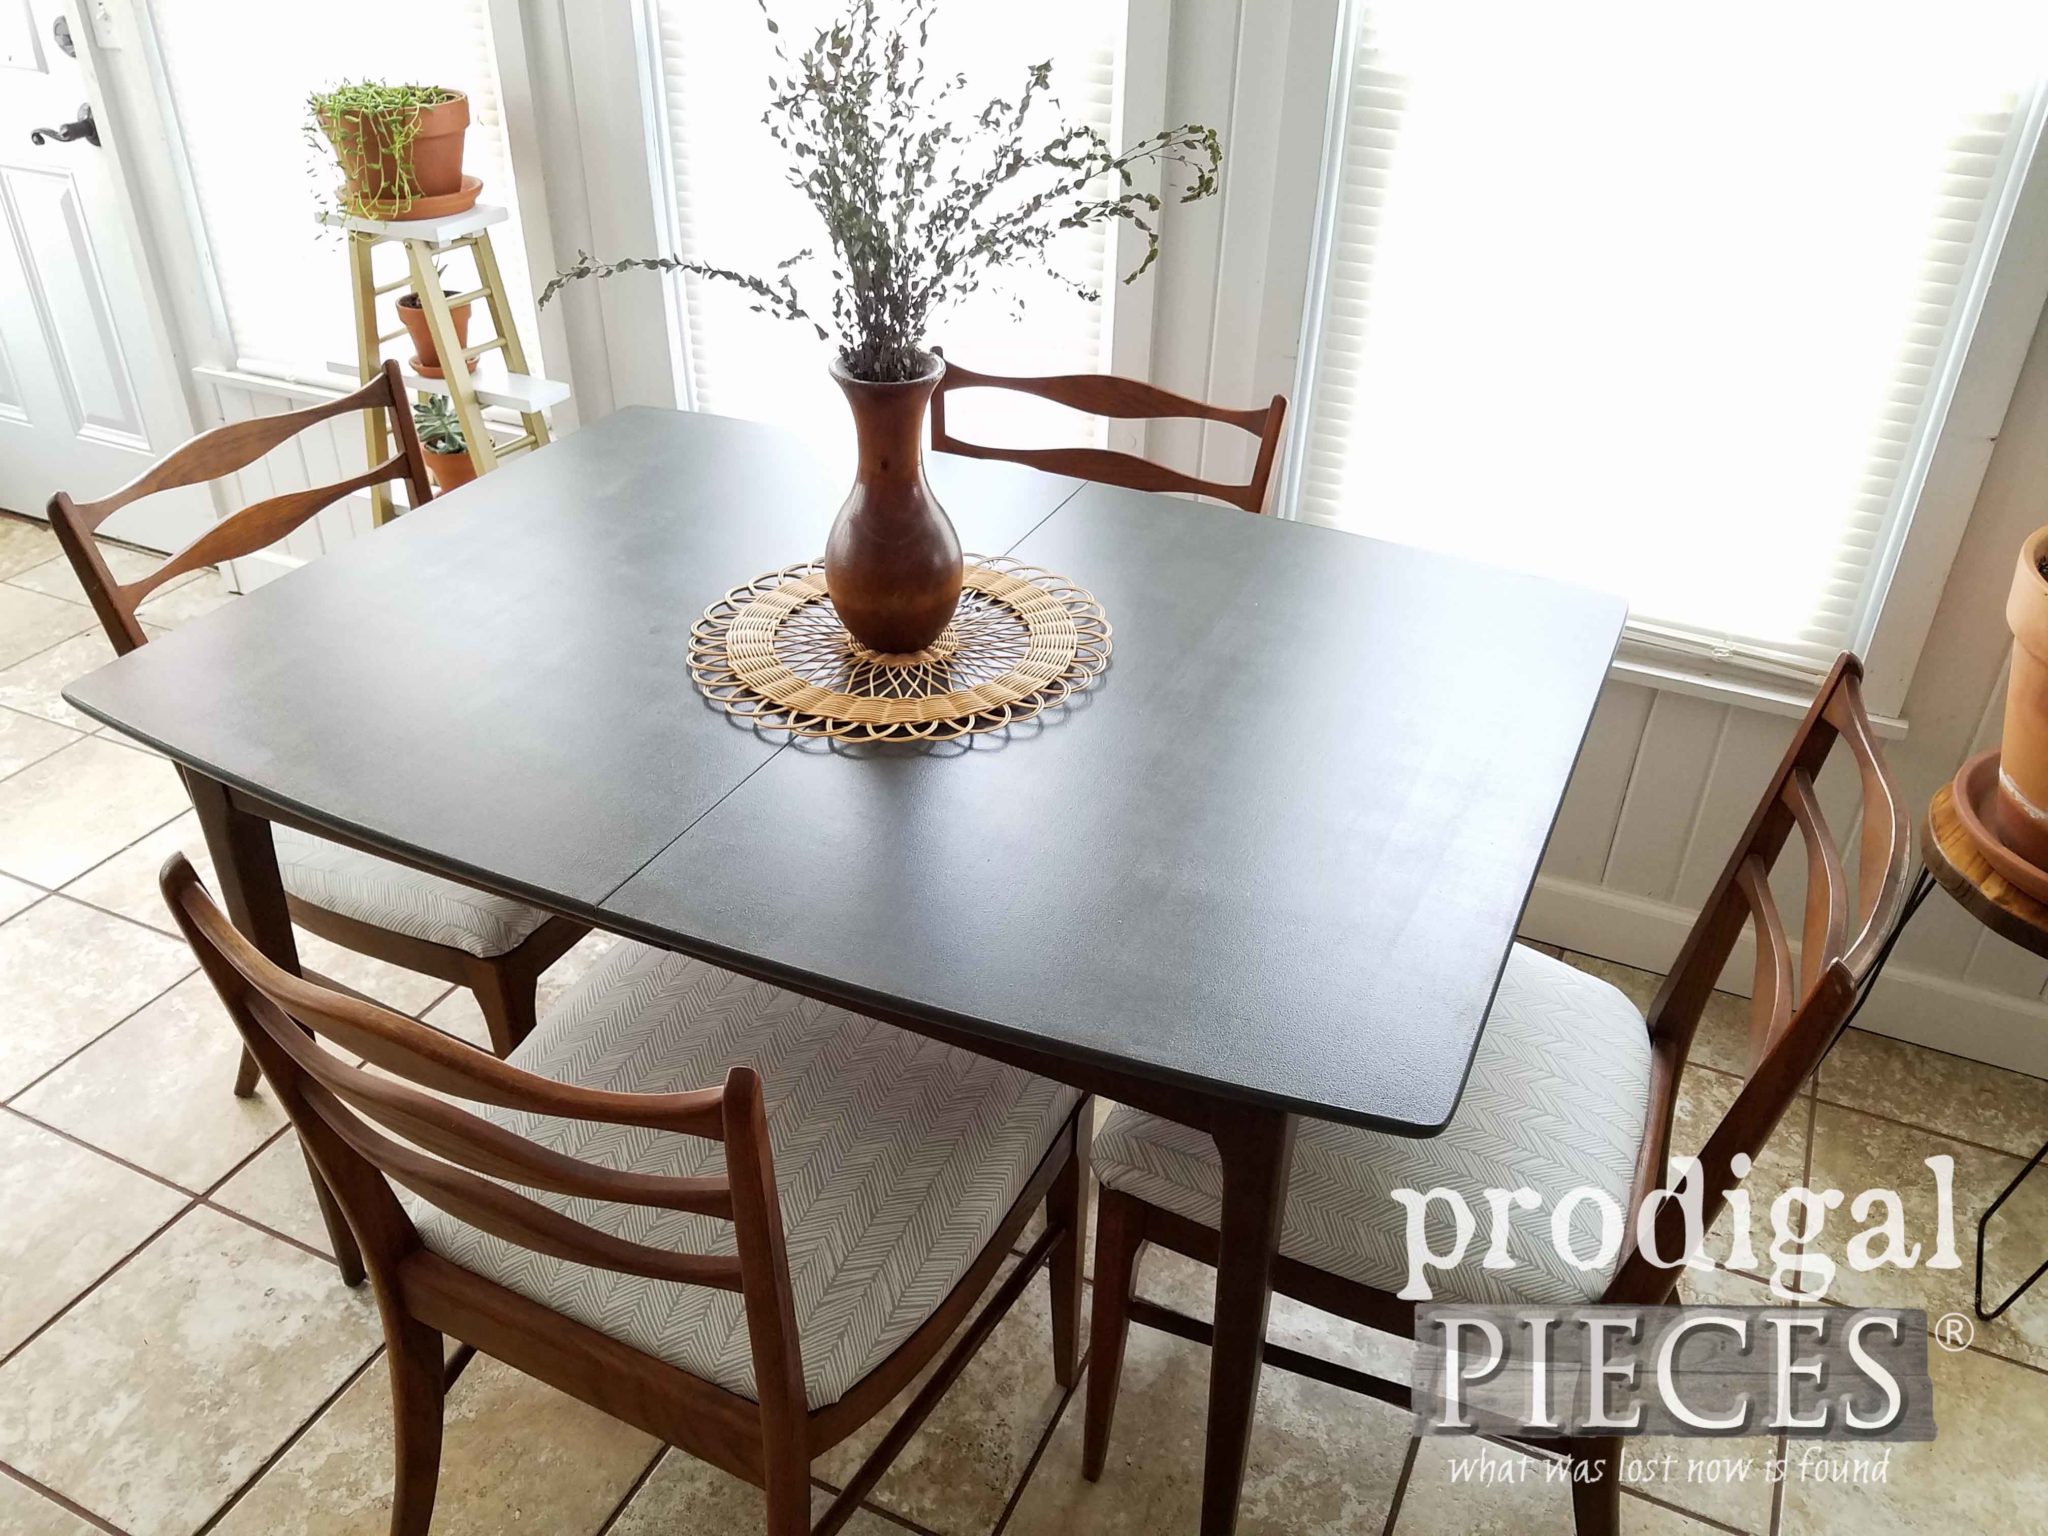
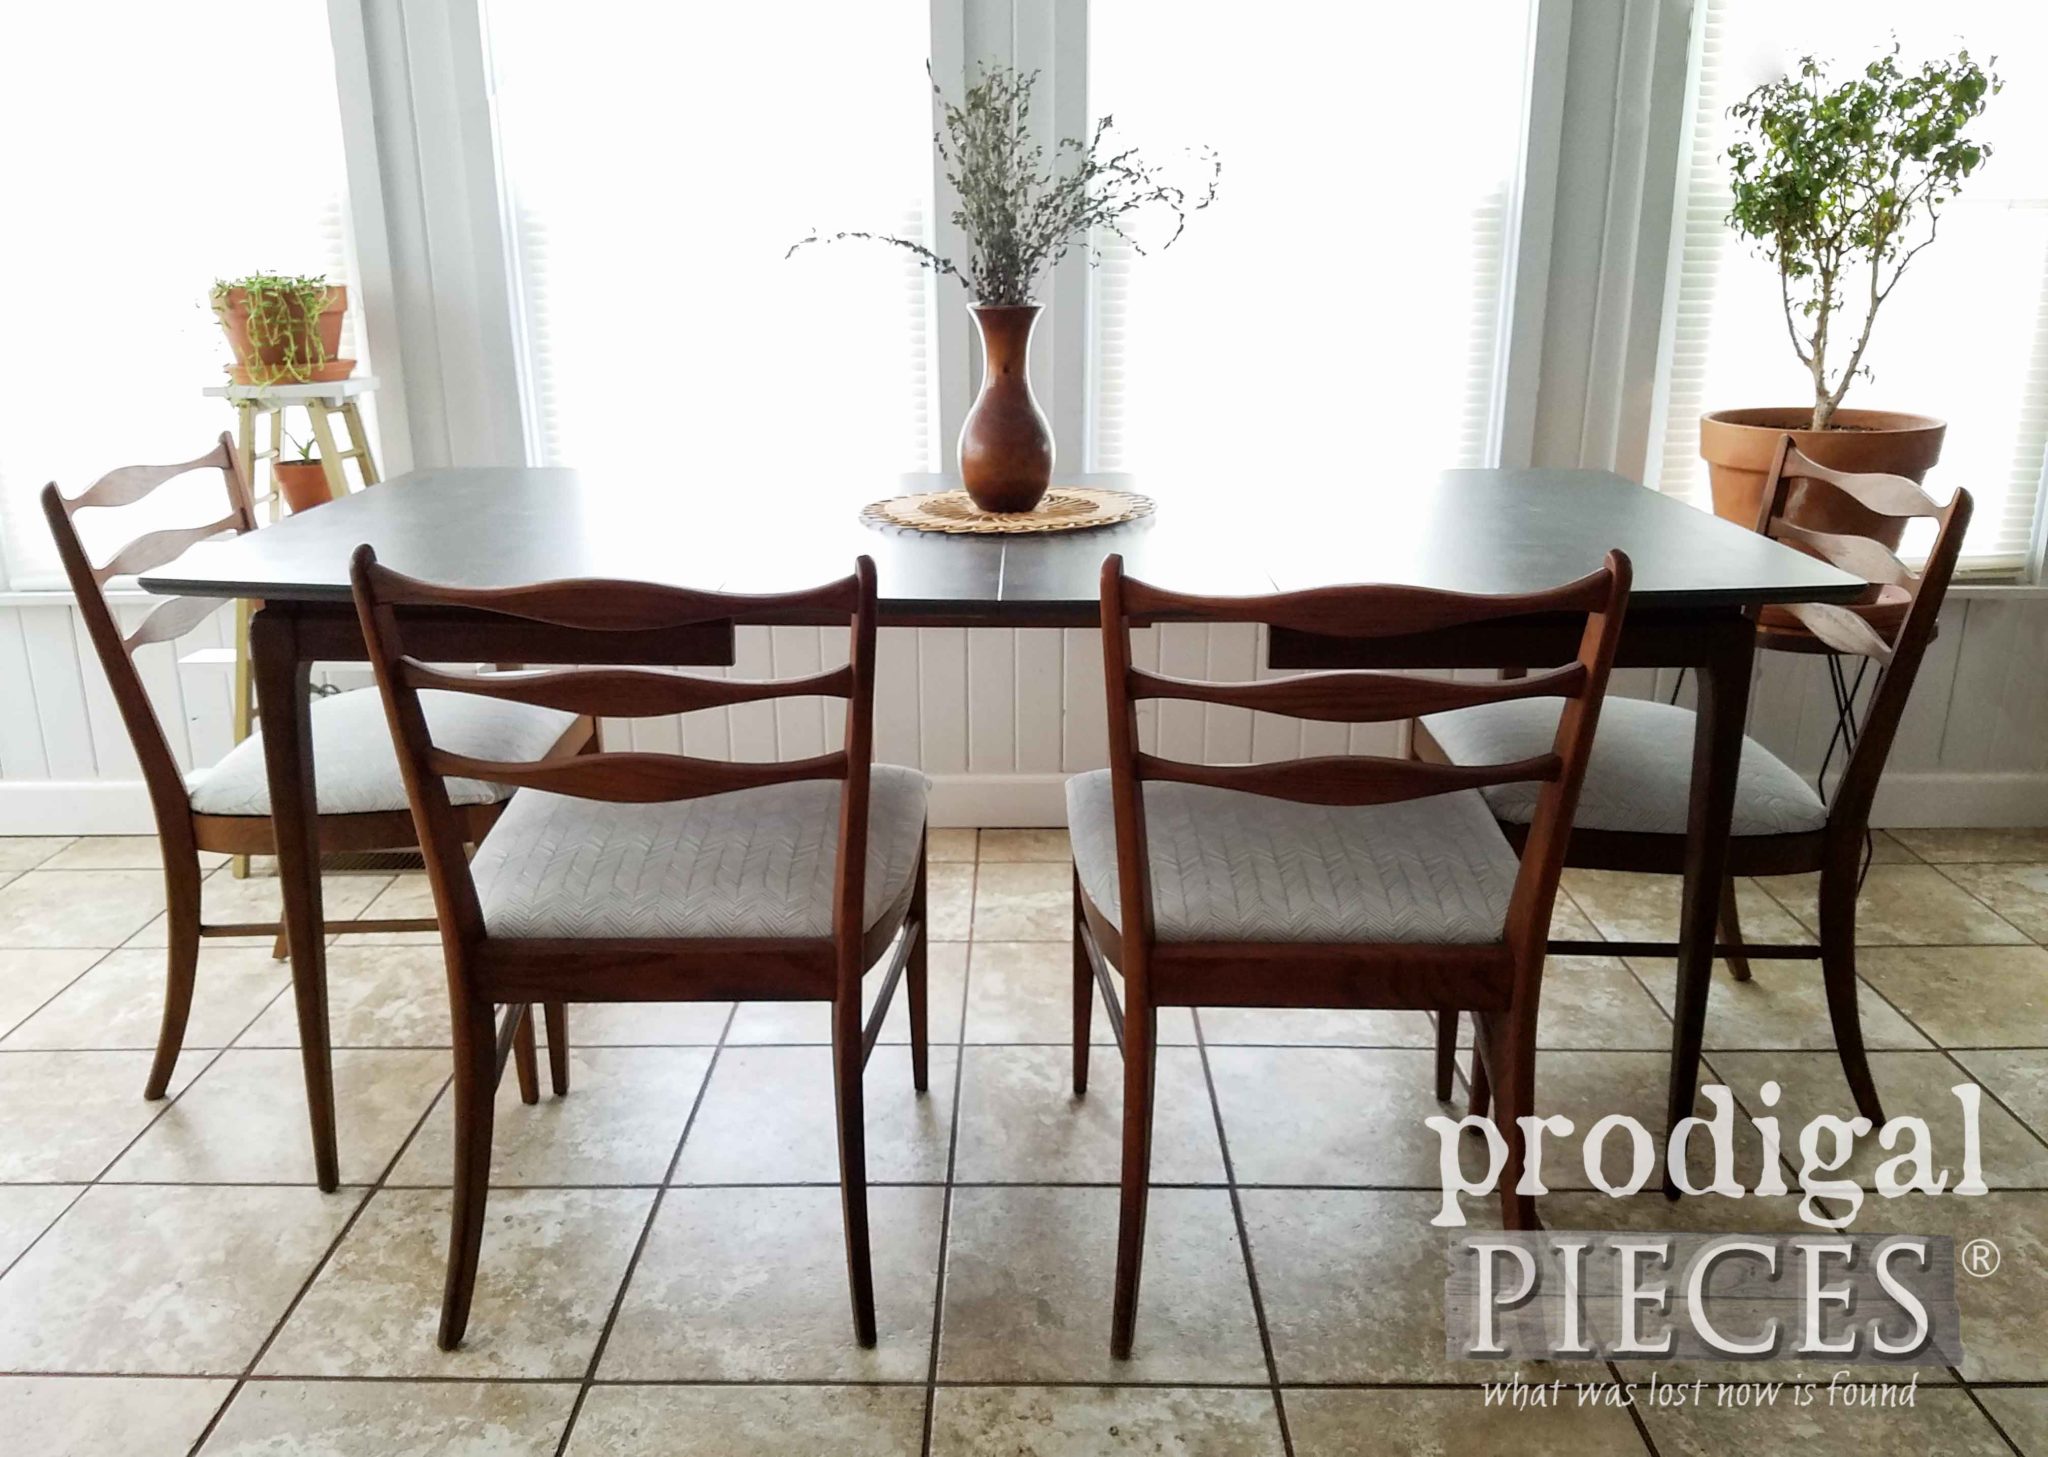
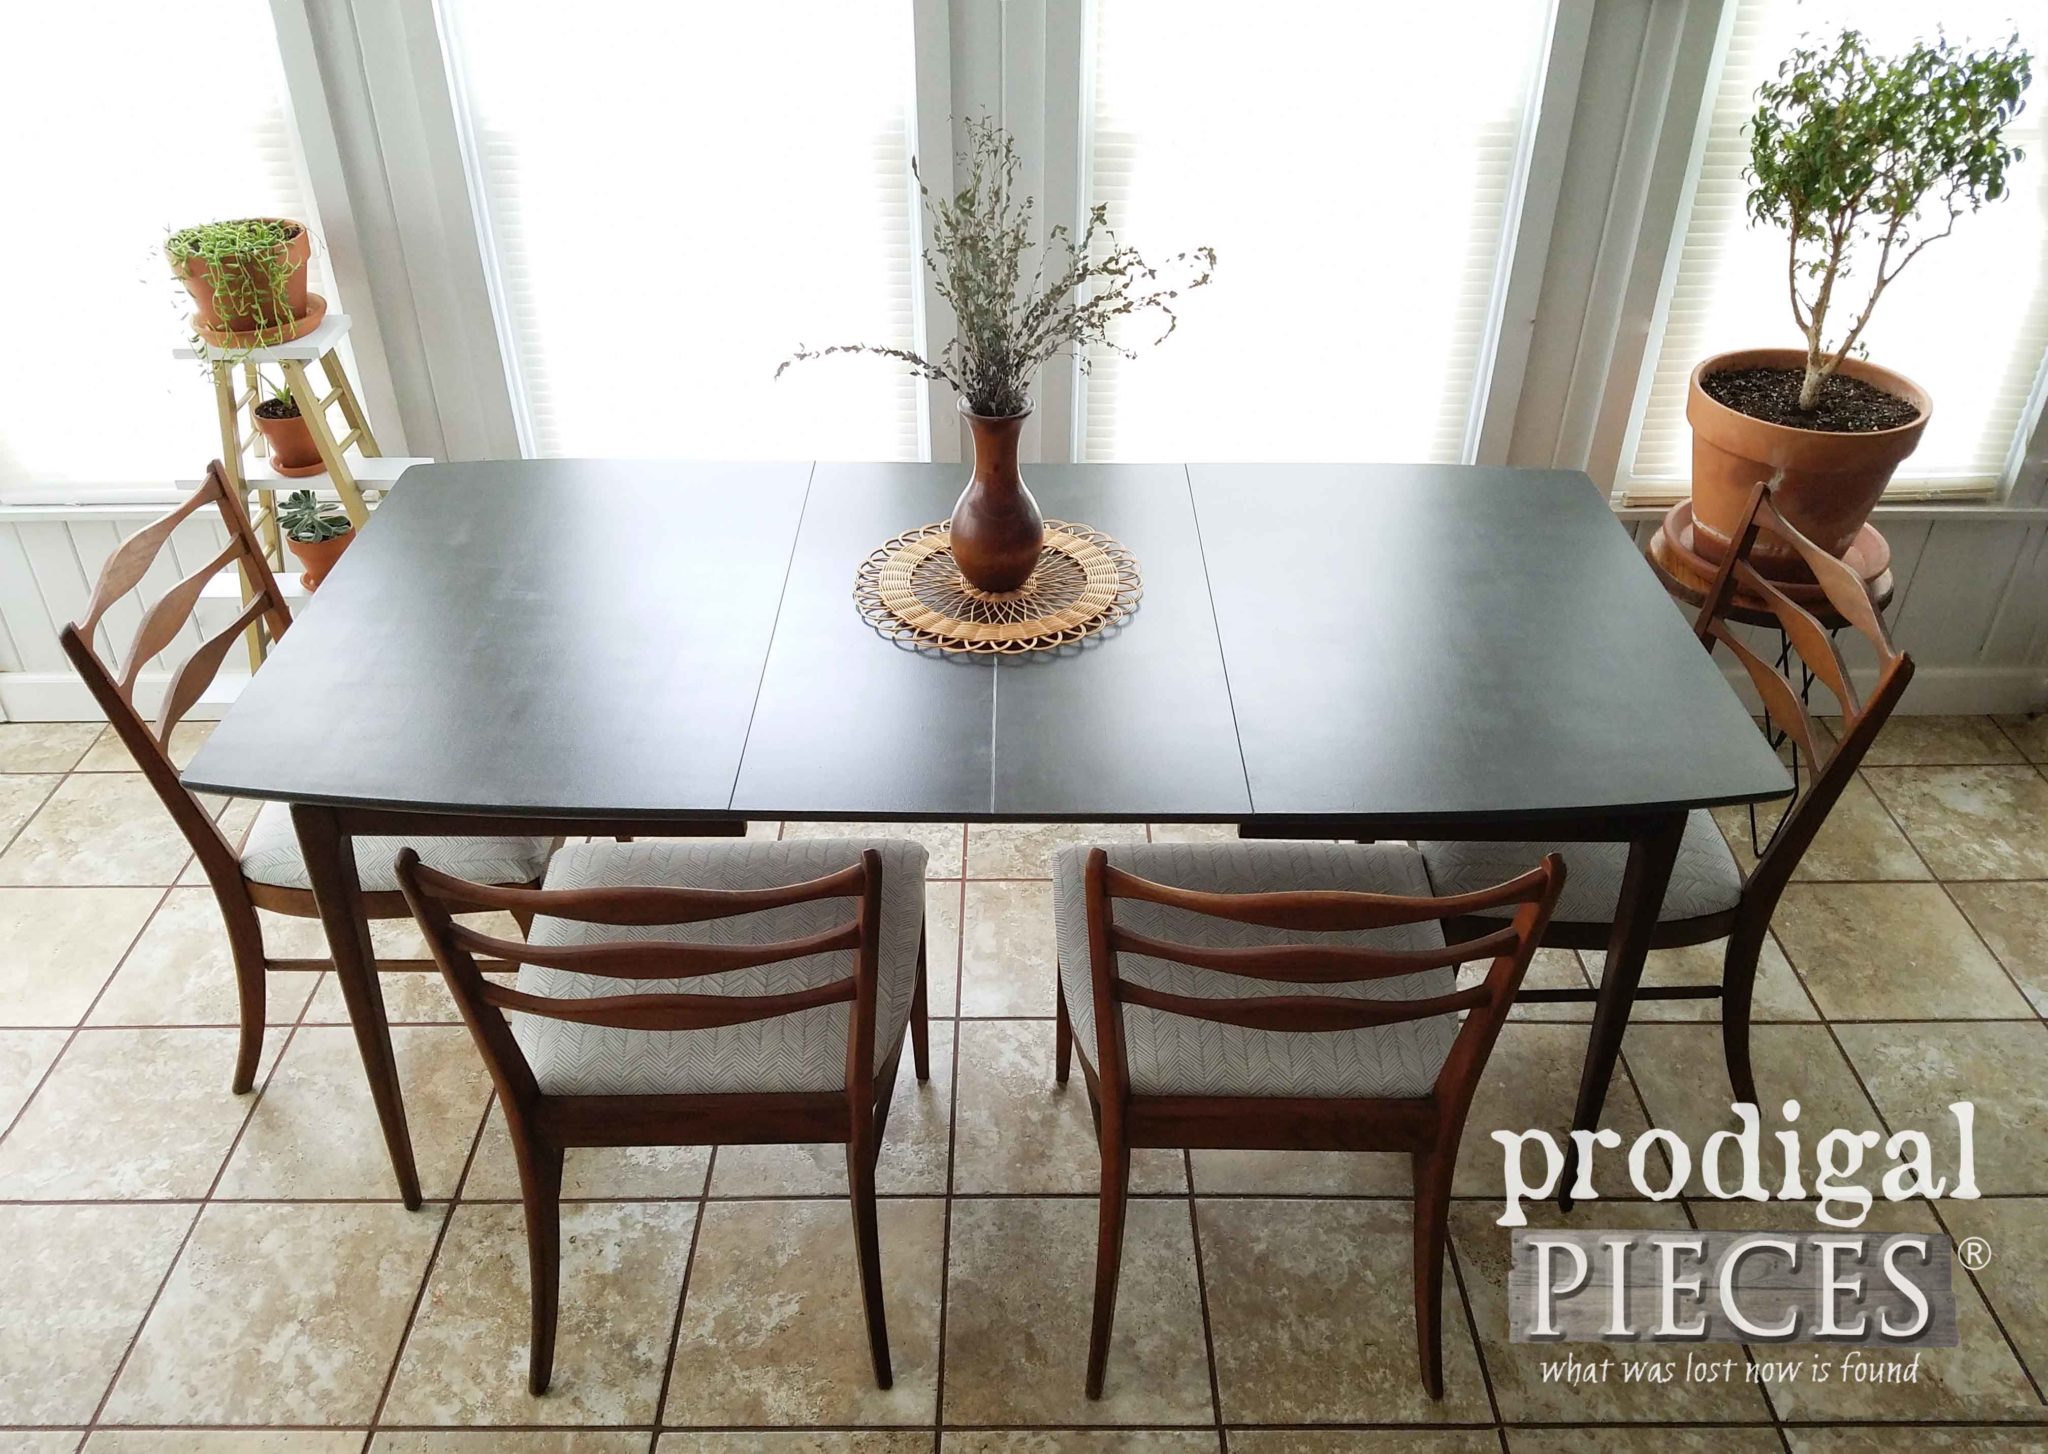
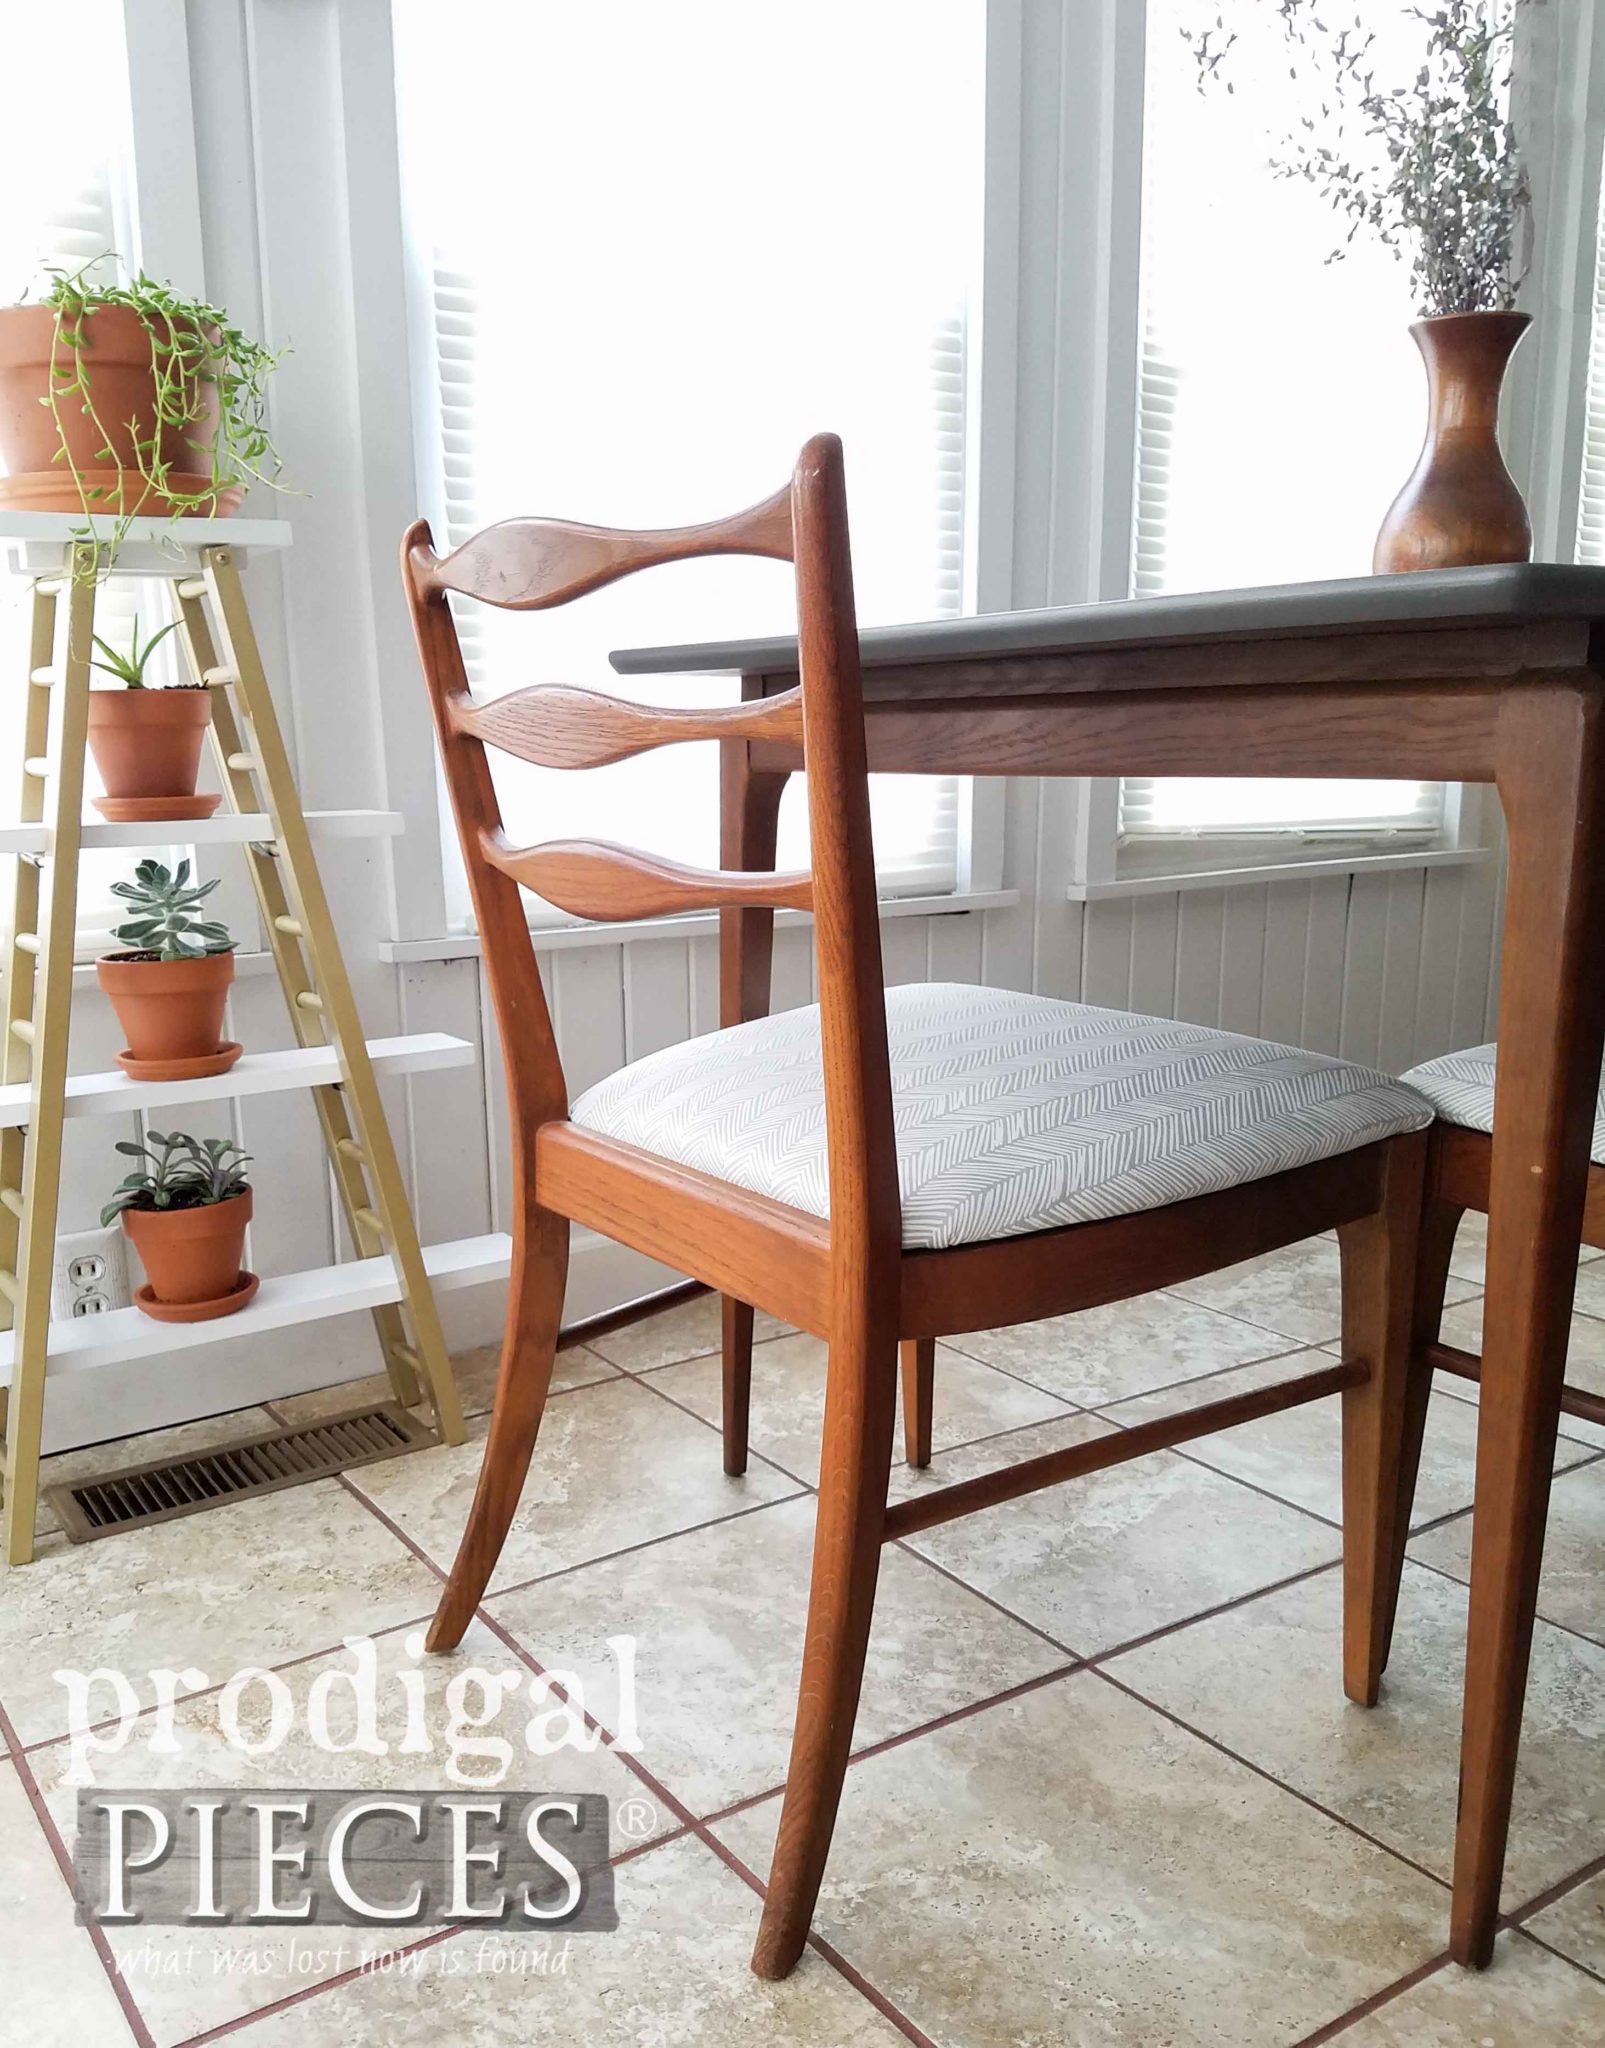
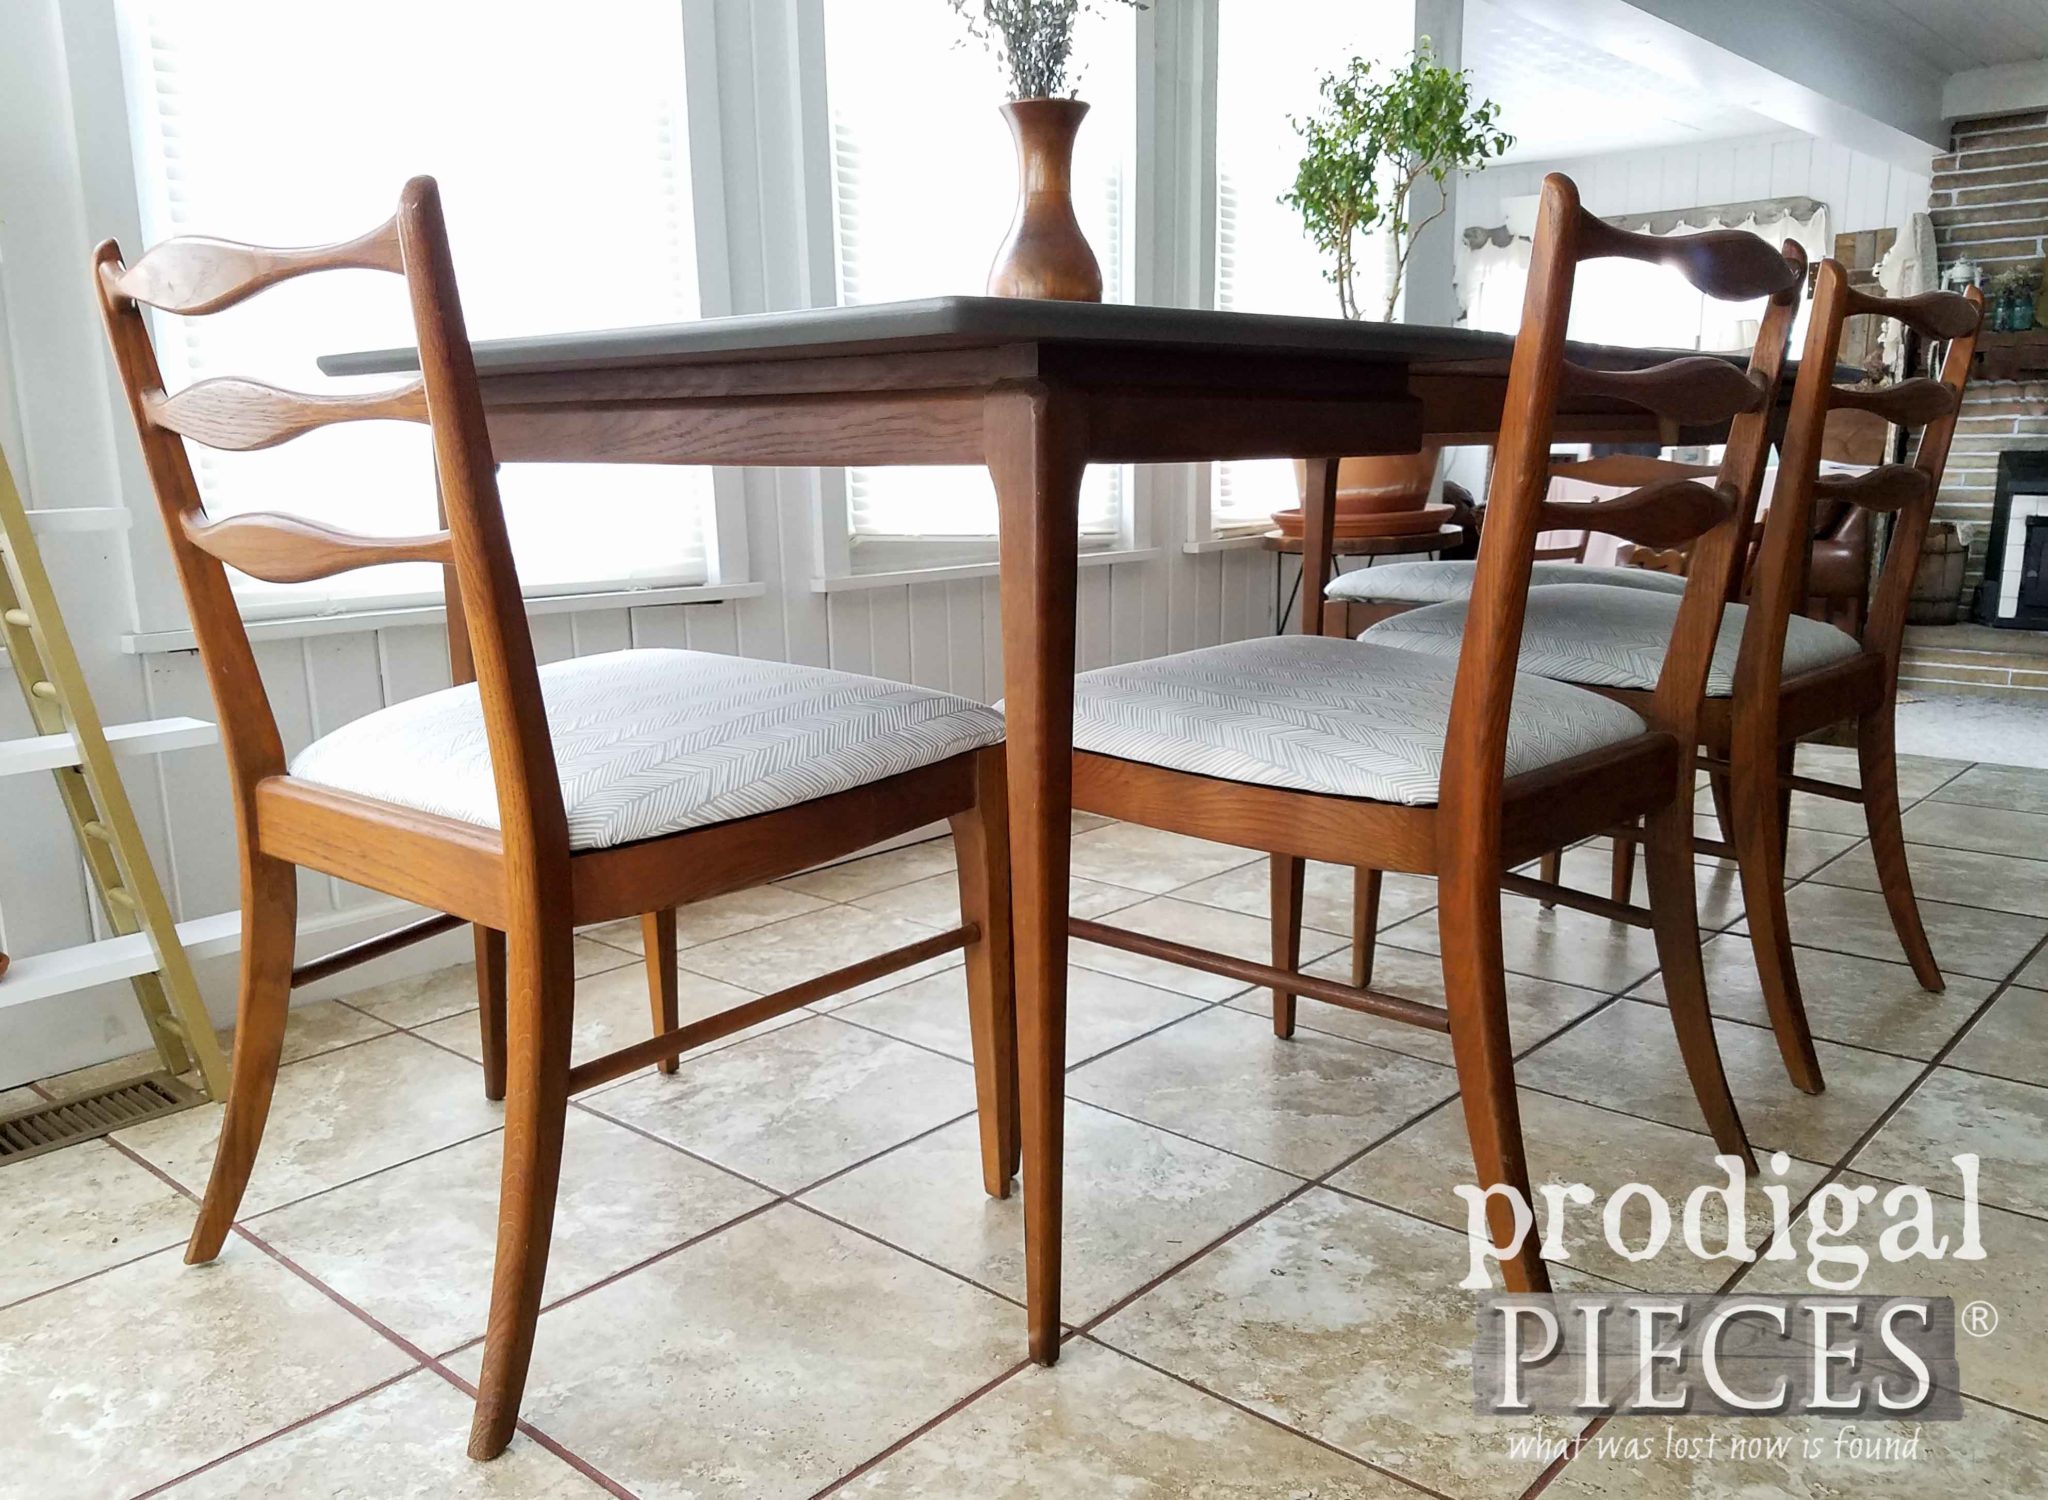
We said goodbye to dated and dingy, and HELLO to modern chic. I love it! The top came out just as I had planned looking so refreshed and ready to go.
My favorite part is the fabric I purchased to update the chairs. It is a gray with cream. Light enough to brighten it up but will stand the test of time. I even gave it a Scotchgard treatment as an added protectant.
Time to show you how this beauty really opens up. Woot!
With both leaves in this gem can seat six easily. I love a versatile piece of furniture, don’t you?
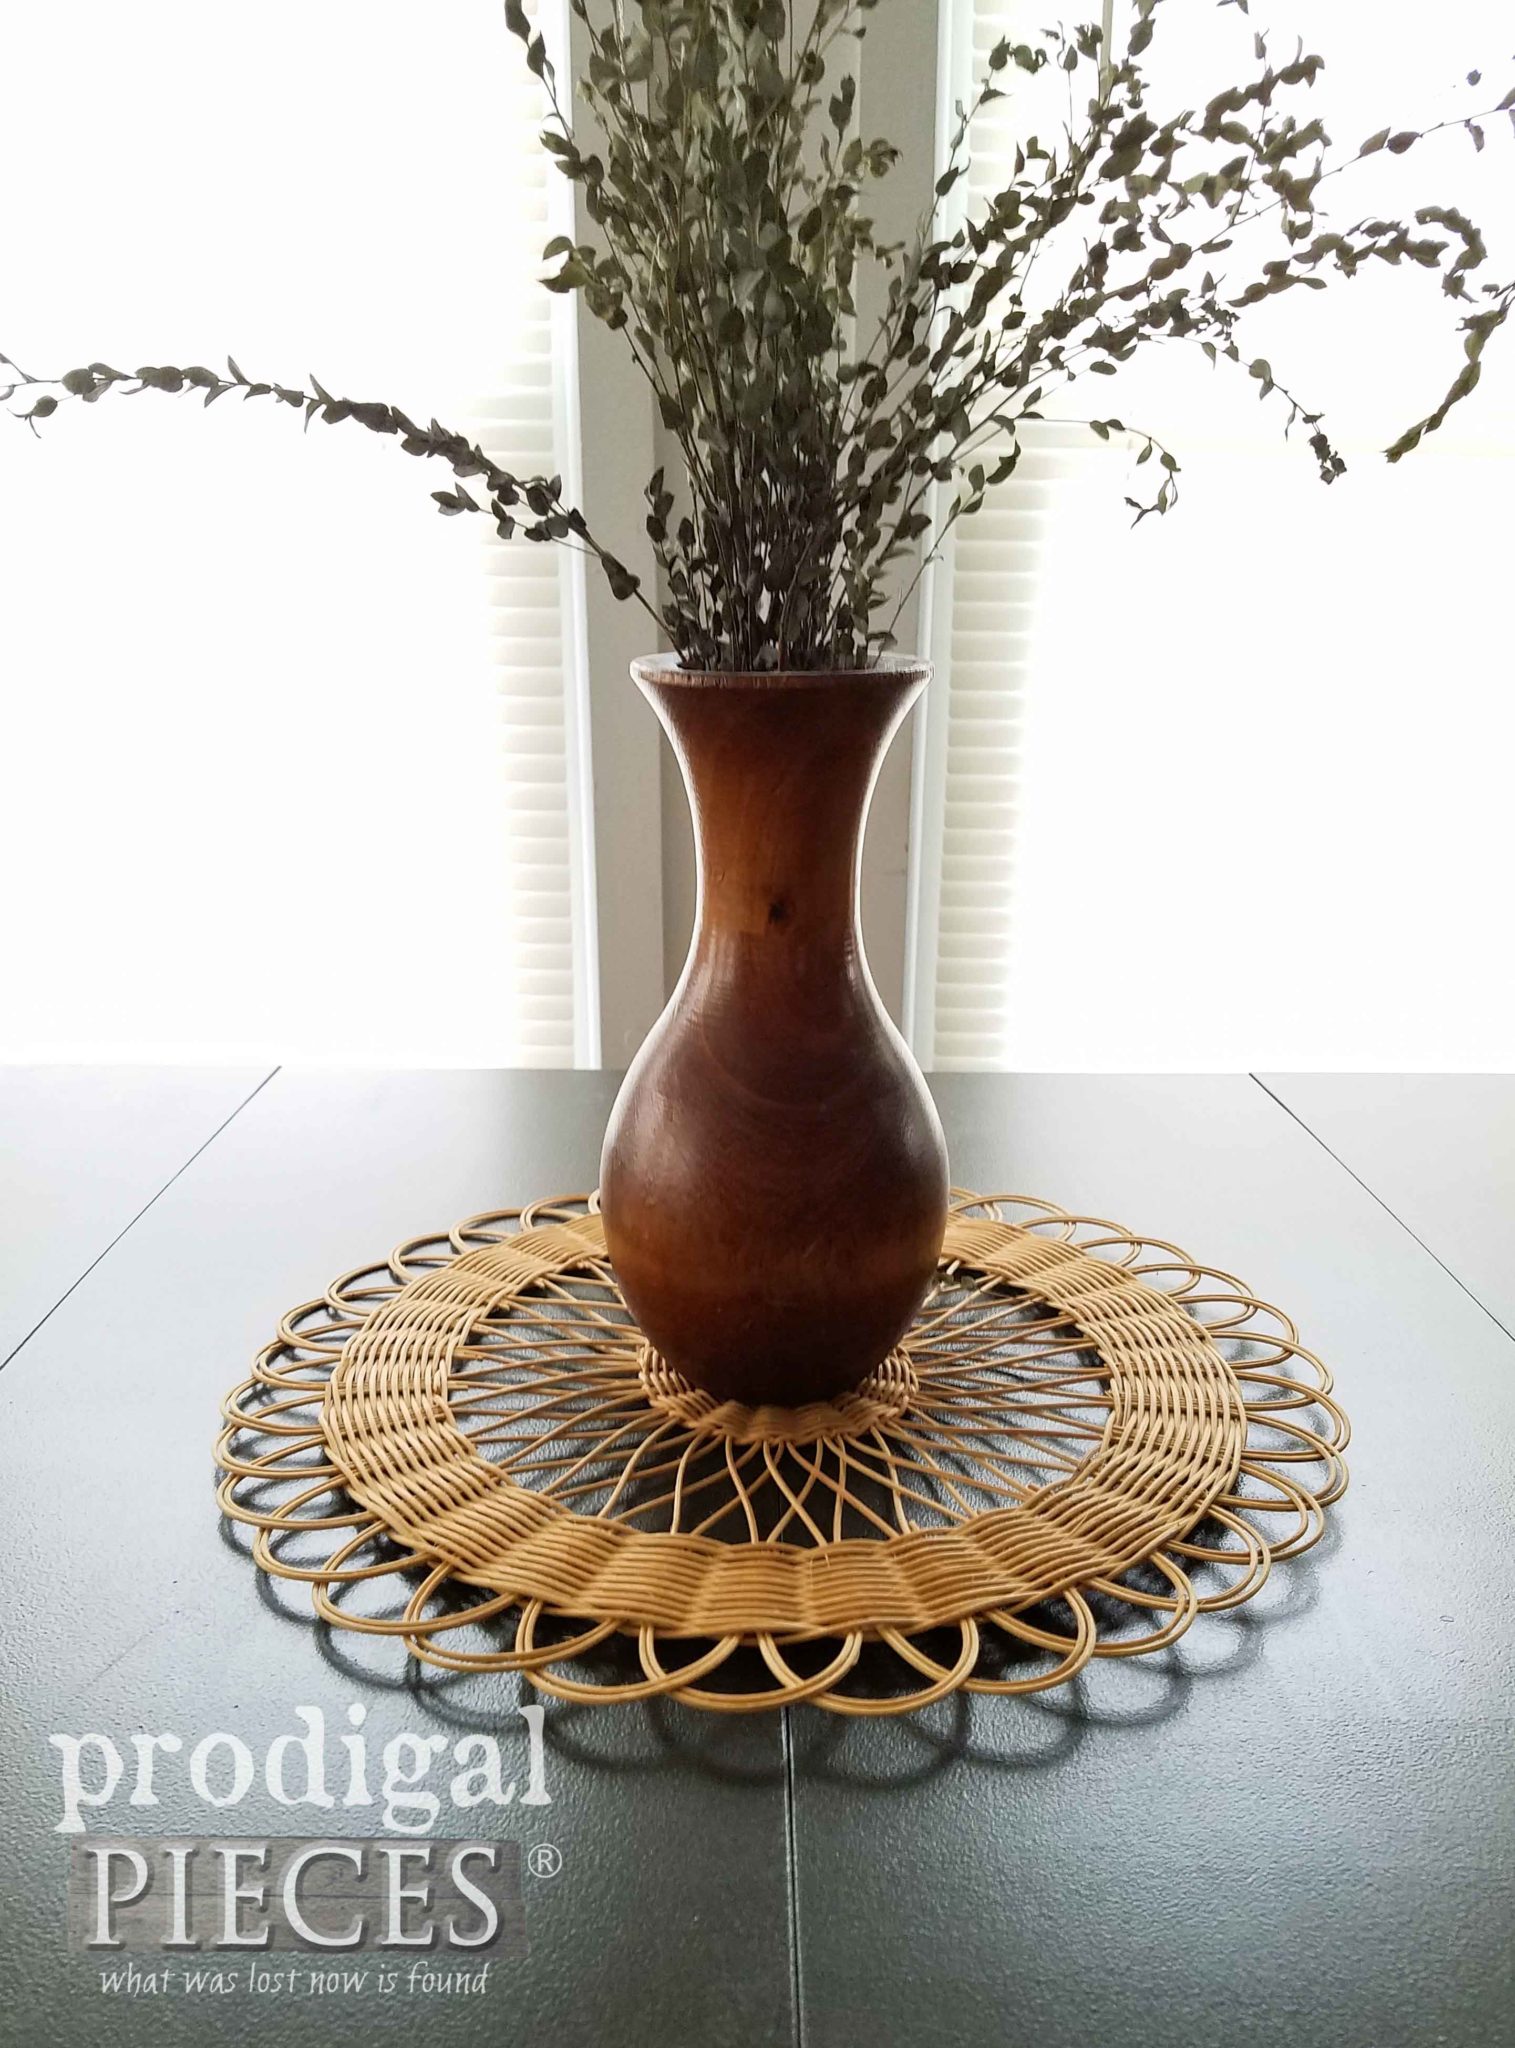
Gotta love the lines of this set. Mmm… Since I have a family of 8 and my home is mainly rustic, this Mid-Century dinette set is now available in my online shop along with the other things seen in this staging, like my plant stand.
SHARE
As always, my goal is to inspire you to not turn down but try to paint laminate furniture. Additionally, pin and share to inspire others to give it a DIY try.
UP NEXT
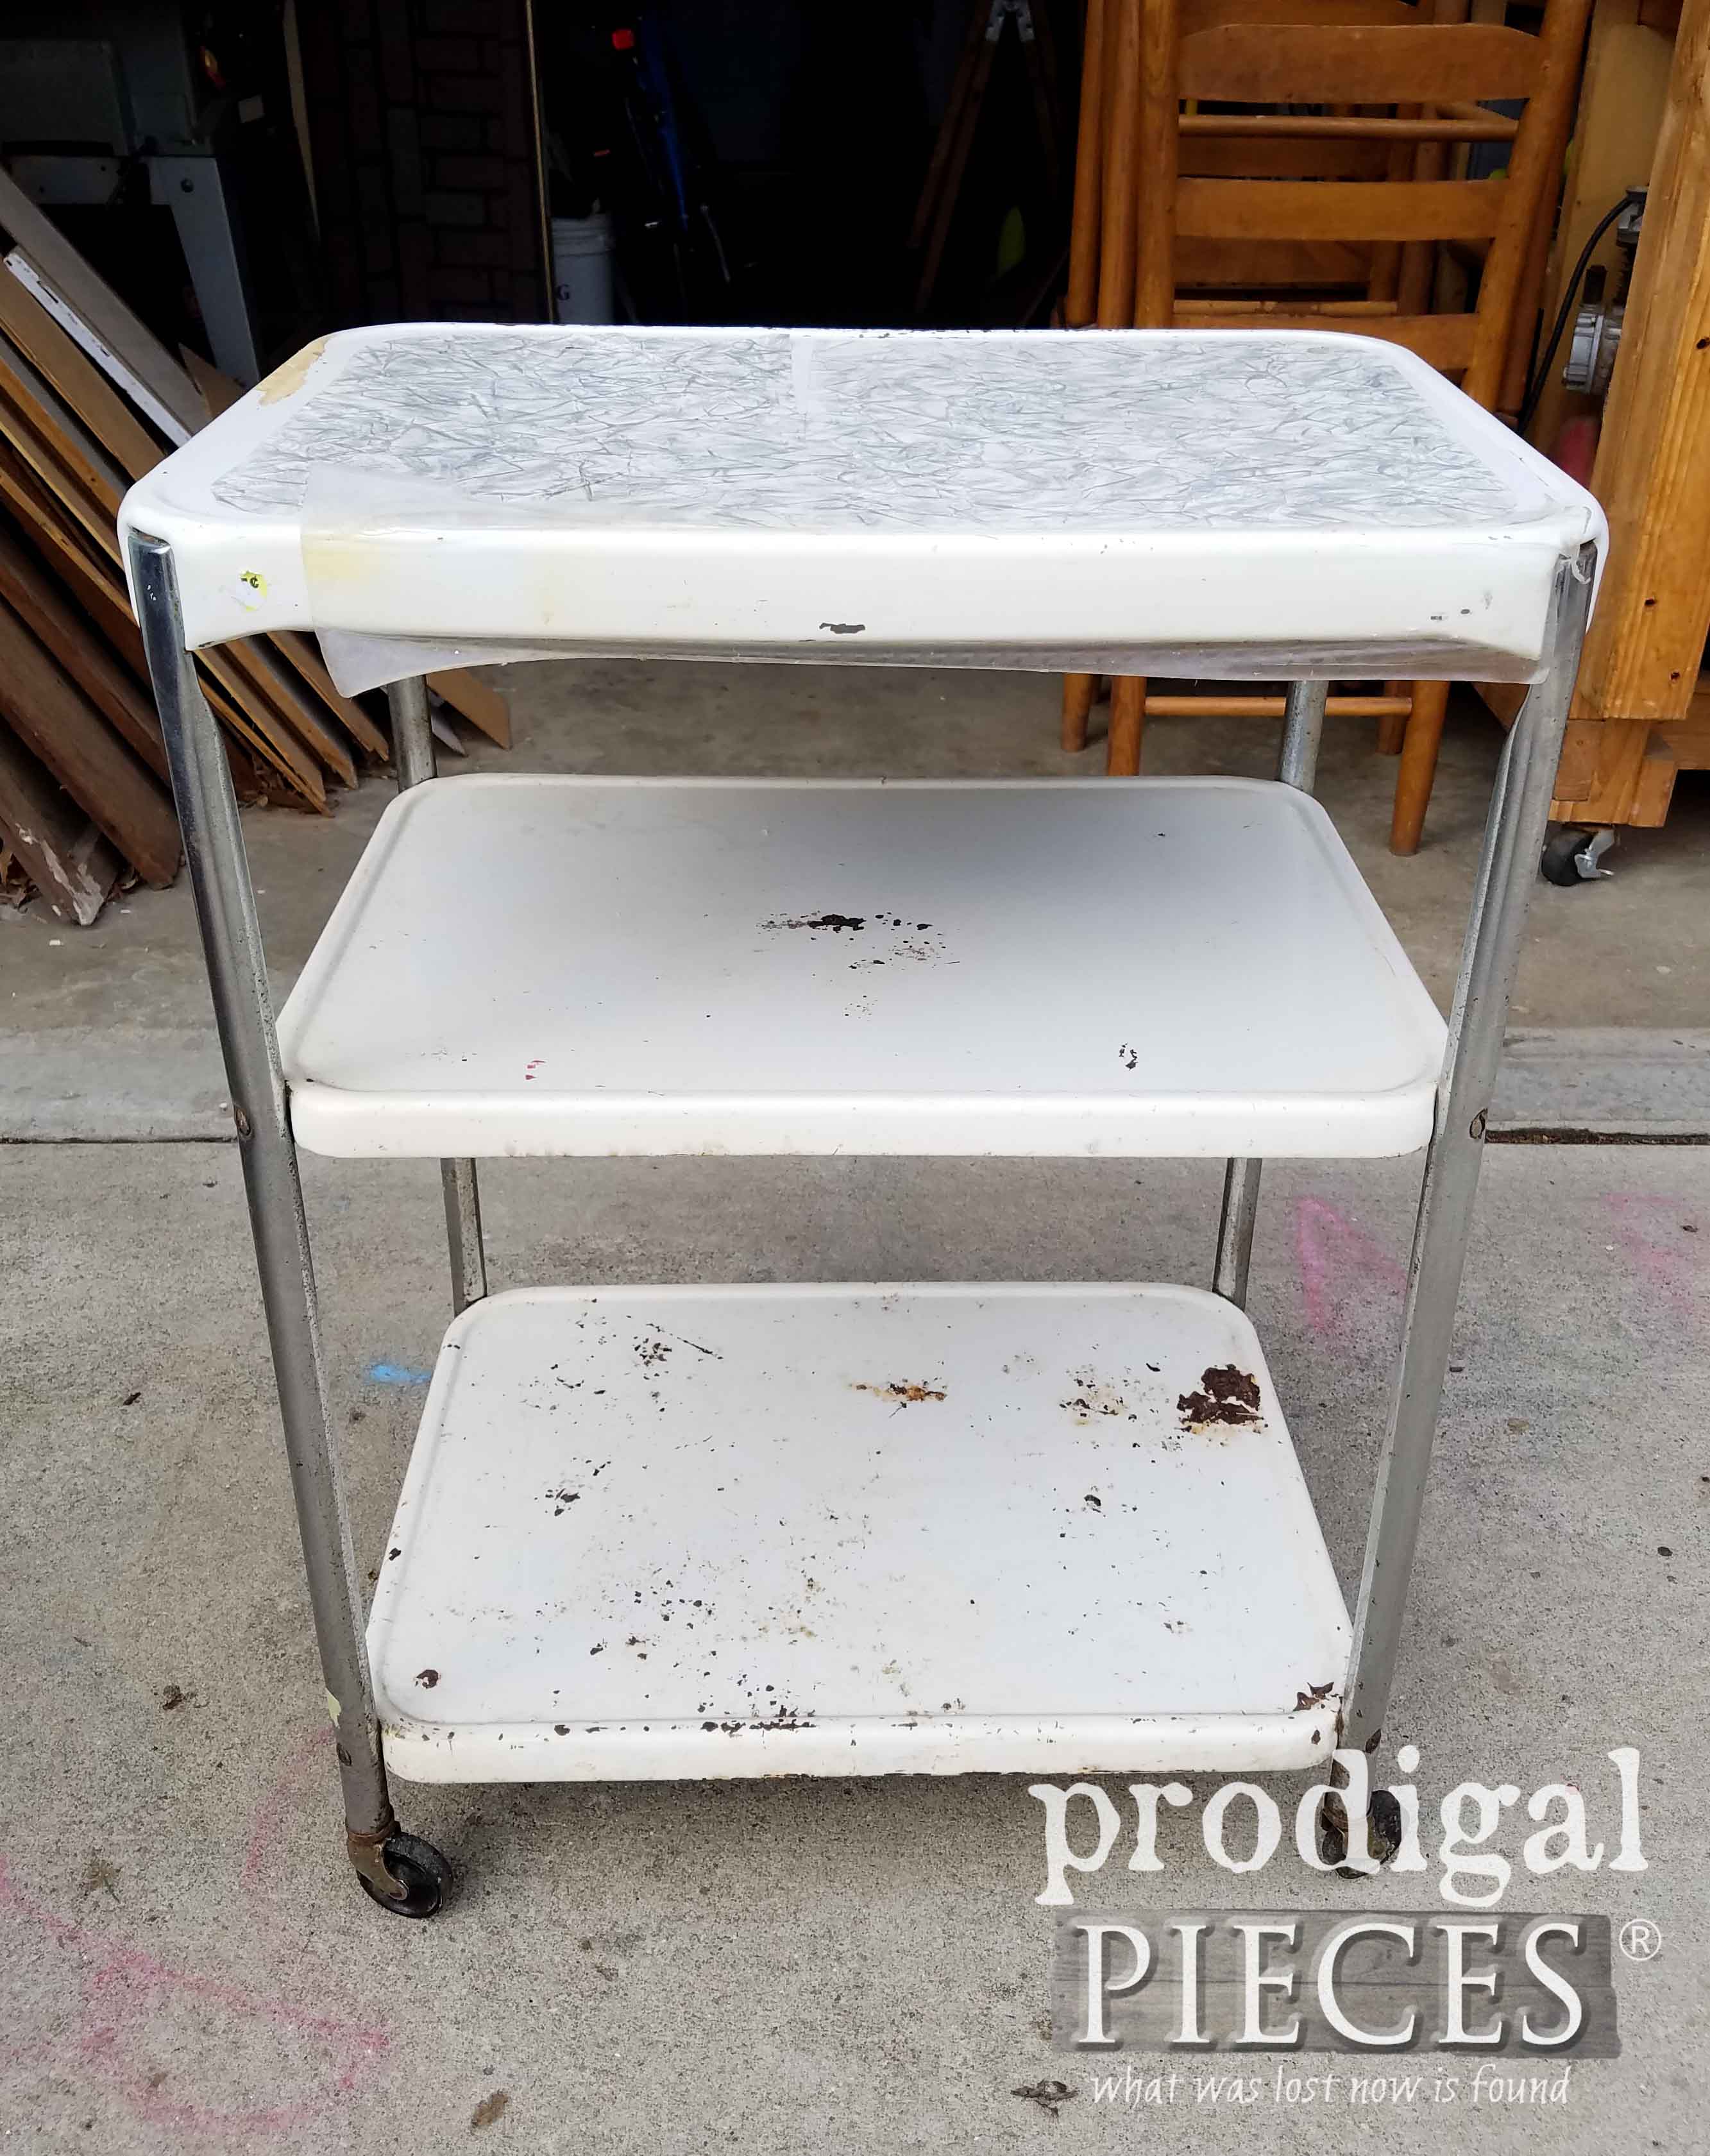
Up next, I’m get organized and showing you what I do with this thrifted cart I found recently. Looks kinda sad, doesn’t it? See the transformation HERE.
To get these DIY tips & tricks in your inbox, be sure to sign up for my newsletter. Time to see what my Trash to Treasure friends have for you below!
Check out these makeovers for more inspiration. Each one is a must see!








Good luck in the contest, I voted. Love how you redid the table and chairs. The fabric is perfect for the style.
Thanks! I just loved working on this set.
That really turned out great and like the new cushions on the chairs as well.
You got my vote. Just finished voting
Thanks! I was tickled to death to find it. I love MCM!
This is terrific!
Larissa, the link to vote for the Zibra one of a kind contest in the e-mail did not work. I went directly to the Zibra blog to vote though – what gorgeous pieces! The link to the blog is here :http://thezibrablog.com/one-of-a-kind-the-peoples-choice-voting/ for anyone who had the same problem. 🙂 Good luck to you and to me too, since voting makes me eligible to win something as well! 🙂
Thanks! I have the right link here in my post. Thanks for the heads-up. I’m so excited to have everyone’s support.
Great makeover. Just finished voting for you. Good luck – hope you win!
Thanks!
Beautiful update! I cringed when I saw the before because everyone has opinions about what is good wood or when to paint. I’m more of an MCM purist in general but sometimes there is just no salvaging a finish. That being said, You Rocked it!! I Love the changes. Love that you left the pretty wood and complimented it with paint and fabric. Gorgeous, hope it sells quick 🙂
Wood, yes, laminate, fair game. Haha! Thanks so much for the smile!! 😀
What a difference! The lines are gorgeous on this set. I headed over to Zibra and voted, good luck! I’m looking forward to your thrifted cart makeover, I’ve had one exactly like that stashed away for years and need some inspiration!
I was oohing when I saw it in the store. Totally blown away at how great condition the wood was in. Thanks for the love!
You got my vote! The dining set is so sweet! It will get snatched up right away, I’m sure.
Bless your day!
Thank ya! I wish we had room for it to seat 8 and enough chairs. Would be fun to switch out on a whim!
WOW! Larissa!!! This set turned out beautifully! Good job. Good luck in the contest!
You’re so fun, Cate! 😀 Thank you.
It looks so much better, Larissa! Funny how just covering up the laminate and recovering the seats made this shine! XO
It was a blast to do because it was fairly simple and made much impact. Thanks, girl!
Beautiful finish, Larissa! Good luck with the contest.
Thanks! I appreciate it.
Voted for you…Good luck!
Beautiful makeover, as always!
Wonderful to hear. Thank you!
It looks amazing Larissa!! Like a brand new set!! Love it! xo
I’m delighted you think so. Thank you!
So many MCM pieces Larissa so little time! Love the colors you used. I just finished a big one using chalky type paint …let’s hope it holds up. BTW I went over and voted, wishing you good luck to get that grand prize!!
haha…yes!! It should be just fine with your awesome skills, Mary. Thank you for the vote!
You got my vote!!! Amazing make over!!! Where do you purchase you micro foam rollers? Thanks!!!!
Sweet!! Thank you! I get them at the local hardware store.
What a beauty, Larissa! Love the new look and the fabric you chose. (Although I think my seat padding was worse than yours…haha!) 🙂
Thanks! My padding was the worst, as in the foam, it made the biggest mess I have ever had. I’m still finding it here and there. Blucky!
What a beauty, you really made that shine. That is something I probably would have walked on by. Thank the Lord he has people like you to see the potential in everything. By the way sent my vote in for you, good luck!
You’re the best, Bonnie! For your kind words and words of encouragement. Thank you!
Good luck, Larissa, keeping my finger’s crossed for you! Beautiful job on this MCM dining set. Pinned
Thanks! I will if it was meant to be. Hugs!
This turned out beautifully!! Do you do one or two coats of primer when you are painting laminate? And do you sand until the laminate isn’t longer shiny?
Thanks,
Dana
Thanks so much, Dana. I lightly sanded to give it tooth, and then used one coat of primer. 🙂
Wow this turned out great! I love the paint color! What brand of paint and color did you use?
Thanks! I used a seconds color paint for the cabinet. It wasn’t a favorite, so I won’t use it again.