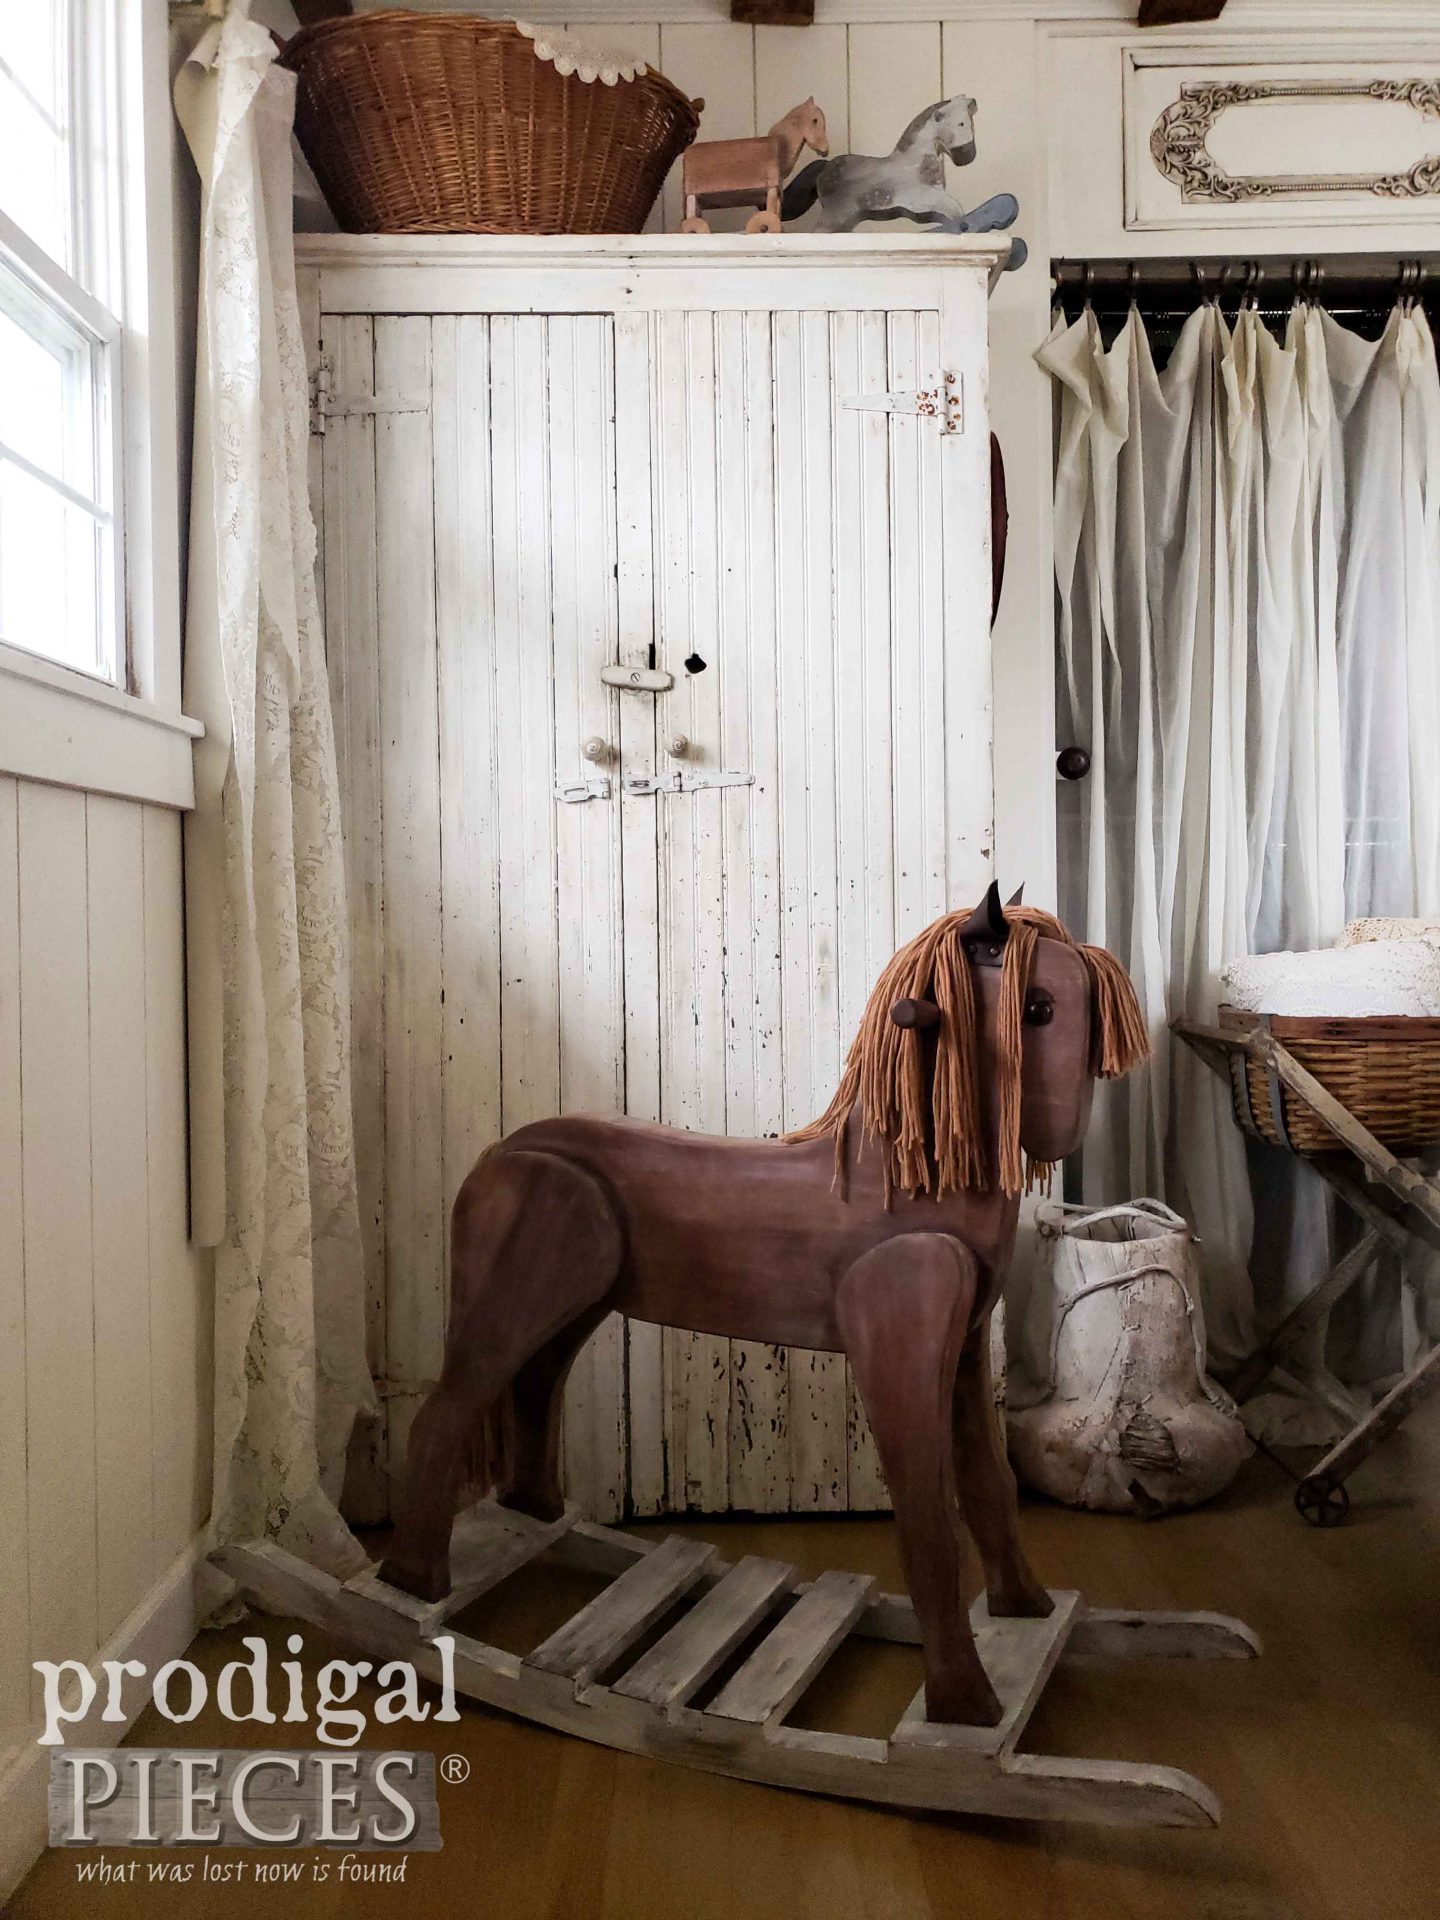
Do you ever have a certain item that you can’t resist? For me, that goes without saying. ahem. I have many vices and one of them is a vintage rocking horse…in any size. Small toy-size ones, medium ones for tiny tots, and then there’s ones like THIS.
I do believe I have never passed one up whether at the flea market or thrift store. Back when my oldest turned two years old, I created one just for him. Even my kids have reworked a few. You can see another I’ve done in this post. They’re just so fun, provide wondrous play, and even make adorable decor for children from 1-99. However, this particular vintage rocking horse has a story.
THE BACKSTORY
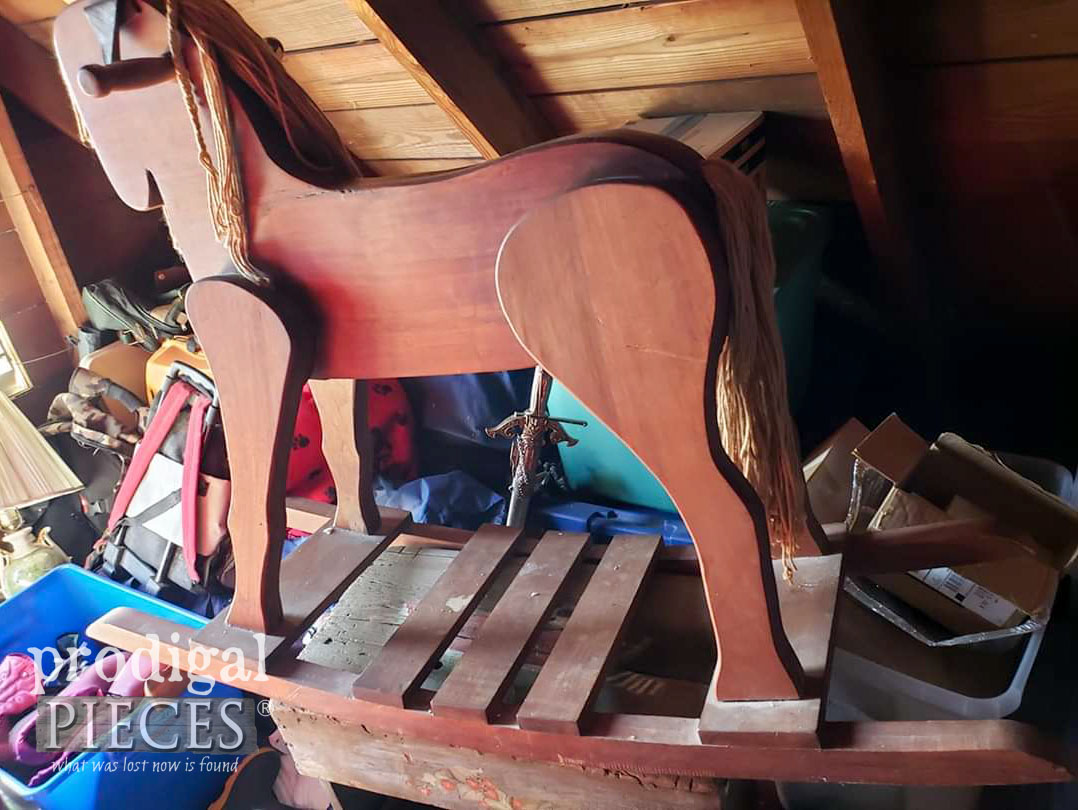
When this wooden beauty popped up in my feed, you can bet my scrolling stopped.
I put in a bid for a local ministry and then waited. I honestly didn’t care if I won, but I knew that they group could use the funds and I would like to help out by getting the ball rolling. On the last day I didn’t see the bids go very high, so I put in one last bid and won. Yay! Do you love auctions too?
However, when I had my oldest drop by to pick up my prize, he came home and asked, “Where do you want it?”
I replied, “Bring it inside to the front living room.”
He answered, “Umm…it won’t fit.”
Me: {{extended silence}} “What do you mean it won’t fit? It’s just a rocking horse.”
He brought it in and I seriously gasped and started laughing out loud. This is by far the BIGGEST rocking horse I have ever laid eyes on!! hahahaha!
WHAT TO DO
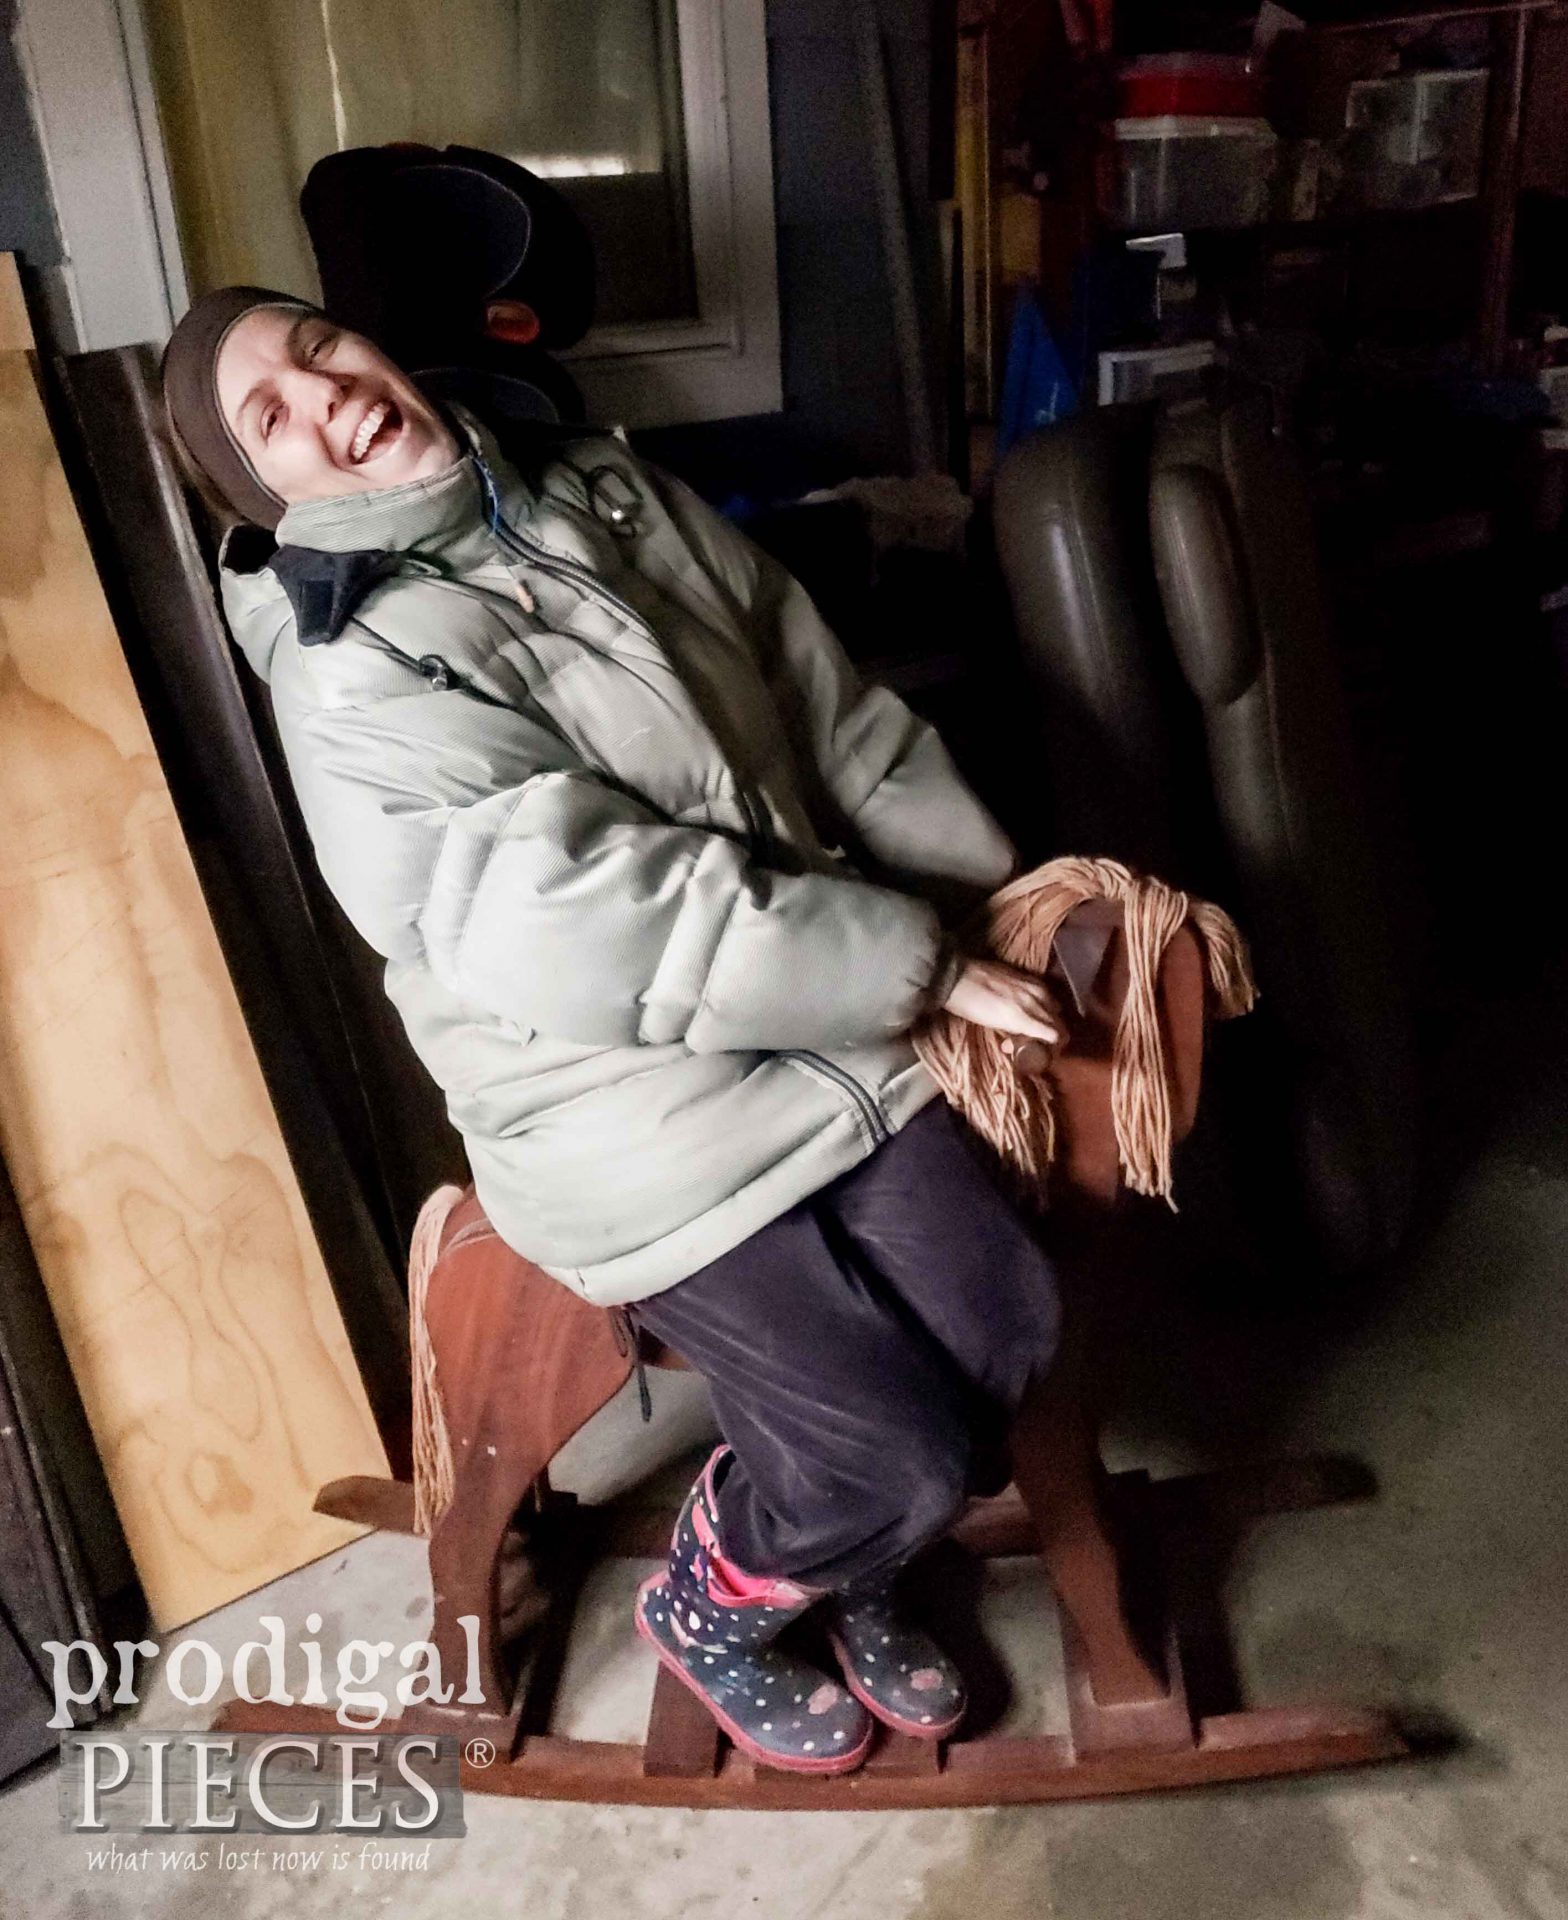
After my giggle subsided, I side-saddled it and thought…it’s big enough for me! Not really, but one can hope. Anyway, it’s large enough for a bigger kid which is awesome in my book. I can’t tell you how often being a tall child bumped you out of fun stuff well before you were ready to be done. tsk. I mean, who doesn’t love riding on a rocking horse? You are with me on this, right? I know I’m not alone.
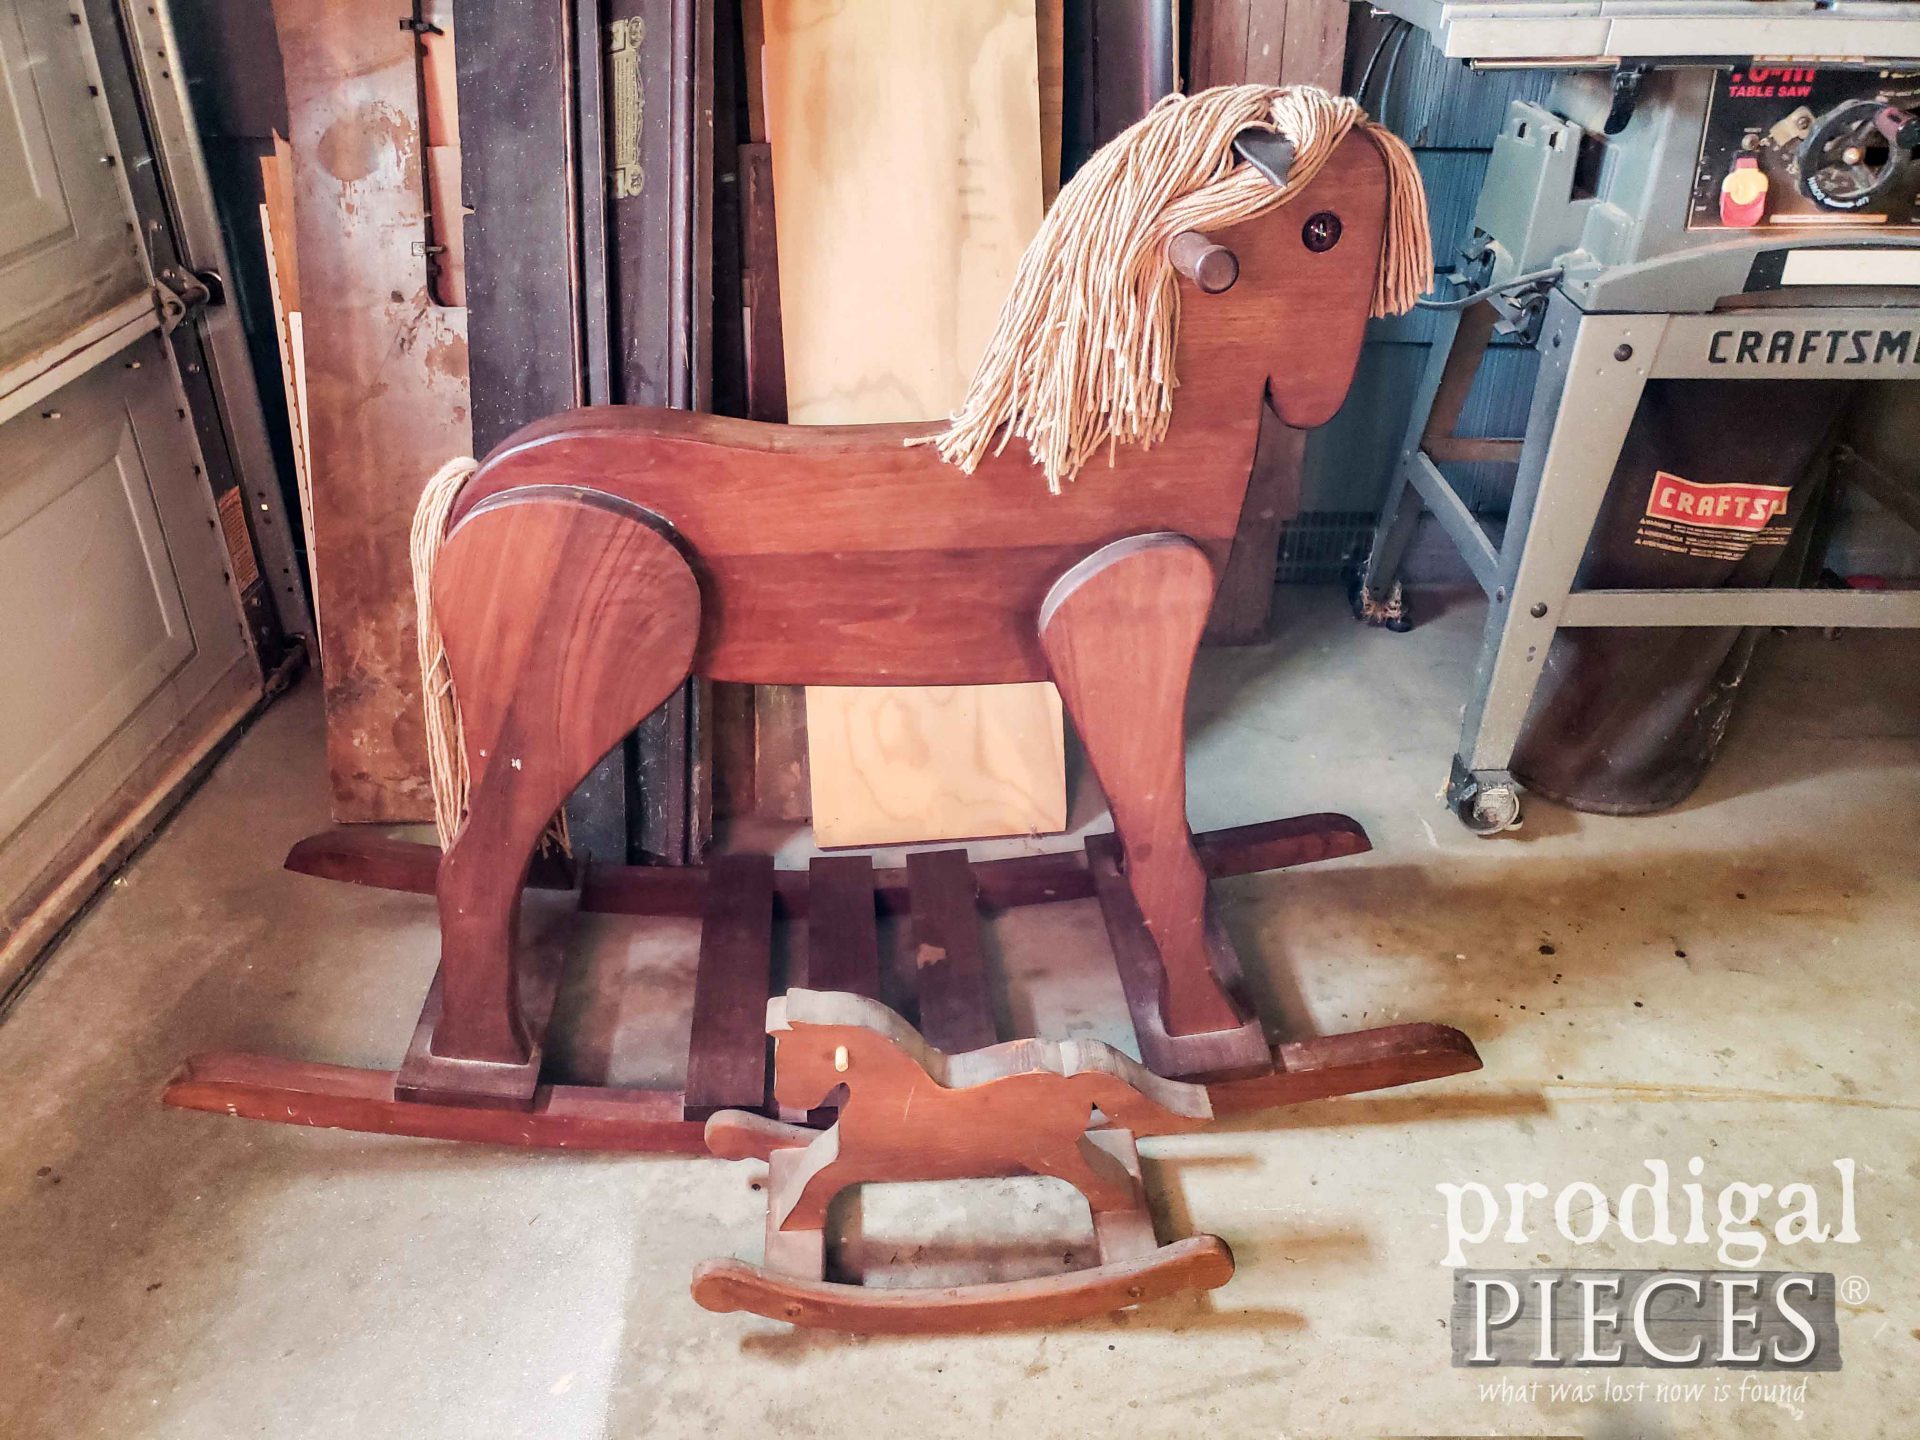
Okay, so I take a closer look and find this vintage rocking horse to be handmade made of a gorgeous mahogany hardwood. Built.to.last. I then take it out to meet my other rocking horse stash. hee hee. You know I had to have one.
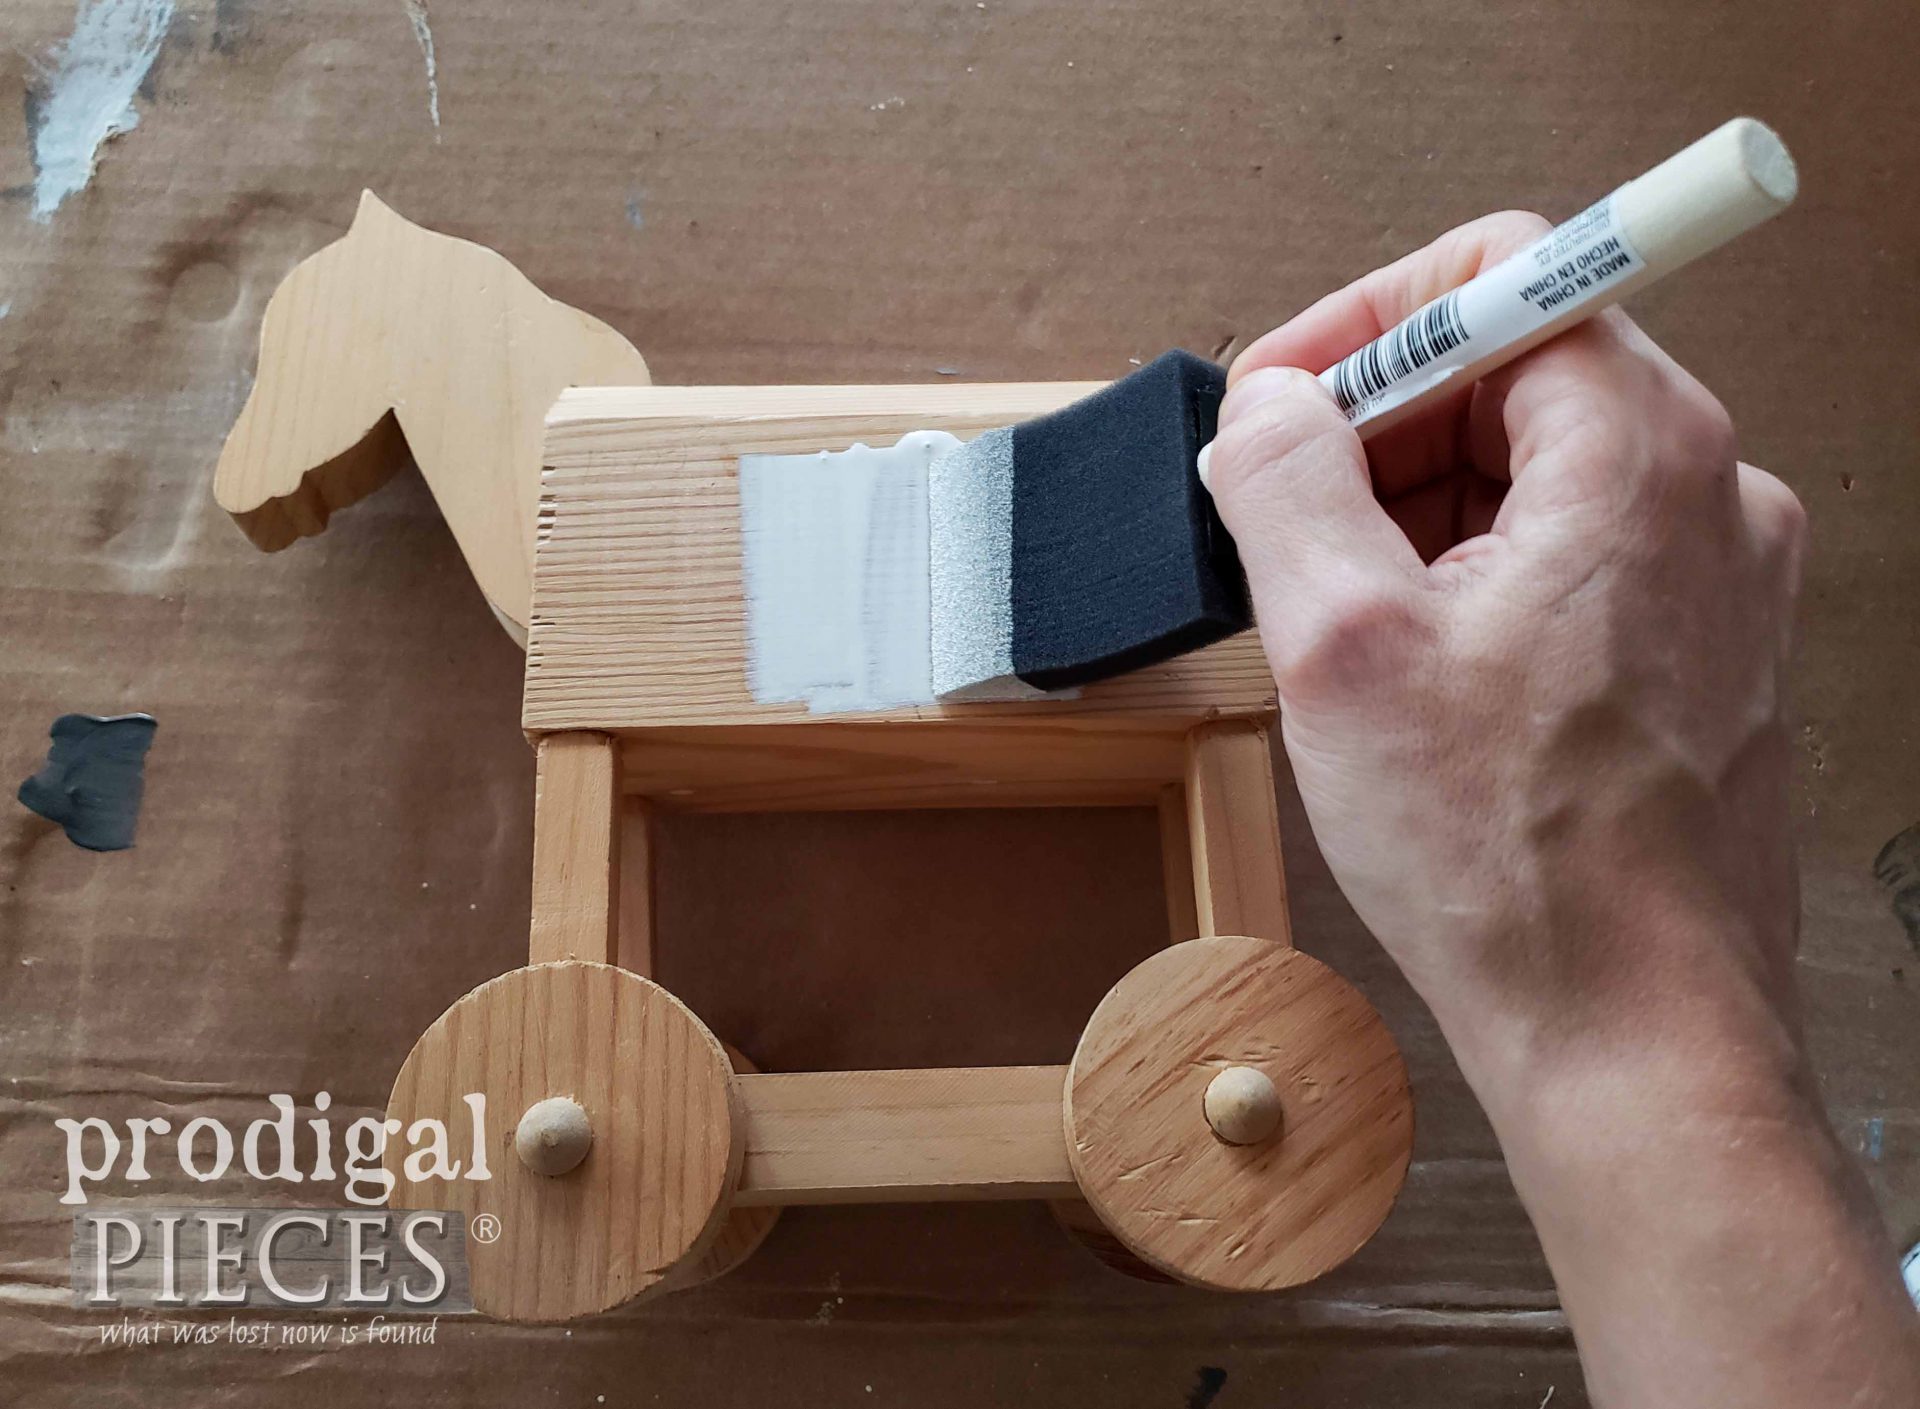
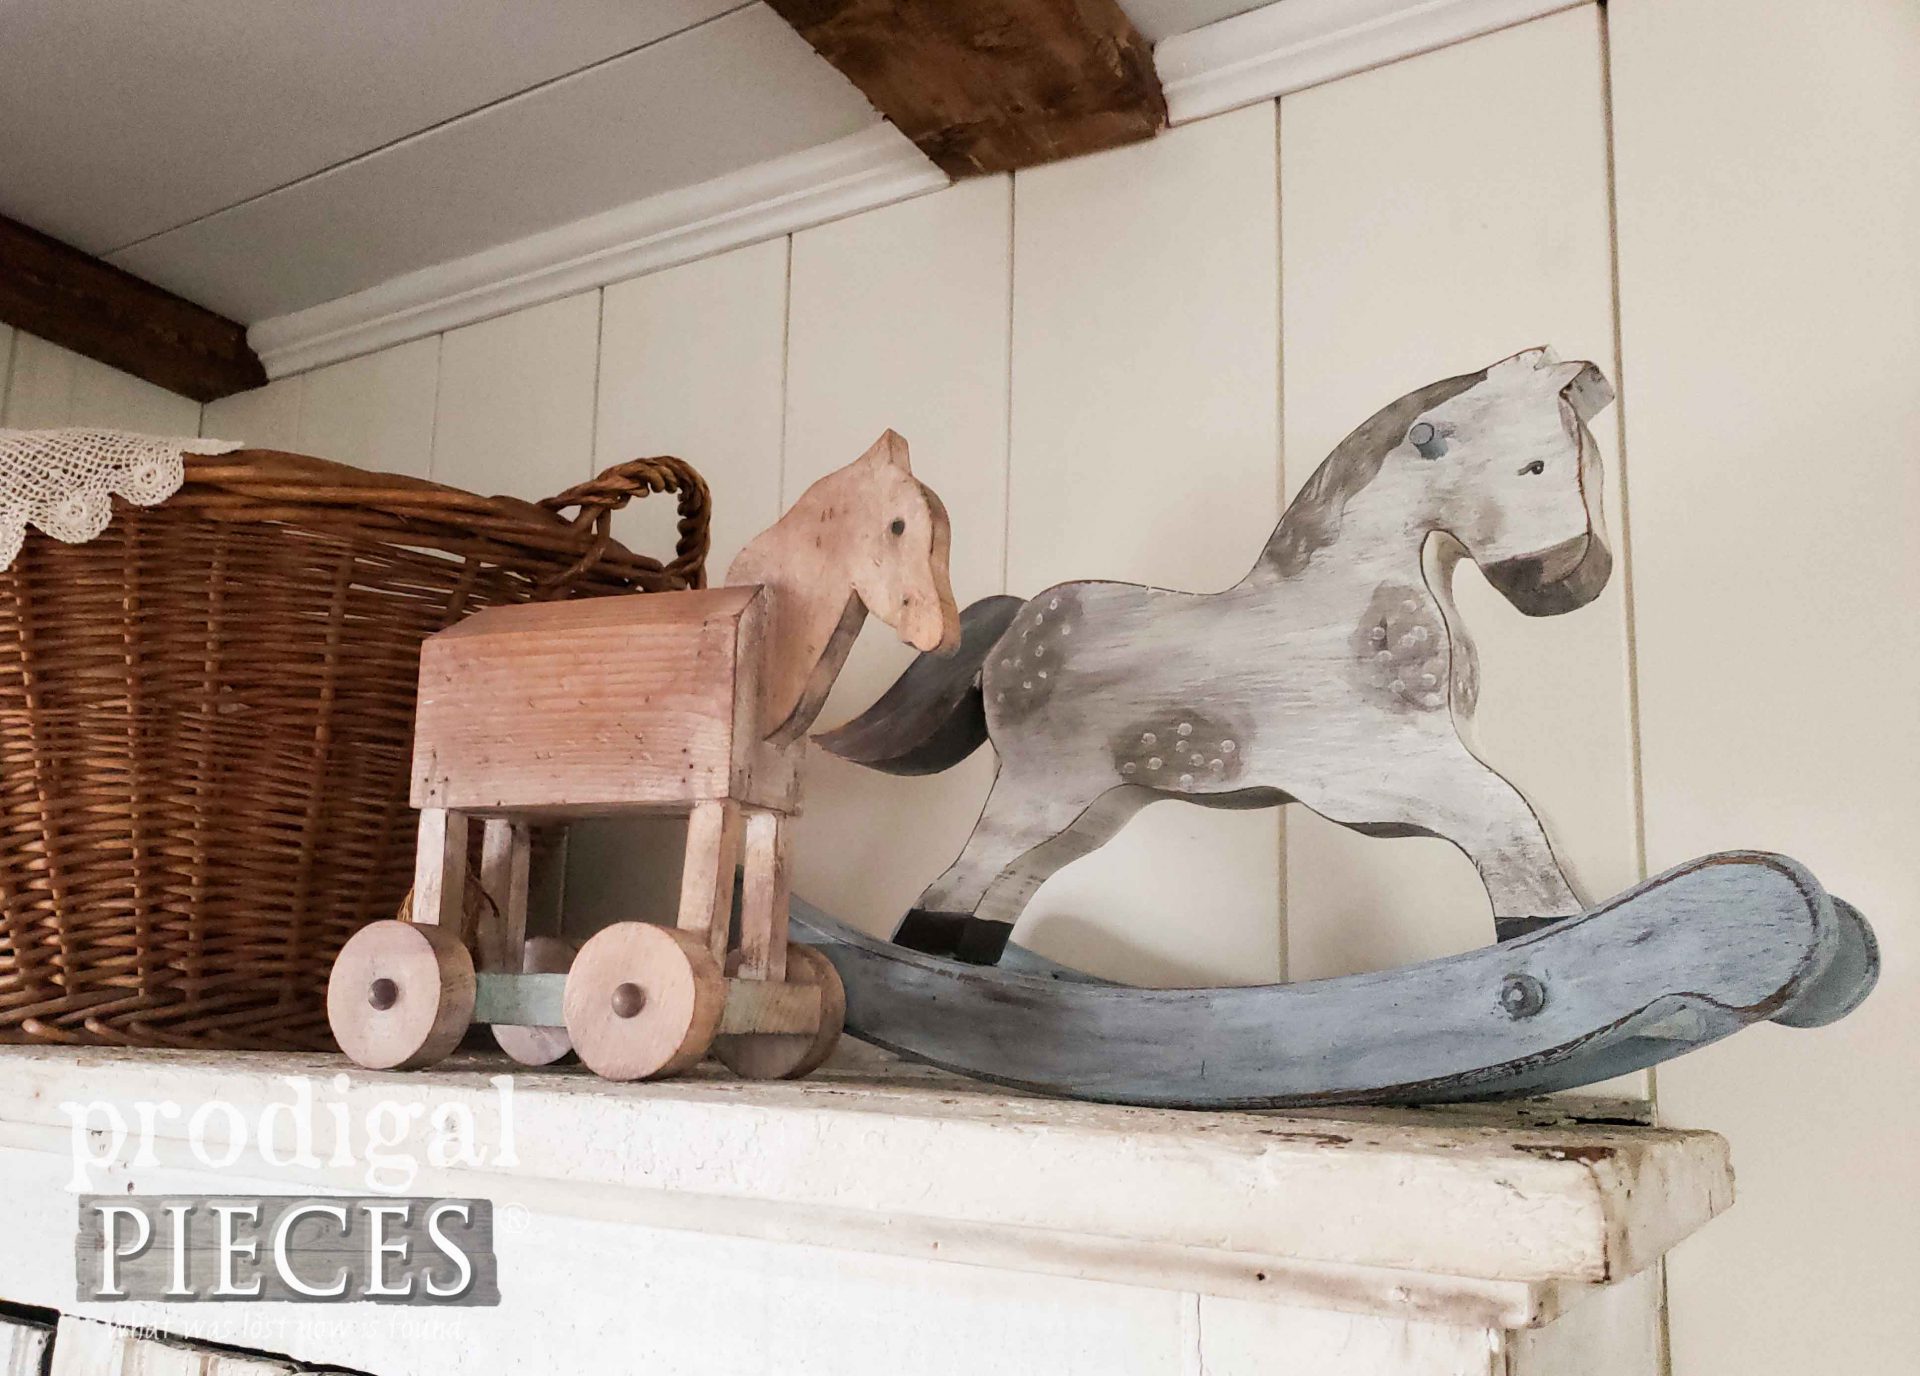
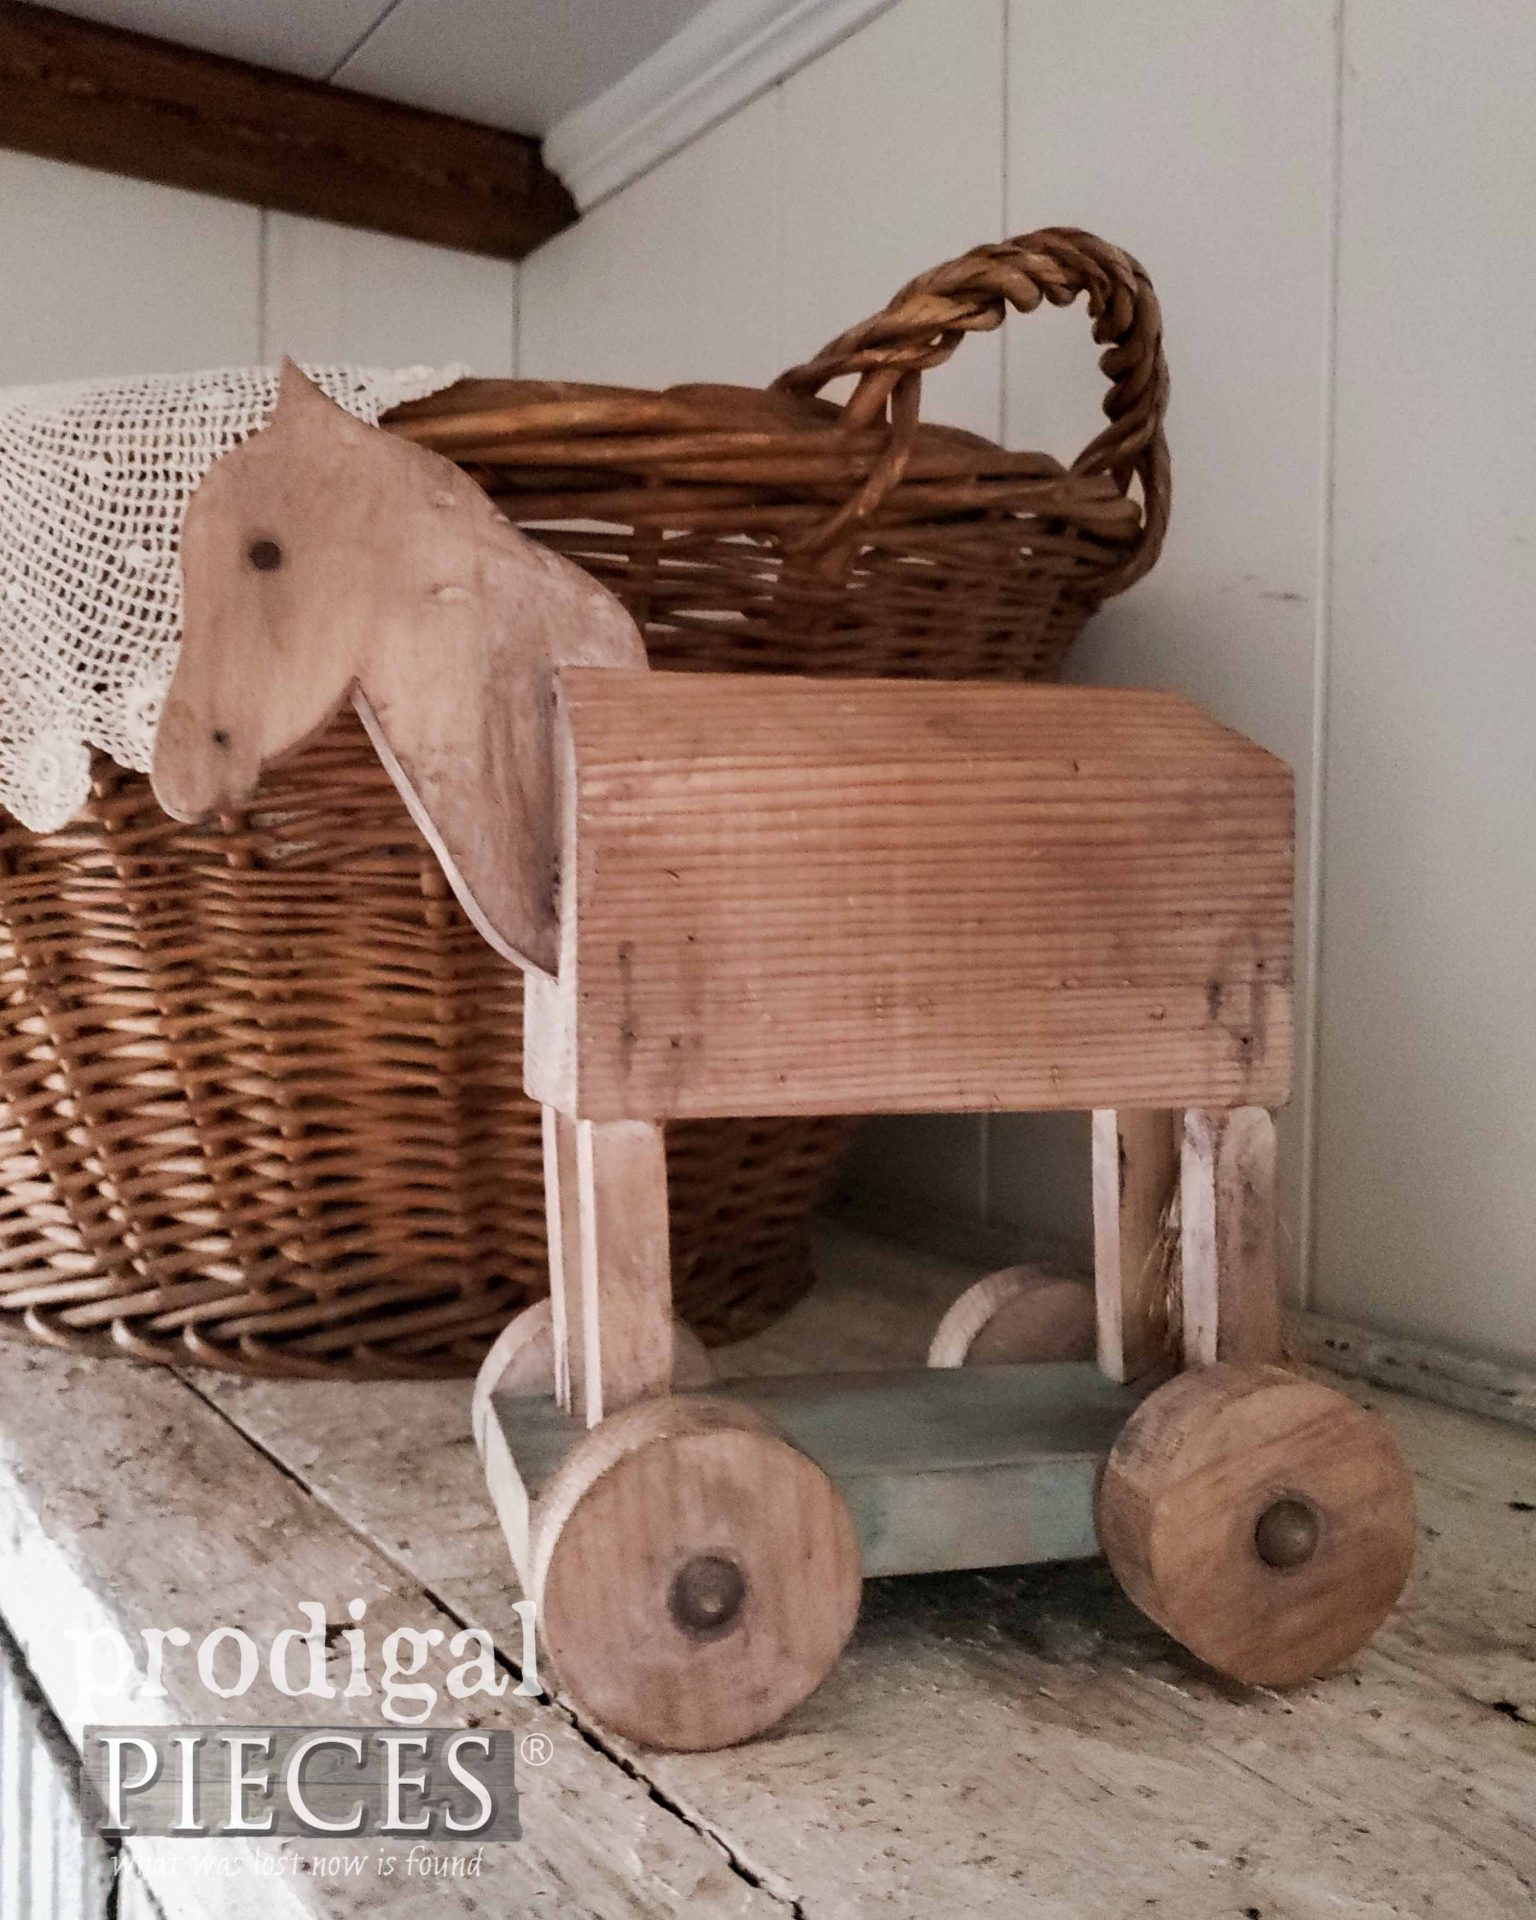
This mini-me version was also given to me. In addition, I also have this little Trojan style horse ready for a new look too.
Also, do pin and share my vintage rocking horse makeover. These are classic toys that just sometimes need a little love.
Since my large horse is such a beauty, I intend to freshen it up and revive that gorgeous wood. However, the other two are pine and are fair game. mwahahaha.
HORSE PROJECT #1
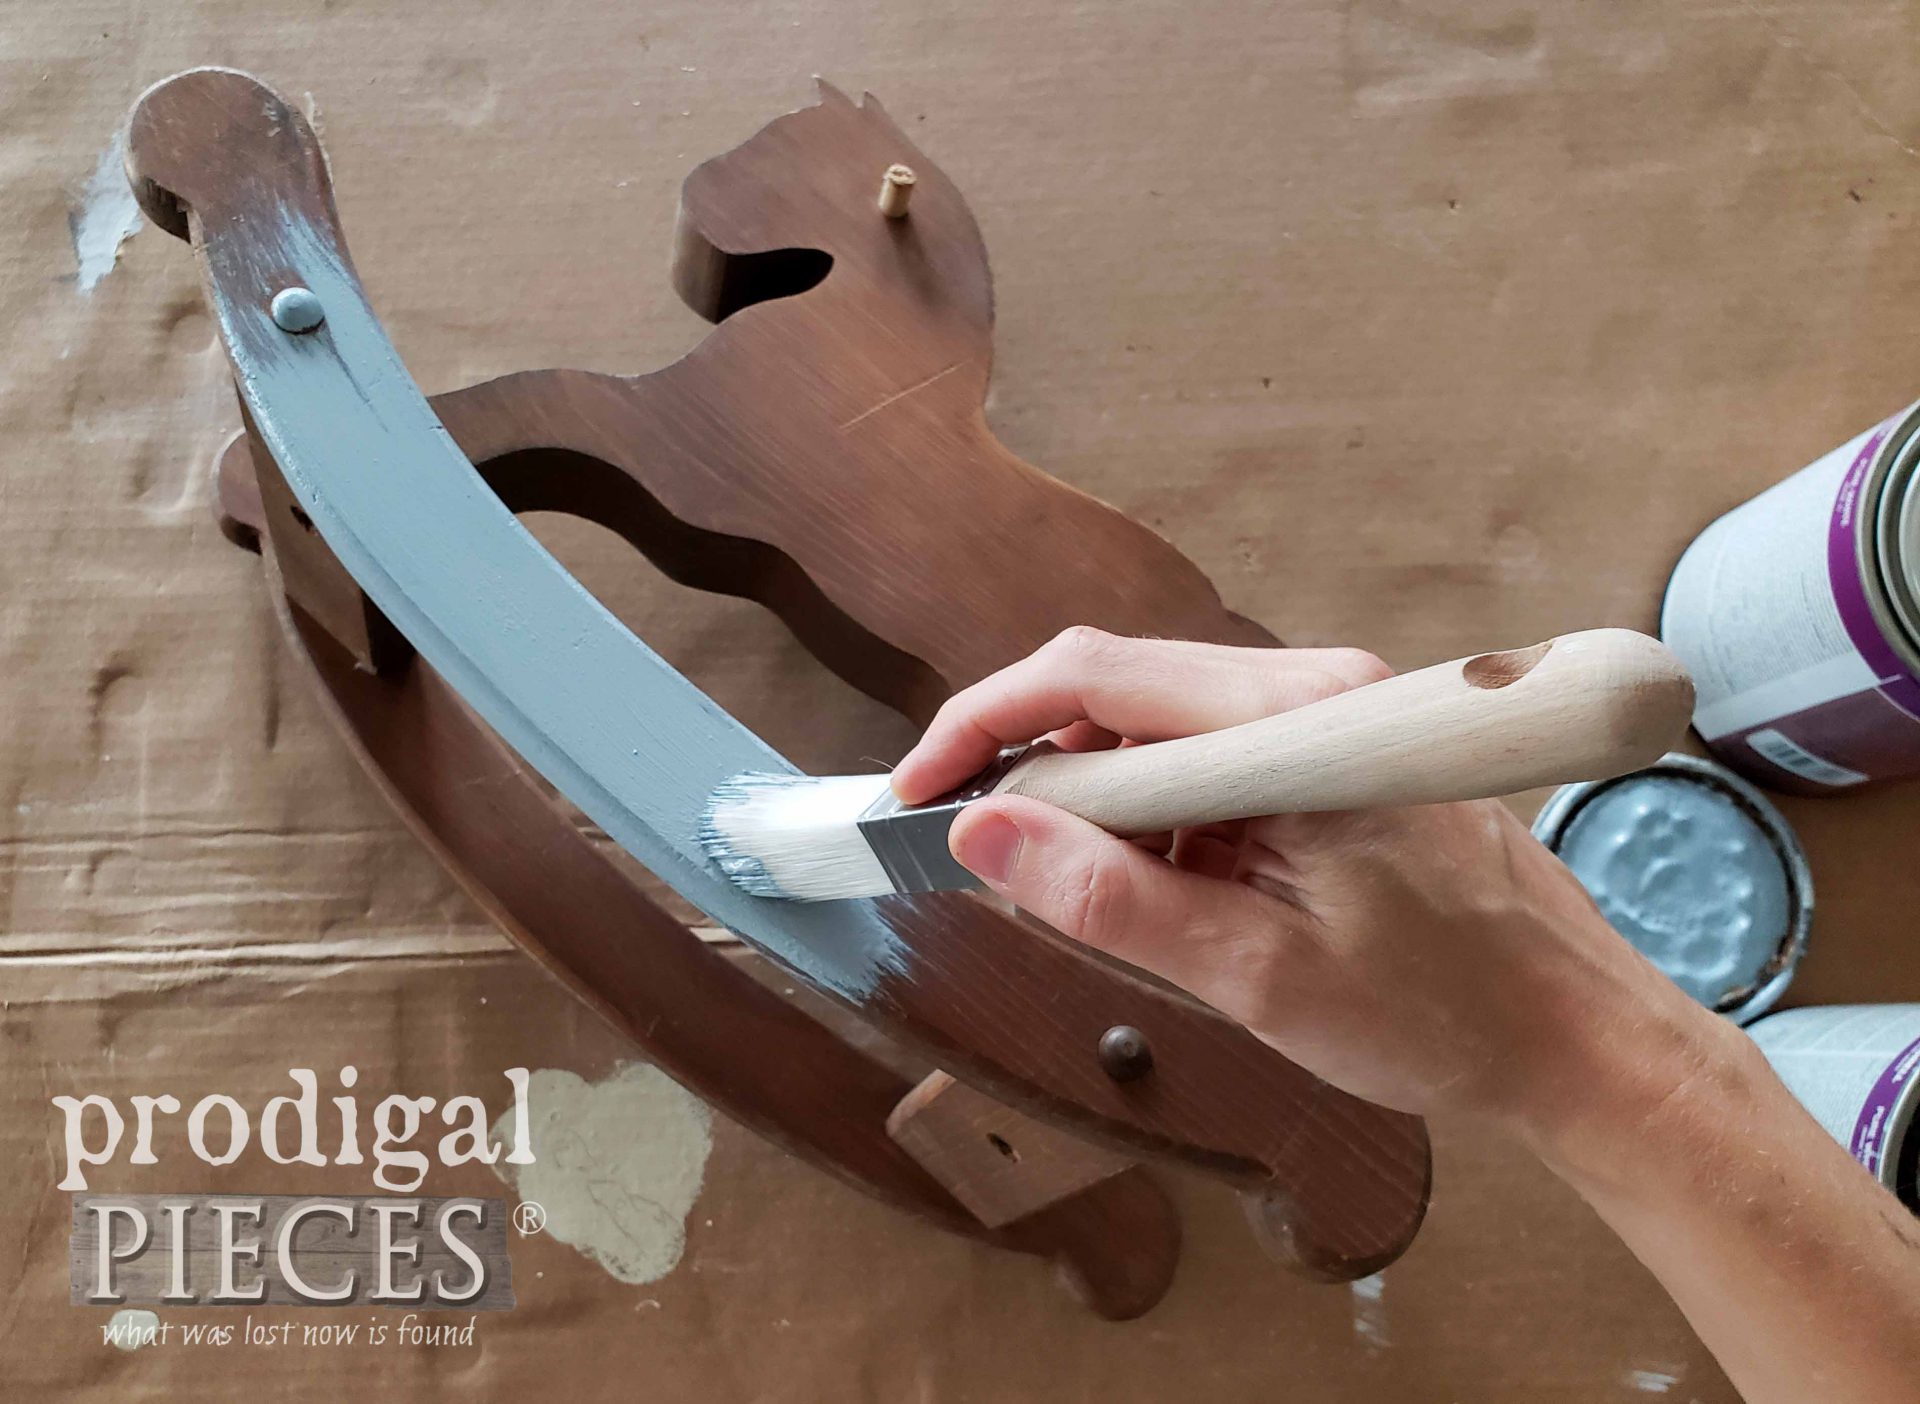
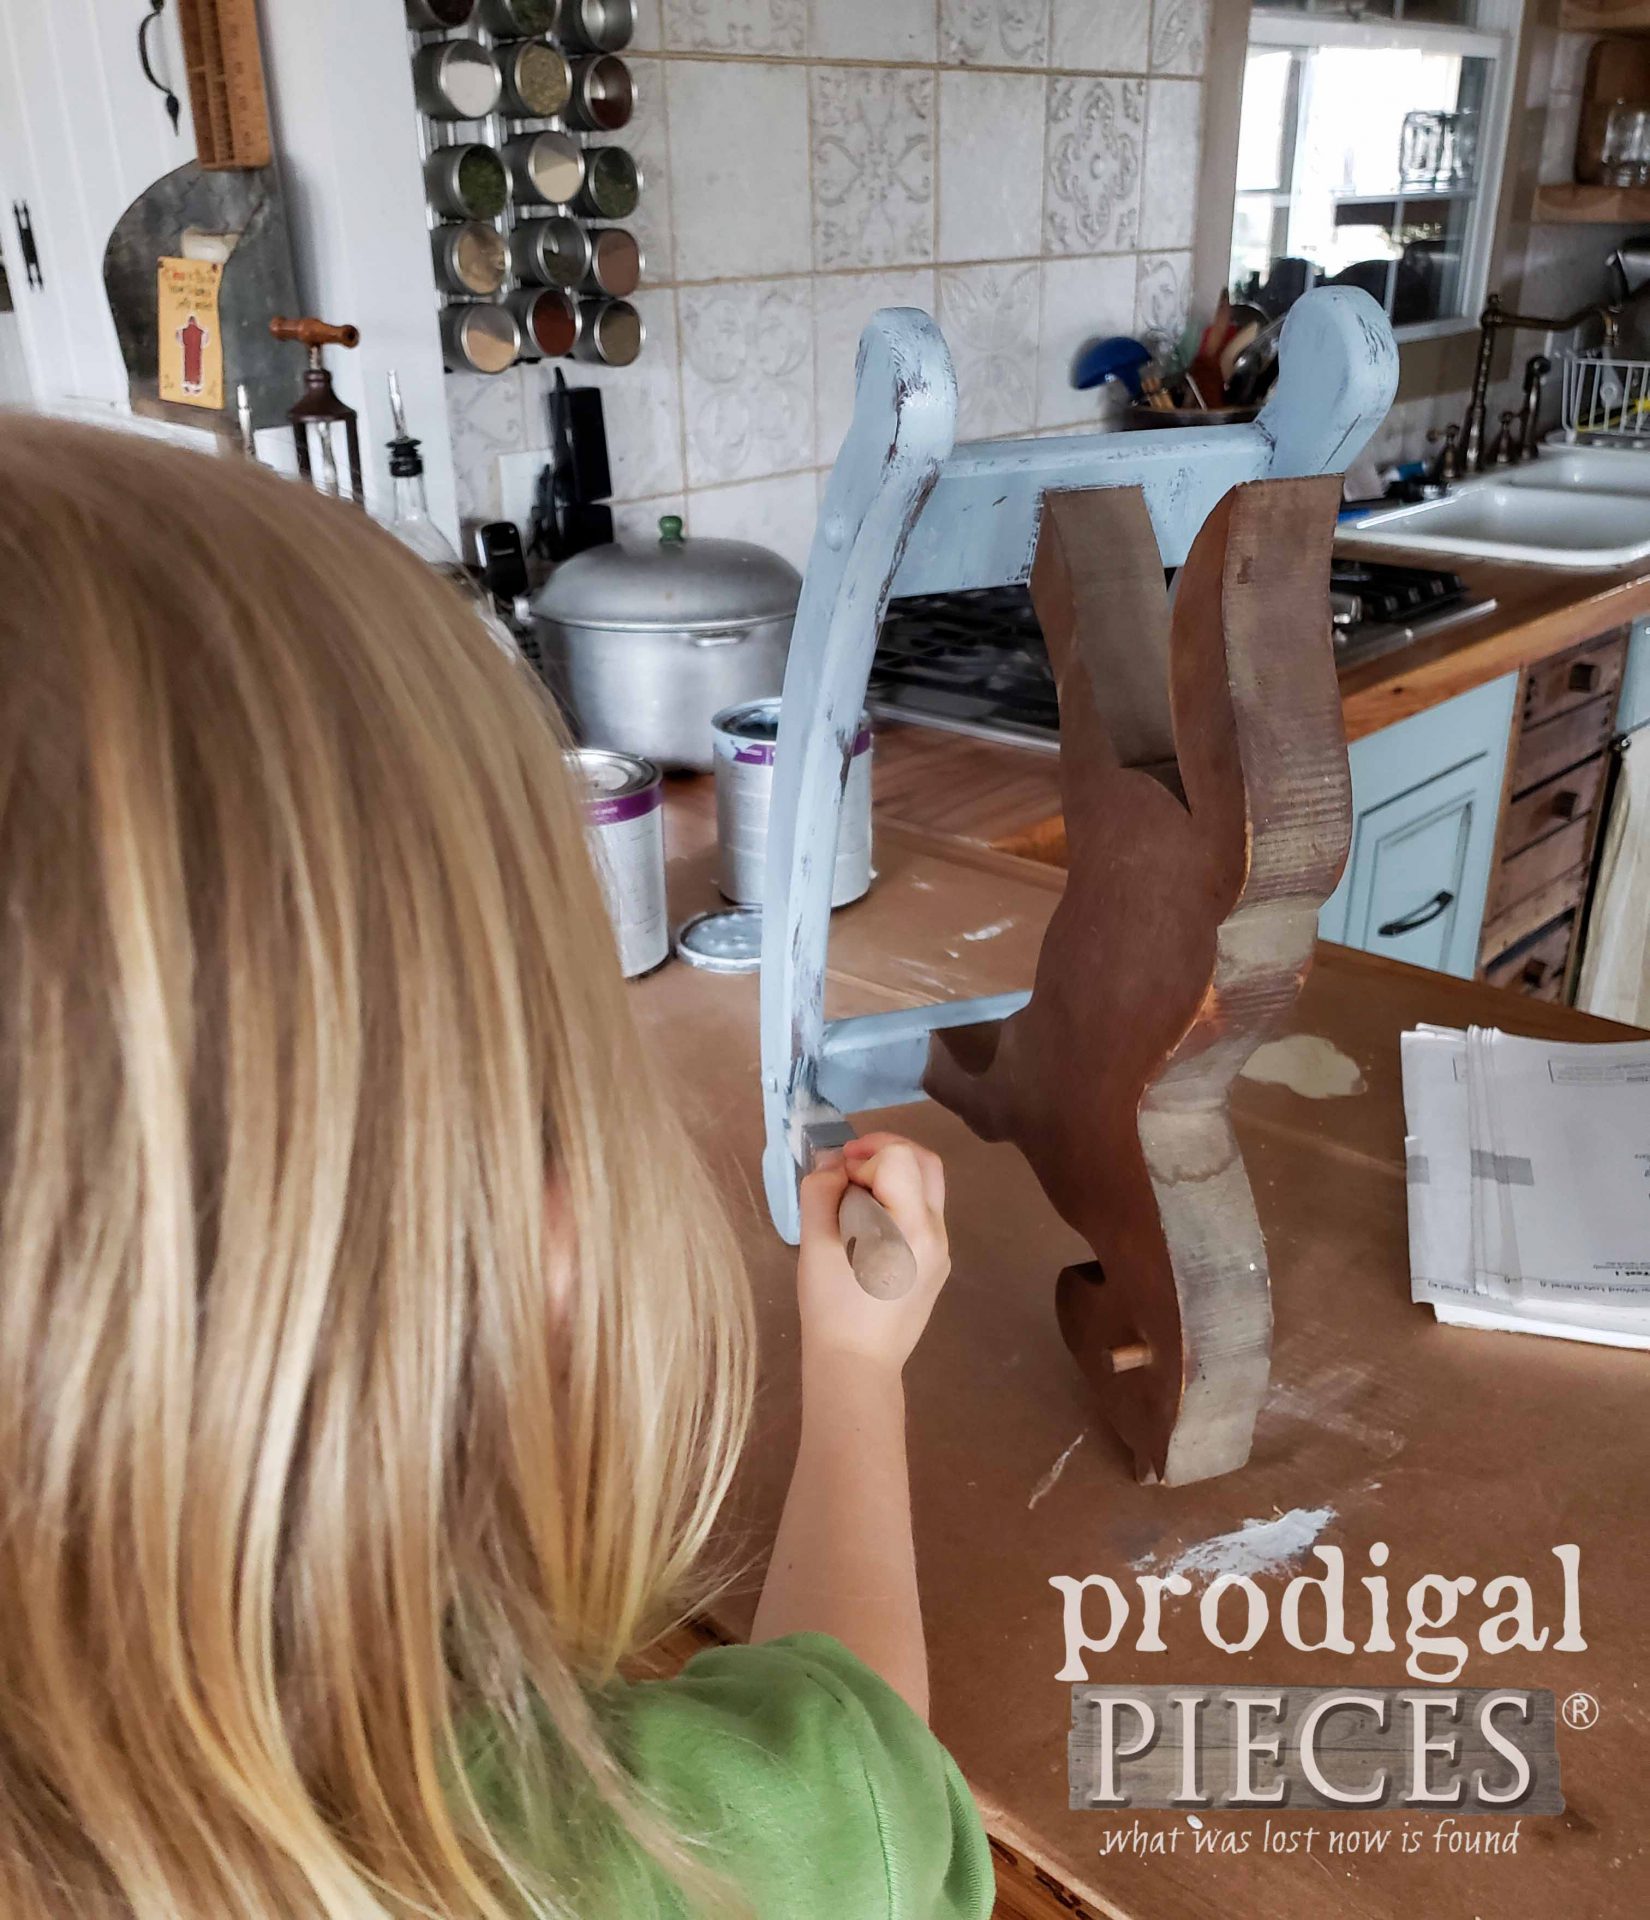
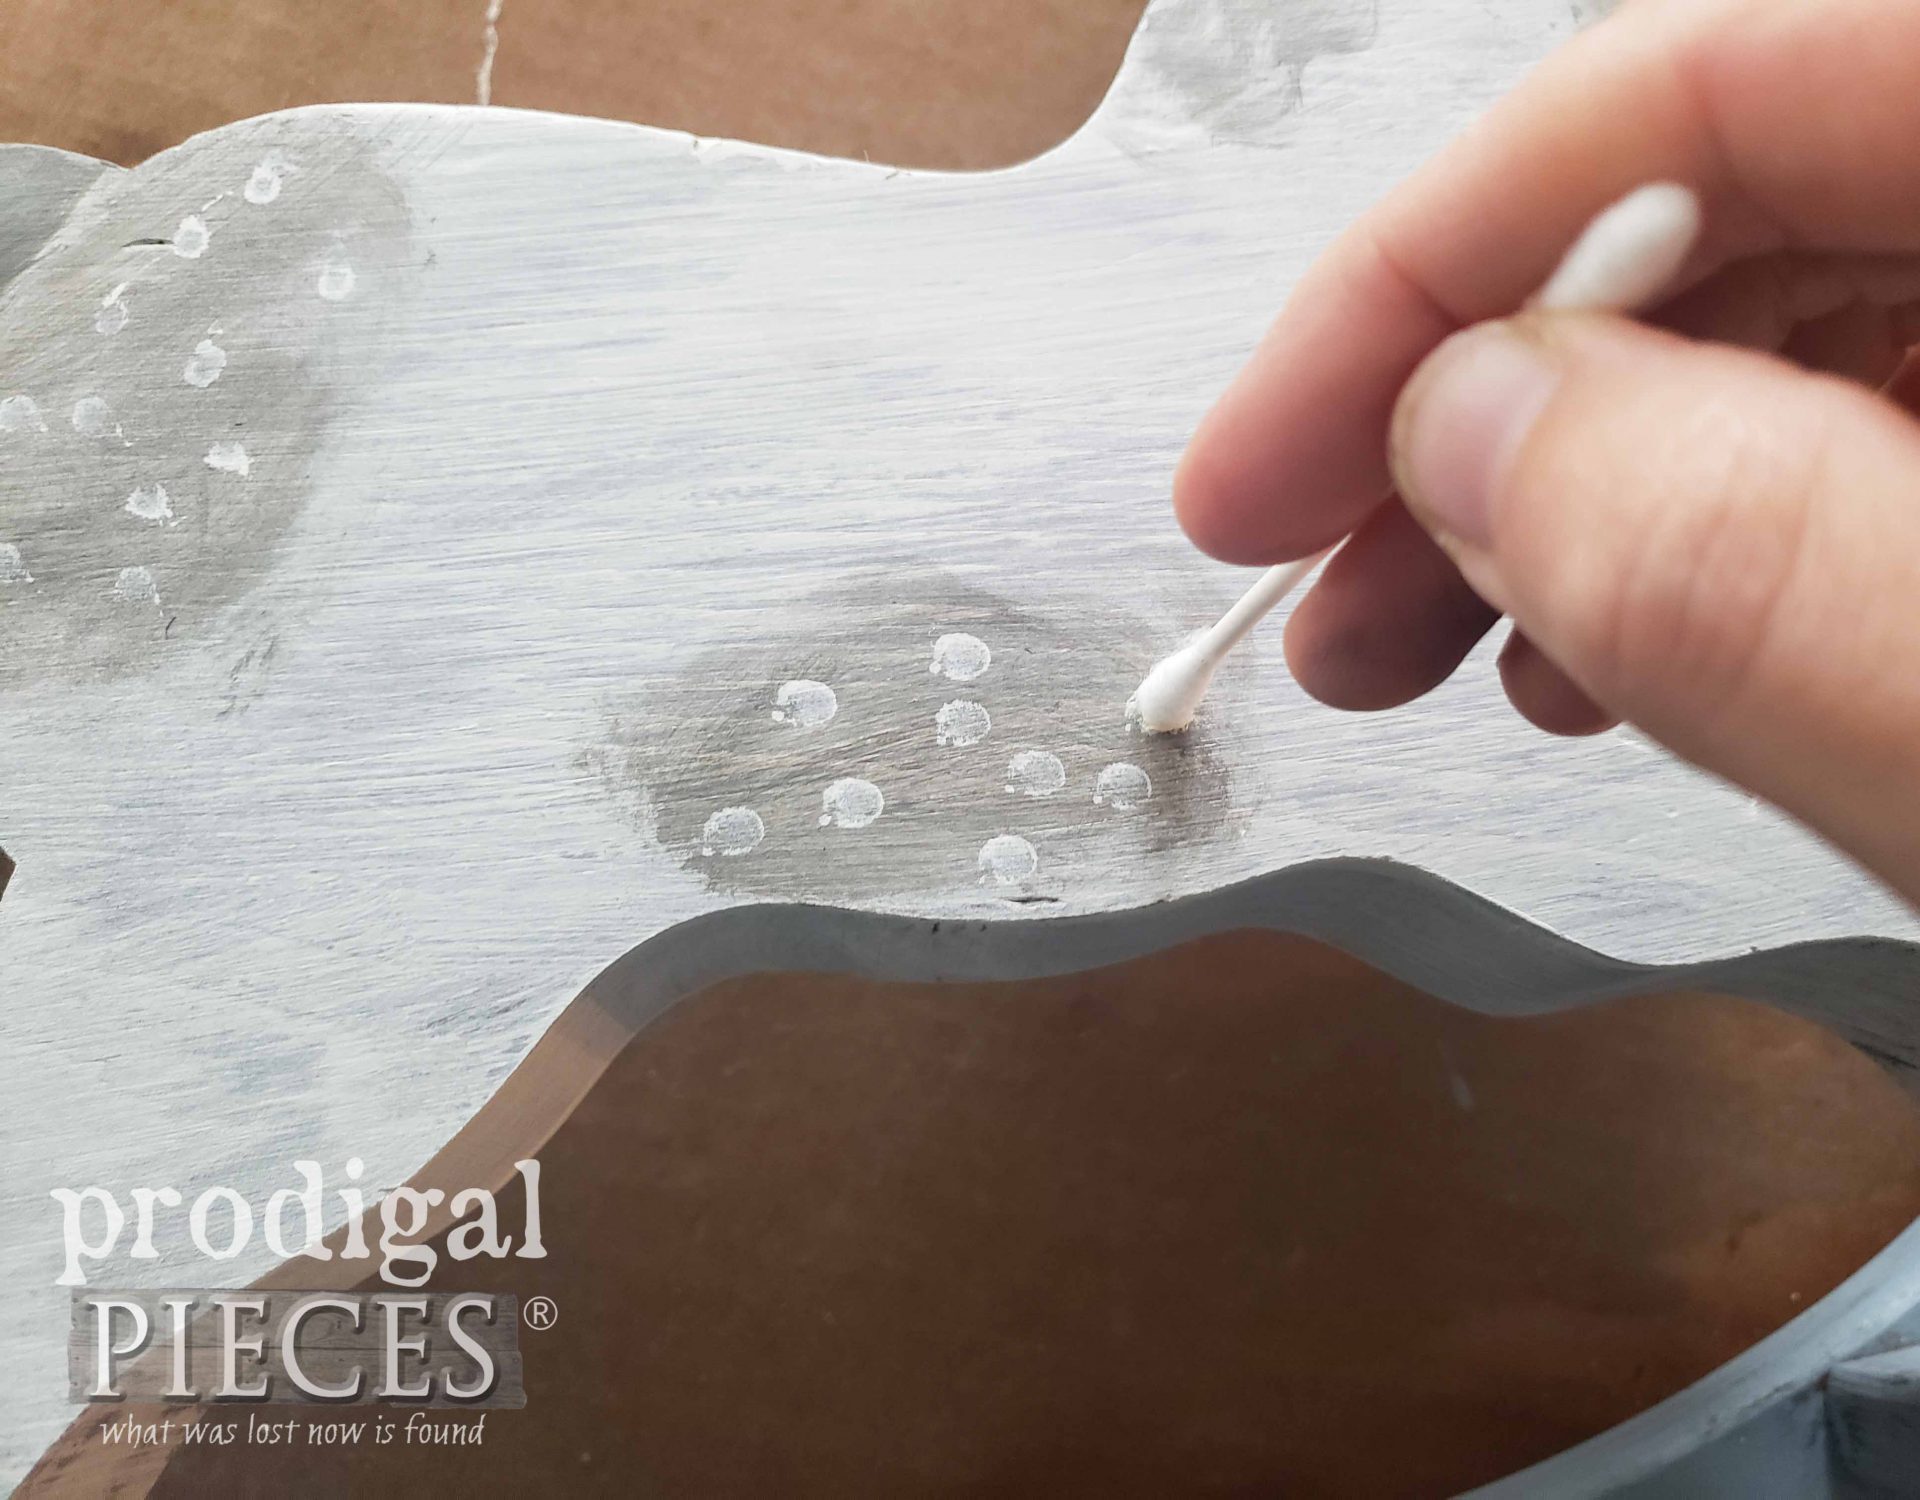
First, I will give the mini rocking horse some fun. Often, I will spend a bit of time perusing pictures of antique rocking horses. So, my goal is to recreate ones that I’ve seen and adored. I begin by adding a bit of color to the rockers with my paint brush. But for the body, I then whitewash it and add dimension.
Even my littlest wanted to help out. I always take all the help I can get.
Here’s a sneak peek. I’ll share the full after when all 3 are complete.
HORSE PROJECT #2
For the next little guy, I wanted to make it suitable for decor, rather than as child’s toy because of its makeup. I was tempted to make a pull-toy. You know, the kind with a little rope to tug? I’ve made several of them for my kids, even this flapping duck walker seen HERE. However, this seemed better suited as a decor piece.
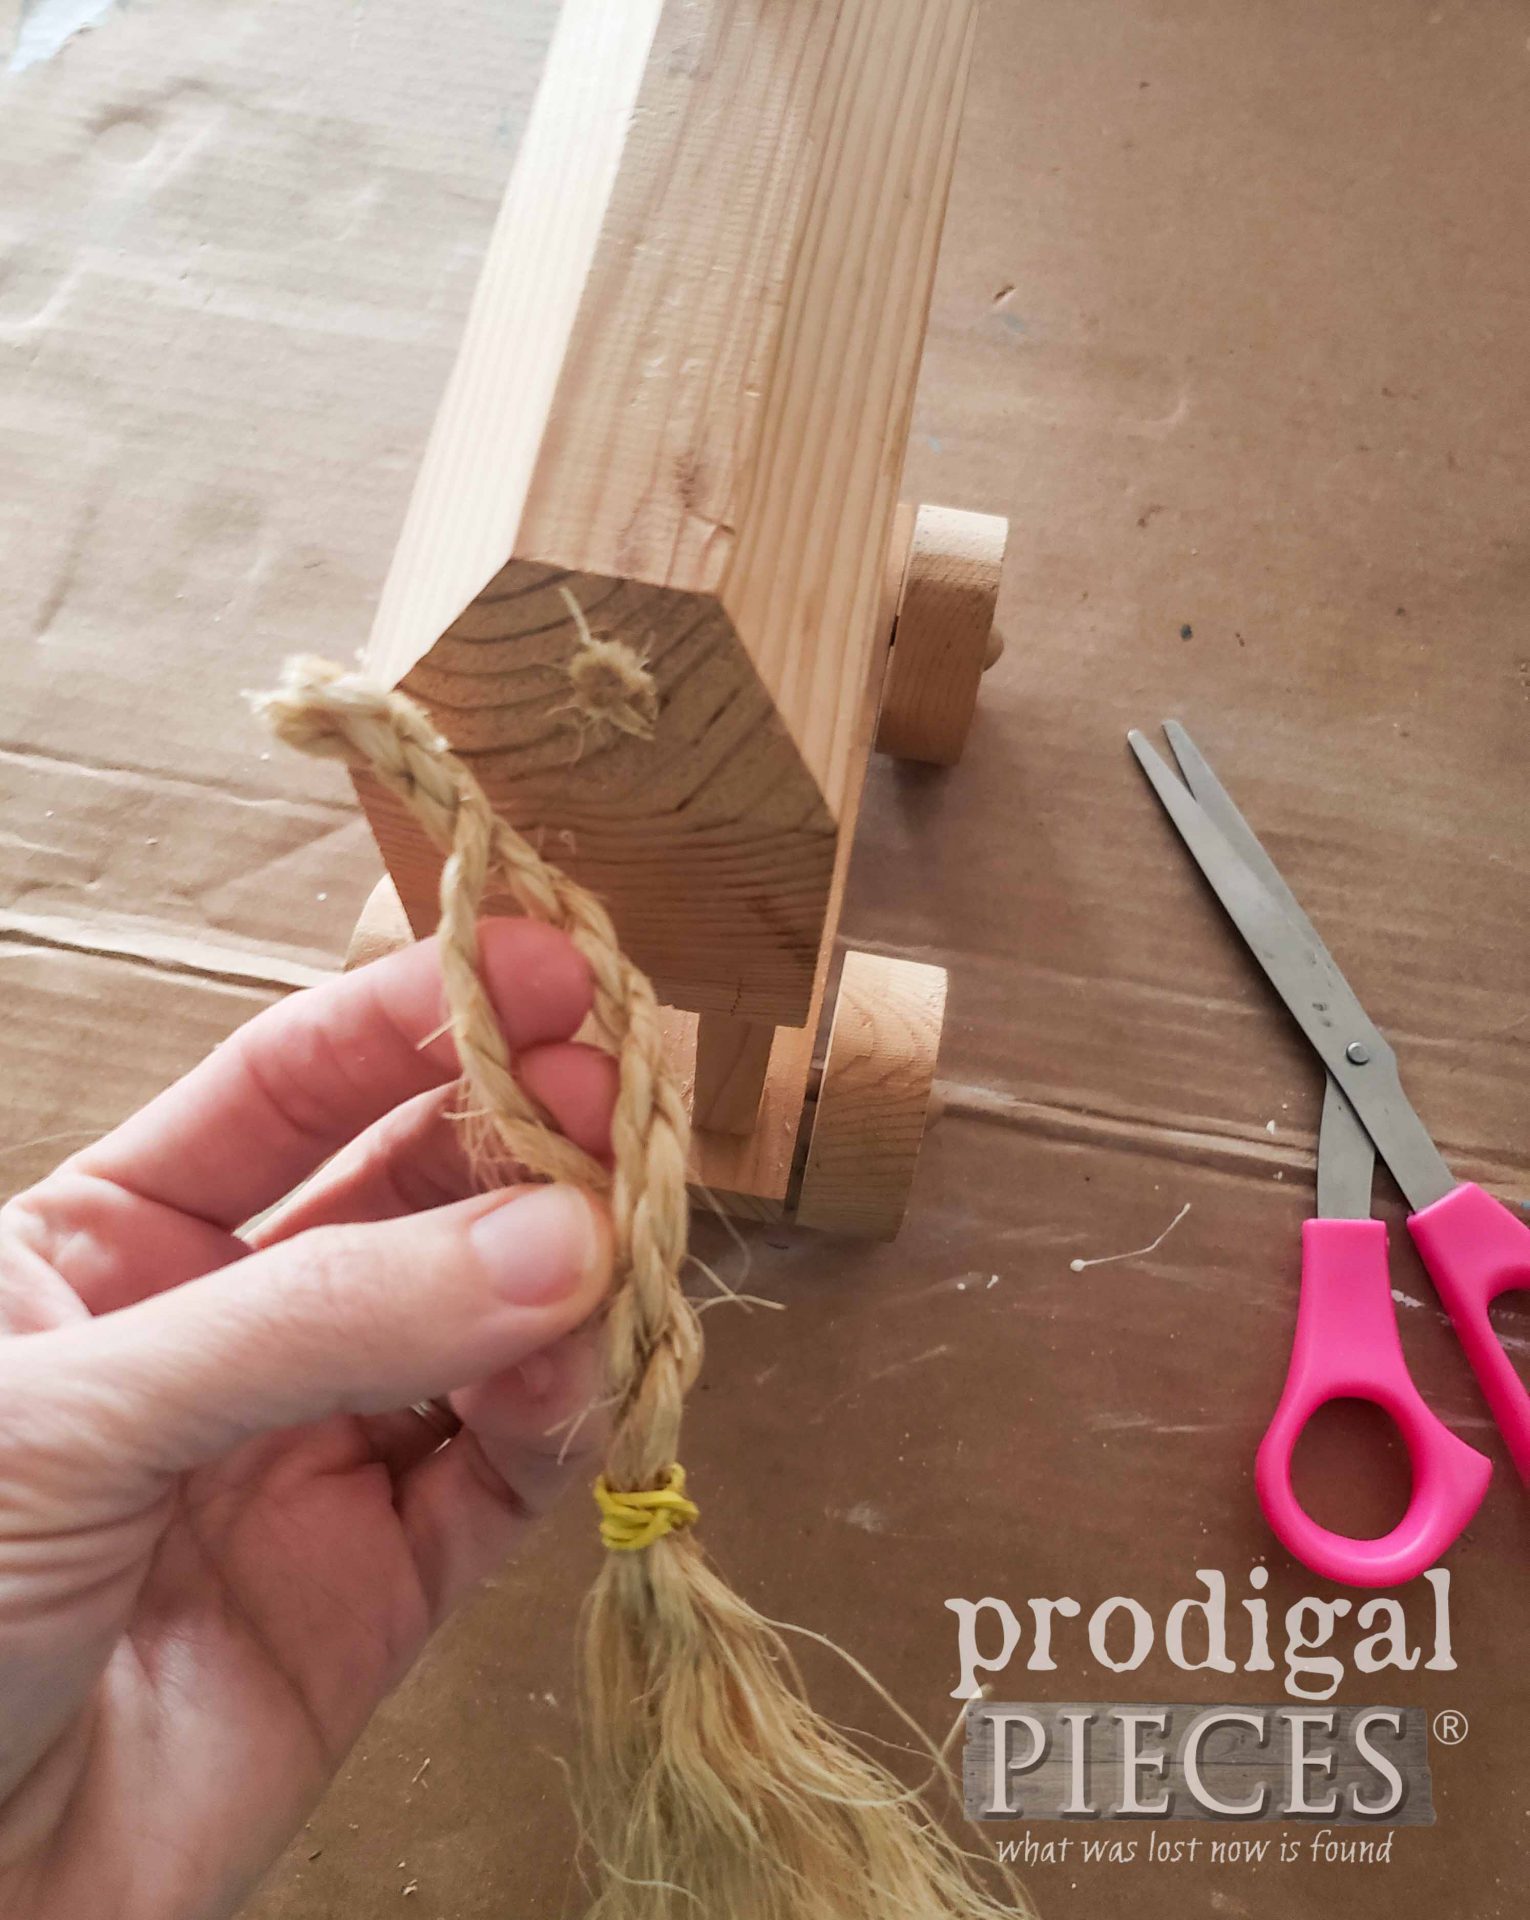
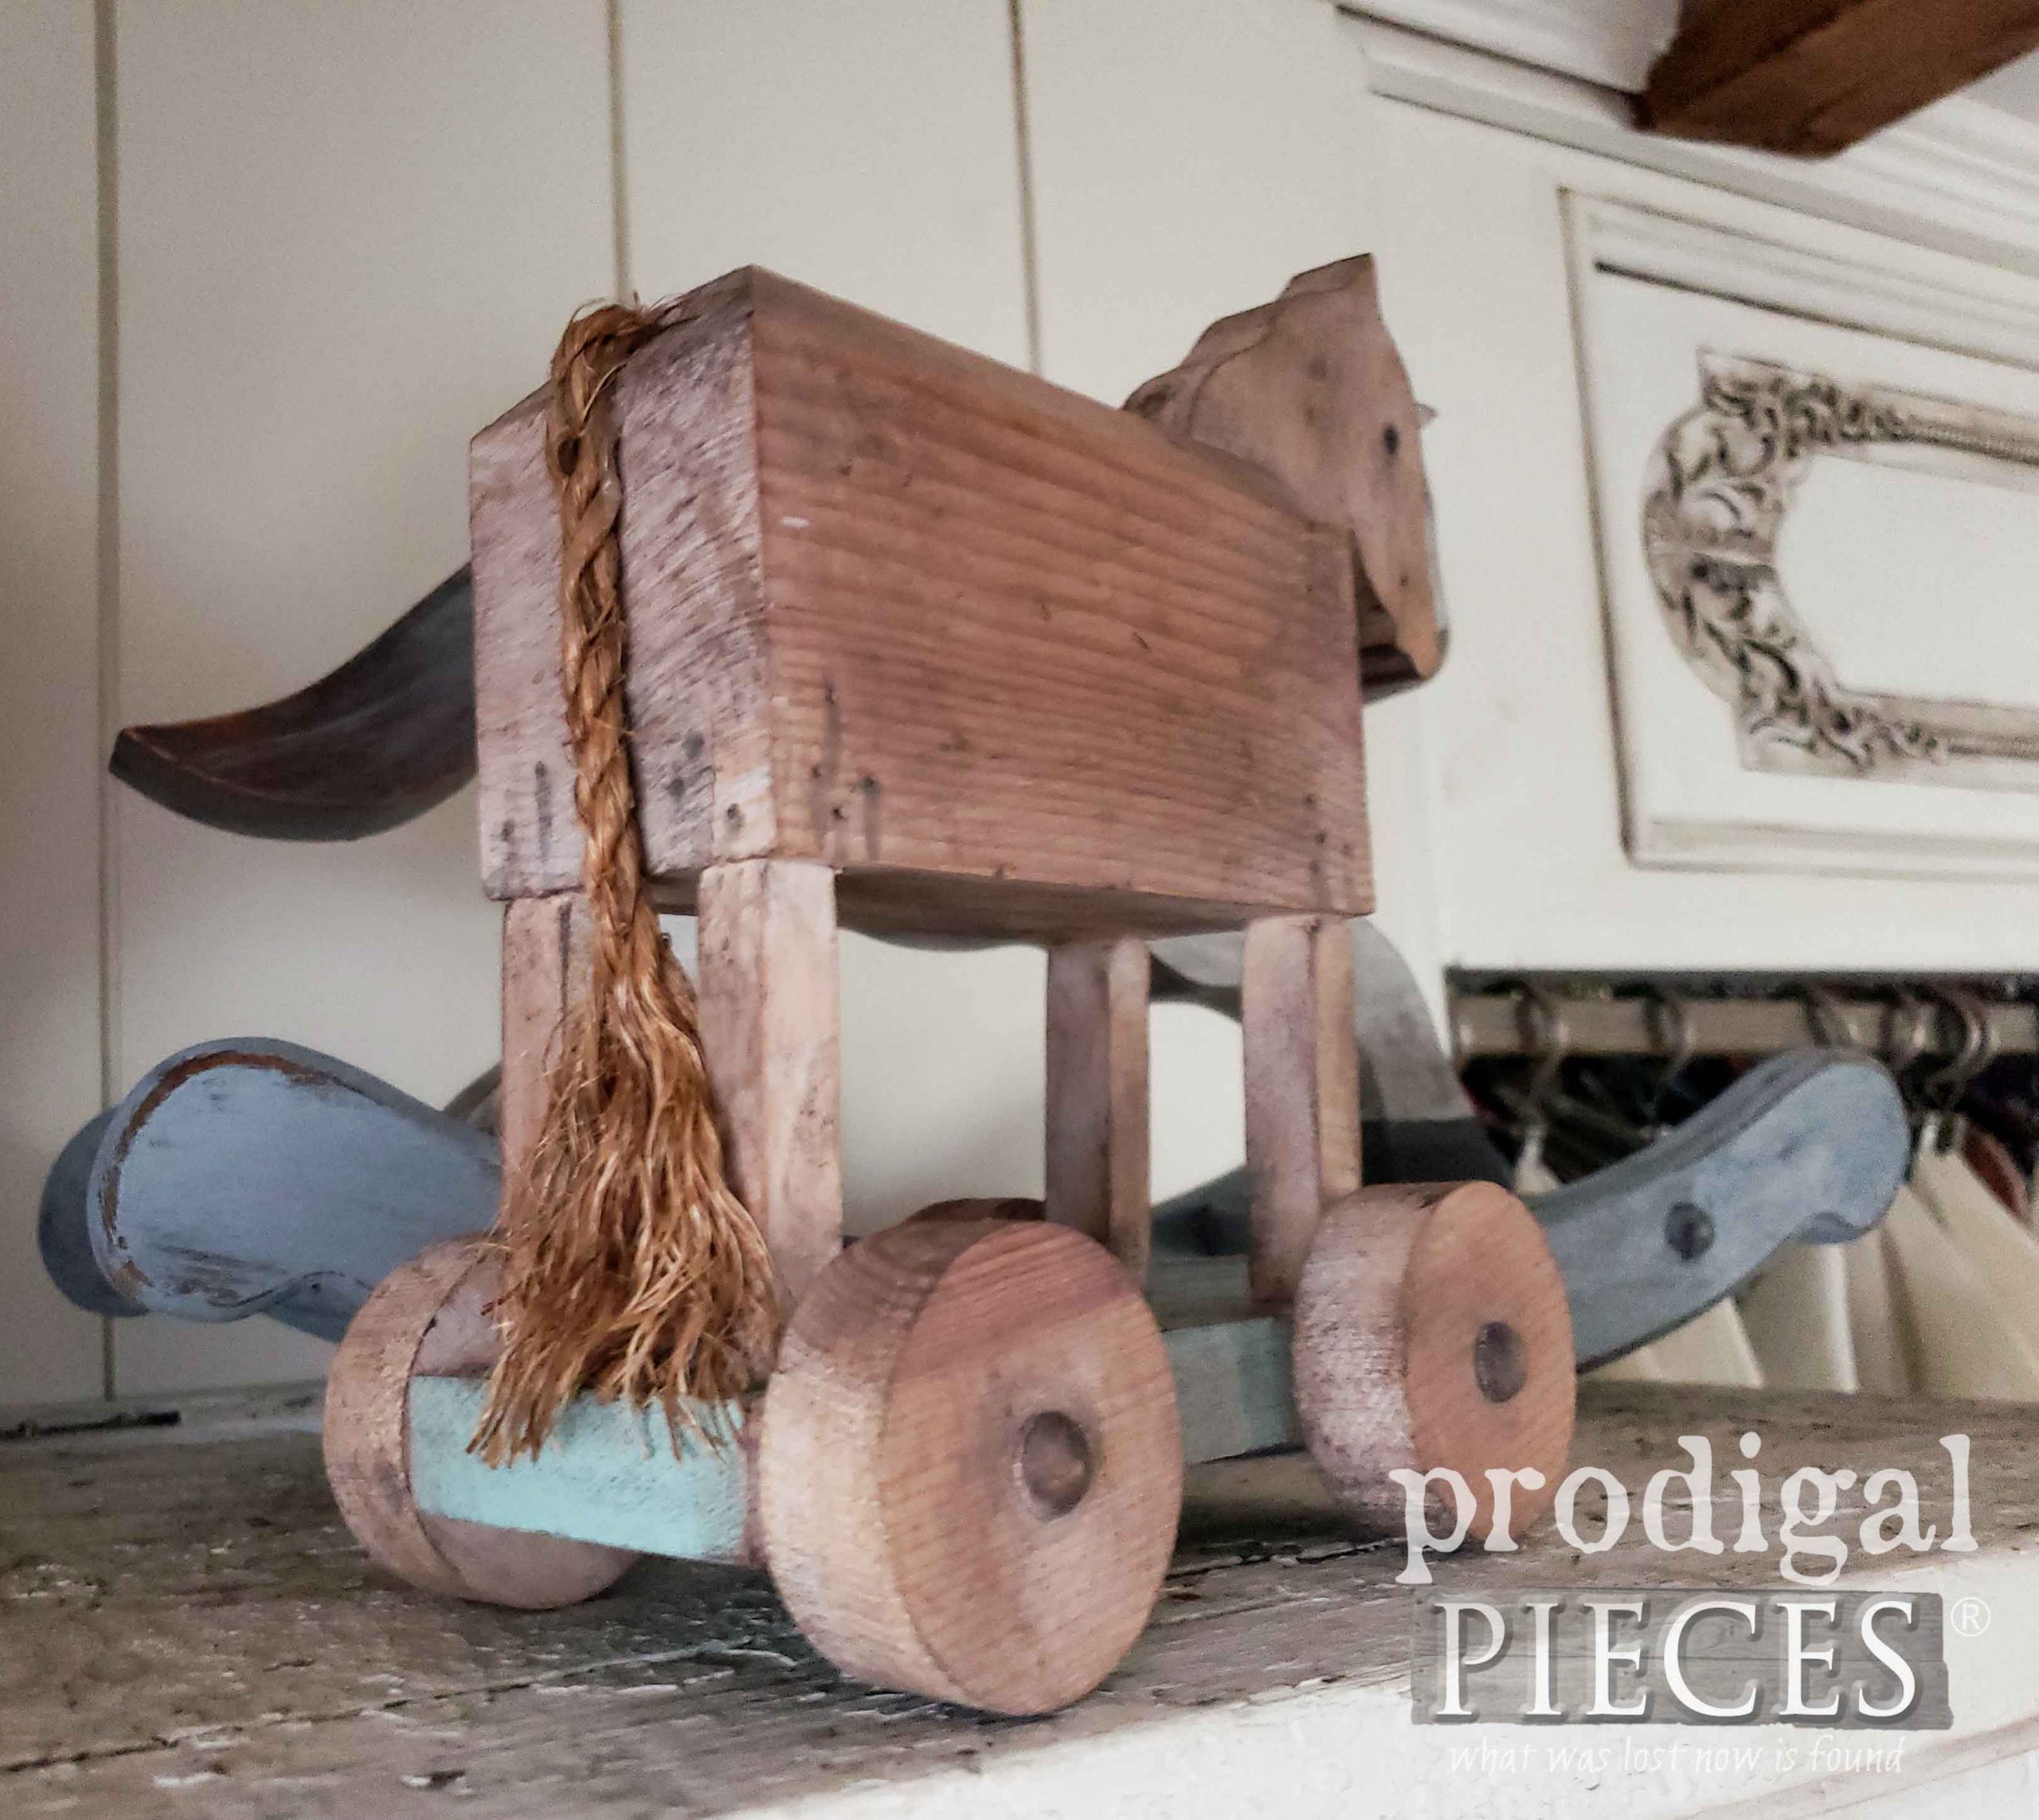
First, I cut off that awful, messed-up tail.
Not only had it come unraveled, but it stuck up into the air. I don’t know about you, but typically when a horse sticks it’s tail in the air, it’s all about business. nuff said.
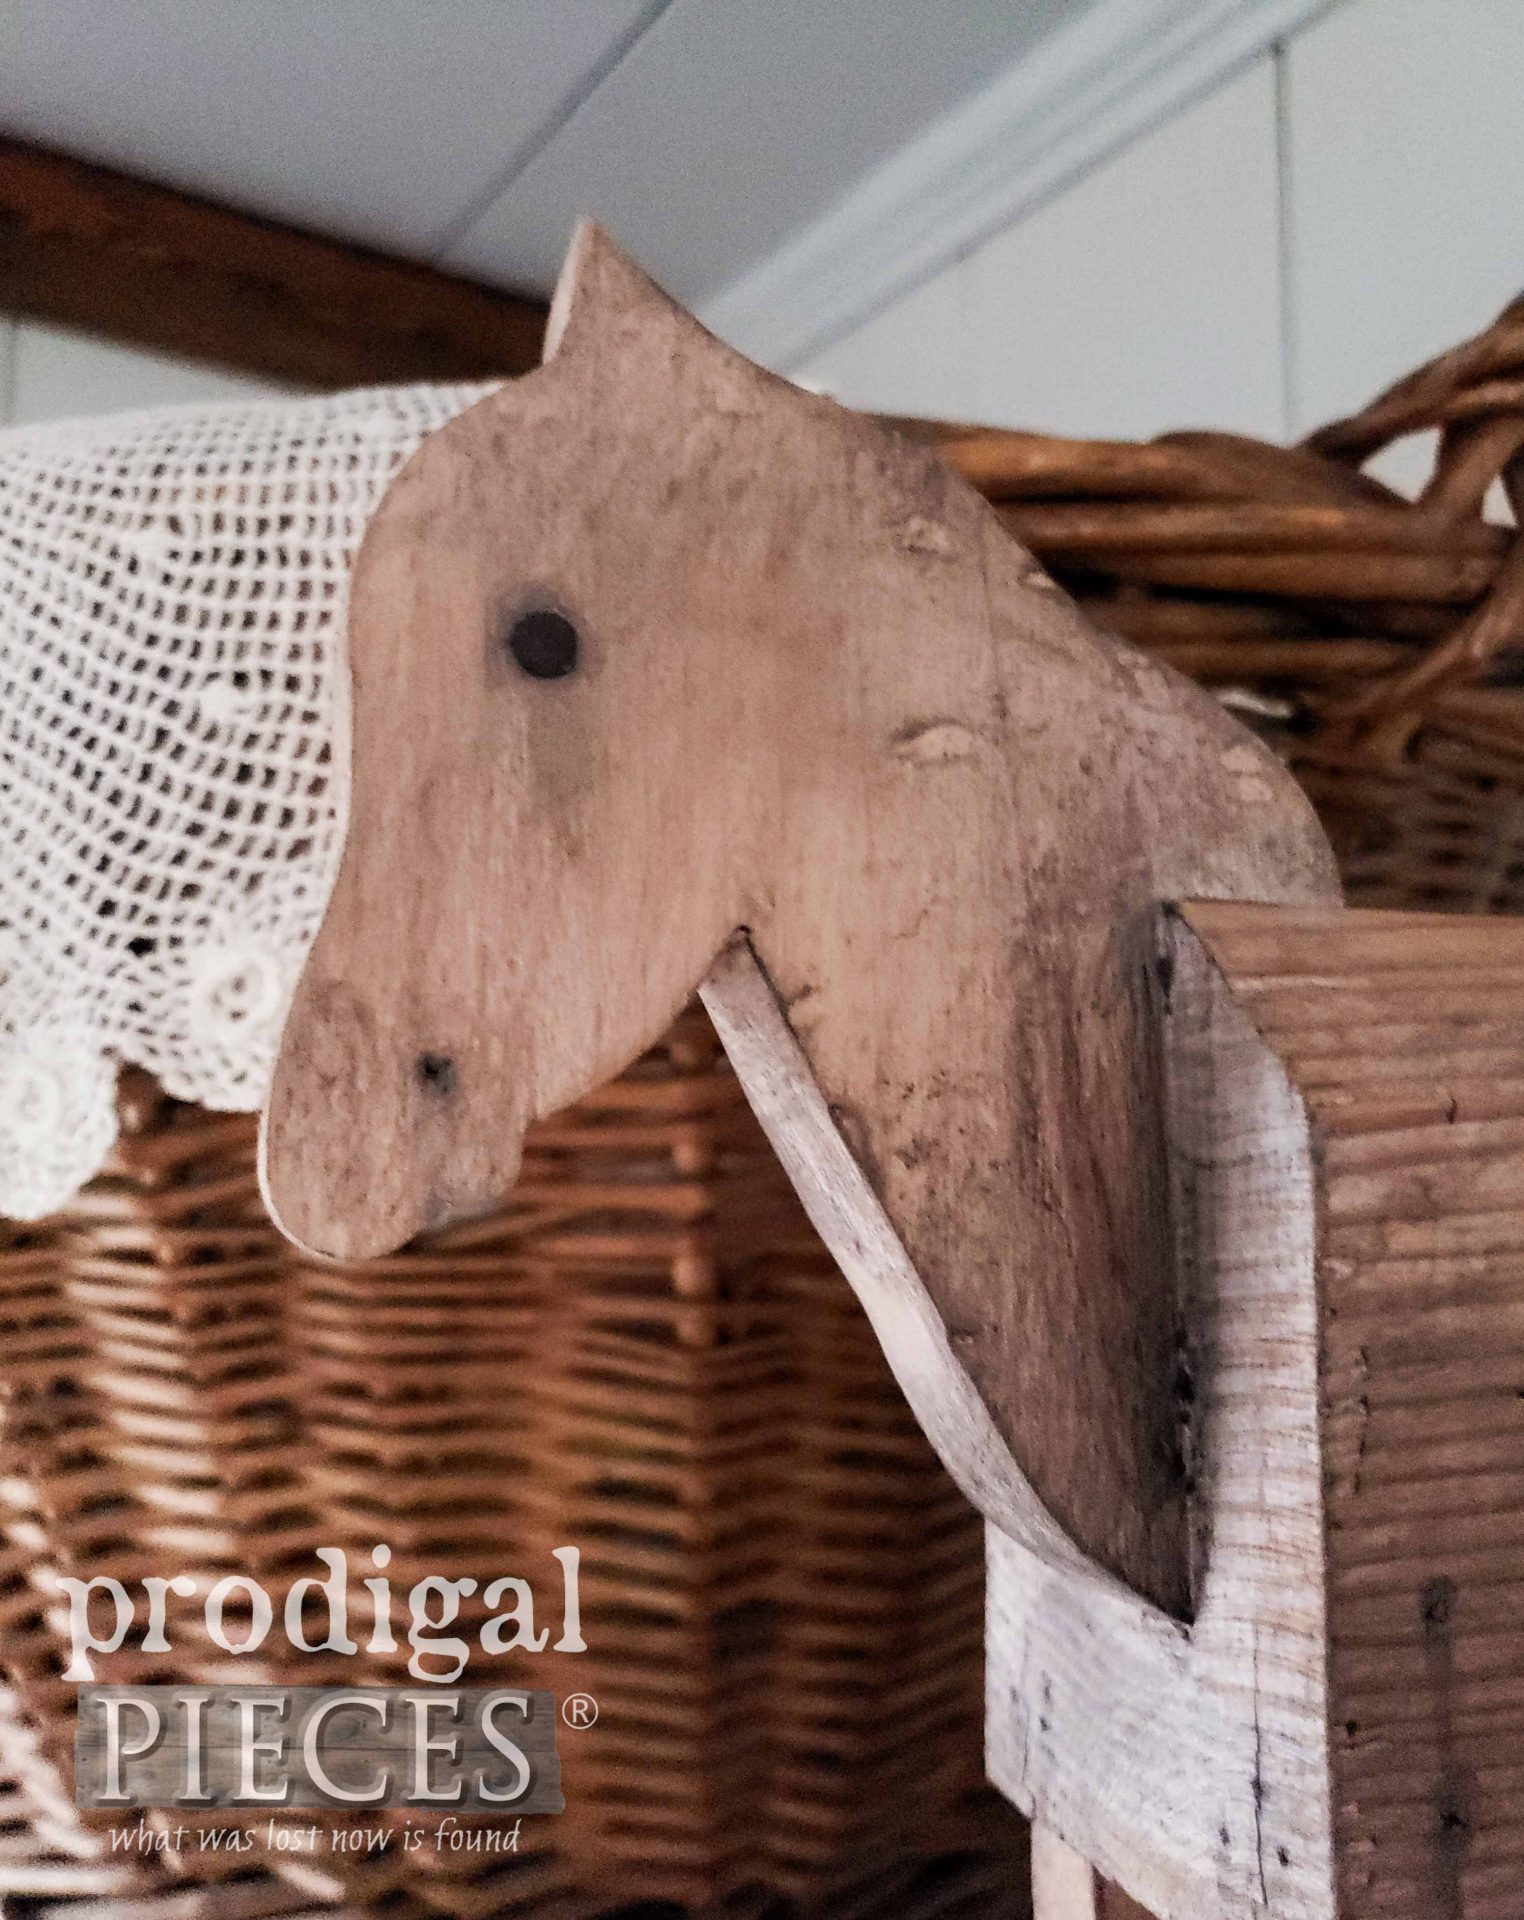
Then, once the tail was out, I drilled for a new tail and then set out to give the rest a new look. First, I use a antique white stain for the body, then added a bit of color to the platform.
Next, I gave it time-worn appeal with a few different waxes, plus adding some wear and distressing. Oh, and don’t forget a rusty upholstery tack eye and…a new tail. Bigger peek soon!
HORSE PROJECT #3 – THE BIGGUN
Now it’s time for the big ol’ horse. woot! As I mentioned before, this is a gorgeous mahogany hardwood that I just couldn’t bear to paint (though it would have been fun). So, I decided to take this gal and give her a salon makeover, woodworker style.
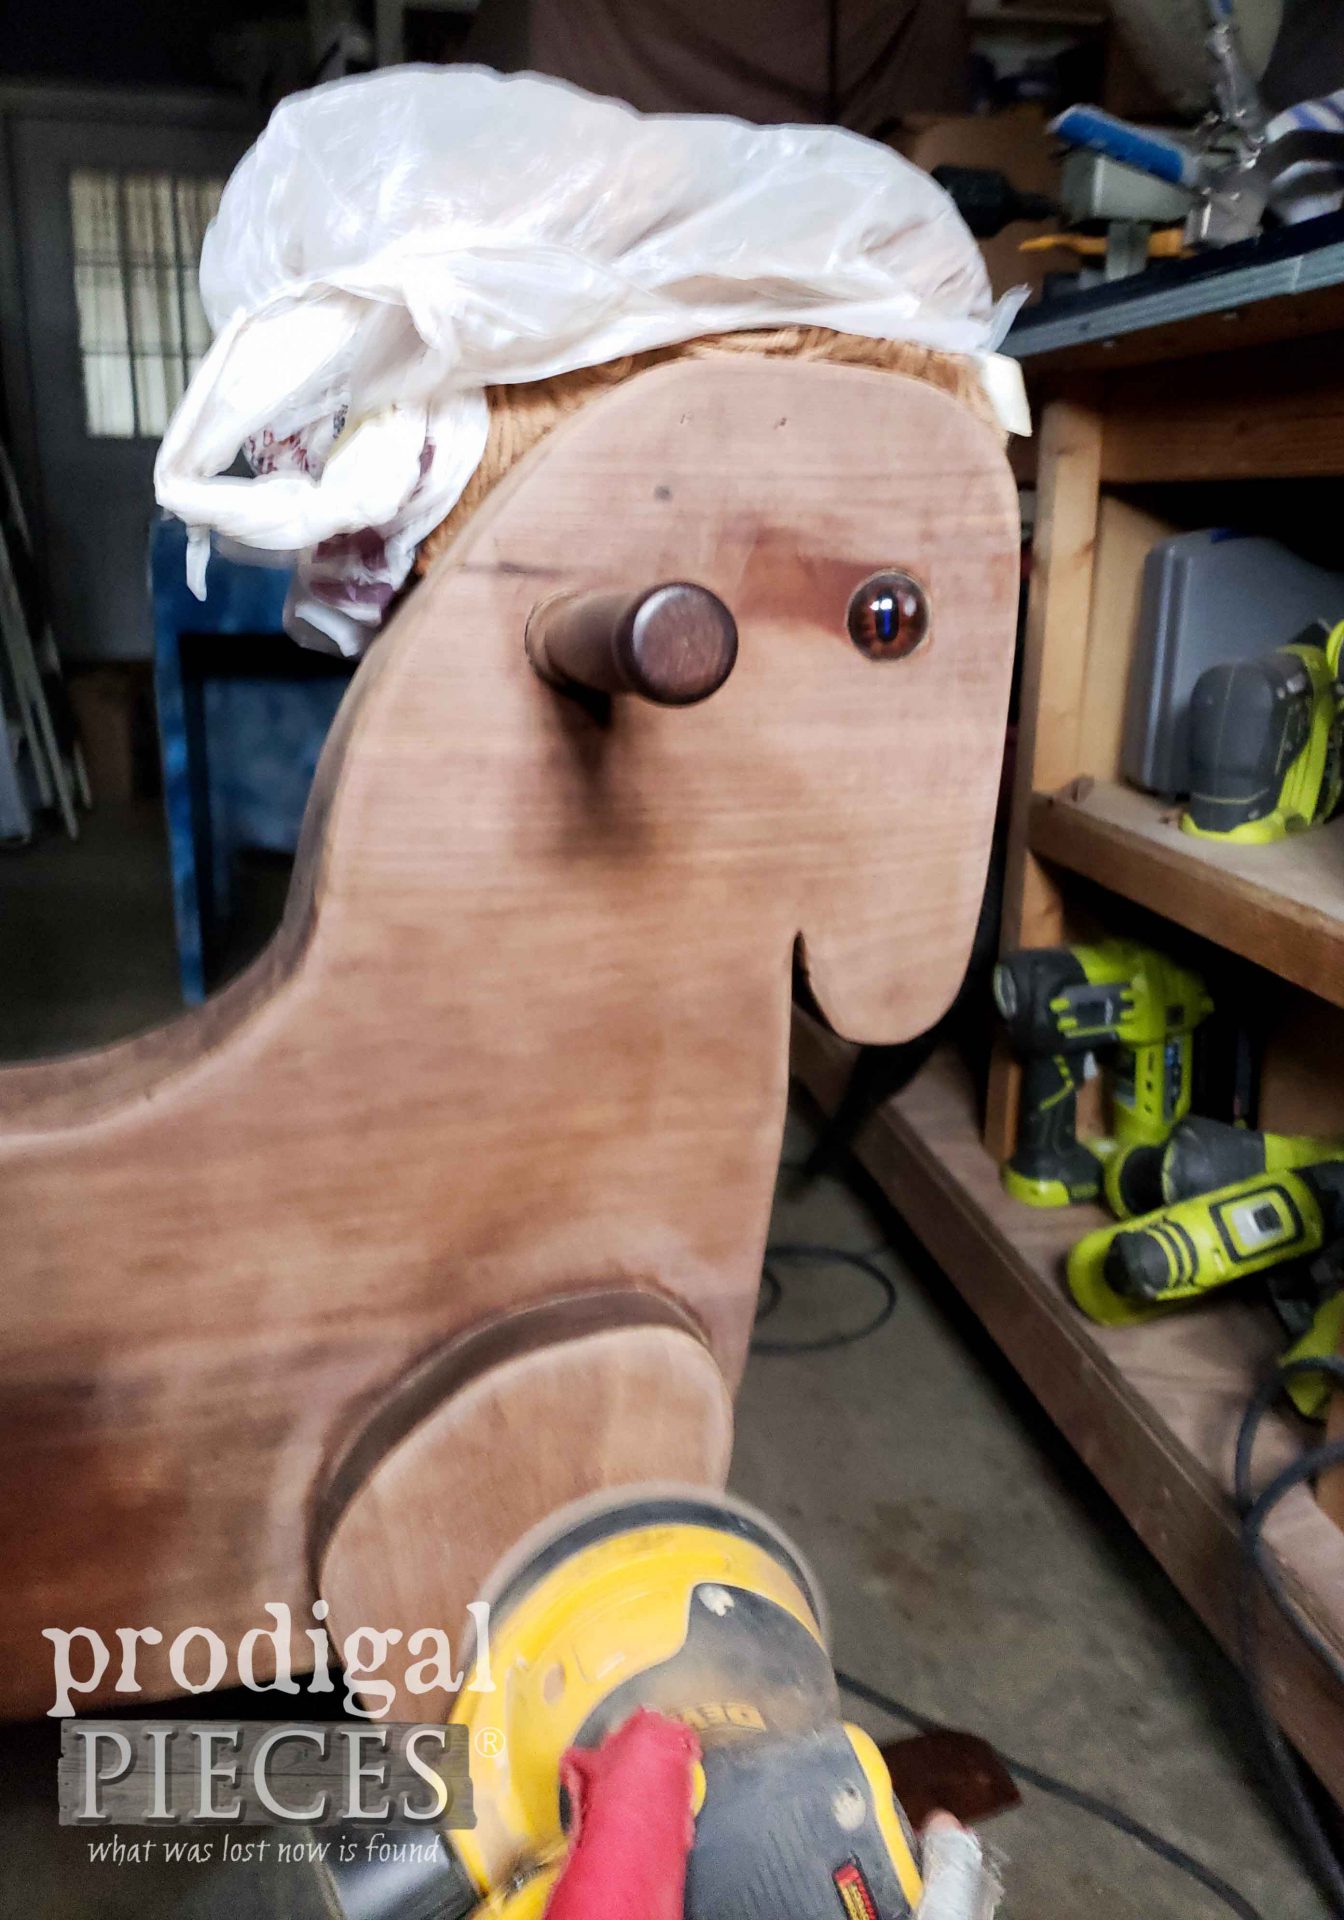
First, out comes my sander to take off that dark, worn finish.
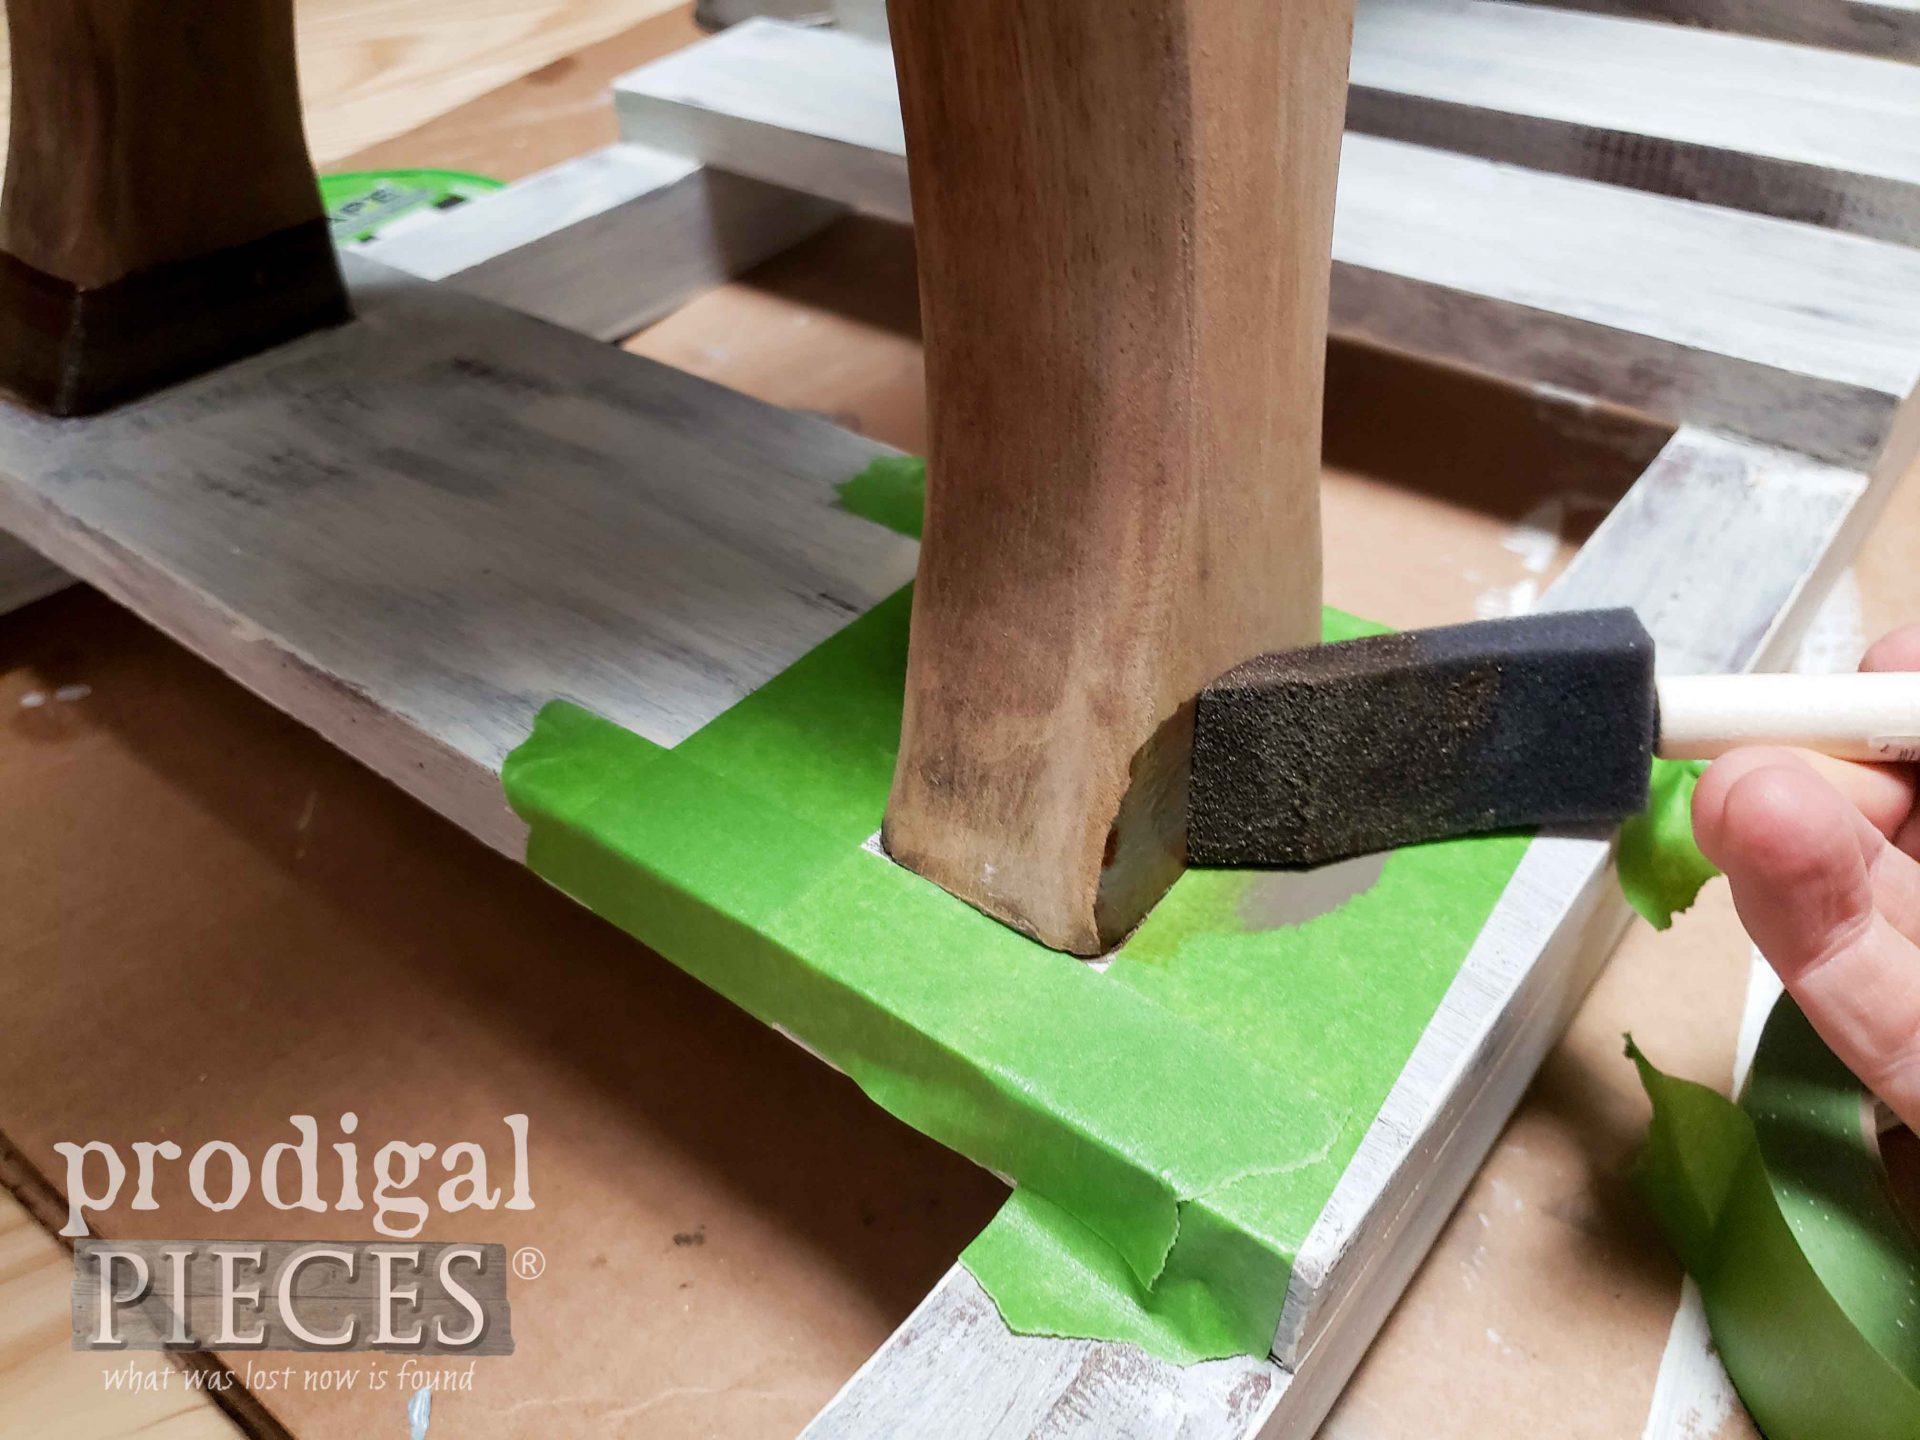
Then, after what seemed like hours of sanding, I gave the base a whitewash and then added hooves with a Briarsmoke Stain.
Next, since I wanted to keep this rustic with aged appeal, I used several waxes to create depth and texture, while retaining the beauty of that grain.
THE REVEAL
After my DIY efforts are complete, I now have 3 “new” vintage rocking horses to share with you. Here they are in one grouping…
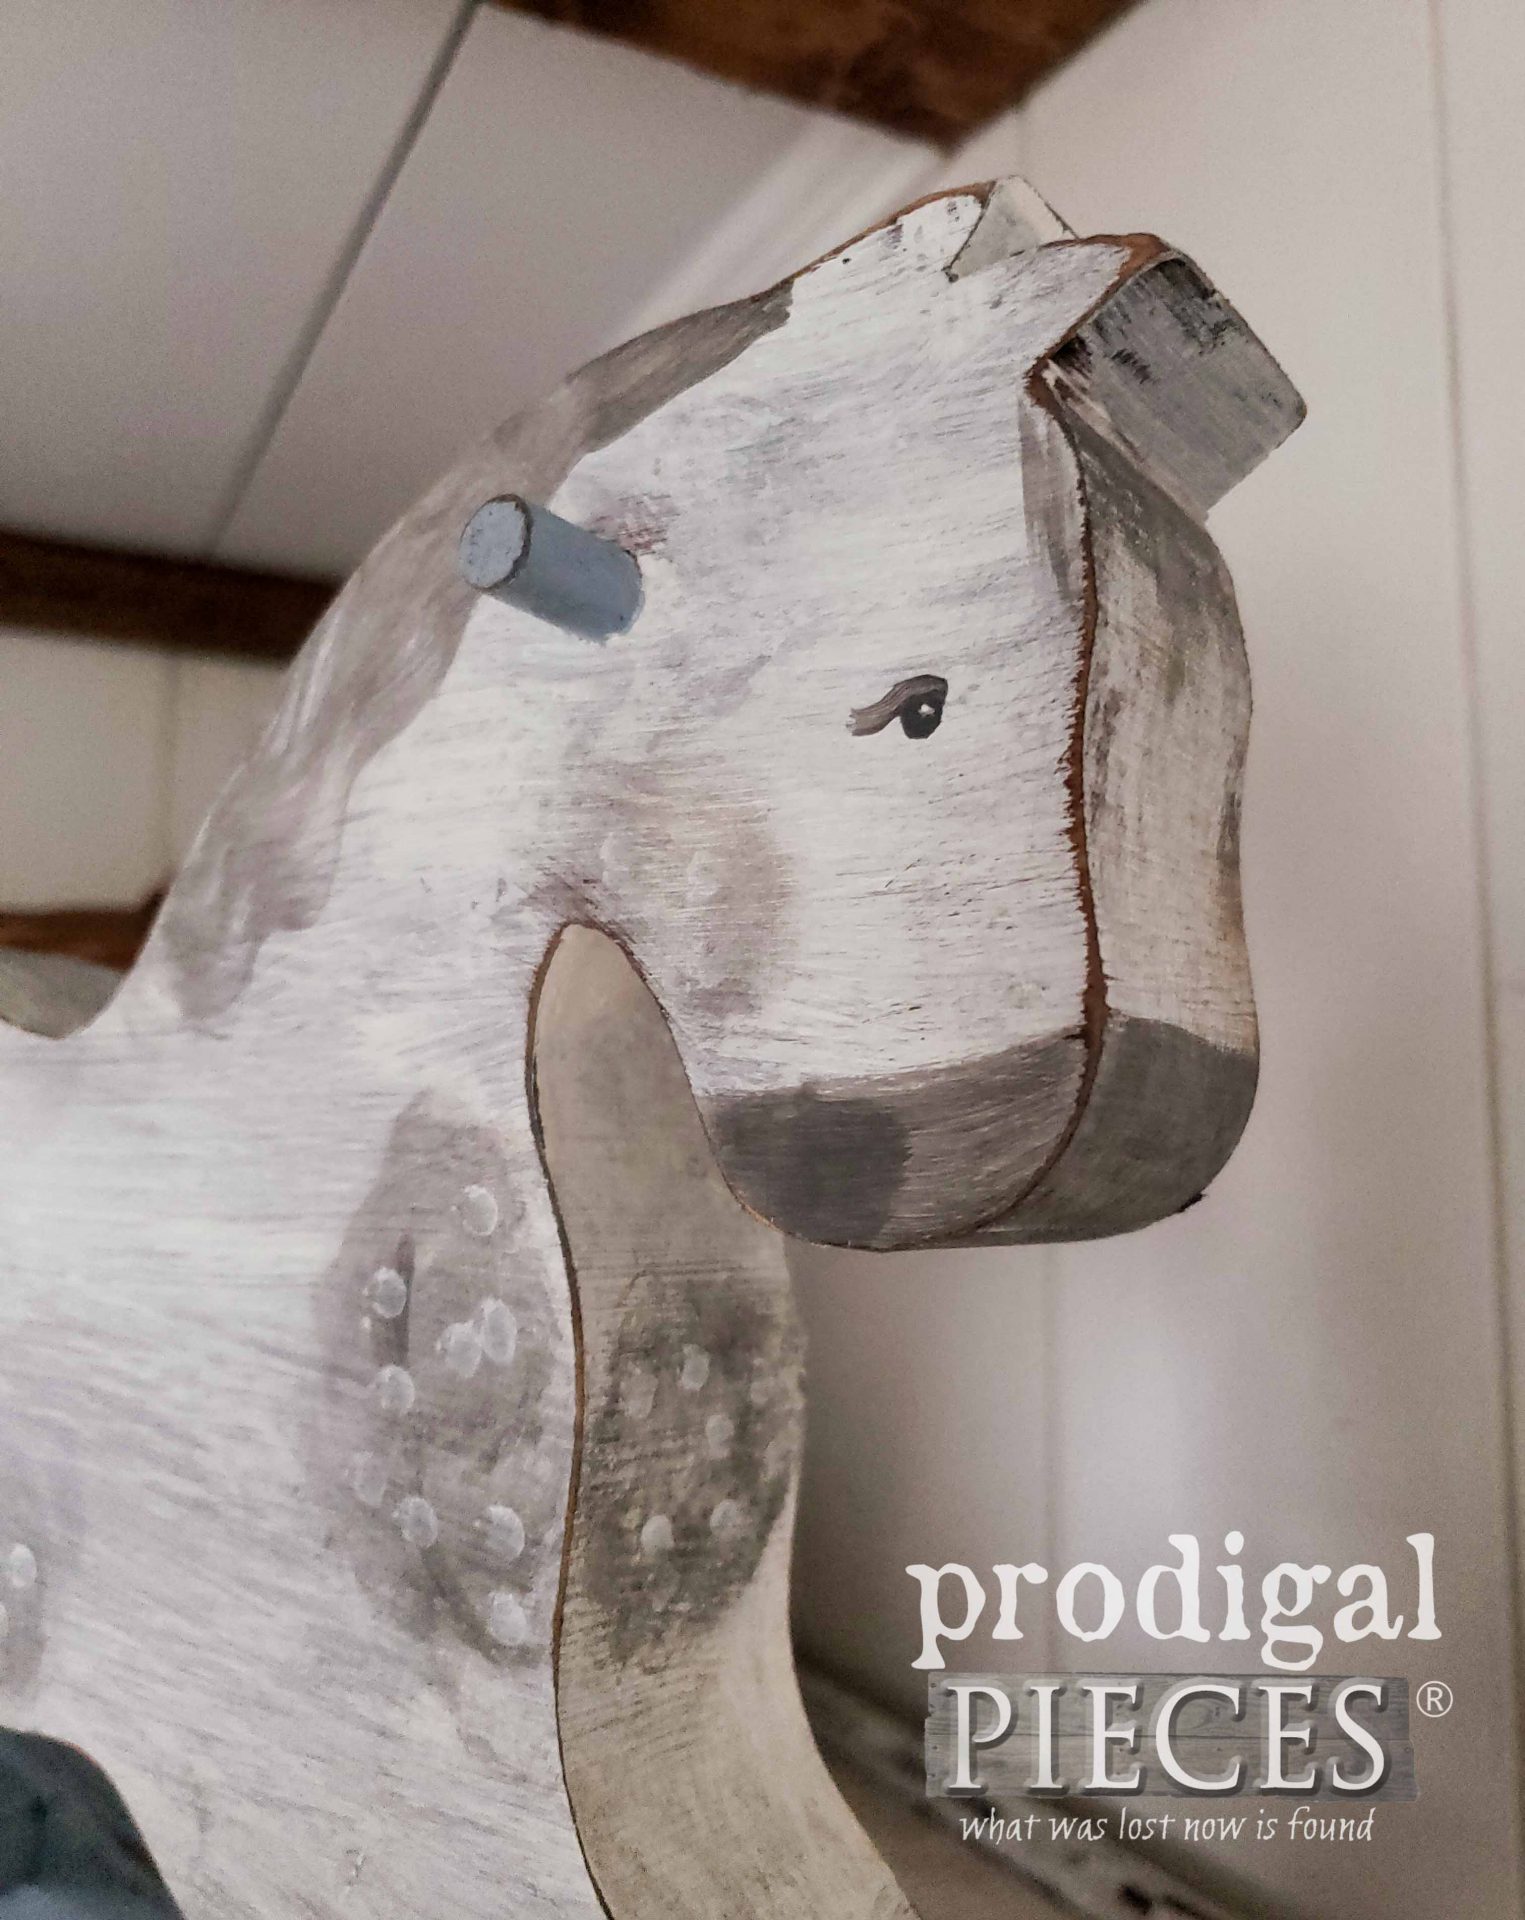
First, let’s look at my smaller duo. The basic wood rocking horse I began with is now a sweet, dappled gray with a blue base.
And, beside it is my mini hobby horse that was given a new life with stain and a bit of paint.
Oh, and let’s not forget remedying that lifted tail. ahem.
LAST, BUT NOT LEAST
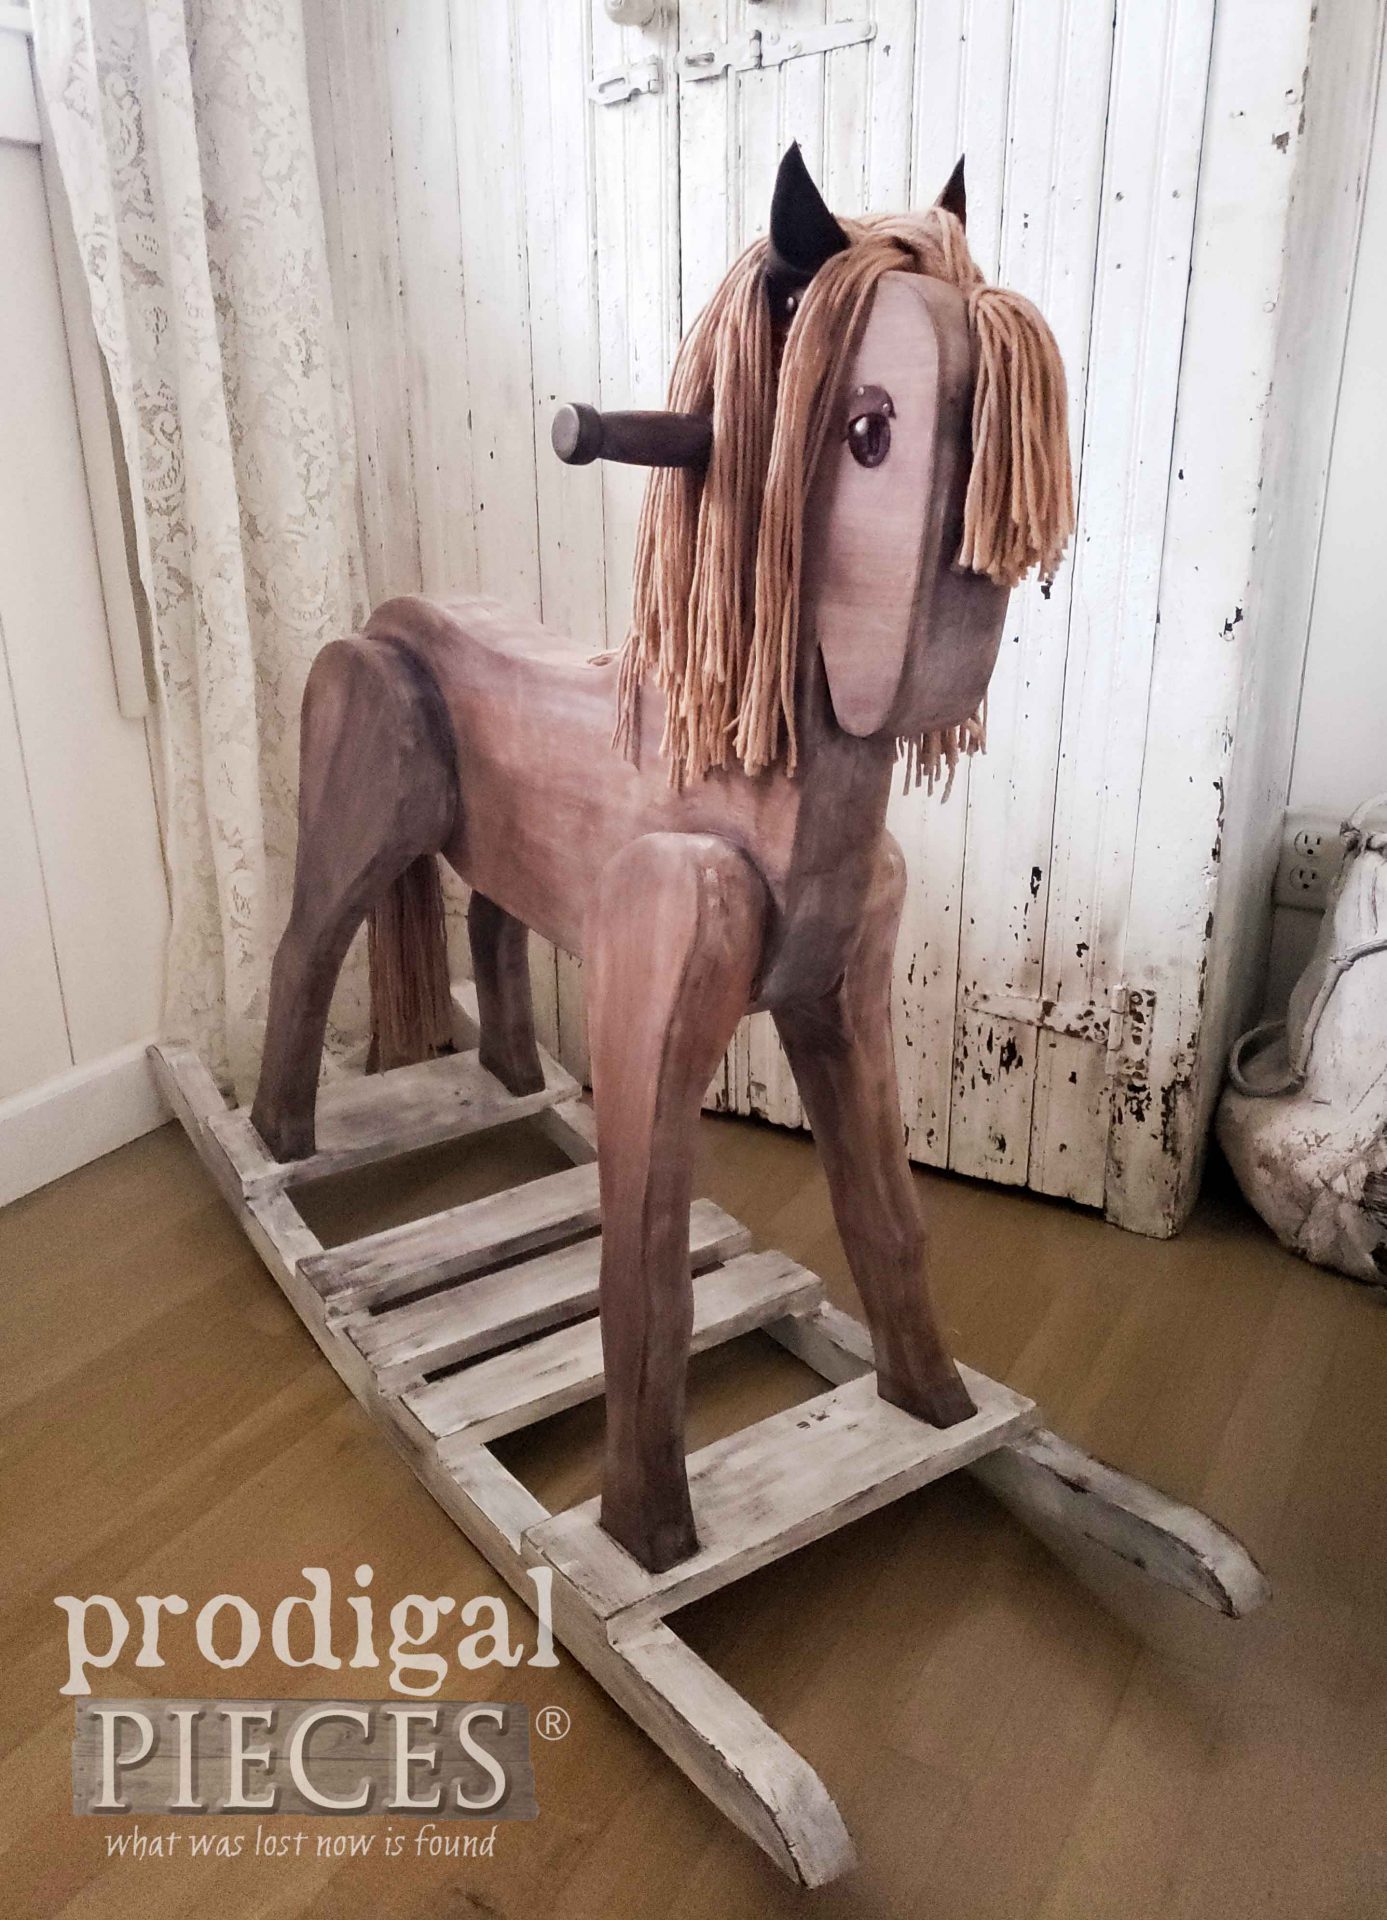
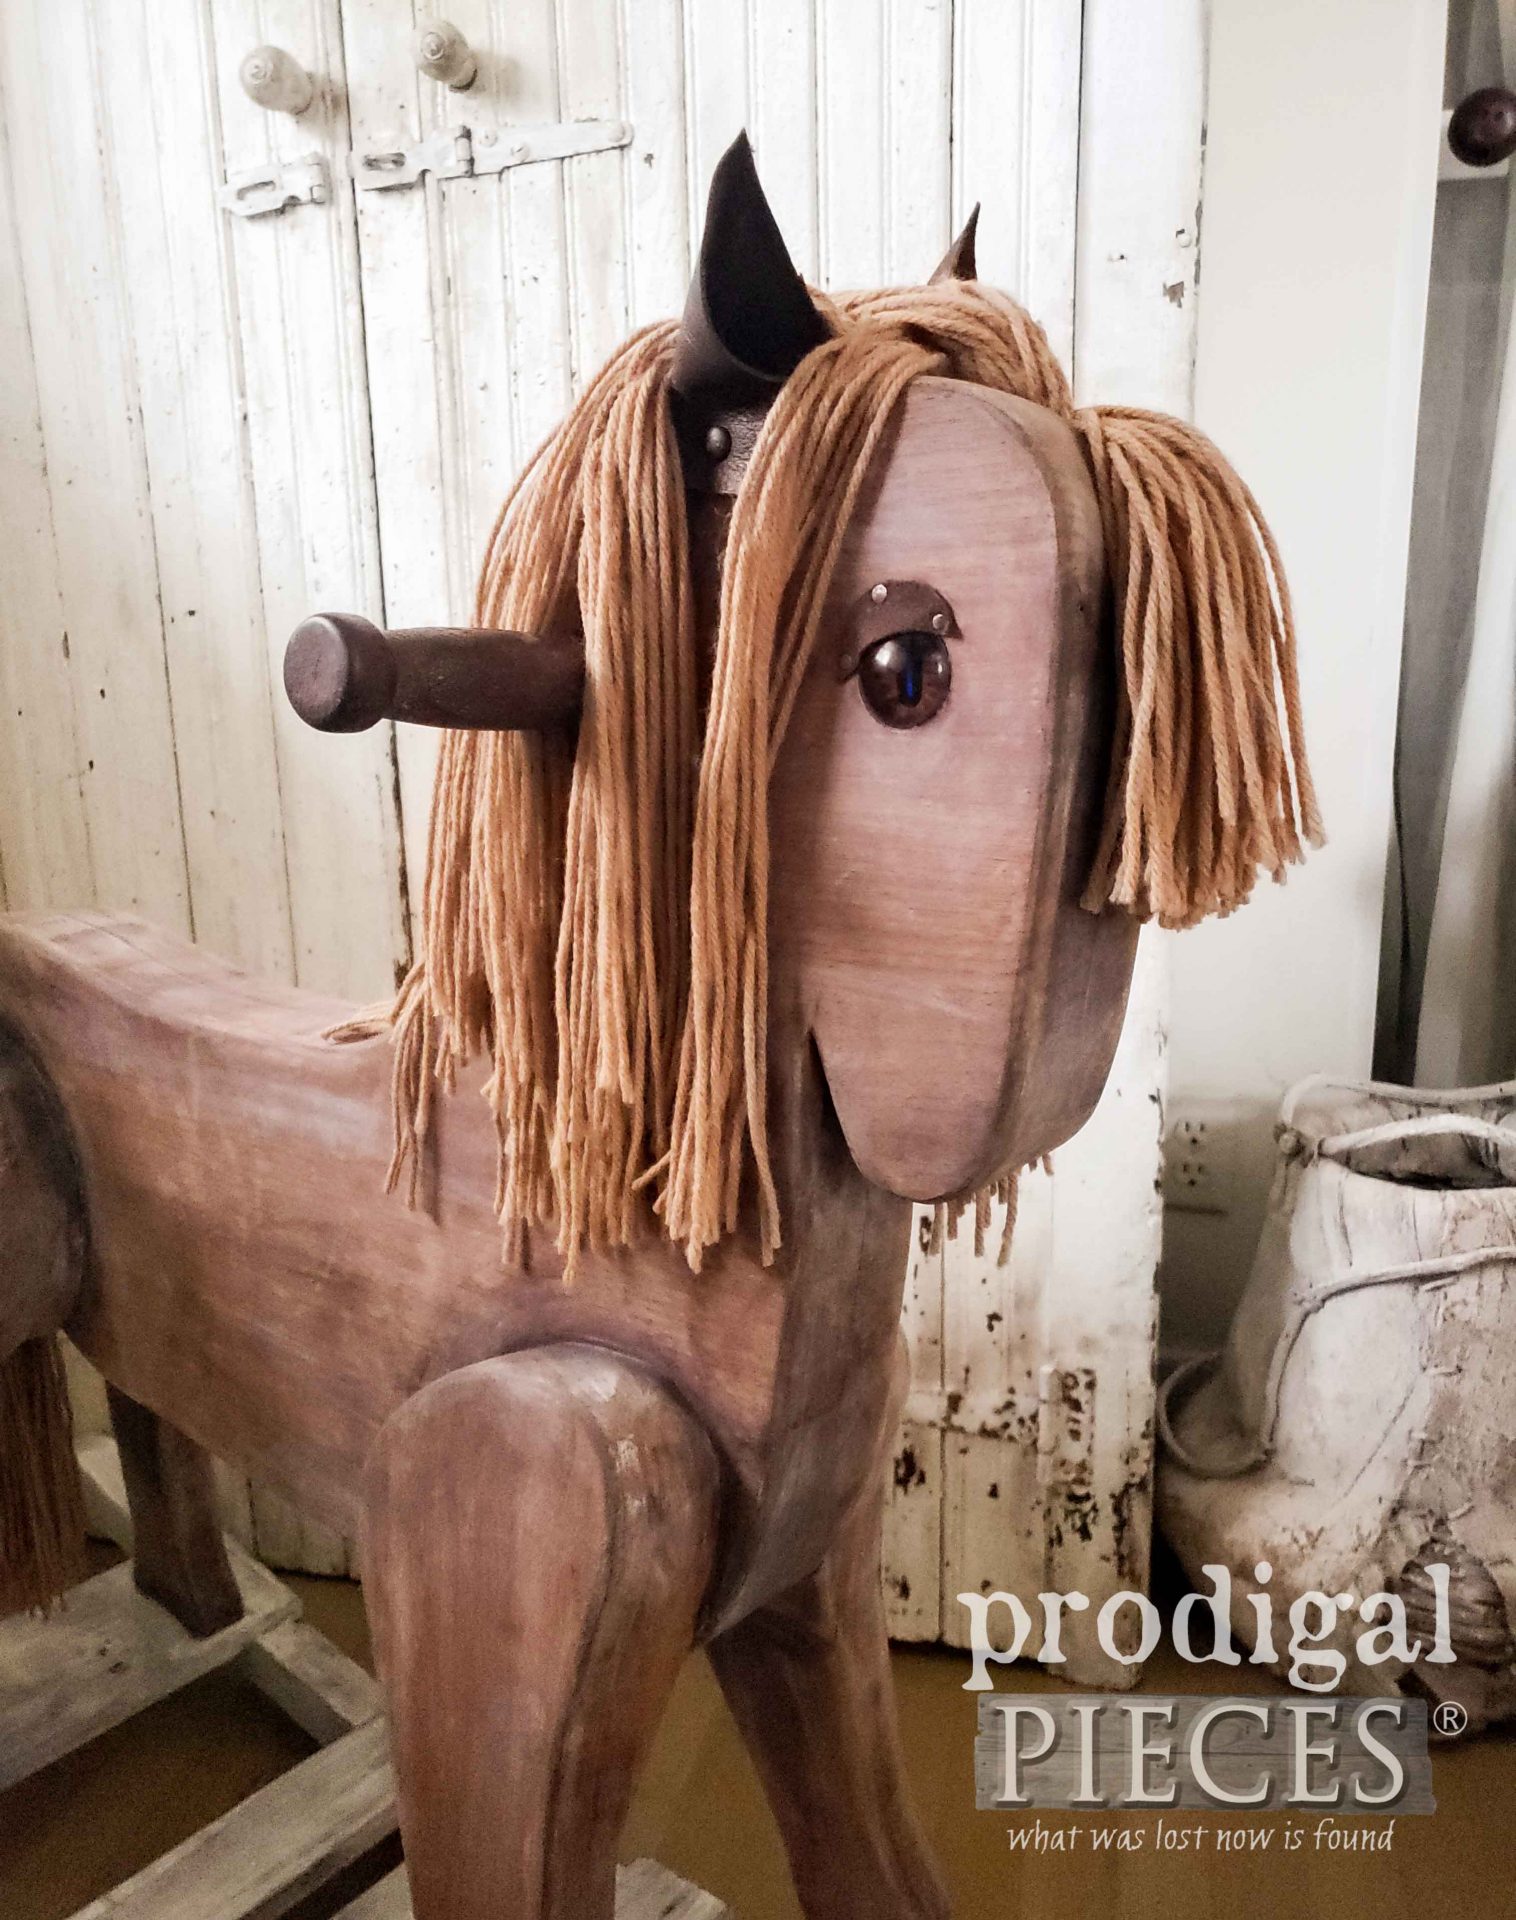
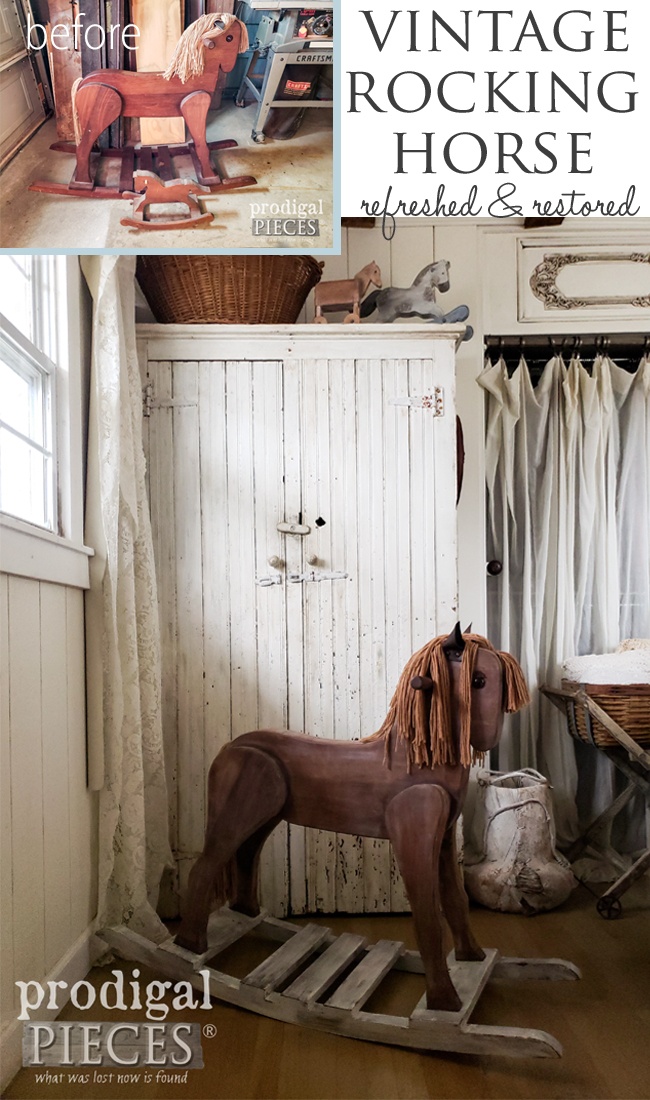
Finally, here is my filly with a fresh, yet time-worn, look.
When we first brought the rocking horse in, my kids were weirded out by the eyes. They were kinda popping out, so after fixing the leather ears, I also added felt eyelids to soften the glare.
This vintage rocking horse is now sporting soft gray hooves, a whitewashed base, and smooth tones to the wood. We all like it much better. Do you? Oh, and yes, we all gave it a test gallop to make fully sure it is enjoyable. This was fun!
Now all these horses have a new lease on life and are ready for a new home. You can find all 3 available in my online shop.
SHARE
Also, pin and share my vintage rocking horse makeovers to inspire others to either refresh their own stash, or grab those stray stallions at the thrift store.
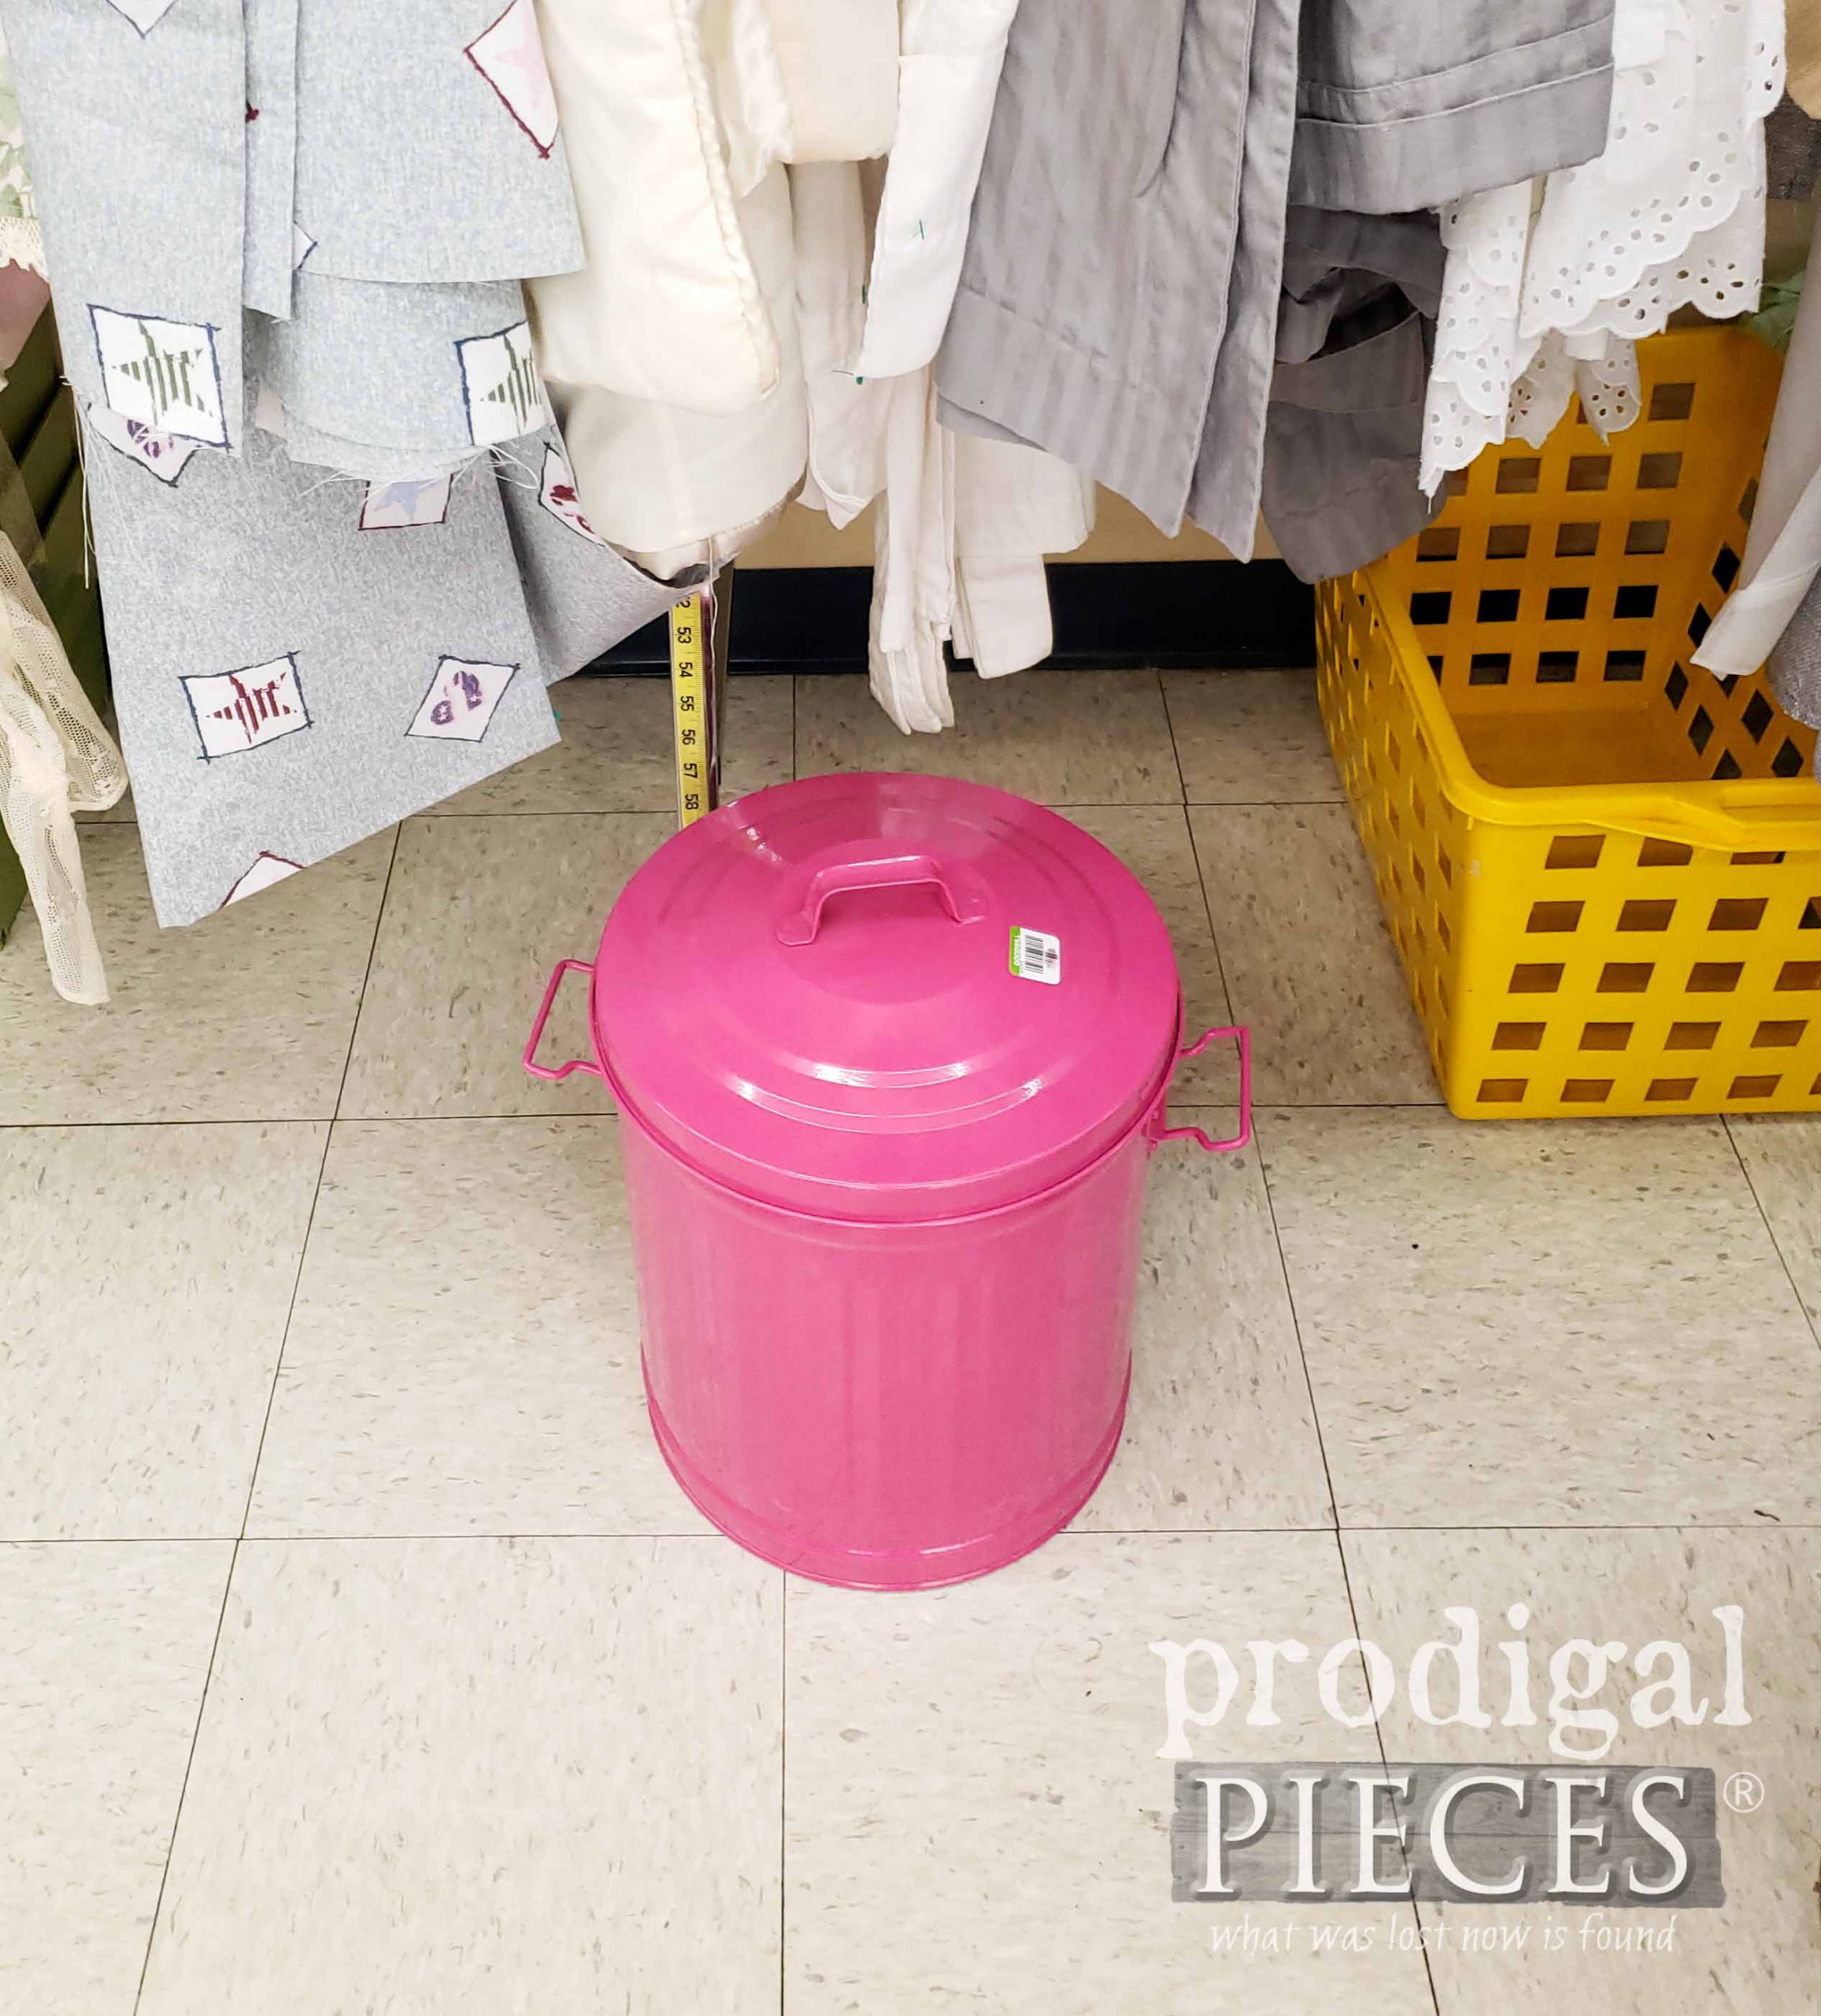
Up next, it’s Trash to Treasure Tuesday and I’ll be sharing what happens with this pink cutie. Come see the pinkie makeover HERE.
To get these DIY tips & tricks in your inbox, be sure to sign up for my newsletter. Until next time!






Such a sweet makeover and for a great cause❤️
Thank you, Lori. I had a blast (if you couldn’t tell 😀 )
Well not only are the horses adorable, but that picture of you is as sweet as a birthday cupcake!❤️
Blessings to you!
tee hee! You just made my day, Minnie. Sending happy hugs!
Great job, Larissa….you can almost “feel” them smiling!
How fun! Thank you, Gail. 😀
Cute! That little gray one is my favorite! I love the spots!
Thanks! I am a sucker for a dappled horse. 🙂
Hi Larissa, wow, that is one huge rocking horse! I love how you freshened it up and let all that wonderful wood show on it! The added felt on the eyes is adorable and I wouldn’t have known it wasn’t original. This will make a child so very happy for quite a long time!! Your two smaller horses came out lovely with the new and very pretty painted finish you gave them!! Love them all!!
What fun this was, Kaycee. I’m so glad you enjoyed it. I had fun and the icing on the cake was finding the large one was made of mahogany. Yay!
I am just going to start on this piece.. got mahogany stain wax .. but what to do with the mane/tail .. it’s like thick cotton mop strings.. dye? Bleach? Any ideas are appreciated
Fun! You could dye it, I suppose, but that would be a job. I just washed mine with hot water and soap, let dry. If the strings are stained, consider replacing them. Hope that helps!
I have the big horse from when my children were small. 40 years. It needs a new mane and saddle, yes, mine has a saddle. Any suggestions on the mane. I’m not very handy but want to fix it for my grandsons.
Thanks in advance for any suggestions.
Laurie
aww…so fun! 😀 When I’ve replaced them before I basically try to undo it carefully taking note on how it was installed and then reversing the process. Each are different, but most are just rope or yarn attached to some sort of base and then glued in. Have fun with it. 🙂