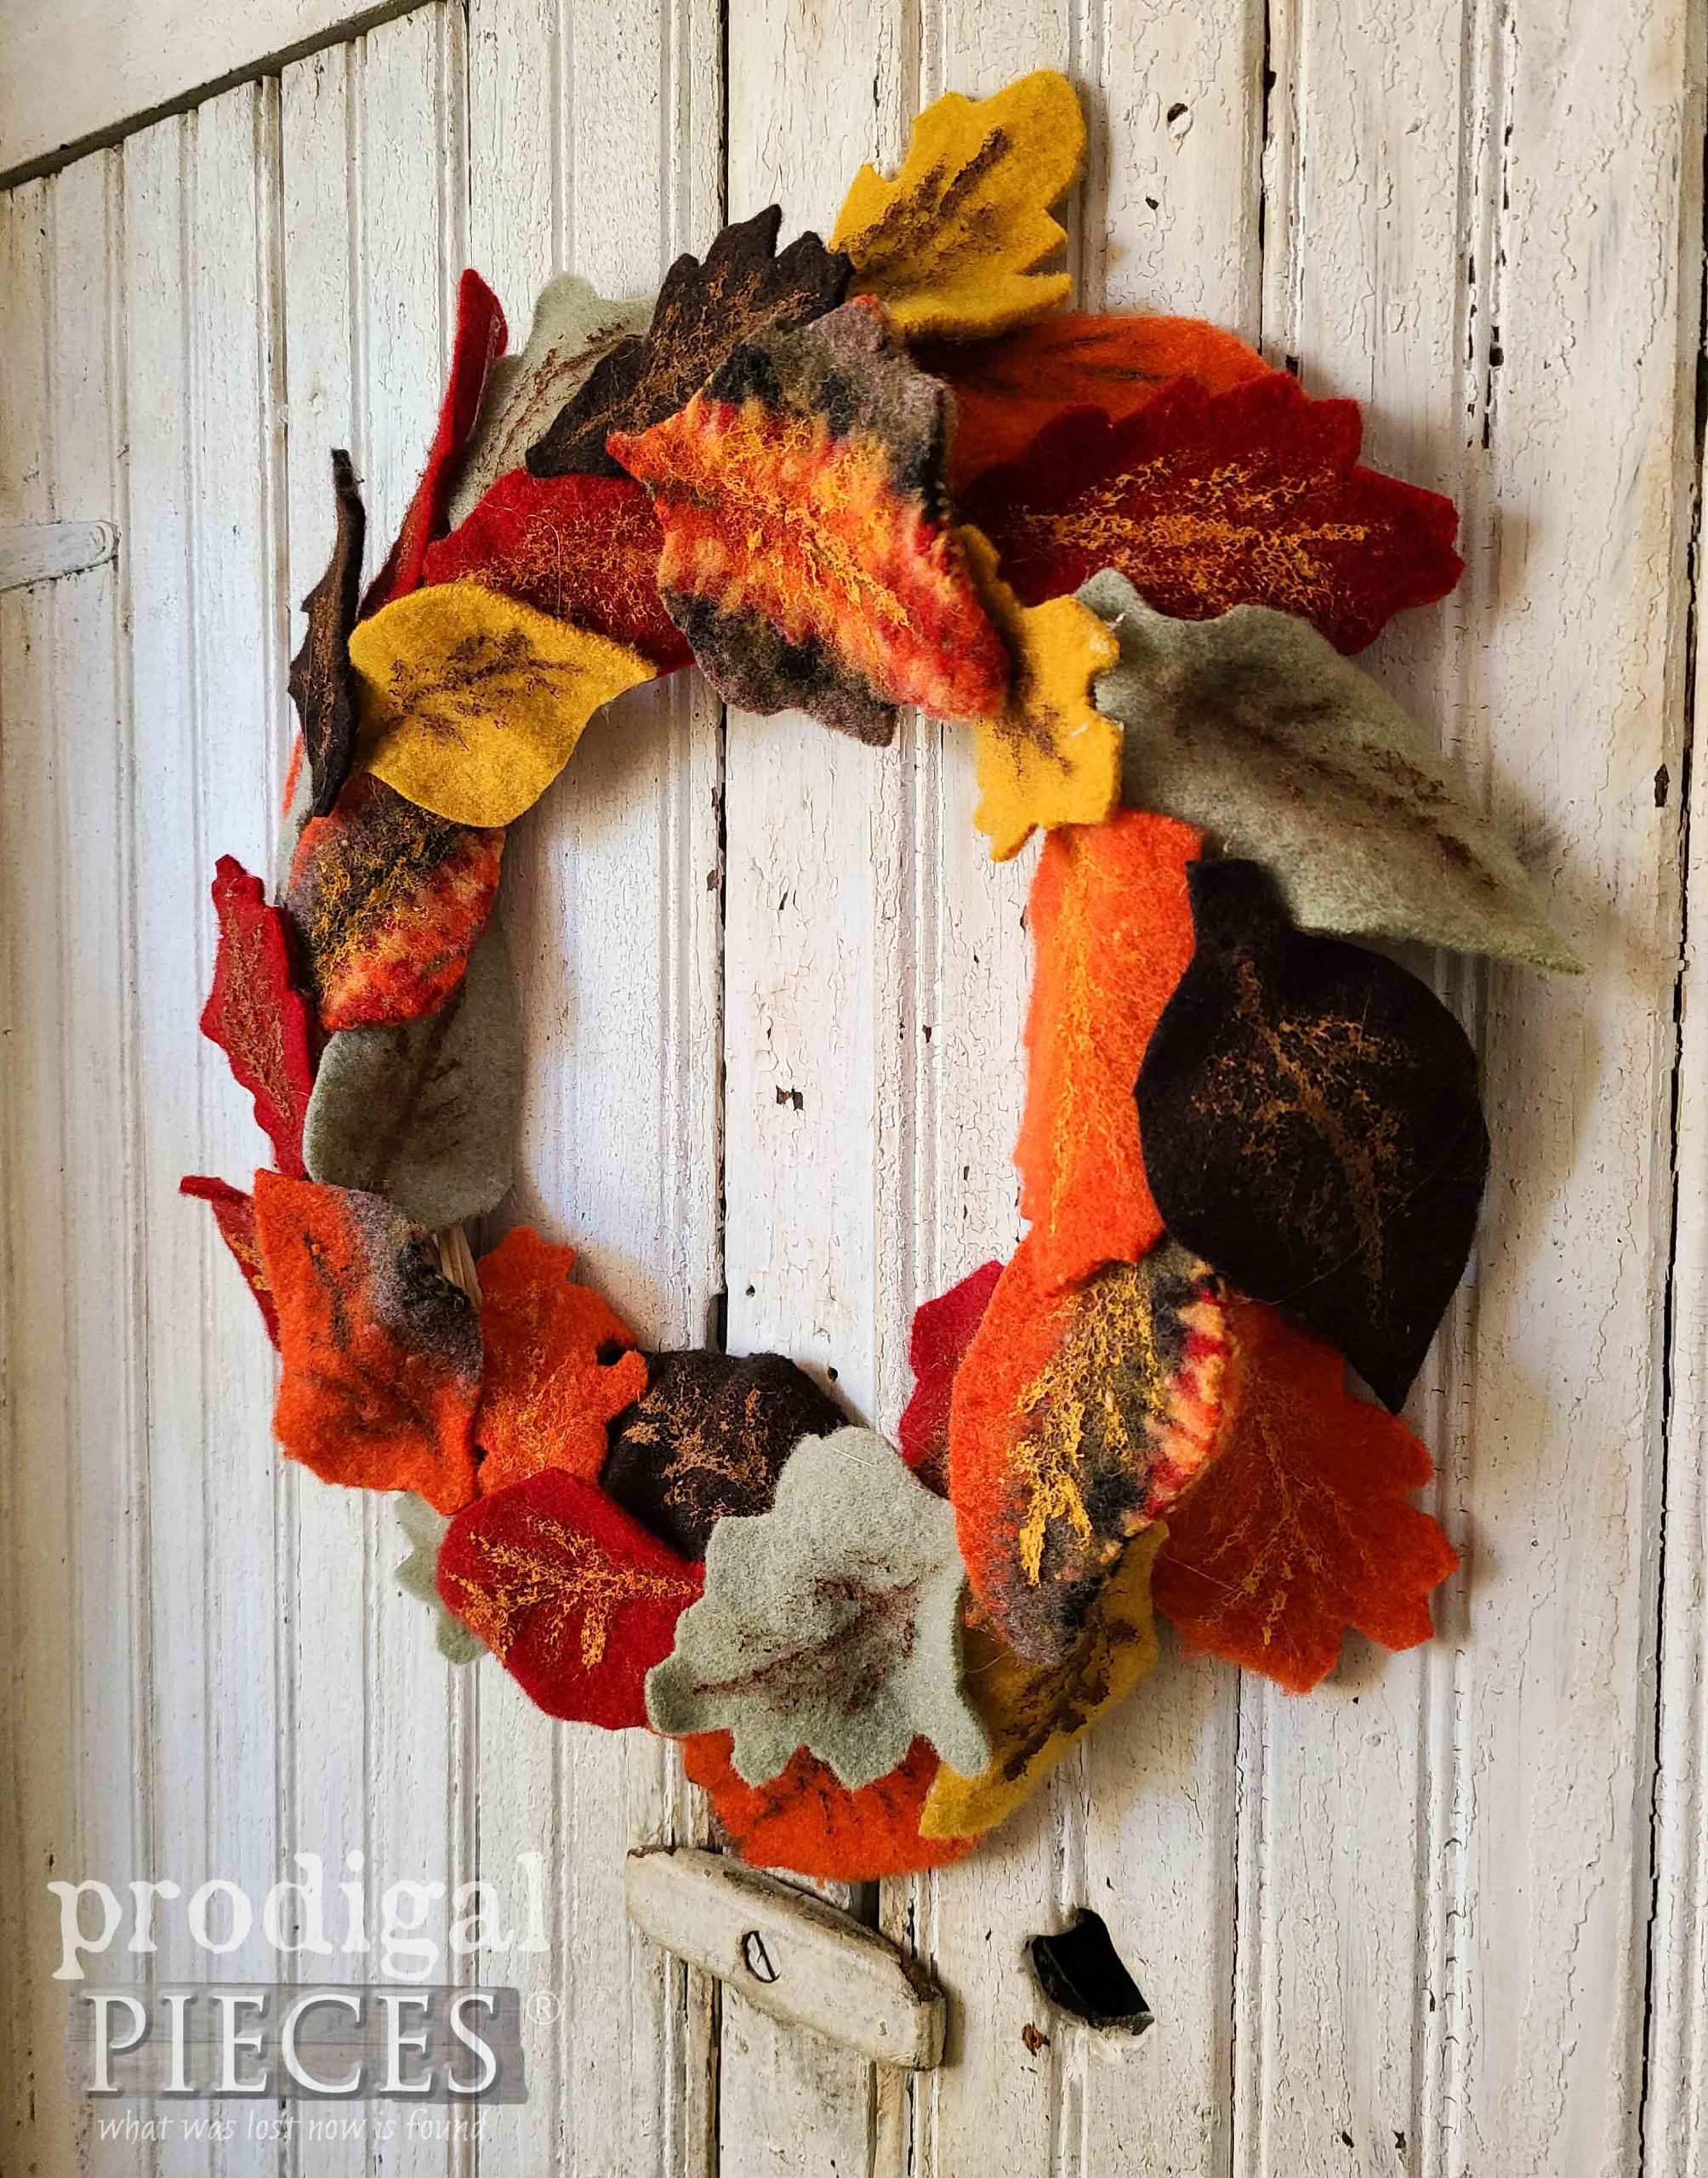
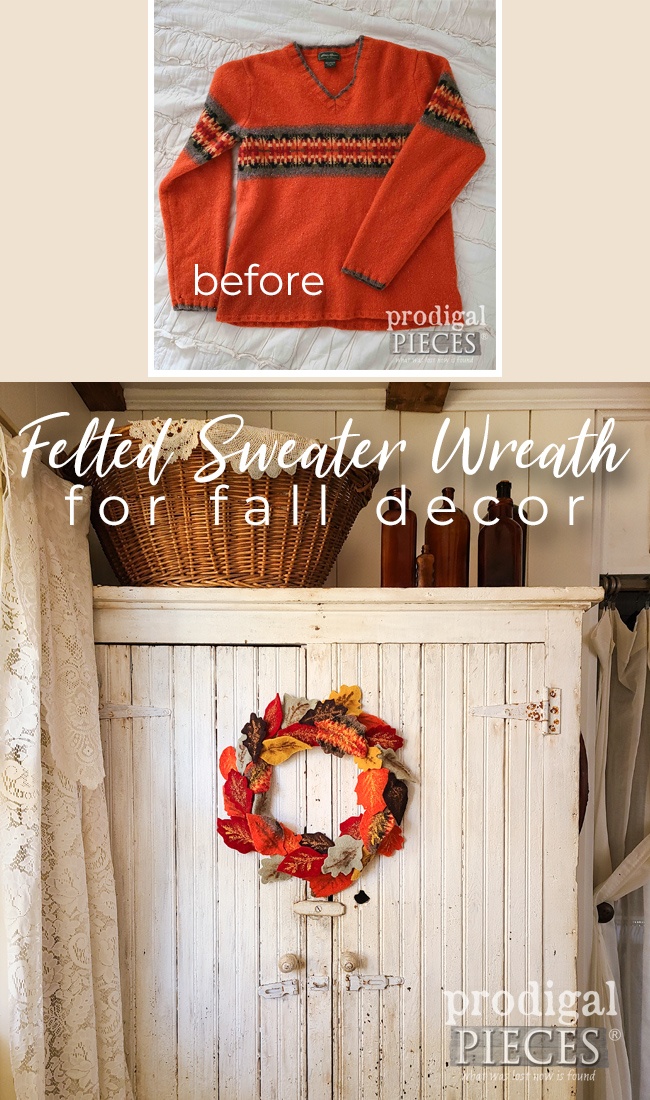
It’s the last Tuesday of the month, and that means I’m comin’ at ya with a Reduce, Reuse, REFASHION project just for you! What does that mean? Once a month, I create a brand new project for you upcycling various fashion and decor items (tablecloths, pants, belts, clothing, bed-sheets, and purses – all things textile). Today, I’m all about a felted sweater fall wreath tutorial for you. Yes, I said a wreath made from a sweater. tee hee.
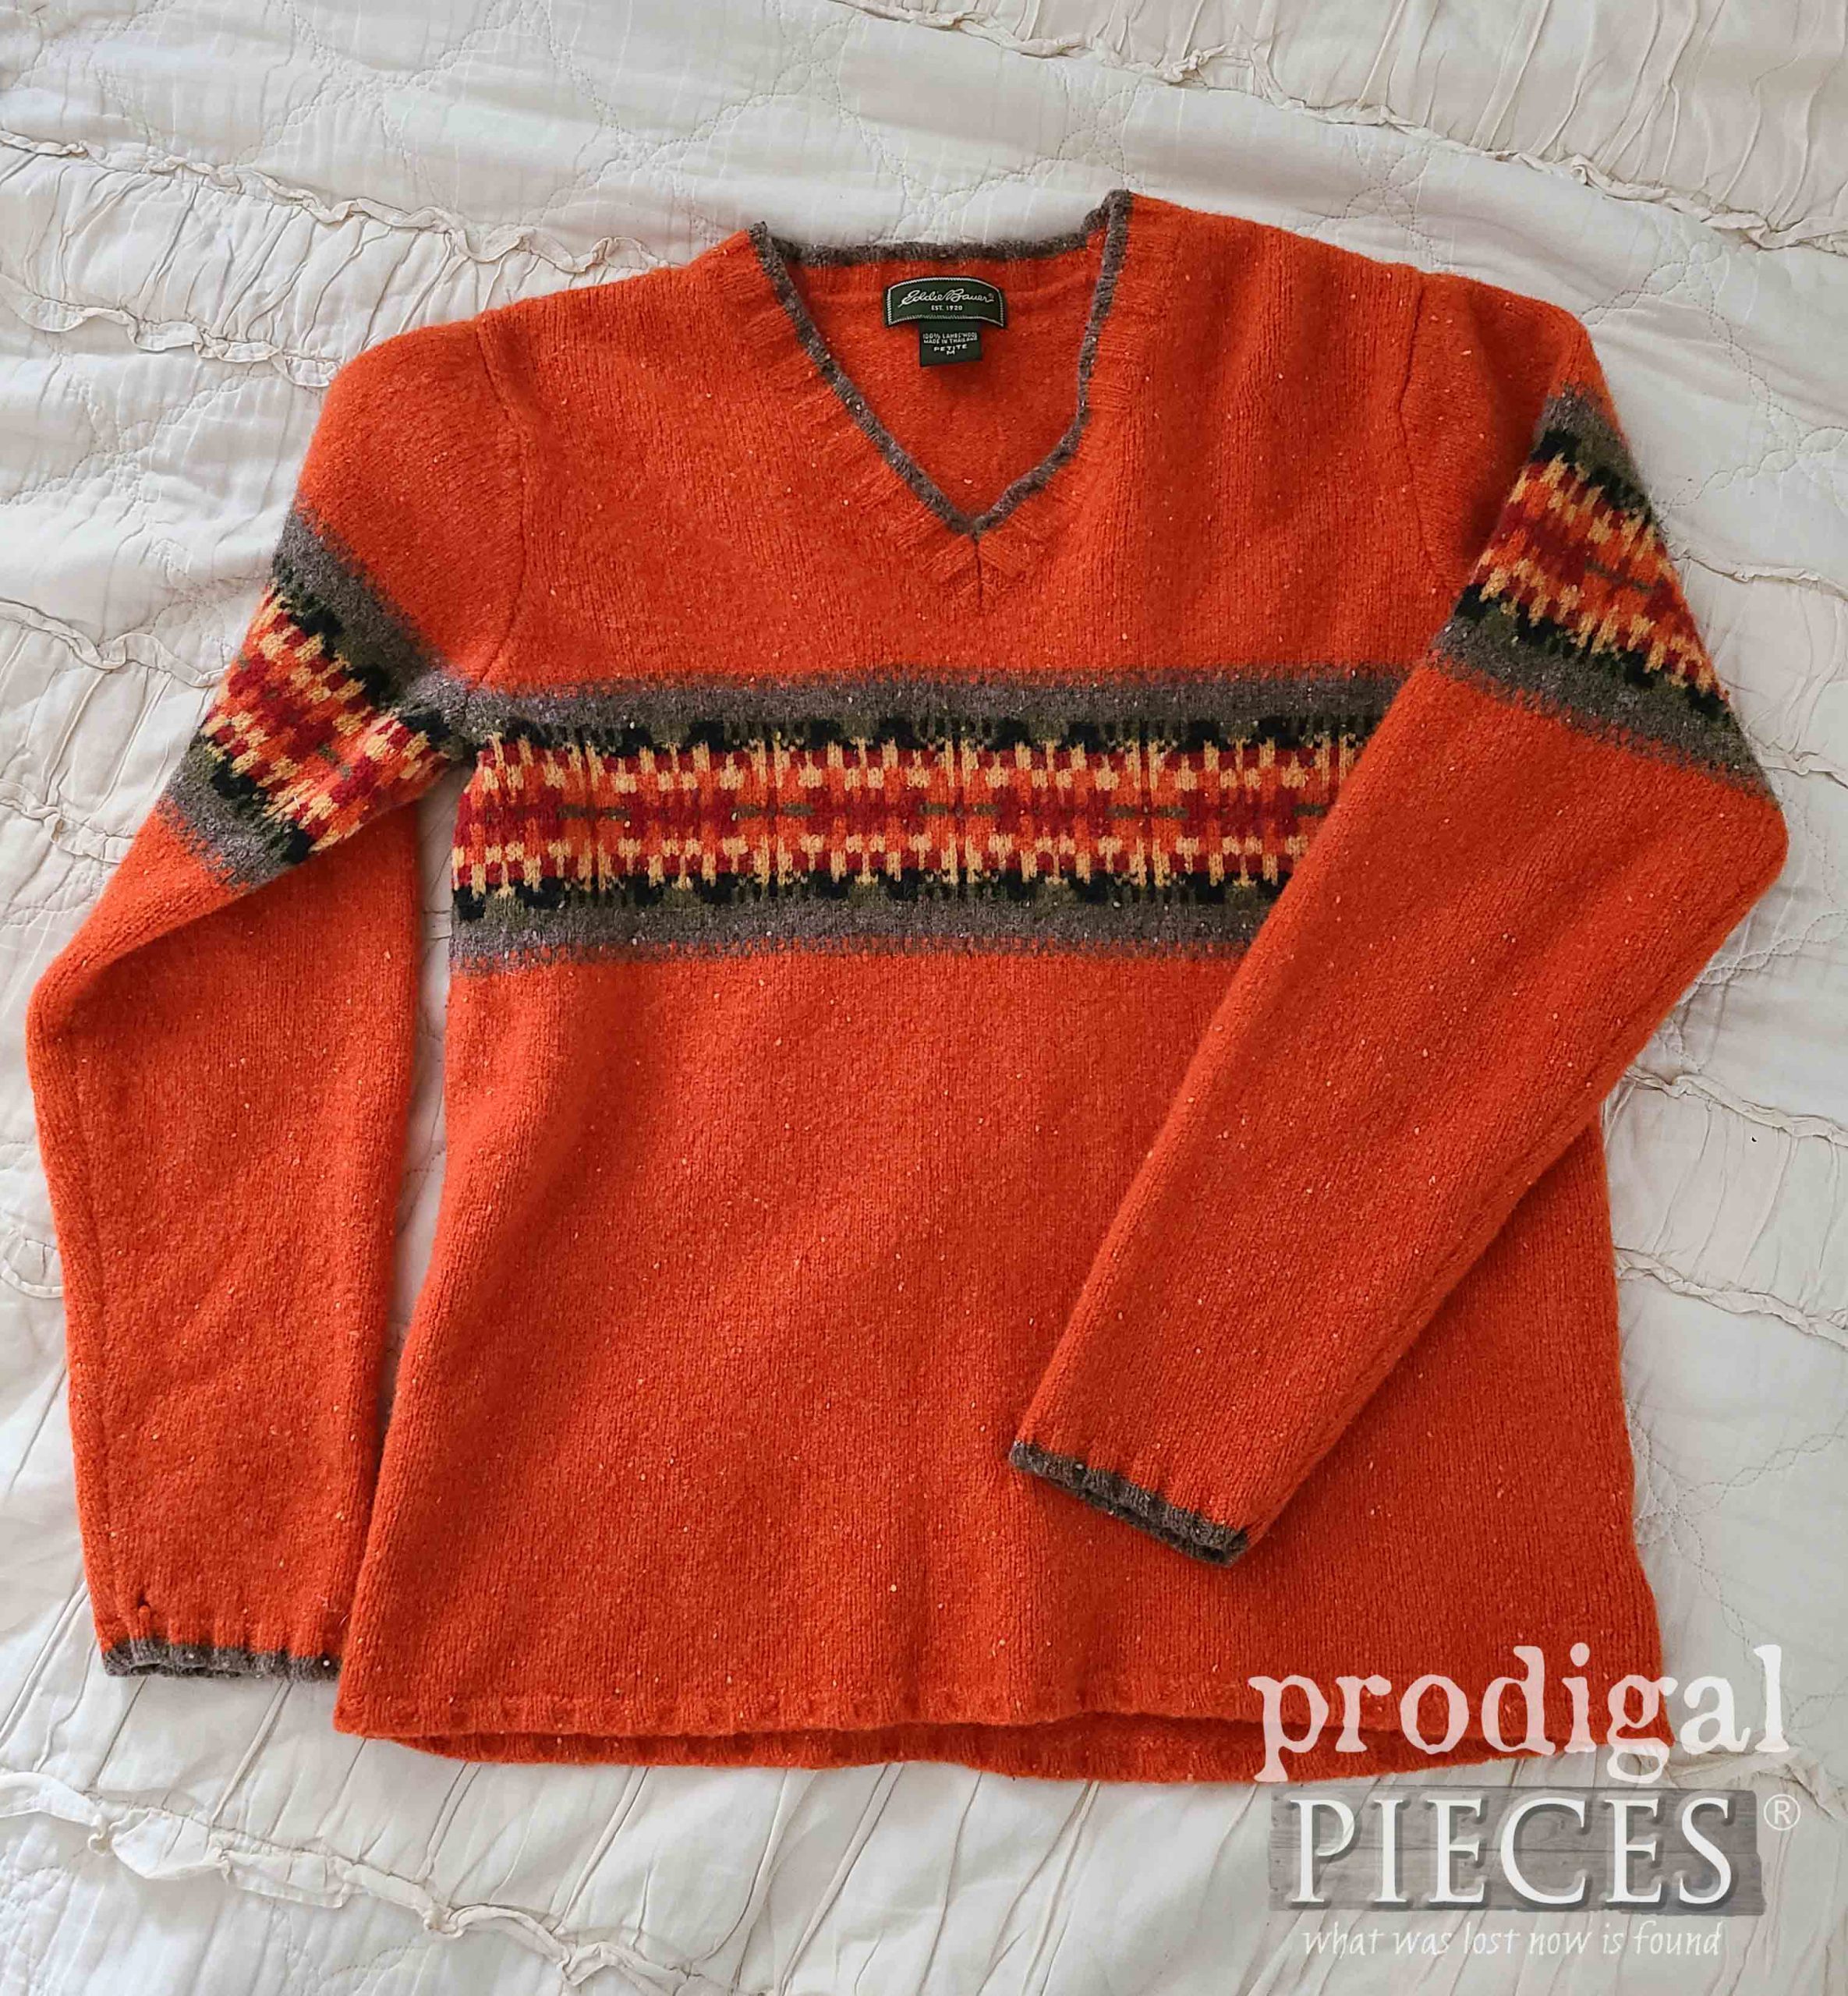
I don’t know about where you live, but currently (in Ohio) the foliage is BOOMIN’ with color. I absolutely love it! So, when I was having my kids go thru their last year’s clothes to remove small-fitting items, my youngest son brought out this wool sweater. Not only do I remember buying this for my oldest son, but also thinking…I would love to felt that beauty! Unfortunately, it no longer fits my youngest guy, but it also succumbed to moths. meh.
Come to refashion mama!! {{open arms}}
DIY DETAILS
Okay, so maybe you’re wondering about this “felting” business. You can take a peek at my past felting posts to get a better idea of why wool is one of my favorite textiles next to linen. However, the bare bones of this process is this:
- pick a sweater or blanket that is at least 70% wool
- wash the sweater in a hot wash cycle
- follow with a hot dry cycle
- repeat steps 2 & 3 until your sweater is felted – a super-tight weave. Usually 2-3 cycles (depends on your equipment)
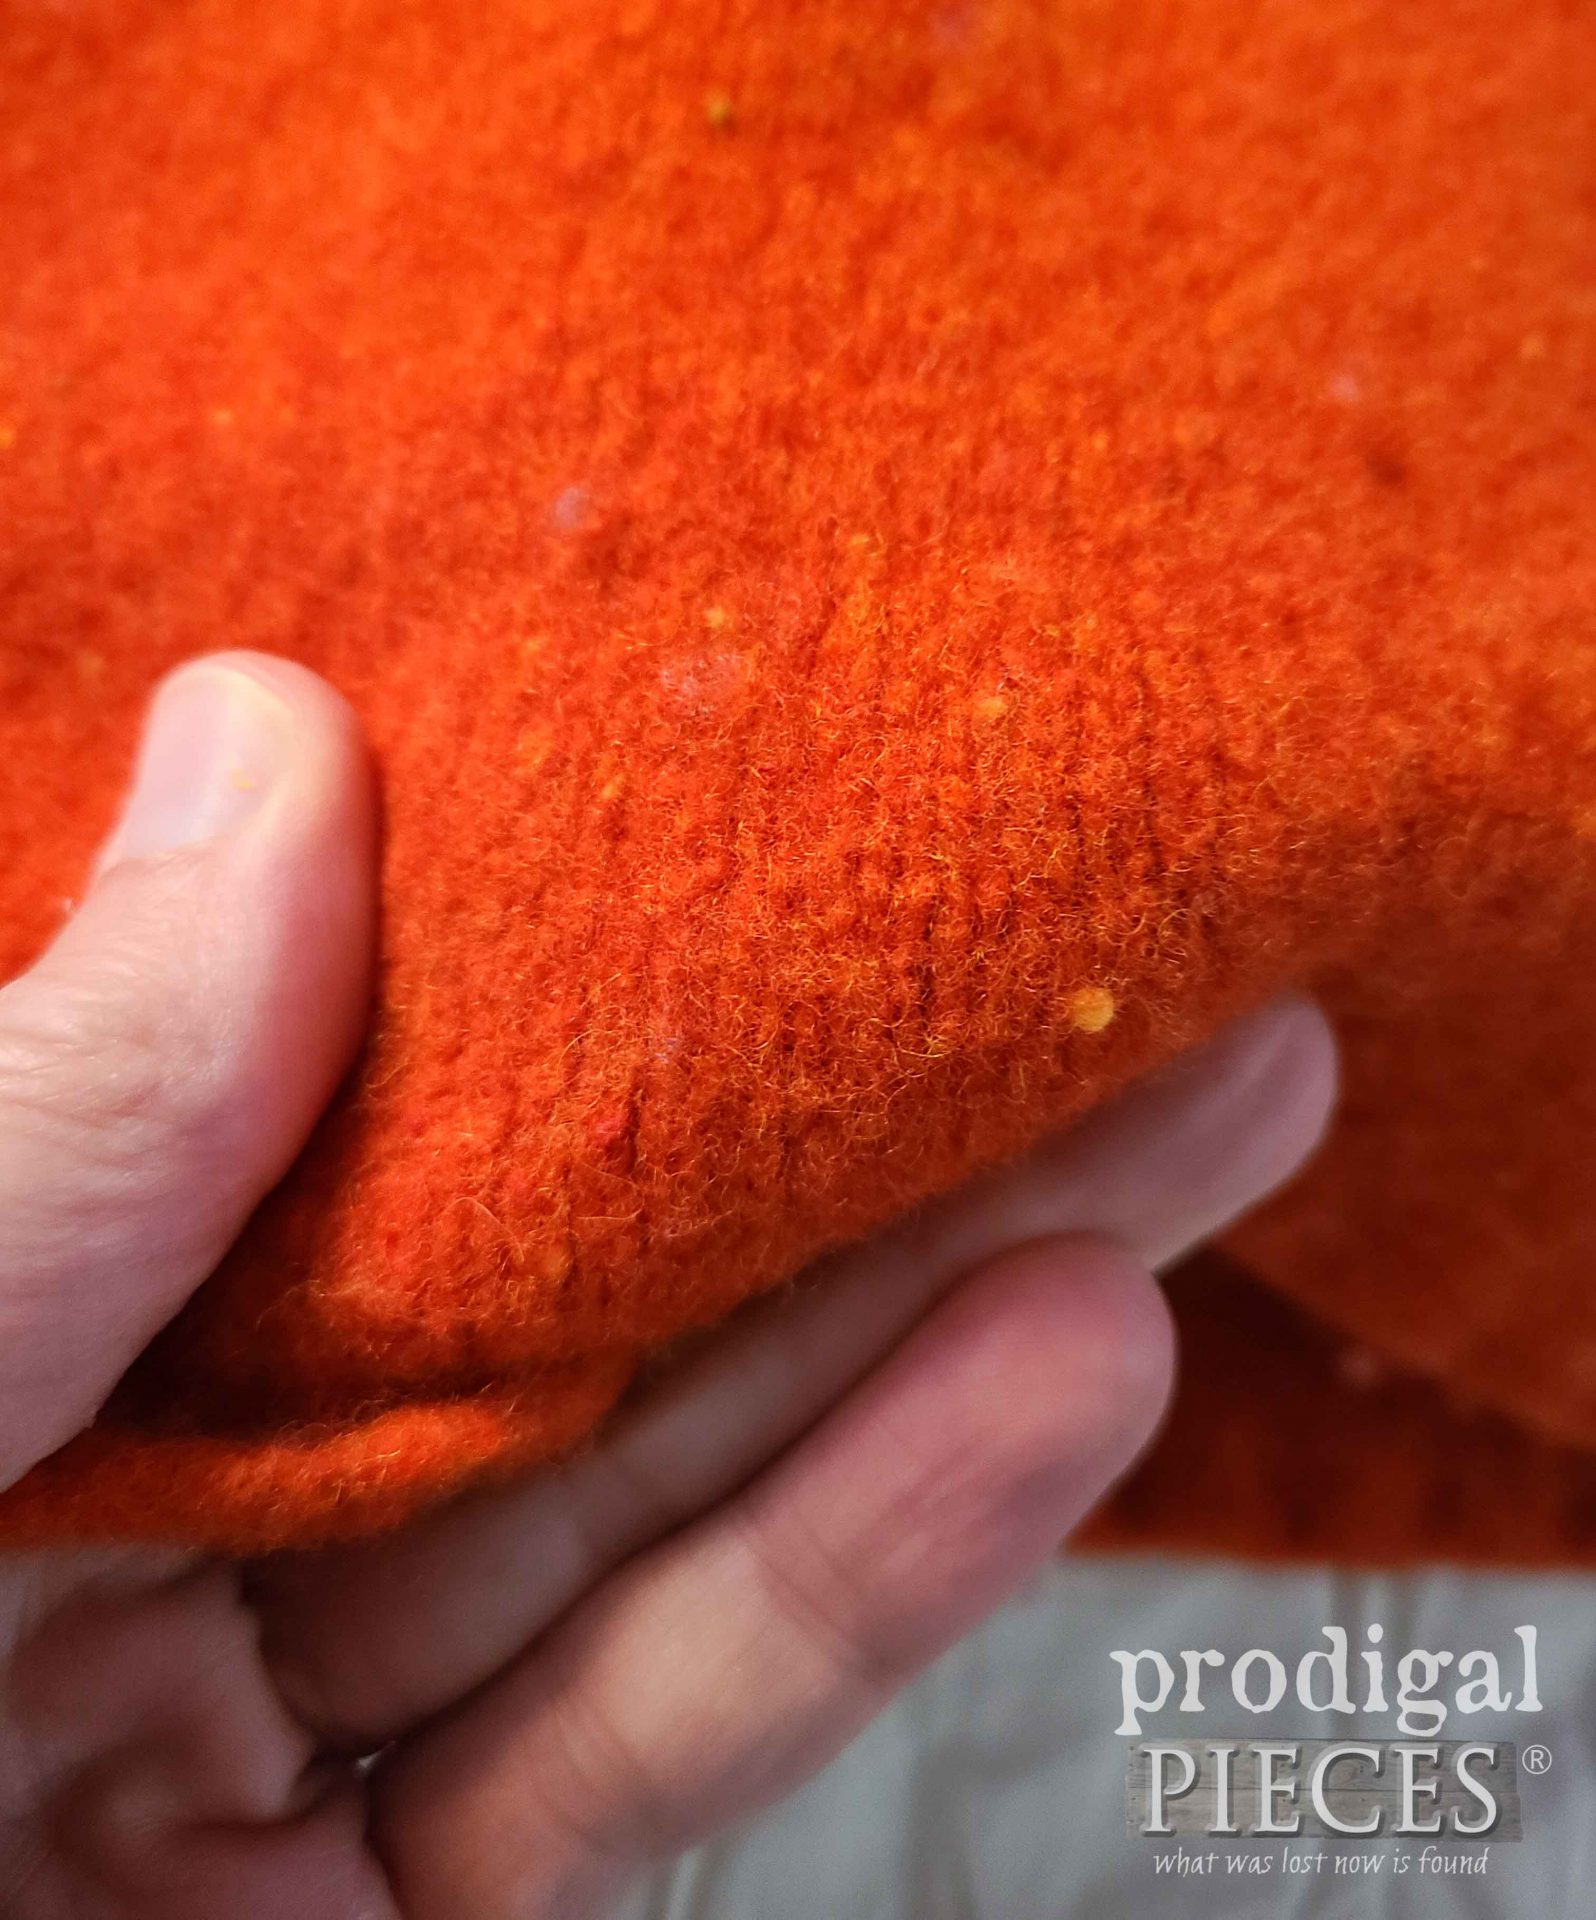
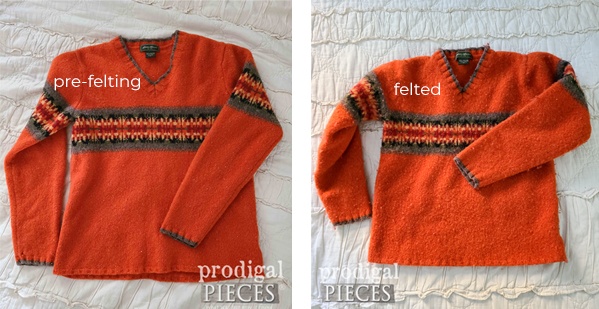
See the difference between the “before” and “after” felting? The knit is compact and won’t fray when cut. It’s totally forgiving.
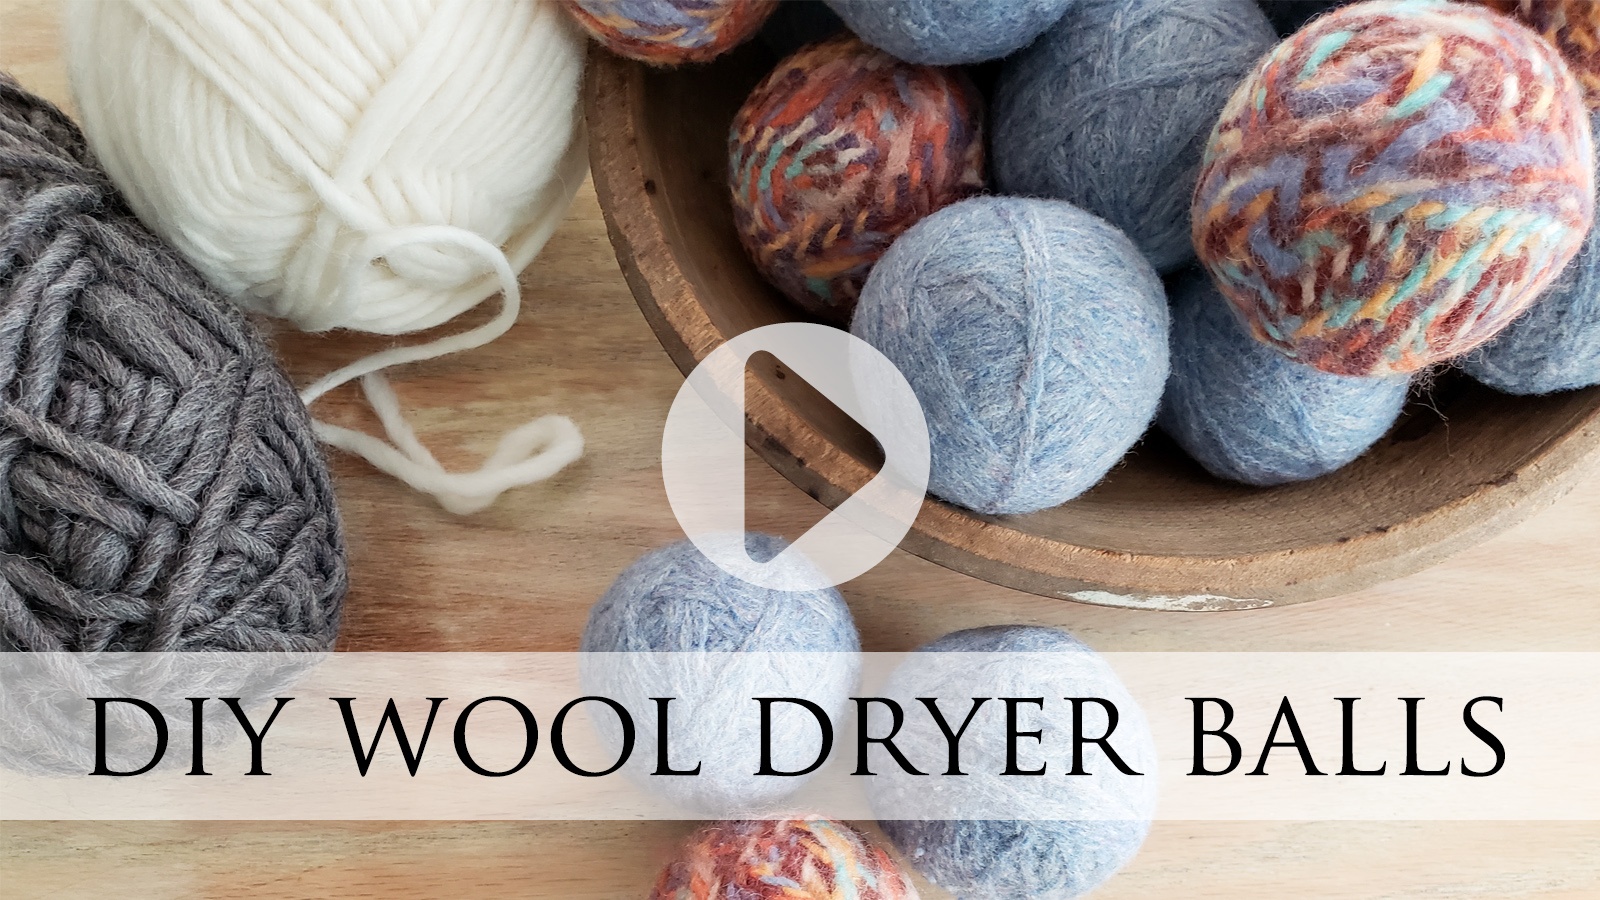
In addition, here’s a felting video tutorial below for my DIY dryer balls using a wool sweater yarn or you can see my felted sweater footstool video HERE.
CUT & DECORATE
First, let’s gather our supplies to create this felted sweater fall wreath. Keep in mind, you can make this for any holiday or season, just change up the shape of the pieces you’re using. For instance, use a bunch of green in basic leaf shape for spring, or use a mix of whites for Christmas/winter. Or, skip the leaves altogether and use a different shape. You get the idea.
TOOLS & SUPPLIES
- wool sweaters in your choice of colors (remember…70% wool, at least!)
- fabric scissors
- stencil or printout of shapes (mix it up for different holidays and seasons)
- acrylic paint (optional)
- artist’s brush (optional)
- hot glue gun/glue sticks
- wreath form
- ribbon or wire for hanger (optional)
STEP 1
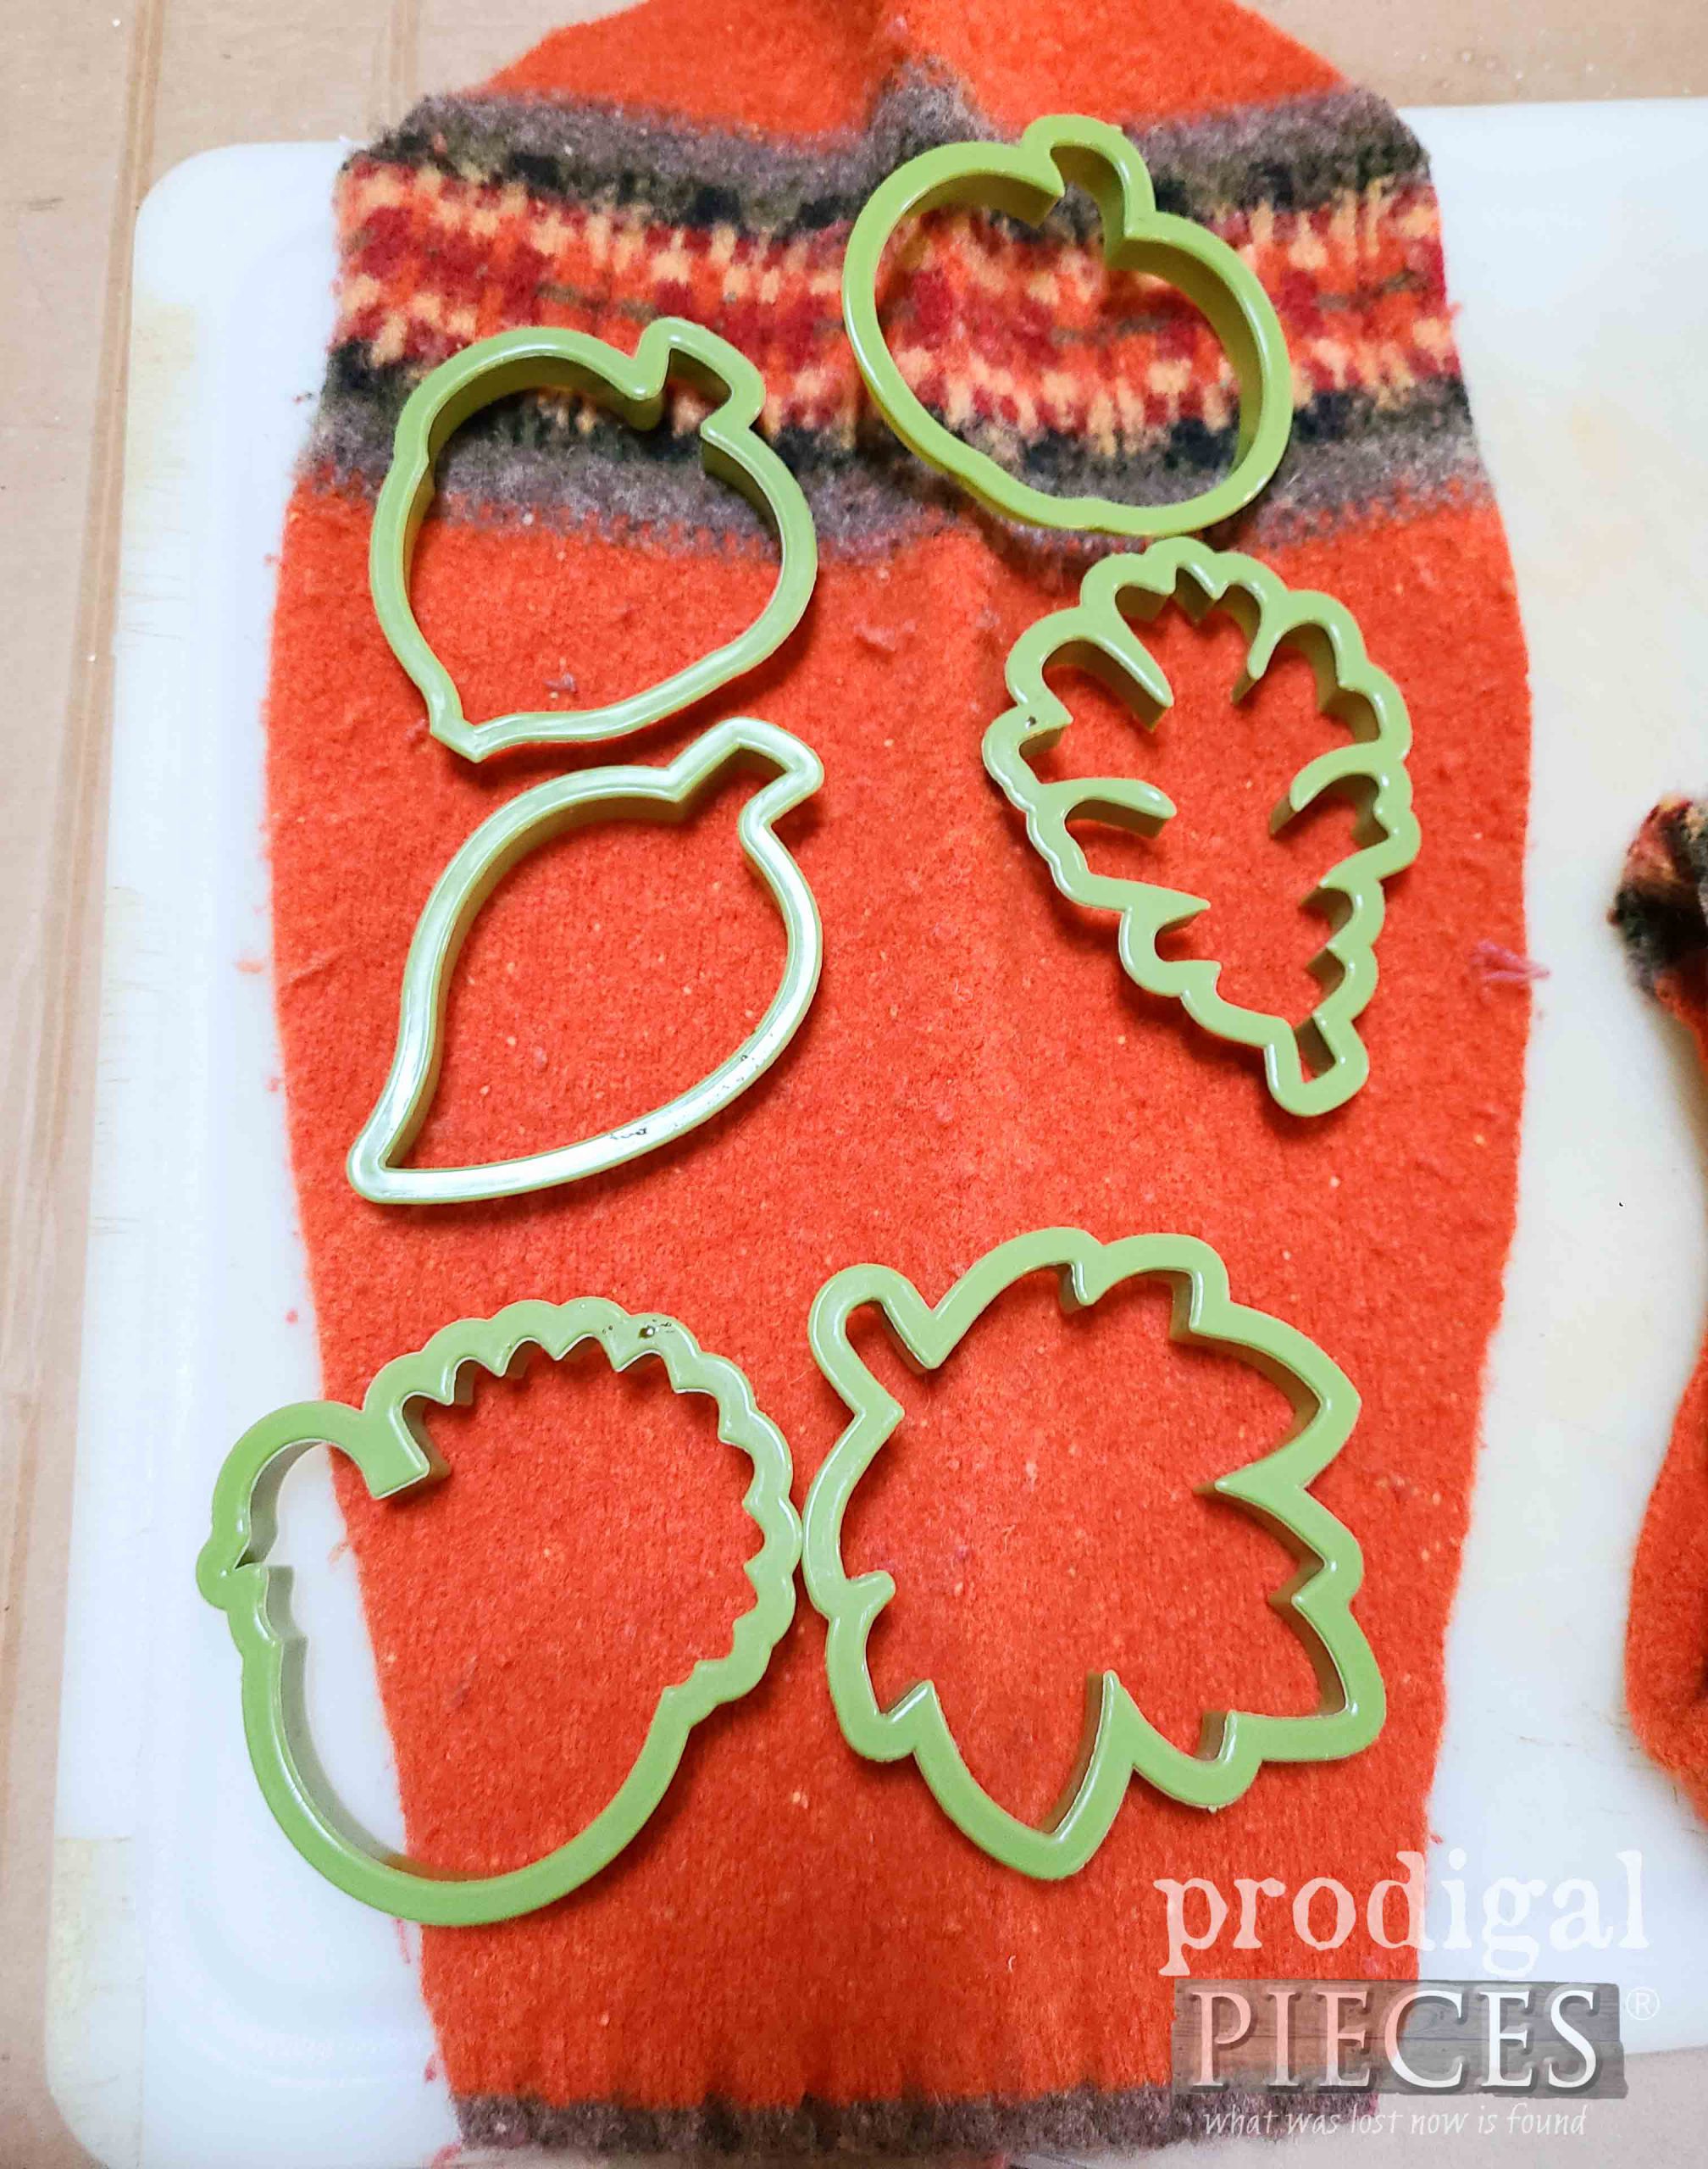
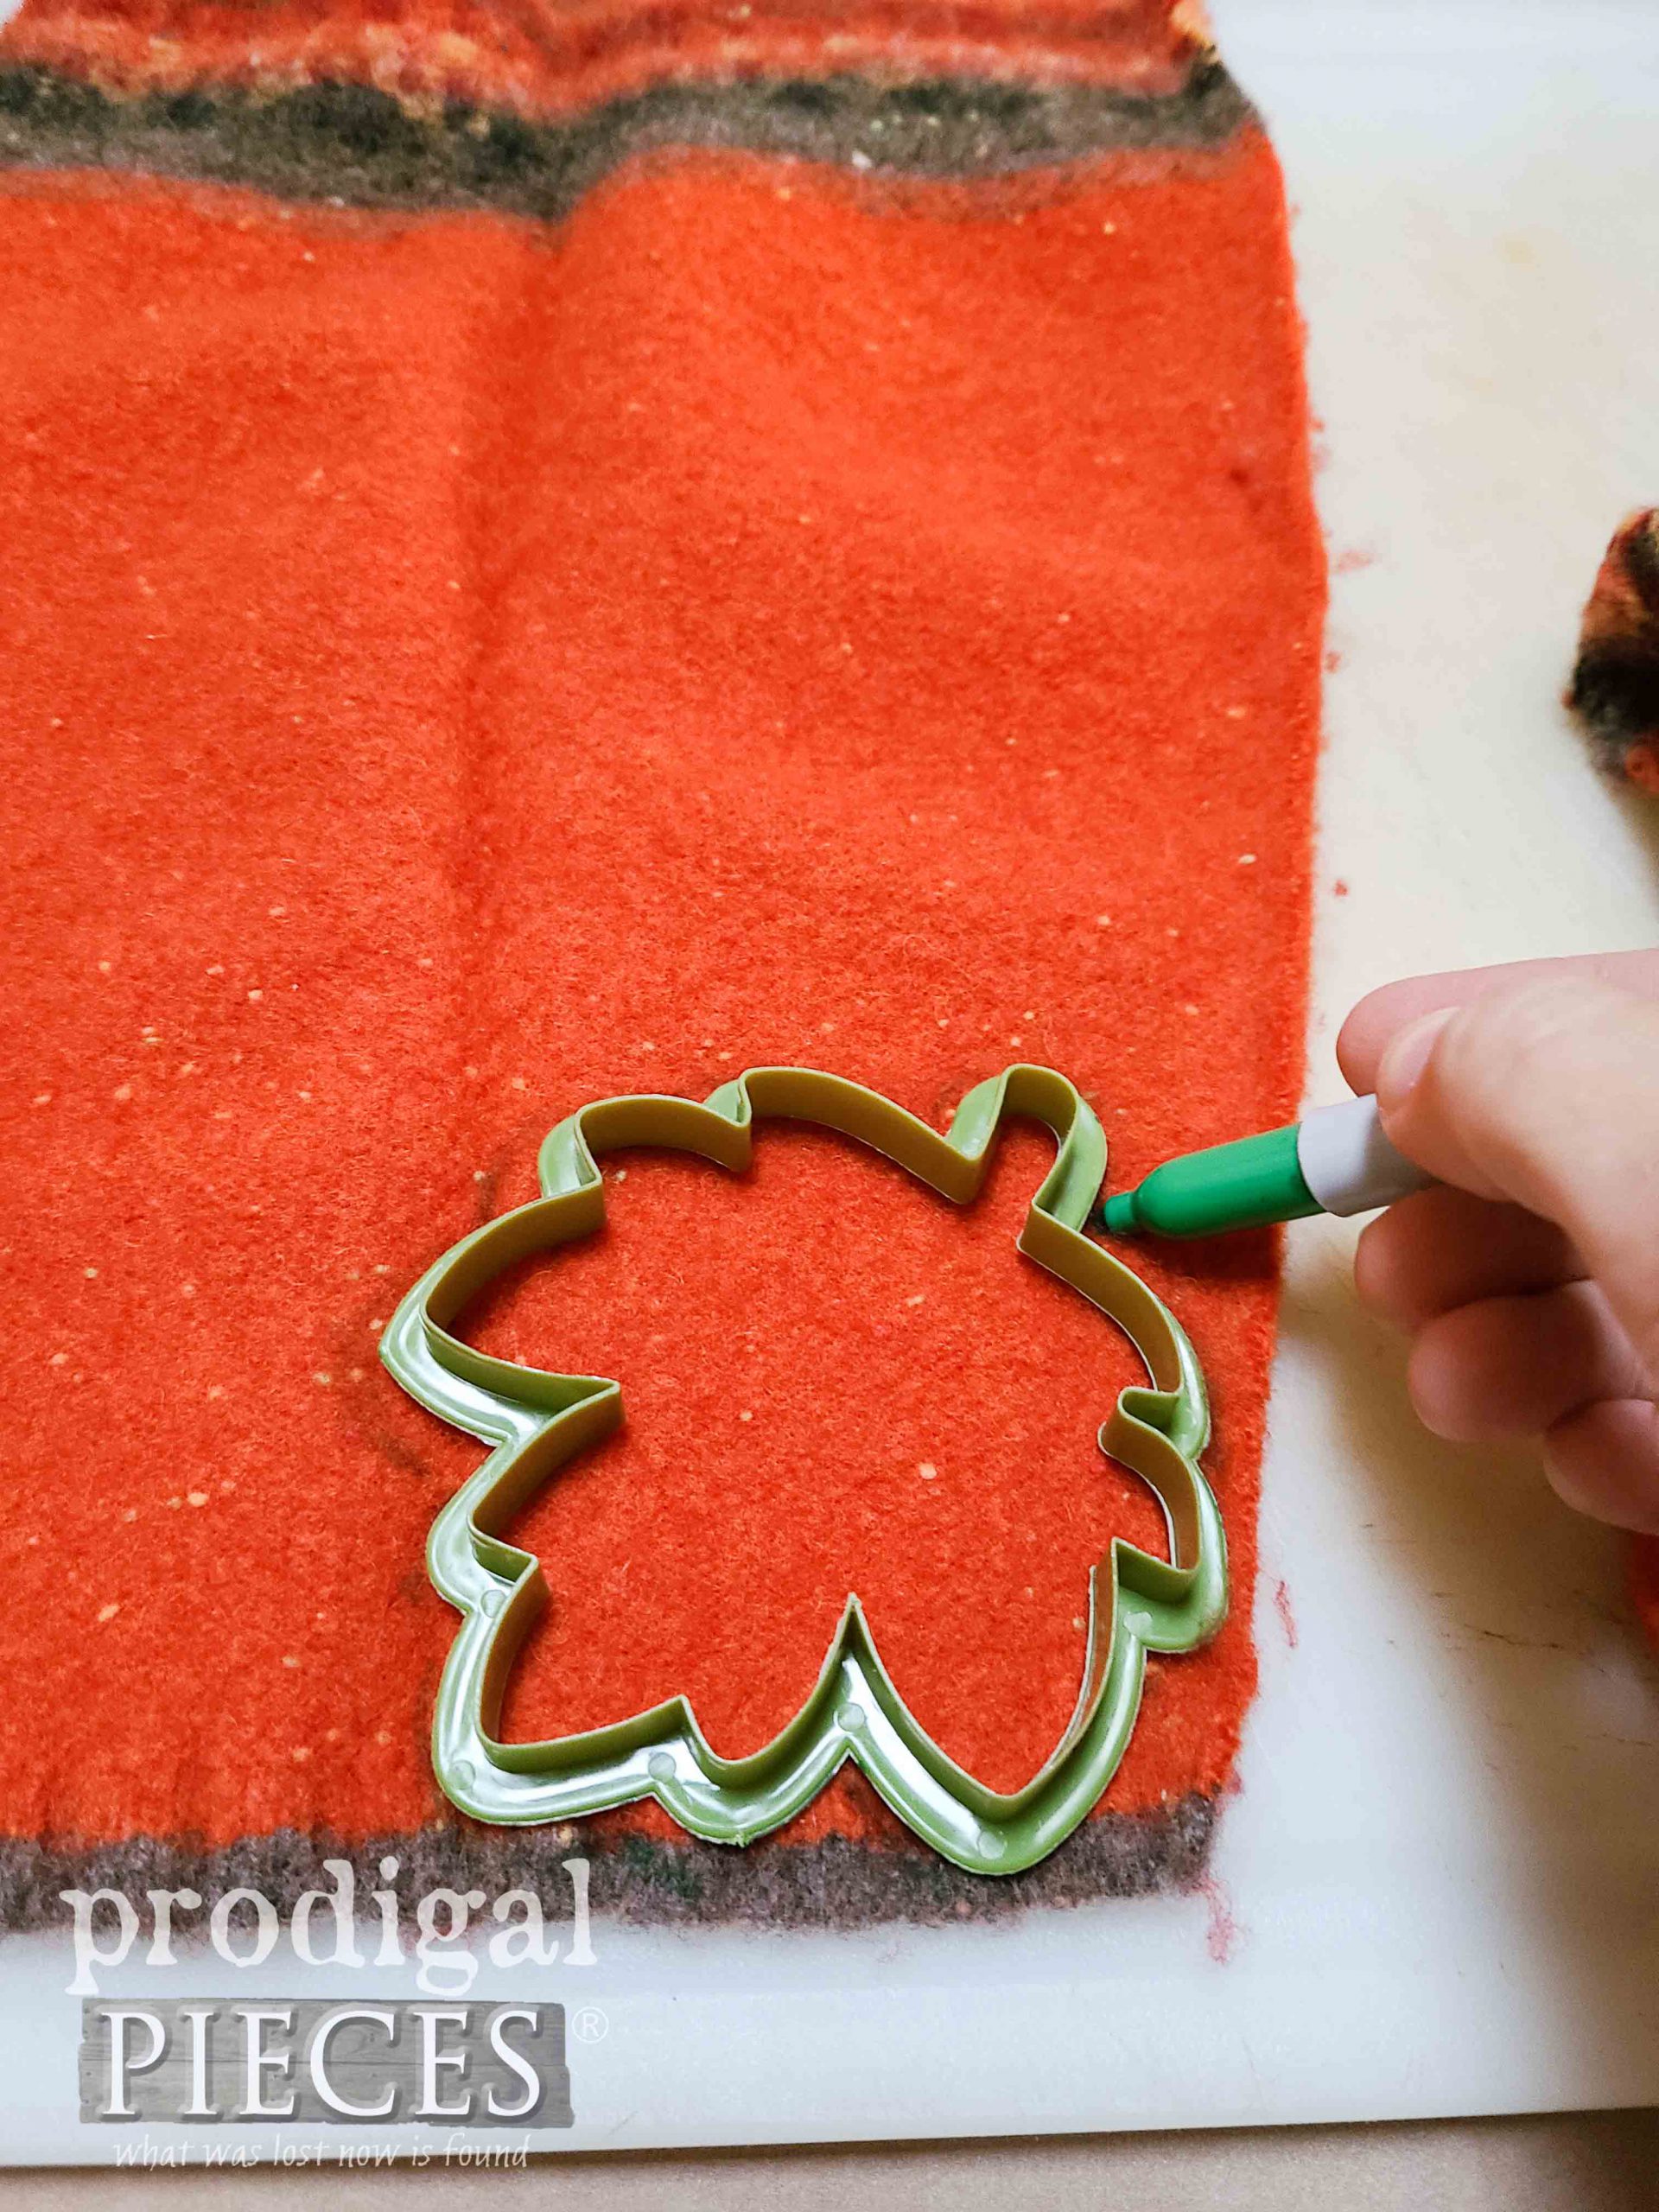
To get started, trace your patterns and cut out your shapes and set aside. For my wreath, I needed about 30-40 leaves.
To be honest, I didn’t trace all my shapes. I trace one, then used that as guide to cut the rest.
STEP 2
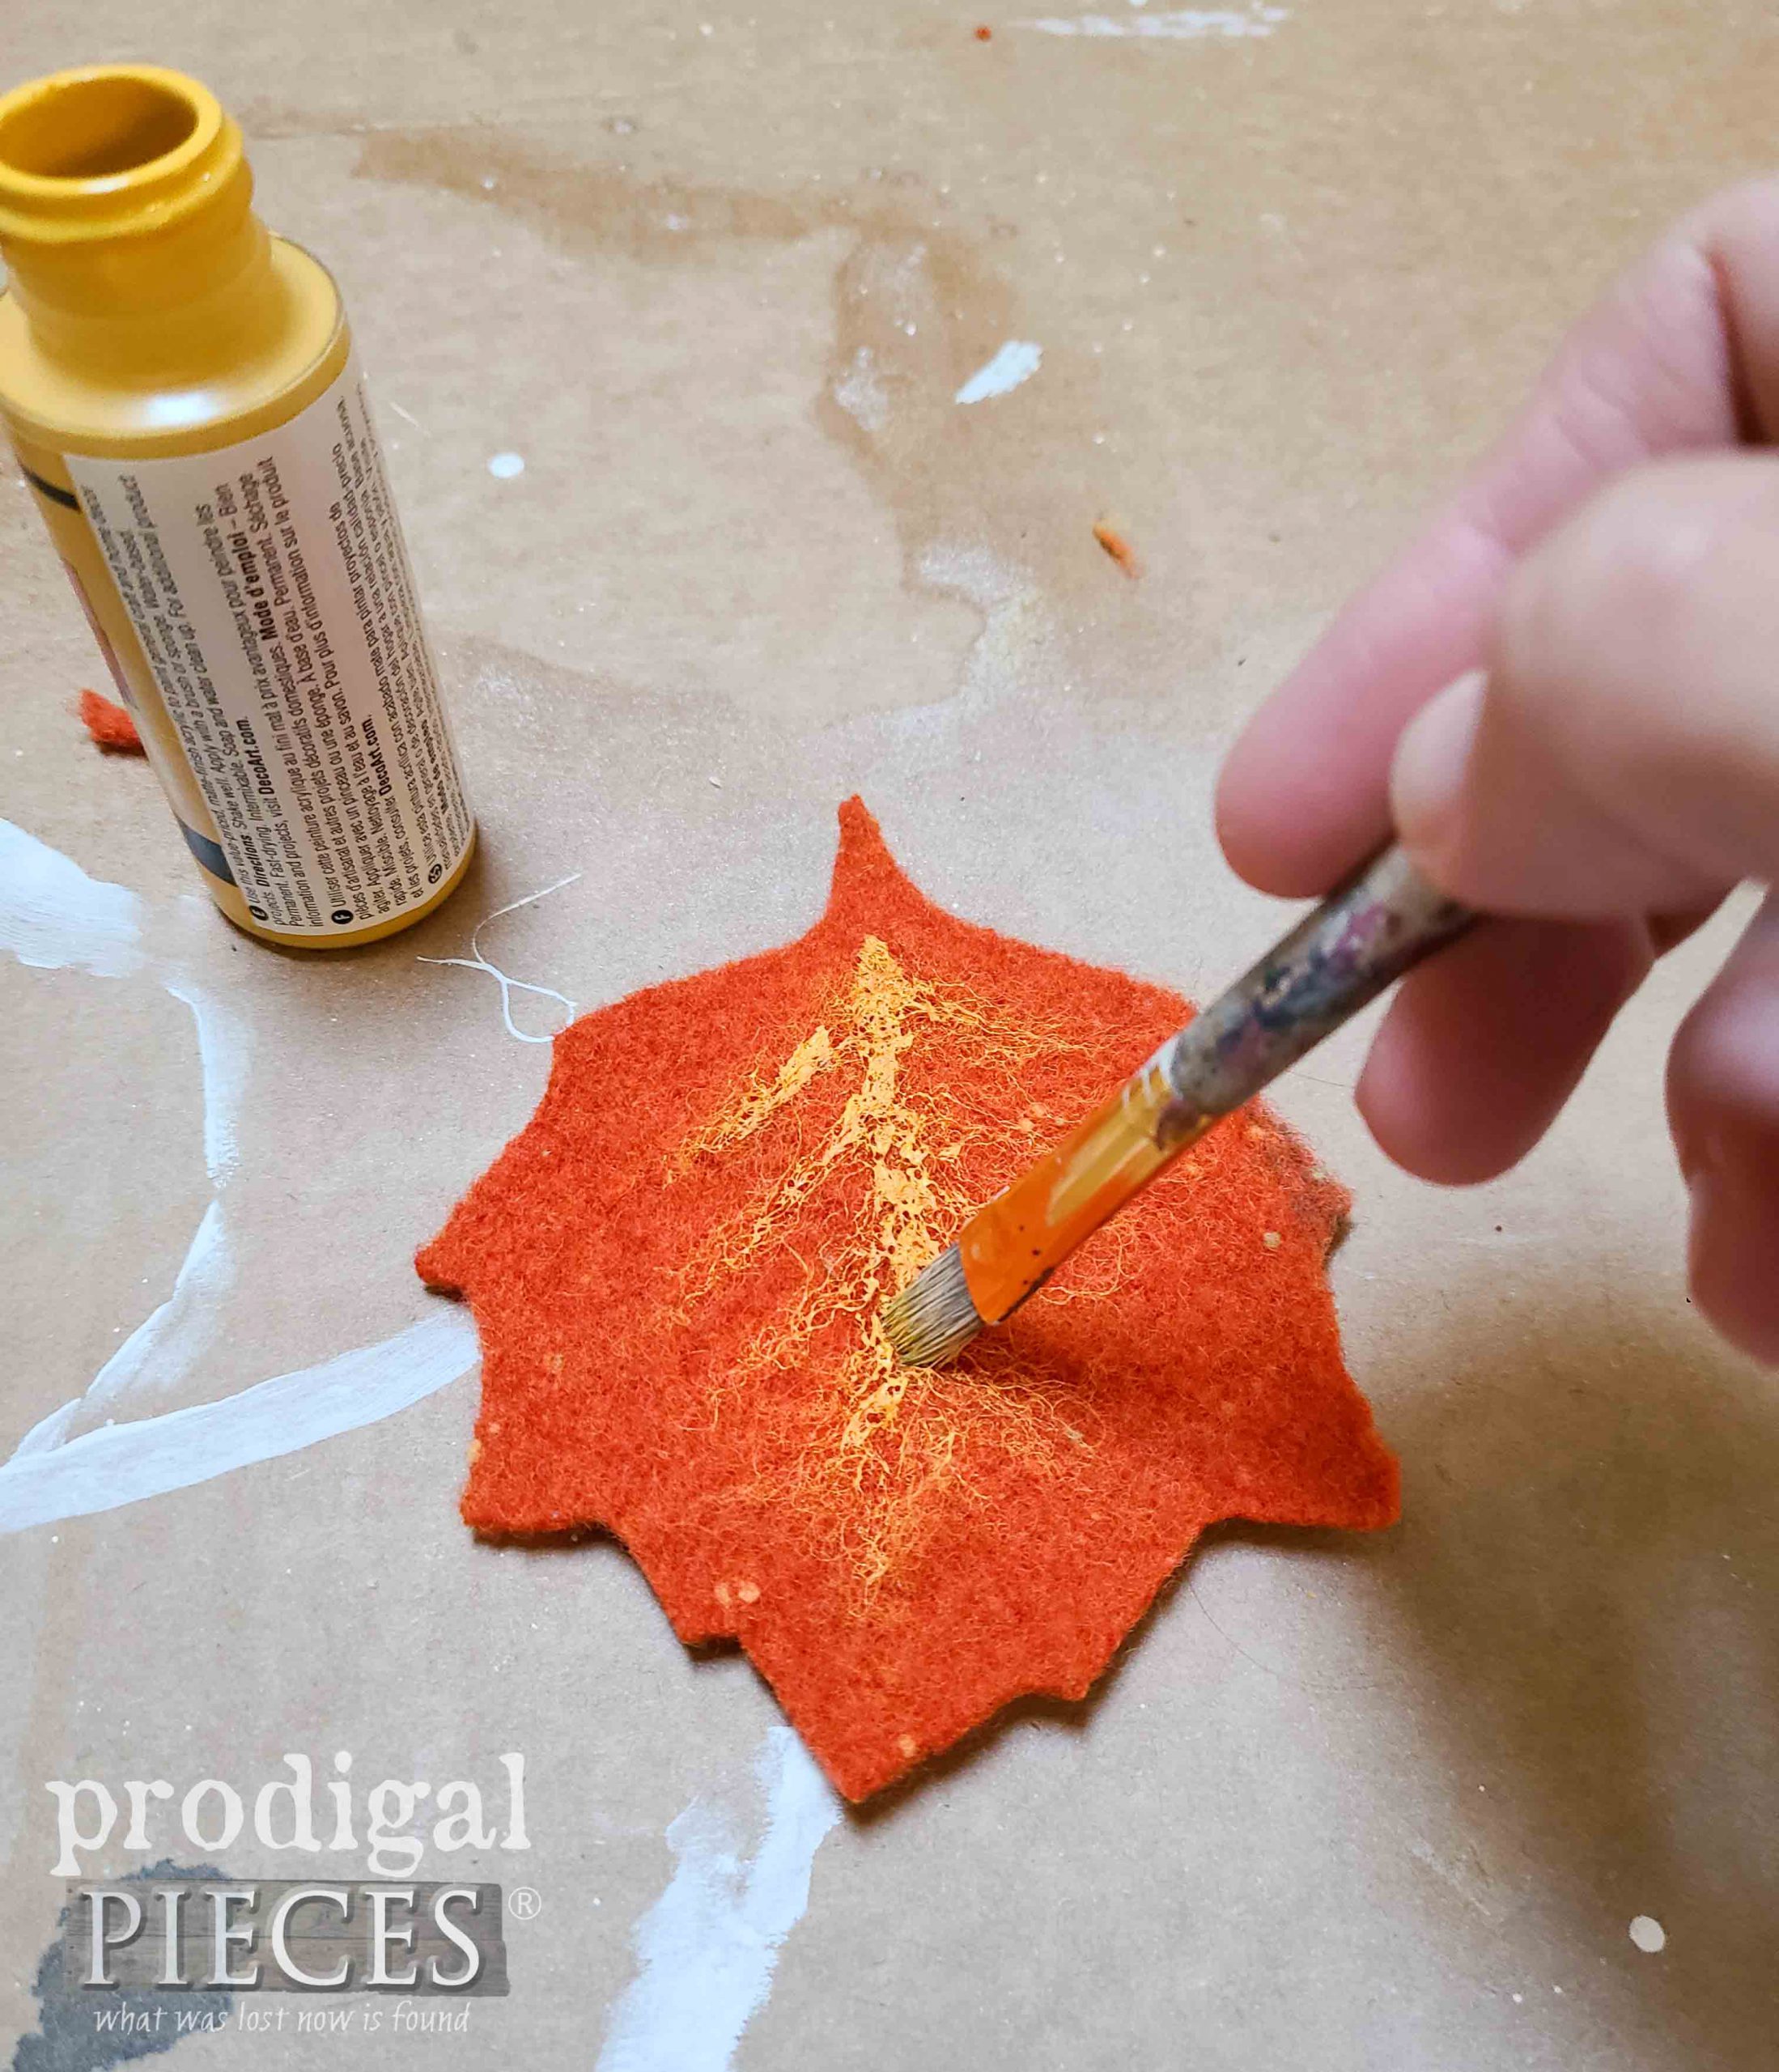
Then, using your acrylic paints and artist’s brush, if you choose, create leaf veins following the shape of the leaf. Let dry. In addition, if you’re into needle-felting, you could add roving with your punch needle. Likewise, you could use embroidery floss to create the veining or another detail to your leaves.
STEP 3
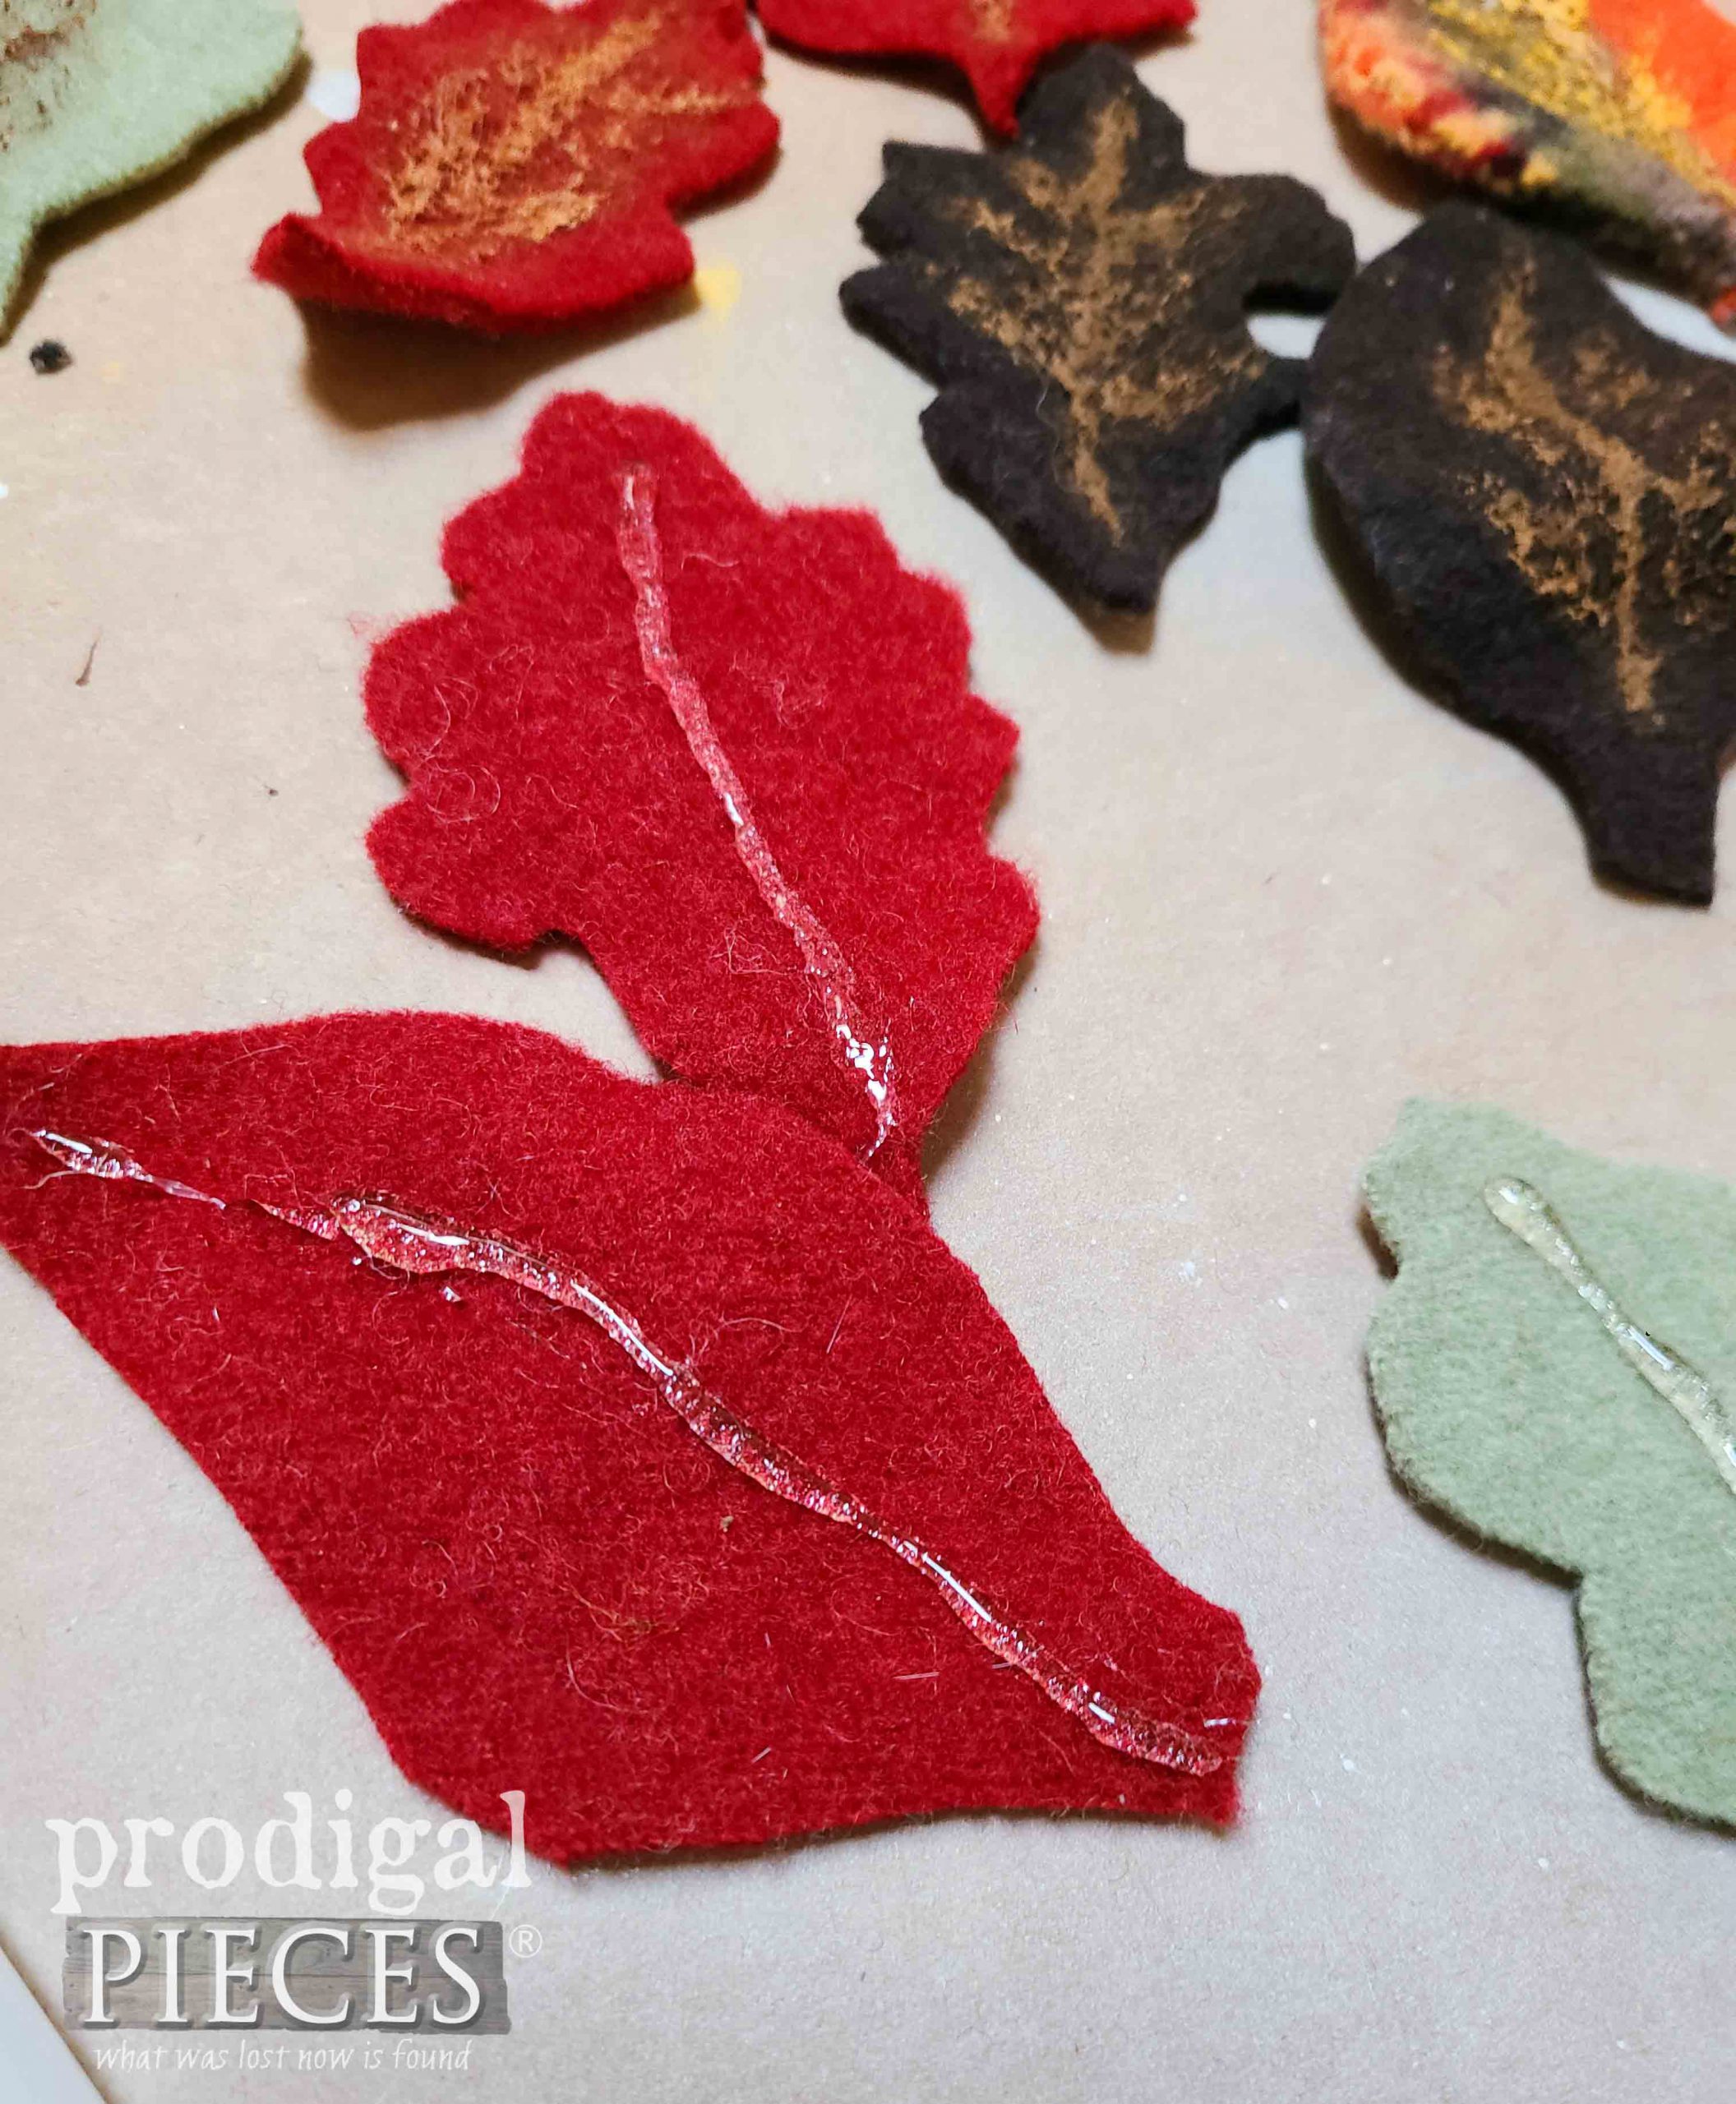
Next, as soon as the paint cures, I like to add a bead of hot glue to the backside of my leaf to give it more stature so it doesn’t lay limp.
STEP 4
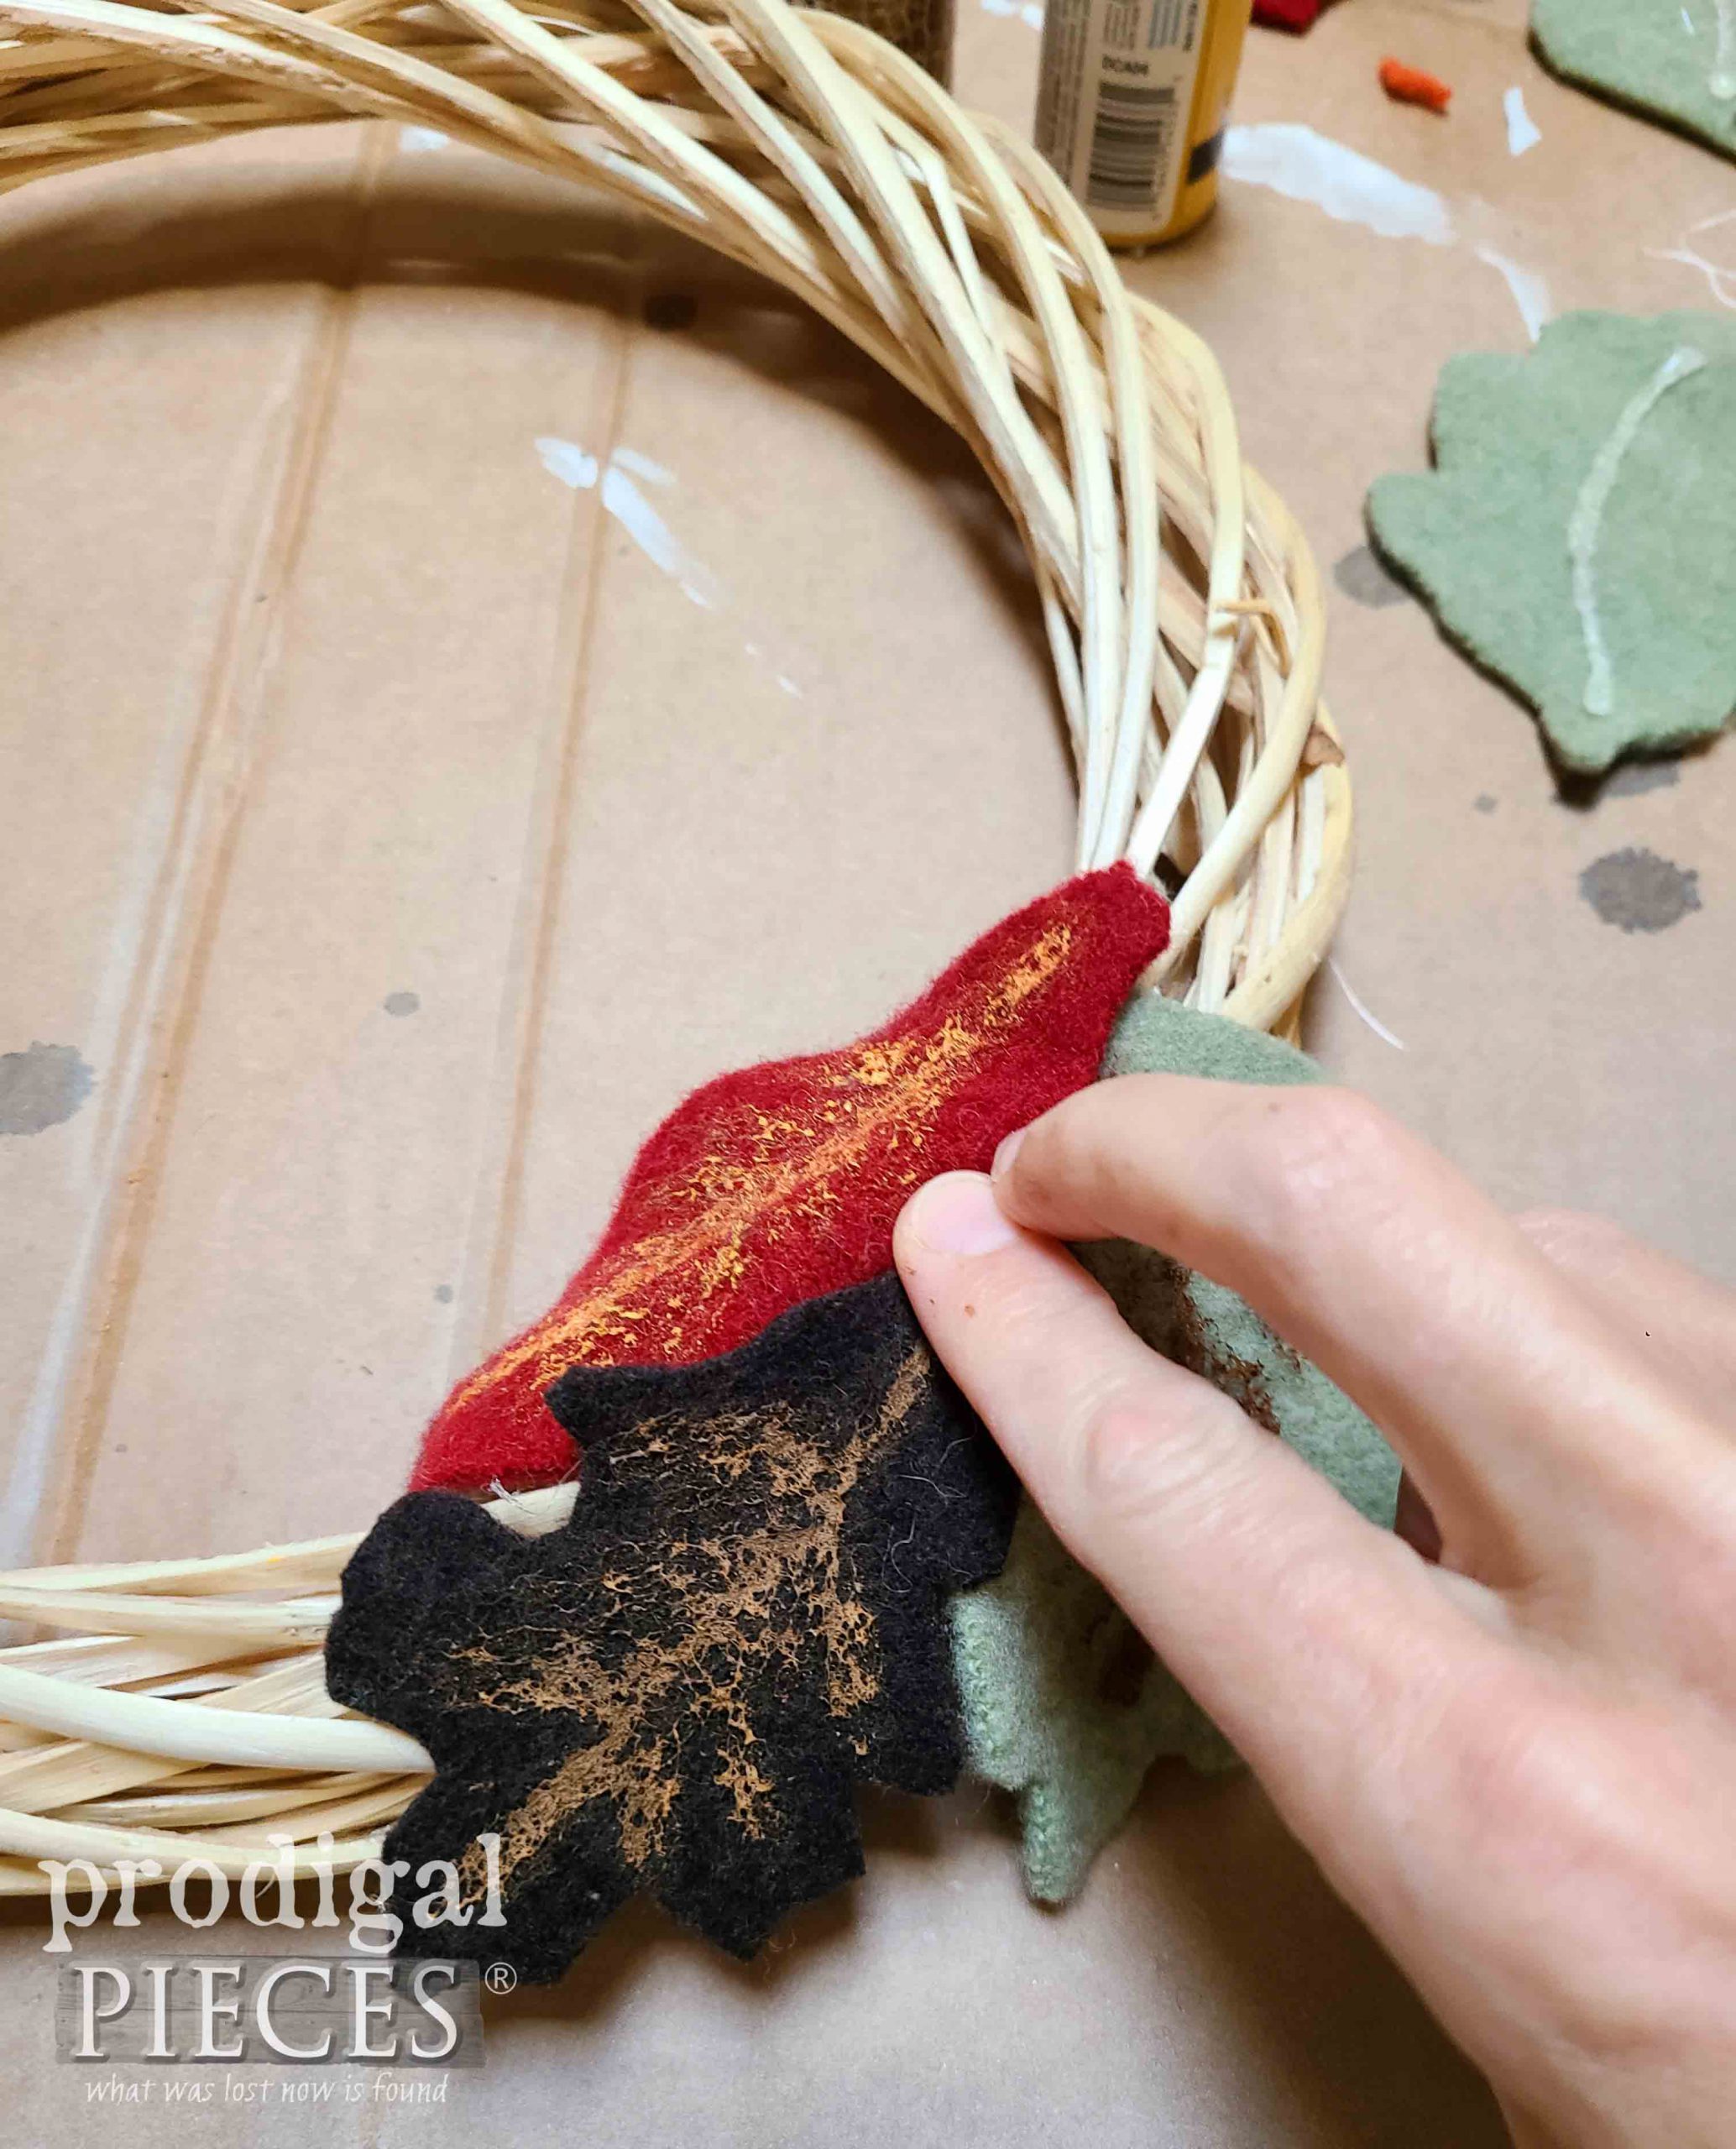
Finally, it’s time to assemble our felted sweater fall wreath. {{happy dance!!}} It’s at this point were you can add a ribbon hanger if you prefer. Then, using you hot glue gun again, apply a small amount to the backside of the leaf and attach it to the wreath form in a layered fashion.
Focus on using varied colors in mixed results, or…start from one color and work down the color spectrum for an ombre effect. Have fun with i!
COLOR SHOW
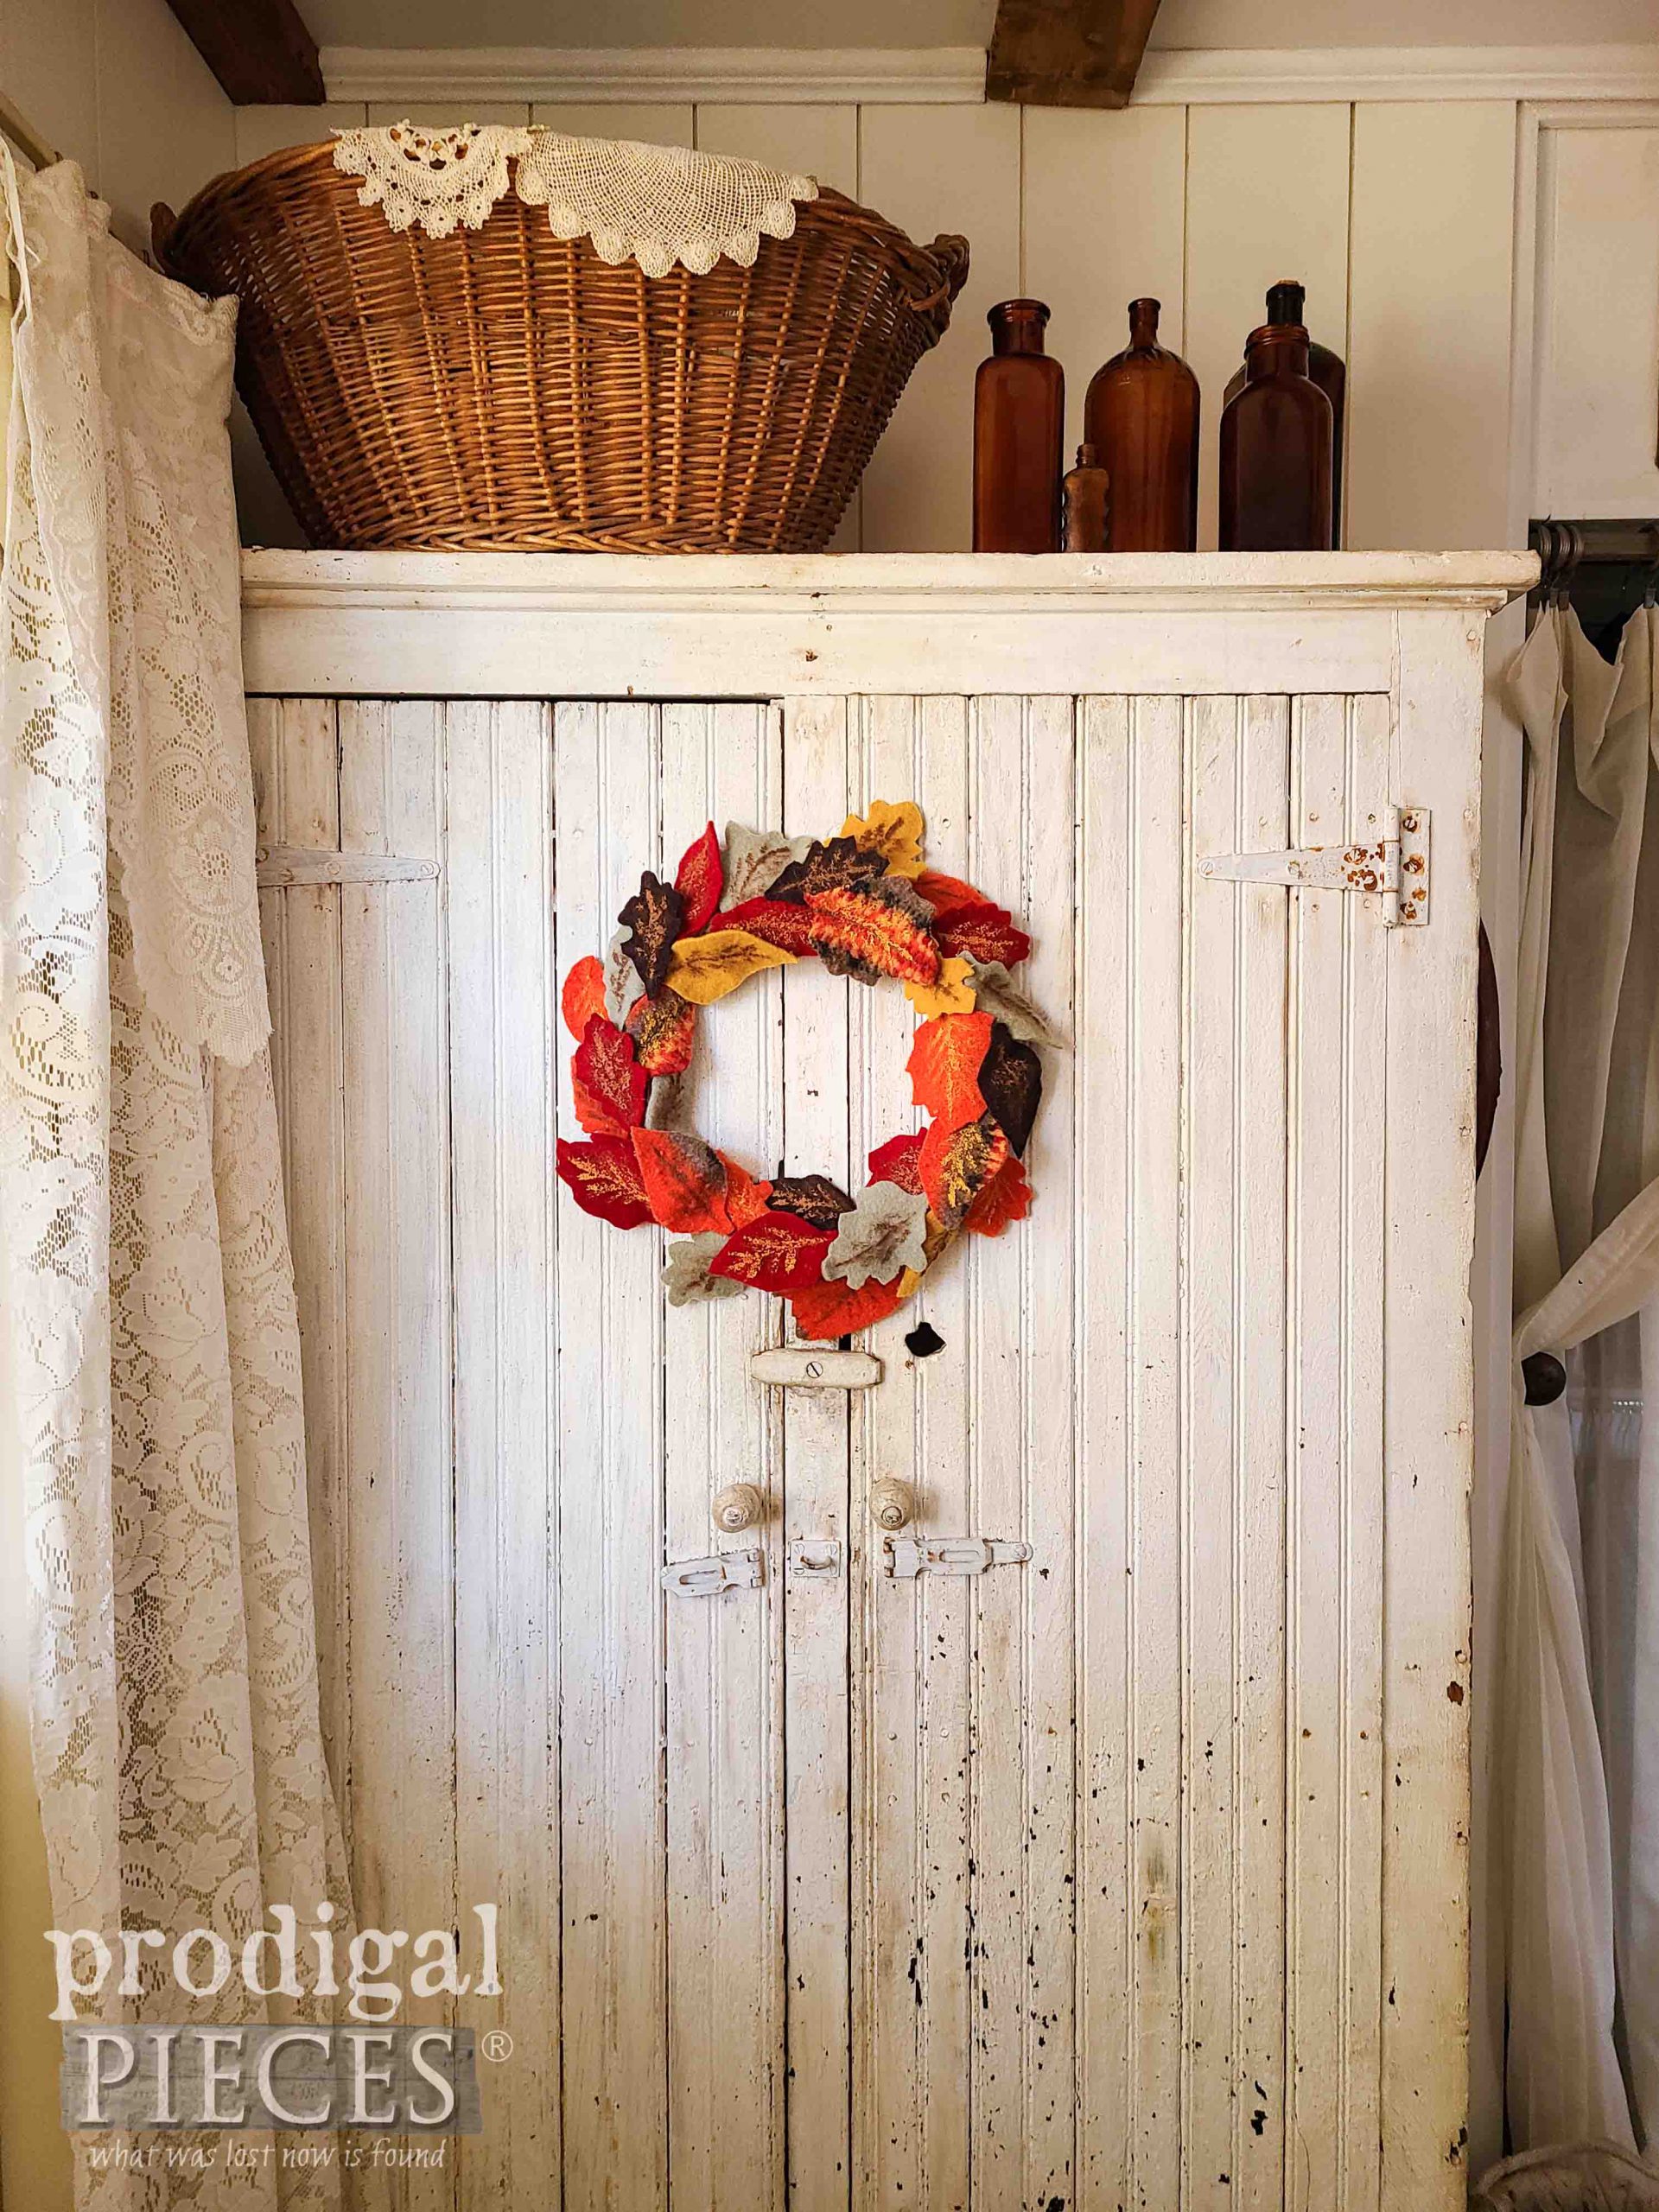
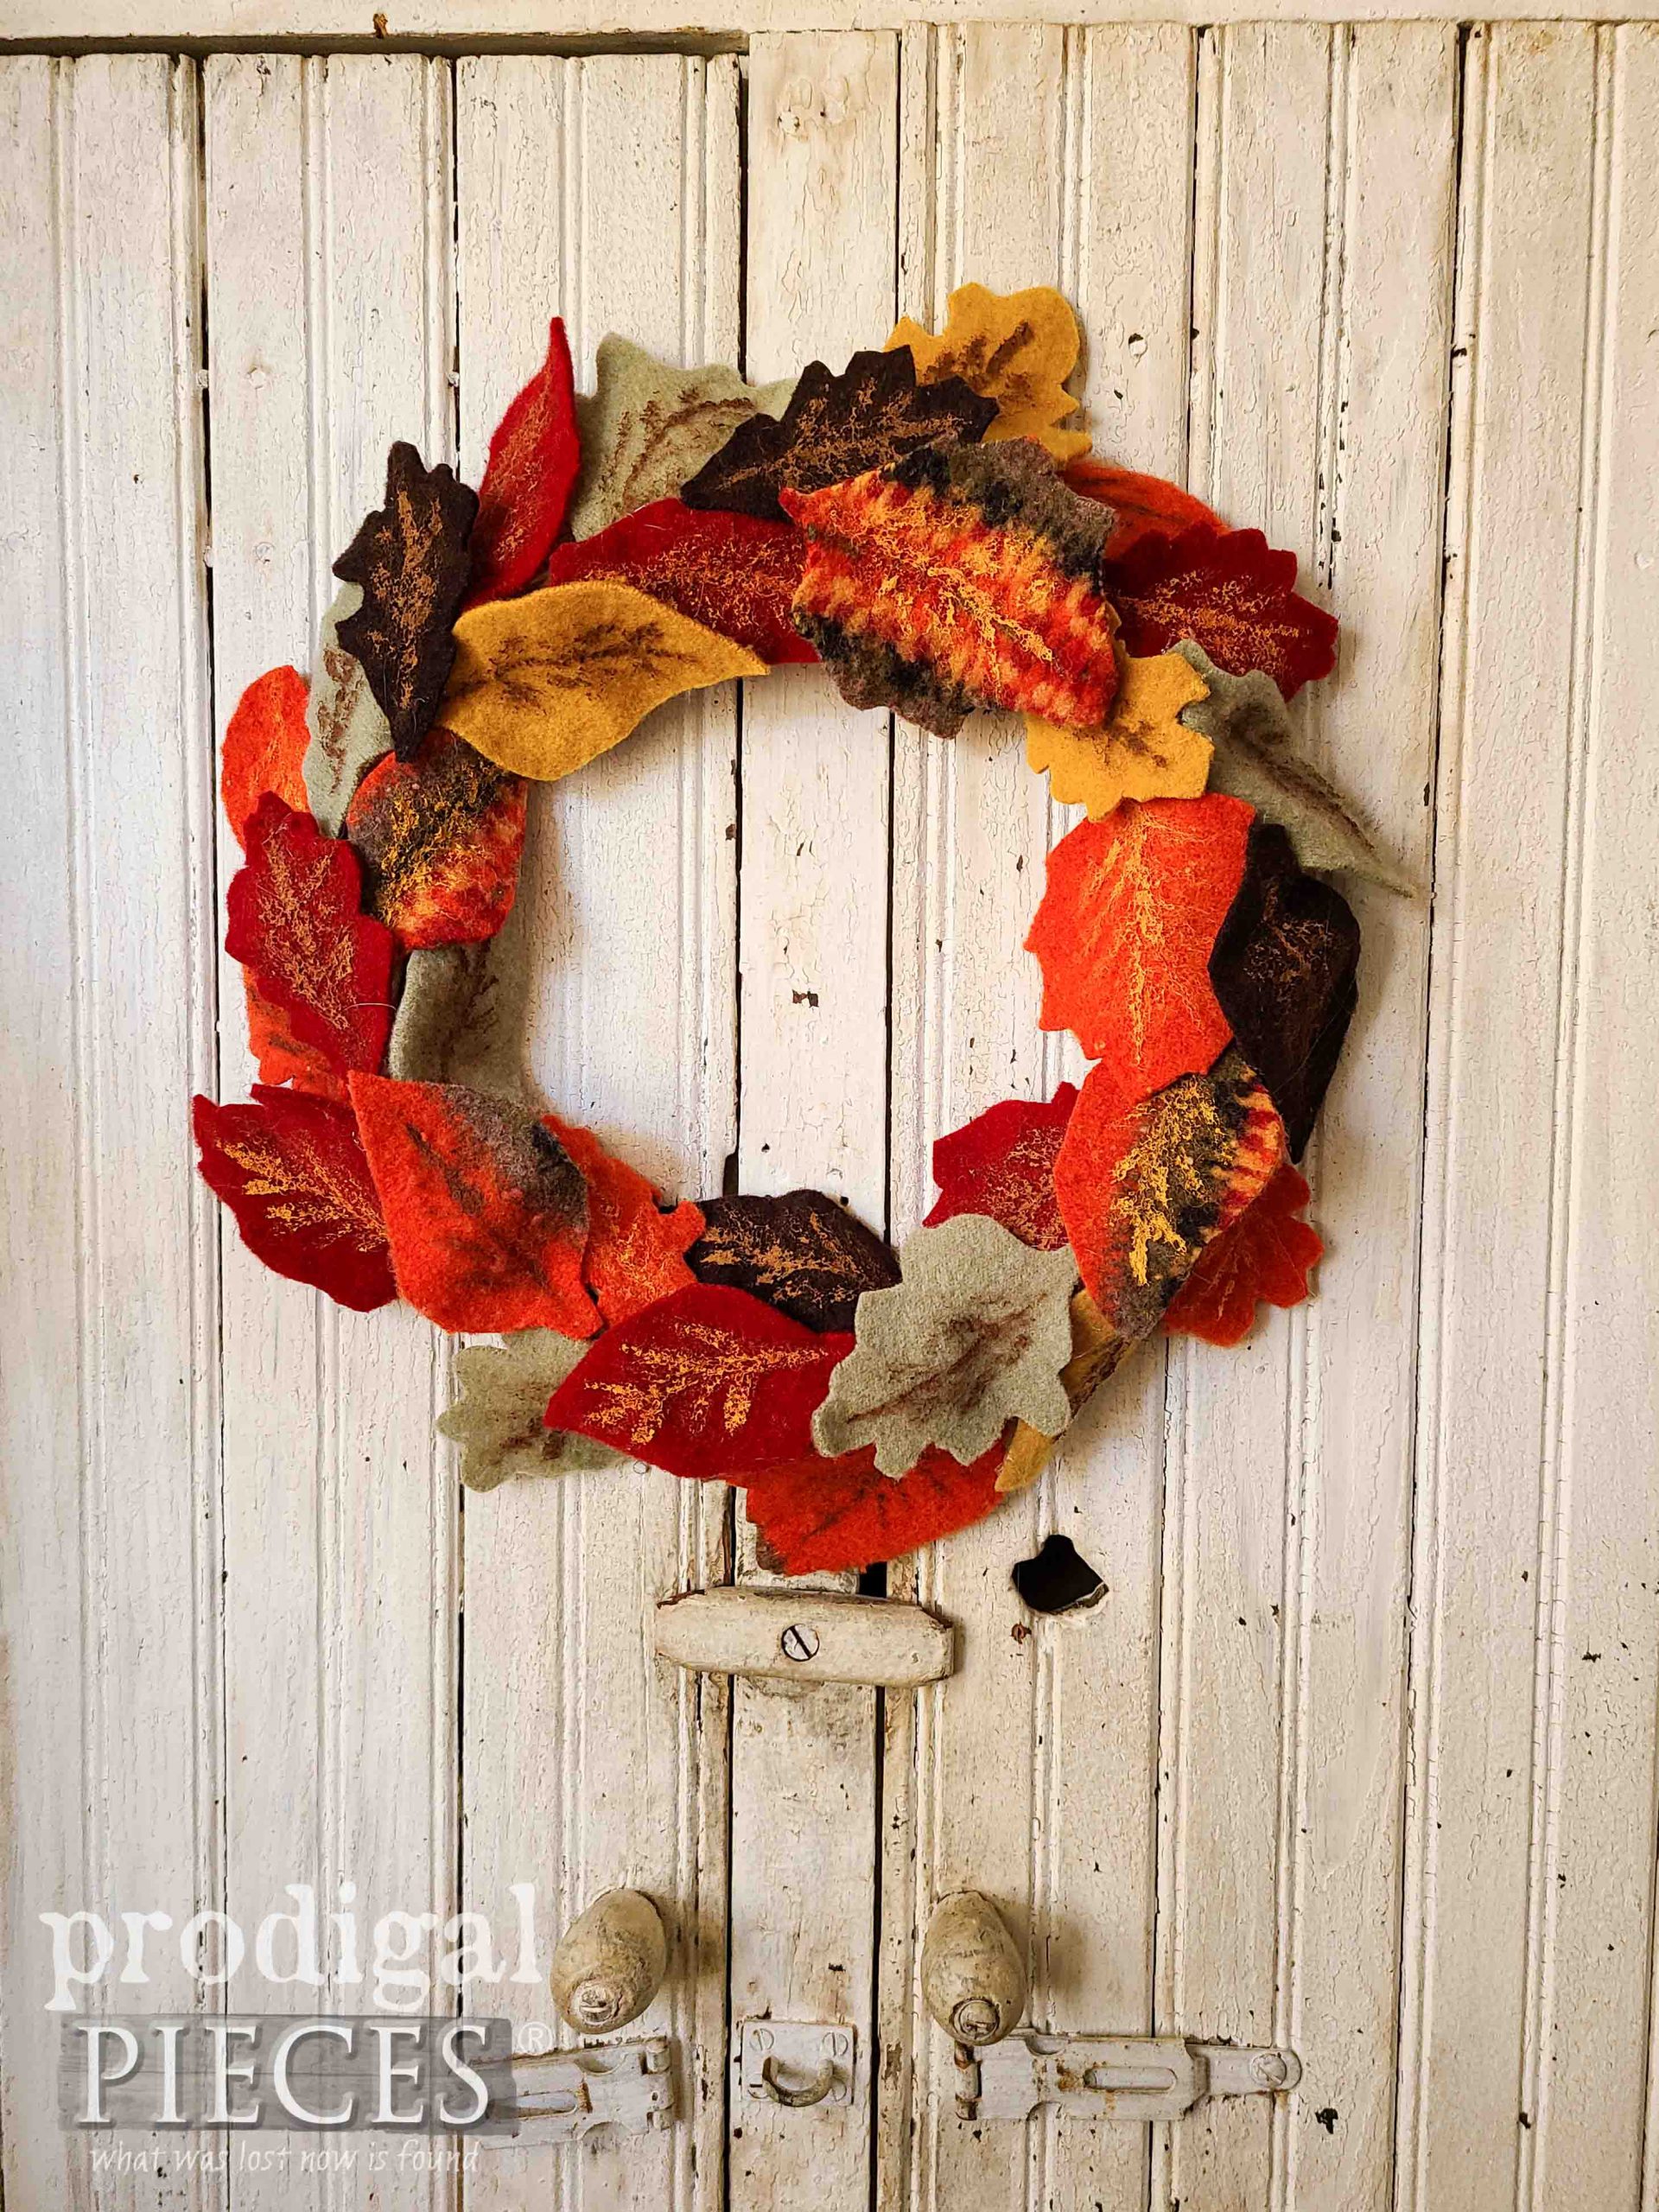
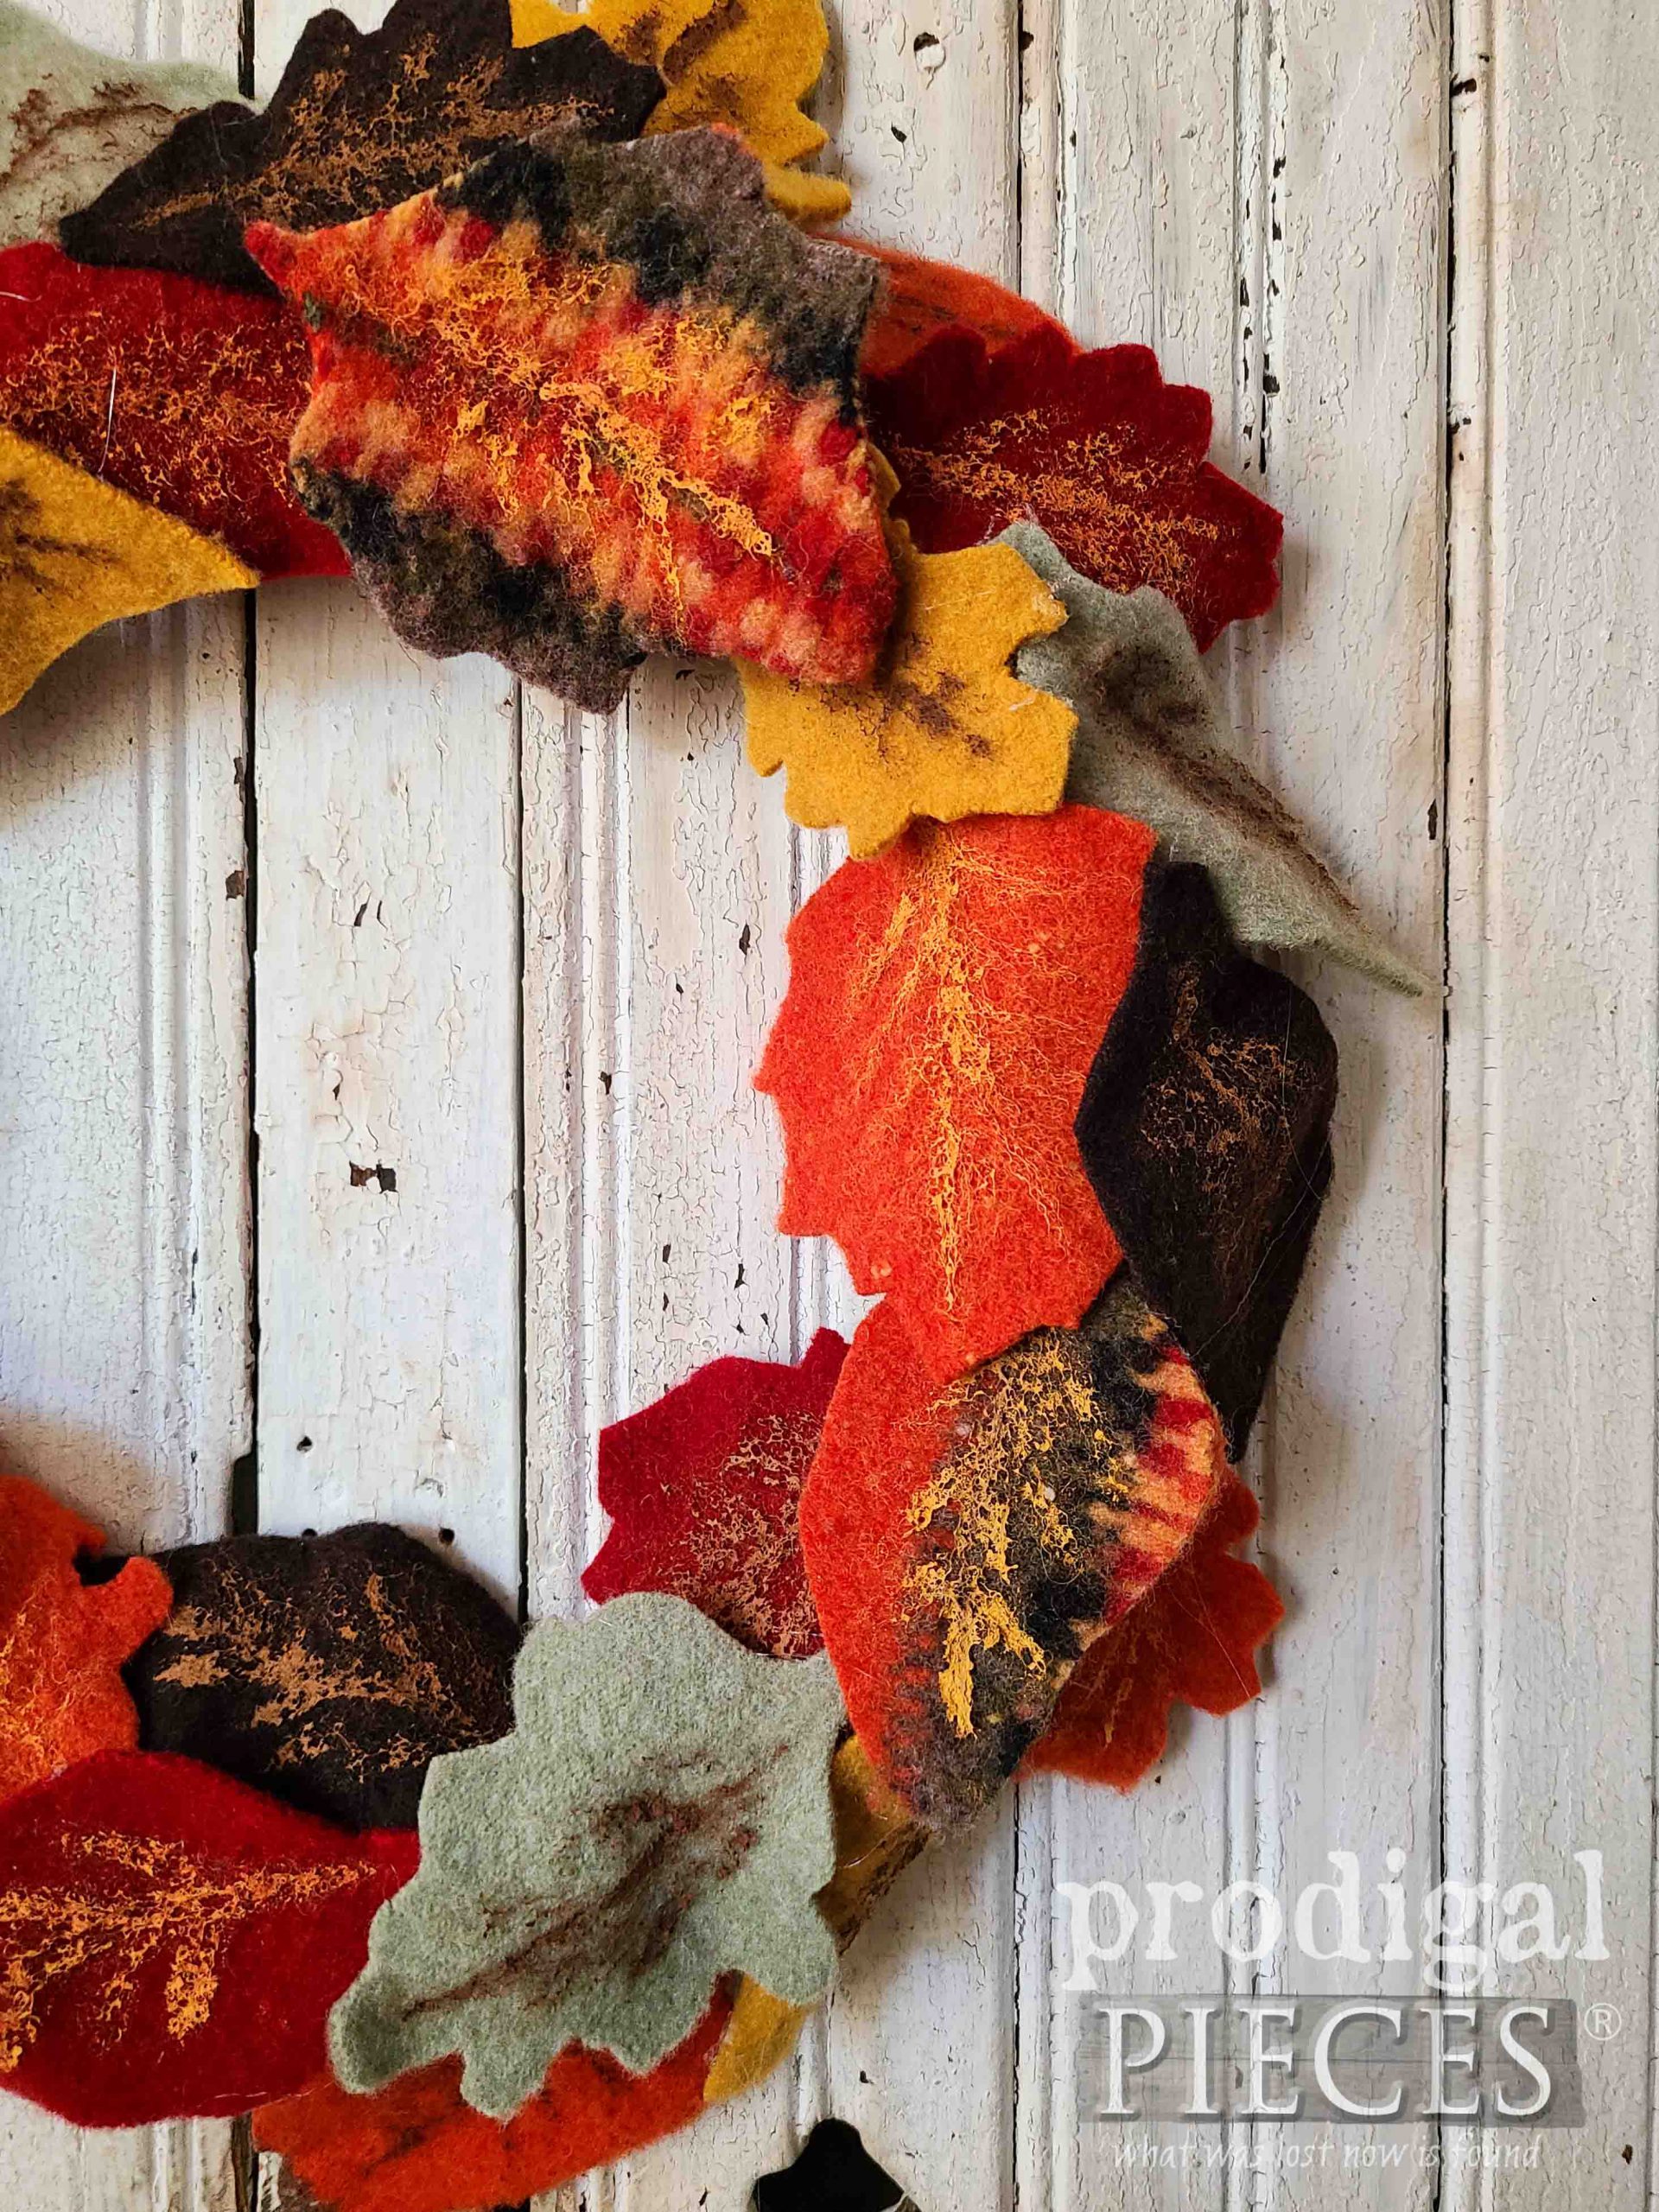
Much like the foliage bursting into color in the fall season, here is my sweater wreath ready to add that same punch to our interior decor.
It’s a fun twist on a wreath that can come from loved one’s old clothing or maybe an old wool blanket that shares memories of shared times. Either way, it’s a fun accent piece that is created in no time, plus checks off the budget decor box.
Are you feeling inspired? I sure hope so! This project is not only simple but creates an impact as well. If you’d like to add this wreath to your decor, you can find this and more available in my online store.
SHARE
Won’t you take a minute to leave me some comment love below? I’d love to hear what you’ve created in the past or would create with your felted wool? Additionally, pin and share to inspire others too.
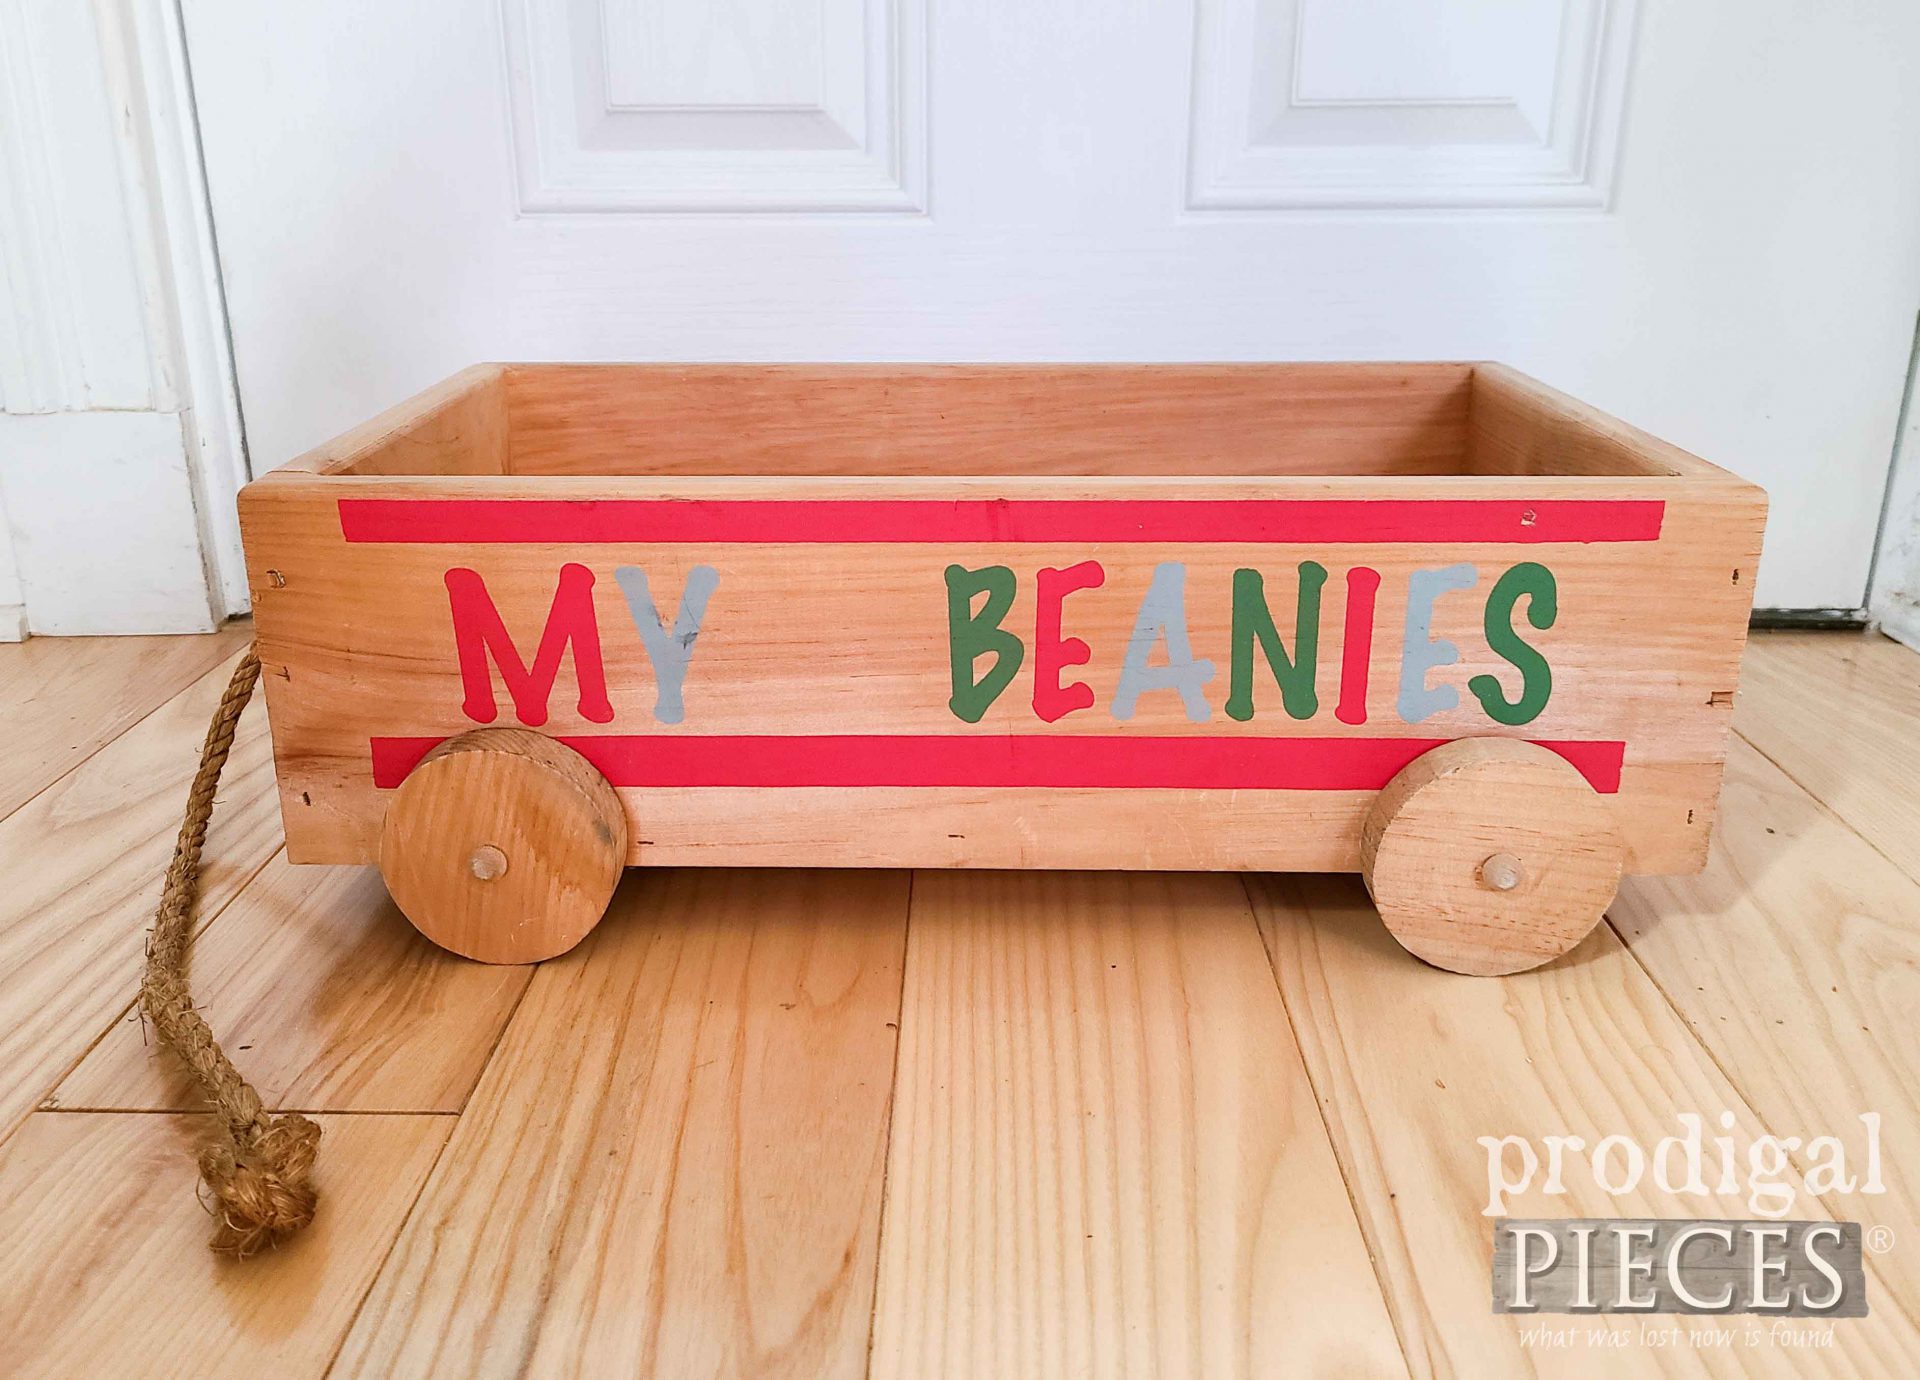
Before you go, be sure to sign up for my FREE newsletter to see what becomes of this handmade Beanie Baby wagon. I spy potential!! SEE IT NOW.


What a fun idea! (I just spotted a wool sweater at our local thrift store, too. I wonder if it’s still there?!?)
I’d love to try this! Thanks for the fun inspiration and I think your wreath turned out just darling! Happy Autumn!?
Run girl, run!! 😀 I hope you find one (or five!) and have fun! Thank you for the smile.
So that’s where felt comes from?!?! That is so neat!!! I remember all the handmade felted items for sale when I was n Scotland, but never knew how it was made!! I will be on the lookout for project sweaters!!!!!! ??
You are such a fun gal, Rebecca! 😀 Wool fibers washed and pressed into a fabric…yep…felt. 😉 I just love using it for oh, so many things. Have fun hunting!
Allergic to wool so this is one craft that is not for me. How fun though! Why do I picture you jamming out to maybe some Crowder while making this?? Also it always seems so weird to me to enjoy fall colors up until Thanksgiving —especially since the first snowfall happened this past weekend. Anywhooo great job Larissa!! See you Thursday.
That’s a bugger! 😀 I love my merino wool heavy duty sock for alllll winter. haha. Thanks for the giggle! I jam to Crowder often. {{yeah, baby!}}
Ahhhh-Dorable Larissa! Such a great upcycle! ?
tee hee! You’re so fun, Denise. Thank you so much for the smile. 😀