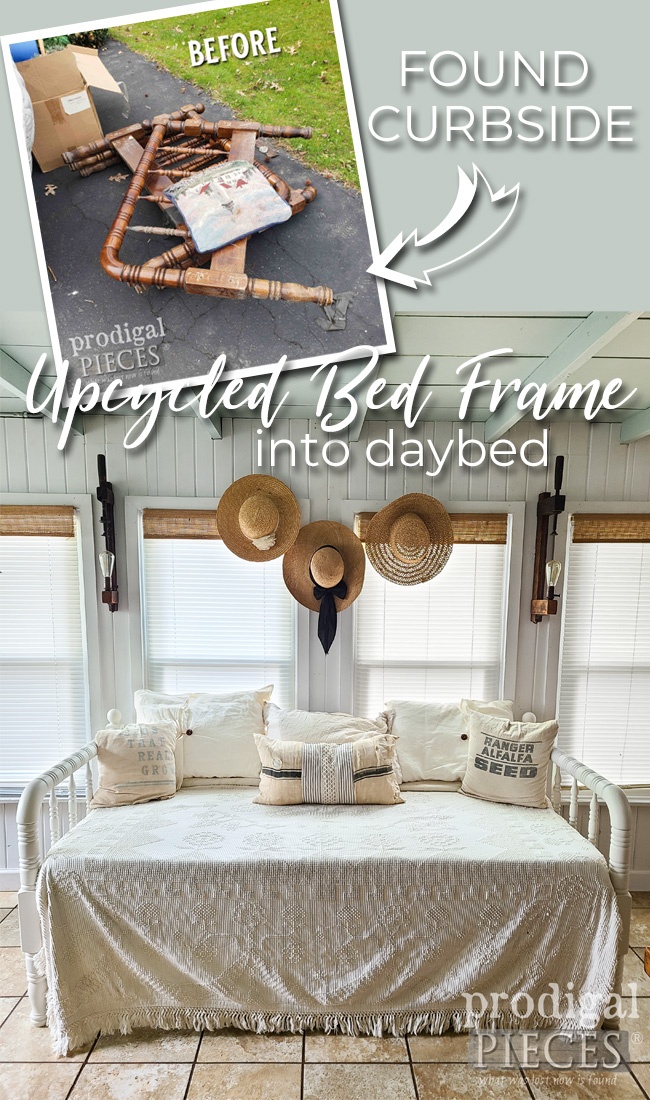
It’s always a blast when you can spend time with folks who get you, right? Well, you in for a treat as today is the last Tuesday of the month, which means it’s Trash to Treasure time! I’m being joined by my blogger friends to bring you new inspiration by creating with our finds. For me, this project is a couple years coming because I’ve had this upcycled bed frame idea in my noggin’ for far too long. Let’s get creative!
BACKSTORY
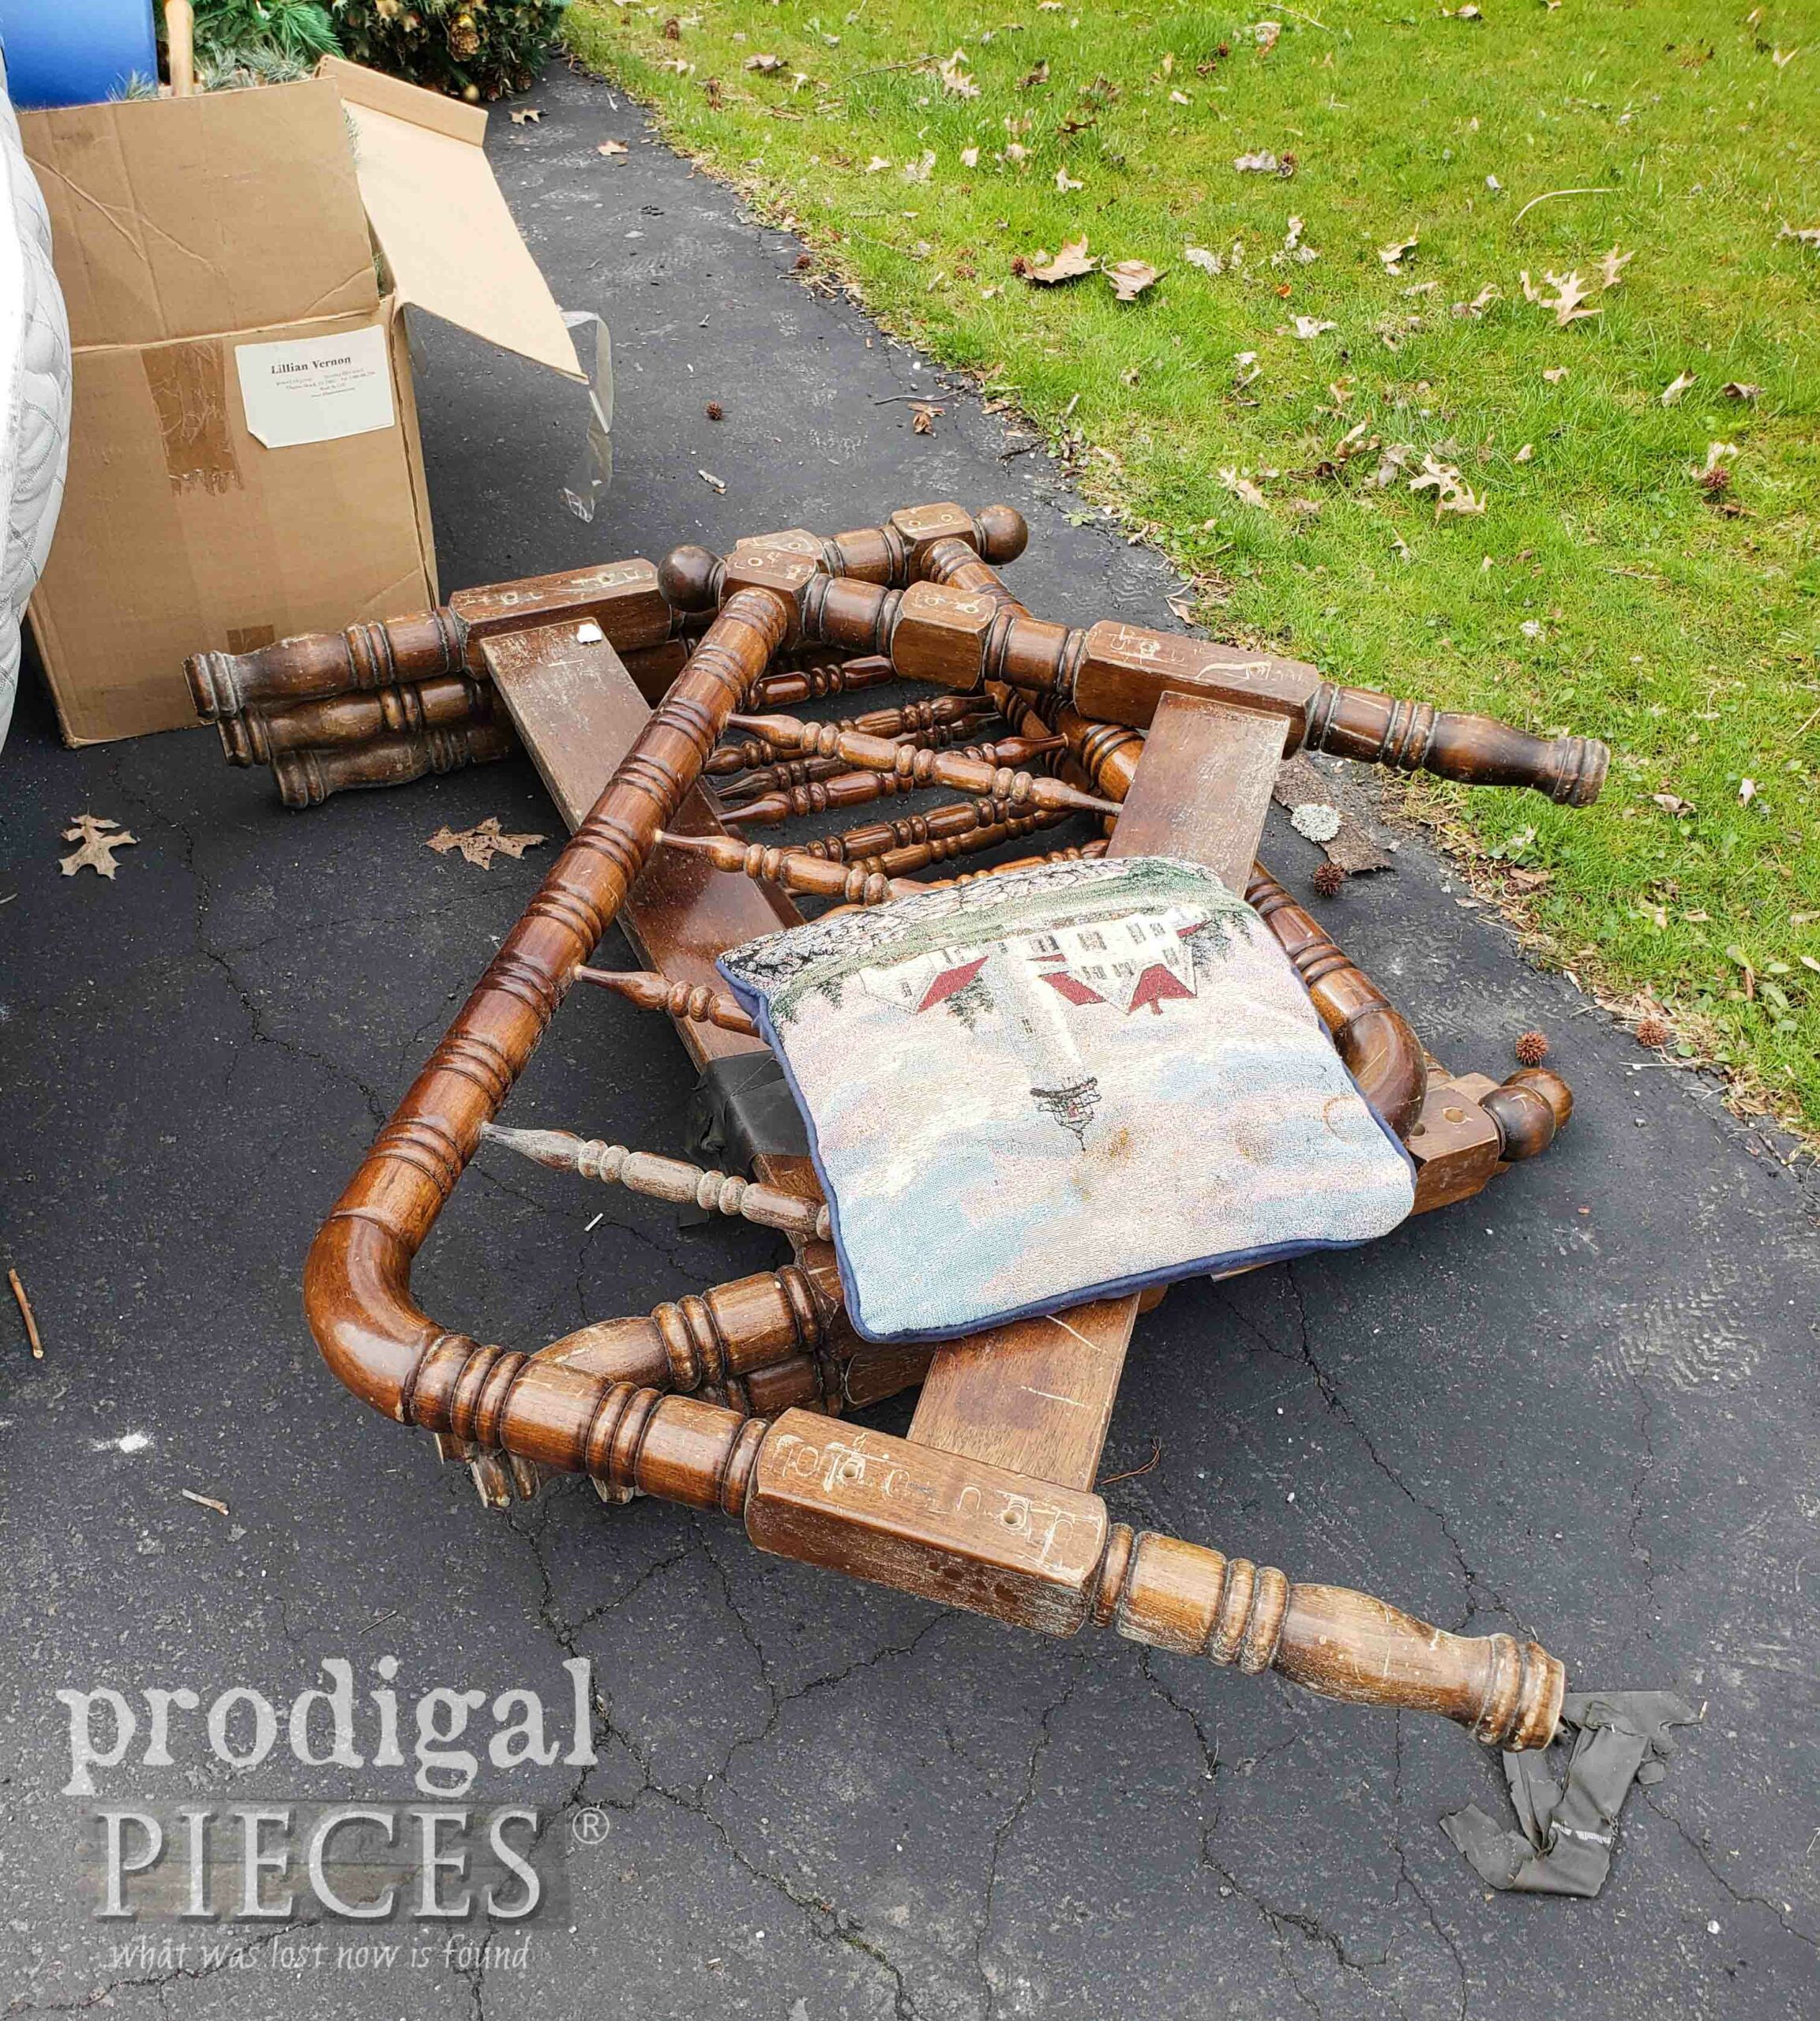
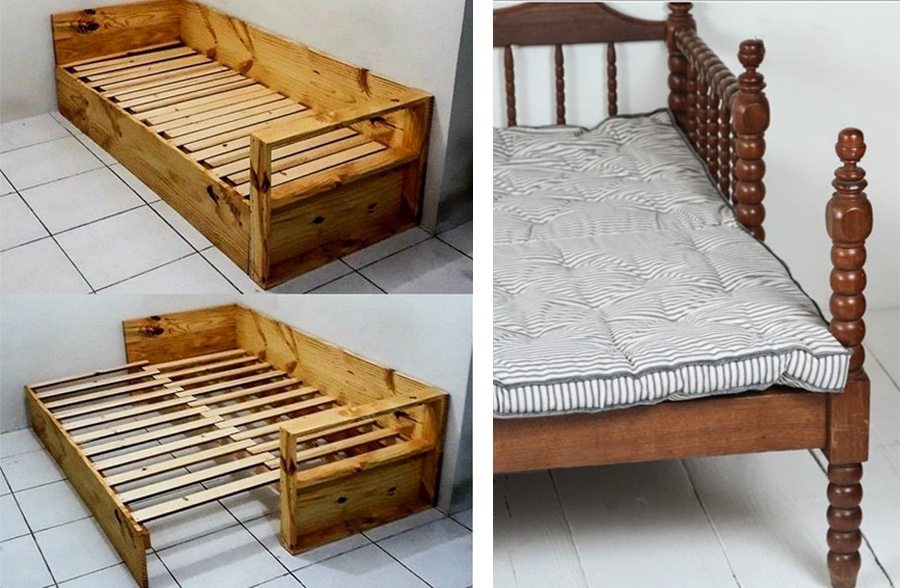
Before we get to the DIY part of this story, let me give you the backstory. First, I often share many of my projects in the spring straight from the curb from my city spring cleanup haul. While you may think I sourced these this year, I actually think I’ve had these for about three years waiting in my dad’s barn. Why? Well, I’m in the middle of remodeling a bedroom for our four daughters. I was hoping to take them and make them back into what they used to be…a pull-out bed like this to save space…
However, because I’m recreating this to sell in my online shop because I ended up building custom bunk beds. With that, I’m aiming for a bit of a different vibe that anyone can enjoy using all reclaimed materials. {{yeah, baby!!}}
BUILDING
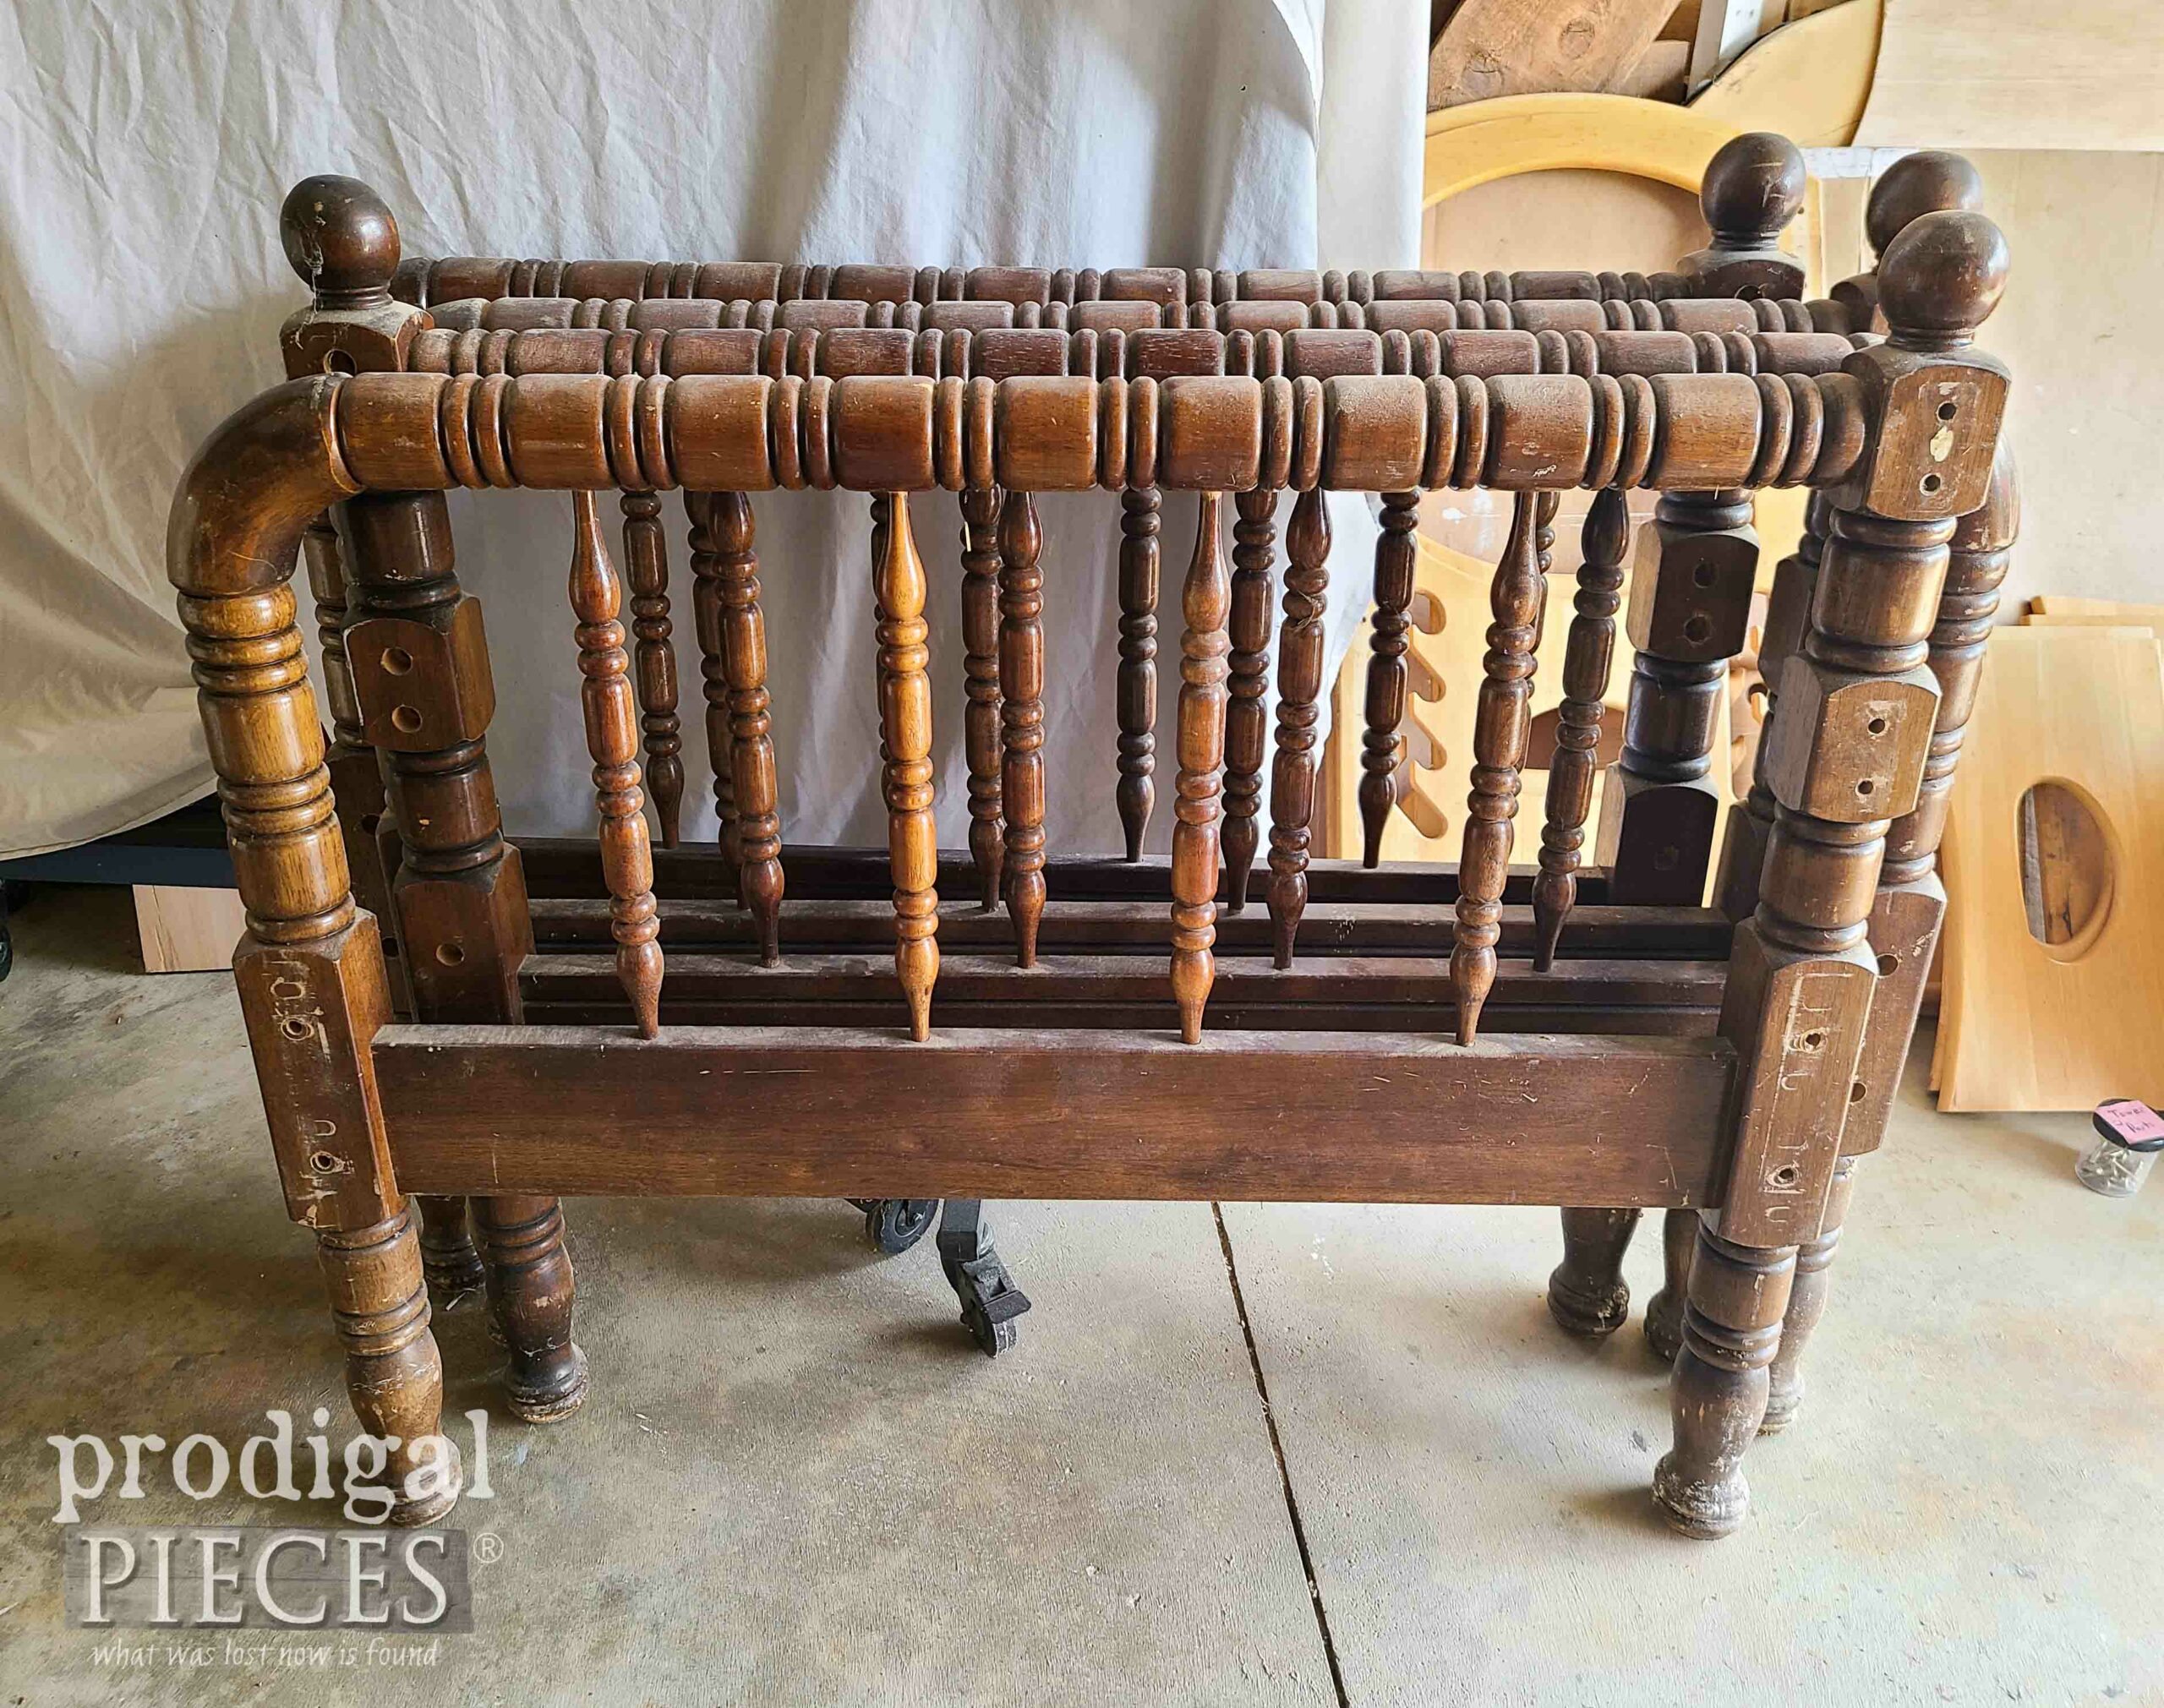
Okay, so Mr. O and I head to my dad’s barn to retrieve them and a few other things we tucked away while selling our home. While they were in a horse stall for the time, a lovely groundhog had fun burrowing under the outside wall beside them which resulted in a mound of dirt being built beside them. haha. As a result, they had a bit of dust on them, but none the worse for wear.
As you can see, there are two sets of end rails (or headboard/footboard). For today’s purpose, I’m only making use of one set for the time being. In addition, I’m not a newbie to making use of upcycled bed frame finds. You can see a headboard bench with French mattress HERE, or a bookcase headboard HERE and HERE, a headboard entry rack HERE, and also a footboard HERE.
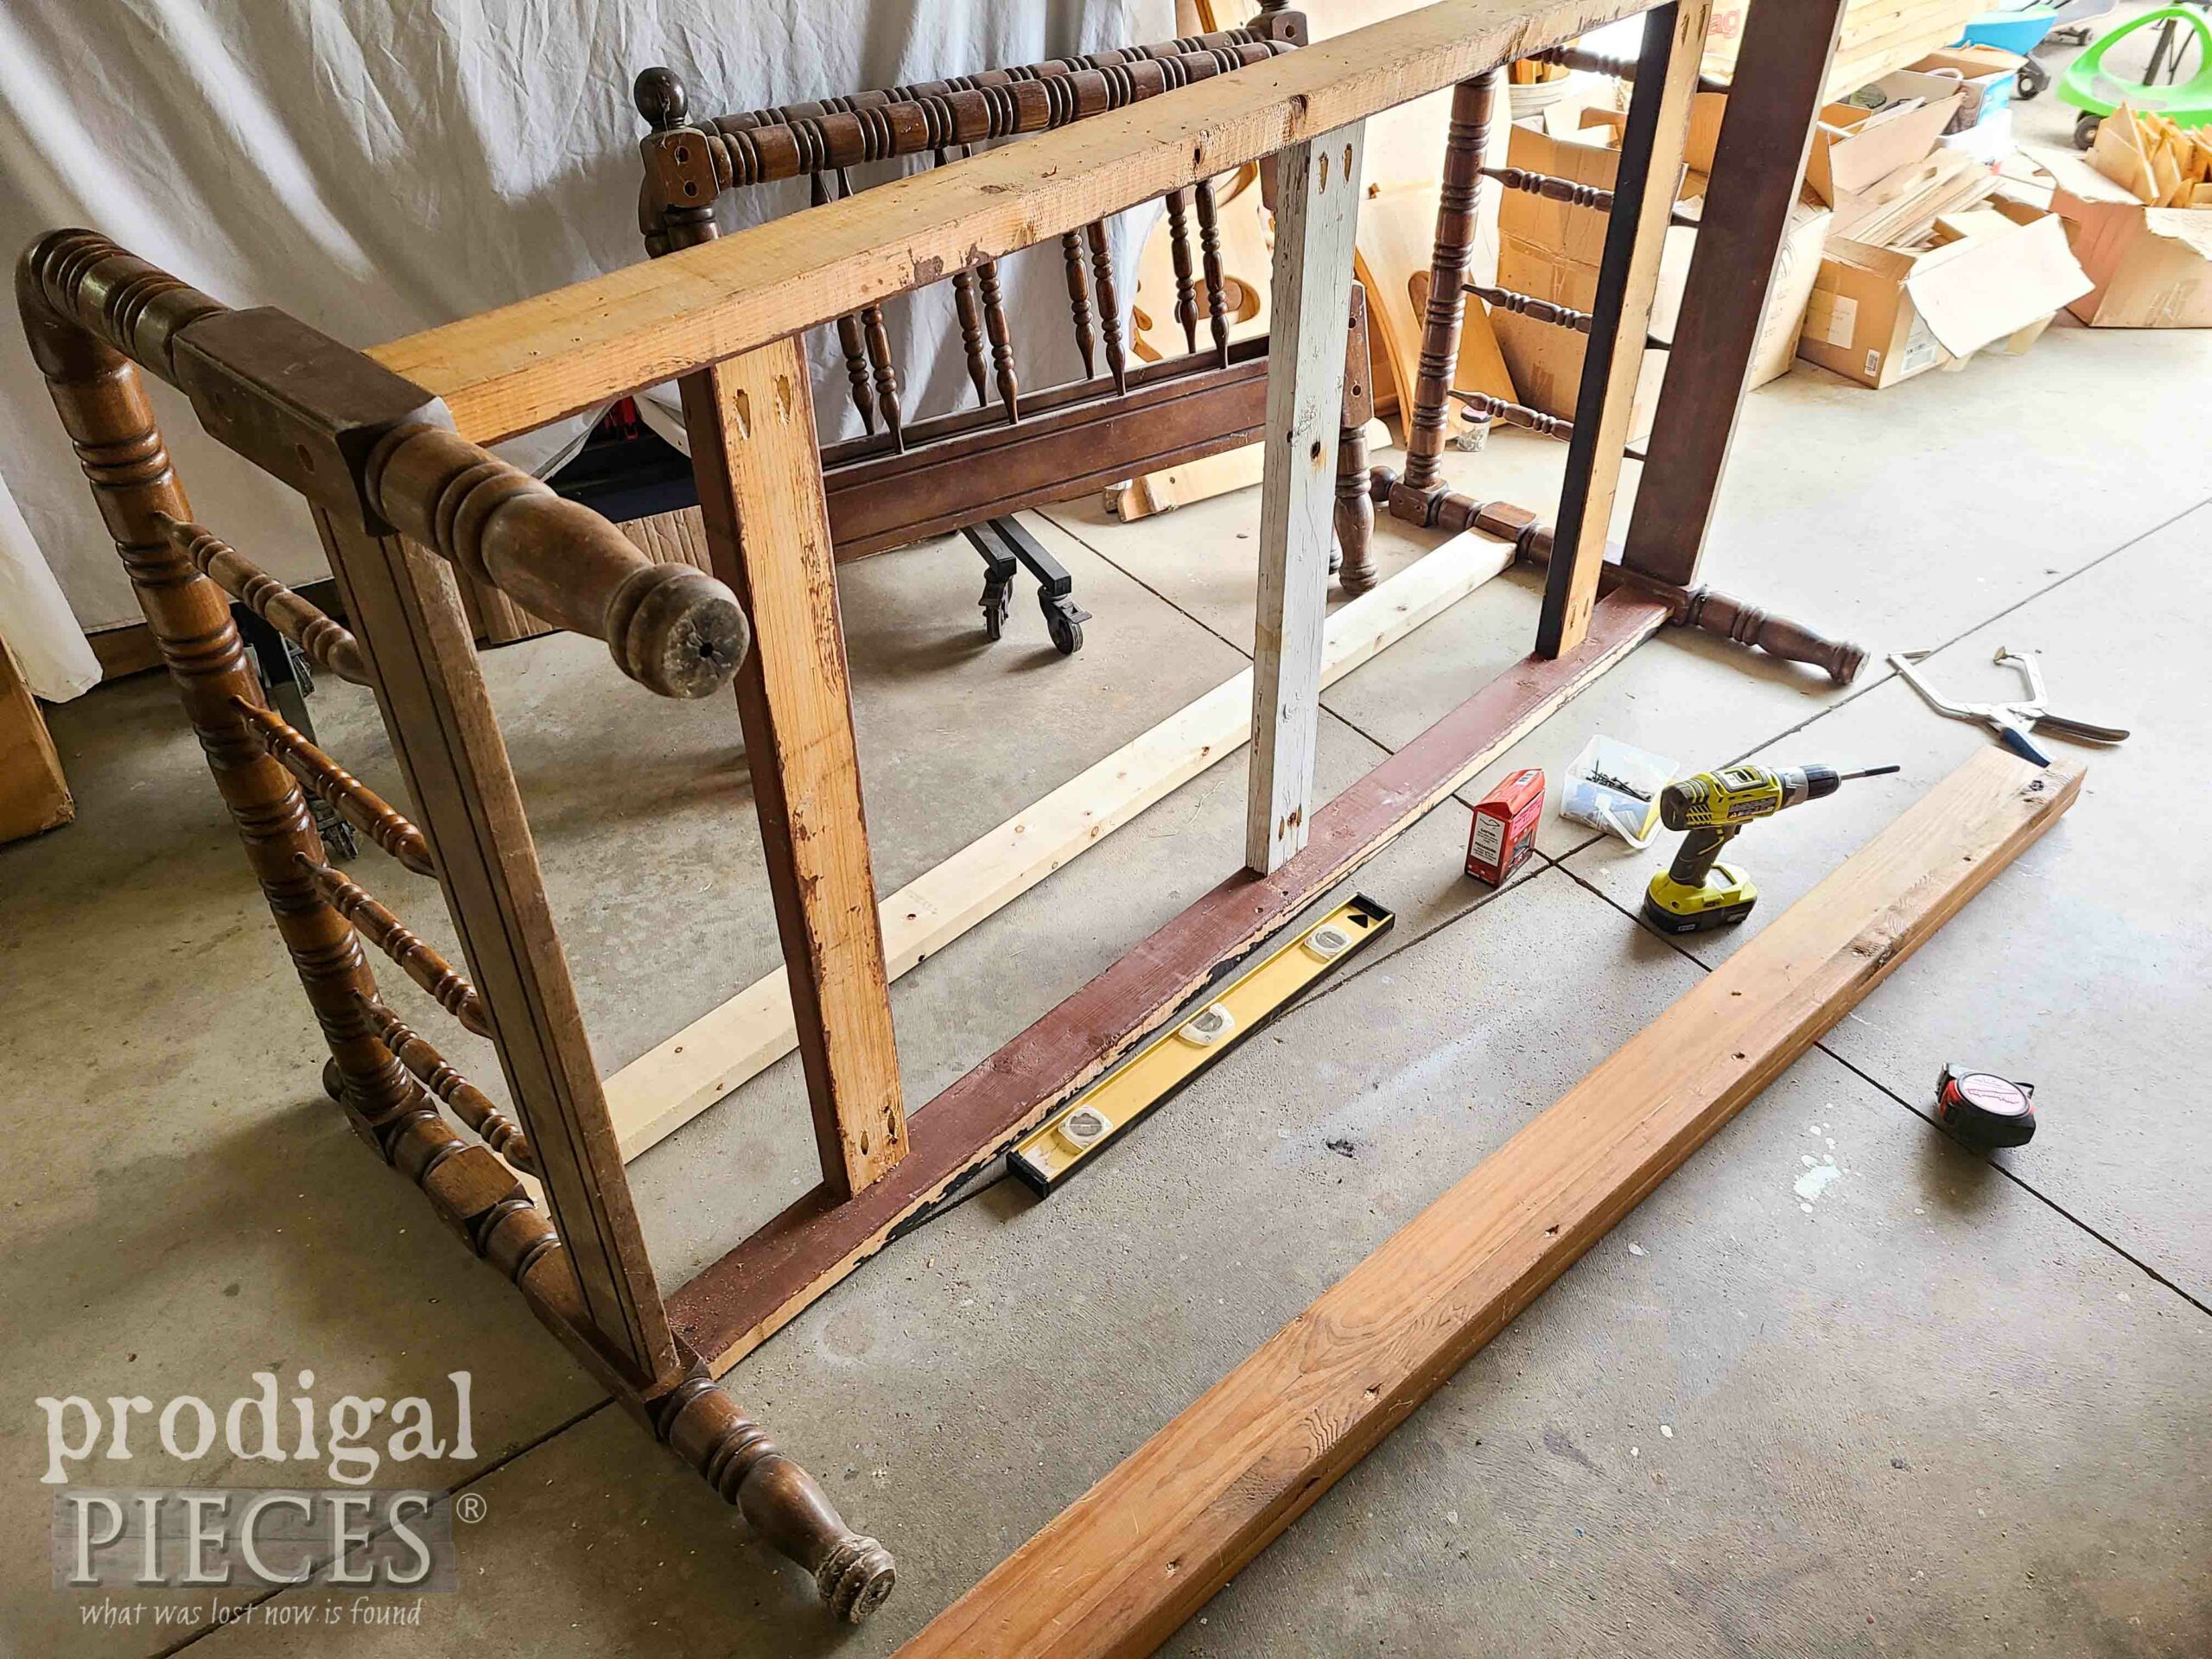
First, I dig into my salvaged stash. I come up with three 2″ x 4″ boards I pulled off the curb and use as my wood storage rack for many years. As a matter of fact, I upgraded and built myself and huge, rolling storage bin I’ll share with you all in the future. Then, I pull out a side rail from a waterbed I also pulled off the curb and used the rest to build myself a weight rack HERE. Also, a post from our basketball hoop and a new board I have on hand. {{fist pump!!}}
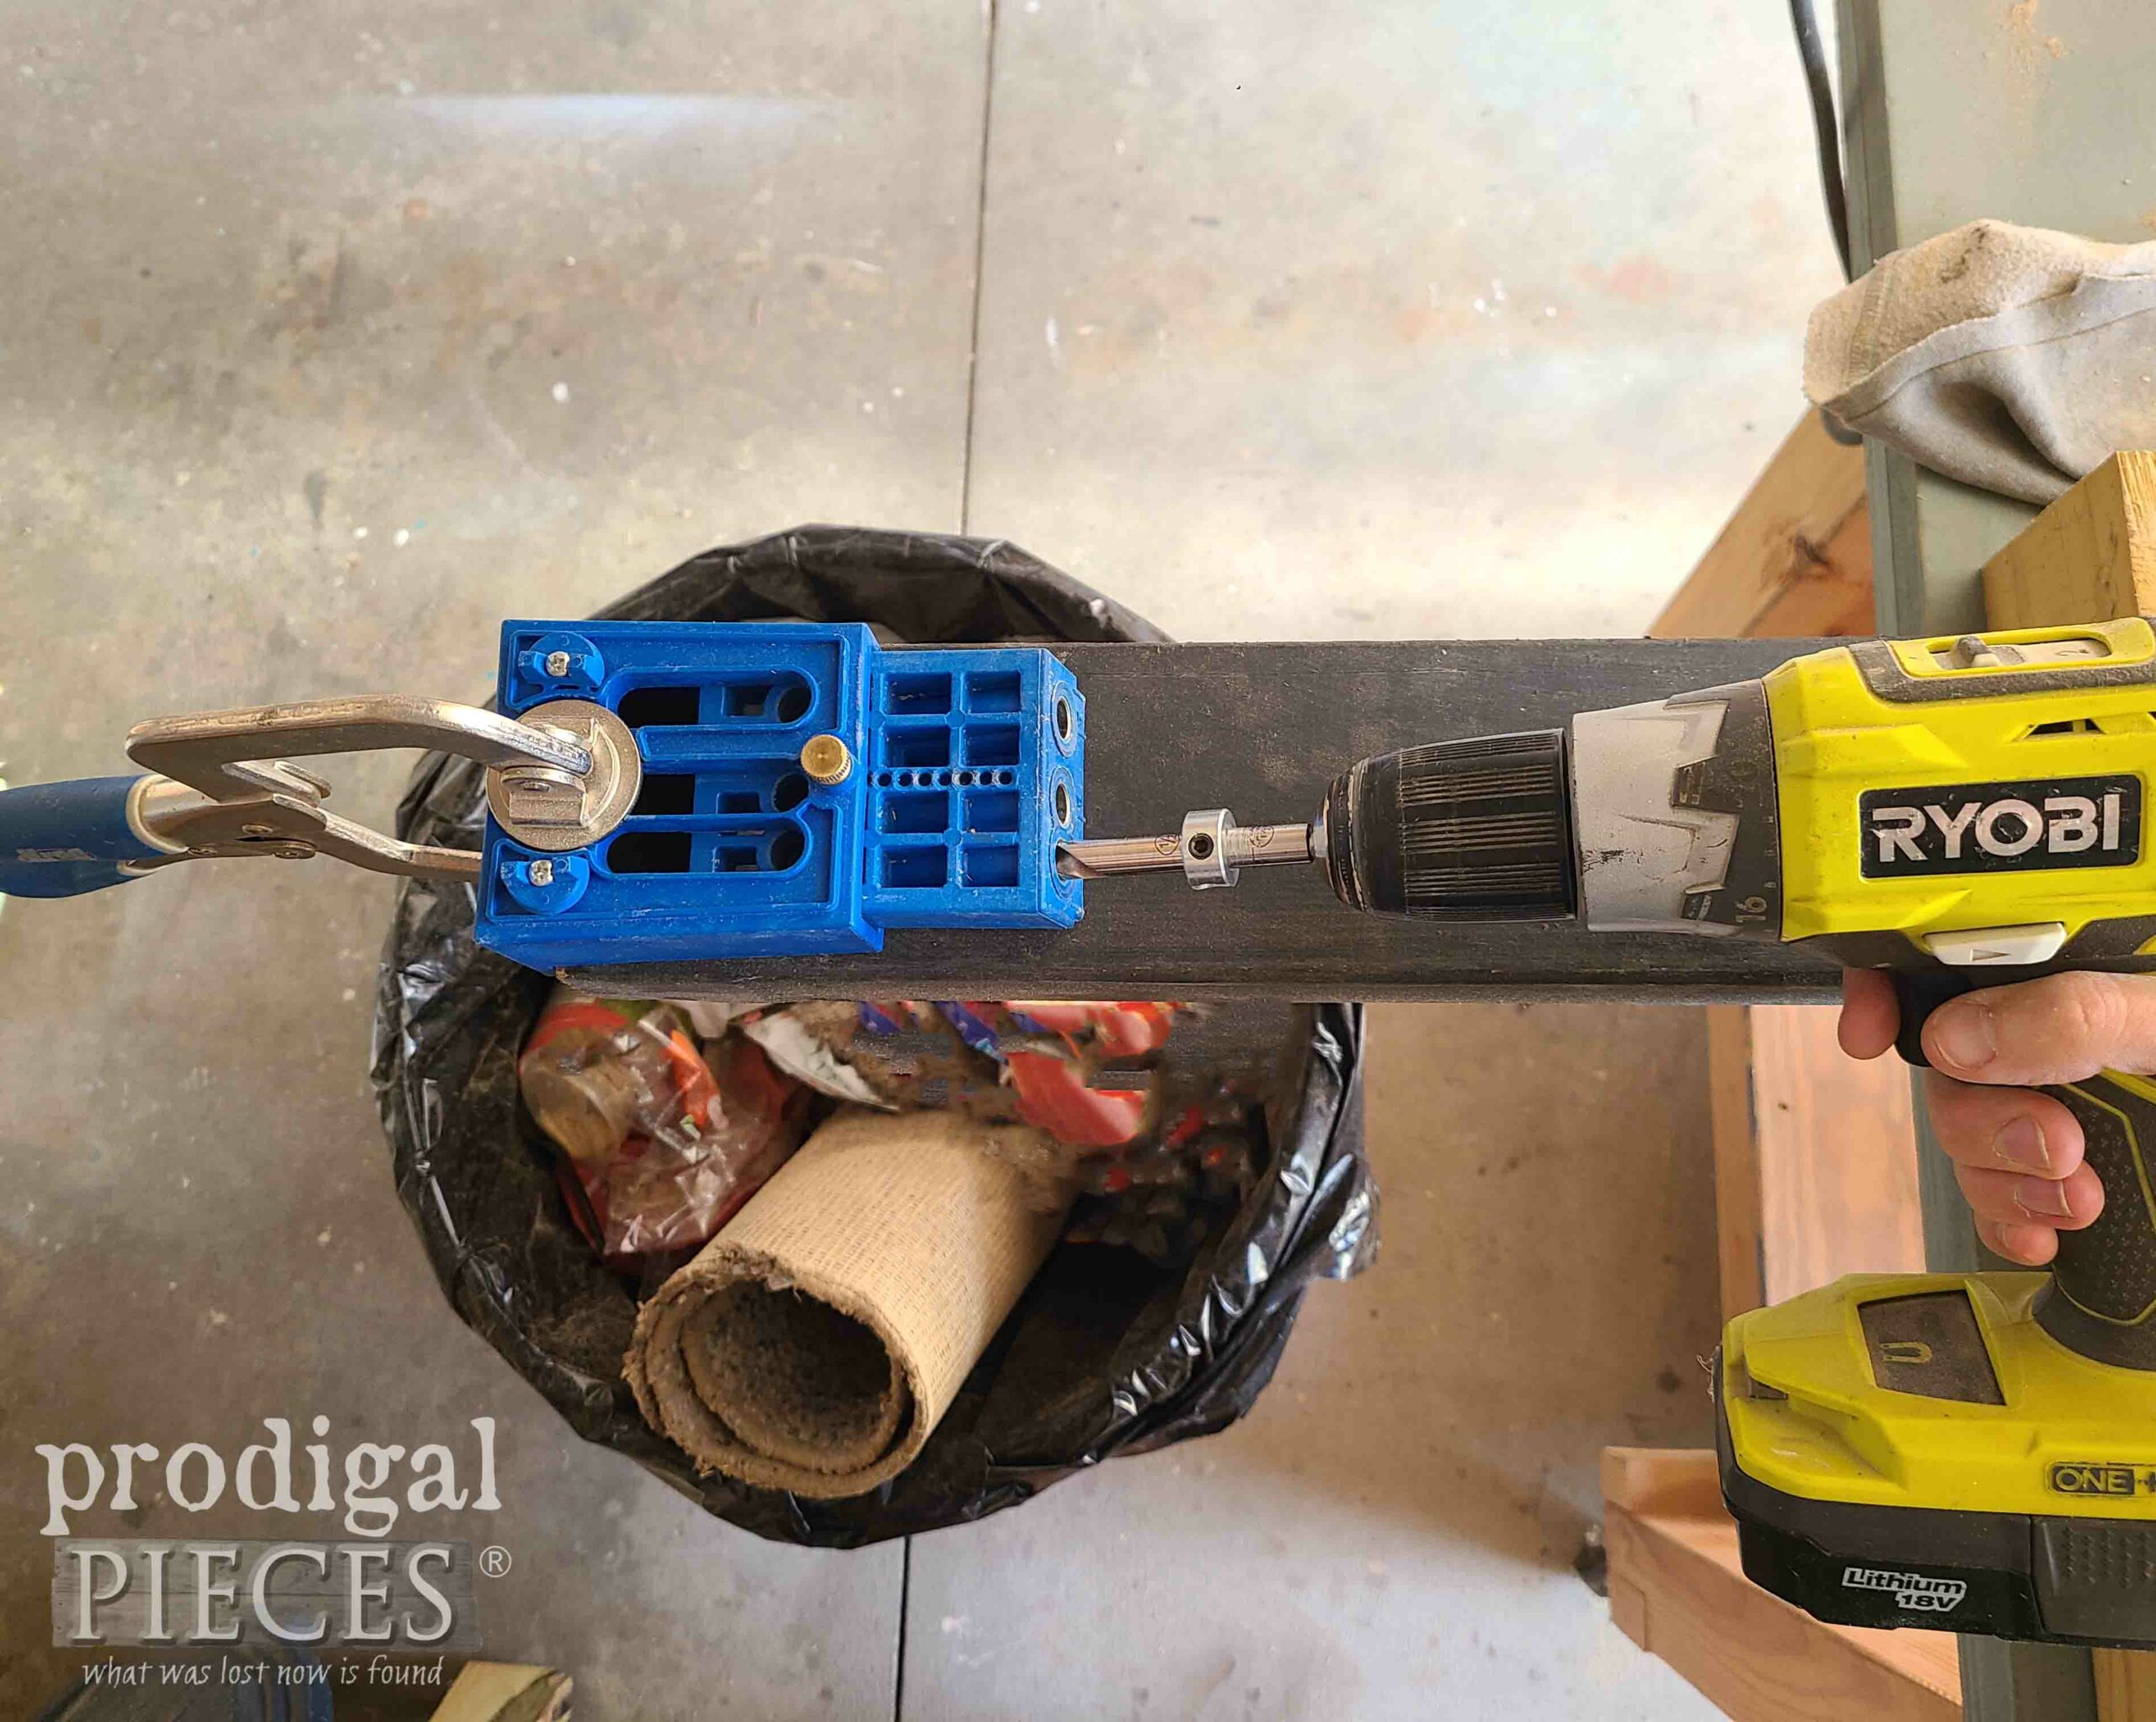
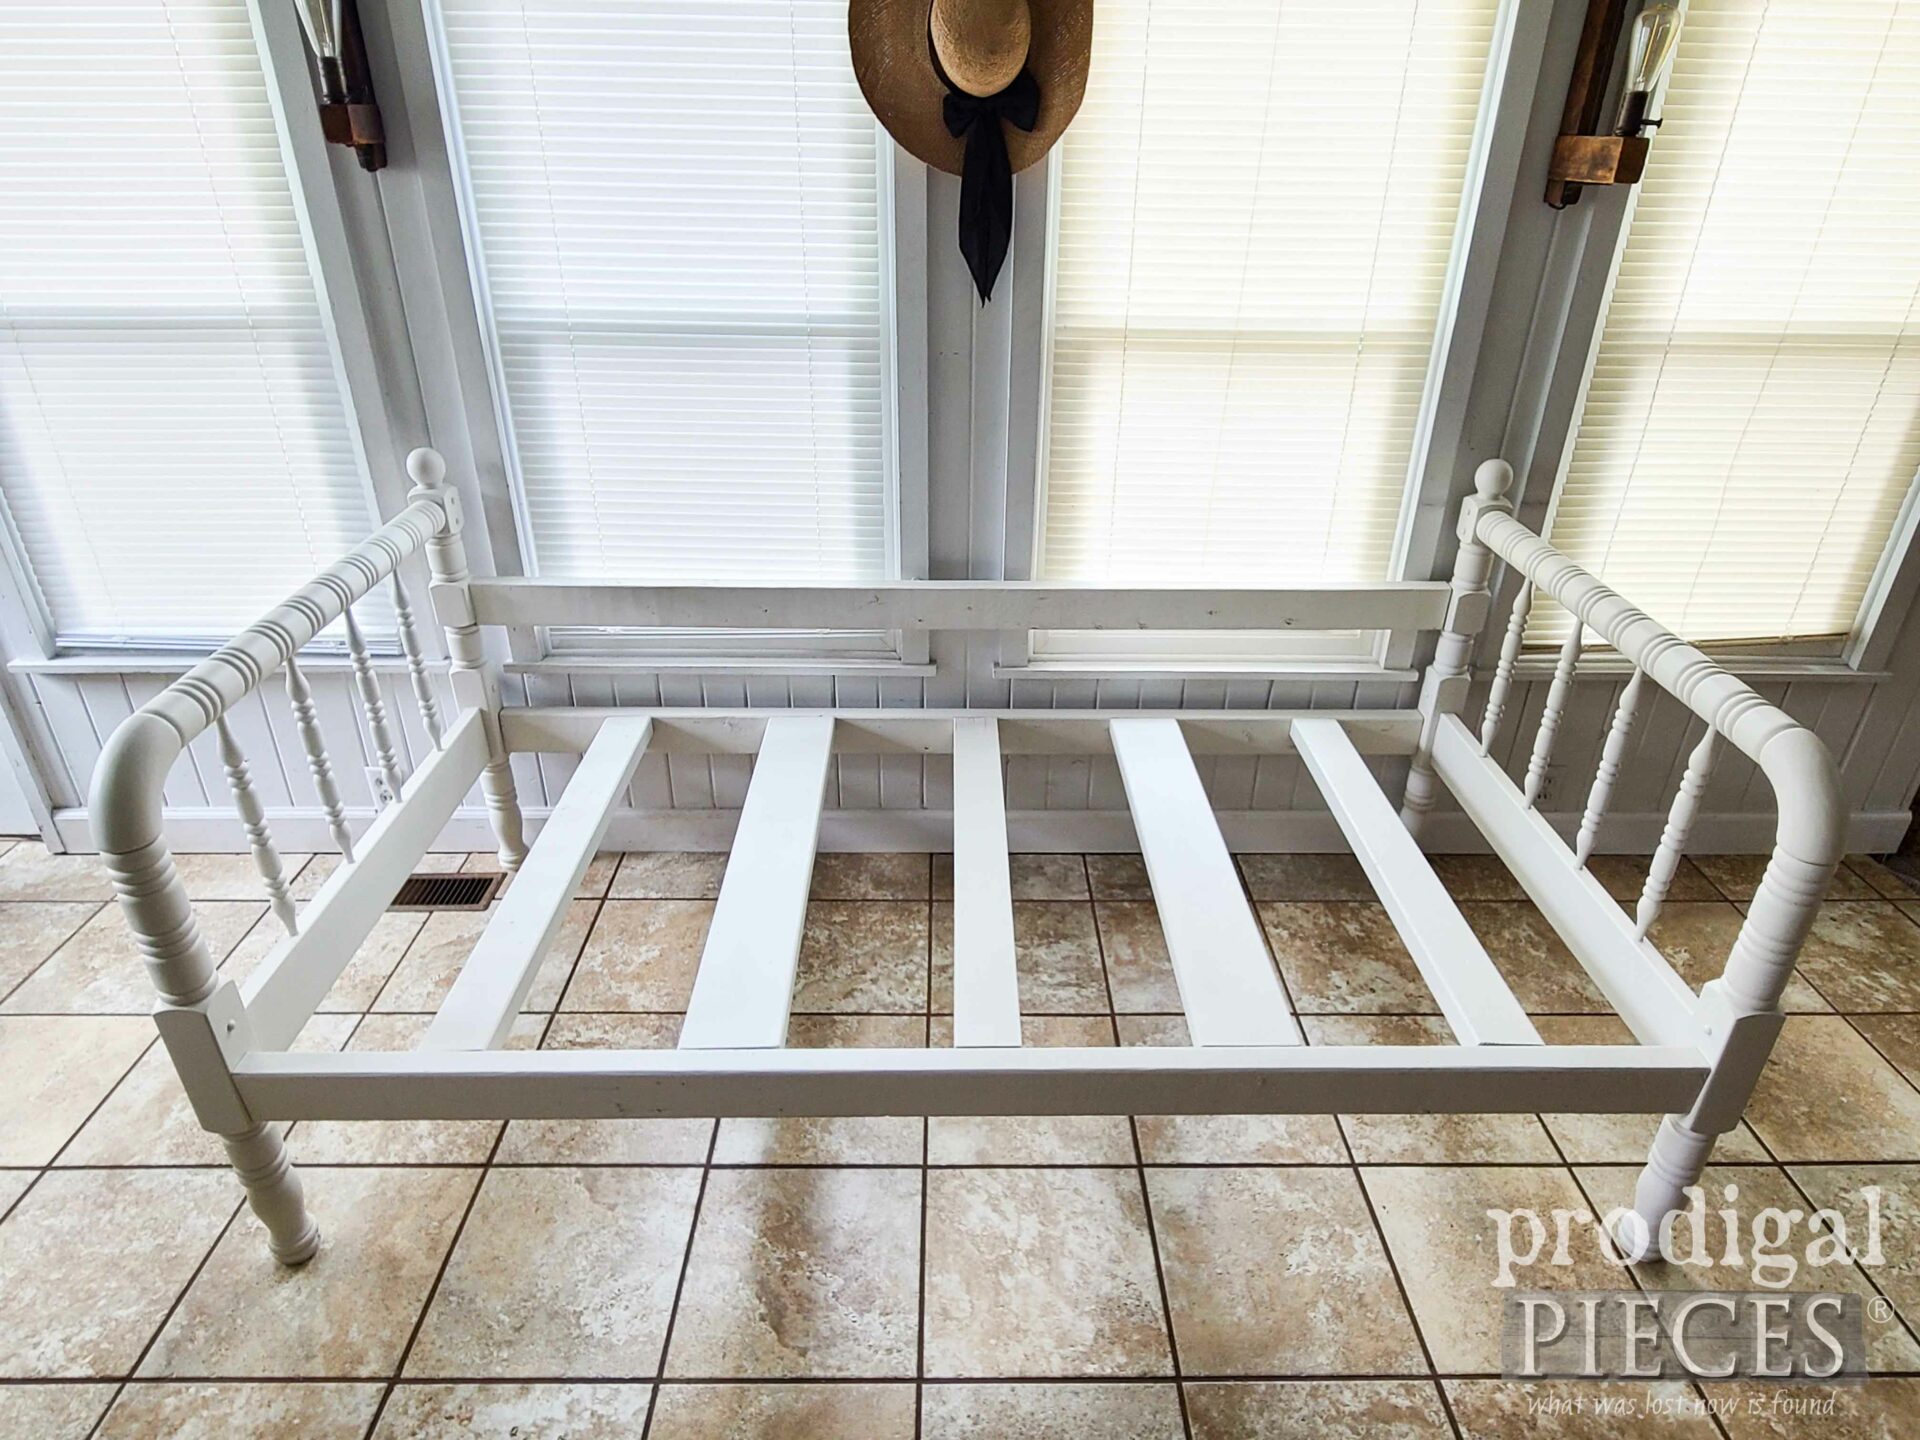
Furthermore, assembly is simple as I use my miter saw to cut to length, and then assemble using my pocket hole jig.
FINISHING
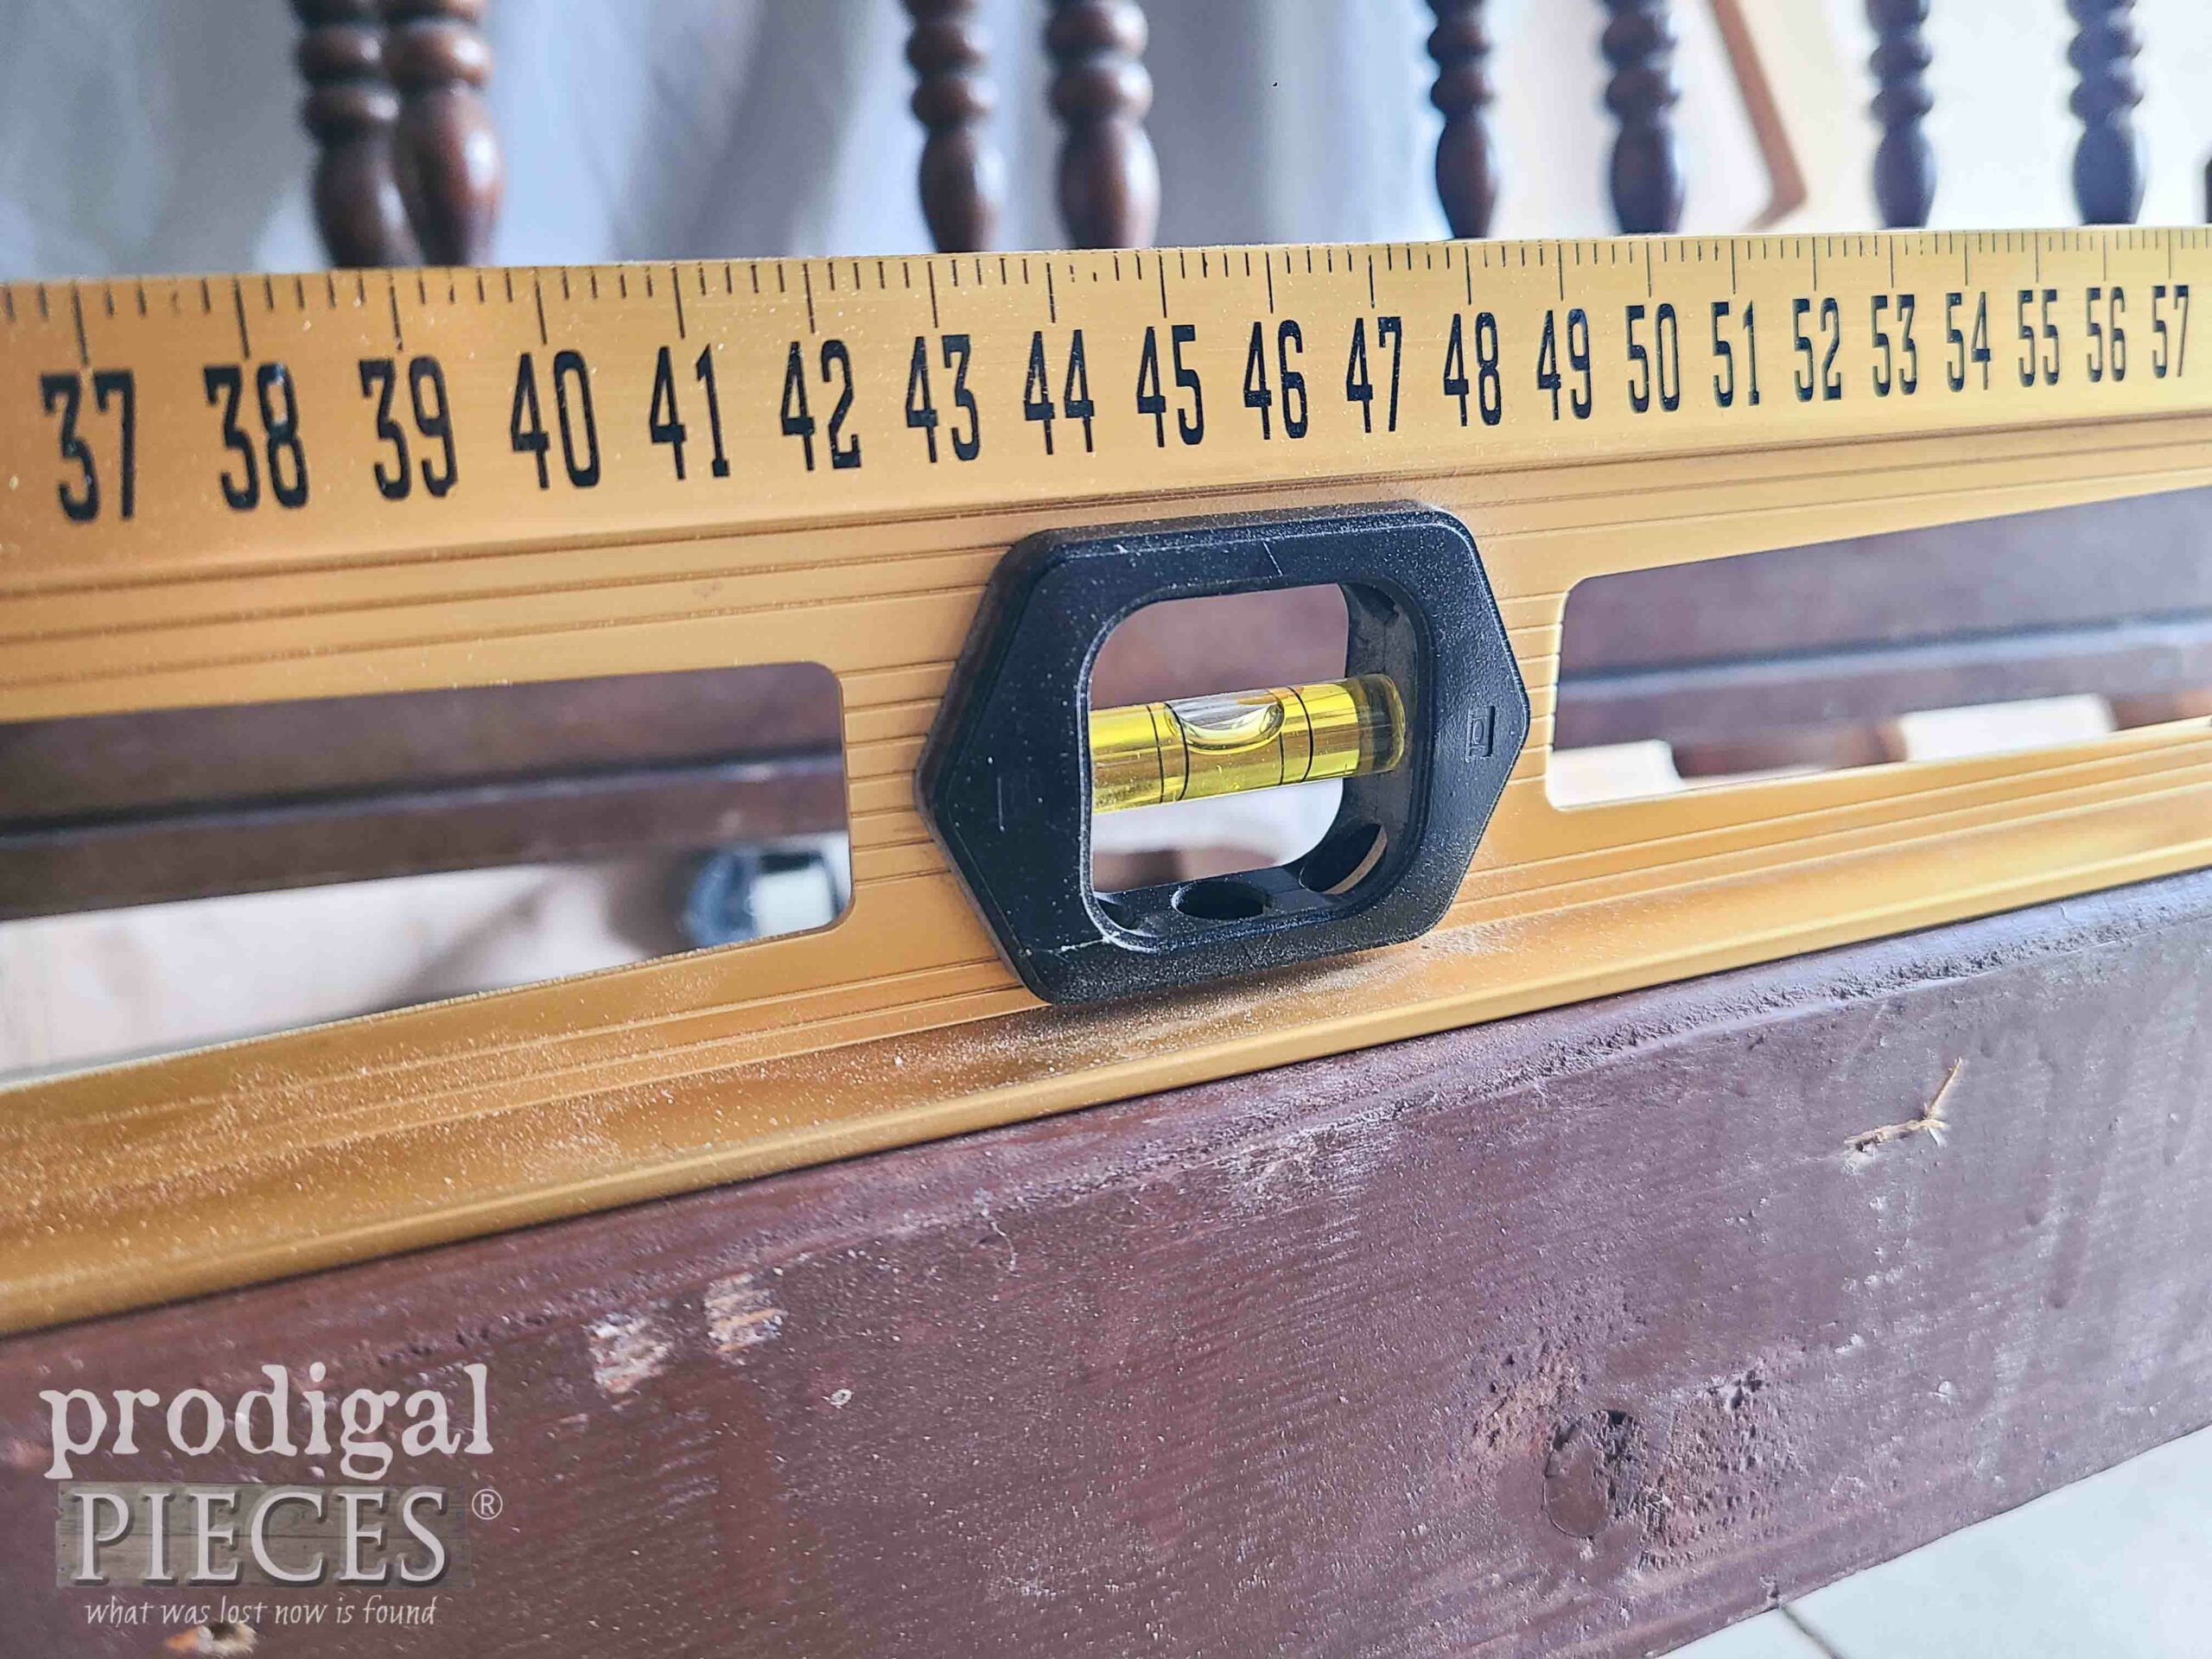
In addition to having just the right amount of wood, I also eyeballed by assembly. Meanwhile, I also check it for square and level and, y’all, I nailed it first try. woot! I guess I’m not too shabby in my old(er) age.
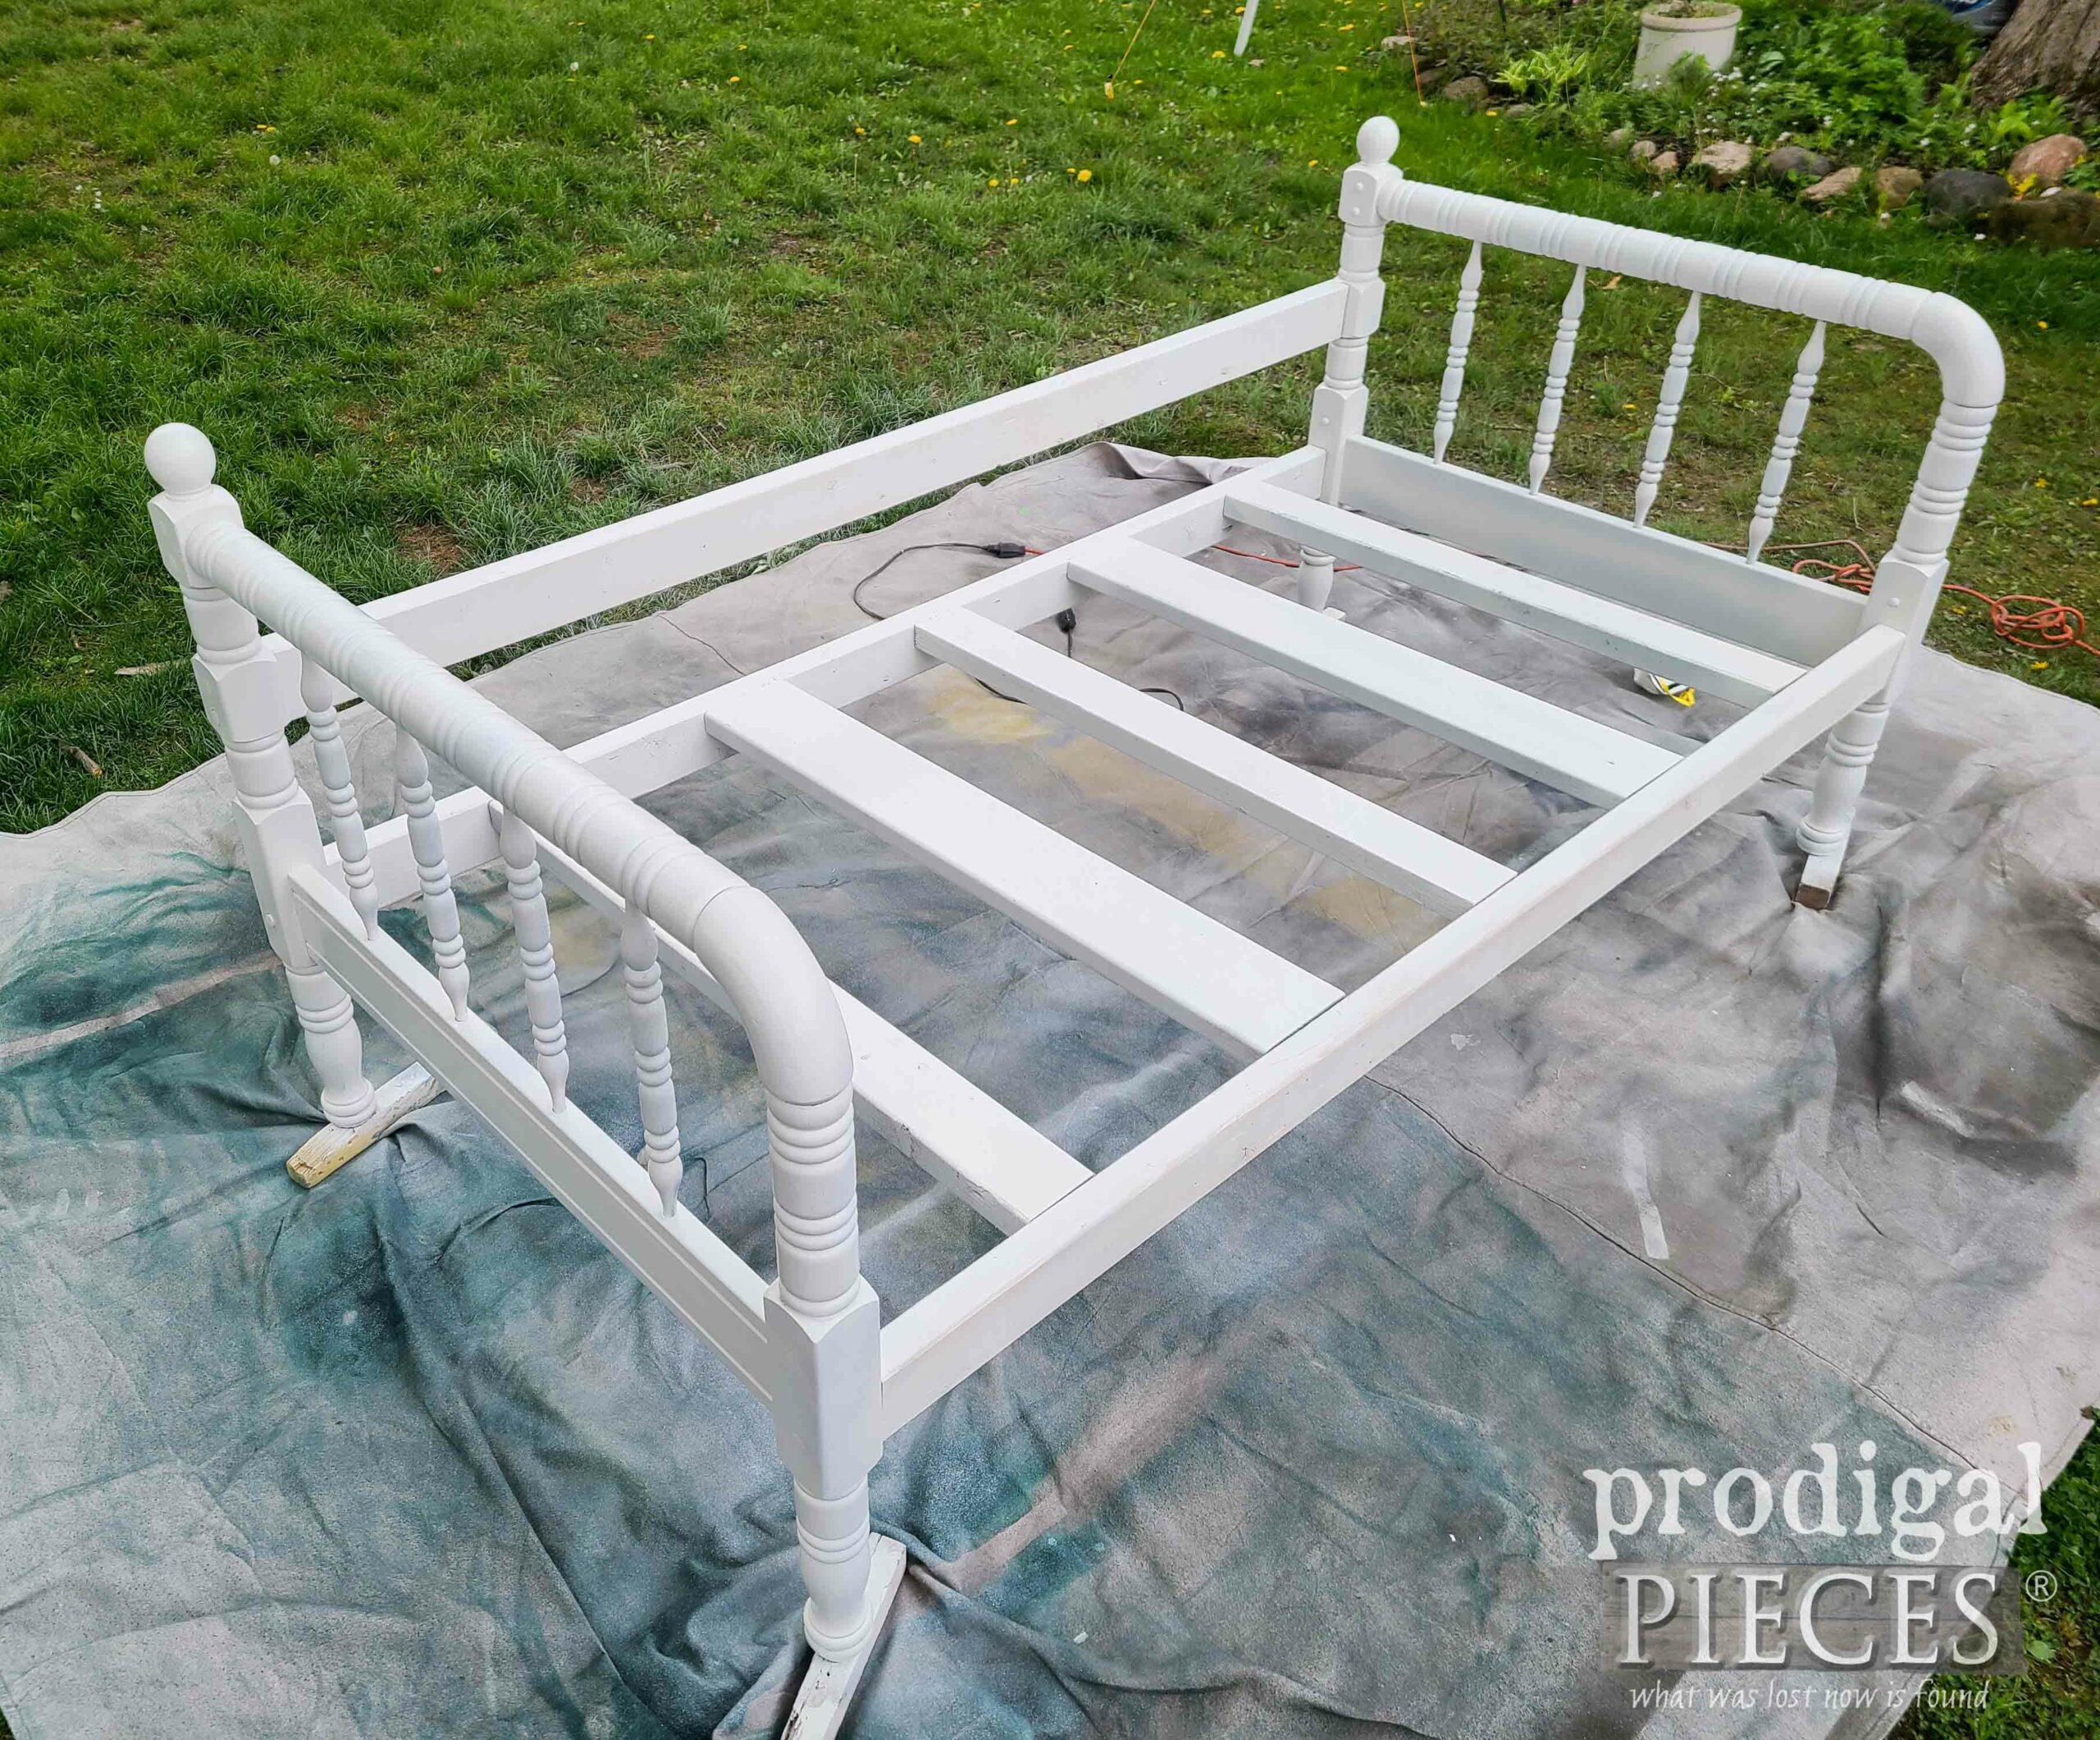
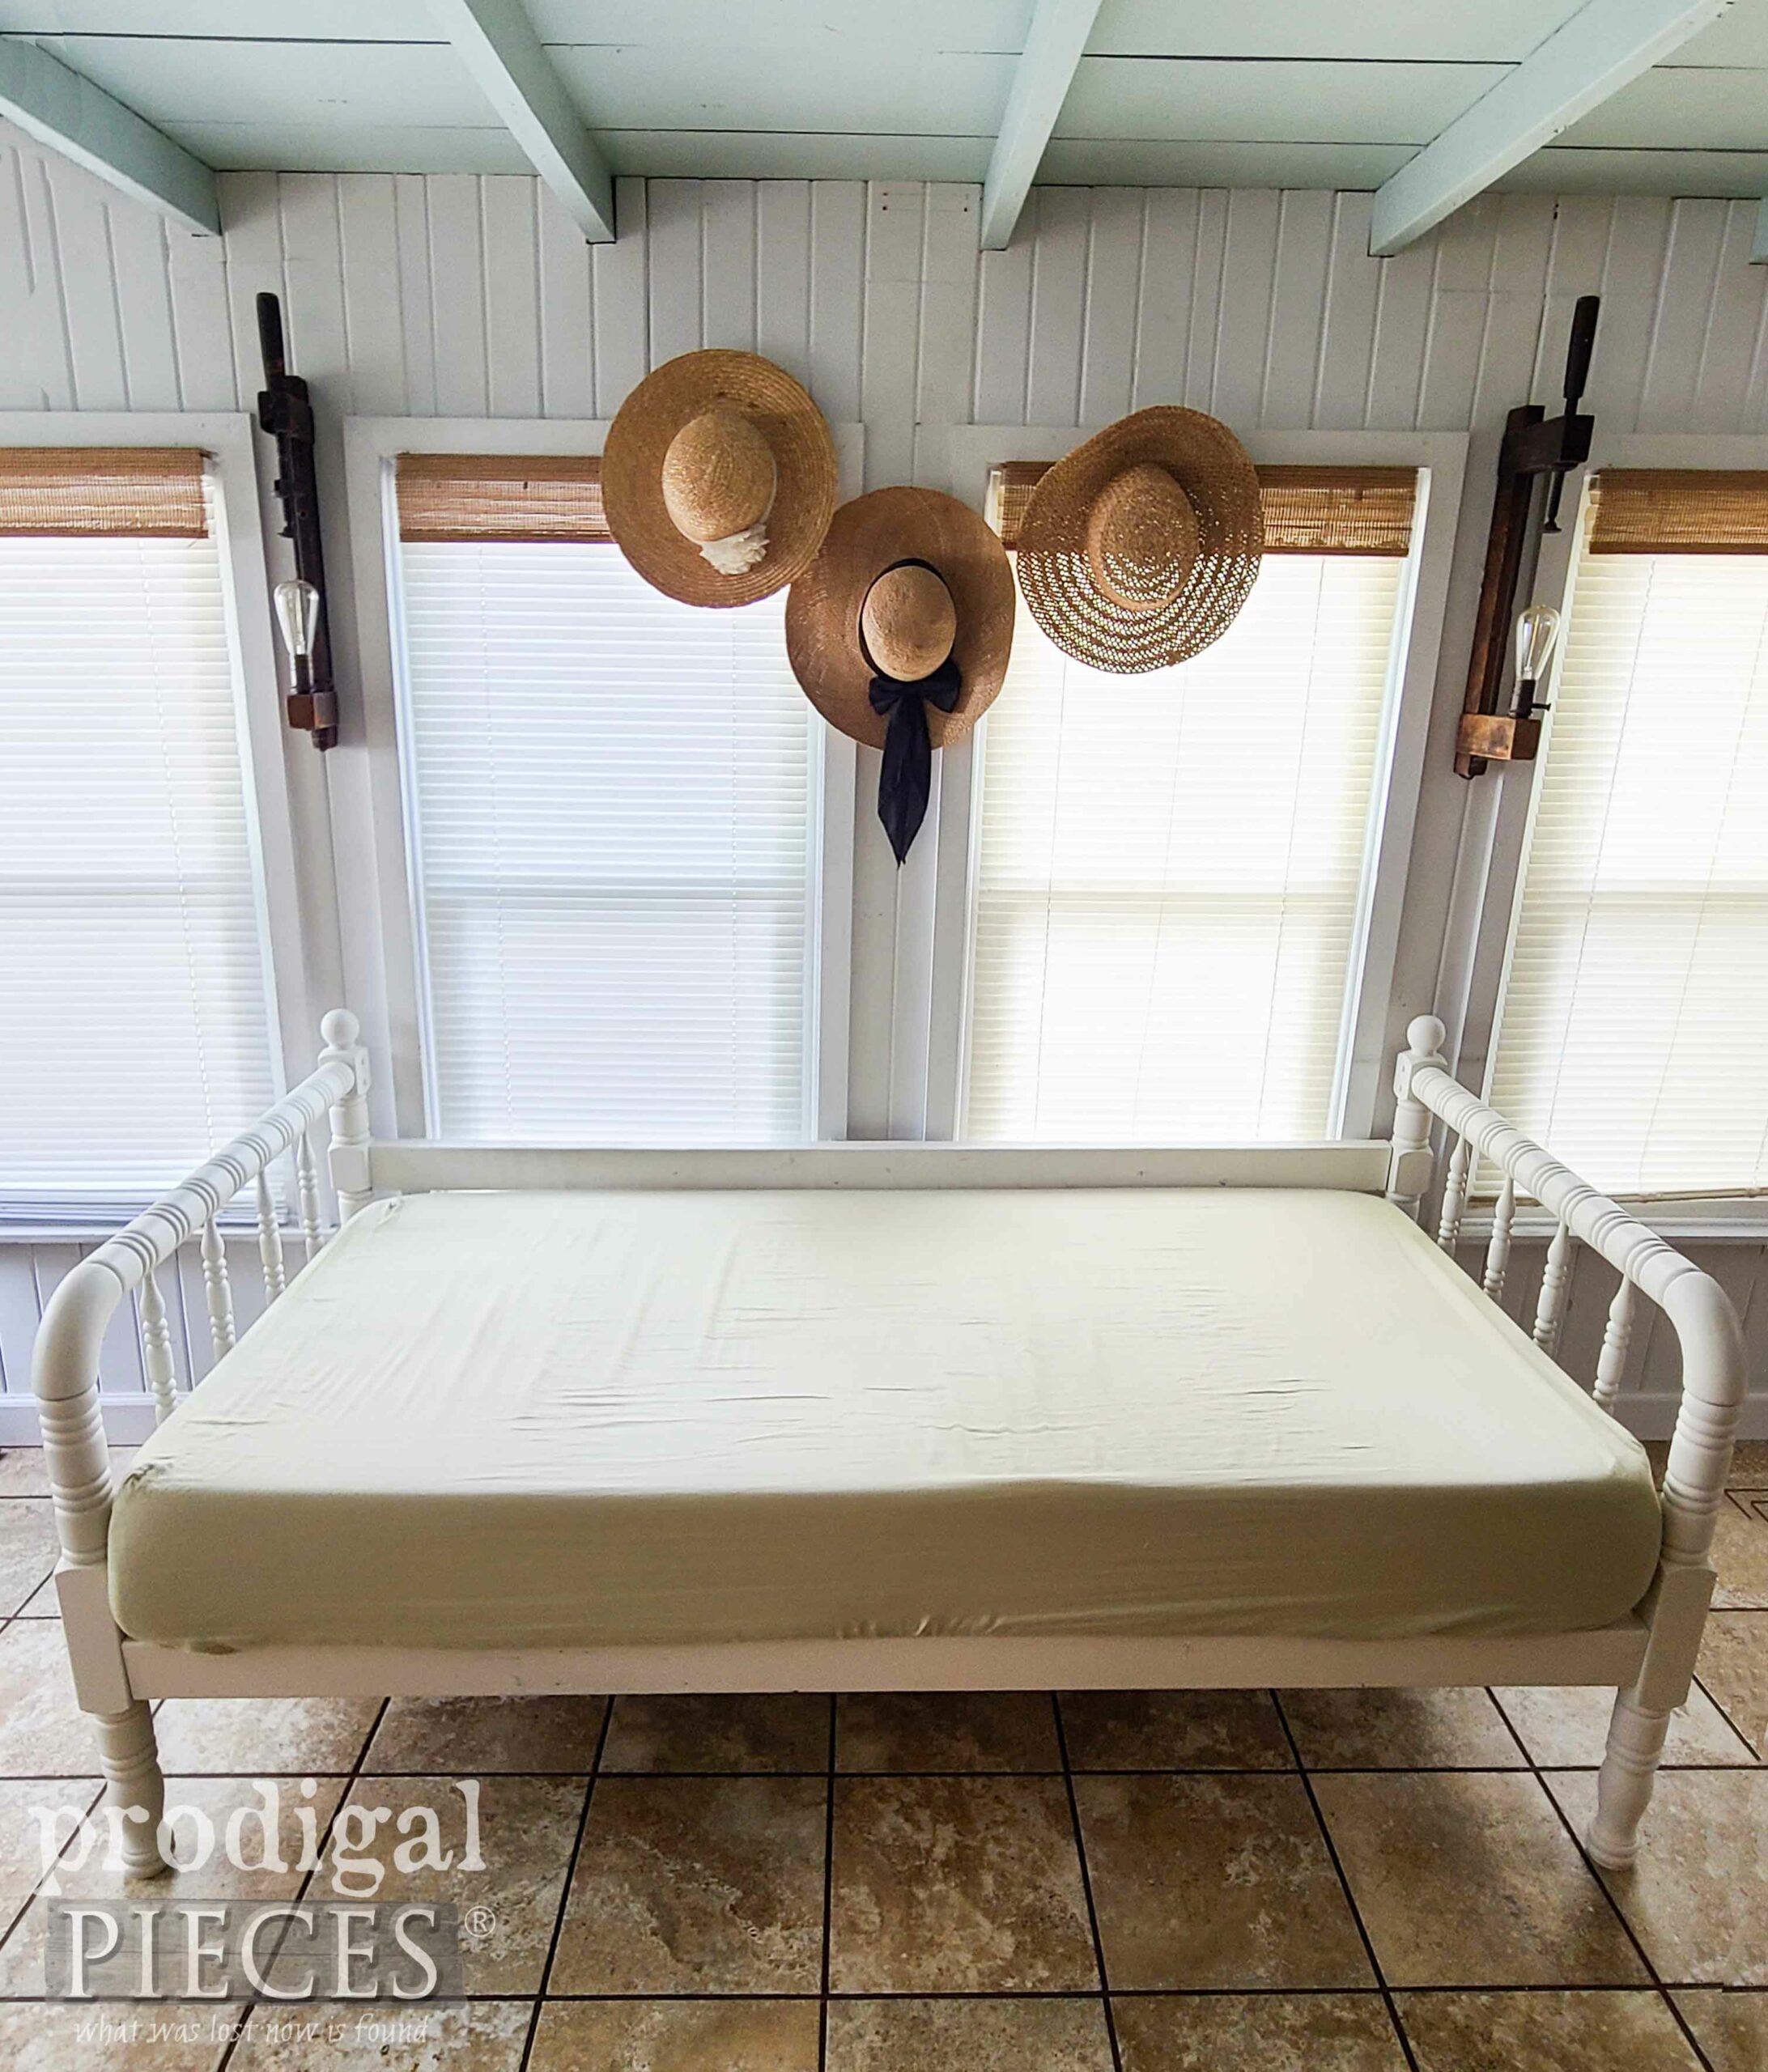
Next, in order to make this all look cohesive, I paint the upcycled bed frame in a soft white I custom mix. Sigh…doesn’t that look less chaotic and soothing? This is only the first coat. After that, I let it cure and paint it a second time.
TIME FOR A NAP
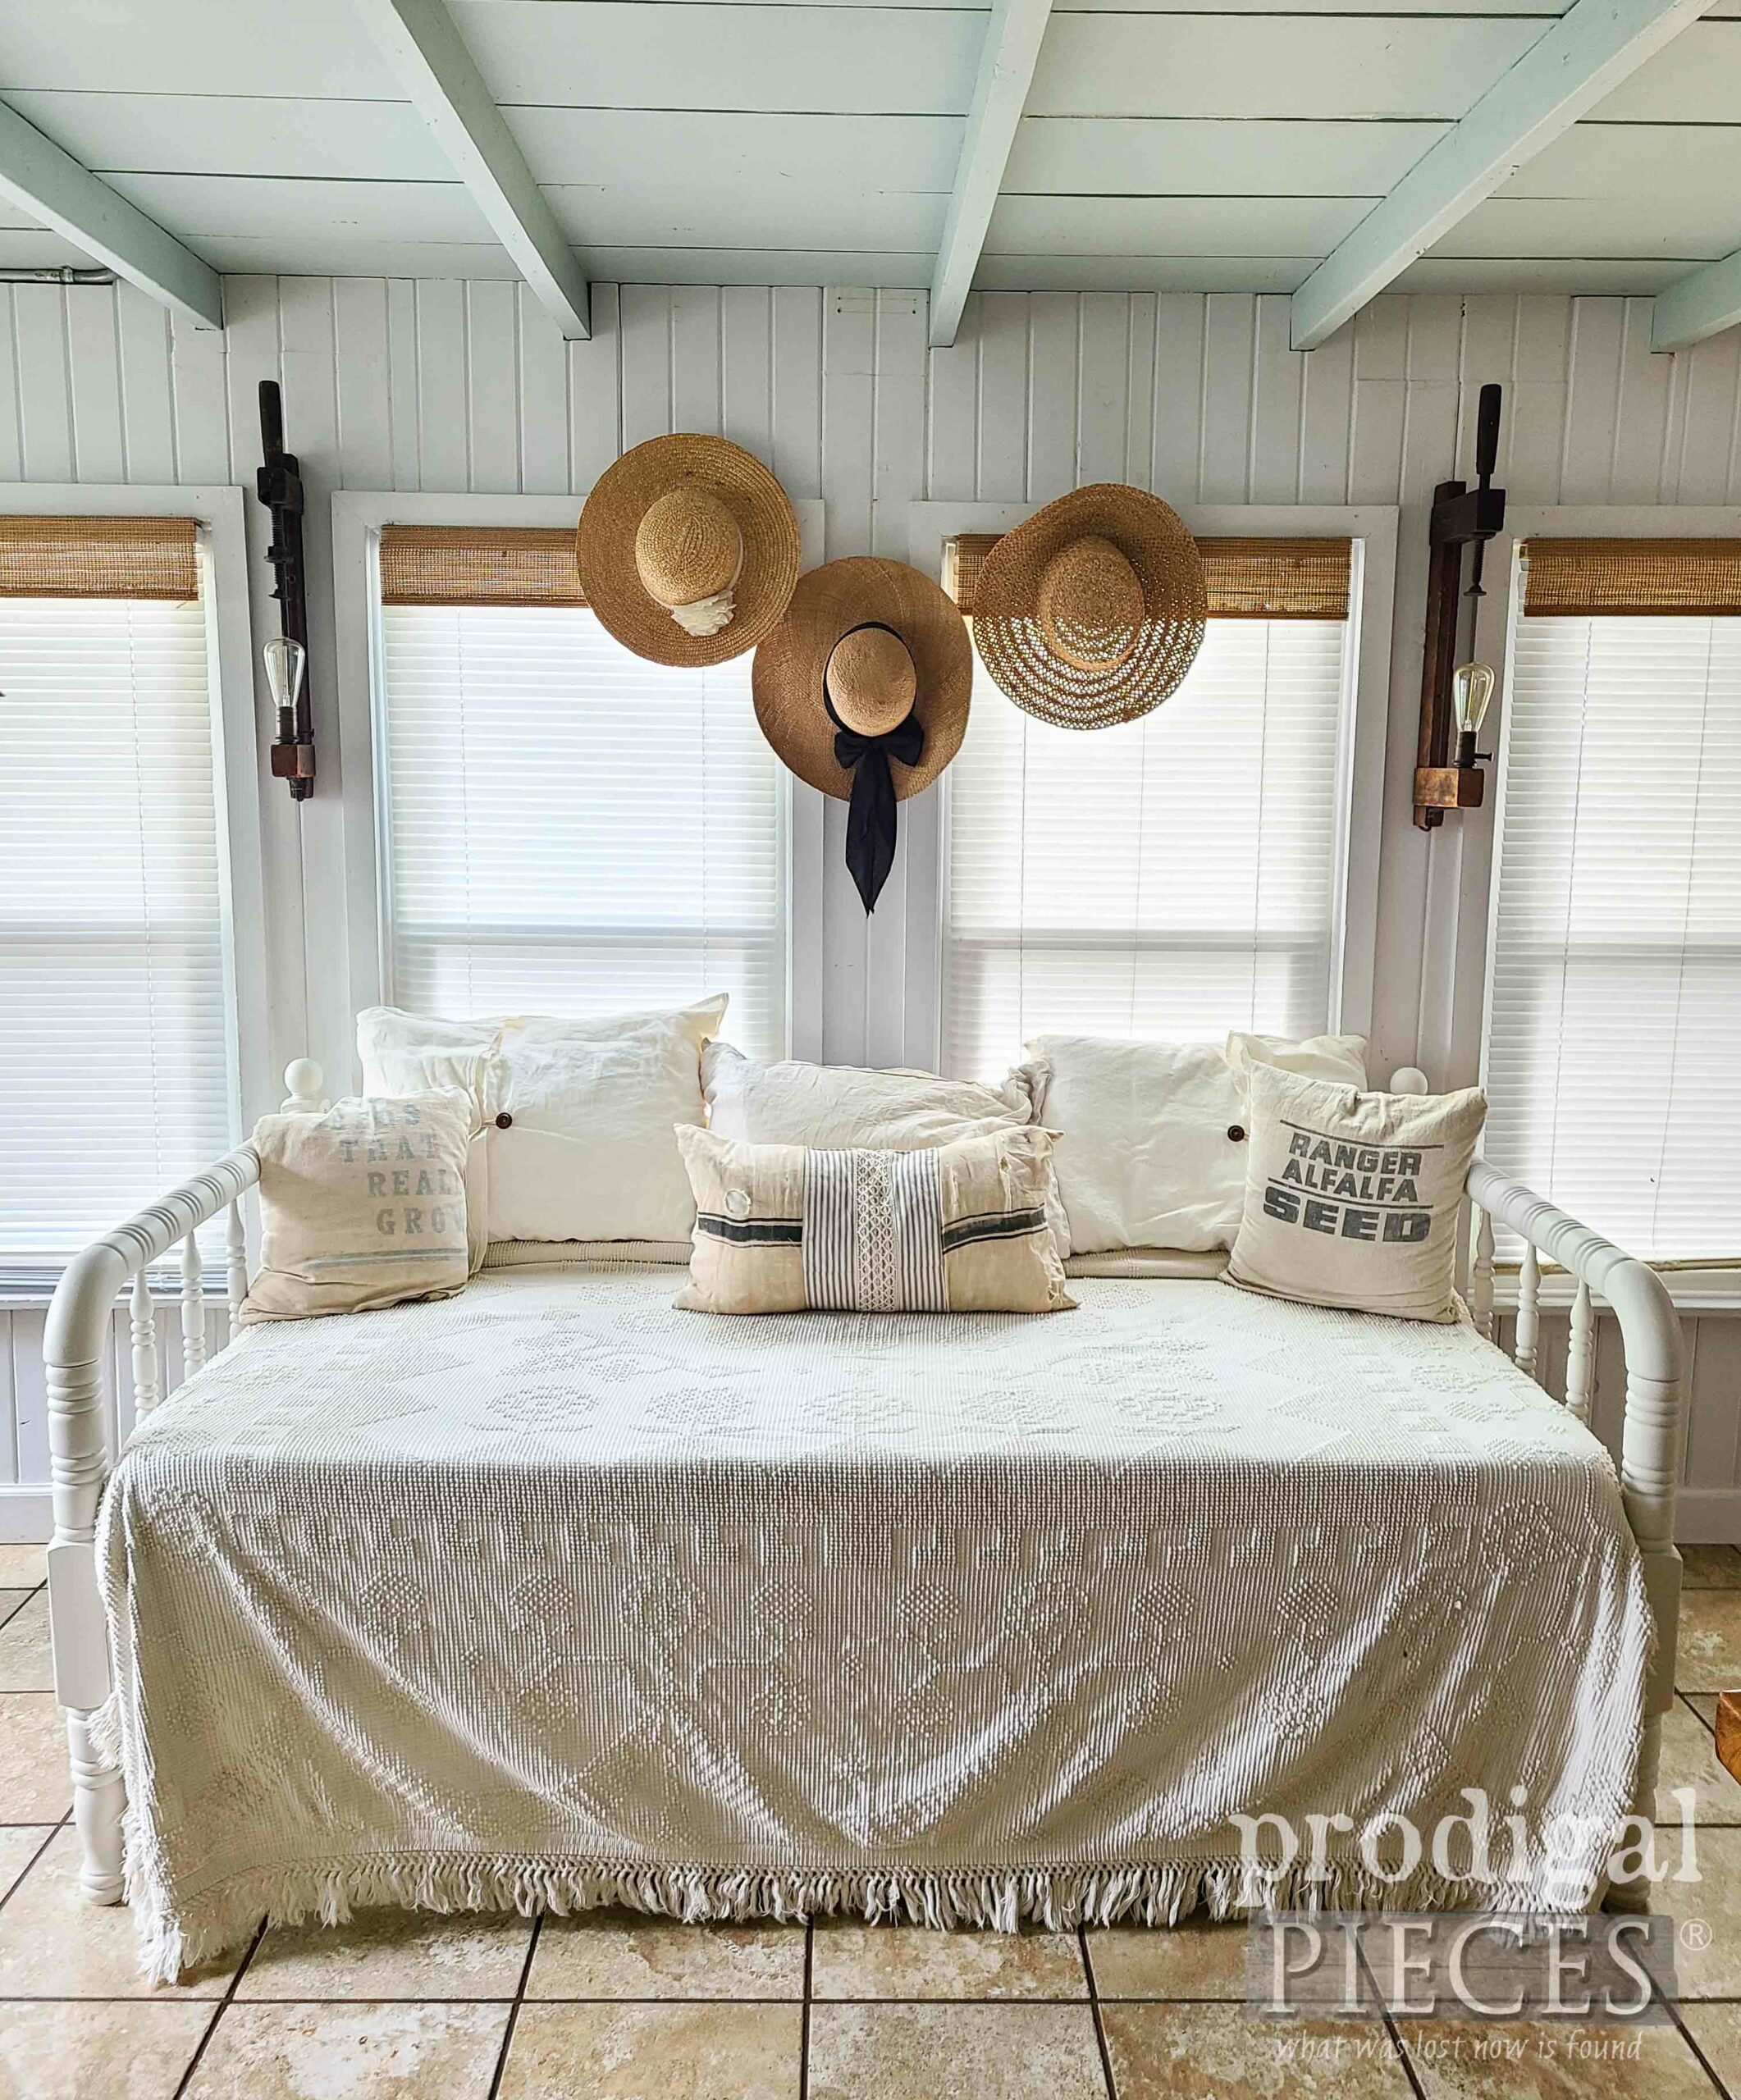
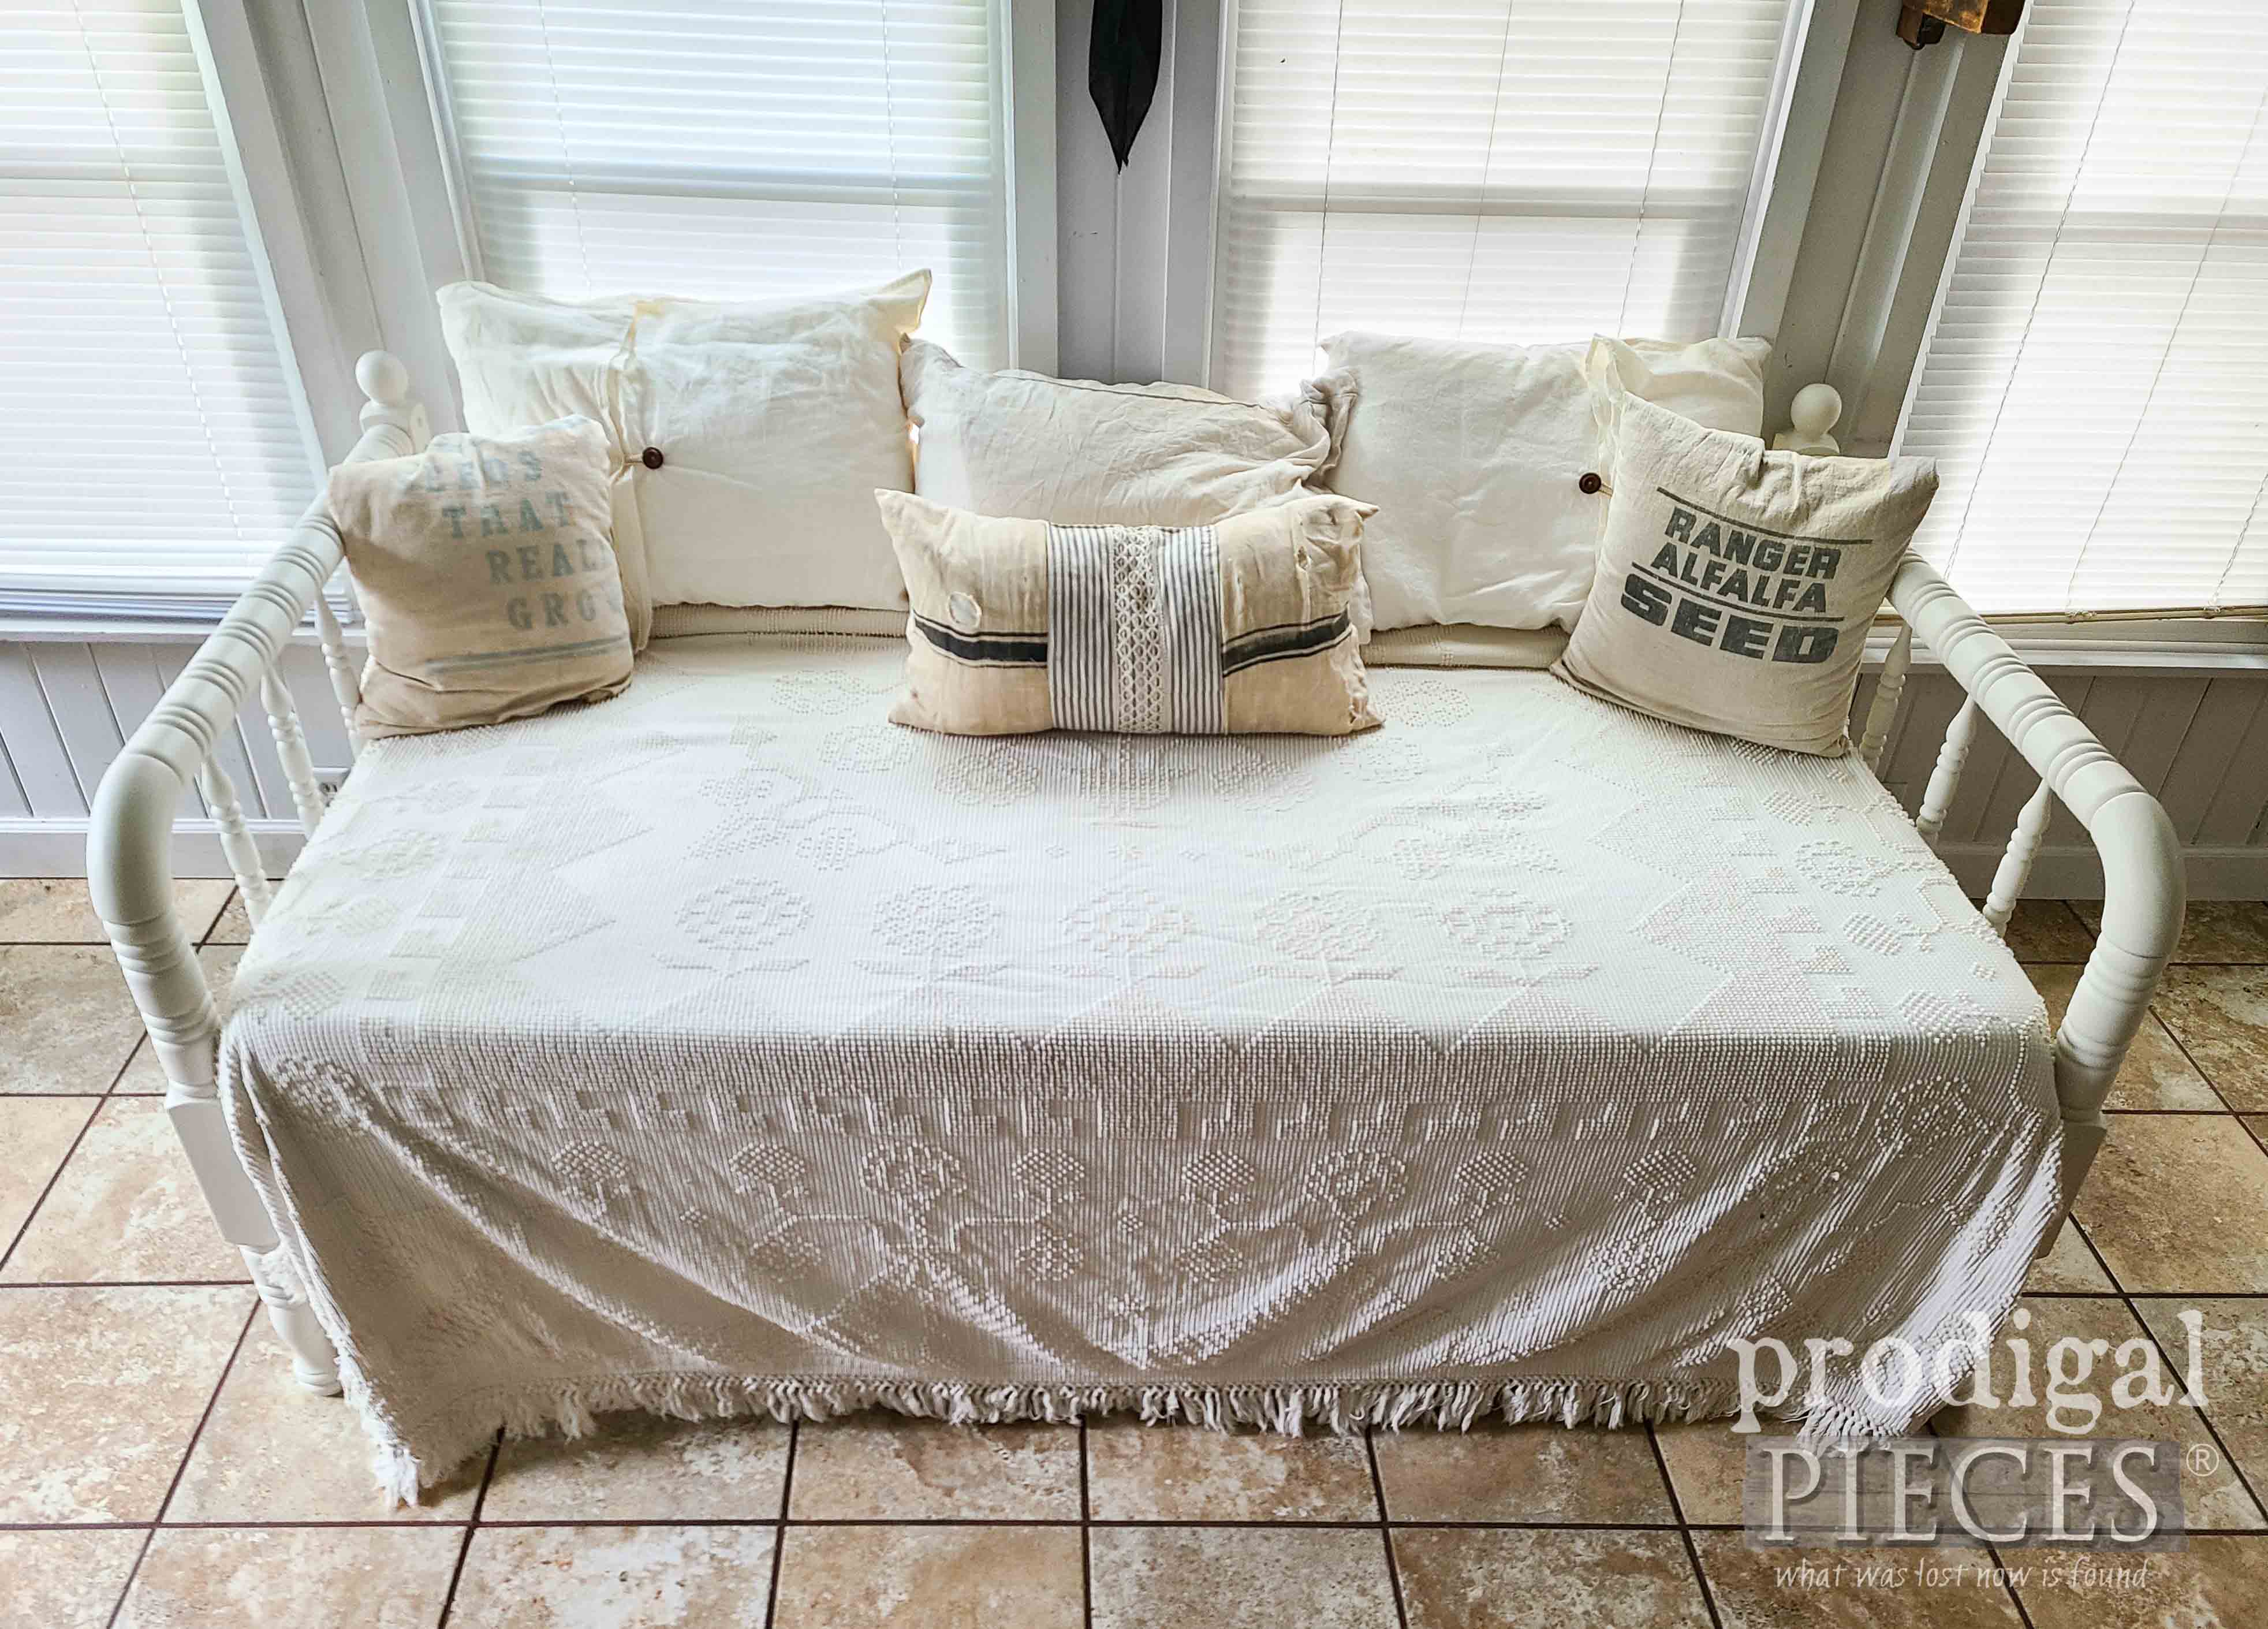
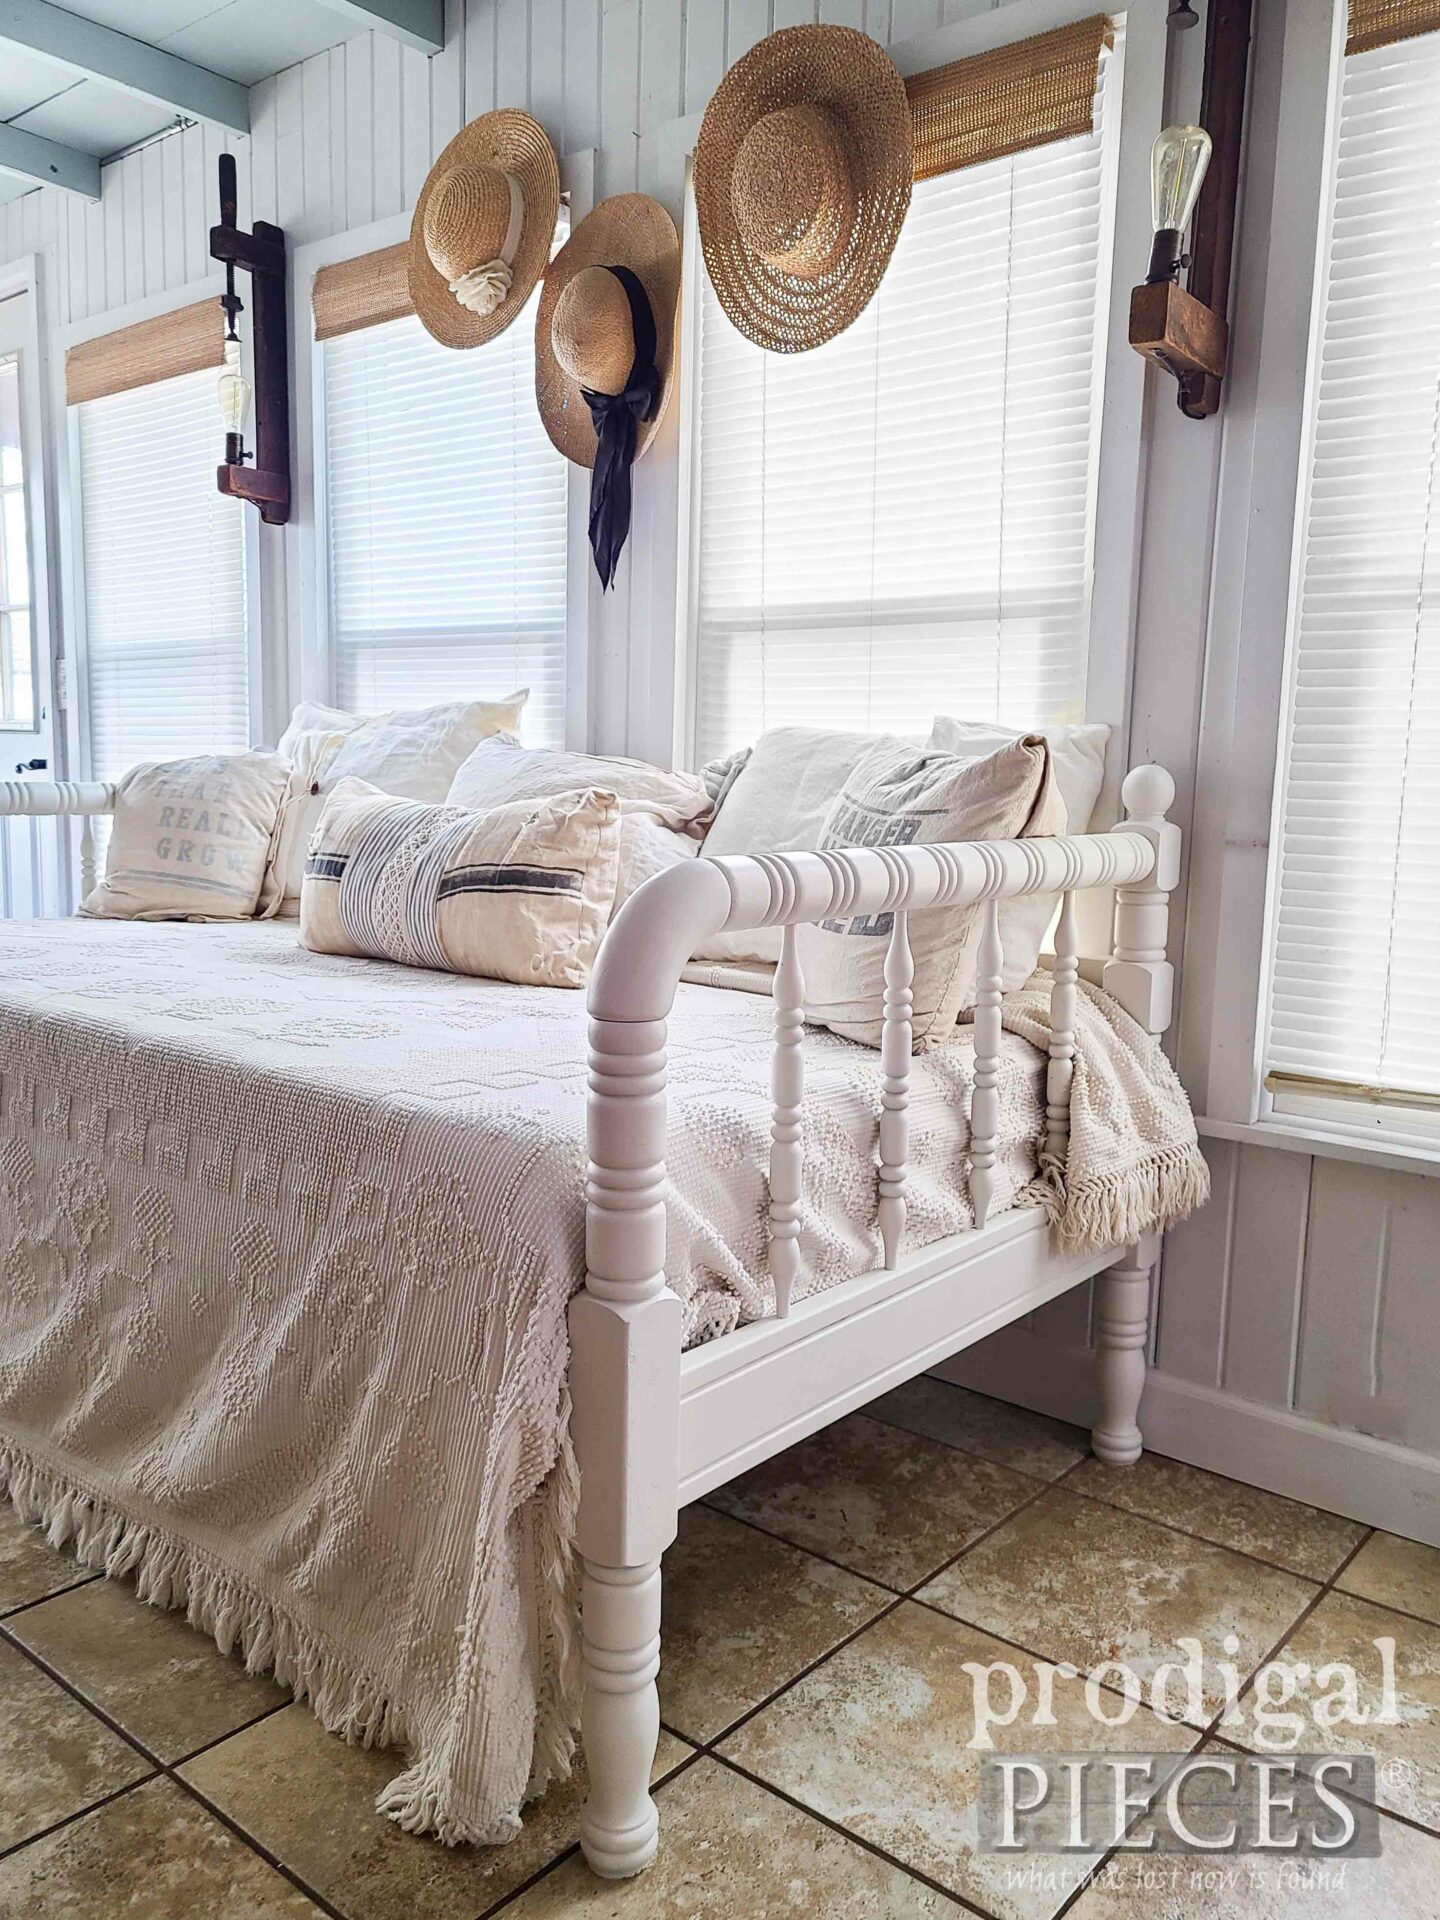
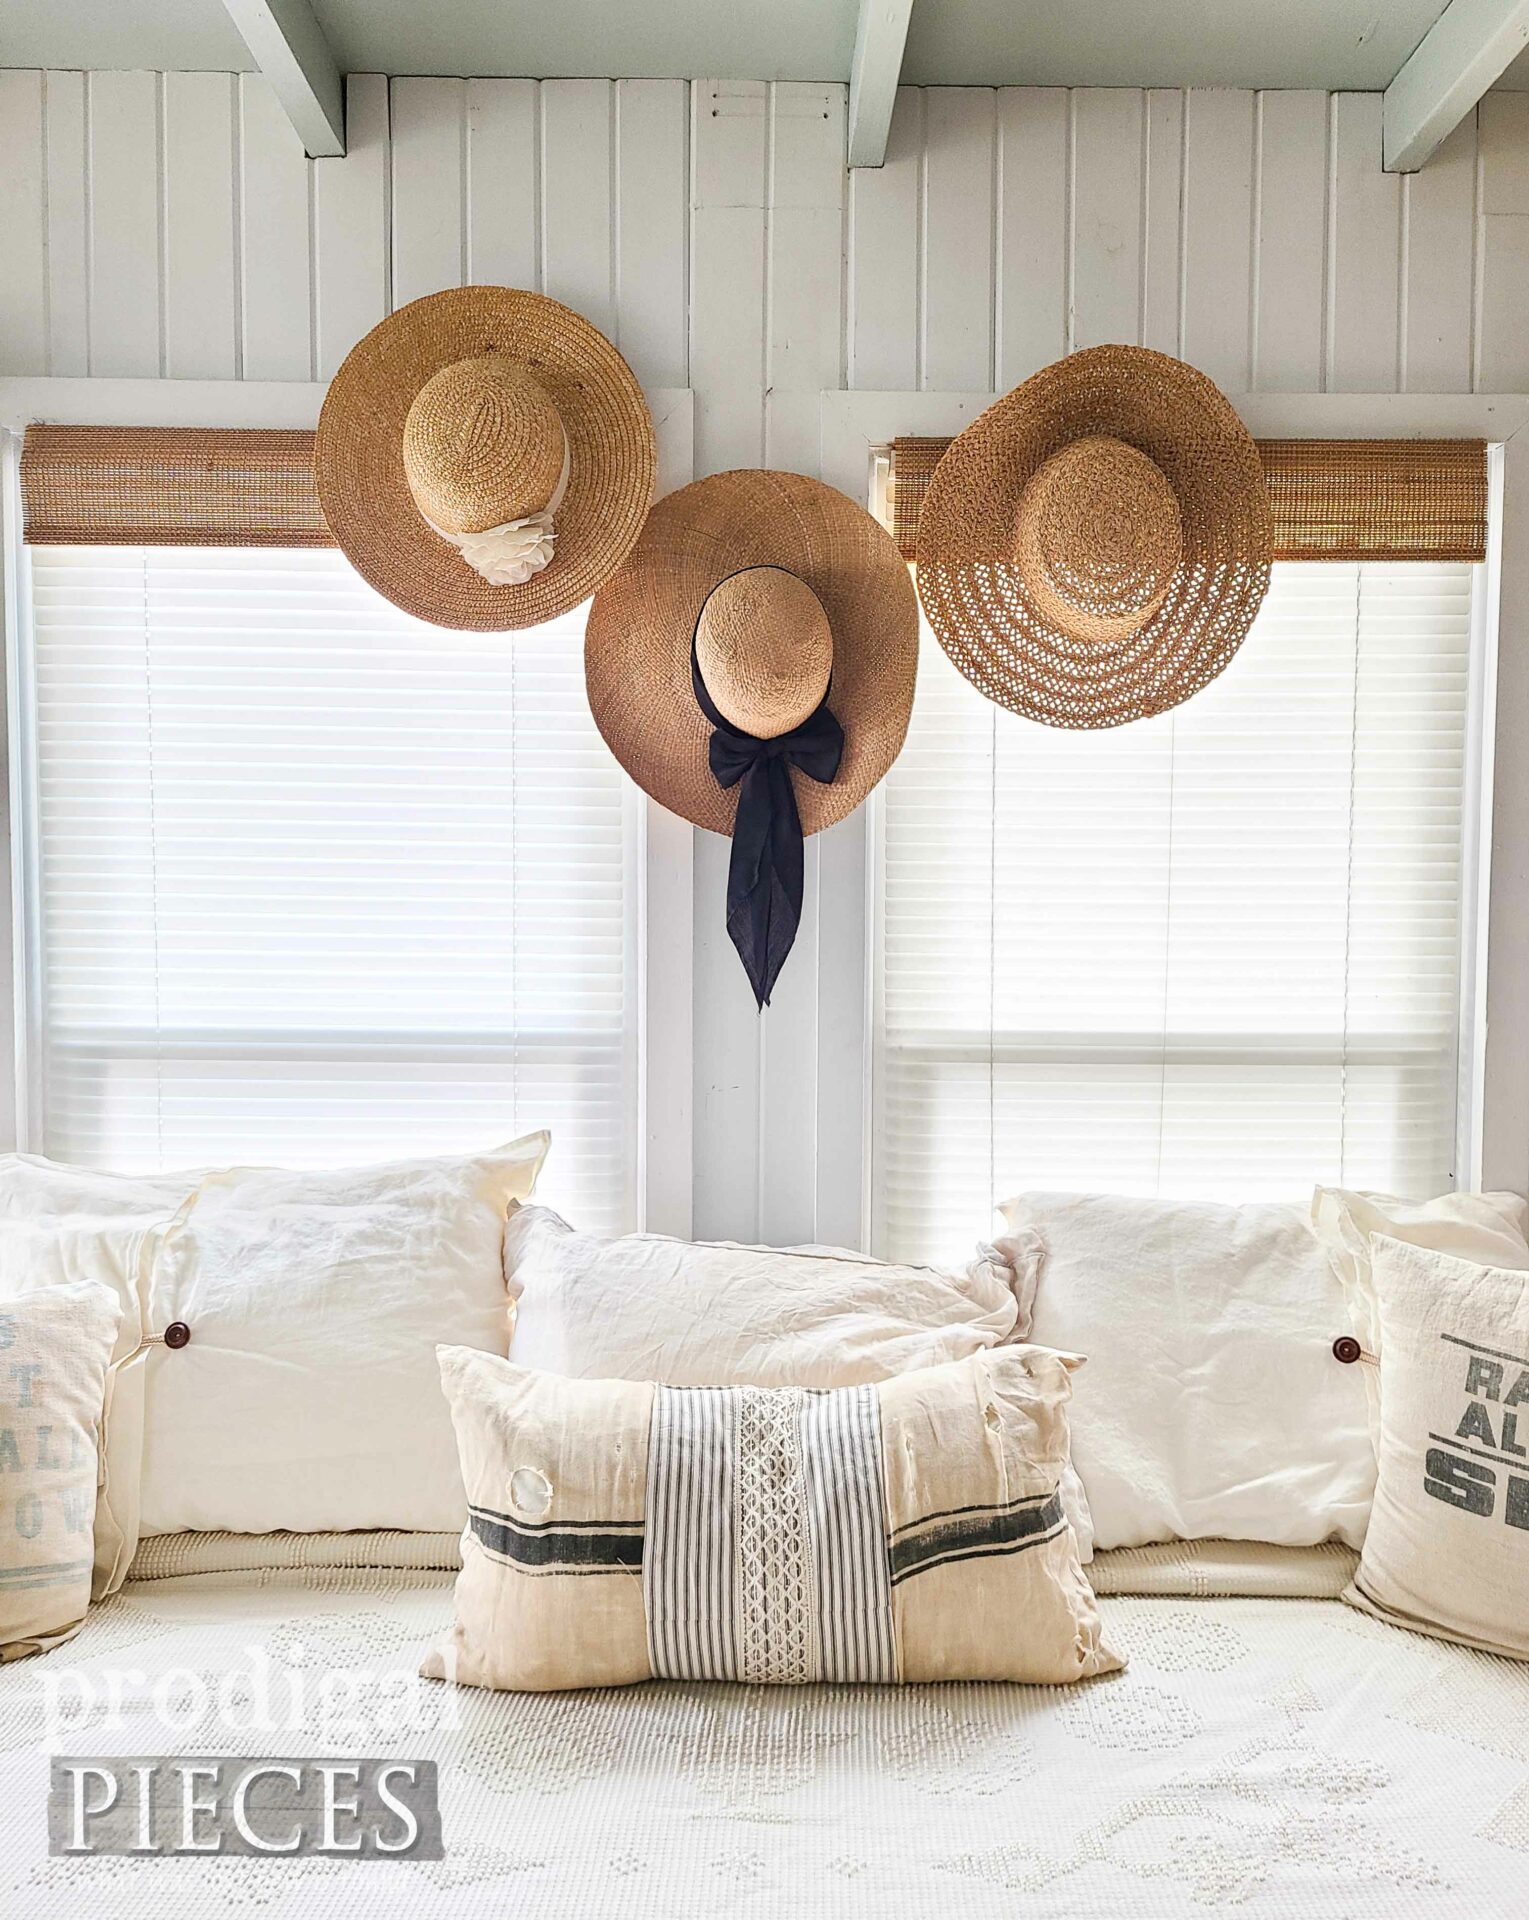
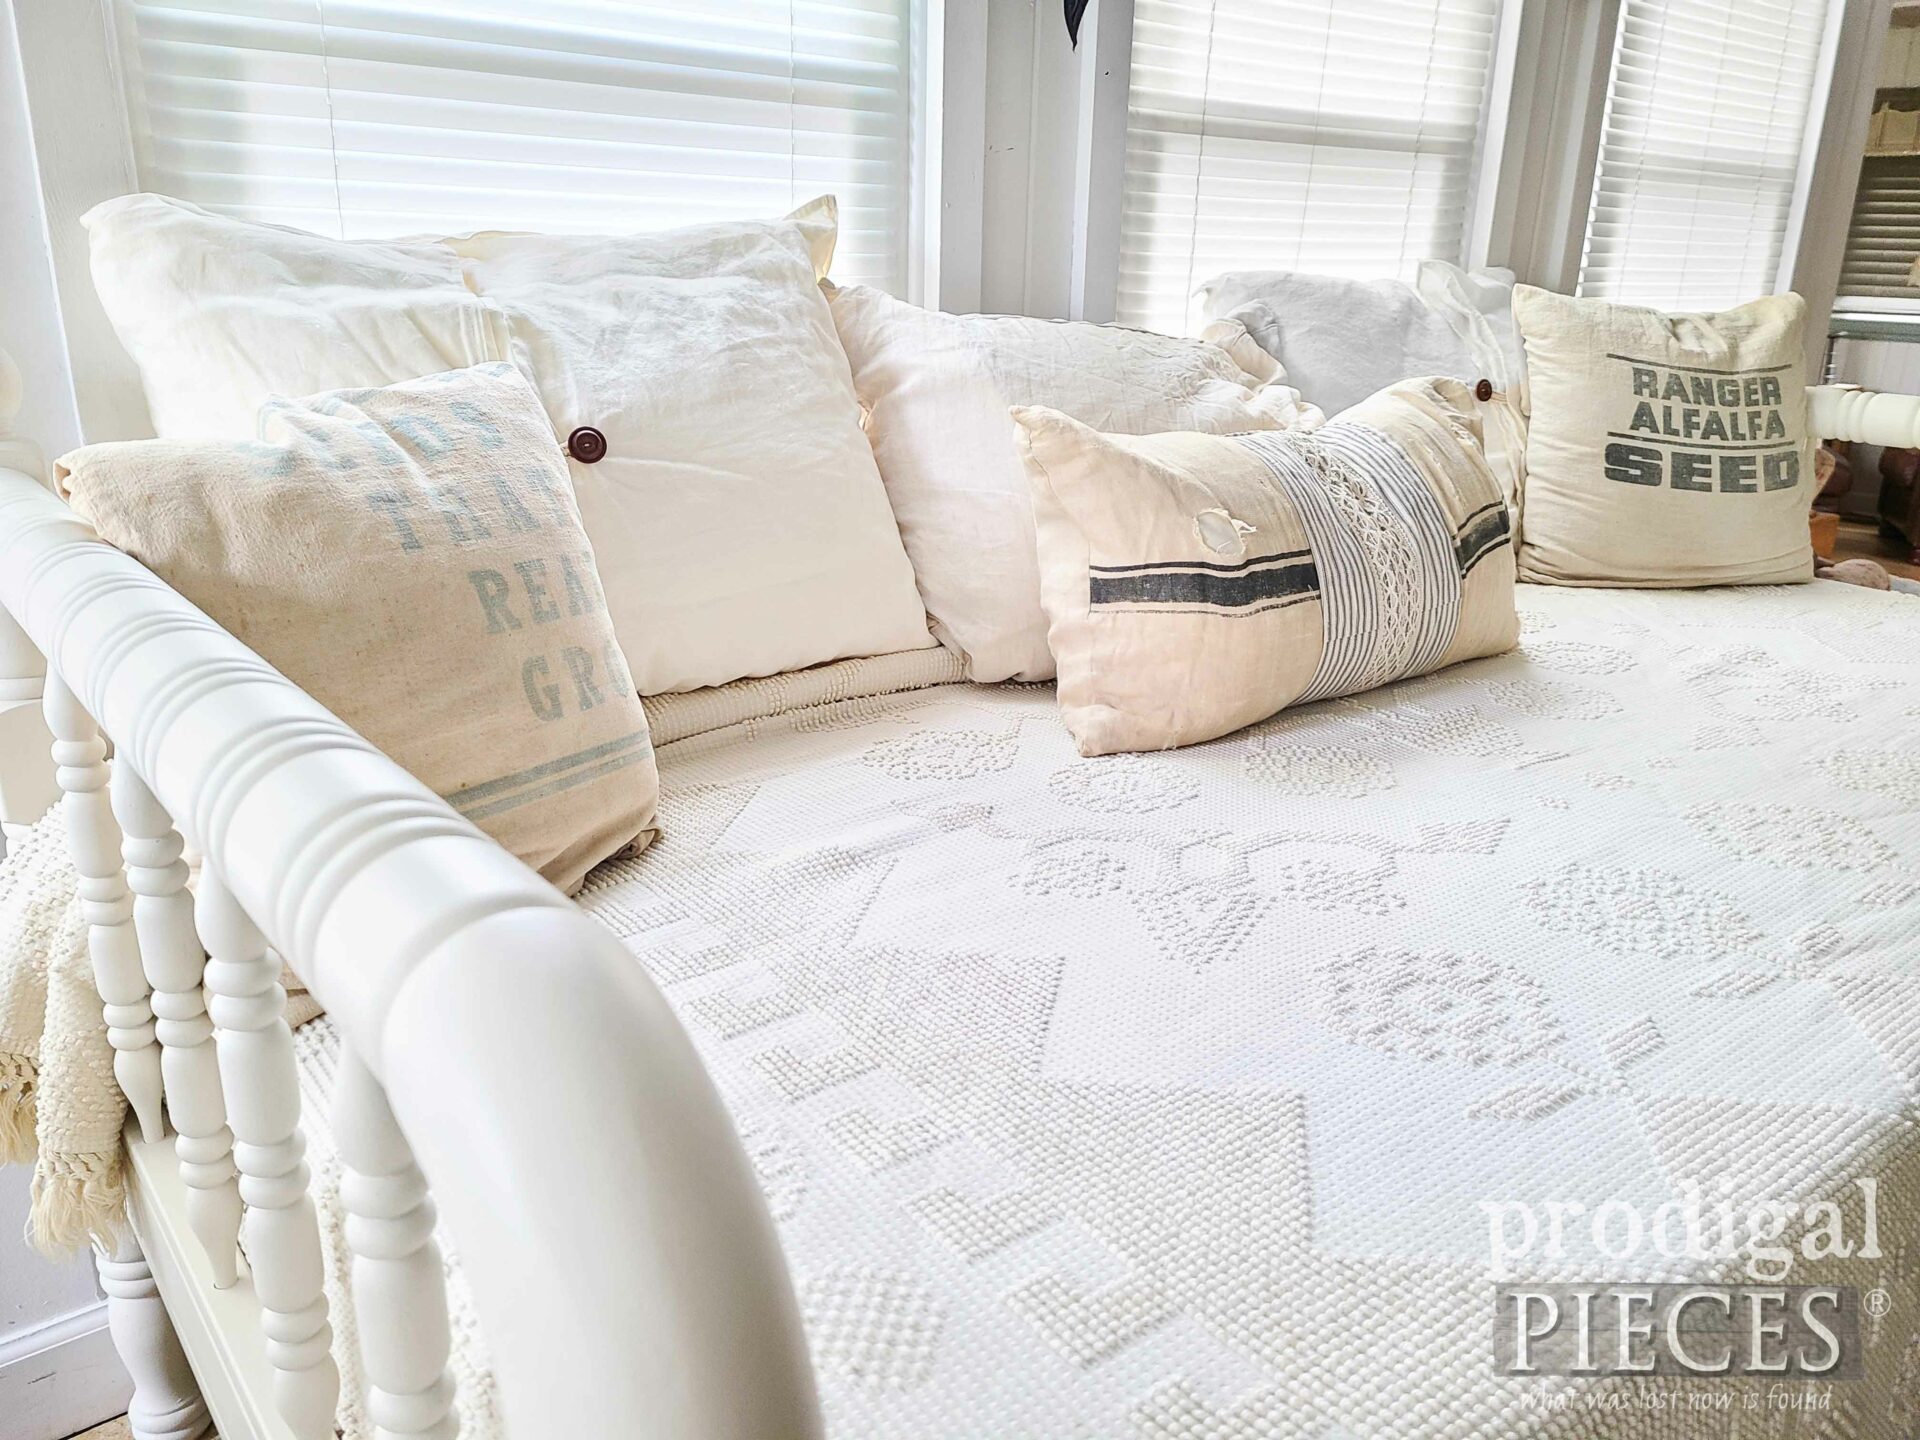
Finally, here is my upcycled bed frame put to good use as twin size daybed. It’s now ready for many more years of cozy.
The minute I set this up, my kids wanted to give it a test run. Can you blame them? I mean, who wouldn’t want to grab a book and curl up here for a long nap?
Additionally, I’m happy to say that I even have the other frame to put to use as well. While I so wanted my girls to have these, they’re happy with their new bedroom. Likewise, I’m happy to have this bed finally finished.
Moreover, I love that there’s enough space below for a trundle, maybe some baskets for extra storage.
SHARE
Before you go, tell me (1) would you have grabbed these frames (2) would you have built something different? Also, pin and share to inspire others to give DIY a try.
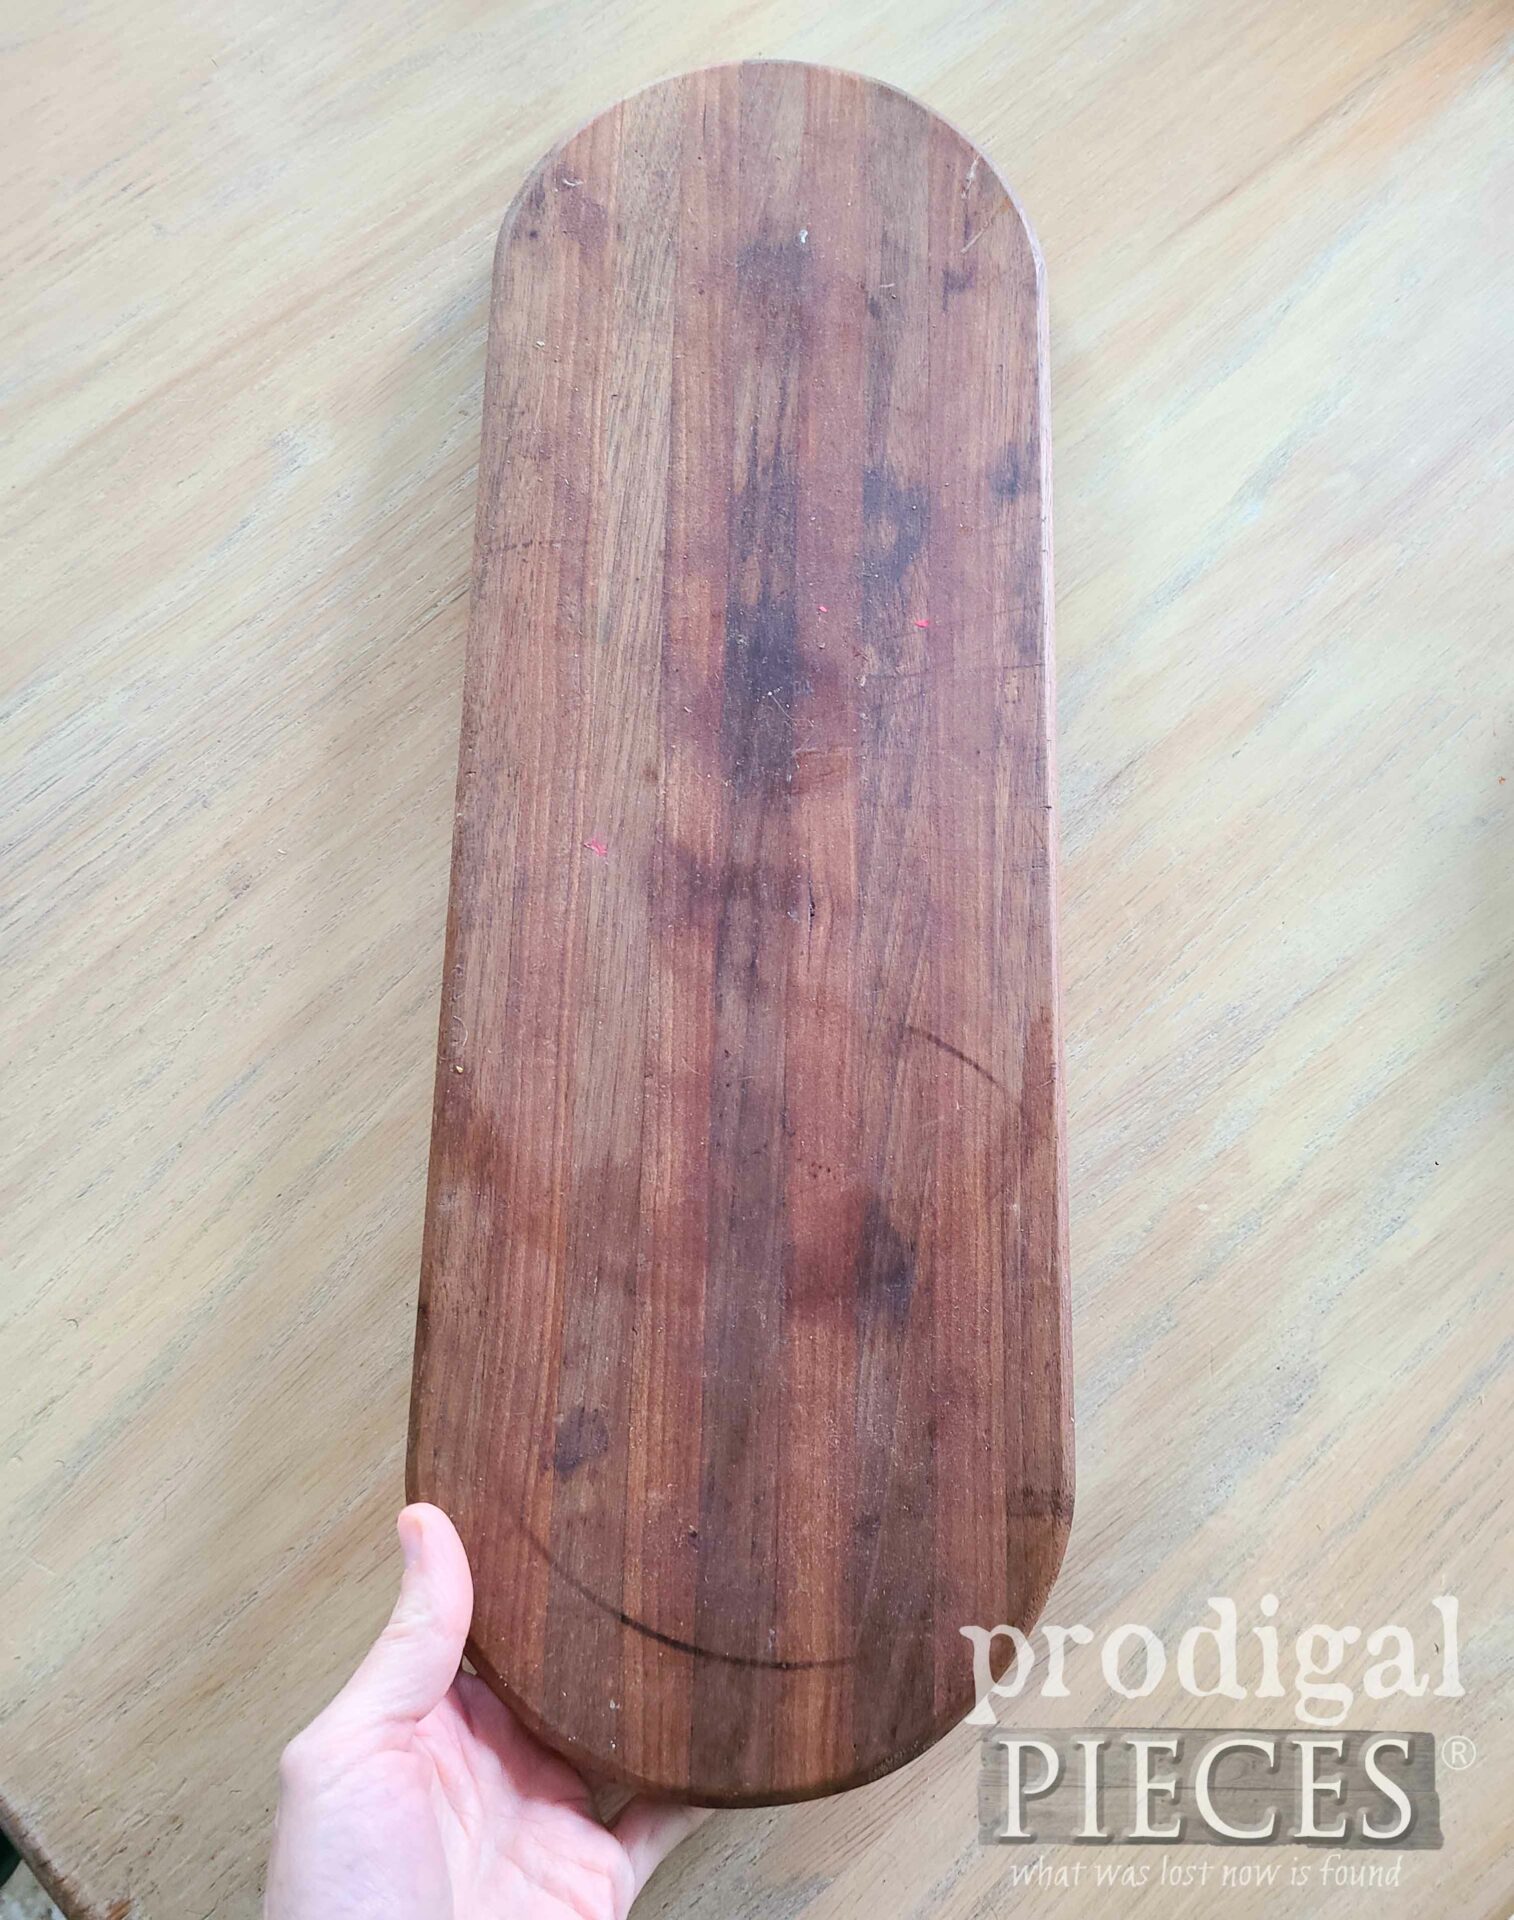
While you’re at it, I’m eyeing this thrifted wooden trivet into something new HERE.
As a result, to see that and more be sure to sign up for my FREE newsletter. Before you go, head below for Trash to Treasure time!



Very nicely done! I love your pillow selections n the use of the chenille bed spread!
I have 2 beautiful head boards….very vintage n very tall n I am itching to see them transformed ….. perhaps into a sweet bed for my upcoming first Great Grandbaby!
Keep up the creativity….your children watching n learning will be developing great skills for their future. I say that from true experience. (Wink)🤗
Thank you for saying so, Dawn. It sounds like you have a lovely idea and plenty of help. Have fun with it!
This is cozy perfection, my friend. What an amazing way to repurpose. I can see why your girls took the first opportunity to jump on it and snuggle up! Pinned! XOXO
I needed a nap there, to be honest. haha! Thanks, Denise! 😀
How cozy! I would most defiantly had taken the bed frames. Very fun idea. The pillows are perfect and the chenille bead spread is wonderful.
They’ve all had much love and it’s fun for me to put them all together to stage. Thanks for the smile, Niki! 😀
Wow! That’s awesome. It’s so pretty!
You are so sweet to say so, Lizzy. Thank you so much for the “hug”.
What a perfect use for these spindly pieces! I would have definitely grabbed them too! XOXO
Thanks! I wish I could have used them for my daughters, but they love their new beds too.
Such a sweet transformation ! I would have loved this in my room growing-up 🙂
I admire your carpentry skills. I had found a nearby woodworking class, but it disappeared during covid. 🙁
Still looking….
Thanks for sharing the details !
p
OOh…I hope you can find one! I wanted to take carpentry in school, but they wouldn’t let me. Kept sticking me in Home Ec and Computers even though I could cook, sew, and code better than any of them. I always put it first on my choices of the three! But alas…
Such a cozy spot to relax, love it!
Sign me up for a nap! You too!