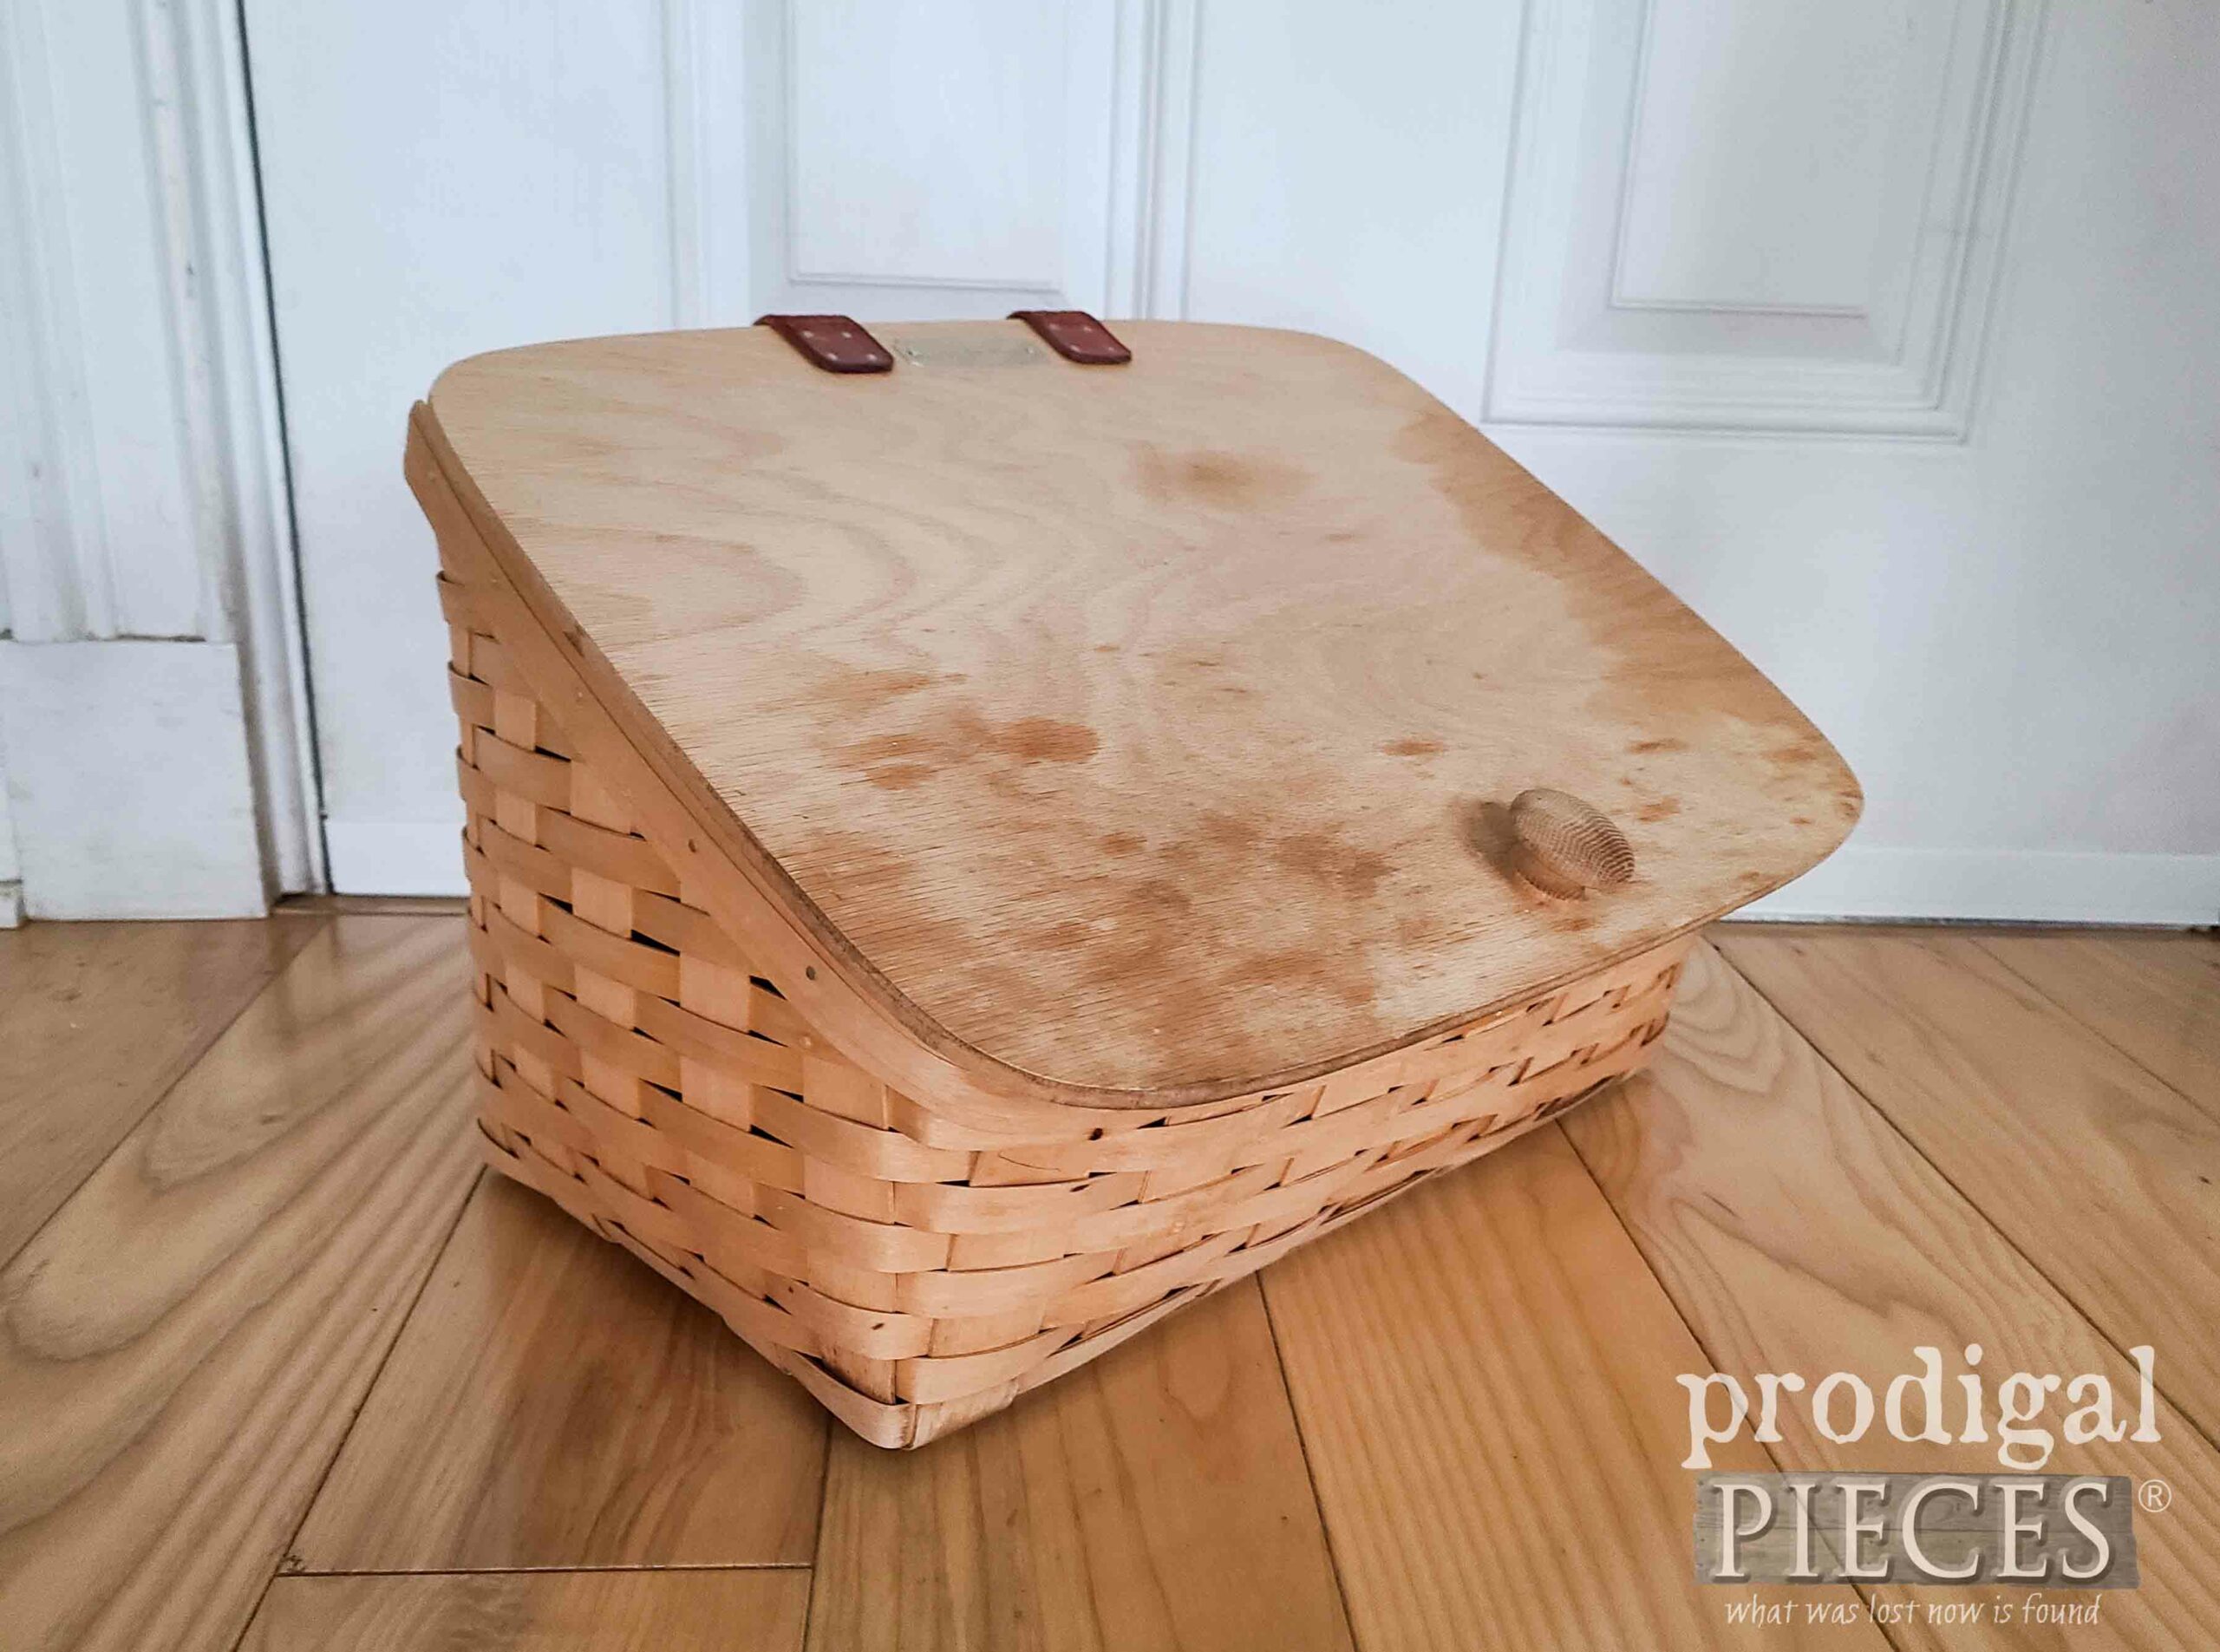
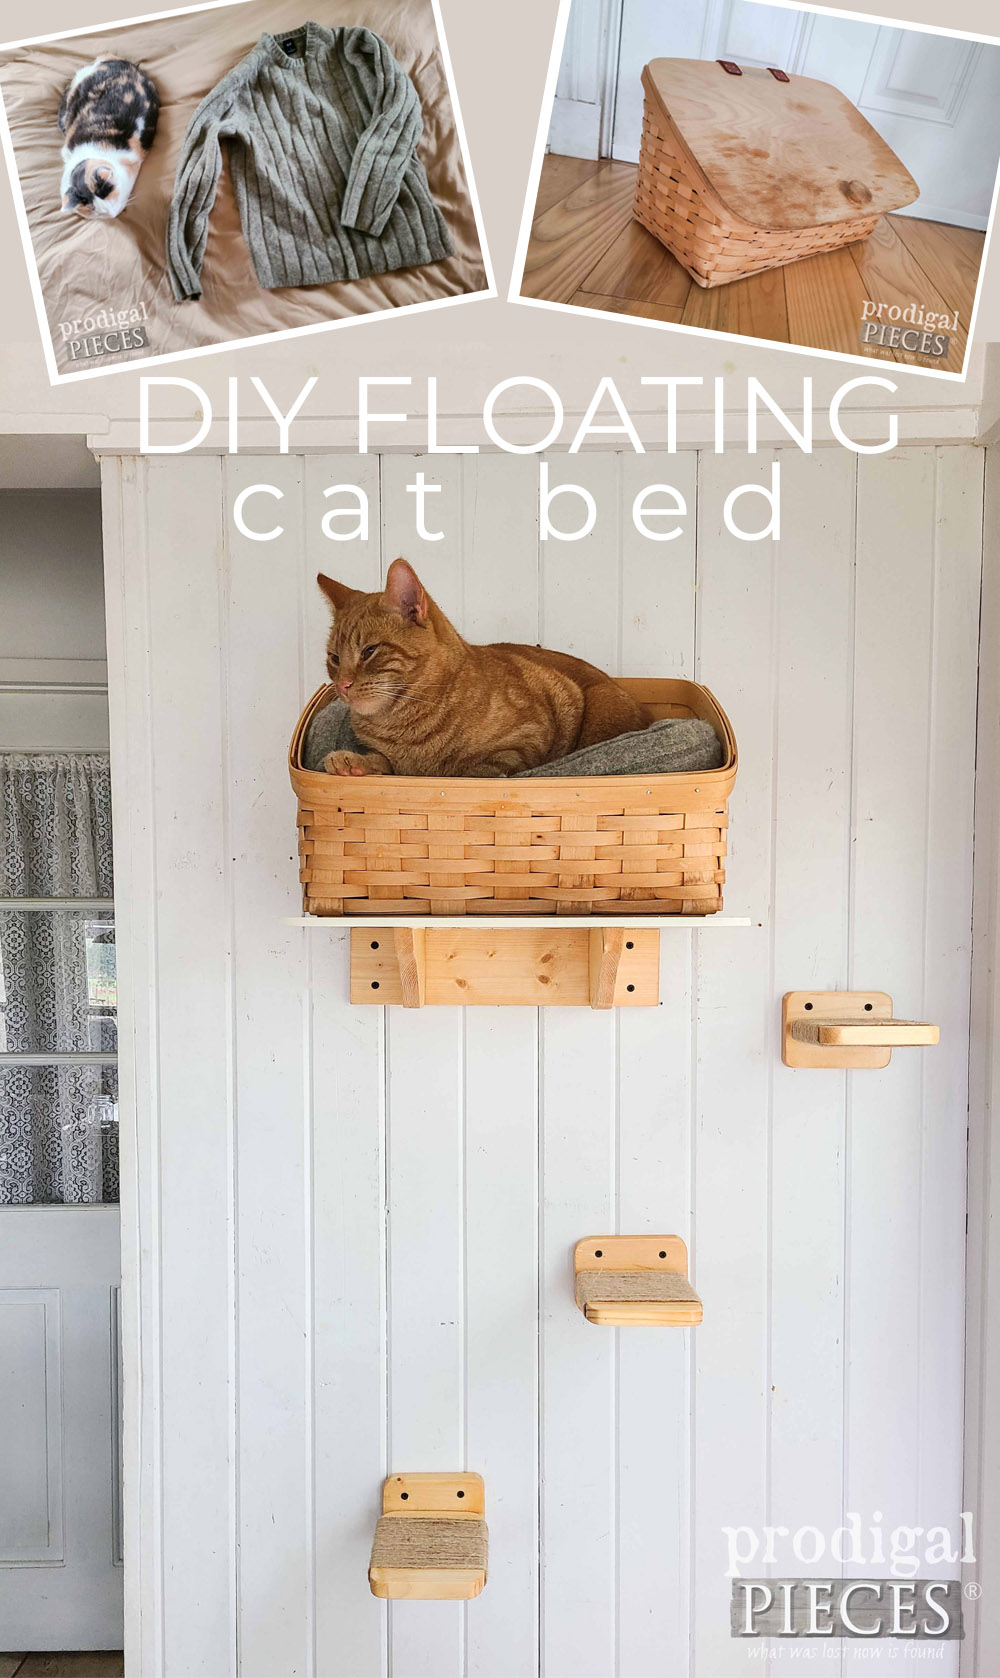
Only one more month until the new year is upon us, can you believe it? It’s the last Tuesday of the month and that means that it’s Reduce, Reuse, REFASHION time. Yes, I haven’t done a refashion in a couple of months for many reasons, but I’m back in the saddle today! When out thrifting, I saw this basket and it inspires me to create. How about a DIY floating cat bed?
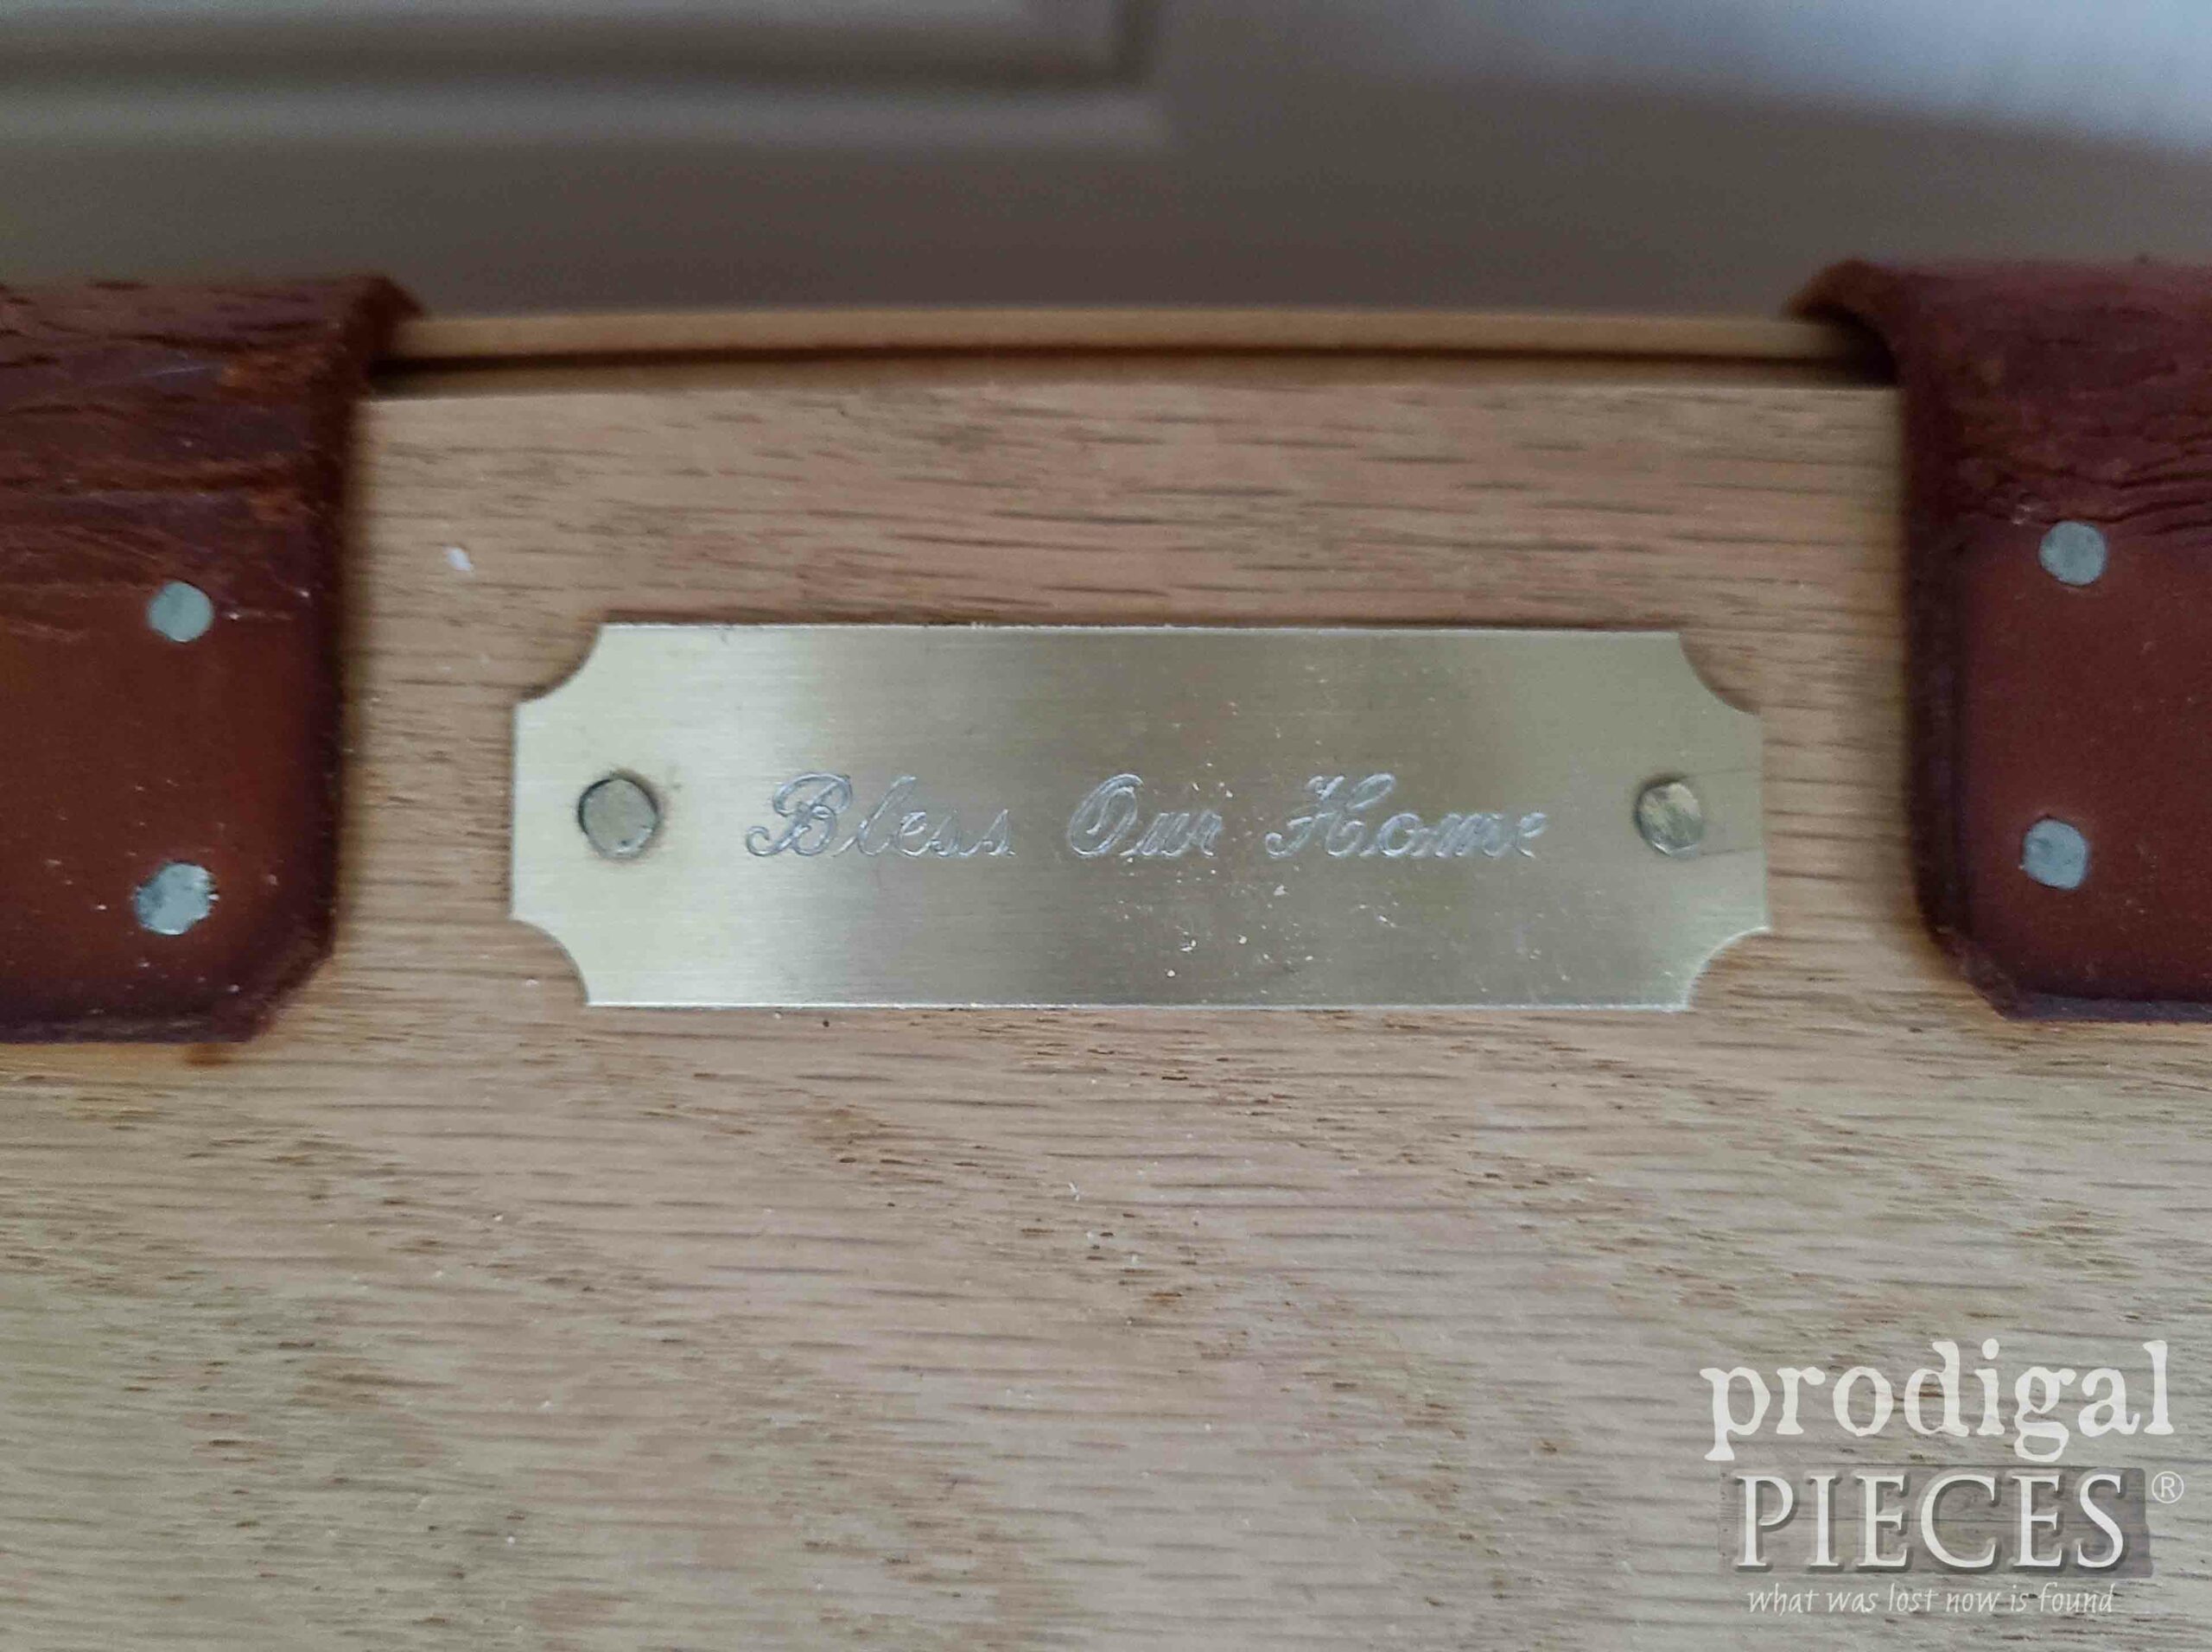
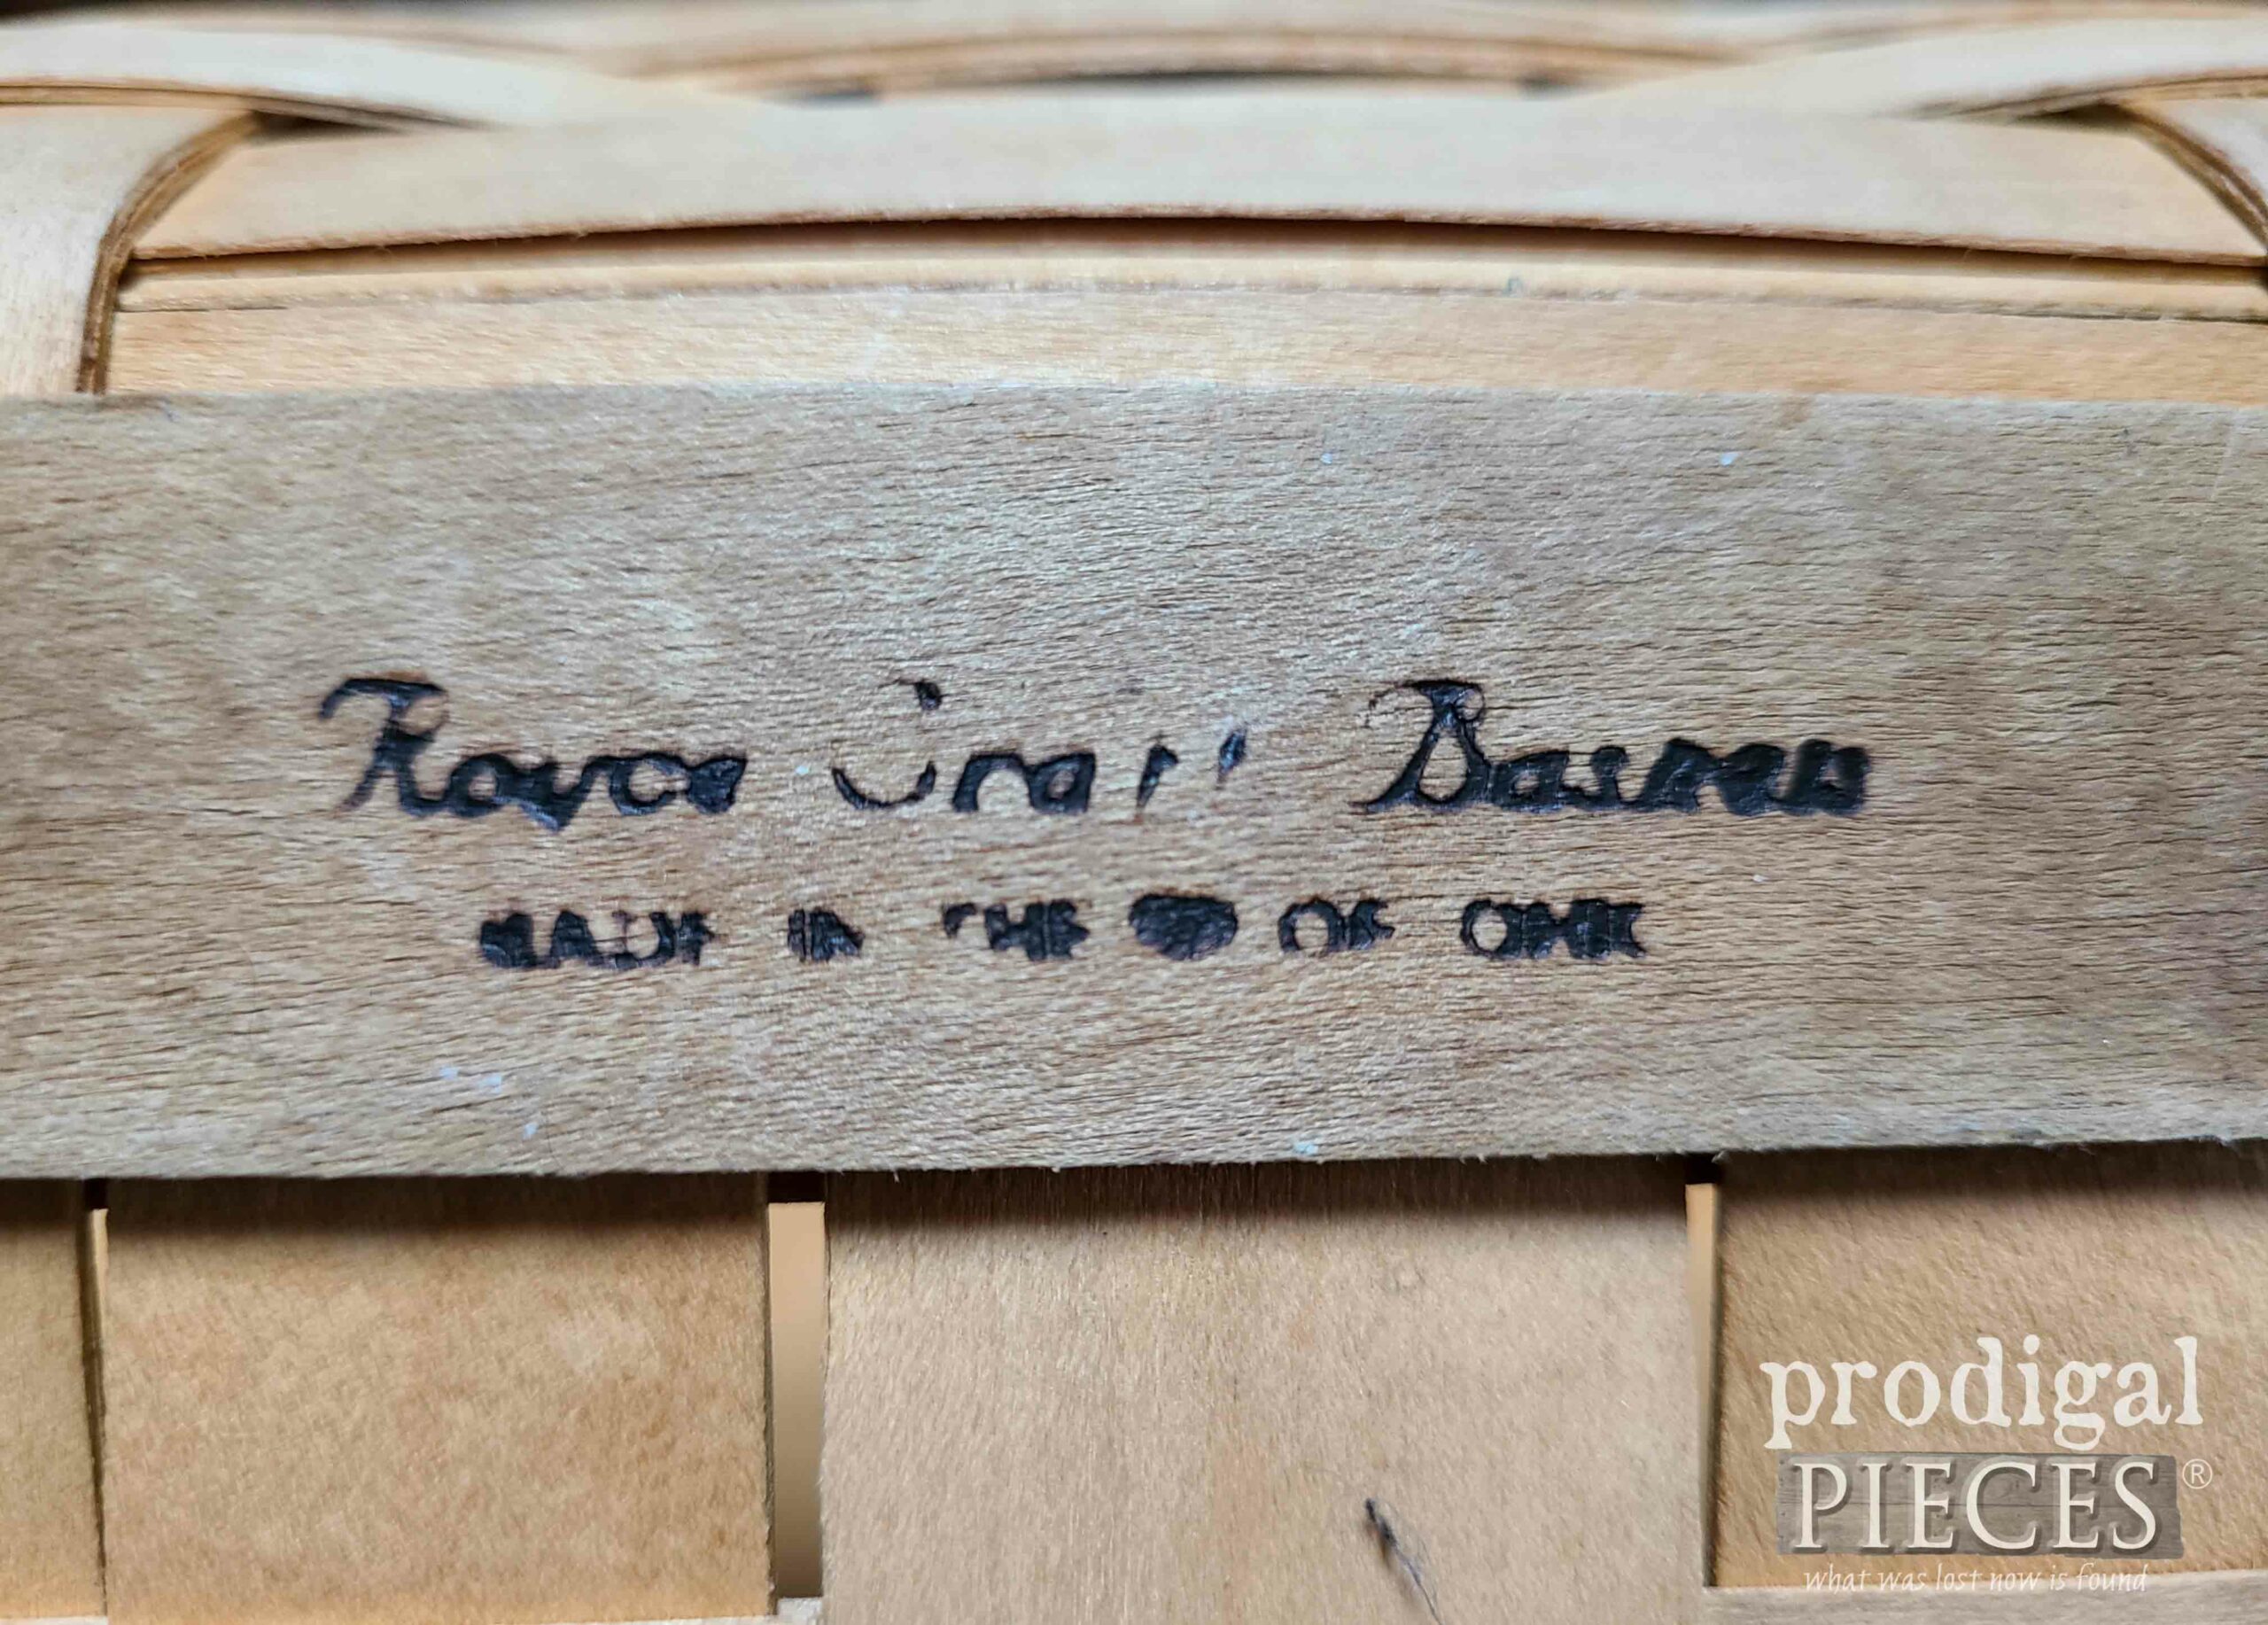
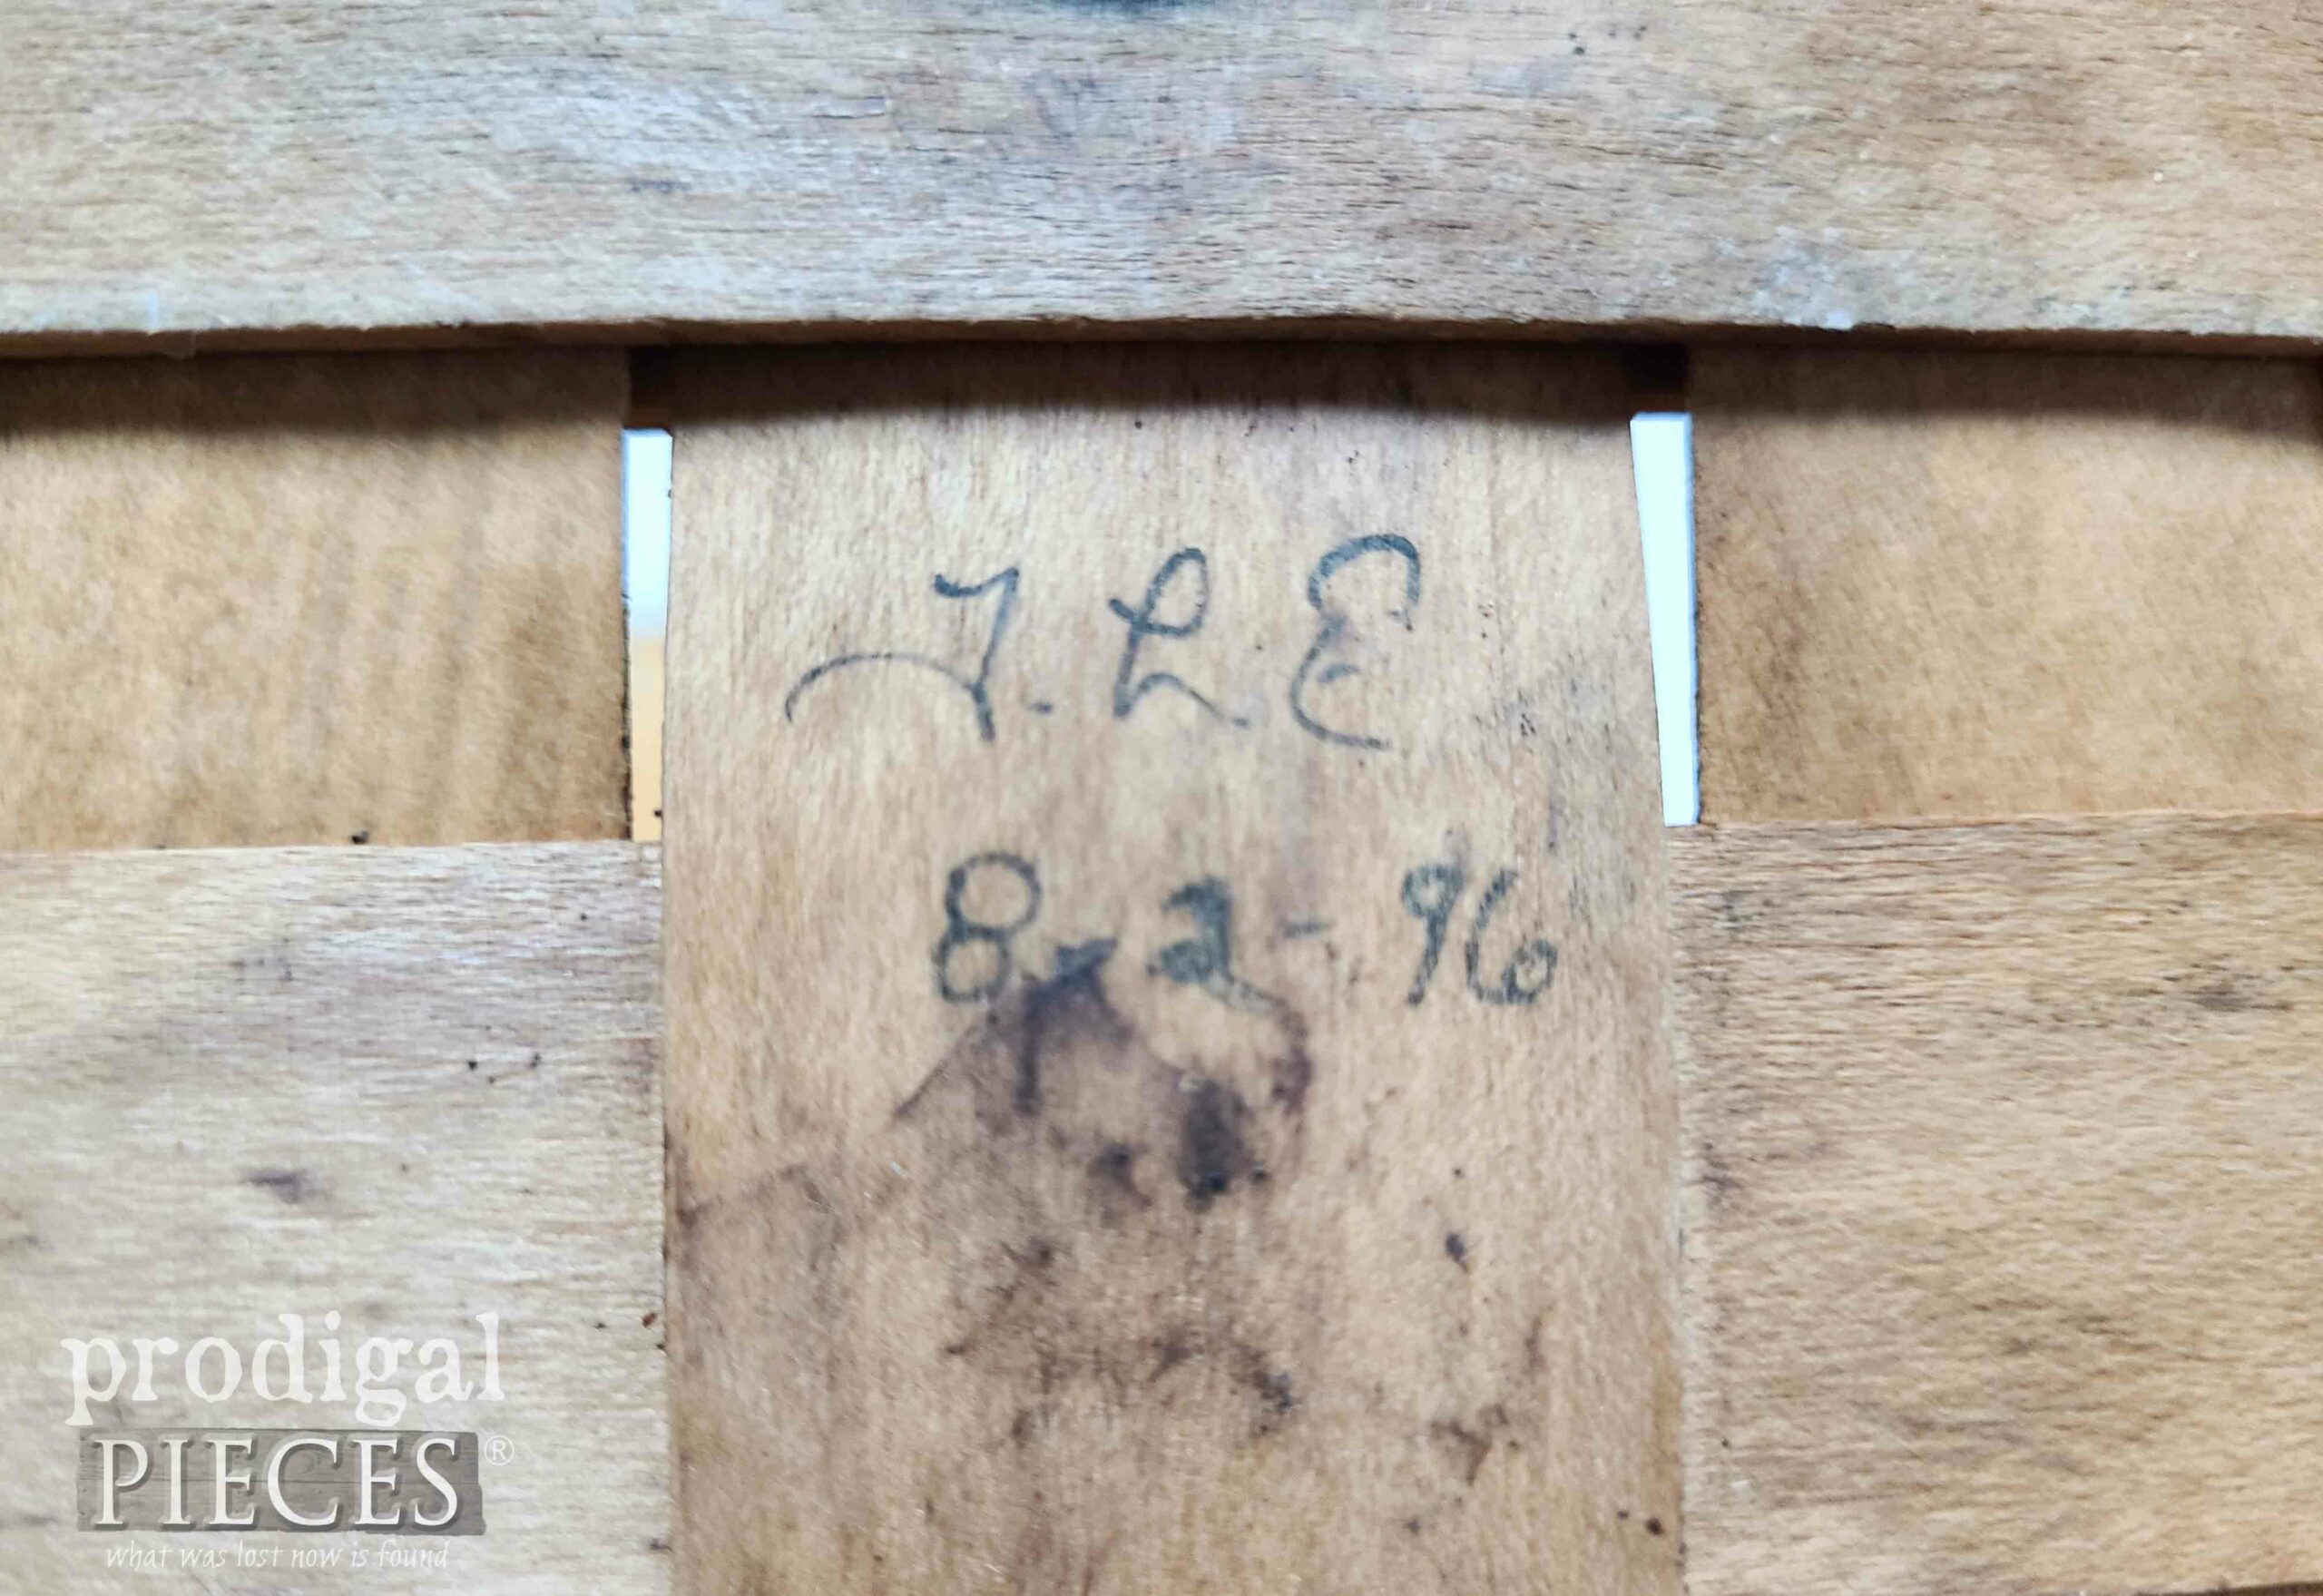
It’s not much to look at but does have some cool features like this tag, the original label, and signature.
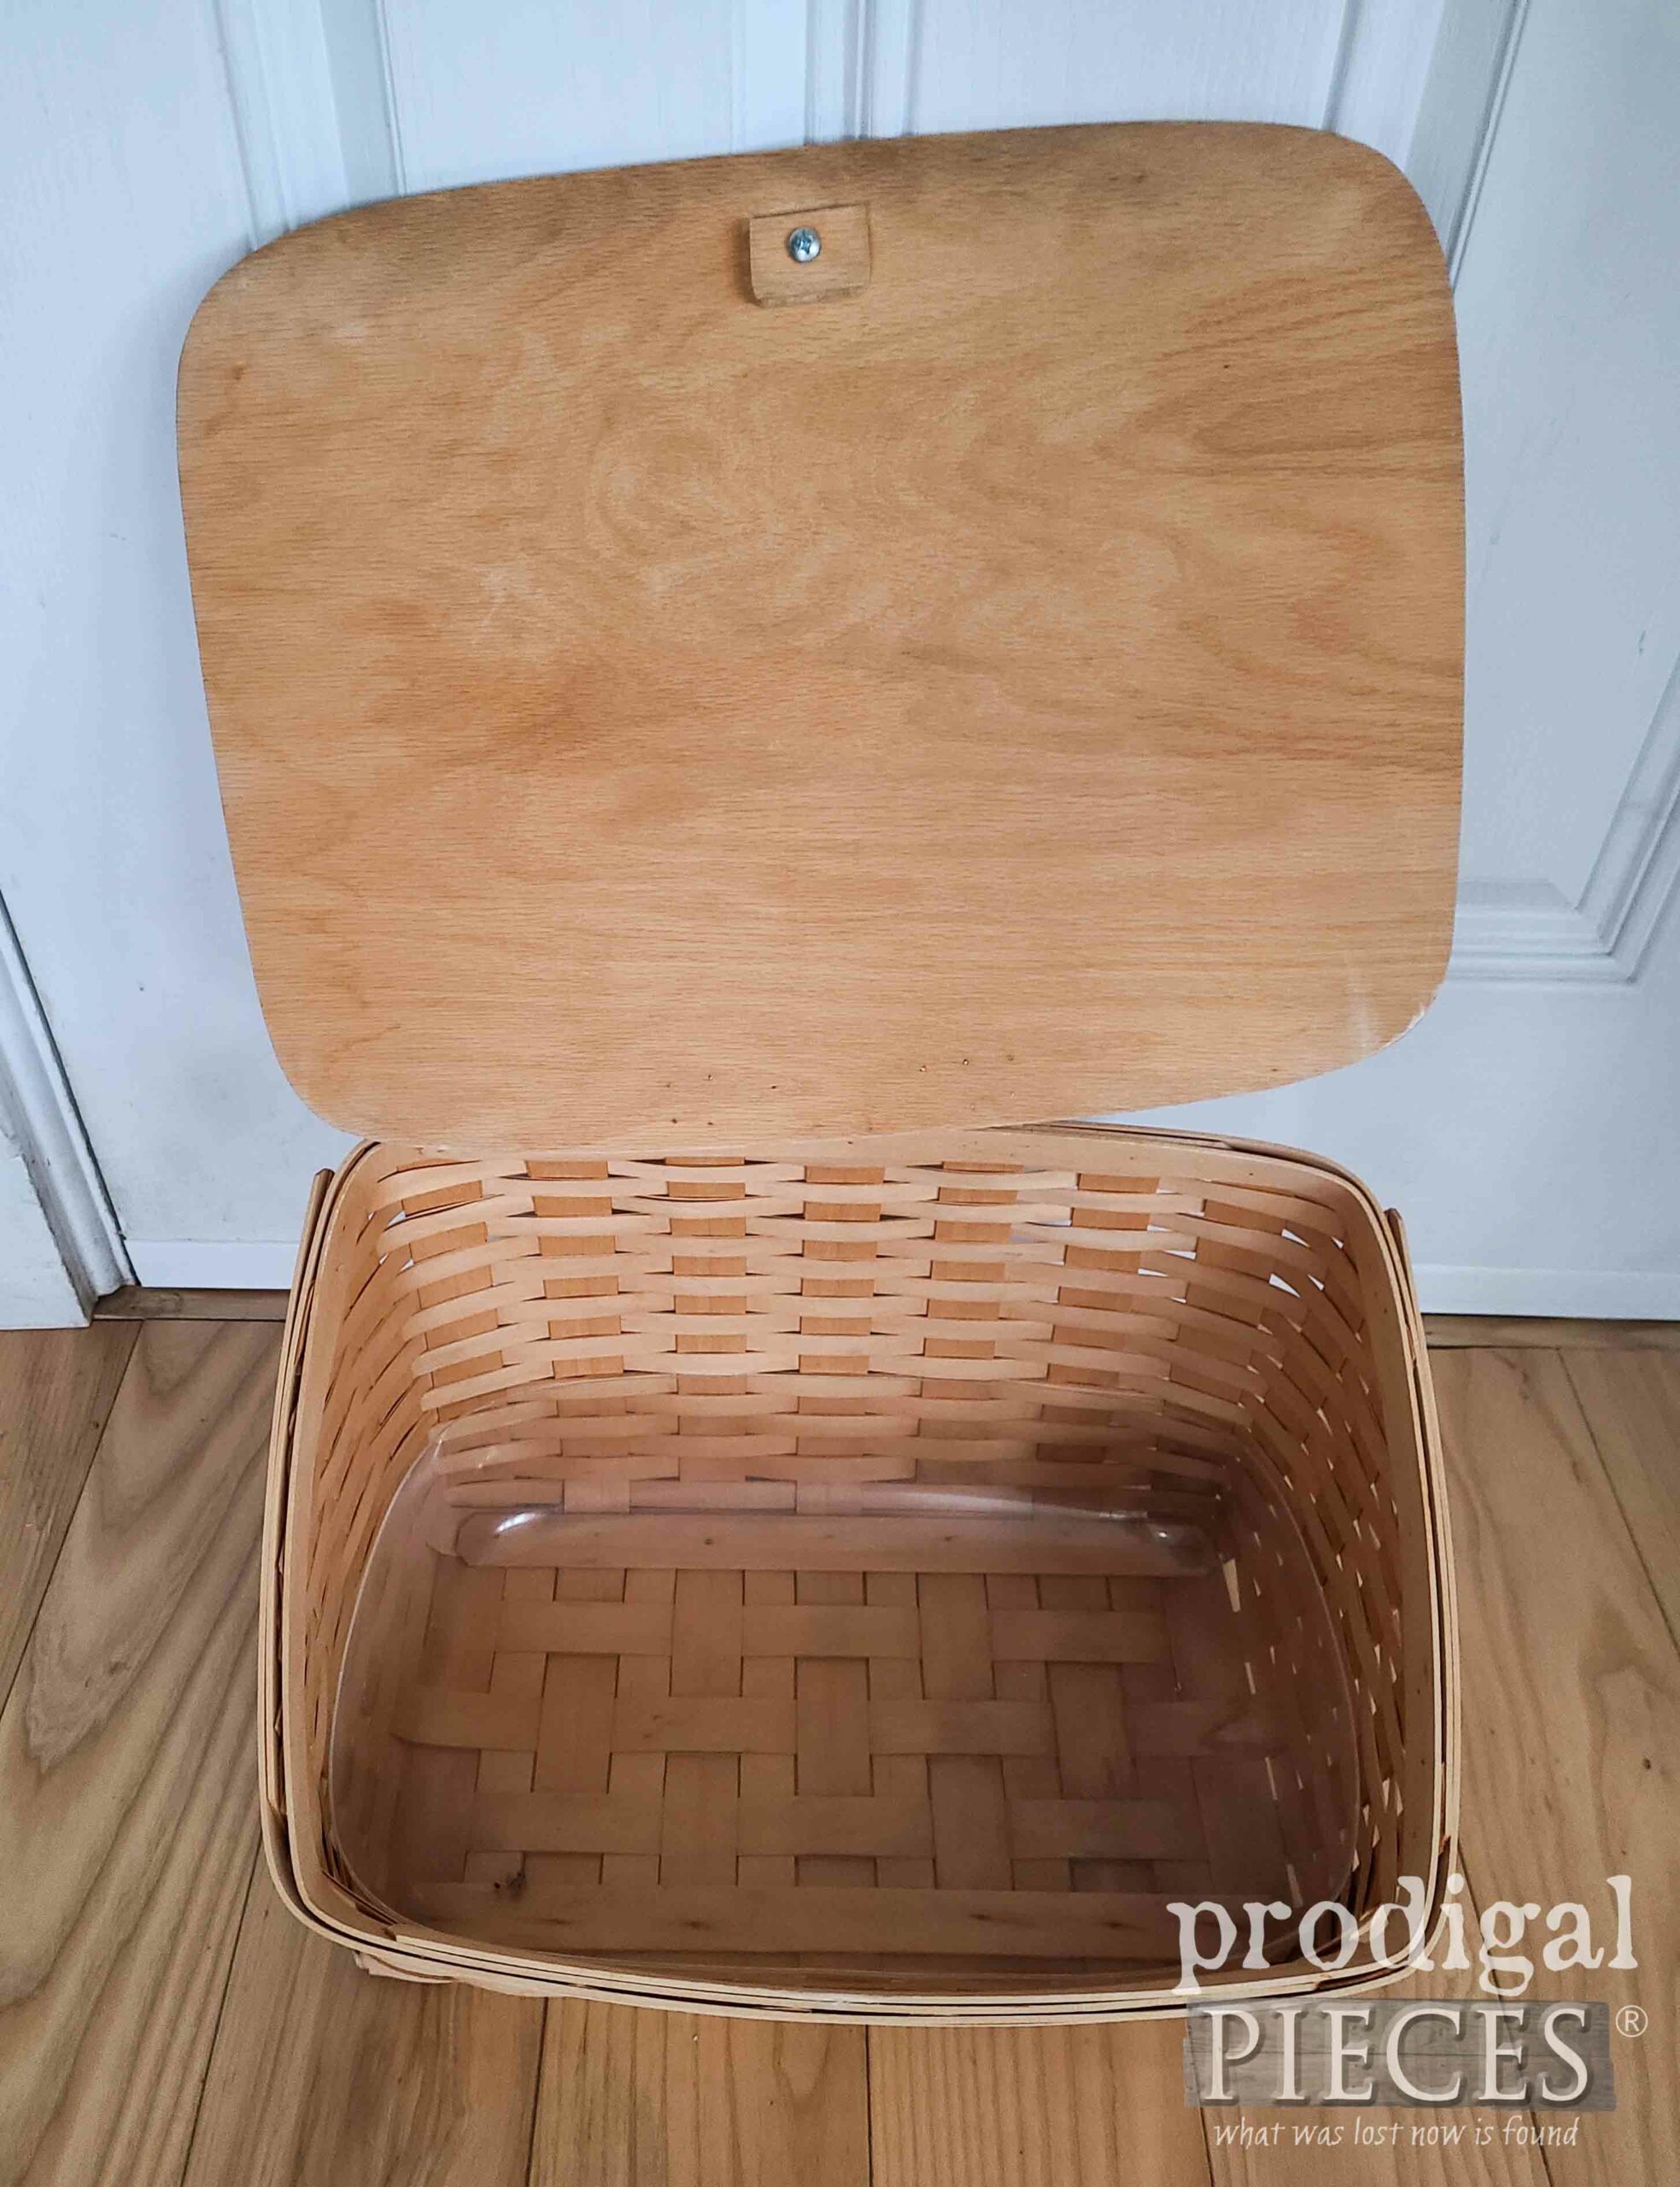
Meanwhile, on the inside the basket is well-made and lined with a plastic liner for food storage.
Now what to do? Let’s roll up our DIY sleeves and get this refashion party started!
REFASHIONING AND RECREATING
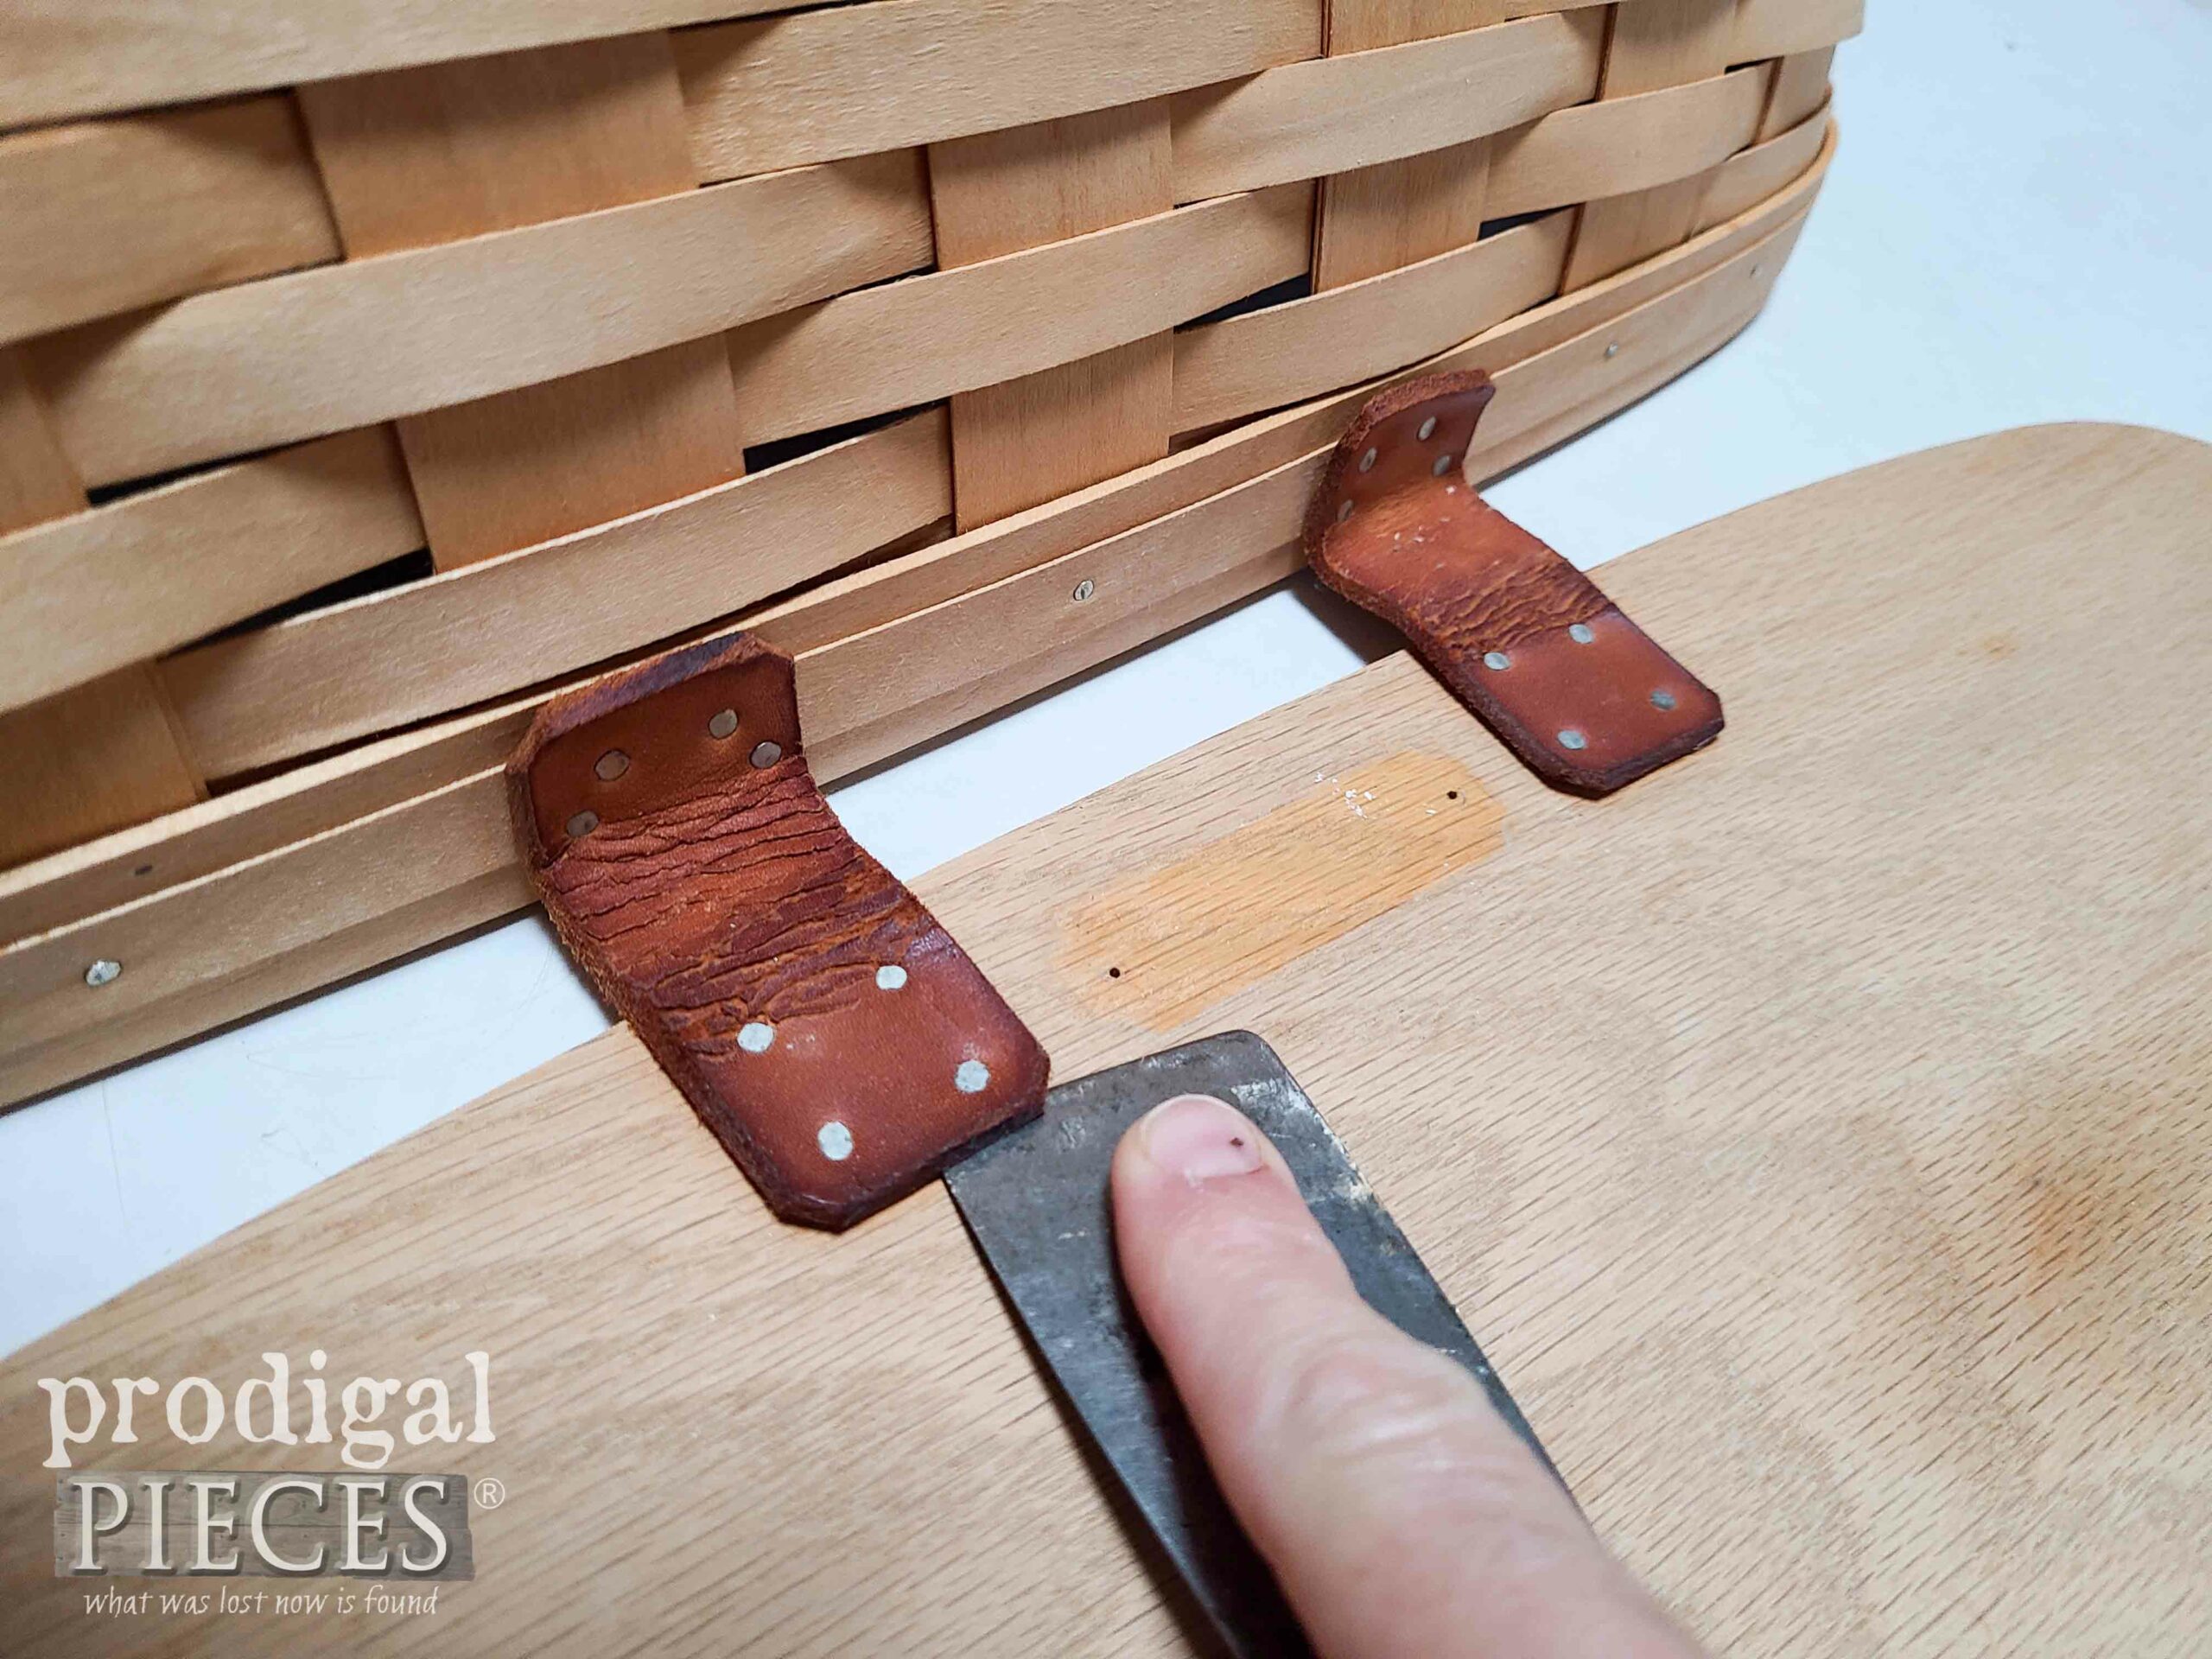
First, I take out the liner, remove the label on the lid, and also the leather hinges.
Then, once I have the basket disassembled, I fill the lid holes with wood putty, let cure and sand smooth. Do you see it already shaping up for my vision?
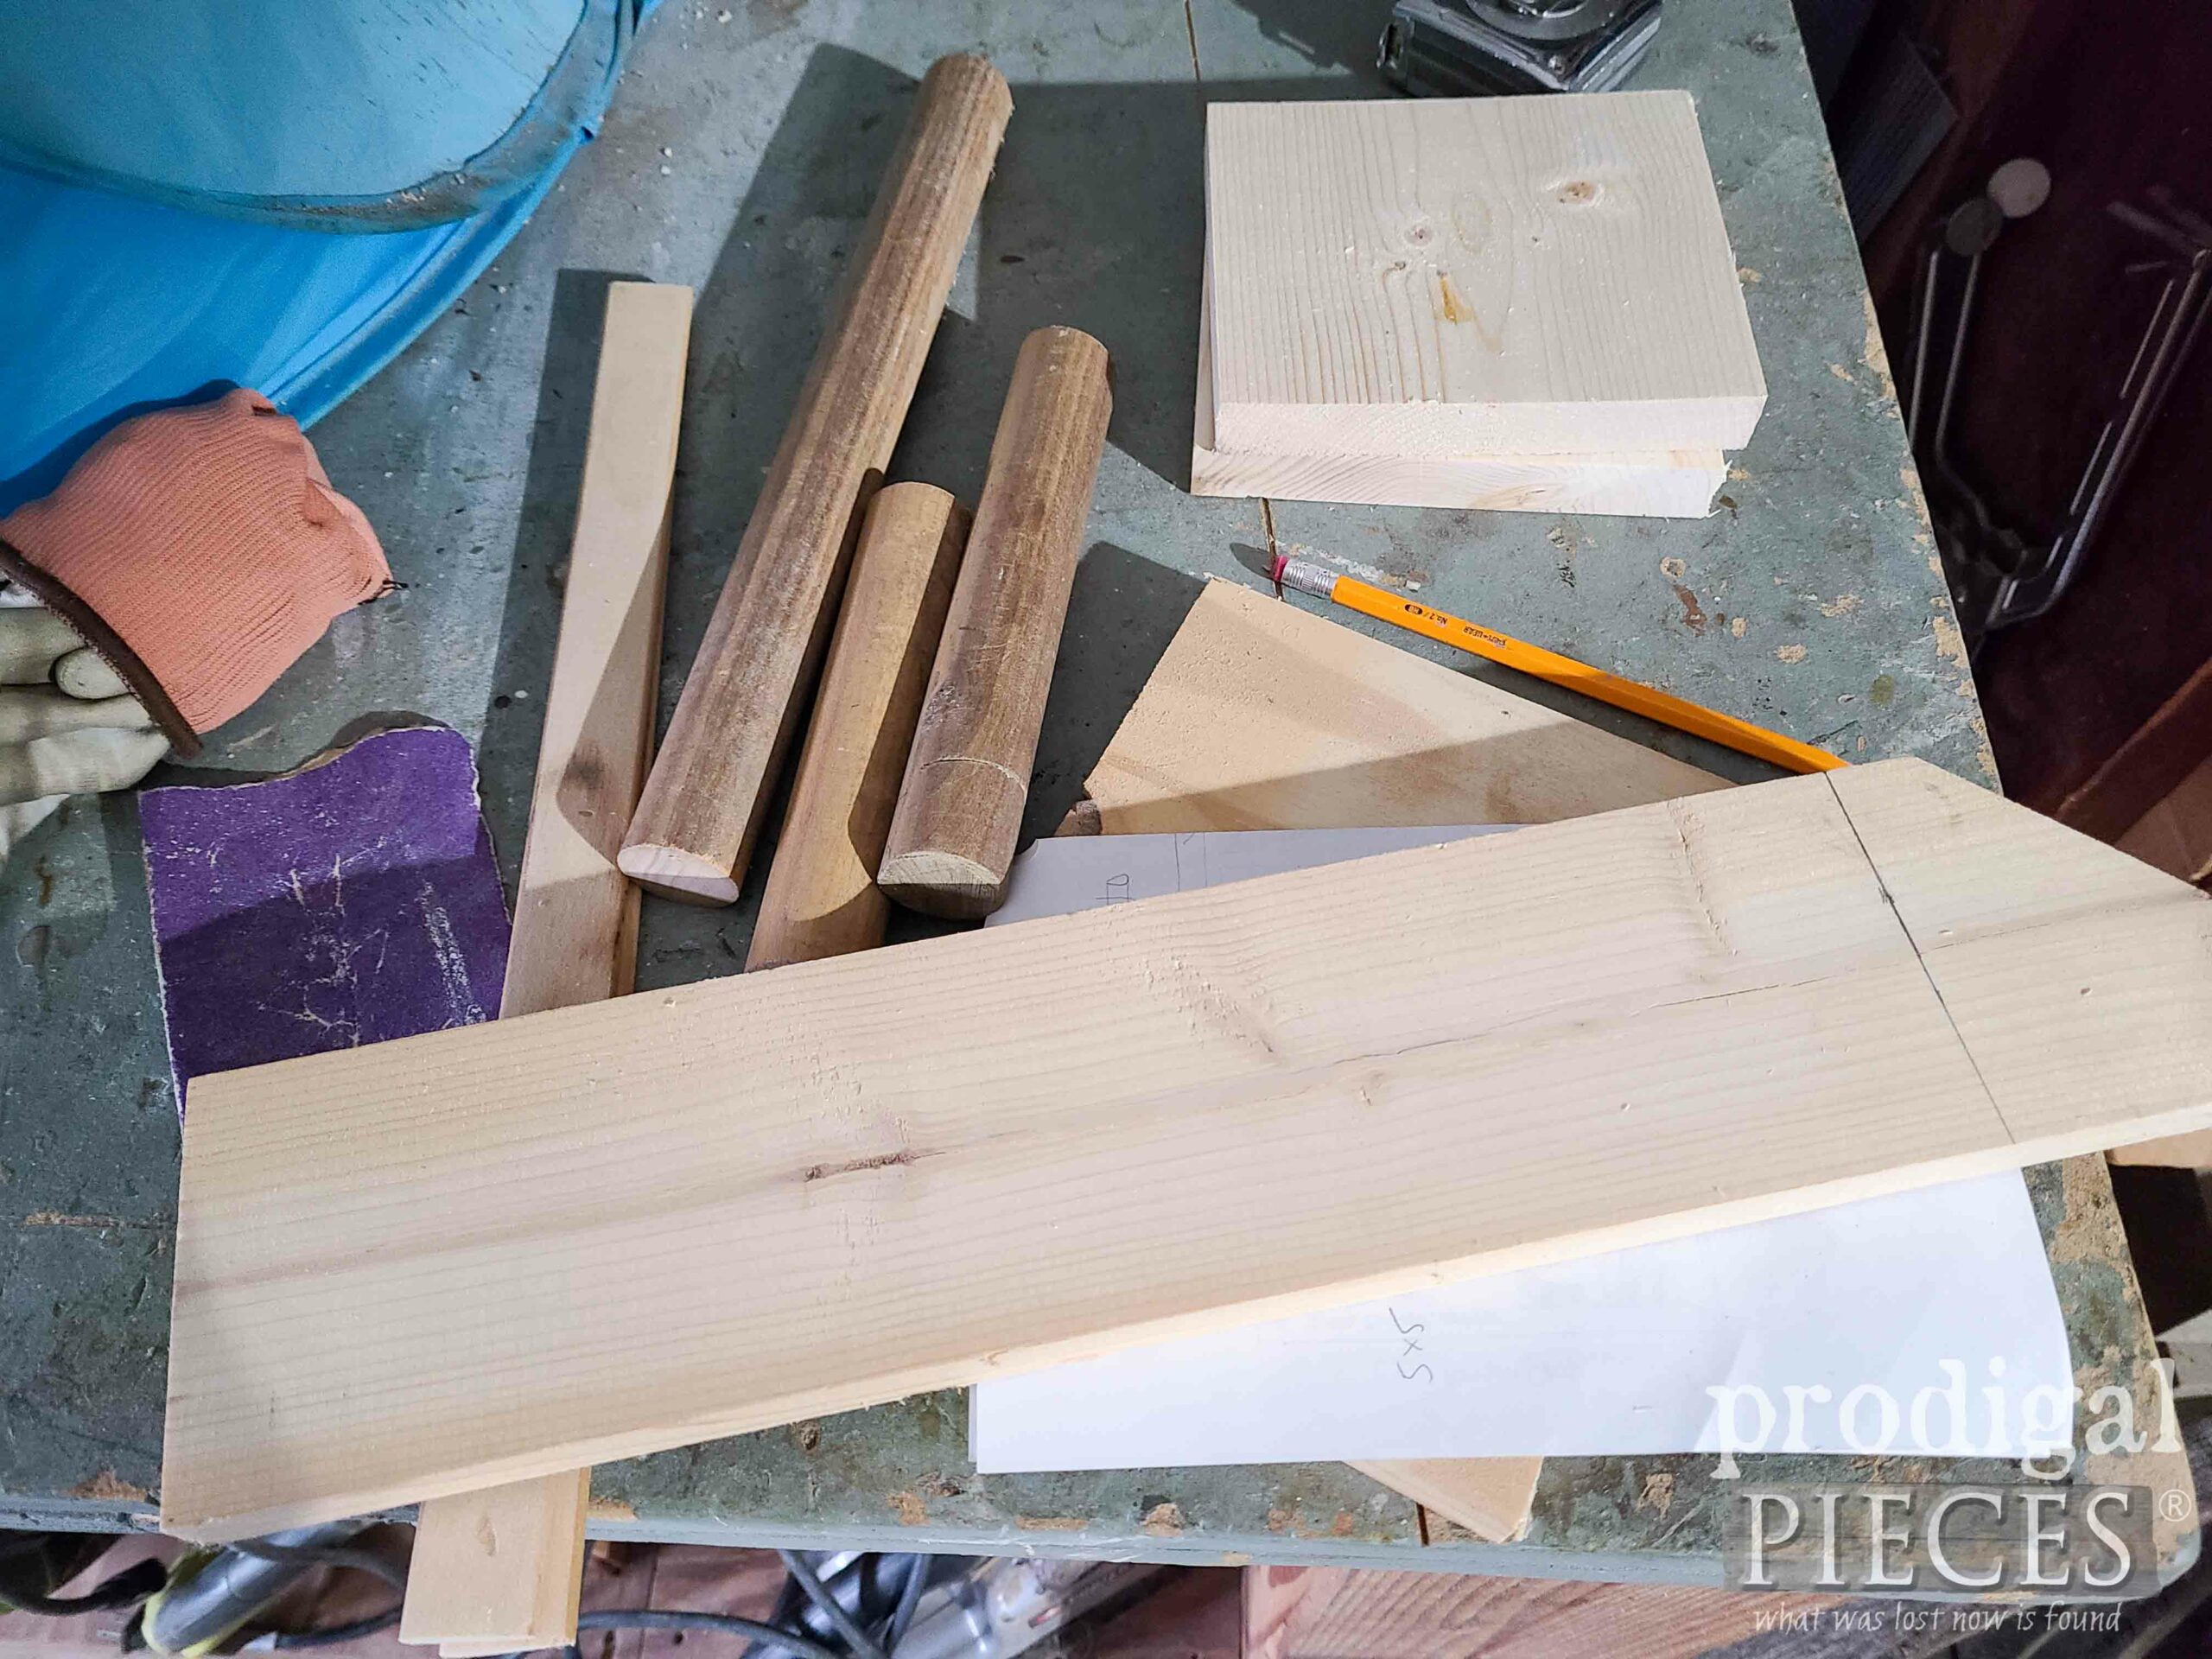
After that, I head out to my workshop and dig into my wood stash to grab these pieces.
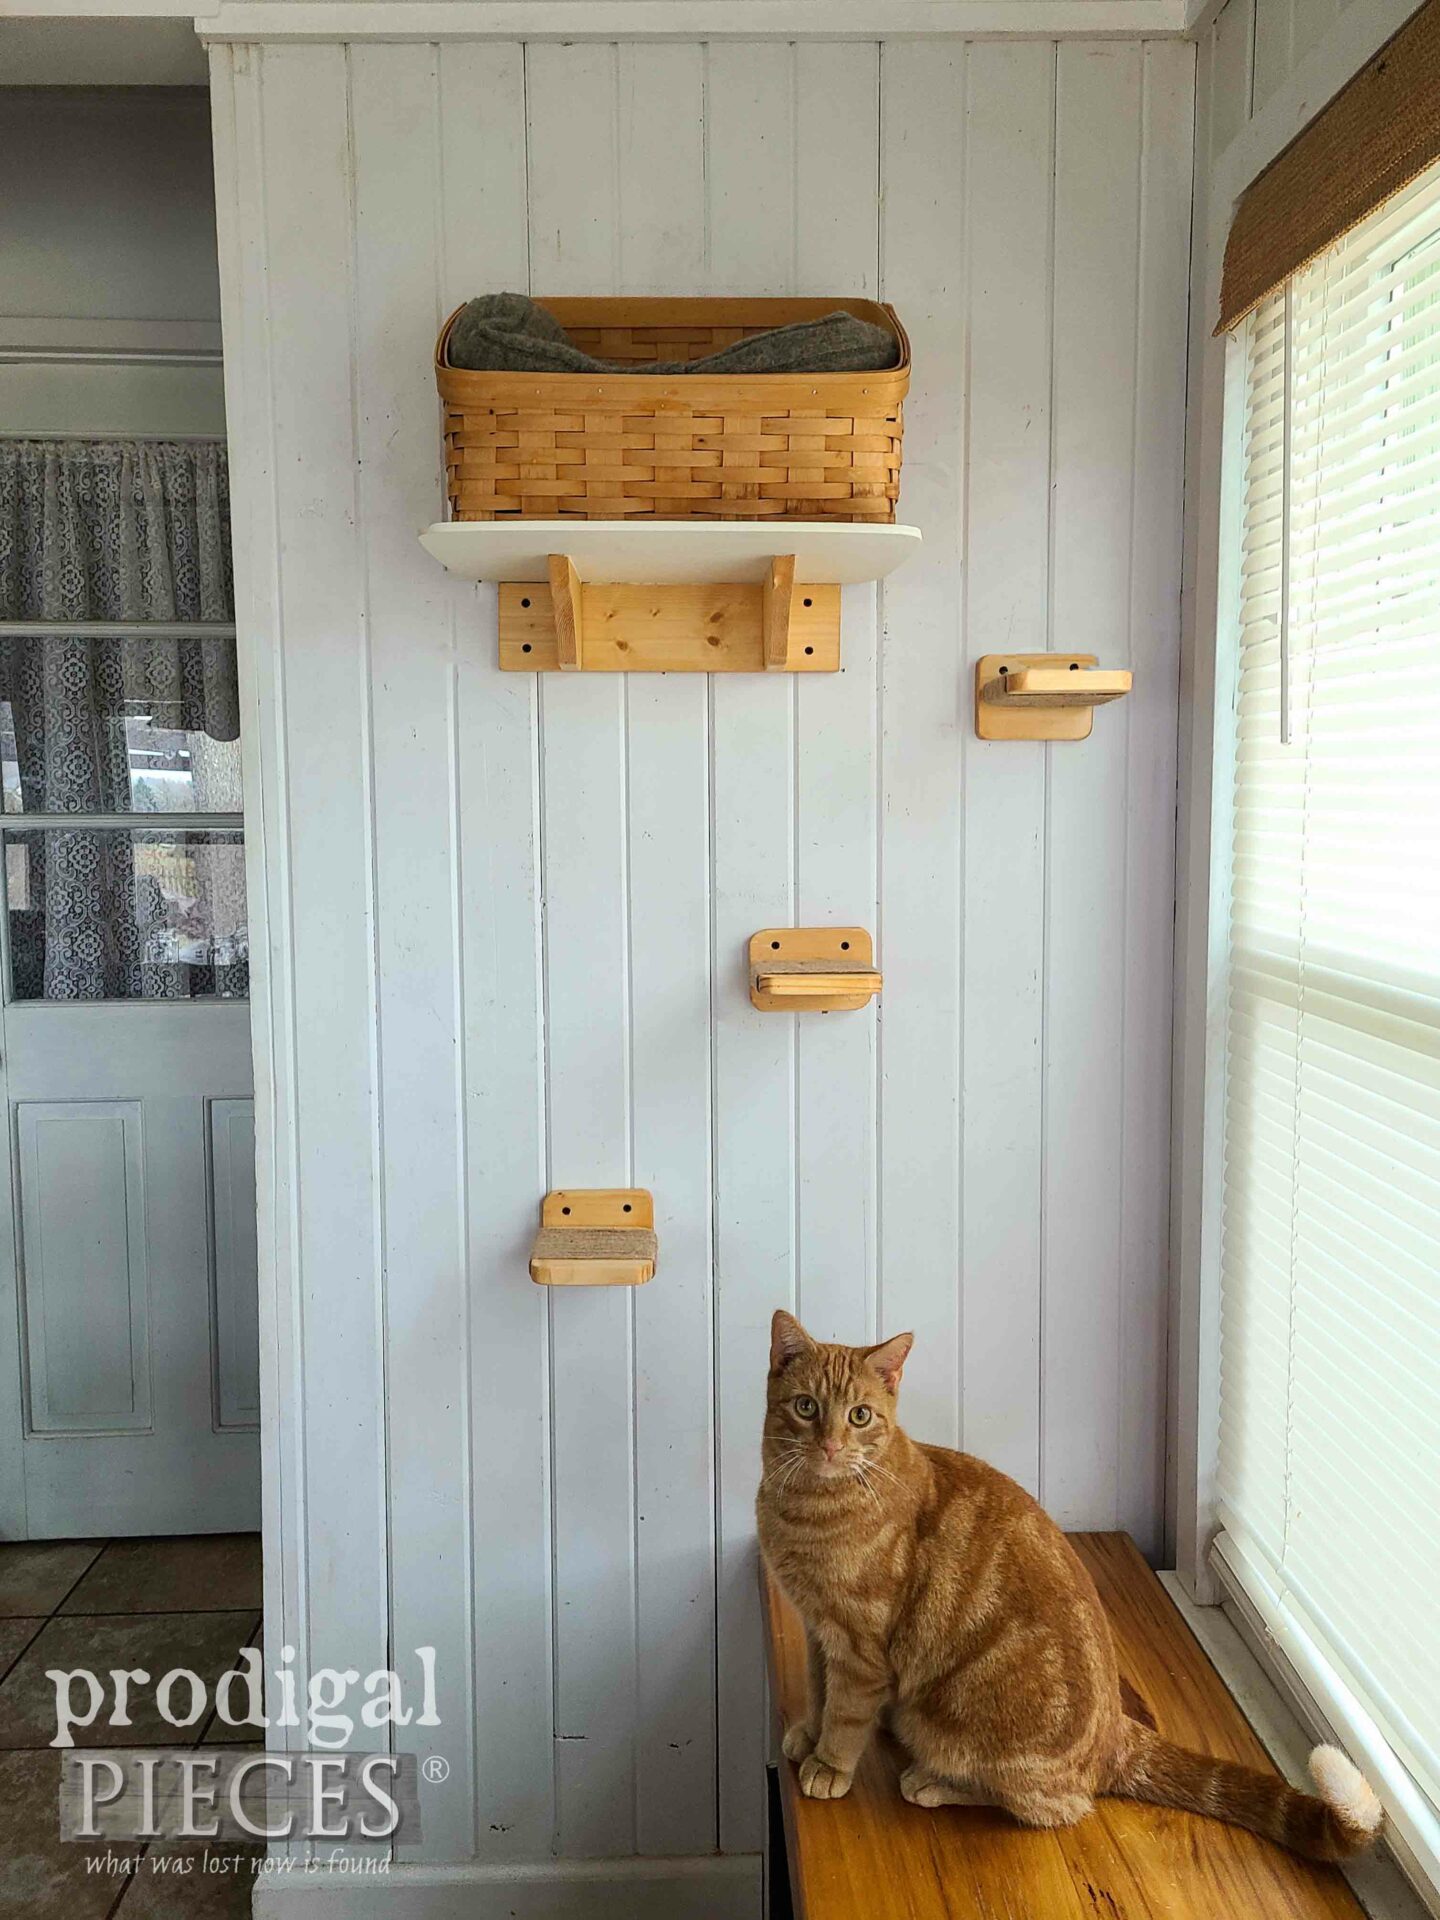
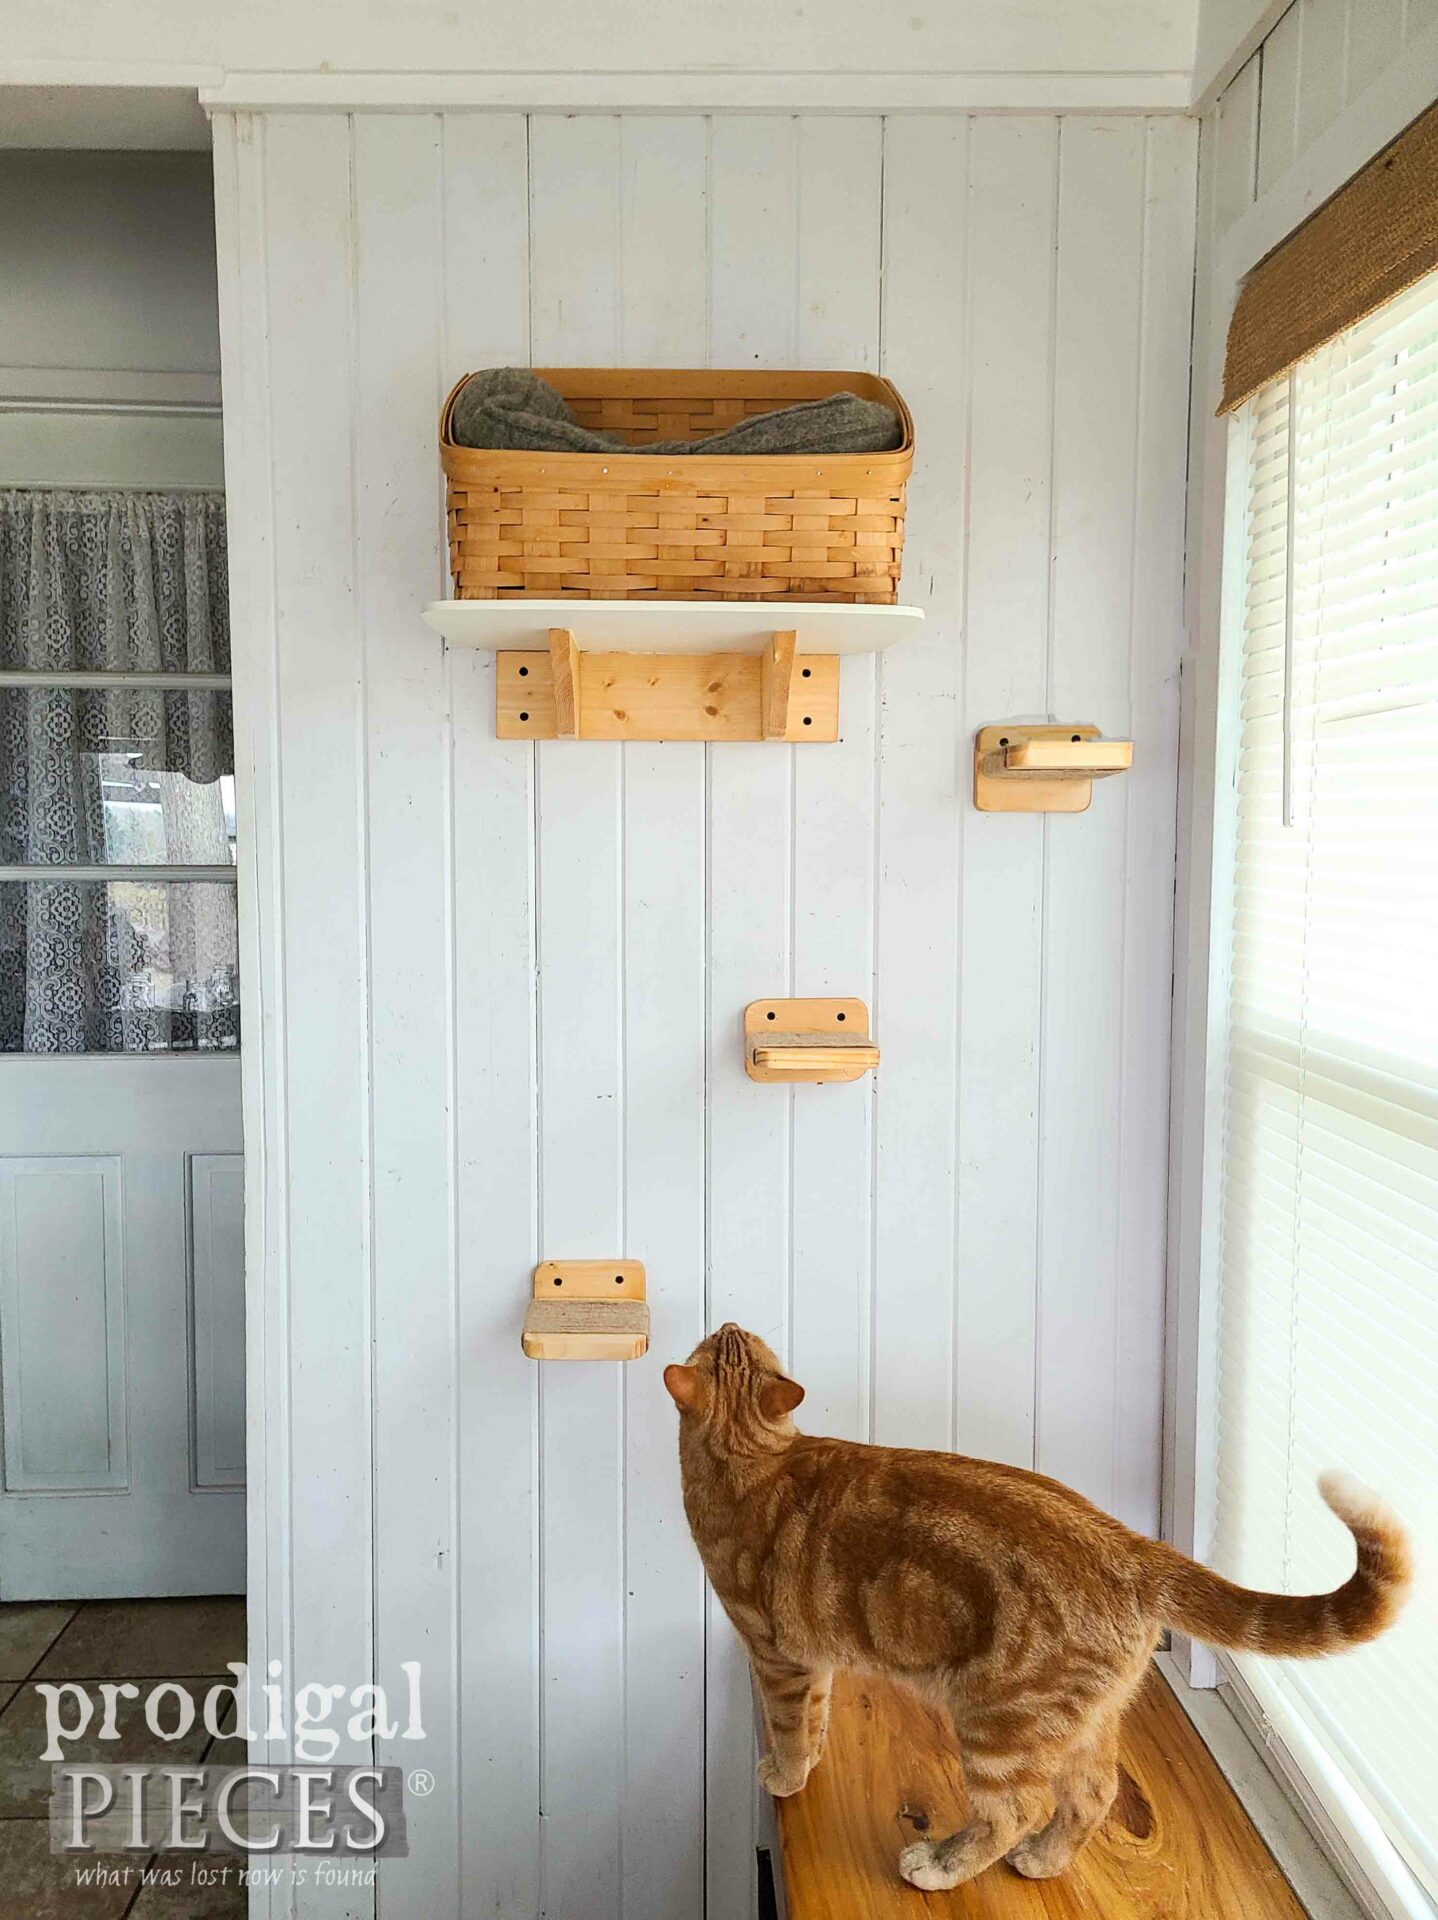
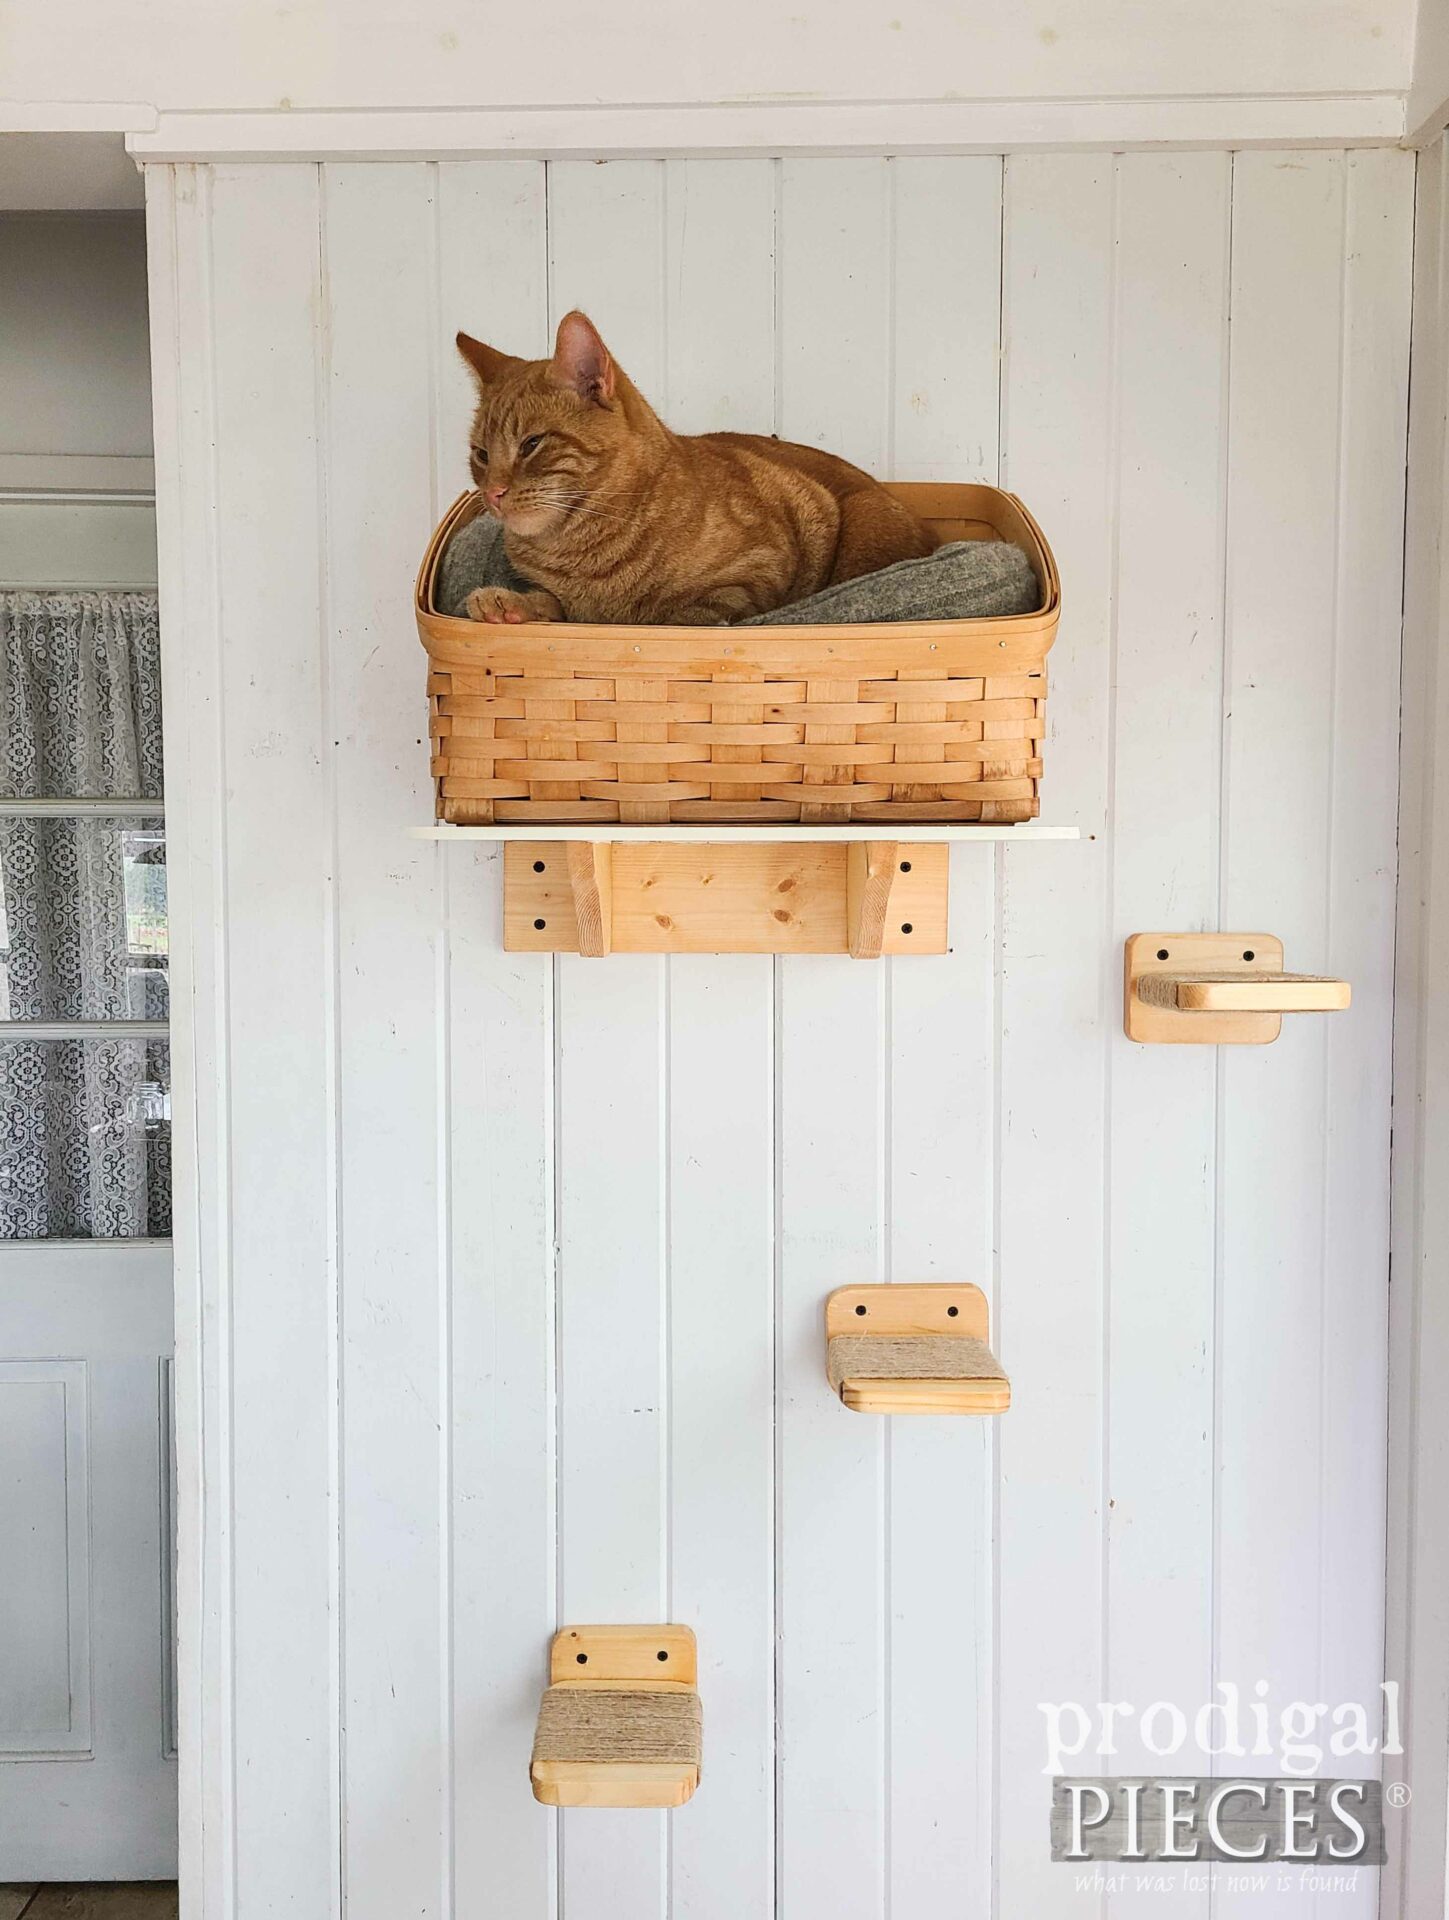
With this stash, my goal is to build three cat steps as well as a wall mount for the DIY floating cat bed. Next, using my miter saw and my jigsaw, I cut pieces and assemble with screws and wood glue. It only took me about an hour and I’m ready to wrap up this part of the project.
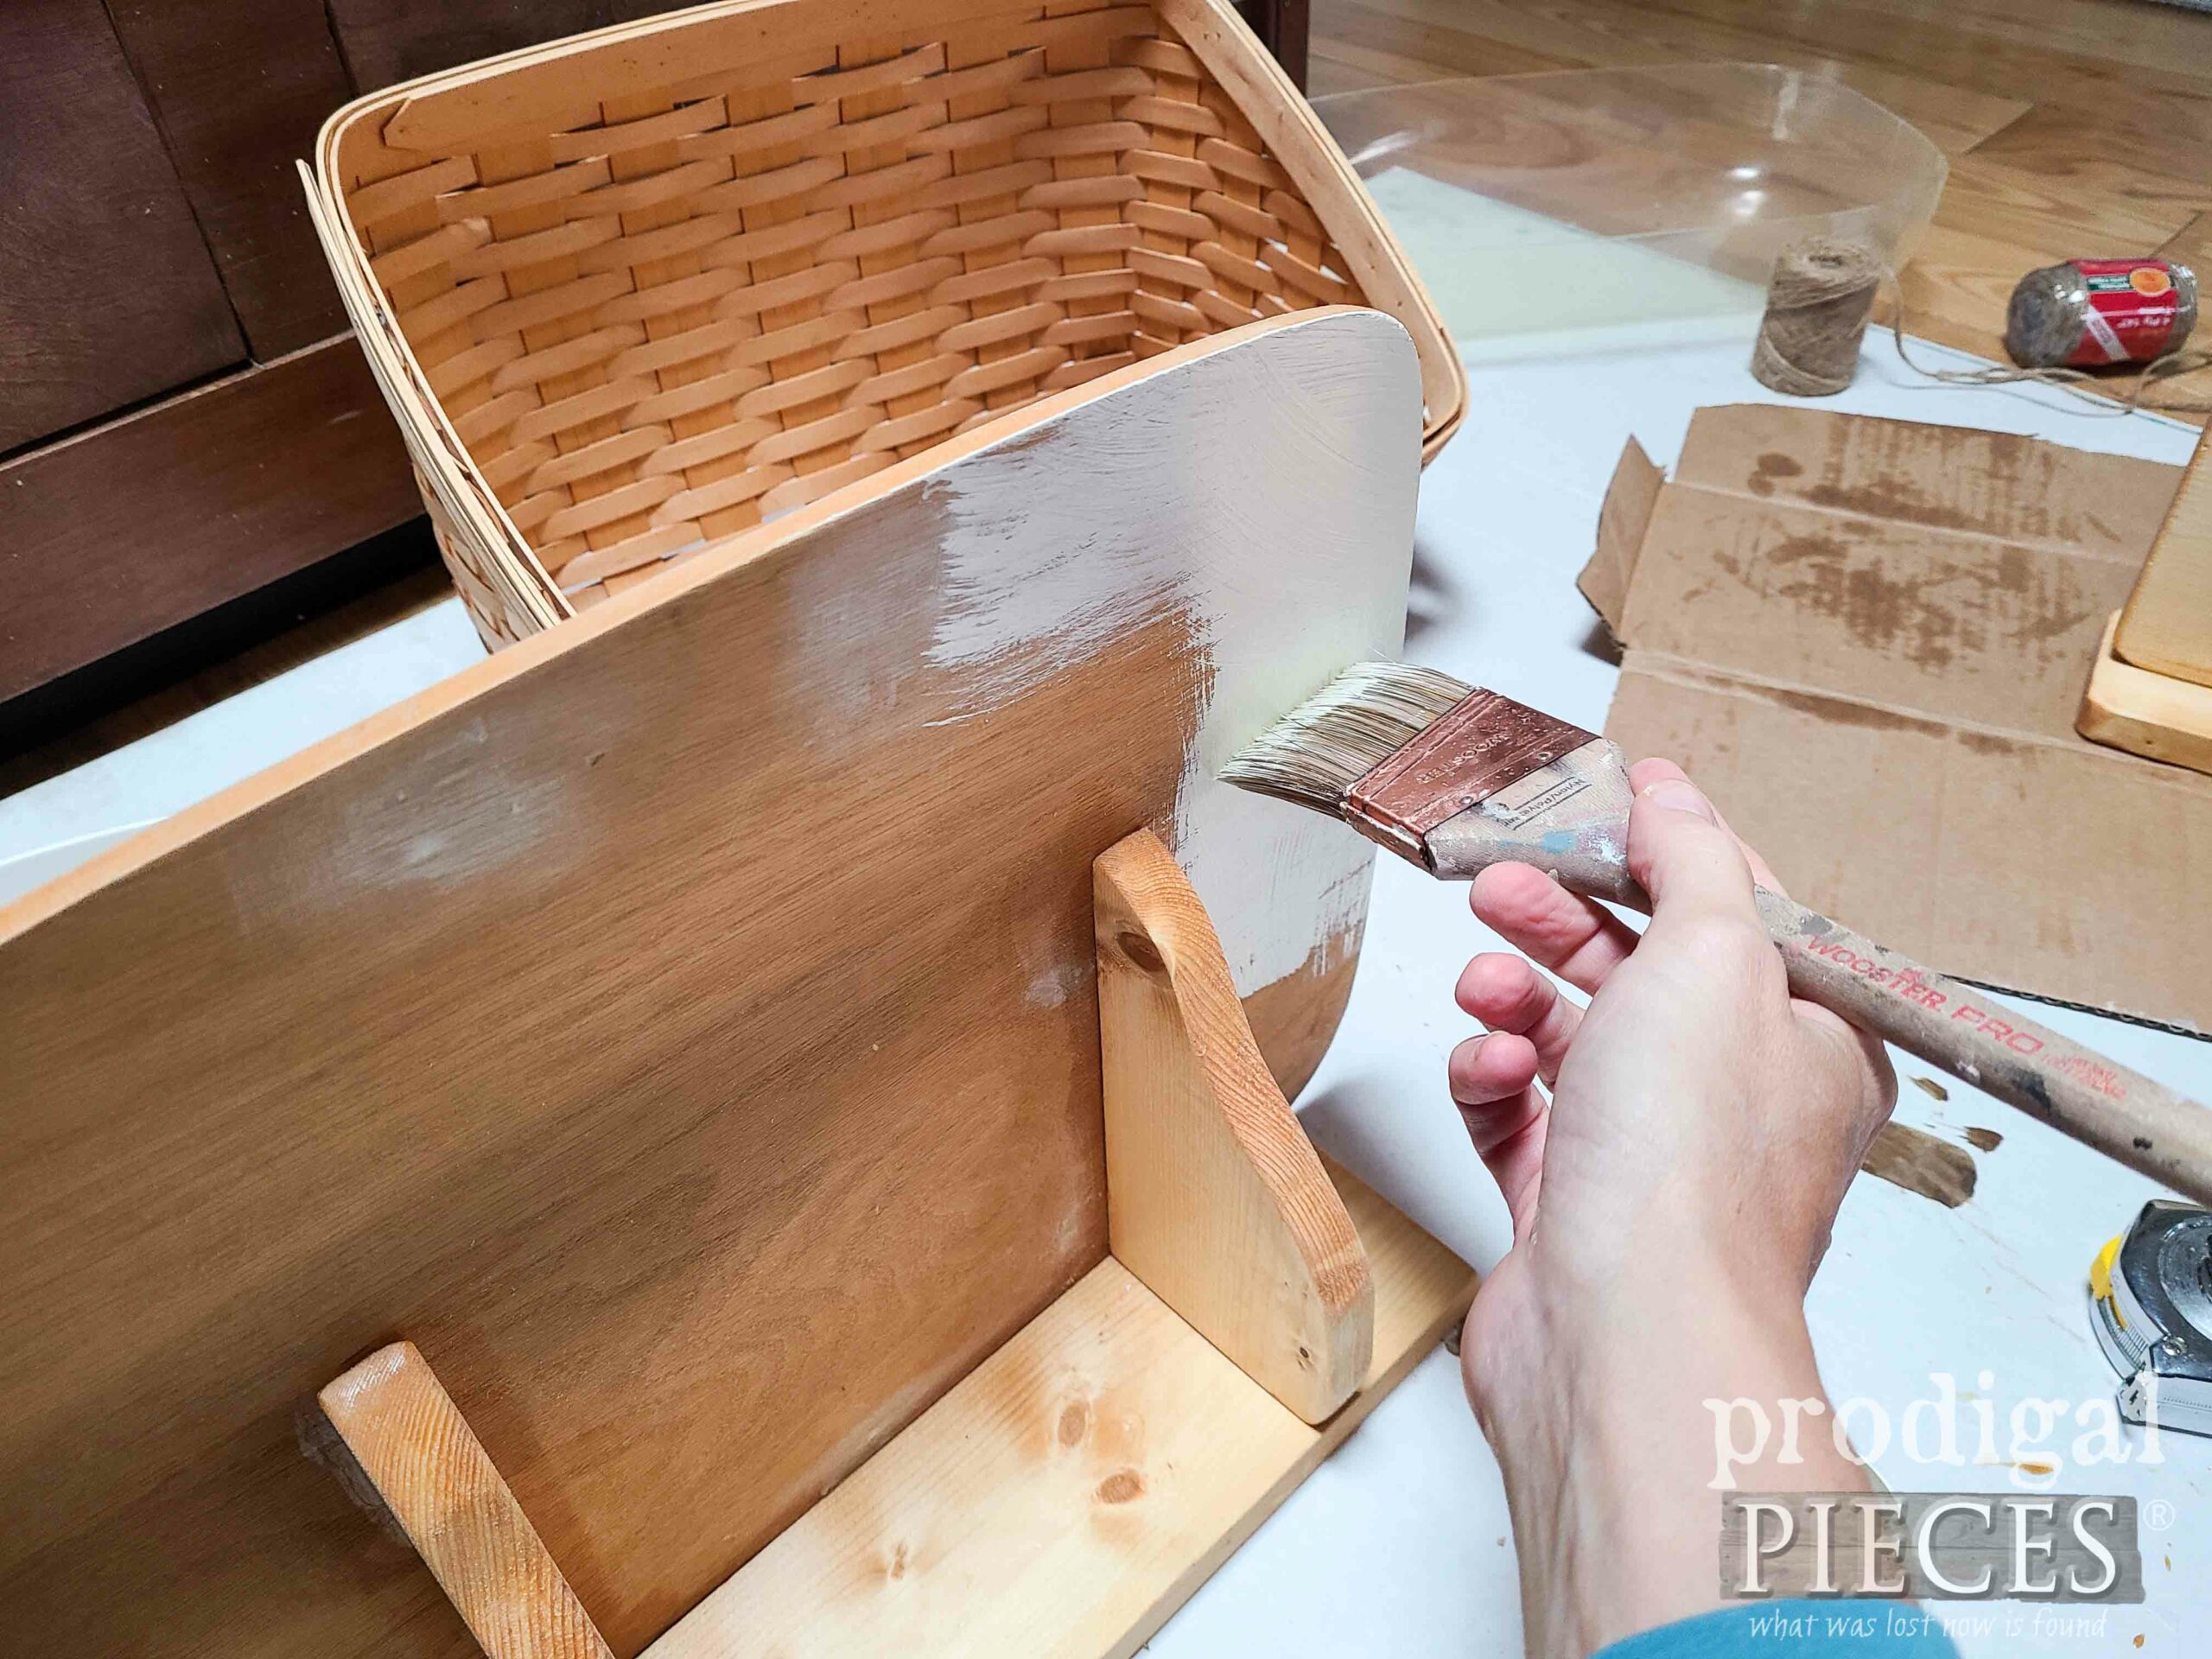
I finish the wood pieces with a stain to match the basket color and then attach the platform to the wall mount. Then, to dress up the stained and patched lid base, I paint it a soft white.
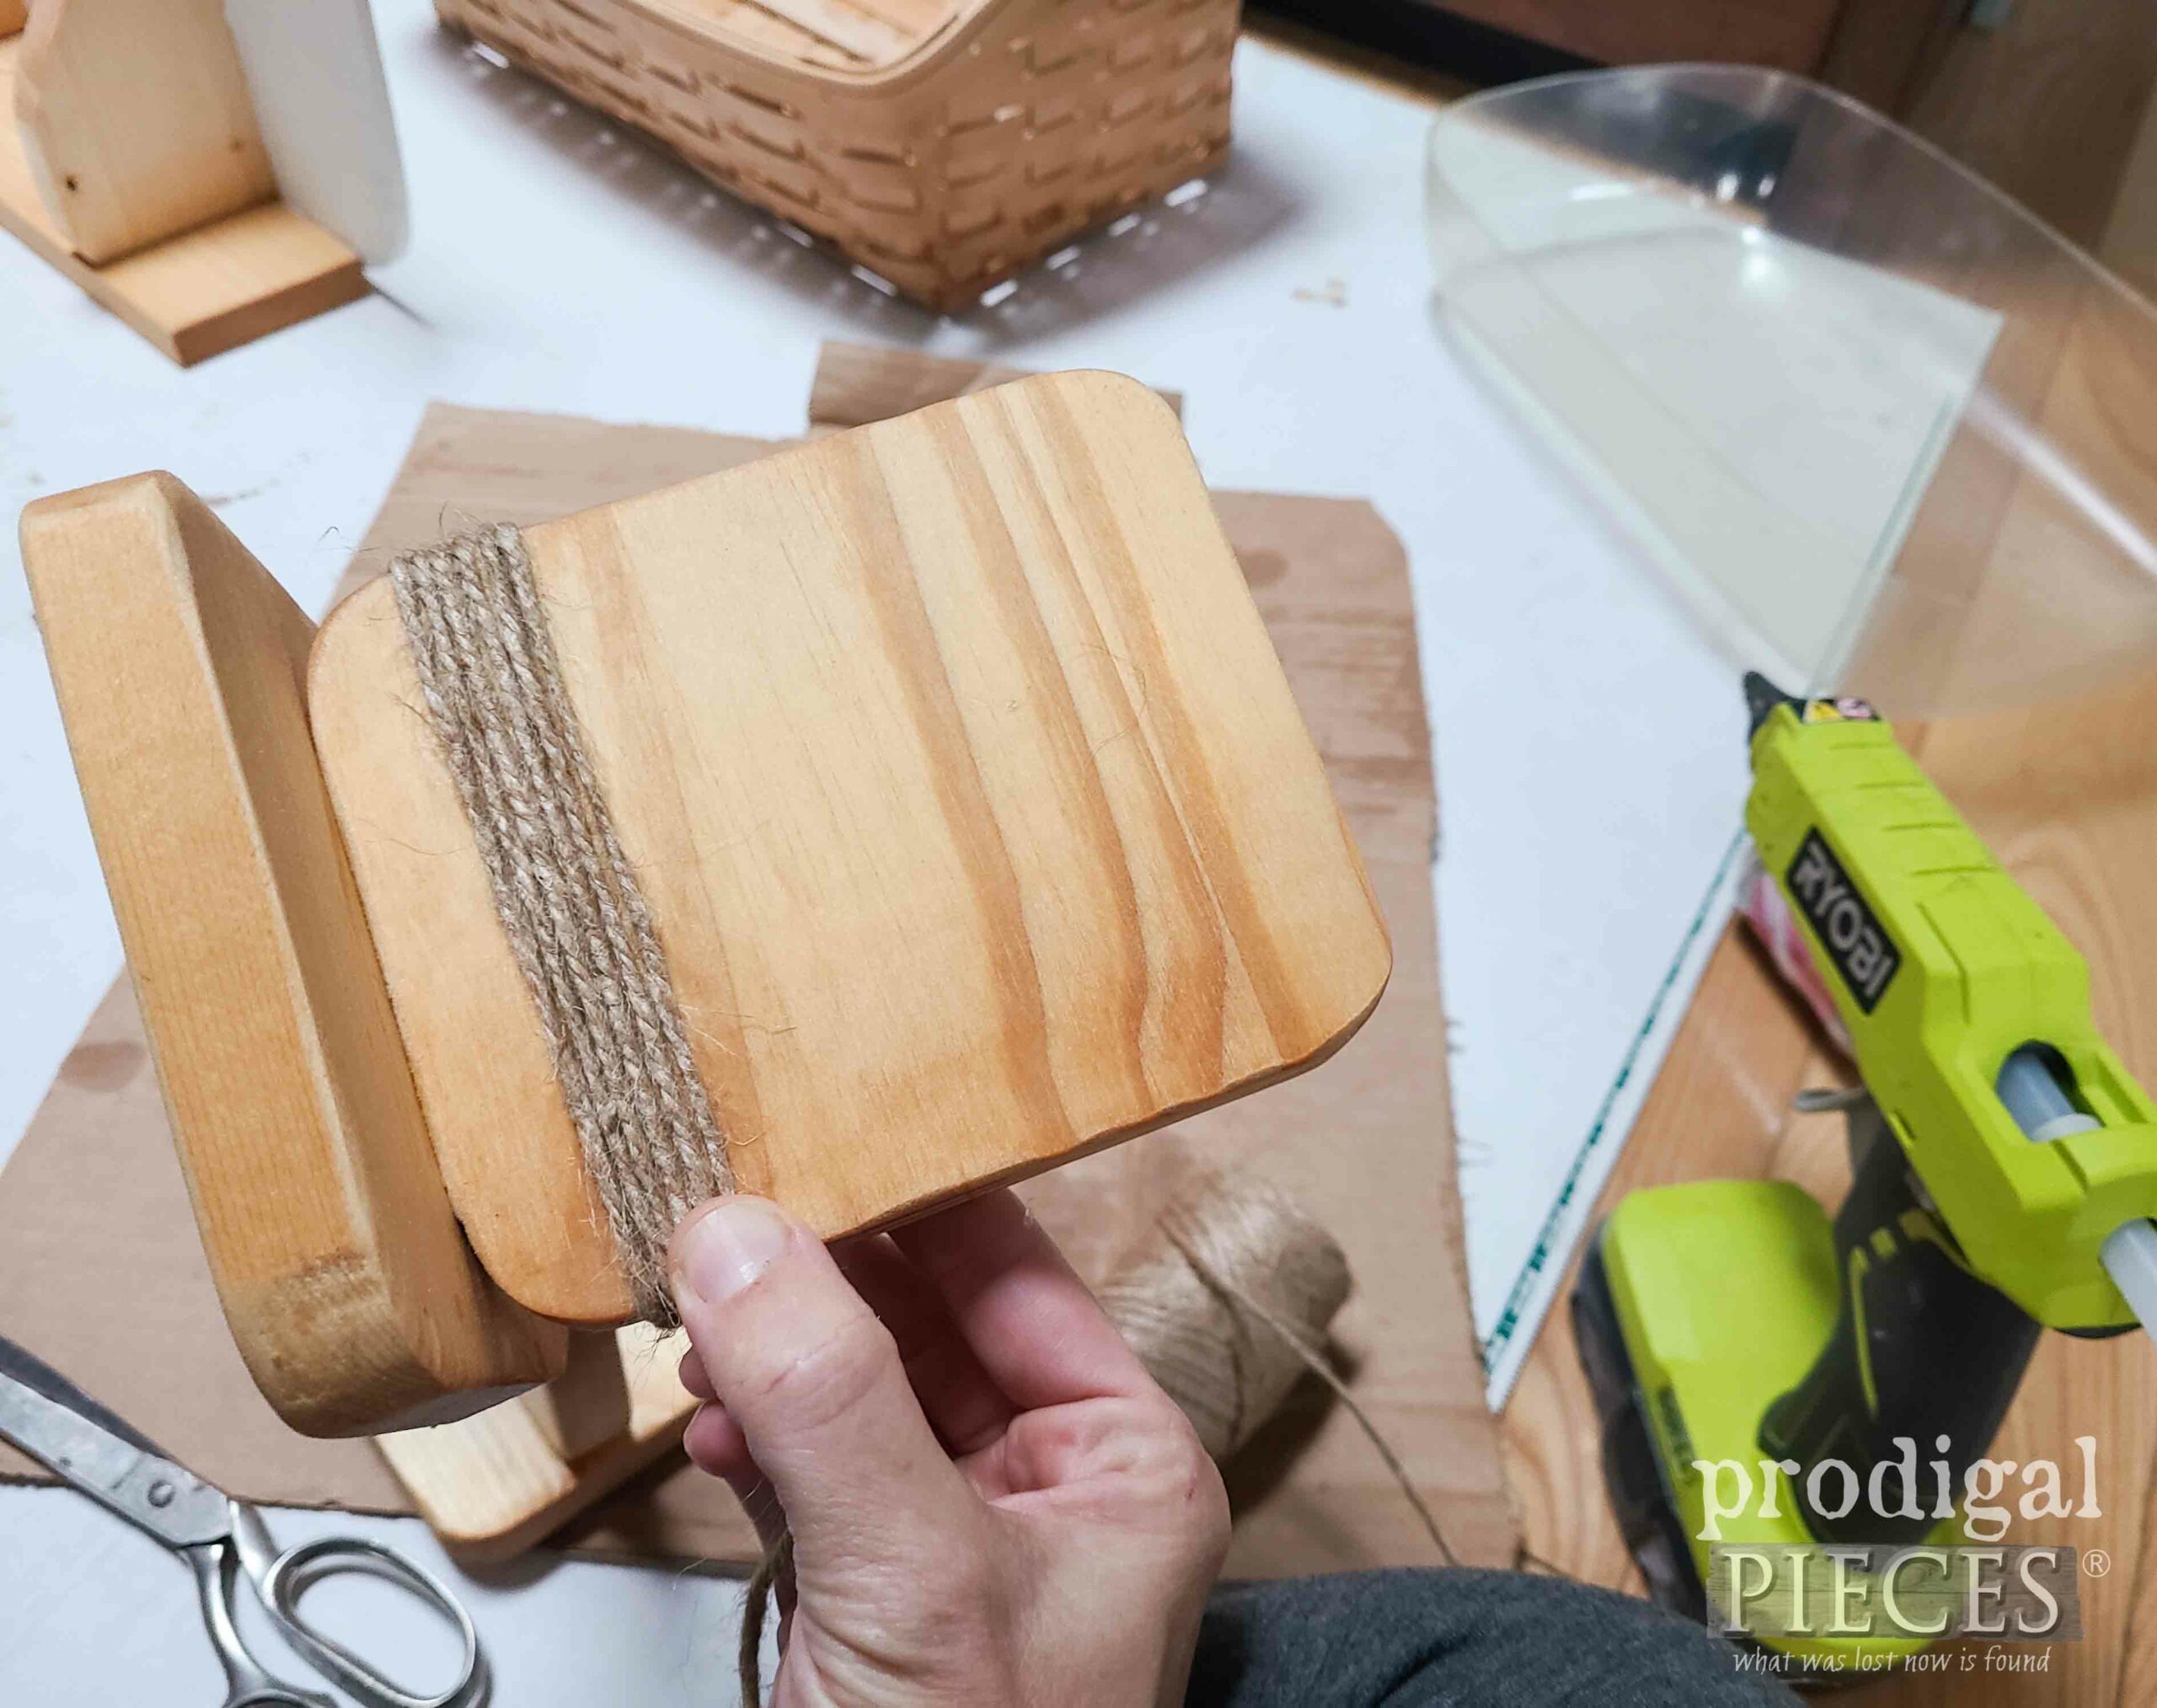
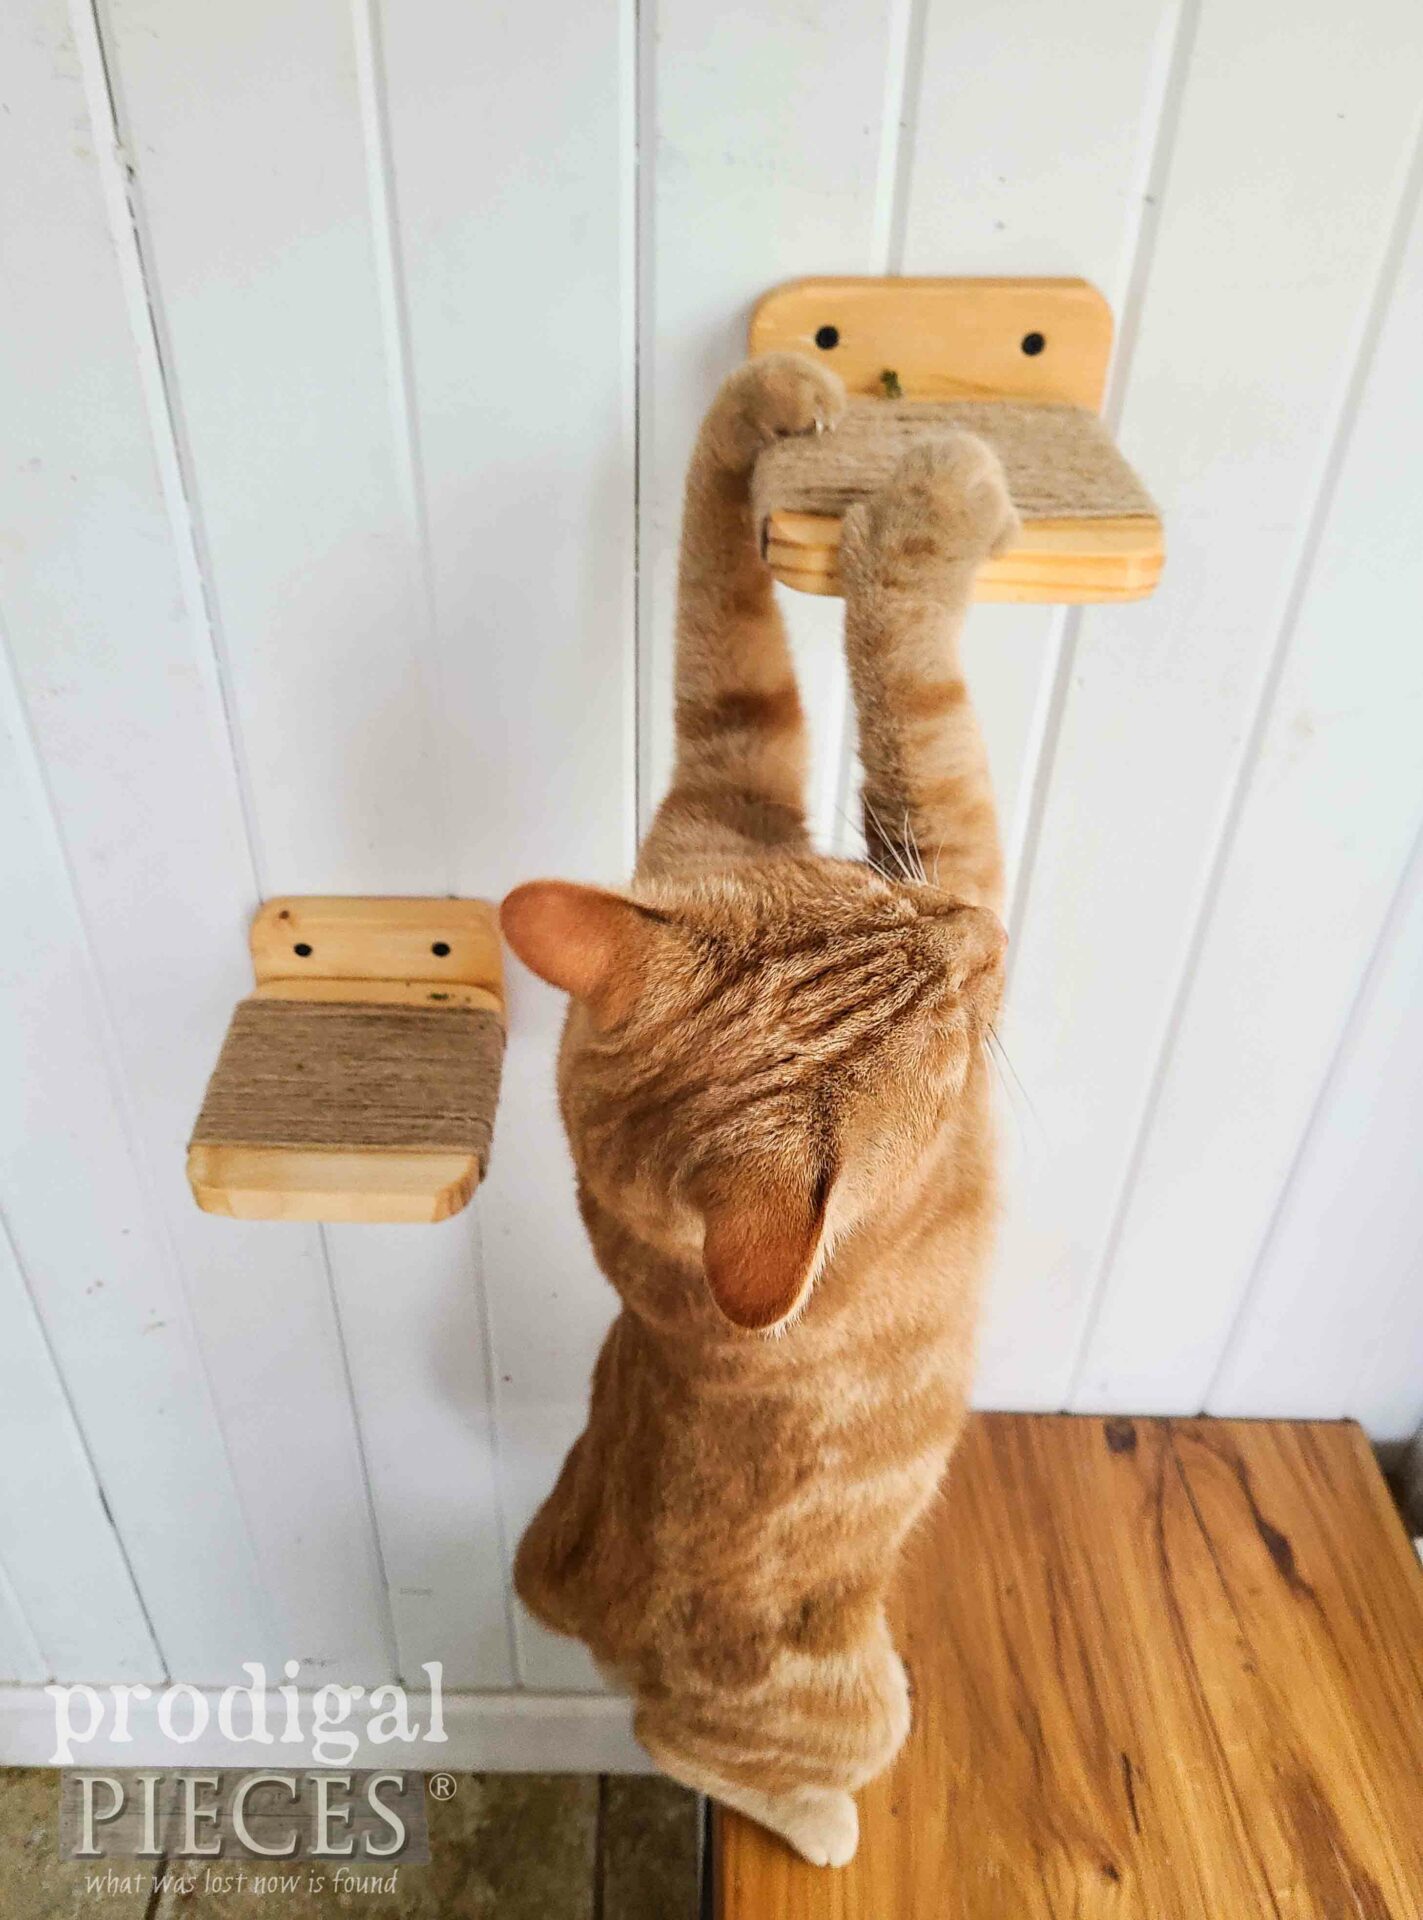
While the paint cures, I use jute twine to wrap around the cat steps. Not only will this give grip and safety to the cats, but also a nice natural touch. I want my pets to live healthy lives, just like m. I use a bit of hot glue to tack it down on the underside and then wrap around tucking in the end, also tacking on the underside.
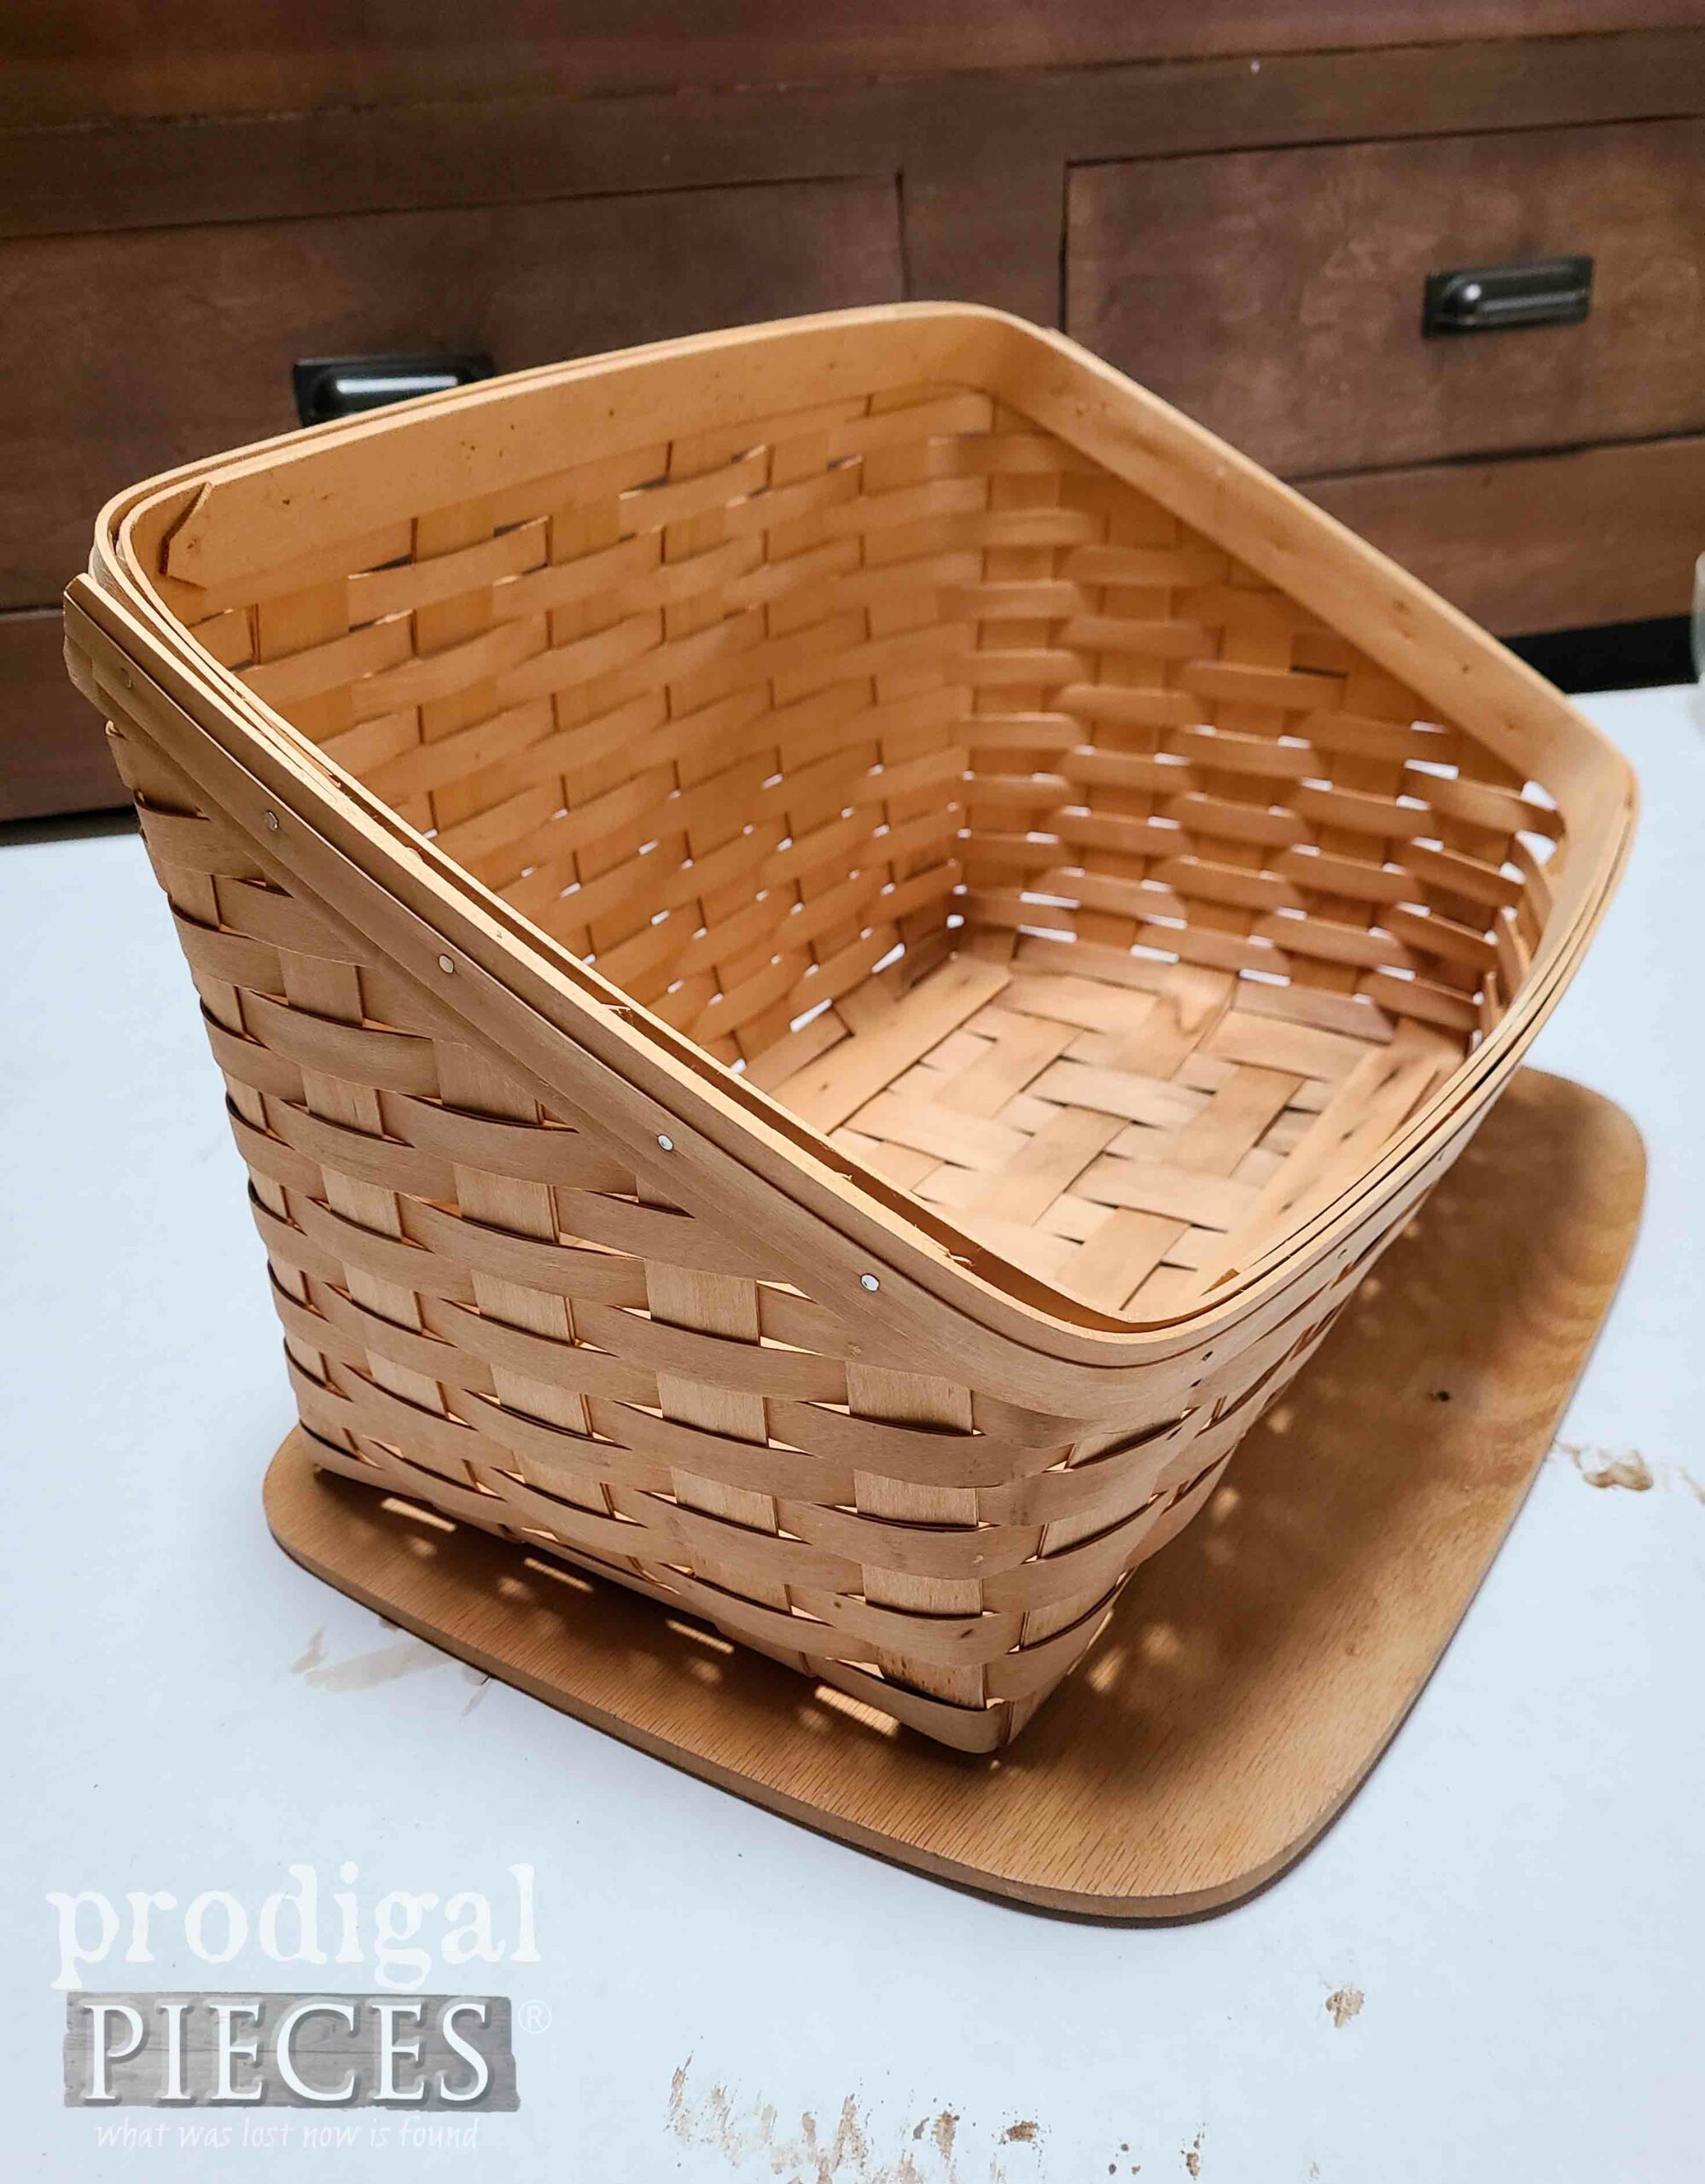
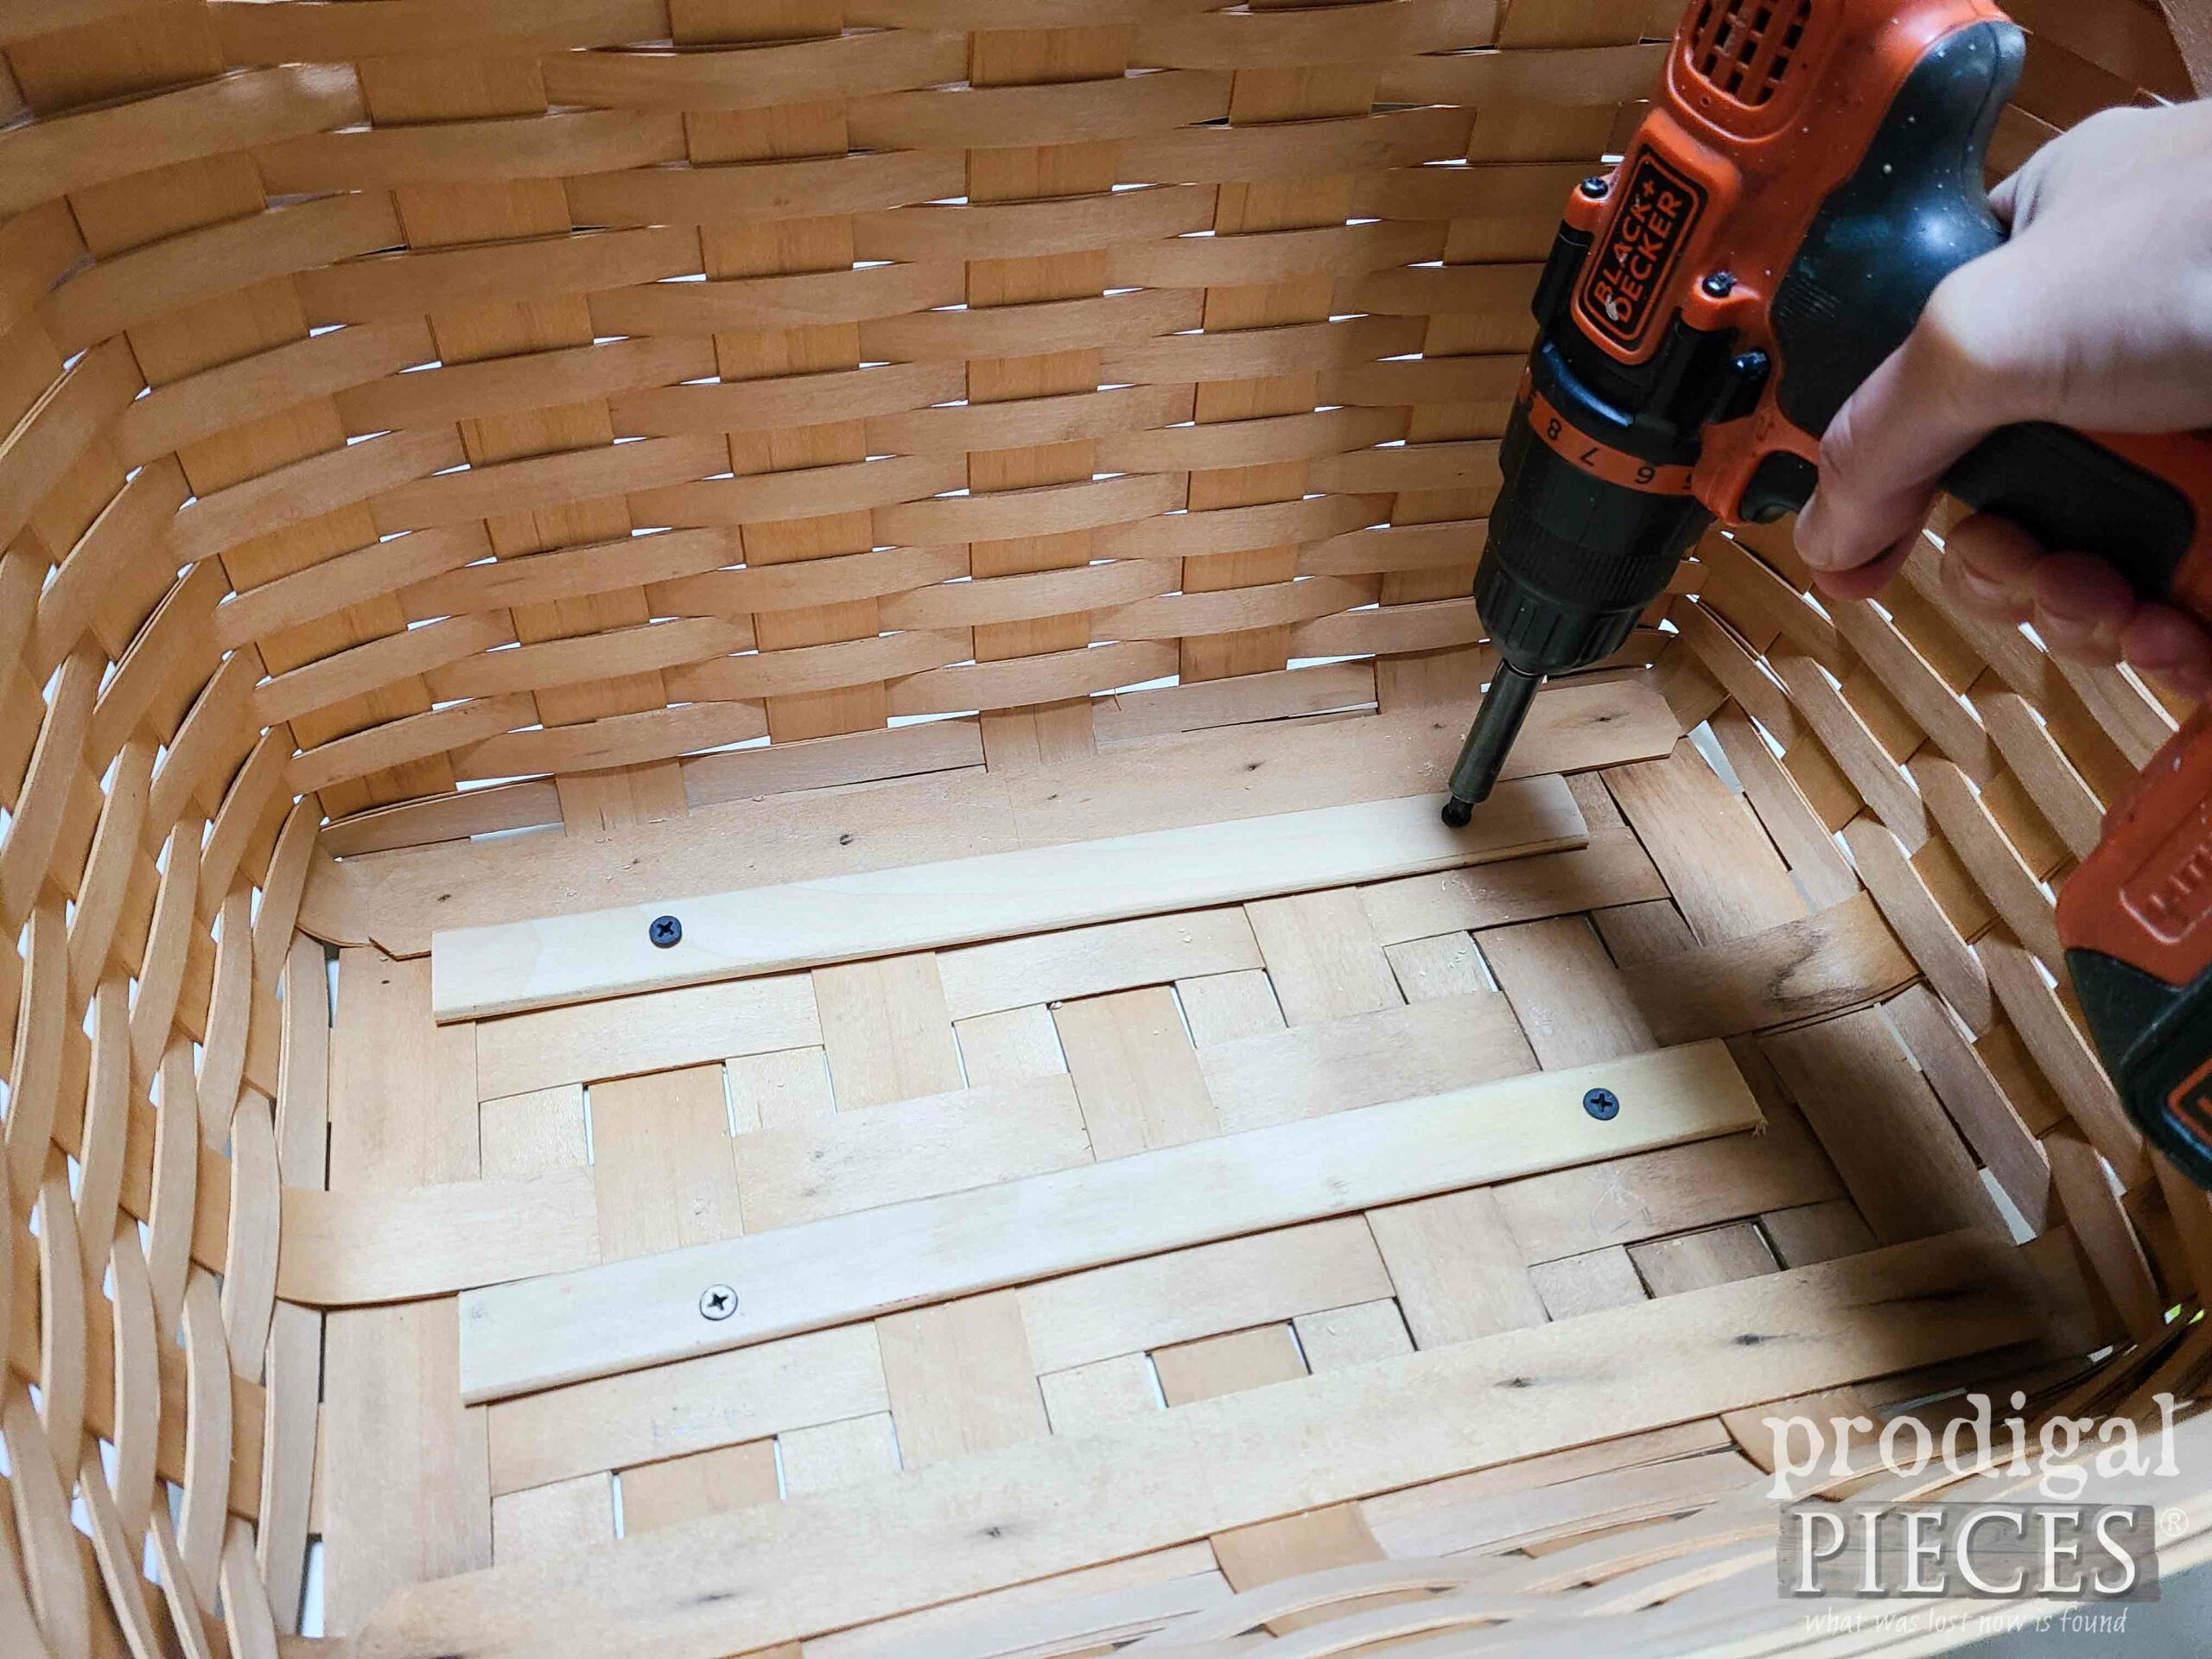
Last, for this part, I need to attach the basket to the platform. I cut two pieces of thin wood to attach directly into the supports. This basket ain’t going nowhere.
STUFFED UP
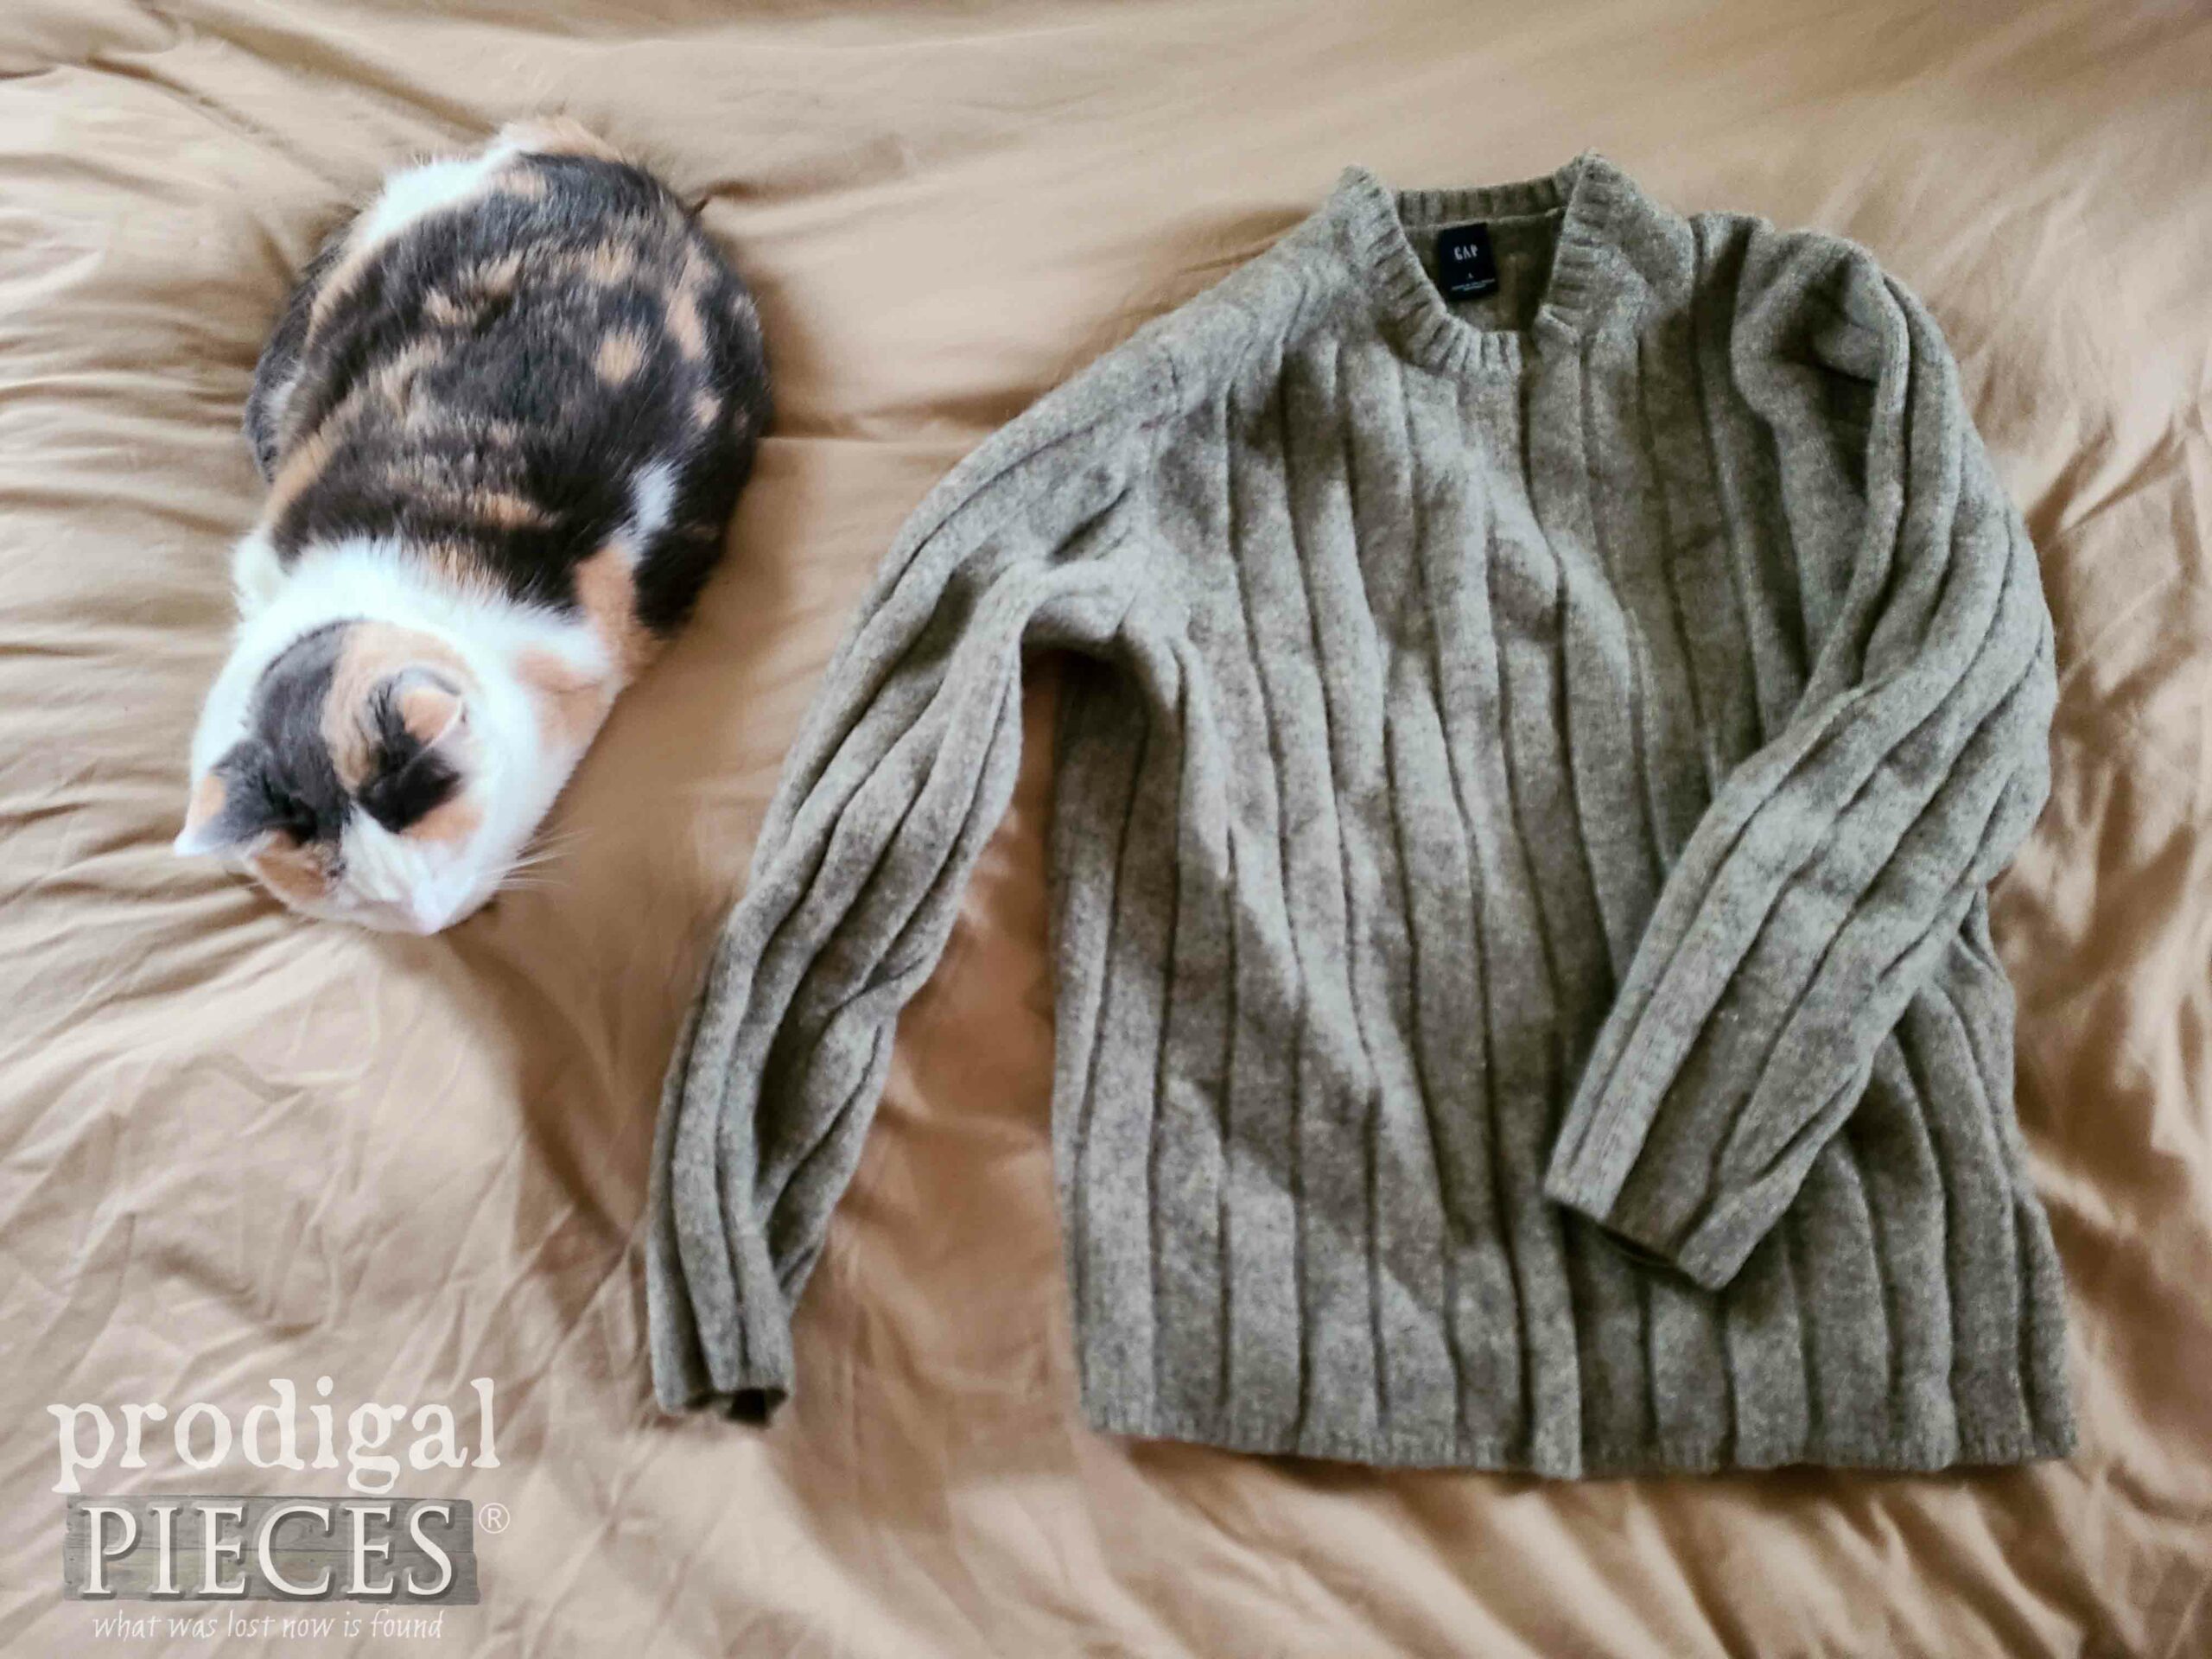
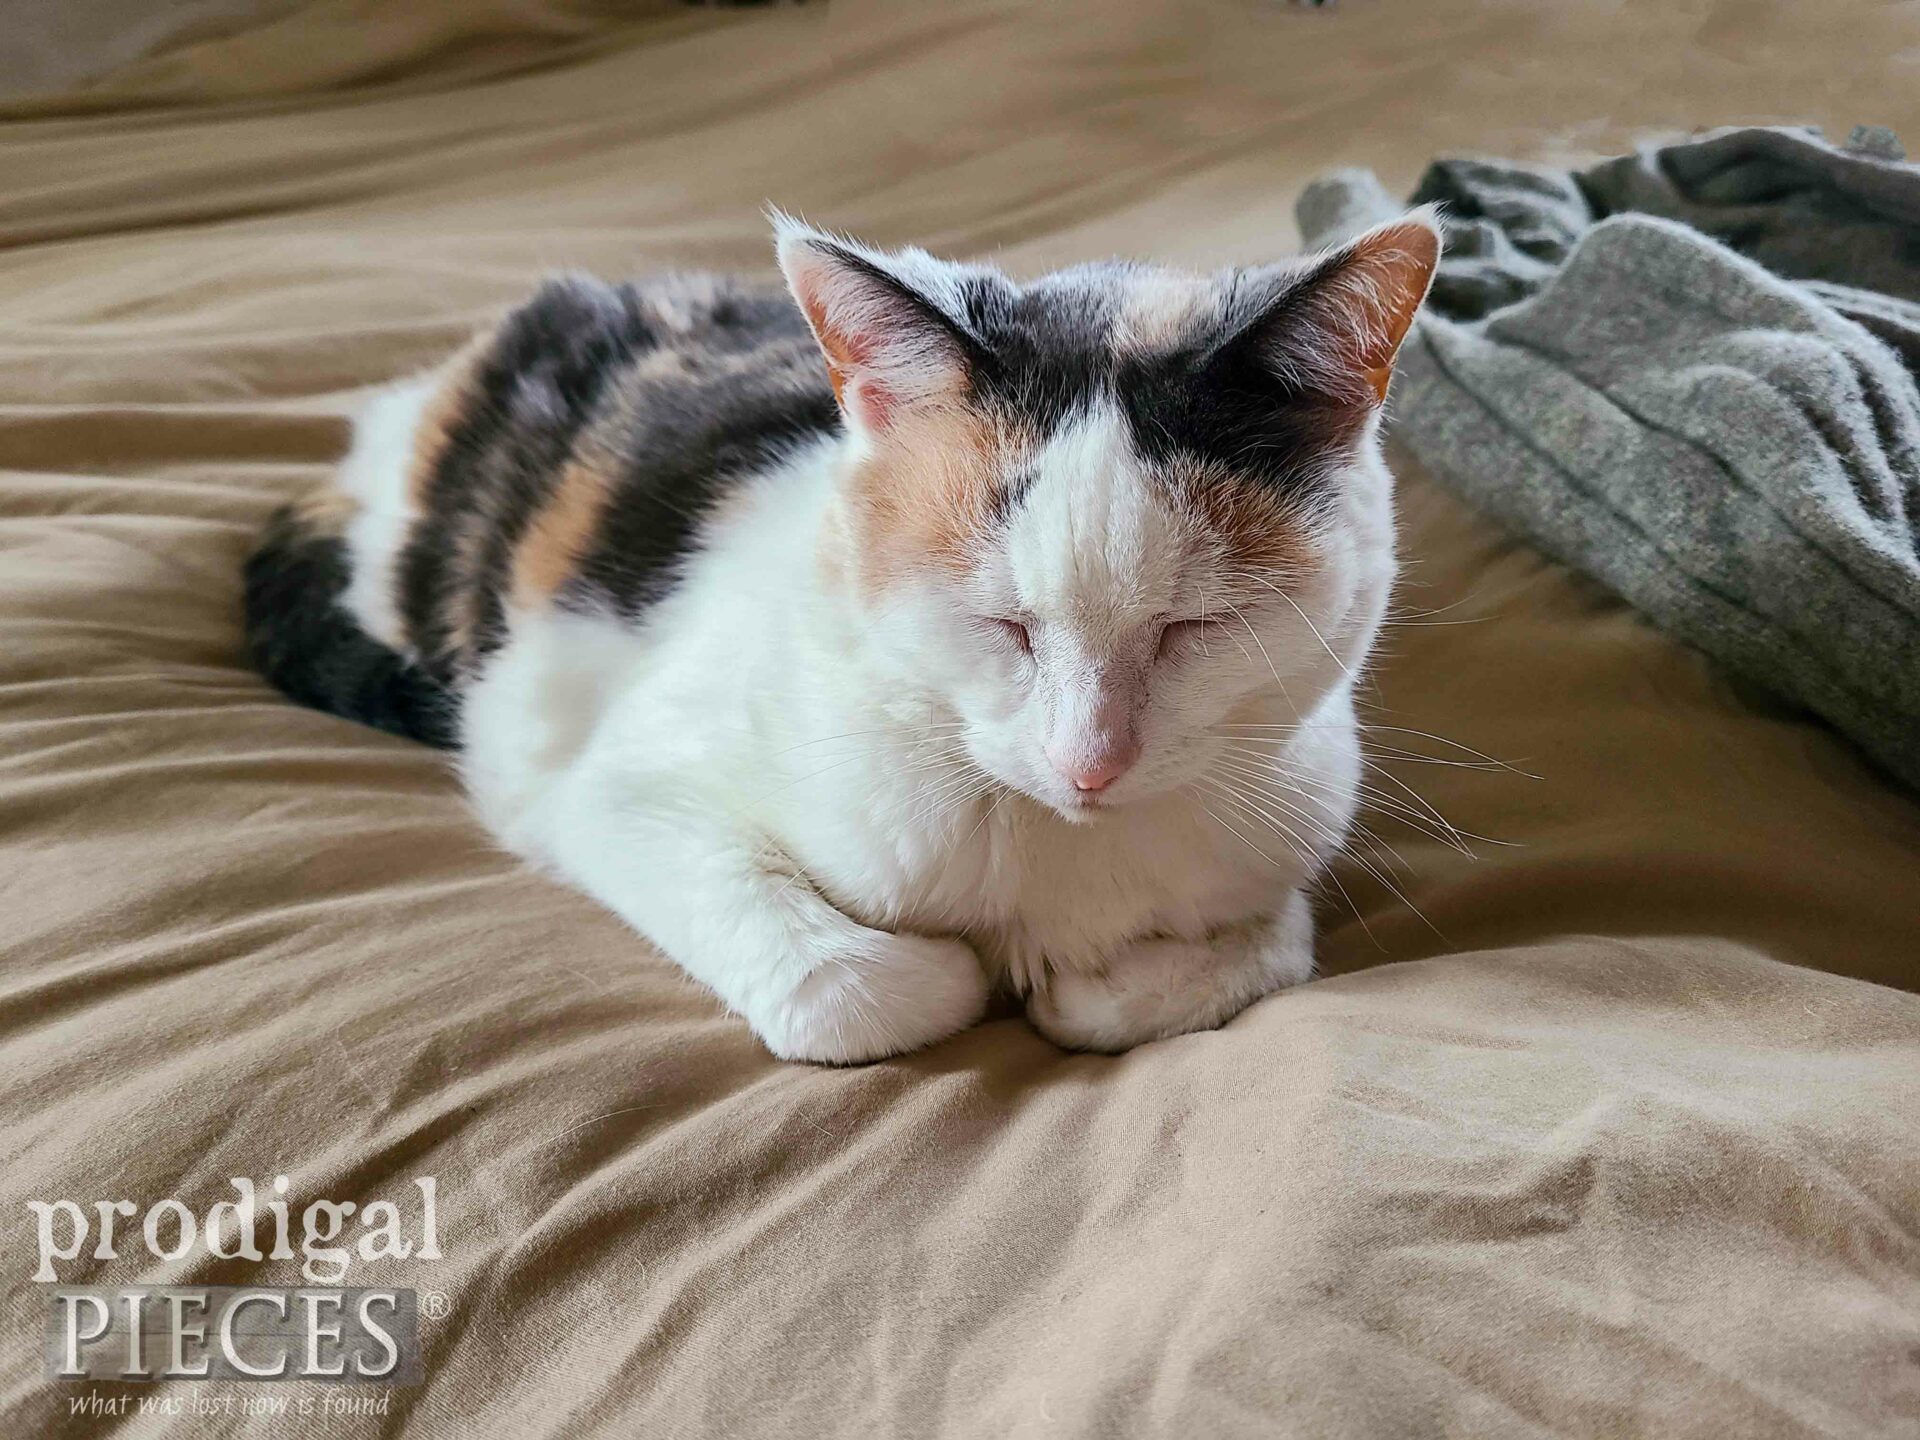
Finally, it’s time to add comfort to this cat creation and start refashioning. Here is my senior cat, Lily, showing you a thrifted wool sweater that I already felted. Legit, I have a stash of them for using for oh, so many projects you can see HERE.
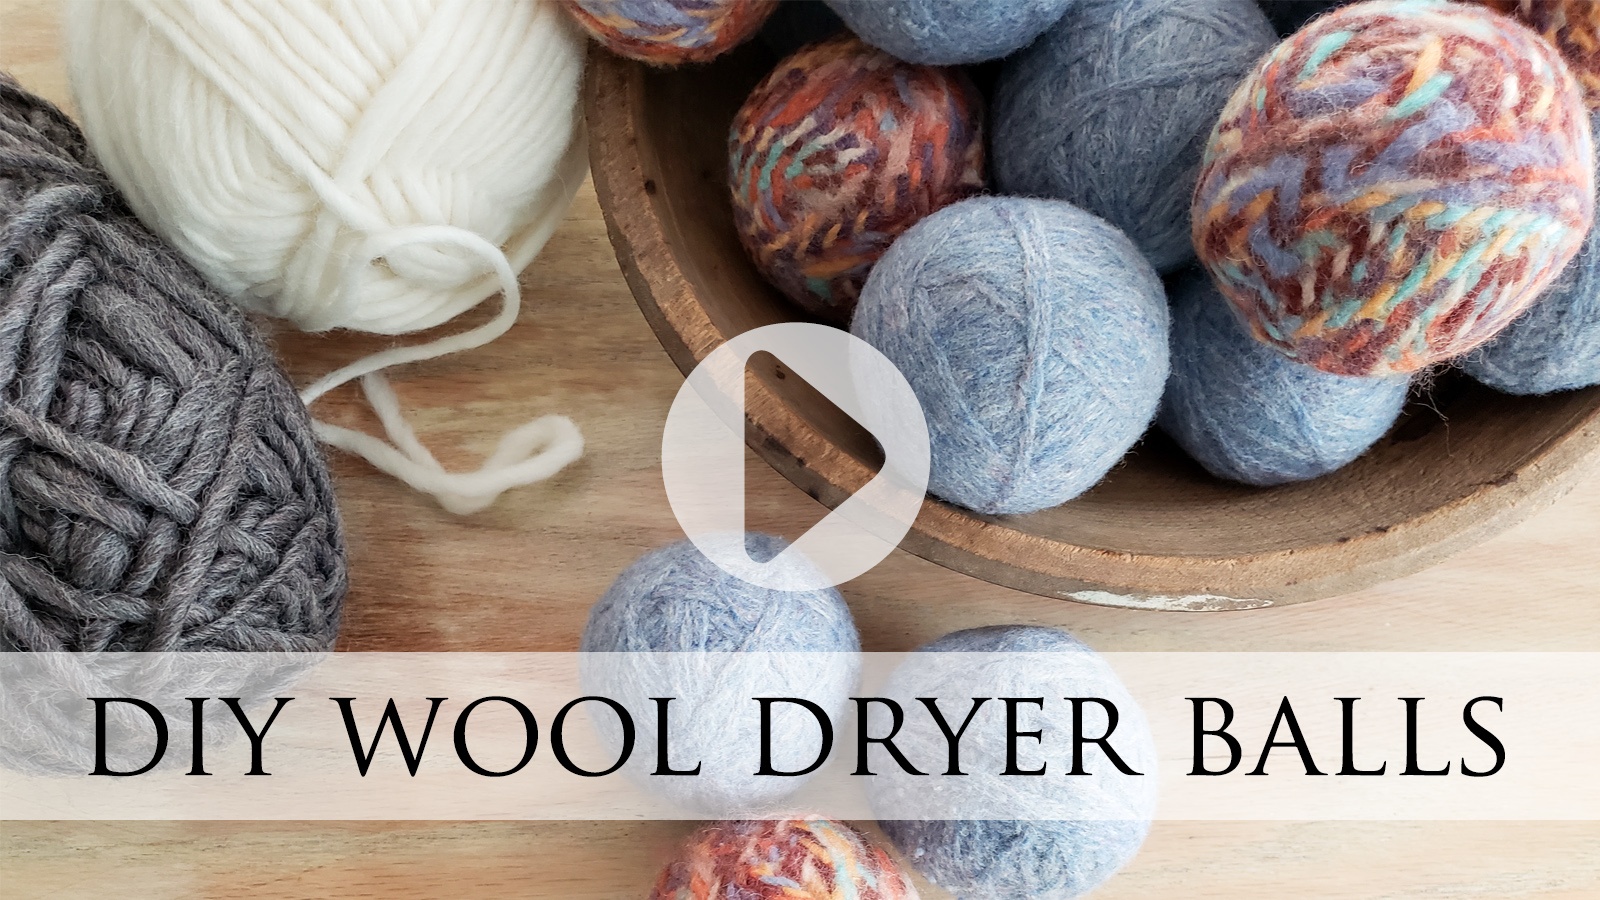
If you want to learn how to felt a sweater, it’s super easy. You can see how in my footstool tutorial with video or my DIY wool dryer balls tutorial with video below.
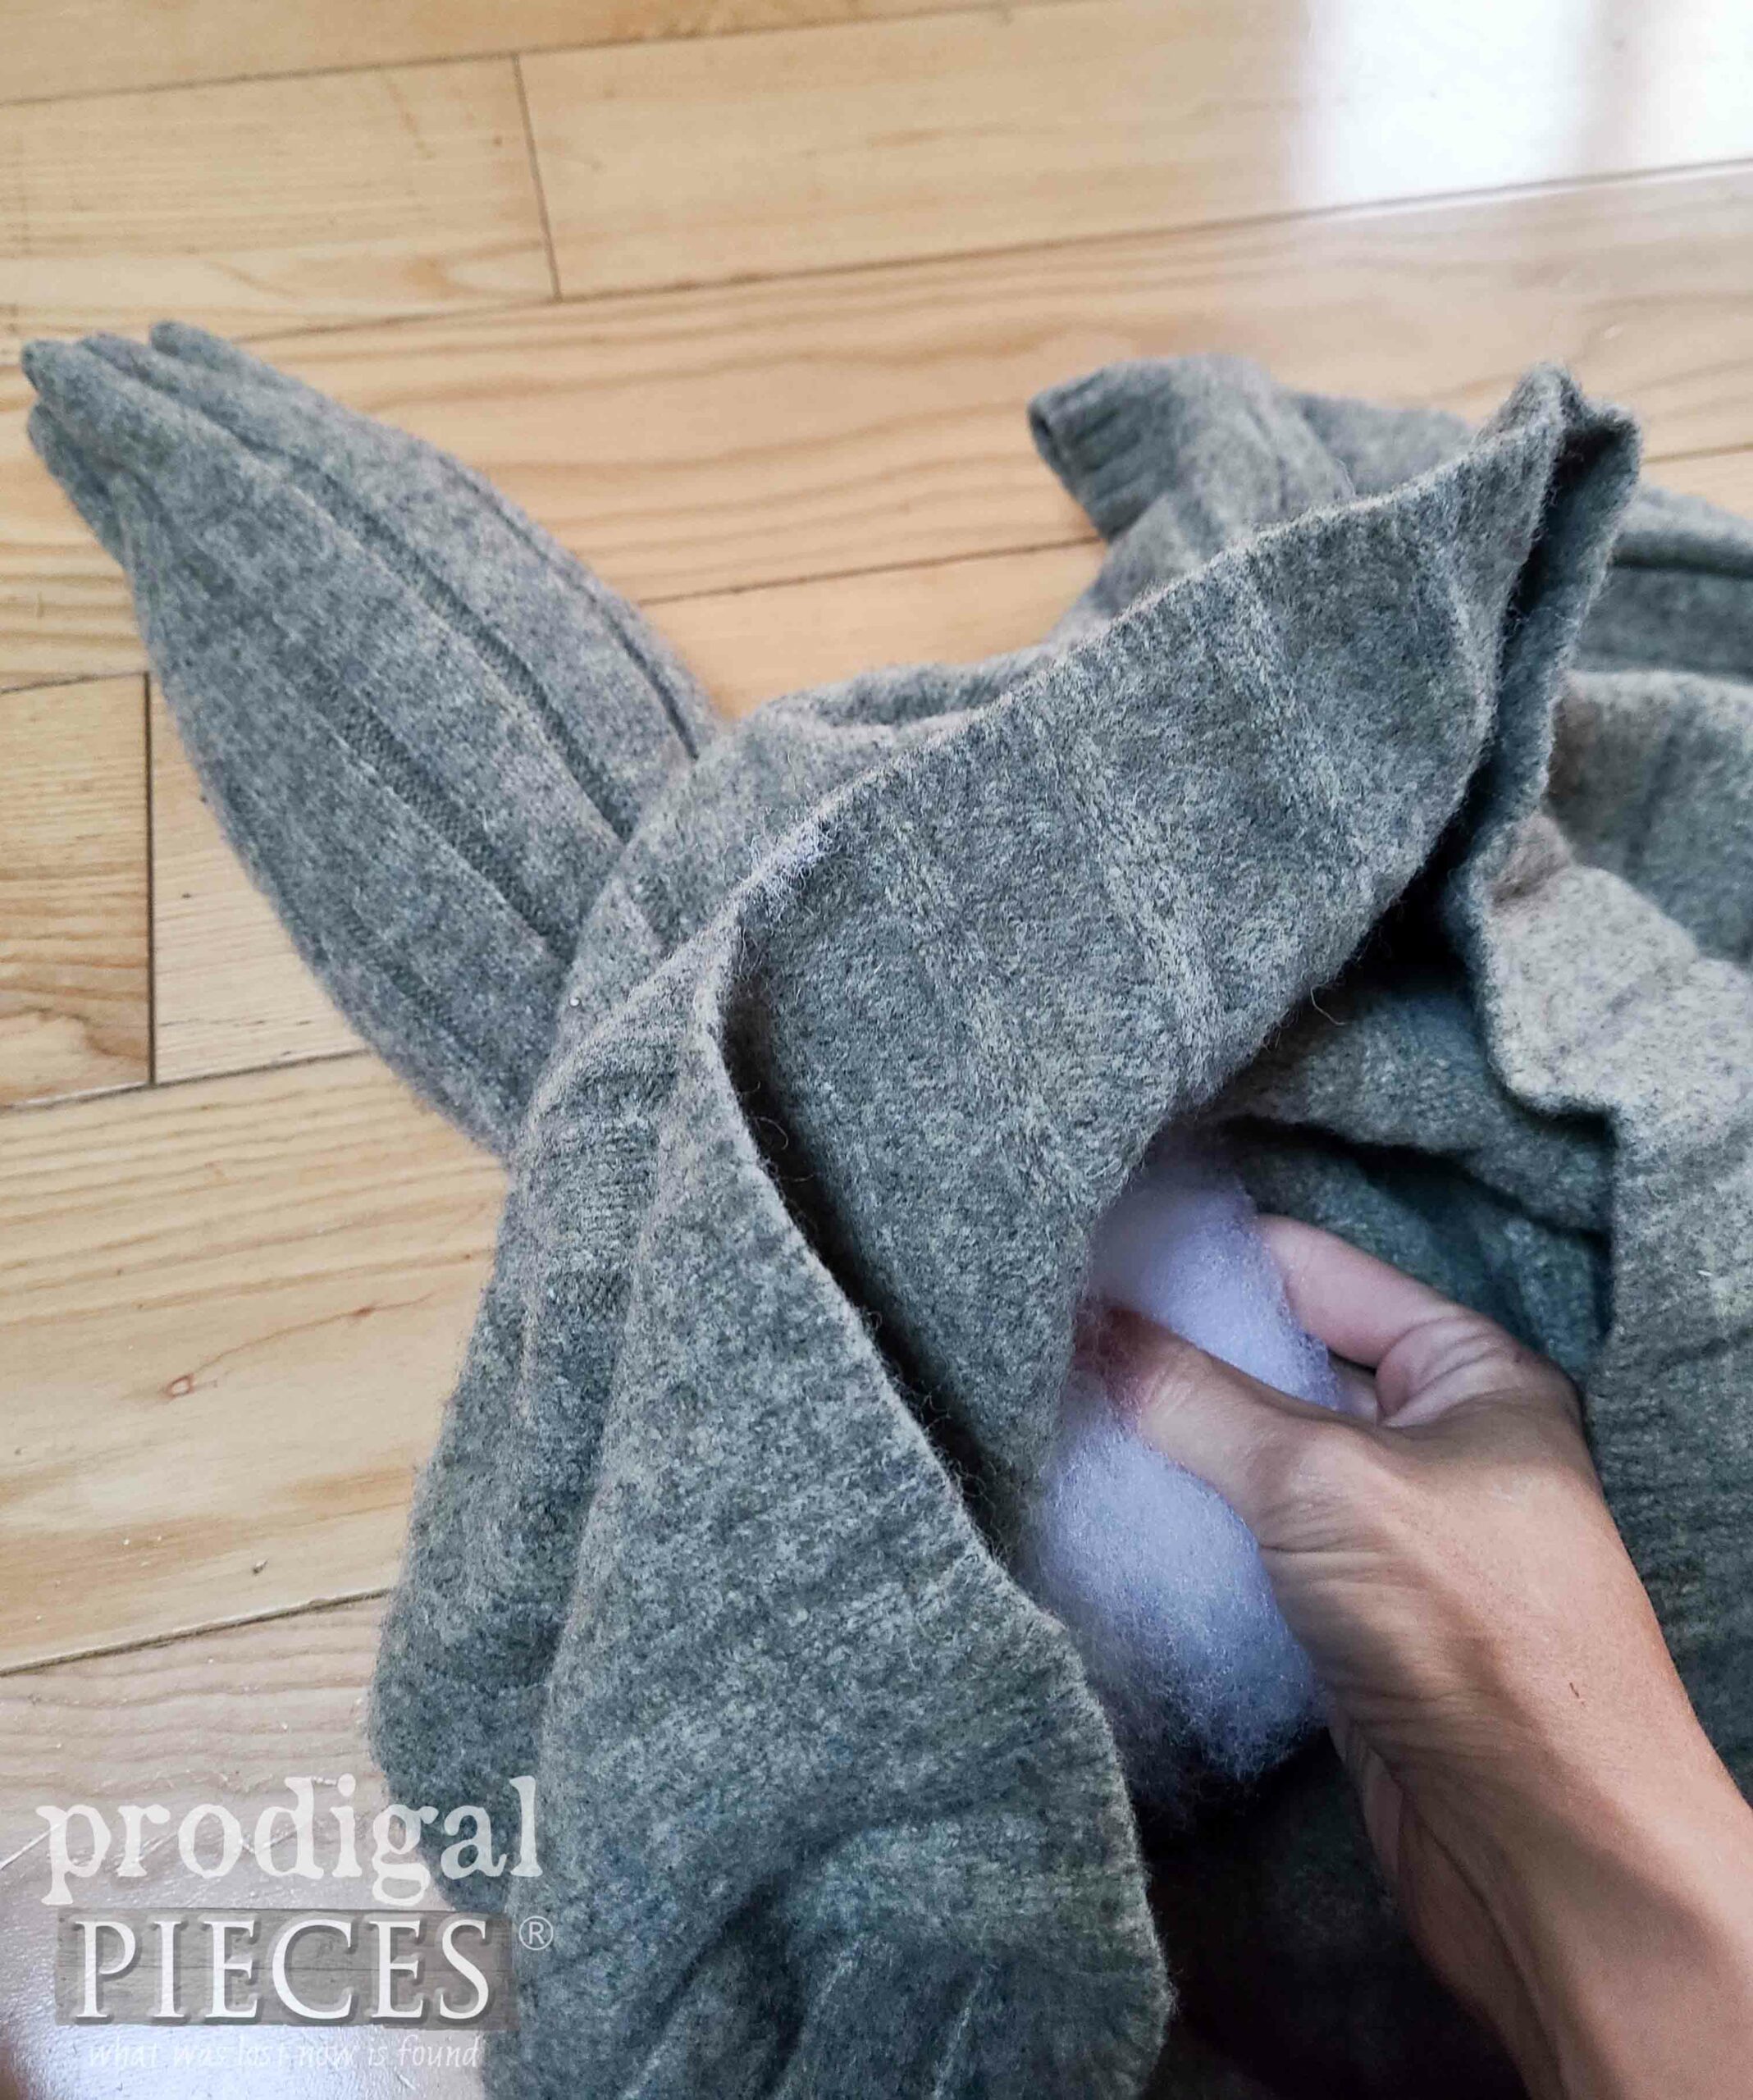
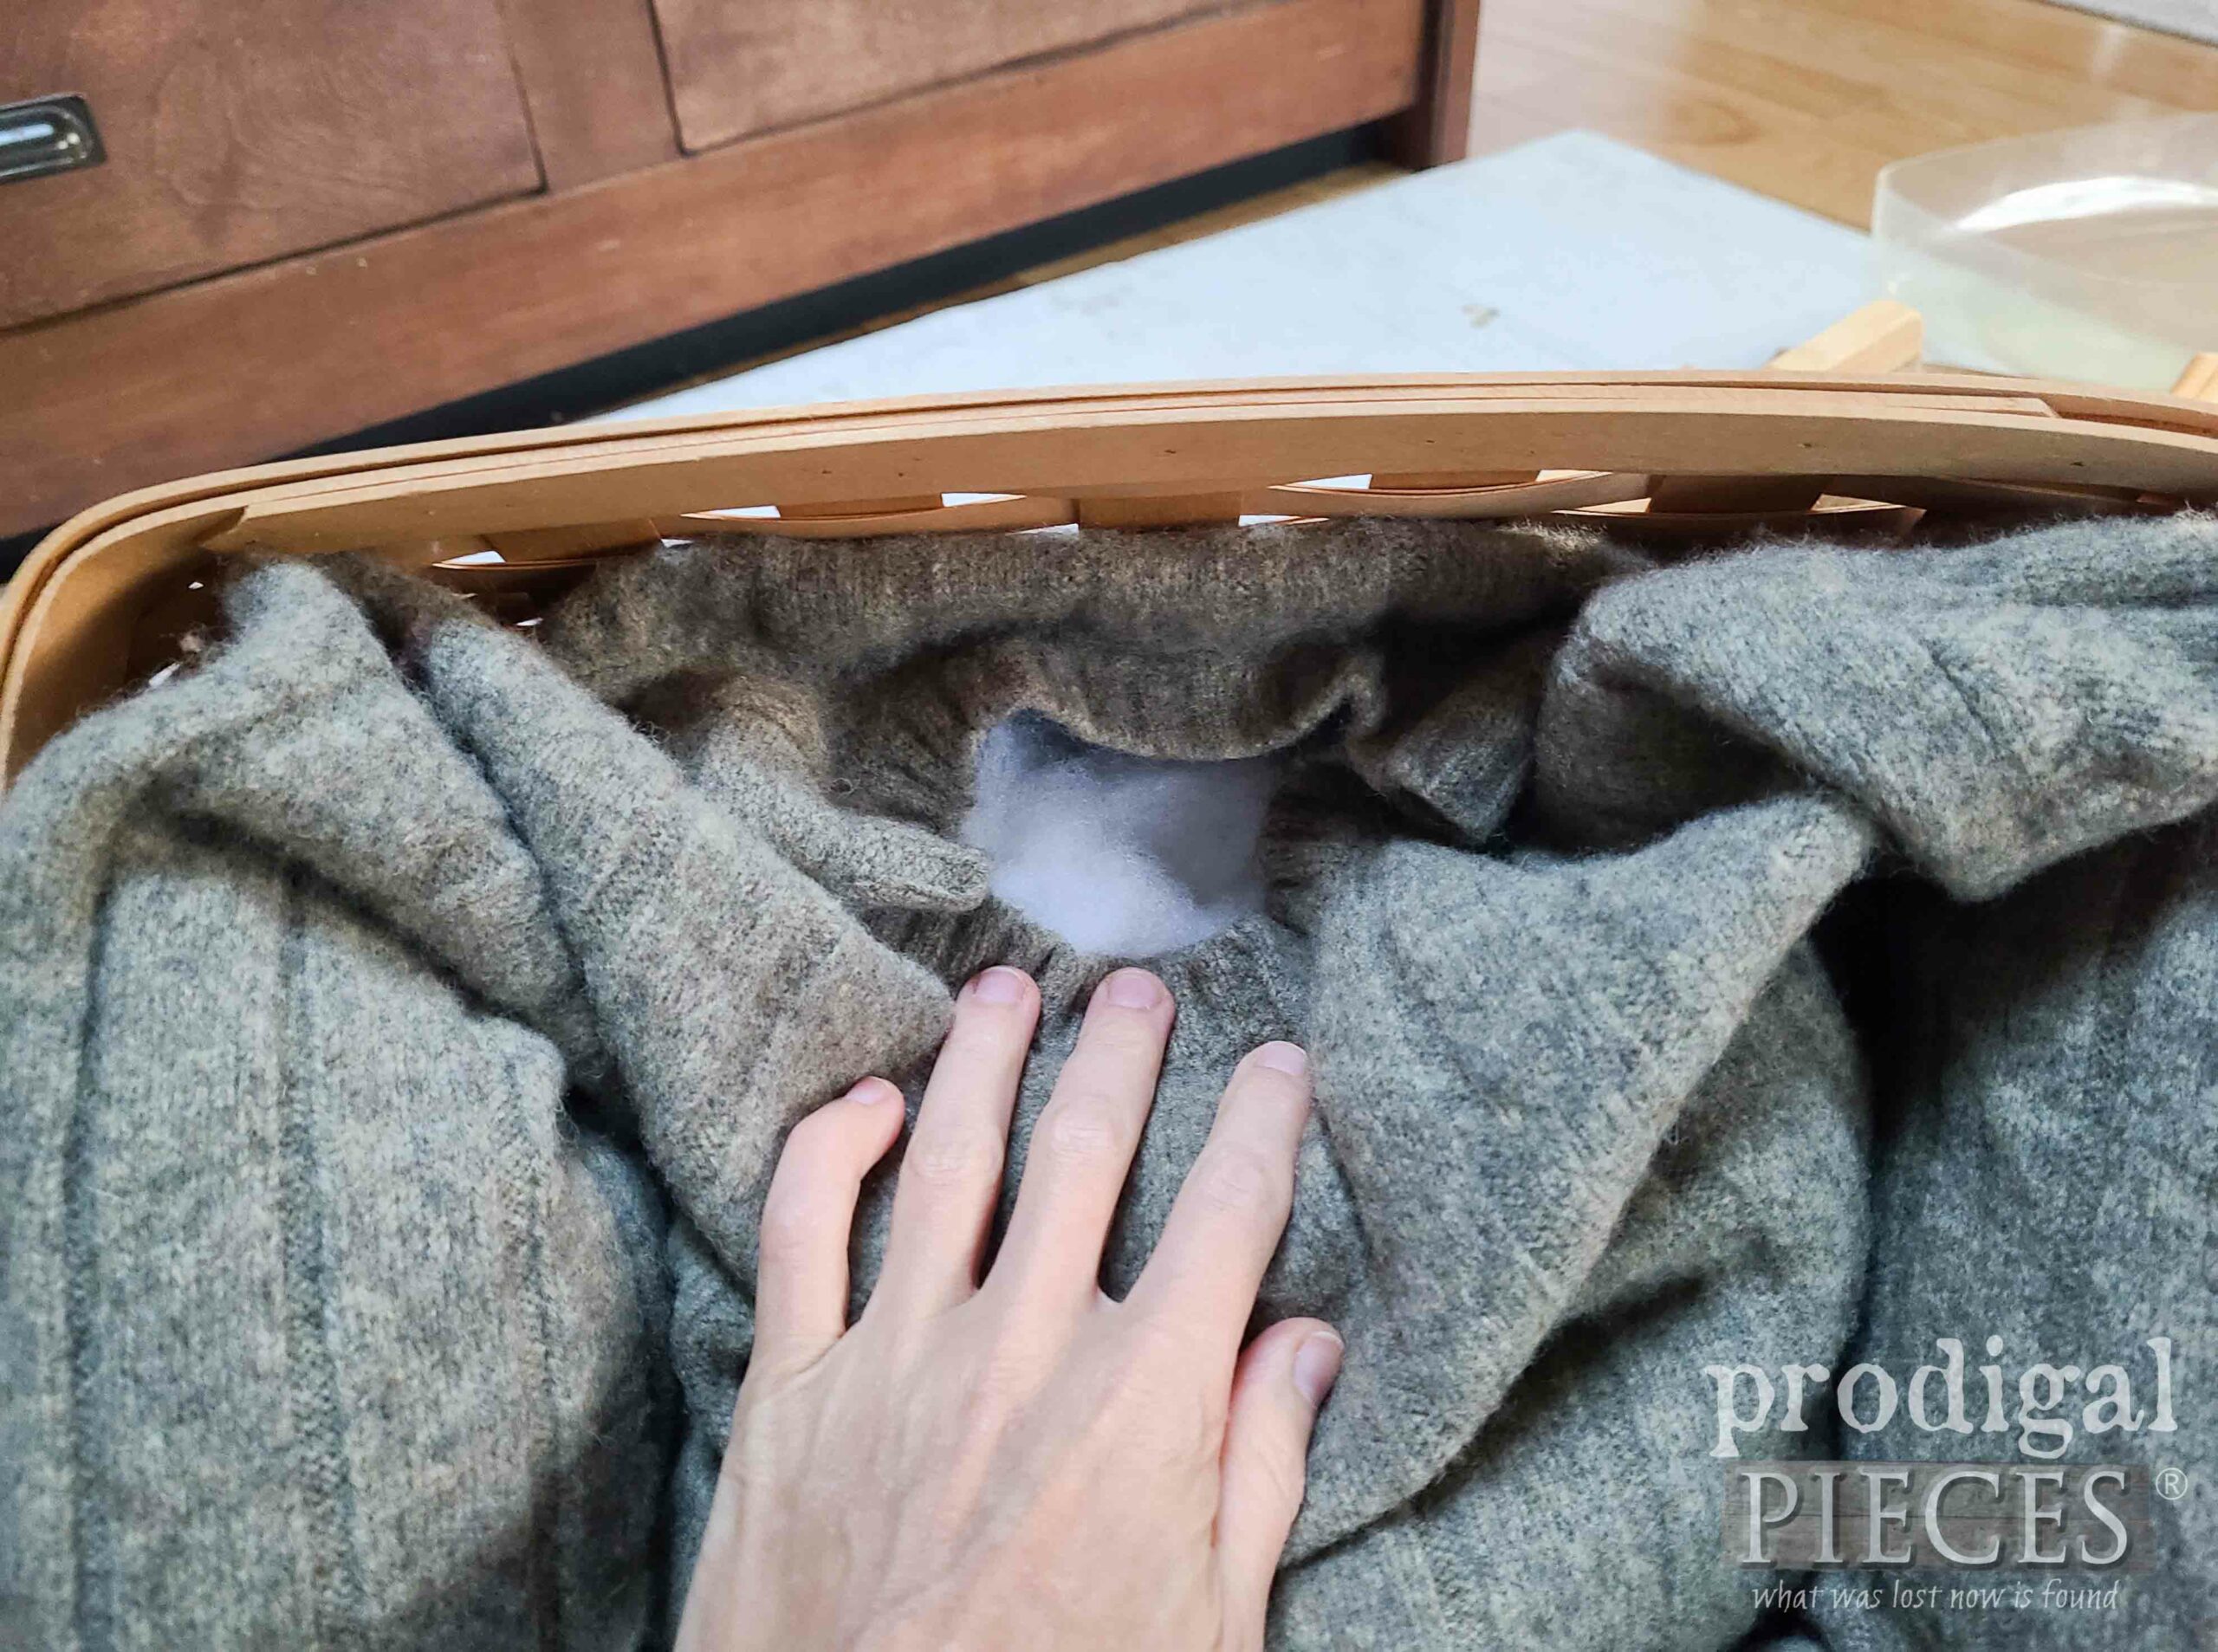
I take stuffing and fill up the arms and torso just a bit.
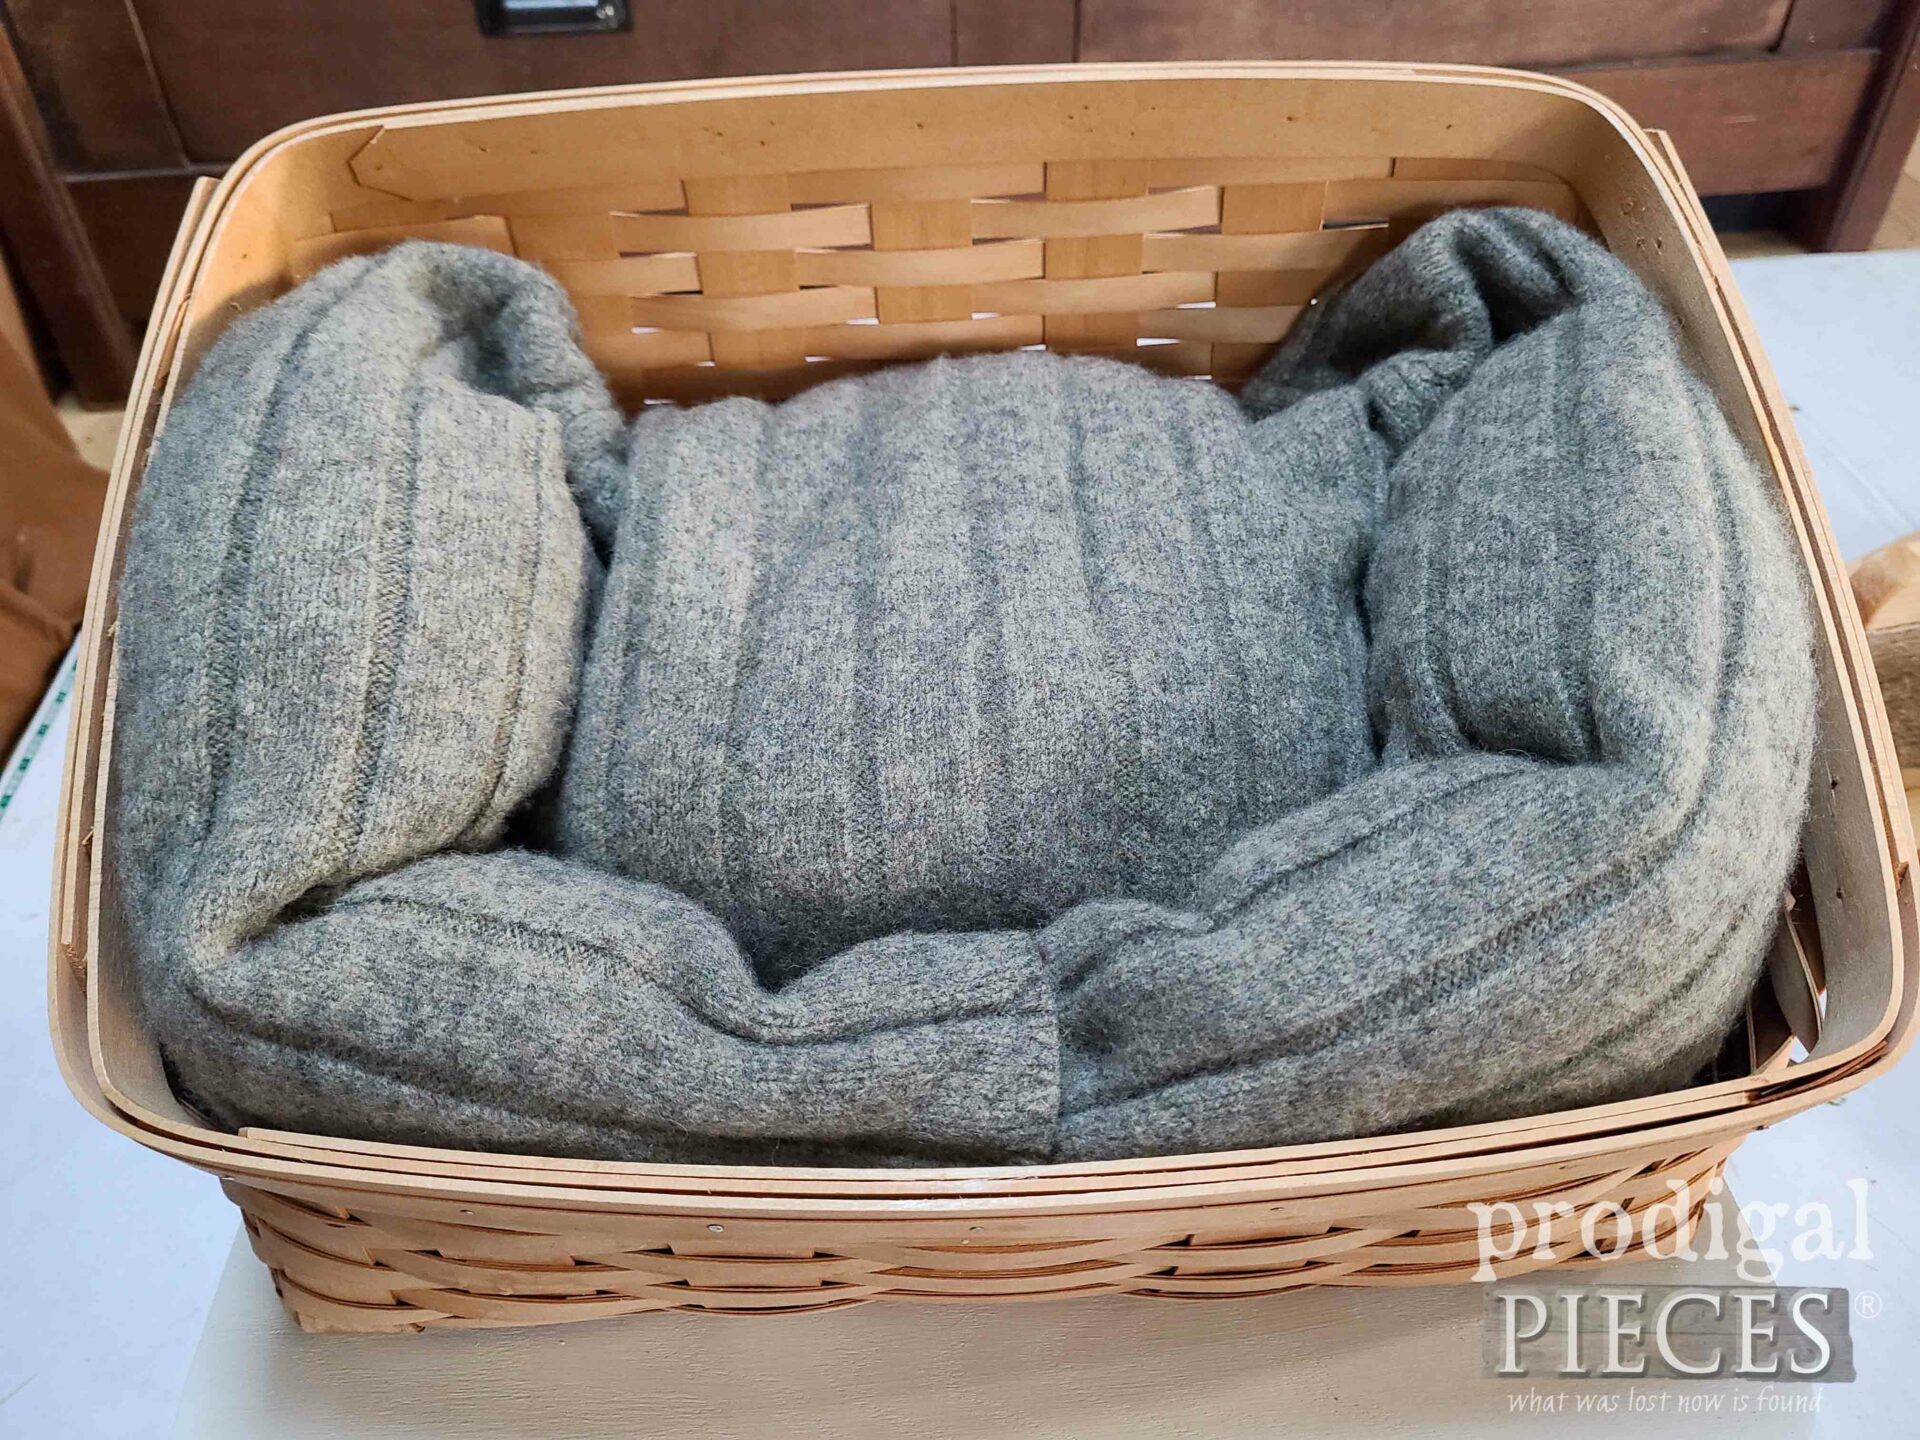
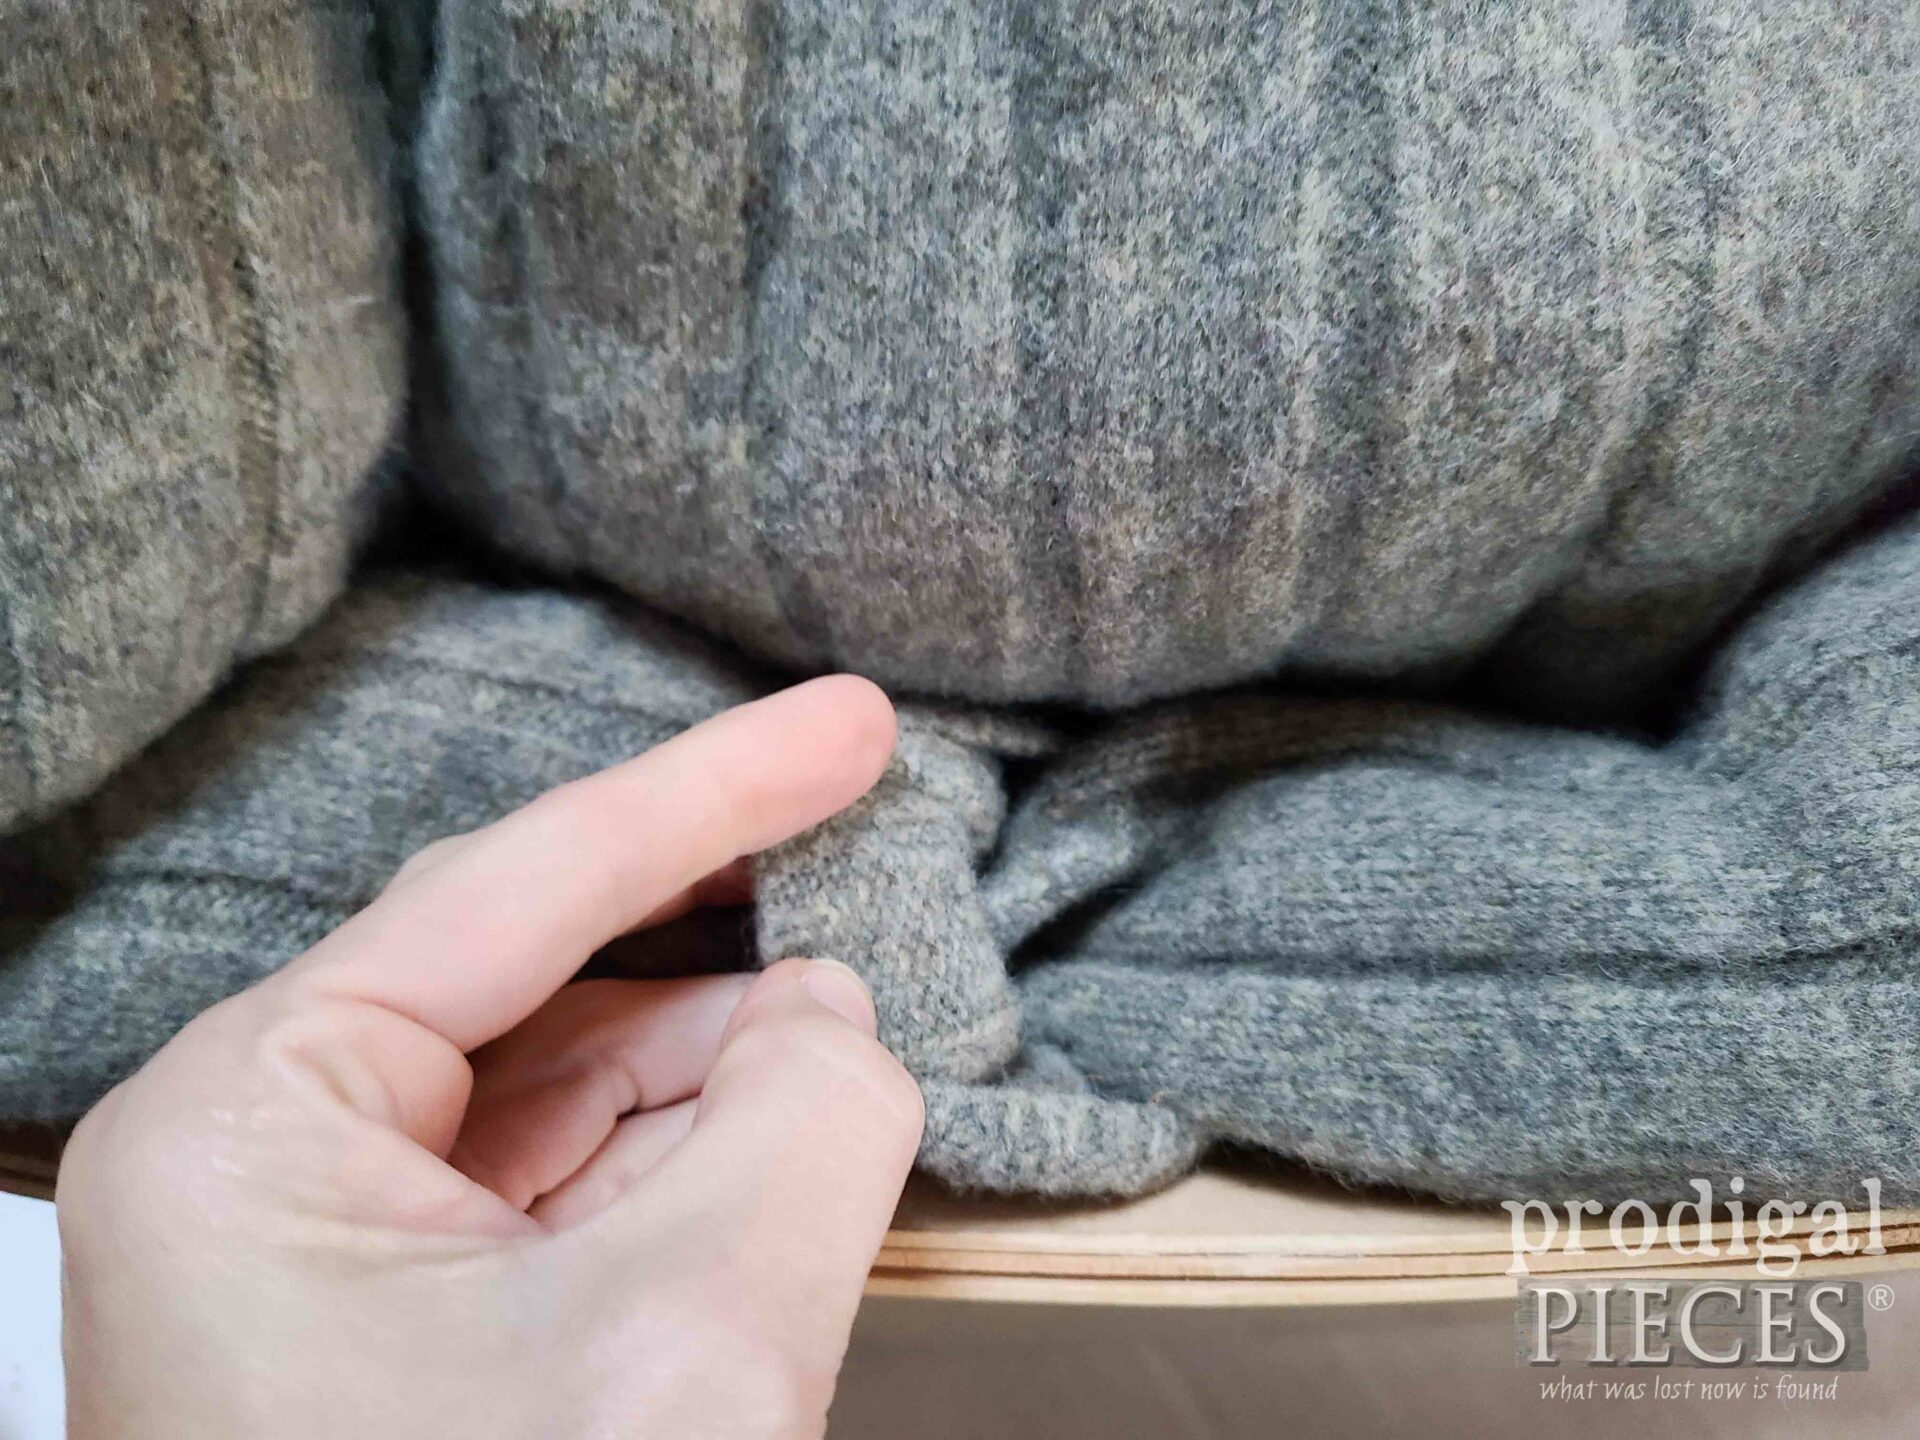
Then, once stuffed, I tuck it into the basket with the neck folded over and also the sleeves interlocking. I didn’t sew it up because I want to be able to take it out and launder it.
If you think your cat would do something to it, feel free to grab a needle and thread.
COMFORTING HEIGHTS
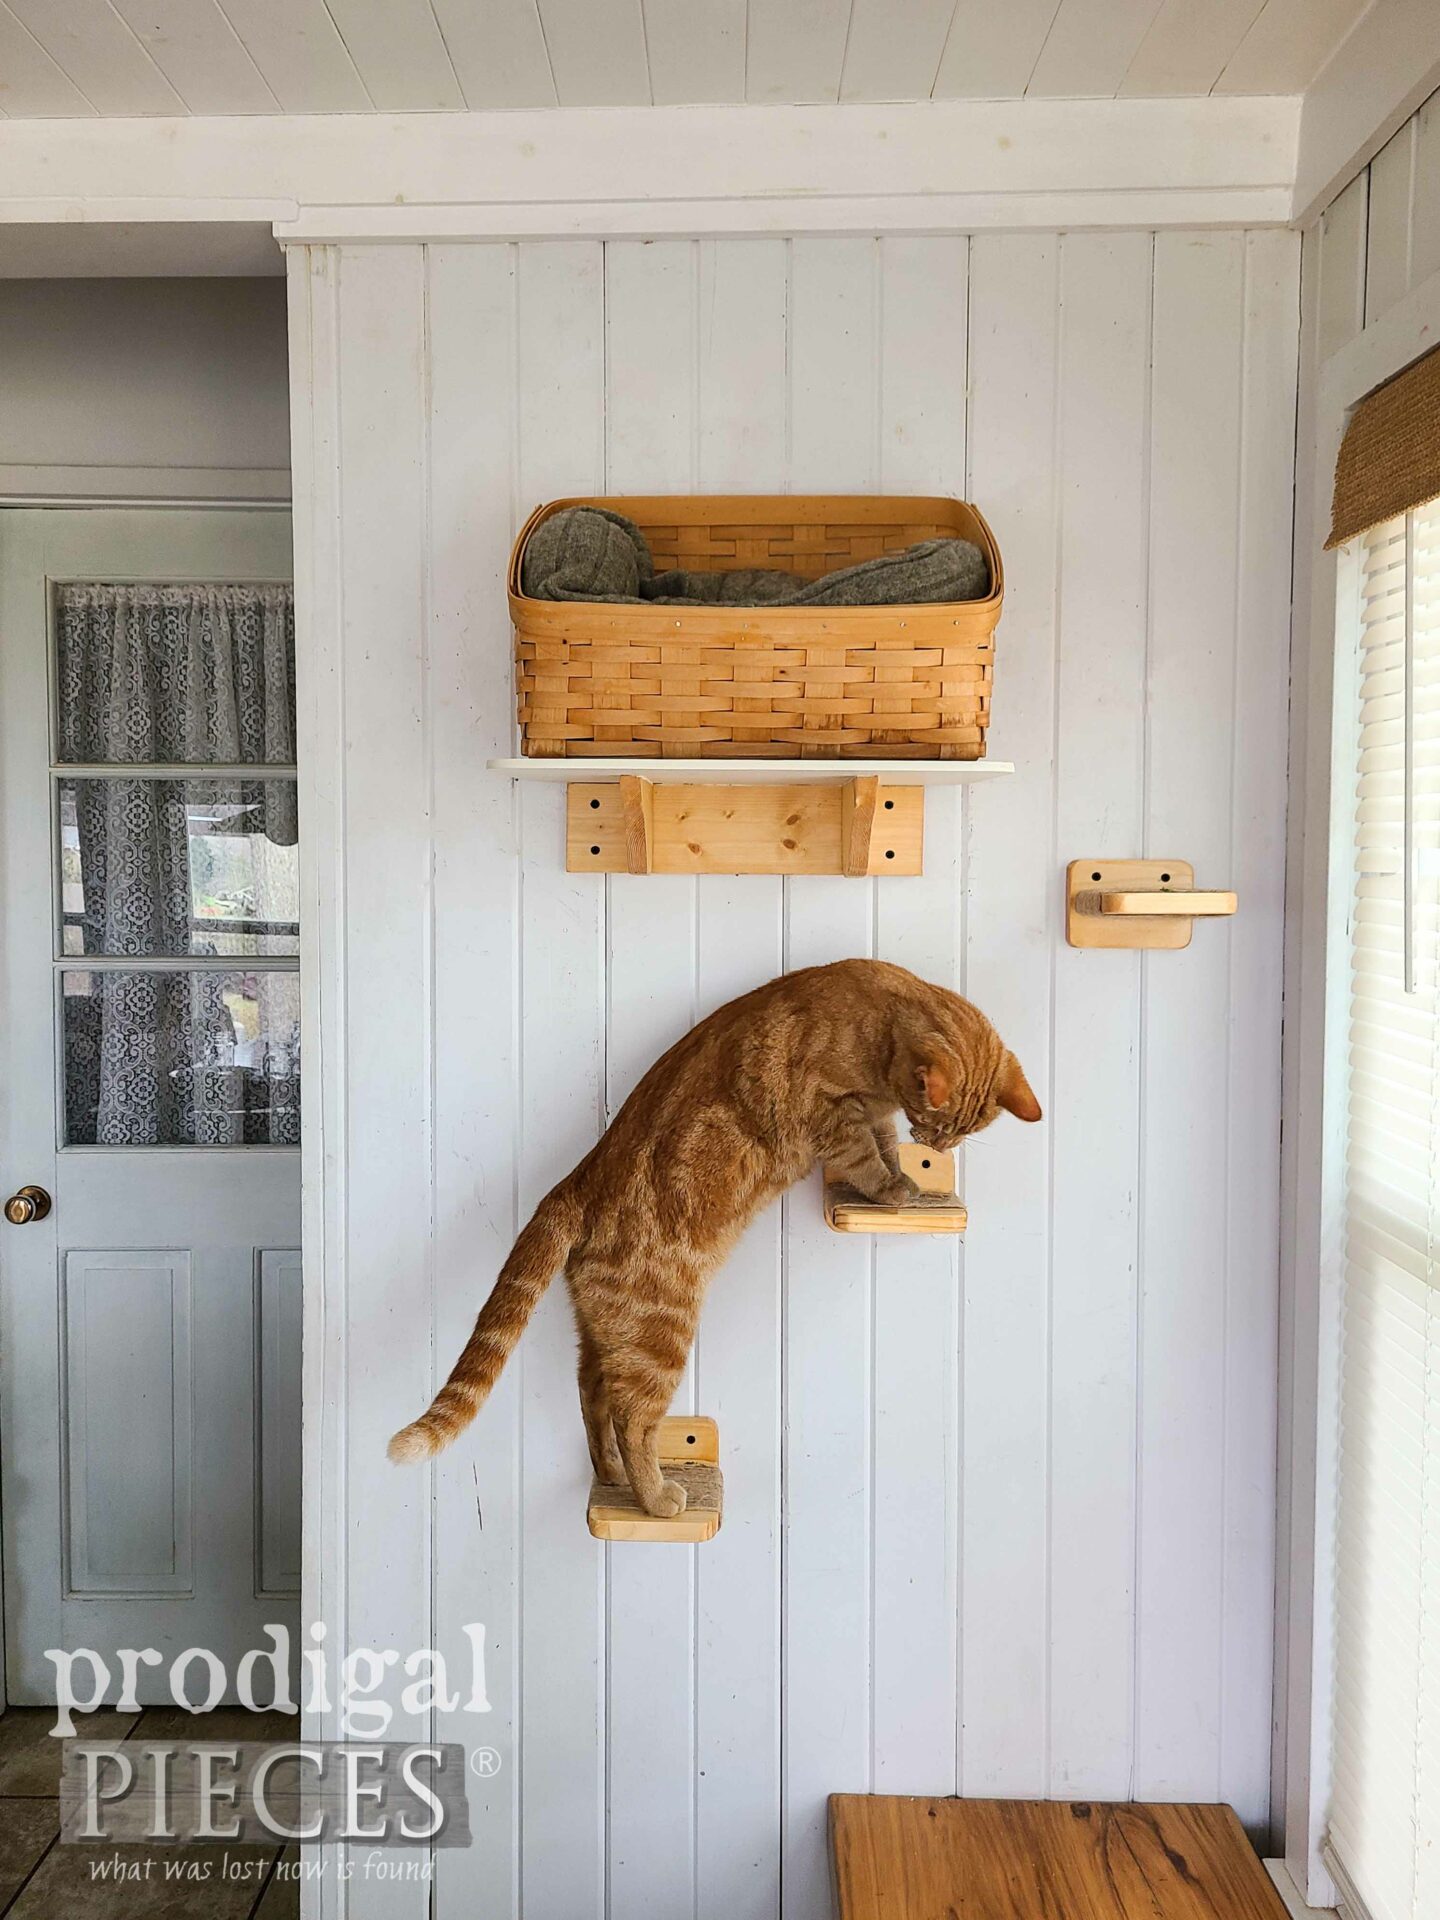
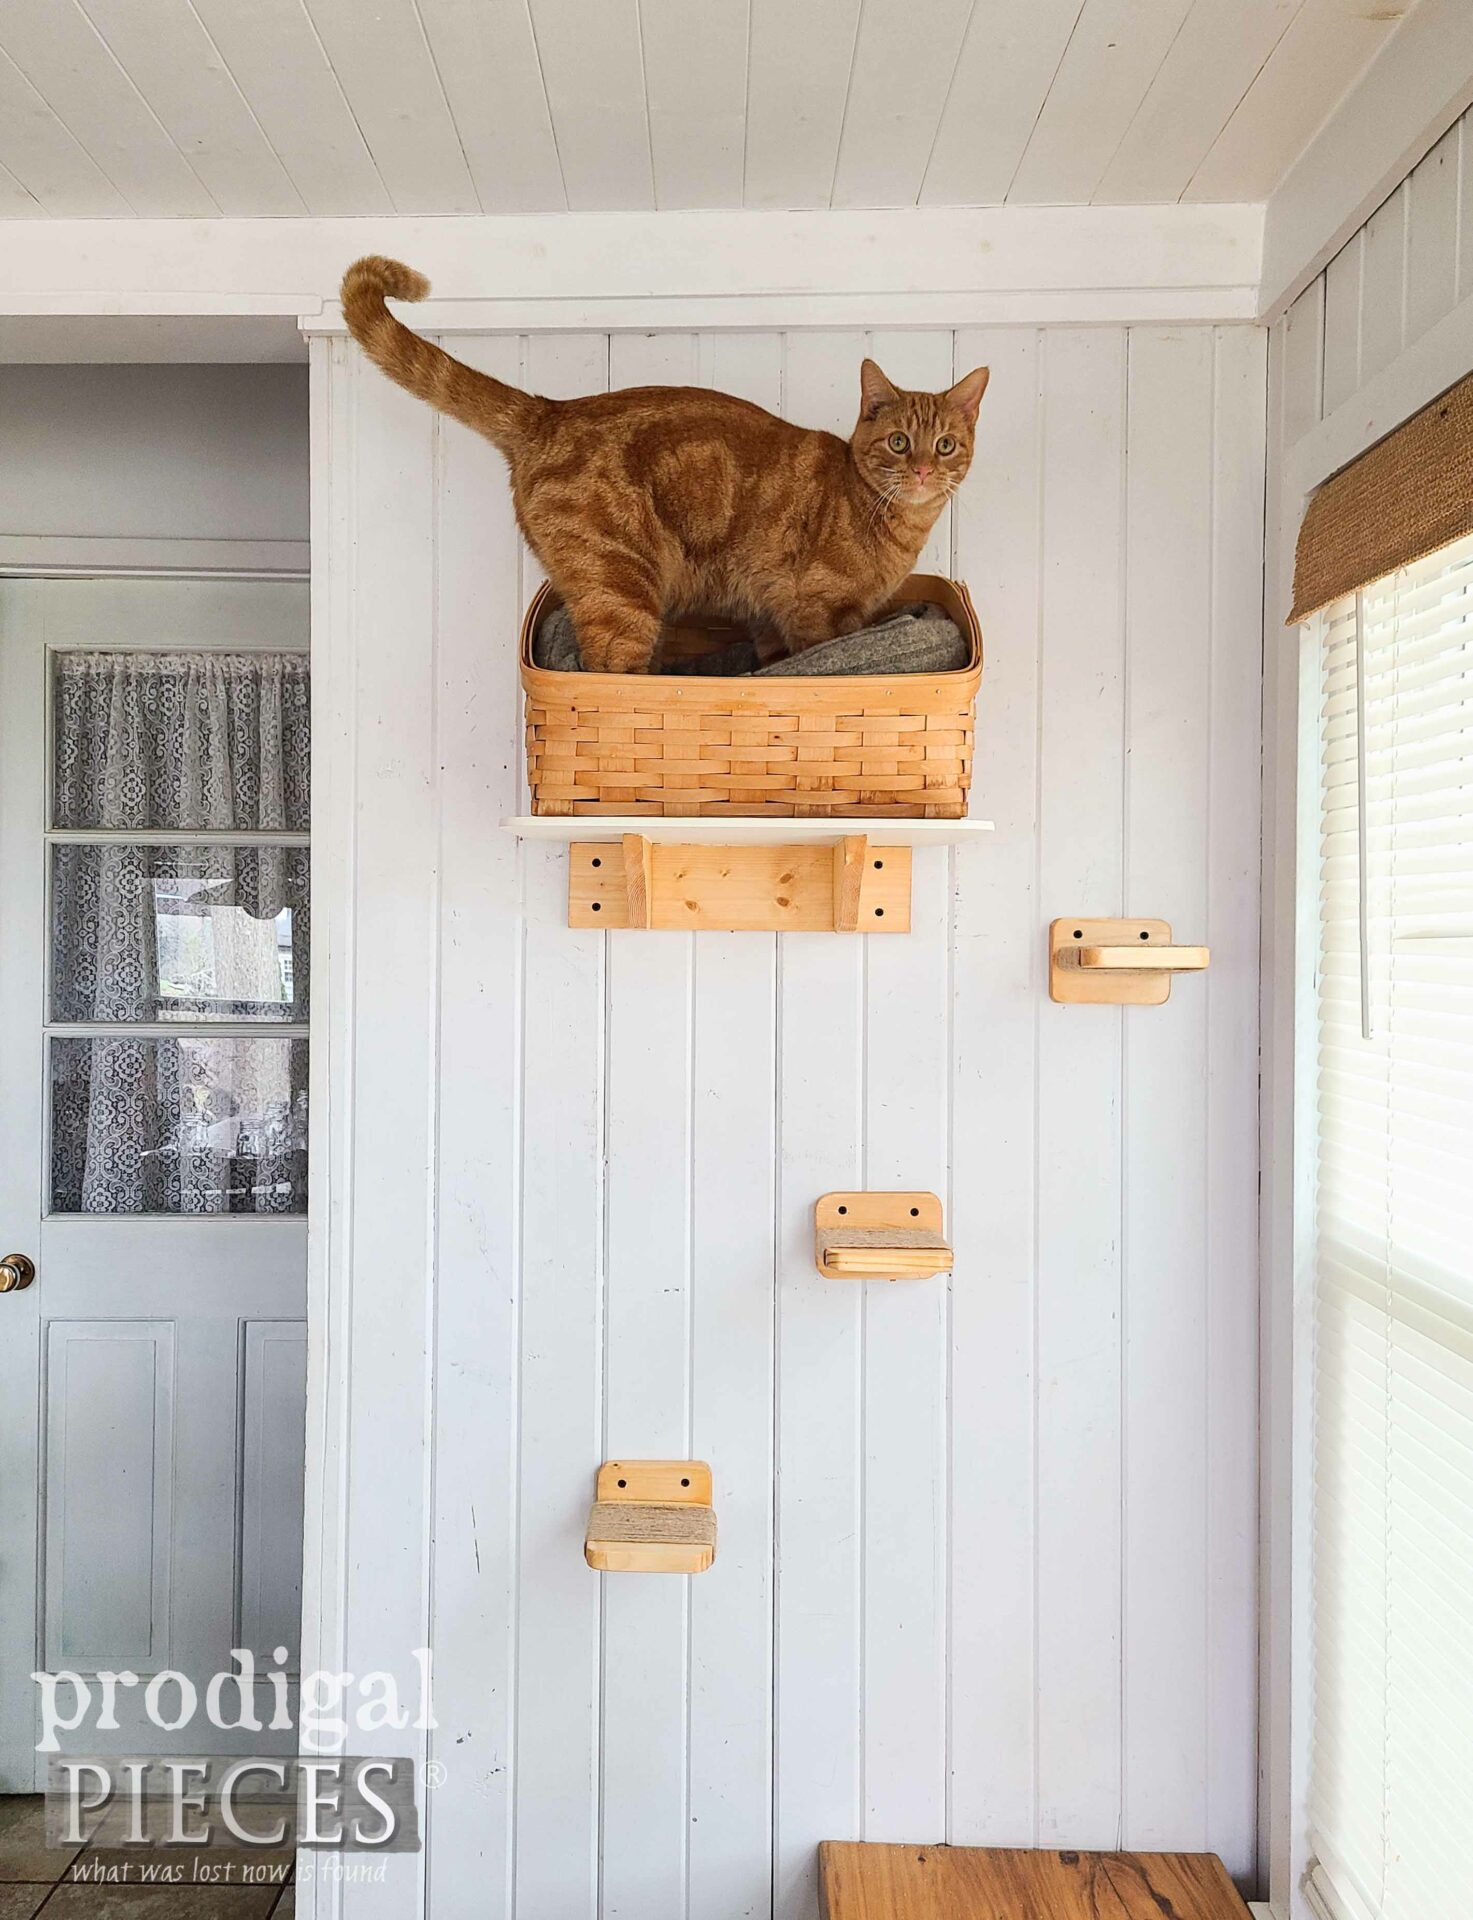
At long last, my DIY floating cat bed made from a thrifted basket and sweater is ready for action. Literally, as I just finished putting it up, Ivan comes waltzing in the back yard – haha!
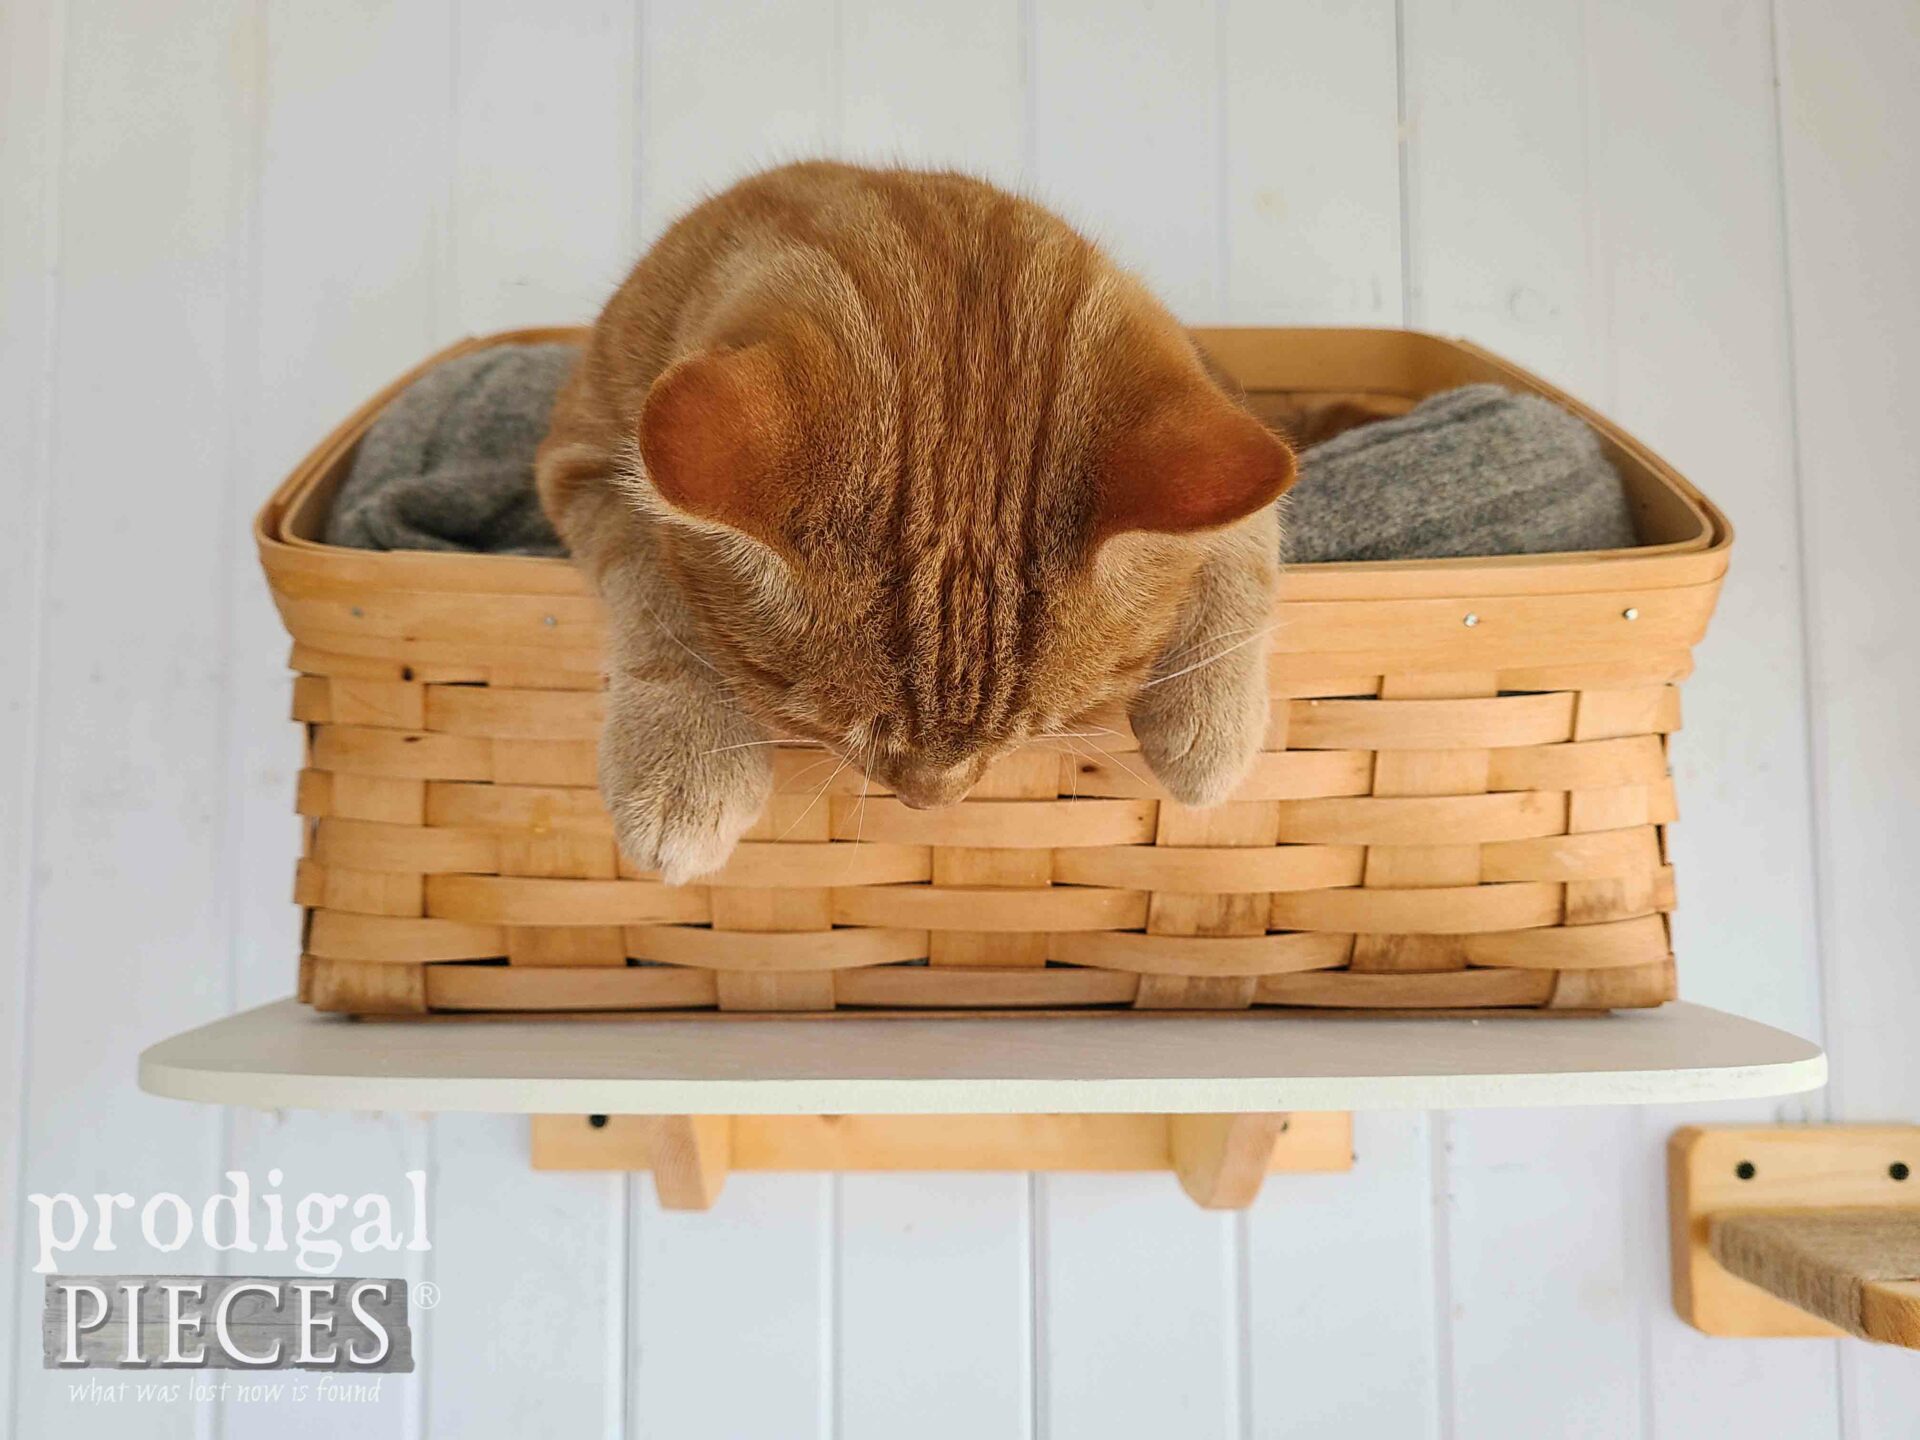
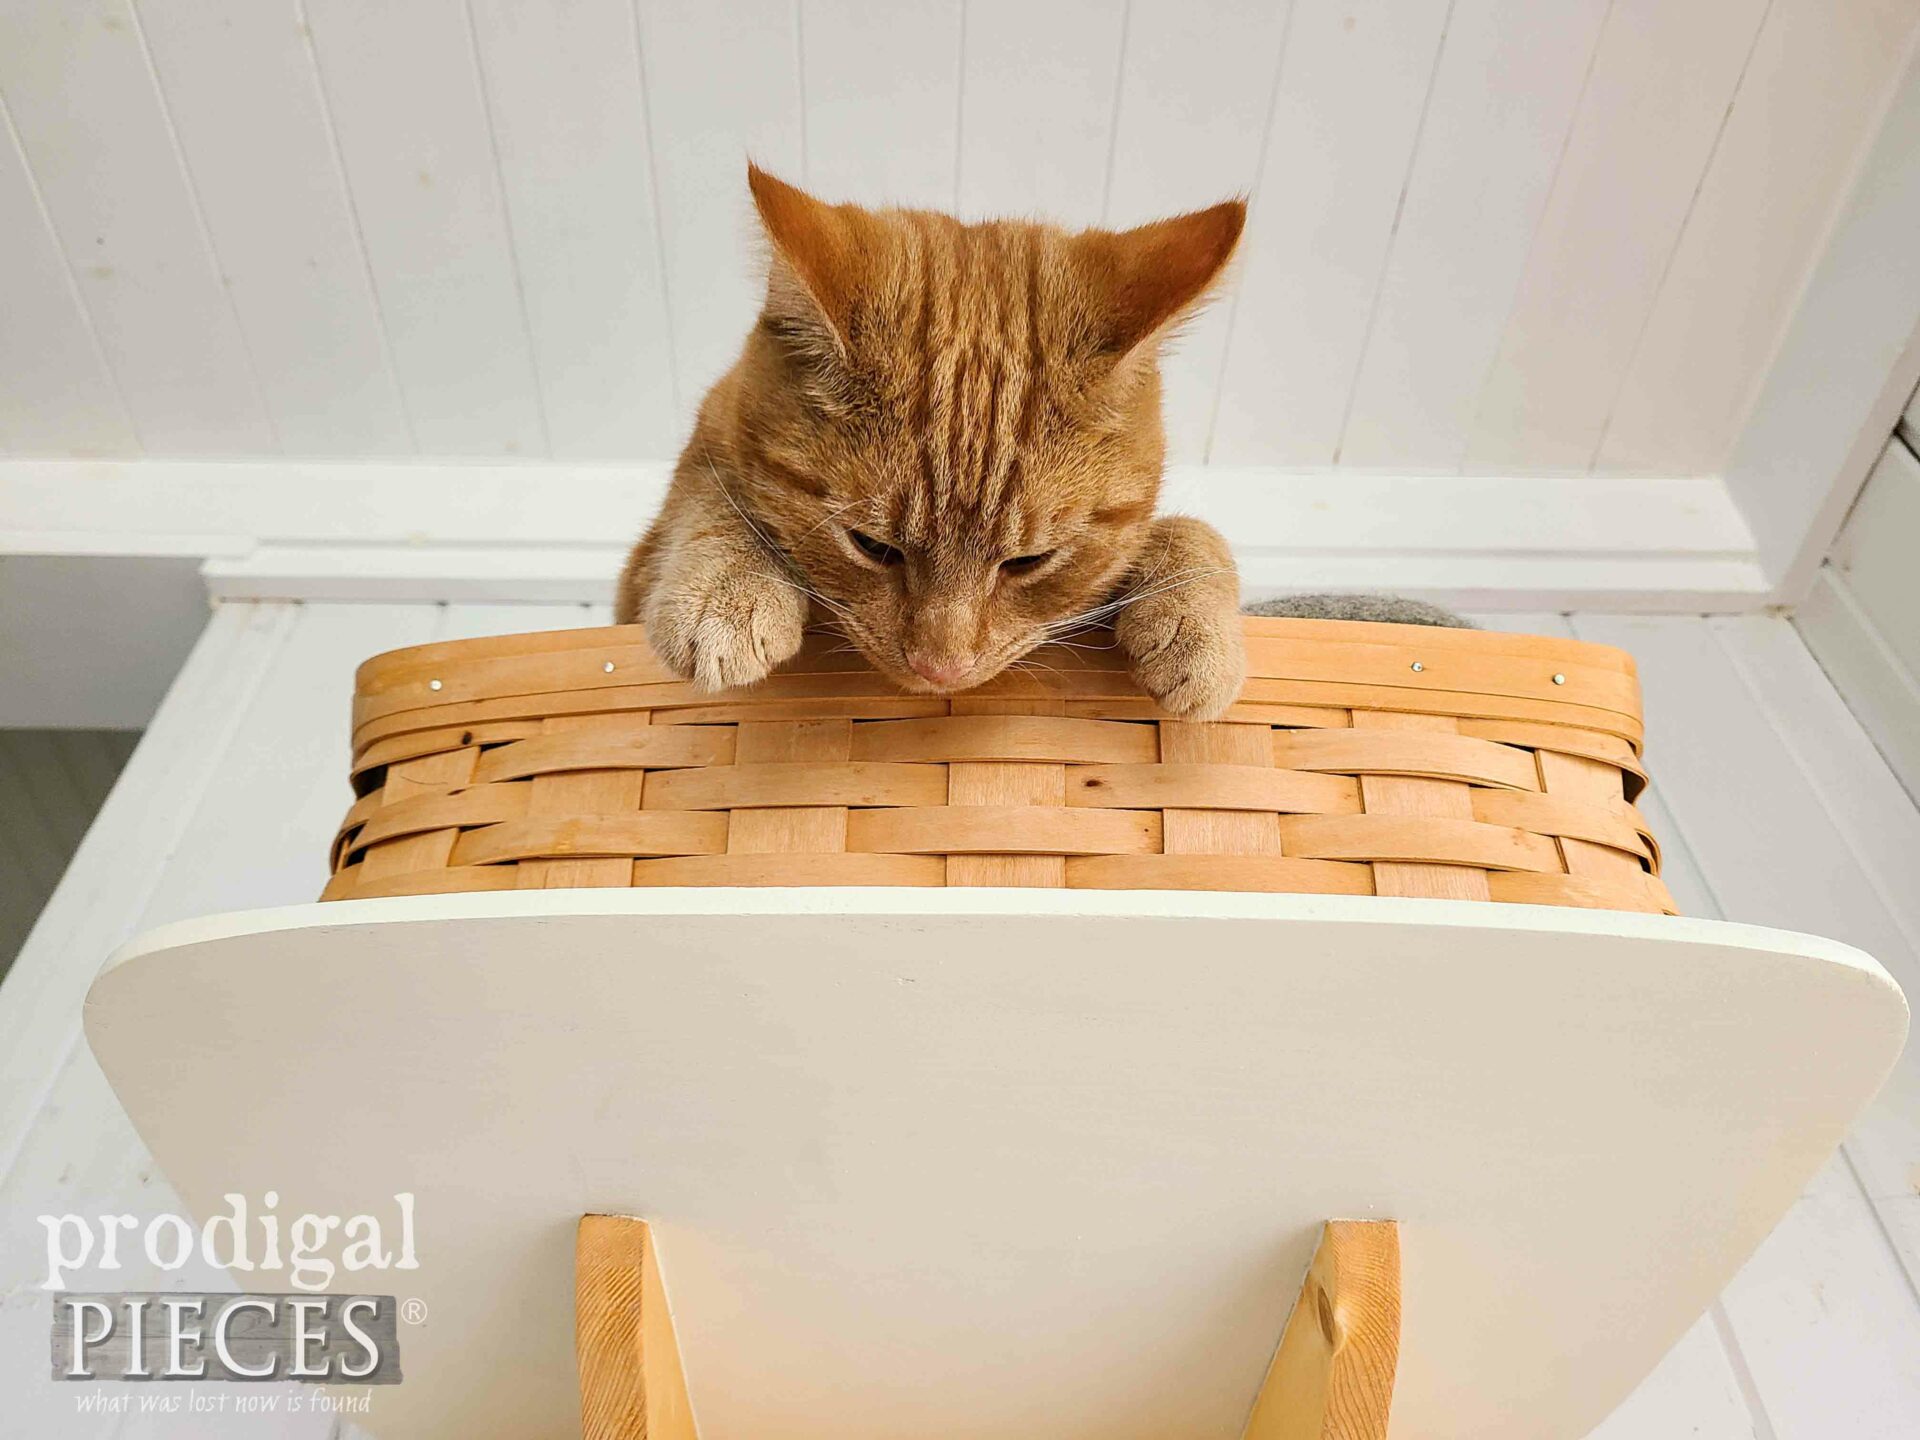
He’s like… “what is thiiissss?’
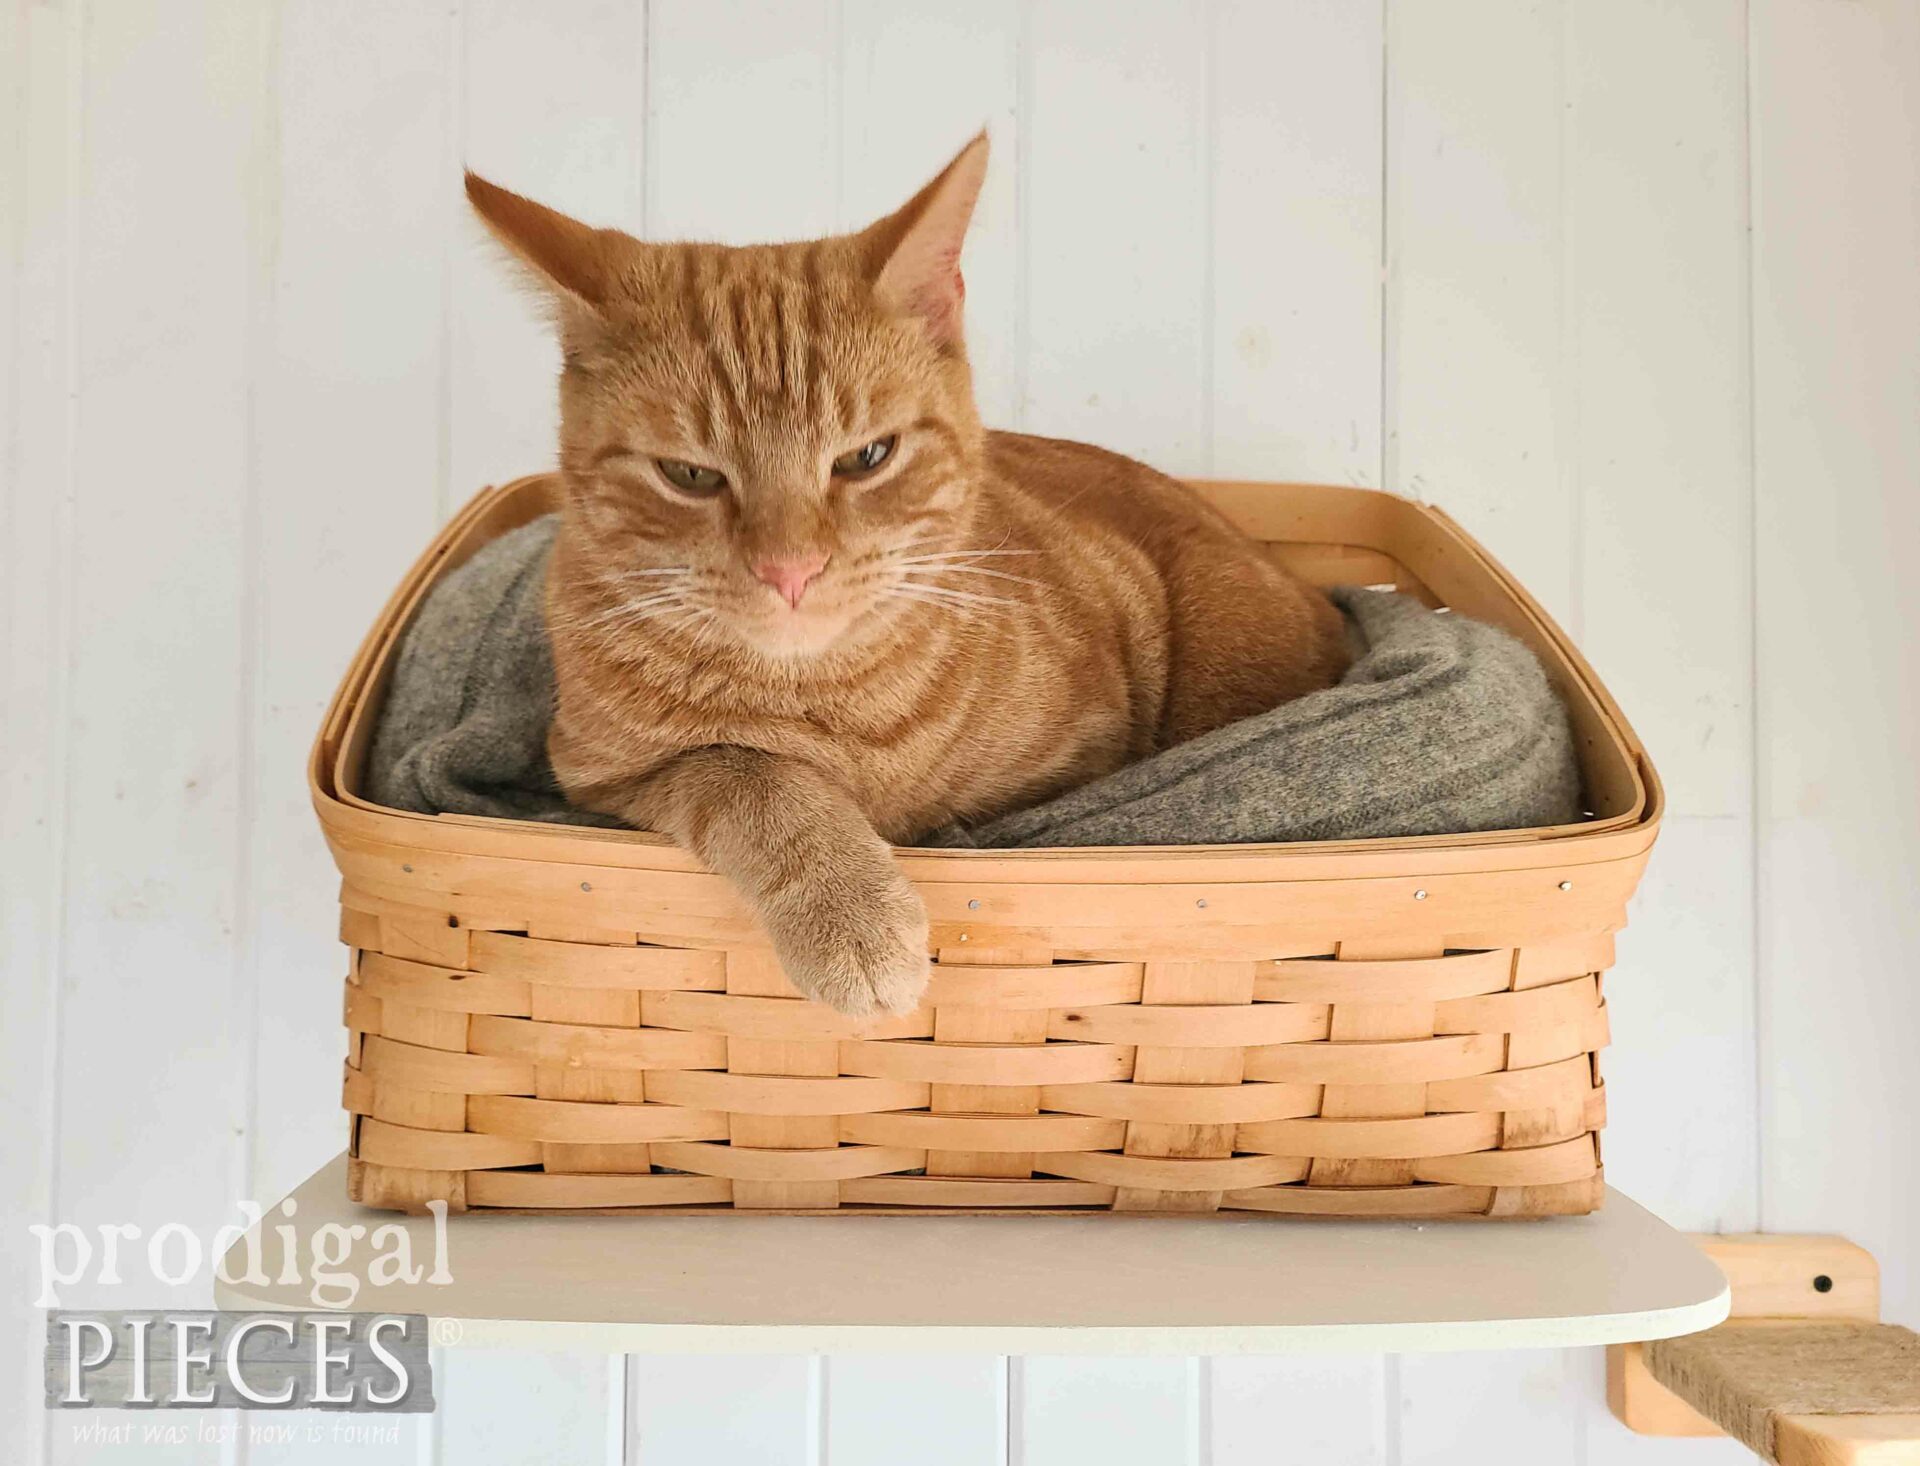
It’s at this point I spam you with cute kitty pictures. {{cheesy smile}} And if you’d like to know Ivan’s rescue story and how we saved him from peril on the streets, you can read it all in his DIY cat tent post.
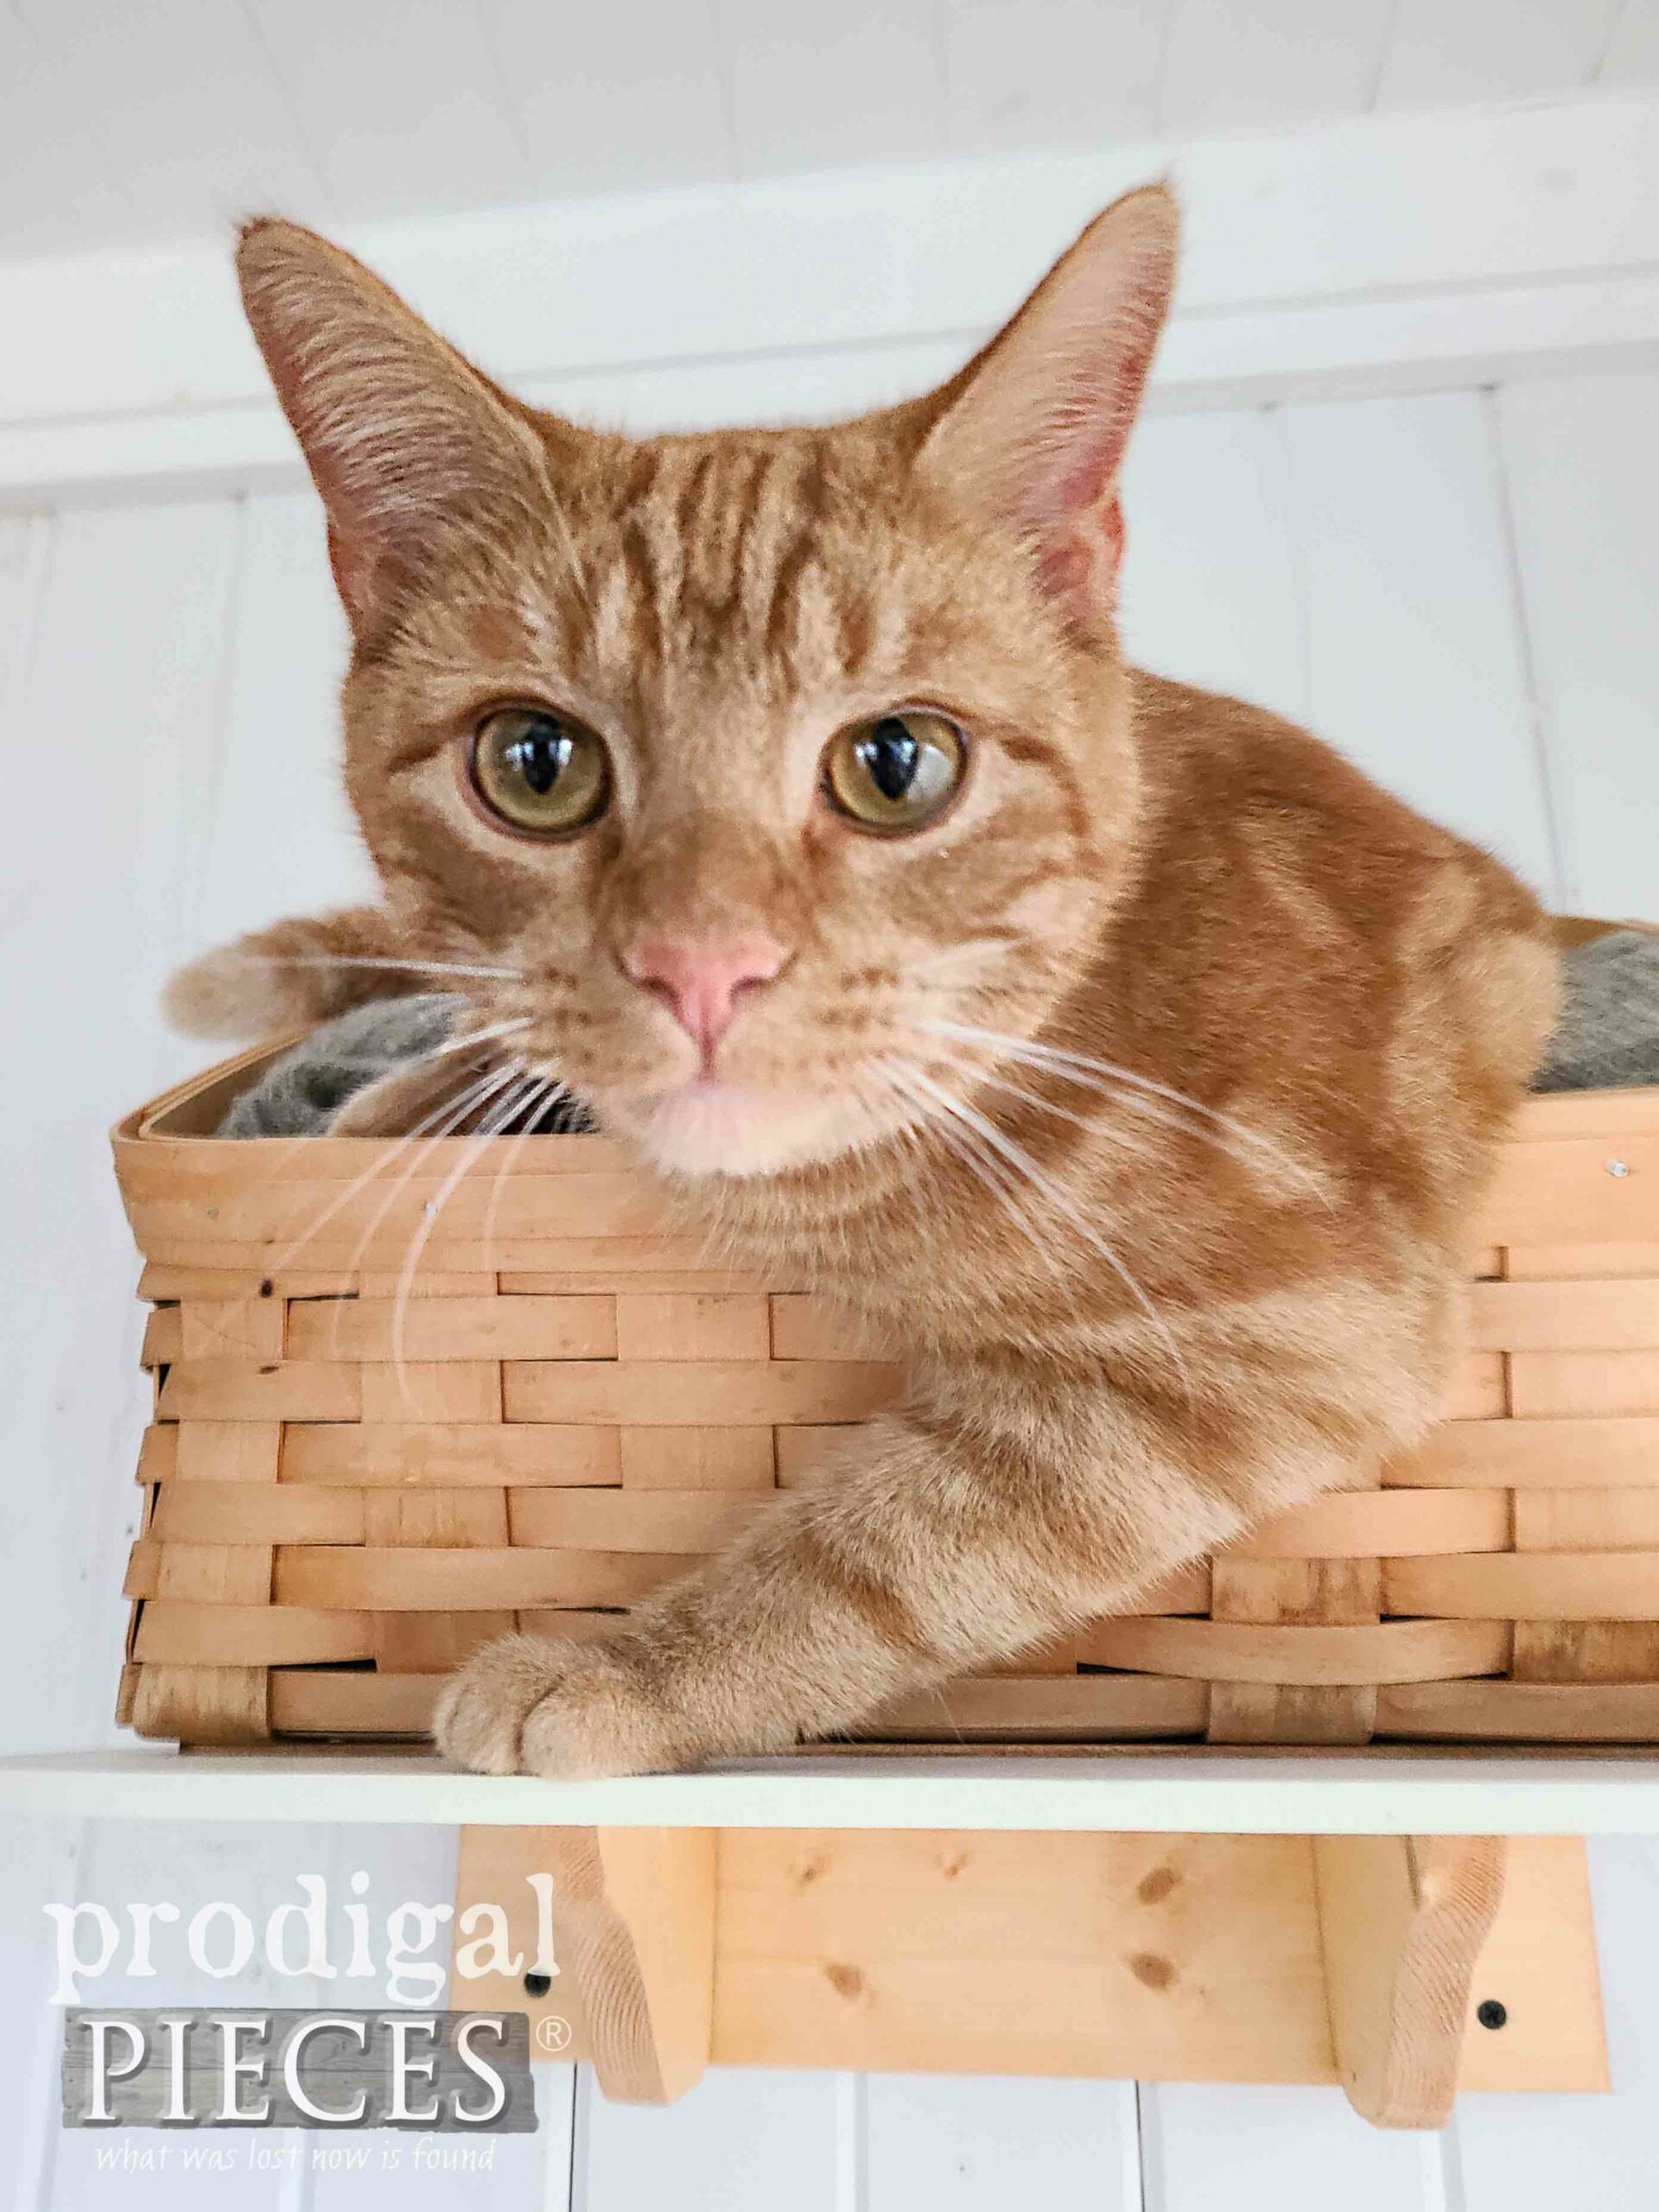
He’s up there and just keeps looking at me like, “Is this for real?” I love it.
Within seconds he’s settled in and blinky. If you didn’t know it, a slow blink from a feline means they’re good and you’re good.
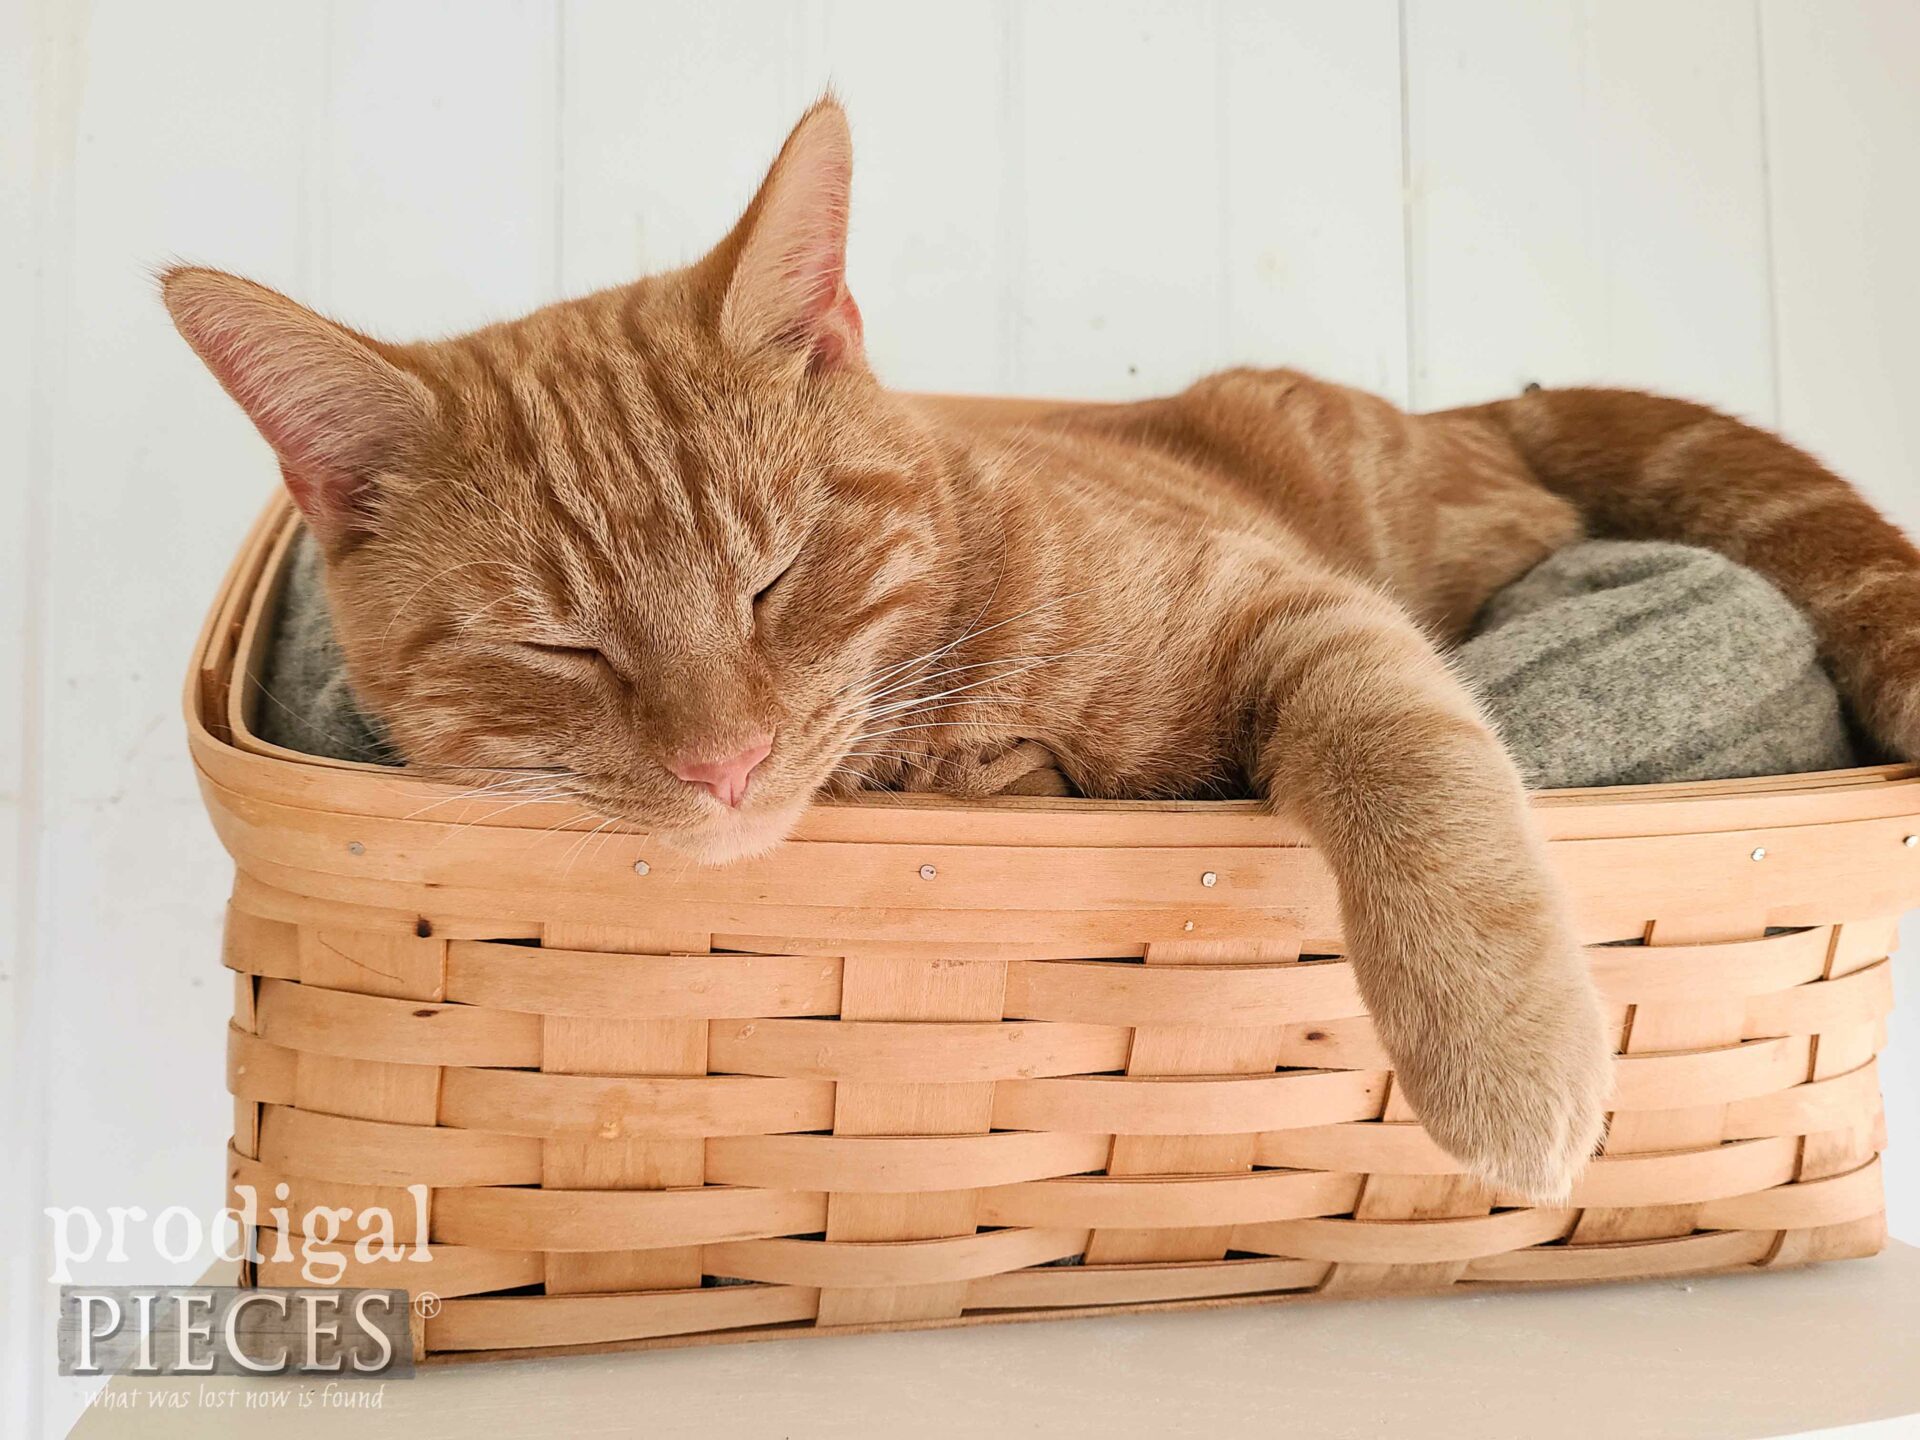
He heard my clicking away on my camera, so he popped up to see… then settled back into one of his random poses.
While Ivan helped me stage this set, it’s not his to keep. So, if you’d like to gift this to a furry friend or local cat sanctuary, you can find it and more in my online store.
SHARE
At the same time, I want to hear from you! I create and share these adventures to inspire YOU. Leave some comment love down below and pin and share to inspire others too.
Before you go, be sure to sign up for my FREE newsletter. Until next time!

While you’re at it, here are more pet fun projects like this DIY floating cat bed:

Great job and so clever!
It was so fun to do! Thank you, Diana. 😉