Top
Subscribe for free and never miss a post

DIY Floating Mantel & Autumn Inspiration

It’s finally September and autumn is just around the corner! Yippee! Do you love fall like I do? I’ve got it so bad that I switch the Christmas song to this season, “It’s the most wonderful time of the year….” Perfect time for a DIY floating mantel, don’t you think?
Want to add a floating mantel, but don't know how? It's pretty simple and we've got the DIY for you! by Prodigal Pieces www.prodigalpieces.com #prodigalpieces

The colors, harvest time, fall festivals, knowing things are slowing down all make it seem so comforting. My husband tells me that it’s sort of weird I like it because everything is dying. Not so!  Everything is going to sleep and taking a rest, including me!! Tsk.

Want to add a floating mantel, but don't know how? It's pretty simple and we've got the DIY for you! by Prodigal Pieces www.prodigalpieces.com #prodigalpieces

 About a year ago, I decided to finally get a mantel put on our fireplace and I knew just what I wanted. A barn beam mantel.  Not a shiny, glamorous looking mantle, but a rustic, roughed up, story-telling mantel. I knew I could find one somewhere in the farm country I live in, so I put a wanted out on Freecycle (willing to pay), Craigslist, etc., and bingo! Freecycle came through and guy had torn down a barn and had all sorts of goodies for me to peruse.

At $4 a foot, this was a steal because no one wants old-looking barn beams, except rare finds like me. ahem. We took the whole family and had a blast because rarely do we get to be out on farm with all its sights, sounds, and animals. It didn’t take long for me to find the perfect beam with perfect imperfections.

DIY TIME

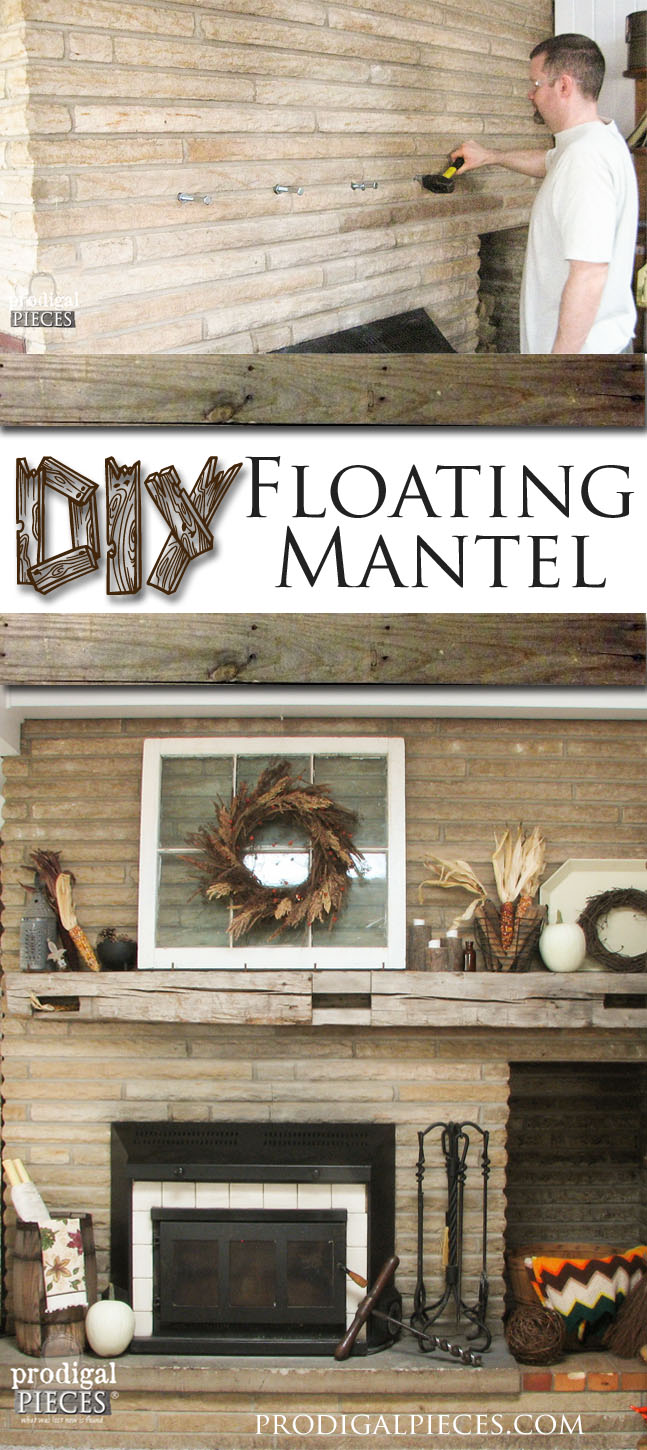
A floating mantel was the option we did, which basically means that it doesn’t attach to “legs”, but looks as if it is floating on the wall. Want to do one yourself?  You don’t have to use a barn beam, but anything you want really. It’s pretty simple, but there are a few necessary steps to take to make it safe and secure.

Here’s what you’ll need:

  • barn beam or other mantel piece
  • hammer drill
  • 1/2″ lag bolts, 6-10″ long (how many depends on your length, see below)
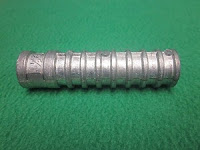
  • 3/4″ anchor sleeves, 3″ long (with 1/2″ interior diameter)
  • ratchet with socket
    Lag anchor sleeve
  • tape
  • wood/metal epoxy
  • level
  • tape measure
  • chalk line marker
  • chalk
  • small sledge hammer
  • hacksaw or angle grinder

First, check the codes in your area for installing a mantel. We have a raised hearth, with a fireplace insert, and added 13″ from the top of the insert, putting the top of our mantel at 49″ above the hearth. Once you’ve figured out your height, you will need to find the studs in the wall with a stud finder or other method.

Next, grab a tape measure and mark the spots across the wall, making sure you’ll be landing in a stud at the correct height. Double-check by using a level and chalk line marker to give you a visible guide. Since we are drilling into our bricks, we found a mortar line and used it as a guide.

You will need to know the length of your mantel to figure how many bolts you will need. When you’ve got your measurement you’ll want to use this formula:

  • Find center – mark it with chalk.  Starting from center, measure out 12″ each direction and mark. We used 5 bolts for our 7’4″ beam at 12″ apart, leaving large space at ends because of the openings in our beam.  You could go to the edge.

MOUNTING MANTEL
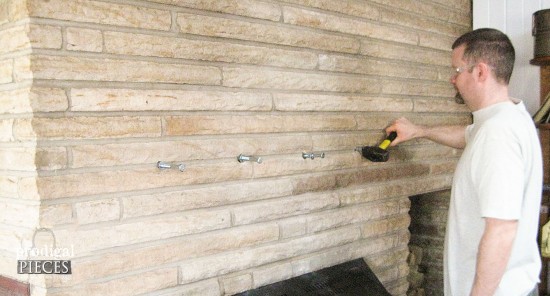
Once you’ve got your marks, you will need to drill the holes for the sleeves with the hammer drill and 3/4″ bit. Mark your bit with tape at 3″ to make sure you get the accurate depth. Tap the sleeves in with a small sledge until flush with the wall.
Want to add a floating mantel, but don't know how? It's pretty simple and we've got the DIY for you! by Prodigal Pieces www.prodigalpieces.com #prodigalpieces
Using the ratchet and appropriate socket, anchor down the lag bolts, leaving 3″ sticking out. Then take your hacksaw or angle grinder and cut the heads off the bolts. This will allow you to slide the mantel onto the bolts easily.
Grab your chalk and rub it on the end of the bolts in the wall. You could measure and mark your mantel on the backside for the bolts, but that can be a little tricky, so we decided to just lift the mantel up to the chalked bolts and press it into them to get the mirror image on the mantel. That way we would know where to drill. Just be precise as can be when pressing the mantel onto the bolts.

NEXT STEPS

Now, drill the mantel, using the 1/2″ drill bit, on the chalk marks you just made on the mantel. Do a dry fit to see if your holes line up. We had to tweak ours just a bit, but for the most part we got it. Our dry run was so hard to remove that we felt it wasn’t necessary to use an epoxy. However, there is any epoxy that is made specifically for wood to metal, just go to your local hardware store and ask.
Mount the mantel and let cure (if using epoxy) and then break out the decorations!!
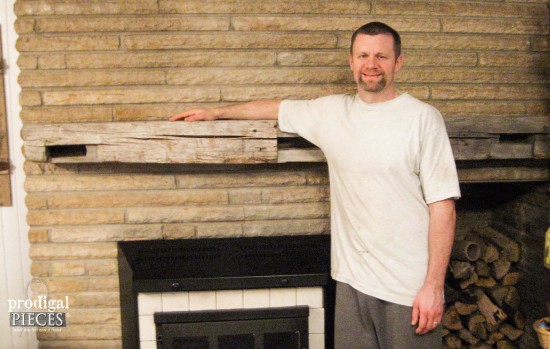
Ta da!! My hubby did most of the work because this was my Mother’s Day present. I am very pleased to have it!
Want to add a floating mantel, but don't know how? It's pretty simple and we've got the DIY for you! by Prodigal Pieces www.prodigalpieces.com #prodigalpieces
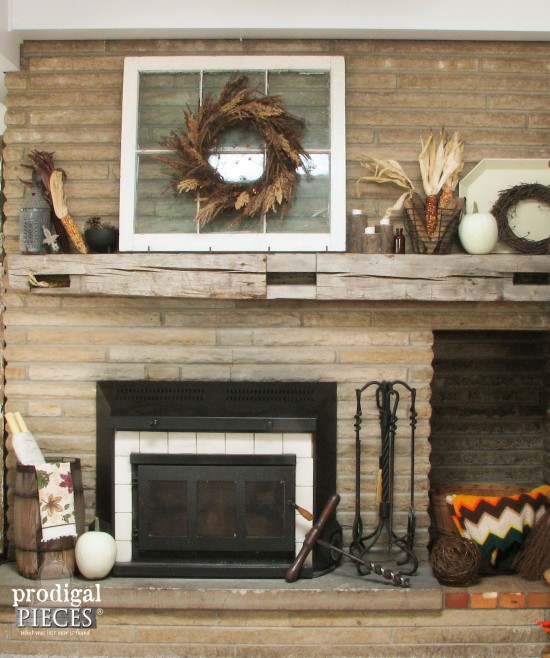
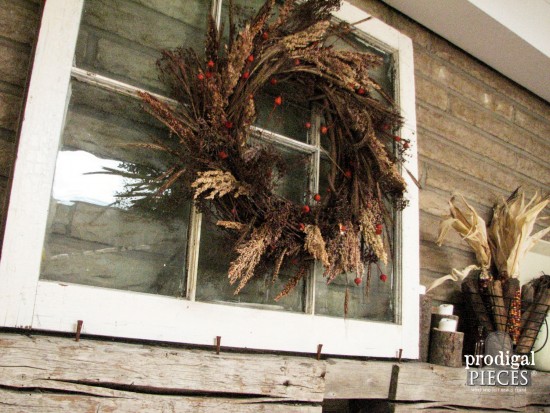
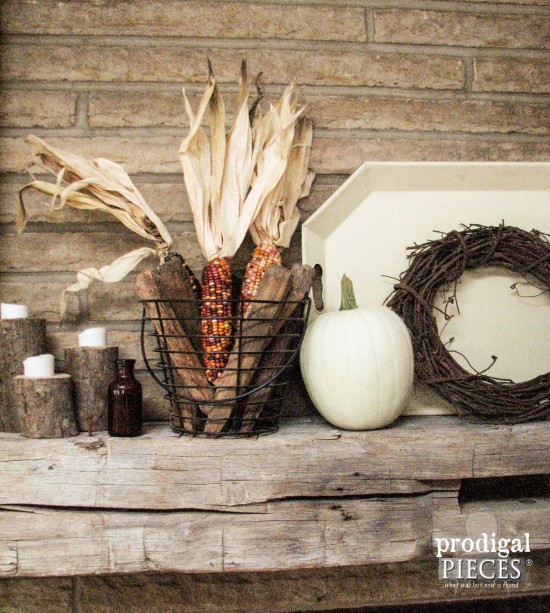
My autumn mantel is not yet complete because the local gourds and goods have yet to be harvested, but…lookin’ good so far don’t you think? Become a follower to see updates!
Want to add a floating mantel, but don't know how? It's pretty simple and we've got the DIY for you! by Prodigal Pieces www.prodigalpieces.com #prodigalpieces
Don’t you just love the hand-hewn beam with the hand-hewn crossbeam notches? Can you see the hand-drilled holes in the notches? I am in awe of the craftsmanship.
How about you…what do you do to celebrate autumn?
Want to add a floating mantel, but don't know how? It's pretty simple and we've got the DIY for you! by Prodigal Pieces www.prodigalpieces.com #prodigalpieces
If you loved this DIY tutorial, become a follower, or sign up to get email feeds right to your inbox – just click on the button in the sidebar.
Pin and share my DIY floating mantel to inspire others.
Want to add a floating mantel, but don't know how? It's pretty simple and we've got the DIY for you! by Prodigal Pieces www.prodigalpieces.com #prodigalpieces

More DIY projects like my DIY floating mantel:

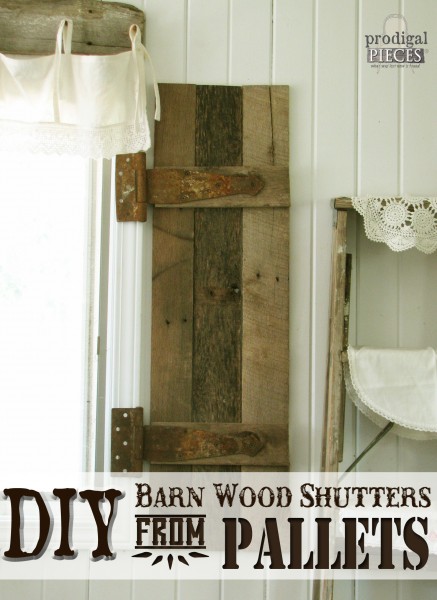
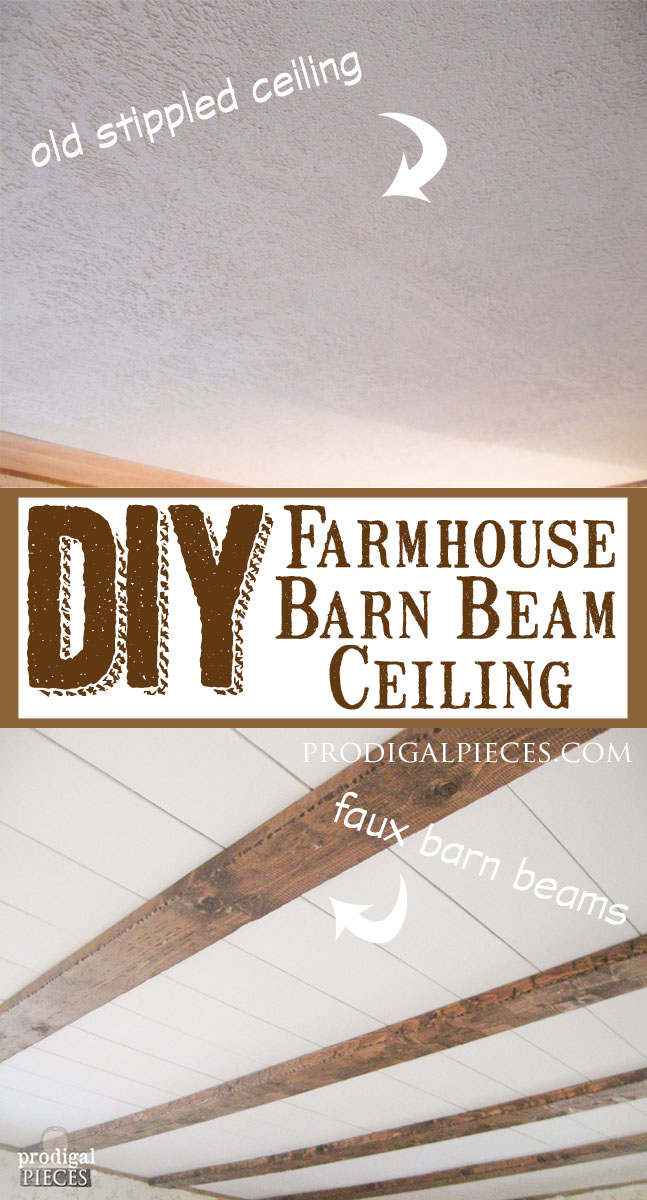
DIY Barn Wood Shutters from Old Pallets by Prodigal Pieces www.prodigalpieces.com #prodigalpiecesDIY Faux Farmhouse Barn Beam Ceiling by Prodigal Pieces www.prodigalpieces.com #prodigalpieces

Comments

  1. kellyorr says

    Looks very pretty, Larissa! I love the color of the beam and the homey way you decorated for Fall.

    Great job!

  2. Suzan Sweatman says

    How beautiful Larissa – how absolutely beautiful!!!
    But I can’t visit if you’re going to sing Christmas songs – I’m still in denial that it’s FALL LMHO
    Happy Labor day
    Hugs,
    Suzan

  3. Christine Graves says

    It looks amazing….such a great hubby! I keep seeing all the beautiful things for each season you can decorate it with….congrats!

  4. Karen says

    Wow you found the perfect beam and dressed it for fall beautifully.

  5. Liz Hockamier says

    Hi Larissa,
    I’m here from Brenda’s blog. I just love your new “old mantel” 🙂
    Darling Blog. I’m your newest follower.
    Enjoy your weekend!
    ~Liz

  6. HEATHER GRAHAM says

    Cute, cute, cute! I’m visiting from Cozy Little House’s Welcome Wagon post. I write at http://www.stringtownhome.net. Next week several other bloggers and I are having a fall decorating party… I’d love for you to come link up! 🙂 Love your blog!

  7. chateau chic says

    Love the old rustic beam you found. Your fall goodies look great on it!
    Mary Alice

  8. Jody and Stan says

    Love your new mantel, such a creative way using a beam! All your pretty fall things look so festive on it!

    Jody

  9. Tina C says

    What a wonderful looking mantel. I am envious. Your fall decor looks great!

  10. Olive says

    Your rustic mantel is beautiful. It has wonderful patina. It could tell us some stories I think.

  11. Robin Johnson says

    Your new mantel is fabulous! I looks amazing against the brick of the fireplace and I just love how you’ve decorated it. Love it.

  12. Geneva says

    Your mantle is wonderful, and styled so beautifully! You guys did a great job!!!

  13. [email protected] says

    What a difference that mantel and your decorations made to your fireplace! Makes that wall look so much homier and cozy now. I’m planning to put some floating shelves on my dining room wall soon, so thanks for the inspiration.

  14. Audrey says

    Love the barn wood beam. Looks a little tricky to install, but you’ll did a wonderful job. Looks so good.
    Enjoy…
    Audrey Z. @ Timeless Treasures

Leave a Reply

Your email address will not be published. Required fields are marked *

Client Love

I love it! Larissa is amazing. She listened to what I wanted and then she took care of the rest! This is my second piece I've bought from her and I'm in love! I highly recommend her.

~ Laurel

Prodigal Pieces
2020-03-21T21:34:13-04:00

~ Laurel

I love it! Larissa is amazing. She listened to what I wanted and then she took care of the rest! This is my second piece I've bought from her and I'm in love! I highly recommend her.

I love this cart, it's exquisite. The item was received in extremely secure packaging, no damage to the item. The delivery person was very professional and courteous. Larissa of Prodigal Pieces is so very amazing. A rating of 10 is deserved. Thank you, Larissa.

~ Stephanie

Prodigal Pieces
2020-03-21T21:39:34-04:00

~ Stephanie

I love this cart, it's exquisite. The item was received in extremely secure packaging, no damage to the item. The delivery person was very professional and courteous. Larissa of Prodigal Pieces is so very amazing. A rating of 10 is deserved. Thank you, Larissa.

I should have left this review MONTHS ago! I absolute love this lunch bag. I honestly carry this 5 days a week. It is the perfect size! Not only can you put your lunch in it, it can also hold your book. I enjoy reading at lunch, so I have all I need in one cute bag. Thank you so much Larissa!

~ Mikki

Prodigal Pieces
2020-03-21T21:43:16-04:00

~ Mikki

I should have left this review MONTHS ago! I absolute love this lunch bag. I honestly carry this 5 days a week. It is the perfect size! Not only can you put your lunch in it, it can also hold your book. I enjoy reading at lunch, so I have all I need in one cute bag. Thank you so much Larissa!

Awww…I love this sweet Cat with an attitude!! SO SO adorable! Well worth the money, and he will become a priceless treasure in my home! Thanks Larissa for always making your ideas turn into true treasures!

~ Sharon

Prodigal Pieces
2020-03-21T21:45:37-04:00

~ Sharon

Awww…I love this sweet Cat with an attitude!! SO SO adorable! Well worth the money, and he will become a priceless treasure in my home! Thanks Larissa for always making your ideas turn into true treasures!

Perfect purchase from start to finish! Absolutely adorable piece so creatively thought out. Packed with the greatest of care with lightening fast delivery. Very customer-oriented and friendly crafter. Could not ask for more! Thank you!

~ Deanna

Prodigal Pieces
2020-03-21T21:52:00-04:00

~ Deanna

Perfect purchase from start to finish! Absolutely adorable piece so creatively thought out. Packed with the greatest of care with lightening fast delivery. Very customer-oriented and friendly crafter. Could not ask for more! Thank you!
0
0
Prodigal Pieces