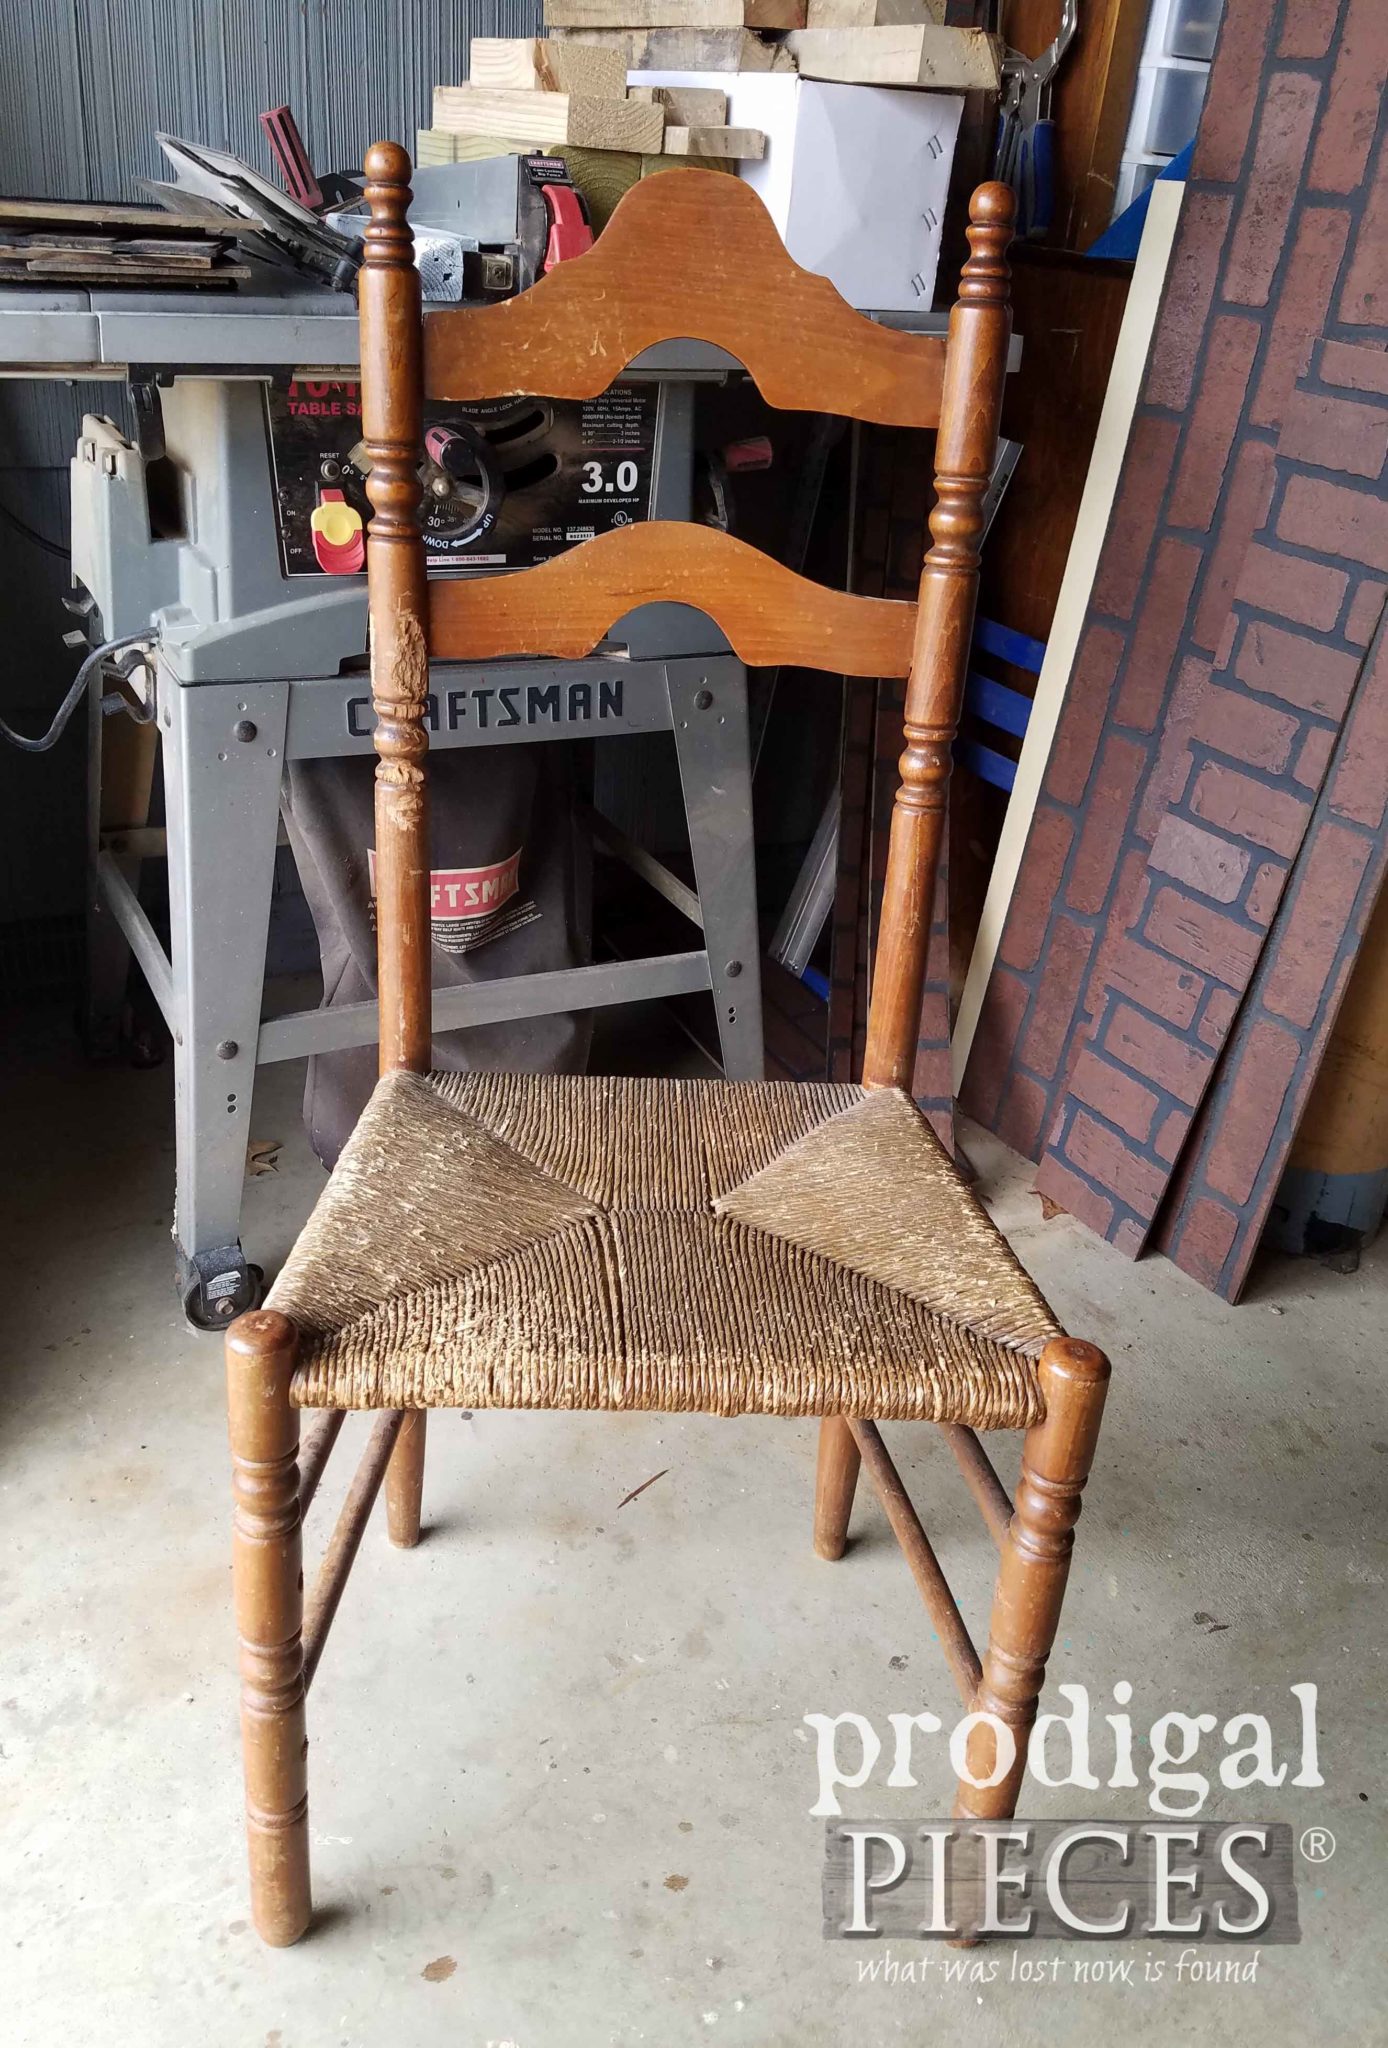
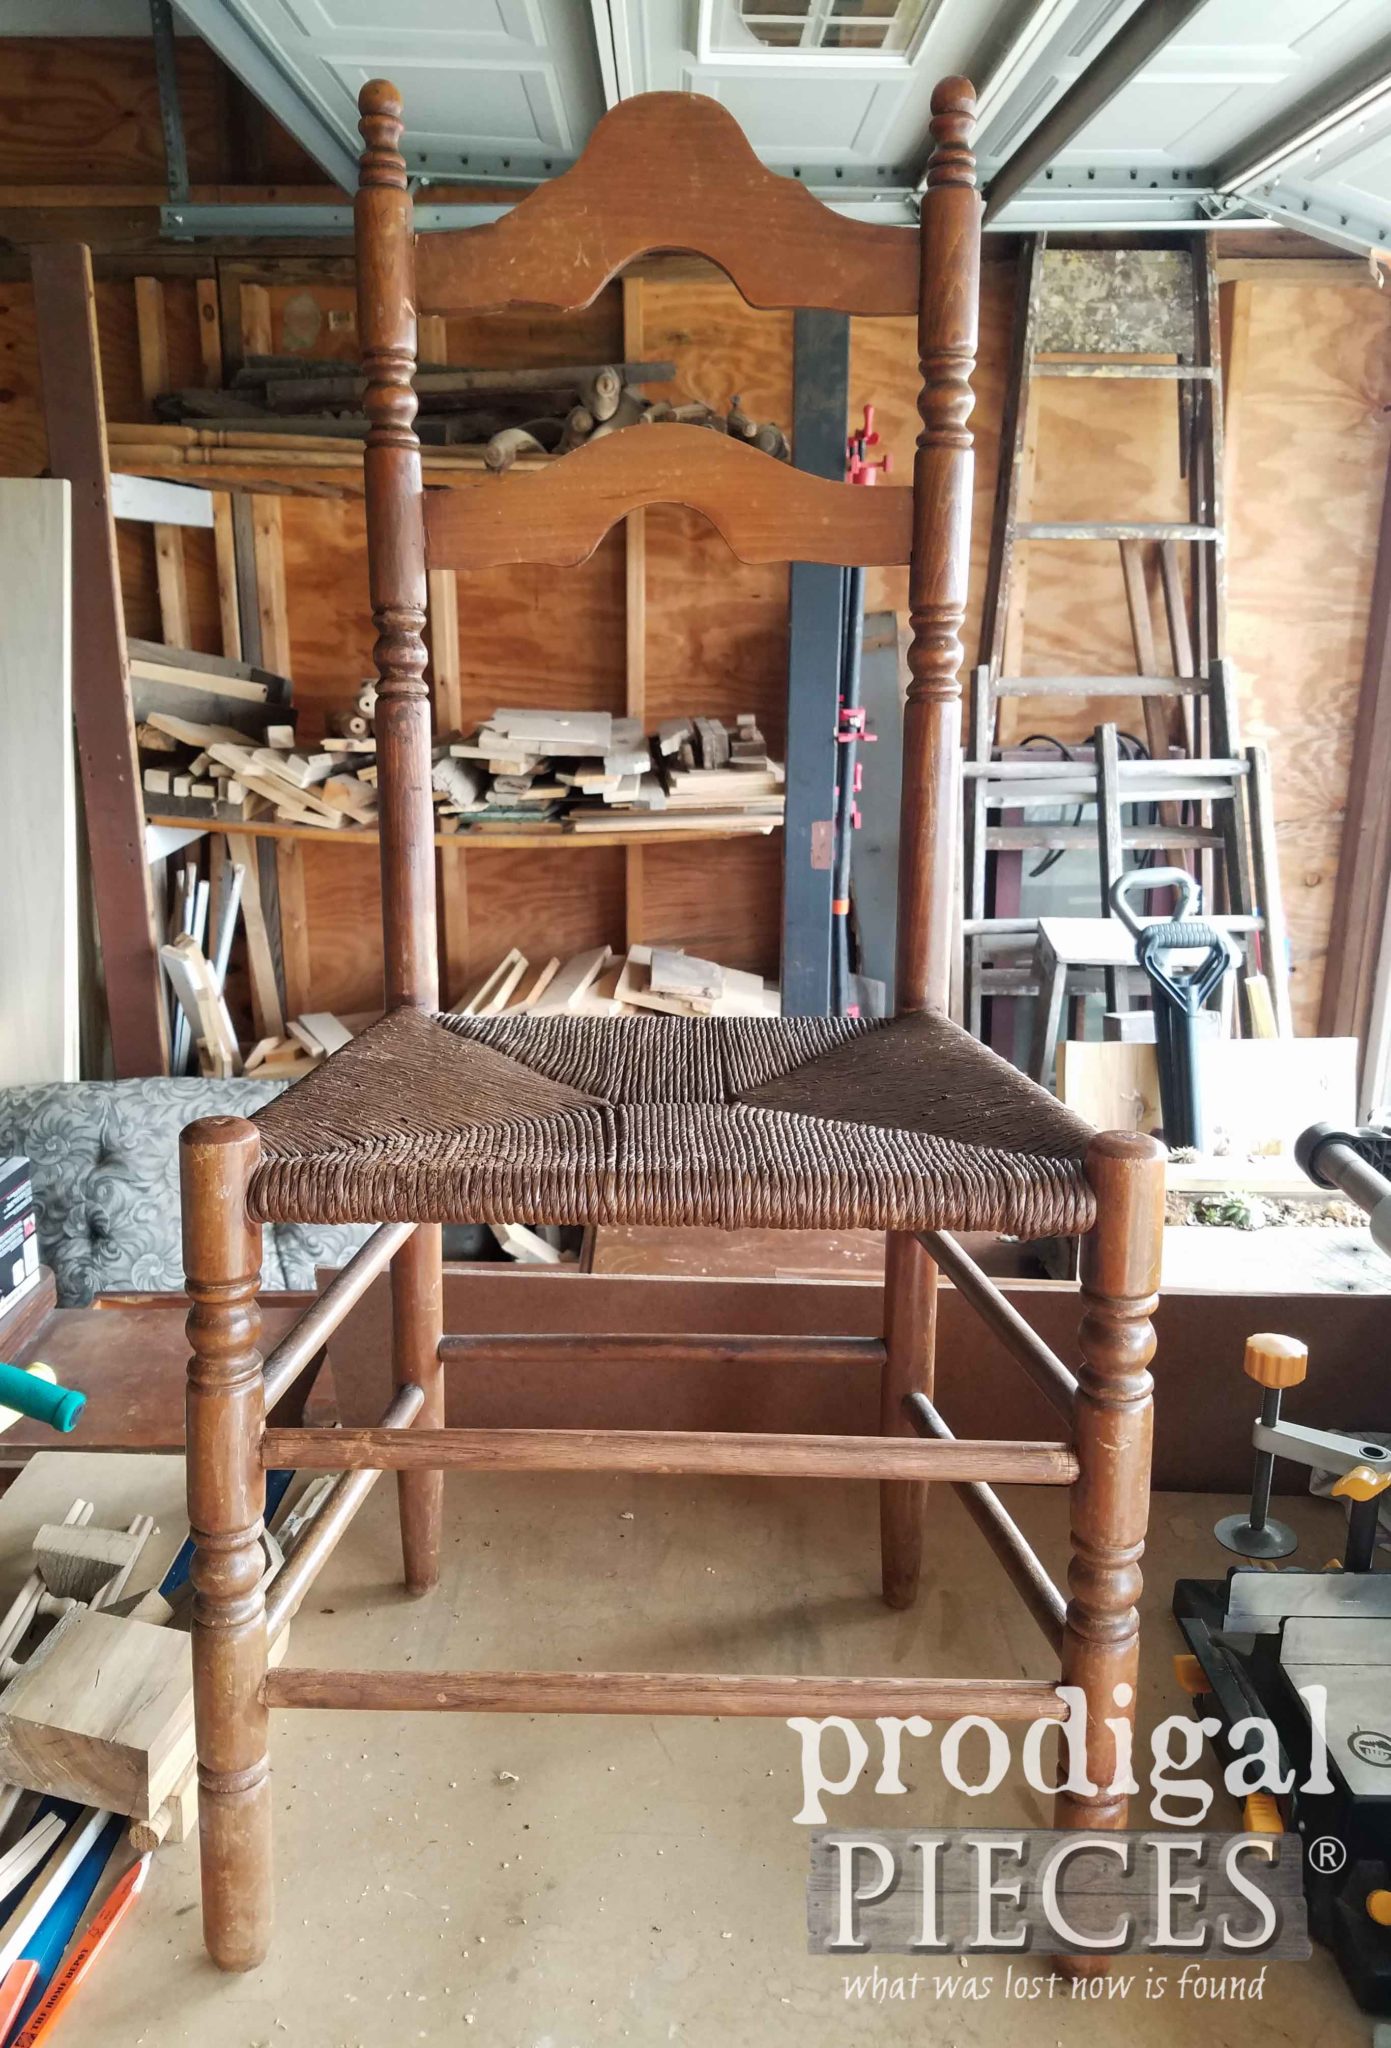
Call me crazy, call me nuts…whatever you want to say, because I am probably one of few that will actually pay for a broken chair. haha. Well, it was looking so good until I saw the missing parts. However, my soft heart said, “Meh, what’s a little DIY that can’t fix this?” So here I sits with my project before me looking all sad. I aim to show you how to handle a broken chair repair and update it while you’re at it. See what I mean with this gem?
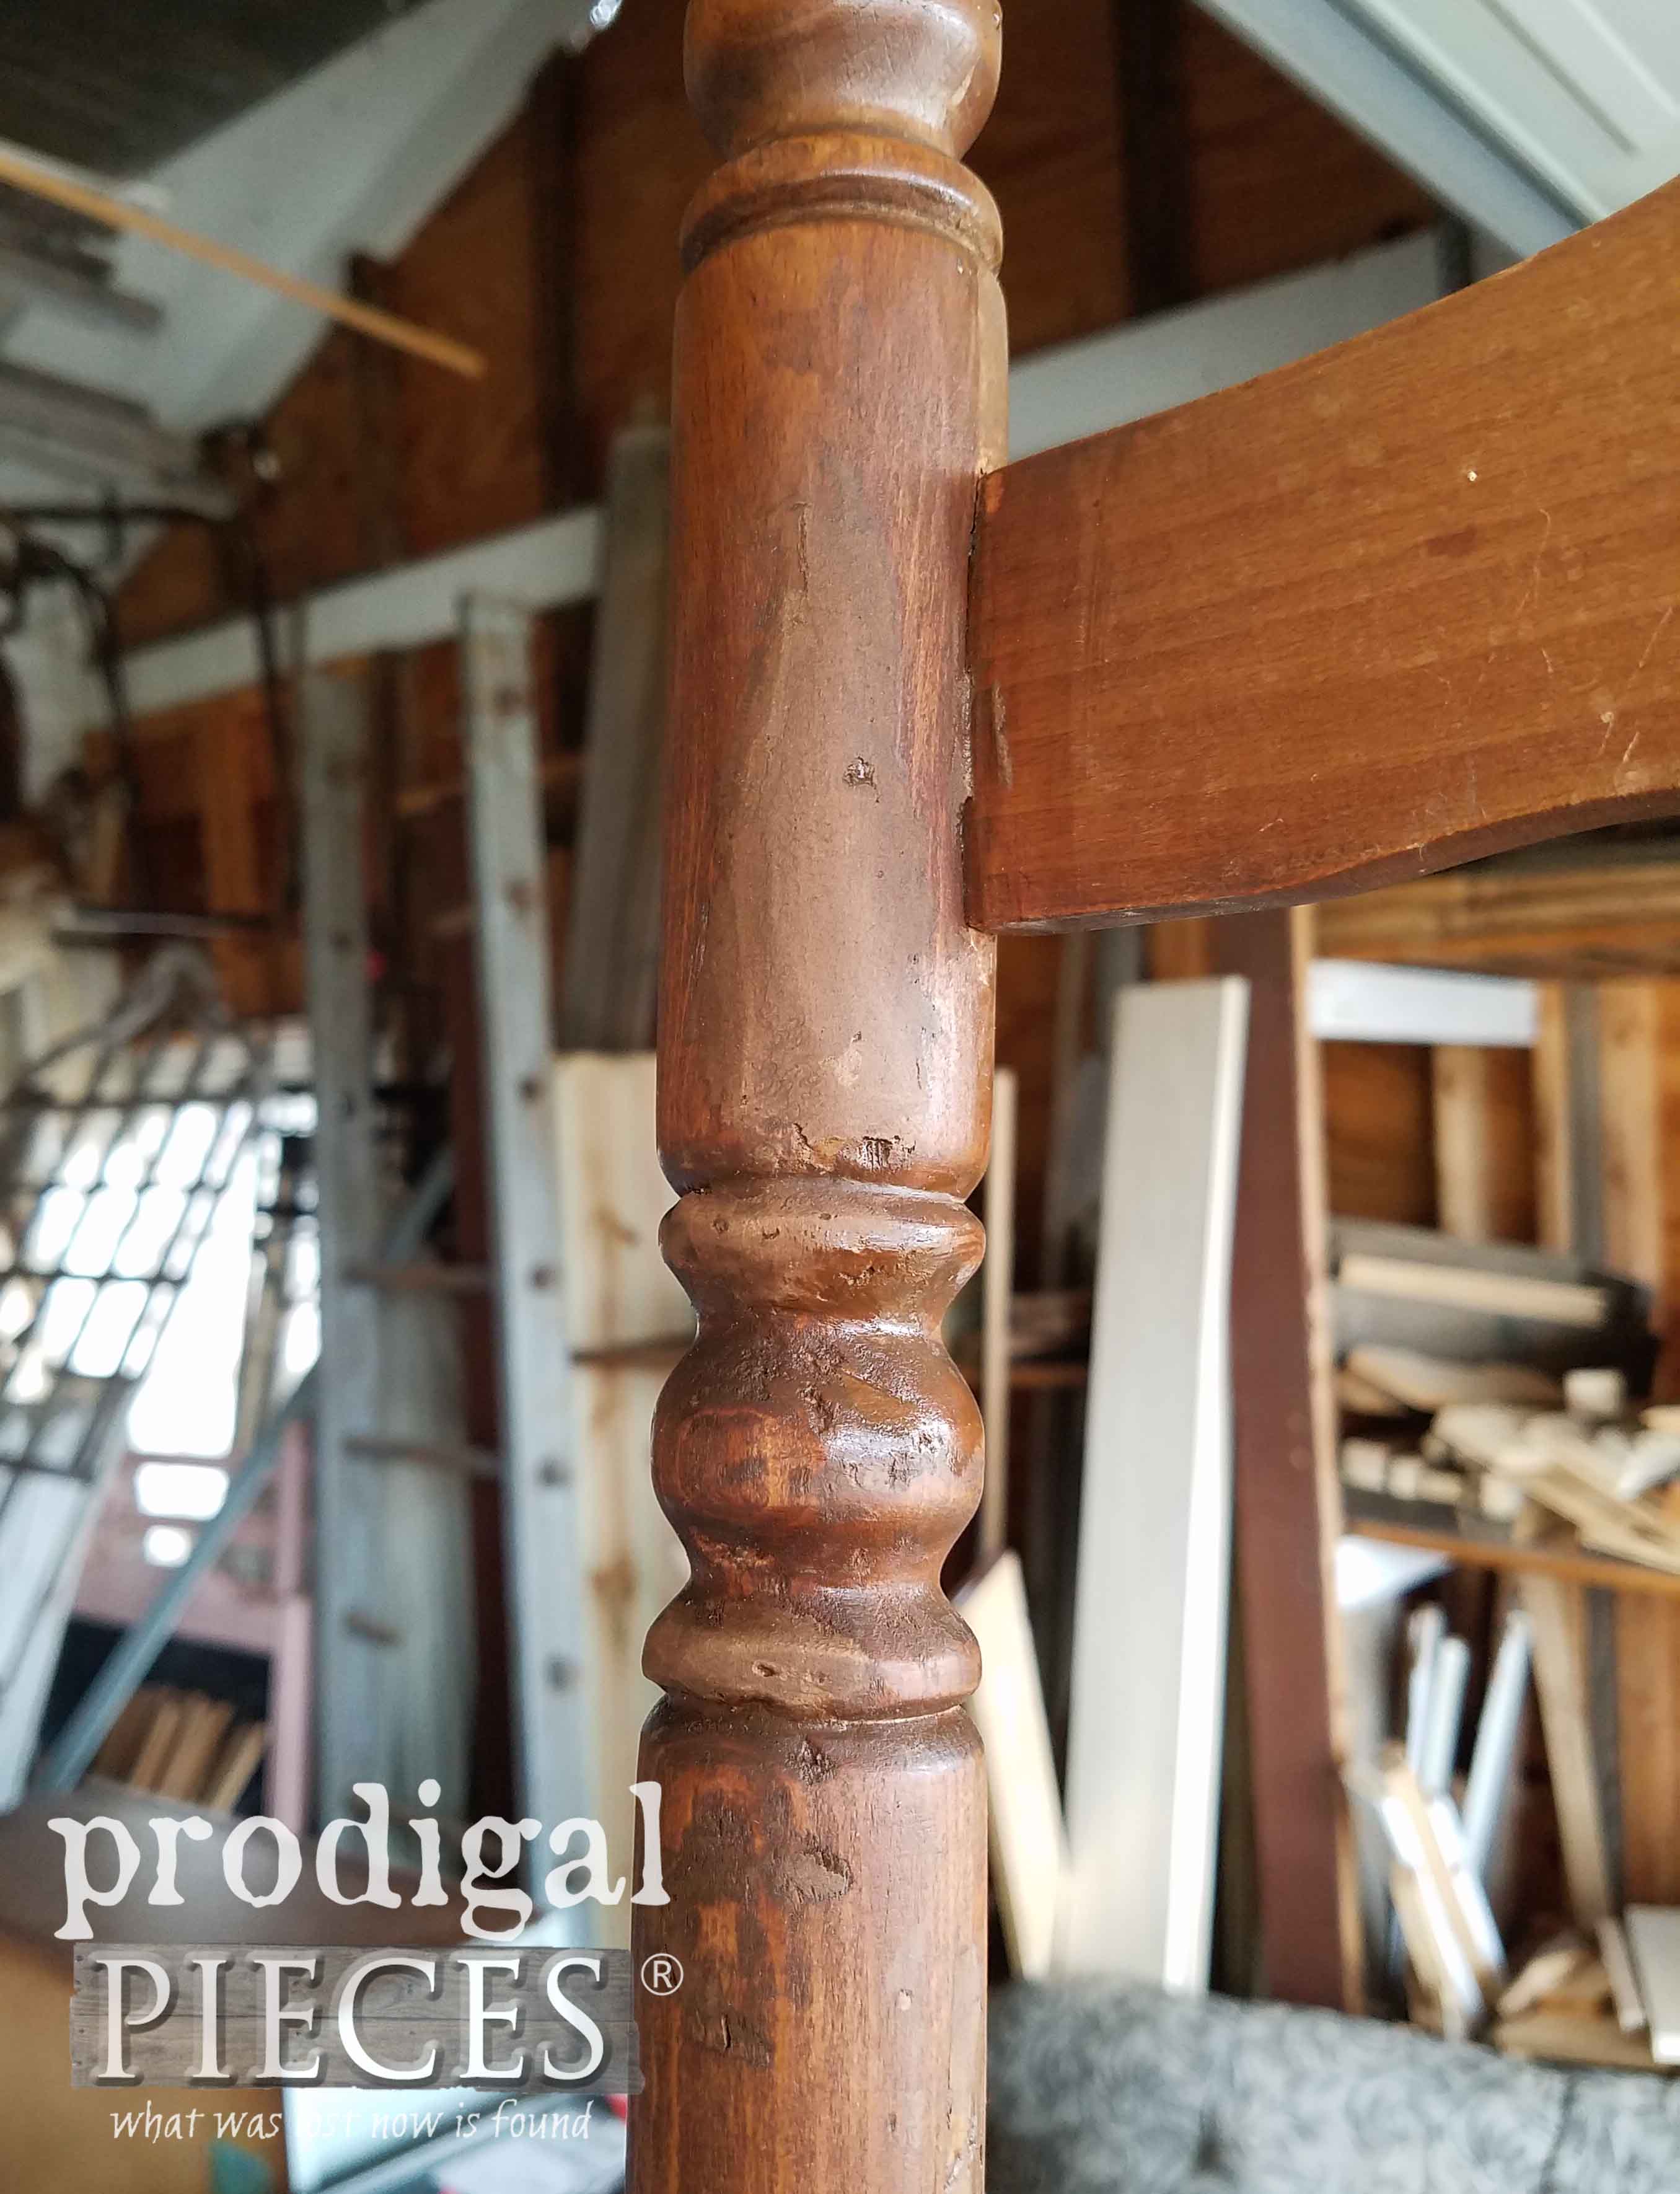
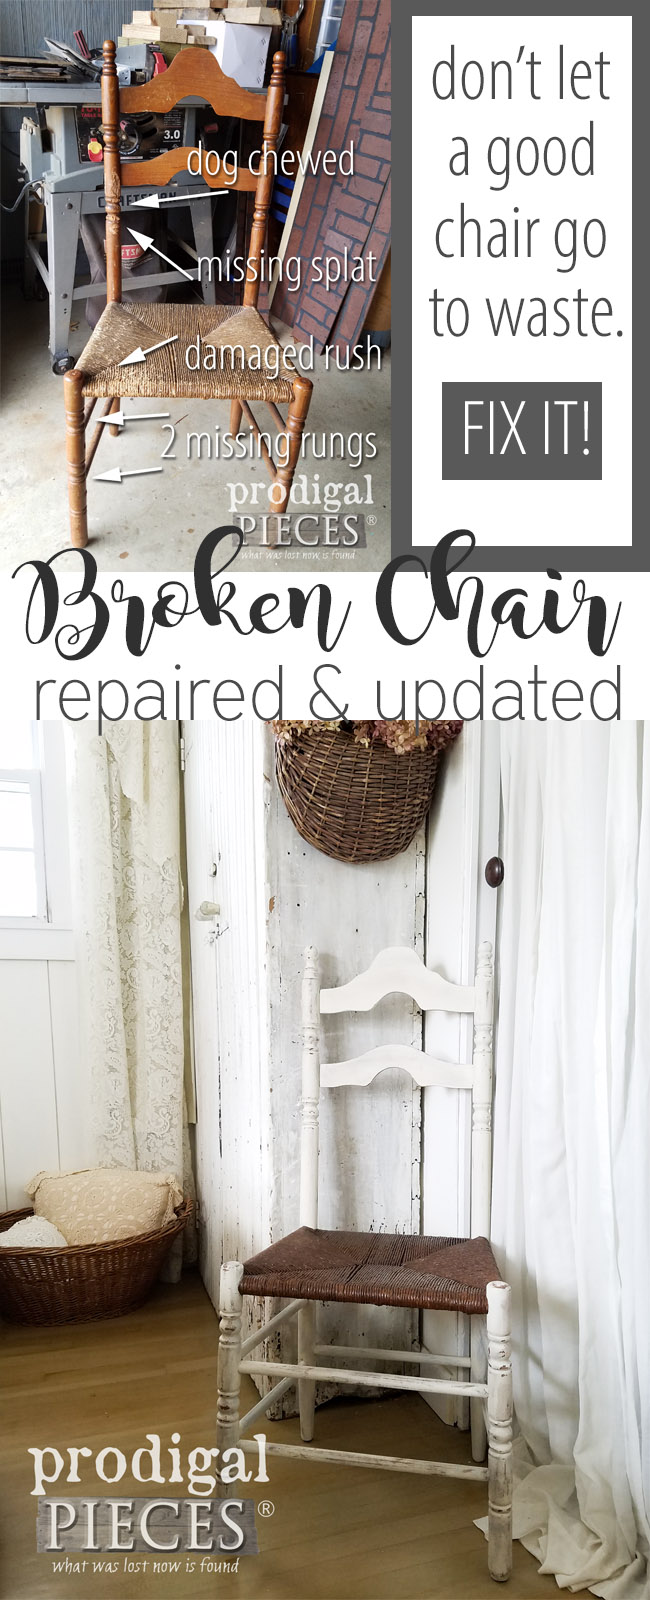
It looks good enough, but if you look closely, you’ll see more of what I’m talking about. When I picked it out in the store, I sat on it, wiggled my hiney, and it heldstrong. However, here’s what you see on close inspection.
Needless to say this antique chair with rush seat was well made since it held strong even with all those faults. It reminds me of how God sees us versus how we see ourselves or perceive others to see us. We may have things that have marred us from our life experiences, but God created something beautiful to withstand it all. Sometimes, we just need His loving hand to restore us and make us new again. THAT’S why this chair spoke to me.
DIY TIME
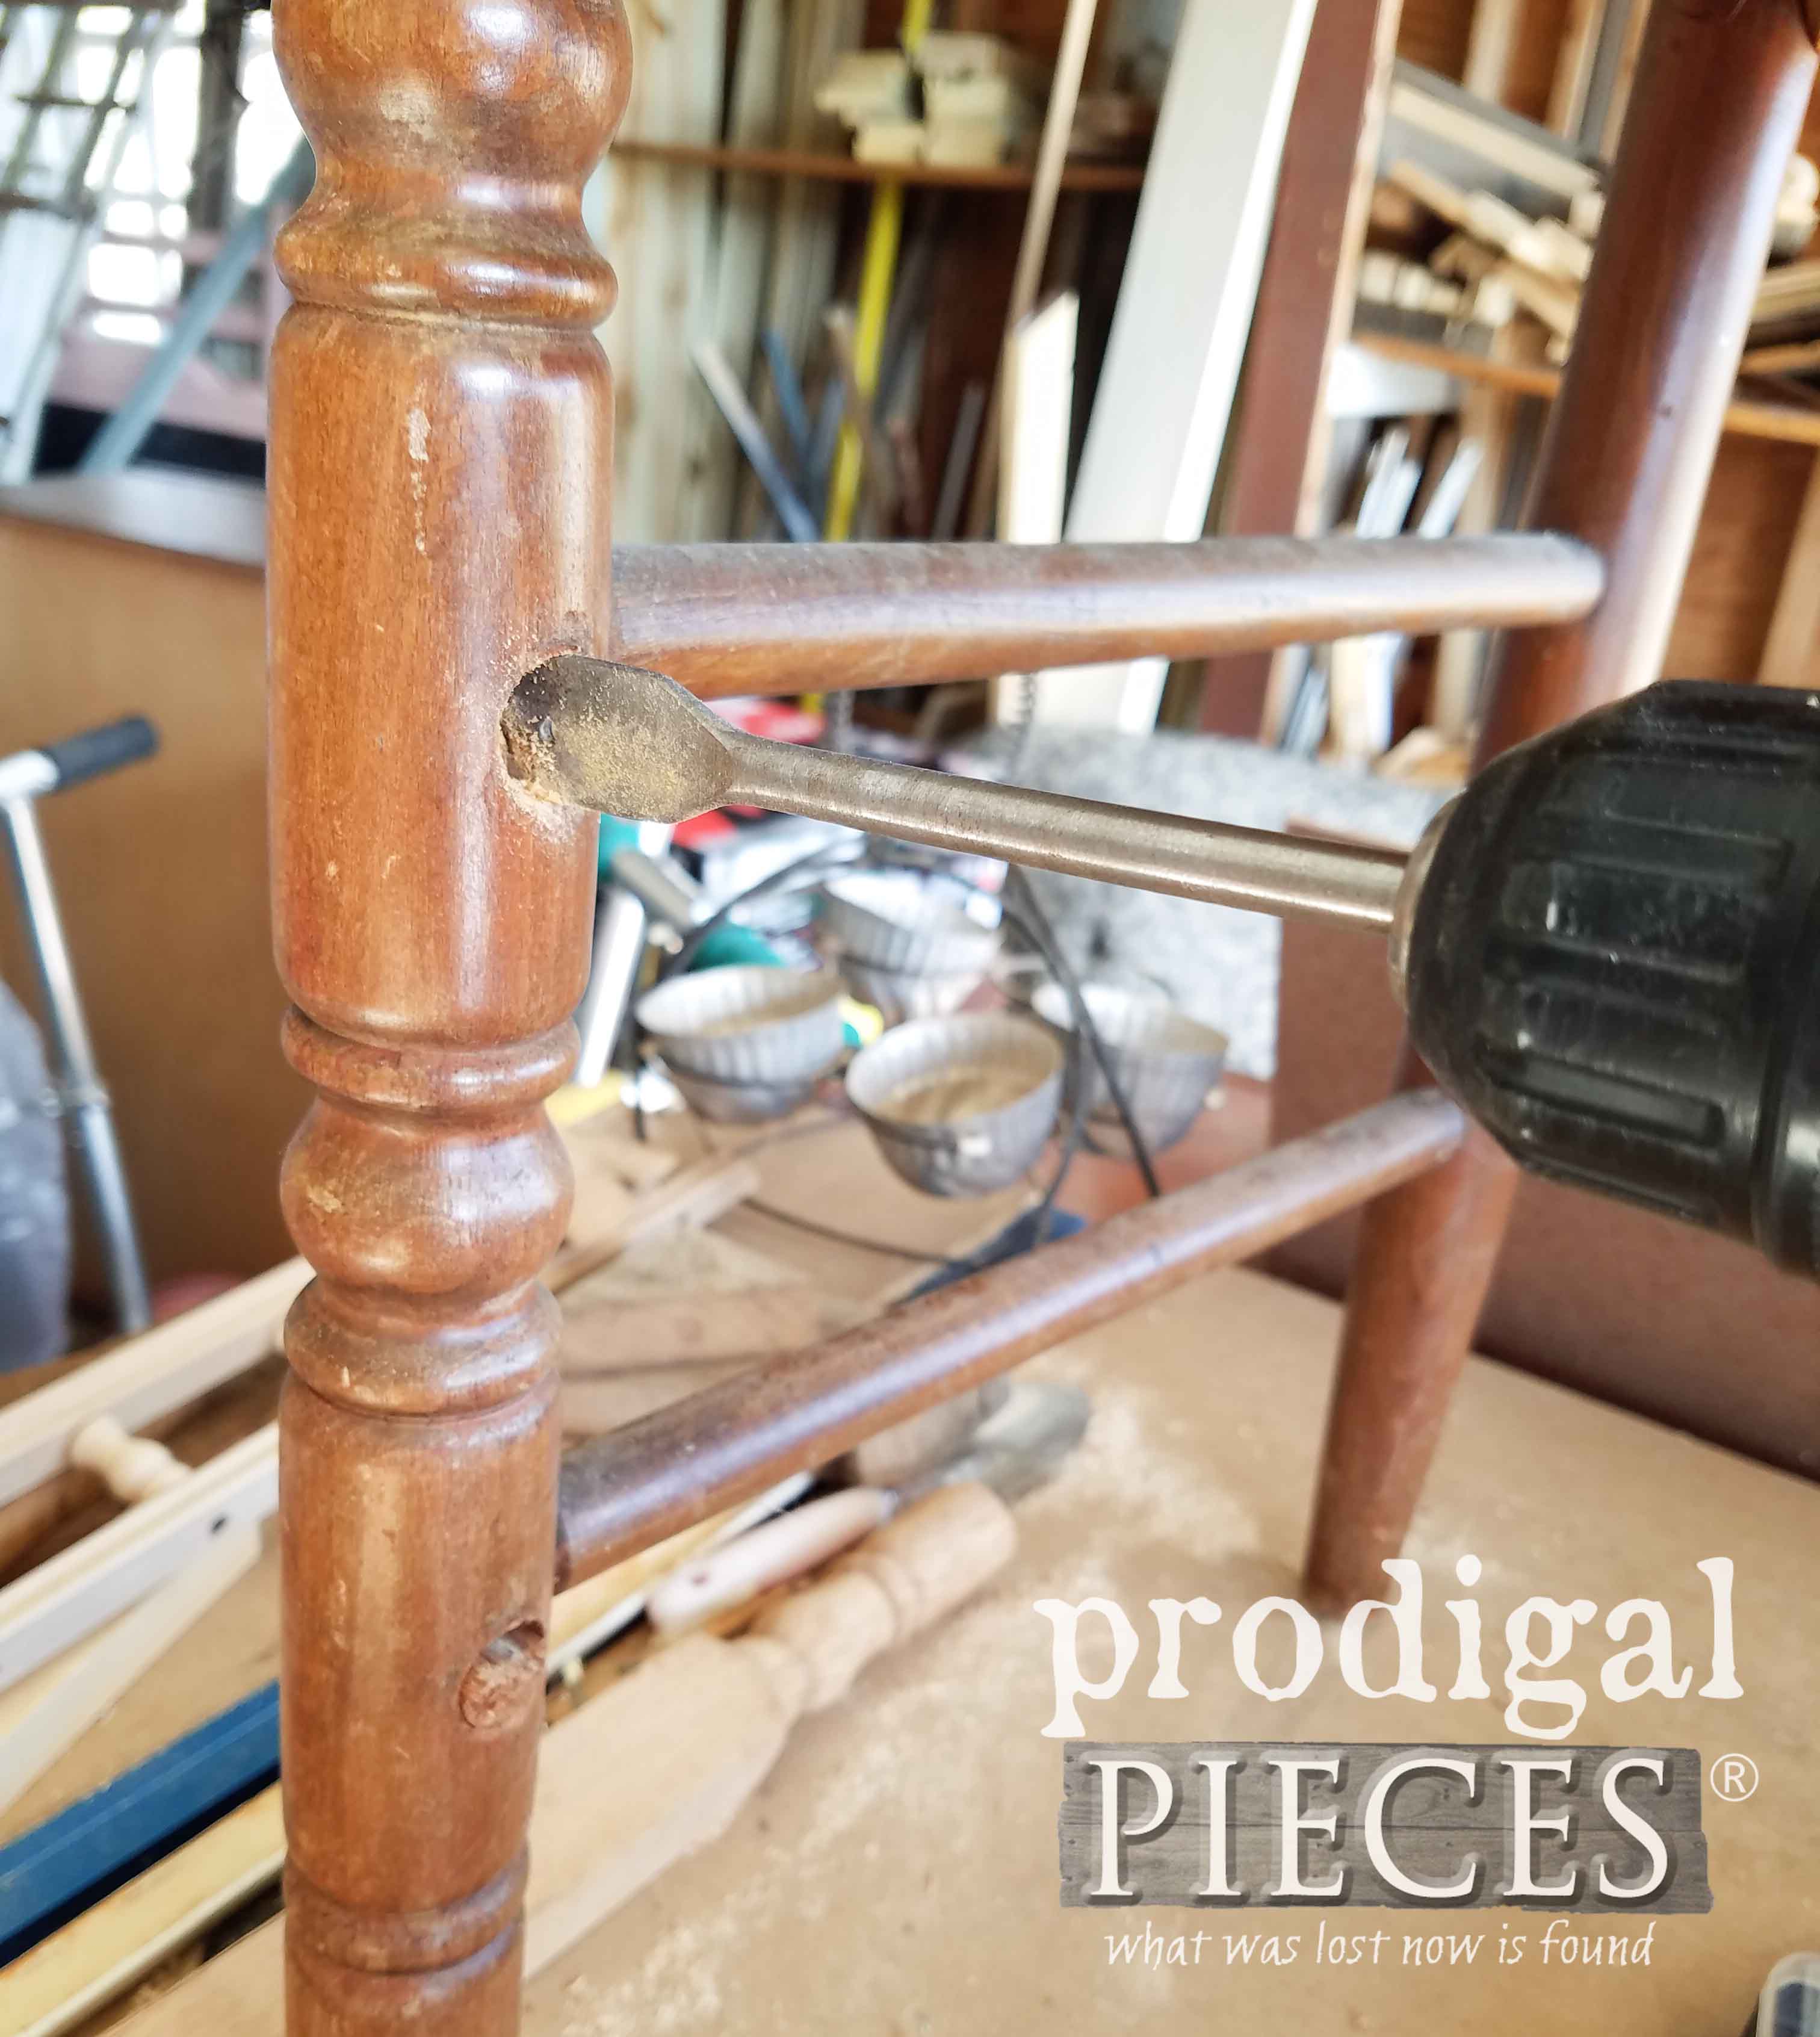
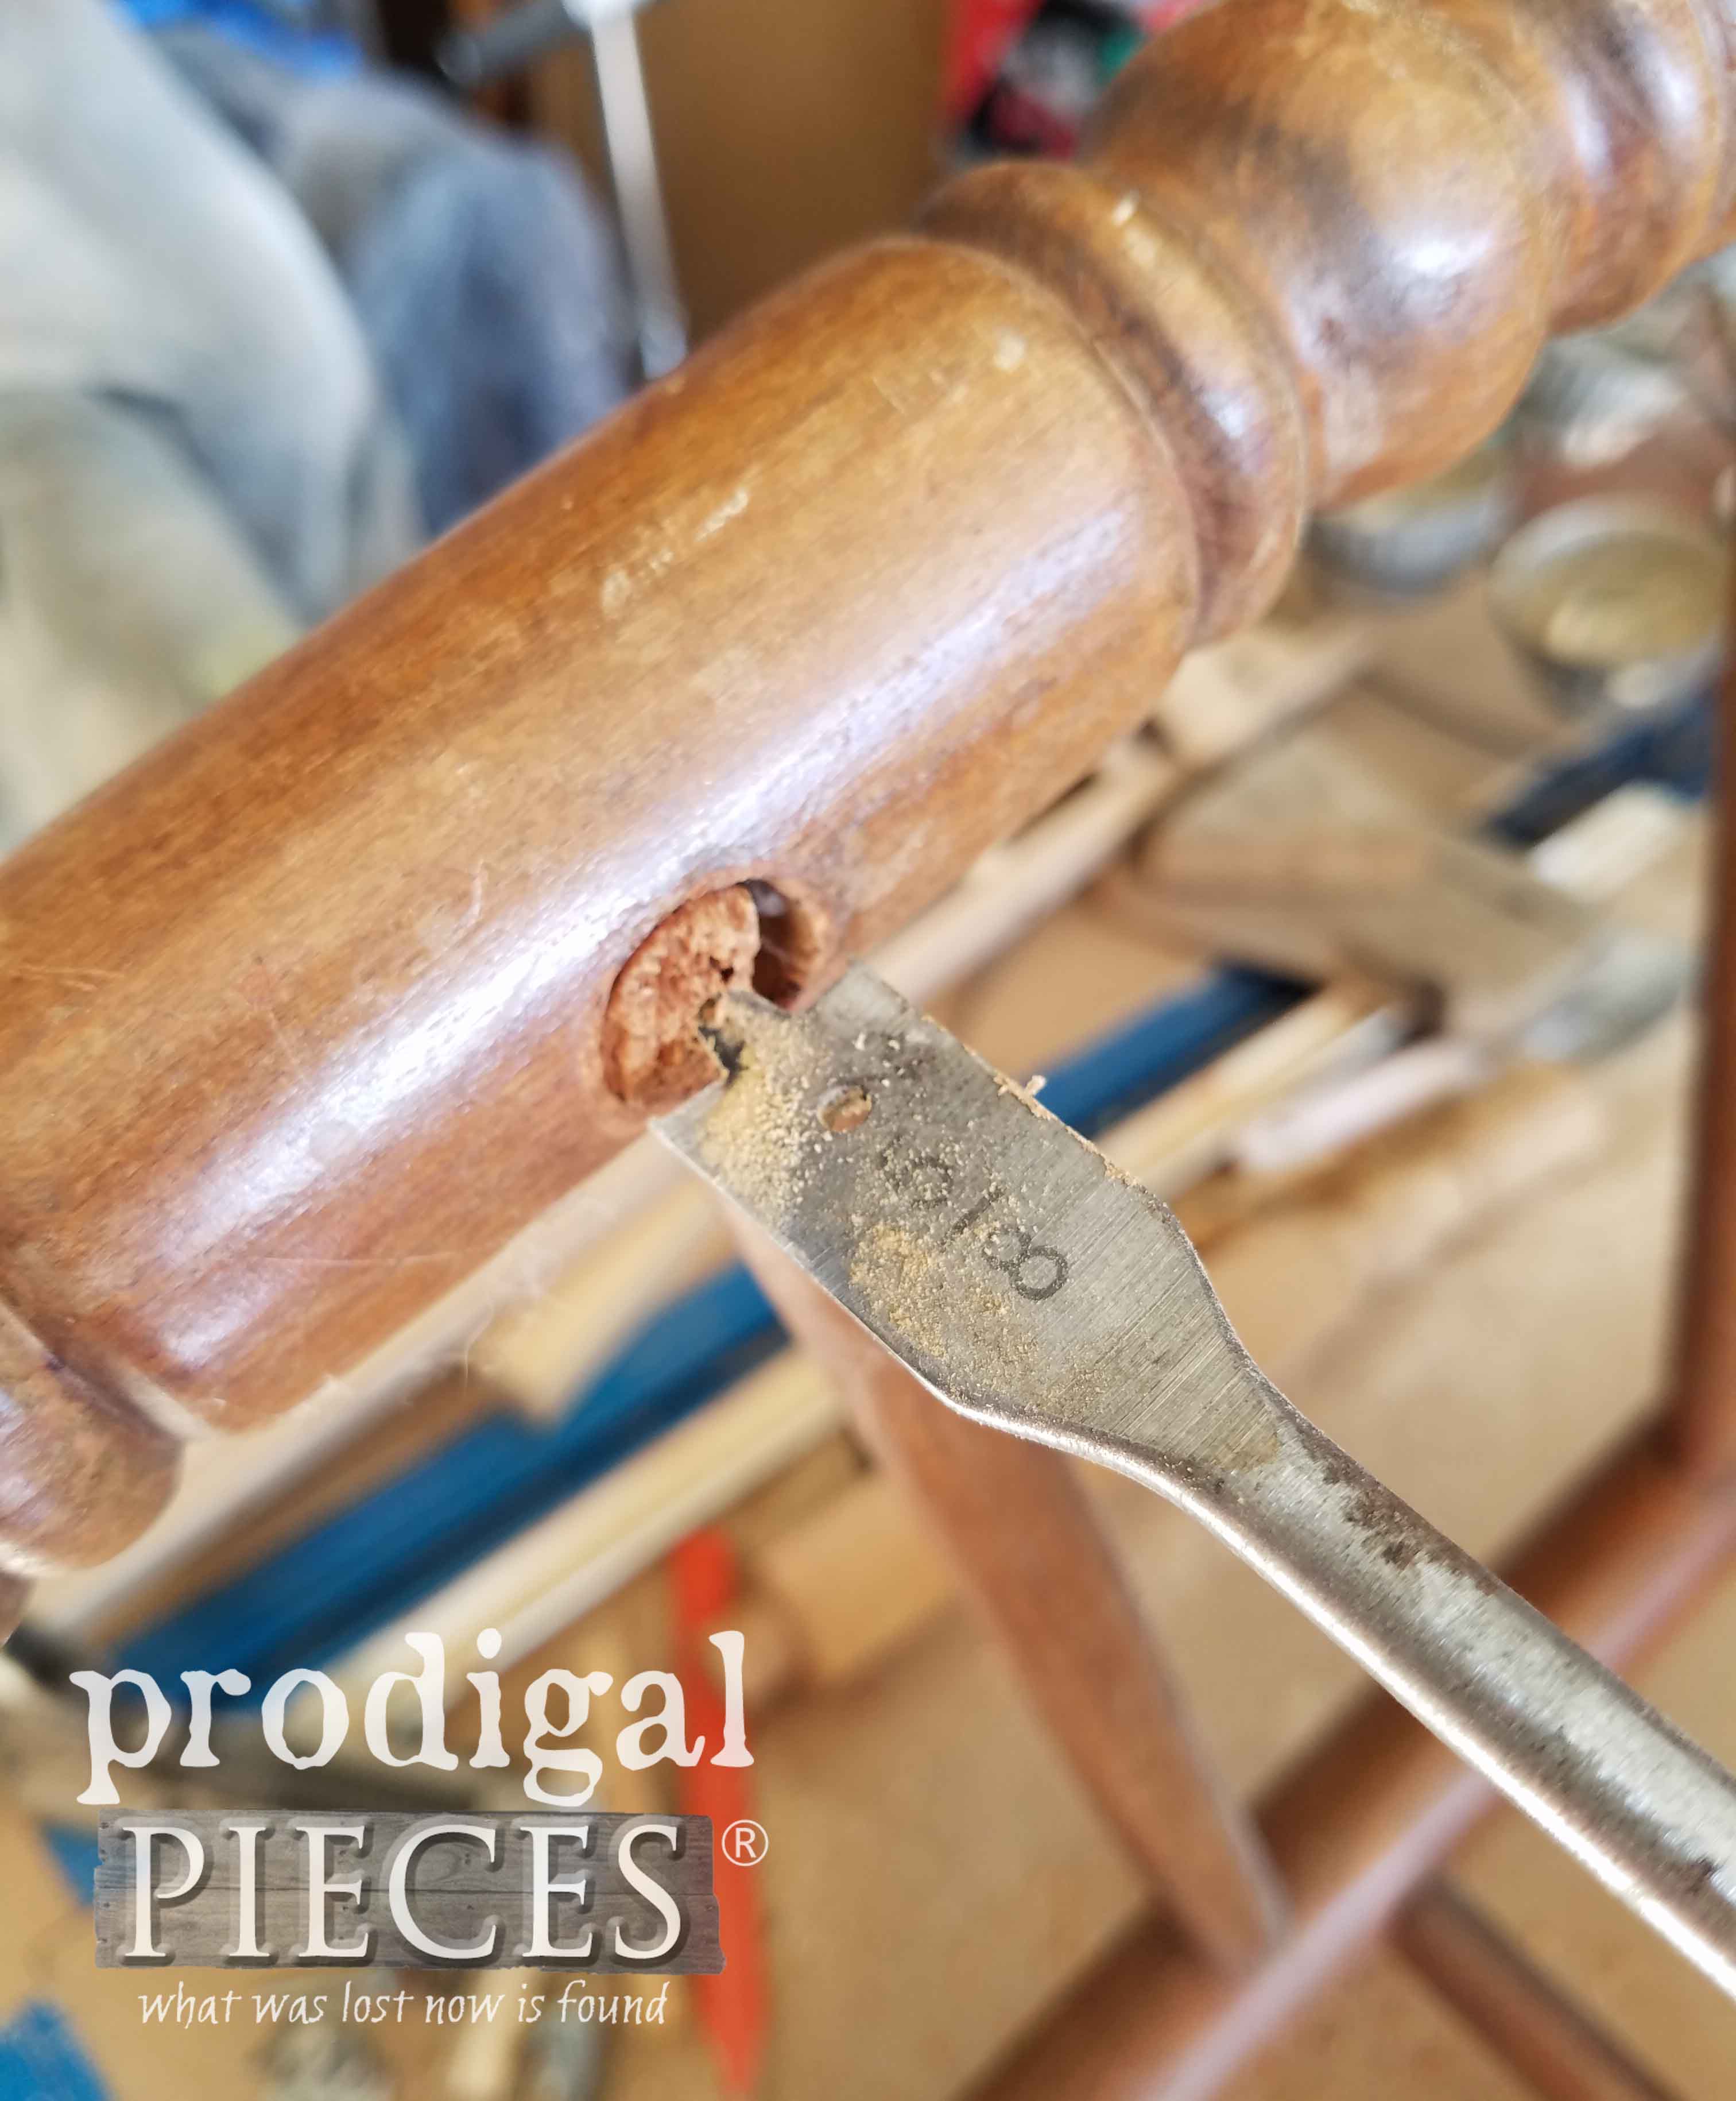
So maybe you have an heirloom piece that you just don’t want to quit on, or maybe want to update your decor on a limited budget. There are ways to restore these gems with very little effort. This particular chair may have seen insurmountable to some, but I saw the #trashure that lay within. I began by taking my drill and spade bit to clean out the broken dowel in the holes. You could also use a forstner bit too.
I was so thankful that there were remnants of the dowel, so my spade bit had something to grip onto to center it. The dowel hole opening was 5/8″, but the actual dowel was 3/4″.
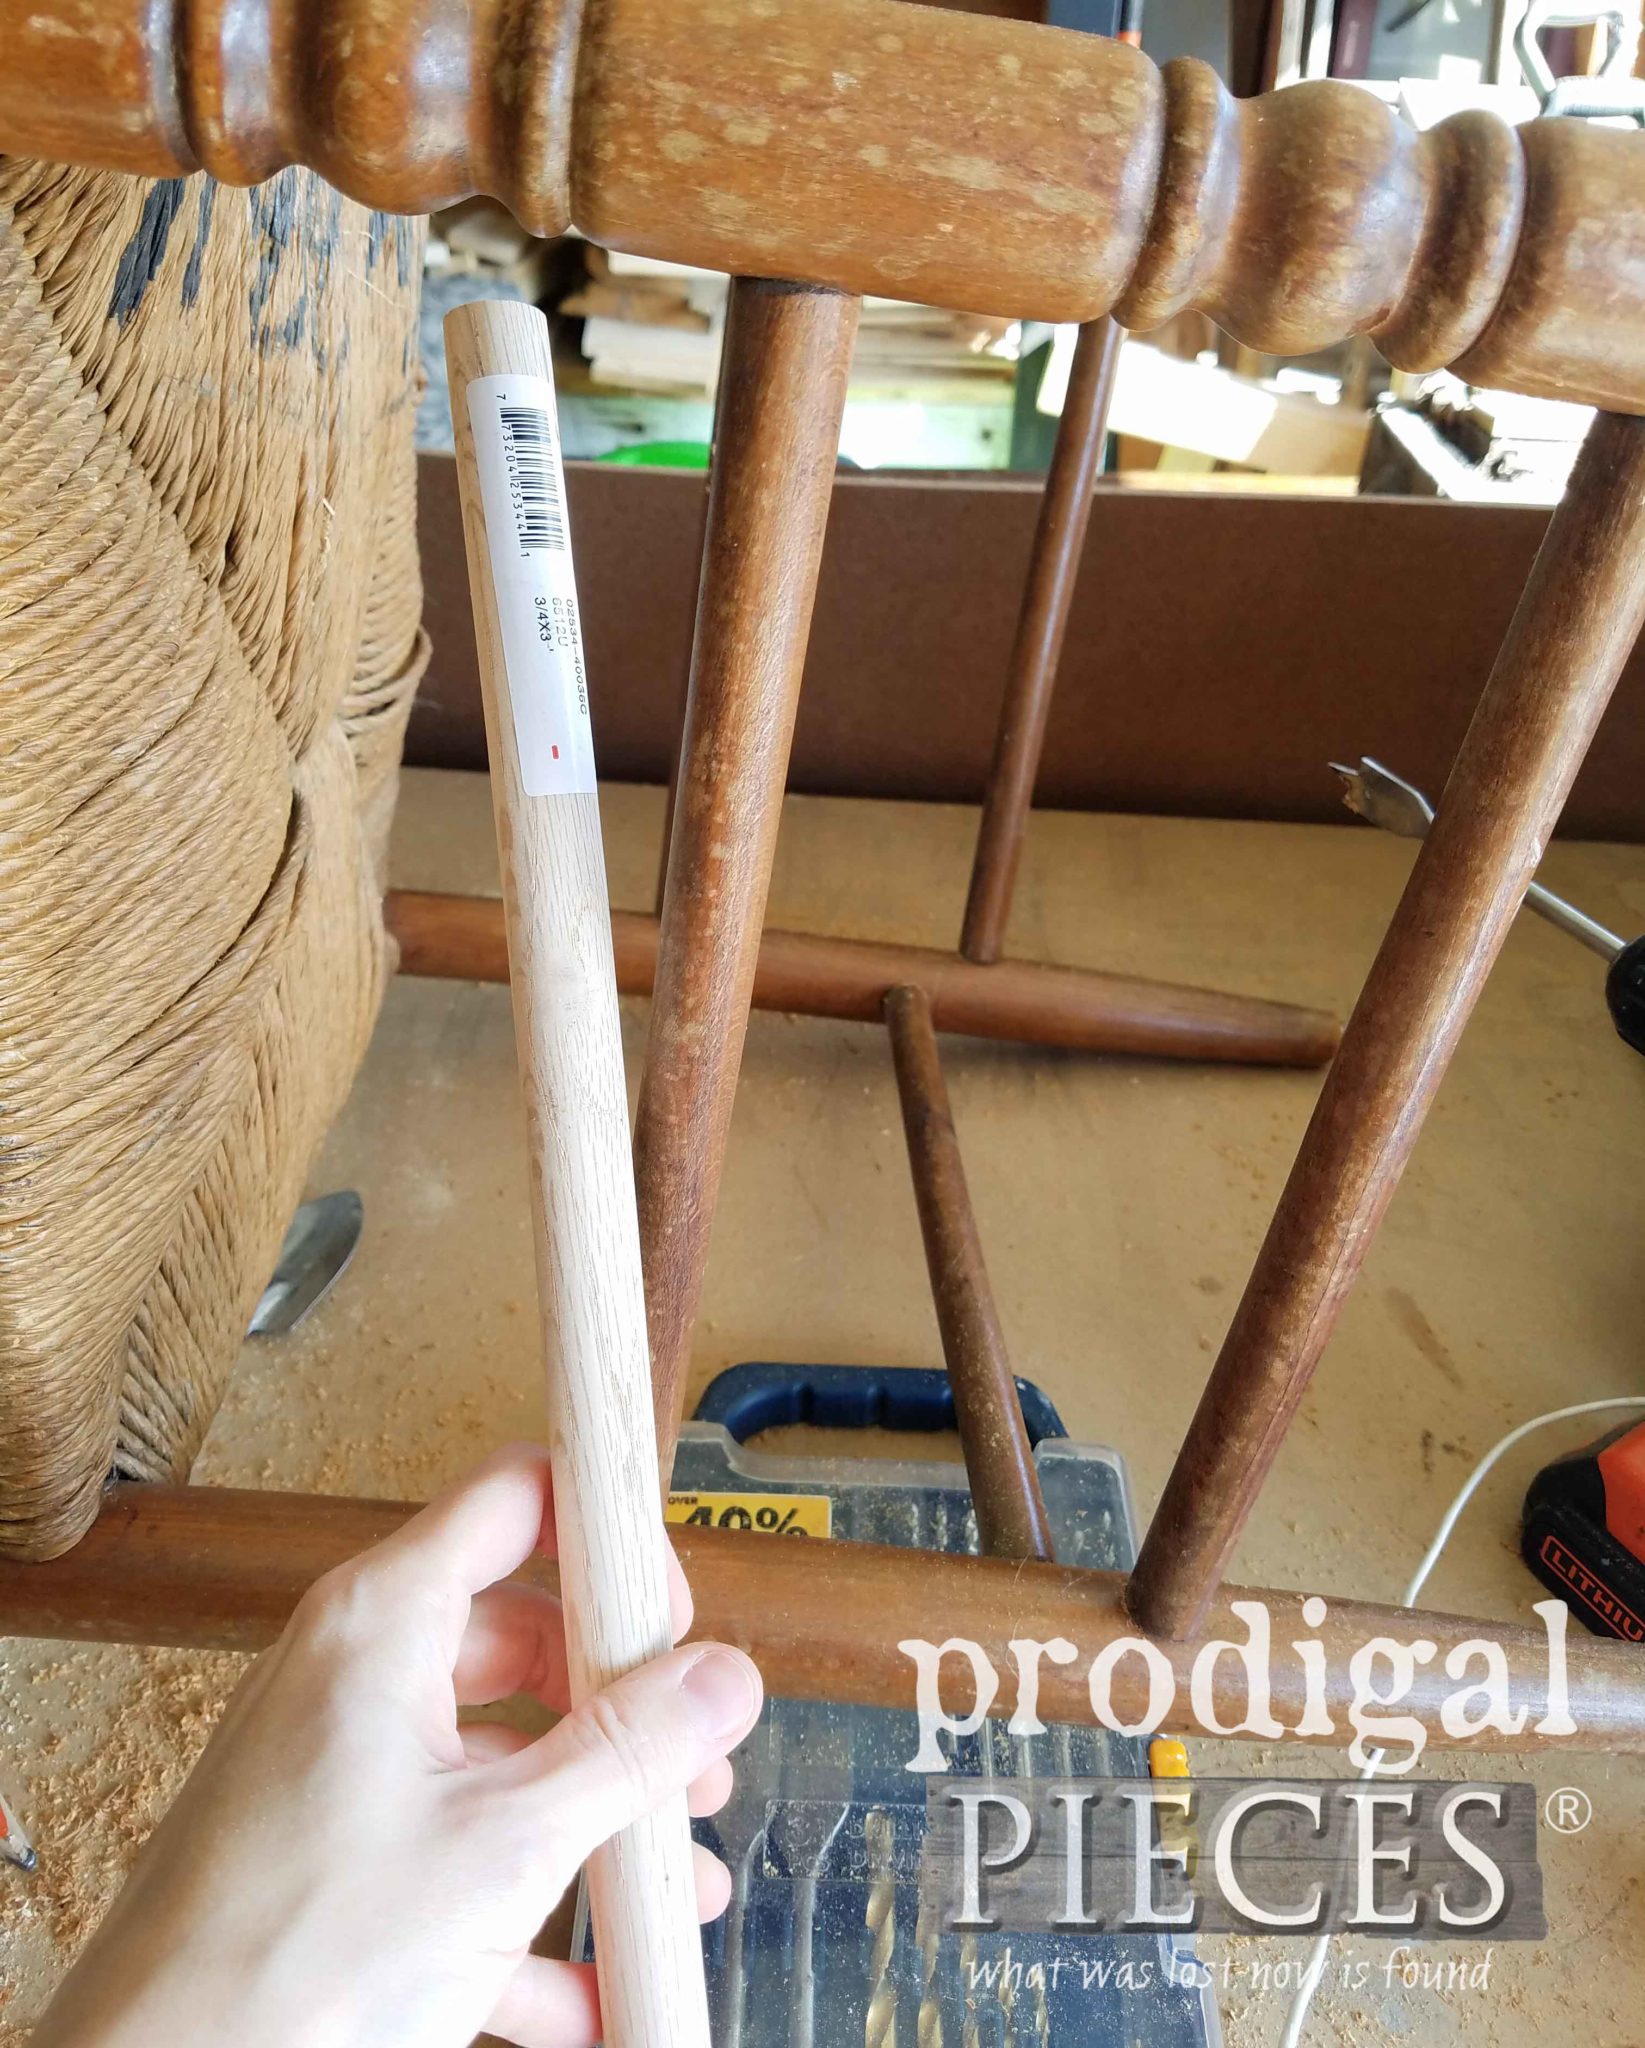
I always have a variety of dowel in my stash because I use it all.the.time. So, of course, I had some ¾” oak dowel to match. Woot! I love it when that happens. You can pick up dowel at most any store that carries craft supplies or home improvement supplies. For things like this though, you want to make sure it’s a hardwood and not pine.
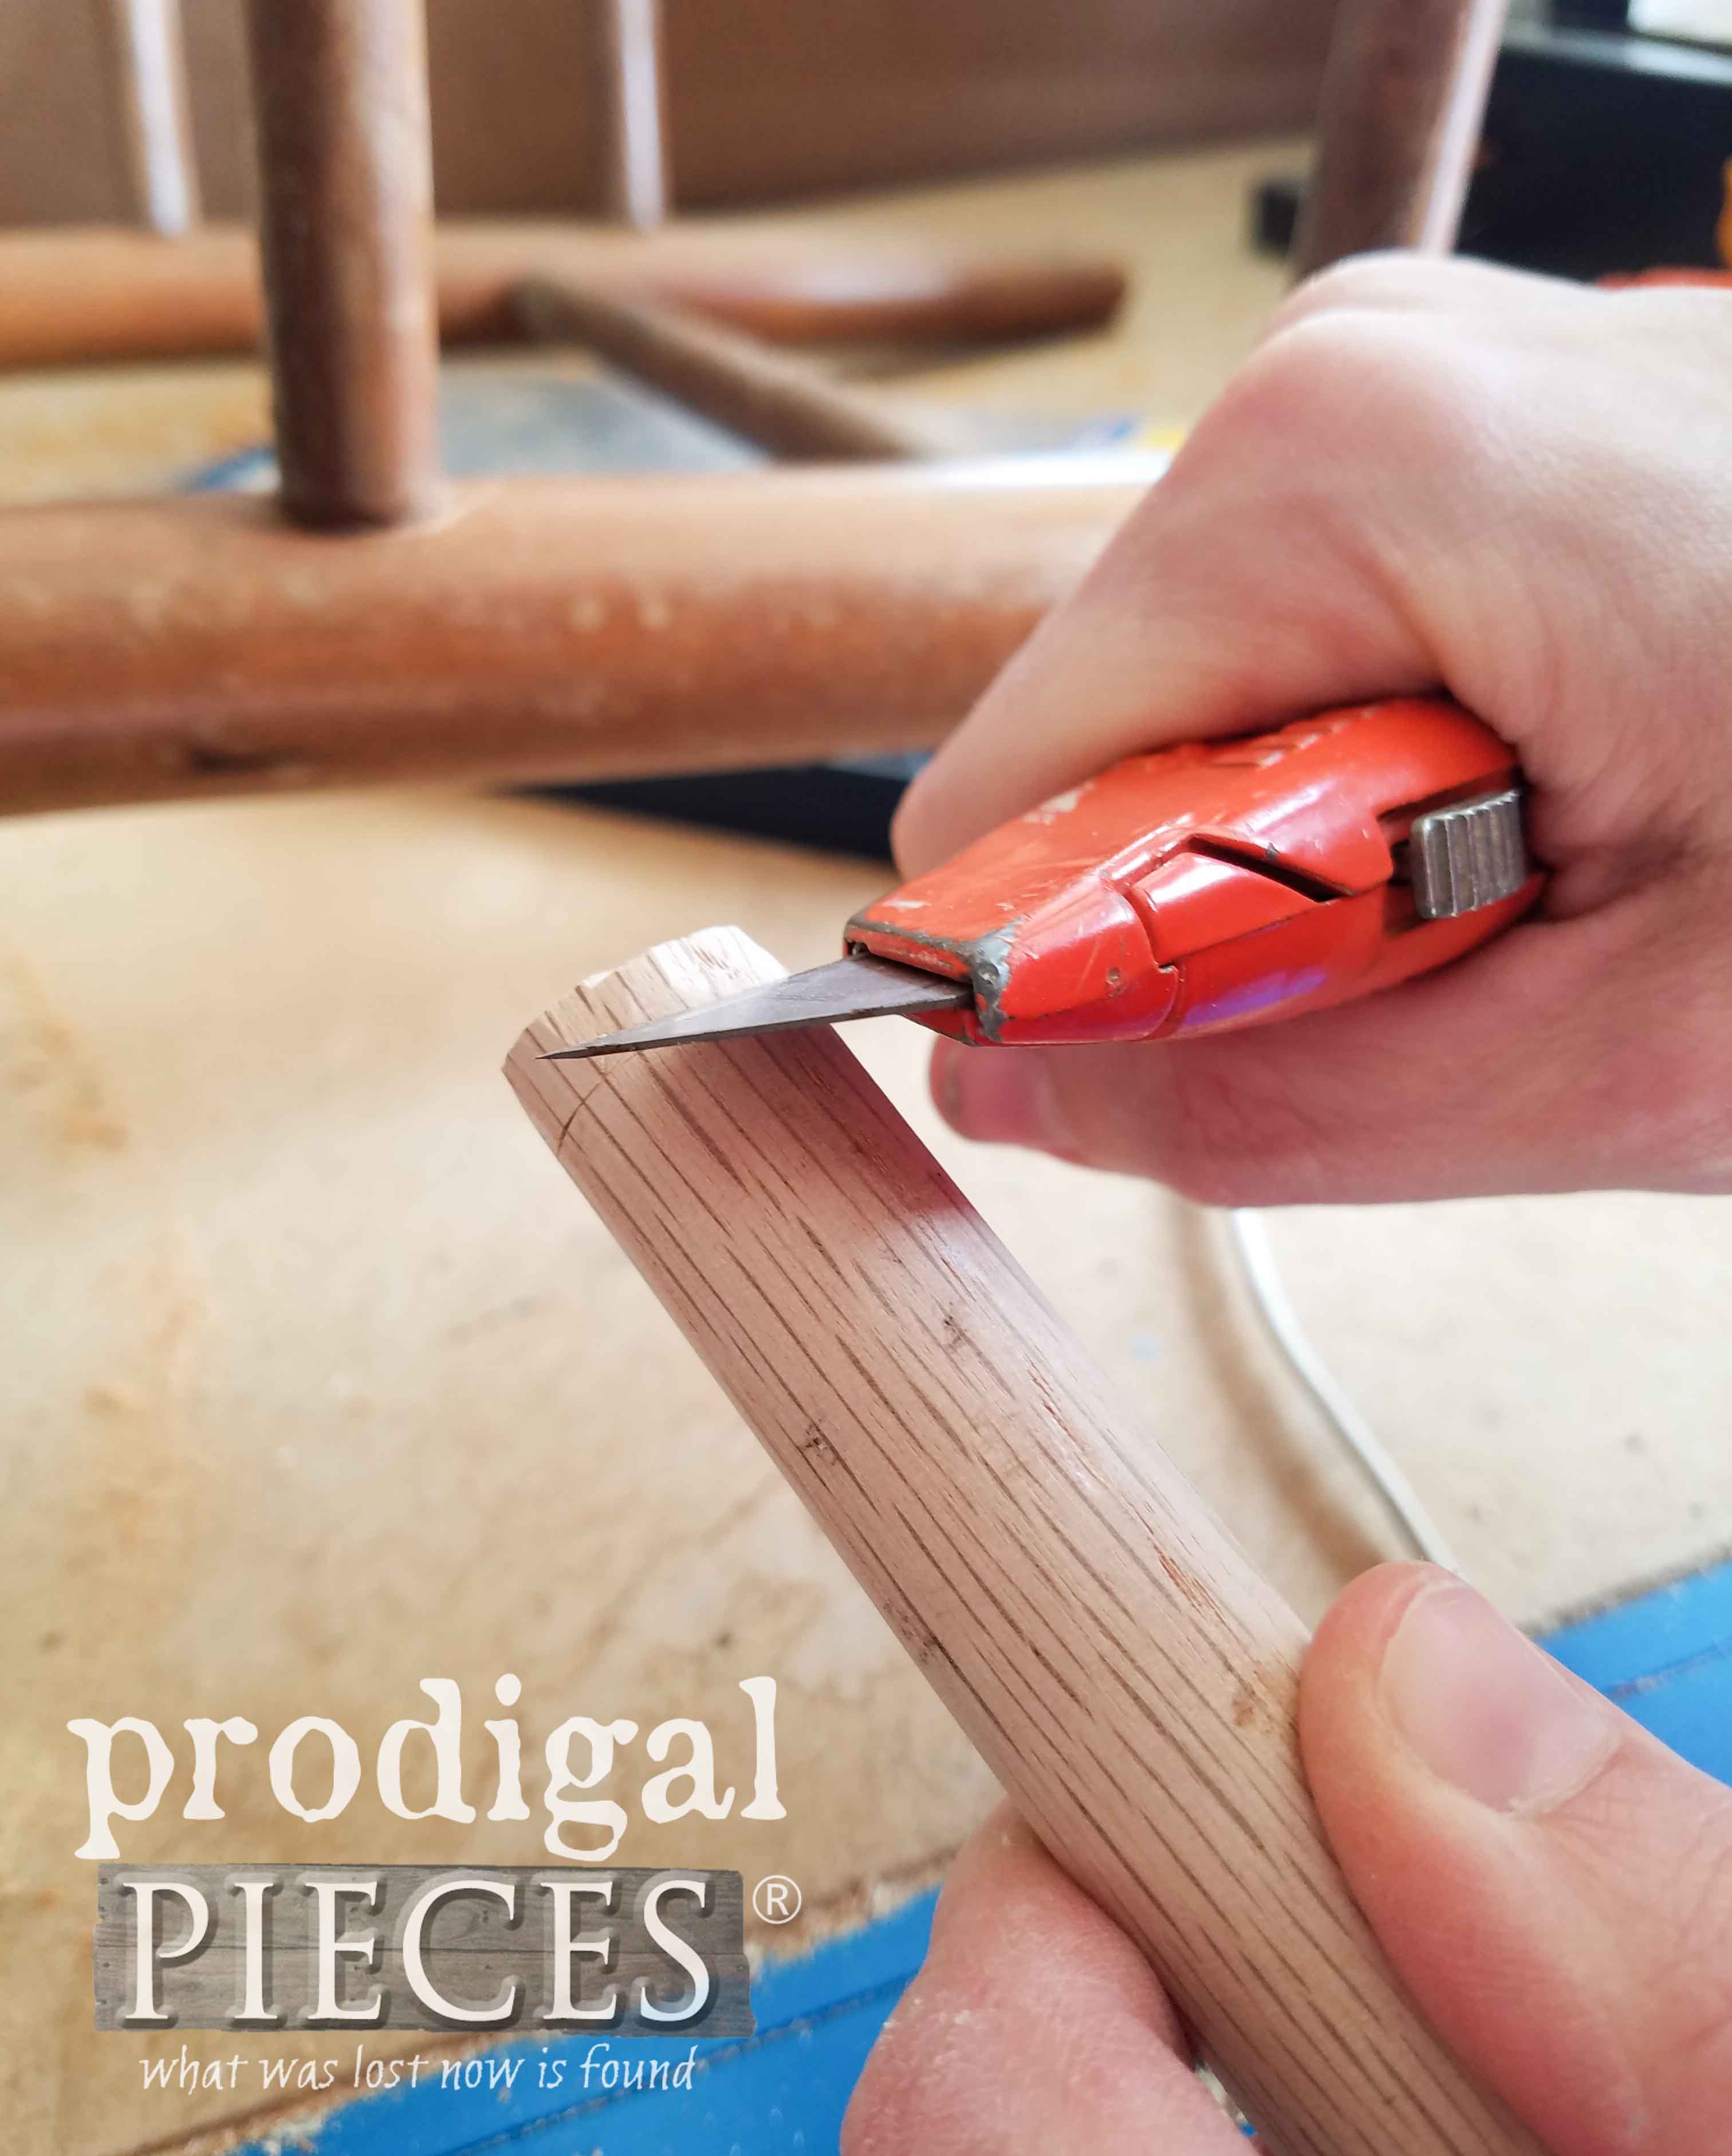
I measure from hole to hole and adding a ½” to the length to account for the two ¼” depth holes I cleaned out. Next, I take my utility knife and score around the end of the dowel ¼” down from the end. Again, using my utility knife, I then whittle small bits of wood off to taper it to the 5/8″ diameter I’m after.
FIXING IT UP
Super easy by holding the knife at angle and working off small bits at a time. It’s key to keep in mind, “slow and steady wins the race” when working on something like this. To check on my progress, I try it in the hole making note of where the wood still protrudes and whittle off more if I need to. Once both are done, I do a dry fit gently inserting them into the holes and we’re good!
I pop them back out, stick in some wood glue, and clamp for a few hours to cure. While the glue is curing, I have at that rush seat. Now, I love natural rush, but this one had already been stained at one point and was looking worn, and also rough, I assume, from the dog who also chewed up the top rail. Gotta love dogs and this one must have been a big one!
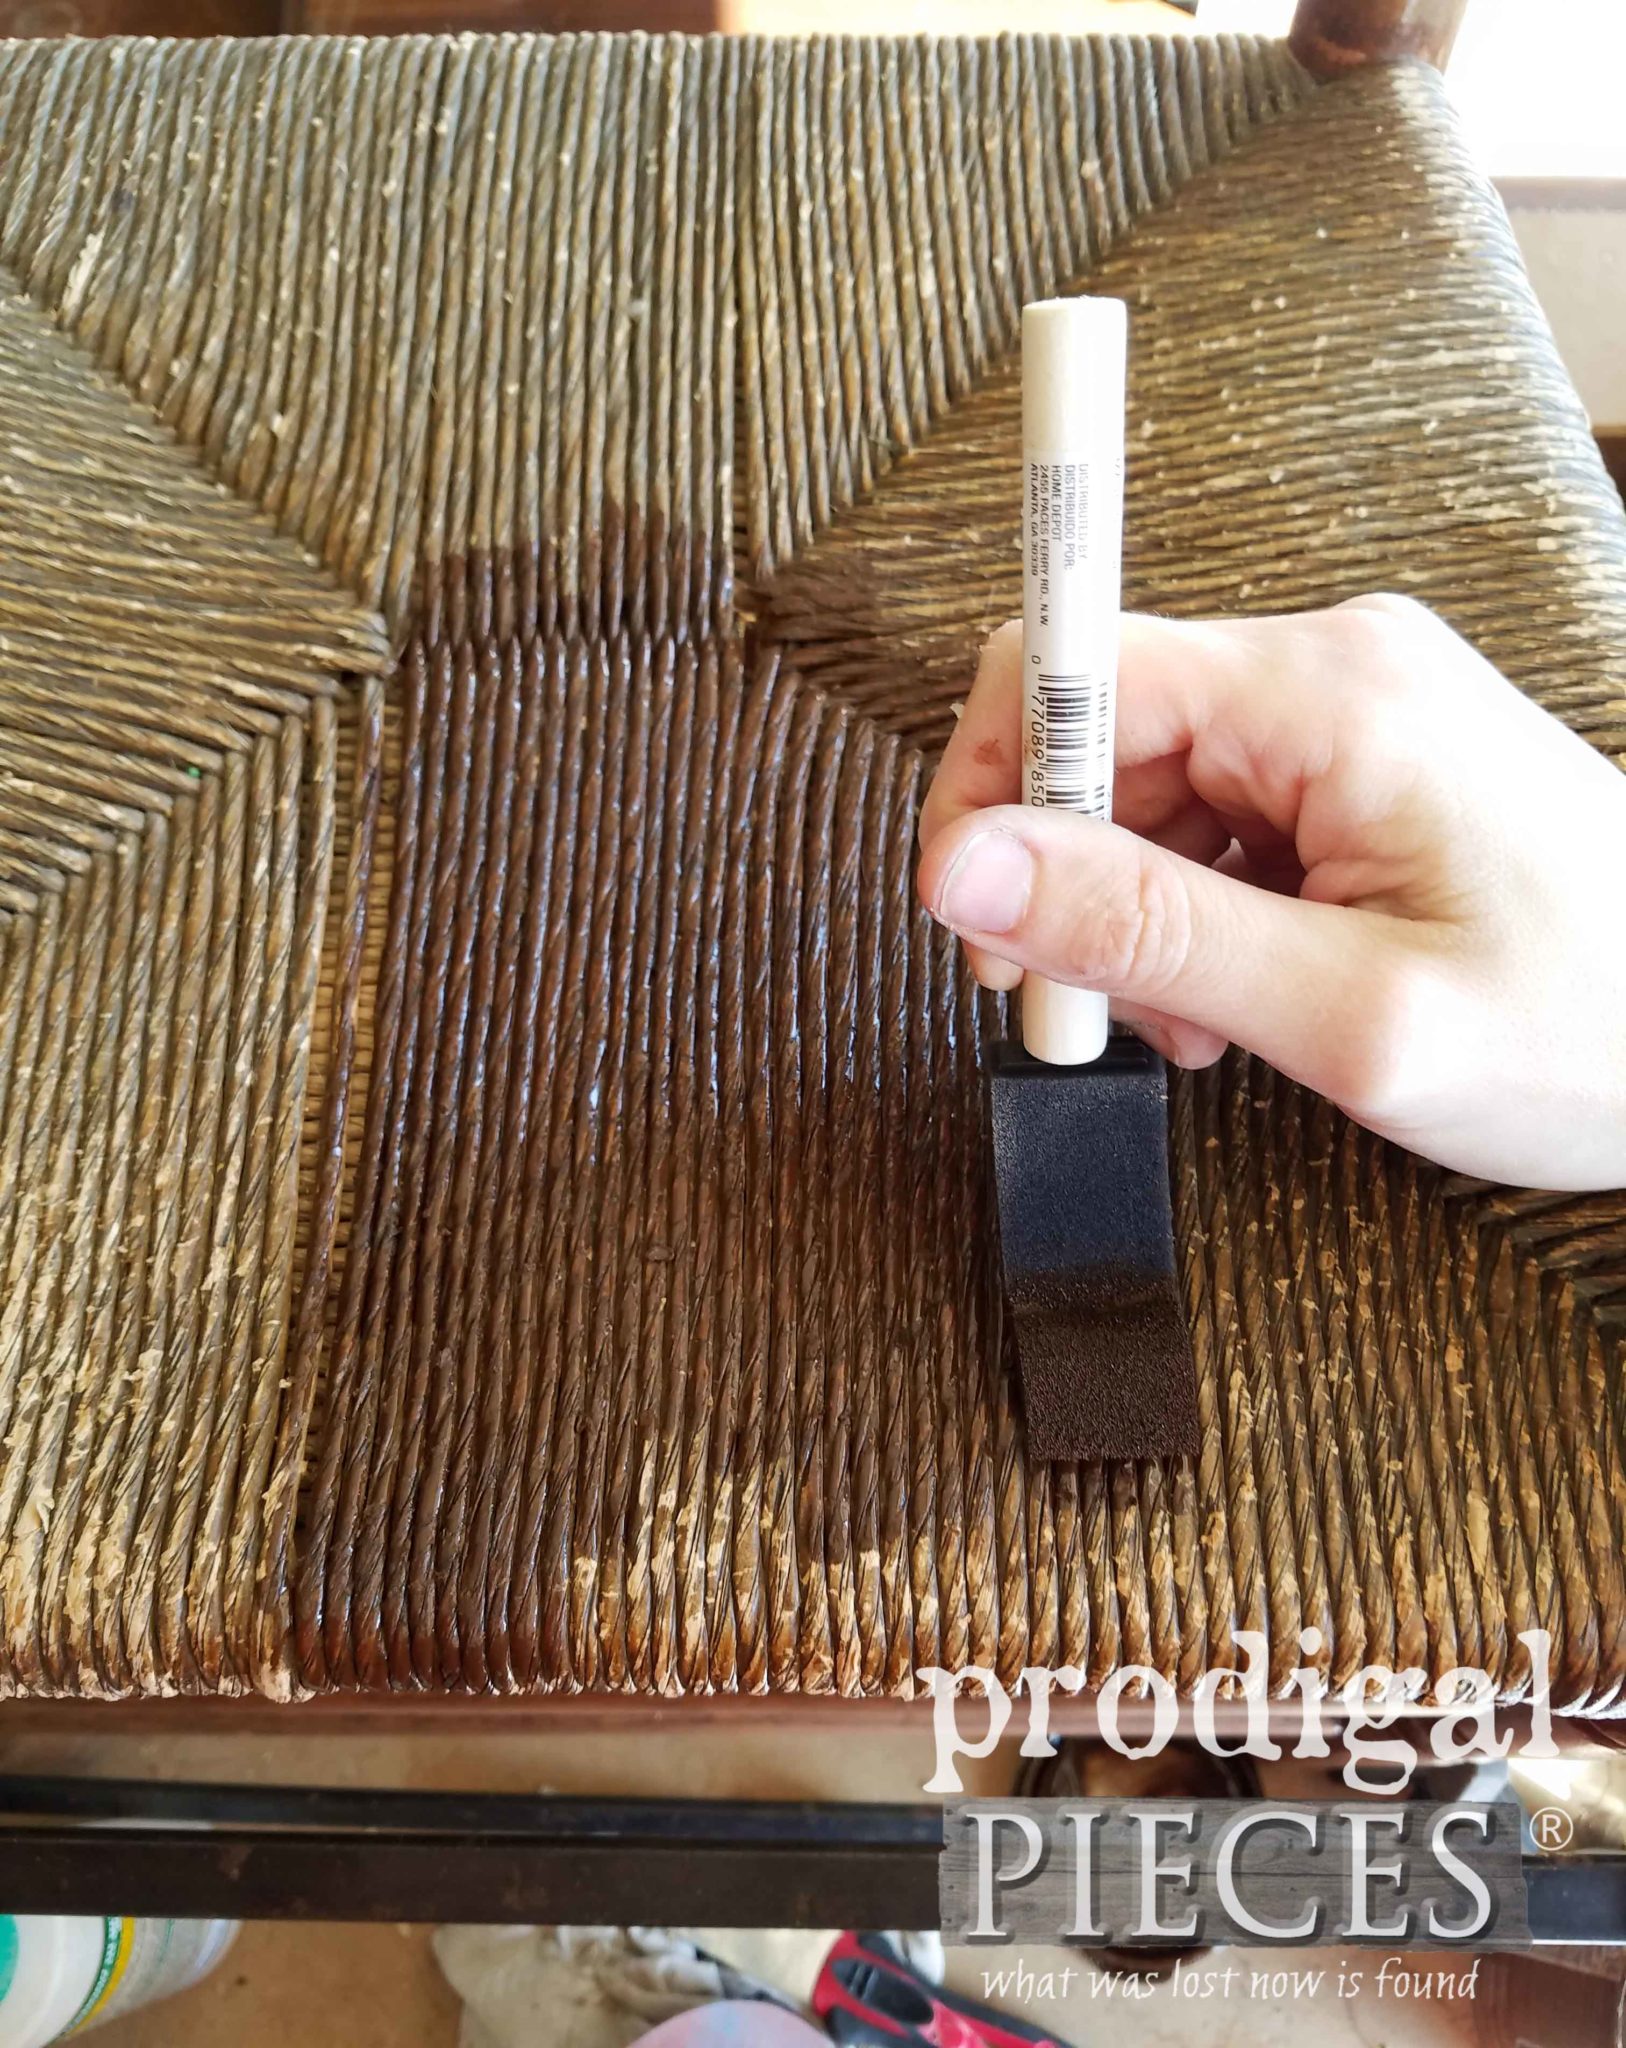
To remedy the seat in my broken chair repair, I took a 200-grit sandpaper piece and lightly hand-sanded the rush following the grain. This helped remove and frayed bits and give me a surface to work with. This isn’t to repair as much as to make pretty again. After I sanded, I blew it off with air from my compressor and added my favorite Early American. You can see why it’s a favorite in these past posts.
This stain would help hide the flaws and refresh it. Looking better already, right? I let the stain sit for about 5 minutes and gently wiped off excess with a soft, lint-free cloth.
LOVE DOGS
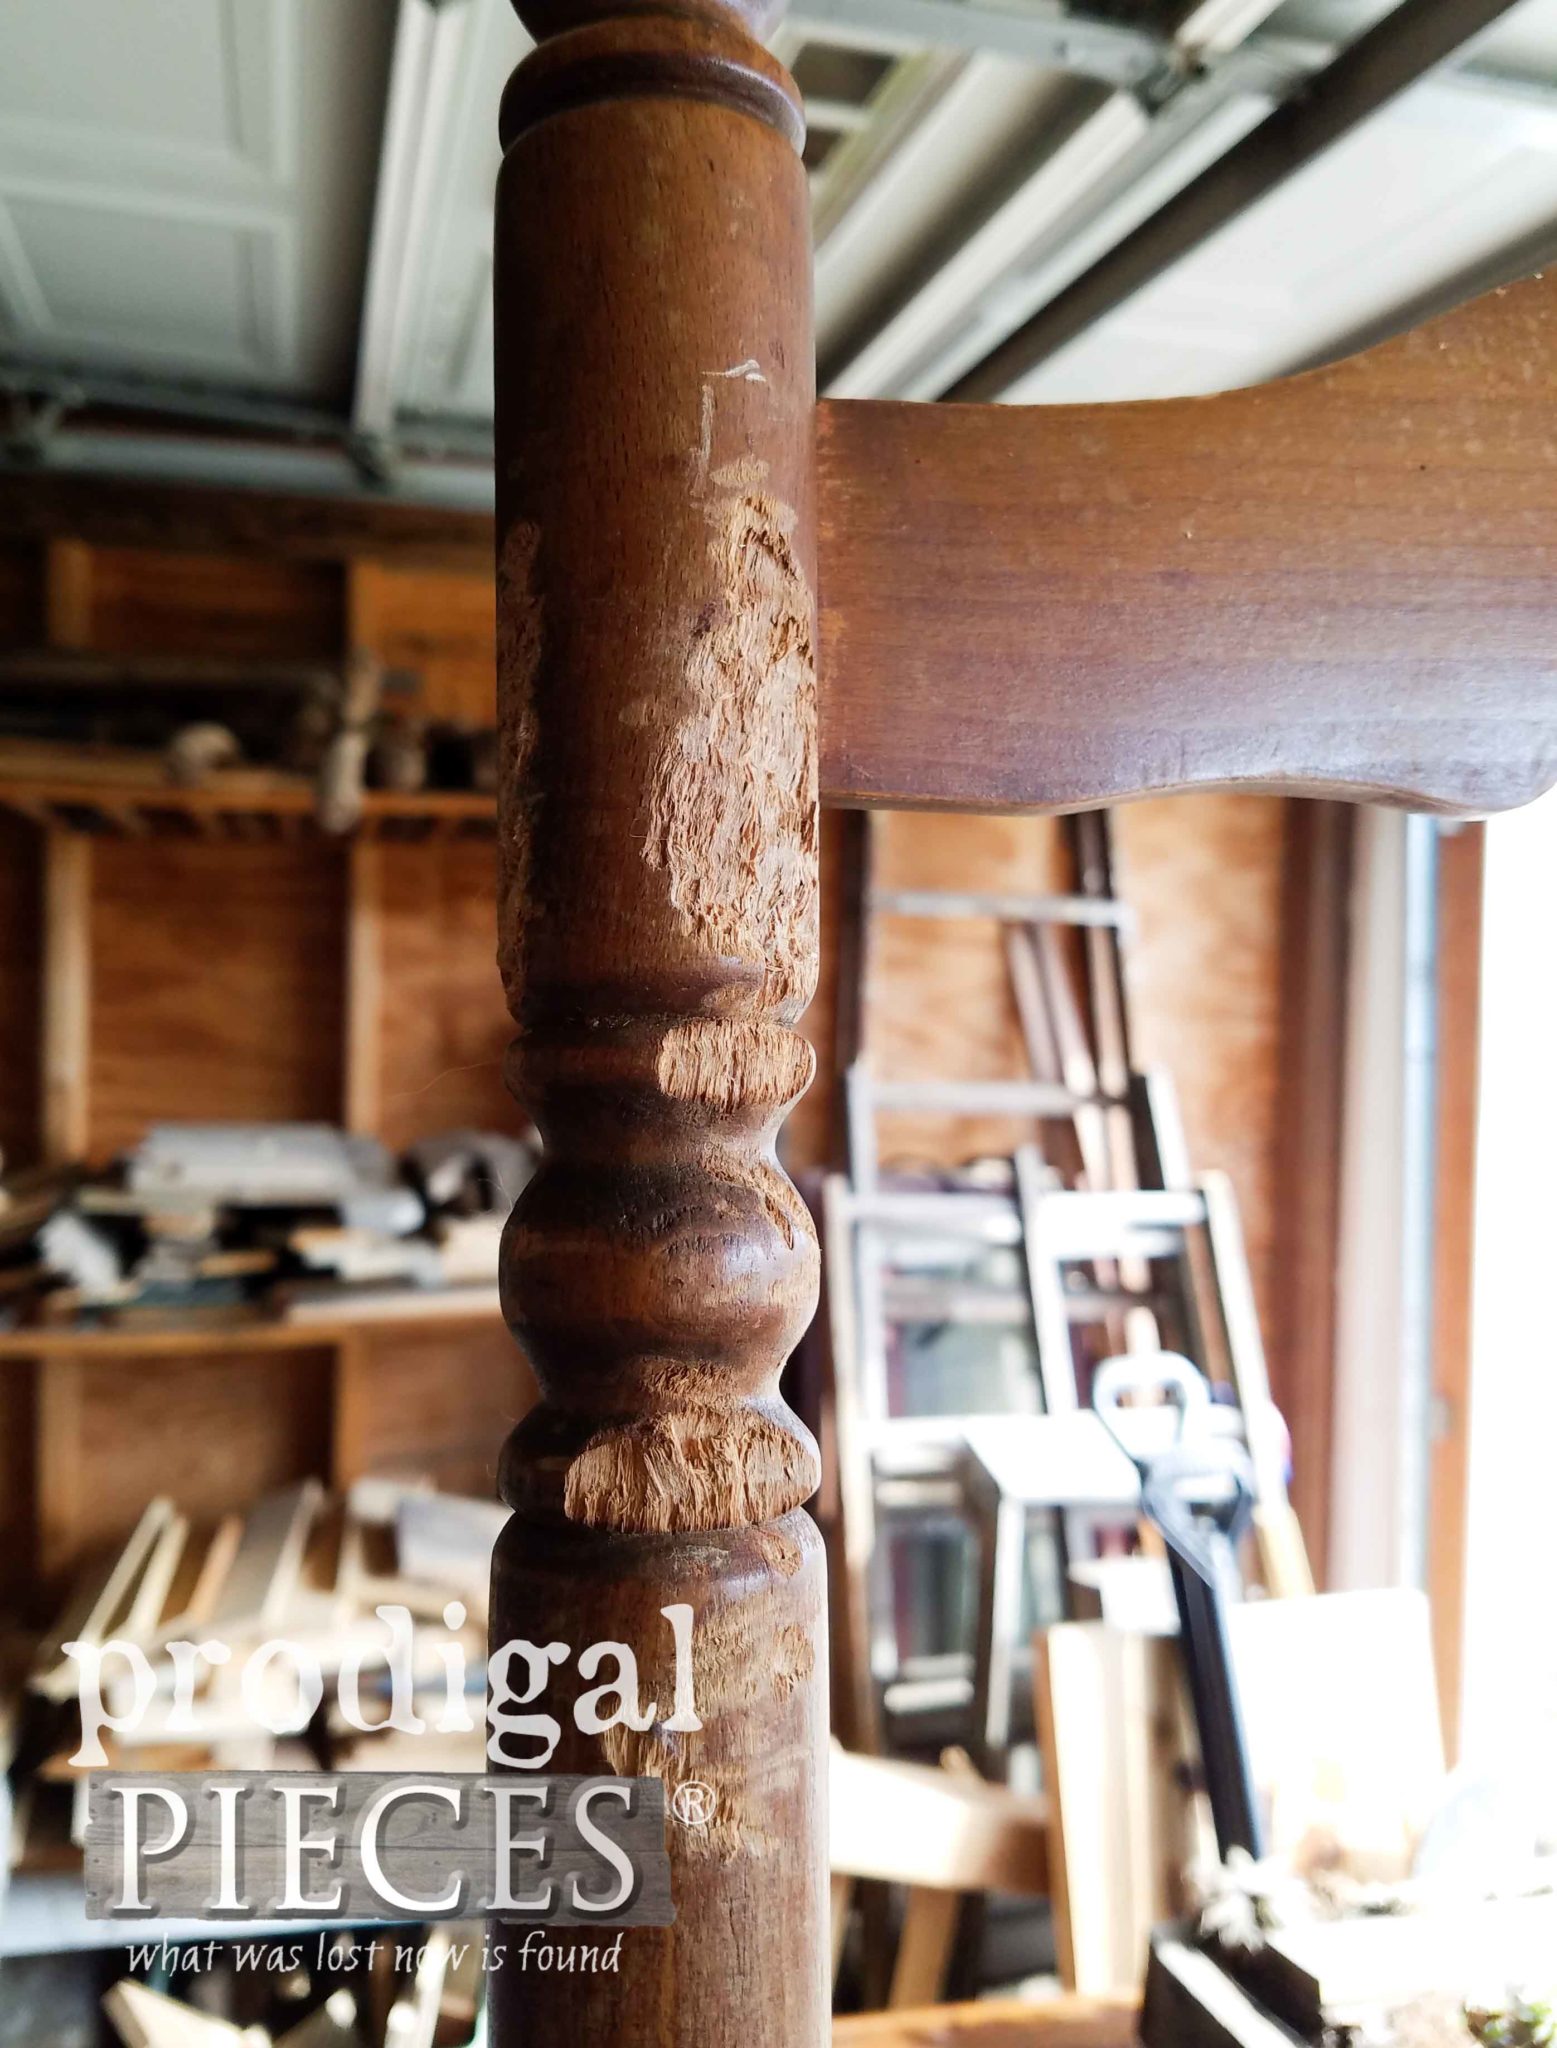
Next, time to tackle those dog-chewed spots. He had fun, didn’t he?
If these holes and marks would have been deeper, I most likely would have used my Bondo, but since it was mostly surface damage, I went with my wood filler. I like to use this stuff like clay and shape it to restore the damage after pulling some out and letting it air dry a bit. My putty knife is my best friend to help me apply and shape it, but my hands work wonders too. Worst case scenario is that it doesn’t take and I start over. No harm, no foul, right?
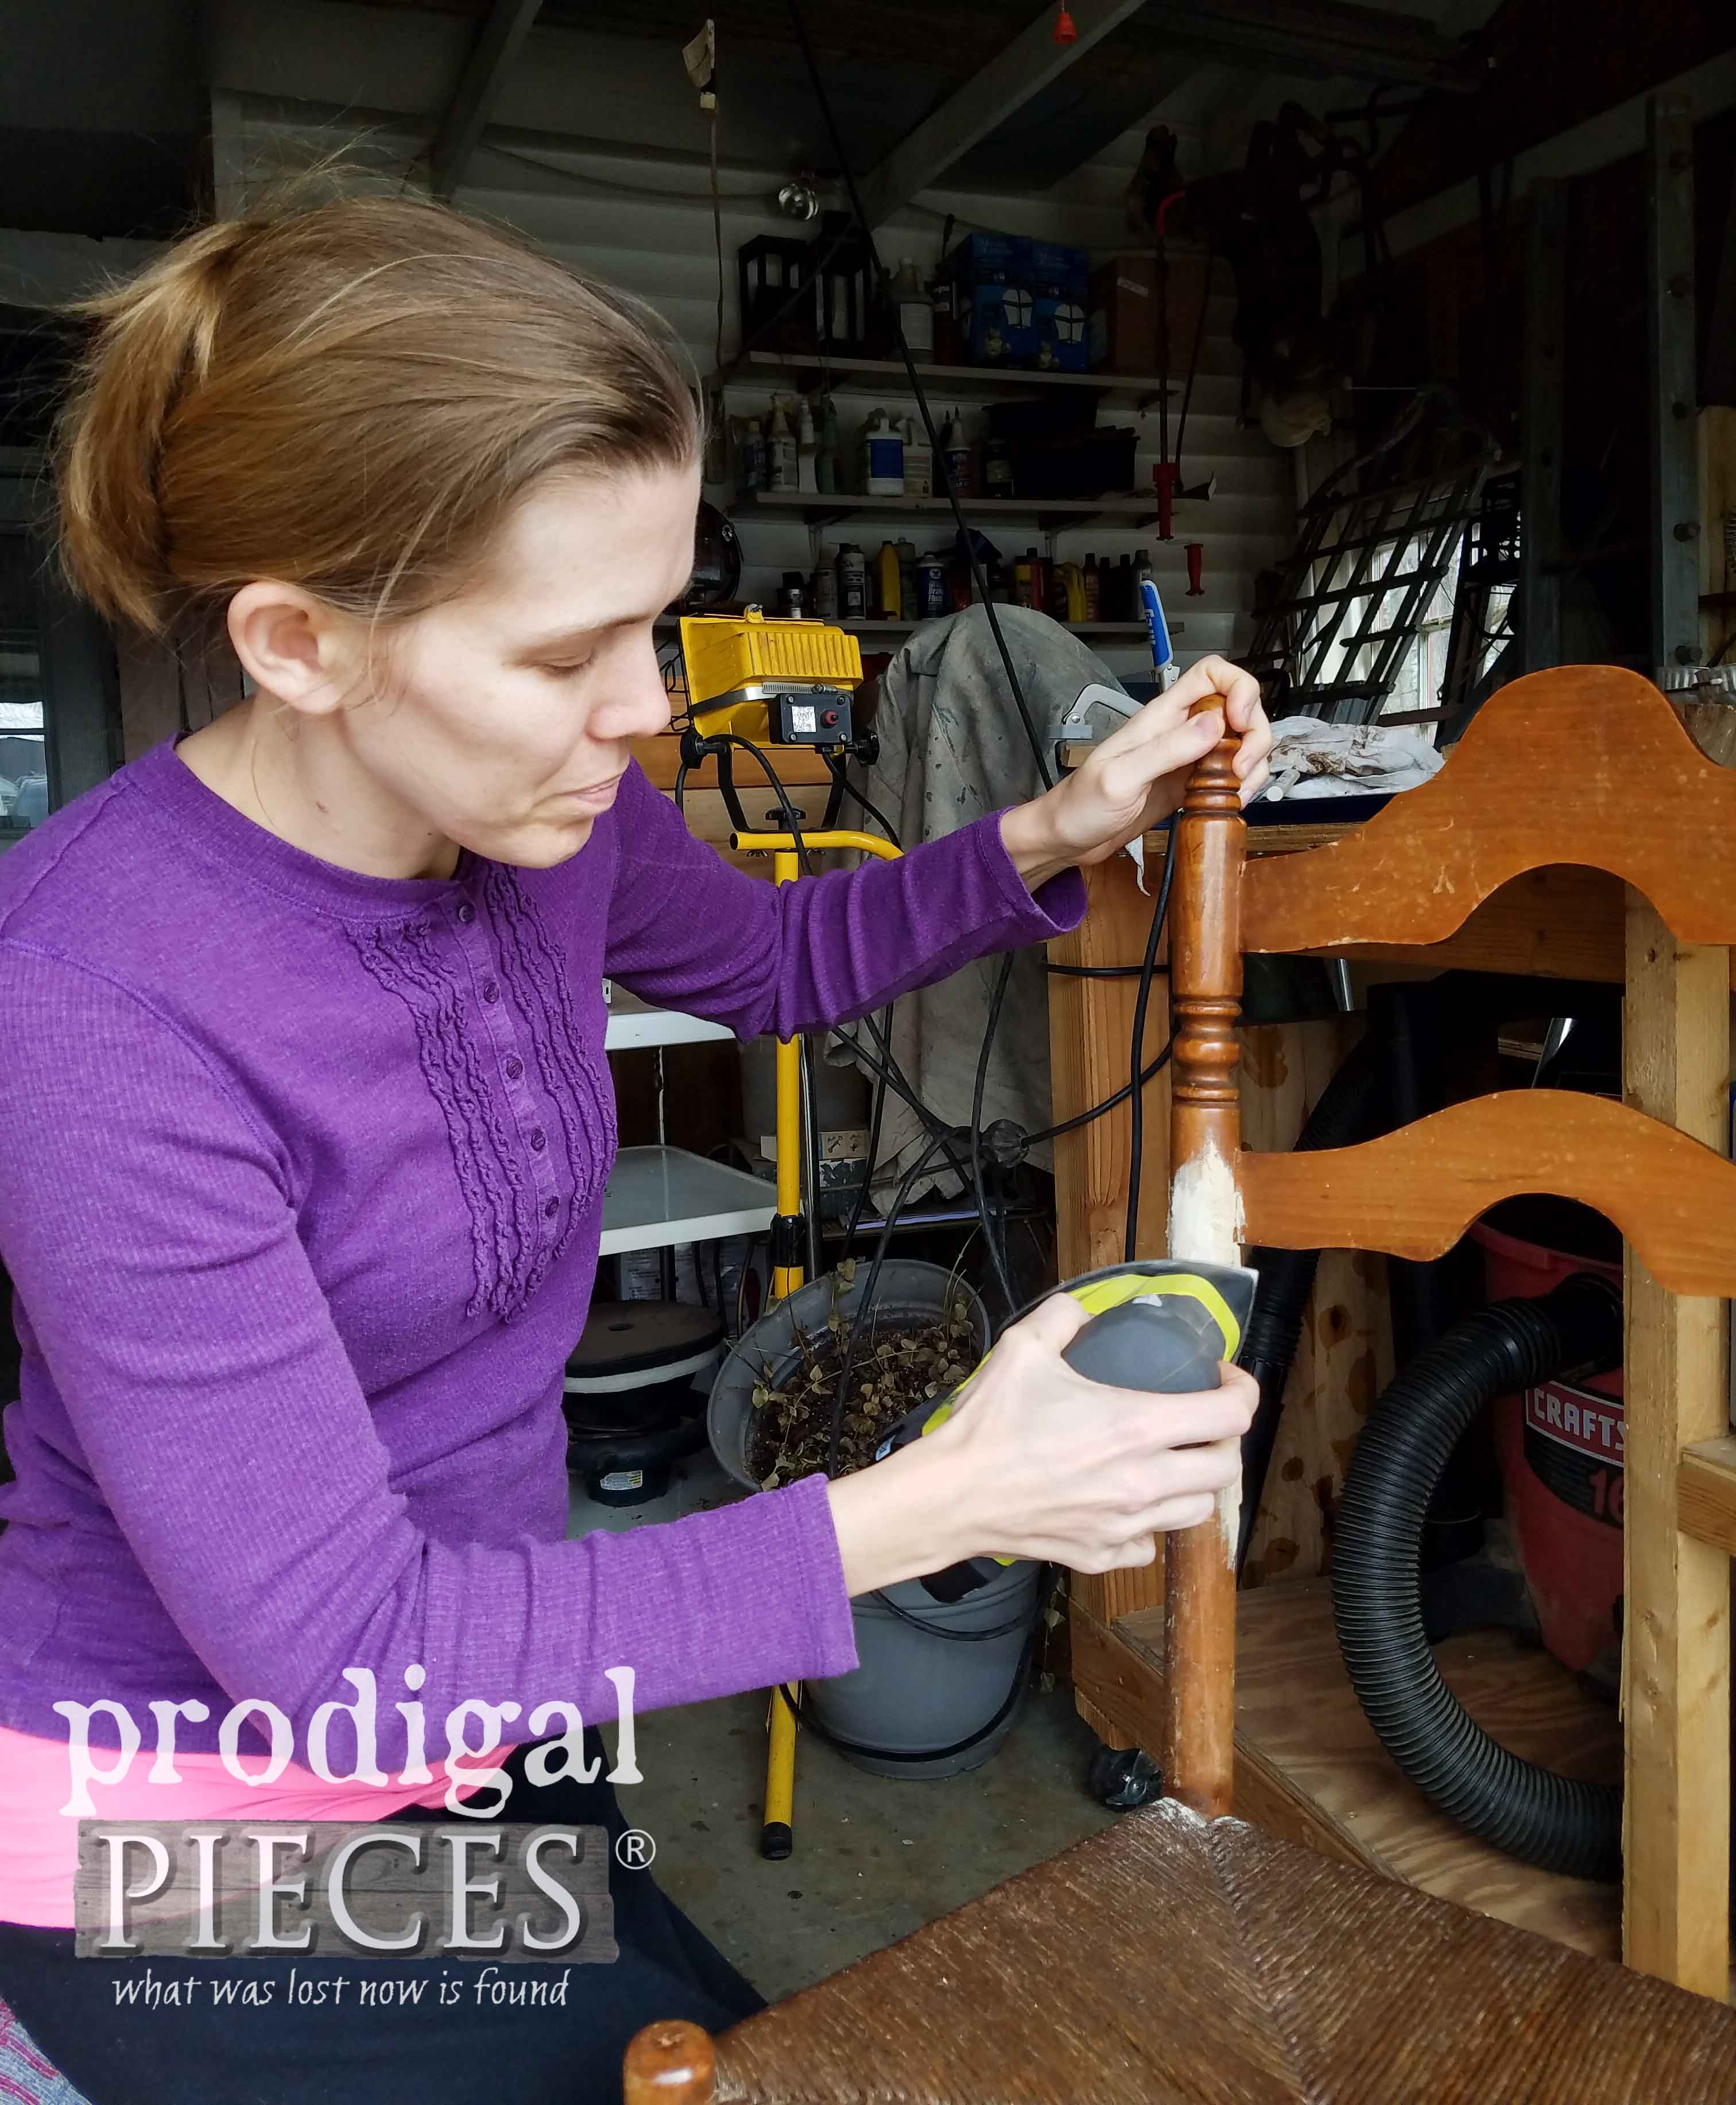
Once the wood filler was cured, I use my Cat Sander to detail sand it since it allows me to get into those crevices. Plus, it is gentler than my favorite orbital sander. Then with a bit of hand-sanding I finish it off. Not too bad for this broken chair repair, if I do say so myself. tee hee.
While I was at it, I also filled the holes where the broken splat rested. I do not have the tools to recreate one of those, so it will stay missing. No one will notice. ssssshhhhhh….
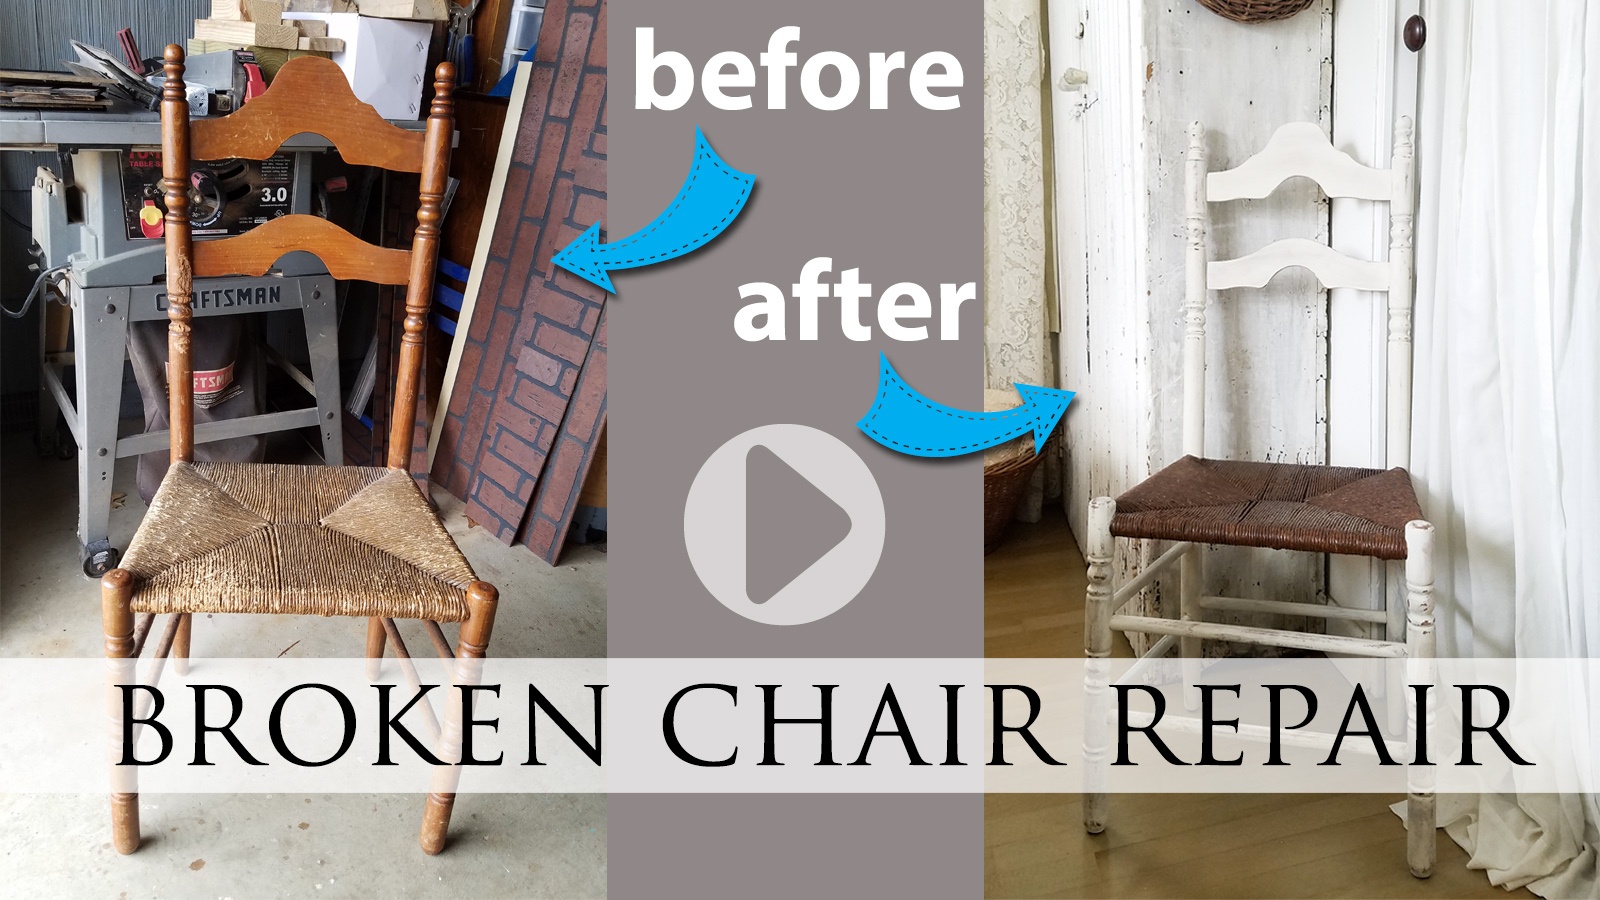
Here it is stained and ready for the next steps. You should scroll up just to compare before and after. Wood filler and stain go a long way!
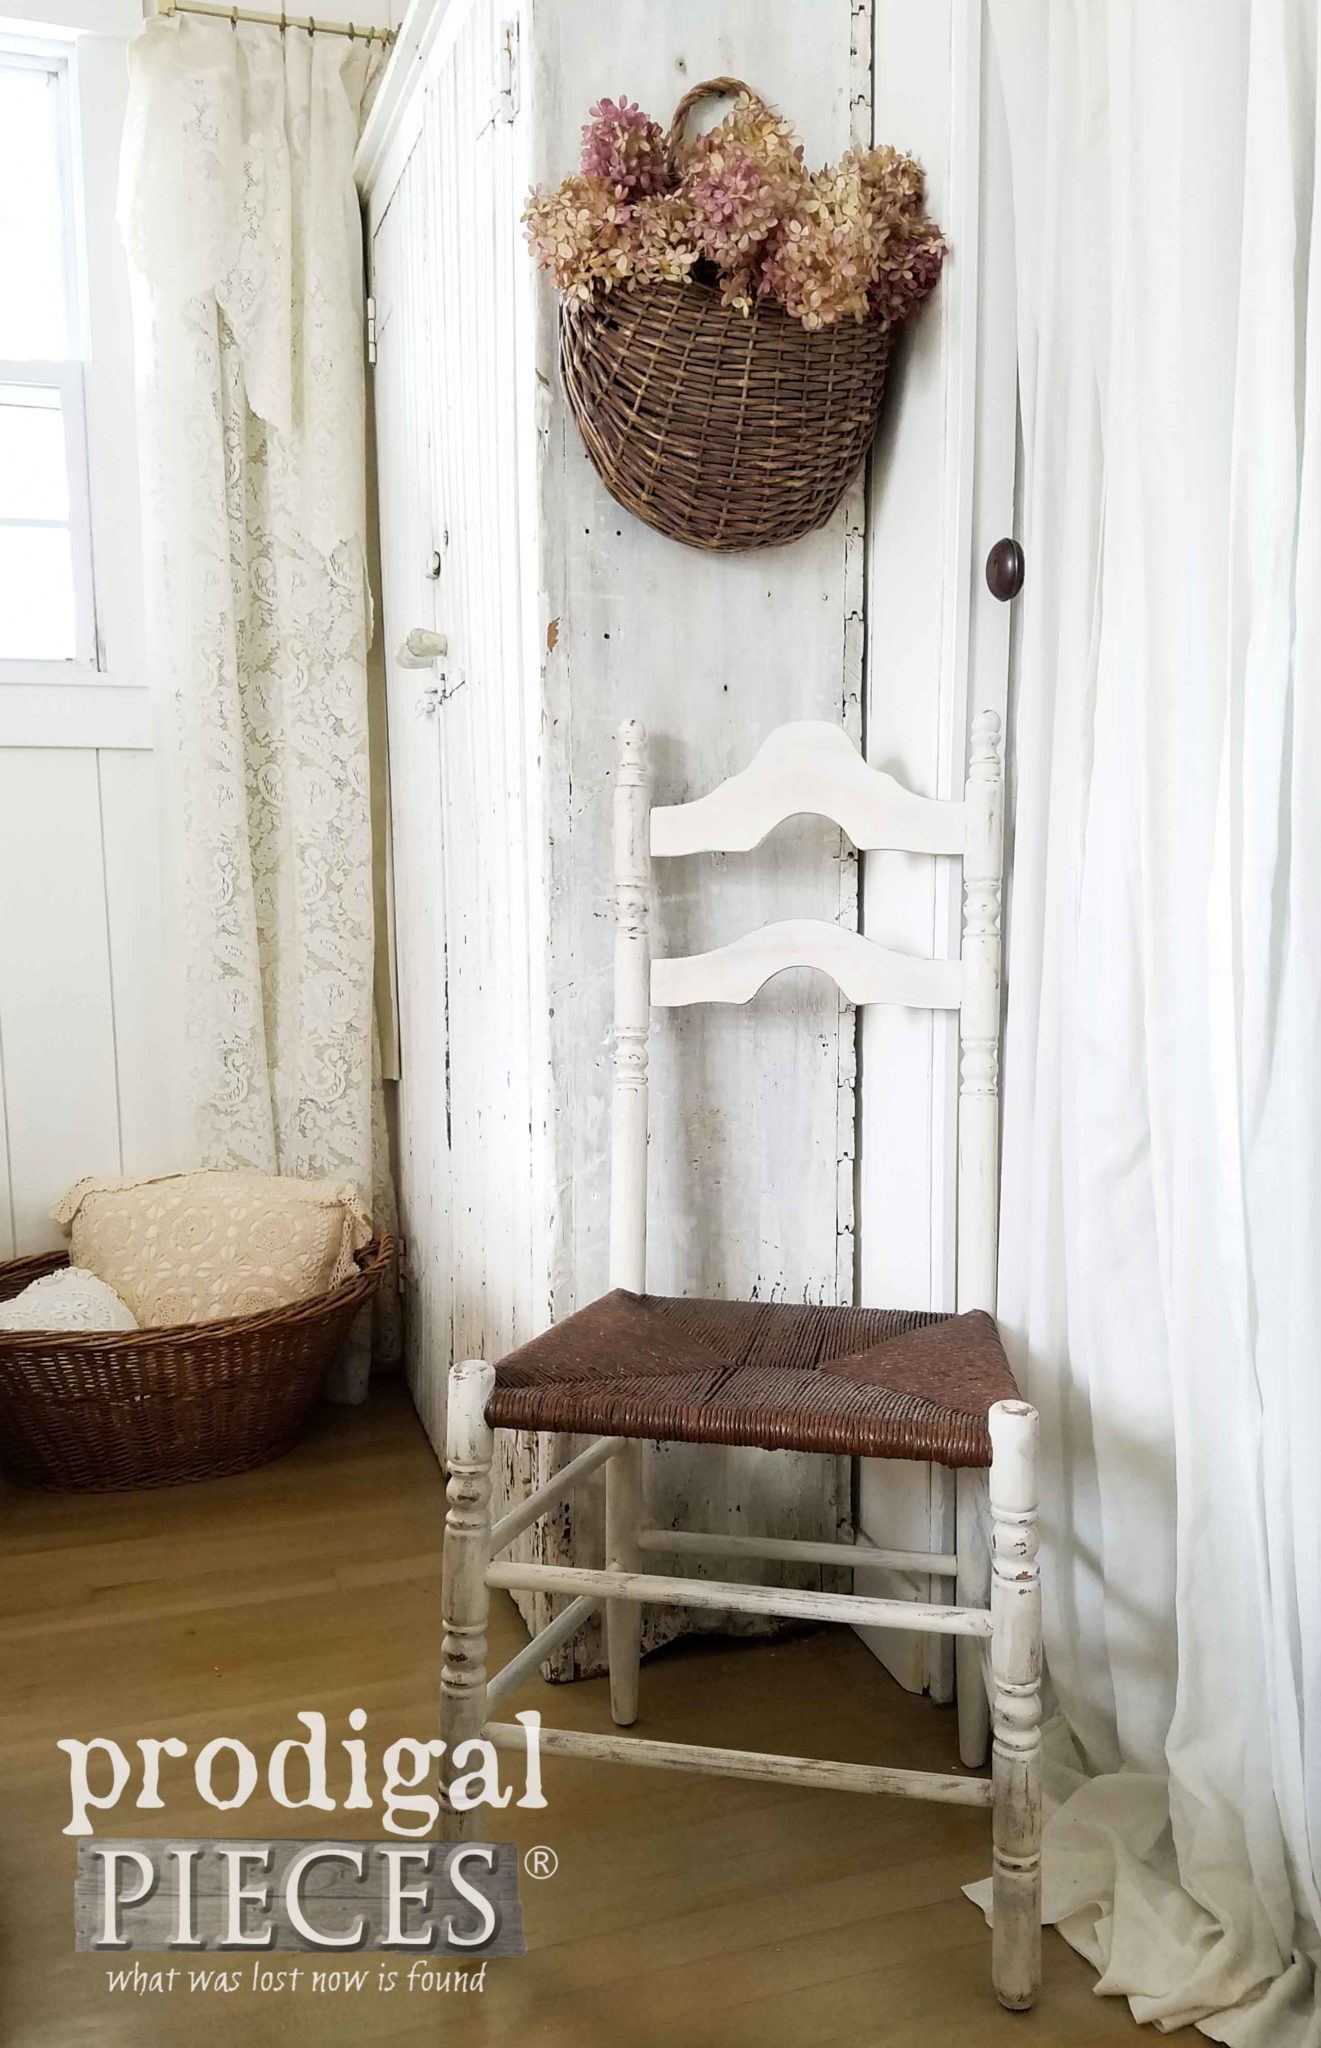
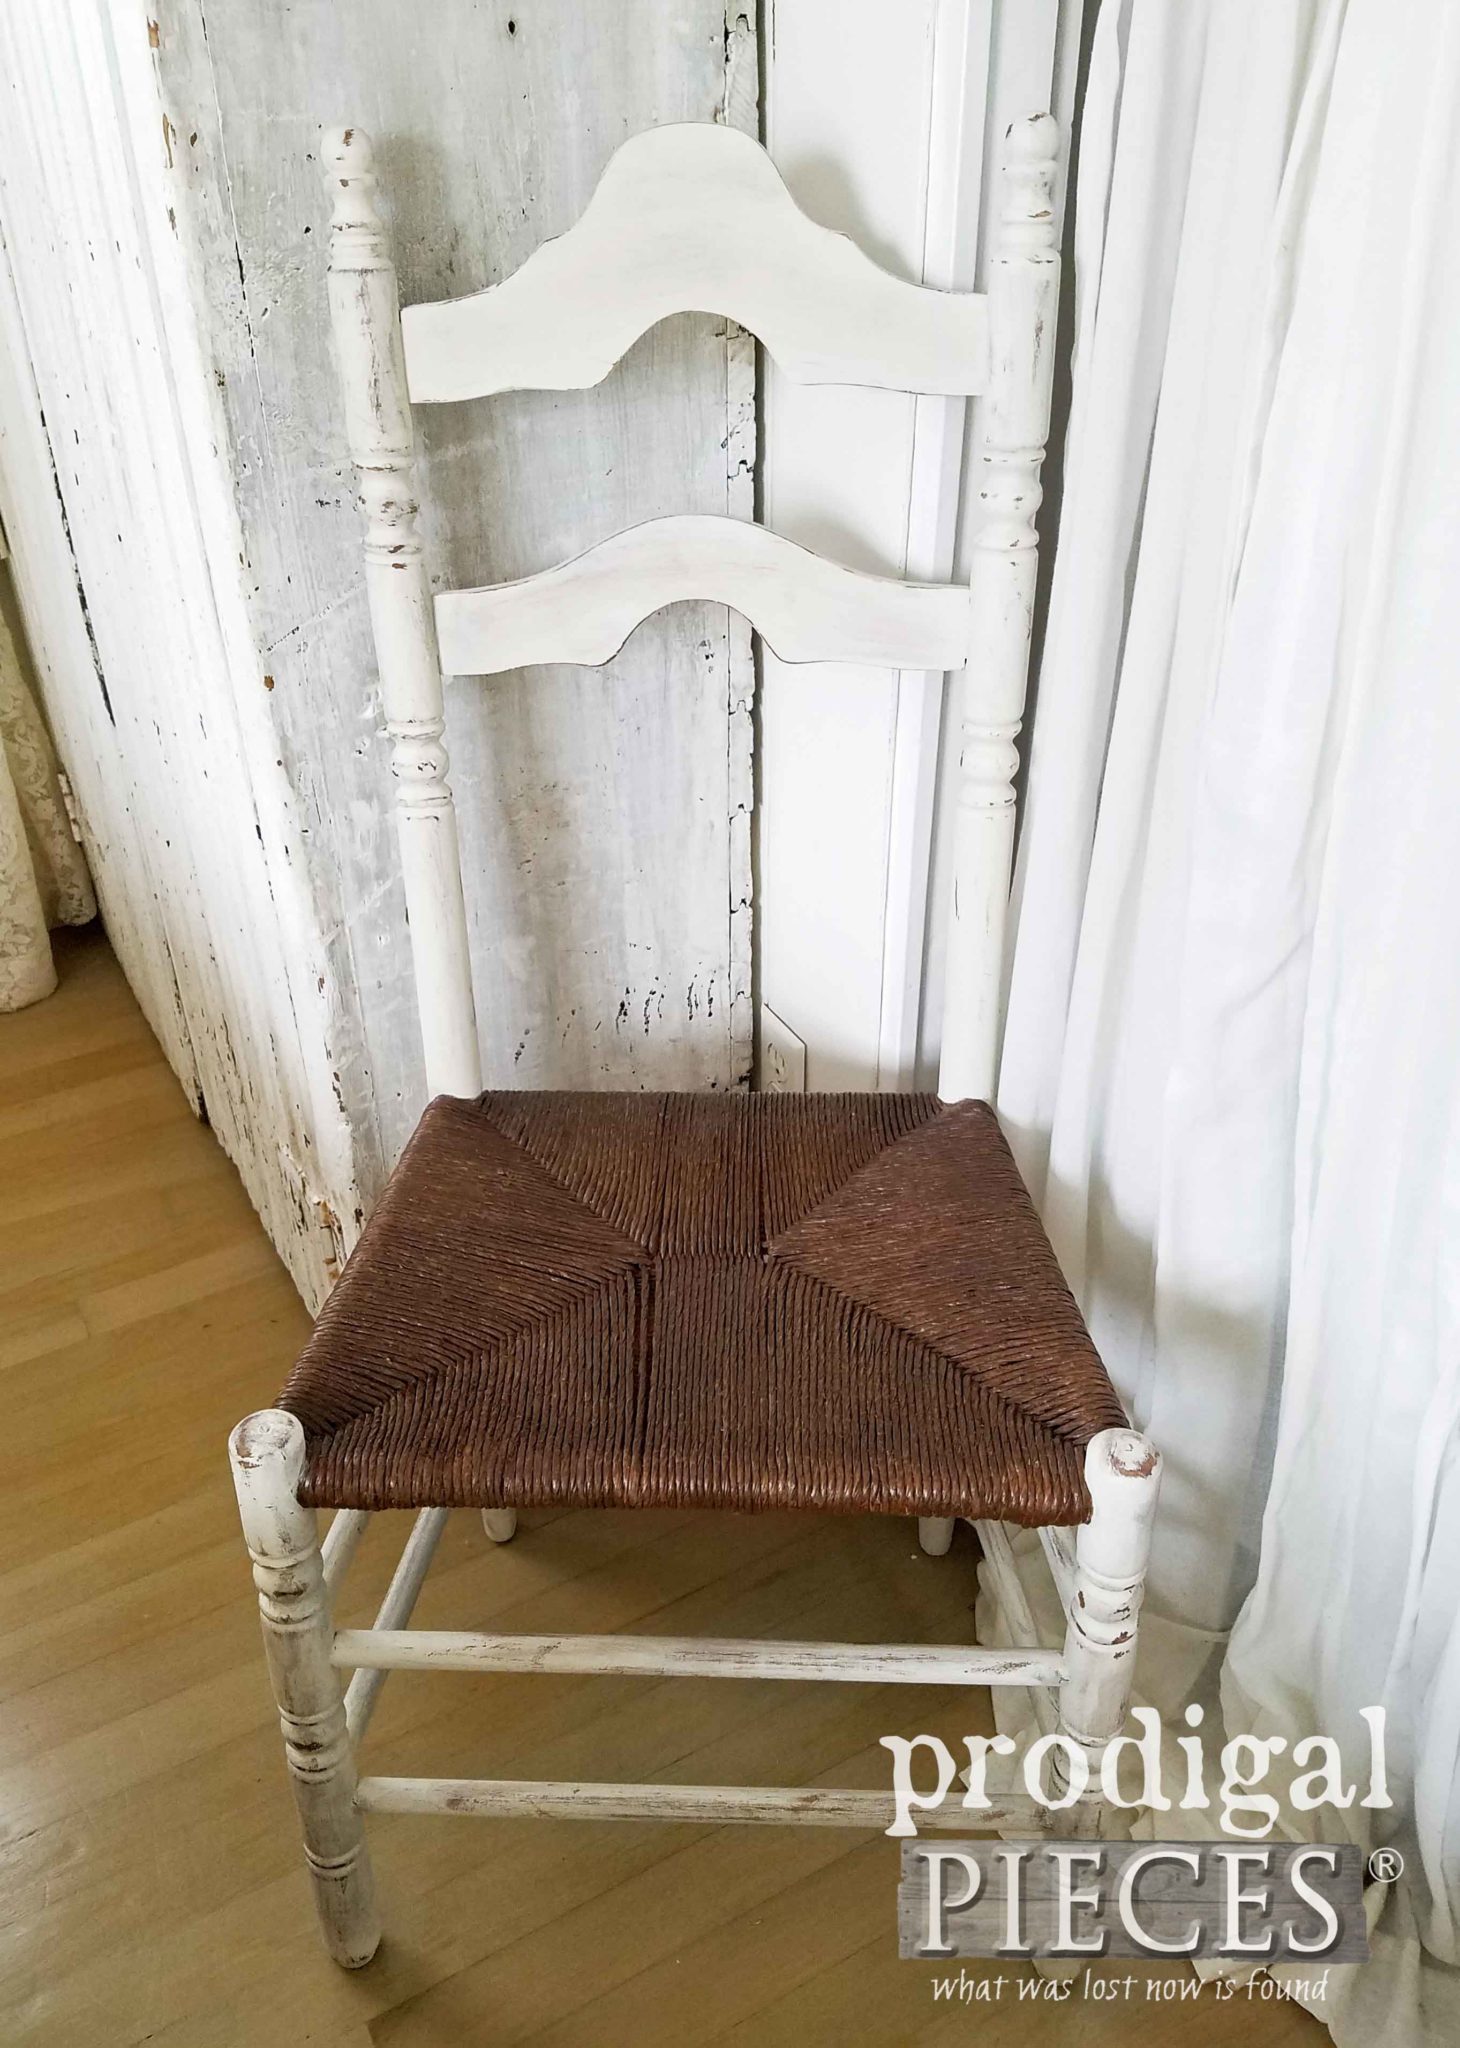
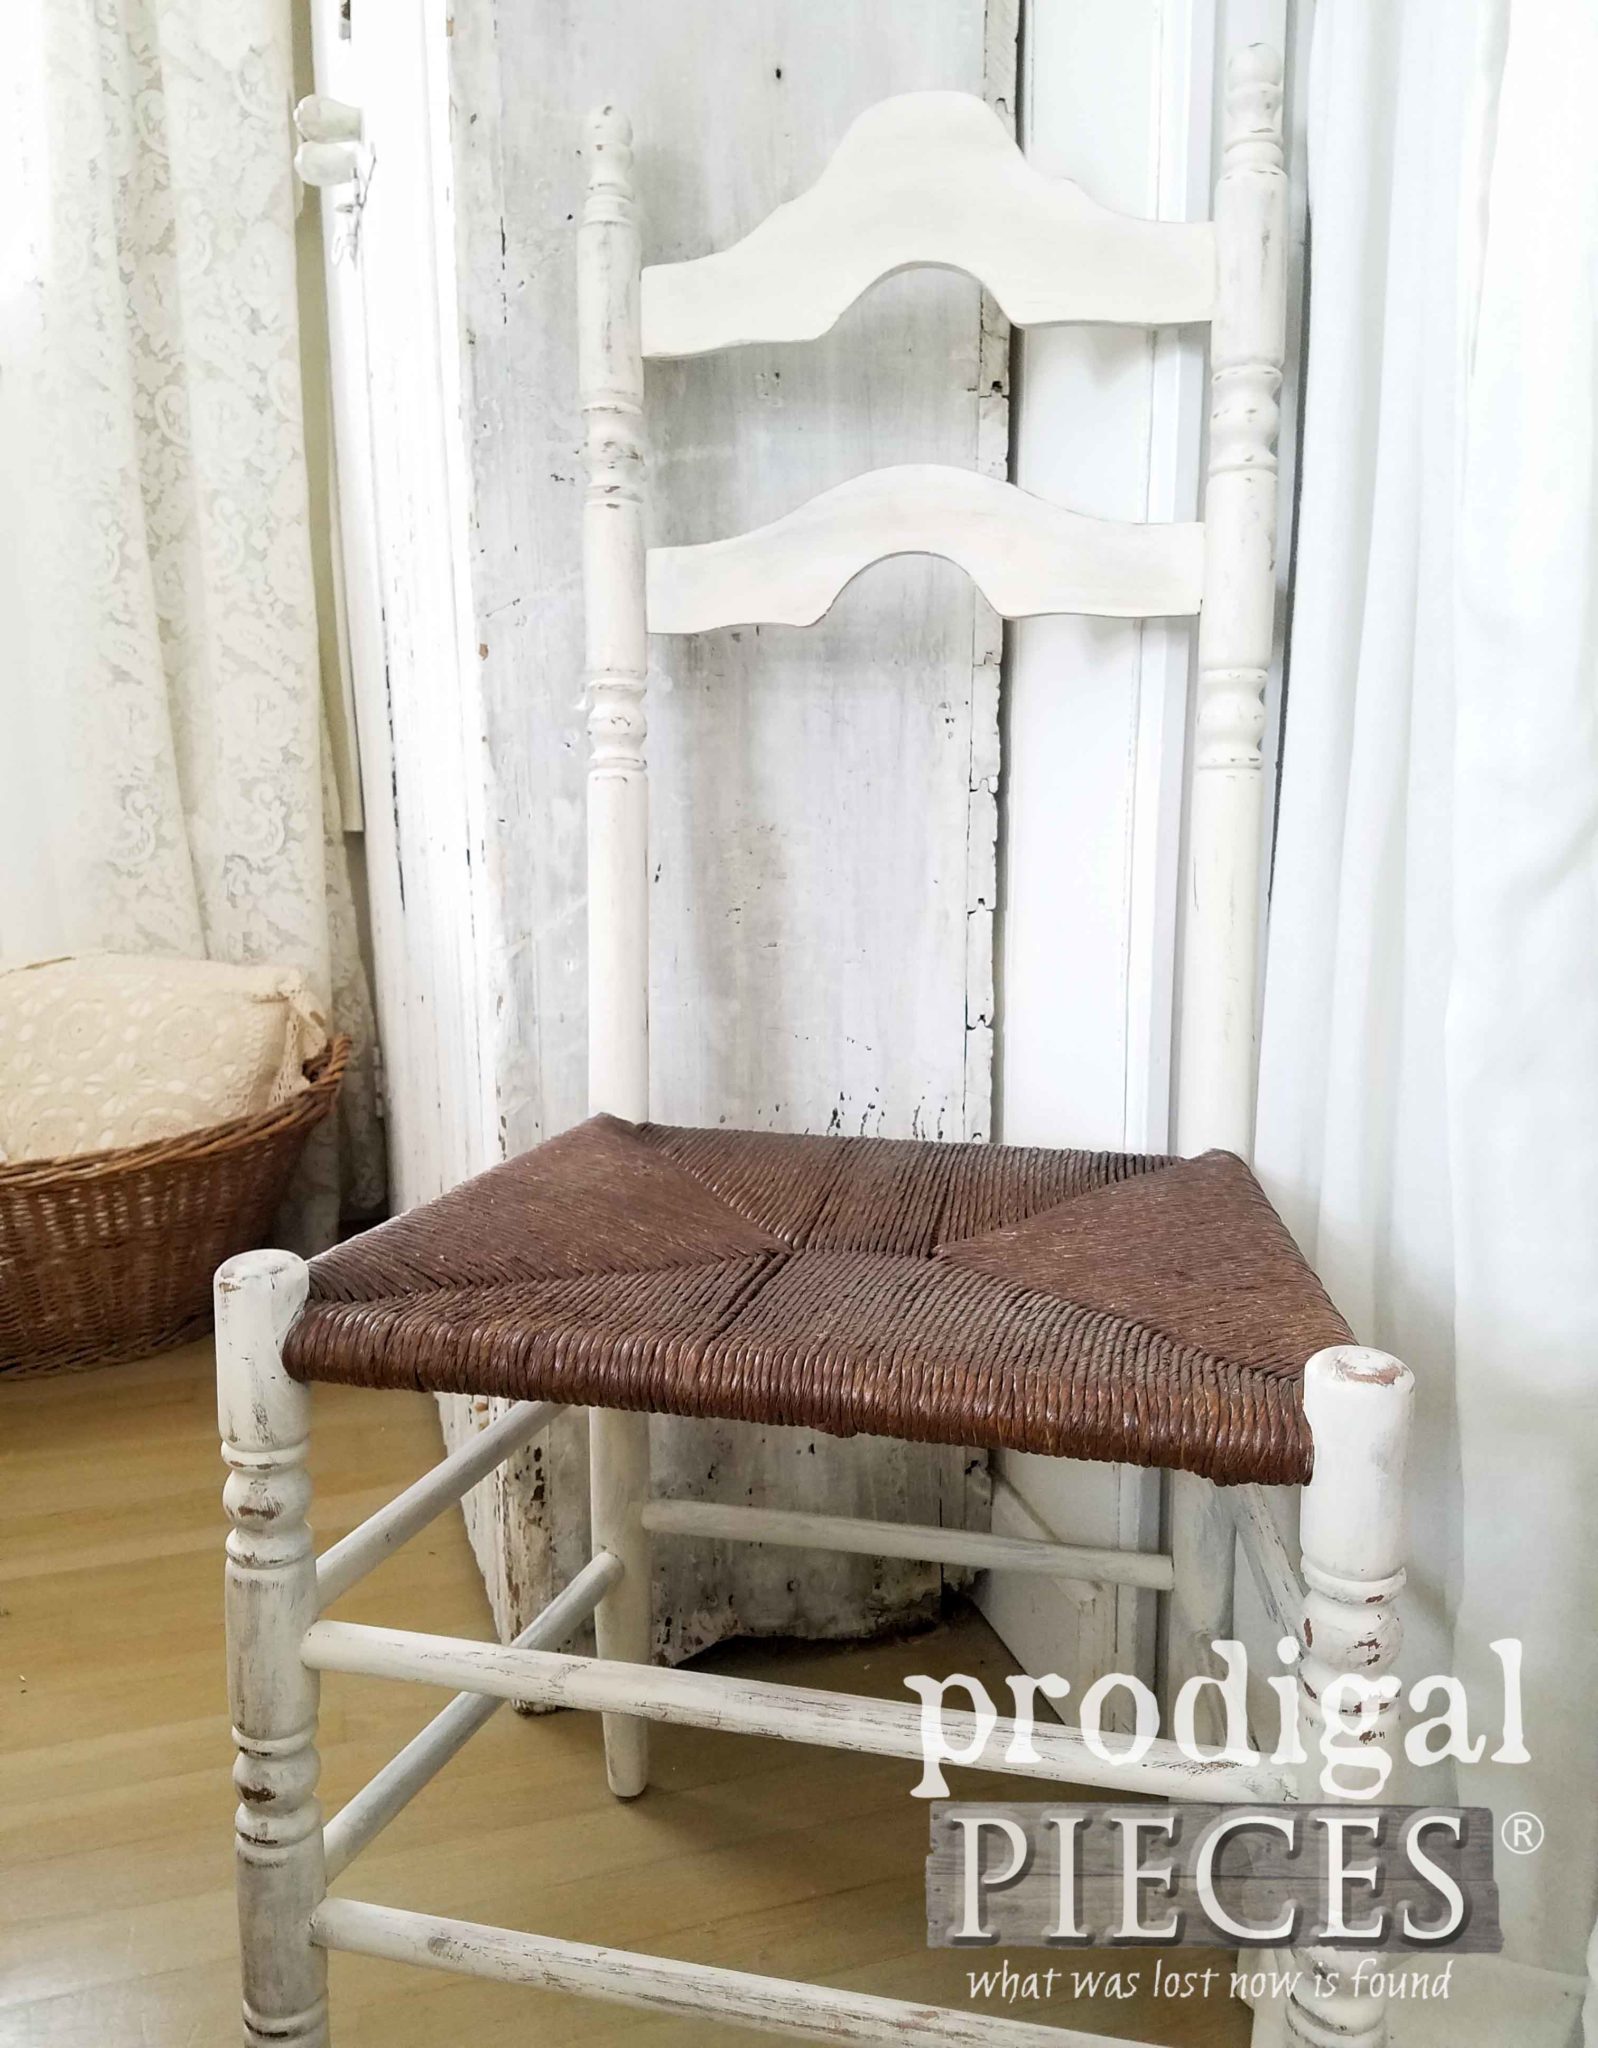
Here is the chair with new dowel, restored rush seat, and the dog chews gone.
At this point, I could have used more stain to hide the knicks and marks on the rest of the chair, but I decided to paint to make all those patched imperfections disappear. So, if you’re working on your own chair, you can leave it as-is if you like.
PAINT
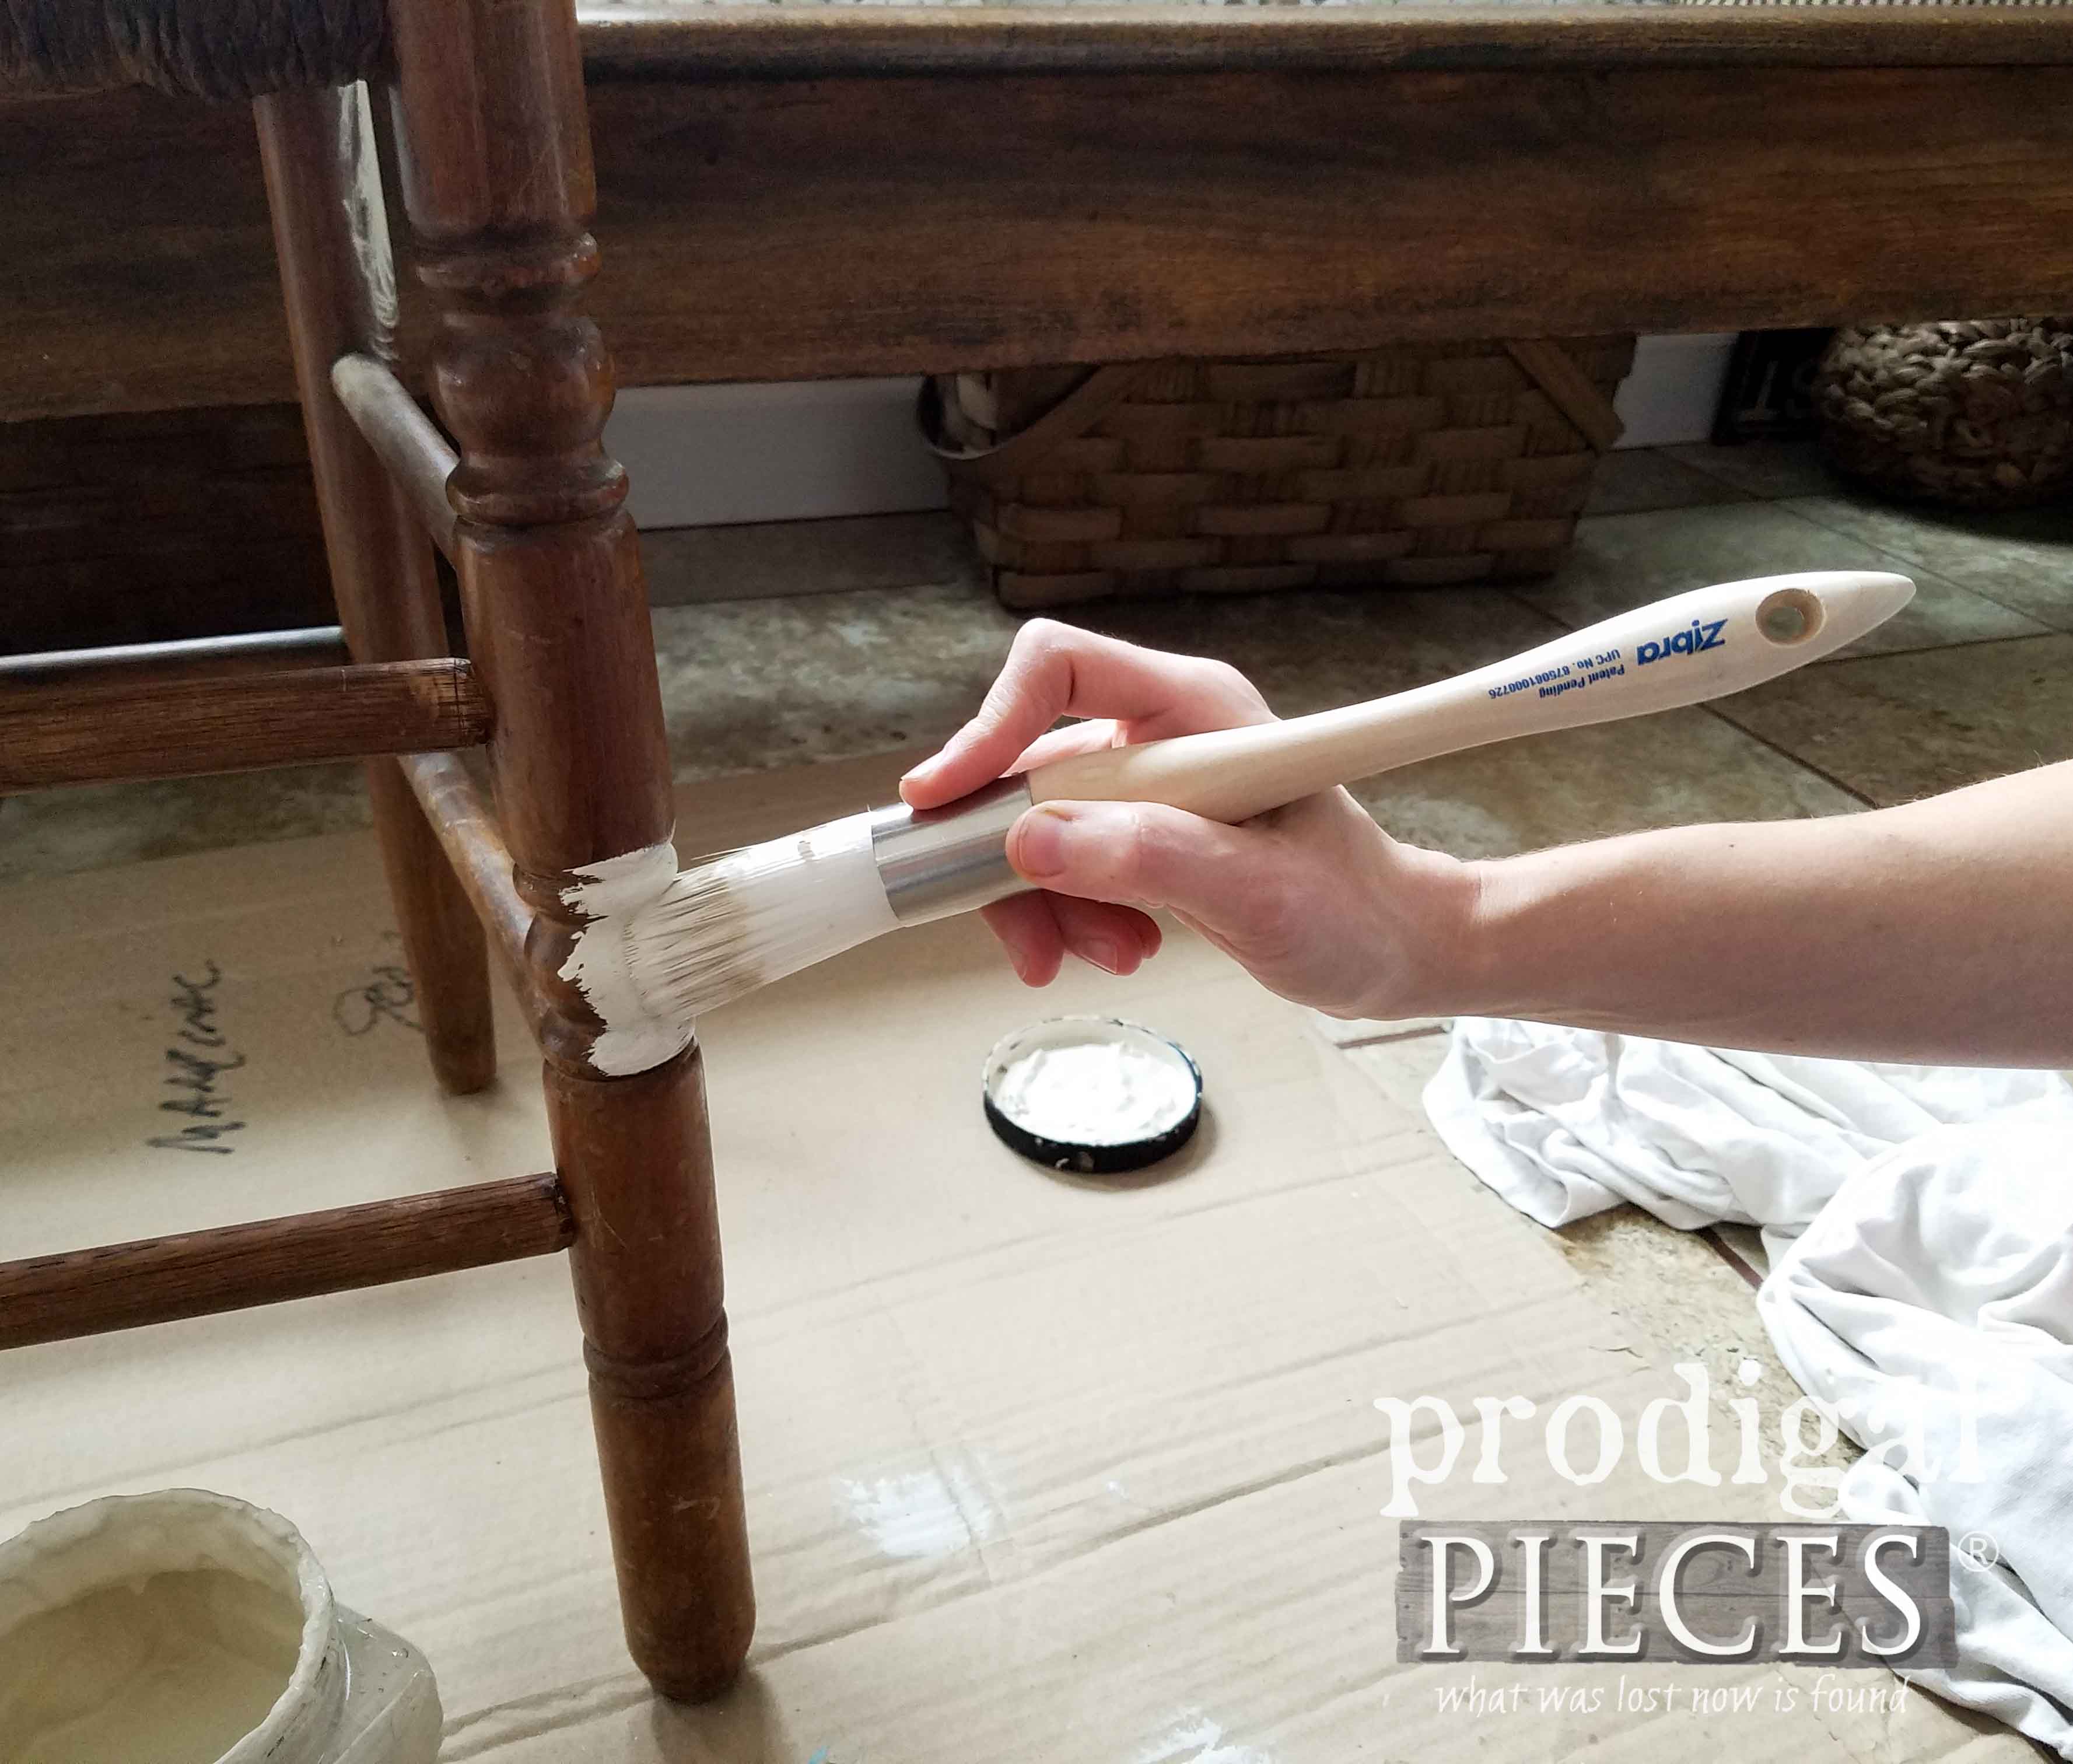
Next, it’s time to paint the chair to make it cohesive.
I’ve created a short video demo just for fun. Take a peek!
THE REVEAL
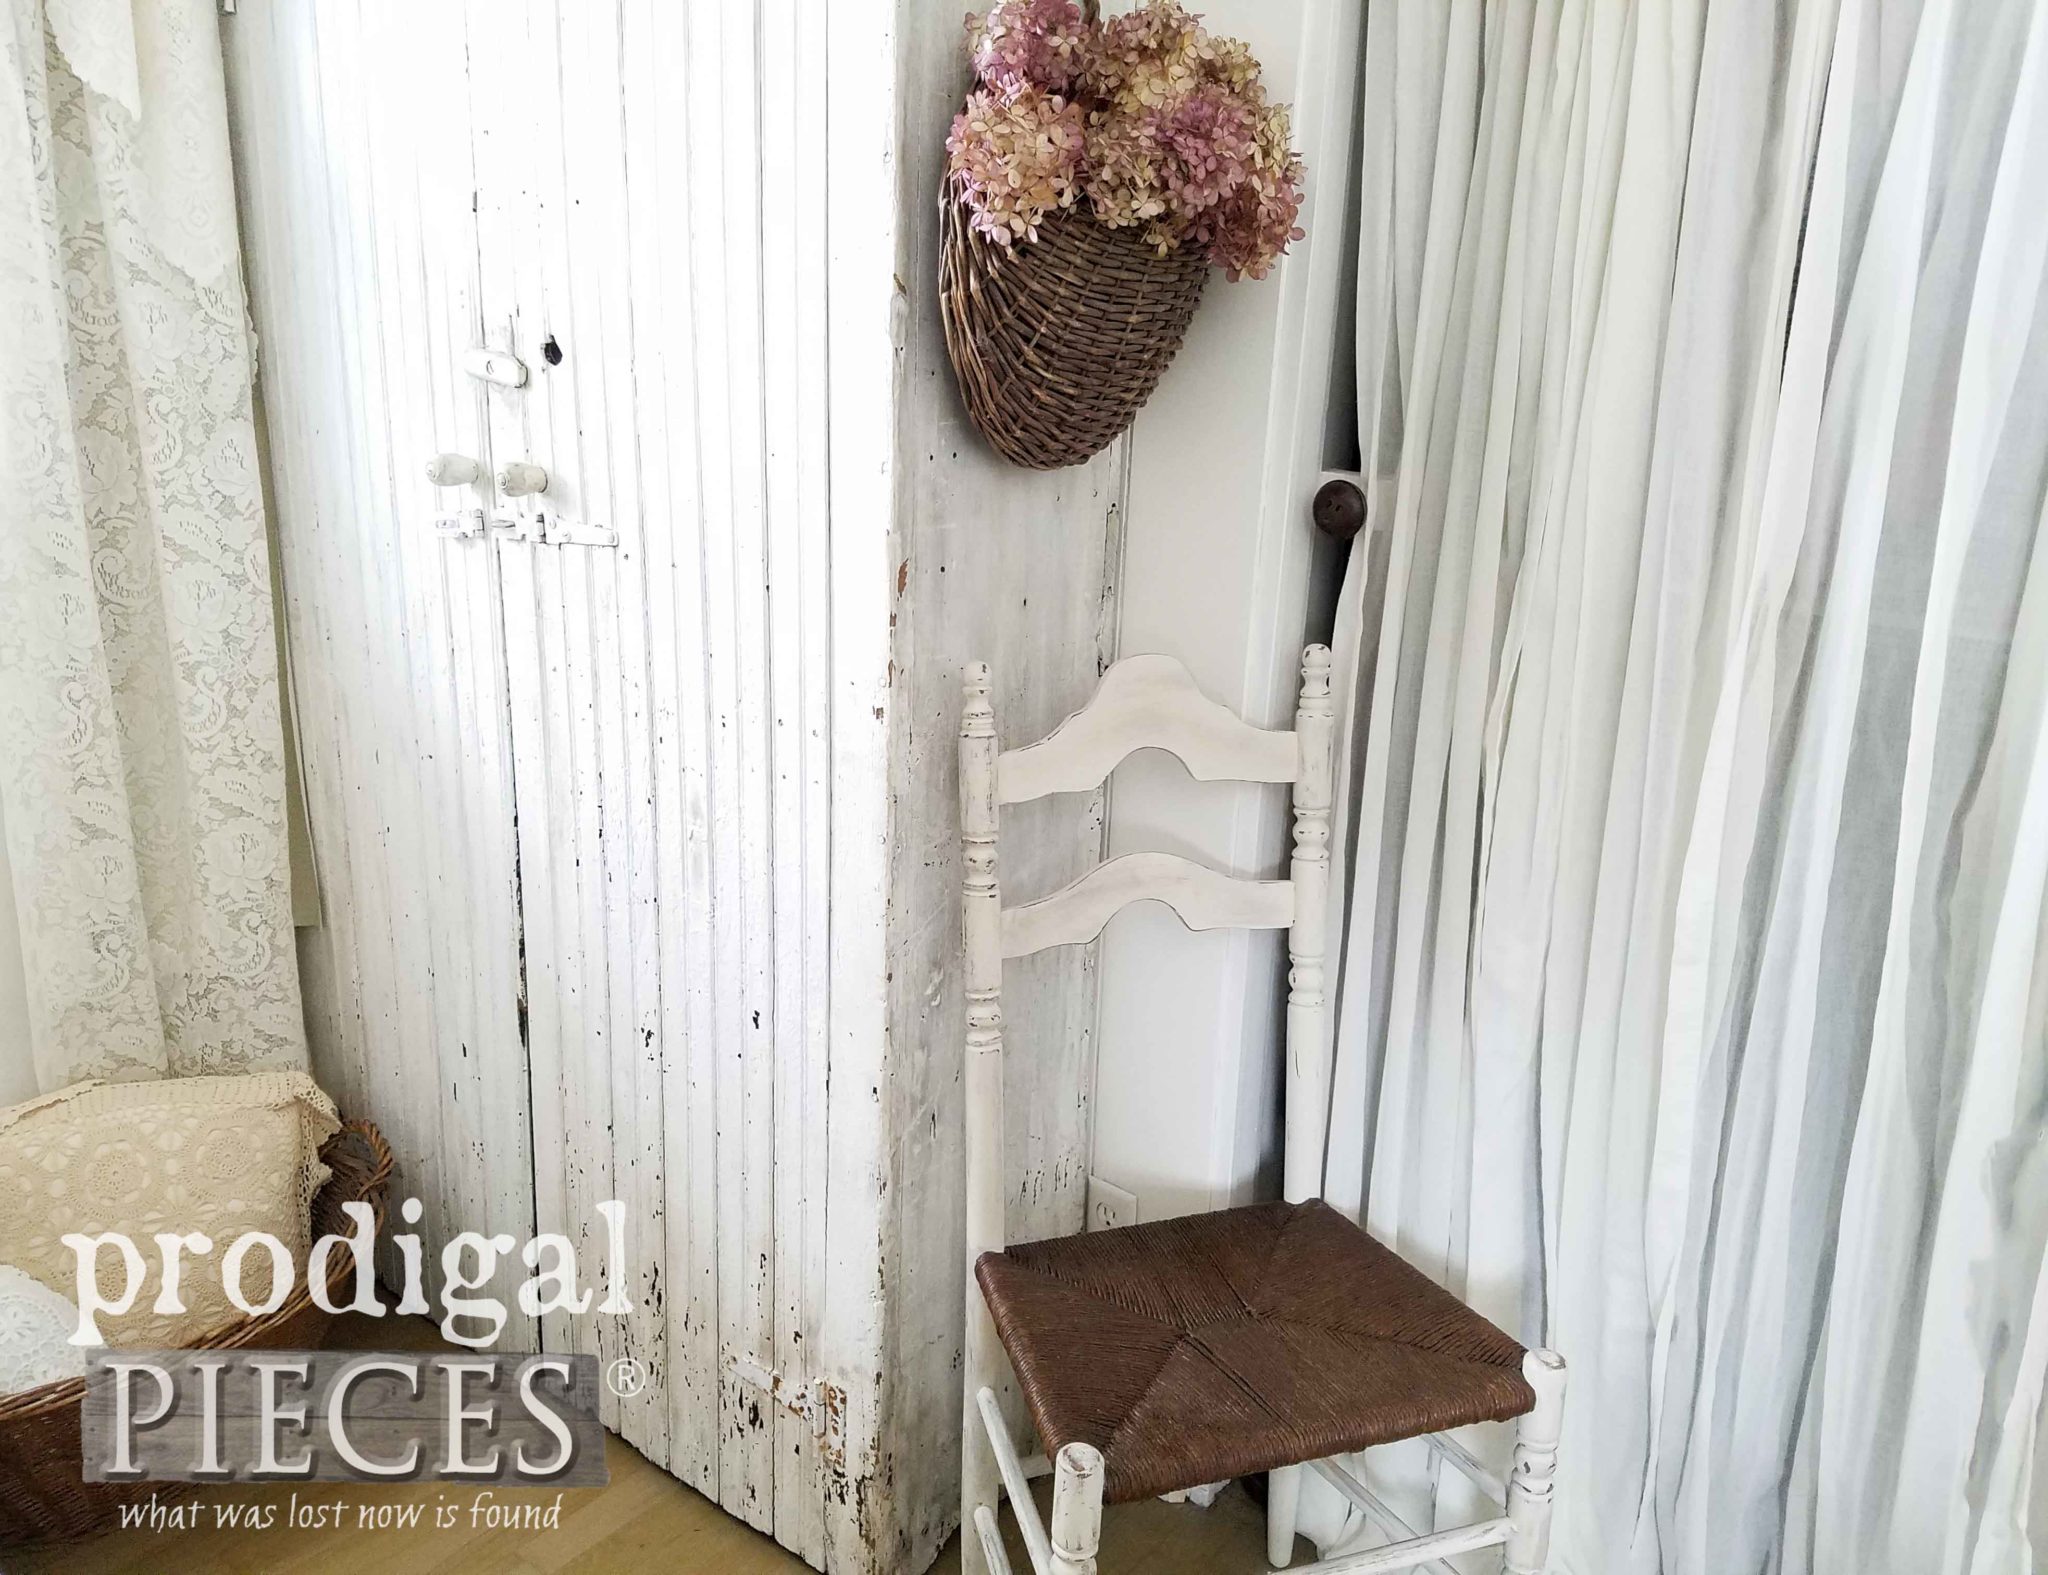
Here’s the chair all ready to go. Yay!
It was fairly easy to do with a few simple tools and giving it a whole new life brought a smile to my face. Aren’t those the kinds of projects you love to do too?
I’m glad I didn’t give up on this chair and gave it a DIY try. It seems easier to just get rid of the downtrodden but lifting it up to new life brings pure joy.
Inspiring you is what it’s all about. Taking on this broken chair repair was something that brought me fulfillment. I’m delighted you are still here sharing it with me.
SHARE
Additionally, pin and share to inspire others to see past the obvious brokenness of a cast-off piece and see the potential that is there. Sometimes a picture is all it takes to reach someone’s imagination to tackle their own broken chair repair project.
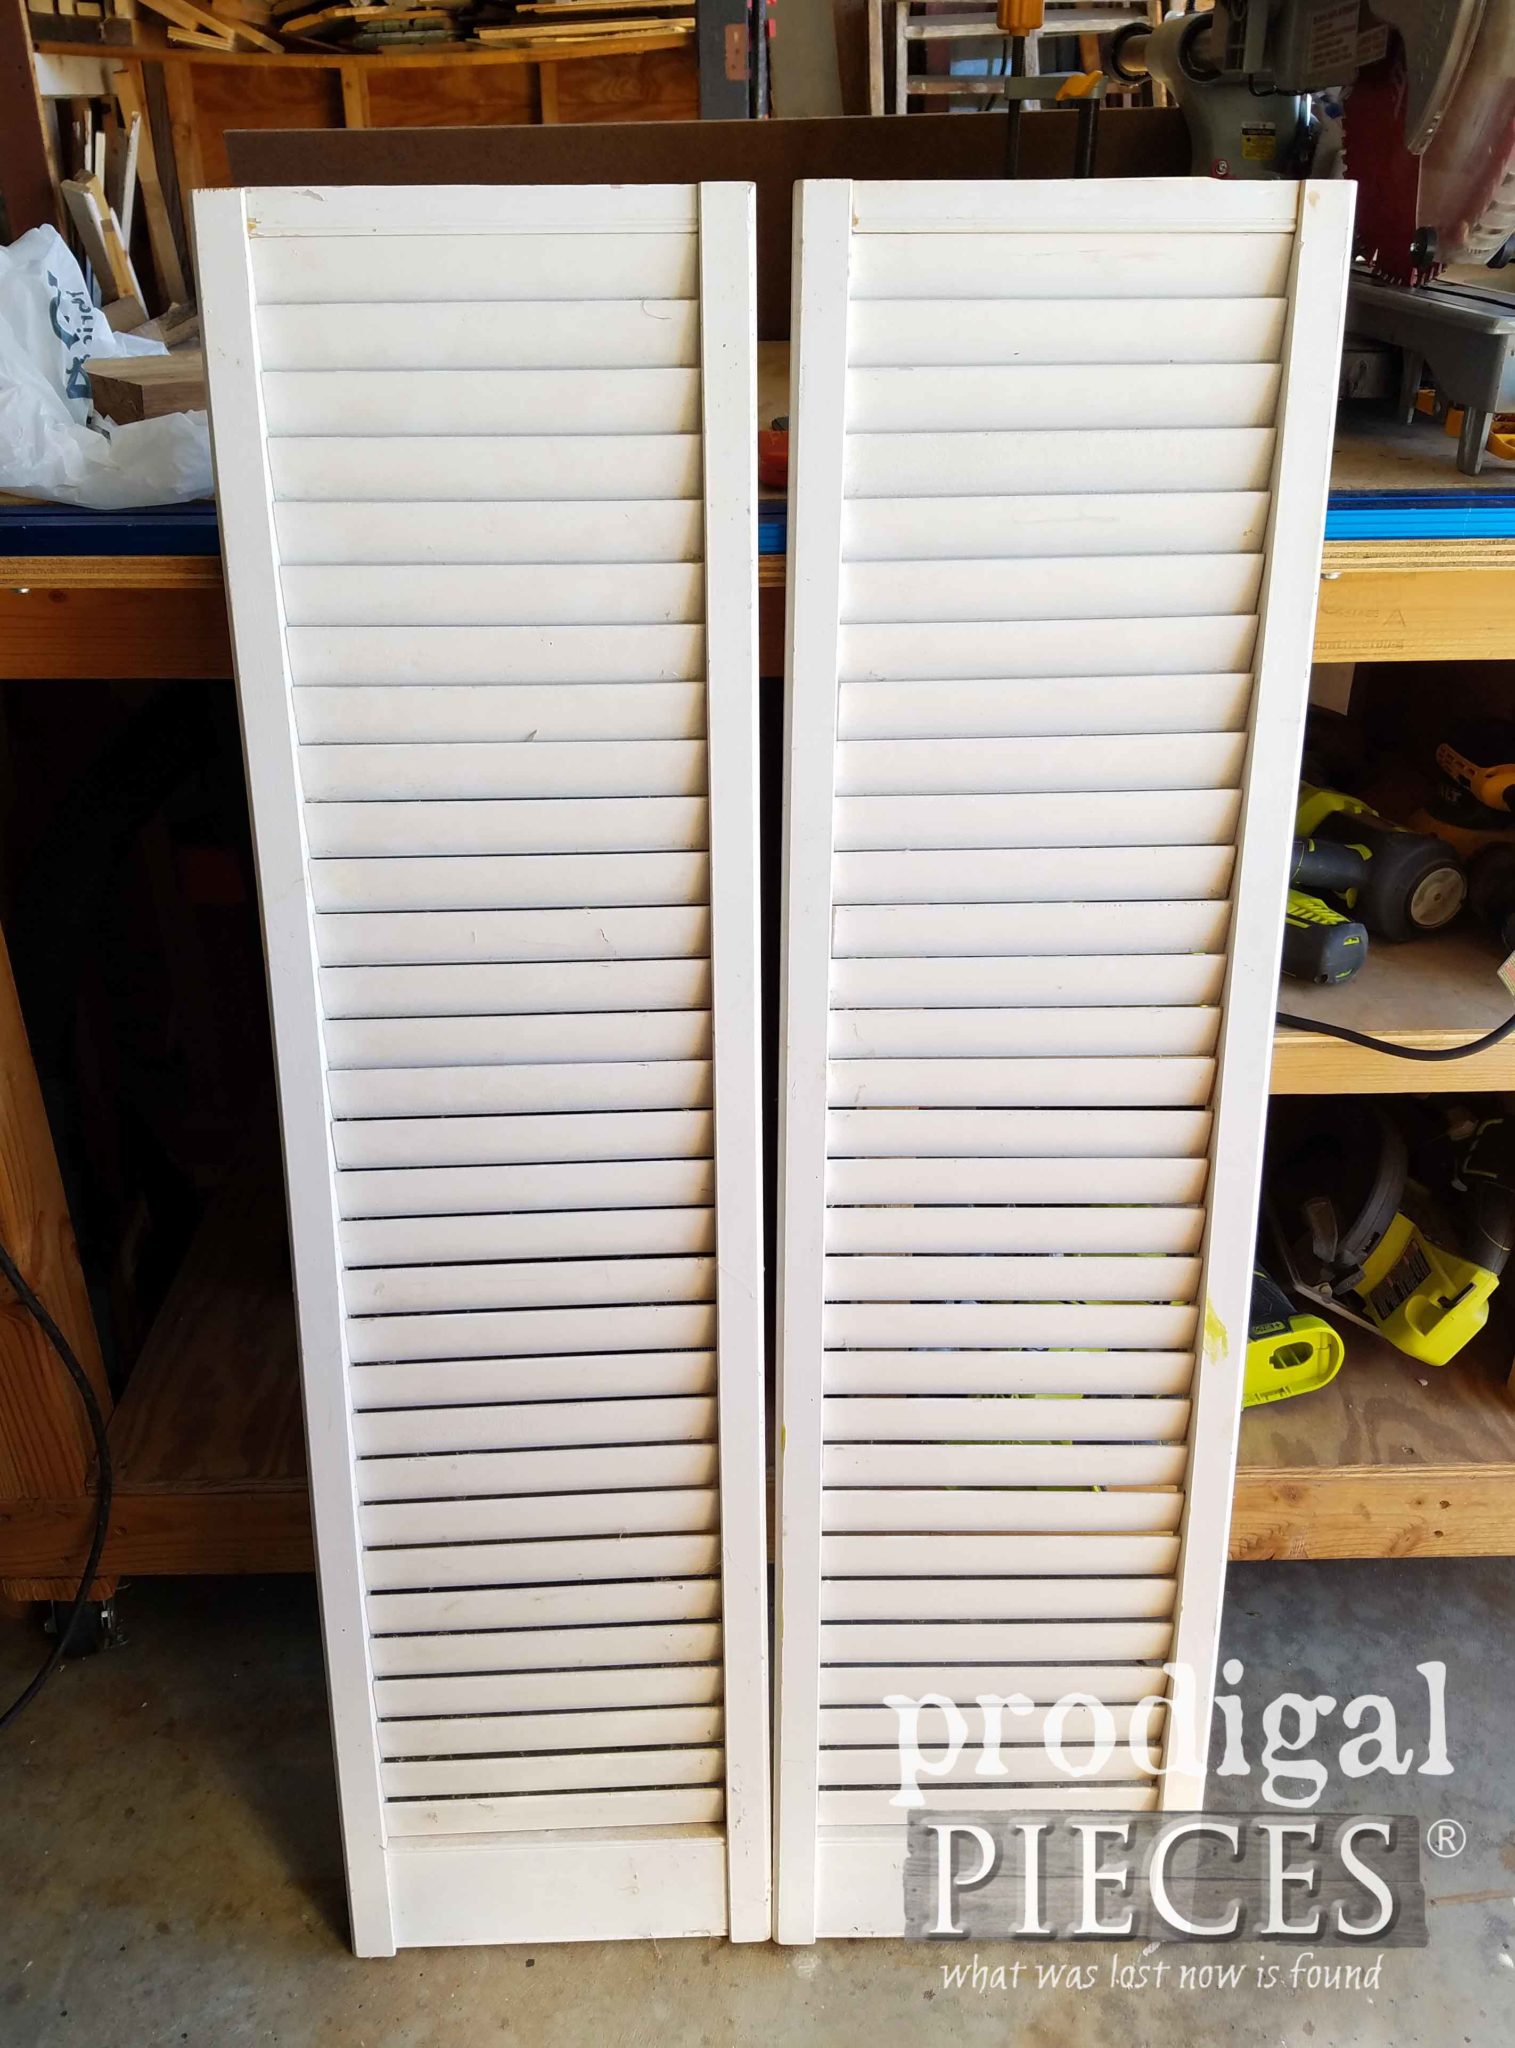
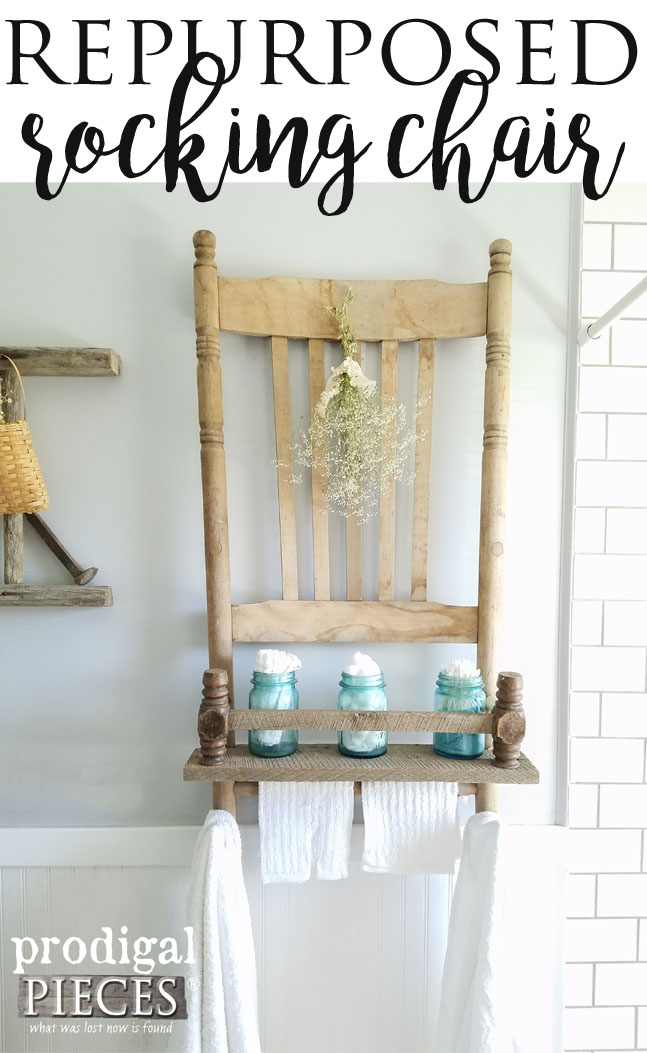
Up next, I am going to show you what I finally did with these leftover louver door pieces from the kitchen cart I made. Any guesses? See what they became in this post.
To get these DIY tips & tricks in your inbox, be sure to sign up for my newsletter. Until next time!






This is a great save. The chair looks so pretty and has a new life.
Thanks! It begged me to do it. haha. 🙂
Love it! You inspire me!!! Thanks for listing the tools & paint you use… it’s a learning experience for me!
So awesome to hear, Karen. Thank you!!
I think the chair looks so beautiful now! I love the stain color you chose, it really compliments the drop cloth paint color!!
Sweet to hear. I had to go dark to hide the flaws, no you never know. Yay! Plus, I like a dark/light contrast. 😉
It’s alive!
You saved it!
And it’s beautiful!!
I always love taking things that everyone around me says is junk and garbage and changing into something lovely and useful. People are way to willing to just toss everything in the trash. They are throwing away our world.
You should be proud my friend, another good job well done.
Blessings to you
Minnie
Good for you, Minnie! Sounds like you are a kindred spirit. Keep on junkin’ on! 😀
Great save. You always amaze me at what you can repair and repurpose! Thanks for explaining how. You make me think I can tackle something that needs repairs. I might just be crazy cause I’m not skilled like you…ha ha!
You sure can, Debra! All you have to do it try. 😀
Thank you for sharing your faith in your posts as well. I appreciate following a sister in Christ.
You bet. He is my all in all. 🙂
Wow! You did a wonderful job repairing the chair. Thank you for sharing all the details. I will definitely be using your tips on a few of my broken chairs.
I’m so tickled to hear it, Sandi. Thank you!
It turned out great and I love the contrast between the white and the seat.
Thanks, Mary! You know I had to try. 😉
Beautiful save, Larissa! The chair looks stunning and to think it could’ve ended up in the landfill if it were not for you, the furniture whisperer. Thank you for this paragraph, “It reminds me of how God sees us…” You have no idea how much I needed that ♥ Pinned this makeover
Beautiful save! Gives me inspiration to makeover my “Cracker Barrel” rocking chair that I’ve had for 20 some years! Also will give me a chance to try my new Zibra brushes I just won from your contest!! Thanks again for the brushes and another inspiration!
That’s the spirit, Carol! I’m so glad you are seeing it with a new eye. I’d love to see it when you’re done. 😀
This chair turned out beautiful! What color is the stain that you used. Its from Early American? I am re-doing mine and I absolutely love the color!.
Thanks for your help!
Thanks!! It’s the name Early American by Varathane (Rustoleum). Hope that helps and have fun!