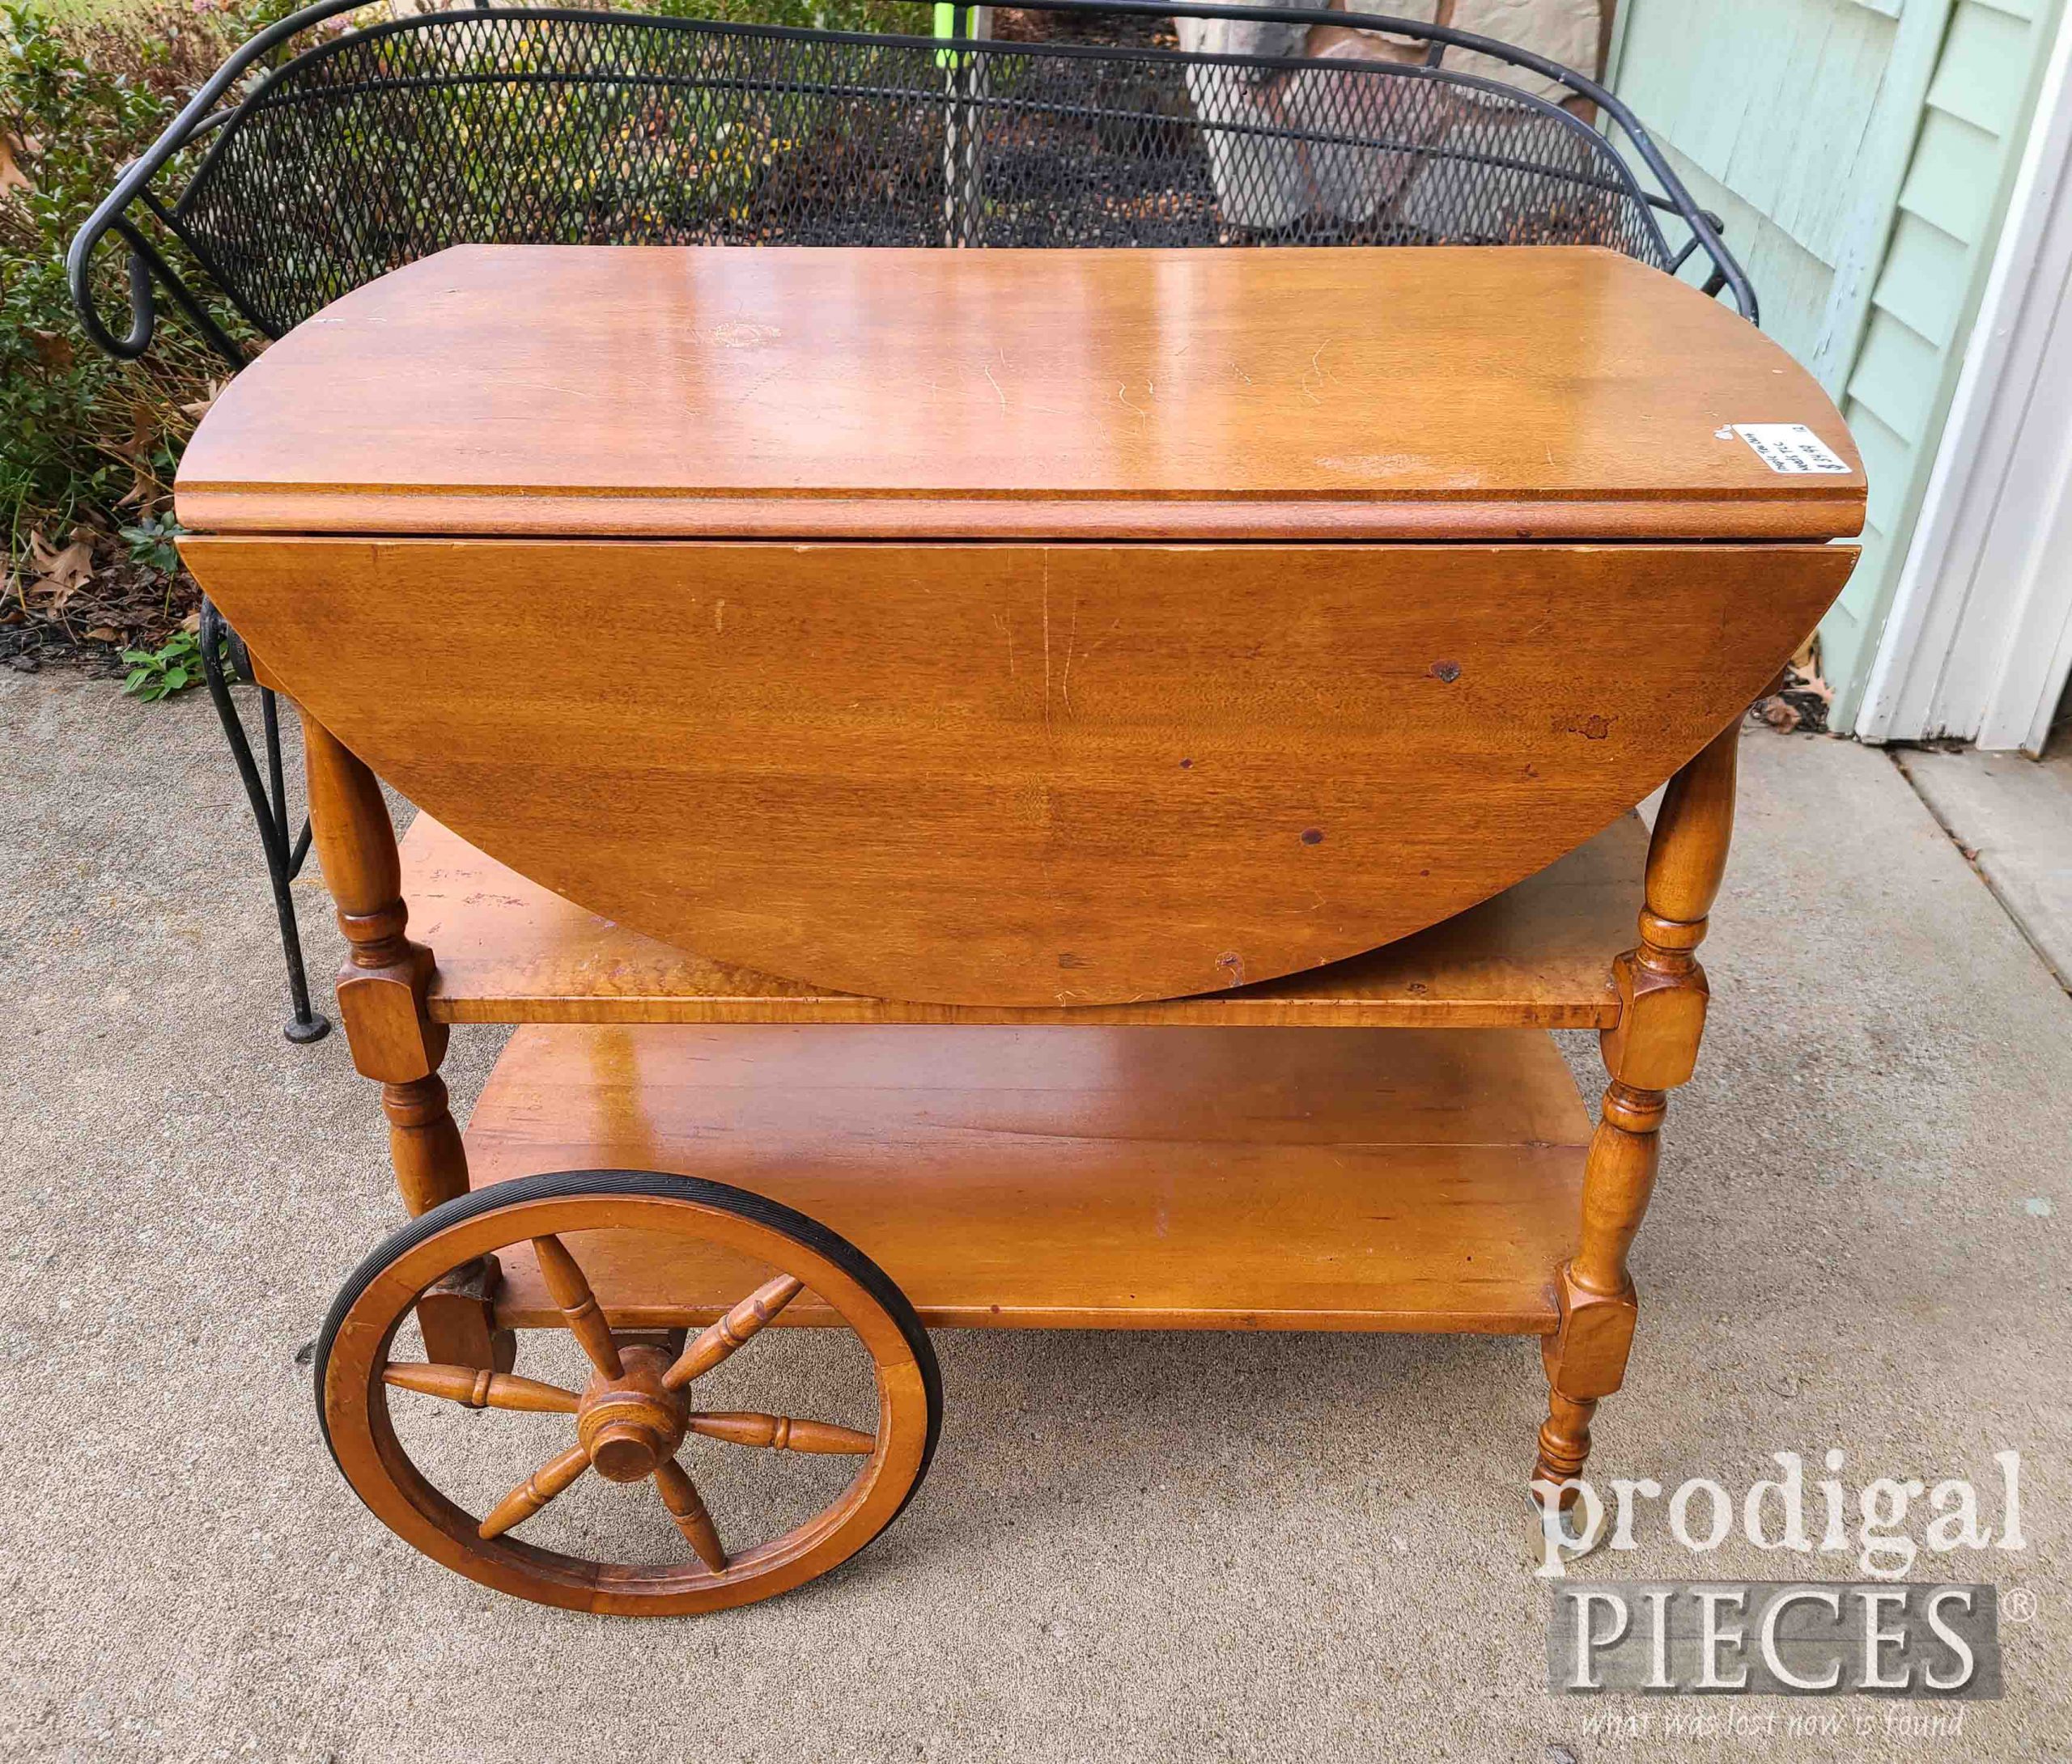
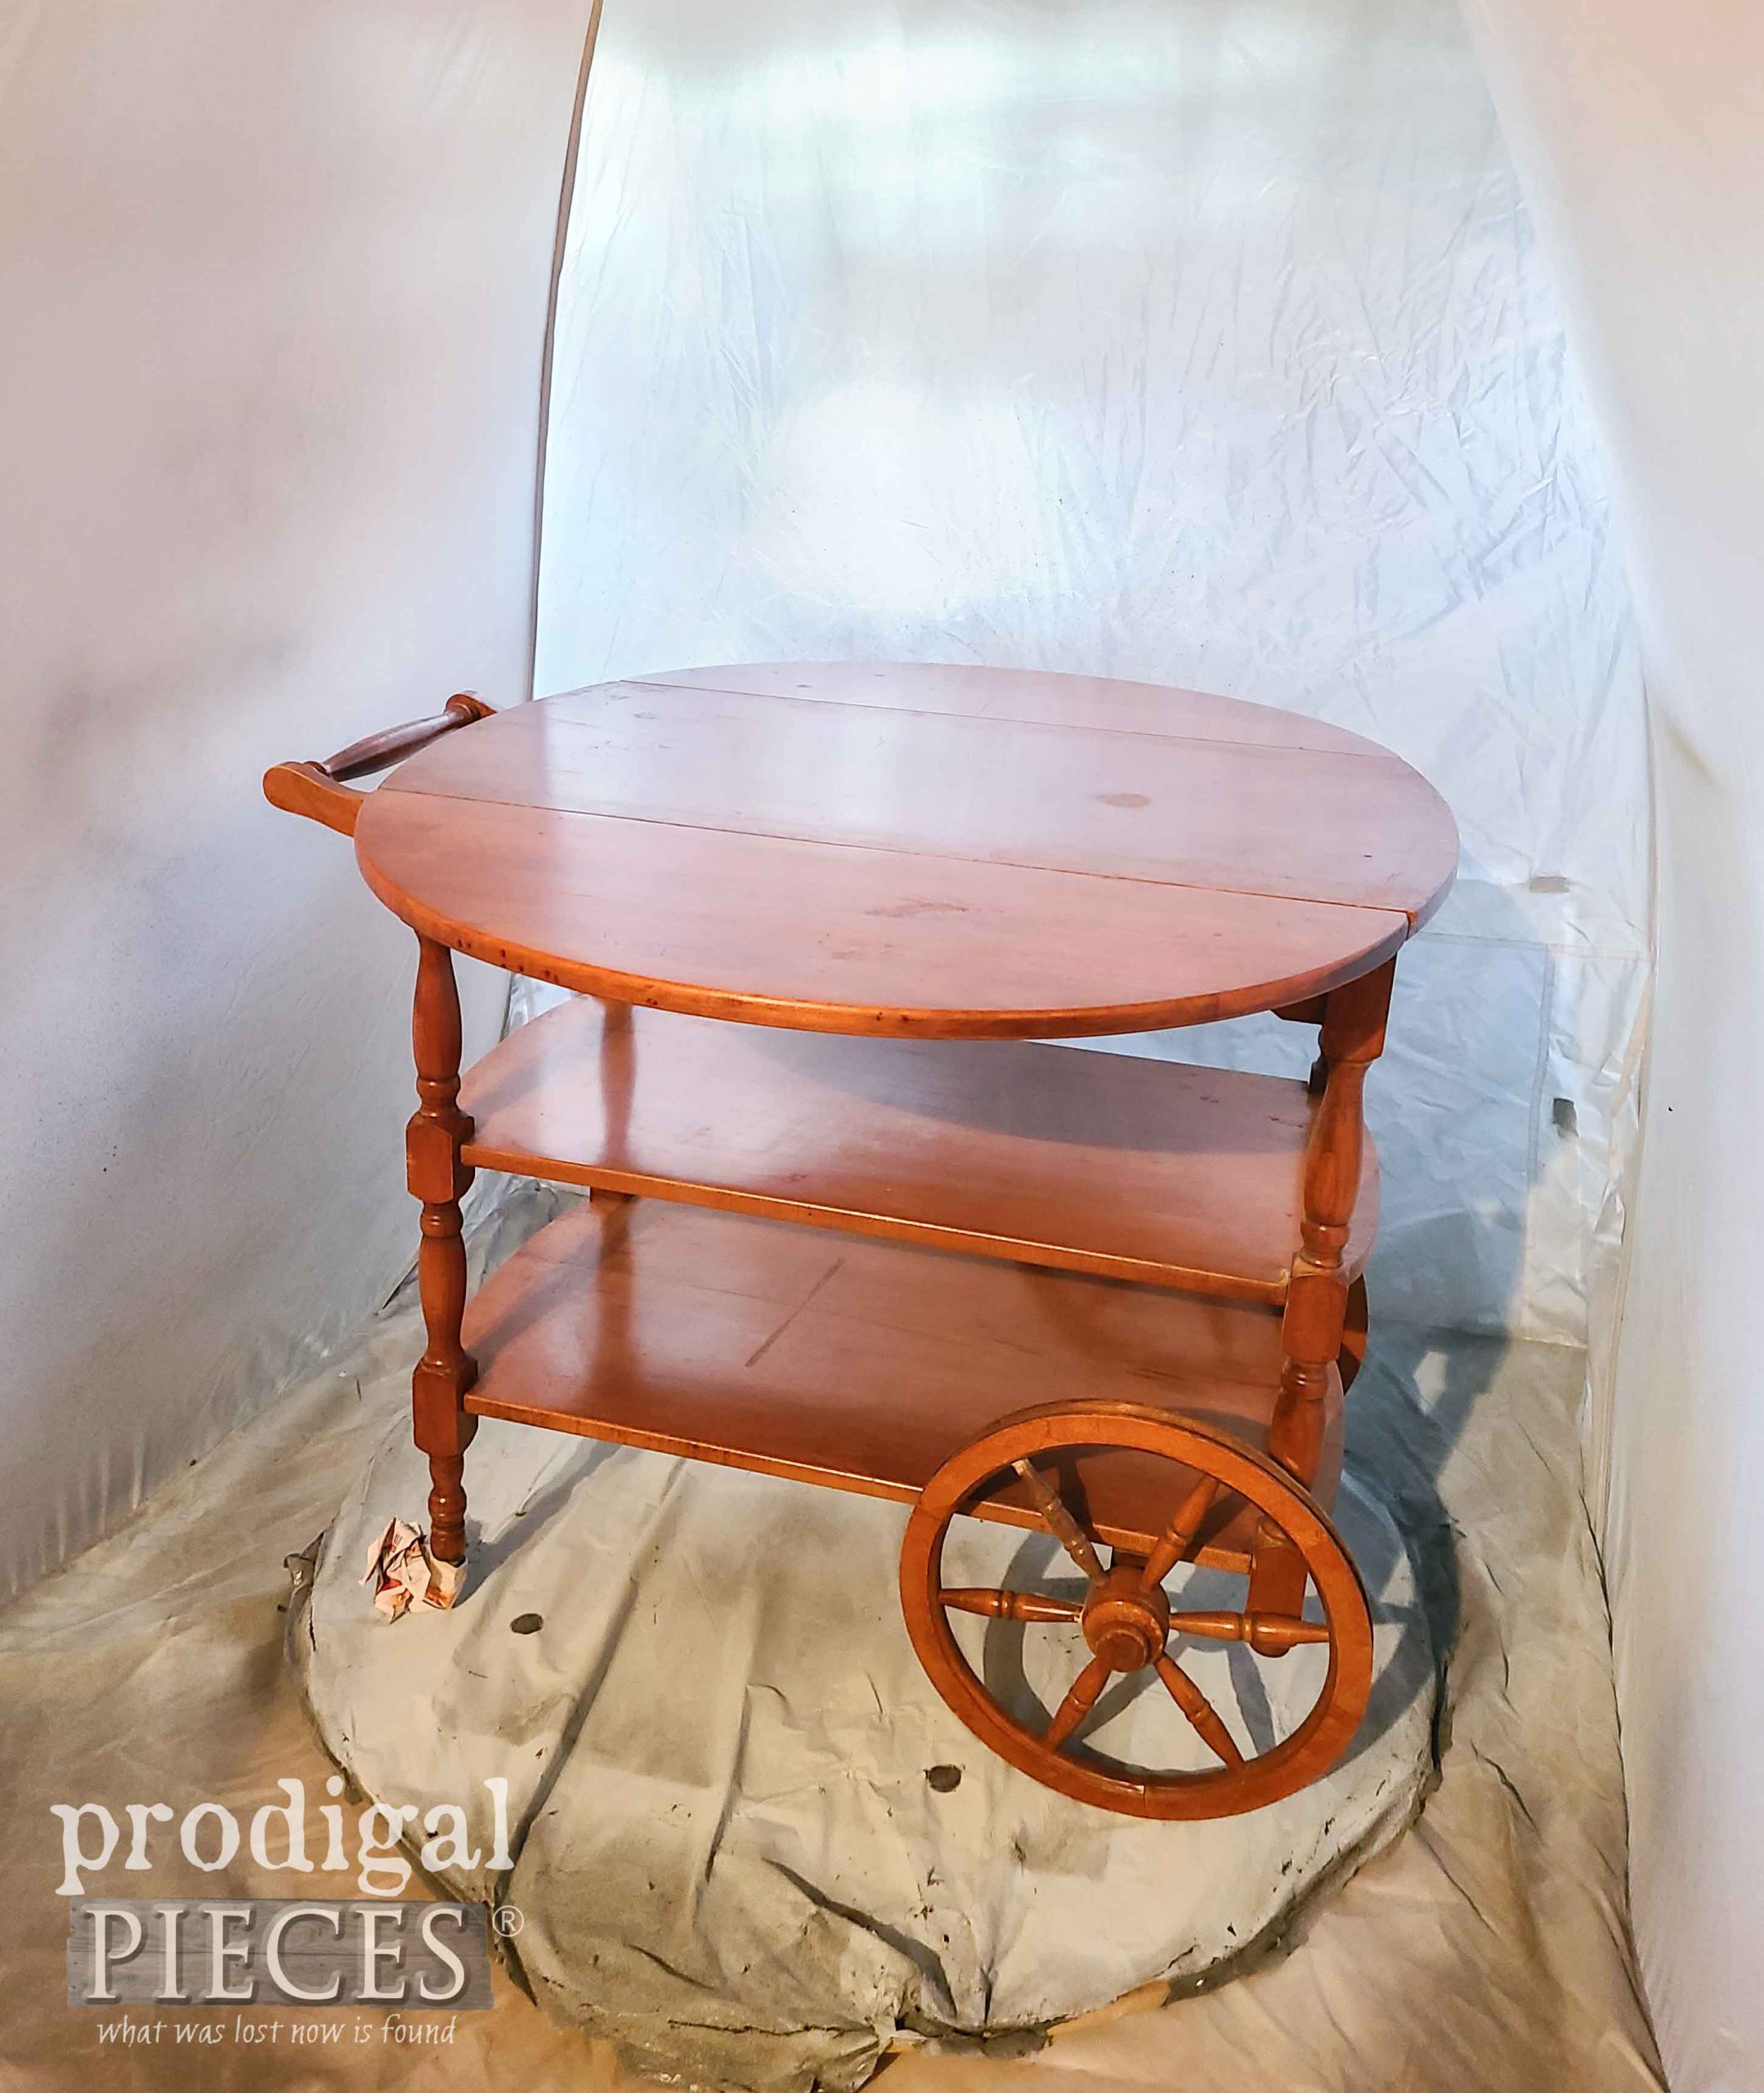
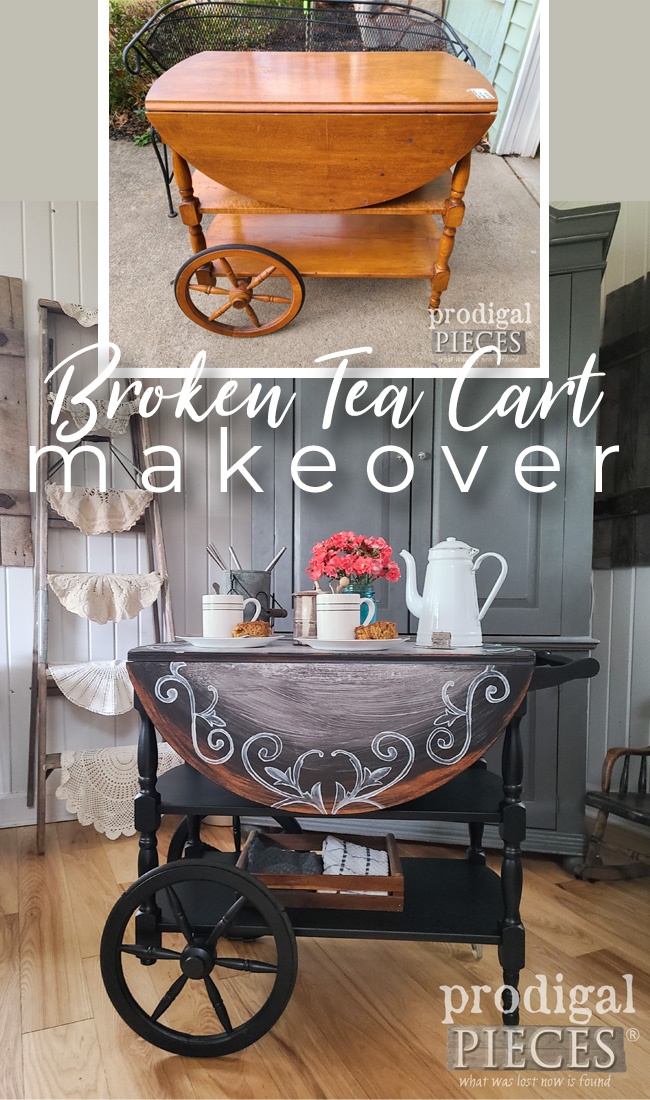
Ever have one of those sayings that seems to follow you in life…like “haste makes waste”? Yeah, I’m not hasty in everything, I’m actually a planner in all things. However, this one bites me in the bum sometimes like in the case of this vintage piece below. While in a rush with my kids to make it to an appointment, I stopped by to pick up my daughter who happens to work in a thrift store. Before the store closed, I spied this broken tea cart. Problem is, I didn’t realize it was broken.
Apparently, I can’t read.
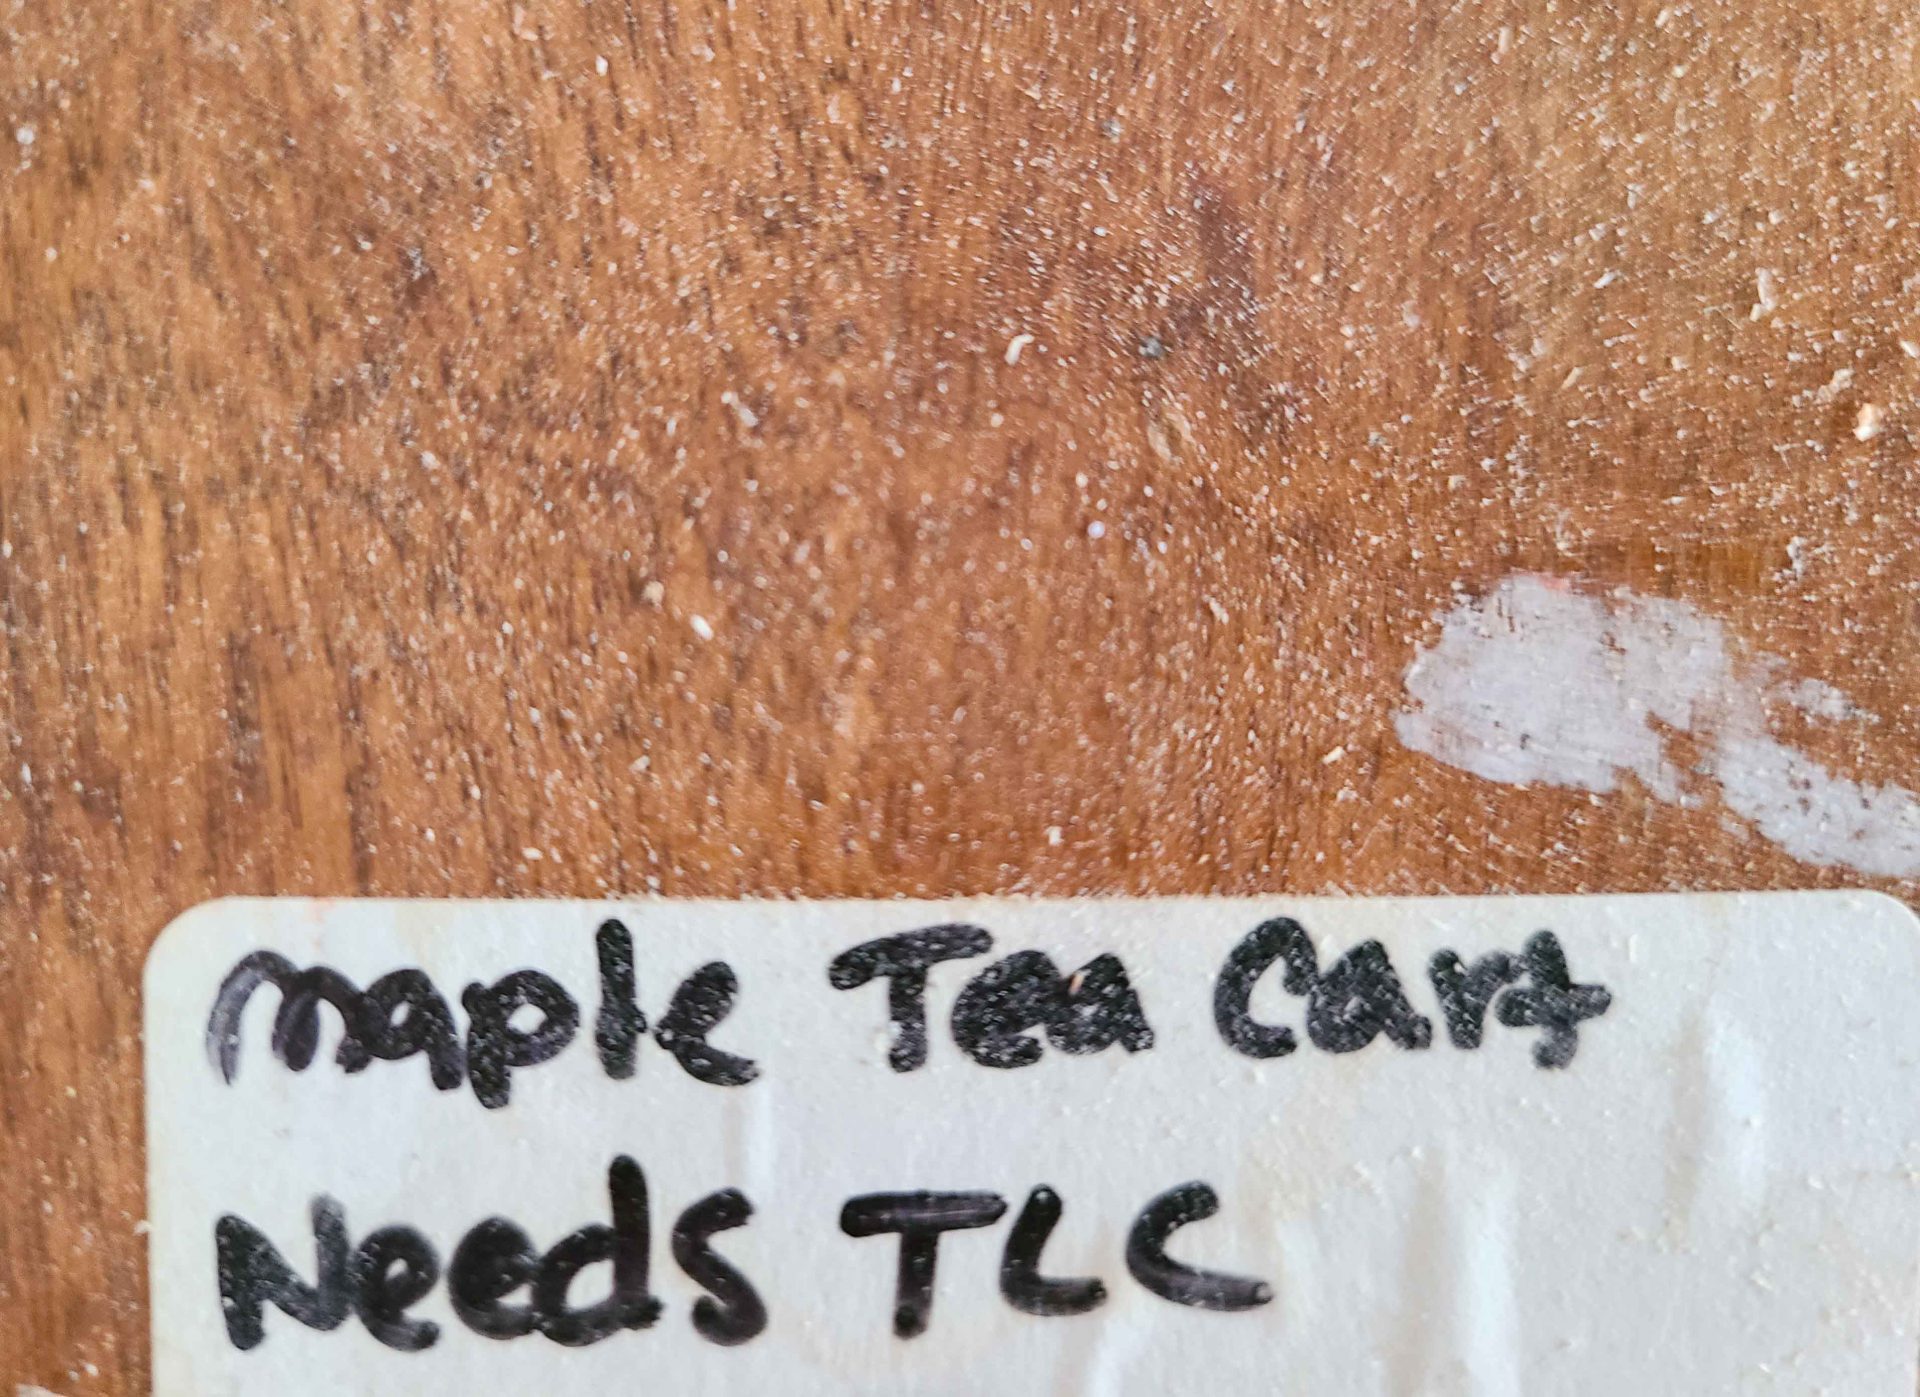
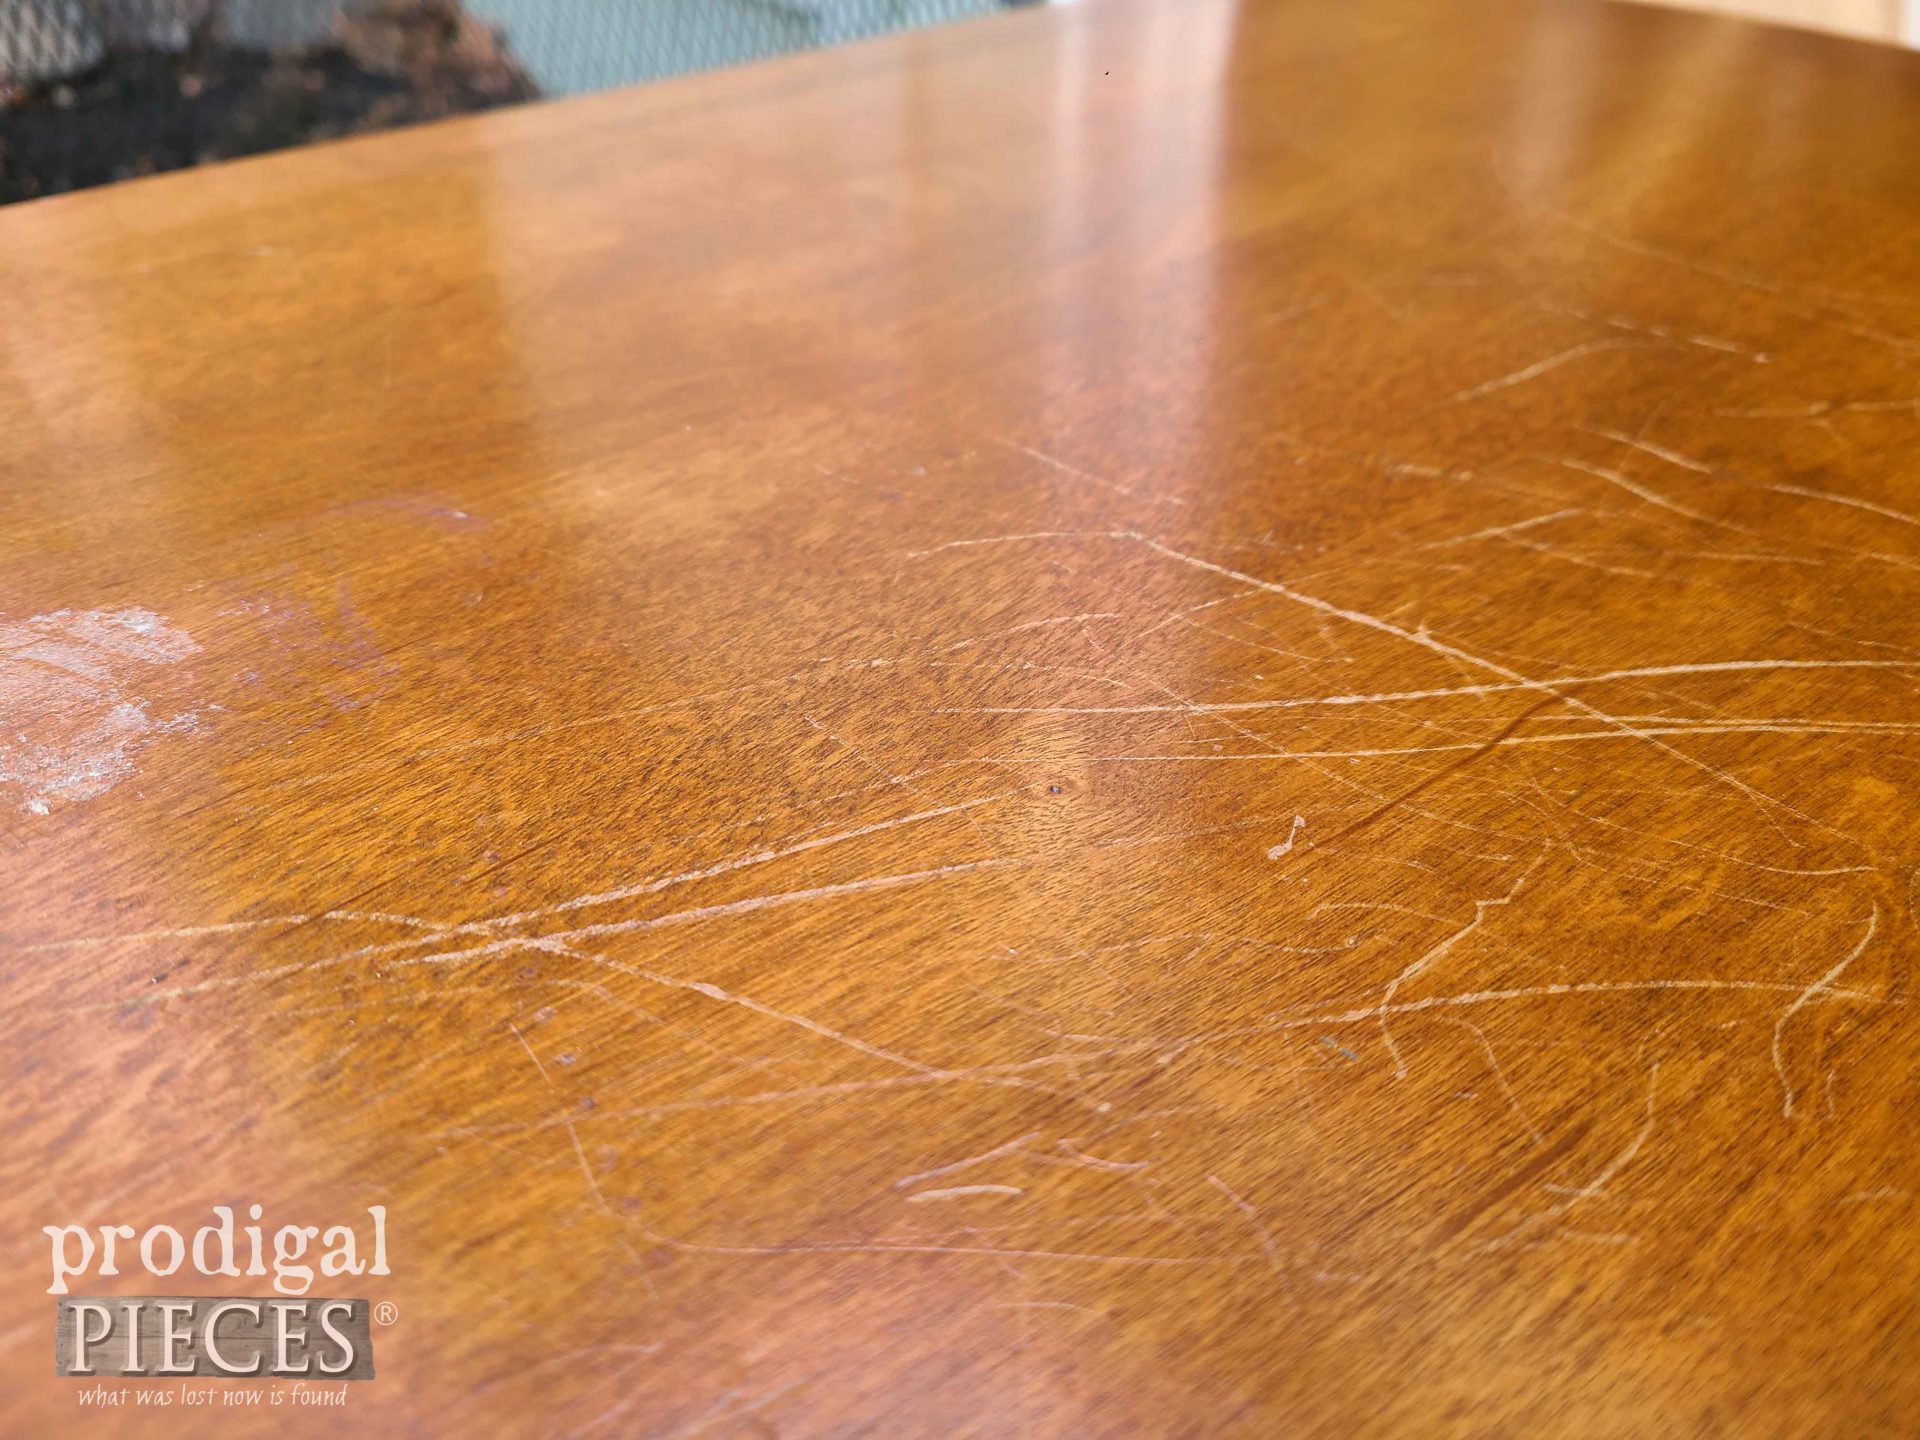
Like I said, I was in a rush and know that usually the stickers describe the item, like “maple tea cart”. However, I failed to read close. Anyhoo, after I get it home and unload, I notice the “TLC”. The scratches on top are the cherry on top.
However, down below, there is a crack running down the bottom shelf, and this…
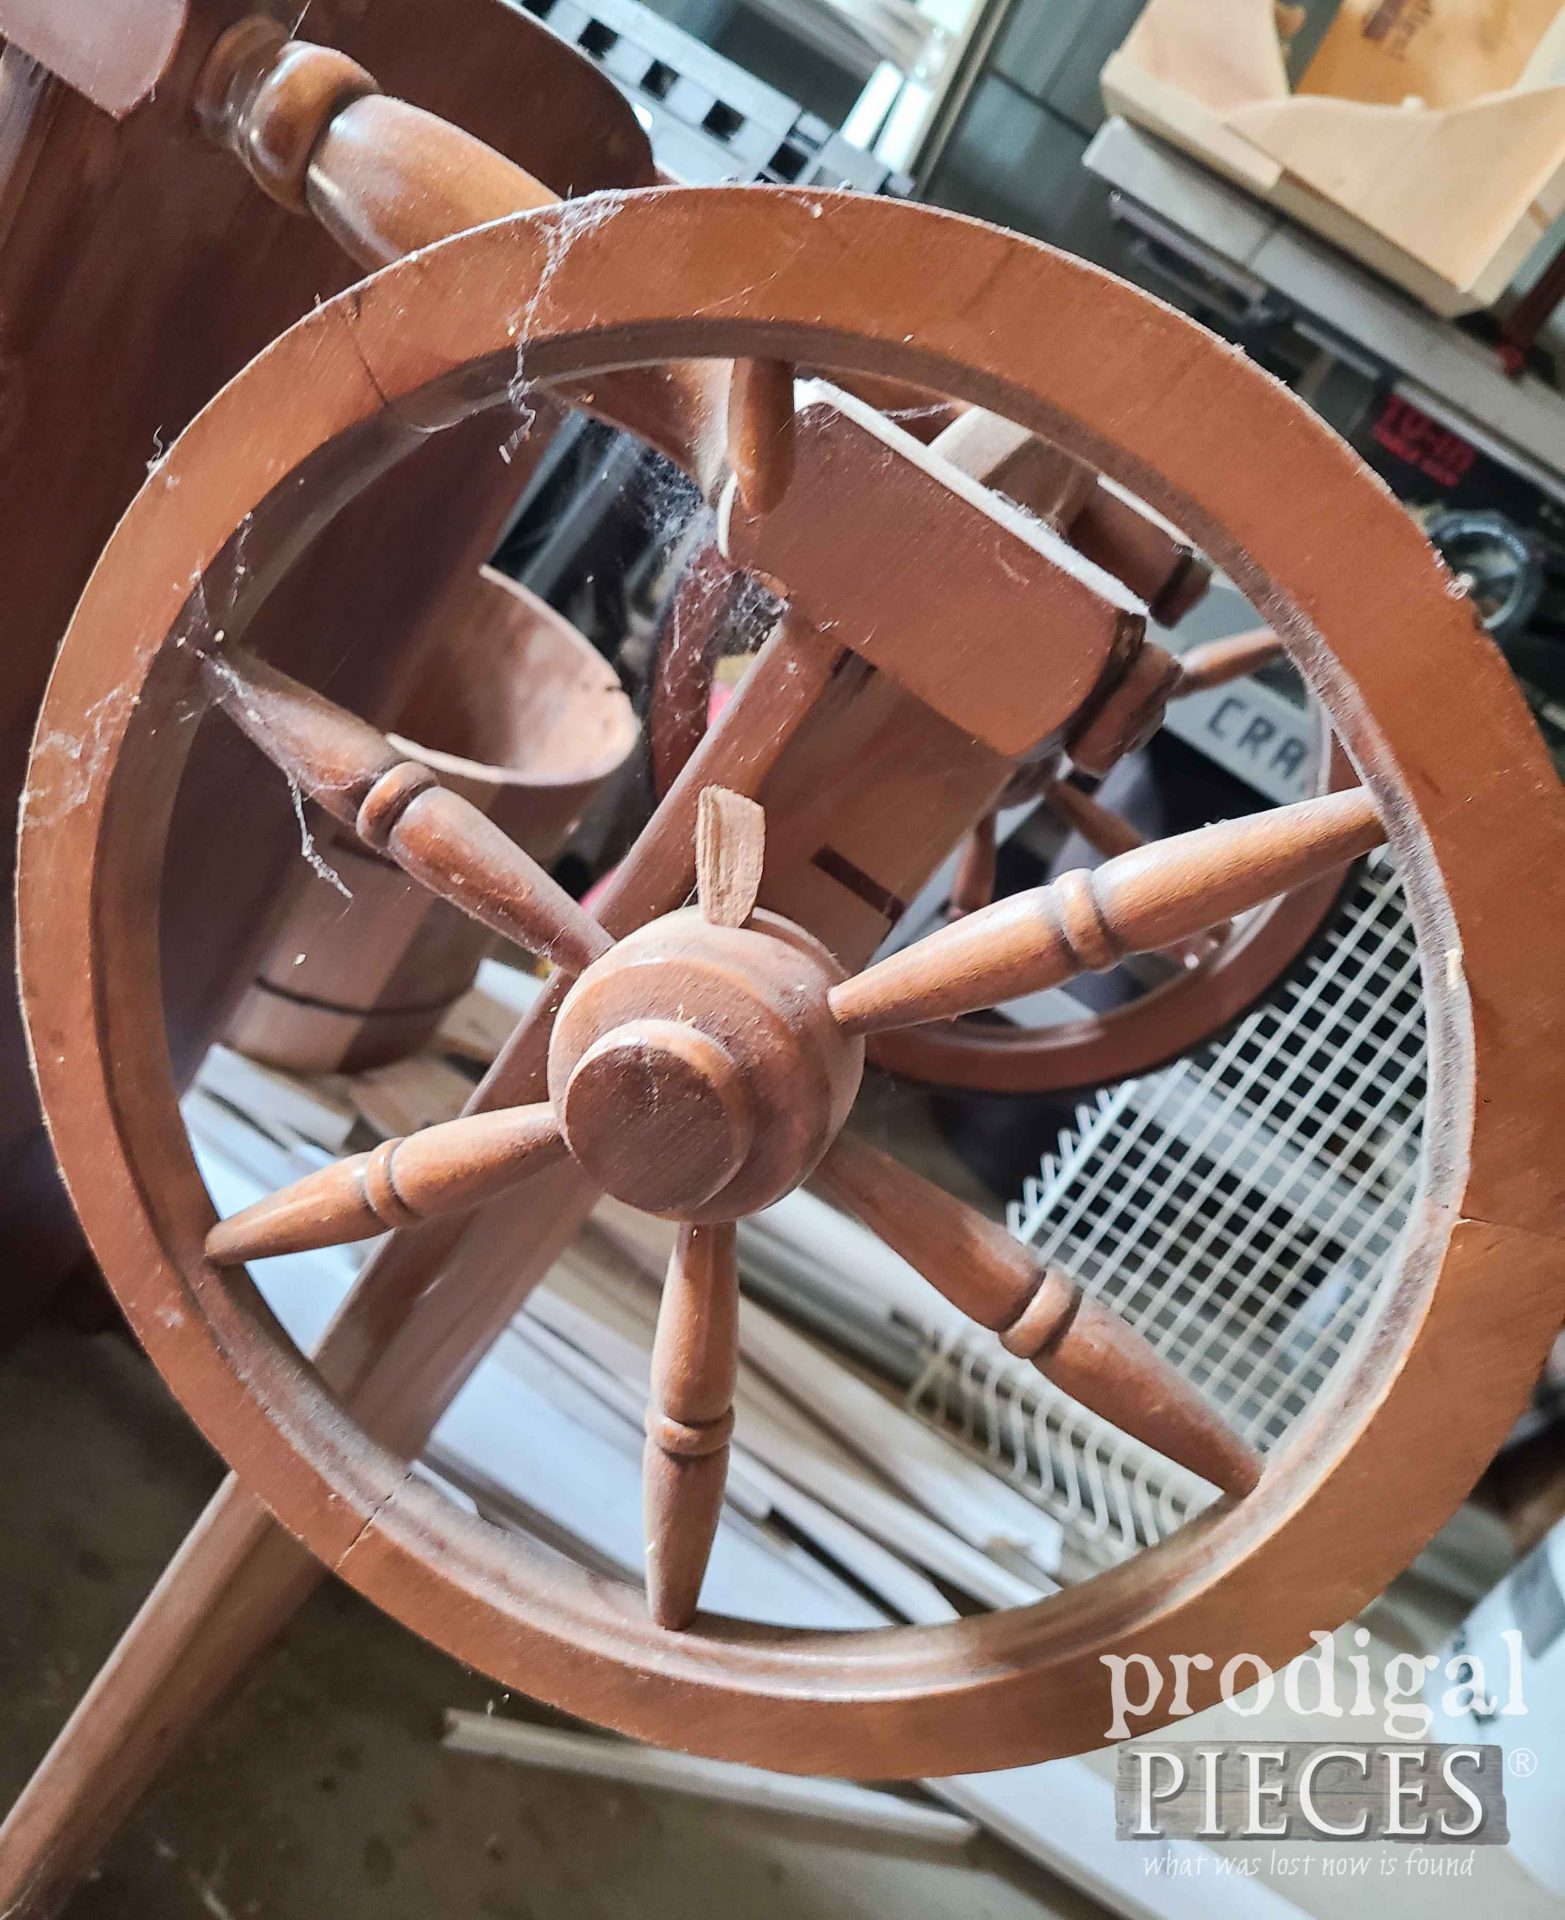
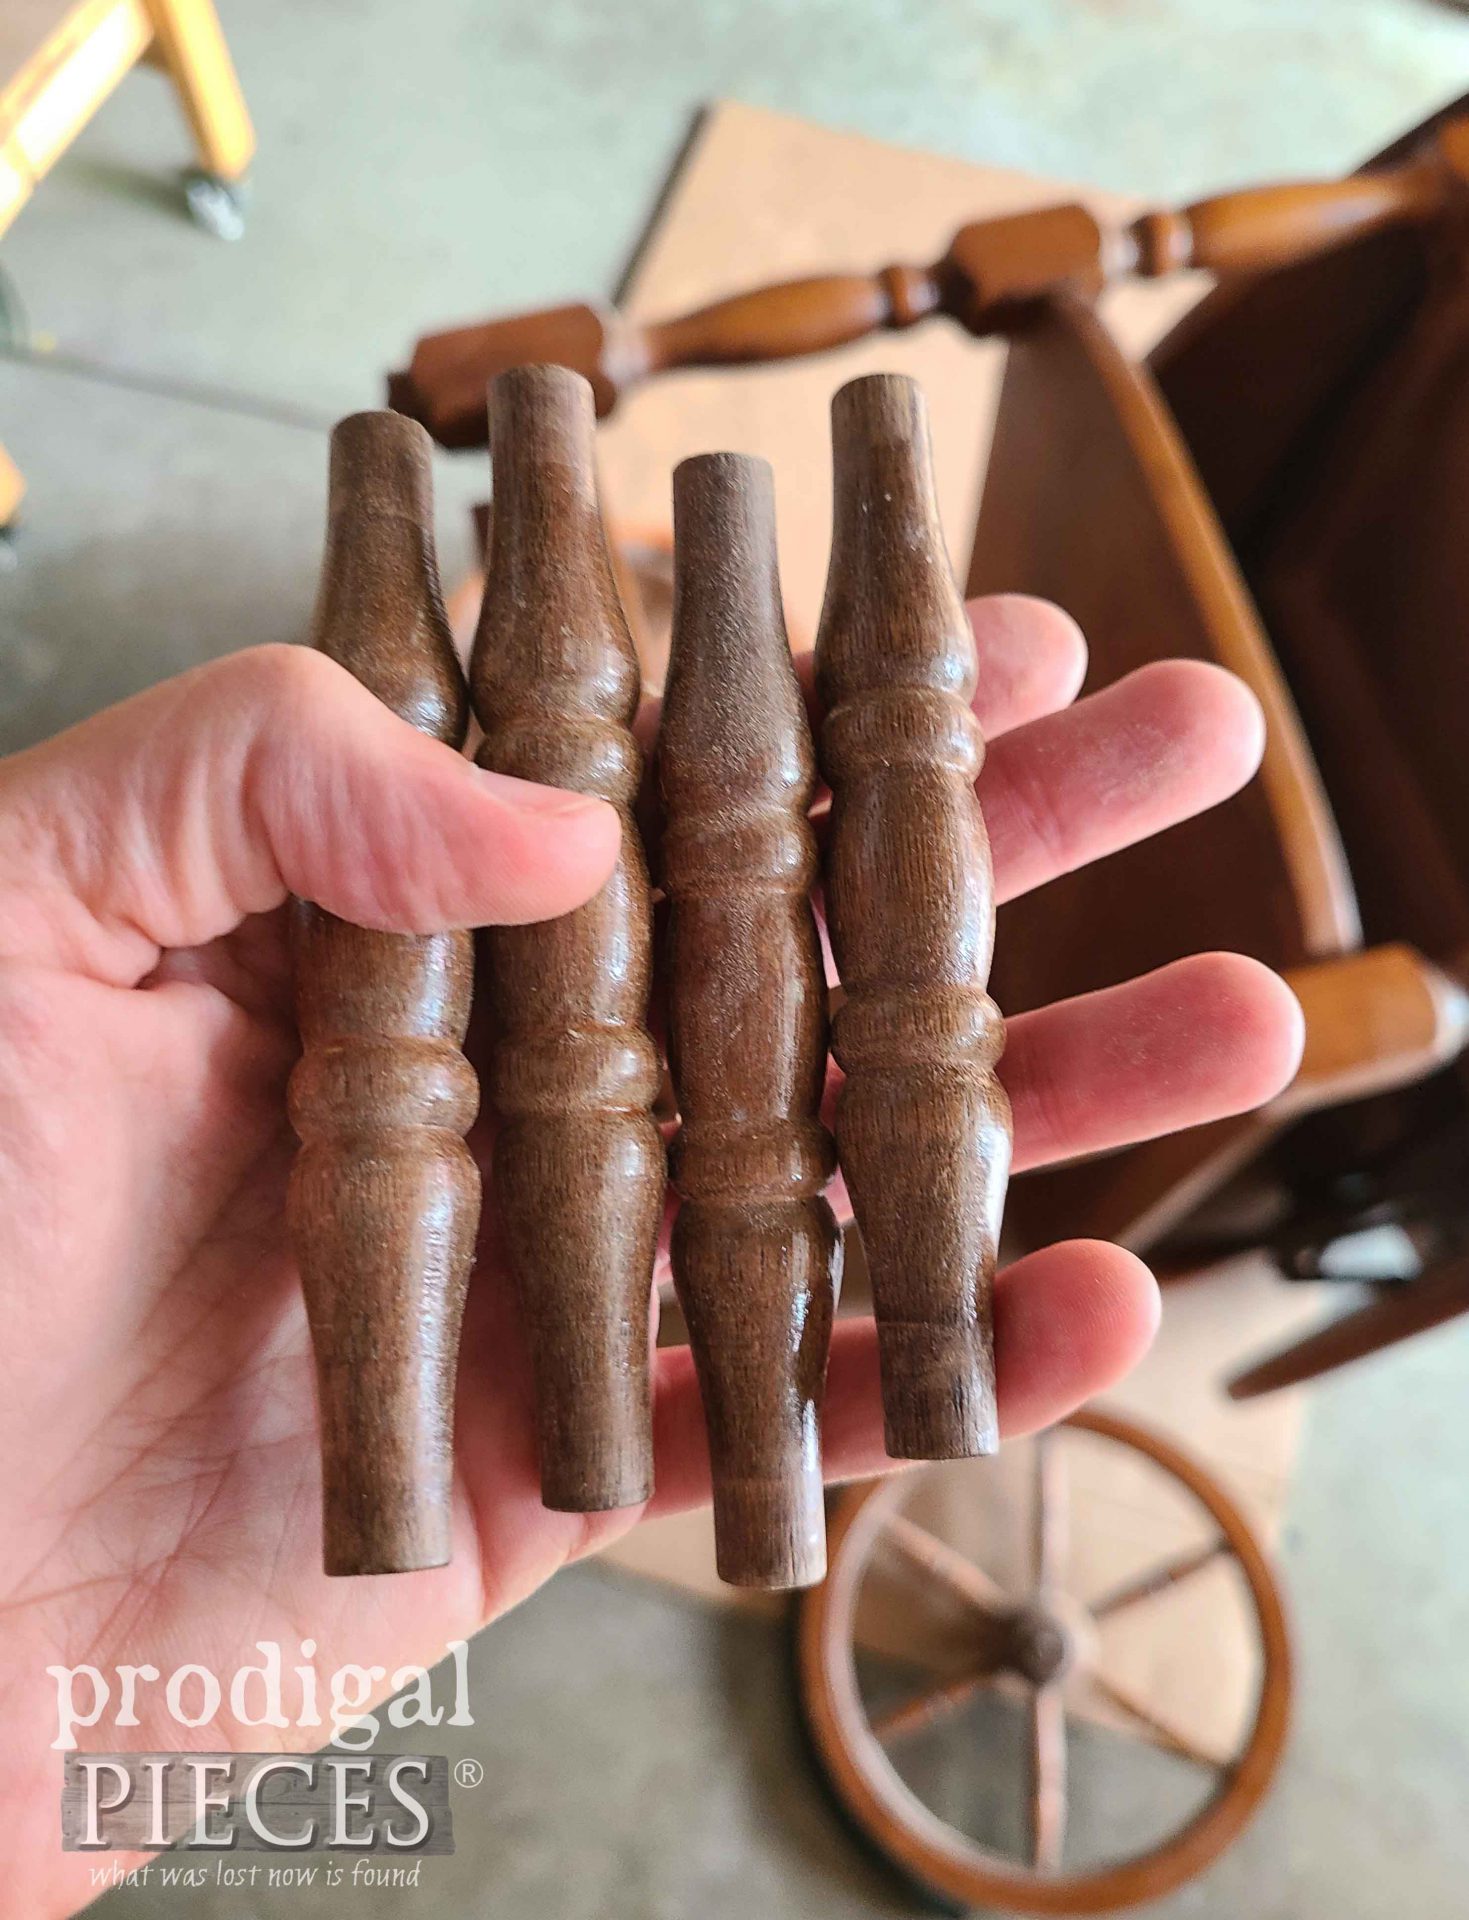
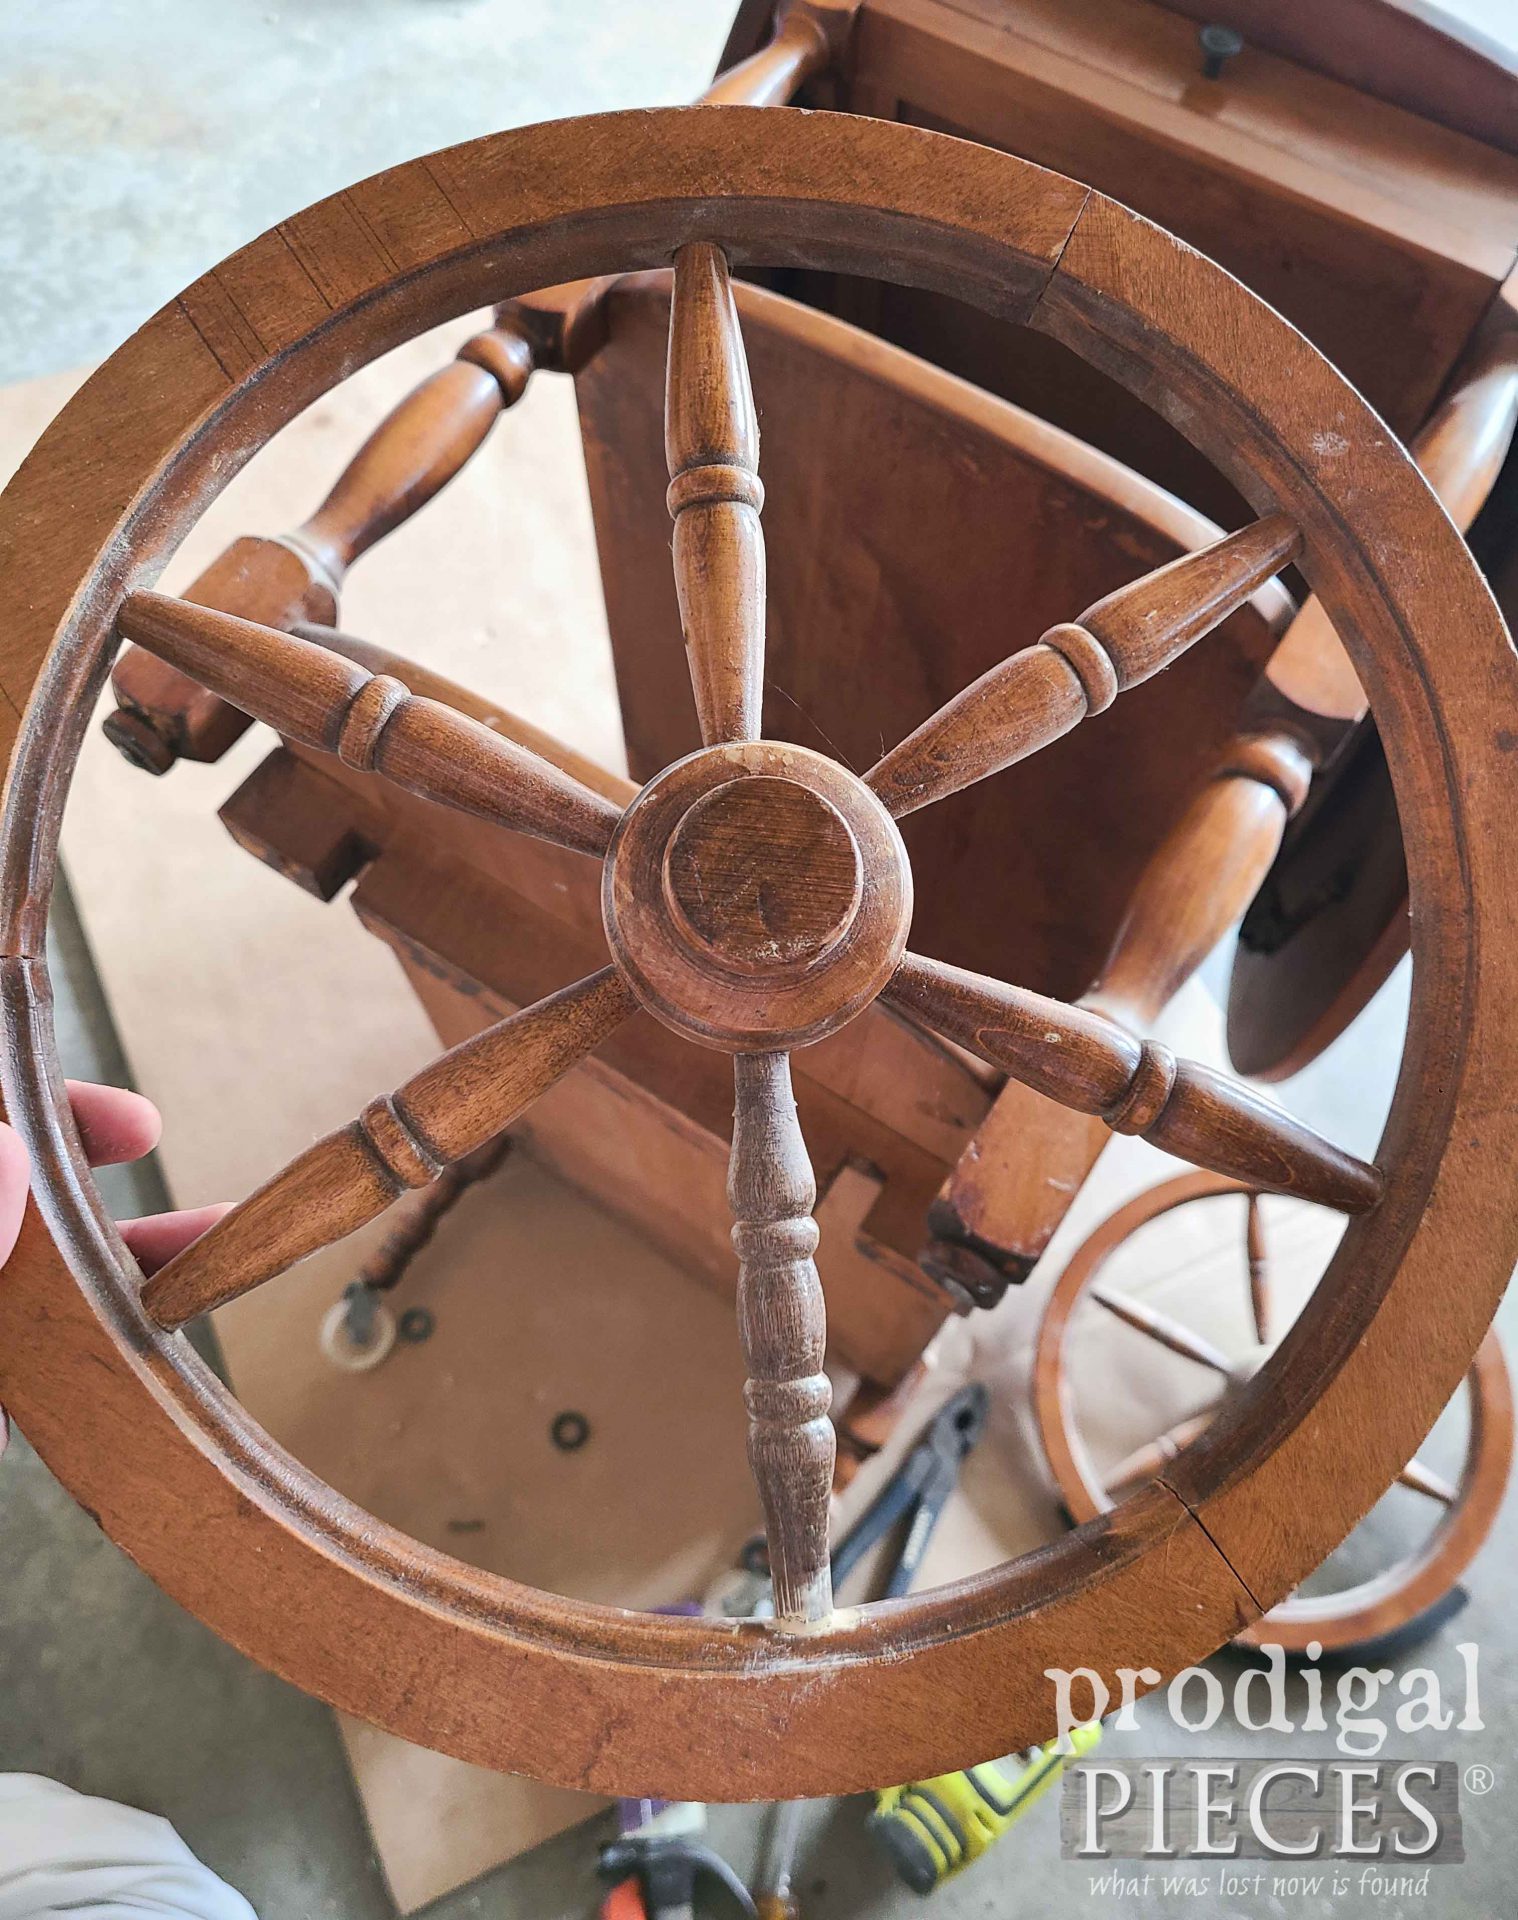
Yep, that’s a broken spindle. and the other wheel is falling off. Plus, one wheel is missing the rubber as well. ugh.
It reminds me of this blanket chest where I also bit off more than I can chew. What to do? Roll up my sleeves and have at it.
DIY TIME
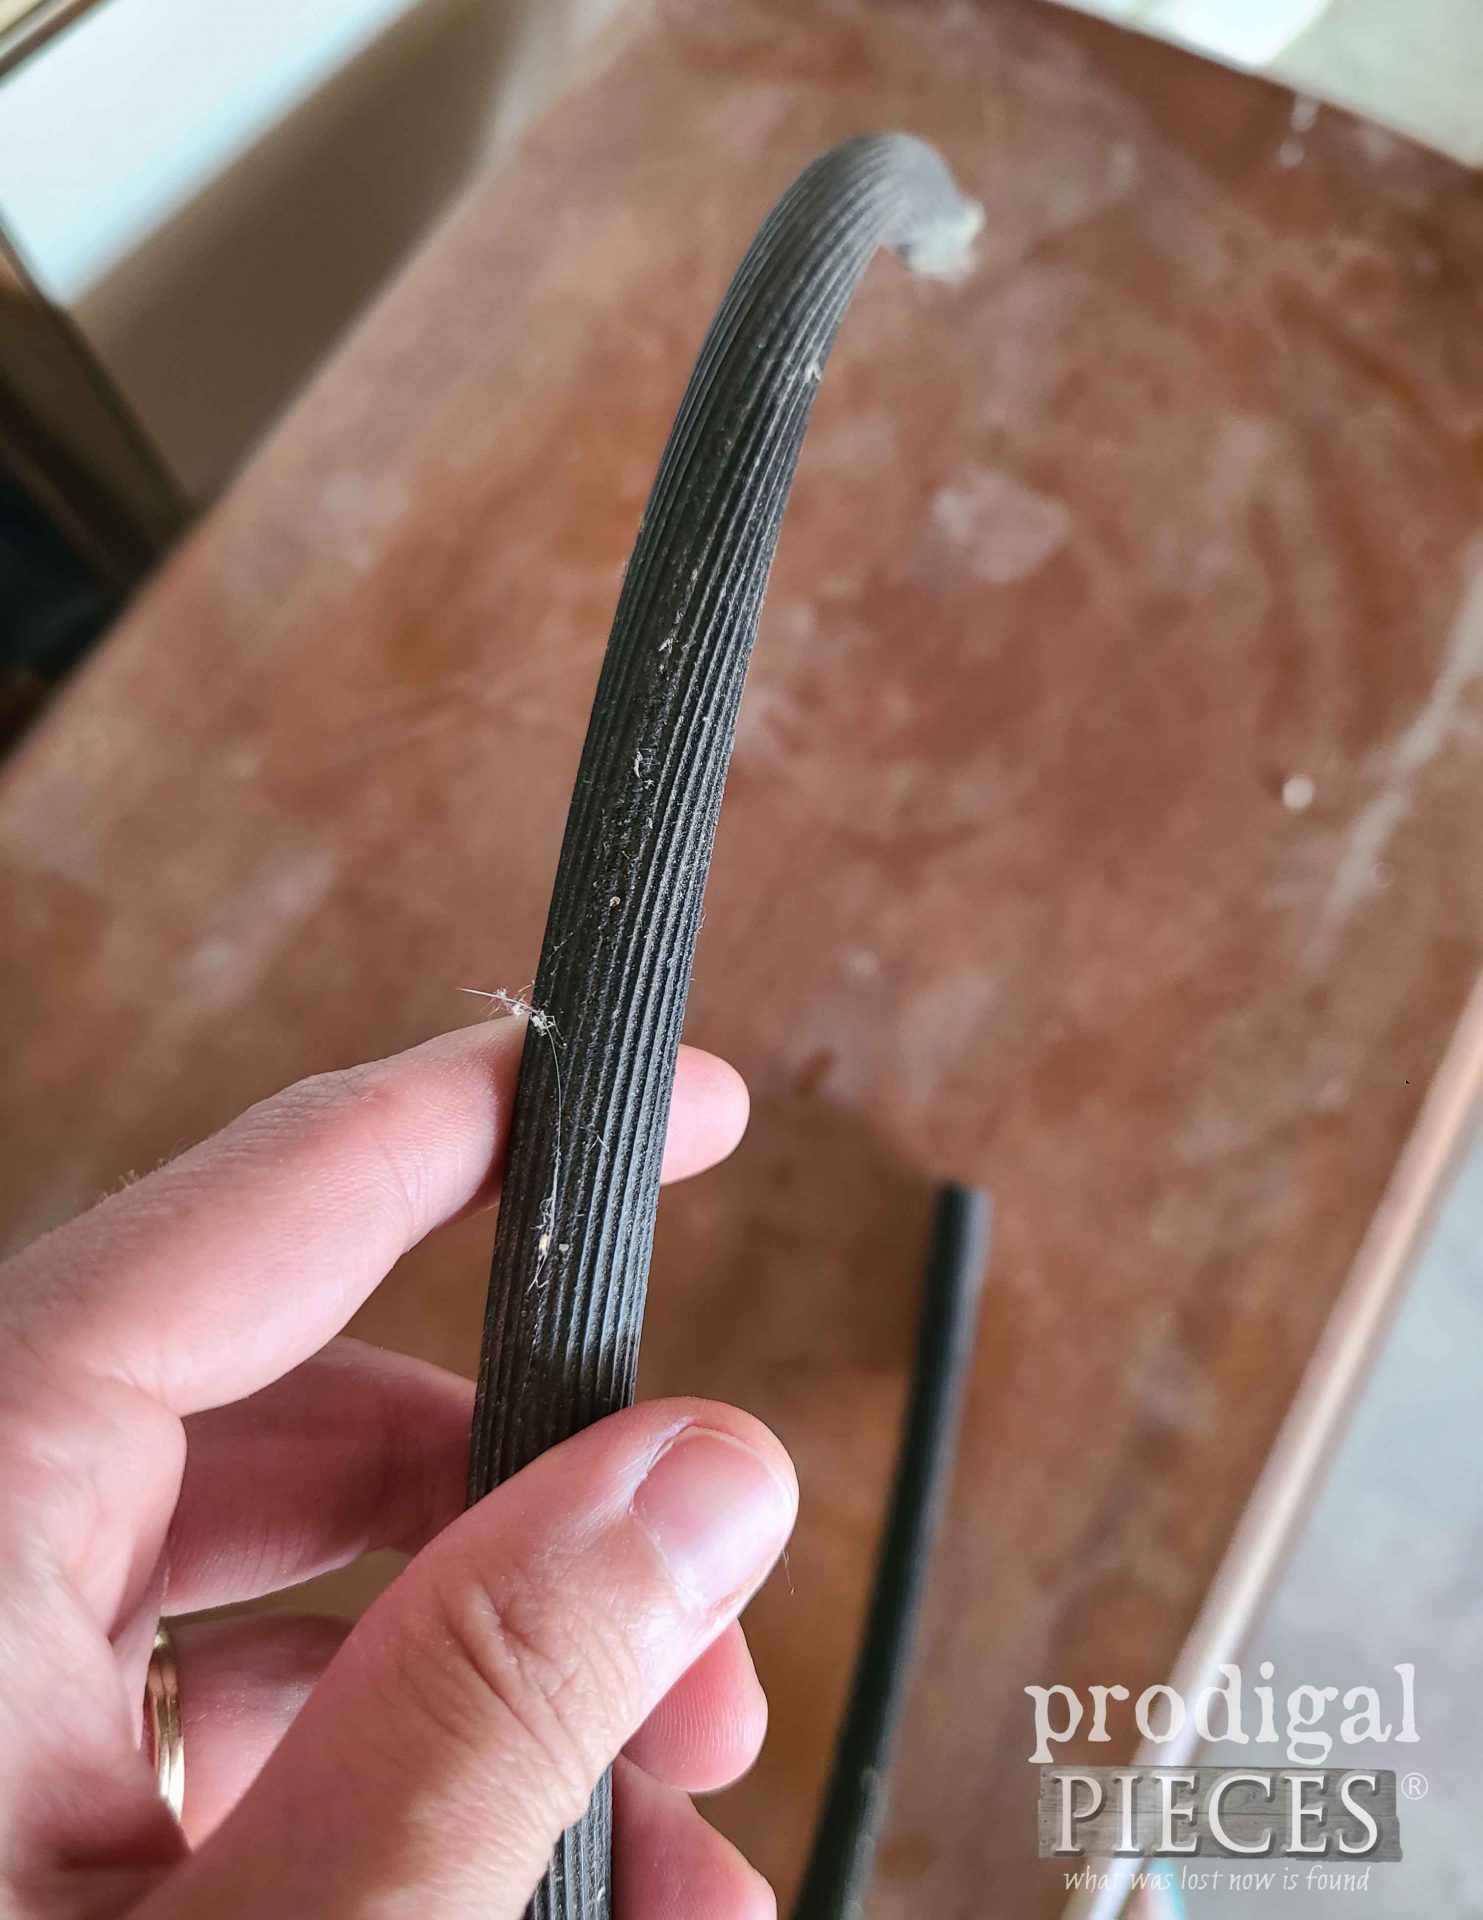
First, I order replacement tea cart rubber HERE so that it comes when I’m ready to install it. Then, it’s time to tackle the rest of the tea cart. I take off the wheels and assess what I need to do. Thankfully, as a #trashure enthusiast, I have a stash on hand from previous projects. hee hee hee.
After a bit of repair, my wheel is ready to roll.
It’s not a perfect match, but it definitely works. Also, I found the other wheel was loose because it was missing some hardware. Again, my stash comes in handy at times like this.
NEXT STEPS
Next, after I get all my repairs in order, I set up to paint the cart in a black, beginning with the base. You can see how I did this other tea cart in white with a lace top in this post or this side table I turned into a tea cart over HERE.
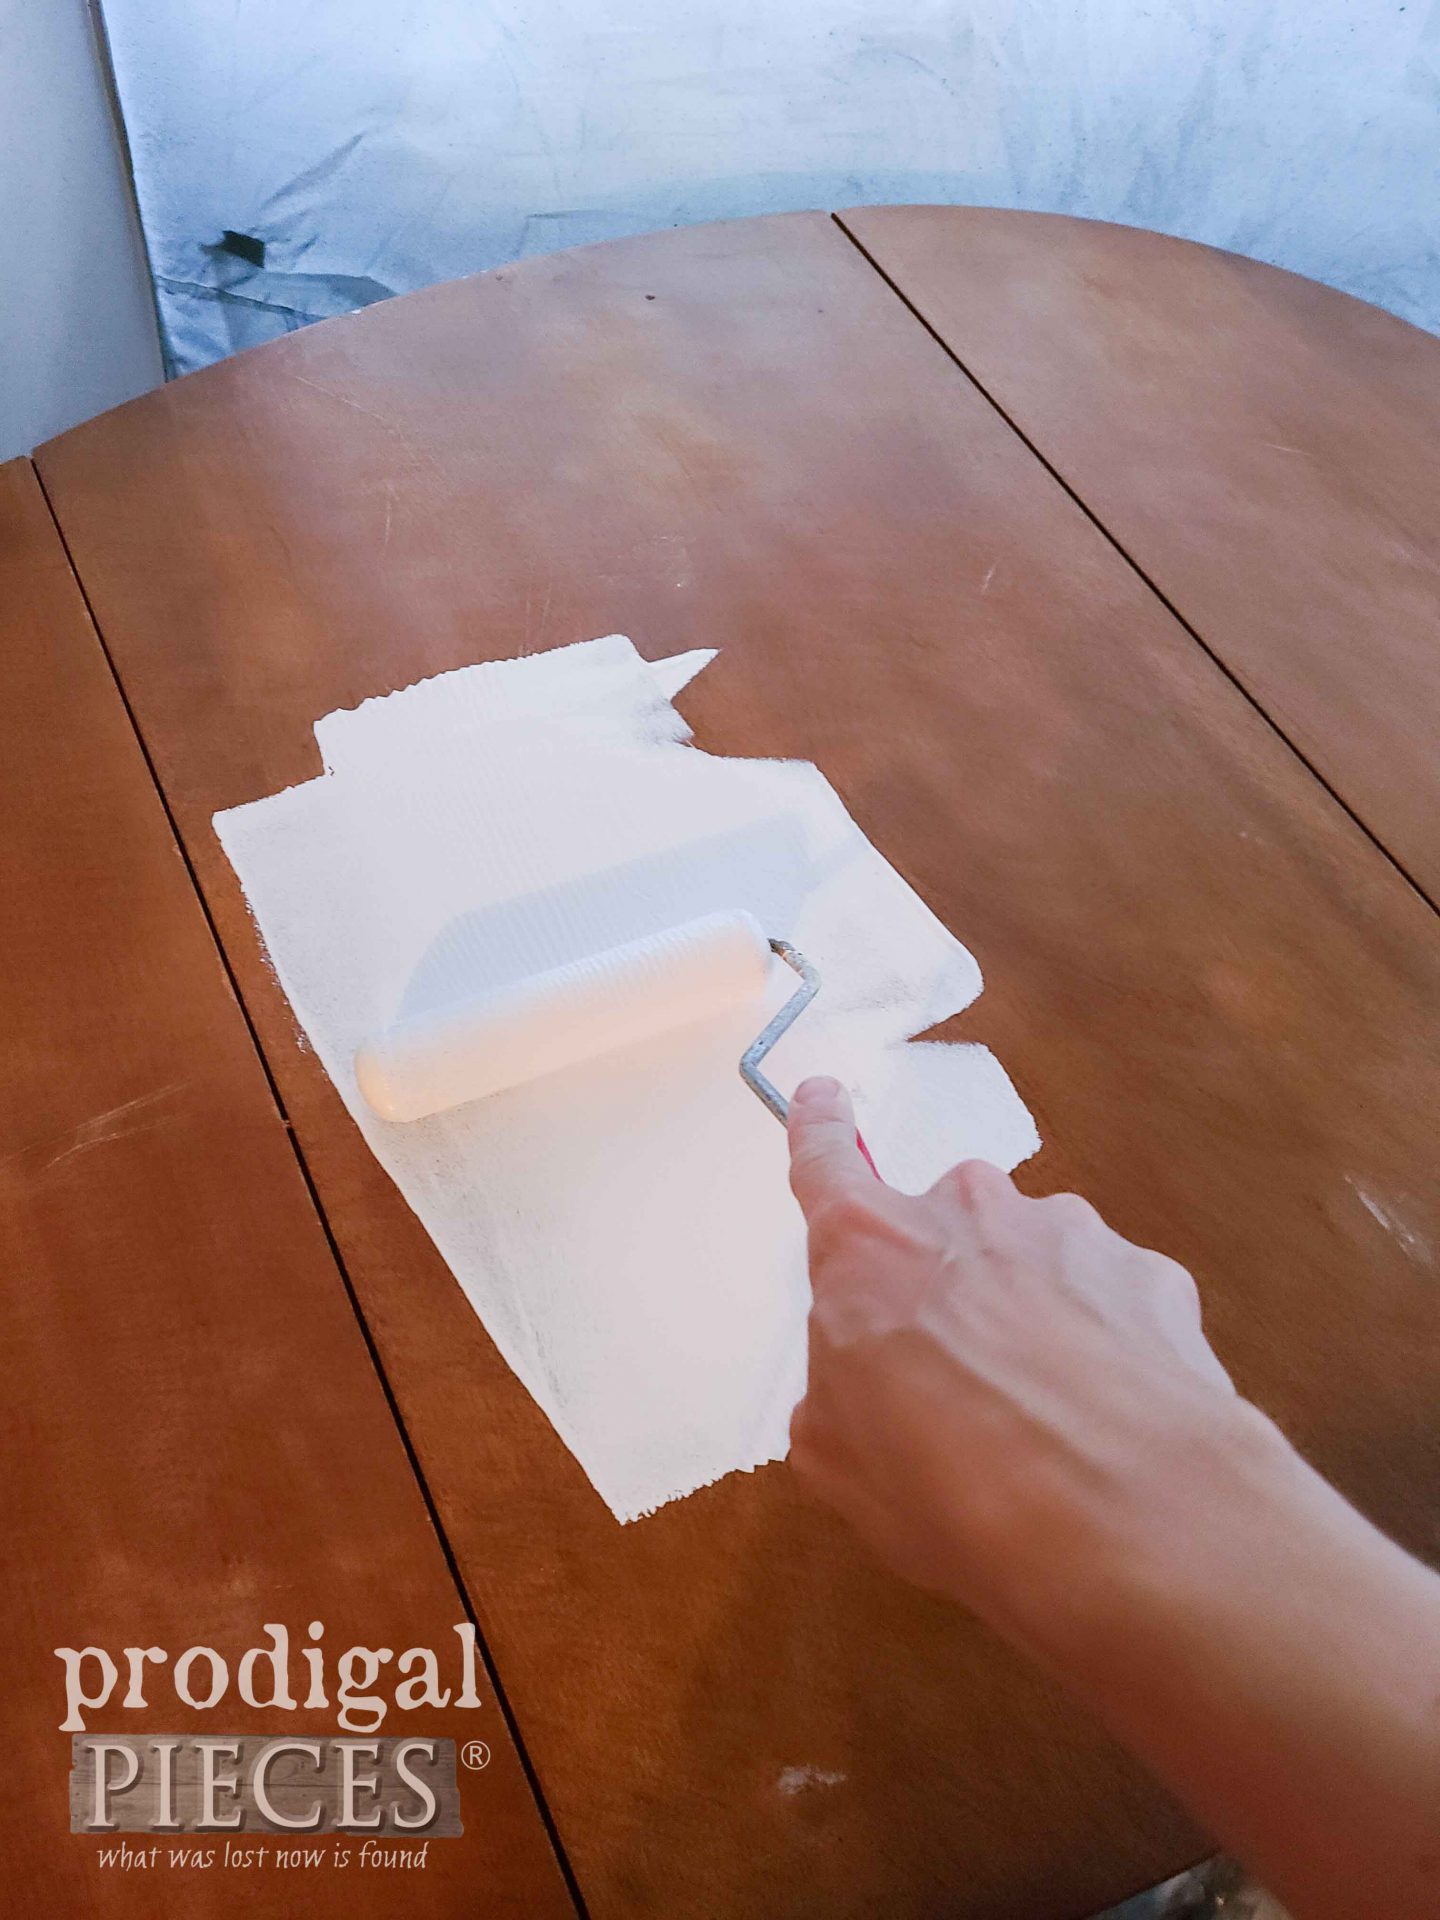
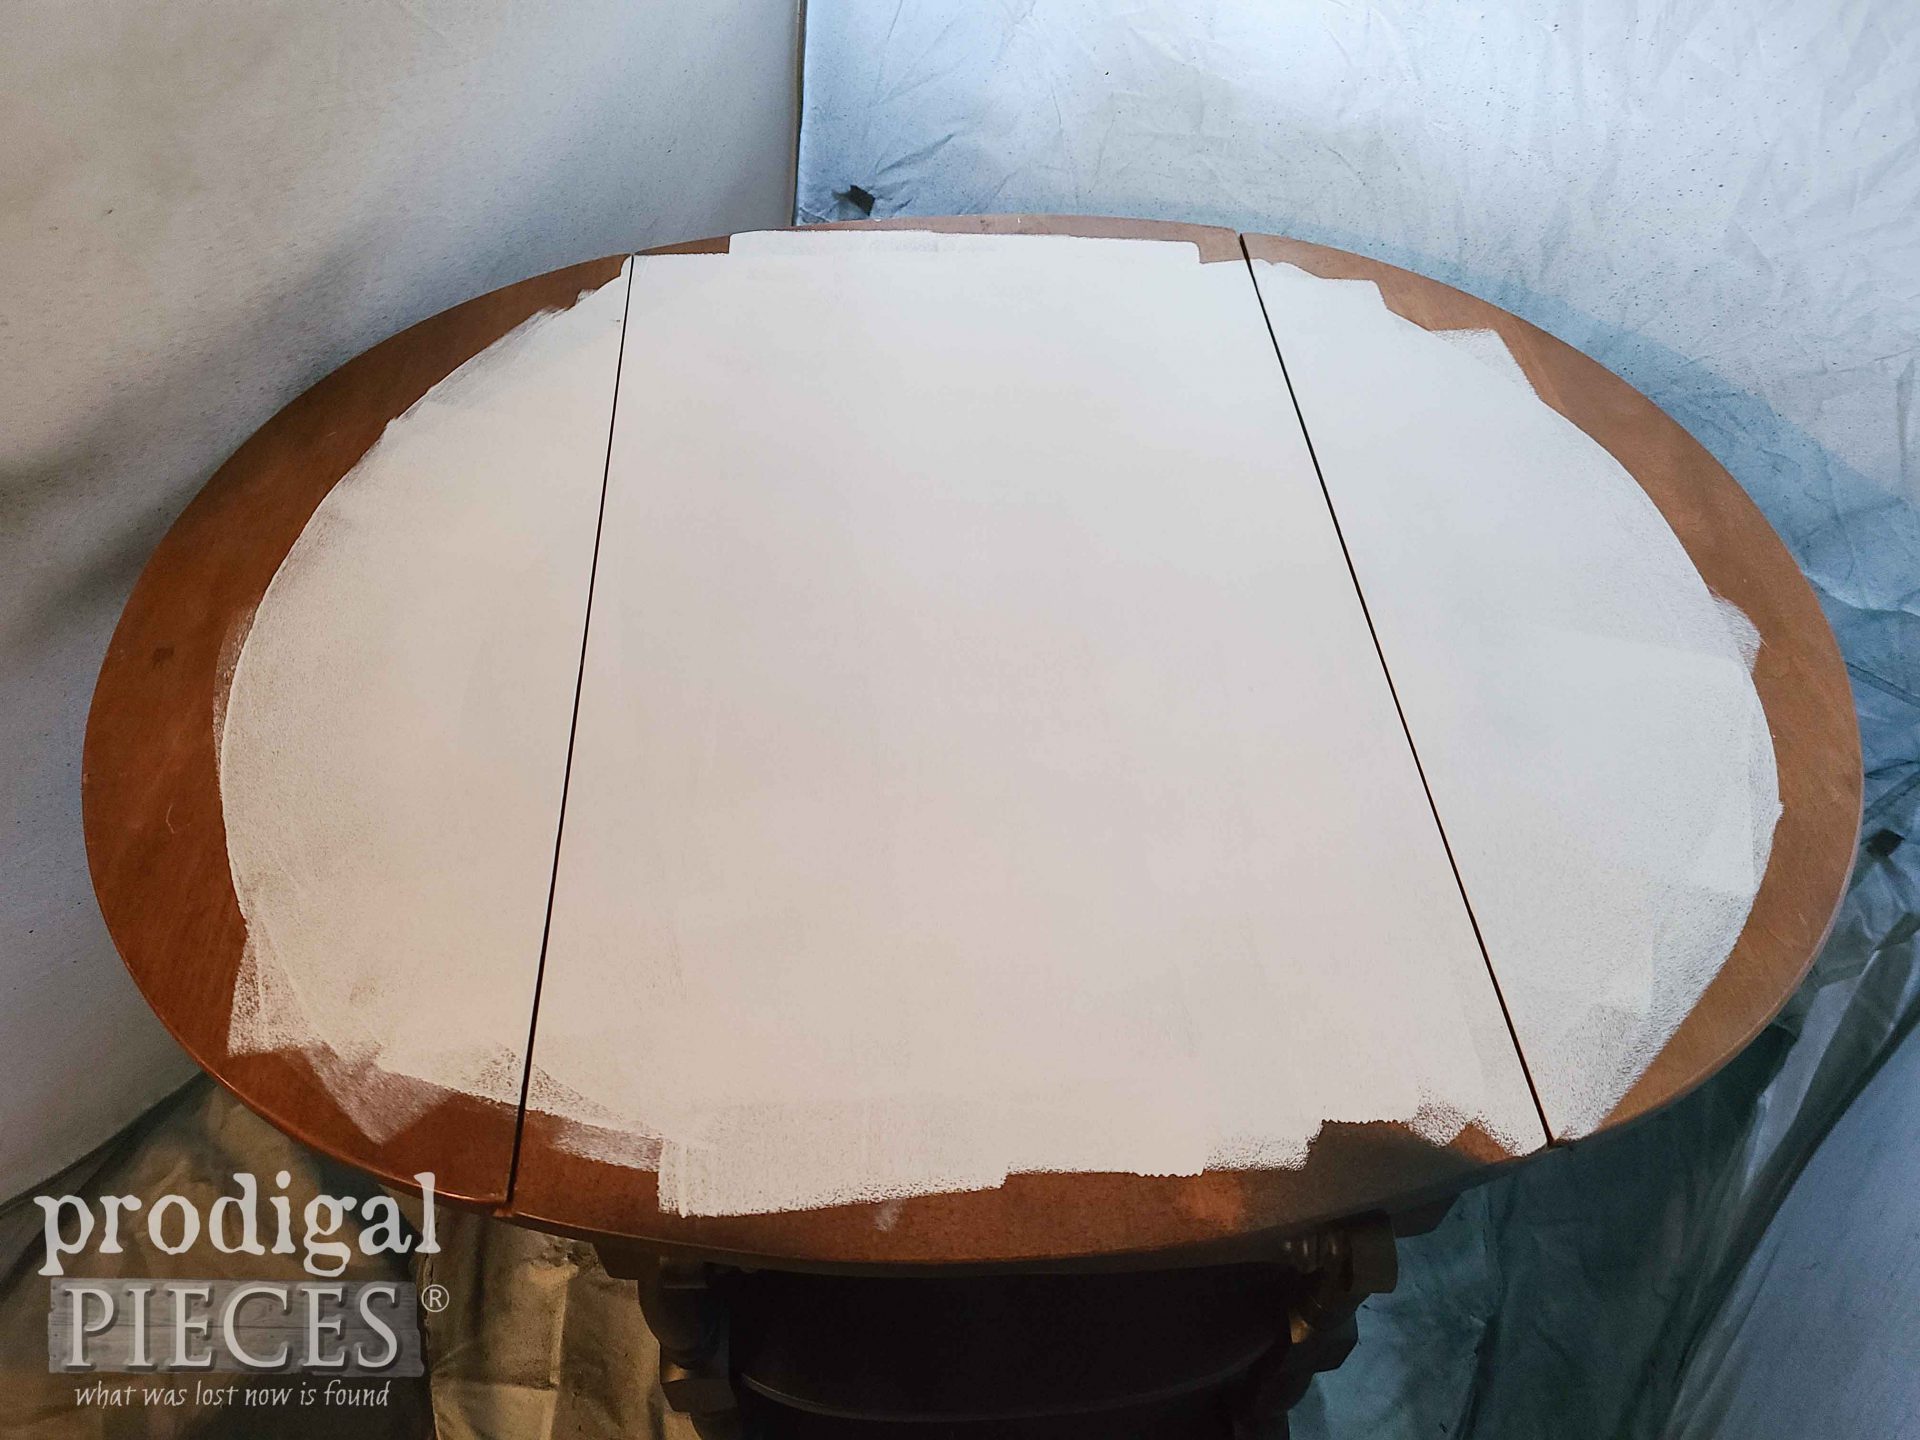
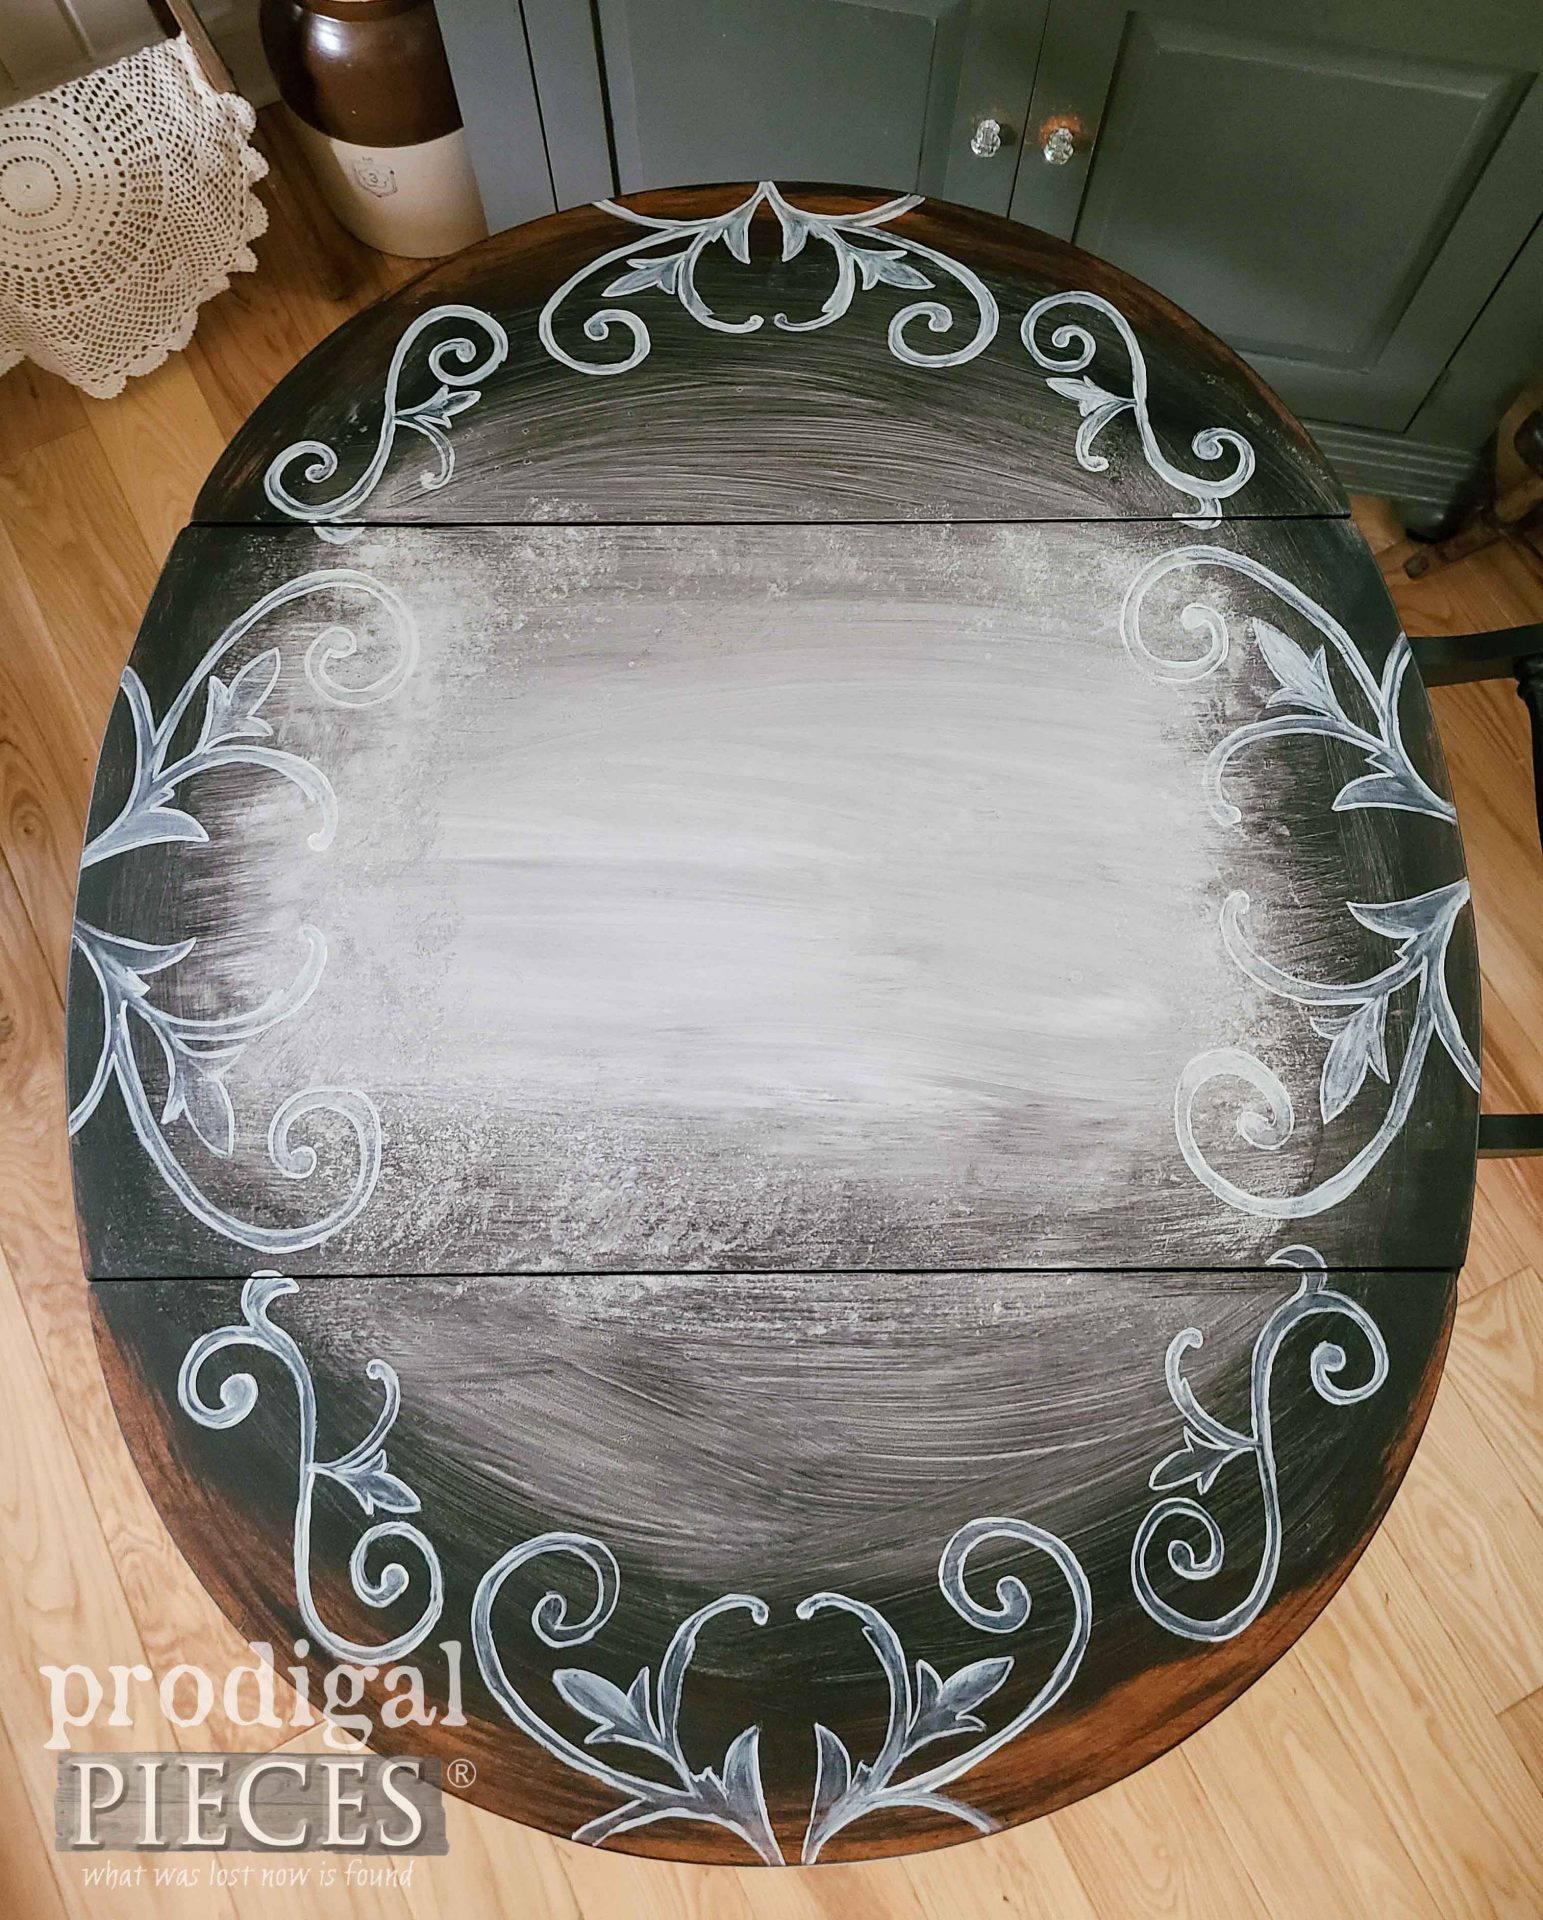
Then, while the cart base is curing, I use a white to create a sort of centerpiece of the cart top. I use a microfoam roller for a fine finish. In addition, notice I don’t paint the entire surface.
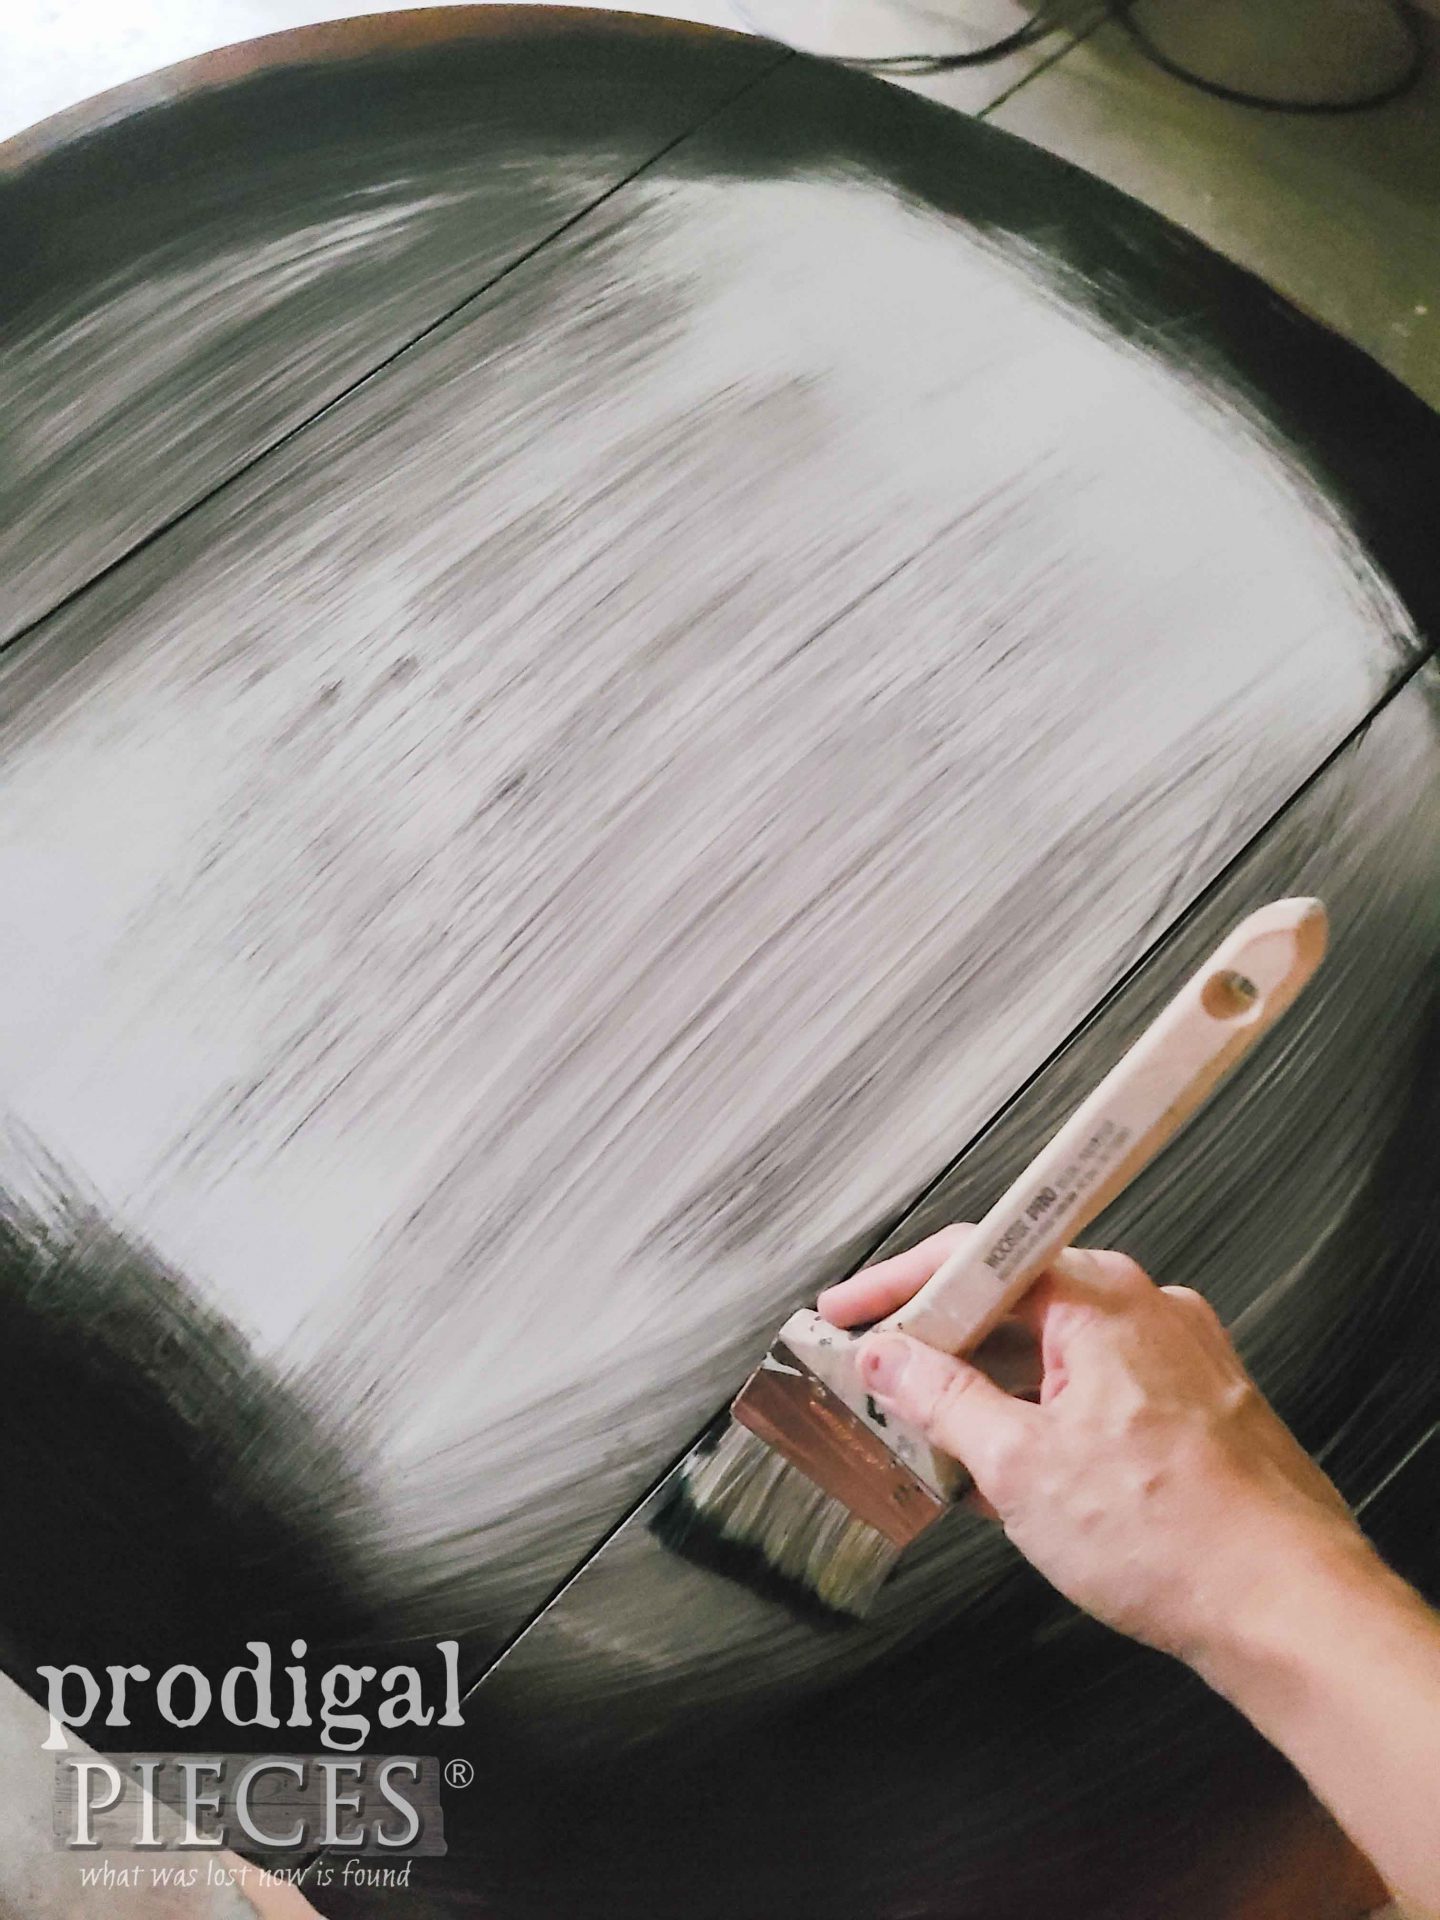
I apply two coats, letting cure in between. Once cured, I lightly spray with water so I can create a washed effect like in my frottage tutorial HERE. While the water is fresh, I take a thinned mix of the same black paint and begin to create an effect.
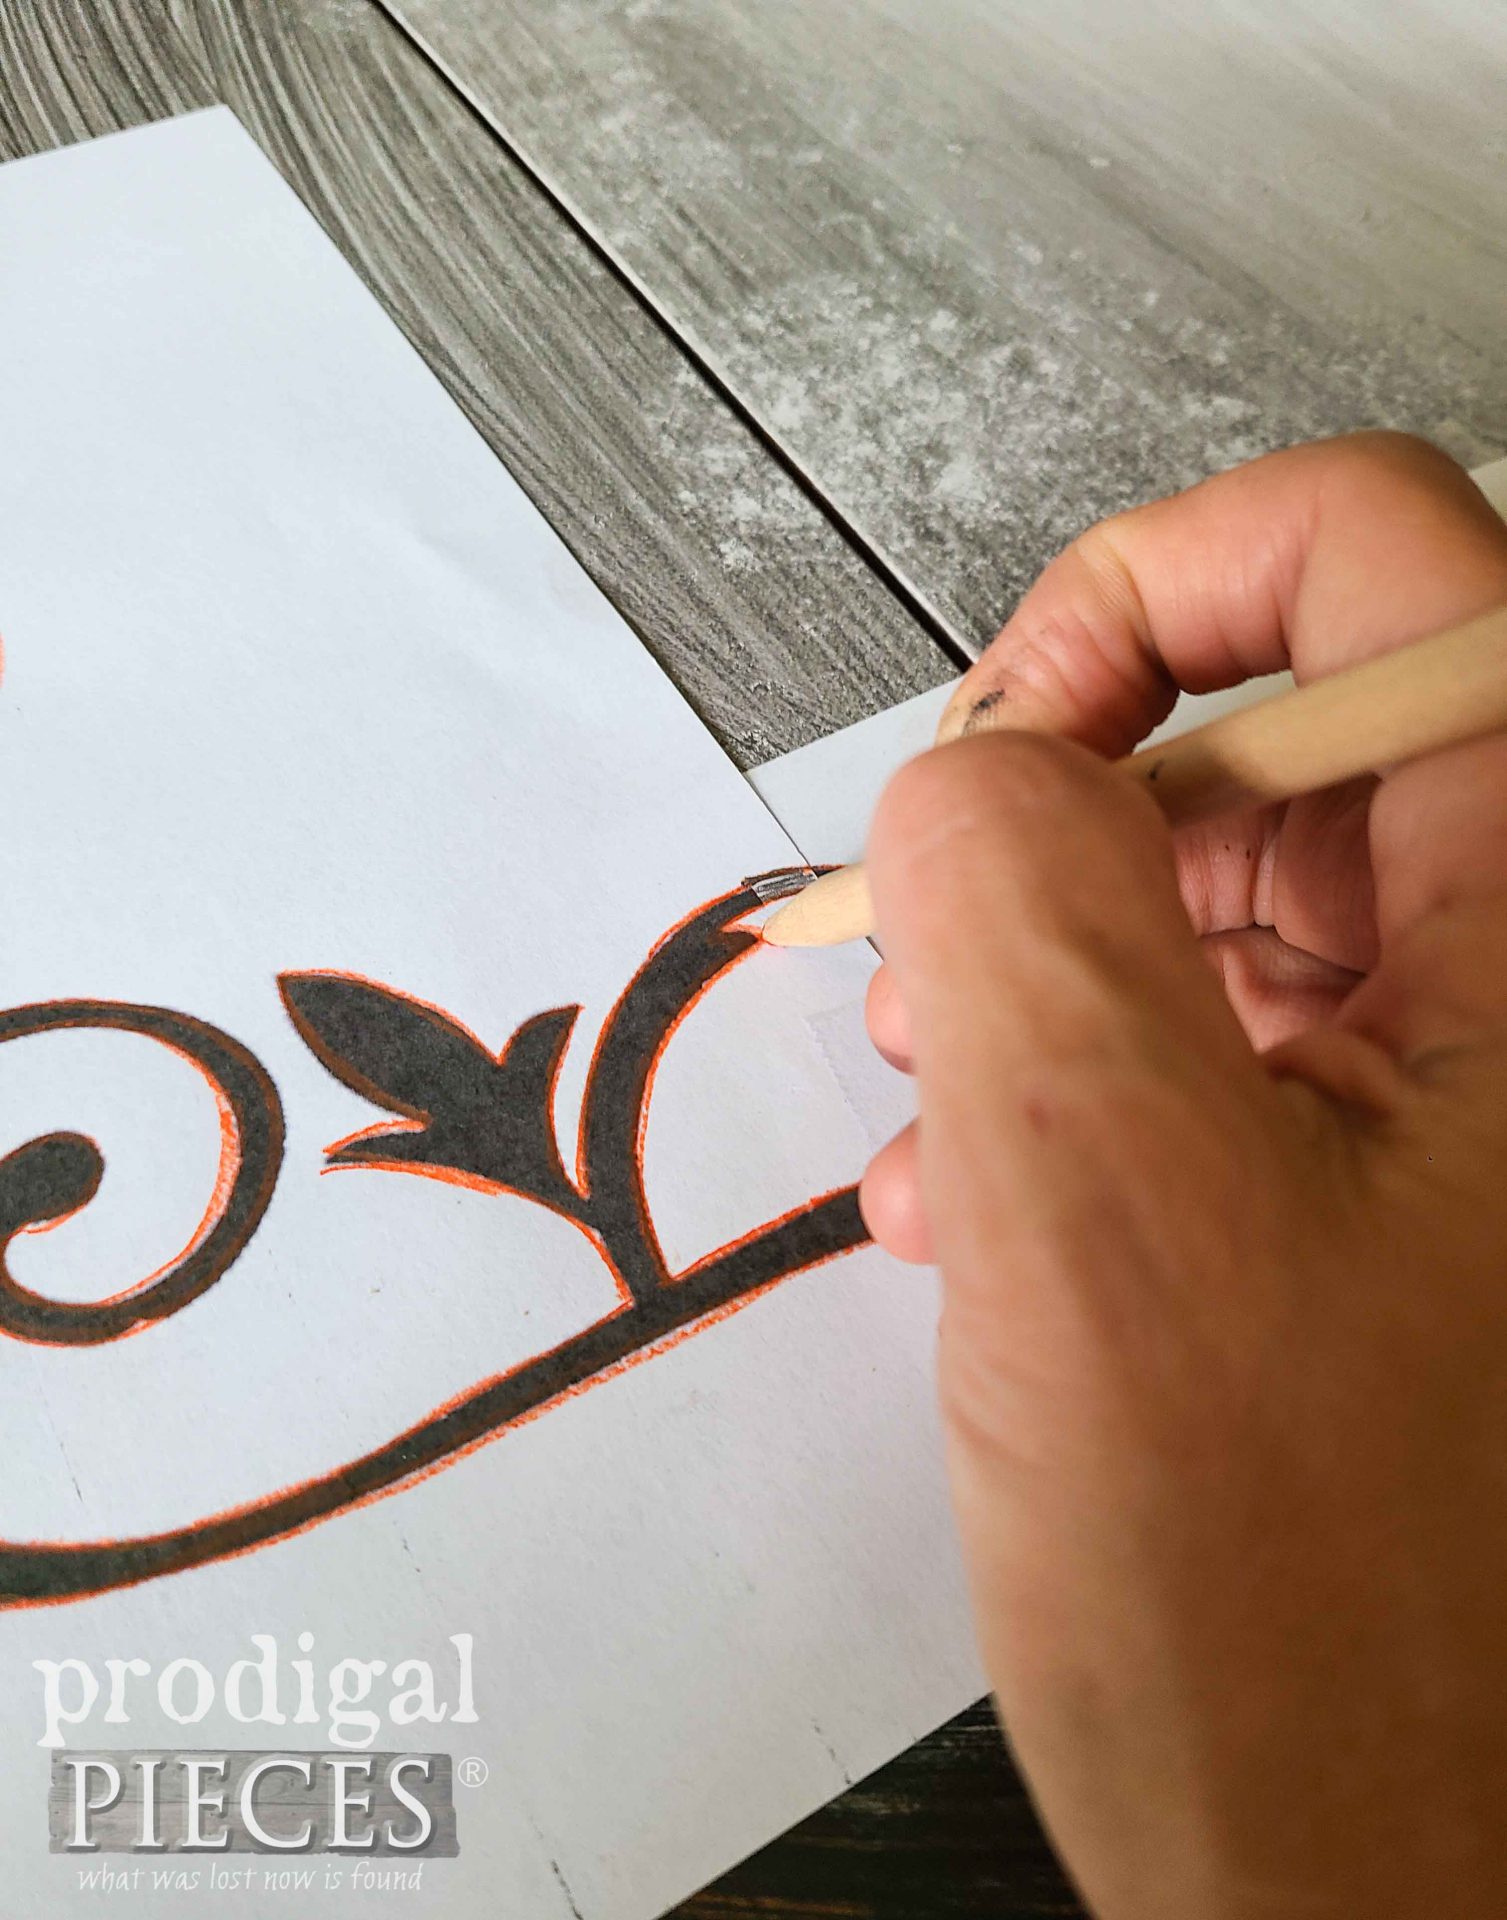
Before I can say I’m done, I use my transfer method to add one more layer to the top before sealing it up with a matte poly.
BROKEN NO MORE
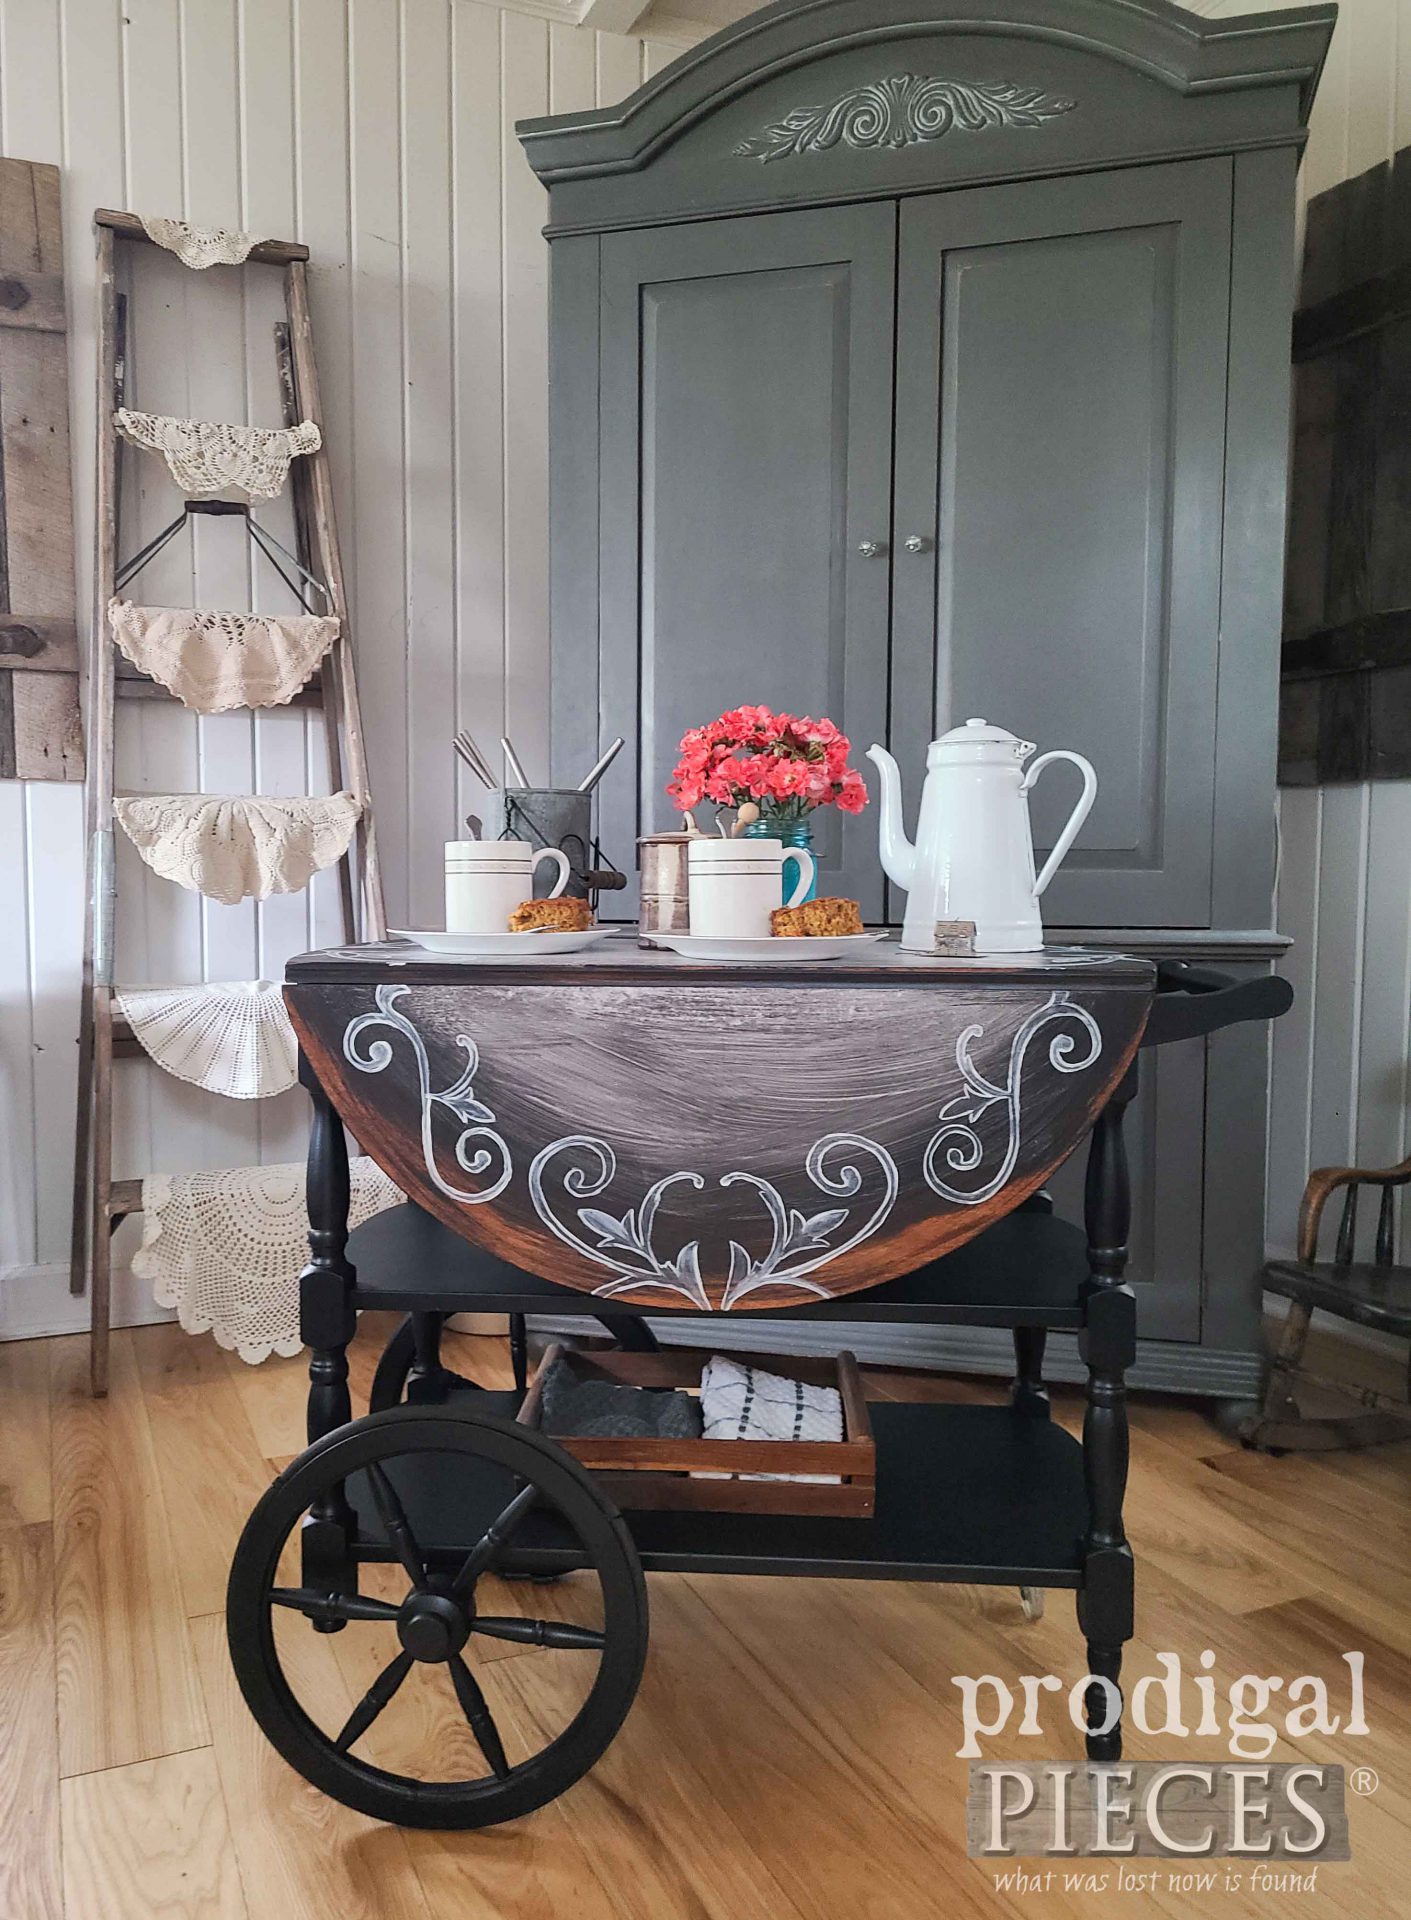
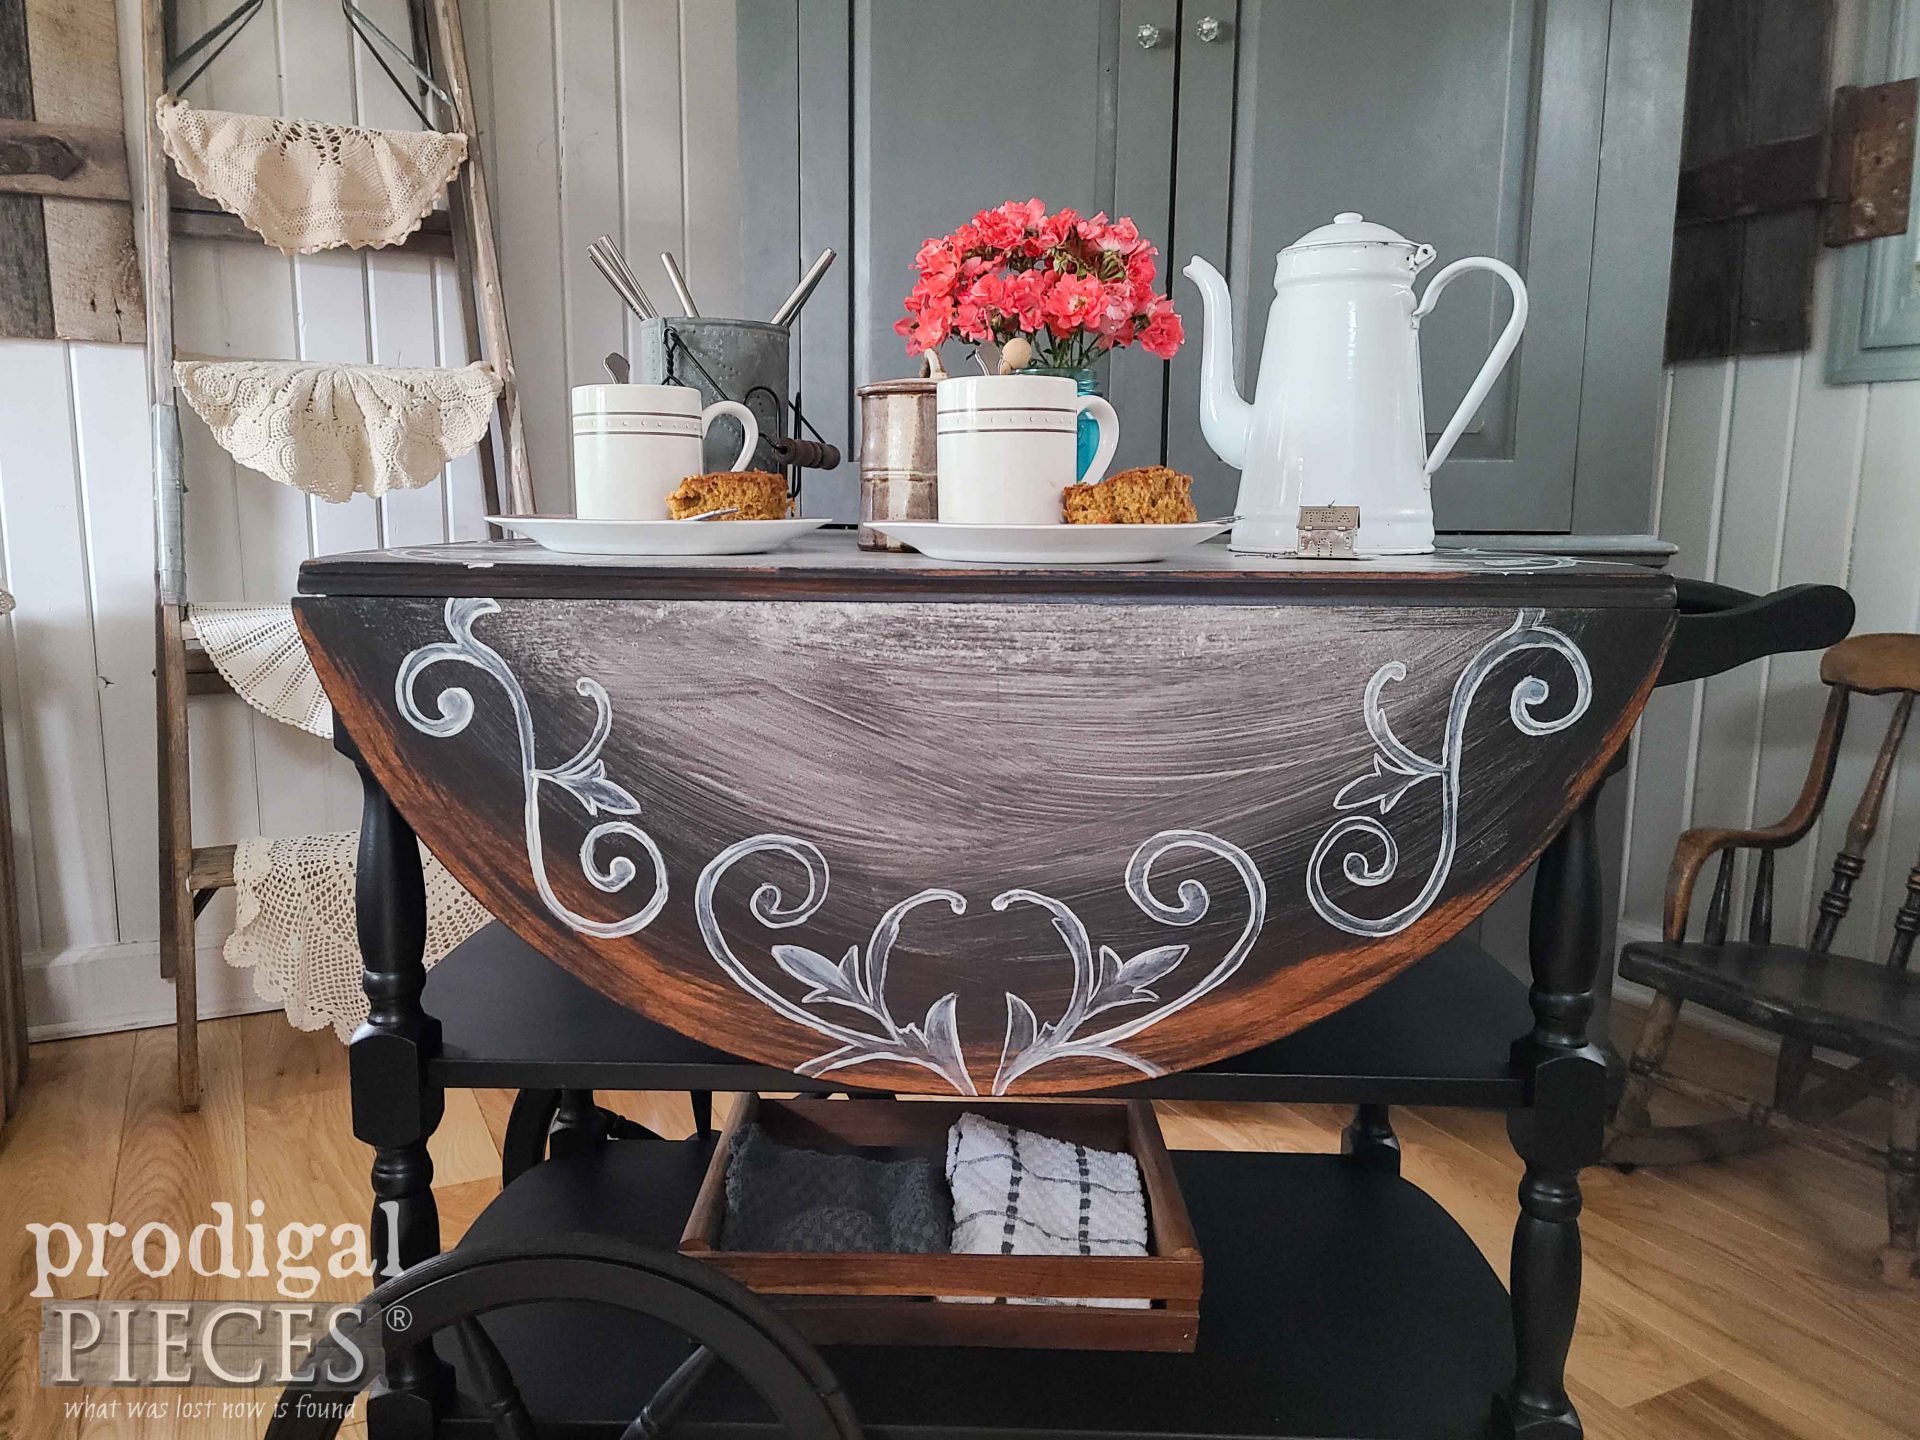
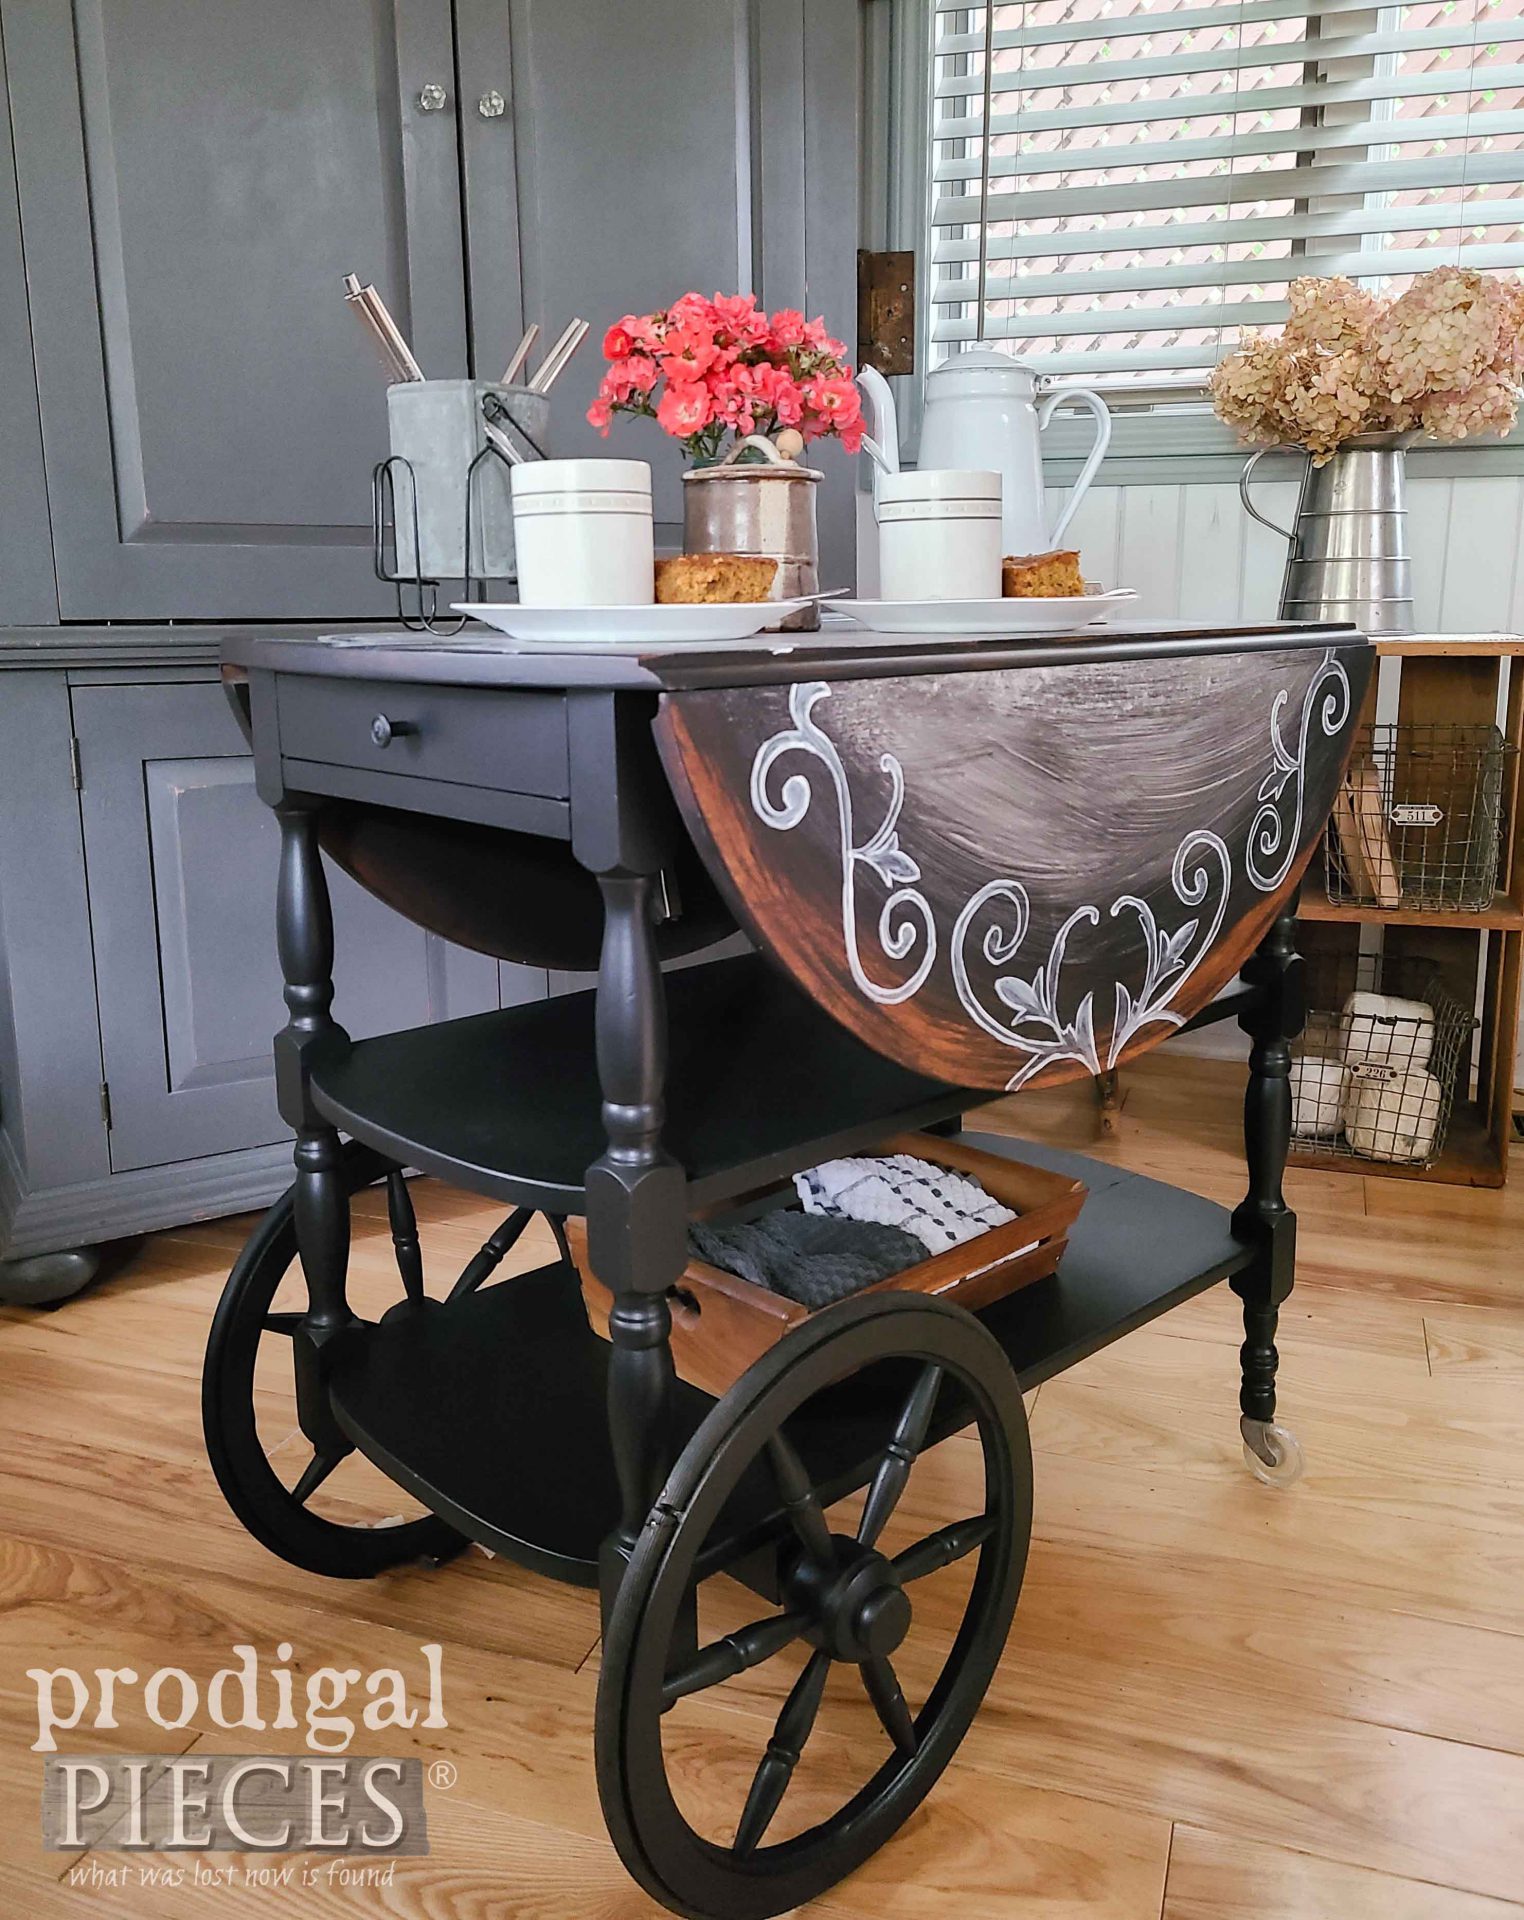
Here’s my broken tea cart that is broken no more. {{happy dance}}
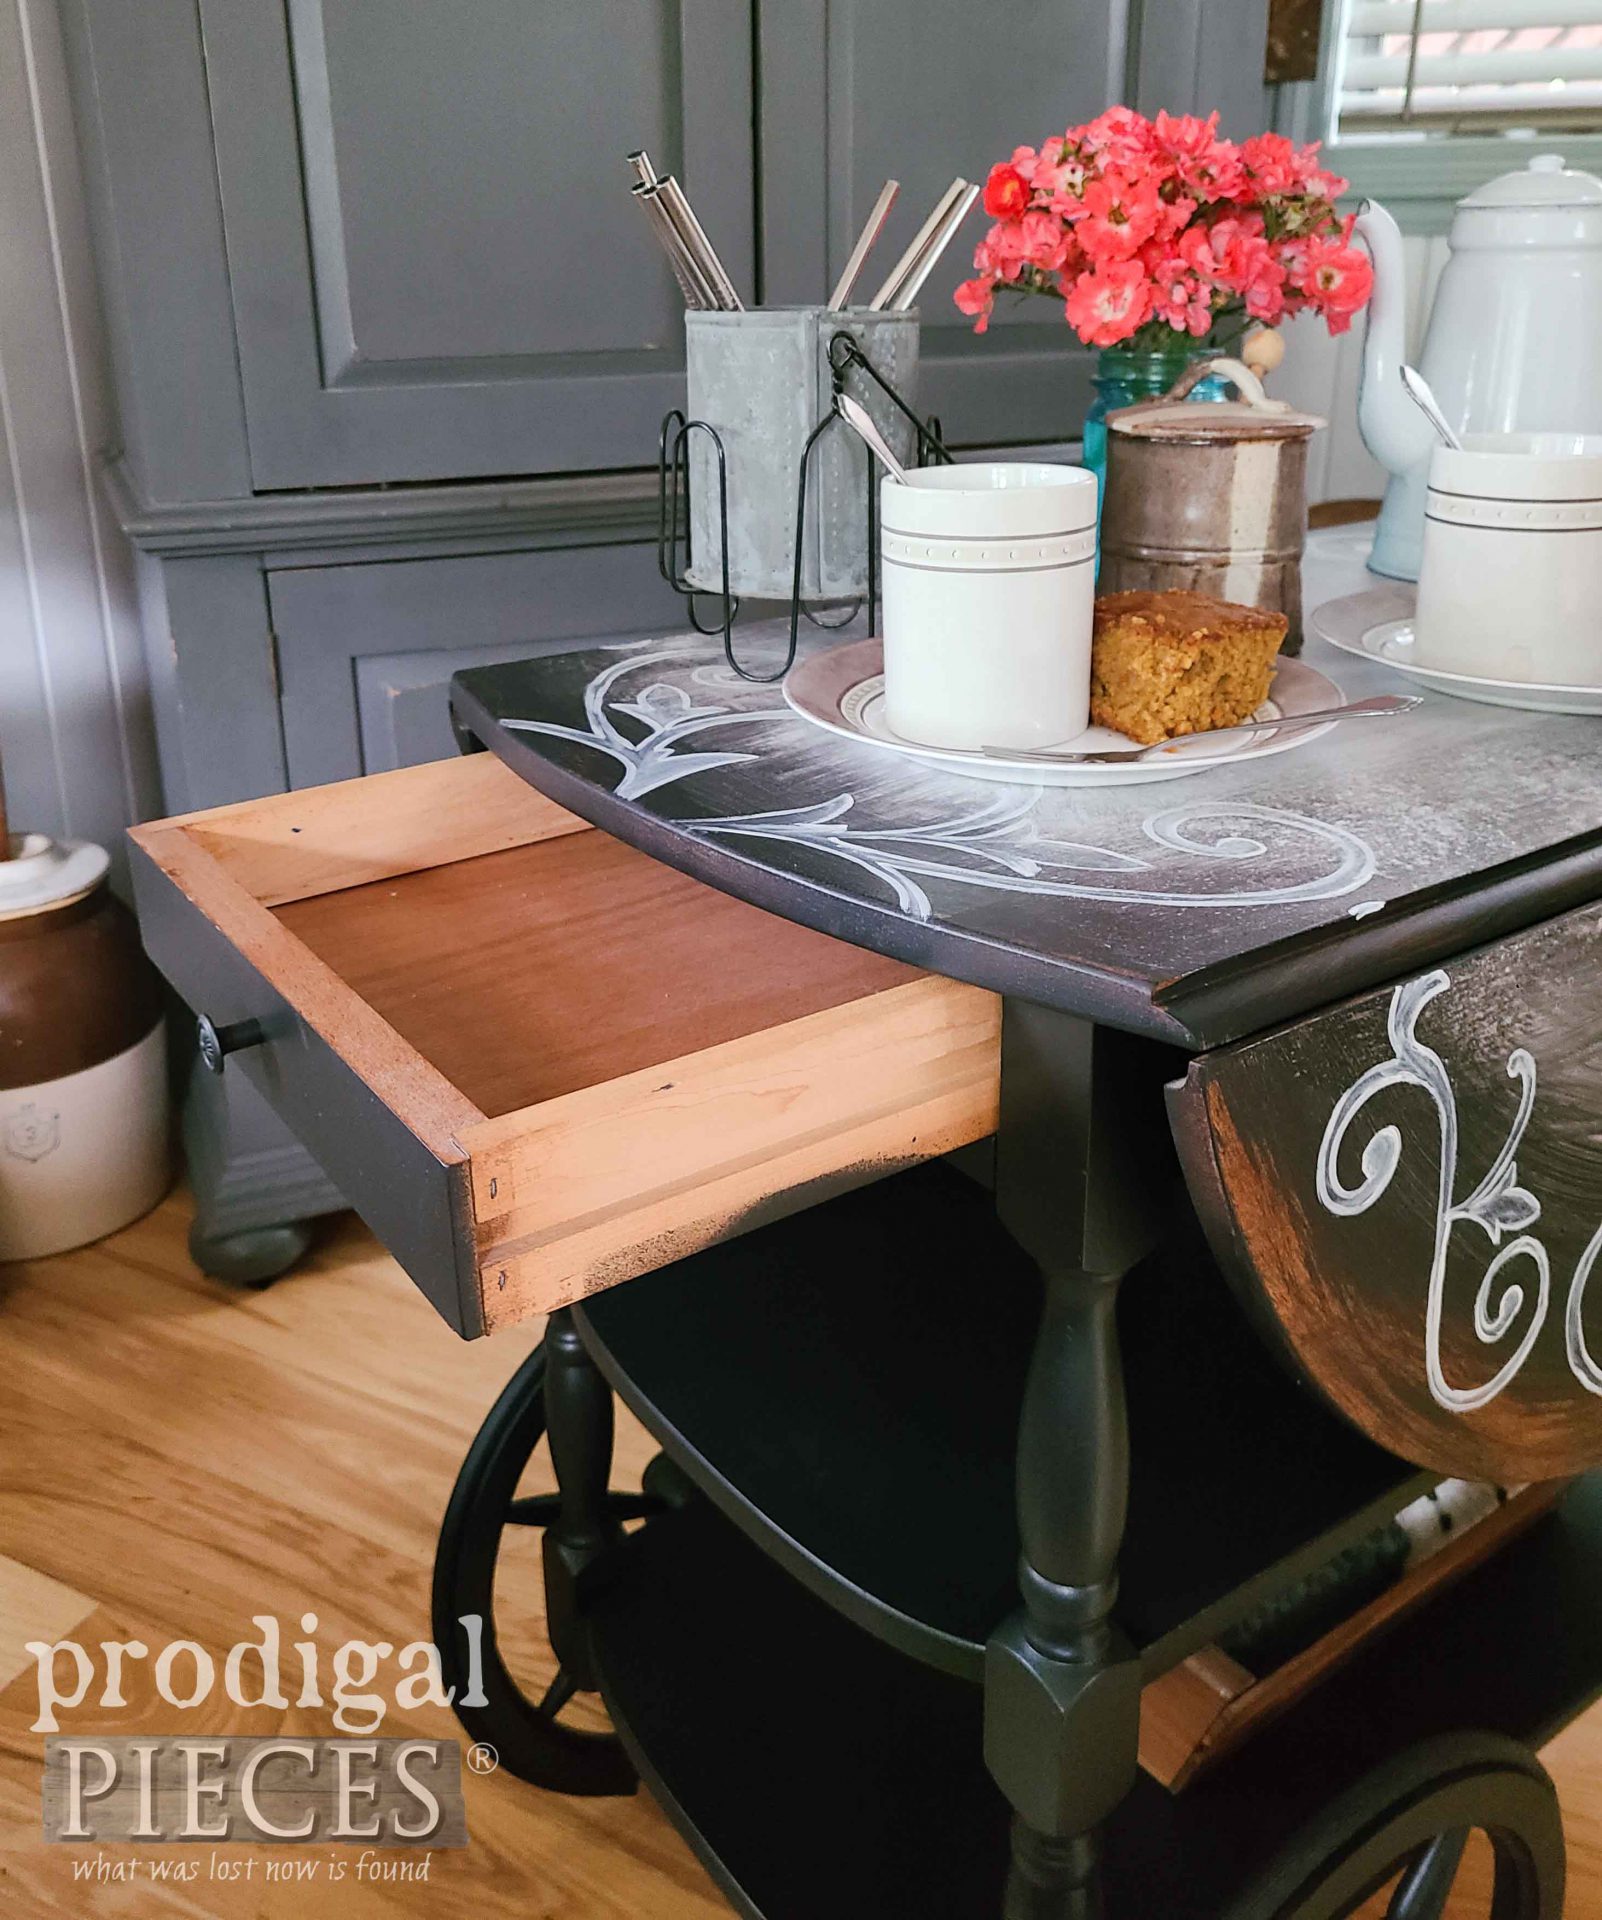
It’s a bit sassy with a whole buncha yum. Does that make sense? It does to me! haha! While the two shelves offer plenty of storage, the added bonus is the handle tucks away under the top. Also, the little drawer to hold utensils and napkins, etc.
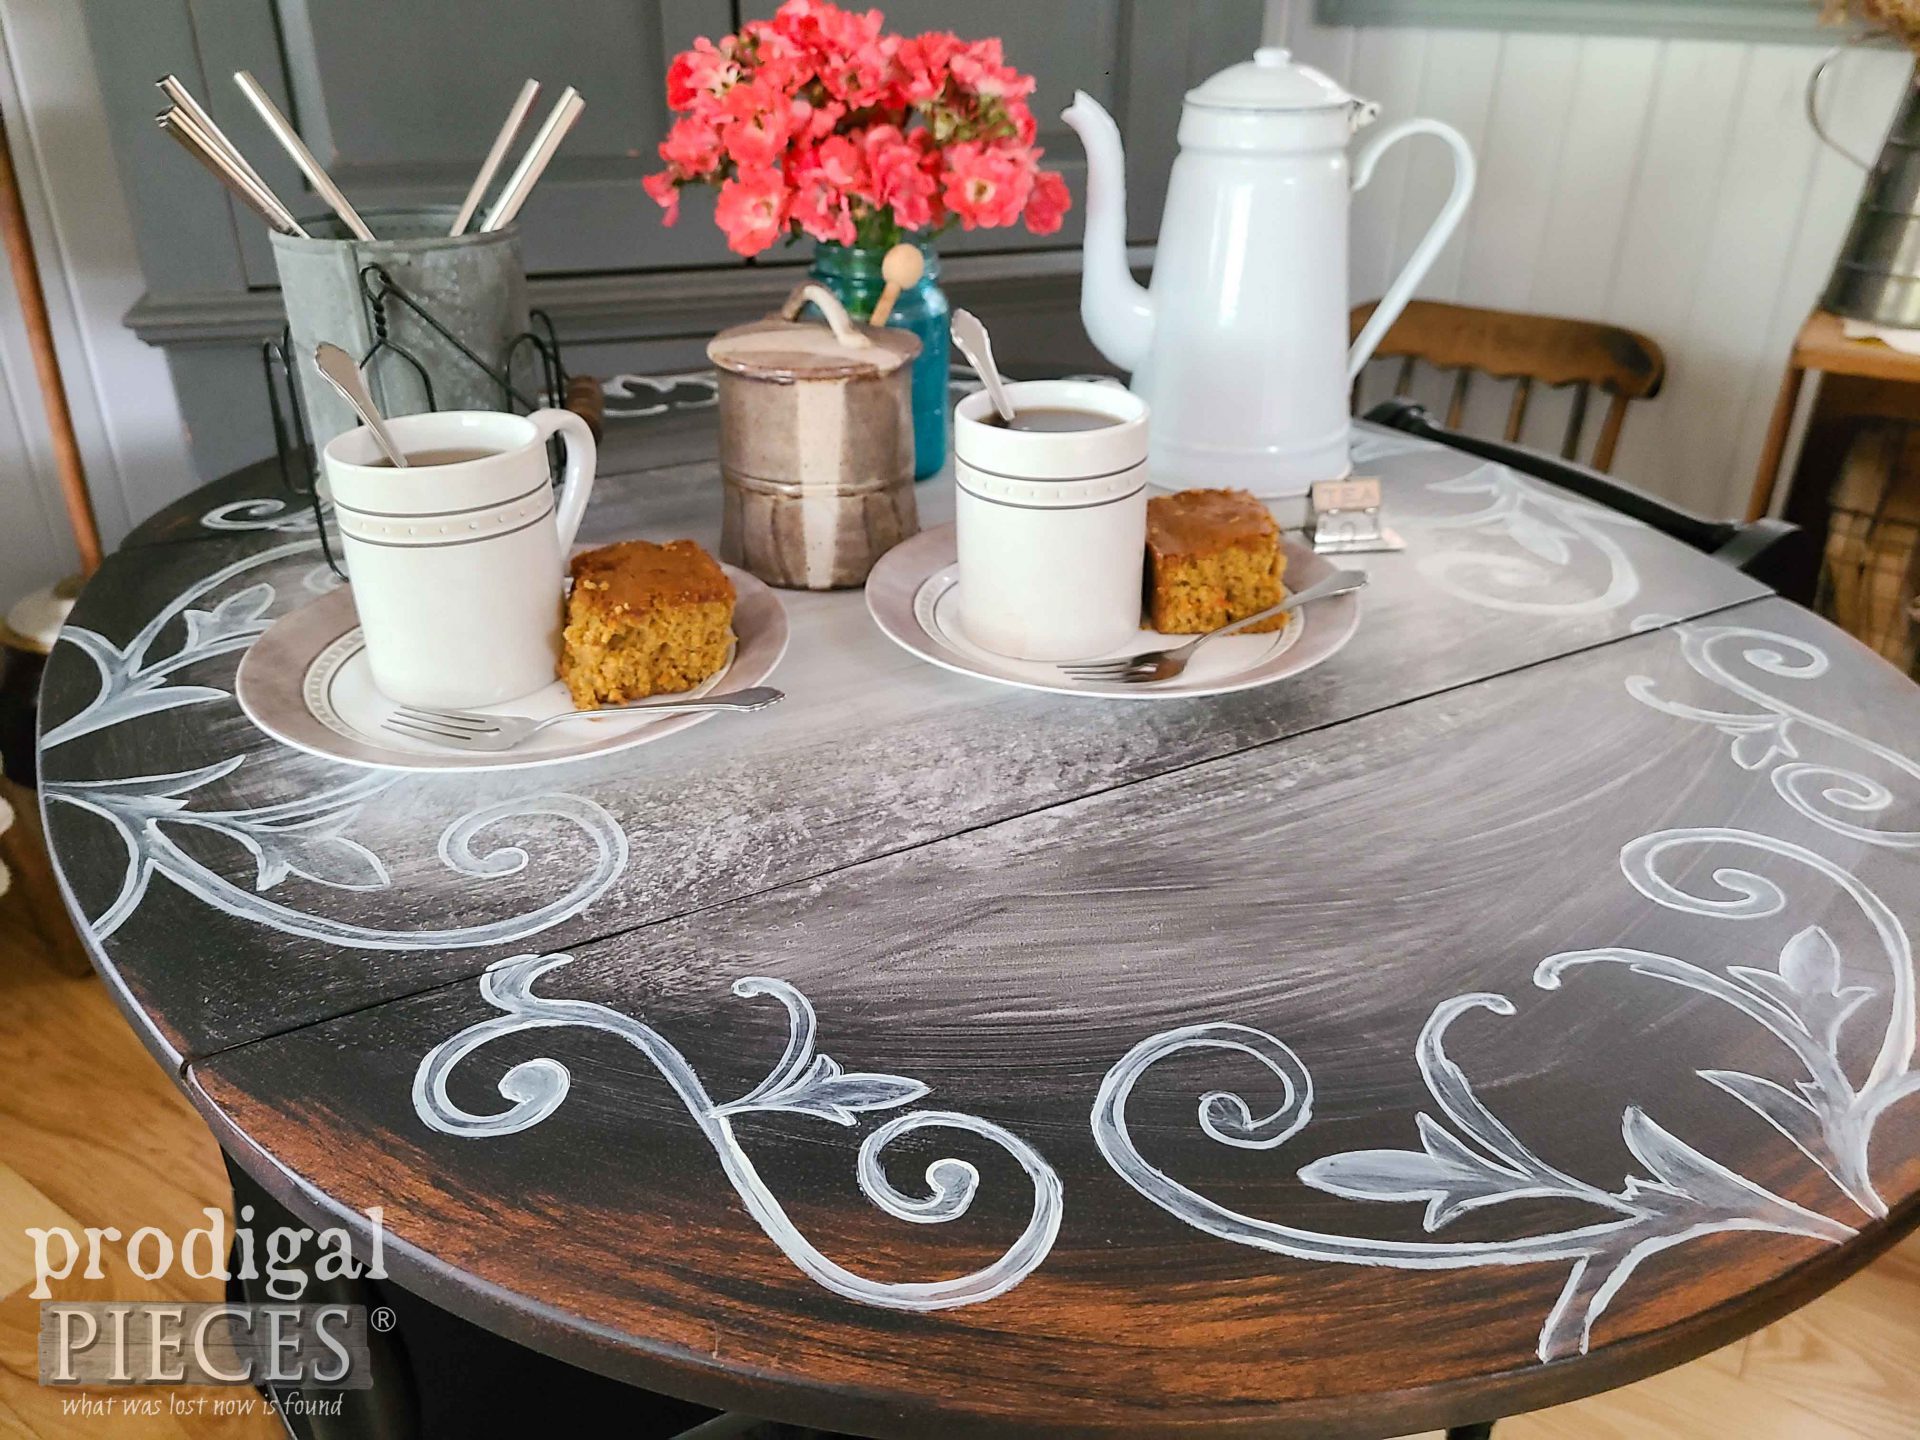
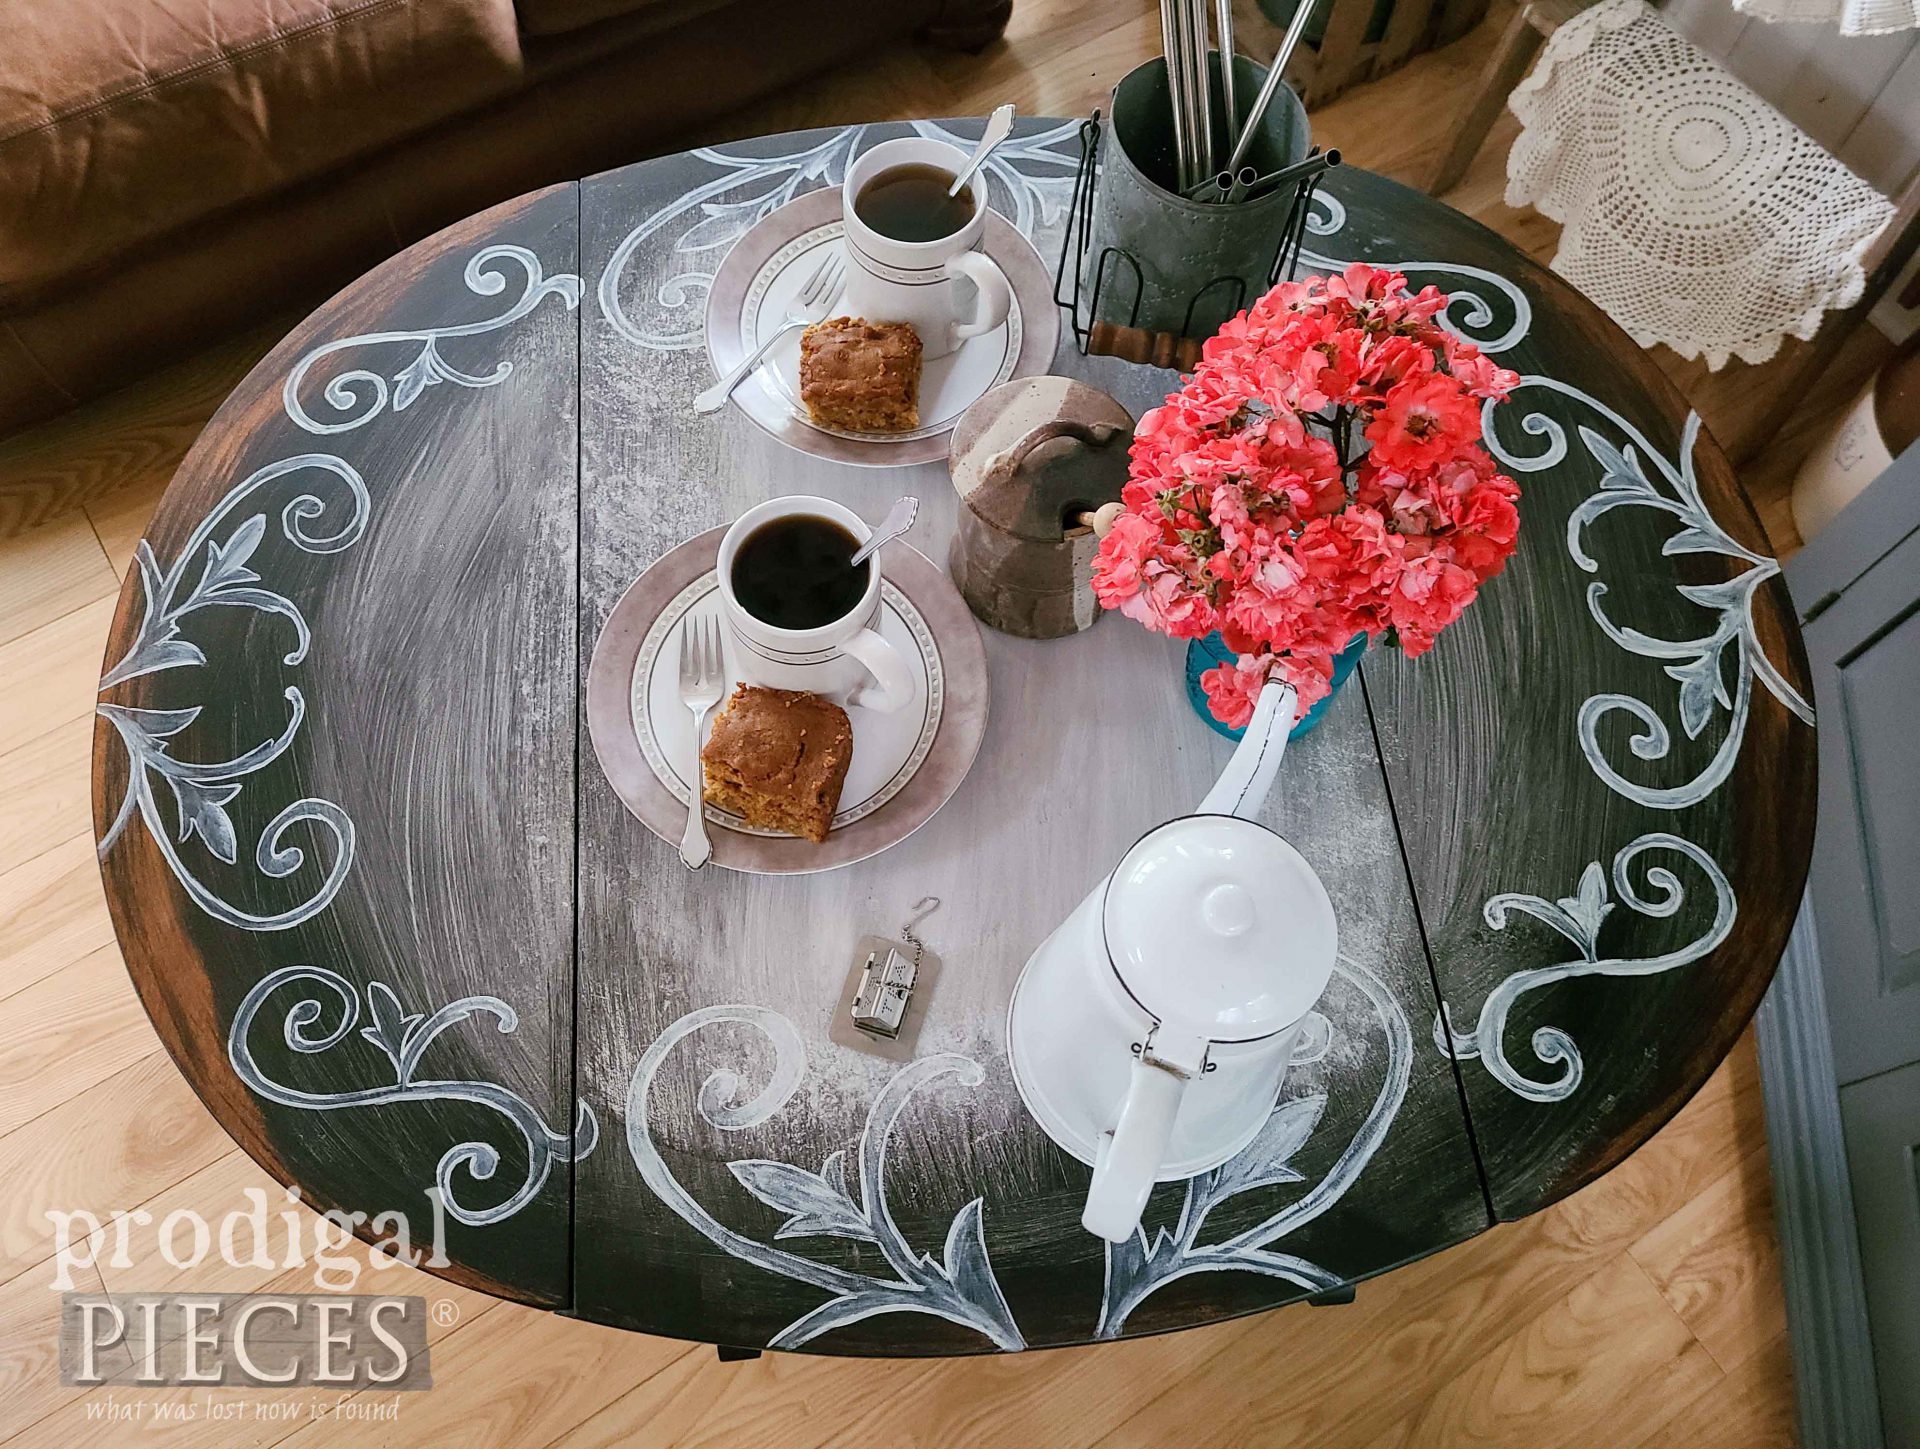
Likewise, I’m super pleased with the outcome of the top. I wanted something rustic with a bit of flair.
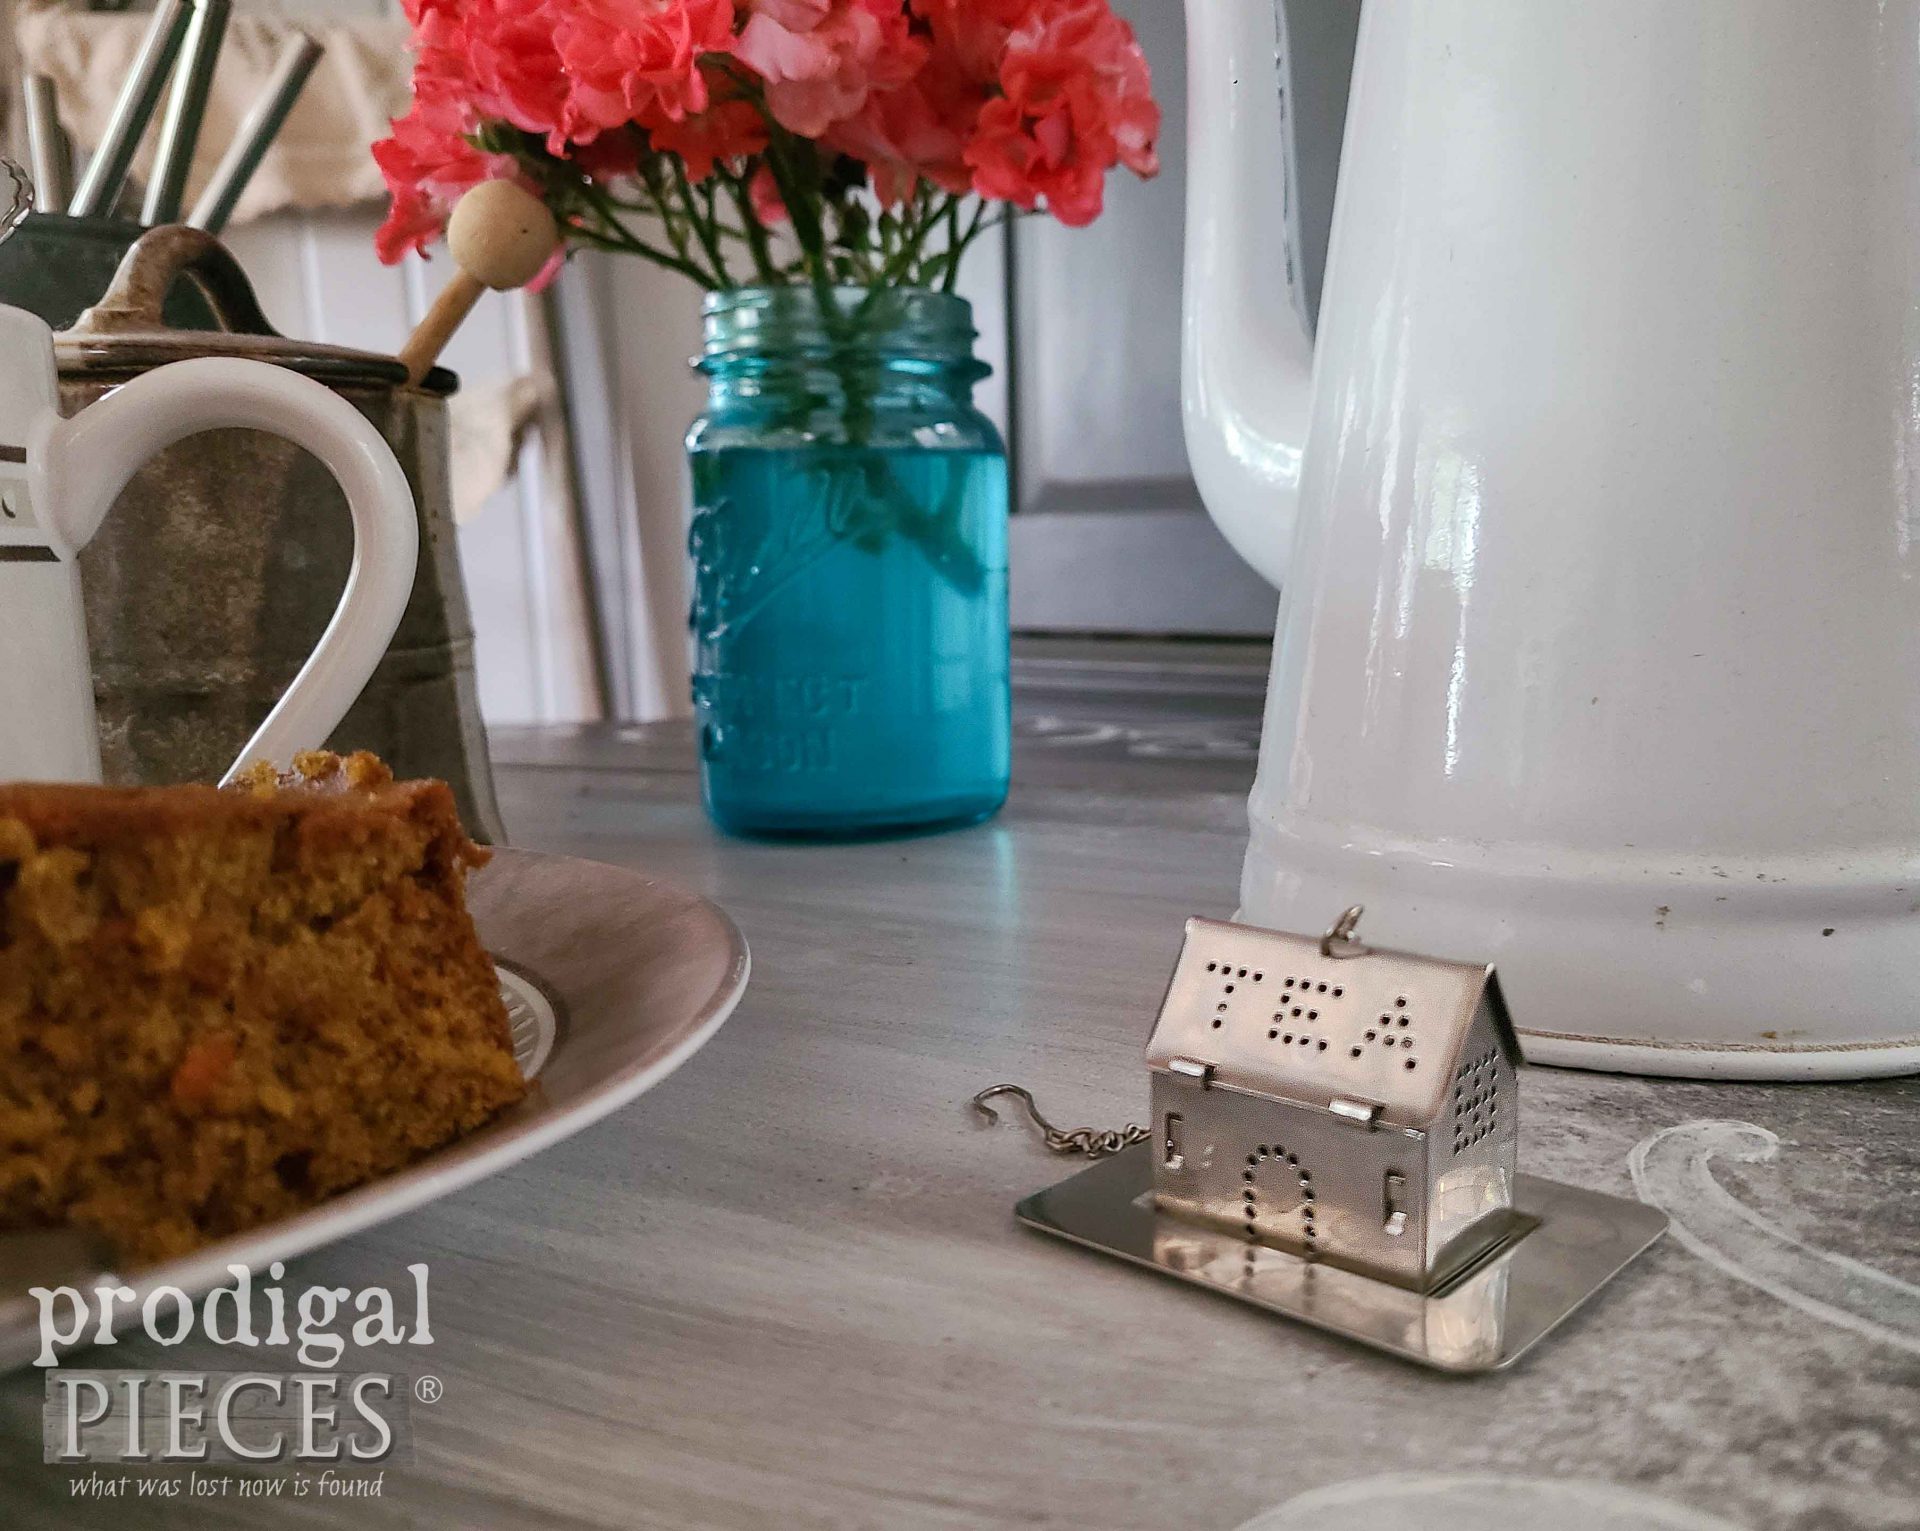
Who wants some carrot cake and tea? My youngest son loves to cook and bake (all my kids bicker over who gets to cook, honestly), and he’s always asking to make carrot cake. Instead of cream cheese frosting, he made a glaze instead, but it’s not on it here as we ate it all last night. tee hee hee!
Also, if you’d like to make this tea cart part of your home story, you can find it and much more available in my online shop. Stop by to see!
SHARE
In addition to pinning and sharing, I’d love to hear your feedback in comments below. What would you have done differently? There are so many ways to dress these ol’ gals up.
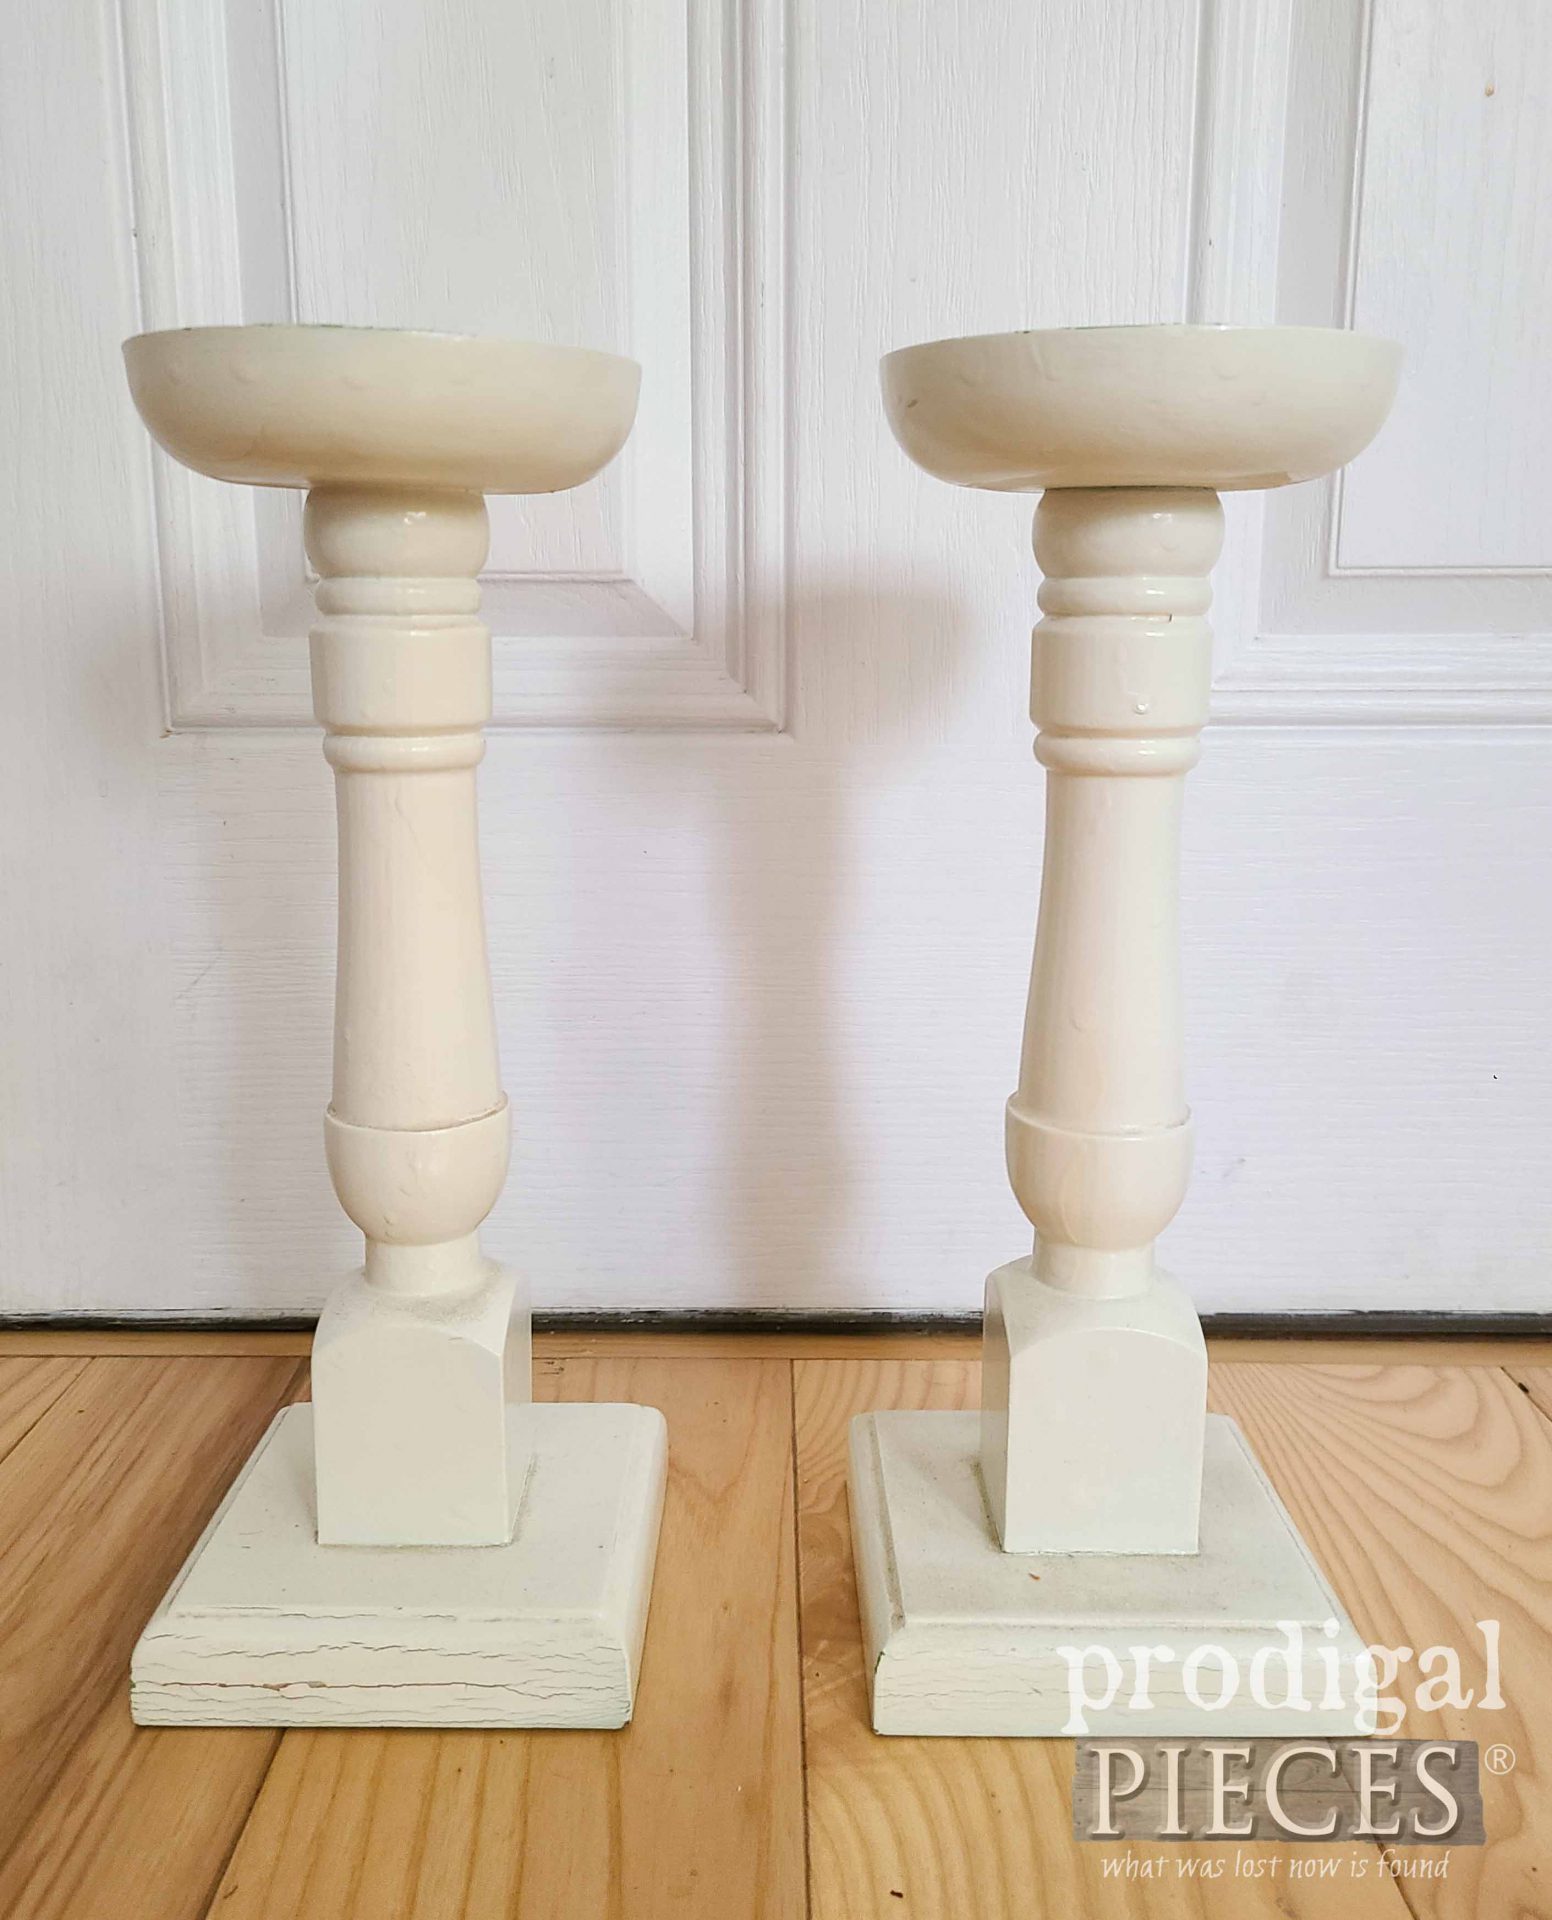
Additionally, I’ve got a super fun, super easy makeover for you with this set of candlesticks, so be sure to sign up for my newsletter. PLUS, you will get your FREE Furniture Buying Checklist and special discount to my shop.
Finally, it’s time to see what my gal friends have created for you. Scroll down!





Better than ever!!! Your design is SO pretty!!! I had no idea you could replace rubber like that on the wheels. I’m going to remember this when repairing the wheels on my antique goat cart!! ?
I love that you have a goat cart! They are so fun to use here and there. Thanks so much, Rebecca. I’m glad I hung with it instead of giving it away.
Amazing save Larissa! And I love the transfer design you added! I’m also team carrot cake so I get why it didn’t make it into your styling. hehe 😉
haha! A gal after my own heart. Hugs!
Dark and moody…..I like it. All I could see was a pumpkin in the top shot and I don’t know why but that made me think of carrot cake so I had to chuckle a bit. Very cool Larissa- and it’s good you keep a stash of extra parts. I wouldn’t even know where to look for replacement parts.
haha. Yeah, that orange stain will do that too ya. Thanks, Niki! I certainly have a decent stash of “junk”.
This turned out so pretty, Larissa! it was lucky you came along and gave it the TLC it really needed! XOXO
It’s lucky I didn’t burn it. haha. I was miffed! 😀 Thank you, Christy.
Love what you did with the top of this one, Larissa!! xo
Thank you, Nancy. I’m just glad I was able to work on it.
Such a great save! I love the black on this piece!
Thank you. Black just suited it. 😀