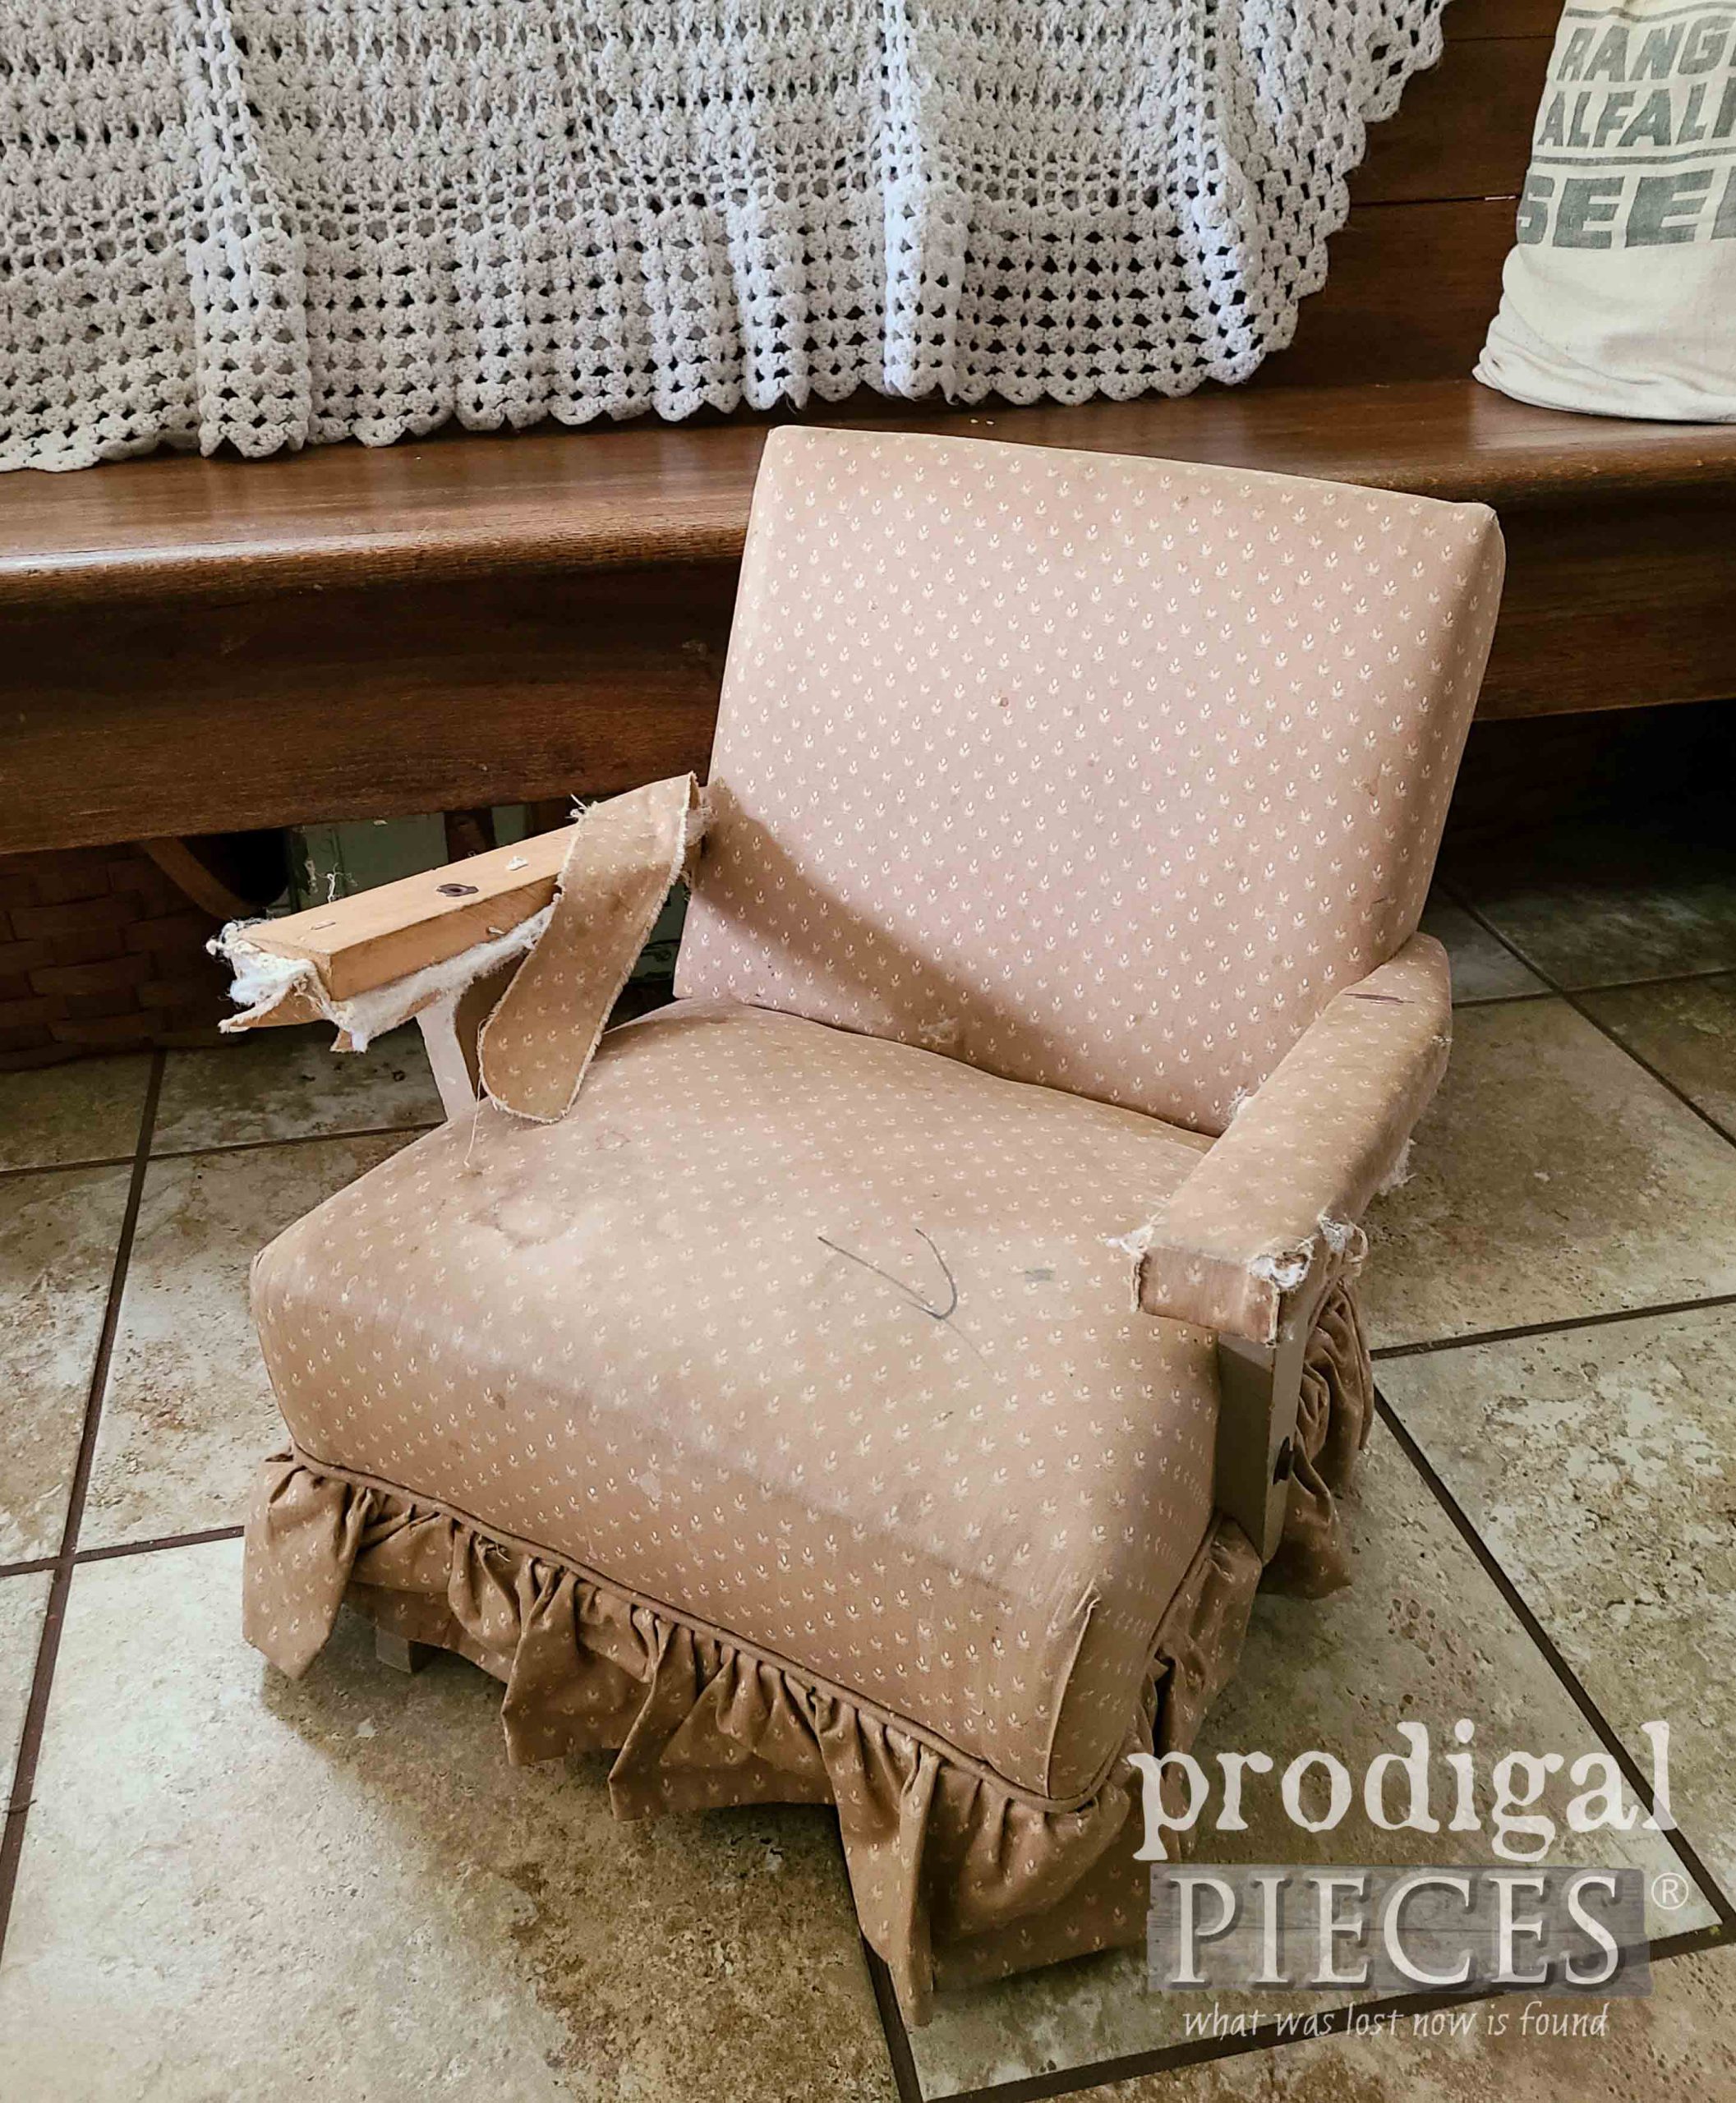
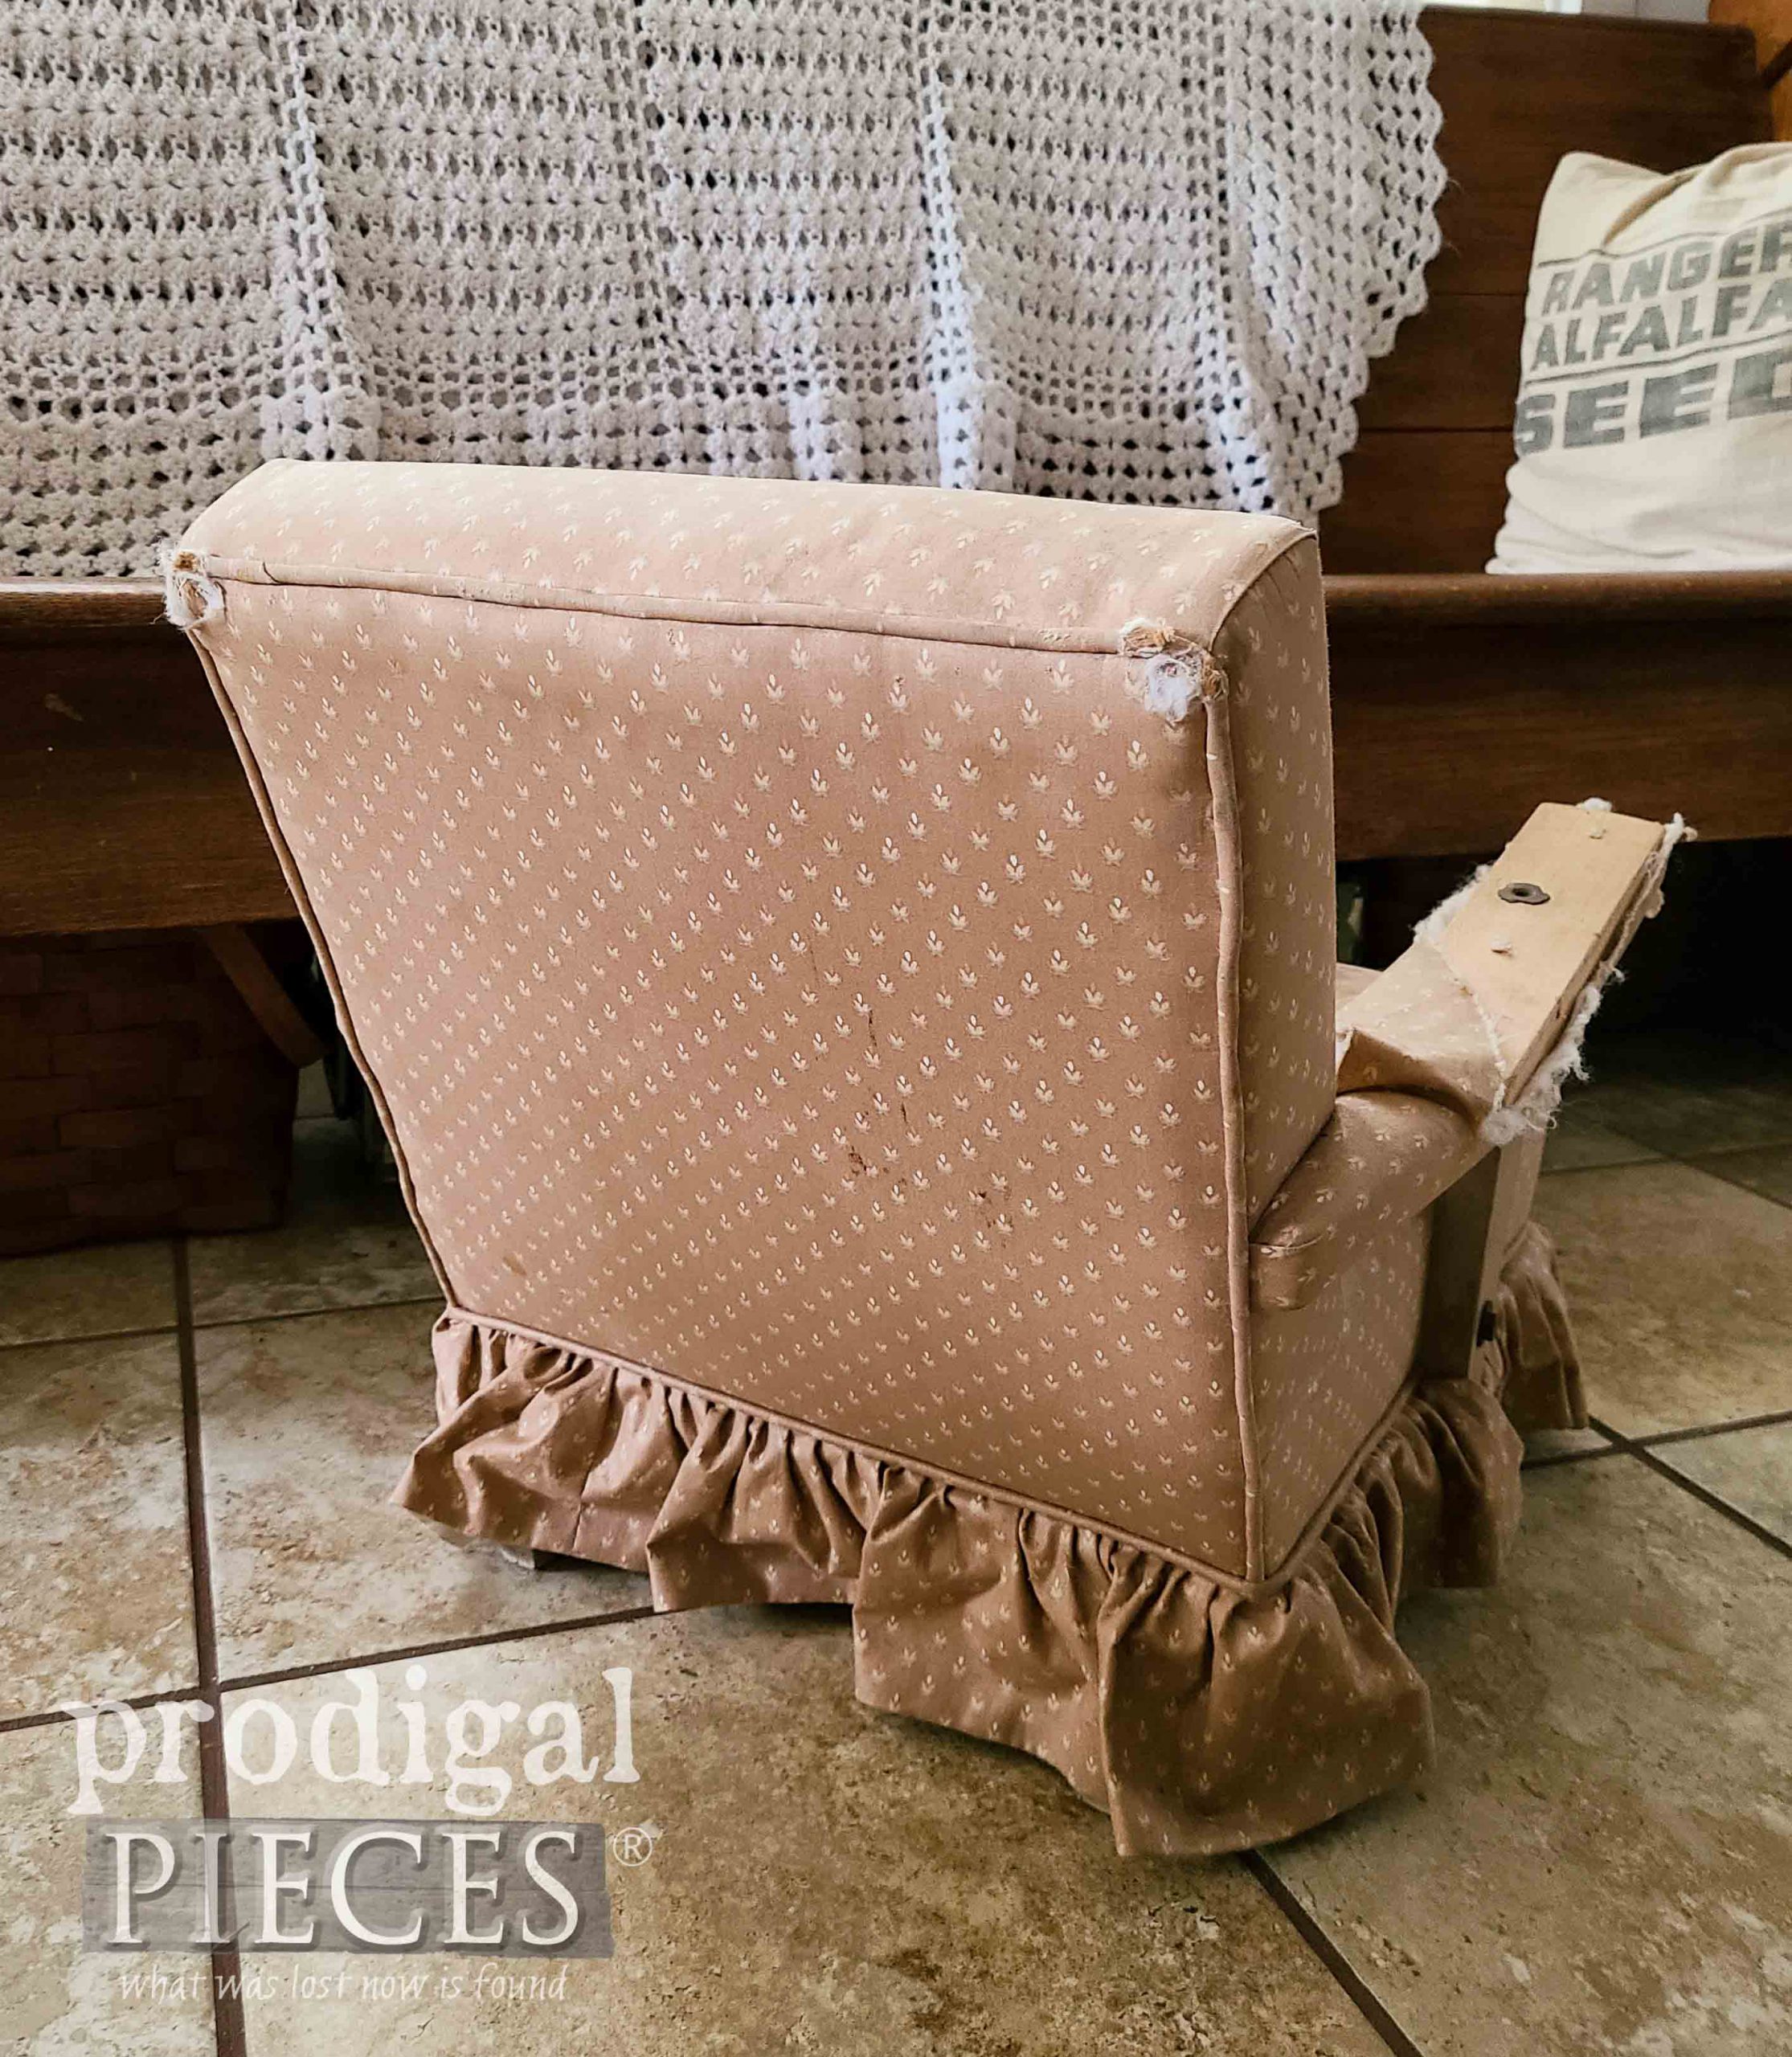
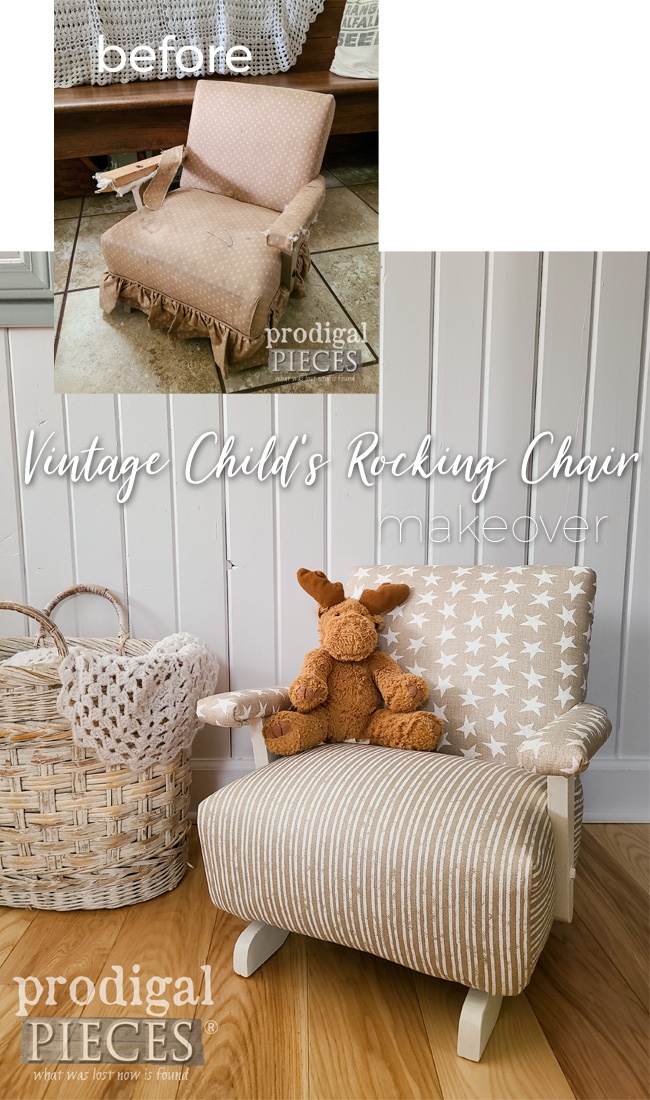
Just when you least expect it…I was only driving to pick up my daughter from her practice when I turned at the stop sign, only to see this sitting out for trash. {{gasp}} What an adorable child’s upholstered rocking chair!
Quickly, I turn around and go back to see if it is stable for use. I checked so quick and thought I would check it better later after I got home. Thankfully, this little platform rocker just needs a little TLC. It’s perfect for Trash to Treasure Tuesday fun! You’ll see what my blogger friends have for you in a bit. Okay, back to the rocking chair.
Yes, it’s a bit tousled, but it only needs a bit of doing and it will be good as new. update: Just after posting this, a friend asked where I picked it up at. Turns out she picked it from the curbs, passed it on to a friend who also set it back at the curb. Then, apparently another person picked it up, took it home, and then set it on the curb as well. bwahahahaha!! I’m the only idiot that wanted to work on it! {{I die}} They told me it used to have a music box on it that played when you rocked…so sweet!
DIY TIME
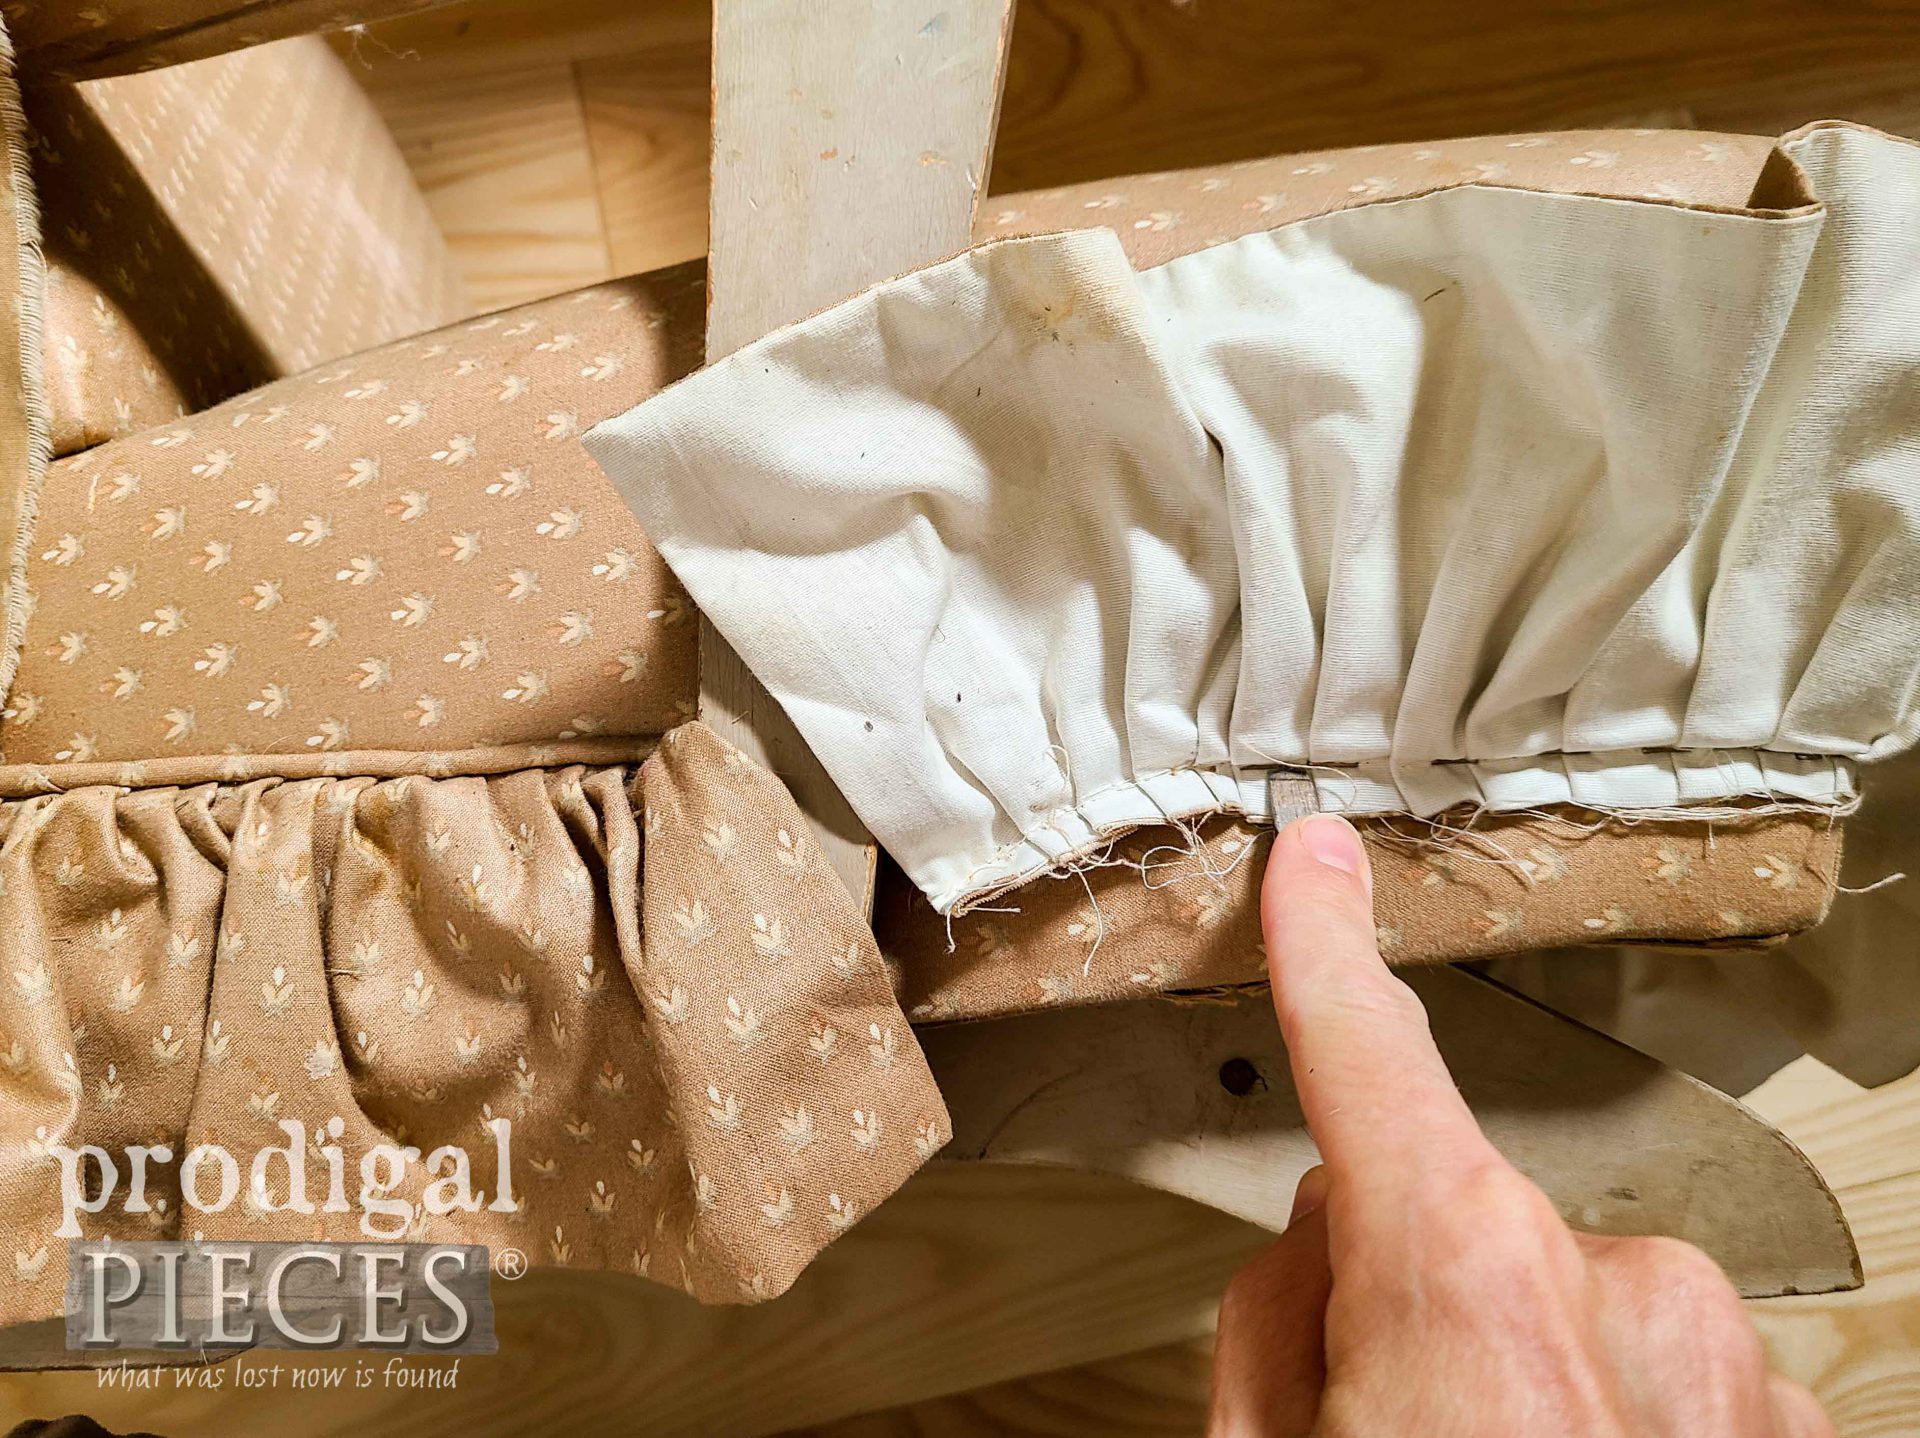
Obviously, the first thing to do is remove all the old upholstery. That is never an easy task but is so fulfilling. However, instead of just yanking it off, I try to keep all pieces intact so that I can replicate them for the new. At first glance I knew my hands were in for another wild ride. Upholstery is not an easy task by any means with a project like this. However, it can be sort of like therapy.
I lost count after 10,000 staples and 10 blisters later. Ugh!! No joke, this is one well-put-together little bugger. Over and over I kept saying how impressed I was at the craftsmanship and obvious attention to detail. That is, until I came to one thing. I had to remove the back rest in order to remove the upholstery.
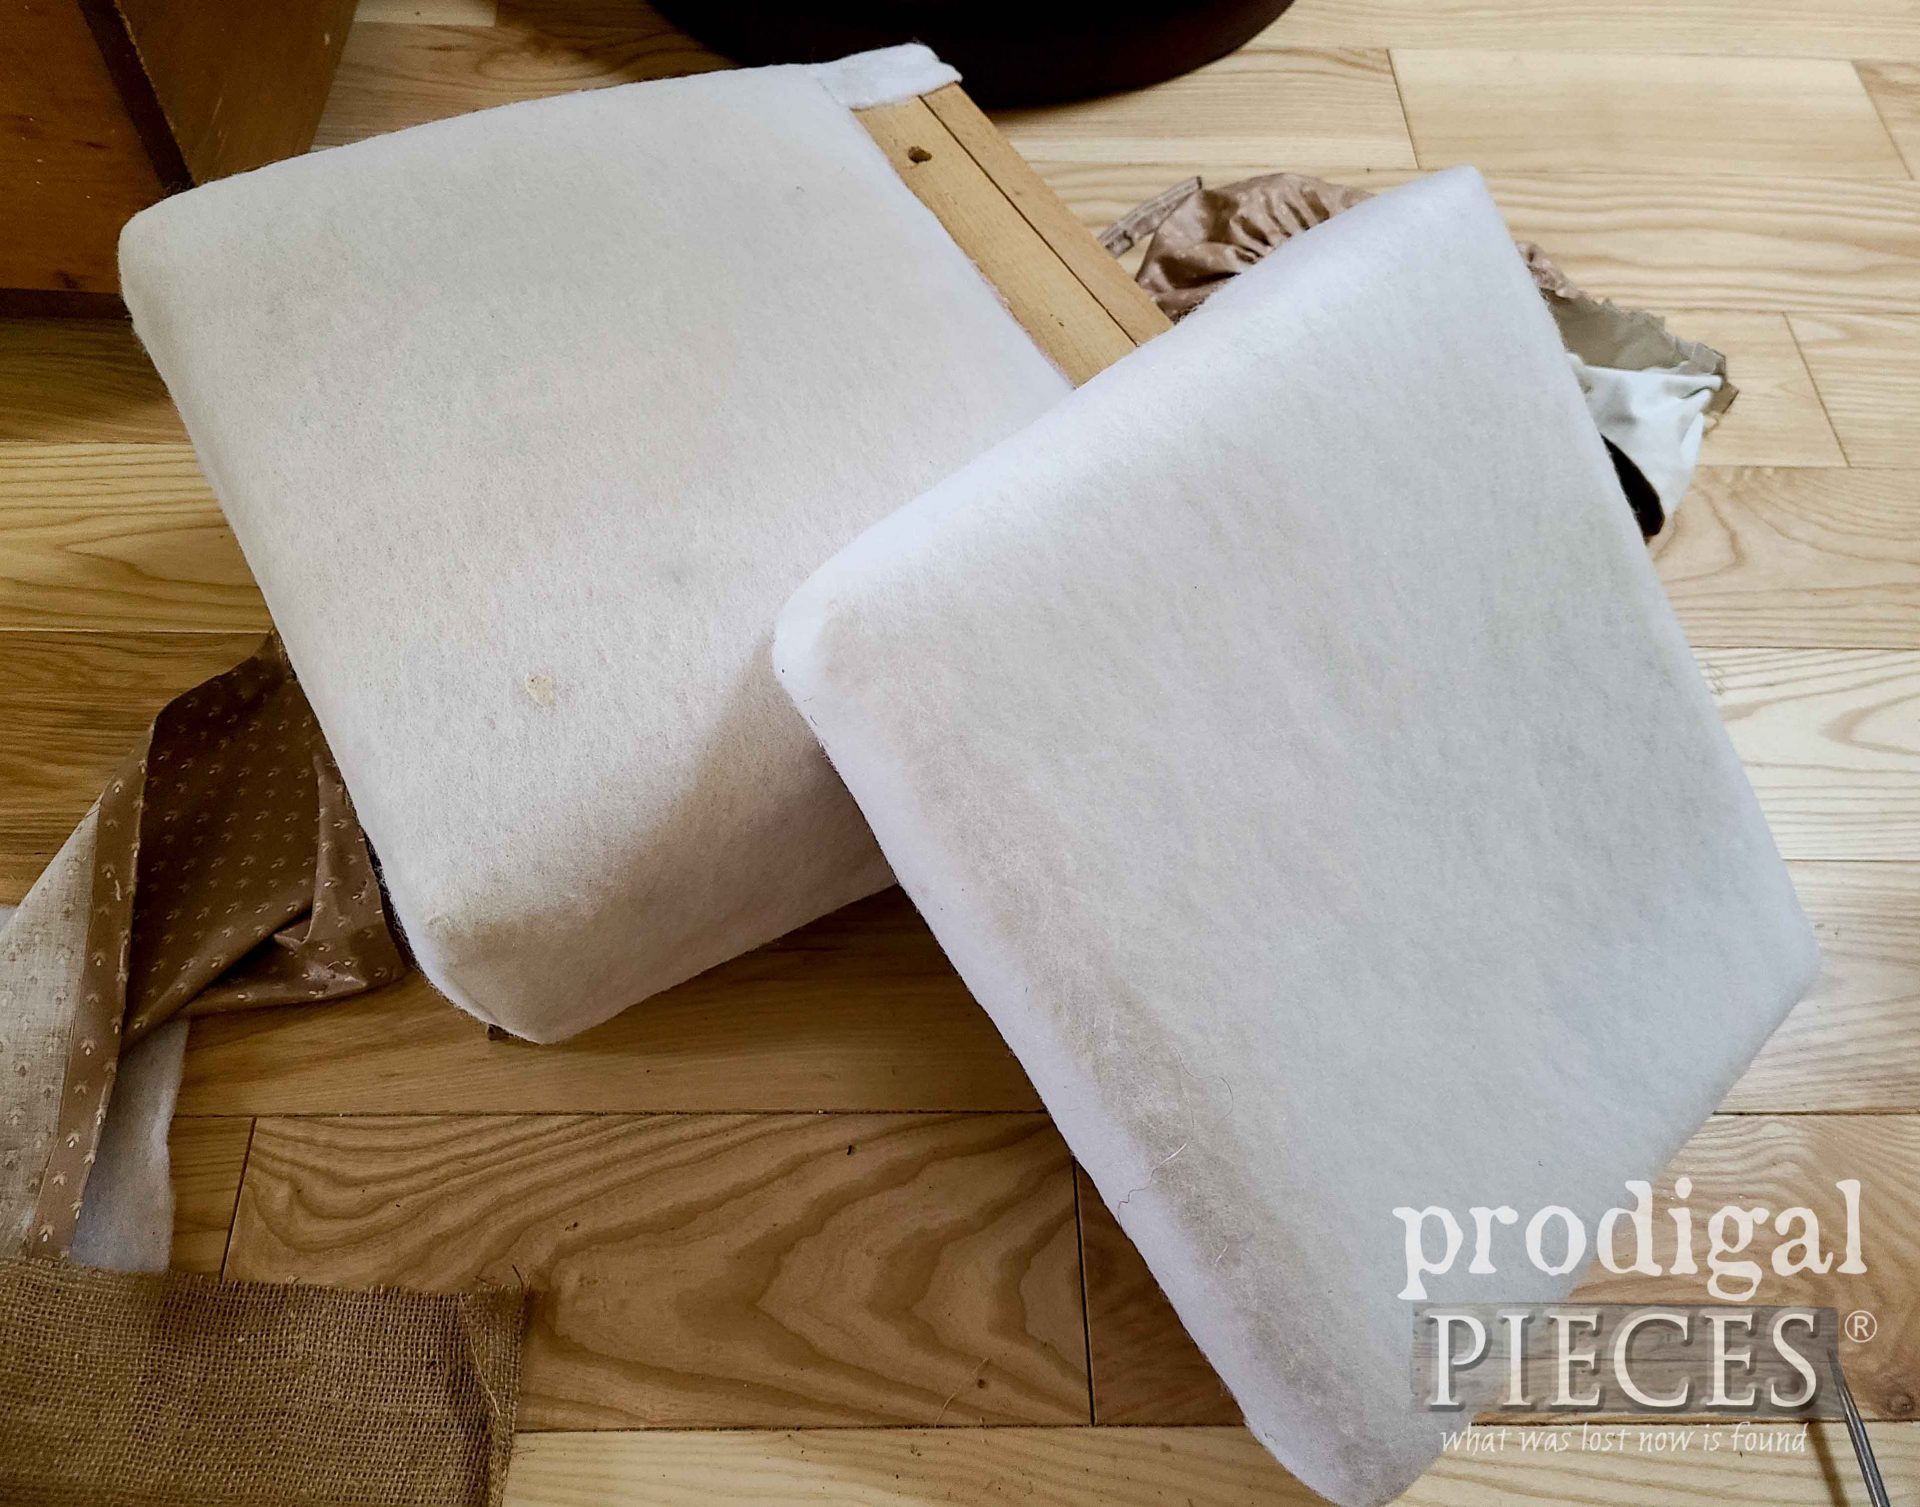
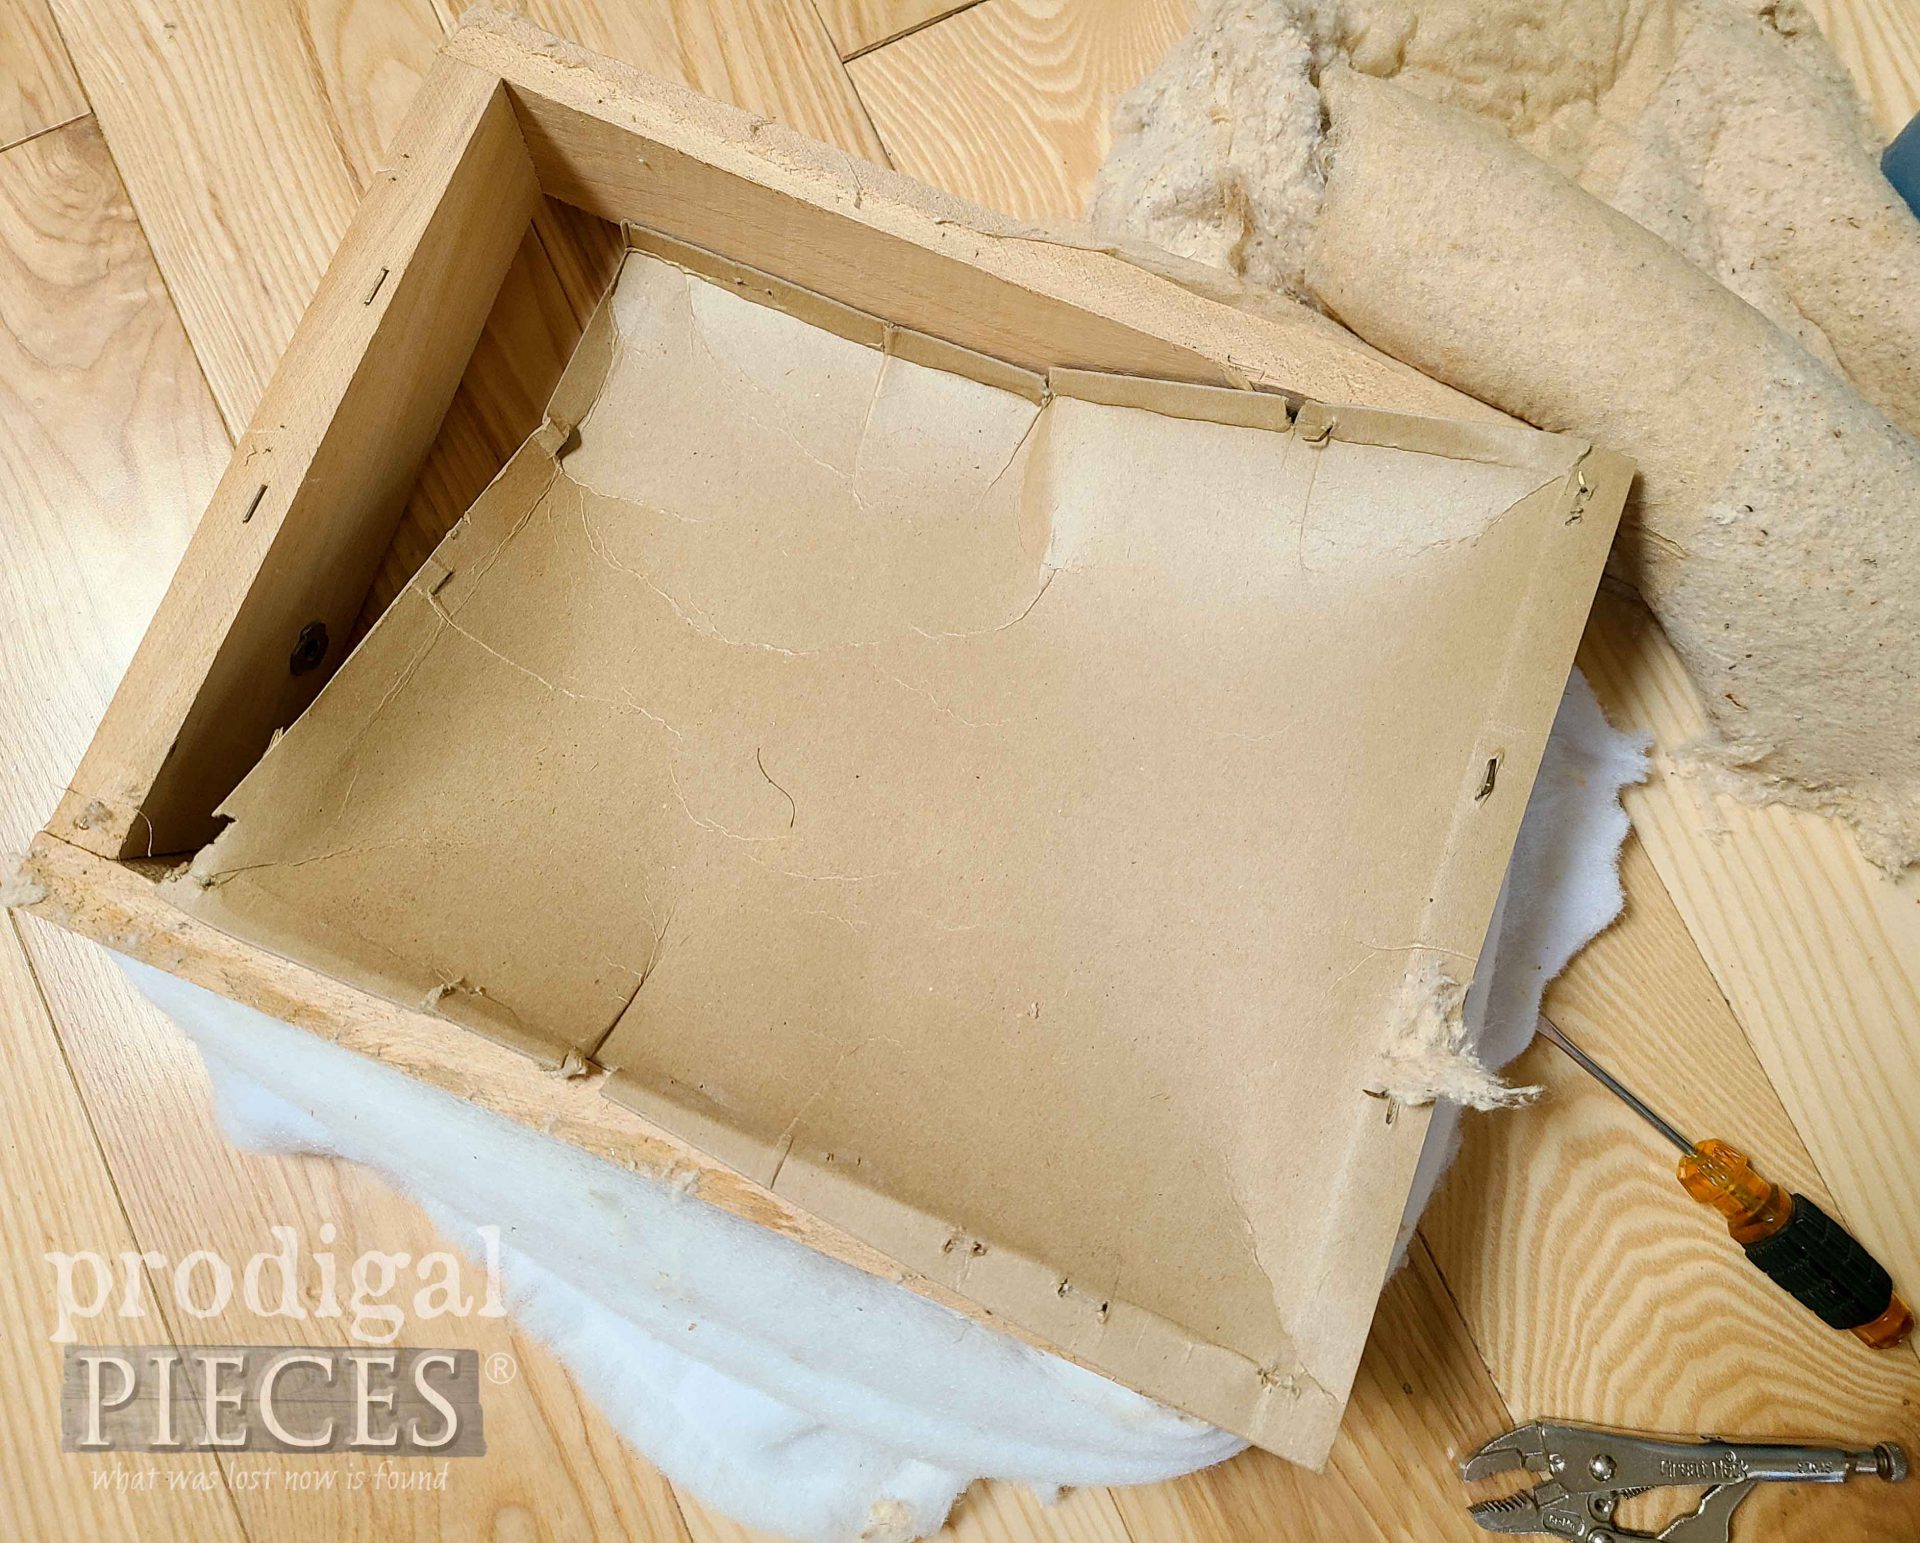
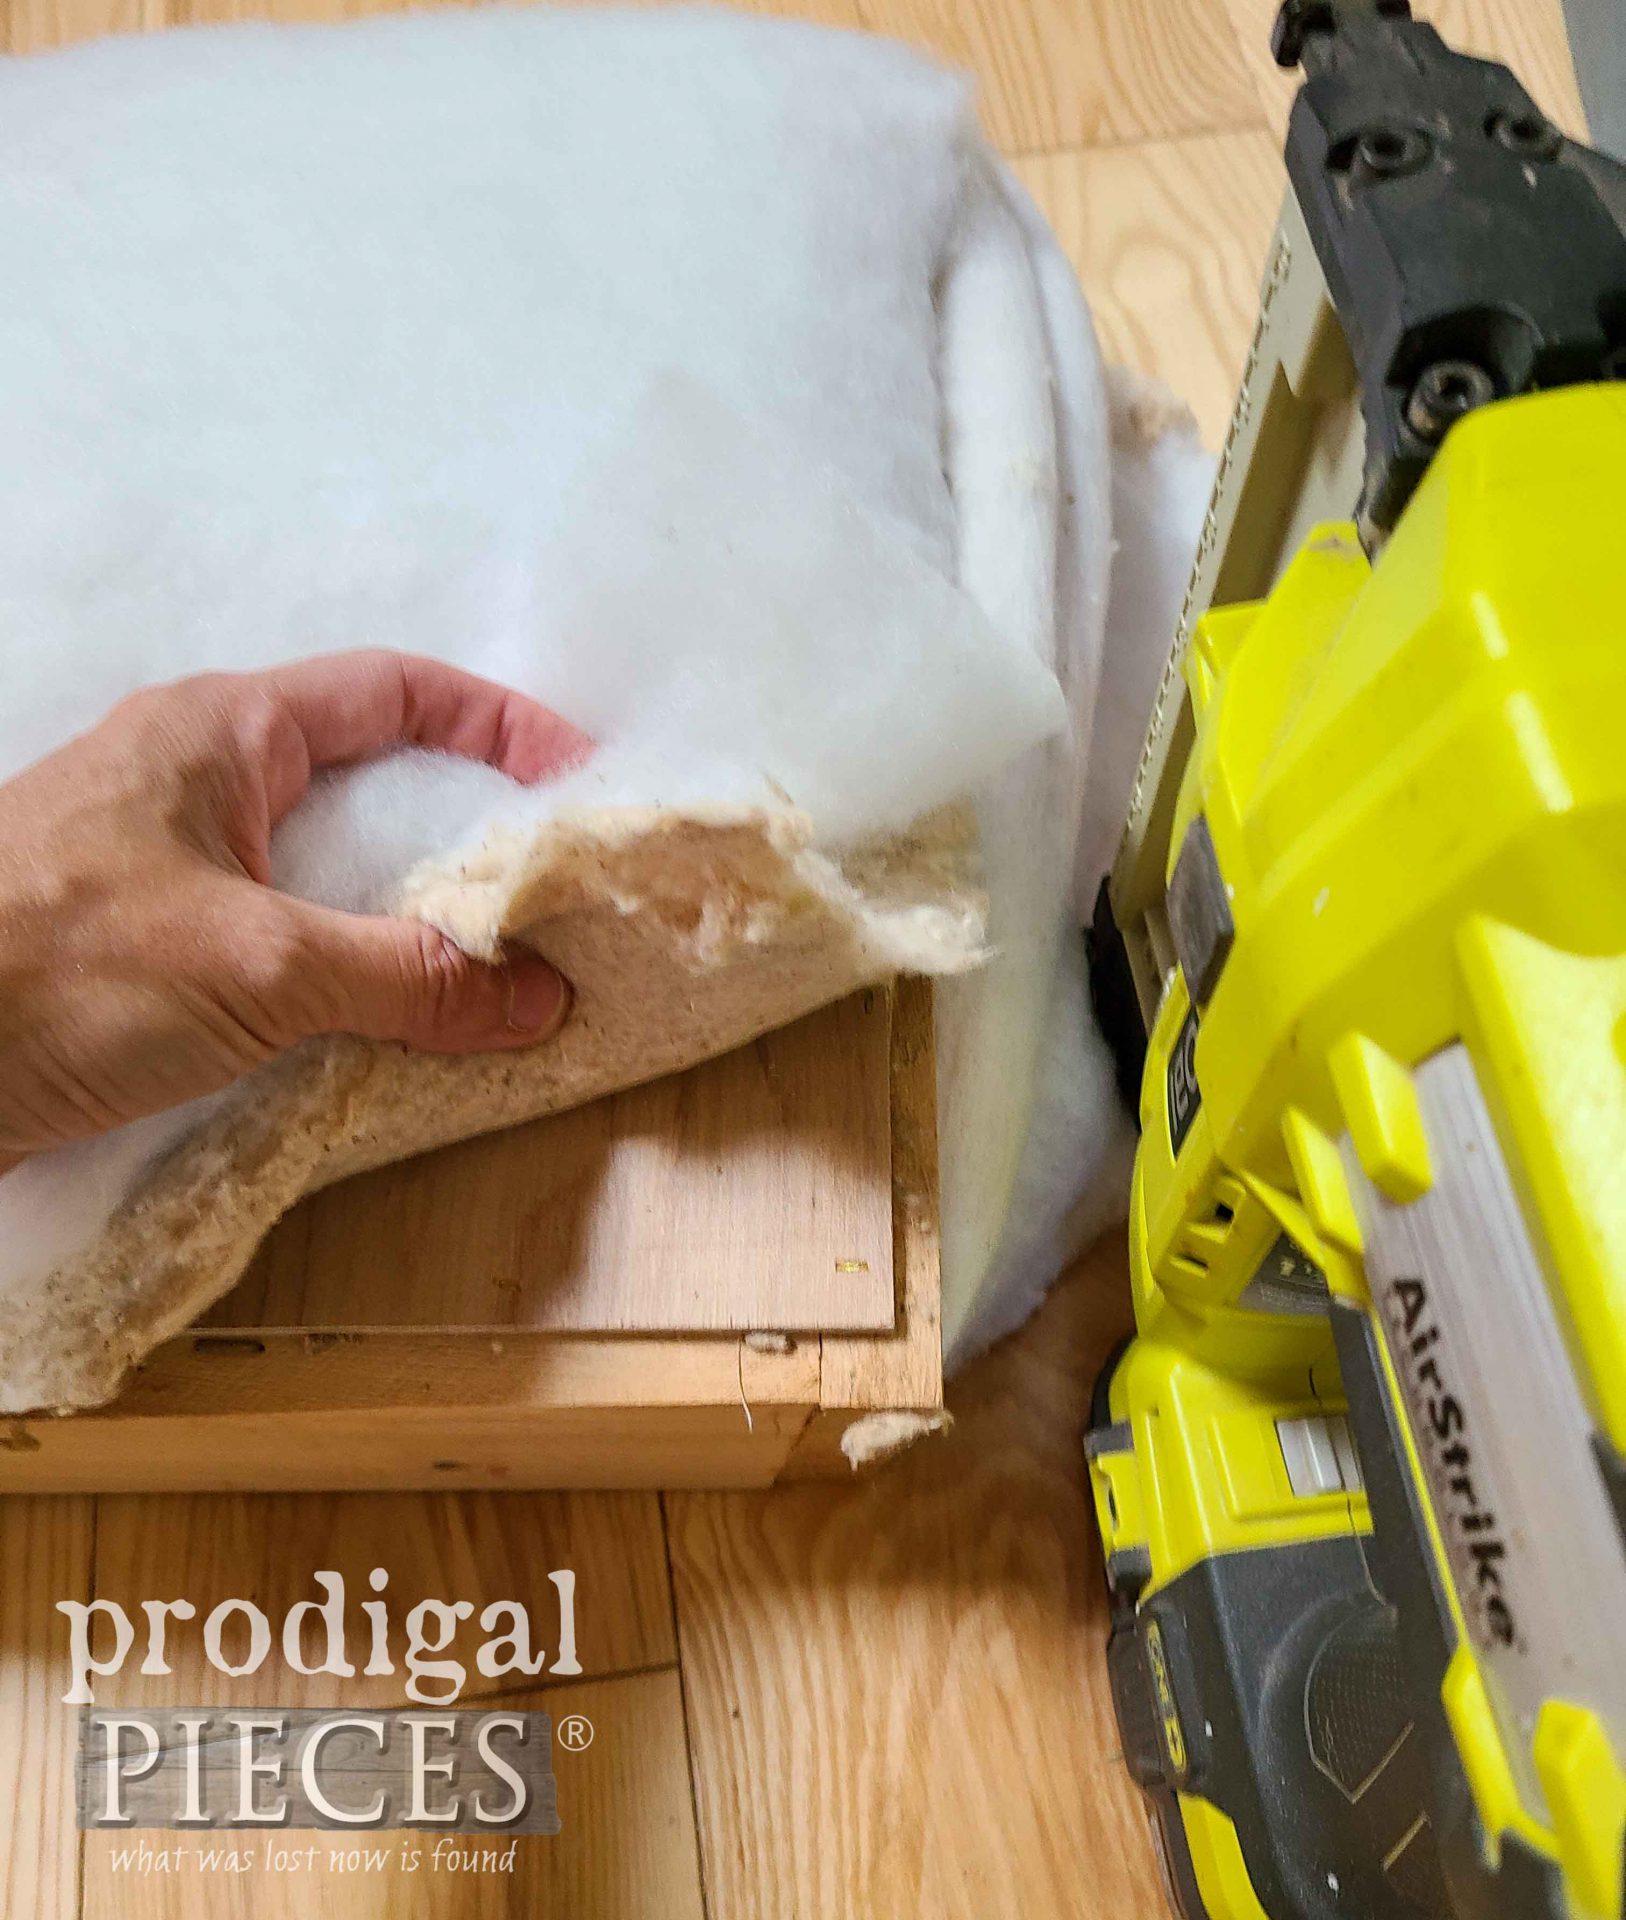
Then, I had to remove the batting to get inside to repair the stuffing. When I did that, I found a paperboard support.
I was like…really? The question I kept asking is why go to all these lengths and then have something so important be so ill-made? So, to remedy that, I cut a piece of luan at attached it. Then, I added back the cotton and batting using my stapler.
NEXT STEPS
Outside of the fact that the upholstery needs to be replacing, there is other repairs that are evident. For instance, the base of this child’s upholstered rocking chair is a platform. No typical rockers to rest on, but rather springs. The nails are popped and bent. In addition, some are broken completely.
This led to me removing, completely dismantling, and rebuilding the base with screws. I told you that I never seemingly choose an easy project. ahem. At least, that gives me the chance to fix everything and refresh the paint. Ya gotta see the silver lining!
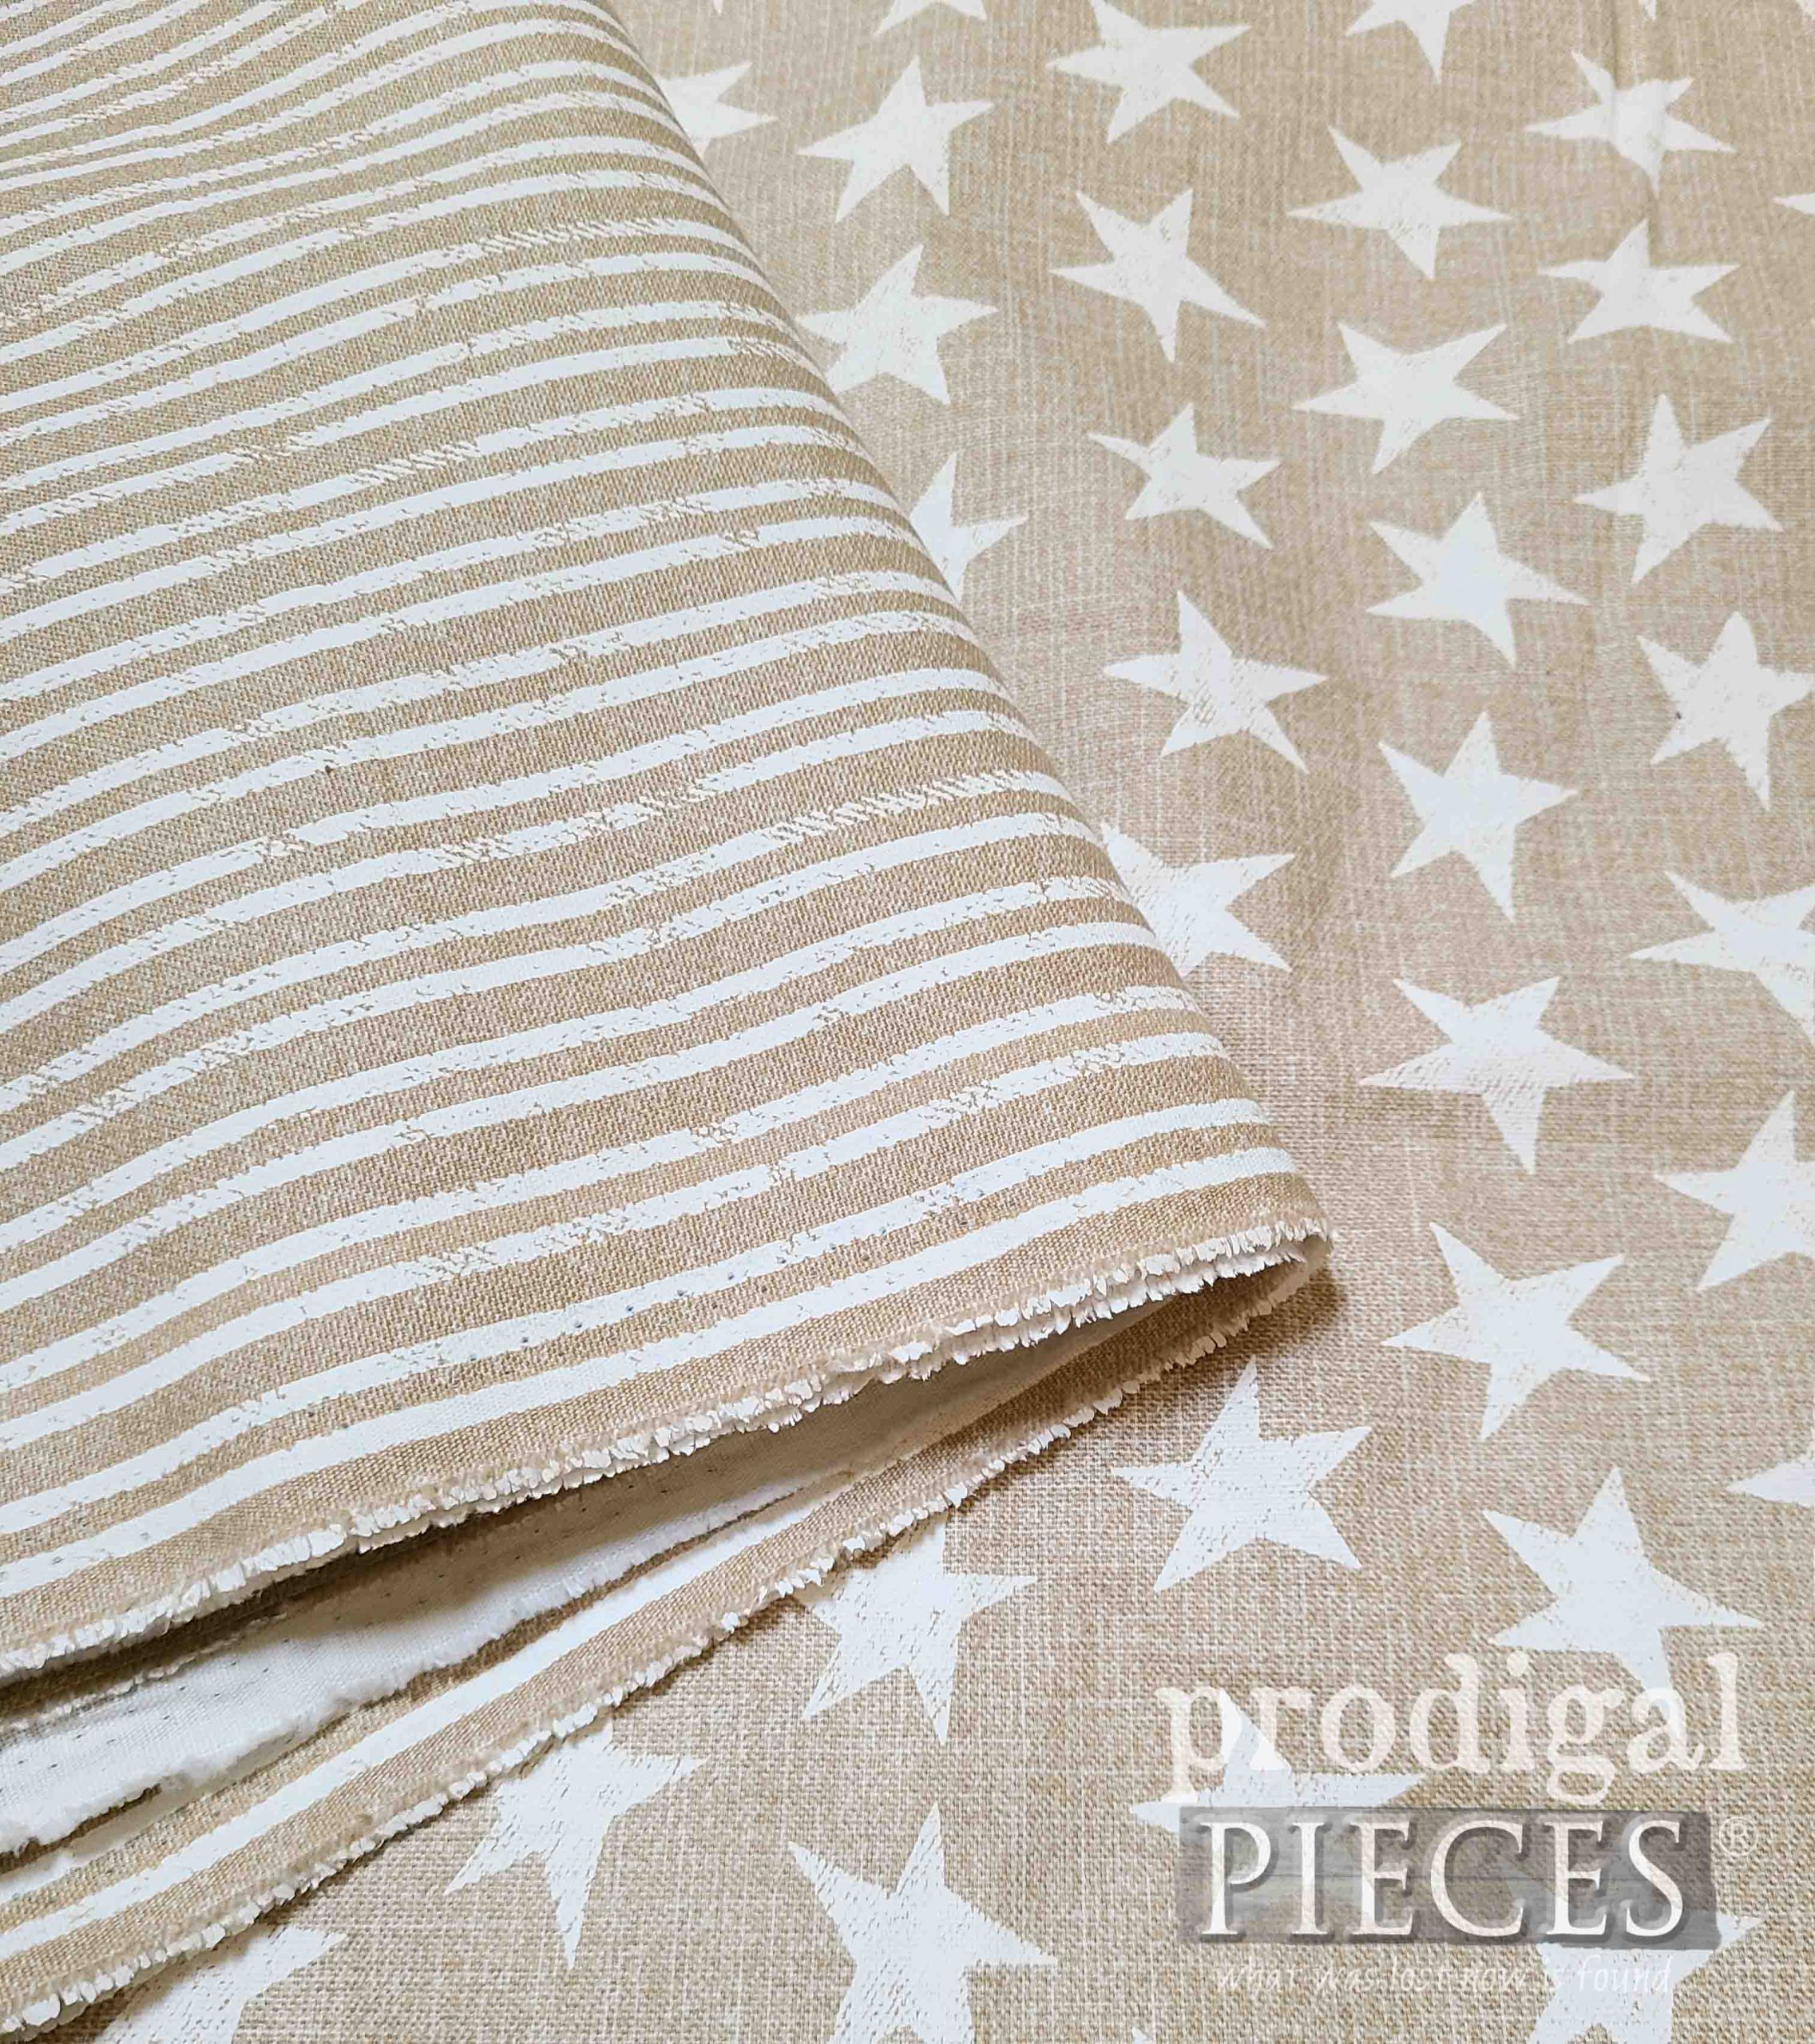
Last, but not least, I can finally add the new upholstery to see my hours and hours of work pay off. I literally spent about 12 hours on this. Crazy! My goal was to make this a modern twist on this vintage piece. Here are my choices for fabric – neutral, and full of whimsy.
I love this fabric so much, don’t you?
THE REVEAL
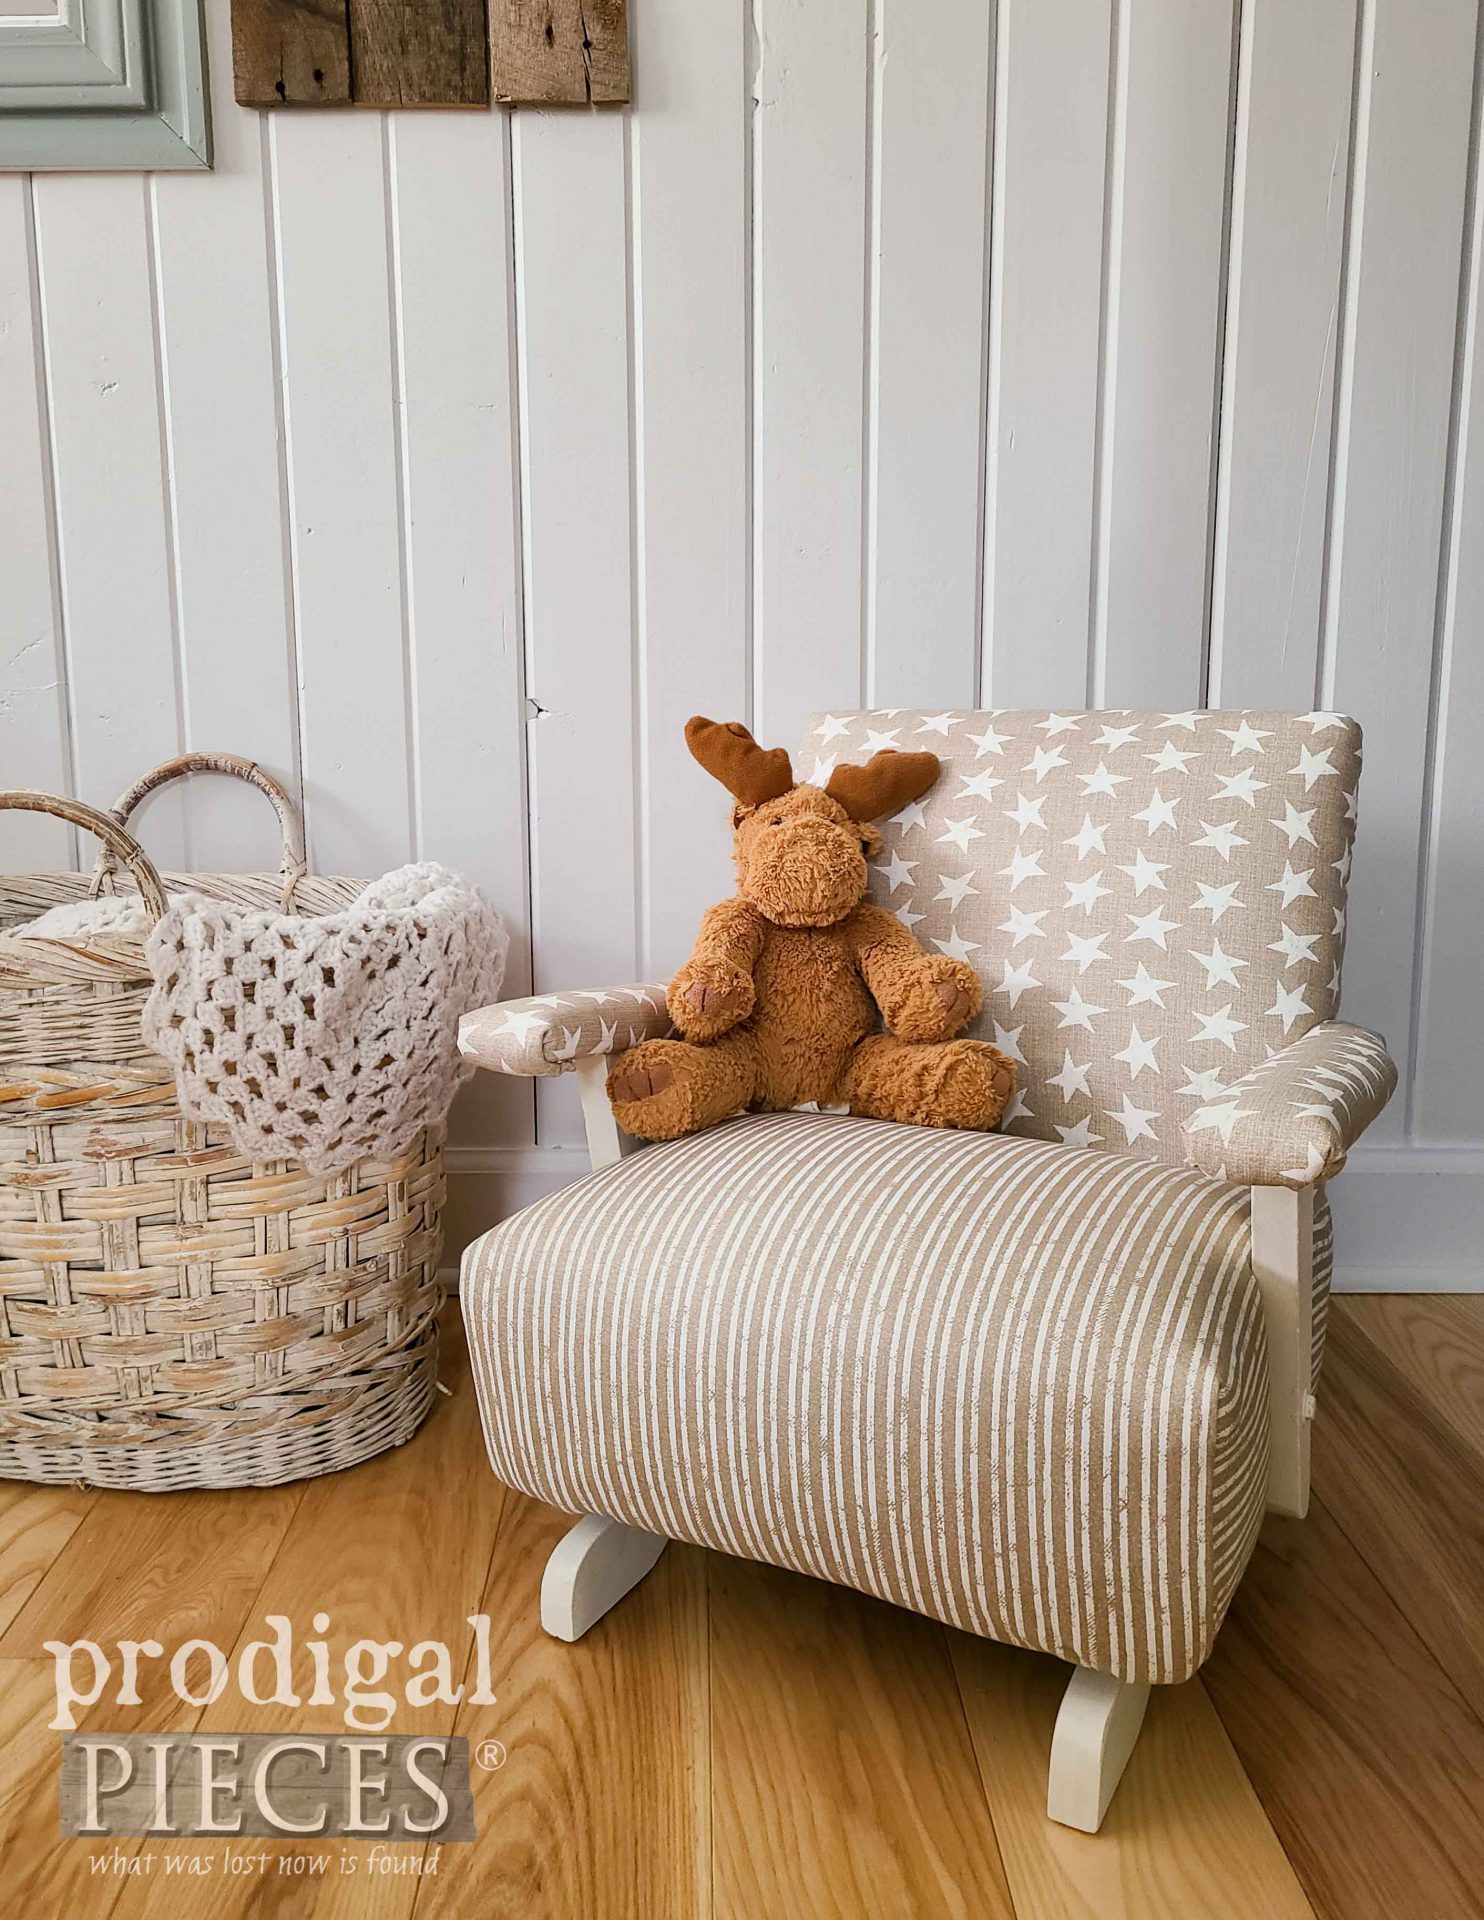
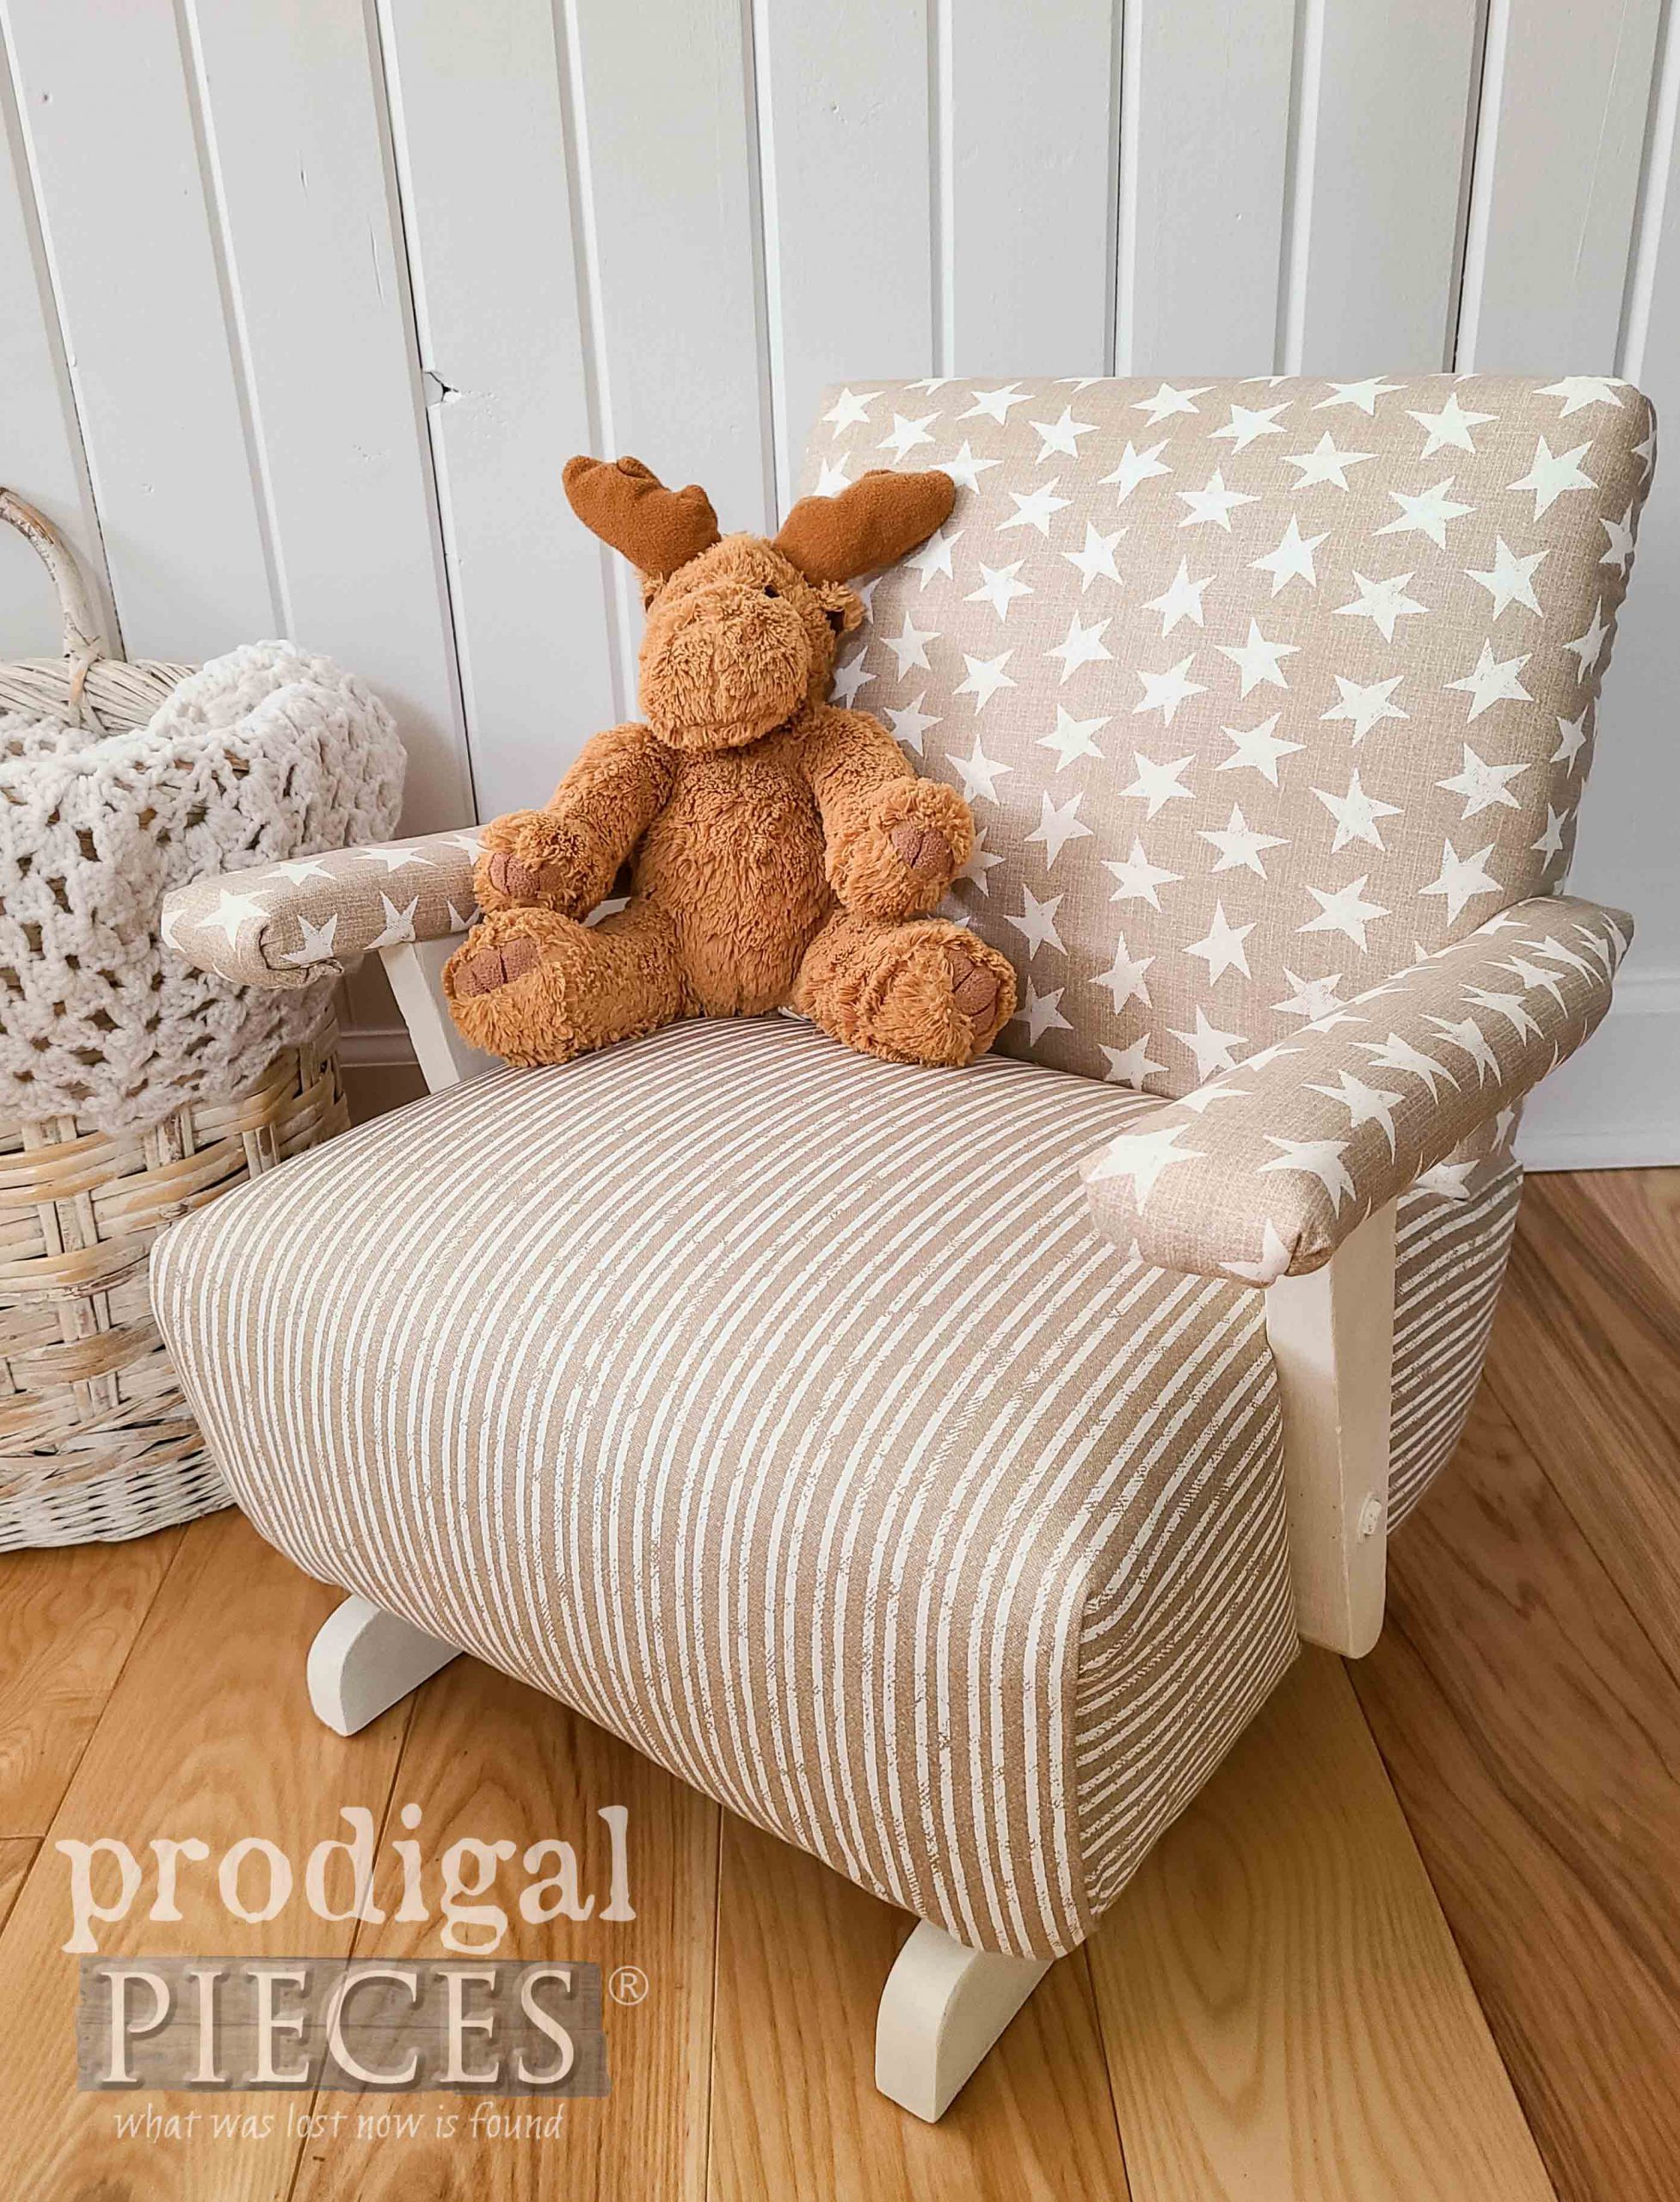
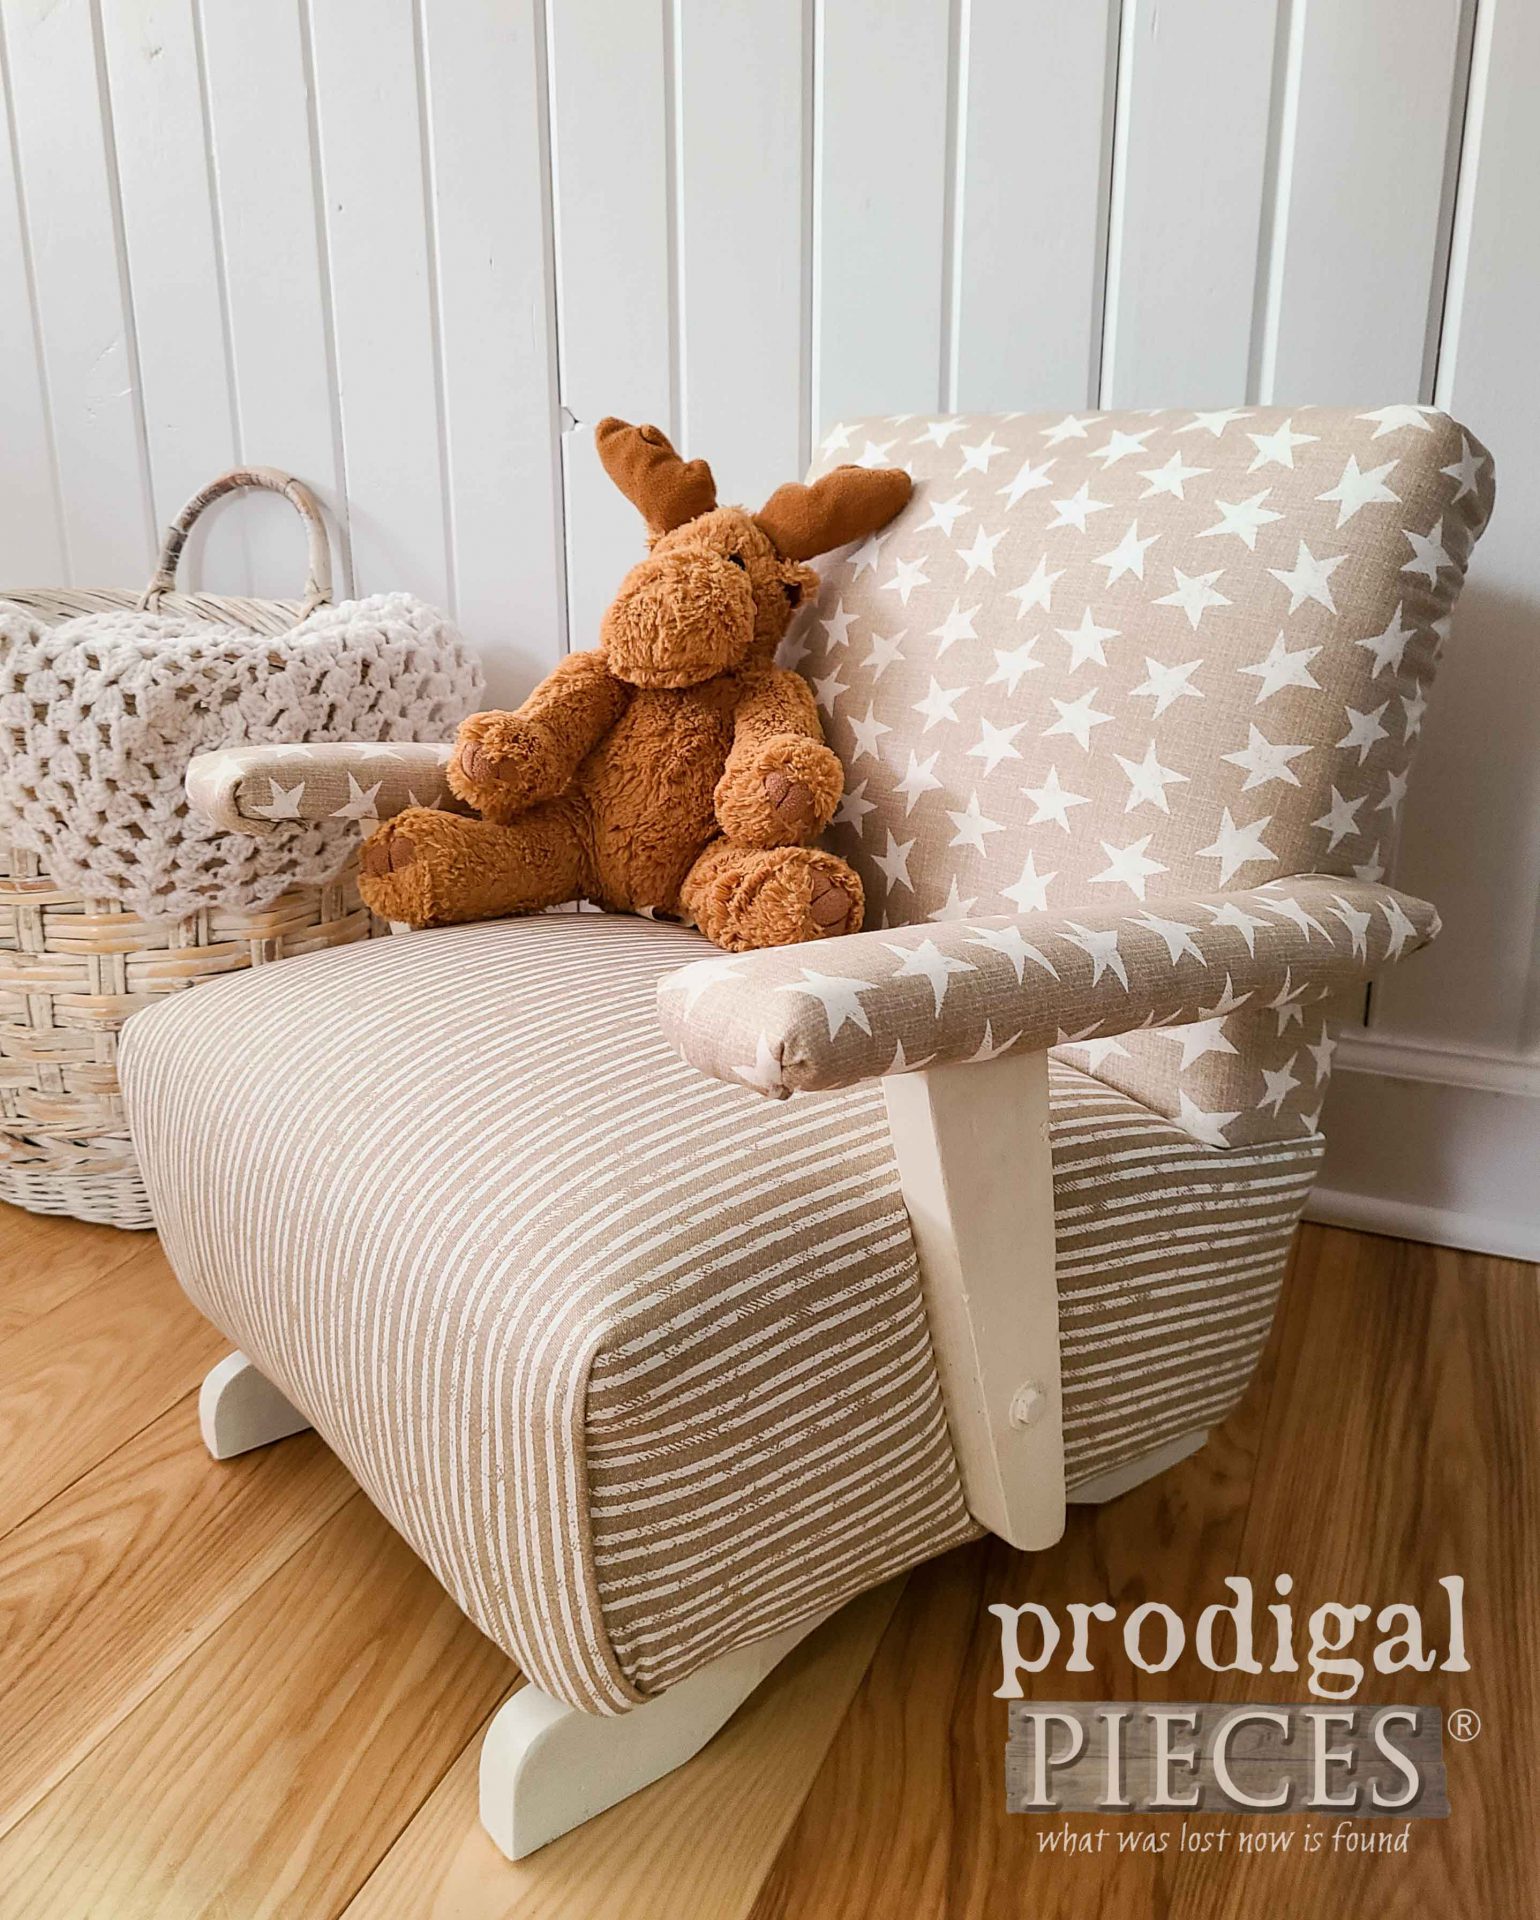
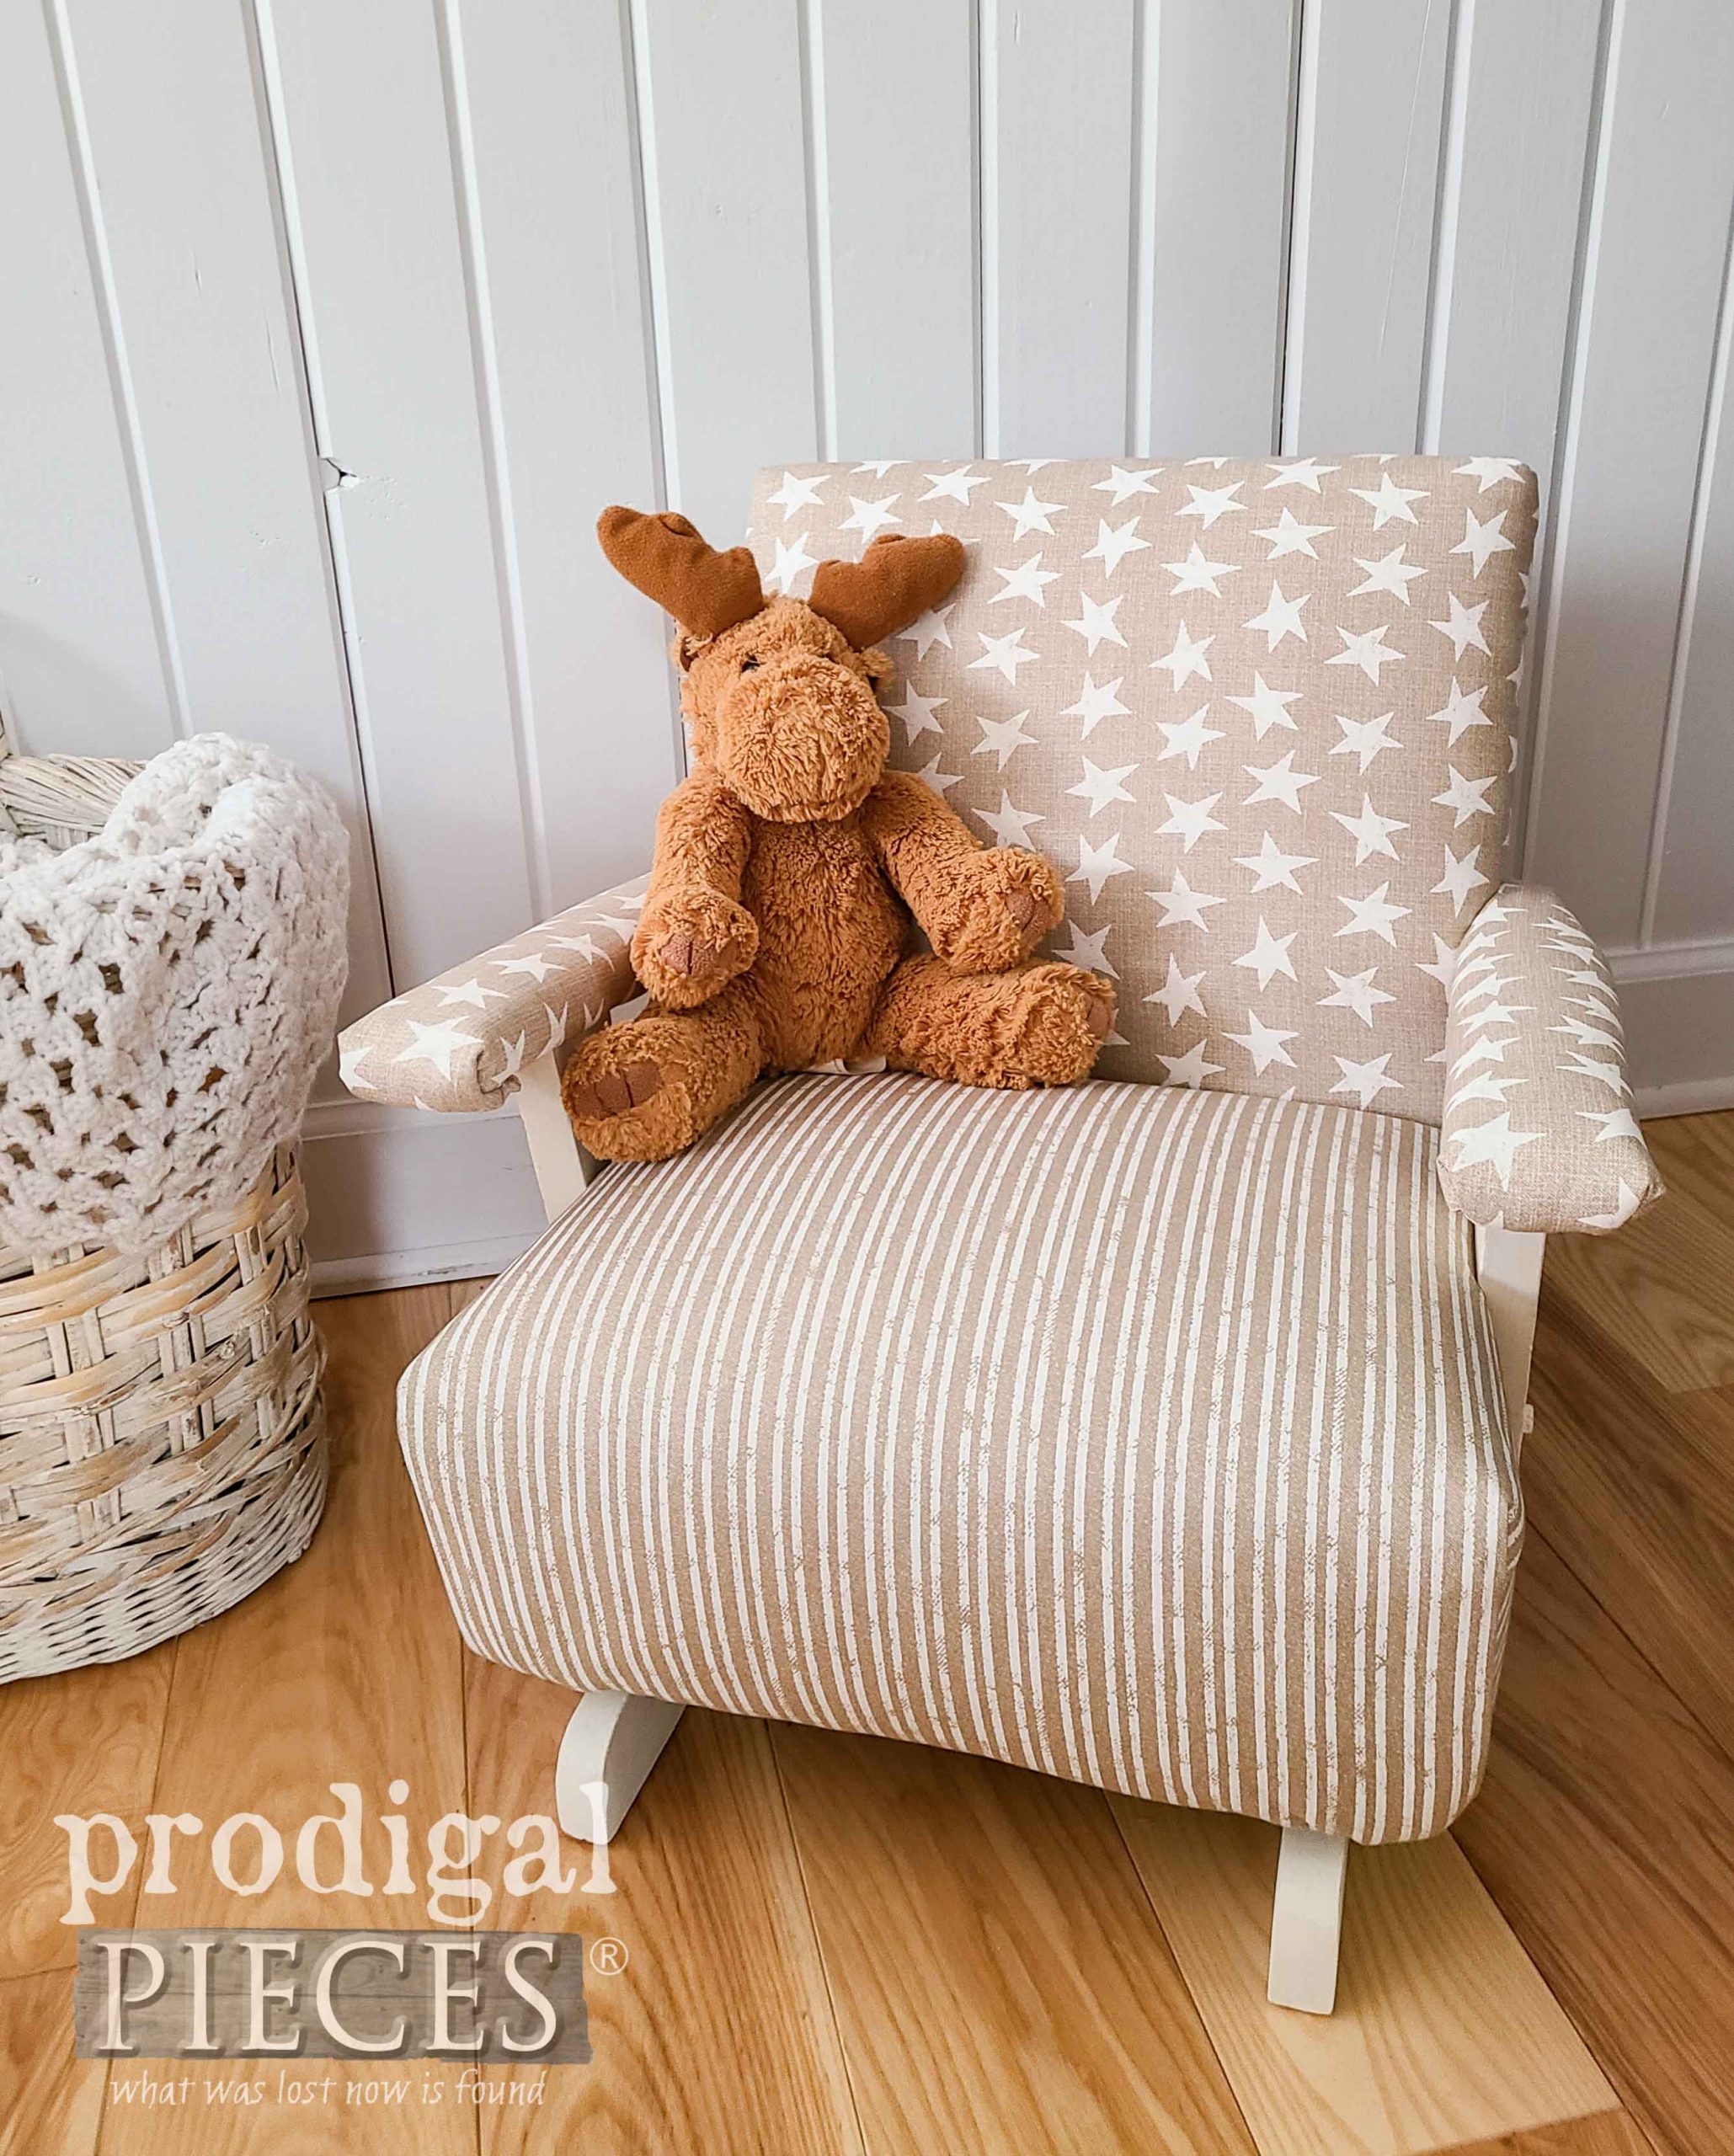
After long last, this child’s upholstered rocking chair is now renewed.
This little thing kicked my butt, I’m not gonna lie. Typically, when you take apart a piece of upholstered furniture, you can take pictures or notes to help you remember how to assemble. However, this one has a unique assembly where the arms are attached at the back, then upholstered. Talk about fun! I liken it to having my teeth repaired. haha.
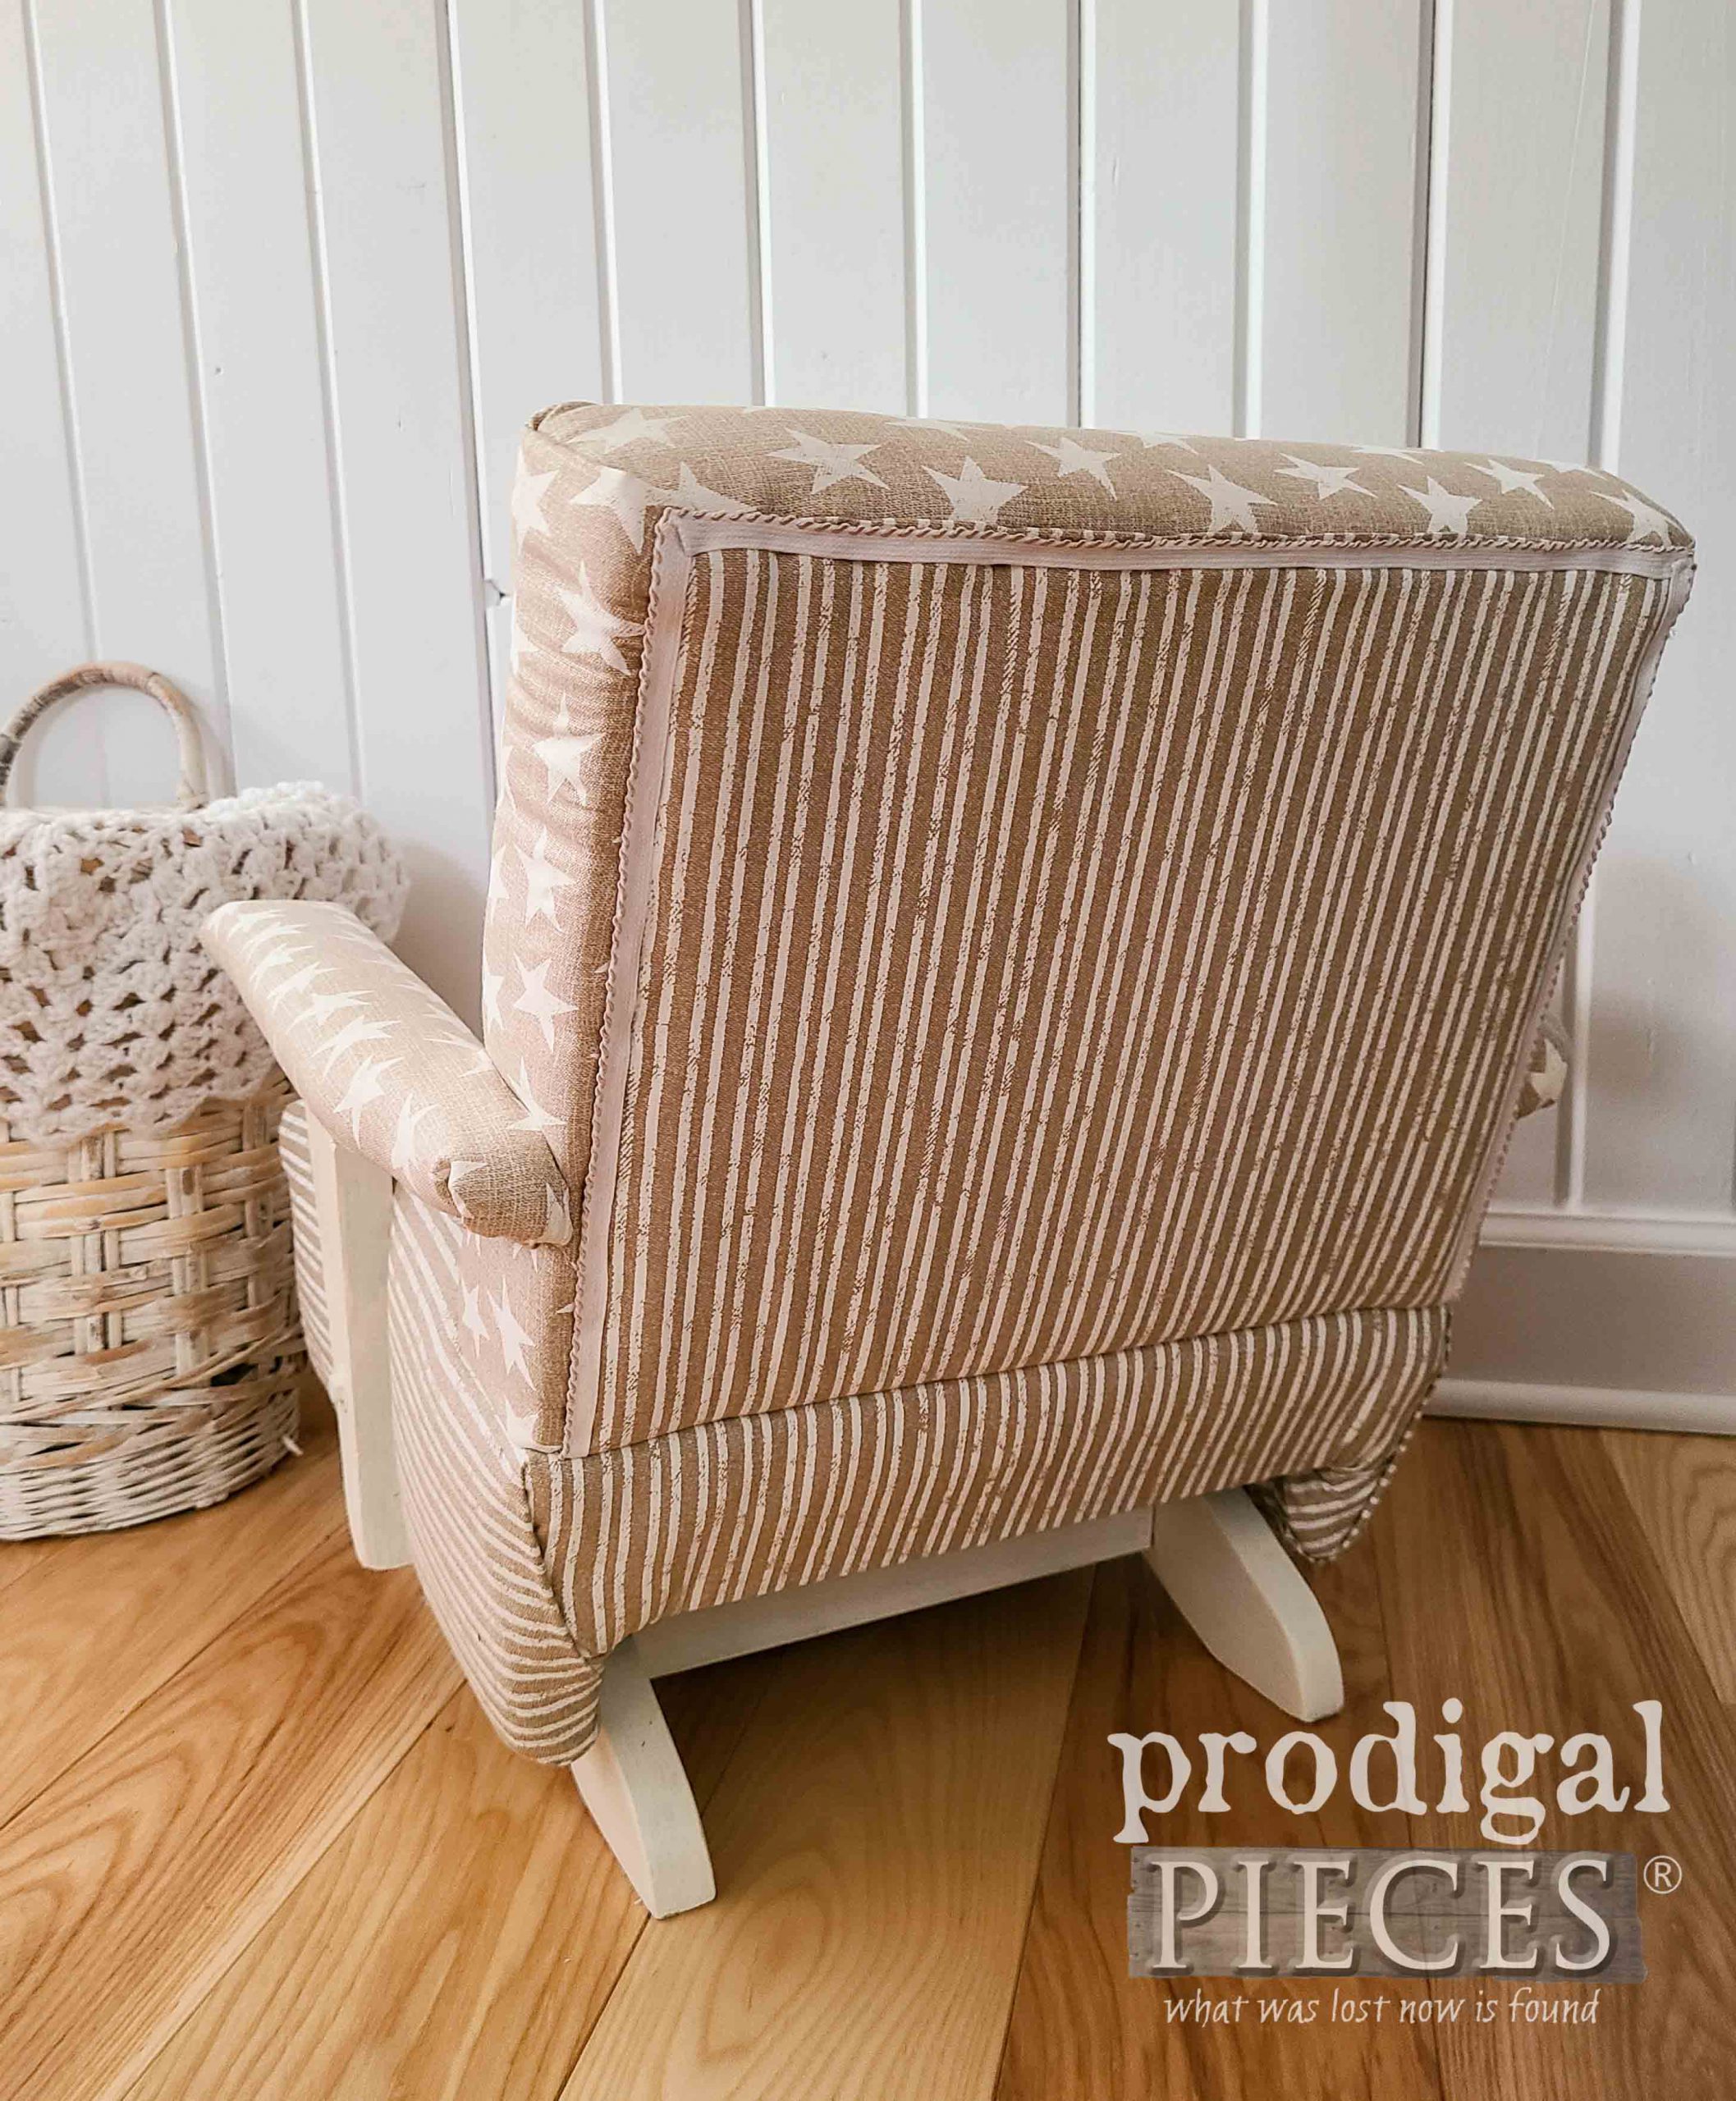
I’m so smitten with the outcome after all the work. If you notice, I left off the skirt on the bottom. I loved the fact that now it has a more modern vibe, though a skirt would have been cute as well.
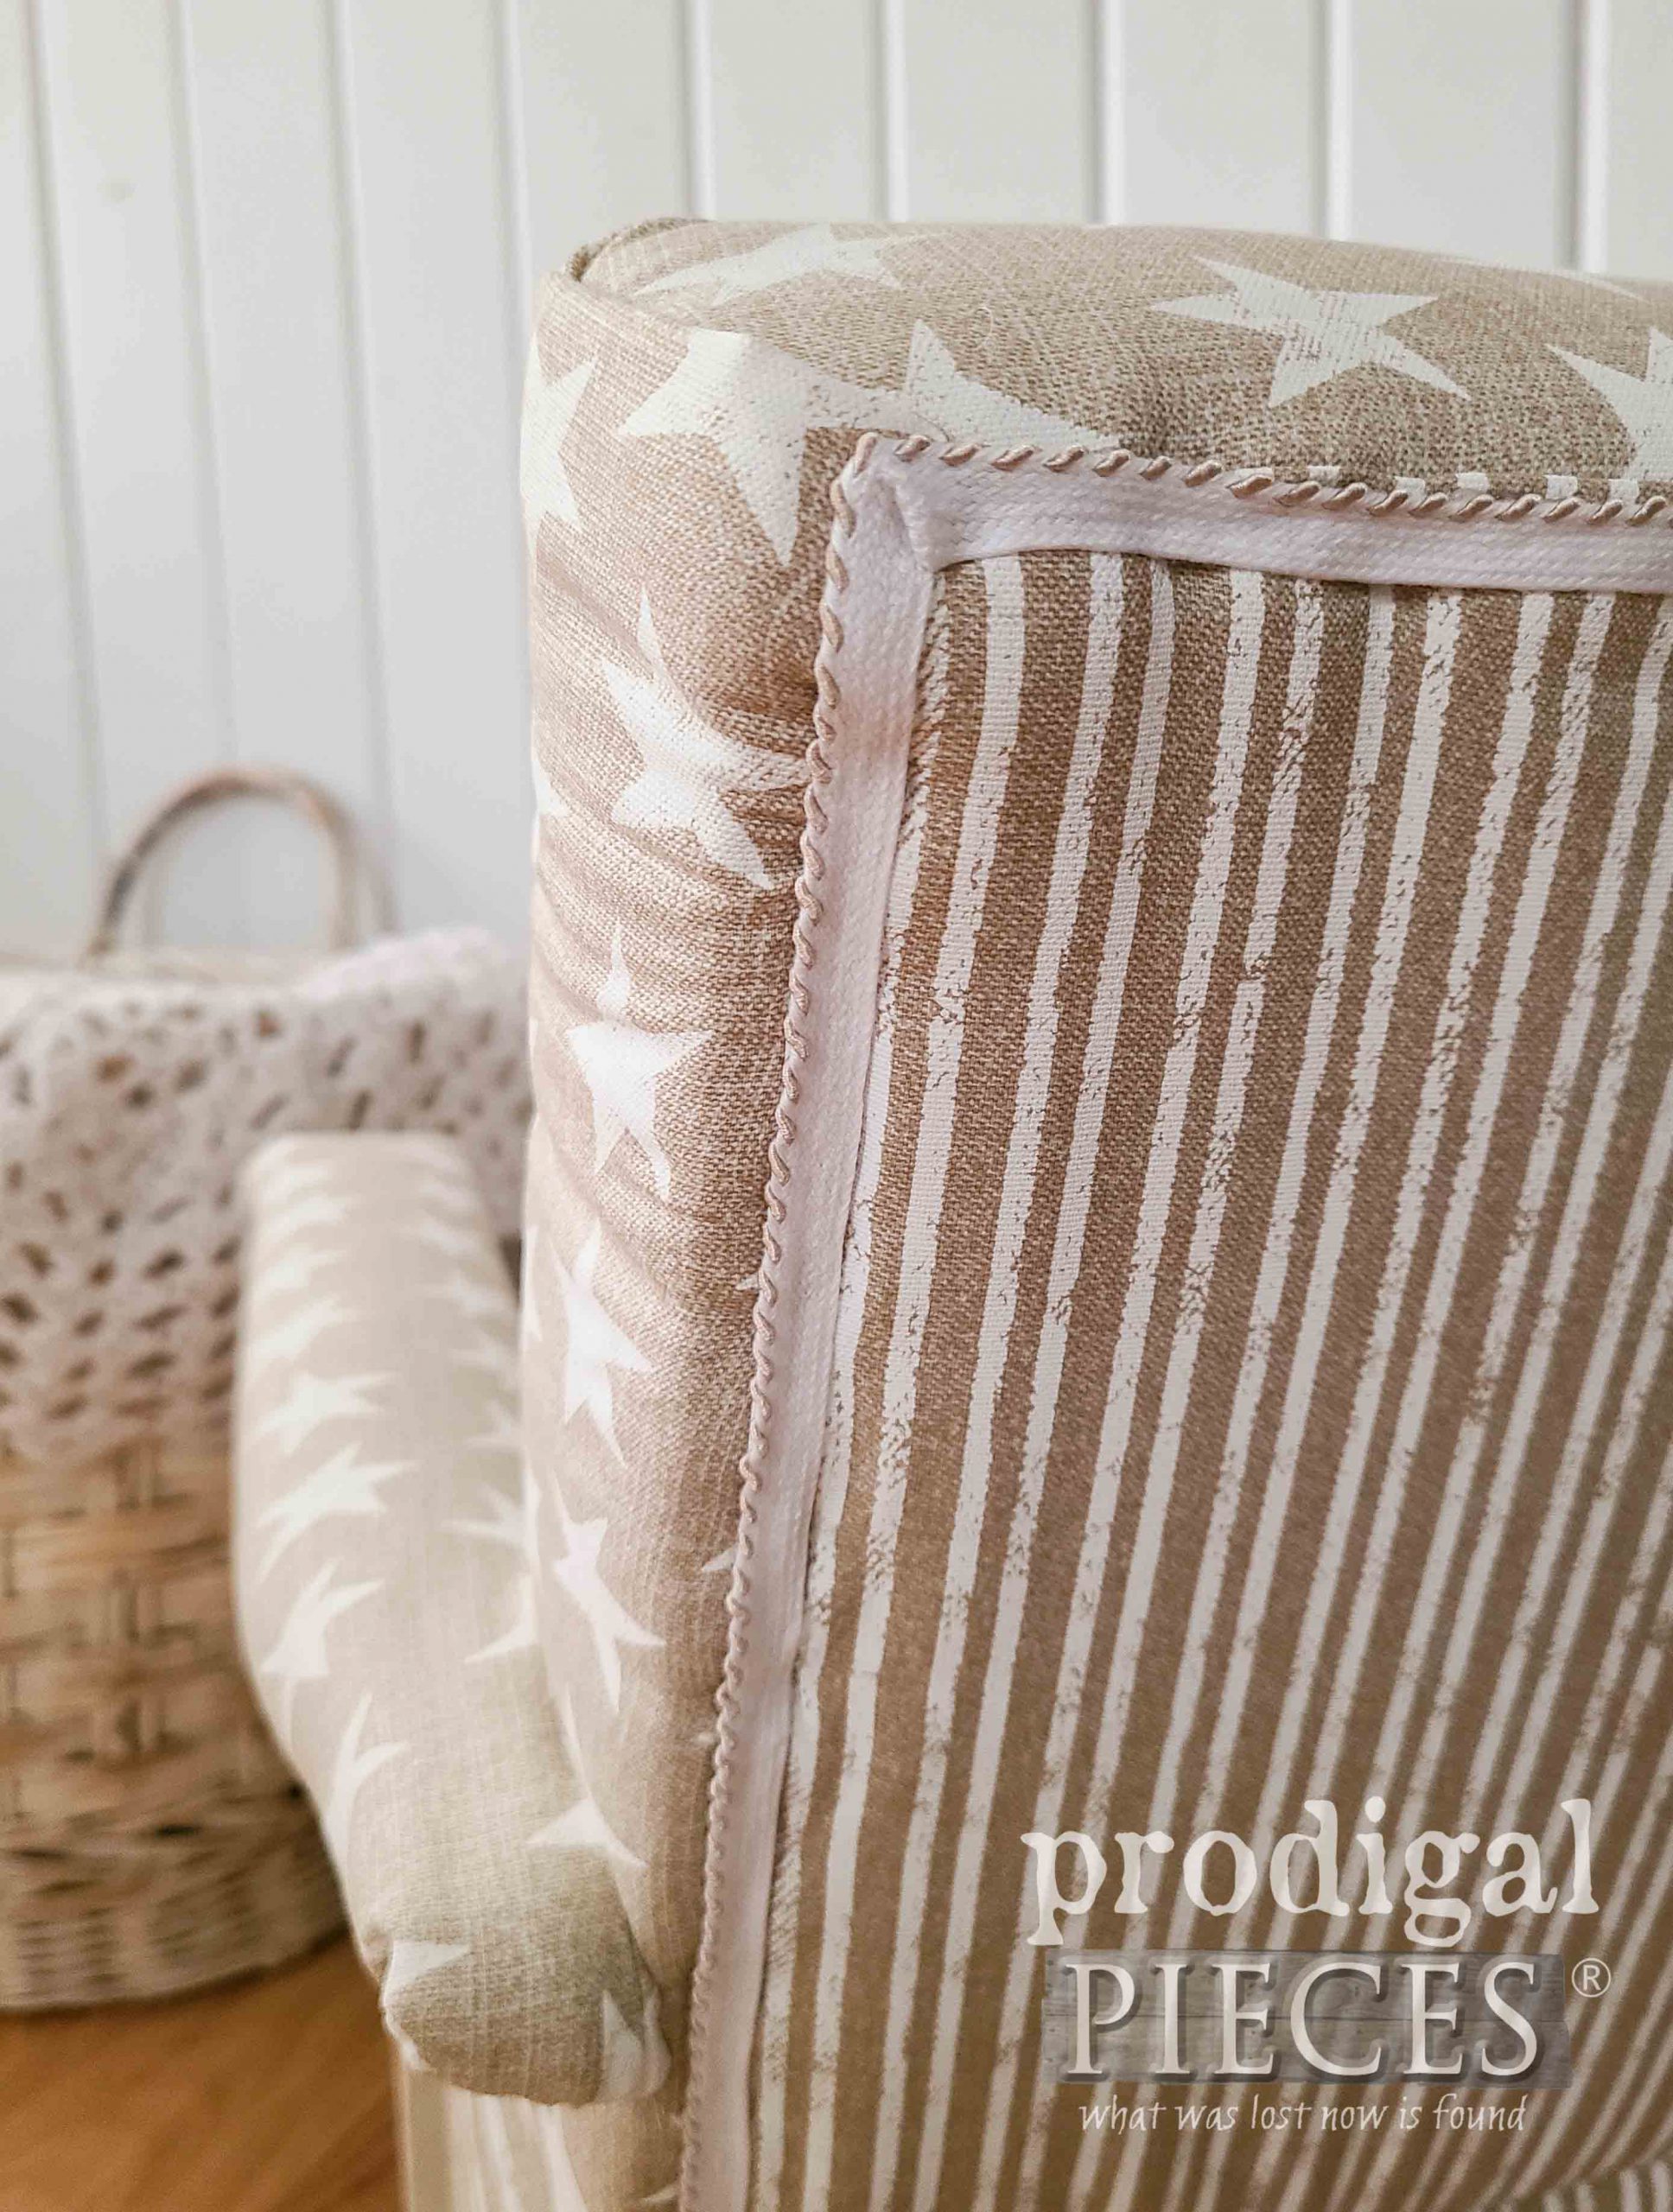
In addition, another fun part for me is dressing it up with two different fabrics. They complement each other beautifully and keep a neutral vibe.
DAYS FLY BY
Now that my littlest is growing leaps and bounds, she no longer fits this size chair. It makes me proud, but also sad in some instances. Life flies by so fast and I would love to savor each moment.
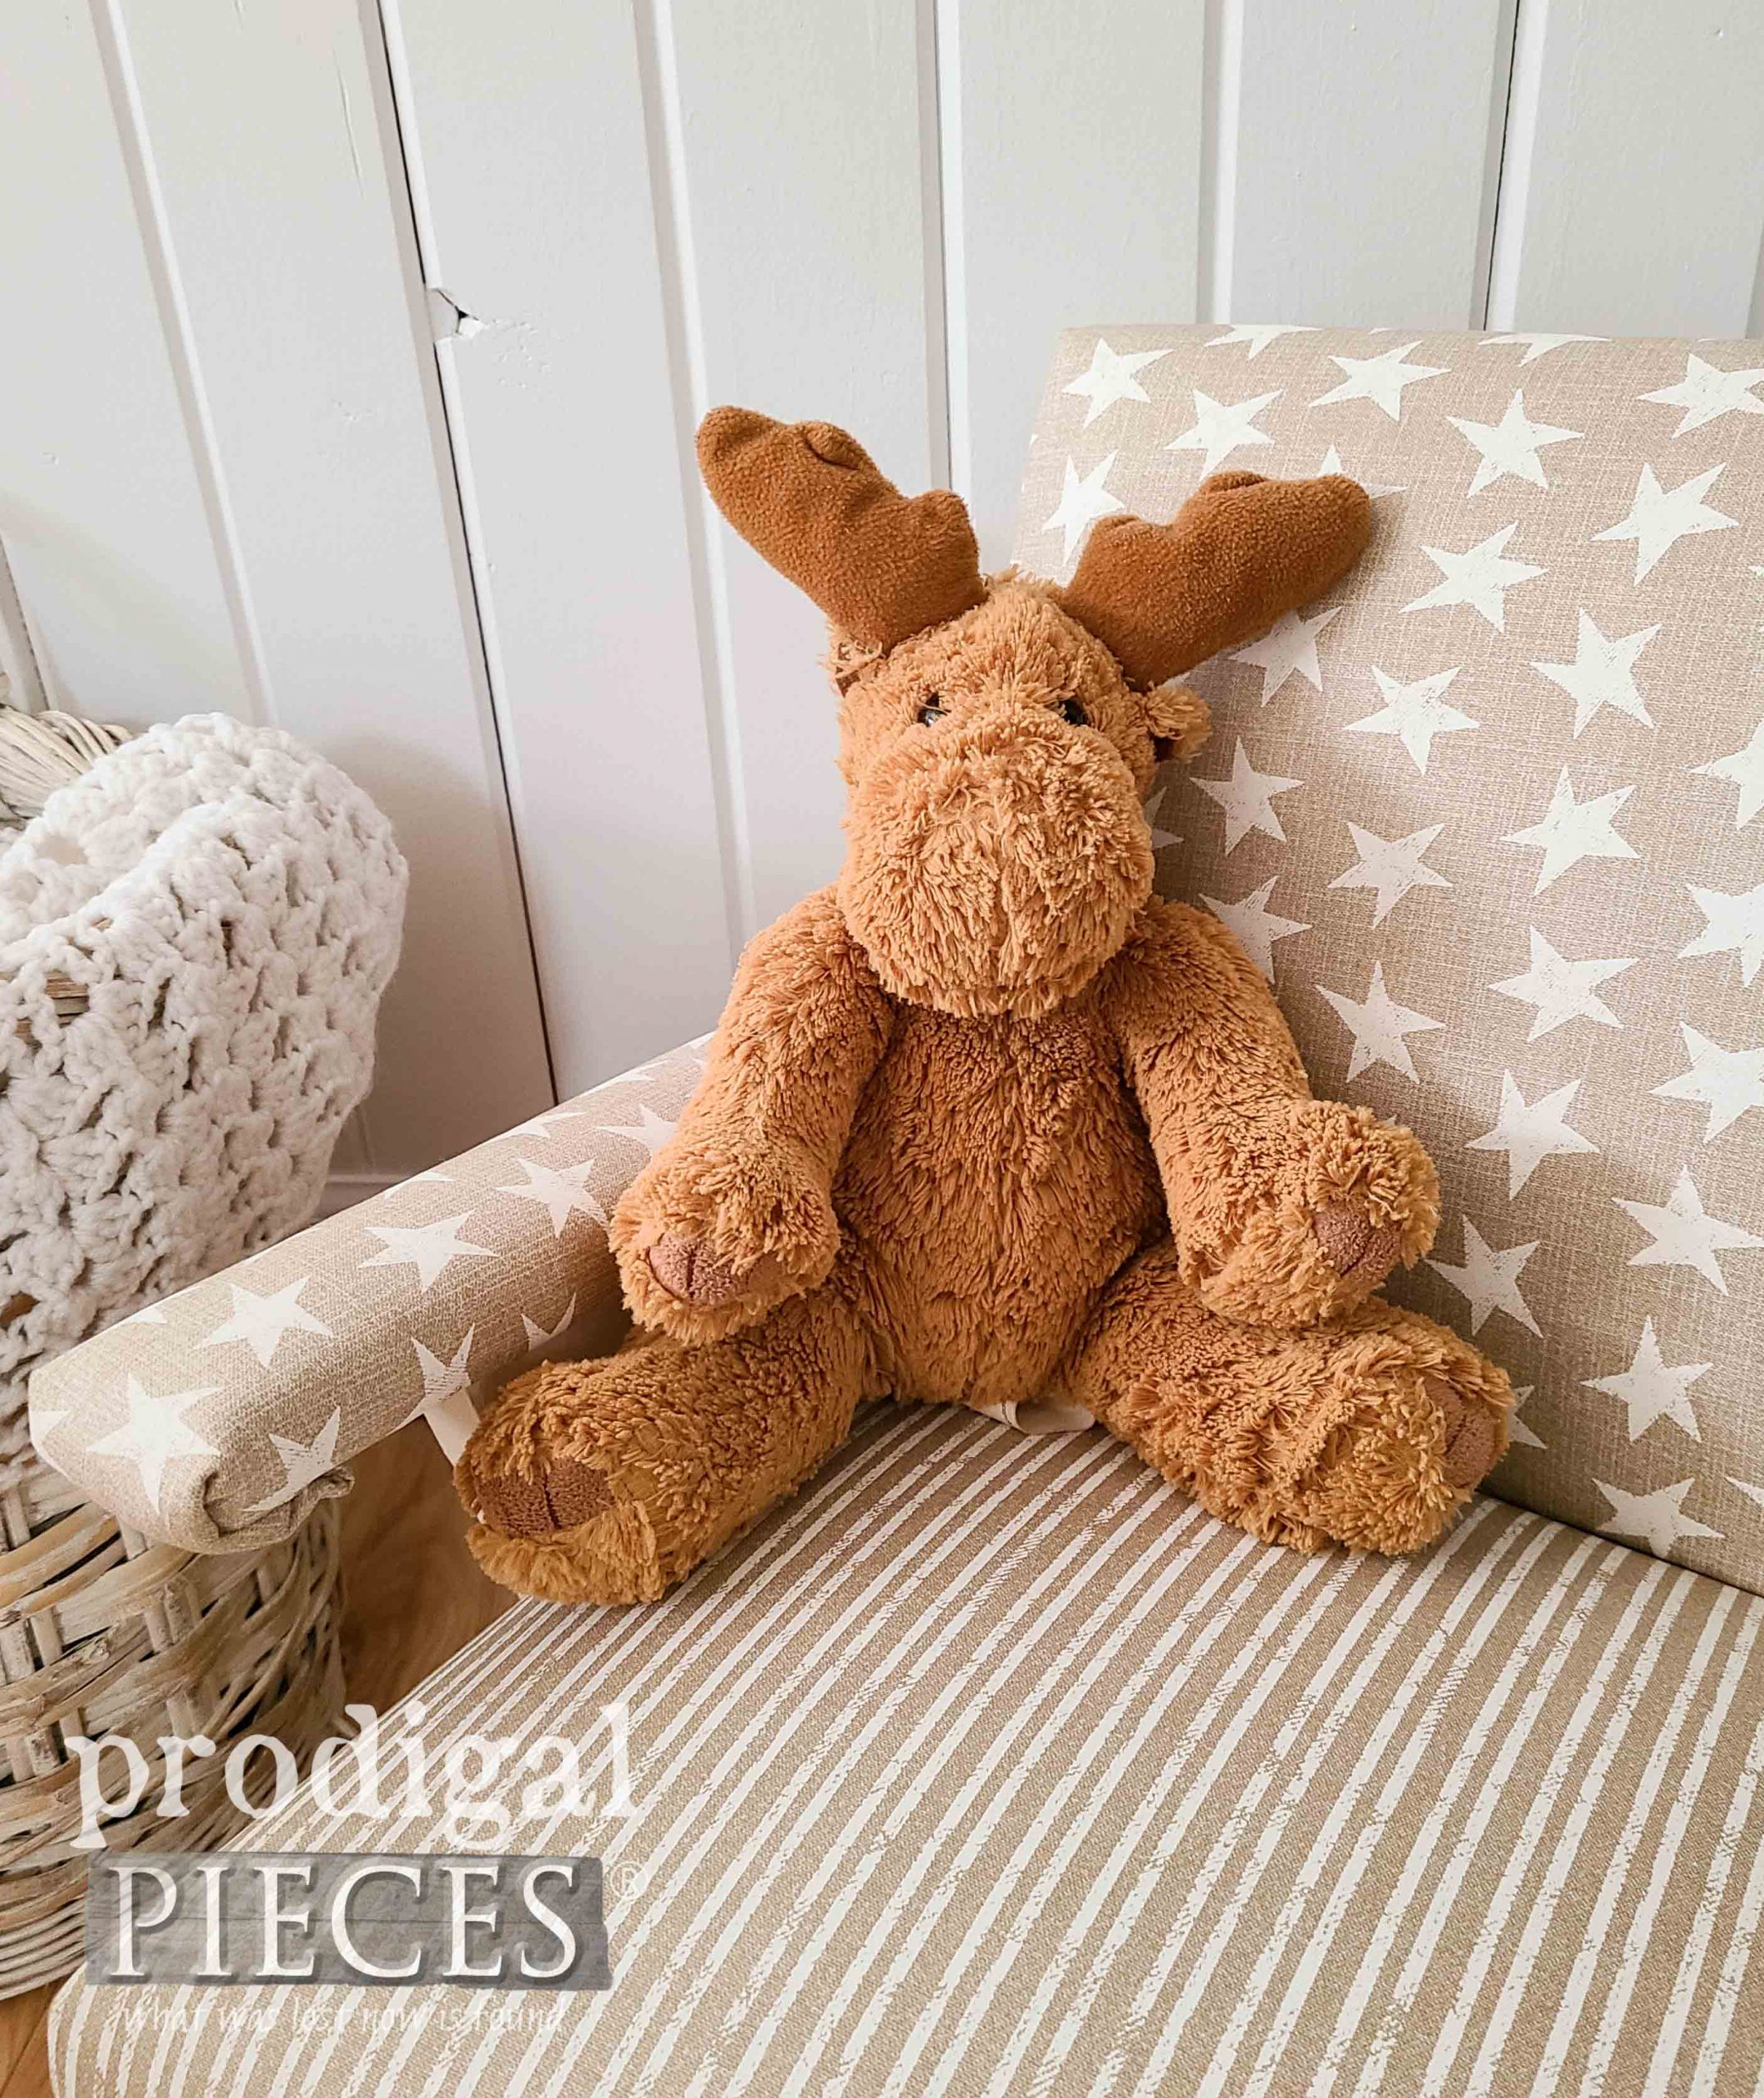
This little moose is a gift my daughter received for being in the NICU when she was born 6 weeks early. In some ways it seems like ages ago, but in others, so real and recent. I’m so thankful for all my blessings.
My goal is to inspire you to give DIY a try. That you too can tackle projects like this. It only takes time and a willingness to learn. If you’d like to have this for the little one in your life, you can find it and more available in my online shop.
Also, do pin and share to inspire others. We can all learn new things no matter what stage of life we’re in.
MORE DIY FUN
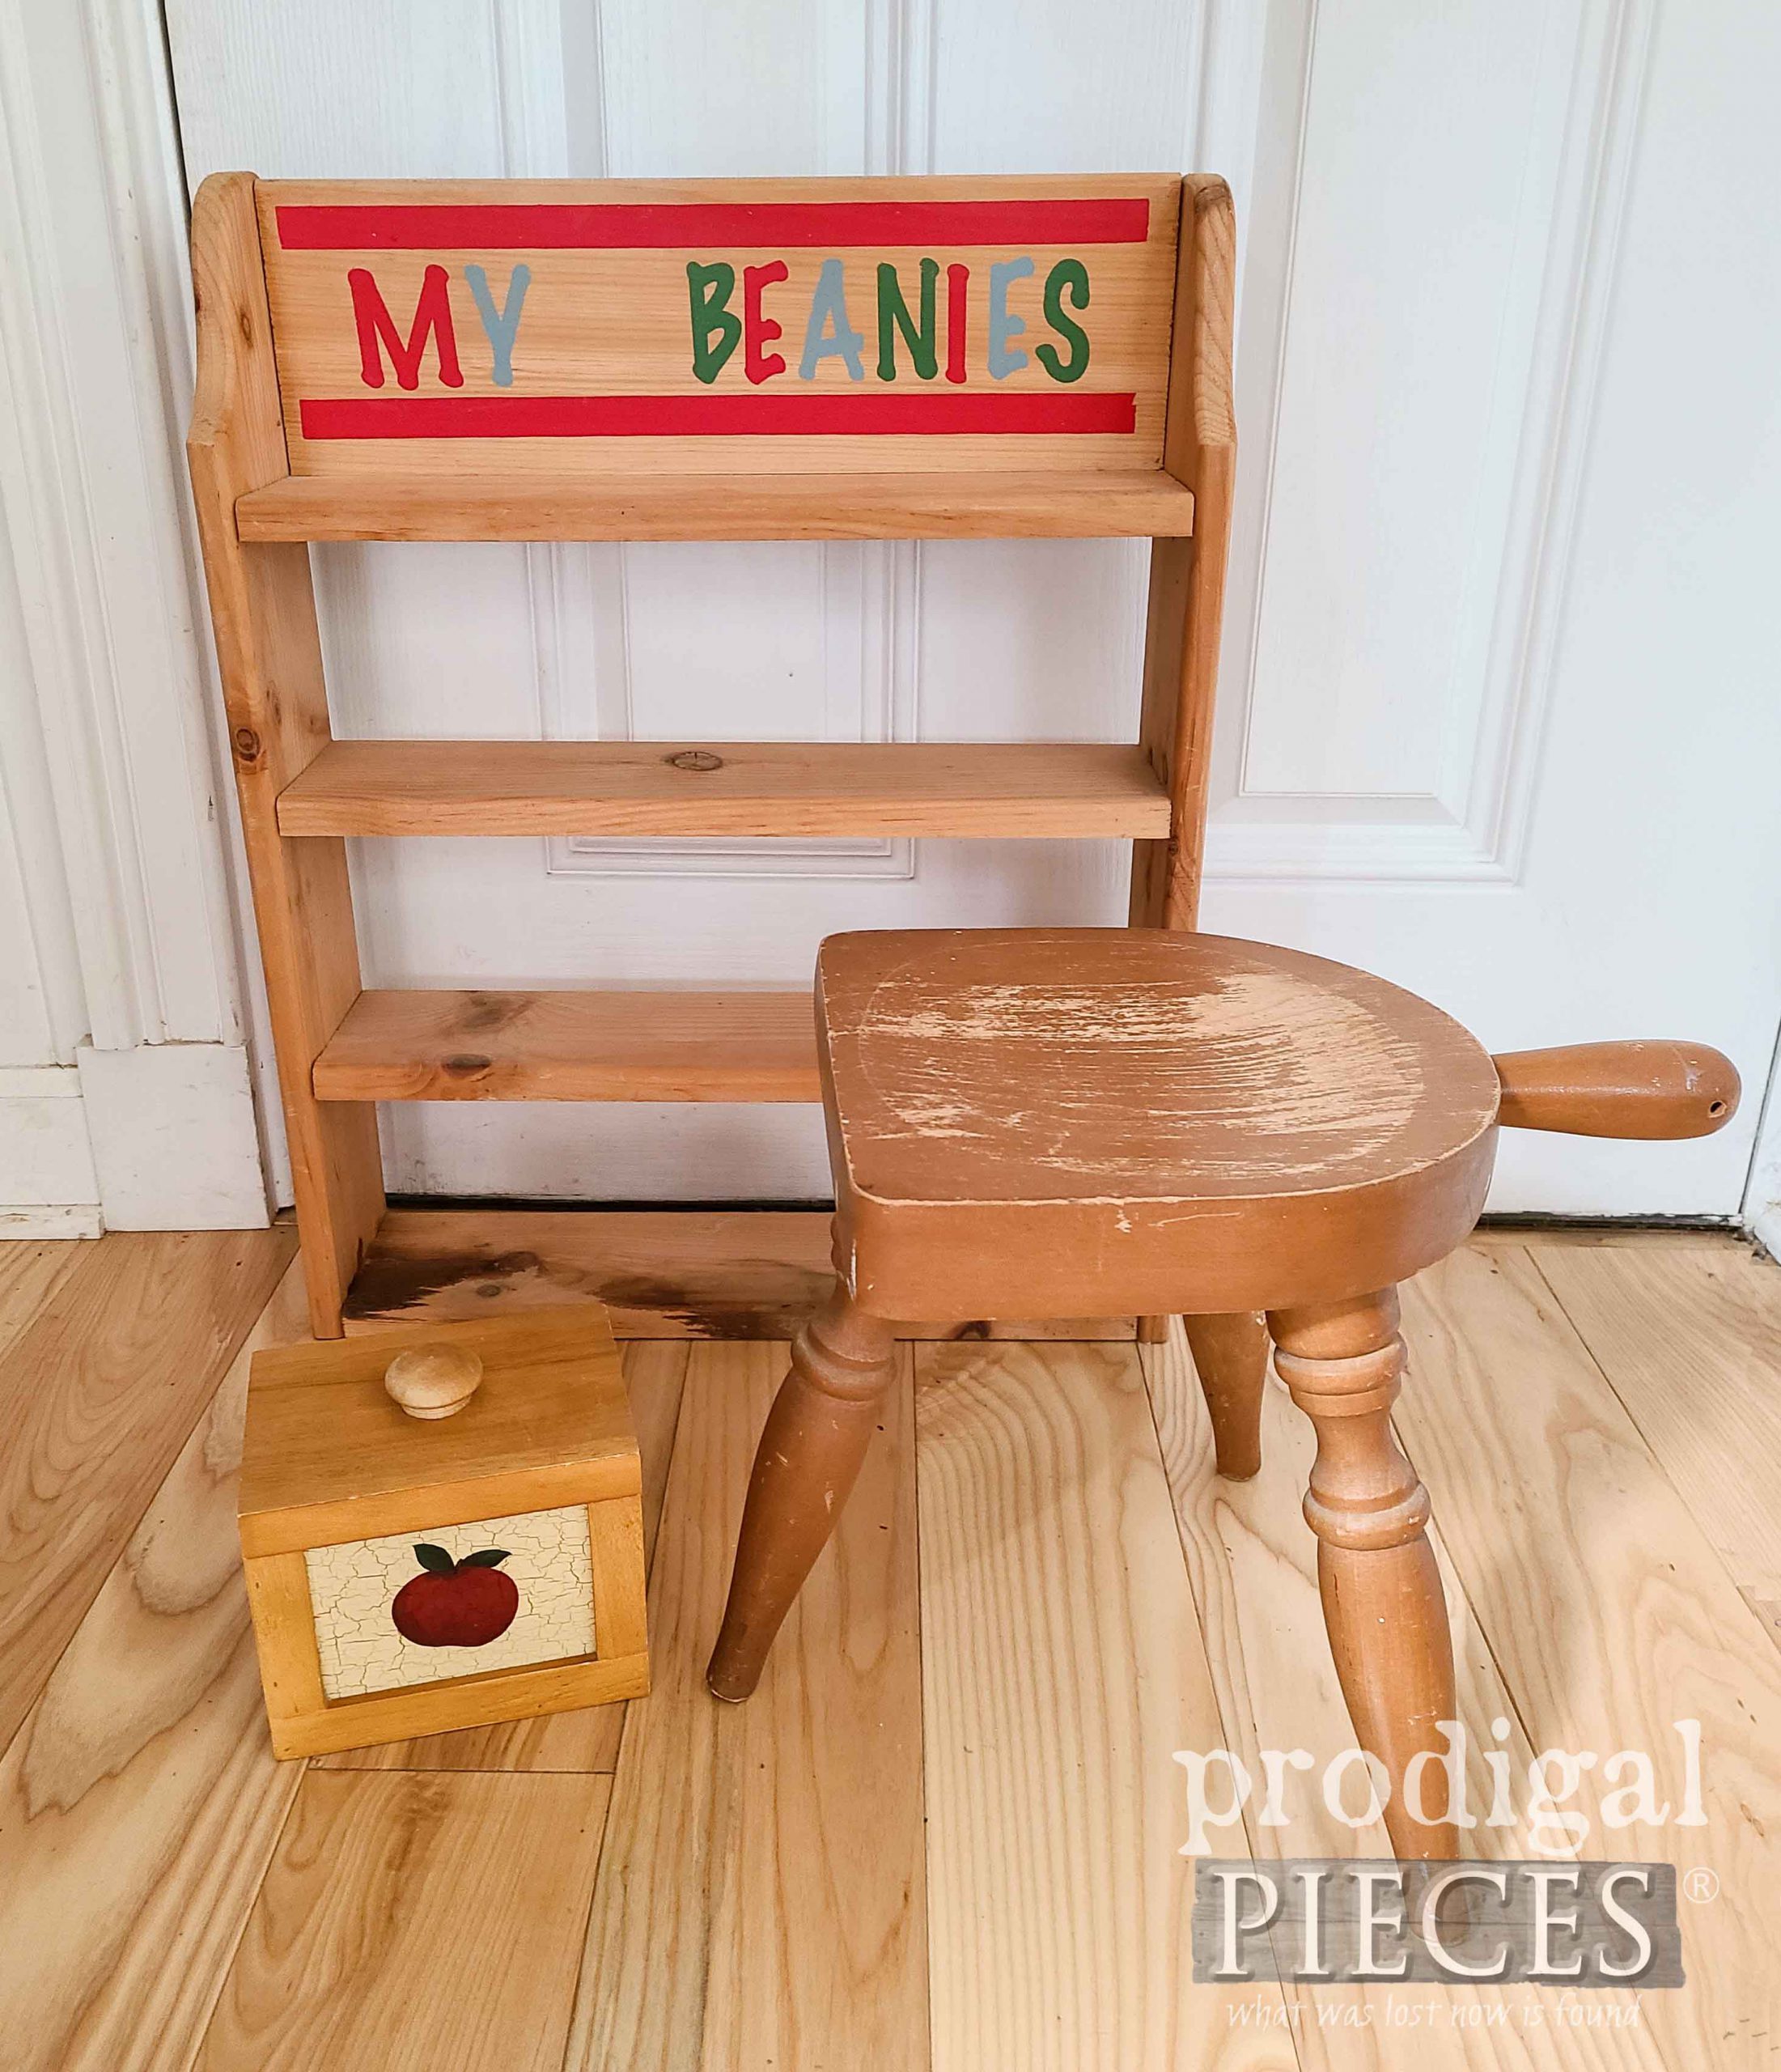
Up next, these three thrifted pieces will be getting makeovers by 3 of my daughters. See their afters over HERE!
To get these DIY tips & tricks in your inbox, be sure to sign up for my newsletter. It’s time to see what my blogger friends have for you!
Check out these funtastic projects to inspire you:




Hi Larissa, Oh my…..you certainly did pick a little rascal here. My hands ache just thinking about all those staples you removed, ouch! But wow, look at that adorable rocker you created. I agree the two fabrics look so pretty together.
haha. Yeah, the rebuilding of it all is what annoyed me, but I knew it was worth it in the end. Thanks so much! 😀
Wow!!! And WOW!!! Your ability to see the potential in “trash” is astounding. I am always so inspired!!!! I think now I’ll finally tackle reupholstering two of my kitchen chairs. I need something to keep me focused on the positive and this fits the bill. I just hope they look as professionally done as this does!! What is the saying about busy hands? ? Thanks so much!! ?
tee hee! Thanks so much! I am so tickled by the fact that so many folks passed on it and I’m the only one who saw fit to give it a go. I’m a sucker for dilapidated cuties! 😀 You will rock the upholstery, girl!
WOW!! What a difference you made!! Fantastic job!
I’m so happy with it. Thanks so much, Cheryl!!
You totally Rocked it!! haha!
I love the fabric and especially the more modern bottom. I’m not a fan of skirts on furniture. Removing them instantly makes a couch or chair feel updated, modern and even cleaner.
Nice update, I know you worked hard on it.
bwahahaha! 😀 Right? The skirt totally took away from the lines in the frame that were definitely modern. I’m glad I left it off.
Love the little chair…. all those staples is why it costs so much to have something done. No skirt really makes it look sharp! Where is the fabric from? And that trim on the back? Great choice.
Oh yes, upholsterers know it is hard labor and is very gratifying too. I don’t do much of it anymore because my body says NO. haha. It’s a Moda fabric I got from a local family-owned shop.
That looks so much better! You have such great vision for makeovers! Some little child will love that chair!
The old was so awful with dirt and yuckies, so it felt good to rip it off. haha! Thanks so much!
This is SO stinking cute, Larissa! never would have picked that up off the curb, but you made it shine brighter than it ever was before!! XOXO
All the time I kept asking myself why I do this to myself, but after hearing I’m the 4th person to pick it up, but the only one to work on it seals the deal…I’m a nut. hahaha! Thanks, Christy.
The curbside history is hilarious, but look how great it looks now! You did an amazing job!
I must be nuts!! haha! Too funny how it all worked out. Thank you for the smile. 😀
I’m smitten with the outcome as well! This is a night and day makeover my friend! XOXO
Thanks so much, Denise. I had fun giving it new life. Crazy how things happen sometimes.
Oh my Larissa, that turned out wonderful! Well done and I like the fabric choices too!
Thanks! I wanted it to be whimsy for boy or girl and this just suited it well. Yay!
Had to be you Larissa, that chair went thru a LOT to find you! It looks great and your fabric choice was spot on!
Right?? I’m the only nut…hahaha! Thanks so much, Mary. This was fun!
Wow !! So much work – clearly a labor of love. You did an incredible job.
I love your choice of fabrics. It looks perfectly updated.
I’m betting it will have lots more love to give back to someone special 😉
You are giving back treasures for tomorrow.
p
It truly was a tough one, but only because I expected it to be easier. Upholstery is always a labor of love. Thank you for the smile and kind words. 🙂
Love, love, love the fabric choice – where did you find it?
Isn’t it sweet? I got it at a local private fabric shop nearby. It’s in the Moda line of upholstery.
The little rocking chair was saved by the right person. Upholstery is not easy but you didn’t give up. You worked on it till it was transformed into the beauty you knew it could be.
I like to think so because I’m the only nut who would work it over. haha! Thanks so much, Rita. I just kept getting frustrated that I had to stop and rebuild. It made it a sweet challenge tho. 🙂
Wow! Wow Larissa! What a transformation! From torn and tattered to a beauty!! And what a testimony your “stick-to-it-tiveness” speaks to your children ❤️ What’s that saying? When the going gets tough, the tough get going! Yay! Thank you for your faithful inspiration!
Thanks so much, Mary! I literally was so relieved when it was done that I wanted to sit in it. haha! I’m definitely not a quitter. Hugs!!
Wow, this sure doesn’t look like a curb find now!! xo
tee hee! 😀 Thank you, Nancy. I’m happy to see it complete as I did in my mind’s eye.
Good grief! That little chair has been around the block a time or ten! ? Yep, you definitely qualify for “Nut” status… cuz if you don’t then I have to go back to feeling guilty for turning down a similar job for my sis-in-law, haha! I held on to it for a YEAR, and then had to throw pride out the window and admit that there was no way I could figure that little beast out. ?
GOOD JOB!!!! I’m impressed!
I couldn’t believe how it had traveled…crazy! Definitely loony me is the only one – tee hee! They are such fun challenges. Thanks for the giggle and love, Becky.
So precious now! Reupholstery is a ton of work but you made it look fab Larissa!
Thanks, Jen! It is, but the kicker was the damage I kept having to fix. Mind-numbing…haha. 😀
You did a beautiful job on the chair! The fabric you chose is adorable and such a great addition to the piece. Wish I had a use for a child’s rocking chair!! Great redo Larissa!
Thanks so much, Jane! I’m so glad you enjoyed it. Thank you.
This is great!!! I like the new look the fabric give it and I agree about the skirt removal being key to the update!
I’m a very curious gal and would love more details of the rocking mechanism and how you repaired it.
I’d love more step by steps in your posts.- h this one being an example. I know they can be time intensive but I learn so much from your creativity and admire your skills and know how.
Thanks for your inspiration to us all.
Thank you, Evelyn. As for more detail, sometimes there is no way to visually help you understand what needs done without being present. In this case, all I did was take apart the base completely, as I mentioned, and put it back together with screws. It just took a lot of elbow grease to do so. 😉
You did such a beautiful job redeeming this poor little discarded rocker and I love your fabric choices, Larissa!
You should have seen me laying on my back on the floor after I finished. haha. My kids almost caught a pic. Thanks so much, Marie. 😀
Larissa, that chair is just beautiful! You did a wonderful job; I like that you didn’t use the ruffle on the bottom, it looks more sophisticated without it. Truly, keep up the great work!
Yay! Thank you, Mary. I’m happy to hear you got what I was after with that. I wanted to make it a cleaner look as well as easier to care for.