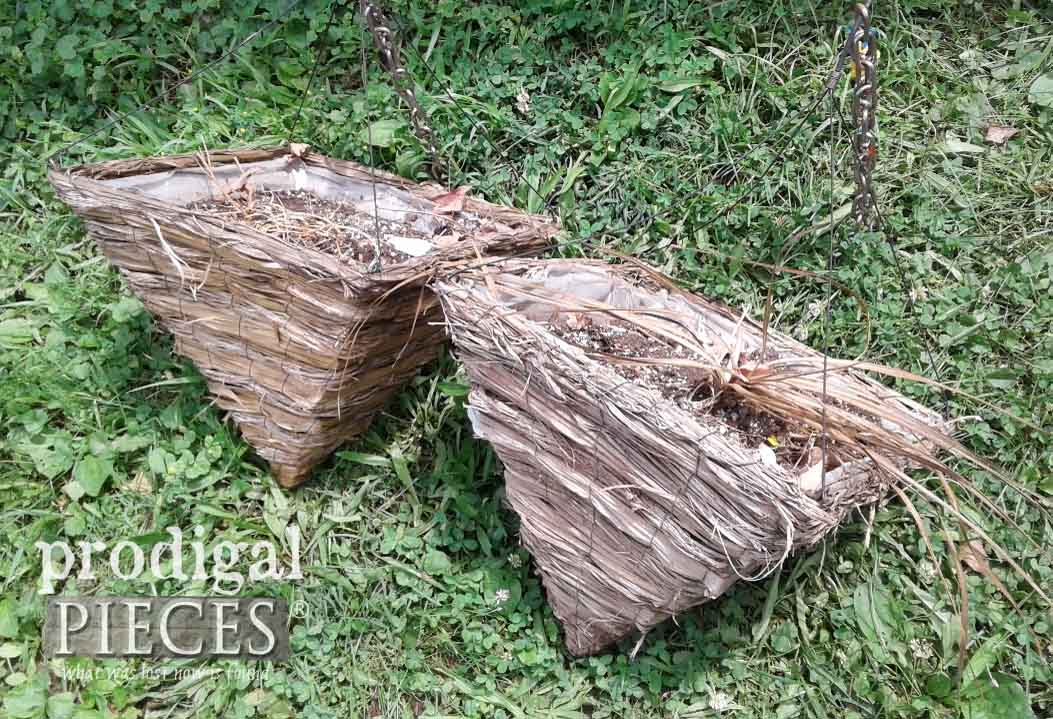
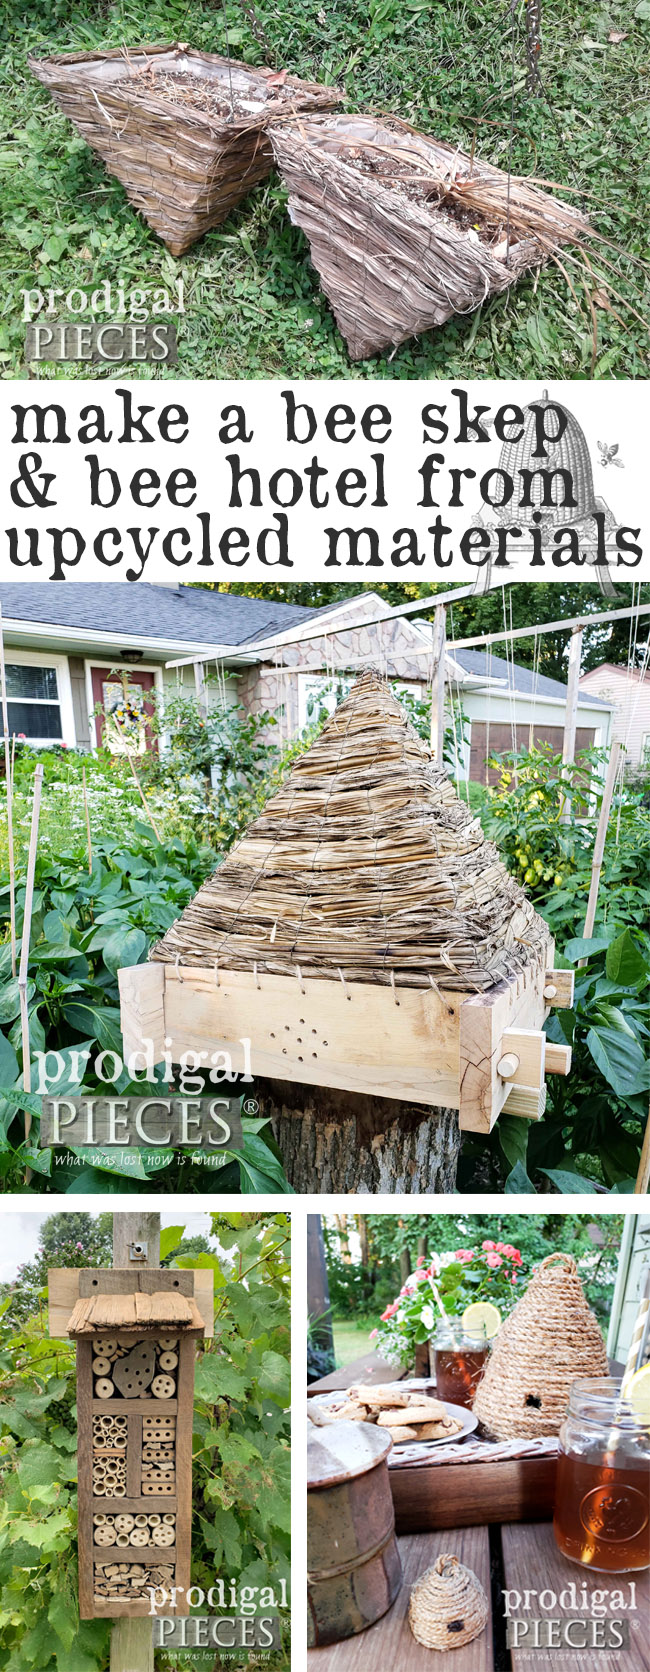
If you’ve been with me for long, you know my dad (and my mom) brings me quite the fun…umm…project pieces. I love it! When he showed me this picture of a couple of grass plant hangers, he thought I’d actually plant in. I thought, “Sure, why not.” It couldn’t get past that they reminded me of something. Then later that day it hit me. They looked like antique bee skeps! {{aha moment}} Check out my three DIY bee skep tutorials, plus a bee hotel, using upcycled materials.
You may be like my dad, my bestie, my husband, and most who have no idea what a bee skep actually is. First, let me say that I am over-the-moon thinking I can incorporate these into my garden. I always want to keep bees because they’re endangered, and we need them to survive. However, since beekeeping is a science and such a fragile art, I haven’t wanted to dive in just yet. I do, however, plant all sorts of things to encourage bee growth.
HISTORY
In ancient days, bee boxes (man-made bee hives) didn’t exist, but rather bee skeps did. Typically, they are made of grass and caning intricately laced together to form a man-made domed hive for beekeeping. Many gardeners would have them as commonplace to encourage pollination and even honey production. In most cases, the design means that the hive has to be eliminated to retrieve the honey. So, that is why bee boxes are invented. {head smack – right?} You can read up on skeps HERE.
Okay, so back to my DIY bee skep. As soon as the idea struck me, I began to research and quickly found out it is illegal in most states to own one. Why? Because of the high risk of decimating another colony. Inspectors have to pay close attention to the colonies to make sure they are surviving, hence the control of the skeps.
For my purposes today, however, I’m creating these skeps as decorative art for either garden or home. They are a coveted piece of decor in designs that favor to tip a hat to antiques and eras that savor simpler times. It would be similar to having a bird cage, or any other antique tool on display to cherish the craft and add interest.
DIY TIME
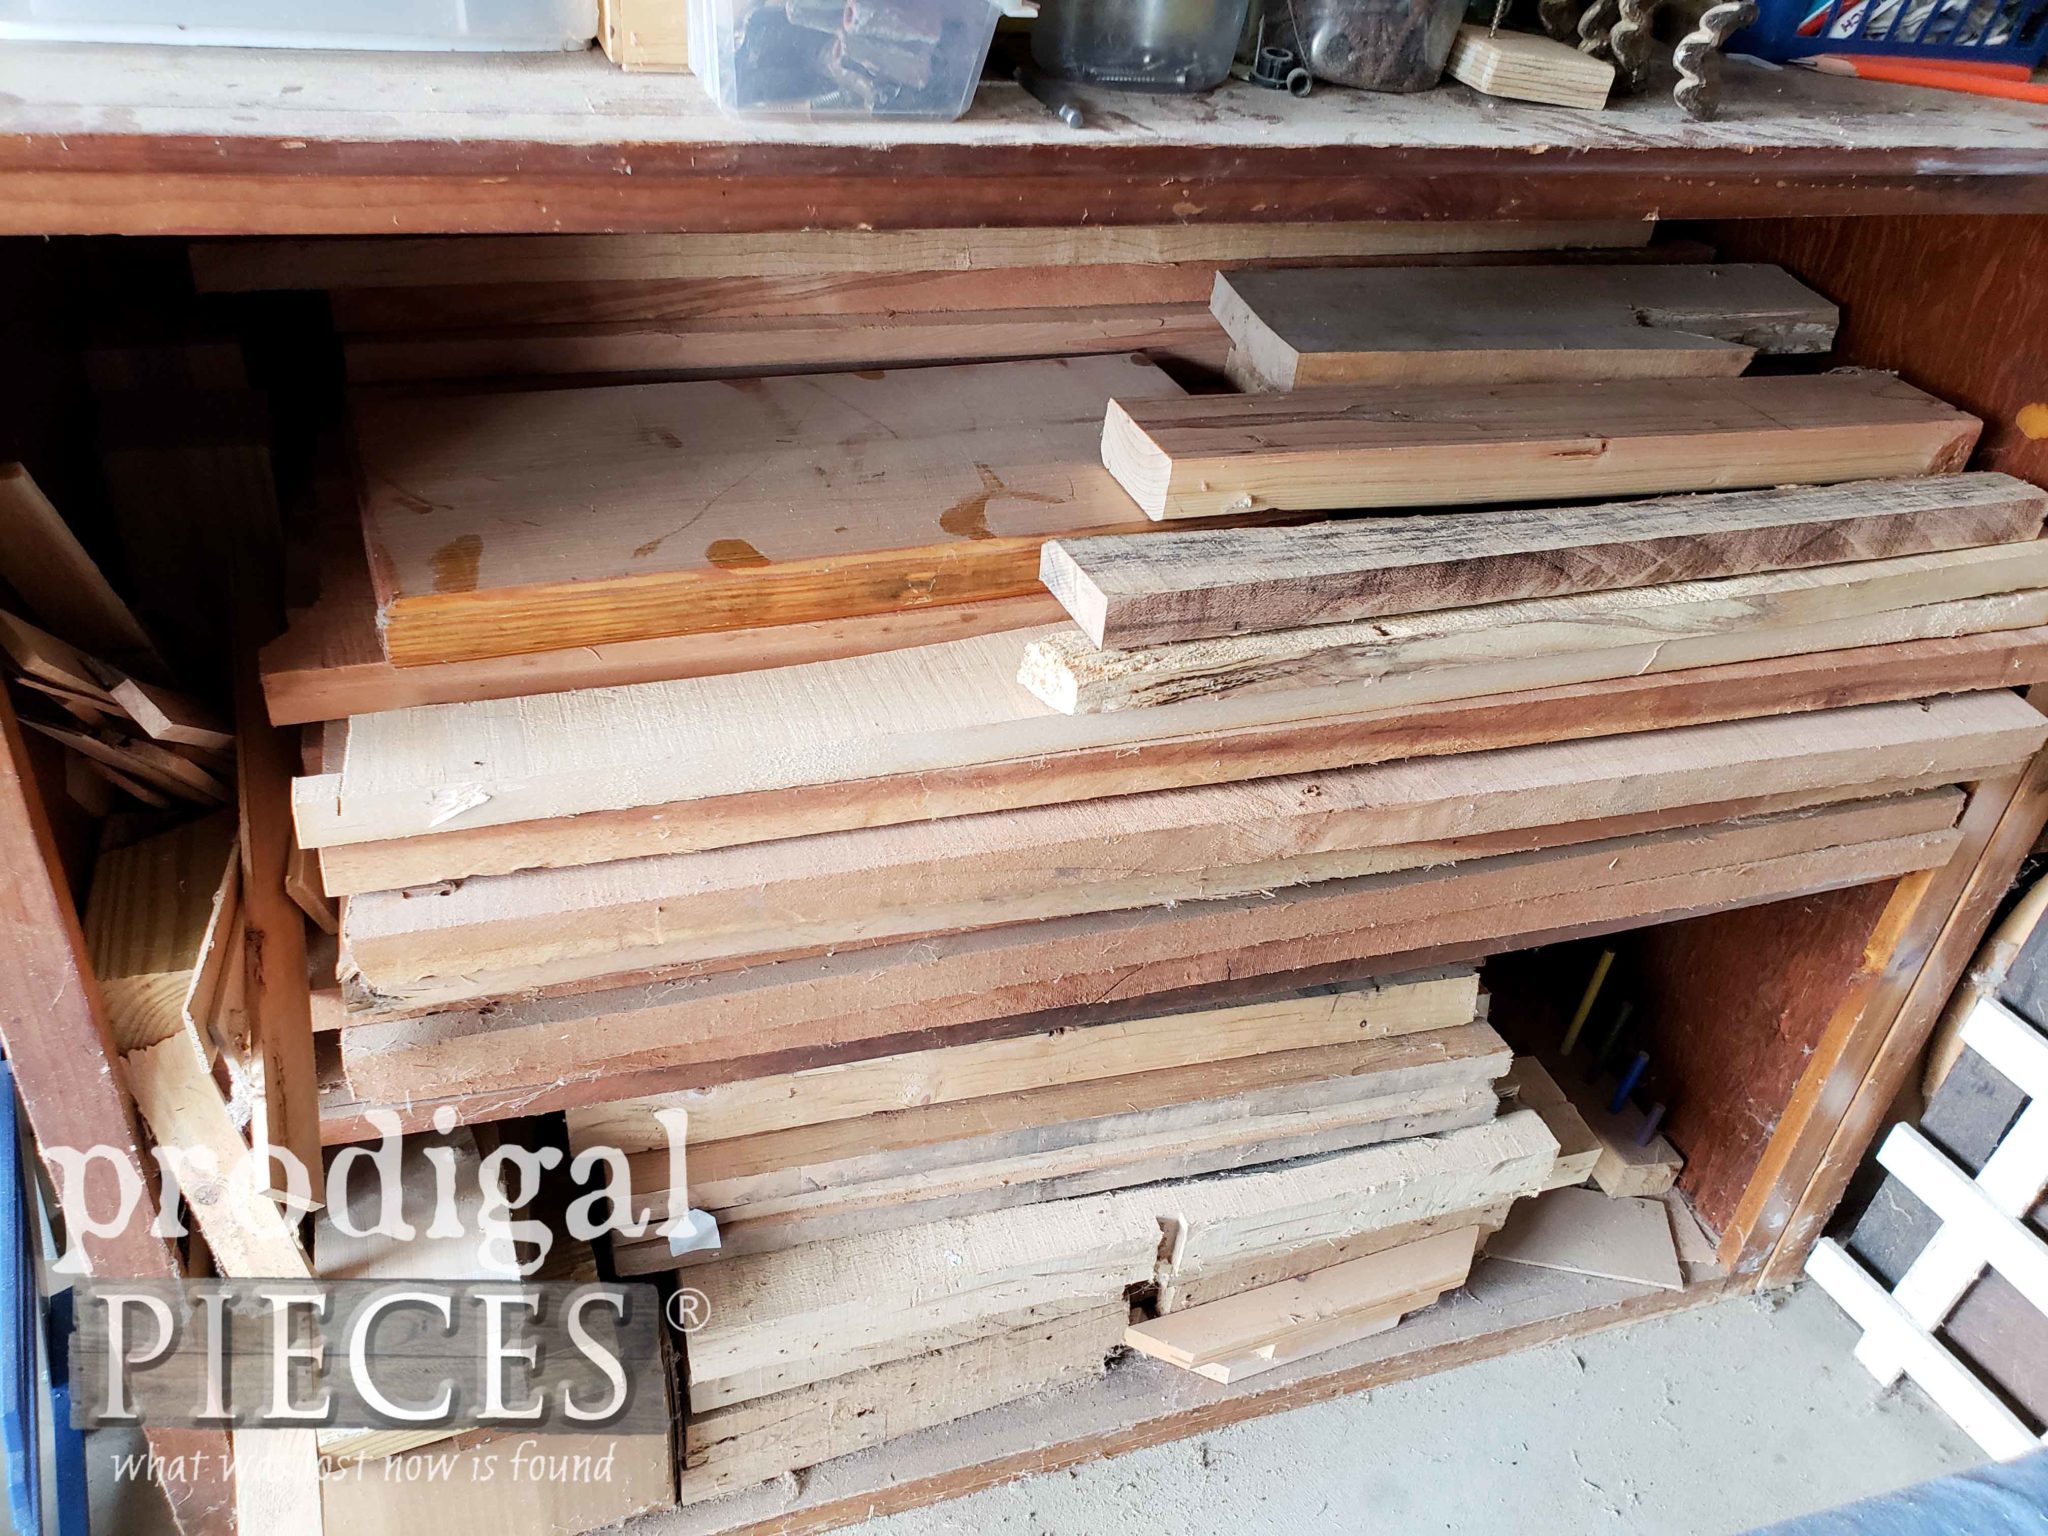
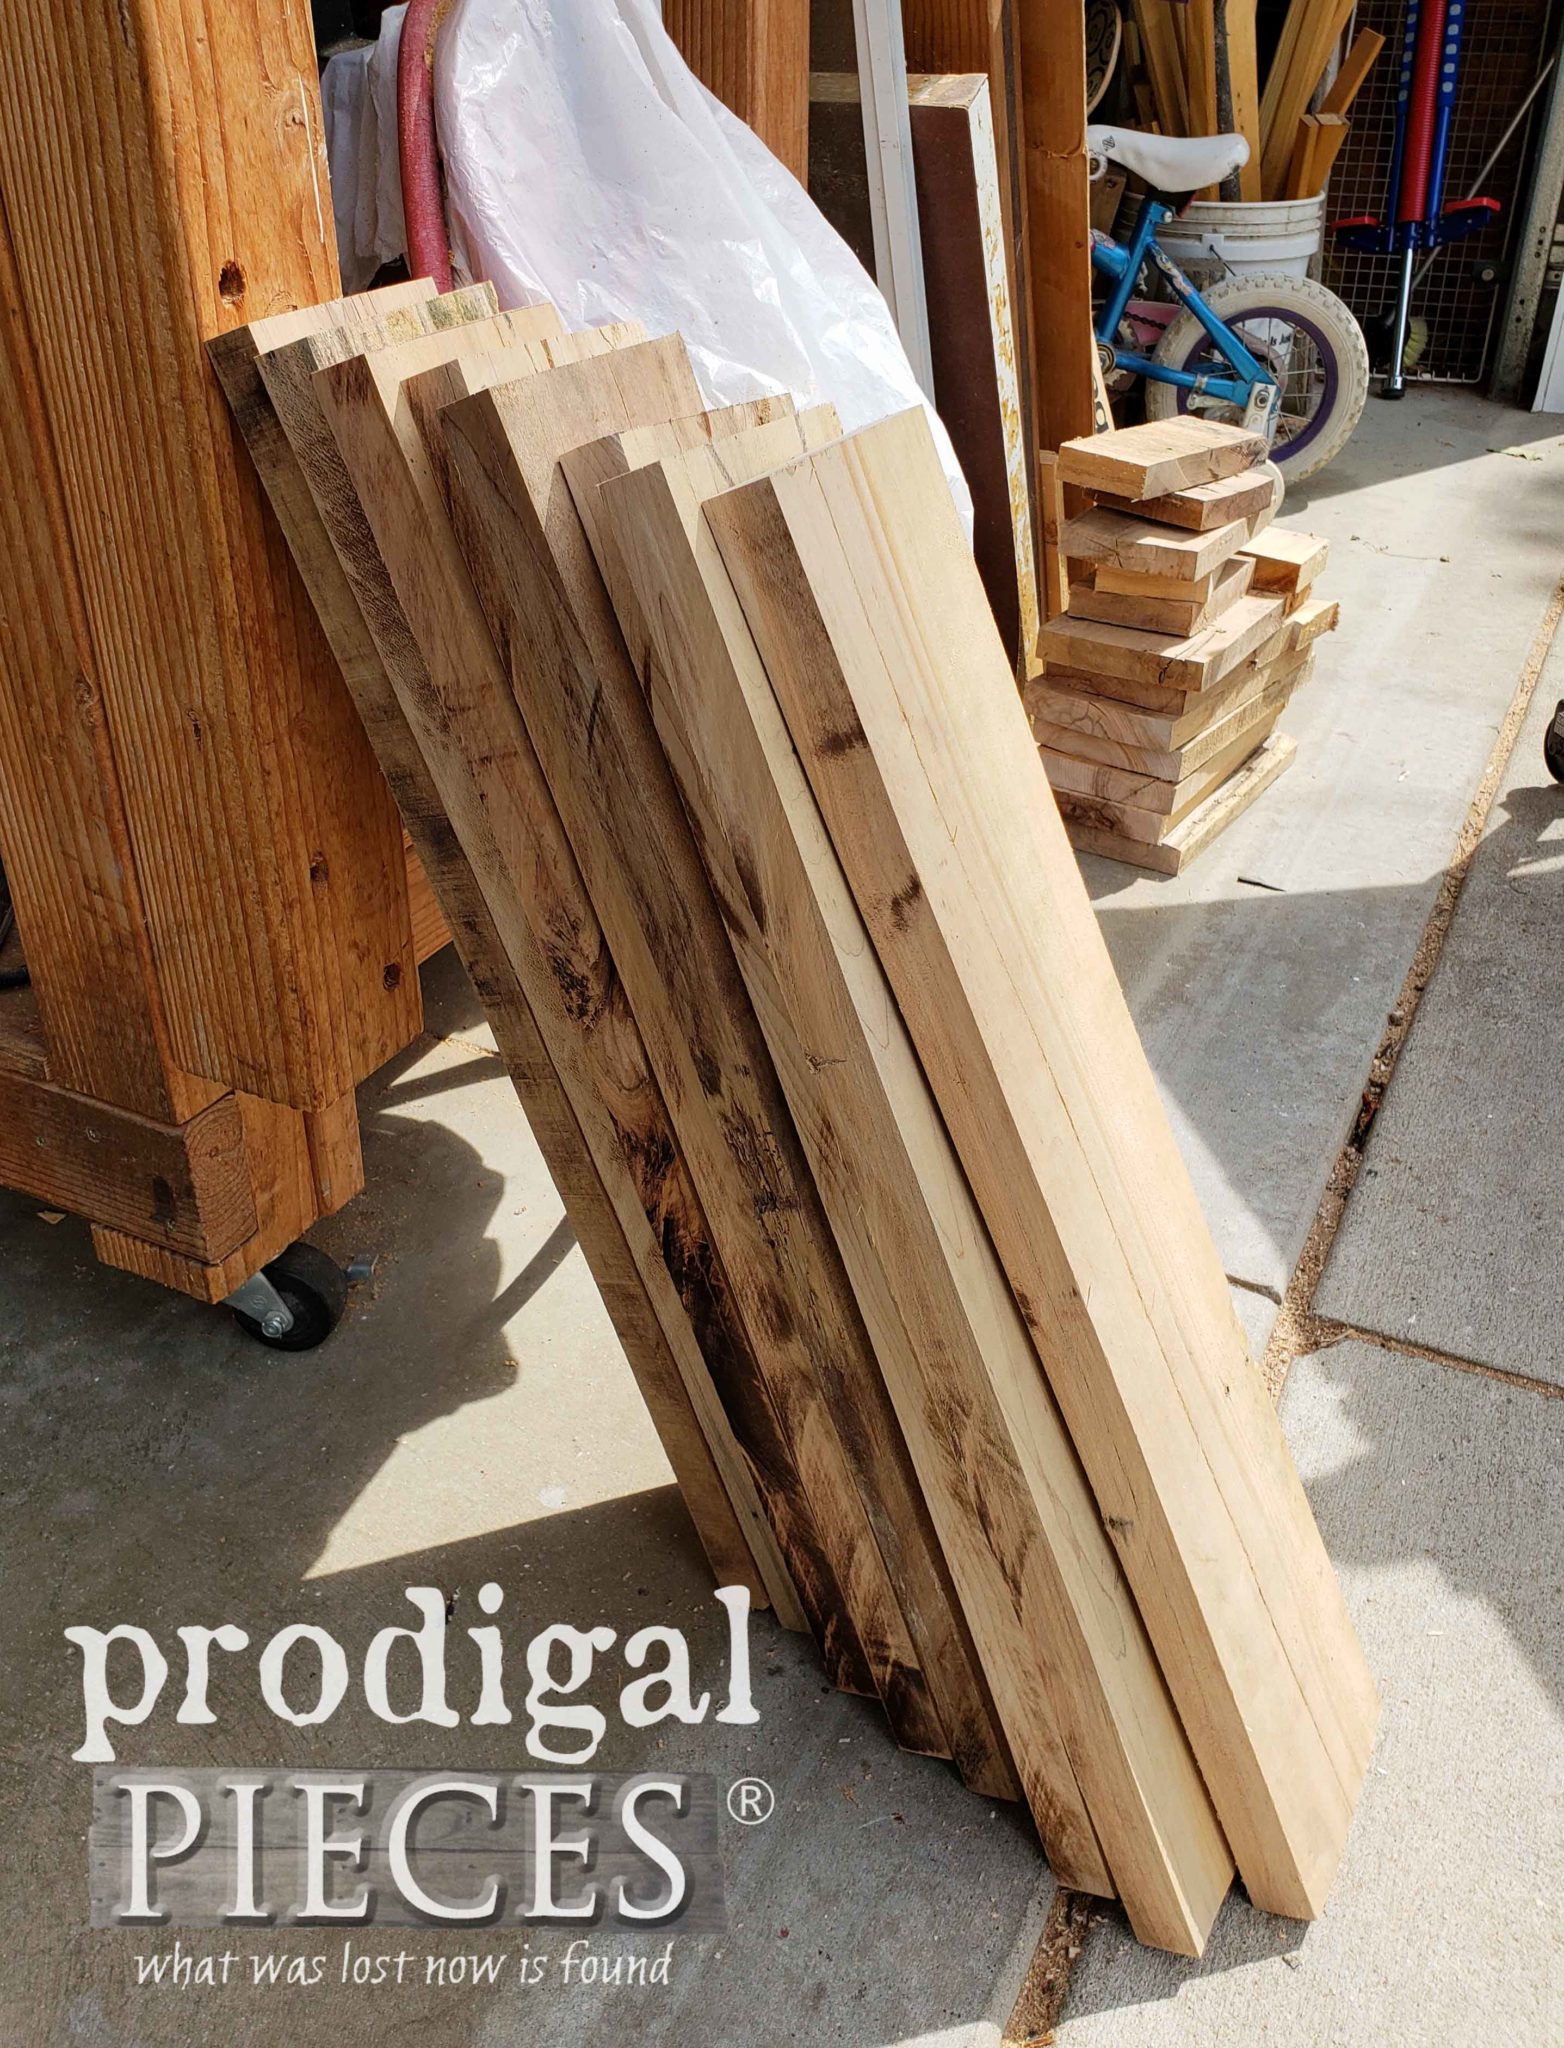
To recreate these grass hanging planters and turn them into a DIY bee skep, I dove into my stash of hardwood reclaimed pallets. We’re talking about pallets we salvage made of cherry, hard maple, and ash. SCORE! I have plans for most of this, but not until our kitchen is done once and for all.
I just need to rip these boards on our table saw to make them the same width. Aren’t they beautiful?
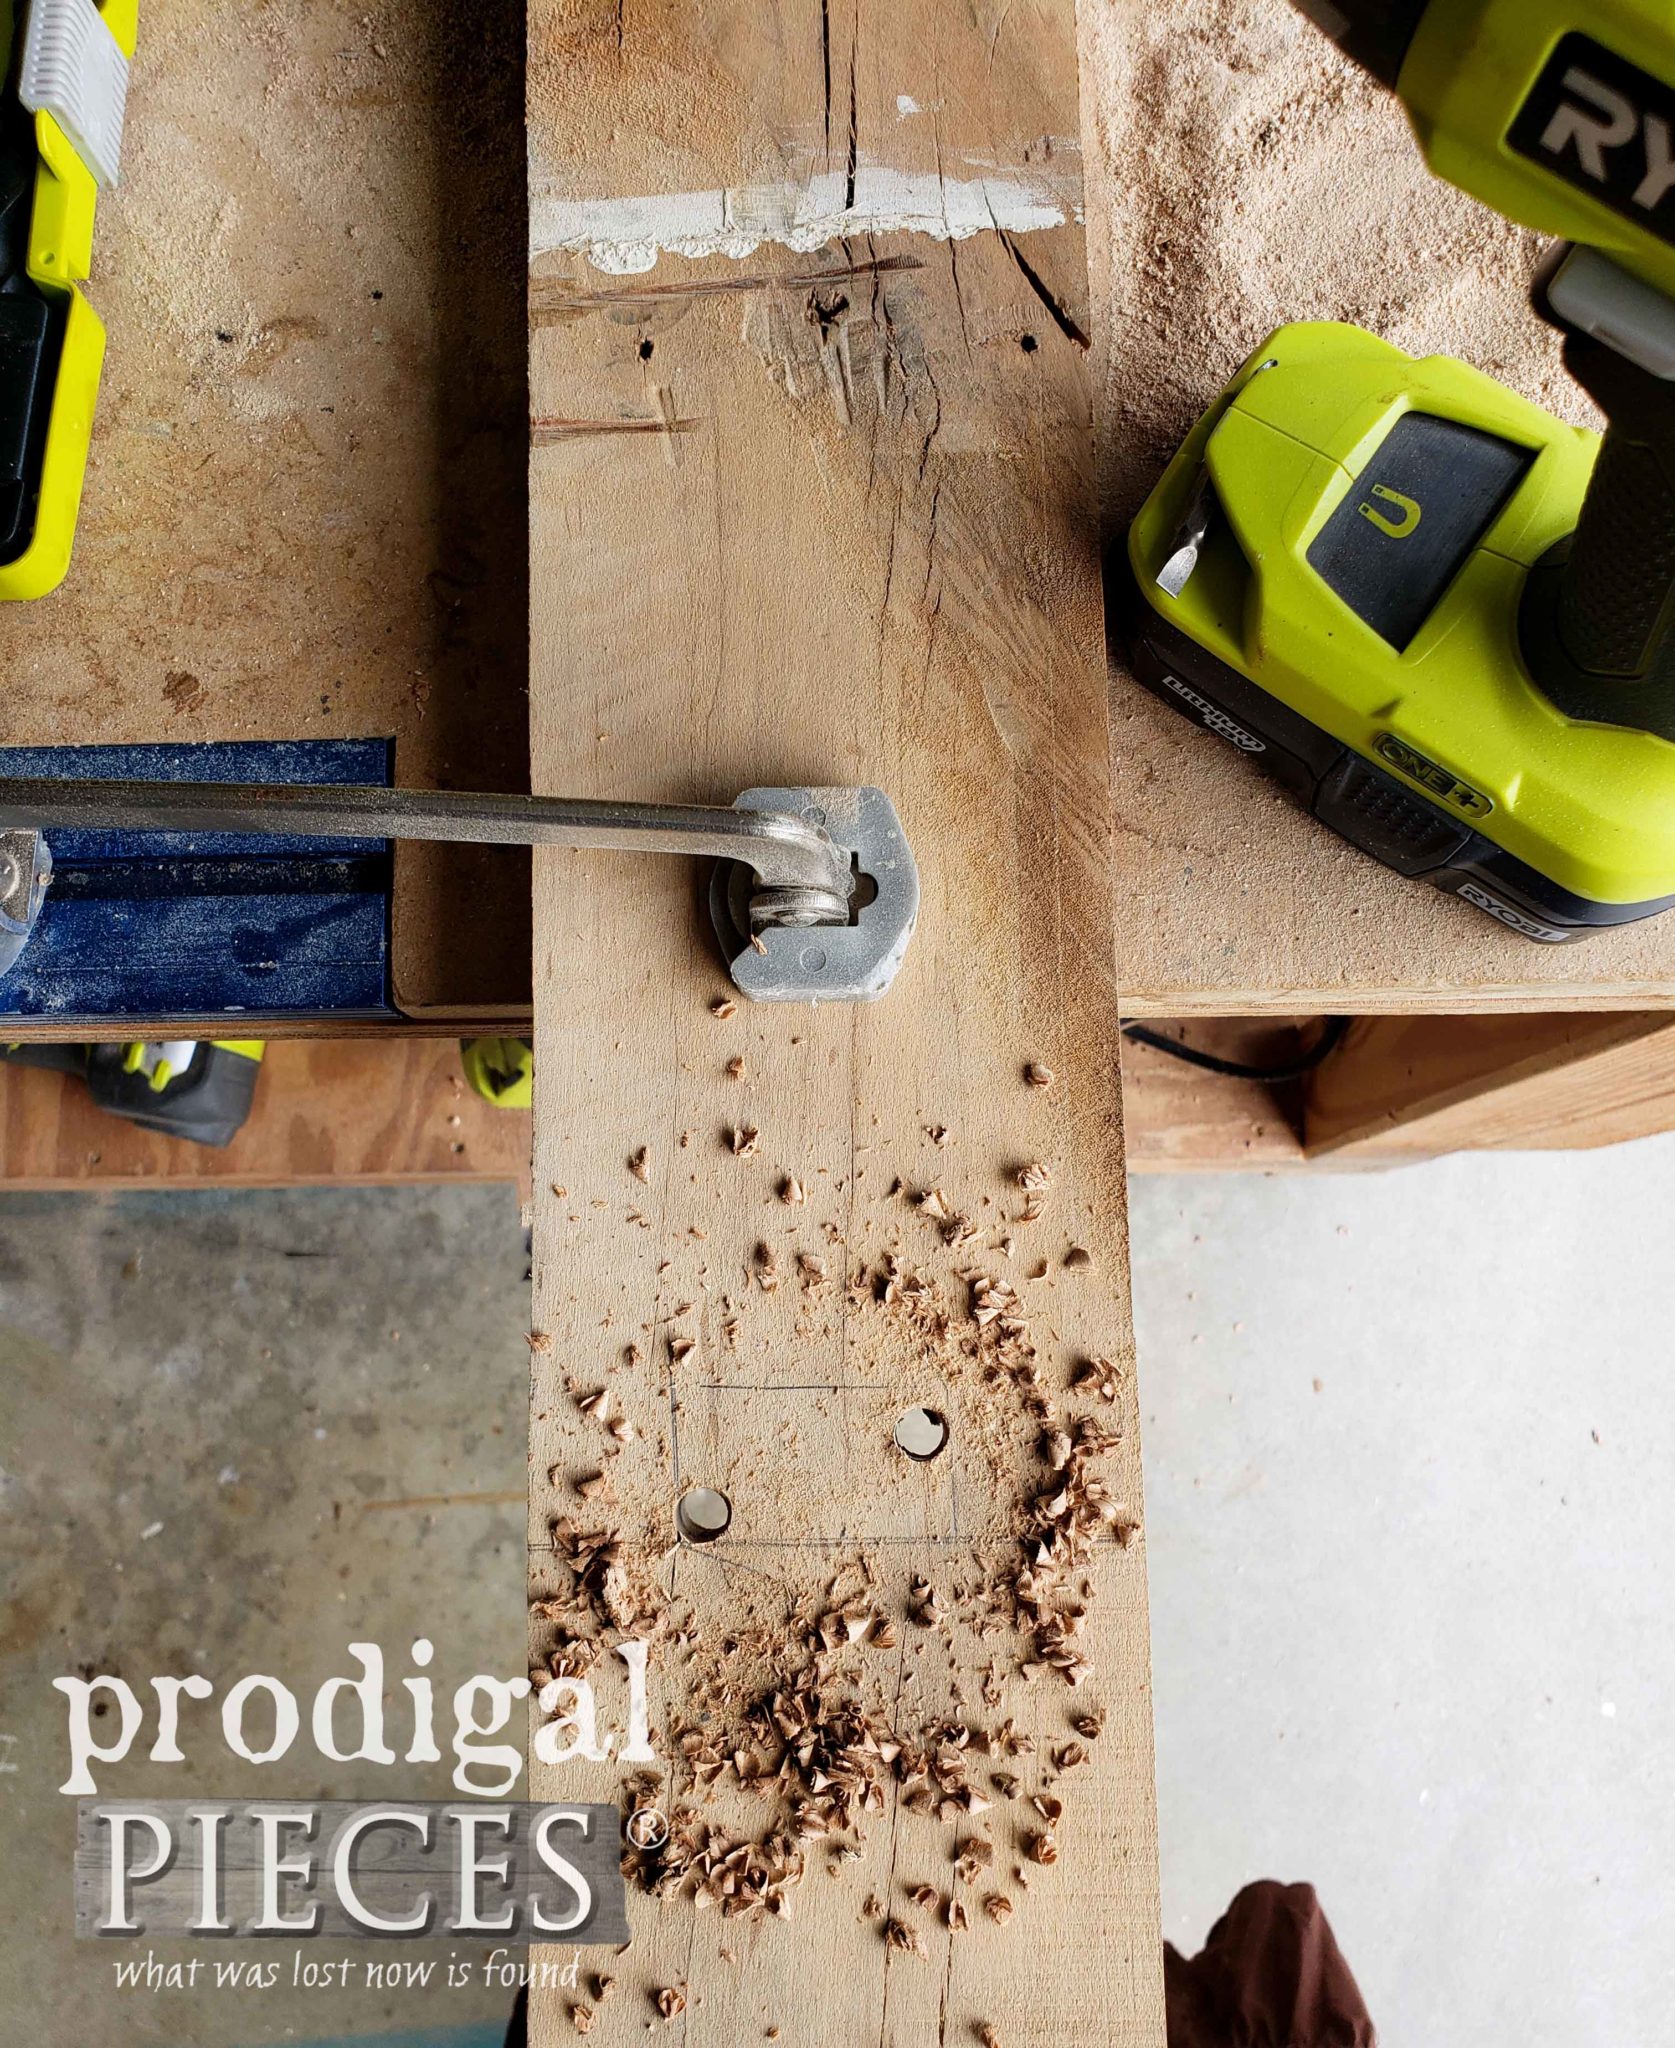
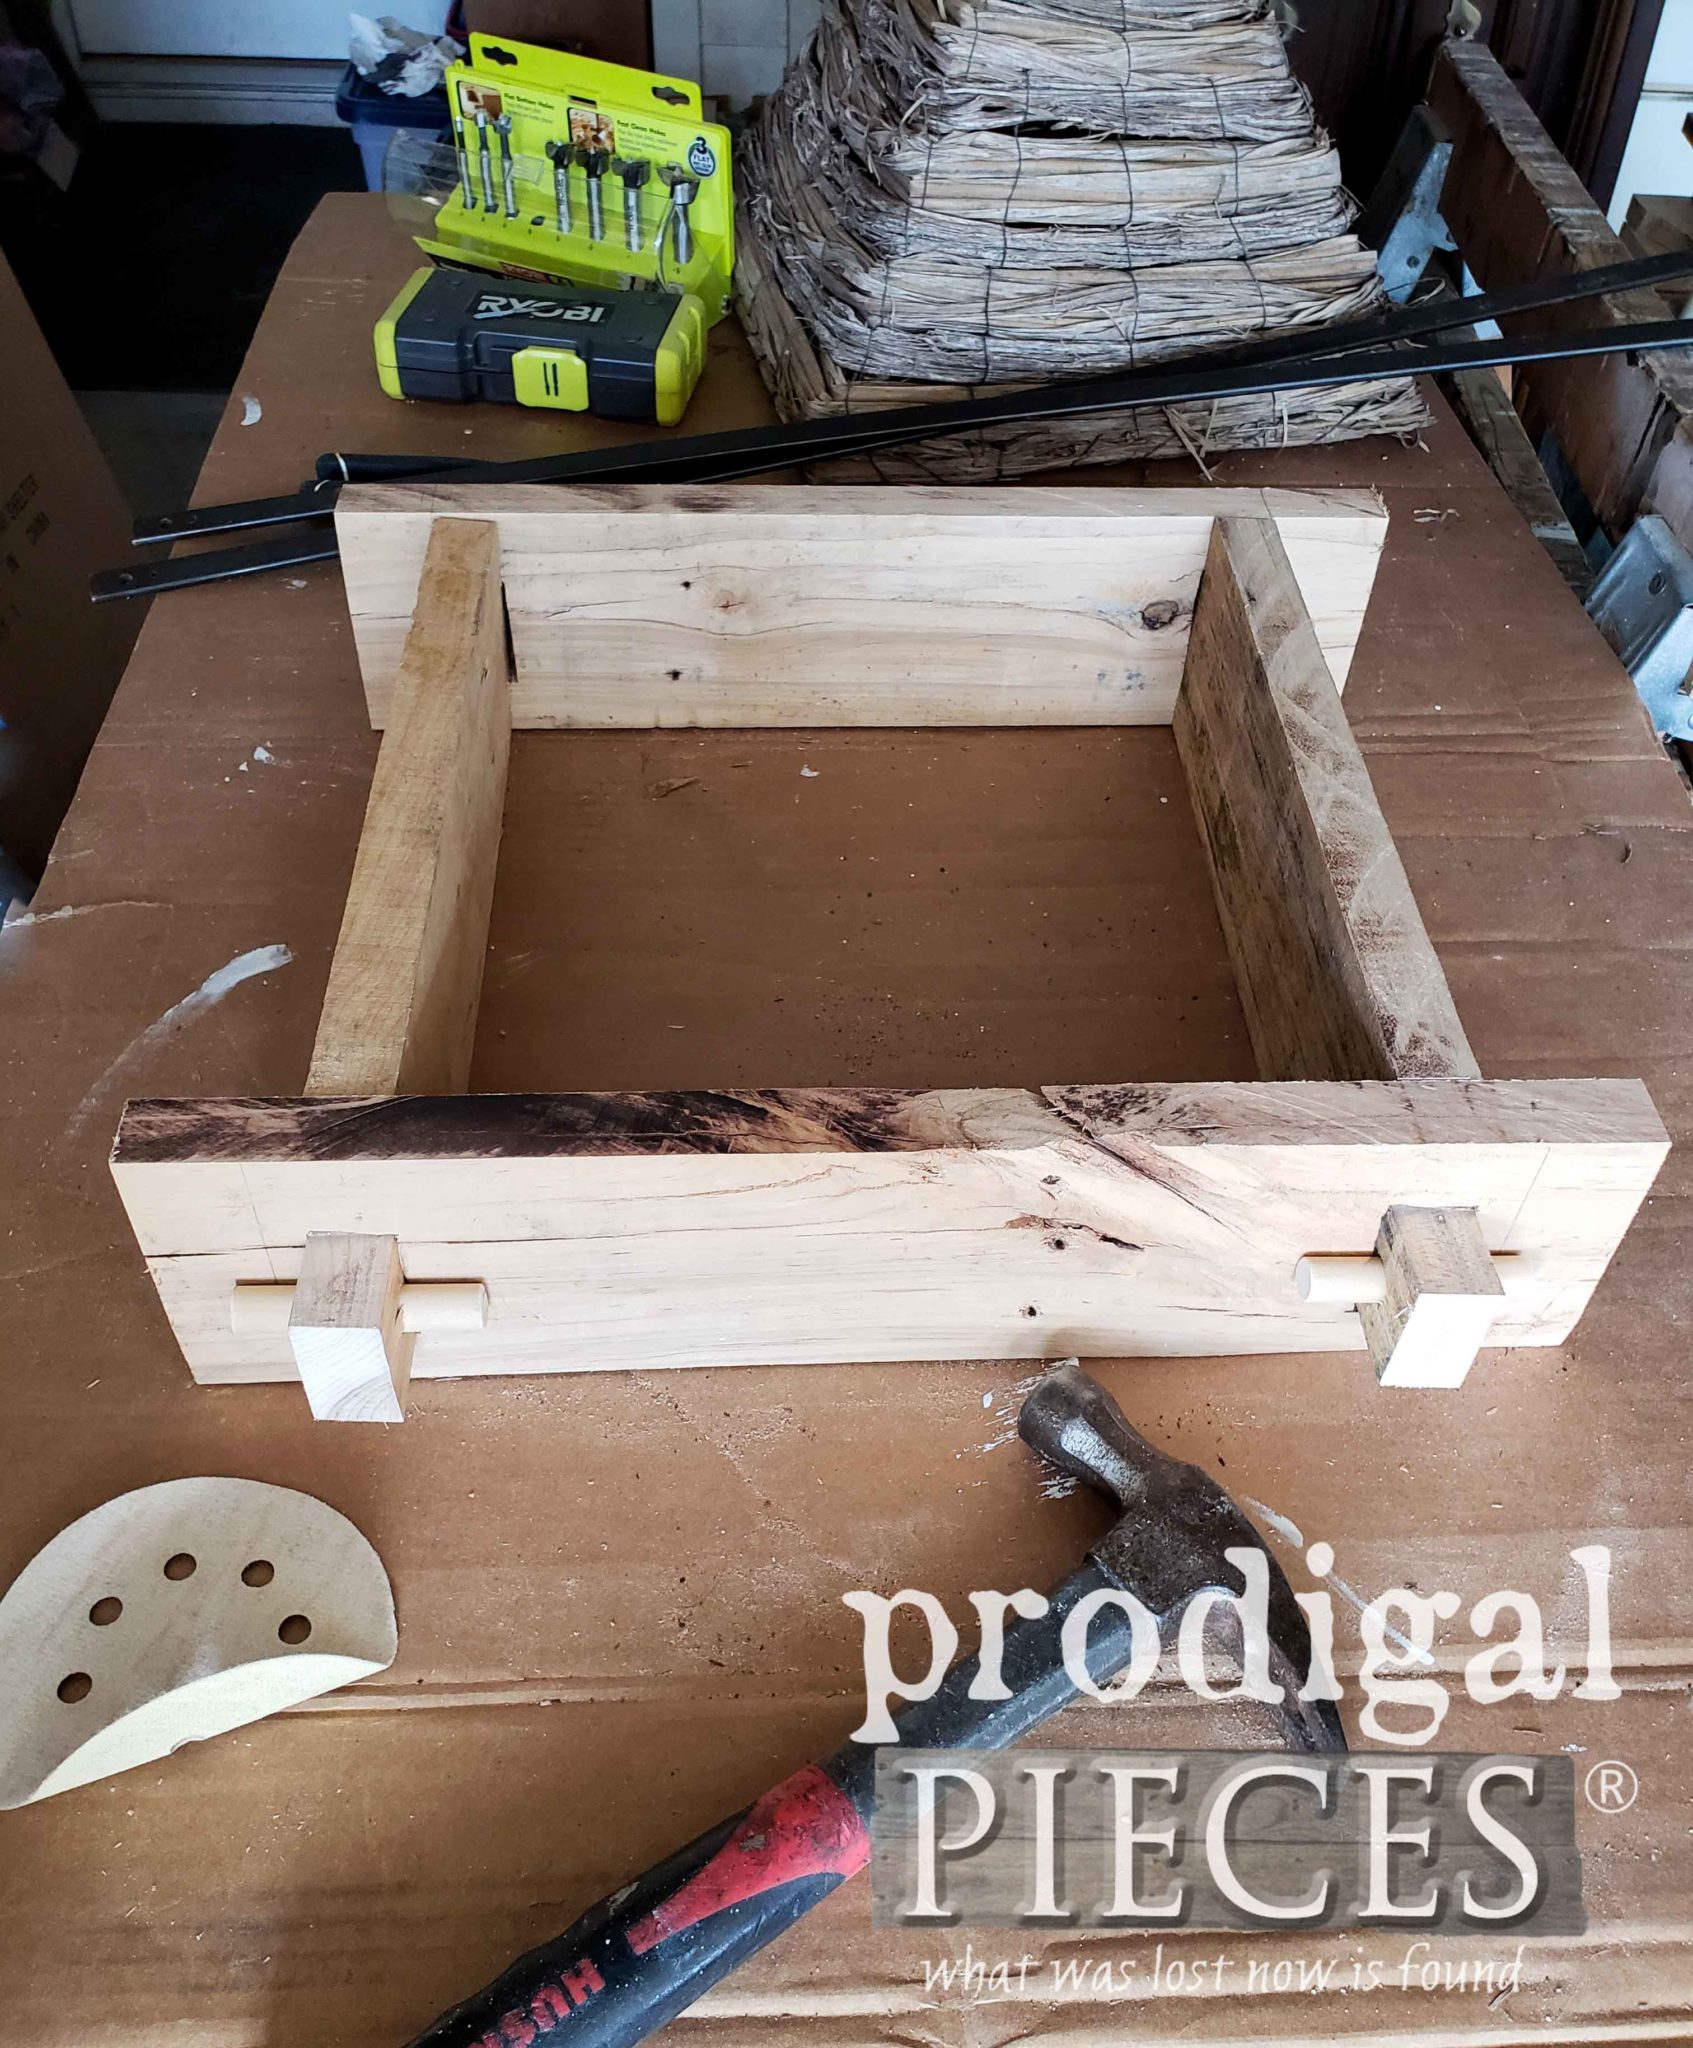
My goal was to replicate the French bee skeps I have seen over the years. Instead of the dome shape, some of them have the pyramid shape like my hanging planter. To begin my DIY bee skep, I figured out the mortise and tenon joinery dimensions, and began with the mortises. Using my drill, I started a point in two corners so I could get my jigsaw blade in.
Then, using my jigsaw I cut out the mortise so it can accept the tenon. A tenon is where the board is narrows down on the end to slide into the mortise. Let me tell ya that hard maple is HARD!!
NEXT STEPS
Here is my assembly with dowel pins to hold it in place.
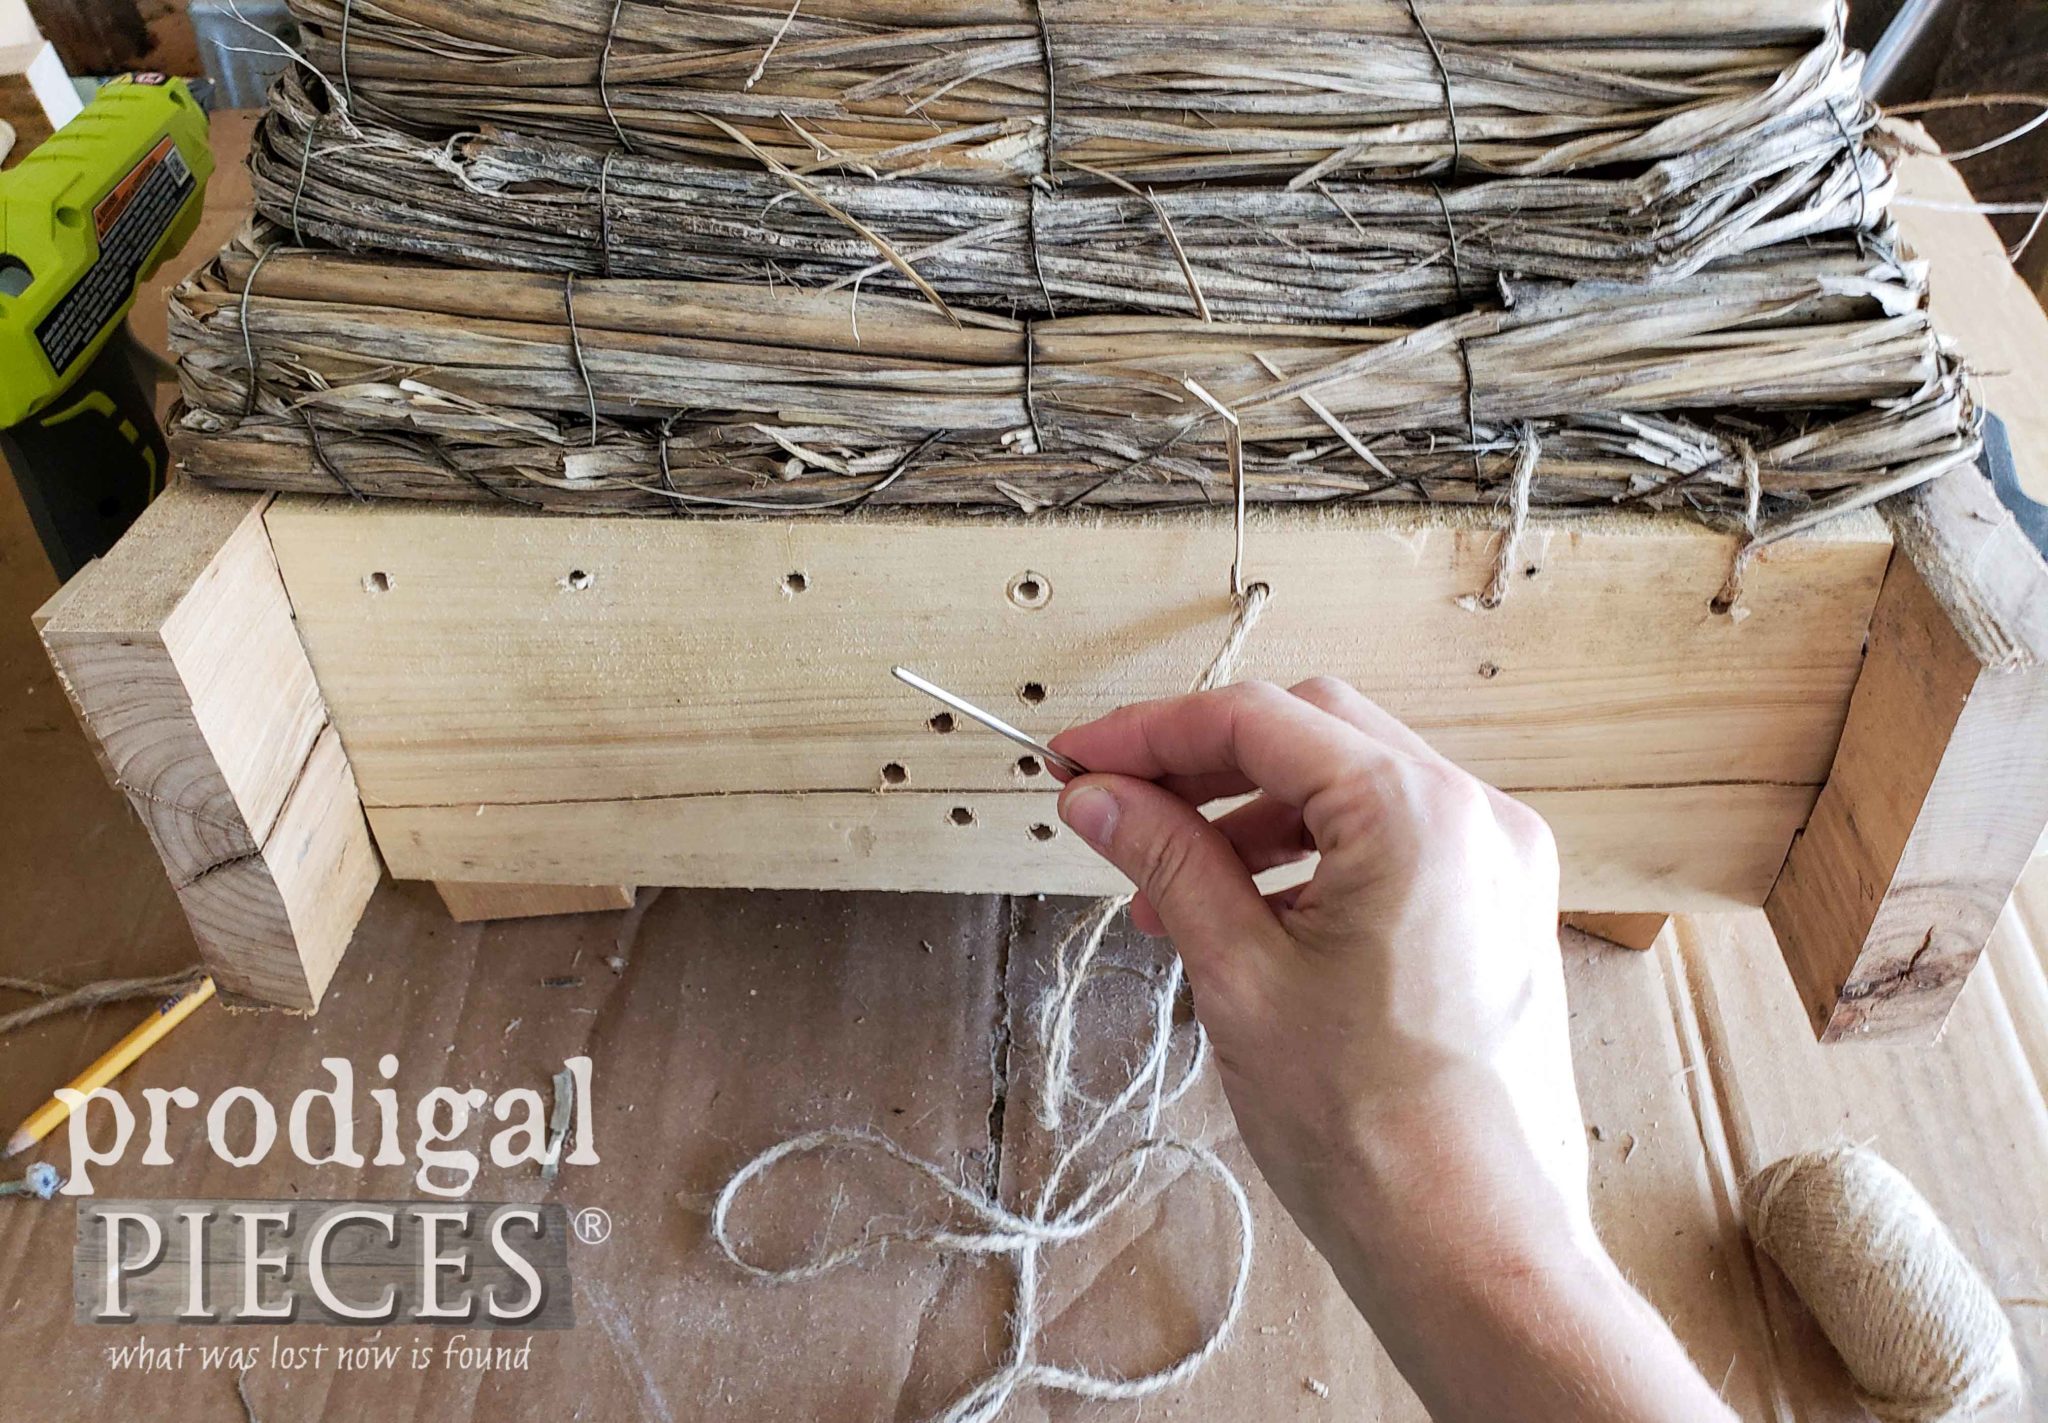
To add the hanging basket top, I drilled evenly spaced holes around the top edge perimeter. Using twine and a yarn needle, I laced the basket to the base.
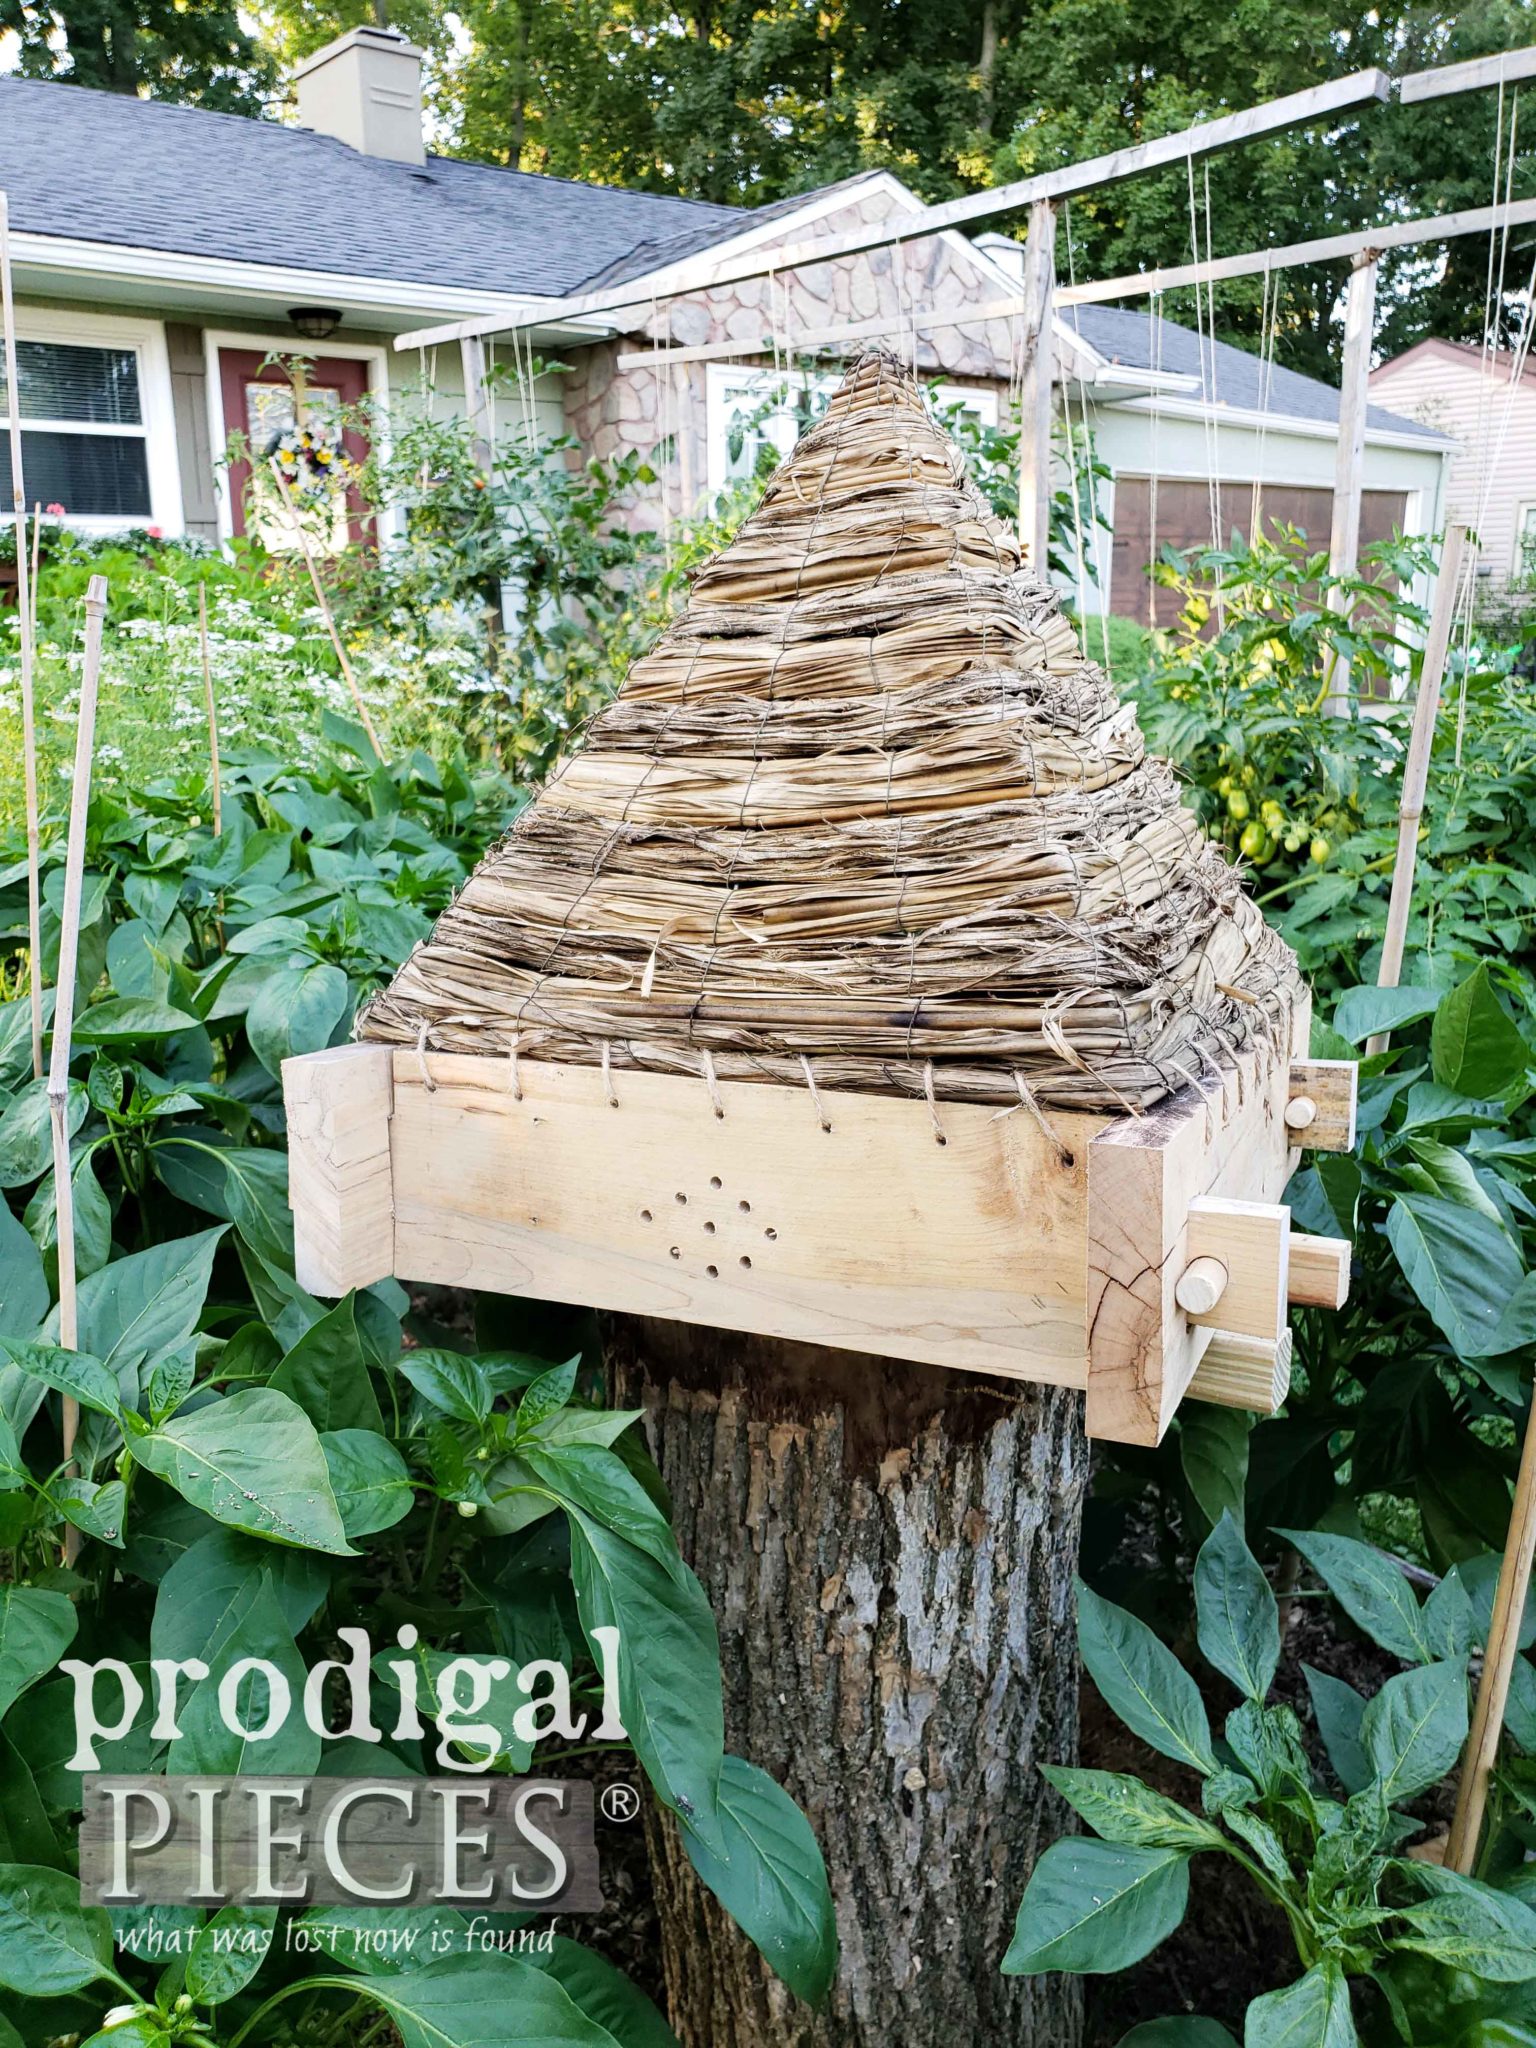
Notice I also added a few more holes to one side so it would replicate where the bees would enter in the skep. Here sits my DIY bee skep in my garden among my pepper plants.
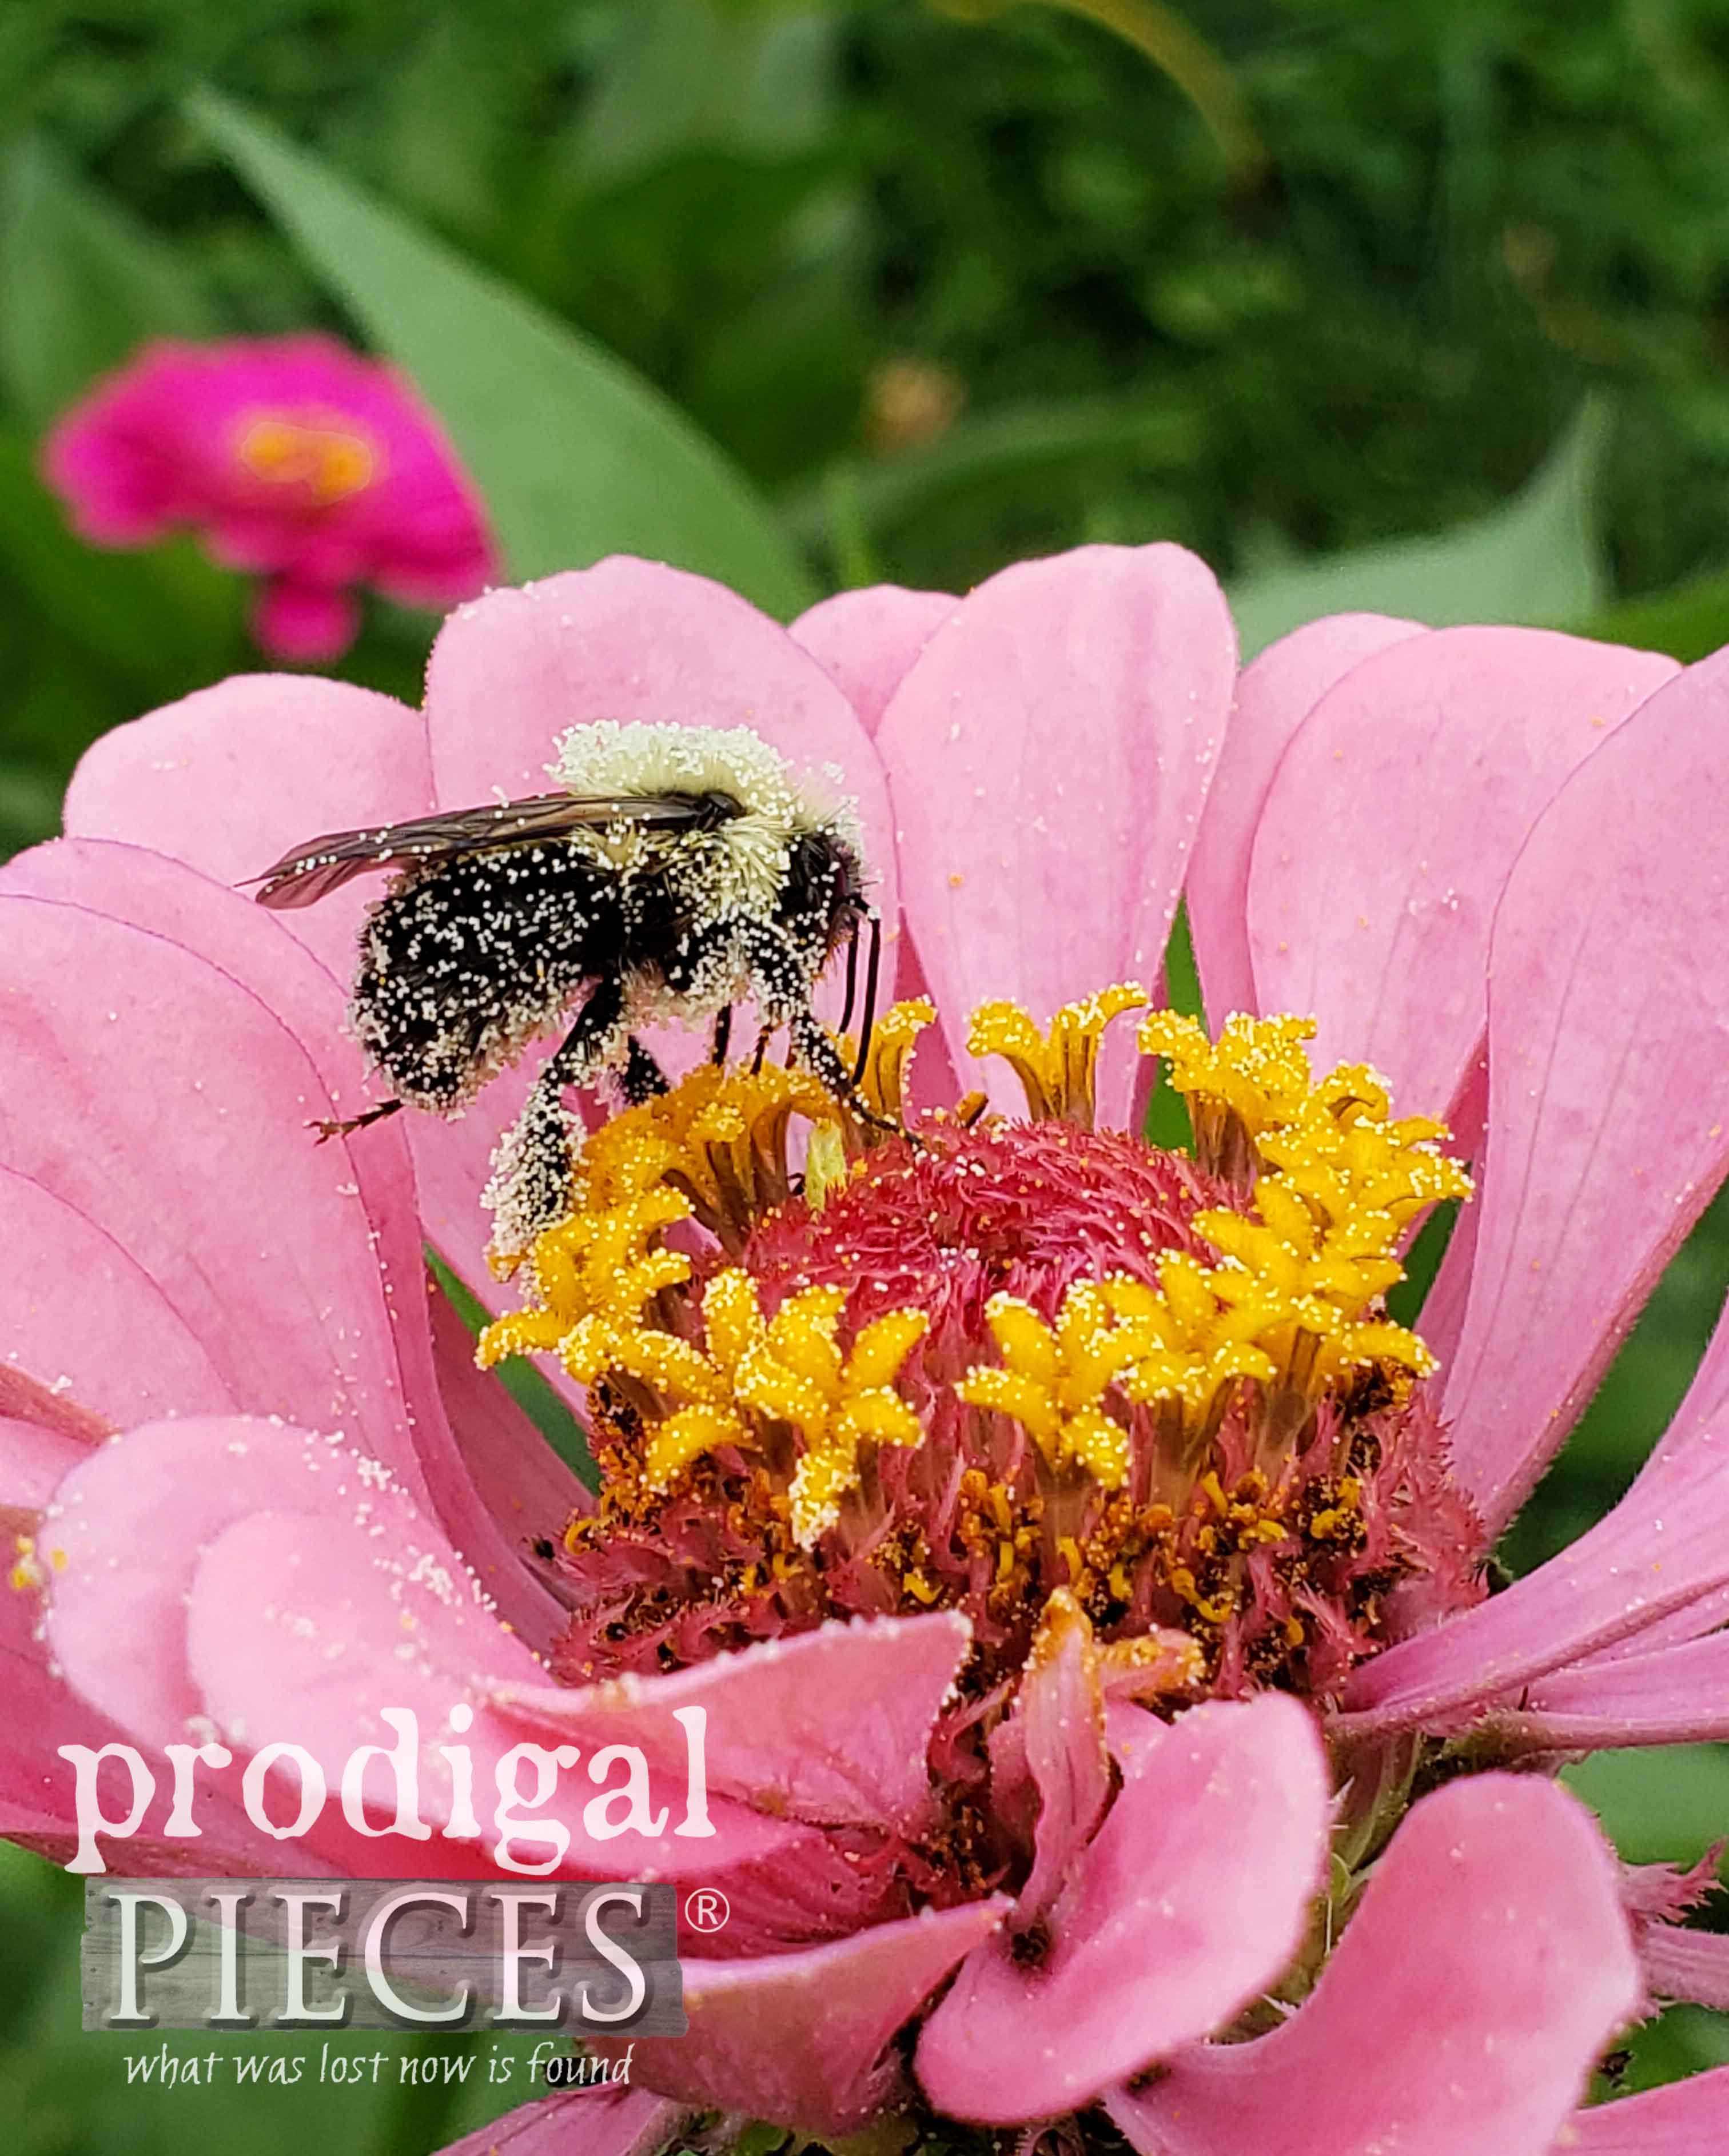
Remember, this is for decoration only as it wouldn’t suit a hive. I love that it adds interest and height to my garden beds. Here it is in my zinnias too where bees are at any given moment. I like to think that they would approve of my design.
HOME DECOR
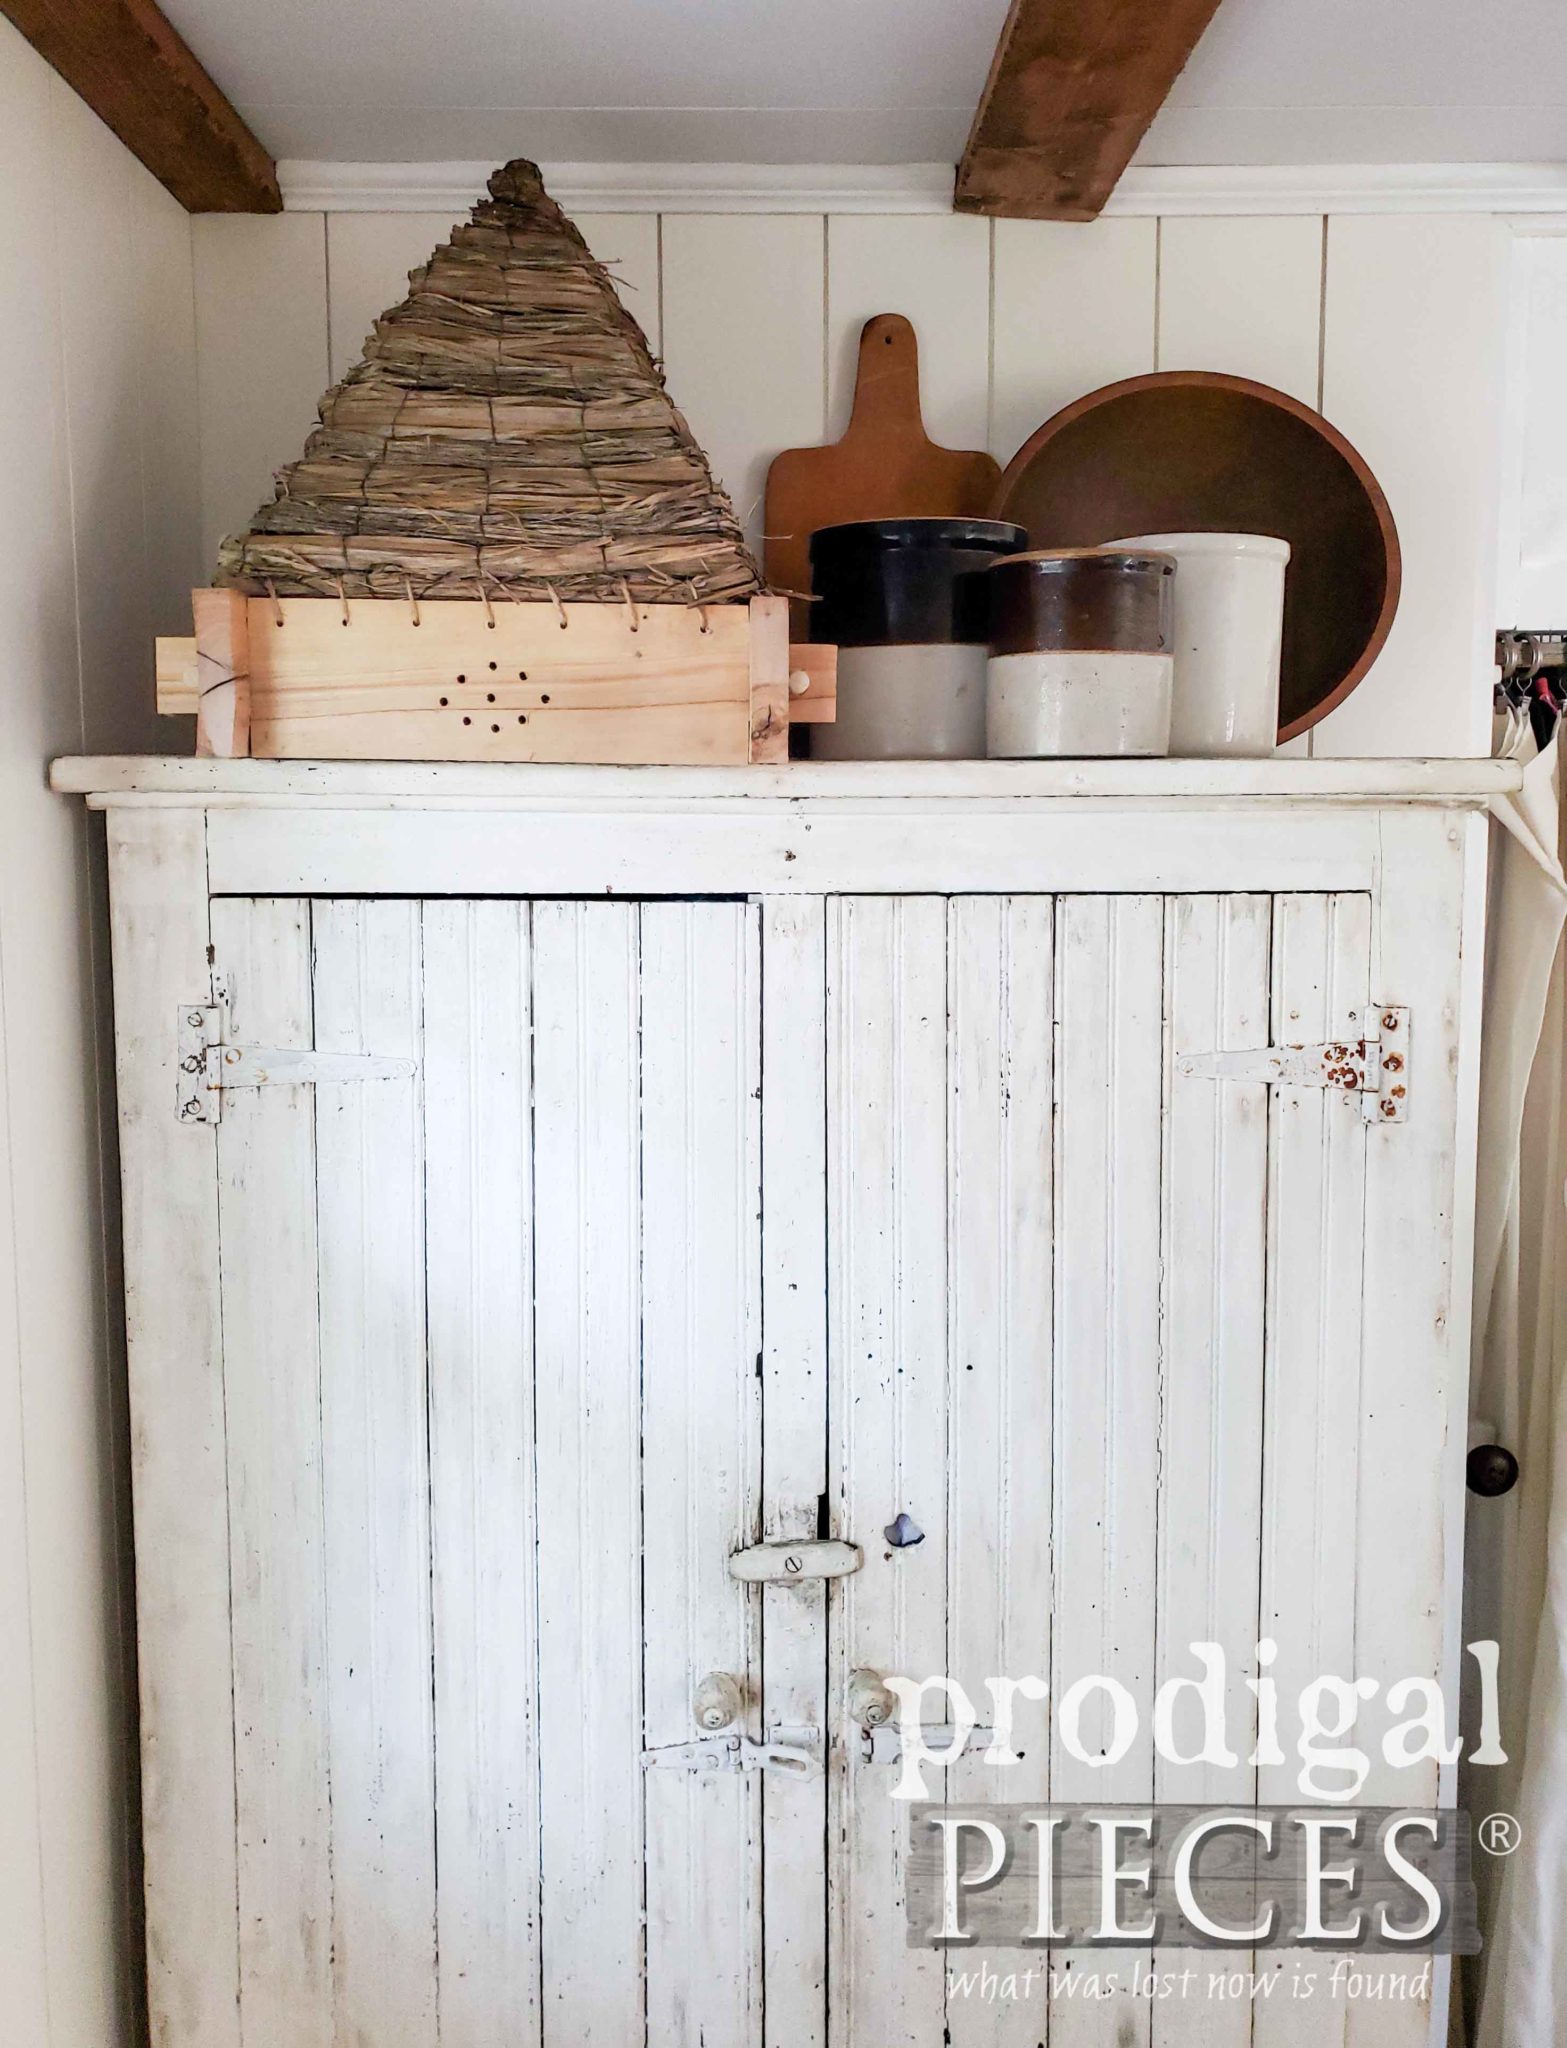
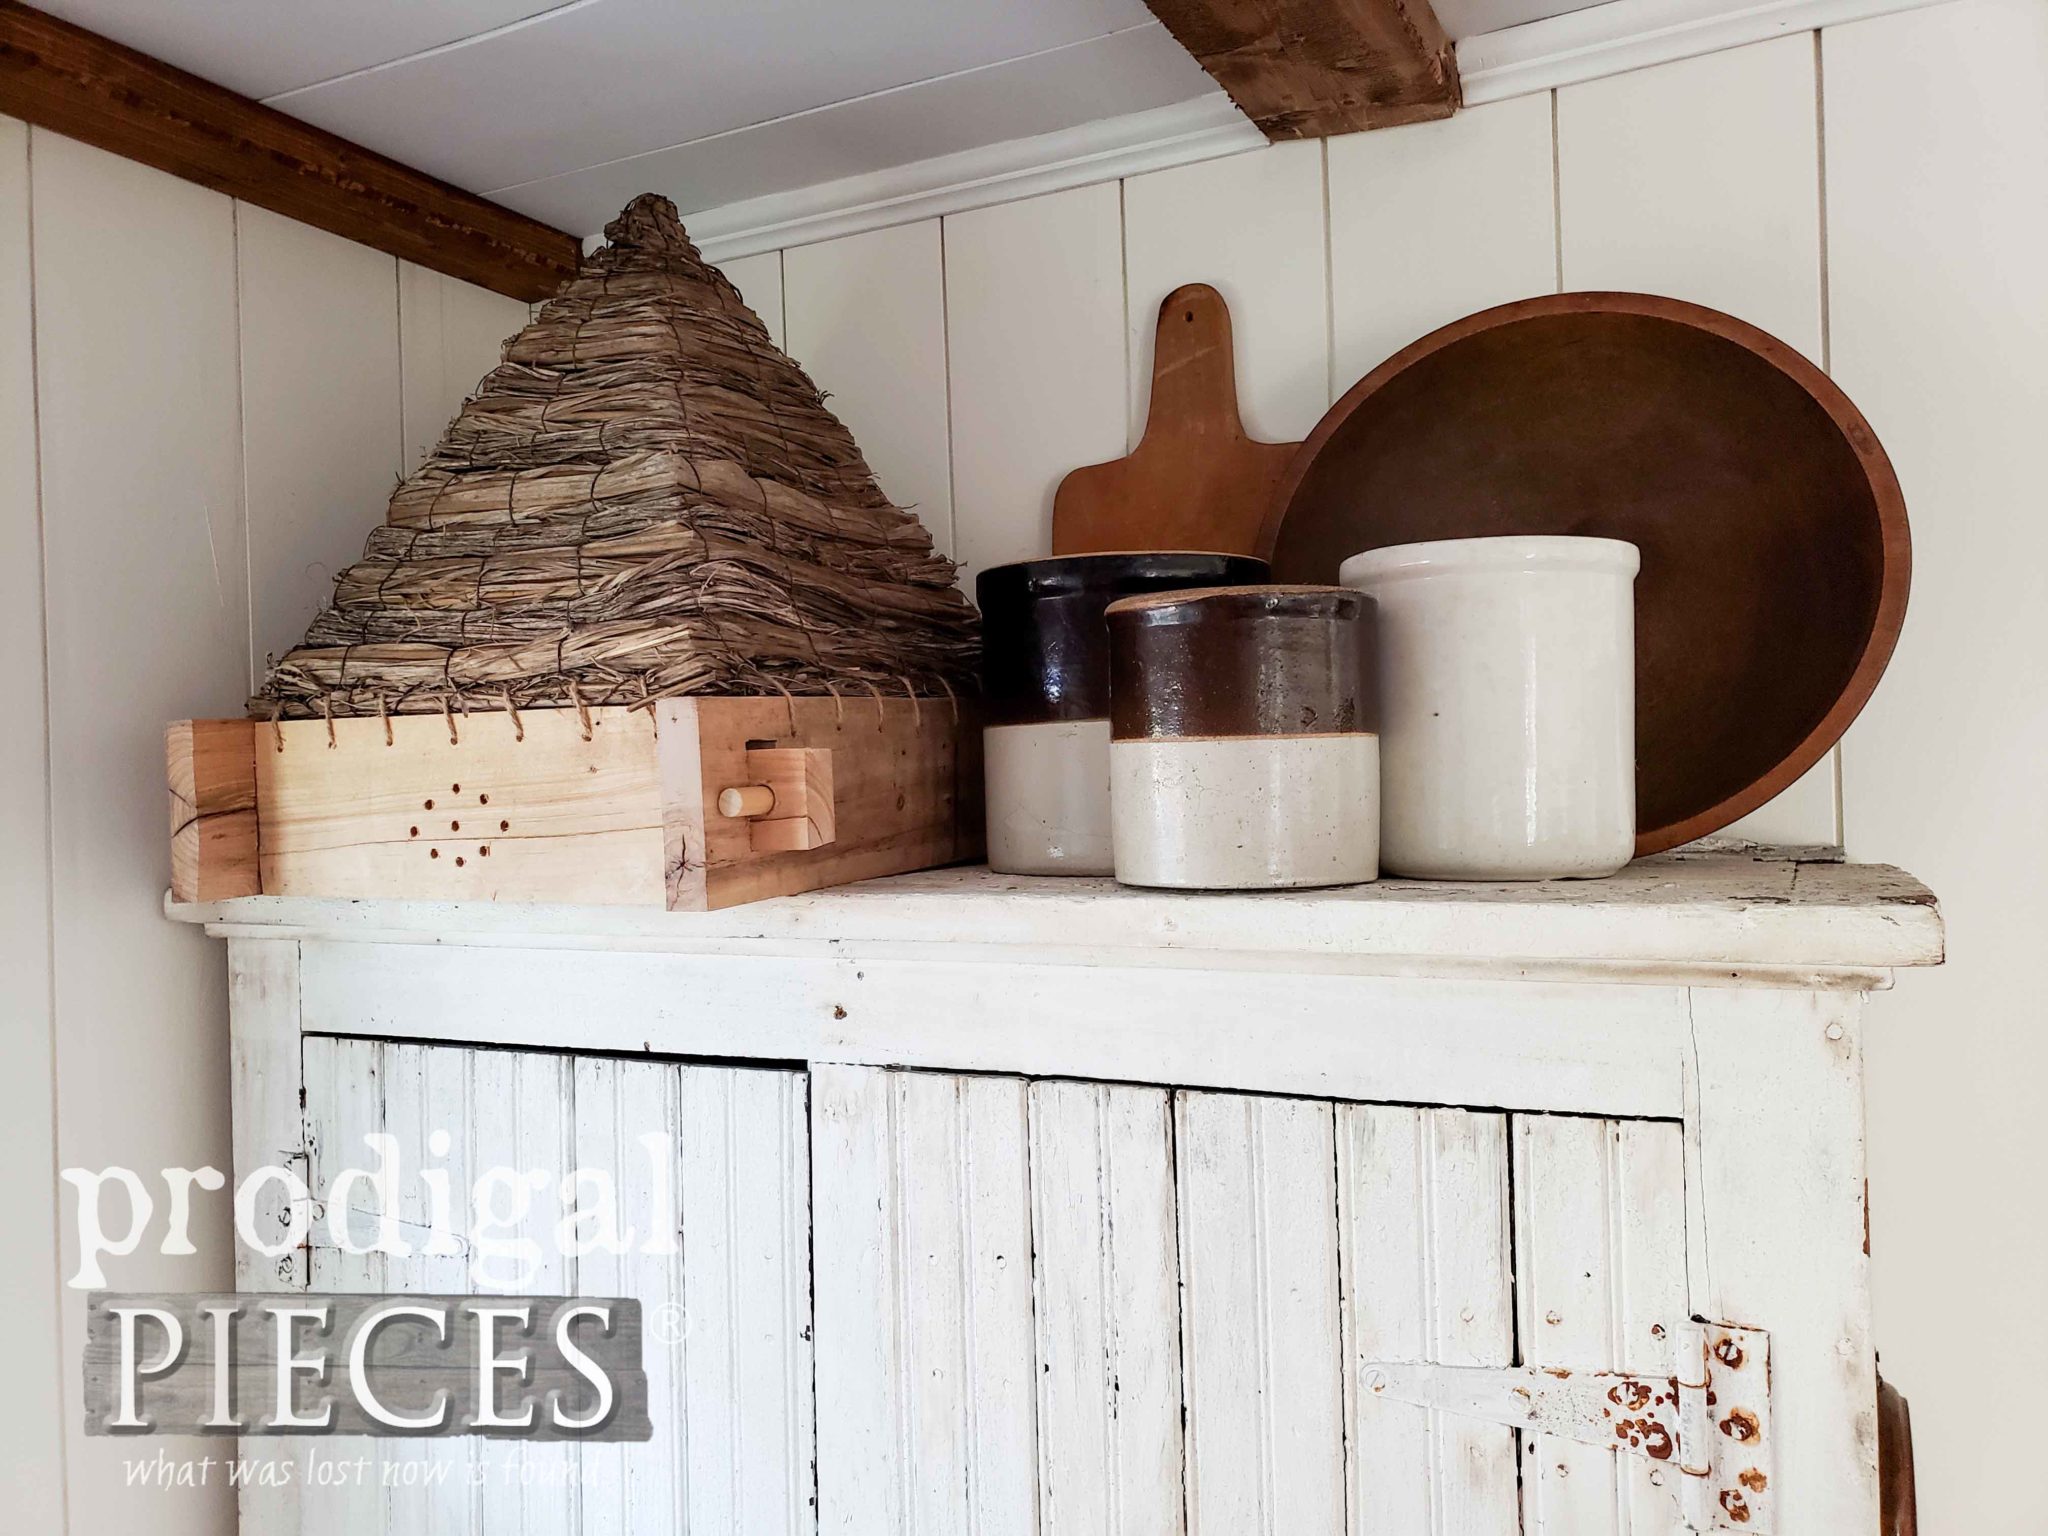
Remember I had mentioned they look fantastic in the interior of your home too? Here it is on my antique cupboard looking like a true antique – don’t you think? Since the real deal skeps retails for about $500, I think I like to stick to my DIY one instead.
If you’d like to own one of these too, you can find it available in my online store along with many other handmade and vintage goodies too. Discount available on your first order or if you sign up for my newsletter (details below).
FRIENDS
Since a bee skep is not for everyone, I do recommend creating a bee/bug hotel. What’s that you say? Check out this fantastic build by my bestie, Connie. She gifted me this on my birthday and I couldn’t be more ecstatic!
She and her family and undertaken the ginormous task of disassembling and removing a centuries old family barn on her father’s property. Her intent is to rebuild it one day into her home. Part of the fun of that is all the insanely cool wood she acquires. Out of some scrap wood and shingles from that barn, she created this gem for me. I LOVE IT!
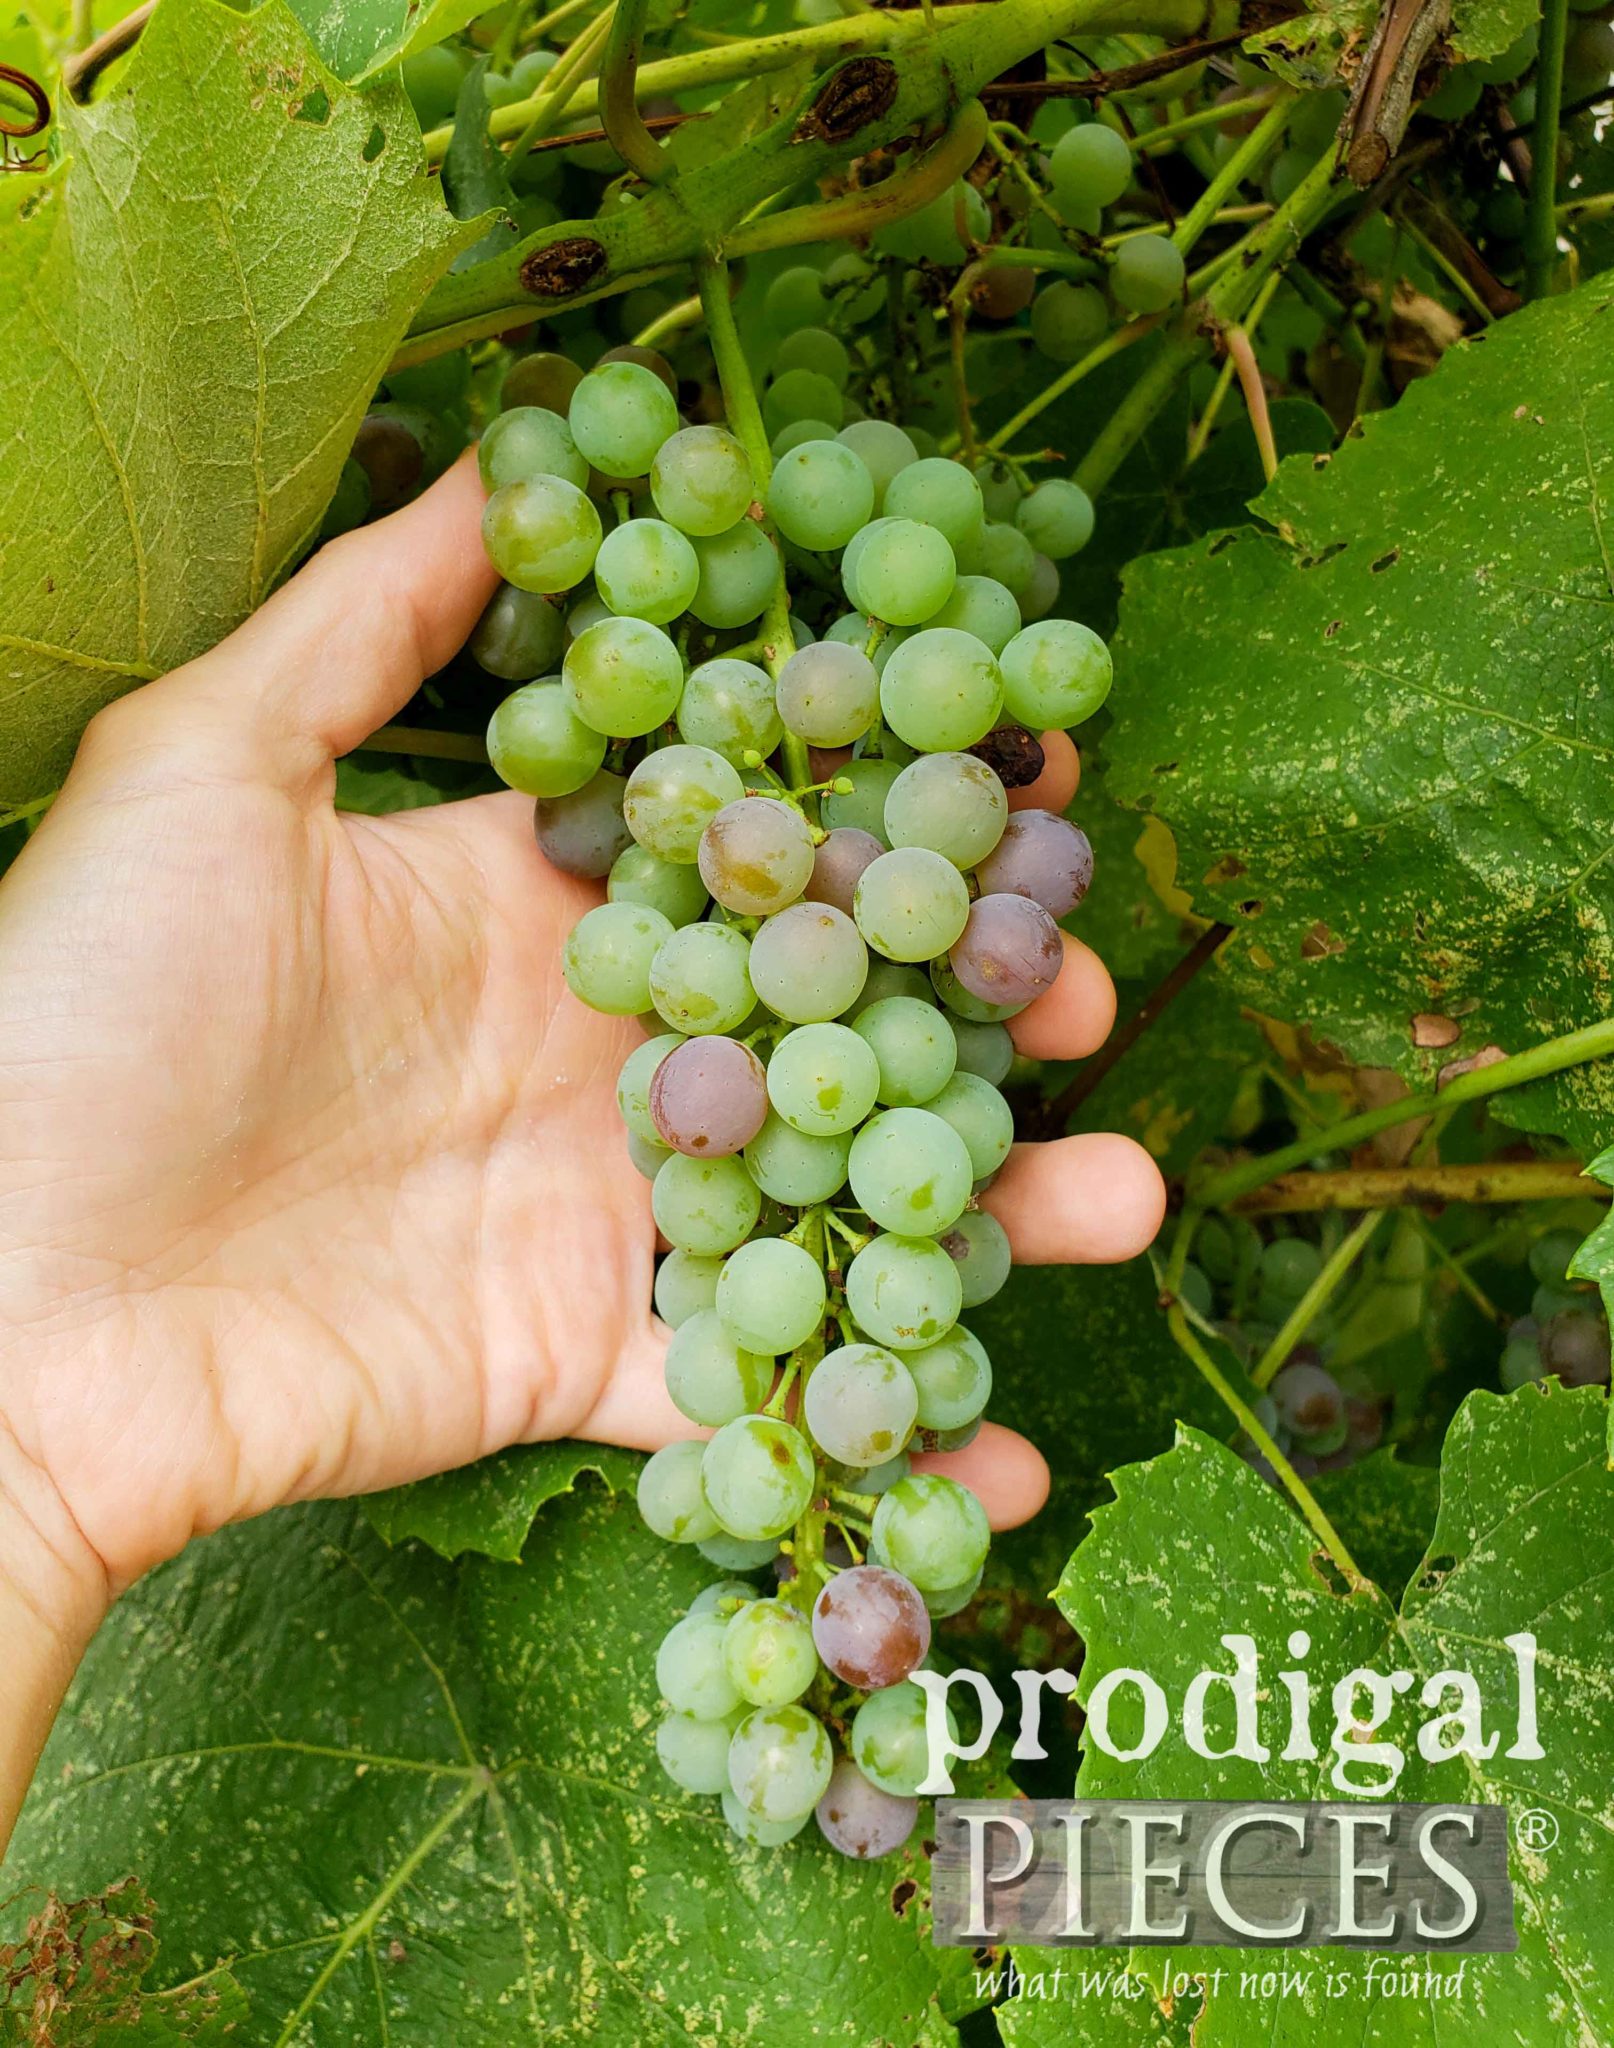
This is the next best thing to a skep, and will encourage our buzzy bee friends and insects to frequent and pollinate my garden. You can make one too! I hung mine near my grape arbor which is next to my raised bed garden. Our fruits are nearly ripe and ready to go.
Now, I mentioned giving you three tutorials. I know many of you may not be able to get your hands on some cool old hanging planters. However, I also wanted to show you some fun and easy way to make your own DIY bee skep. Take a peek at my other fun creations below.
MORE FUN
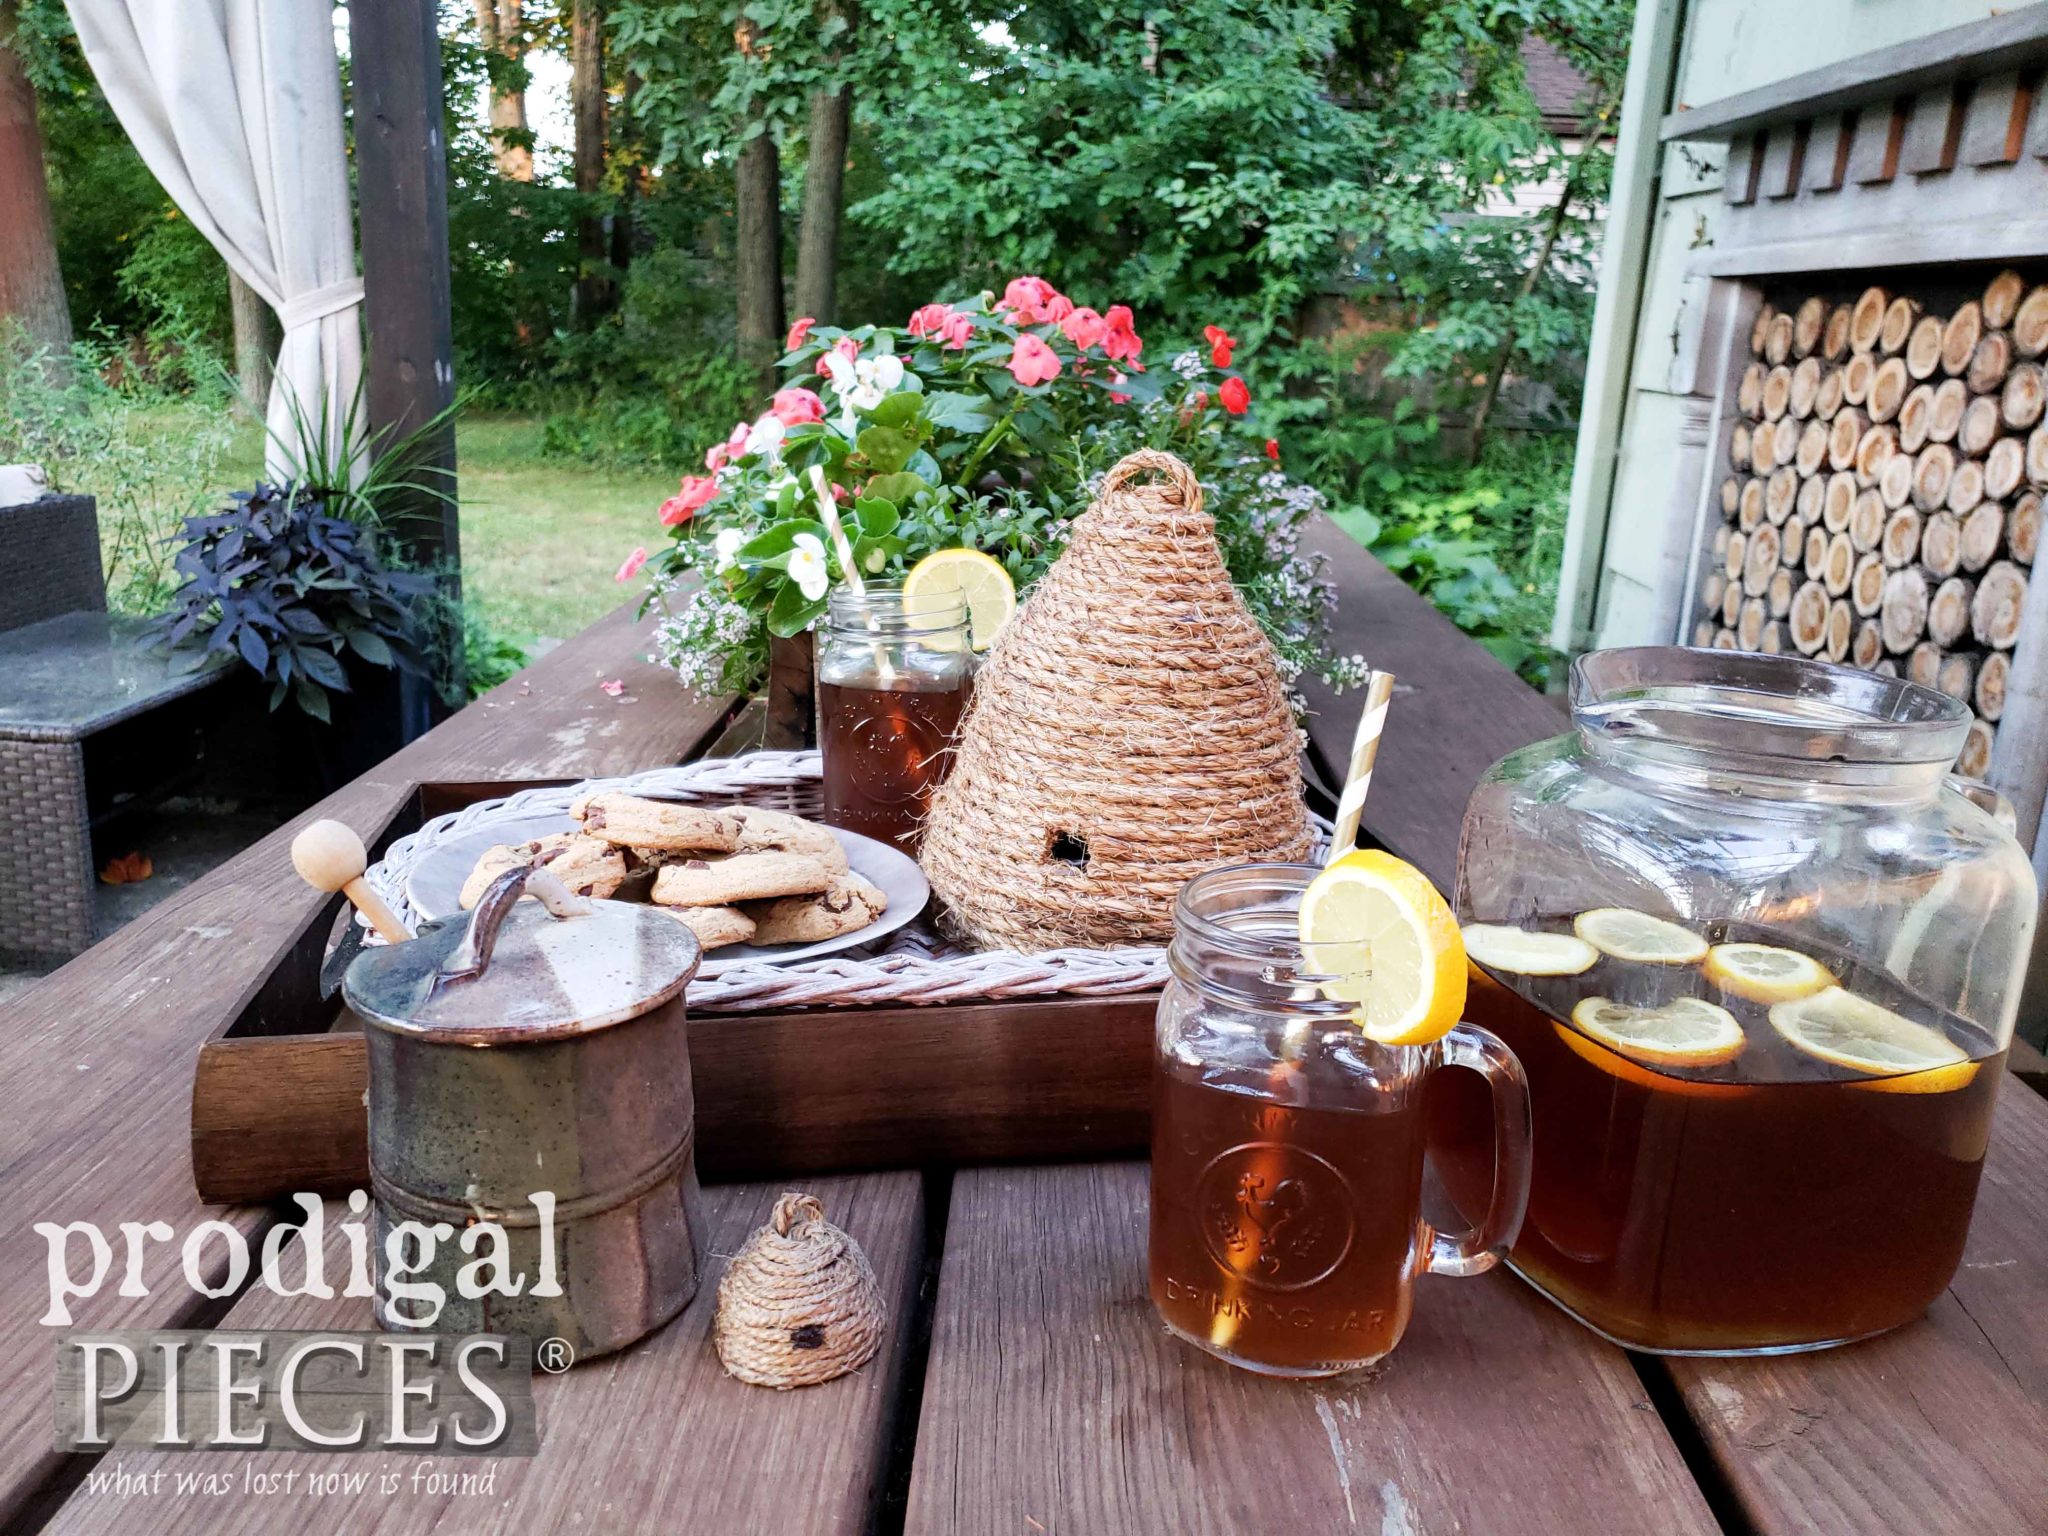
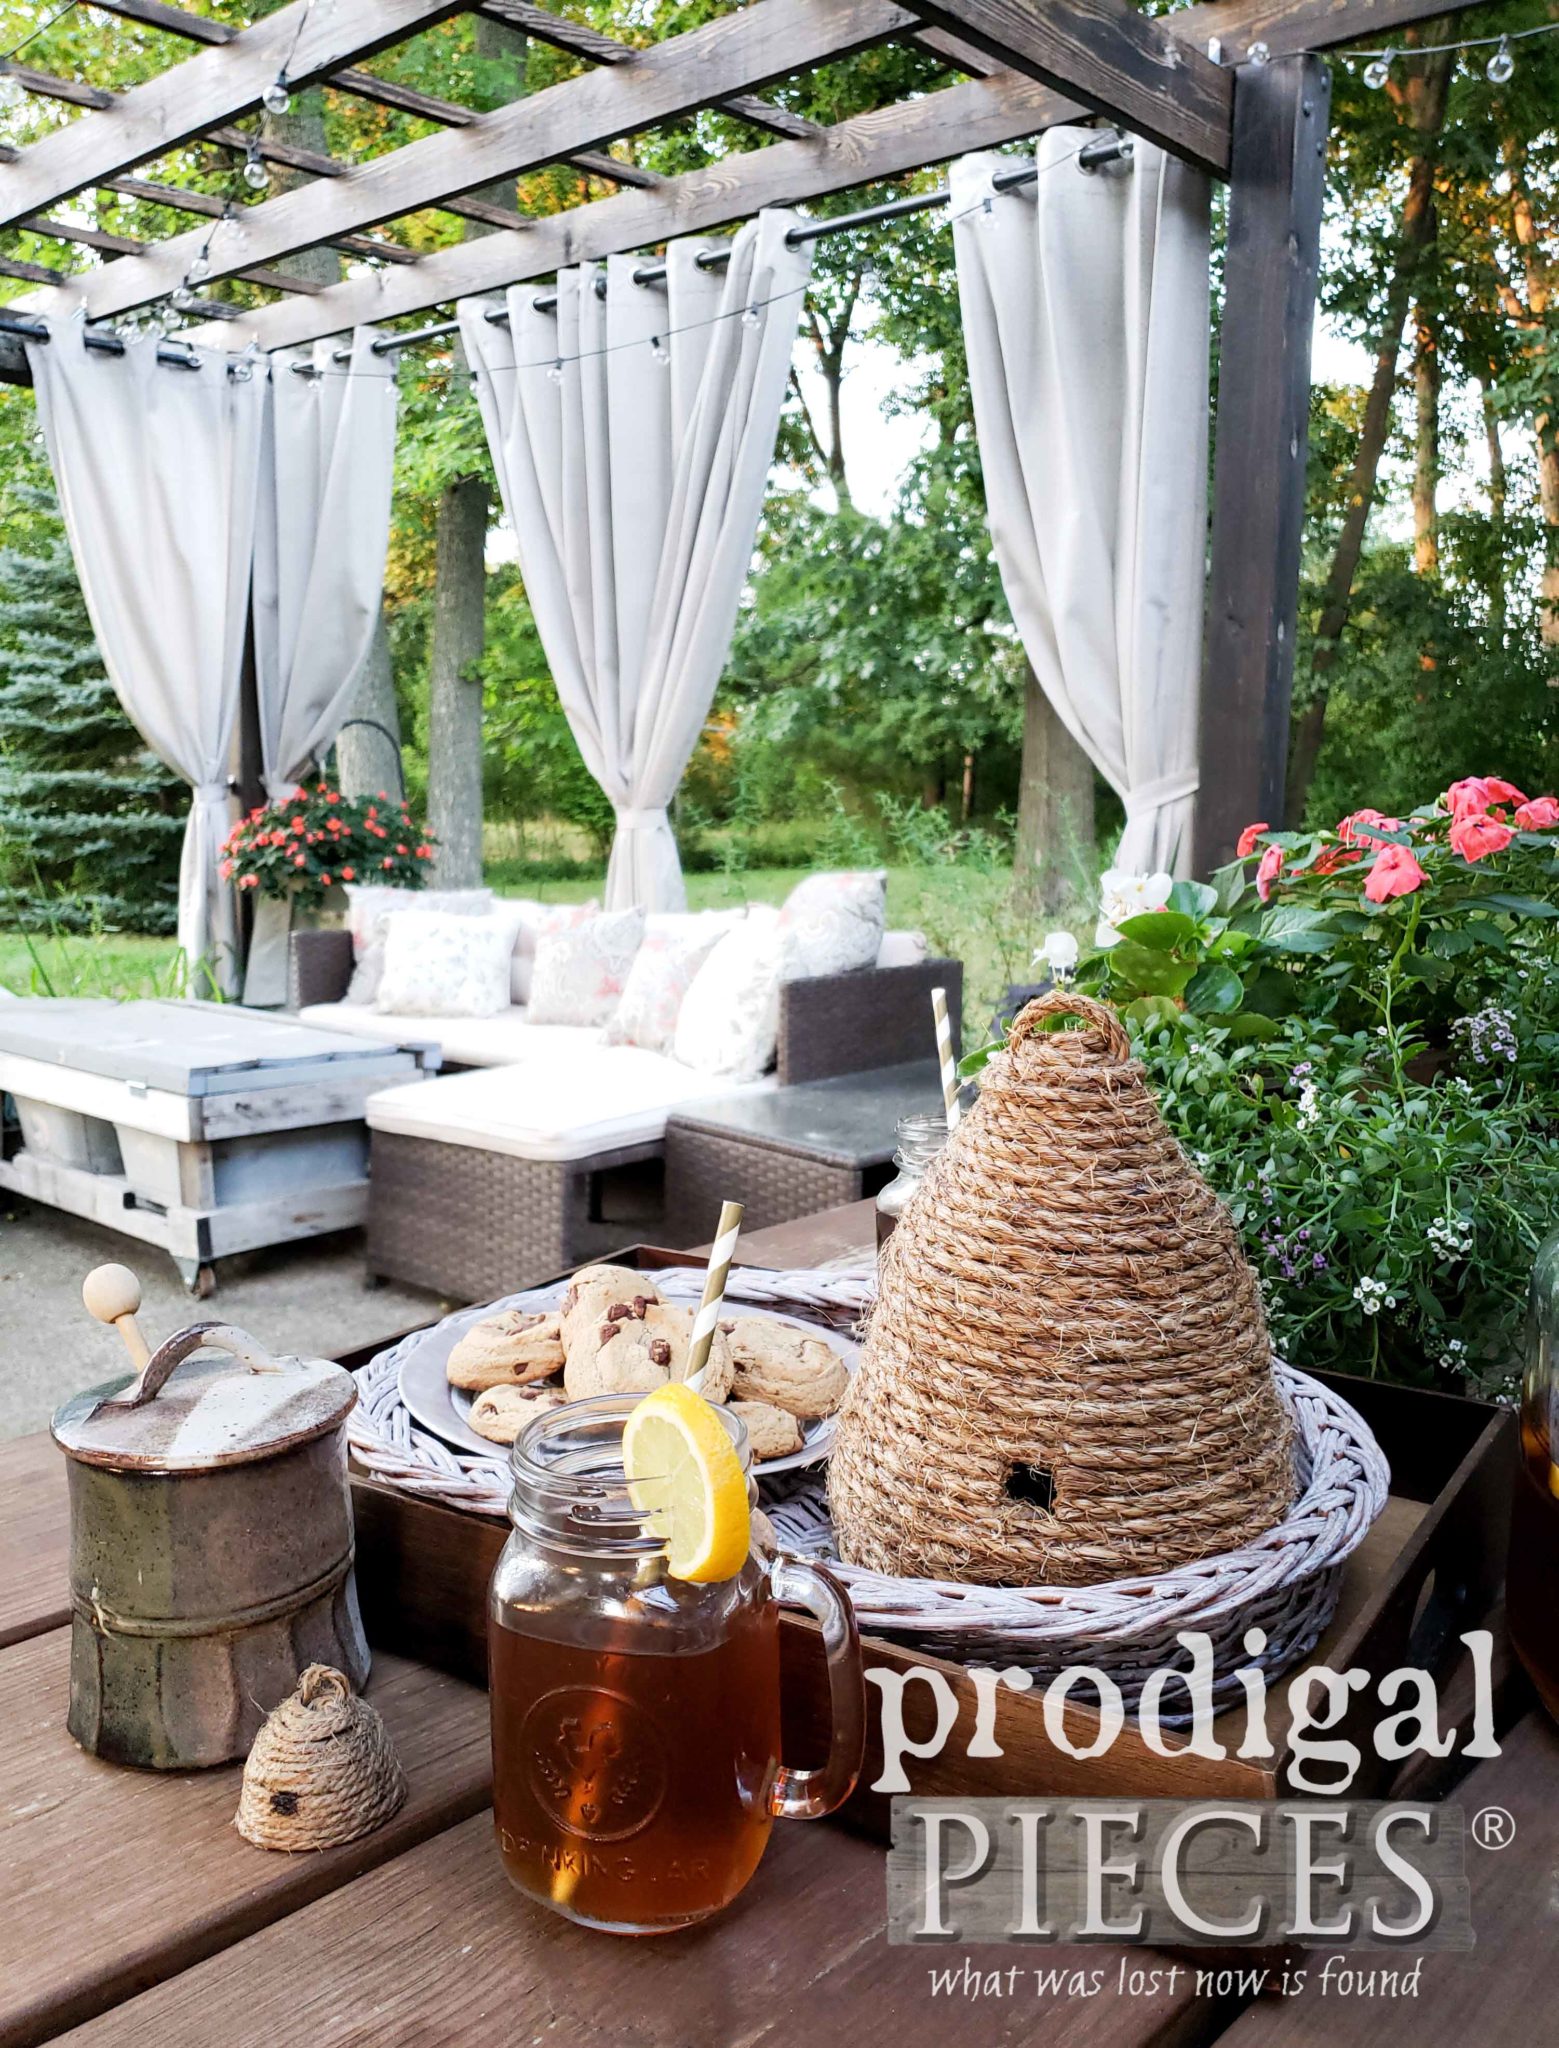
Aren’t they cute? Both made with rope/twine and glue – that’s it!
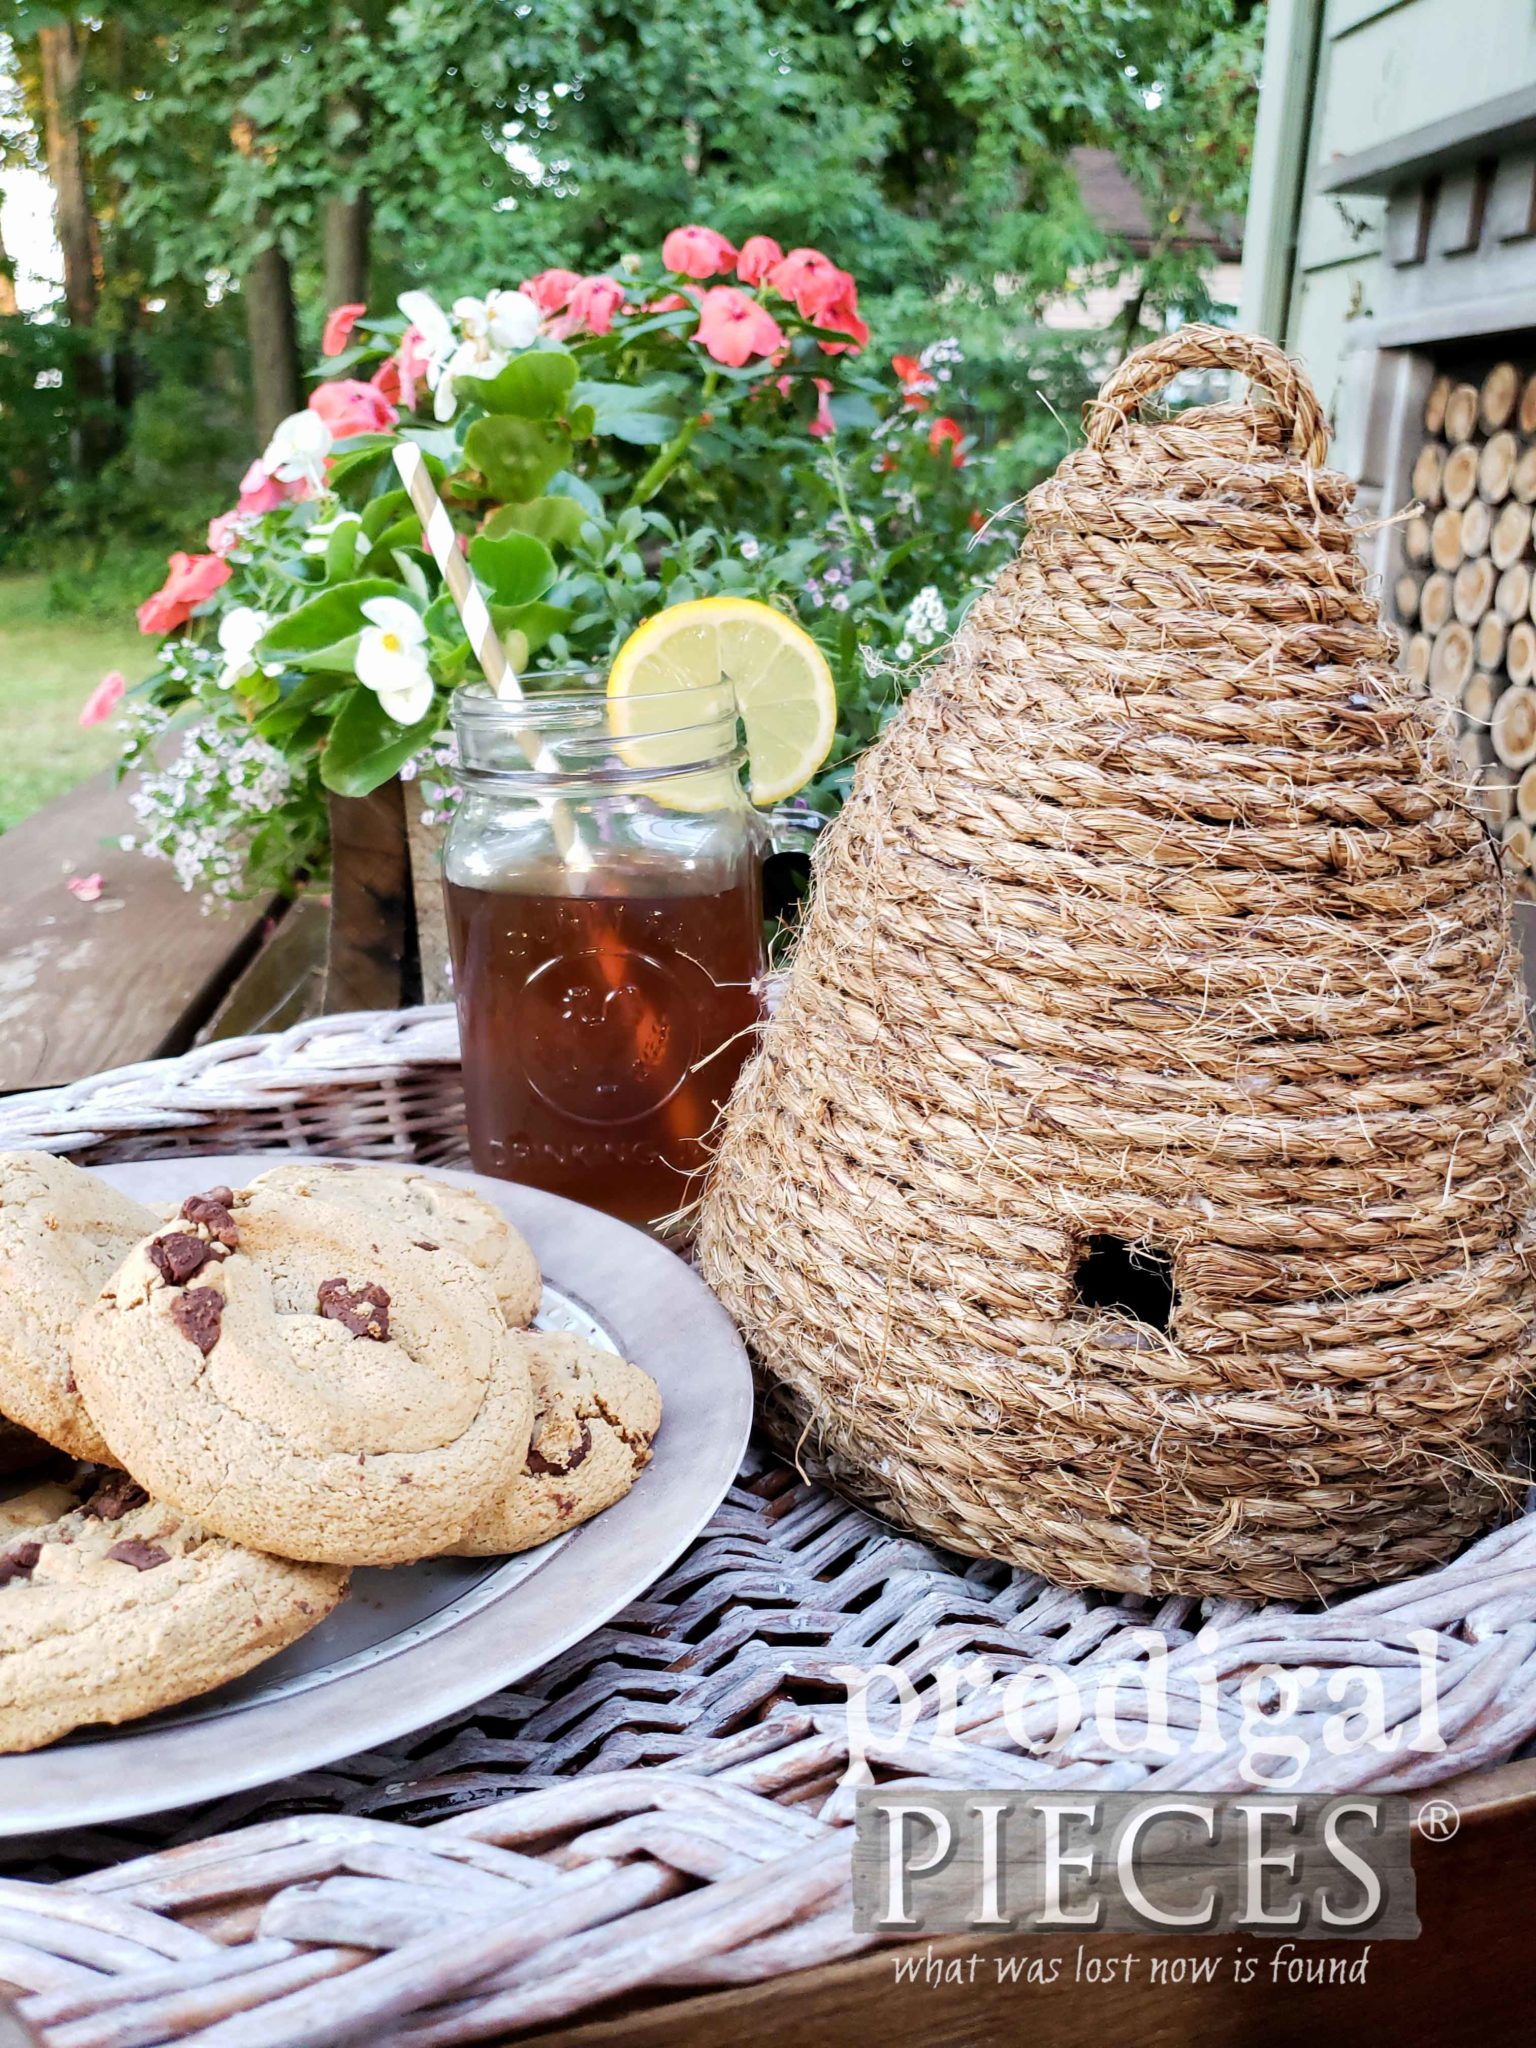
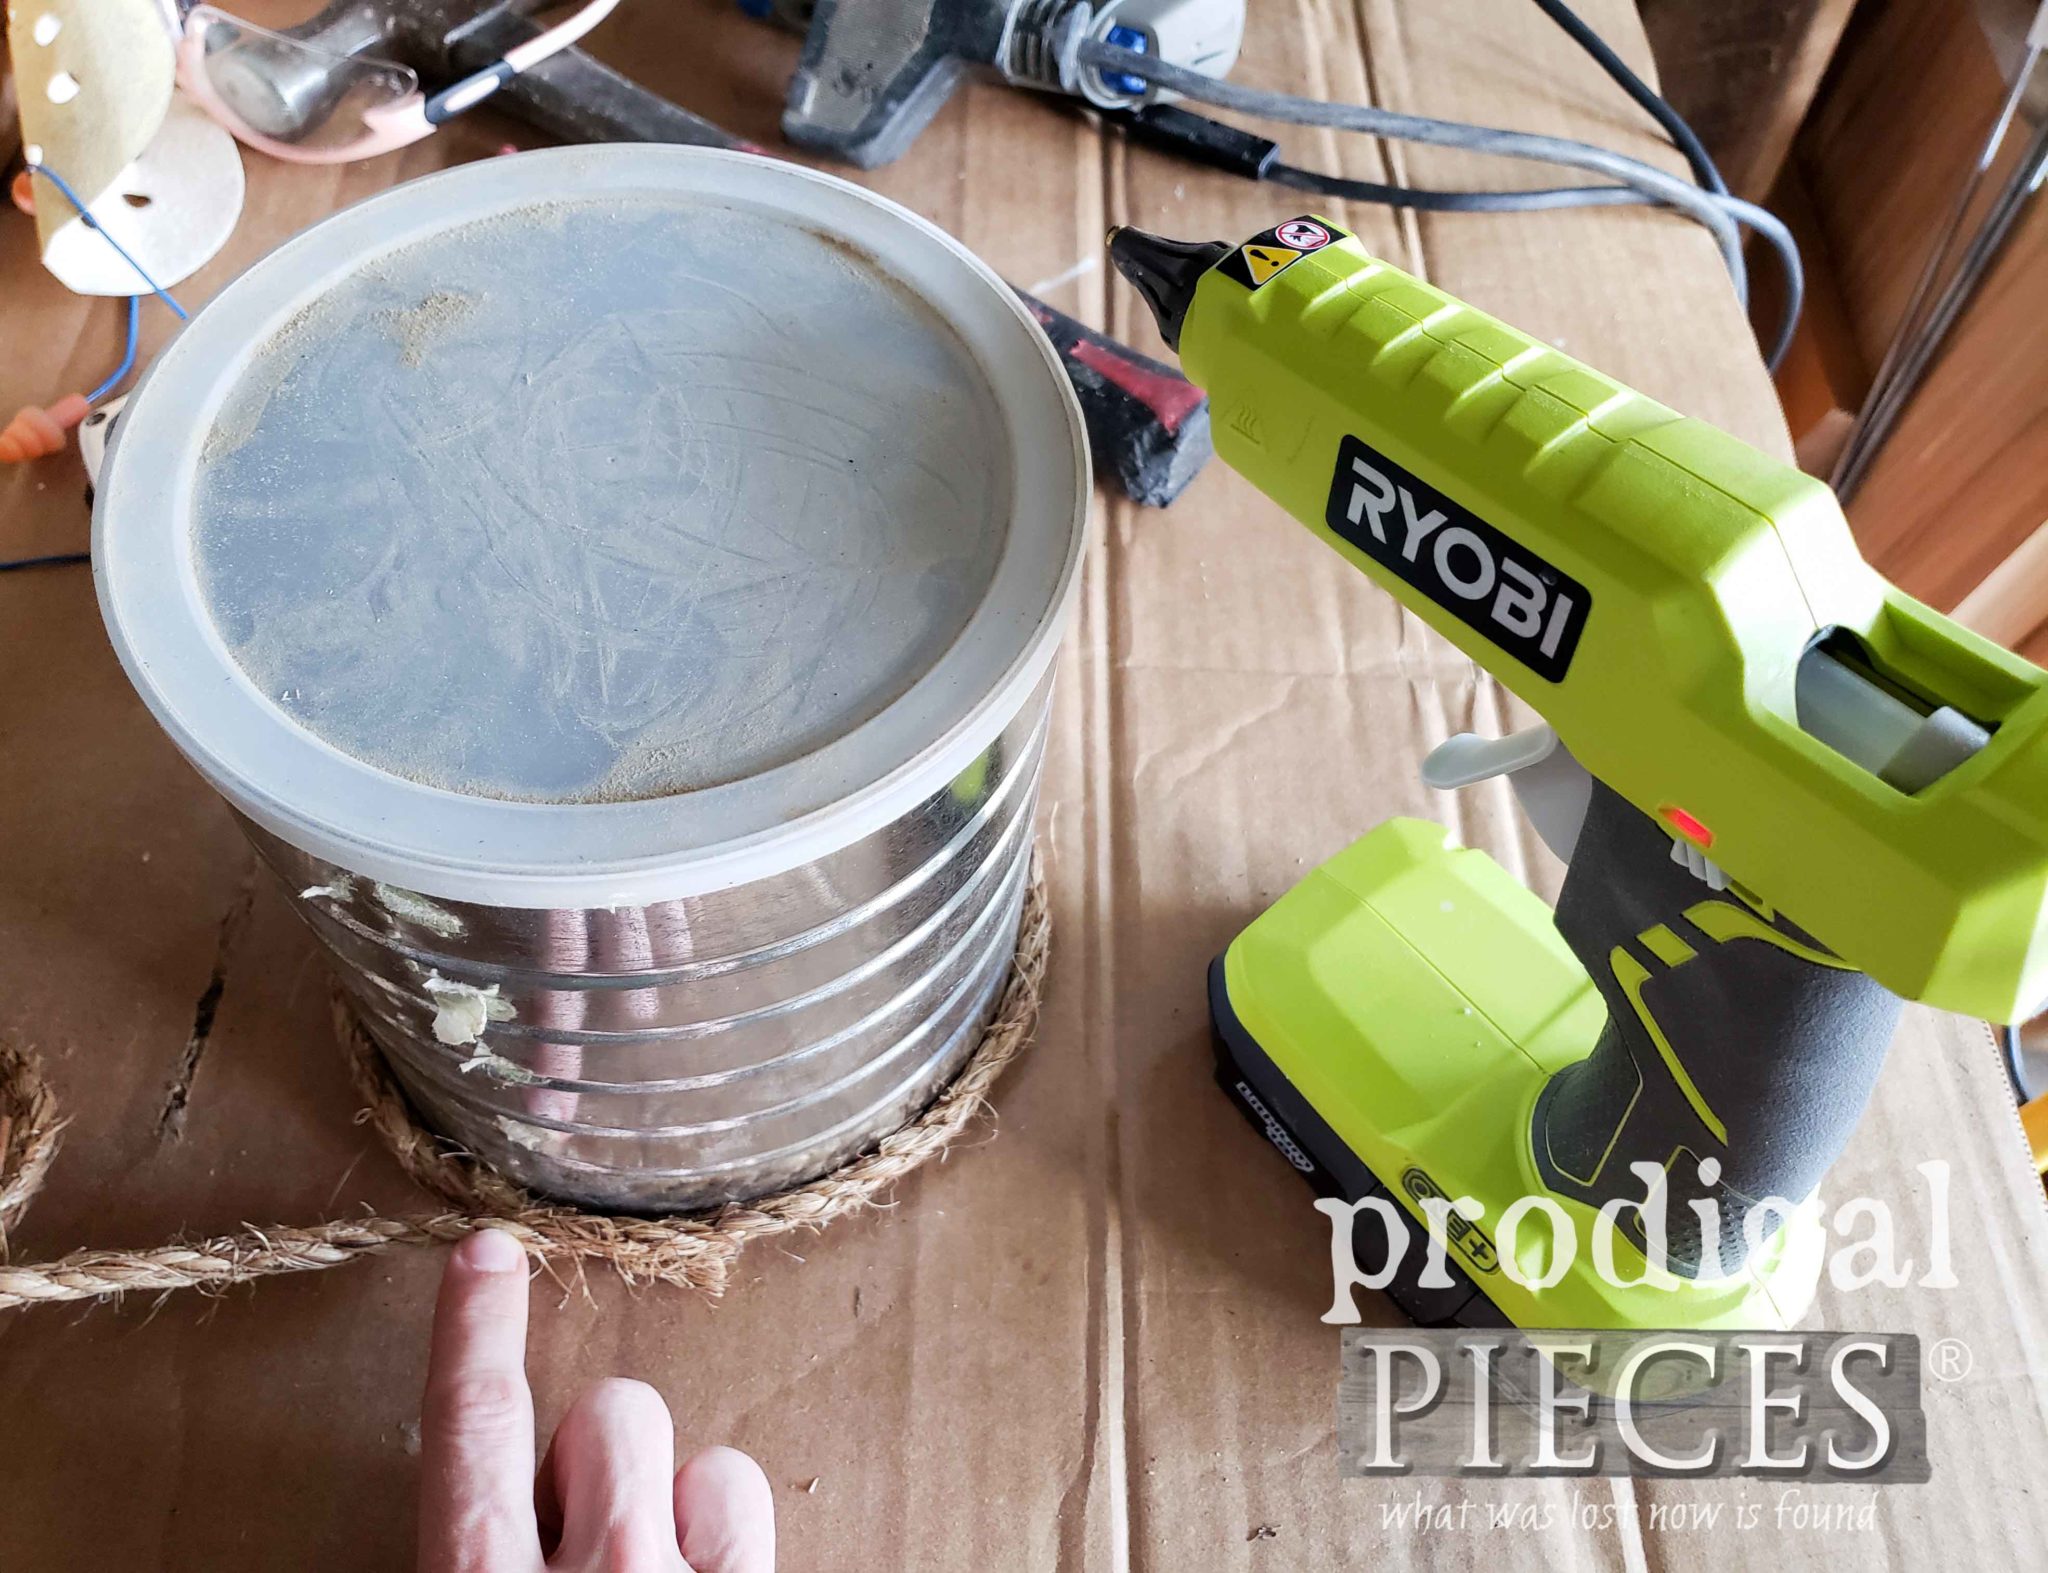
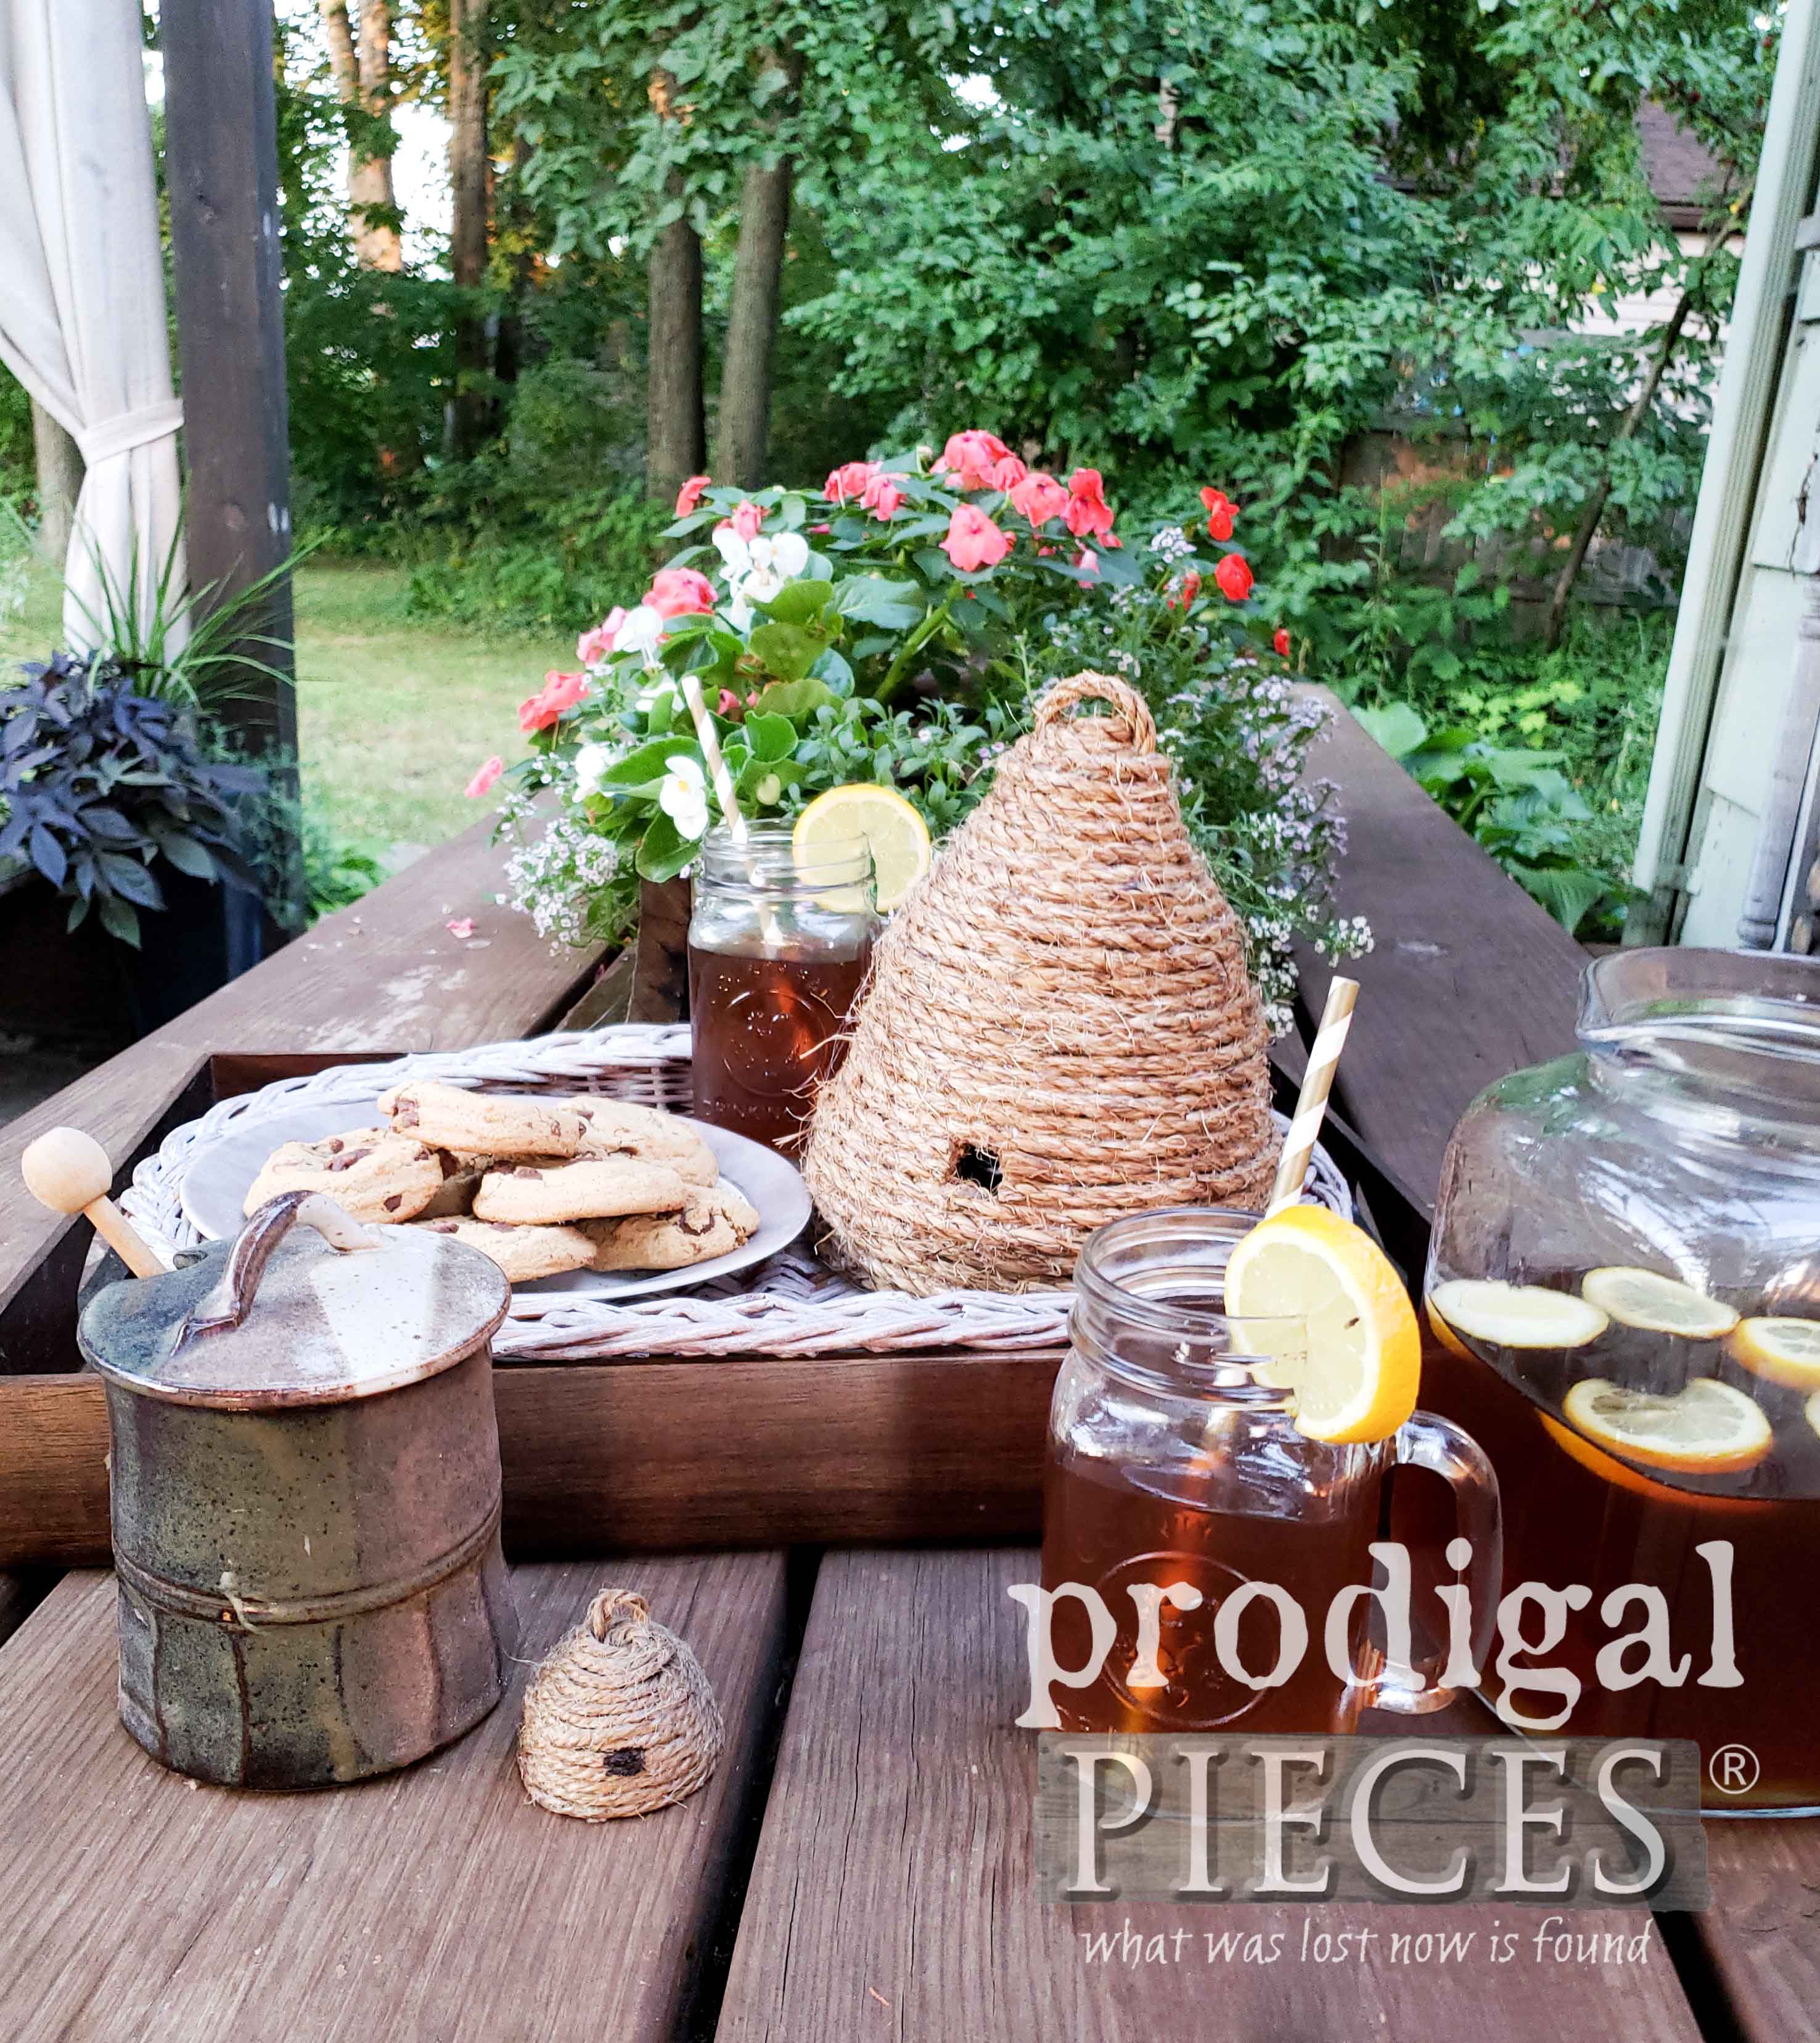
First, I’ll show you how to make the rope bee skep. The best part about this is you can make it as BIG as you like. You could make a collection of varied height ones to display outside or inside on a mantel, etc. There are various thicknesses of rope, but for my small version, I used ¼” manila rope. You will need something round the size of the base of the skep you’re after. For this size, an old coffee can did the trick.
Begin my tacking the end of the rope with glue to the first layer of rope with hot glue. Let me just say that I adore my battery-operated glue gun and Gorilla glue sticks for jobs like this.
NEXT STEPS
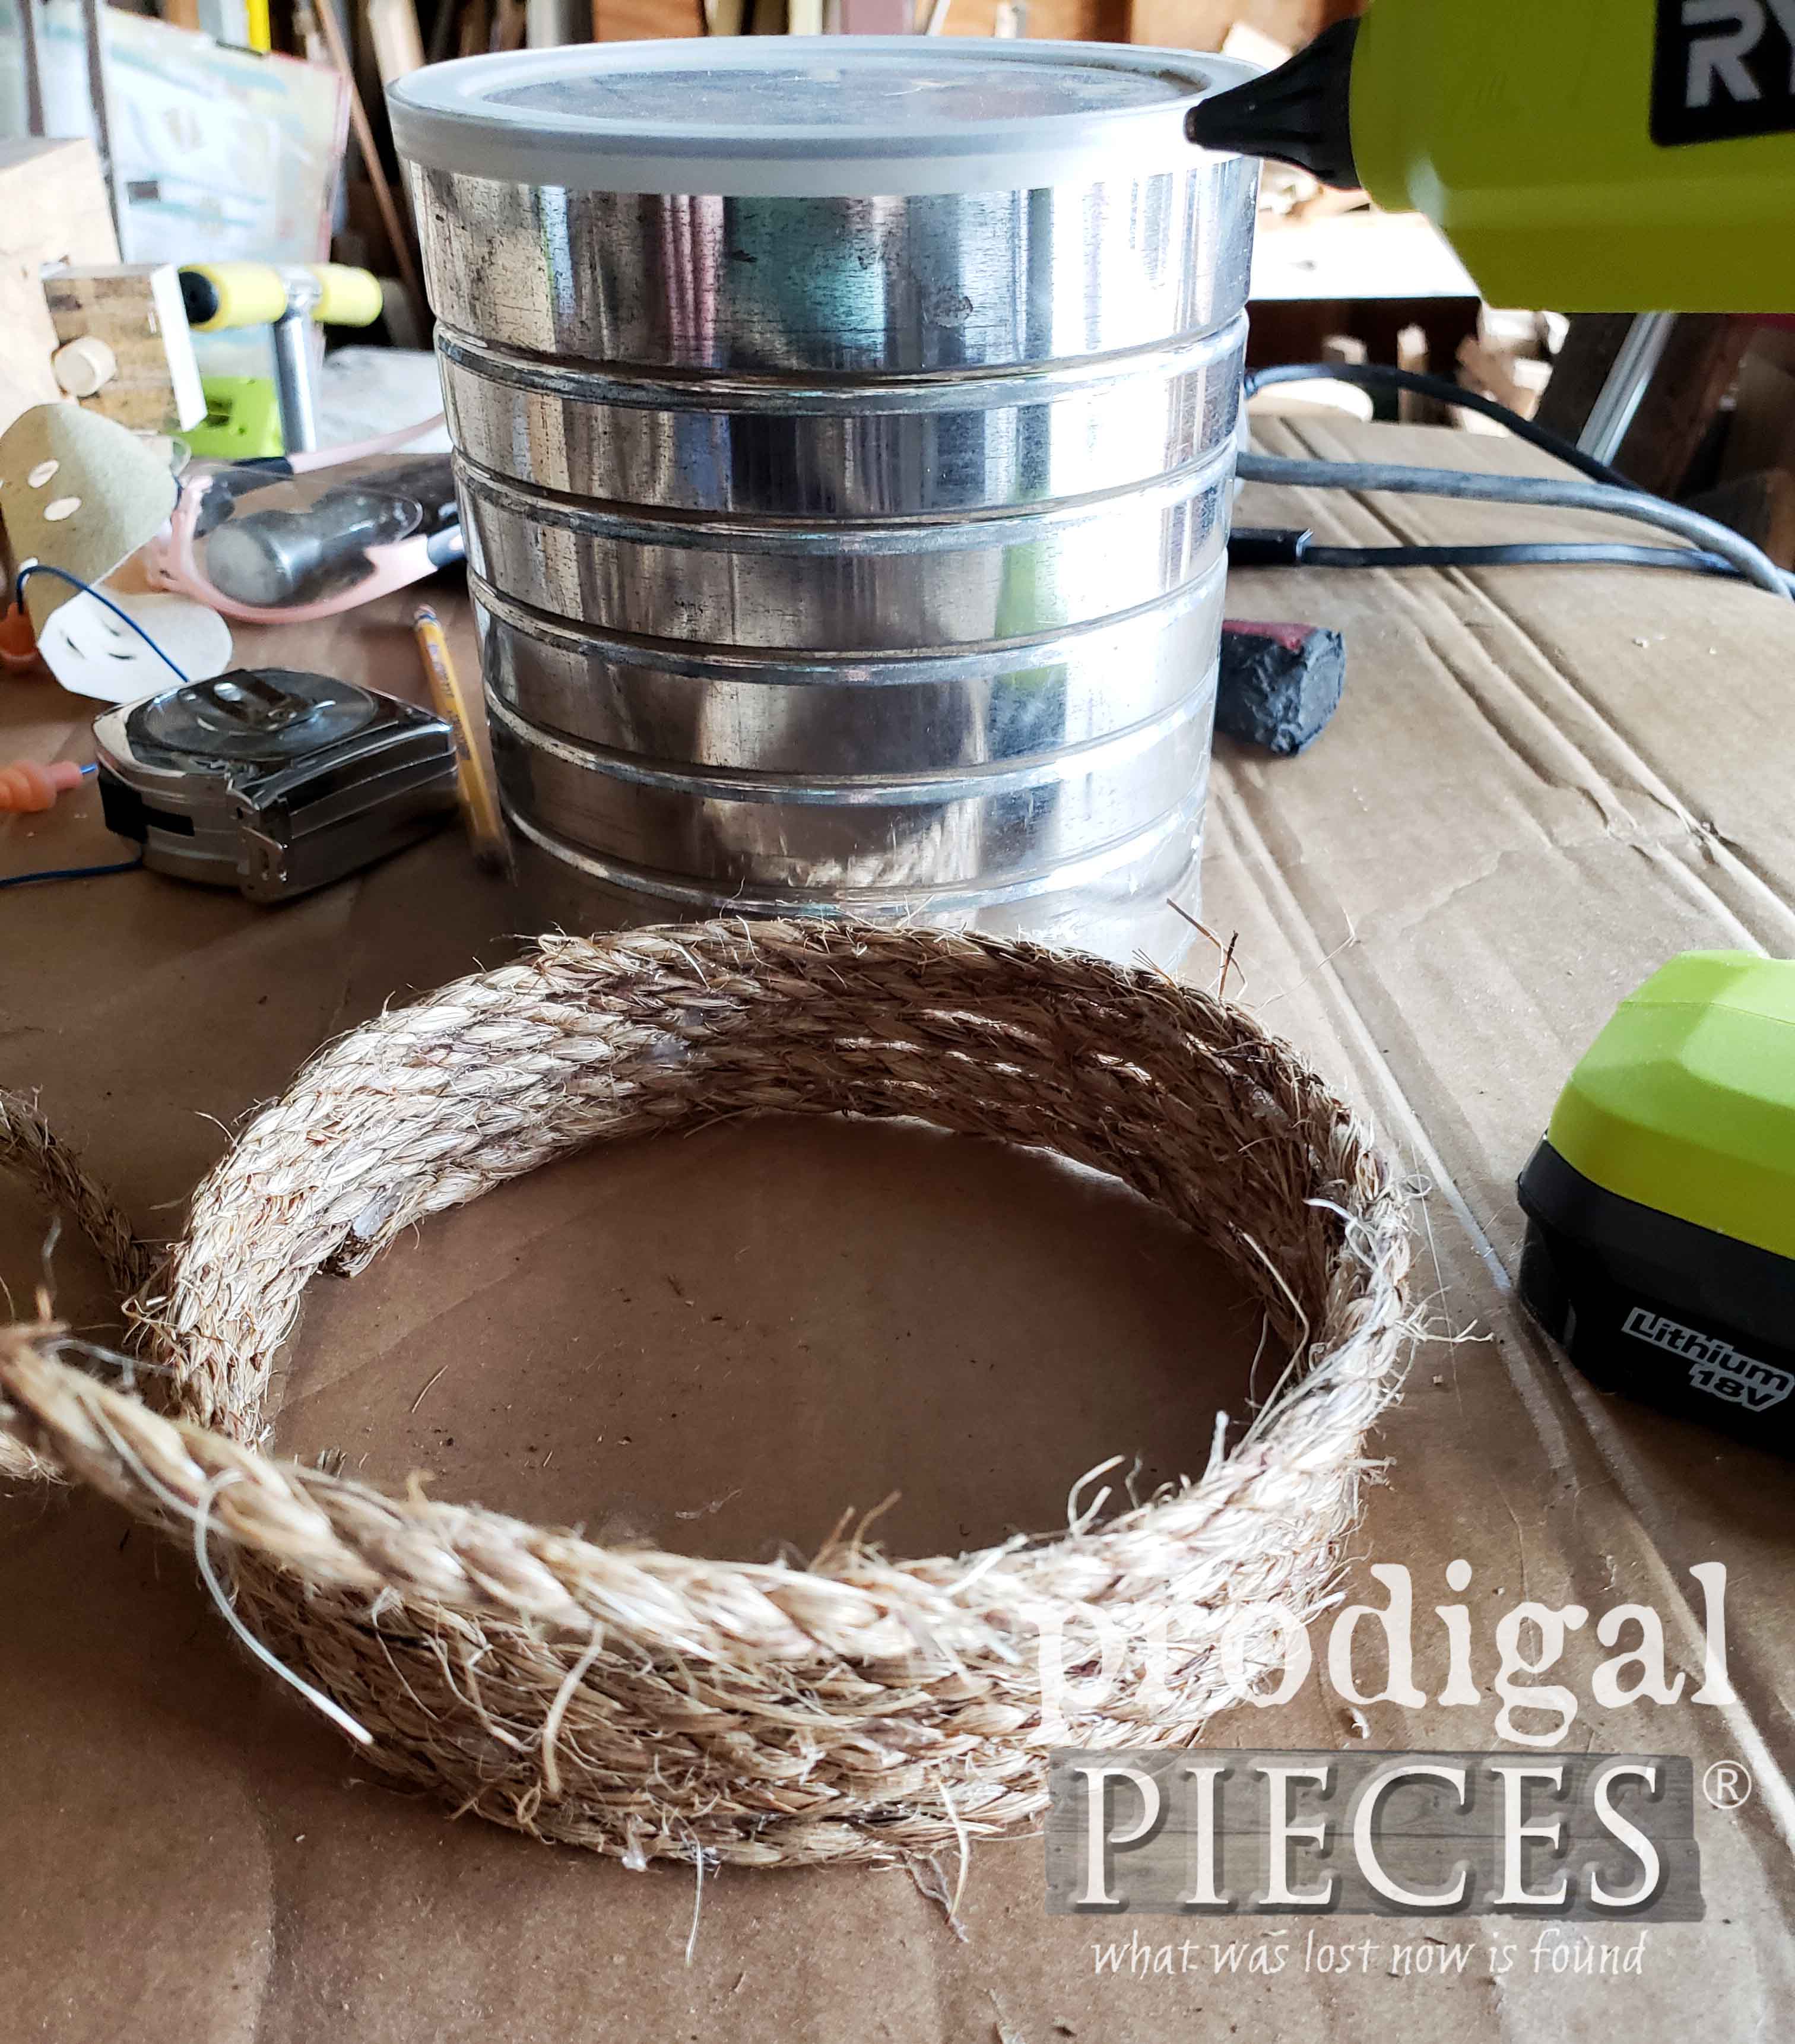
Once the base layer is in place, just add a slight bead of glue to the rope as you attach it. I worked in about 3-inch increments, holding it for a second or two to let each section of glue cool and set a bit before moving on. Be sure to keep your fingers out of the way of that hot glue. I’m an old pro at it, but I still am caught every once in a while. Ouch! There are fingertip protectors you can use too.
As soon as I have about four or five layers, I remove the coffee can so I can taper my dome.
TIP: If you get a bit of extra glue peeking out, just let it cure. When done, you can use a hair dryer to reheat the glue and remove any excess.
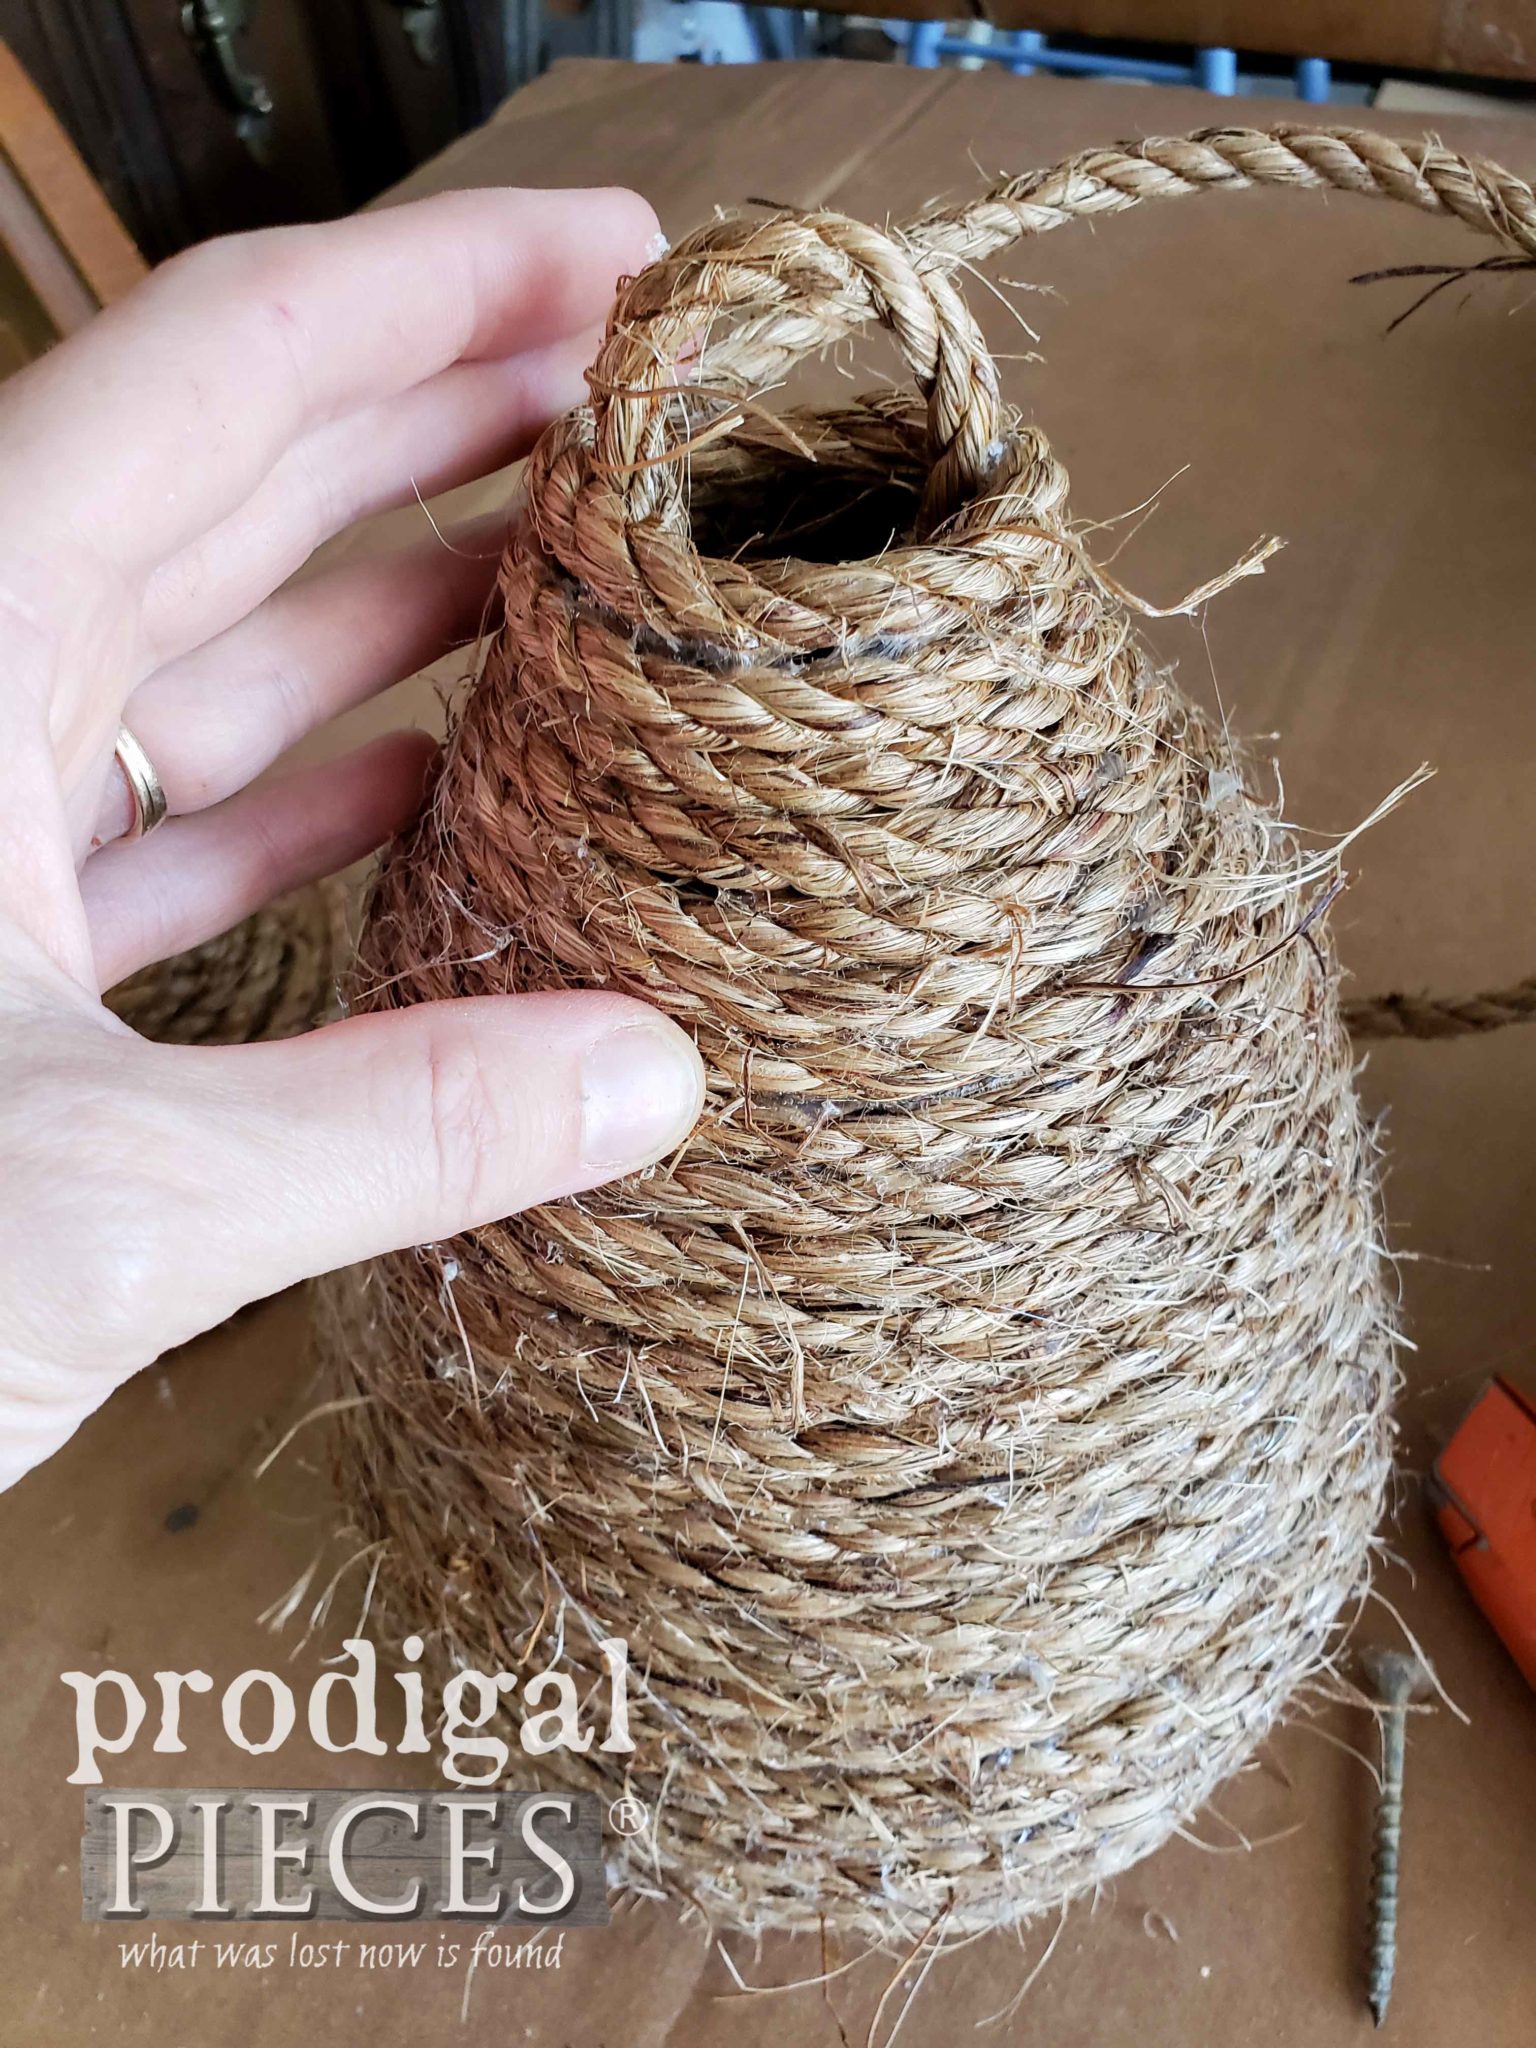
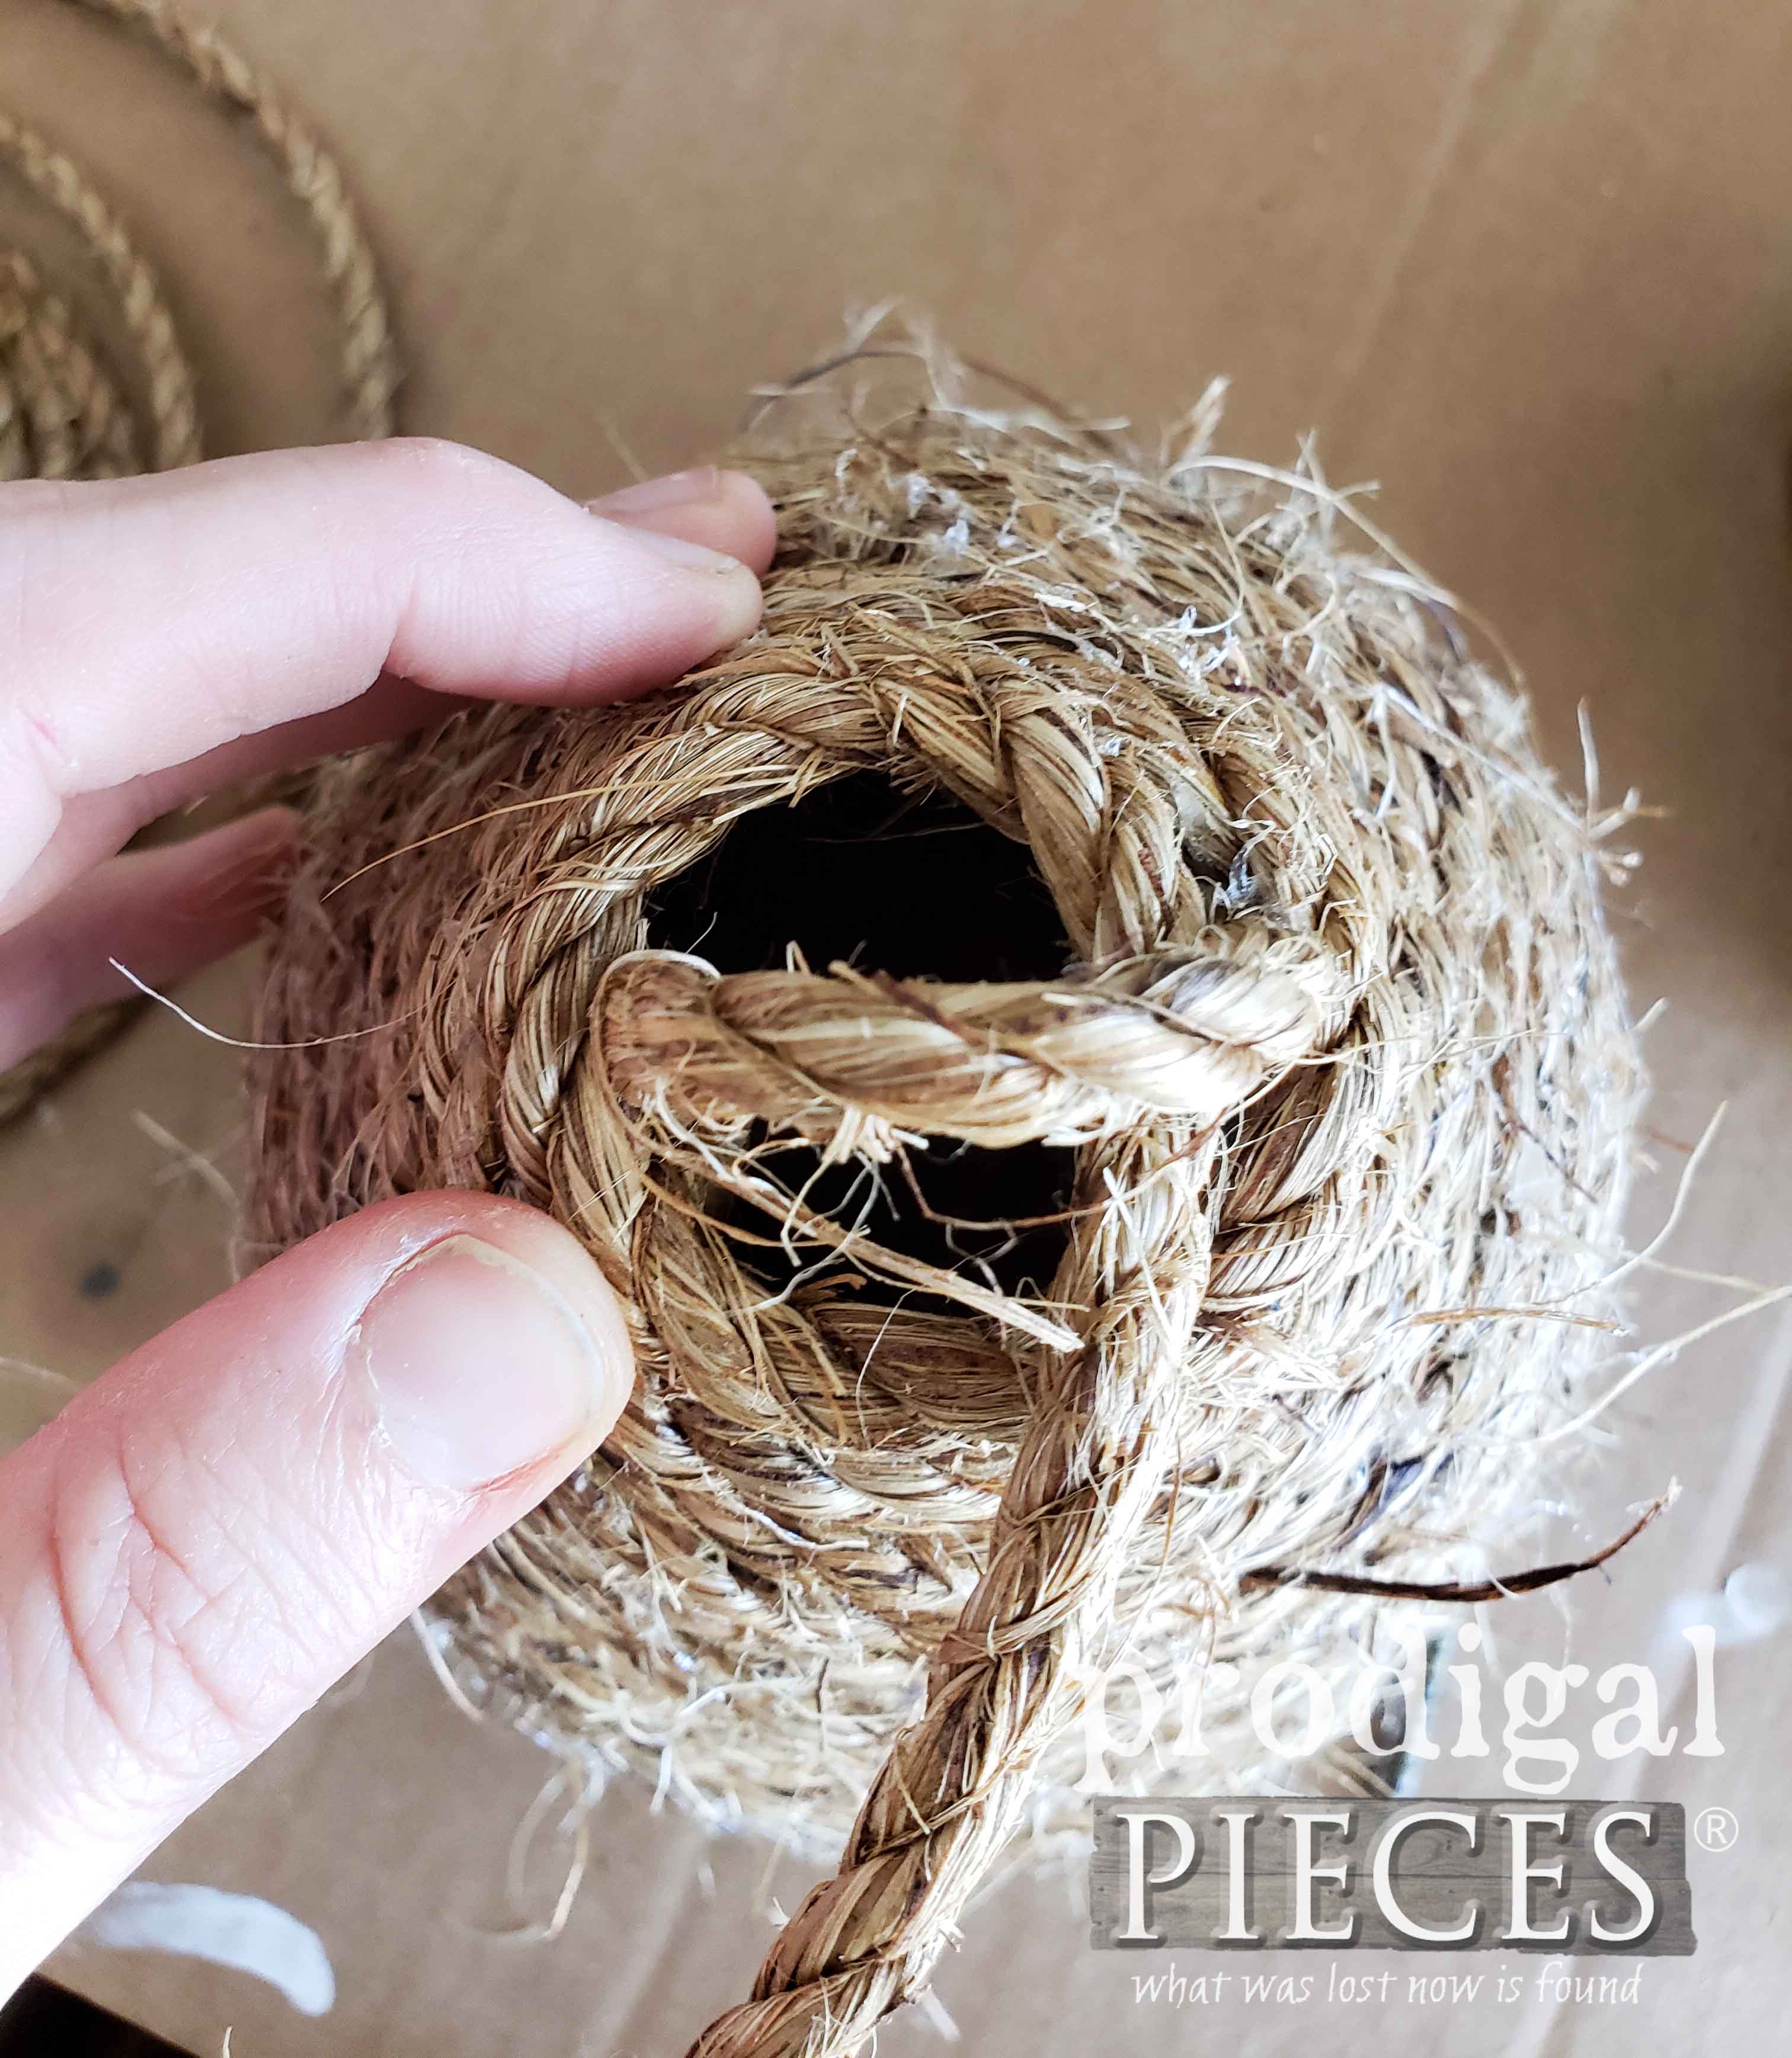
When you continue up your dome, just ever so slightly begin to make your rope circles smaller. Your height will depend on the size of diameter of base you choose. Once you get close to the top, it’s time to add the top hanger. Simply cut a short length of rope and glue it to the inside of the opening you still have left.
FINISHING
Now, continue to close of your dome, but work the rope to the inside of the hanger. When you get to the end, cut your rope leaving a bit of length. Tuck the end of the rope inside the top and attach to the inside with a bit of glue to anchor.
Let the skep completely cool to let the glue set, then carefully using a sharp utility knife cut open a small opening two ropes high and about a ½” wide for the bee entry.
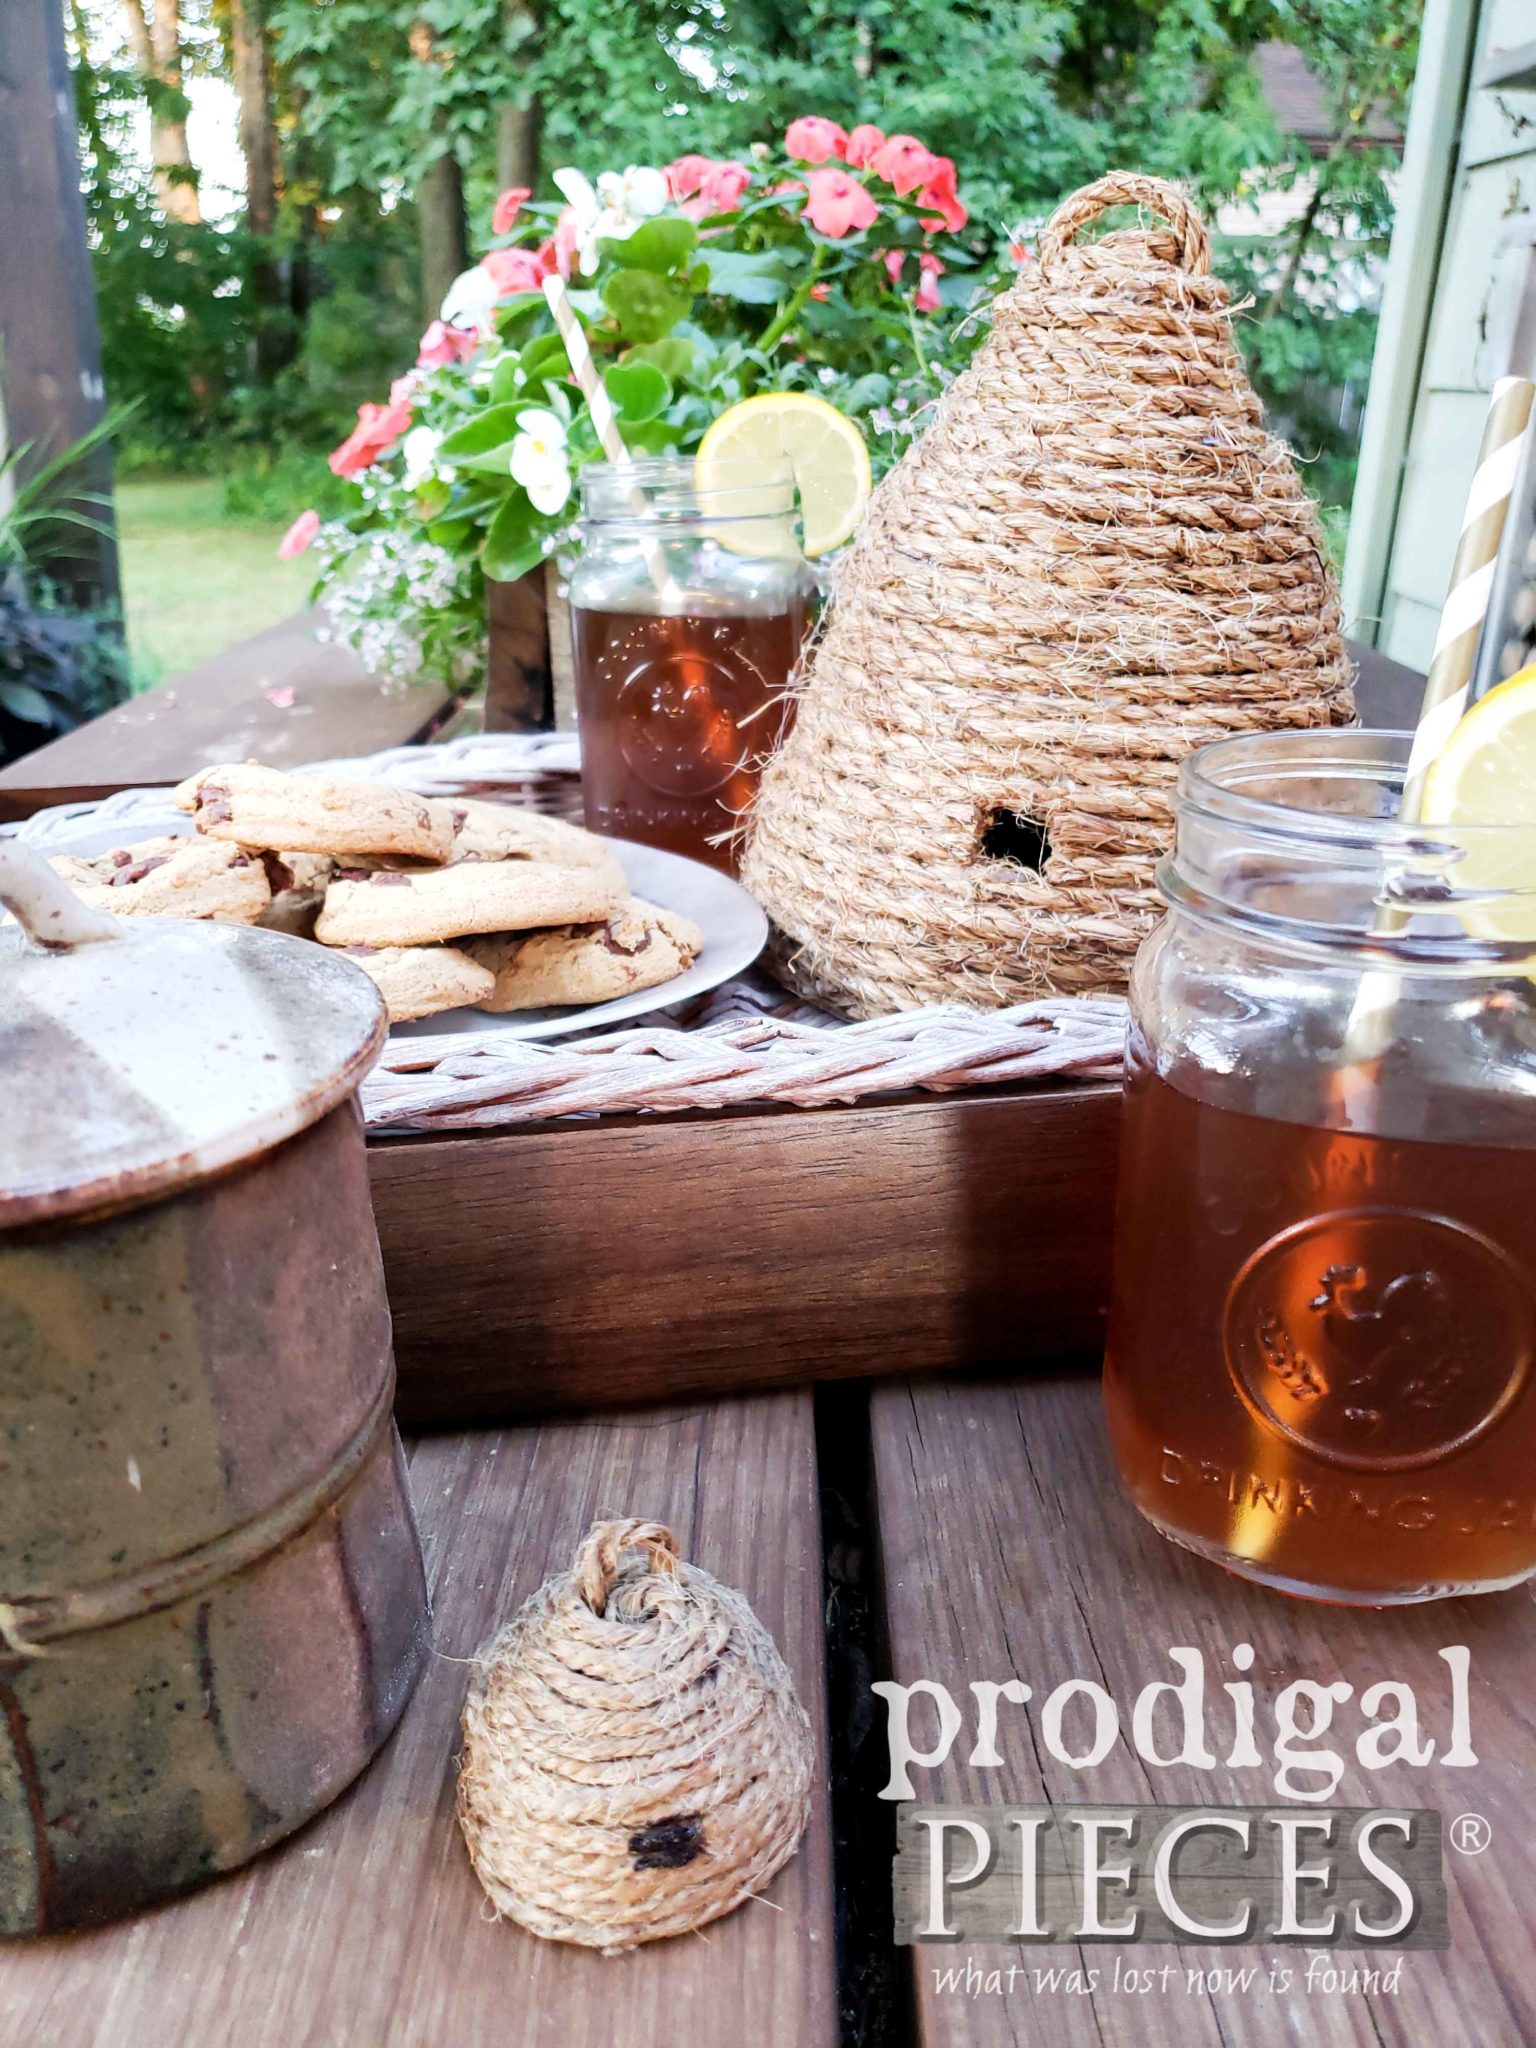
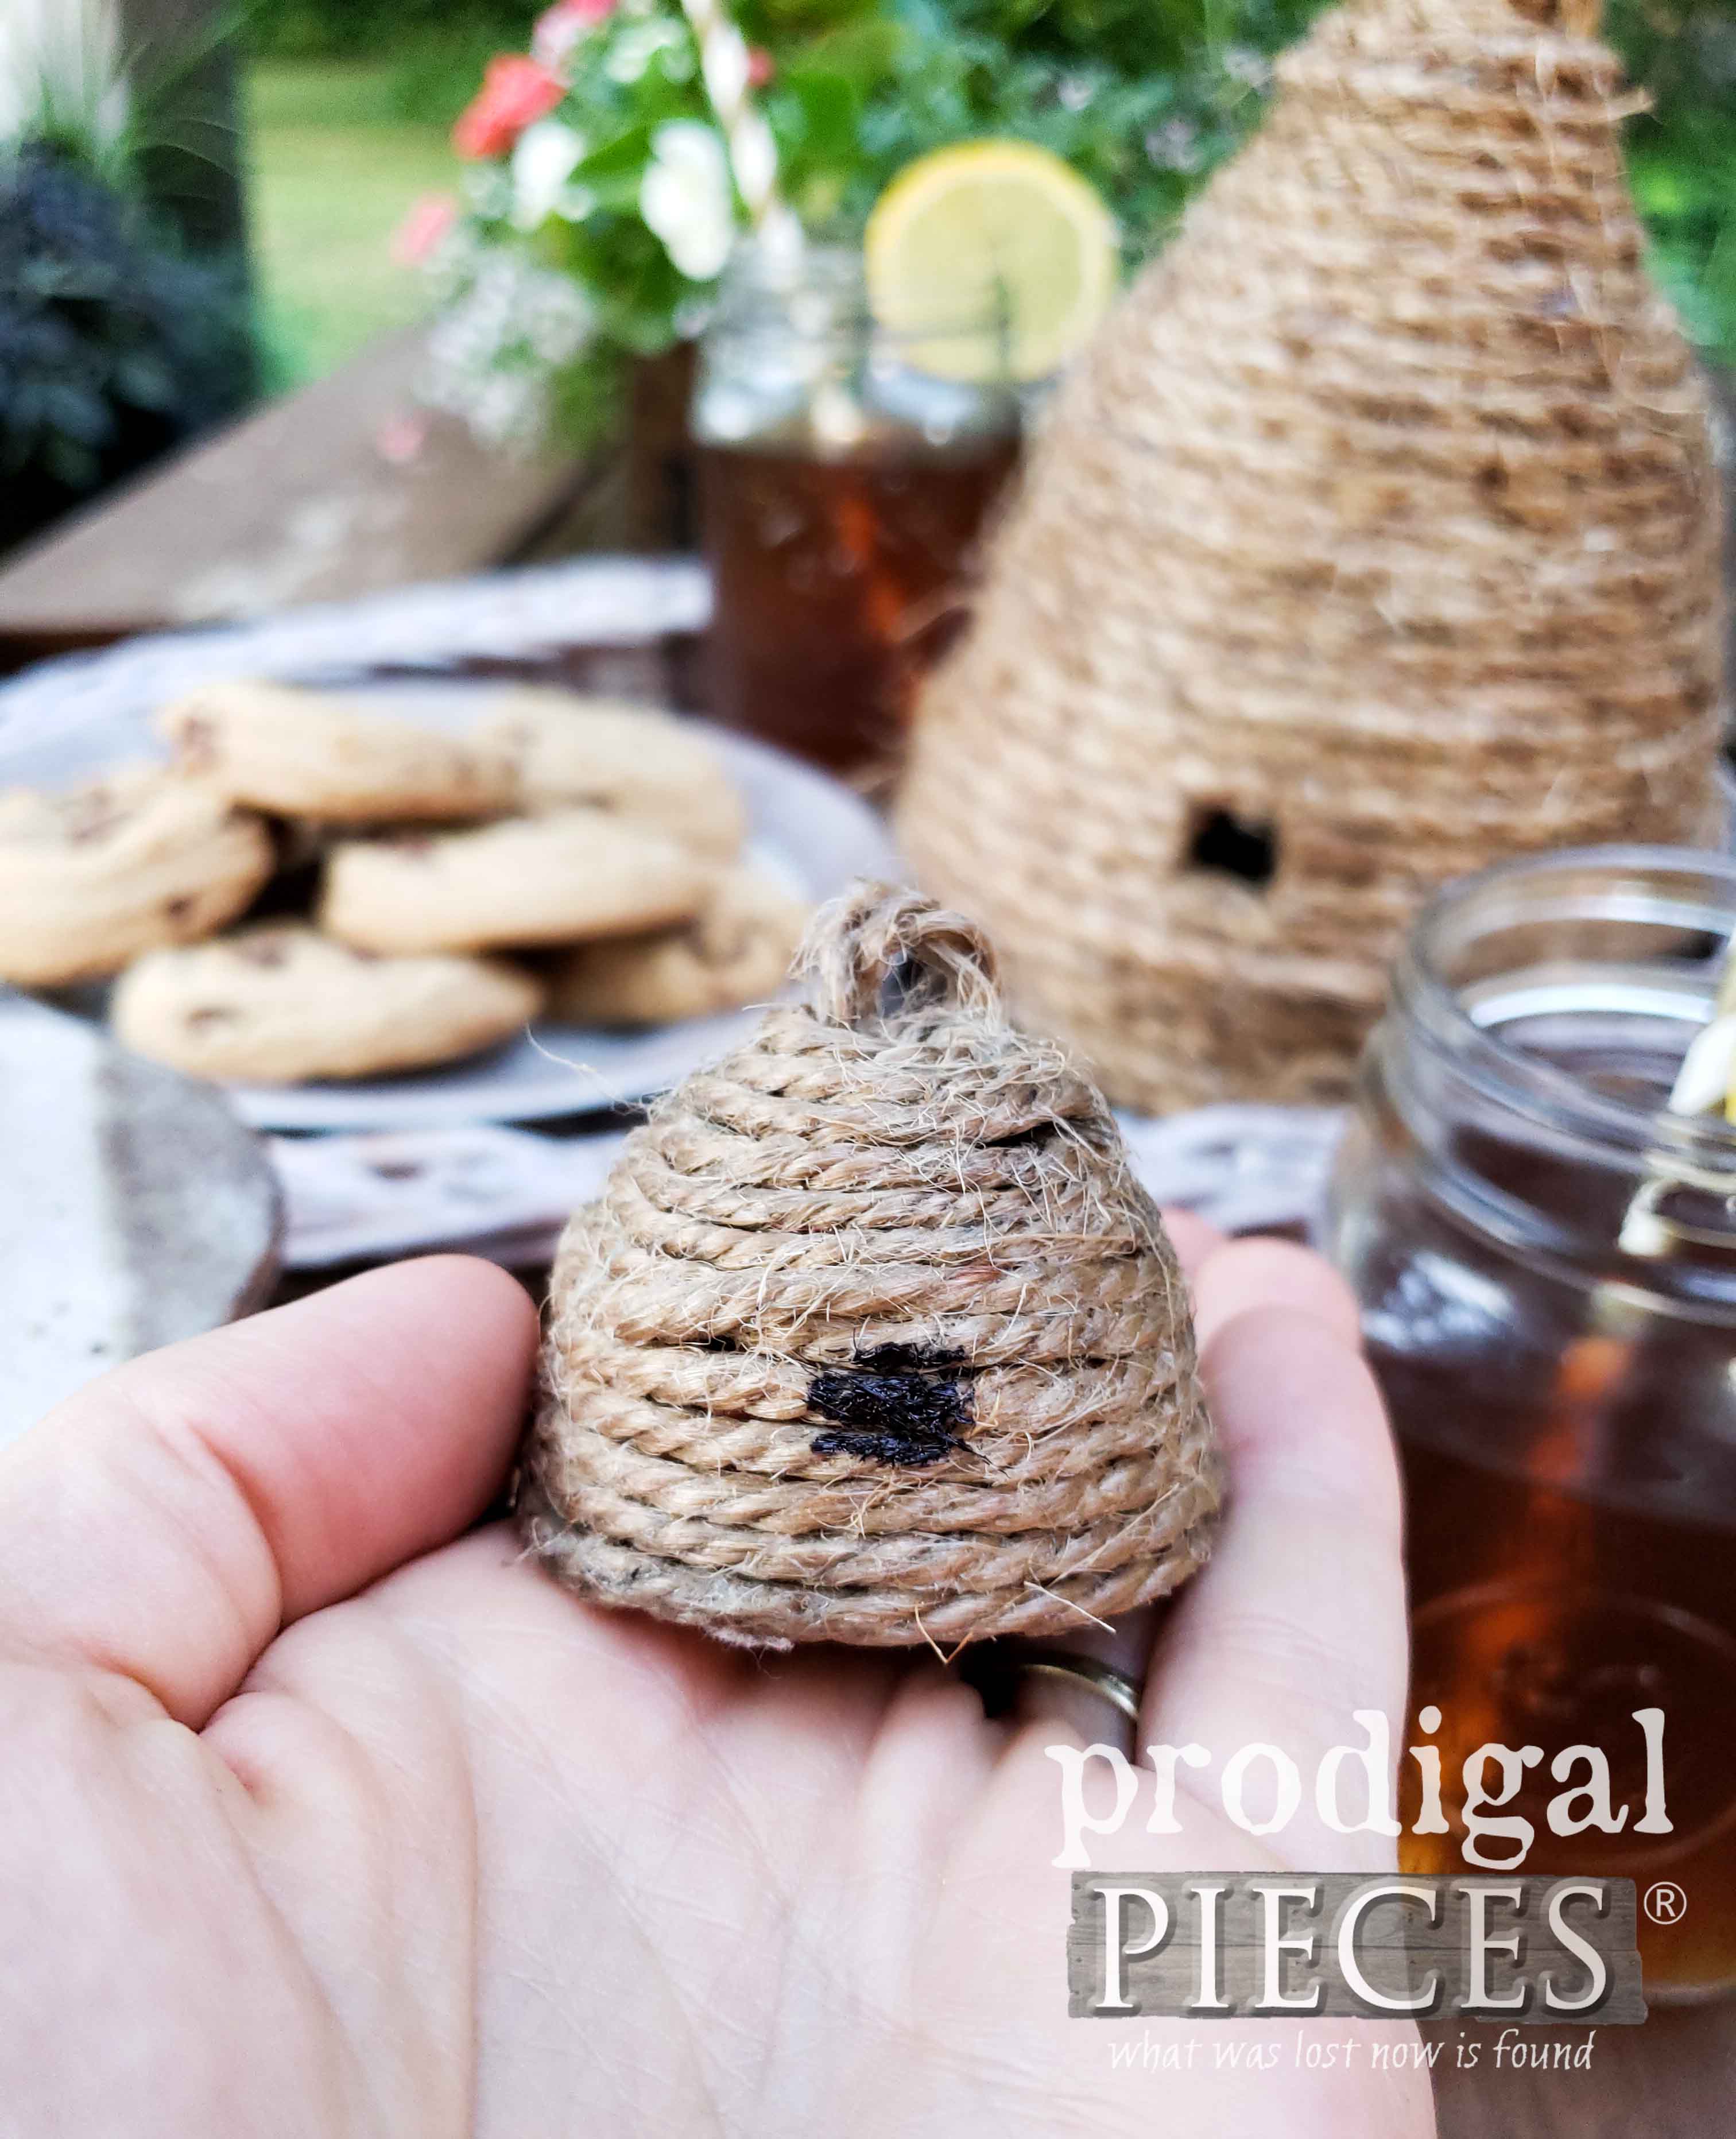
Last, but not least is the teenie-tiny bee skep. Isn’t it adorable? I just had to create a mini version. I think it would be cute as favors or place setting markers or a kid craft to go with a lesson on pollination…just so many ideas!
ALL ABOUT EGGS
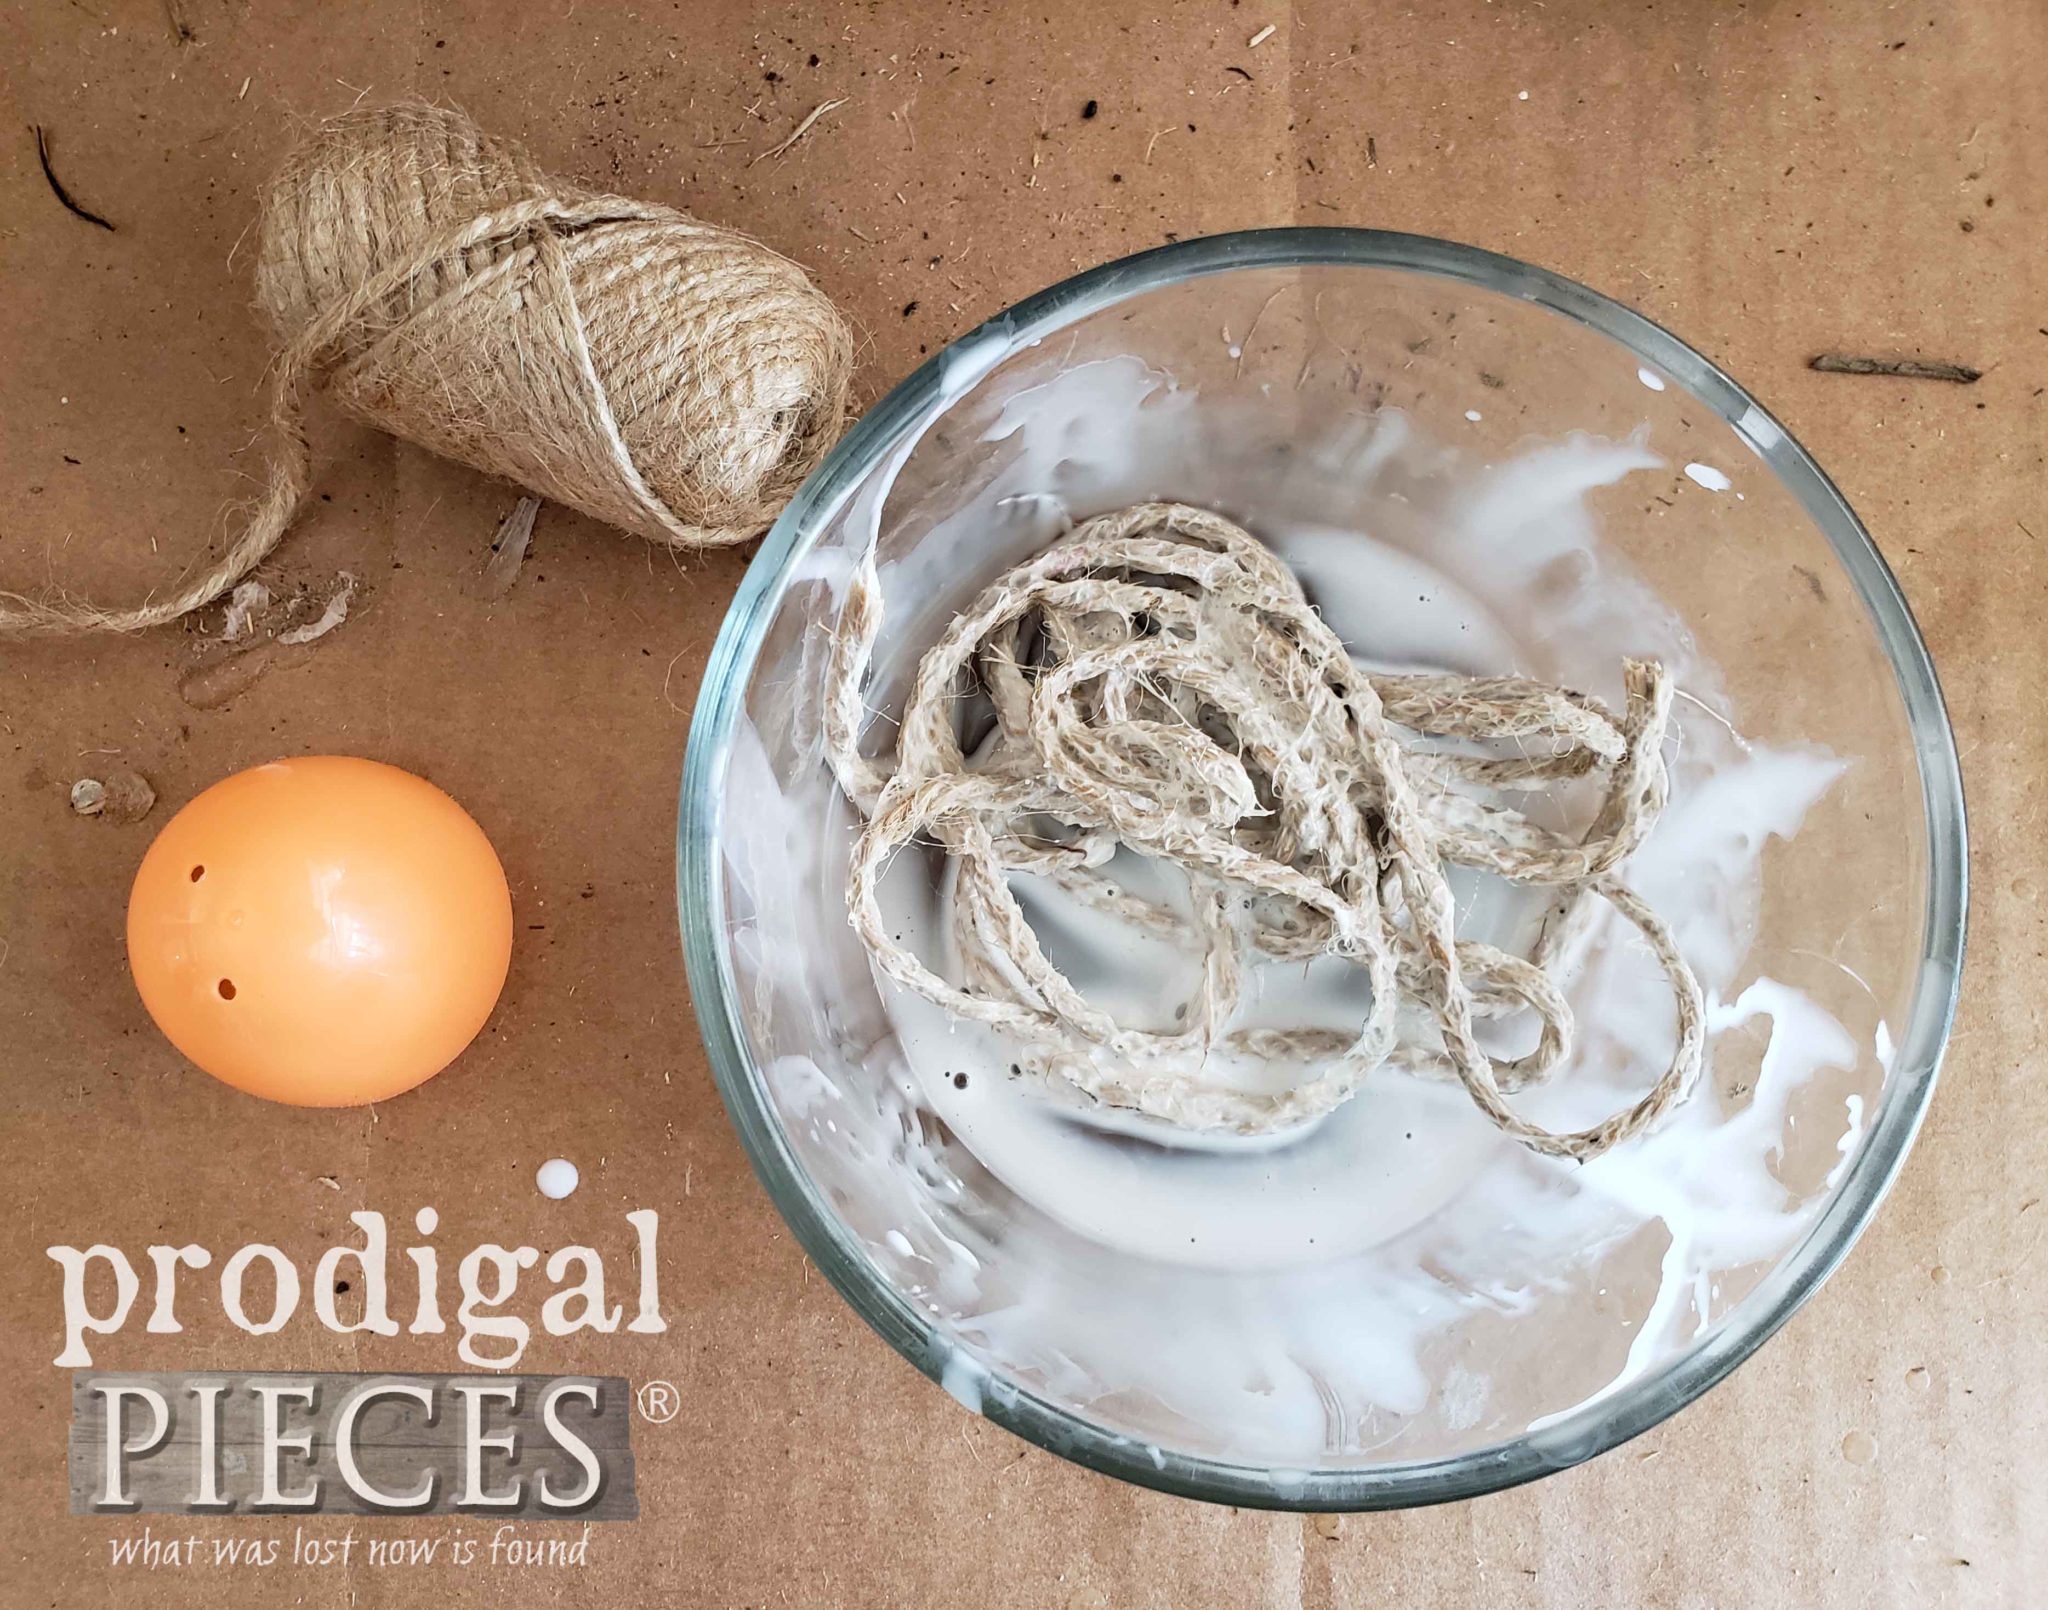
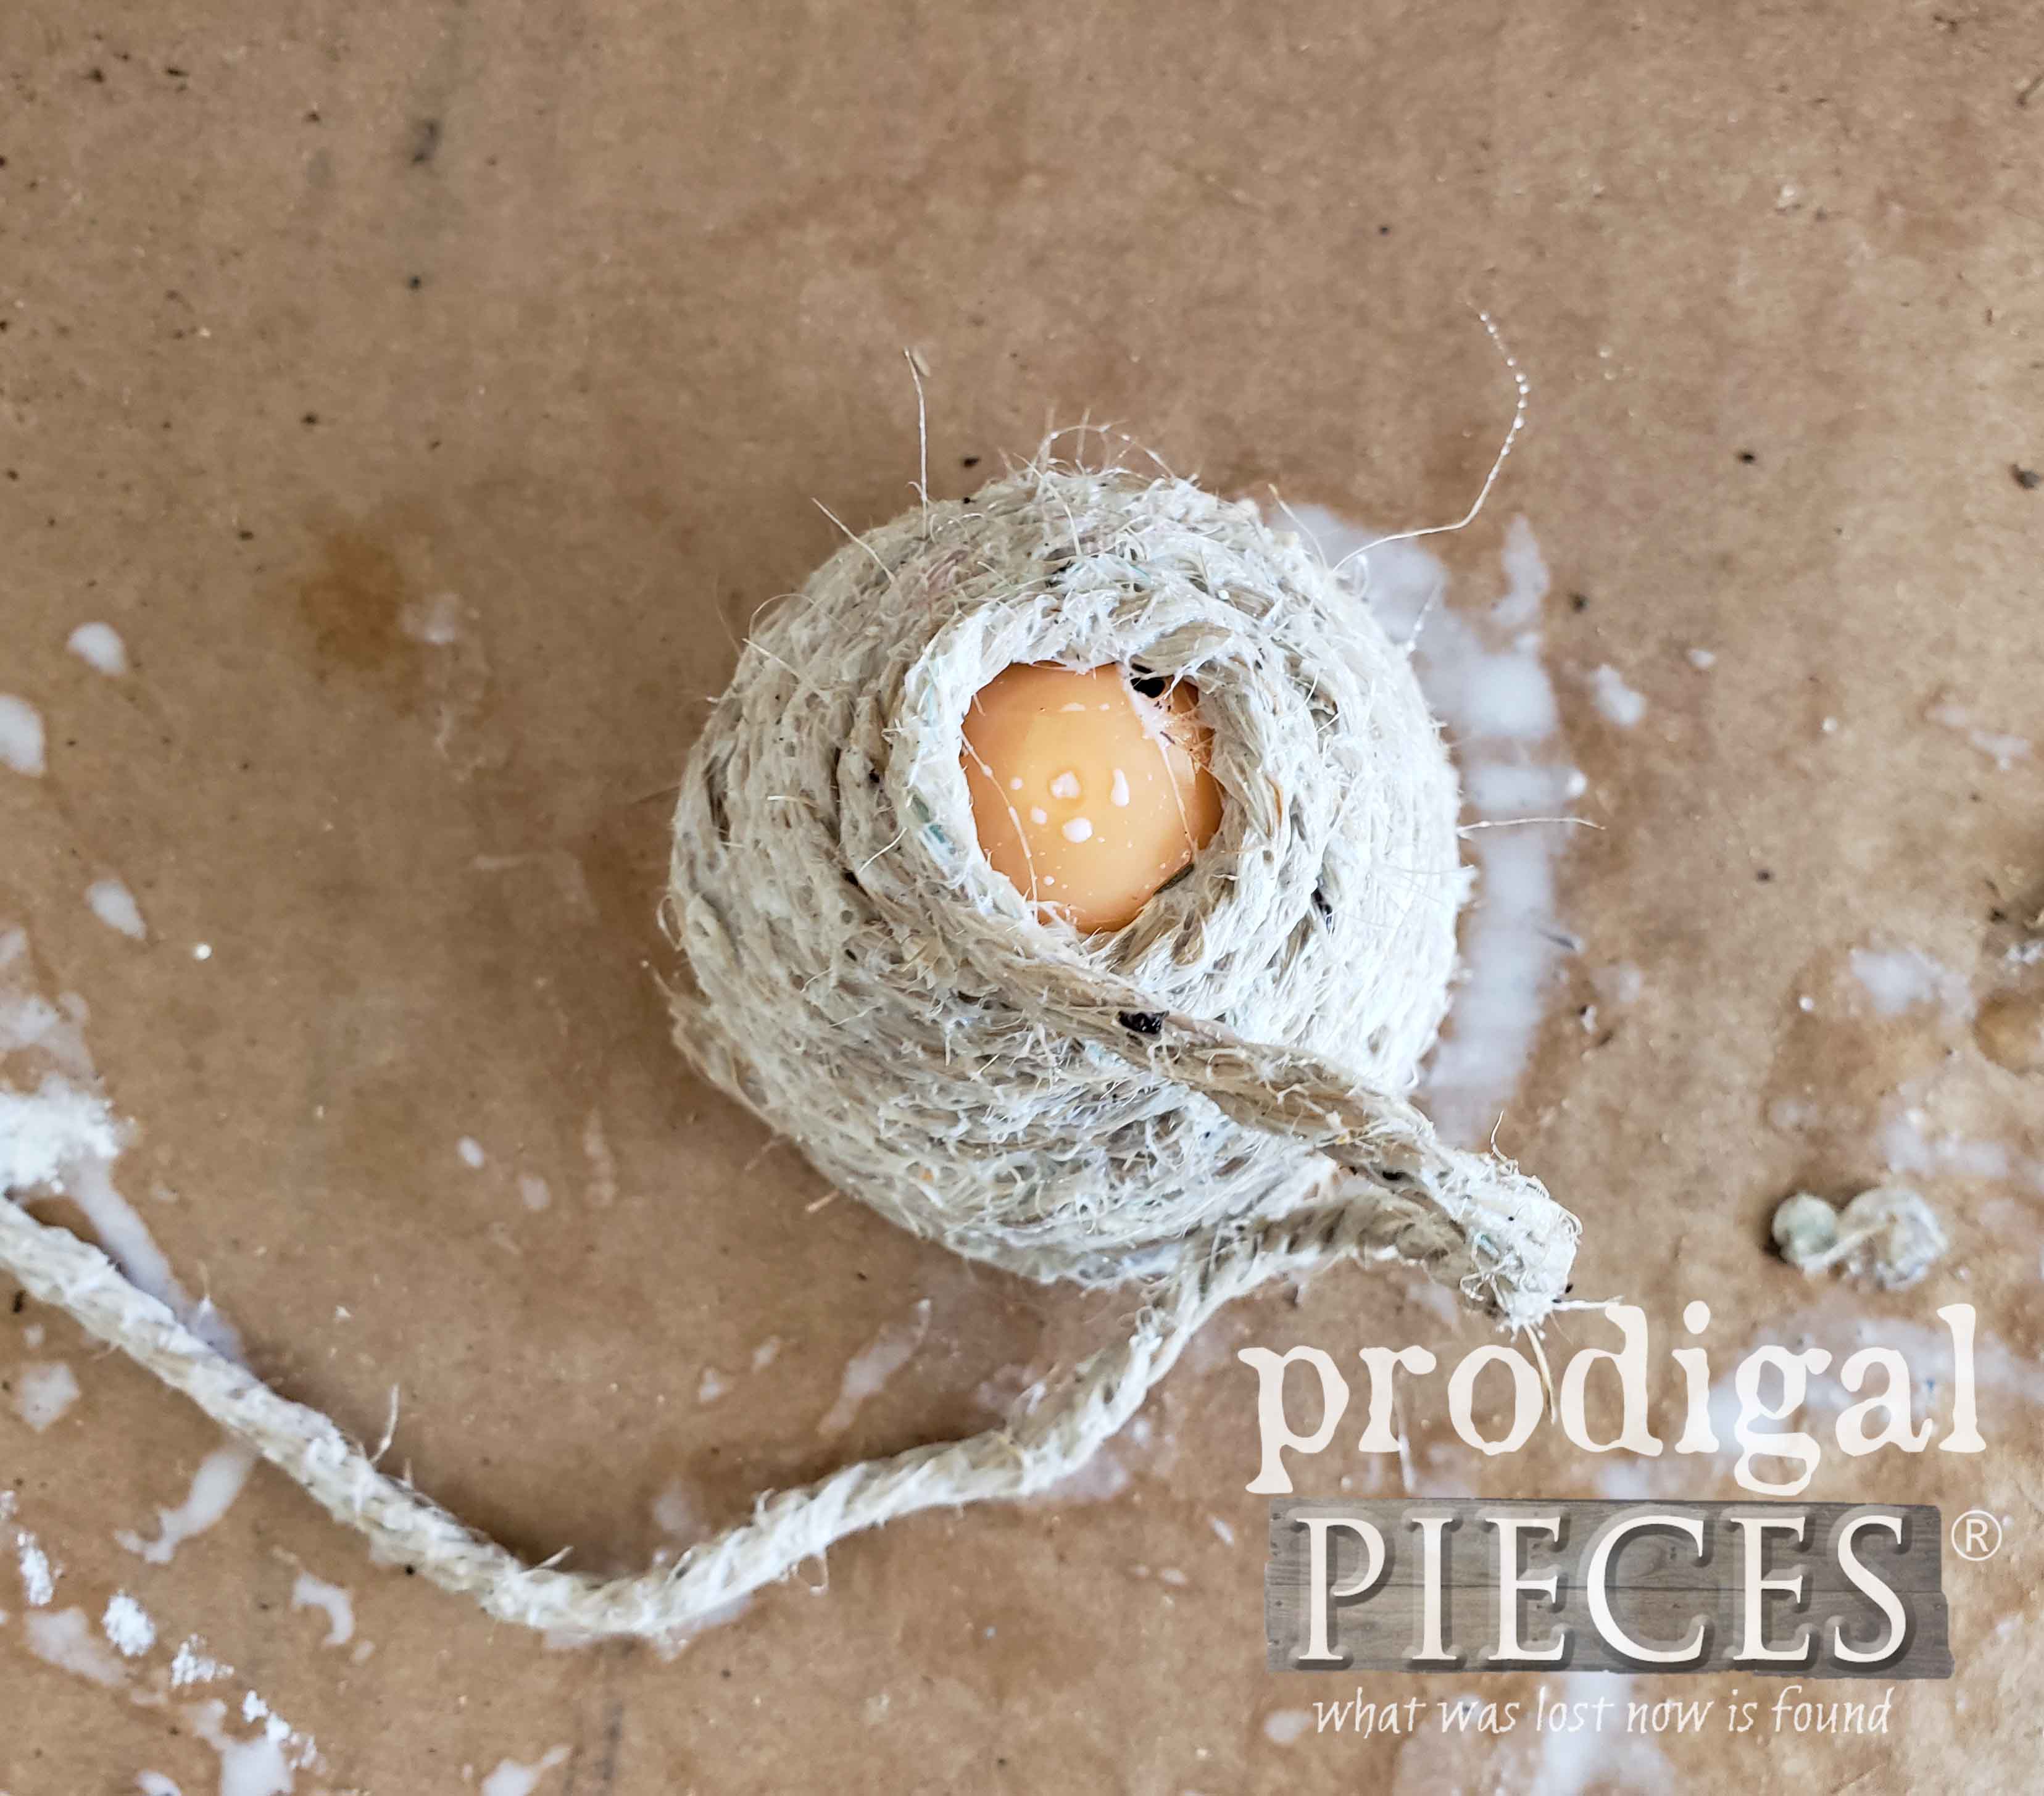
For this cutie, I used a plastic eggshell as my form. Use about a heaping tablespoon of school glue mixed with ¼” teaspoon of water. Cut a long length of twine and soak for a few seconds in the glue mixture.
Begin the same as the rope bee skep, but just keep going all the way to the top.
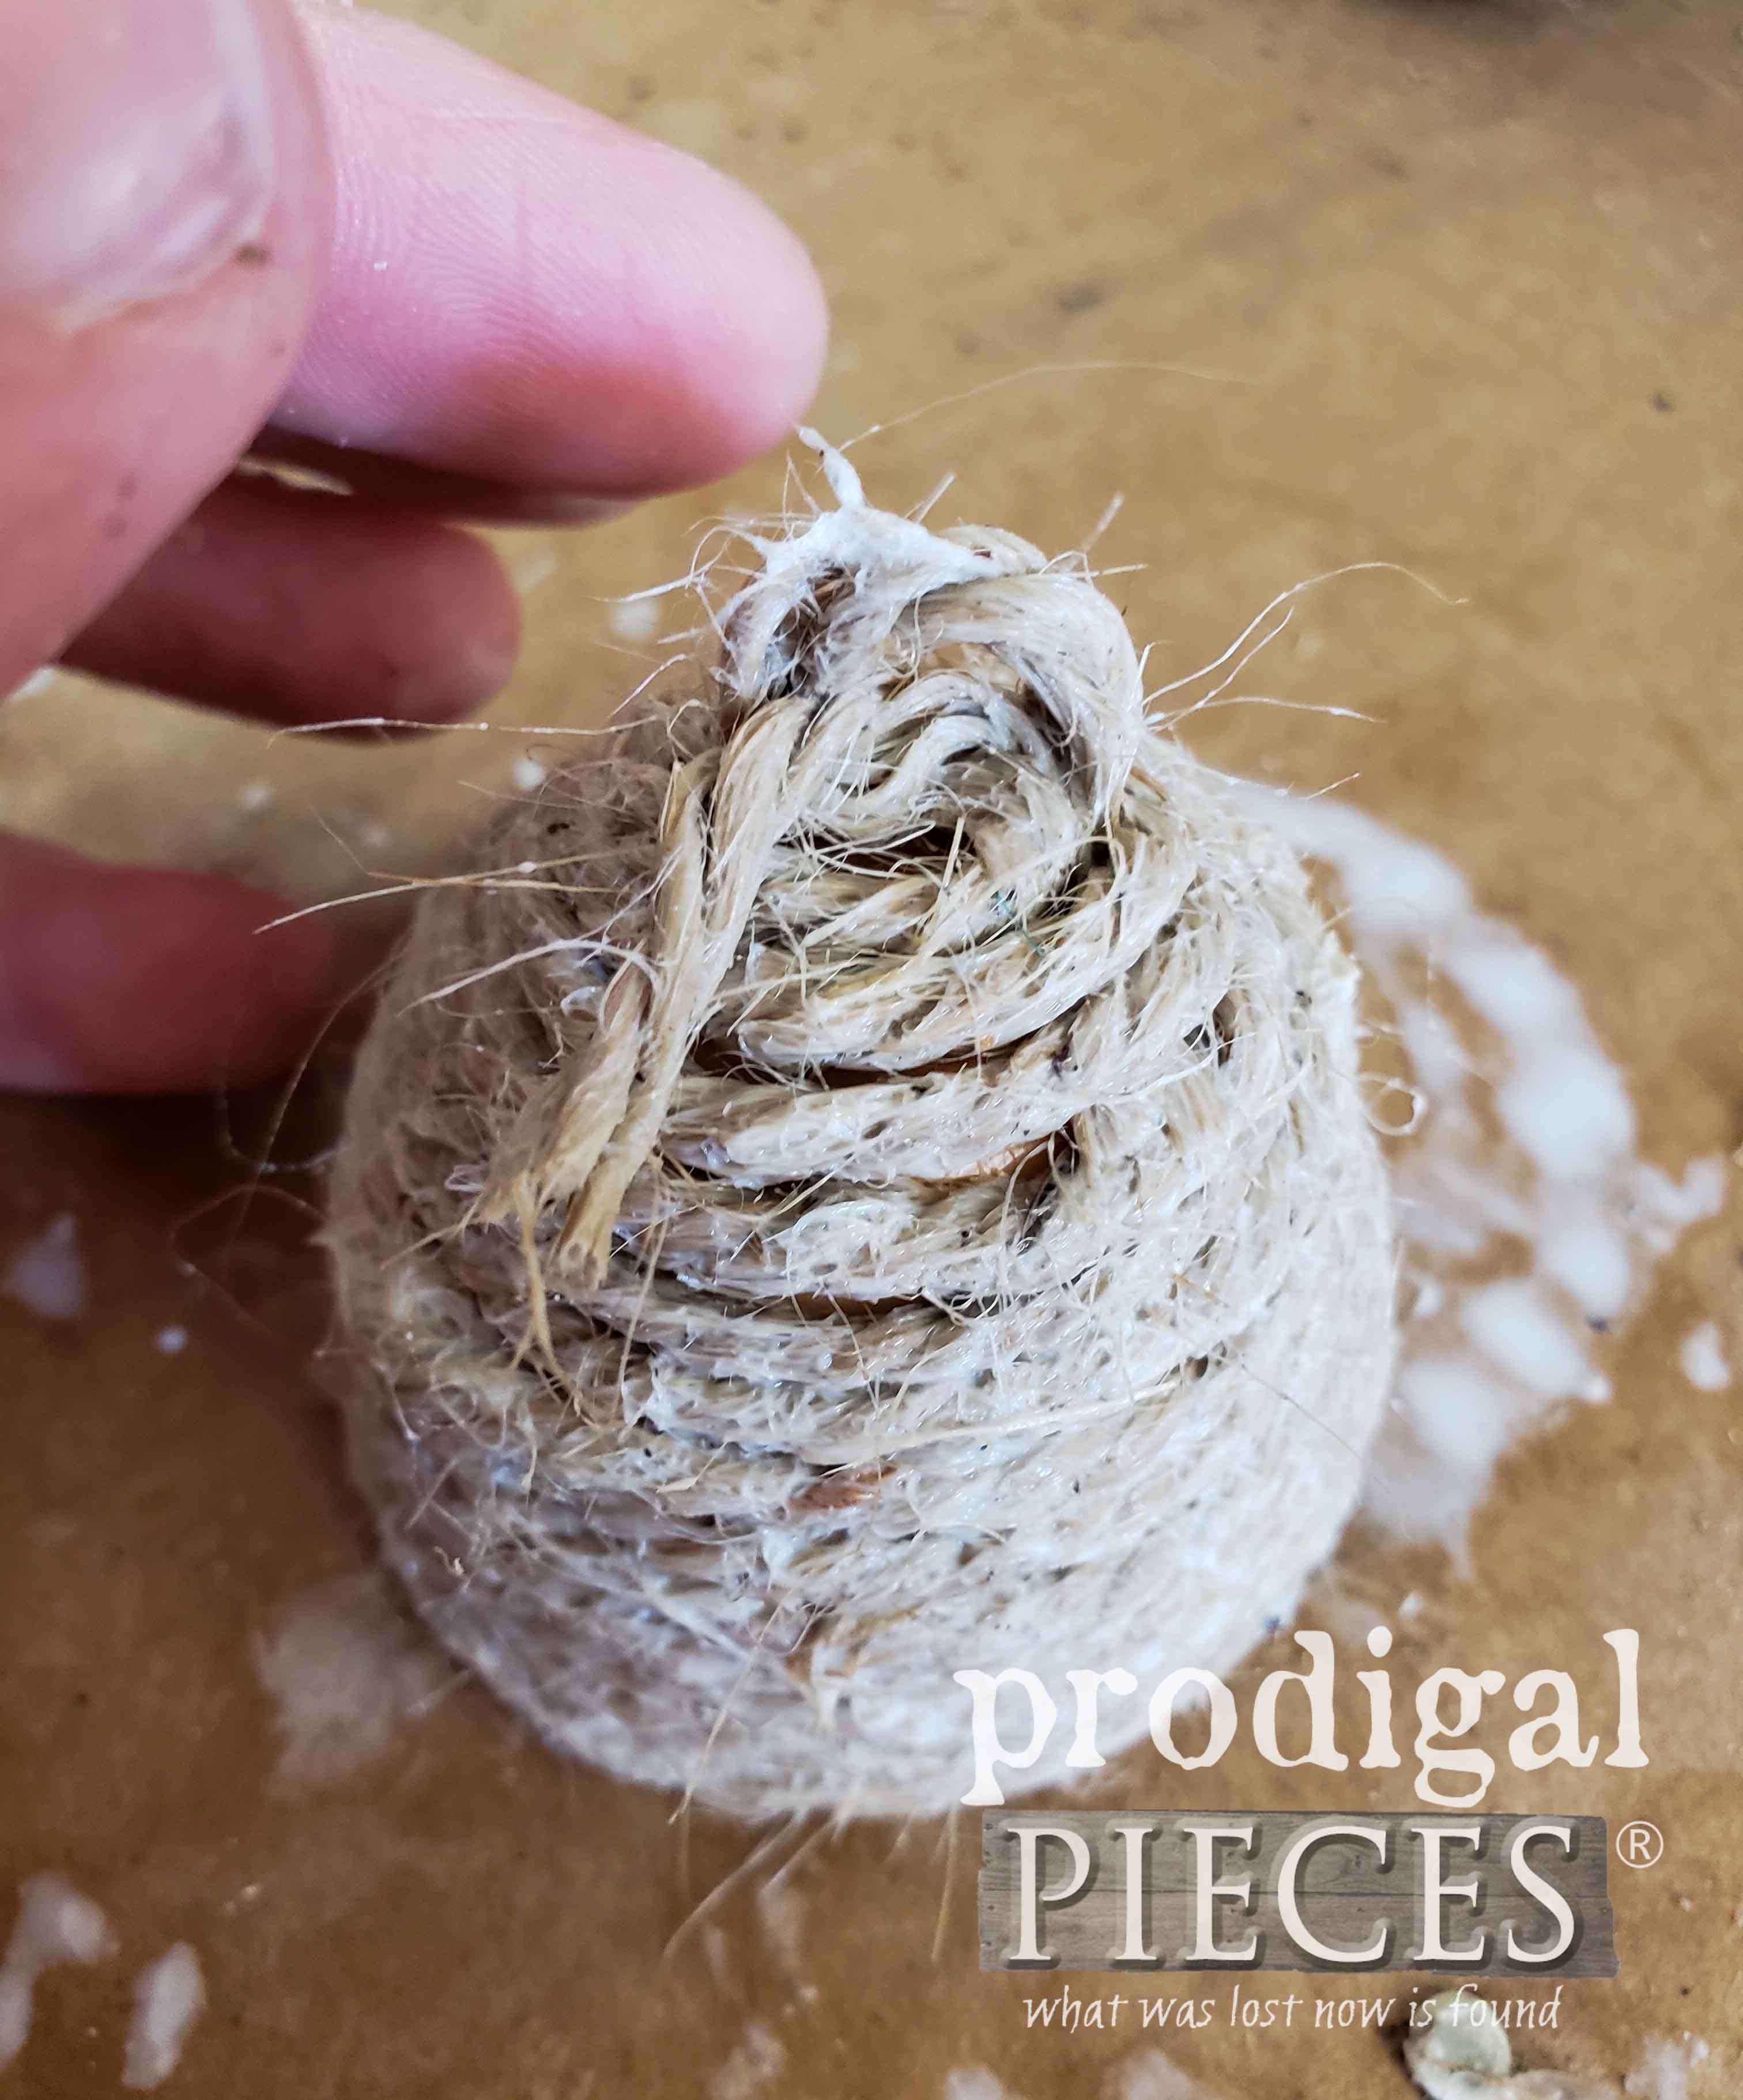
Also, same as the rope bee skep, cut a piece of twine to secure to the inside edge before you close it off. Once you add the handle, finish on the interior of the handle, cut and tuck in.
If you mixed the glue right, it should be ready right away to remove from the eggshell. Place it in a sunny spot to let dry. This will take a few hours to a day depending on your climate. I found mine took a day to fully cure and then it has hard like an eggshell. After it cured, I took a permanent marker and colored the bee opening. Now have your cutie! I had way too much fun with this, can you tell?
WRAP UP
I hope you’ve learned a few fun tricks to make decor of your own and will welcome your bee friends to your garden. They are in decline and anything we can do to welcome them is a bonus. Even letting the clover grow in your yard is a way to help. And don’t use insecticides ever…not good for anyone.
Before you go, do pin and share my DIY bee skep tutorials so others can have fun too!
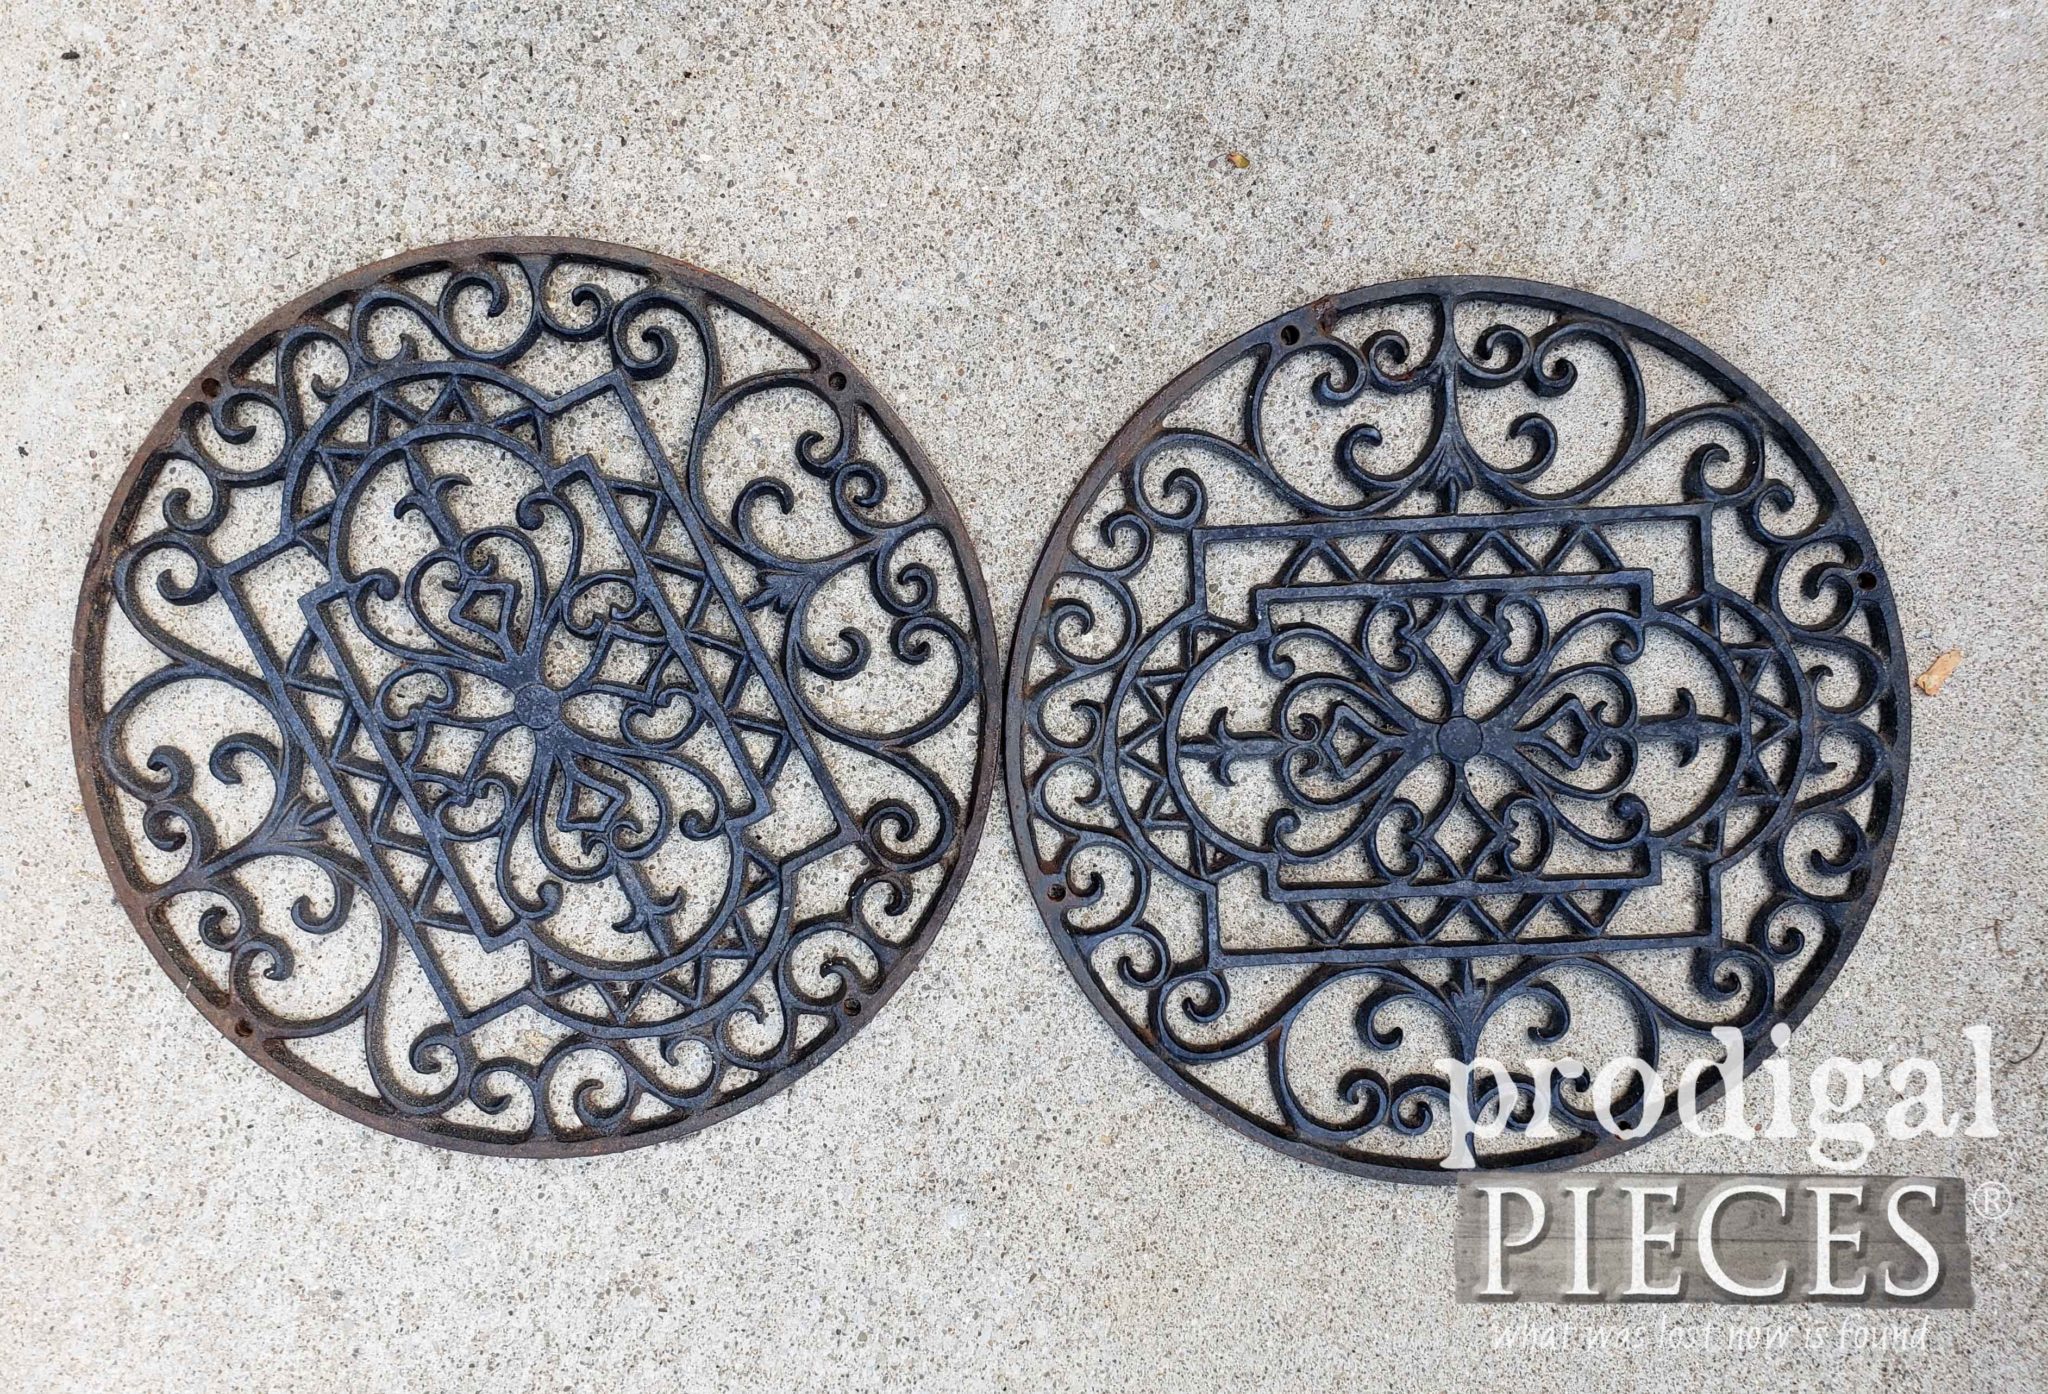
Up next is Trash to Treasure Tuesday and these iron bits were headed to the trash. HEAD HERE to see what they become.
To get these DIY tips & tricks in your inbox, be sure to sign up for my newsletter. Until next time!





Love the reinvention of the planter…..didn’t see that coming! I love bee skeps and have made several…..so now I’ll be on the lookout for those planters. Thanks for sharing.
They are so fun to have in and around a home. My pleasure to share.
Love them .my sister has bee hives and i love to see them in the garden but i watch from afar because im allergic?
Oooh…I’m a bit envious of her, but not you. Scary!
I was fascinated to see what you would come up with, in regards to those plant hangers. What a brilliant idea, a bee skep. You always keep me on my toes with your creative imagination. I am always excited to read your blogs.
I’m delighted to hear it, Della! Thank you. Fun to take these into a new purpose.
I would love a tour of your garden. It looks lovely.
Thank you, Sigrid. It’s all I’ve got and I love it.
Larissa, I love your rope bee skeps! I’ve always wanted one for garden art. I have a question; your skeps are open so do bees or wasps try to make a home in them? I am blessed to care for two hives of bees in my yard. They are fascinating creatures. Sometimes I have to tear myself away from watching them work and get busy with my work! If you are serious about wanting bees but don’t feel comfortable caring for a hive yourself you can call your ag. extension office and see if a bee keeper would like to use your land for a hive. They will set it all up and care for it and the best part is they will teach you how to care for a hive yourself. My cousin in Jackson, MI shares her land with a few hives this way.
Thanks! I just use a piece of heavy black felt at the back of the opening on the rope skeps or a piece of scrap wood on the wooden ones to prevent them attempting to make a home. I will look into the program, but not sure how it would be as I live in the city. Thanks for the tip! 😀
thanks for the tip, leisa. we live in roscommon, michigan and do know of a farmer who has a beekeeper for that purpose. such a cool program from the county extension service to offer. wish our property was larger so we can do that though can make bug homes out of wood as another option.
clever, clever – cool design of the skep box using pegs! nifty home decor. definitely farm-y! XD
Thanks so much! 😀