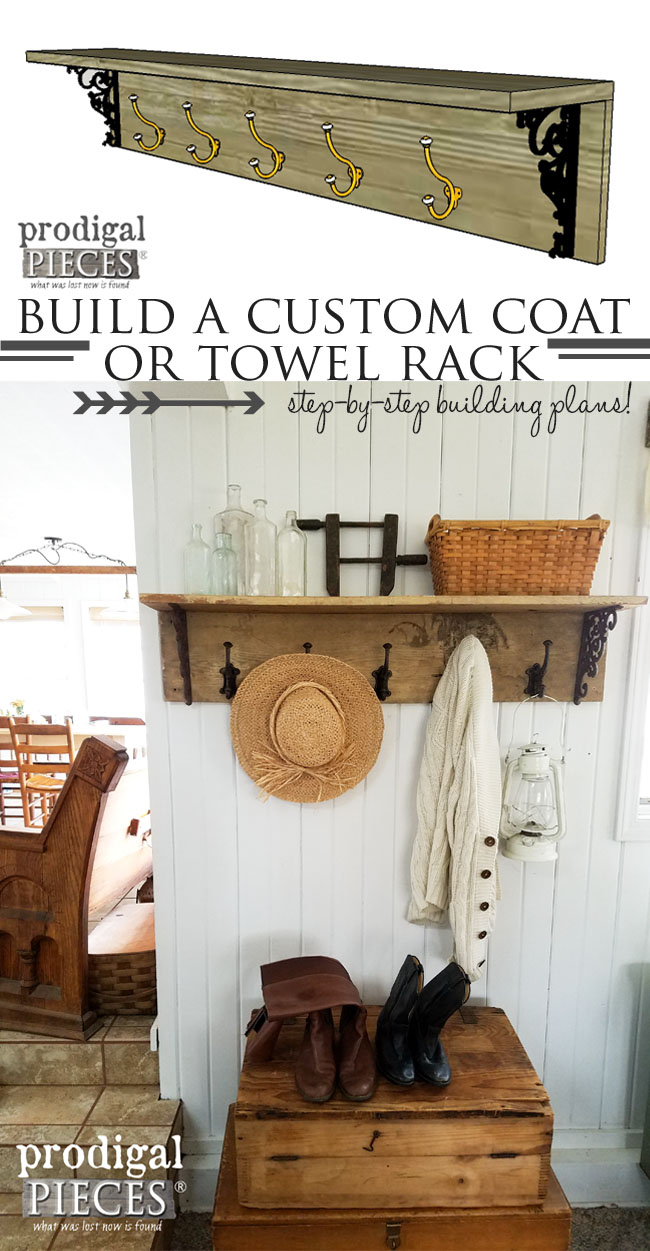
Do you have the itch to learn some basic woodworking skills? I have a project for you today that will not only be a great way to start, but also will provide you storage, and makes for a great gift. What could be better right? Let’s get our building skills on with this DIY coat rack. (or towel rack)
I’m stoked to share this with you because this is one of those builds that can be tweaked to fit any style in any home. It’s sorta like a building block to so many more projects. Ready to build this DIY coat rack?
Here is what you’ll need:
Materials:
- 1 – 1″ x 10″ x 10′ board (can be any species of board you choose)
- 5 – 1 ½” screws
- 5 – coat hooks
- 2 – brackets
- wood glue
- paint or stain (optional)
Tools:
- drill
- circular saw (or table saw or miter saw or even a hand saw)
- sandpaper
- Kreg Jig Pocket Hole System
- tape measure
- pencil
- builder’s speed square
- right angle clamp (optional, but helps so much!)
- safety equipment – goggles and ear protection
To start, understand that when you buy lumber that is labeled 1″ x 10″ x 10′ it is actually ¾” x 9 ½ x 10′. Why they do that I’ll never know. Thankfully, when you cut your board in half it is actually 60″. Whew! In addition, some things to consider for those with varied levels of woodworking experience. You could route the edges for a decorative touch, you could run a bead on the top board for a plate rack, or even tweak the size to fit any amount of hooks you need. However, this tutorial is just a simple reference to get you started.
STEP 1
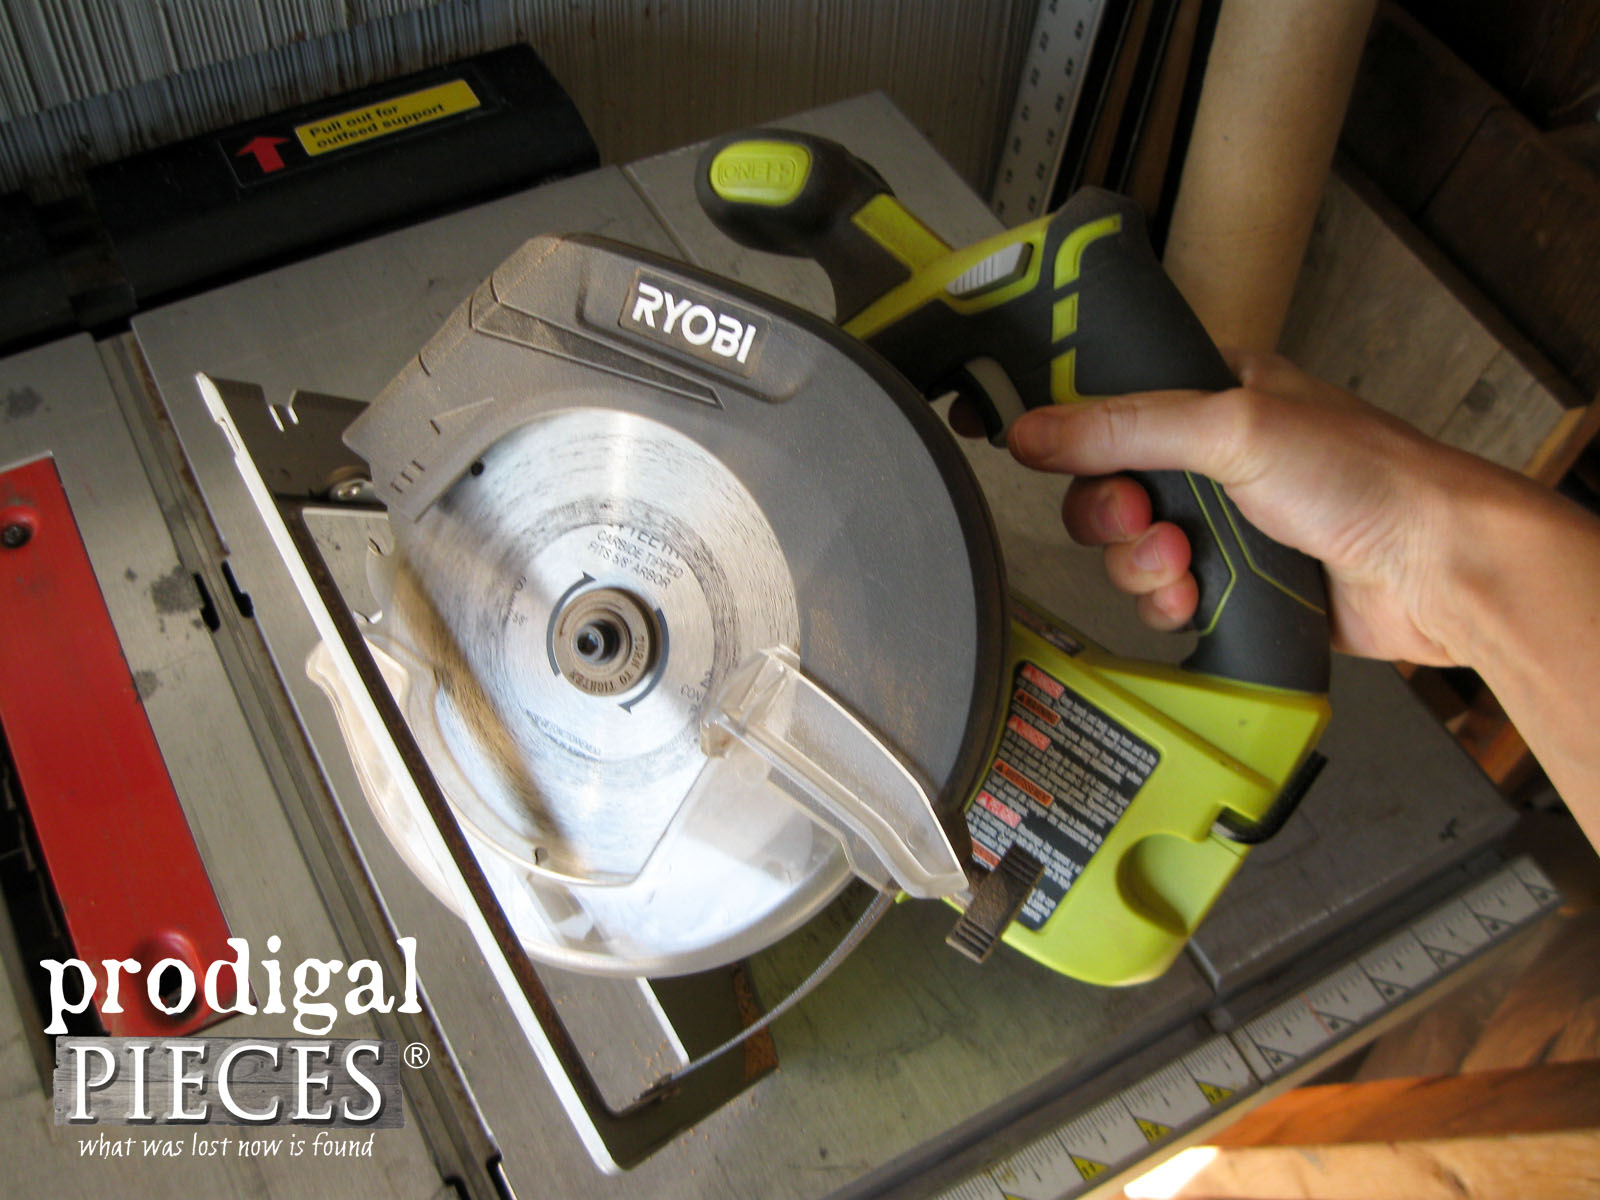
To cut my board I used one of my favorite new tools, a 5″ cordless circular saw by Ryobi. (see tools above) It’s perfect for a beginner or a pro because it’s relatively lightweight and so easy to use. Once you have cut your boards, lighting sand the edges smooth.
STEP 2
For this project, I used my Kreg Jig to connect the two boards together. If you have ever debated on purchasing this set, I am telling you I have easily gotten my money’s worth. See all my Kreg projects HERE. However, you can put the boards together using a drill and screws or nails, but that is much more difficult to do, especially by yourself. It can be done though! (ask me how I know) 😉
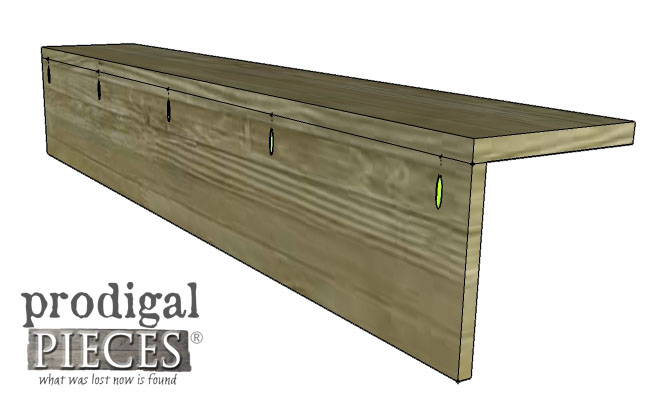
To make the joint, first find center of one of your boards (30″) and mark. Measure 14″ from center in each direction two times. Finally, you should have 5 marks on your board as shown below. Next, drill 5 pocket holes having your bit bushing set to ¾” and your Kreg Jig depth set to the same.
STEP 3
Next, apply a bead of wood glue to your top edge of your board. Then, using your right angle clamp, hold the boards together with edges flush and attach using your screws. If you don’t have the clamp, lay your top board upside down on a surface and line up the edges as shown. Likewise, make sure to wipe off any excess glue with a rag.
At this point, you have several different options: (1) stain in your favorite stain (2) paint (3) add any typography or stenciling…the options are limitless.
STEP 4
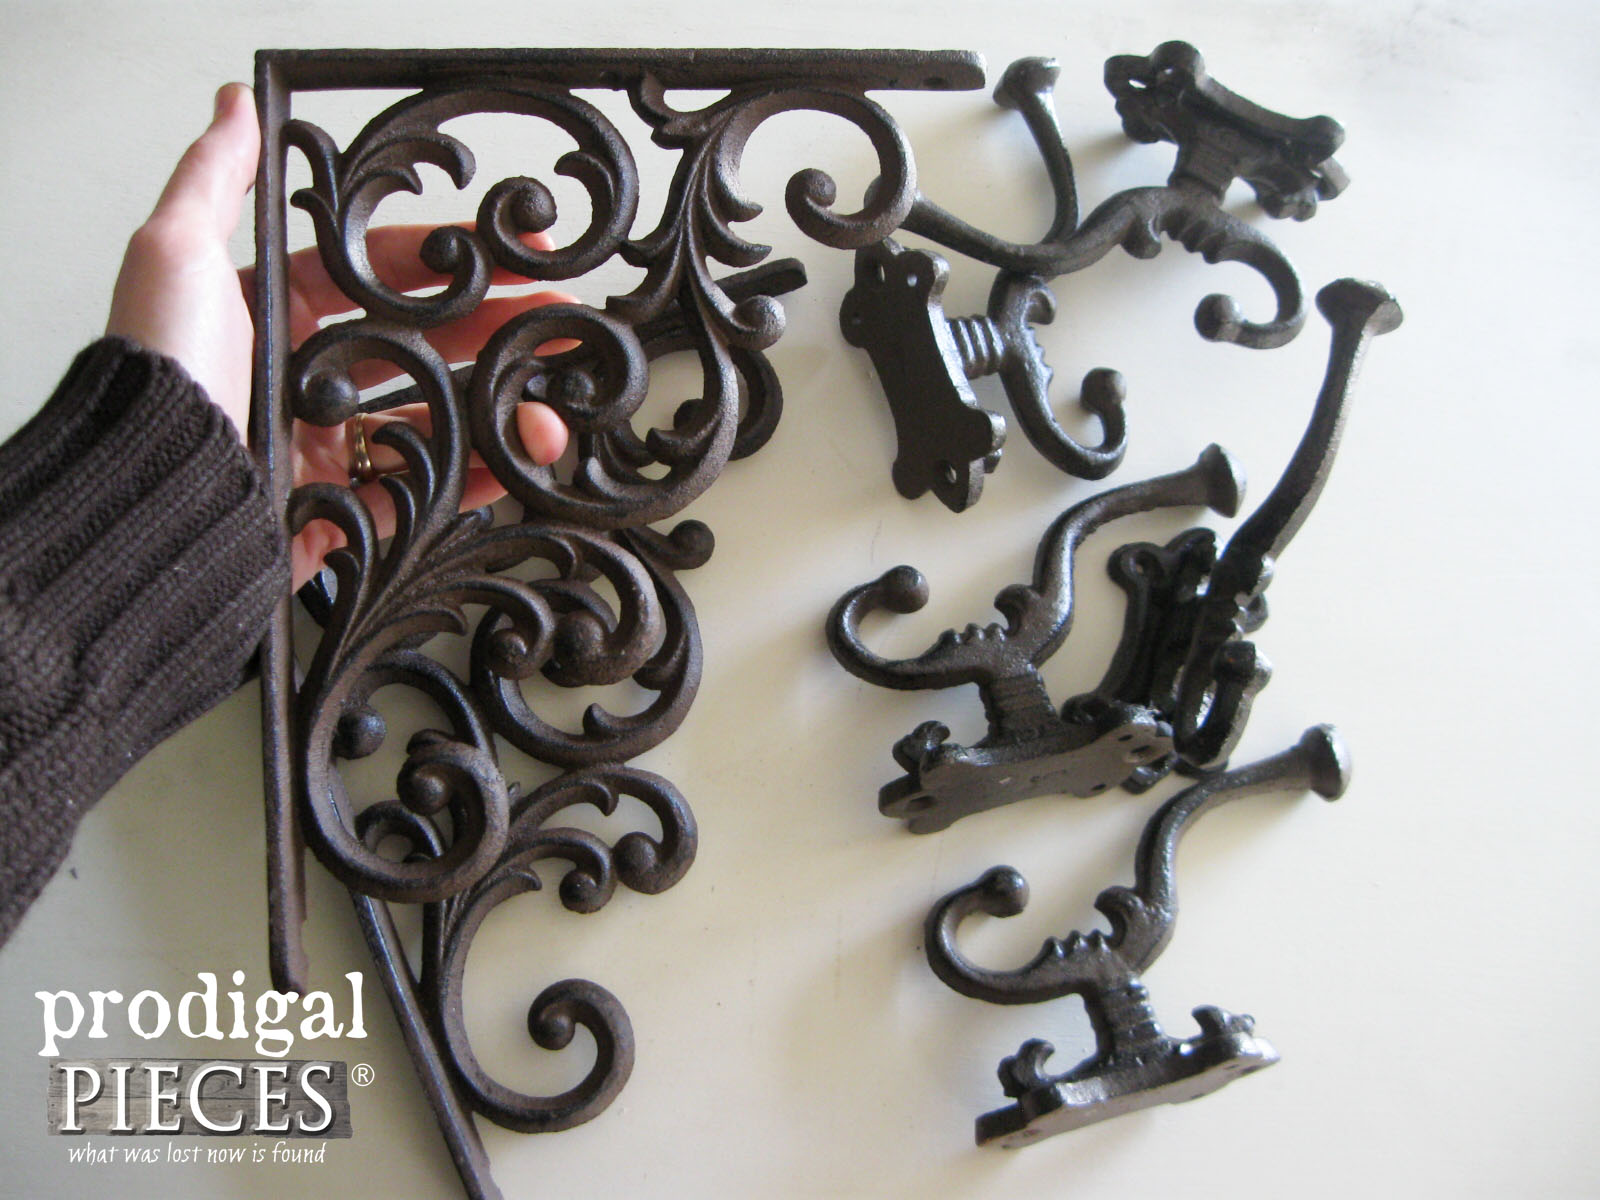
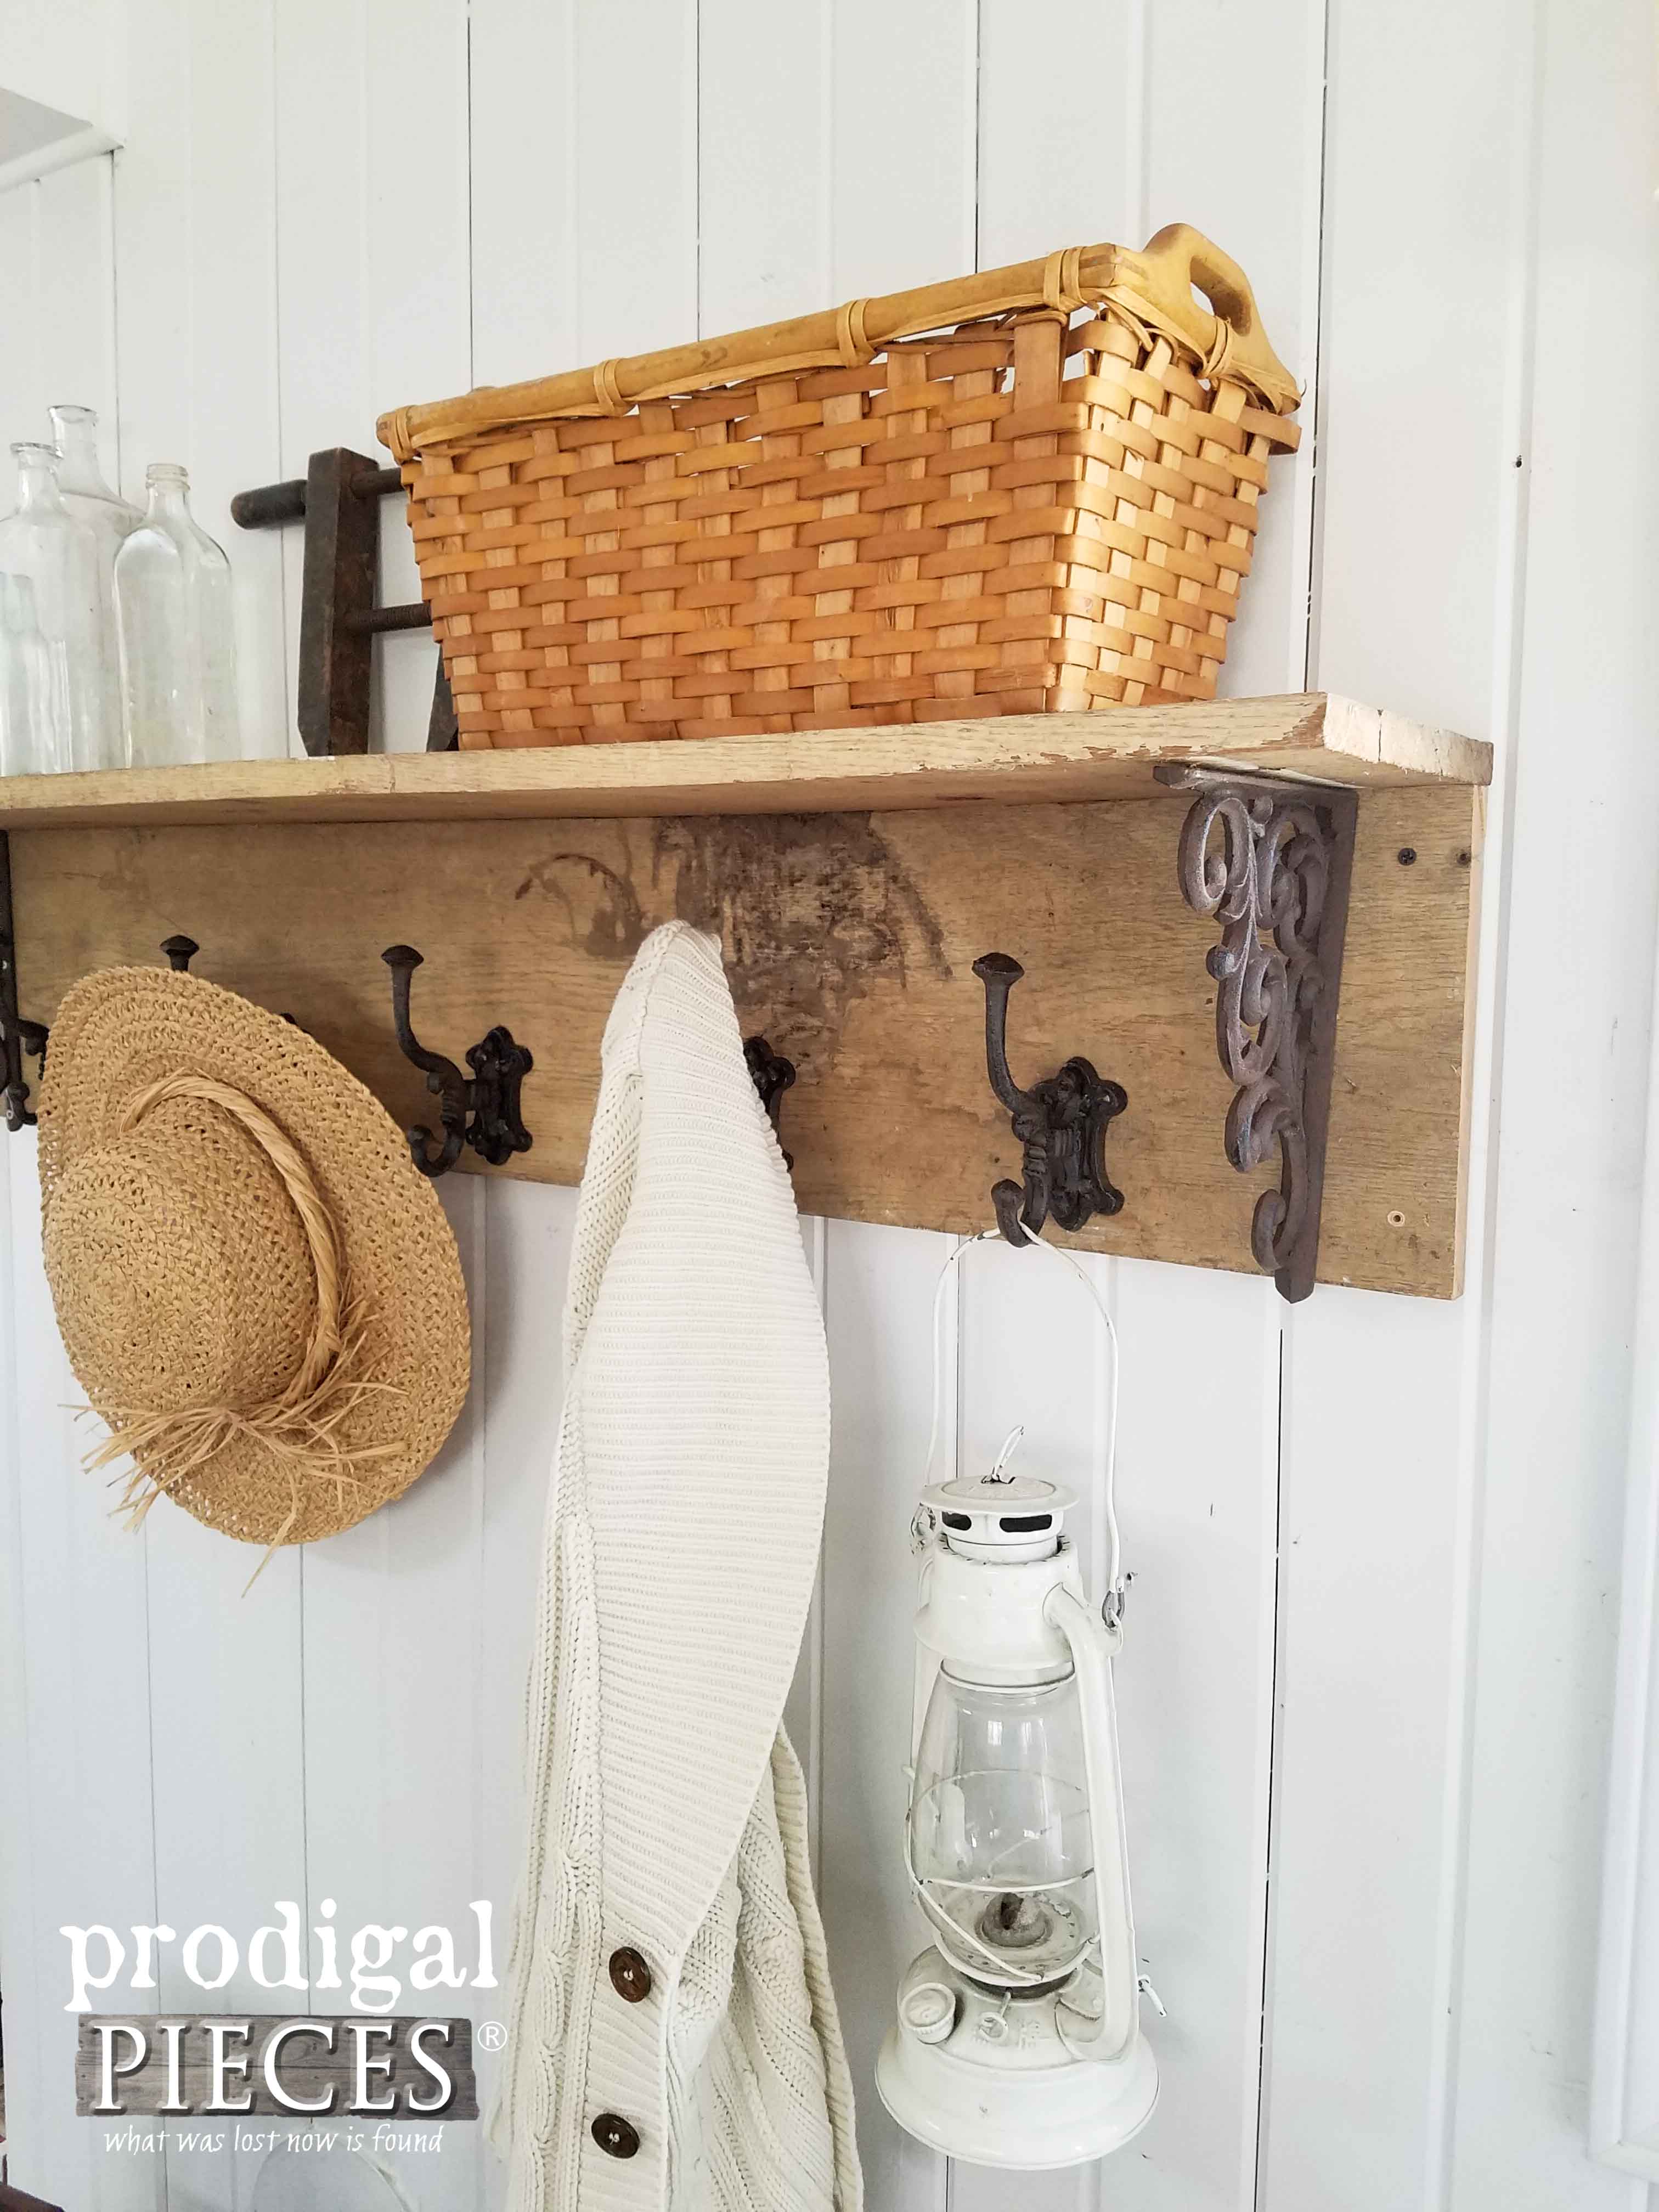
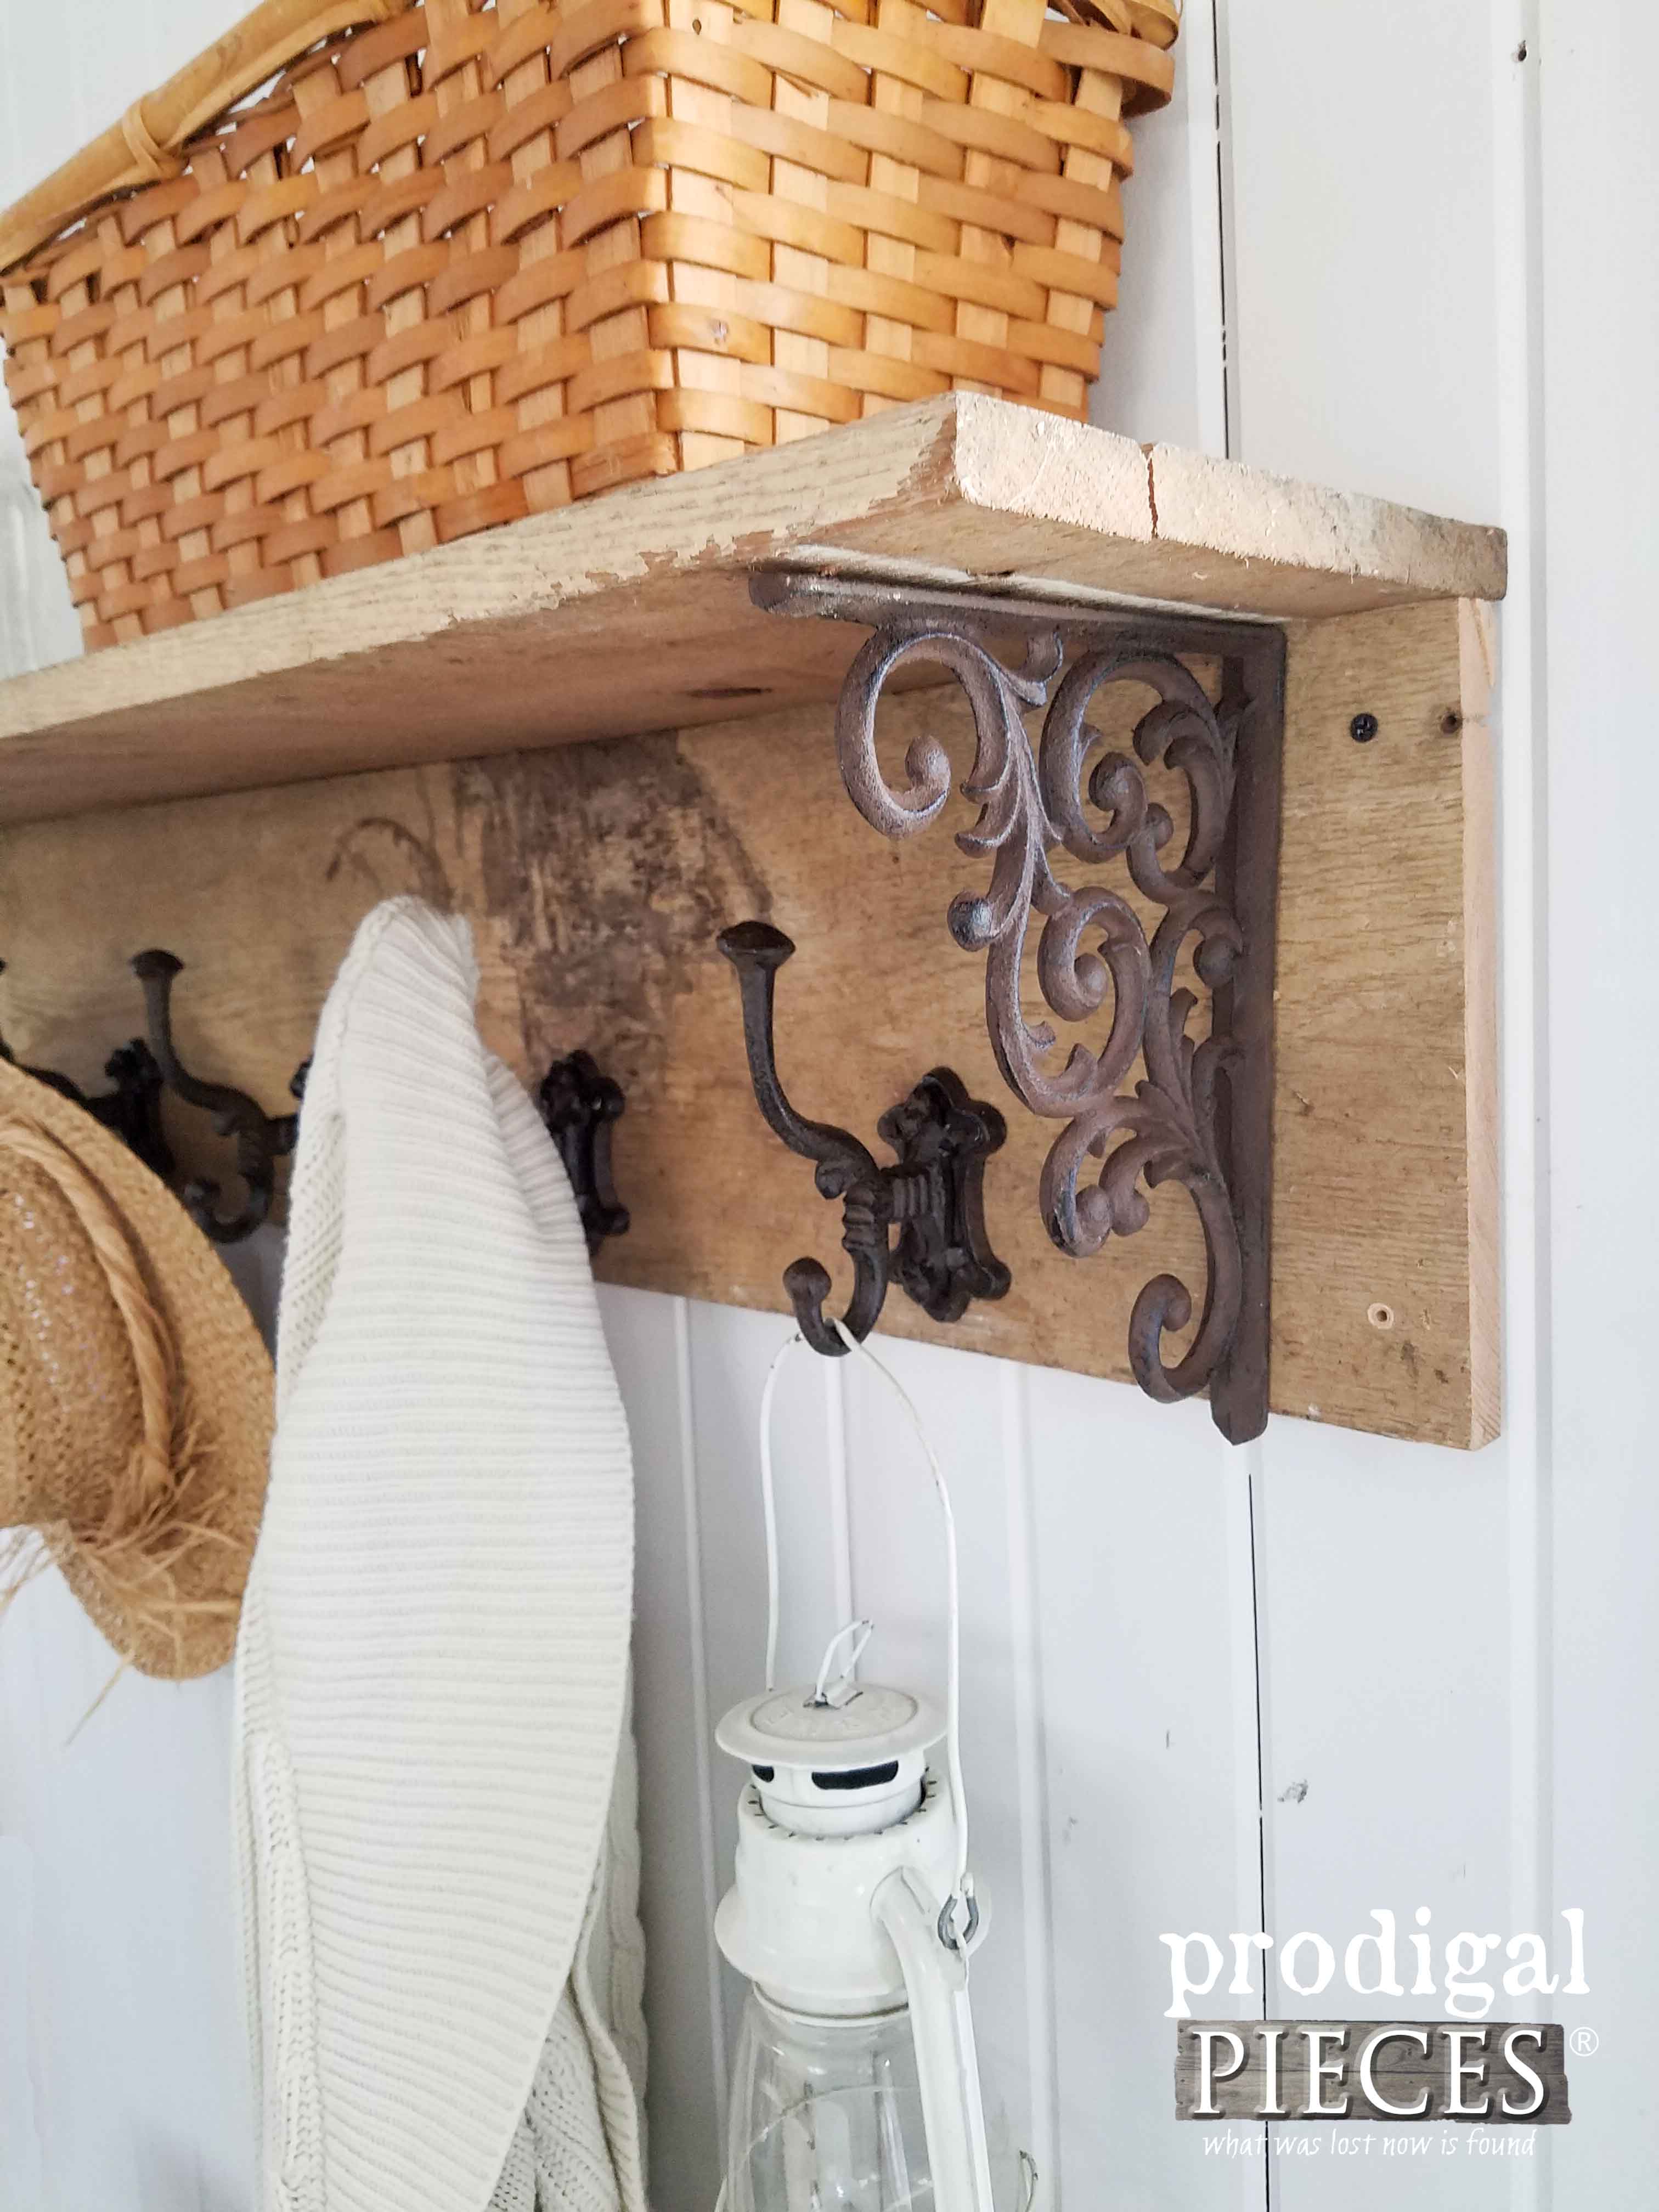
Also, while the joint you create is sturdy, we’re going to add a couple of decorative brackets to add extra strength and flair. You could also use corbels as well (another addiction of mine). I chose these gorgeous iron brackets and hooks.
To attach the brackets, simply measure 2″ in from each end and attach with the screws provided.
STEP 5
We’re nearly done! (fist pump action going on 😀 ) All that is left are the hooks. To get their placement, measure between the inside edge of your brackets and find center and mark. This length will vary depending on the brackets you use.
Once you’ve marked the center, measure from center to a bracket and divide that area by 3. Then, mark and measure for the opposite side just as you did for this side.
Last, all you need to do now is attach your hooks and you’re set. Place them about an inch or less up from the bottom. Placement will again depend on your choice of hook.
Last, to mount the rack on the wall, you can either find your studs (in older homes it can be as wide as 24″) and drill holes accordingly. Or starting at center measure 8″ in both directions, then 16″ from those points.
In either event, you will want to make four holes at 16″ intervals (standard stud spacing). In addition, it’s important this rack be mounts into studs because of the weight of the object itself plus the weight it will be holding. Use a drill bit slightly smaller than your screws, and use screws that is at least 2″ long.
THE REVEAL
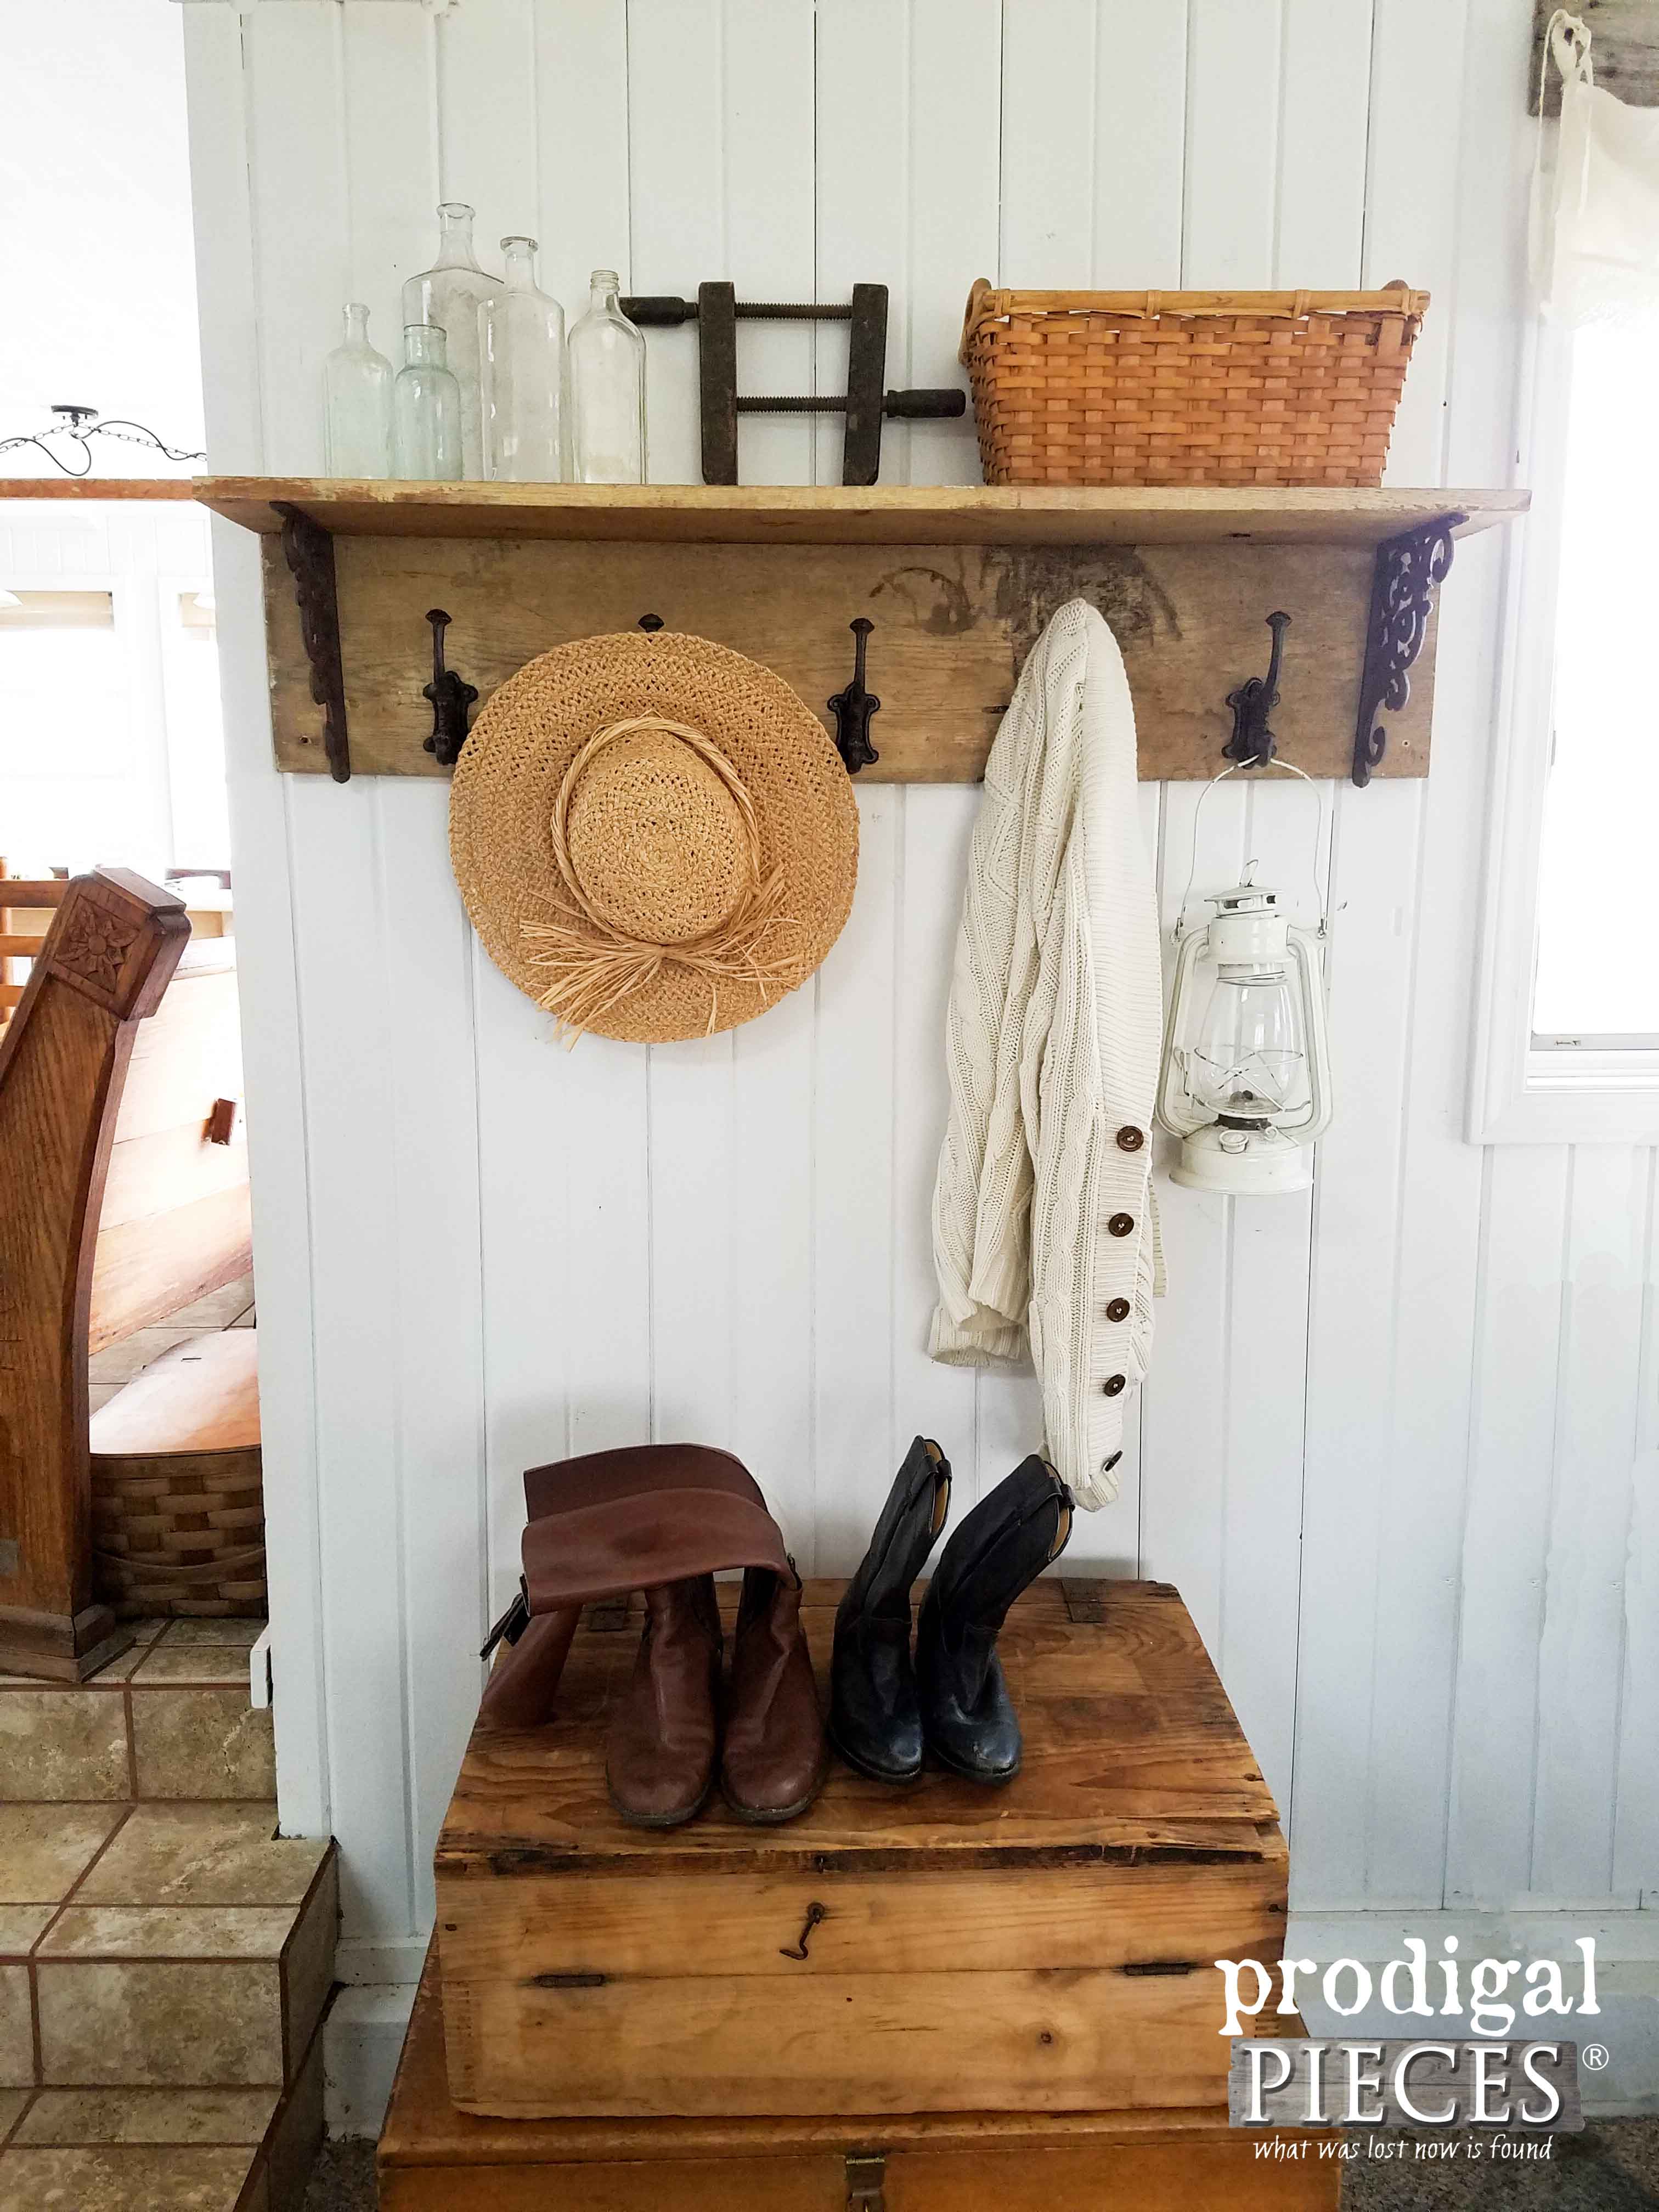
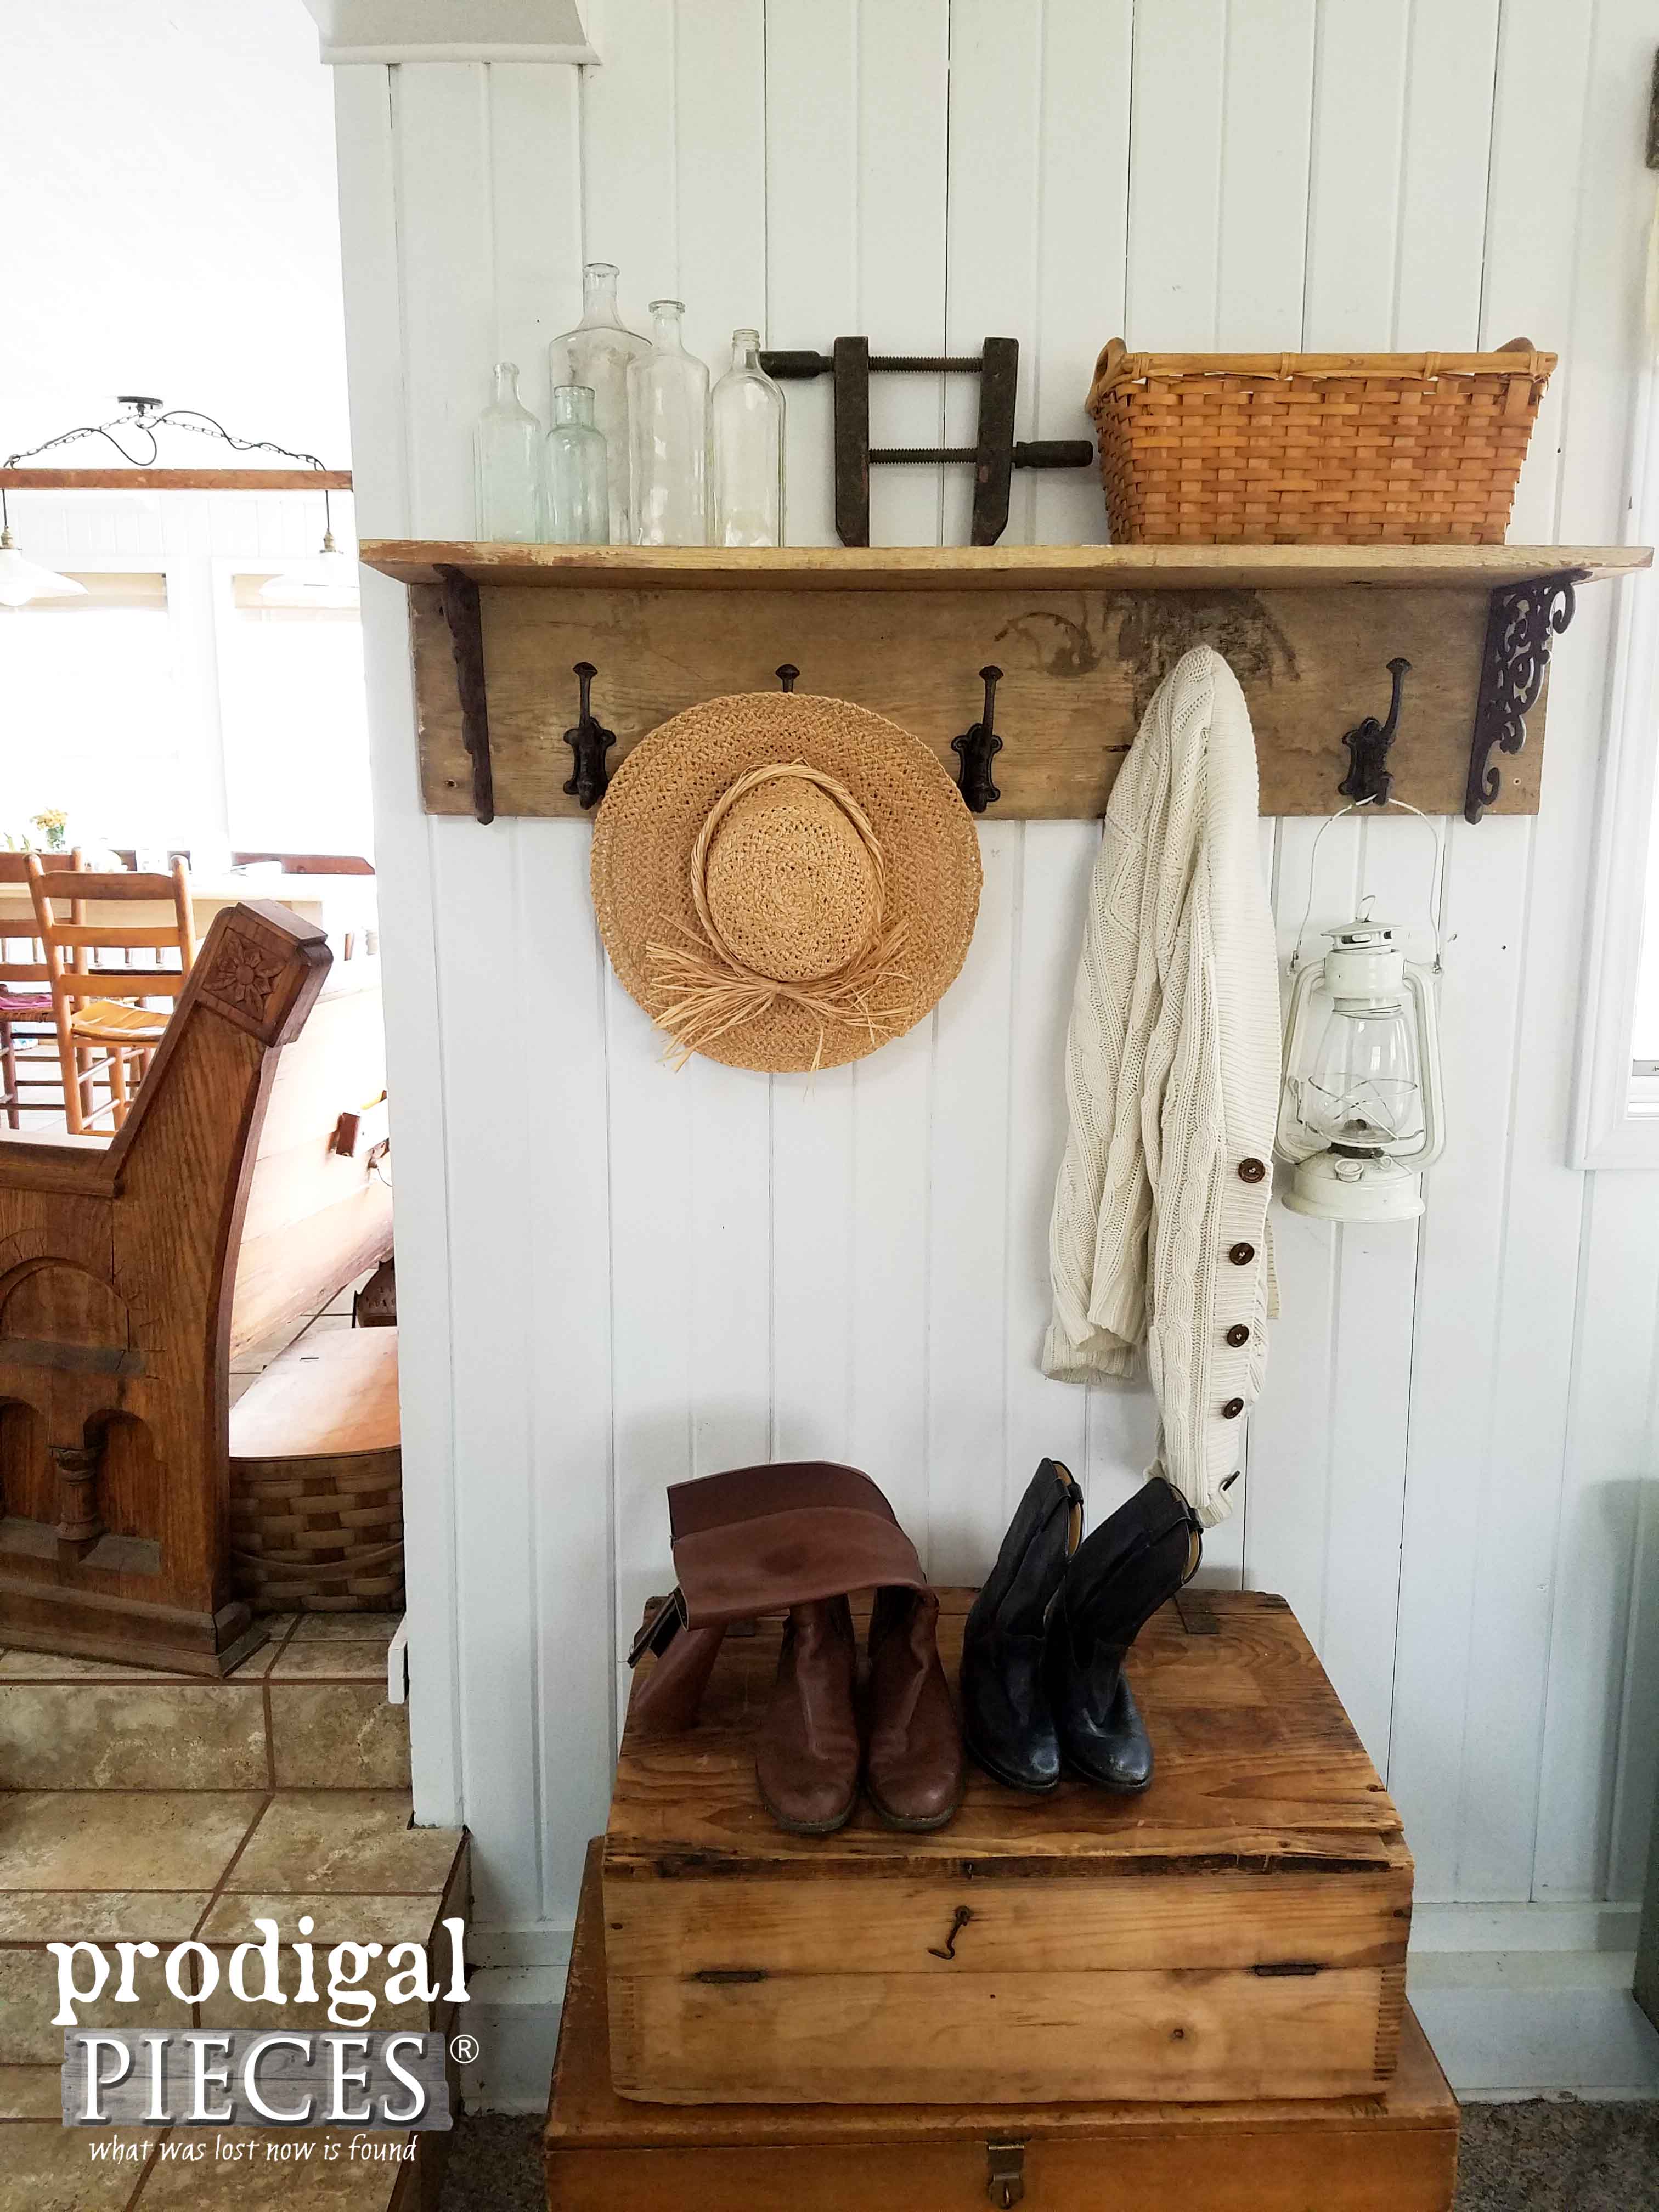
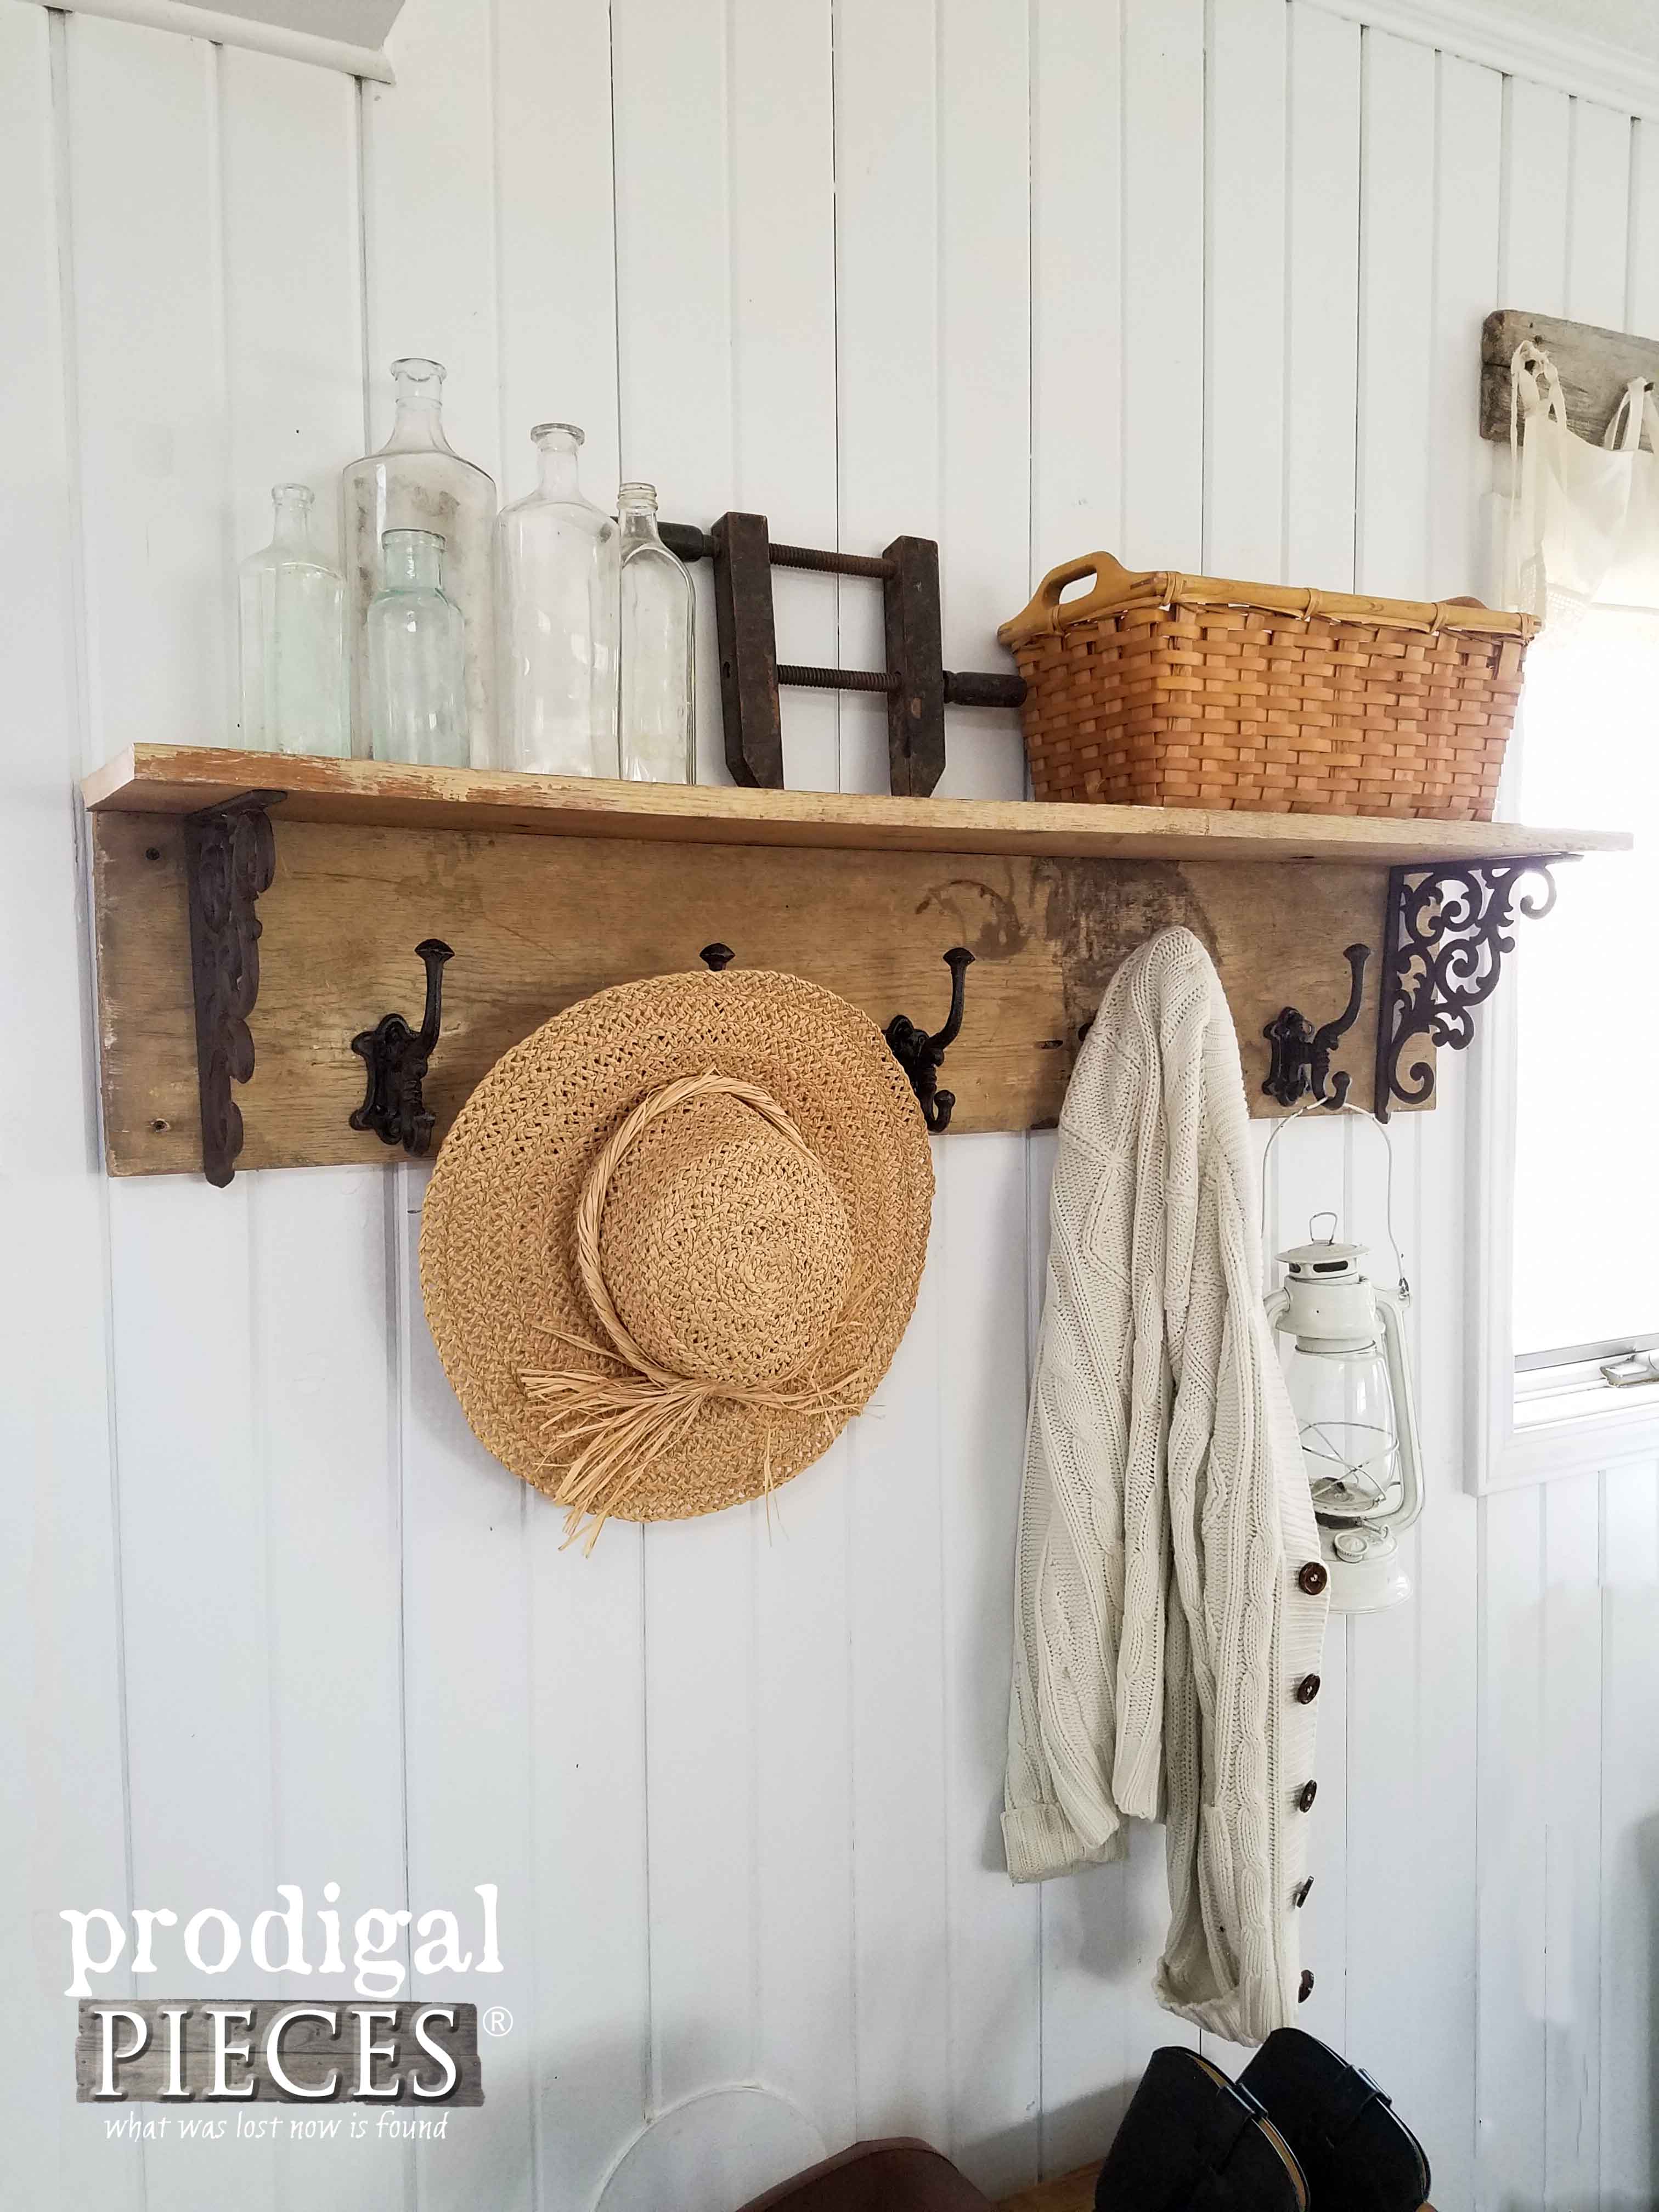
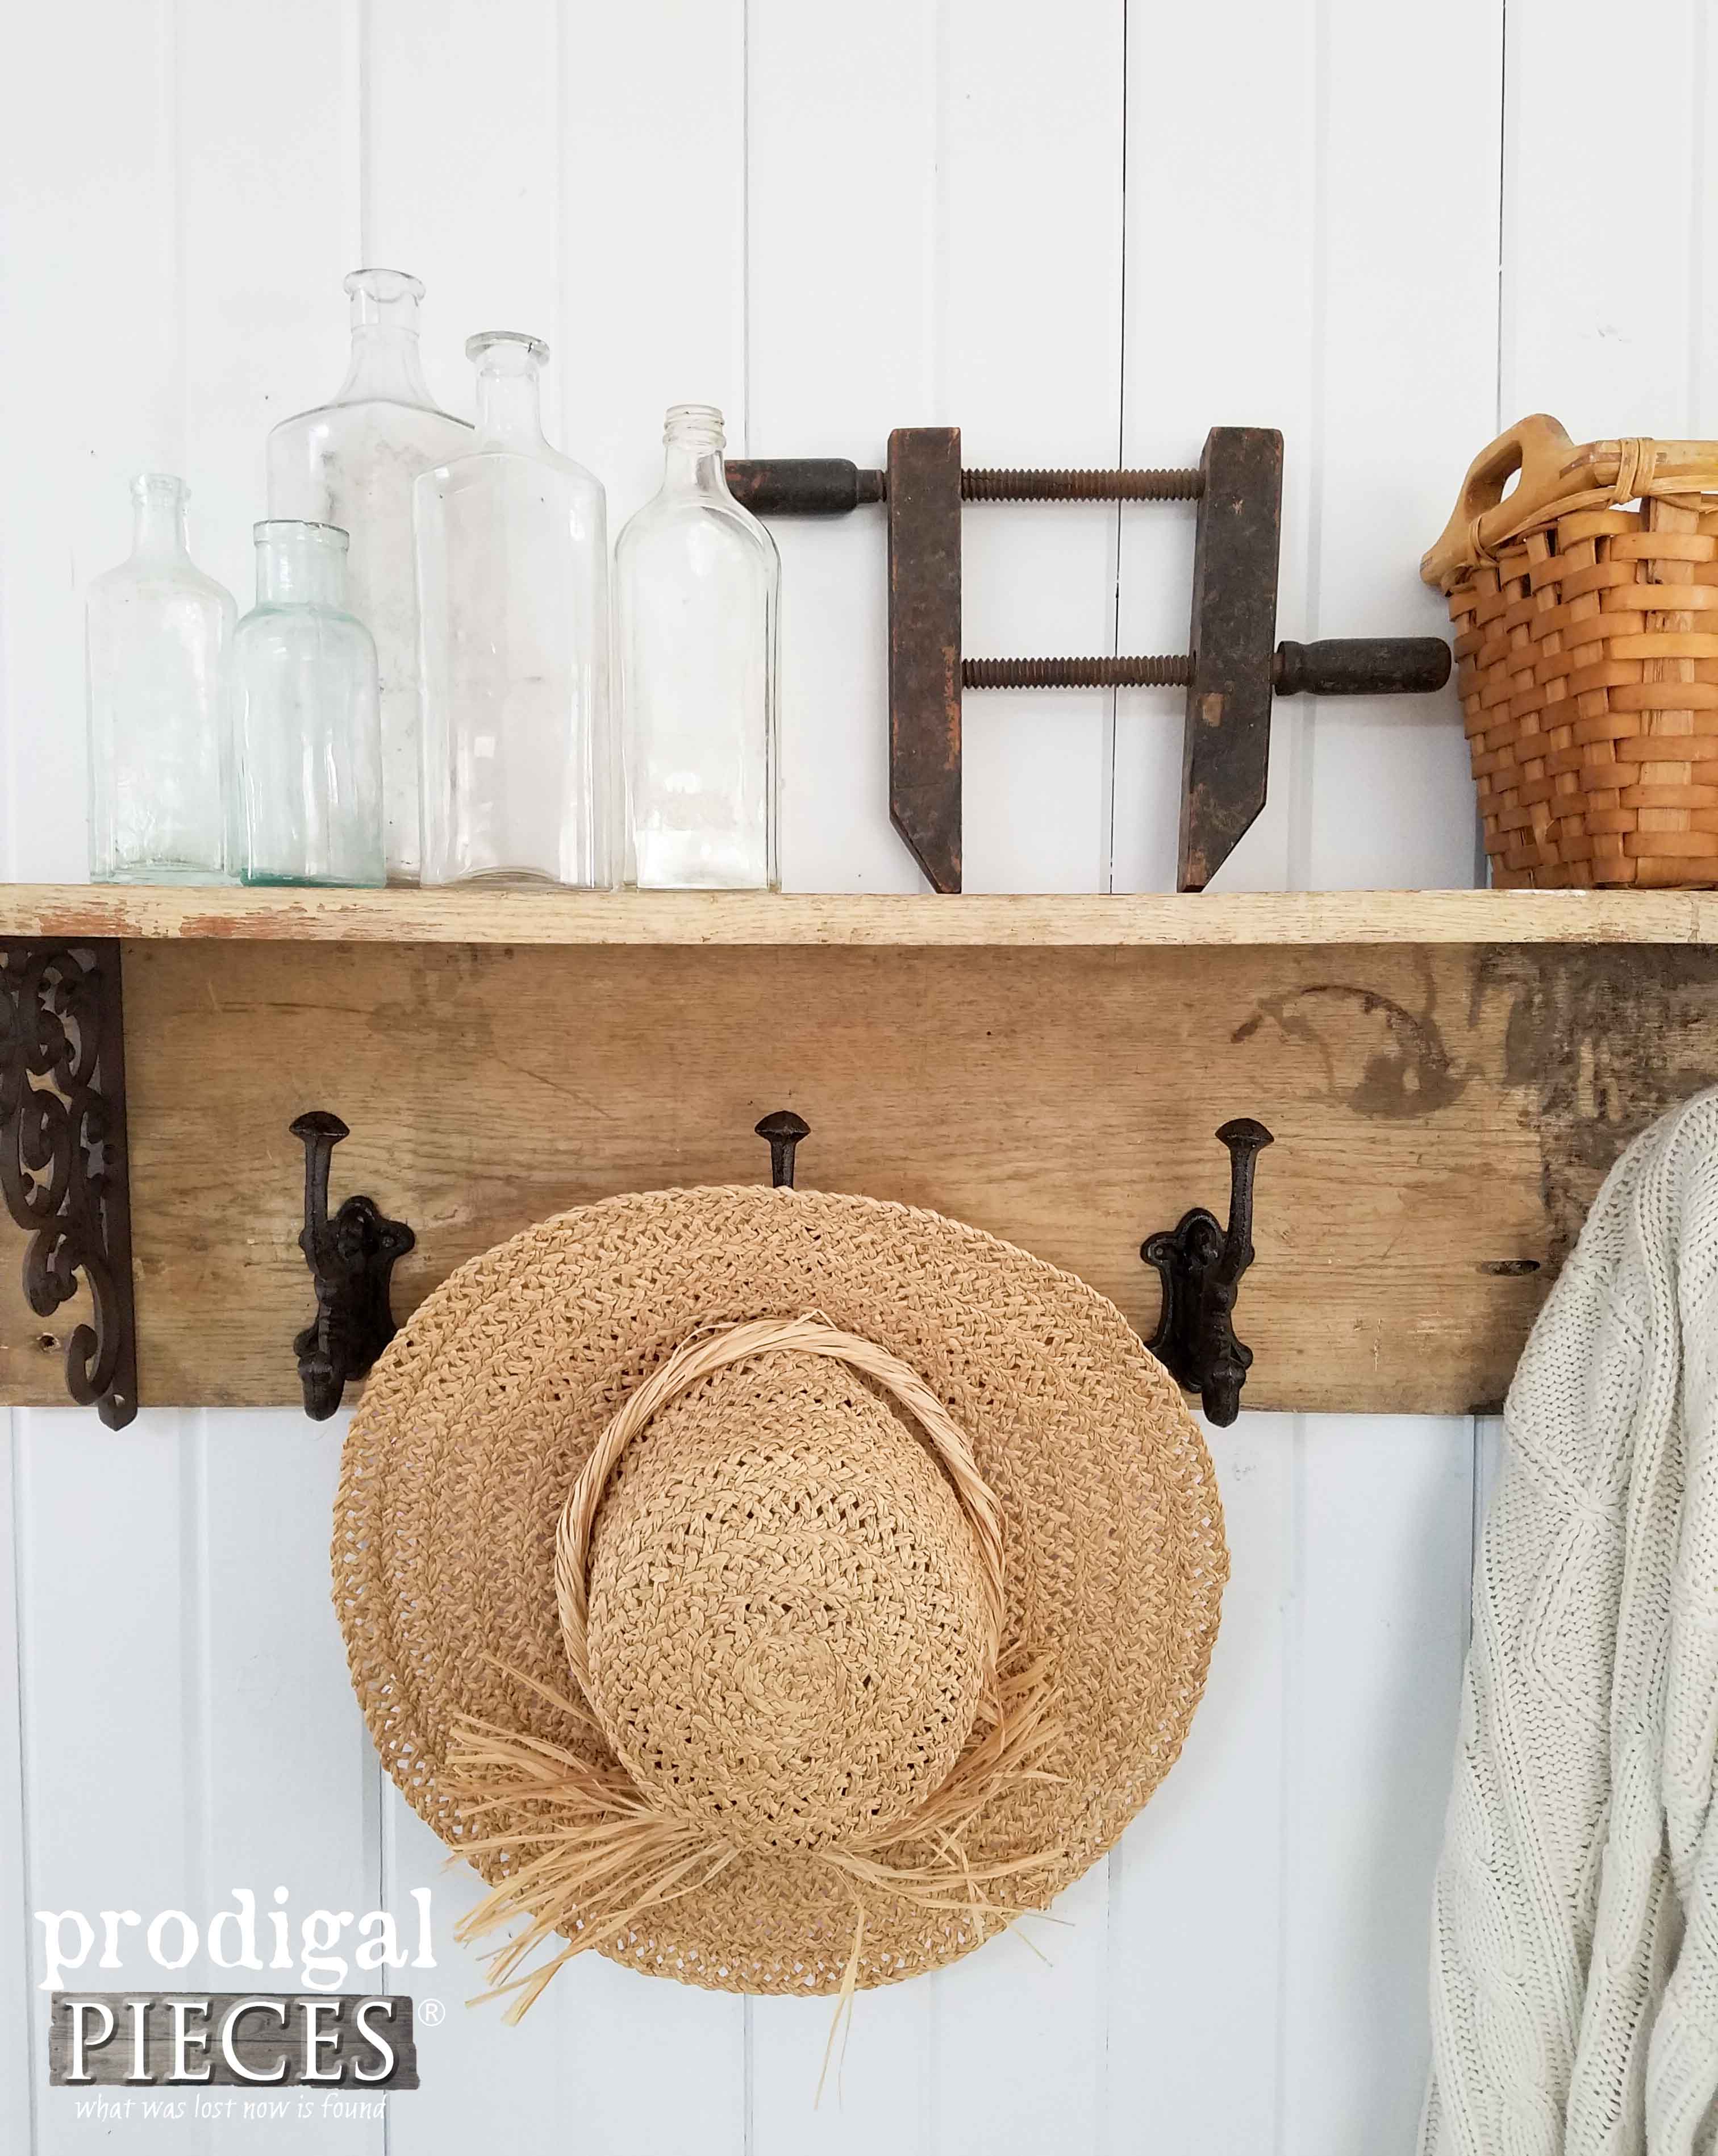
And your DIY coat rack is done!
Perfect for your entry, laundry, bathroom, bedroom, and more.
Not into DIY? I have this exact shelf ready for purchase in my shop. (SOLD)
Finally, my hope is that this is a project that you will try to help you get acquainted with tools and woodworking. This simple design can be the building block to so much more.
Additionally, pin and share for your own future reference and inspire others to do the same.
Up next, I’ve got a thrifty makeover for you with this plant stand that, well…needs a little loving, wouldn’t you say? HEAD HERE to see.

To get these DIY tips & tricks in your inbox, be sure to sign up for my newsletter. PLUS, you will get your FREE Furniture Buying Checklist and special discount to my shop. Until next time!






May God bless your work. Continue to shine your wonderful gifts of creativity with so many. I for one admire all that you do, family, homeschooling,your work, and your faith in God. You are like a clean breath of fresh air. Thank you!!!!!
What a wonderful way to start my day. Thank you so much!
Oo, Larissa! That sounds easy! I have the Ryobi cordless saw and I’m learning to use it! (Love my Ryobi tools!). Now I want a Kreg jig! Going to put it on my Christmas list! Thank you for the excellent tutorial. So glad you are not letting the negativity stop you.
Hugs,
Cecilia
Gorgeous! I want me some power tools for the Holidays!!! Enjoy the day!
You and me both, Cathy. #toolsoverjewels 😀
Your coat rack looks great. I have some very similar brackets that I got from a little store in my town, and I’ve been hoarding them ever since. I even got more when Hubby gave me a gift certificate from the same store. I do use two of them for a big curtain rod over my (drafty) door, and the rest will make great curtain holders over windows when he gets inspired. Thanks for the inspiration – new mud room and porch, here we come!
You sound like a gal after my own heart, Jacki. I love your side name! 😀
It is really nice, love the old wood. Thanks as always for explaining the tools you use and why. I have been thinking of the Kreg and as newer woodworker your thoughts are valuable to me.
I love this! Perfect timing too as 2 days ago I found some horse head coat hooks in my stash that I want to do this with! On lumber sizes that difference used to drive me crazy too then I learned the sizes r what they r when cut green, they shrink as the wood dries n makes sense. You can Google “actual lumber dimensions” n get a chart for all sizes.
Yay! Ya know, I had heard that about the lumber and just never looked it up. Still doesn’t make sense to me as I don’t care what size it is at cutting, just what I need to know to make. hahahaha….
Love the shelf. Kreg jig is on my Christmas list. If you do not have a saw Lowes will cut tbe board for you. Look forward to seeing your post. Know that we are all standing with you. Bless you.
Thank you, Vangie. Yes, Home Depot (my second home) does that too. Thanks for reminding me!
Love the shelf and coat rack, so cute. You are so talented and such a good person and I think a lot of times when someone bully’s or makes unkind comments it is because they are jealous and feel really bad about themselves and or their lives. Please, please don’t give any of these people a second thought. There is a reason you are so blessed and it is not because you sat around feeling sorry for yourself. You have worked hard and you and your husband are raising your children hands on and doing a wonderful job from education to life skills and always keeping God first and giving thanks for all your blessings, so feel good about yourself and your wonderful blog and all the people you help right here in blog world. I for one have learned so much from you and I thank you so much.
You are such a wonderful person to take the time to support me. Thank you so much, Patty.