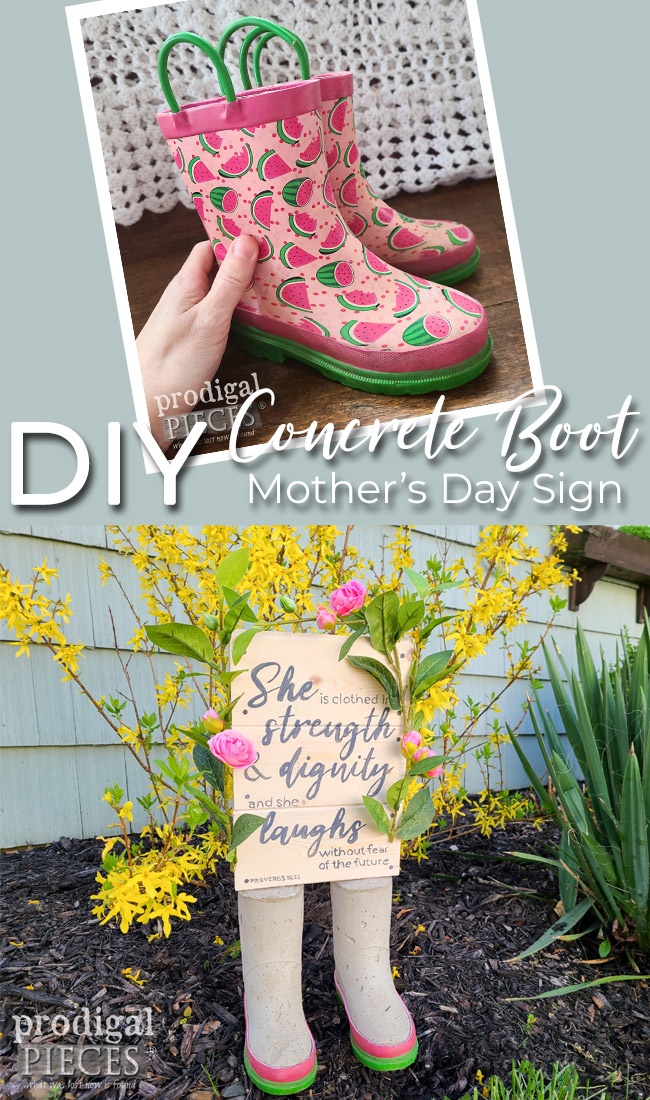
Do you ever feel like time is slipping by and before you know it decades have disappeared? While I could focus on the fact that my littles are no longer little, I try to focus on the fact I am still able to hug and hold them no matter what the age. With Mother’s Day in view, I’m eager to celebrate not only the past, but also the present and future (should God see fit to keep me around). With that in mind it’s Reduce, Reuse, REFASHION time and I am creating a DIY concrete boot sign. Sounds odd? You bet!
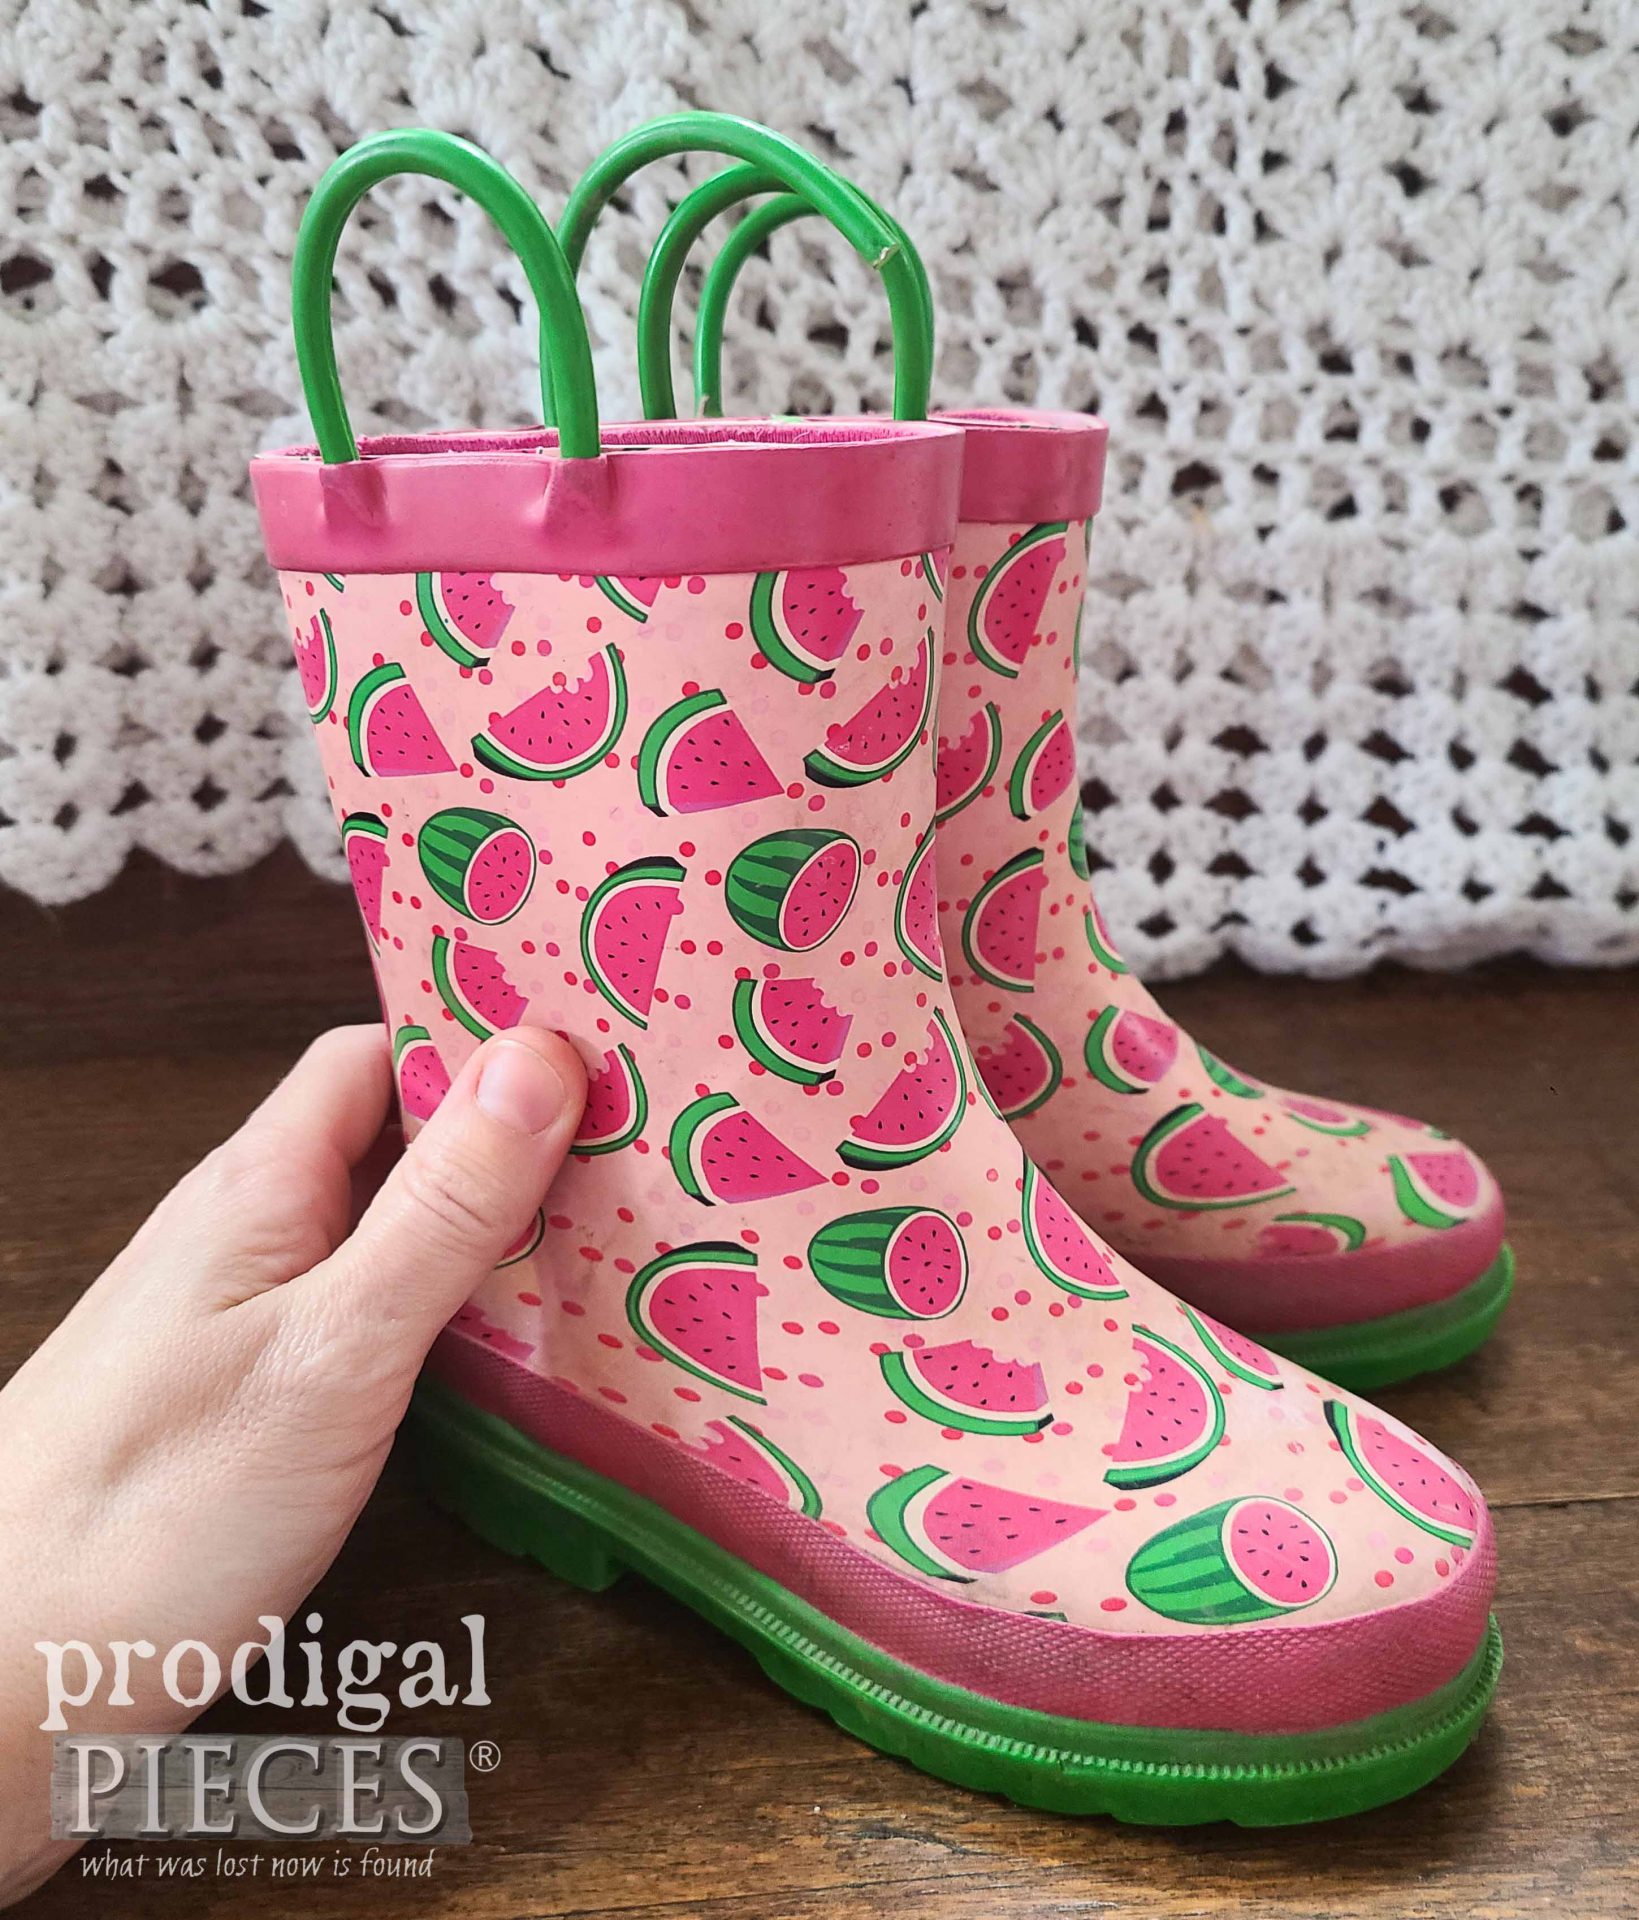
I know I’m quirky and my brain in running what seems to be 24 hours…legit. After doing a bit of spring cleaning I am looking at ways to make a memory with things that are no longer needed. Now, for this project I did find these little rubber boots second-hand. A year or so ago I donated my youngests’ to a charity, but she has a pair just like this currently in one size larger. Oh, the memories these bring back!
I’m assuming you’ve seen how you can take these boots and create fun garden treats. Not only can you plant them with your favorite flowers, but you can also hang them on a face or garden rail, right? Well, I want to take this a step farther and make something a smidgen different. And, it involves concrete. tee hee. If you missed a recent upcycle of a clearance item I regretfully made, you can take a peek at what I did with it HERE.
STEP 1
If you’d like to give this fun a try, involve your kids or even grandkids to create a treat mom will surely treasure and love. First, here’s a list of what you’ll need:
- pair of rubber boots – any size works, just consider the amount of concrete you’ll need
- concrete mix – I use Fast-Setting Concrete Mix. (see other options in this helpful article.)
- water
- trowel to mix
- old bucket
- protective gear – gloves, eye wear, dust mask, etc.
- scrap wood
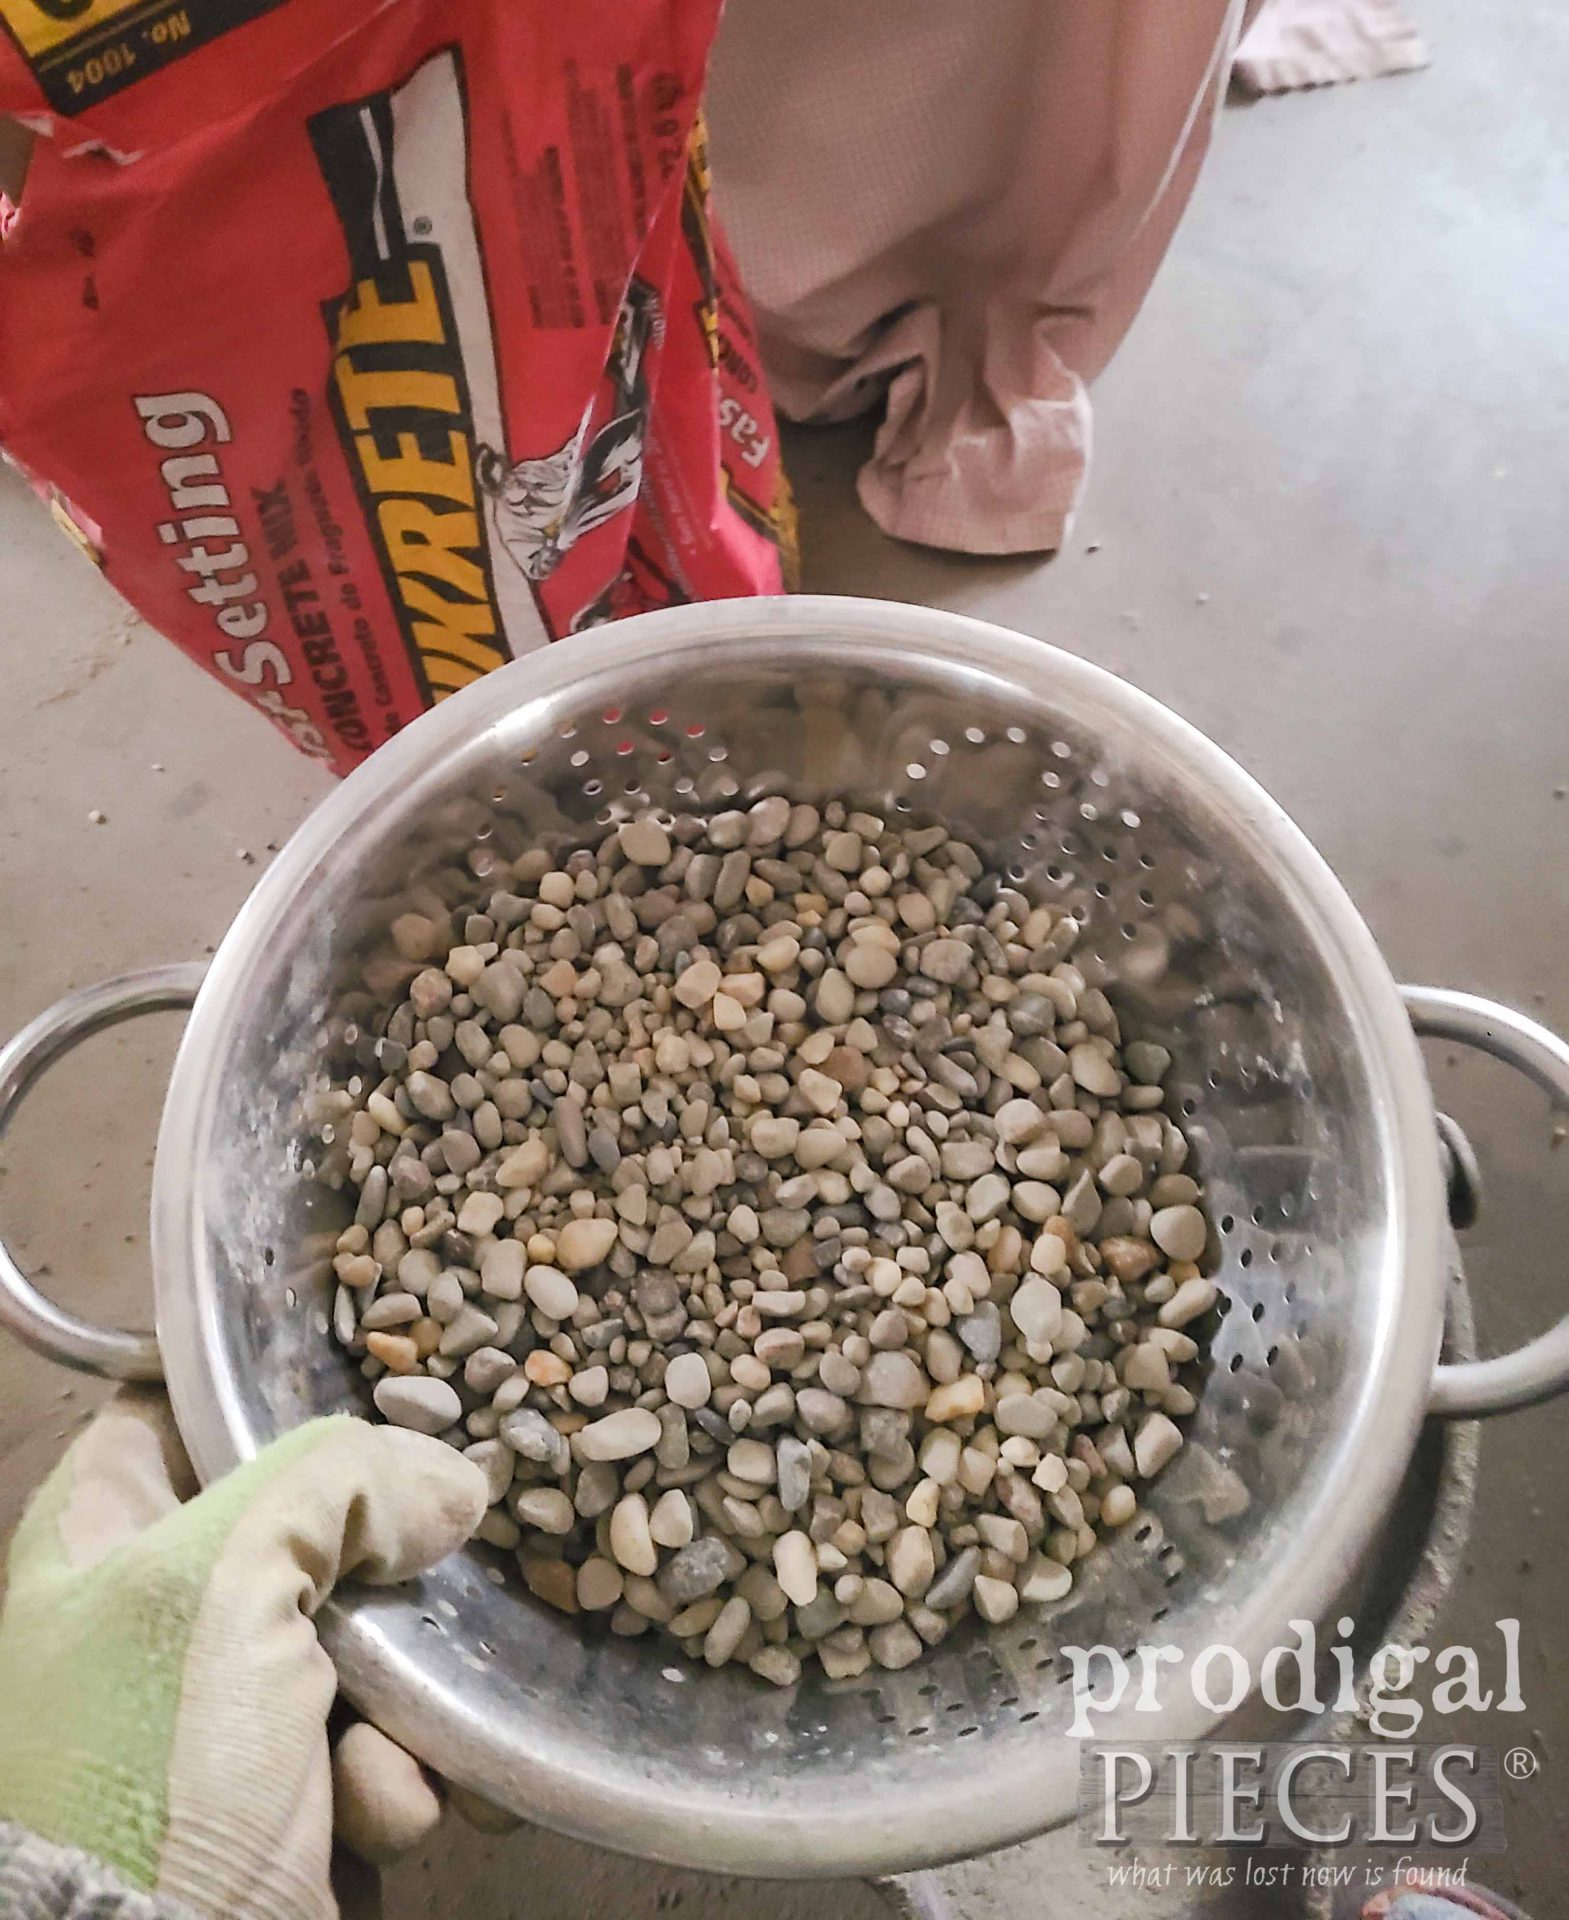
Then, once you have your gear together, here’s how I start. Since I’m using this concrete mix that has pebble in it, I need to sift it out. I use my kids’ Mud Bar colander to do that.
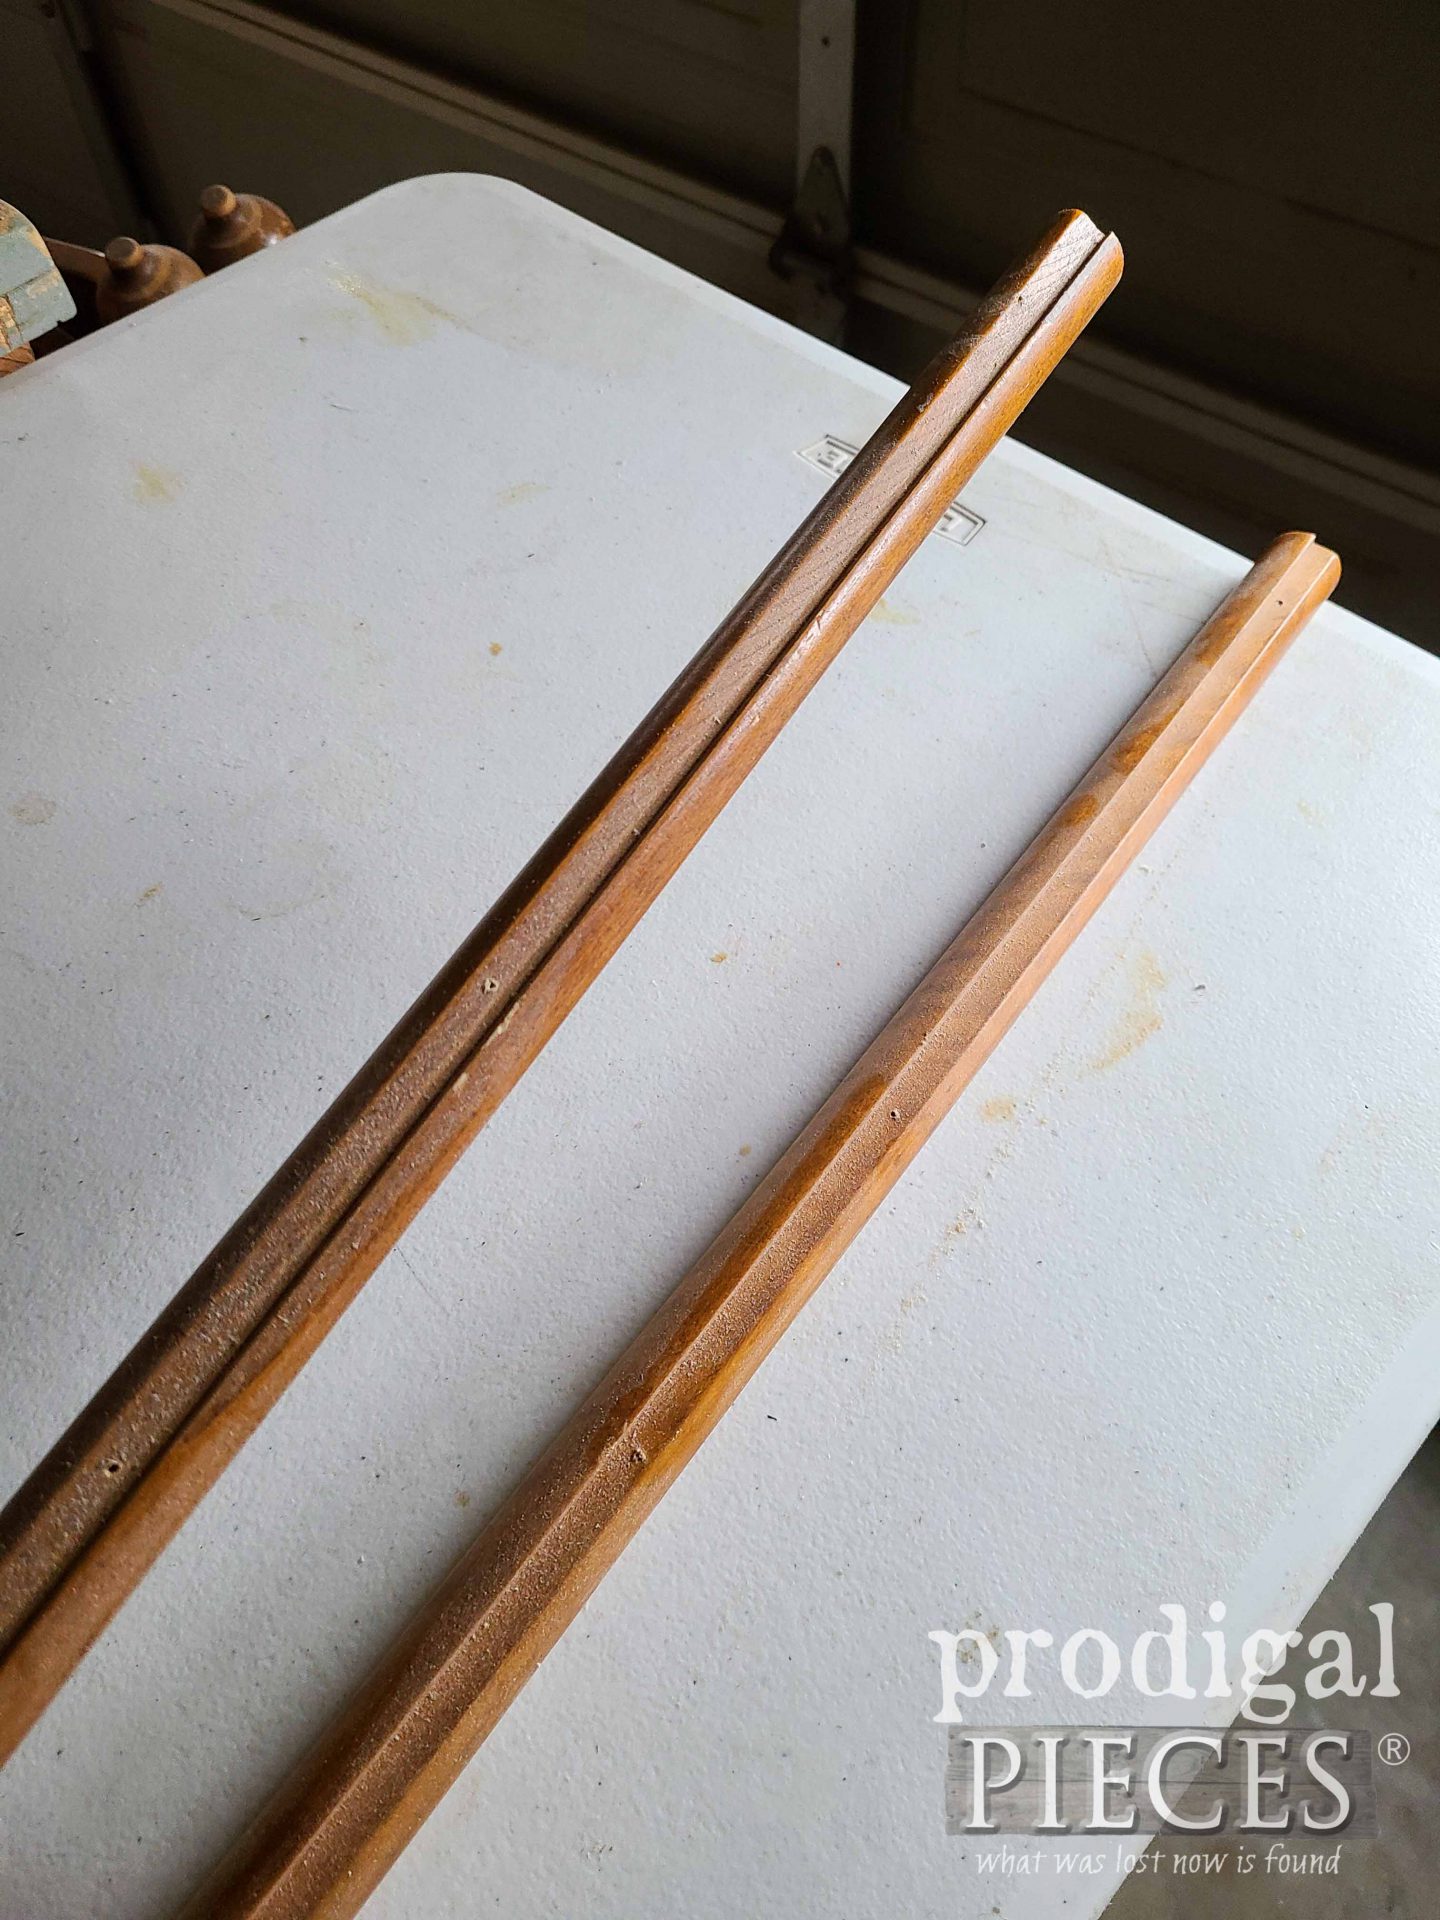
Next, I grab some scrap wood from this side table makeover to use as upright posts.
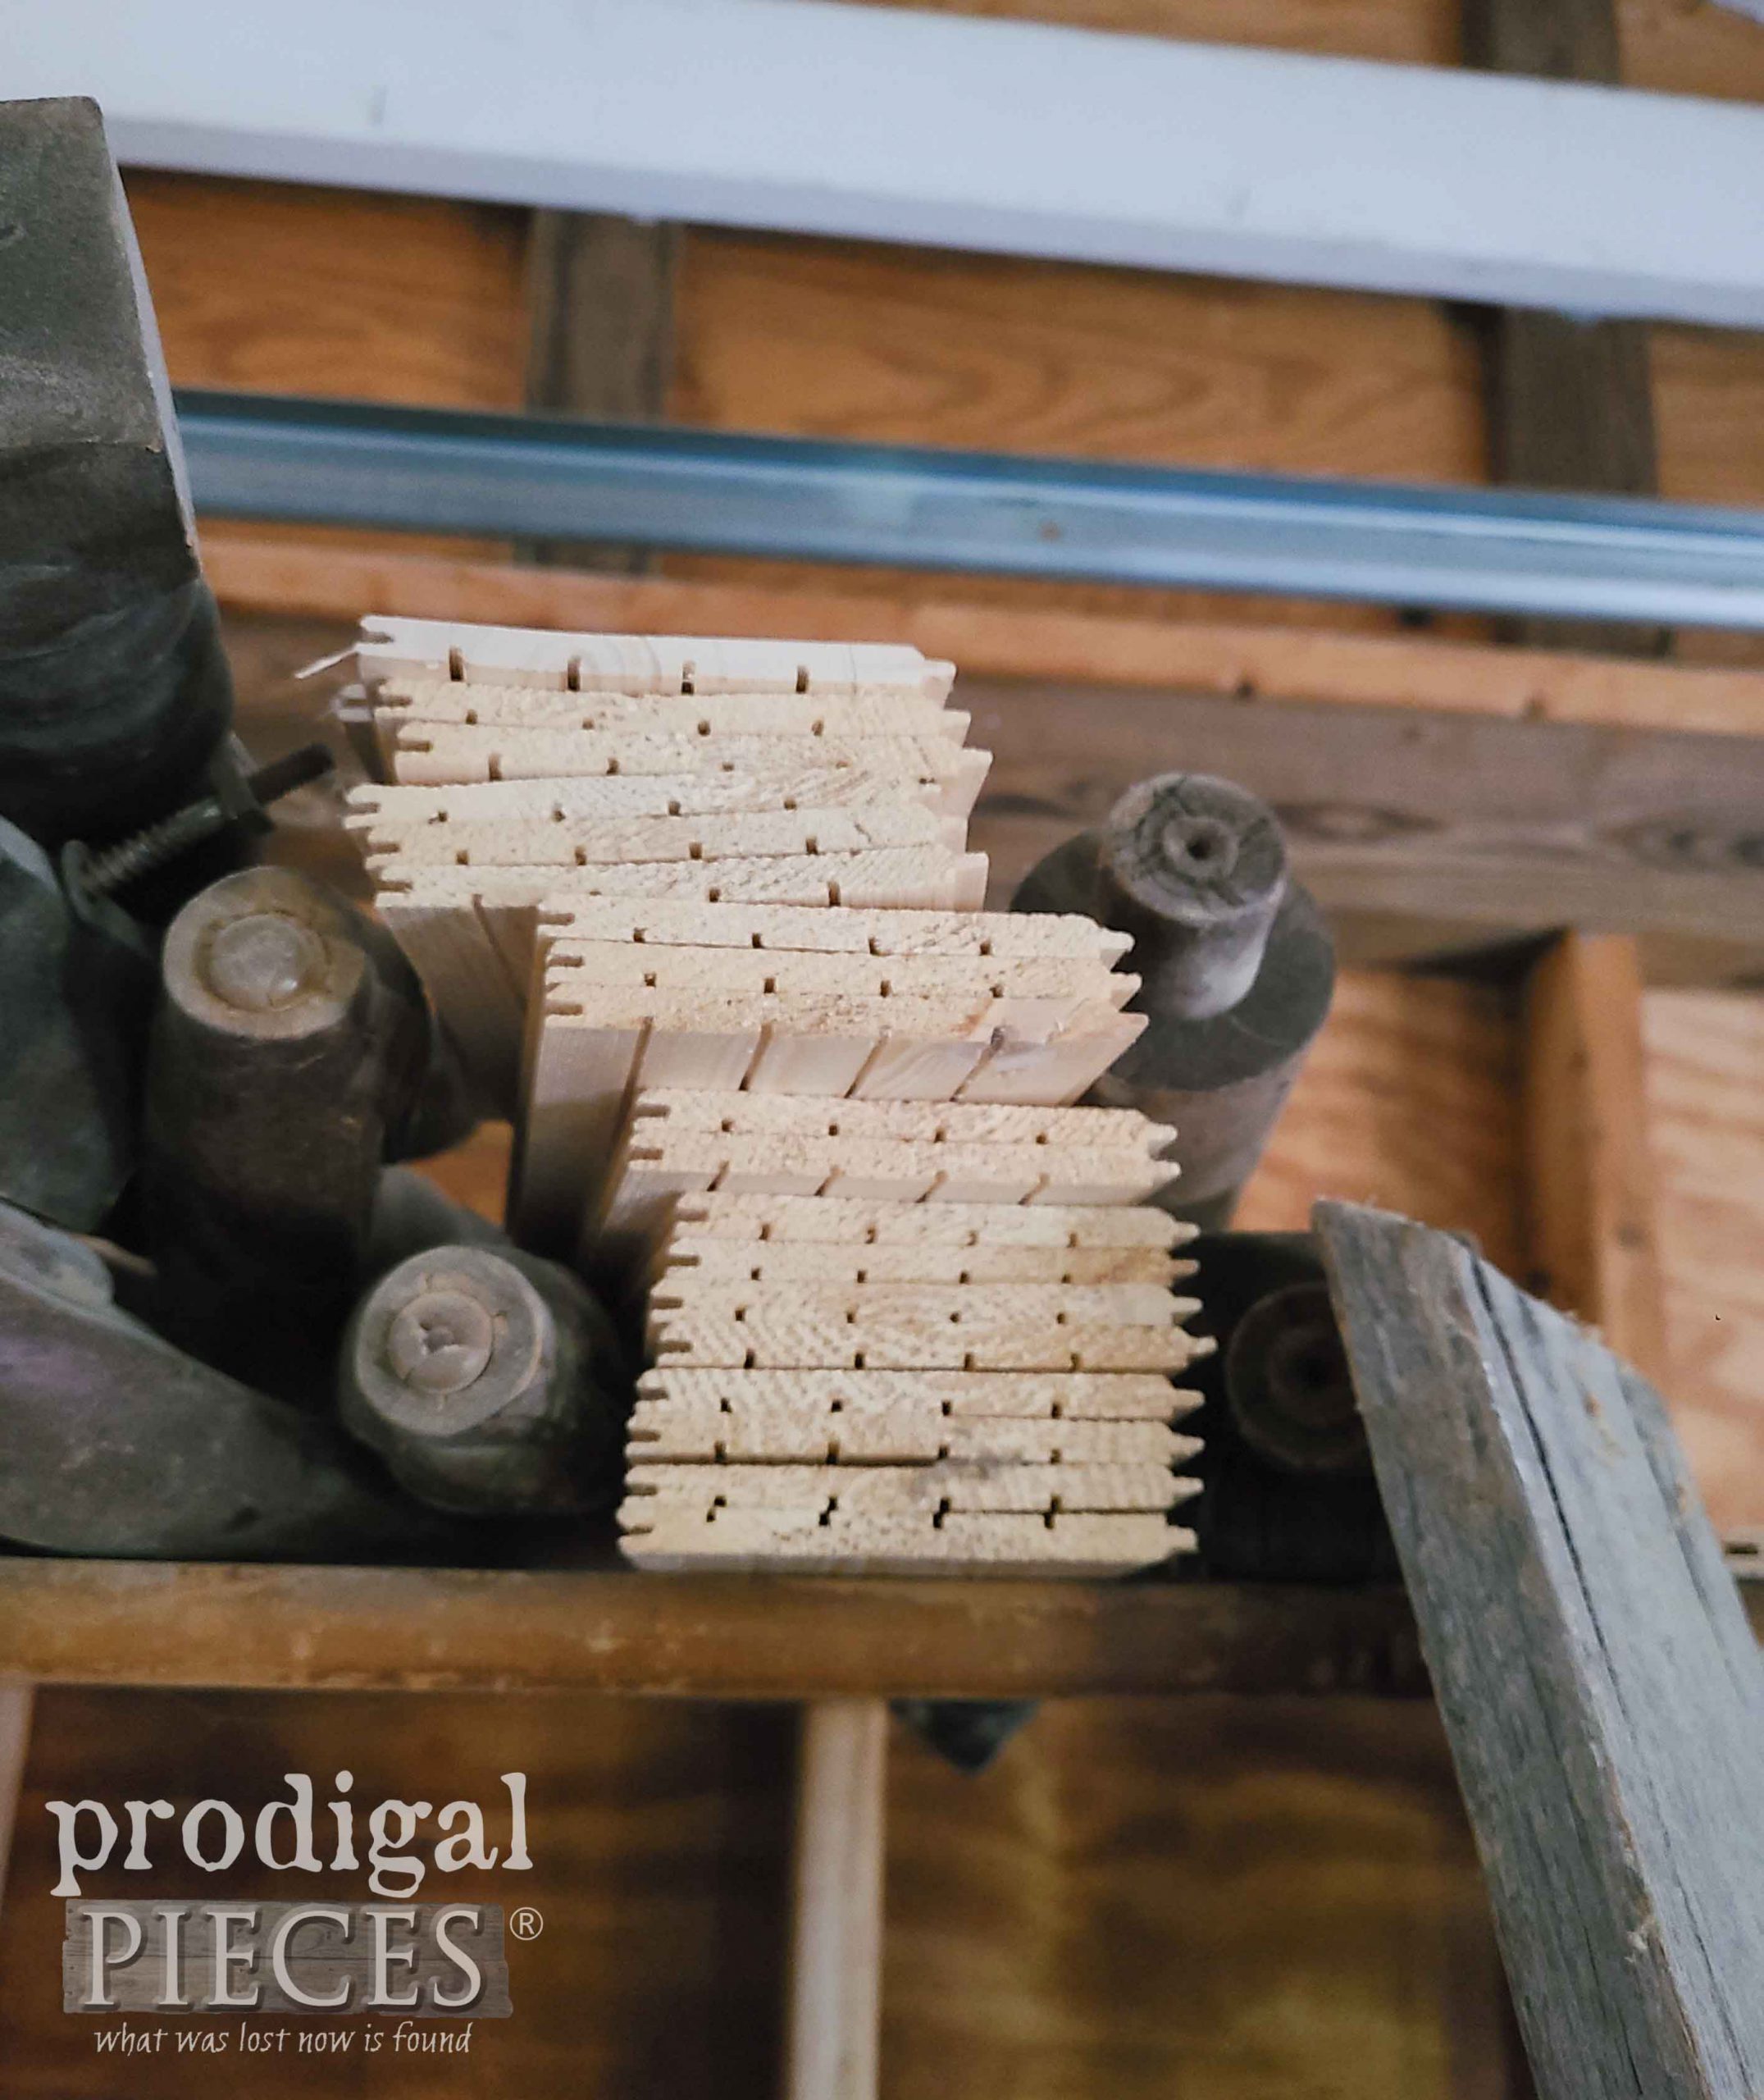
Also, I use these scrap tongue & groove pieces of pine from my hallway ceiling (yet to be revealed…ahem). You can see how I use this kind of wood to back furniture too in this gun cabinet and curio cabinet. I love this stuff!
STEP 2
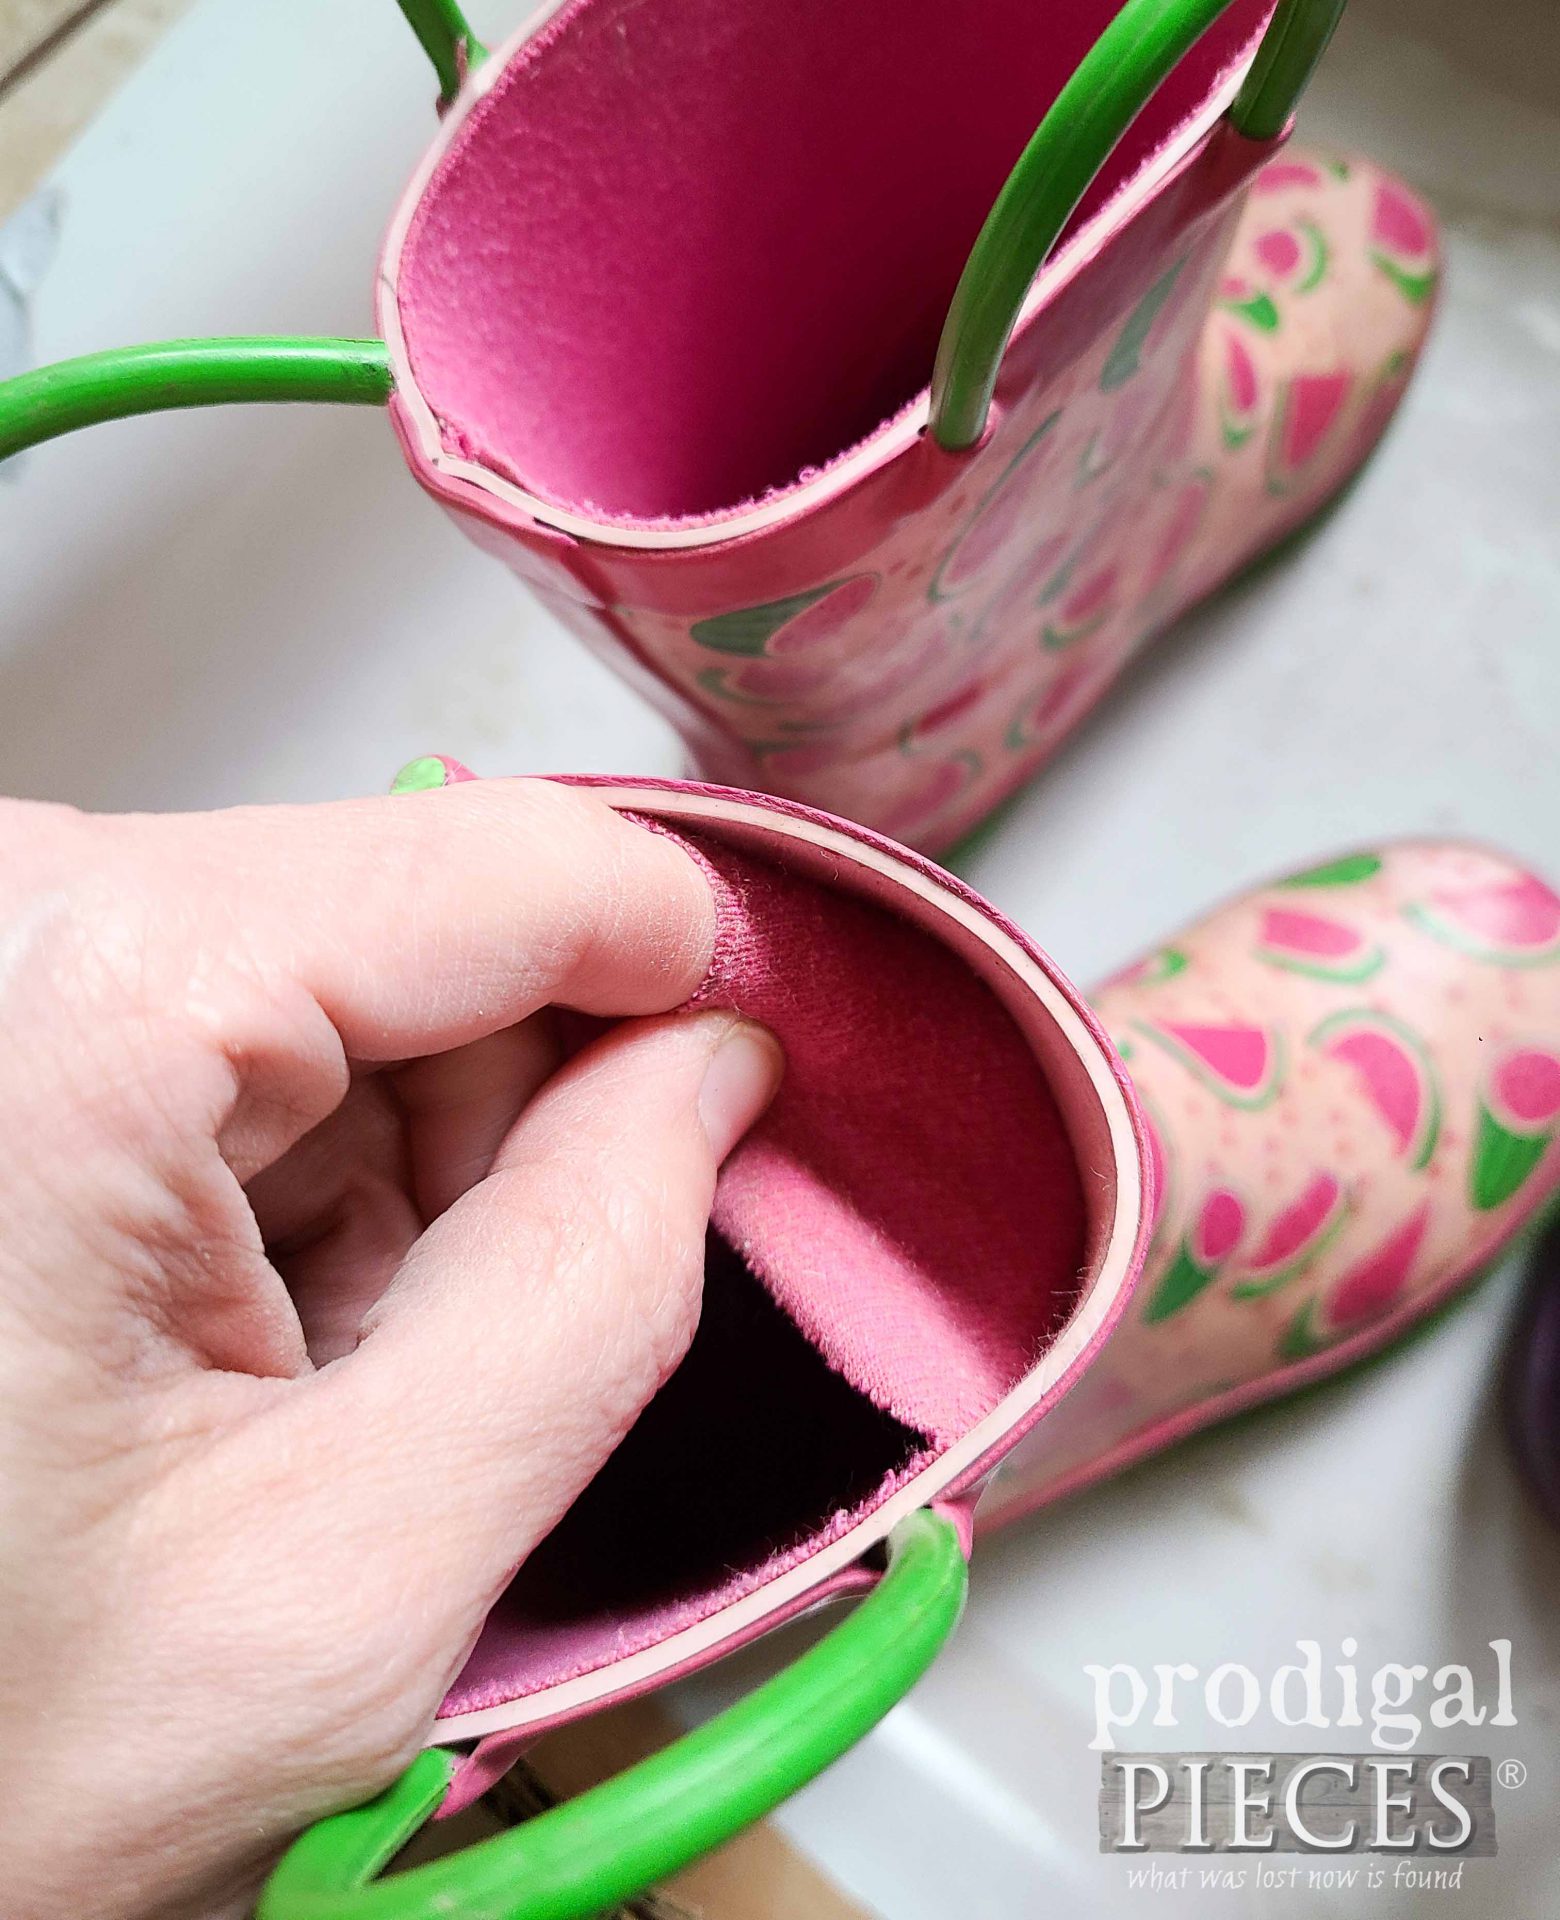
Meanwhile, let’s jump ahead to the concrete part of our DIY concrete boot sign. Before we mix up the concrete, let’s do a little prep. I want a smooth a finish as possible. In order to do that, I remove the lining of the boots.
Also, cut two pieces of 1″ scrap wood 12″ long (or whatever length you want to make them based on your boot height). These will be the posts we attach our sign to.
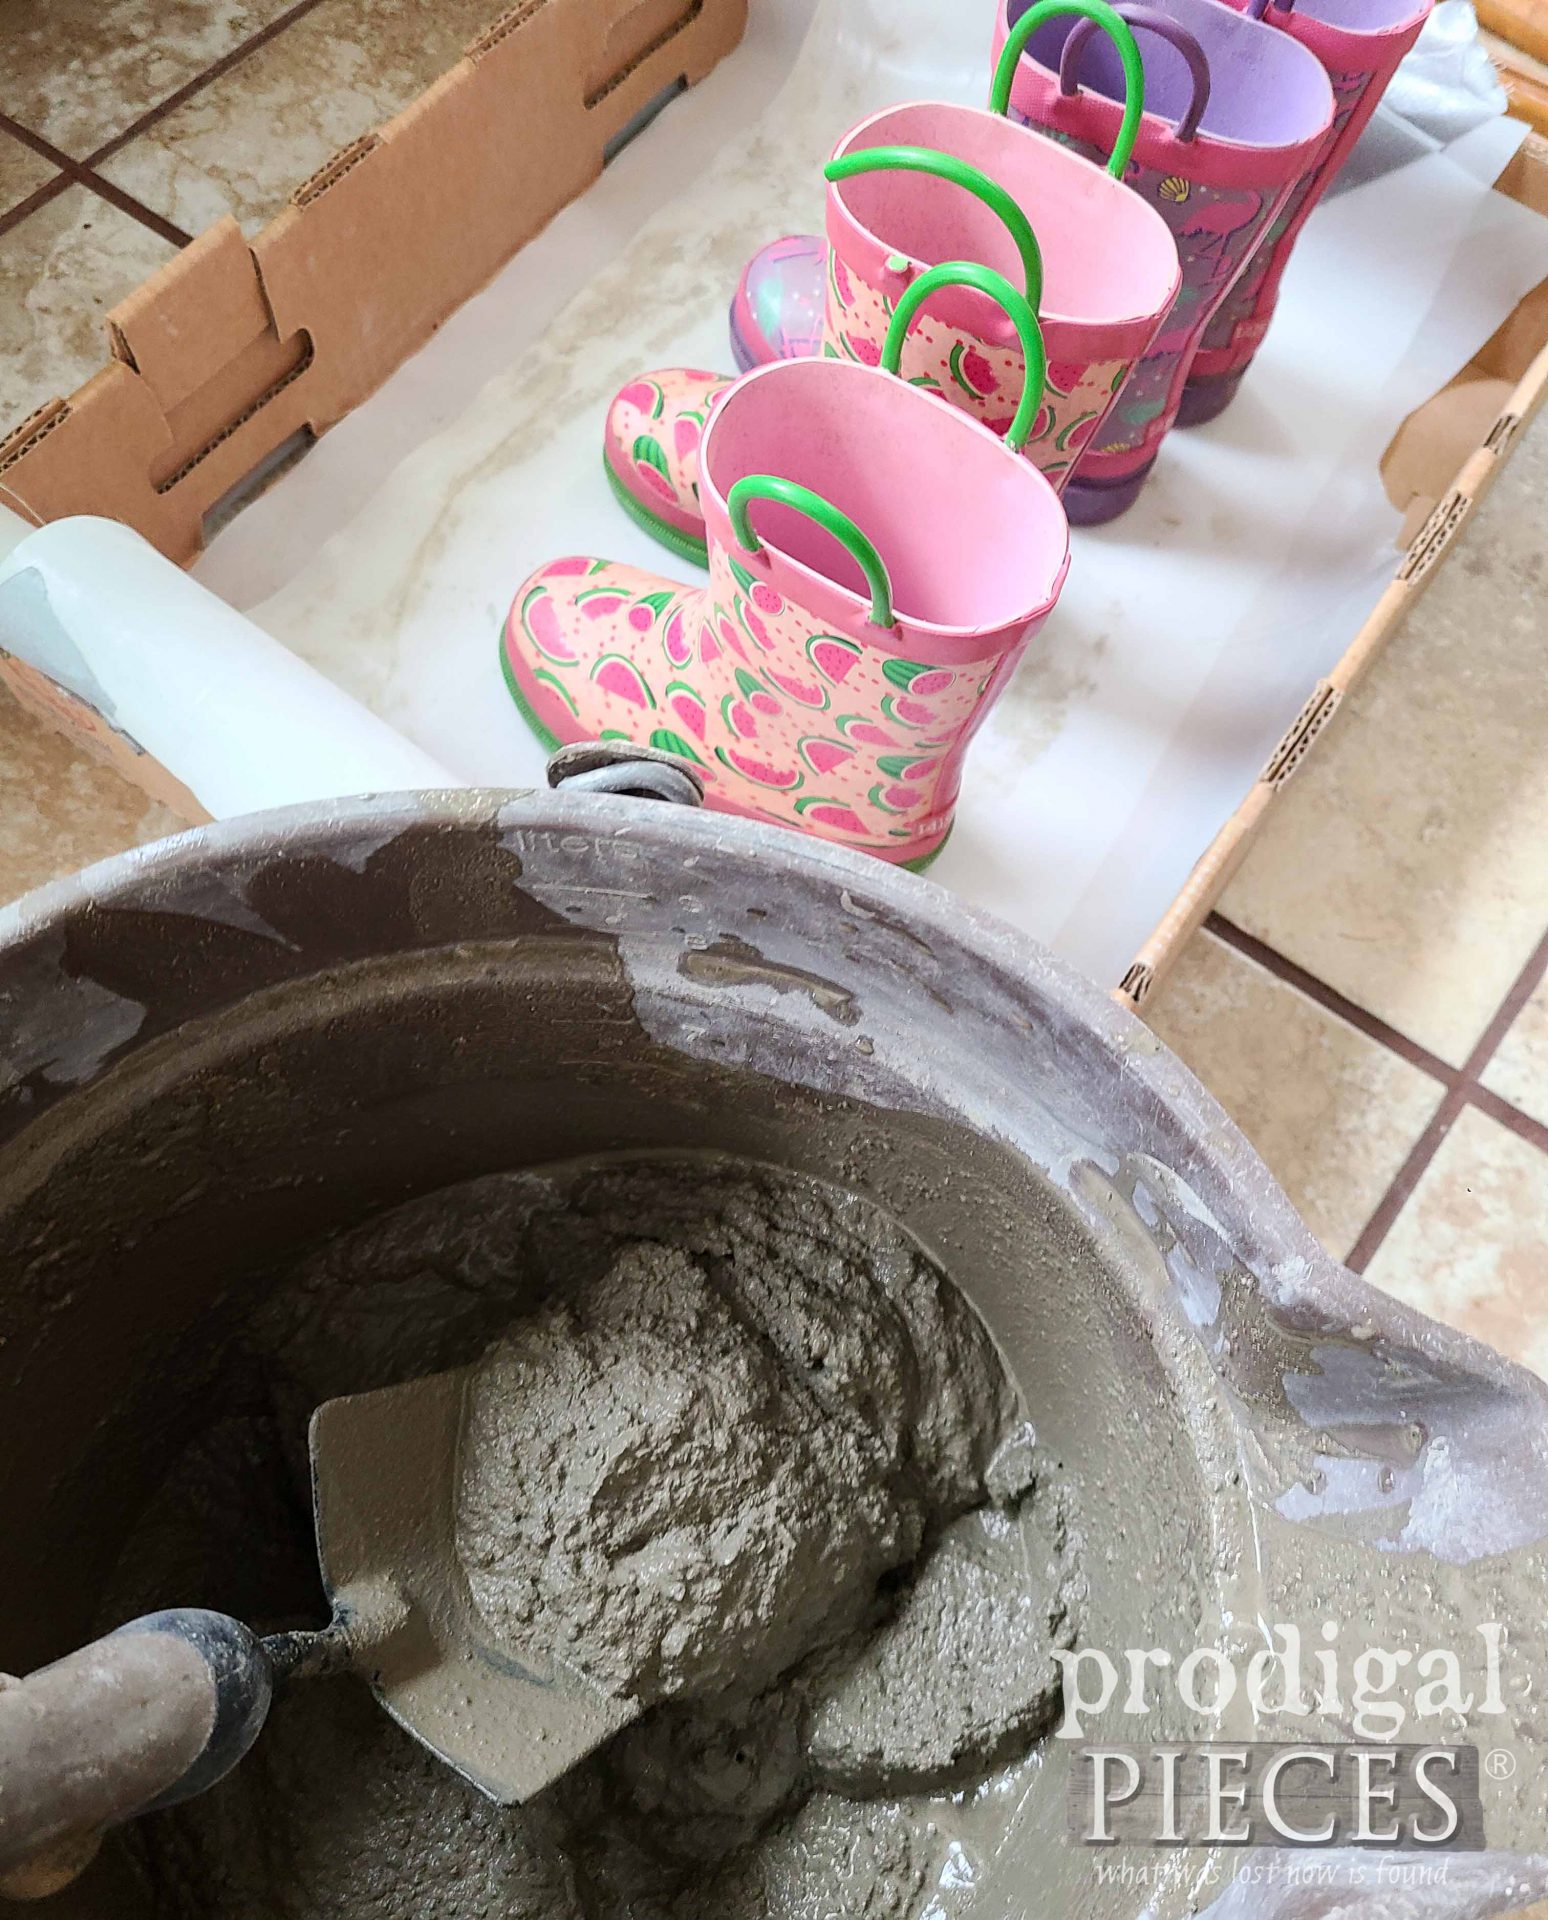
Next, as far as measuring the amount of concrete, I don’t have an exact answer for you. The bag will give a ratio of water to mix, so follow that and make a little more than you think you’ll need. Your end result should be slightly thick with the consistency of oatmeal.
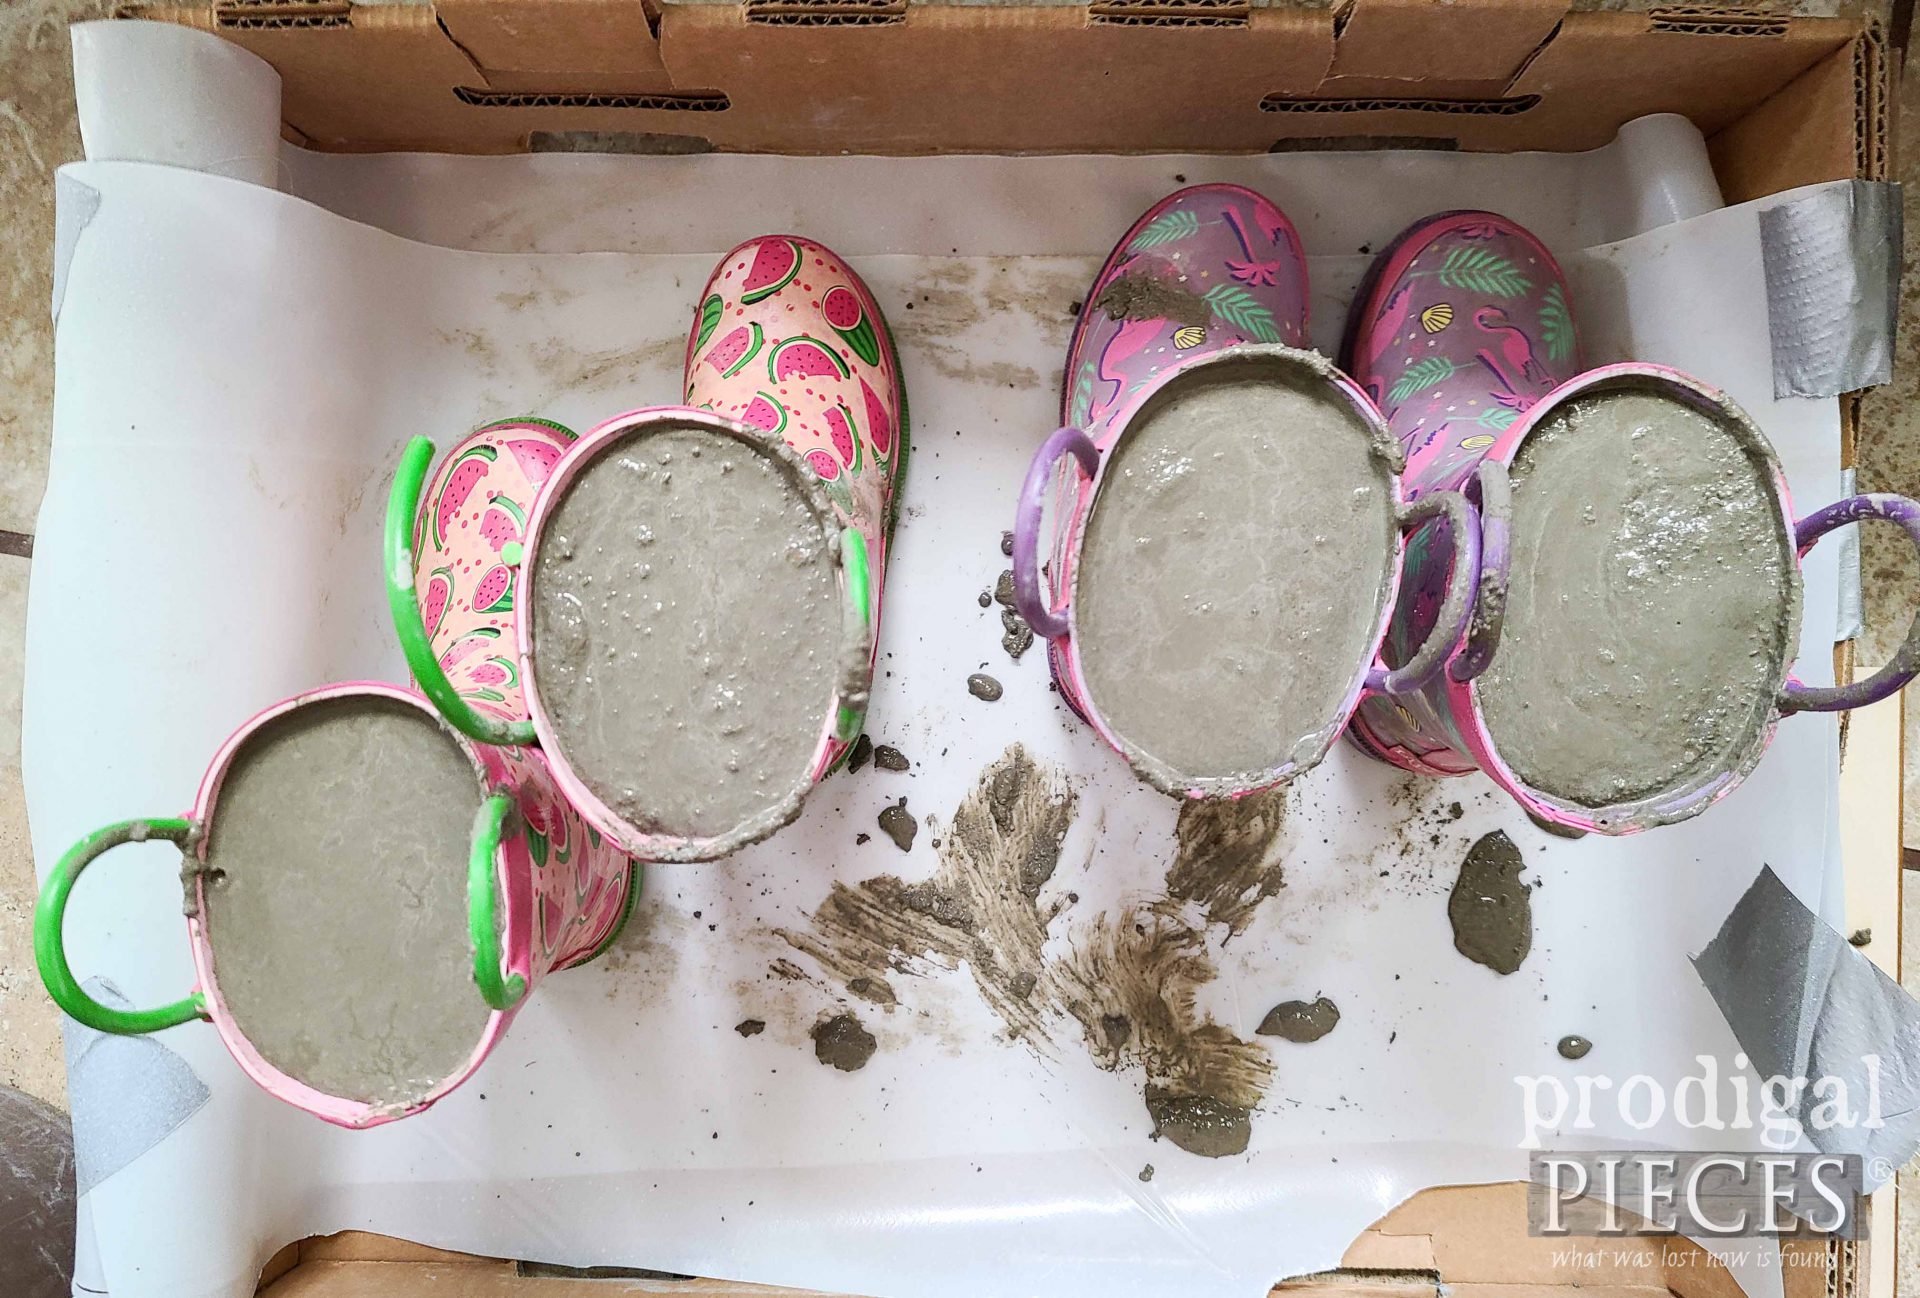
After that, fill the boots while taking a second to tap the boot on the floor to raise up air bubbles and get them out. Amazingly, I actually mixed the exact amount I needed for two sets of boots. woot!
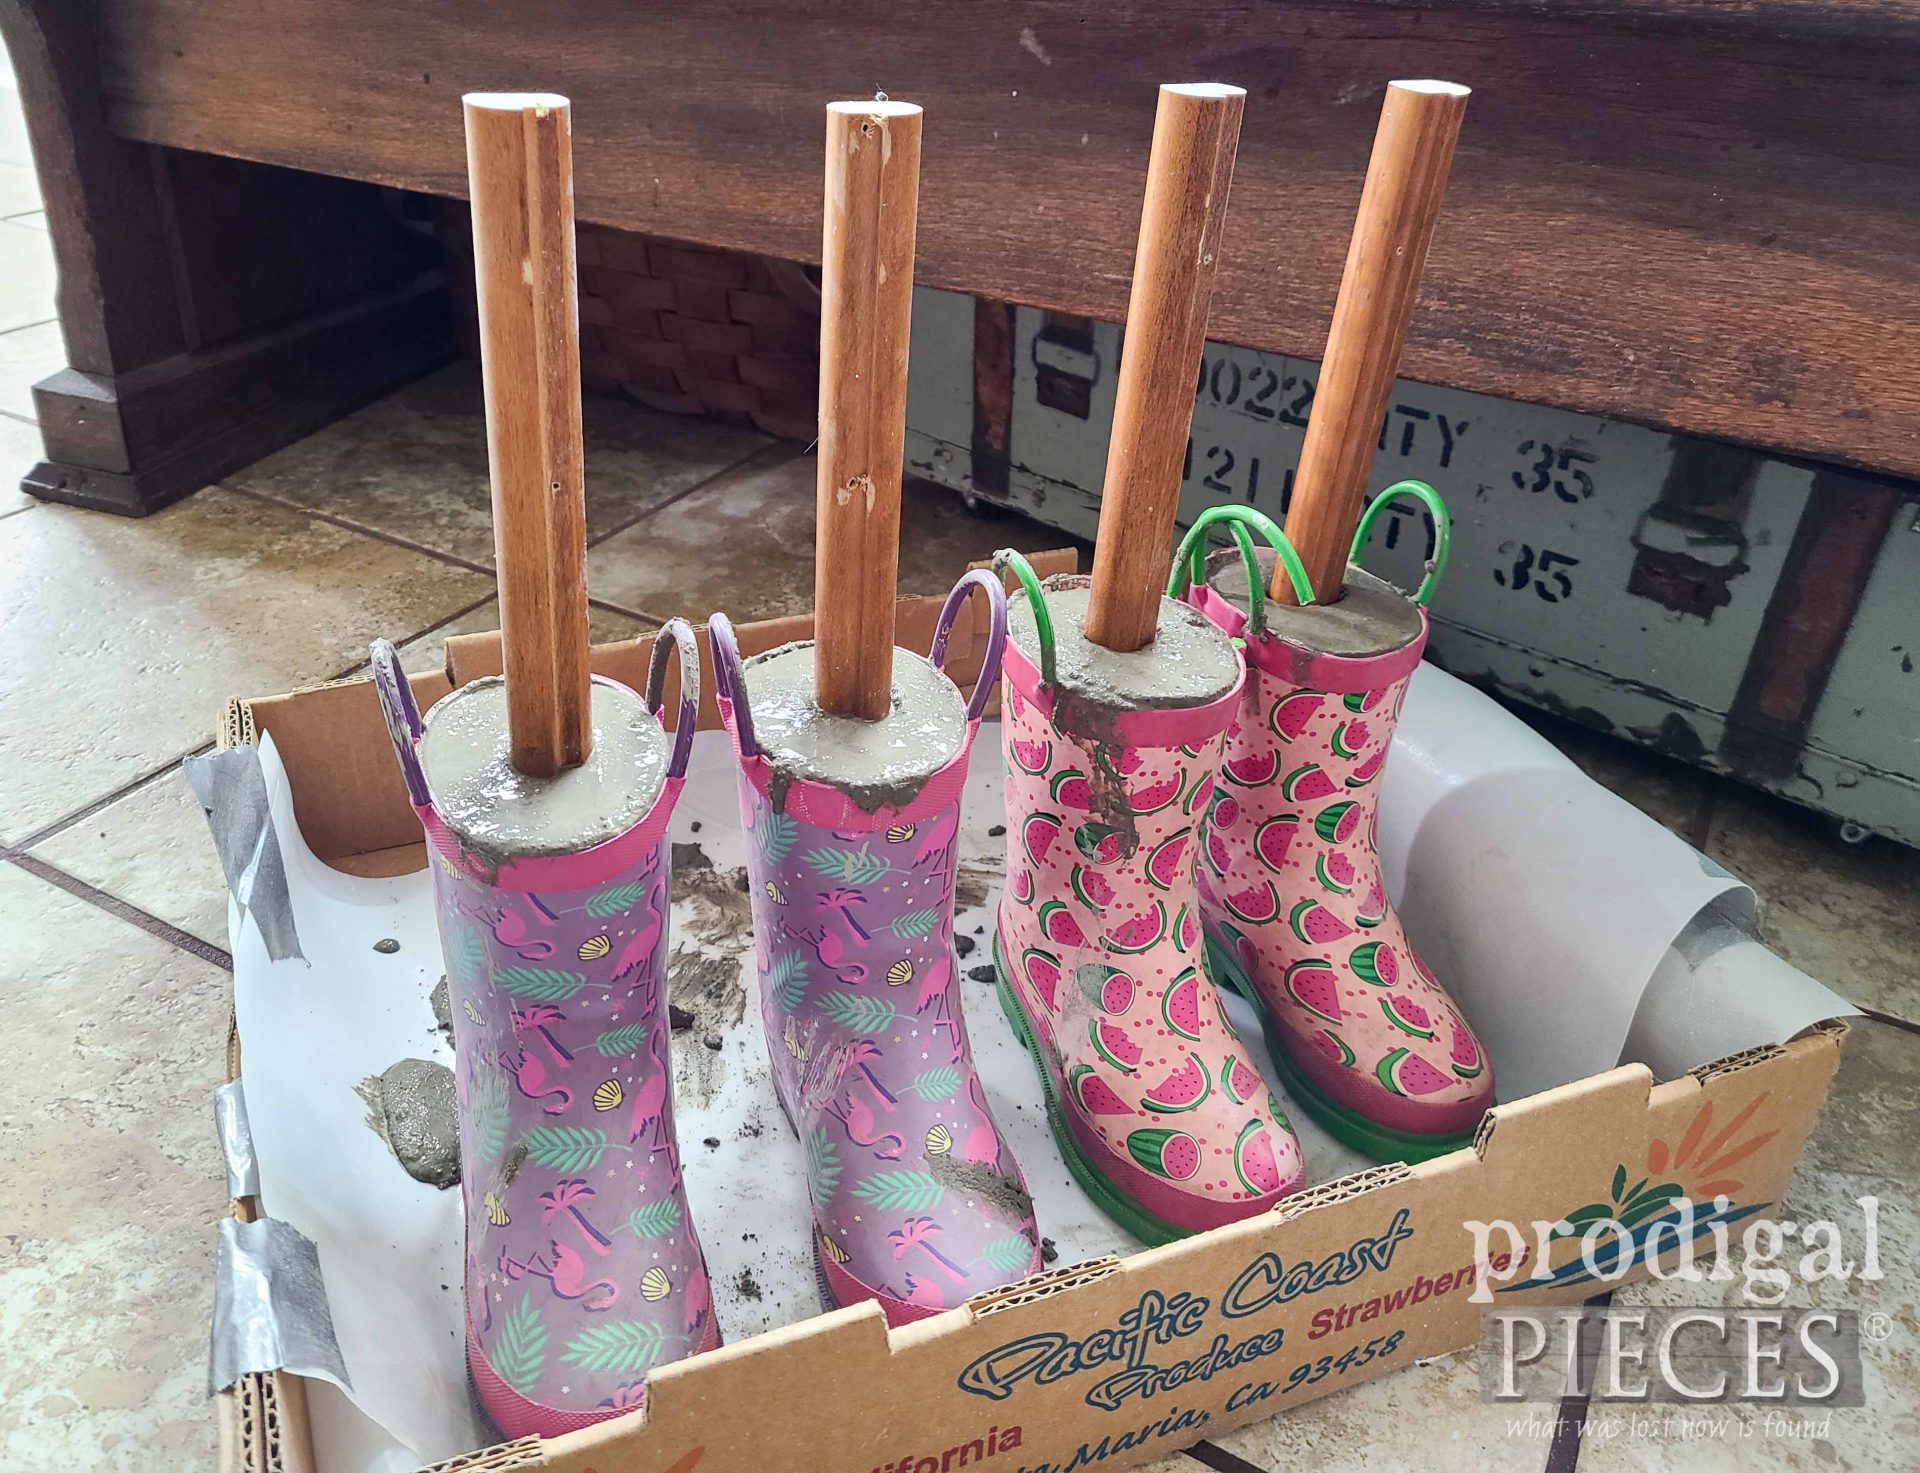
However, before our concrete cures too much, be sure to stick in your scrap wood posts.
Last, but not least, when you have them where you want them, let them cure for 36-48 hours.
STEP 3
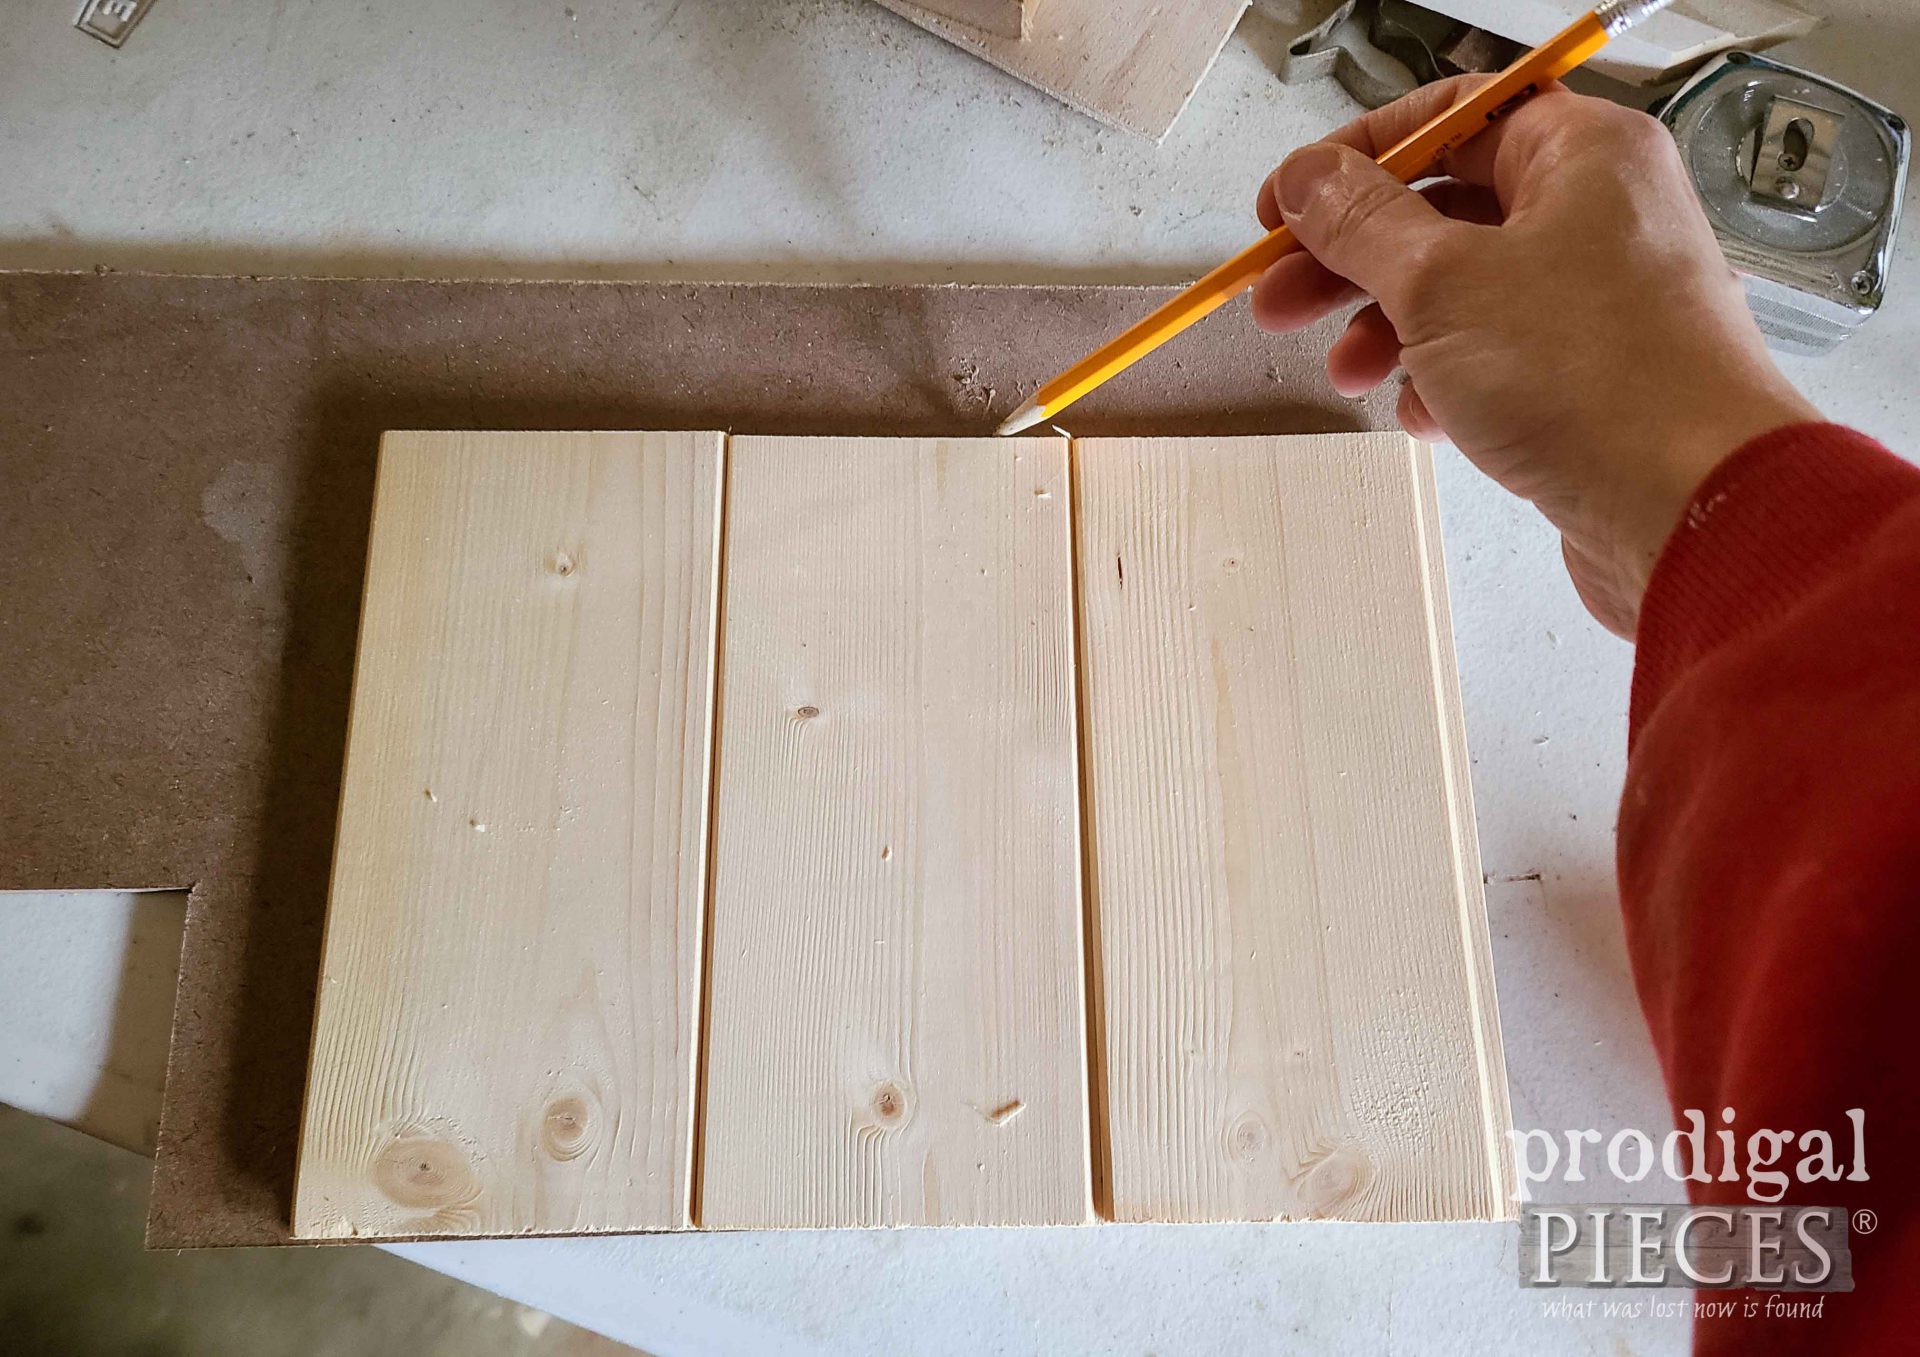
During that cure time, we’re going to make our sign using whatever you have on hand. As I mention earlier, I use the tongue & groove planks to make a mini sign. First, I trace my planks onto a hardboard scrap.
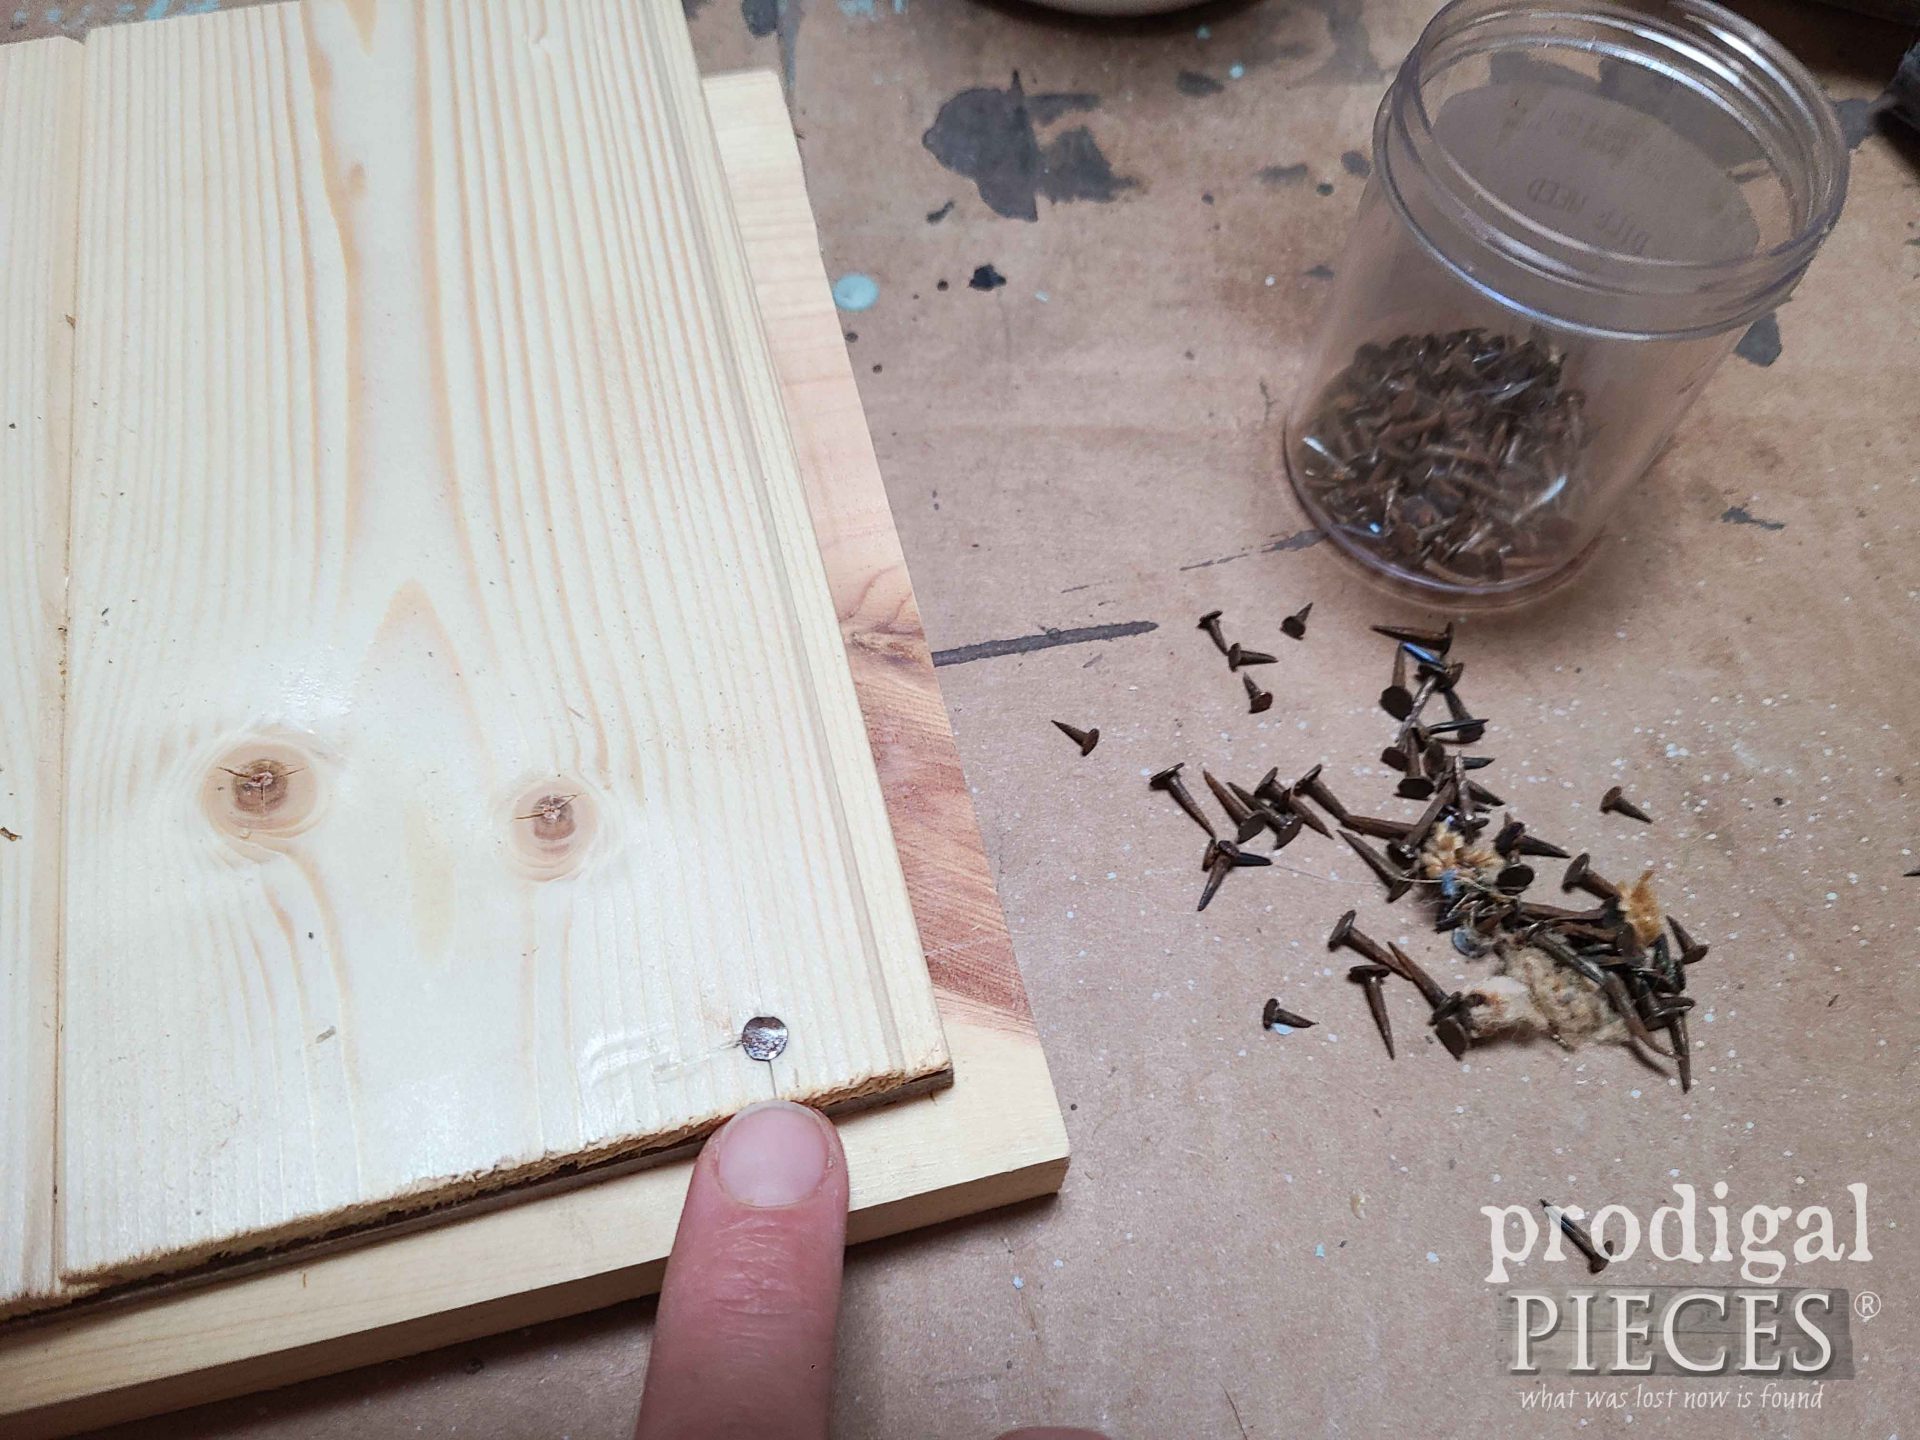
Next, I attach the planks to the hardboard with glue and salvaged upholstery tacks.
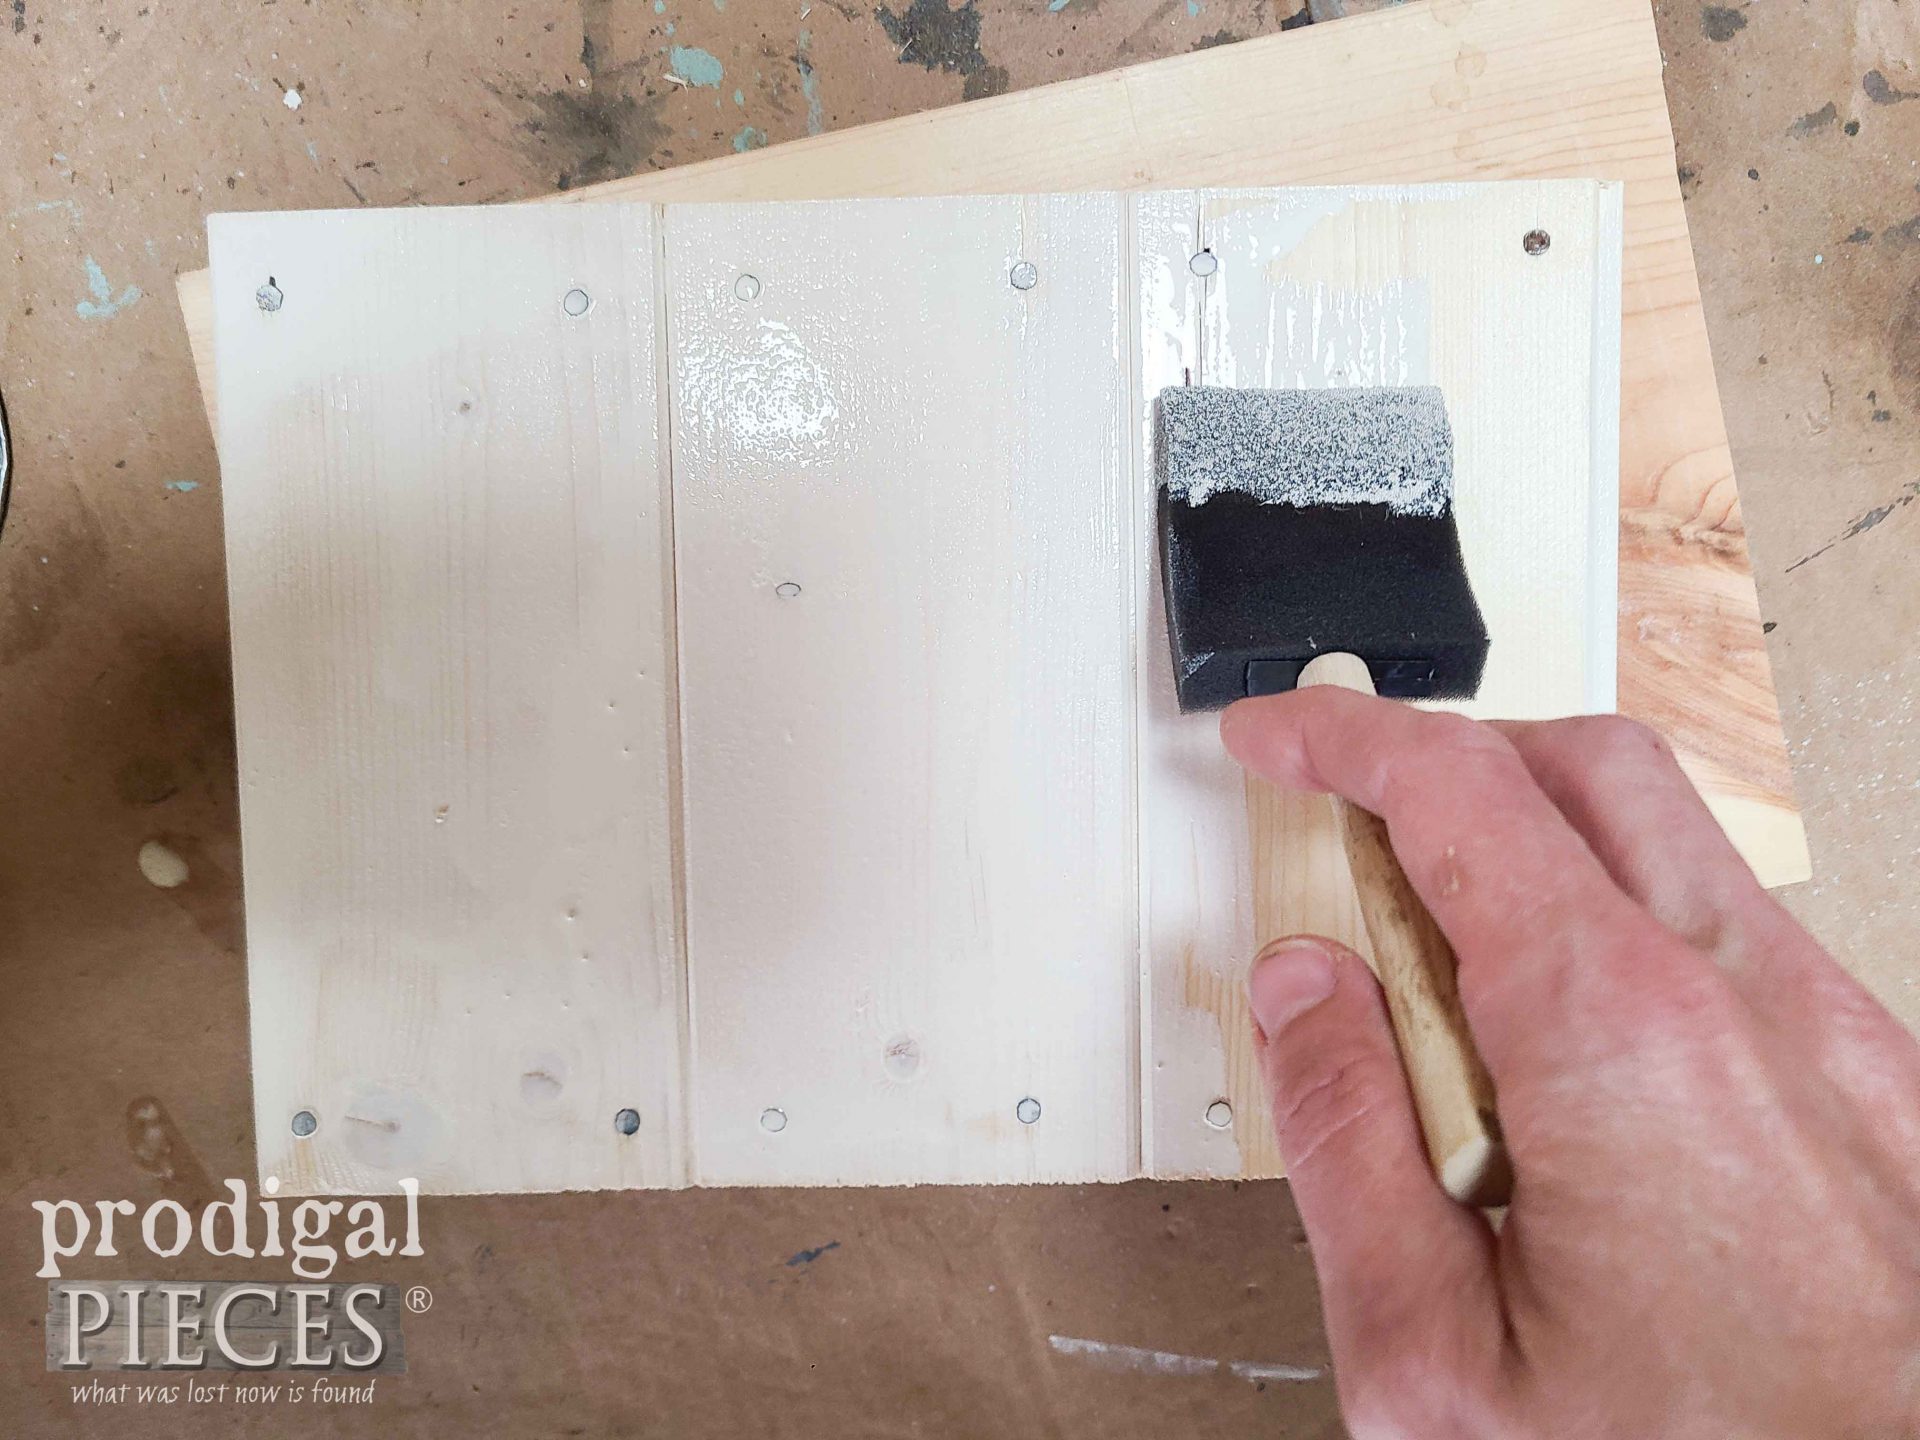
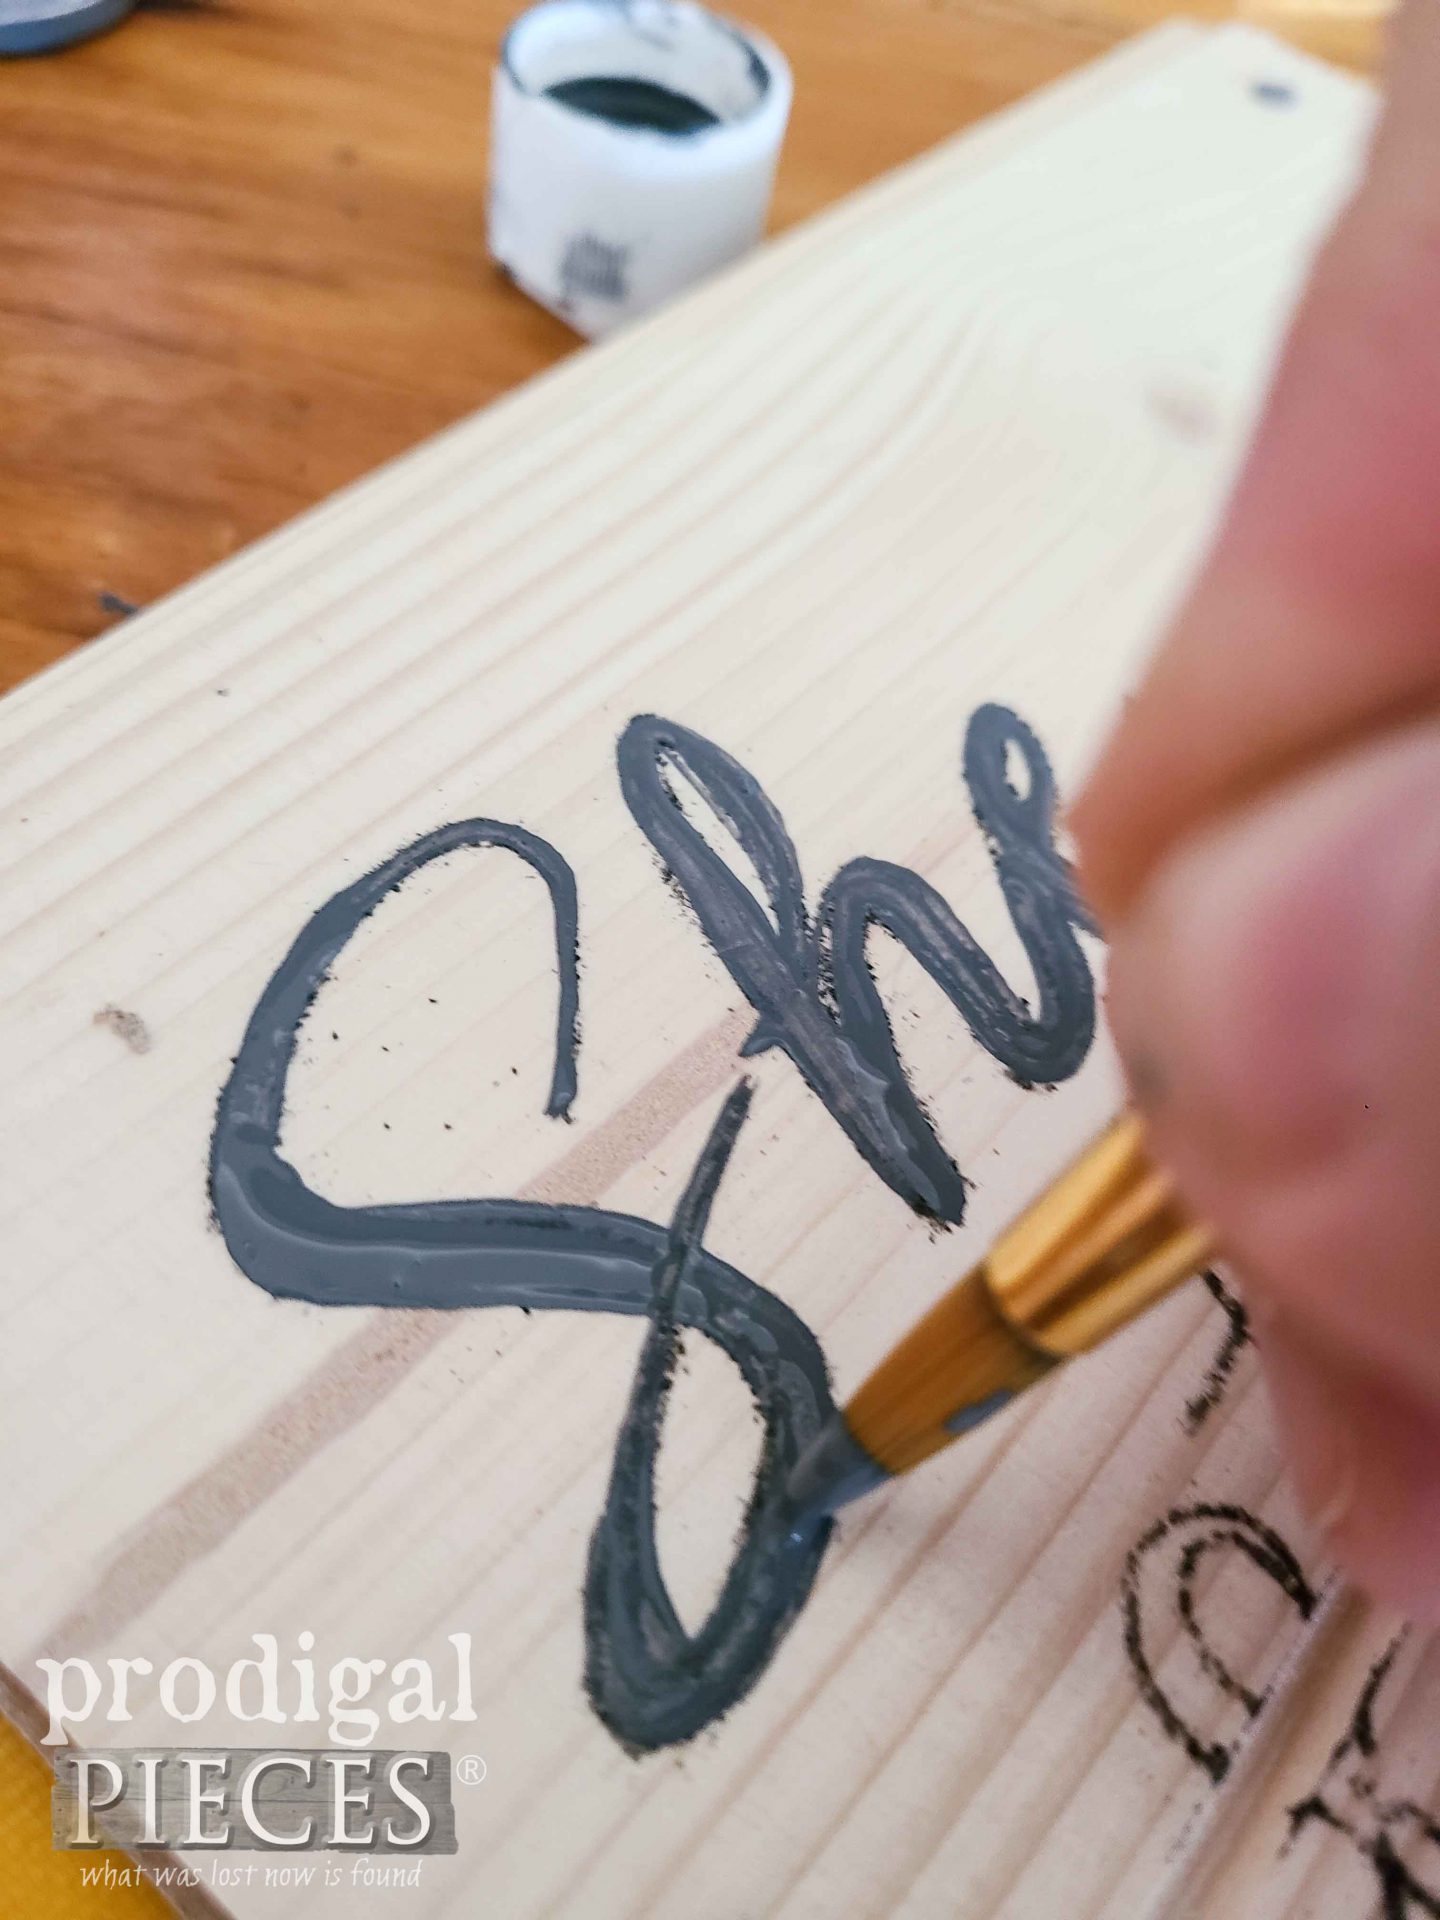
Then, feel free to dress up the sign how you like. For my sign, I use a white stain on the wood and I make a sign transfer using my transfer method found in this post.
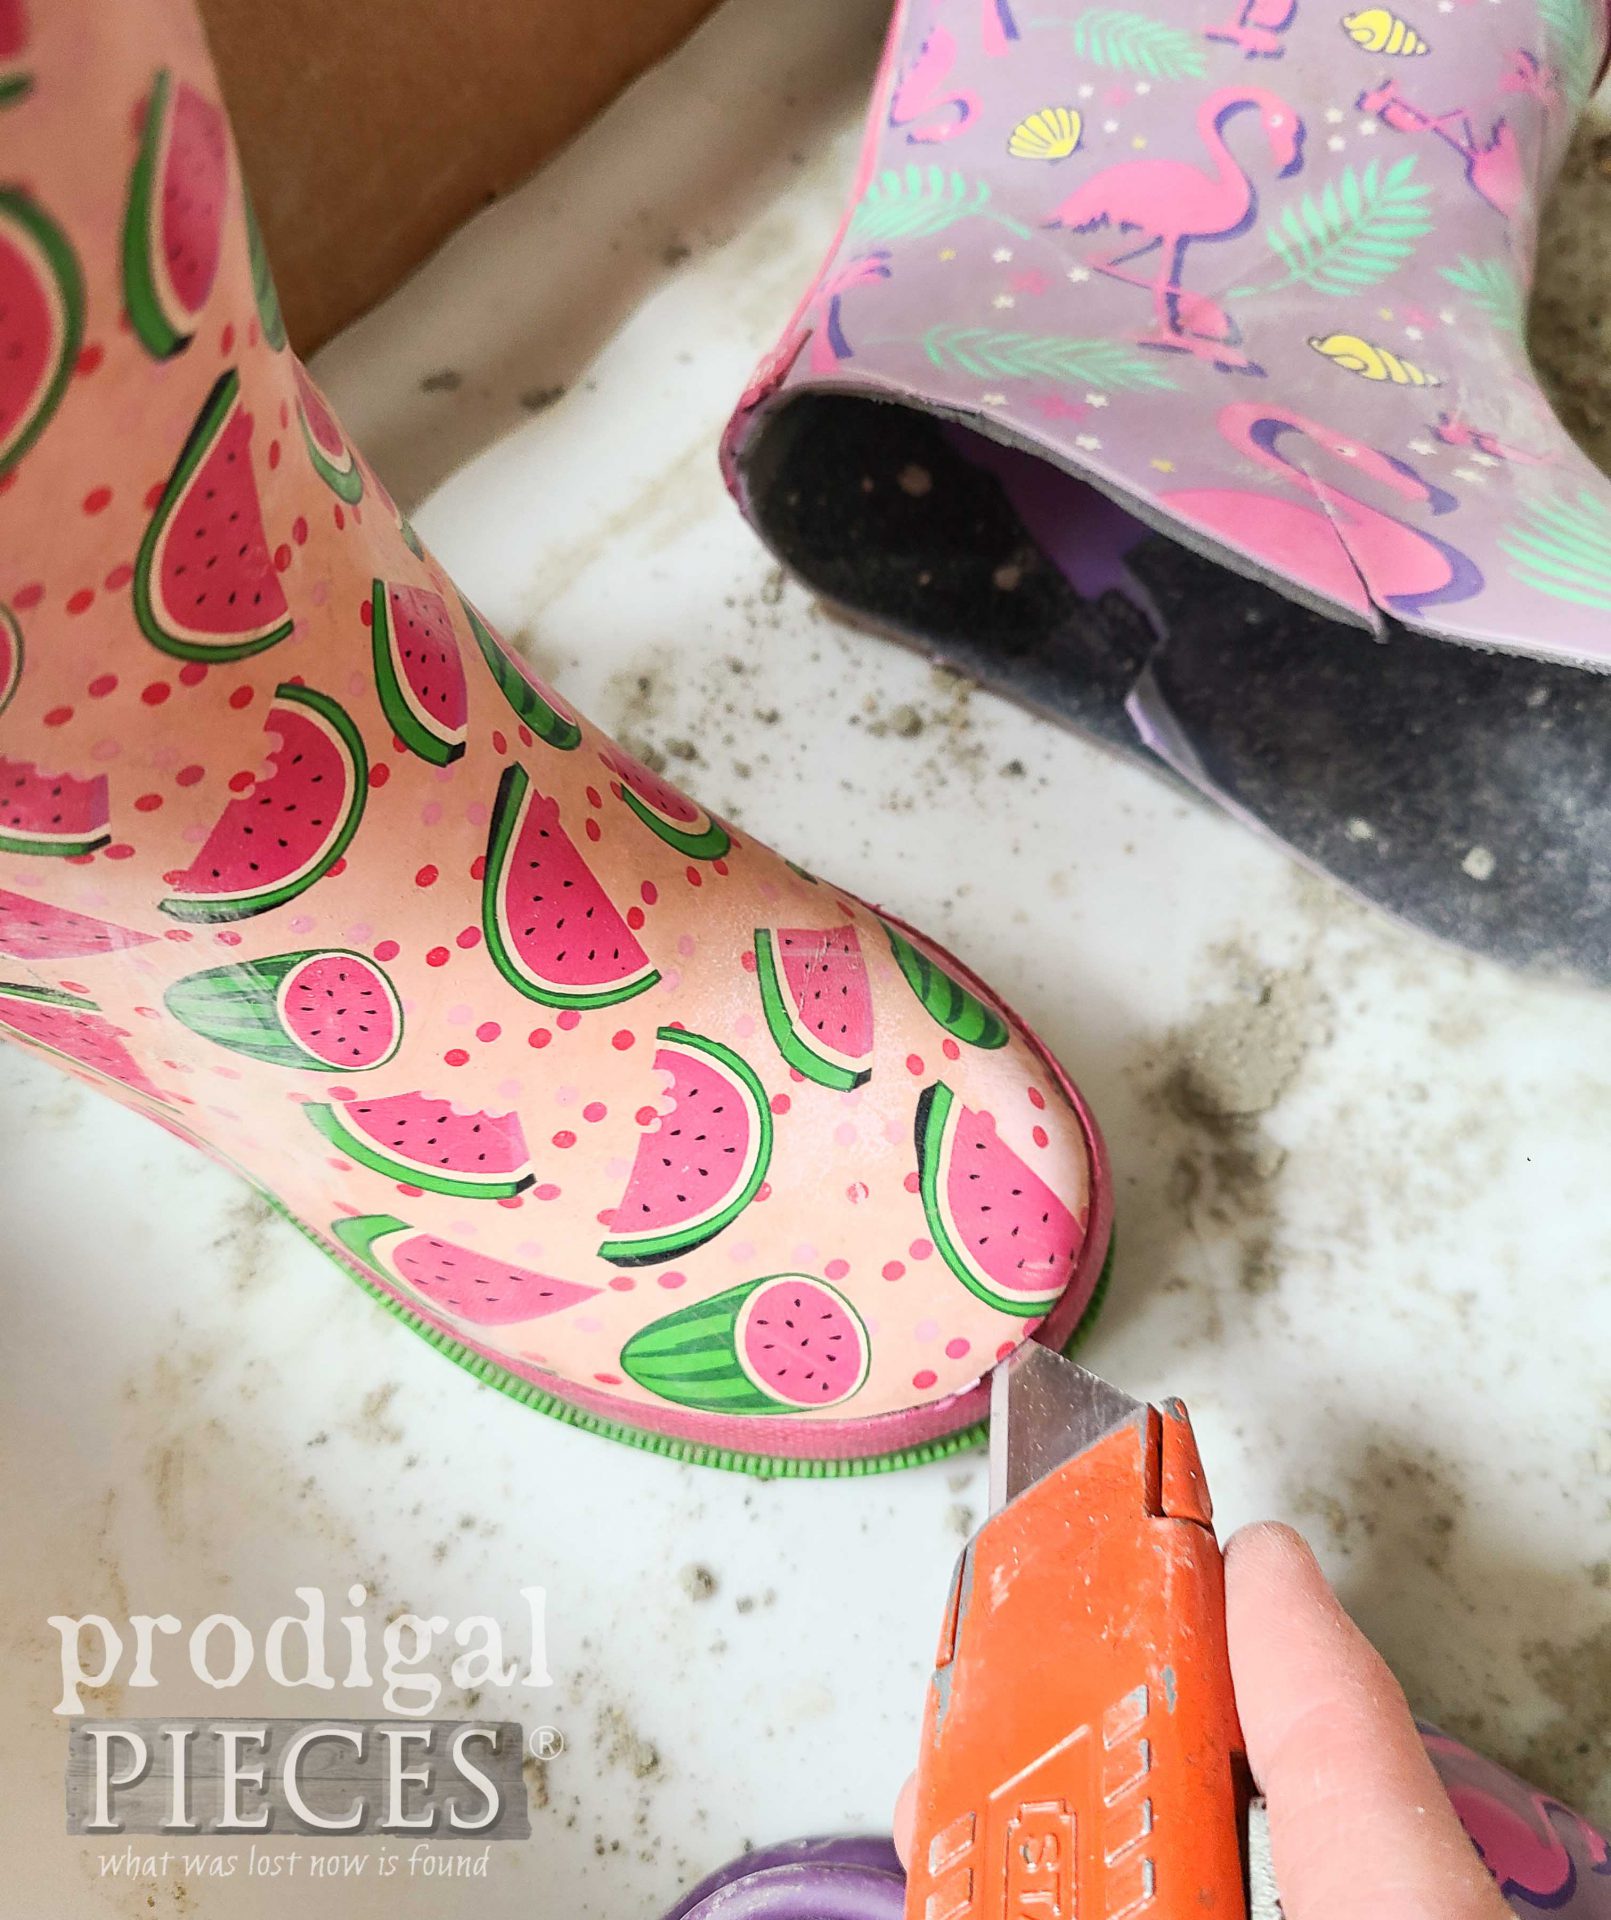
When you feel like the concrete is cured, you can do one of two things (1) leave the rubber on the boot as is or (2) cut off the upper part of the boot revealing the concrete. I trim with a utility knife leaving the tread on to add whimsy, but also protect any surfaces.
Now we are ready to attach our sign. I use a drill and pre-drill holes and attach with screws.
Once you have your sign done, feel free to dress it up as you feel.
THE REVEAL
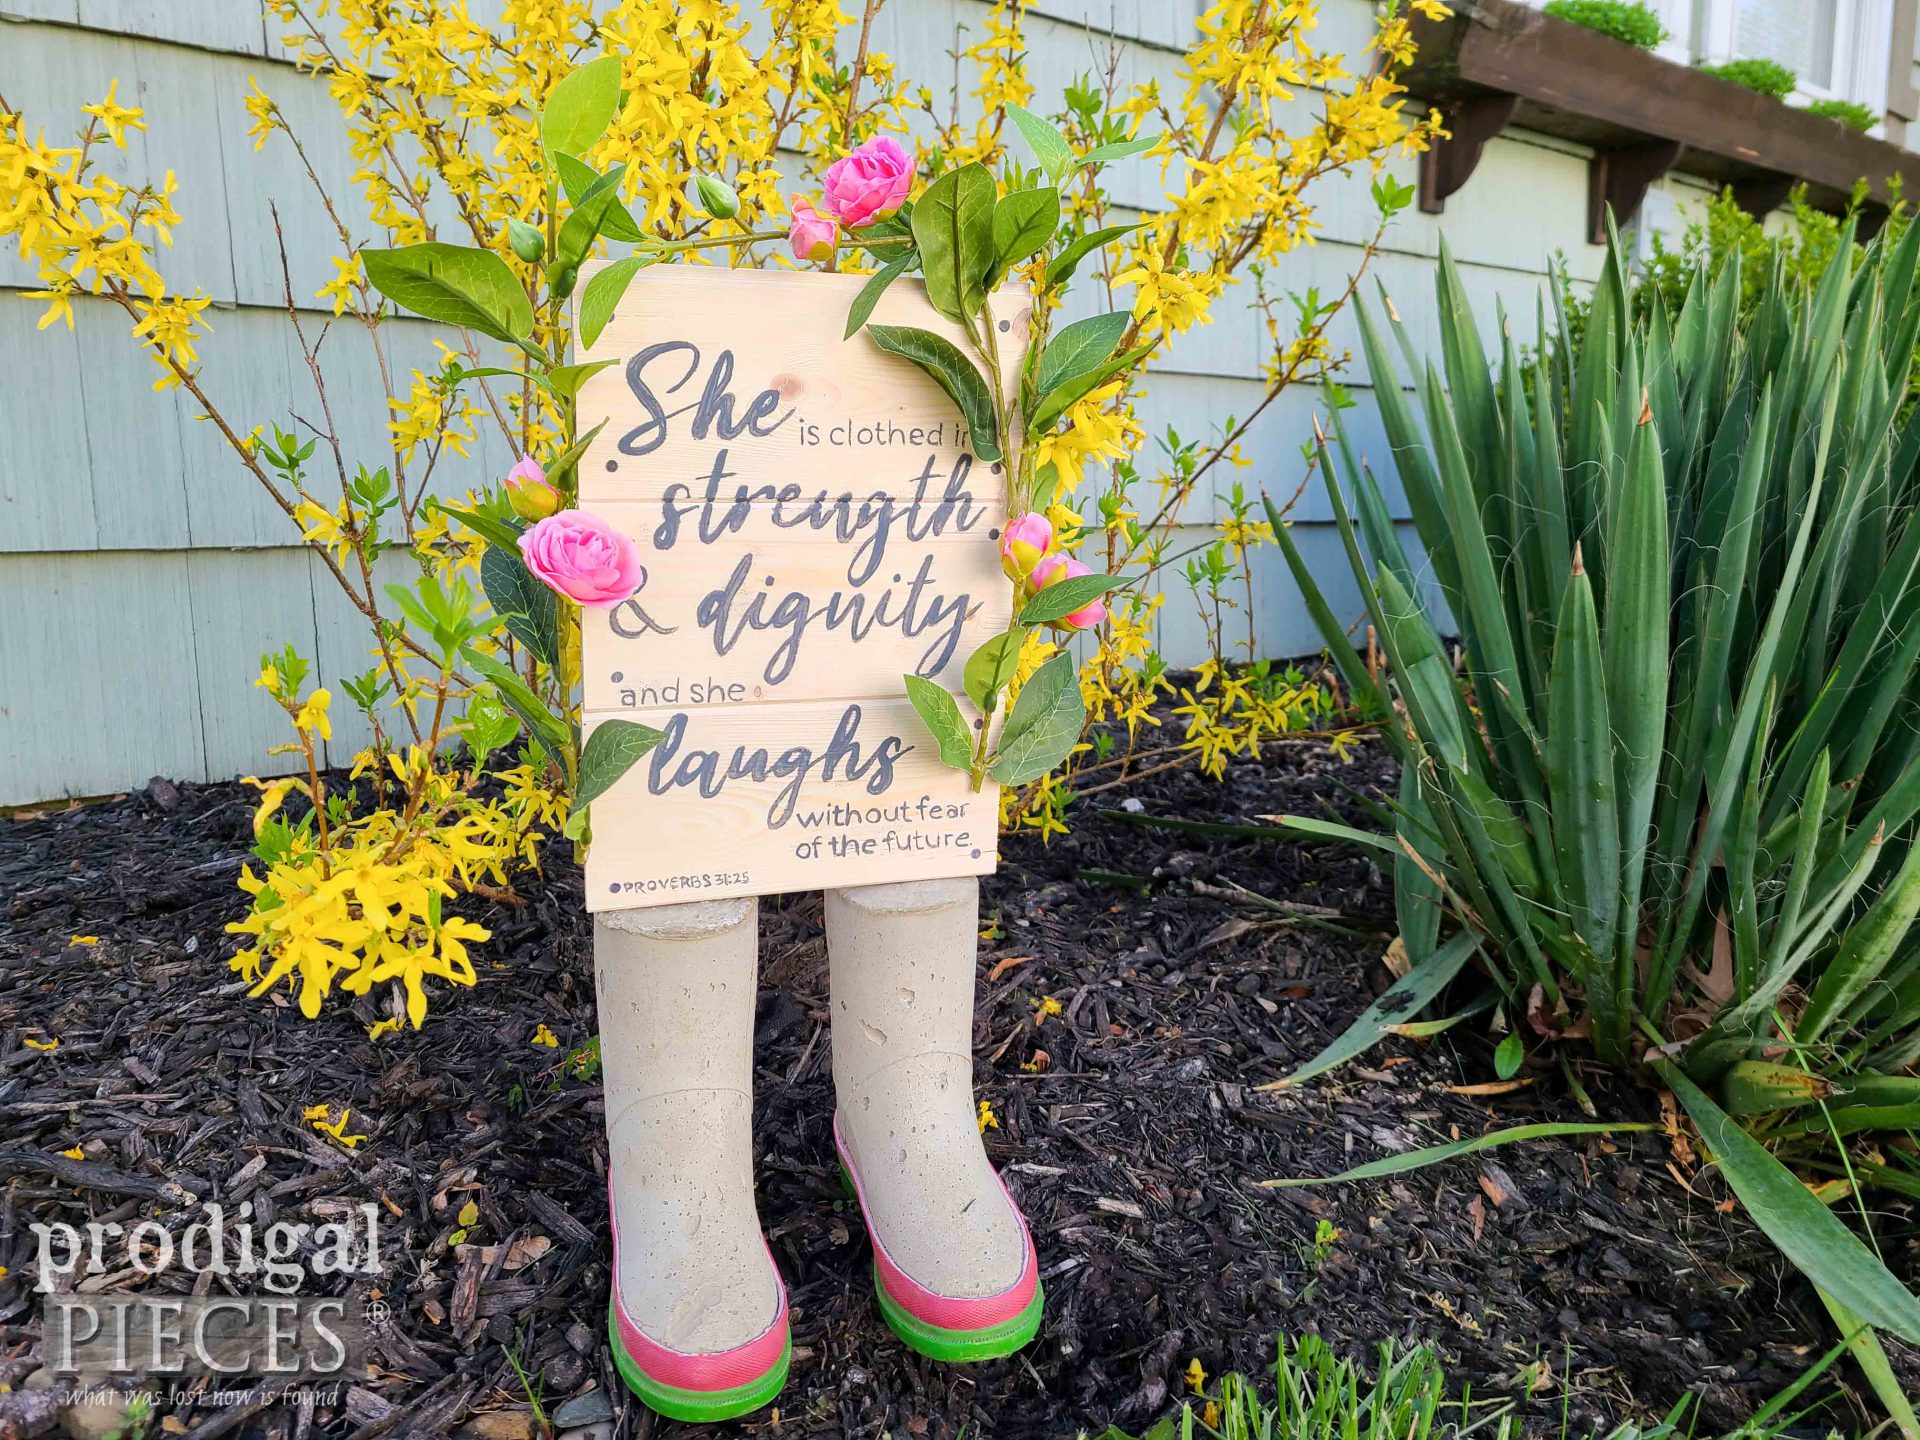
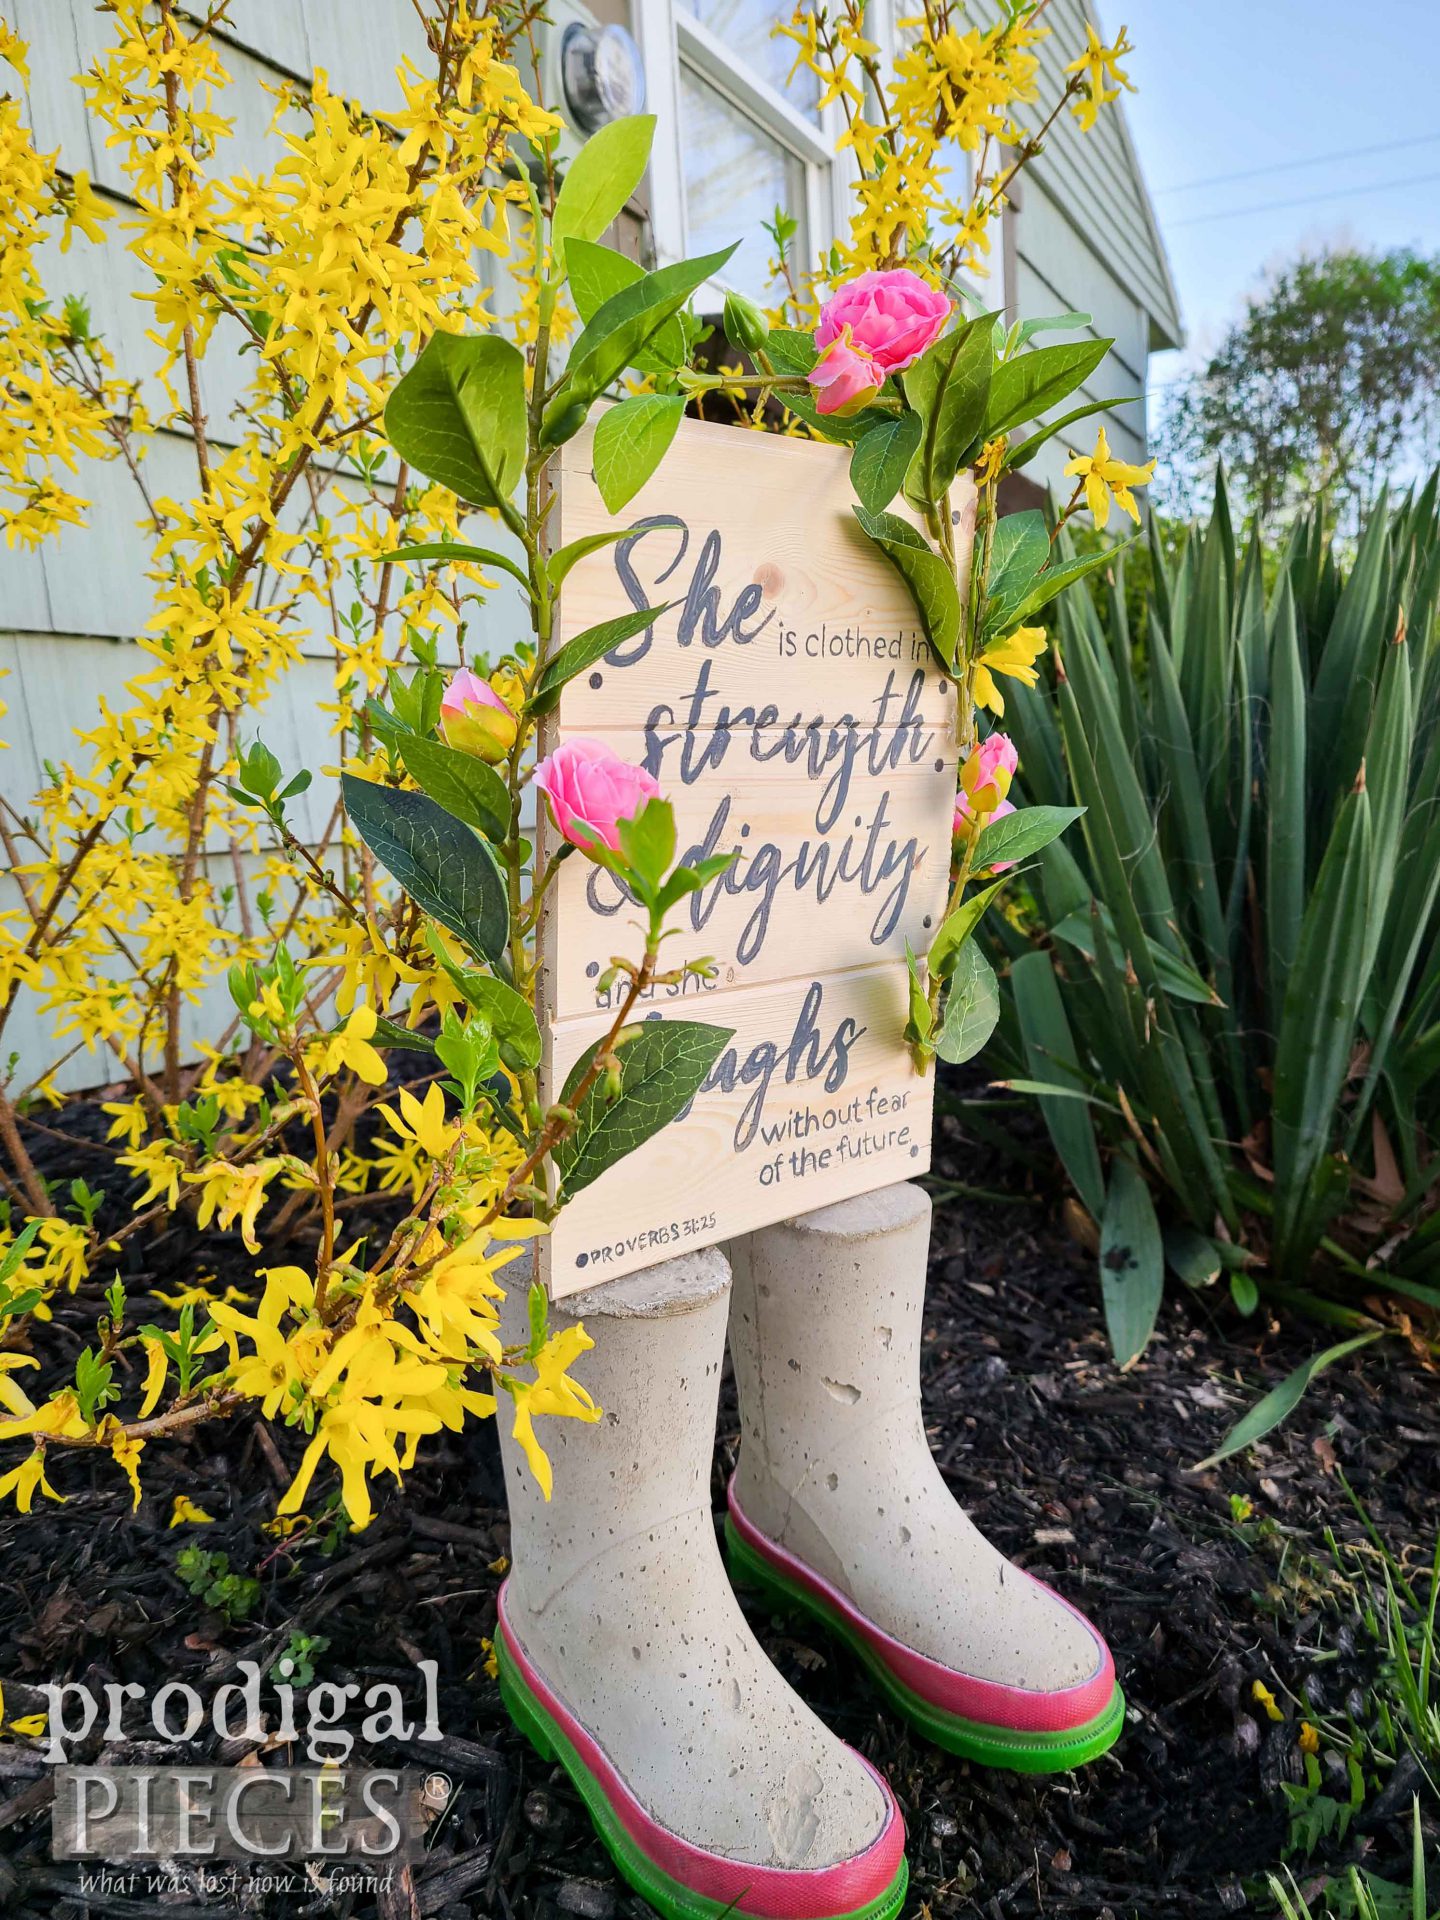
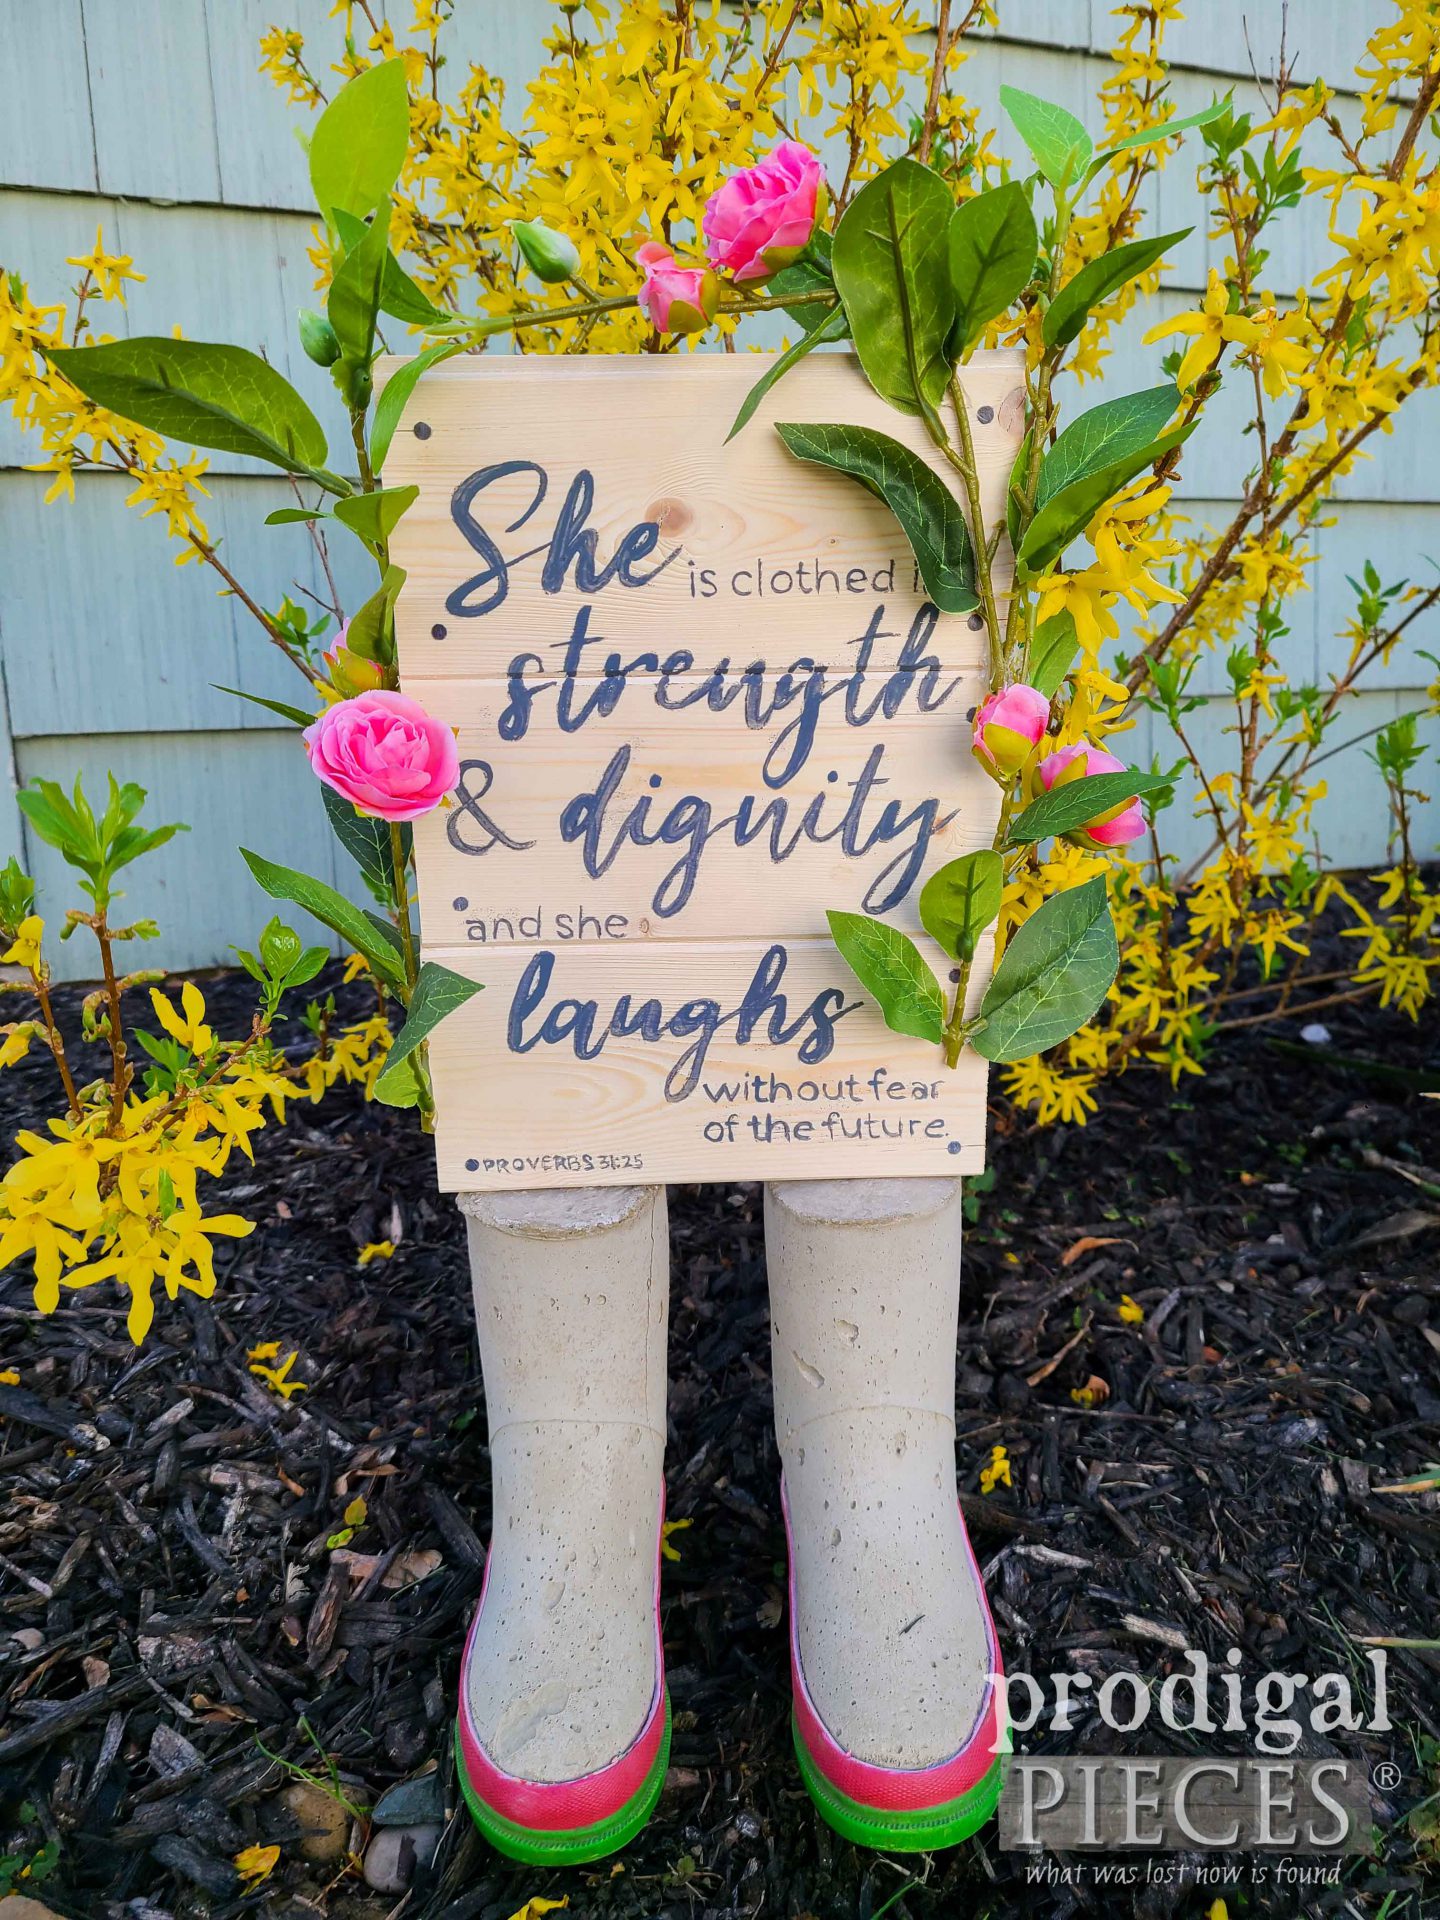
Here’s our sweet & fun Mother’s Day gift all ready to go.
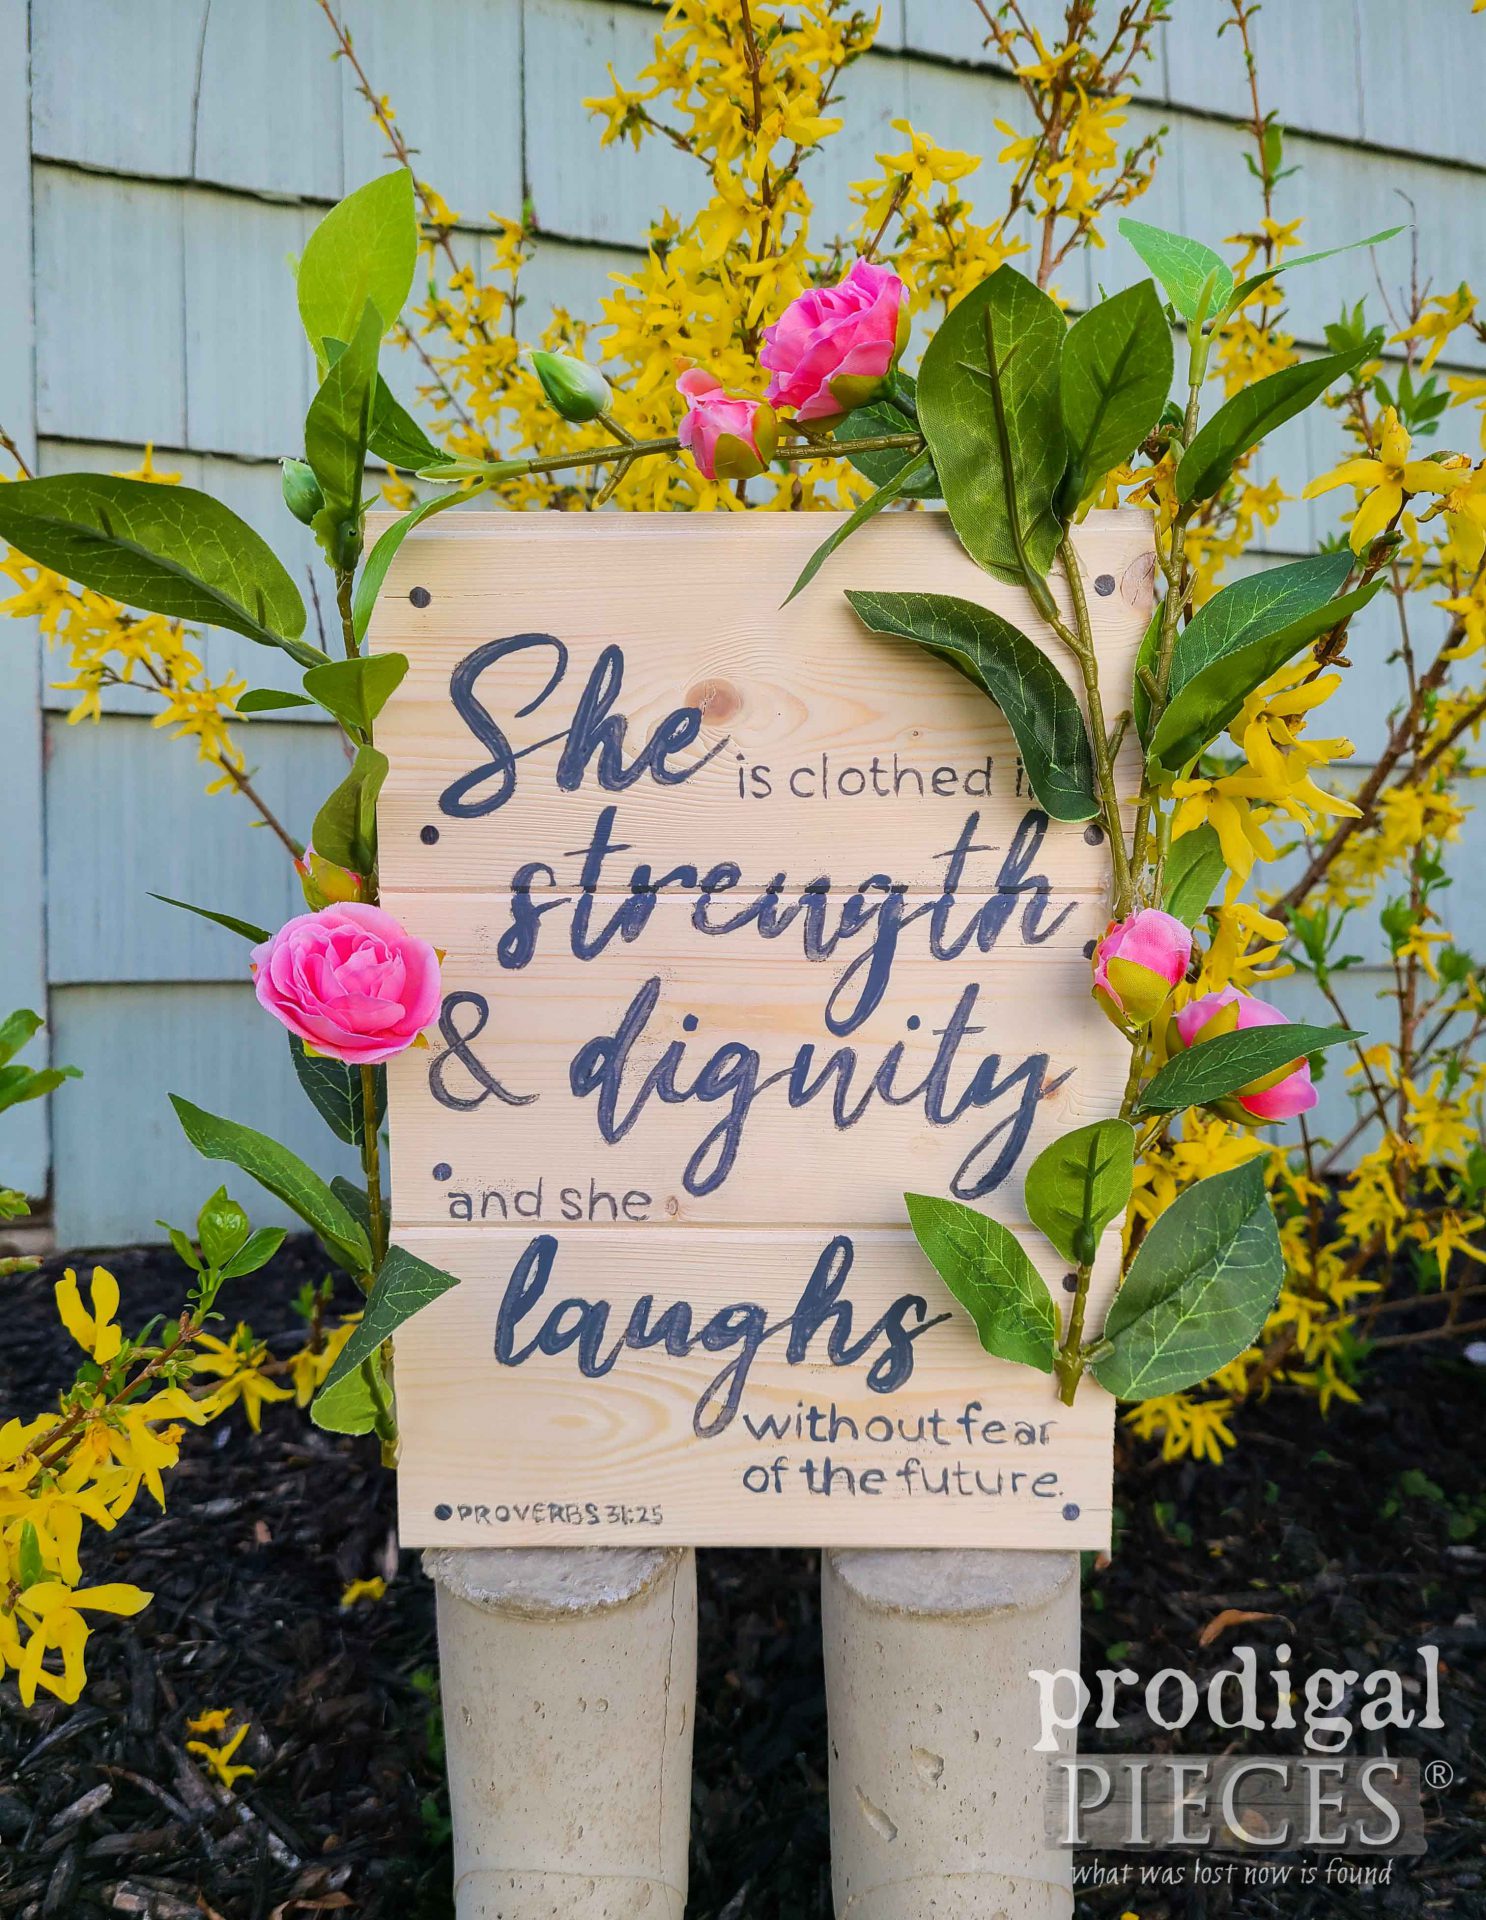
I know that we mothers raise our kids with all the love we can muster and we pray that our raising them leads to strong adults. This verse has always captured my heart.
She is clothed in strength and dignity and she laughs without fear of the future. Proverbs 31:25
That part… “laughs without fear of the future”…it really gets me. We can fully trust God has us all in the palm of His hand.
Are you inspired to give this a try? I hope you are at least finding encouragement as a mother that you are not alone. Likewise, I’d love to hear your Mother’s Day stories in any form. Either how you’ve been blessed or how you’ve seen God working in your life as mother.
SHARE
Additionally, do pin and share this DIY concrete boot planter to inspire others to create memories and have fun too. This tutorial is great for any holiday or memory-creating event.
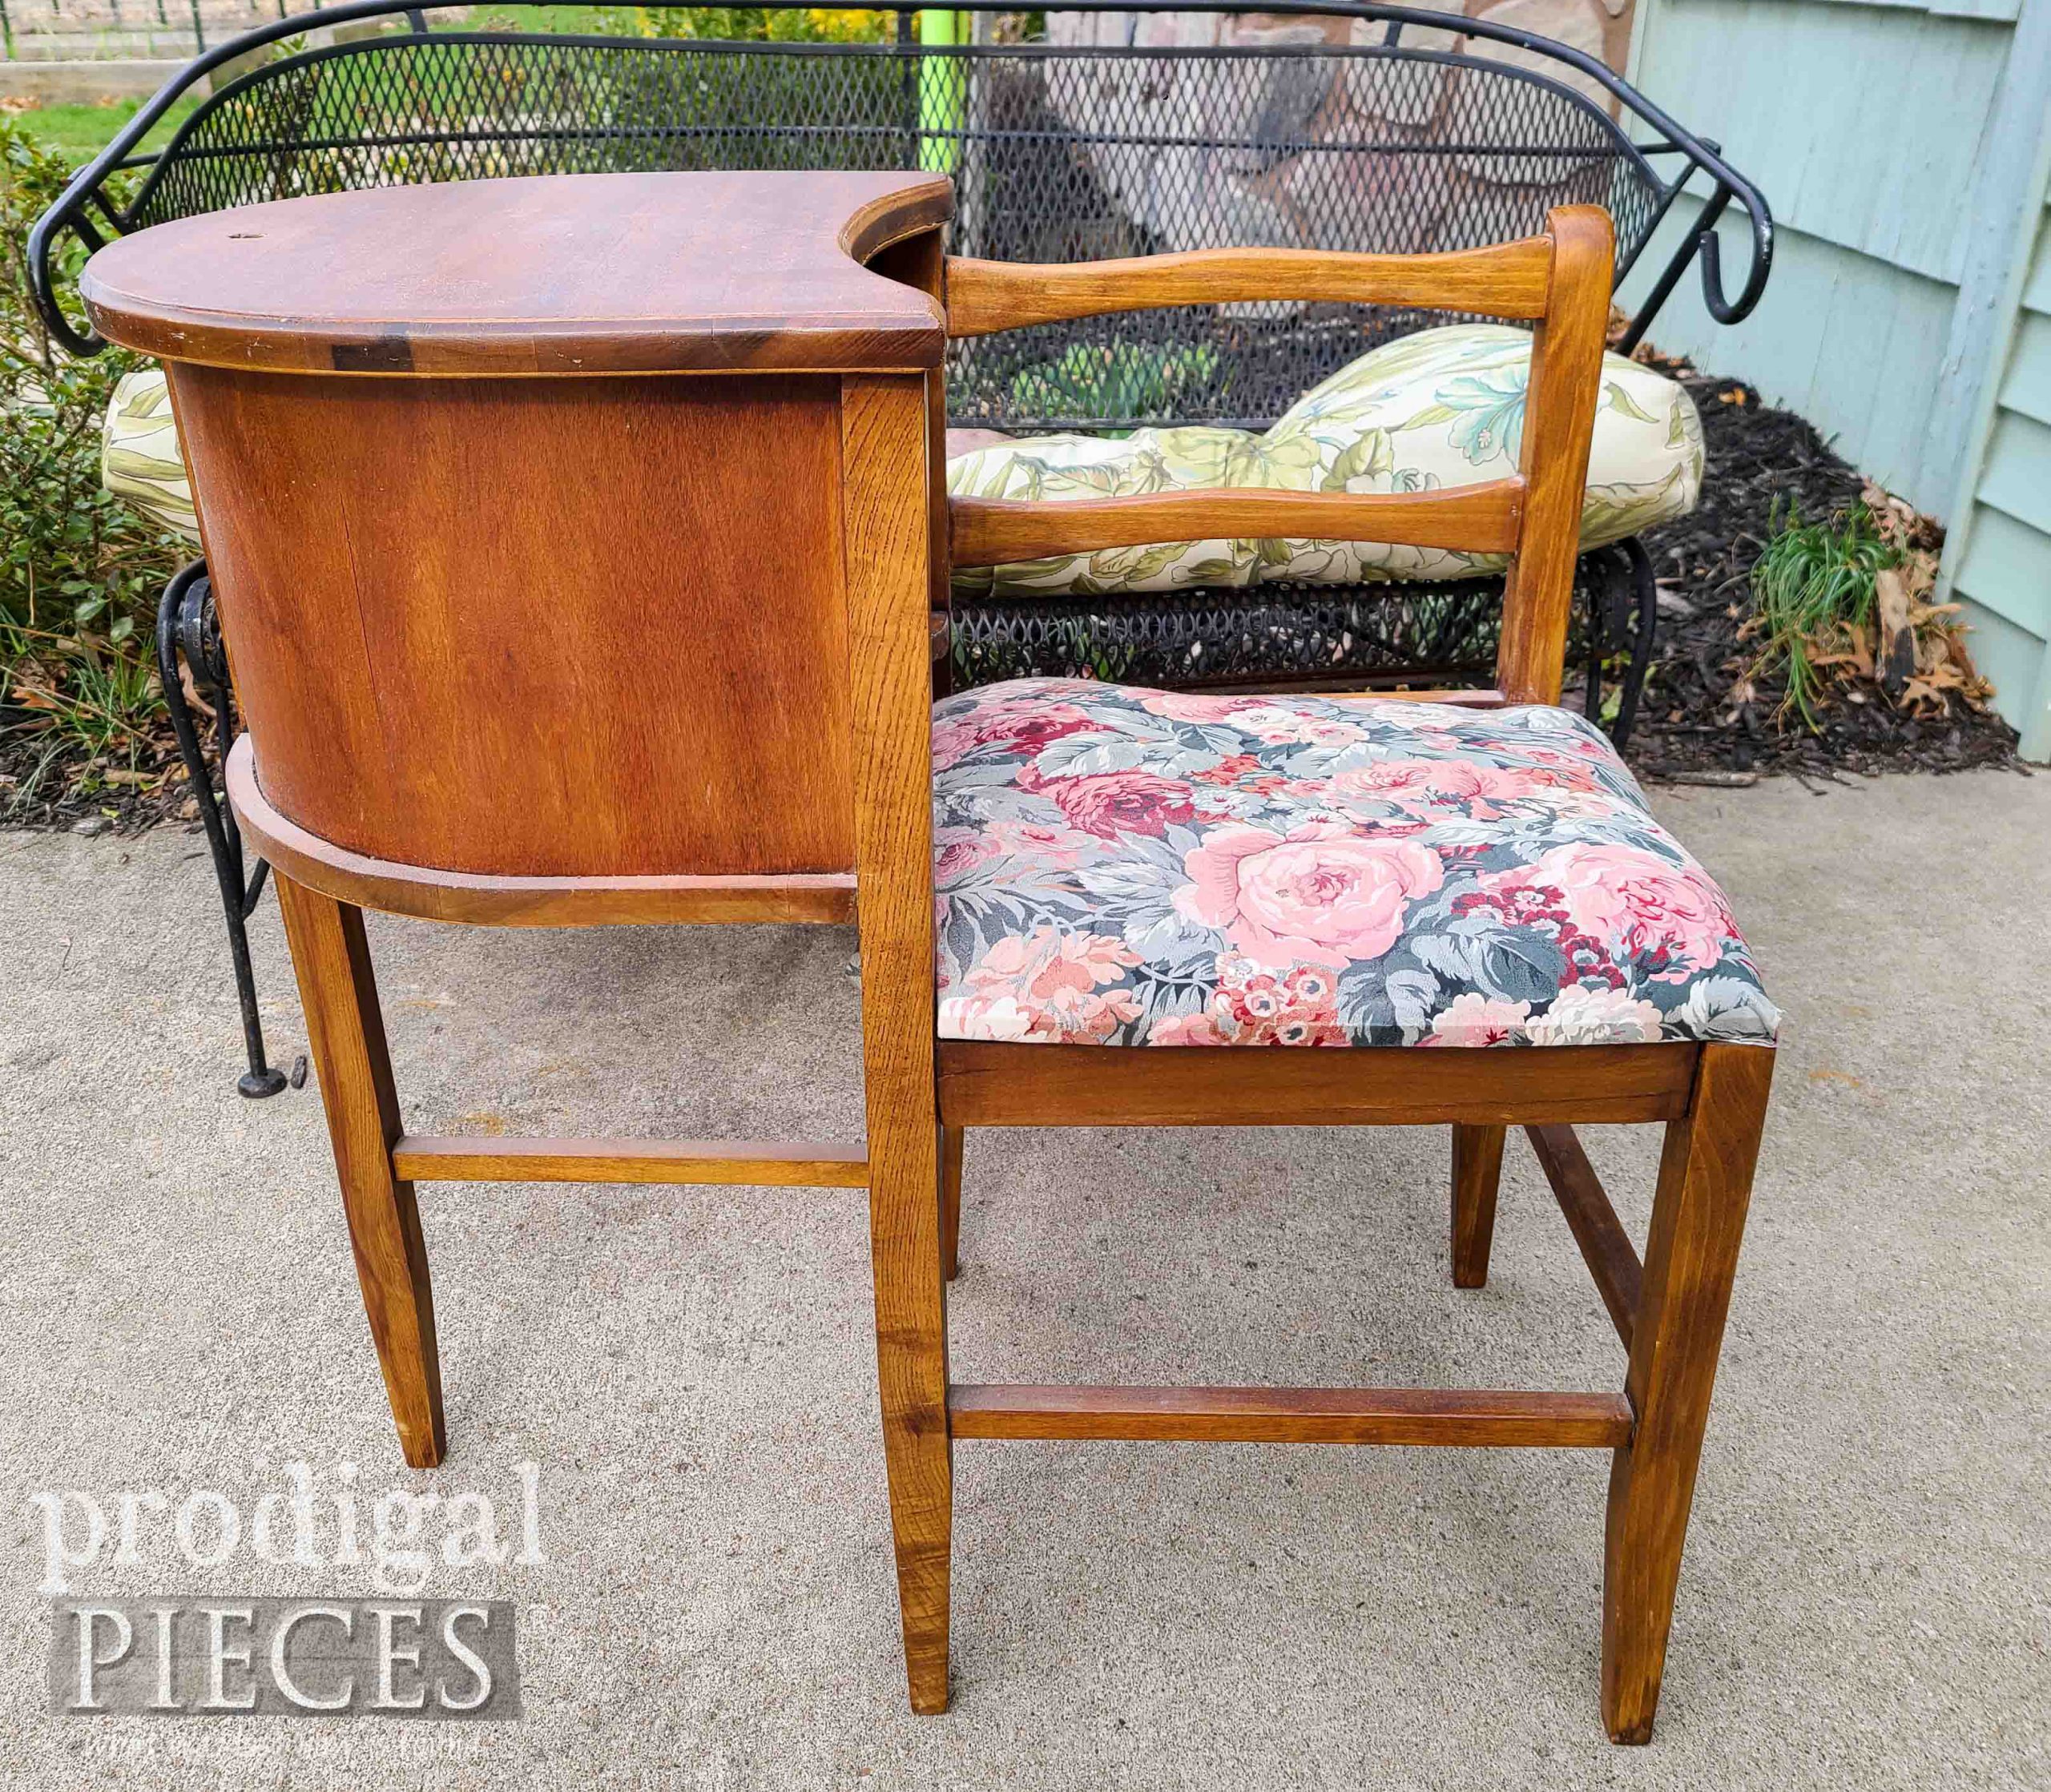
In addition, up next I’m eager to give this vintage gossip chair some much needed TLC. HEAD HERE TO SEE. To get sure you get these DIY tips & tricks in your inbox, sign up for my newsletter. PLUS, you will get your FREE Furniture Buying Checklist and special discount to my shop. Until next time!






So clever!! Adorable in the garden!! Wouldn’t they also make cute wedding or graduation signs? The possibilities are endless!! Thanks for another “Ah-mazing” idea!! ?
I could go crazy making these…so fun! Thanks for the words of encouragement, Rebecca. Hugs! 😀
I’m with Rebecca- wedding, graduation. My first thought was baby shower. I like the color at the bottom and probably helps to not have the design on the boot to have to contend with when making the sign. But; I do like the whimsy of it if you left the rubber on it too!! So versatile and extremely cute!! Thanks Larissa, hope your all feeling better.
Yes! You totally got what I was after. You could even go a whole different route as well and do whatever floats your boat. The idea is to make a memory to cherish. Thank you for the smiles, Niki. We are still mending, so prayers are appreciated.
Love, love, love!! This is just darling!
I’ve always wanted to try a cement project and this looks like a perfect project to try out!
And, thank you for your inspiring words, too! As a mom, I try to always look for God’s hand in everything and I’m never disappointed, because He’s always there!?
You’re just so fun, Jill! These were so easy to do that I am smitten for sure. Yes, He truly is there, we just need to take time to see Him moving. Blessings to you!
That is one of my favorite verses! I have it on a plaque in my home. Love your idea!!! Creative, as always. Thank you for sharing.
Great minds, Fran! 😀 Thank you for the affirmation.
So fun Larissa!!
Working with concrete is on my DIY bucket list!
You will absolutely love it, Kim! Clean up can seem daunting, but once you get a rhythm it’s super quick.
So cute! And right up my alley! Will have to give this a go.
Playing around with concrete is fun! 😀 These make for a sweet gift and I’d love it if you gave it a try. Thanks, Moe!