When you want a certain style achieved in your home story, but lack a big budget, do know that it’s attainable. Seriously, it is. You may be thinking I’m off my rocker, and you’re right. I’m at the thrift store buying up all the goodies I can find! haha! Don’t waste another minute waiting for that budget windfall, but rather get yourself motivated to create. I’m going to show you how I took a few thrifted finds and turned them into DIY farmhouse decor. Check it out…
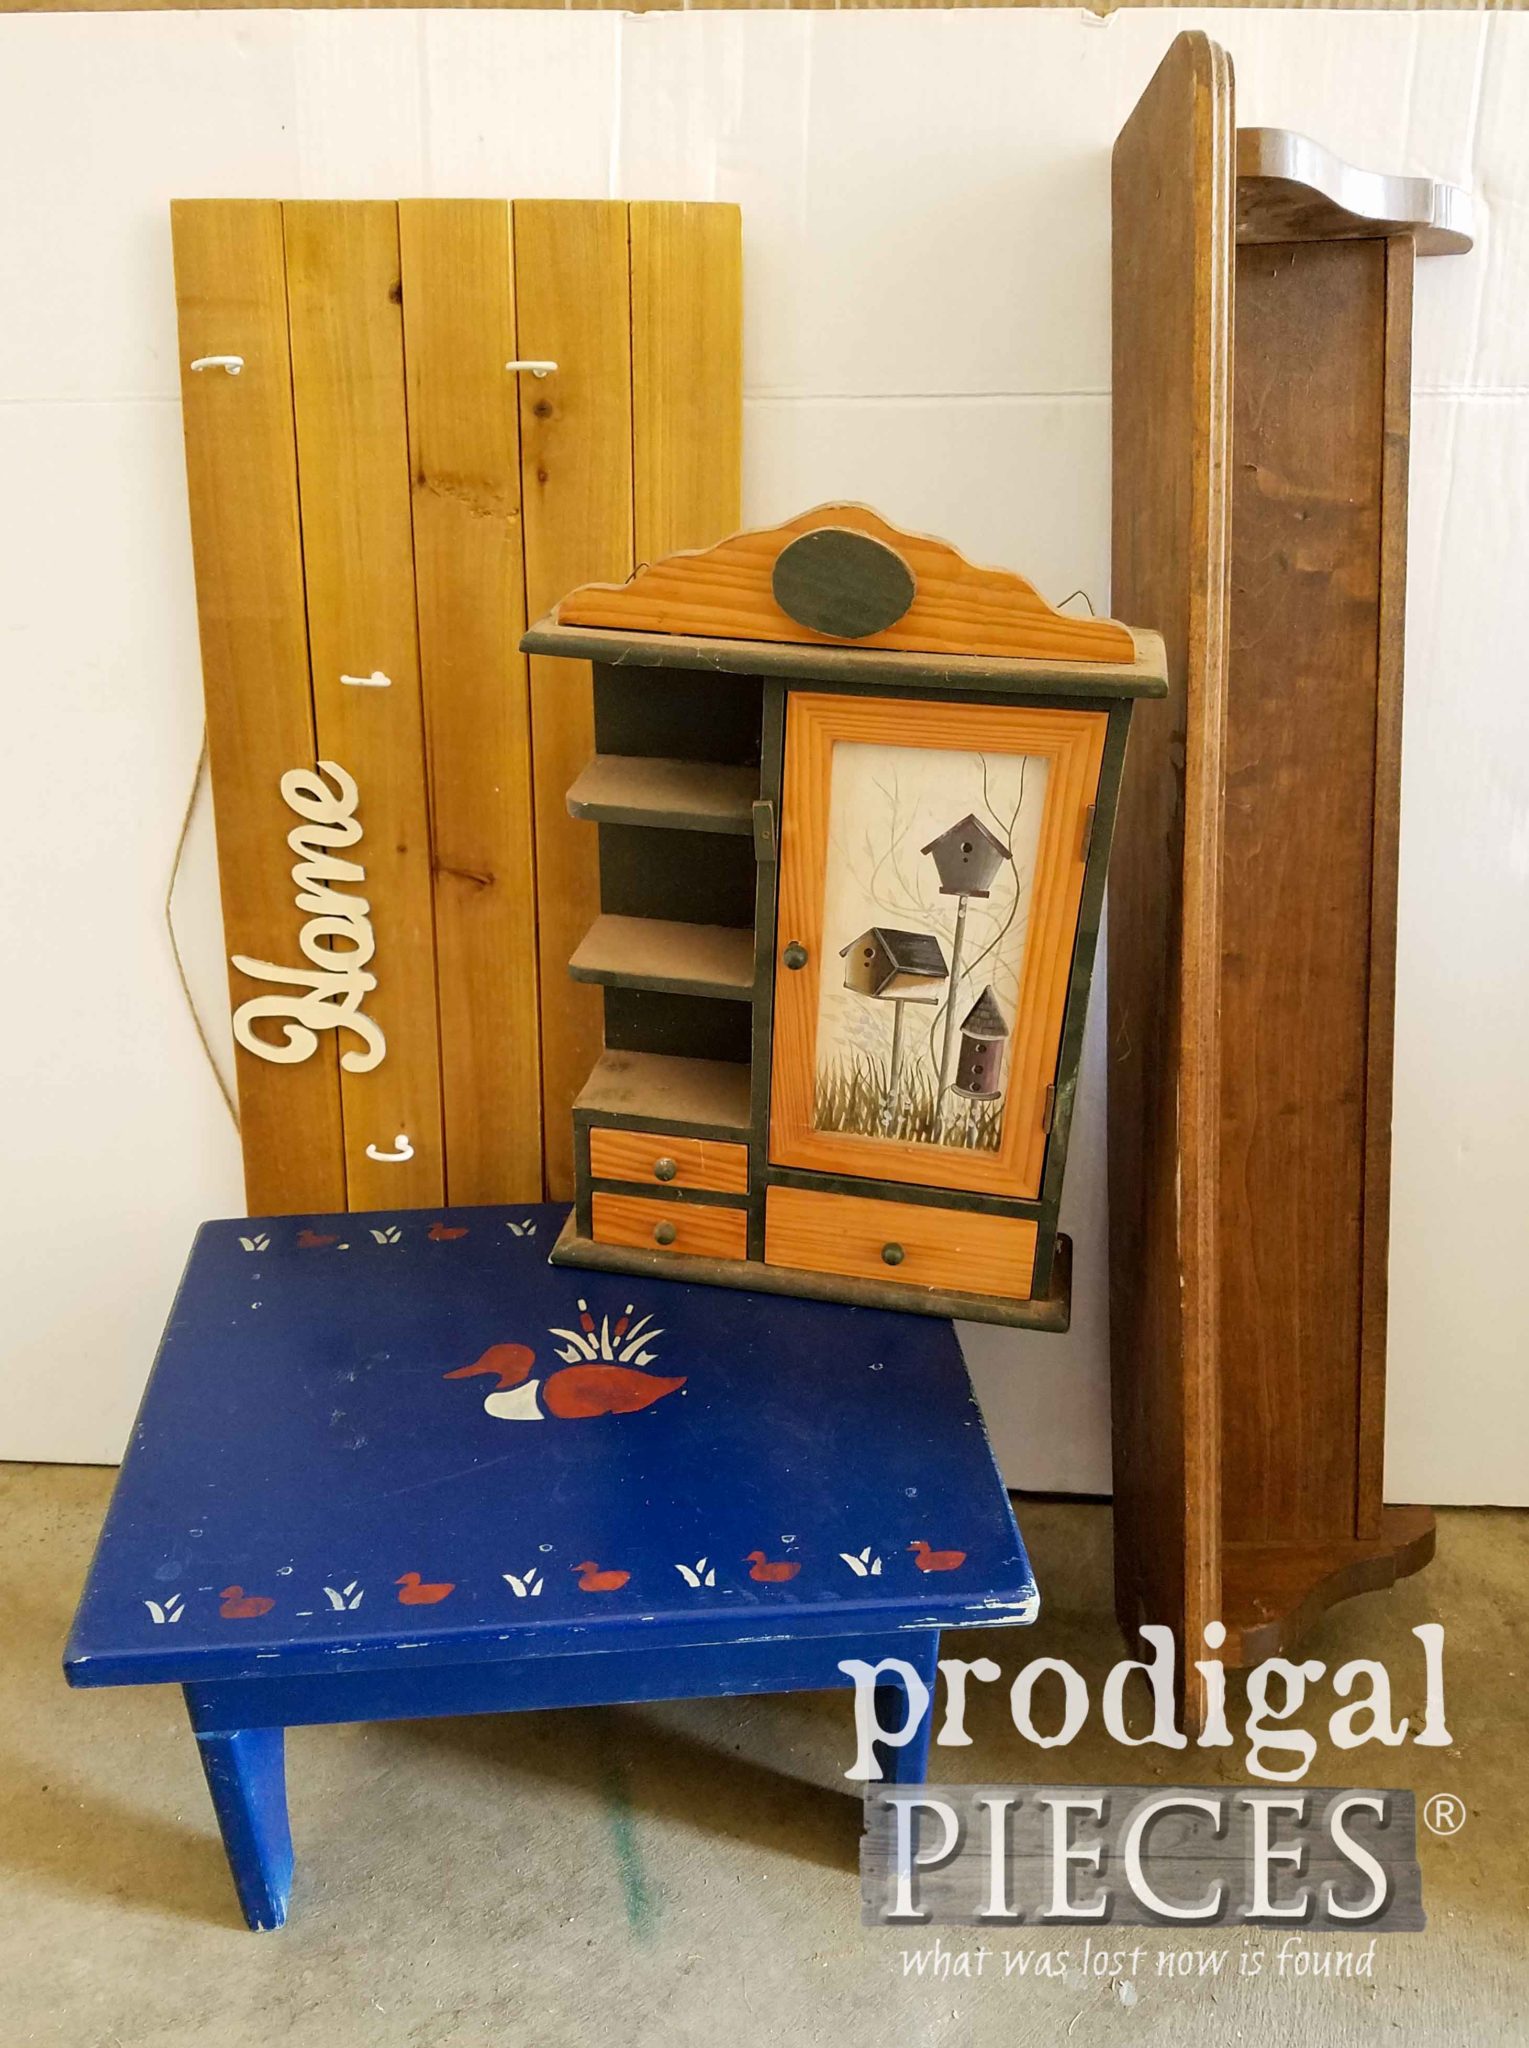
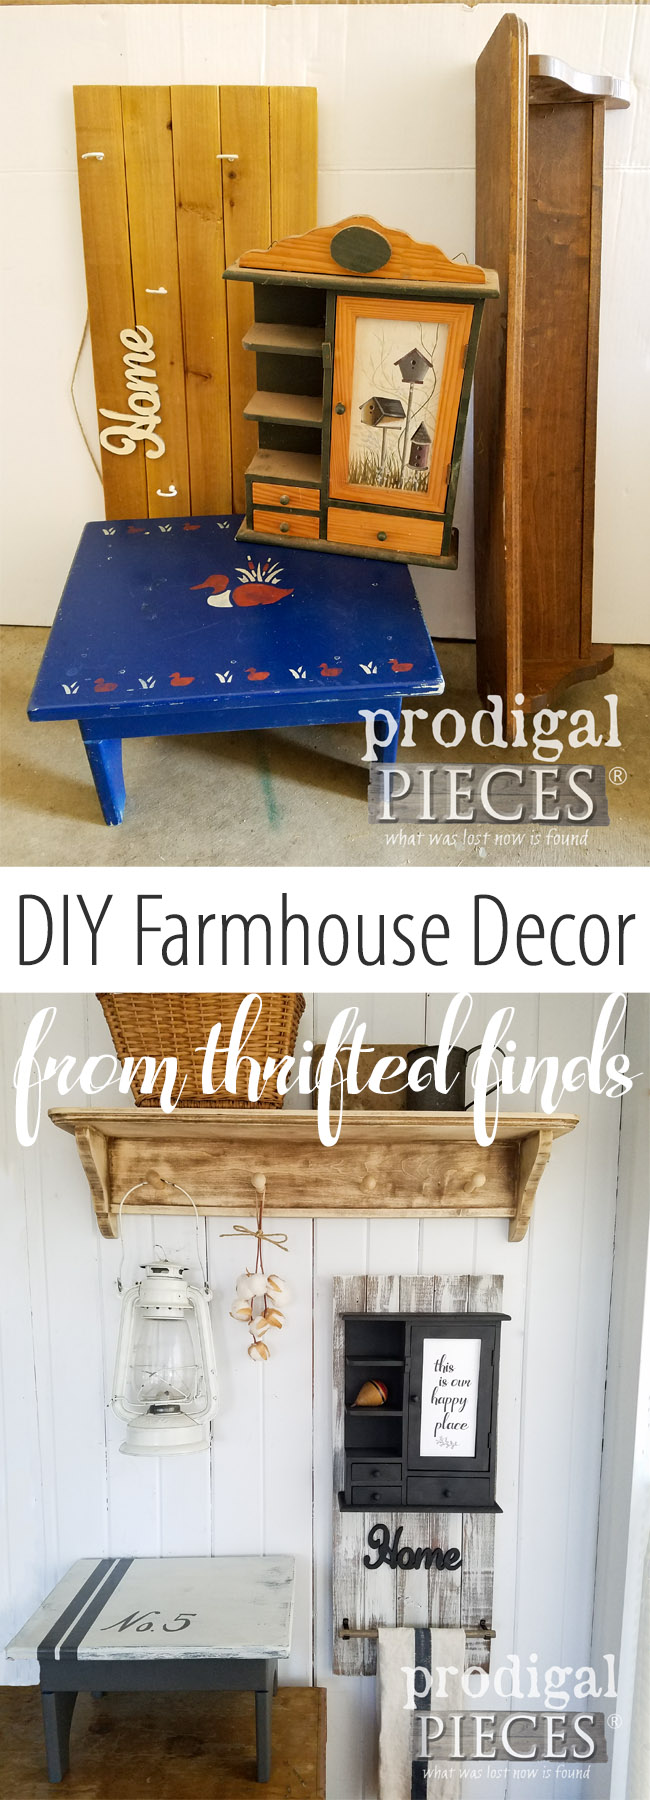
I’ve said it before, but the wood section of the thrift store is a gold mine. You can recreate wood a dozen times over and it still looks good. For instance, here is my ragamuffin group in their ugly stages – a footstool, a shelf, a wall decor piece, and some sort of cubby.
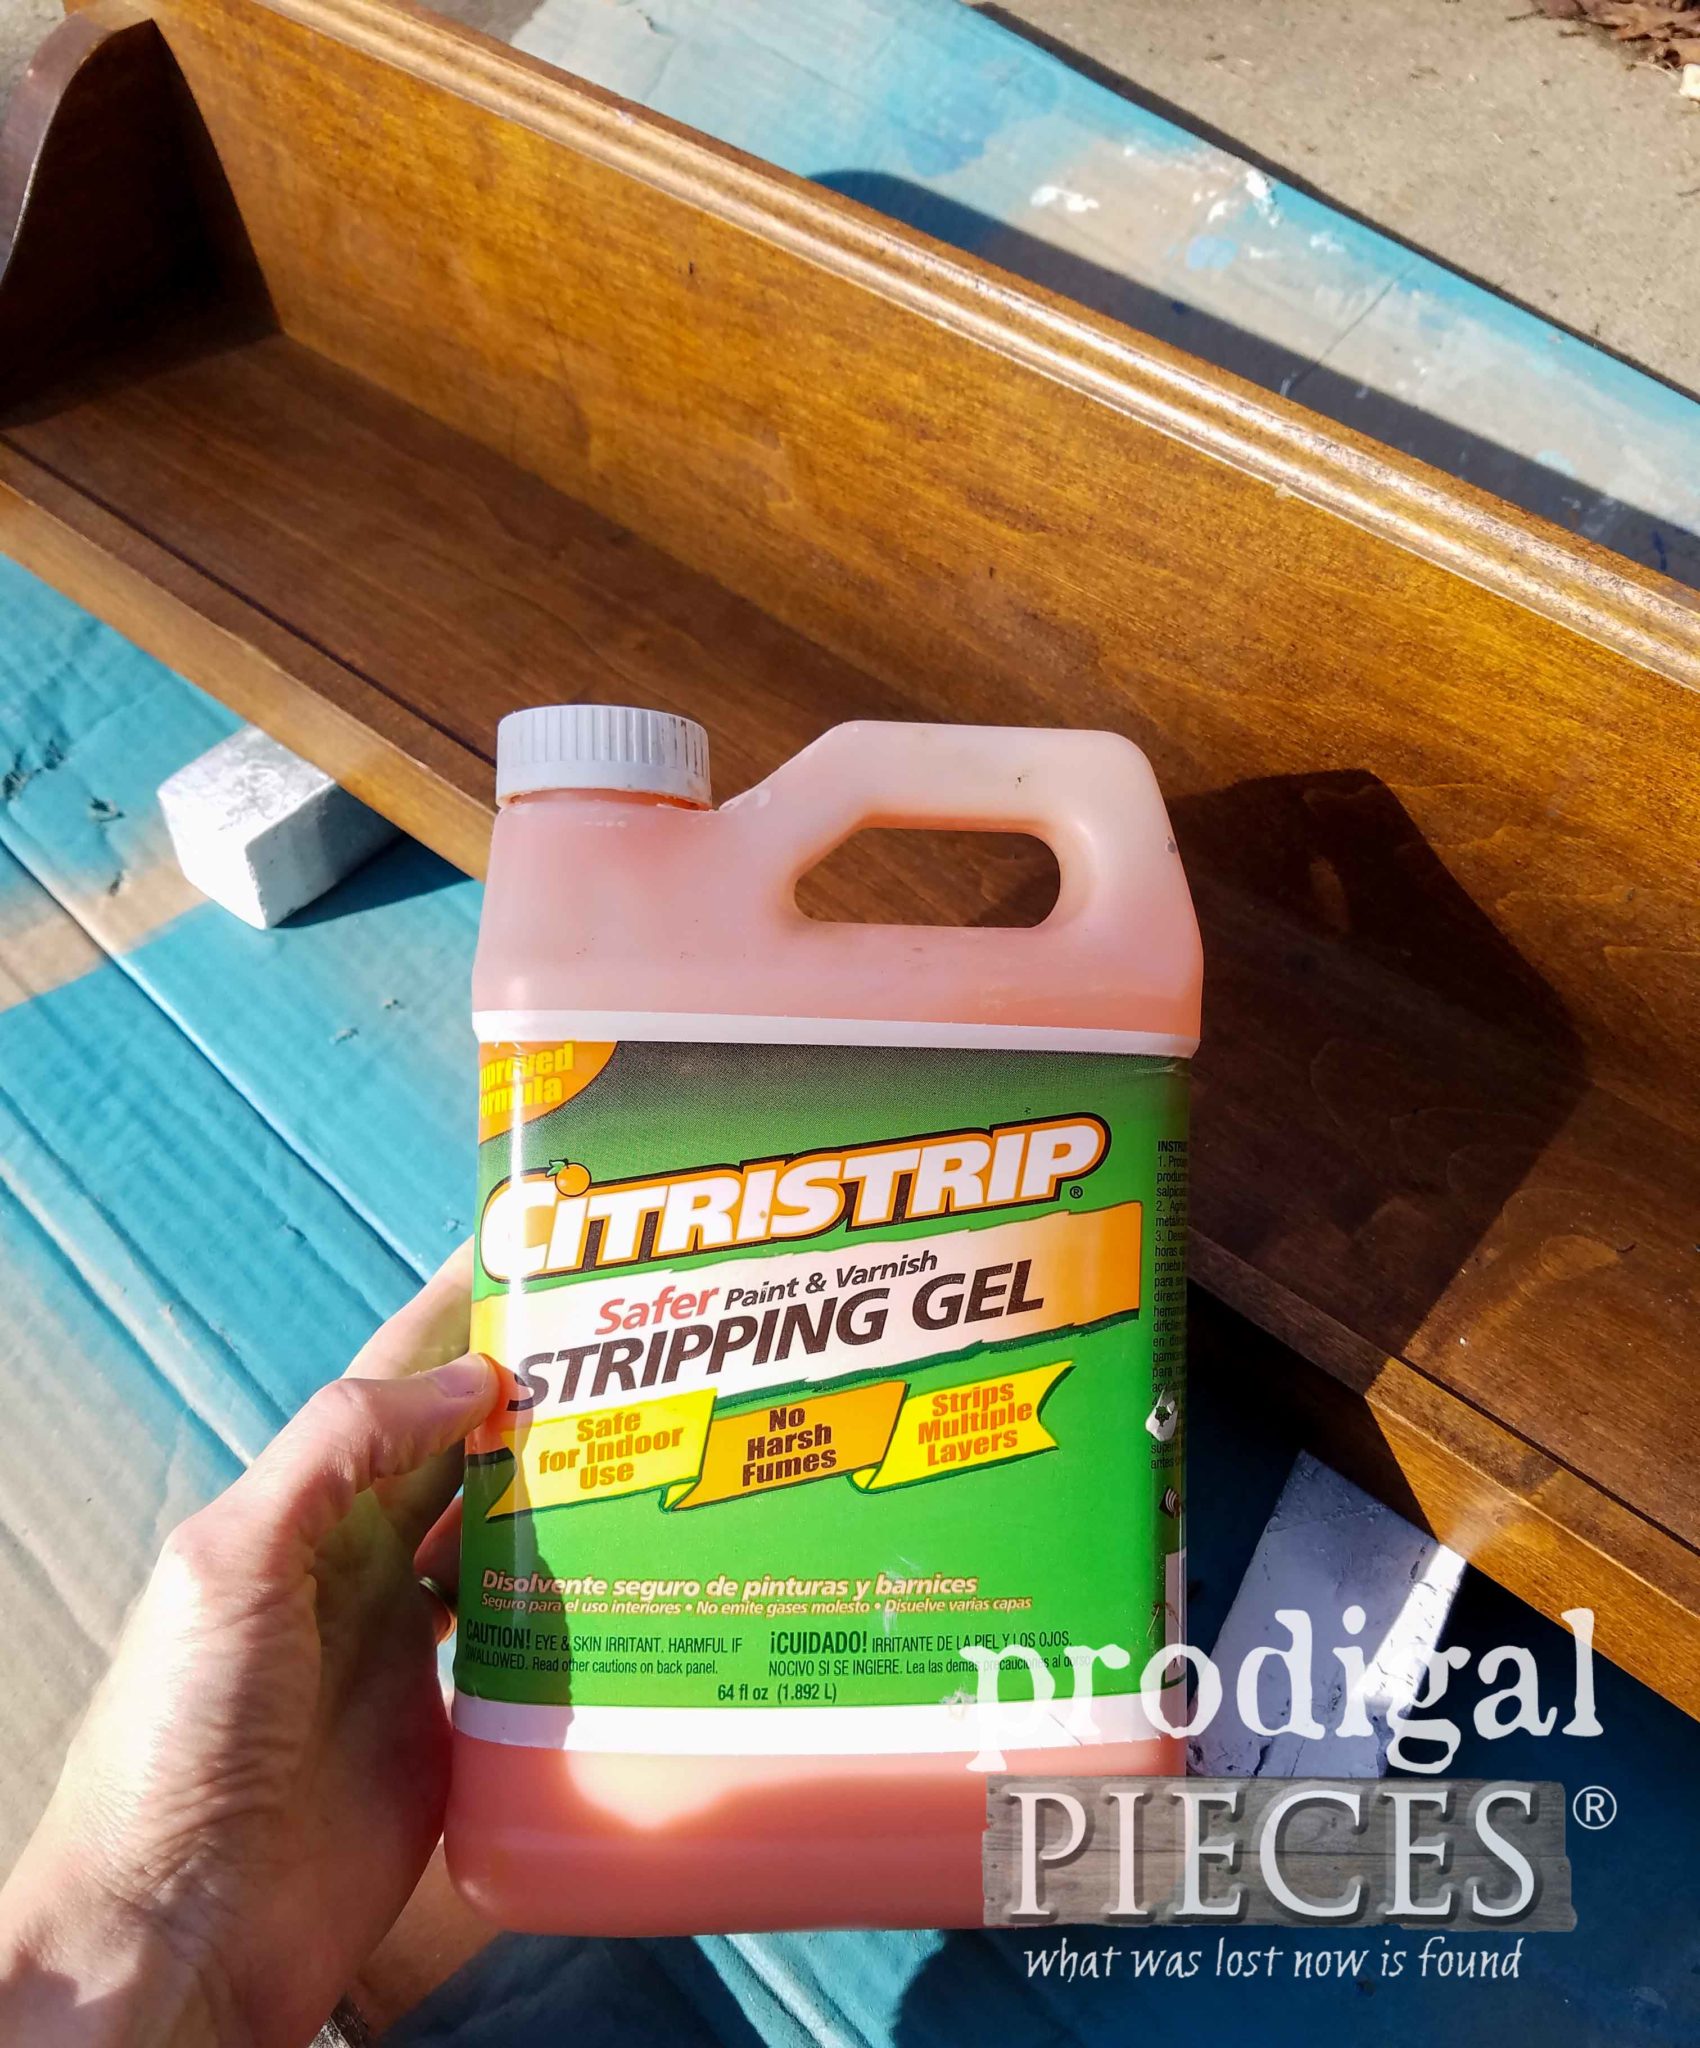
Okay, so I know it takes some vision to see past the obvious, and that’s where I come in to help. First, I’ll start with the wooden shelf. It had an awful bristly finish to it, so I use my CitriStrip to take the finish off. Just brush it on, let sit for a while (sometimes furniture needs overnight, so I cover with plastic wrap), and then scrape off with a putty knife.
FIRST STEPS
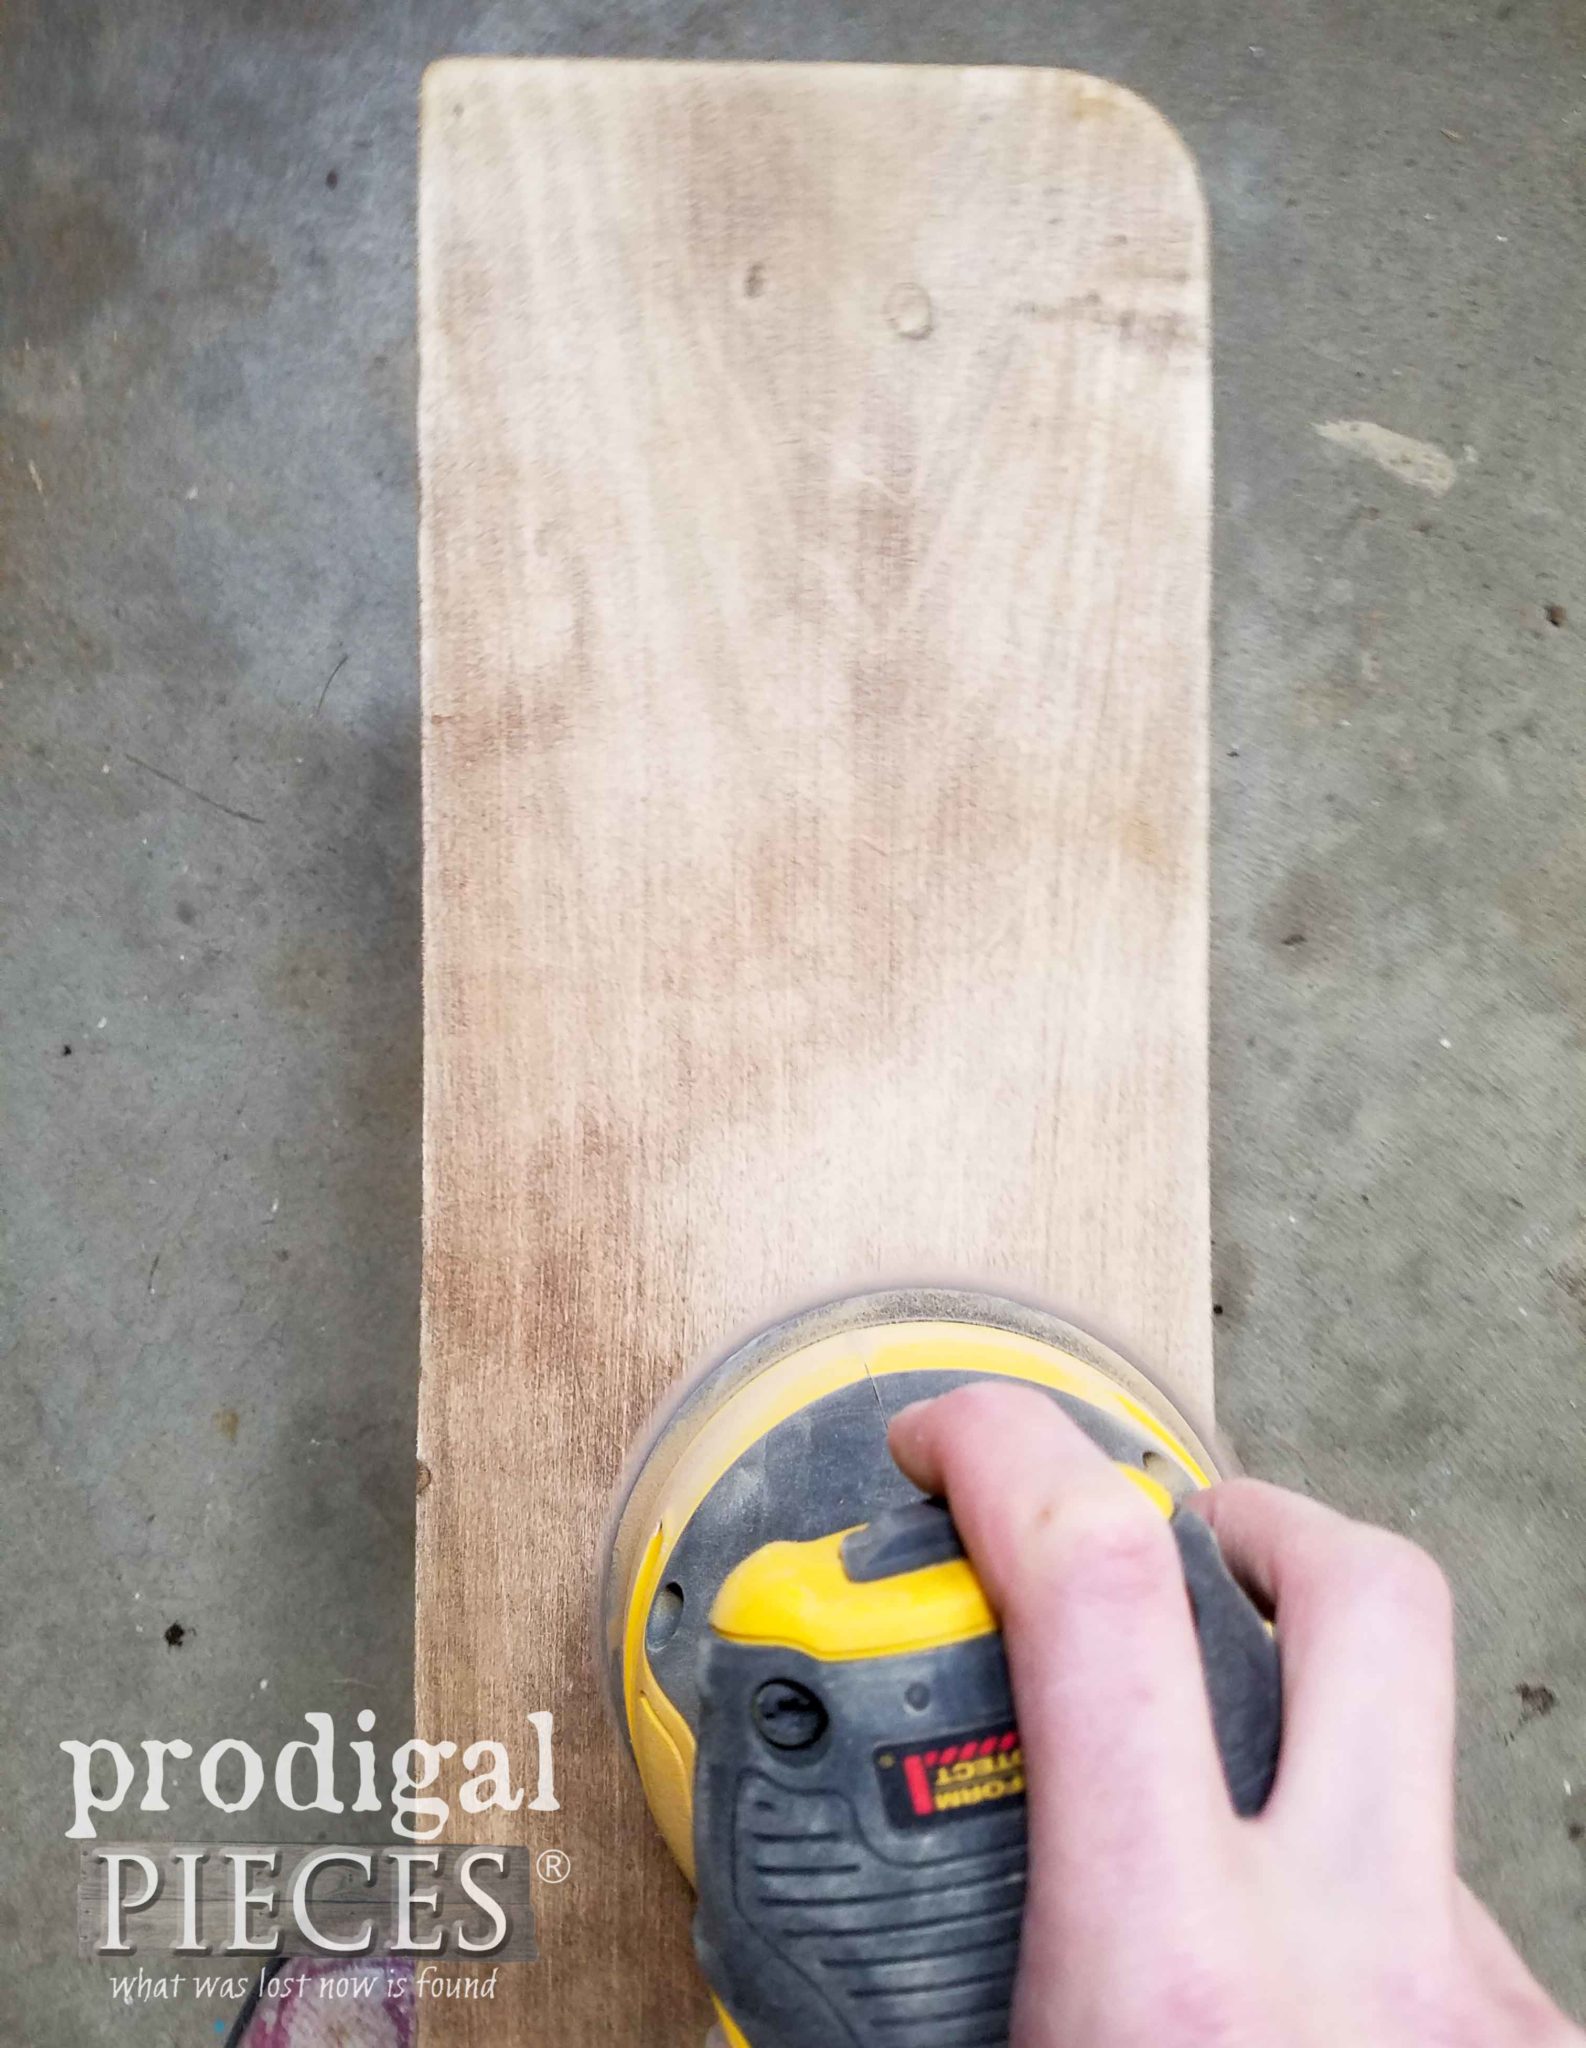
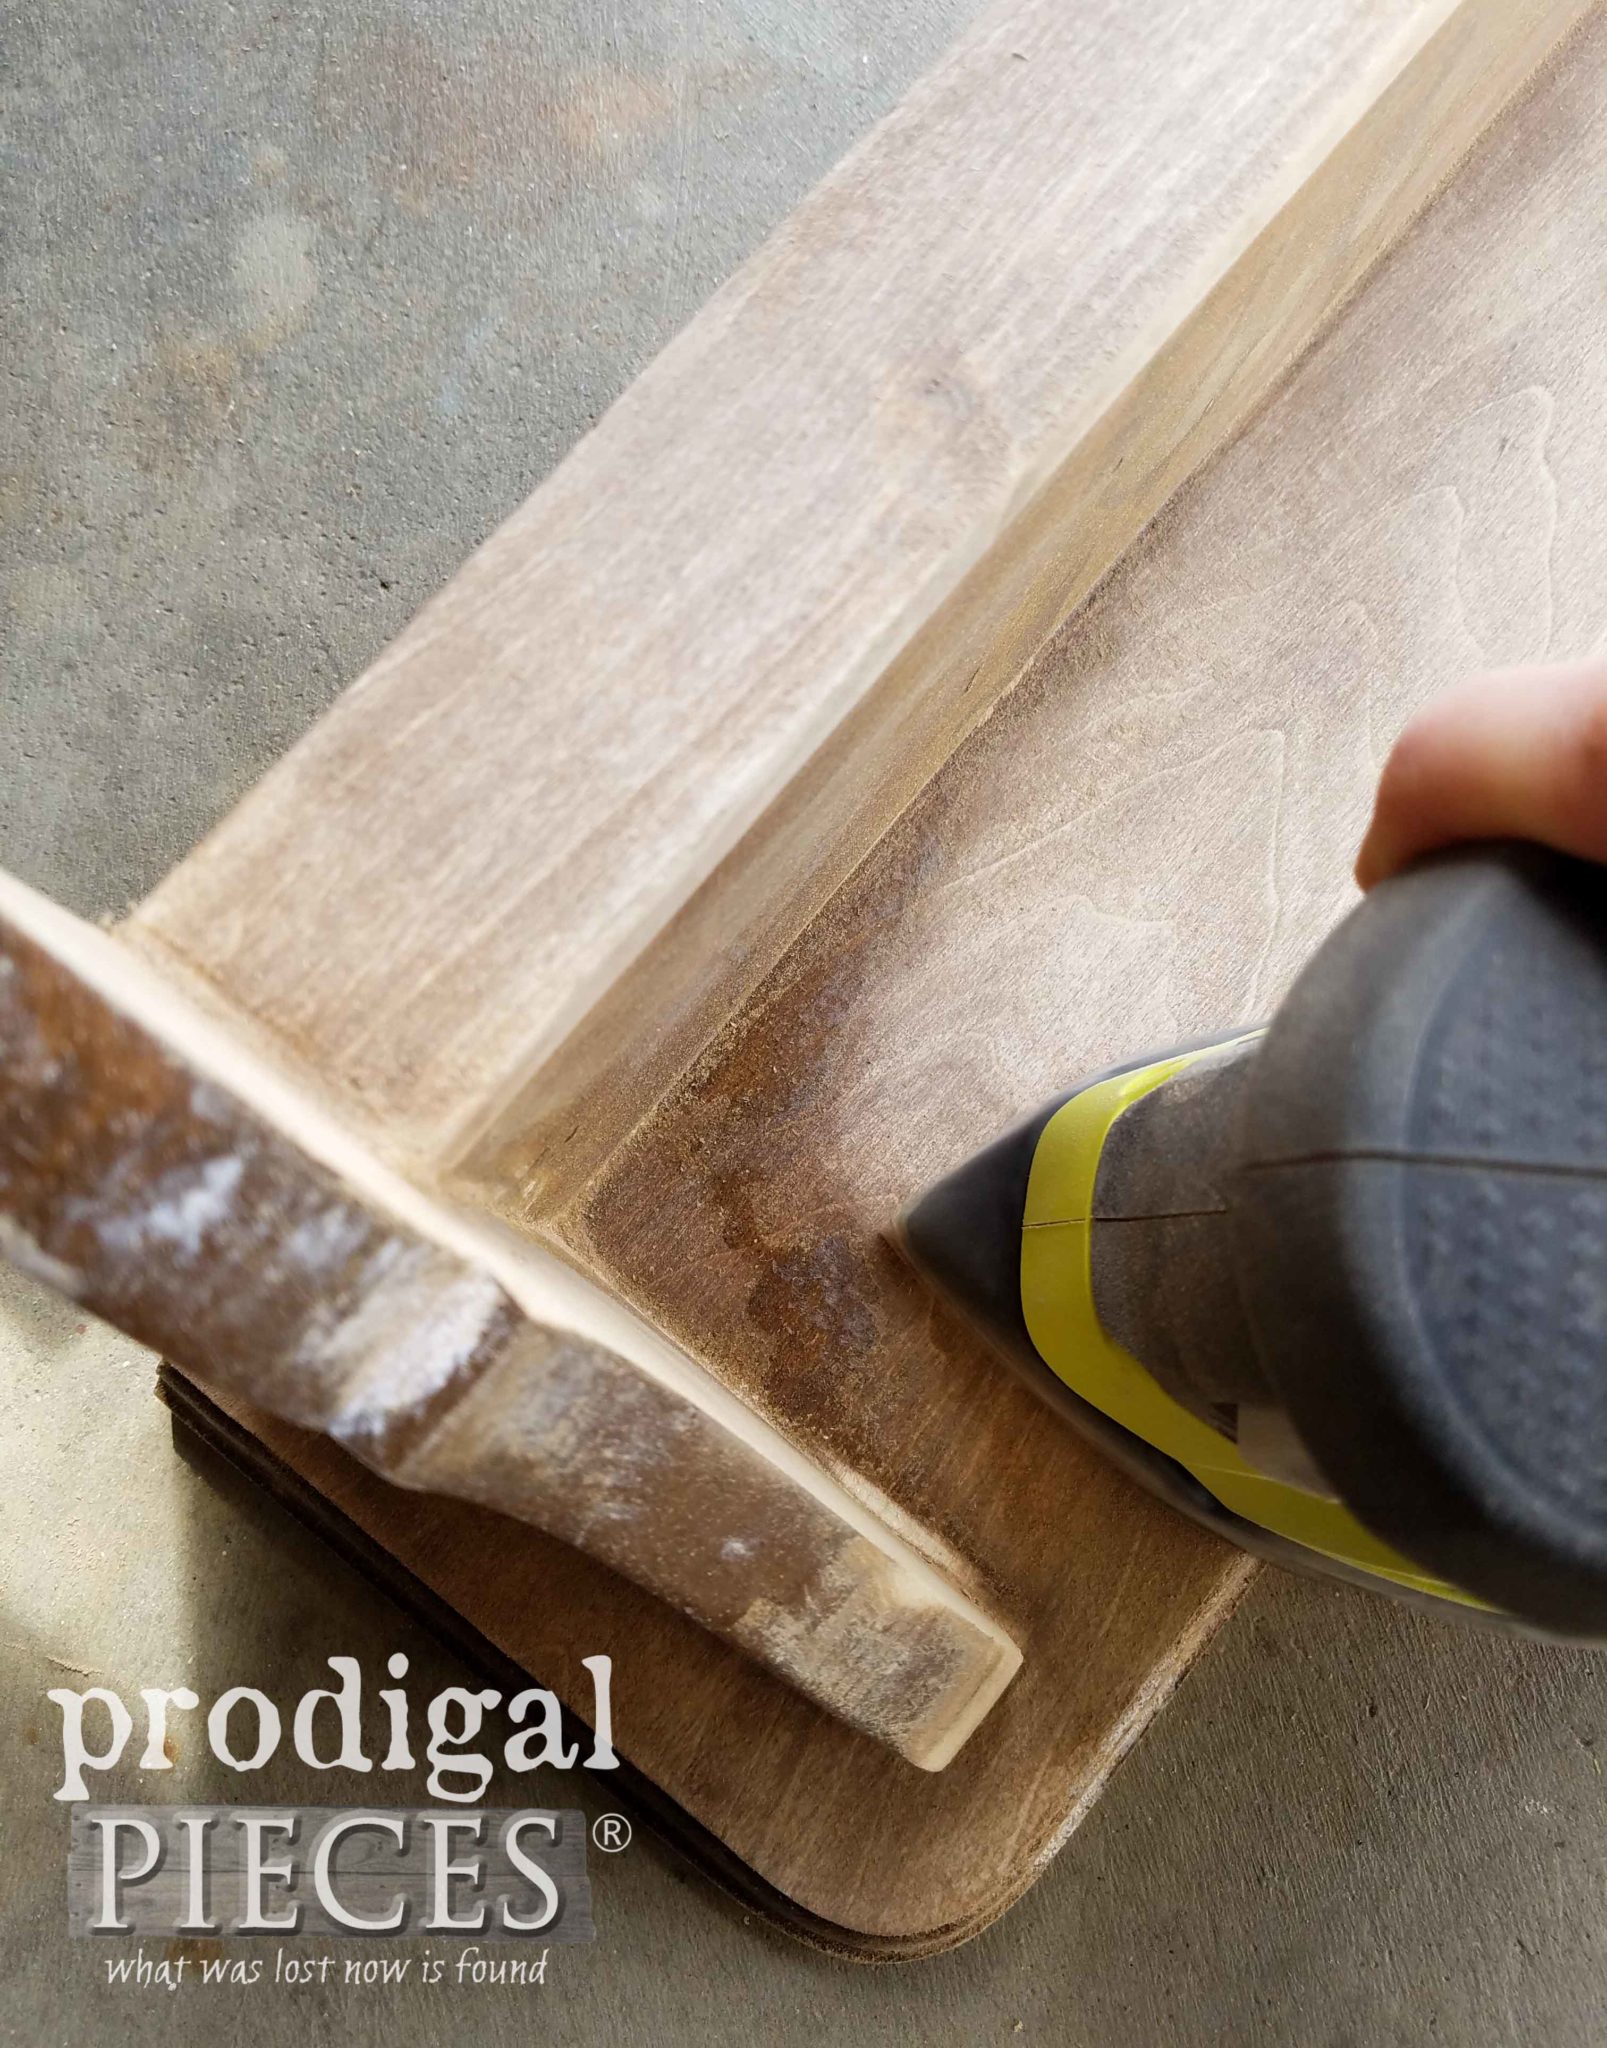
Once I’ve scraped off the finish, I wipe it down to get the surface clean and let dry. Then, when it’s all dry, I grab my sanders and take off that original stain color. I begin with my orbital sander using a 120 grit for the larger surfaces.
Since the orbital disc pad is round, it doesn’t reach the corners. However, the Corner Cat does! This little gem saves my hands much hard labor – both sanders do. See the spot left in the corner by my orbital?
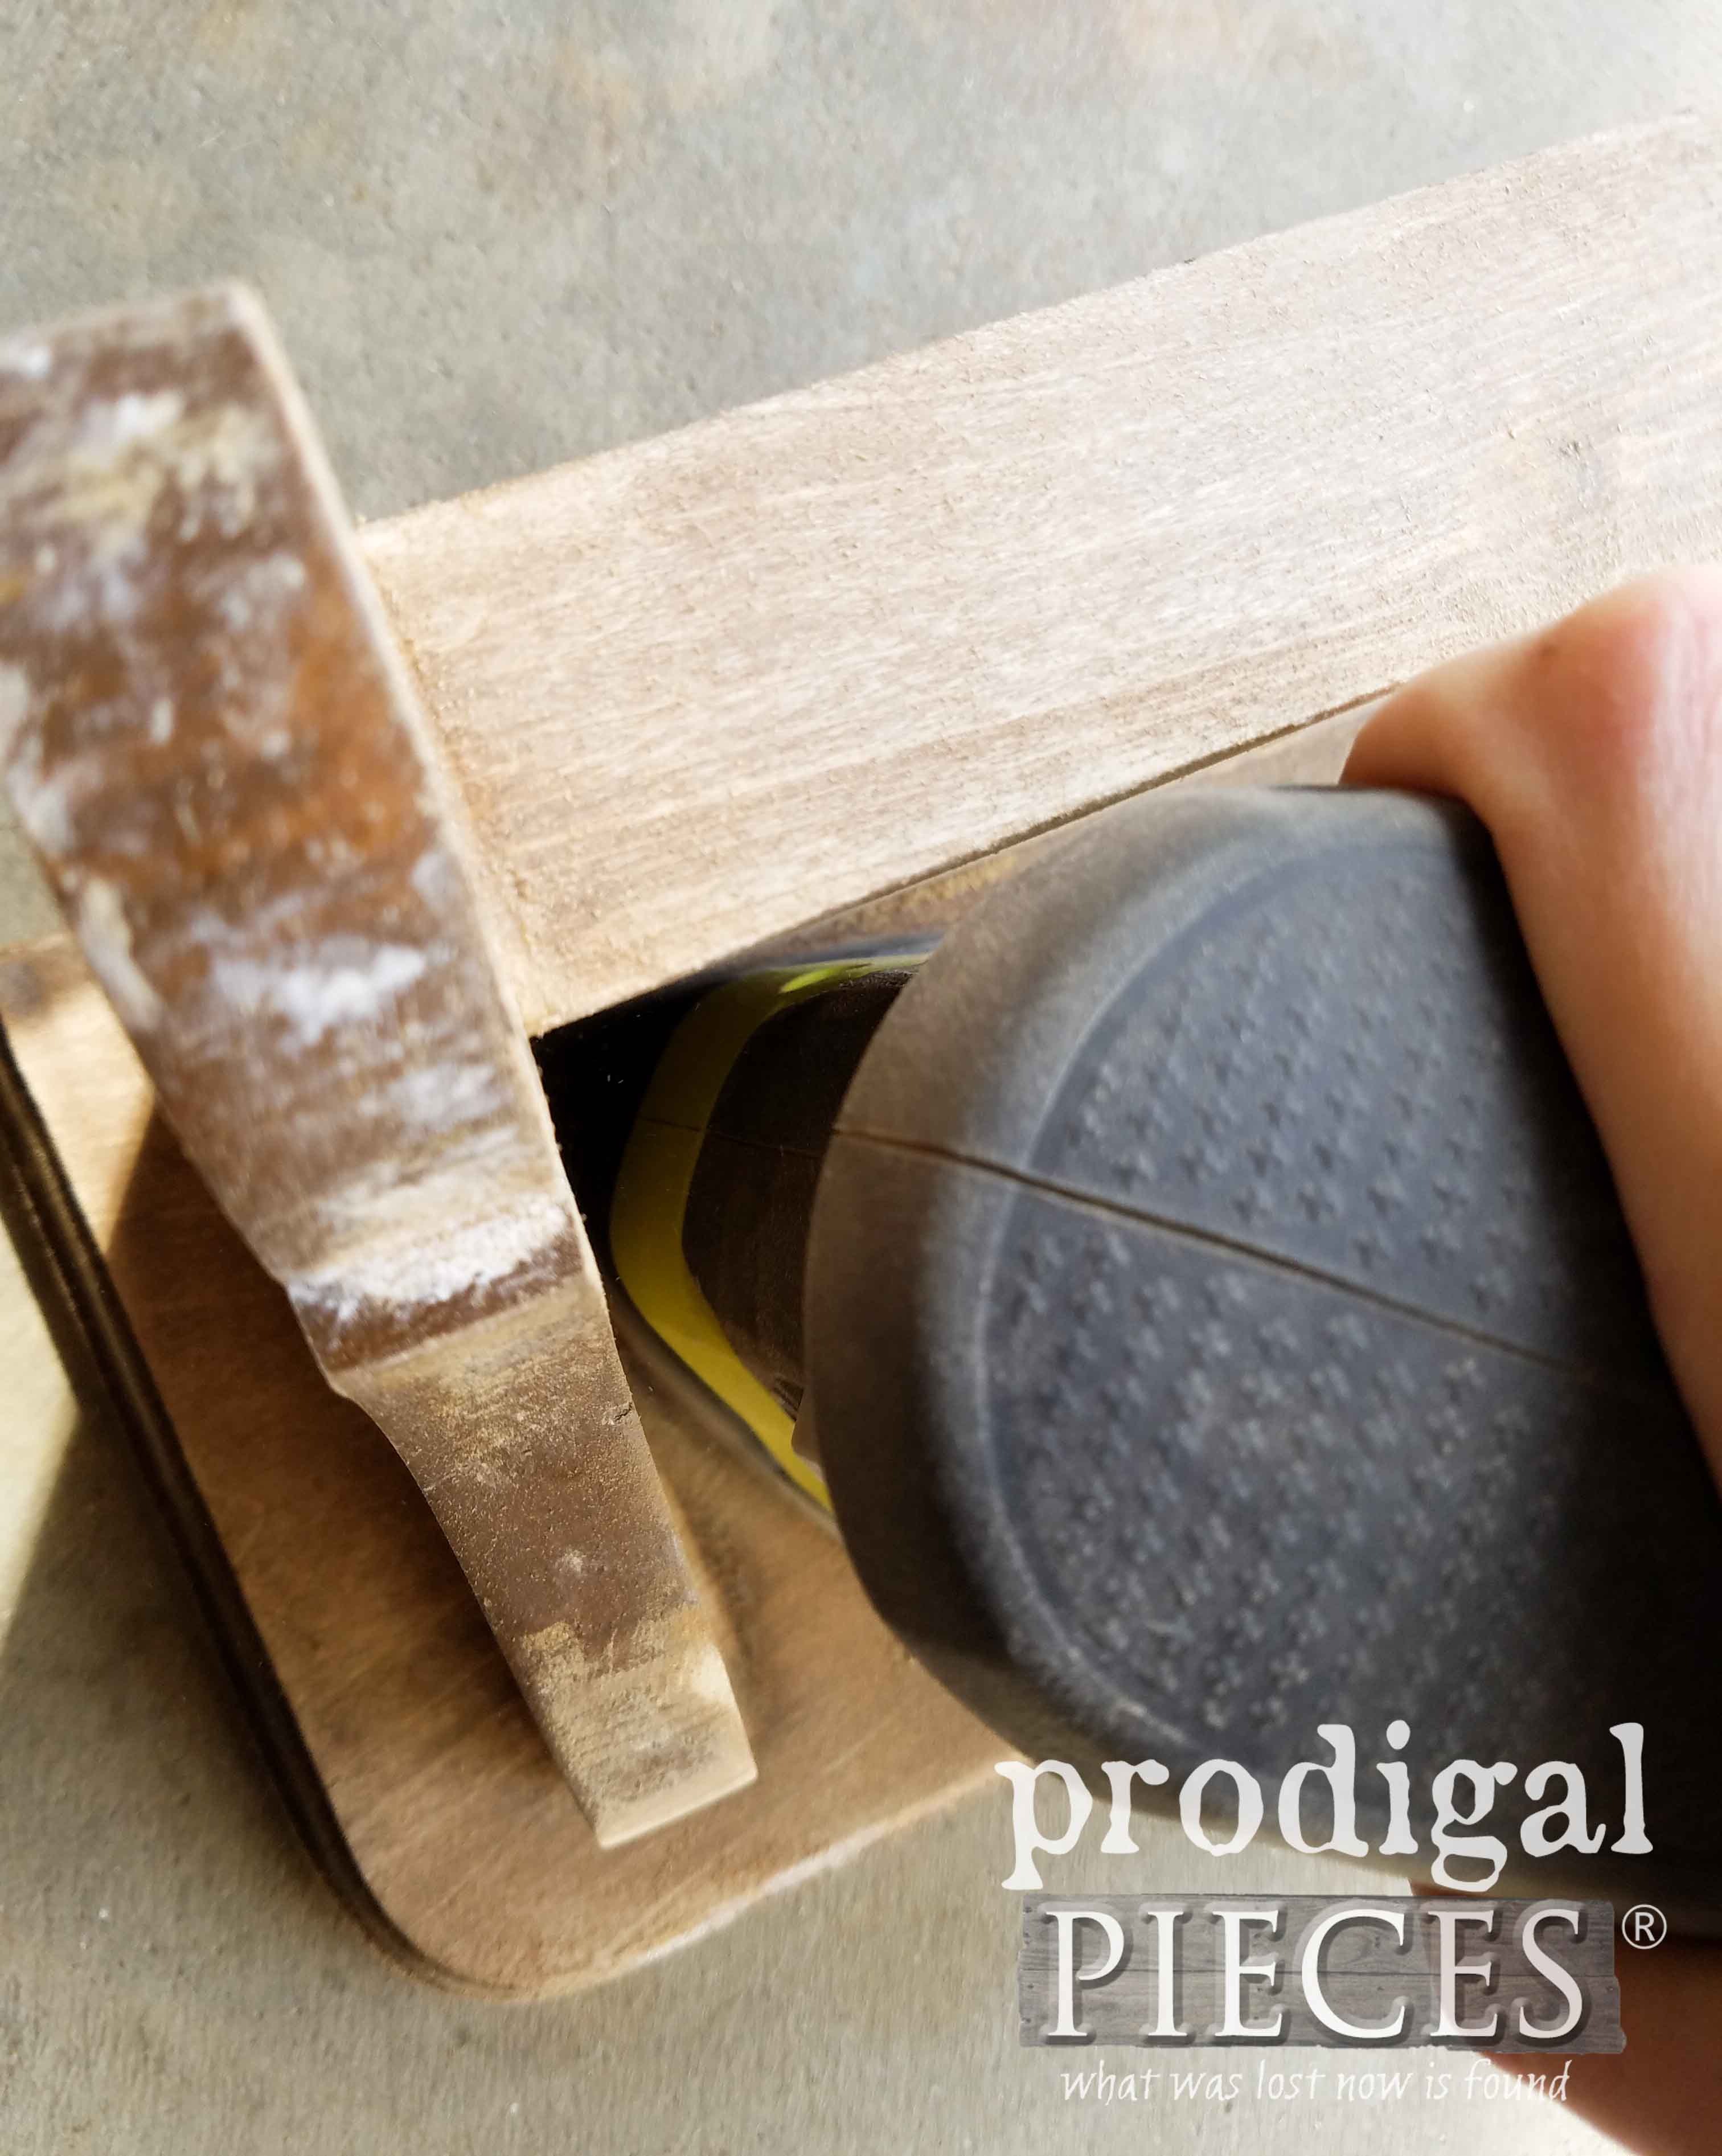
Now look how easy that Corner Cat jumps right in and knocks it out. It also does routed edges wonderfully.
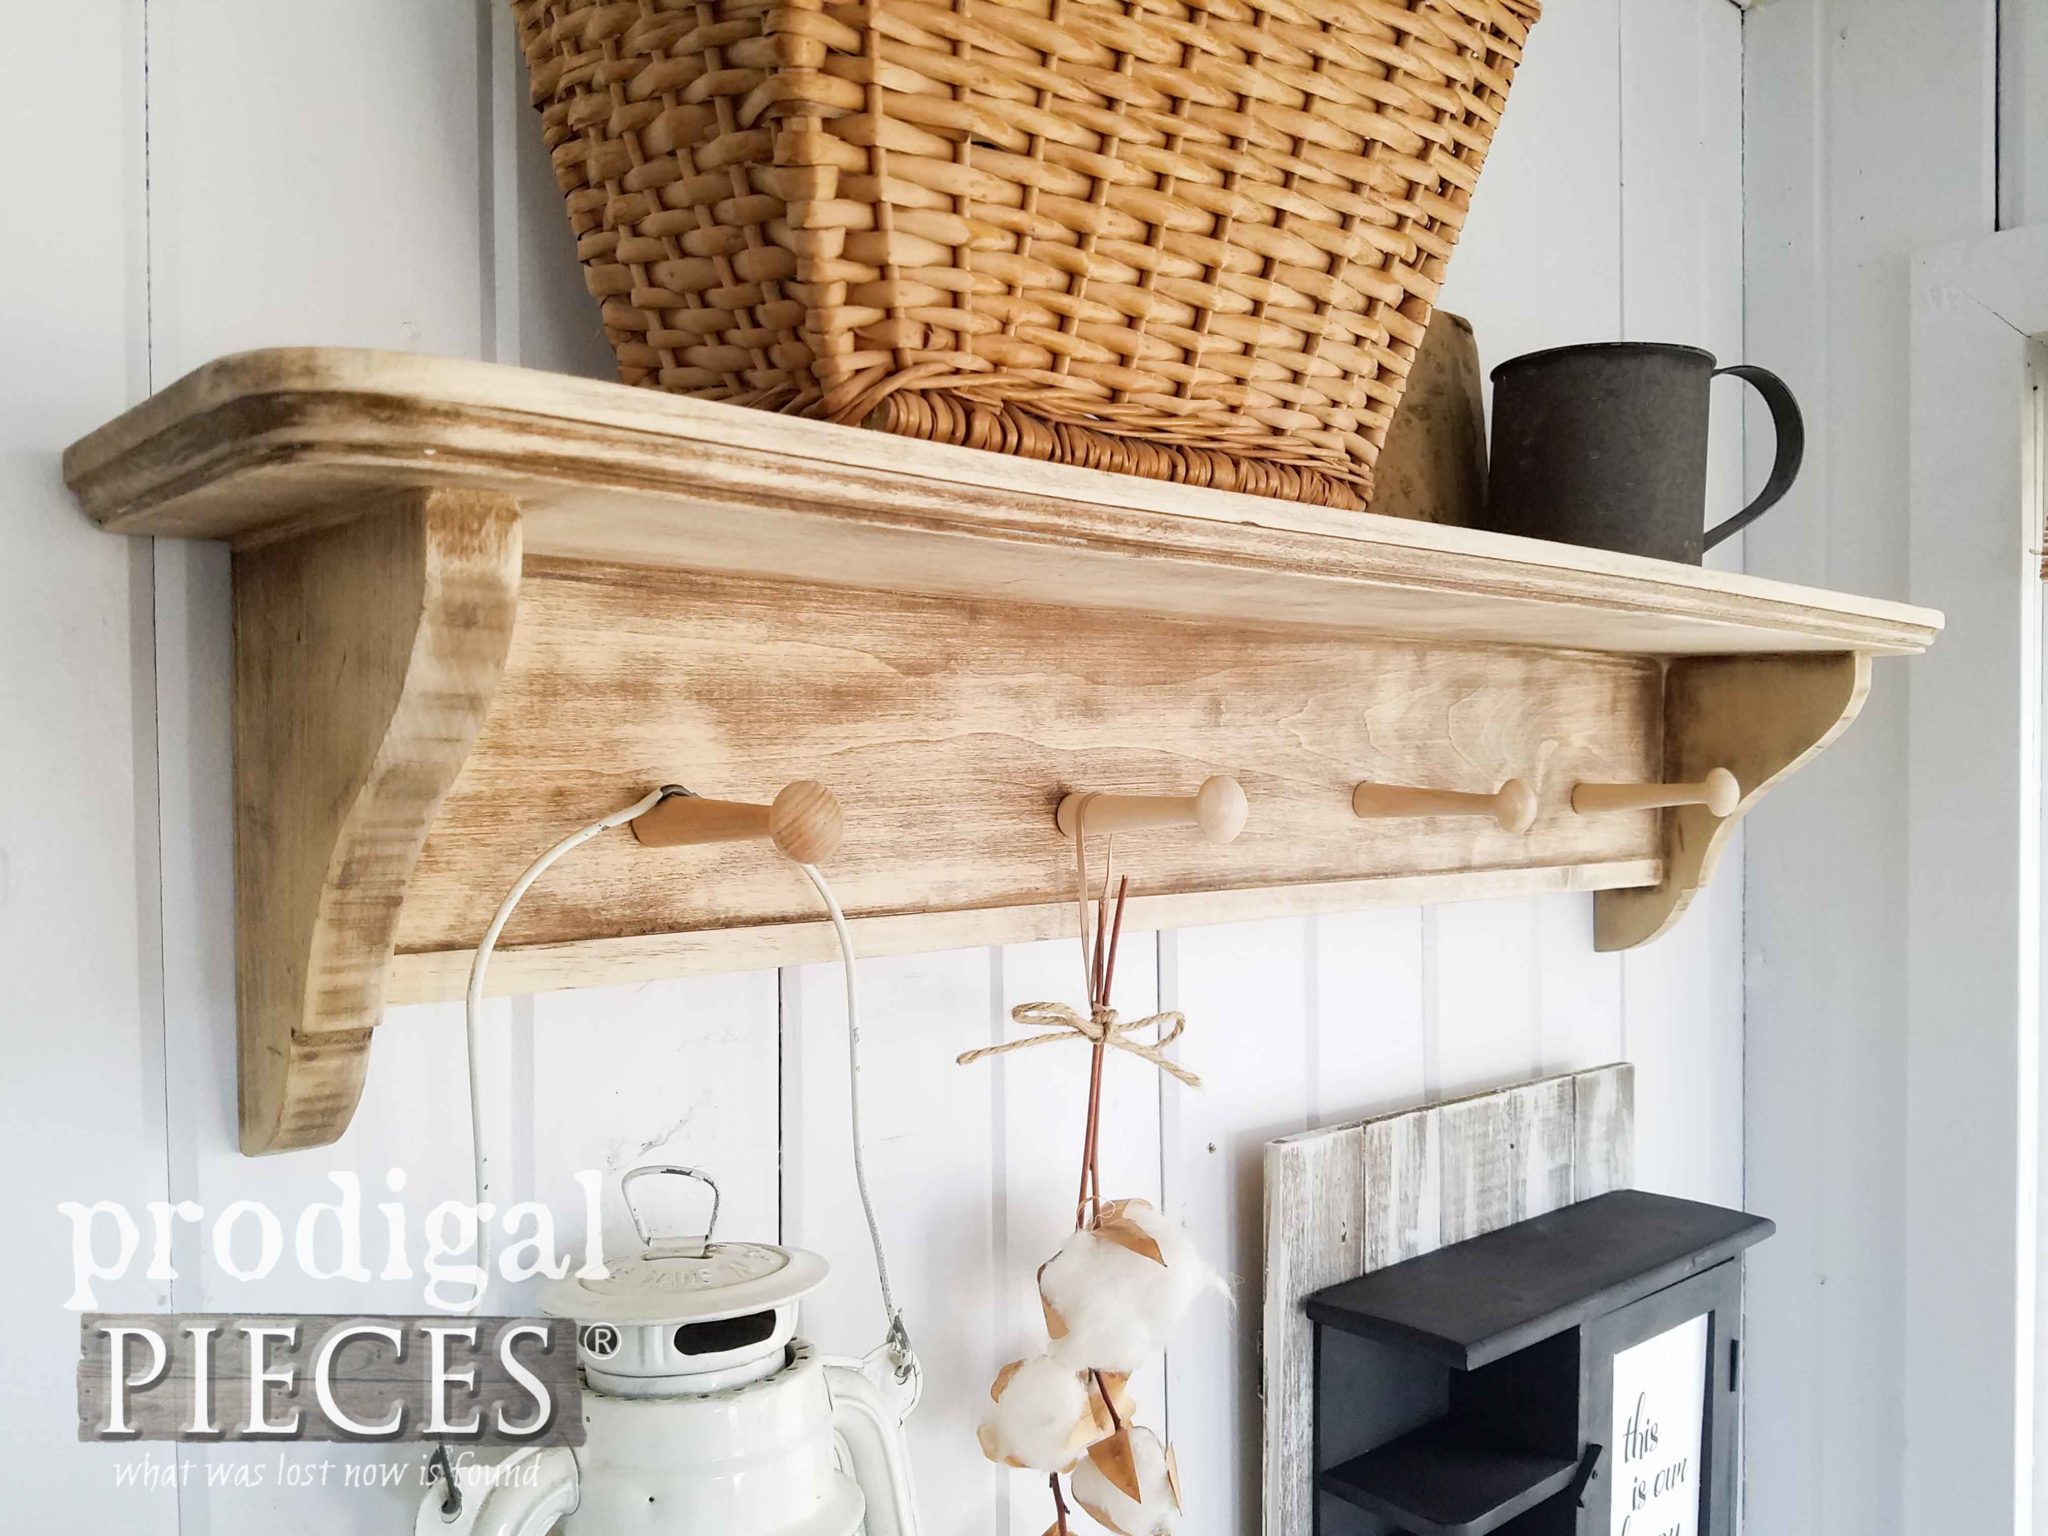
Now the shelf is prepped, and I want to give it even more purpose. A shelf is great, but a shelf with coat or towel rack is even better! I always have a stash on hand for my builds, and these shaker pegs are a must.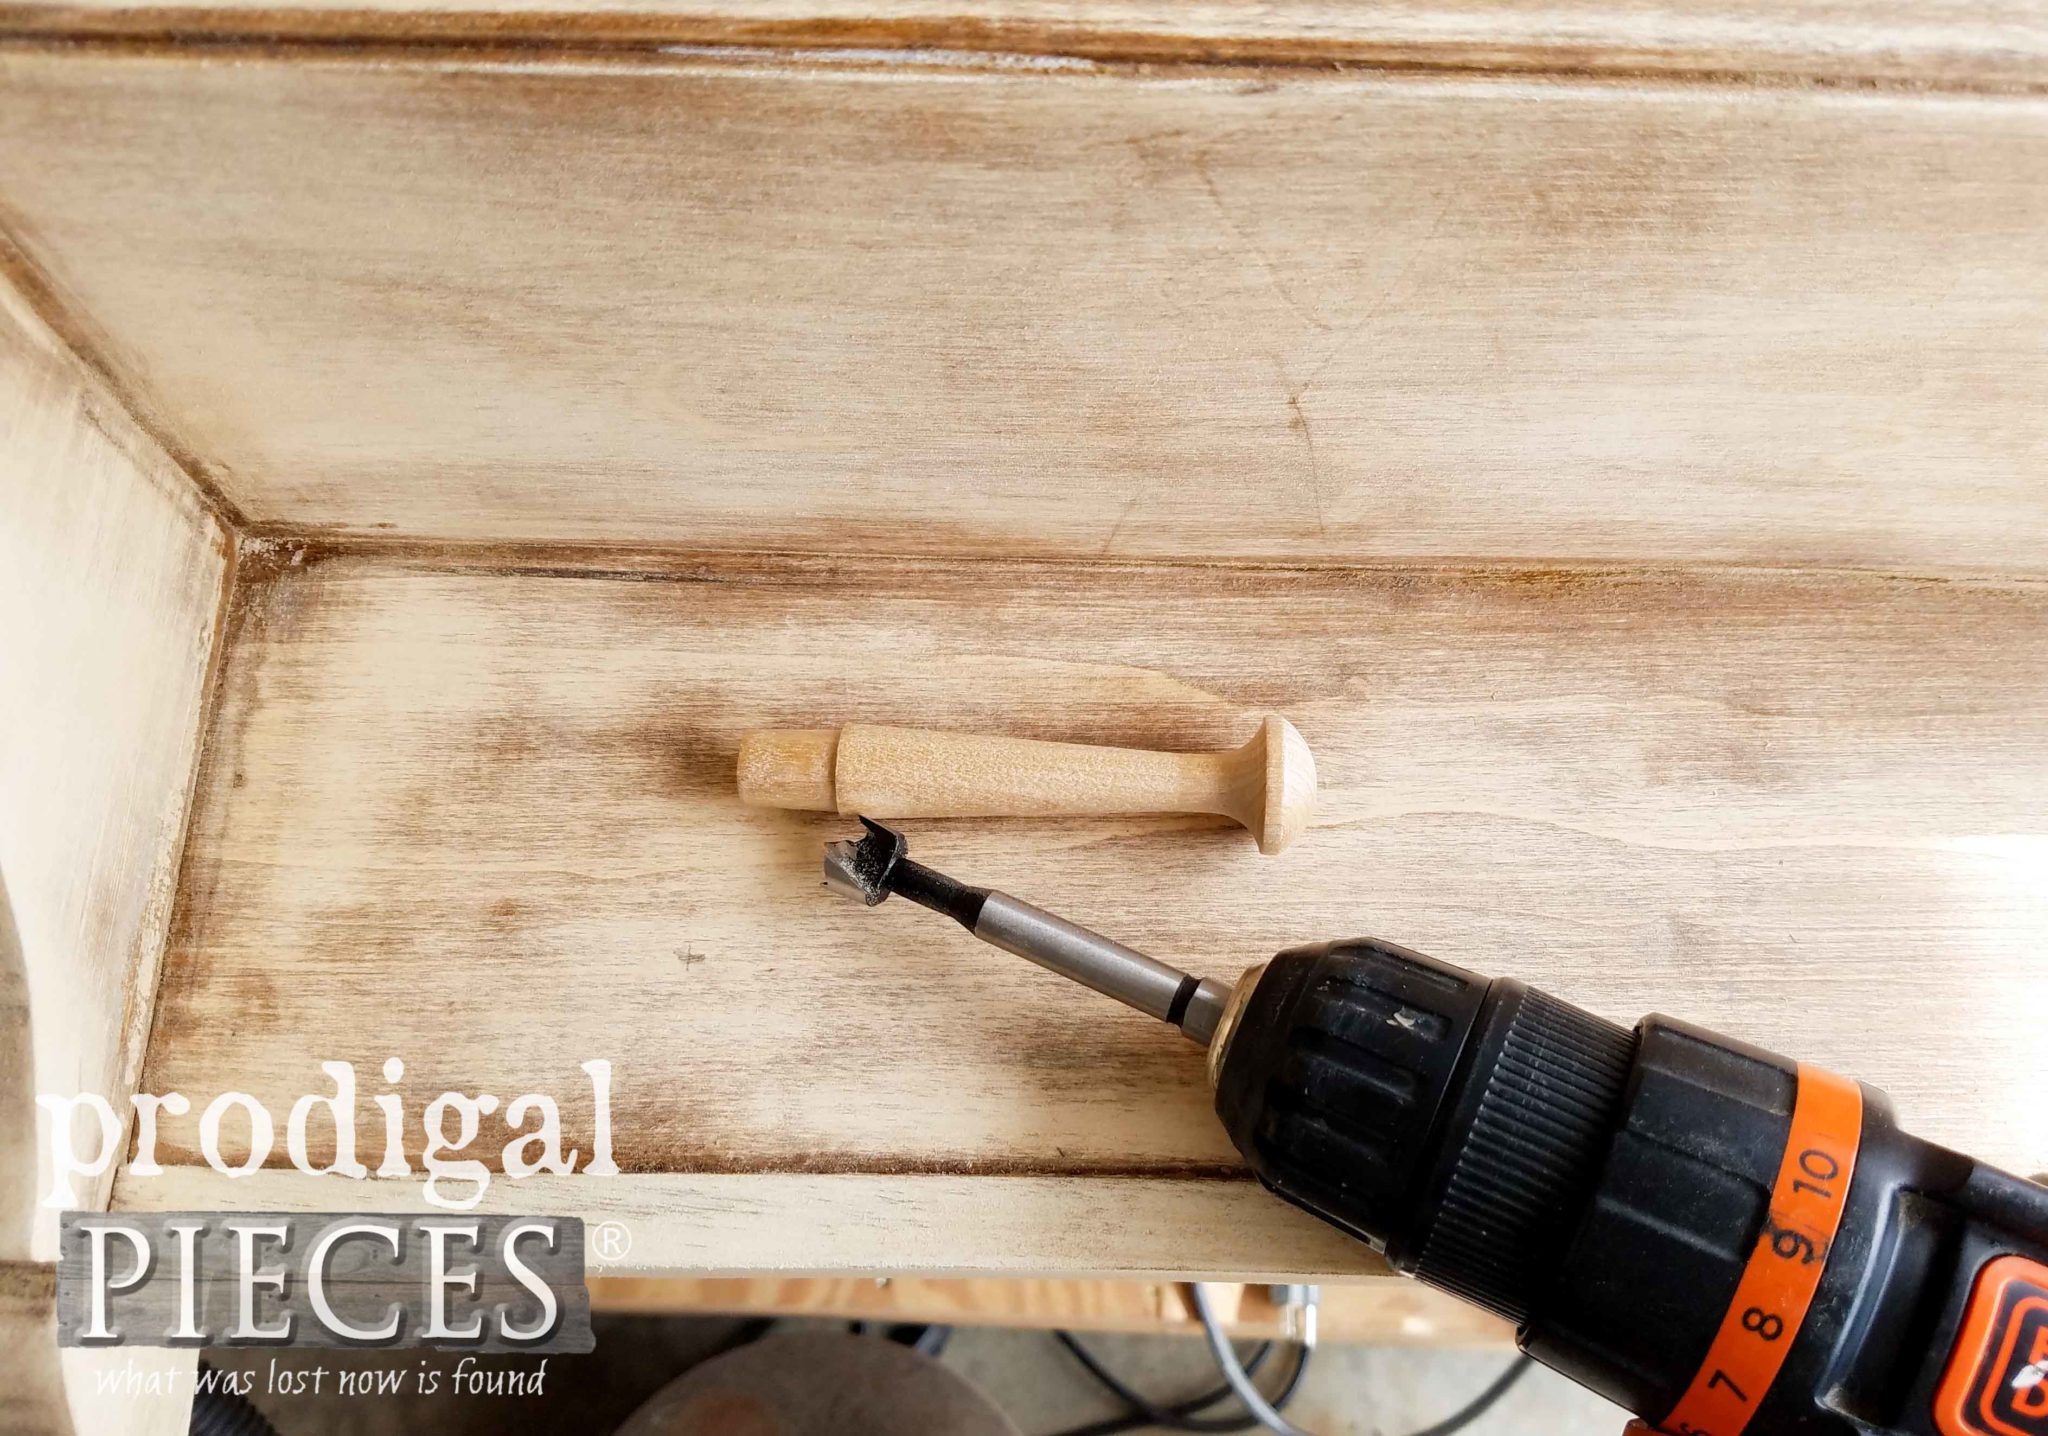
I use my drill and my forstner bit to create a hole, drop in the peg with some wood glue and we’re done. I’ll show you the after in a bit. Stay with me now.
UP NEXT
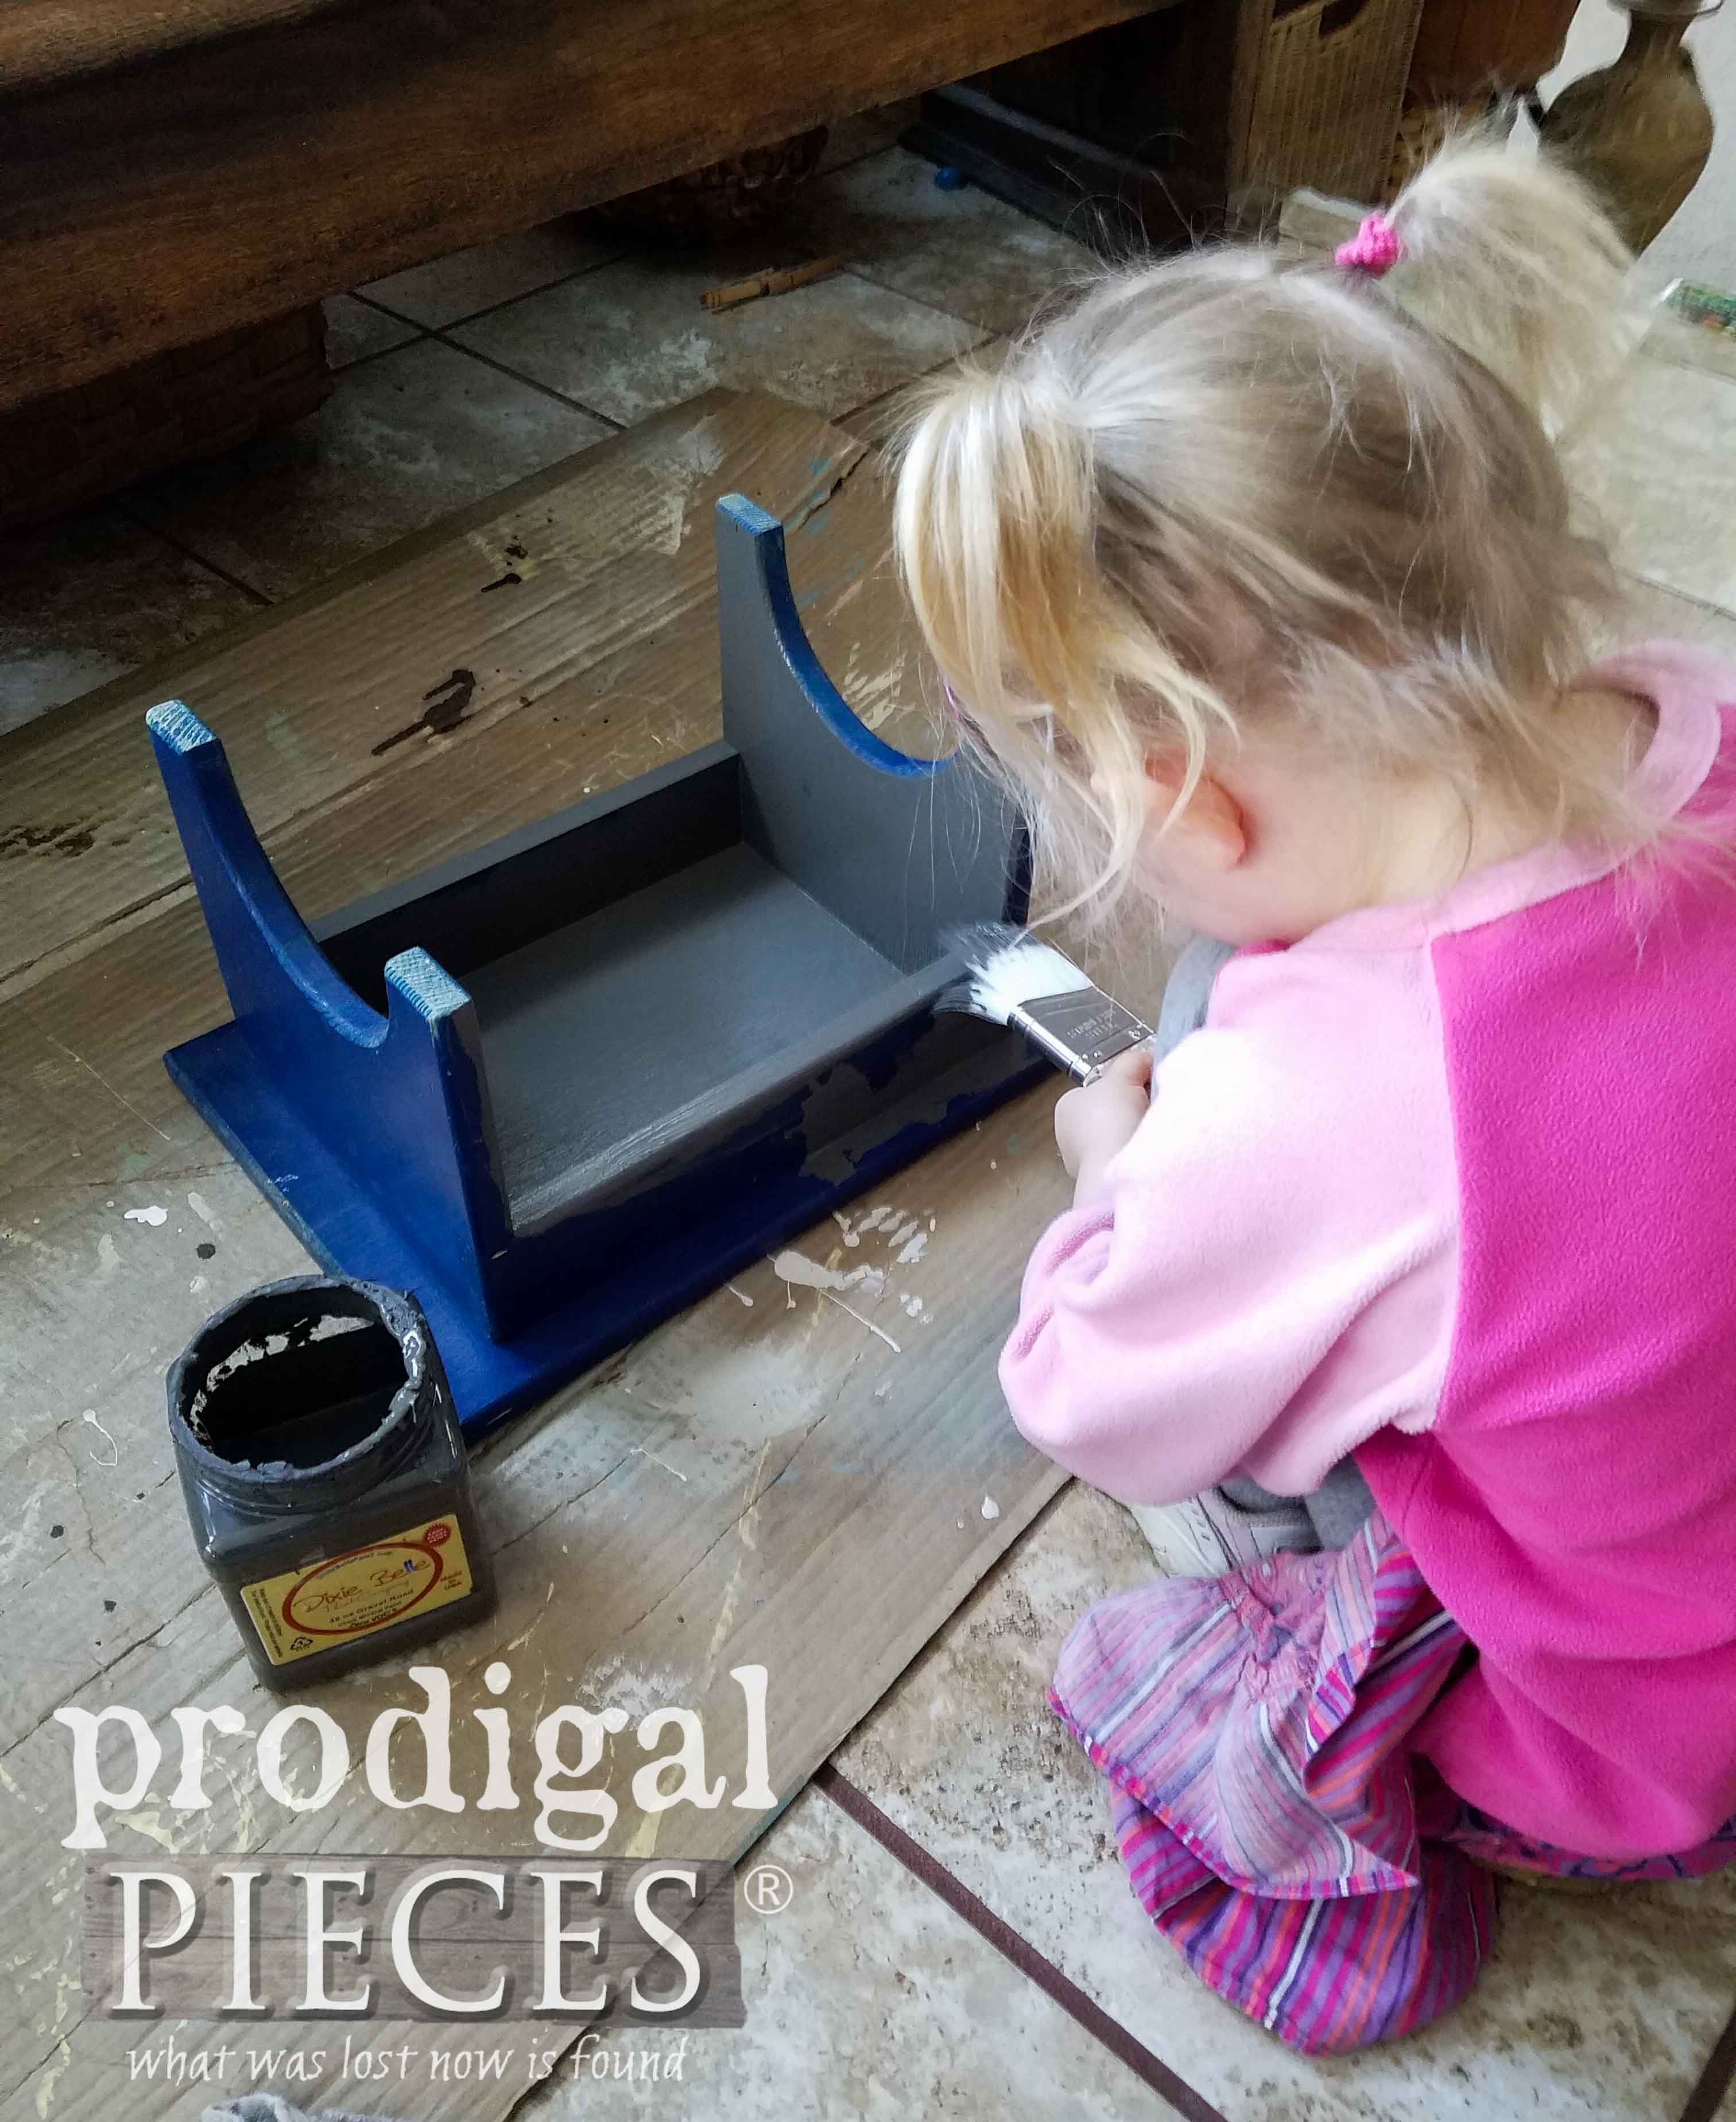
Next is that little wooden footstool. The blue with the red ducks has got to go buh-bye. My littlest took it on full force. She’s such an awesome helper!
TIME FOR PAINT
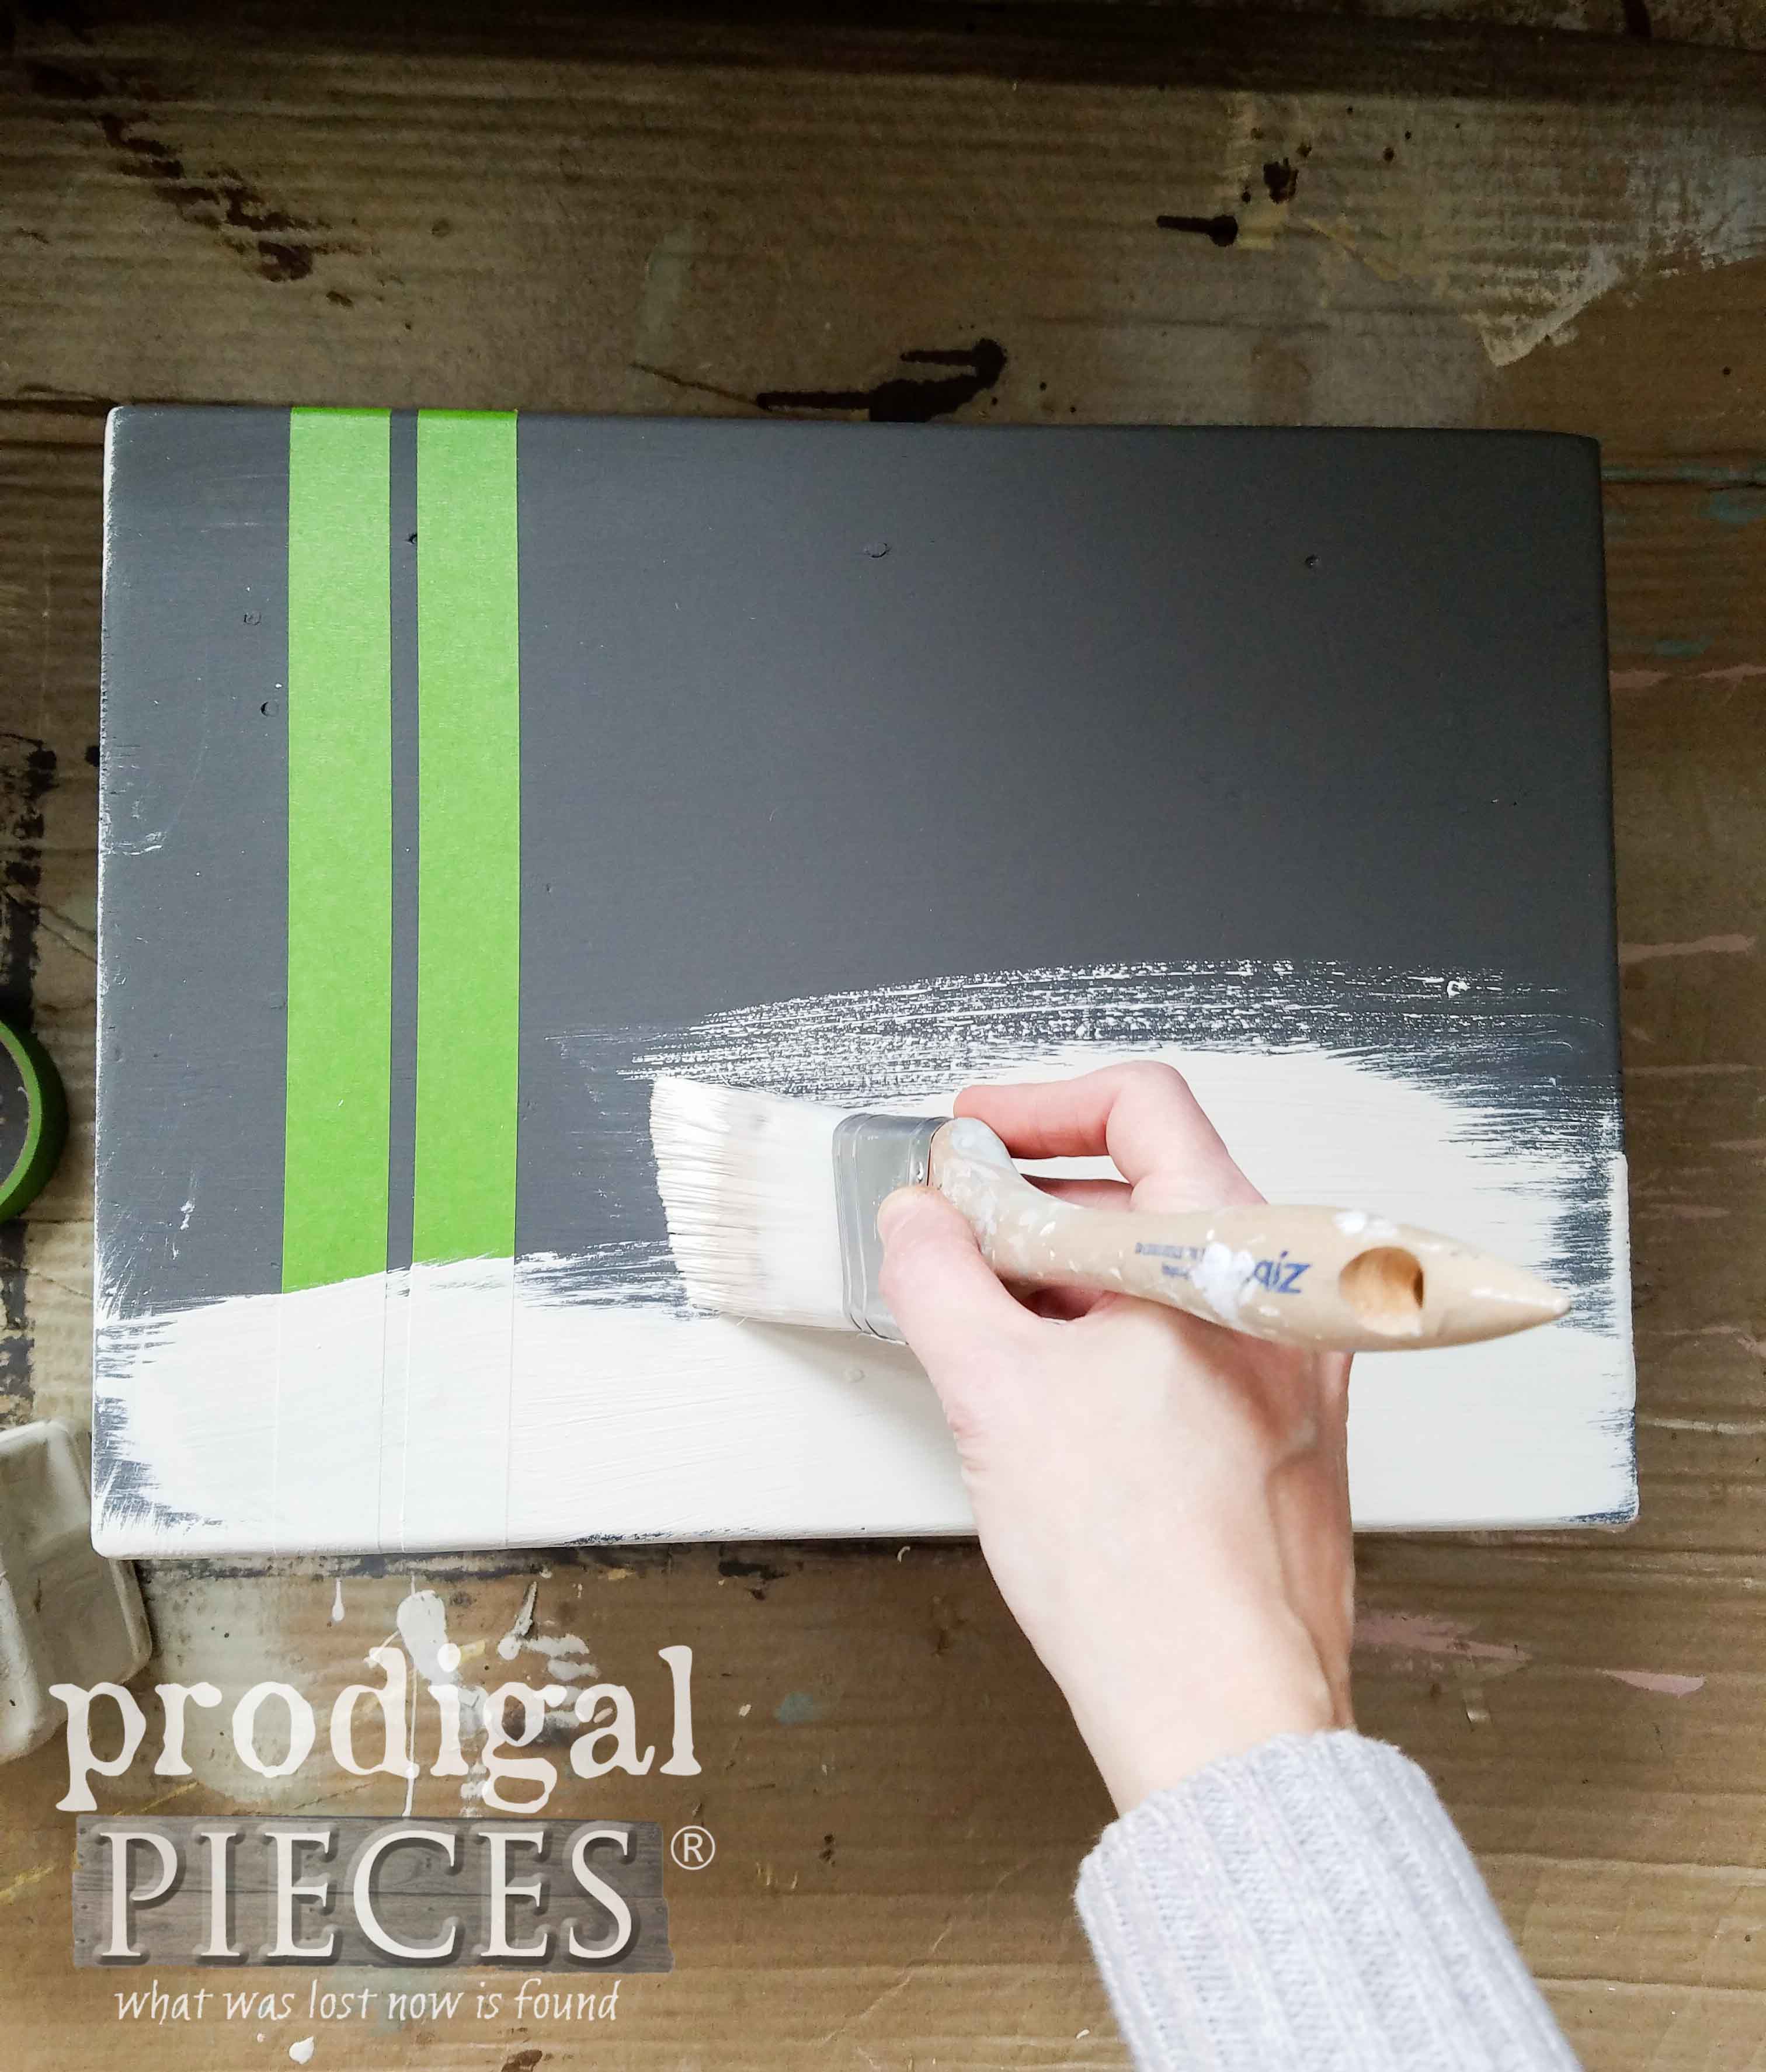
She’s using my and to give it two coats of a dark gray paint. After the second coat cures, we add some FrogTape to mark off some grain sack lines, and then apply a coat of a creamy white over top.
Since I’m going for a DIY farmhouse decor look, I just do a washed coat and pull up the tape instantly. I added one more thing that I’ll show you in a bit.
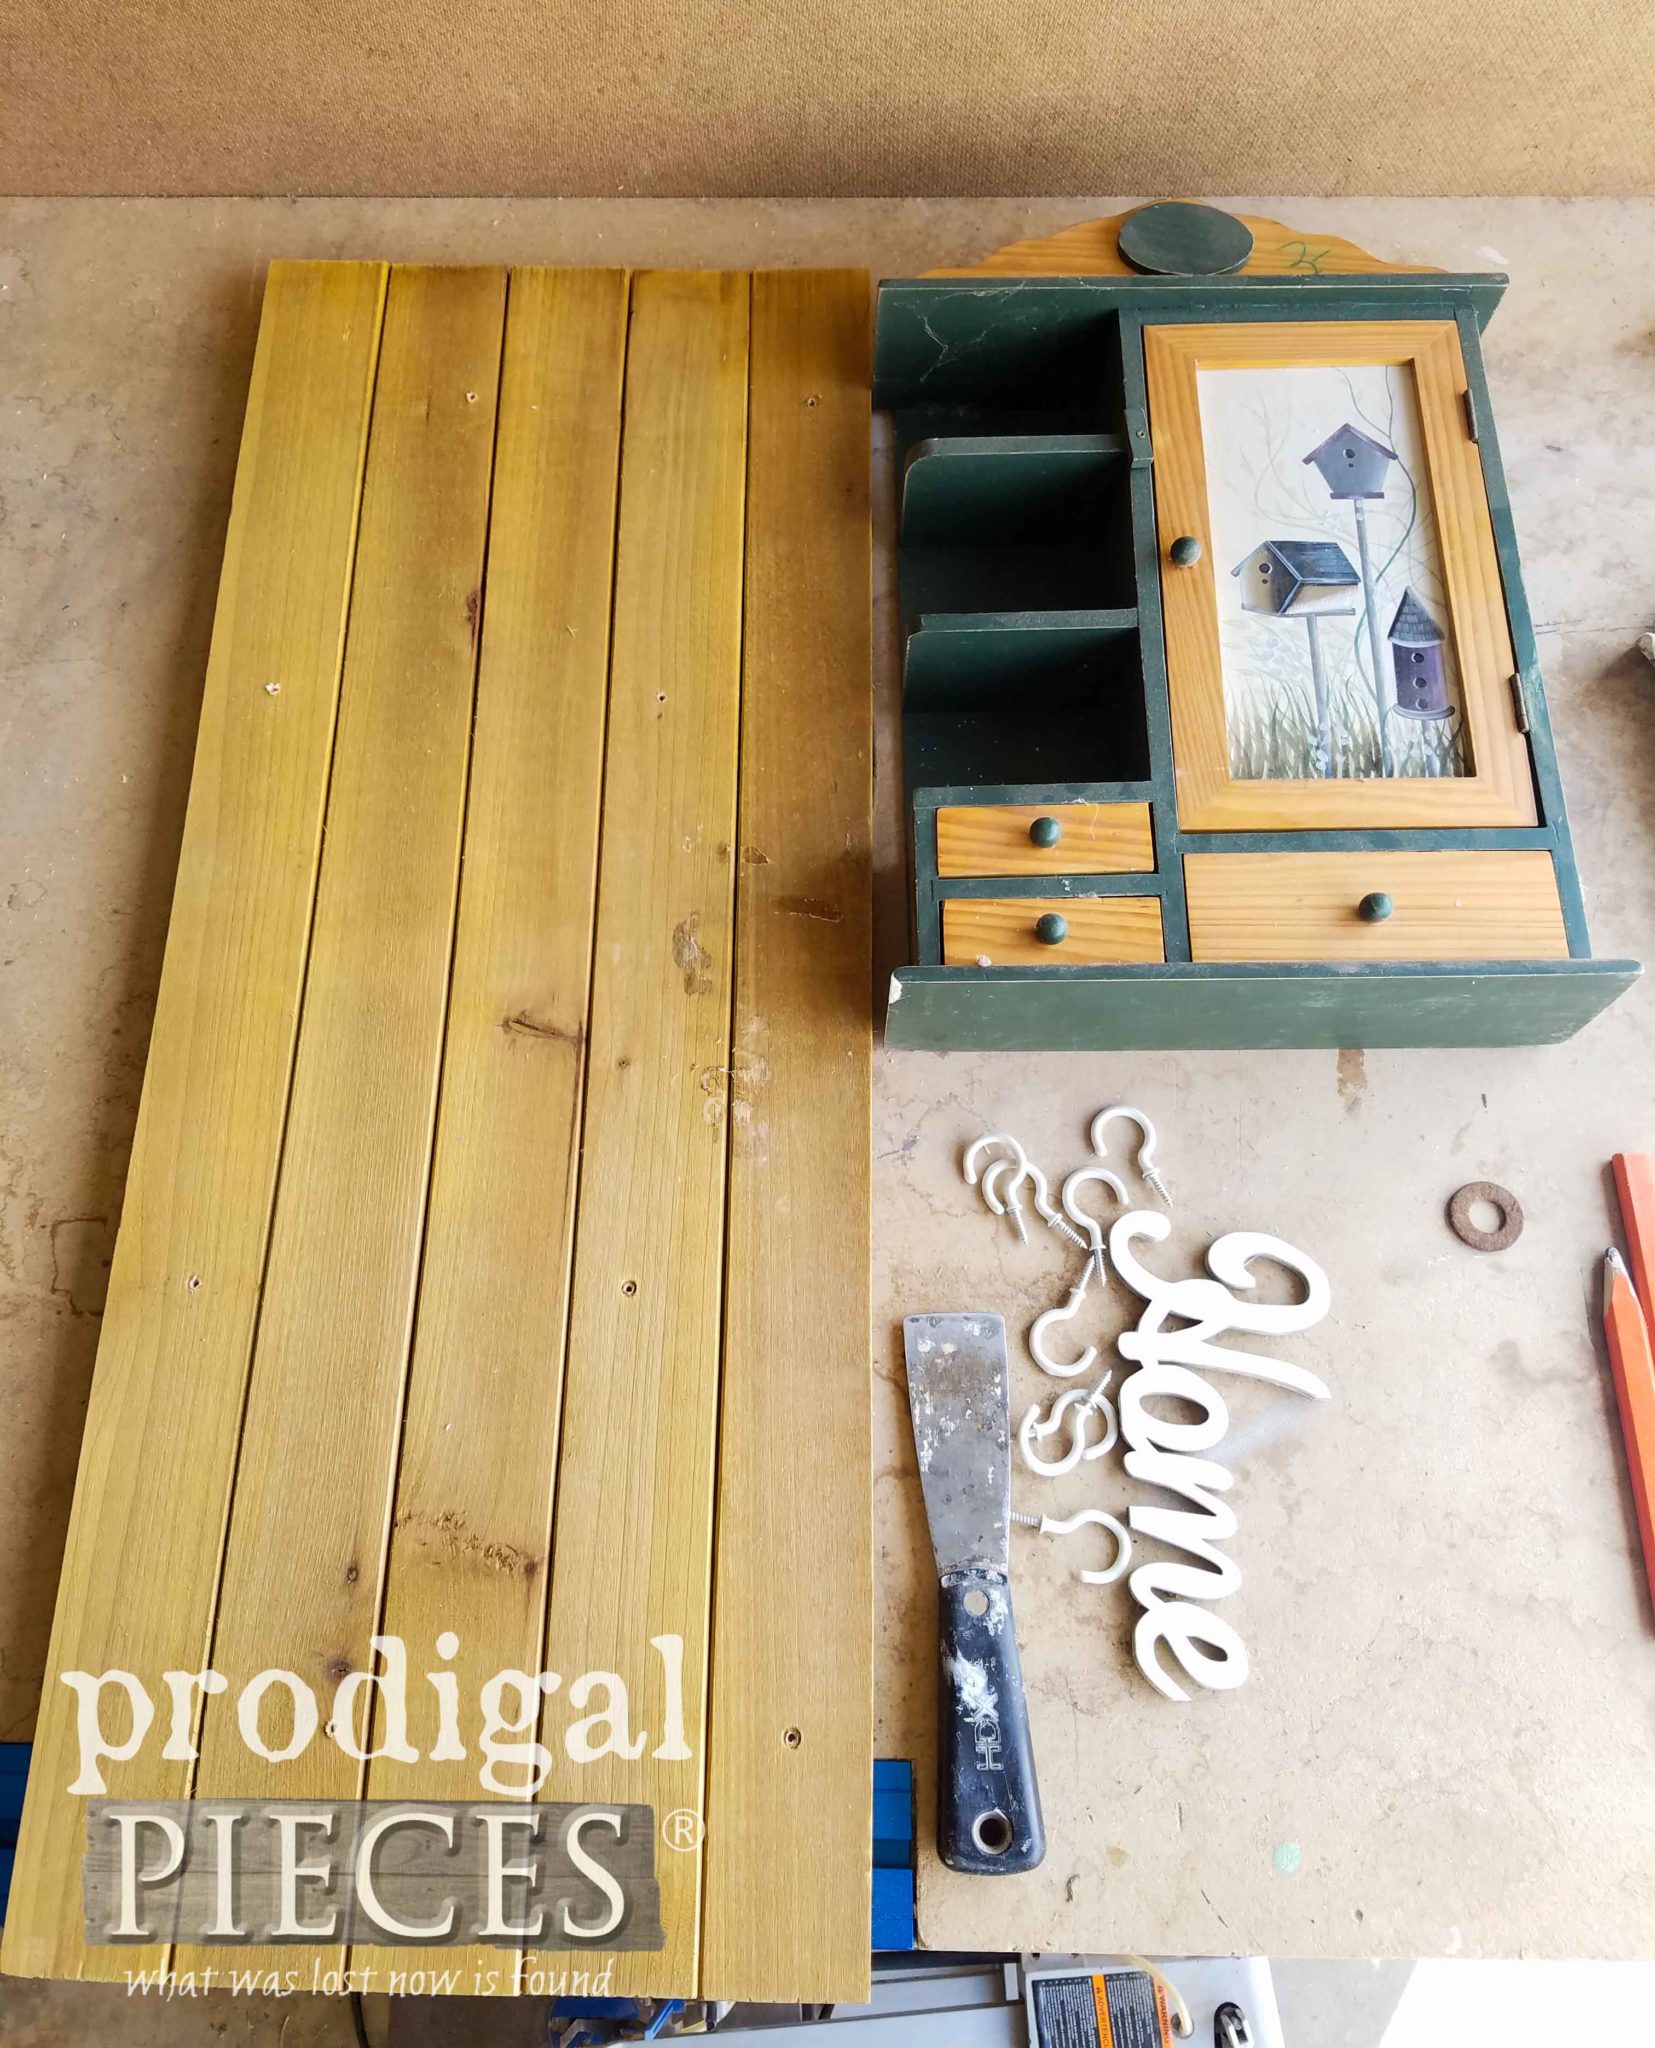
Okay, not time for the last two pieces: the cubby and wall decor. Both of these are the cheaply made kinda decor that many throw away. Someone even added hooks that were too big and stuck out the back.
First, I remove the “Home” applique, twine hanger, and hooks. I didn’t want the holes from the hooks to remain, so I filled them with wood filler and sanded down when cured. Then, I took Briarsmoke stain and applied it directly to the wood slats to deepen the color, wiped off, and let cure.
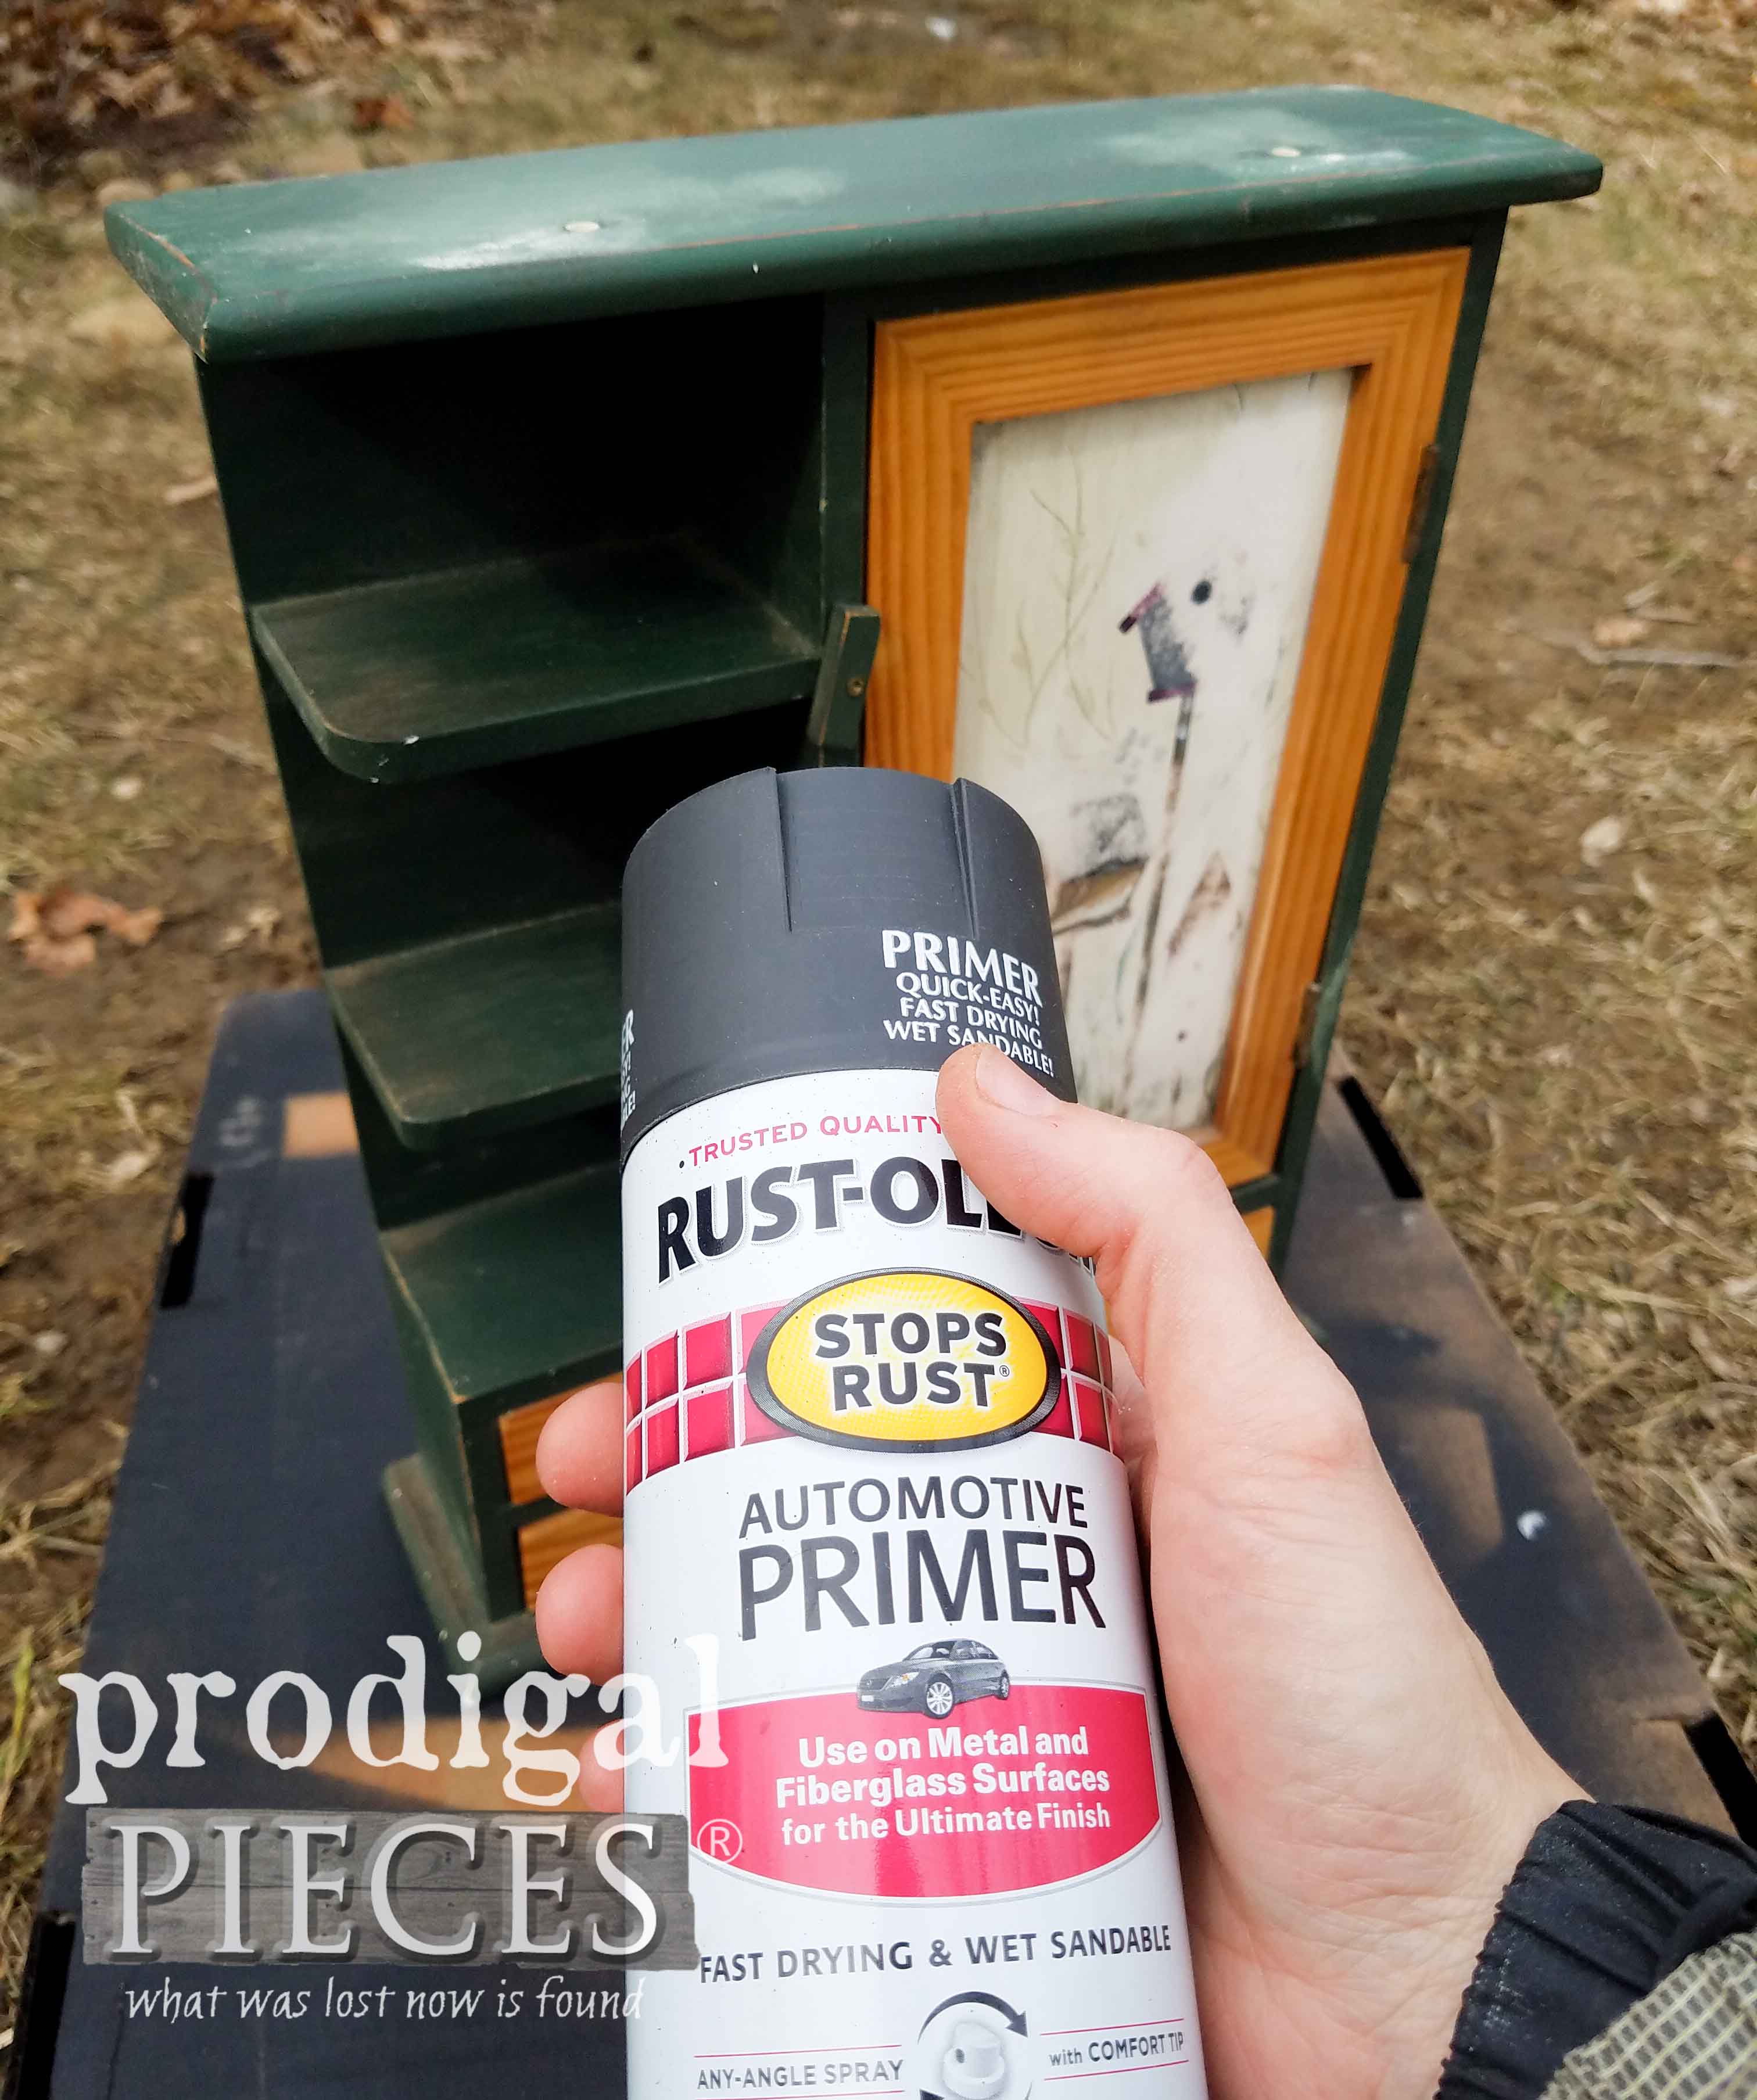
While the stain is curing, I yank the top decorative piece off that cubby (saved for another life), fill the holes with wood filler and sand it down. Since I didn’t care for the green and birdhouses, it’s time to grab my spray paint. I’m using the same Flat Gray I used on my cart I built a few months back HERE.
REVEAL TIME
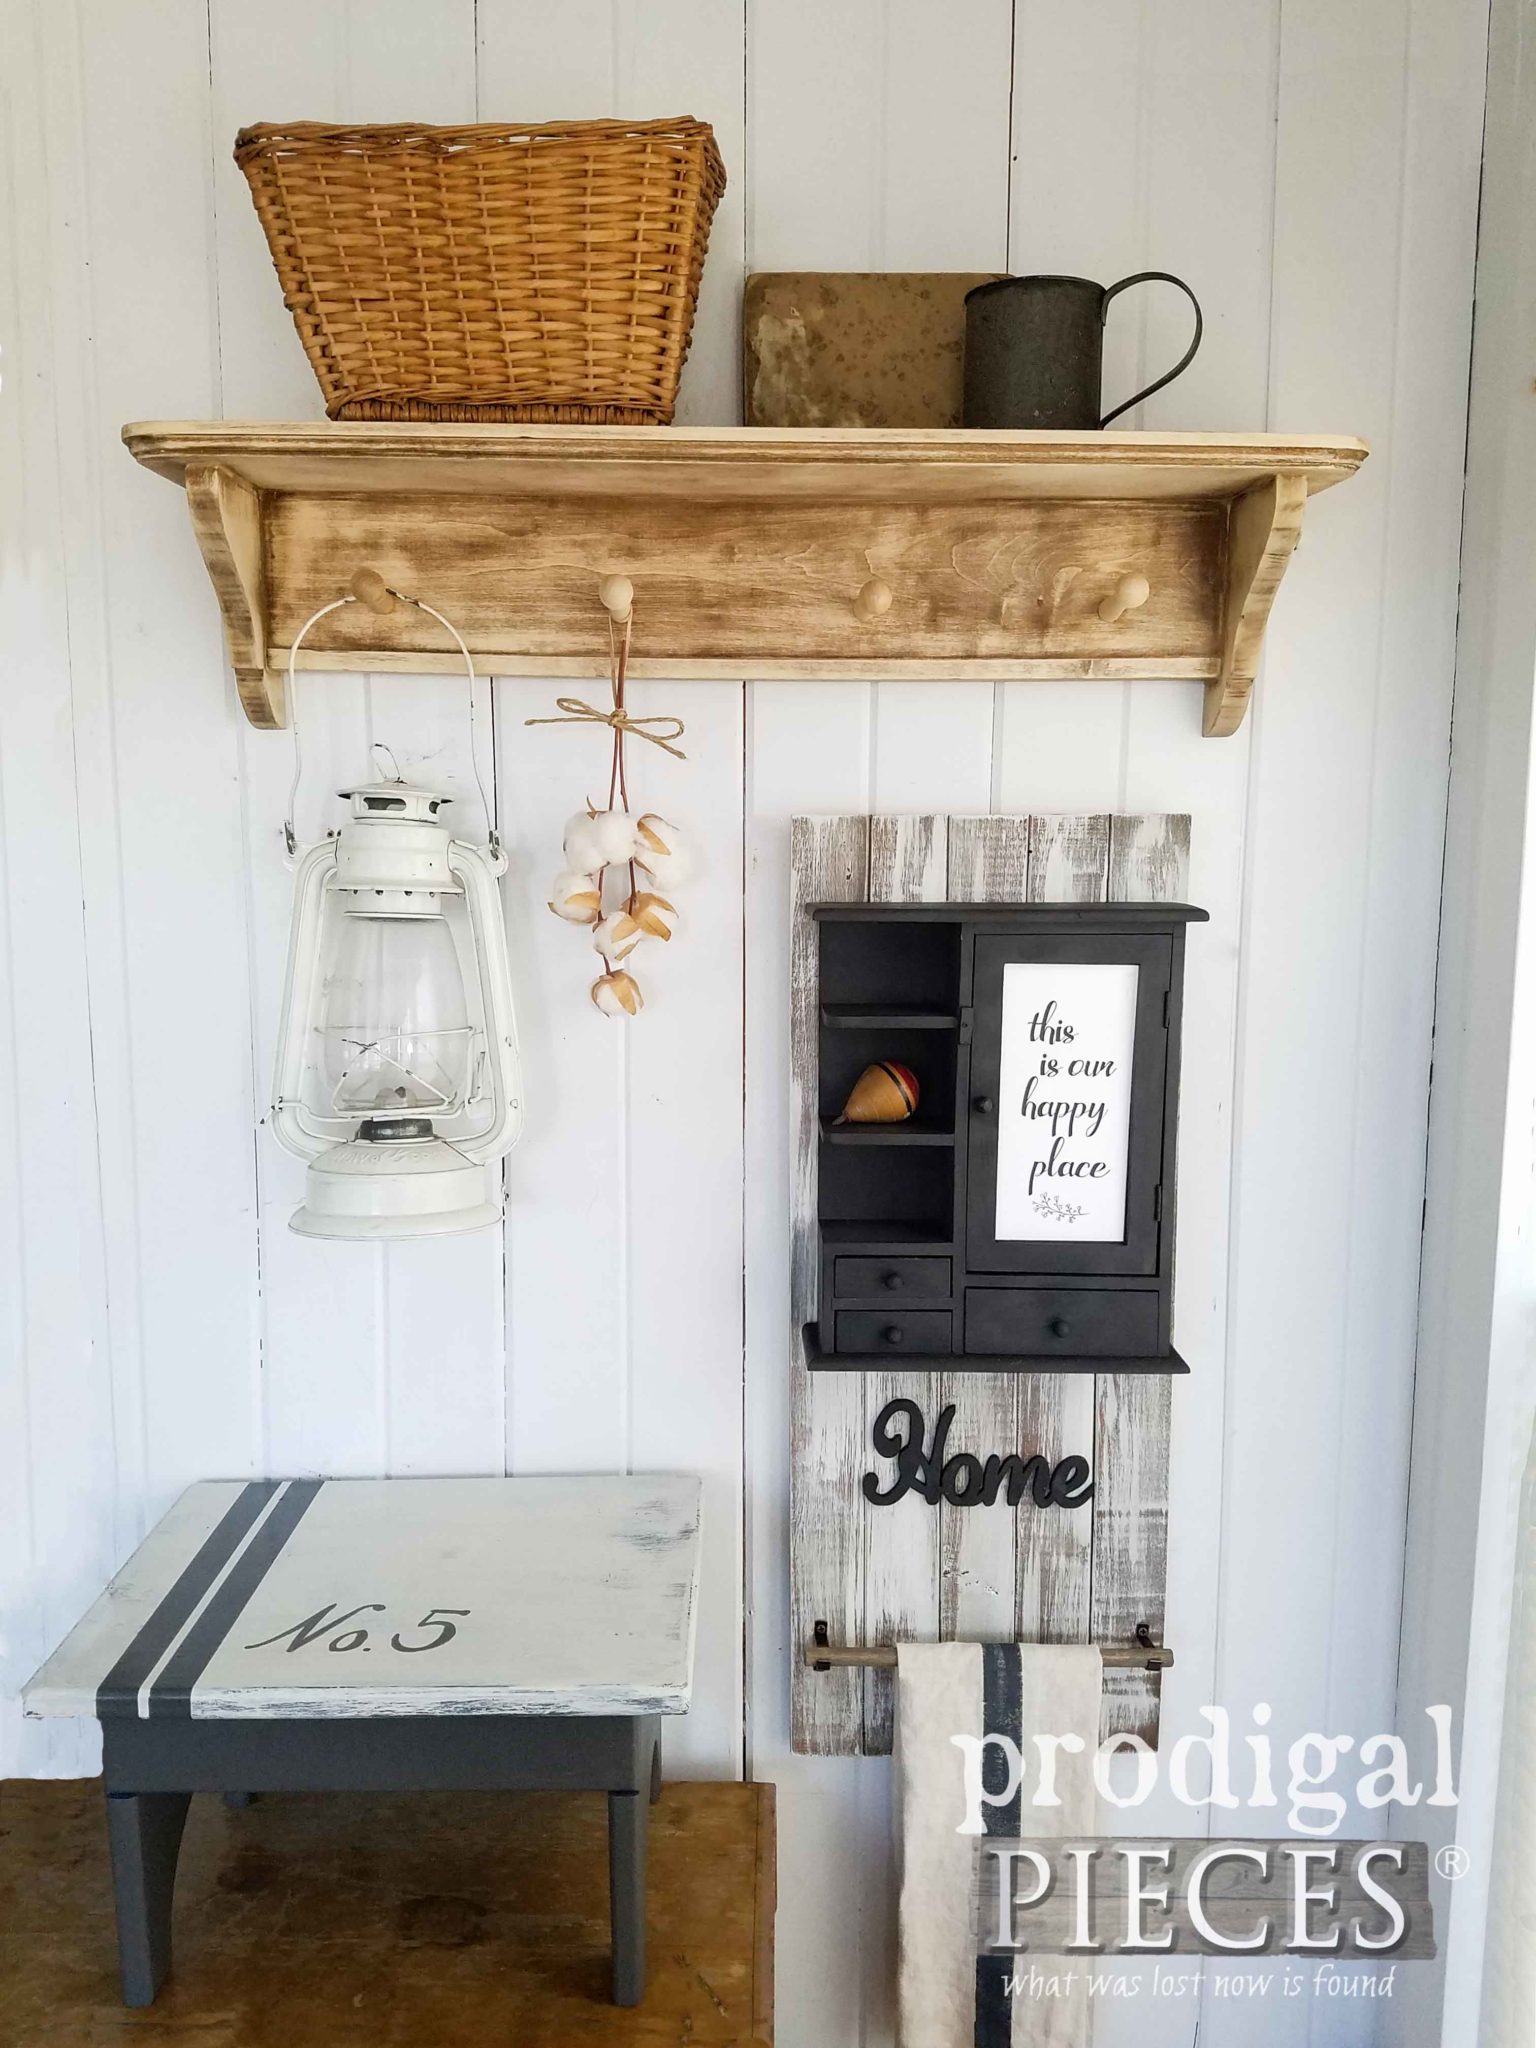
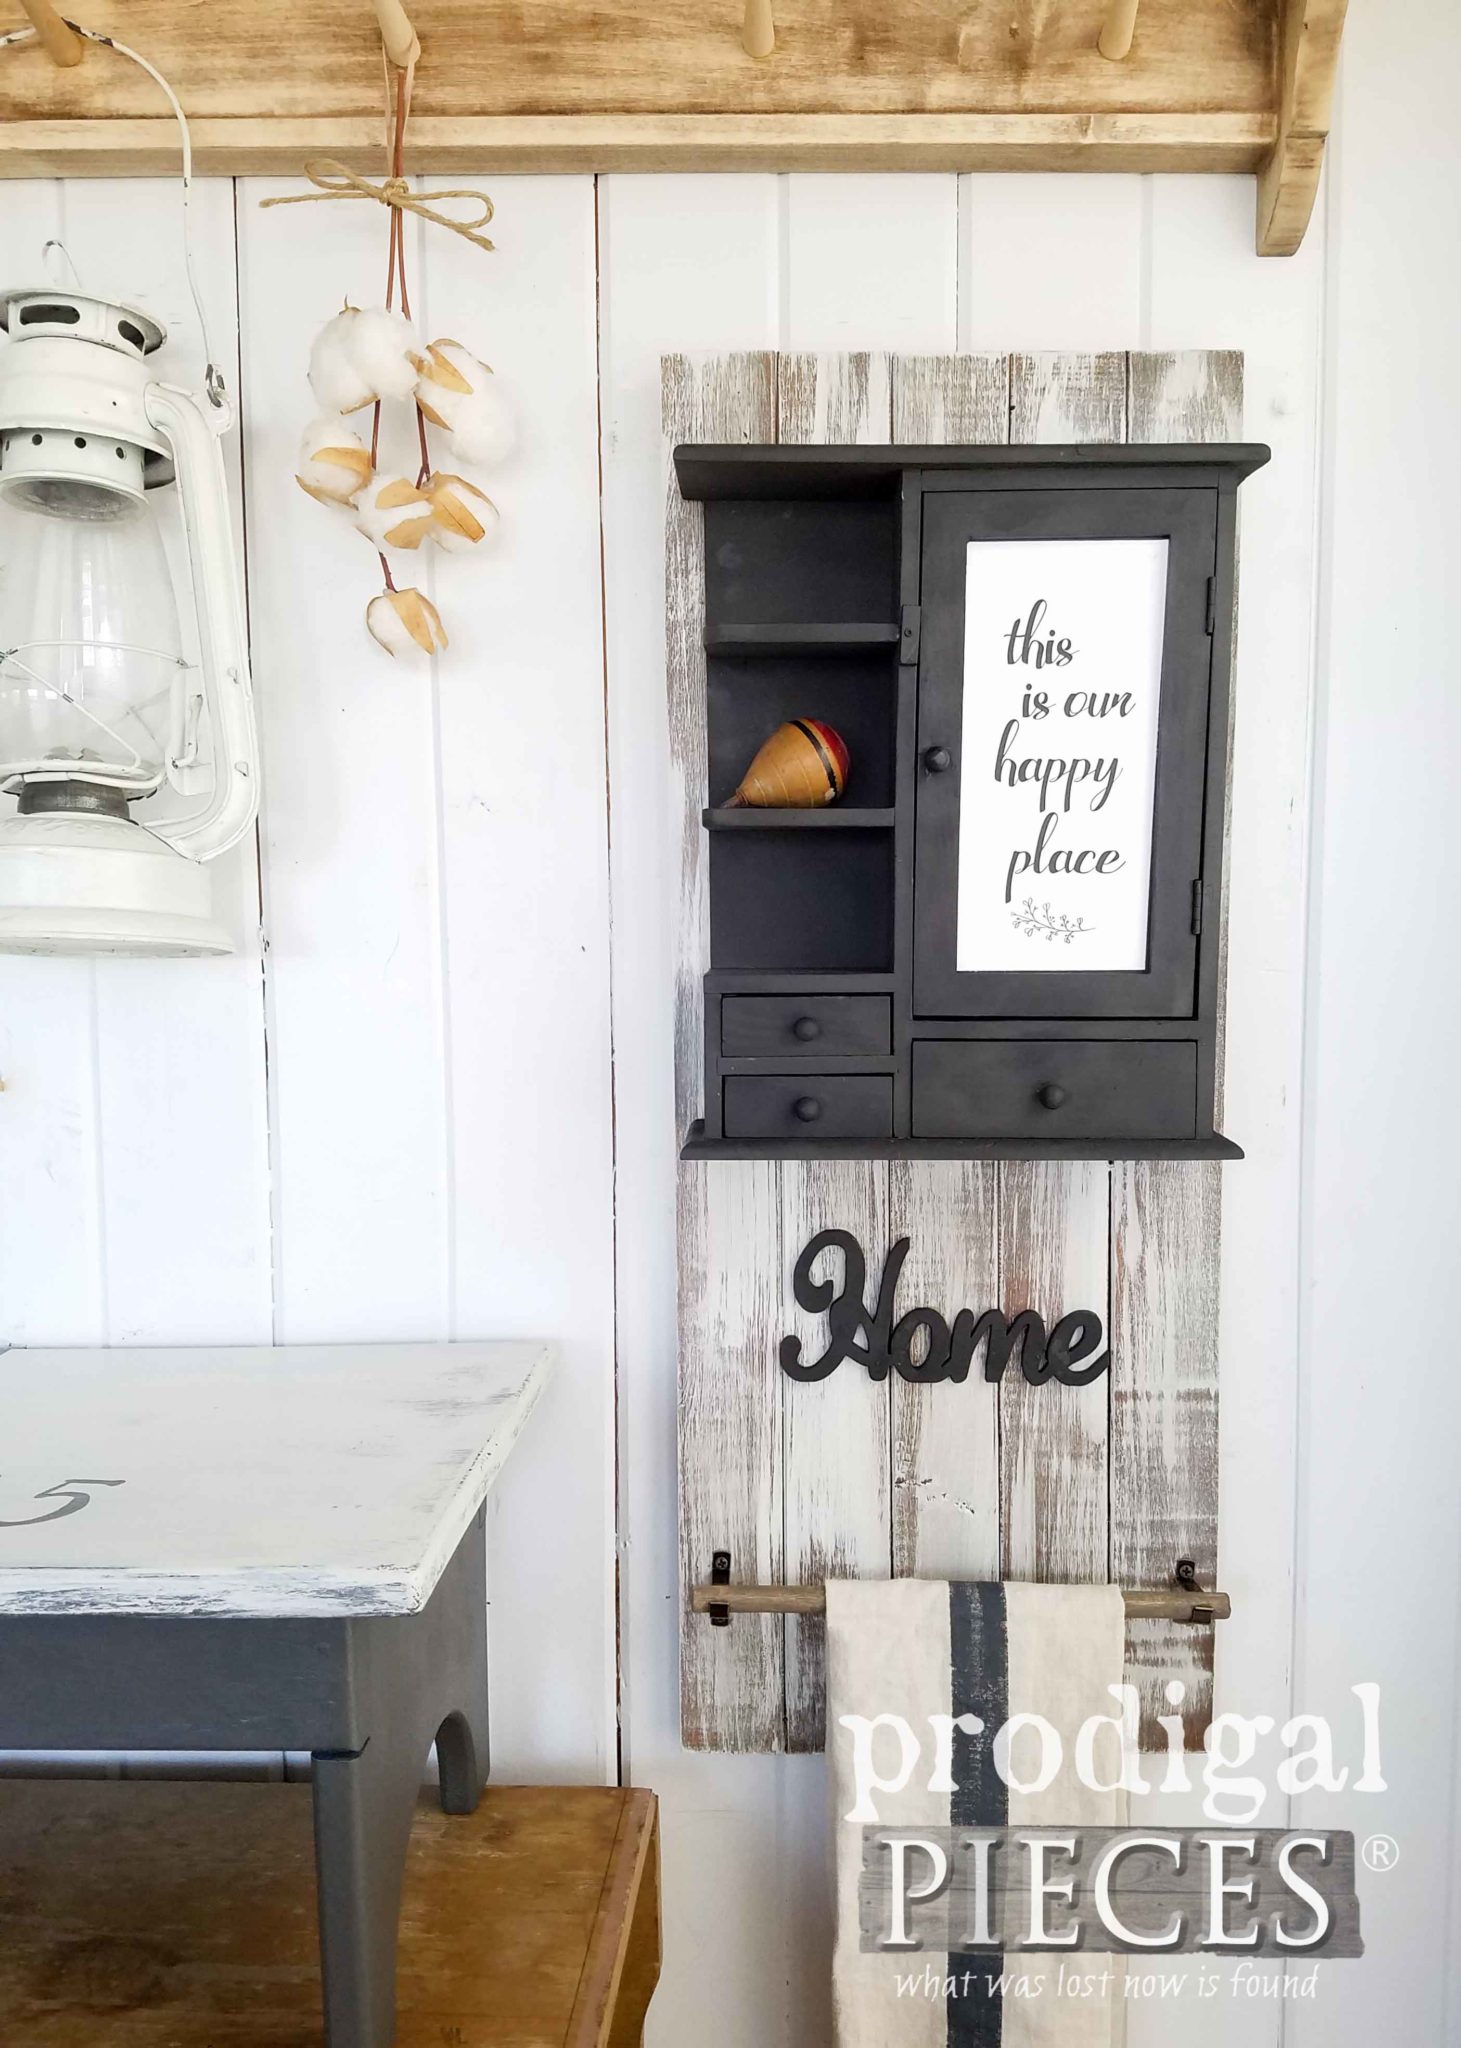
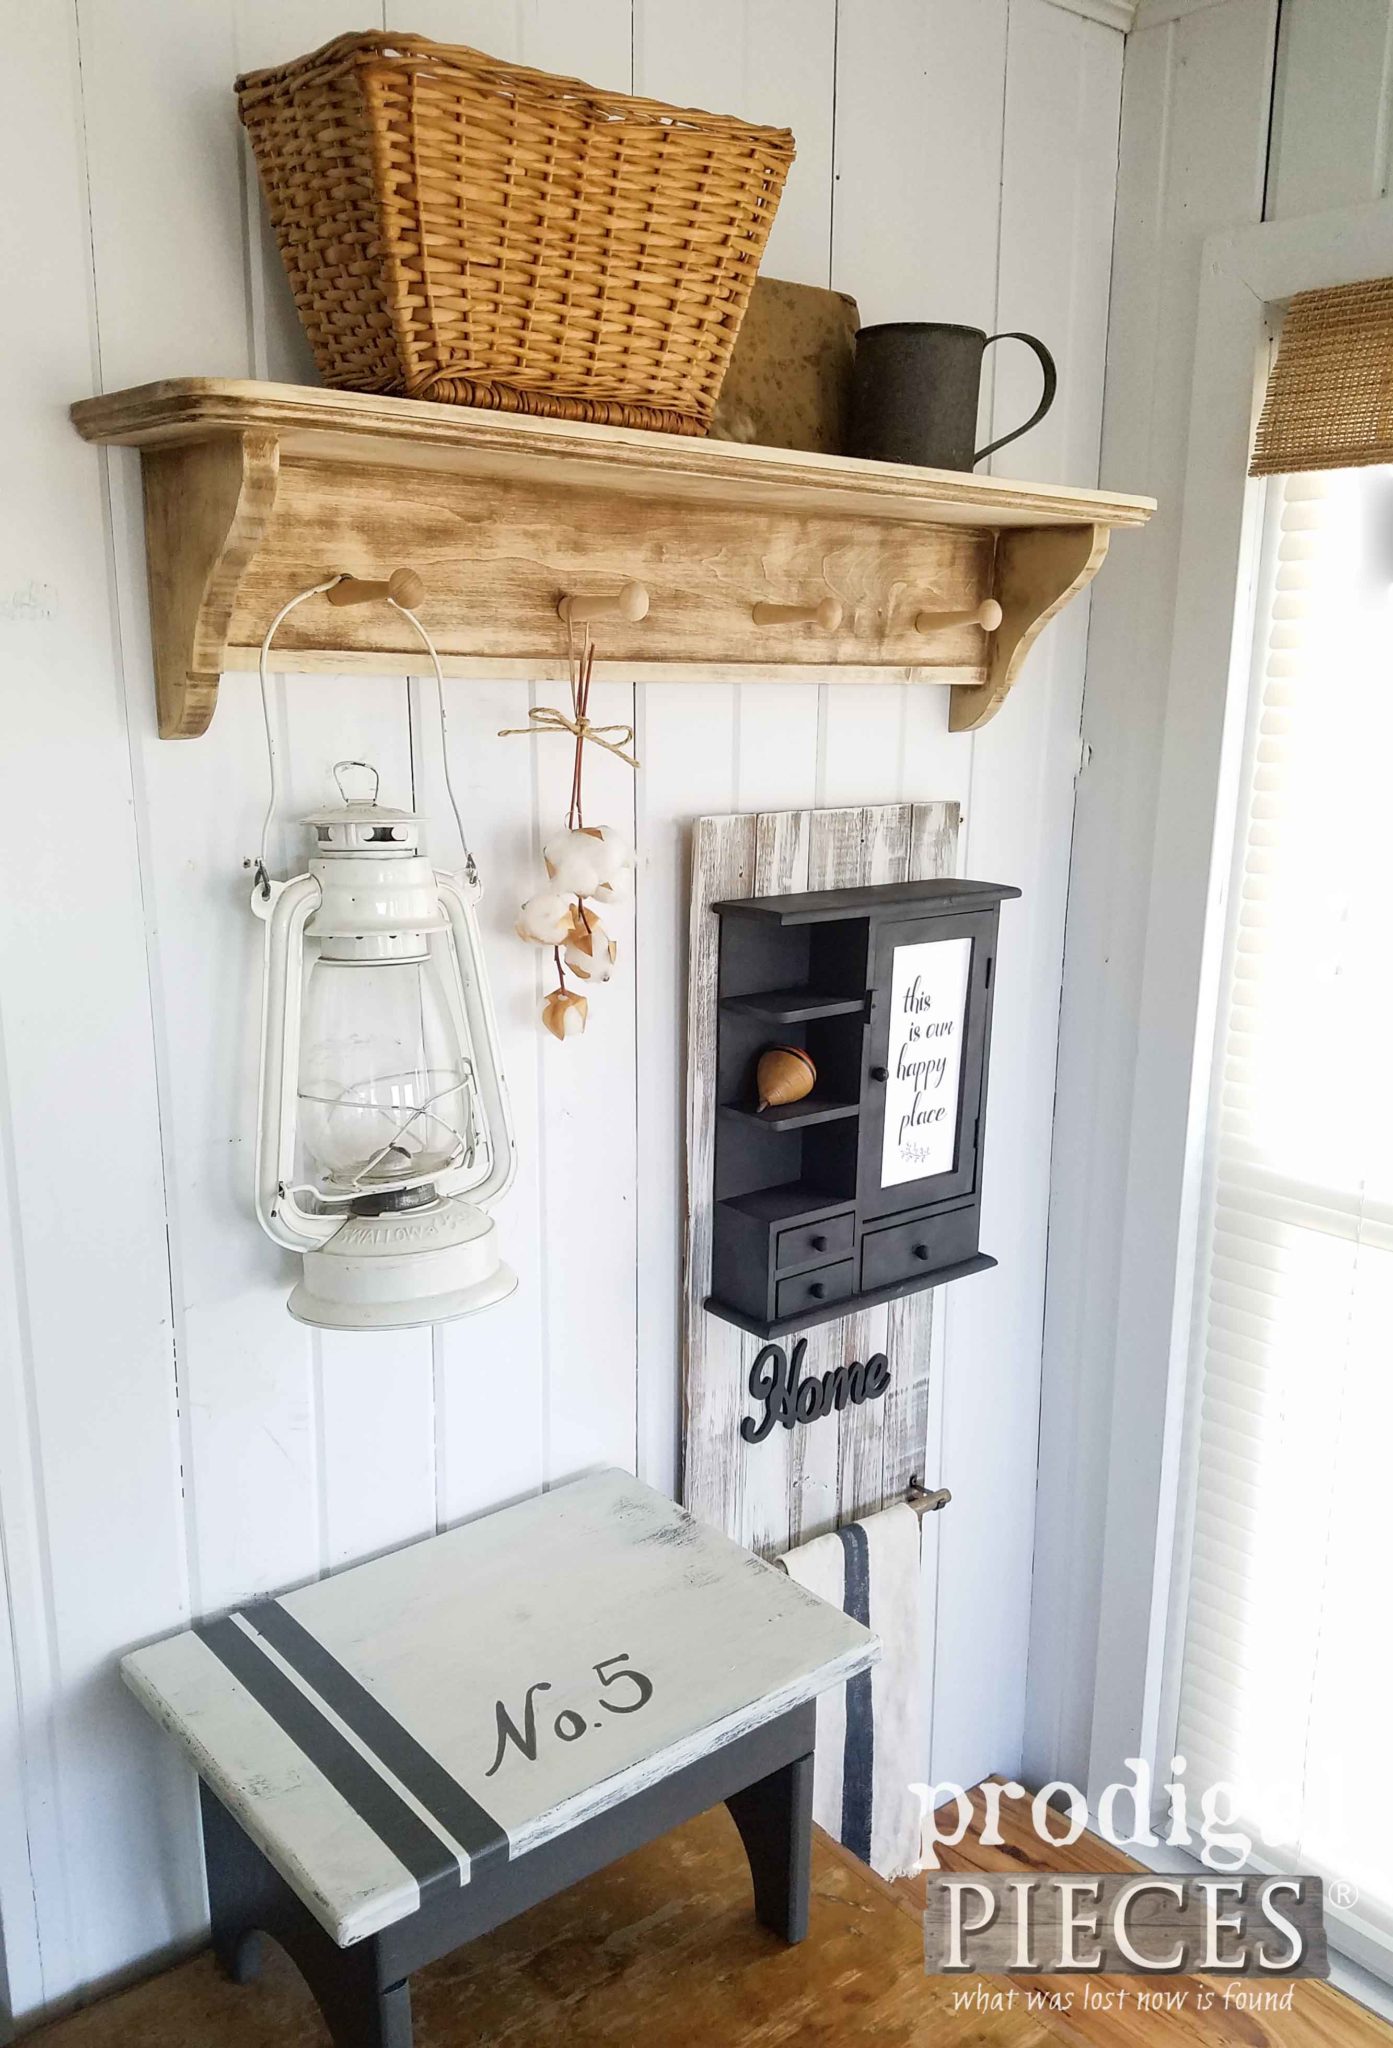
Time to see it all together!! Are you ready? Meet my DIY farmhouse decor from thrifted finds. {{applause}}
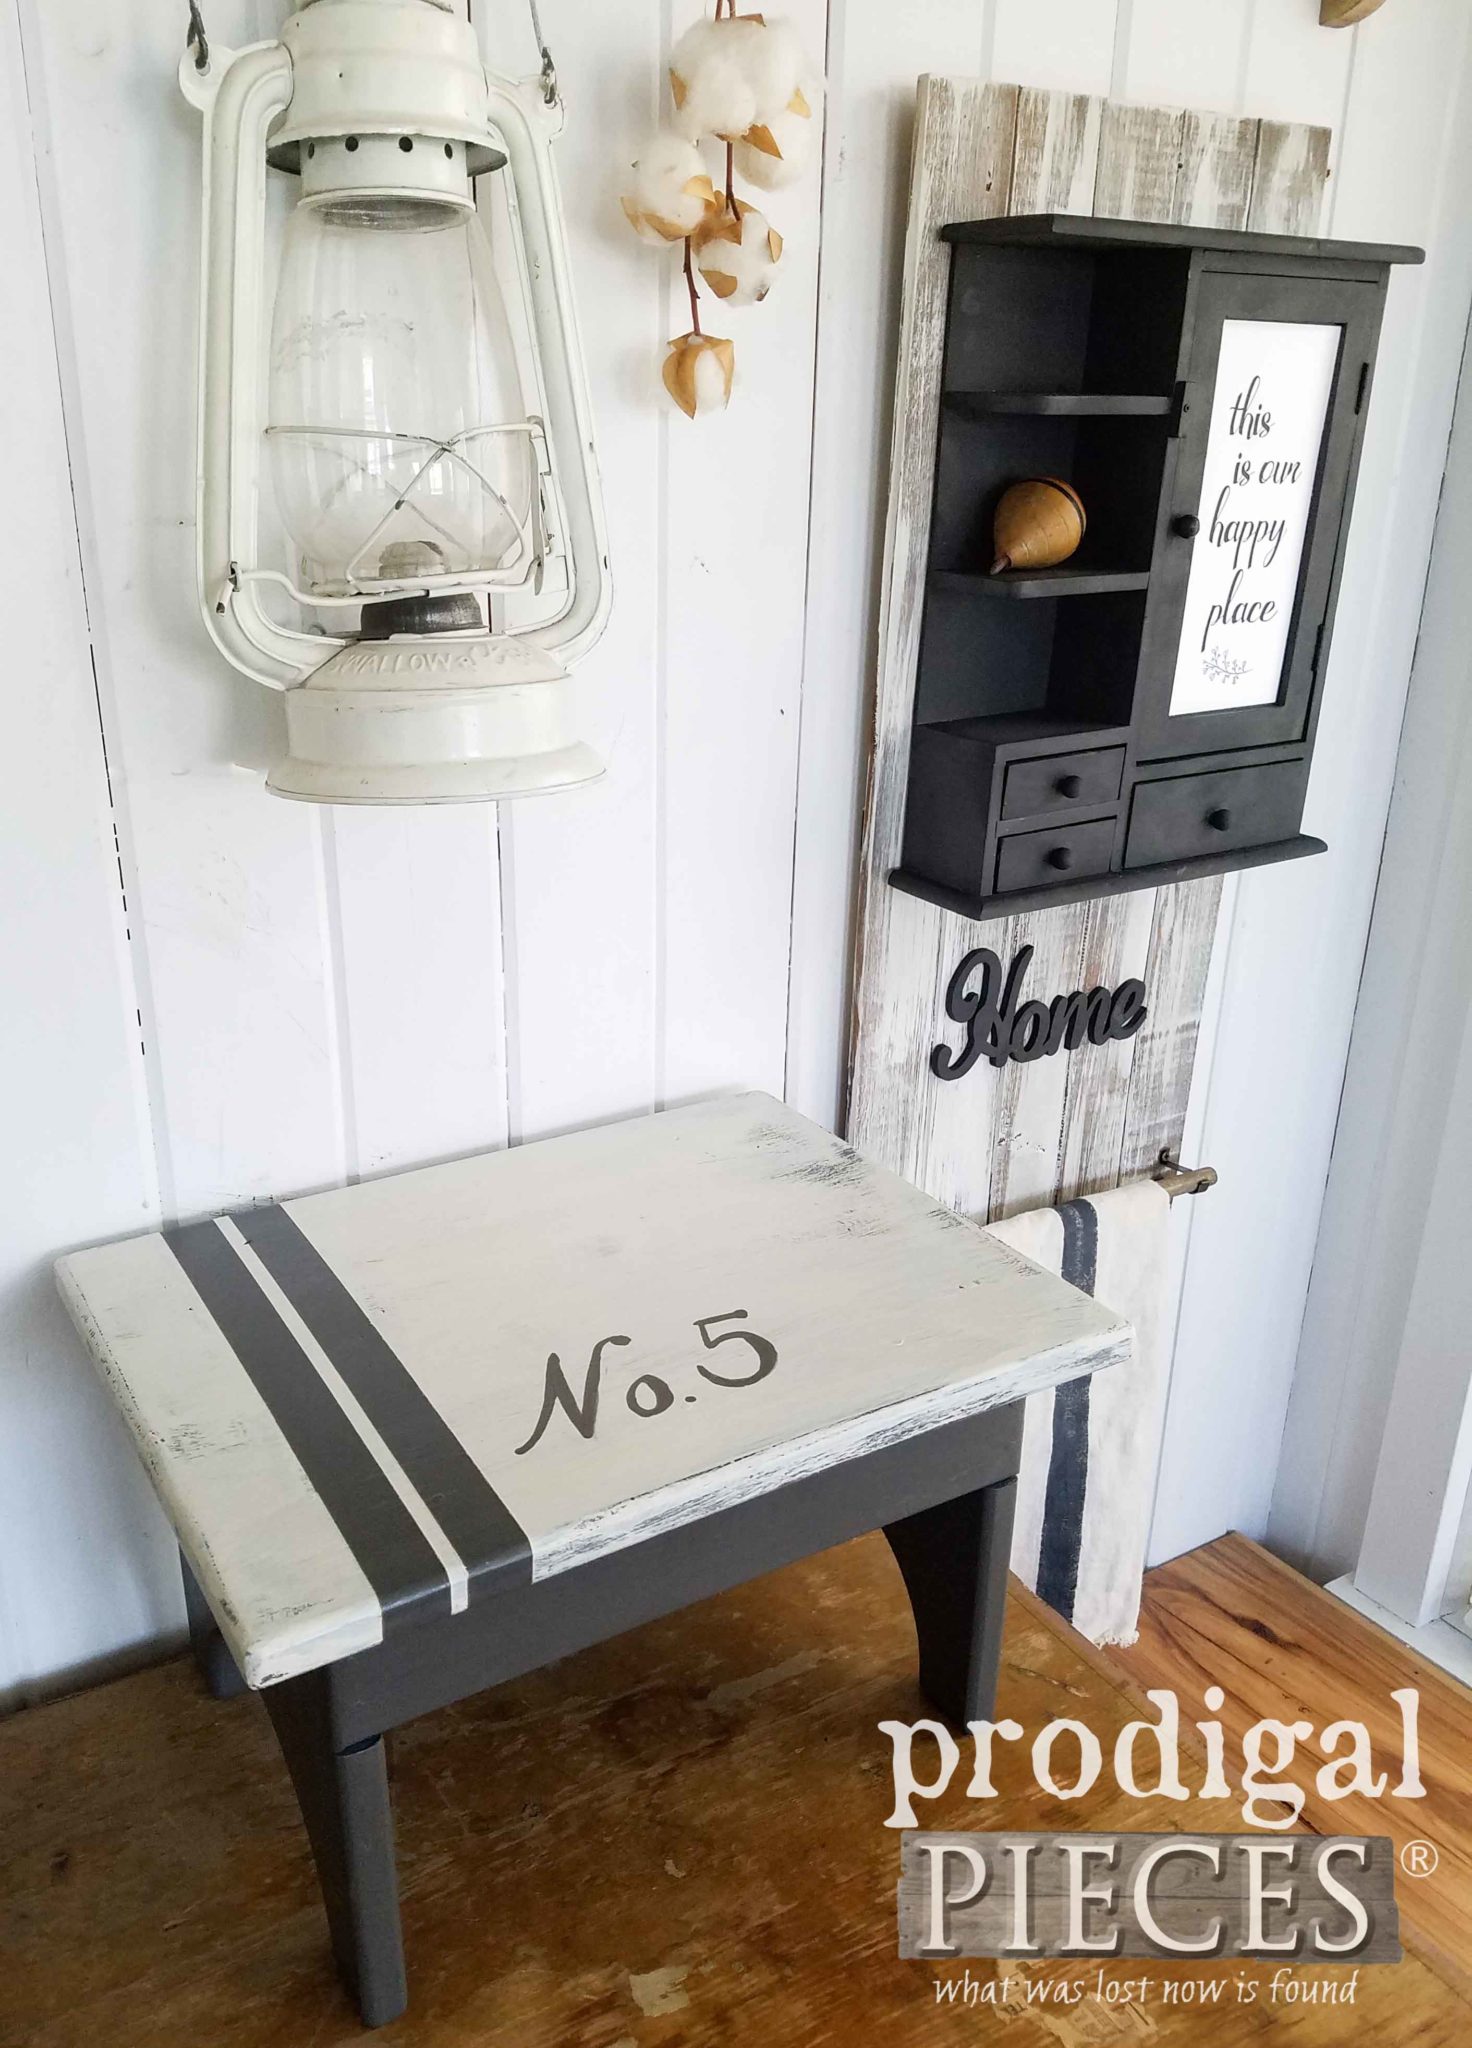
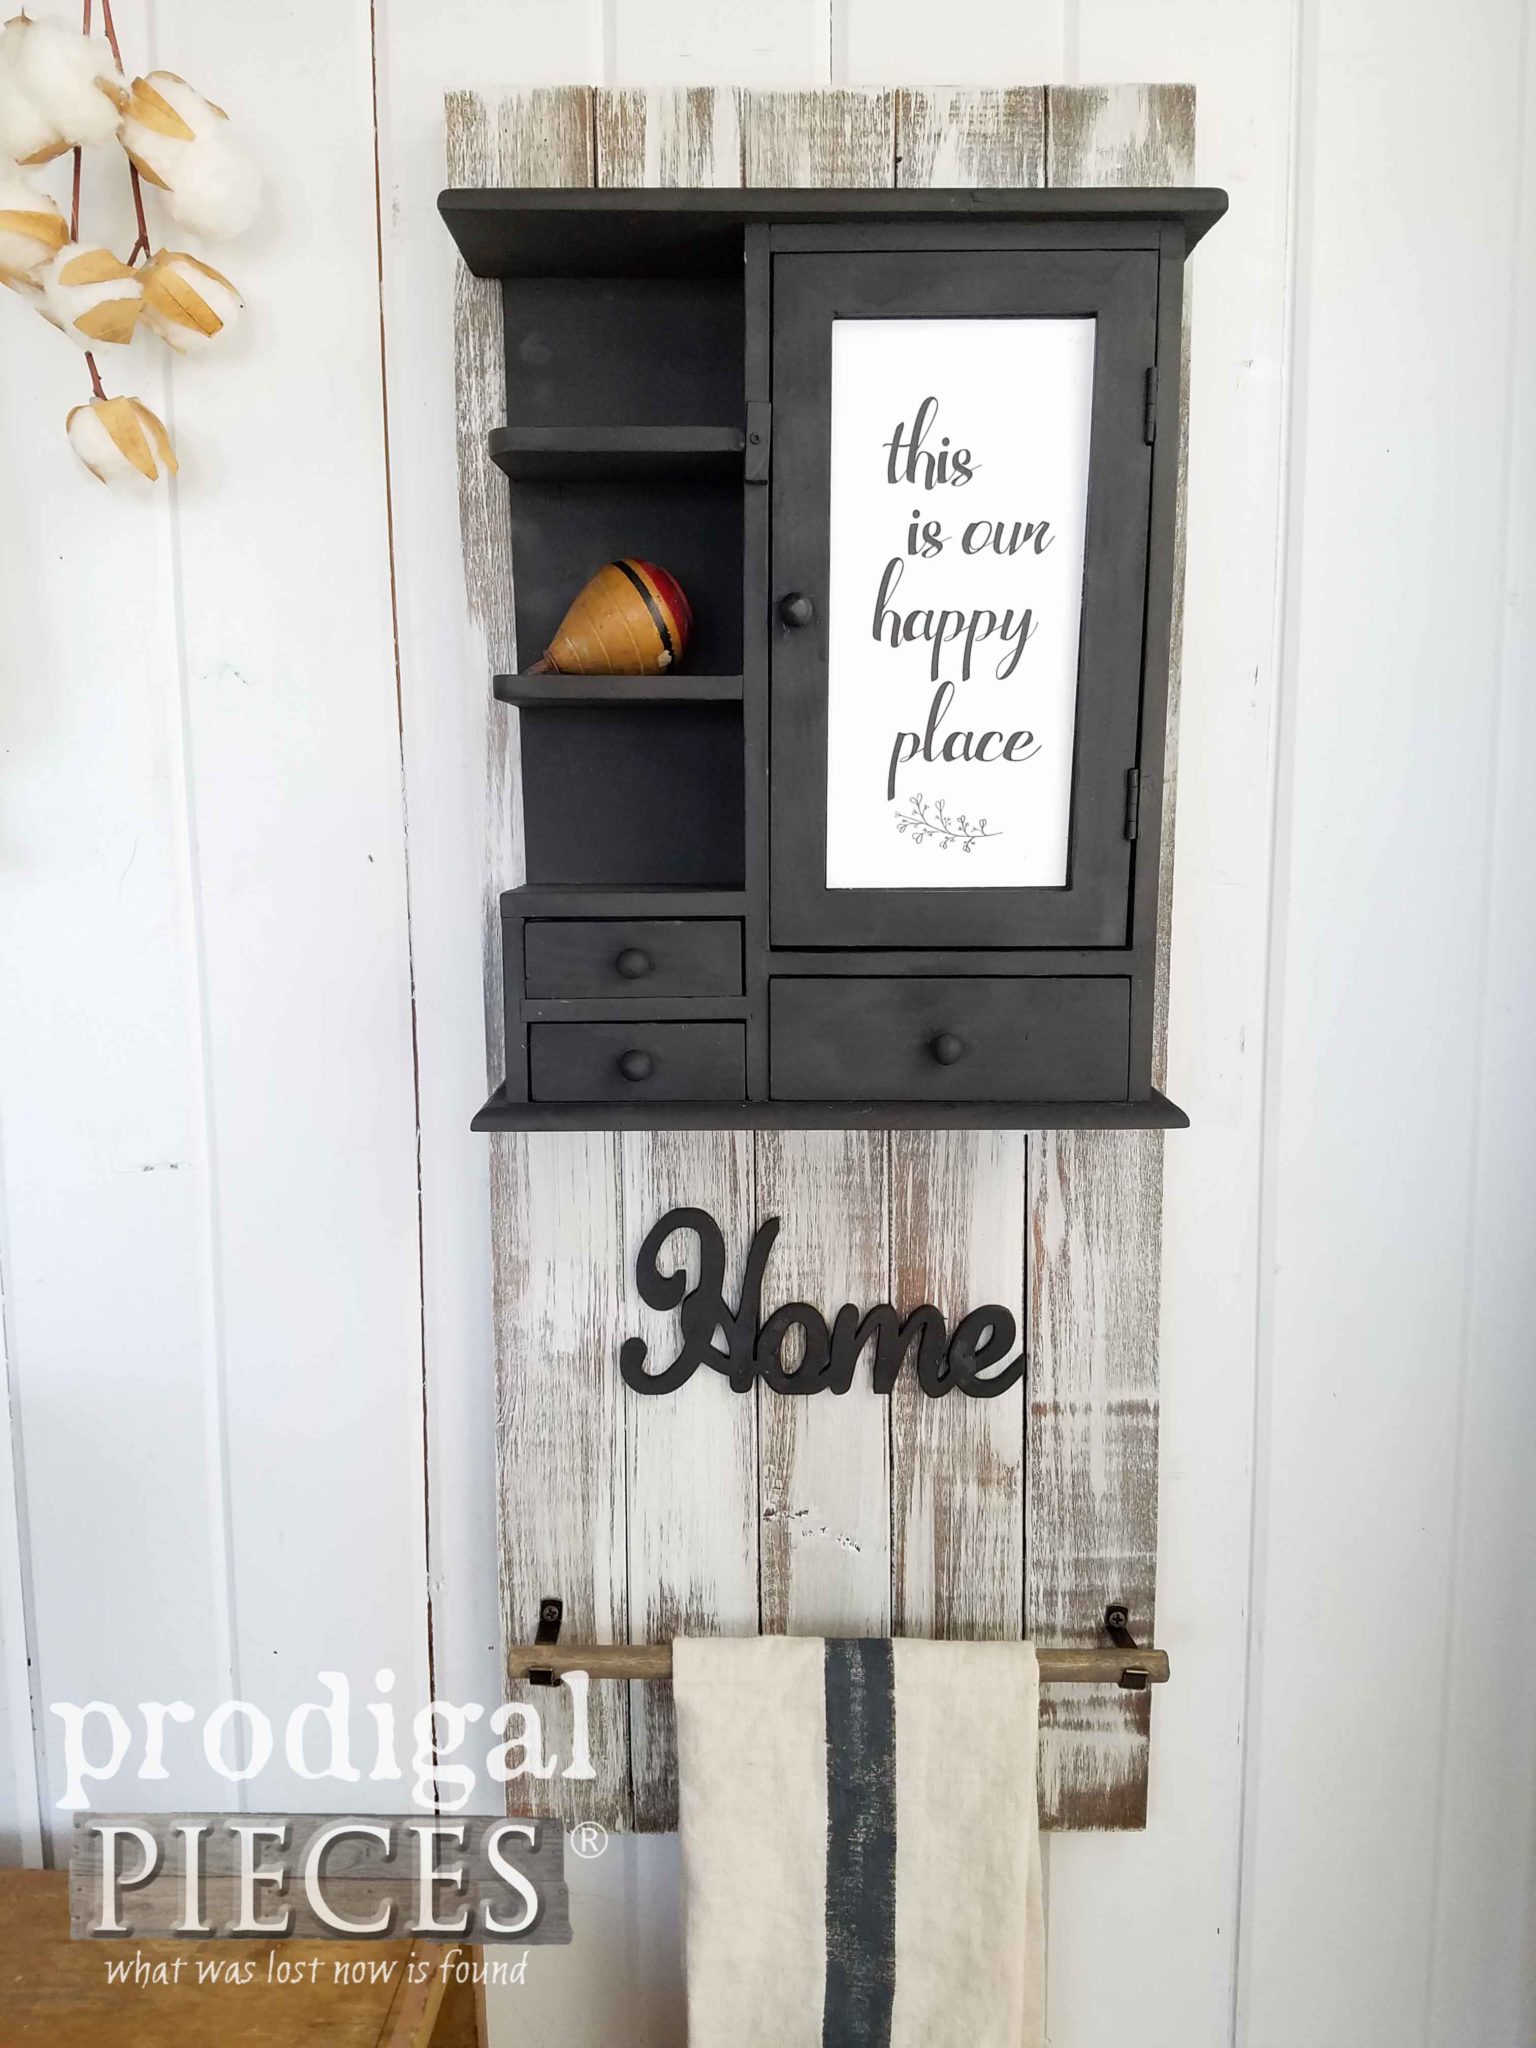
Super fun!! I just love how it all came together. My little stool got the grain sack effect I love, by adding the “No. 5” with hand-painting. That wall decor got a whitewash over the stain I added to give it that aged effect. Even the “Home” text I yanked off got a new look. Then, I added some dowel and hangers from my junk stash and attached the cubby up top.
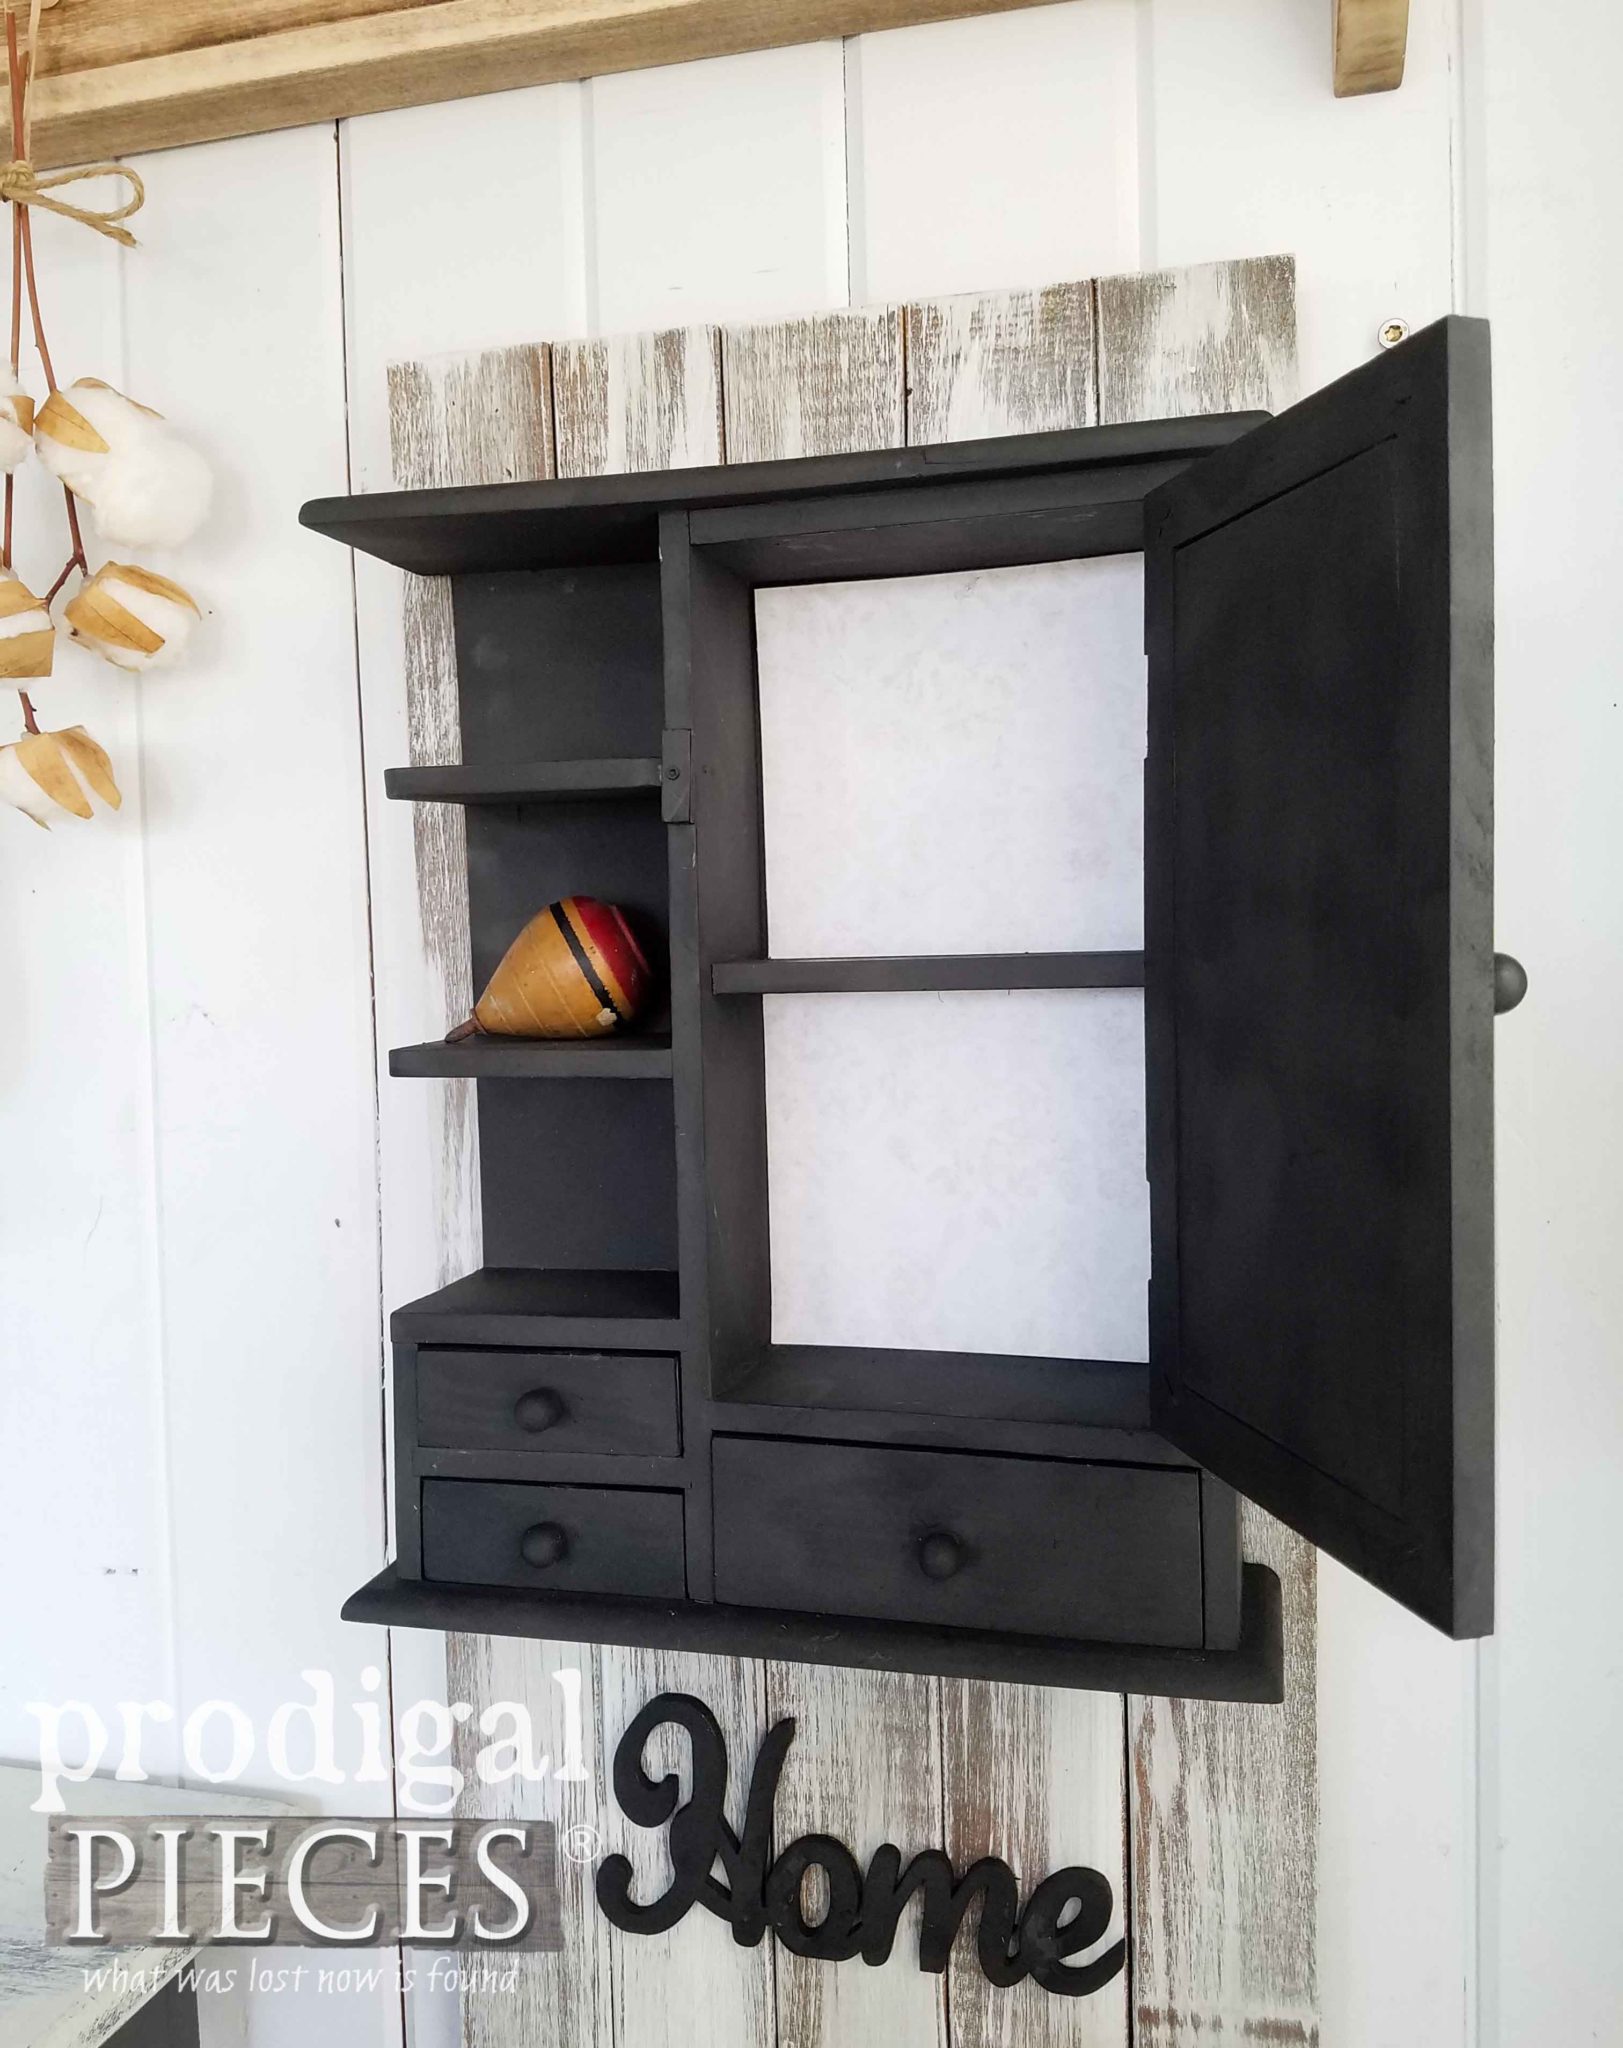
I couldn’t resist adding some cardstock with printed verse on it to the door front, and a little fun on the inside as well. I even painted the inside of the little drawers in gray for a pop of fun.
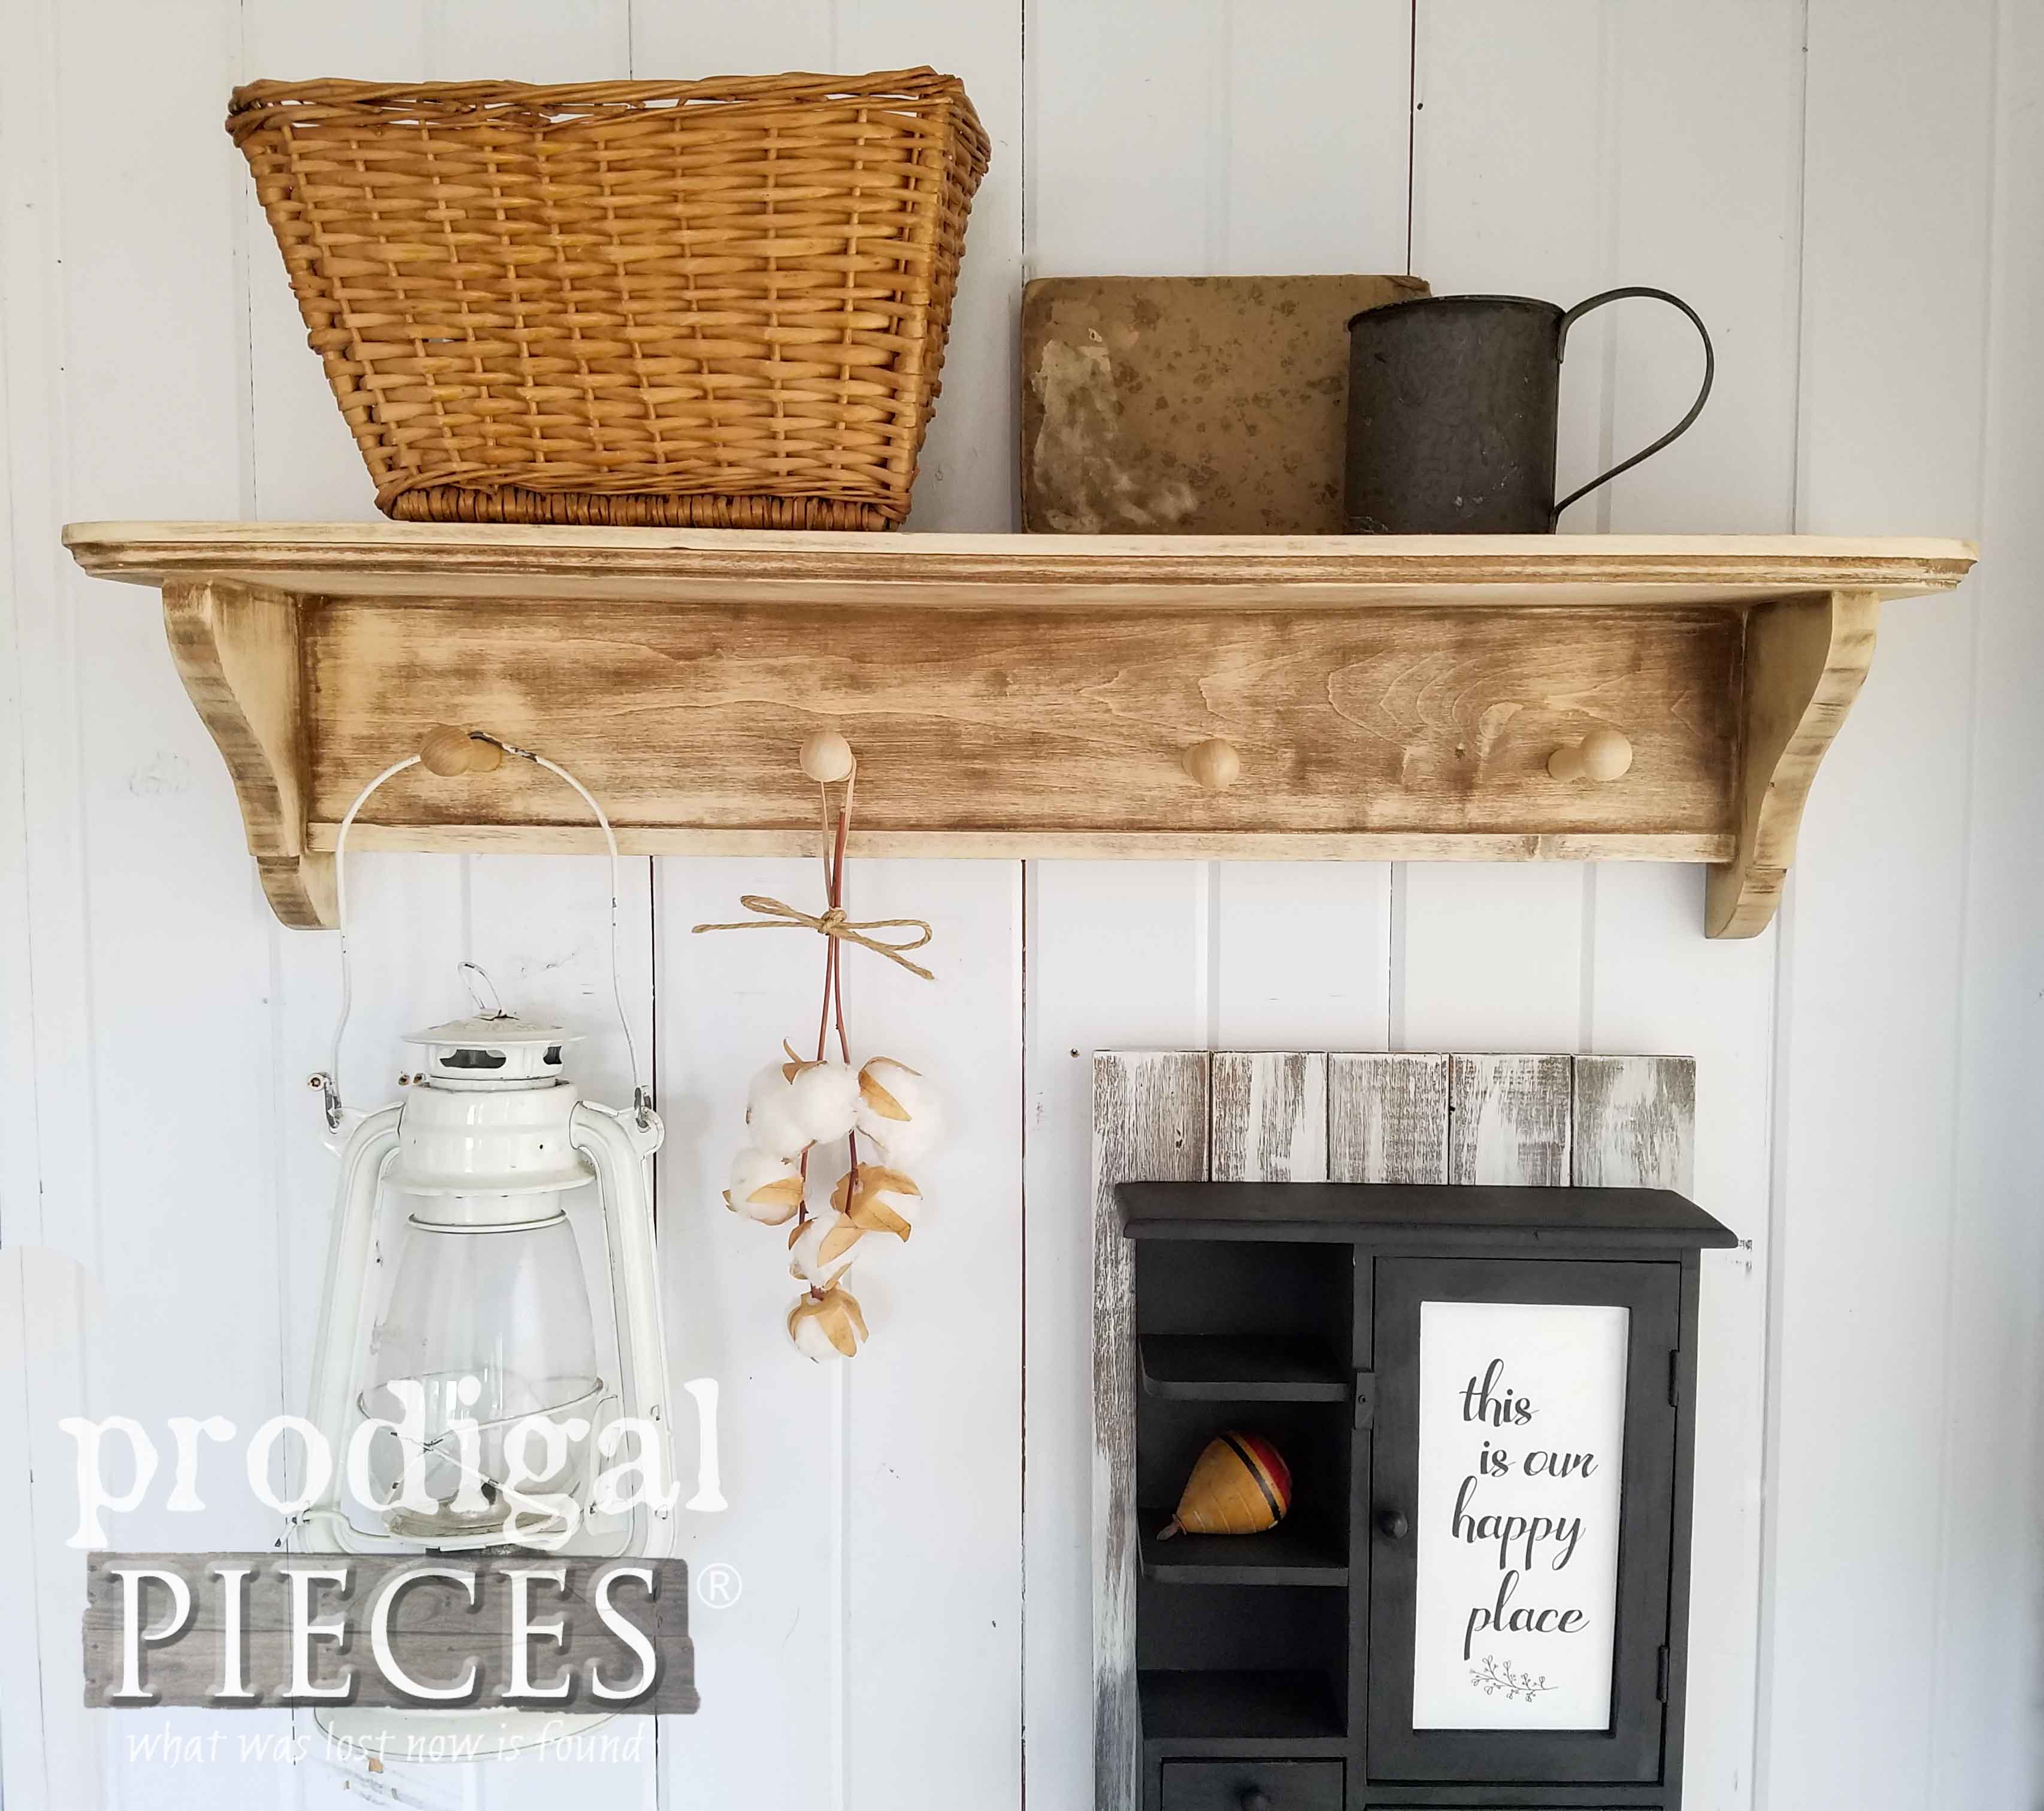
That boring shelf now has more purpose for an entry, bath, bedroom, kitchen, or laundry. I love the rustic feel it now has by just removing the finish and increasing the function by adding pegs.
So, I have to ask which project is your favorite? Better yet, would you pick these types of things up after seeing what I did with them? If you love them, all are available in my online store.
My goal is to inspire you to make your house your home. Likewise, I ask that you pin and share these projects to inspire others to take on a DIY project of their own.
WHAT’S NEXT?
After I posted a favorite treat of ours on social media, I got dozens of requests for my grain-free chocolate cupcakes with REAL strawberry frosting. Get the recipe HERE.
Before you go, be sure to sign up for my newsletter. Until next time!



Great makeovers on these unwanted pieces. Now they are updated and ready for a new home.
Thank you, Debra. 😉
I would have never thought to use that cubby like that! Good looking pieces!
Thanks! Such fun to give them new life.
Ohmygoodness!! I love every little thing! I was hoping you’d leave the shelf just like you did and I’m in love! You do beautiful work! And your helper is the Cutest!!
Thank you for making my day, Amy! 😀
I think you gave all of these old relics a fantastic refresh but if I had to pick a favorite, it would be the Home towel rack. I love how you put all the bits back together again. Wishing you and yours a very Happy Easter, Larissa!
That was my favorite as it had much fun to offer. Thanks and same to you, Marie!
So very hard to pick a favorite but it is probably the stool. Or the shelf 🙂 In answer to your question, yes, I would pick them up, and in fact I do. It is actually performing the makeover that too often goes on the back burner. However, I did find a small, dated wall hung “cabinet” (sort of a cross between your shelf and your cubby unit) and did a similar treatment of partially stripping away the finish (glossy paint). I knocked off all of the sheen and much of the paint and then waxed it all and it is now living a new life as a rustic piece holding an assortment in my bathroom. Amazing what a new finish will do to update these pieces. Thanks again for the inspiration!
How fun! My pleasure to share.
Ooo, I really like how the stool and the shelf came out! I love doing this sort of thing too. The treasures people throw out! I guess you just can’t keep it all. I sure am grateful for the fun stuff I find out there too!
It makes life fun, doesn’t it?
Especially love the grain sack stool – I tried that on a cabinet and it turned out kind of wonky but it was fun to do! (not….not good with measuring stuff – I’m a more “by eye” kinda girl)! 🙂
But… you tried!! You sound like me, Sue. I just stuck it on and brushed the number. haha!
Larissa,
Congratulations on winning 3rd place in the contest. You did an awesome job! Personally, you deserved 1st place (just saying). Great job on the makeovers. I would try the bookshelf and the footstool. You are such an inspiration. I love reading about all your makeovers.
Thank you for saying that, Melva.
Once again you’ve taken outdated junk and turned it into something gorgeous! My favorite is the stool! Great job on the stool by your little one..ha ha.
Wahoo!! So fun to share and work my littles. Thank you, Debra.