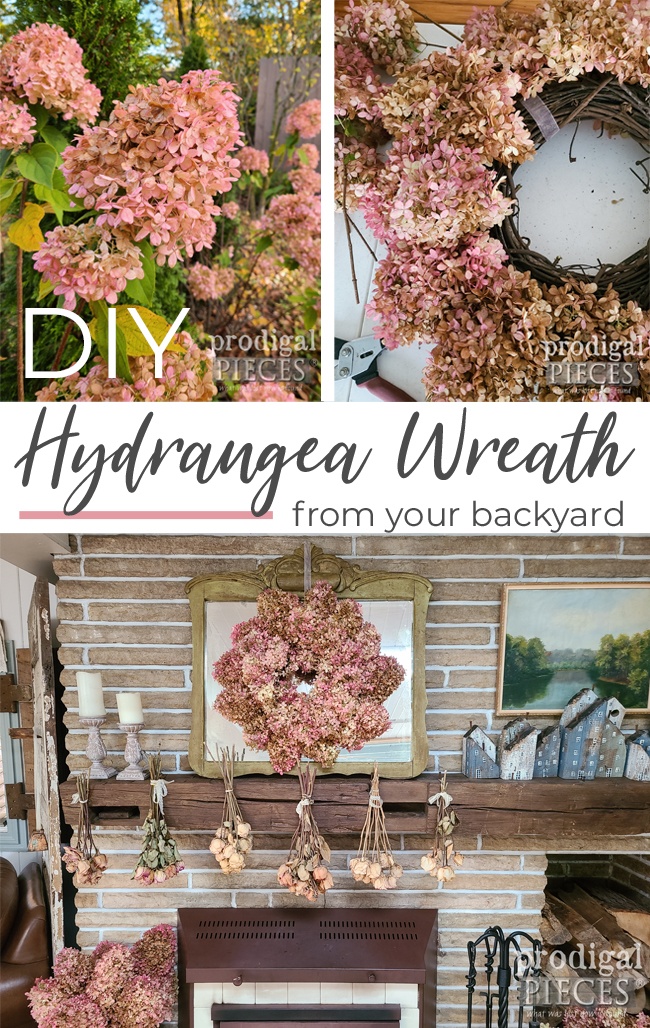
There’s definitely a nip in the air and it’s one of my favorite seasons. Autumn brings back so many memories, mostly joyful for sure. In our neck of the woods, it’s been raining for two weeks so we are drastically behind in our outdoor chores to get ready for winter moving in. With that, I’m eager to trim my limelight hydrangeas and make use of them in my home before my decor switches to the holidays. Anyone in the mood for a DIY hydrangea wreath creation? I sure am!
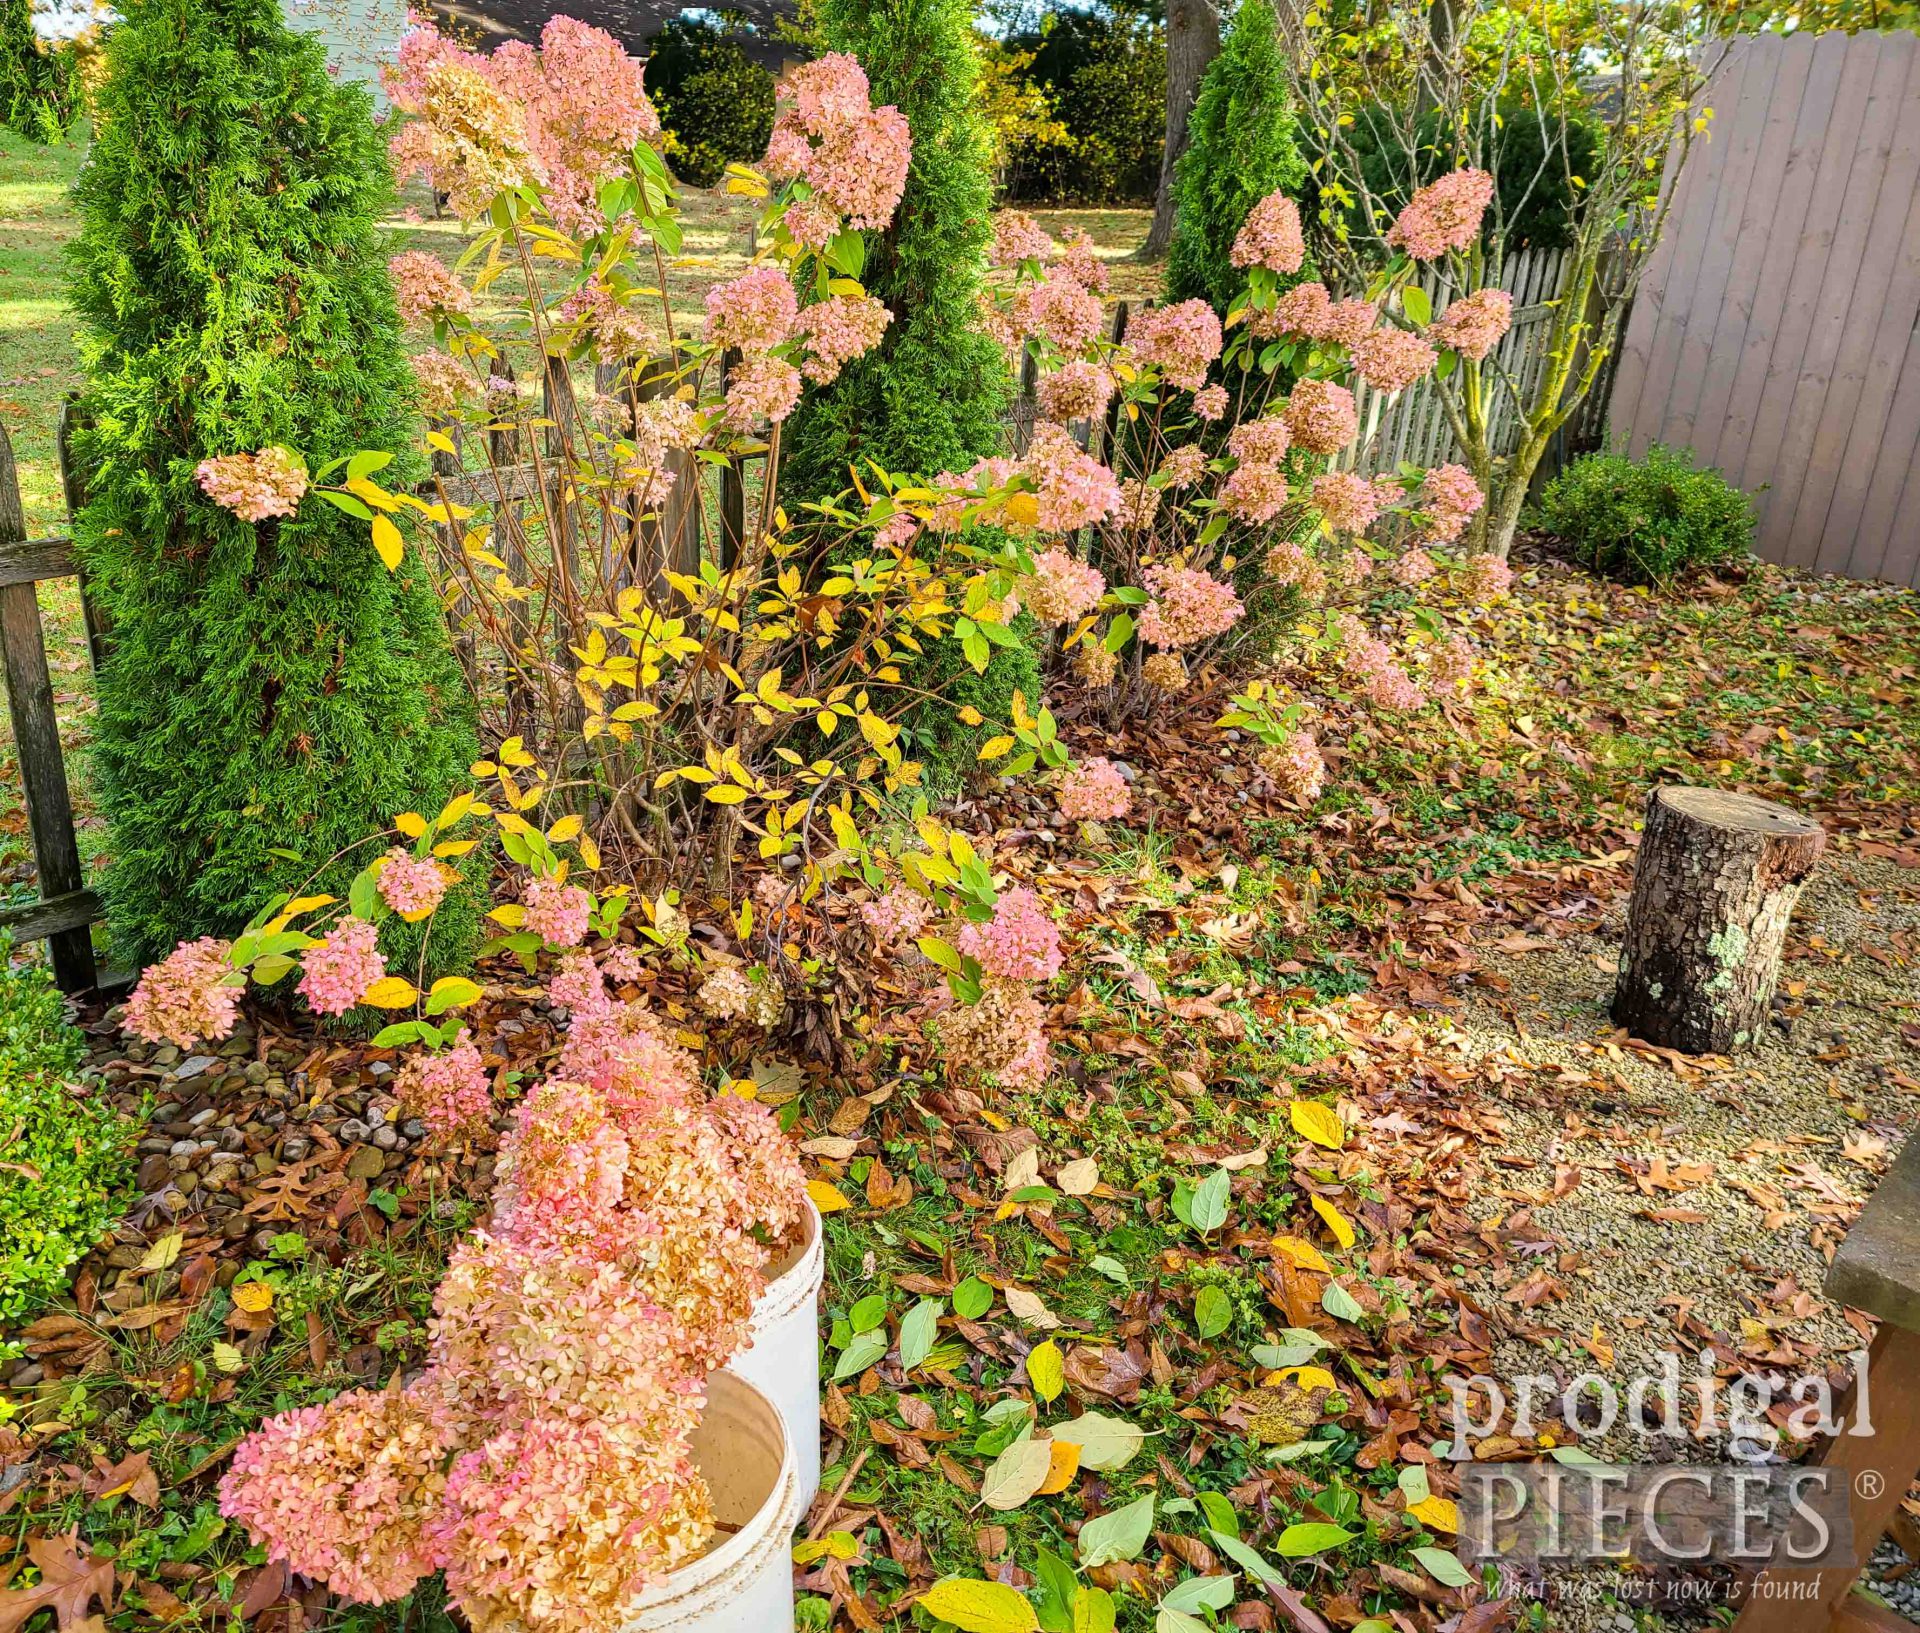
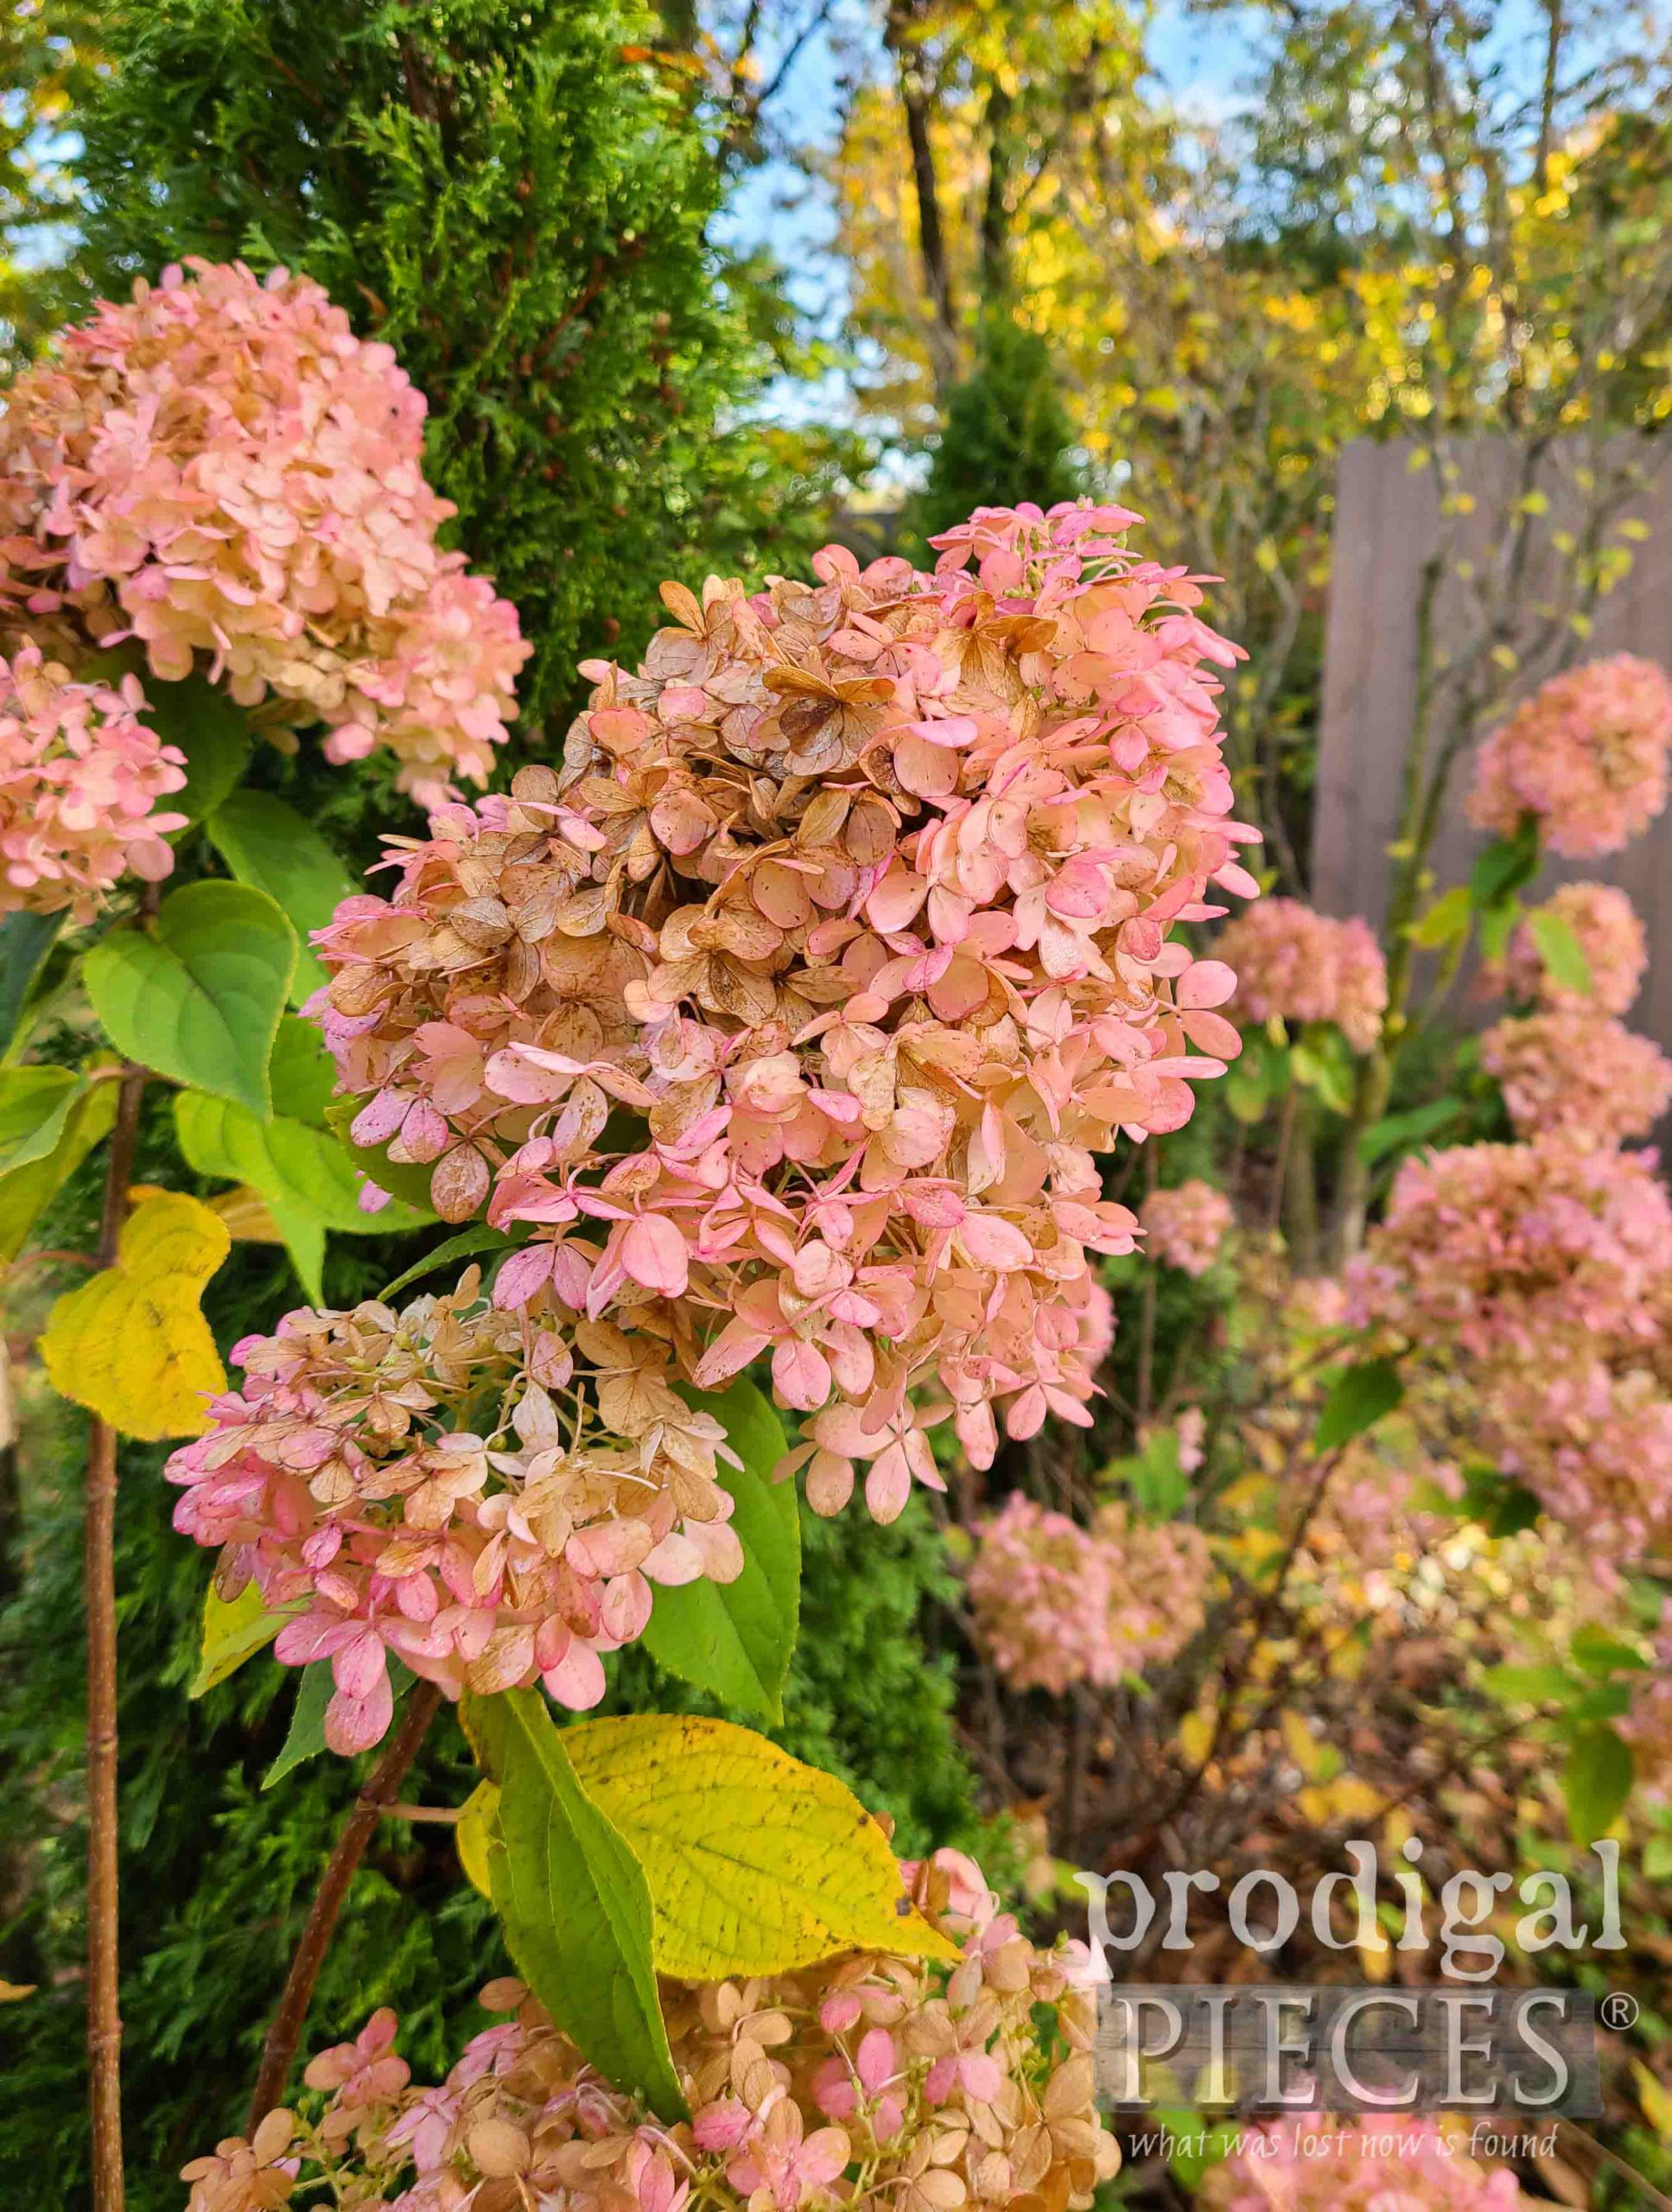
While I normally harvest my hydrangeas earlier when they have a bit of green mixed in with the lush pinks still left on the bloom, I’m making do this time around. Aren’t they gorgeous? Like tiny little clusters of butterflies…
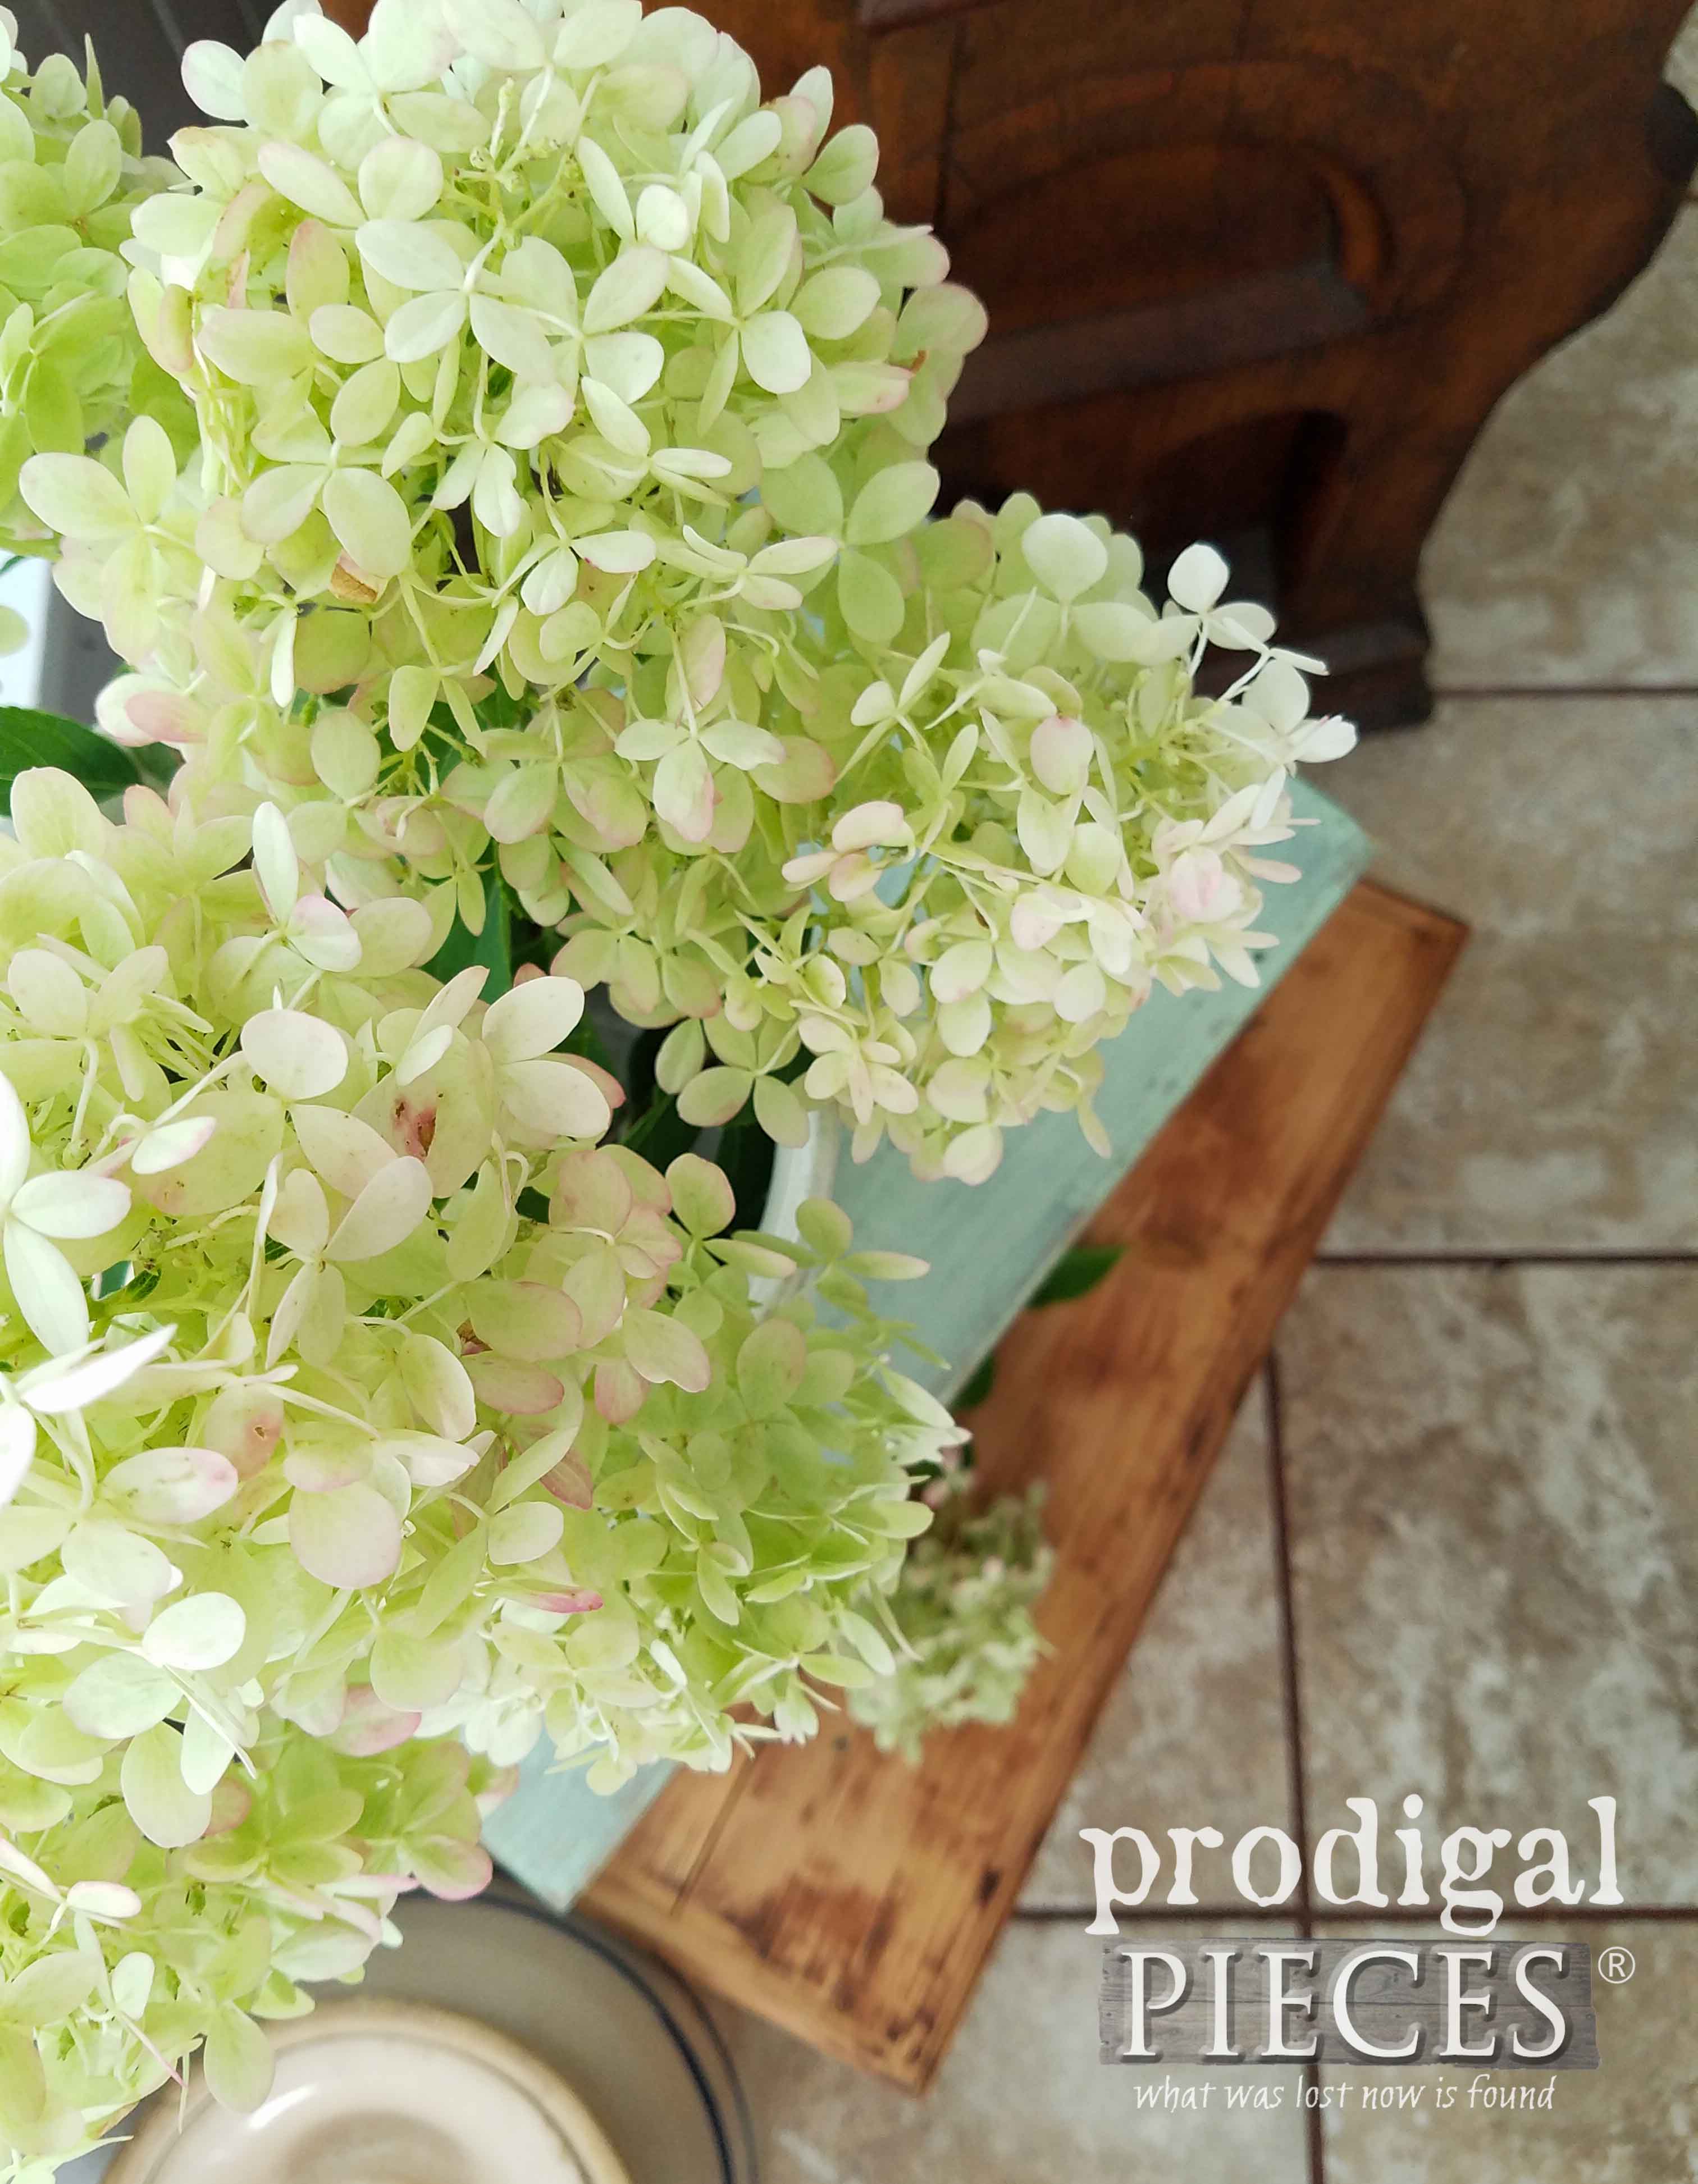
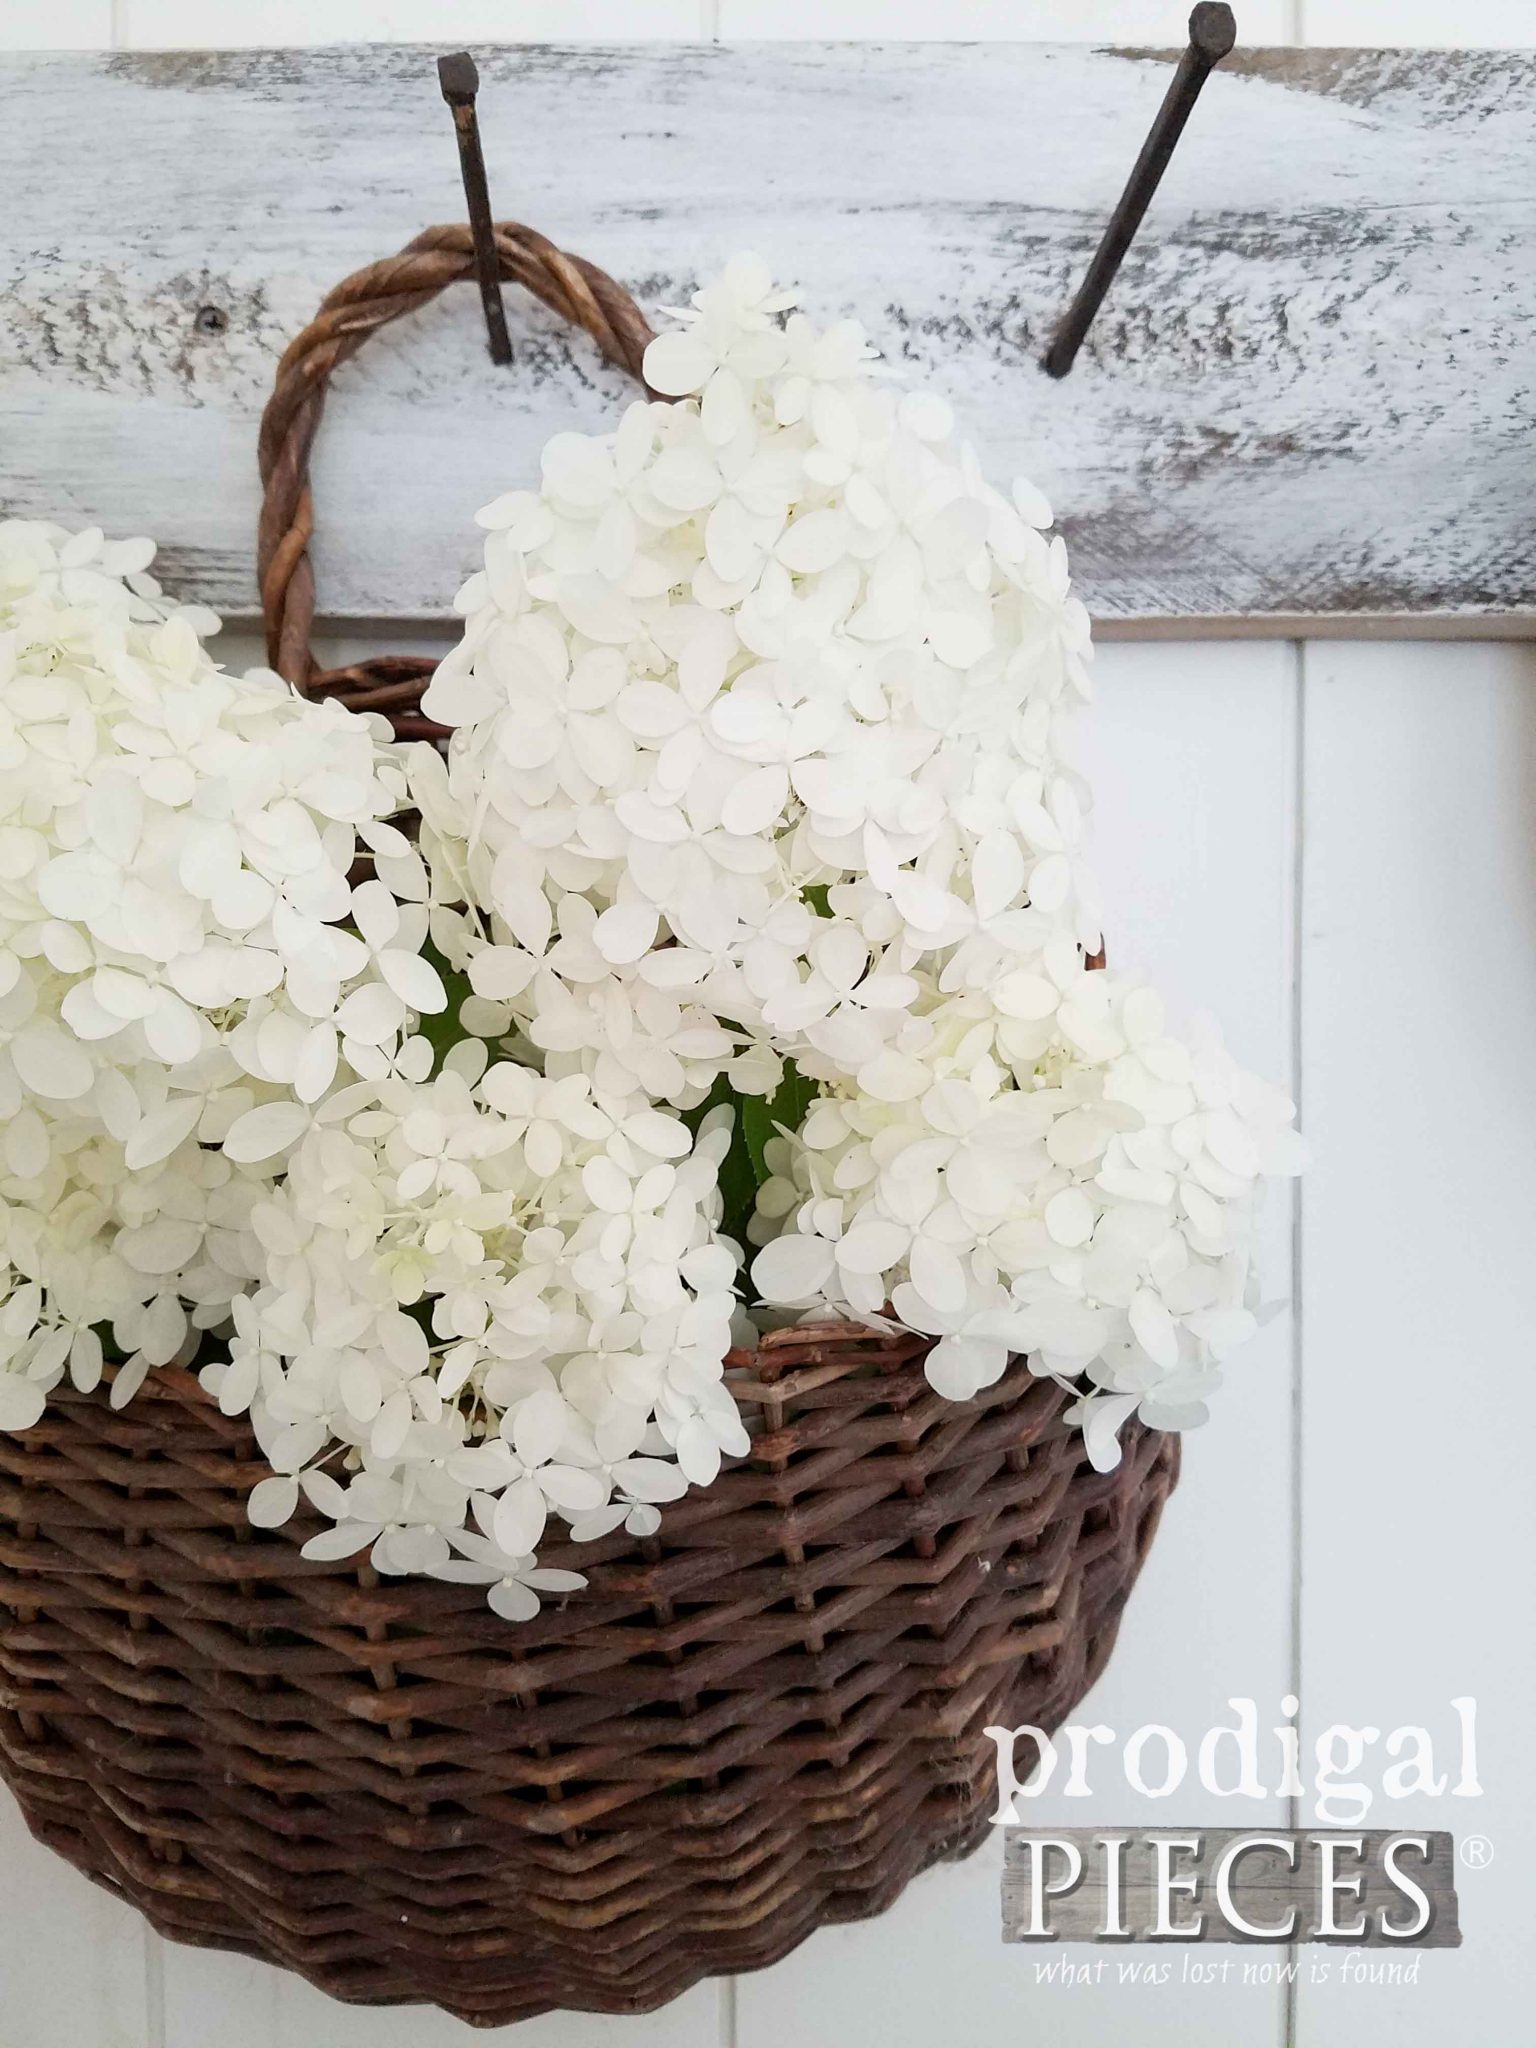
What’s most joyful about these fanciful blooms is that they are so easy to grow and start out as lime color, then white, and finally the pink. So amazing! Here’s some past pictures as example.
Isn’t it such a wonderful transition you can enjoy all season? They’re definitely a favorite garden bloom of mine.
DIY TIME
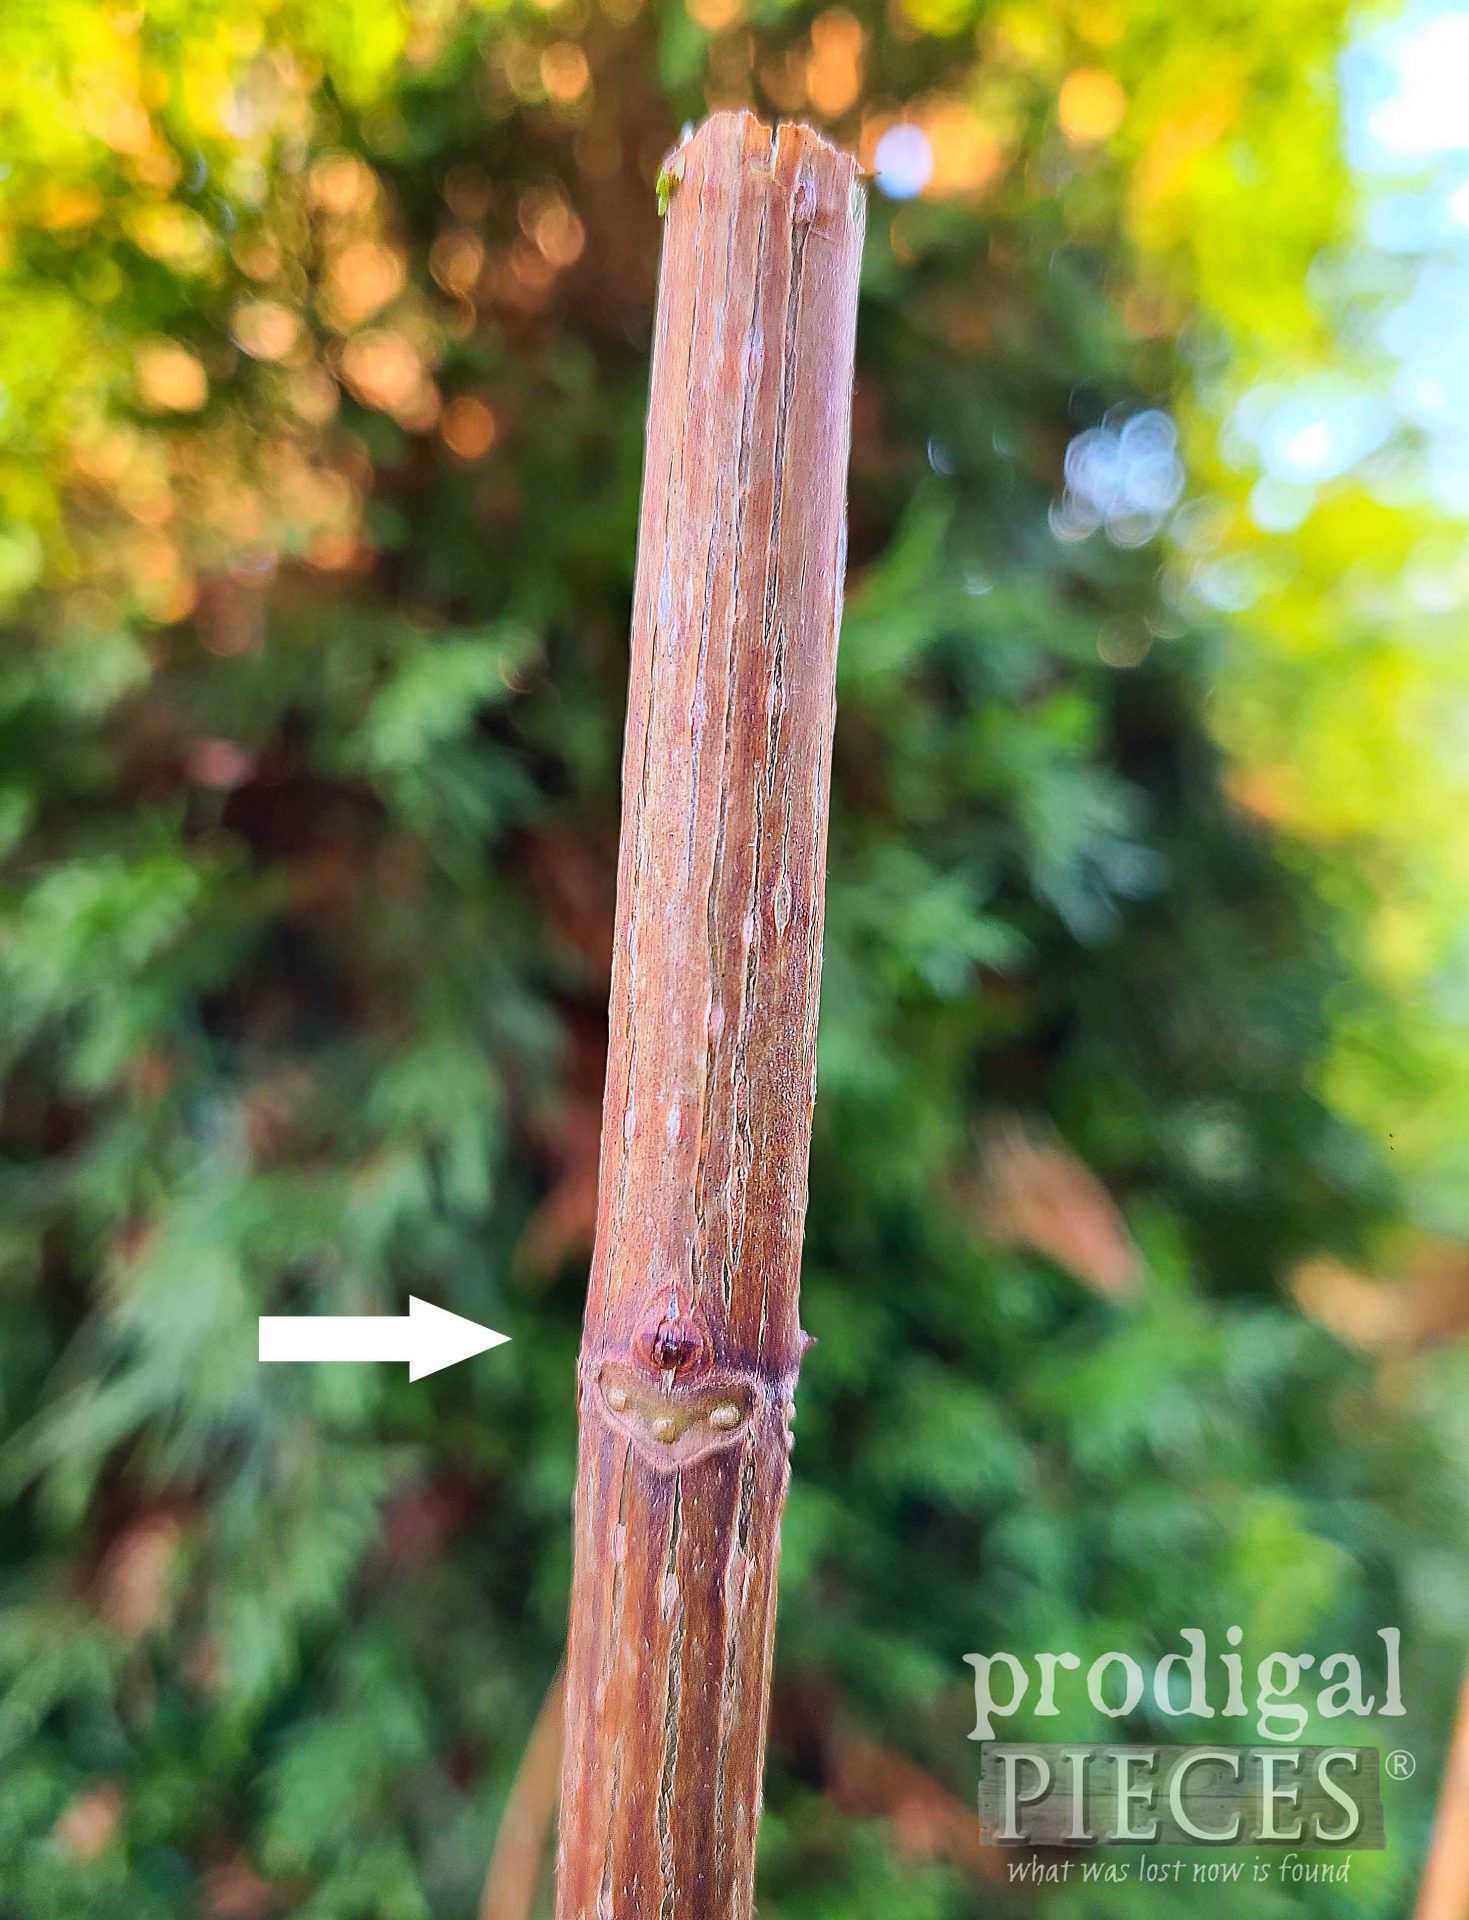
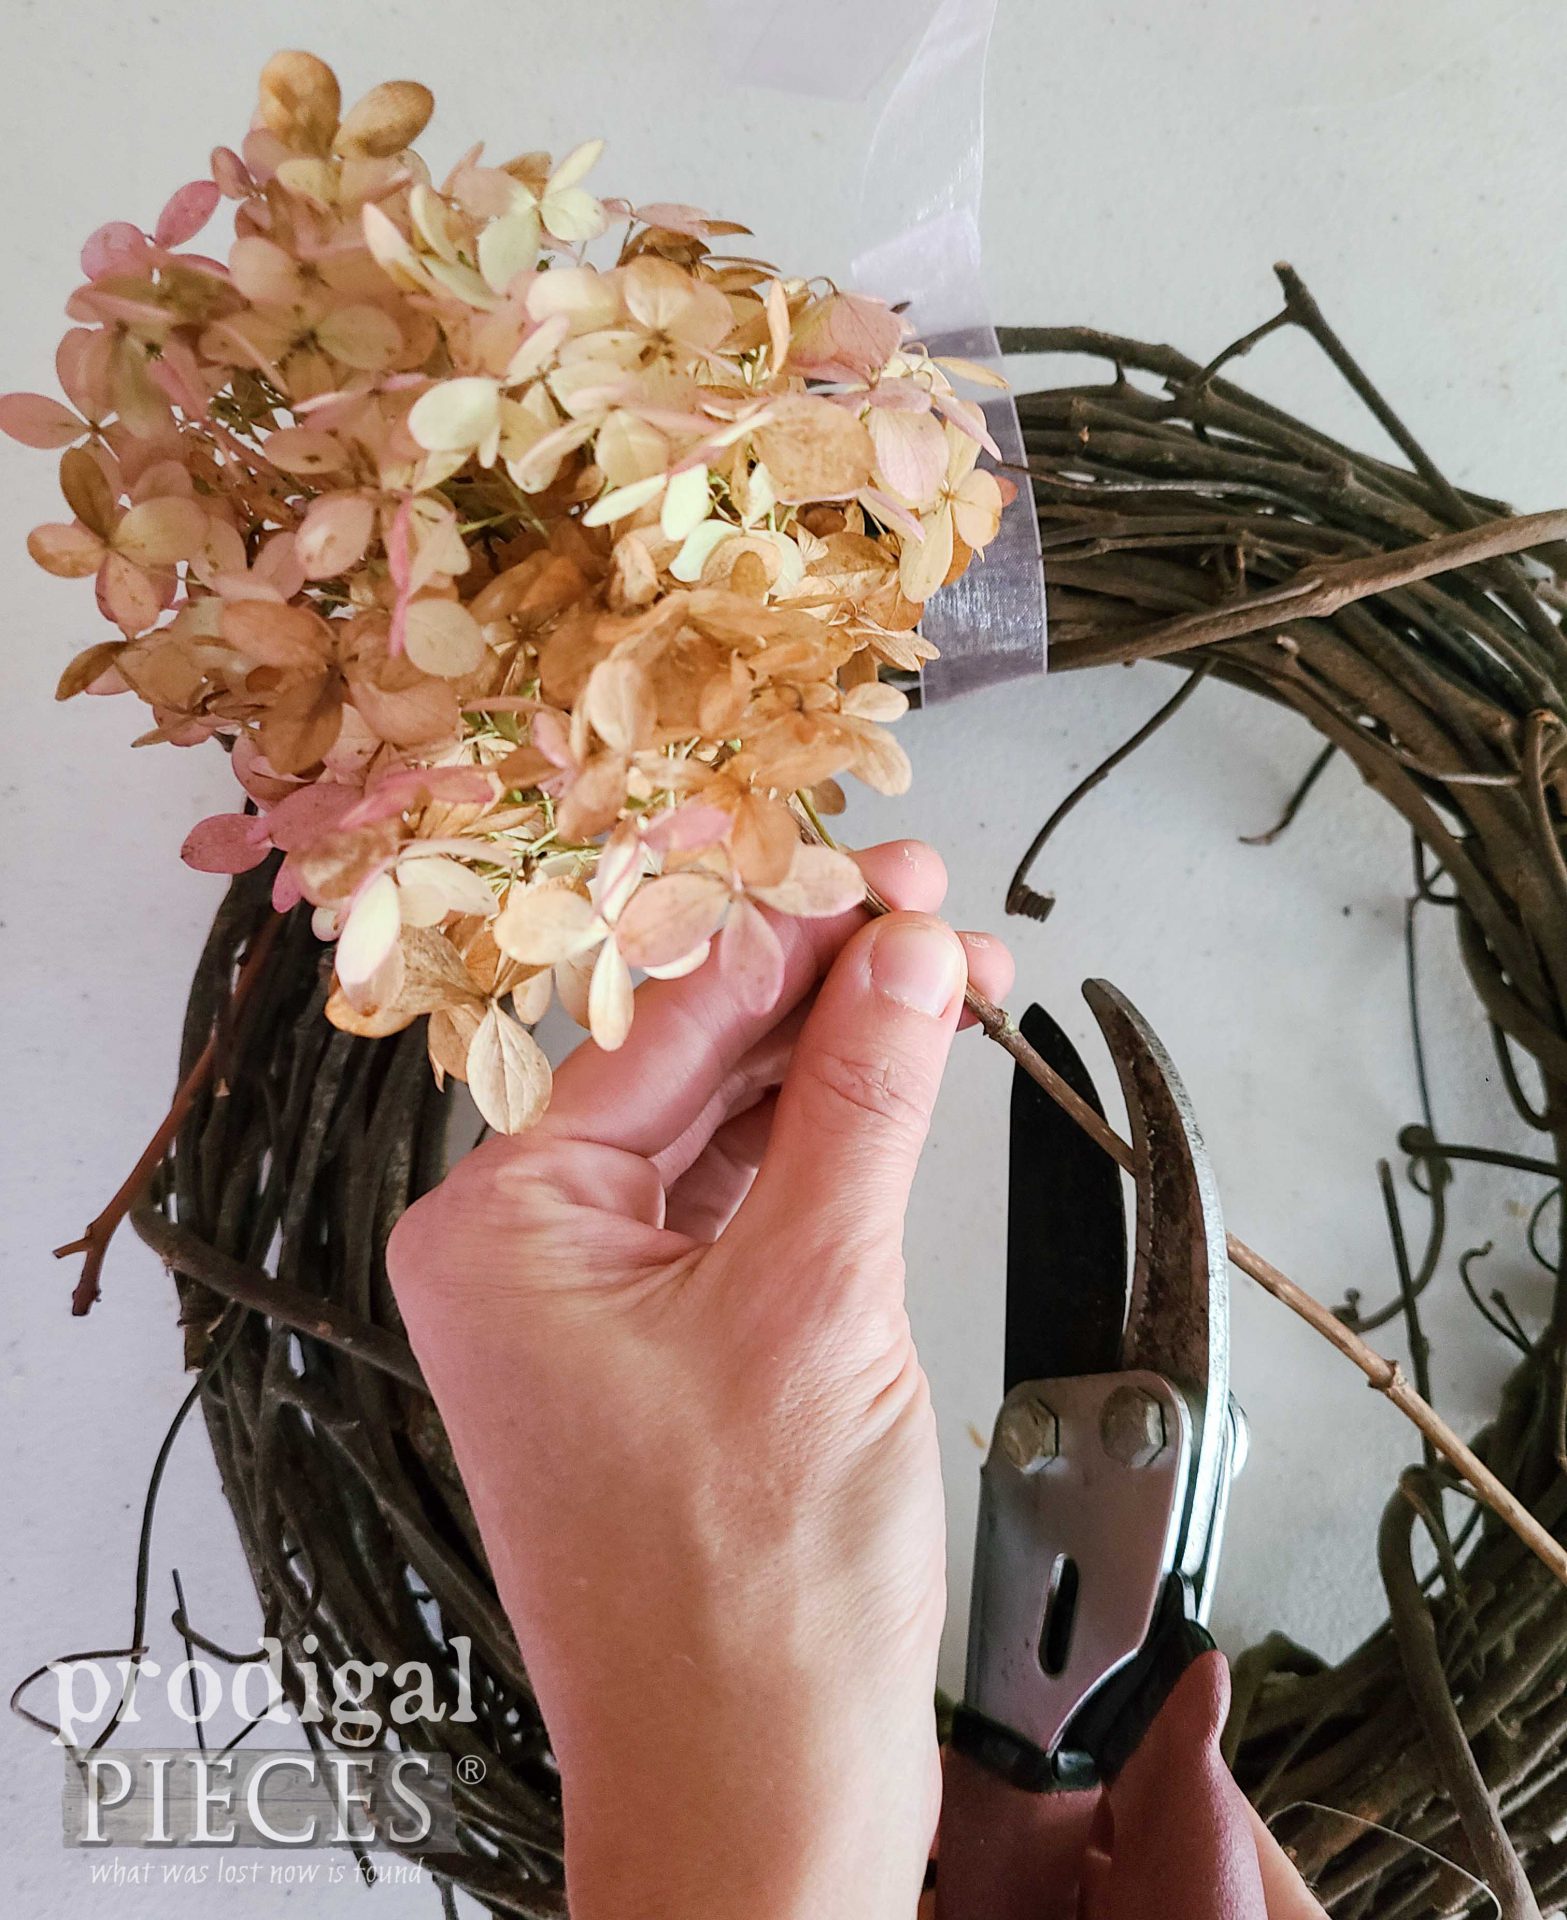
Now we have our inspiration, let’s have some fun! First, I cut off my hydrangeas leaving them ready for the next season. With certain bushes, you have to trim at the right time to ensure a show for the next time around. In the case of trimming limelights, you can pick how large you want them to be by clipping just above the last leaf node on the stem.
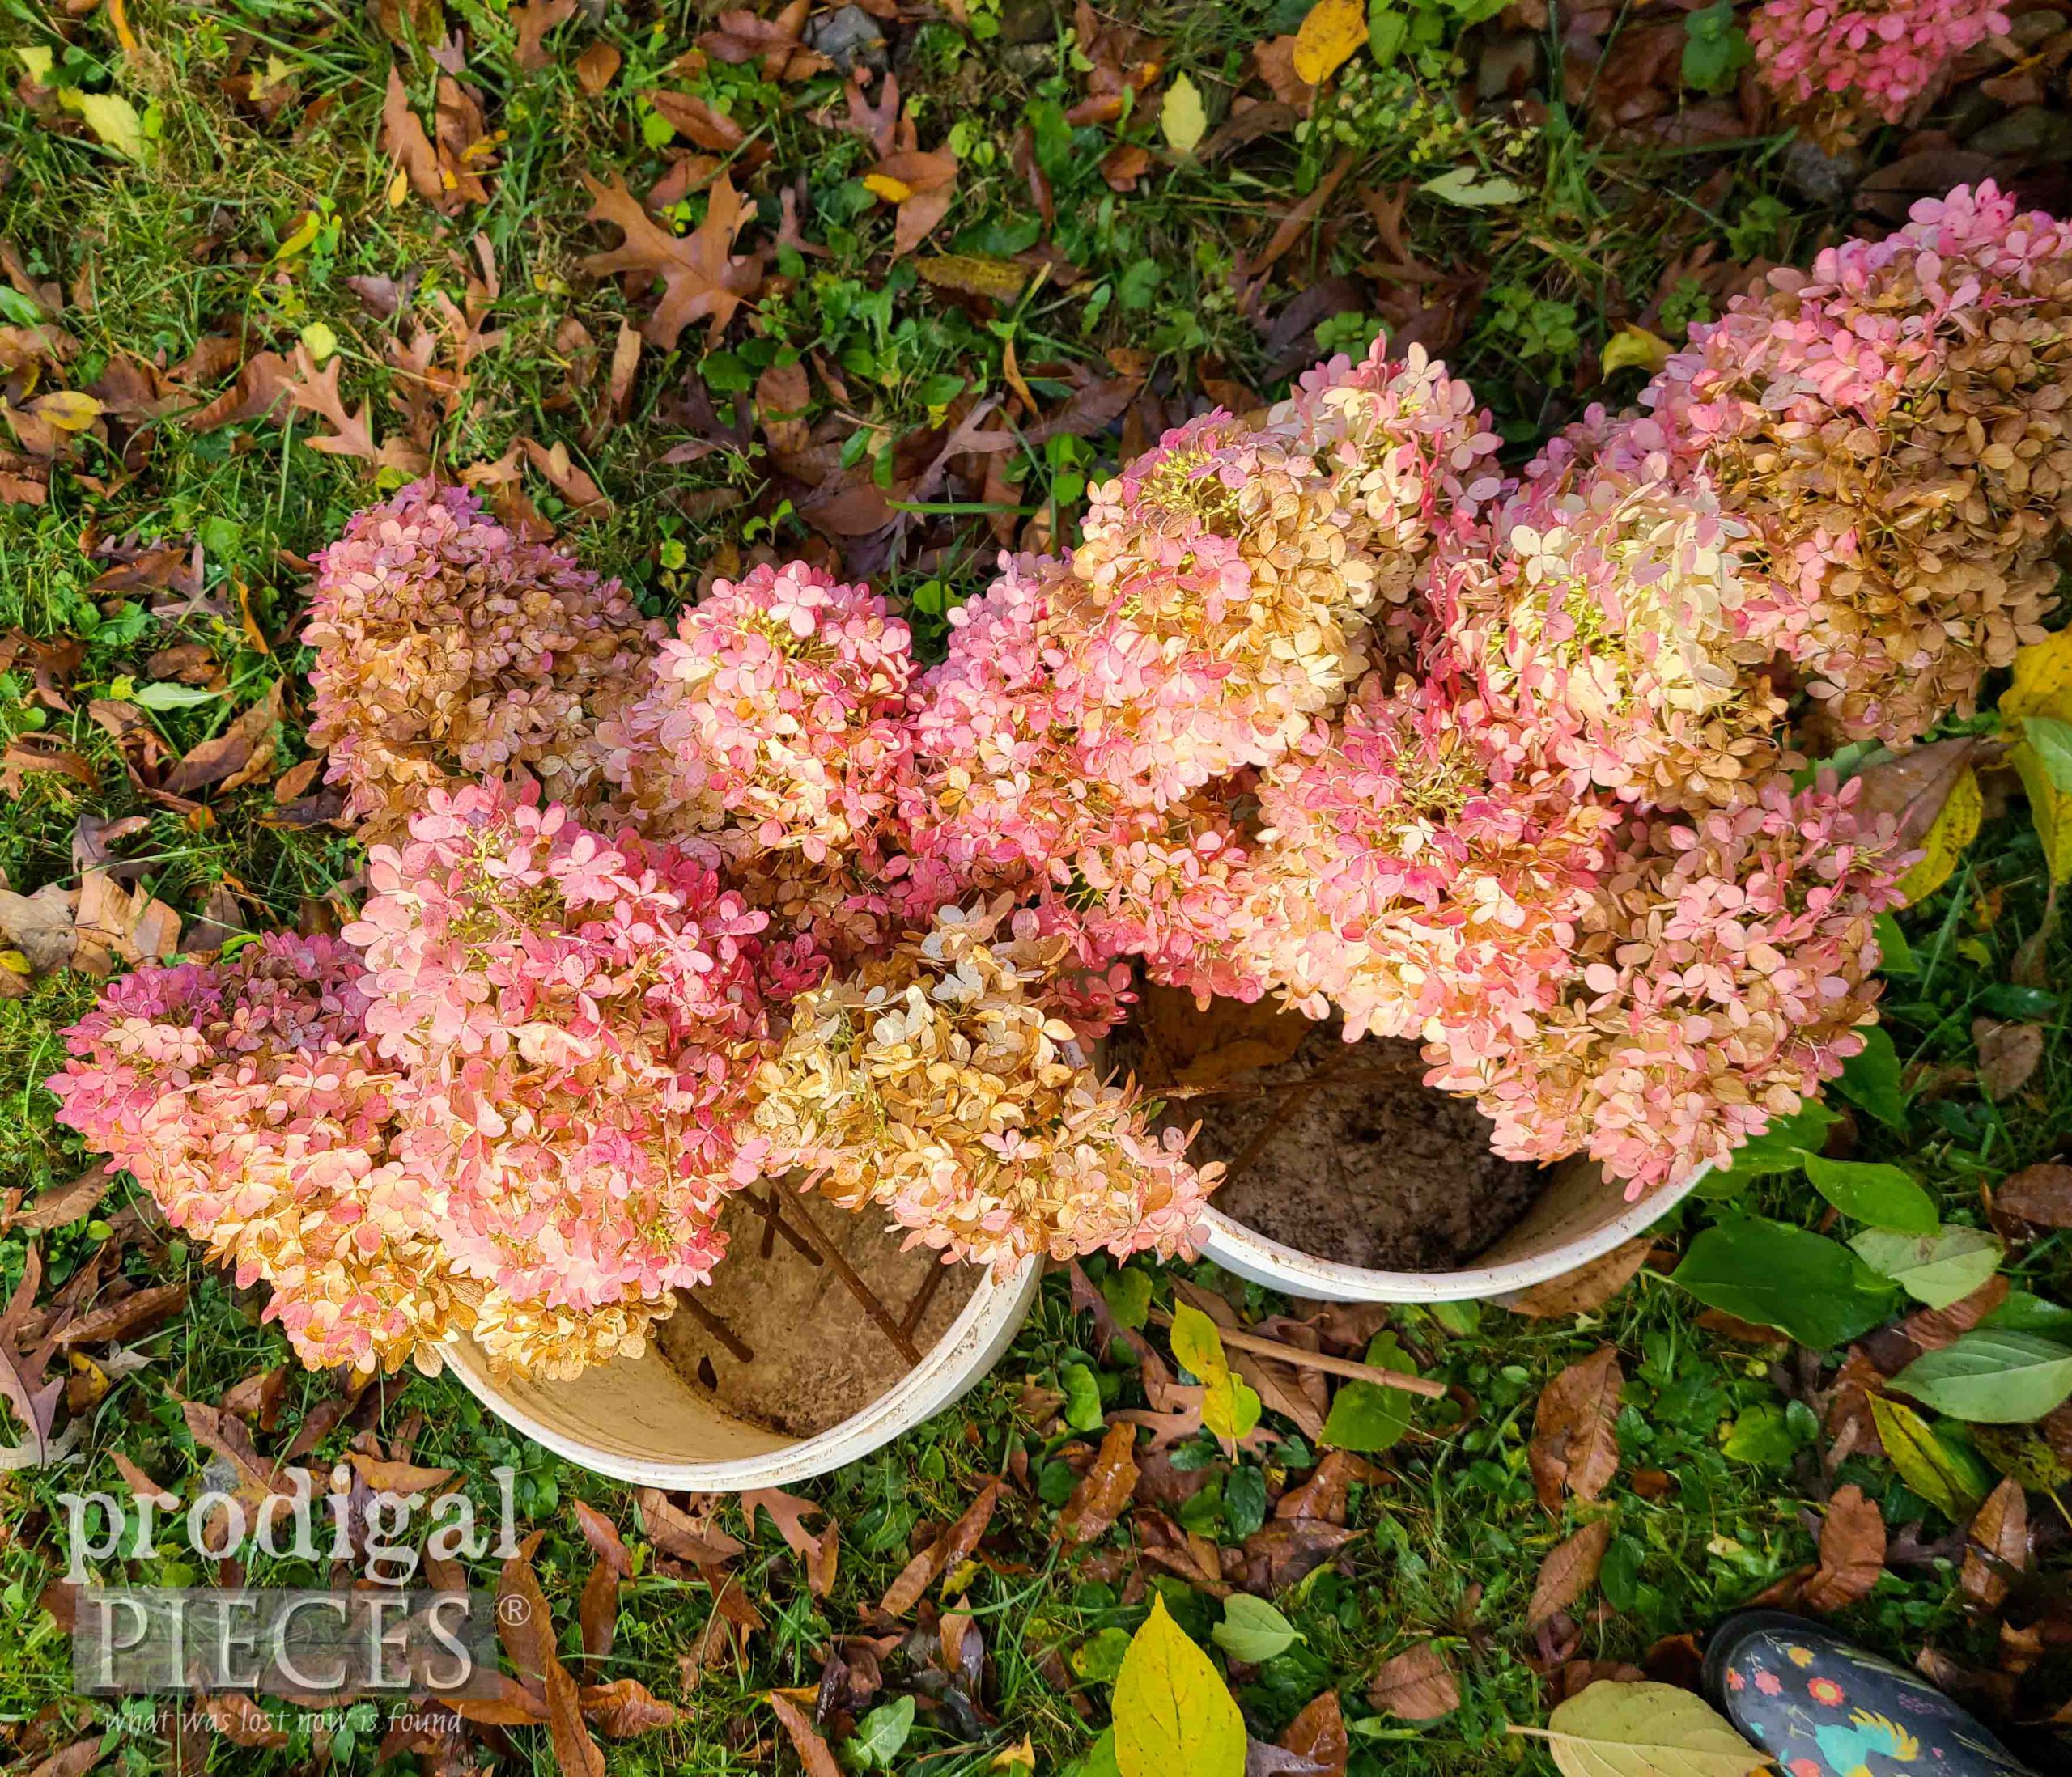
Thankfully, I took Plant Biology in college and absolutely loved the course. It actually led me down a path of being a landscape architect until I found out how much math I had to take. meh. So, I enjoy working on my own garden and helping my neighbors enjoy theirs too. Here’s my bounty prime for the decorating. woot! I clipped three, 5 gallon buckets full. I’m a happy gardener for sure.
In addition to cutting, we need to dry them. There are different ways, but my preference is to dry them in water. Yes, you read that right. Let them stand in water until dry making sure to replace the water daily. Not only does this retain the color better for longer, but also keeps the petals supple. Also, if you like, you can add a bit of glycerin to the water for even more longevity. Limelights, however, are super easy to dry as opposed to some other hydrangeas. They seem to retain color and dry faster than all my other varieties I have in my gardens. Typically, the heads will dry in a few days.
NEXT STEPS
Next, it’s time to create our DIY hydrangea wreath and gather our supplies. While you can use any kind of wreath form, even a pool noodle, I prefer grapevine wreaths for this style. Did you know I used to create wreaths and floral decor for a company back in my college days? Super fun and getting paid to create beauty is the best.
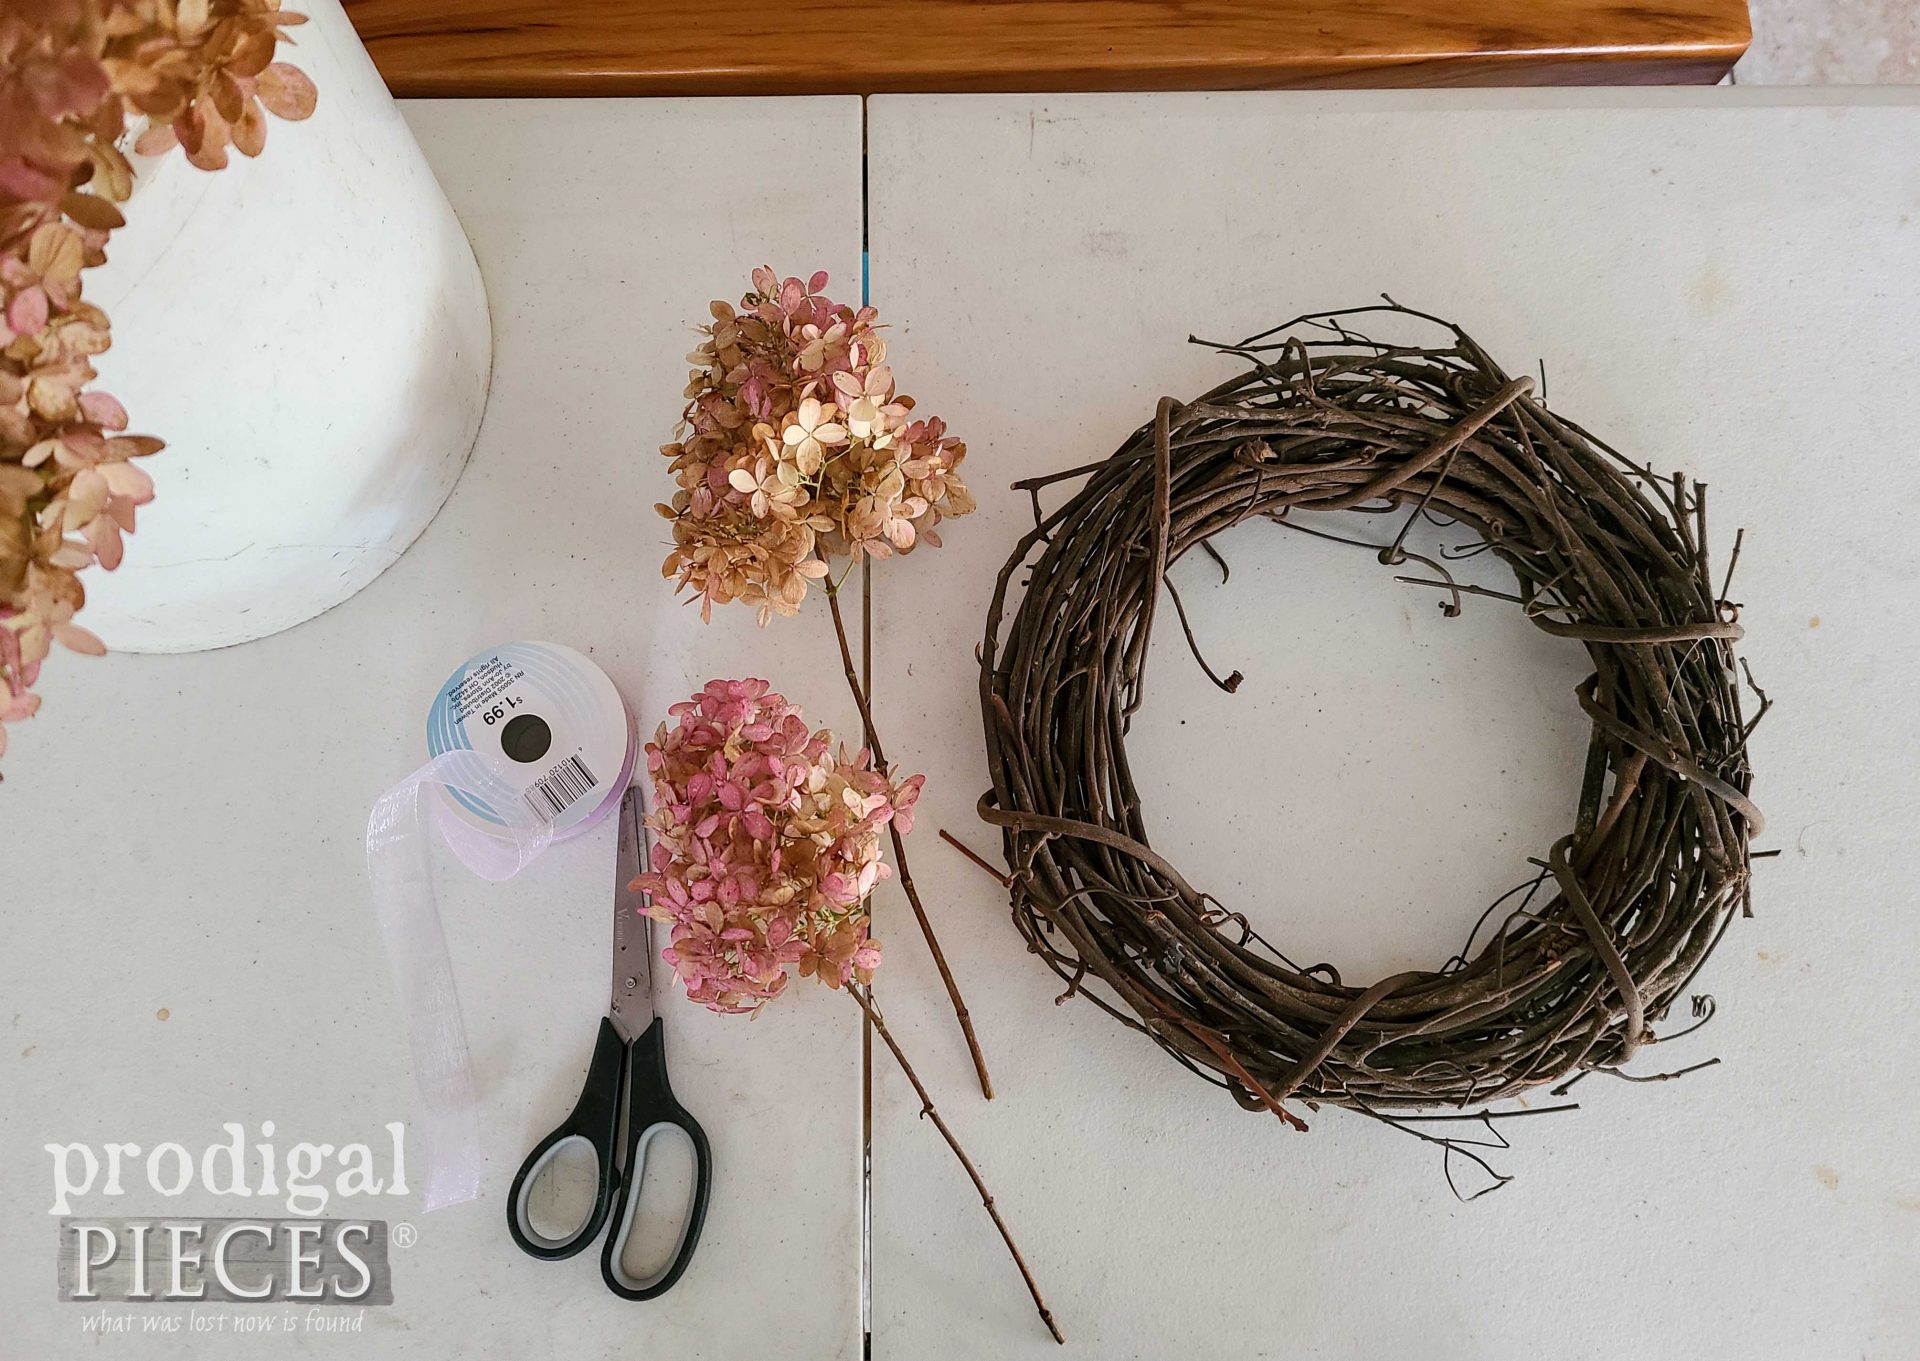
Here’s what you’ll need:
- hydrangeas
- wreath form
- garden snips
- ribbon
- scissors
- hot glue gun/glue stick
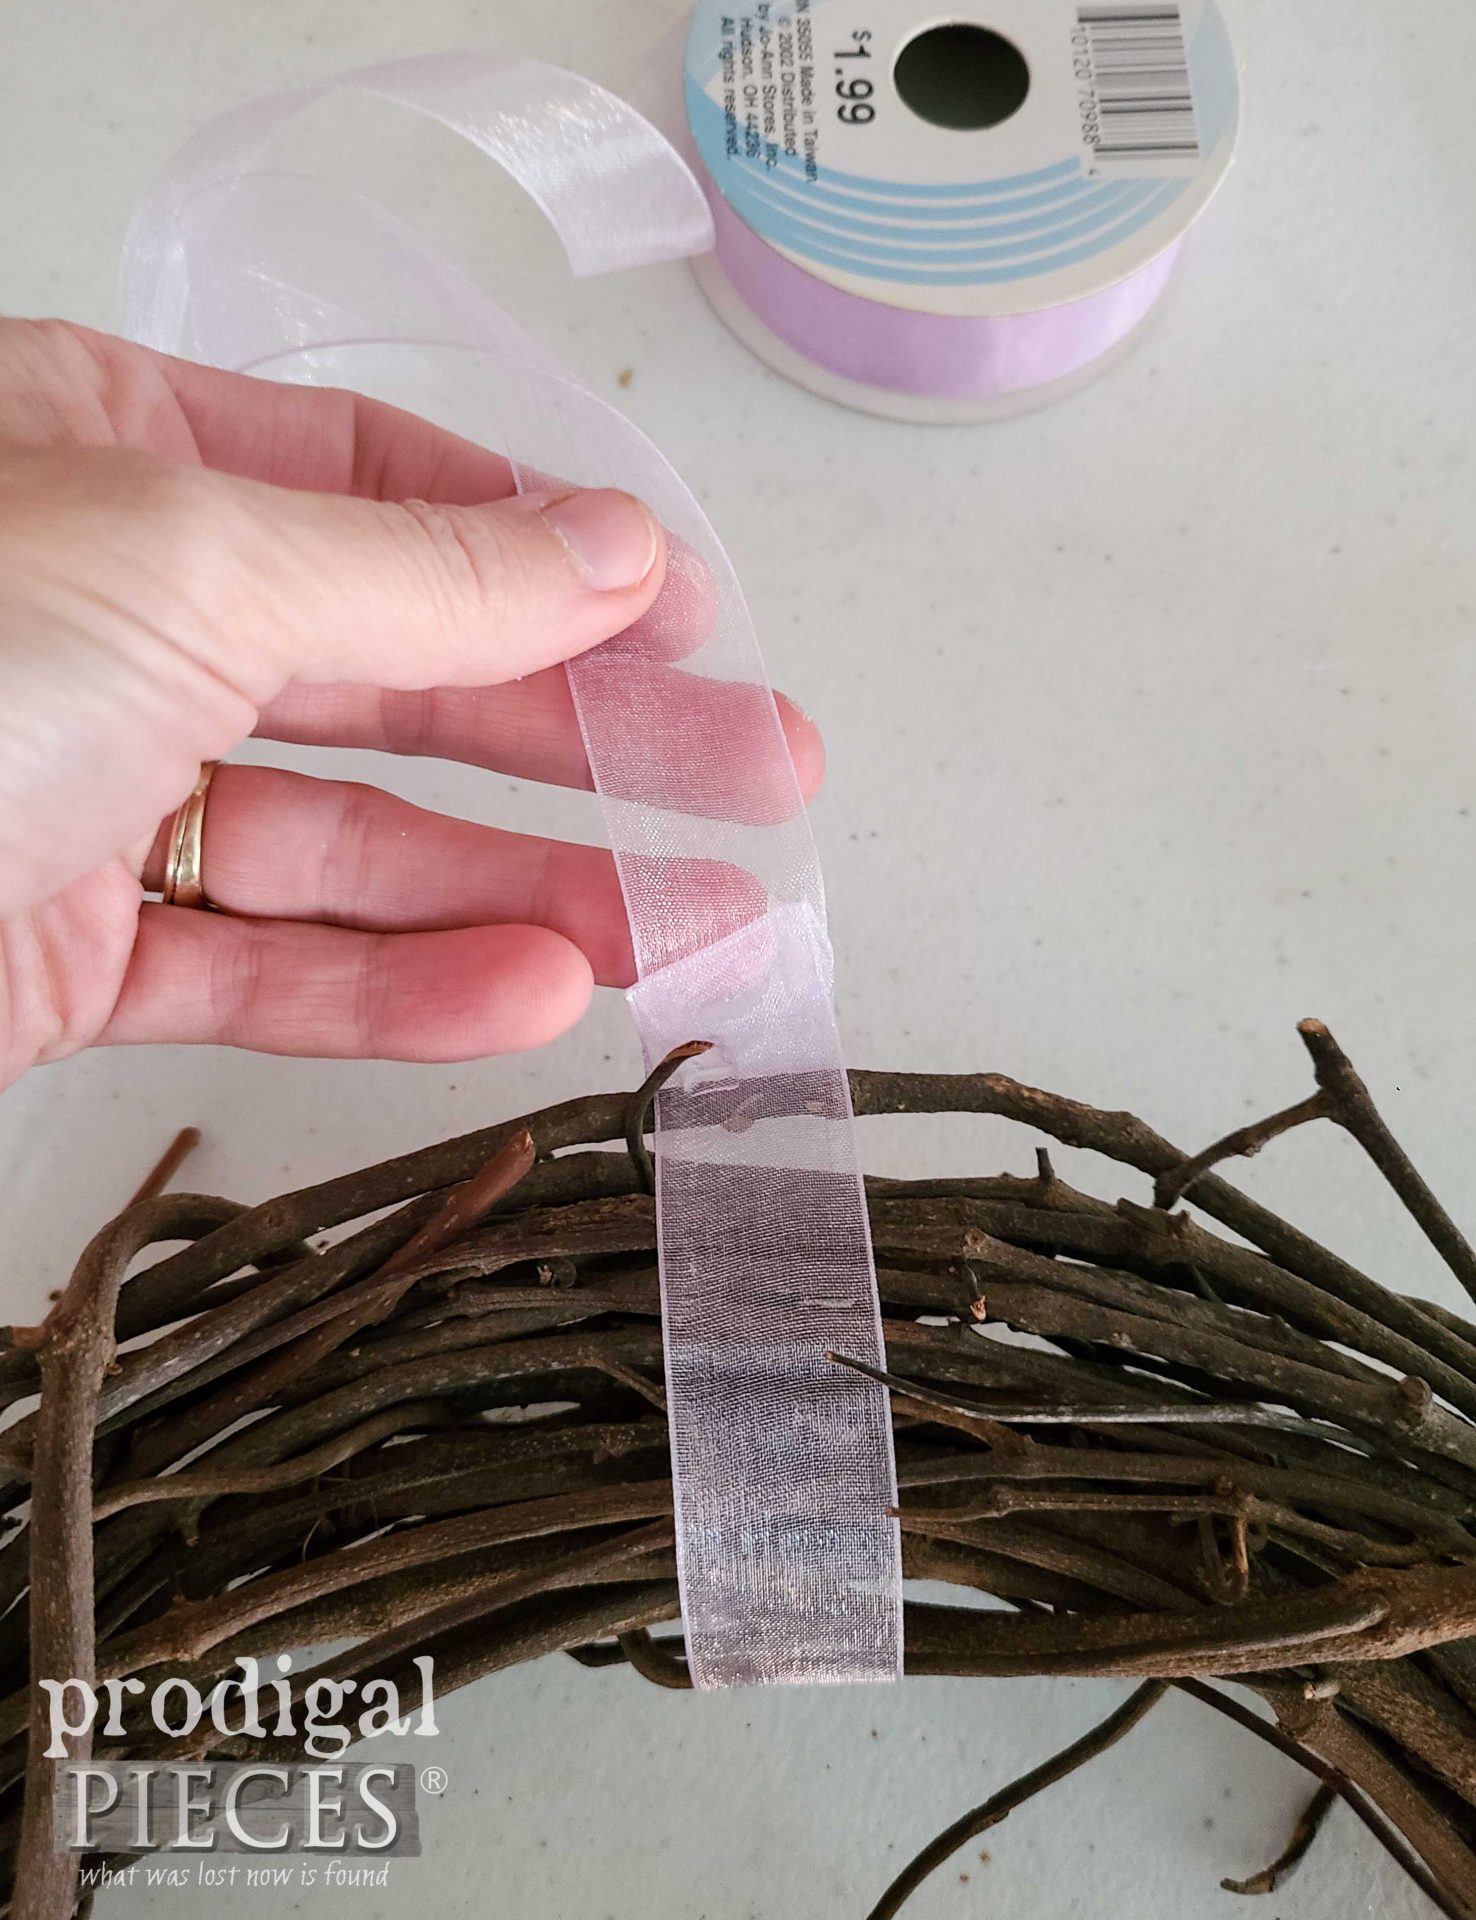
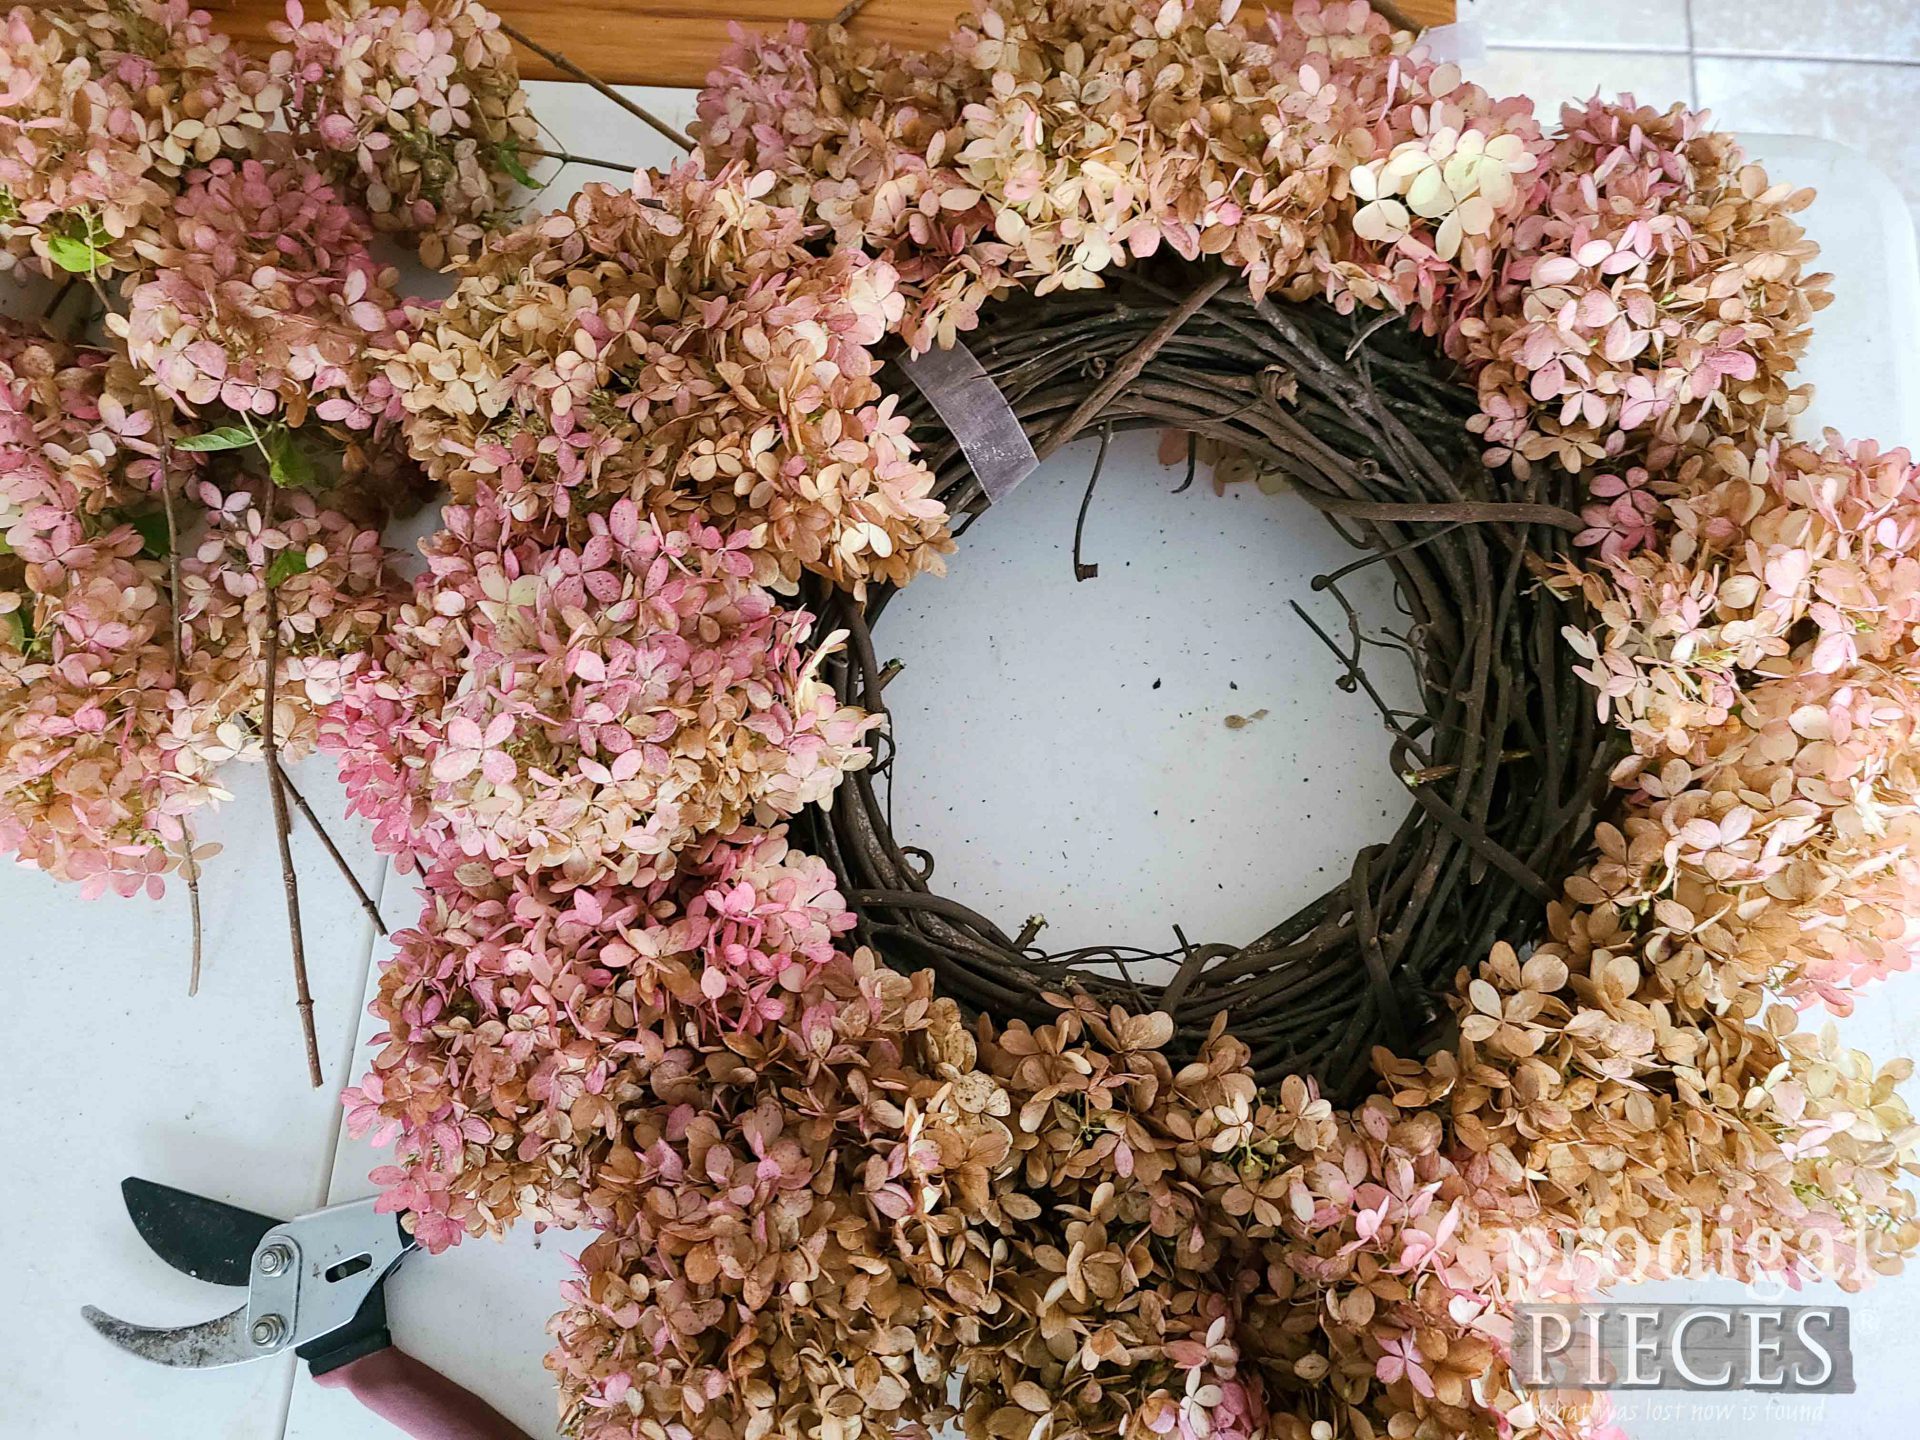
Before we can begin assembly, we need to create our hanger (or feel free to add it to the back after you’re done as well). I like to use an organdy ribbon that compliments the colors in the hydrangeas. I wrap it around the wreath once, overlapping the end to sit tight and glue together.
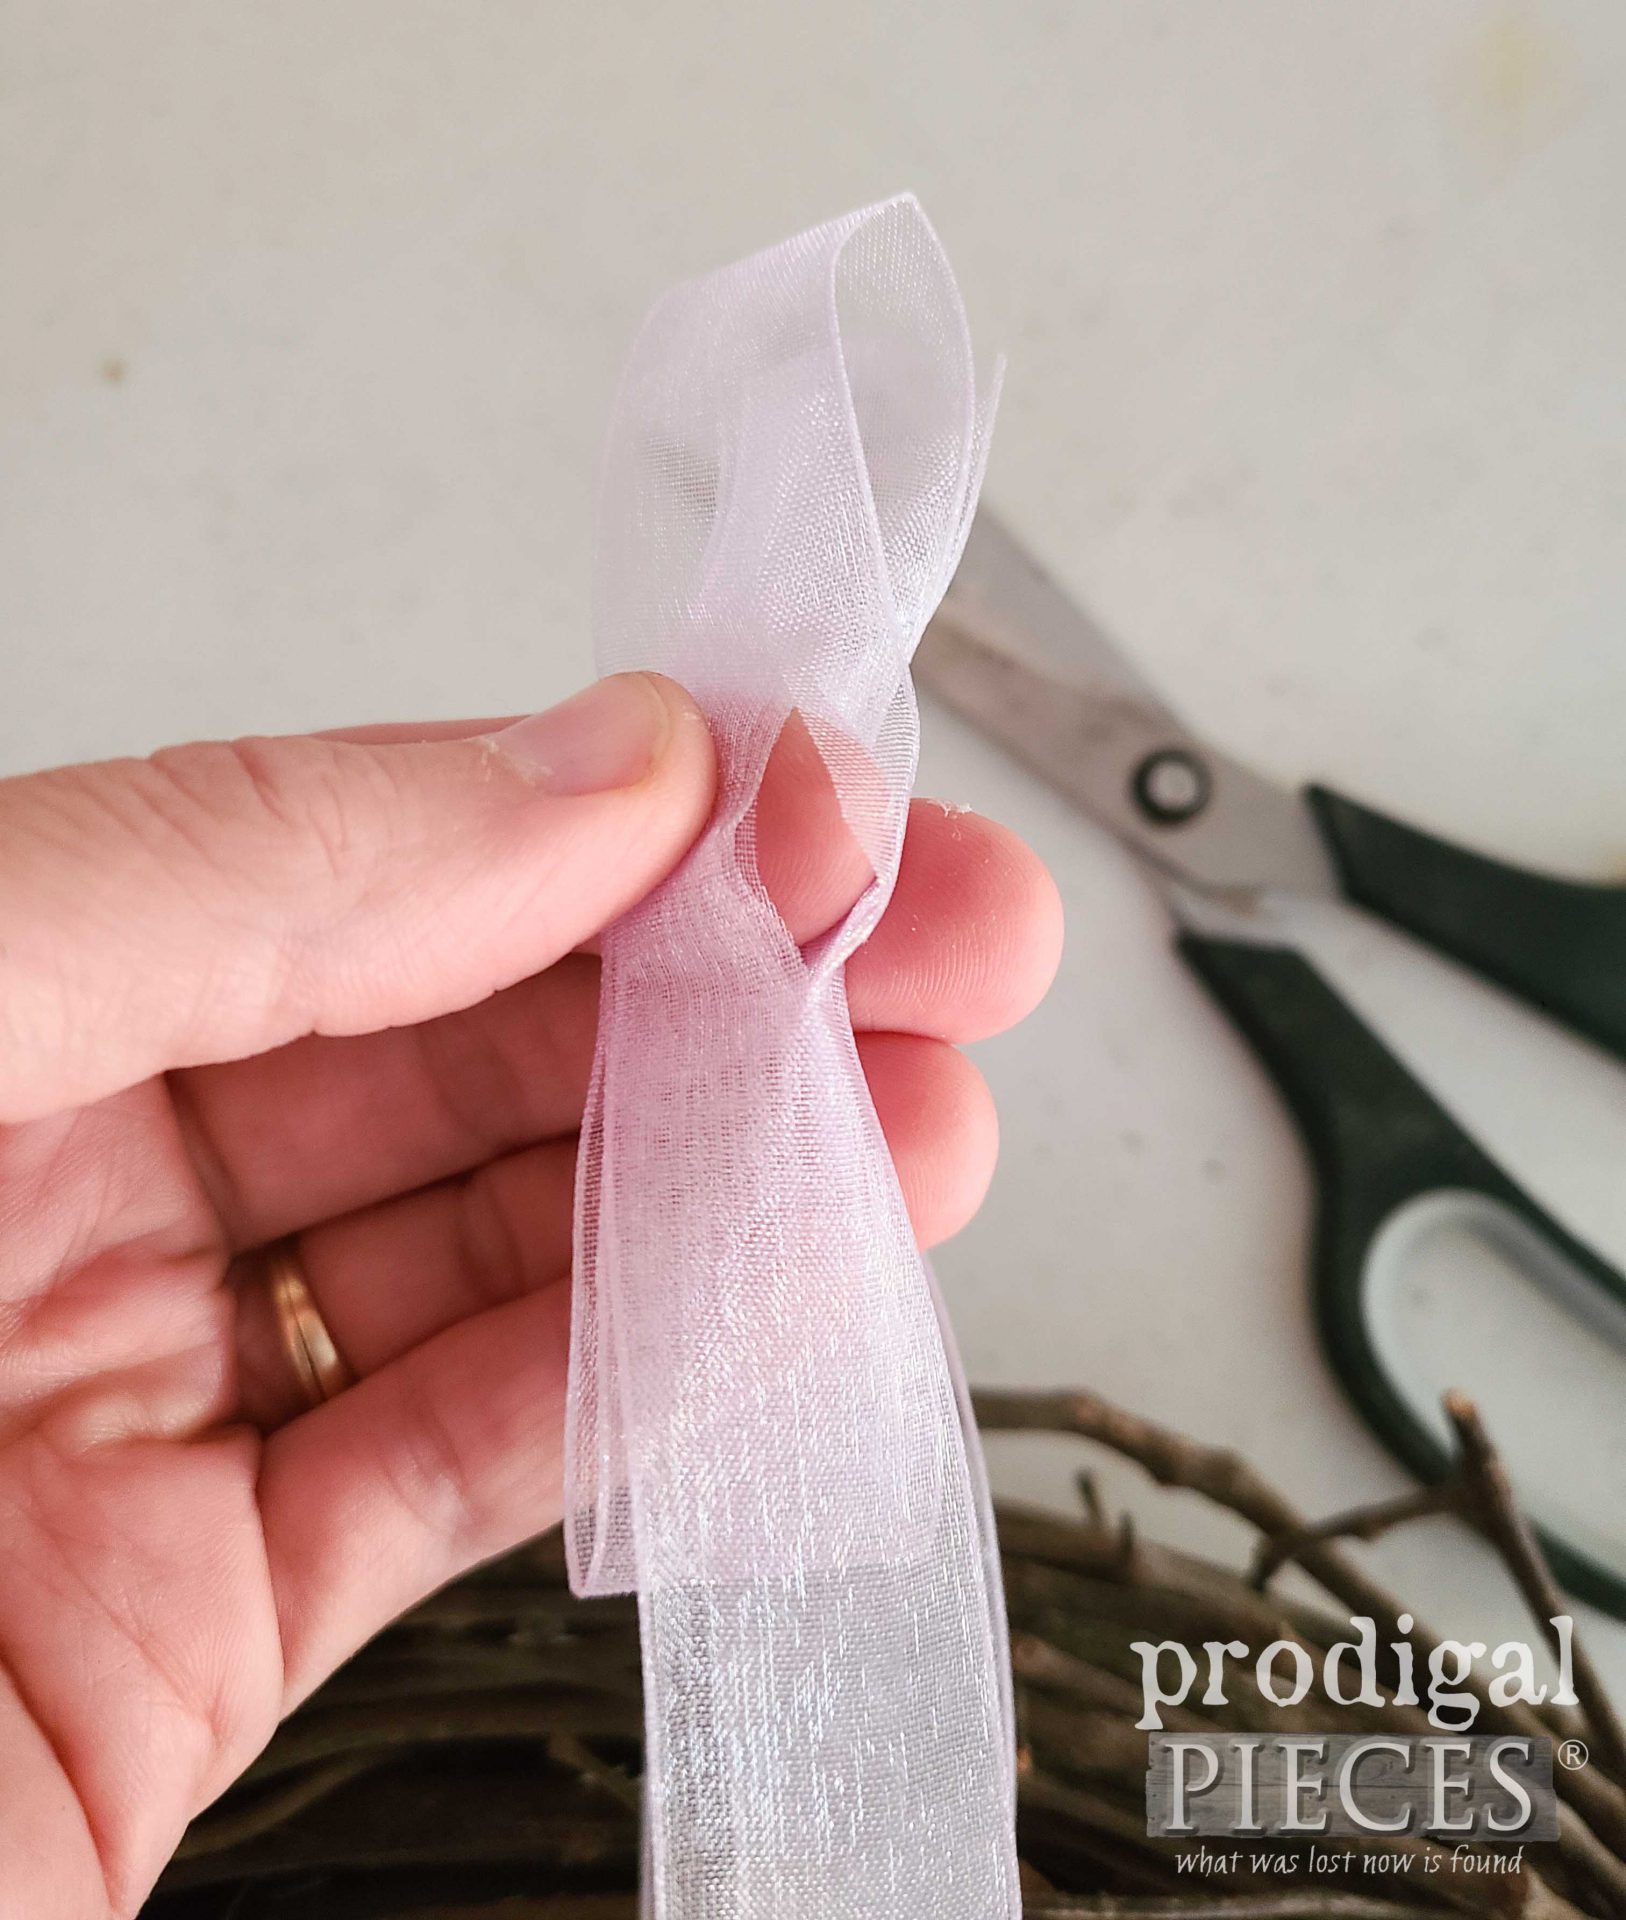
Then, you need to figure the length you want to use. Once I have that figured out, I then add a few inches to make an overlapping hanger. Glue the layers together and cut a slit. However, in order to reinforce the hanger, I add hot glue to the slit.
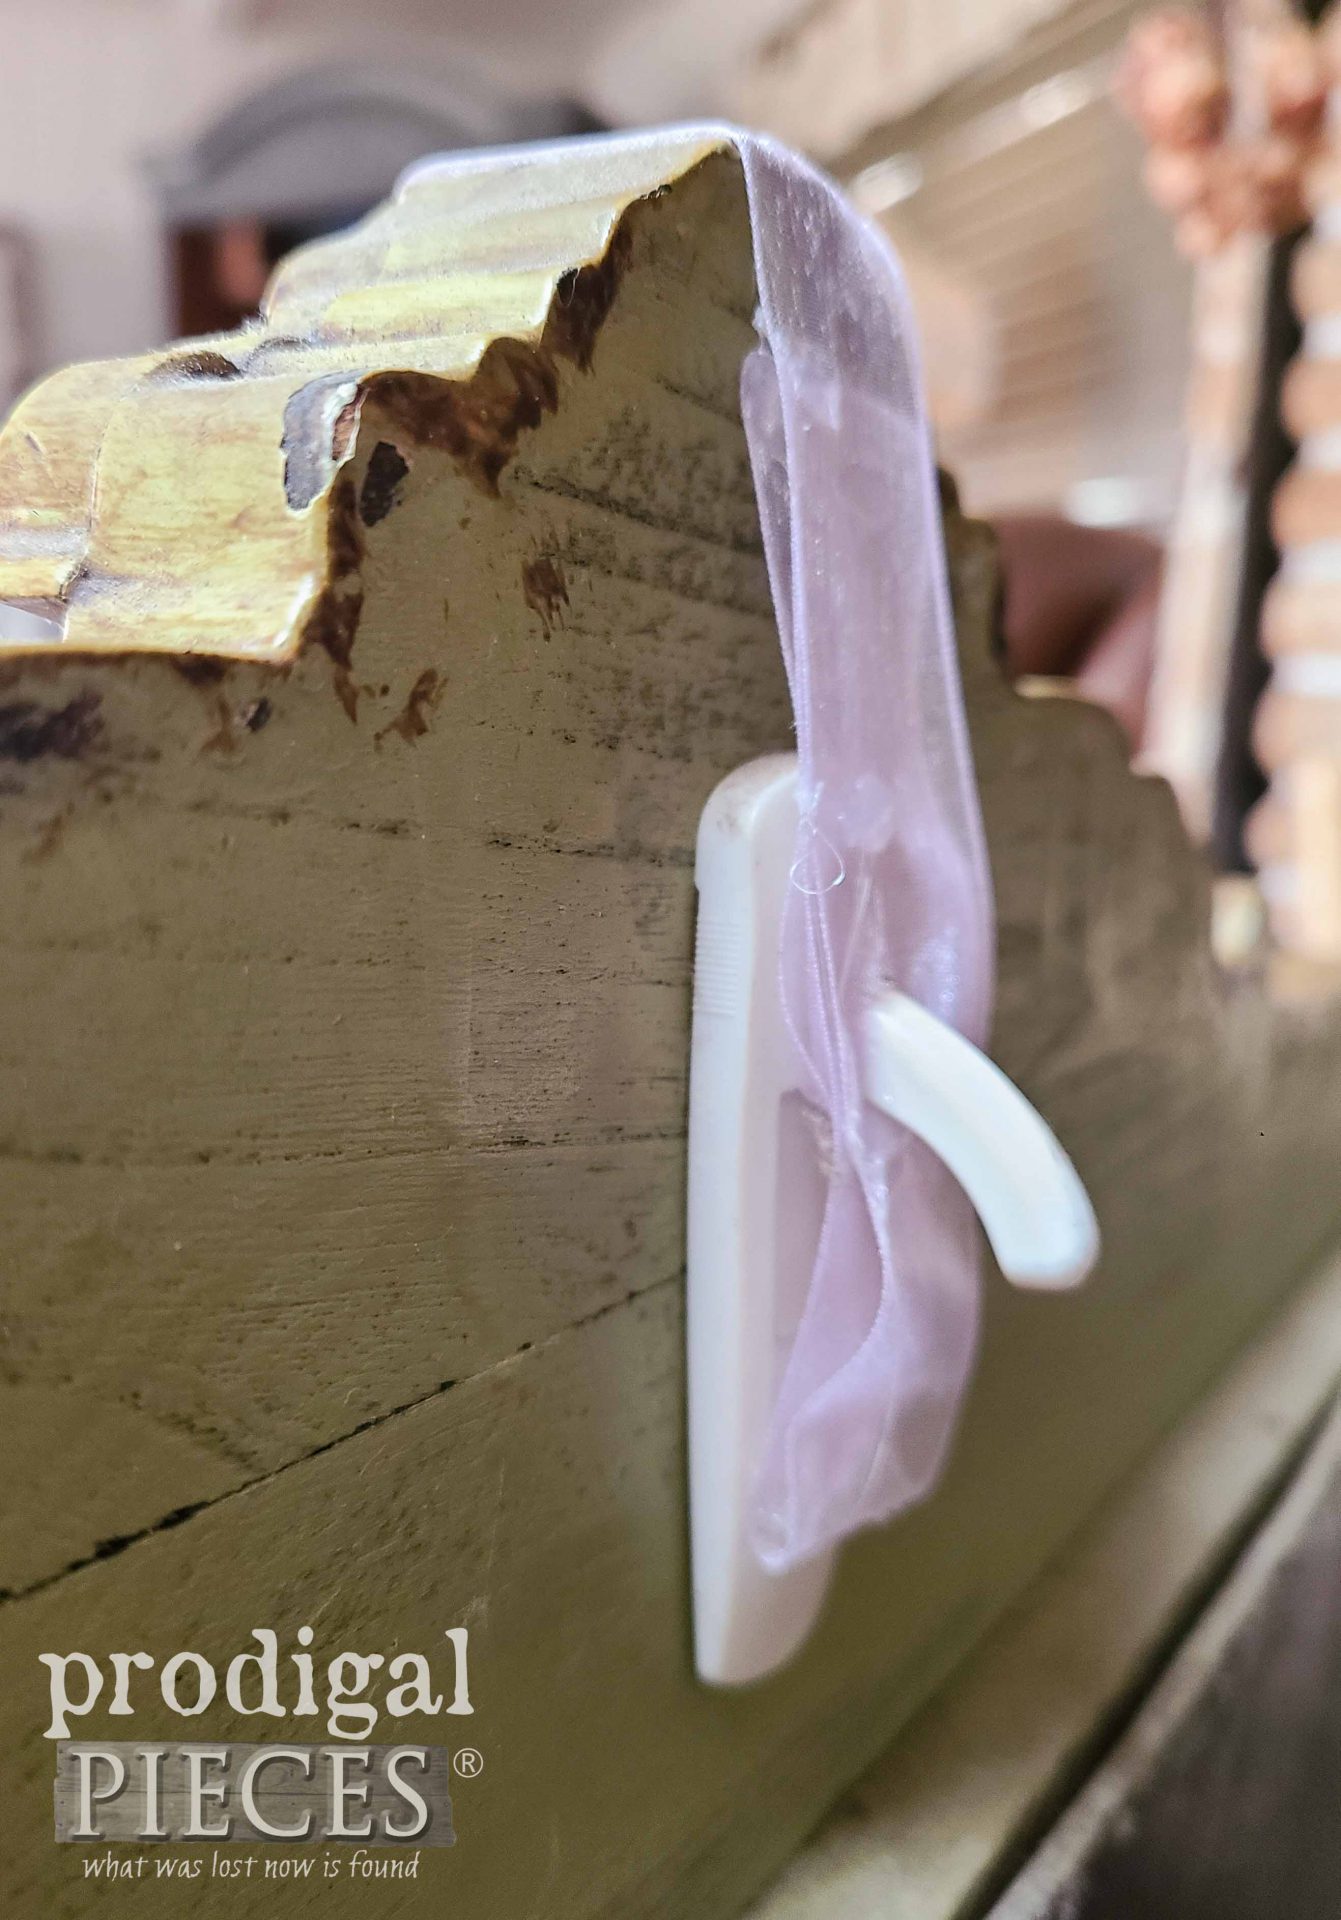
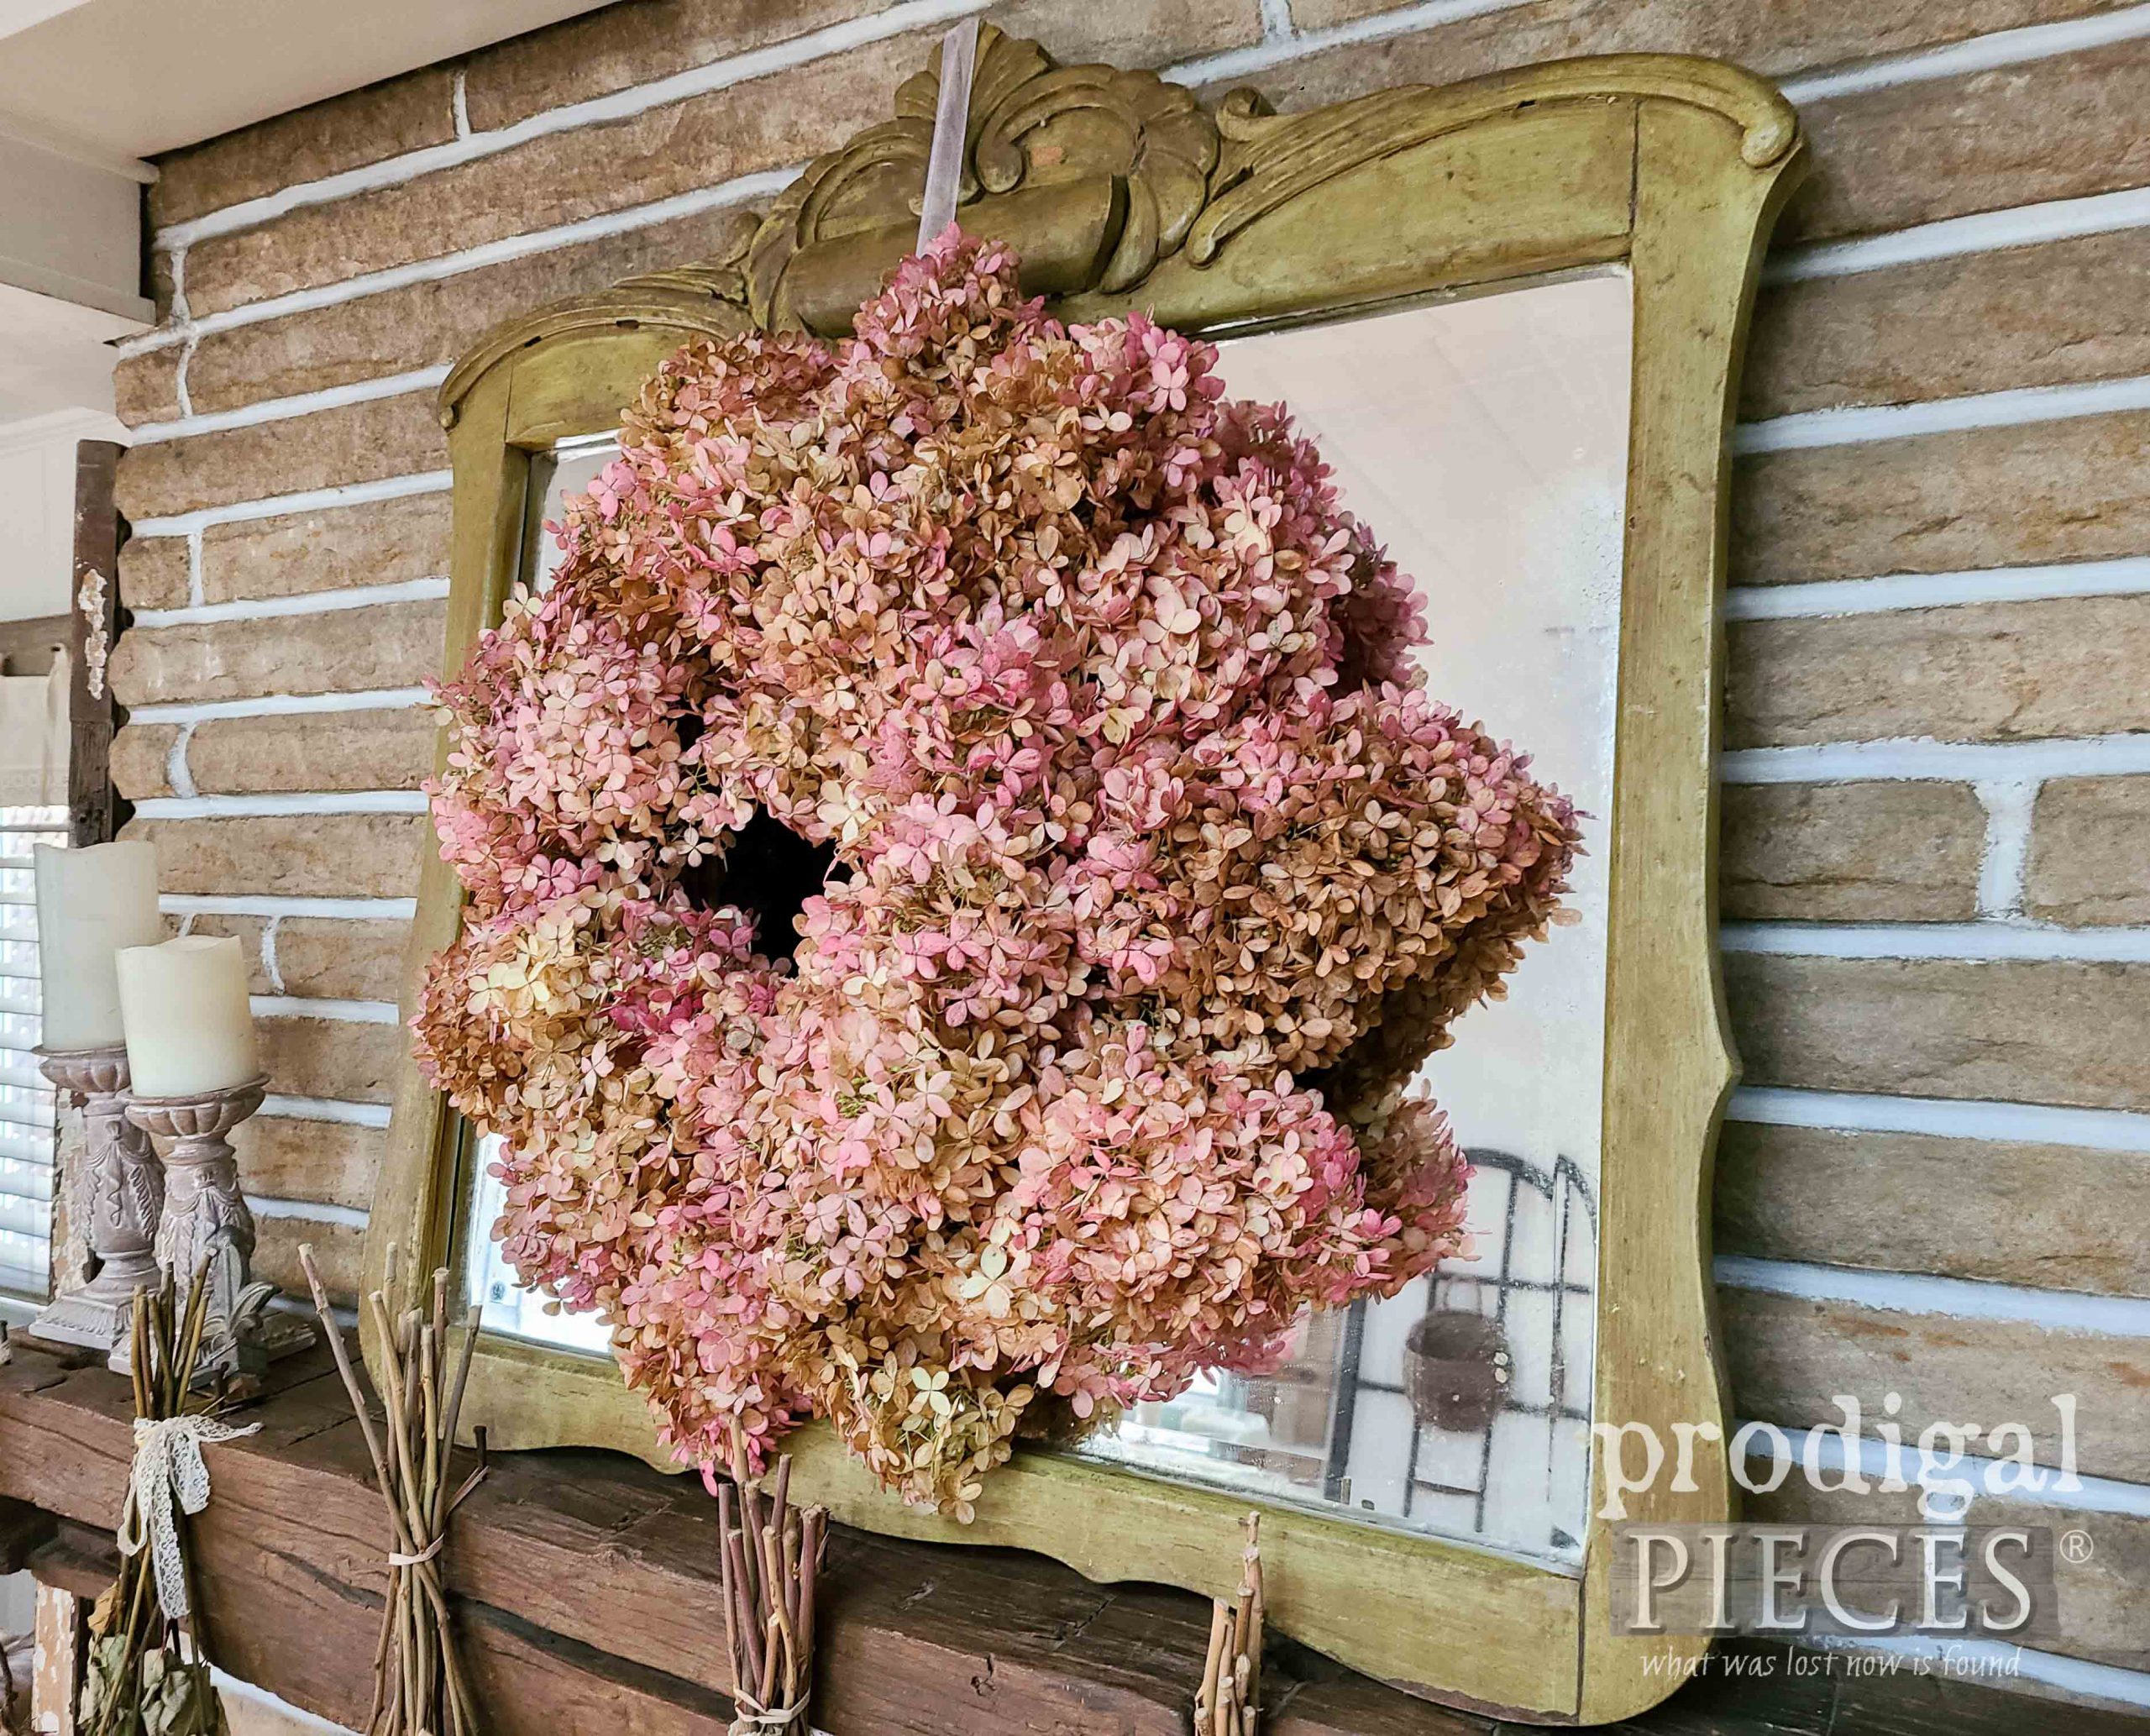
Also, I’m hanging my wreath on a mirror on my fireplace mantel. TIP: I use a removable hook hung upside down on the backs of frames and doors.
FLOWERS
Keep in mind there is not right or wrong way to create your wreath. While some may prefer one look, another might like a totally different way to fill it. With that in mind, I’m just laying the groundwork for you to create your own. For this project, I cut the stems to be about 5″ long and then tuck in at a slight angle beginning at the back, followed by adding layers towards the front.. I am not using any glue because I want to reuse the grapevine and there’s really no need as they tuck in tight.
WREATH REVEAL
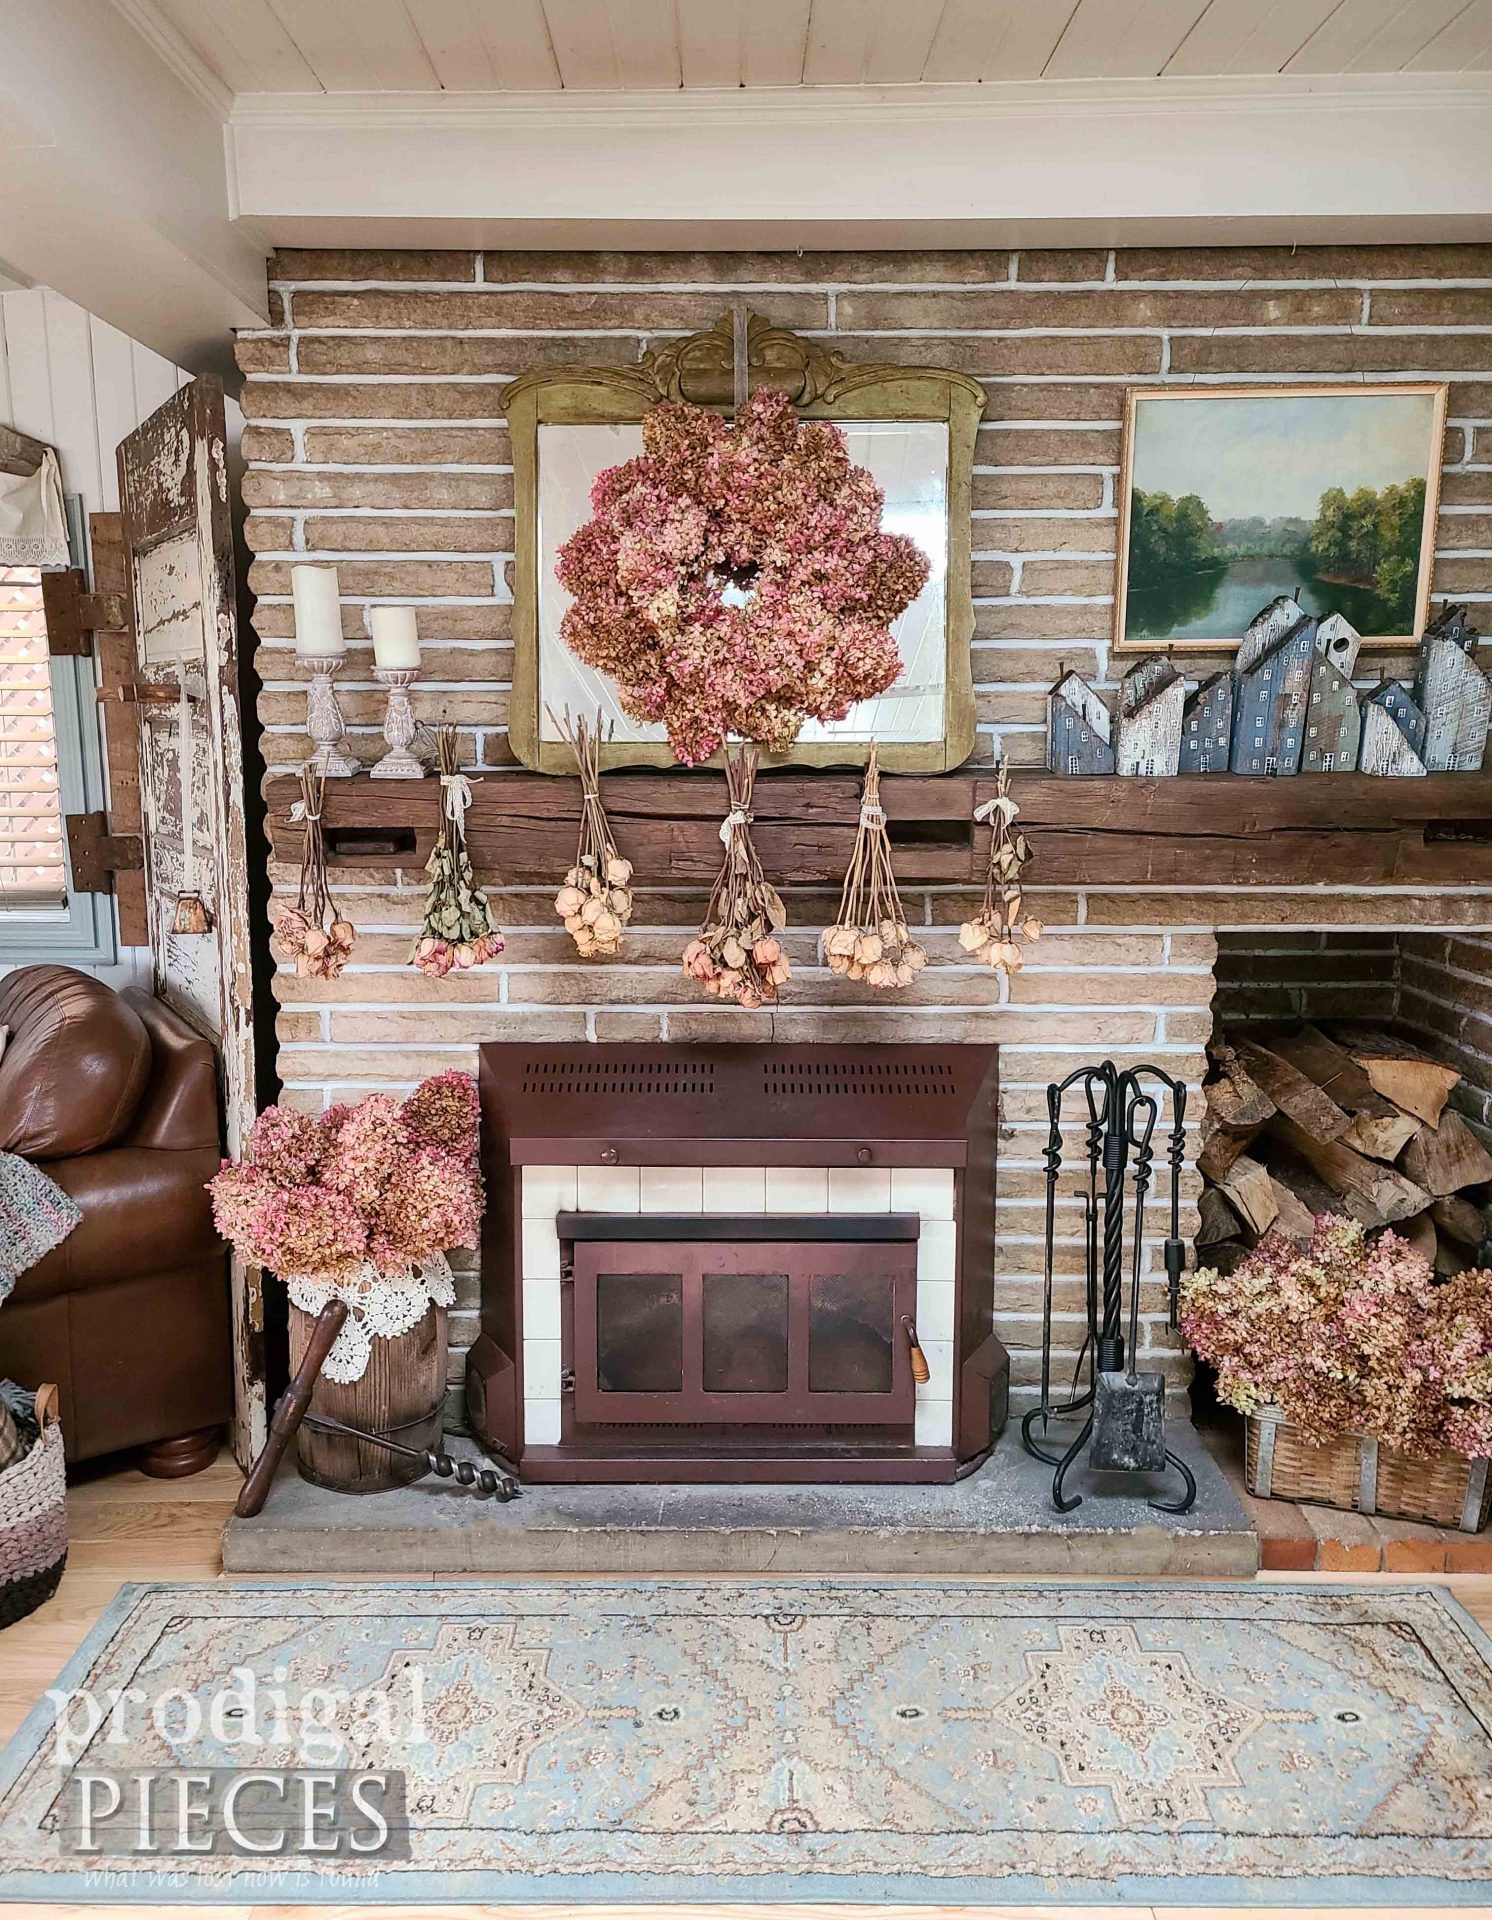
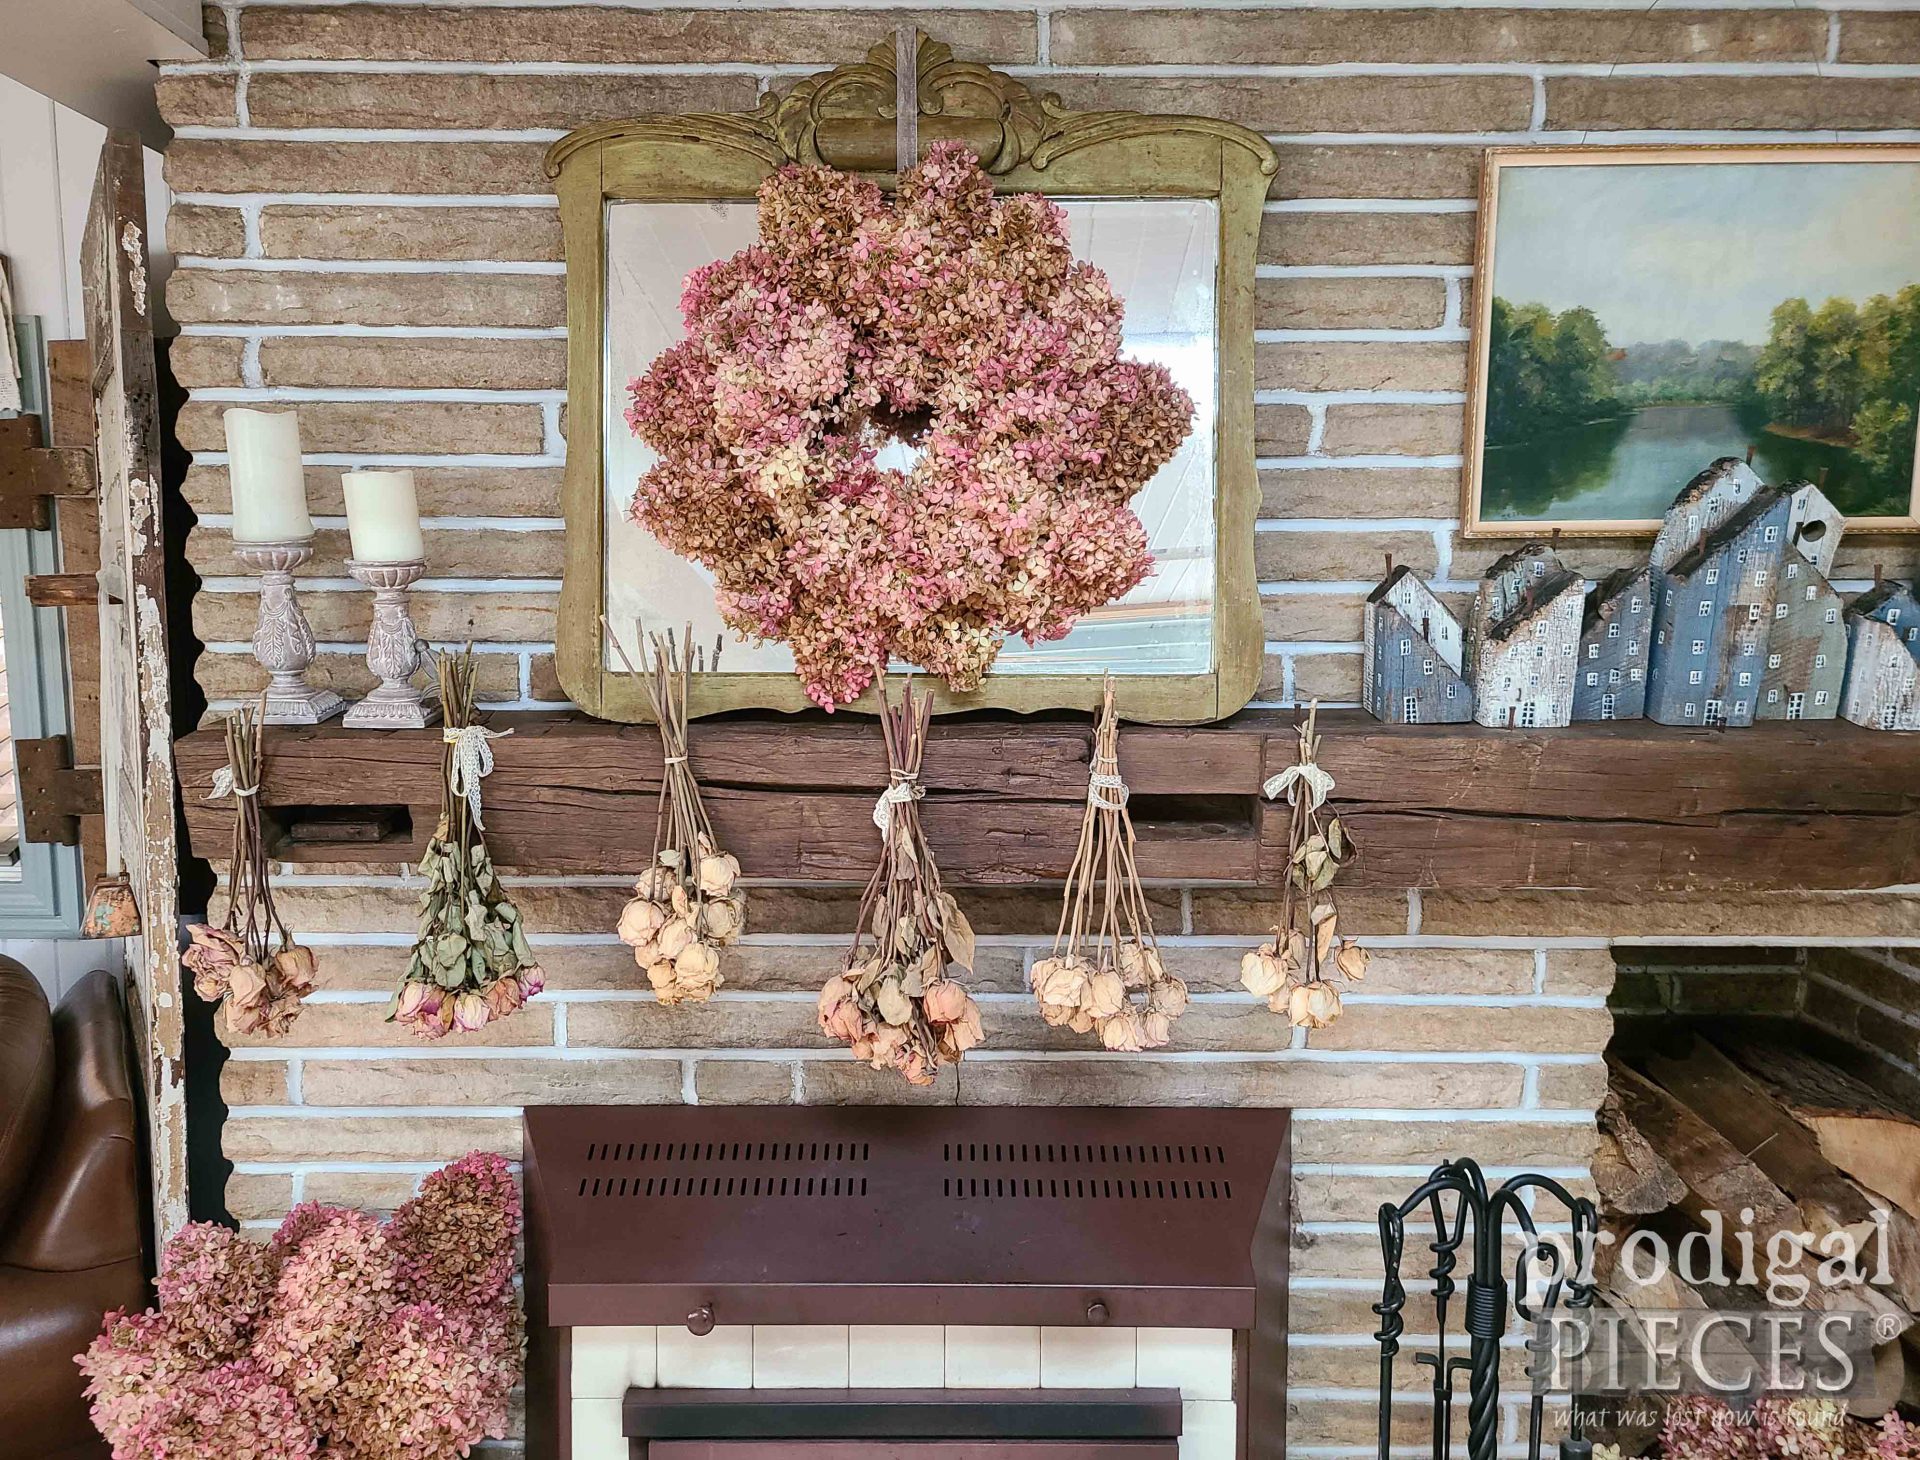
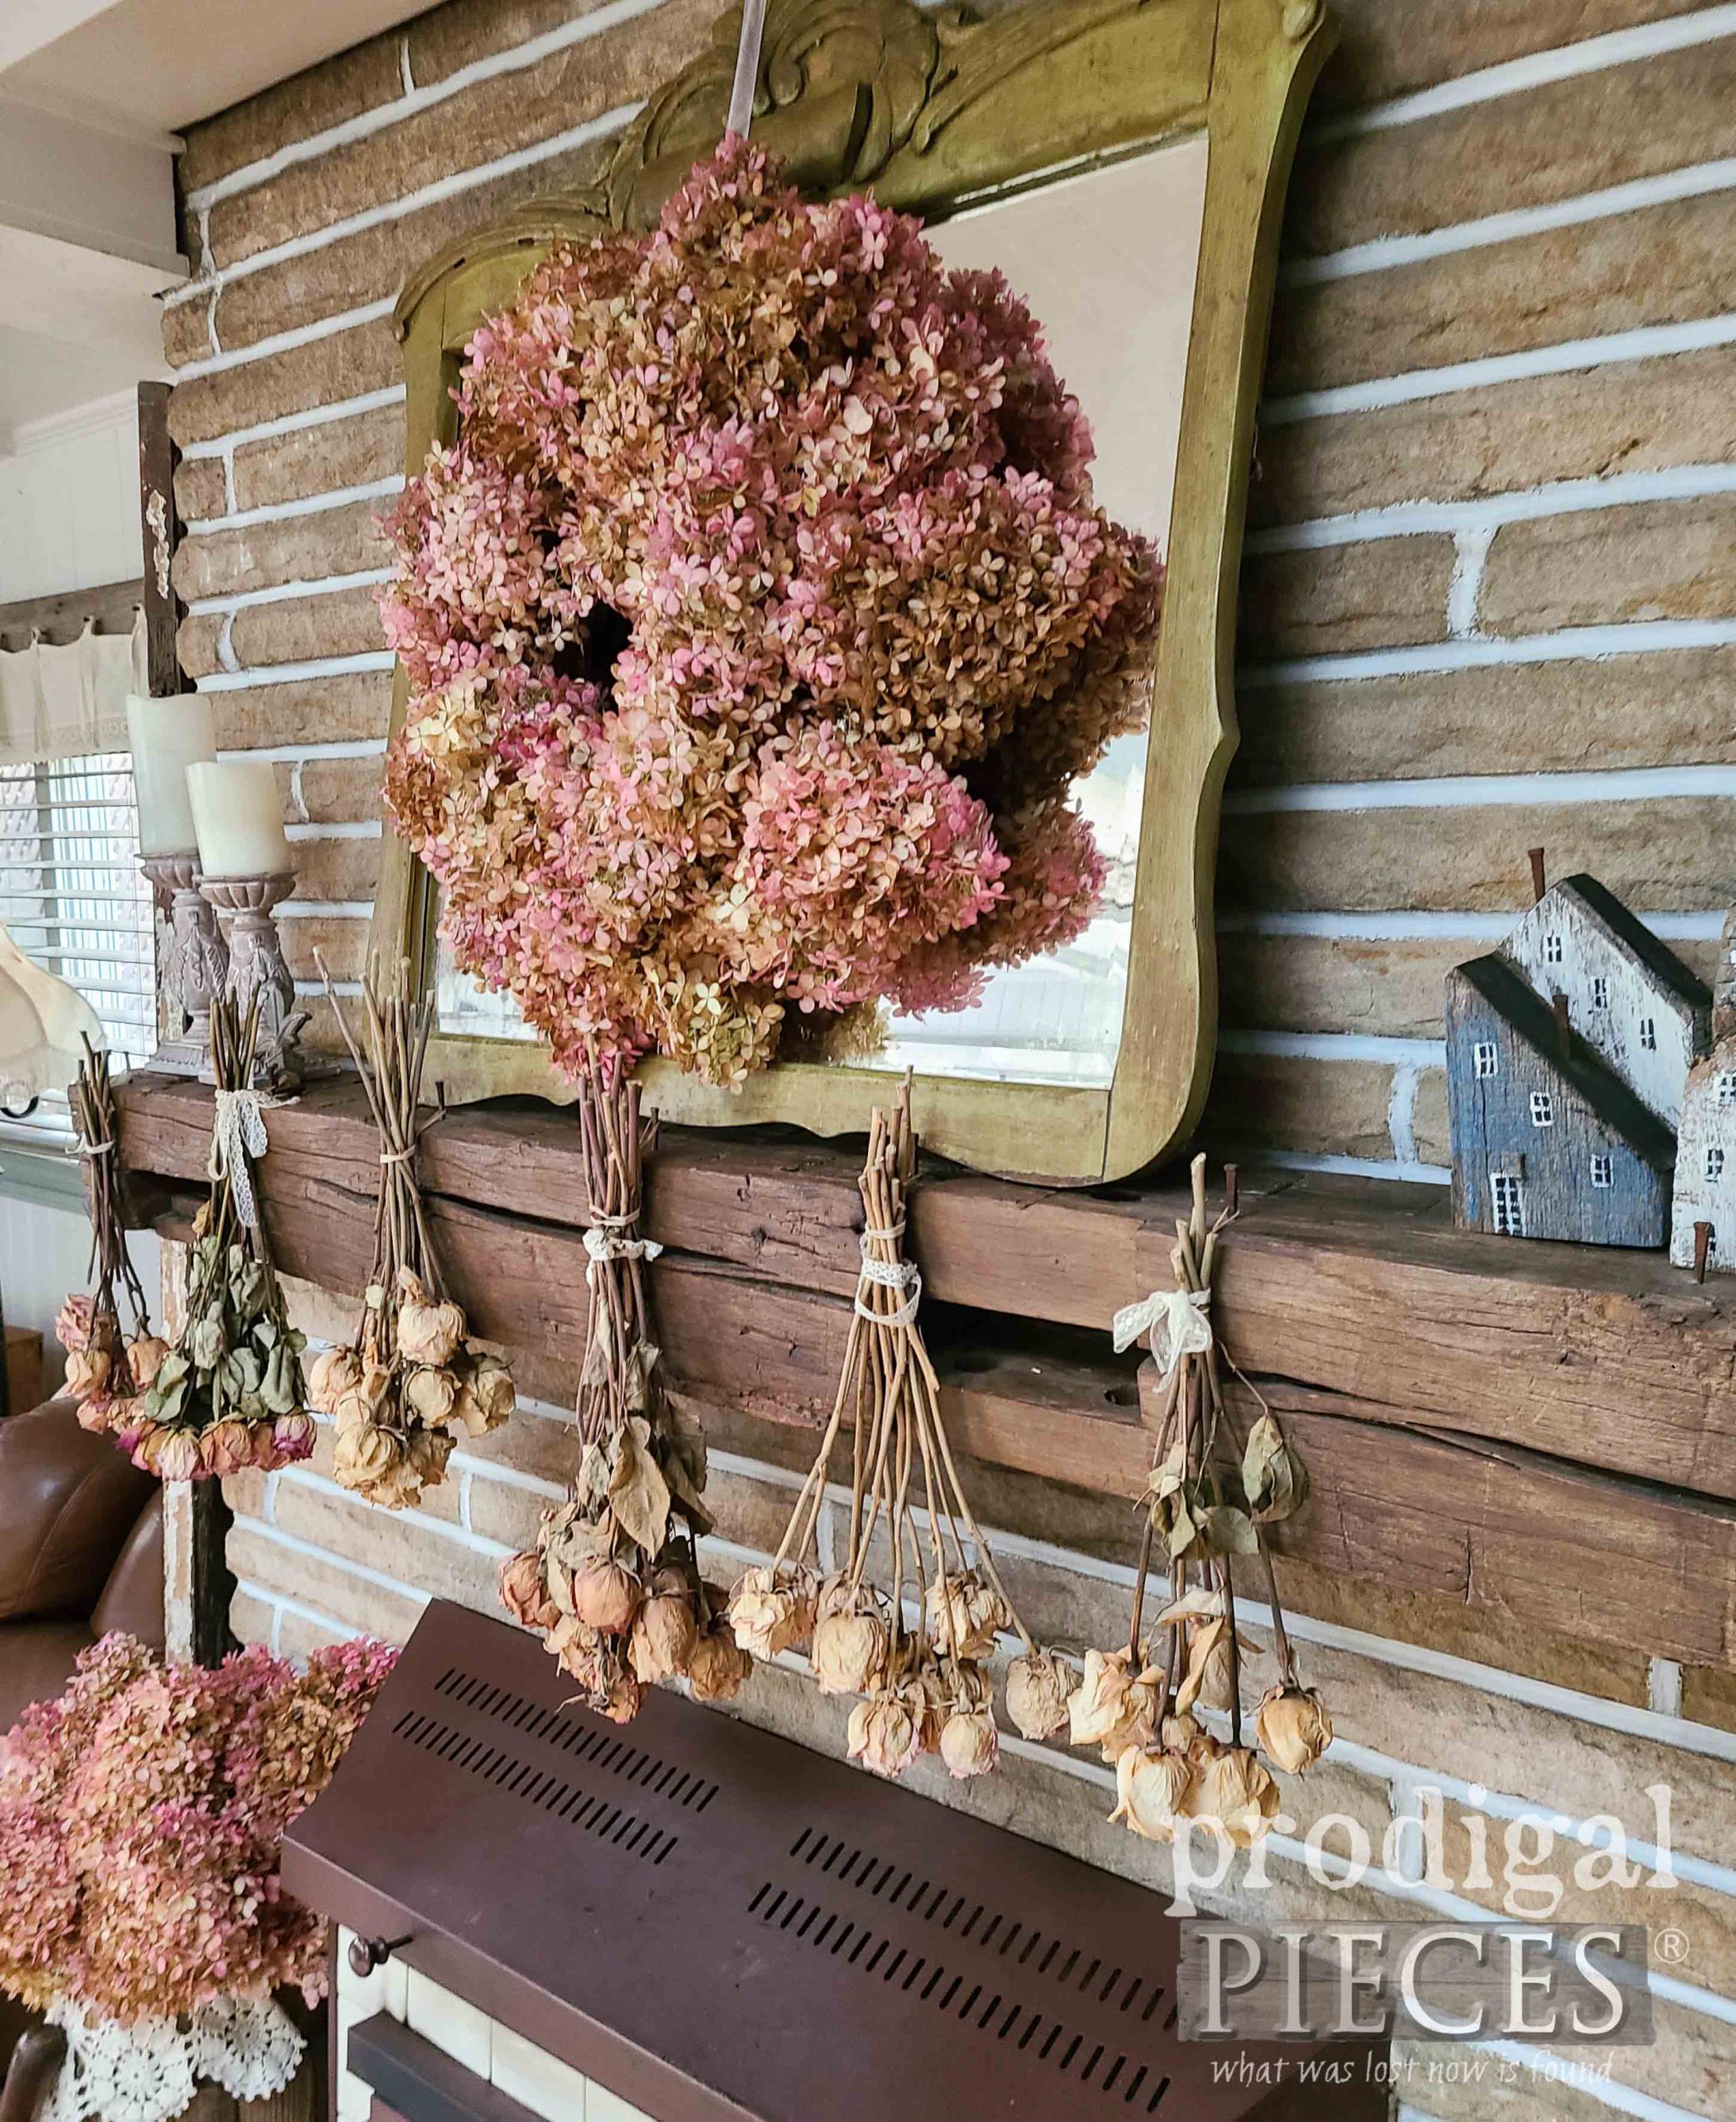
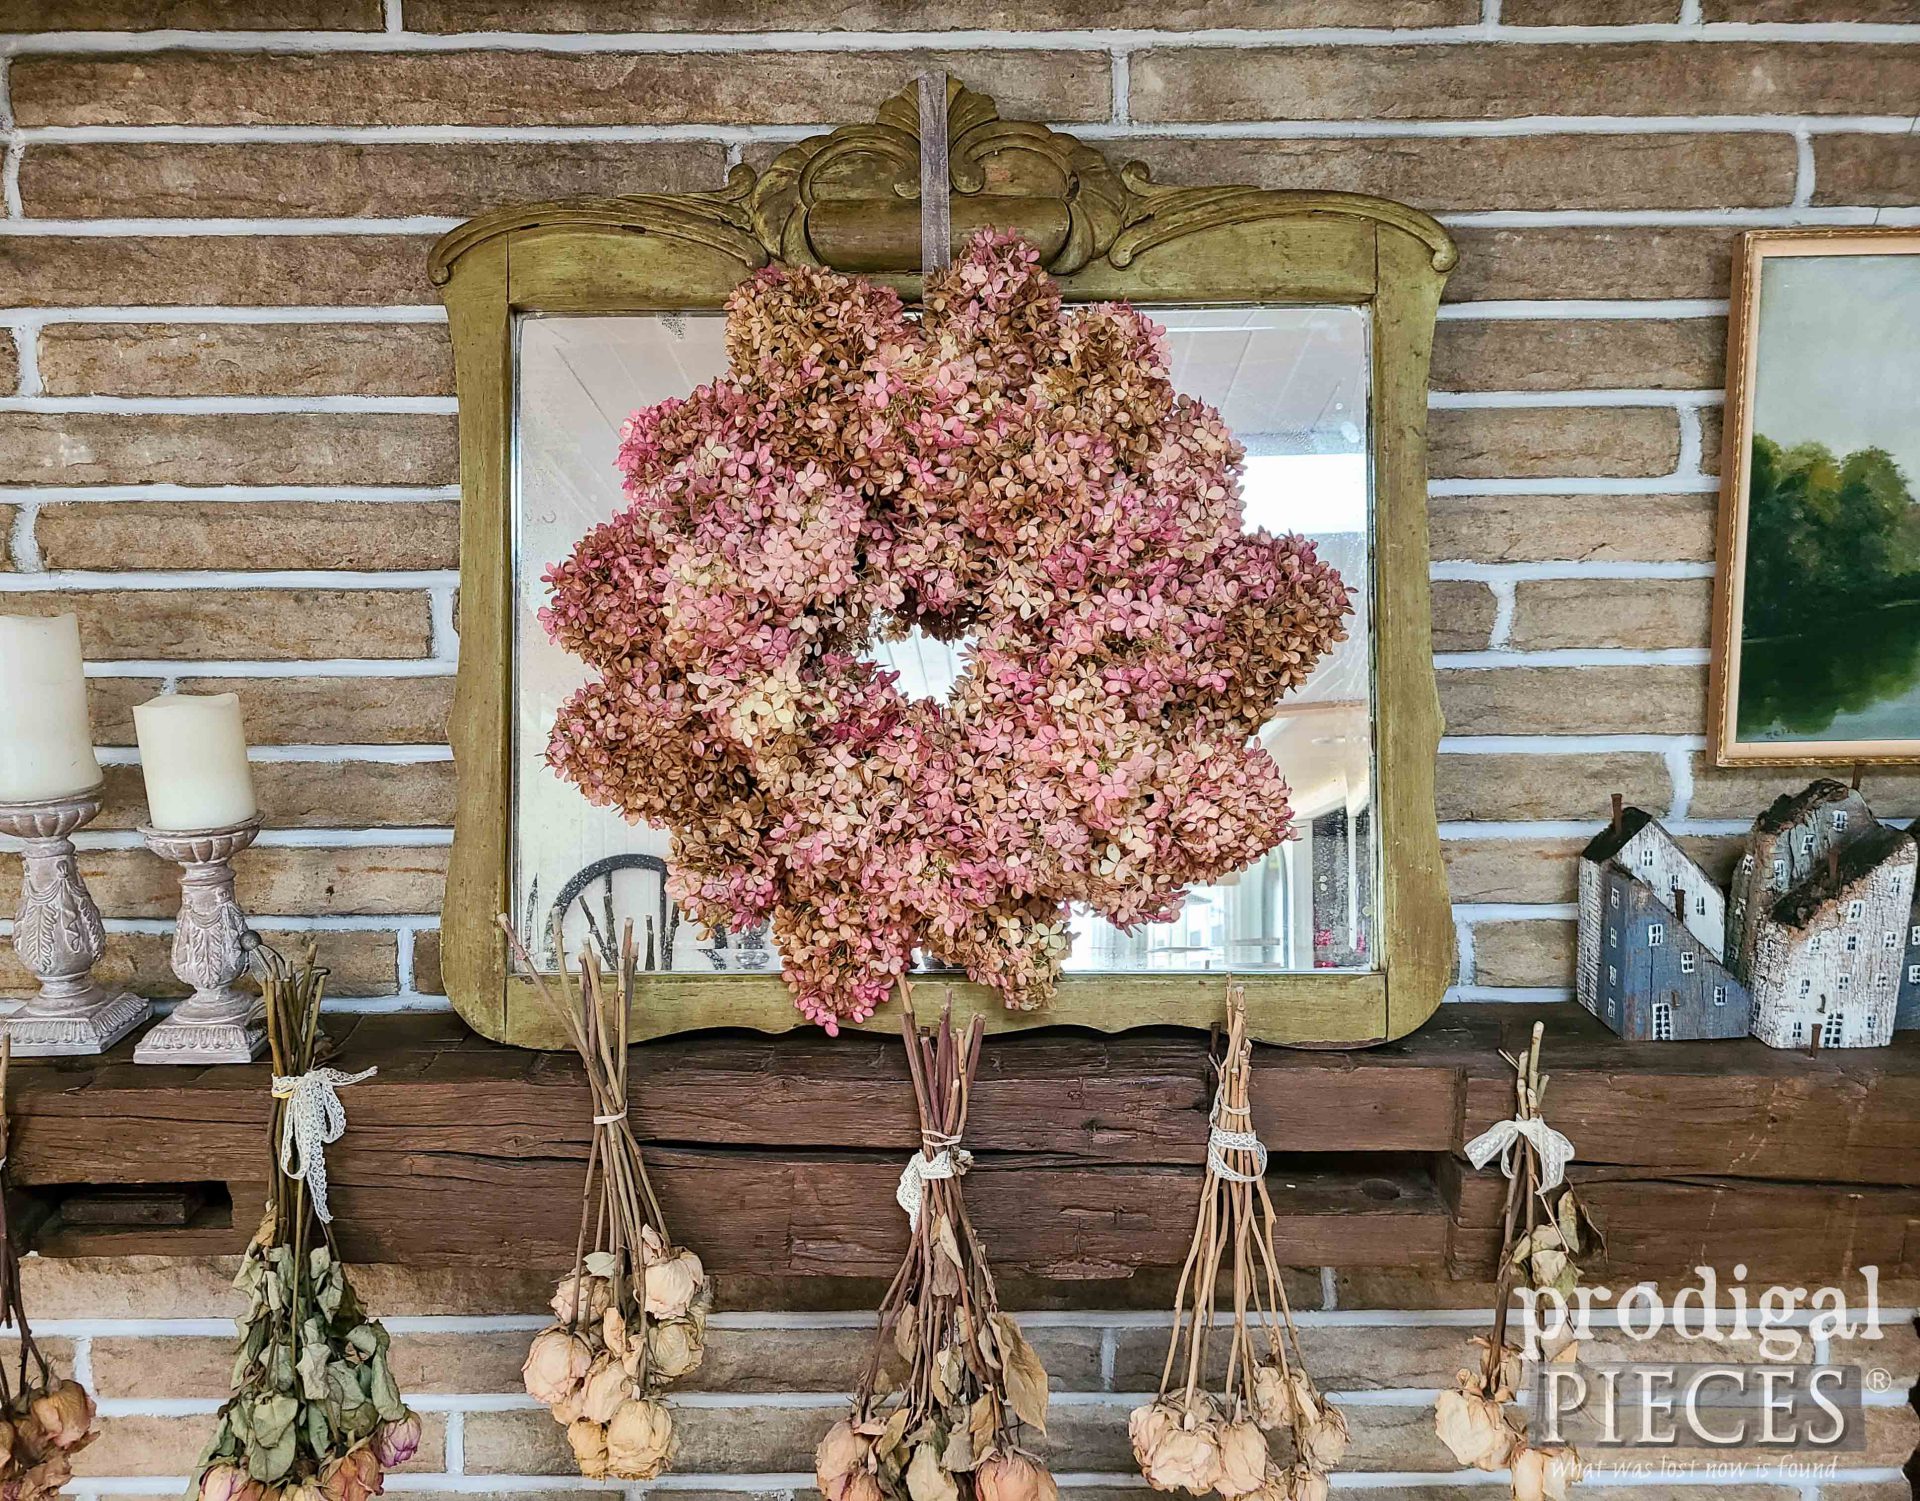
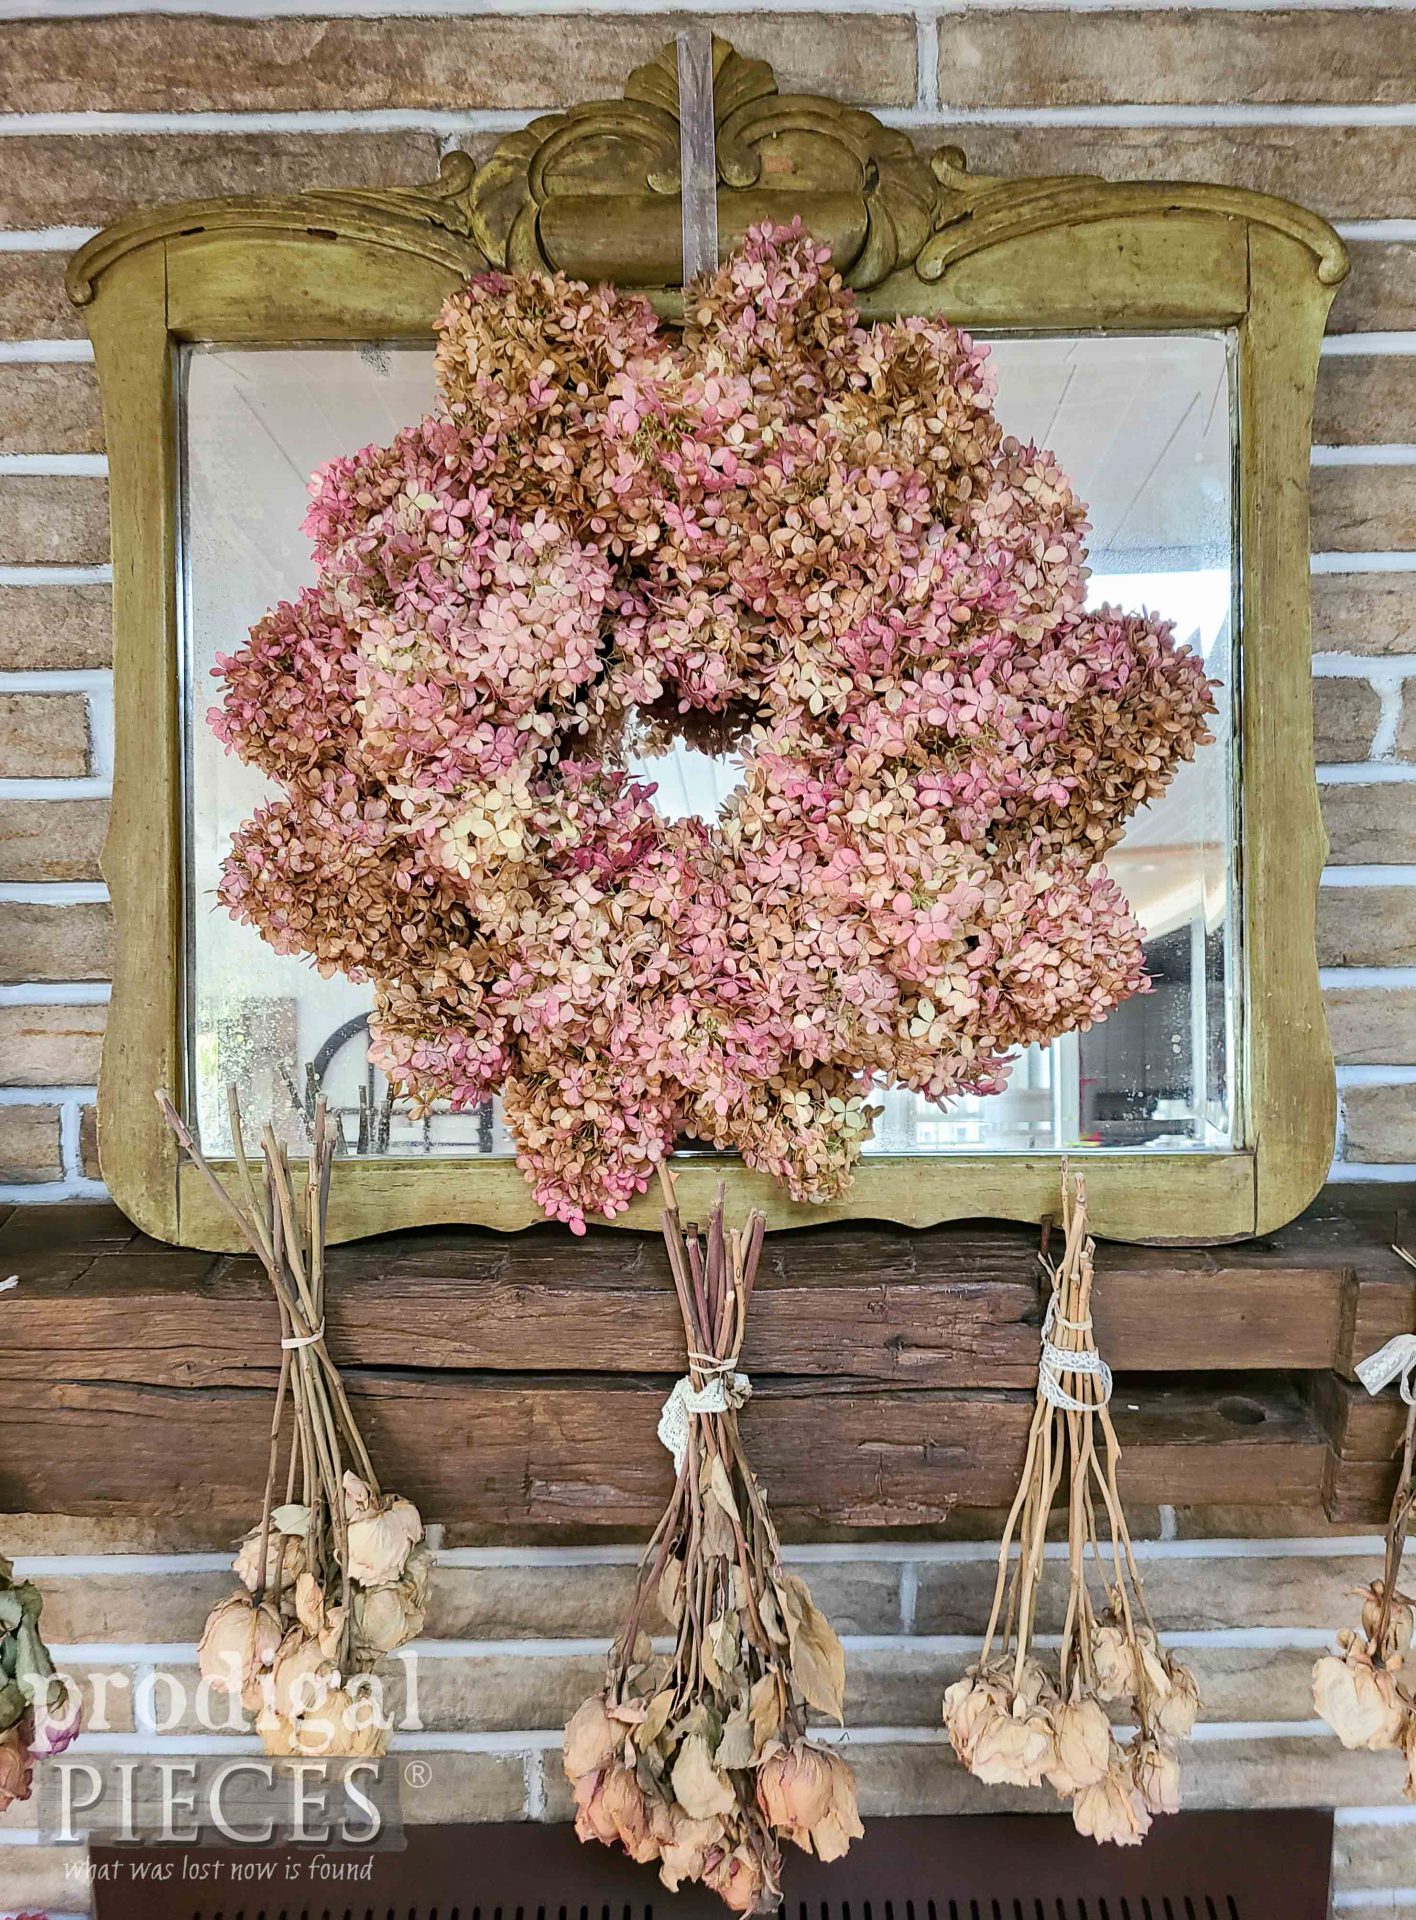
Finally, here’s my harvested autumn wreath ready to ring in the change of season.
Nice and full, isn’t it? I debated on adding a few more dried goodies from my yard, but decide that I love this look best. Those pinks are a nice switch from the typical reds, yellows, and oranges typically associated with autumn. So many colors to enjoy in God’s creation.
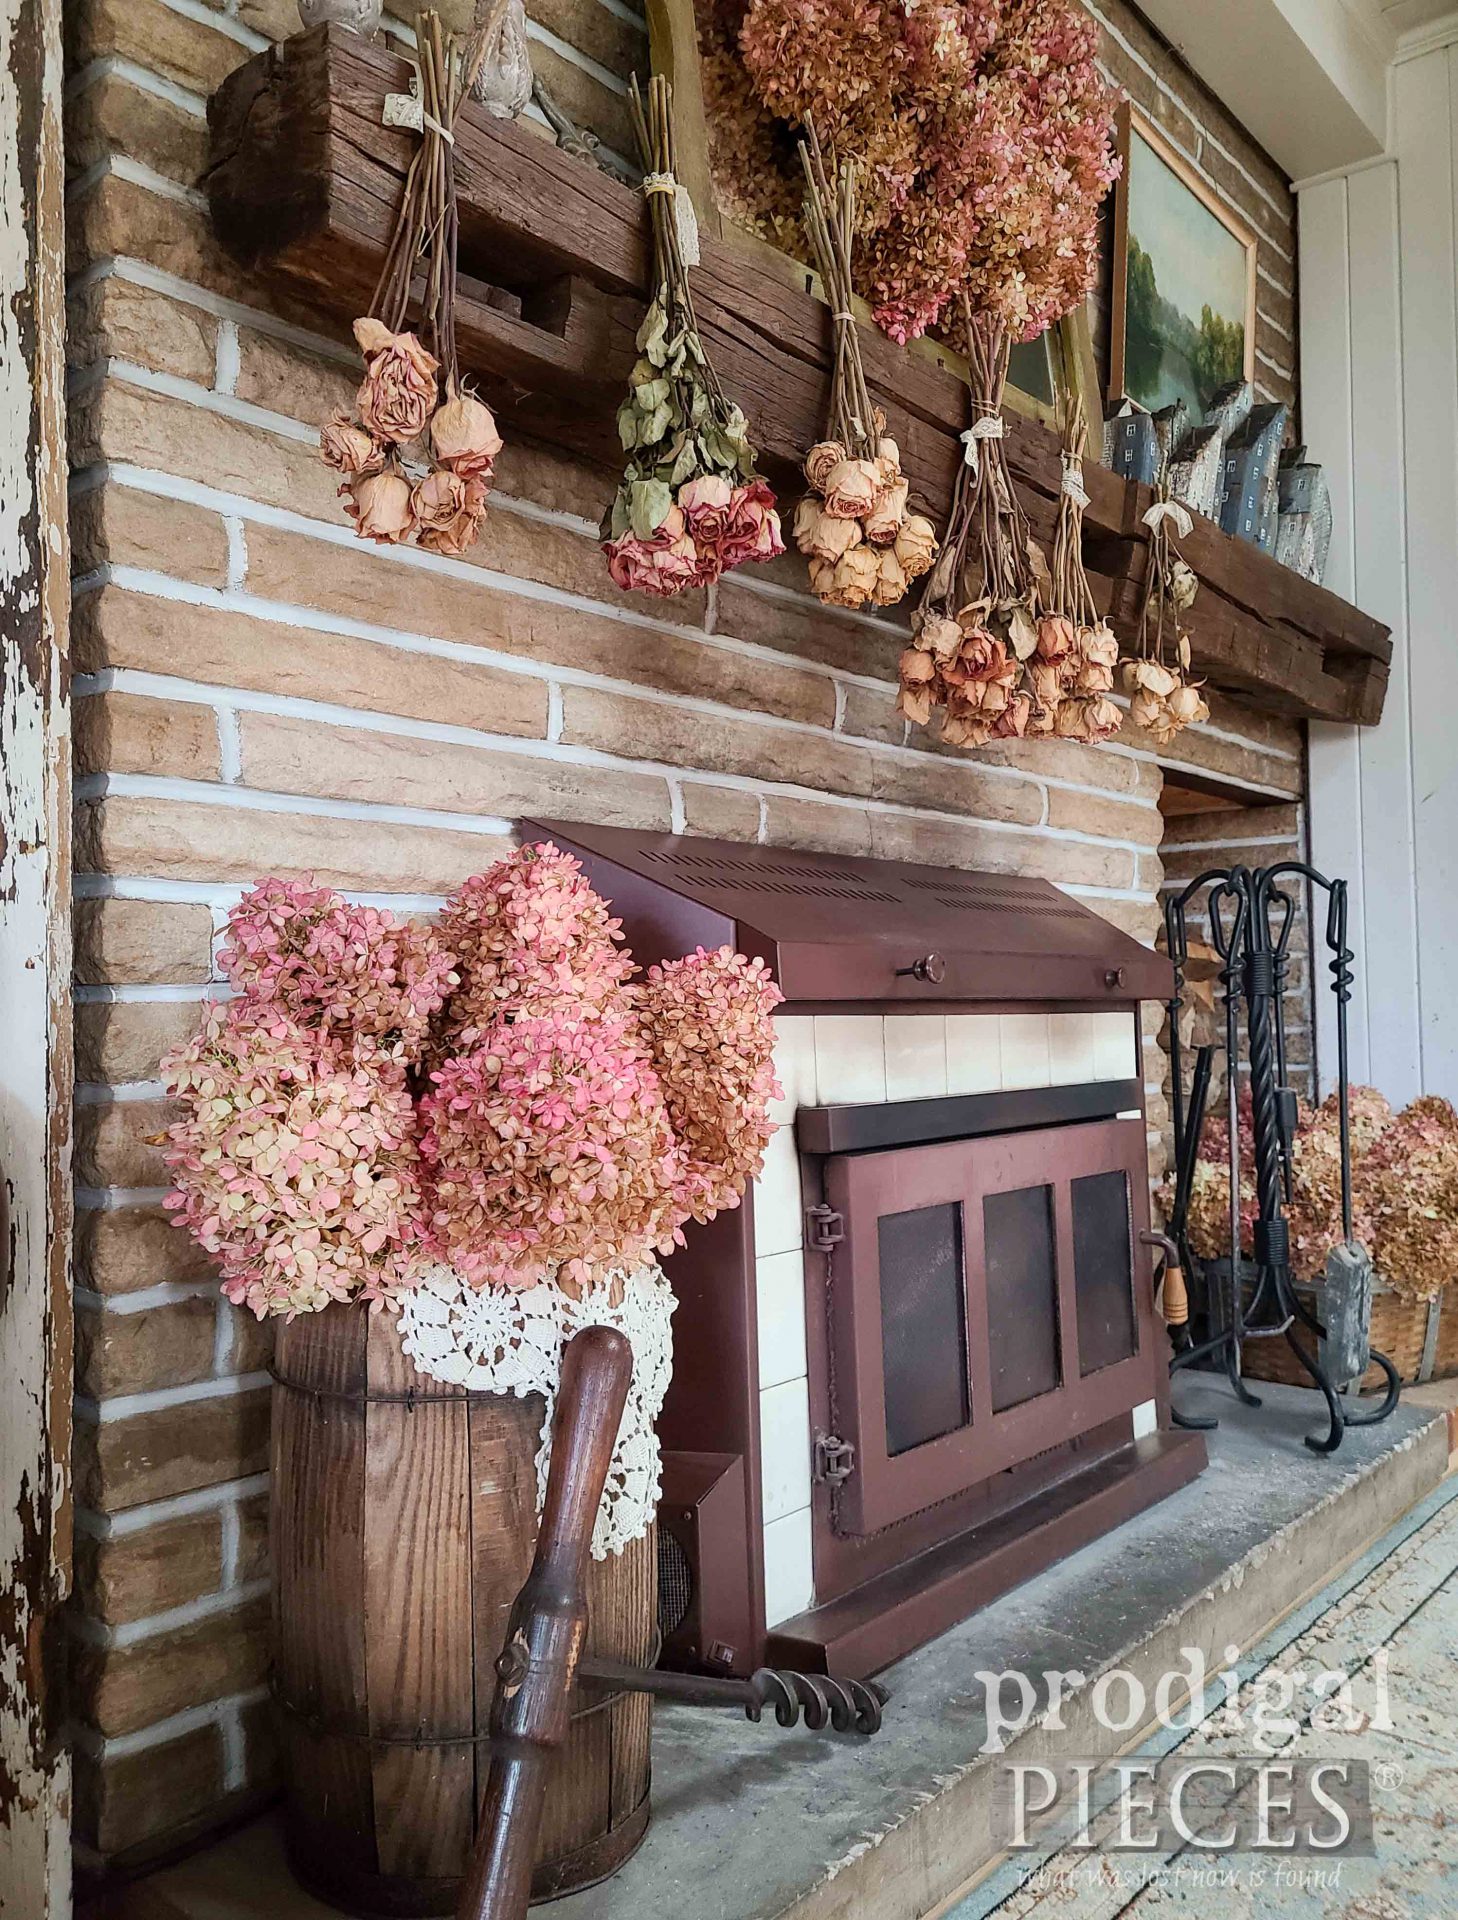
What’s more, I also dry roses throughout the year for added texture and beauty. I simply hang those upside down before they open too fully. Most everything here in this photo is salvaged or found free. My antique nail barrel was in the trash, my barn beam mantel was lying in a barn yard, and my little village is made from my reclaimed wood scraps.
I even have more left over for other rooms in my house. They help me stay sane during winter months until I can say hello to my garden friends again.
Additionally, leave a comment below about my DIY hydrangea wreath. Likewise, pin and share for others to enjoy as well. I know there are many who love beautiful blooms in house too.
MORE FUN
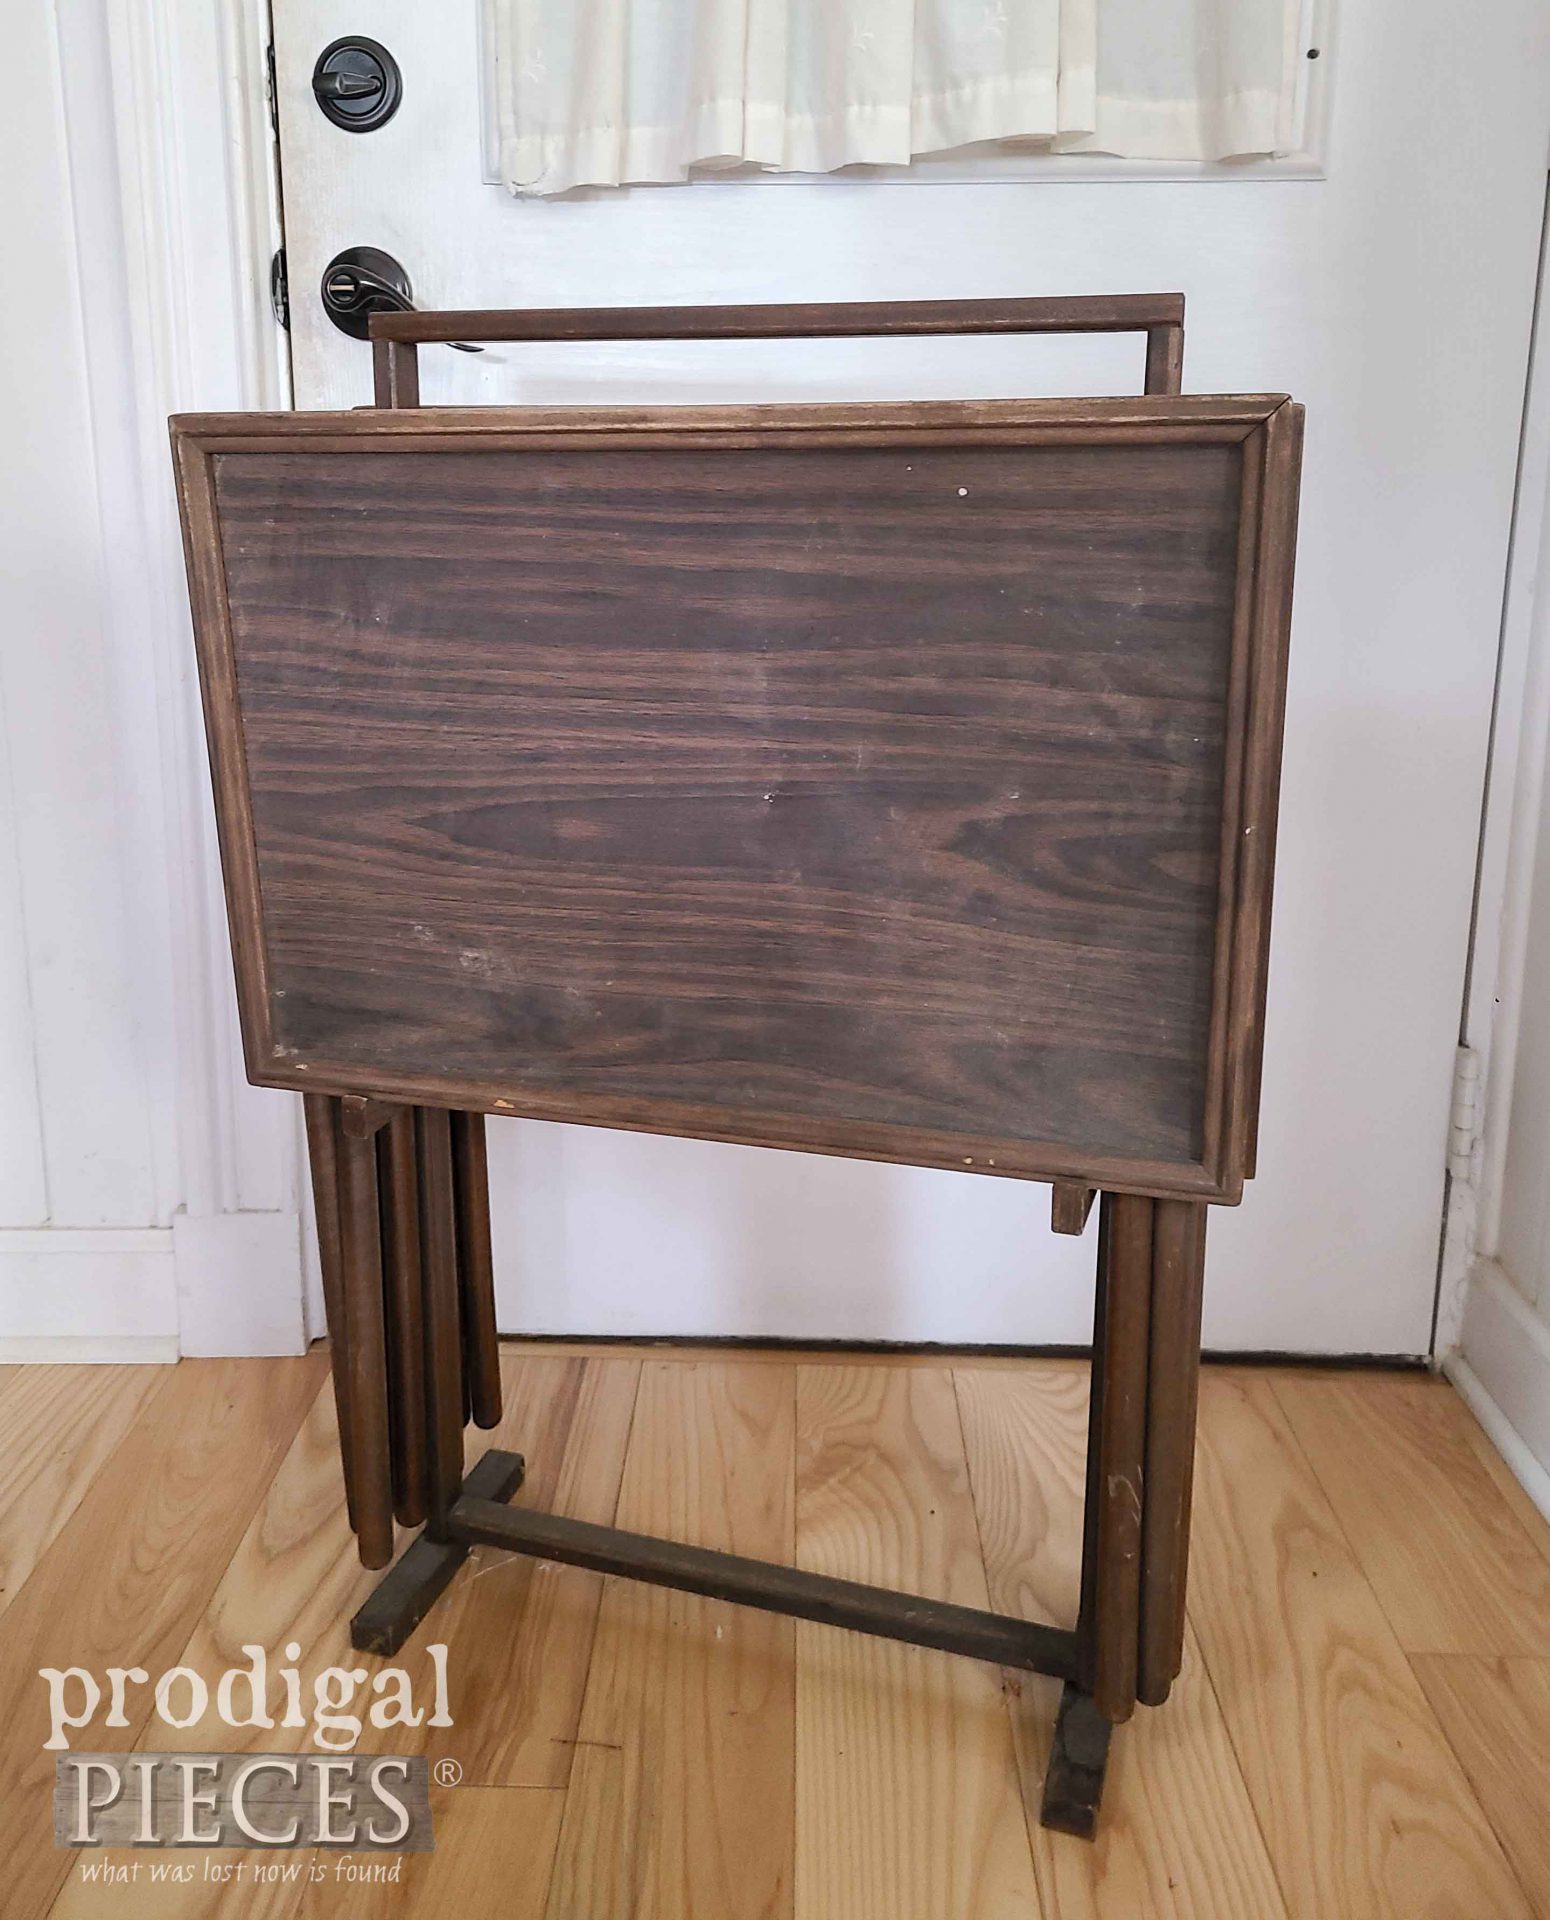
Up next, it’s Trash to Treasure Tuesday! I’m sharing this stack of vintage TV stands that definitely need some TLC. Head HERE to see the fun.
To get these DIY tips & tricks in your inbox, be sure to sign up for my newsletter. PLUS, you will get your FREE Furniture Buying Checklist and special discount to my shop. Until next time!




Your wreath is gorgeous and I love how you styled your fireplace to coordinate with it.
You are sweet to say so, Paula. Thank you. I did it in memory of our little girl that passed away 10 years ago tomorrow. I’m blessed beyond measure.
Love your wreath, the color is stunning, and the mirror, WOW!
Thank you. That mirror was a garage sale find many years ago. It’s a favorite for sure!
What a beautiful memorial! I planted hydrangeas this spring in remembrance of my husband. I can hear him laughing from heaven about my brown thumb as two of the 3 died…. ???…Love and prayers to you!!
haha! Too funny! That would be me with my rose bush a few years ago. Ah well…I’ve learned. Hugs!
That is a truly beautiful wreath Larissa. Enjoy every bit of fall and its wonderful colors!
You too! It’s like if I blink I’ll miss it all. 😀
Your wreath and the display are stunning! I love drying my mop heads and even sold some of the bouquets in my antique booth this year. Now I need to buy a limelight…and then find a spot in my yard for it?
You are such fun, Sheryl. Thank you! You will love them…I also dry my zebra grass, mums, and yarrow too
Your hydrangeas are absolutely beautiful! Wish I had a green thumb!
Thank you so much, Susan. I would love to have you work beside me. 😀
I learned something new about you today, thanks for sharing 🙂 Your gardening expertise shows here, wow, that’s a lot of hydrangeas! The wreath is gorgeous, Larissa, I love how full and lush it is.
Yay! I could’ve went so many ways, but my heart was always about being a mom ( I didn’t want to spend summers working away from my kids). Thanks so much, Marie. The blooms were as big as soccer balls…HUGE! 😀
Beautiful! Hydrangeas are some of my favorites!
How fun to hear, Audra. Thanks! They truly are miraculous blooms. All God’s creations are. 😀
Line lights are one of my favorites. Do your limbs get straight as fall comes. I may need to corral them next year. Love your wreath.
They are so wonderful. Mine a mix of limbs, mostly soft, but as time goes on, the bush gets hardier. Thanks!