Top
Subscribe for free and never miss a post

Velour Christmas Tree from Upcycled Curtain

I hope you’ve been enjoying all the Christmas goodies I’ve had for you these last couple of weeks. Today I’ll be showing you how to create a velour Christmas tree, but first let’s review the last few related projects. Last week I showed you how to build a log reindeer…meet Buck.
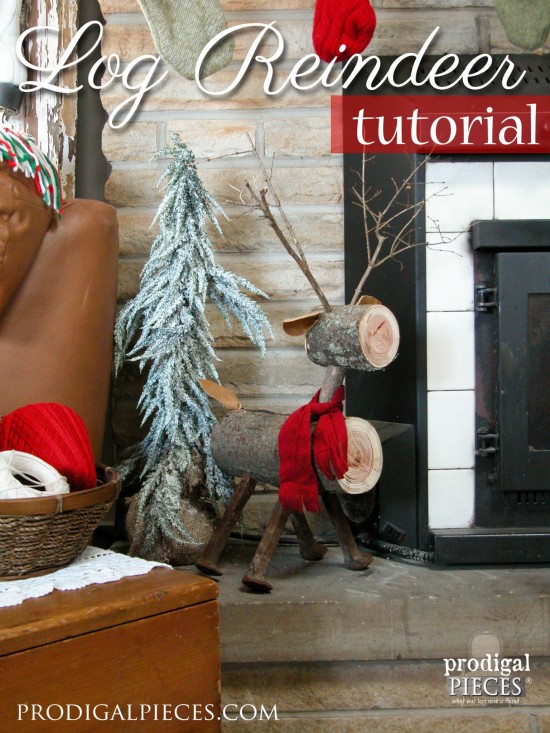
Create a rustic repurposed log reindeer in a few simple steps following this DIY tutorial by Prodigal Pieces www.prodigalpieces.com #prodigalpieces

Then I took you on the Home for the Holidays Tour showcasing our mantel.
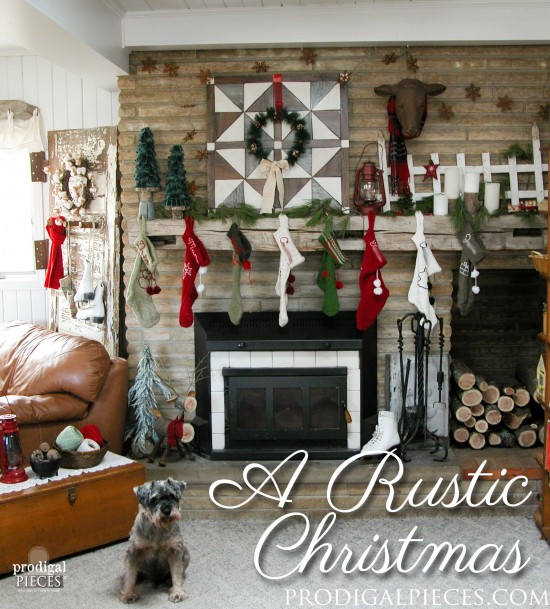
It's a rustic farmhouse Christmas in our house. From handmade stockings to the DIY wall quilt as a backdrop, it's all about family. Come see! by Prodigal Pieces www.prodigalpieces.com #prodigalpieces

And yesterday, I showed you how to create my wall quilt made from vinyl plank flooring.
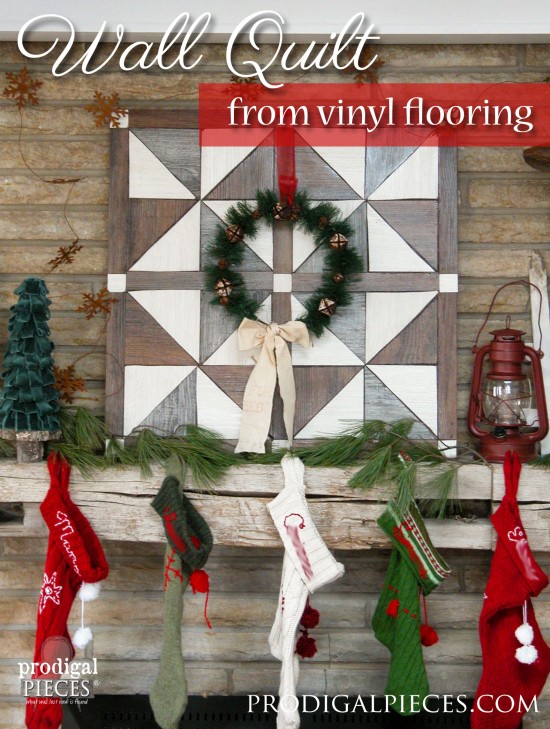
Create a faux barn wood wall quilt using laminate flooring with this easy DIY tutorial by Prodigal Pieces. www.prodigalpieces.com #prodigalpieces

What fun it is to DIY and craft the day away…hey! Sorry. Got carried away. ahem. Today, I want to show you how to create those sweet velour Christmas trees that adorned my mantel and so many of you have asked how to make your own.
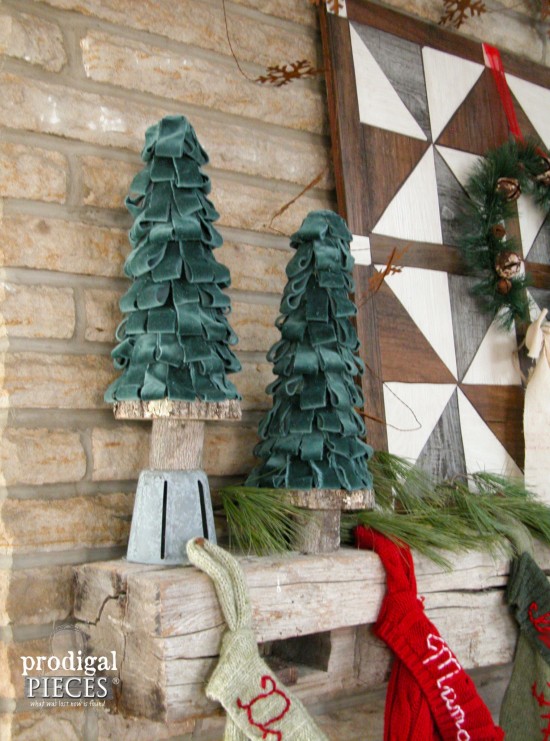
Create these beautiful velour Christmas trees using a few basic supplies and repurposed parts. Come get the DIY tutorial at Prodigal Pieces www.prodigalpieces.com #prodigalpieces

Are you ready to get your craft on? Let’s go!

Here’s what you’ll need:

  • foam cones
  • green velour fabric – I used a thrifted curtain panel
  • 4″ wood slice
  • 2″ L x 2″ diameter chunk of wood
  • glue gun
  • glue sticks
  • scissors
  • drill
  • 1½” screw
  • wood glue

If you look at the trees on my mantel, you can see that one of them is built on a wood slice base only and the other was built on a repurposed part. Once upon a thrifting hunt, I found a box of brand new grater attachments and use them to make several creations for my shop. A few were turned into candle holders with a beeswax votive…
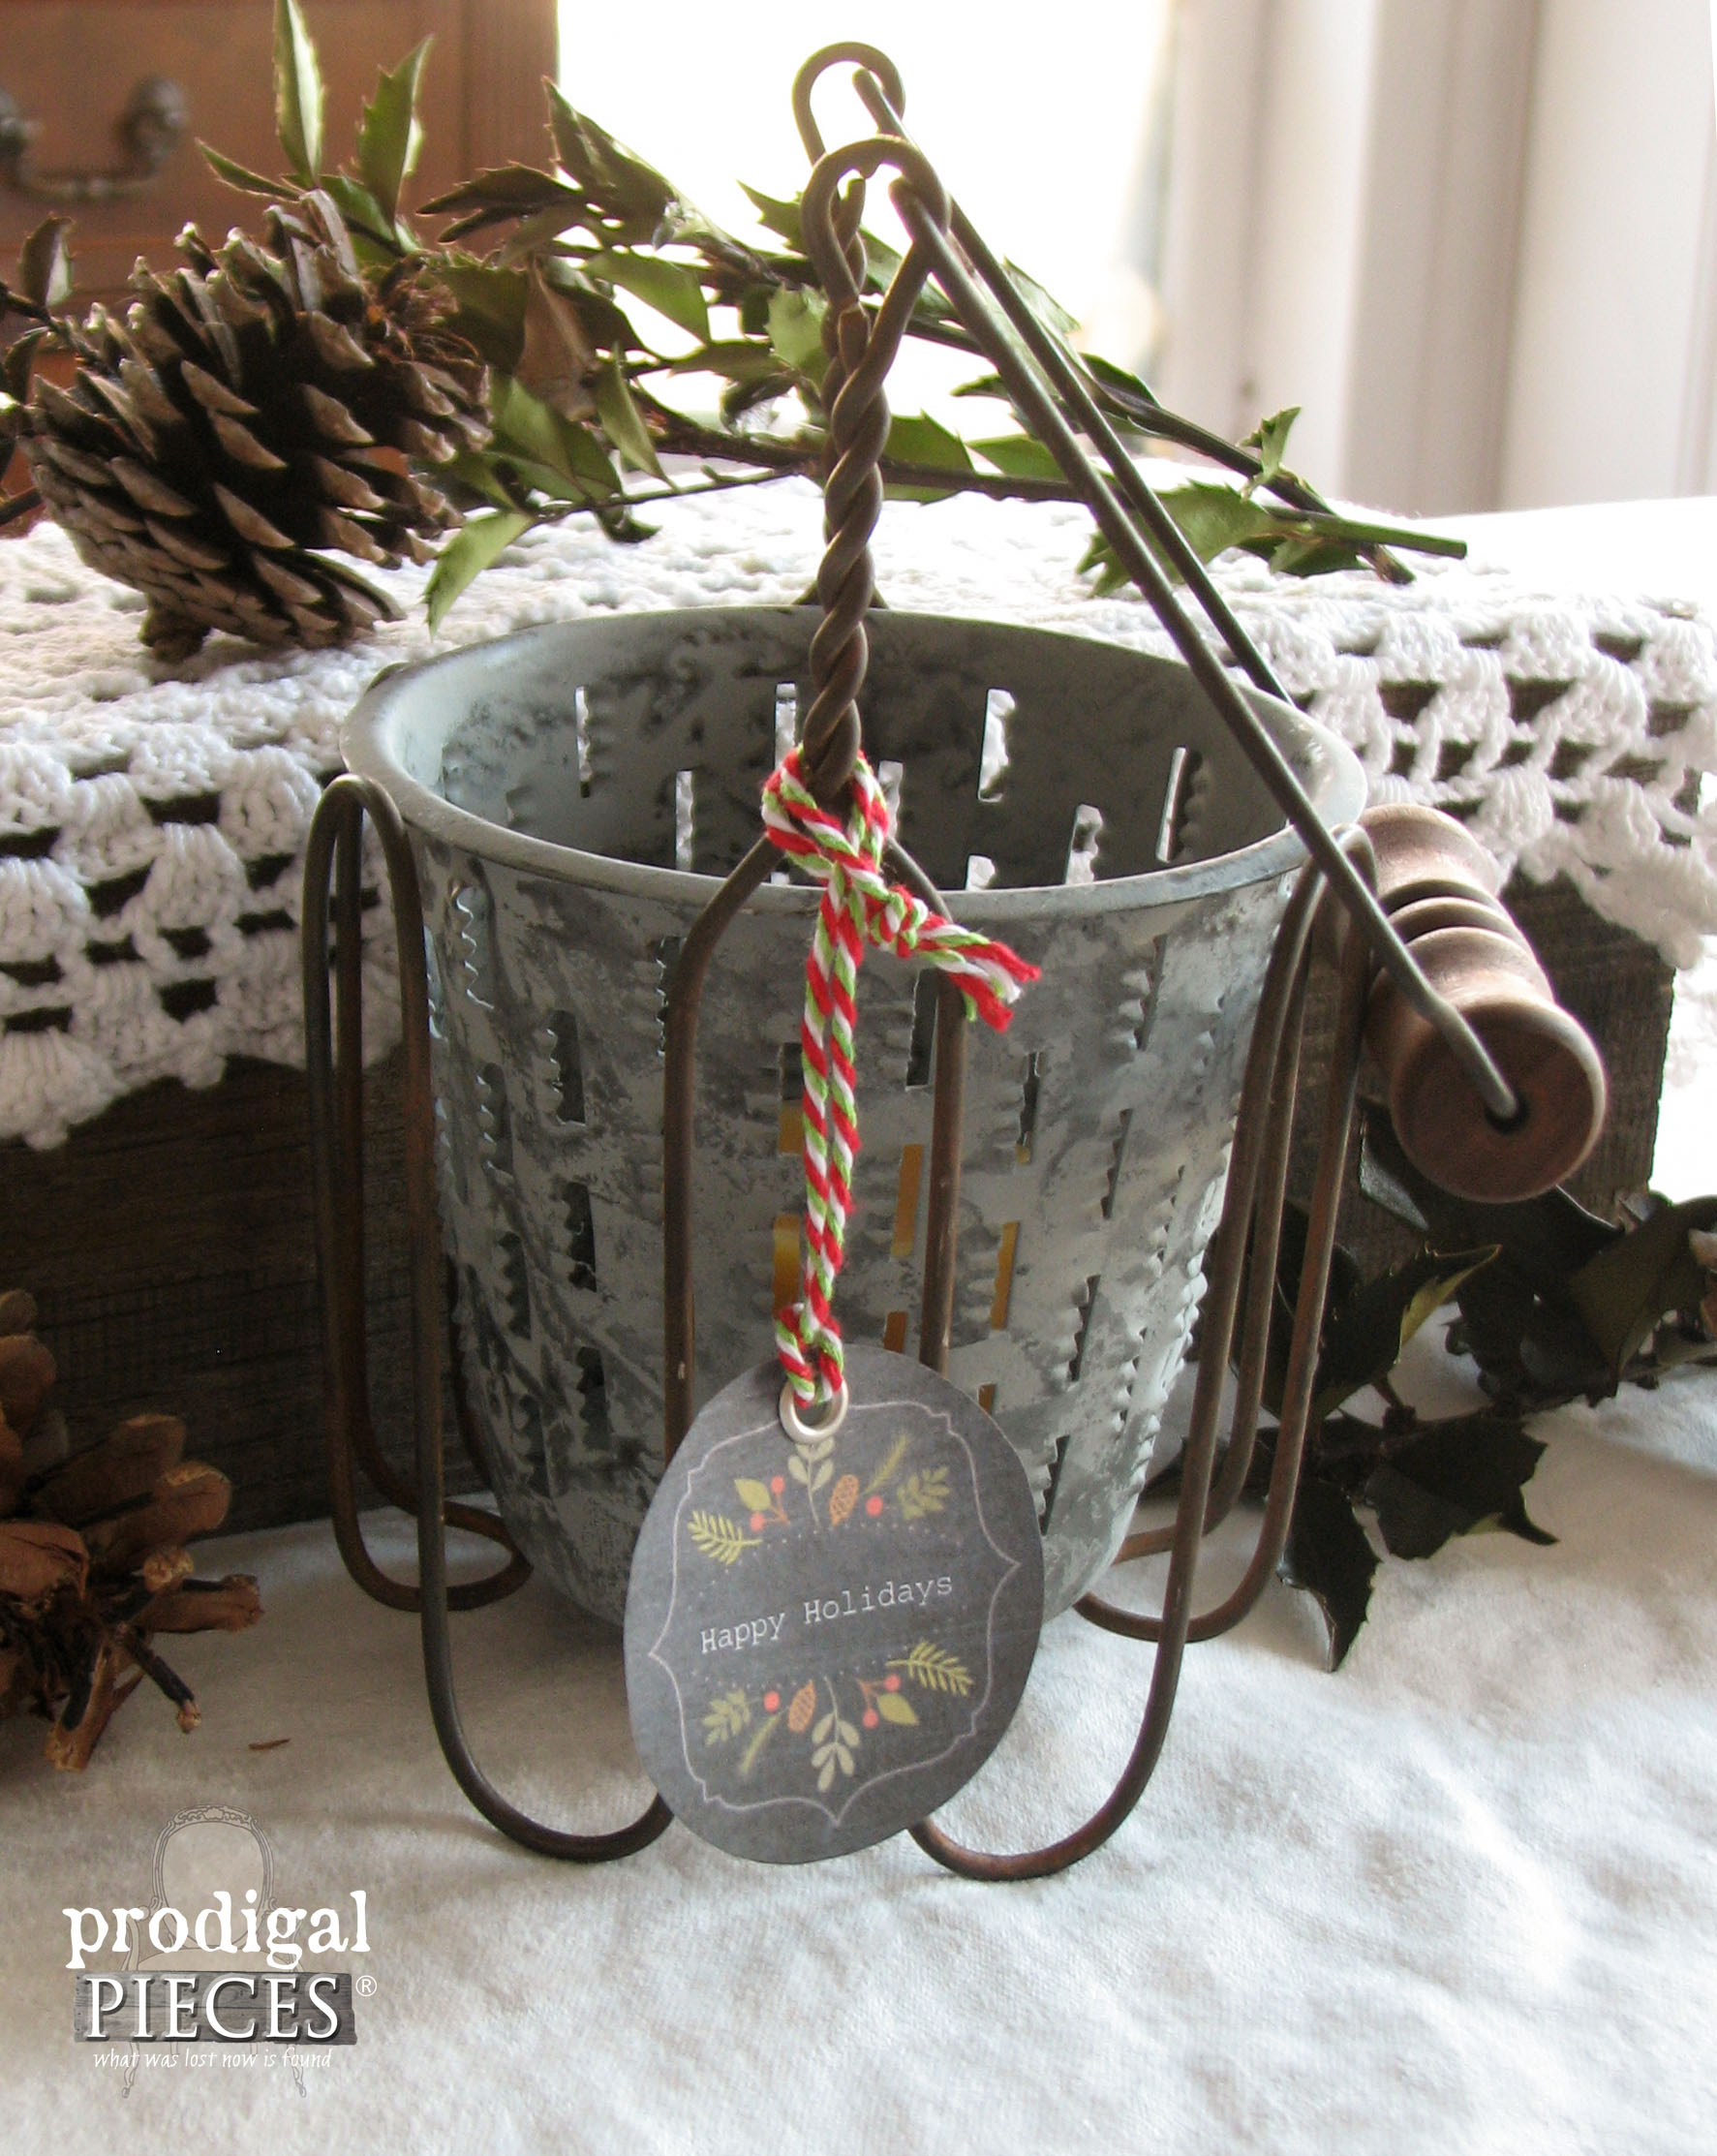
Create these beautiful velour Christmas trees using a few basic supplies and repurposed parts. Come get the DIY tutorial at Prodigal Pieces www.prodigalpieces.com #prodigalpieces

…while others became stands for LED tree topiaries like this one.
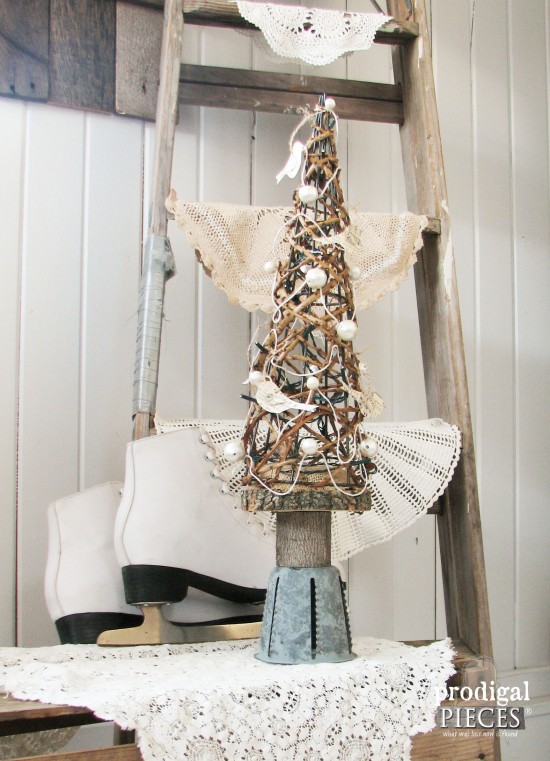
Create these beautiful velour Christmas trees using a few basic supplies and repurposed parts. Come get the DIY tutorial at Prodigal Pieces www.prodigalpieces.com #prodigalpieces

I had a base leftover and decided found them while pulling out my junk this Christmas, and remembered I had some foam cones I bought for a dollar on clearance during the summer. You can find the foam cones at most any store that carries craft supplies.- just look in the floral section.
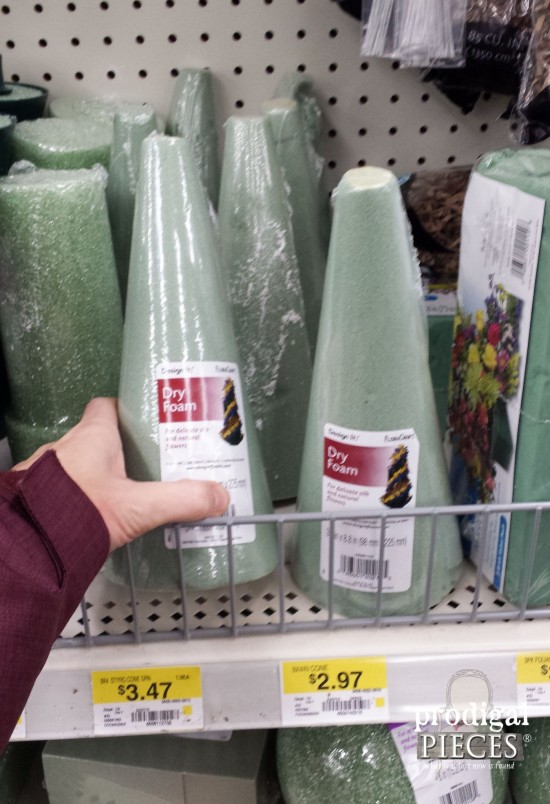
Create these beautiful velour Christmas trees using a few basic supplies and repurposed parts. Come get the DIY tutorial at Prodigal Pieces www.prodigalpieces.com #prodigalpieces

DIY TIME

To assemble your base. Just take your 4″ wood slice and apply wood glue to the chunk and attach together using the drill and screw in the center (pre-drill to prevent splitting). Feel free to add a thrifted item to the bottom like I did to add height.

Next, hot glue your foam cone to your wood slice base.
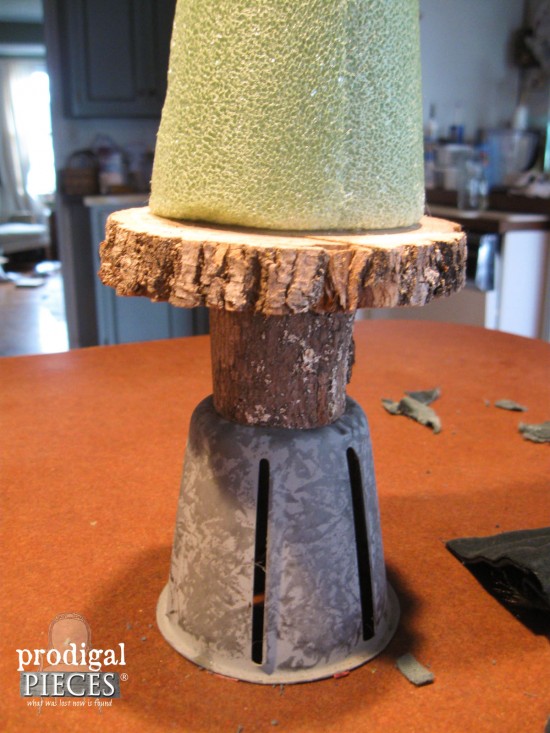
Create these beautiful velour Christmas trees using a few basic supplies and repurposed parts. Come get the DIY tutorial at Prodigal Pieces www.prodigalpieces.com #prodigalpieces

When I saw these gorgeous green velour curtain panels at the thrift store, the first thing I had in mind were pumpkins. Do you know I’ve had the stems and this panel for several years and have yet to make one lousy pumpkin. gah. Well, I’ve used the panel for pillows and other goods, but now it was time for it to become a tree.
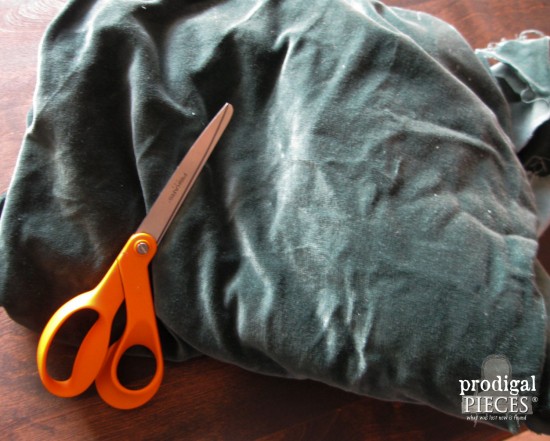
Create these beautiful velour Christmas trees using a few basic supplies and repurposed parts. Come get the DIY tutorial at Prodigal Pieces www.prodigalpieces.com #prodigalpieces

NEXT STEPS

Cut a pile of 1″ x 5″ strips for your tree. Glue the ends together with a small bead of hot glue. (You can totally skip this part and use pins instead, but I didn’t want my kiddos taking it apart – a mom has to think ahead!)
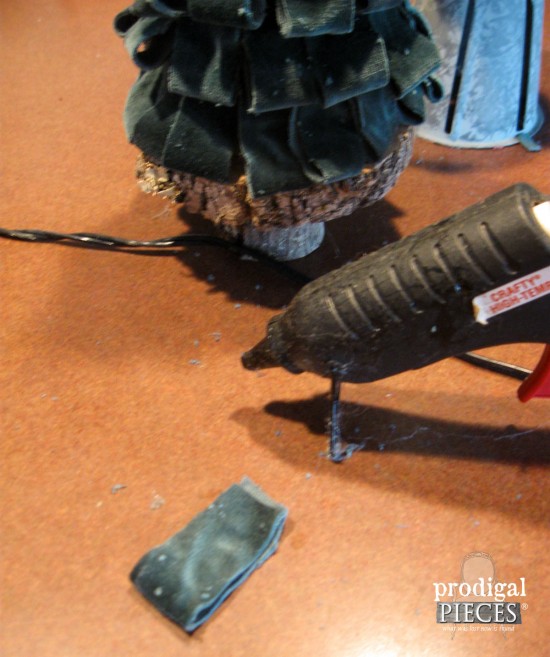
Create these beautiful velour Christmas trees using a few basic supplies and repurposed parts. Come get the DIY tutorial at Prodigal Pieces www.prodigalpieces.com #prodigalpieces

Starting at about two inches up base of the cone, add another bead of glue to the back top edge of one of your folded strip and place it on the cone. Slightly over lap as you go to create a lush effect.Create these beautiful velour Christmas trees using a few basic supplies and repurposed parts. Come get the DIY tutorial at Prodigal Pieces www.prodigalpieces.com #prodigalpieces
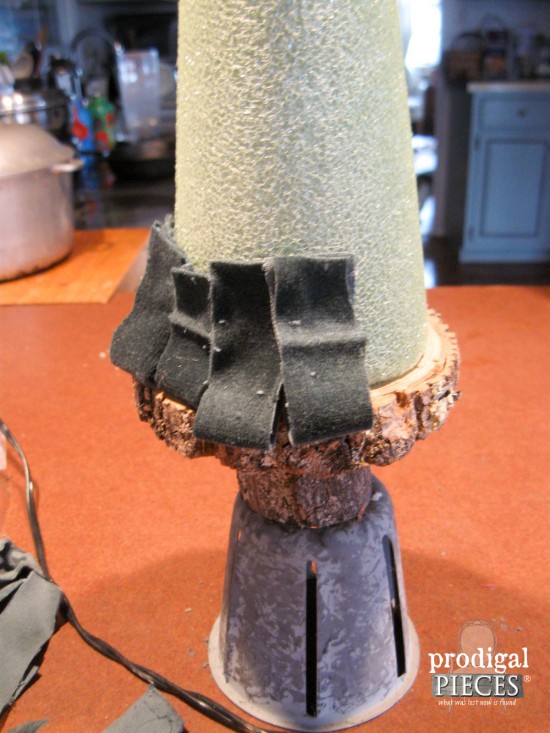
For the second row of our velour Christmas tree, add more strips about an 1½” over the first row, and place it over the seams of the first row.
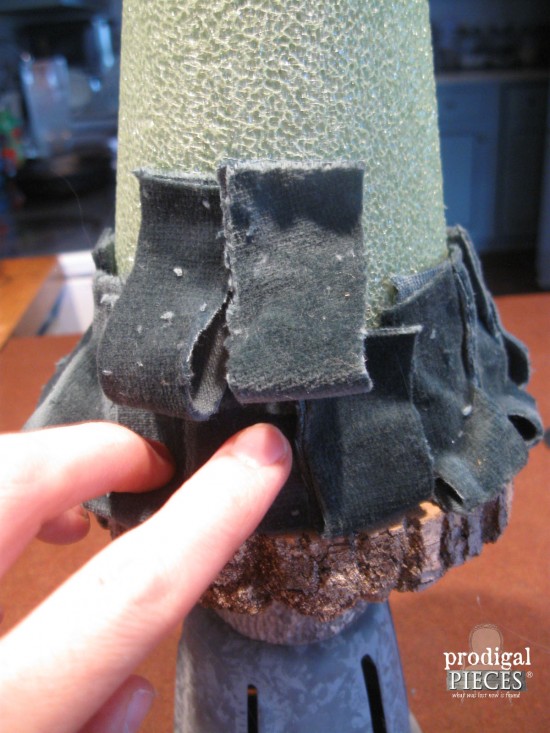
Create these beautiful velour Christmas trees using a few basic supplies and repurposed parts. Come get the DIY tutorial at Prodigal Pieces www.prodigalpieces.com #prodigalpieces

Continue up the tree until you are close to the top, but don’t go all the way up.
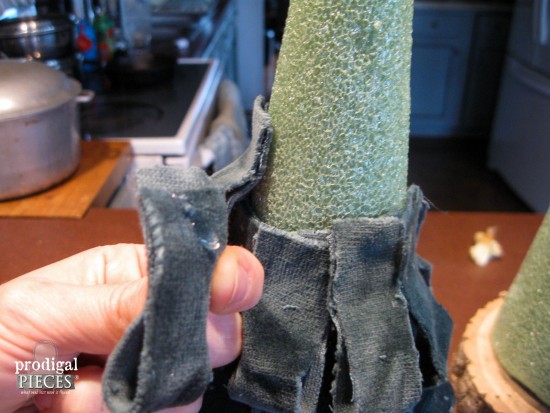
Create these beautiful velour Christmas trees using a few basic supplies and repurposed parts. Come get the DIY tutorial at Prodigal Pieces www.prodigalpieces.com #prodigalpieces

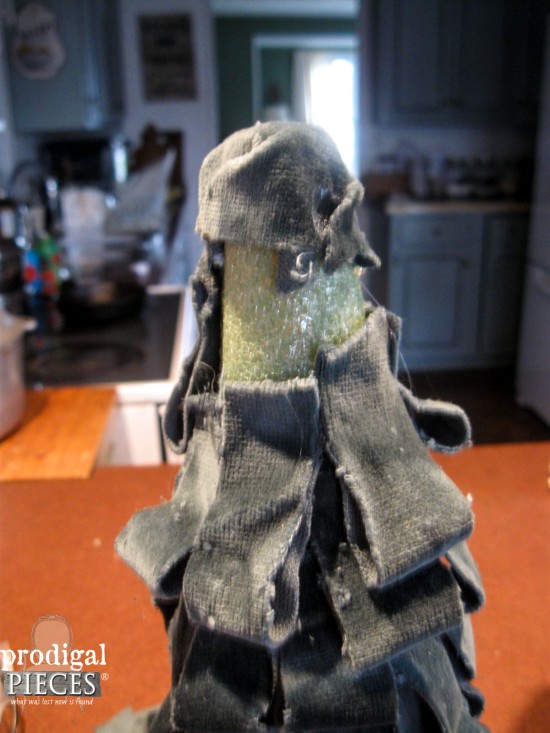
Cut a 2″ x 2″ square of velour for the top of your tree. Then make four cuts starting at the corners and about ½” long towards the center.
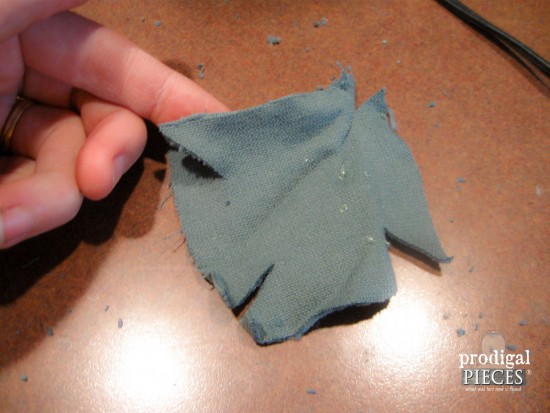
Create these beautiful velour Christmas trees using a few basic supplies and repurposed parts. Come get the DIY tutorial at Prodigal Pieces www.prodigalpieces.com #prodigalpieces

Apply a bead of glue to the center of the square and place it over the top of your cone. Then, grab each corner and pull down and to the side overlapping to get the fabric to lay flat and add a bead of glue to secure.Create these beautiful velour Christmas trees using a few basic supplies and repurposed parts. Come get the DIY tutorial at Prodigal Pieces www.prodigalpieces.com #prodigalpieces
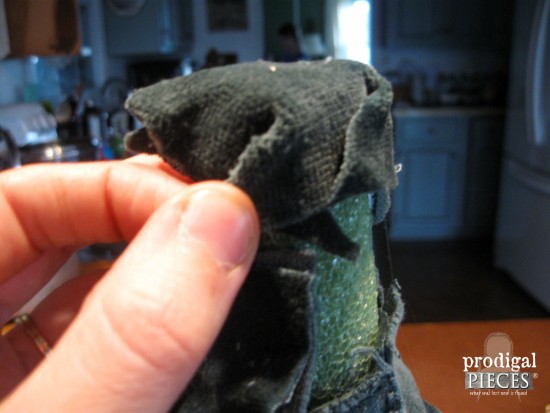
Don’t worry if it doesn’t look pretty. It will all be hidden. (I apologize for the fuzzy pictures. My toddler kept climbing on me wanting to help. ♥)Create these beautiful velour Christmas trees using a few basic supplies and repurposed parts. Come get the DIY tutorial at Prodigal Pieces www.prodigalpieces.com #prodigalpieces
THE REVEAL

Finish adding your strips until you reach the top and then you’re done! Warning: these are highly addictive in cuteness and you will be making these by the dozens!
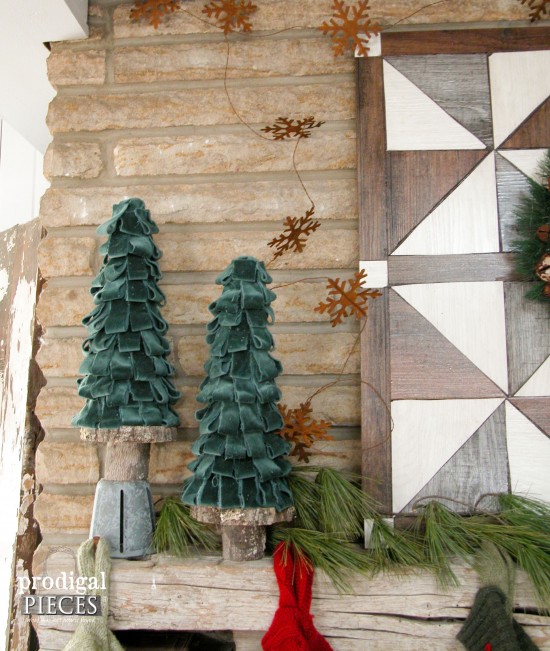
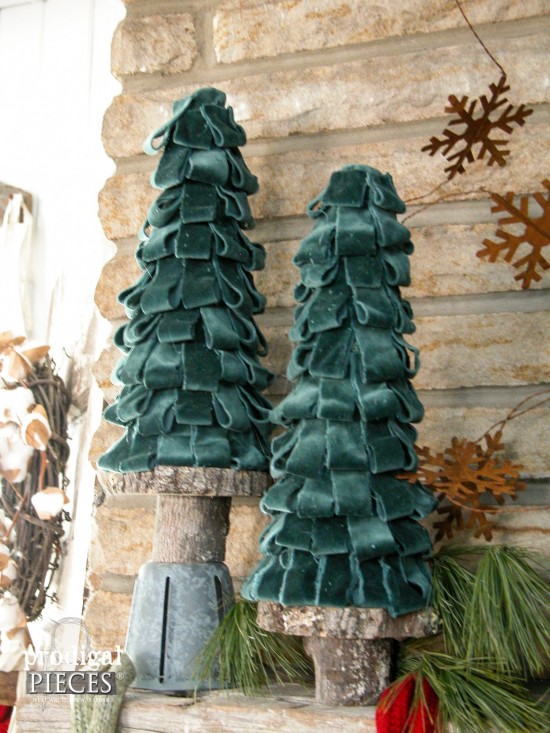
Create these beautiful velour Christmas trees using a few basic supplies and repurposed parts. Come get the DIY tutorial at Prodigal Pieces www.prodigalpieces.com #prodigalpieces

Create these beautiful velour Christmas trees using a few basic supplies and repurposed parts. Come get the DIY tutorial at Prodigal Pieces www.prodigalpieces.com #prodigalpieces

If you loved this velour Christmas tree project, do pin and share so others can enjoy too!
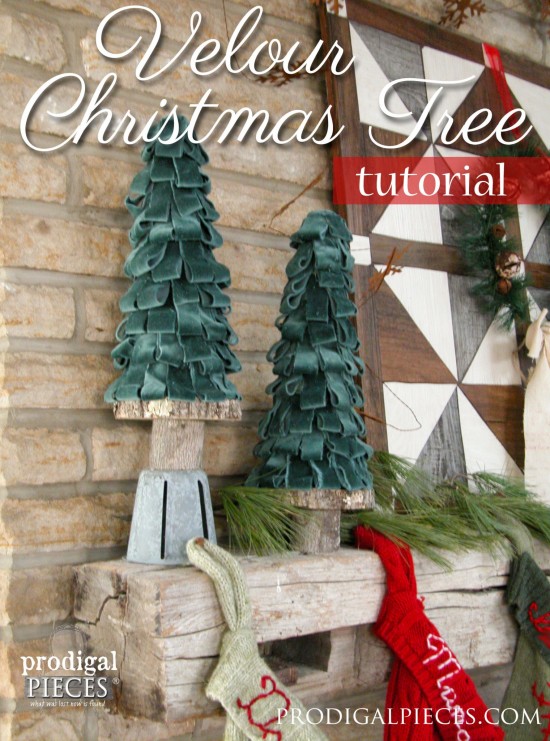
Create these beautiful velour Christmas trees using a few basic supplies and repurposed parts. Come get the DIY tutorial at Prodigal Pieces www.prodigalpieces.com #prodigalpieces

Now it is time for me to take a break, a much-needed break. I need to think out some things for myself, my family, my business, and blog. AND, clean my house like none other. In order to do that, I have asked three of my blogging friends to step in for me next week and share their projects with you. I know you’ll love them as I do. I can’t wait to show you what they have in store. Likewise, I’ll be back the week of Christmas to show you what I have been working on and wish you a Merry Christmas!

blog signature

let's get socialMEWE  |  PINTEREST  |  GAB

Also, more of my projects for you to enjoy:

16 Amazing Vanity Makeovers from Art Deco to Antique - a must see! by Prodigal Pieces. www.prodigalpieces.com #prodigalpiecesFarmhouse Style Bedroom Makeover with Trim and Bling :: Part 2 by Prodigal Pieces www.prodigalpieces.com #prodigalpieces

Comments

  1. Marie from The Interior Frugalista says

    The velour trees look so much more difficult to make than they are – thanks for the tutorial. Pinning to share and refer back to. Enjoy your break – well deserved my friend. I’ll be doing the same reflection as you after the holidays. Sometimes we need to STOP, take a deep breath, and do a review in order to regain our focus.

    • Larissa says

      You bet! They’re simple and offer so much impact. I am enjoying my break with all the headaches that have been thrown my way with our vehicles breaking down, but if things were easy for us I wouldn’t know what to do with myself. 😉 Thank you, Marie and I hope you have a blessed Christmas!

  2. Mary-the boondocks blog says

    Larissa, the trees are so pretty and I love that you used the velvet fabric. A perfect holiday addition to any home. I hope you enjoy your well deserved break and I will see you in a few weeks, I’ll also be taking a break the week of Christmas. Have a Merry Christmas and enjoy the holiday with your wonderful family. And thank you for being such a freind when I was a fish floundering out of water. xoxo

    • Larissa says

      Thank you, Mary. The break has been good, but not slowing down much just catching up on my home and trying to prioritize. May you have a very blessed Christmas!

  3. Janie BV says

    Larissa – Your velvet trees are beautiful. I’ve made similar trees as gits in the past but used burlap. I have a bunch of Christmas material that I think I might try to use for this. I would have never thought to use material for these trees had I not read this entry. As a note to you or others, when I’ve done these in the past instea of a styrofoam tree I have used old pieces of cardboard from both poster boards and old ceral boxes. Those styrofoam trees can be kind of pricey. For my bases I used old stair posts/newels that I painted black. You have such a creative mind. I always love seeing what you have come up with.

  4. Rosita says

    I am so enjoying your blog! Thank you for all the tutorials…now on to getting things made! Blessings to you & your family this Christmas season!

Leave a Reply

Your email address will not be published. Required fields are marked *

Client Love

I love it! Larissa is amazing. She listened to what I wanted and then she took care of the rest! This is my second piece I've bought from her and I'm in love! I highly recommend her.

~ Laurel

Prodigal Pieces
2020-03-21T21:34:13-04:00

~ Laurel

I love it! Larissa is amazing. She listened to what I wanted and then she took care of the rest! This is my second piece I've bought from her and I'm in love! I highly recommend her.

I love this cart, it's exquisite. The item was received in extremely secure packaging, no damage to the item. The delivery person was very professional and courteous. Larissa of Prodigal Pieces is so very amazing. A rating of 10 is deserved. Thank you, Larissa.

~ Stephanie

Prodigal Pieces
2020-03-21T21:39:34-04:00

~ Stephanie

I love this cart, it's exquisite. The item was received in extremely secure packaging, no damage to the item. The delivery person was very professional and courteous. Larissa of Prodigal Pieces is so very amazing. A rating of 10 is deserved. Thank you, Larissa.

I should have left this review MONTHS ago! I absolute love this lunch bag. I honestly carry this 5 days a week. It is the perfect size! Not only can you put your lunch in it, it can also hold your book. I enjoy reading at lunch, so I have all I need in one cute bag. Thank you so much Larissa!

~ Mikki

Prodigal Pieces
2020-03-21T21:43:16-04:00

~ Mikki

I should have left this review MONTHS ago! I absolute love this lunch bag. I honestly carry this 5 days a week. It is the perfect size! Not only can you put your lunch in it, it can also hold your book. I enjoy reading at lunch, so I have all I need in one cute bag. Thank you so much Larissa!

Awww…I love this sweet Cat with an attitude!! SO SO adorable! Well worth the money, and he will become a priceless treasure in my home! Thanks Larissa for always making your ideas turn into true treasures!

~ Sharon

Prodigal Pieces
2020-03-21T21:45:37-04:00

~ Sharon

Awww…I love this sweet Cat with an attitude!! SO SO adorable! Well worth the money, and he will become a priceless treasure in my home! Thanks Larissa for always making your ideas turn into true treasures!

Perfect purchase from start to finish! Absolutely adorable piece so creatively thought out. Packed with the greatest of care with lightening fast delivery. Very customer-oriented and friendly crafter. Could not ask for more! Thank you!

~ Deanna

Prodigal Pieces
2020-03-21T21:52:00-04:00

~ Deanna

Perfect purchase from start to finish! Absolutely adorable piece so creatively thought out. Packed with the greatest of care with lightening fast delivery. Very customer-oriented and friendly crafter. Could not ask for more! Thank you!
0
0
Prodigal Pieces