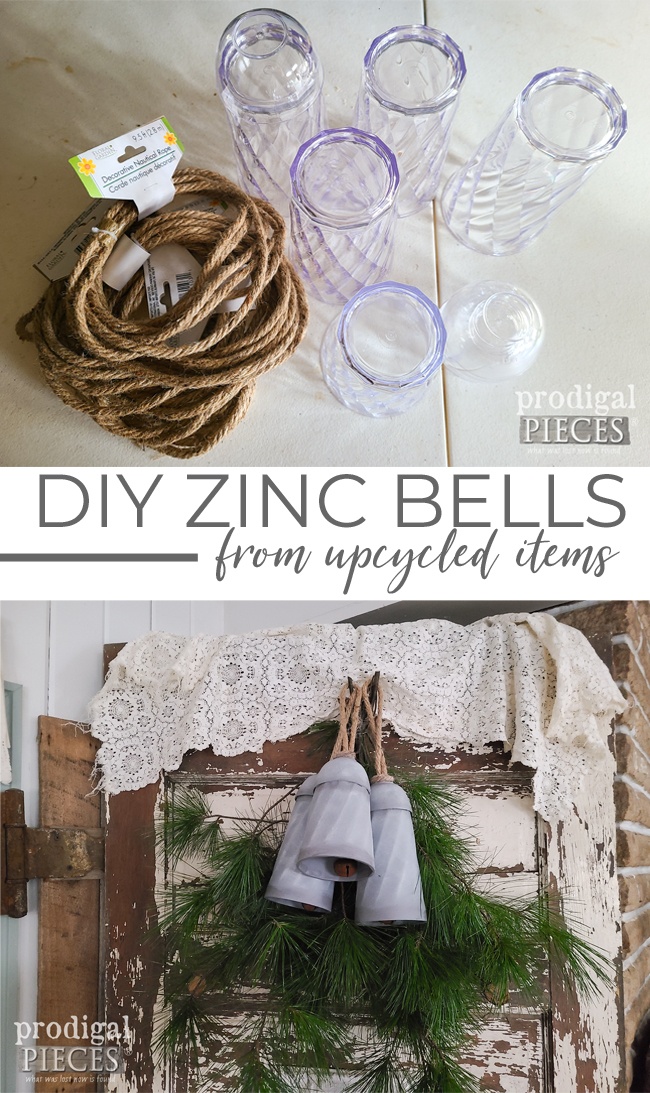
Around my neck of the woods, the snow is blowing in and the temps have dropped into boots and feather down season. brrrr! Although it isn’t yet winter, it sure has arrived and tends to make me think of holiday crafting time. I literally love to craft all year, but I surely delight in creating for others, especially those I love. Today, I’m sharing a fun element for you to add to your home decor. What do you see below? I spy potential! Dare I say they are becoming DIY zinc bells for holiday decor.
Yeah, some may think I’m a ding-a-ling for seeing bells, but…hang with me now. When I see chain stores selling those rustic zinc bells for $25 a single bell, I know I can create my own version for waaaaay less.
DIY TIME
For this ringing good time you’ll need a few supplies. I first shop thrift stores, but I couldn’t find enough of the weighted plastic I needed. So, don’t hesitate to try there first or even raid your cupboards. Also, keep in mind you can do any finish you want…gold, brass, white, red, green…you get the idea.
*post sponsored by HomeRight & Wagner (see full disclosure for details)
Tools & Supplies:
- HomeRight Quick Finish Sprayer
- Wagner Small Spray Shelter
- Turn Table (optional, but so handy)
- scissors
- hot glue gun/ glue sticks
- drill/drill bit
- plastic cups or pots, or…whatever floats your boat (bowls optional if you want a rounded look)
- jute twine
- jute rope
- rusty bells or wooden beads
- dark gray paint in matte or flat finish
- paint brush
- white wax, white paint or white glazing
- gray wax
STEP 1
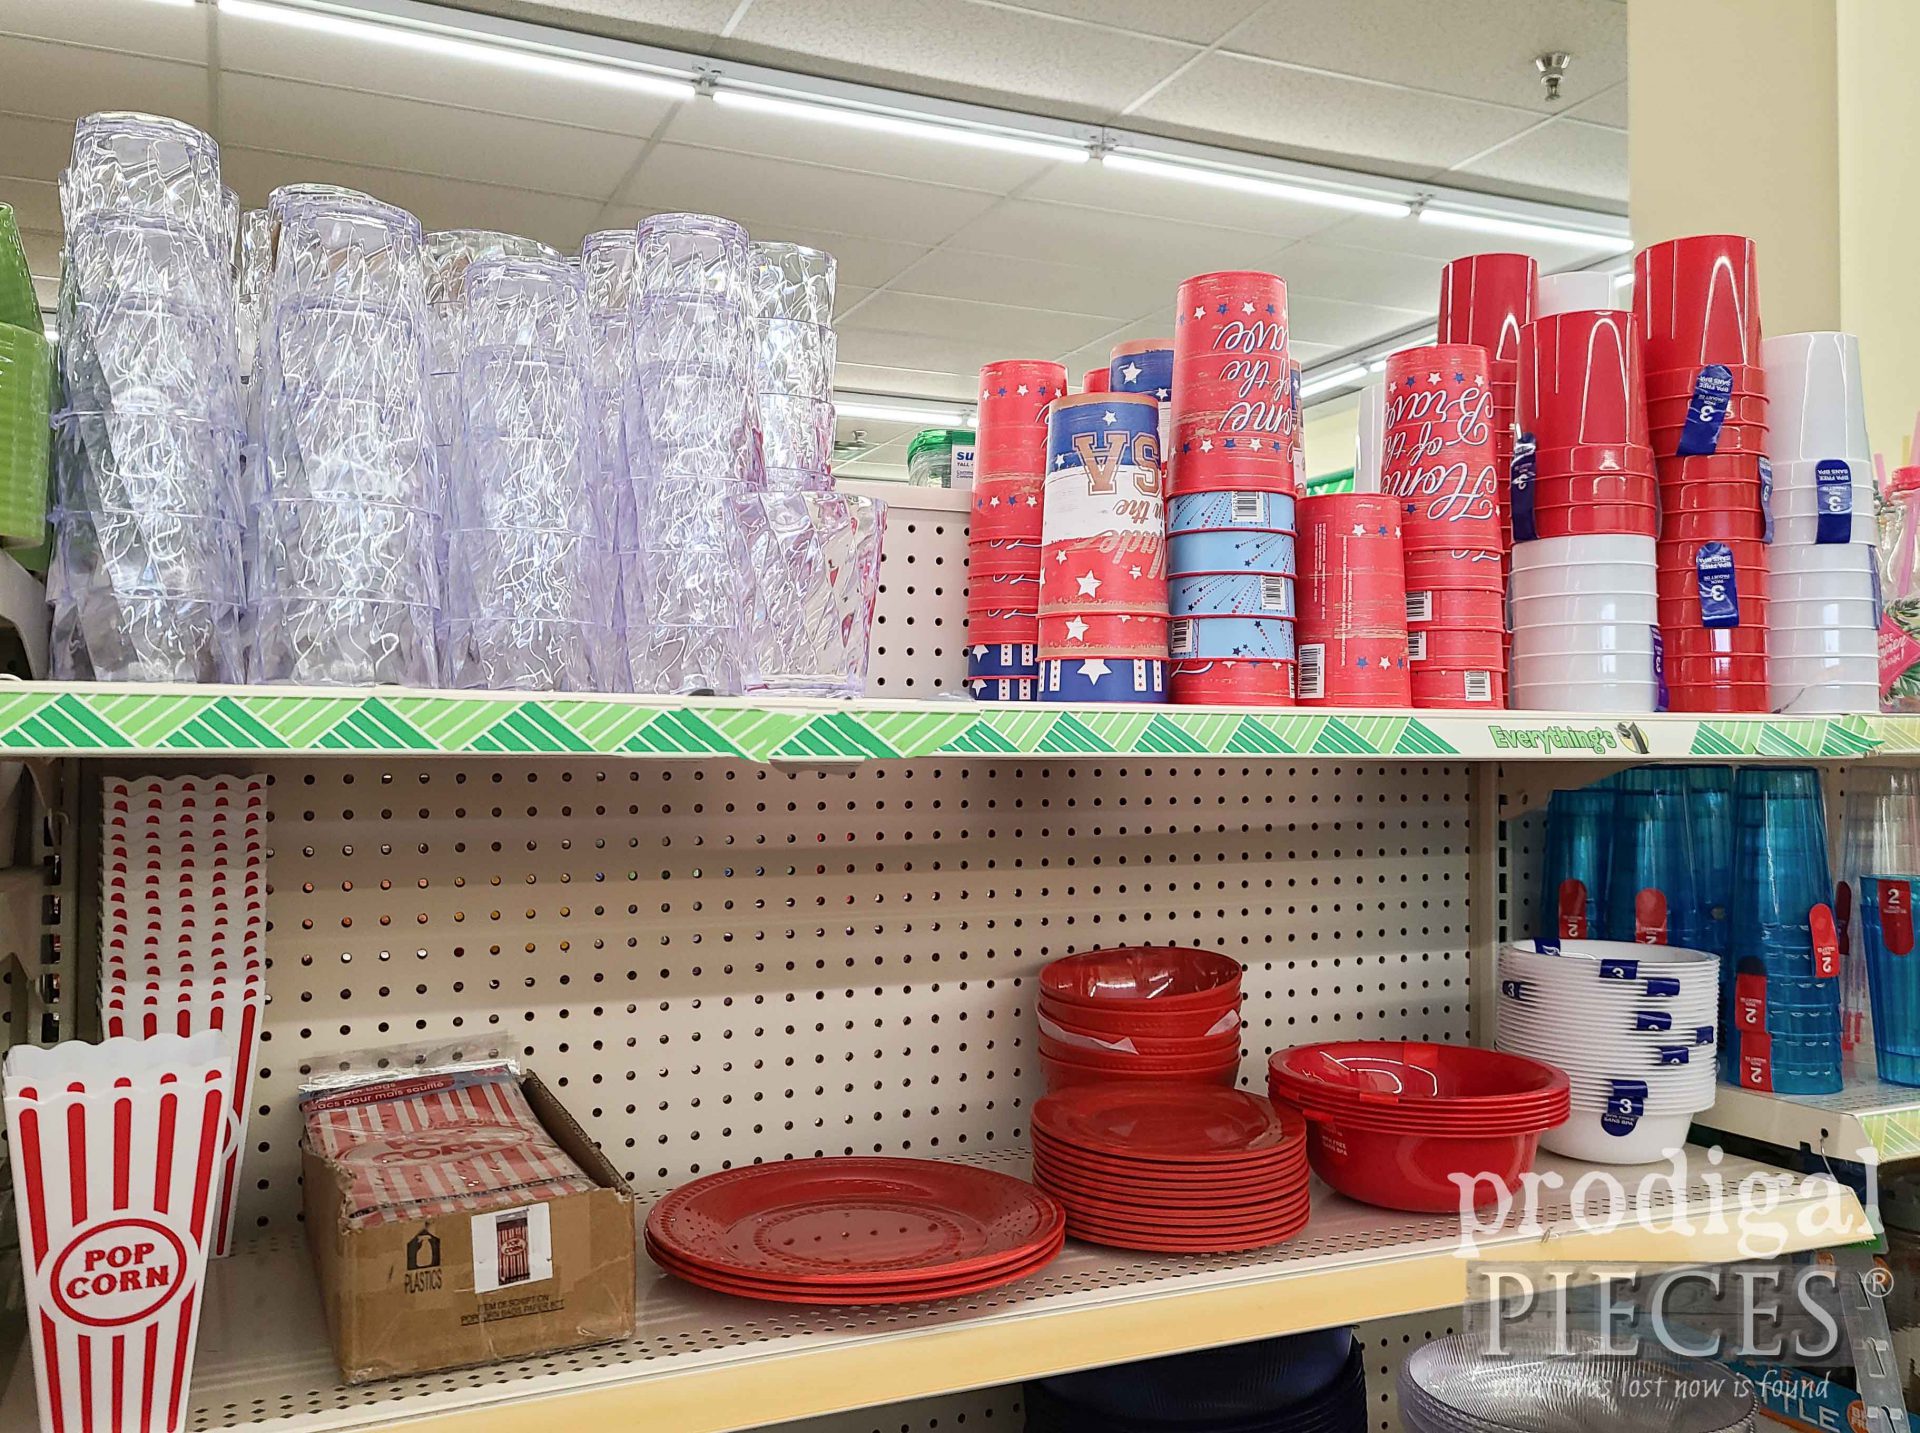
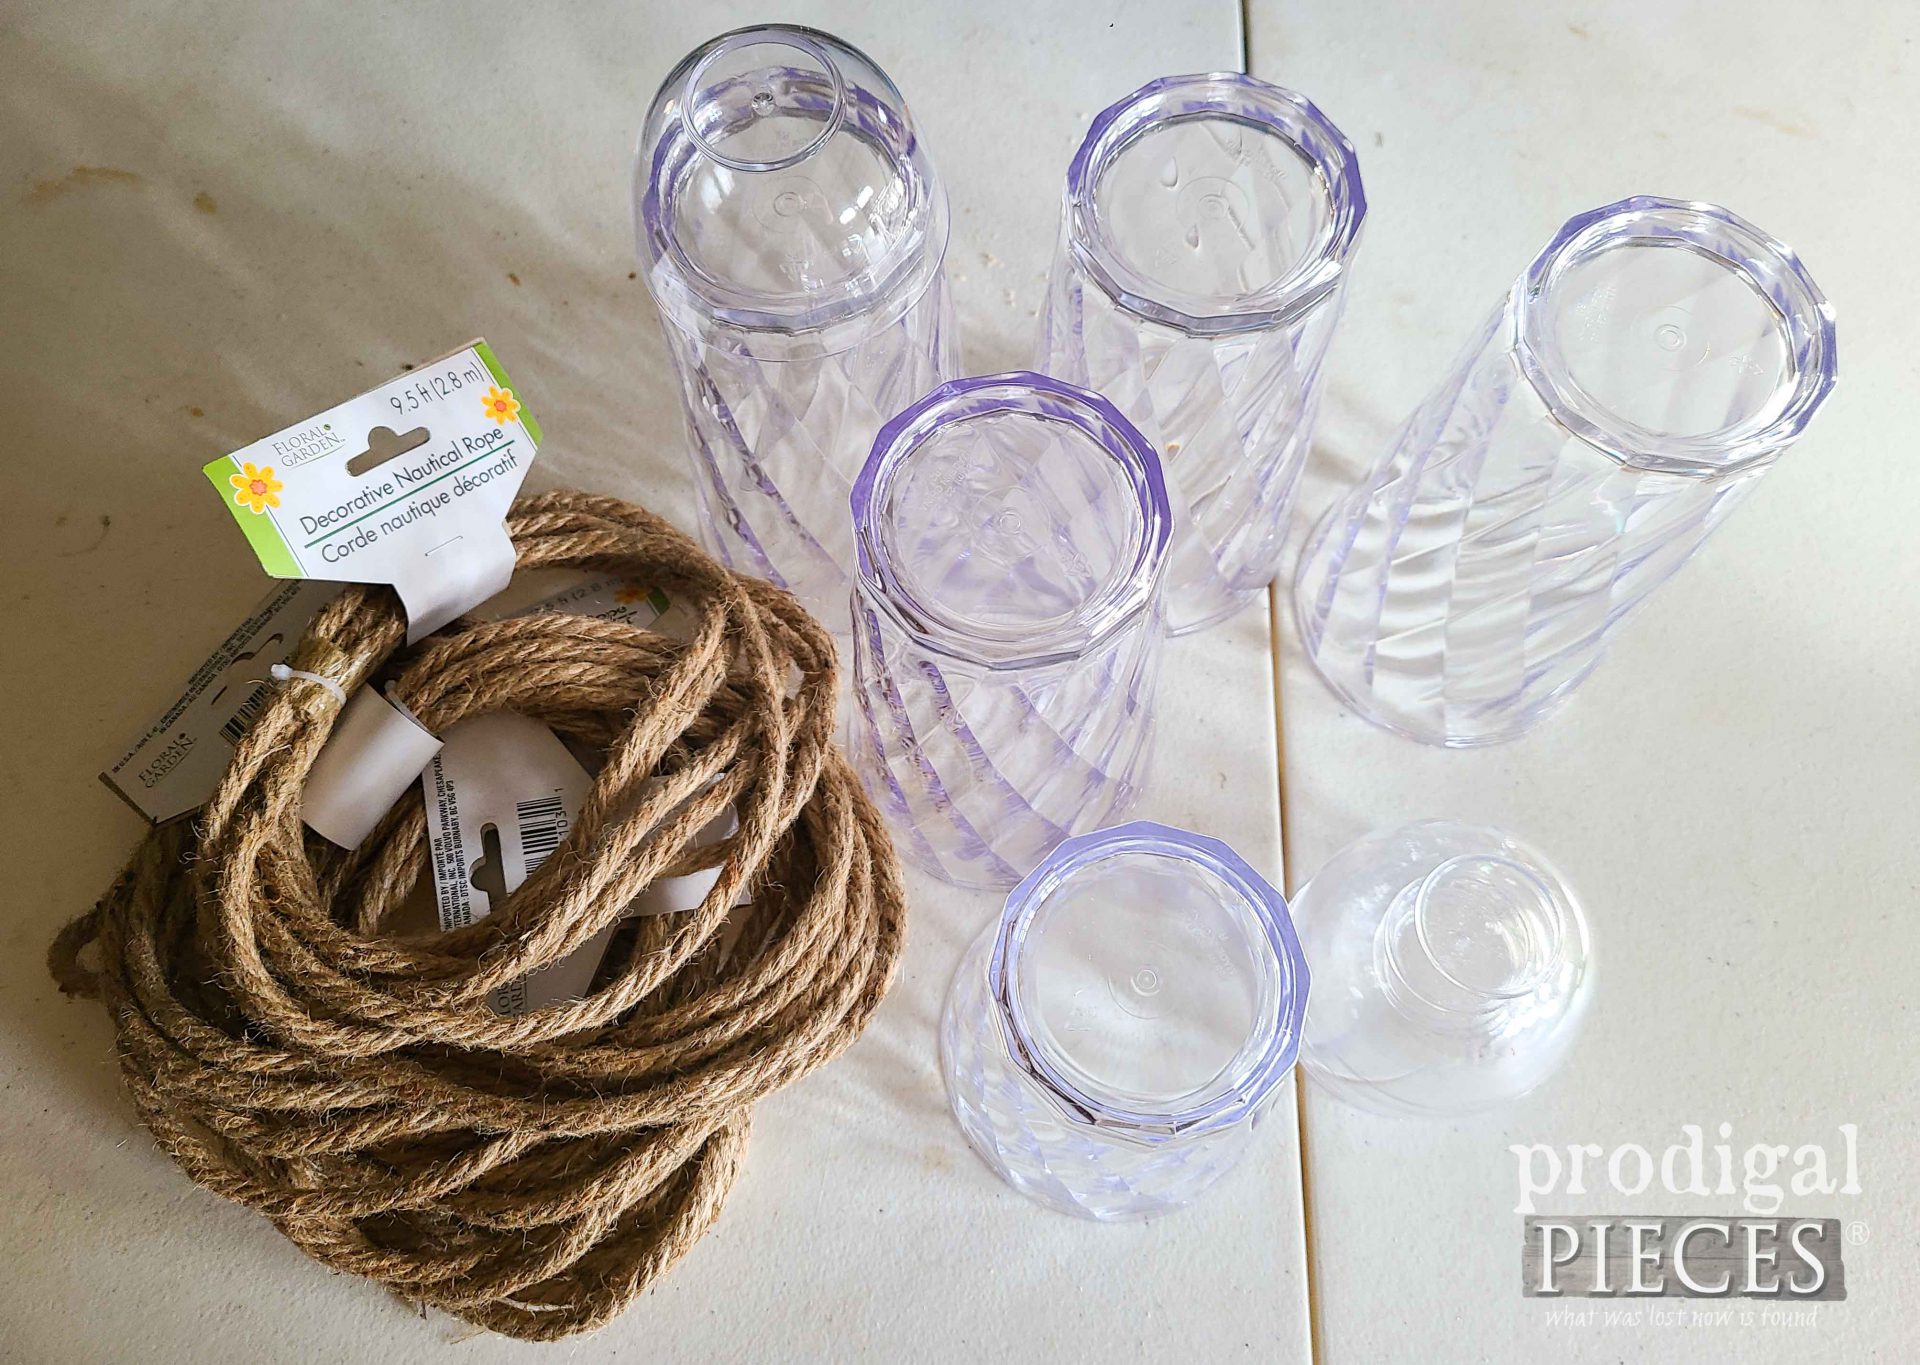
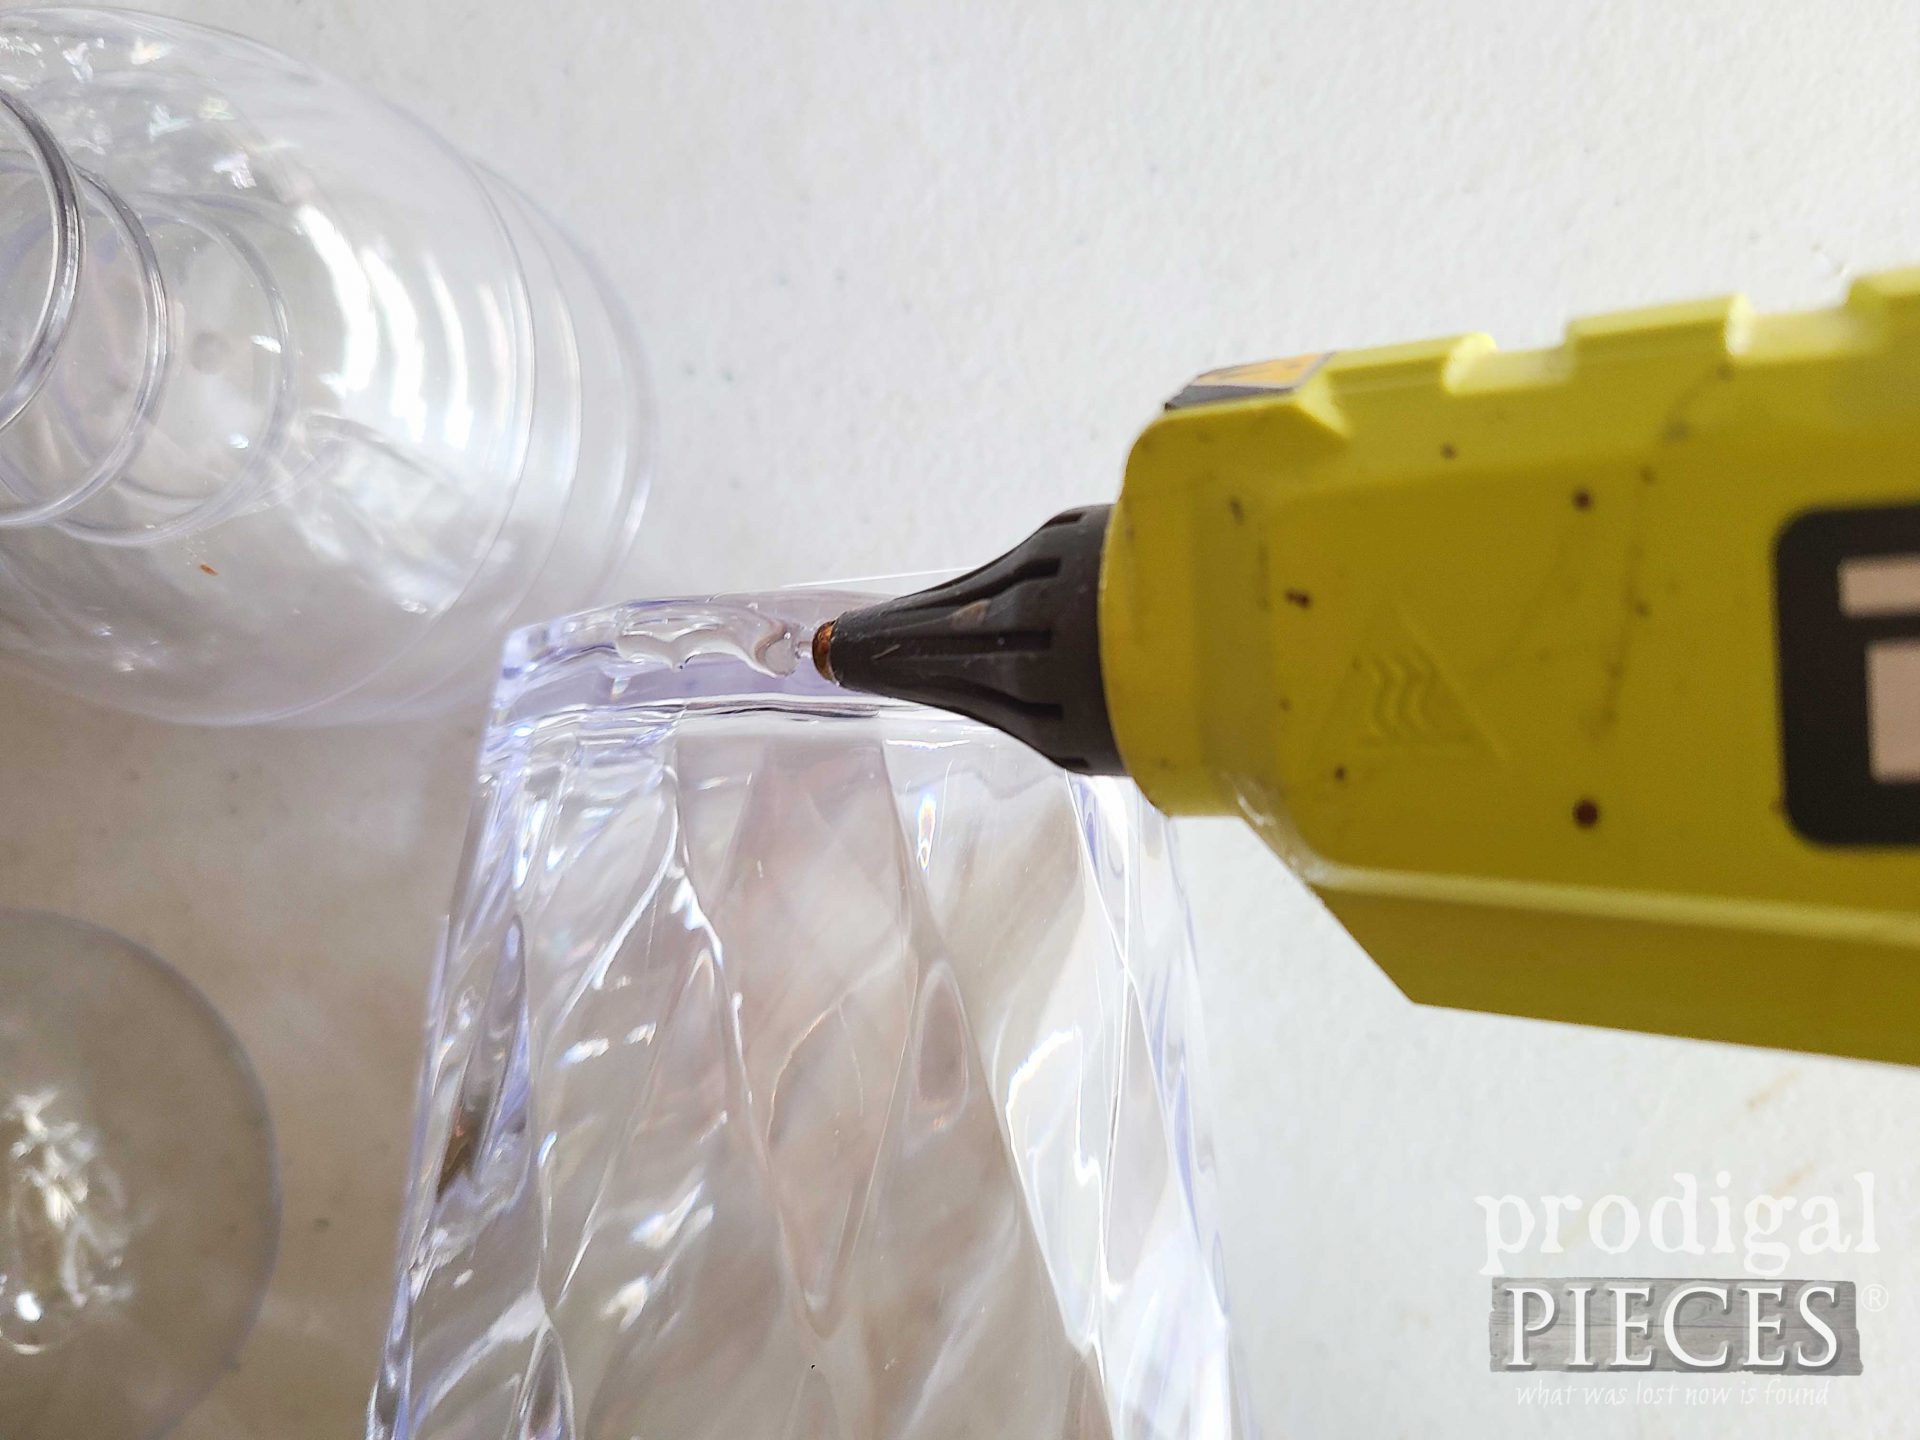
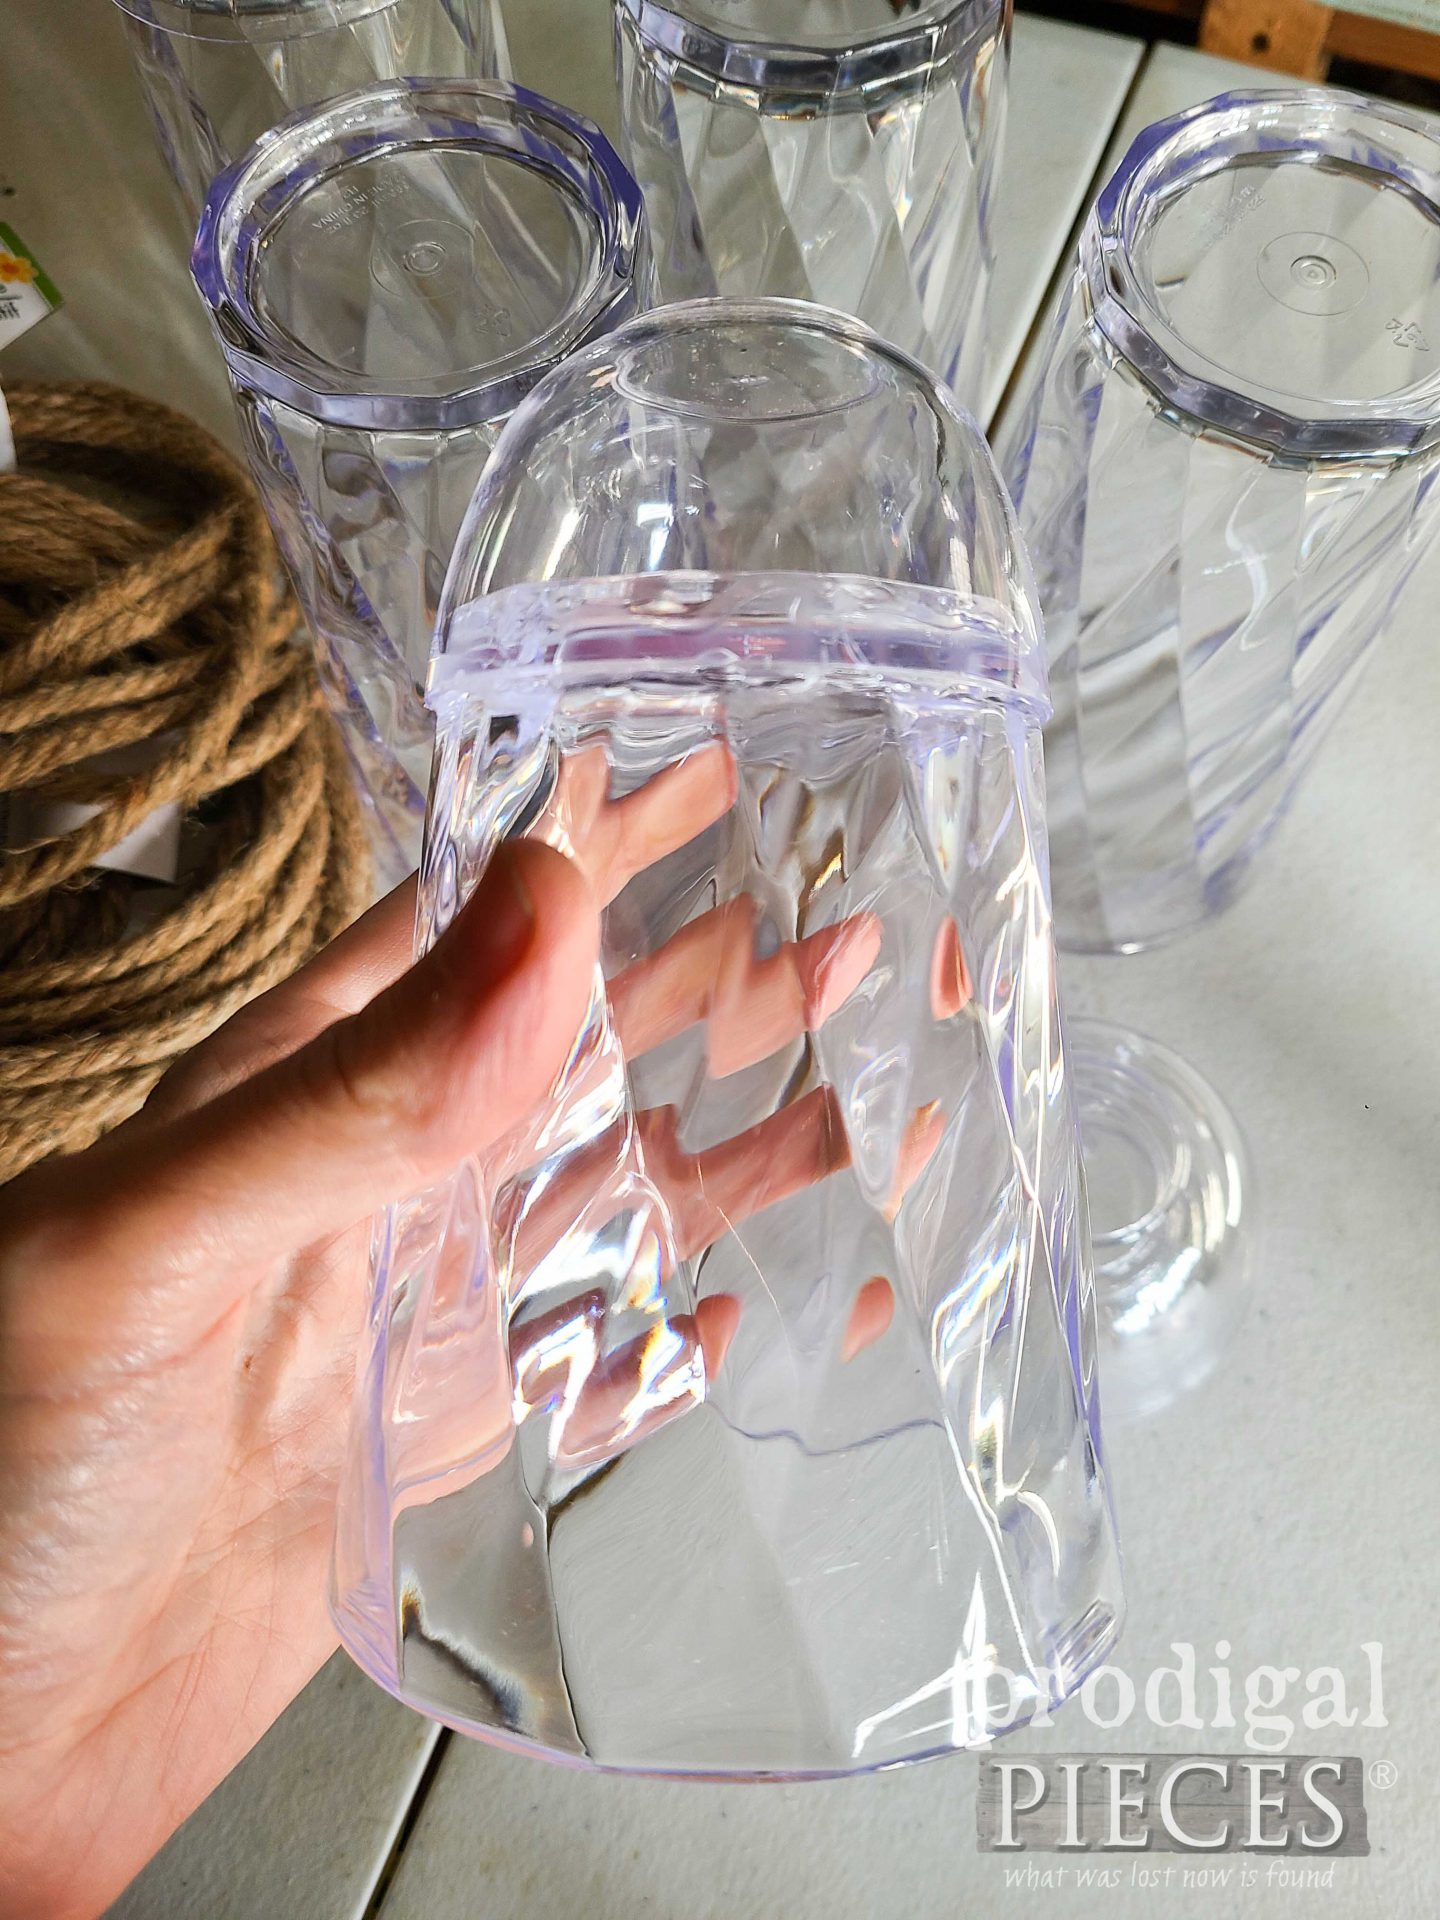
If you look at the picture of the loot I grabbed above, you’ll see a handful of heavy plastic cups (I aimed for more mixed sizes, but they only had one of the smaller cups), a stack of small bowls, and jute rope. I already had the twine, bells, and paint supplies at home. You can use any kind of cup or flowerpot, etc to make your bells. I always find it a fun challenge to peruse the aisles of stores (thrift stores included) for something that sparks my imagination. I chose to use cups and bowls combined. First, I use my hot glue to attach the bowls to the bottom of the cups.
They’re looking kinda bell-ish, don’t you think?
STEP 2
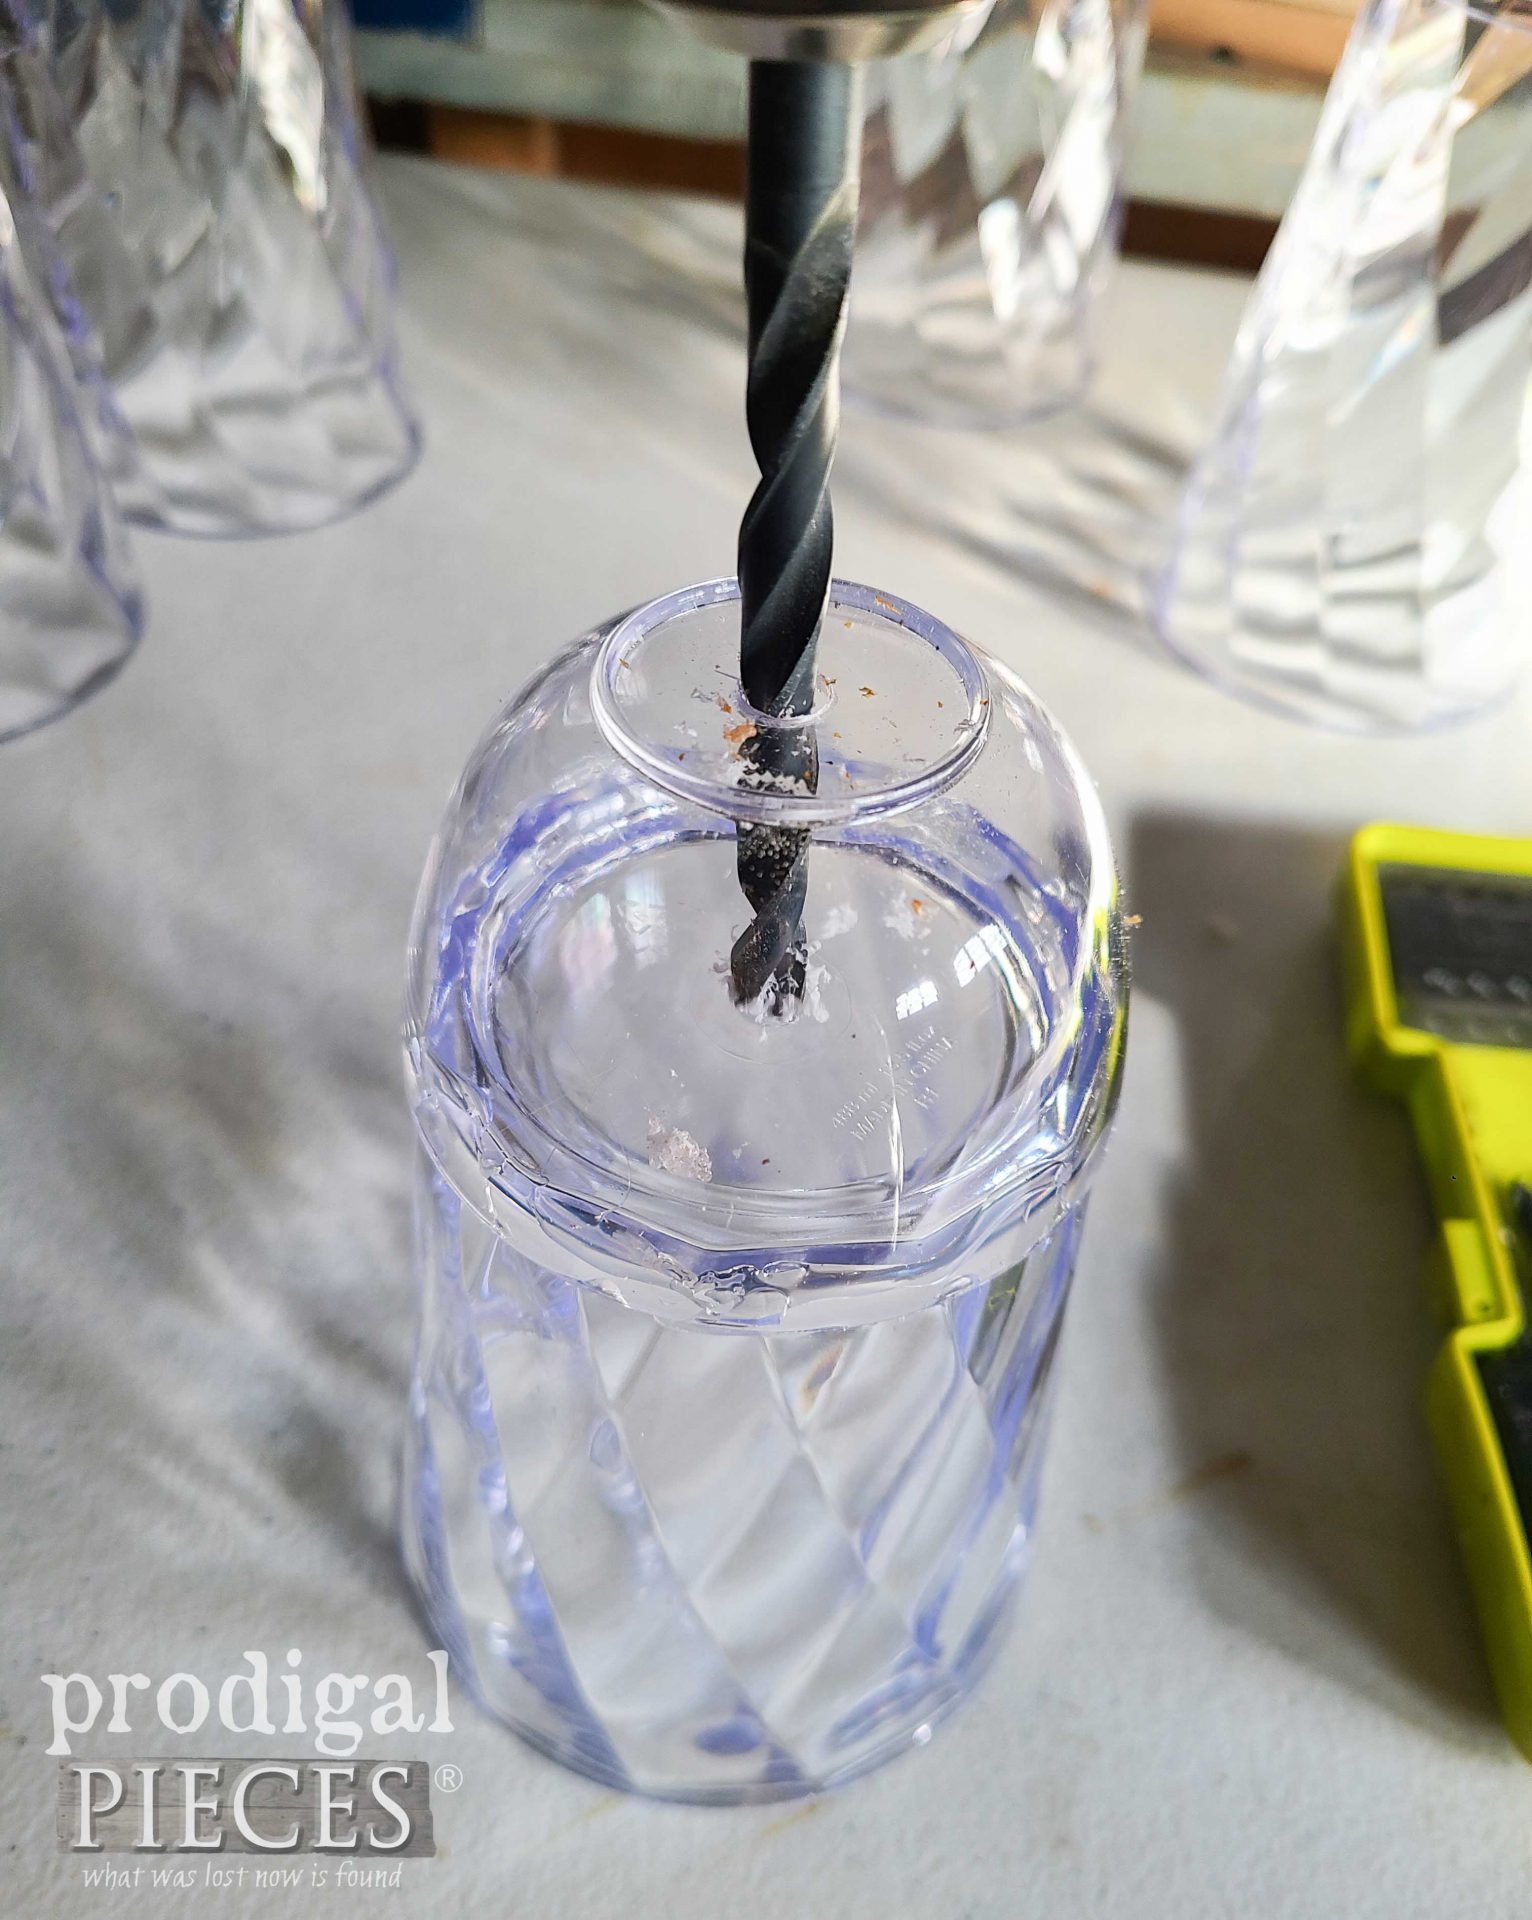
Next, using a drill and drill bit large enough to allow your rope to fit through, drill a hole through the bowl and the cup. Work slow so you don’t crack your creation.
STEP 3
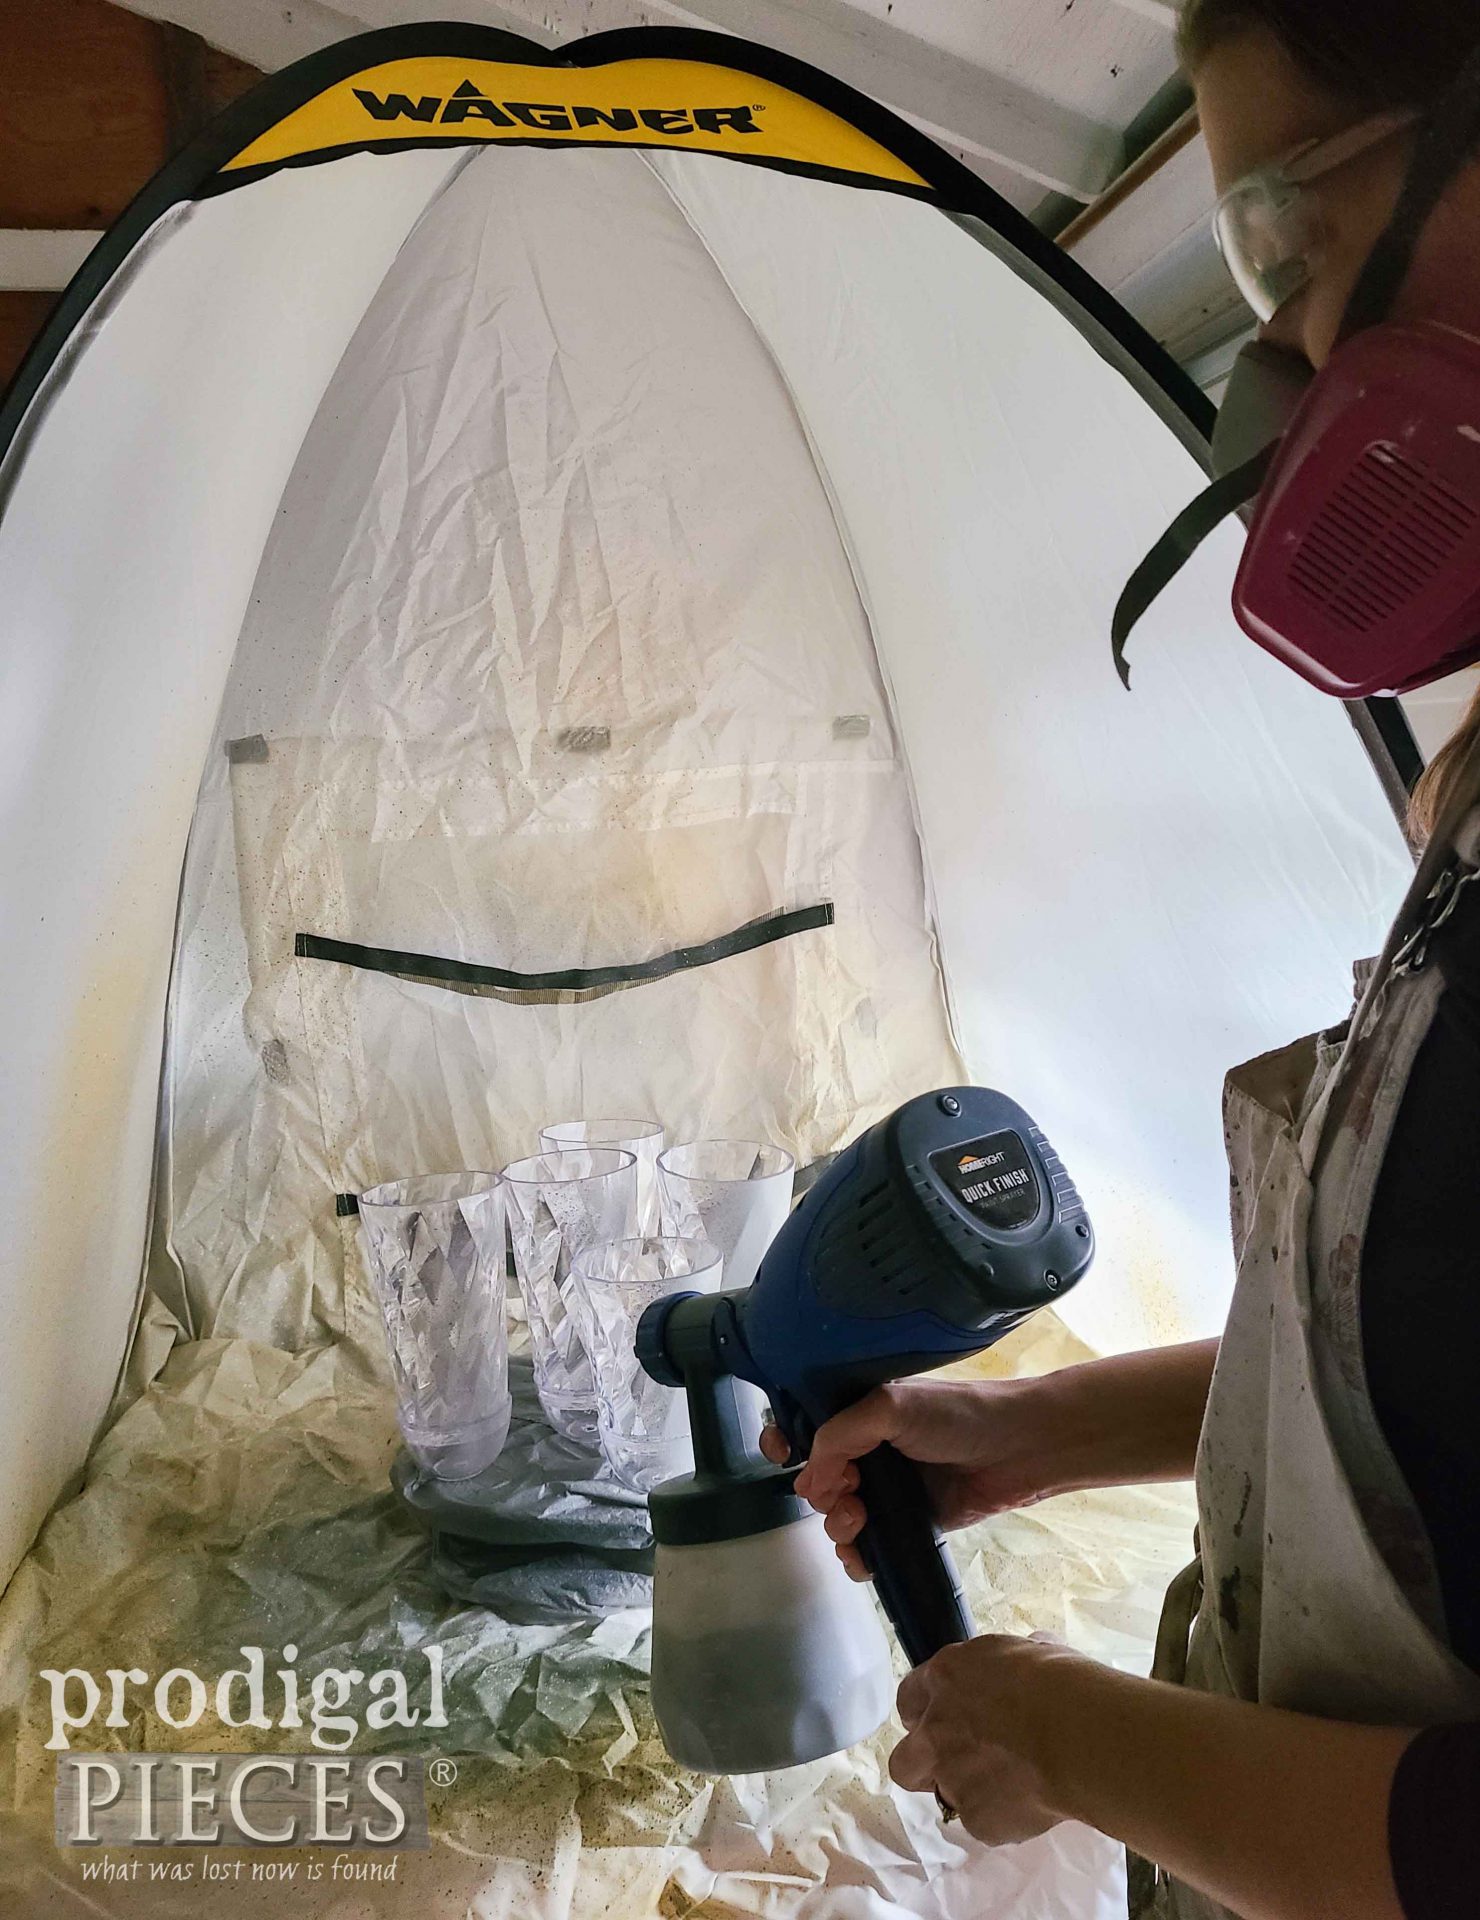
Time for some spray fun!
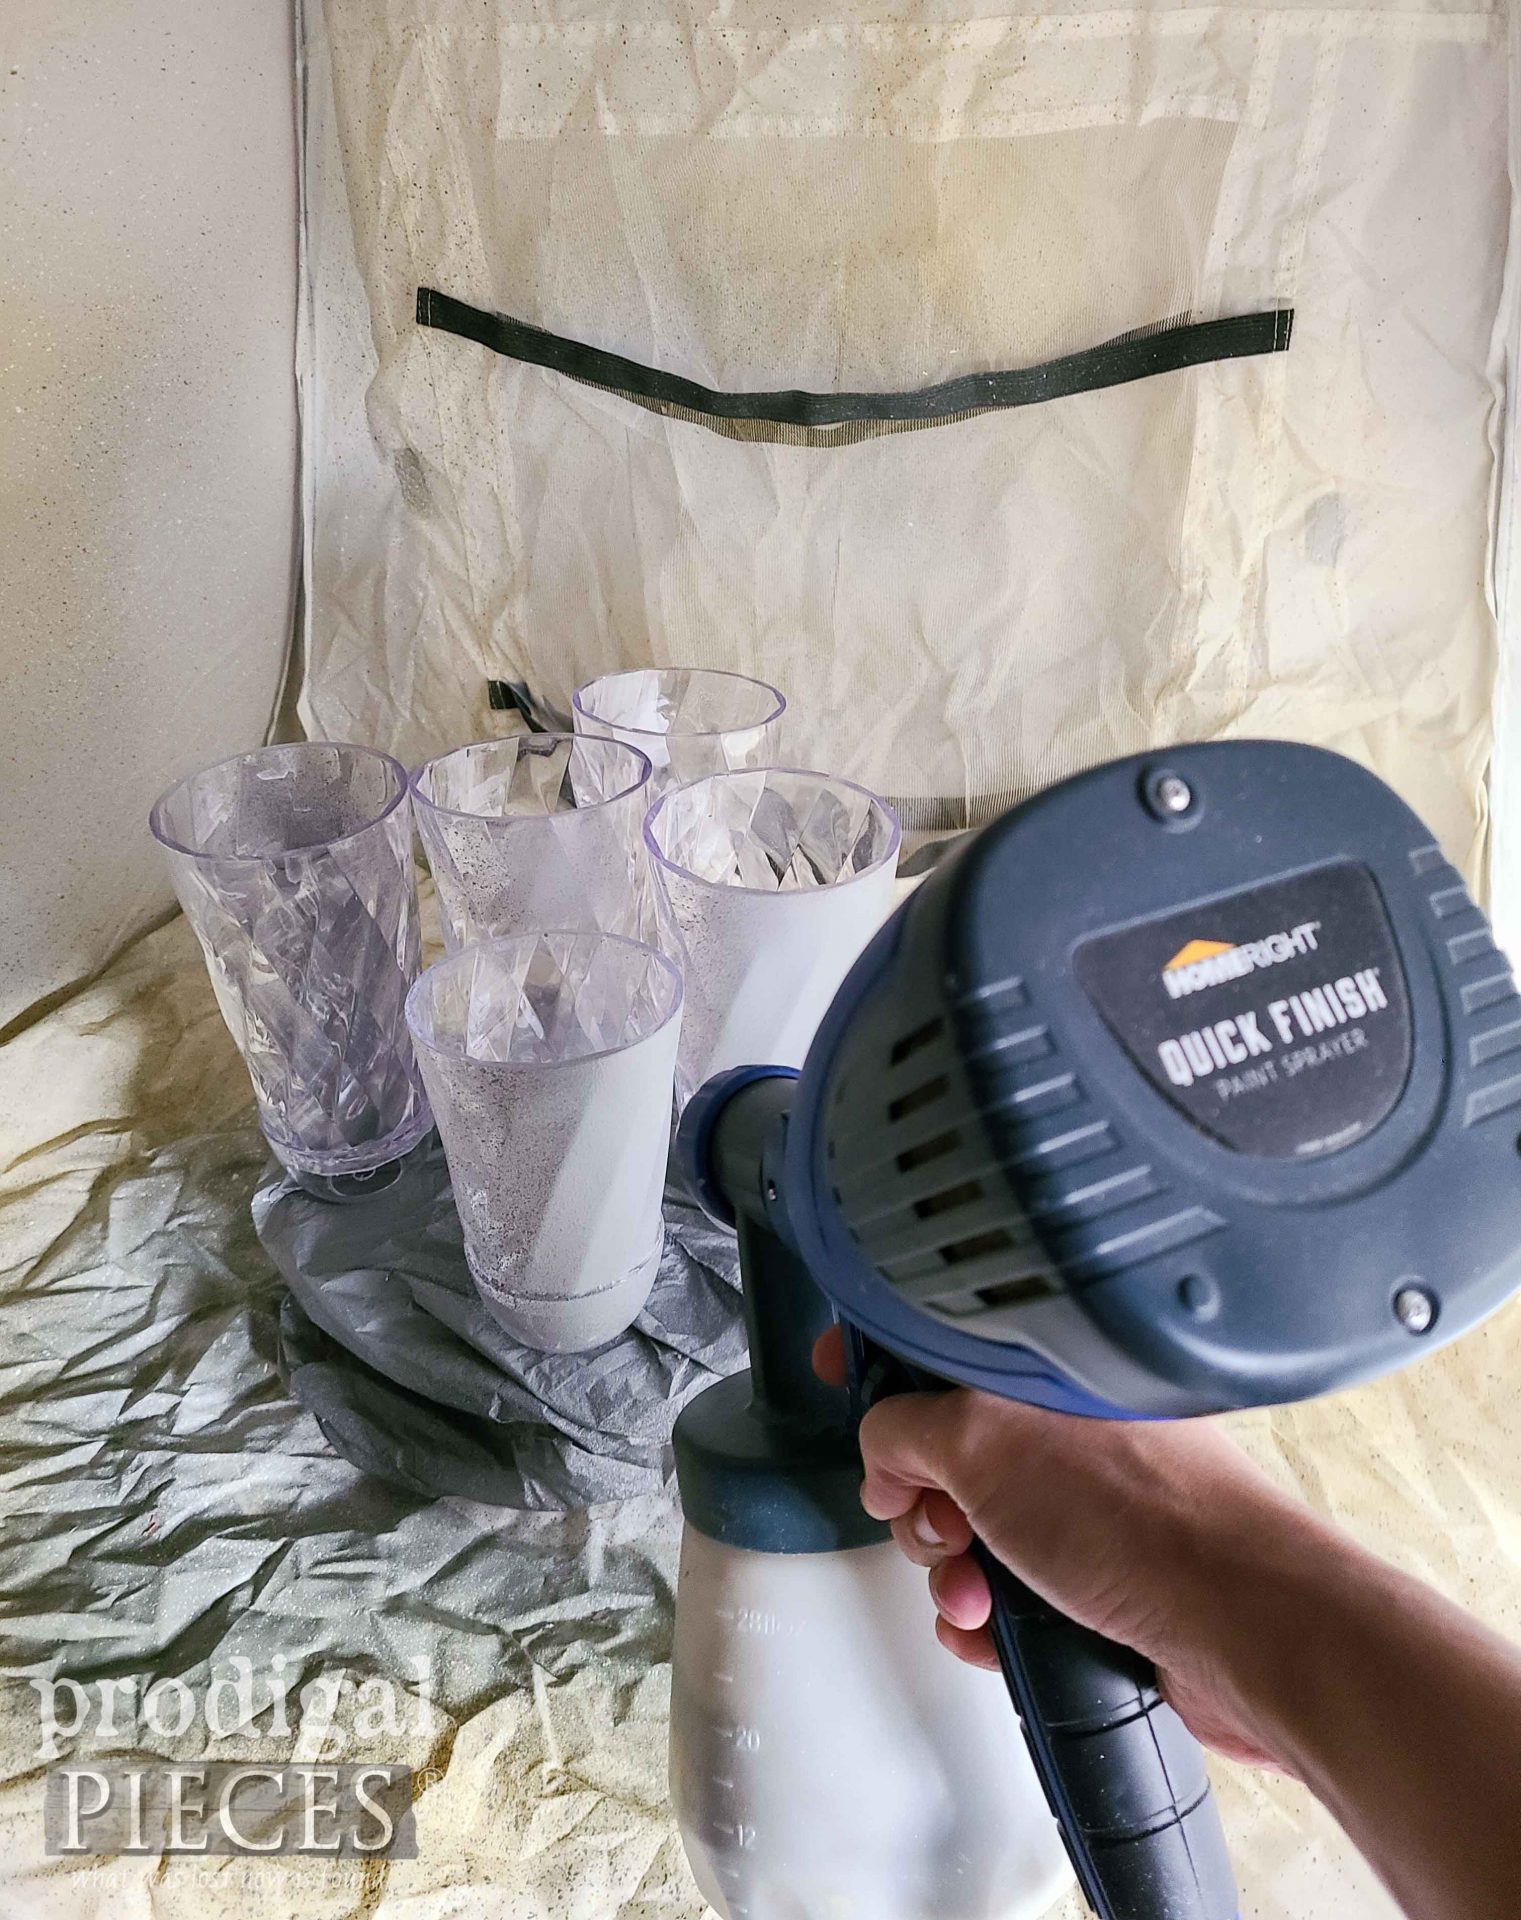
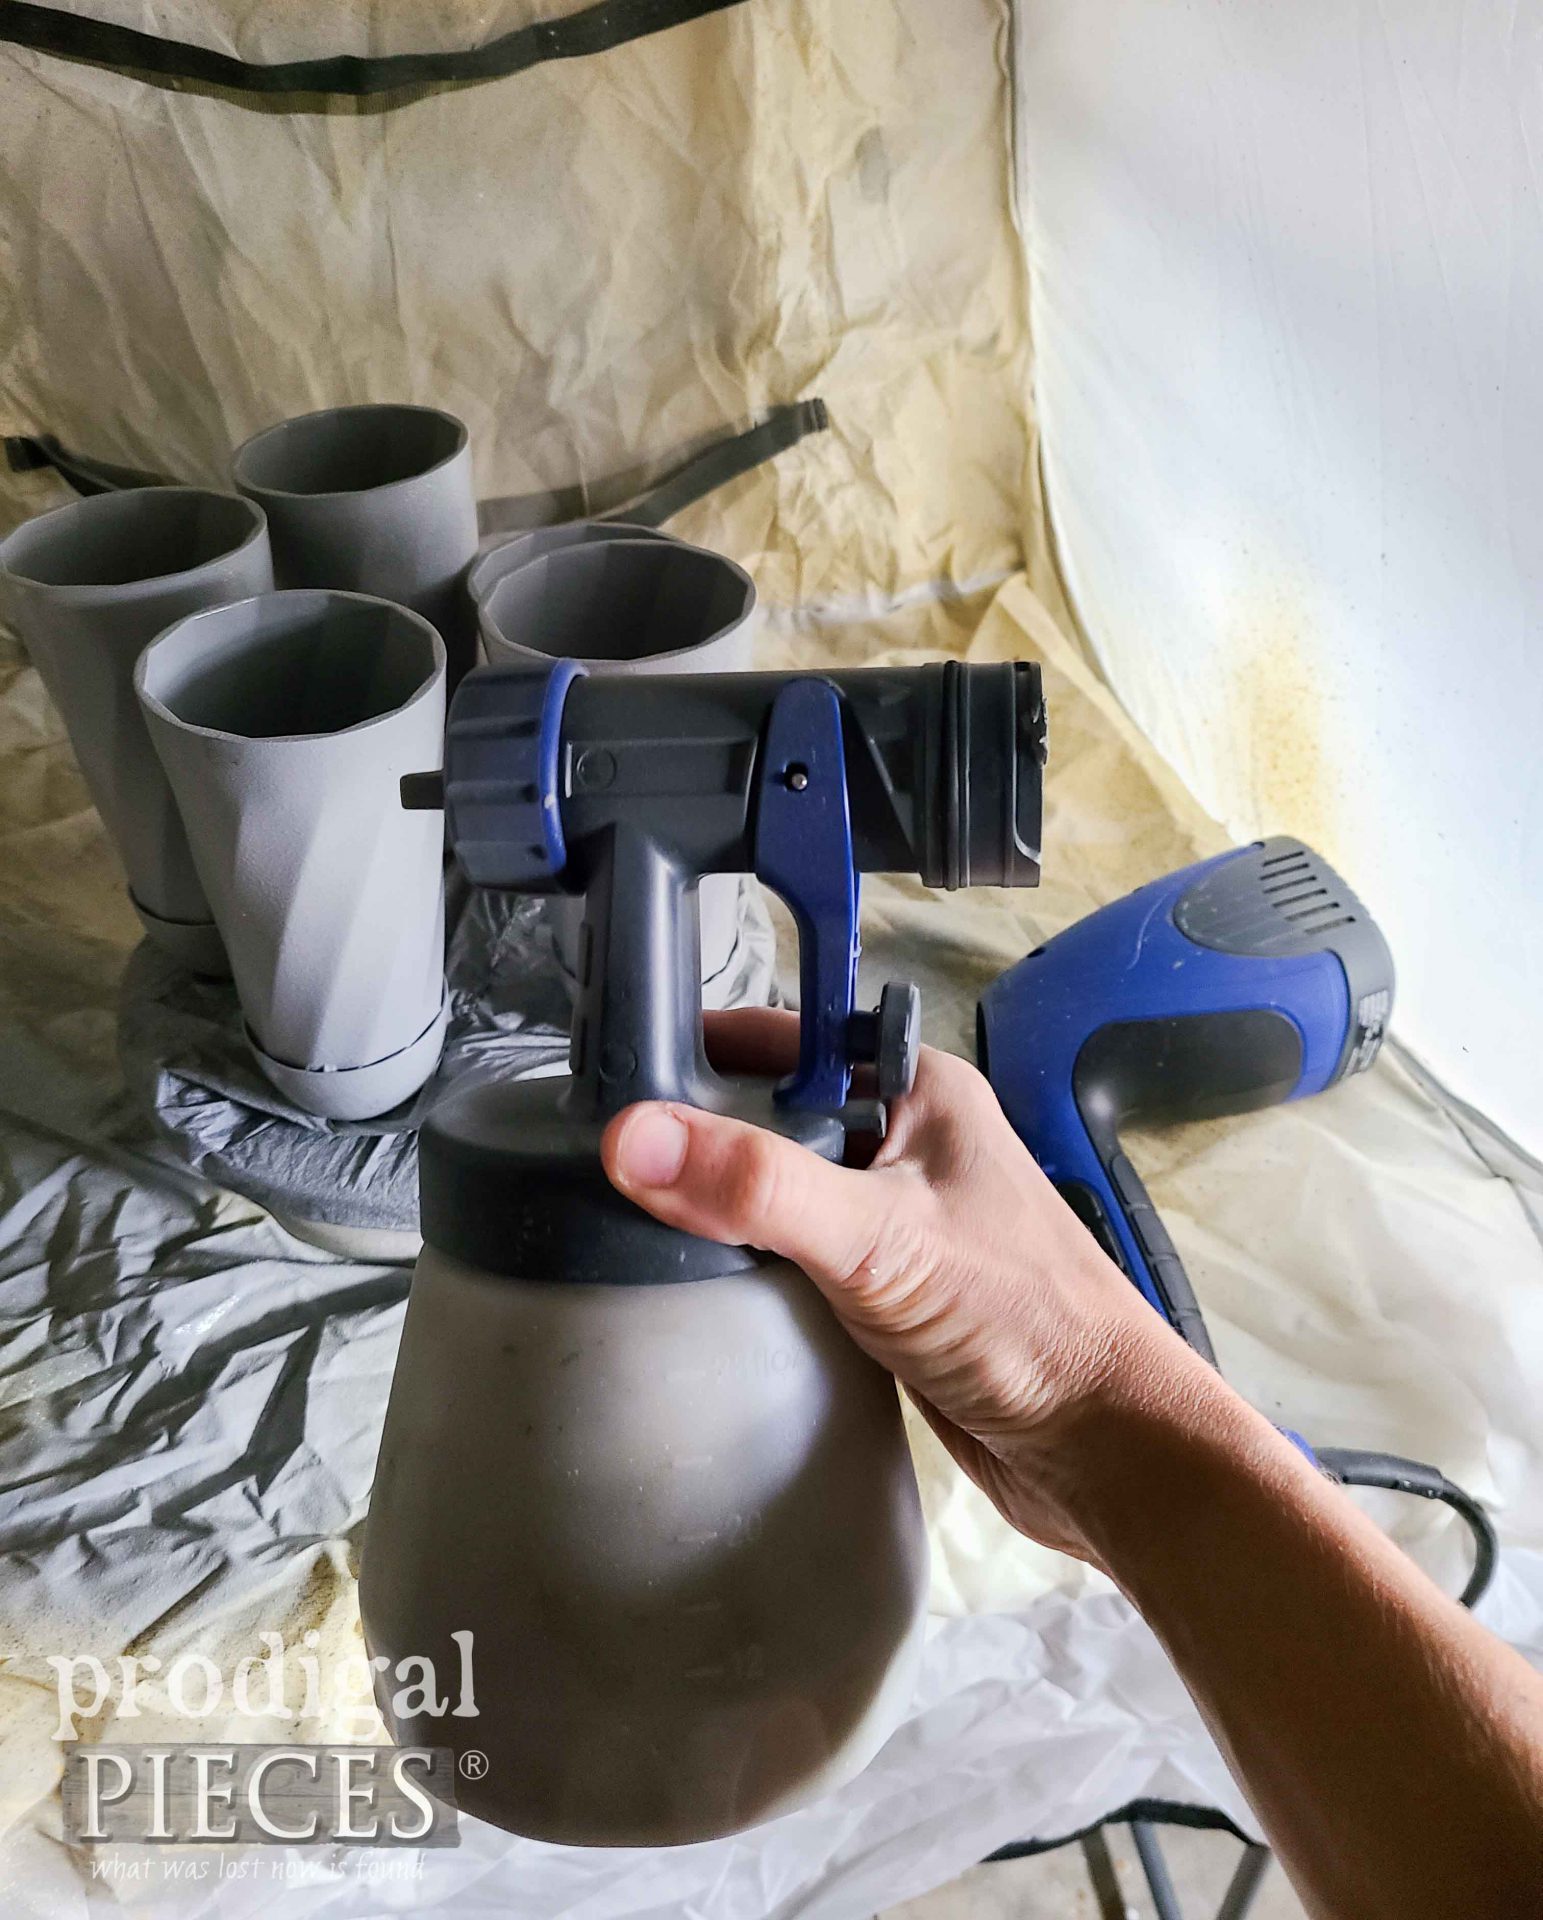
In addition to the spray shelter, I also use my turn table and my sprayer. I fill the sprayer with the dark gray paint. However, you may need to thin the paint with a bit of water per manufacturer instructions. I chose to use Kensington Gray in RustOleum Milk Paint. However, you can use any gray you want, just be sure it’s a matte or flat paint. You can also see my other zinc tutorials for furniture and outdoor home decor in these past posts.
As for using the sprayer, give it a few practice spray passes on a piece of cardboard or scrap wood to get the flow right. Then, hold the sprayer approximately 12″ from your cups. Head HERE to see the sprayer in action on a past makeover. Let cure and apply a second coat. Last of our painting stent, we need to clean up.
STEP 4
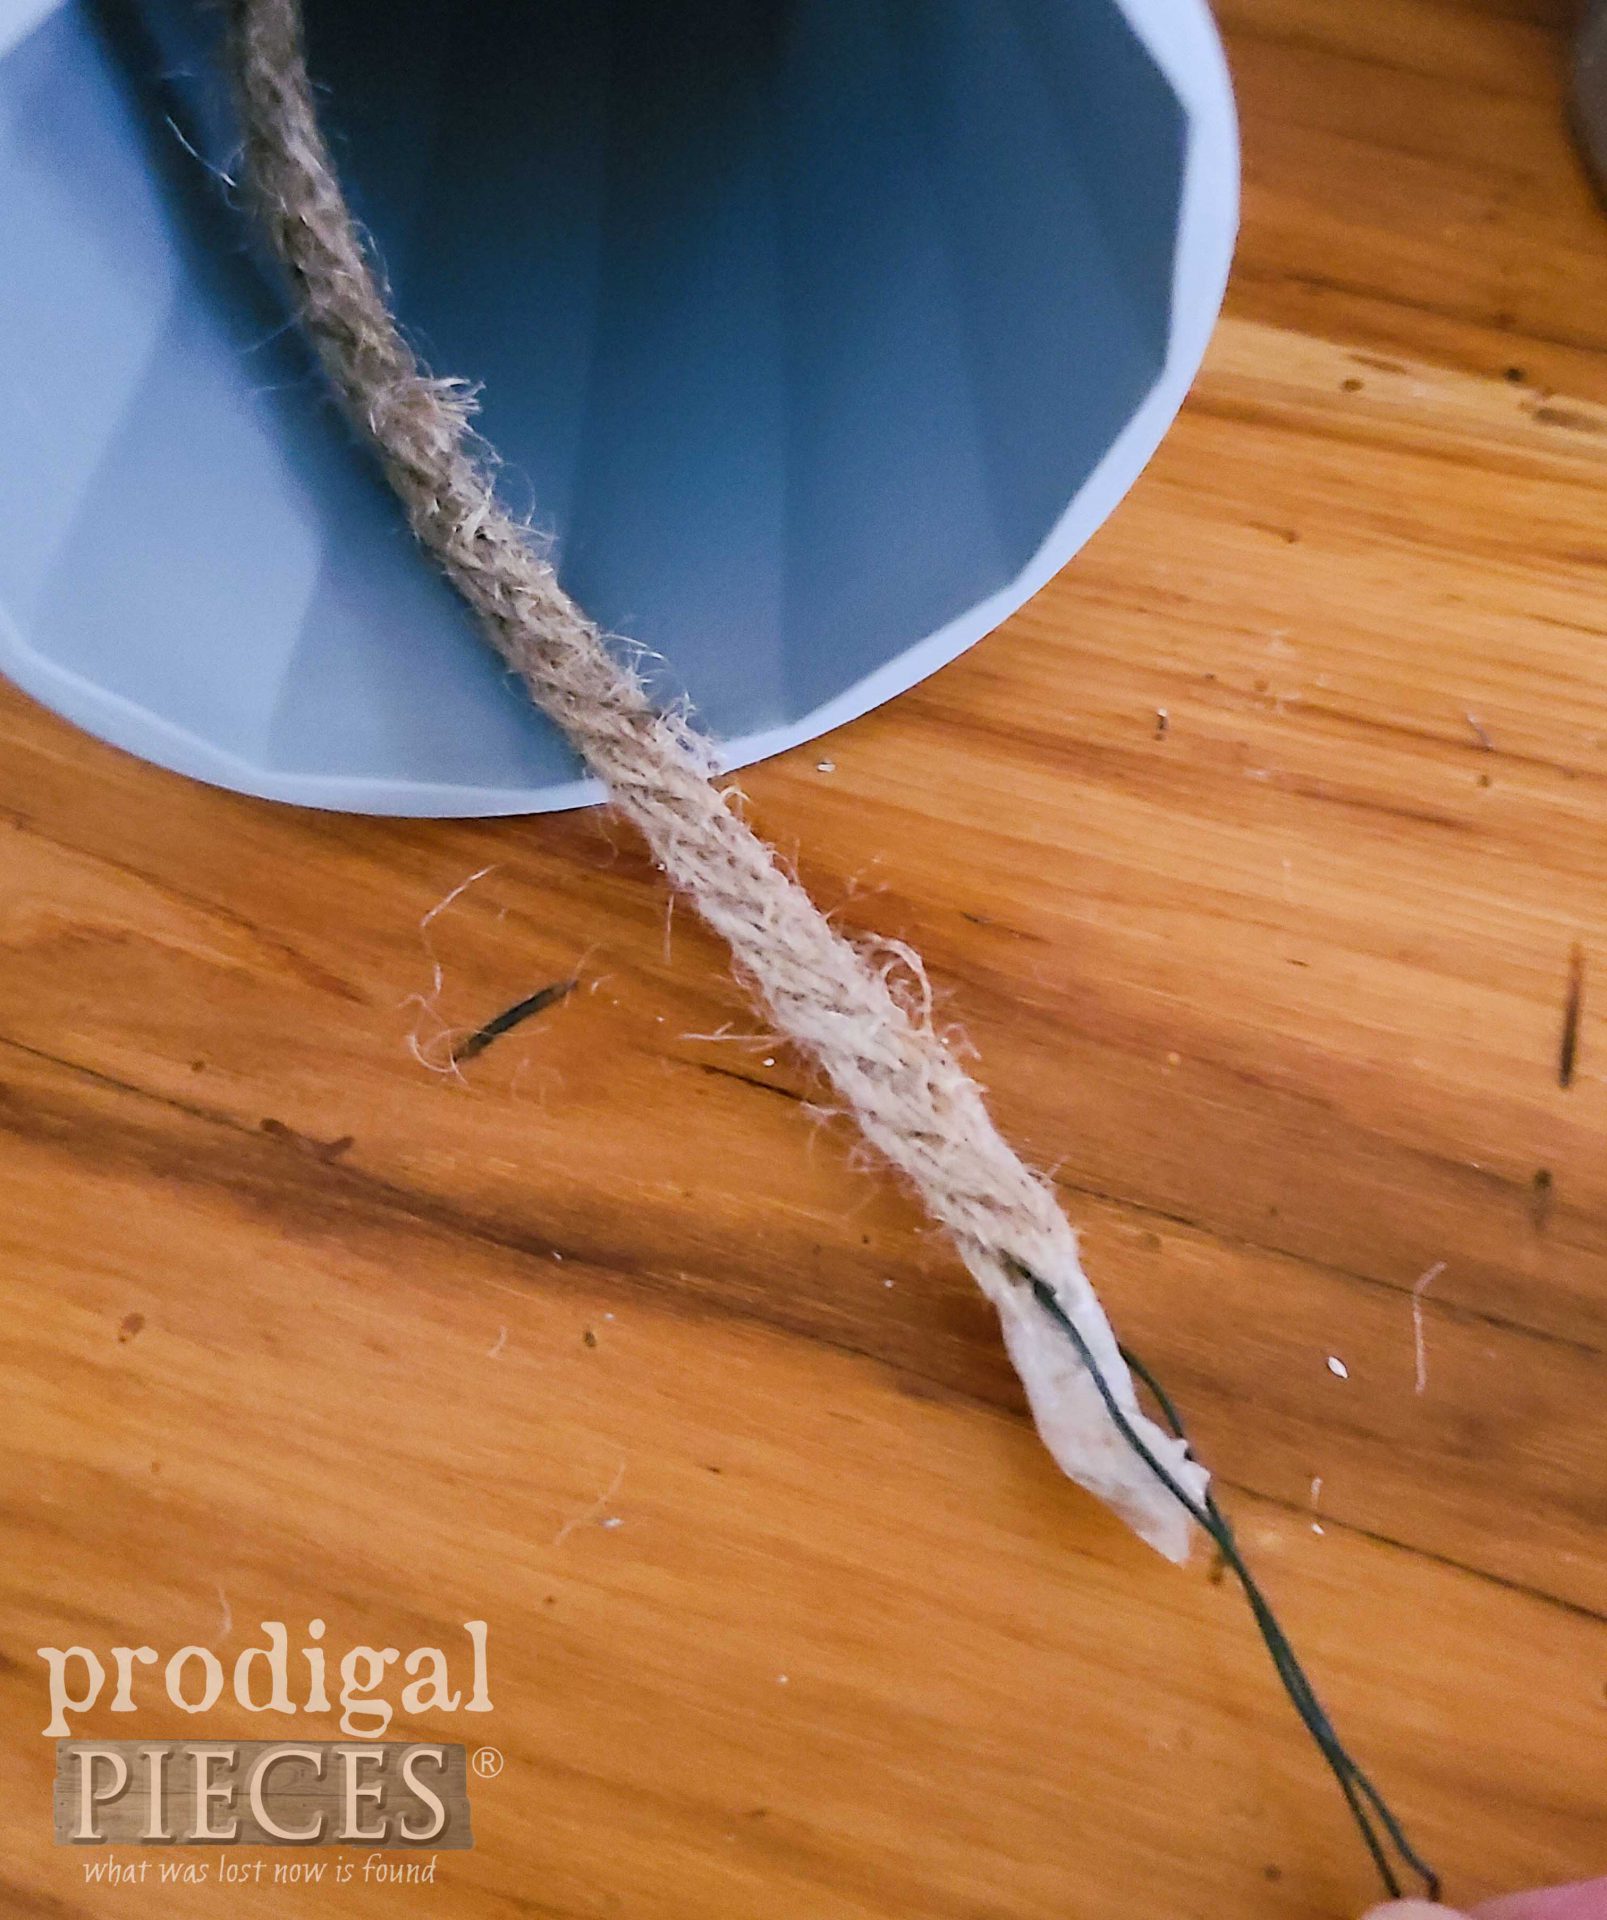
Finally, we can finish our DIY Zinc Bells. Grab your waxes, ropes, and bells. First, we need to feed the rope into the bell. Don’t cut a length just yet but leave it on the roll. Tape the end and fish a thin wire through the rope so it can help you get the rope through the bowl and cup.
STEP 5
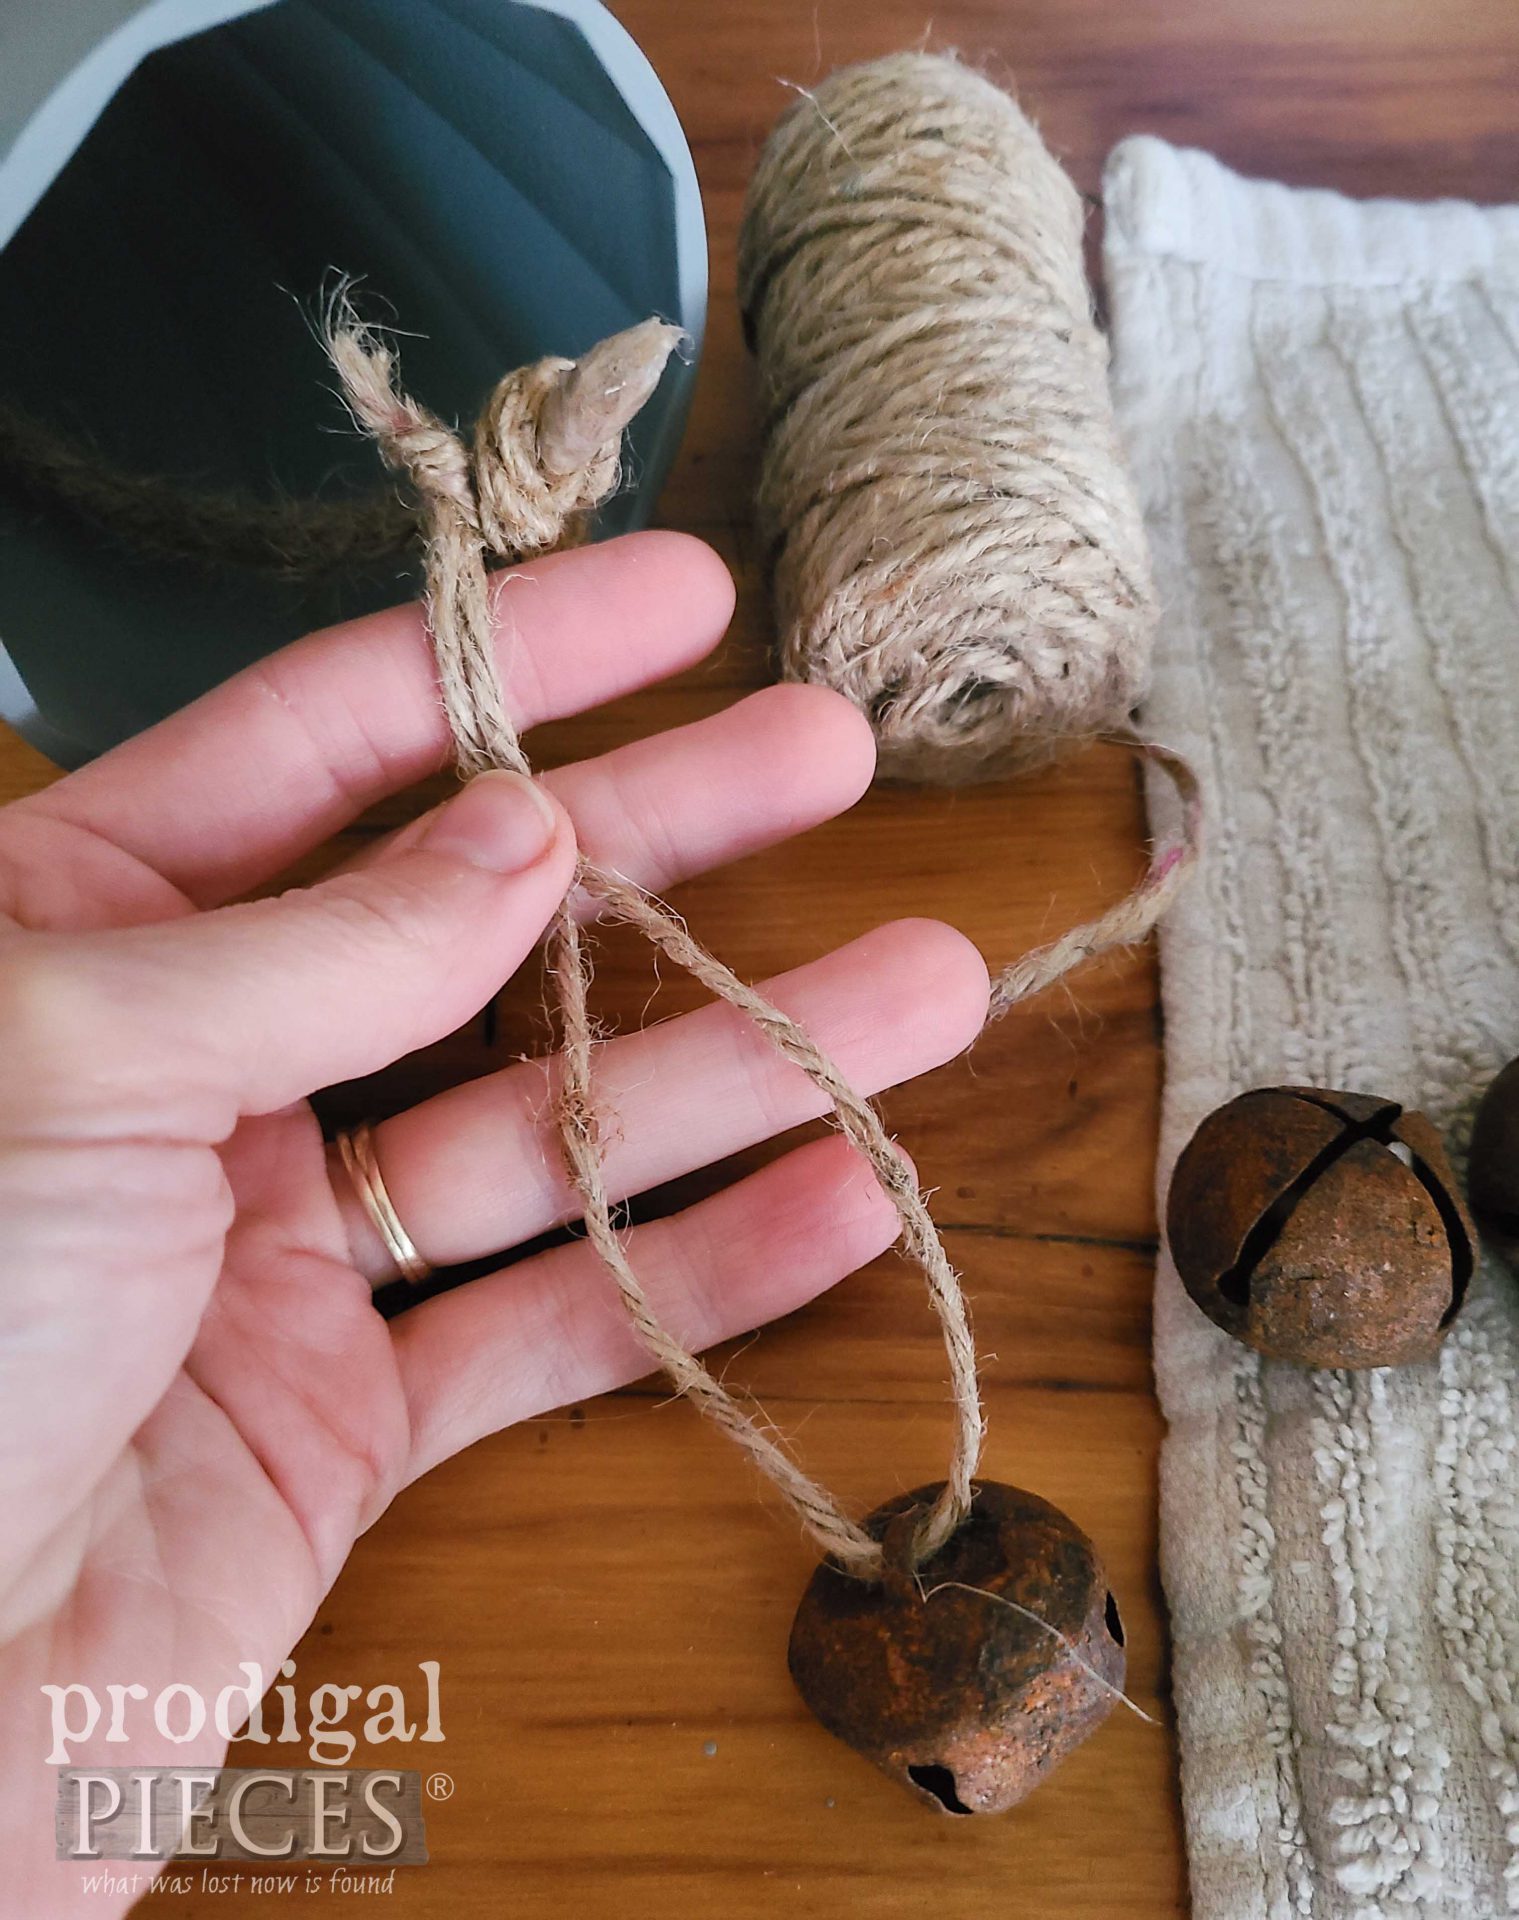
Next, knot the rope at the end. After that, figure out a length of twine doubled over to be the length of the cup (or longer if you want it to hang out). Tie a knot a the end and use a hang-tag type tie to hang it on the knot. Then, pull the rope up into the cup.
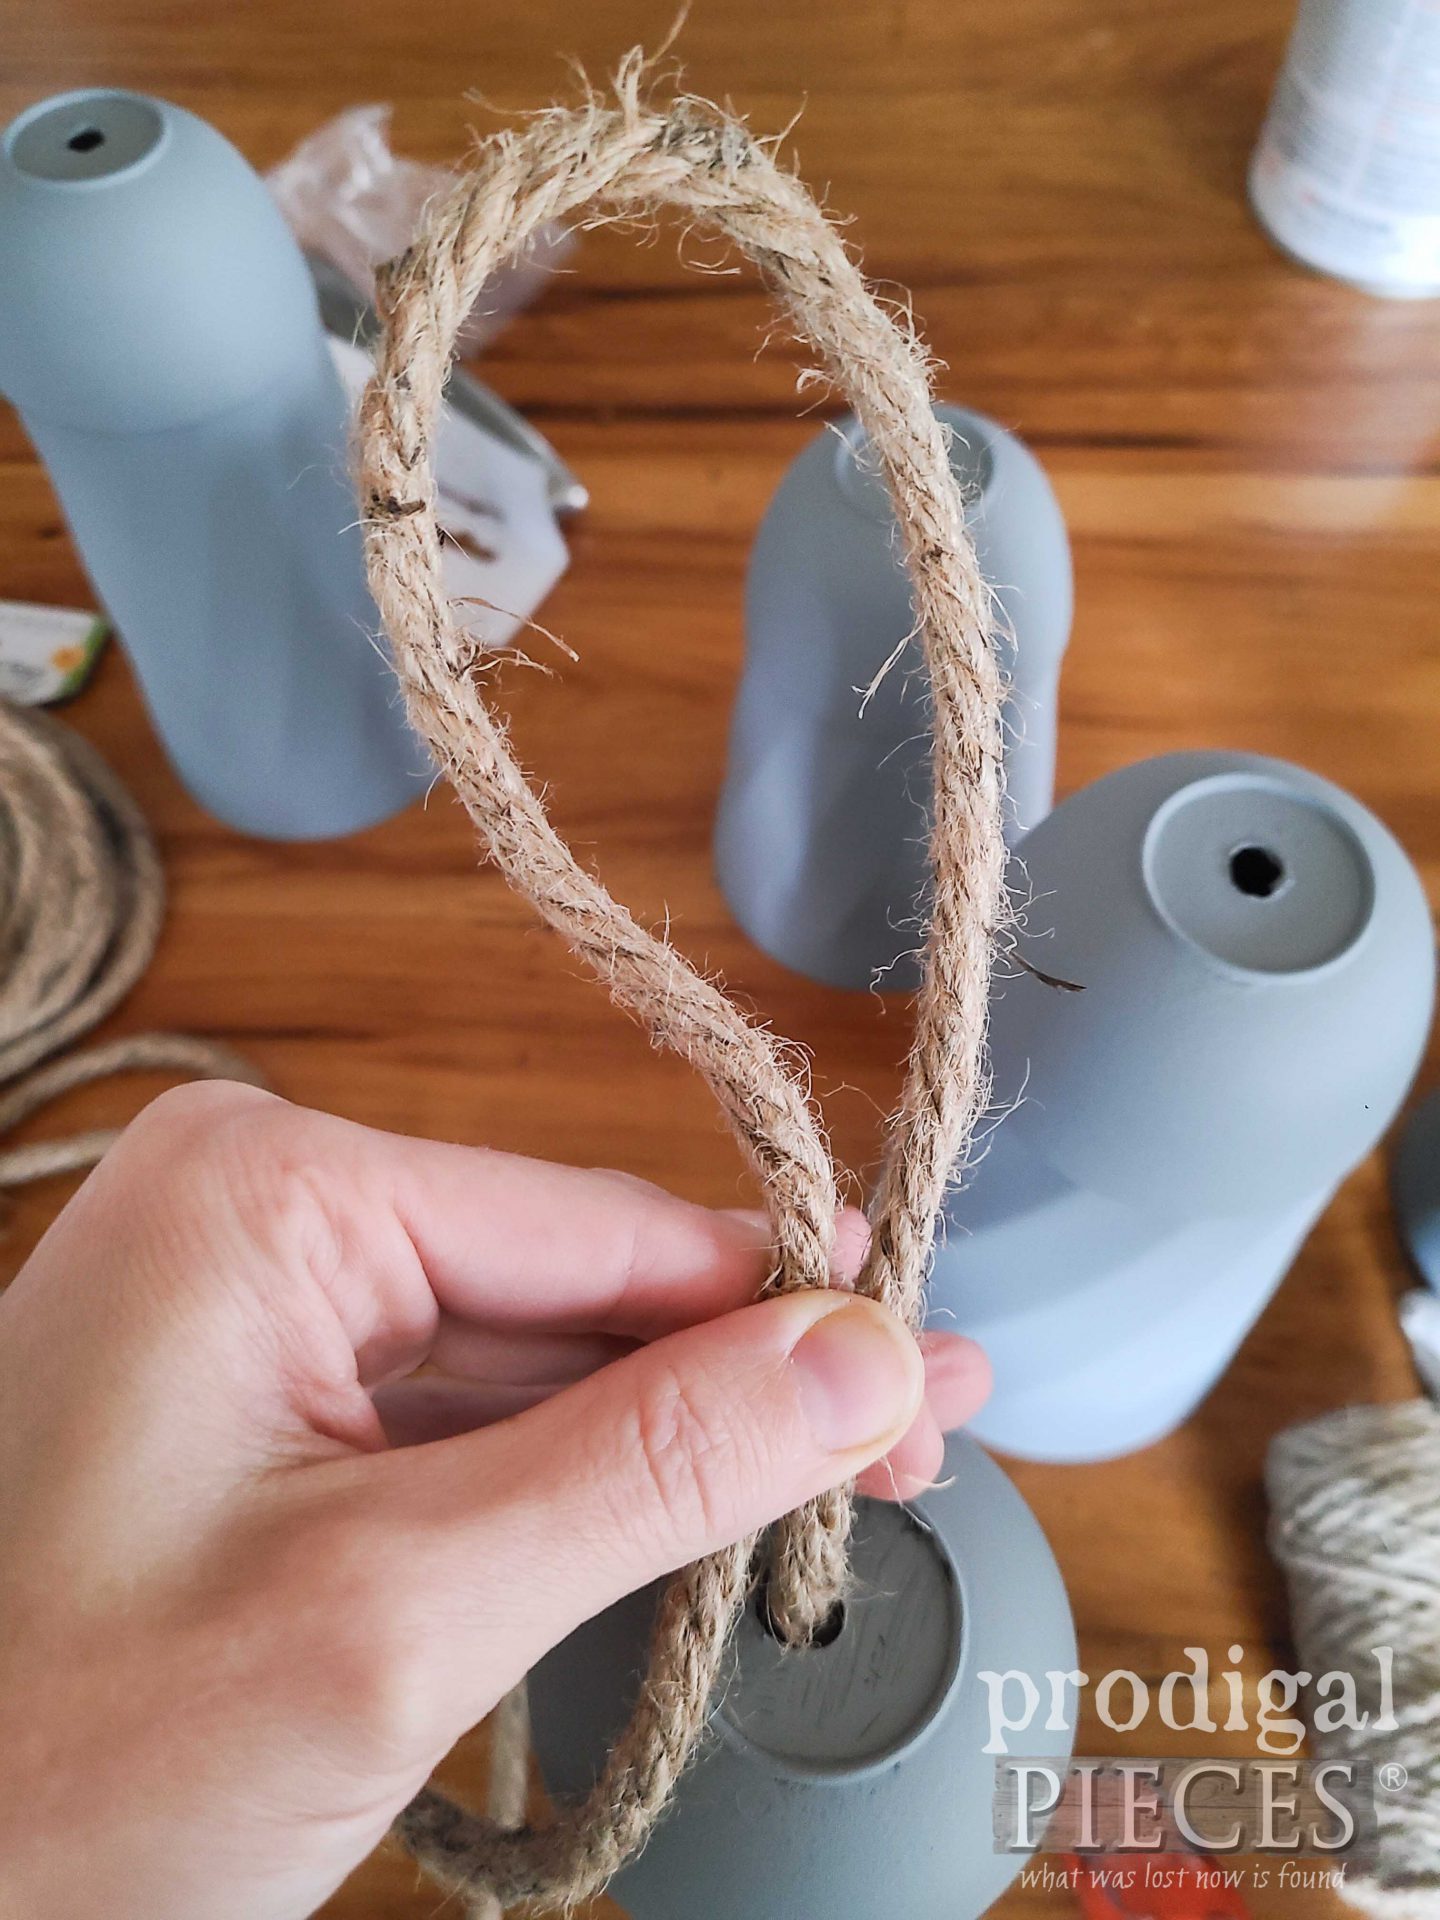
Last, make a cut in the rope to make a hanger. Hot glue the end down.
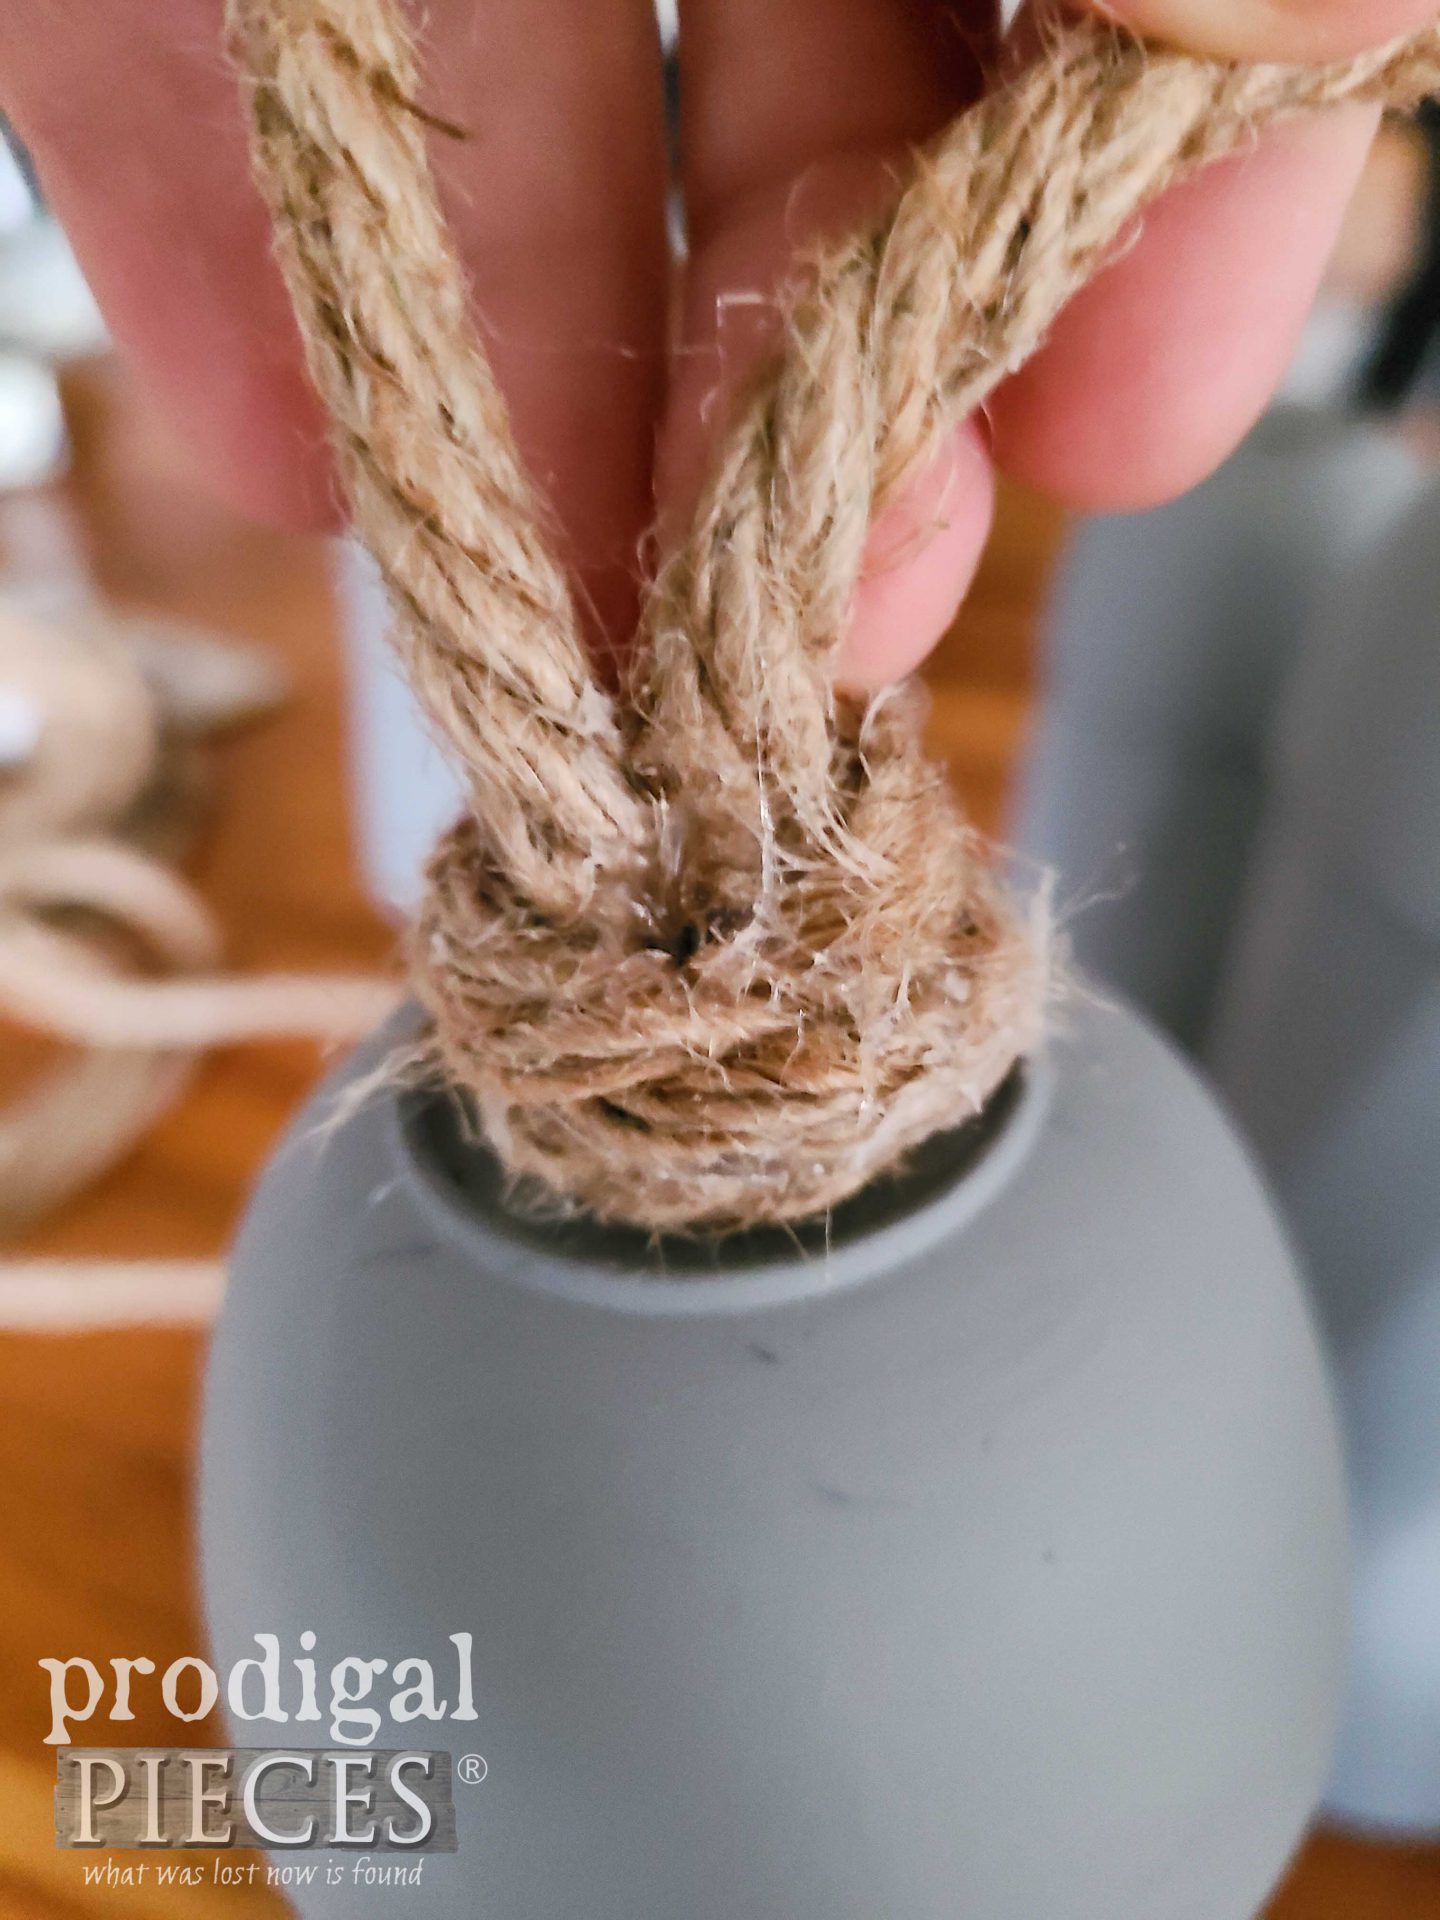
Also, hot glue around the rope ends where they meet at the bowl on the cup. Tuck in ends.
STEP 6
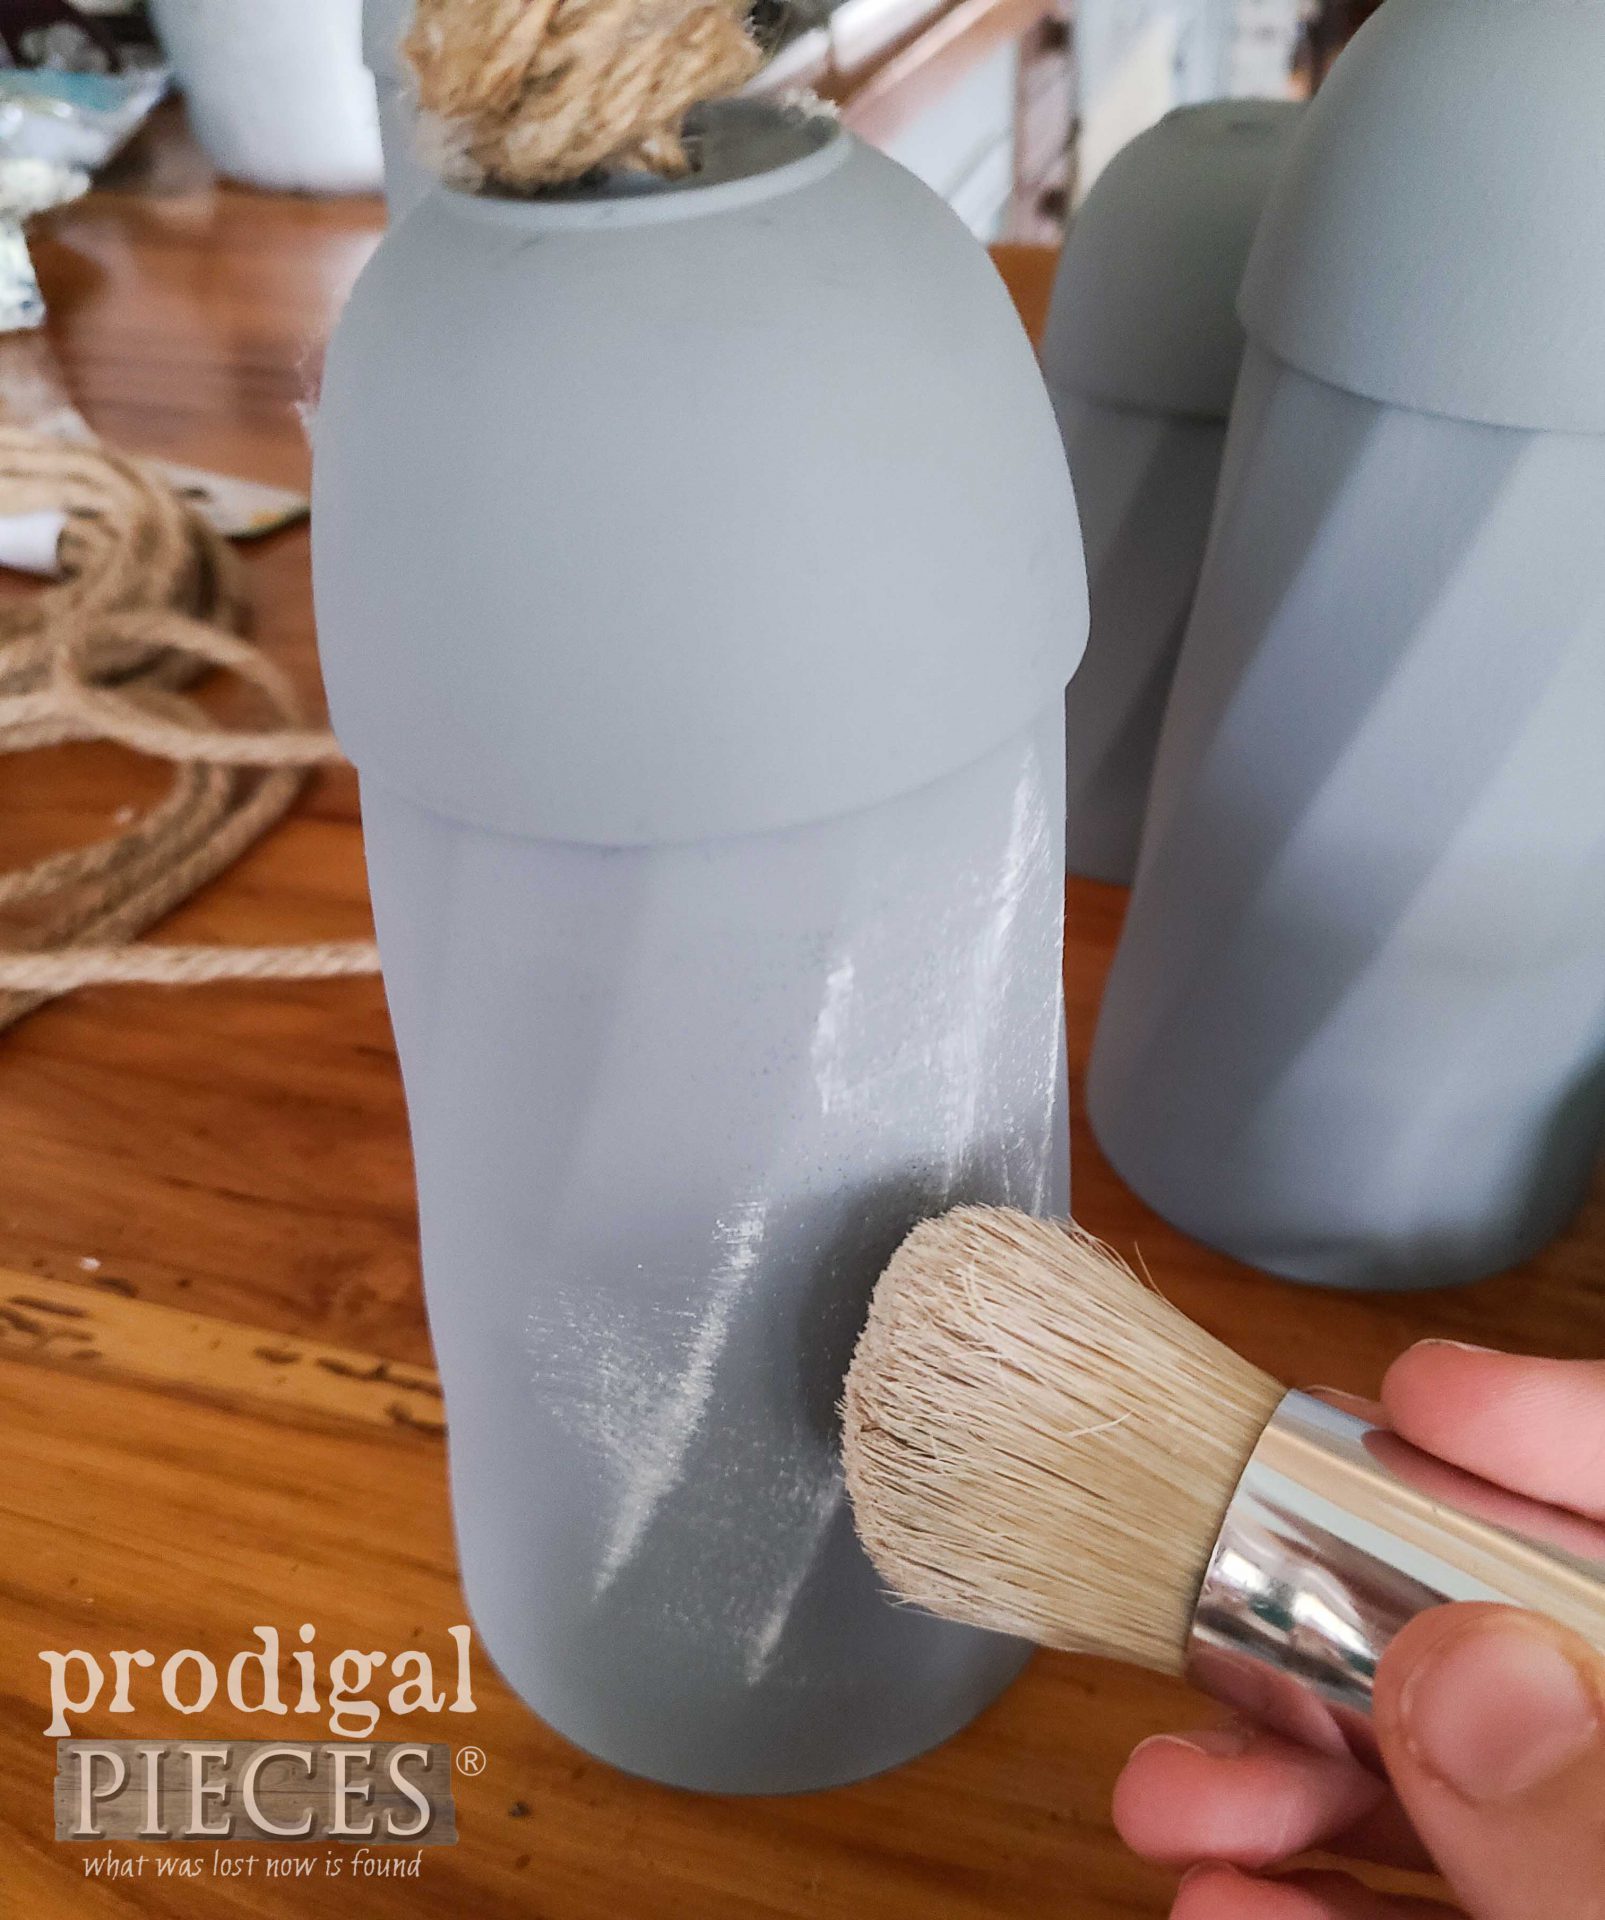
Last, but not least, we are going to create texture and dimension with waxes. I first use the white wax to make the design pop and age the faux zinc look we created.
Likewise, totally optional, but also fun, I use a bit of gray to create shadows.
THE REVEAL
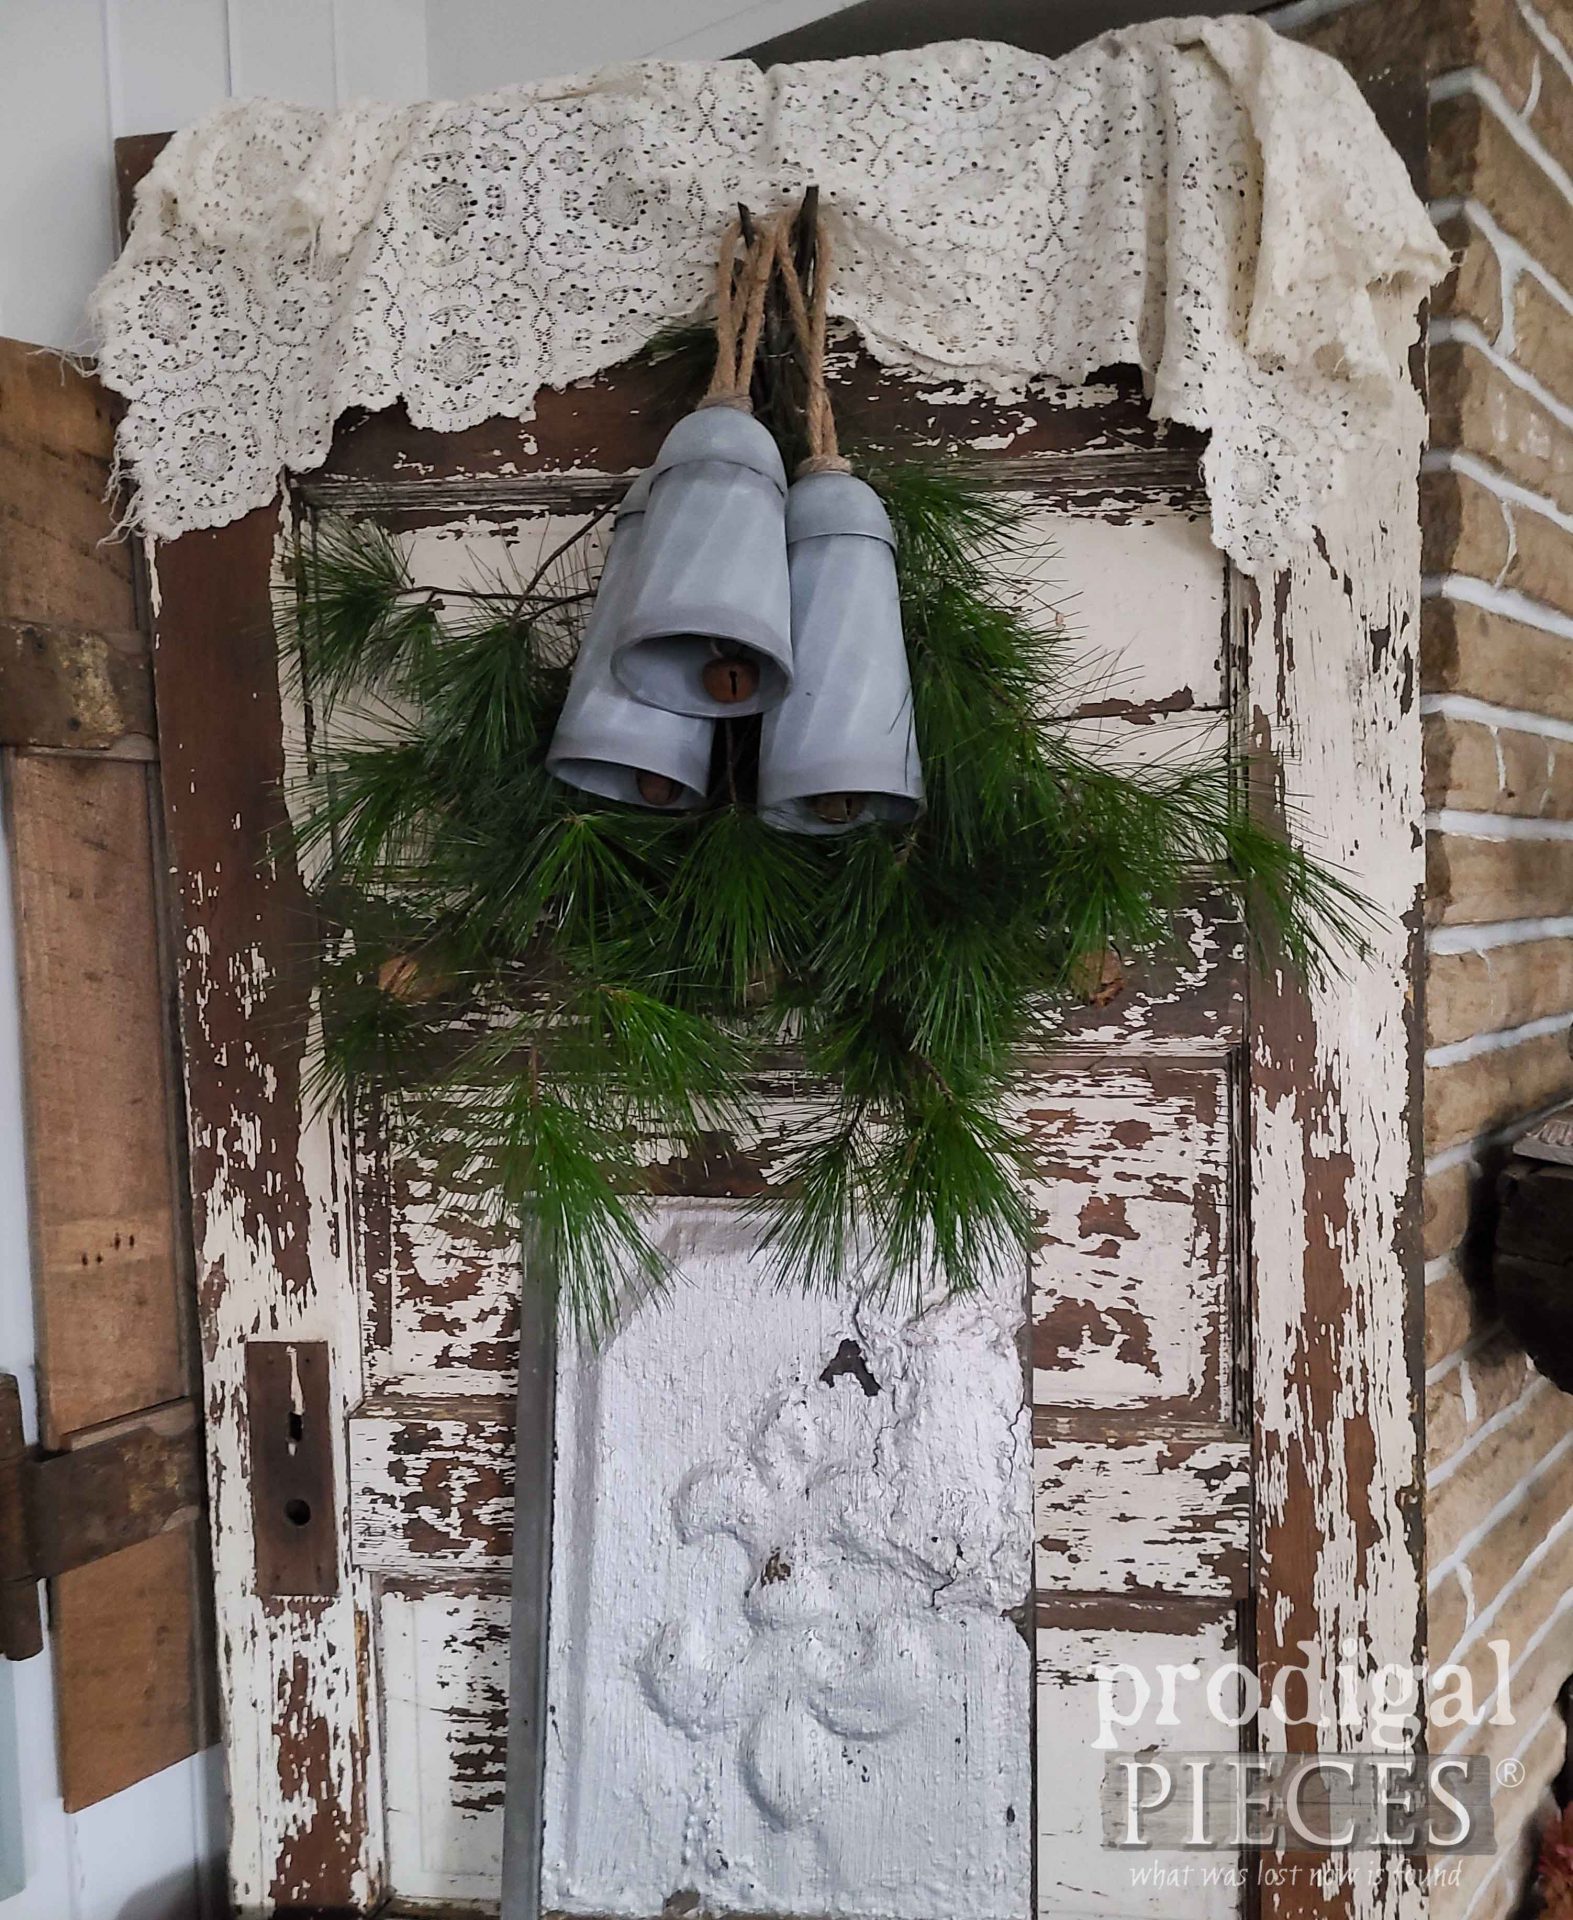
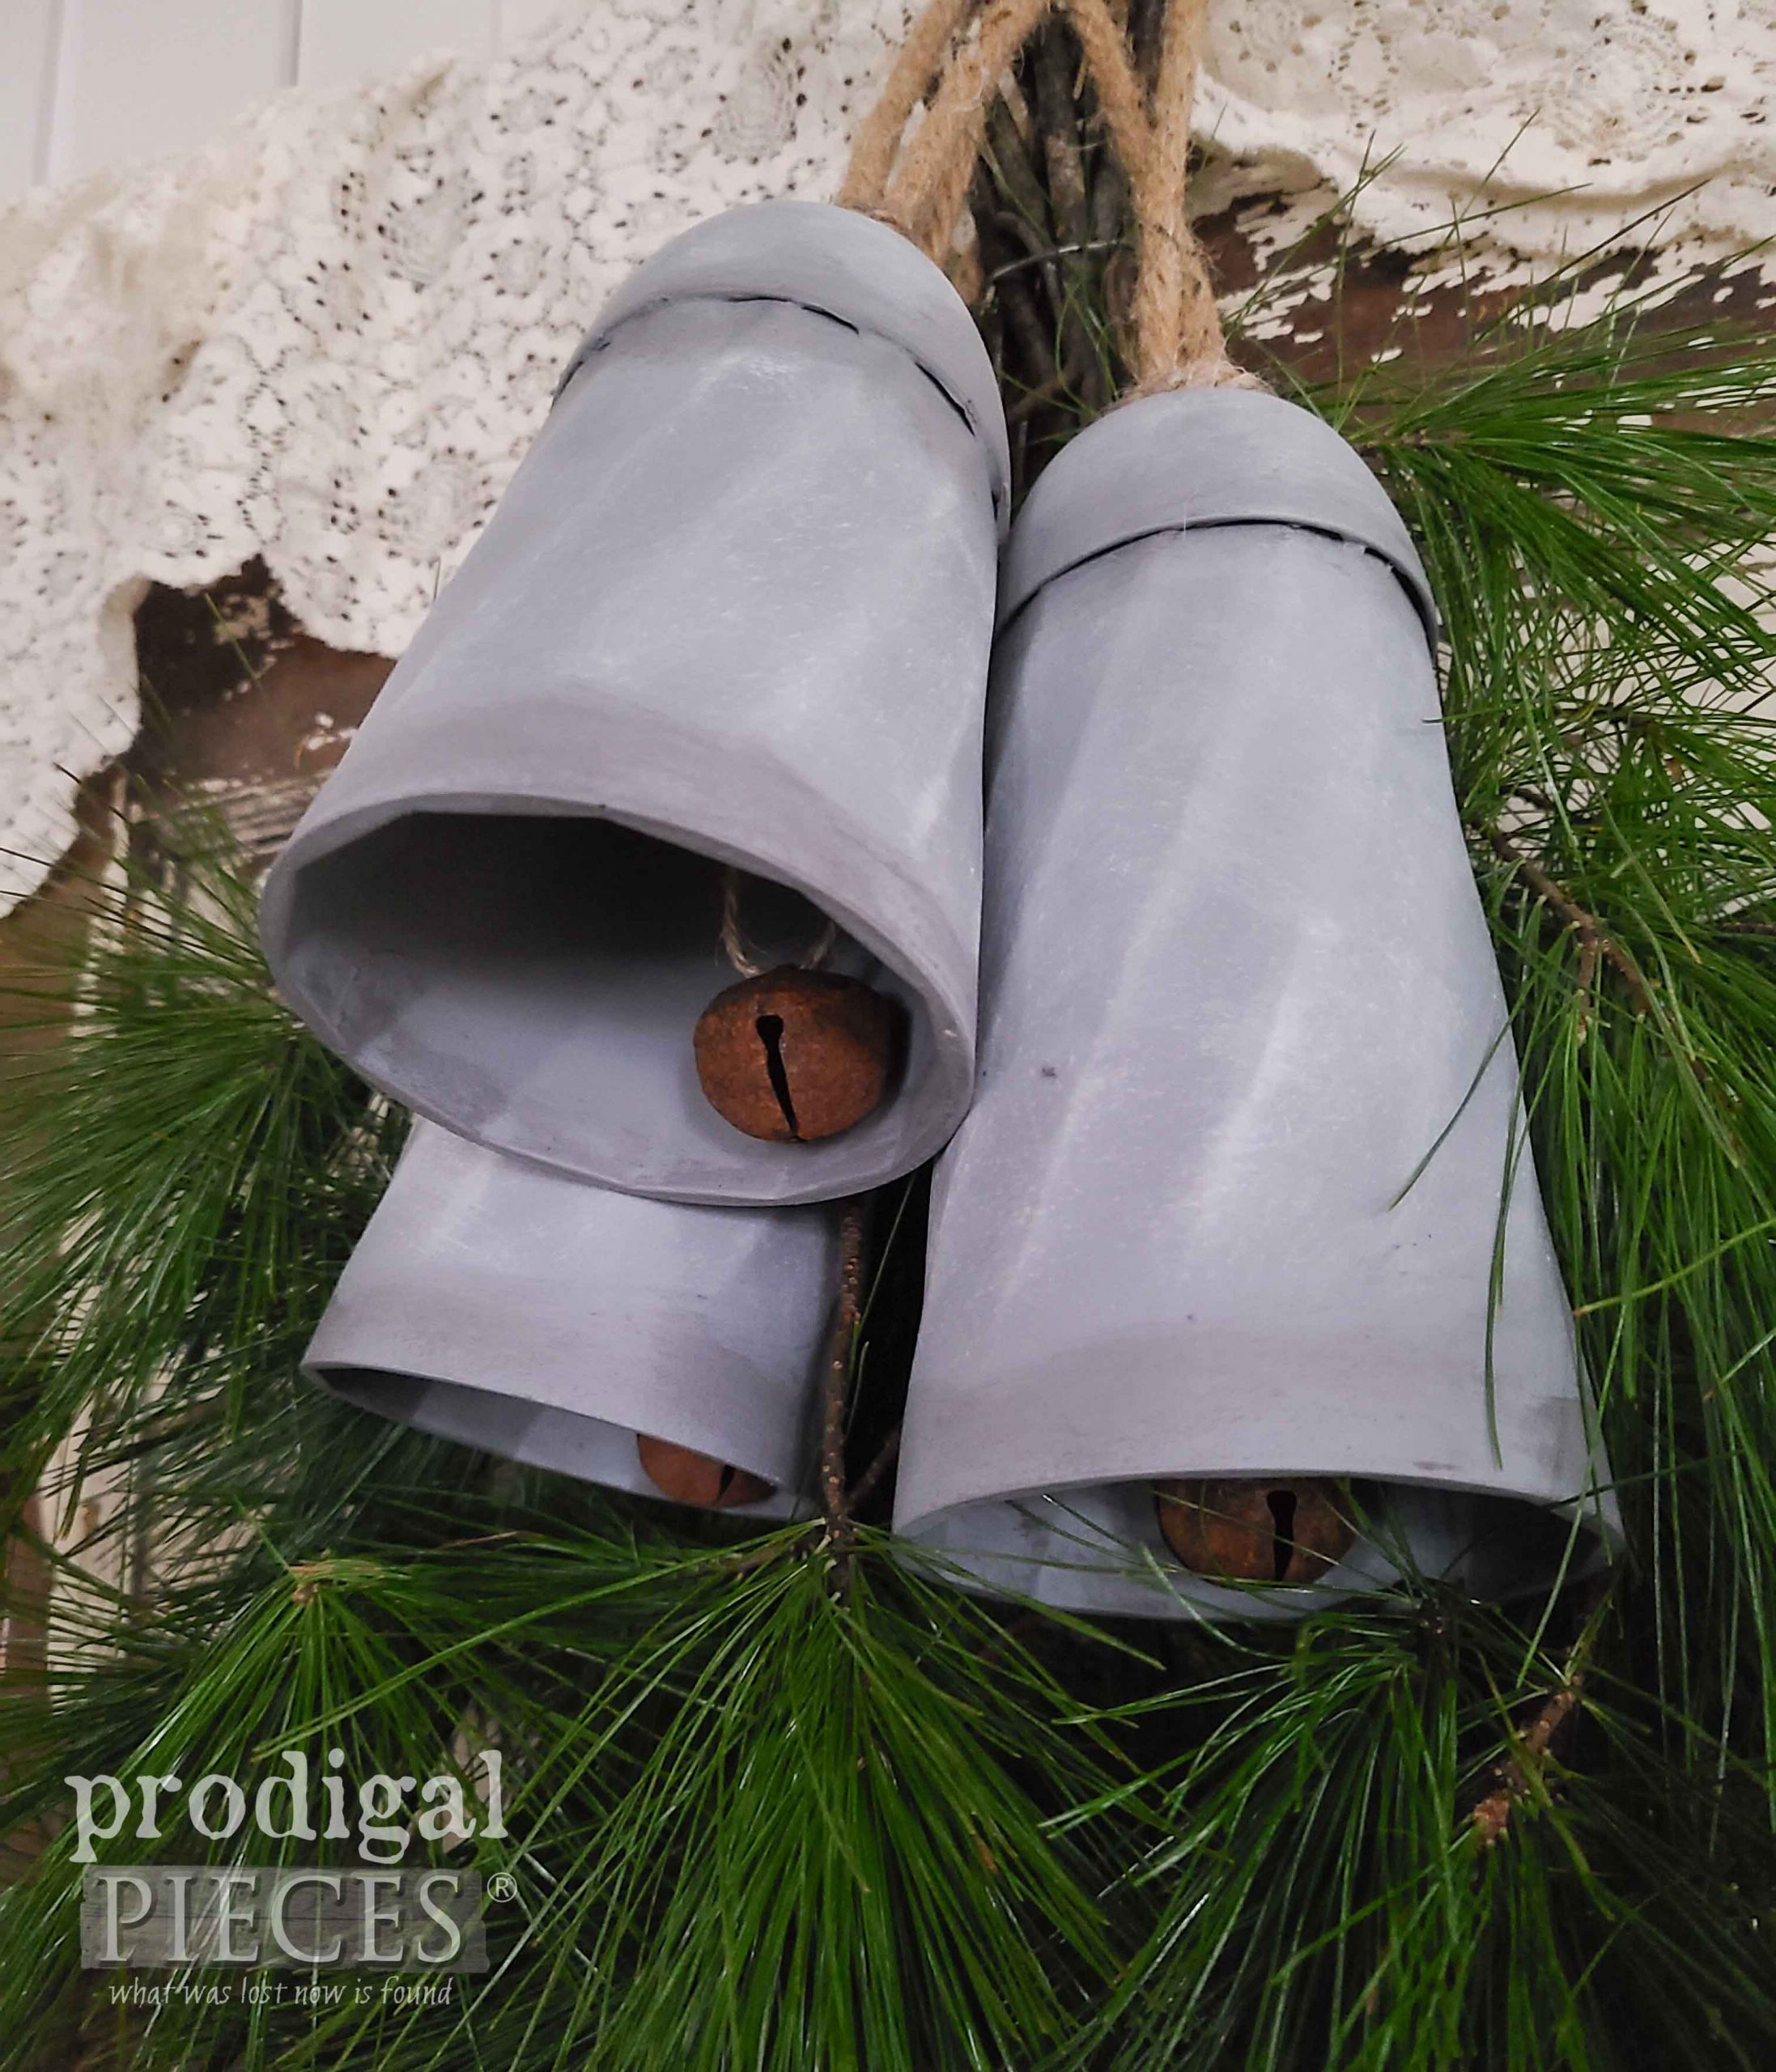
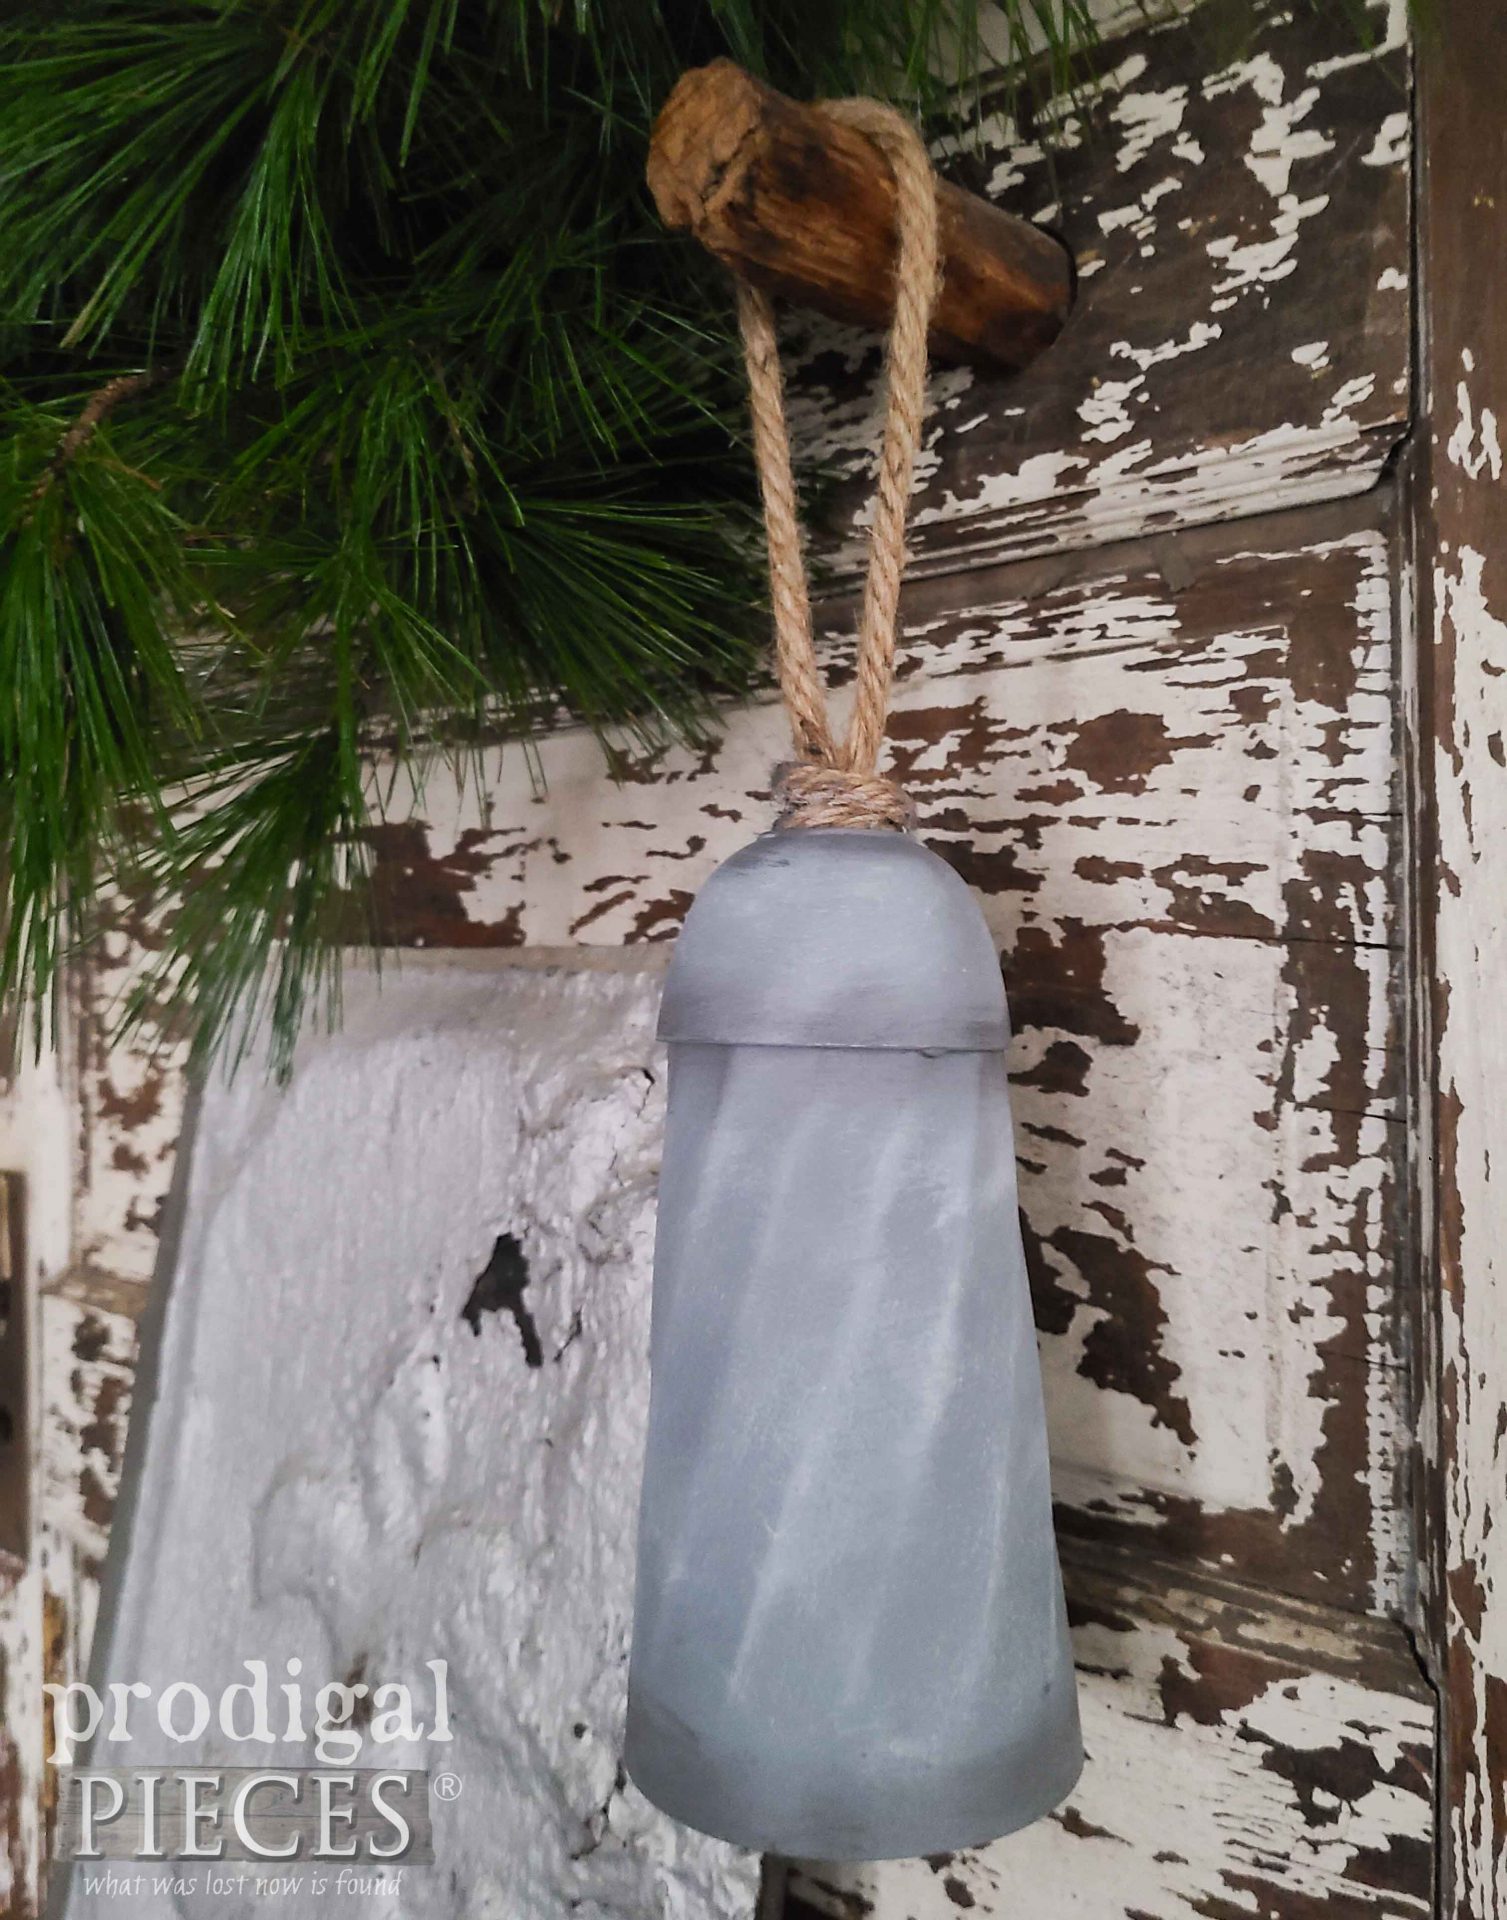
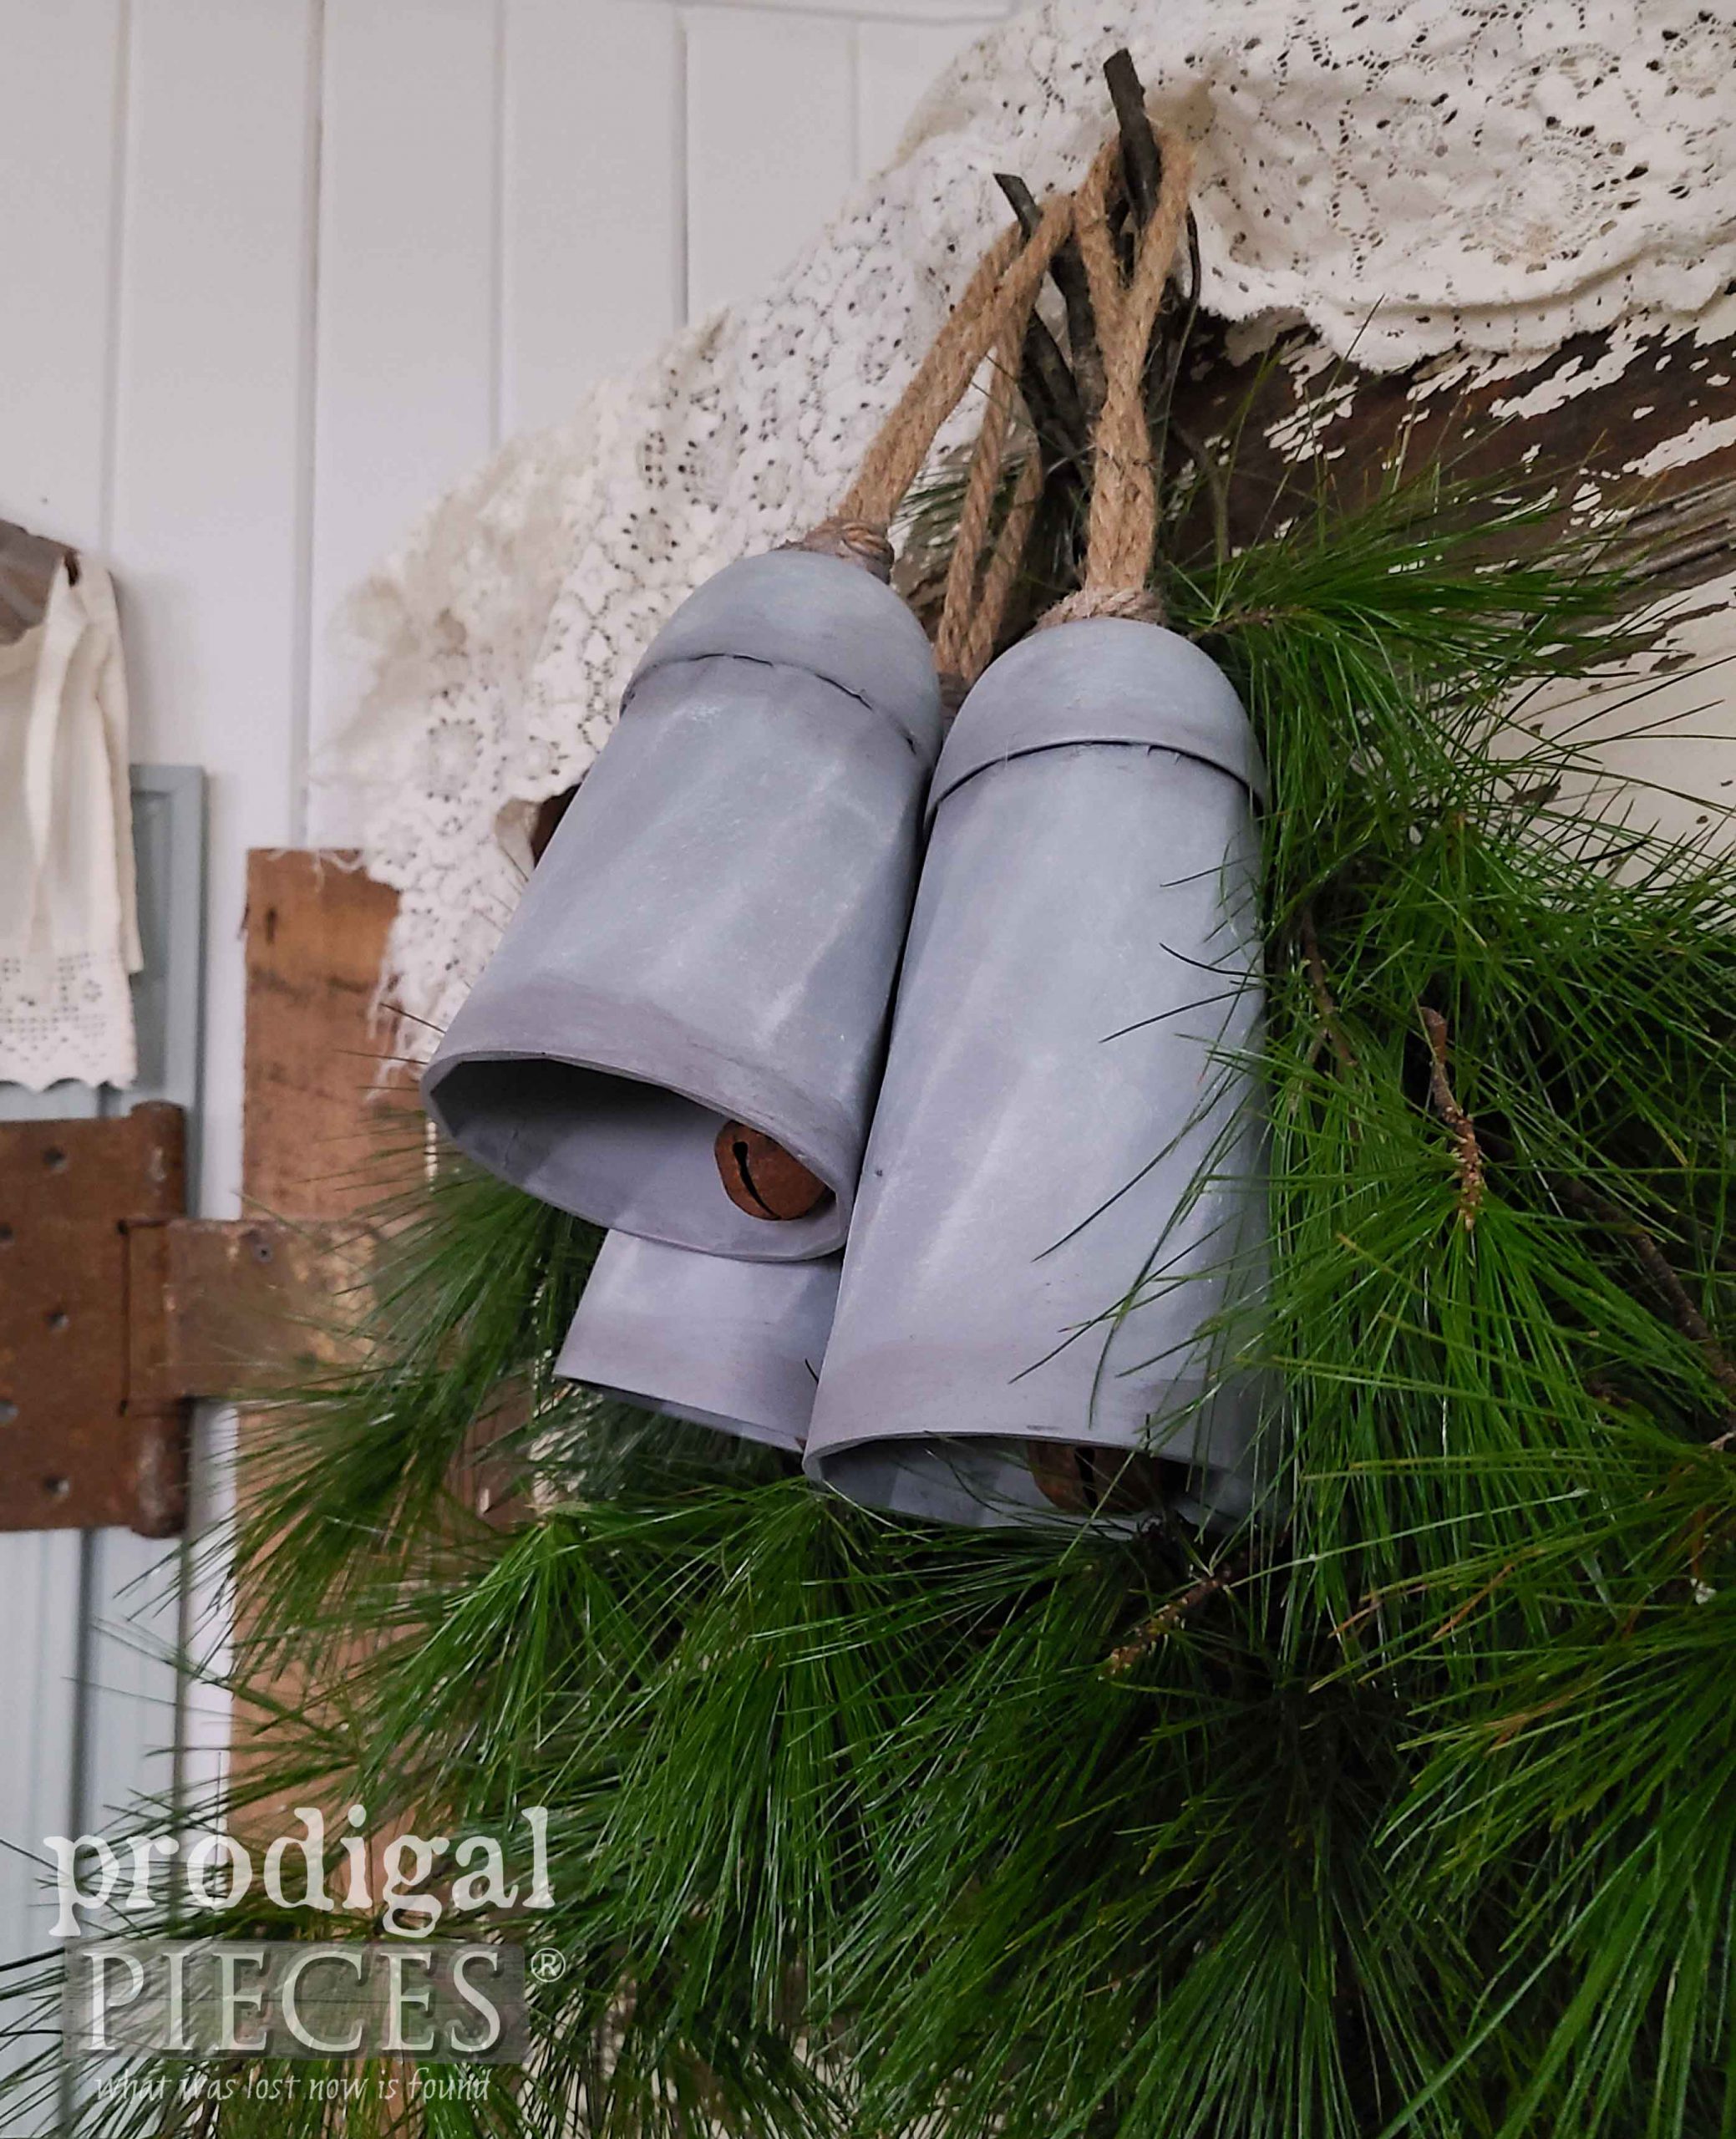
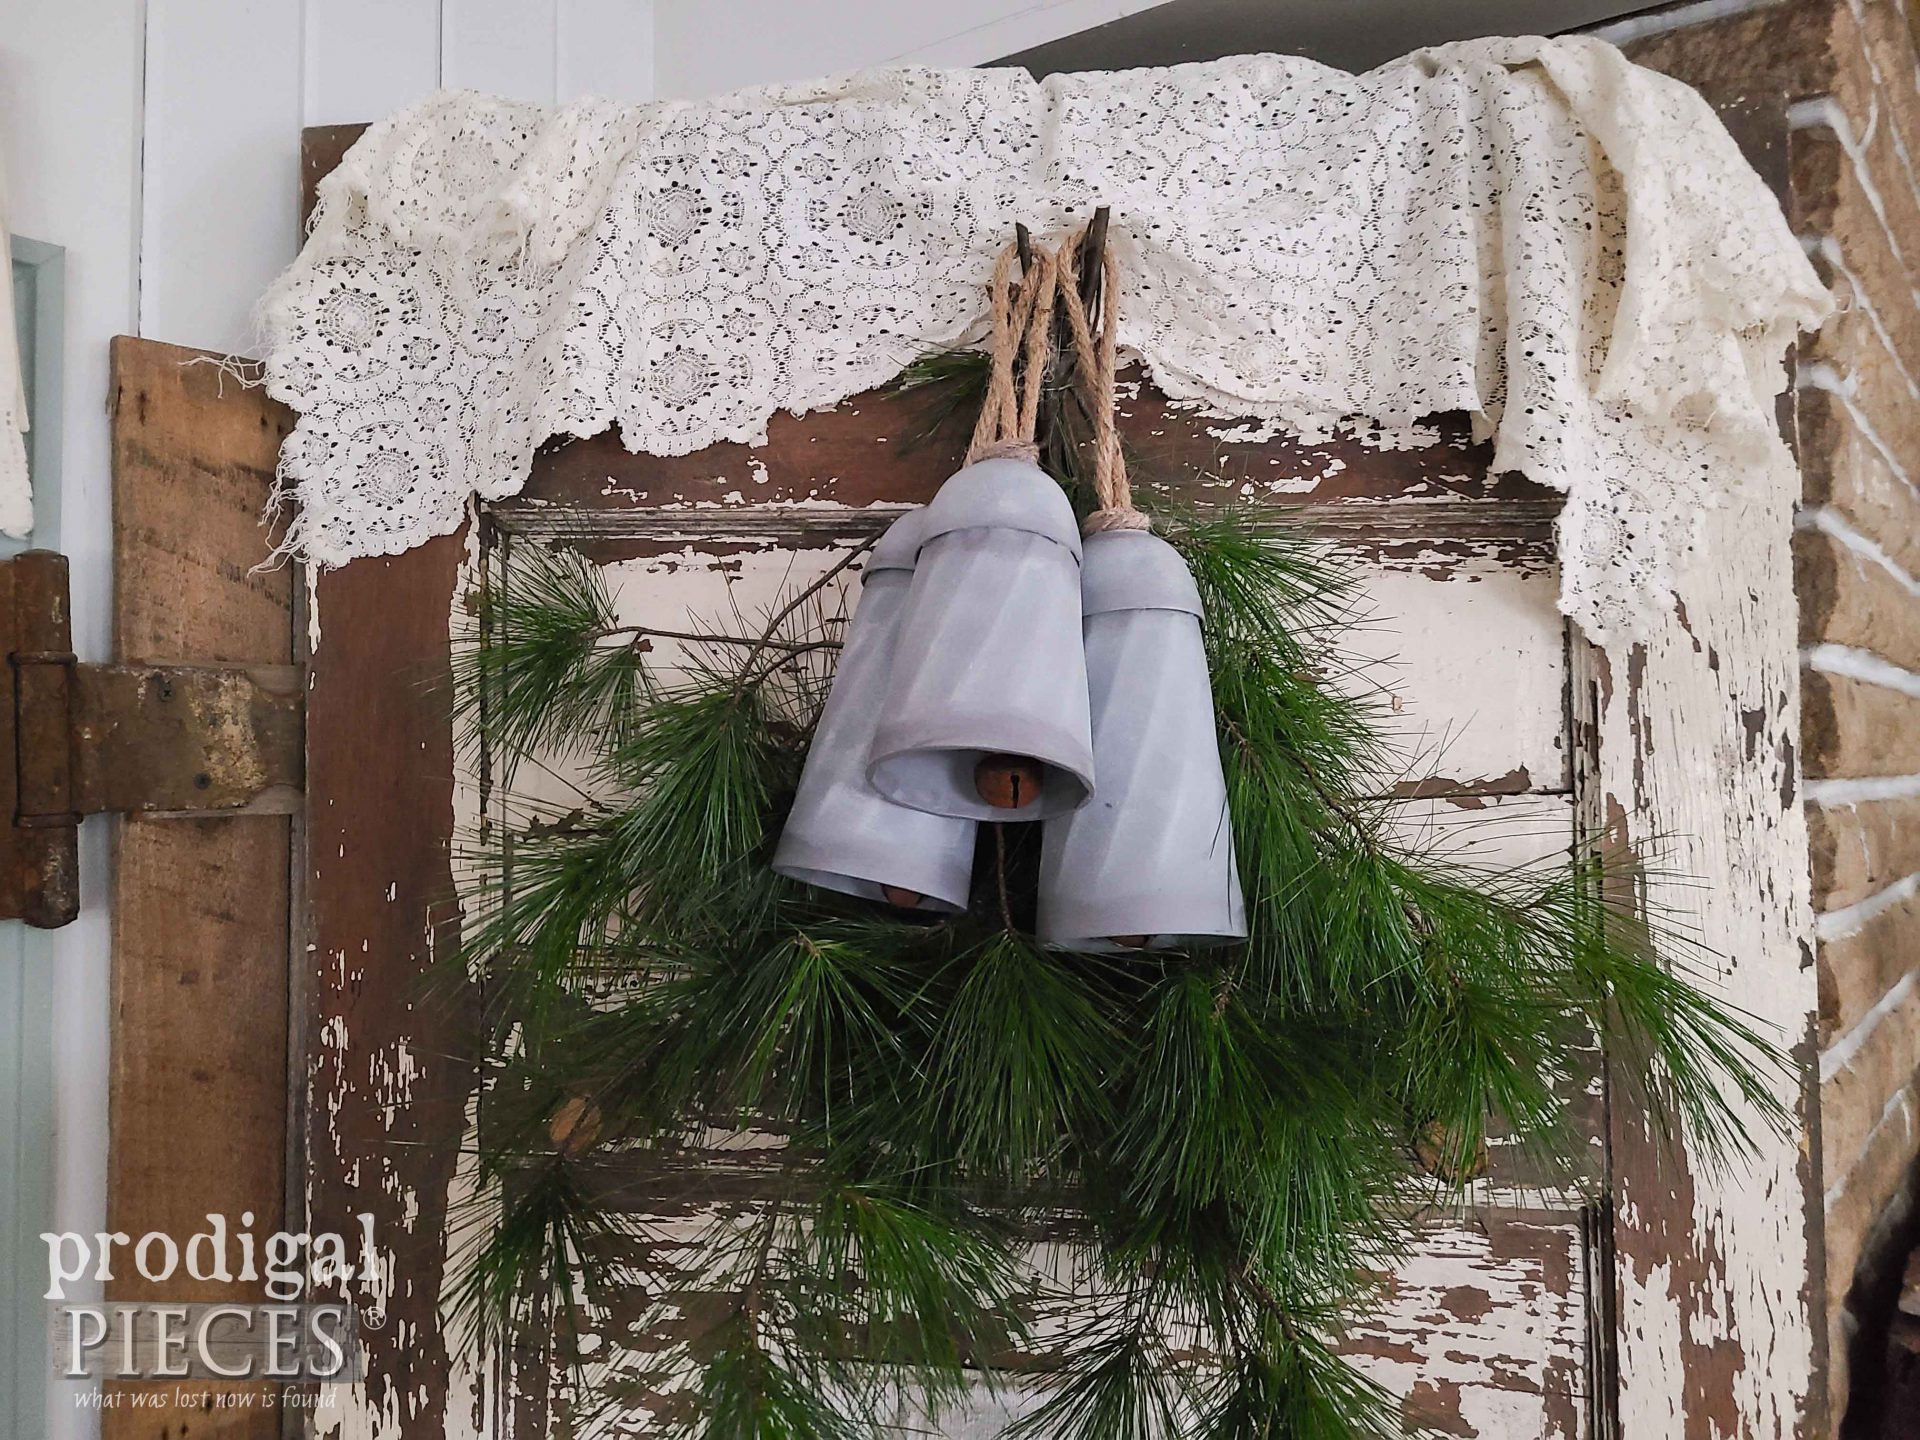
My ding-dong DIYing fun is now complete. Yeah, baby!
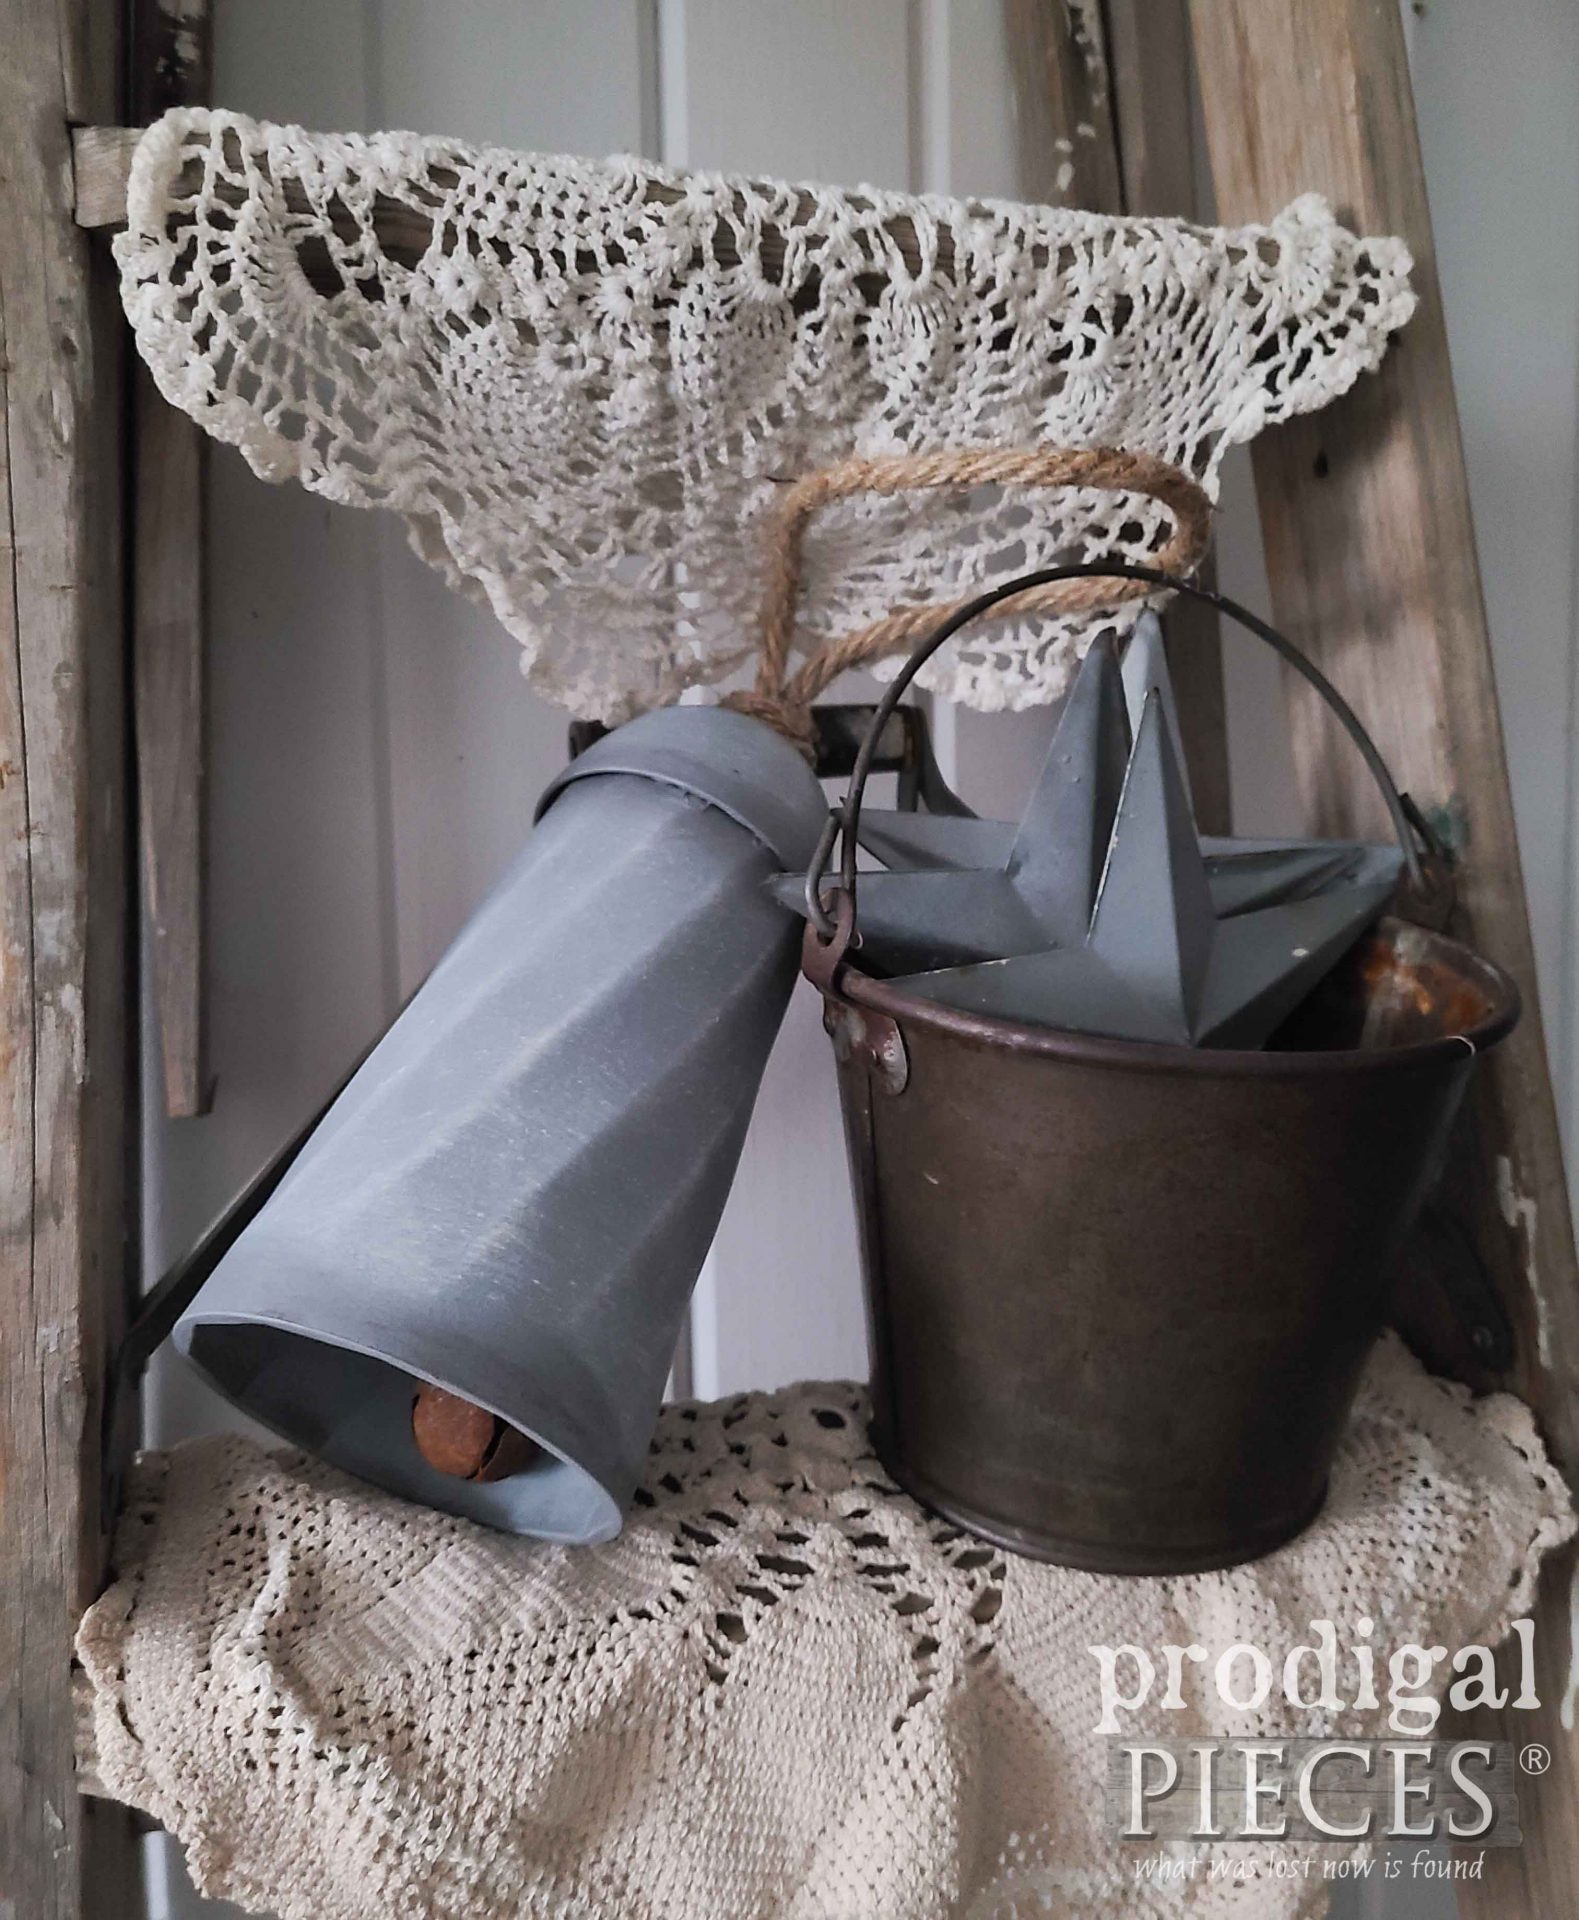
Not only are they fun to see, but they even actually do ring because of the rusty bells inside. So fun!
While I have them hanging with some trimmed greens here, they can also be used in any spot in your home holiday decor. Where would you use some?
In the meantime, if you’d like to make a set part of your home story, you can find them for a limited time in my online store.
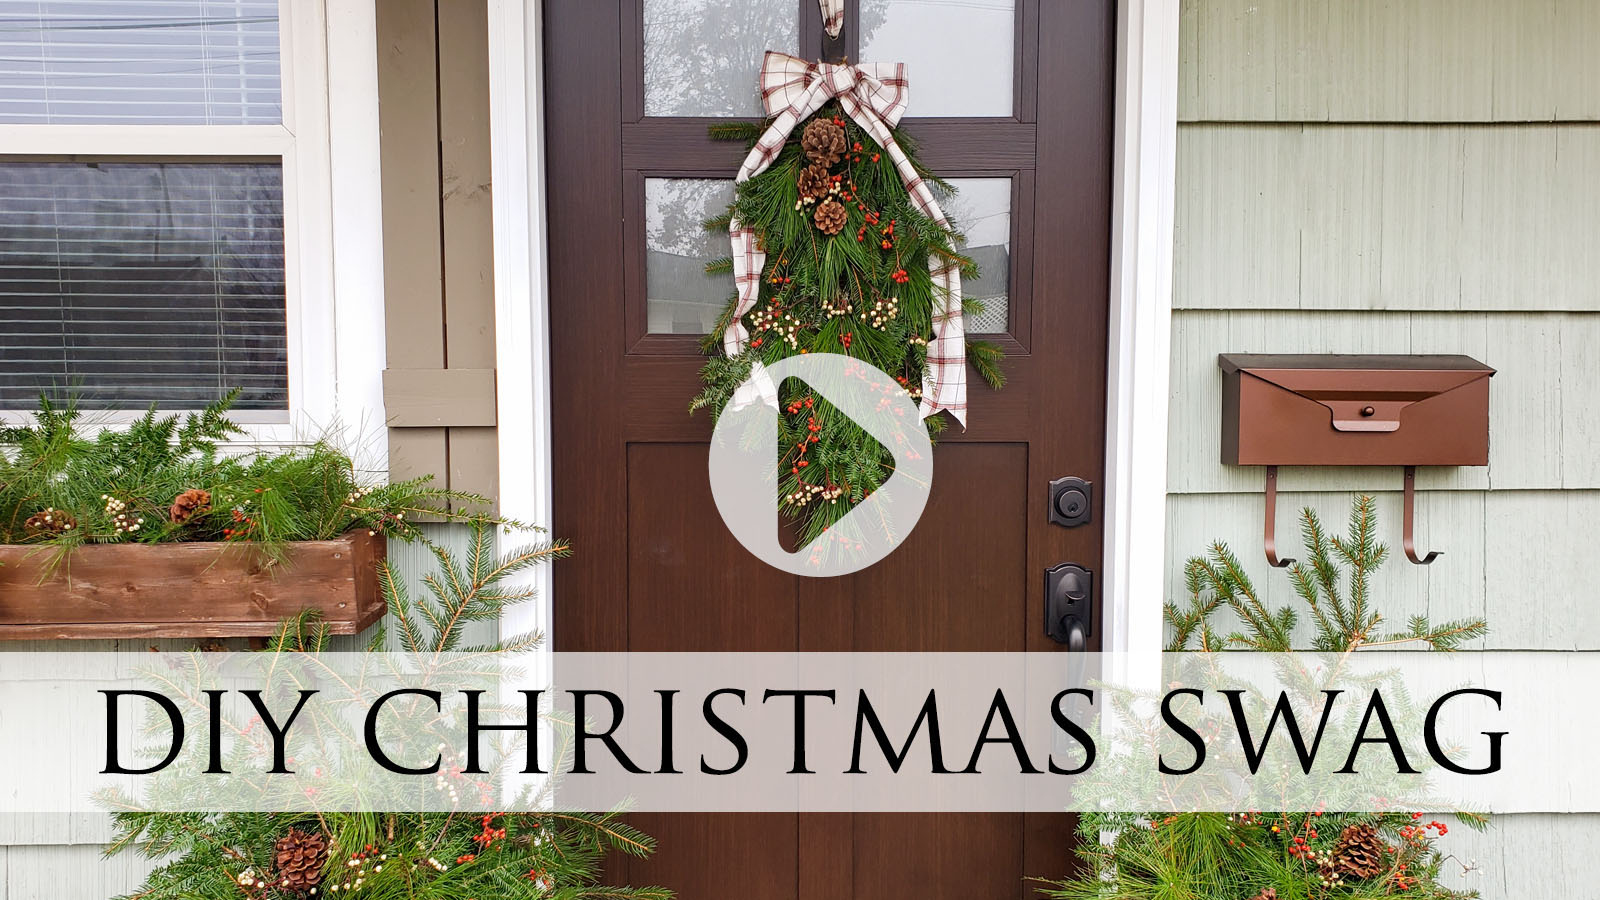
Additionally, you can make your own swag and planter fill from foraging in your own neck of the woods. Check this video below…
In addition, do pin and share my DIY zinc bells tutorial so that others can have crafty fun too!
To get these DIY tips & tricks in your inbox, be sure to sign up for my newsletter. Until next time!


I love these zinc bells! I’m definitely gonna give them a try. I entered your awesome giveaway, thank you very much btw!
I’m not sure what painting project I would start with were I be lucky enough to win’ I have several wonderful thrifty finds and even larger furniture pieces in line to be painted. I would probably start with one of the easier ones to get the hang of using the sprayer and tent lol maybe your zinc bells from this post?
Thanks again – I love all your posts.
woot, woot! I had such a blast…literally! 😀 You will love this setup for so many things, primarily how fast it is to set up and use. Thanks, Karen!
You are the most creative person that I know. I absolutely love everything about this project!
Right back at ya, girlie! Thank you, Paula.
I’ve wanted those very same bells seen in the store for two years now….but refuse to pay that price!! I’m heading out TODAY to find the cups and bowls to make a set!!! Thank you!!!!
??????? ?
You GO girl!! I hope you have as much fun with it as I did. ‘Tis the season!
Who would have thought to make bells out of plastic cups! What a creative idea!
I wonder if I could paint my front door with the sprayer without taking it off the hinges? I have some votives that I’ve been wanting to paint and a spray shelter would come in handy for that project!
Only a ding-a-ling! haha! 😀 Thank you, Ginny. Yes, you sure could with taping off and protecting surfaces.
Such and cute idea and definitely affordable. I look forward to any and all of your post each week and you have given me so many wonderful ideas…Thank you so very much.
Happy Holidays..
aww…Cathy, you’ve made my day. This definitely put me in the Christmas spirit. I kept singing while working, “Ding dong merrily on high, in heaven the bells are ringing!!”
What can’t you do? ??. Always look forward to your creative posts!
And thank you for all the great giveaways you do!
Well…I can’t speak Russian. Oh wait…I can. Just kidding! 😀 Thanks so much for the love and smiles, Susan. 😀
I love the zinc bells!
woot, woot! Thanks so much, Melanie. I wish I had a set of tools for everyone!
Your creativity just astounds me, Larissa. You turn the most obscure objects into the most beautiful pieces. Thank you for sharing.
You sure know how to make a gal smile, Debbie. I’m just happy to be here and sharing. Thanks!
Love love love your creativity! You have given me so many ideas to try on my own!
That’s what I love to hear, Marci! Thanks!!
You always come up with the most clever ideas for repurposing things. These zinc Christmas bells are fabulous and no one would ever imagine what they are made from. Let the holidays begin!
P.S. Your blog is always my favorite place to follow your work.
I couldn’t wait to do these! Thanks, Marie. I’m fed up with social media for sure. gah. I love when you stop by!
Love the bell idea! I would use the sprayer and spray shelter to finish all the small projects I keep meaning to get to 🙂
Thanks, Laura. 😀 I know the feeling…you’ll love these!
So creative! Always love your projects! I think I’d love to try and make these bells if I was lucky enough to win this giveaway! Thanks for a chance!
Kara
Sounds like a plan. Thanks, Kara!
So fun to see what you can create with some inexpensive items and a great imagination. I’m not sure I would have ever thought of making those bells. And that little shelter is great! I need to get one of those.
For some reason I had the idea hit me a few months ago and have been eager to create it ever since. haha! Thanks so much.
Oh my goodness, I was skeptical shame on me! I mean you always create the most incredible things, but this time I was stymied thinking how in the world are you going to pull this off? Oh ye of little faith! You did an amazing job and absolutely created these beautiful bells all of the materials you shared I can’t believe it! I think it’s so awesome, it turned out incredibly cute and didn’t cost a whole bunch of money or anything, so well then my friend!
bwahahaha!! You are too cute, Dee! I’m delighted to hear you enjoyed it and gave praises. Thank ya bunches!
You and your buddies continue to amaze and inspire me every day. I go back and look at the links of the older stuff all the time and I am trying to begin and finish your blog. There are so many tips and tricks on you blog that a person can learn for dys if the choose to. I am just overwhelmed by all the free advice and look into your lives and homes. Bless yo and your buddies for giving us all a glimpse into the private aspects of your home and a free education!
I think you win comment of the day, Marietta. It truly is a labor of love that I feel so blessed by. My blog is much work, but I am able to do what I love AND share it with people all over the world. Sending you hugs!
Cute craft project! Thanks for the detailed instructions on how to make them! Happy Holidays!
Thanks! My pleasure, Alicia. I just love celebrating Christ’s birth. 😀
You are SO creative! I love this project!
happy dance!! Thanks so much, Christine!
thank you for the givaway,so nice of you! thank you for your talent,your projects are inspiring—
It is my pleasure, Christina. I wish had tools for all! 😀
Great helps today. I have decided to make these bells and hang them with greens in my kitchen window above the sink. That will be just the start of the painting I want to do for Christmas decorations. Thanks!
What fun to hear, Sonja. I truly think there are so many possibilities for these, even outside of Christmas too. Have fun!
Wow! Great idea! A setup like that would kickstart me into finally getting my old-dresser-conversion-into catbox- painted! Which would make my family very happy. >.> Thanks for sharing so much beautiful work!
Ooh…that sounds sweet! I have an idea on my pin board doing that very same thing. Have fun with it, Rowan.
Cool project – you are so clever.
Let’s see – what to paint first – probably my great uncle’s smoking stand, a couple of lamps and maybe the shades, a funky chair, 2 planters, a pair of ice cream parlor chairs, and a lingerie chest. 🙂
Thanks for the give-away,
Sheila
You go girl!! That sounds like a whole lotta DIY fun. Thanks for the smile. 🙂
I have some wooden boxes and cigar boxes that I would like to give a new finish too. Thank you for this opportunity and for all your inspiration.
You’re welcome.
You are awesome and never cease to amaze me! Keep the ideas coming..
Tricia, you sure know how to make a gal feel good. Thank you for the sweet words.
These are so cute…and inexpensive! Thanks for sharing!
My kinda fun! woot! Thanks so much, Lisa.
Wow, awesome transformation! So impressed how you can take something so basic and magic it into something amazing. Definitely starting to feel like Christmas 🙂
Time is flying by…sigh! I love the holidays, but wish I had more time to savor it all. Thanks so much for the kind words, Carroll.
Love these! Wish I had your creativity!
Yay! That makes my day, Lisa. Thank you.
I do love your bells, Larissa…along with every single project you work on! It’s incredible how your imagination works and you’re able to make something you envisioned. My first project I’d paint is some old frames that need an update.
Thank you, Kathy. I sure have a literal blast sharing what I create with all of you. Especially hearing from those I write for.
Aww, I love the bells. So clever. I’ve wanted one of those spray shelters for the longest time. I have so many projects I could use it for, but I’d probably start with a desk I’m going to re-do.
Me too. Perfect for any season. You will LOVE IT! It has saved me so many headaches with overspray.
Another great project! You are so creative!
High five!! Thanks so much, Cindy.
Imaginative, as always!
Thank ya bunches, Shelly! 😀
Wow. No way I saw this comin’ Larissa 🙂 I love that you sing while you work too…..your creations radiate that joy girlfriend! These bells are great and SO affordable! Thank you for the giveaway too! If I won I would be able to continue spray painting in the wintertime, which I don’t do now because its too cold out and overspray would be detrimental – eek!
It’s so much more fun that way. Funny thing is that only songs related to what I’m working on come to mind…songs about bells, etc. I am so limited by weather for most of the year, so this shelter makes it possible to keep going. I’d lose my mind from cabin fever otherwise! 😀
I have a couple of great floating shelves that I need to change the color on, I would tackle them first. Love your project, it has such a nice old fashioned feel to it.
Those sound like perfect project pieces to tackle. Yay! Thank you, Melissa.
The bells are so cute! I’ve been shopping for similar ones to use this year with my garland and wreath on my front door and the prices are outrageous. I shop at Dollar Tree all the time and don’t see the potential in things the way you do. Your creativity is a true gift!
I can’t get over the prices, honestly. Time to get you some ding-a-ling bells too! haha!
Looks cute and easy. Definitely what I like. You are so creative!
You and me both, girl. 😉 Thanks!
The bells are super cute! I have several thrift-finds stashed in the garage that I need to paint. I also have a wooden shelf that I have been wanting to repaint as my taste has changed since I bought it in the 90s!
Thanks, Lisa! I feel we all have those days of flashback. hee hee.