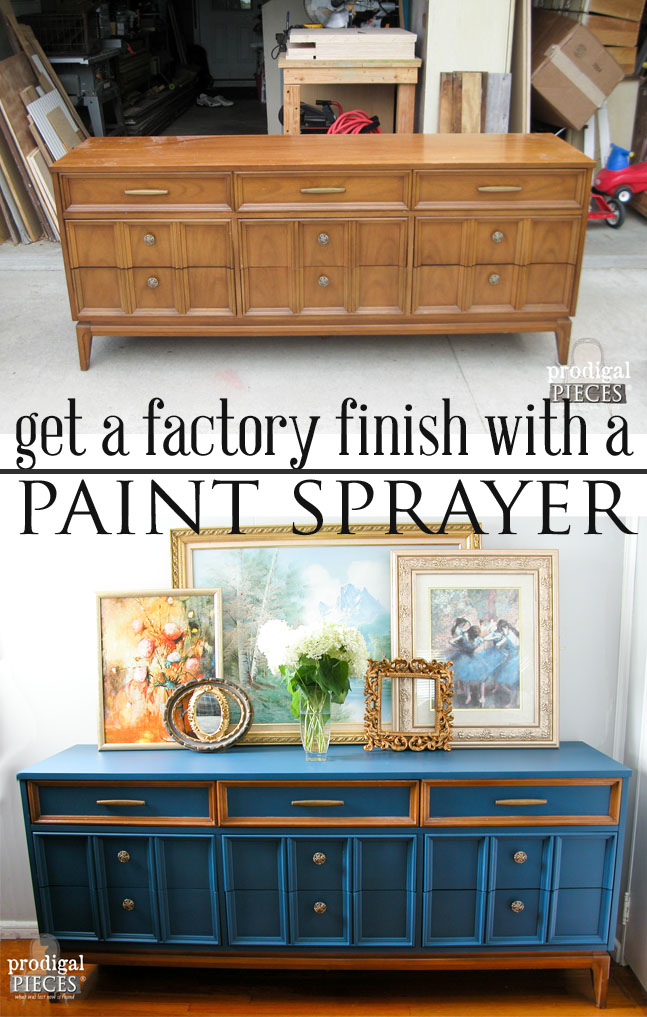
There are so many little things that delight my heart, truly. It can be as simple as my kids bringing me a sweet wildflower bouquet, a slice of homemade strawberry pie, or spending time in God’s word. Another one of my delights is sharing projects with you so I can empower you to try projects yourself. Who knows, maybe I’ll even help you learn something new. Today, I thought I would share a furniture makeover that will help you achieve a factory finish in a day. Sounds easy enough, right?
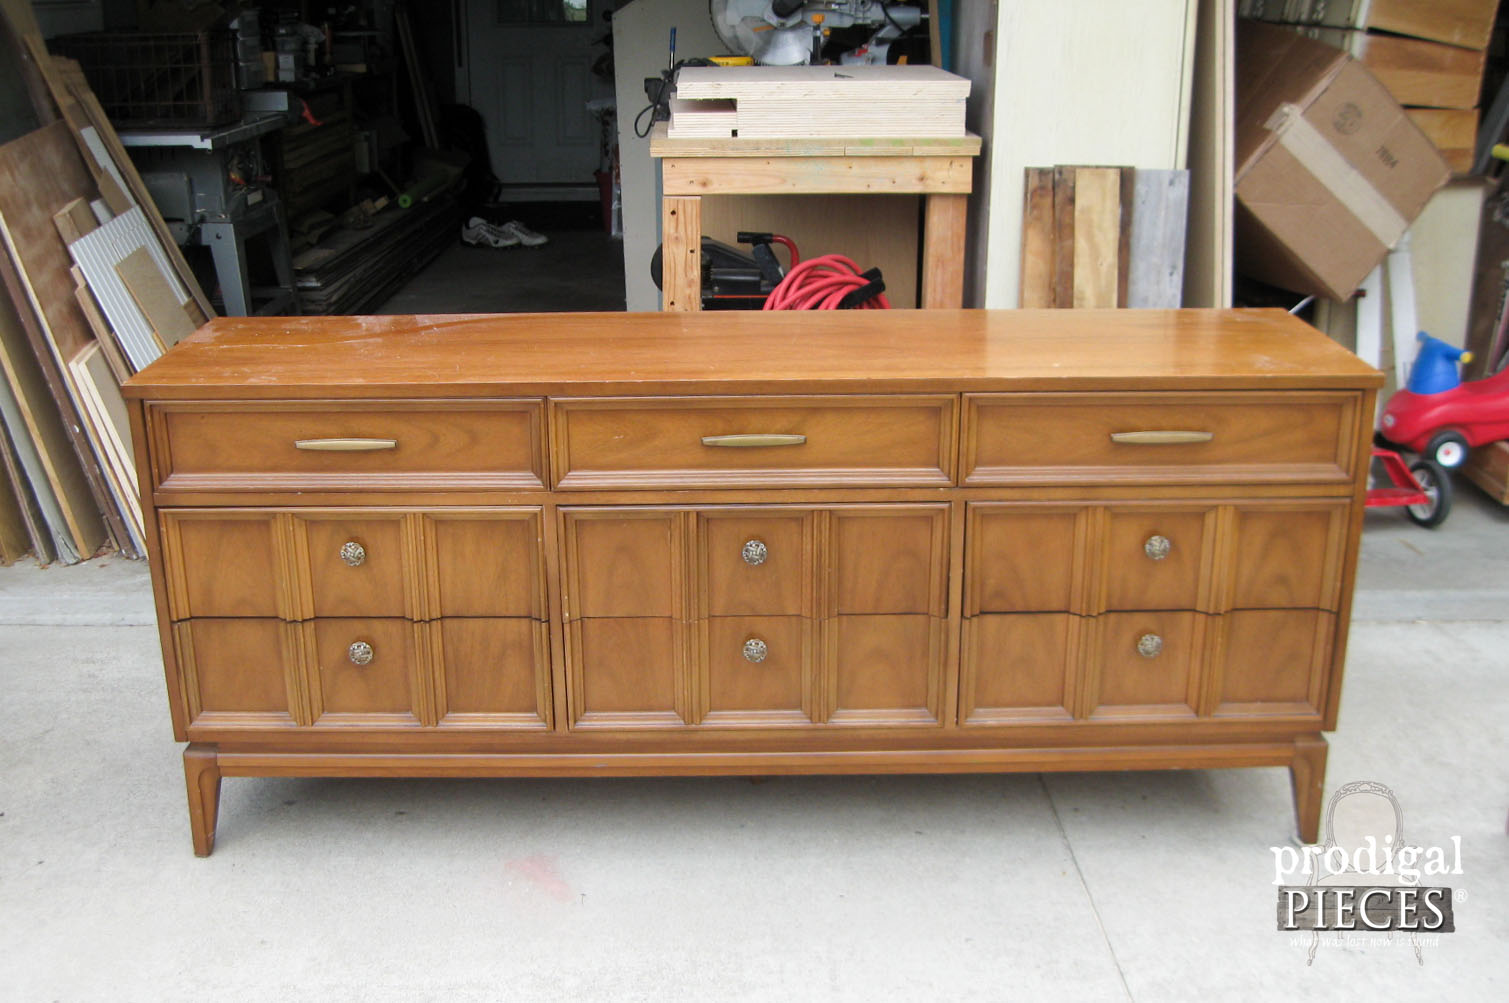
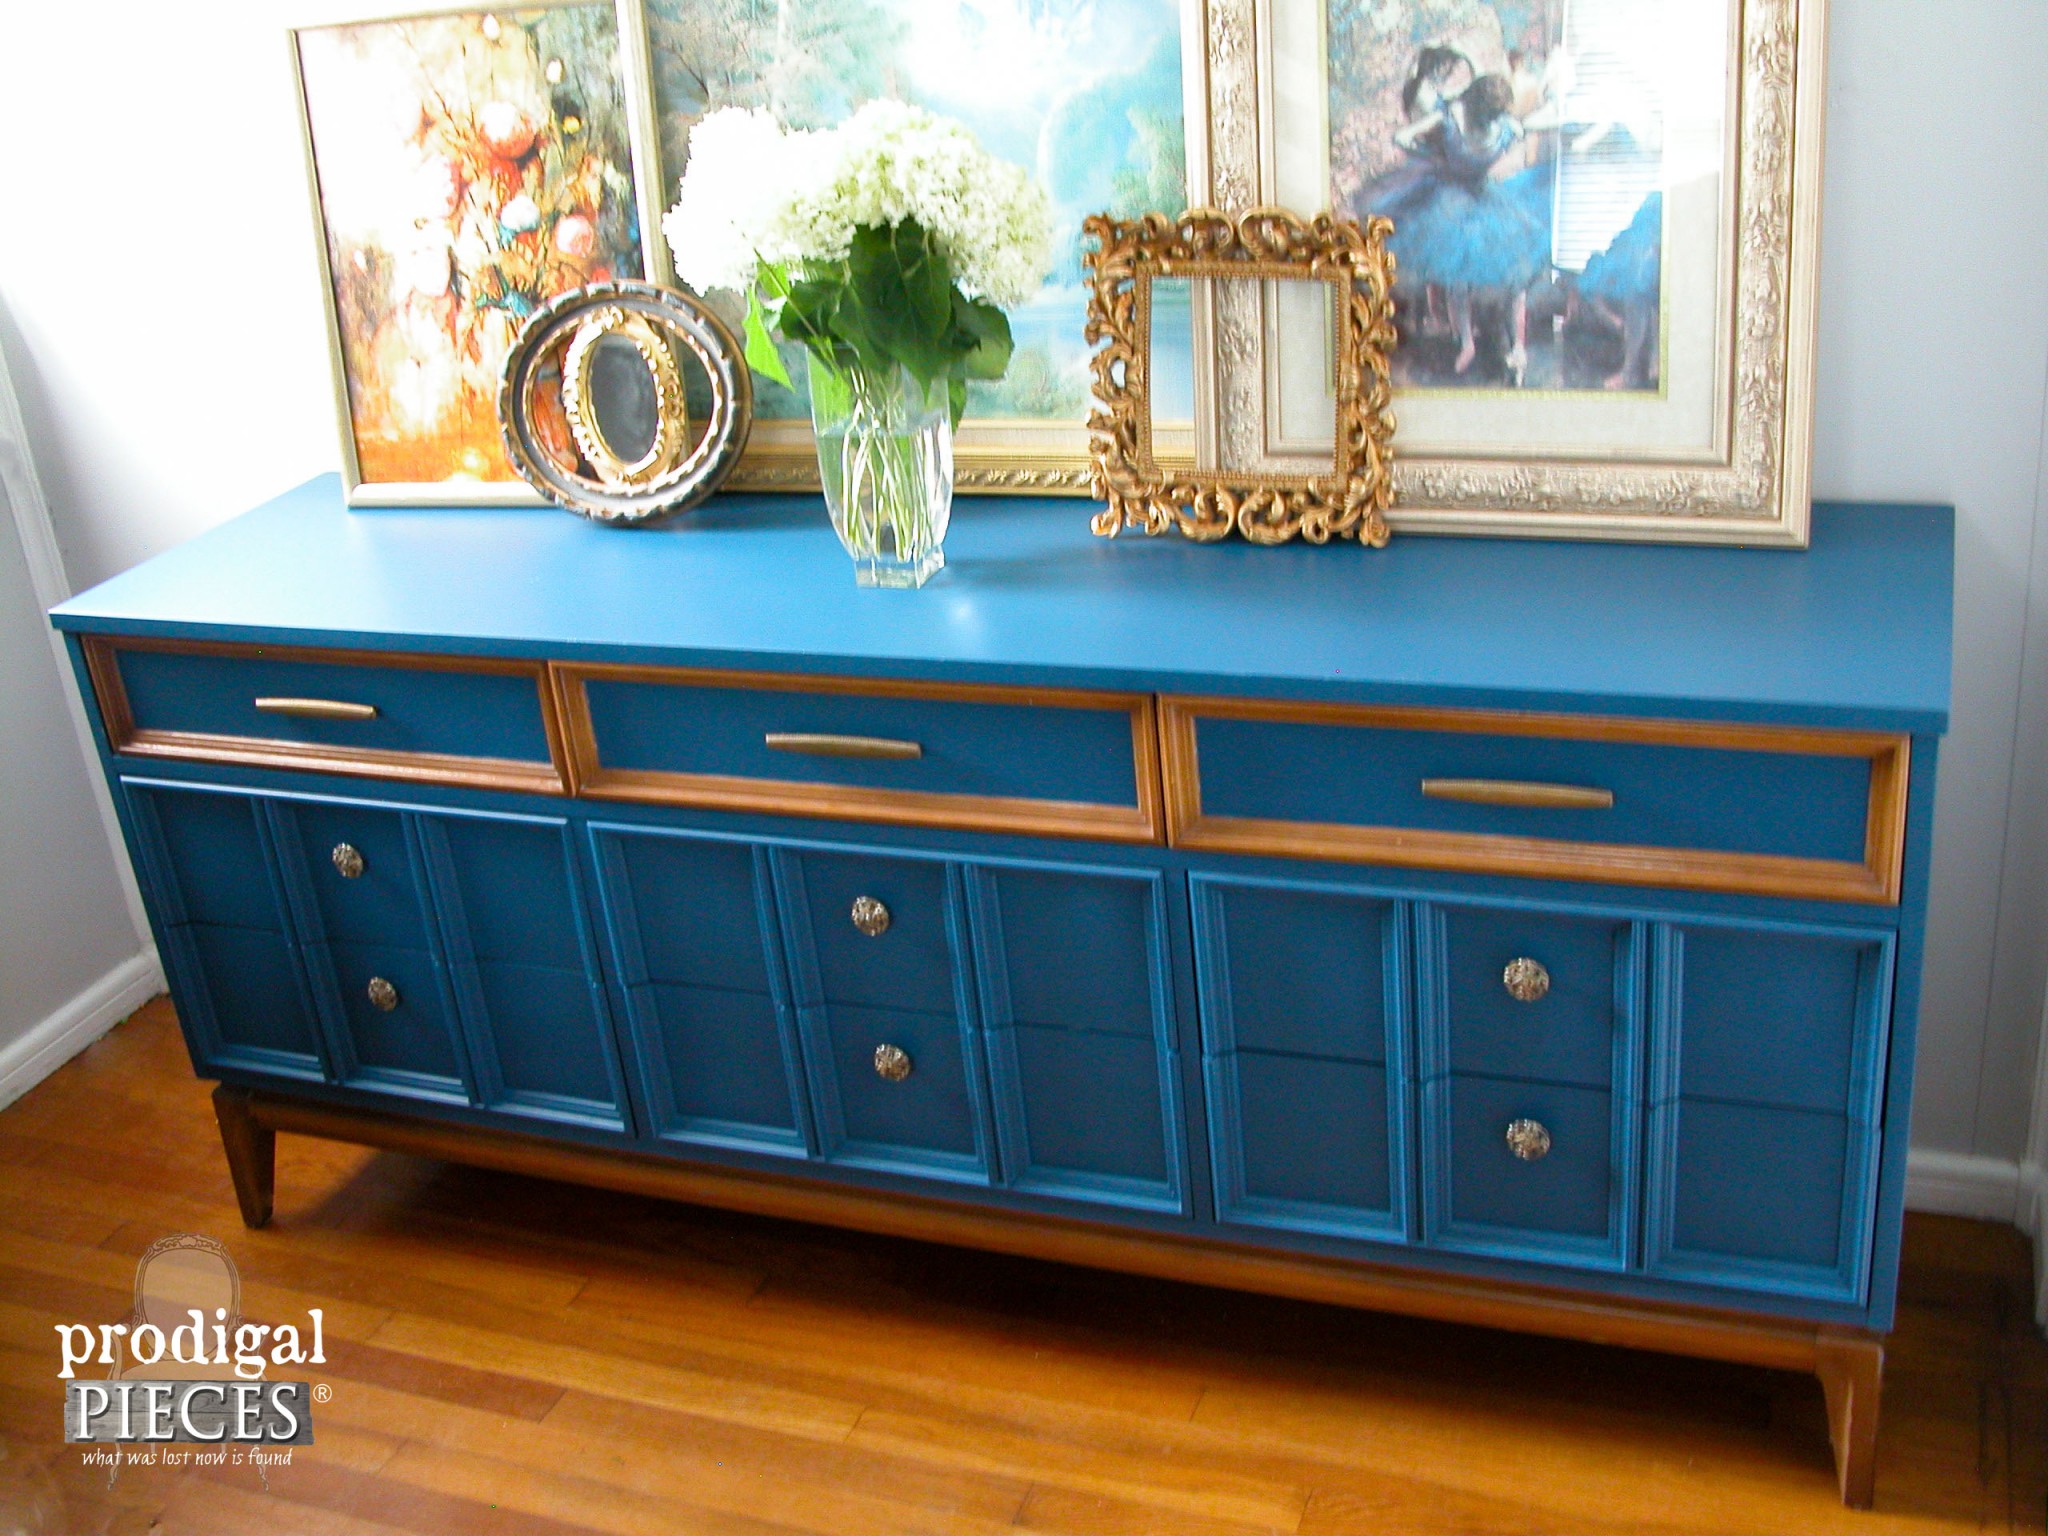
This Mid Century Modern dresser (or credenza) was made by Dixie back in the Brady Bunch days. The Dixie line of furniture has stood the test of time and and still a coveted piece of furniture. This isn’t my first makeover of a Dixie piece, you see my French provincial set in this post.
FURNITURE
I found this piece for today in almost mint condition, but somewhere along the line, the veneer on the cabinet had been damaged. It was missing chunks on the side and had deep gouges that went through the veneer on top.
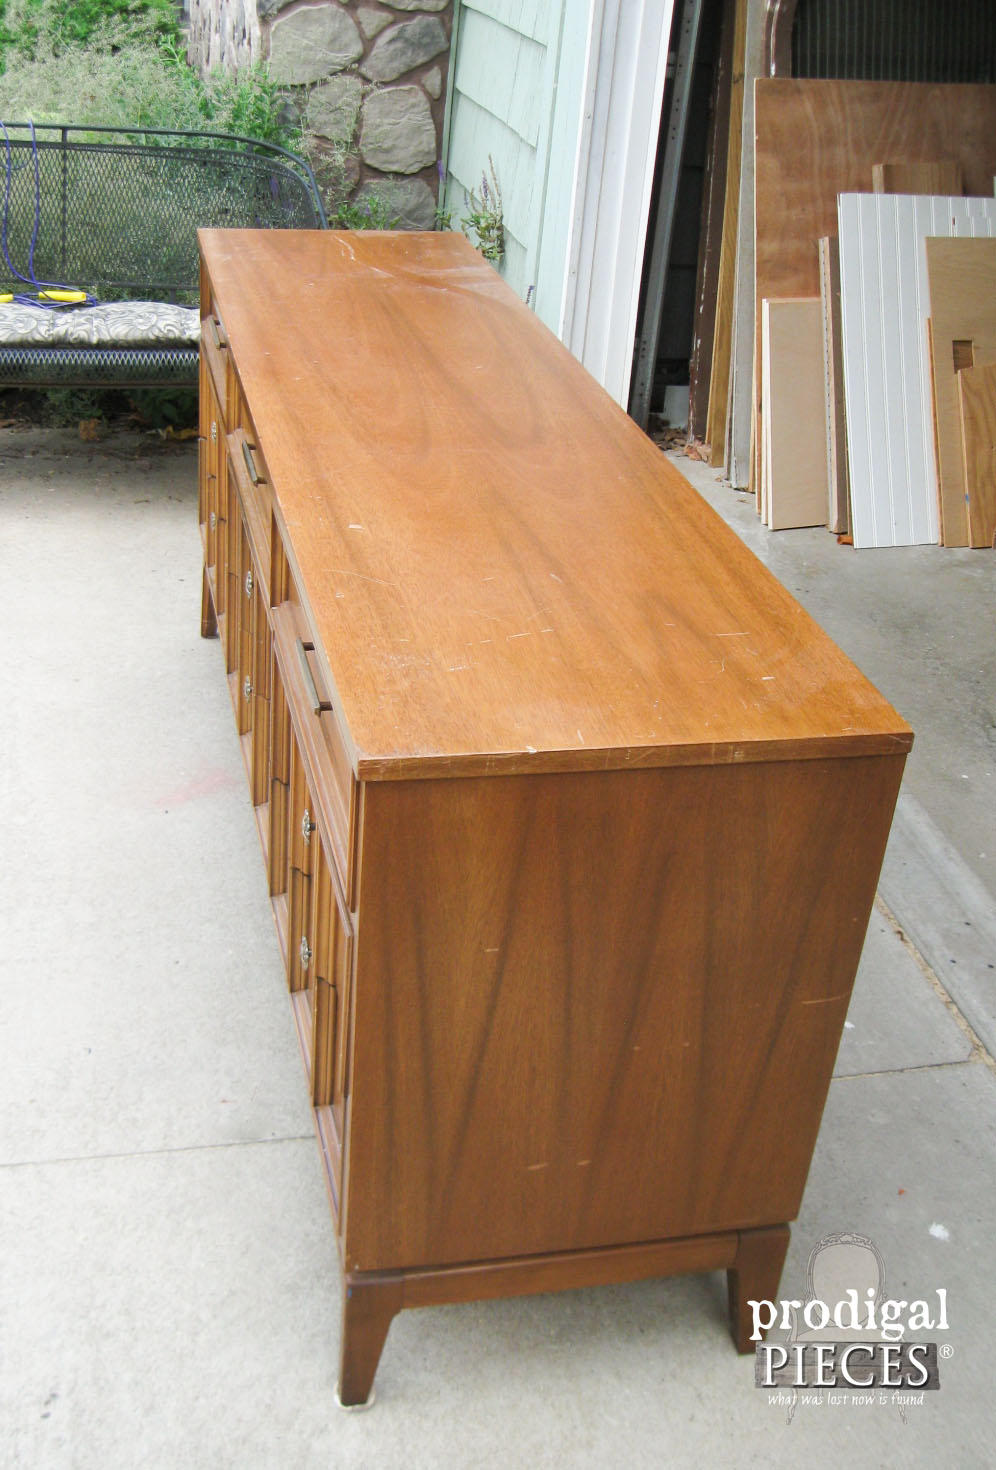
This sat in my garage for quite some time as I worked on other projects, but I couldn’t wait to have a go at it. I simply wanted to show you how easy it can be to take a piece to a new level. While I normally prefer to save the original wood, I decided to paint. eep! That’s a girl’s prerogative, right?
DIY TIME
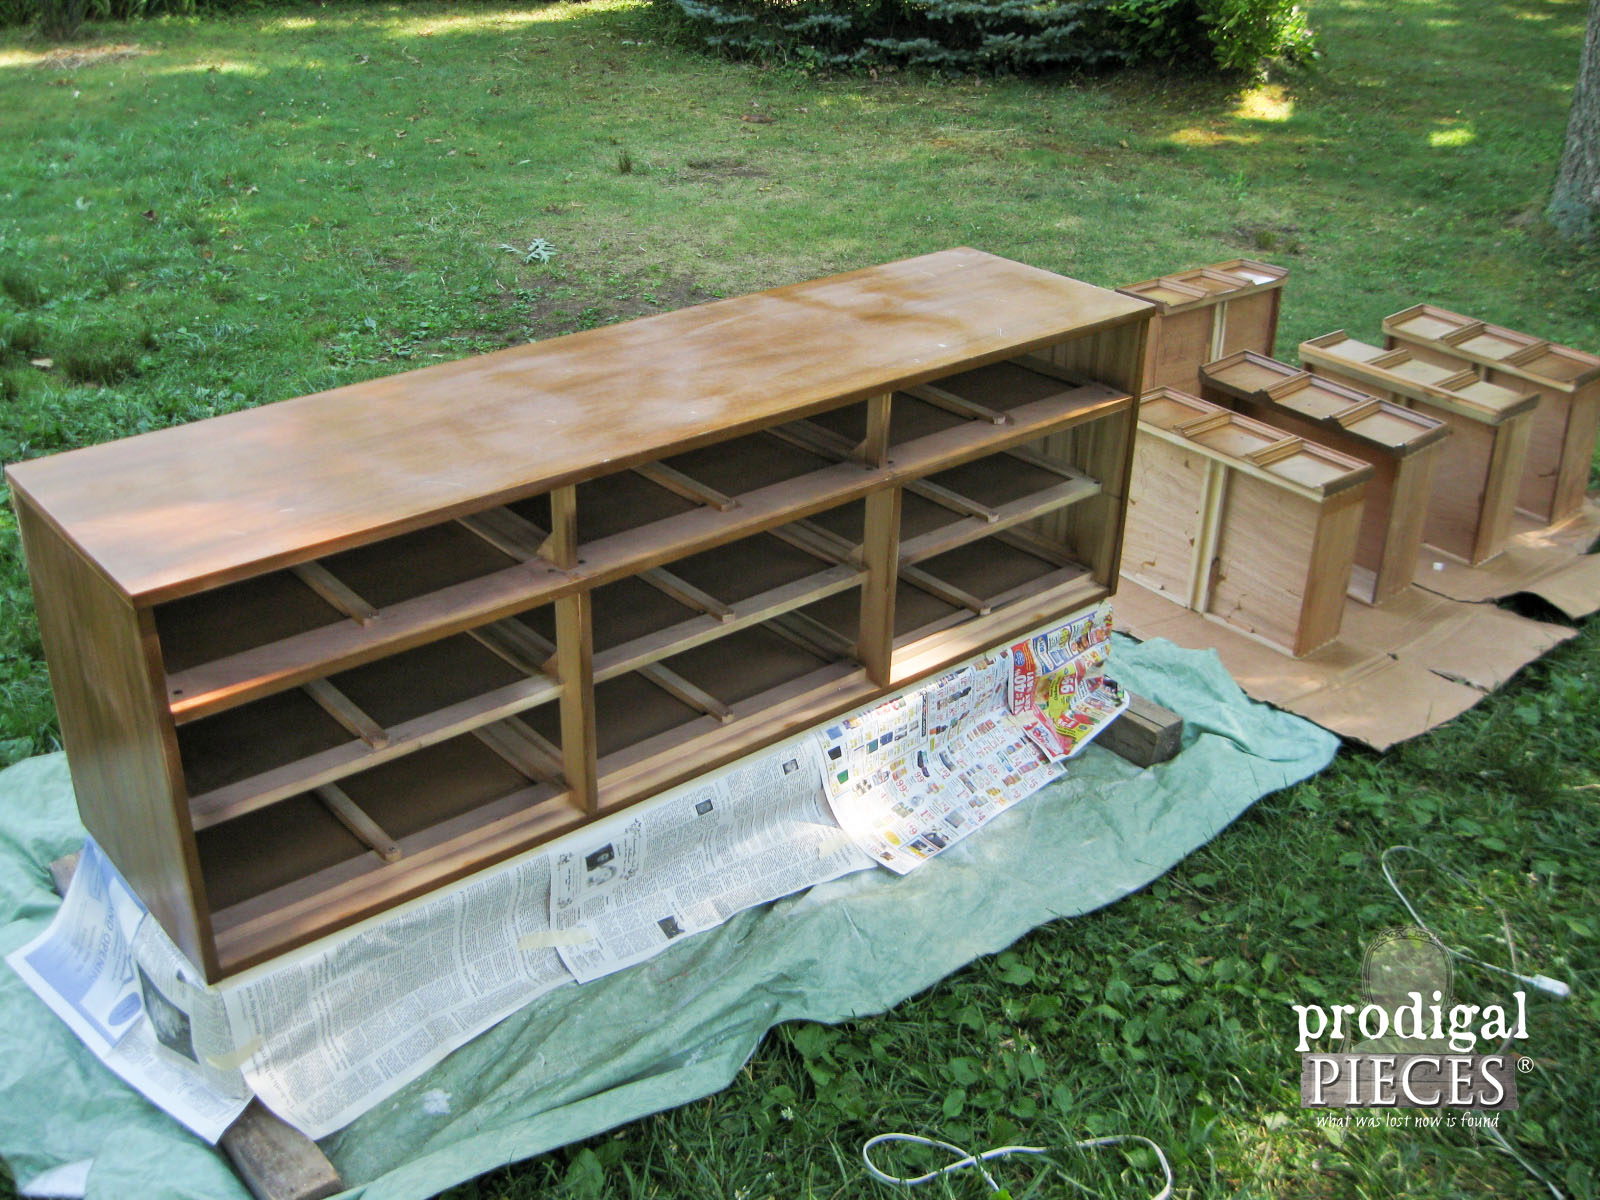
Now, in order to achieve the factory finish we’re after, the prep work is key. Since this dresser had the damaged I mentioned, I repaired the holes and scratches with wood filler. Once the filler was cured, I sanded it smooth with my sander and 150 grit sandpaper.
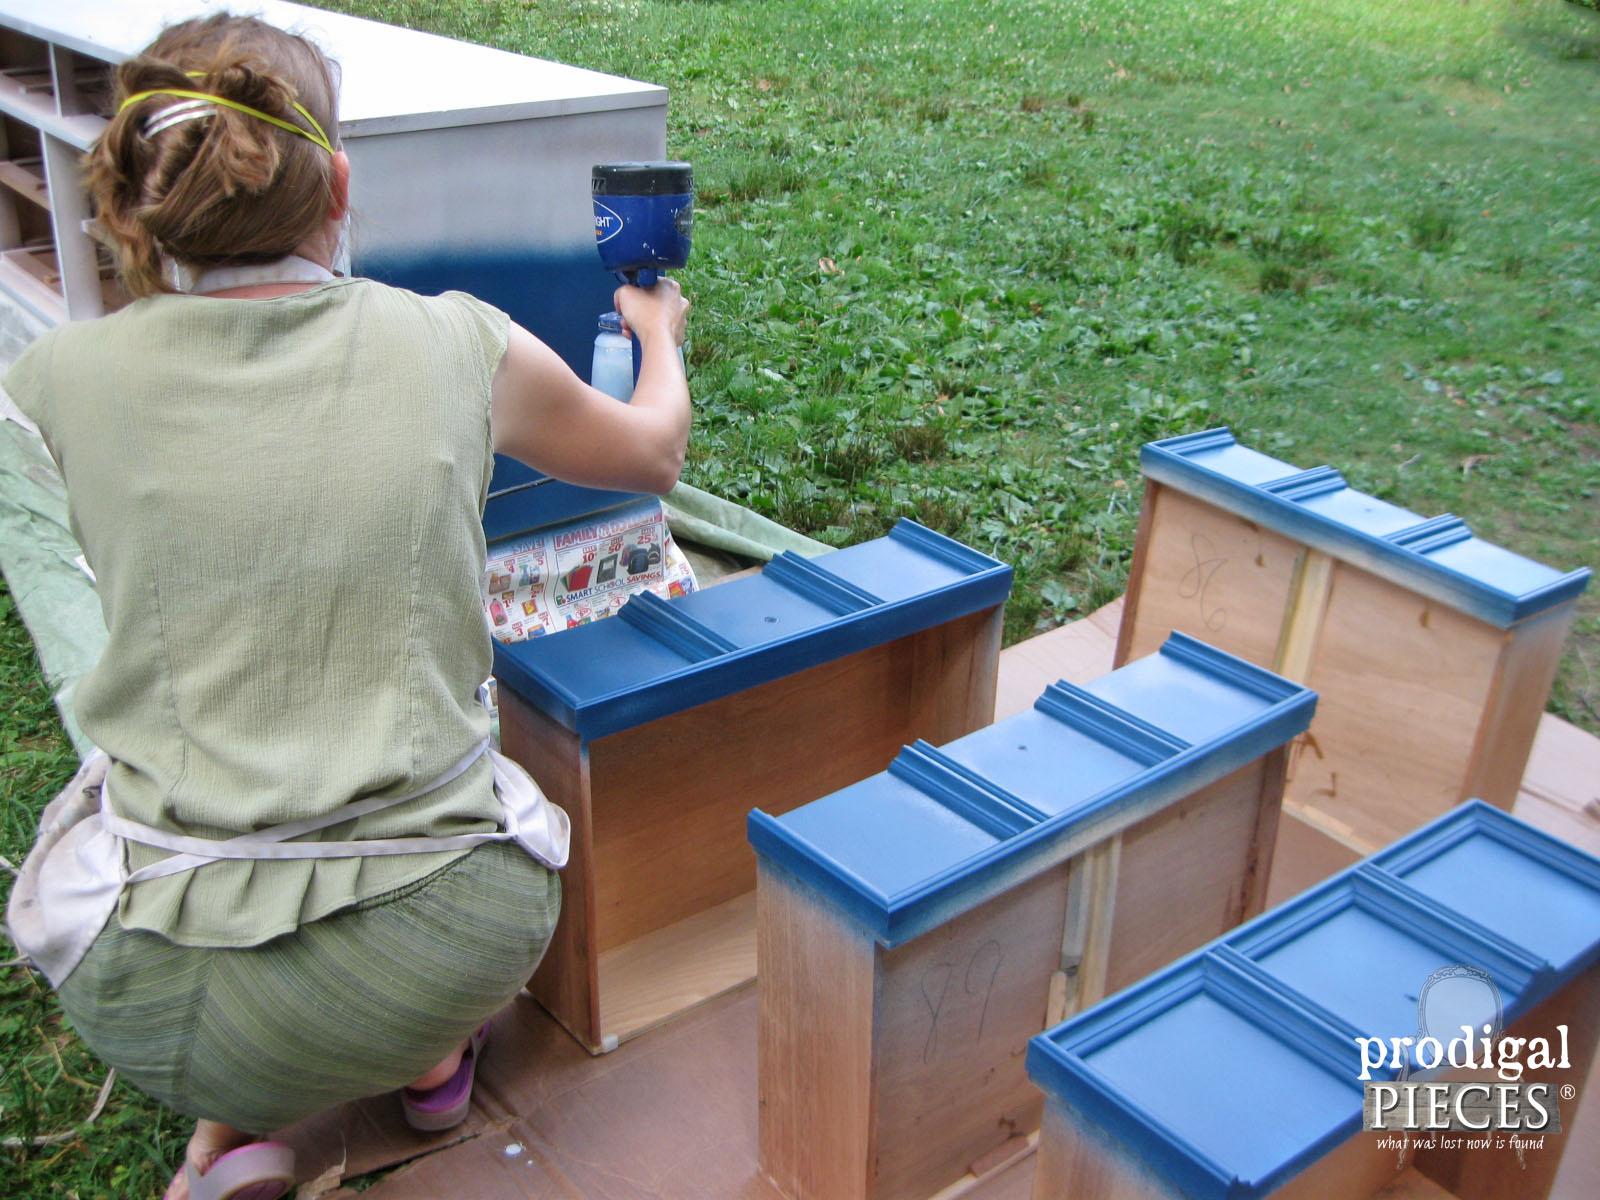
While this dresser could have easily been painted using a brush, it just wasn’t going to give me the factory finish I was after. You know I love my HomeRight Finish Max. It truly is your best friend when it comes to getting into crevices and details, and for painting chairs (my least favorite thing to paint – ugh). Who like to mess with drips and runs in ornate carvings?
First, I prep the dresser by wiping it down after sanding, and taping off the parts that I want to remain original wood.
In order to achieve that solid factory finish, I used a base coat of Kilz, thinned to directions, to prevent stains from coming through and to help give the paint tooth. Always start your sprayer off your project and then continue the spray flow off of the other side. Check your tip occasionally for build up and wipe clean with a damp cloth.
PAINTING
Once the base coat of Kilz had cured, I sprayed two coats of this gorgeous blue called Deep Arctic Night by Glidden, also slightly thinned. It is best to slightly overlap spray layers to get a solid coating.
I would normally have used spray shelter to keep debris off my project piece, but this credenza is HUGE (over 72″ long) and wouldn’t fit. Once done painting, I let the paint cure. At this point, you could add a topcoat for added protection, like a satin or semi-gloss poly, if you desire. If you’re after an aged finish with distressing, you could also use a furniture wax.
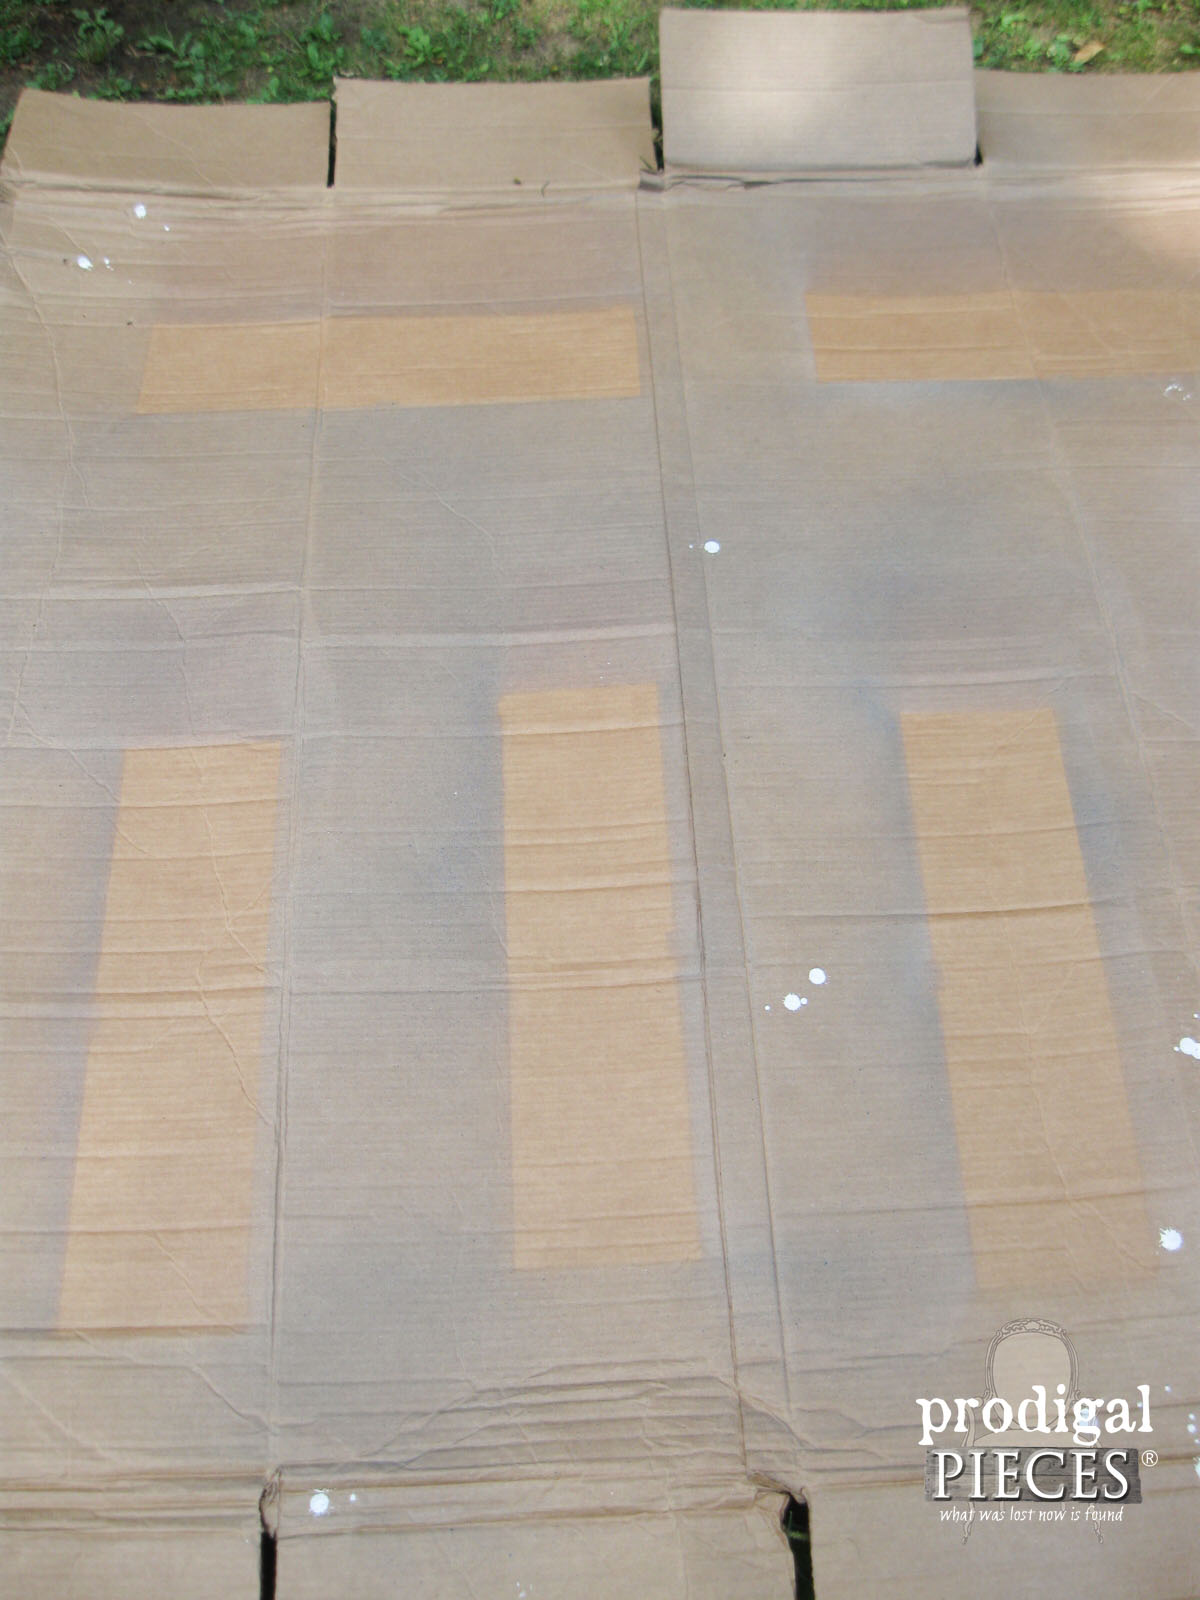
Notice the lack of overspray. See how much of the paint hit the cardboard after 3 coats?
THE REVEAL
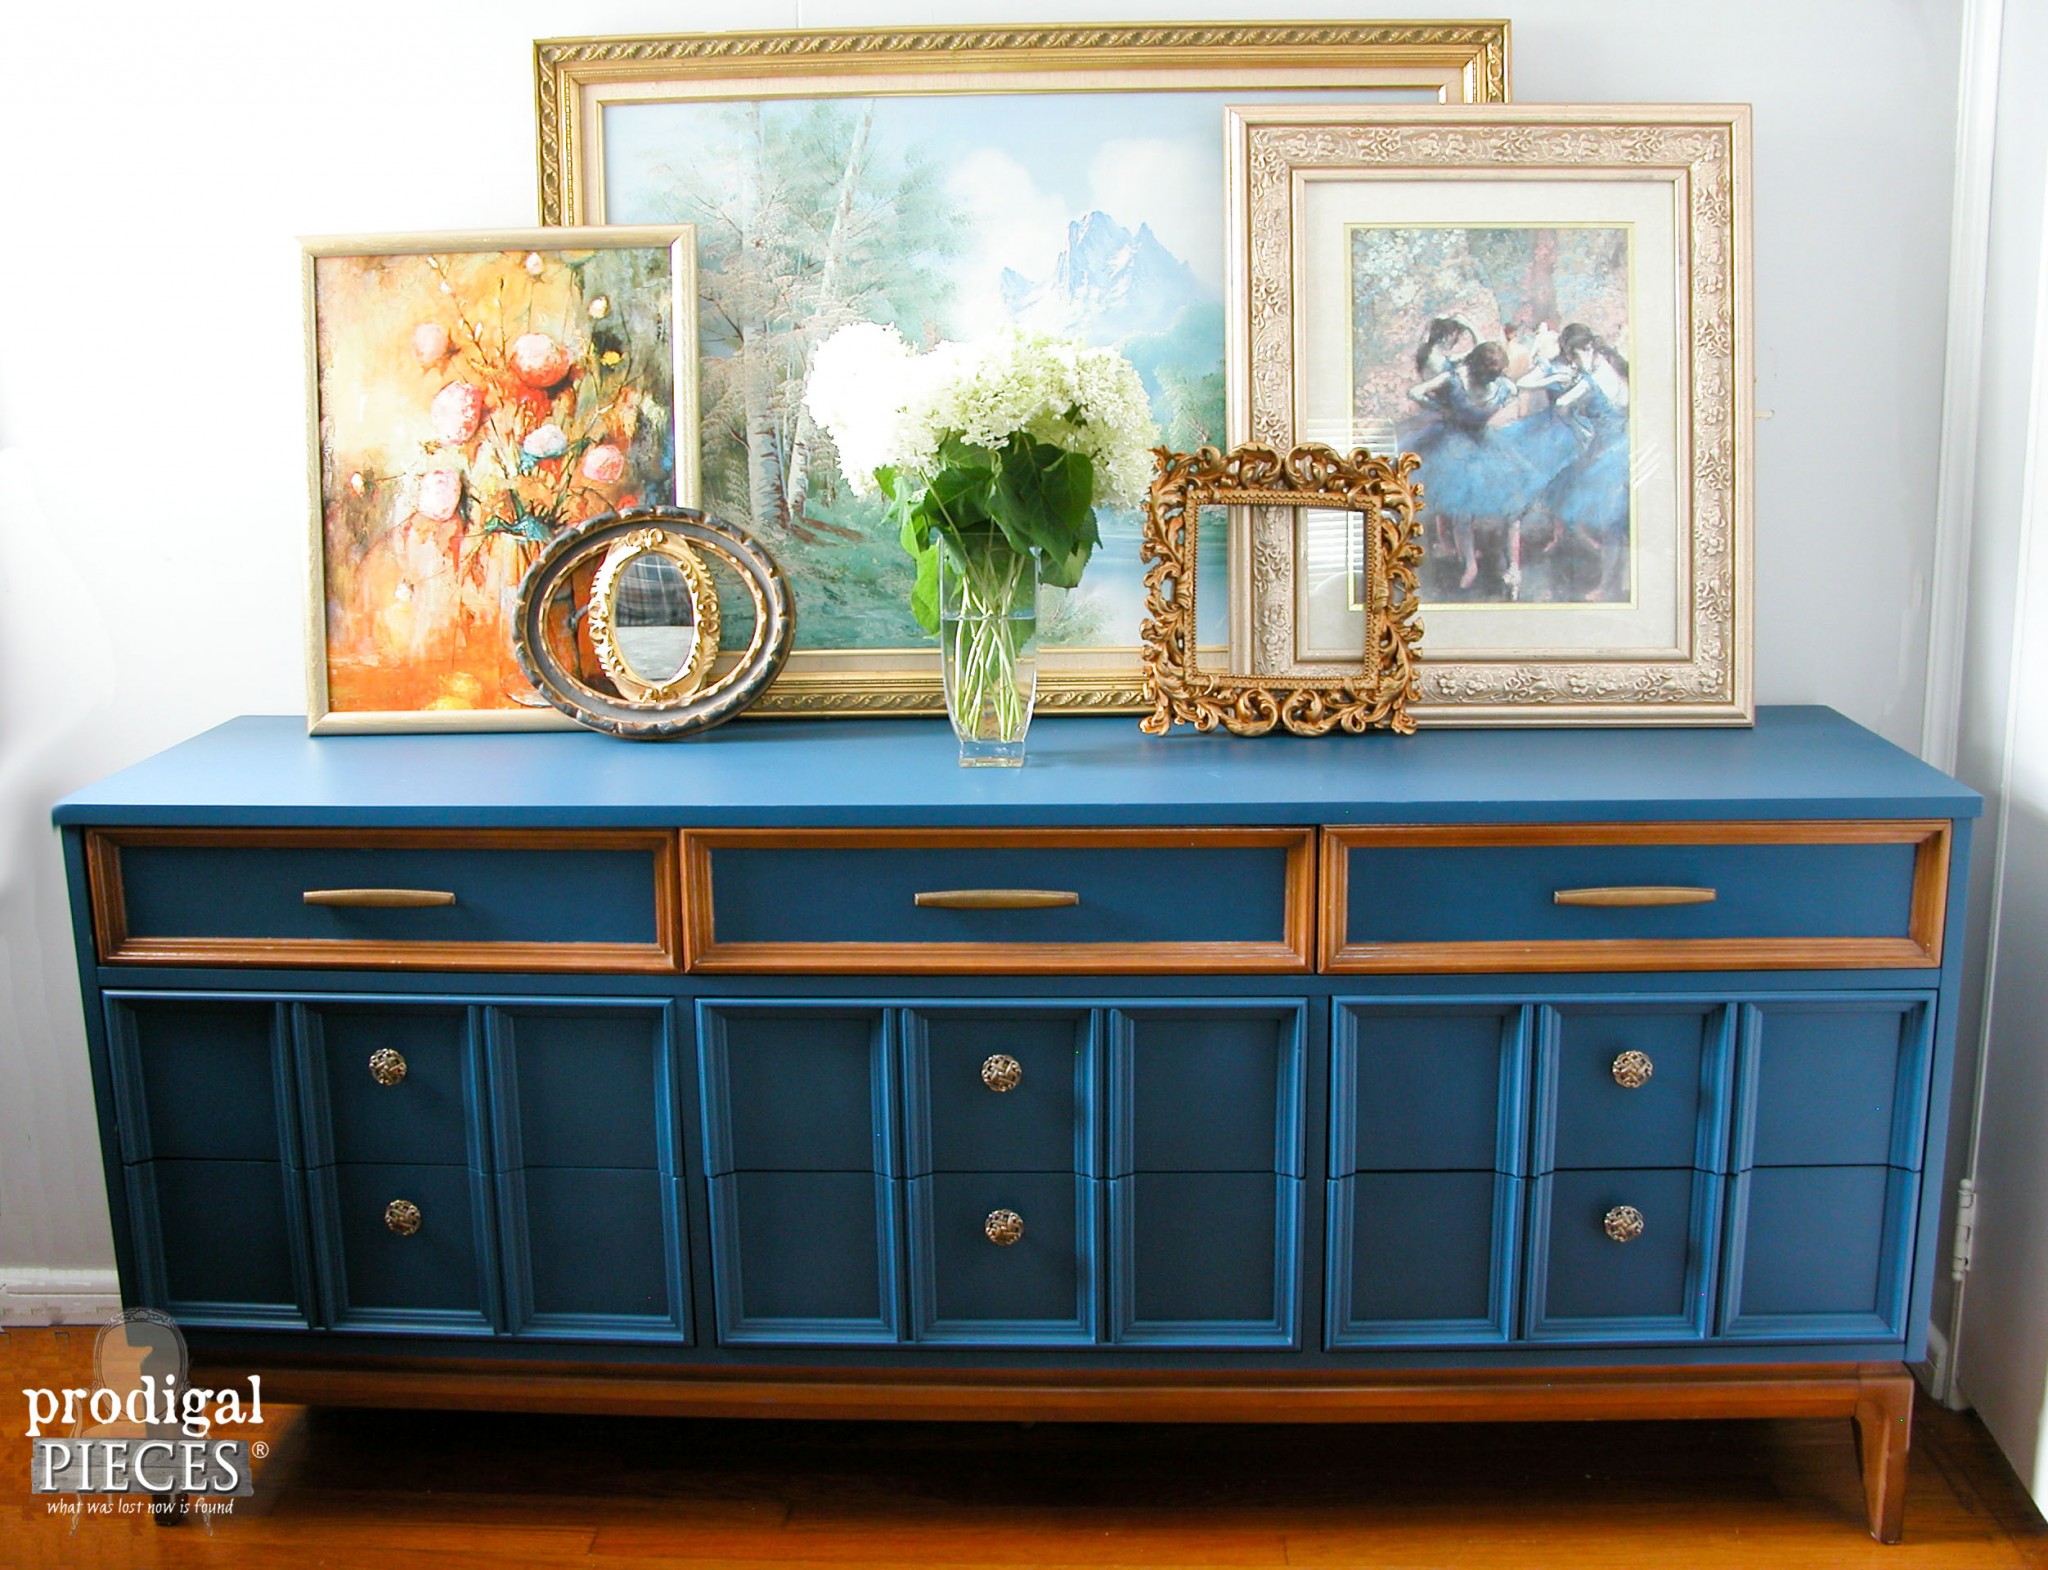
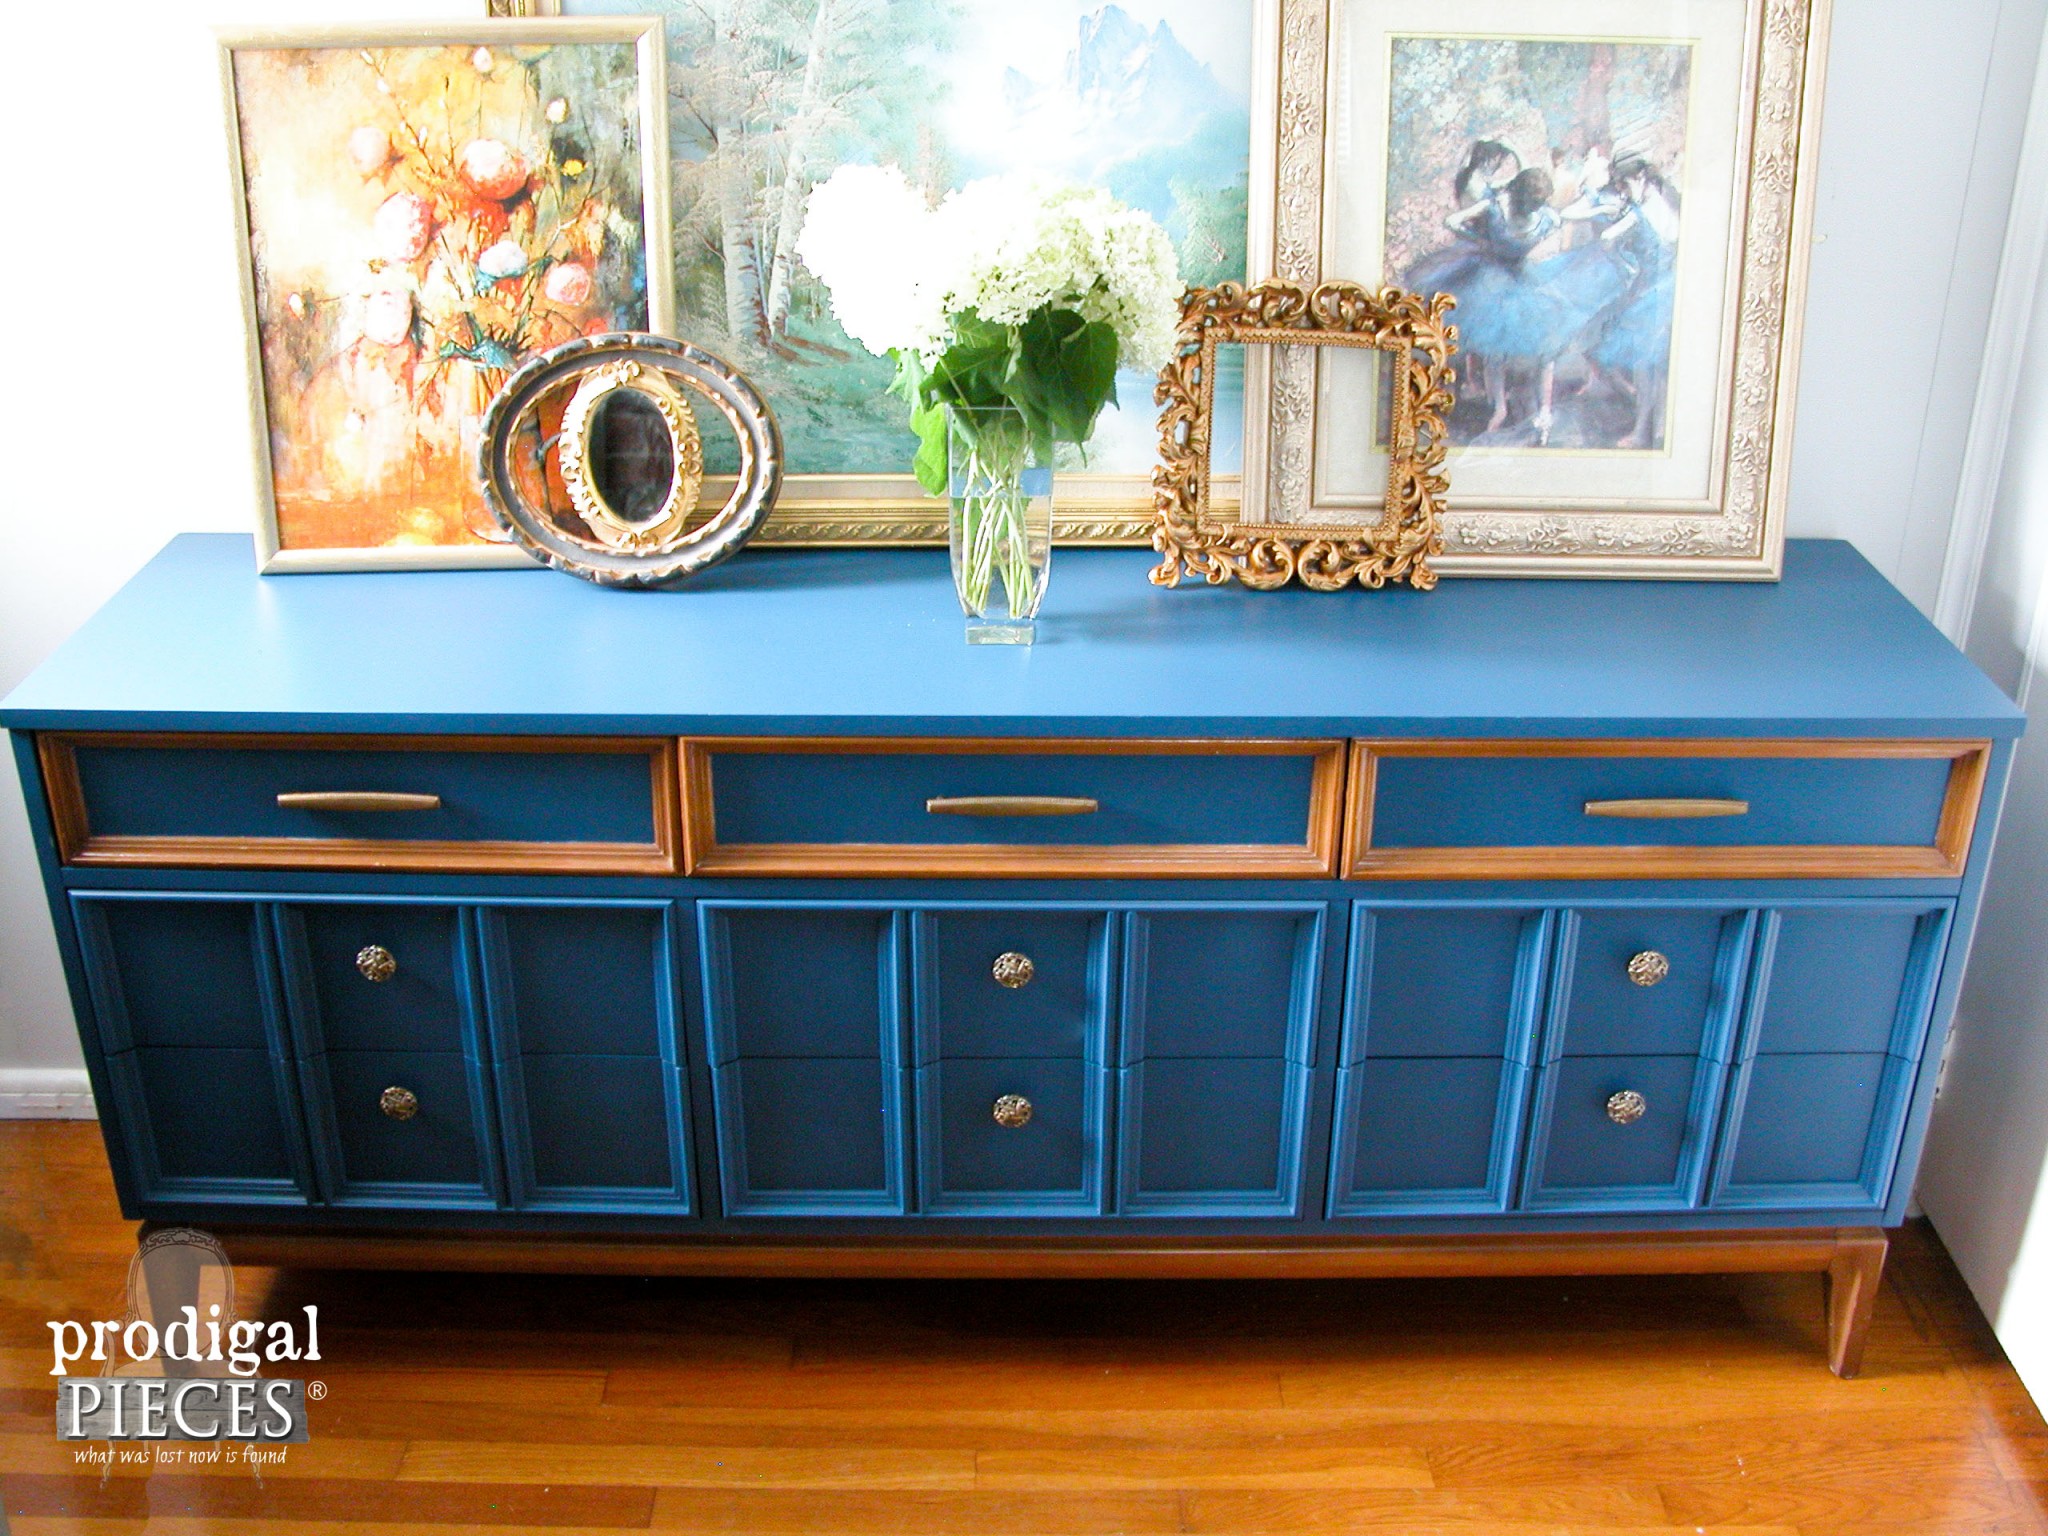
How about this for a gorgeous factory finish look?
I wanted to modernize this piece while repairing the damage and give it new life. The lines of Mid Century Modern furniture always draw me in. Do you blame me?
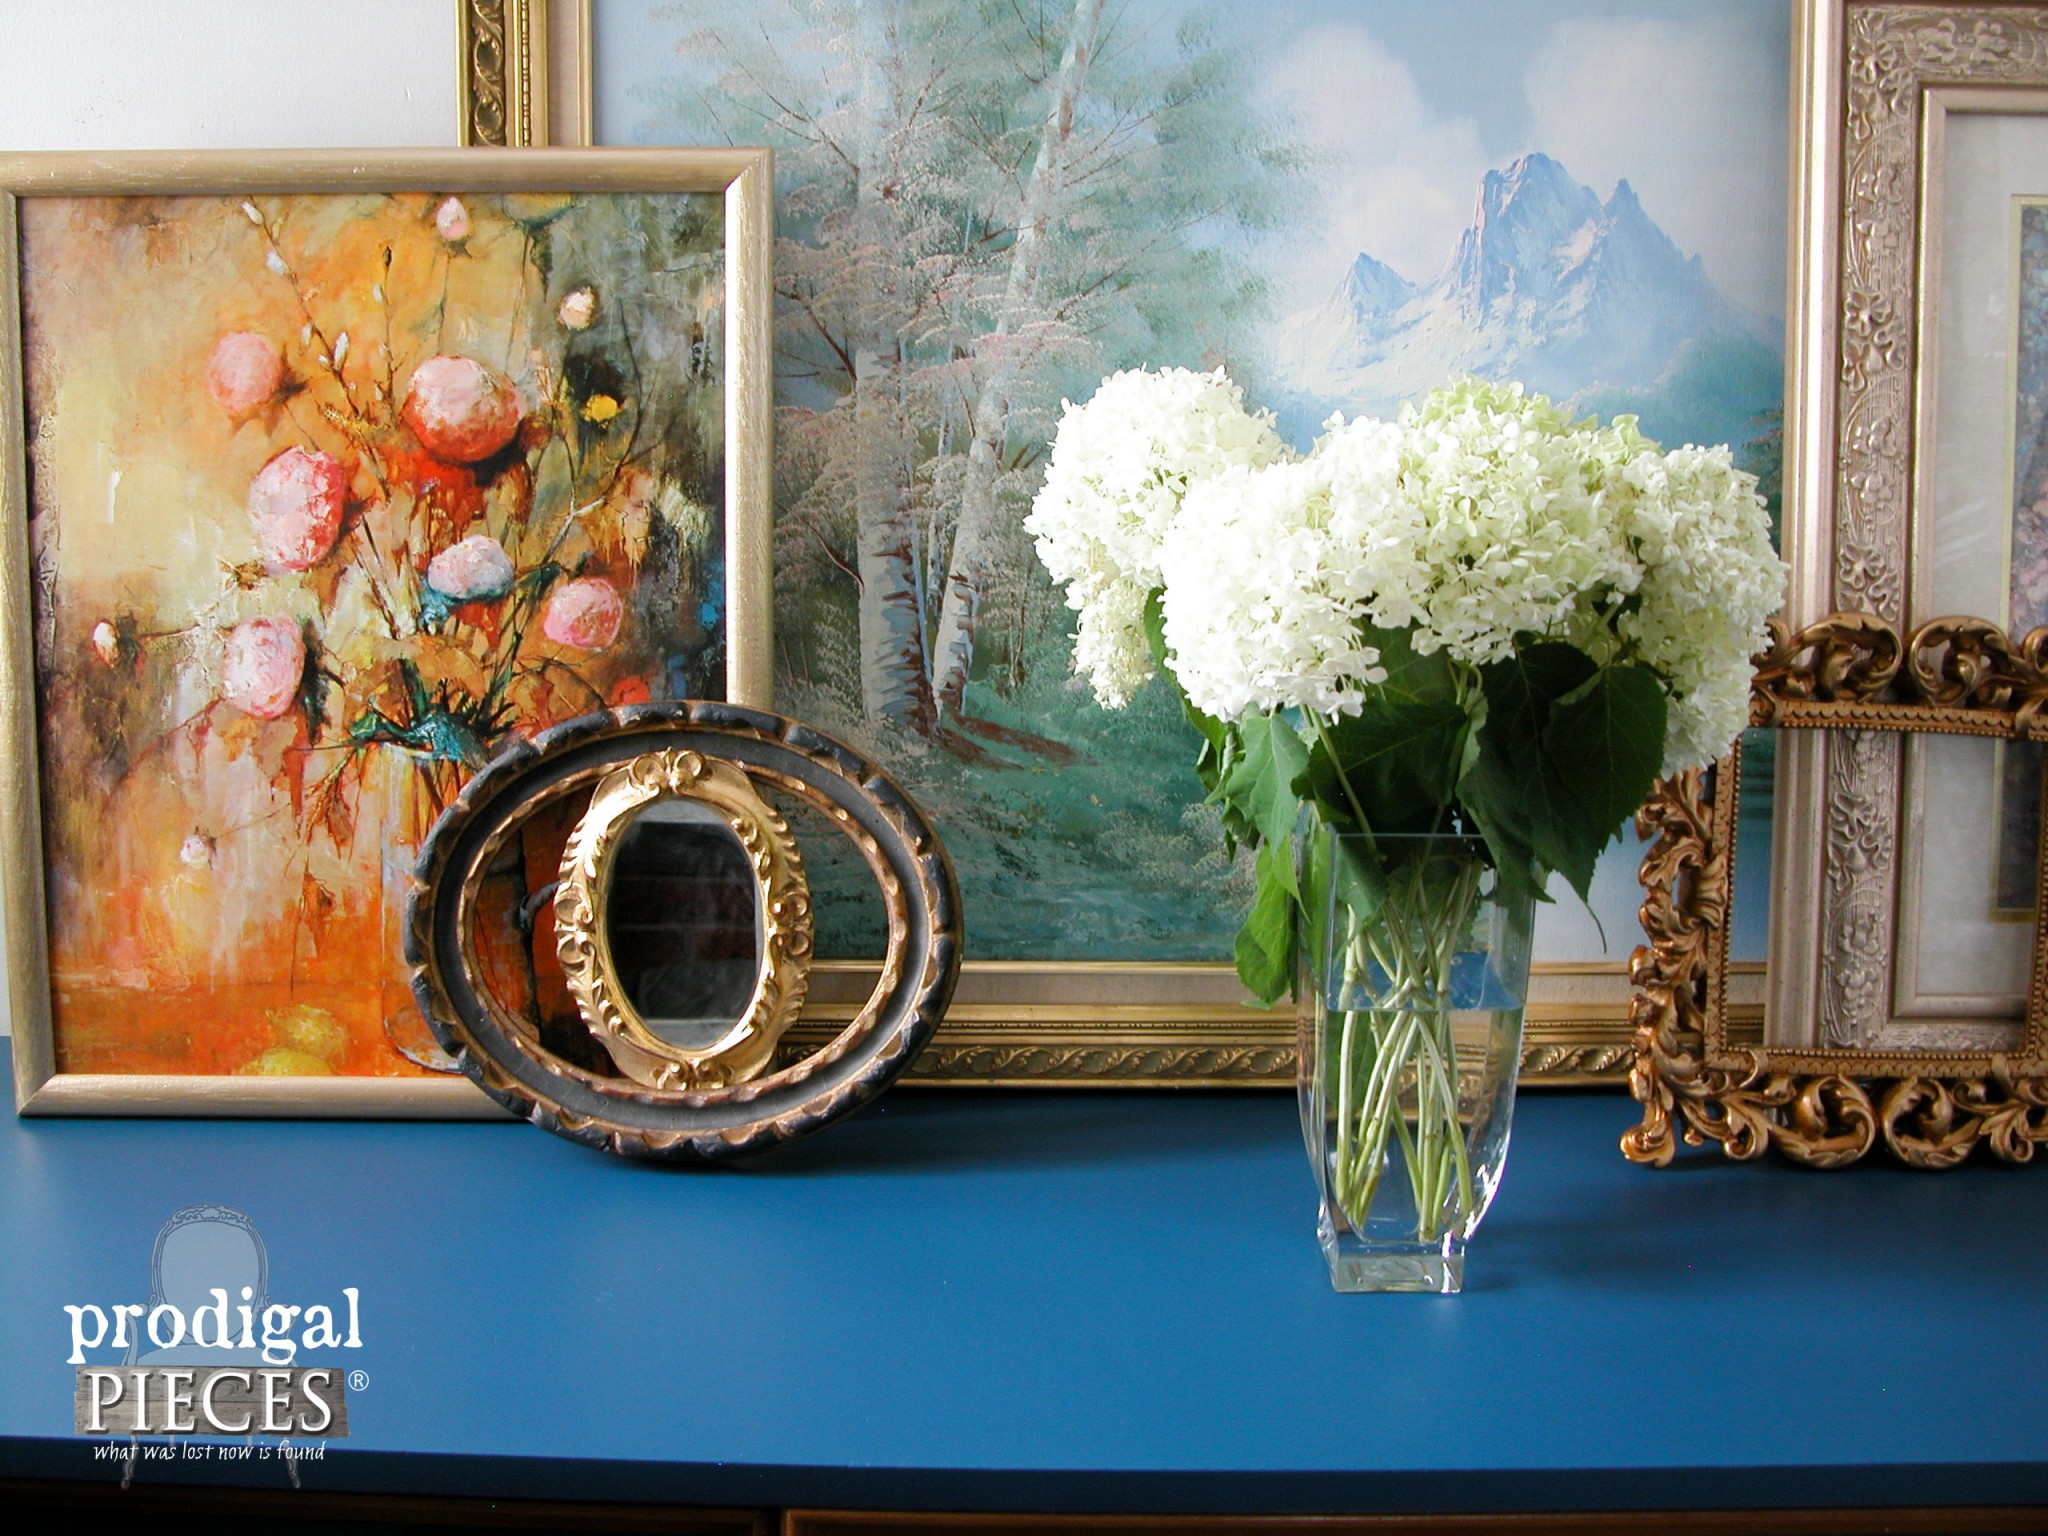
I had fun gathering some of these hydrangeas and mixing it up with some thrifted art. A collected vignette is always fun to see.
My oldest daughter also just finished another Mid Century Modern dresser, but she used my other method of a foam roller. Her finish is perfect, but it definitely took longer for her to achieve the look. The paint sprayer makes it quick and easy. If you’re in love with this dresser, or are interested in any of the other pieces available, you can find them in my shop.
Got questions? Please feel free to ask!
SHARE
I would love it if you would pin and share to inspire others to give this method a try. ♥
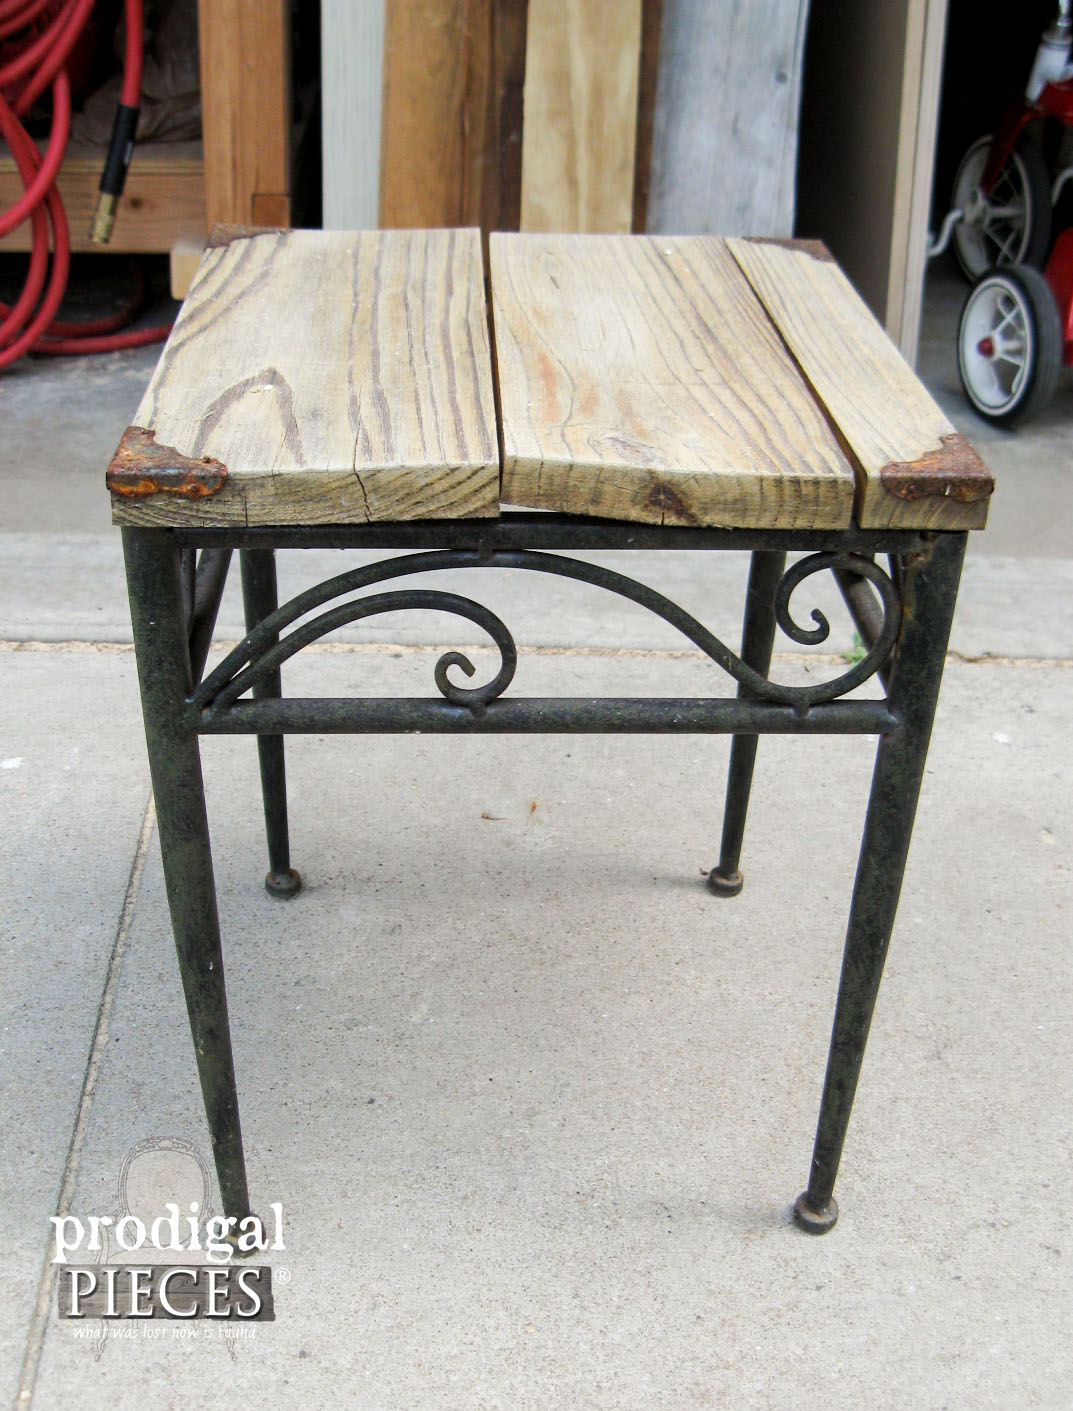
Next up is DIY Furniture Girls and the theme is OUTDOOR. This funky little table got a new look to go along with the newest addition to my backyard decor. AND there is going to be a fun giveaway…HEAD HERE!
MORE STORY
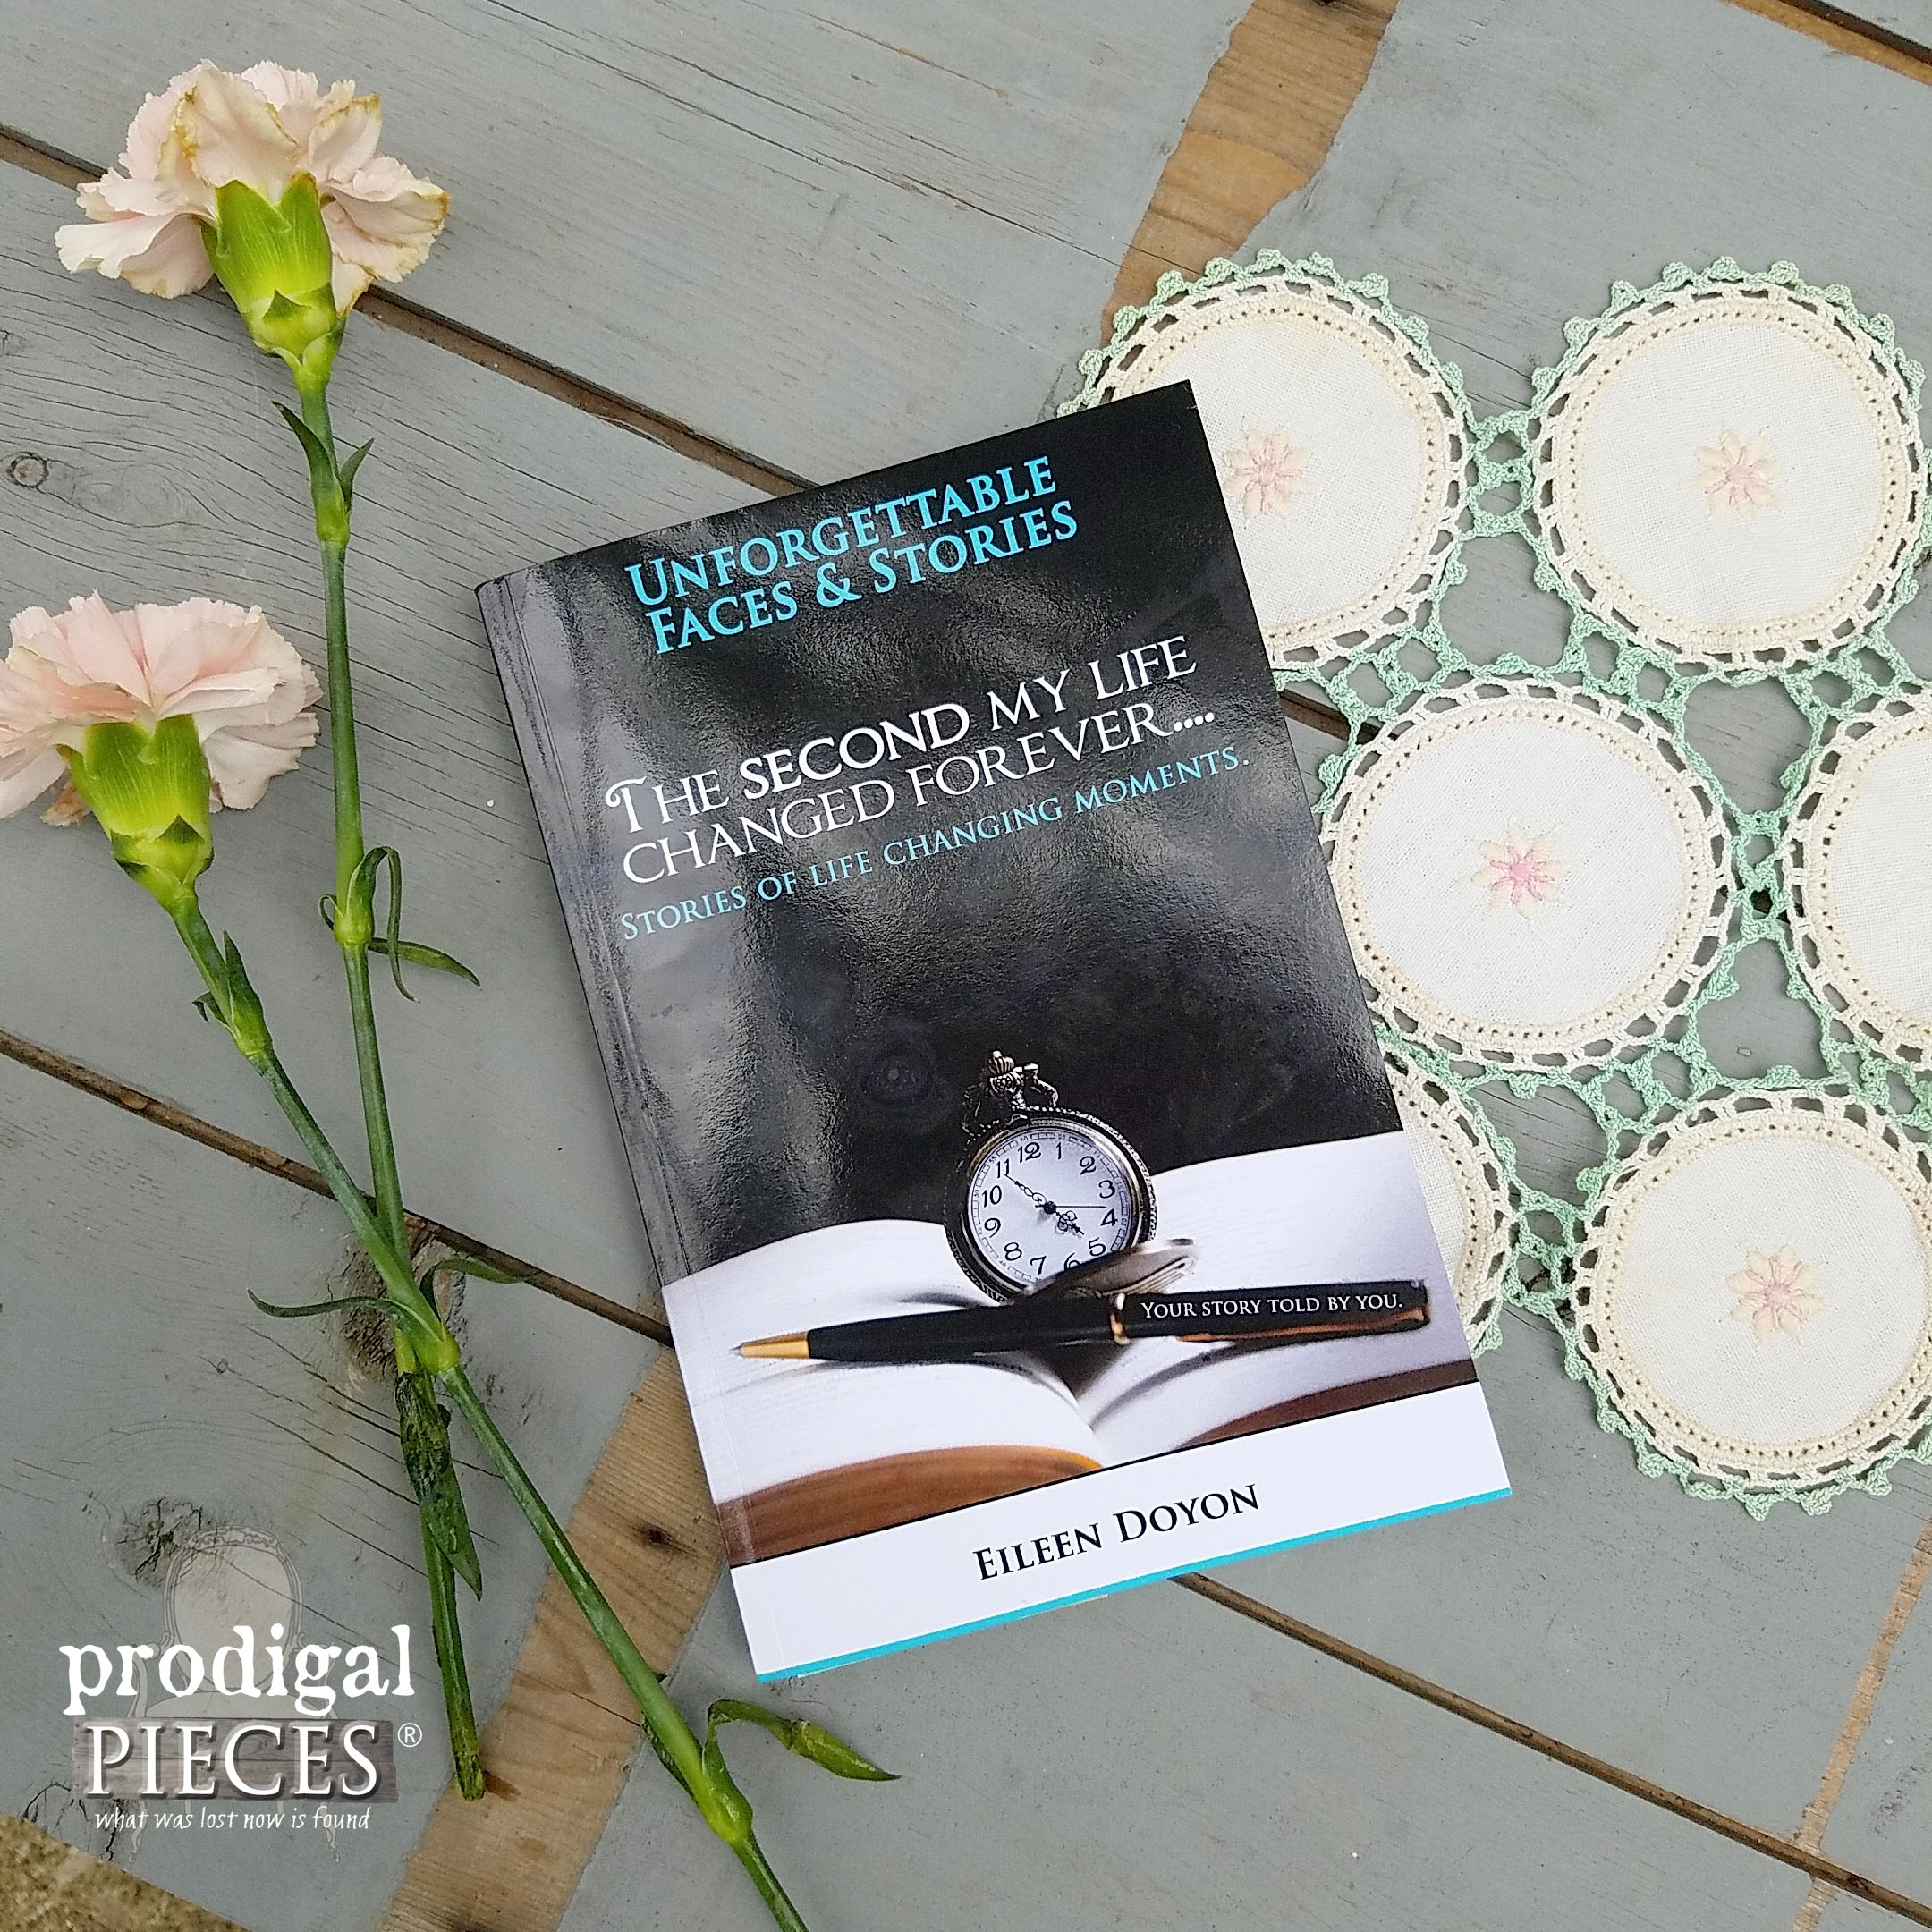
Oh, one more thing…in case you missed it. I am so excited to have been asked to contribute to a special series of books call Unforgettable Faces & Stories by Eileen Doyon. Her latest book focuses on The Second My Life Changed Forever. I have shared a story of my life that truly was life-altering and would love for you to read it too.
To get these DIY tips & tricks in your inbox, be sure to sign up for my newsletter. PLUS, you will get your FREE Furniture Buying Checklist and special discount to my shop. Until next time!





The credenza turned out so lovely. The blue is so rich and a nice choice along with keeping some wood in the stain. A beautiful job.
You know me and my blue. I can’t resist! 😀 Thank you for the kind words, Debra.
Looks great!
Thank you!
FANTASTIC ! Love the color and how you used it to bring that old worn out beauty back to life.
That blue is so fun, isn’t it? Thank you for the love, Susan!
What a lovely piece…love the color and how you left the some of the wood great job!!
Thank you! I truly love wood, but sometimes it needs some pep. 🙂
That is absolutely gorgeous!! Leaving the wood around the drawers was brilliant!! You got my creative juices flowing!!
Wahoo!! 😀 That’s what I’m talkin’ ’bout. Have fun, girl!
It is so classy. You took boring and gave it life.
That’s music to my ears, Frances. I truly had a hard time deciding, but the damage help me seal the deal on painting and I’m glad I did. Not only to hide the flaws, but make it fun. Thank you!
A COLOR, that is fantastic!
I do color all the time. 🙂 Just not all of it shows up on my blog, but in my shop. Thanks, Ellen!
Nice work. Does that sprayer require an air compressor?
Thanks! Nope, no compessor – that’s the best part!
Wow, just to gorgeous! Look great sprayed, have not tried that! Thanks for sharing!
Ooh…you will love it! It is so much easier on my wrist and elbows, and saves time. Thank you!
I did a great job of seeing the potential in that piece of furniture. It is beautiful! I love the way that you painted it and also left some of the wood showing!!
Being true to the era was important to me, so I had to leave something that told the story of the Mid Century. Thank you for getting my vision. 😀
GREAT JOB, LARISSA! Wow, you really knocked that out of the park. I share your hesitancy to paint over wood, but sometimes you gotta do whatcha gotta do, right? It looks fantastic in that color, and the wood adds that extra “something” that I often pray to get on projects. Much love and blessings to you and you
Catherine
Amen, Catherine. 🙂 You totally get what I’m after. It can be difficult to make a piece come alive and I don’t want to be the average “slap paint on a piece” kinda gal. Thank you!
Wow that blue finish is all the money! That’s an expression we use here when we want to say it is fabulous! The blue complements the wood perfectly! Another great MCM done! Congrats on officially becoming an author.
Thank you on both accounts, Mary. Excited to see this piece come alive and also excited to share a bit about me in a different light in the book.
Wow – this is beautiful! I don’t usually lean towards MCM pieces, but this is fabulous! Nice job!
It’s funny that I don’t have any of the style in my home, but I certainly do appreciate their design. Thanks for the love, Aubrey!
Very nicely done! I am not a blue fan but I have to admit on this piece it looks outstanding…Thanks for all the inspiration!
At least you’re honest! 😀 Glad to hear I’ve won you over. Thanks, Mel!
Amazing transformation as usual. Love your style!!
Question about thinning your paint for the sprayer…… I just purchased one and would like to know what you use for thinning and how much????? I want to learn and use this tool the right way 🙂
Thanks so much, Cindy. 😀 I use water and the can of paint should give you a ratio to follow. Otherwise, you can use the tool the comes with the sprayer to determine flow. For me, it’s typically about 1/4 teaspoon per cup. Do a test to be sure.
Thank you!
Perfect, beautiful!
Thank you so much!
Very unique. Love it.Do you have a full list of tools and paints ,stencils etc. That you use.I know that they are on each page.But I would love to print it so I can have a reference.Thank you Larissa.
I have one but is outdated. Will need to do an updated post soon!
How would you apply the “satin or semi gloss poly” can you do so with the sprayer? (Probably a stupid question)
You can use the sprayer for a topcoat as well. 🙂
This credenza turned out amazingly beautiful! It is gorgeous!
How sweet of you to say. Thank you!
So beautiful i do wood signs this sprayer would help
Thank you, Bryan. I’d love to see your work. 🙂