As a kid, I remember my parents taking me to farms and country properties to go to auctions. Mmm…the smell of the outdoor spaces and the thrill of the hunt. Especially for me as I was knee-high to a grasshopper and had the perfect height to dig through the boxes looking for treasures. Sometimes those days lasted long as we waited for the items to come up for bidding. I remember my dad picking me up and telling me to lay my head on his shoulder. It wasn’t long before I was sound asleep in the best place ever.
BACK STORY
My mom knew how to sniff out a deal at a garage sale and also knew how to haggle over prices. She would usually allow me to pick some sort of treasure while on our hunts, and like most garage sailing, sometimes you come up empty and sometimes you strike it rich. Oh…those were the days.
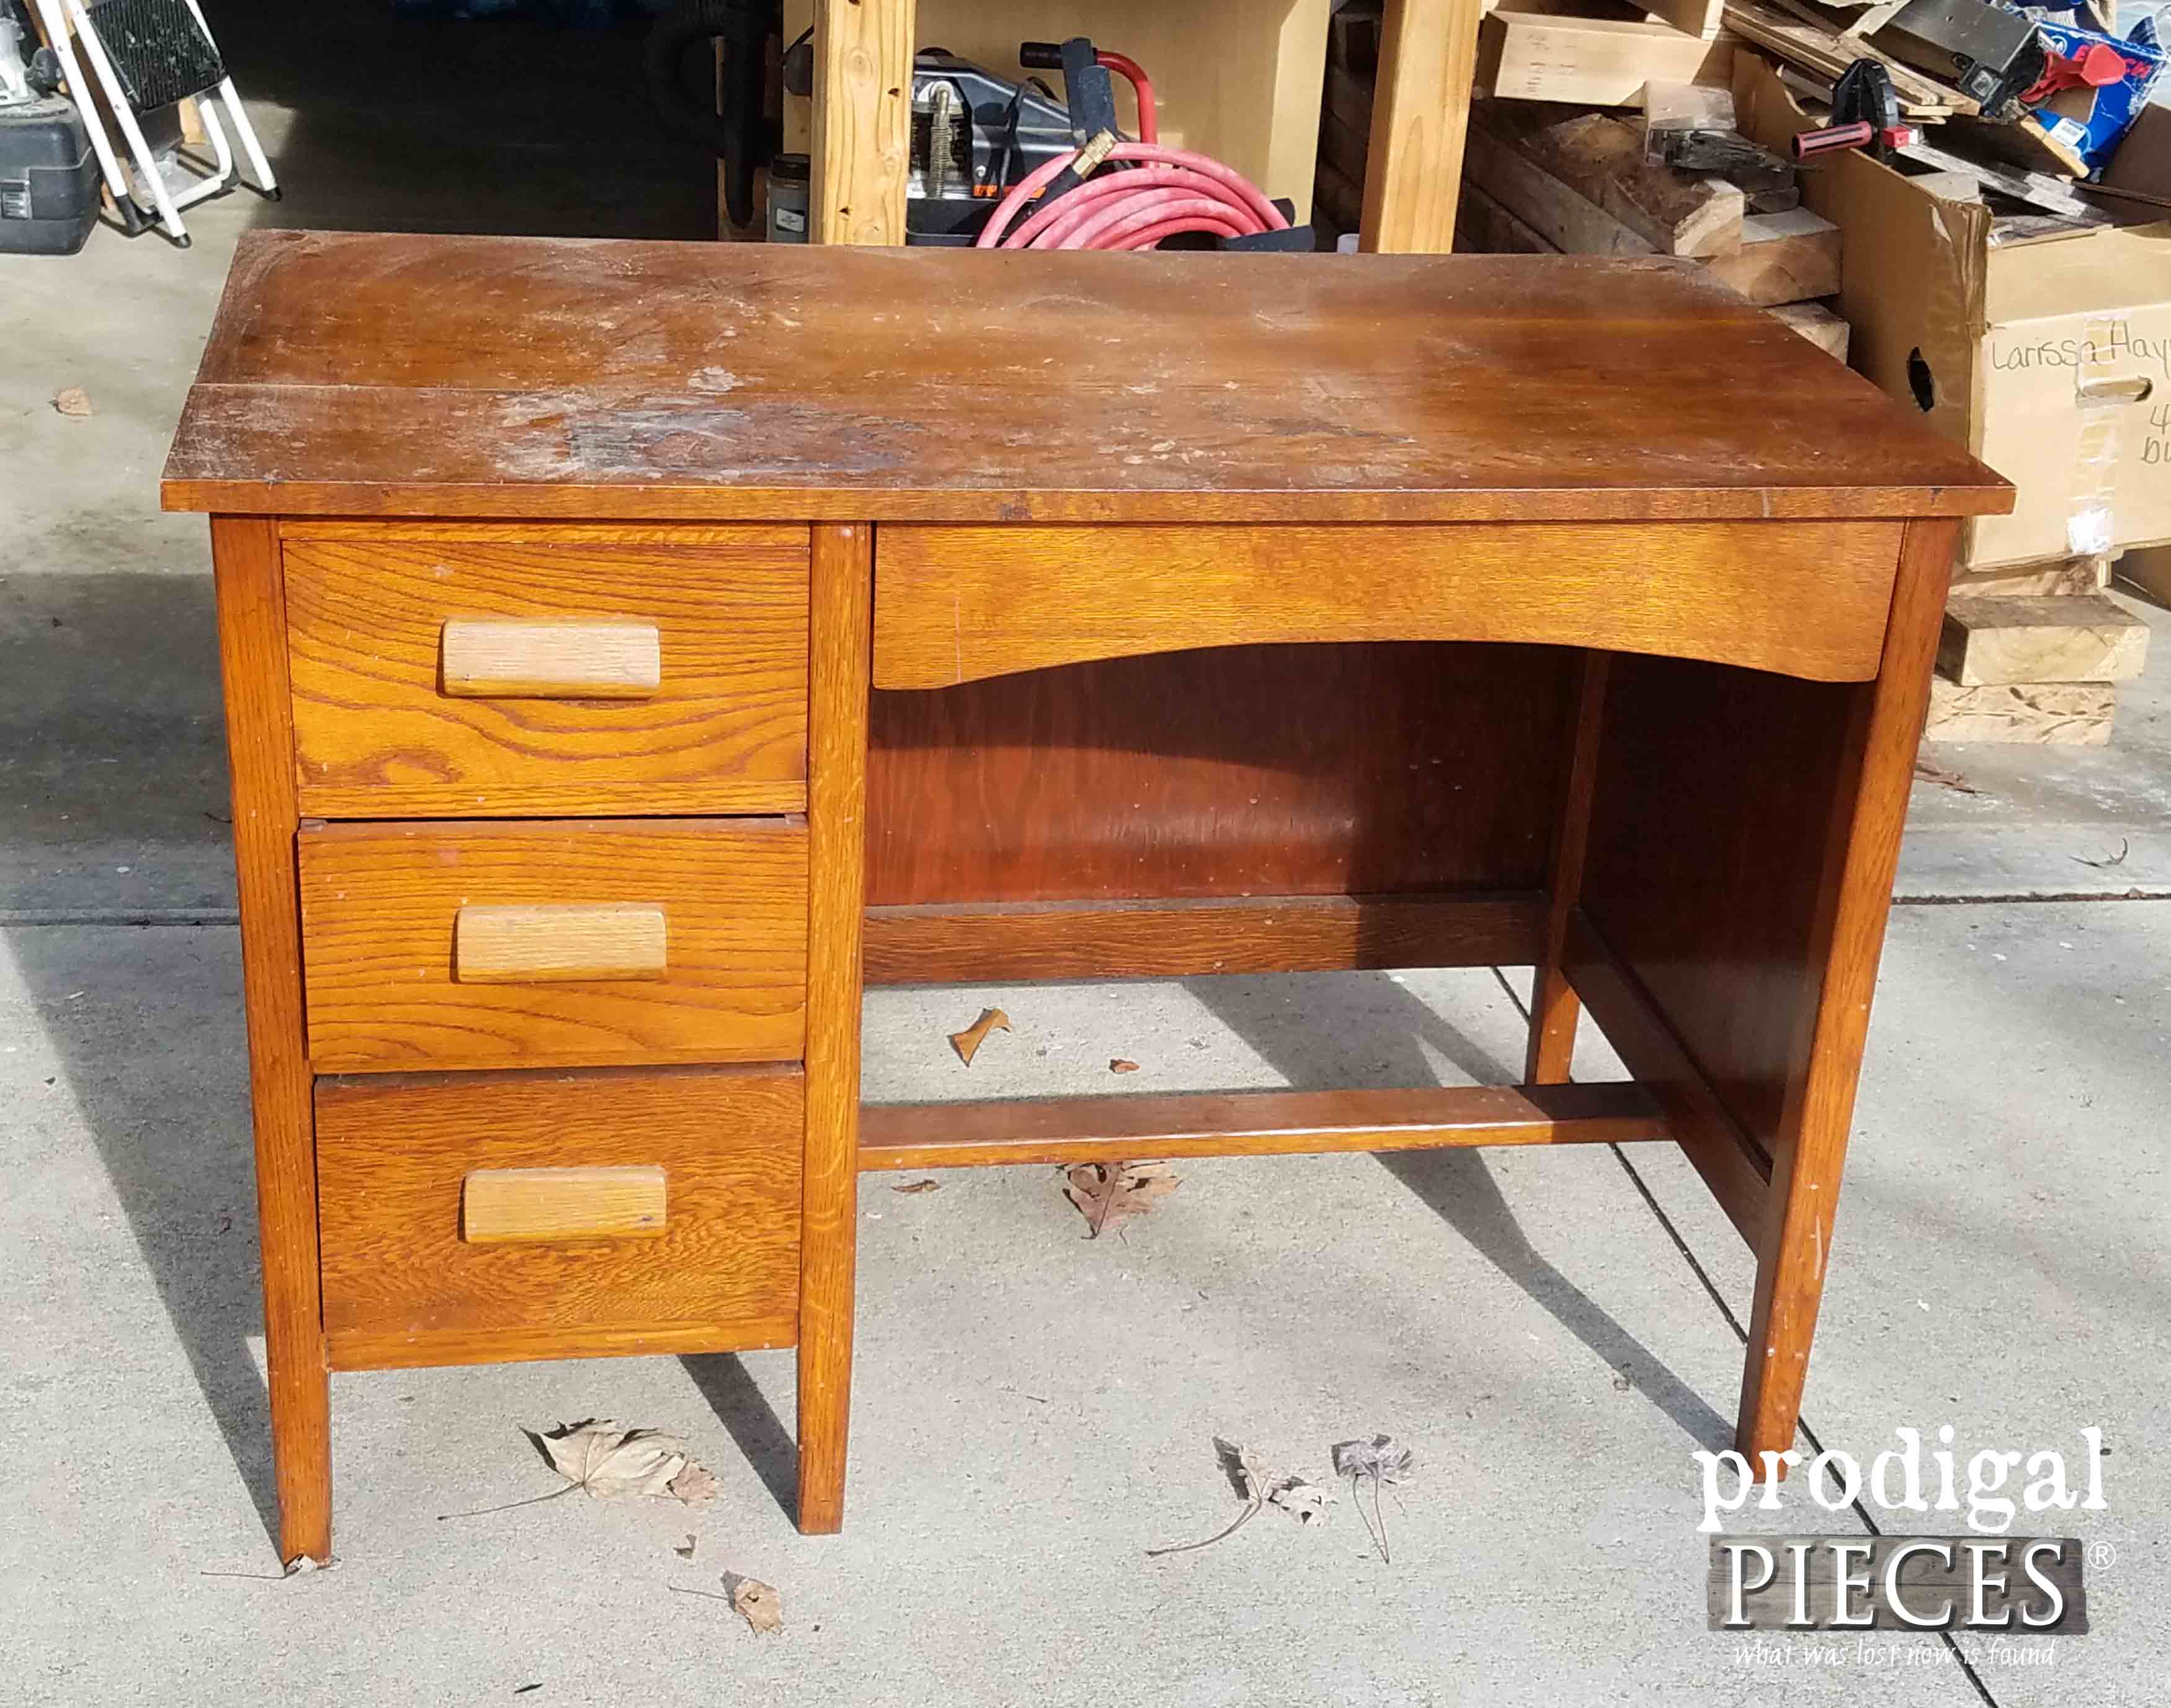
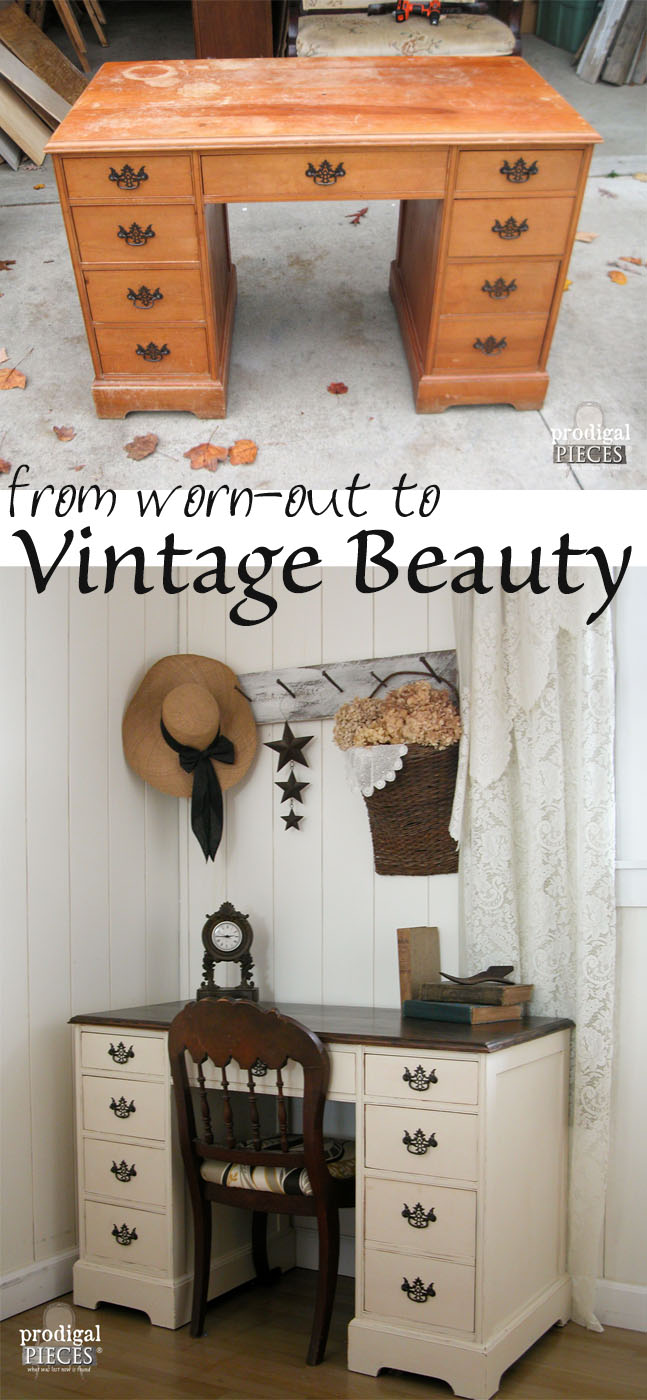
My parents are my treasures that I feel sometimes I have yet to fully appreciate. Do you ever long for a rewind button? My days fly by and it seems time is slipping away too fast. One thing that hasn’t changed is their love for me. Take this oak desk for instance. It could have been cast aside as my dad went through the newly purchased property he had acquired. He’s been a fixer upper long before that title became a household word, and, I must say, the best one there is. When he asked me if I’d like to have it, I said, “Sure!” I mean…who wouldn’t, right?
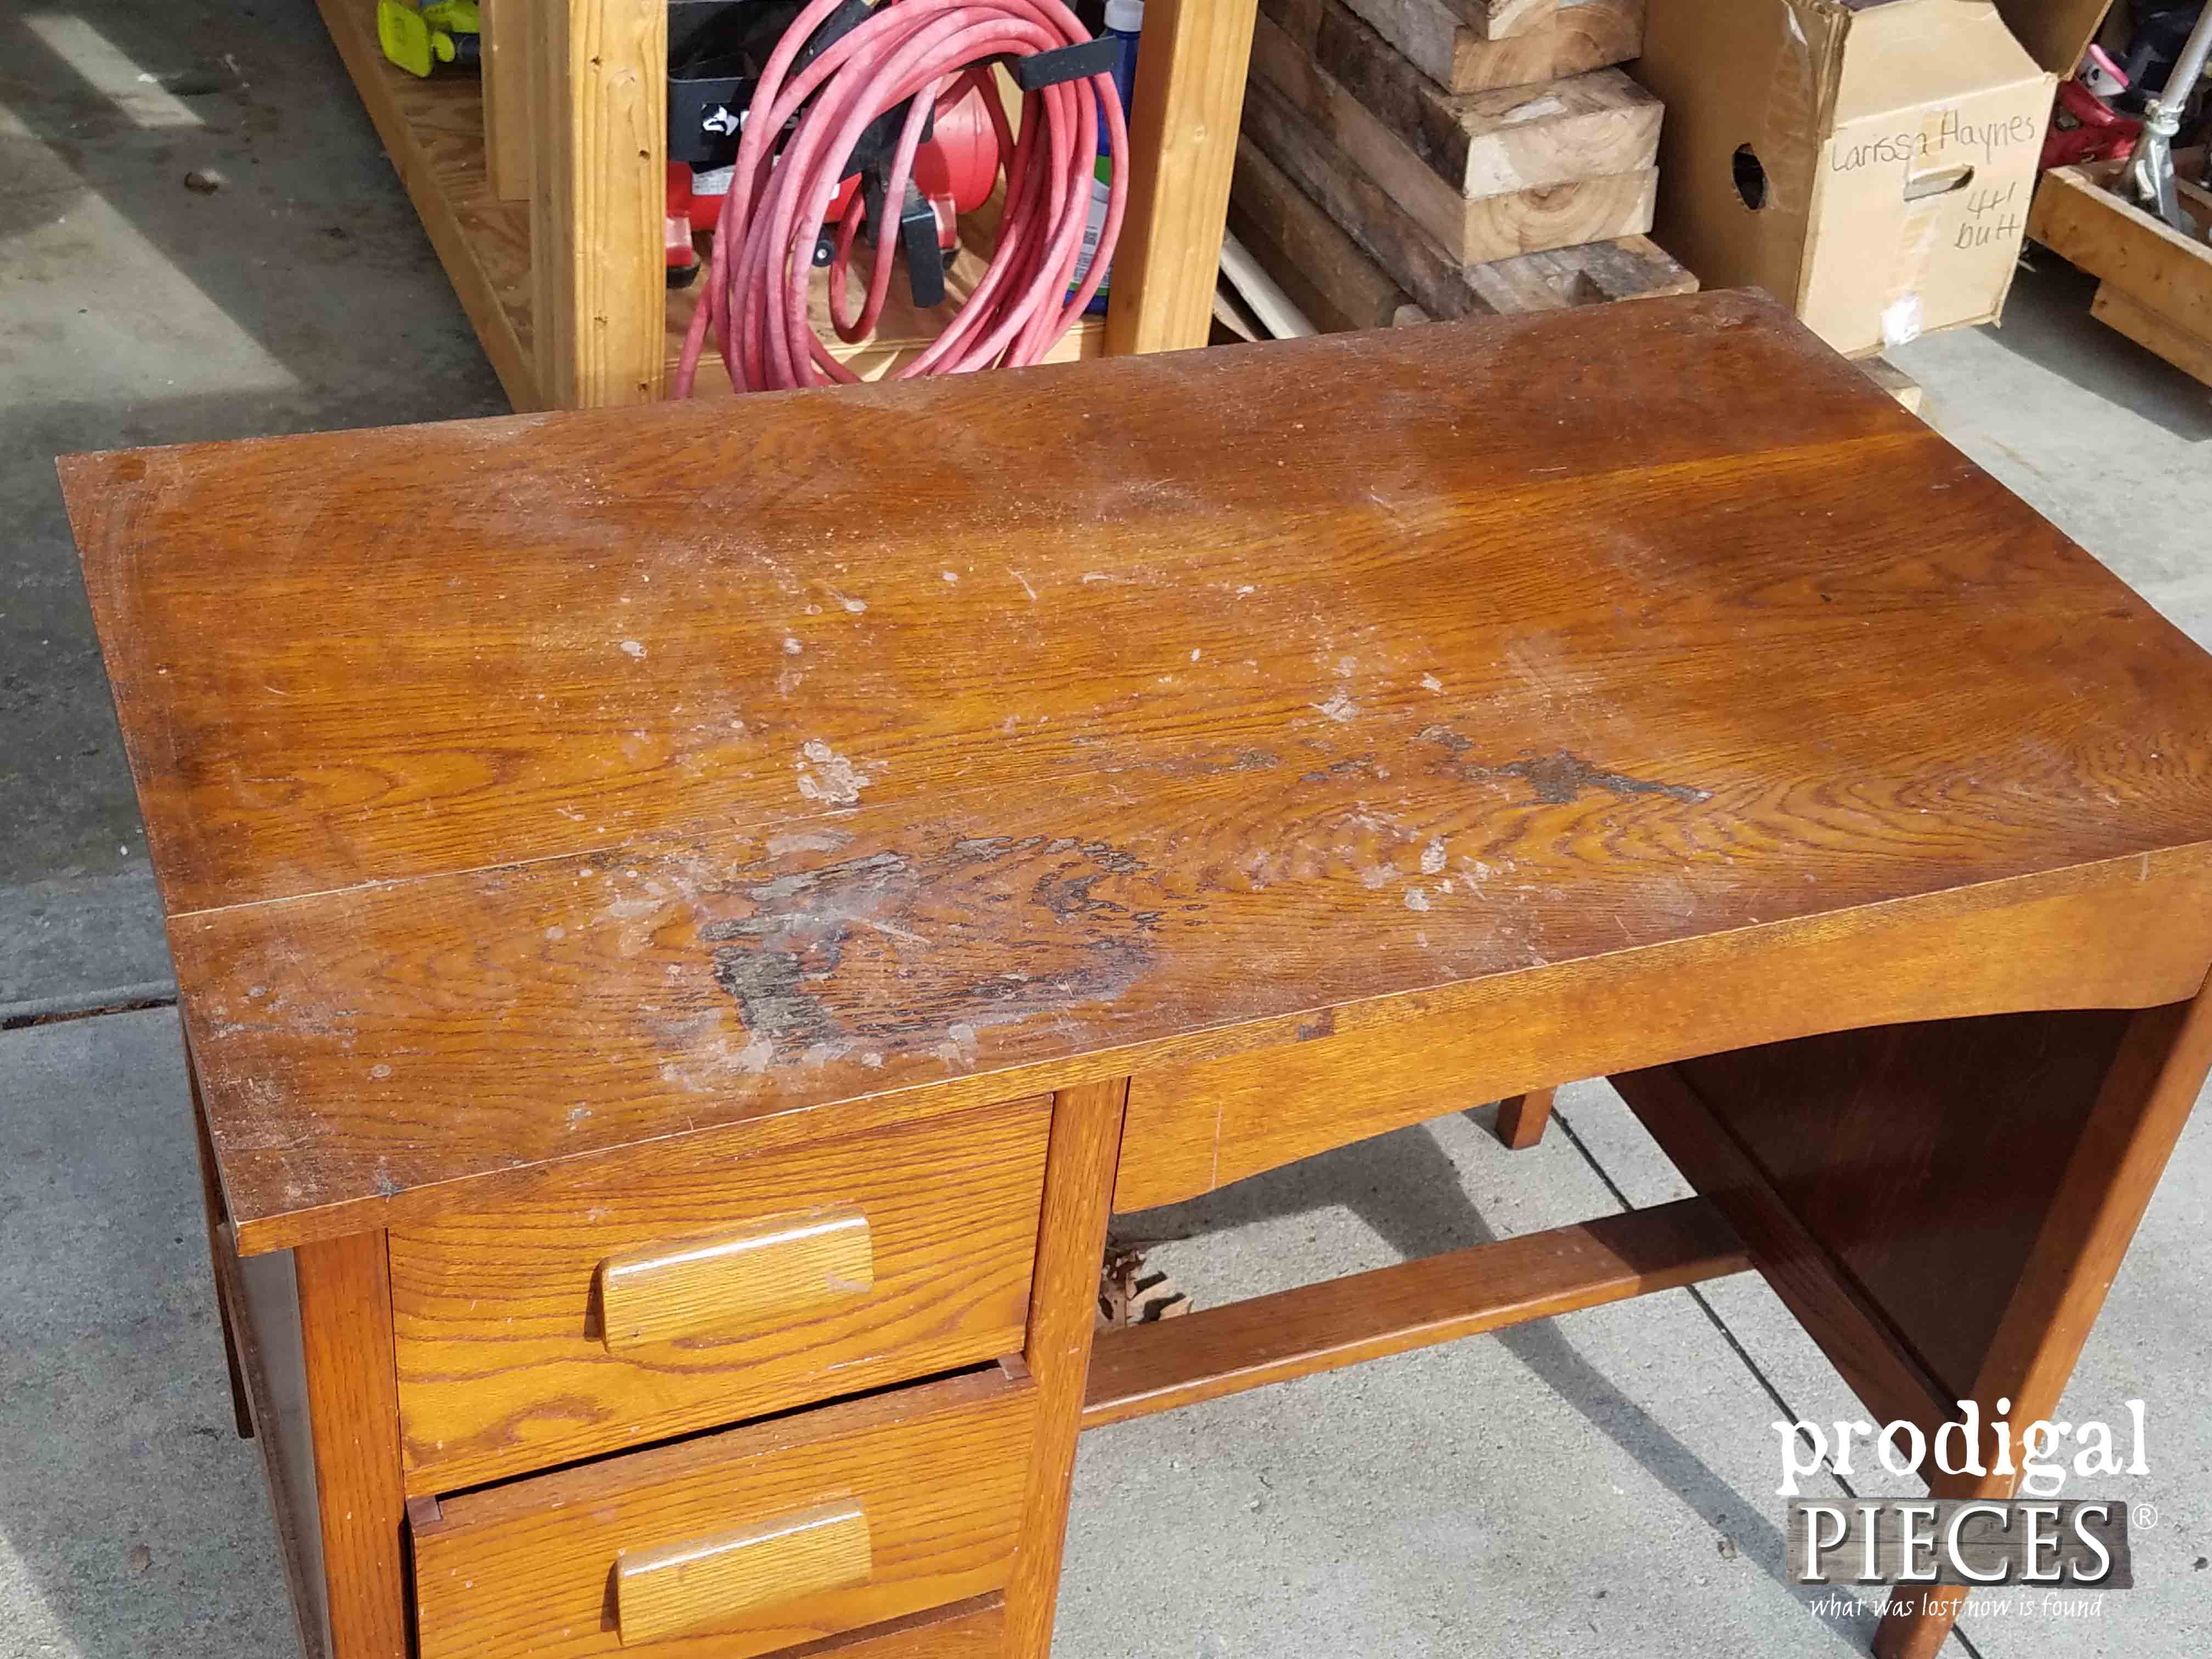
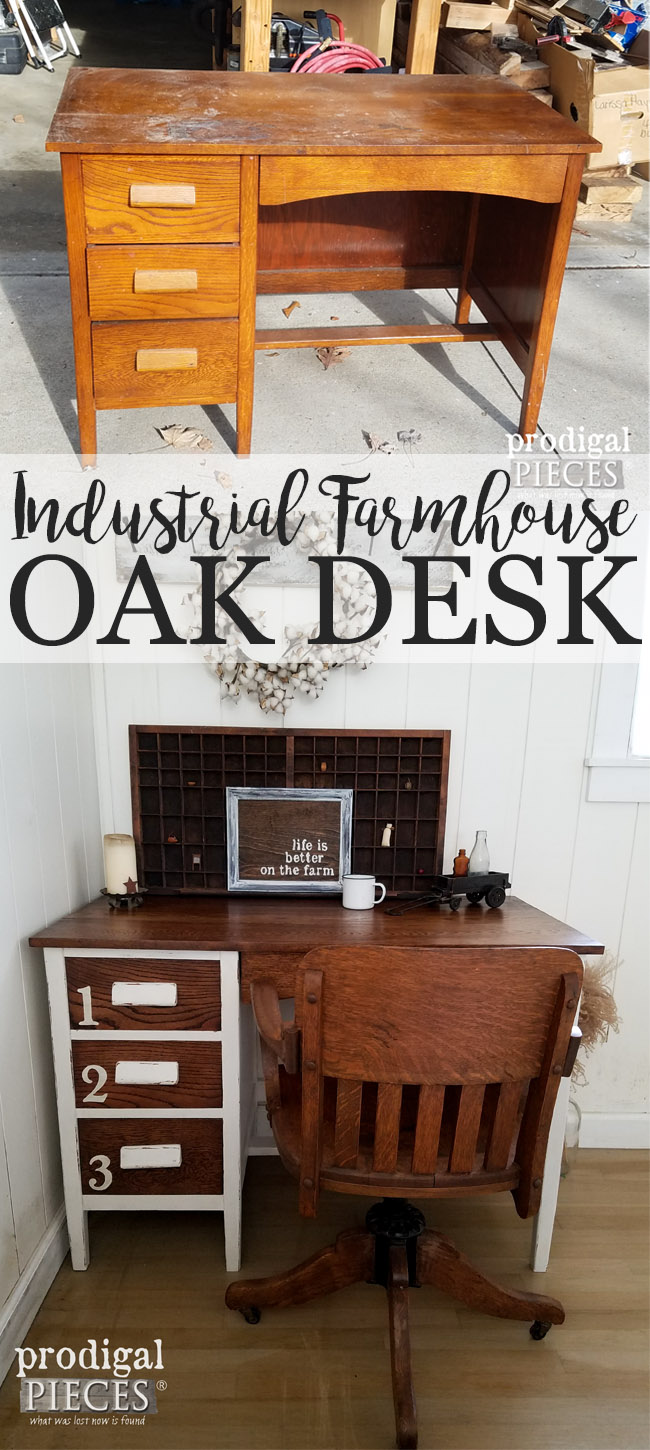
At first glance, the only major issue was with the top. Somehow, one of the boards had been attached out-of-line, and there was the chemical stain damage.
No problem. heh, heh, heh.
TIME TO START
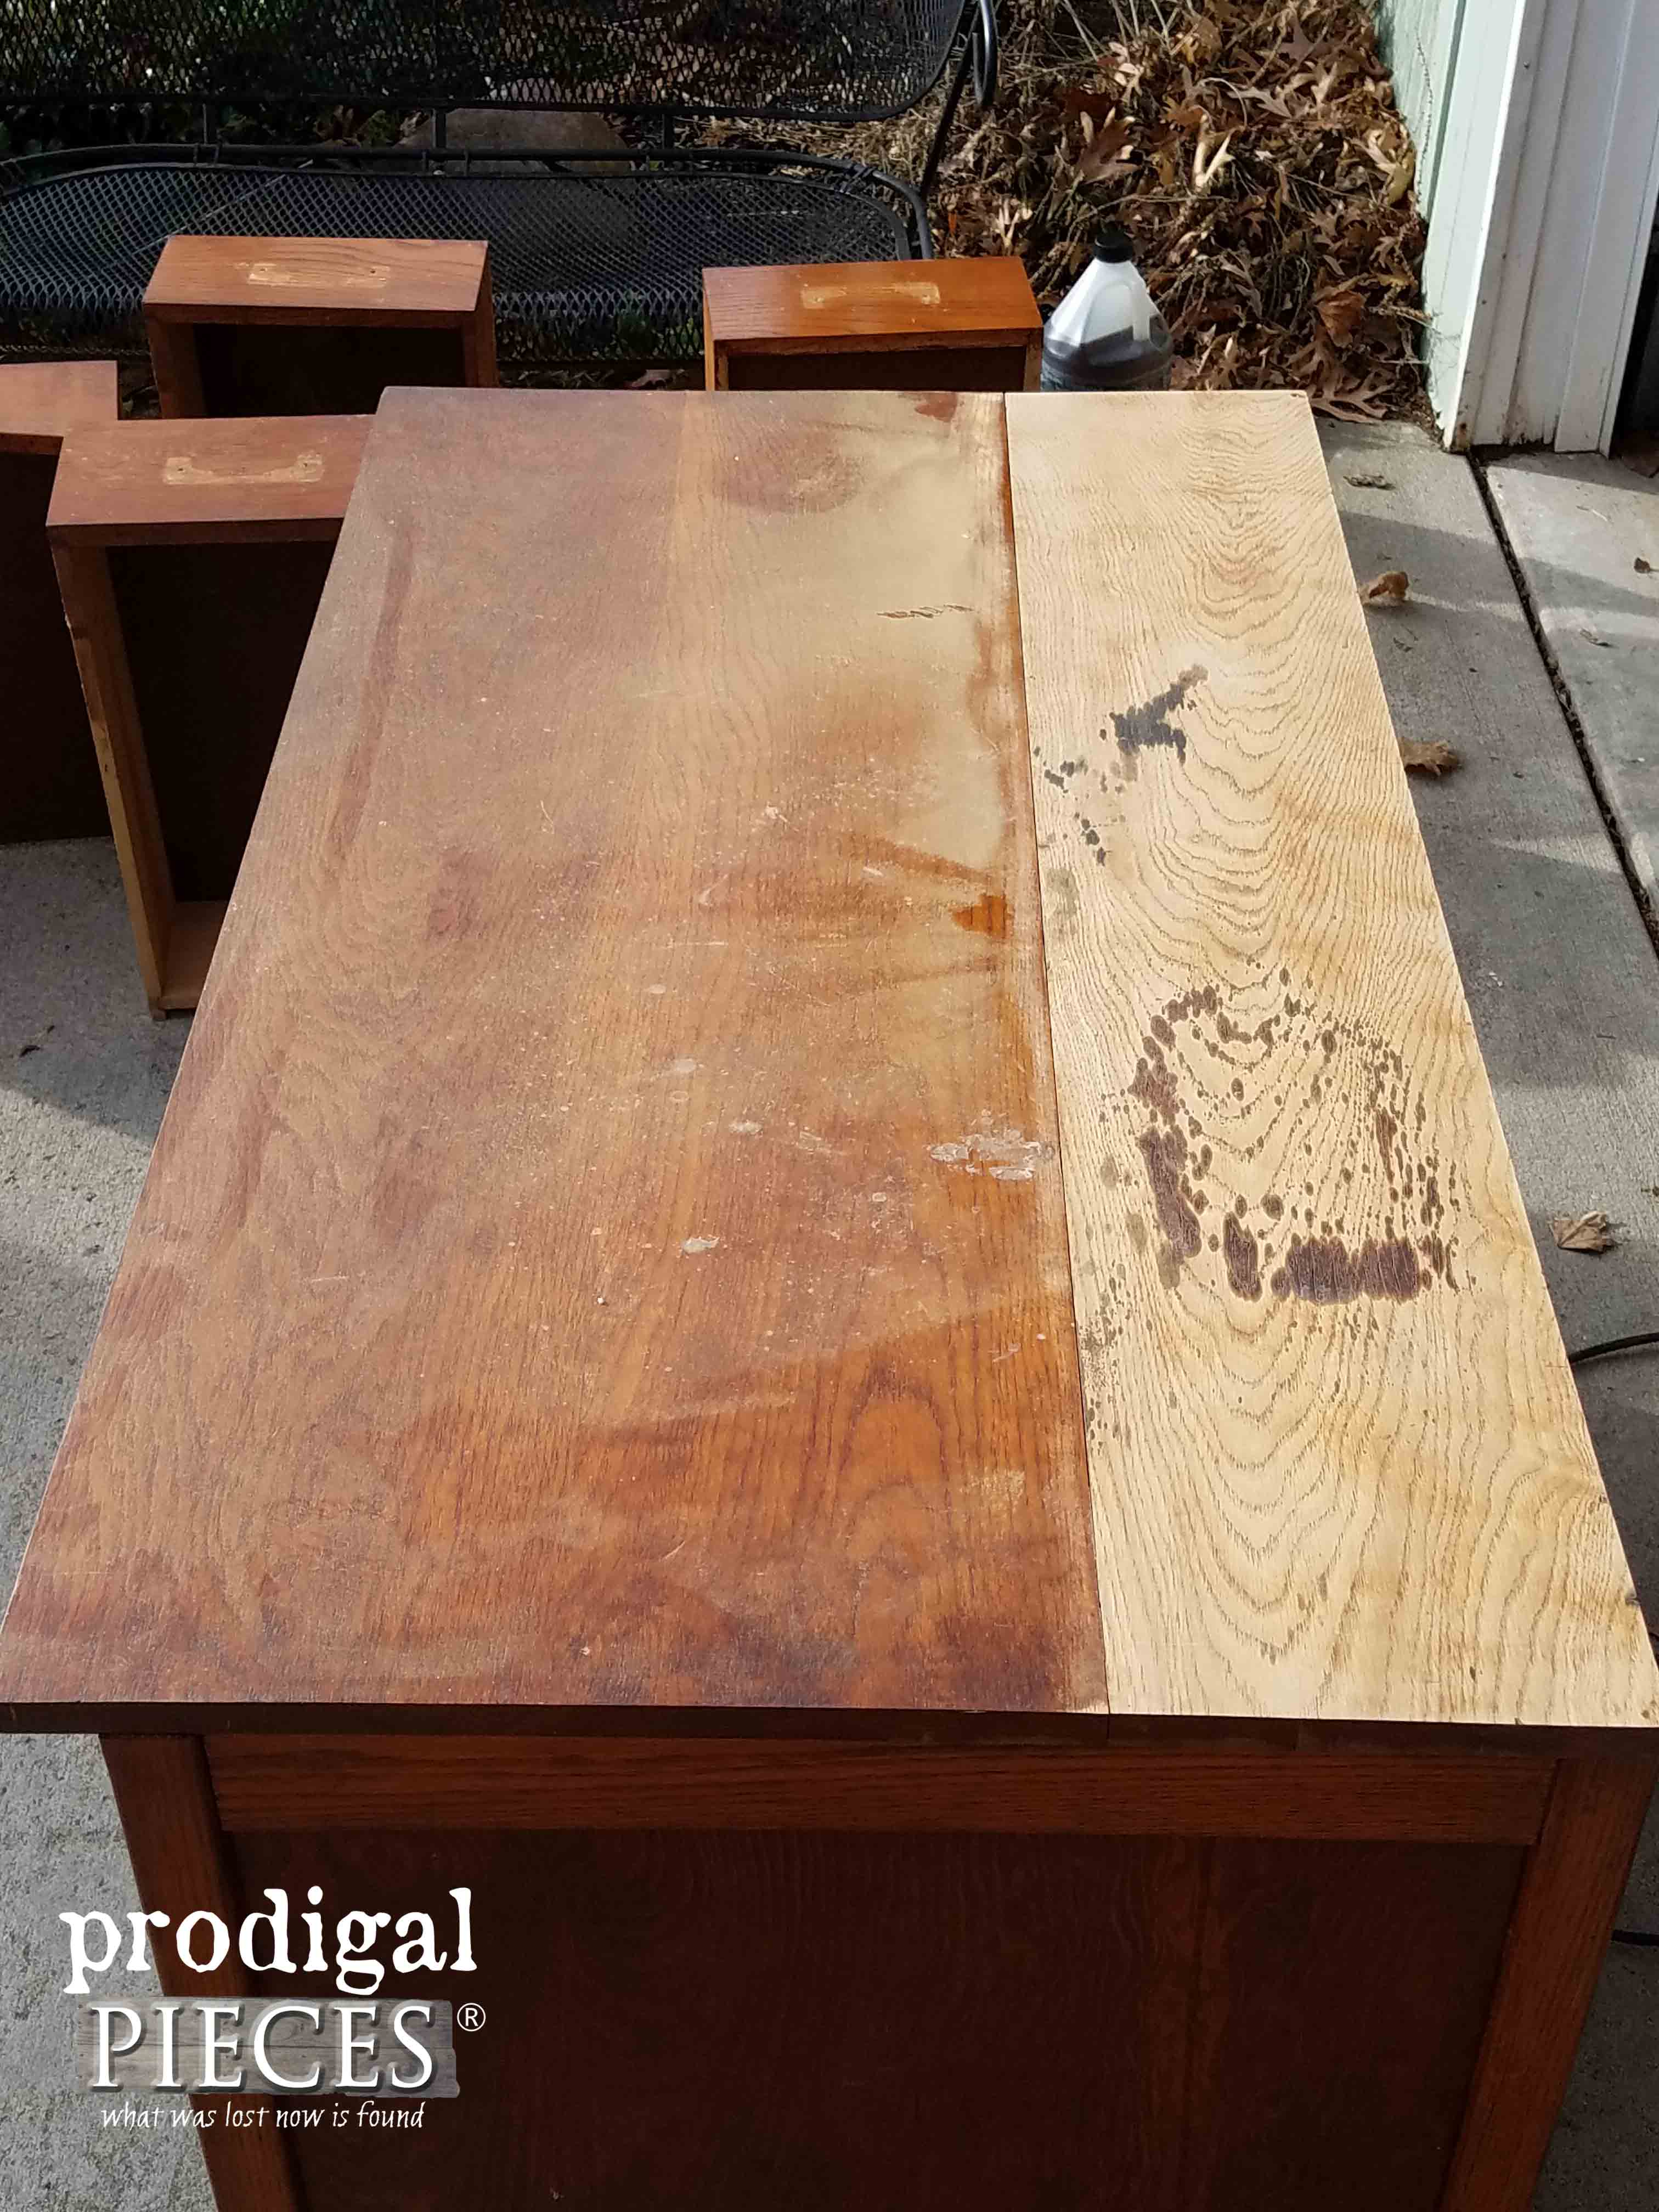
First, I took apart the top to take a look at why that board had separated from the rest. It looked as though two of the boards had been joined properly and this one was just butted up. Hmm…
Next, I whipped out my trusty sander and gave that lone board a sanding to see if those stains were as bad as I thought. Yep. No can do.
I was tempted to run with it and have some fun with that stain by turning it into something artistic like I did with my Farmhouse Desk, but then and idea dawned on me. Flip all the boards and start fresh on the other side. {{head smack}} Oh, and in case you’re curious, I could have easily sealed that stain and hide it with Kilz like I did with these pieces.
NEXT STEPS
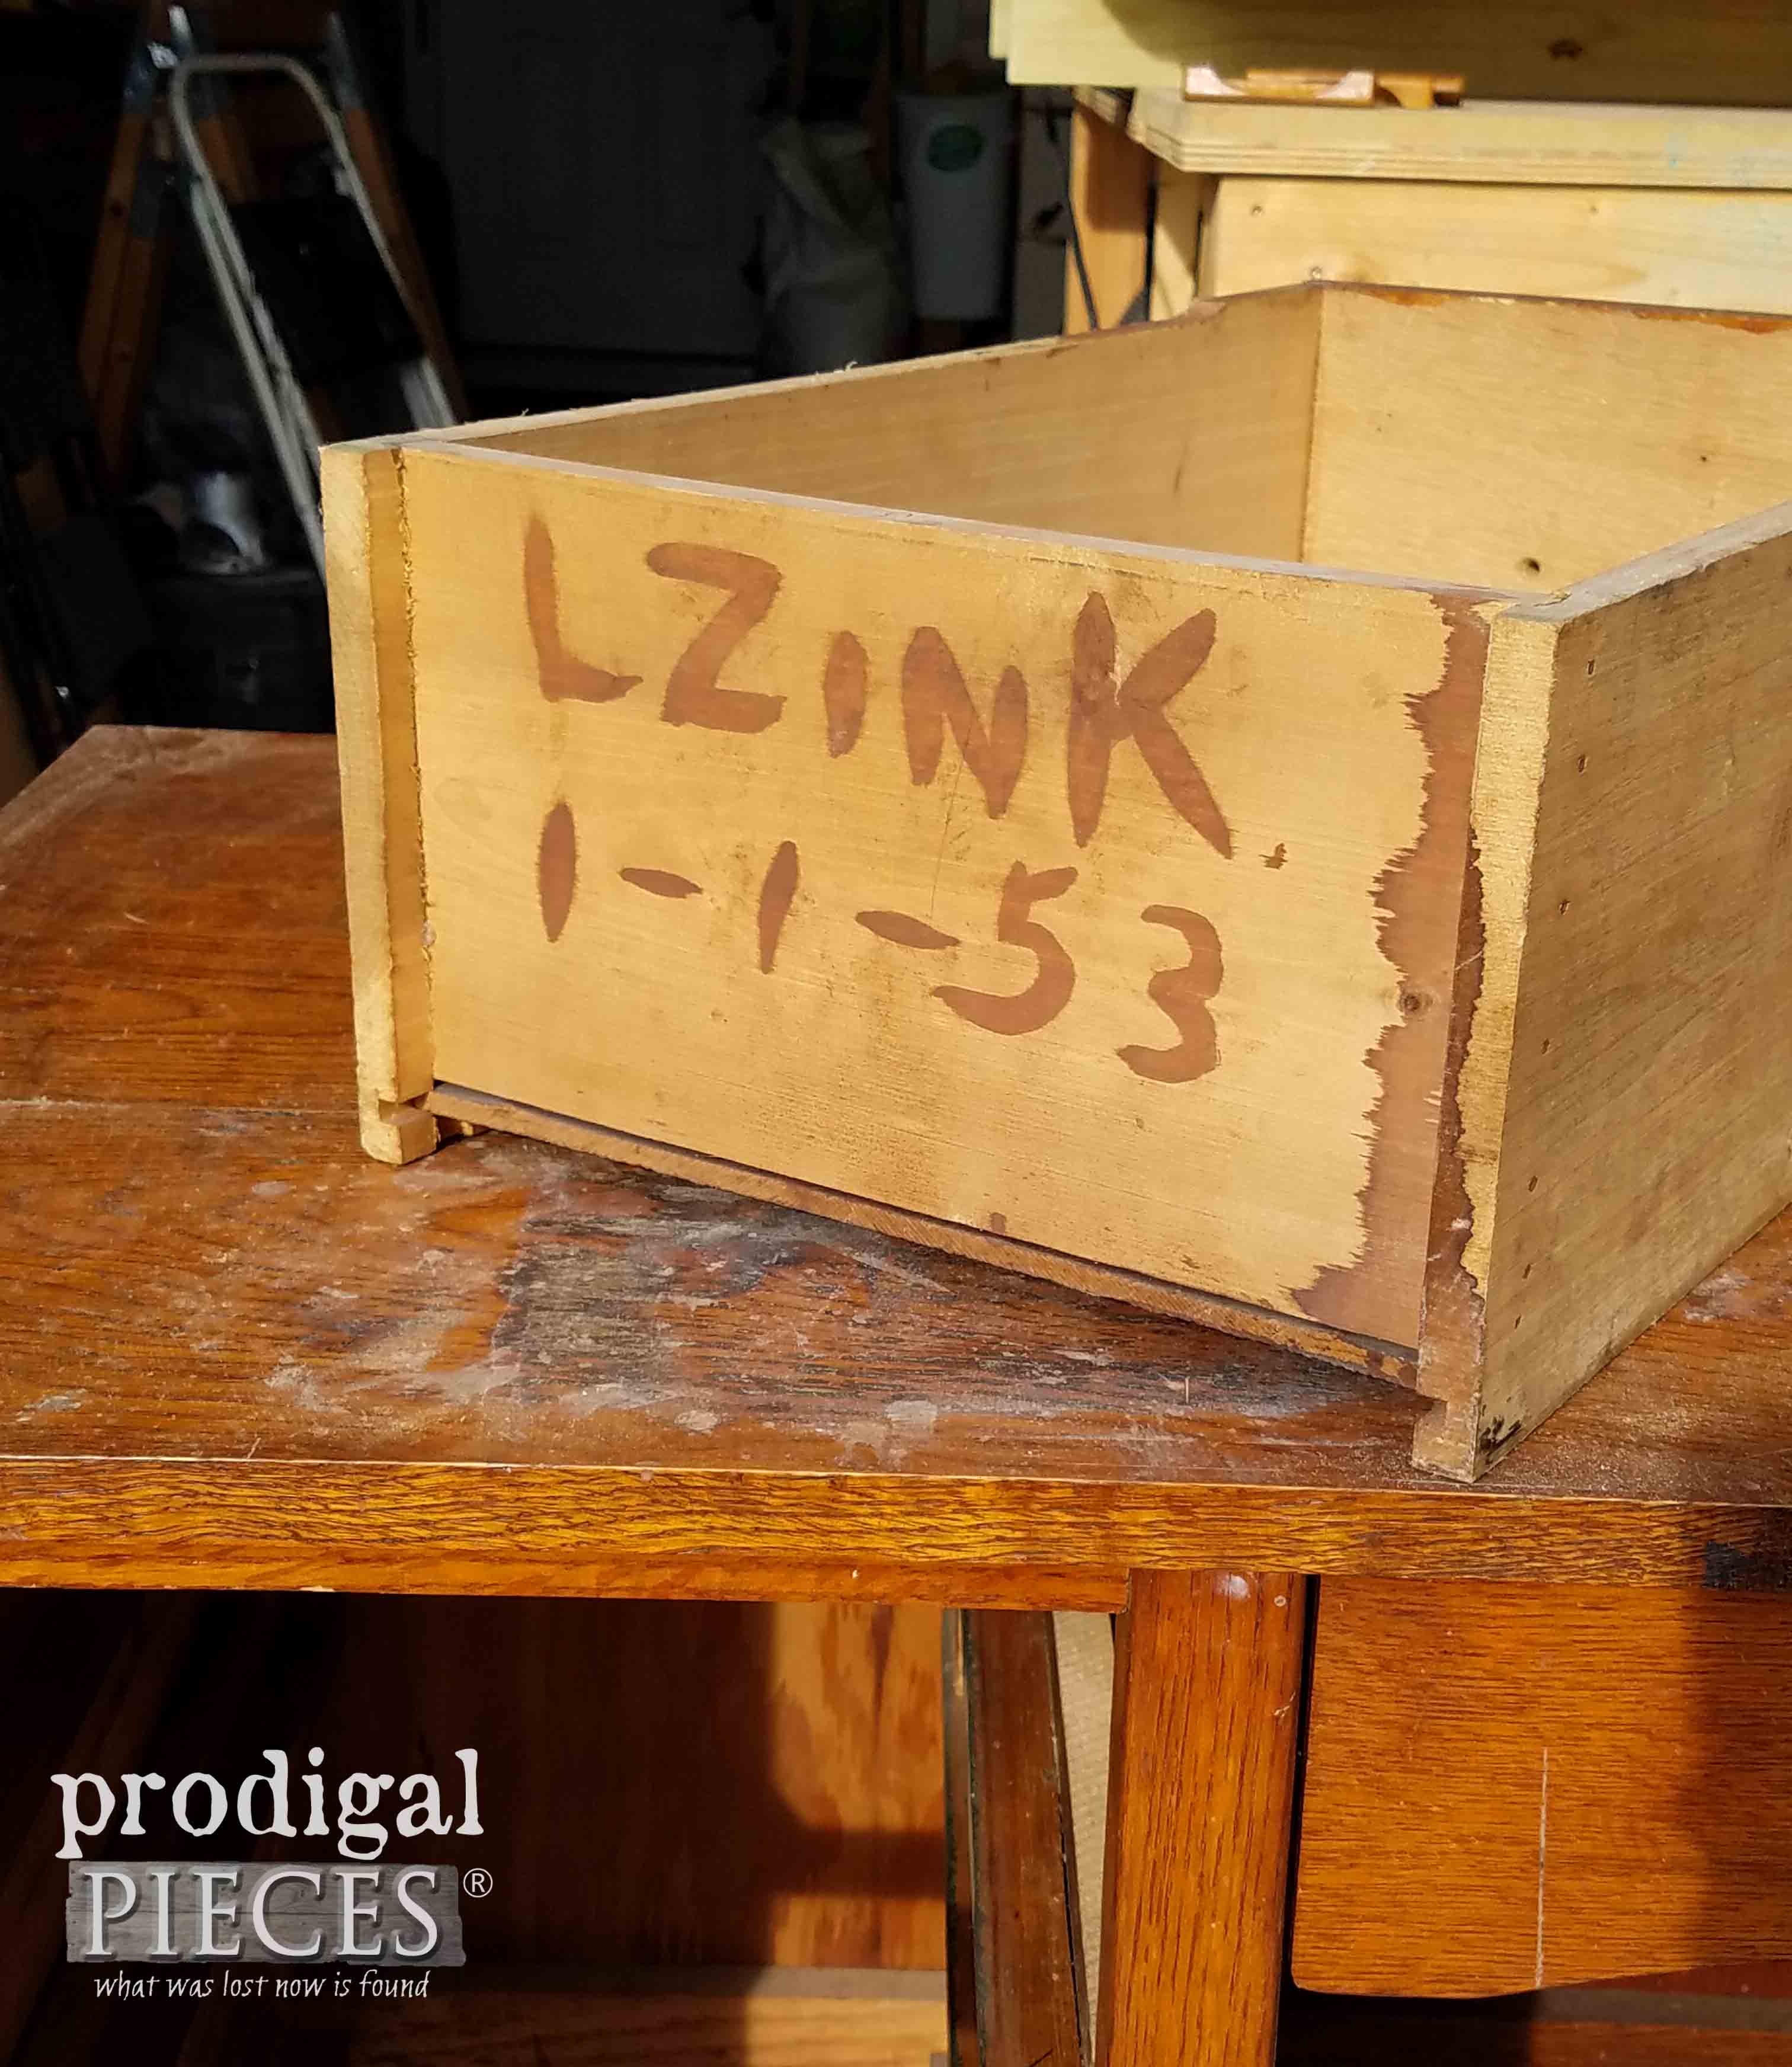
Now I had a fresh surface to work with and no fussing with those stains. Yay! Because I flipped the boards, I had to fill some holes with wood filler and make everything look new because this top wasn’t going to be painted. Same was true for the drawers. Sanded those down and even found some fun pieces of history while working, like this text on the drawer back.
There was even some text written on the inside of the cabinet frame. I love finding bits to the story. Sometimes it even makes my hair stand up and I get goosebumps to think about the person that put their life into their work.
However, though I had no intention of painting the top or drawers, the cabinet was a different story. Since my favorite way to finish a piece is a paint/stain combo, you know I had to do it. tsk.
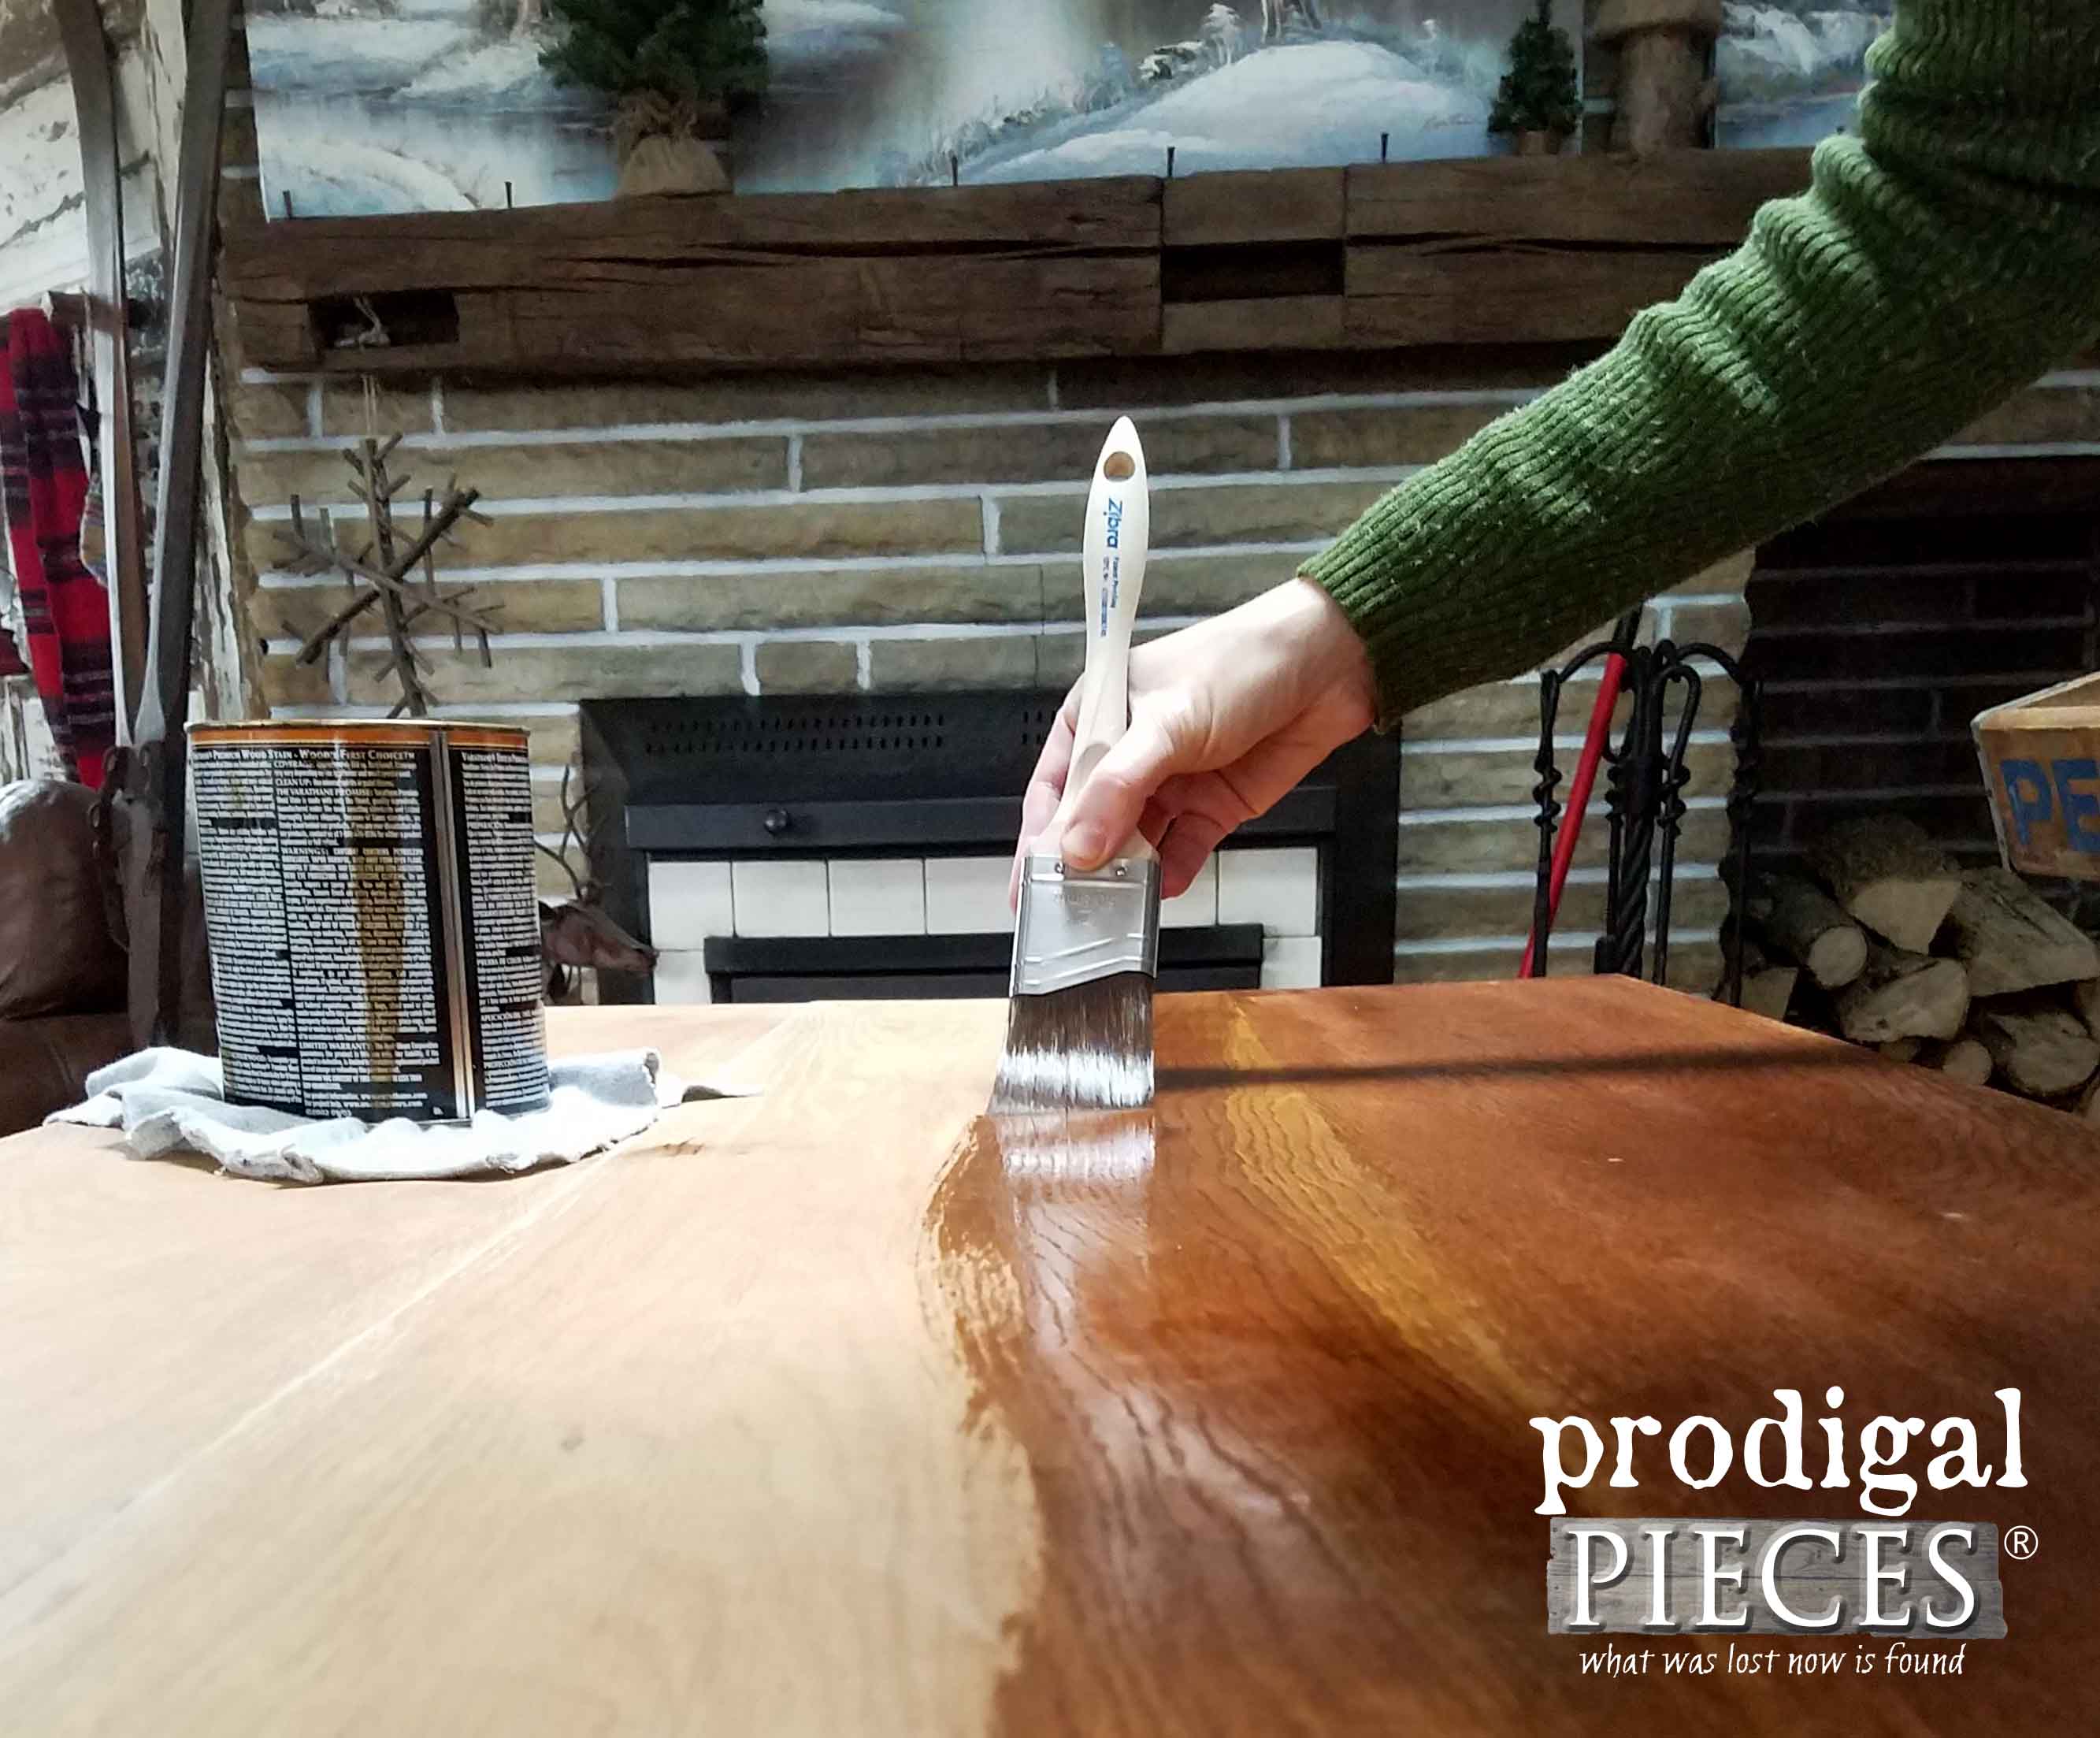
First, I apply a fresh coat of Provincial Stain. Then to deepen the color, I used another layer of Espresso.
PAINT TIME
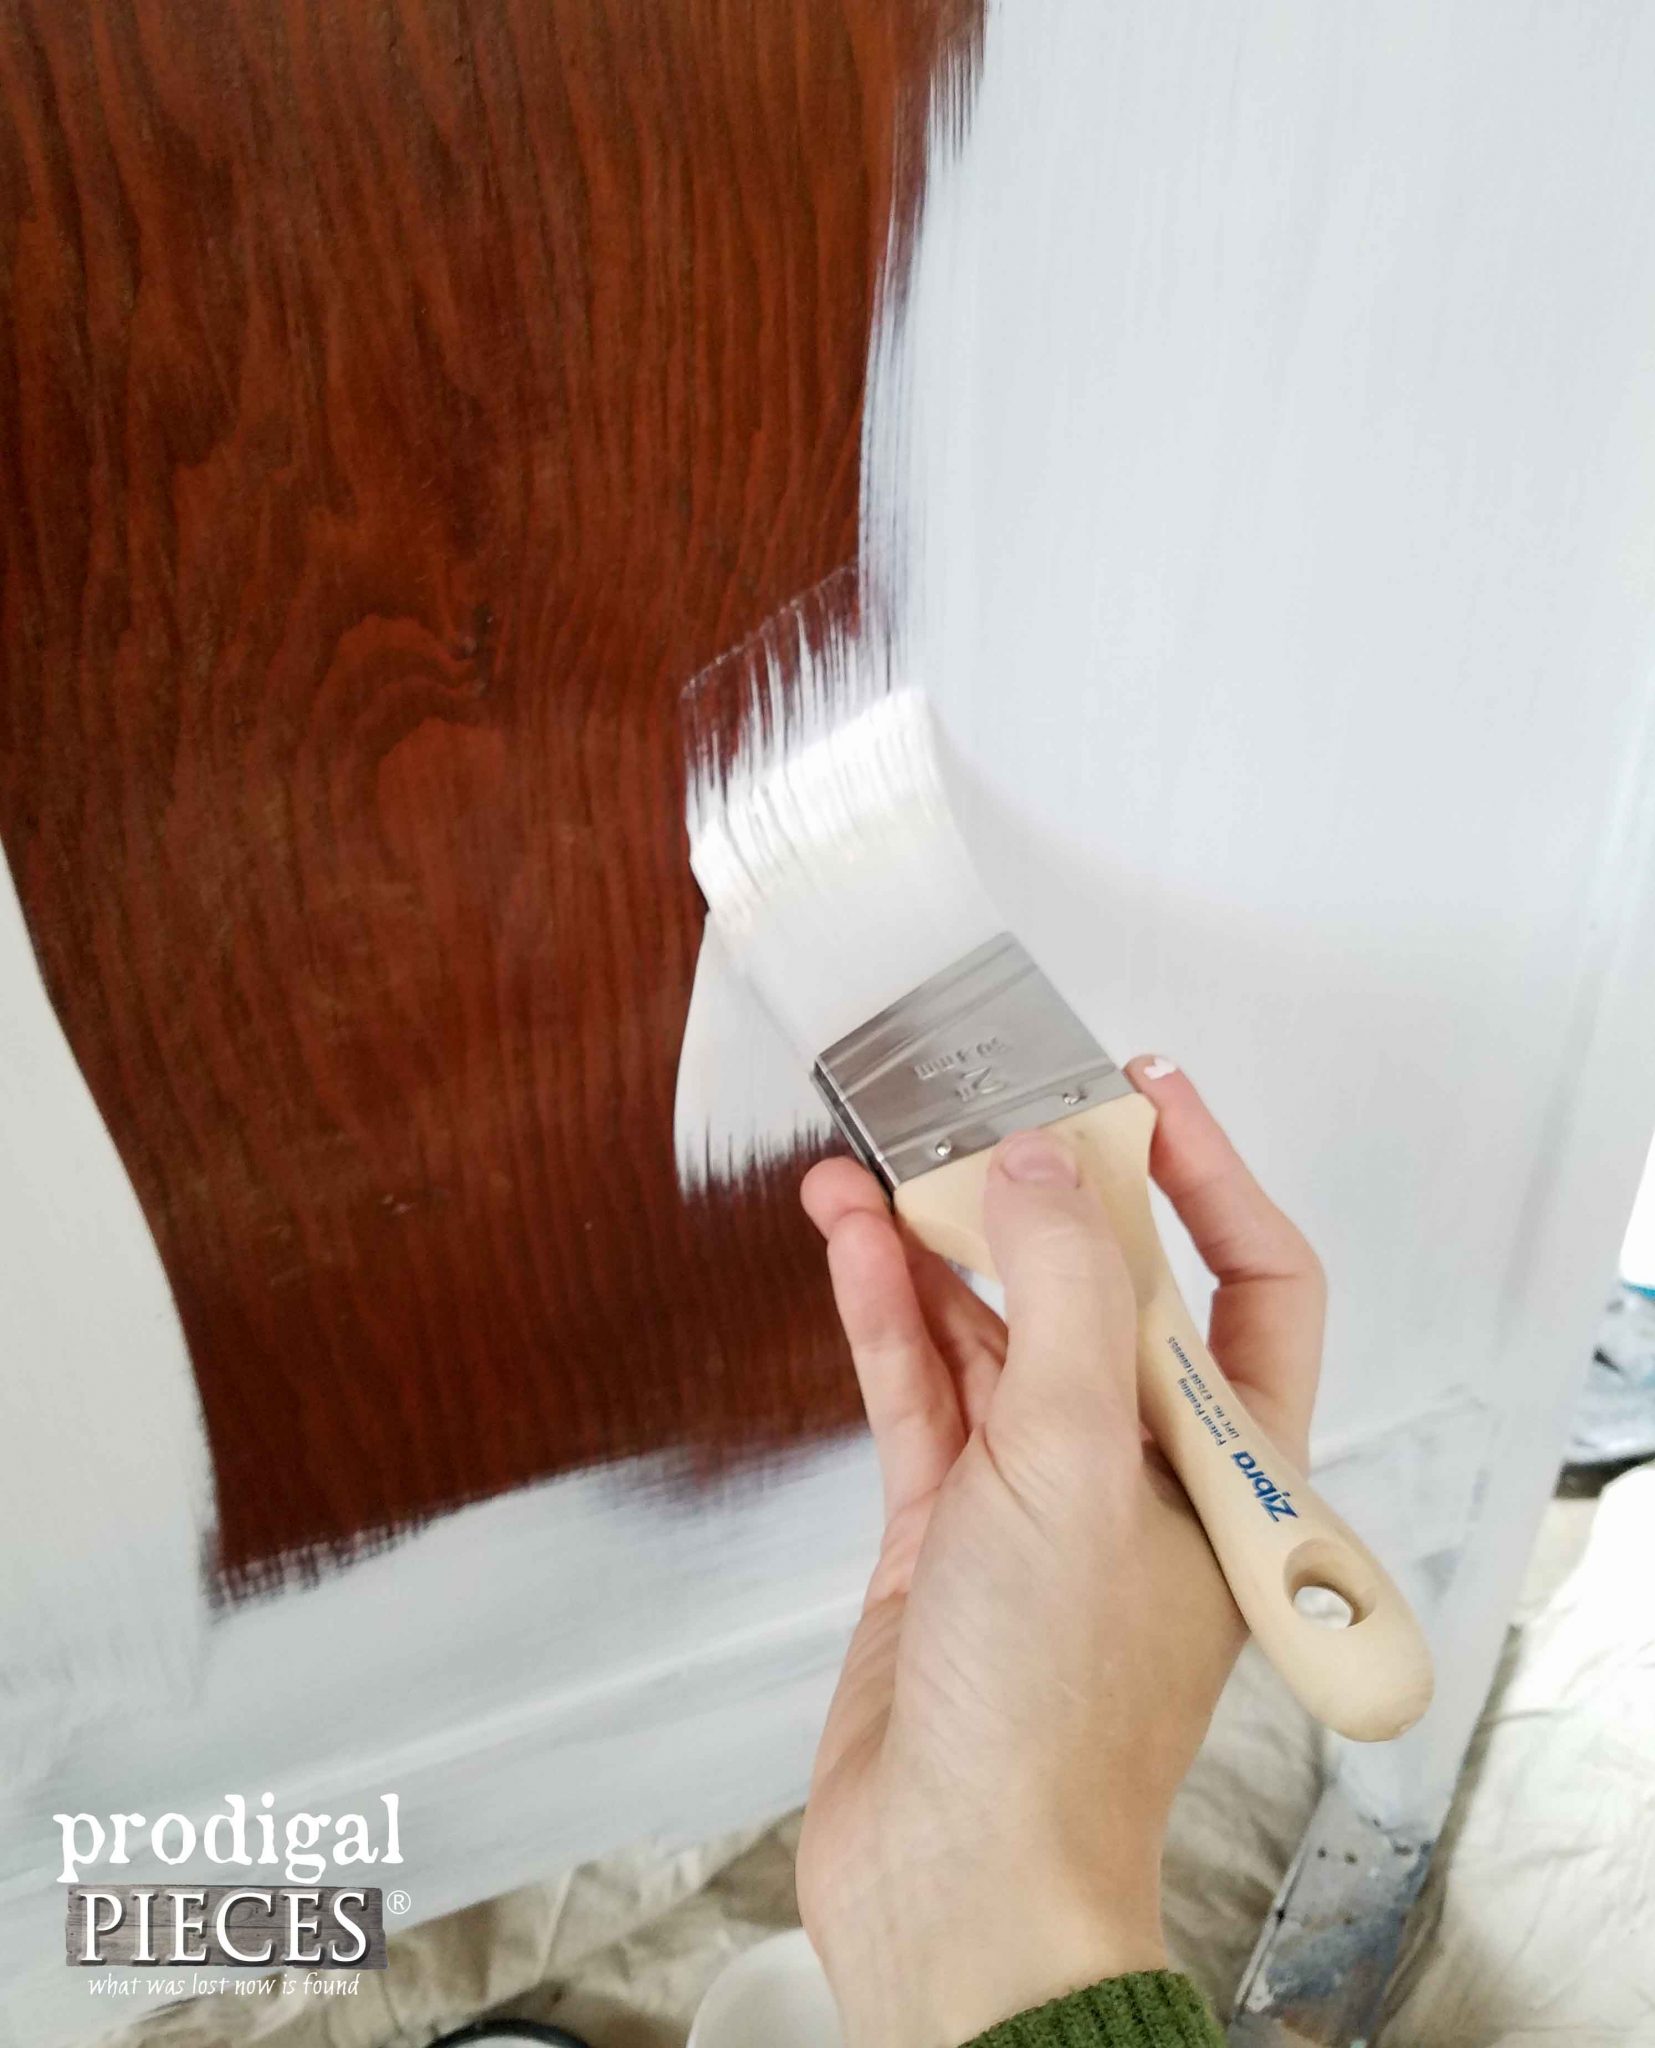
While the top and drawers are curing, I tackle the cabinet.
After adding a bit of whimsy to the drawers with my stencil and waiting for all to cure, the last step is to topcoat it.
THE REVEAL
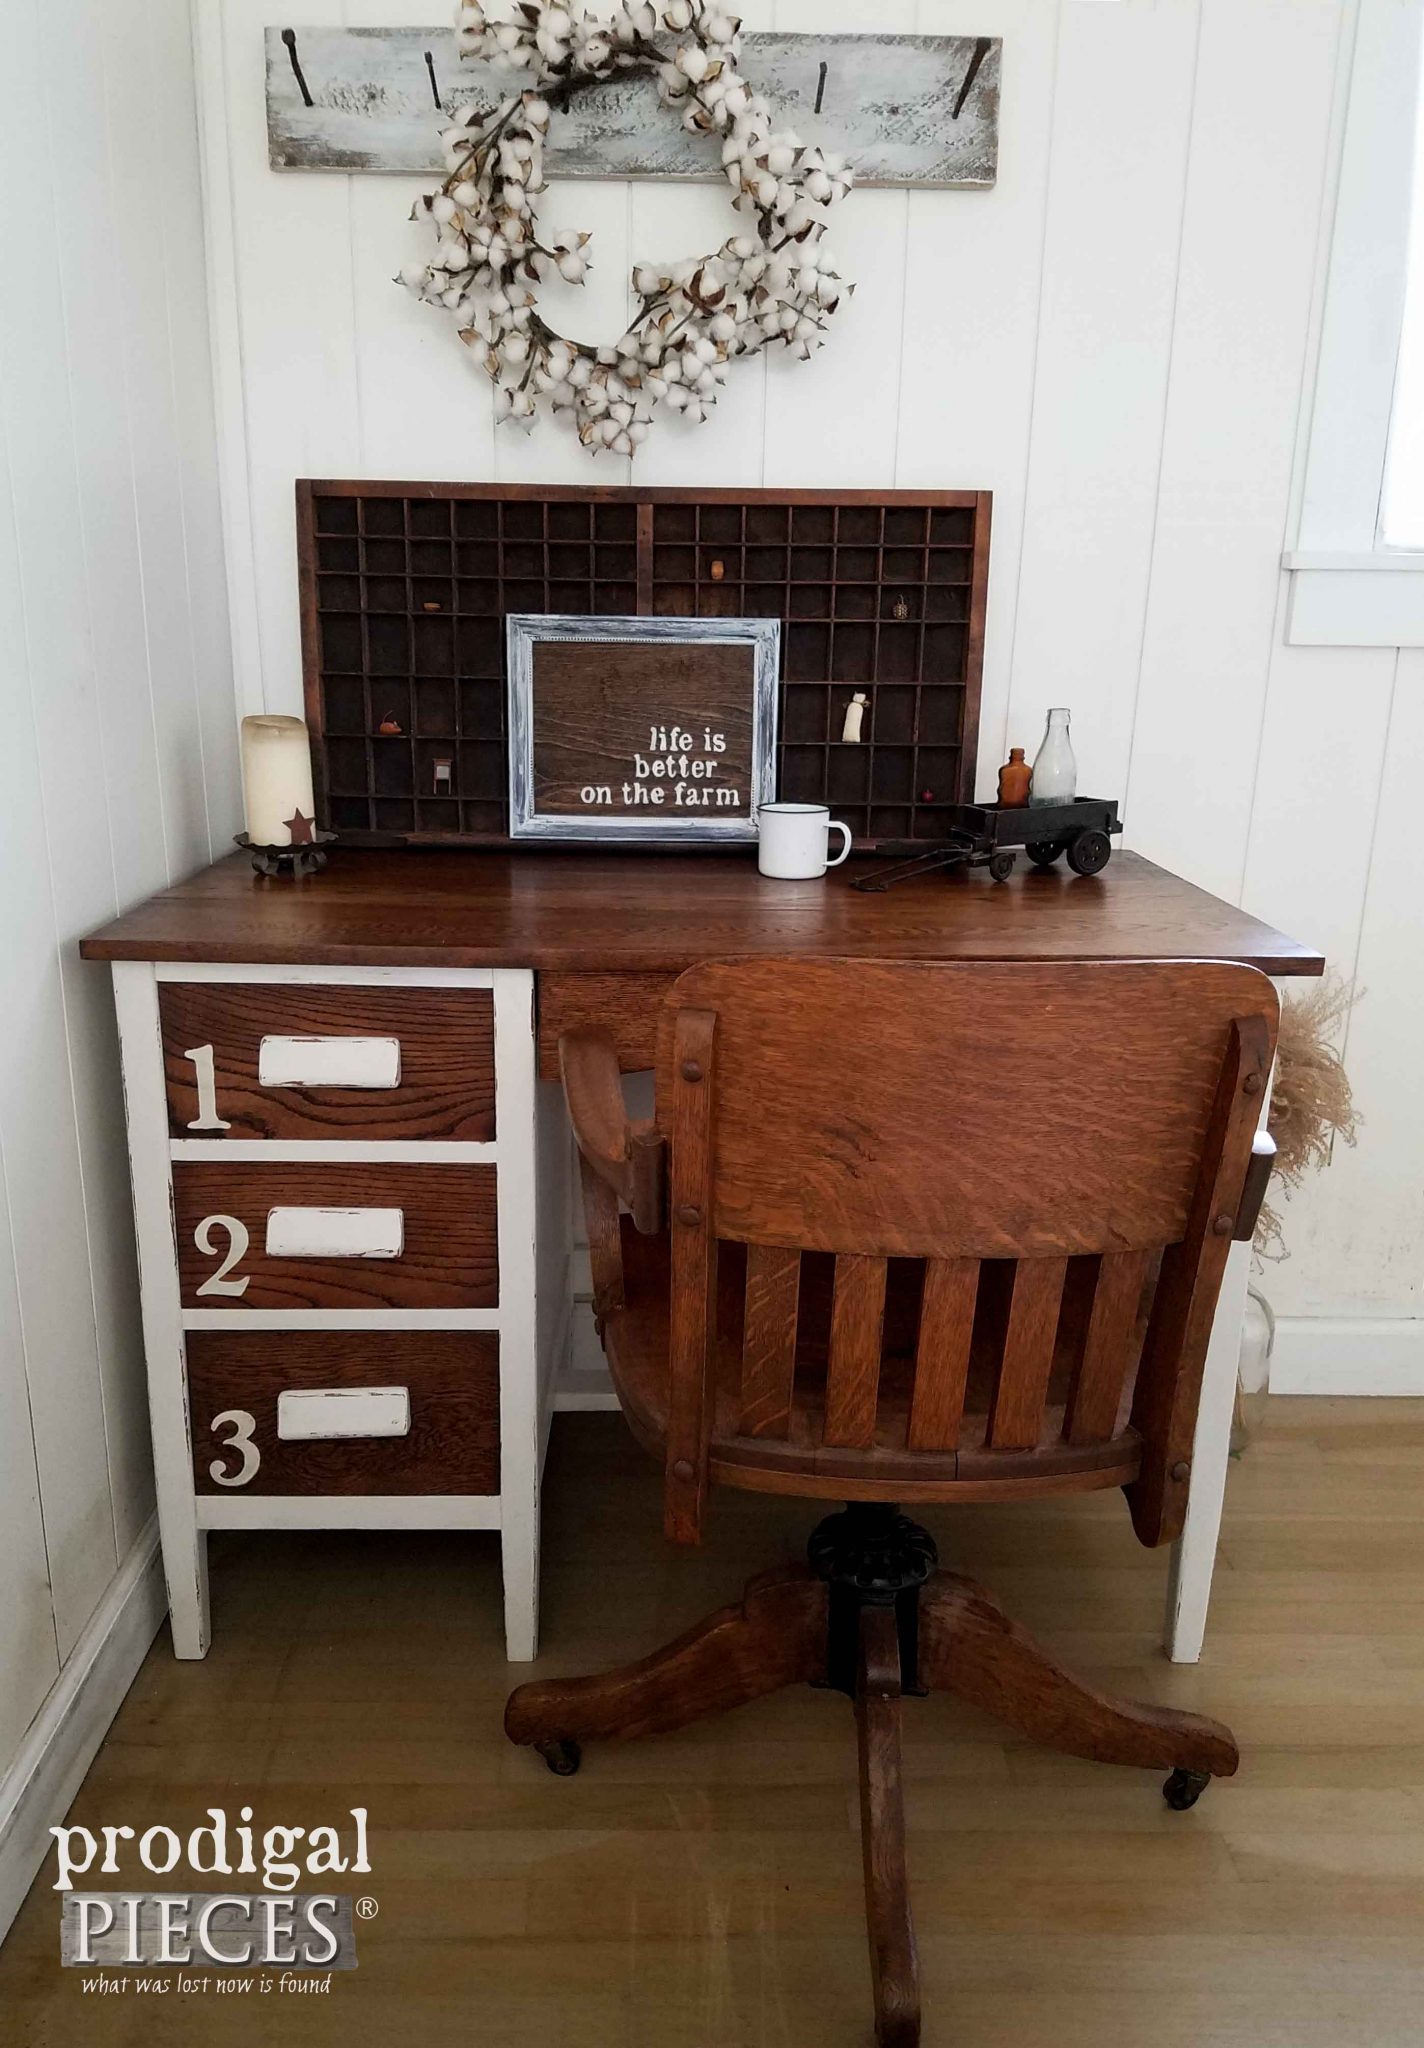
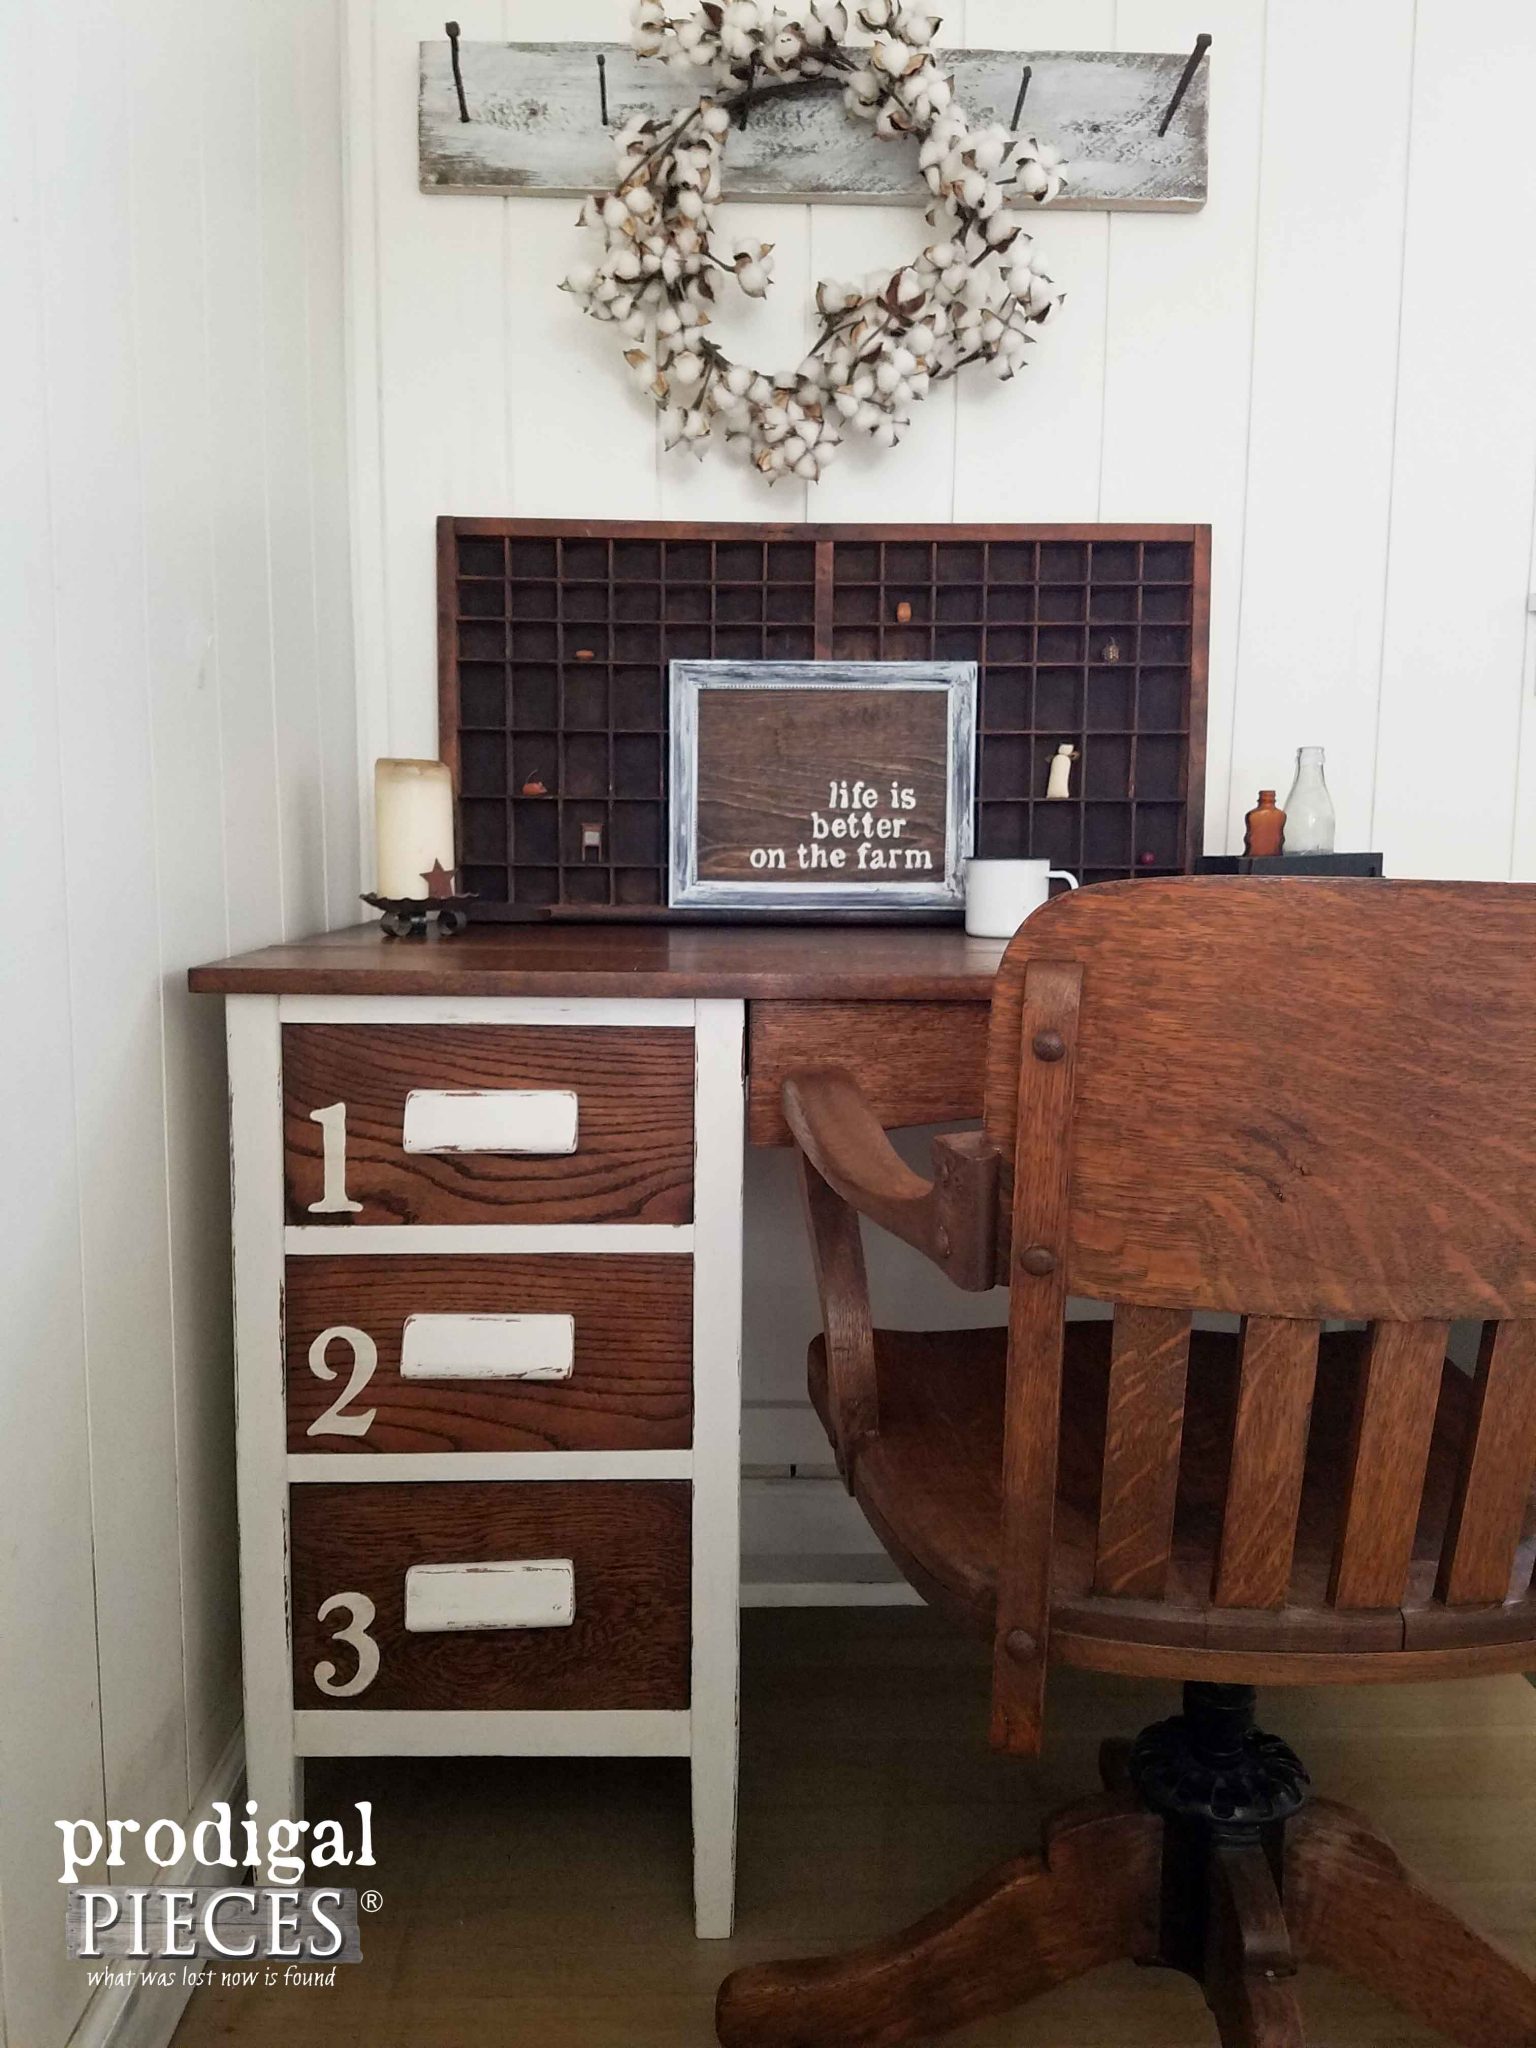
You may be thinking to yourself that a desk isn’t much good without a chair. Well, that’s when I head to my favorite Craigslist. By golly, don’t you know the first listing I find is the one I want. A 1940’s oak desk chair with a gorgeous patina and a story to tell. Don’t they look fantastic together?
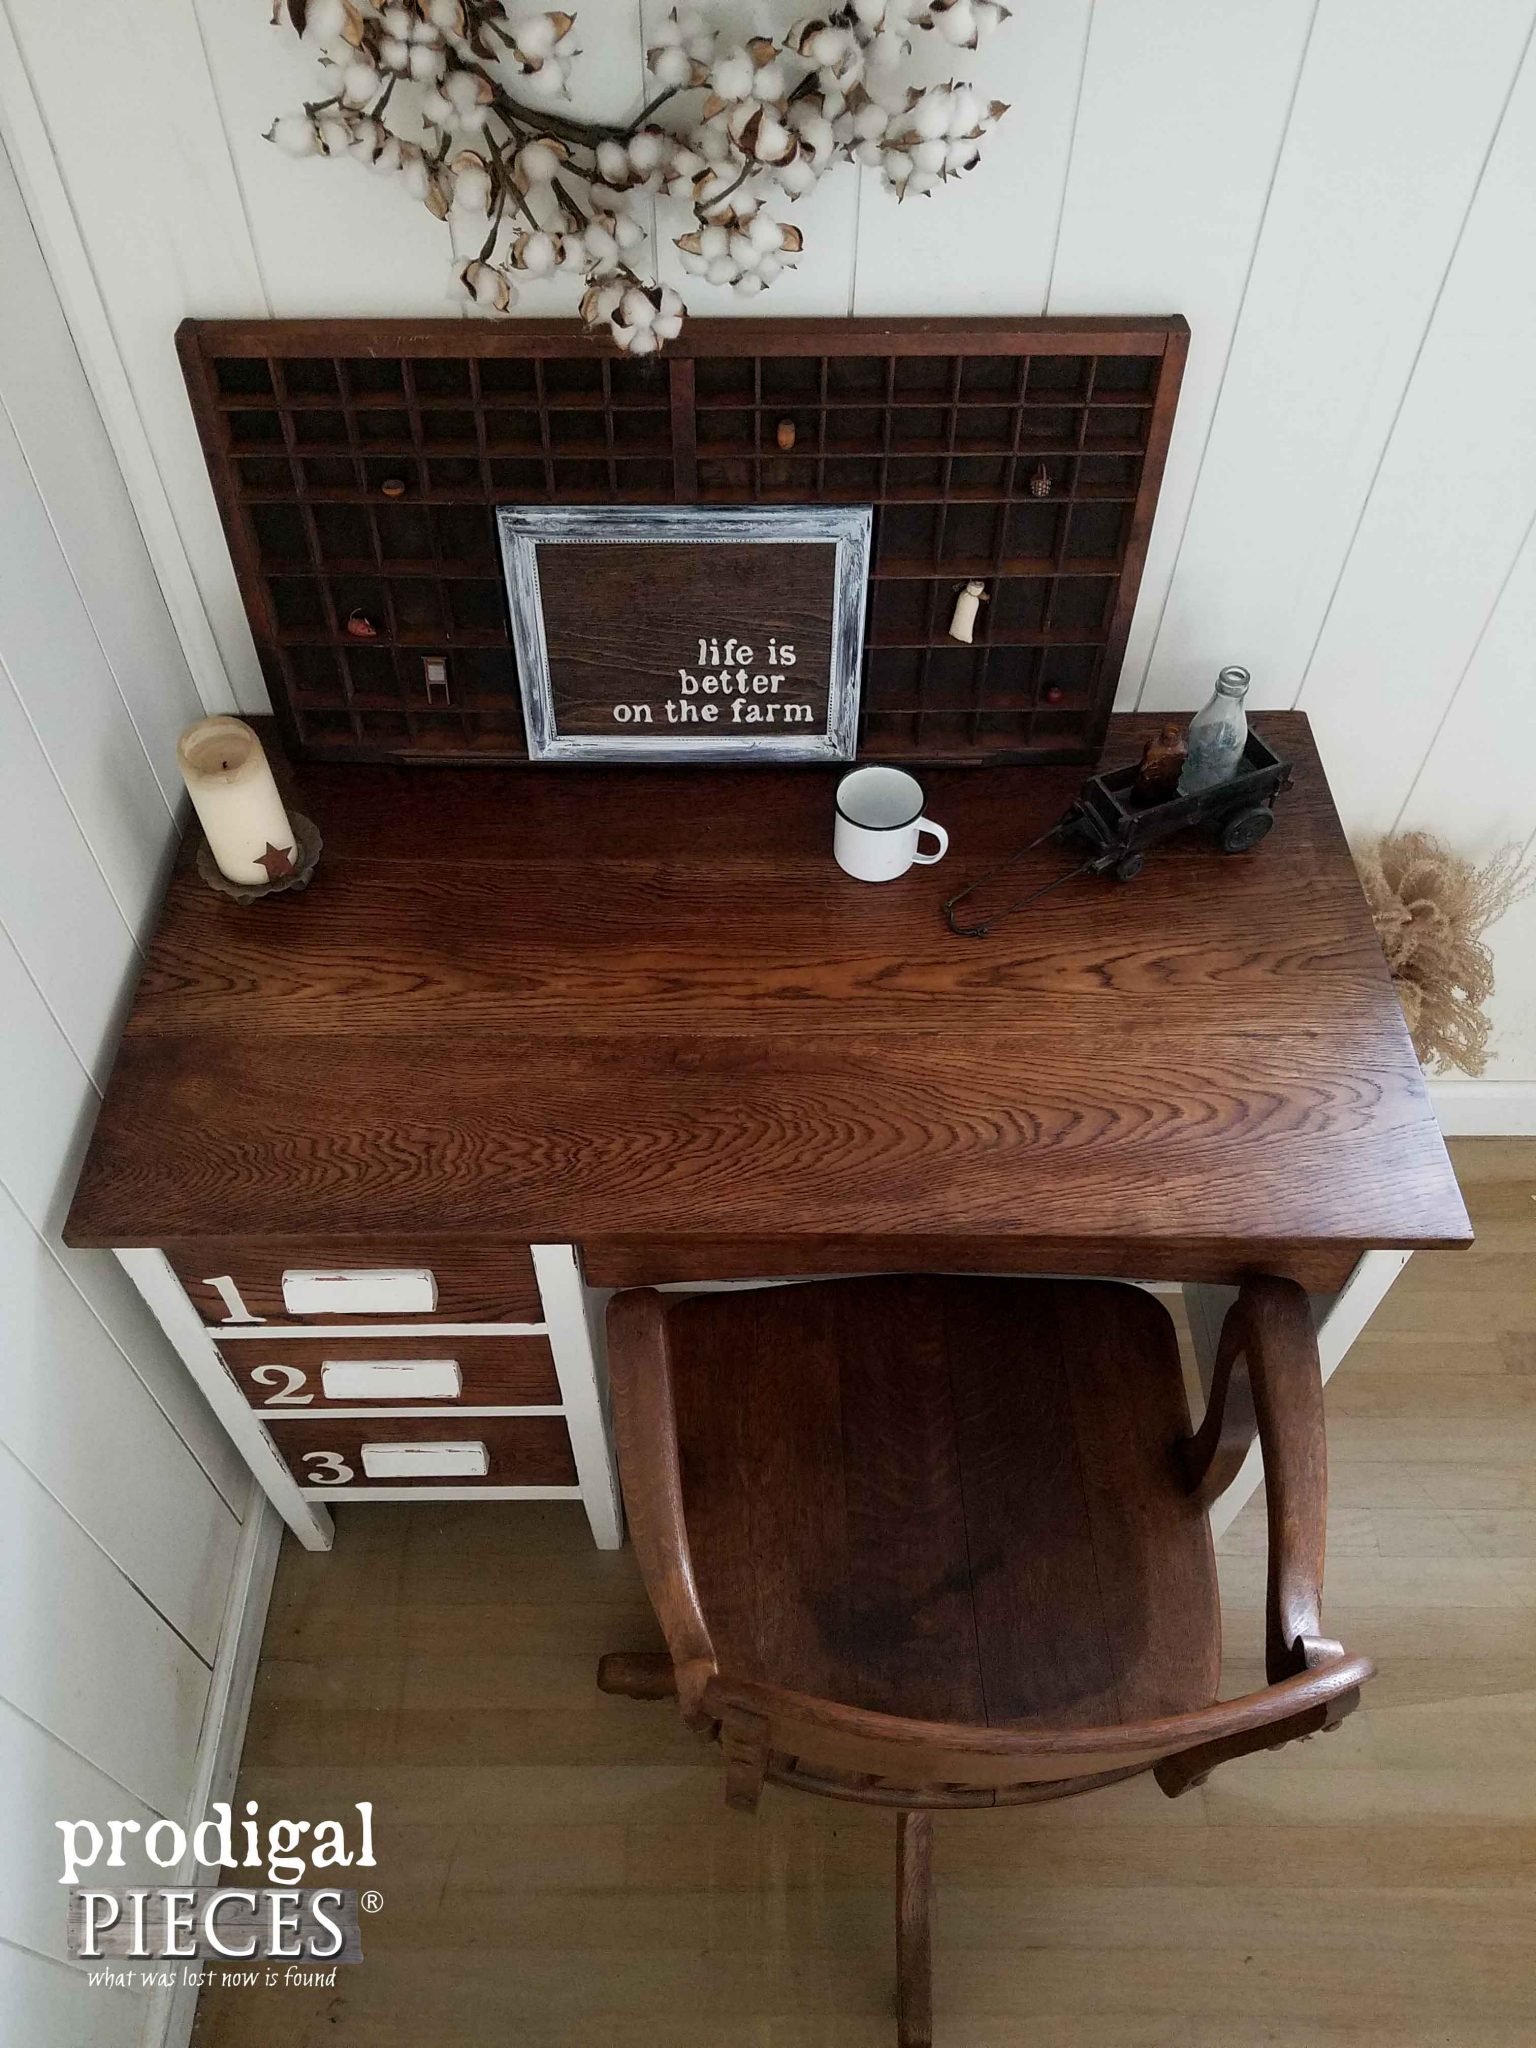
The top came out wonderful and I am always loving that rich dark color of wood.
The stenciling added that bit of fun to bring more of an industrial twist to the oak desk.
EXTRA FUN
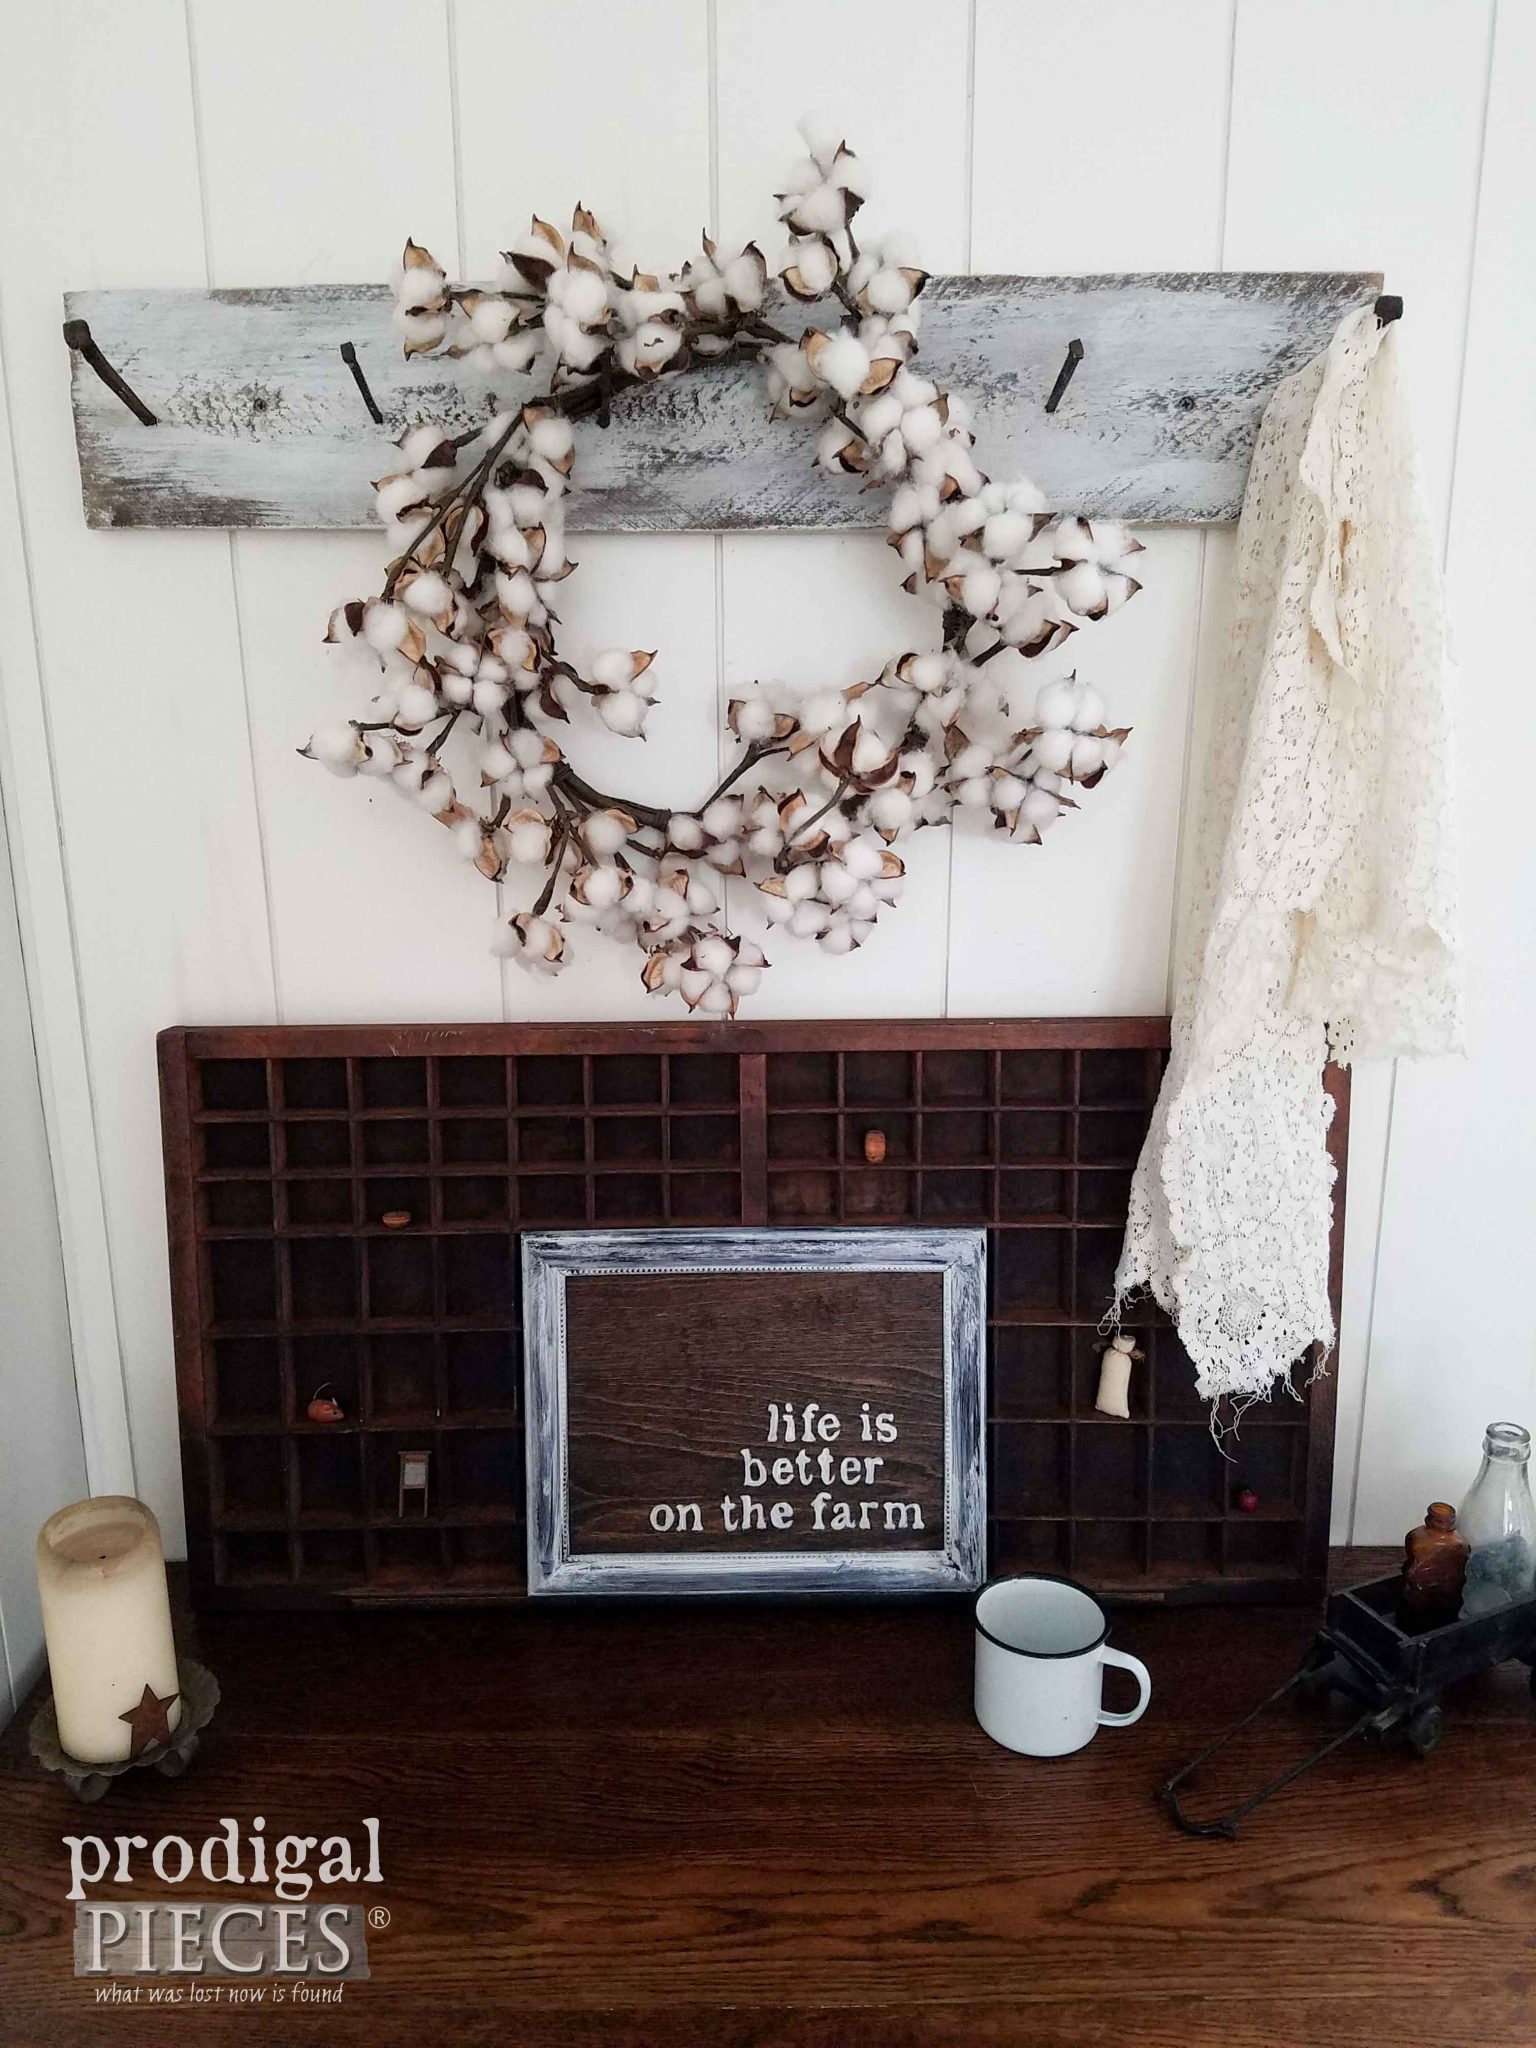
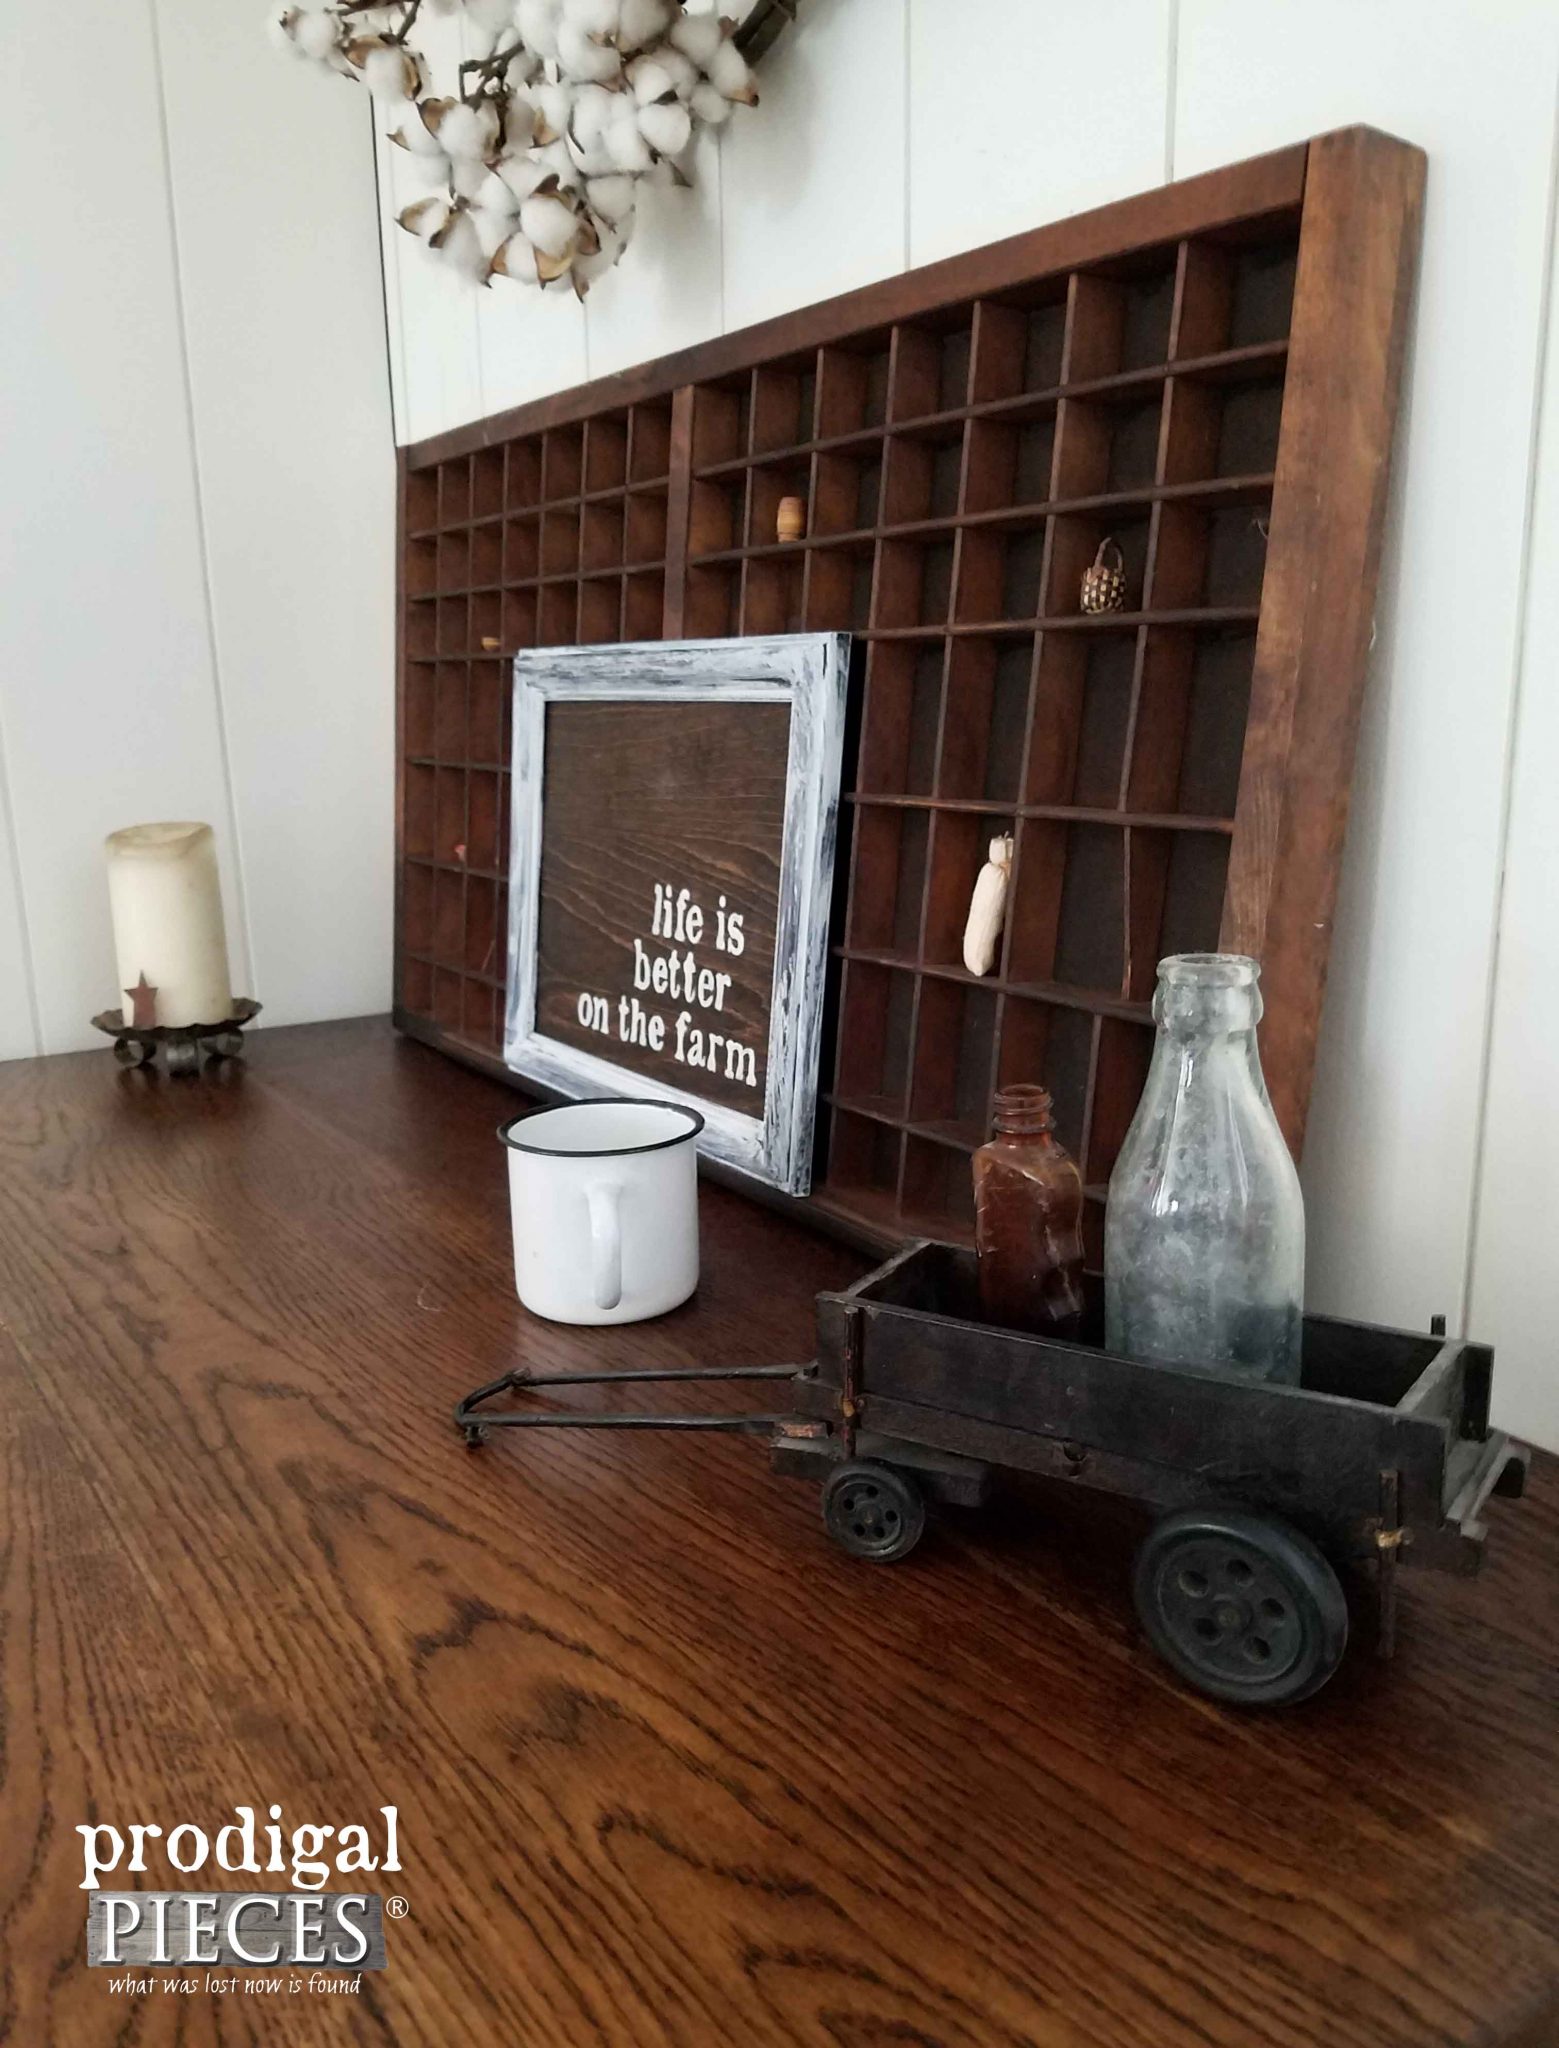
I even whipped up a little sign with one of my favorite sayings. You can find both this oak desk and sign available in my online shop.
This makeover was fun and got the itch out of my system to see this desk redone. Now, I just need to give my parents a hug and thank them for all they do.
Additionally, I encourage you to pin and share this project so you can inspire others to get out there and DIY too!
While you’re at it, be sure to sign up for my newsletter. Until next time!




Love it! Free is always the best! A desk anyone would be proud to own! Have a wonderful day!
That’s wonderful to hear, Sharon. Thank you! Yes, free is best.
What a difference! Wow! The stain color is gorgeous! I’m sure if the maker of this desk could see it, they would be very proud!! Yummm!
Aww…thank you for saying so, Jamie. I sure hope so!
Larissa I would have given up after seeing the wood piece on top. But of course that is the difference between an amateur and an expert like you. My dad has always been my inspiration too when it comes to DIY so I guess these things run in the genes. Great job and an amazing save!!
It had to be done. 😉 Thanks, Mary, and that’s wonderful to hear your parents were inspiration too.
Sounds like the apple didn’t fall too far from the tree and now you are giving your children those same special memories. My Dad was an avid DIYer and could turn a lemon into buckets of lemonade, so I can relate to your story. As for the desk – bravo as always!
Yes, both my parents have made me appreciate much. What a blessing! You had awesome parents and it shows. Hugs, Marie!
Fantastic! I never would have thought about flipping the top. Are most held in place with screws? Did you have to glue and clamp funky board? I’m always impressed with your creativity.
Your sweet childhood memories warmed my heart. Just yesterday I was thinking about how my parents positive influences led me to be the person I am today. My Mom (79) is creative and can fix/make anything, my Dad (78) is a health oriented Kung Fu master. I’m so very blessed and thankful. I hope I have been half as good of an inspiration to my three boys.
Thank you Larissa for sharing Love and Inspiration. Namaste.
Yes, they were screwed on and flipping them was easy. I just butted up and reattached and all was good. What an awesome set of role models you have. Yes, I’m sure you are a wonderful inspiration to your children. Thank you for the love!
Another great project! I’m curious, how do you clean your brushes when you’re finished with them? That’s always a pain for me and I can never get them really clean.
Thanks, Kim! I’m anal about prompt cleanup, so as long as you use warm water and get at it they will be fine. I also make sure to not get paint up in the base of the brush which causes build-up and stiffness. Sometimes a good scrub brush can be used to help loosen dried paint, just make sure you start at the base and work in the same direction moving down the bristles. You can also soak them in rubbing alcohol to loosen old paint too.
Great – thanks for the tips!
Great “vision” for your projects! What an inspiration you are! One of my favorite blogs to read! Go, girl!
This is wonderful! Flipping the top pieces over was a genius idea and now I know to keep that option in mind when looking at/for pieces to redo. Thank you!
Wonderful! It can really come in handy for sure. 🙂 Thanks!
Hopefully your vision is starting to rub off on me. As soon as I saw the stain after your first sanding, I said, “Why not flip the board?” 🙂 Thanks for the inspiration as always.
Wahoo! I hope so! I have done that before, so I was kinda like, “Why didn’t I think of that earlier?” Ah well. It worked out for the best.