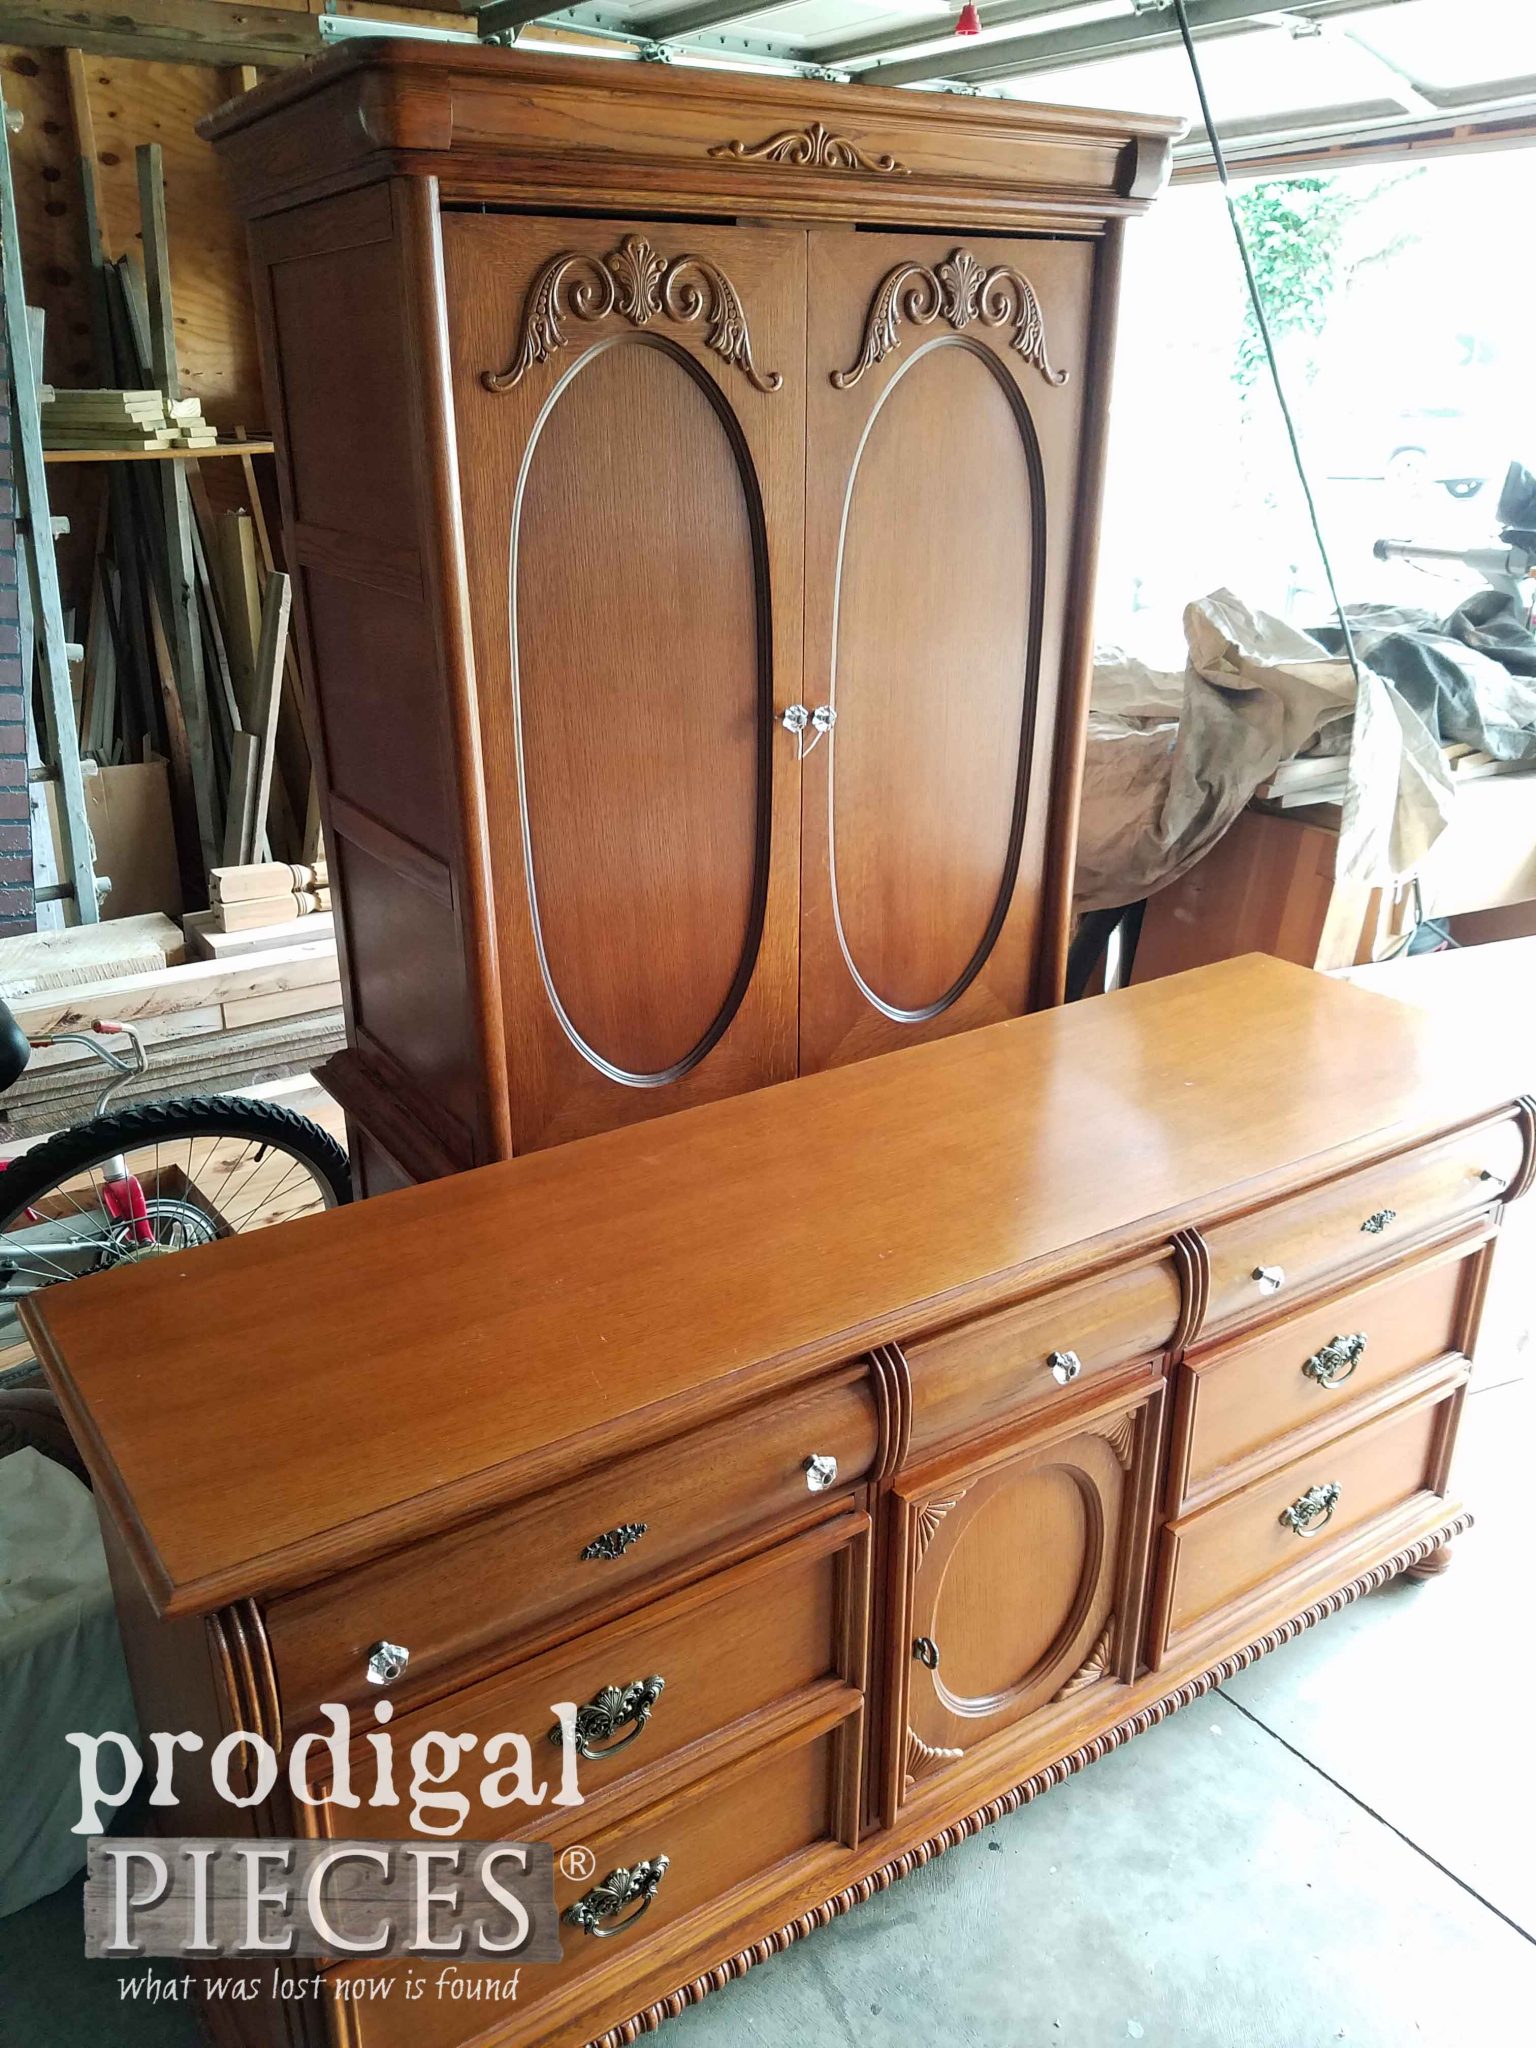
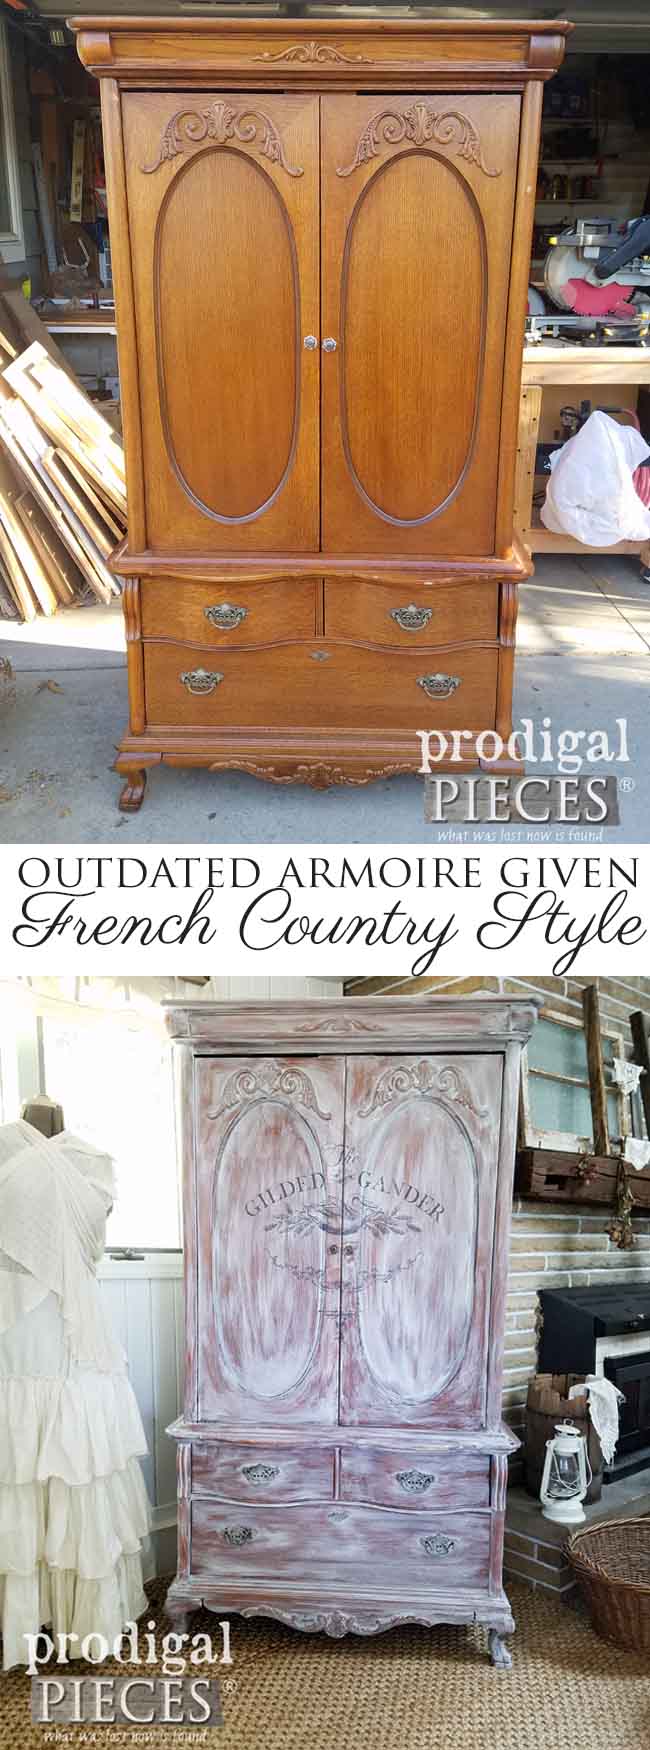
Last week I showed you this set and started with the mirrored dresser seen HERE to get us started. It went from orangey oak veneer to a look that had many of you surprised how easy it really is to update with no prep work. Yep, it’s that easy. Today, I’m tackling the entertainment center and turning it into a French country armoire.
Normally, I try to keep sets like this together, but I have found that every time I do I end up selling them separately since no one wants a set. So, this time I’ve done two completely different looks to the pieces. Last time was all about the dark color, while today I’m going to brighten things up.
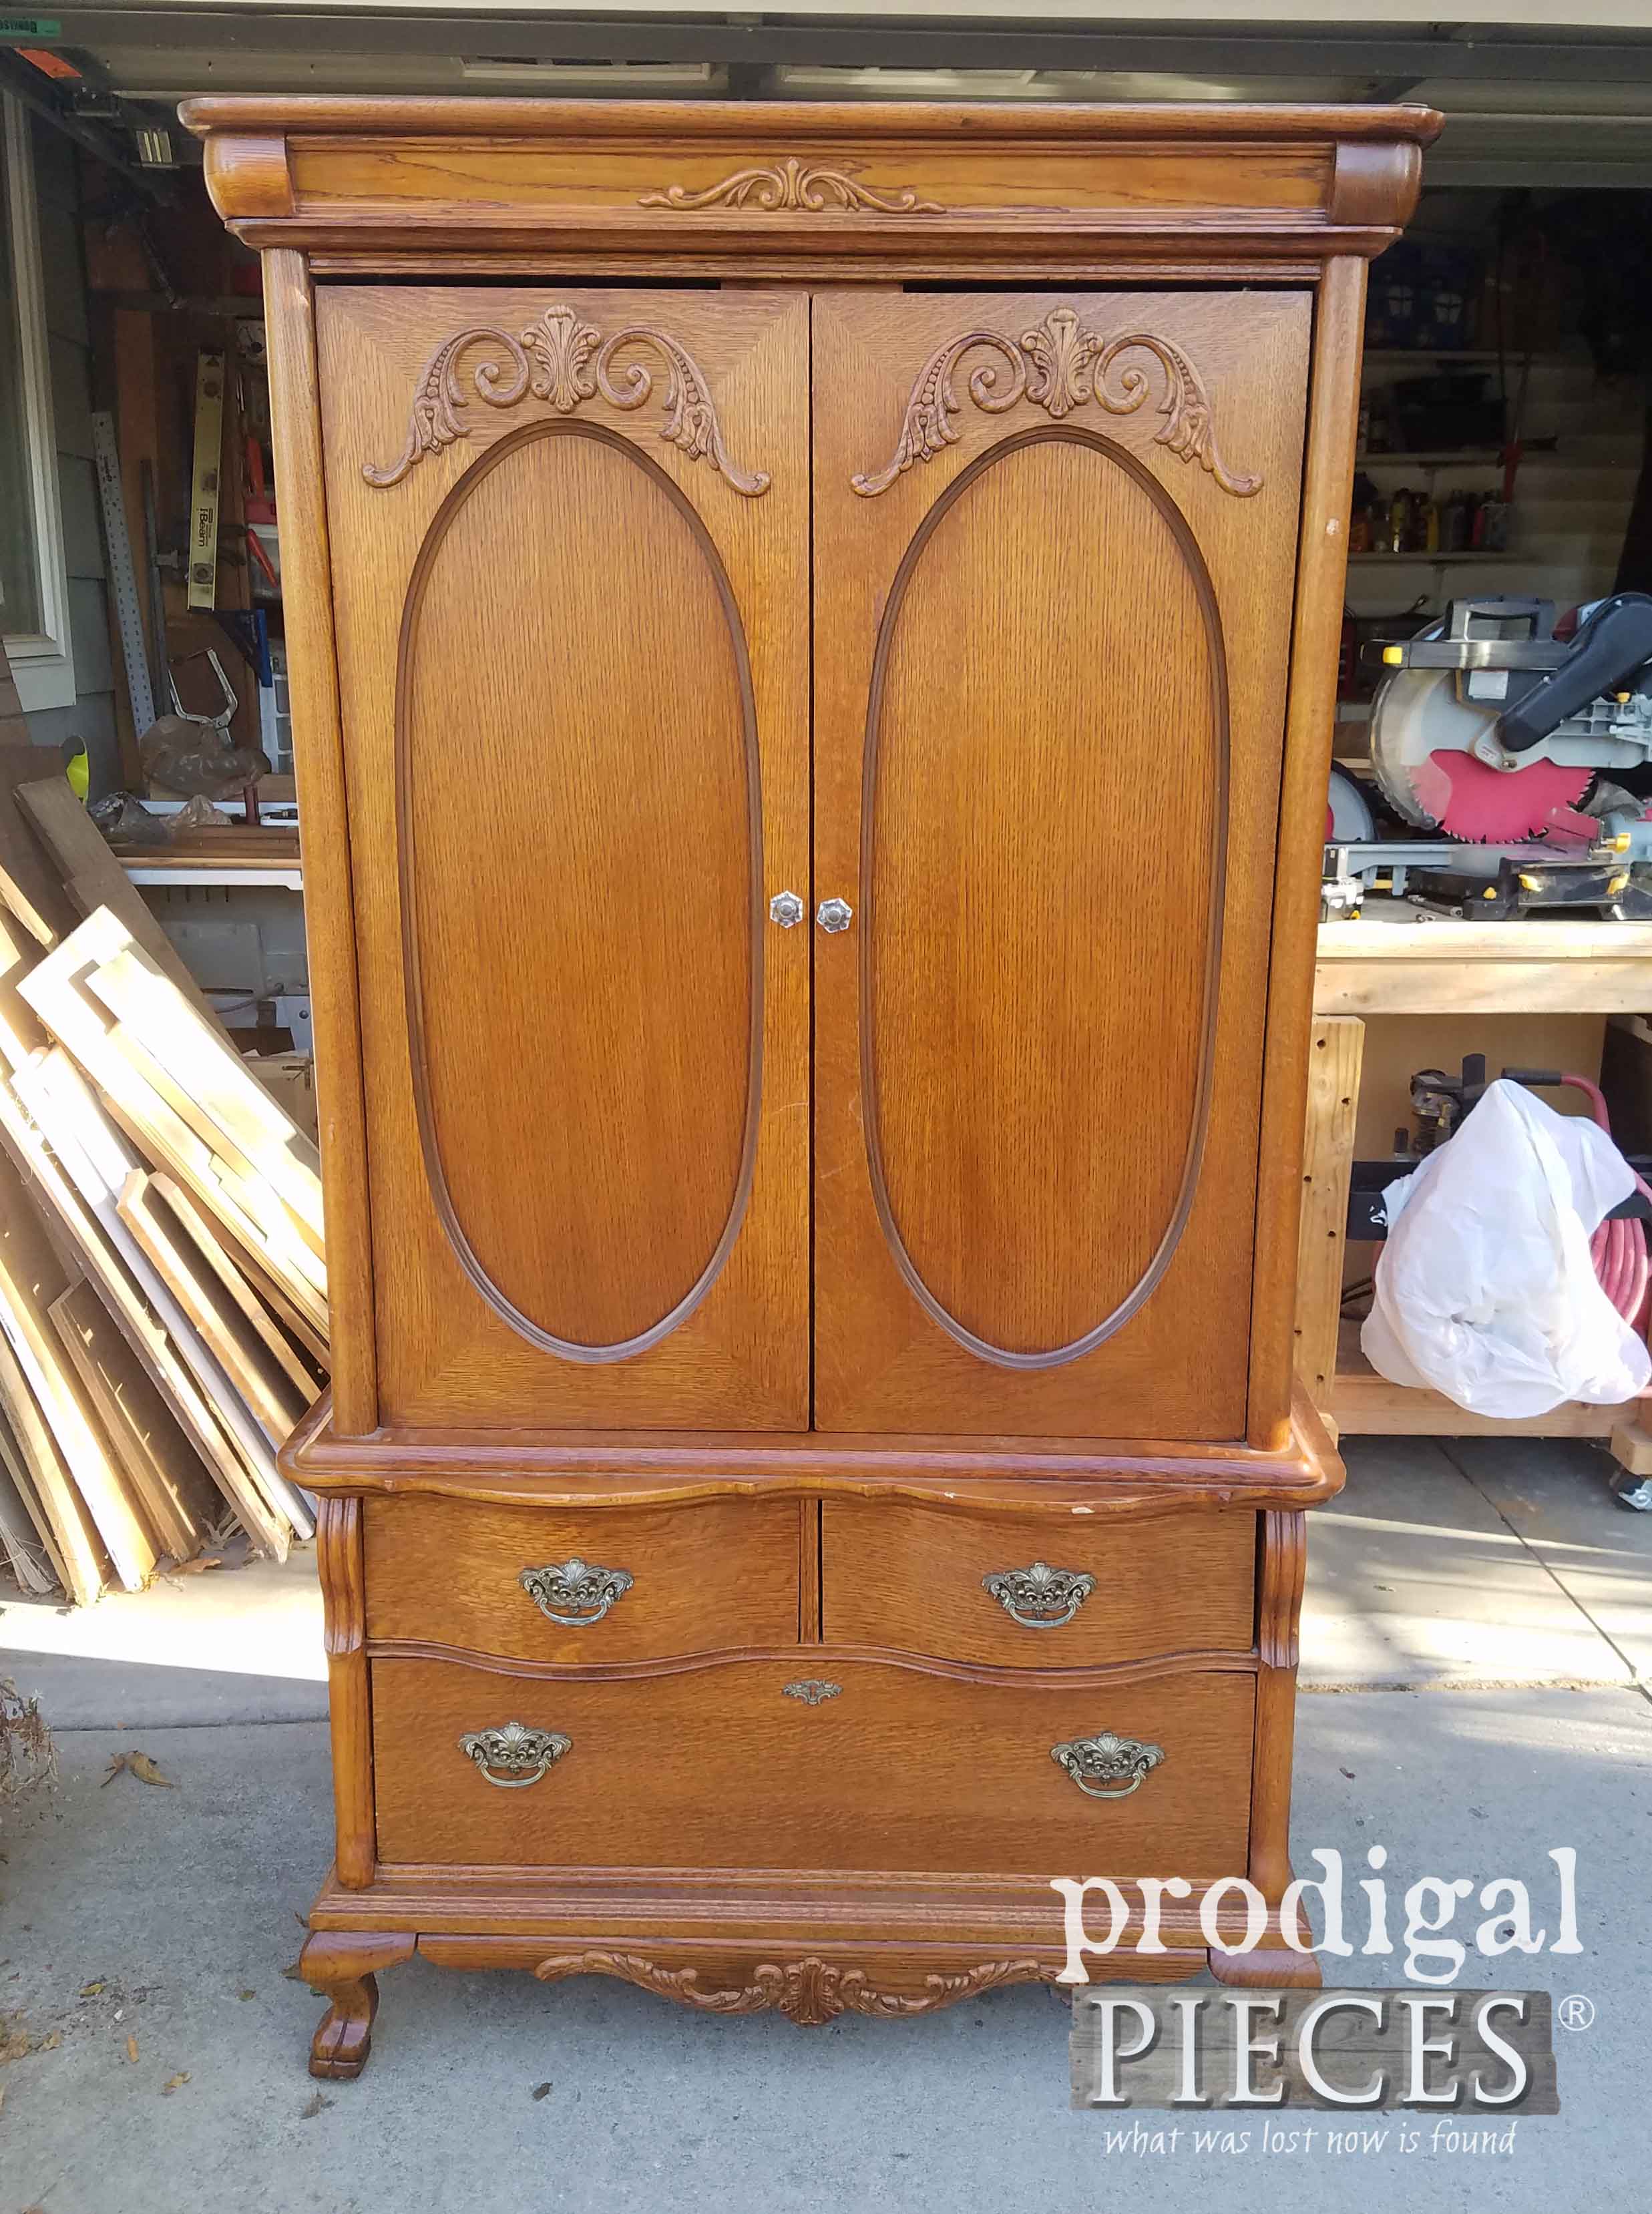
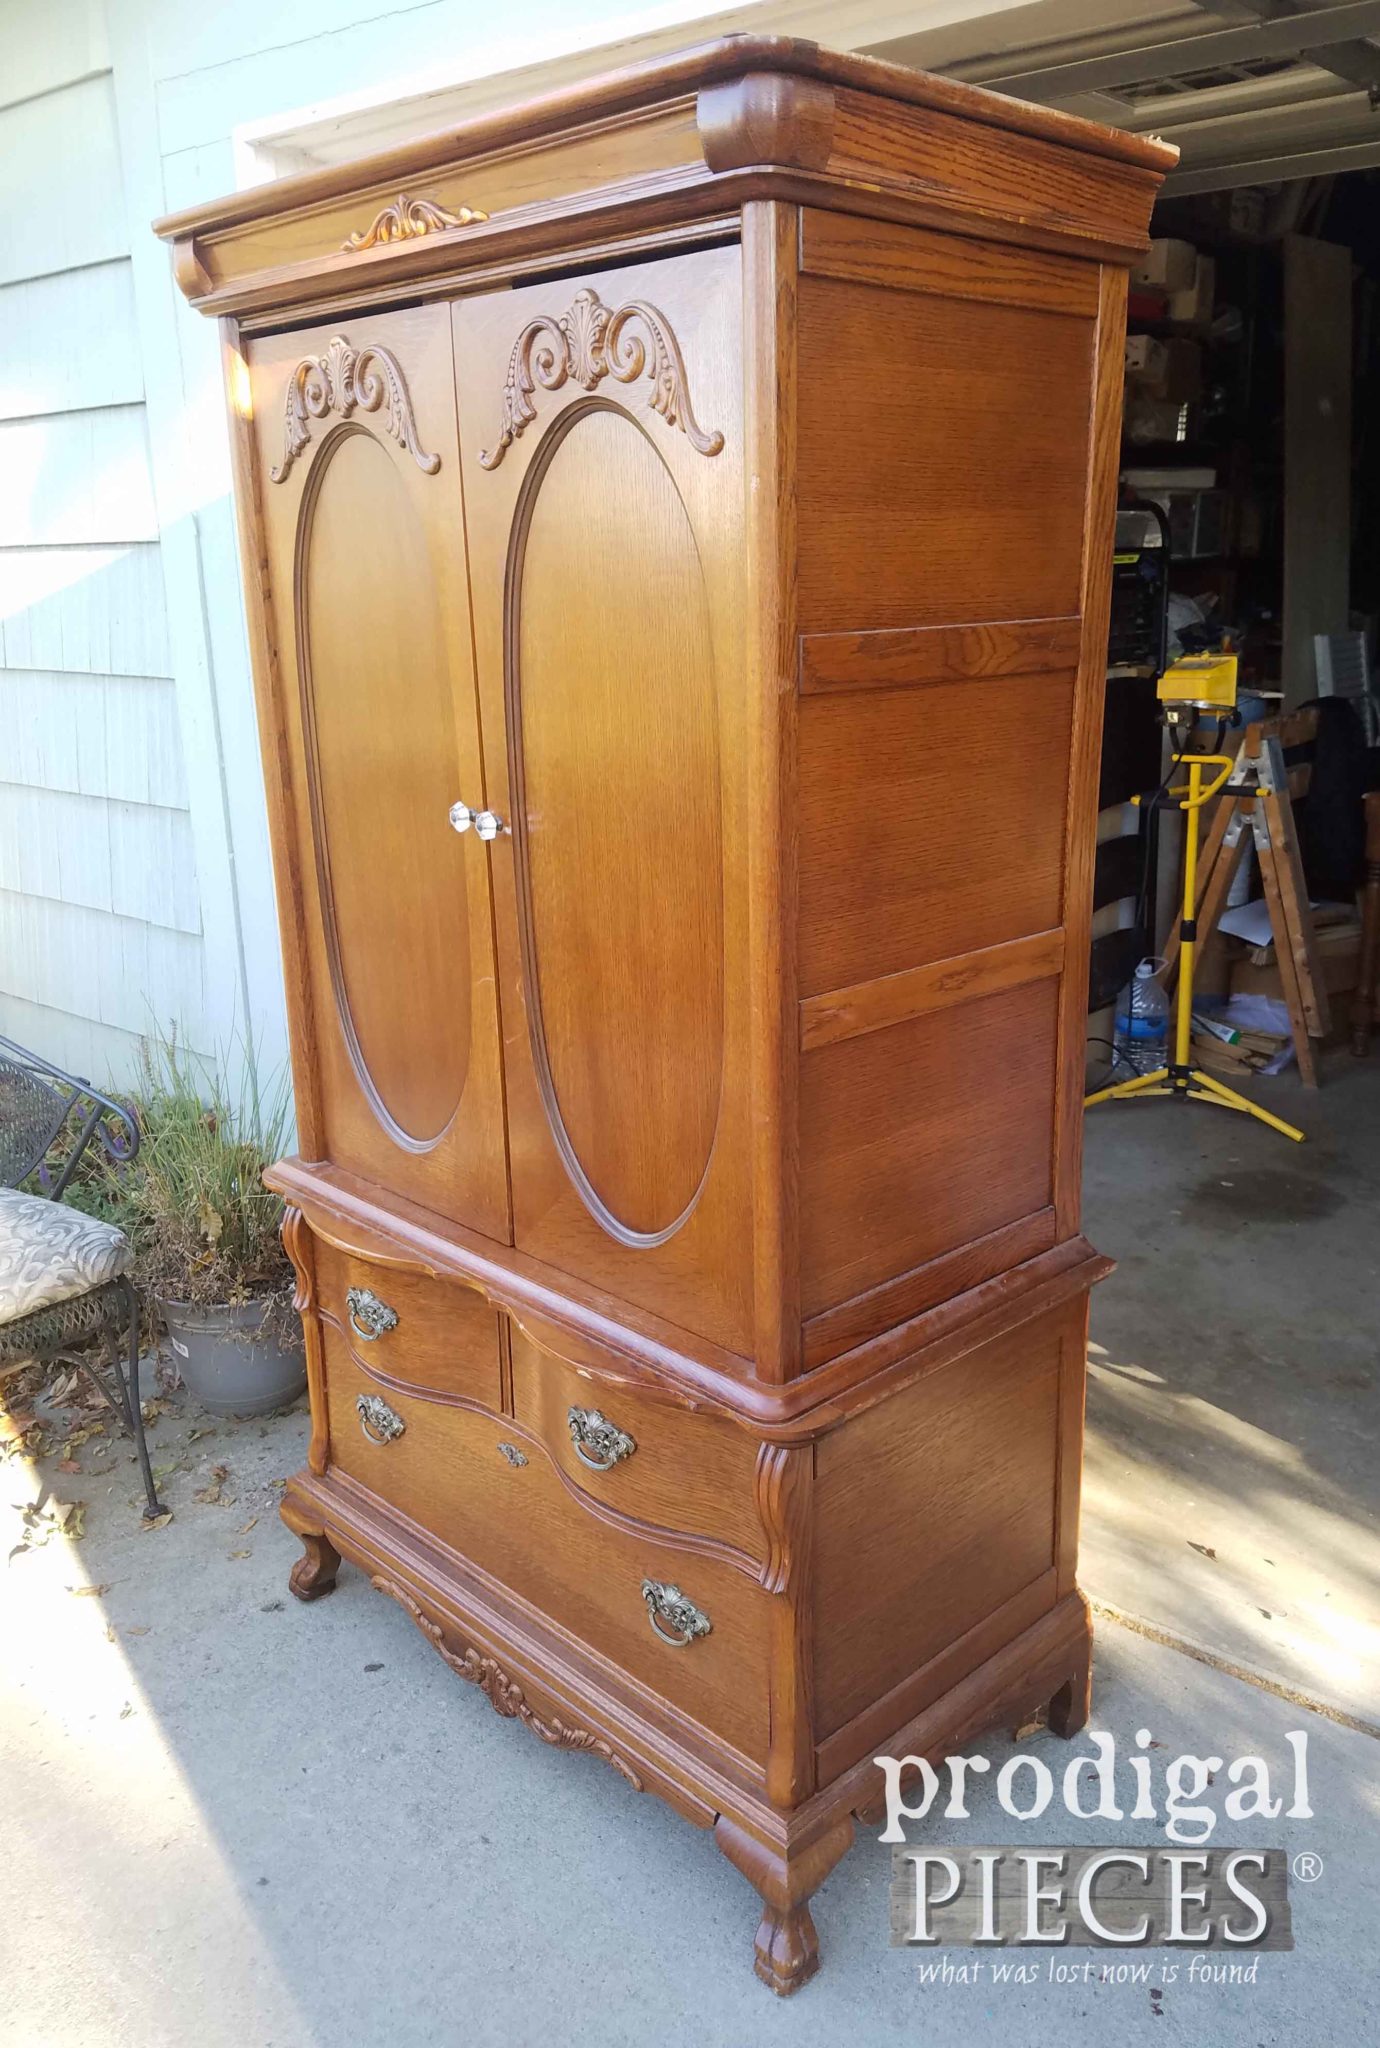
This piece has more wear to it than the dresser did. The doors were off a bit, more nicks and dents, but overall heavy and sturdy.
The only prep work I did was to fix those blemishes and then give it a good cleaning. The veneer was in great shape, except for the top where it was peeling. I didn’t do much to that since it will be covered up.
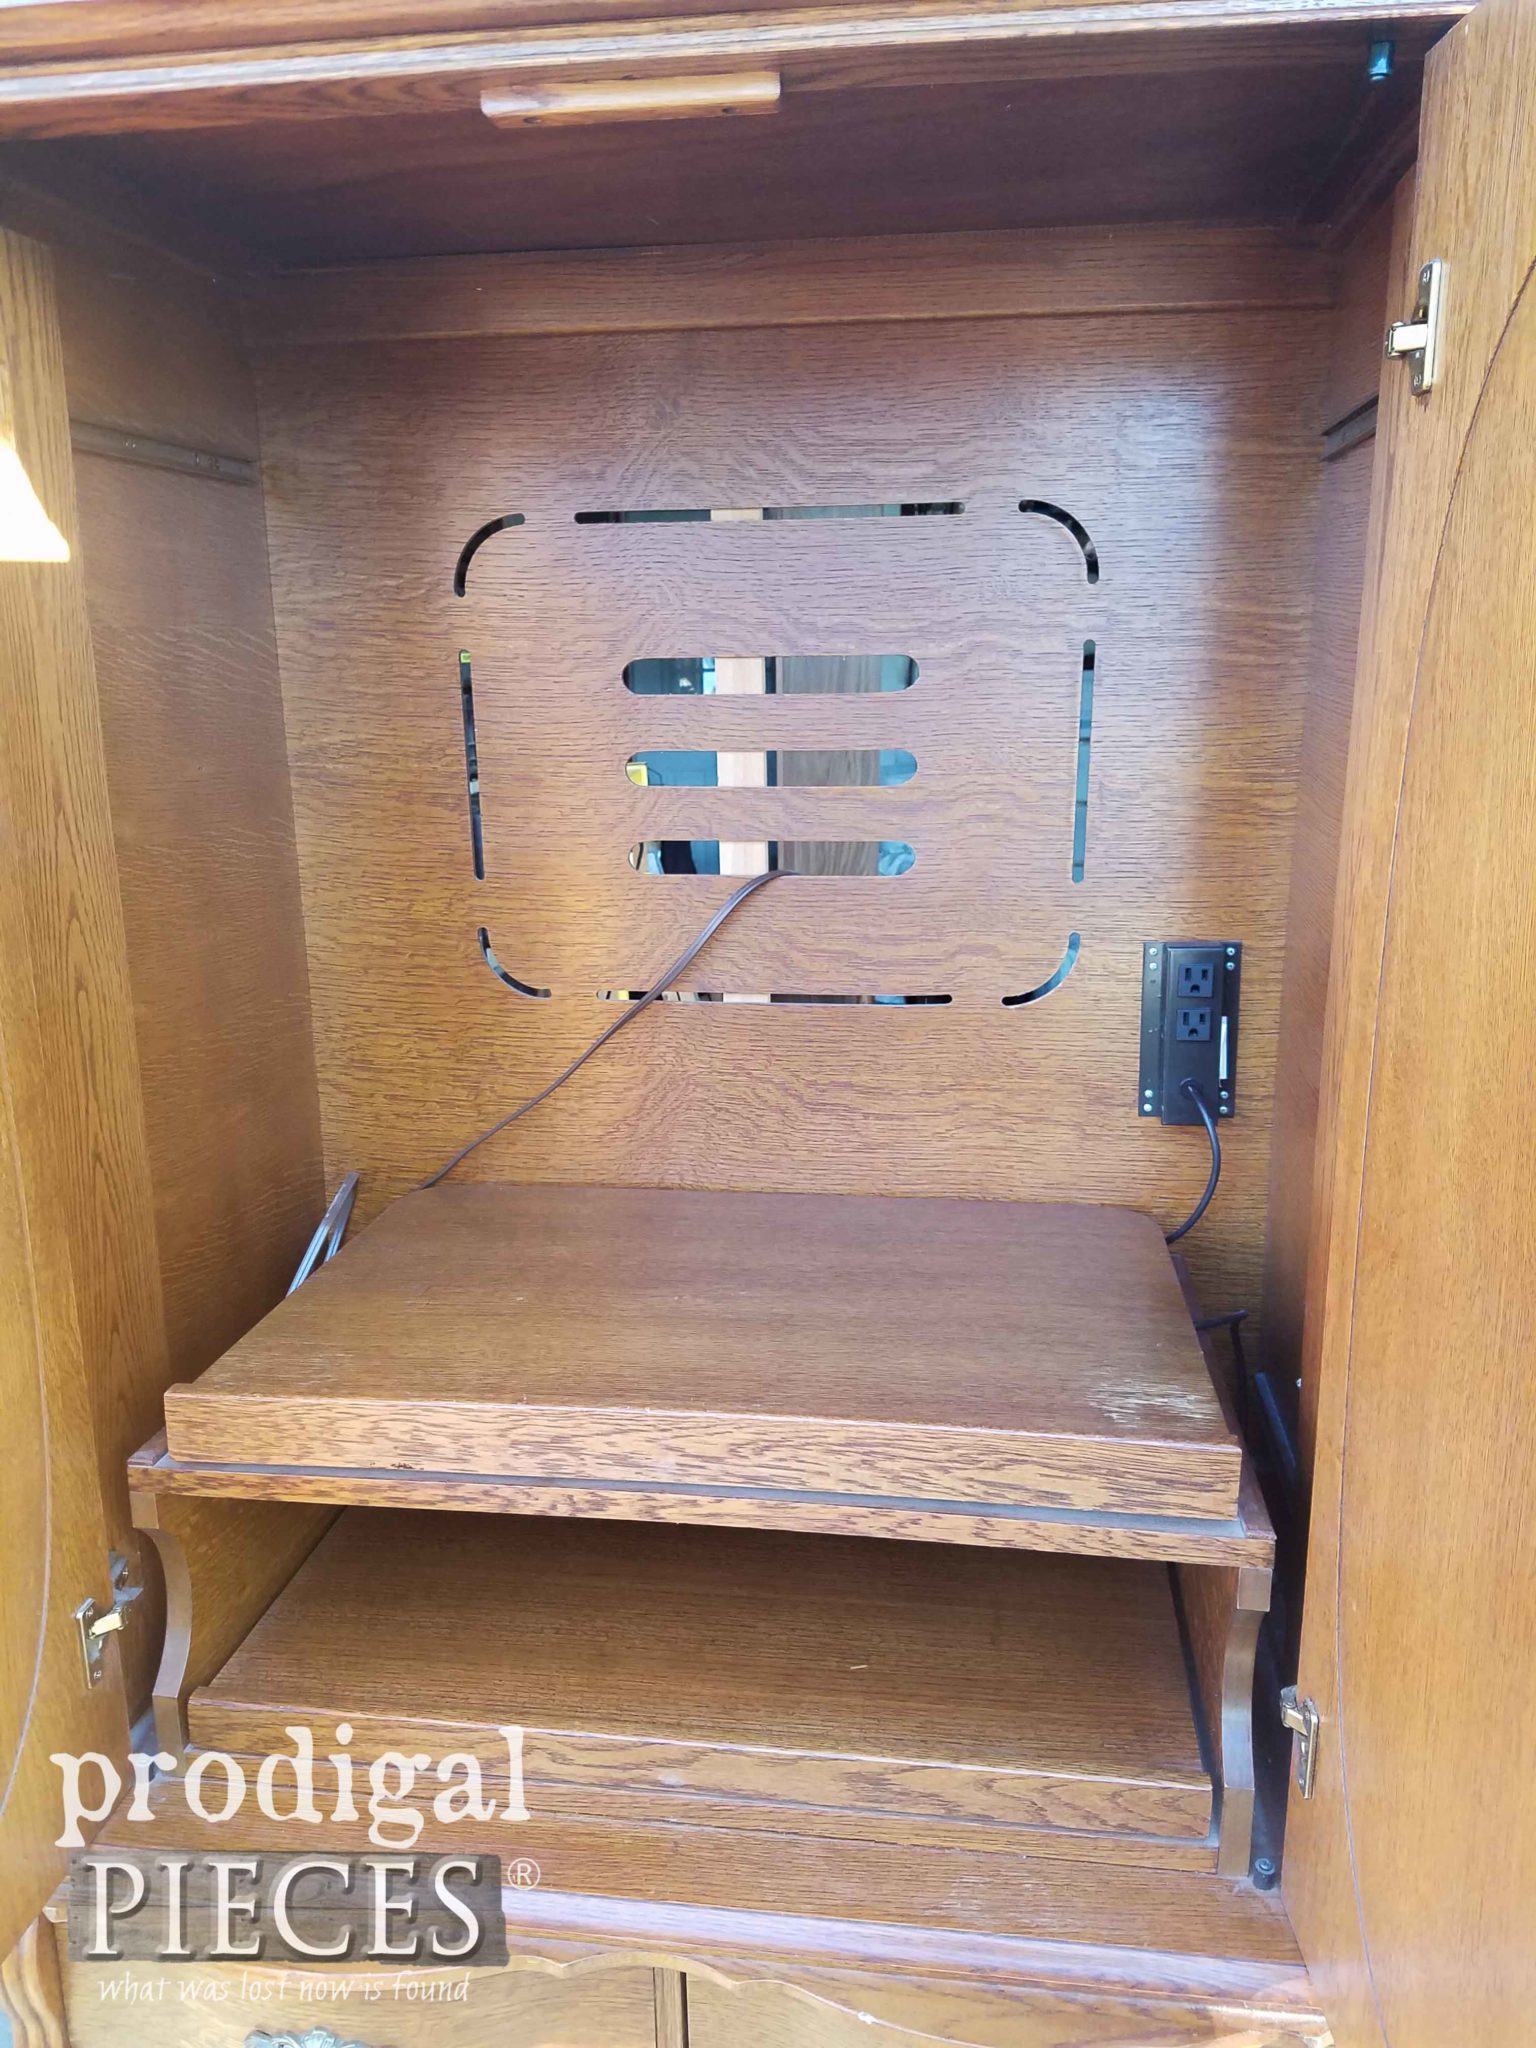
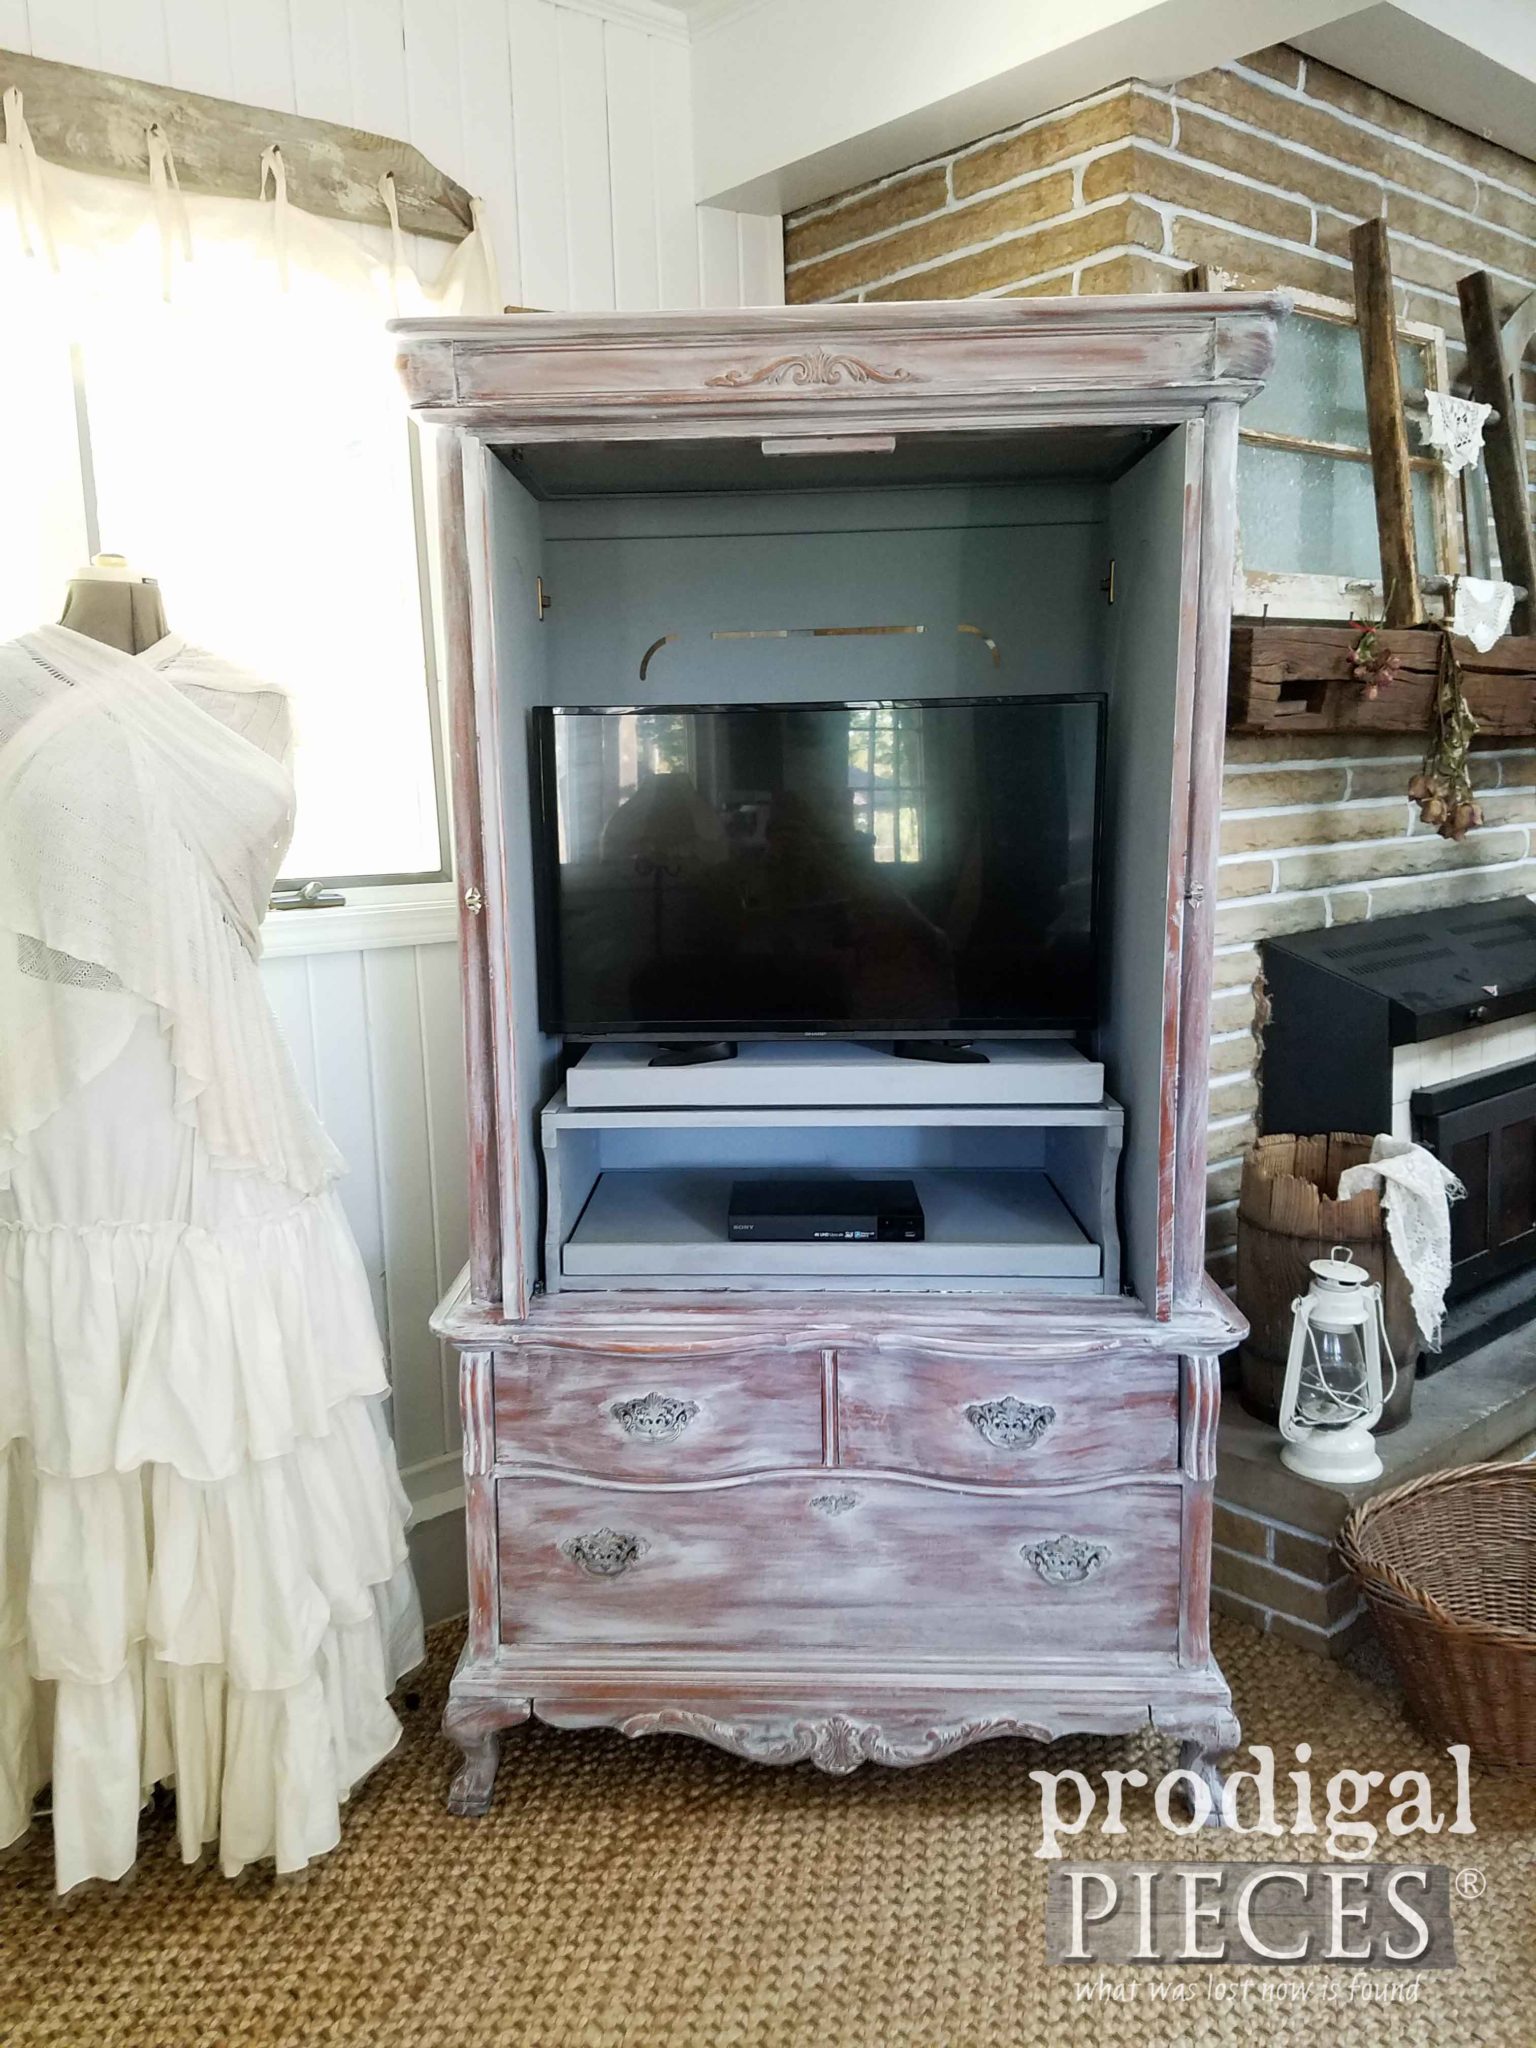
Same for the inside, a bit of sanding repair and a good cleaning and we’re good to go. I really debated on taking out the interior of this and turning into something else, but since it was still useful as-is I left it.
DIY TIME
First order of business in this French country armoire is to freshen up that interior. To do that I used my soft gray to give it a clean feel like I did to my oak blanket chest. Only one coat was needed. Yay!
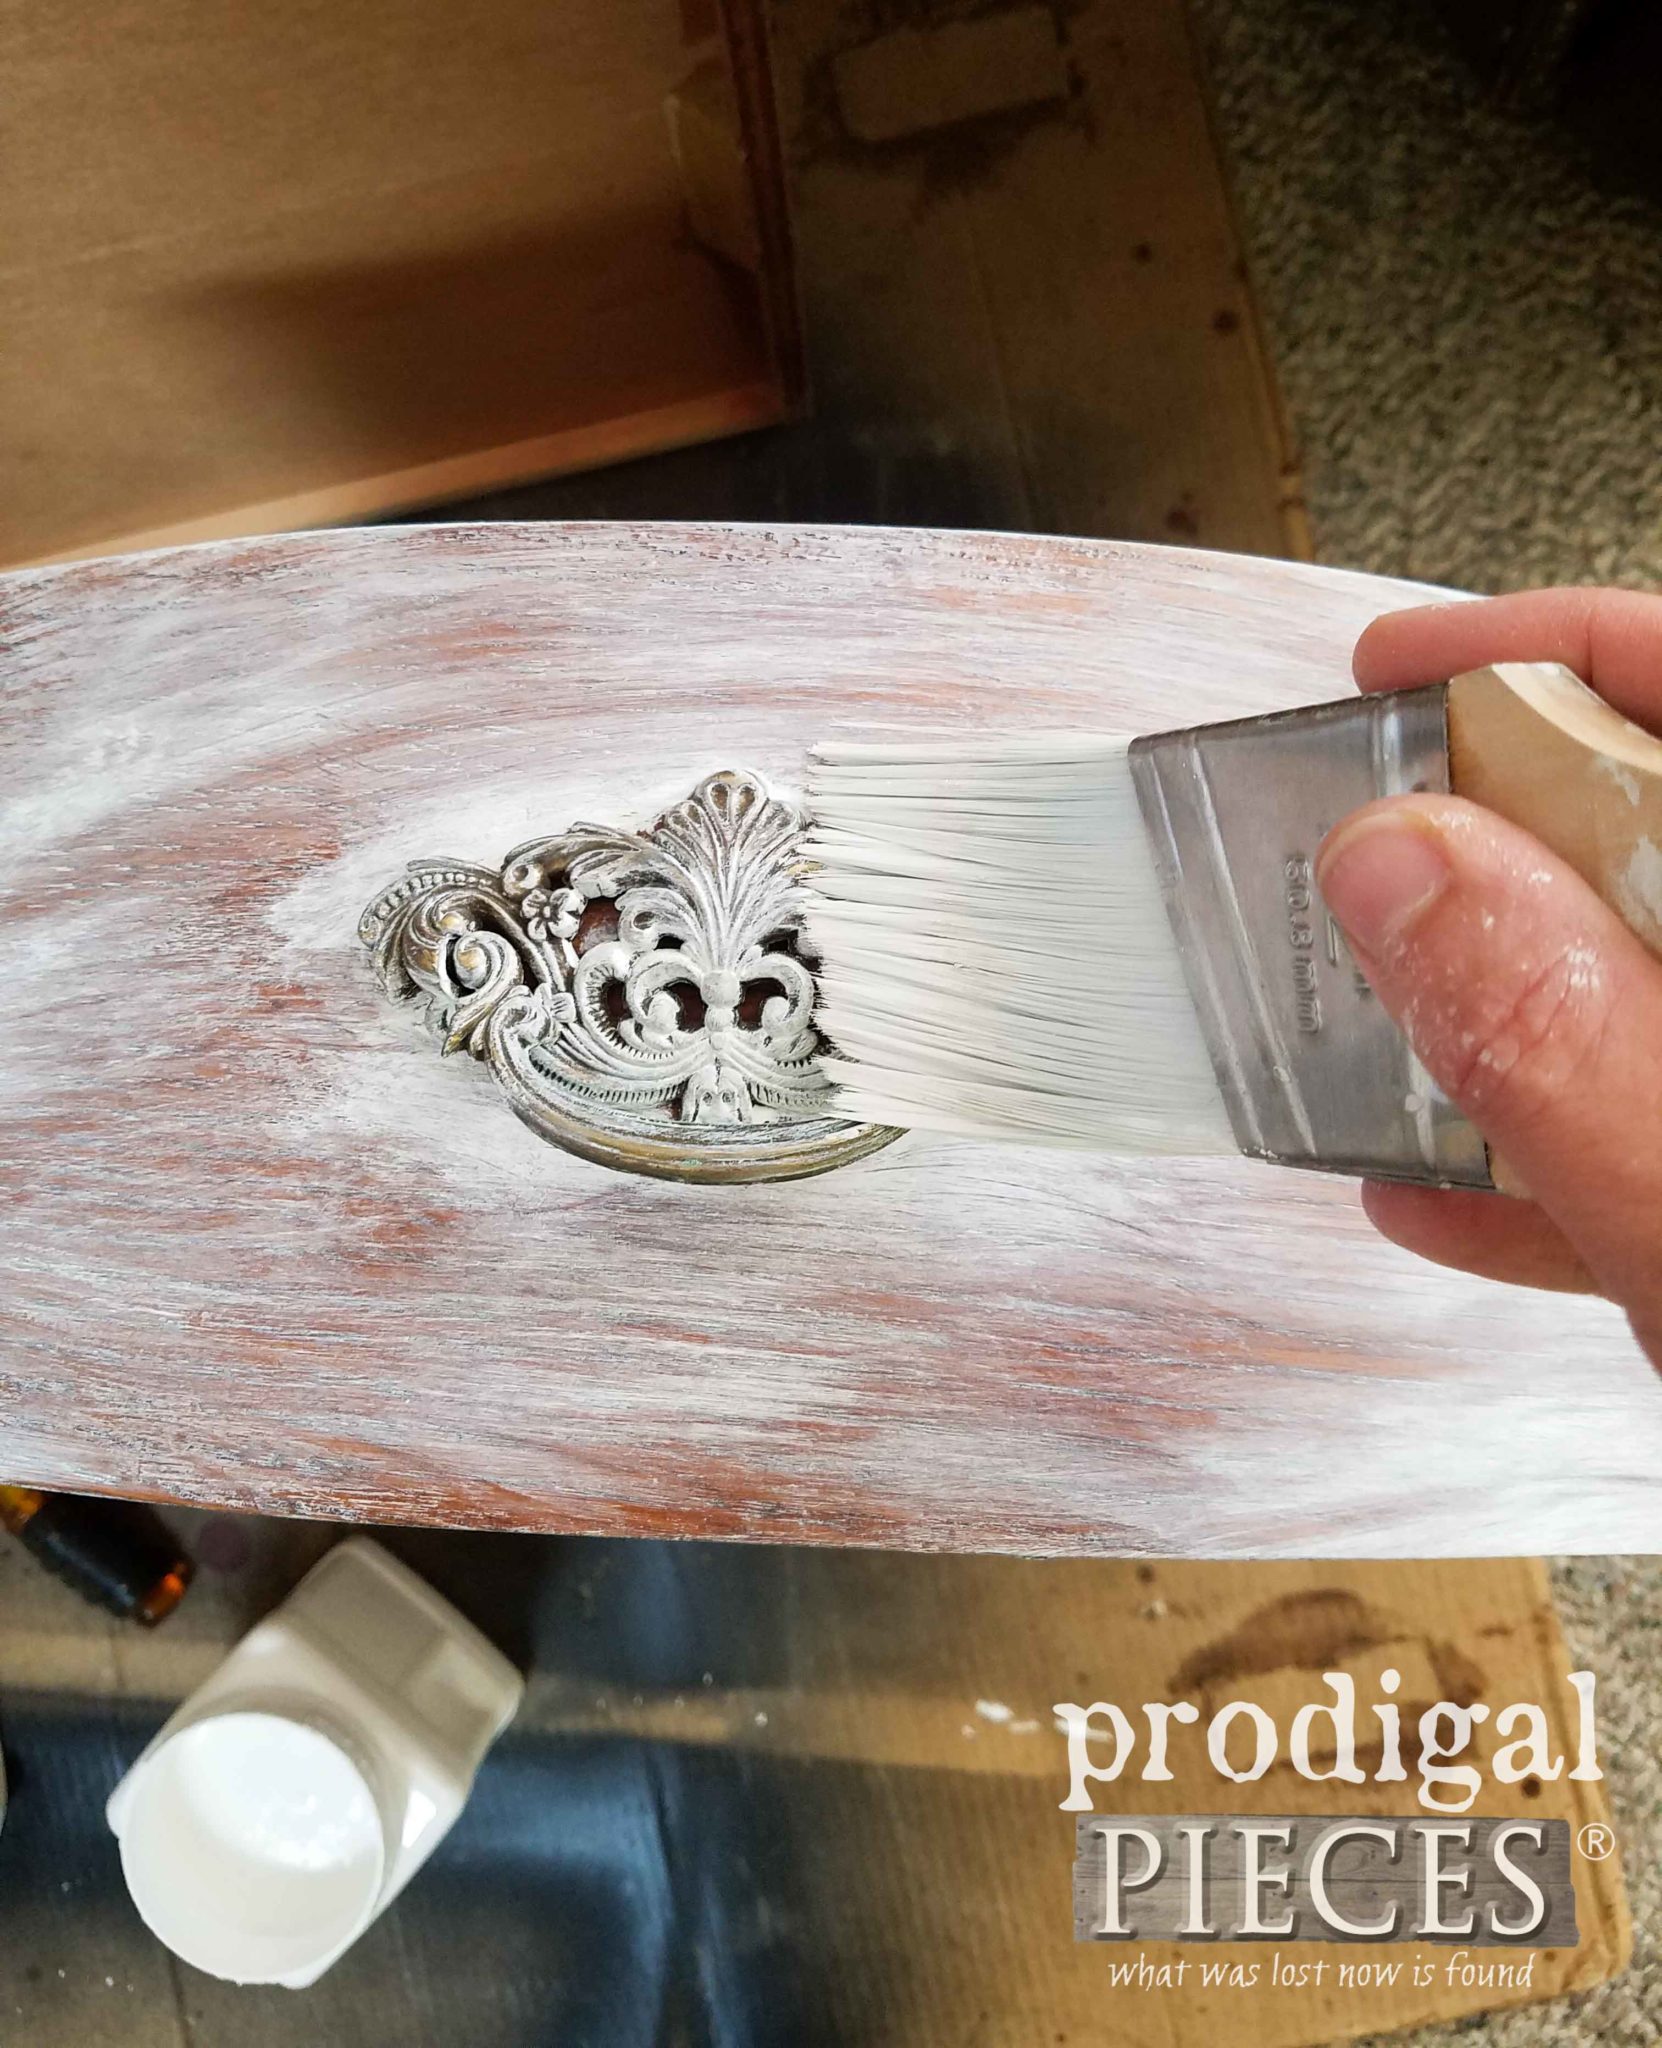
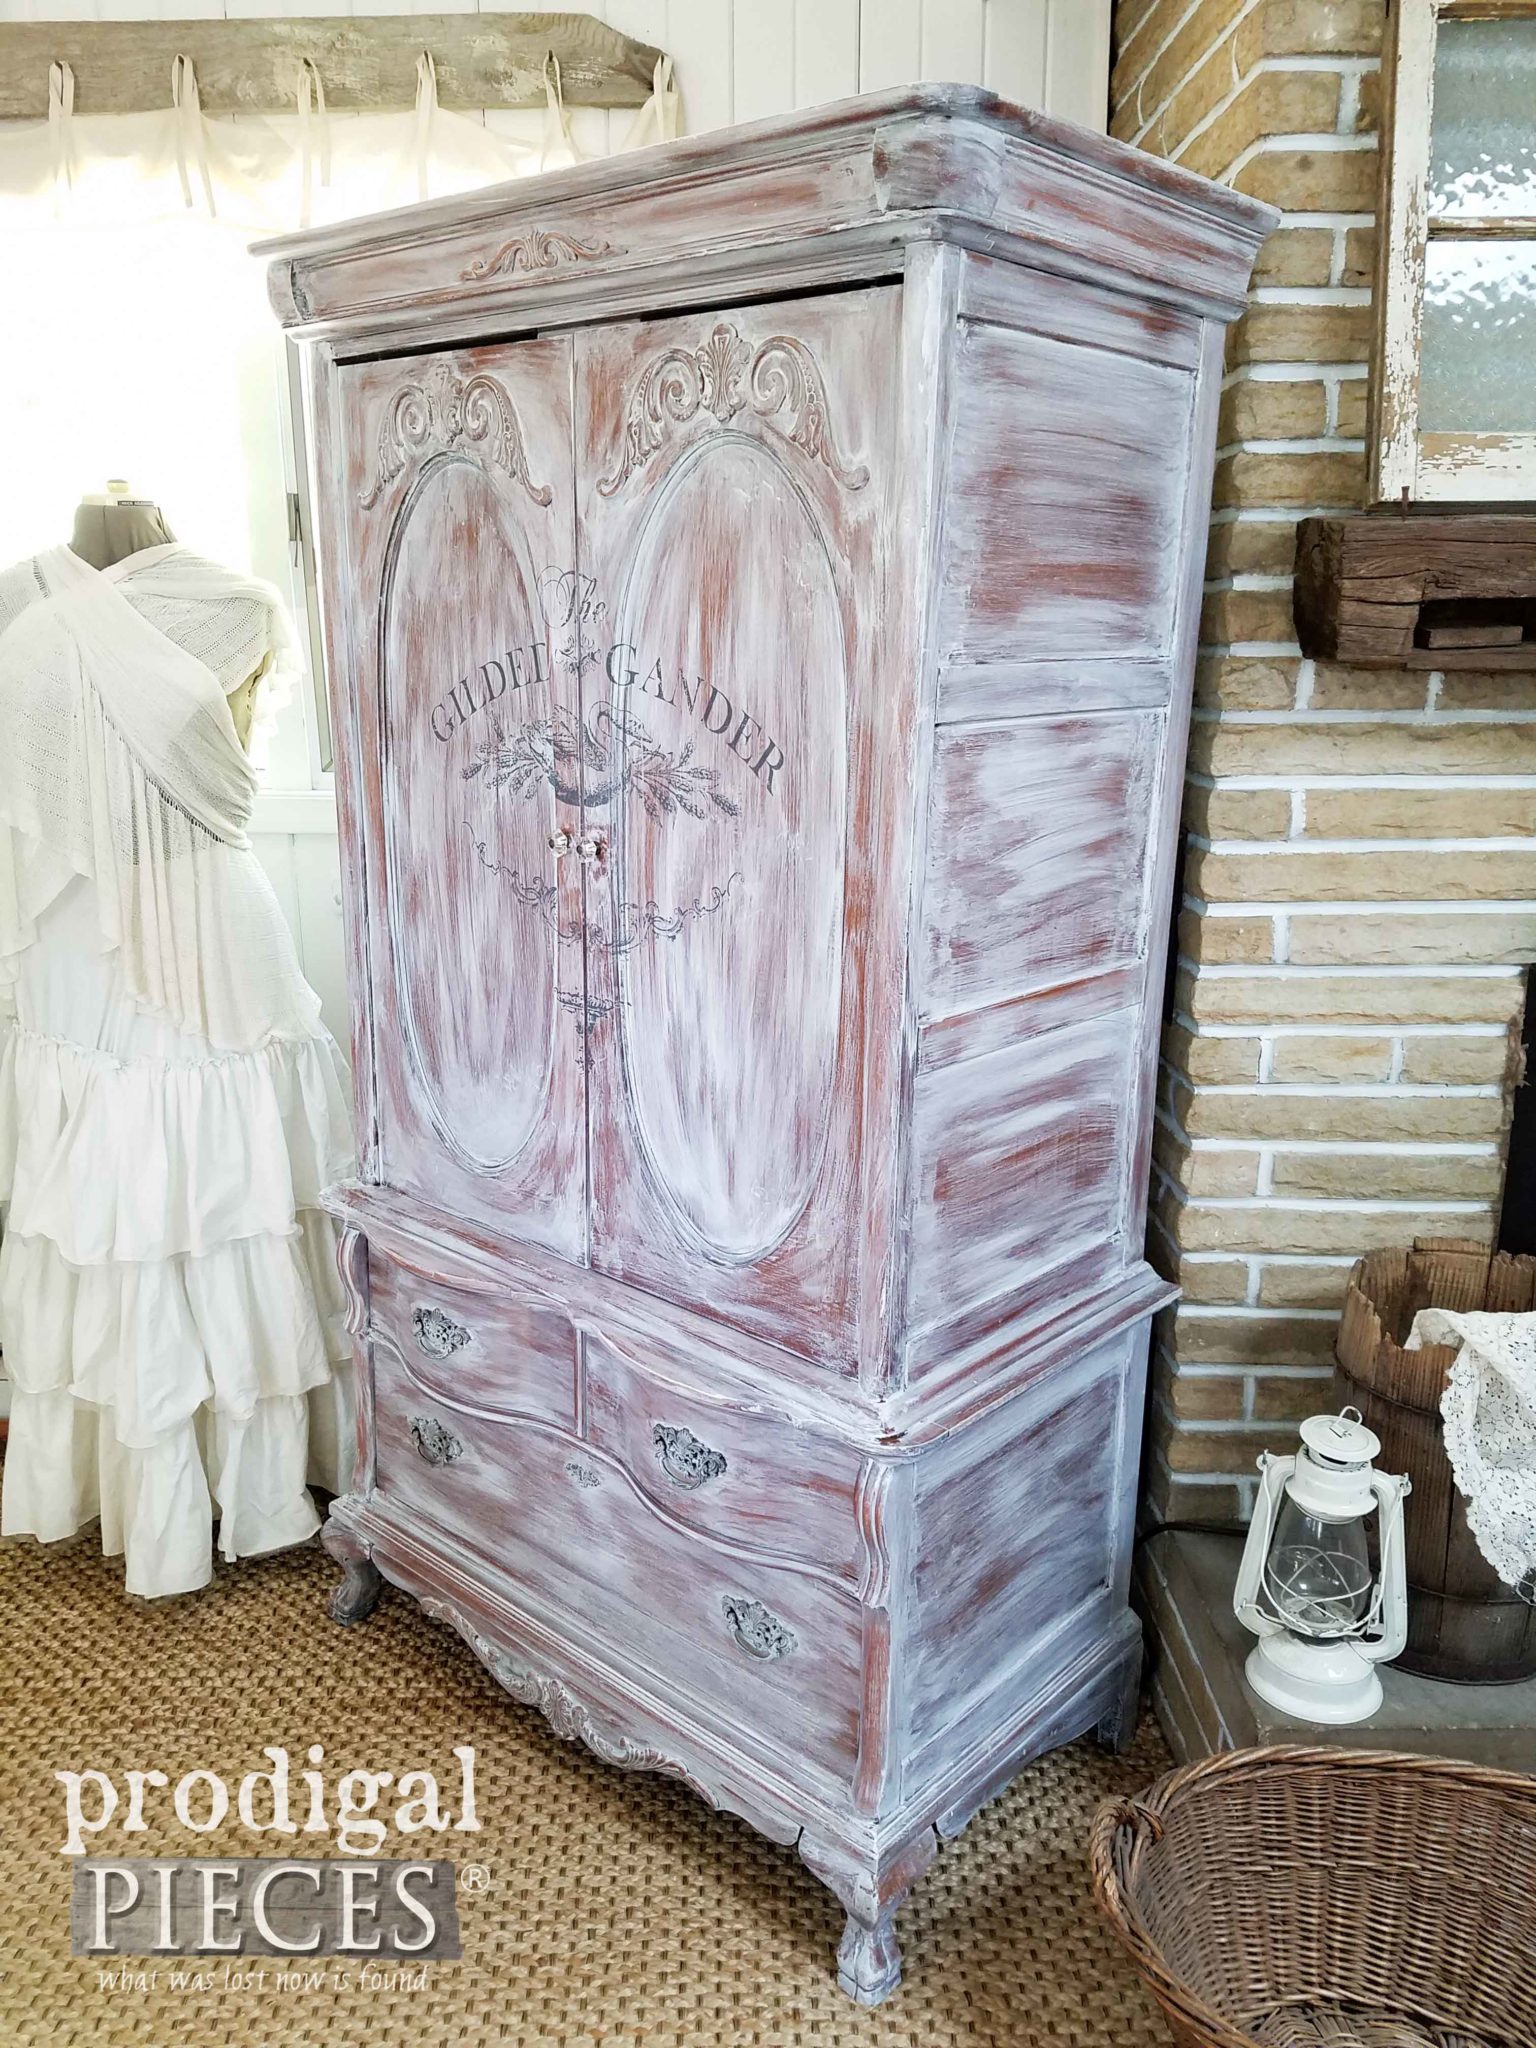
For the exterior I did the same washed treatment as I did on the matching dresser, but this time used white and my paint brush for a whitewashed effect. That was easy as well since this paint works like a dream. I even left all the hardware on and went over top of it as a glazing effect.
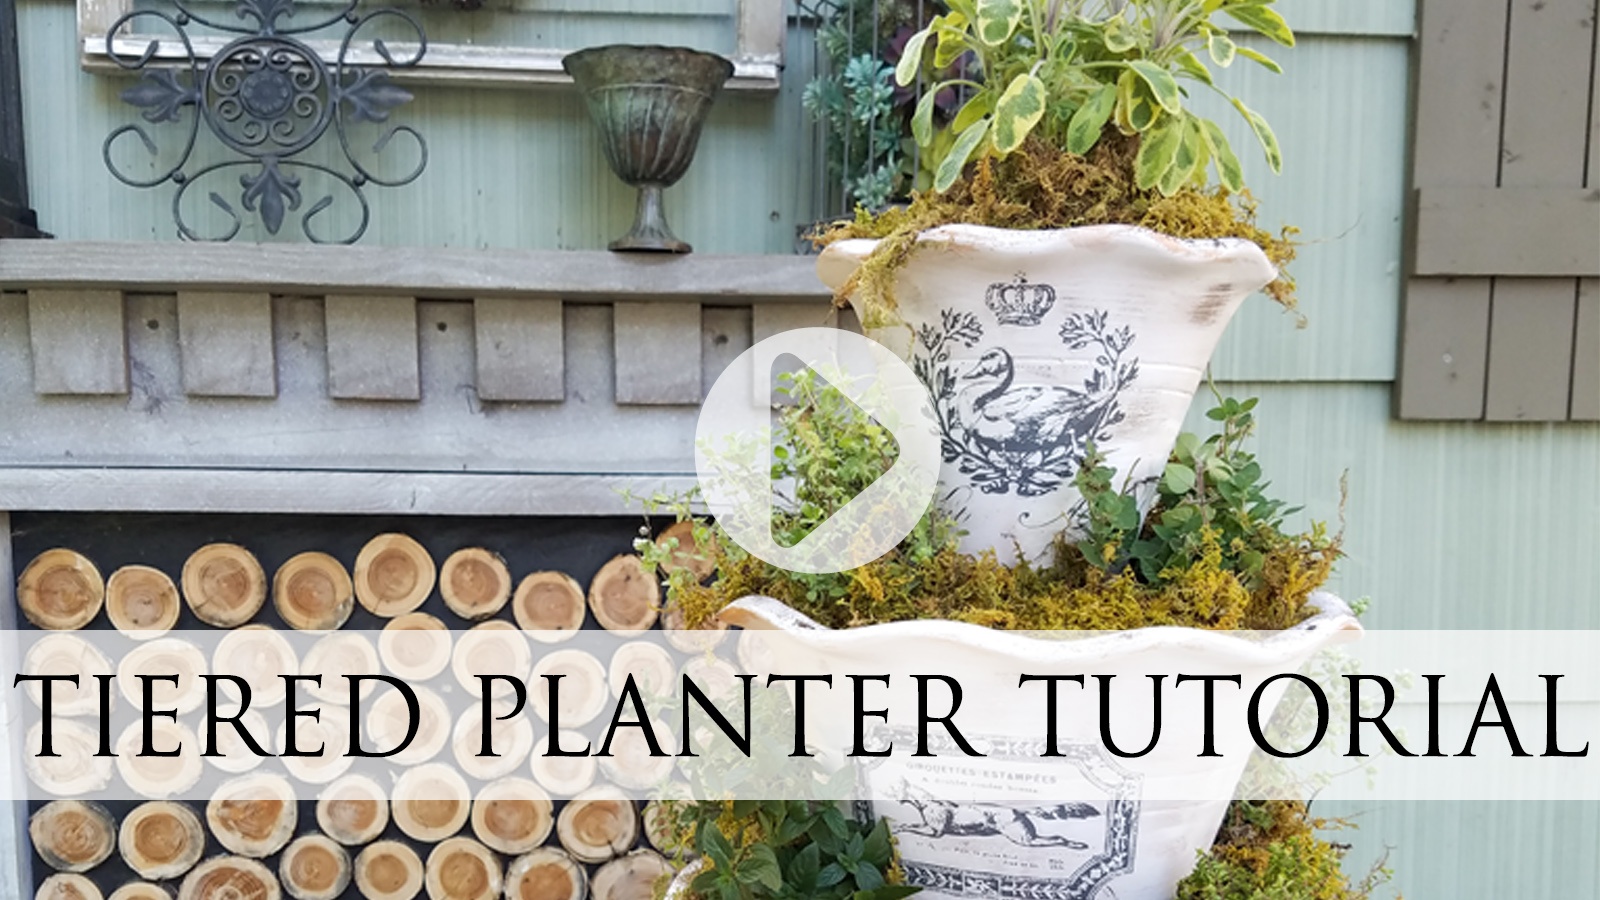
I used the same color paint as I did on my DIY tiered planter seen in this video below:
NEXT STEPS
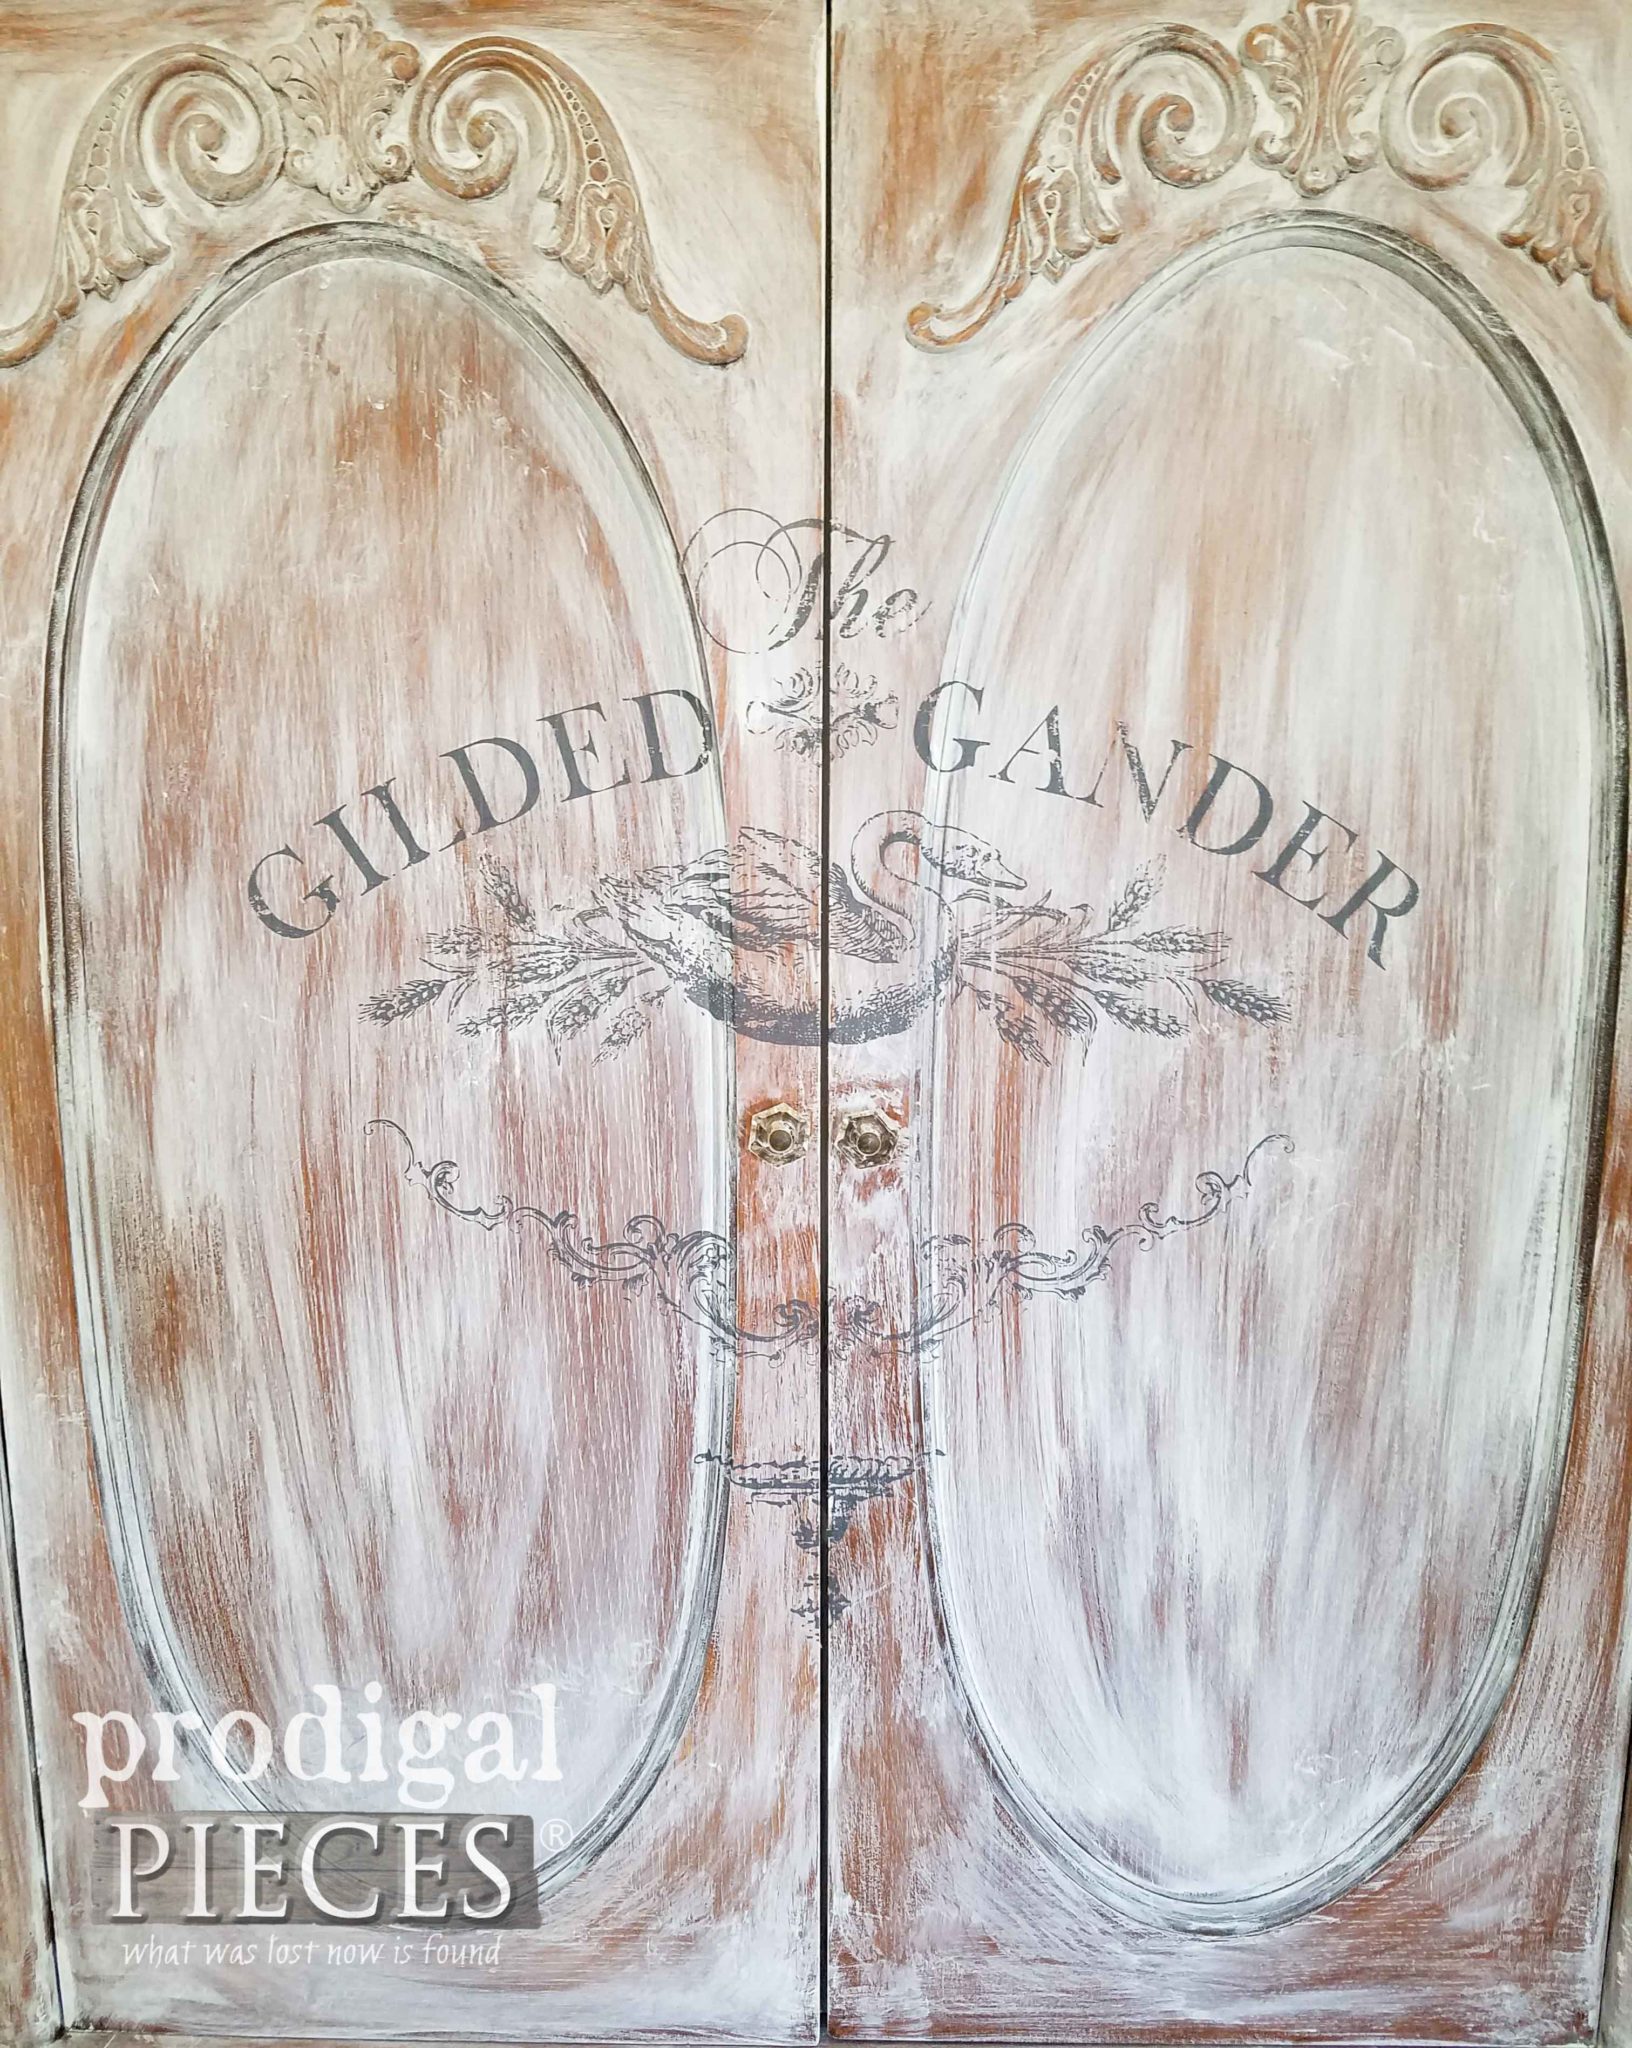
To stick with the French country armoire I had in mind, I also chose to use a transfer by Iron Orchid Designs like I did on my planters. They are so fun to use! This one is the Gilded Gander Transfer – a huge beauty.
As you can see the transfer had mostly a food description detail to it, and that’s not quite what I’m after. Since these are so versatile, I cut up the transfer into pieces for this project and pieces for a later kitchen related project.
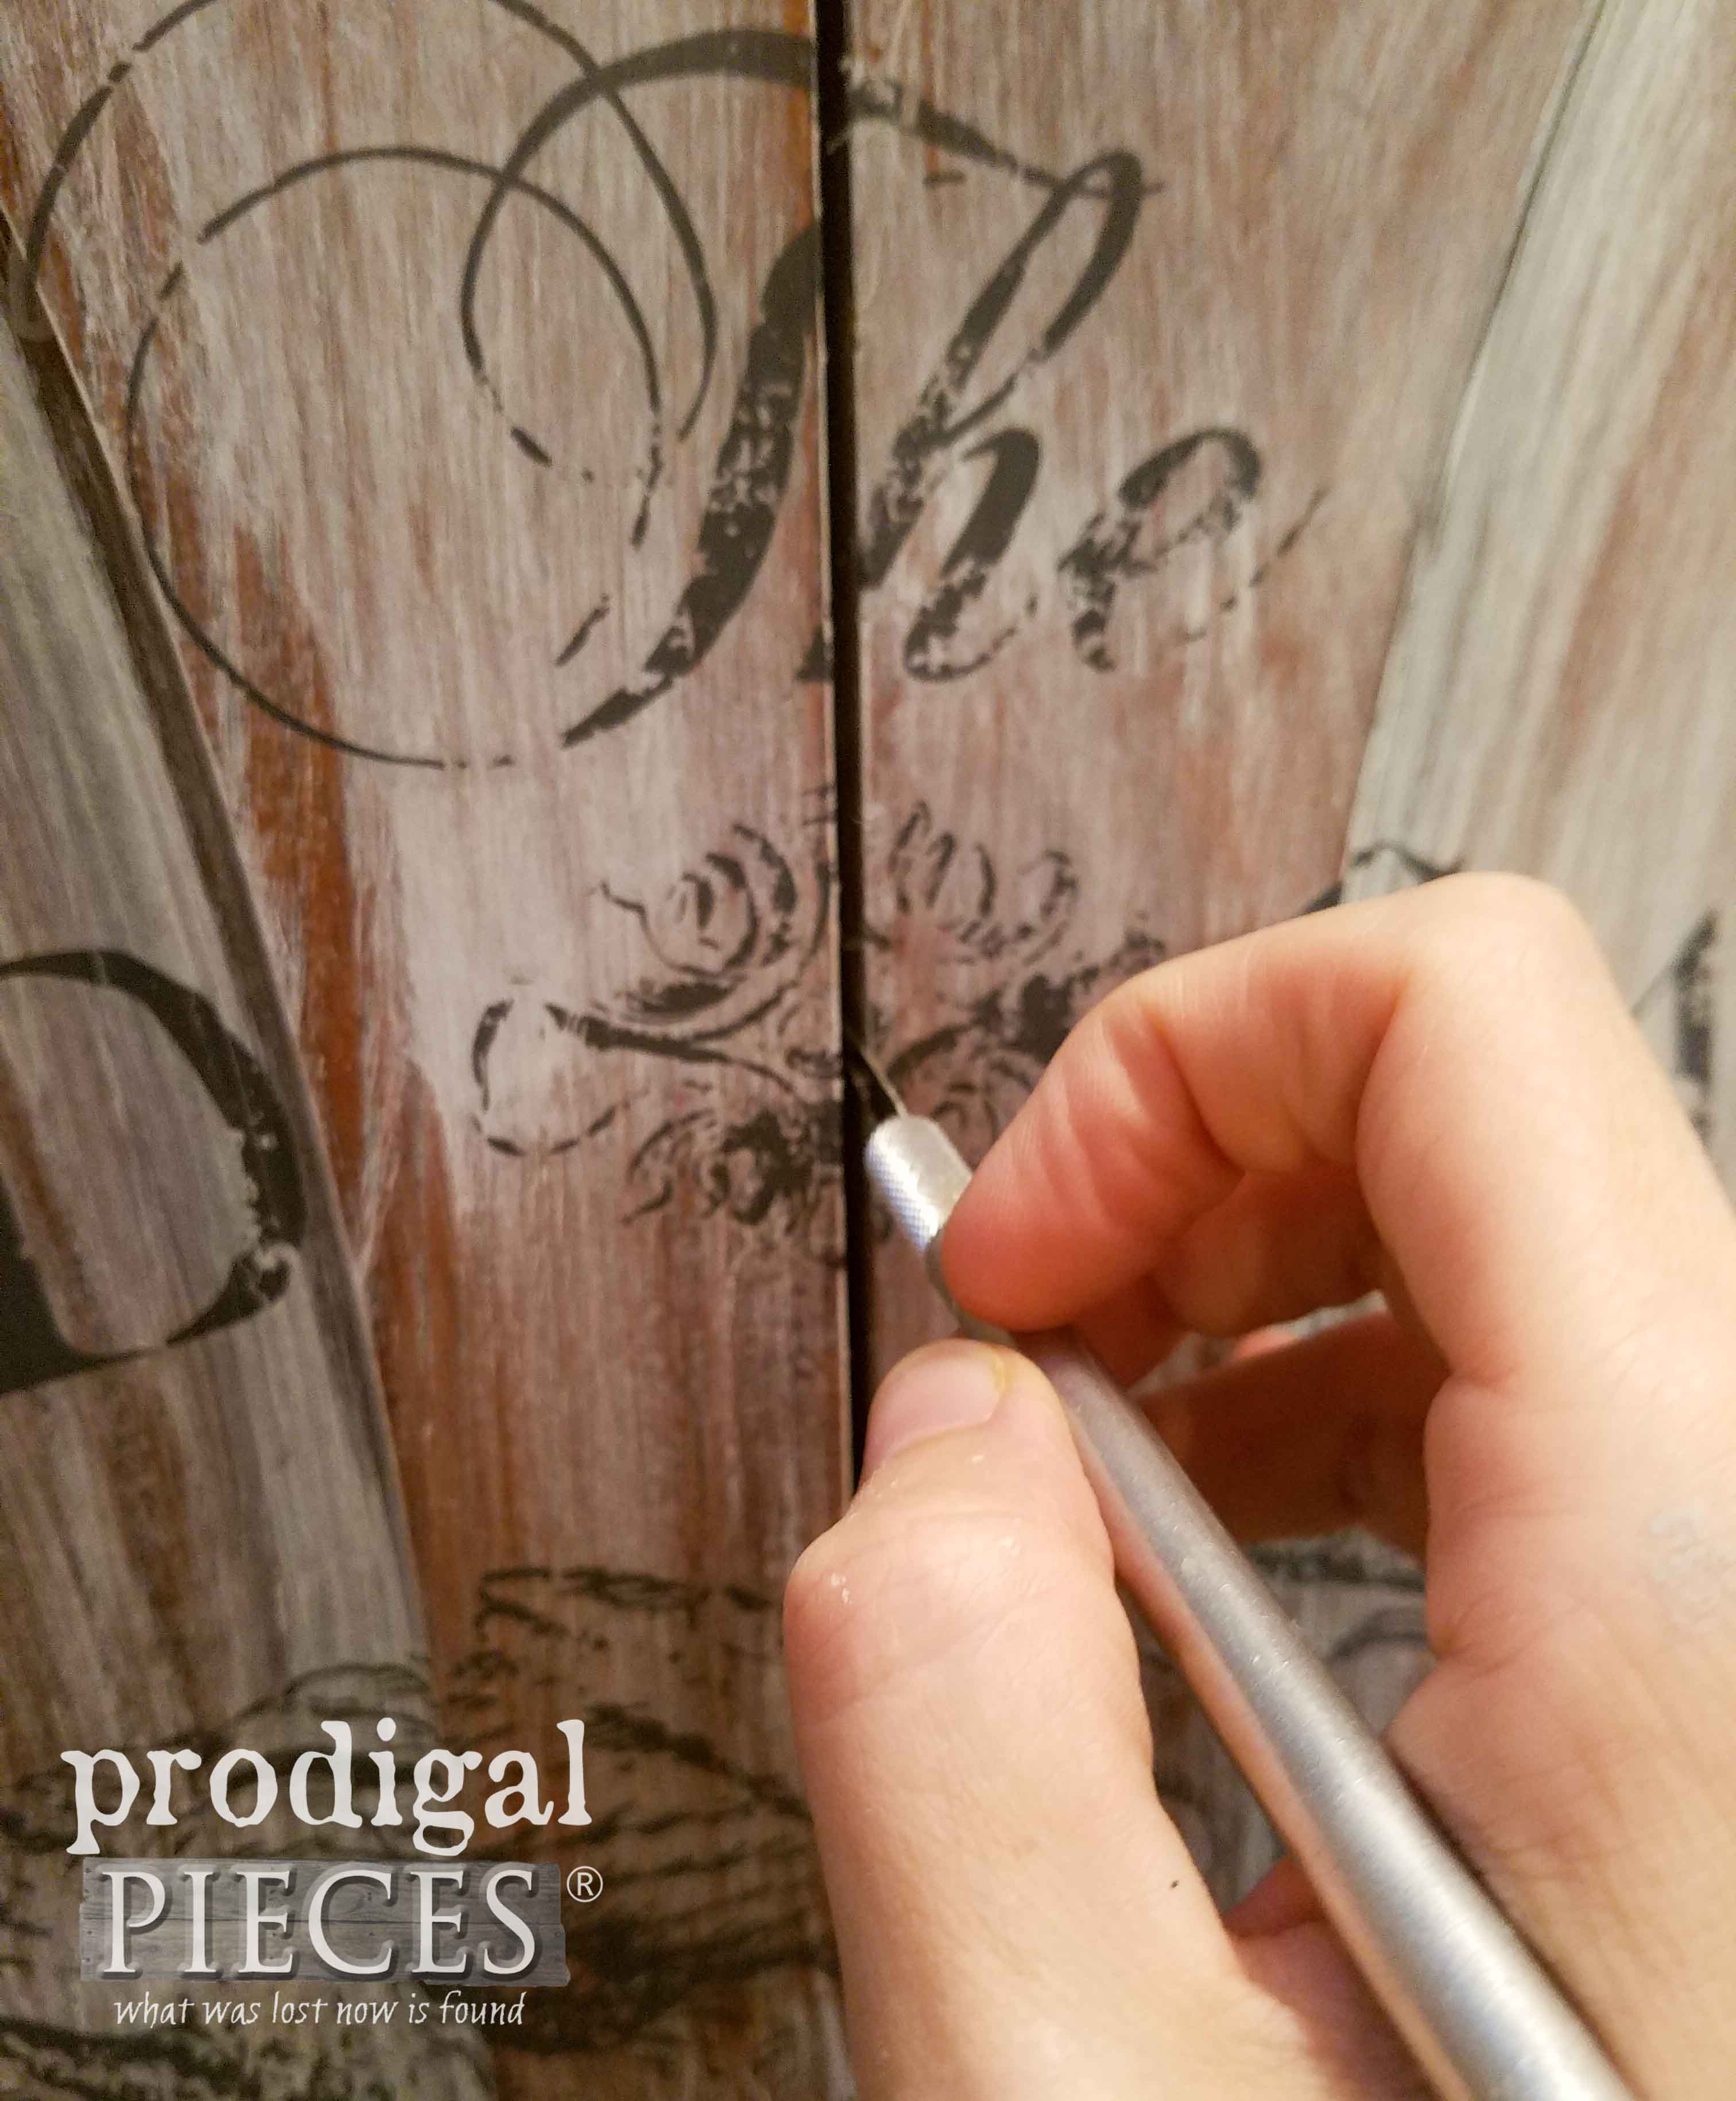
Just rub on as I show in my video above. Then, to fine tune it over the doors, I used my Xacto knife to cut it down.
THE REVEAL
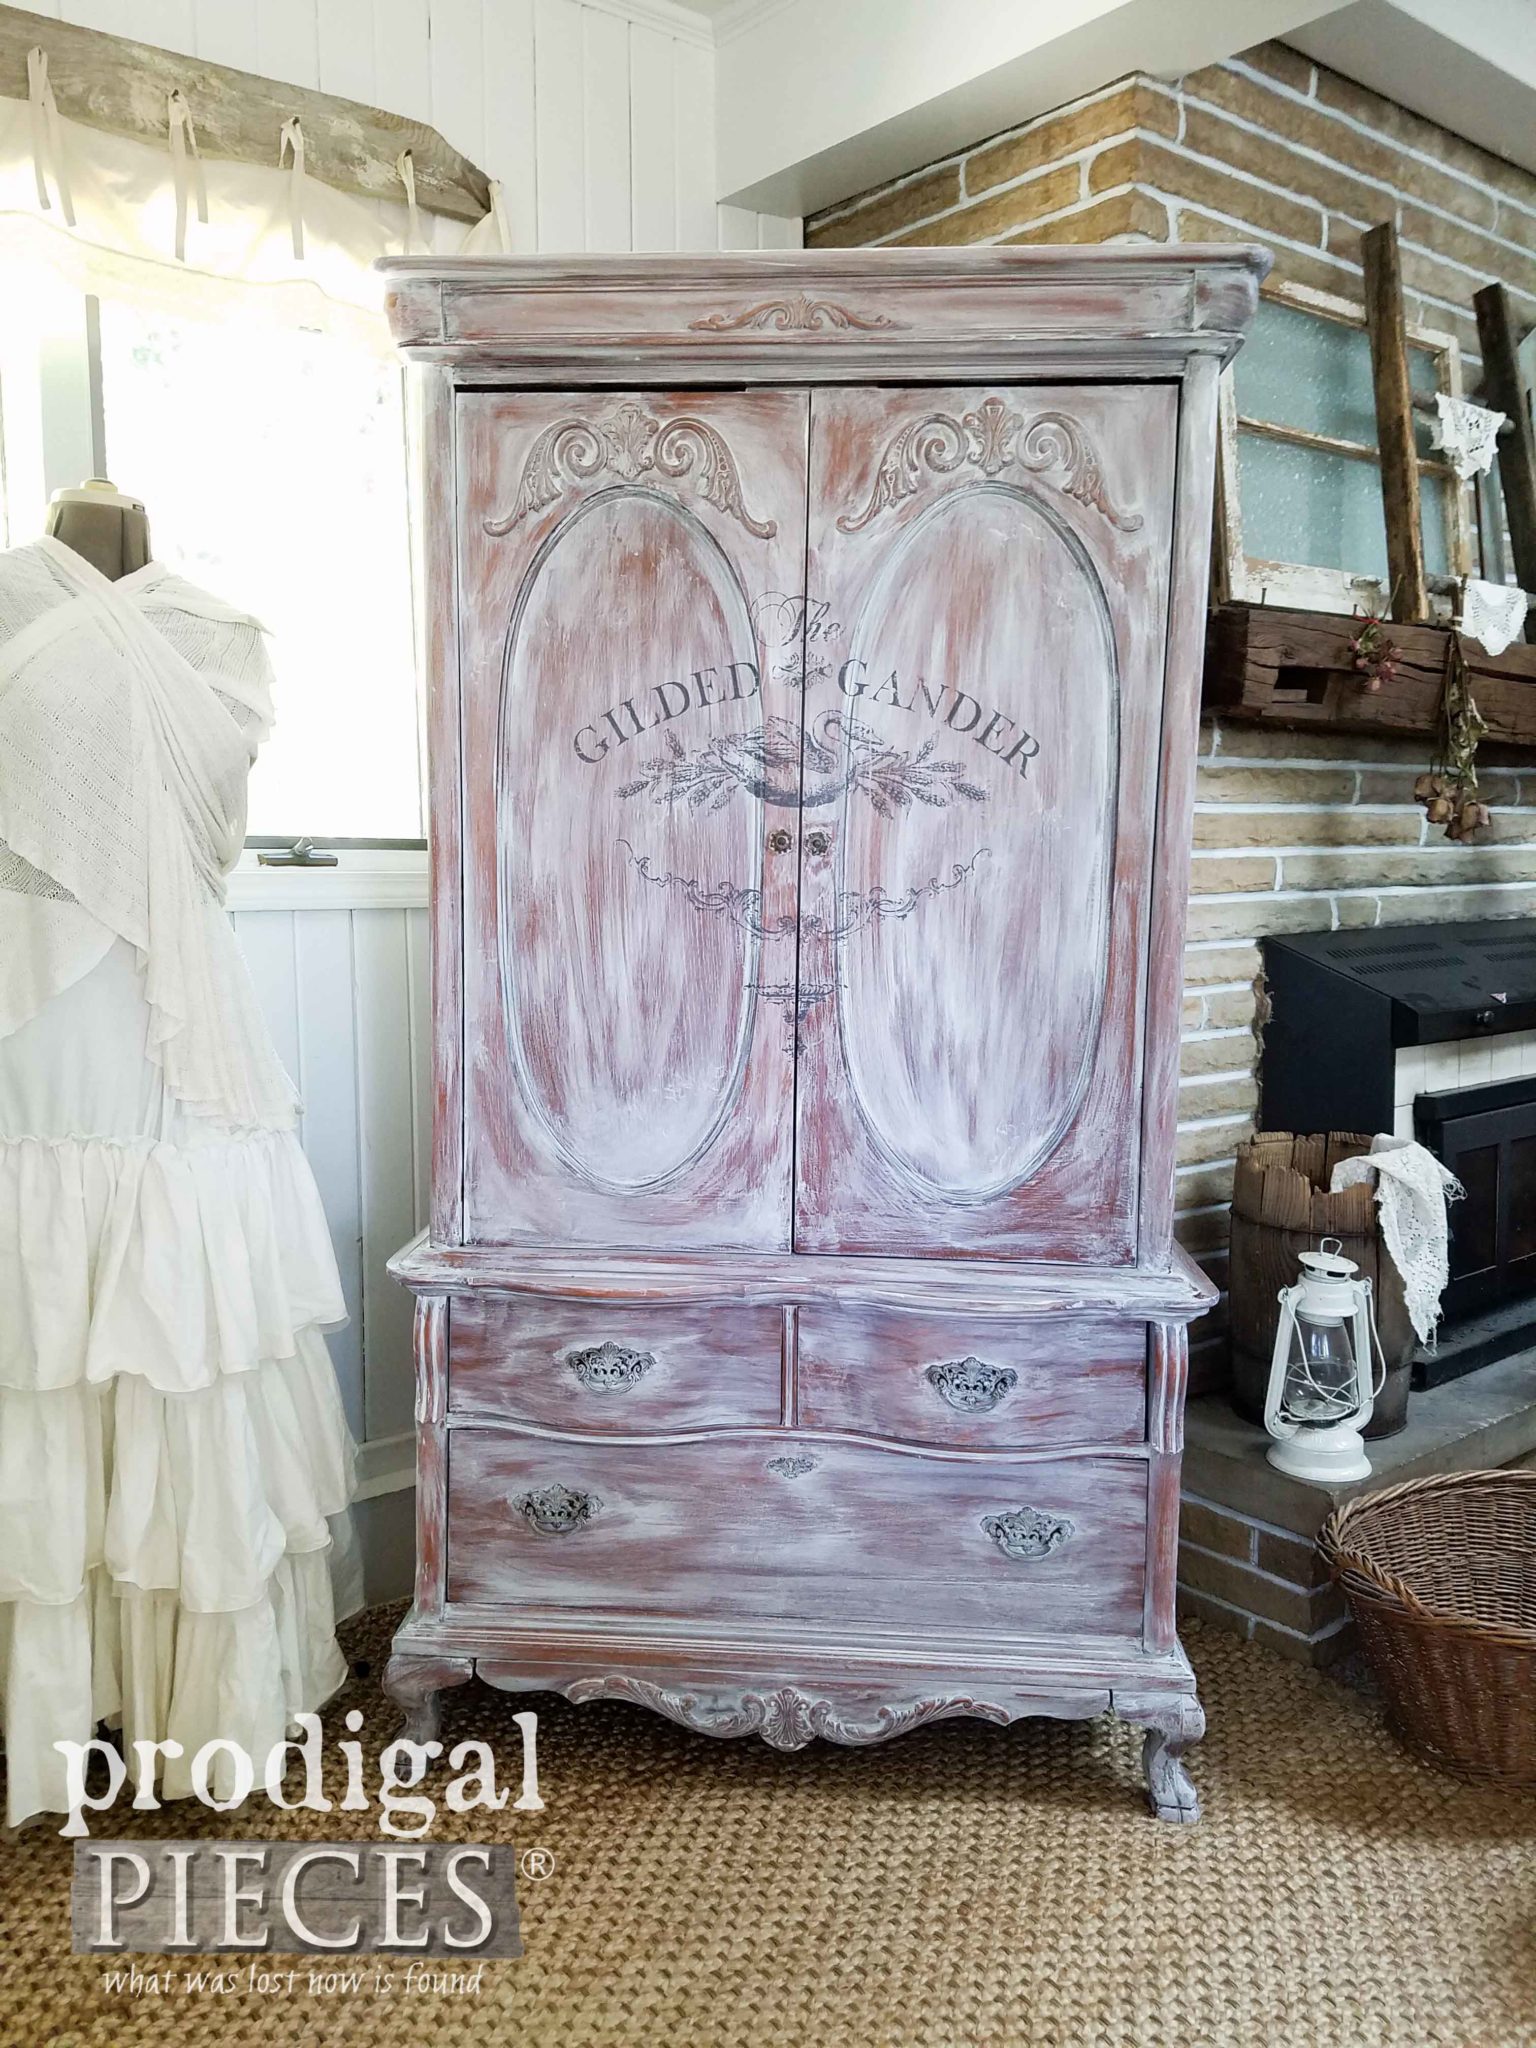
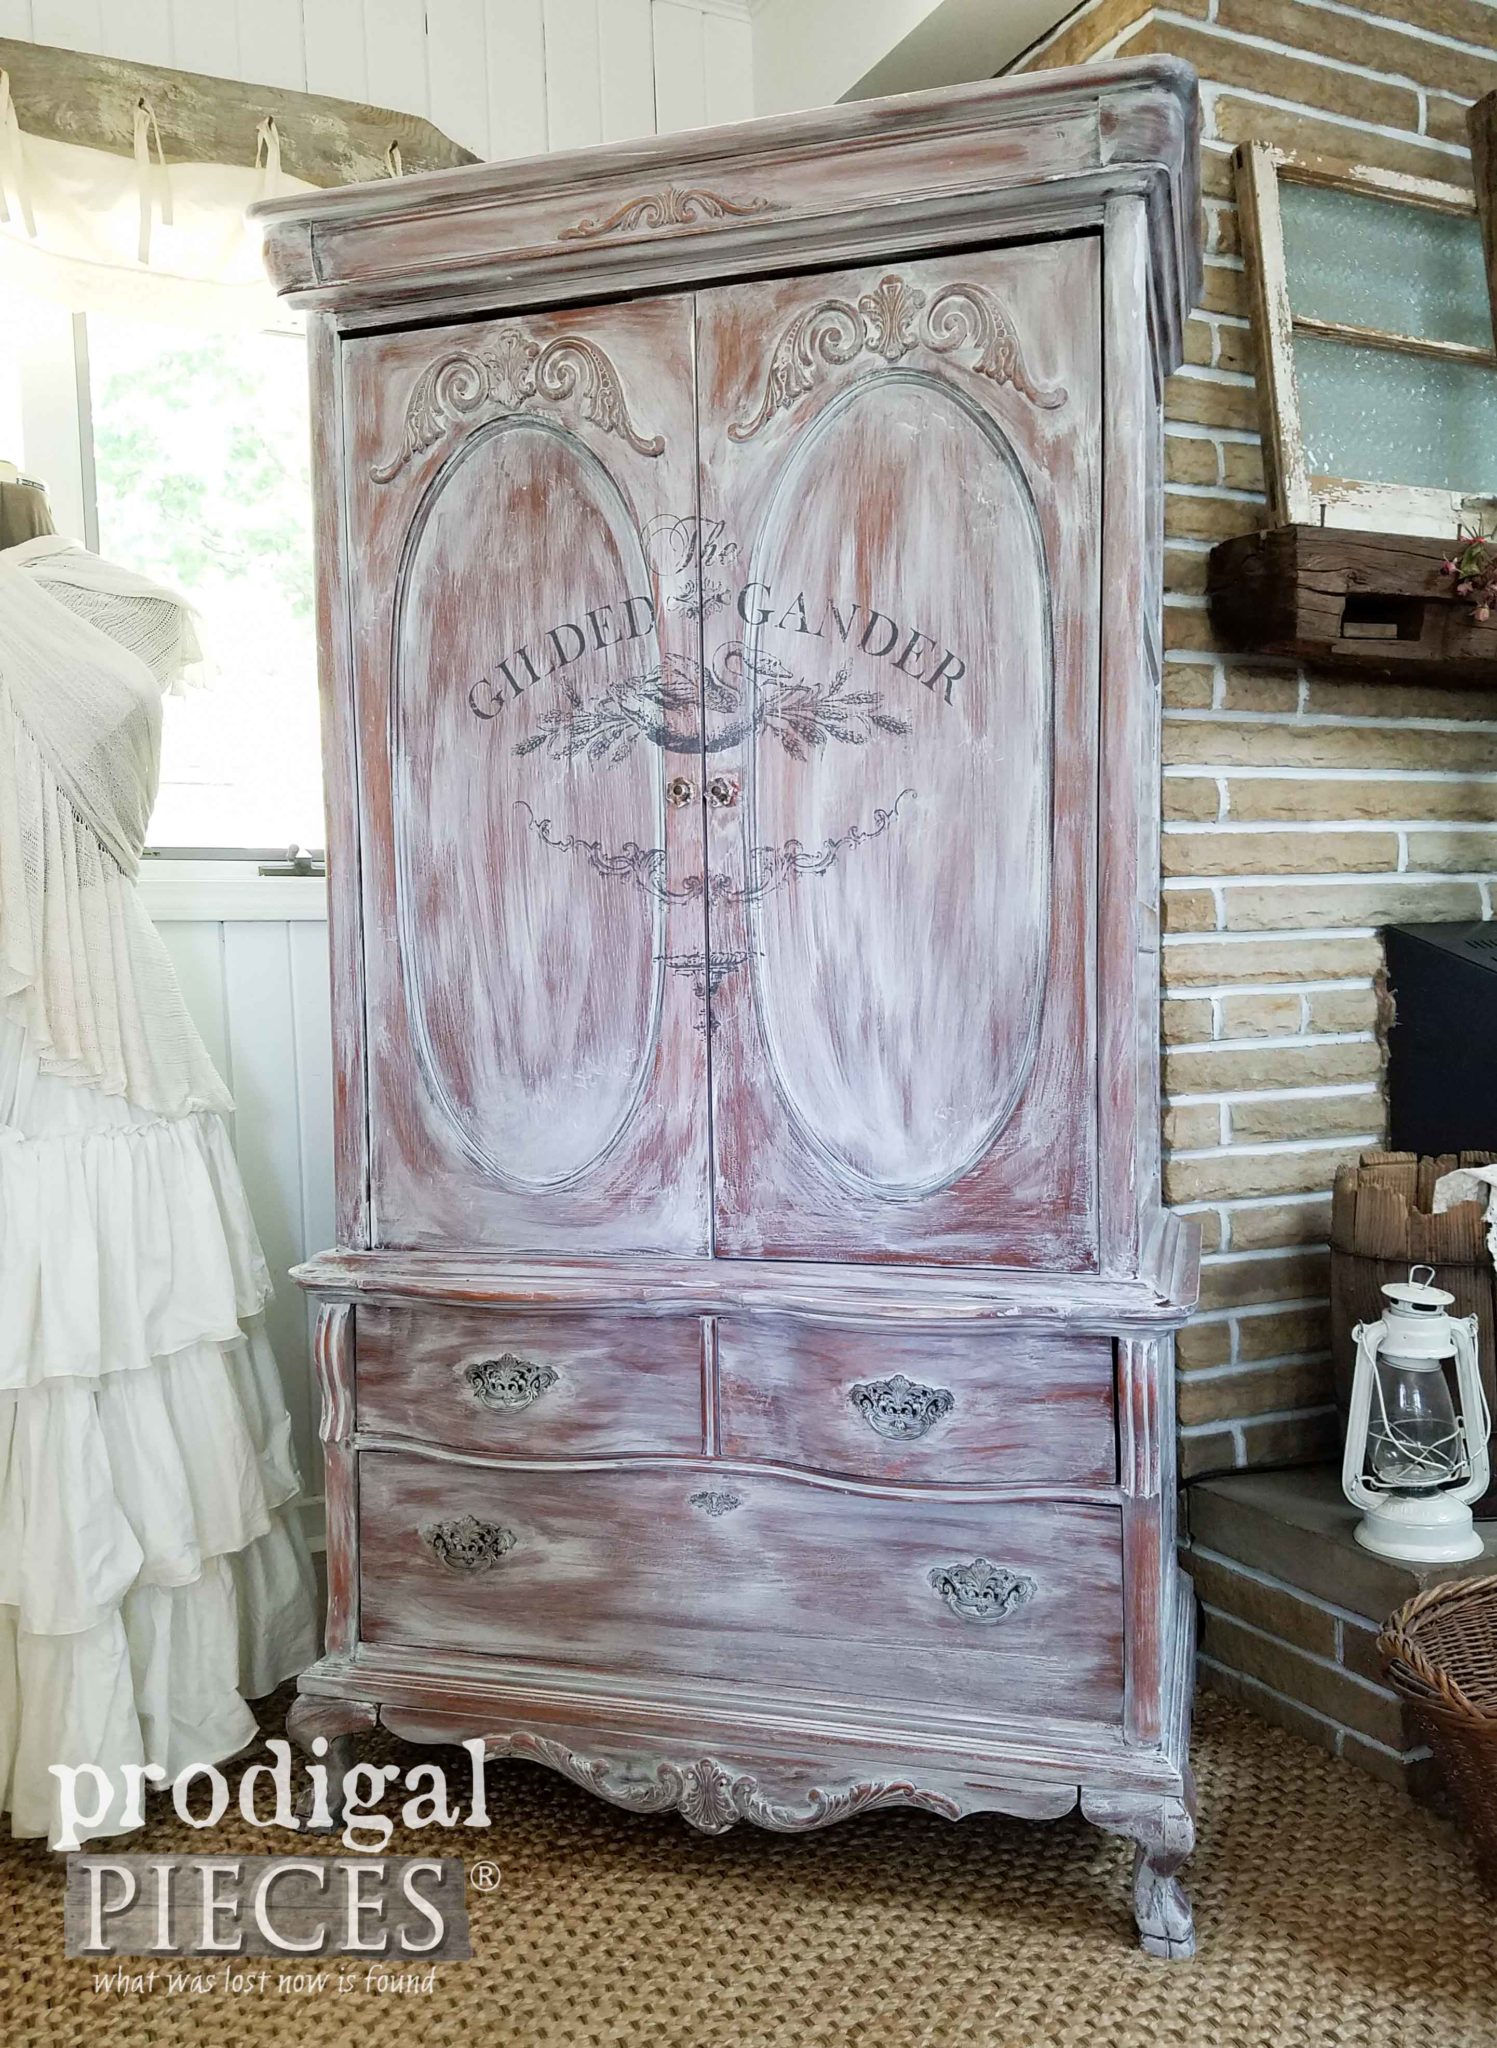
Then, the armoire is done!
This piece went from kinda pretty in orange to ooh, la, la French country chic. It was easy enough that you could do this in your home without having to take your heavy-as-a-semi-truck furniture outside.
The inside of this piece still allows for modern conveniences without sacrificing style. Manatee Gray was the perfect color to brighten the inside, and add a bit of contrast at the same time.
I think this makes for a sweet armoire for any living space as well as a bedroom. Where would you put it? It’s available for purchase from my shop – we ship most anywhere for half the cost of most. (SOLD)
My goal is to inspire you to give DIY a try. Even it’s as simple as a wash and a little embellishment, it goes a long way! Do pin and share to inspire other too. Thank you!
Up next is Trash to Treasure Tuesday, where my blogger friends and I have fun sharing our creations with you. I’m tackling this pile o’ goodness! Head HERE to see.
To get these DIY tips & tricks in your inbox, be sure to sign up for my newsletter. Until next time!





Love French flair
Thanks.
So pretty! Can’t wait to see what you come up with for the trash to treasure Tuesday. I know it’ll be something great.
Thank you, Debra.
Wow, I was not expecting this based on the matching dresser makeover. It’s beautiful!
Glad you like it. 🙂
I have this same armoire, along with dresser with mirror, chest and bed. Not ready to make any changes yet but if I do you have given me inspiration. Thank you!
Ooh…that is sweet! They are great pieces to have. Enjoy!