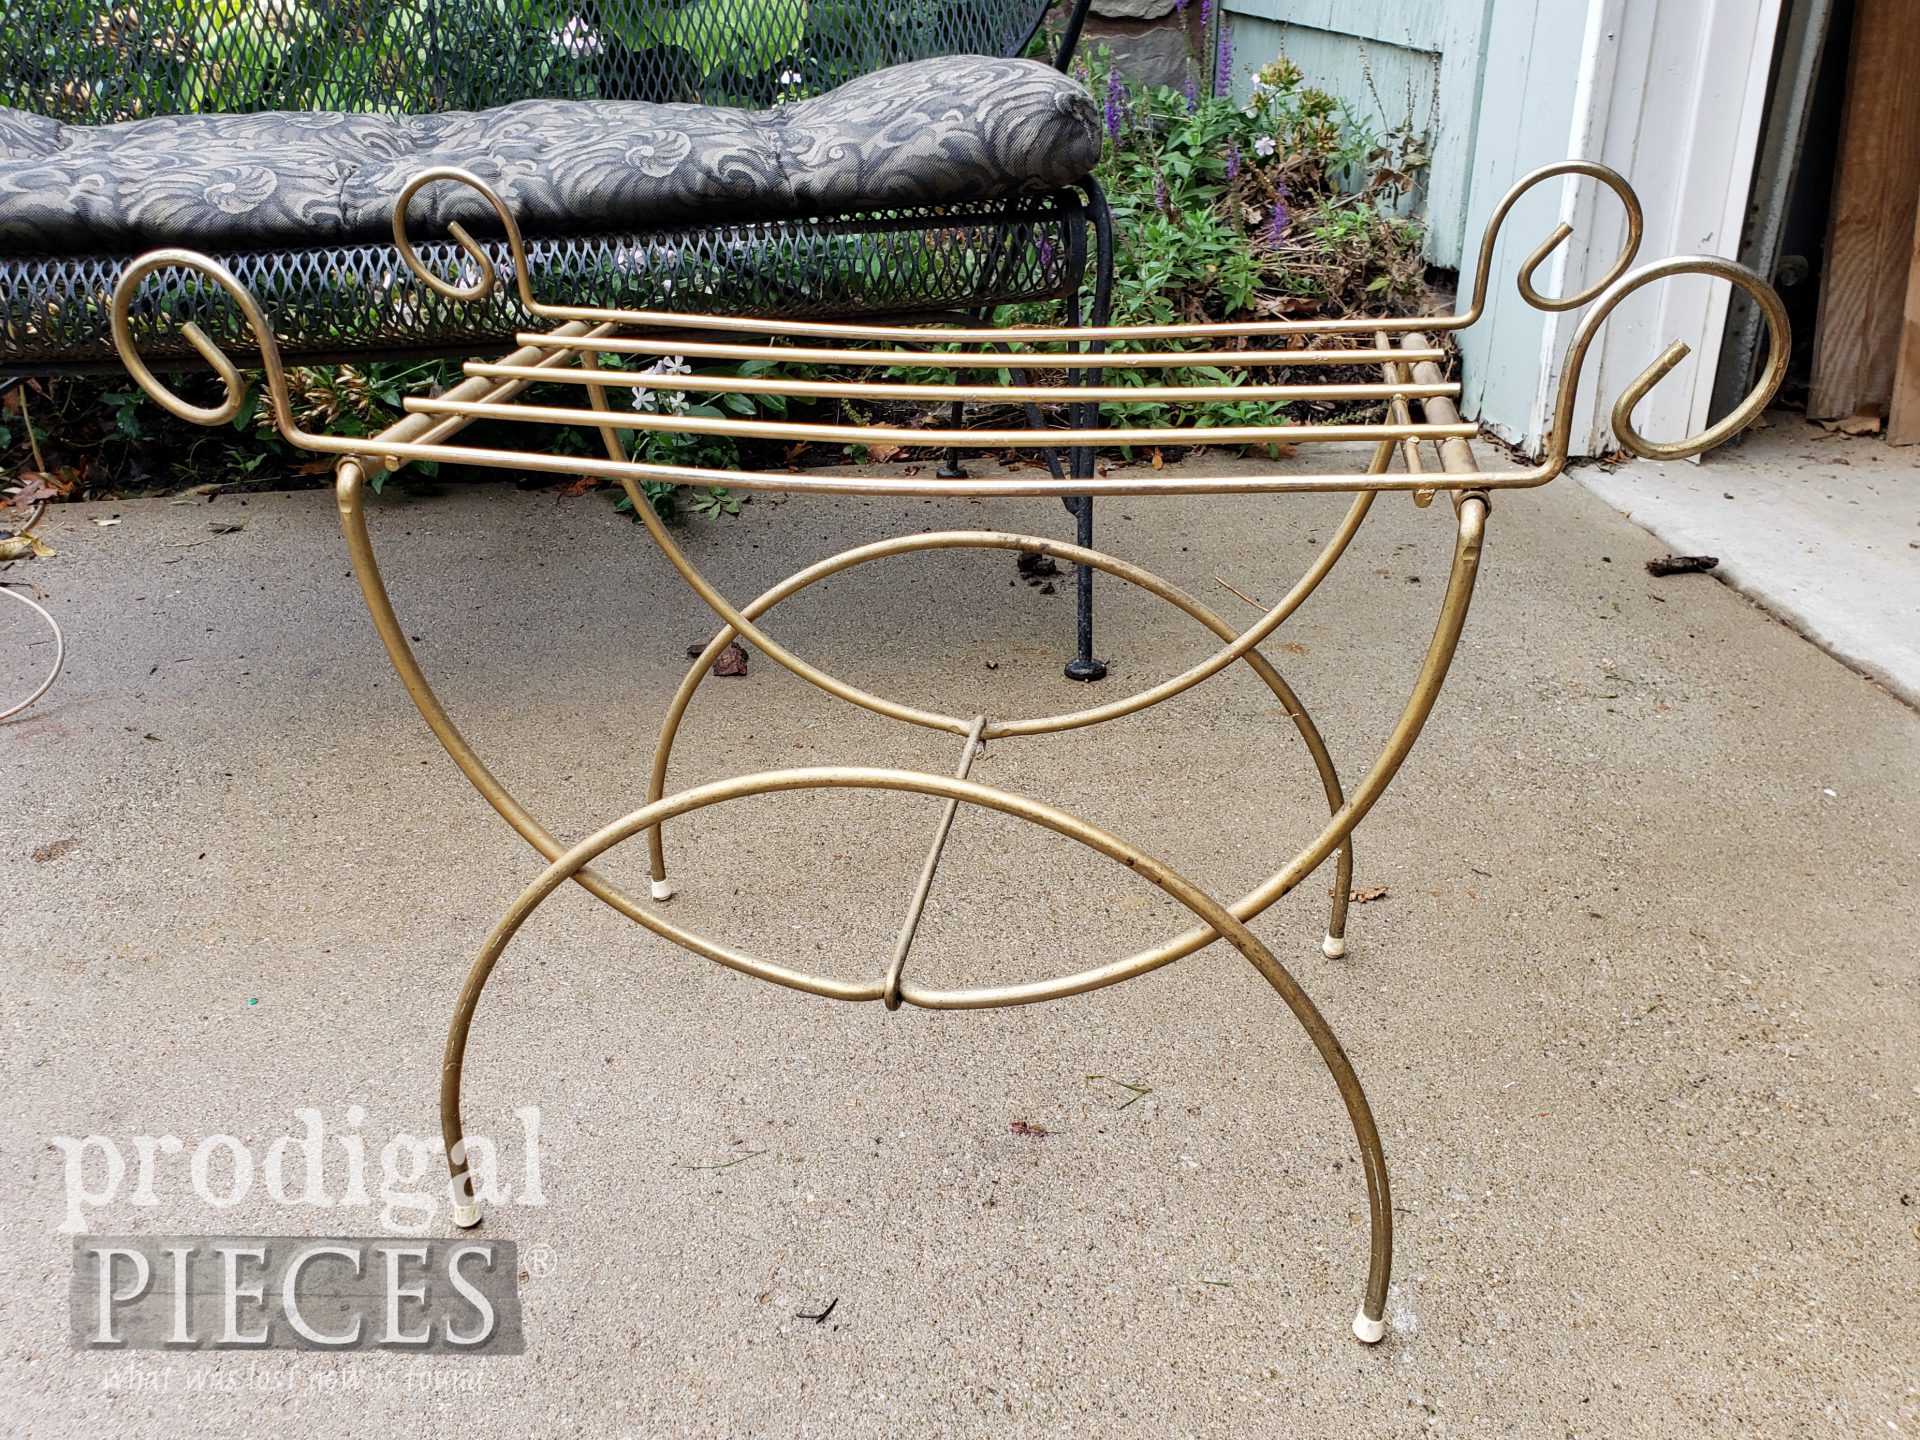
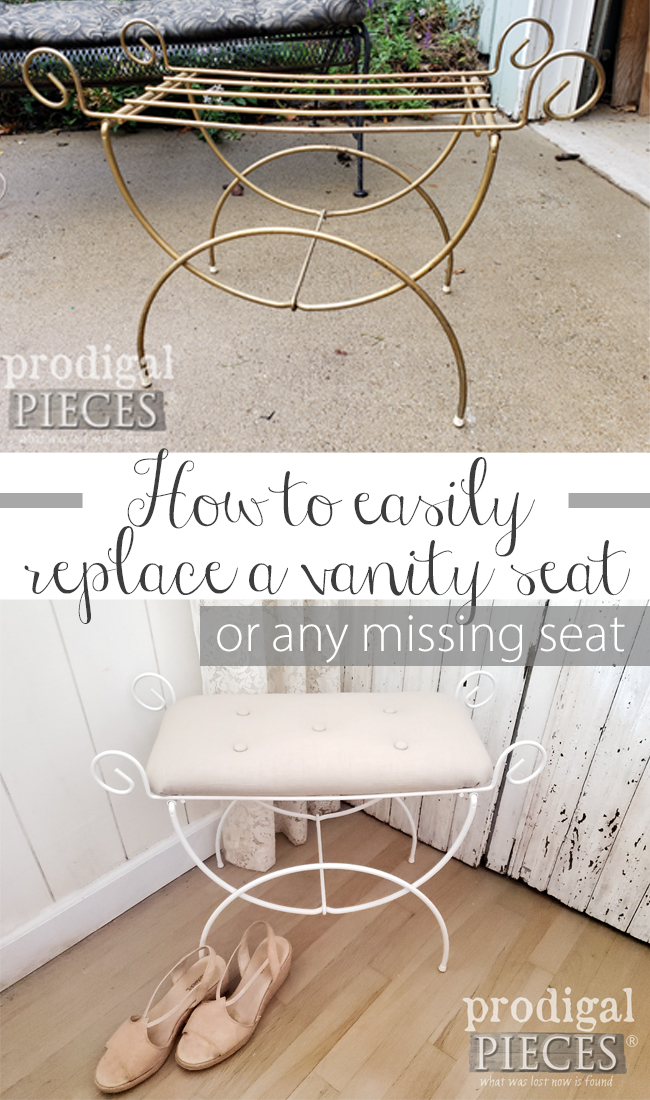
A few weeks ago I shared this view from the thrift store as I was shopping. My first post was about that bread box and how I upcycled it for a sweet project HERE. Today is all about that wire vanity seat. Notice it’s missing a cushion. I’m sharing the details today how to replace a vanity seat in a simple way.
Truth be told, I kinda grabbed it to use in conjunction with the first project. But also because I can NEVER find a vanity seat when I need one (which is usually when I find a vanity cheap or on the side of the road). Am I right?
This vintage wire vanity seat is from the Art Deco era, probably late 1930’s to early 1940’s. I just love the lines, but…and I really mean “butt”, my bum would be ridden with lines without the proper cushion. Ya know like when you rest too long on the commode? haha. Sorry for the mental picture.
Technically, this would have had a custom boxed cushion resting on it with piping at the seams and ties to secure it. While I could totally recreate that as I’ve done for other vanity seats in the past, I decided to show you a simpler method of how to replace a vanity seat (or any seat for that matter). Also, you can see my past upholstery tutorials in these posts HERE.
LET’S BEGIN
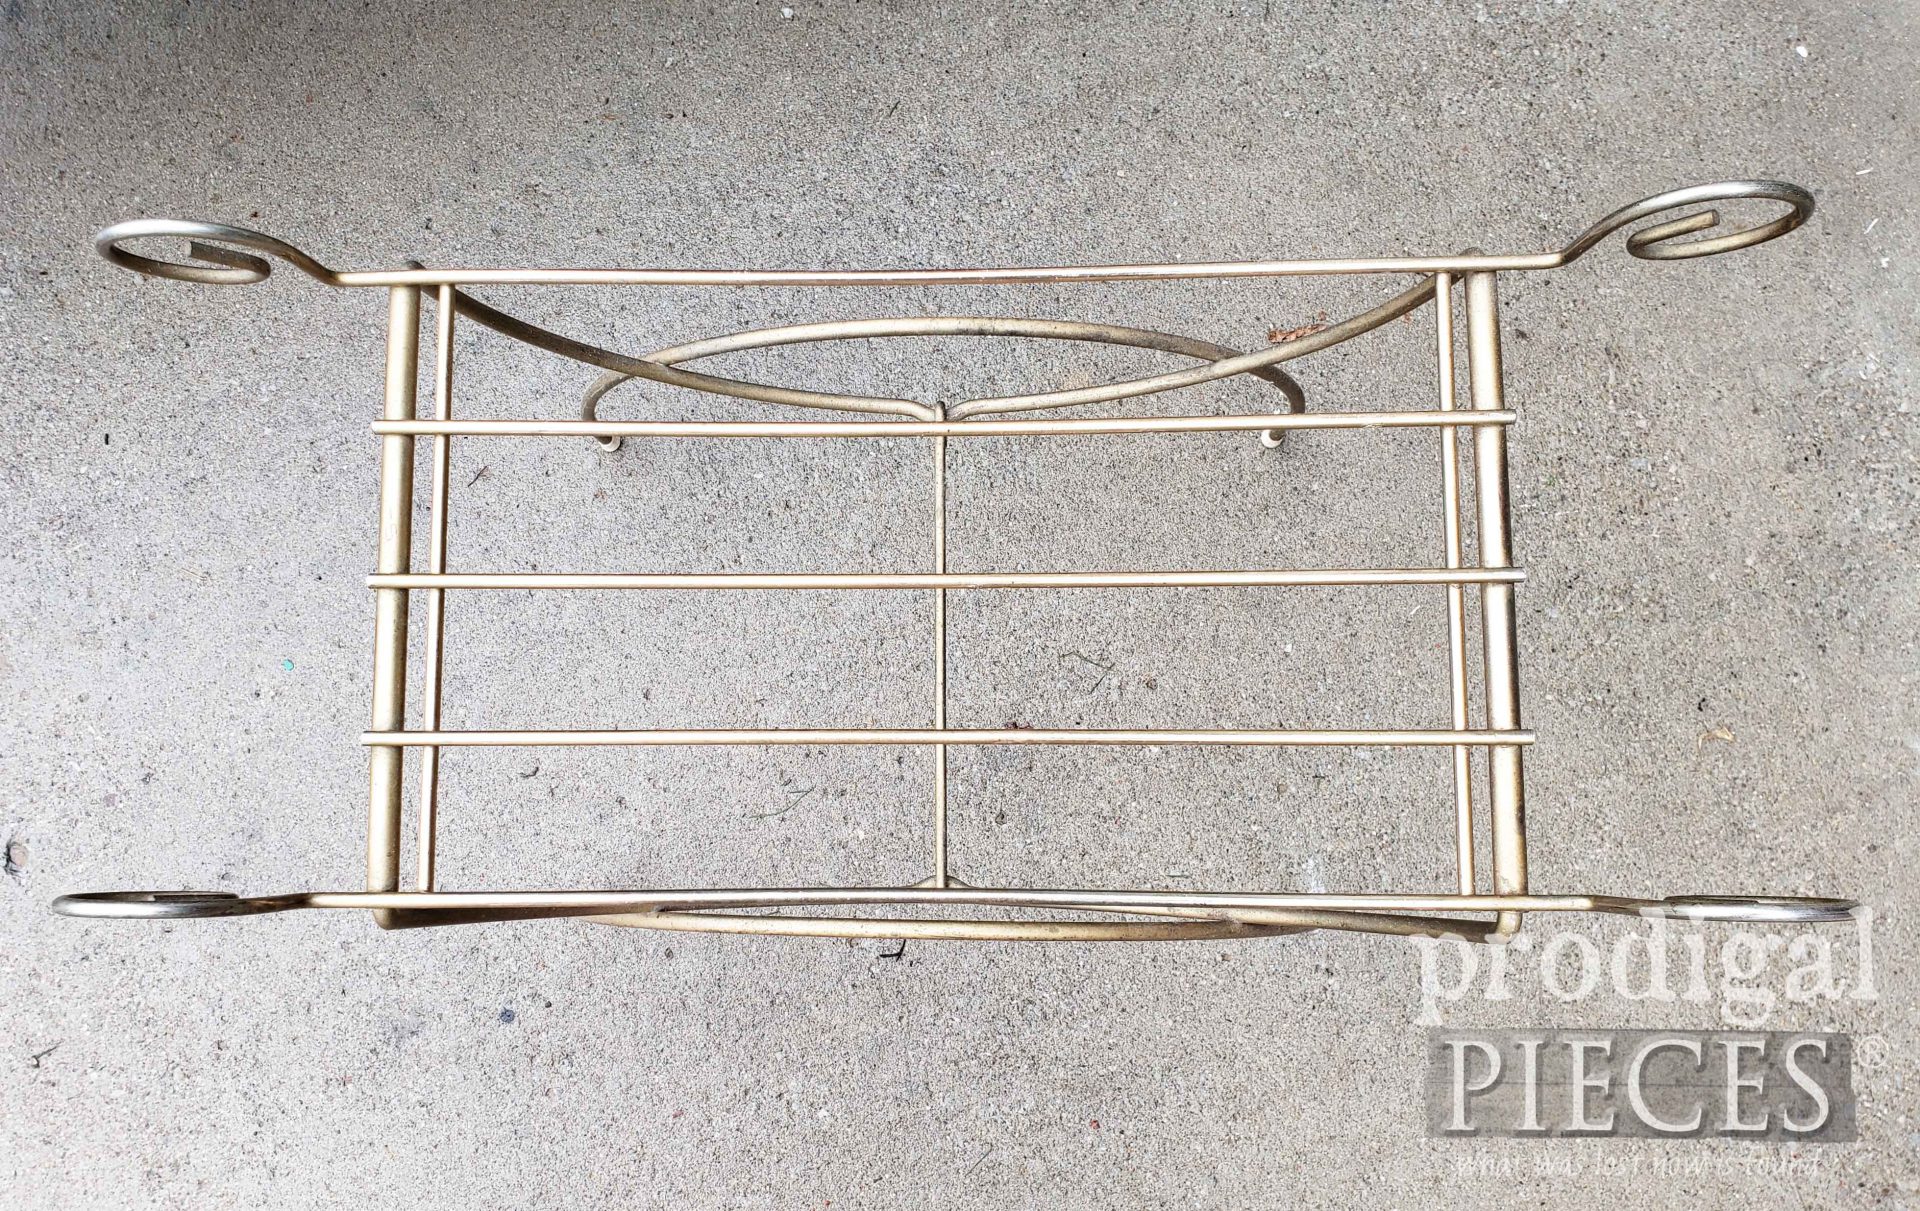
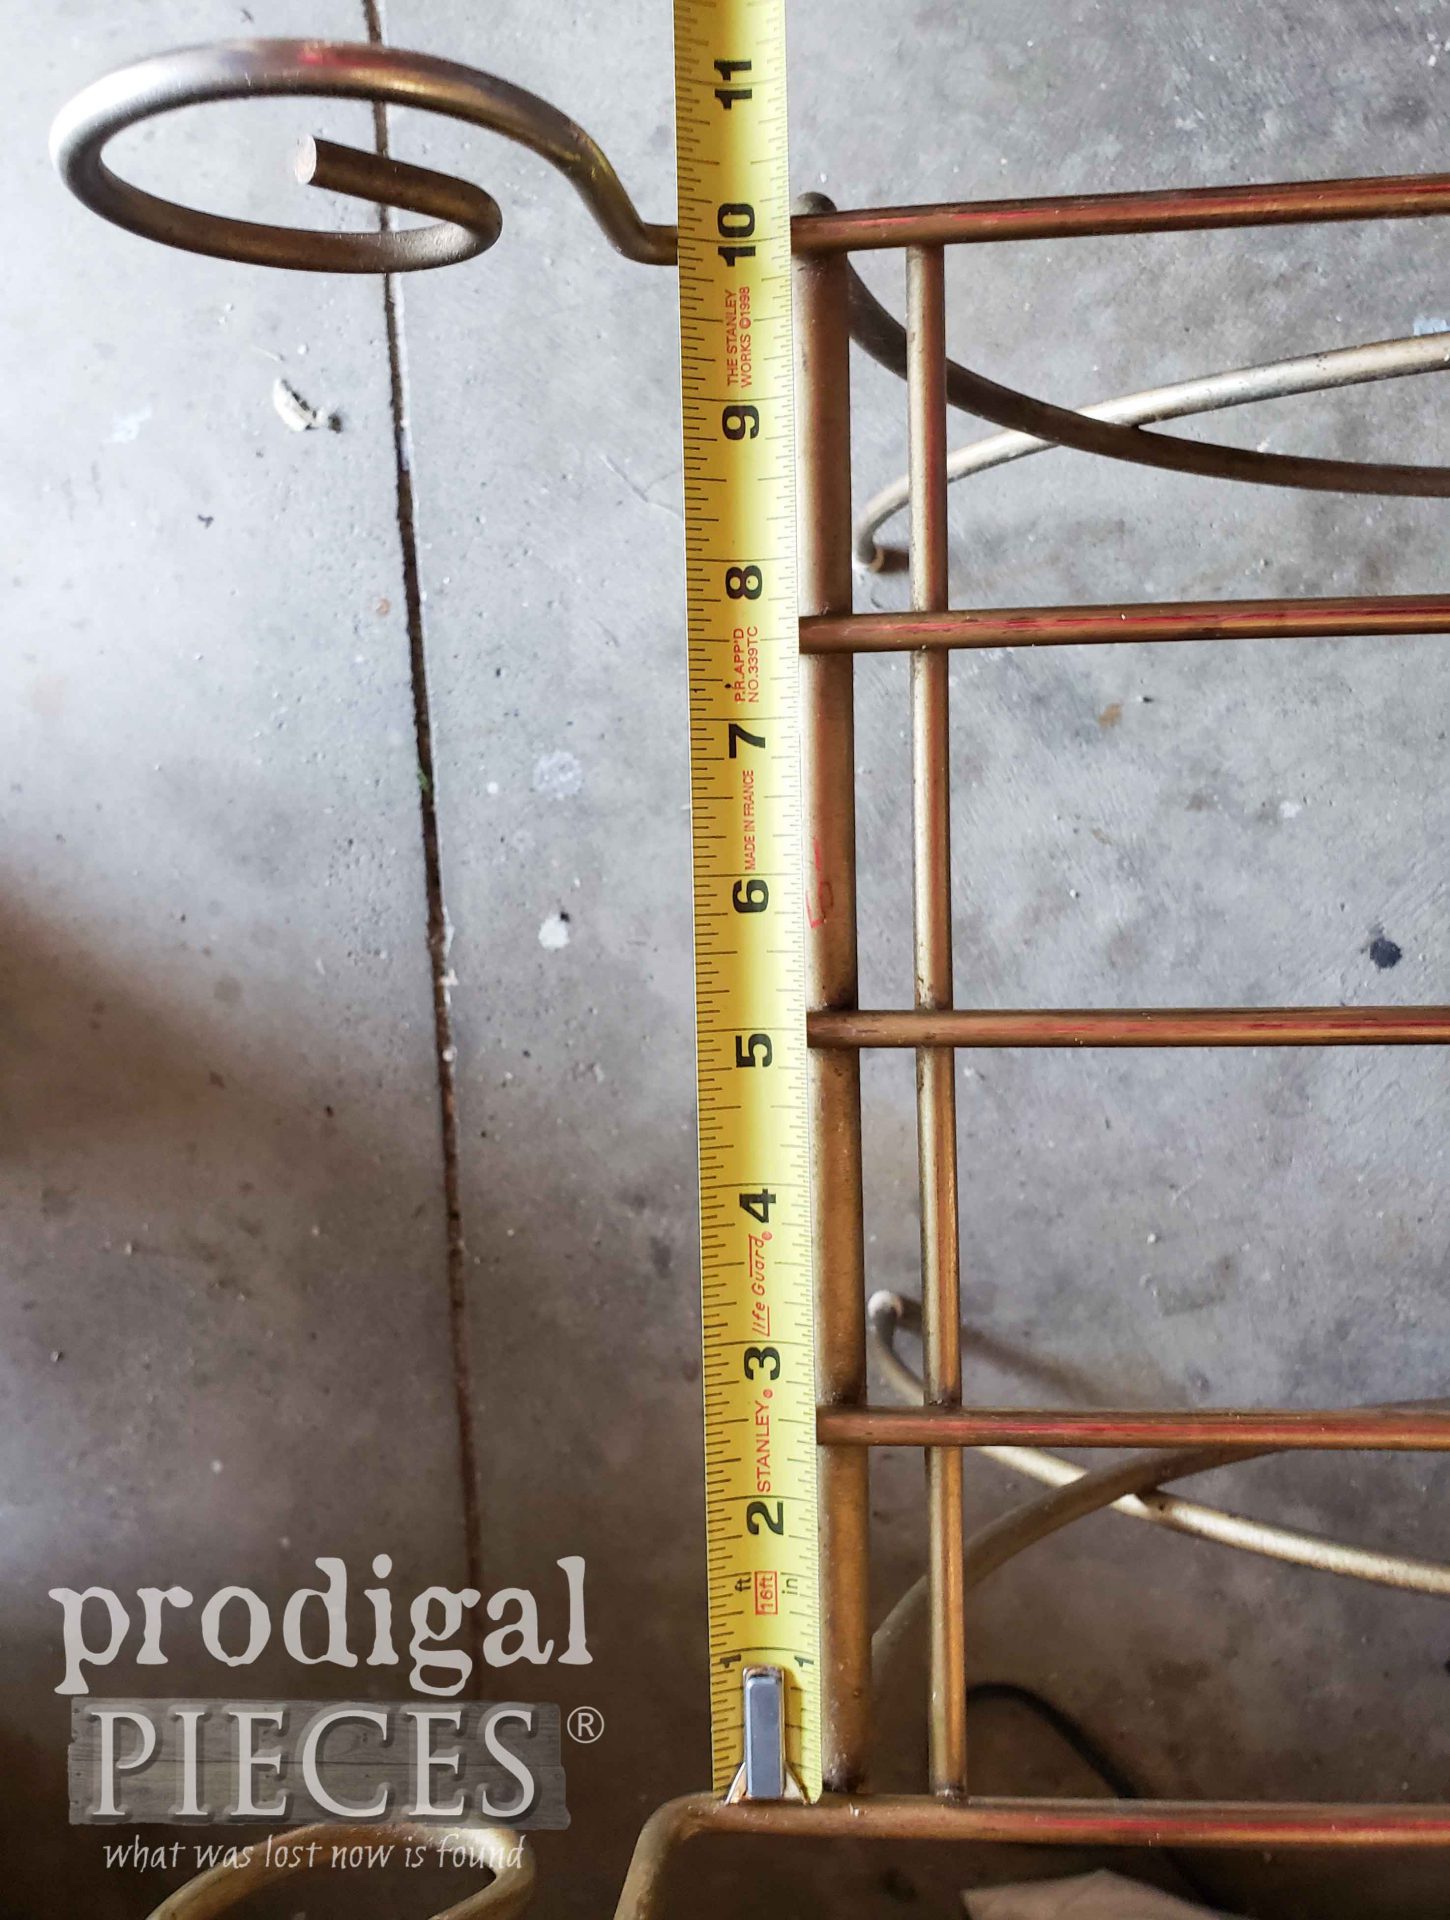
First, I take measurements of the seat interior dimension. My goal is to make the seat fit within the parameters of the top edges.
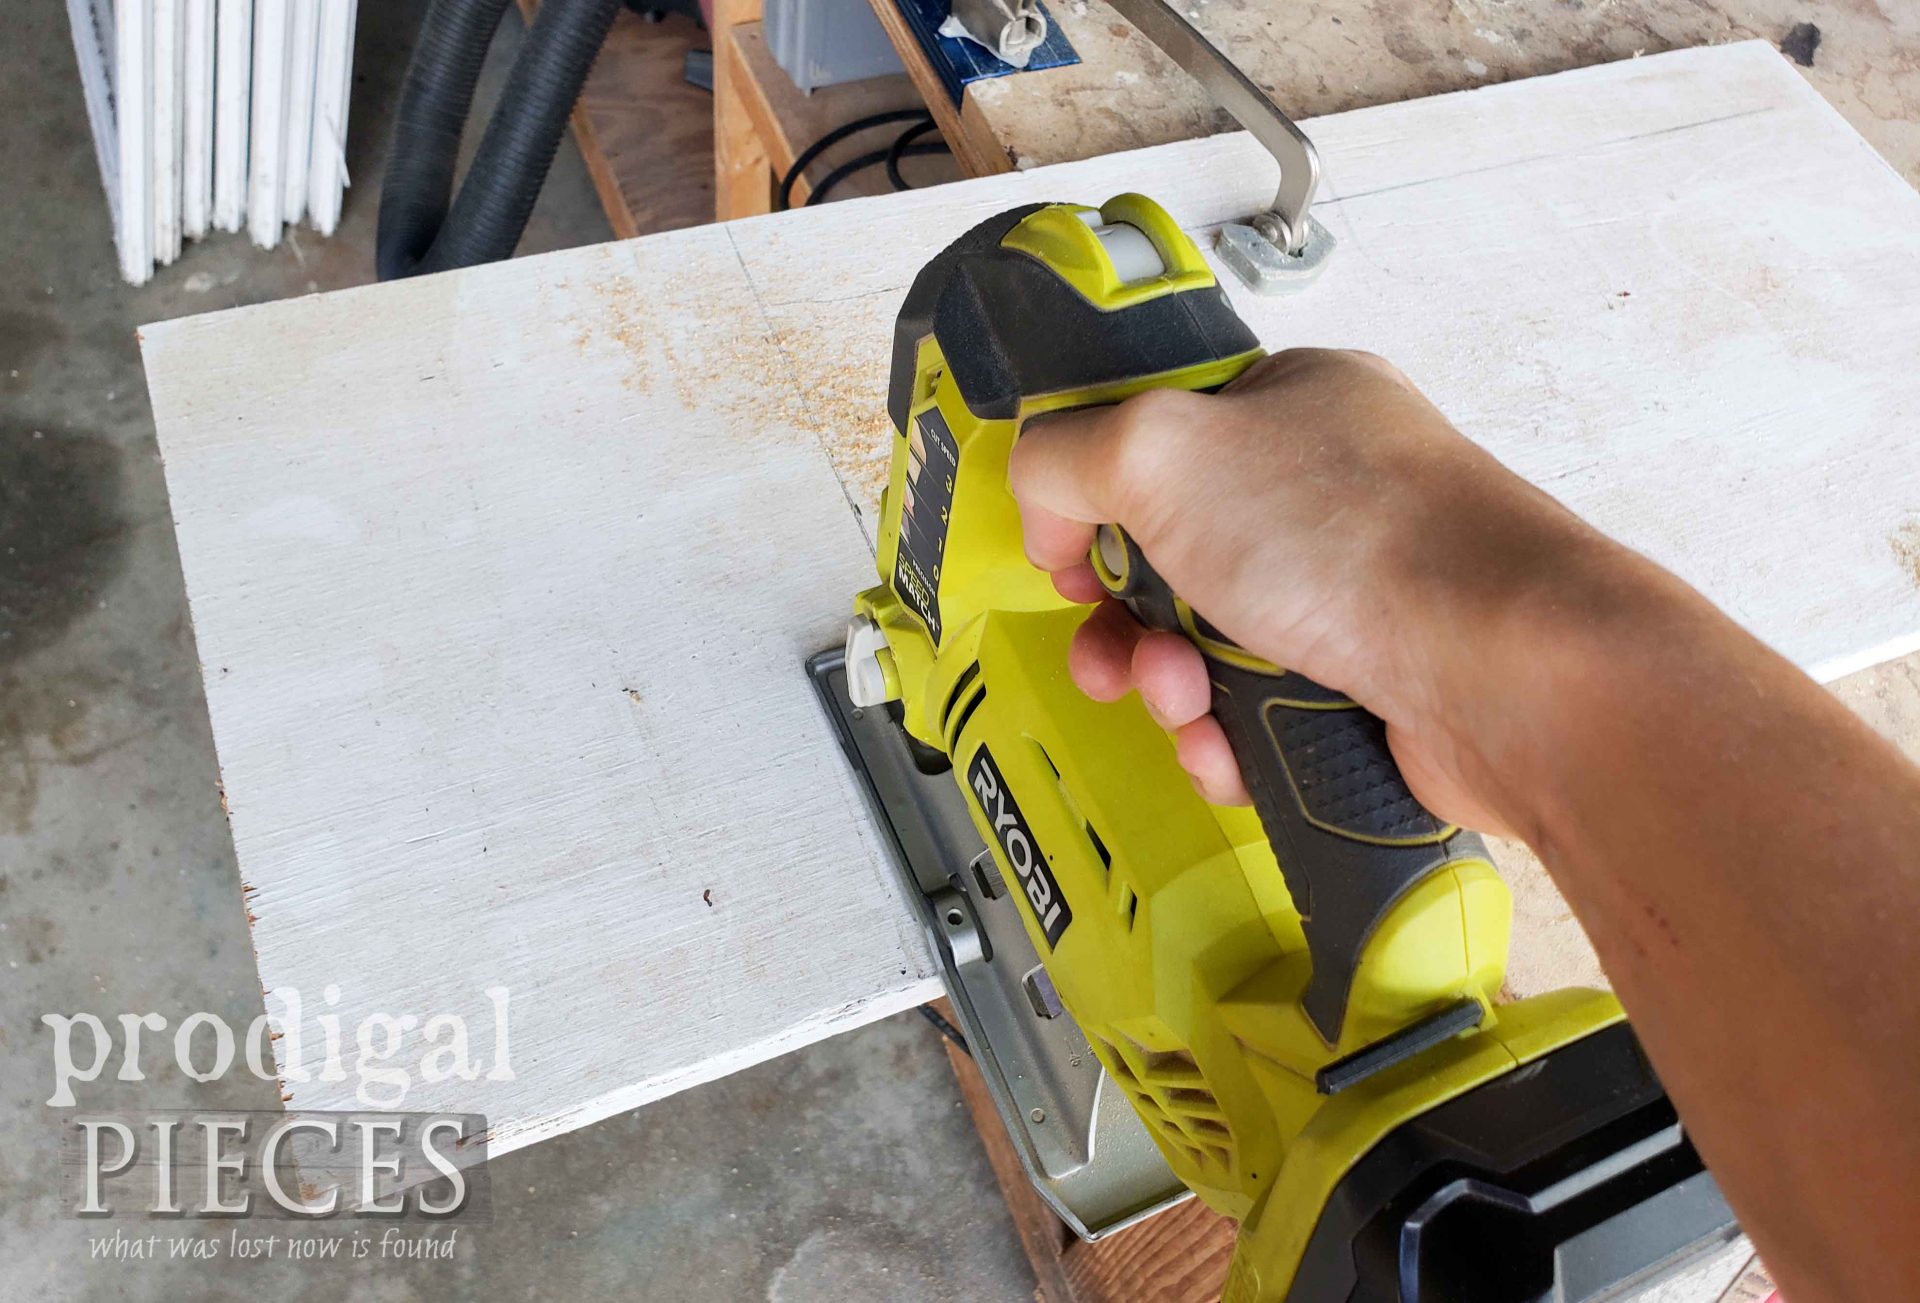
Once I have the measurements I find a piece of plywood in my stash that is at least ¾” thick. You need that thickness to hold the weight of body. I have a huge stash, so no problem locating a perfect piece. I use my jigsaw to cut it to size and round over the corners. Gotta love tools!
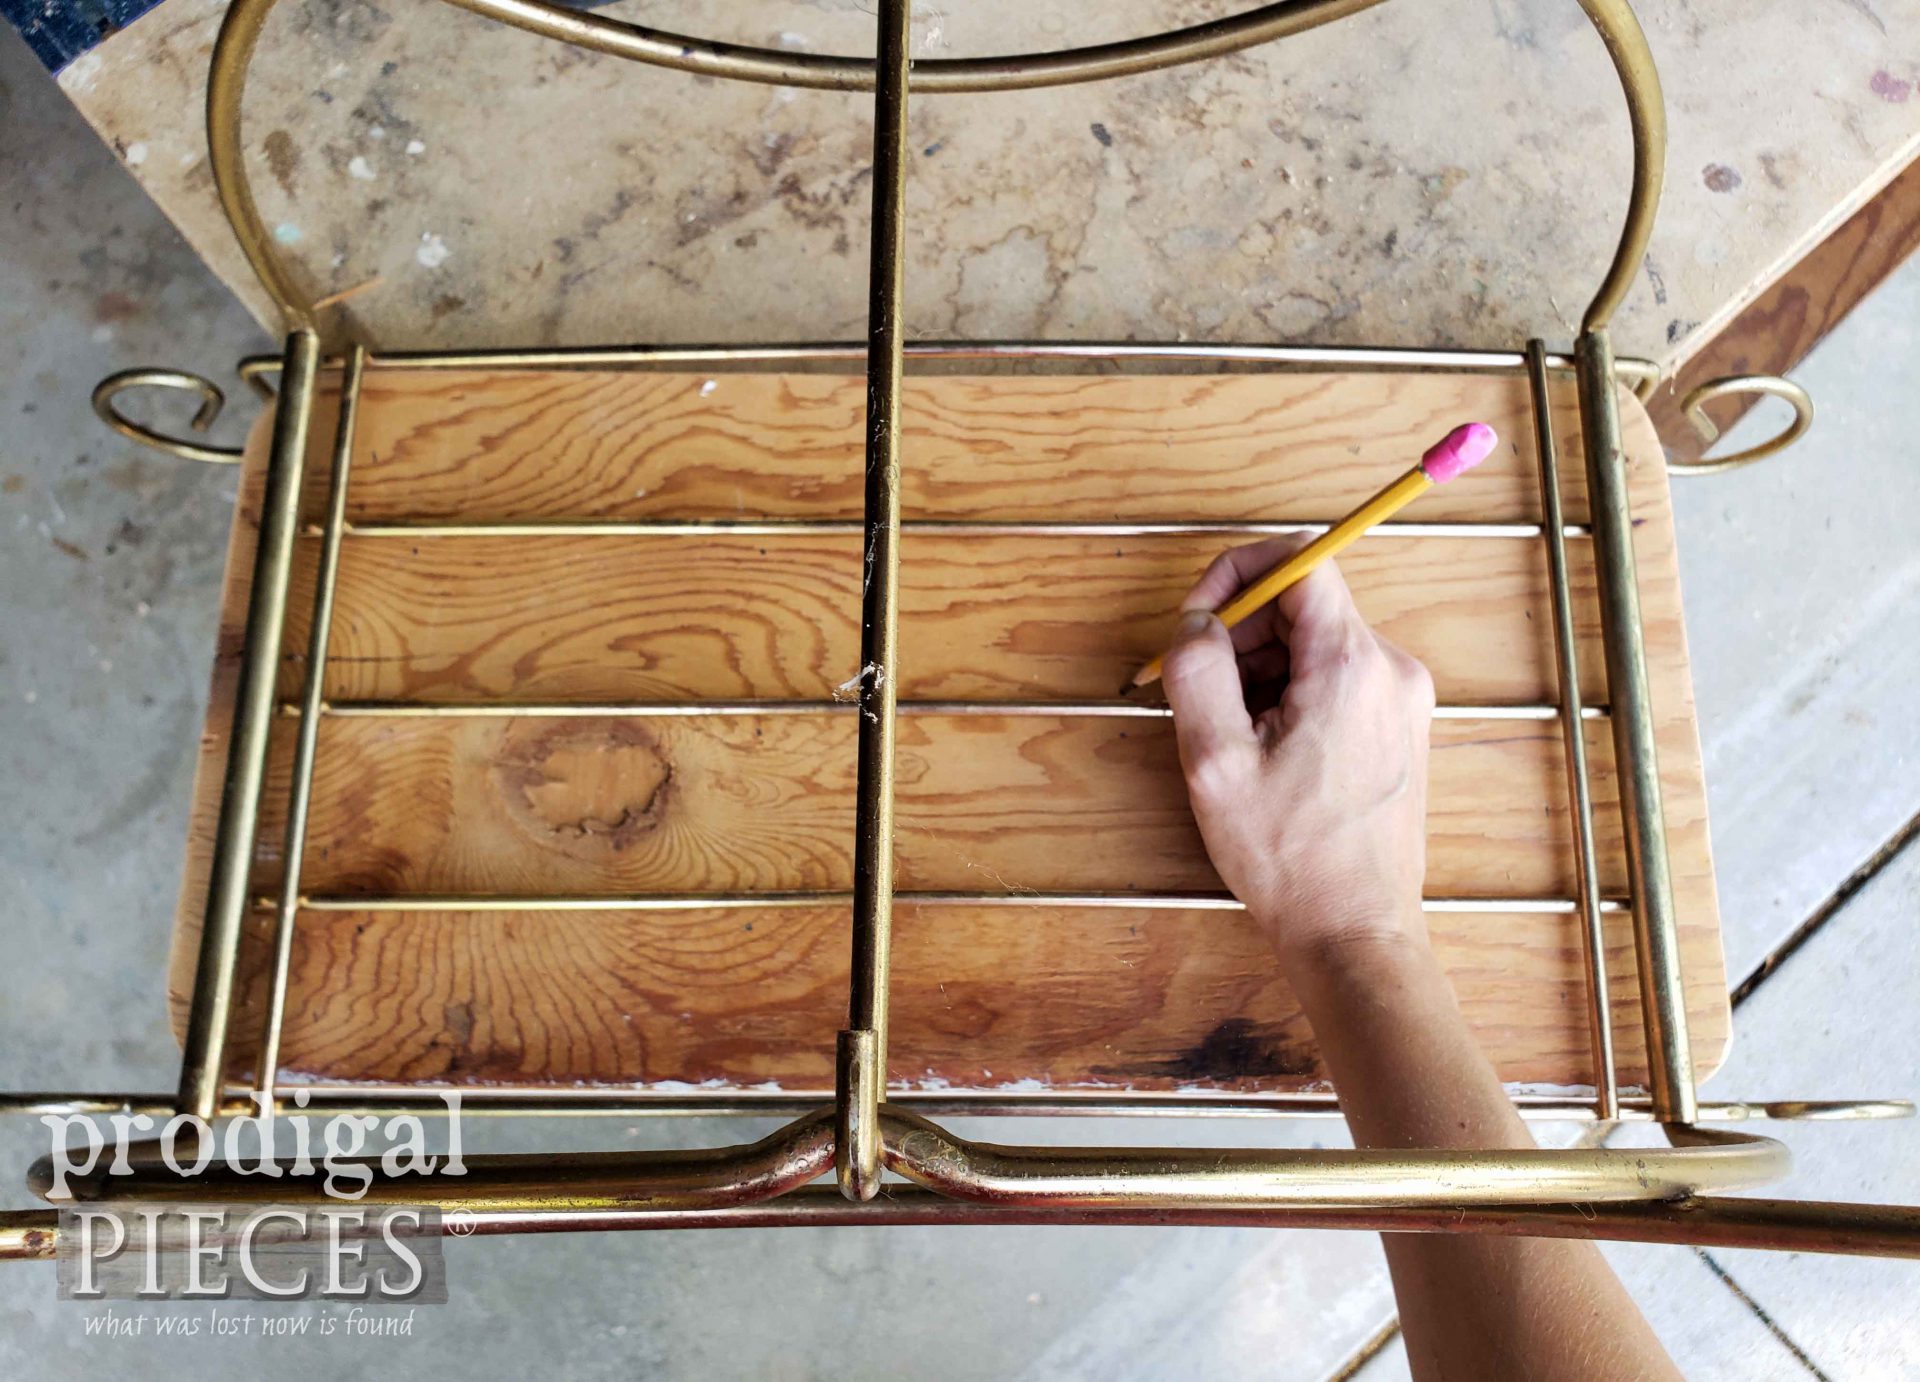
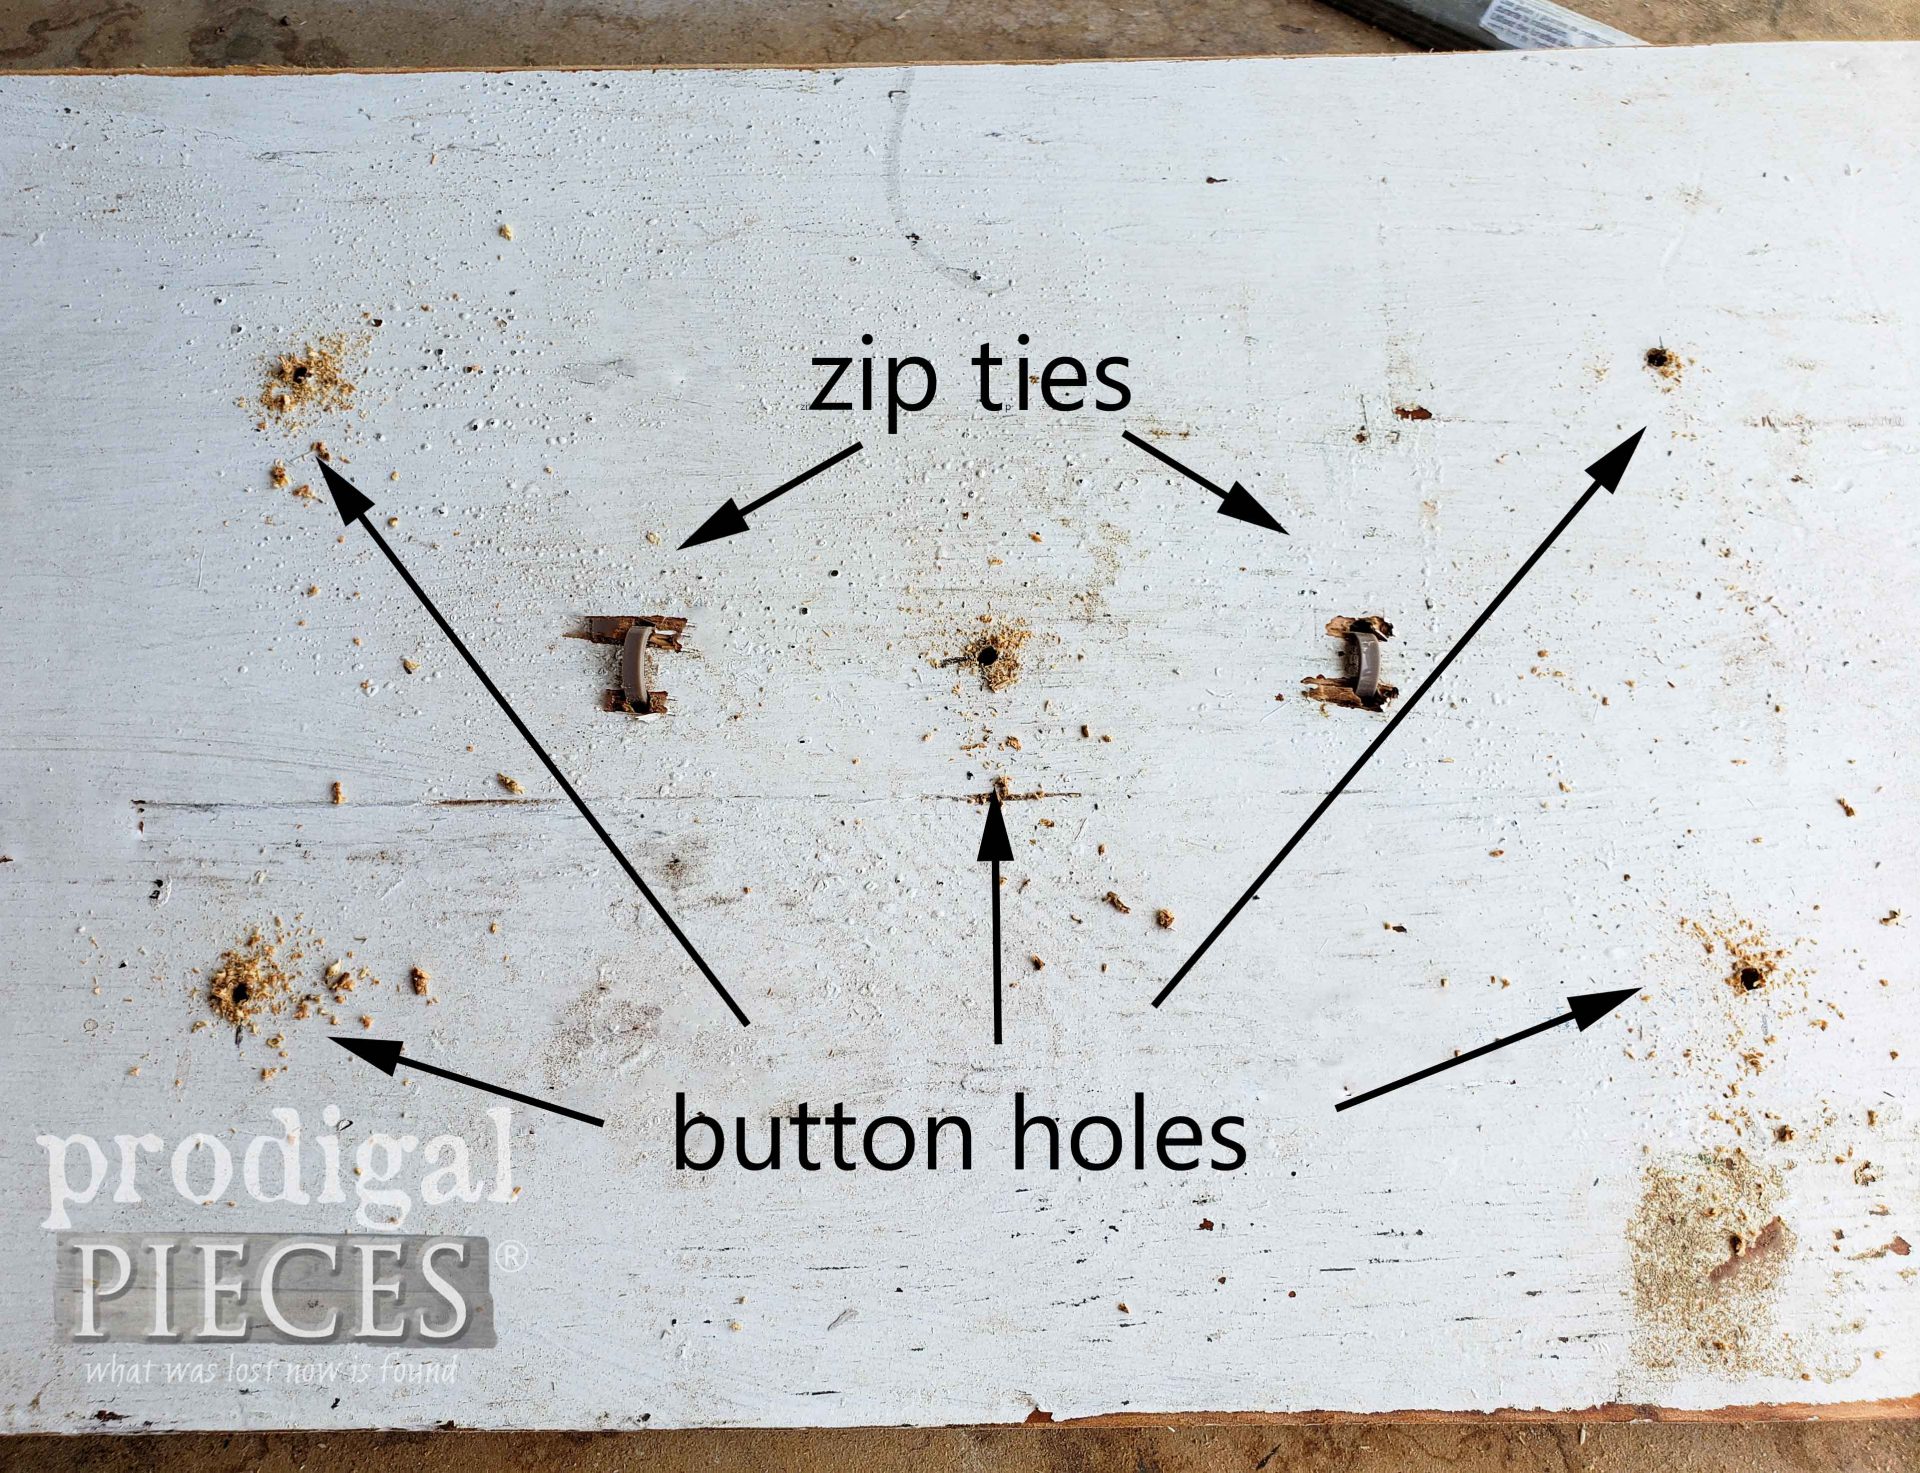
To understand where I’m going with this, I am basically creating the base of an upholstered top. In order to get the seat stable and attached to the vanity seat, I need to add holes so I can attach it. In fact, I place the vanity seat on the board upside down and make marks on either side of each rung.
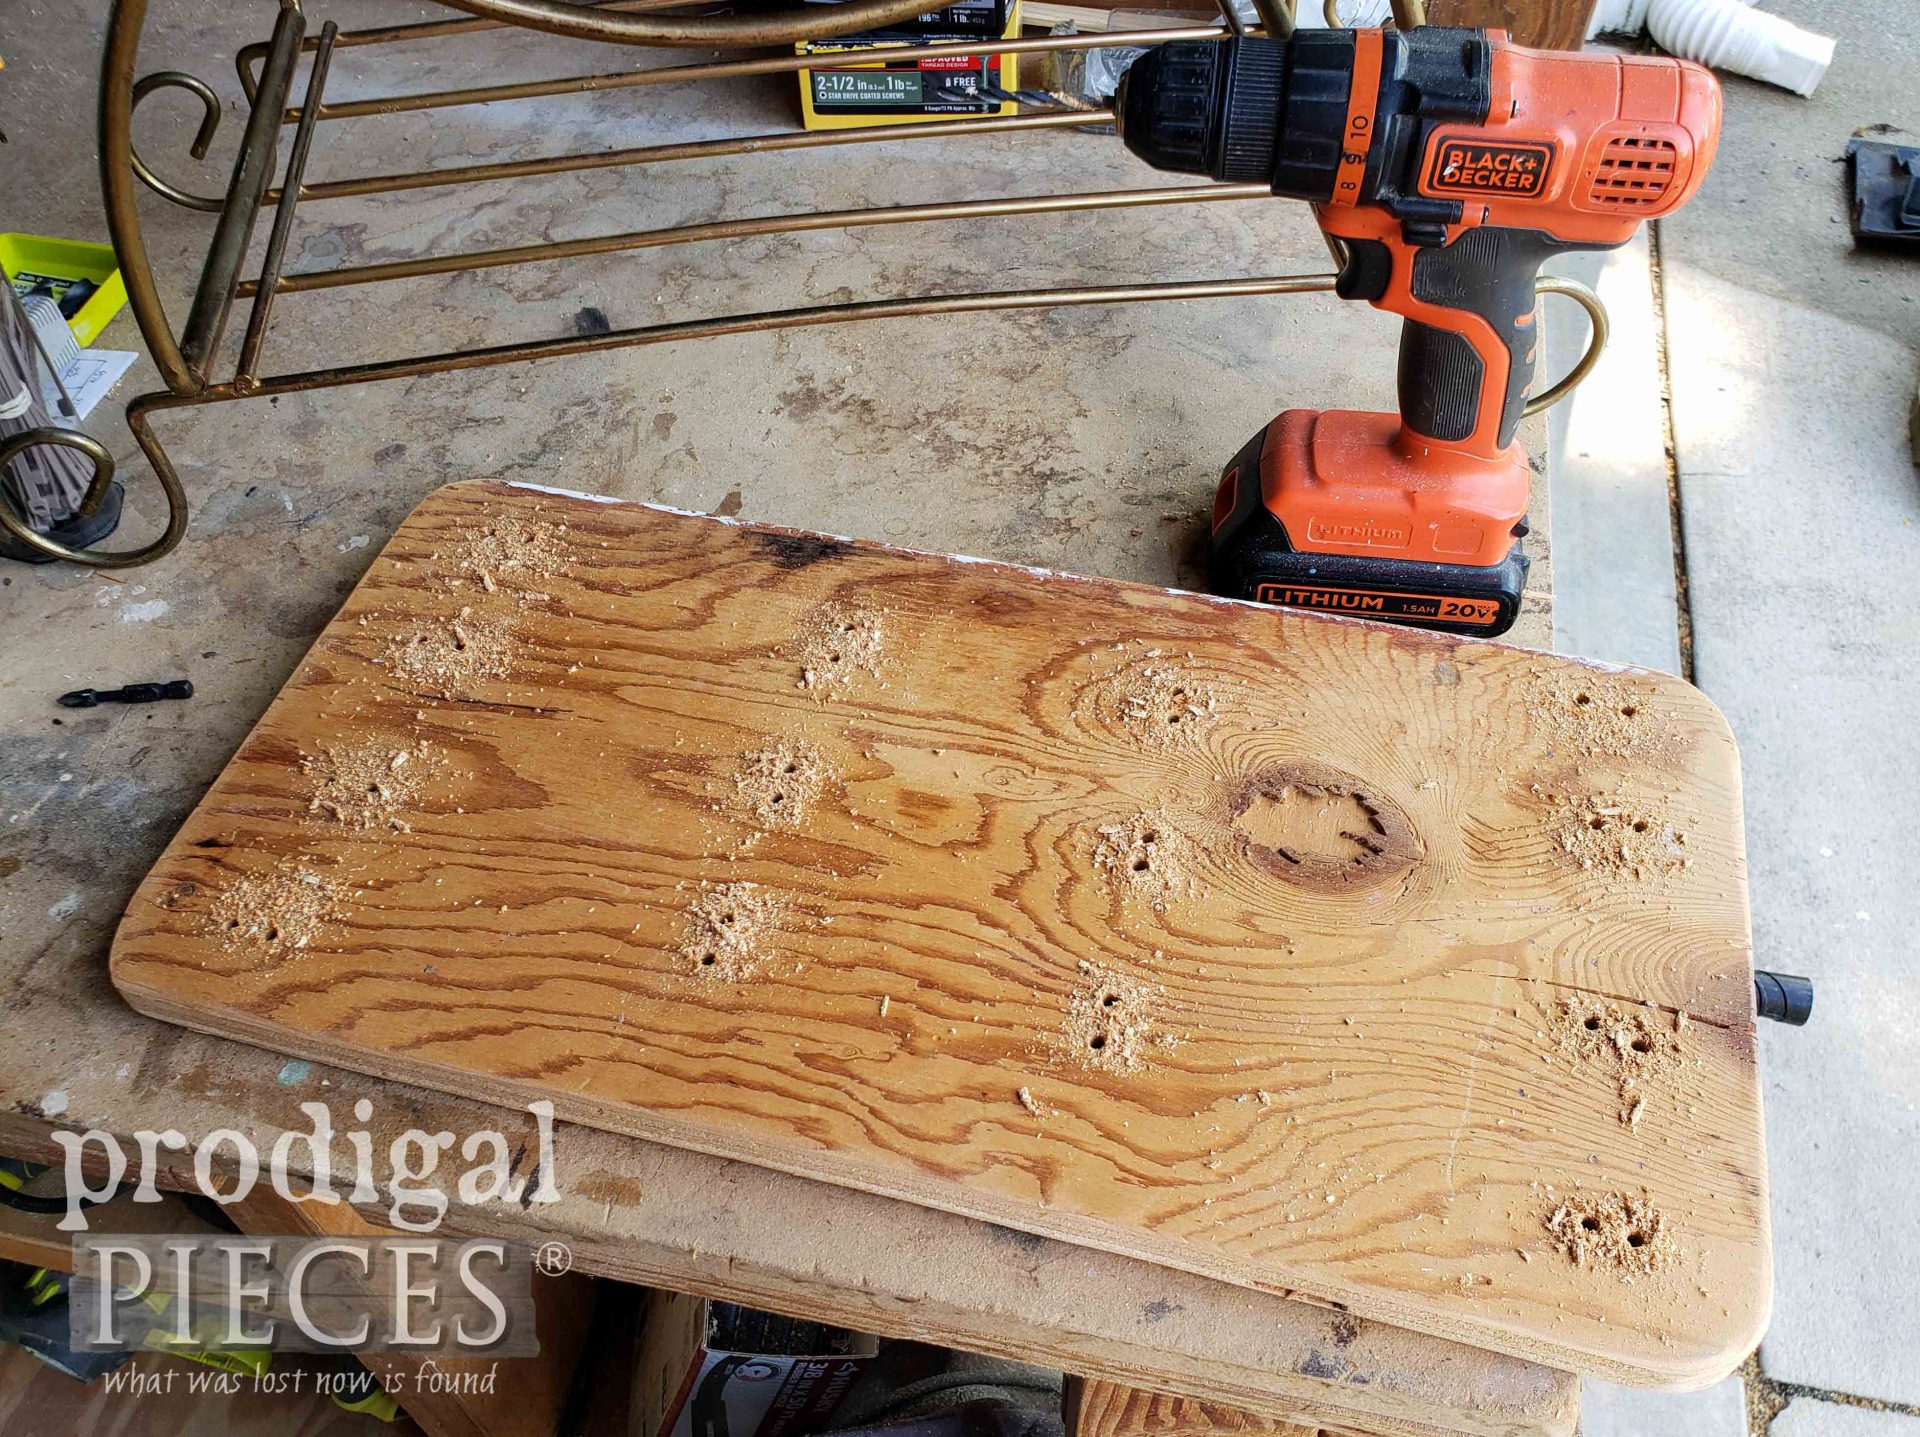
Then, I use my drill to make pilot holes for the next step.
MOVING ON
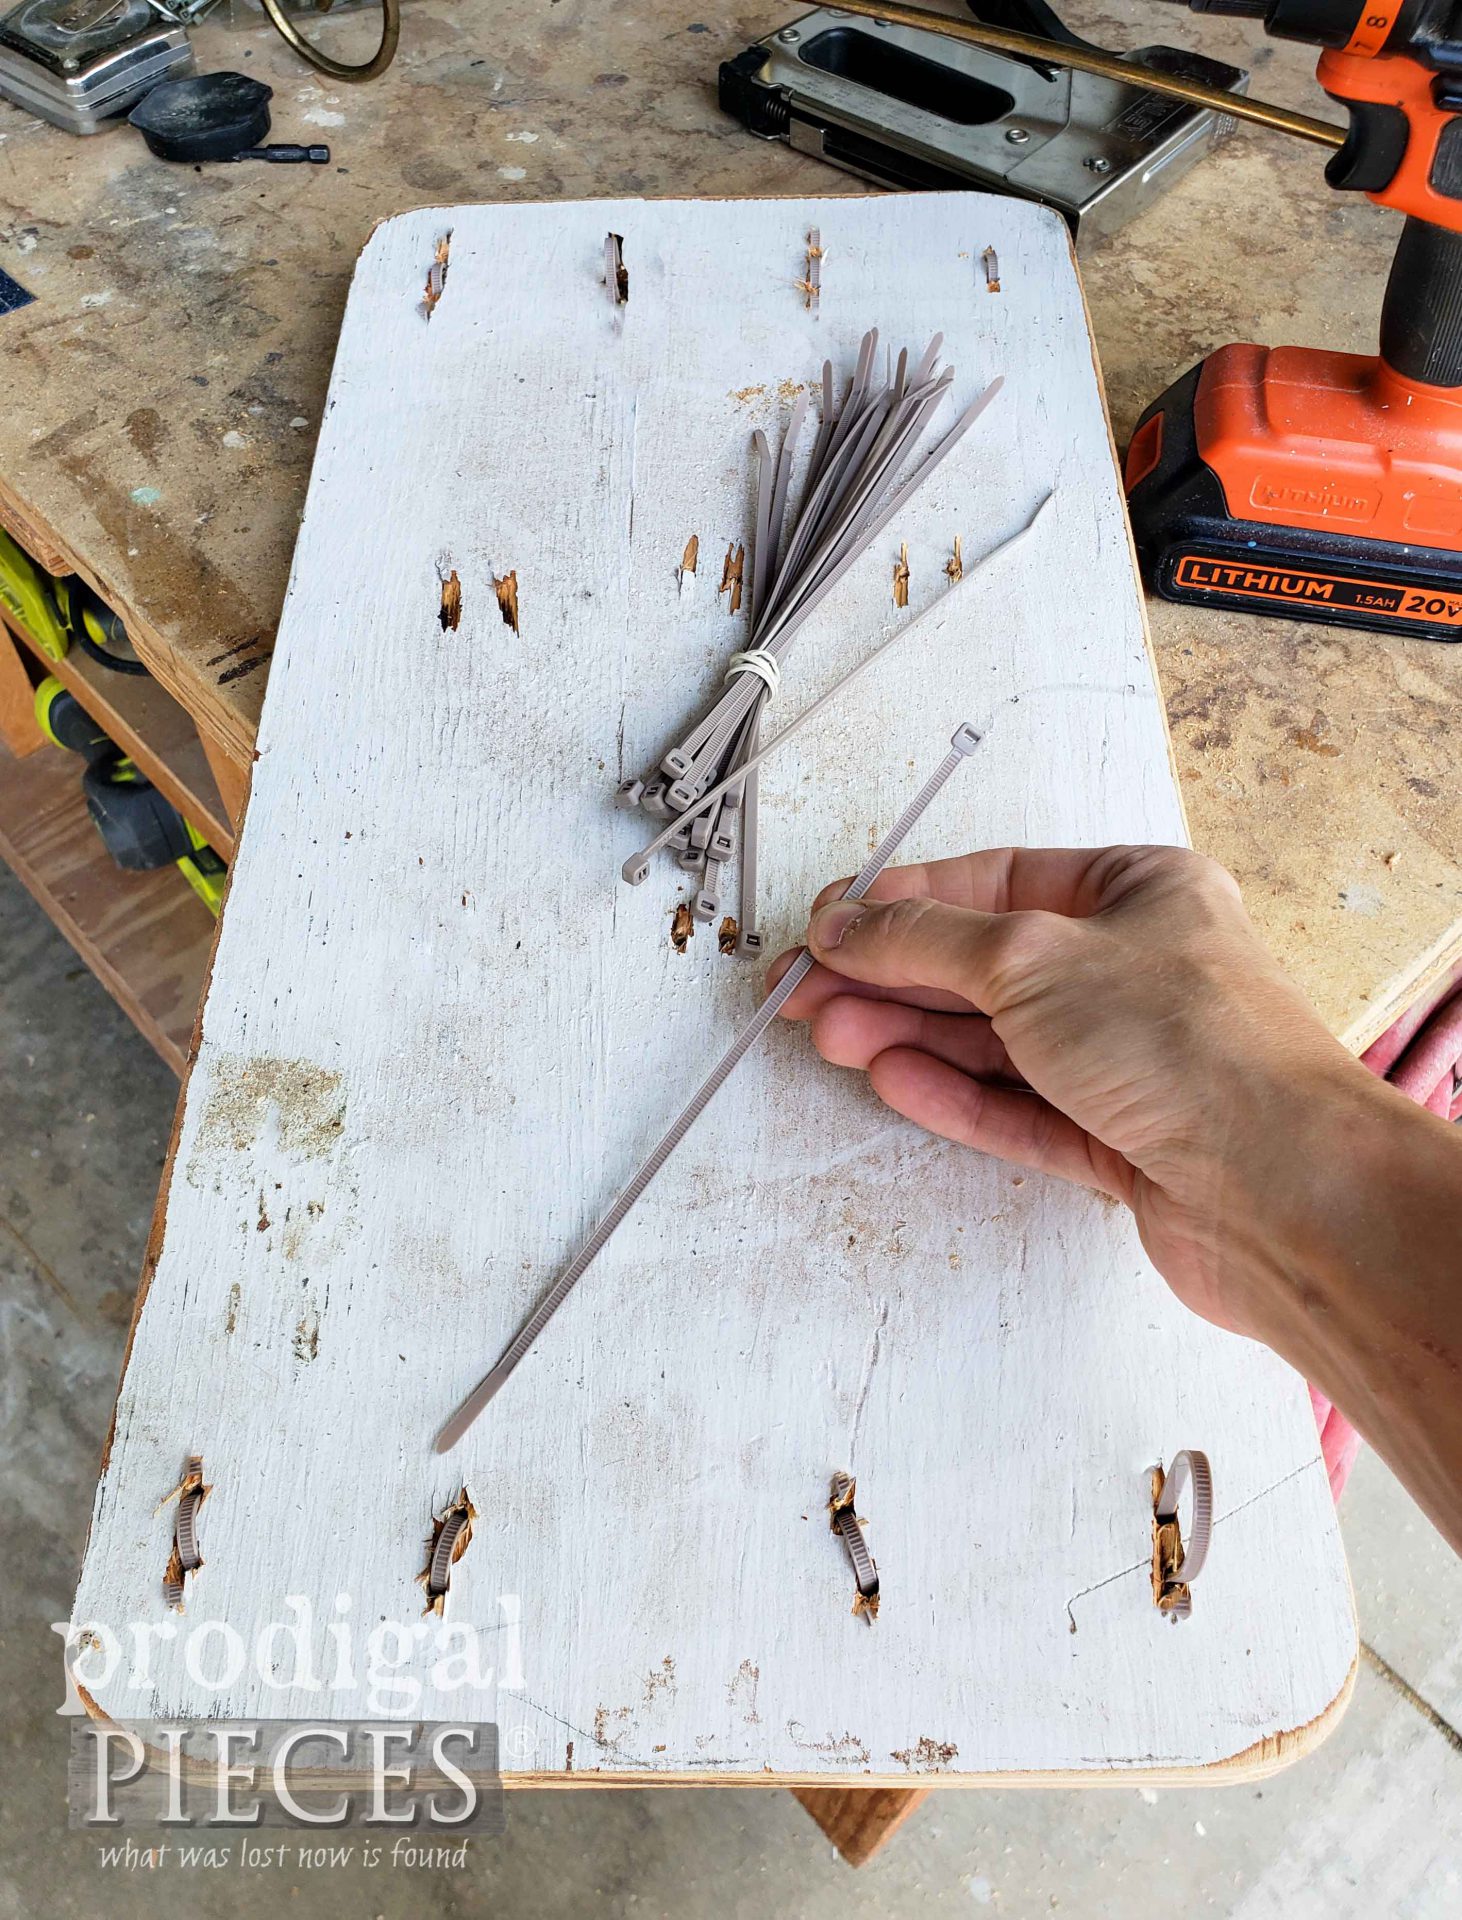
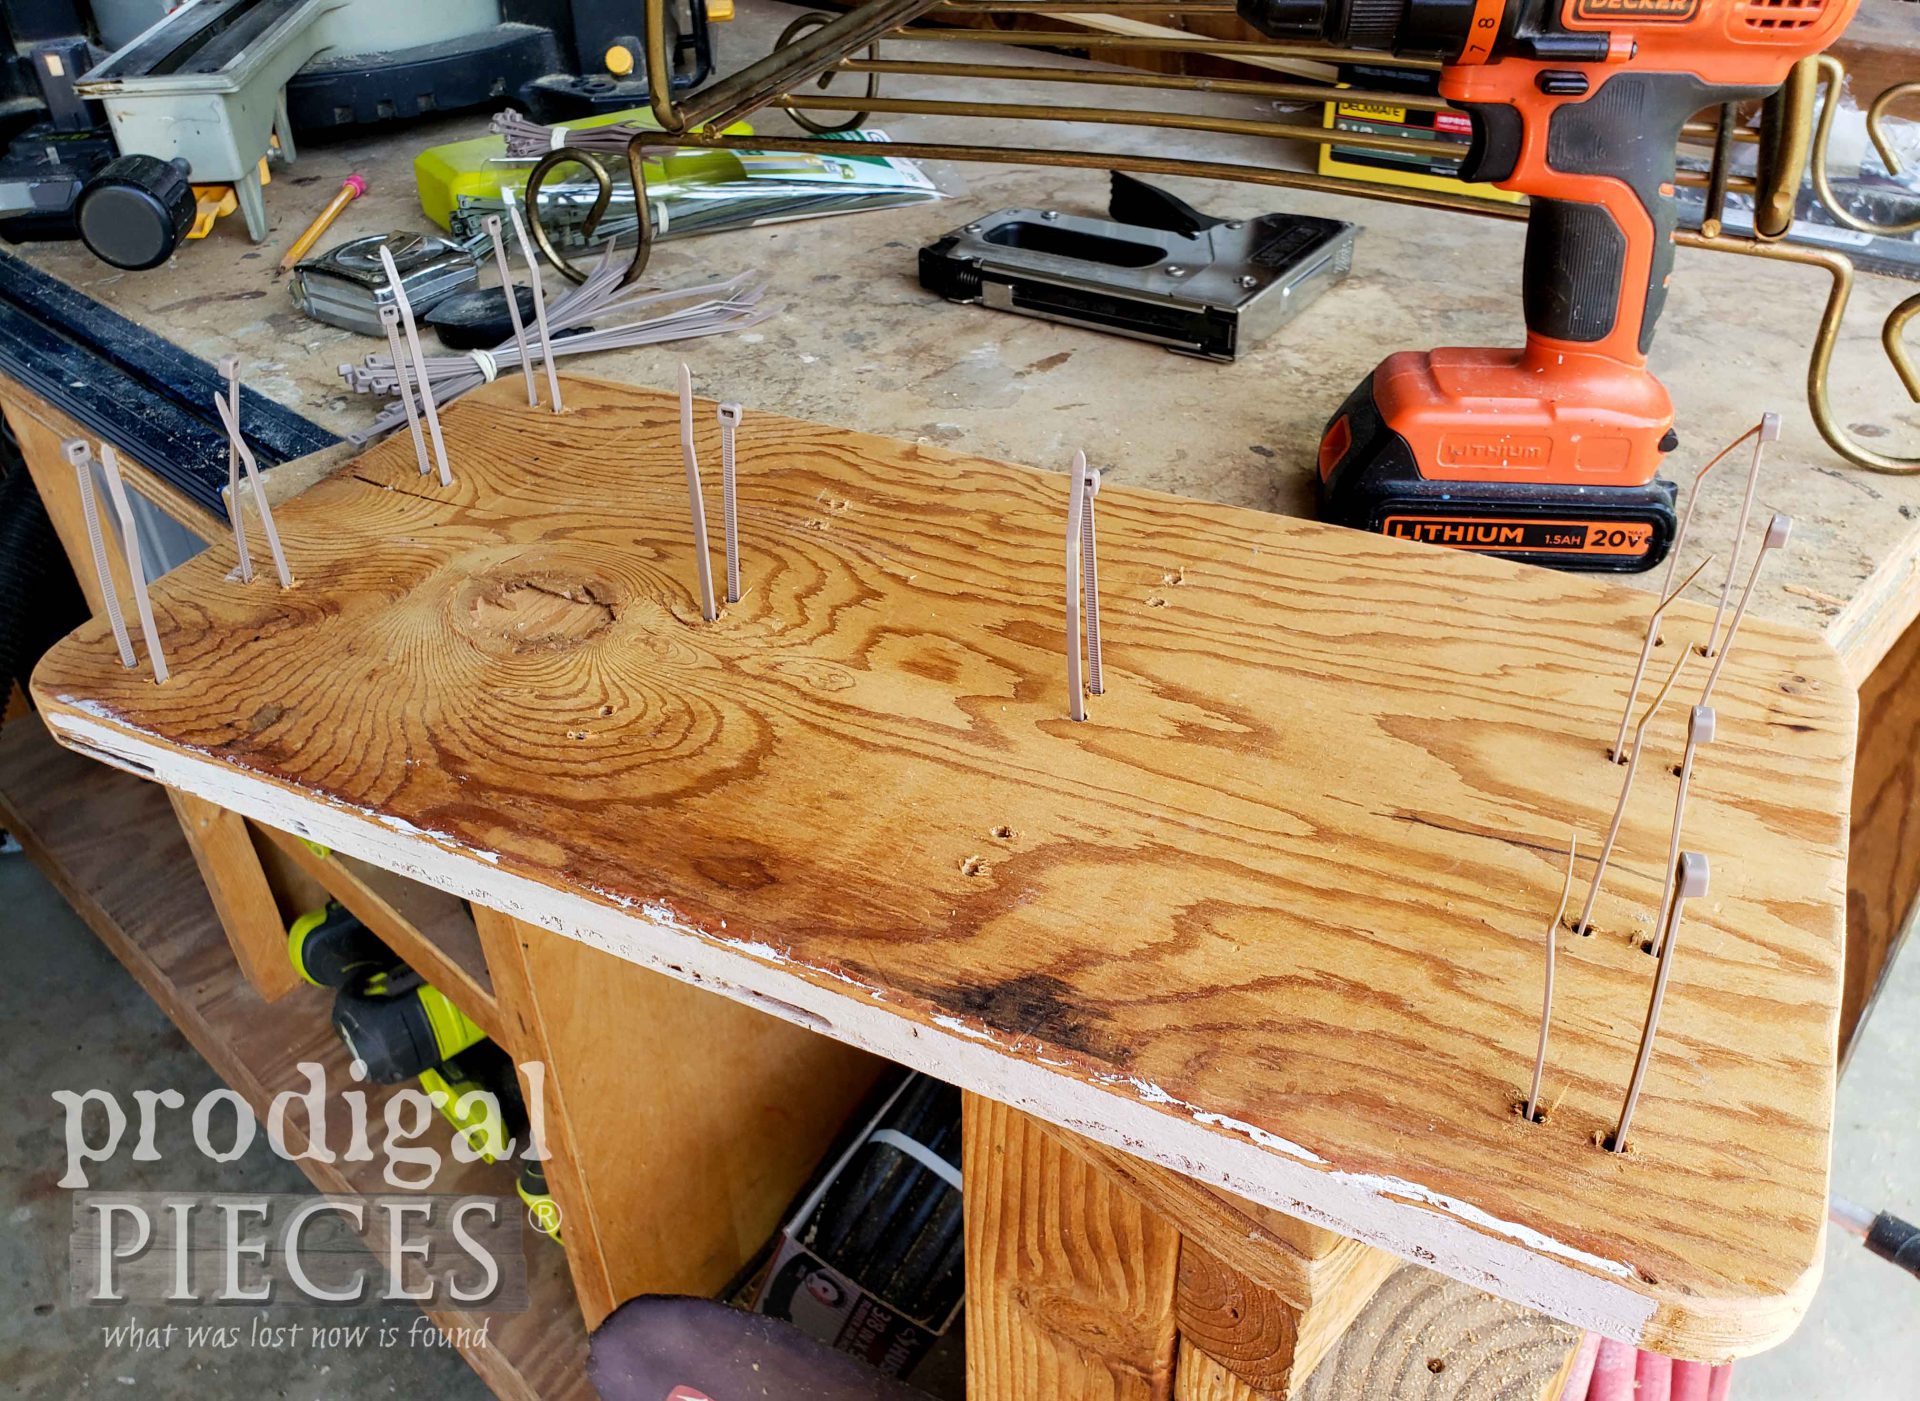
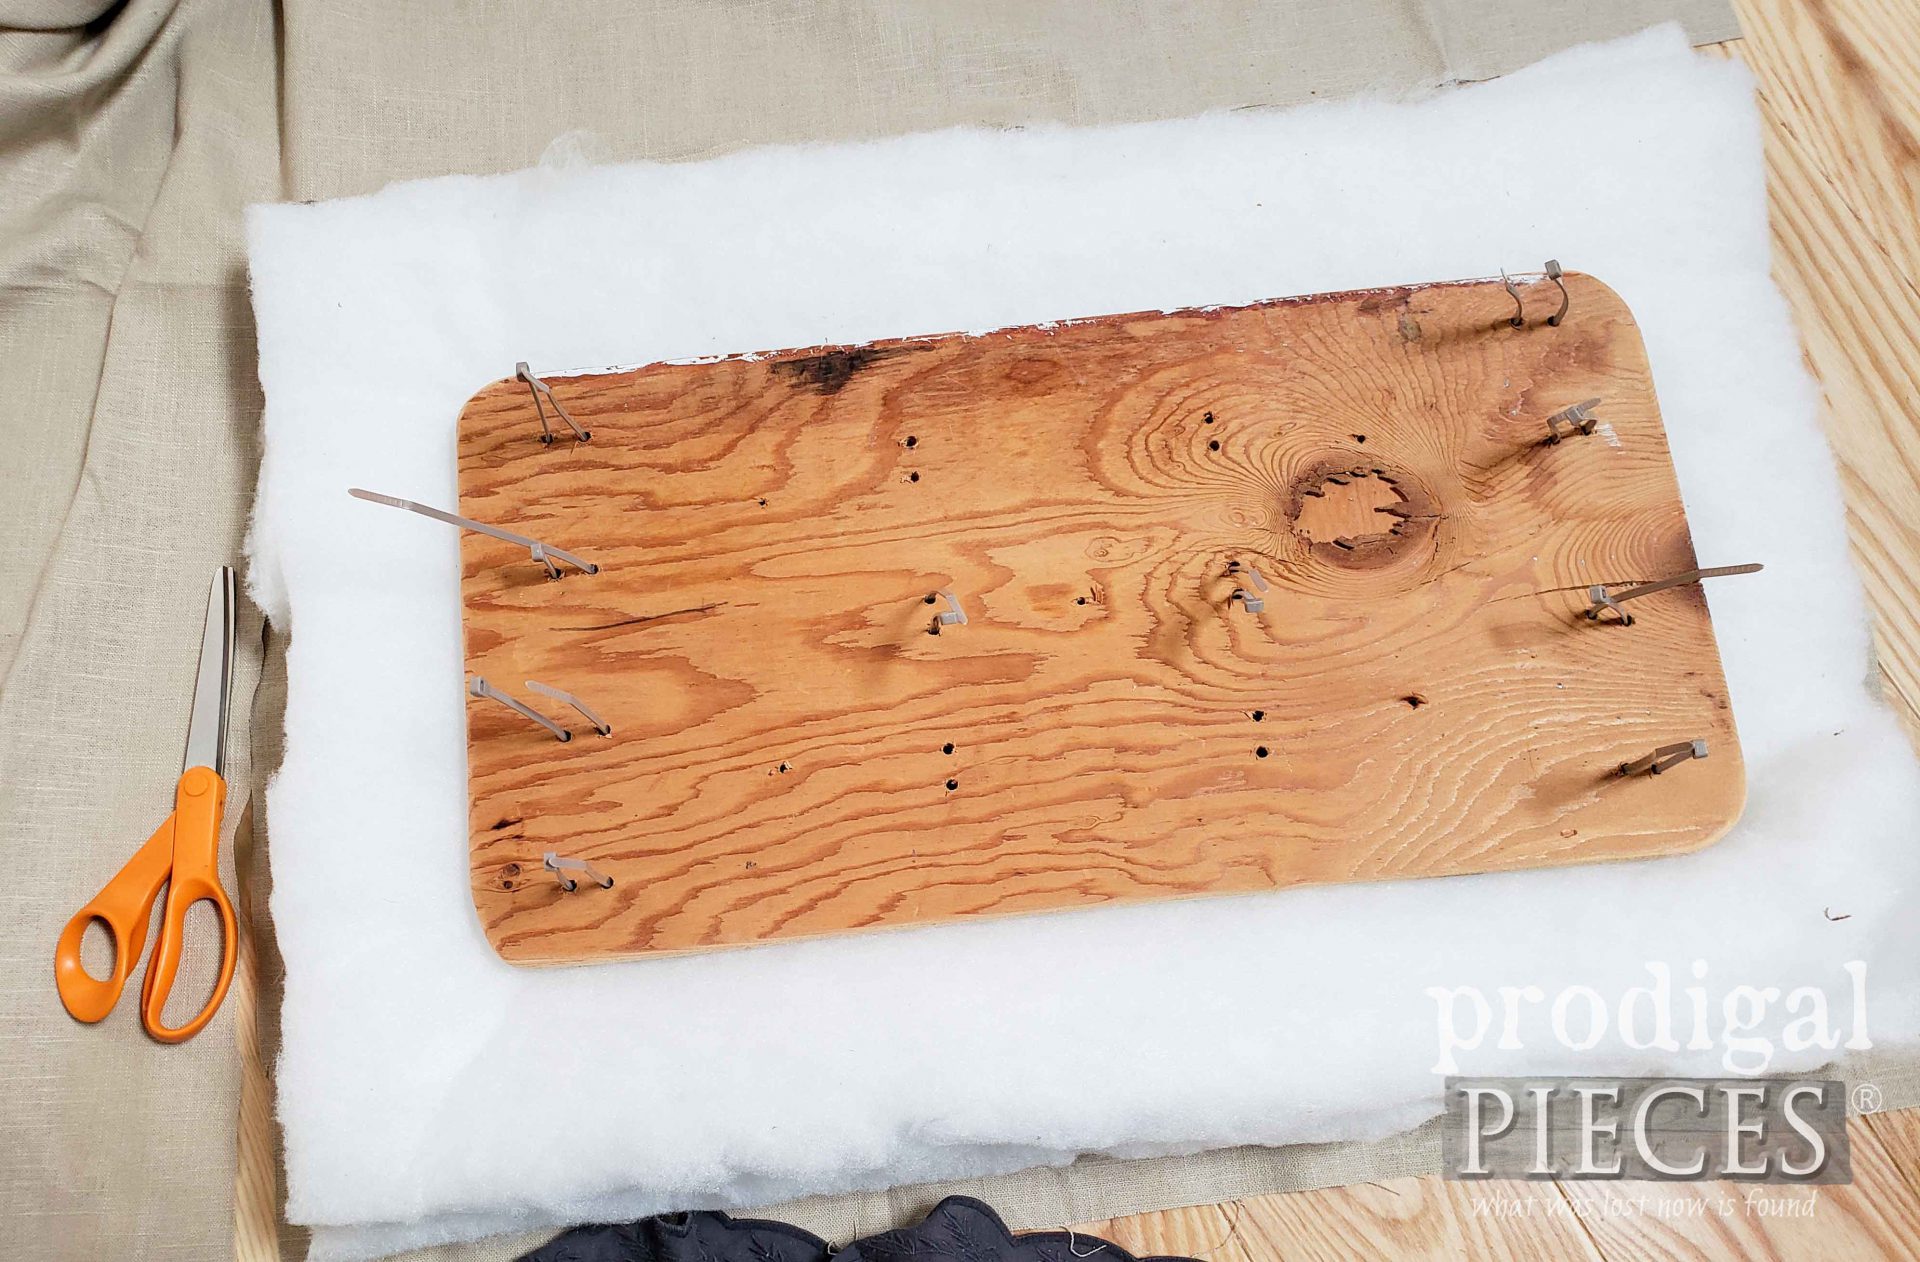
Next, I flip the seat board over so that I can insert zip ties through the top of the seat as shown below. I LOVE zip ties and keep a stash of them handy at all times.
See them poking out long enough to wrap around the vanity seat rods?
At this point, I’m going to just leave them sticking out because I don’t want to attach or secure the zip ties yet. I want to add the upholstery before I attach the seat.
Again, I measure and mark for a few button hole spots so I can make a tufted cushion for my vanity seat.
UPHOLSTERY TIME
In most cases I used upholstery foam, but for this tutorial I wanted a smaller amount of loft. I used 4 layers of heavy-duty batting topped with a gorgeous piece of linen. You know I love my linen (see past posts here).
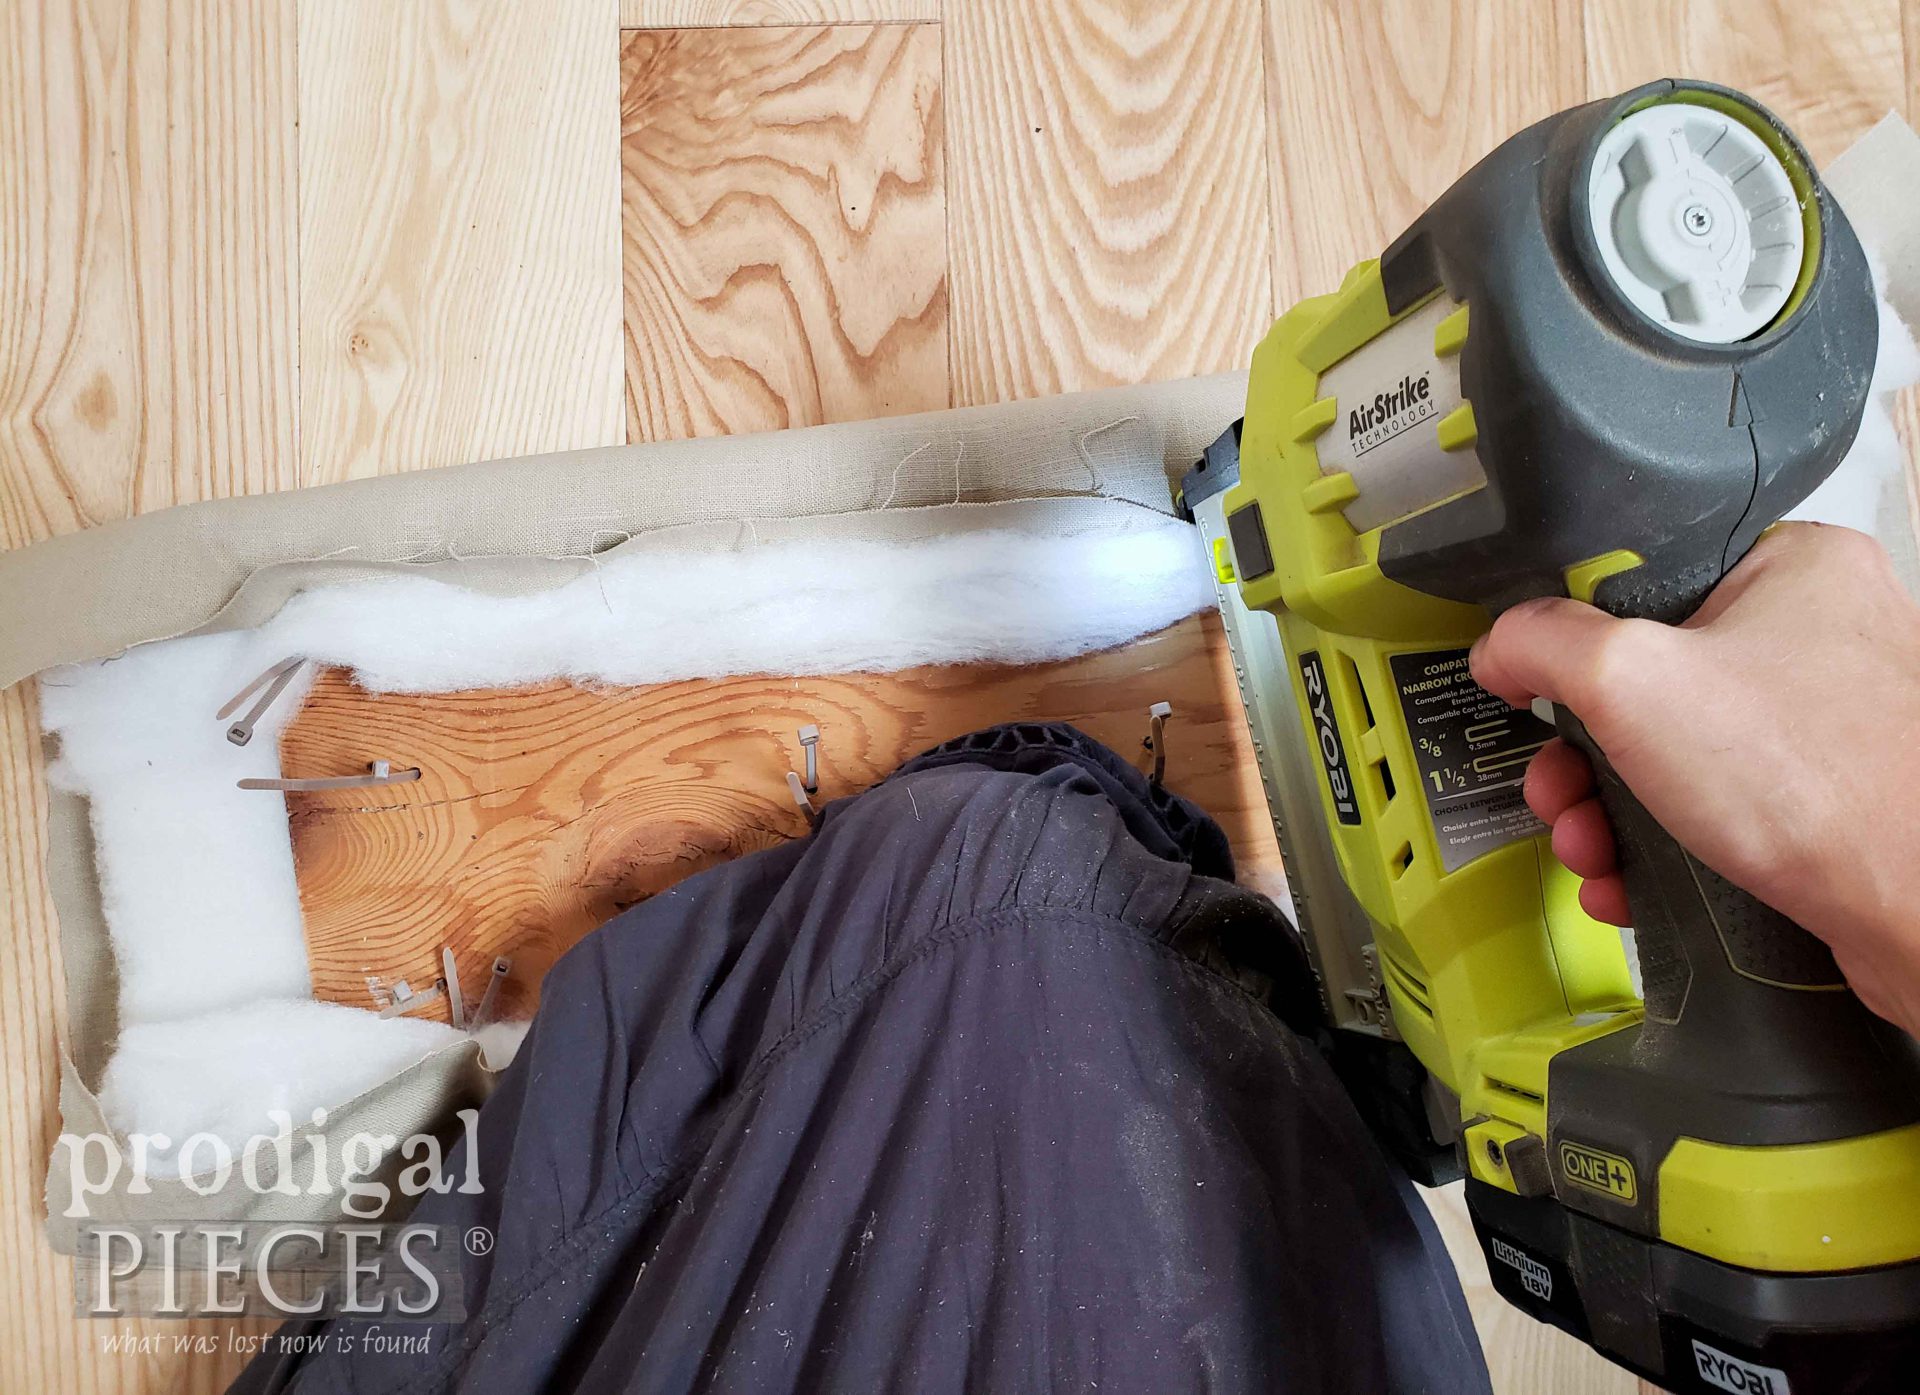
With that in mind, notice that the board still has the zip ties in it and they are facing upward. I use my stapler to tack on the fabric around the edges, and then the corners. Use my full tutorial on how to upholster to get the details. Or see this video below.
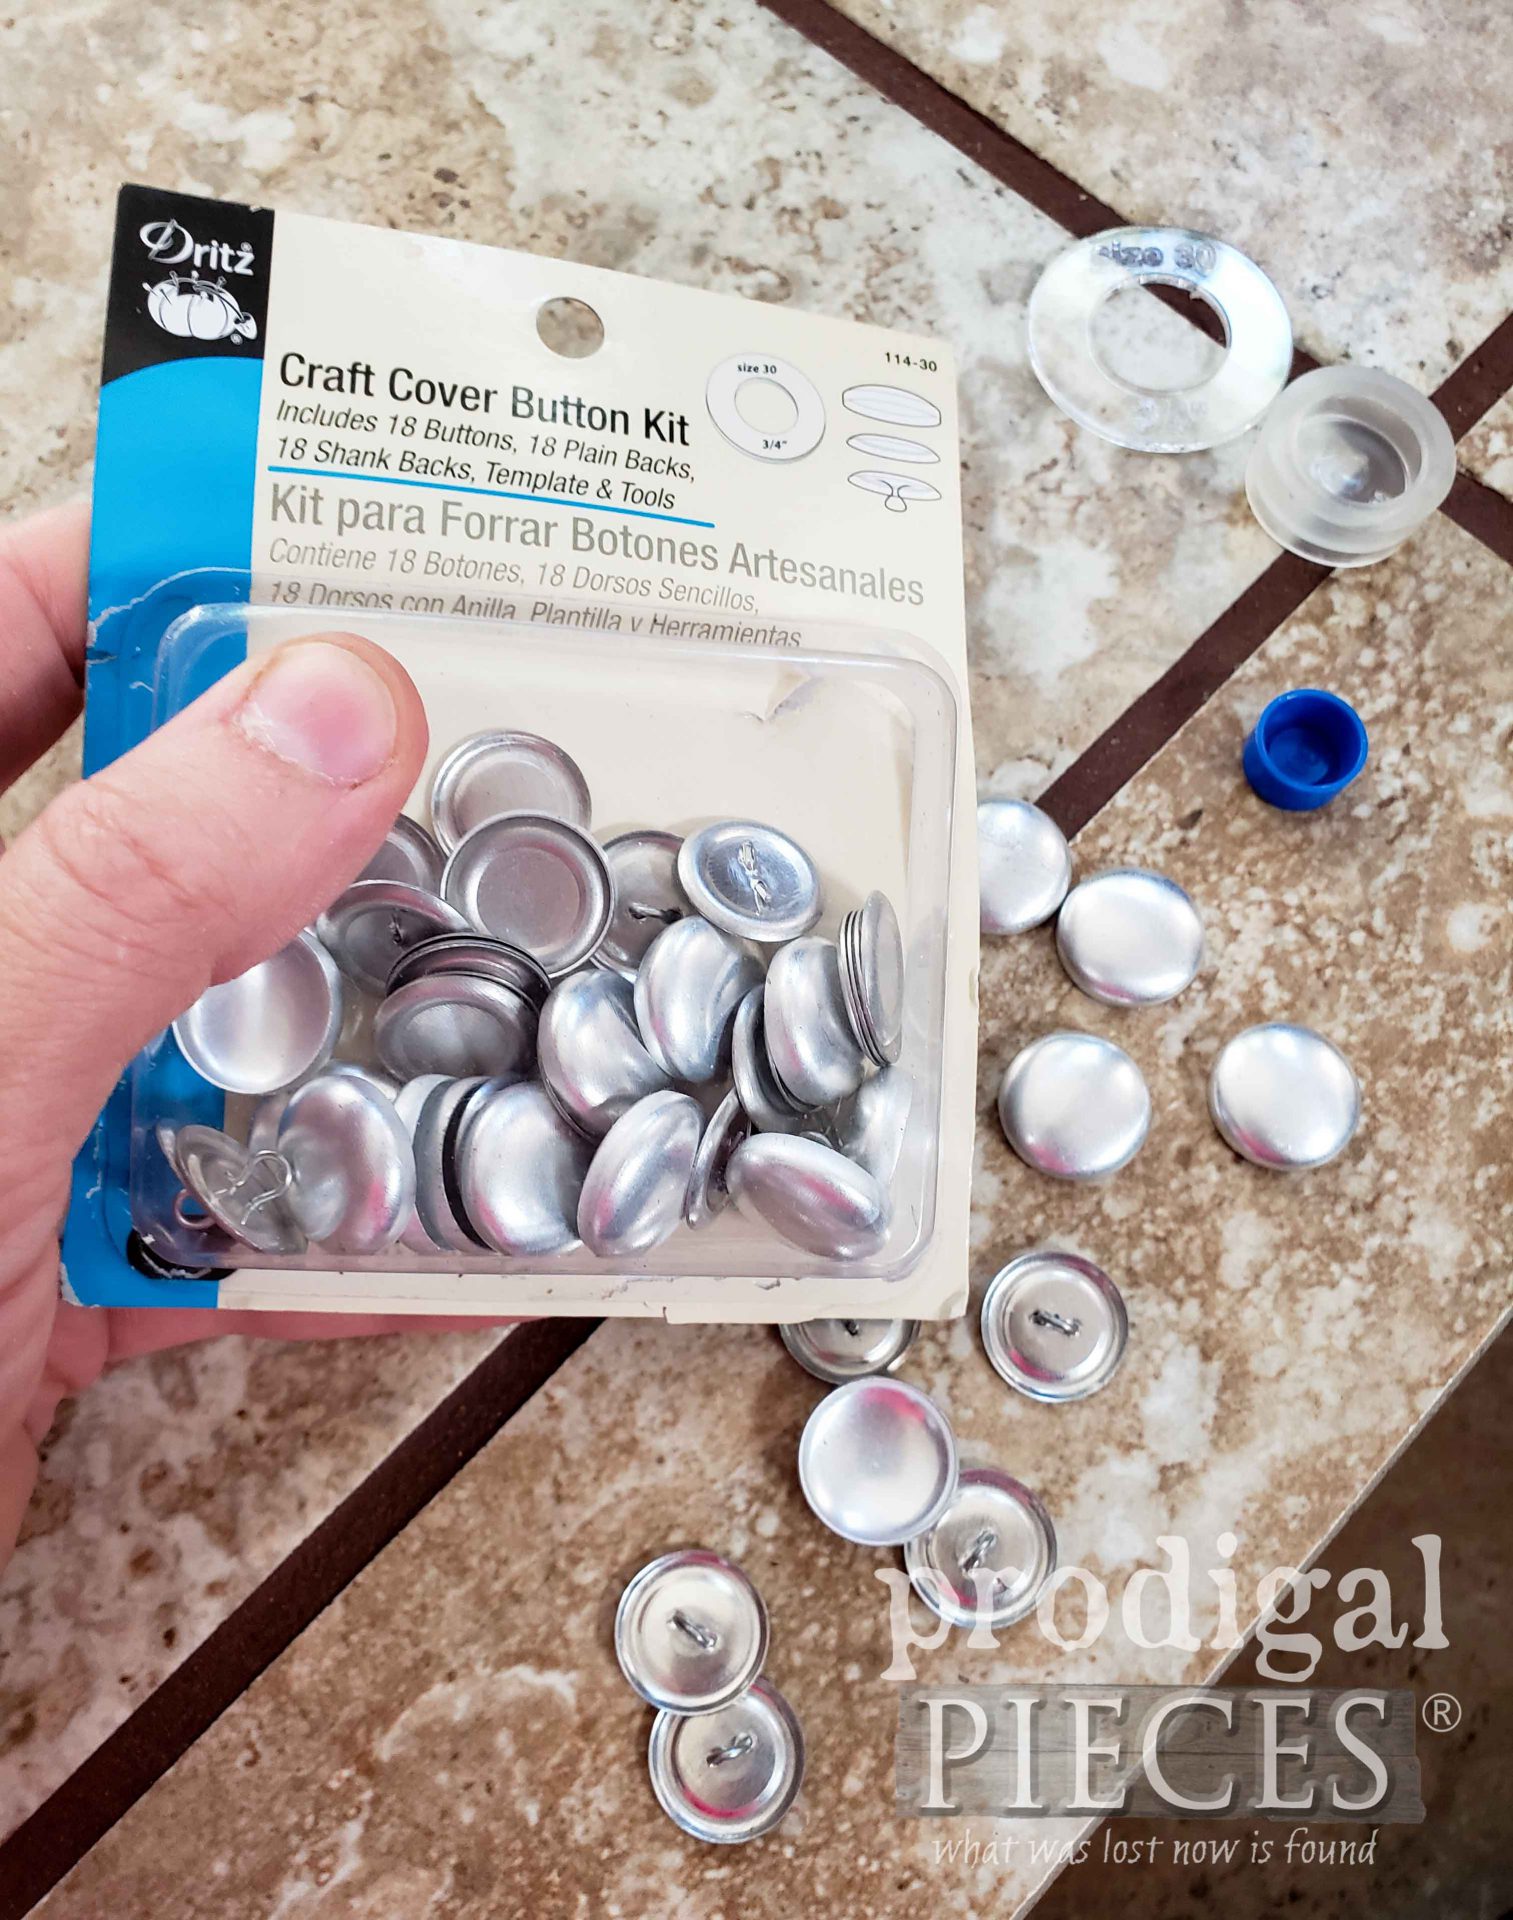
Then, once the upholstery is attached, I cover my toggle buttons with linen as well using a button kit. I always have one of these on hand so I have plenty when an idea pops up. A girls gotta be prepared! The kit comes with everything you need, except the fabric, to make custom buttons.
Next, I use my upholstery needle and my upholstery thread to lace up from the bottom of the board using the holes I drilled earlier. I tie off on the back side and staple it taught. Sometimes you need a helper to keep the tension while you assemble to make it easier.
THE REVEAL
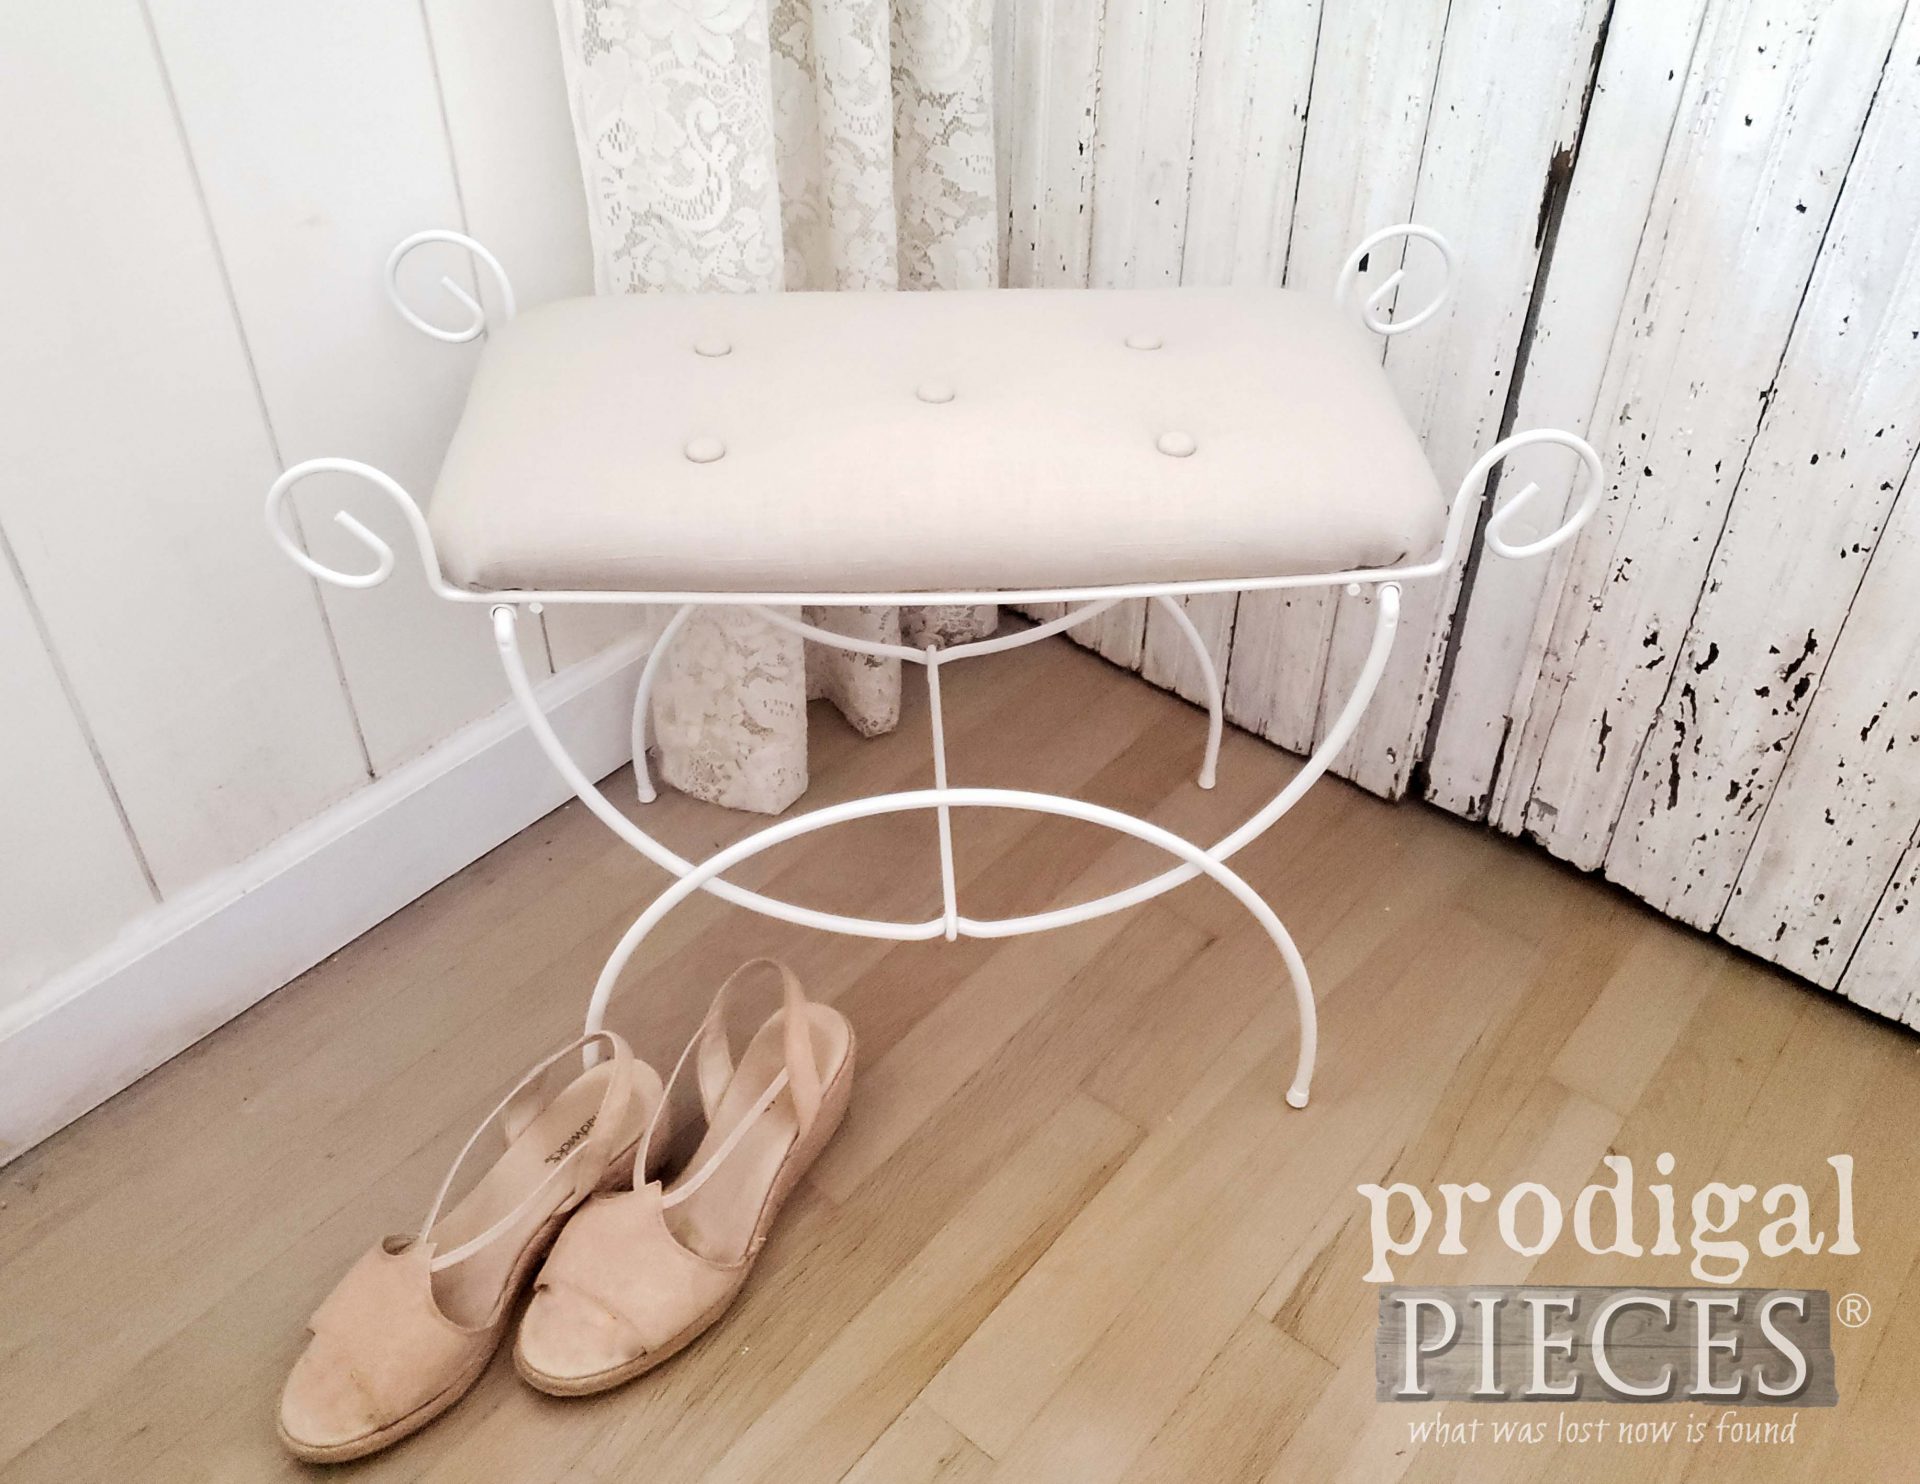
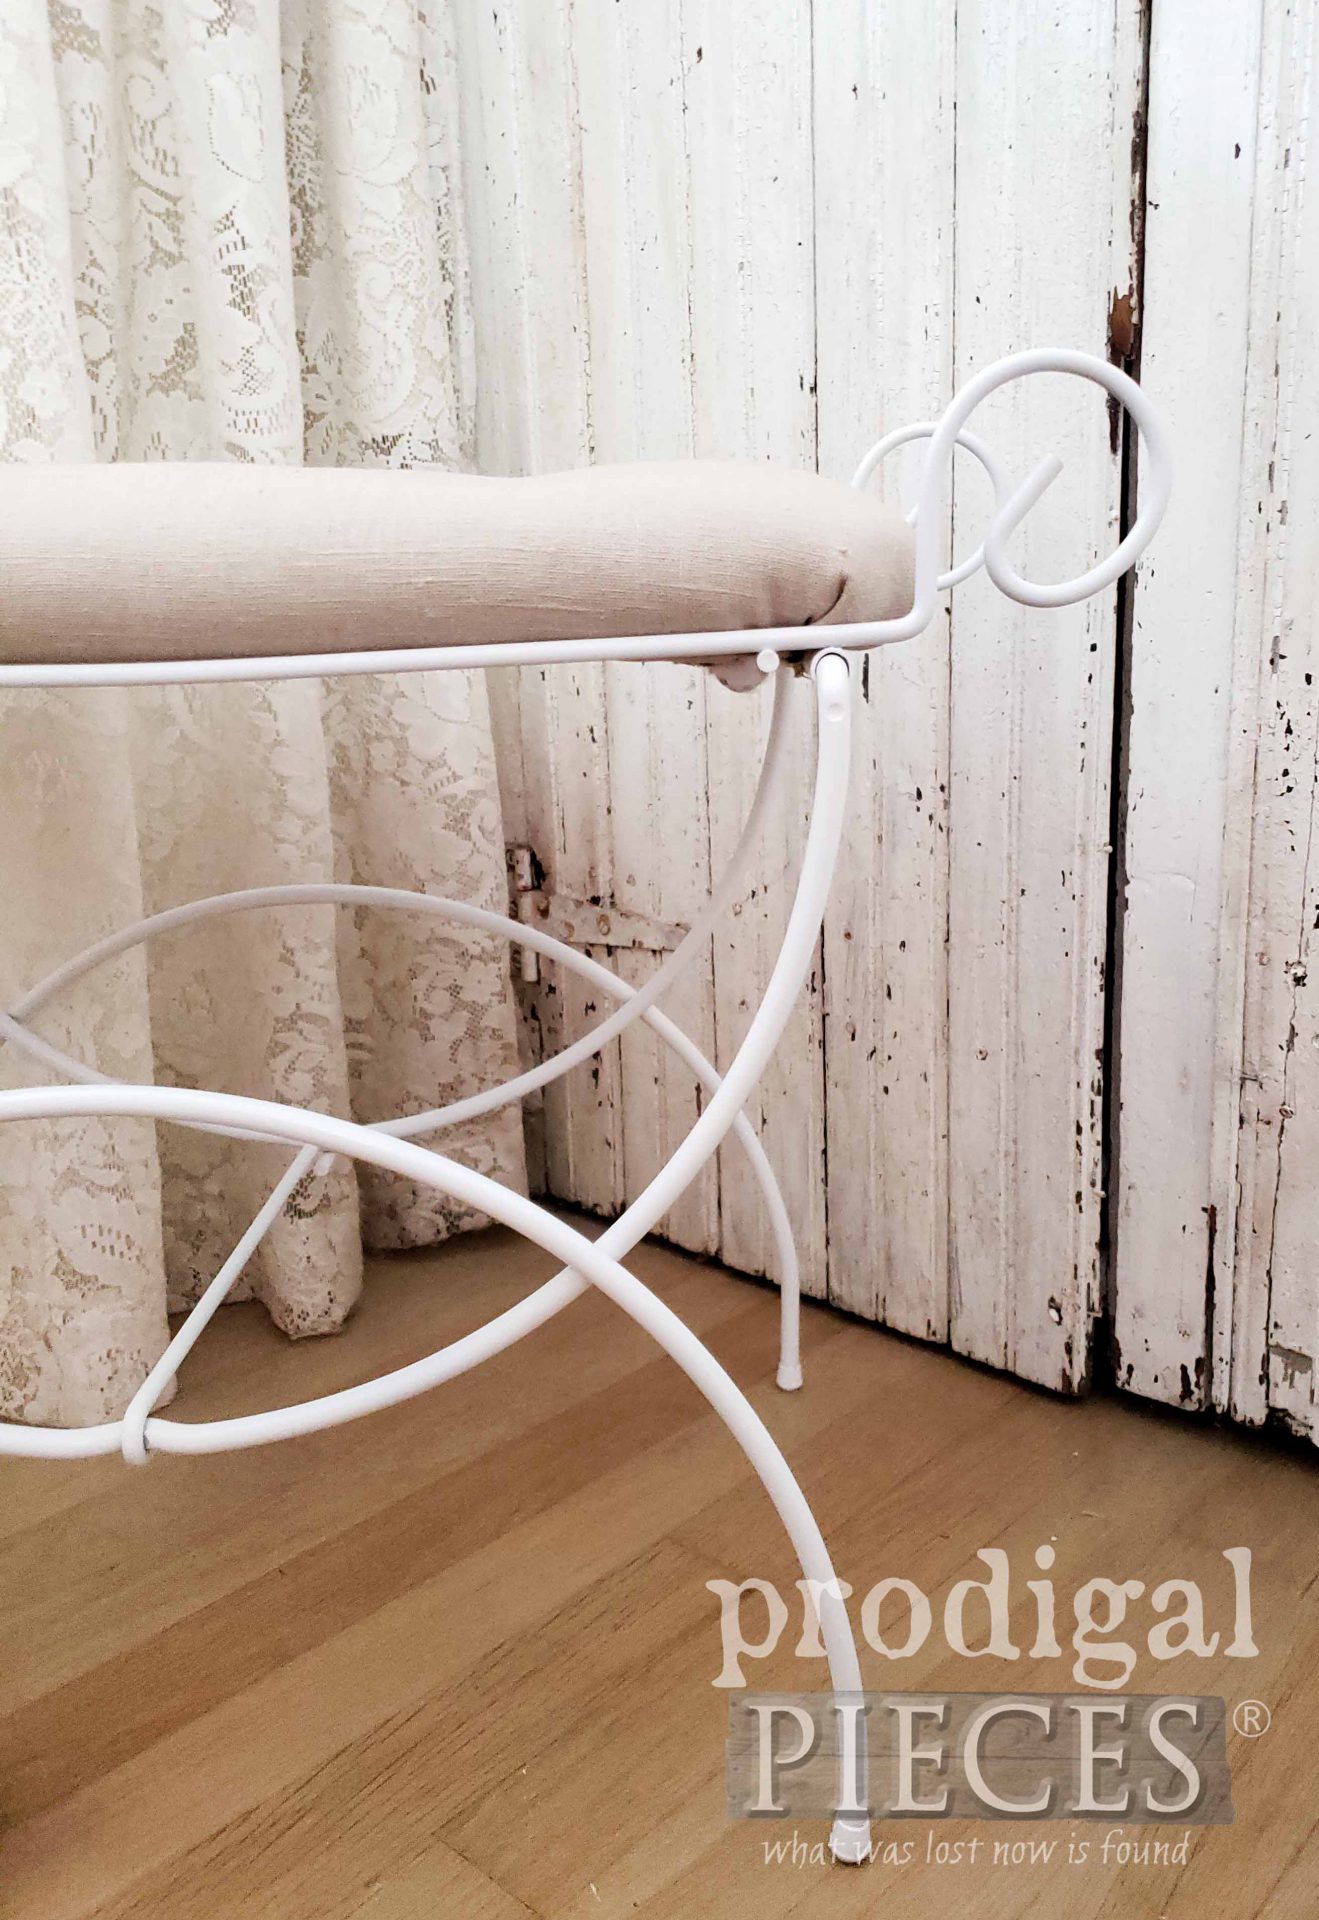
Finally, once that is assembled, I protect it with Scotchgard and we’re set to attach the seat. Finally, those zip ties can be tightened down onto the wire vanity seat and we’re done. Yay!
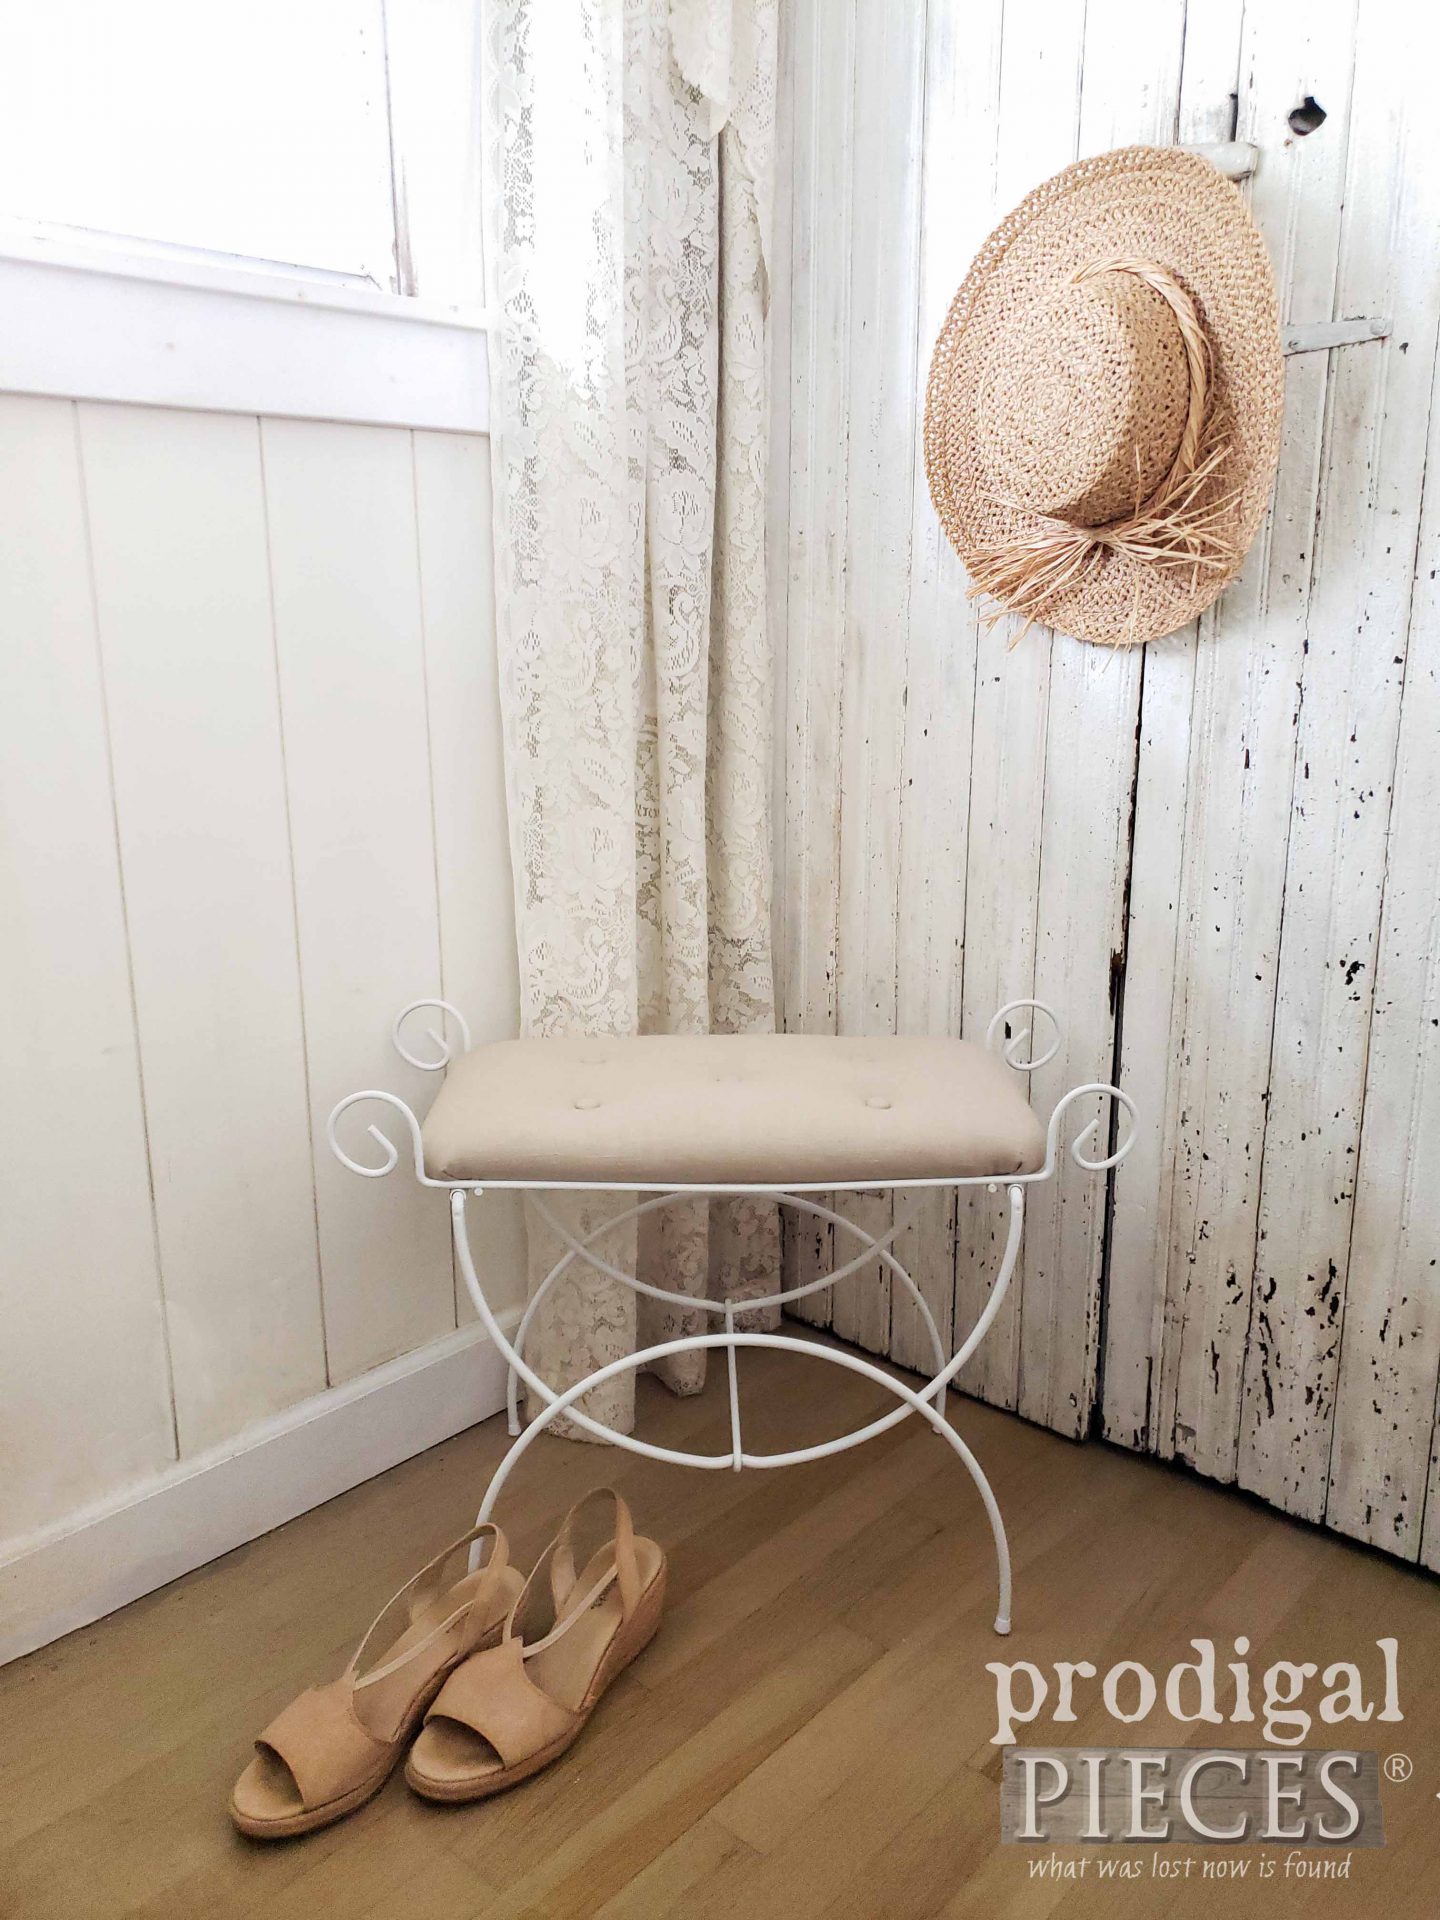
I’m excited for how it came out, and I feel the white with linen is much prettier than the tarnished gold it originally was. Don’t you think?
I hope you enjoy seeing how to replace a vanity seat with a few simple steps and materials. Maybe grab the next one you see!
Likewise, if you would like to own this vanity seat, you can find it and much more available in my shop. (SOLD) Sign up for free my newsletter below for instant discount on your first purchase.
Additionally, pin and share how to replace a vanity seat (or any seat), so that others can be inspire too. Thank you!
UP NEXT
Up next, I’ll be sharing for this months’ Reduce, Reuse, REFASHION series. Got baby bibs? You can see what they’ve become HERE.
To get these DIY tips & tricks in your inbox, be sure to sign up for my newsletter. PLUS, you will get your FREE Furniture Buying Checklist and special discount to my shop. Until next time!






My grandma had that exact vanity seat! She got it as a new bride in 1941. It had a white furry rectangular pillow atop it. The matching mirror was an oval on its side and the table had the same gold art deco style.
That’s awesome! Do you still have it?
Larissa such a brilliant idea for the tufting. We have zip ties too all the time.
Pinning in case I need this for the future.
Cindy
I just LOVE zip ties! woot! 😀 Thank you, Cindy.
Turned out to be a beauty! Another amazing makeover!
You are so sweet! Thank you, Debra.
Simple and elegant! Love this!
Thank you so much, Grace. I had fun dressing this ol’ gal up.
Love your spin on an art deco vanity stool by tufting the seat. Simple but elegant indeed!
Thank you, Marie. Inside I was doing a little happy dance because I have NO MORE FURNITURE to work on. YAY! Purging and getting done around here.
That came out beautiful. Your solution is ingenious. Since gold is coming back around here, I may adapt your method for a similar seat/bench without having to paint it! And fake fur is hot, too – so I wouldn’t have to do the buttons. But zip ties, here I come!
Thank you. If the steel wasn’t showing through the finish, I would have stuck with it or used my same old update of Pure Gold paint I use often. This time I wanted to change it up. 🙂