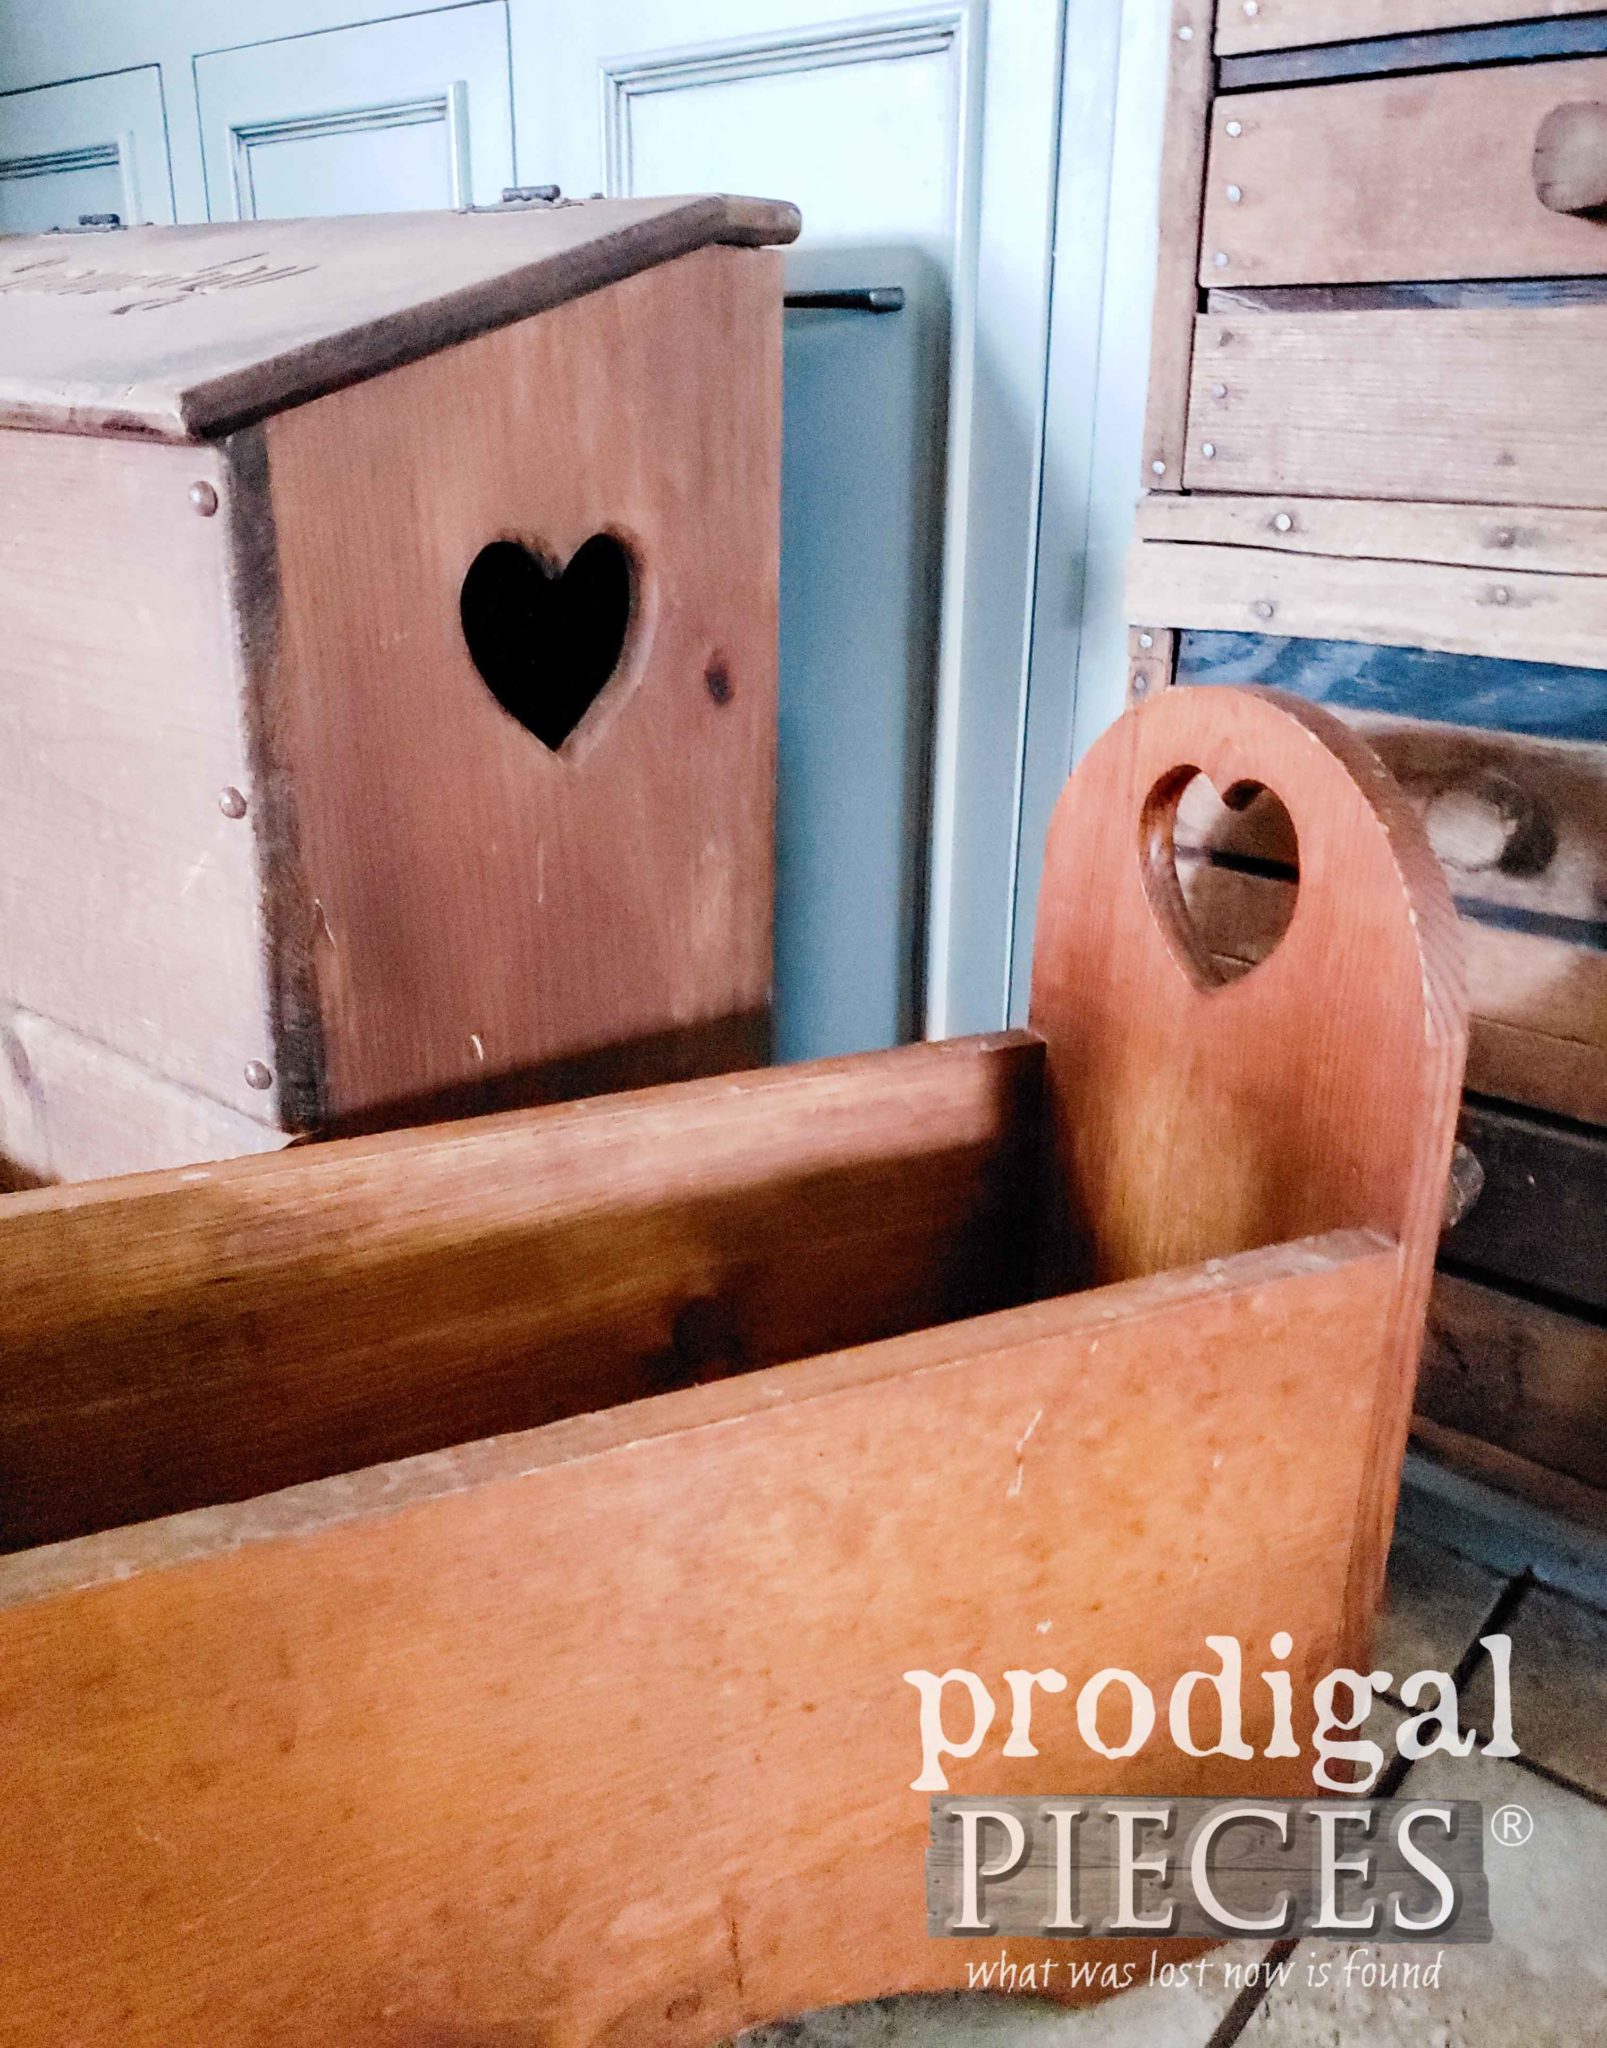
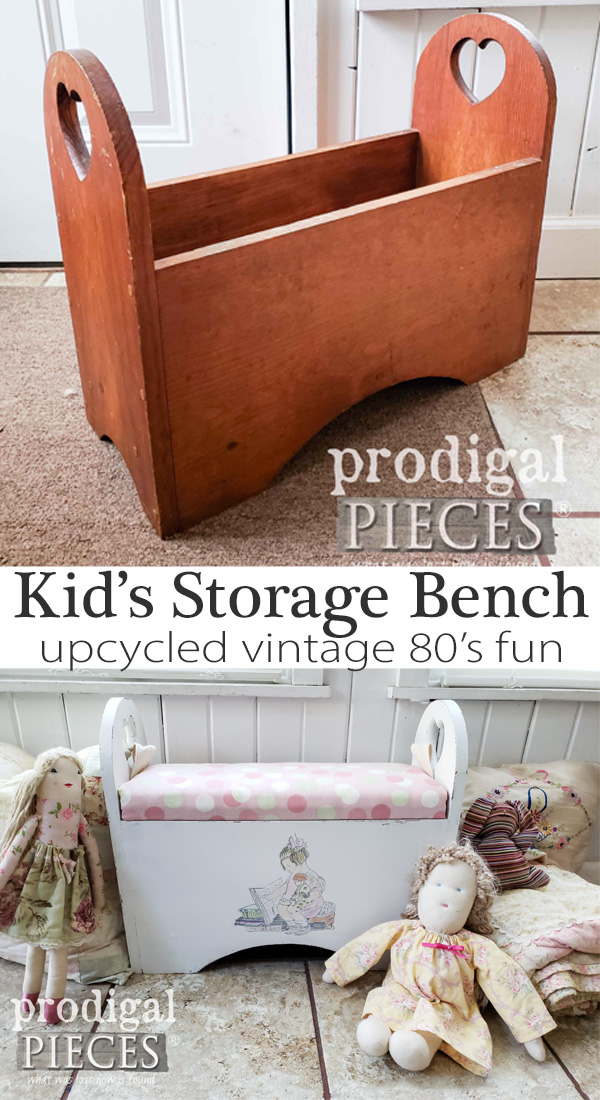
It’s Furniture Fixer Uppers time! This is the day each month my gal friends and I set aside to create furniture projects to inspire you. You’ll see what they created in a bit. Me…well, I am on an 80’s “heart” journey to show you how these pieces that are plentiful at thrift stores and garage sales can be made new. One of these below is about to become a kids storage bench.
While you may think I’m a bit nuts for seeing potential in these hum-drum pieces (or maybe you secretly have a stash of your own as you hold onto the past…haha!), bear with me. You can see what I do with heart cut-out-shelves in this past project.
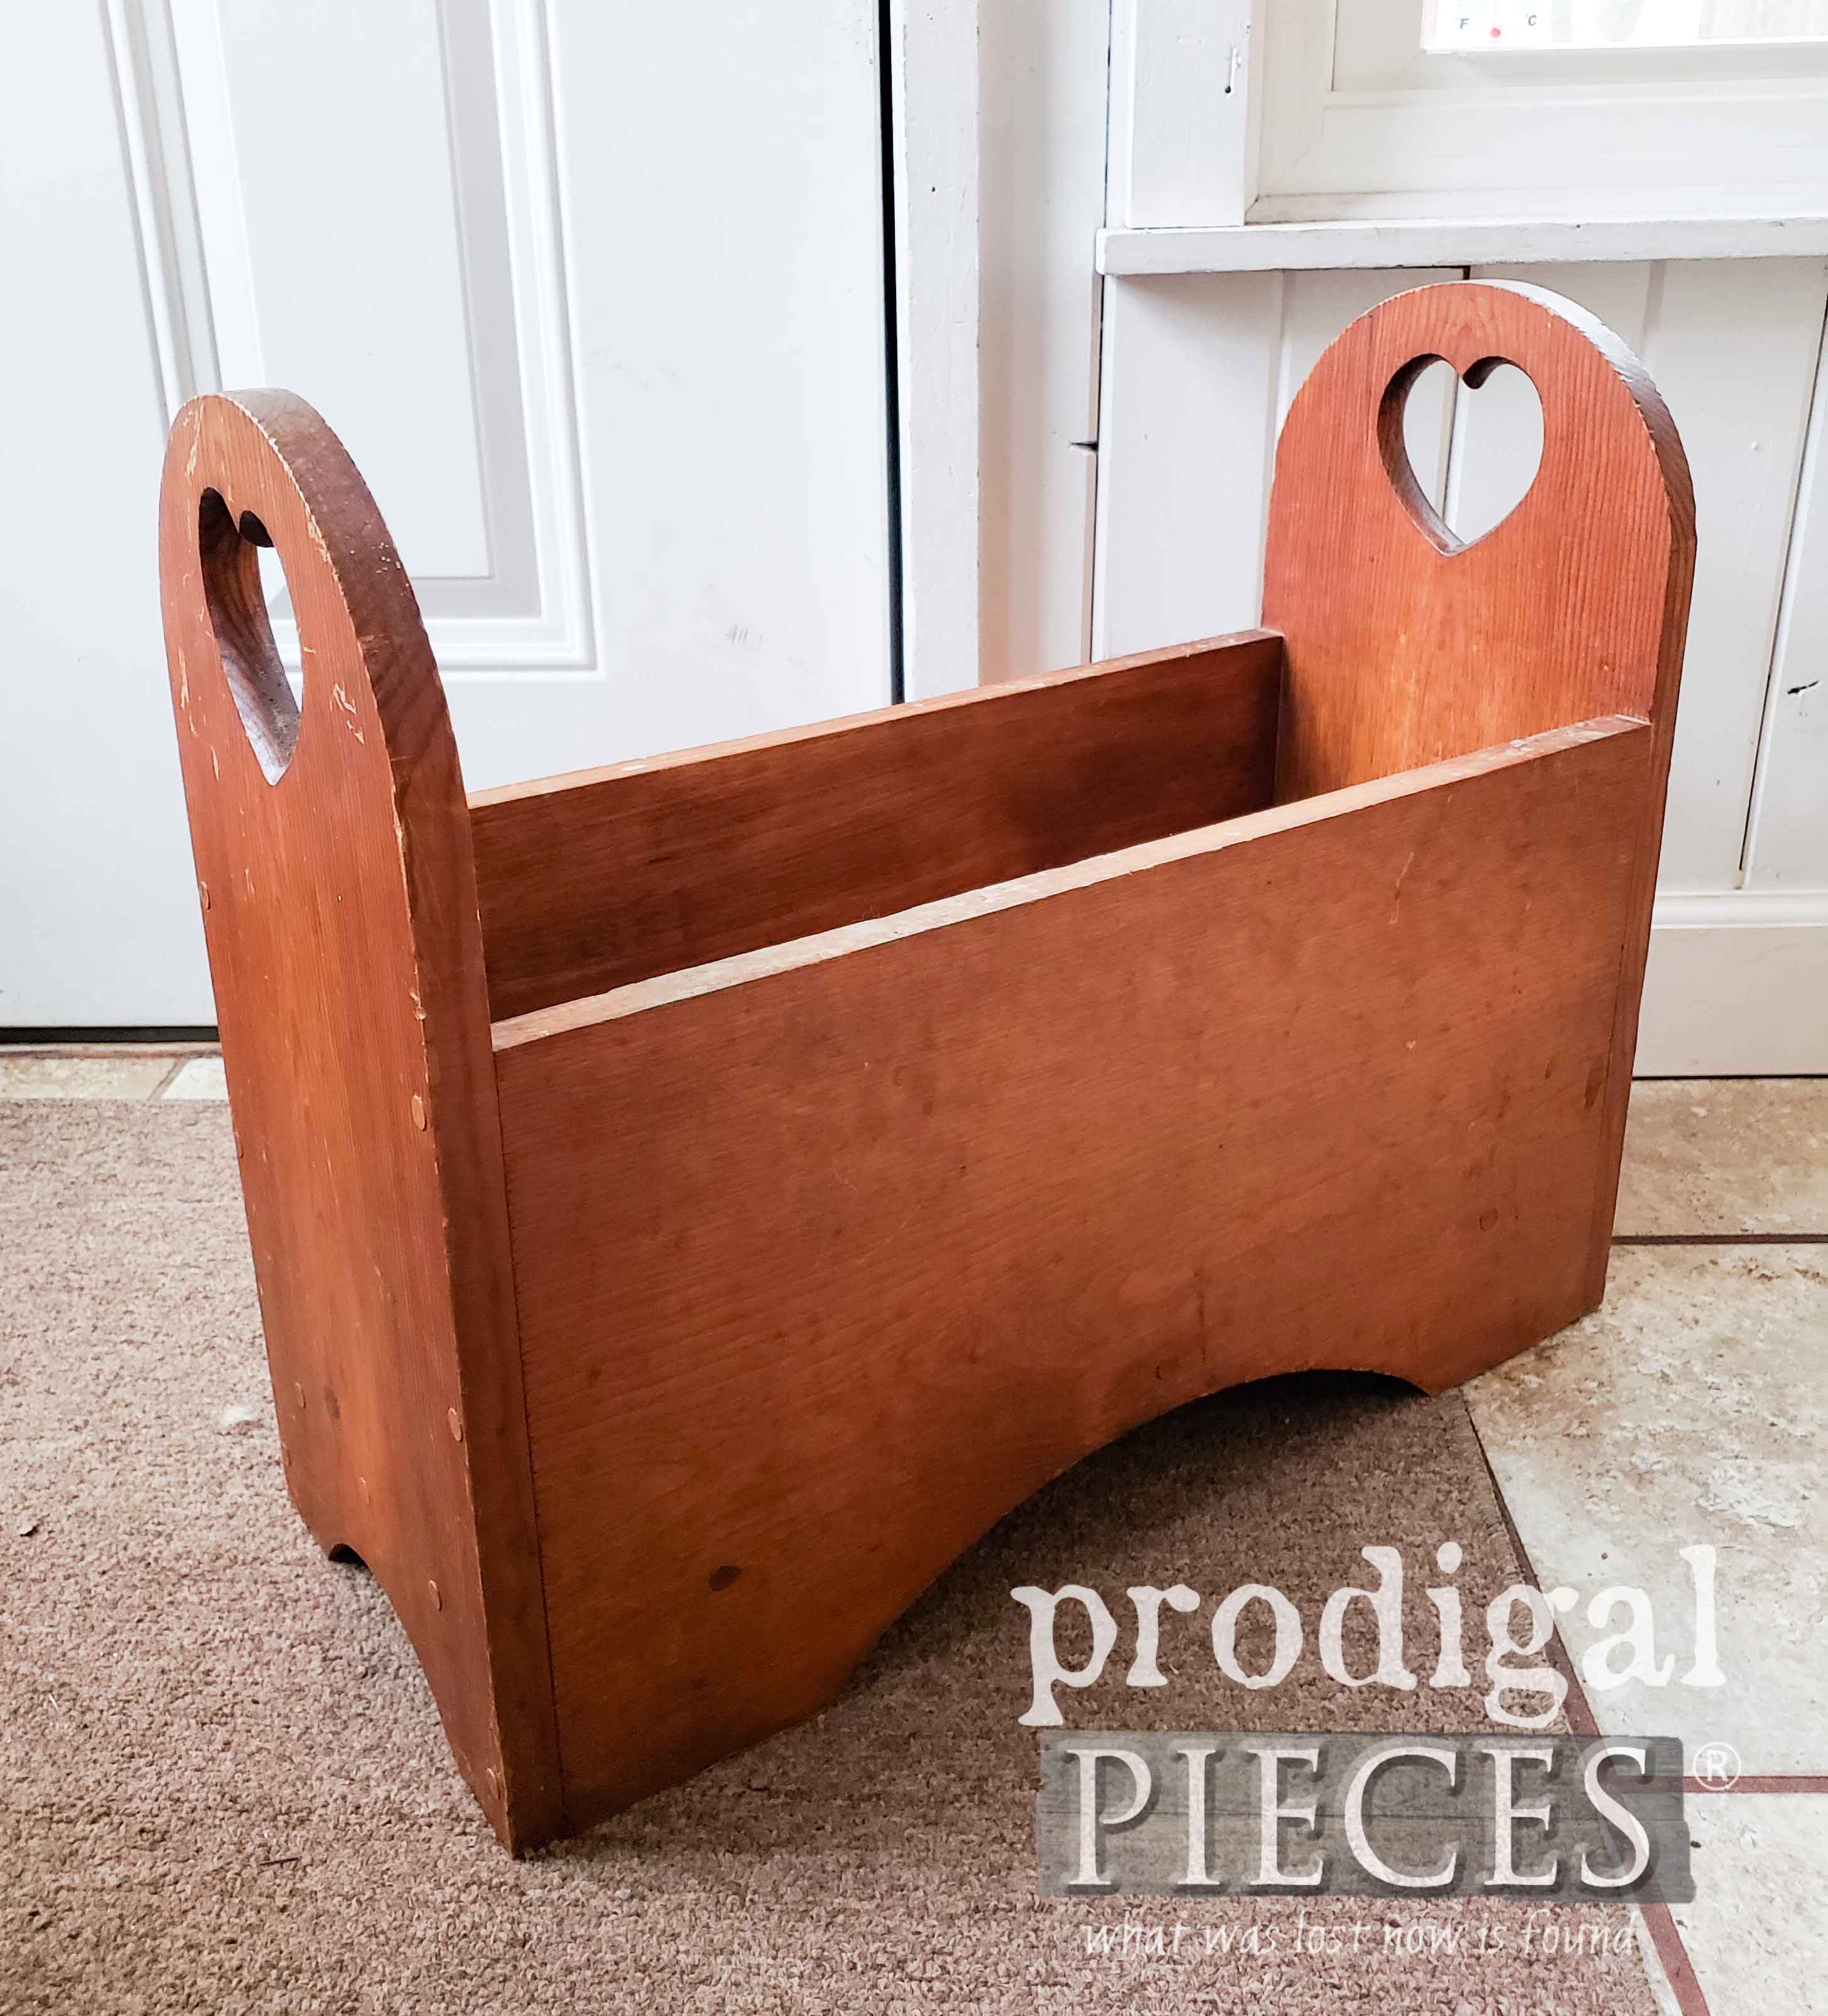
This little bin was labeled as a magazine rack at the thrift store. It caught my eye, first, because it’s wood, and second, it serves a functional purpose. However, I’m not so sure it’s a magazine rack because it had a lid at one point from the holes I spied on the side. Either way, it’s about to become something new. Woot!
Undeniably, pine was a classic material for these types of decor. Likewise, the heart cut-out design is like a staple of the era. Somewhere along the way, the cutesy hearts got a mite overdone. While all this may be true, I still say the bin has potential. Do you see the blank slate?
DIY TIME
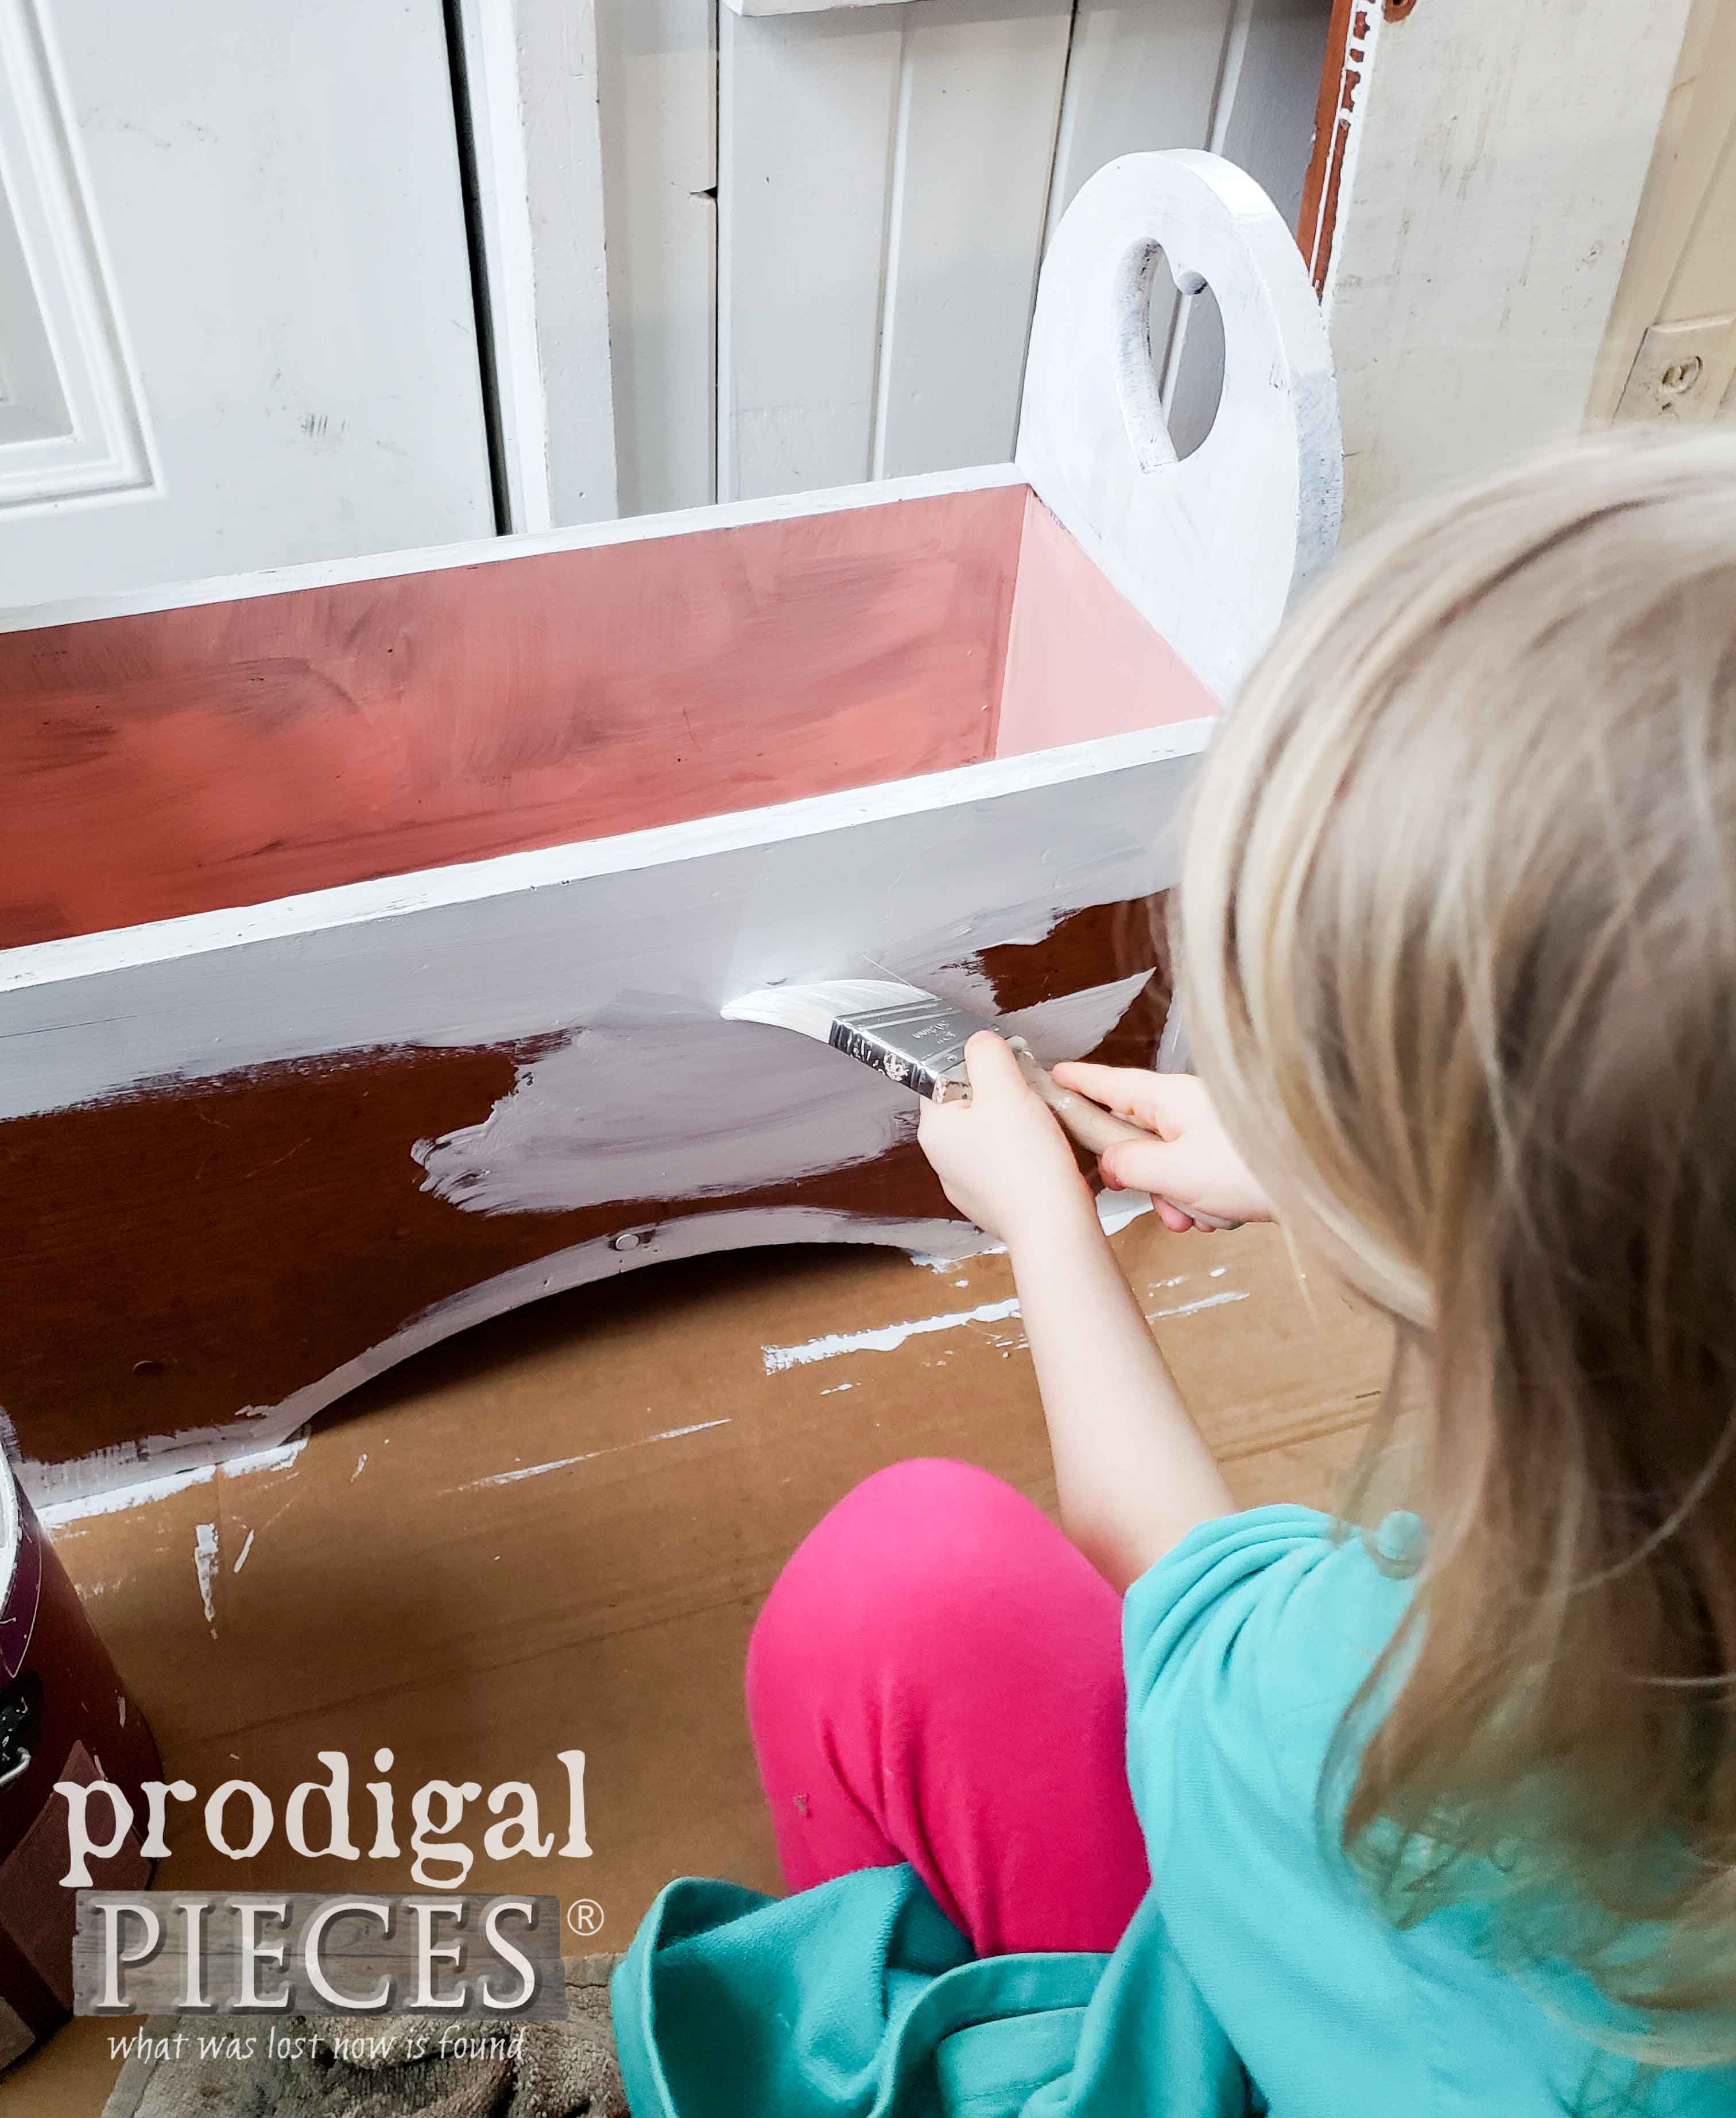
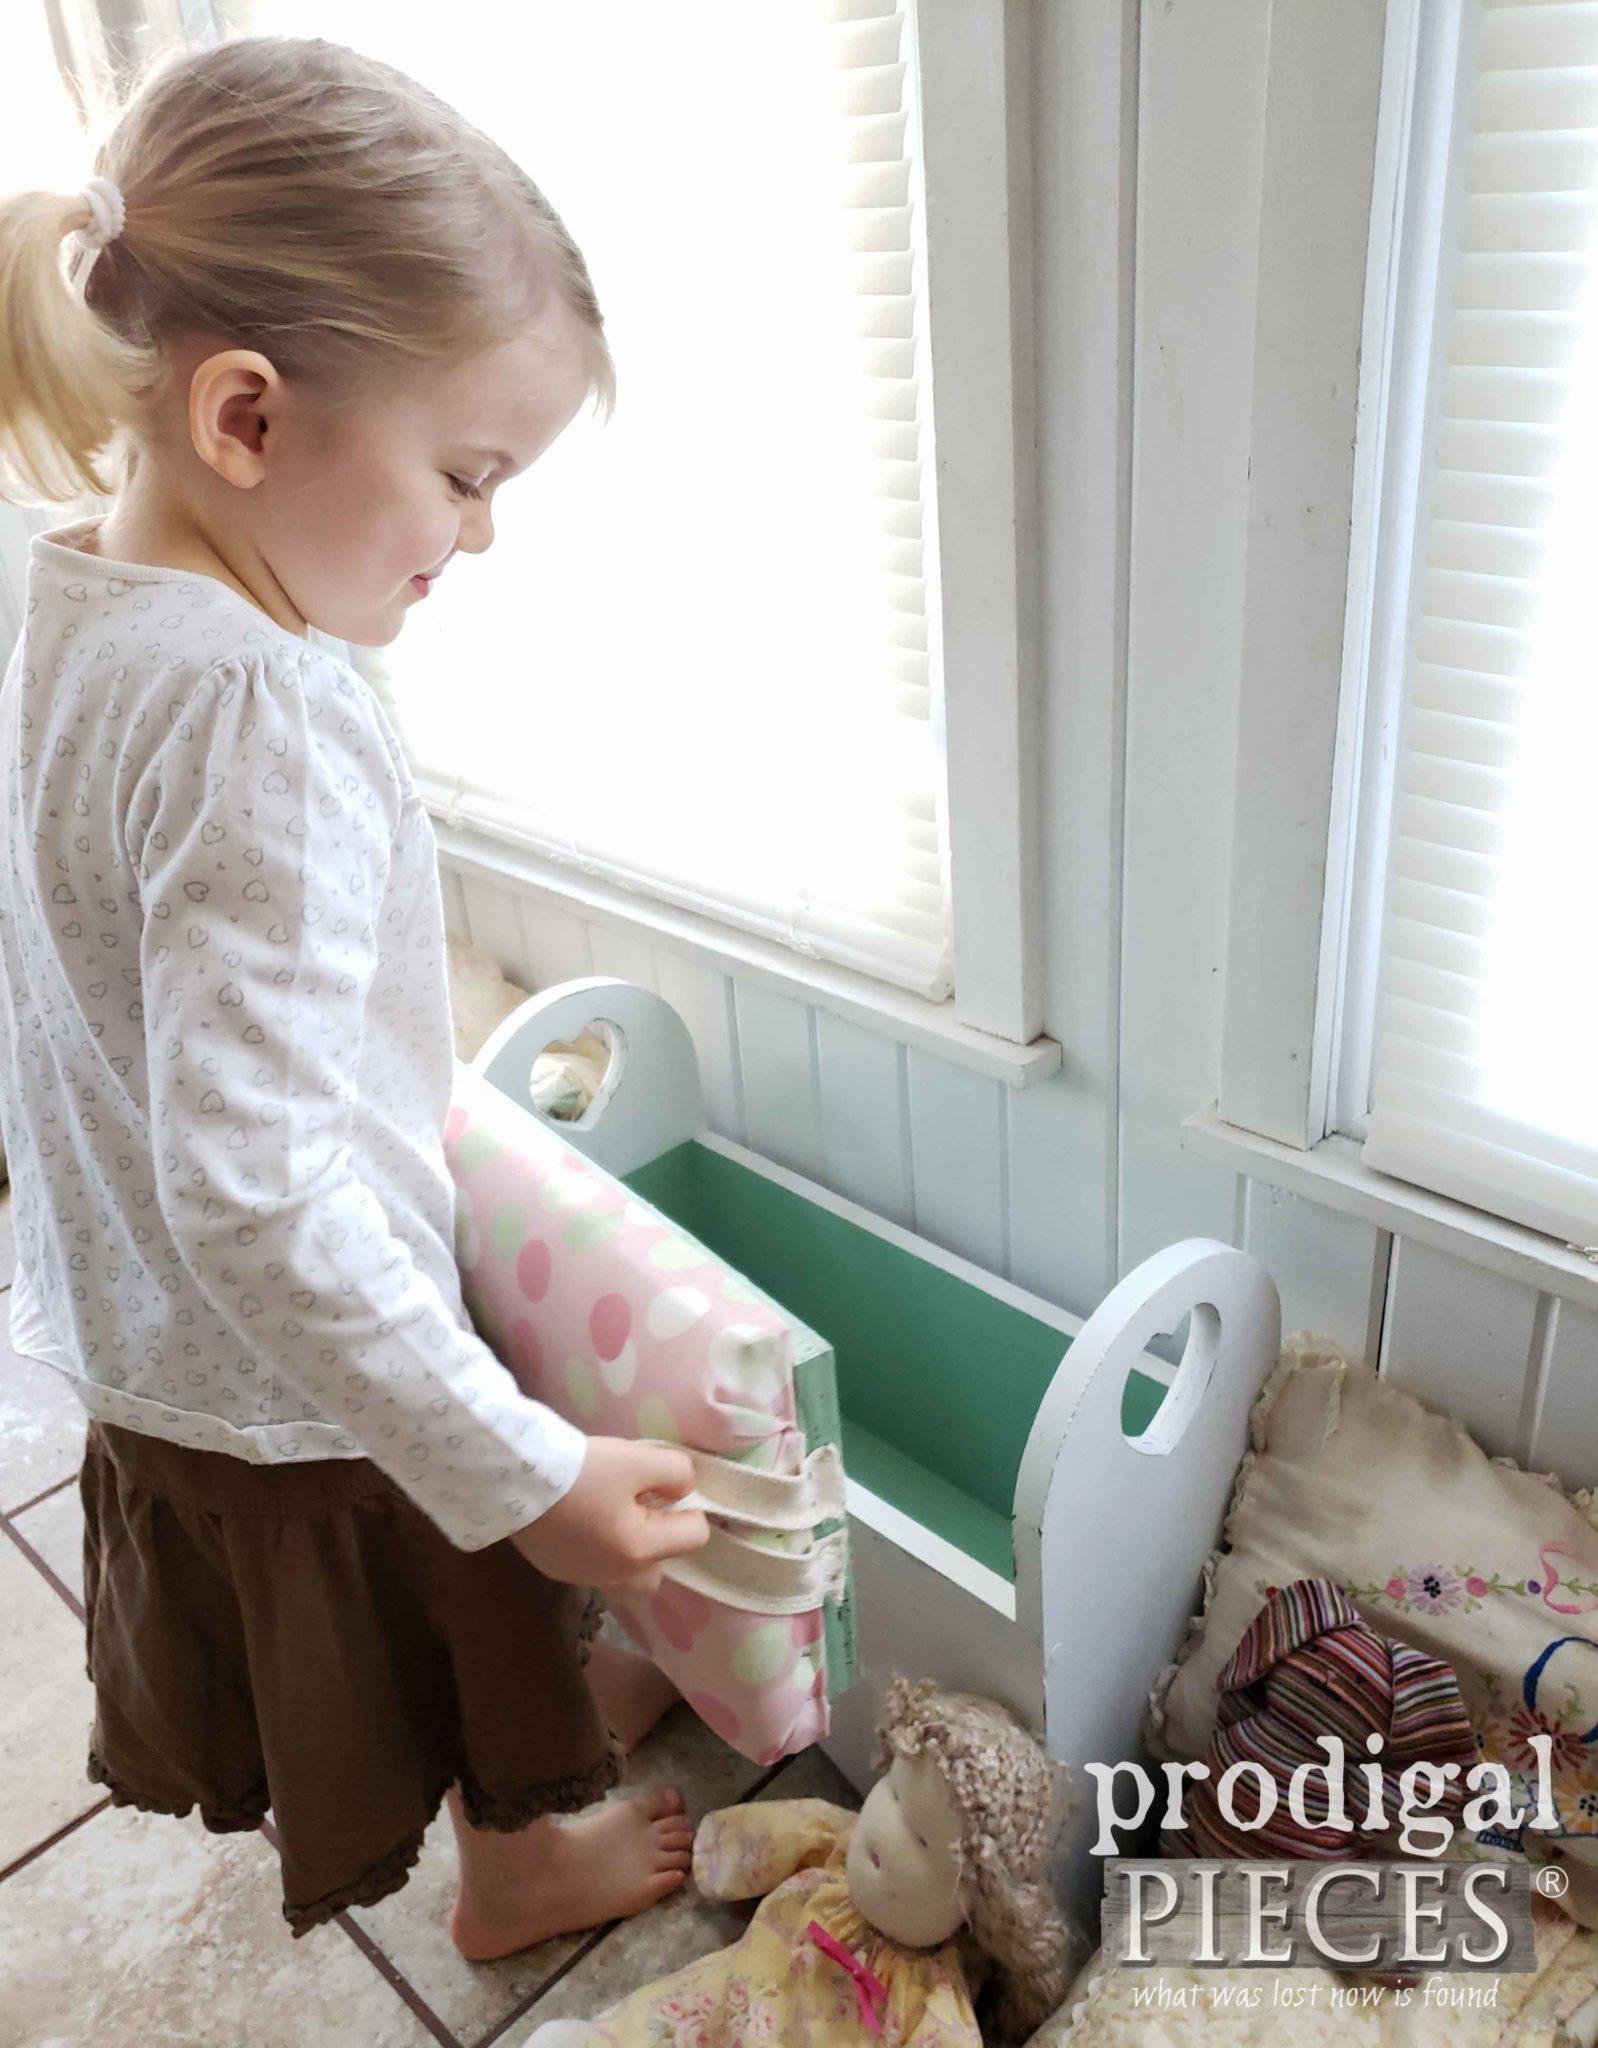
To complete my vision of a kids storage bench, I decided to paint the interior a soft pink while the exterior would be white. See my little girl helping me with the outside? She always wants to practice with painting. As a result, I must say she’s becoming and ol’ pro. Good girl!
Once the first coats had cured, I decided to make a change. I felt the pink clashed with the upholstery I had picked out. Instead, I went with a different interior color. You’ll see the new color in a bit.
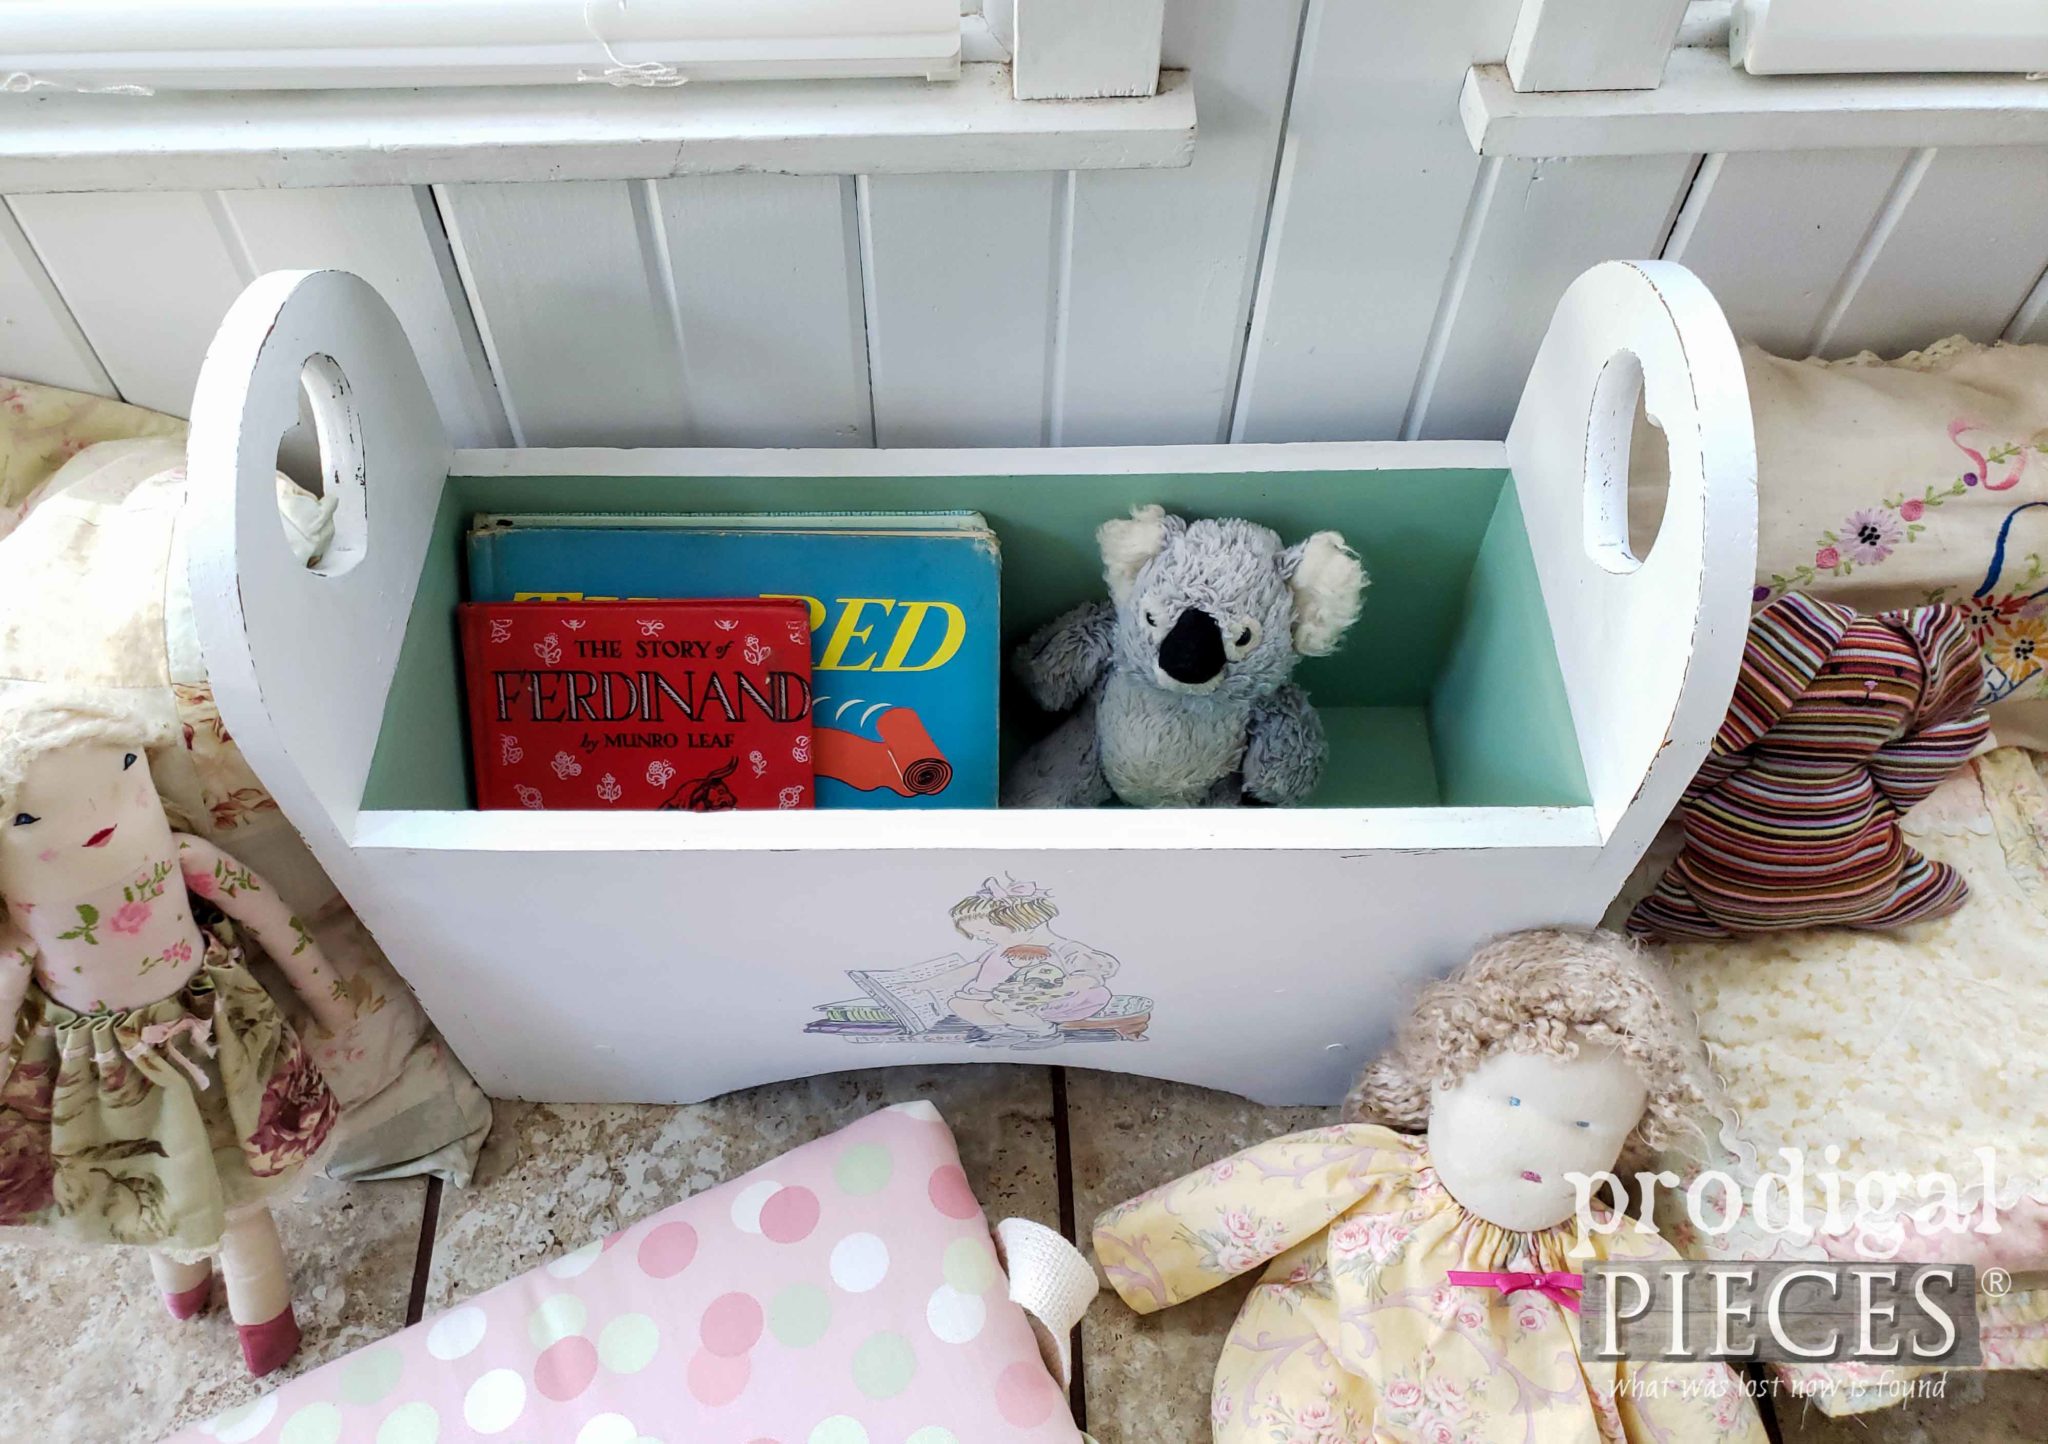
Next, I set about making use of two pieces of scrap wood to make a bench top. It was simply made with two boards sandwiched together (one the width of the sides and the other the width of the interior). Since I’m always working on upholstery projects, I already had fabric, foam, and batting in my stash. A girls gotta have a stash, right?! {{fist pump}}
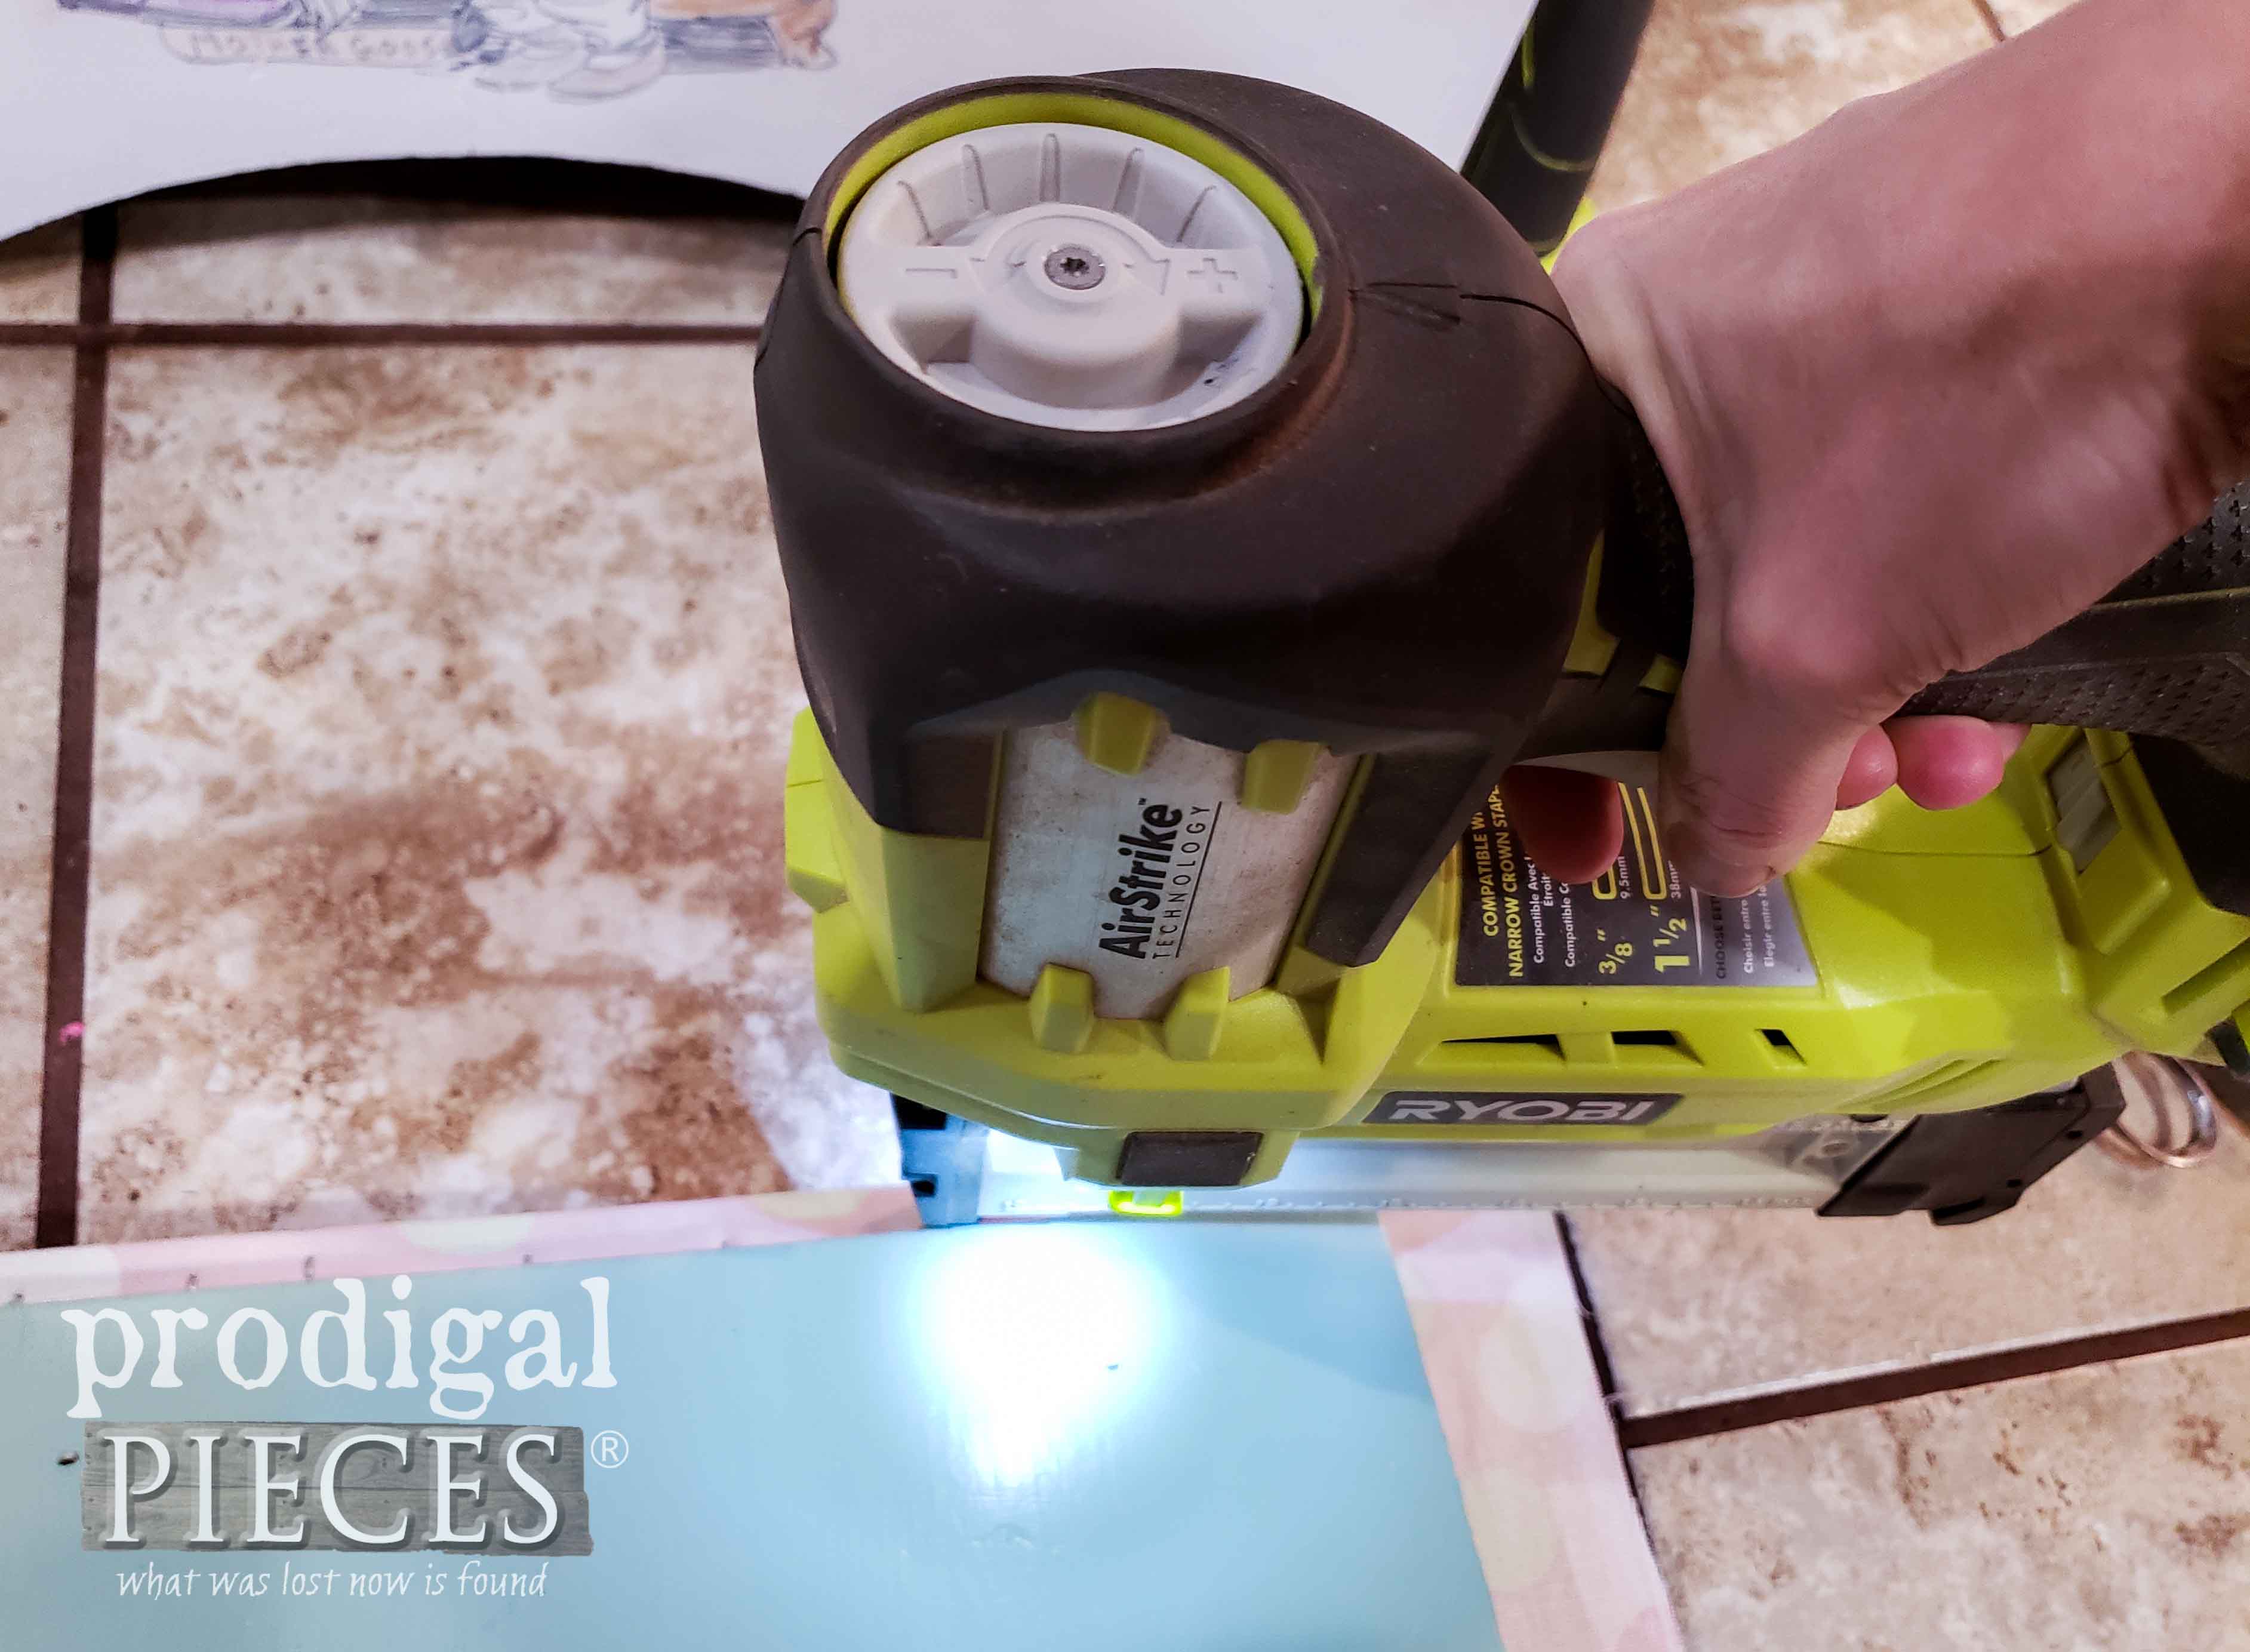
My cordless stapler made this a breeze to assemble. Have you ever tried one? I layered upholstery, batting, foam, and then the seat. Then I folded it under and stapled it all on. In addition, I added a few webbing handles to make removal of the lid easier. You can see my upholstery tutorials HERE.
ADDING FUN
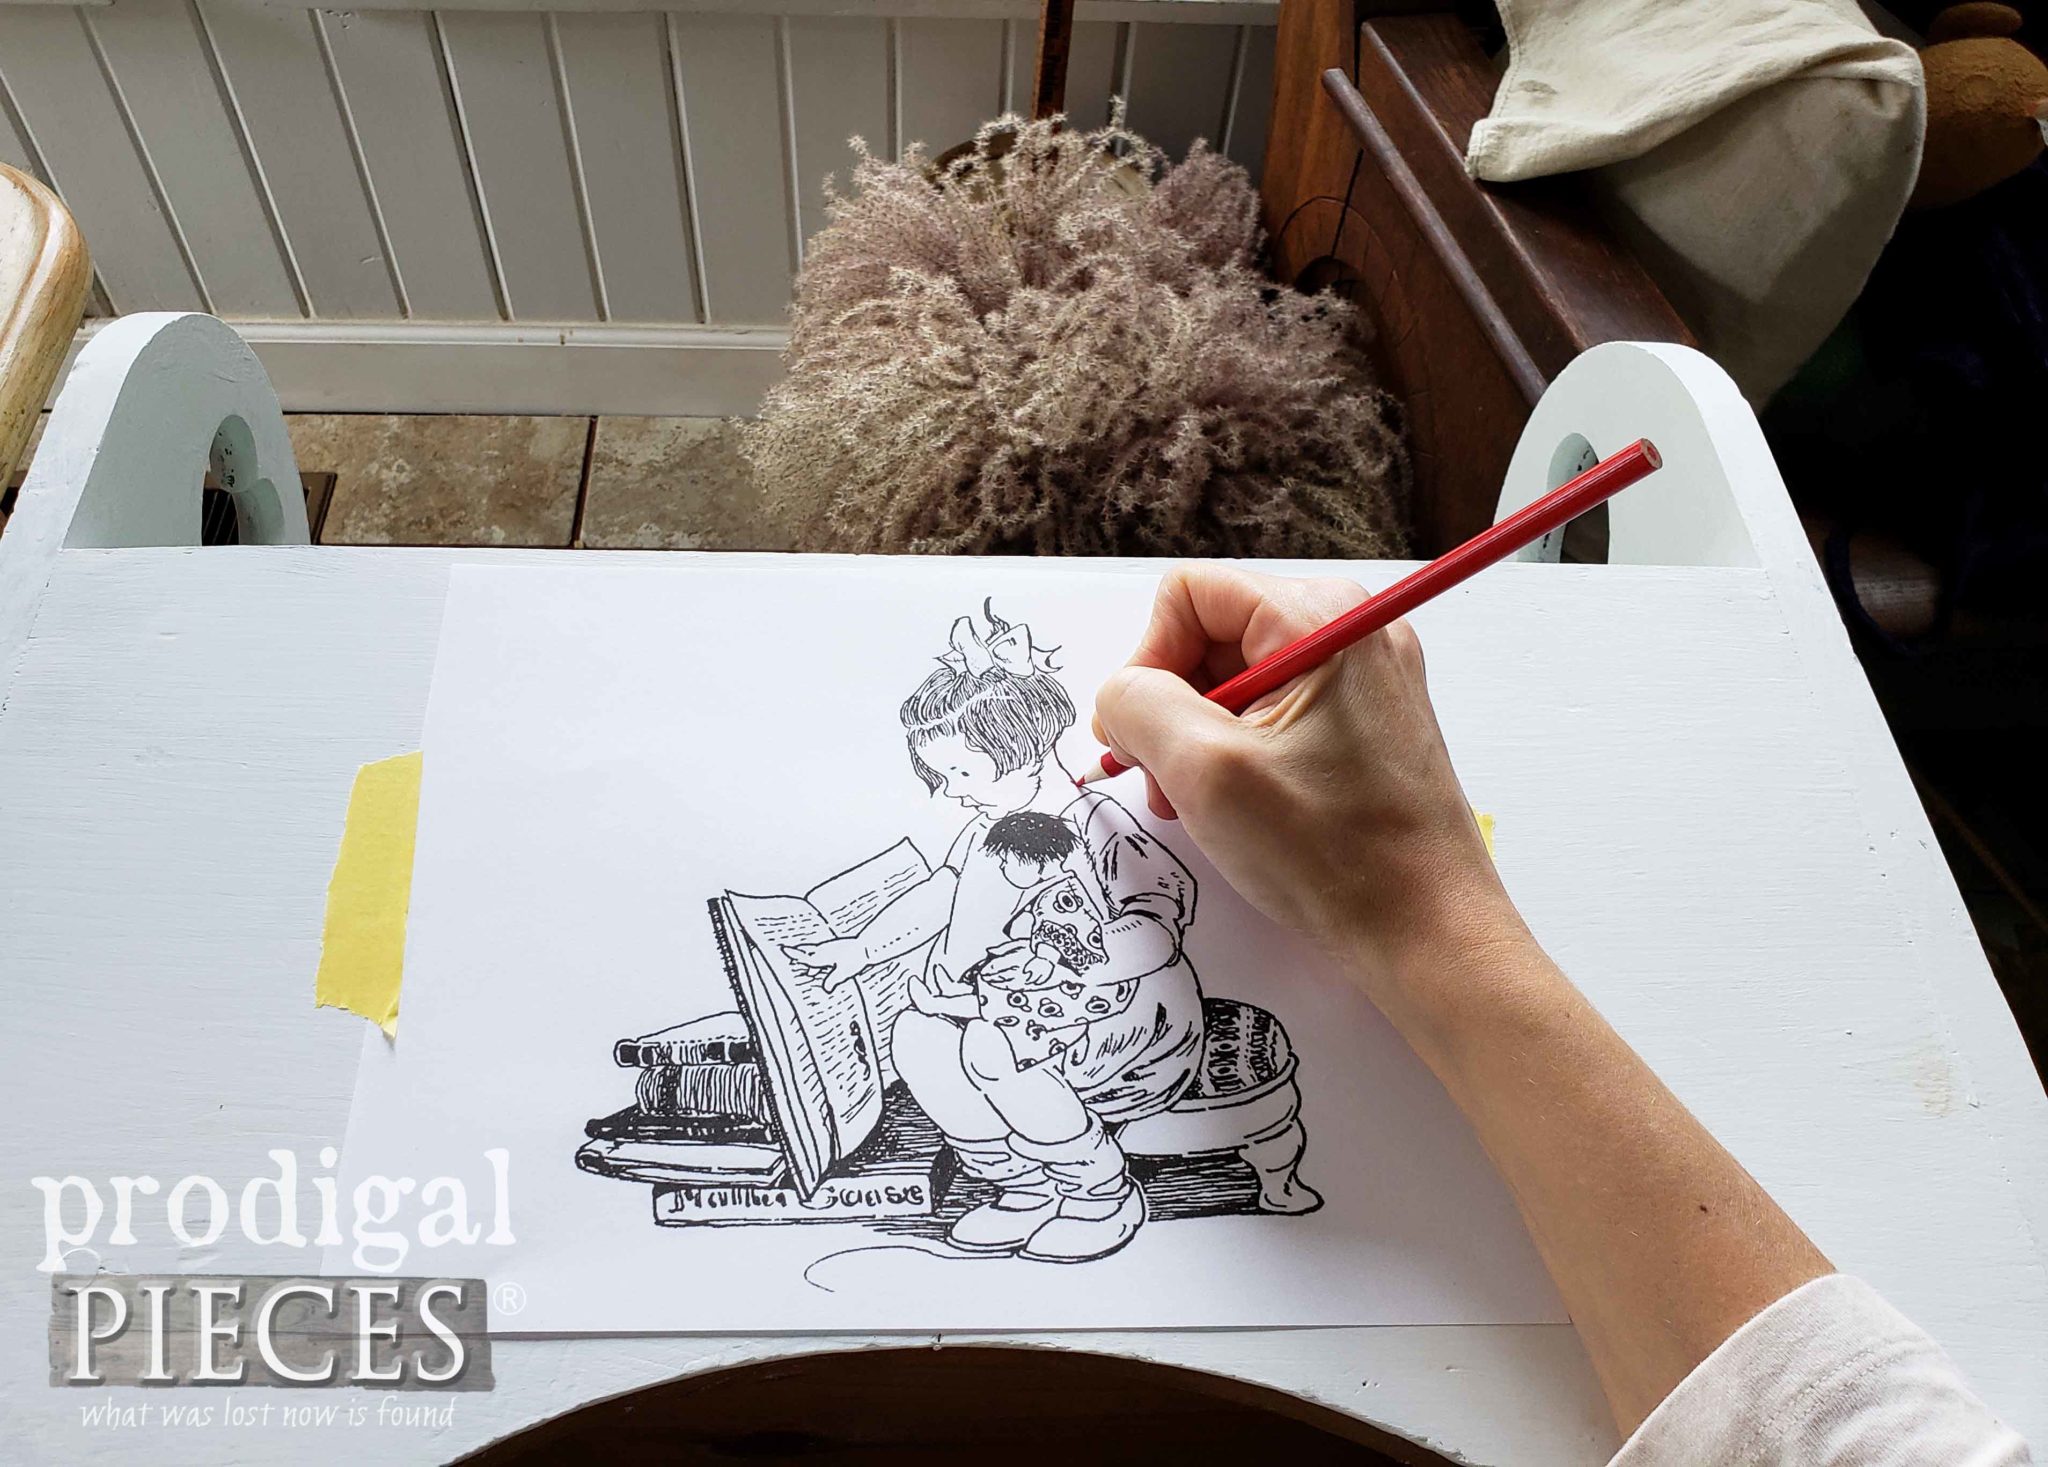
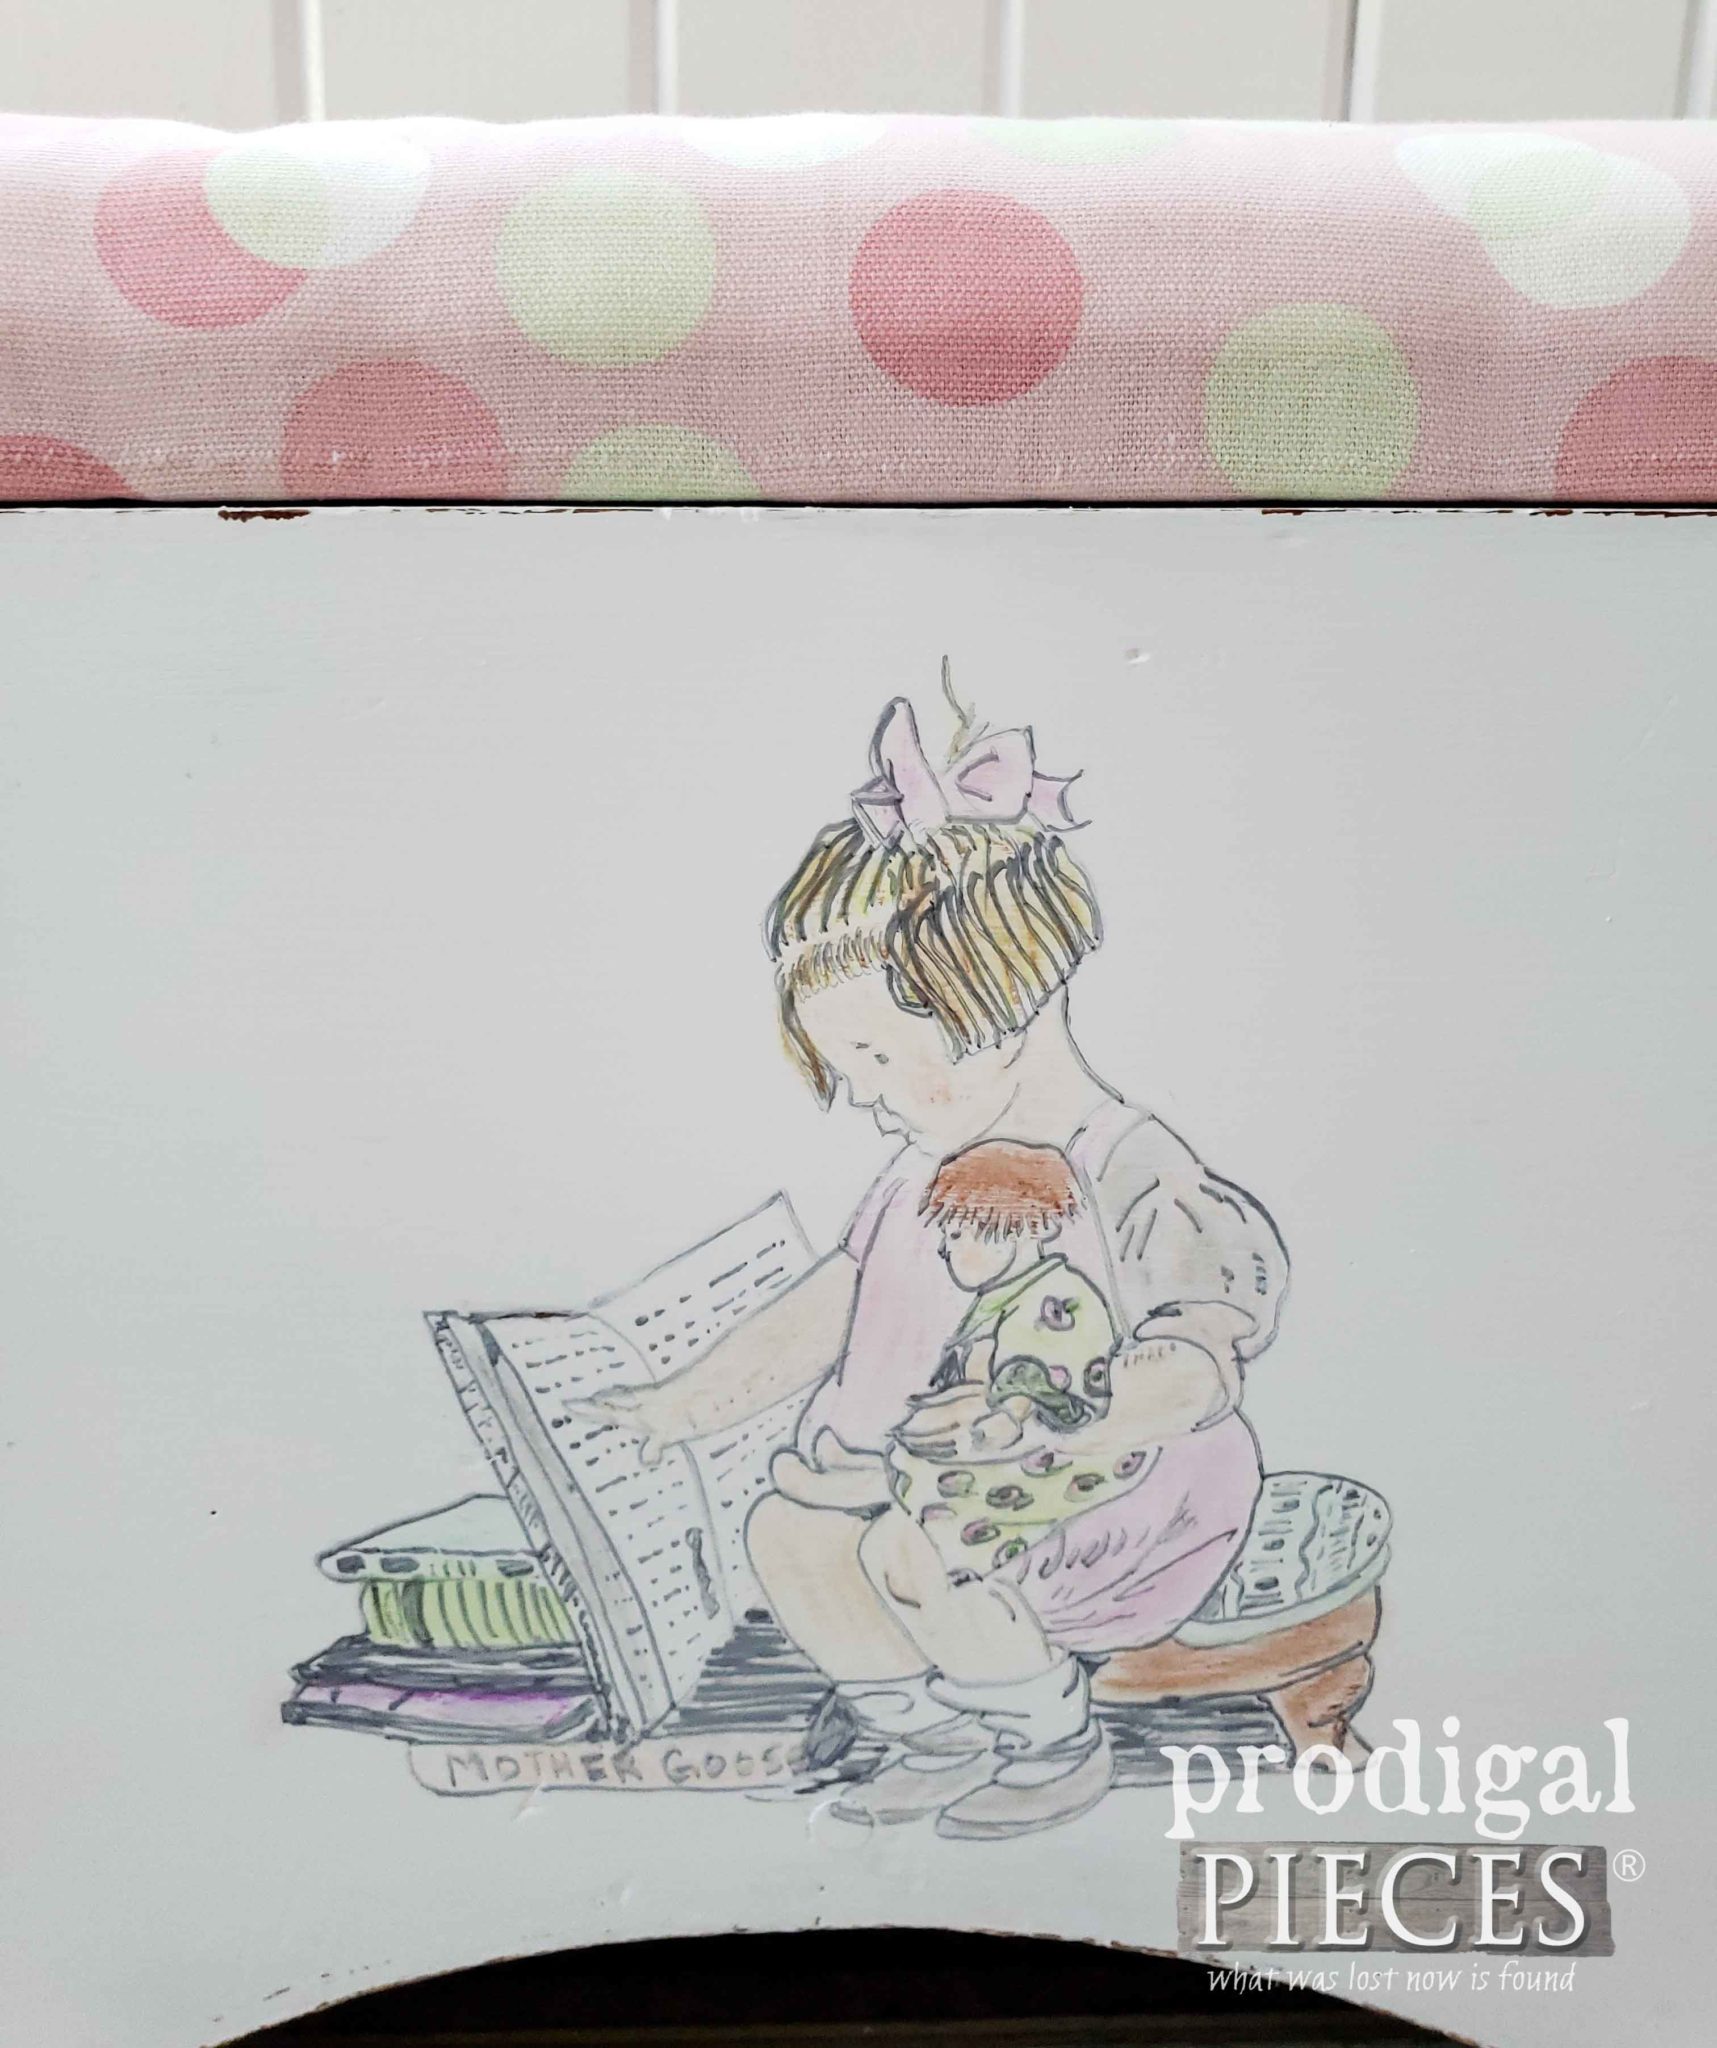
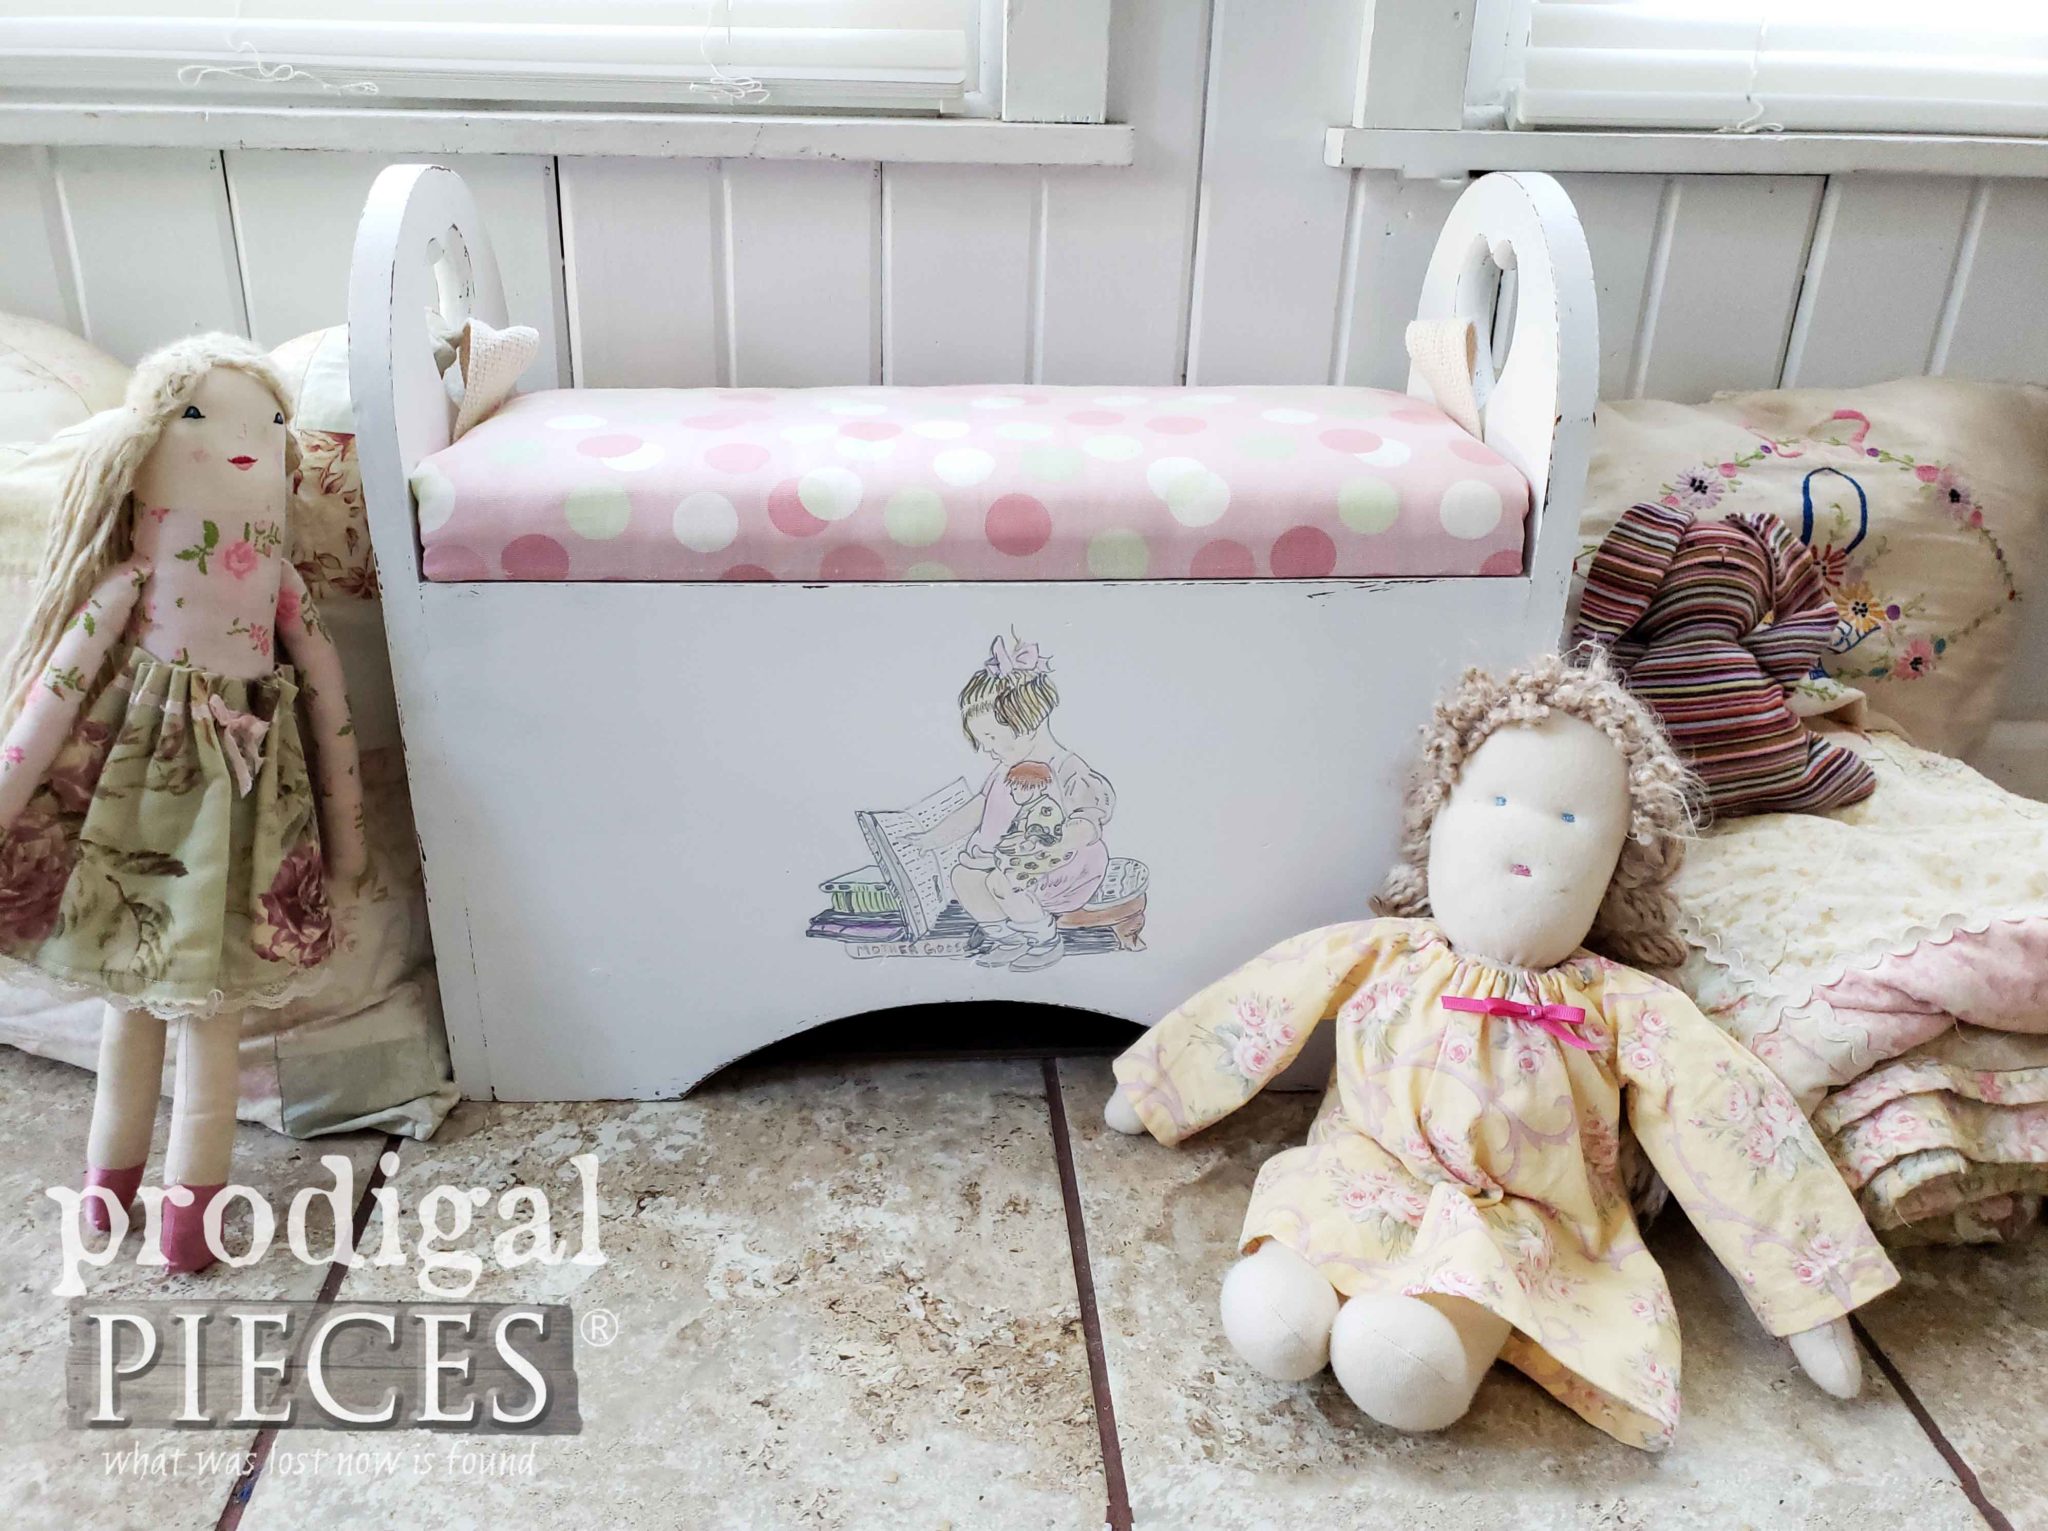
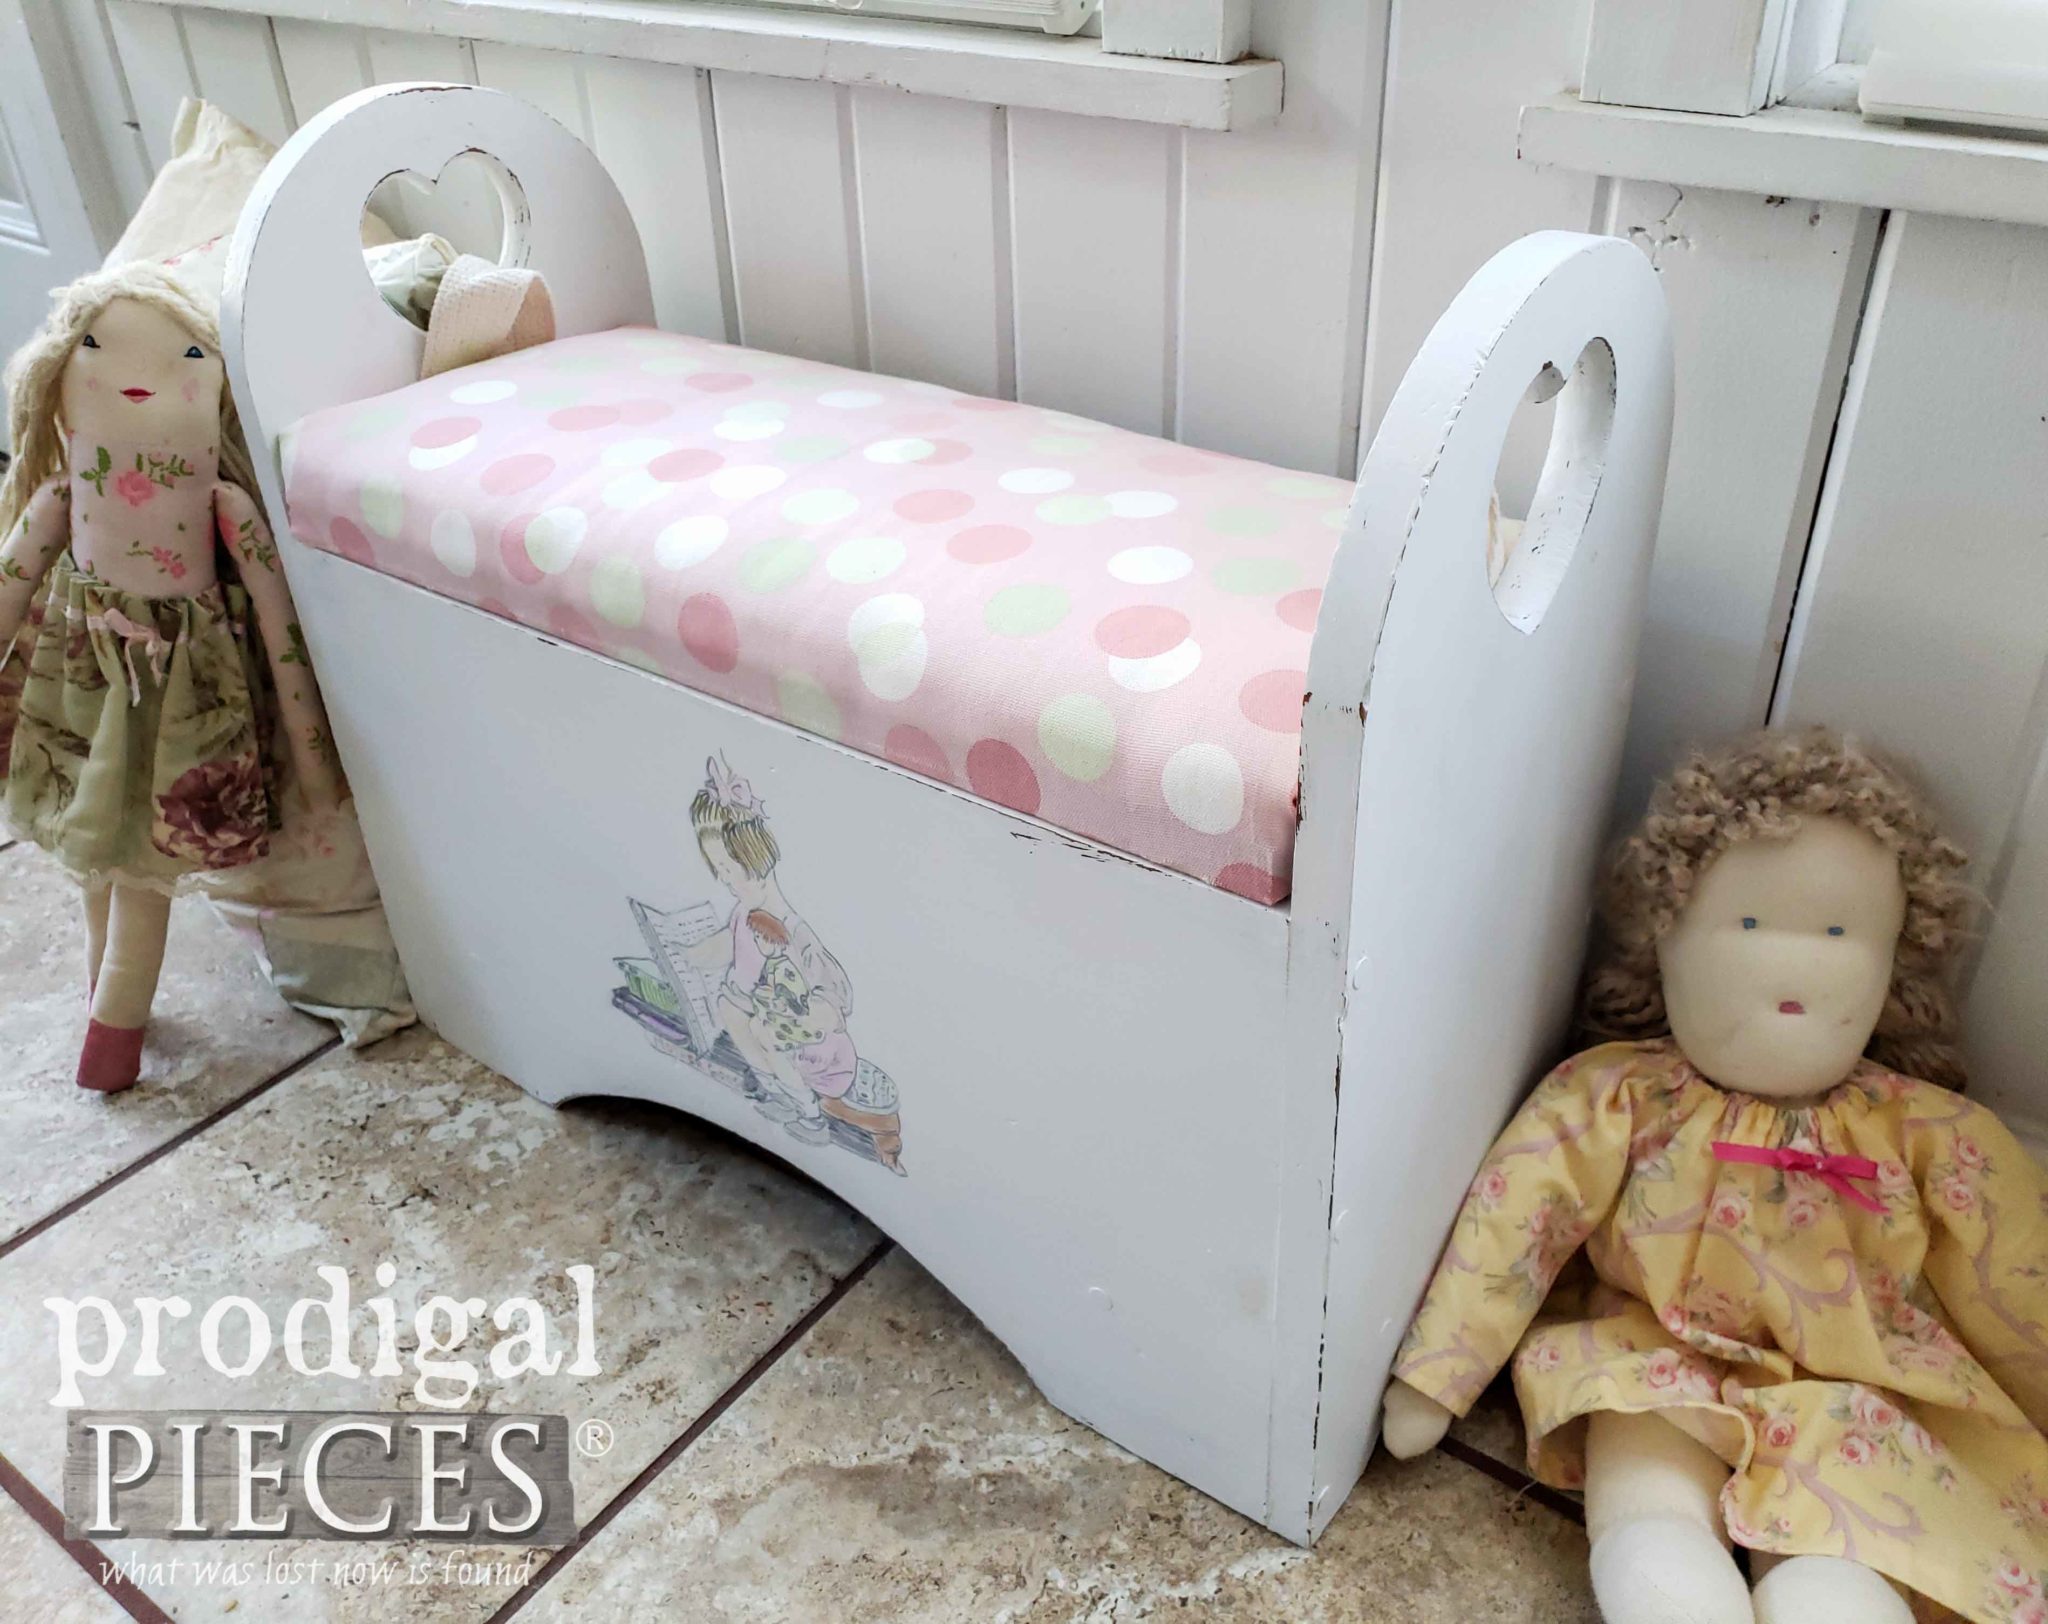
Last, I just had to add a bit of whimsy to the front once the paint had cured. Vintage graphics have my heart, so I chose this one below. It ended up being much like the other magazine holder I transformed in this post. I truly adore adding this vintage graphic using my transfer method for fun.
After I traced the graphic, I hand-painted it in. Admittedly, that part is fun for me as I feel I get a bit of therapy. Handwork always seems to do that for me.
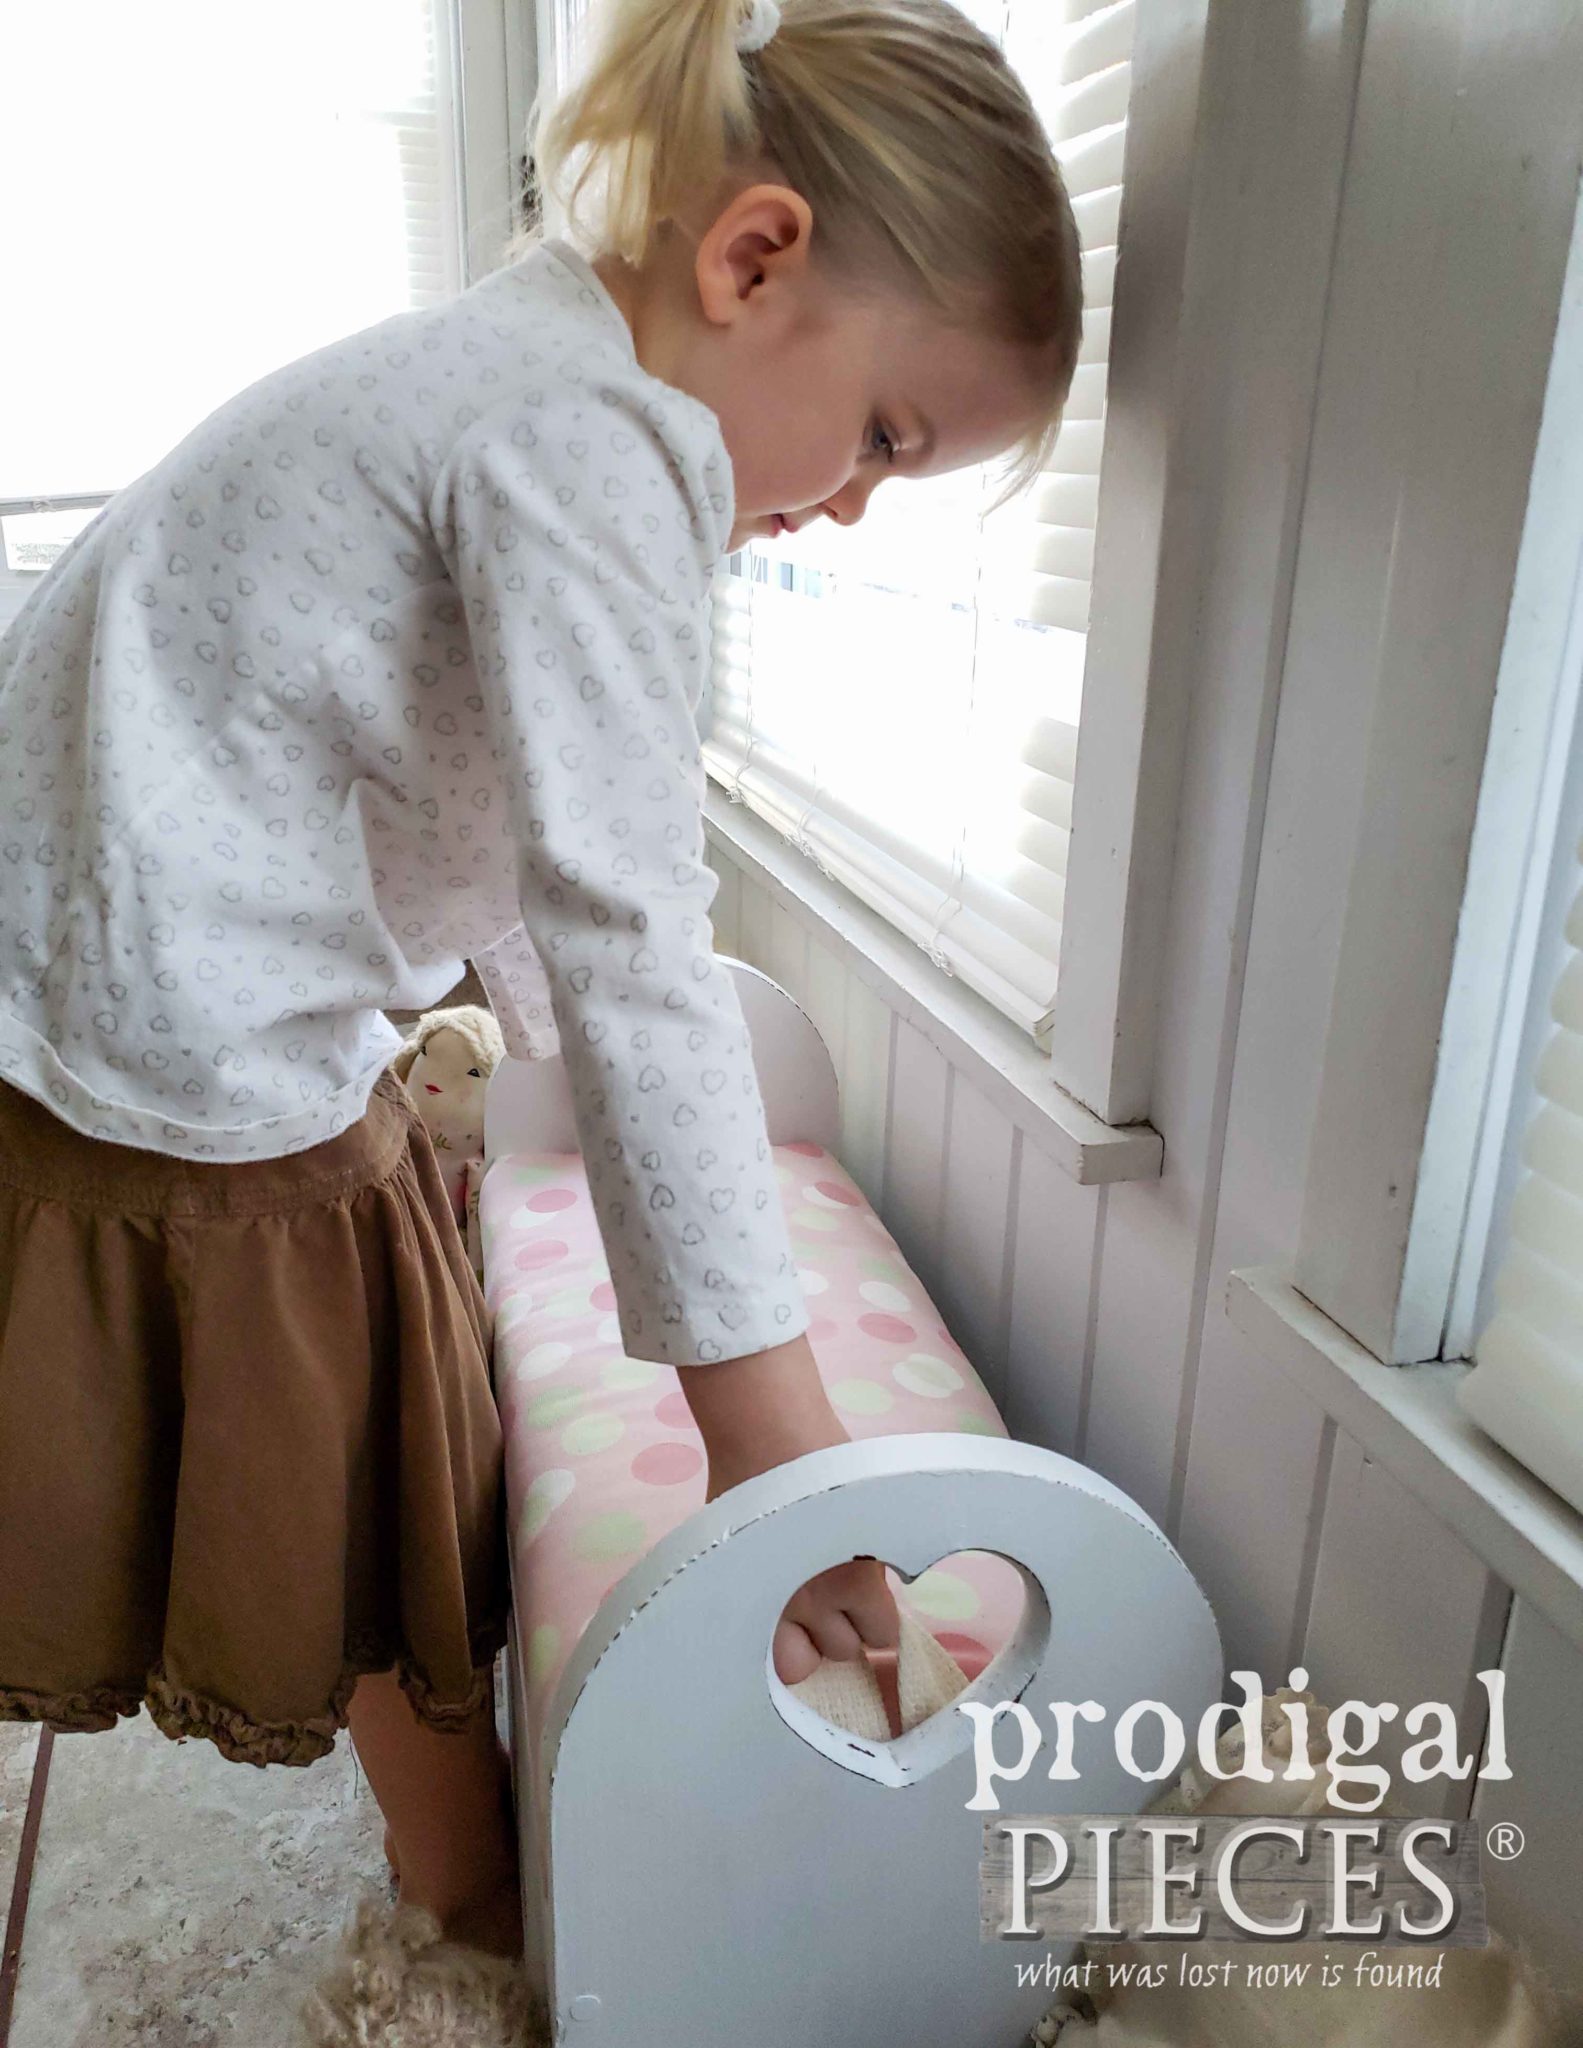
Since my little helper work on this project, she had say in the staging. In other words, she knew that it would be just her size. She was certain her little bum would fit perfectly – she was right! tee hee!
SO SWEET
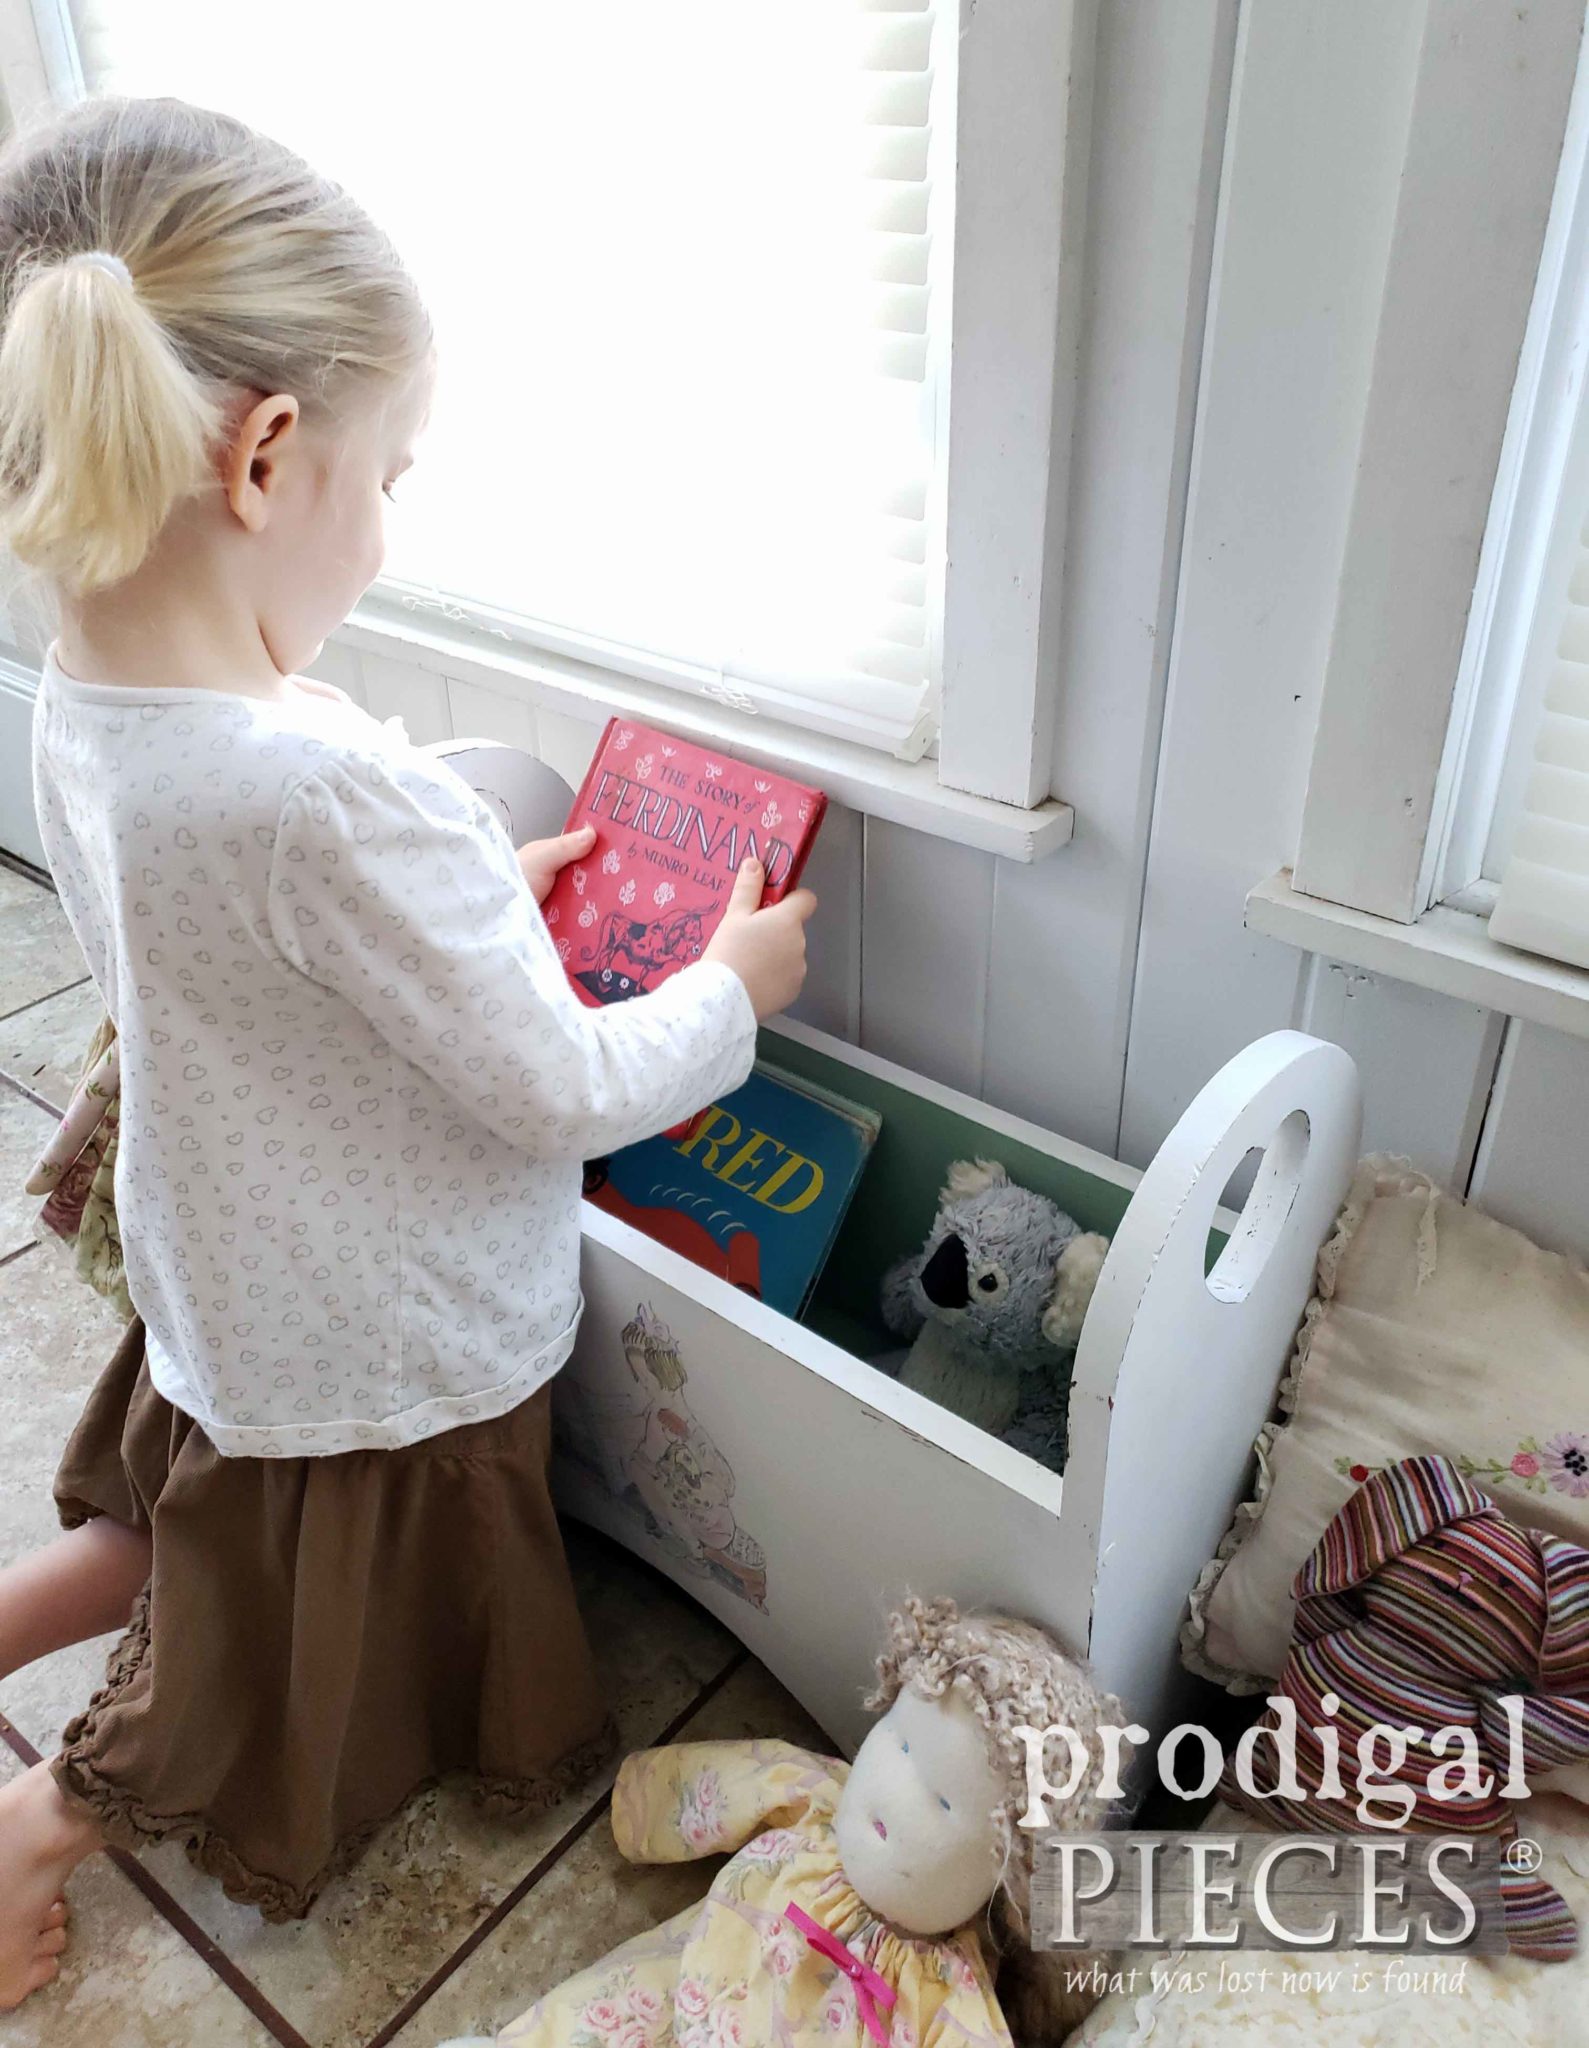
Likewise, she knew exactly what this kid’s storage bench would be good for. Admittedly, we are bibliophiles in this house. Without a doubt it would be filled with books in our home. I noticed her favorite part is lifting the seat off to see the treasures inside.
See how the pink interior became green? I feel it’s much more soothing for what I was after. Little girl right away brought her books and toys to fill it up proper like.
Here’s a peek of the graphic close-up. Isn’t it sweet?
SHOUT-OUT
While I normally would be putting this cutie in my shop, I have had the pleasure of being invited to a very special event. Yours truly is a part of the Drab to Fab Upcycle Challenge at the Ohio Home & Remodeling Show. 
Not only will my work be there, but also many other talented folk and inspiration. If you’re in the neighborhood, stop by and bid up my kid’s storage bench. All proceeds will go to Habitat for Humanity. Guys, I want my bench to be the highest bid on project!! I’m not competitive or anything…tsk.
Also, pin and share my kid’s storage bench upcycle. Surely there are other people with similar heart cut-out pieces. Likewise, you just may inspire someone else to create something new too.
Up next, I’ll be sharing the next 80’s heart project fun. This vintage bread box is going to get a new look and purpose. Head HERE to see.
To get these DIY tips & tricks in your inbox, be sure to sign up for my newsletter. PLUS, you will get your FREE Furniture Buying Checklist and special discount to my shop. Now, it’s time to see what my blogger friend’s have for you below.
- Just the Woods
- Girl in the Garage
- Confessions of a Serial DIYer
- Interior Frugalista
- Petticoat Junktion






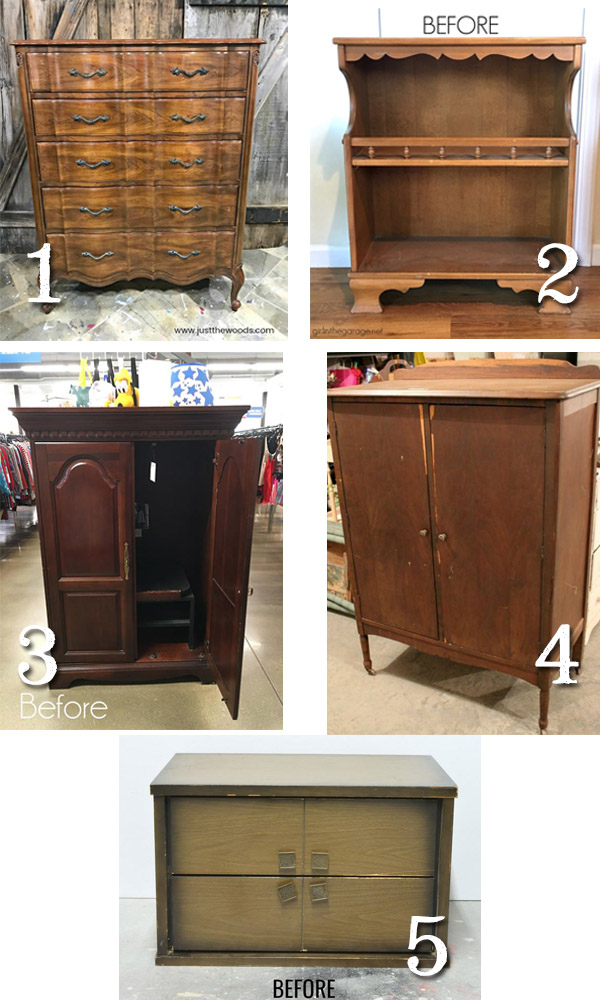
What an adorable little make-over. Love what you had done. Really makes for a darling little storage bench
Your daughter is adorable as well.
Wishing you and your family a Very Merry Christmas and a Happy & Blessed New Years.
I had such fun reinventing this and hope it does well in the auction. Thank you so much, Colleen.
Oh, I also pinned 🙂
So so cute!!
Thank you!
holy moly! this is so cute!
tee hee! Thank you for the giggle, Kandice.
Your little helper is just precious and learning to be as talented as her mama! Love the kids storage bench and hope it’s the highest bidding item in the auction! Wishing you and your family a blessed, merry Christmas!
She always pops in for a painting or two and off she goes. haha! I love having a sidekick. Merry Christmas to you too!
What a great idea! You have ruined me. Yes, you have! Every time a see a cast away or thrift find, I have to stop, investigate and say “What would Larissa do?” Love this project, but I have to say I was hoping your helper would get to keep it. Merry Christmas to you and yours!
bwahahahaha!! You are too funny, Linda! I love it. Merry Christmas!
This is just so adorable, Larissa and so is your little helper. What a great upcycle and I adore the little graphic you handpainted on the front. Best of luck with the bids for this piece to help Habitat For Humanity!
Thanks, Marie. I sure hope it benefits many.
Oh Larissa, what a sweet storage bench, especially with your little one featured! I love your hand painted graphics on this piece, such an adorable addition, just like on your book caddy!! I pray you receive large bids on this piece for the Habitat for Humanity.
Thank you, Kaycee. It’s fun for us to help others.
This turned out so sweet! Your little girl seems smitten with it. Best of luck getting the highest bid! XOXO
Thank you, Christy. Fun to see what happens at the auction.
Larissa, I love the new upcycled bench and your daughter is just the cutest!!
Thank you, Jen.
That is such a great idea! And it turned out so cute!! Love it!!
Thank you, Debbie. It was fun!
Another hit out of the park! You just get better and better!!!!
You are too fun. Thanks!