Creating your own décor can not only make your home more inviting, but it also can be affordable. Also, last month I showed you how to spruce up your outdoor seating area utilizing thrift store pillows. One of my favorite ways to add texture and charm to our outdoor or indoor décor is to make use of all the nature affords us. After our patio renovation, I love to add natural elements like plants, dried botanicals, and even candles made from beeswax. What could be better than log candlesticks made that achieve a cozy, earthy feel?
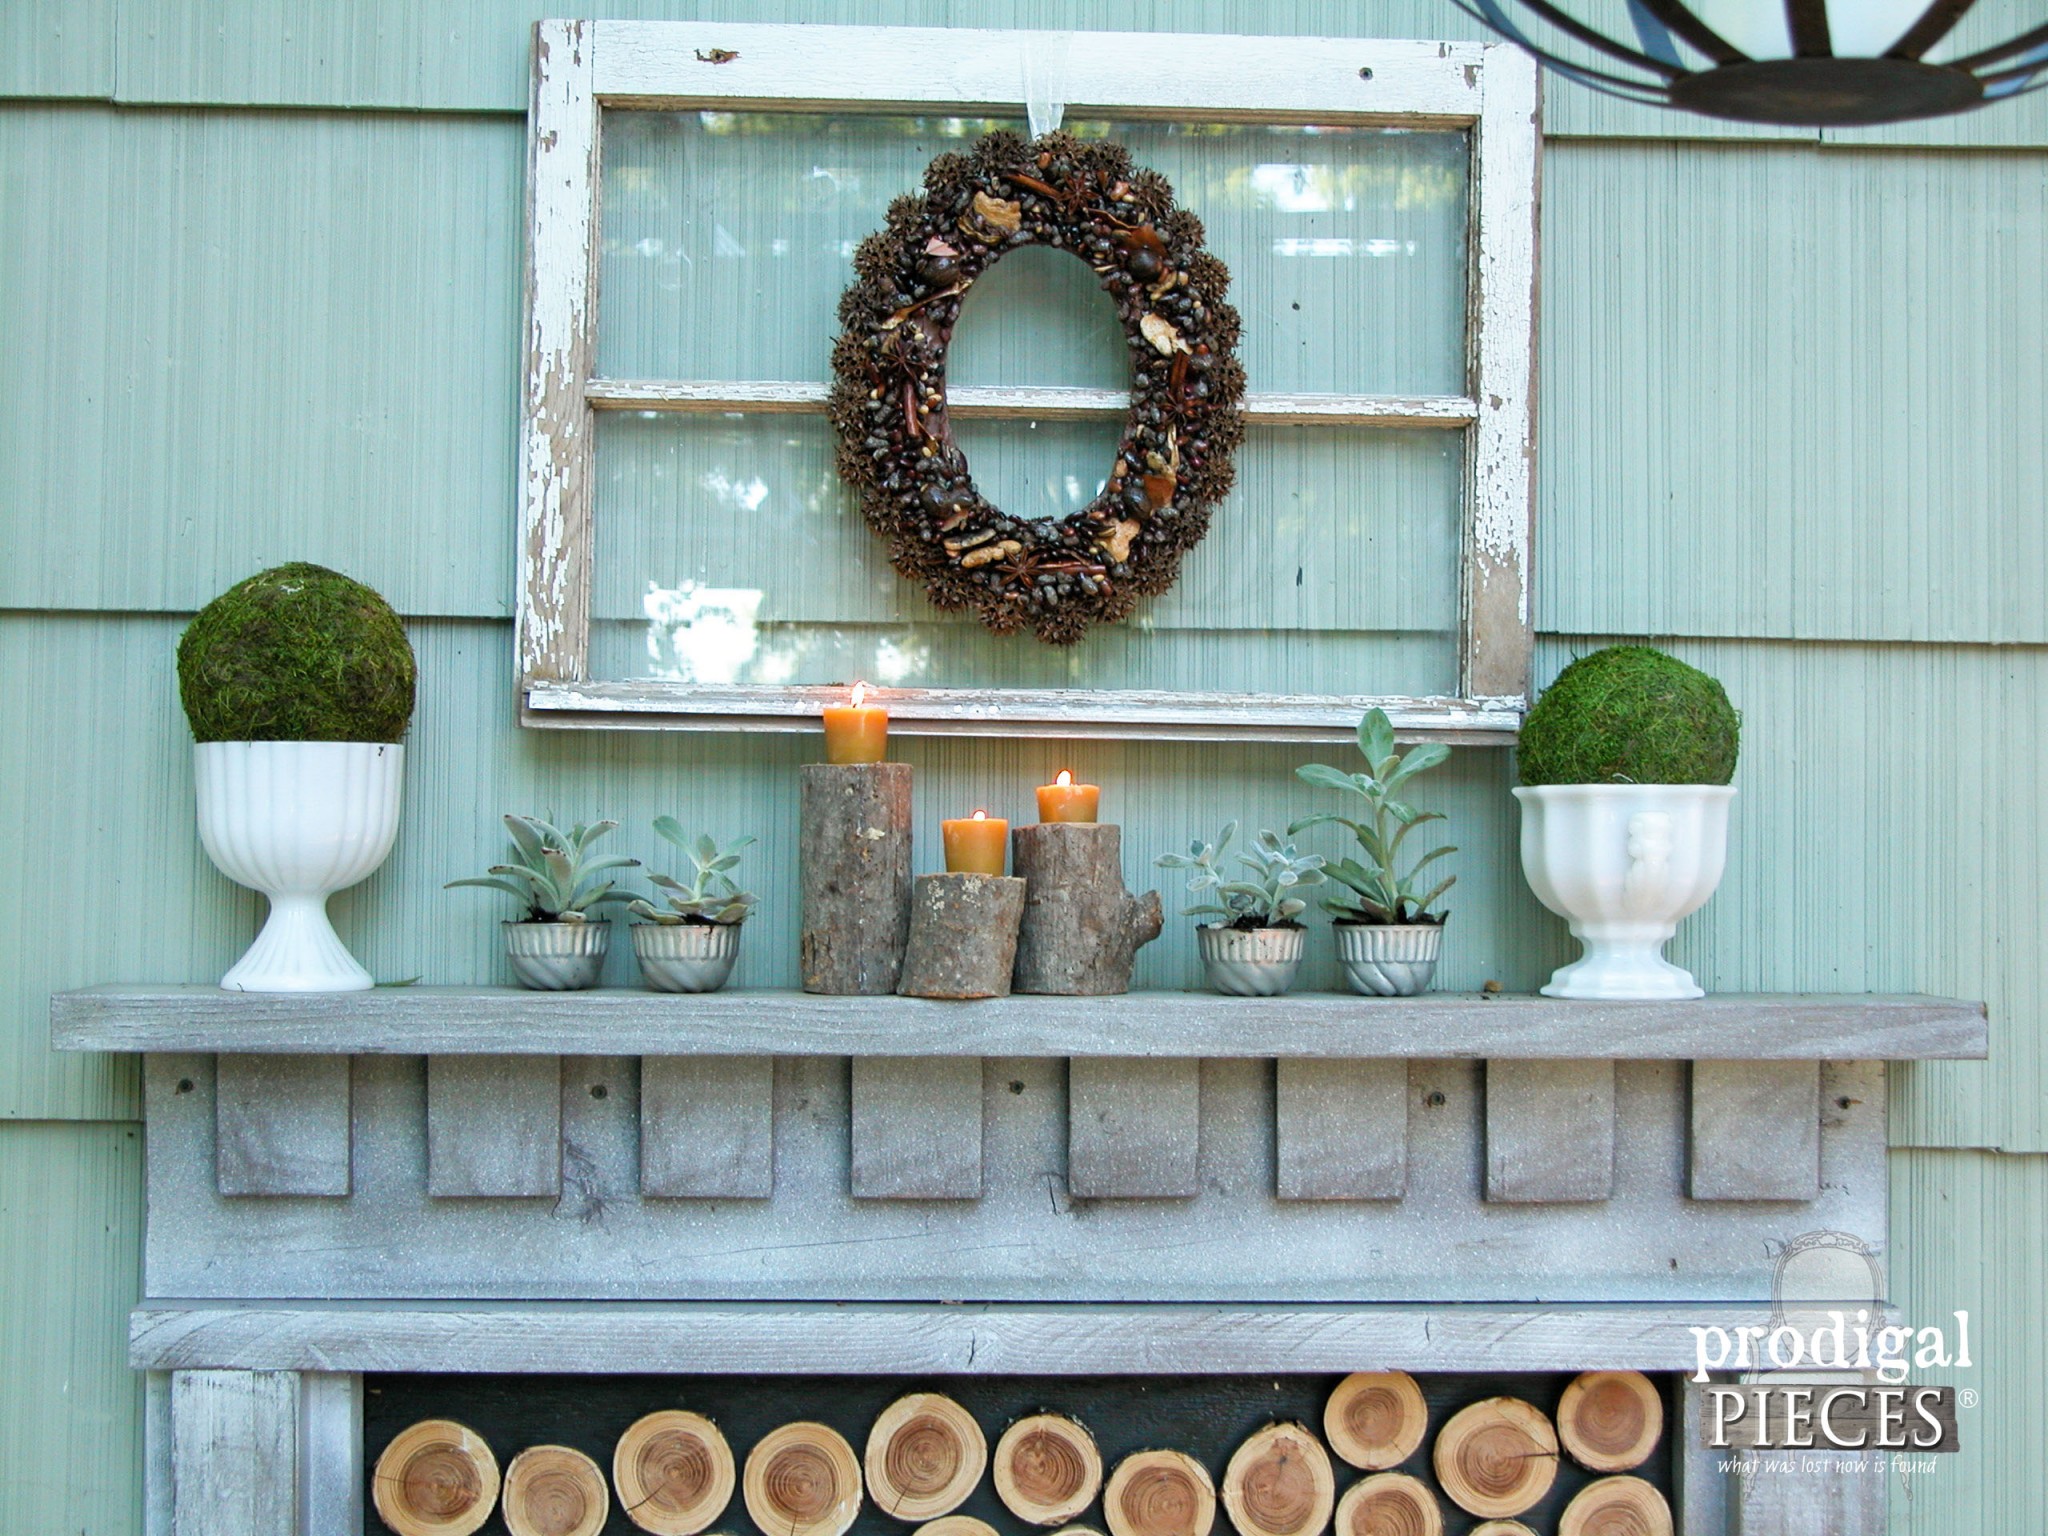
The best part is that when your outdoor season gets cooler, you can bring these log candlesticks into your interior décor for a warm winter touch. You can find the tutorial for our faux fireplace HERE.
DIY TIME
Ready to get started? It’s a simple 3-step process easily completed in an hour. Grab your tools and let’s roll!
Materials:
- approx. 3” diameter log or branch (could be larger, just not smaller) cut into 3 pieces. See sizing below.
- 3 votive or tea light candles
Tools:
- hand saw
- drill
- 1¾” spade drill bit
- sandpaper
- craft felt (optional)
- tape measure
- pencil
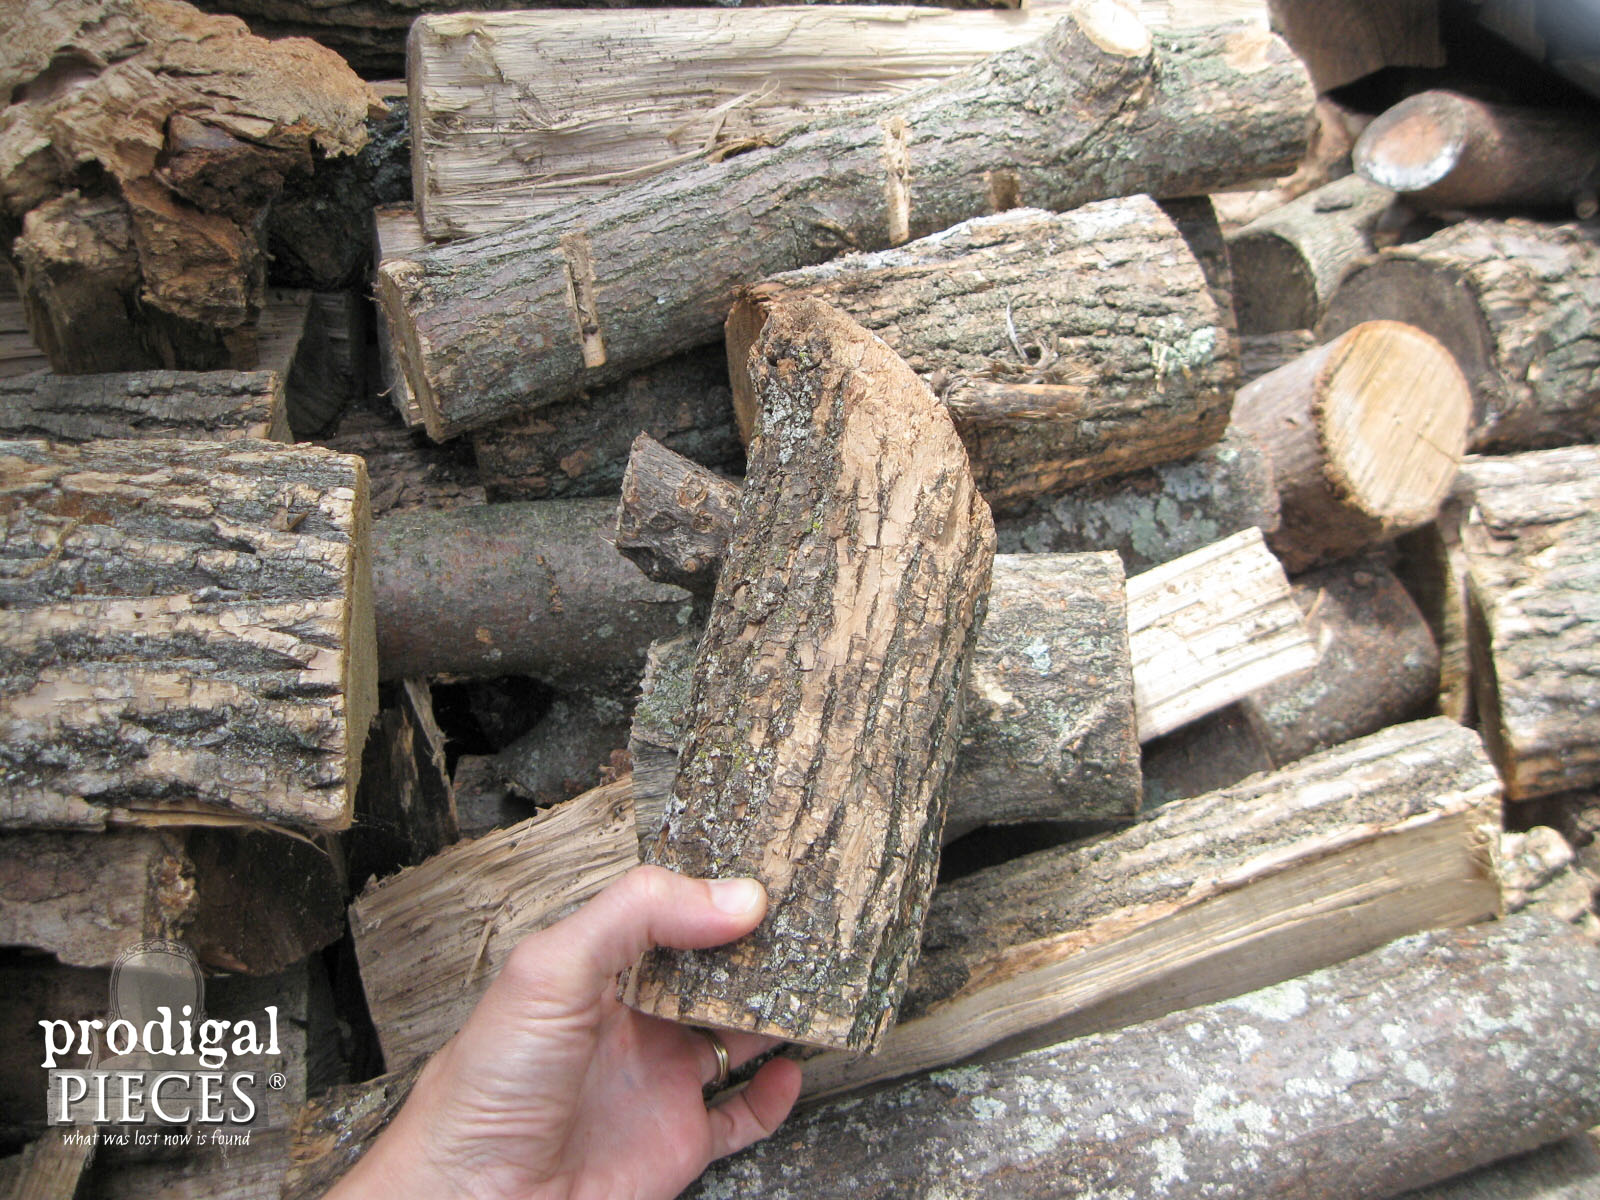
You may not have a wood pile like we do for our wintertime heat, but you can certainly use a fallen branch or cast-off log to make these. You could even bug your neighbor as it seems someone always has some unwanted wood. Make it fun and look for a branch to stick out of knot hole to add character to your creation.
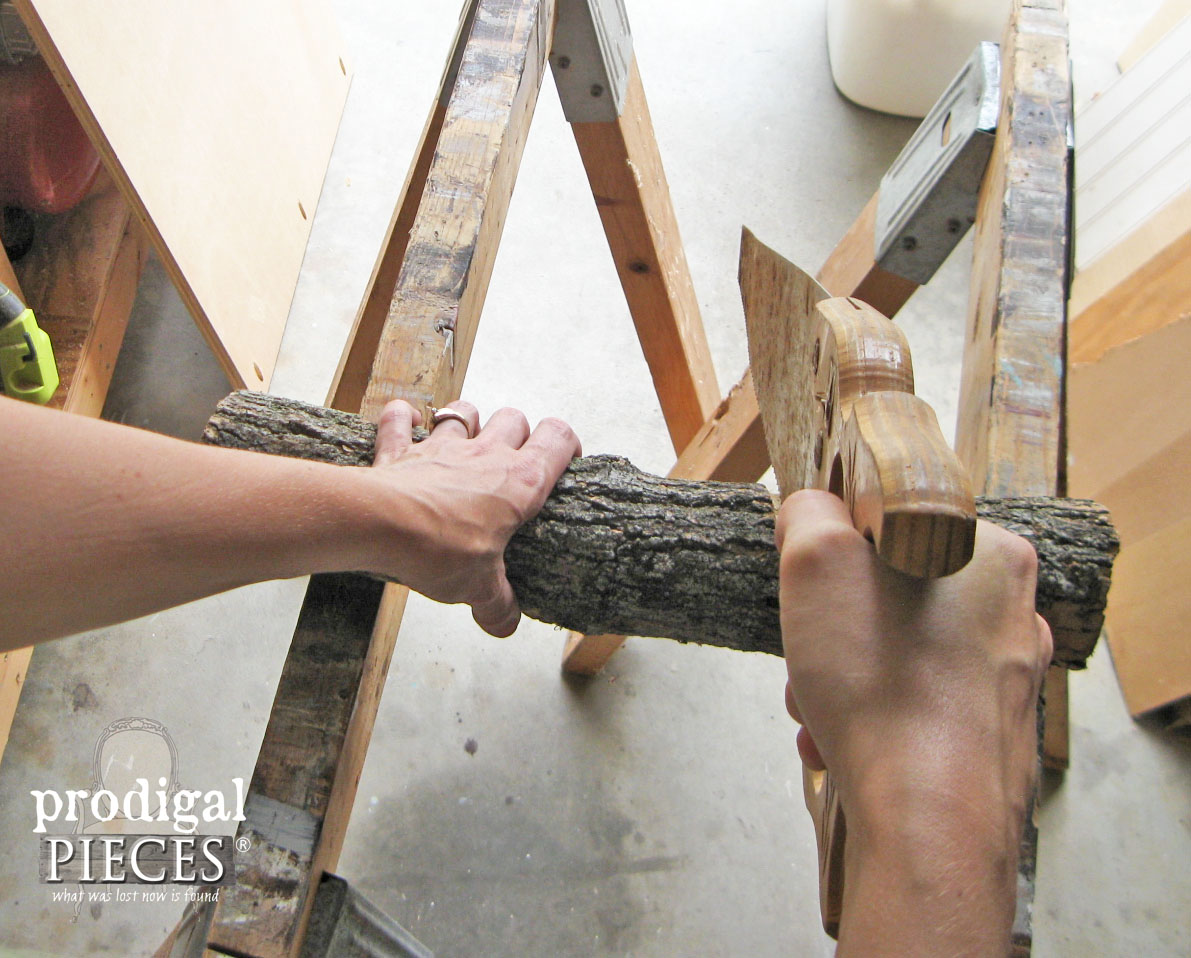
Once you have found your log or branch, cut your wood into 6”, 4 ½, and 3” lengths using a hand saw. These varied lengths will give a tiered effect, but feel free to make them all the same or taller too. Once you have your cuts, make sure they are level to prevent tipping. You can always use an orbital sander to level them off.
One you have the logs cut, it’s time for the 3-step process:
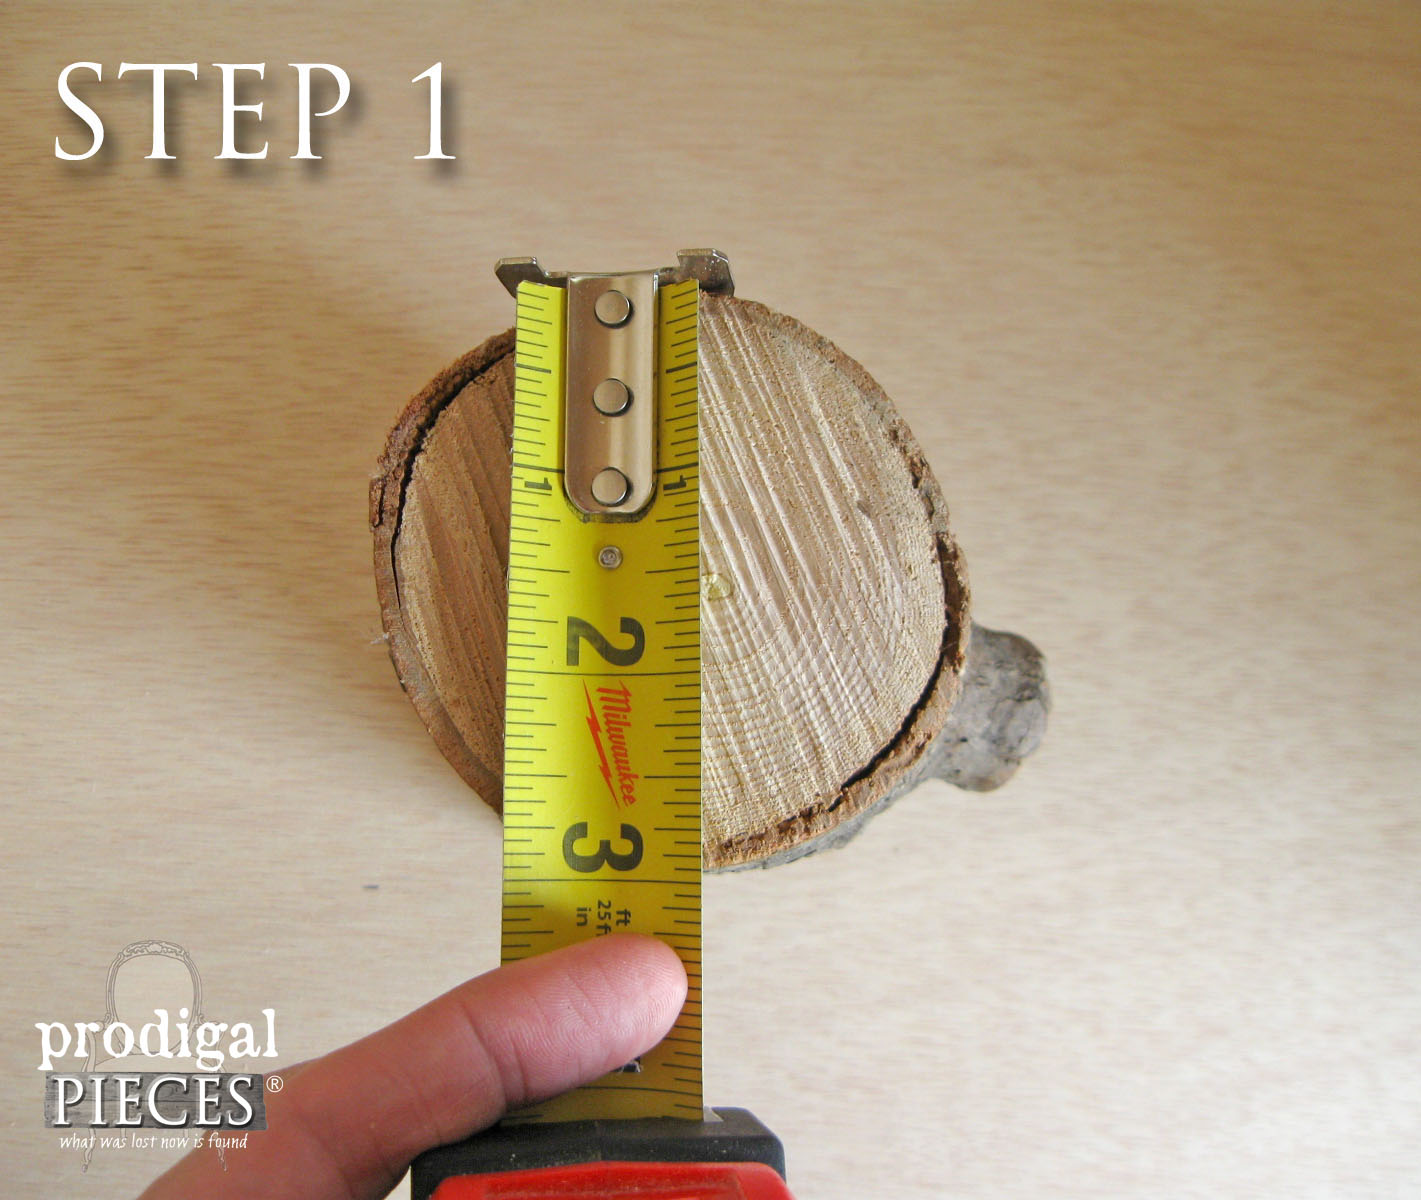
STEP 1
Find the center of your log and mark.
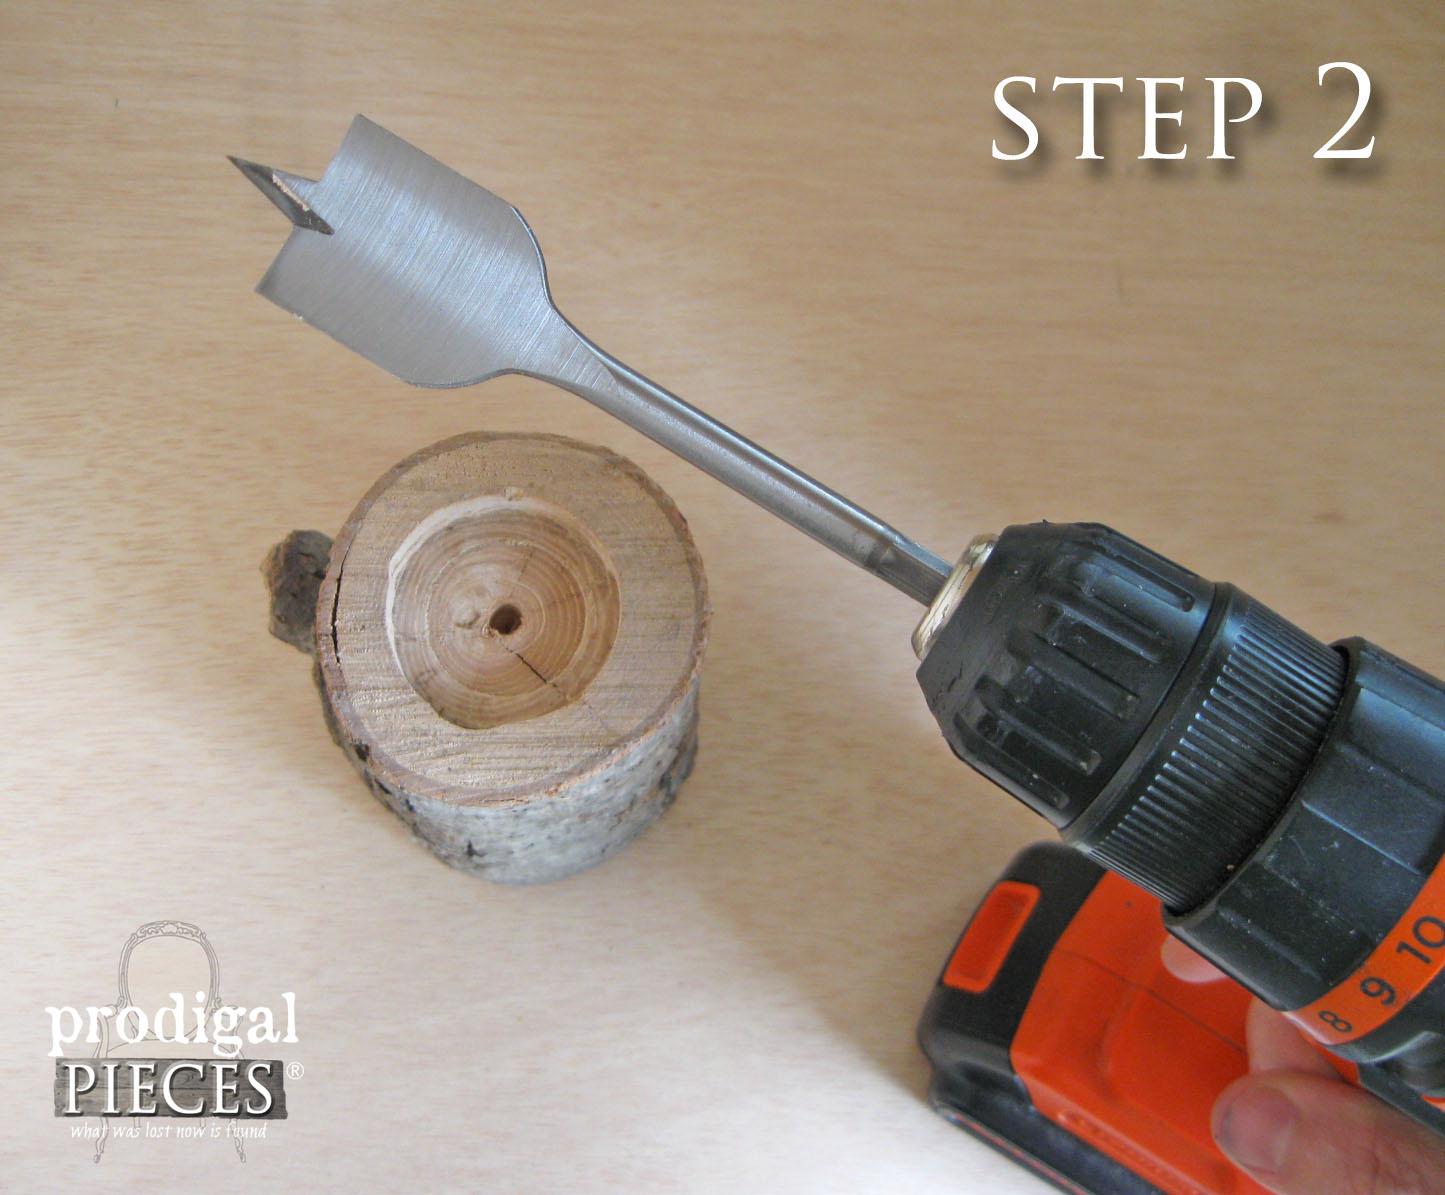
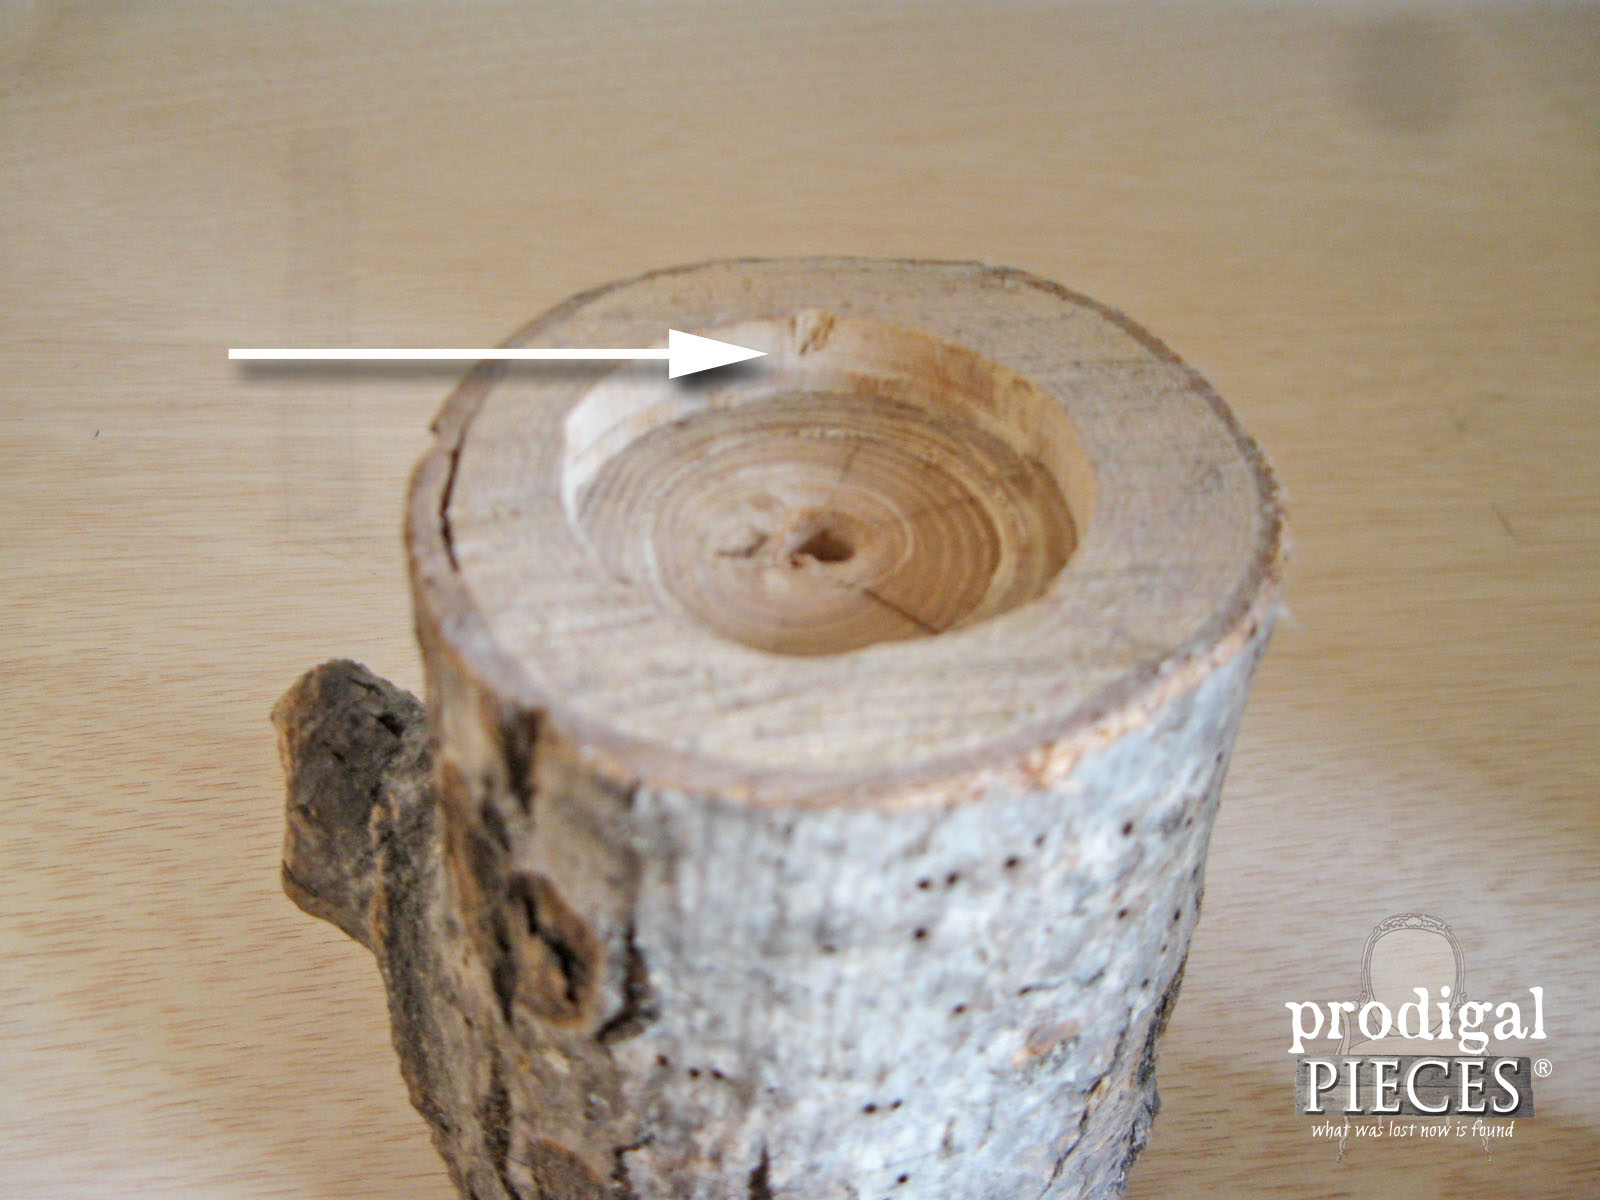
STEP 2
Next, using your drill and spade bit, make a hole on center that is at least a ¼” deep.
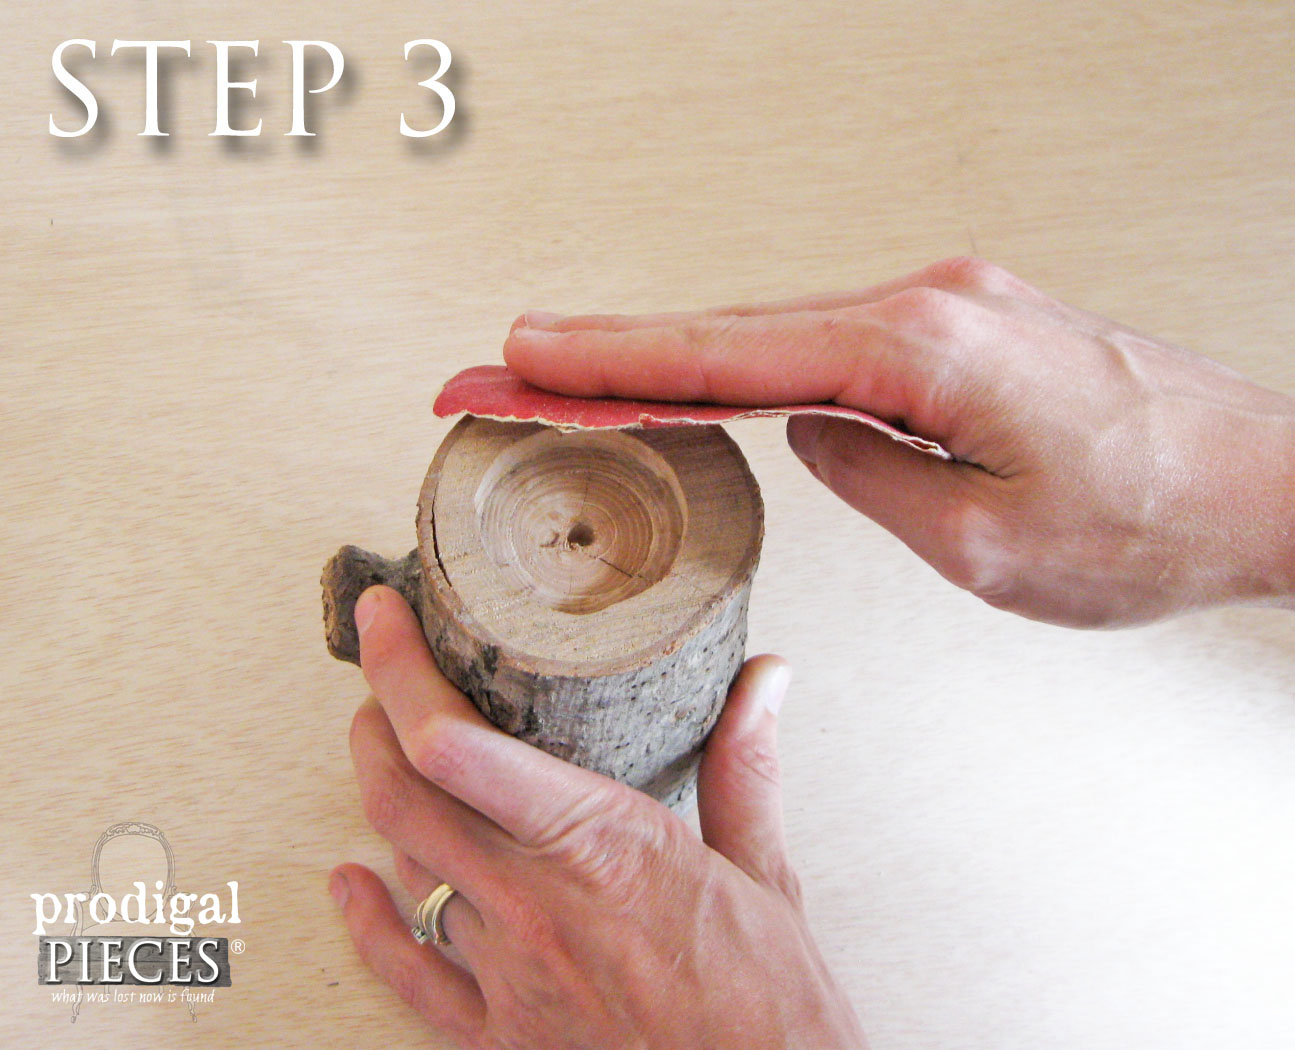
STEP 3
Sand the rough edges and surfaces to your desired texture.
At this point, they are complete, but you can also add some craft felt to protect surfaces. Just trace the log onto felt, and adhere with hot glue. Or you could even embellish with lace, ribbon, jute, etc. In the end, the idea is to have fun while making them your own.
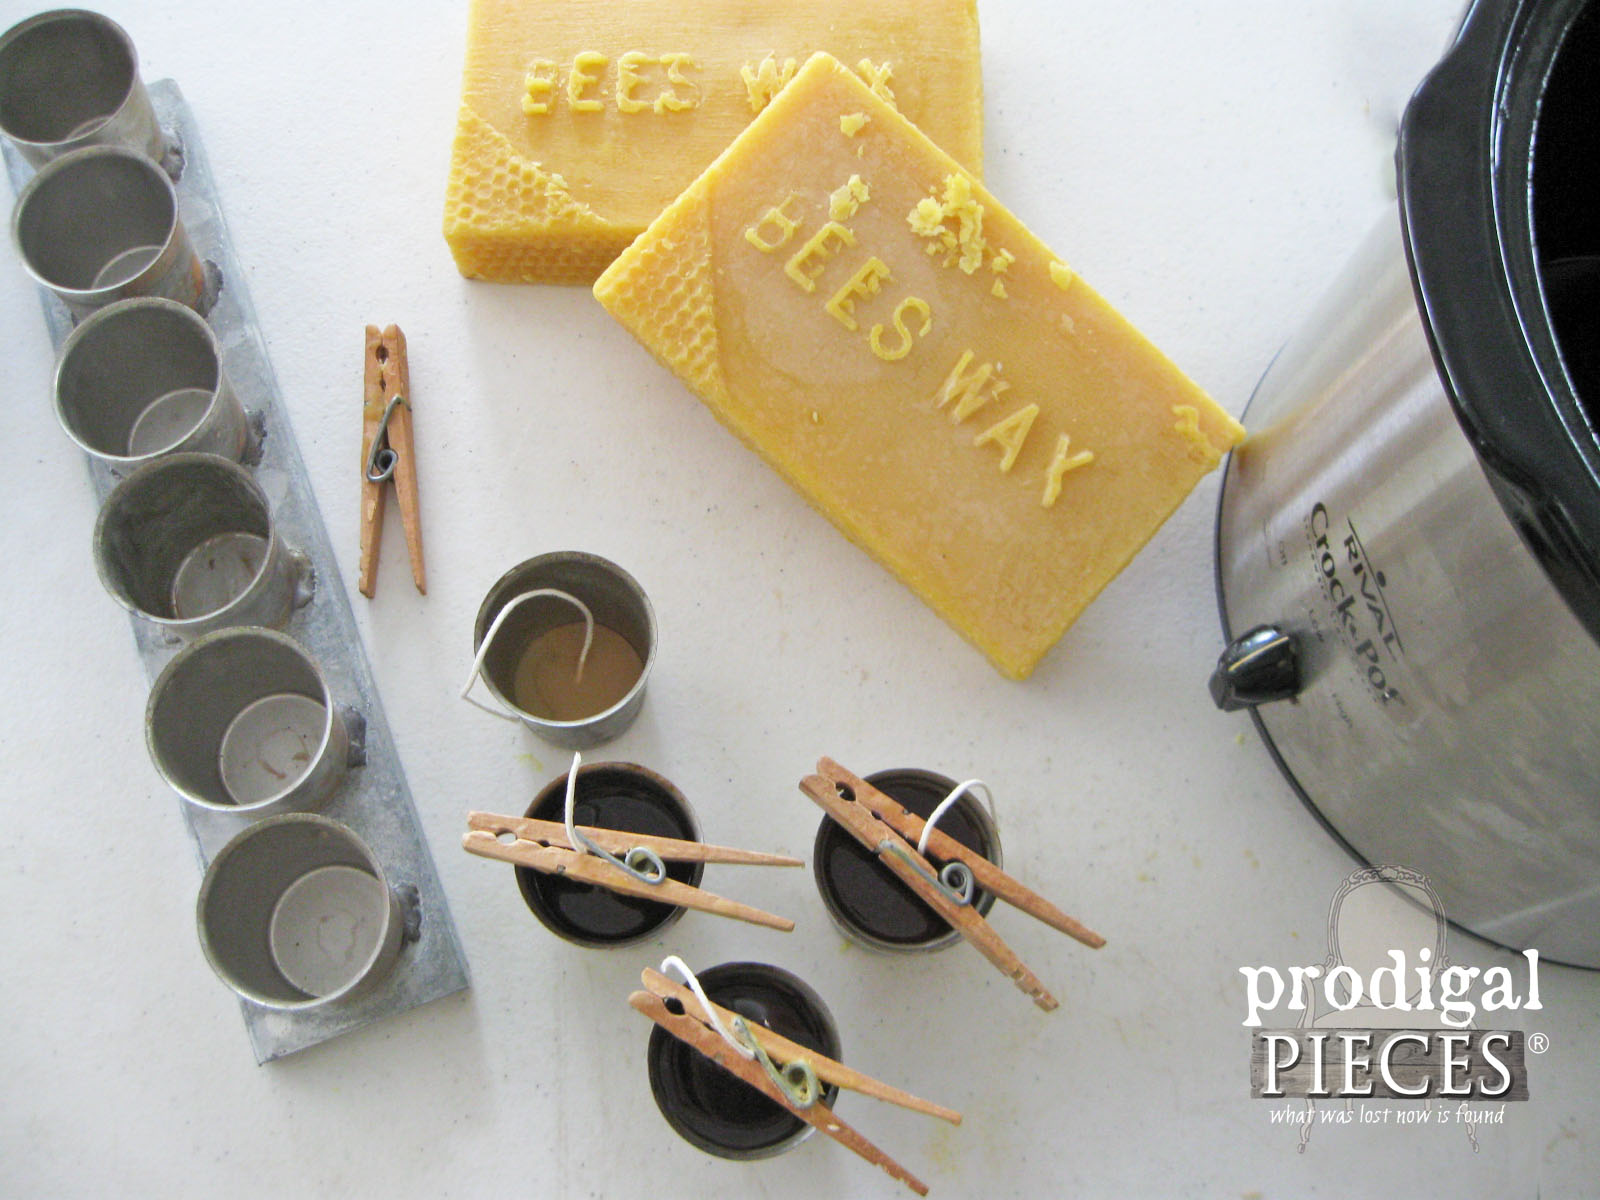
I enjoy making my own beeswax candles for my candlesticks to promote a healthy environment and because they have a great natural scent too. Plus, I use this wonderful nature treat to make my natural bath & body products and my furniture wax.
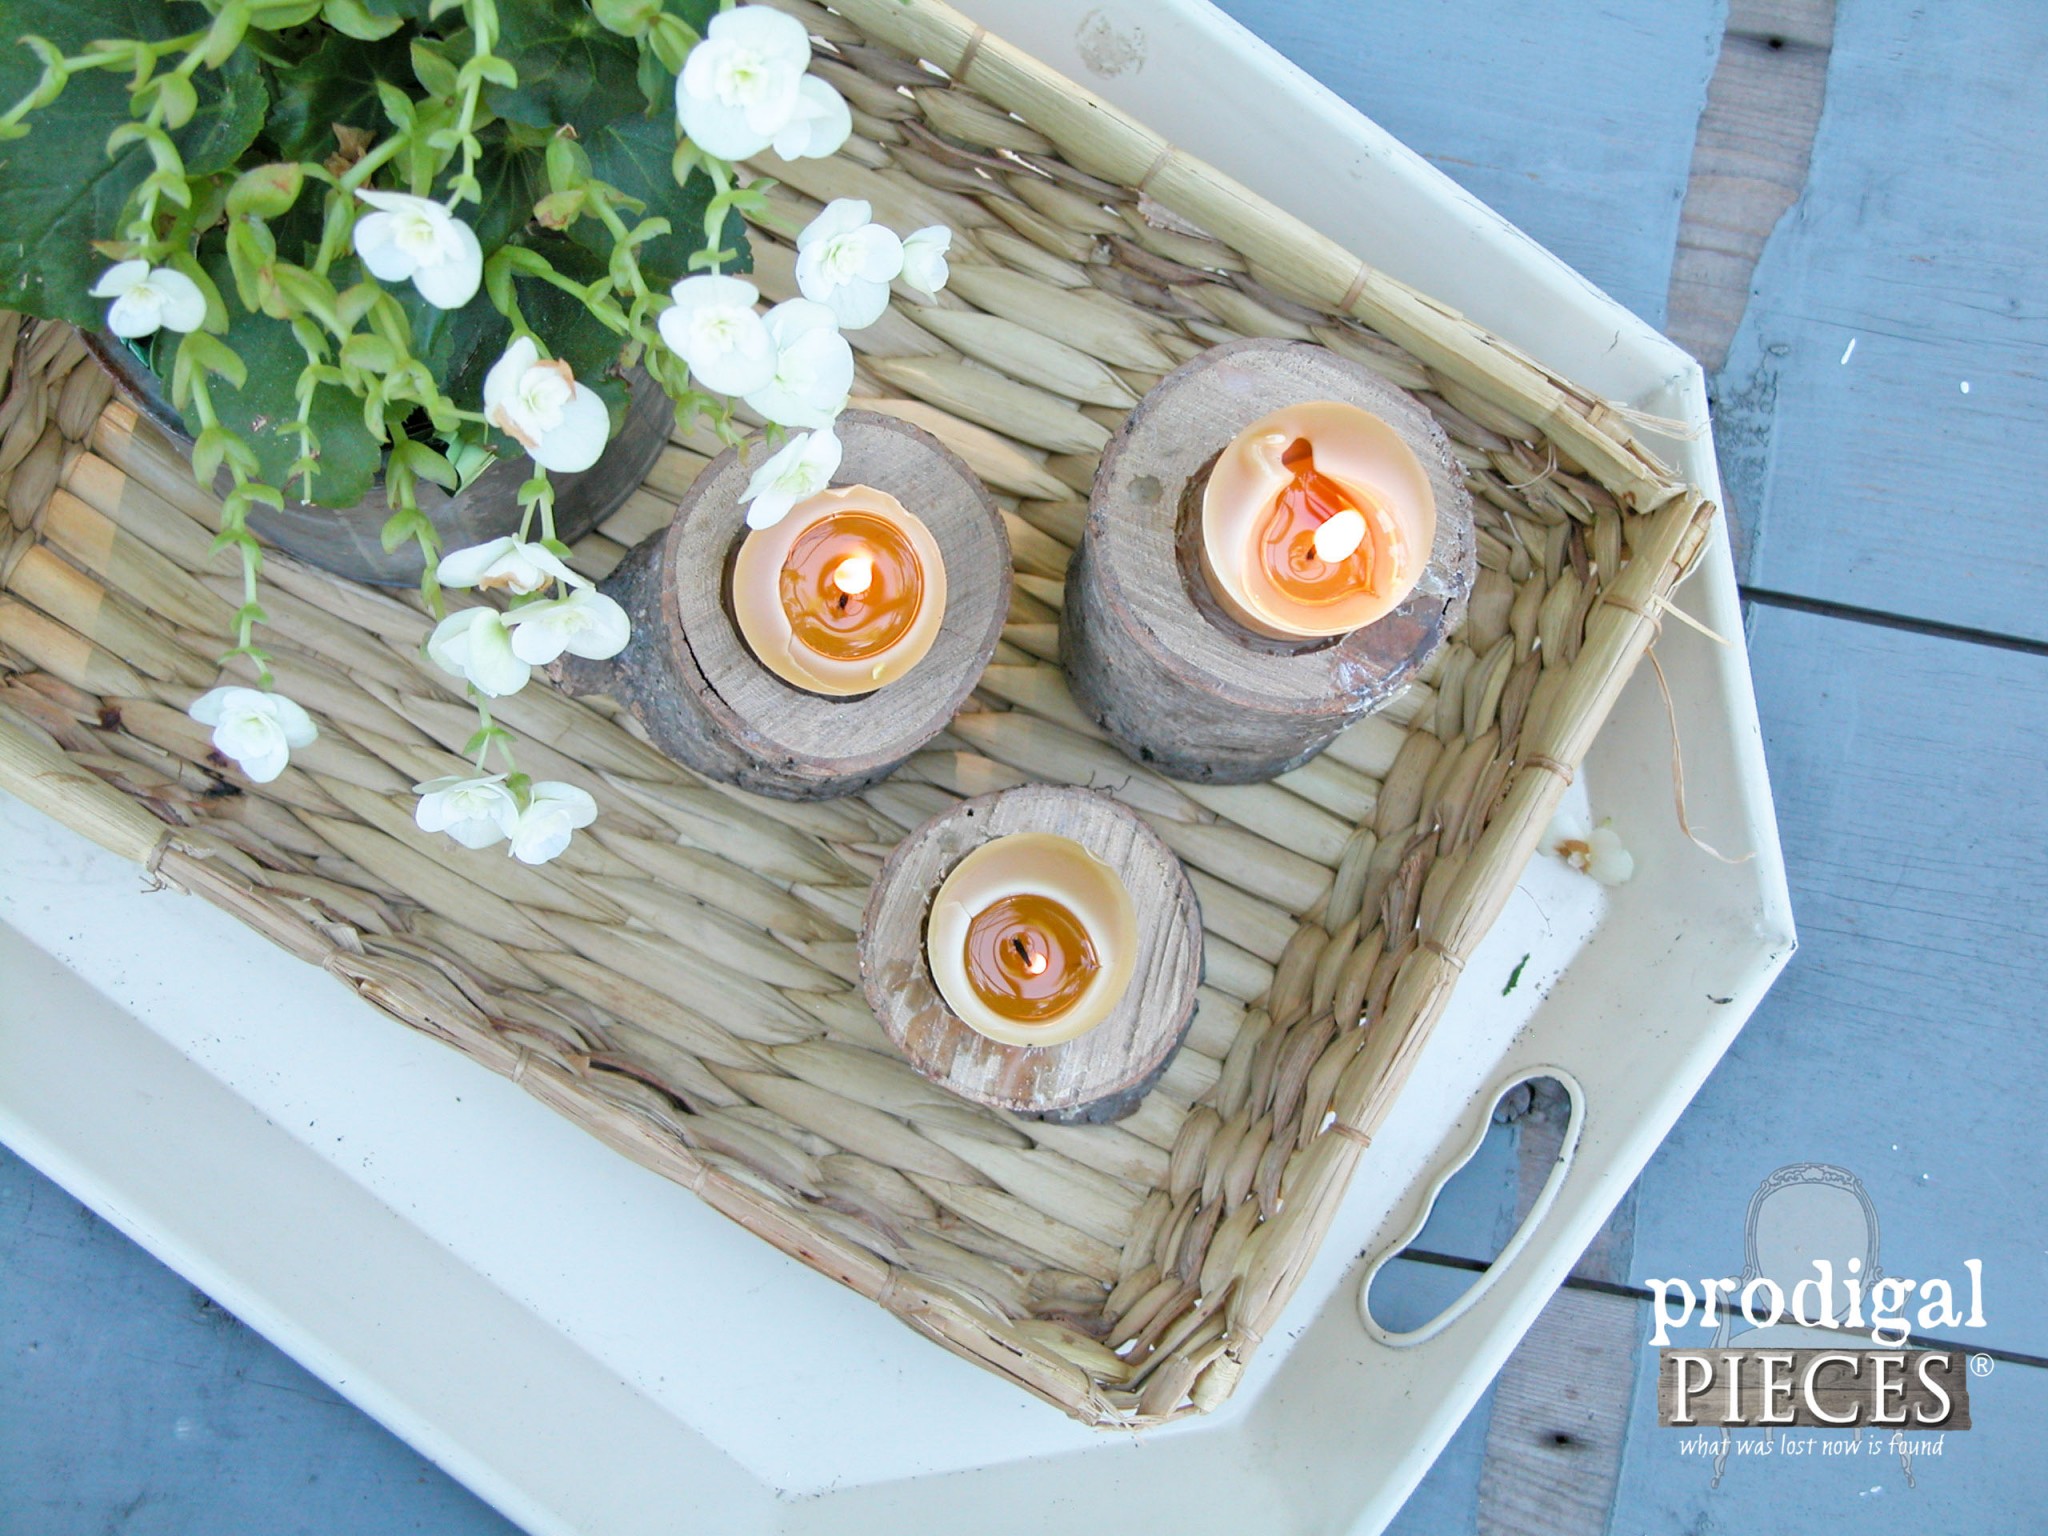
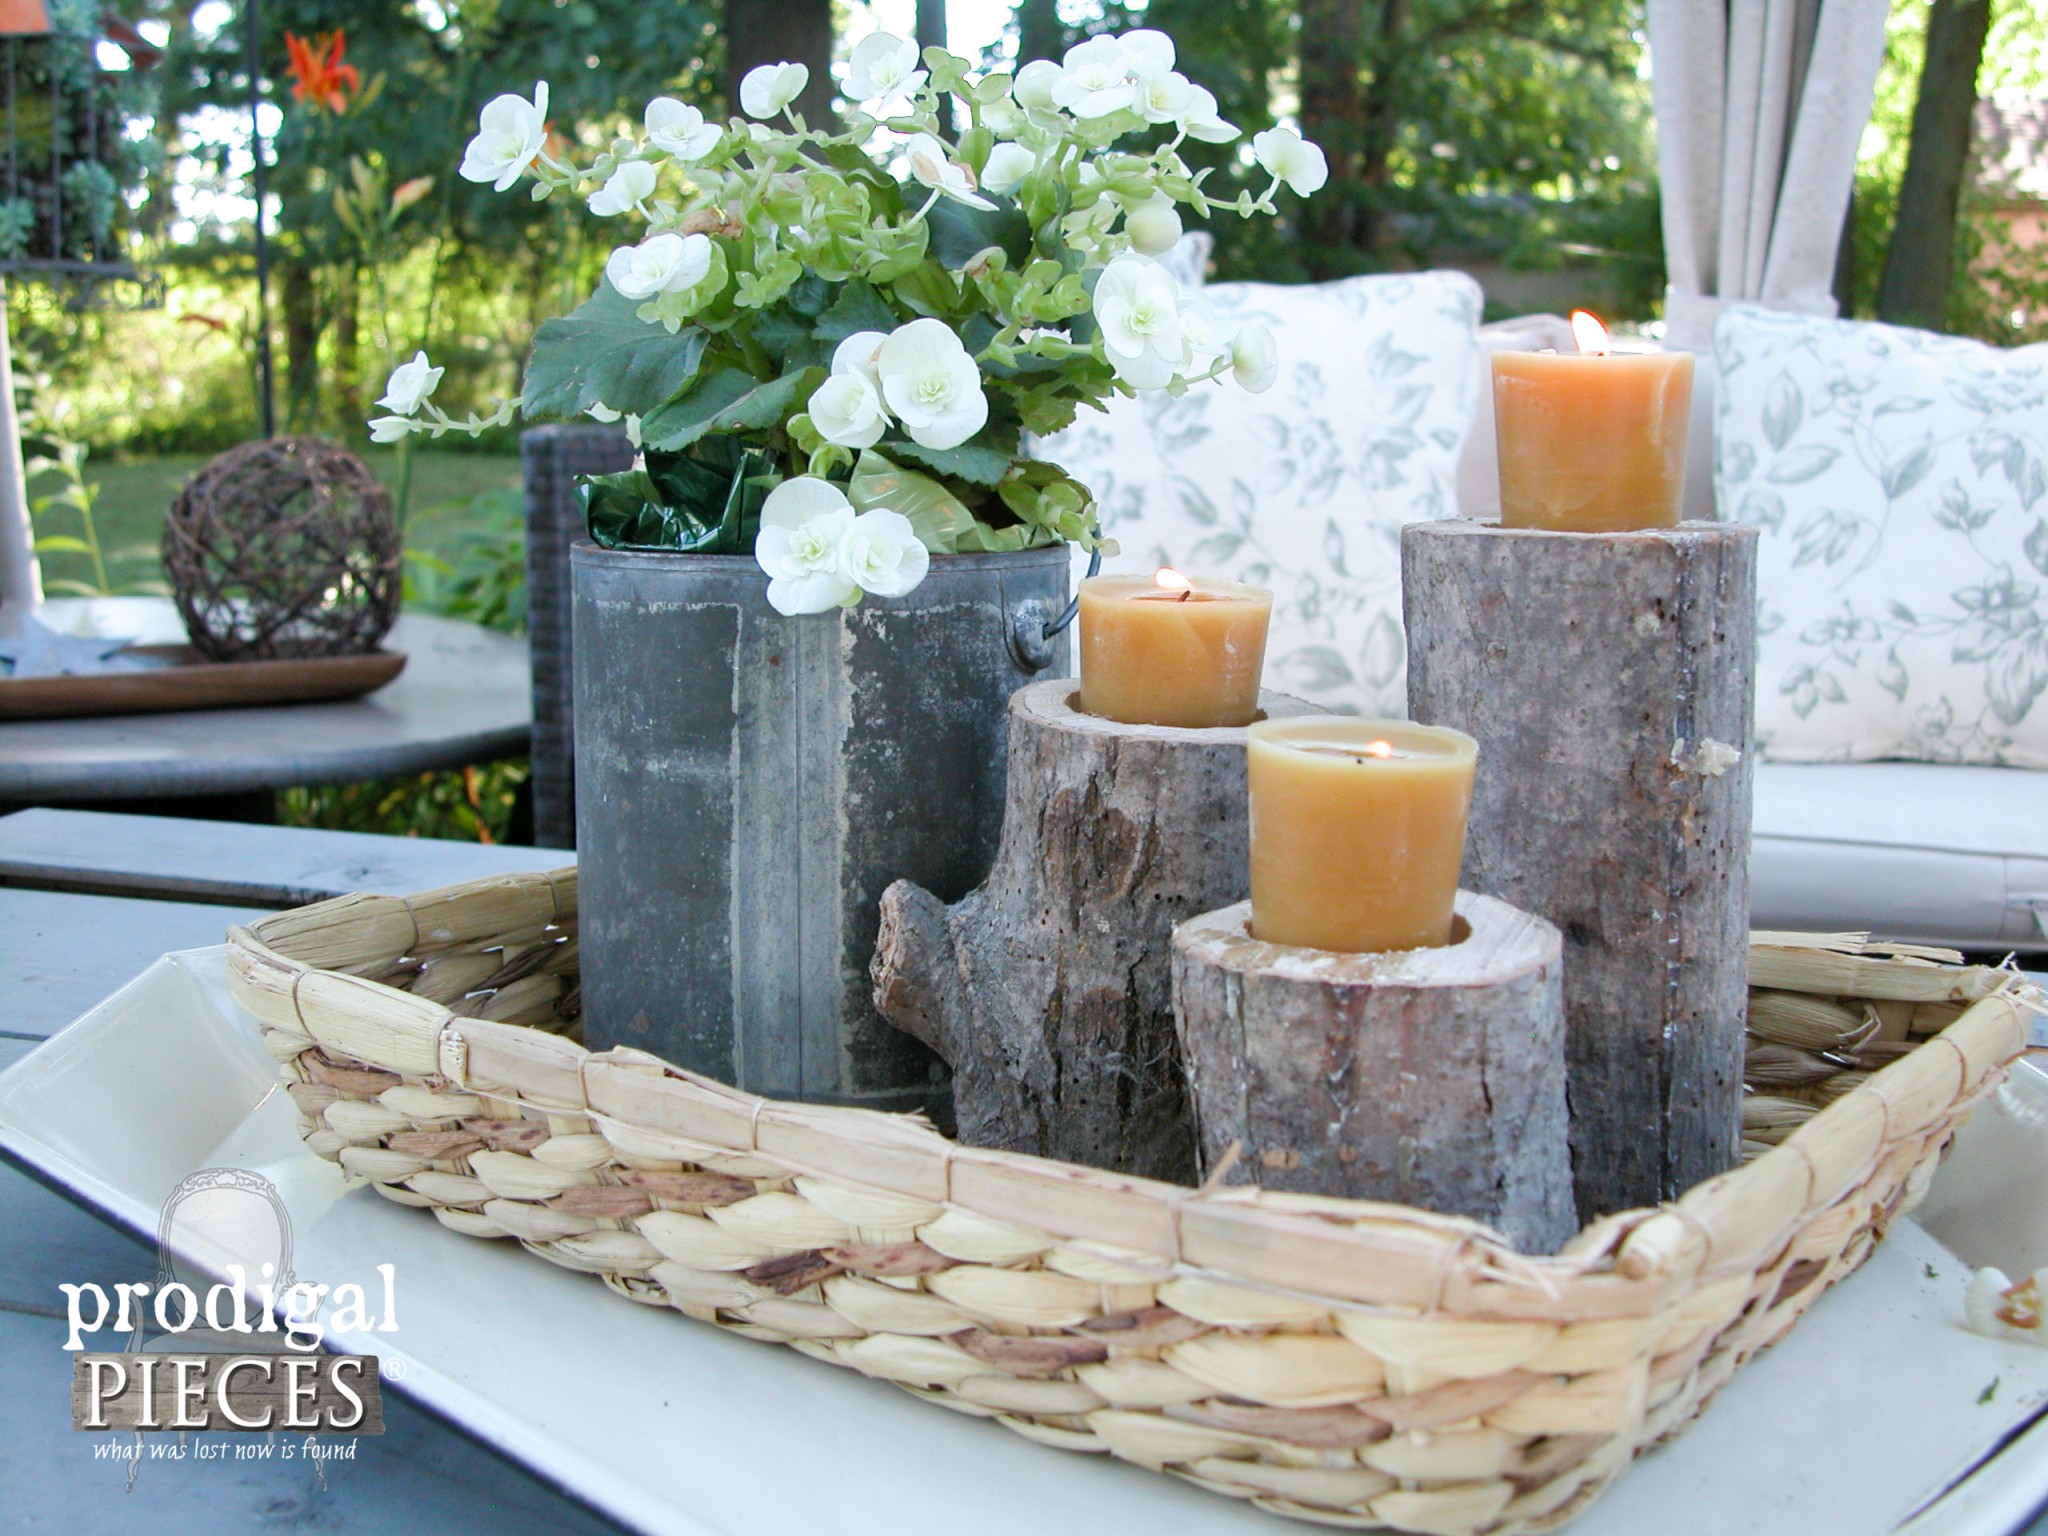
THE REVEAL
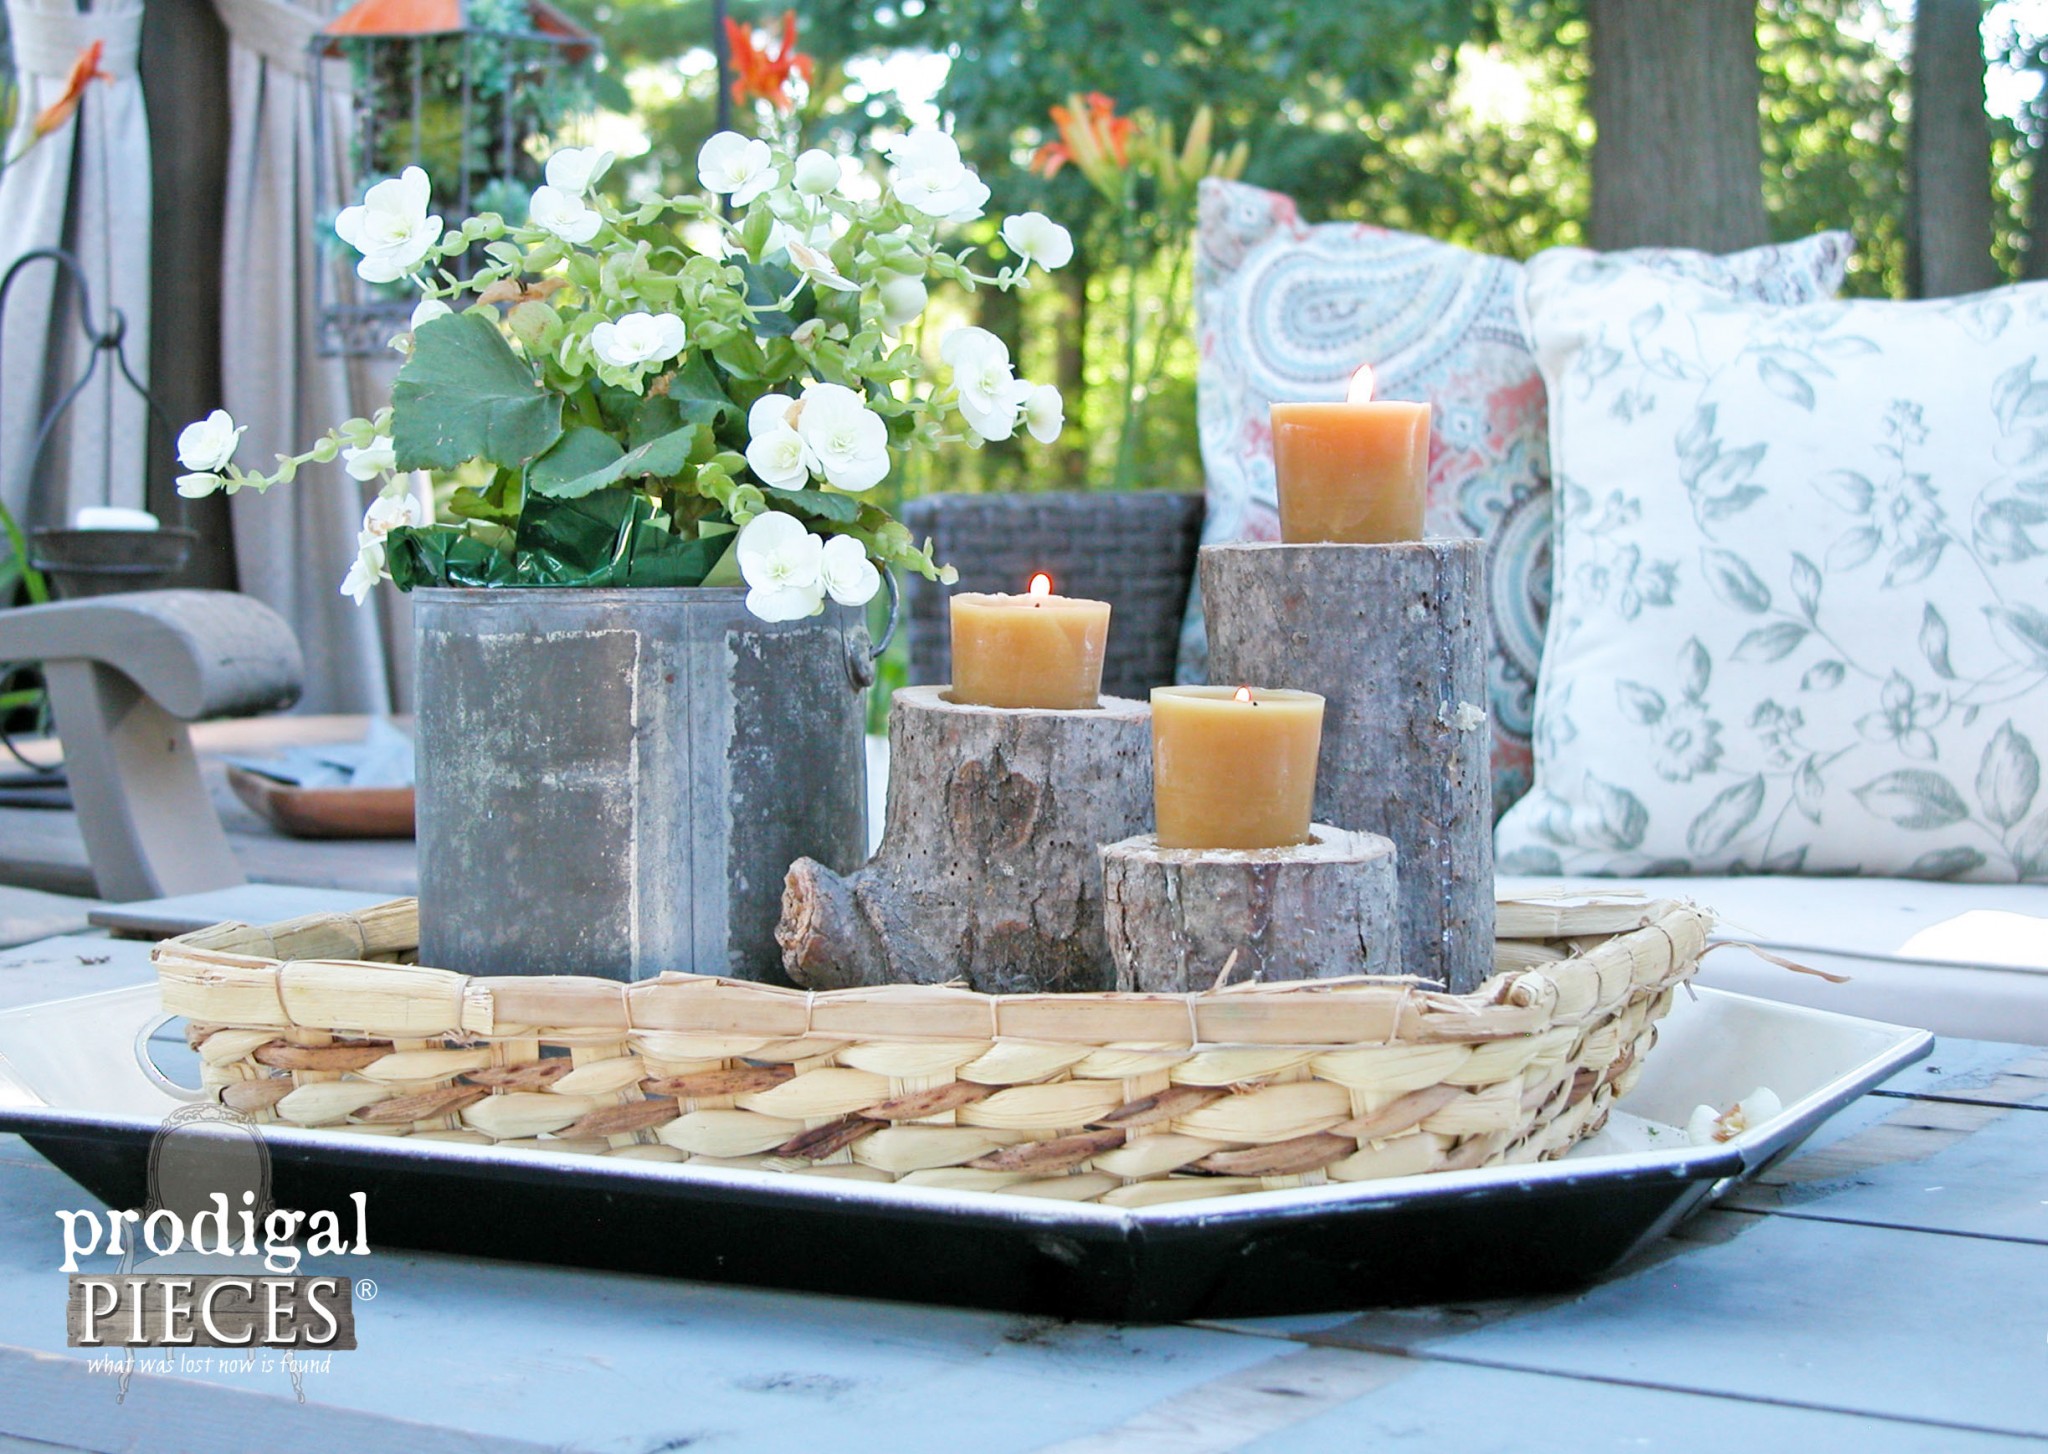
Not only will these log candlesticks will make a great addition to you indoor and outdoor décor, but they also make for perfect gifts too!
In addition, in and share so you can make these during the holidays and so your friends can get their craft on too! ♥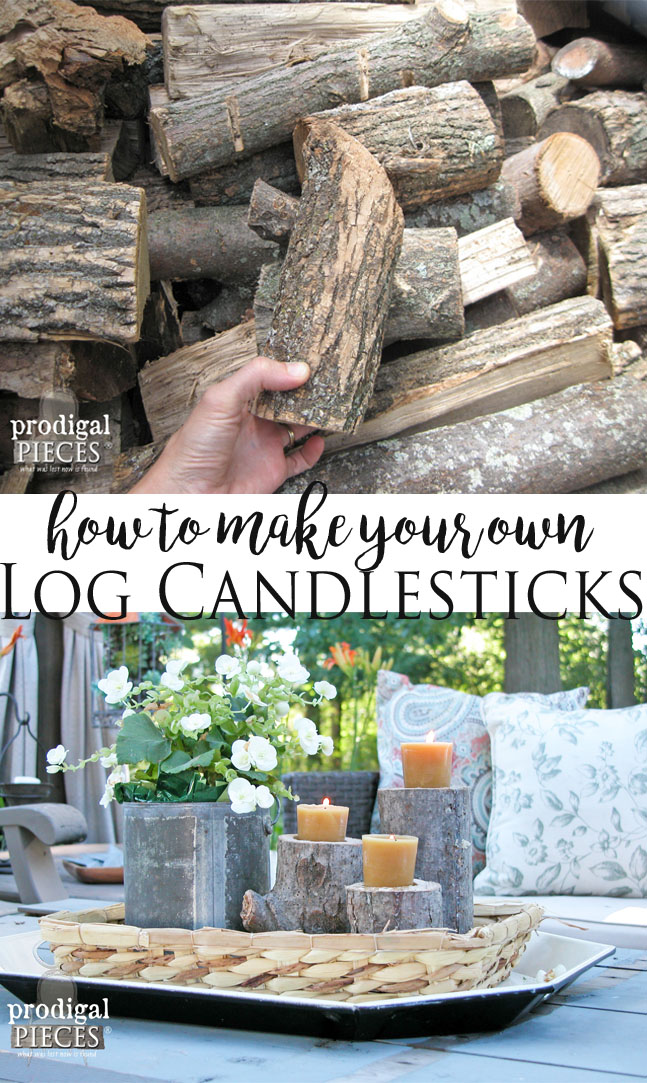 To get these DIY tips & tricks in your inbox, be sure to sign up for my newsletter. PLUS, you will get your FREE Furniture Buying Checklist and special discount to my shop. Until next time!

Hi Larissa, I have followed your blog for a couple of months and love seeing what you can do to trash. And you have an etsy shop and homeschool your children! And today I read that you also make candles and natural care products!!! I am amazed, because I have homeschooled for the last 3 years and am happy if I can keep the housework up! I was able to do abit of sewing and that’s it?. All the best next week as you get back into homeschooling!
Hahaha…you made me LOL. 😀 Call me a nut and we’re even. I seriously love to create and share, so it is such a blessing to be able to. Kudos to you on the homeschooling as that is an achievement most don’t comprehend. Thank you!
Love them. I’m gonna have to try this!!
Yay! Let me know how it goes. 😀
I love how these log candlesticks turned out. And so simple, too. I’m gonna have to break out the power tools 😉
Woot! Now you’re talkin’. 😀
i would choose the ebony and copper, love those elements in a watch. I would give it to my son in law, a LOVER of all things wood.
Great choice, Ruby. I’m sure he would love it!
Love your new blog design – hope your homeschooling year is off to a good start 🙂
Hi Sue! Thank you for being the first one to notice my work. 🙂 We have all been sick and I broke my toe this week, so rough start, but we are doing fine. Thanks for asking!
The bark keeps splitting when I cut it with a power saw. Is there a way to prevent this?
It could be either your blade isn’t sharp enough or the wood you are cutting is old and the bark is loose. You can always glue the bark back on with wood glue…just a thought. 🙂