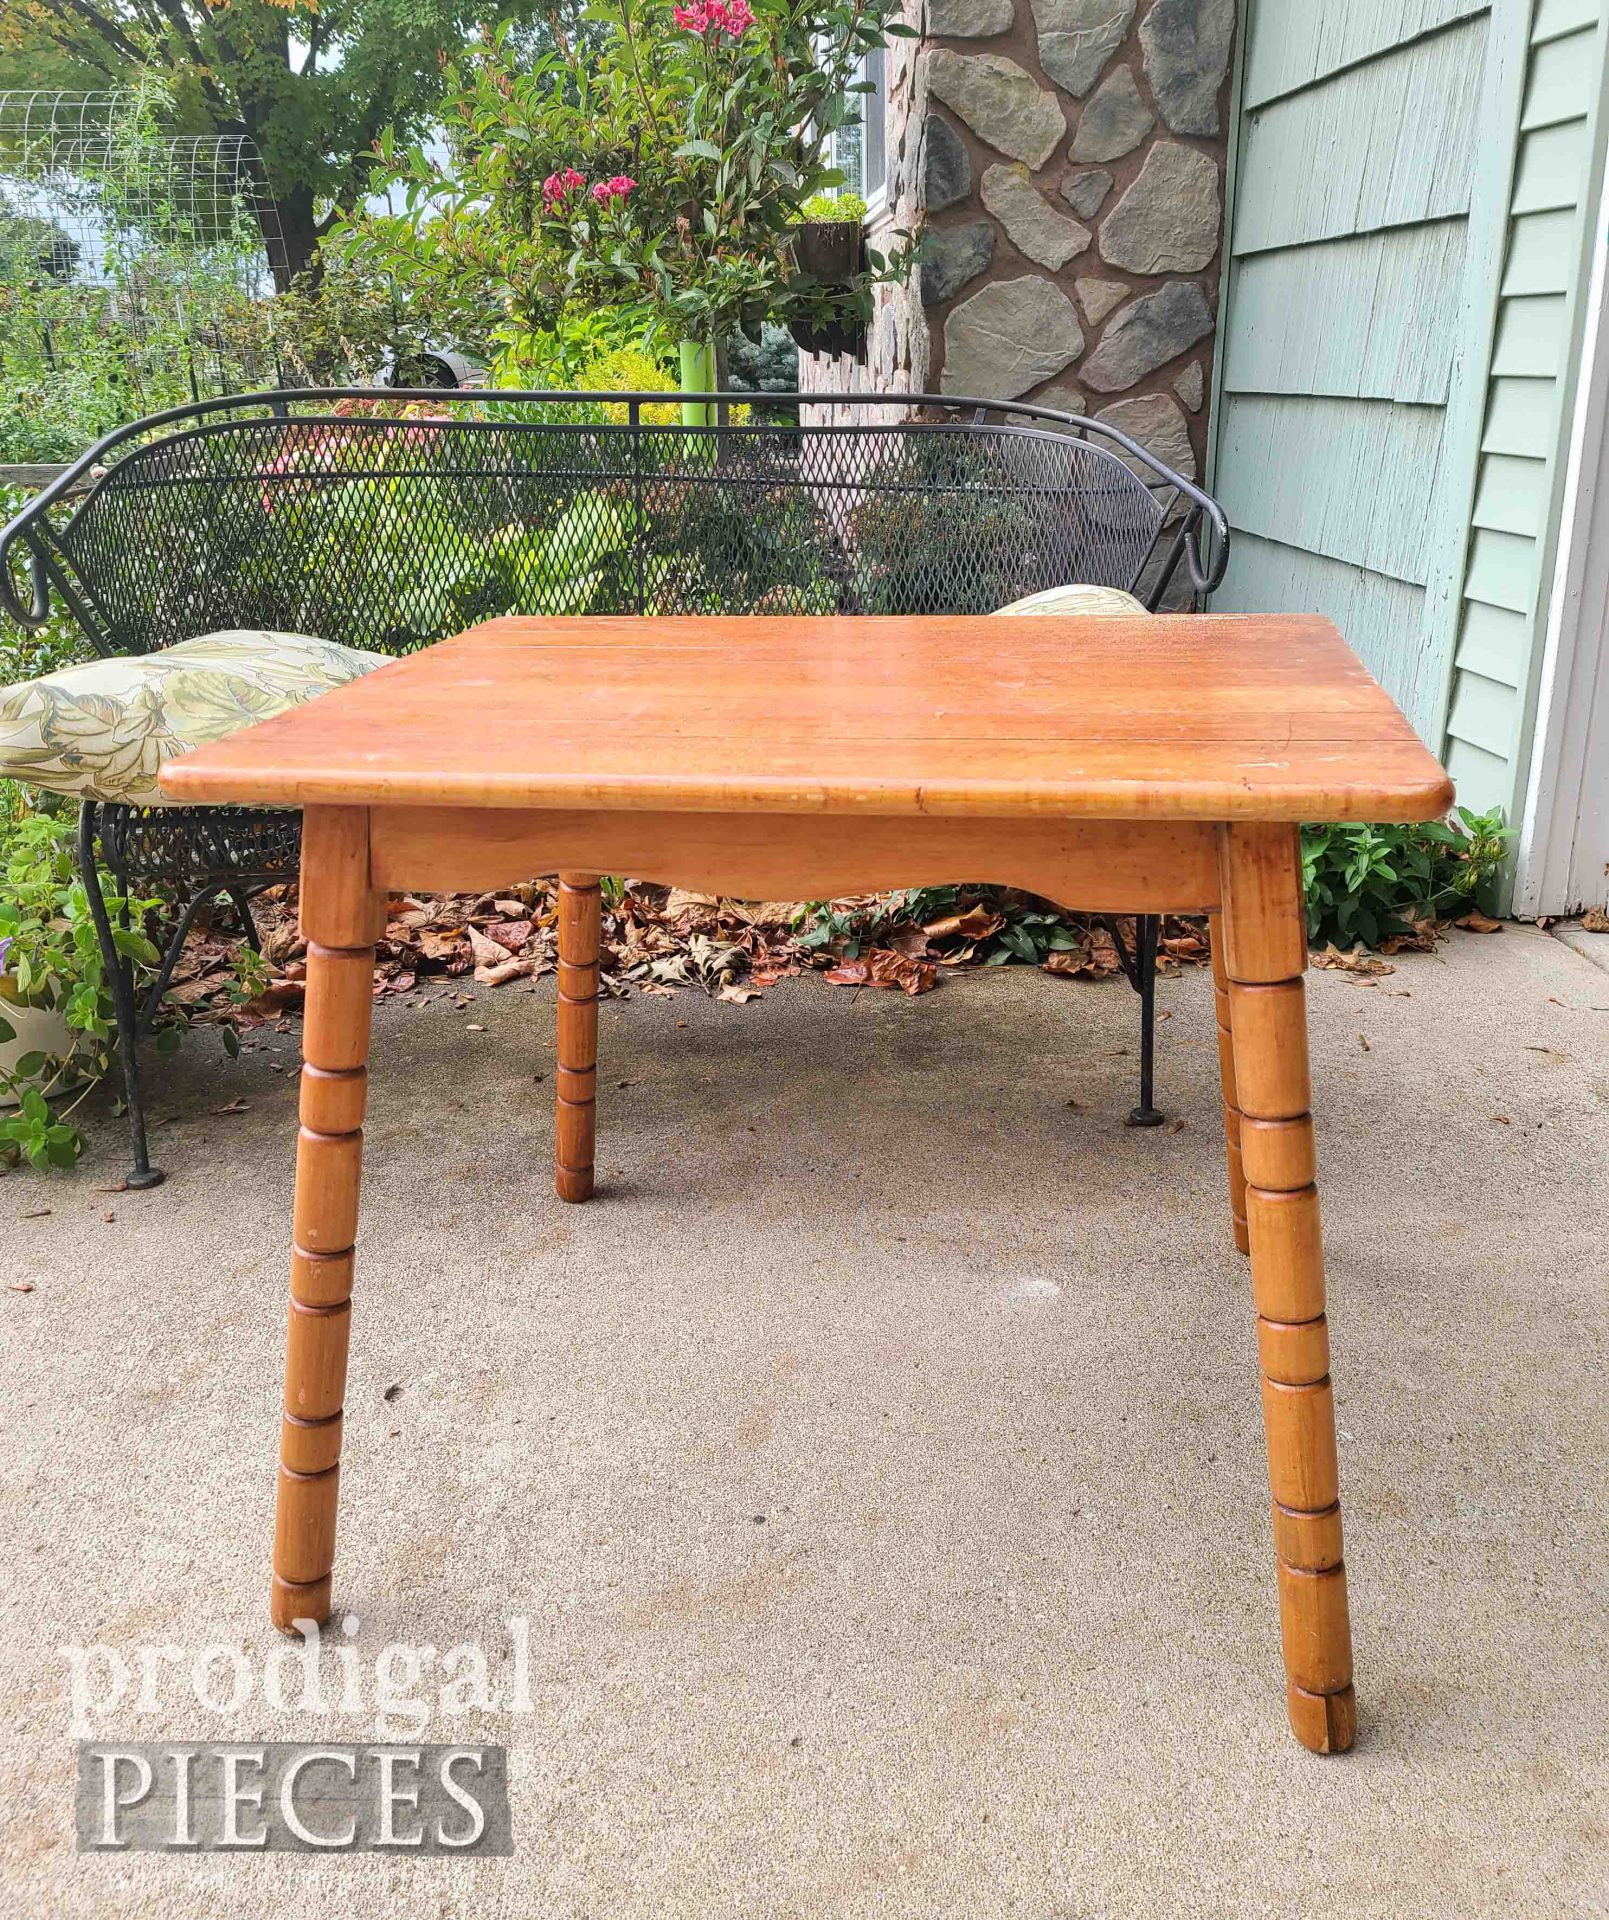
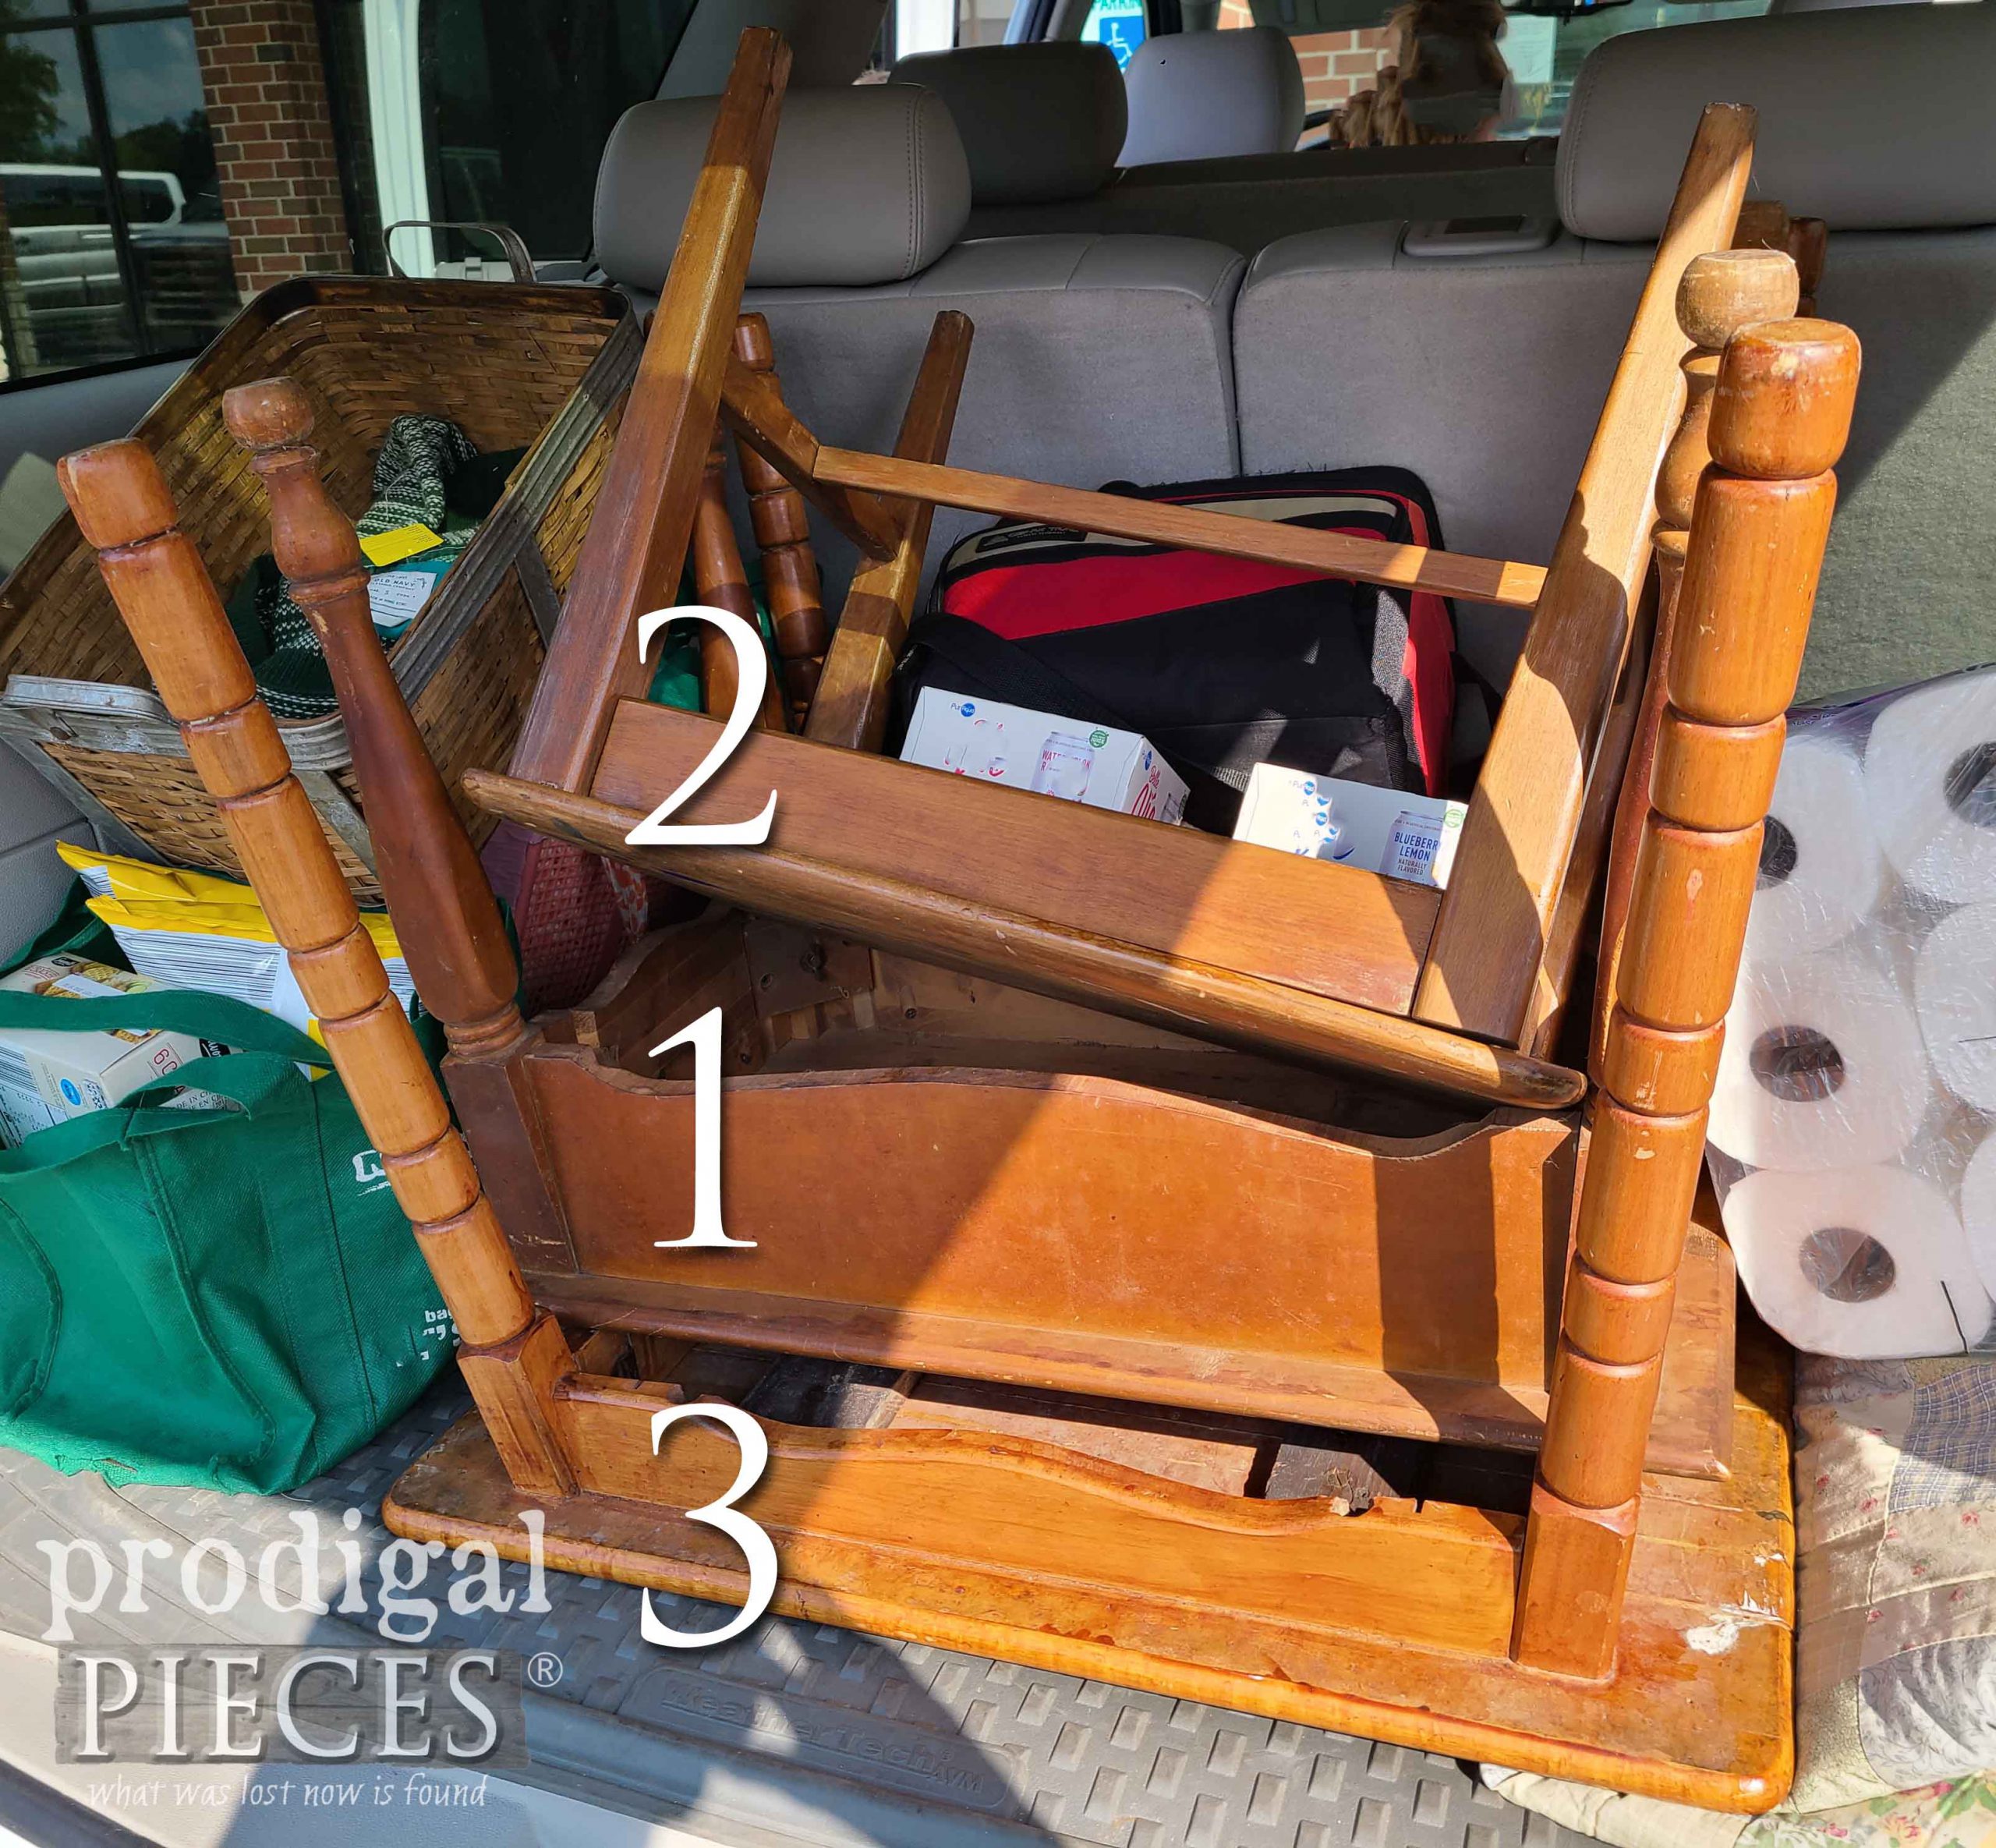
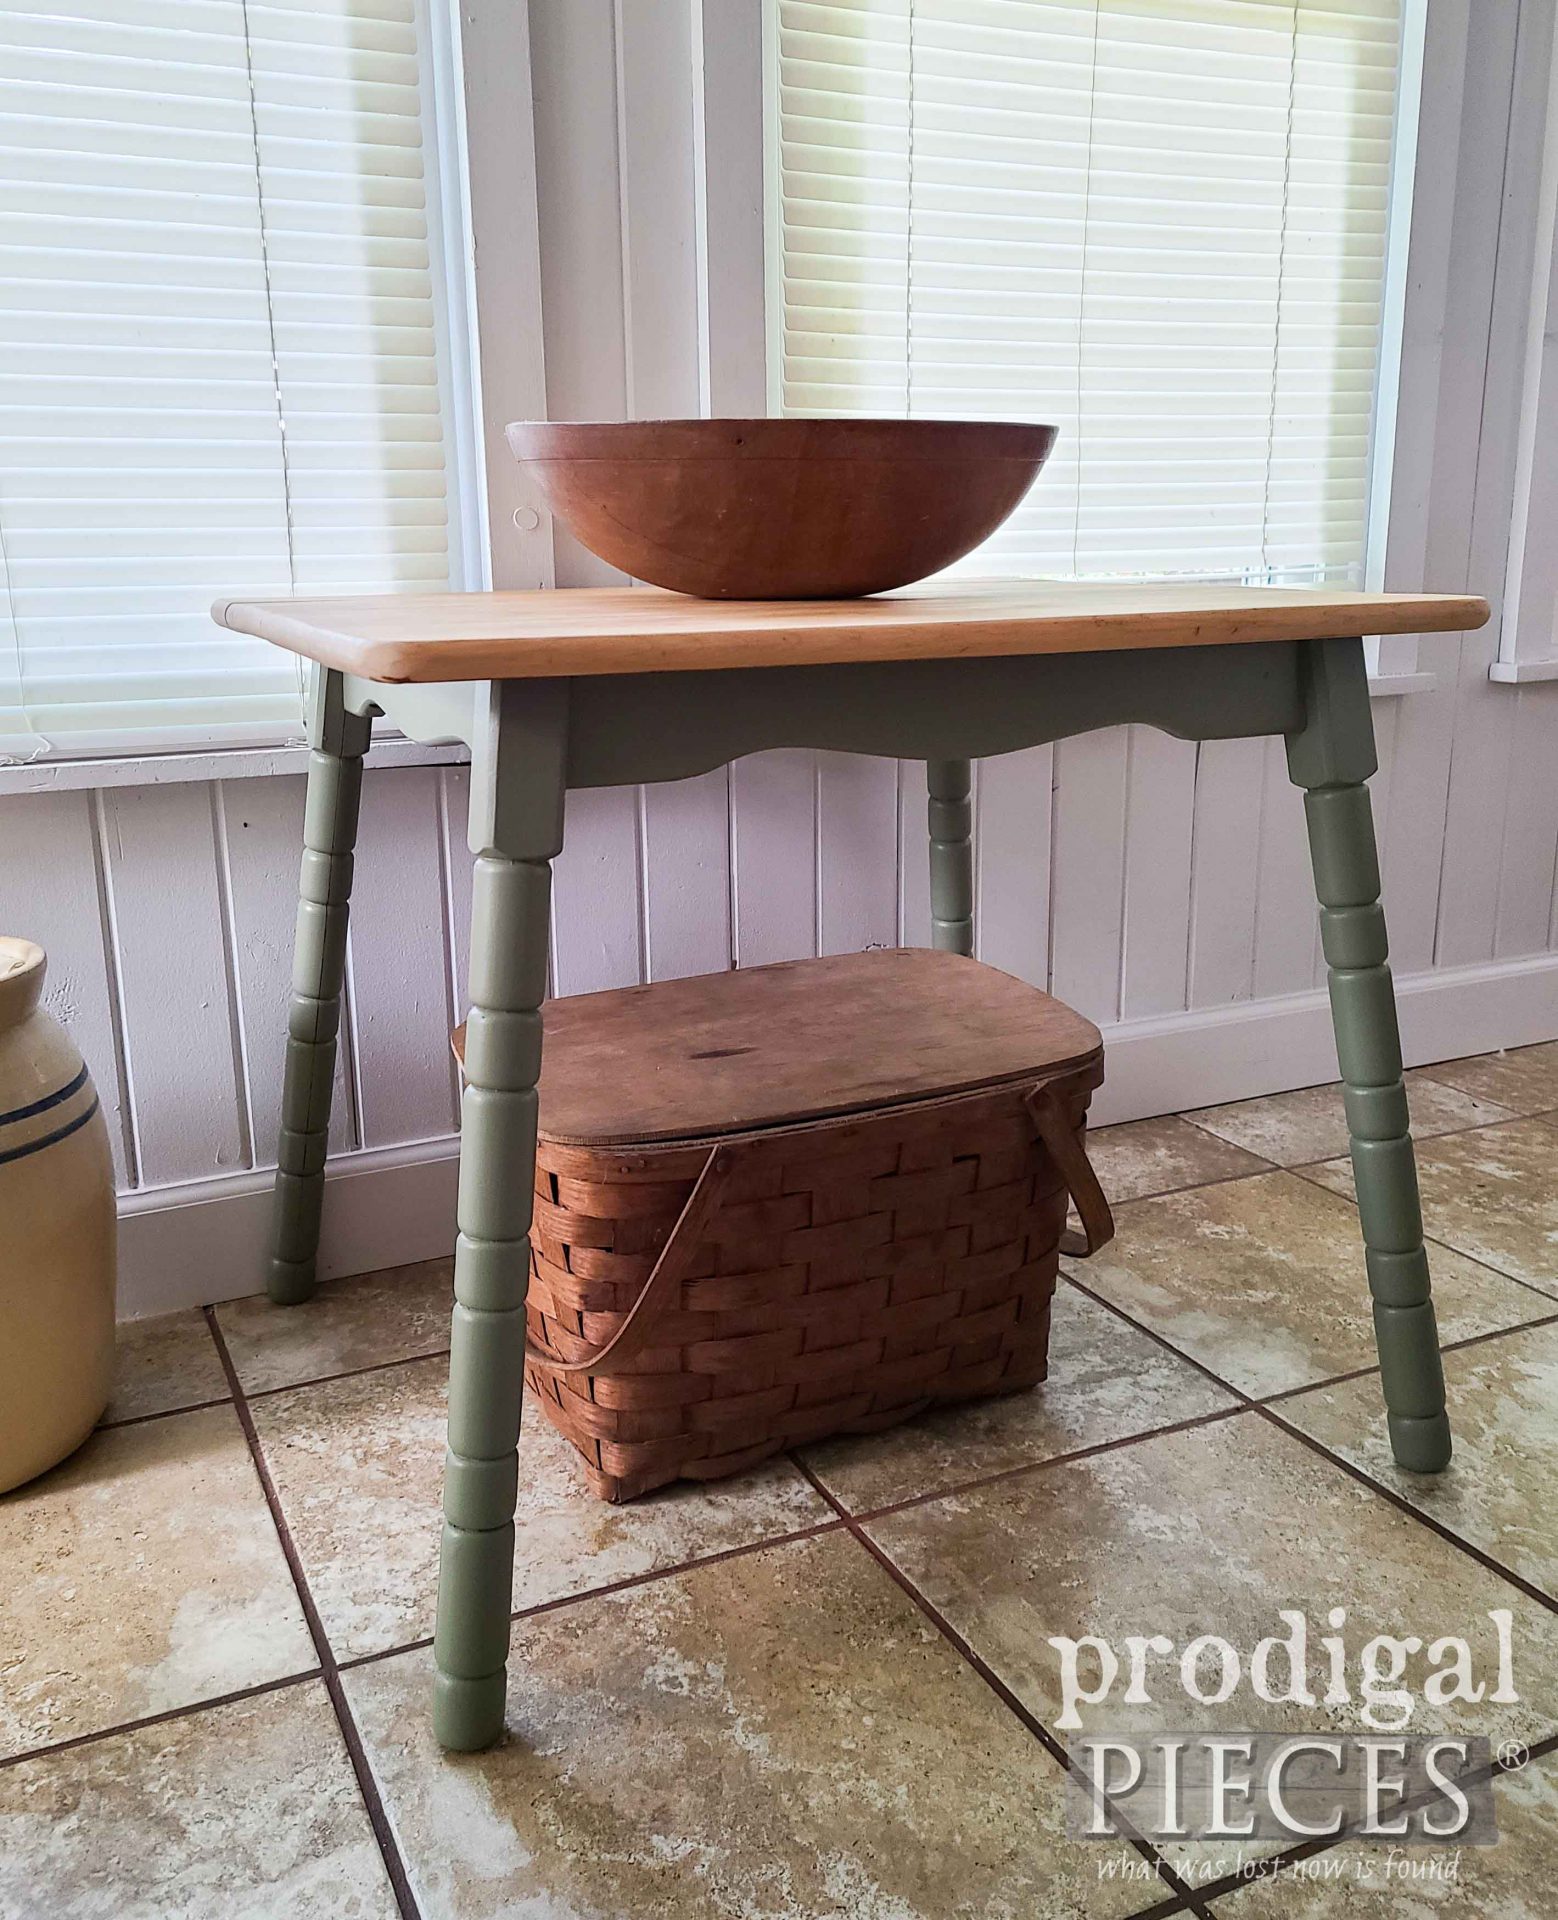
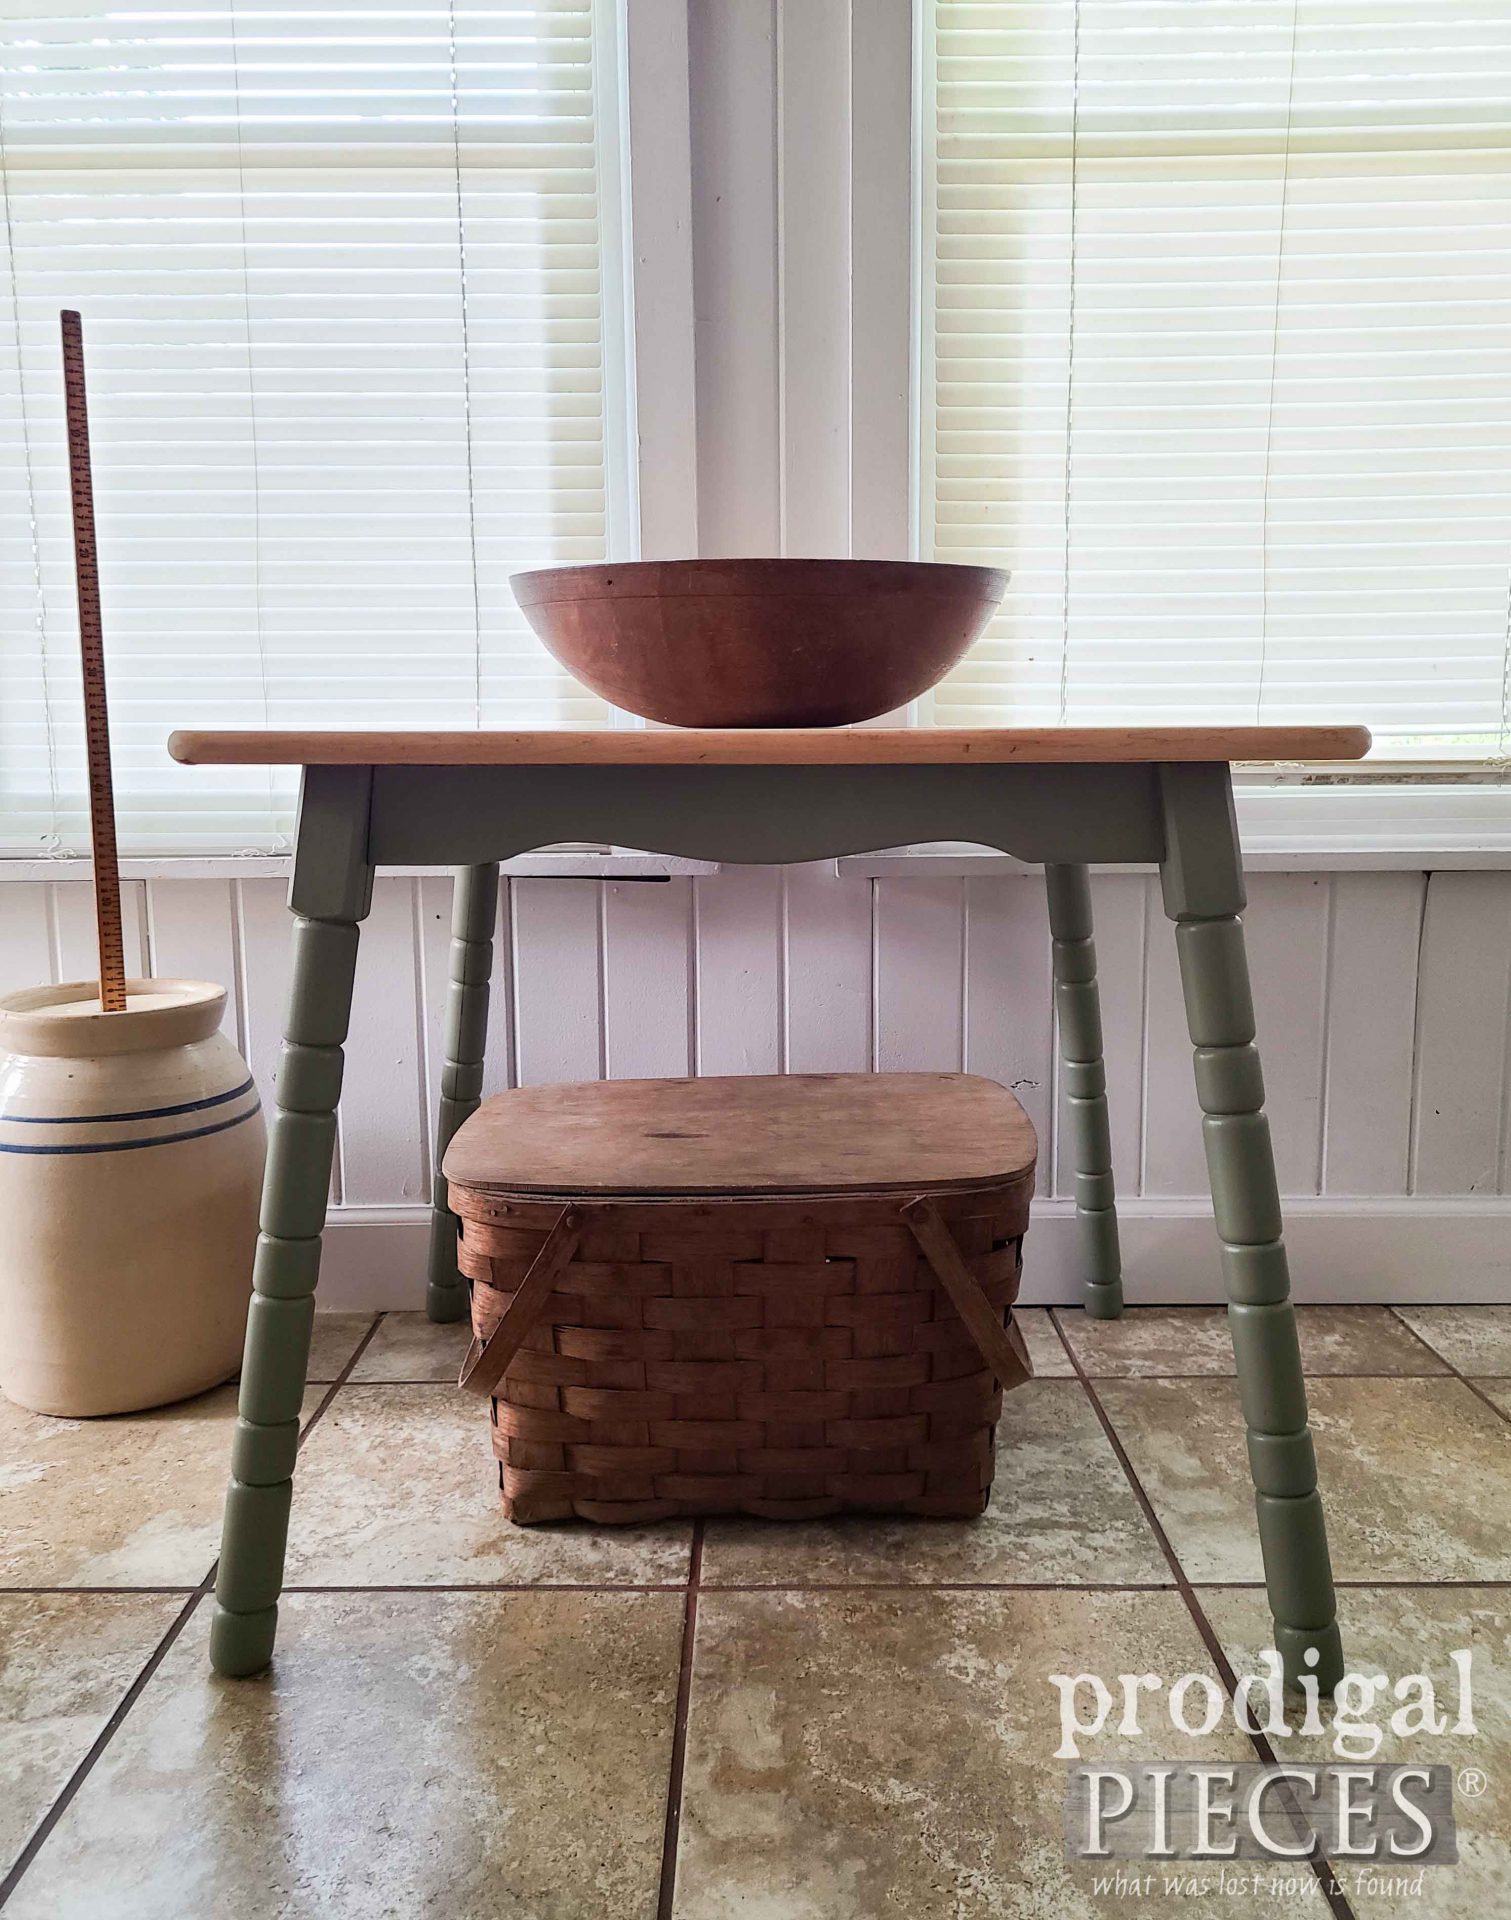
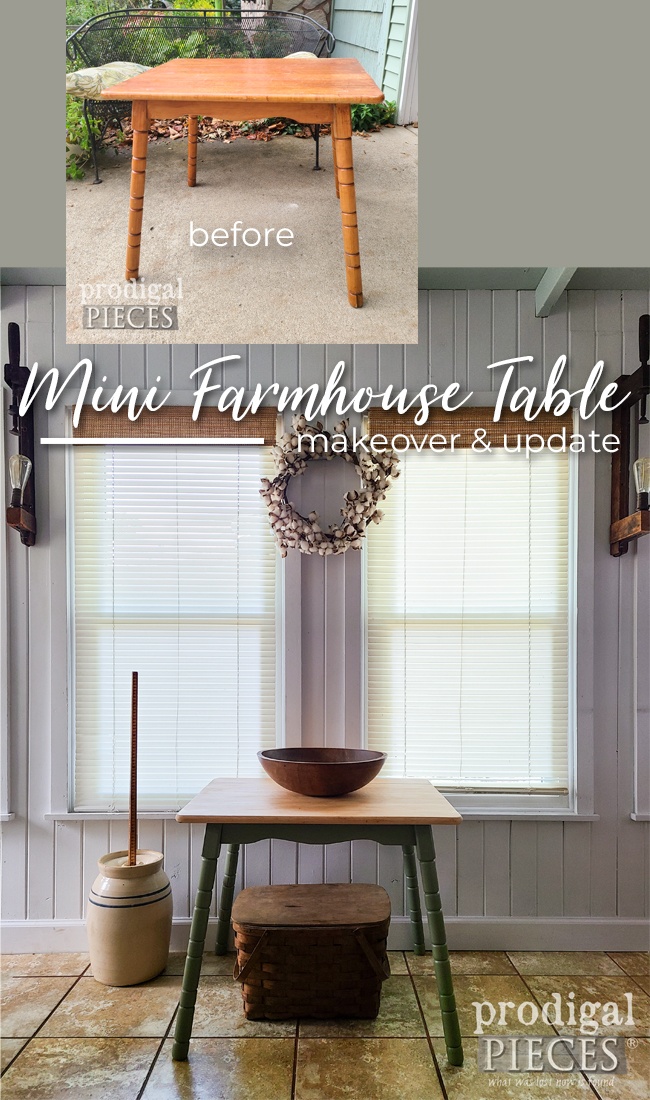
Here we are on Part 3 and my final day of my trio of thrifted finds. Initially, I saved this mini farmhouse table makeover for last because it’s such a unique little table. The turned legs are one thing, but then there’s the cute scalloped skirt as well.
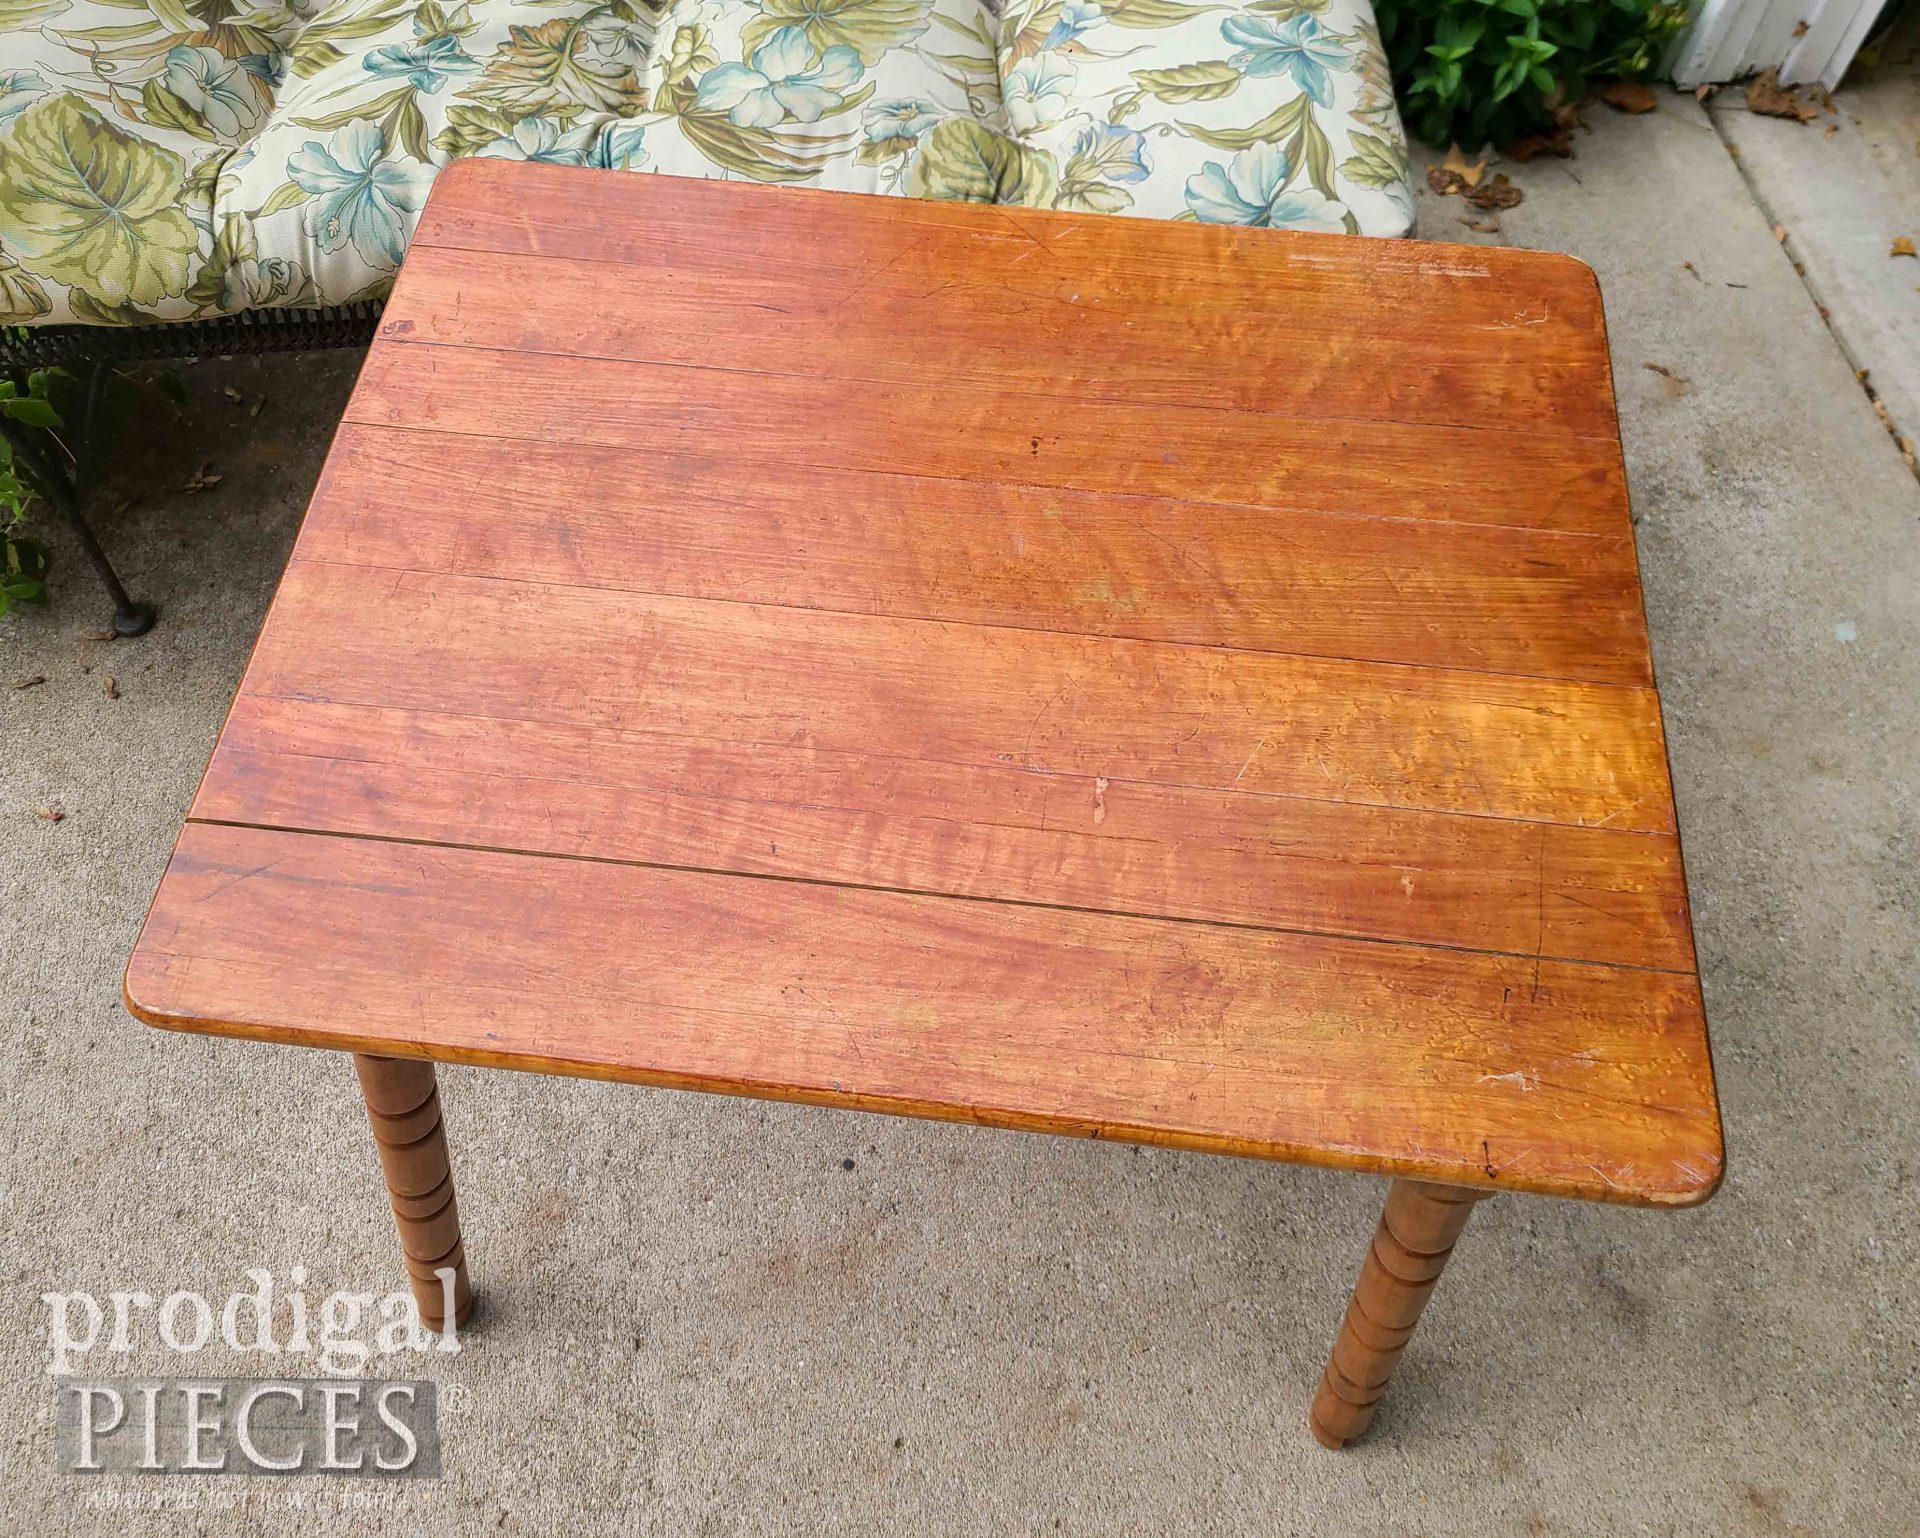
Even more so, the fact that it’s made out of a burled maple is also a bonus. Also, if you’d like to see Part 1 or Part 2 makeovers, you can tap the text to see the end result. Can you tell I have fun with small tables?
For today, I’m eager to see what’s under this pumpkin orange finish and damage from time and wear. It’s often that I wish pieces from the past could talk and tell their stories. I’m sure this one has oodles of juicy tidbits!
DIY TIME
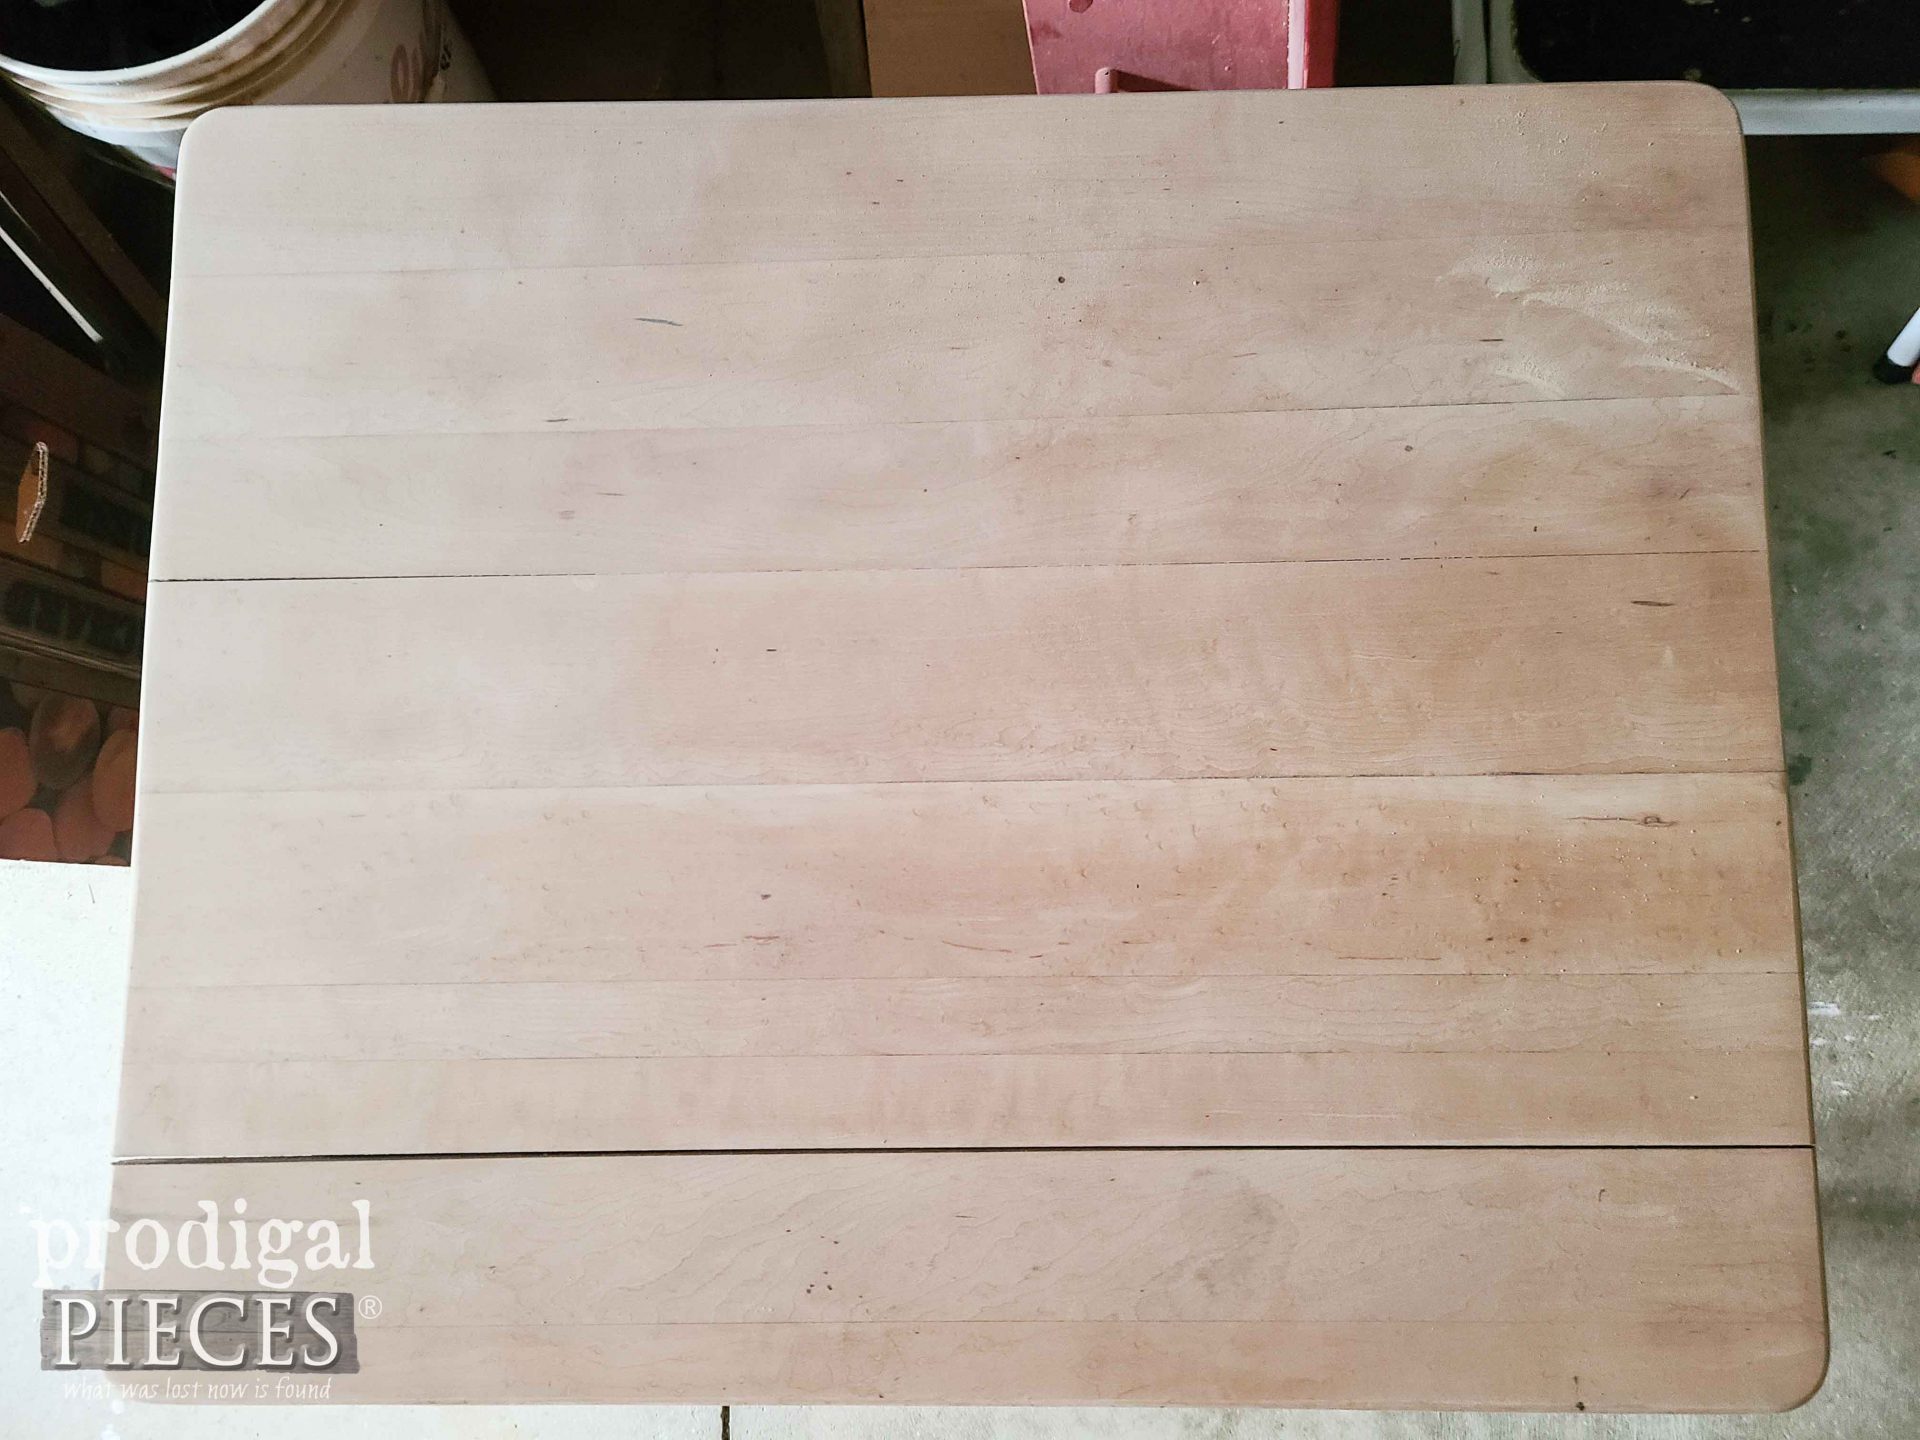
First, the most obvious thing for me to do is assess the damage and make effort to fix them. My sander and I had our way with that top and find that it’s in pretty good shape. However, there’s still the issue of the splits in the planks.
Then, I flip it over and remove the skirt from the planks, particularly on the one end. Next, I use my wood clamps and reattach so that it can hold the top together. {{happy dance}} Over time, humidity and aging can take its toll. We just need to step in and aid the repair.
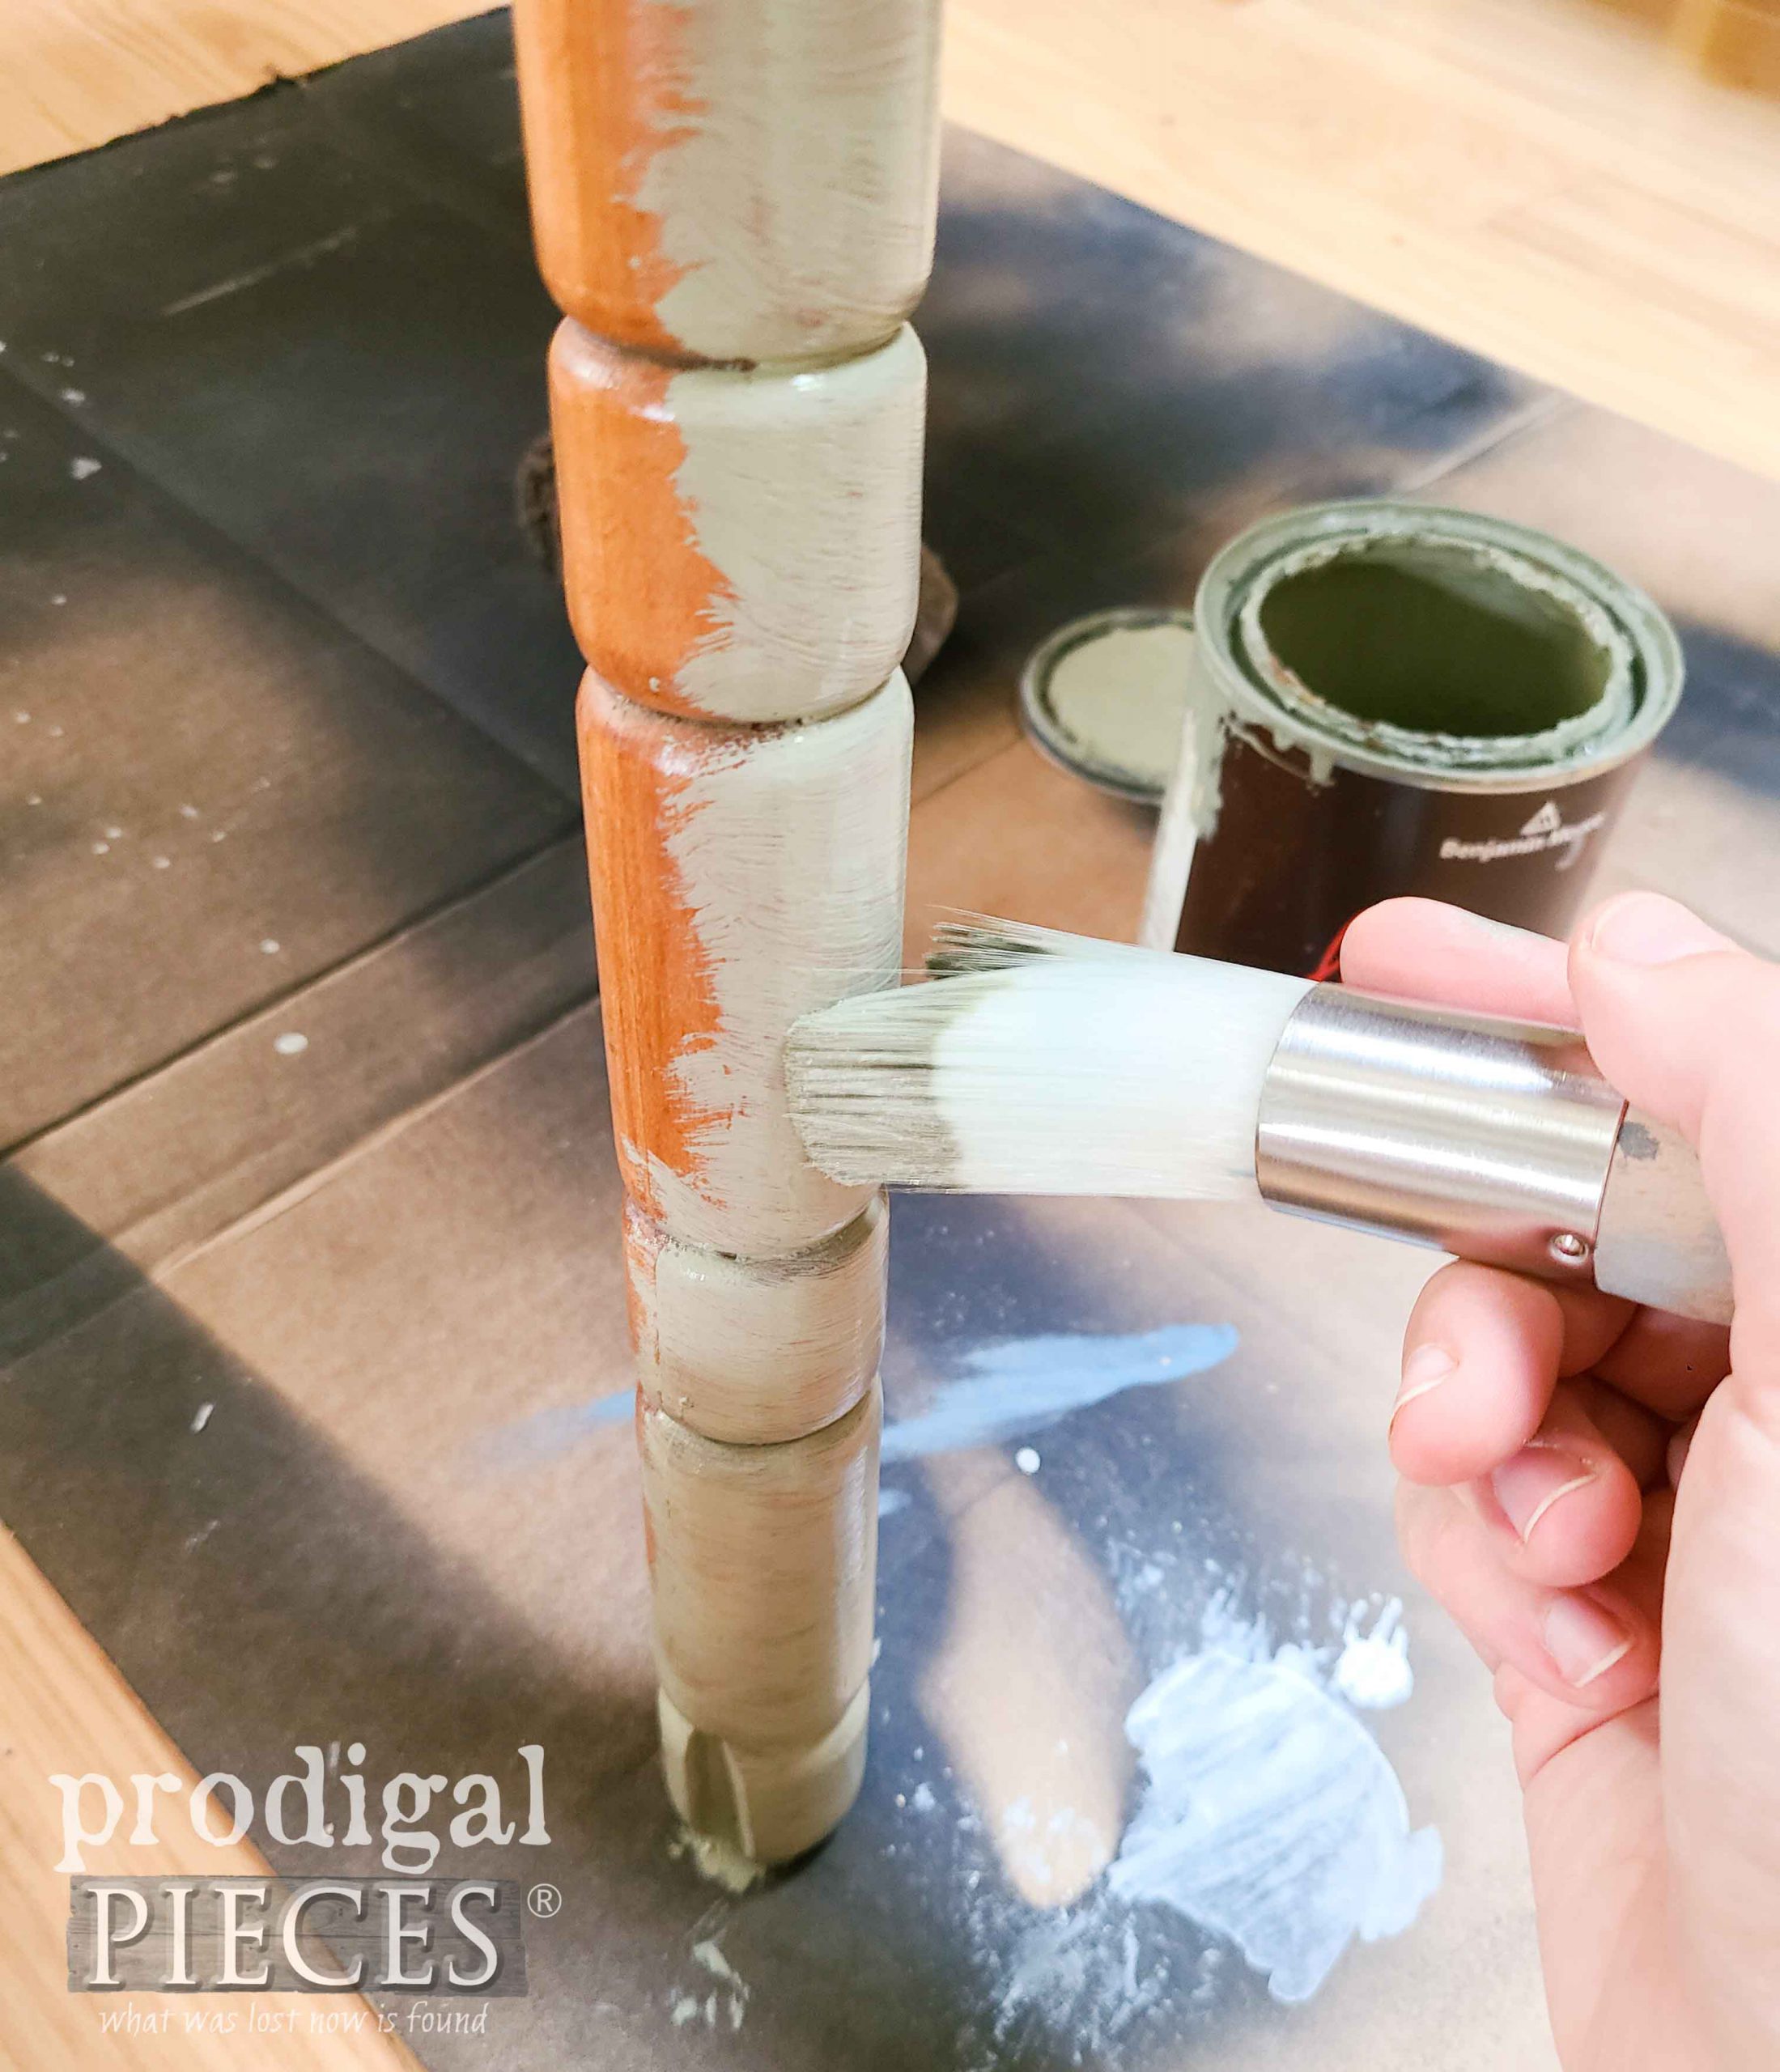
In addition, I want to give the skirt and legs a soft green color to compliment the wood grain in the top.
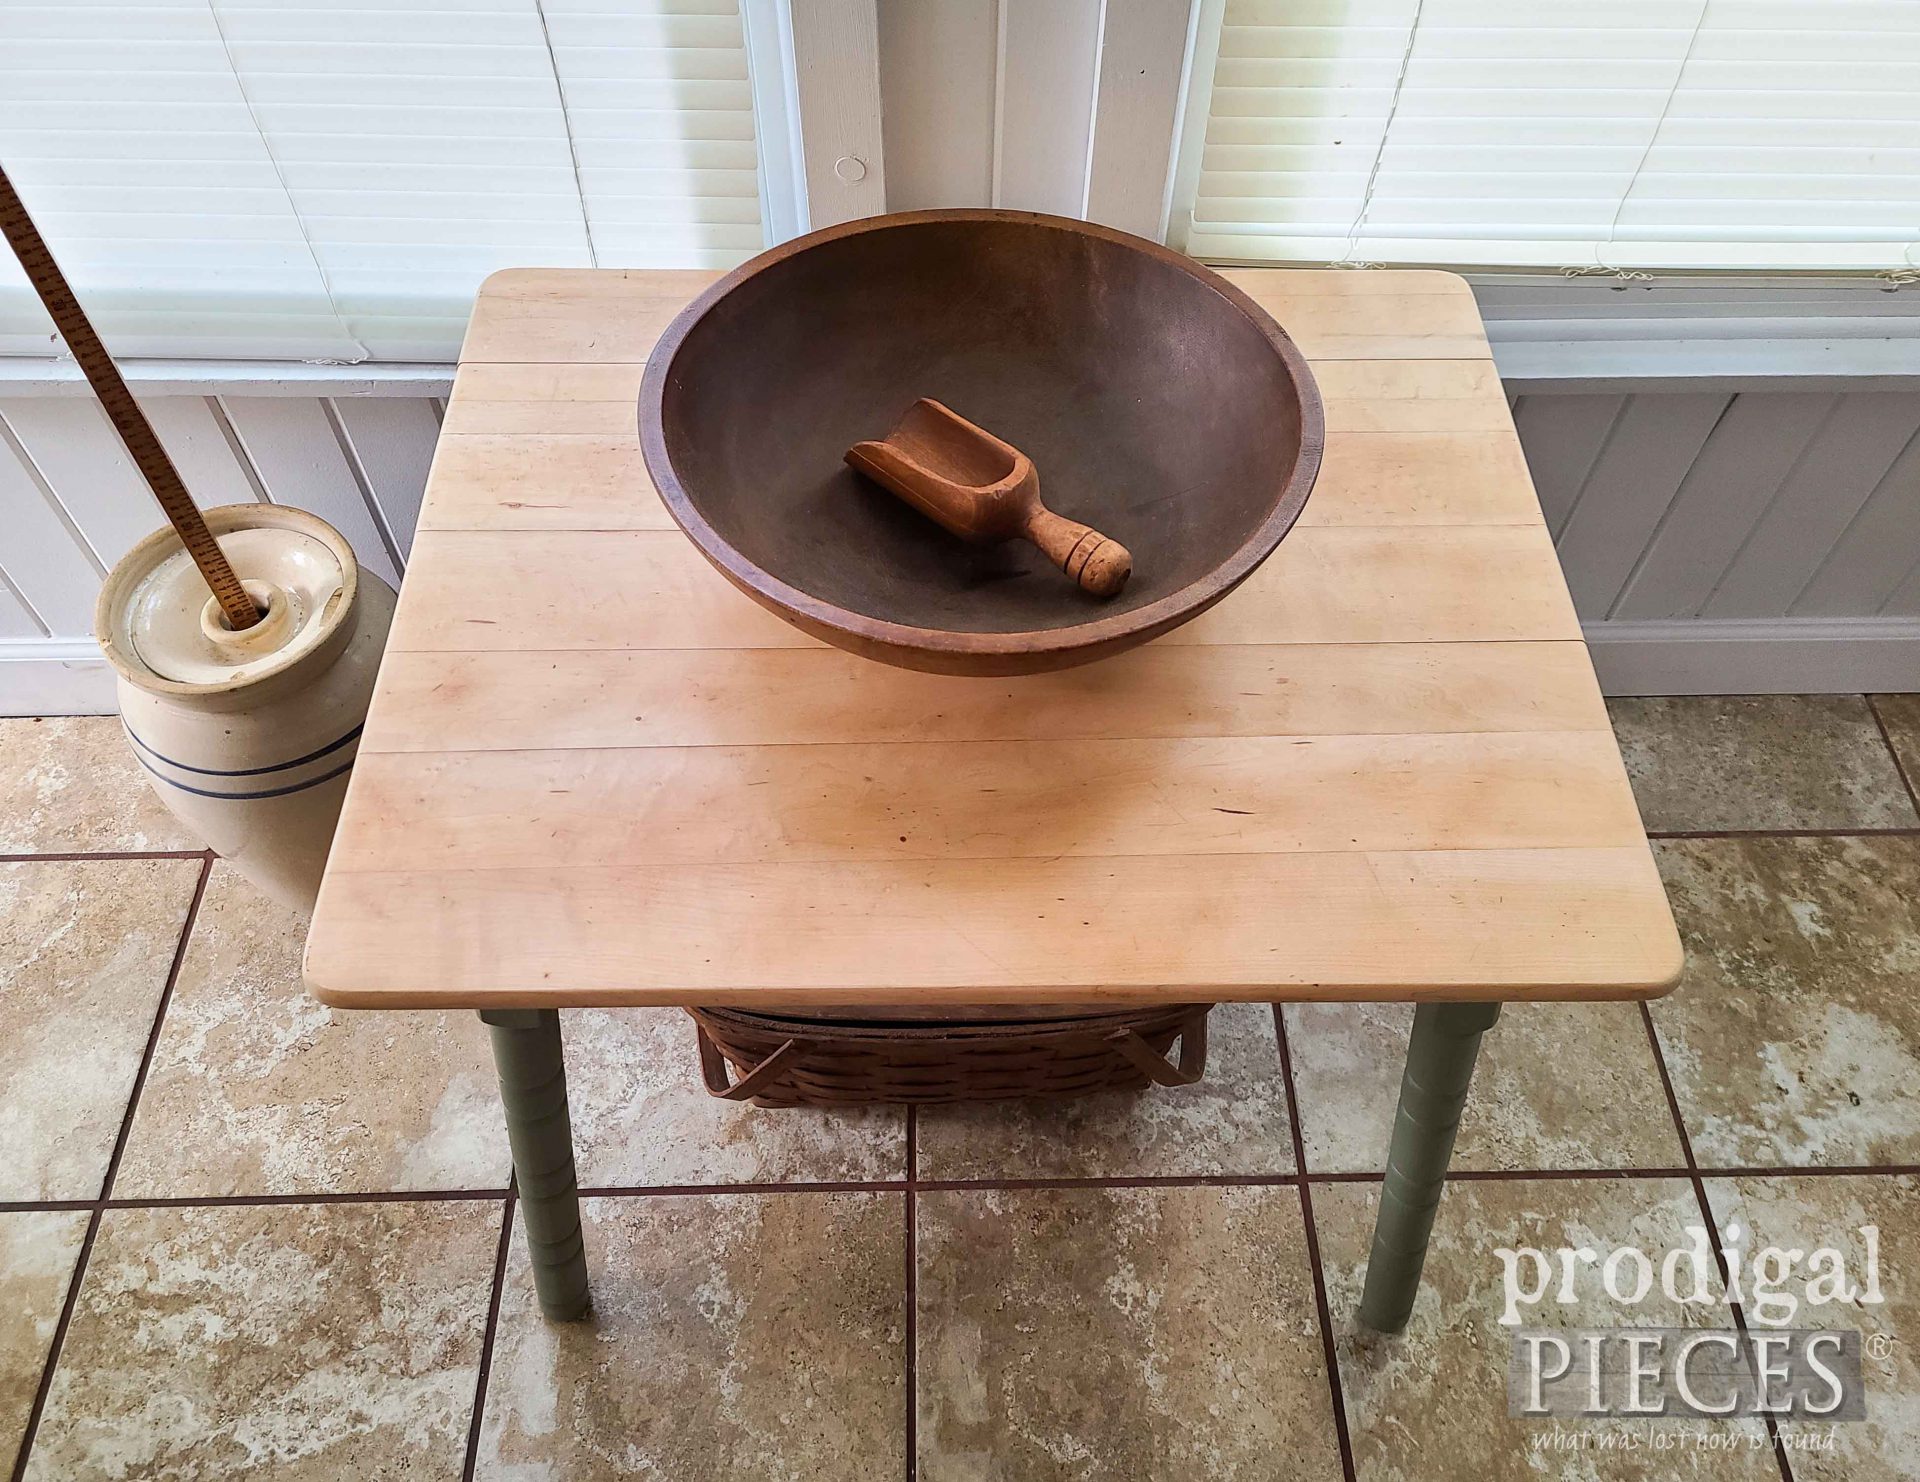
Last, as for the top, I use a matte poly to protect it and also showcase the gorgeous wood without a stain as well.
THE REVEAL
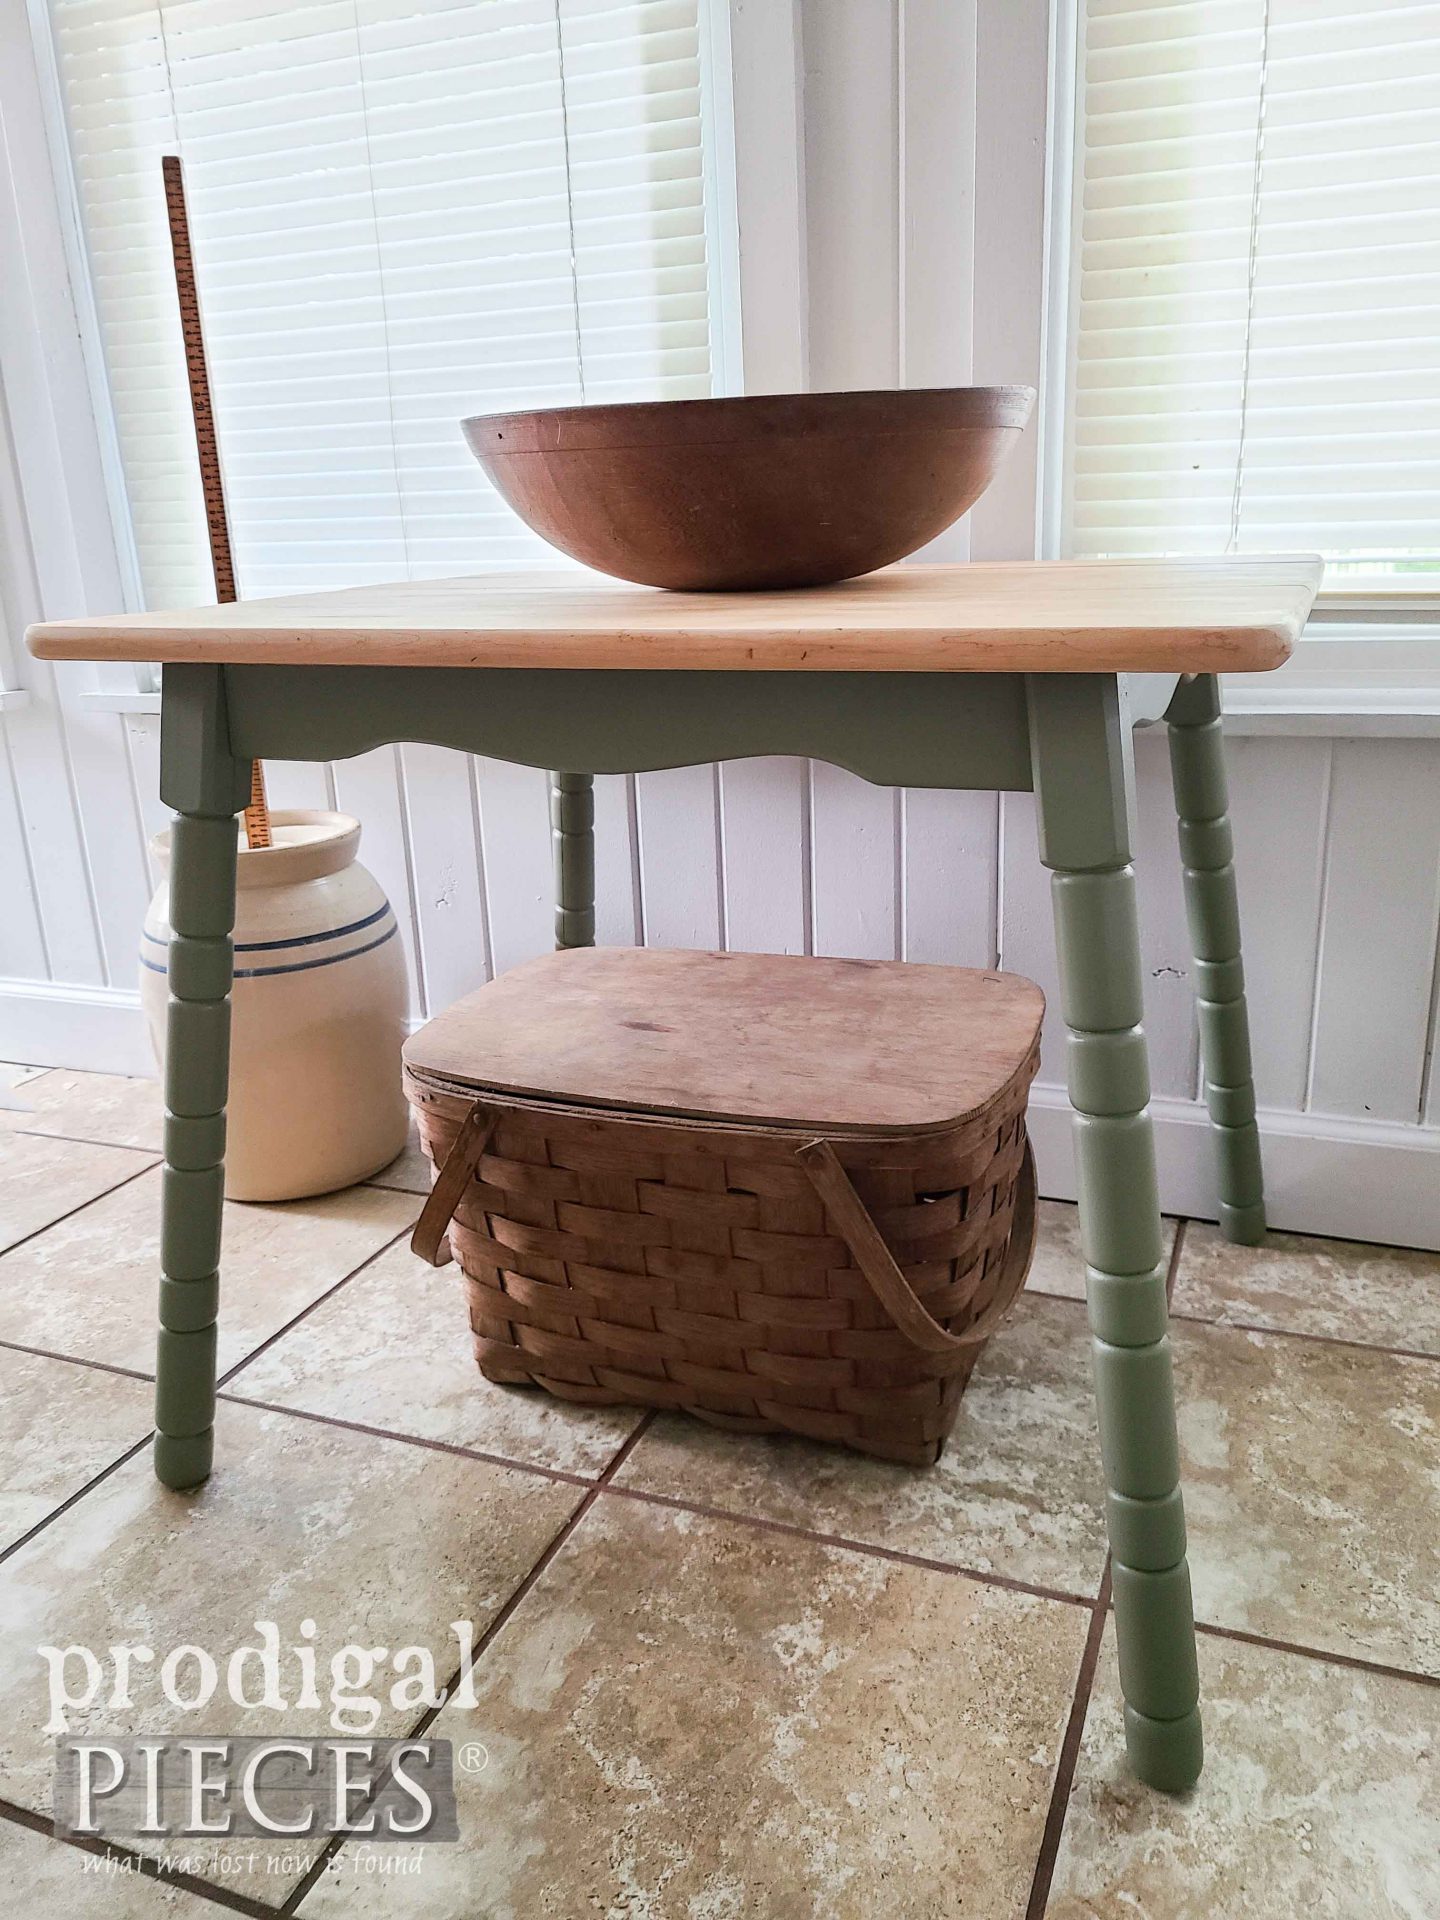
At this point, my DIY stent for this mini farmhouse table makeover is complete.
Am I smitten? Yes, absolutely. However, my primary goal is to inspire you. As a matter of fact, maybe you have a hand-me-down from a great aunt or something been stashed in the basement that needs new life.
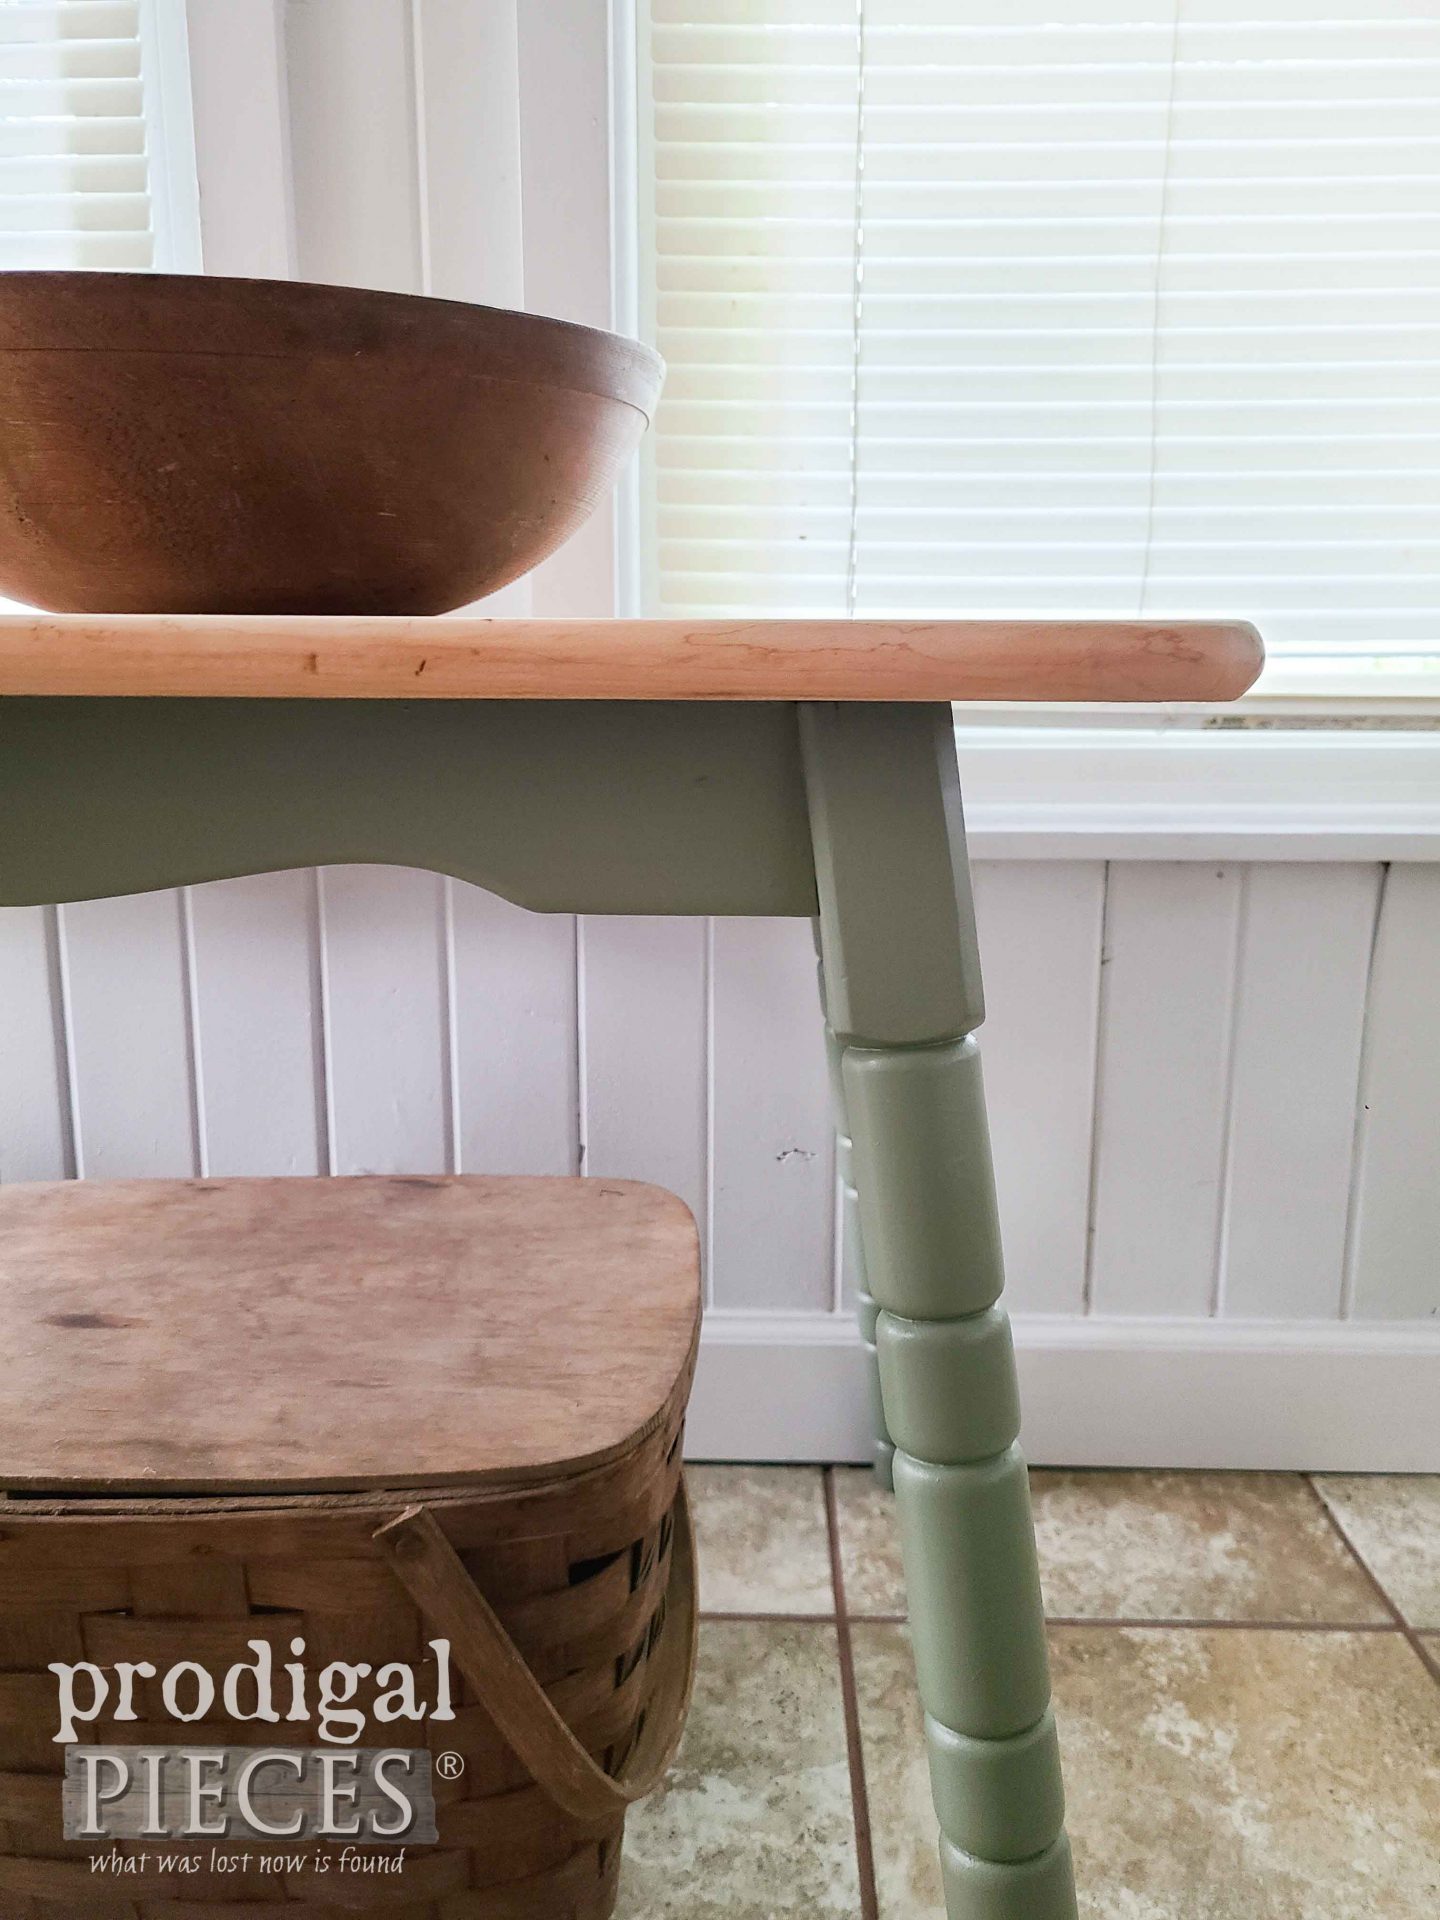
Also, equally wonderful to me is how the top came out. The beautiful grain is now visible and showcased along with the soft green paint.
Finally, you’ve gotta tell me…which of the three makeovers is your favorite? I think this last one is mine, but I’m partial to them all. If you’d like to add them to your home story, you can find them available in my online store.
Next, it’s your turn to inspire others. Pin and share to show what can be done with those dated and damaged pieces you come across.
UP NEXT
Likewise, mark your calendars! Up next is Trash to Treasure Tuesday and this gem is my focal point. Take a peek HERE.
To get these DIY tips & tricks in your inbox, be sure to sign up for my newsletter. Until next time!



I love all three, but this is definitely my favorite!! It’s incredible how you took it from sad and broken to the most amazing farm house table!!! Sigh… I wish I had room for it,…. I know it will get snapped up quickly!! ?❤️?
I think the legs and skirt are what got me, but then seeing that maple really sealed the deal. tee hee. Thanks so much, Rebecca, for joining me in my DIY fun!
This one is my favorite! What color green is that?
Yay! It’s a second’s color that I mixed up, so I have yet to name it. 😀
Great save on that top! All three table upcycles turned out great but I’m with you on this being the fave. Love the color combination!
Thank ya! That wood begged to be paired with green…really! tee hee. 😉
Love the green! The table is great. What color is the green? I want to paint my bottom cabinets green in kitchen.
Awesome! It’s a second’s color I mixed up and haven’t named it. It reminds me of a lovely spring day.
Love this! I’m about to start work on an old knotty pine table and want to avoid the orangey look some sealers can bring out. Which matte poly did you use for this? Hoping to achieve a similar look with my table without adding any shine to it (or color). Thanks!
Thanks! I use varathane matte. If for a dining table with high wear, I’d use a matte Waterlox instead.
My fav too – and love love loooovvvveee that awesome custom mixed shade of green. Looks GREAT!
Yay! Doin’ a happy dance. Thanks, Michele!