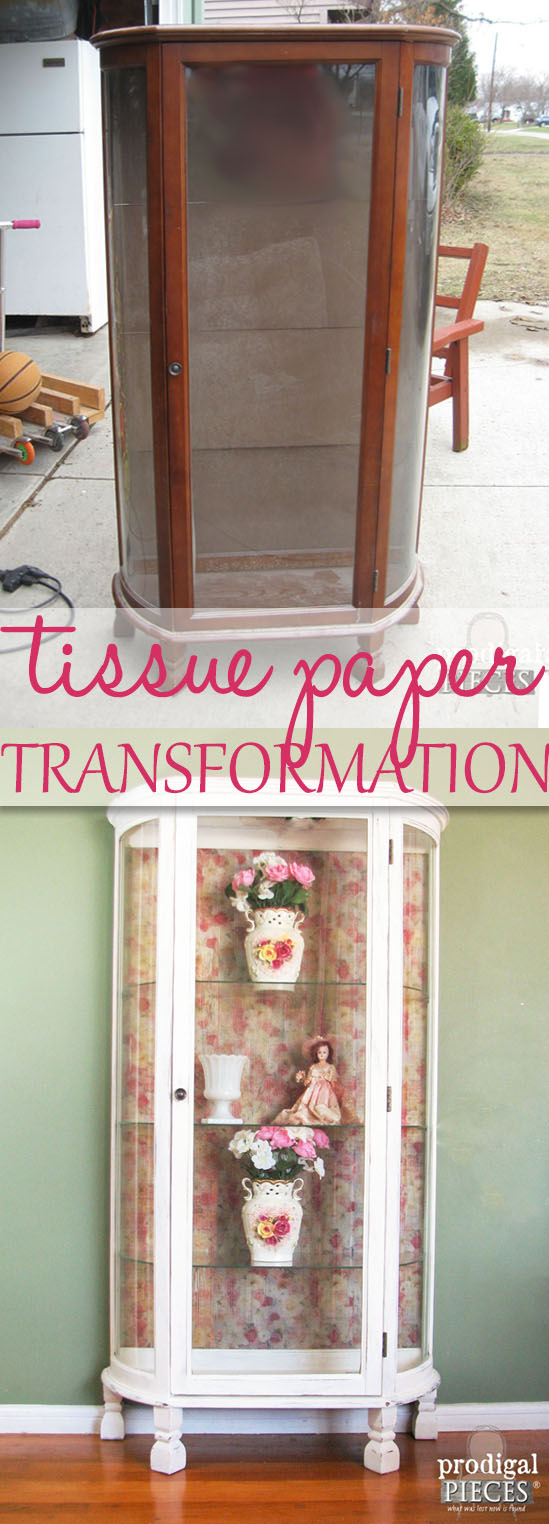
Sometimes ya need a break and it’s good to step away for a while from things that tend to consume us. After finally putting our hospital bills behind us, I need a break from churning out furniture after furniture. After about 3 weeks of not really doing a major makeover, I found it is time. Do you ever take a break like that? A friend of mine was in the process of moving and has a few pieces that belonged to her mother that she thought I might have interest in. She had a desk and this curio cabinet. I see a tissue paper makeover coming on.
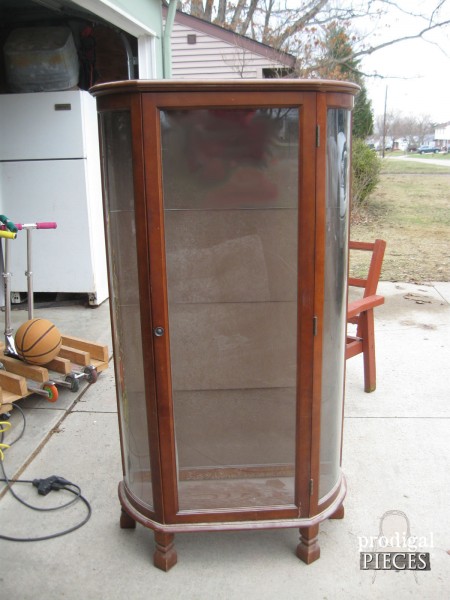
Although it wasn’t much to look at, I thought it had potential. It’s not an antique and is actually a more modern piece made to look old, but still a piece of furniture nonetheless.
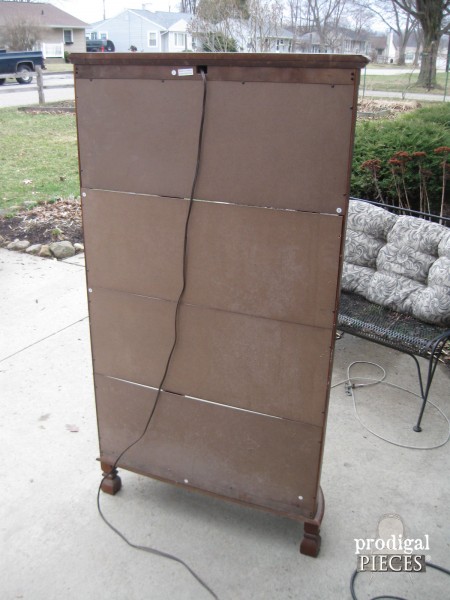
It originally came with a glass back, but at some point the glass is broken and I decide it was not going back in. I wanted to take this sad-looking cabinet and give it a feminine makeover.
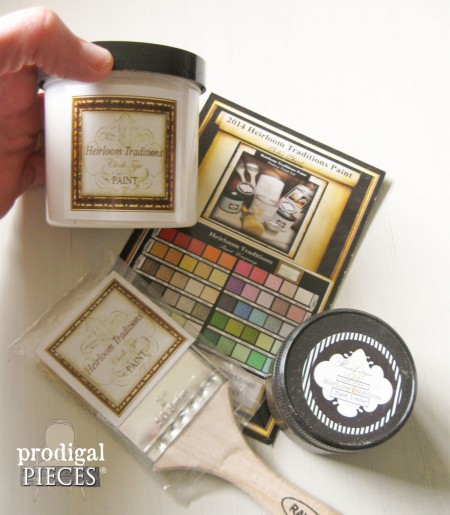
A few months ago, I received this sample of paint and wax to try and thought it would be perfect for this project. It’s been so long since I’ve done a white, shabby chic piece and I was going through withdrawal…sigh.
DIY TIME
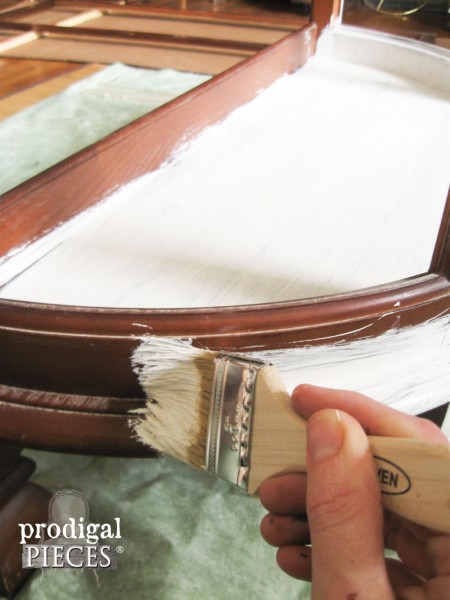
I removed the glass sides and door and did very minimal prep work. On goes the paint and bye-bye tired wood. It’s looking better already!
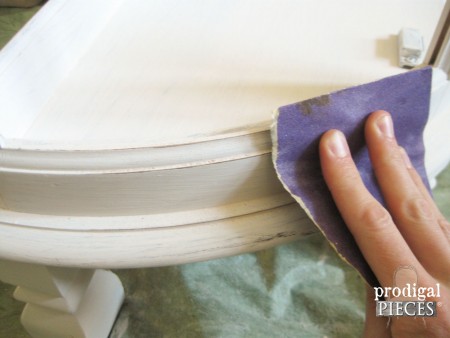
After two coats of paint (can you believe I got two coats out of that sample container?!!), I did some distressing to create that time-worn appeal we all know shabby chic is known for.
So you may be wondering what I decide to do with that messed up backing…well, I want to give more structure to this piece and knew a piece of beadboard (usually used for wainscoting) would do the trick. In addition, it adds texture. I have the perfect size piece in my stash…YES! I love when that happens.
In order for that beadboard to fit in, my husband routed the edges so it would lay flush to the back. Since I want this piece to show an aged appeal, it is time for creating layers.
DECOUPAGE
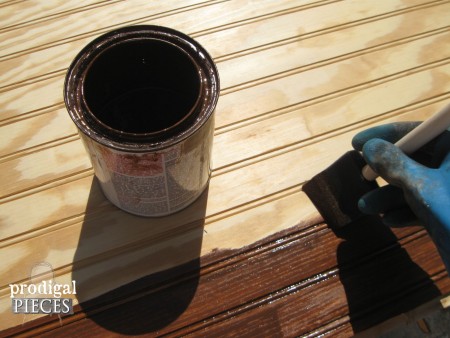
First, I gave the beadboard a coat of stain, then whitewashed it with paint.
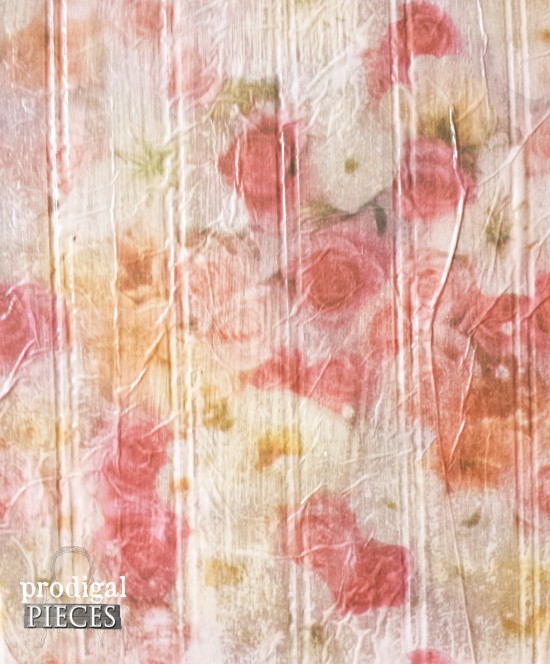
You know that shabby chic is also about ROSES, right? So, to get some rose action happening I use dollar store tissue paper to decoupage a layer onto the beadboard. I don’t use the pricey stuff, but just Elmer’s glue with a bit of water does the same thing. Here’s what it looks like in the process…
…and here’s a close-up of the effect I’m getting. Perfect.
THE REVEAL
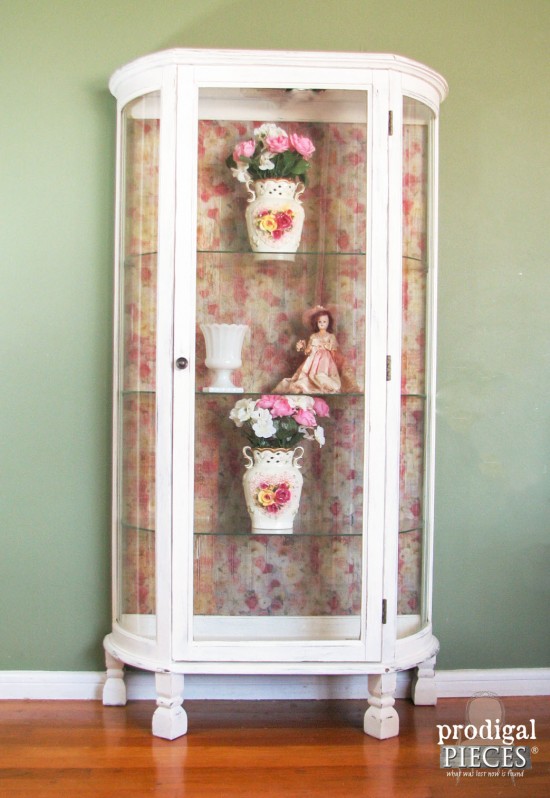
Once the tissue paper had dried, I took my orbital sander with 220 grit paper and gave it a light sanding to add to that texture. After that, installation was easy and time to see the full reveal.
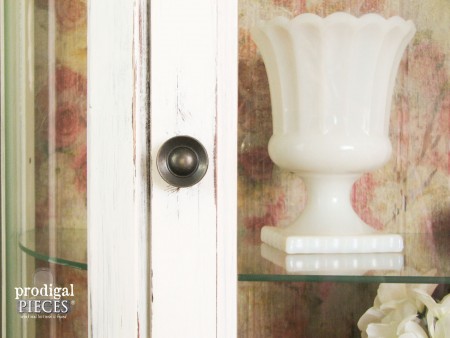
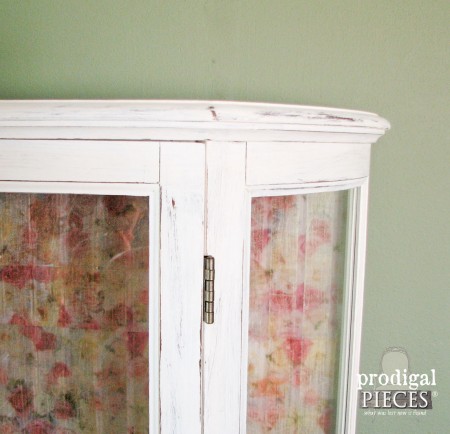
Much better, right? Heirloom Traditions paint was a dream to work with, easy to apply, and easy to create a time-worn look.
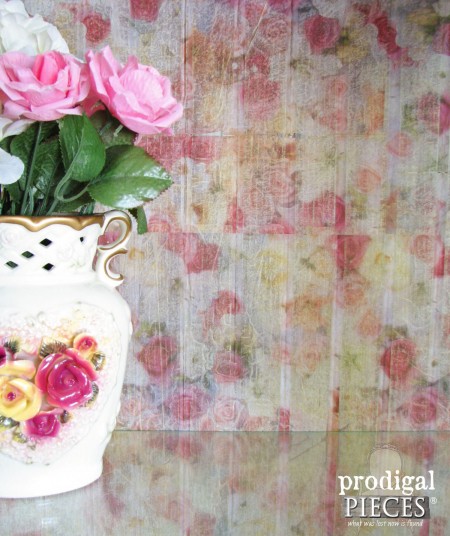
That backing came out just as I’d hoped and almost even better.
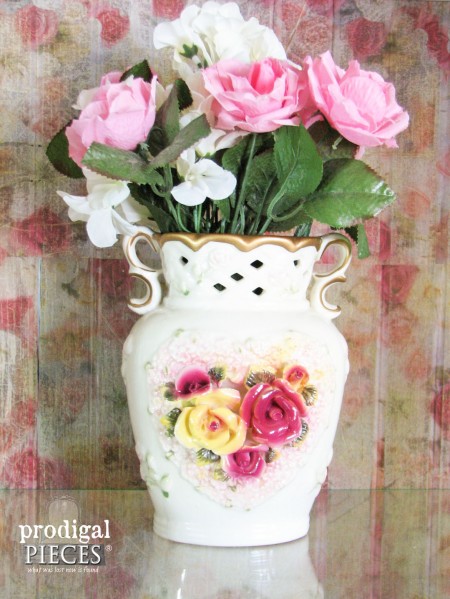
It is providence that I find these vases the same week I am working on this cabinet, don’t you think? These vases and the curio cabinet are available in my online store.
If you loved this tissue paper transformation, I’d love for you to share!
Aaaahh…it felt good to get back at my furniture, and I warn you that this isn’t the last! tee hee hee.



Get out!! This is amazing Larissa… I love the back technique… Gorgeous Girl!!! 🙂
You’ve got to try it, Susan! It’s fun and quick. Thank you for your sweet words.
Wow!!! Looks amazing. I knew you could use pretty paper napkins to do this technique but didn’t even think about tissue paper. Thanks for enlightening me! I love your work.
Thank you, Adina! Yes, I looked for both napkins and tissue paper, but fell in love with this tissue paper instead. 🙂
i was happy to read this curio cabinet wasn’t a true antique! i still have trouble painting nice old pieces, but this looks fabulous! absolutely love the rose beadboard and yes, those rose vases are perfect with it! this has given me an idea to spruce up the back of my mother’s china hutch that i painted yellow and use in my sewing room. will be checking the dollar store for tissue paper!
Yes, I don’t touch old piece unless there’s no other way or it’s a custom request. I’d love to see what you do!
So feminine! I love it! You are so awesome!
Have a Jesus filled day!
Back at you, Yolanda! It was a fun technique and very easy with quick results. Give it a try!
Totally in love with this! Wonderful work, as always!
Thank you, Angela! You’re work is an inspiration and I love that we can support each other.
Oh wow Larissa, girl you never cease to amaze me! Gorgeous makeover that I’m sure will sell very quickly. That rose paper is just stunning. Quite the transformation.
You are too sweet, girl! I’ve been aching to do this technique on a piece, and this one just begged for it. 🙂
That looks amazing! I love the tissue paper idea, thanks for the inspiration =)
Thanks, Amanda! It’s fun and you should give it a try. 😉
Fabulous! I have a similar piece that I use to display my Blue Willow…am going to transform it to a piece that will be a better showcase for my dishes! Thx for the inspiration
Fantastic! I would love to see your before and after, if you don’t mind sharing. 🙂
WOW WOW and WOWZA!! I can’t believe the difference and transformation you gave this piece. That was a great tip you gave also about the Elmer’s glue. Thank you for that. That other stuff is very pricey and goes very fast. This is beautiful! I’m going to share and pin ASAP! 🙂
hee hee hee… thank you, Jaana! It was a fun project to do.
This piece is beautiful!! Did you use one layer of tissue paper? Did you put a coating on top of it? I just love this, it is so feminine. Nice work!
Thank you, Sally! Yes, one layer of tissue paper with a coating of the poly on top. 😉
That is just TO CUTE! I love the tissue paper back! It is actually a little funny because my latest piece was a glass china cabinet very similar to this! Mine wasnt an antique either, byt was made to look like it. But I made it look waaaaaay bether:) I will admit that:) Please check it out;)
They are such beasts at first, aren’t they? Thanks for stopping by and sharing the love. I hope you had fun with it!
I love this makeover. I was surprised to see you painting with a chip brush though?
ha. That was given to me by the sponsor, so I used it in the pic, but did the piece mostly with my fave brushes. 🙂
Hi! How does the paper hold up to wear and tear? Would
Love to use something similar on a vintage round coffee table I have been pondering over but wondered if the decoupage would hold up.
Hi Toni! I have used it on this chest of drawers as well, and you can see how I finished it: http://www.prodigalpieces.com/2015/08/dumpster-dresser-turned-boho-chic-diva/ It holds us to wear and tear pretty well and could always be removed and replaced if need be. Thanks!
Very pretty! So I assume you brushed on the glue/water mixture first, then lay on the tissue? Then glue again?
Thx?
Nailed it. Yep! 😉
Would look great in the bathroom with pretty linens and apothecary jars.
I love the transformation. The backing is unique and so chic.I really appreciate it when we can do it on a budget.Thank you Larissa I love the paint as well.
Wow! I think I may try this soon! Great job !
Awesome to hear, Serena. Thank you!
Just Beautiful but I have a question, why did you stain the bead board and then paint it white?
To give it depth when I distressed it. 😉
You have inspired me! Got one. I’m thinking butter yellow
Love some butter…I mean, yellow! hee hee hee
I still dont see instructions on how to do the tissue paper technique. All it says is that you use water and glu. Can you please tell mart the instructions on how you do it. It is so beautiful. Hope to hear from you soon. Thank you. Shelley
Just brush on the paste and lay the paper on. Really is simple. Feel free to practice on scrap wood. 😉
Beeee-you-tiful!!!@ I have 1 in a beautiful oak from the 80’s……the back got ruined when it literally fell out and down from a moving truck (so sad…) but!! I know just how to make it beautiful again!! Thanks!! (Funny thing is, I bought a lovely “antique” curio from a Habitat Restore store and it actually had old shredding fabric on the back which I replaced with a really pretty fabric tablecloth, have had many compliments….wonder why I never applied this idea to my curved curio….slap my forehead!!
aww…thanks, Linda! Sounds like you’re a gal after my own heart. 🙂
Absolutely gorgeous! Can’t wait to try it on my old dresser…Looking forward to more shares…You are amazing!
Thank you for the smile, Dina. 😀
Beautiful! That curio would look perfect anywhere! Great work!
Thanks so much, Kathy!
Often that furniture has such a smooth finish and can make painting difficult. How did you get the paint to adhere?
If you use a quality paint, often you don’t need any prep. A good cleaning of the surface and/or light sanding helps give it tooth.
Now I want to run all over town looking for a curio cabinet! Amazing transformation! I’ve used napkins on a bread basket and inside drawers, but that tissue on that beadboard is lushious! (Is that a word?)
You are too cute! 😀 And yes…that’s a word. haha!
Could you give me the step by step instructions with your tissue paper decoupage?
I love it!
Thanks! It’s just brush on a layer of slightly watered down school glue, apply paper, brush on my glue working out the wrinkles if desired. Practice on a scrap of wood to get the feel and be gentle while brushing.