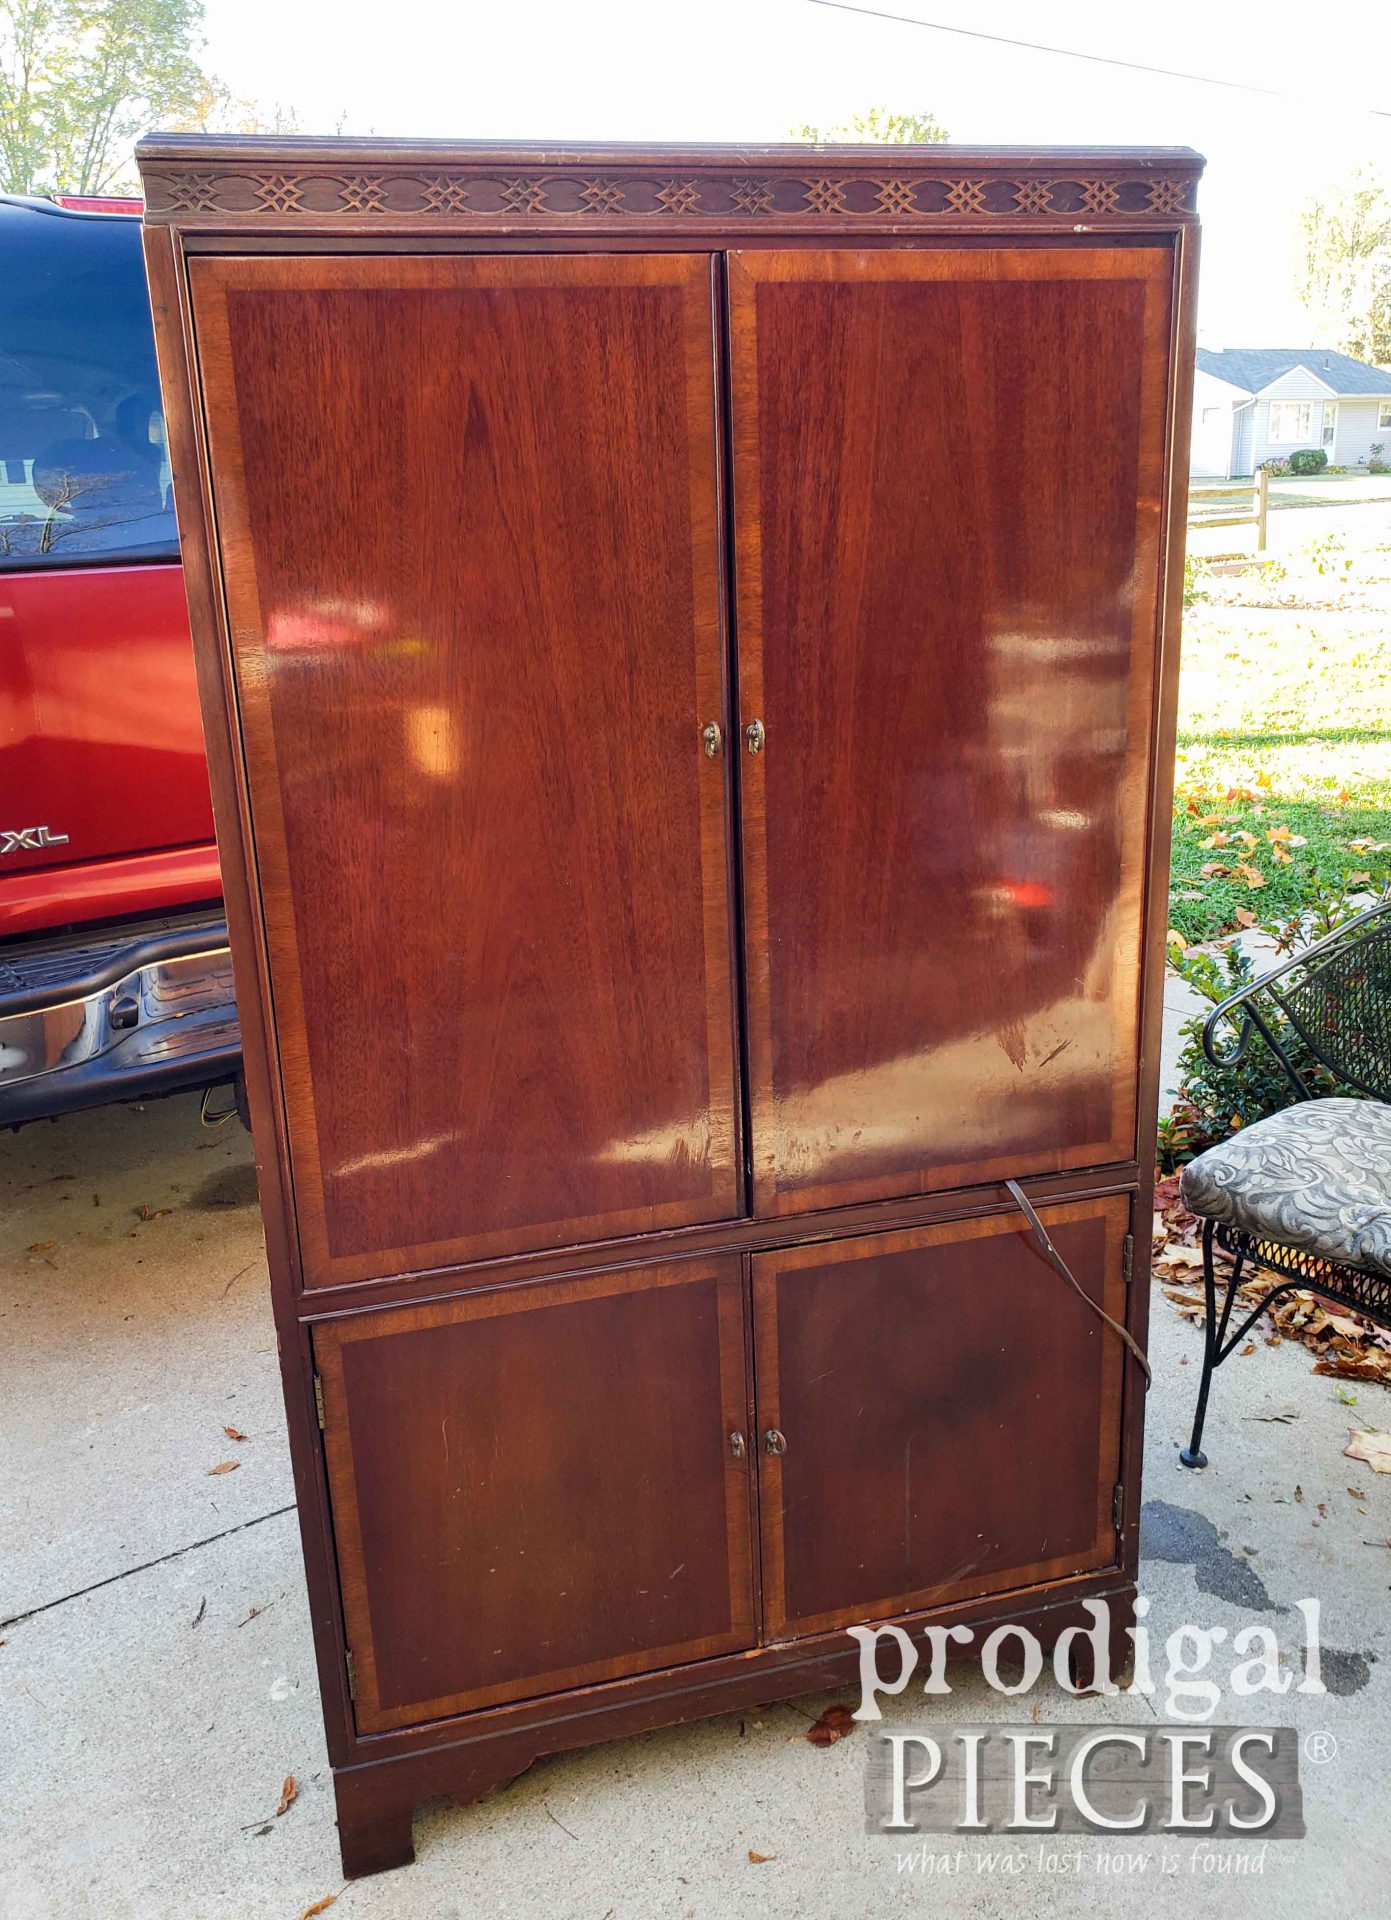
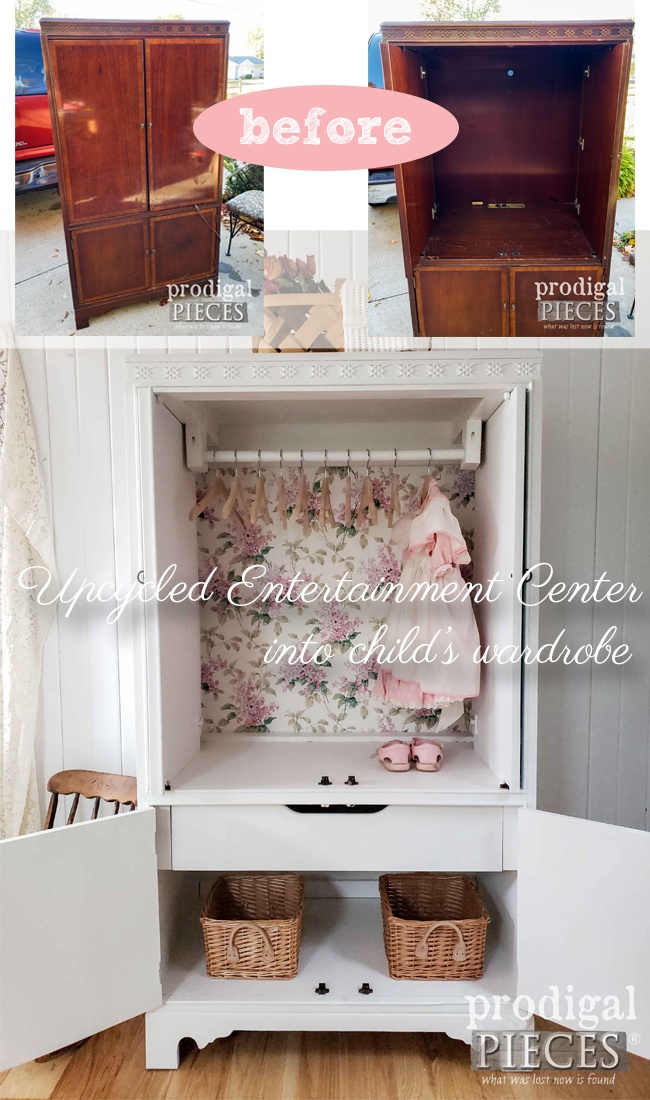
This is what happens when I head into the thrift store looking for a small project to work on. I didn’t find anything but pressed wood junk, and then there’s this big beast. I stop, I stare, I talk to myself. Do you do that? Well, after much discussion with me, myself, and I, I decided to haul this bad boy home. Meet my latest project…an upcycled entertainment center.
The funny thing is that I have seriously backed off my furniture projects for more reason than one. However, I needed to fulfill a requirement and this would fit the bill. It has damage, but has potential. Also, it would help me fulfill one of my bucket list pieces of creating a child’s wardrobe.
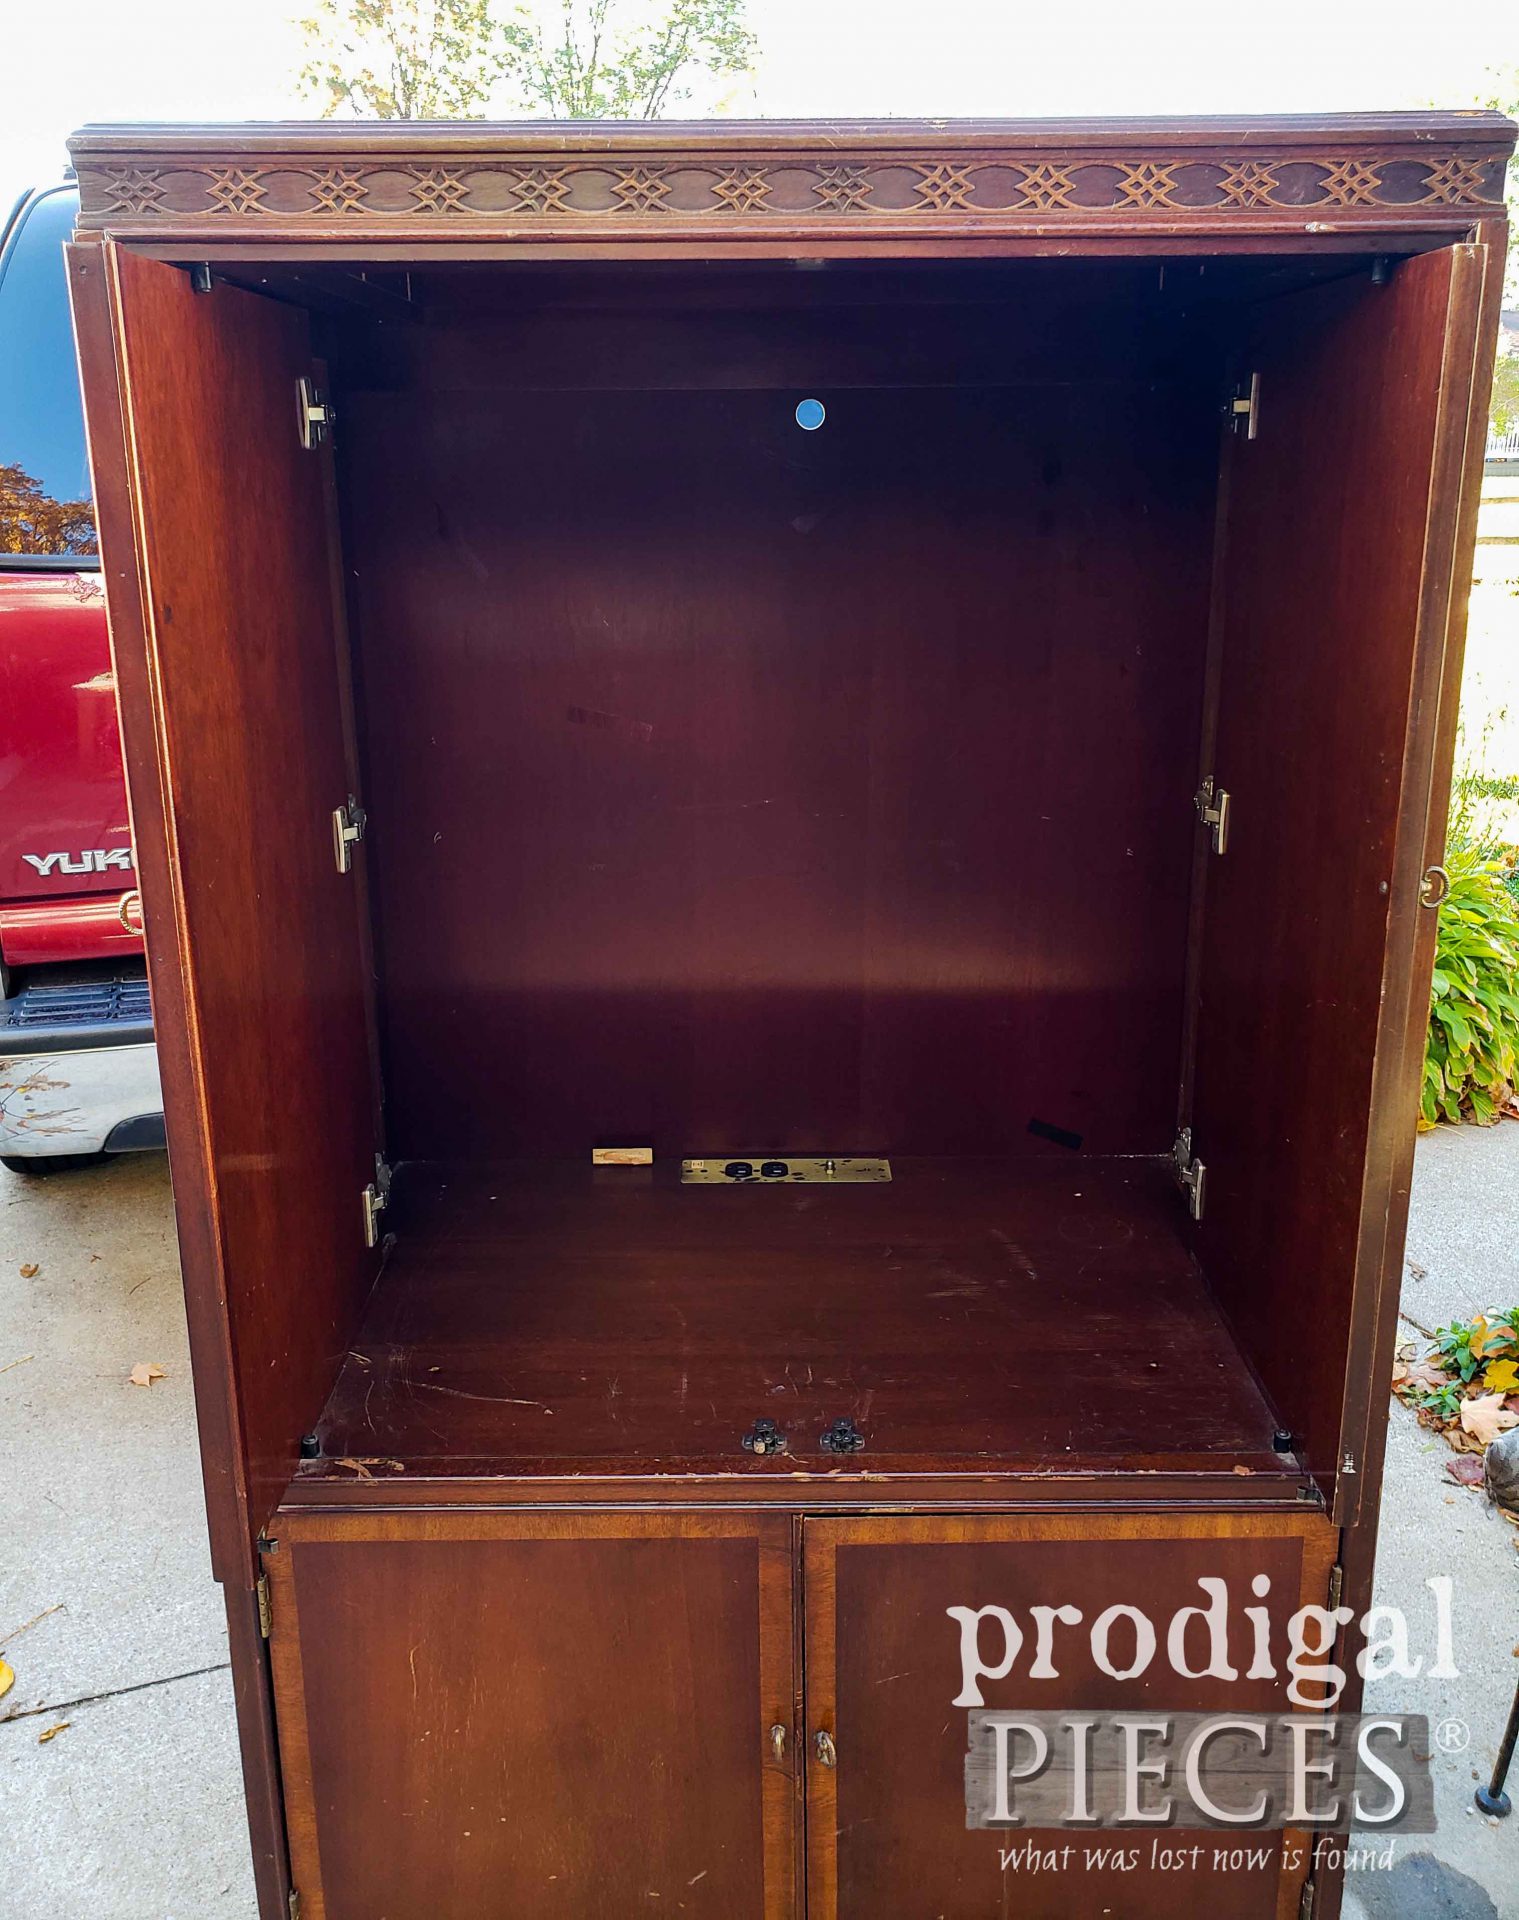
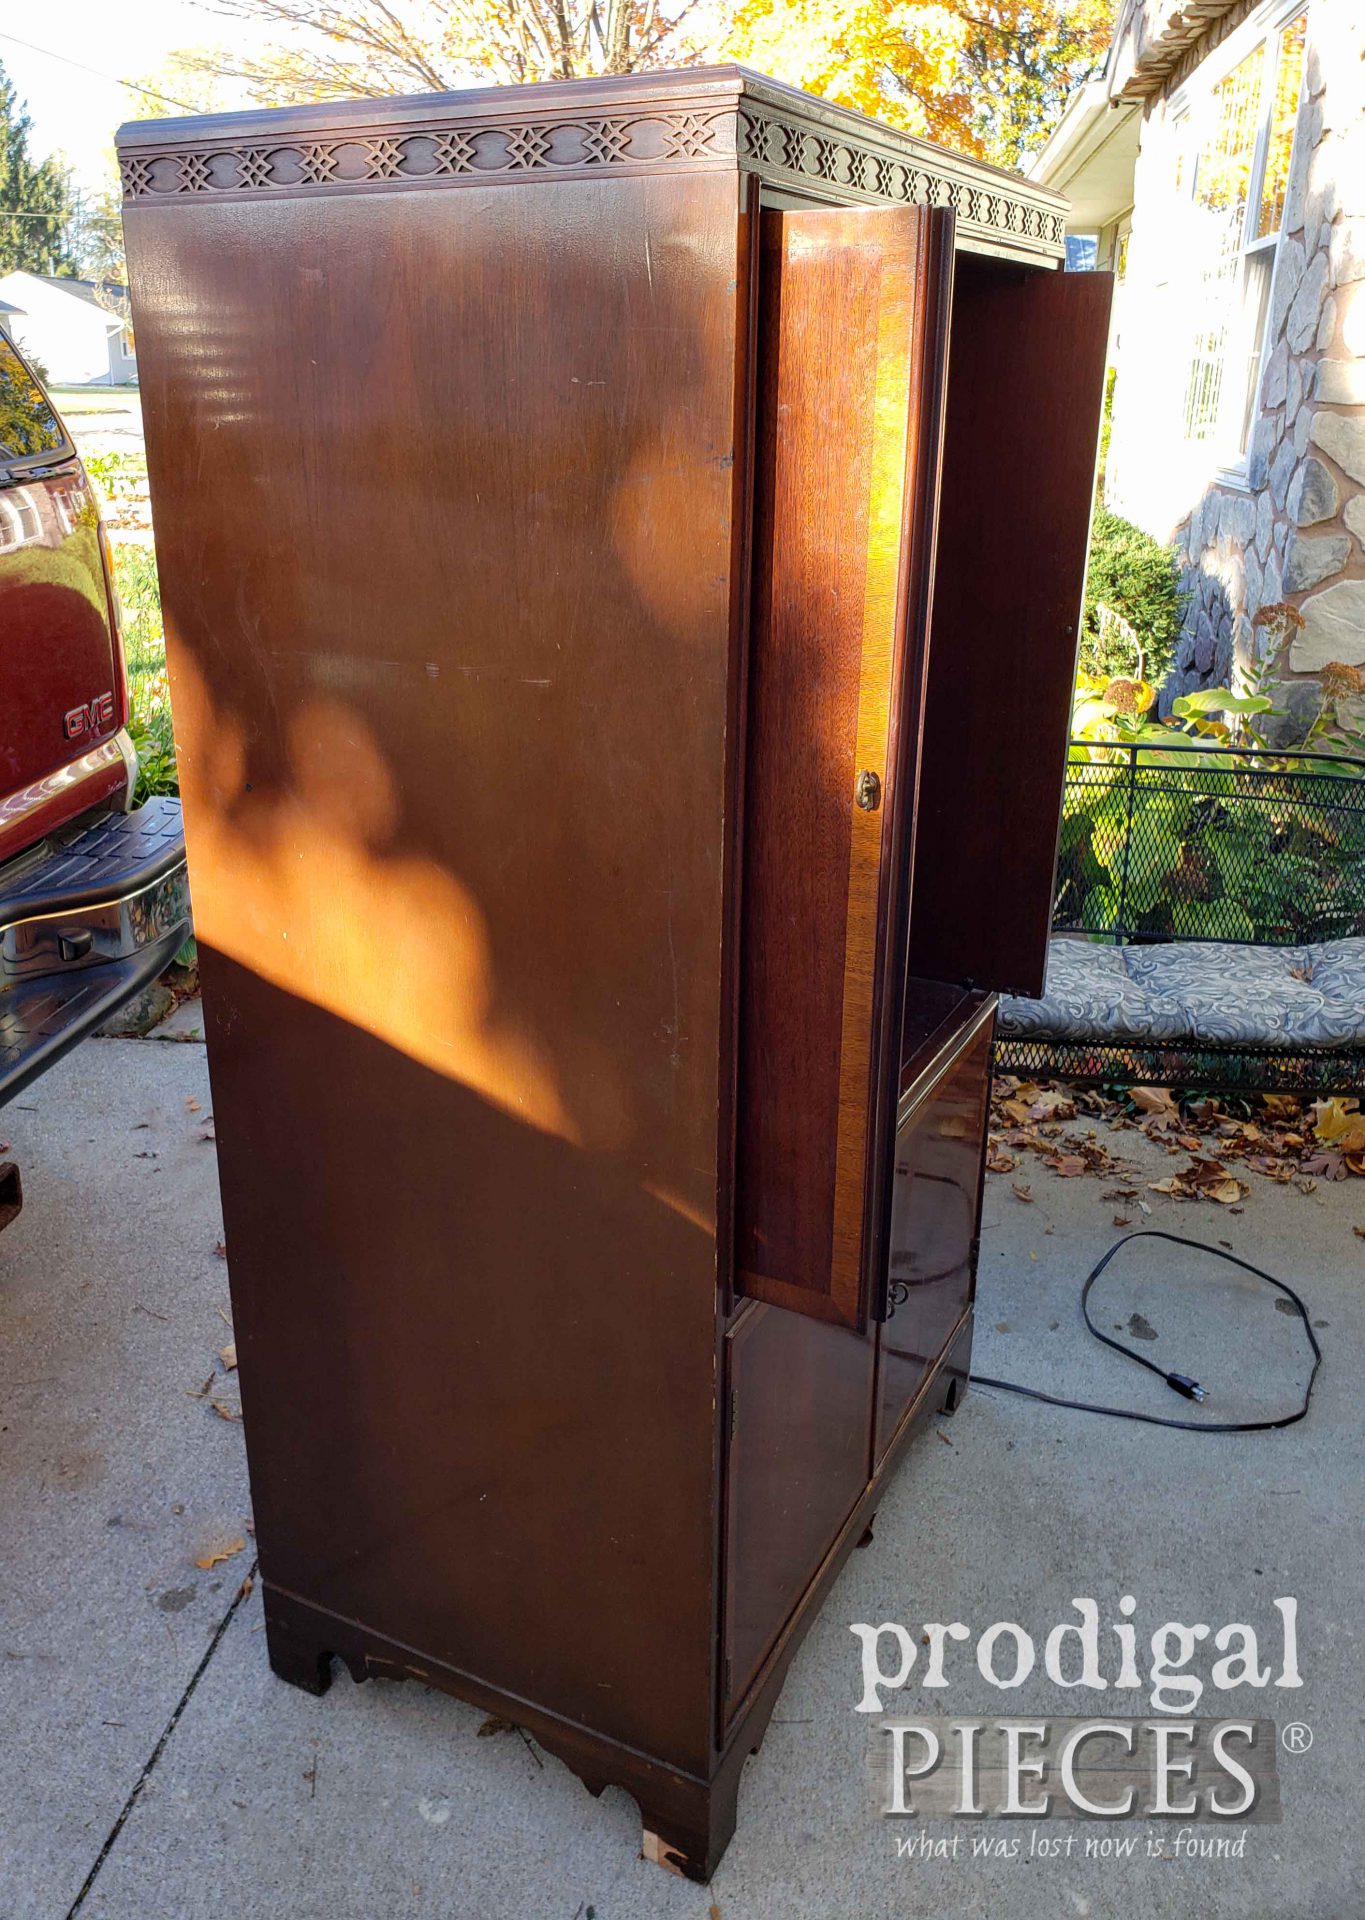
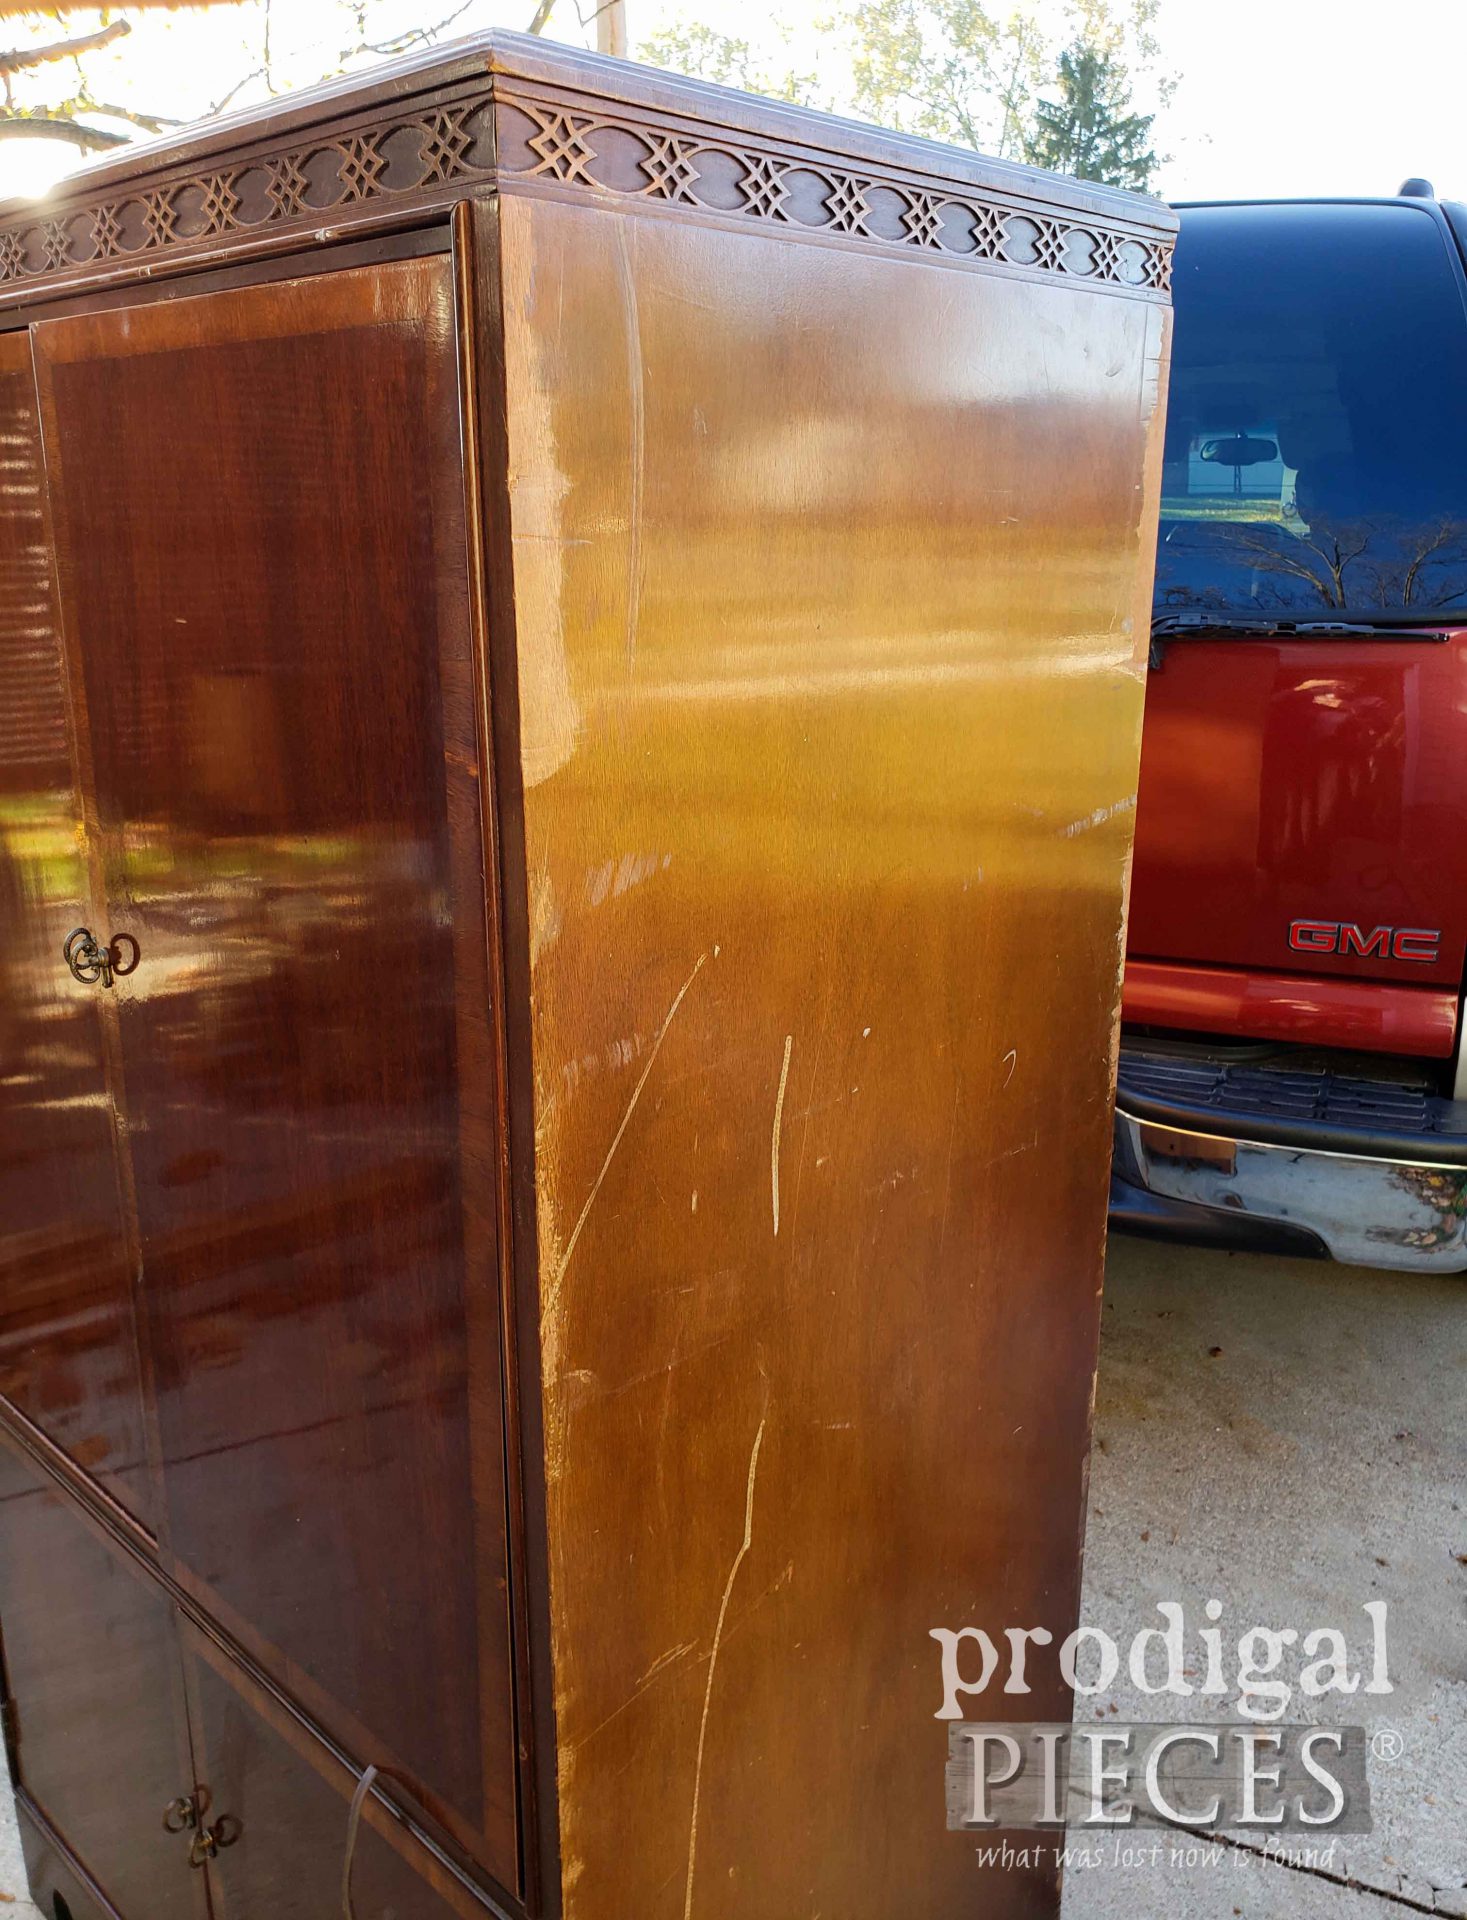
I’m usually pretty anal about checking things over before I bring them home. I saw the damaged veneer, the messed up hardware, and need to retrofit it for my needs. However, what I completely missed was the odor.
The weird thing is it didn’t stink from the outside, but only inside the upper portion. Well, that pretty much deemed this unusable for my requirement. But…I’m not a quitter and feel you would benefit from me showing you how to tackle a smoky piece. Plus, it seems cast-off entertainment centers are now a dime a dozen. Grab the next one you see!
START AT THE BEGINNING
One other thing I found was that the drawer, at some point, had these adhesive pieces added to store CD’s inside. They were easy enough to pop out and I passed them on to a someone who could use them. Not a thing gets wasted around here!
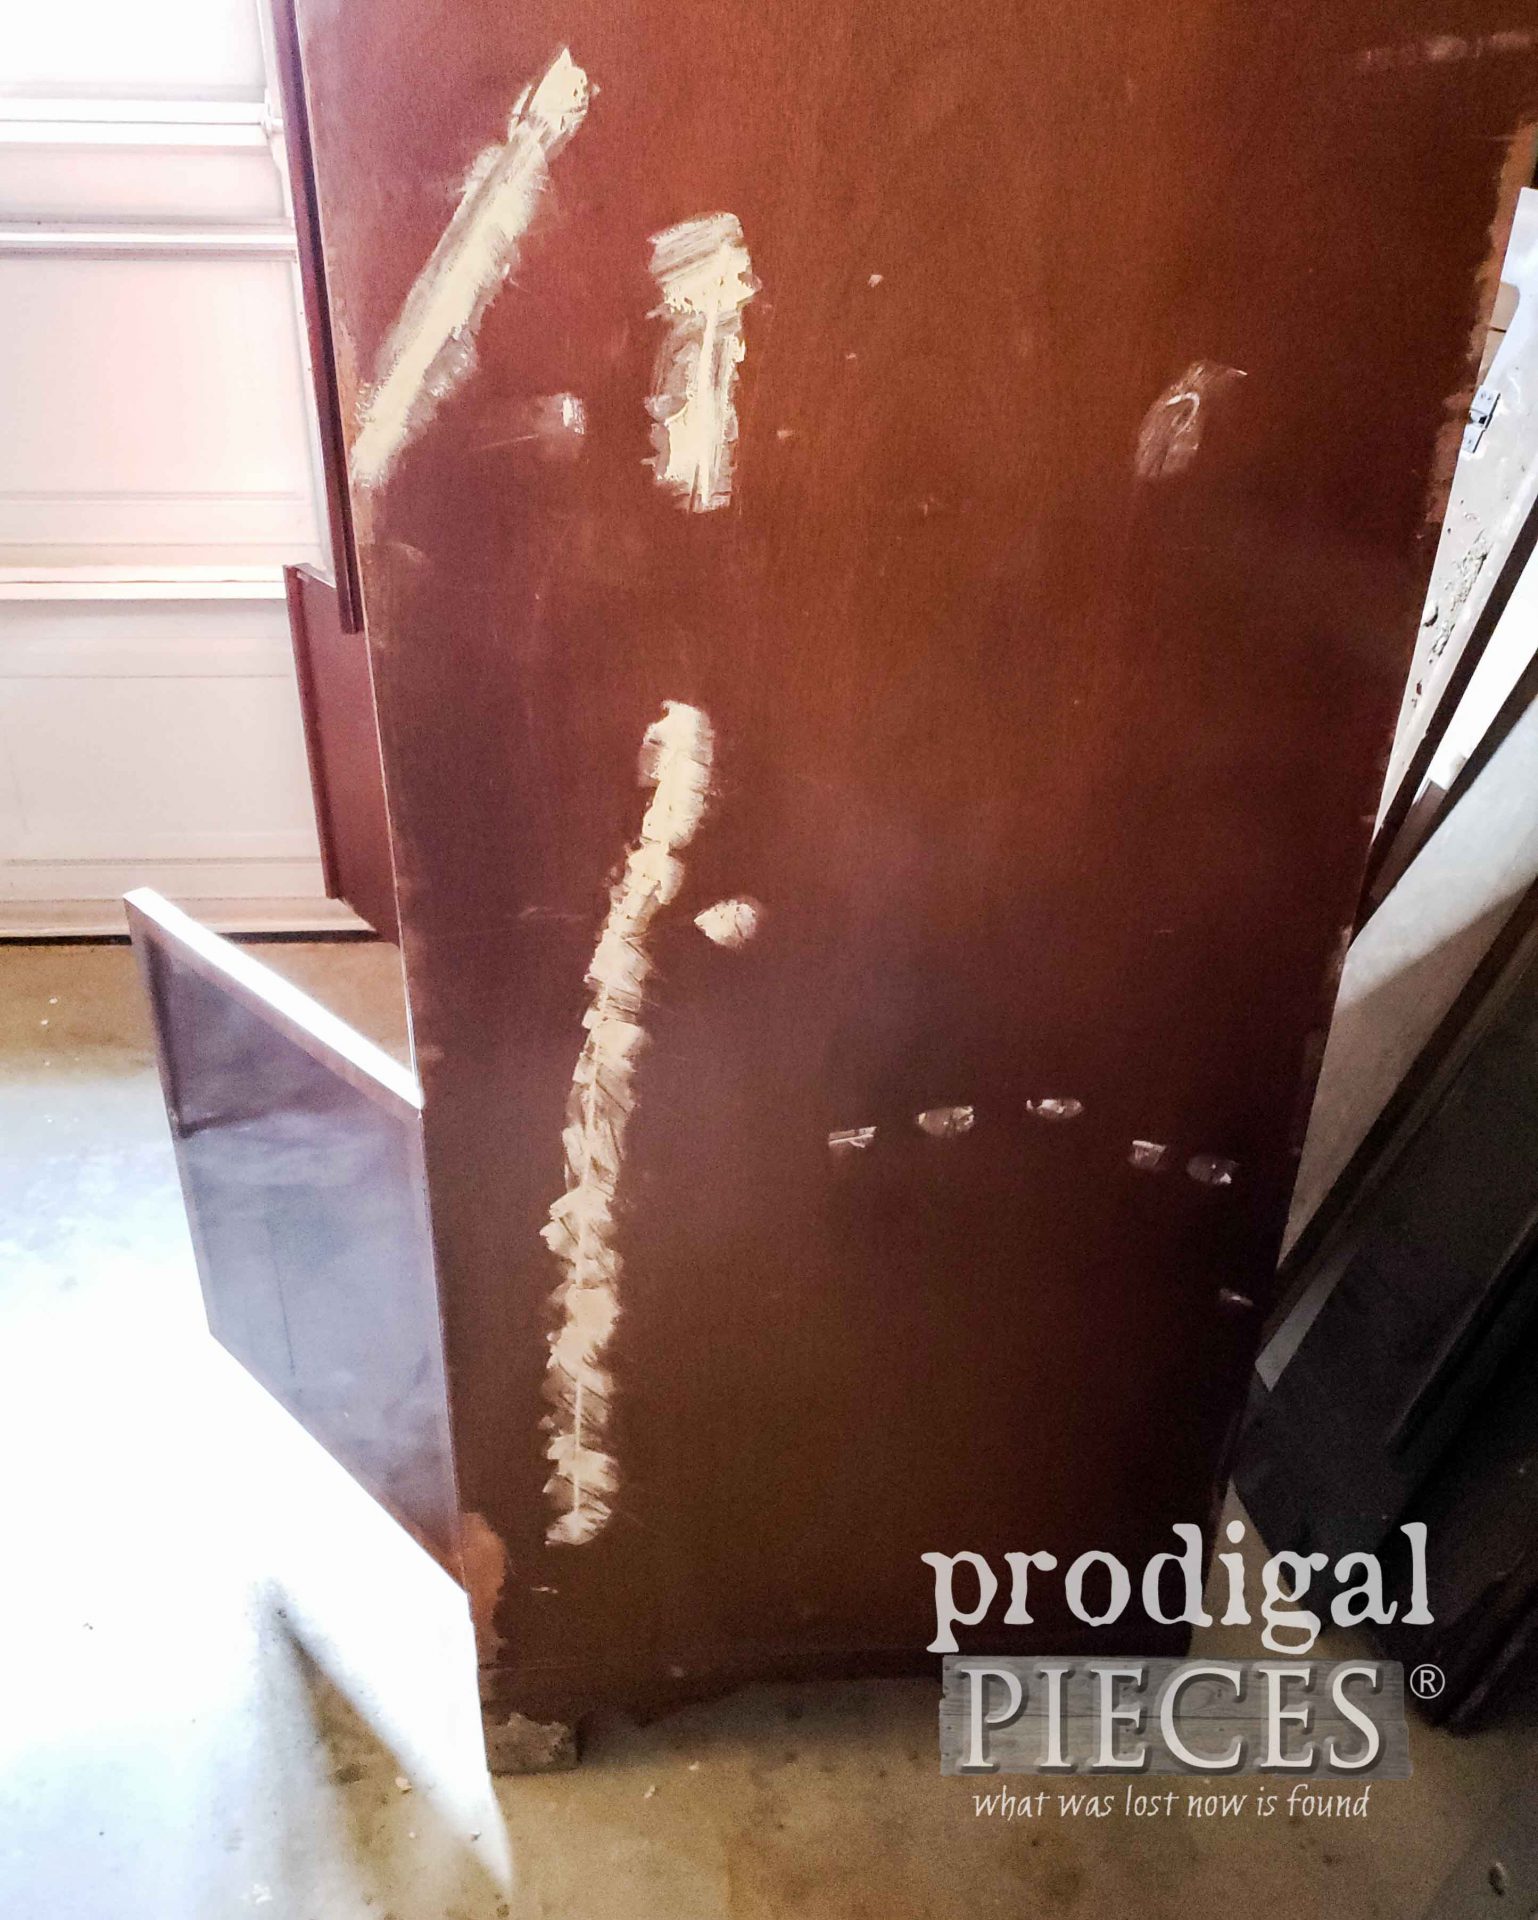
Next, I began to remove damaged veneer and fill all those ginormous gouges with wood filler. See the mud on the feet left to dry? Geesh. Someone really didn’t care for this thing.
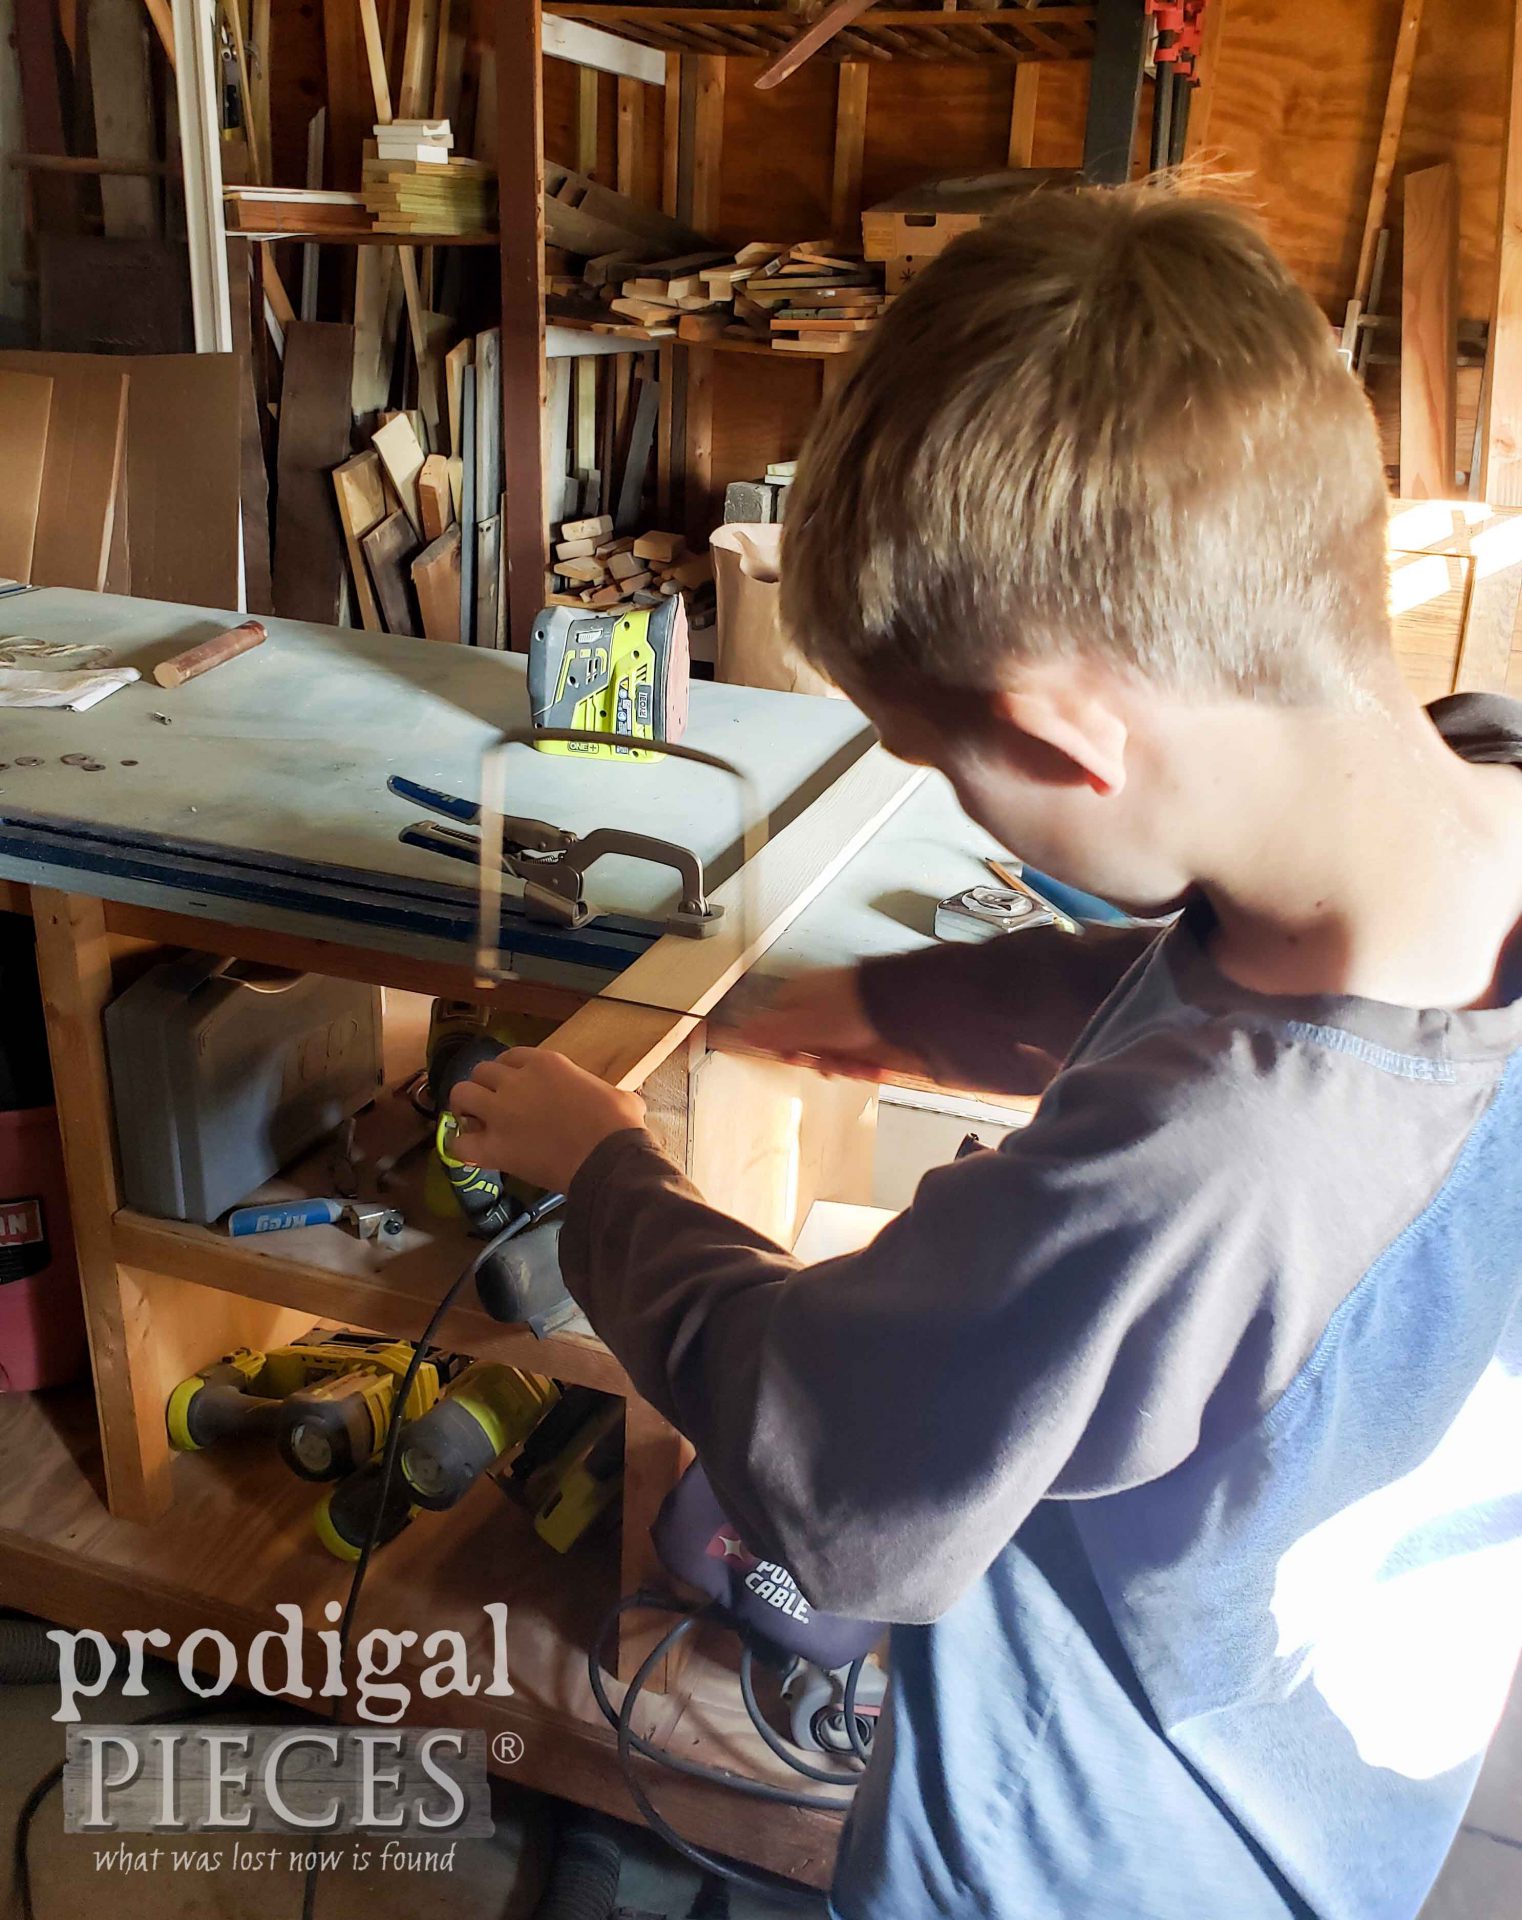
In addition to making repairs, I also took out the built-in electrical outlets (saved for later), and added piece to cover the holes for cords. Round dowel cut into discs filled some of the holes, while scrap wood pieces covered others. My little man had fun helping me make the pieces needed.
NEXT STEP
Of course, I also need to do some building in order to make this upcycled entertainment center into a child’s wardrobe. The only other thing missing is a clothing rack. Thankfully, that’s a simple fix with a few blocks of wood and a dowel.
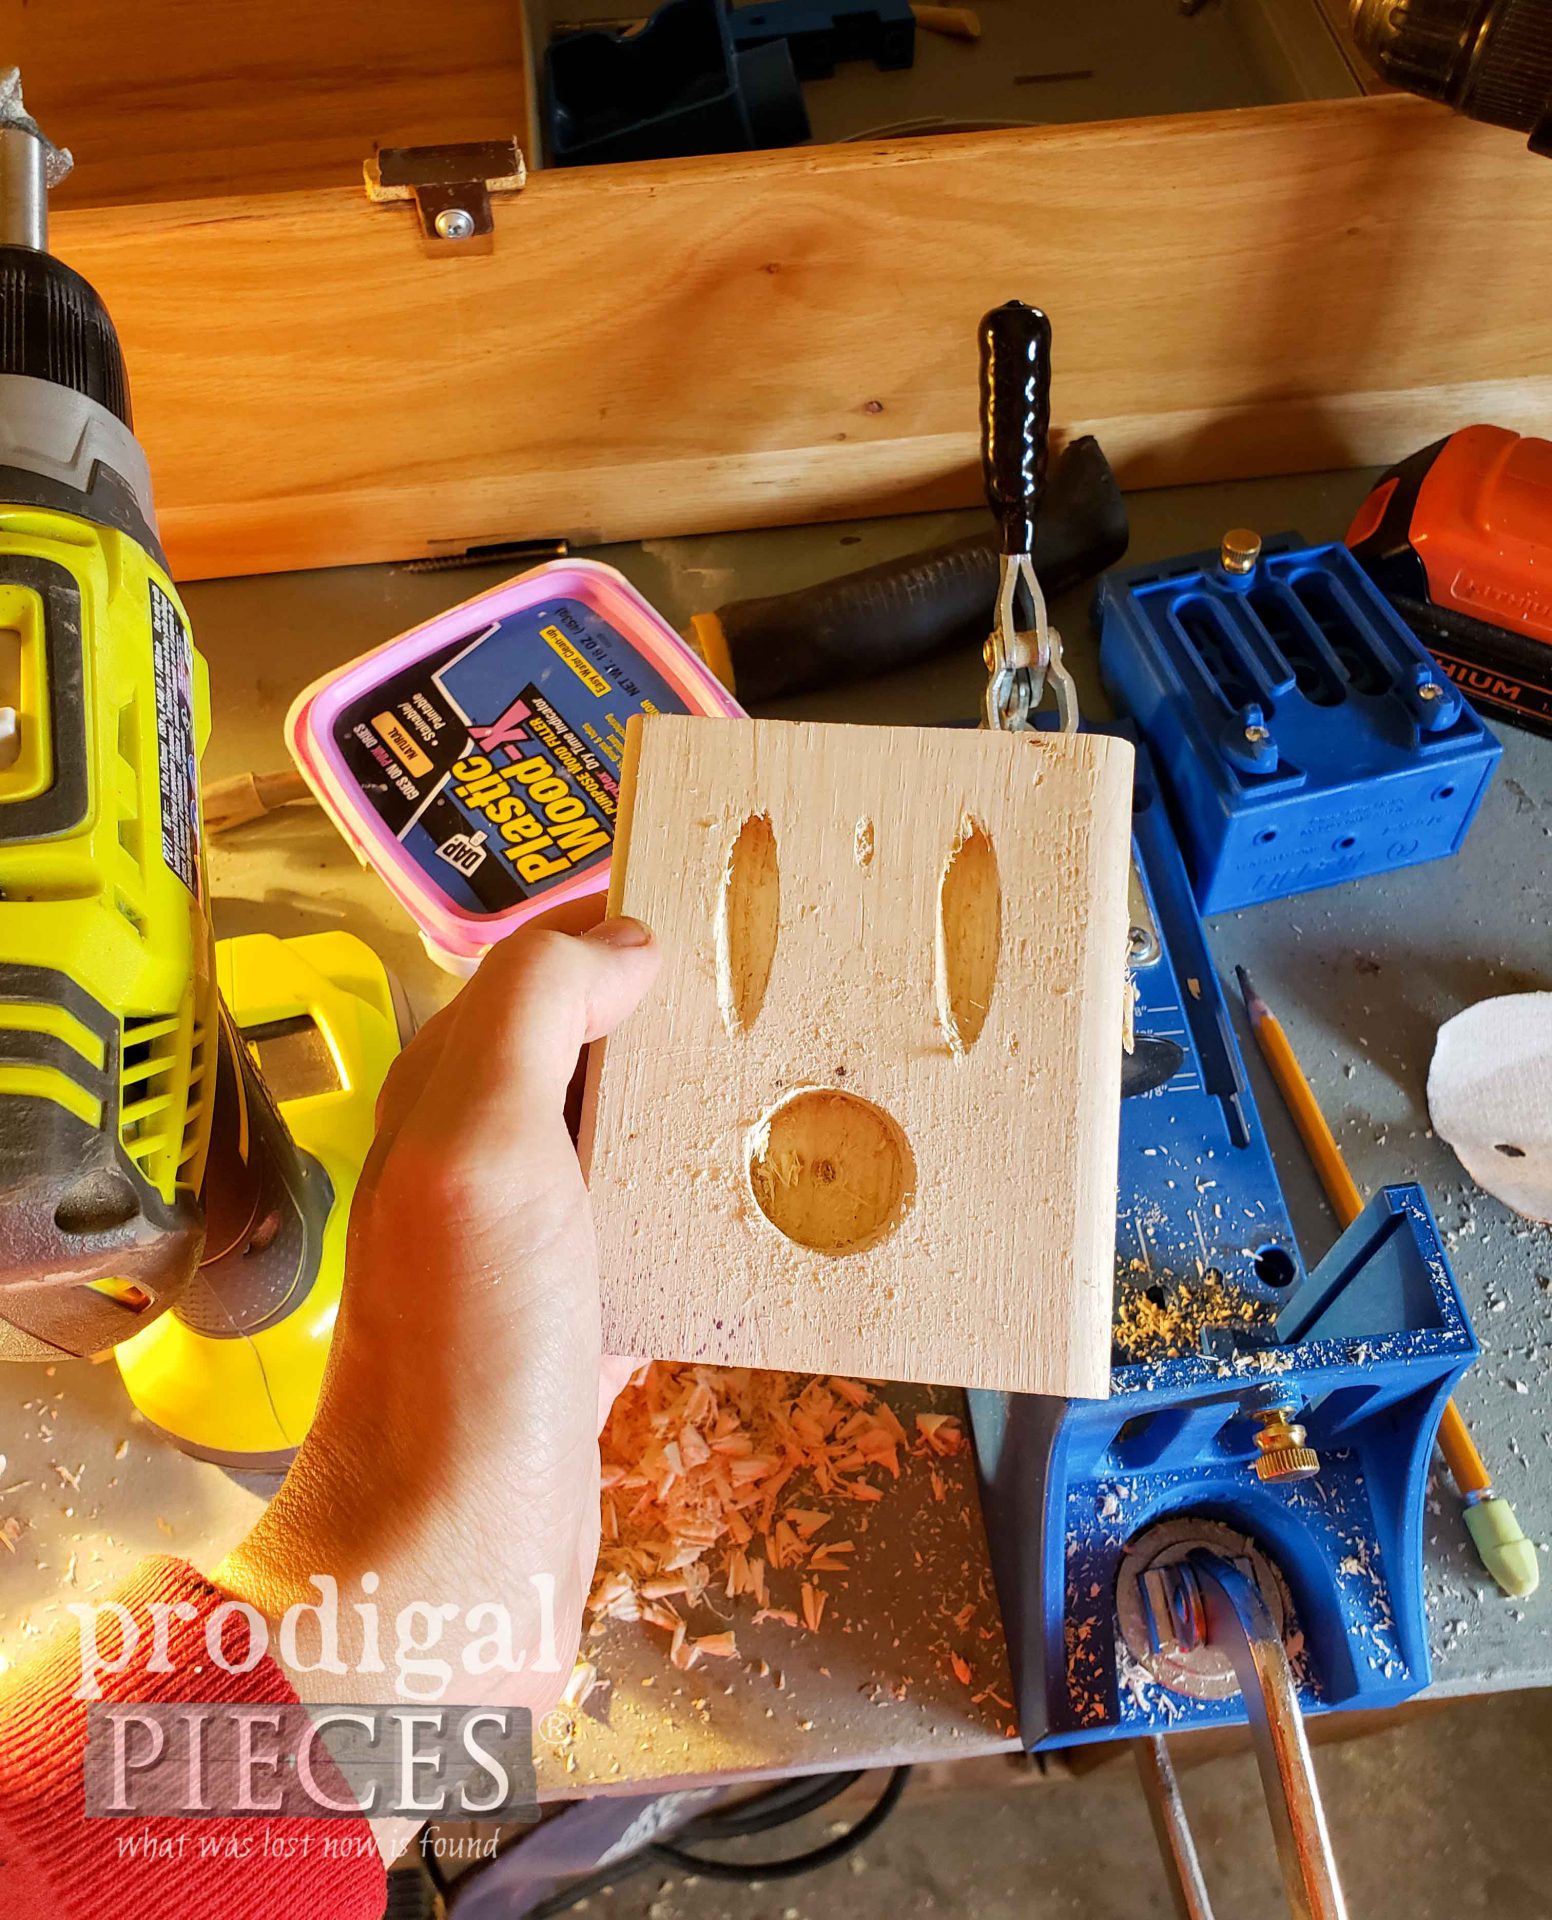
I used my Kreg Jig to add pocket screw holes. Then, I used my drill and forstner bit to make a spot for the dowel to rest. Doesn’t this look like a surprised face that I’m doing so awesome?!? hee hee.
UP NEXT
Then, after all the prep is done, it’s time for mission “smoke-free” to begin. I will be straight-up honest and say that over the years I have tried everything there is to cover, remove, alleviate smoke from pieces I’ve inherited. While, soaking it in sunshine is always a great option, but unless you have months at your disposal, there’s not any other way to treat it naturally.
However, if you really want to kick the smoke fest in the fanny, here’s what I do. You need to cover the ENTIRE THING, even underneath all parts, with this shellac primer.
Actually, this particular primer not only blocks stains that I encounter with this mahogany piece bleeding through, but also odors. It is nasty stuff to work with, but it WORKS. When I say nasty, I’m referring to the chemicals in it. I purchased the version in the white base to provide color block too. However, you can purchase it in a clear version if you prefer the wood to peek through.
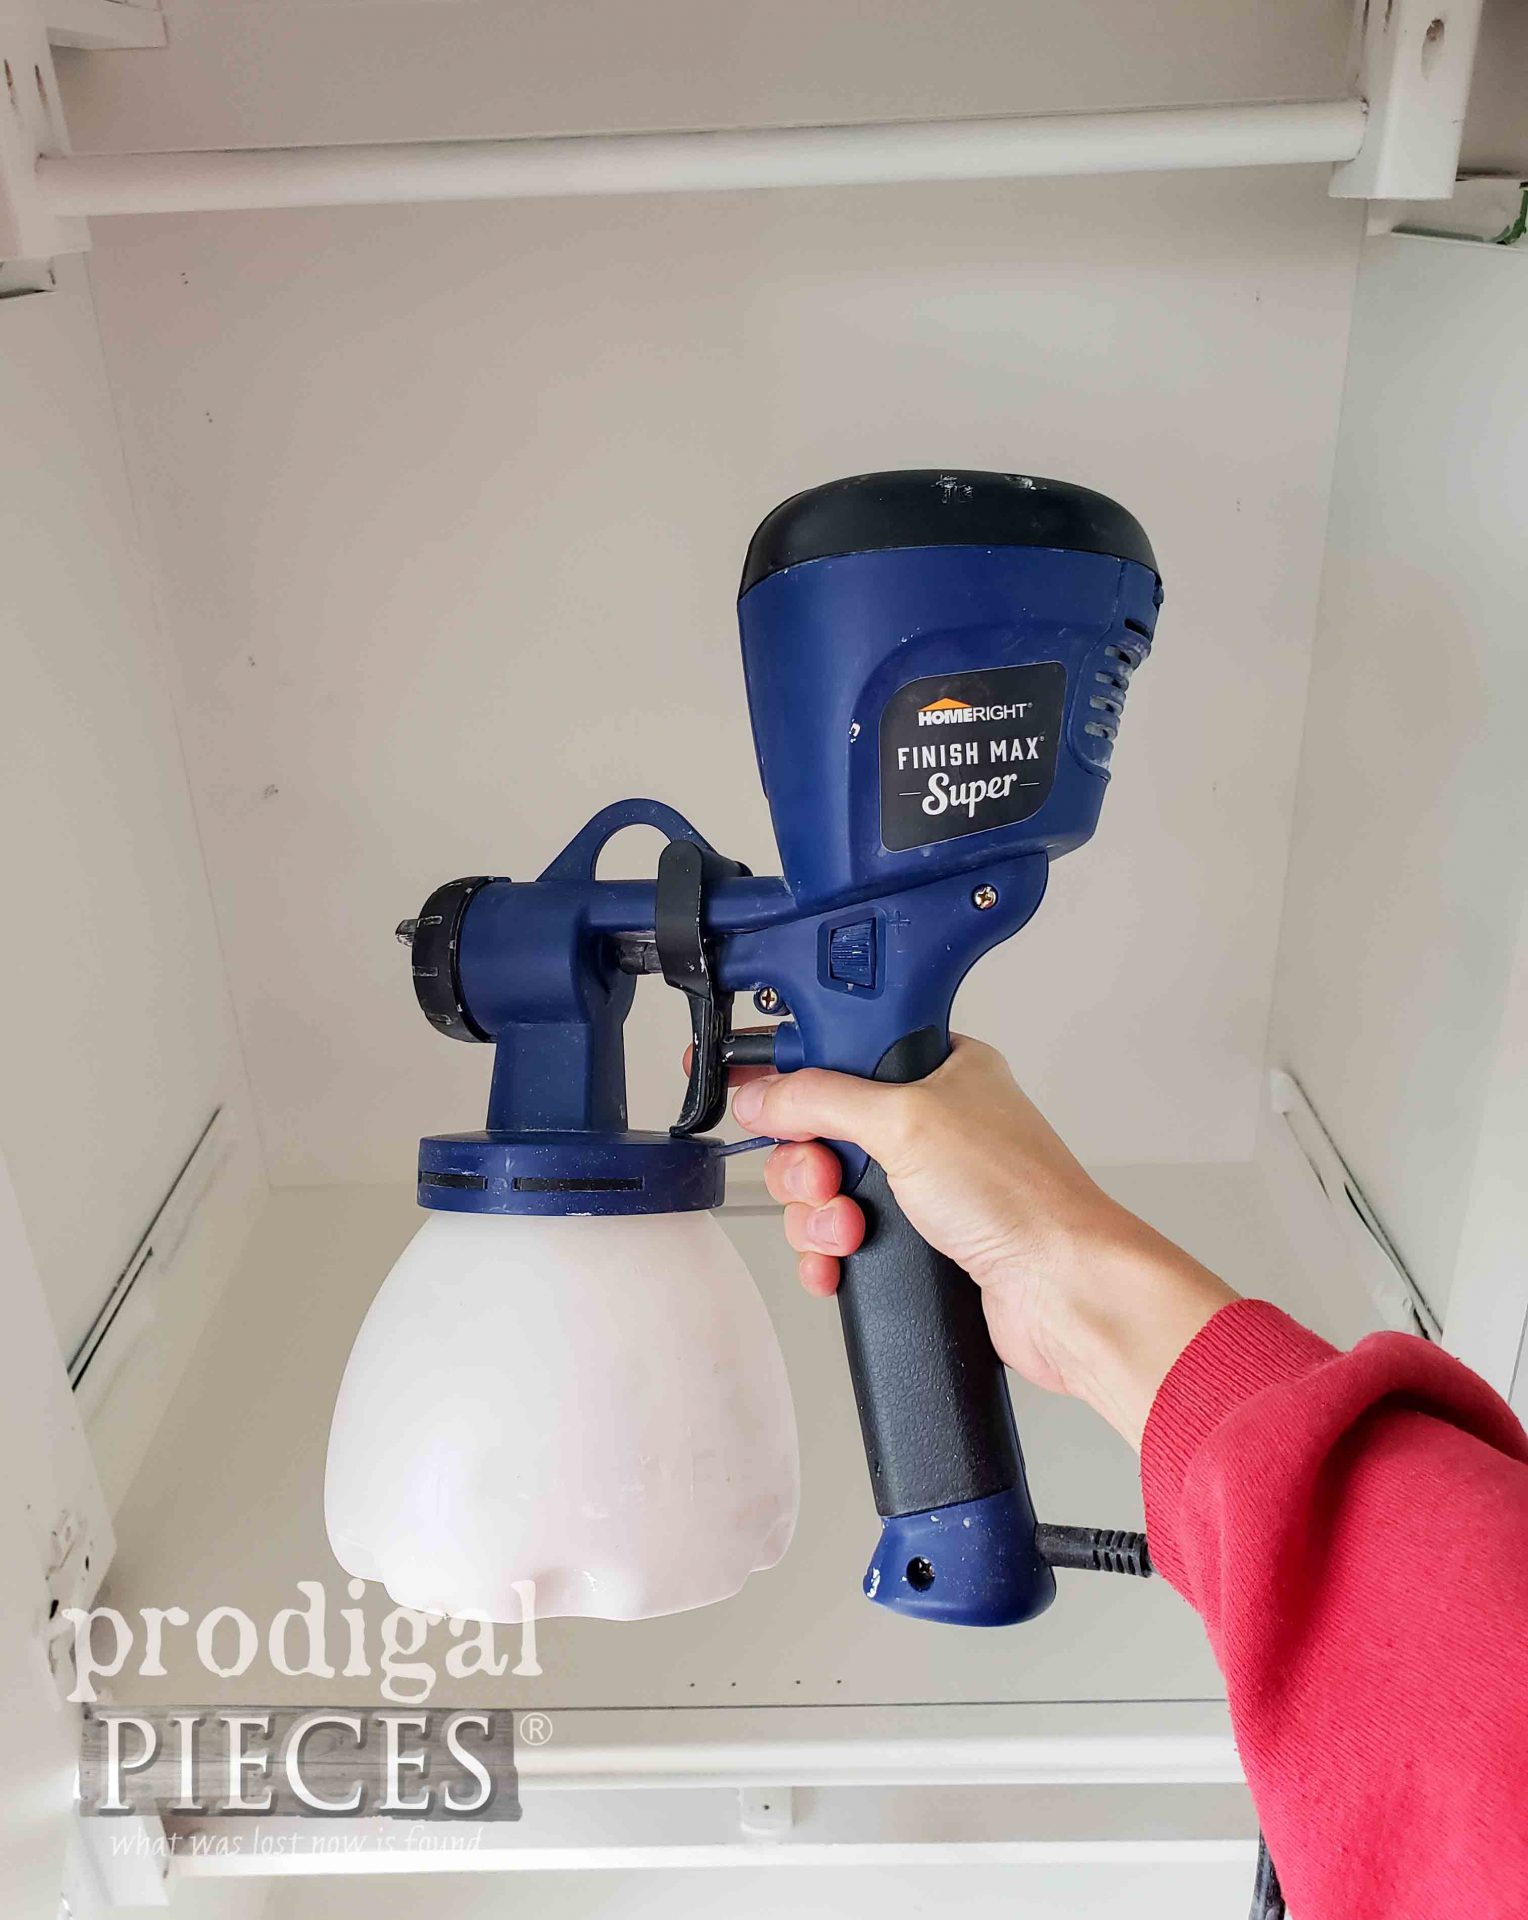
The onliest way to use it efficiently, productively, and safely is in a sprayer. With my HomeRight Super Finish Max, I had the entire entertainment center covered in less than 30 minutes from setup to finish. What is more, just make sure you wear a respirator with organic filters, work outside (or well-ventilated area), and safety gear. The best part? It only takes one coat and the odor is GONE. I’m doing the happiest of happy dances over here!!
You can view it in action below.
AFTER PAINT
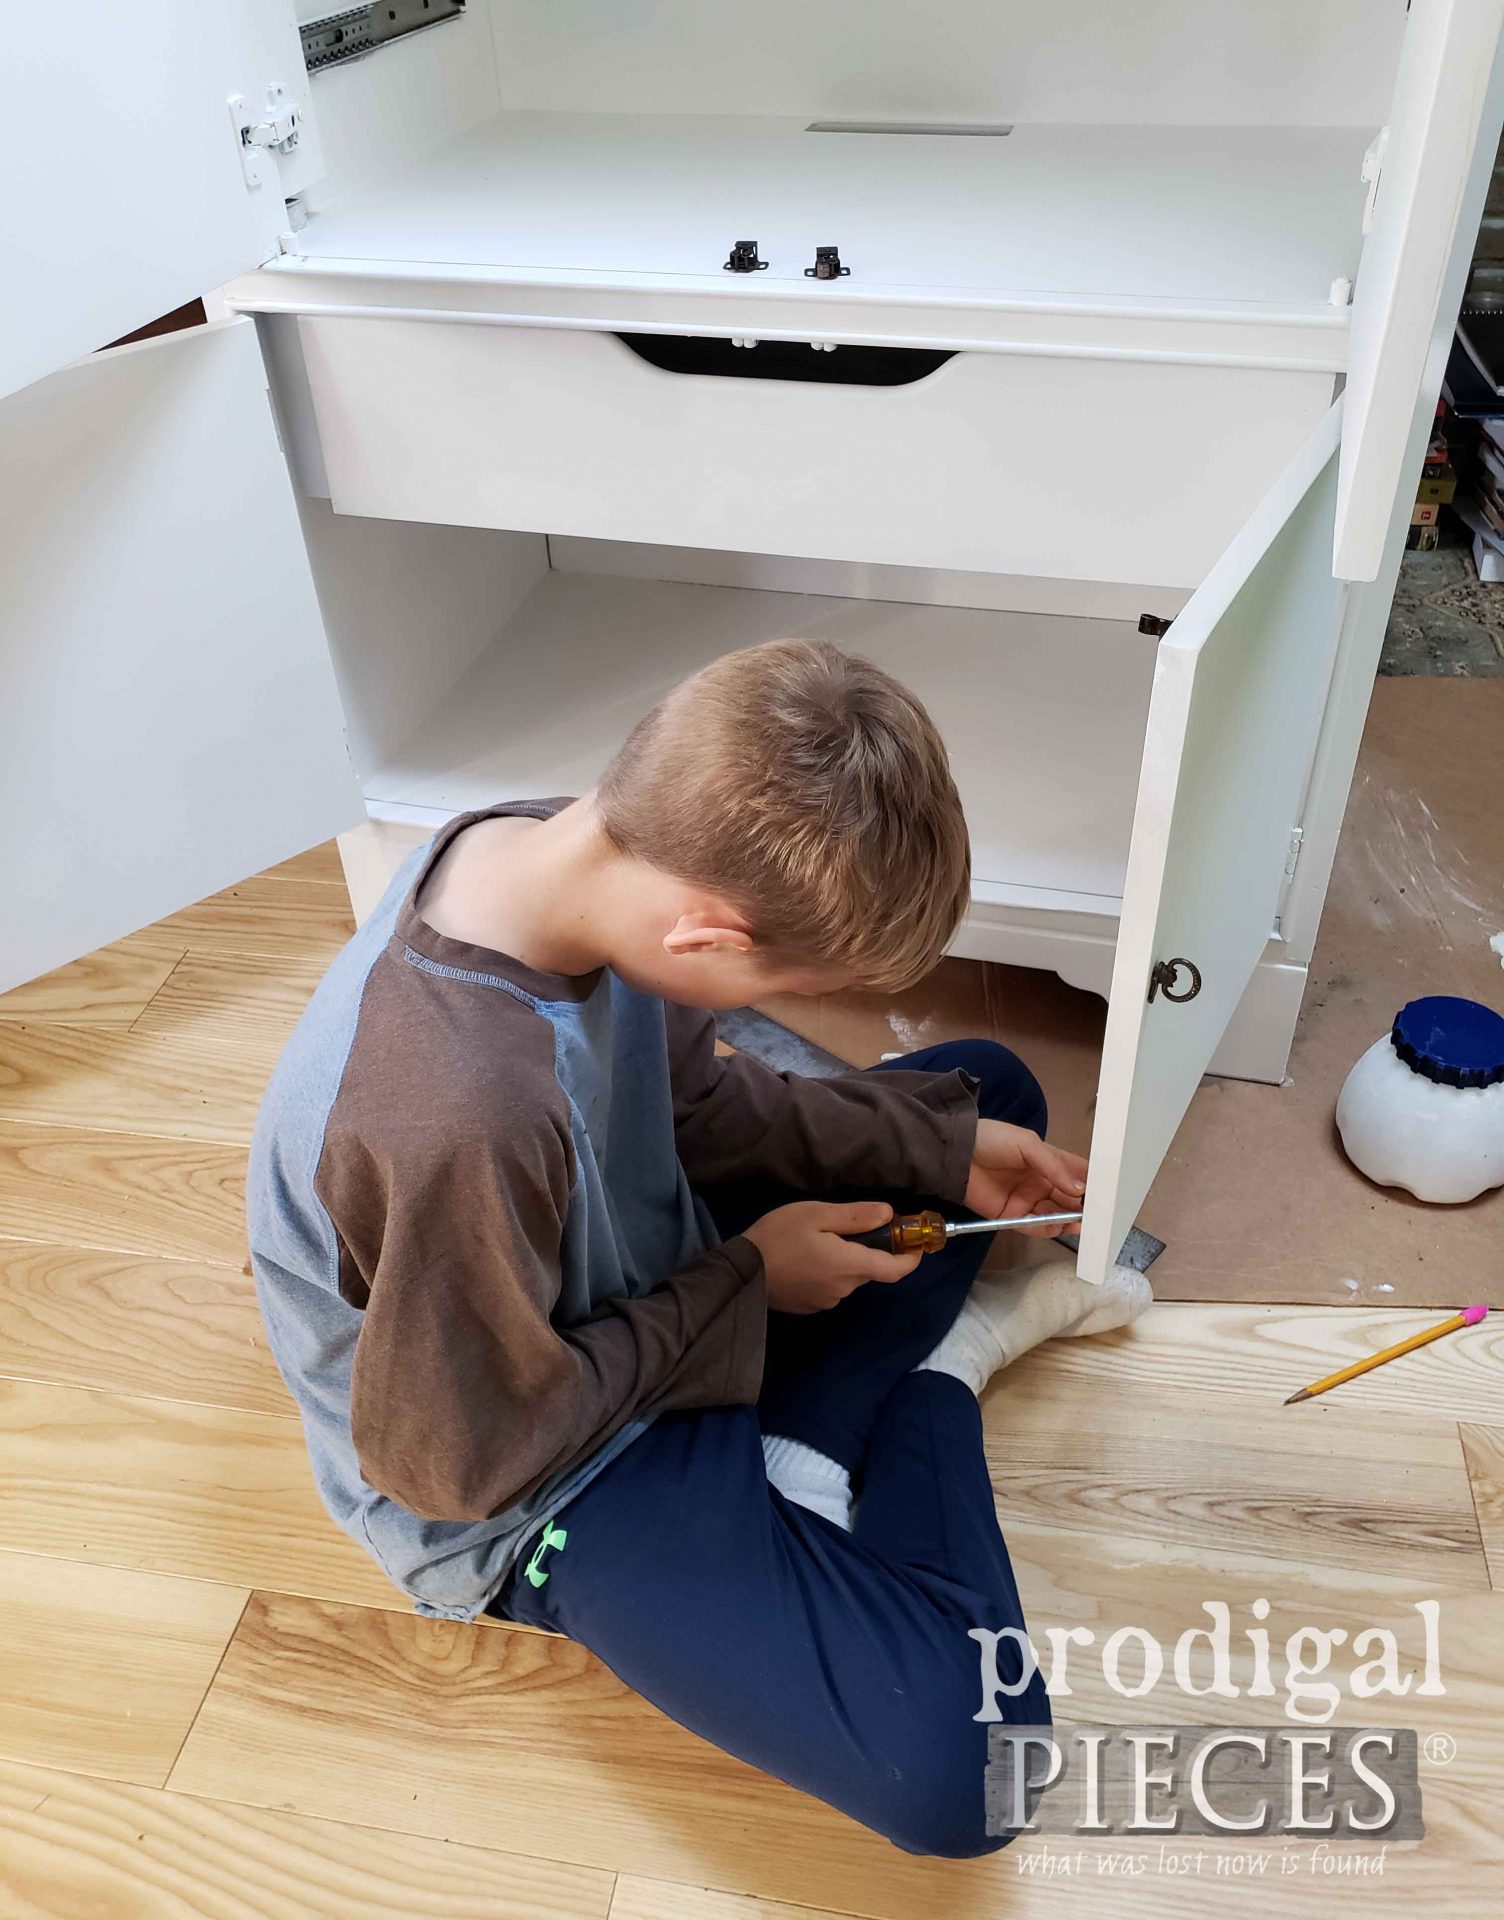
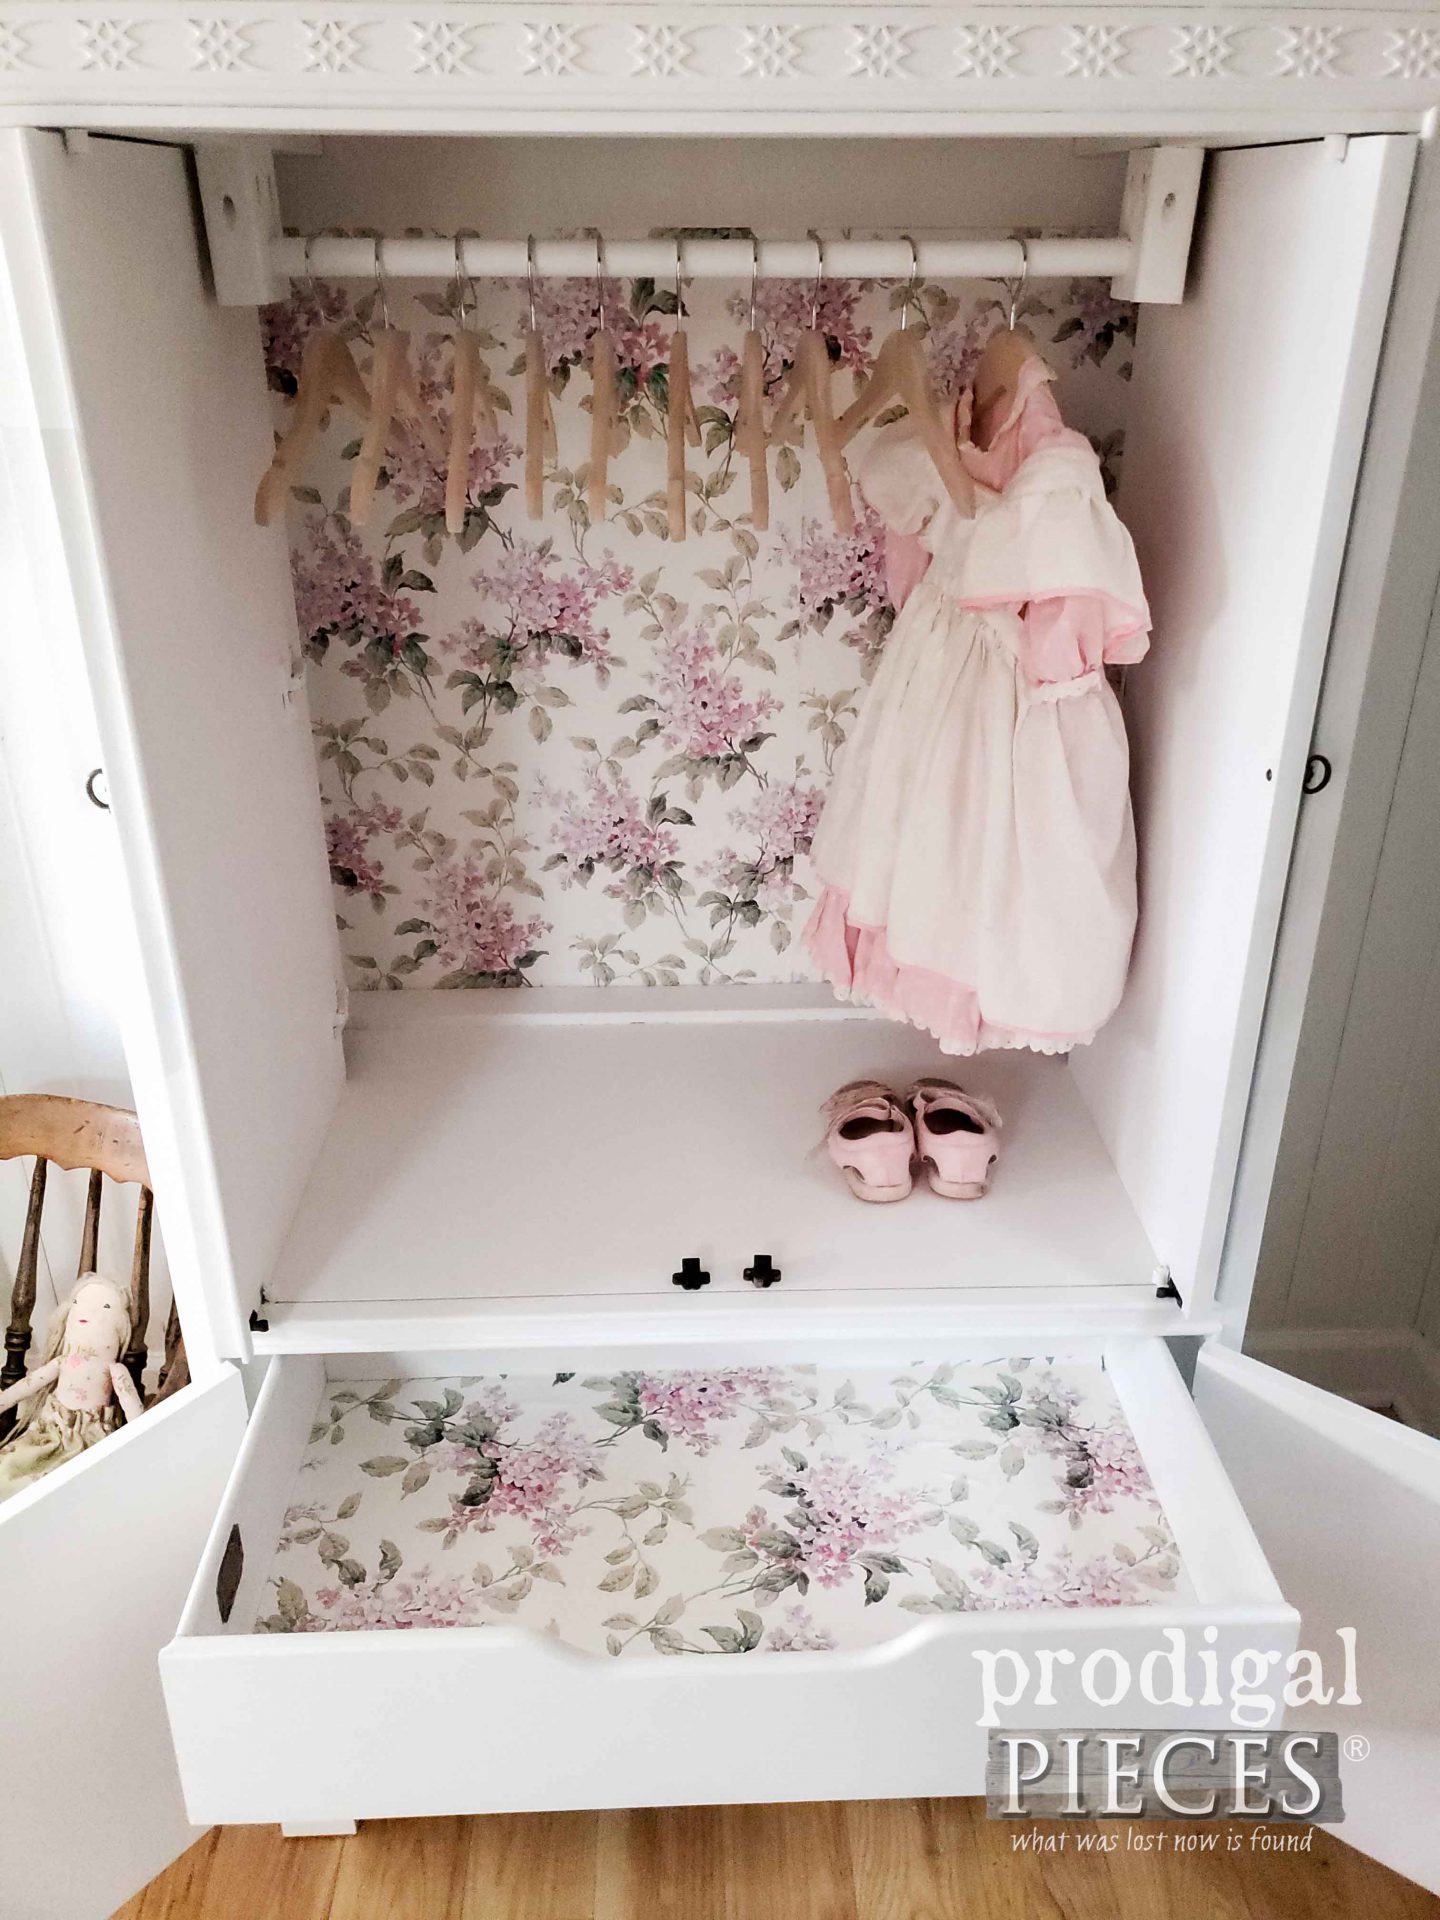
When my primer is dry, I apply two coats of a basic white paint and call that part done. Yahoo! The only thing next is to add a bit of whimsy with wallpaper and add the hardware. My little guy chipped in to help again. Sniff…he’s getting so big!
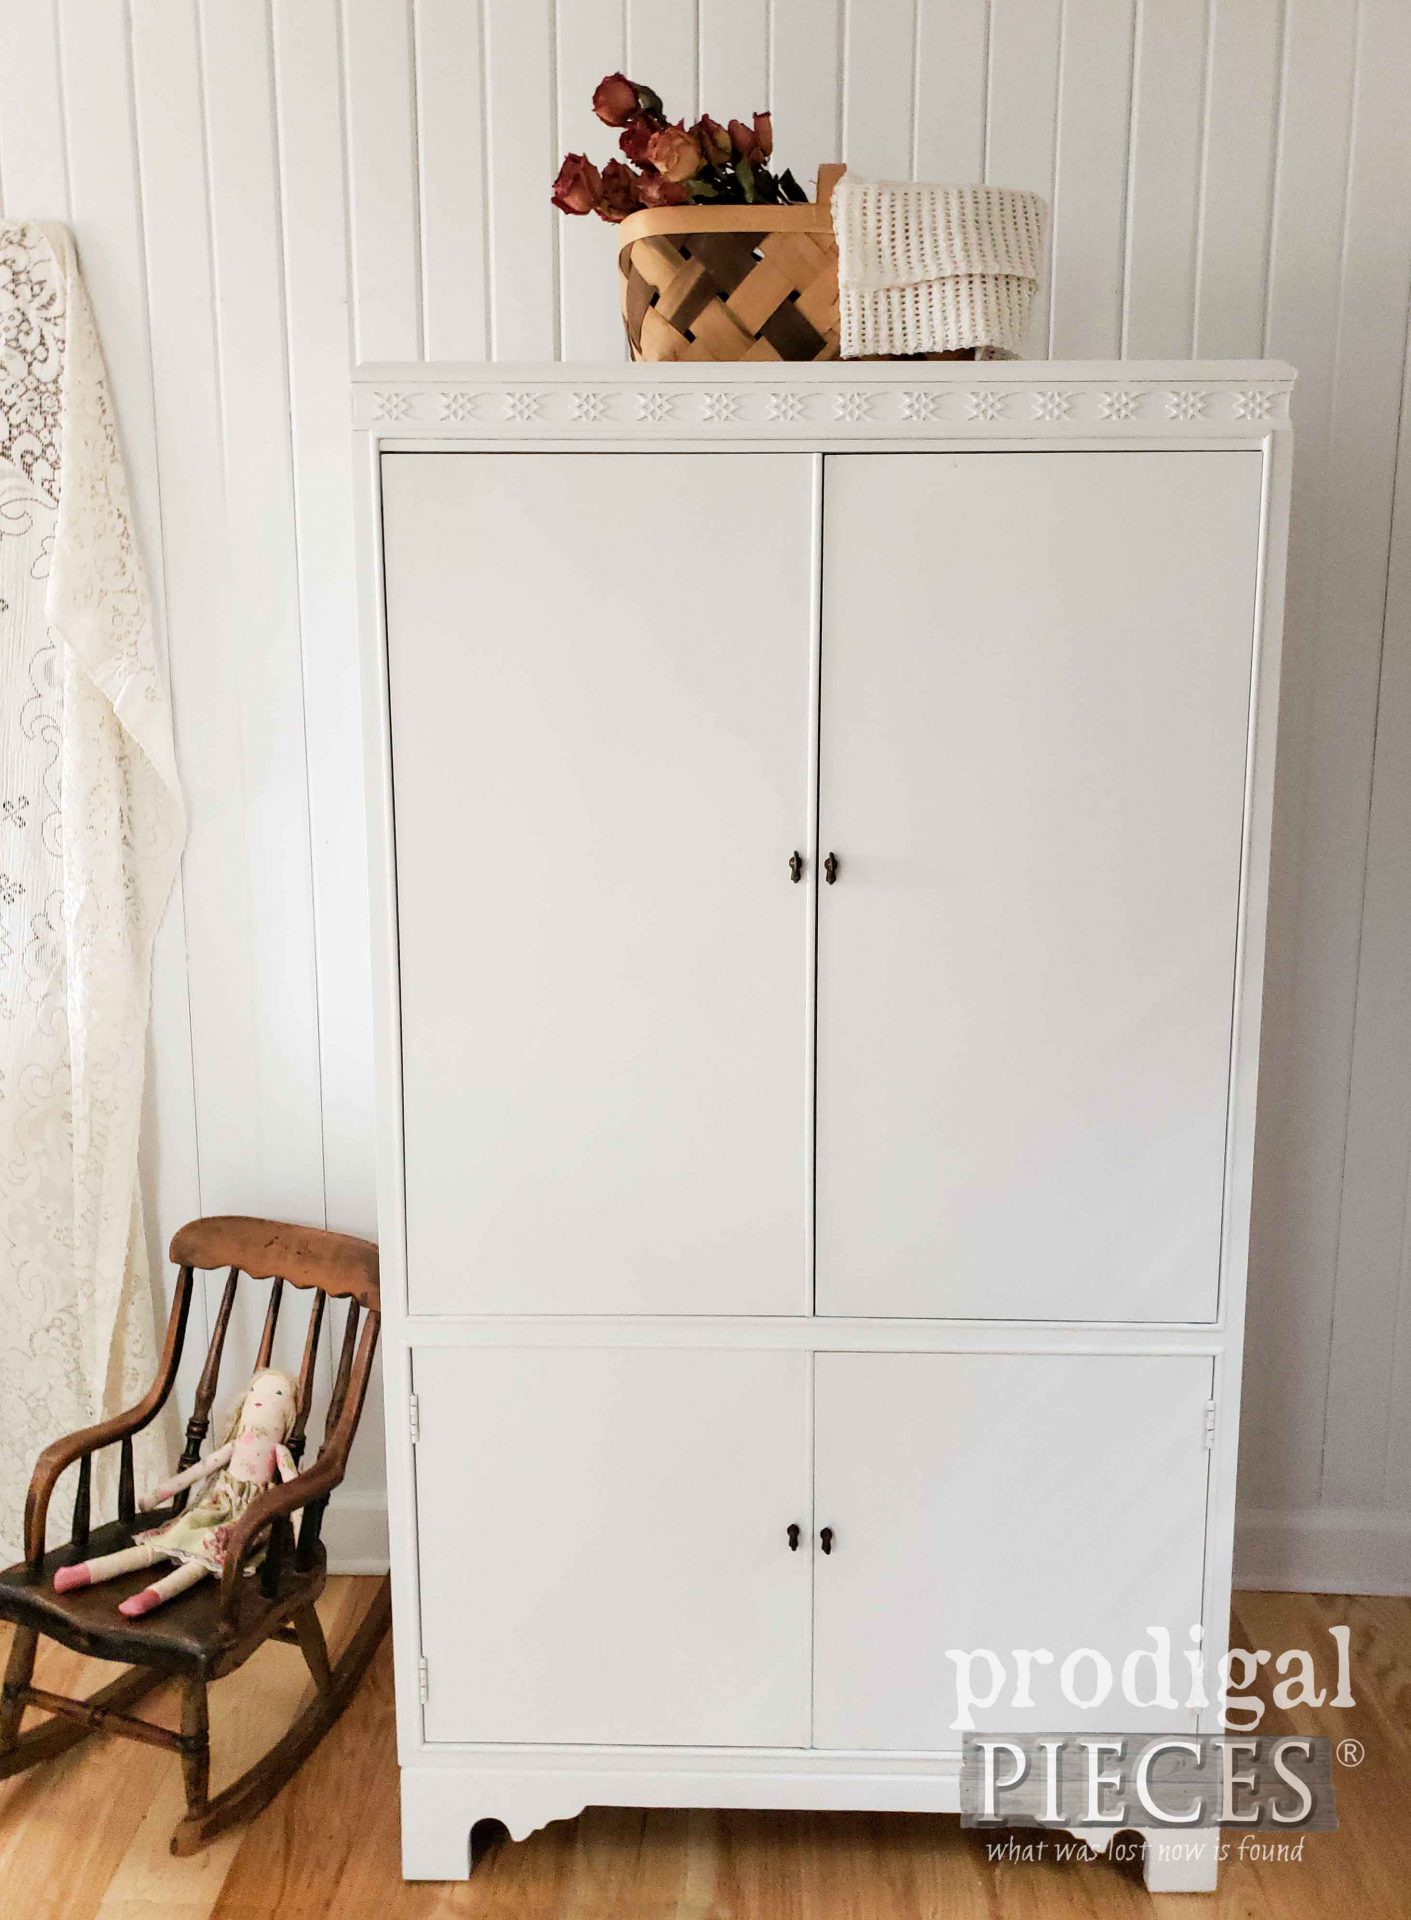
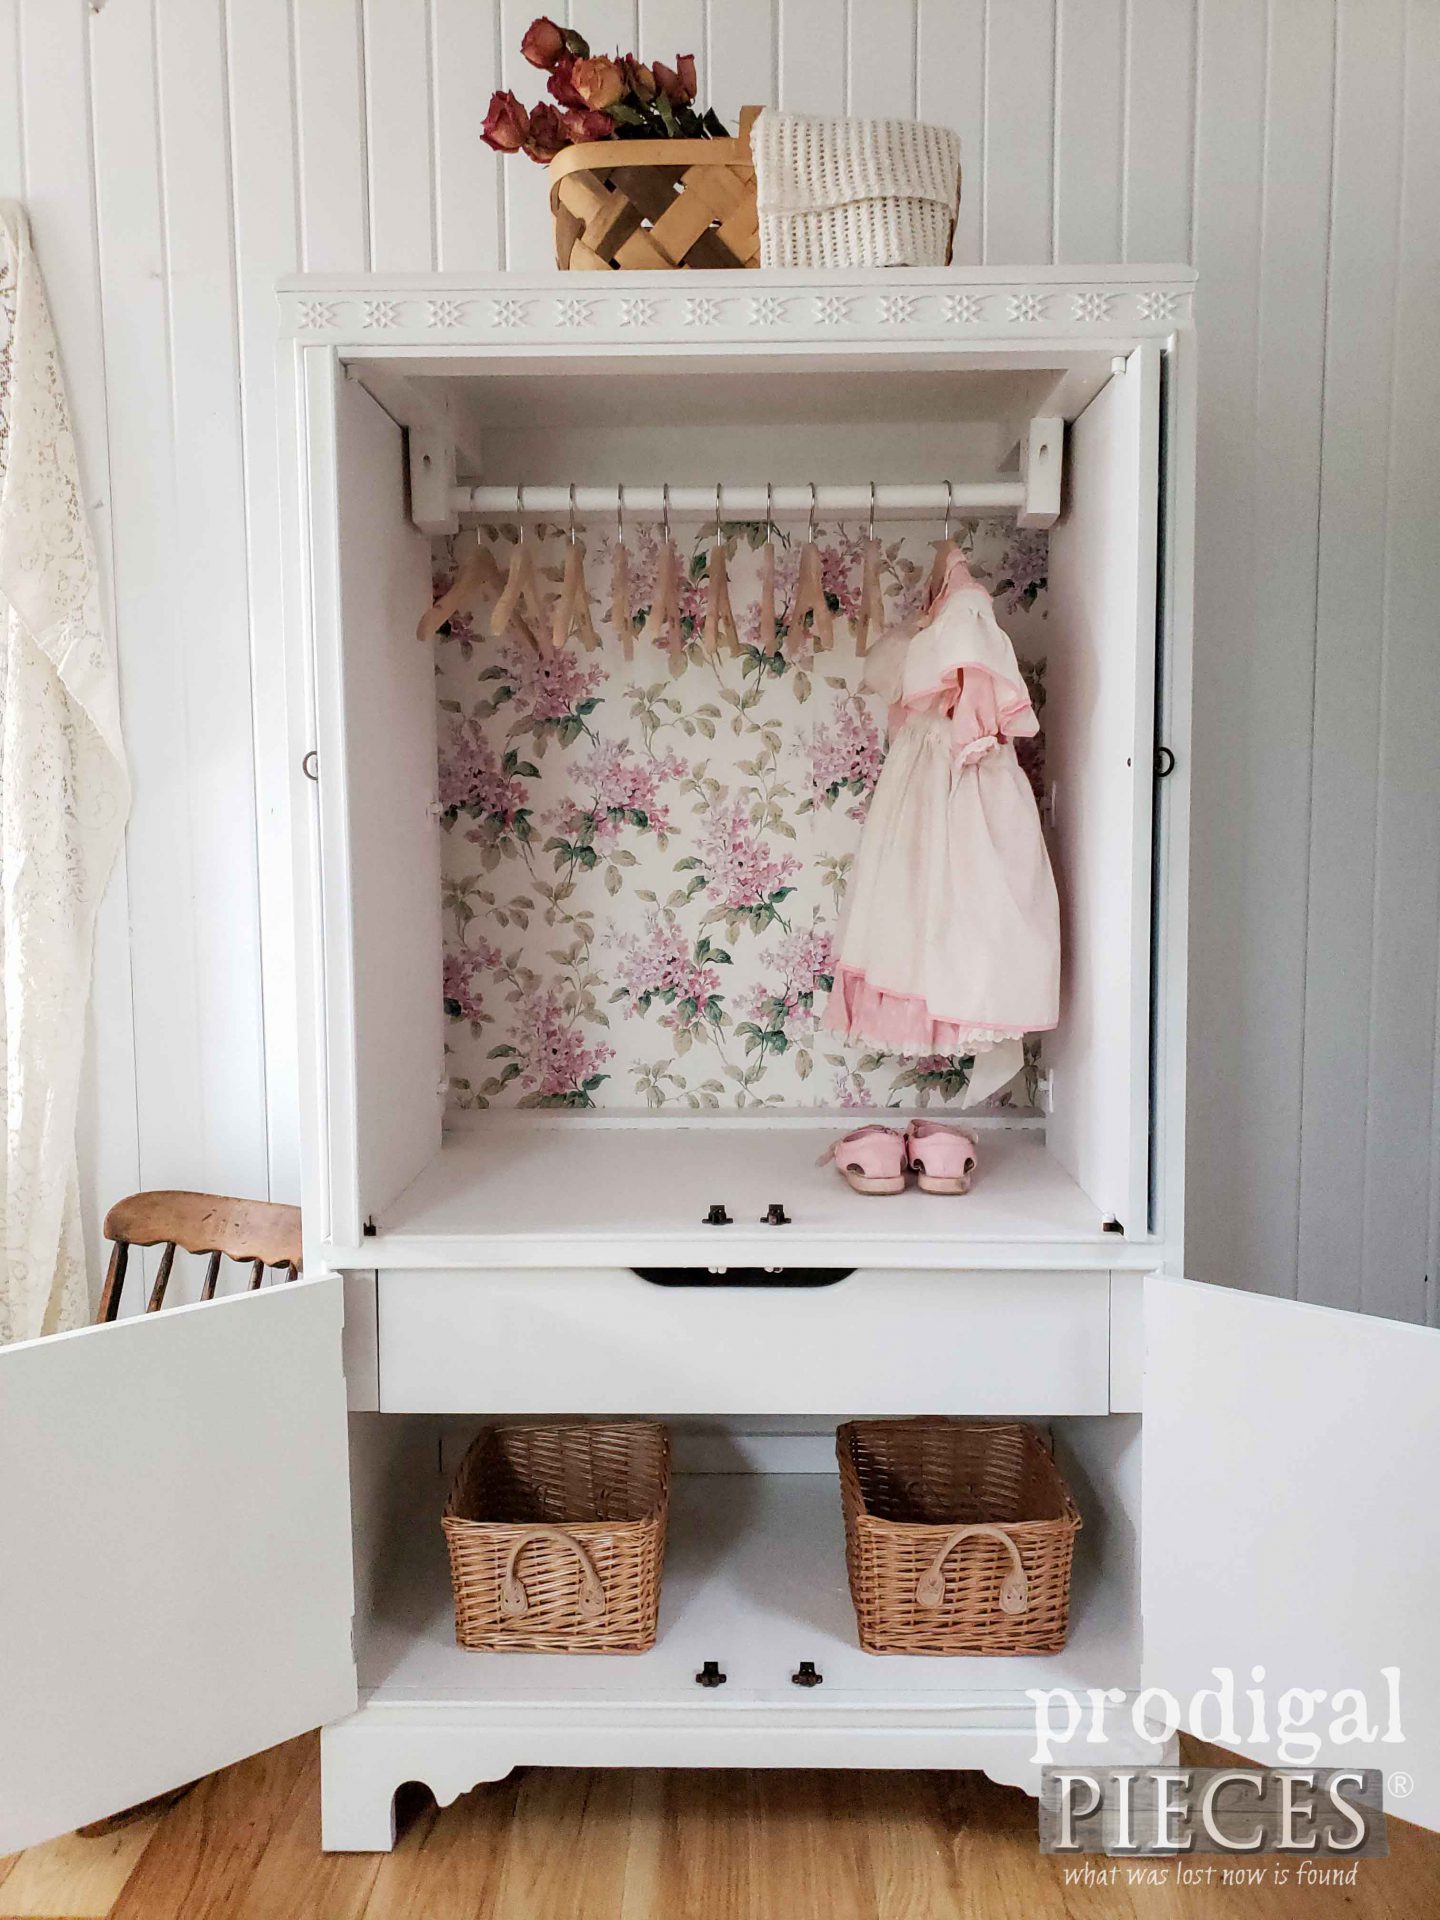
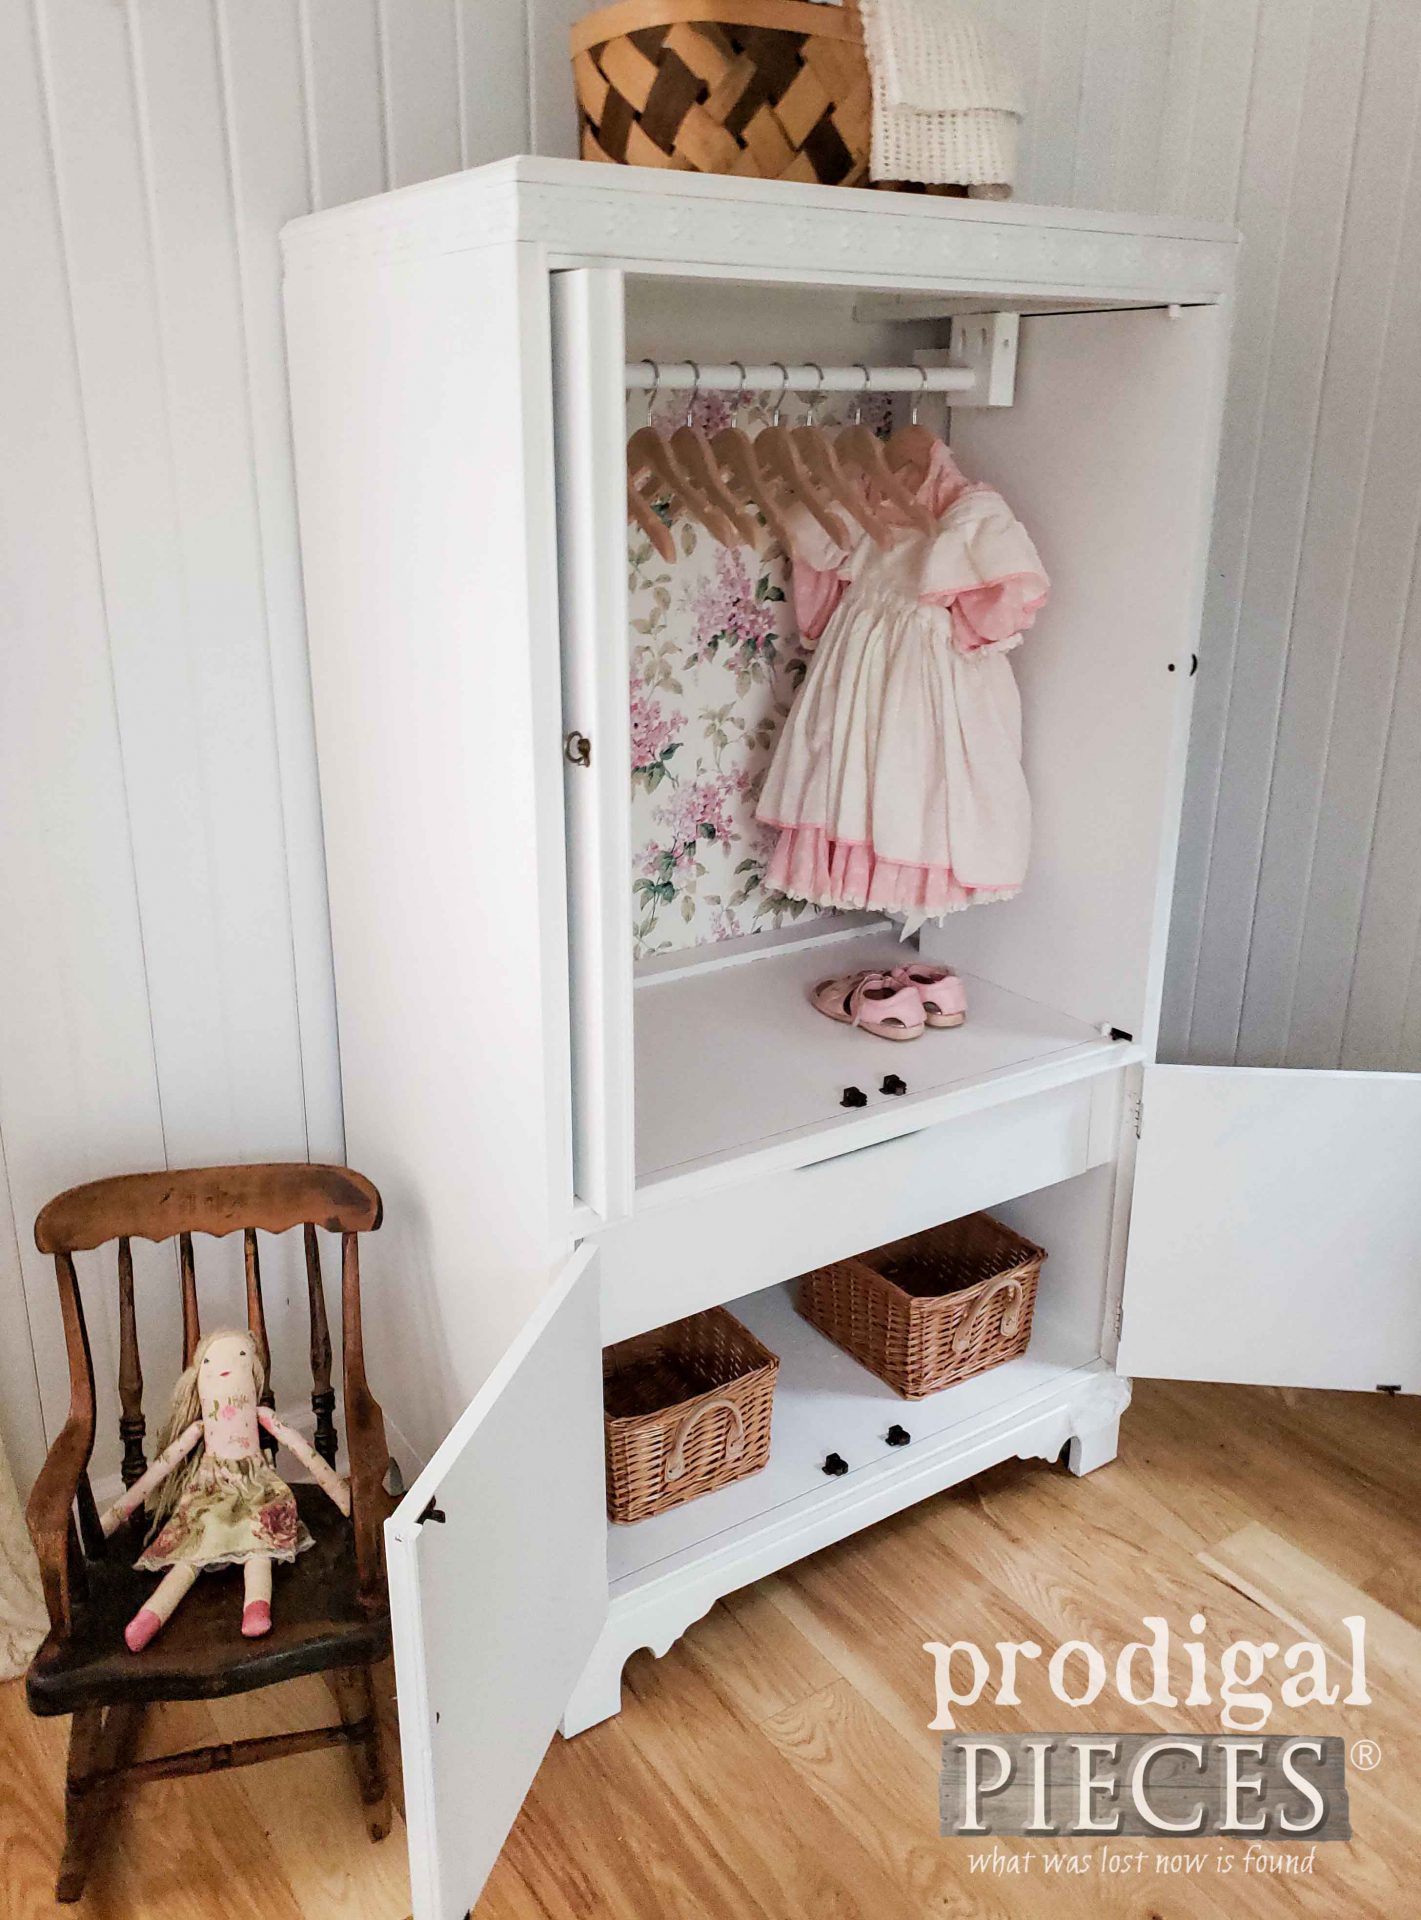
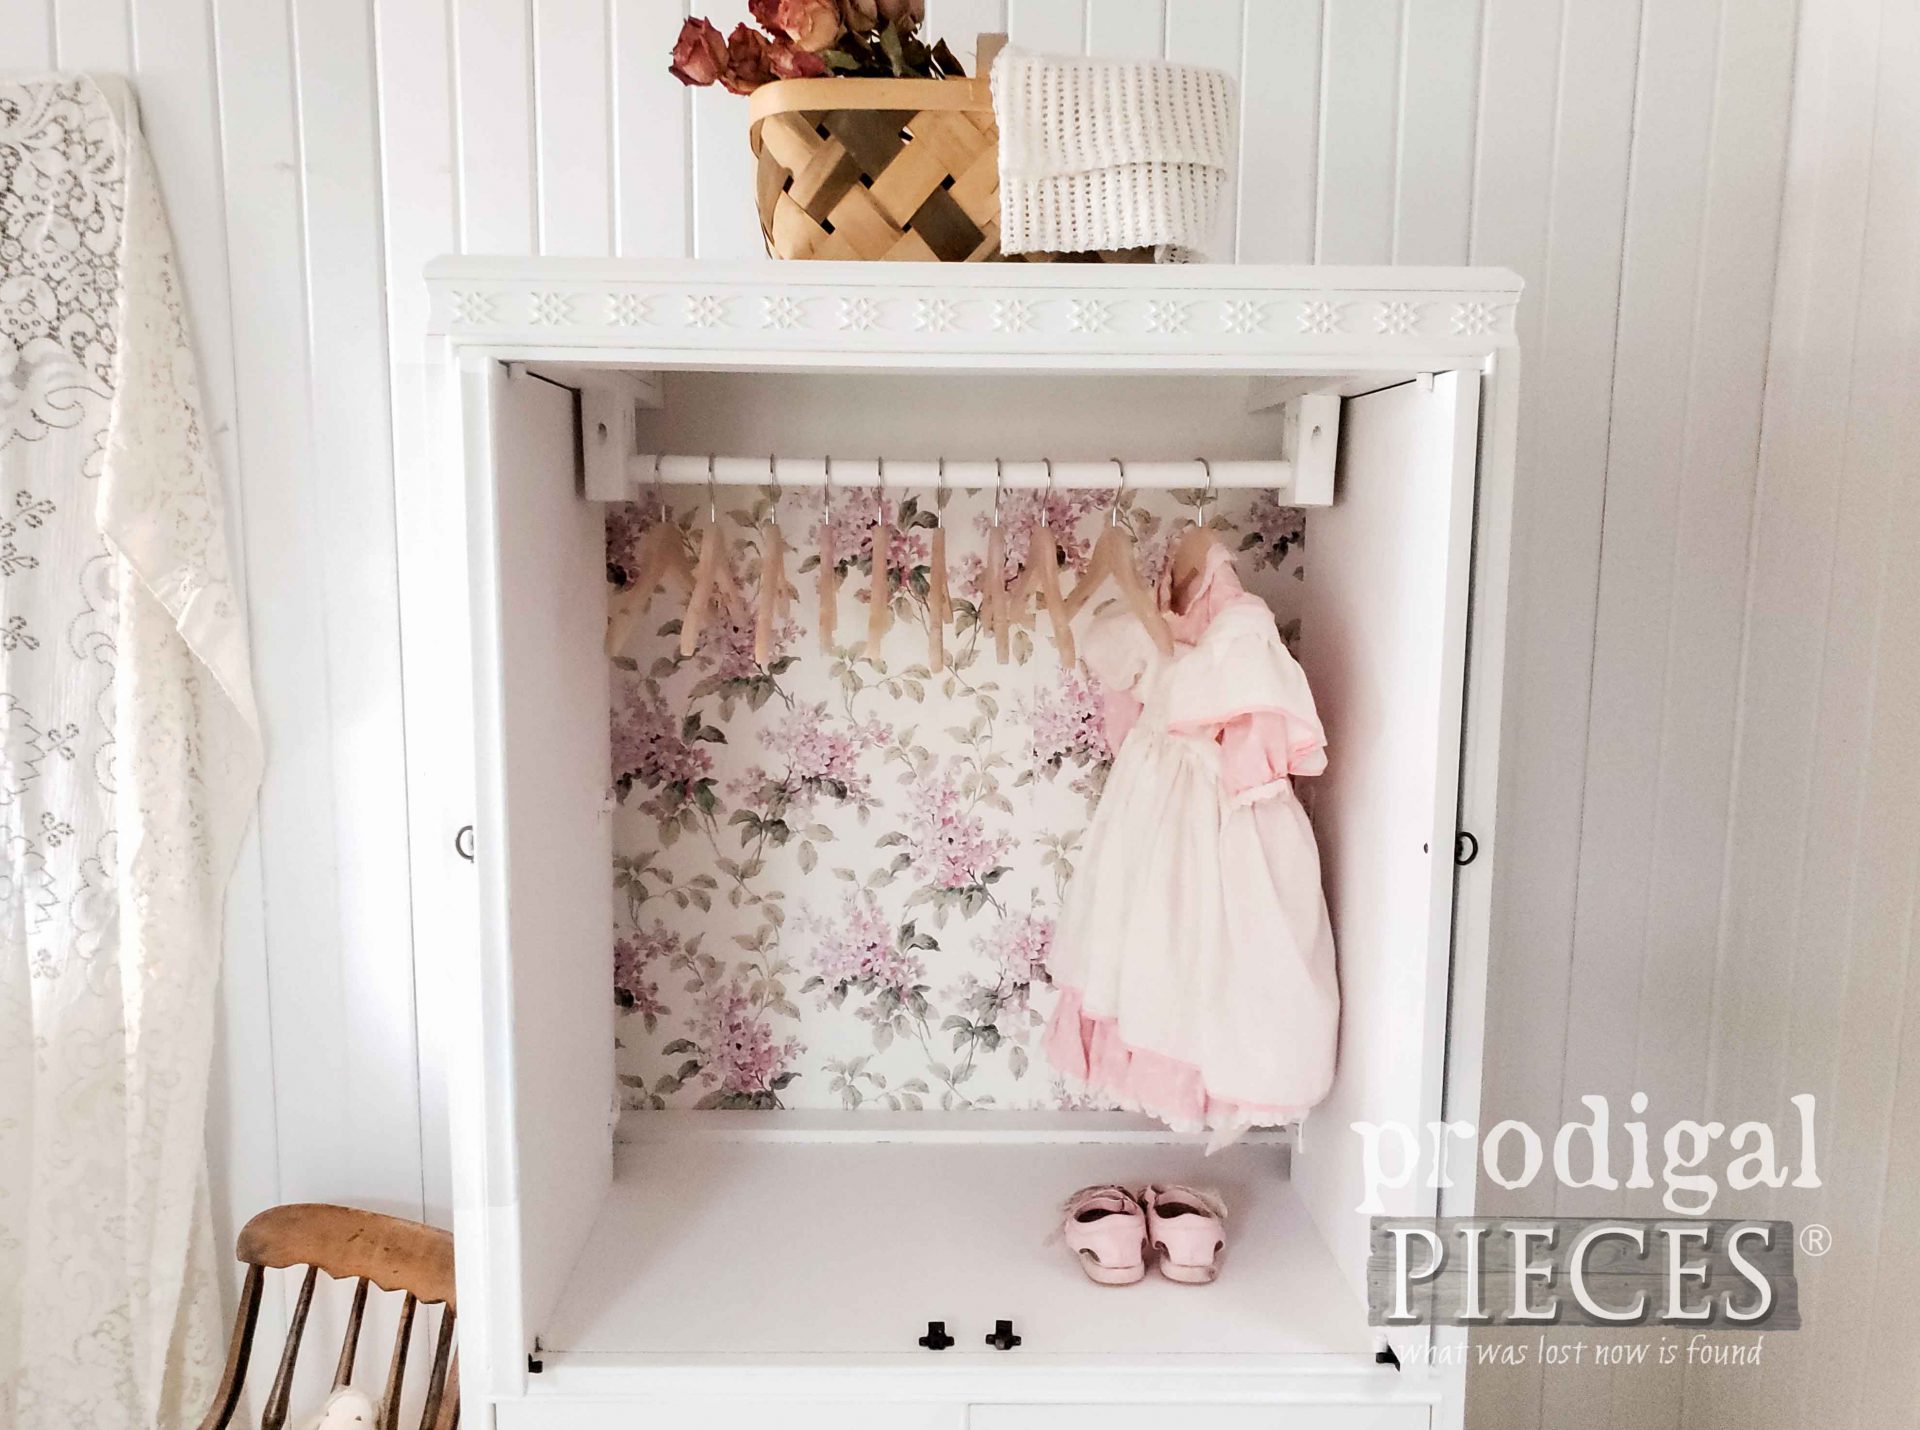
Here is my upcycled entertainment center turned child’s wardrobe. I LOVE IT!
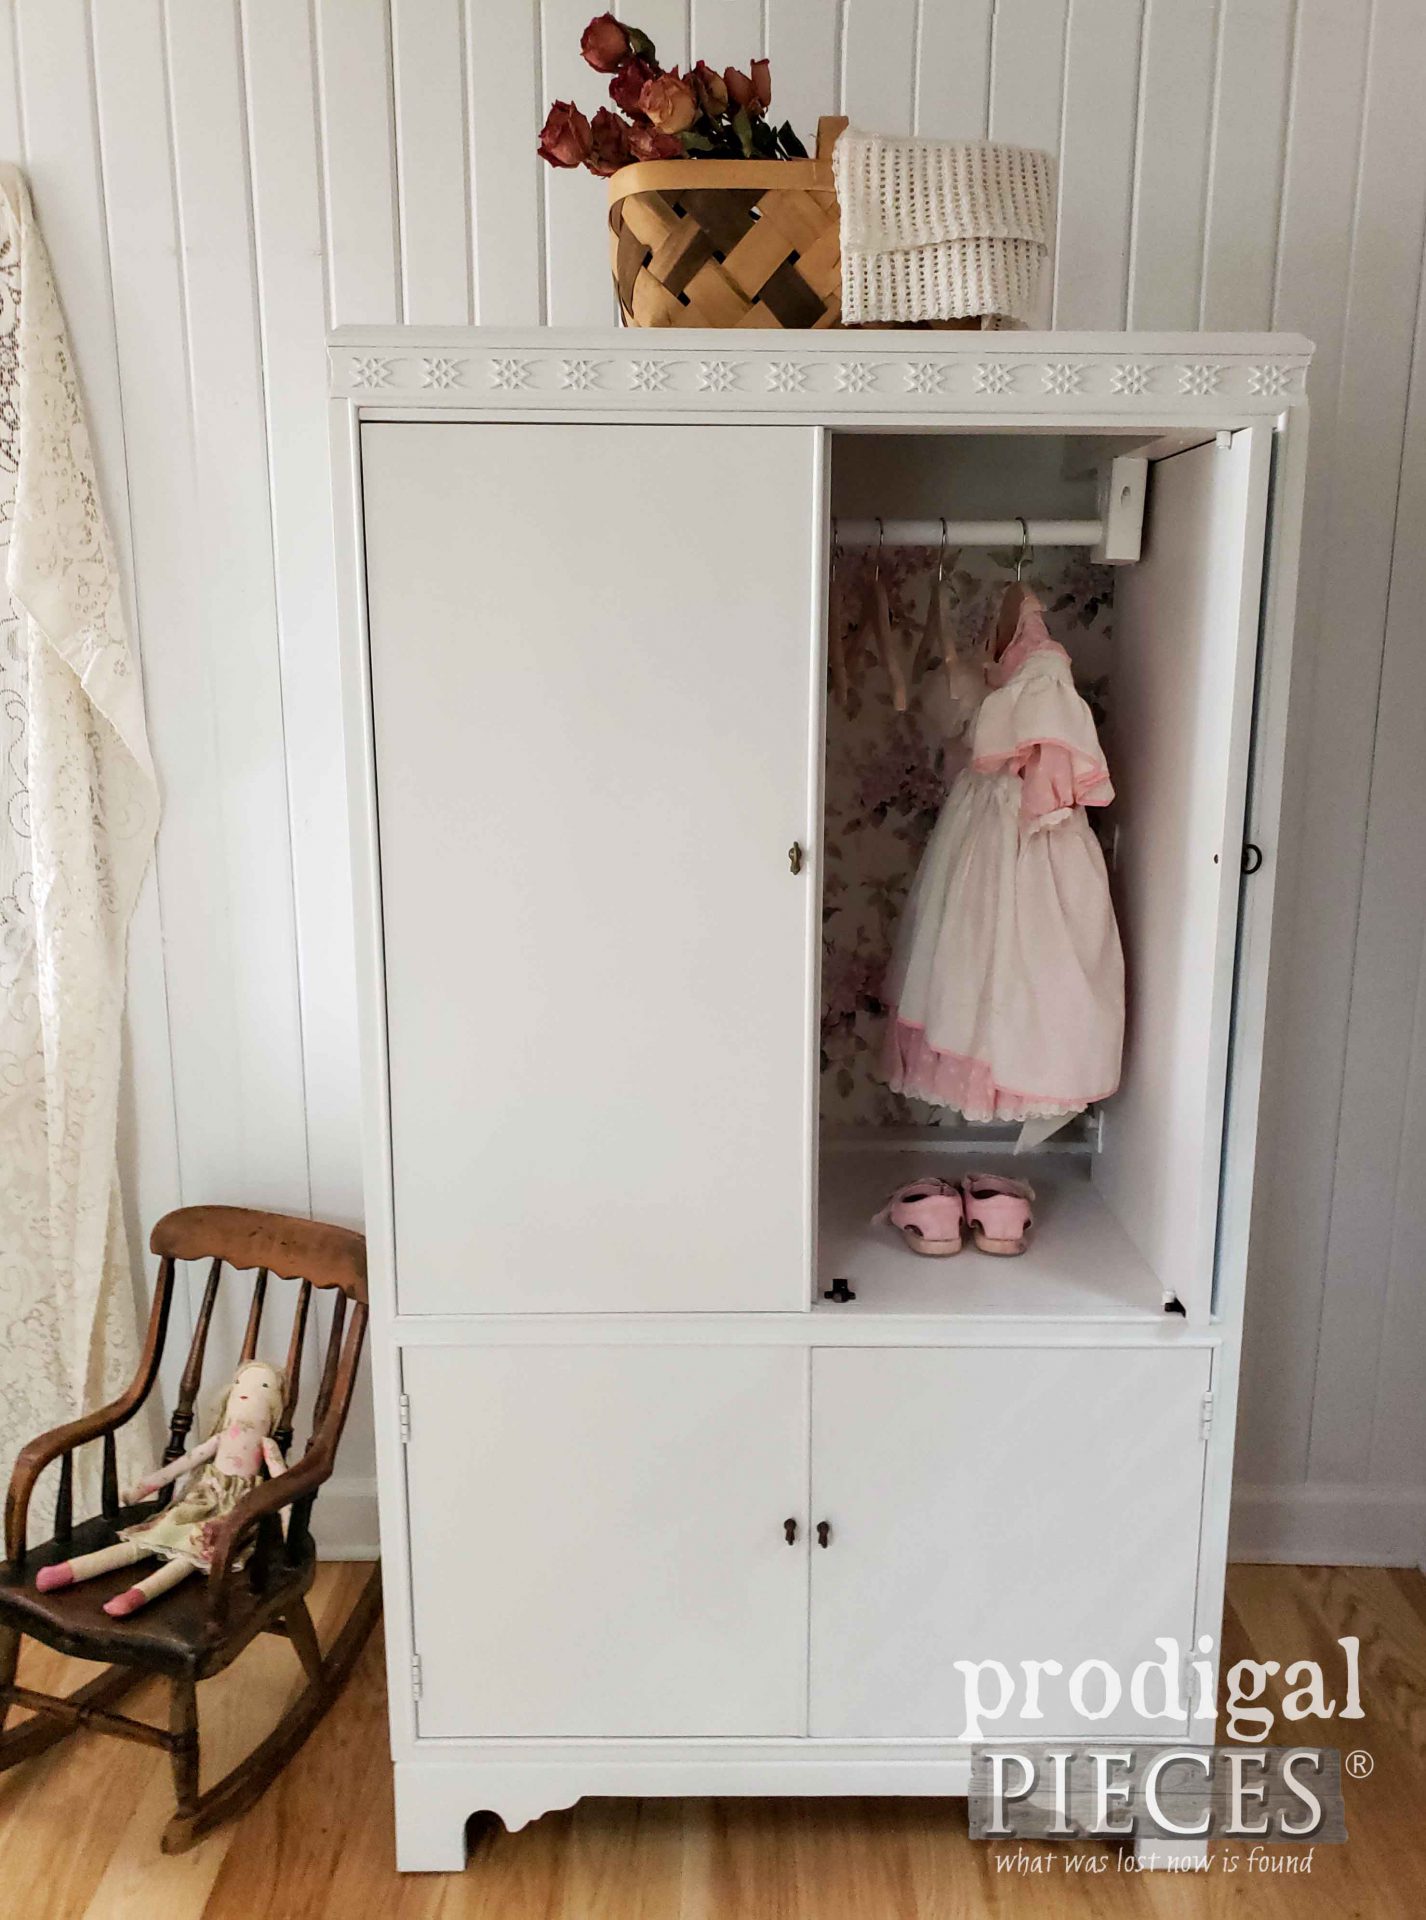
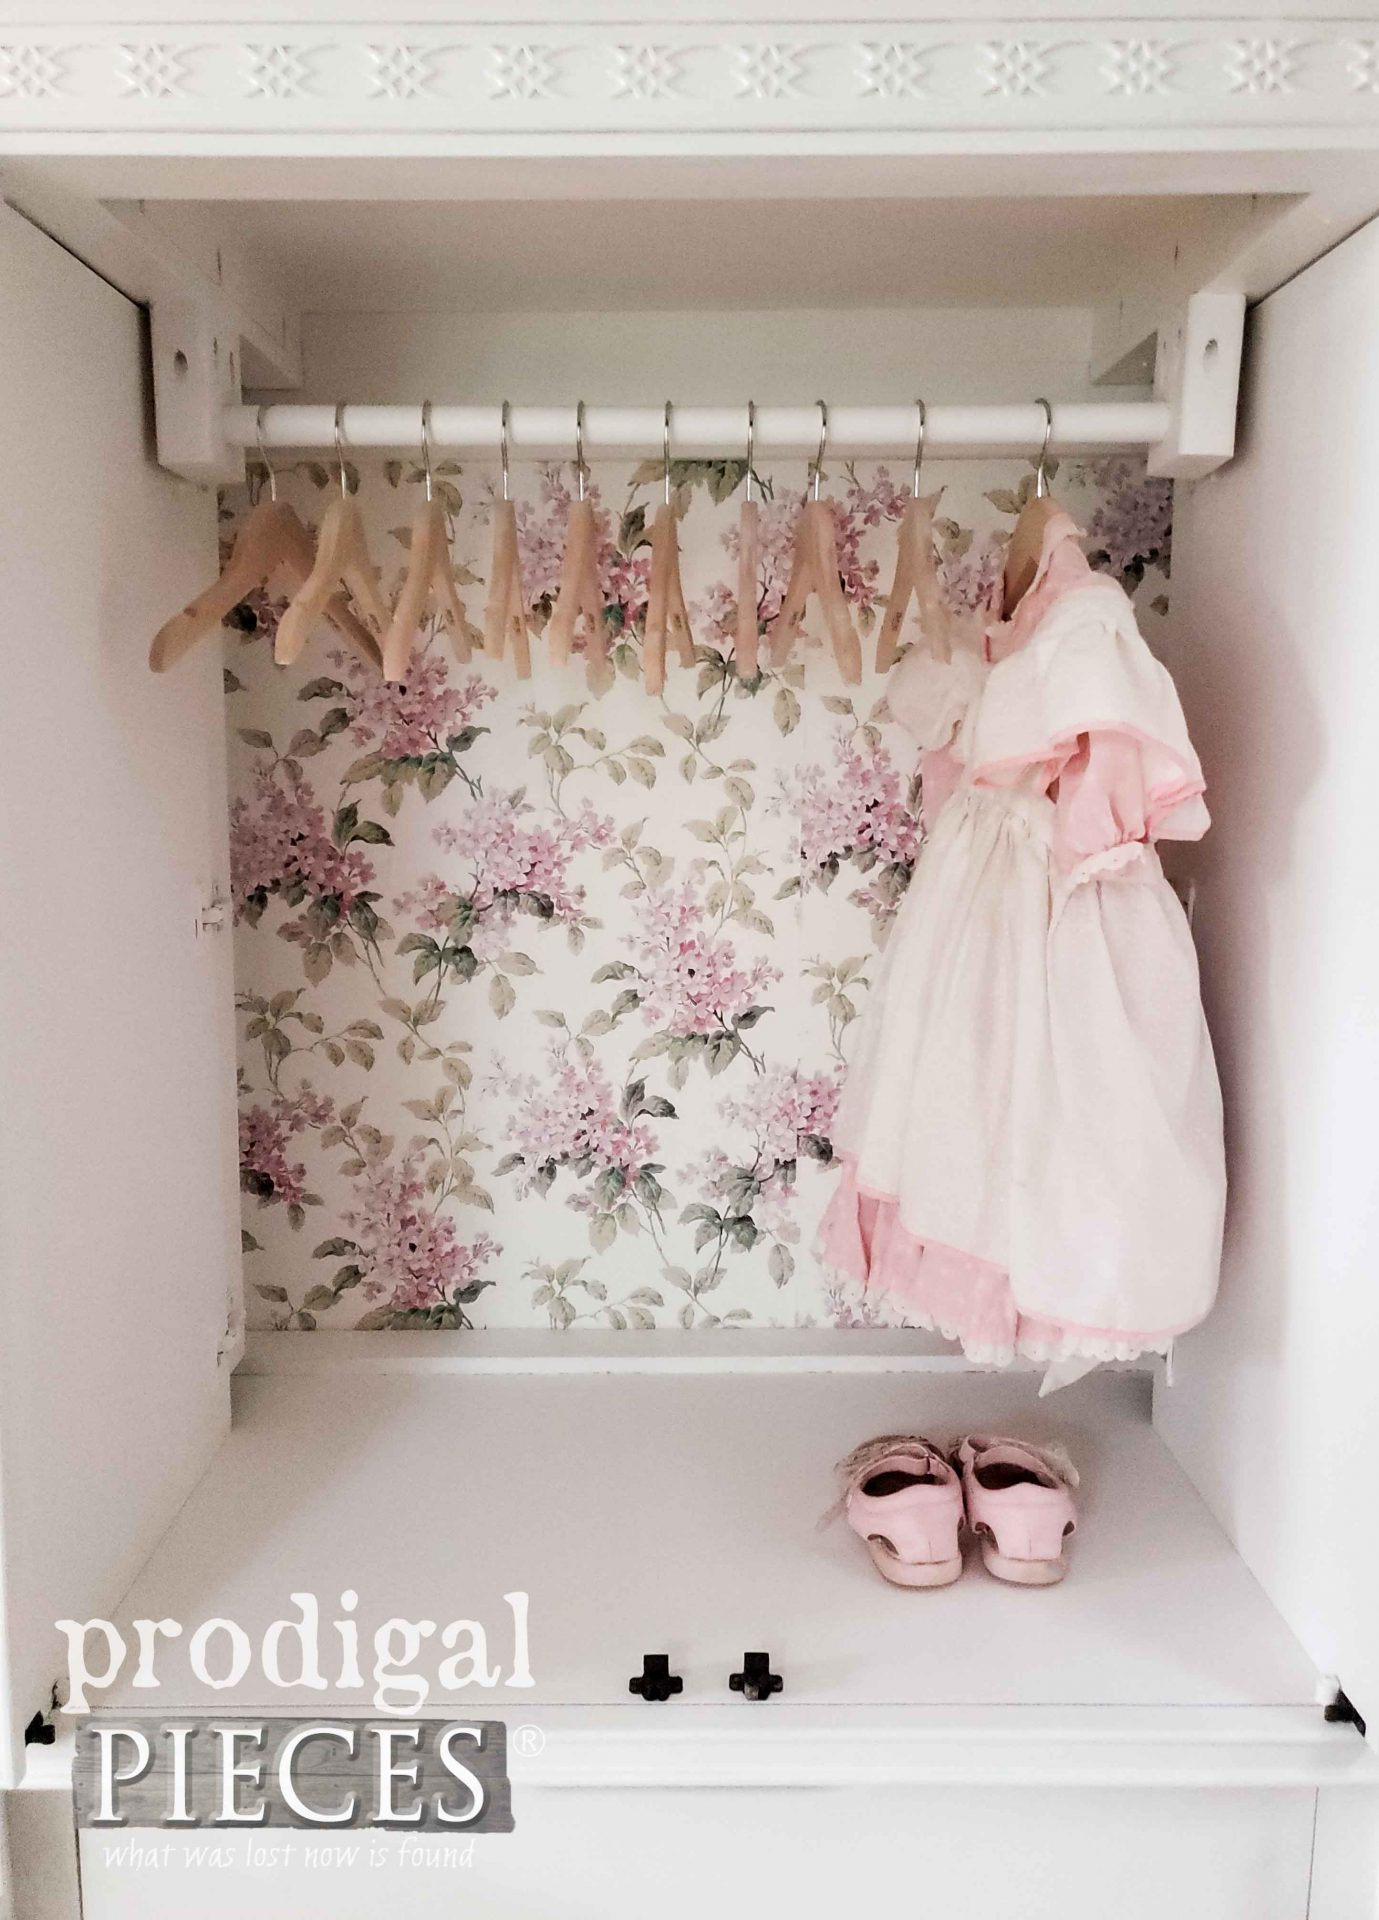
However, I wanted to keep the outside neutral, but let the fun happen on the inside. That way, you could leave the pocket doors open on a daily grind basis and have a clean finished piece for guests.
Now, this provides storage, whimsy, and an heirloom piece that can be handed down from generation to generation. I even include these cute wooden hangers to make it handy. Do you love it too?
I don’t know about you, but kids grow up way too fast. I feel as if I blink I’ll miss it all. sniff… This child’s wardrobe idea can even function for adults too. It’s a handy space for extra storage within a piece of furniture if closet space is limited.
AVAILABLE IN SHOP
If you’d like to own this newly created piece, you can find it available in my online shop. (SOLD) We do deliver to your door for half the cost of most. Stop by to see what else is available for your home and gift ideas too.
Do pin and share my upcycled entertainment center to inspire others to recreate their found items.
Up next, it’s Trash to Treasure Tuesday time! I am sharing what I create with my stash of metal “junk” (aka. #trashure). Head HERE TO SEE.
To get these DIY tips & tricks in your inbox, be sure to sign up for my newsletter. PLUS, you will get your FREE Furniture Buying Checklist and special discount to my shop. Until next time!
Also, more fun projects like my upcycled entertainment center:





This turned out very nice. I like the wallpaper in side!
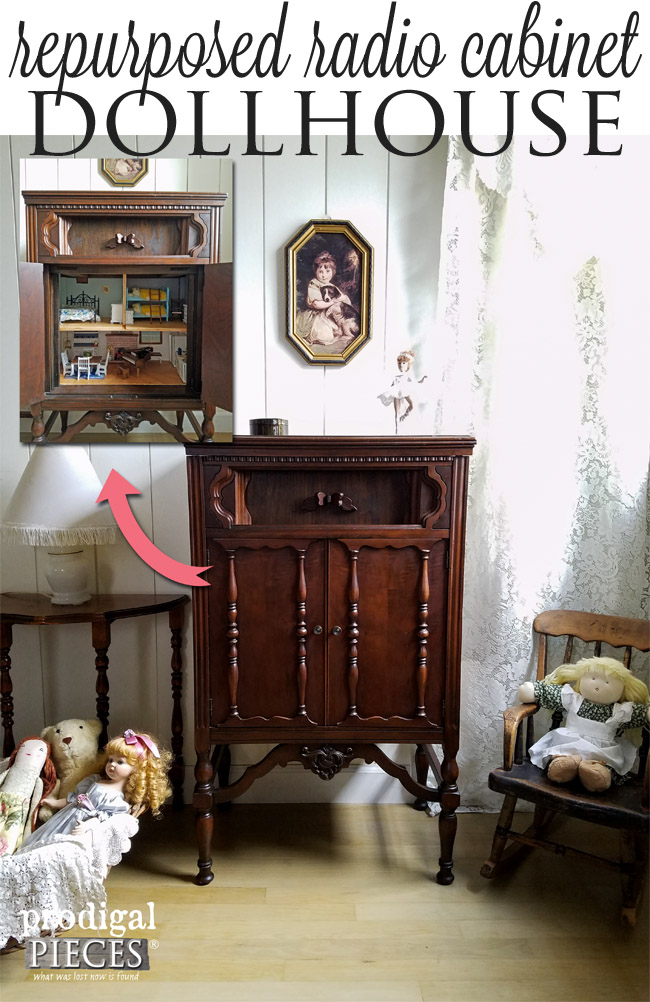
Thank you, Micah. It’s a paper leftover from a vintage radio cabinet I upcycled.
It’s beautiful, you’re very creative❣️
Thank you for the love, Stephanie! 😀
Another outstanding transformation! Great job!
woot! Thank you so much, Linda. 😀
Love this so much! I believe that old TV unit pieces are the unsung heroes of the refinishing world. It’s easy to refinish a piece to continue its original function, but to refinish and repurpose… that’s a new level. Super congrats. Some little girl is going to be thrilled with this little gem.
You are so fun because you get it, Susie. Thank you! I sure would love to have room for a few to store my craft and fabric fun.
SO sweet! You have such a great way of putting things to another use !!
I’m tickled to hear it, Patty. I sure have fun trying and hope to inspire.
Beautiful save and clever repurpose for this old entertainment center, Larissa! A little girl is going to be very happy with her pretty new wardrobe, thanks to you. Pinned
Thanks, Marie! I kinda got suckered into two large pieces, but I had fun giving it a go. 😀
How fun is this wardrobe! Love that wallpaper too….well done again Larissa!
I had such fun with it. Thank you, Mary.
Very cute! They use to make storage like this for children. I had one for my son when he was a baby 50 years ago. Yours is way cuter.
aww…that’s awesome! I’m sure you had as much fun as I did.
Great job, Larissa!
Thanks, Rena! Finally got around to getting this idea out of my head. 🙂
Hi Larissa, what a sweet piece of furniture for a little (or big) girls room! I love the pretty paper you used too. Thank you for sharing all your helpful tips.
Yay! Thanks so much. Yes, that’s my way of thinking – that’s it’s perfect for so many uses.
Oh how pretty! This one is beautiful inside and out! Very nice job!
You are so sweet to say that. Thank you very much, Becky! 😀
This is beautiful!! I had the same idea for a old armoire to use in my baby’s nursery! Can I ask where you got the little wooden hangers ? Thanks !
Thanks so much, Michelle, and congratulations!! I found them at a local hardware store. They can often order if they don’t have it in stock and it comes in a couple days.