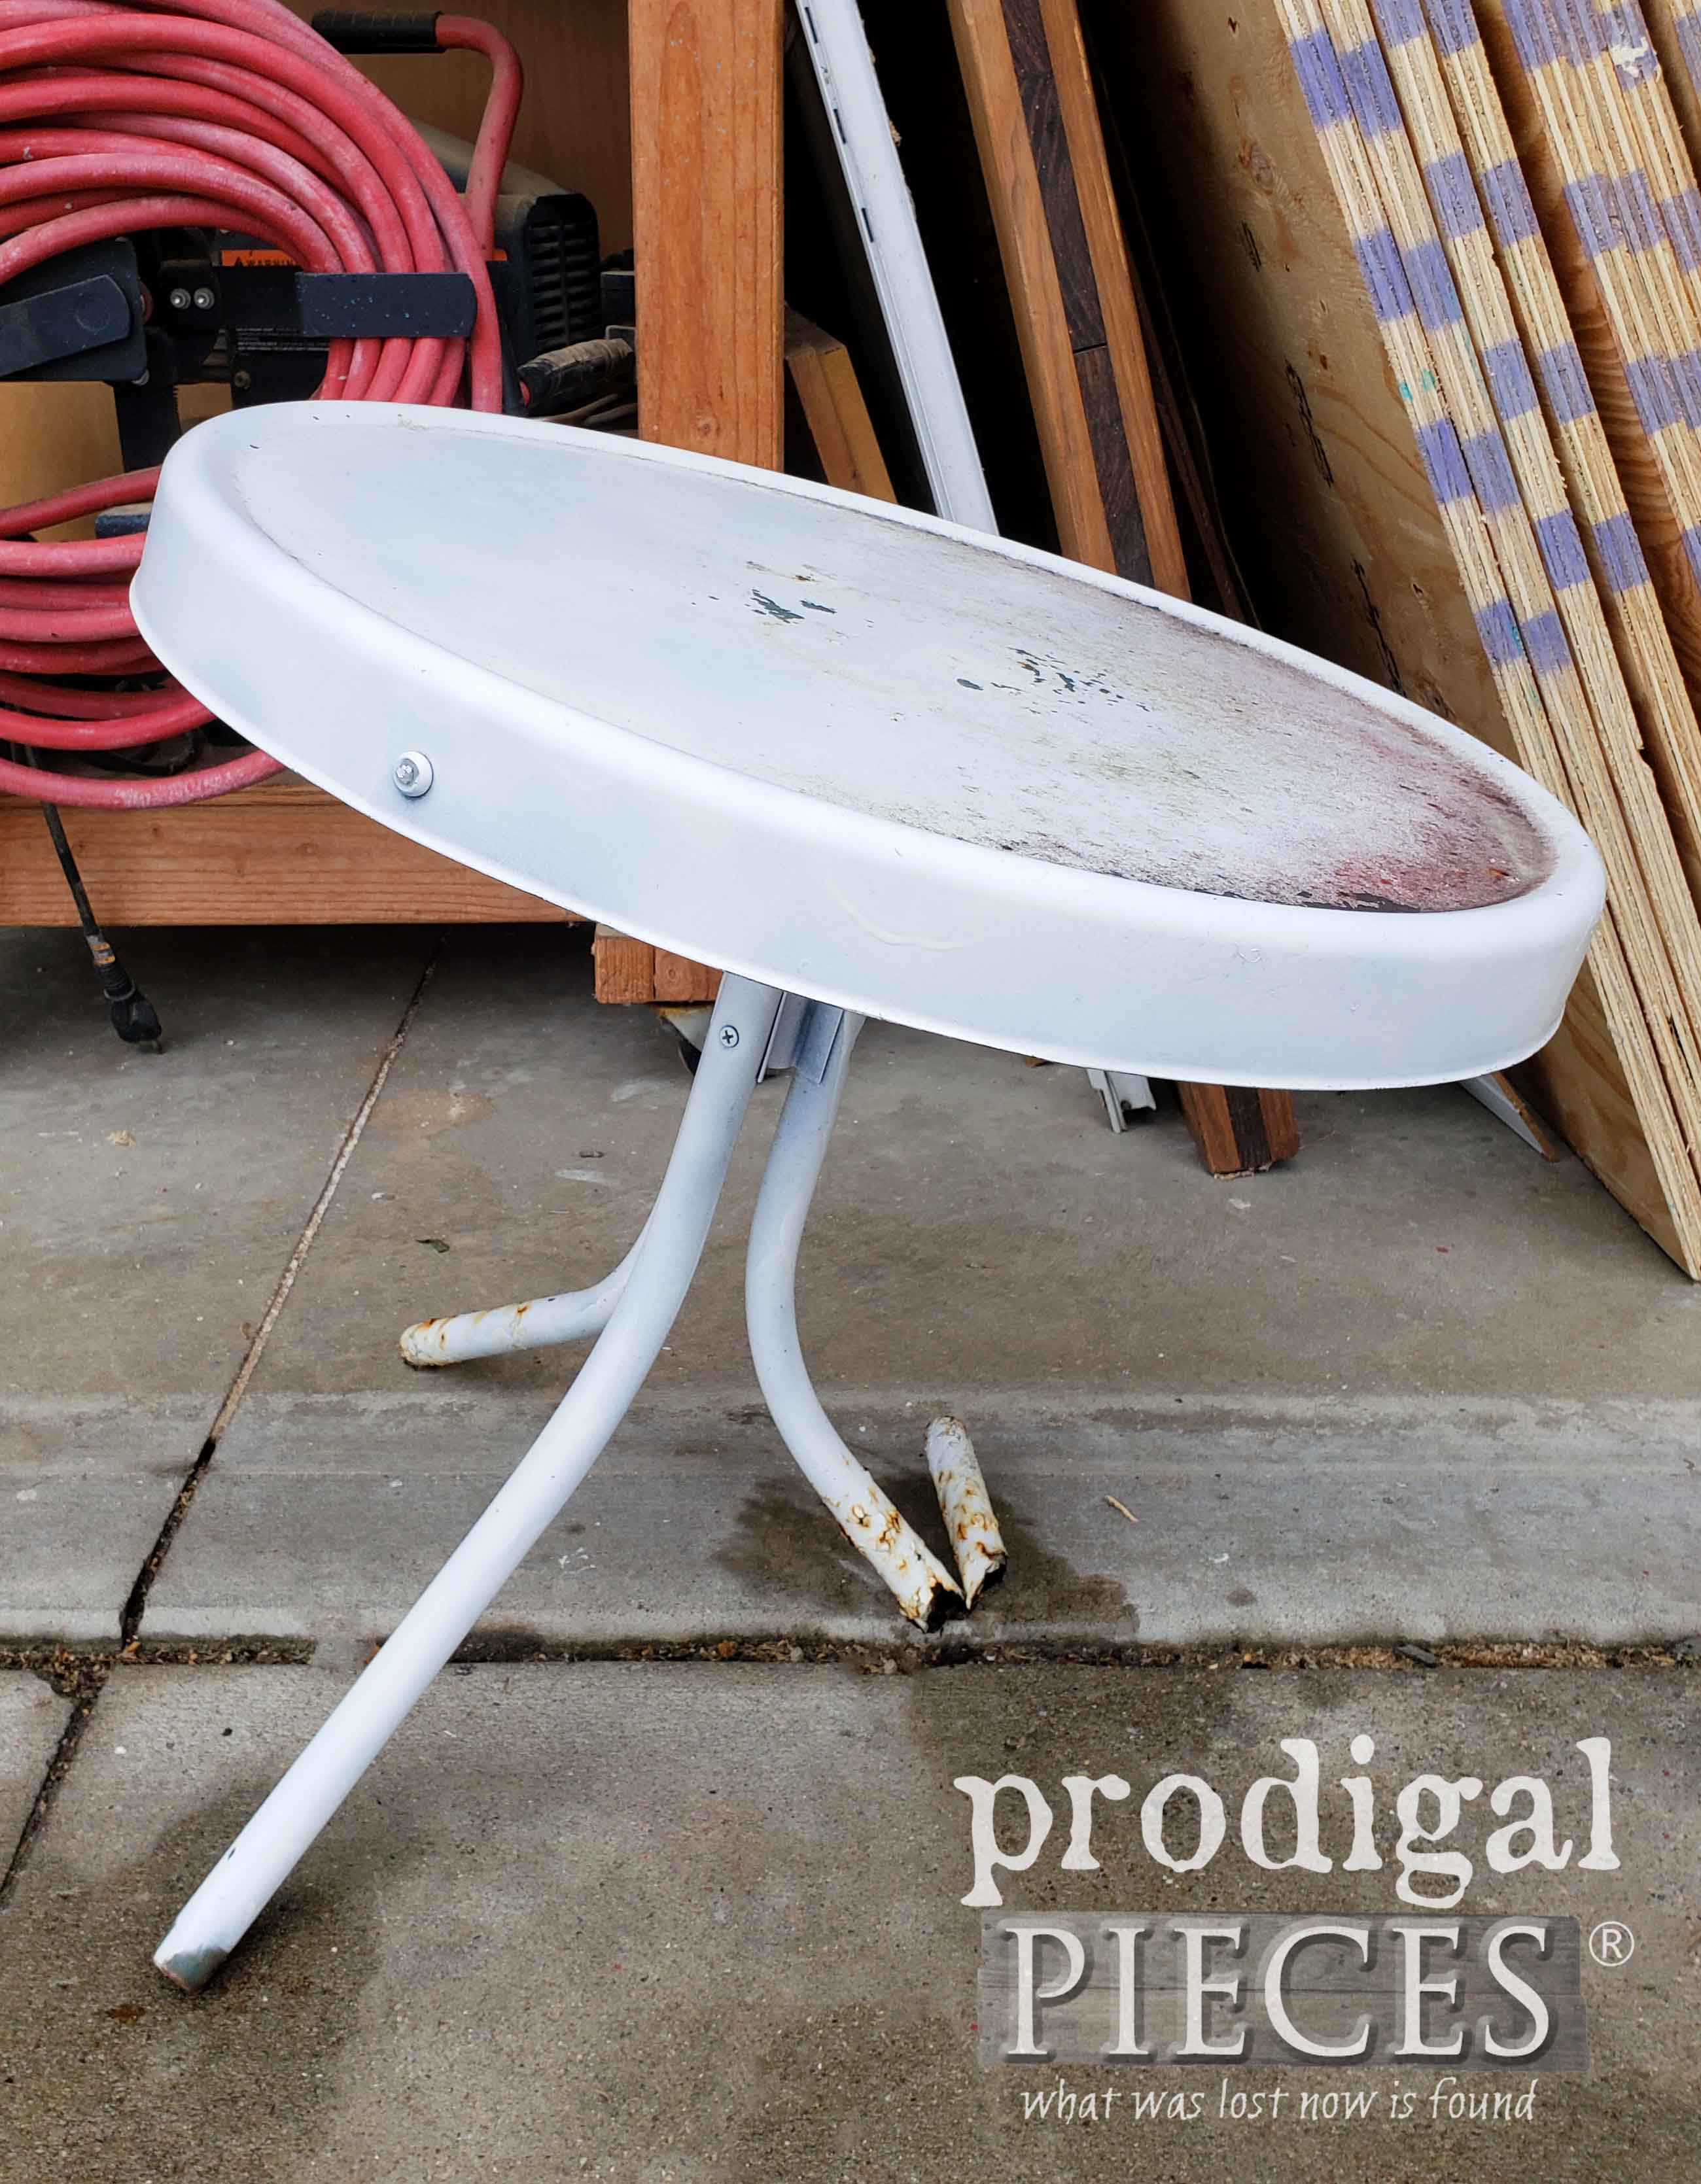
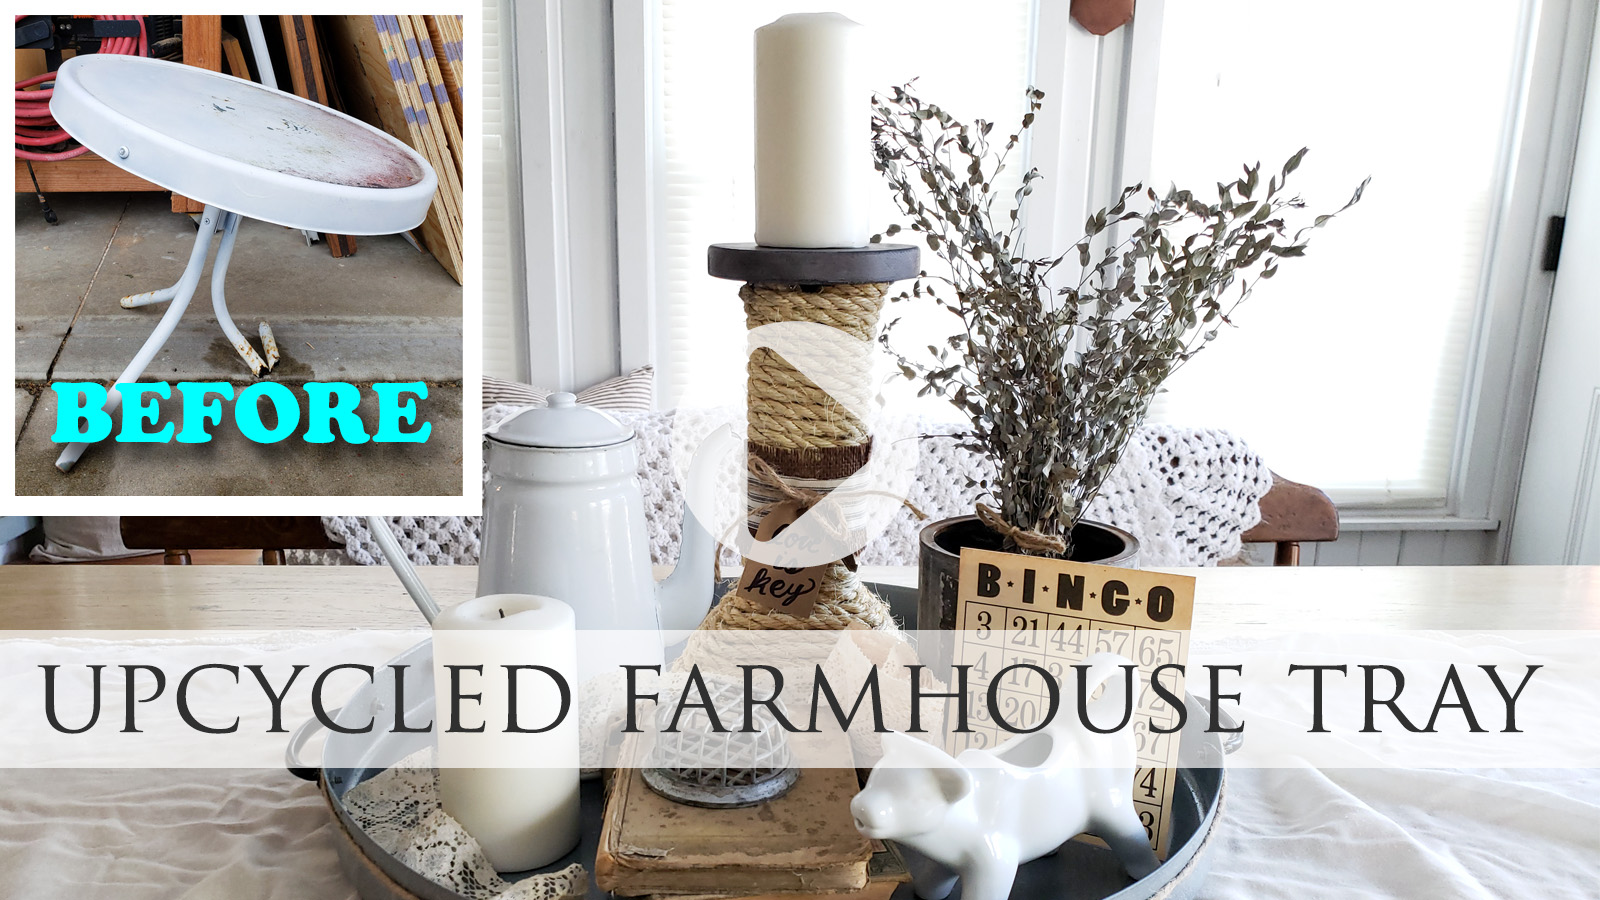
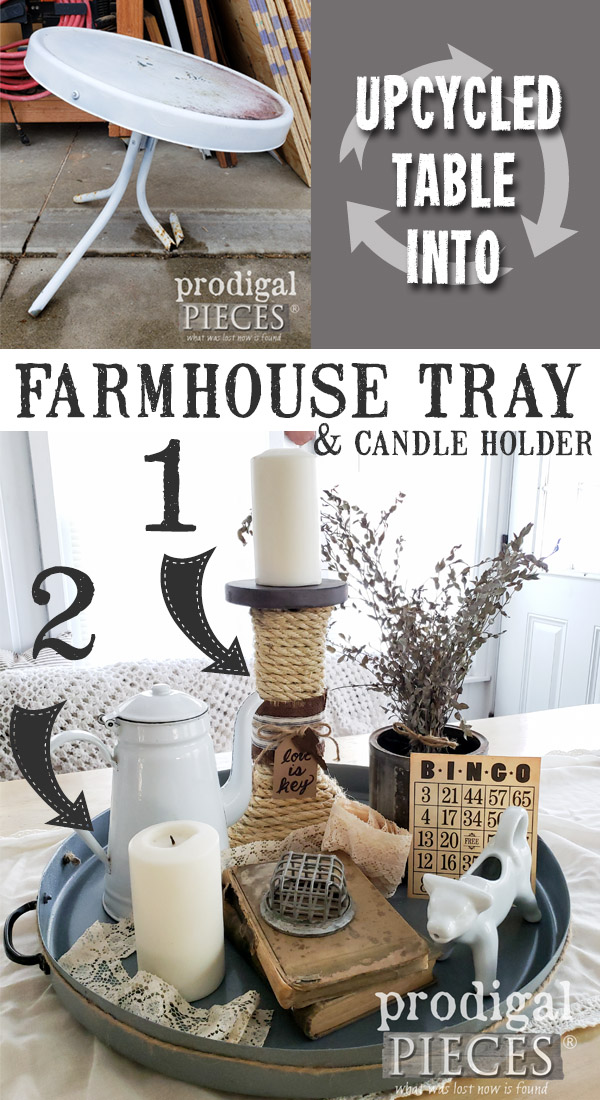
You gotta love the times when you can get together with your friends and do the things you love. Today is that day for my Trash to Treasure gals and me. We adore creating projects to inspire you and are eager to share our handiwork for this month’s fun. While you will see their work in a bit, today I’m sharing the second table from my curbside haul. This rusty gem is about to become an upcycled farmhouse tray. Oh yeah!
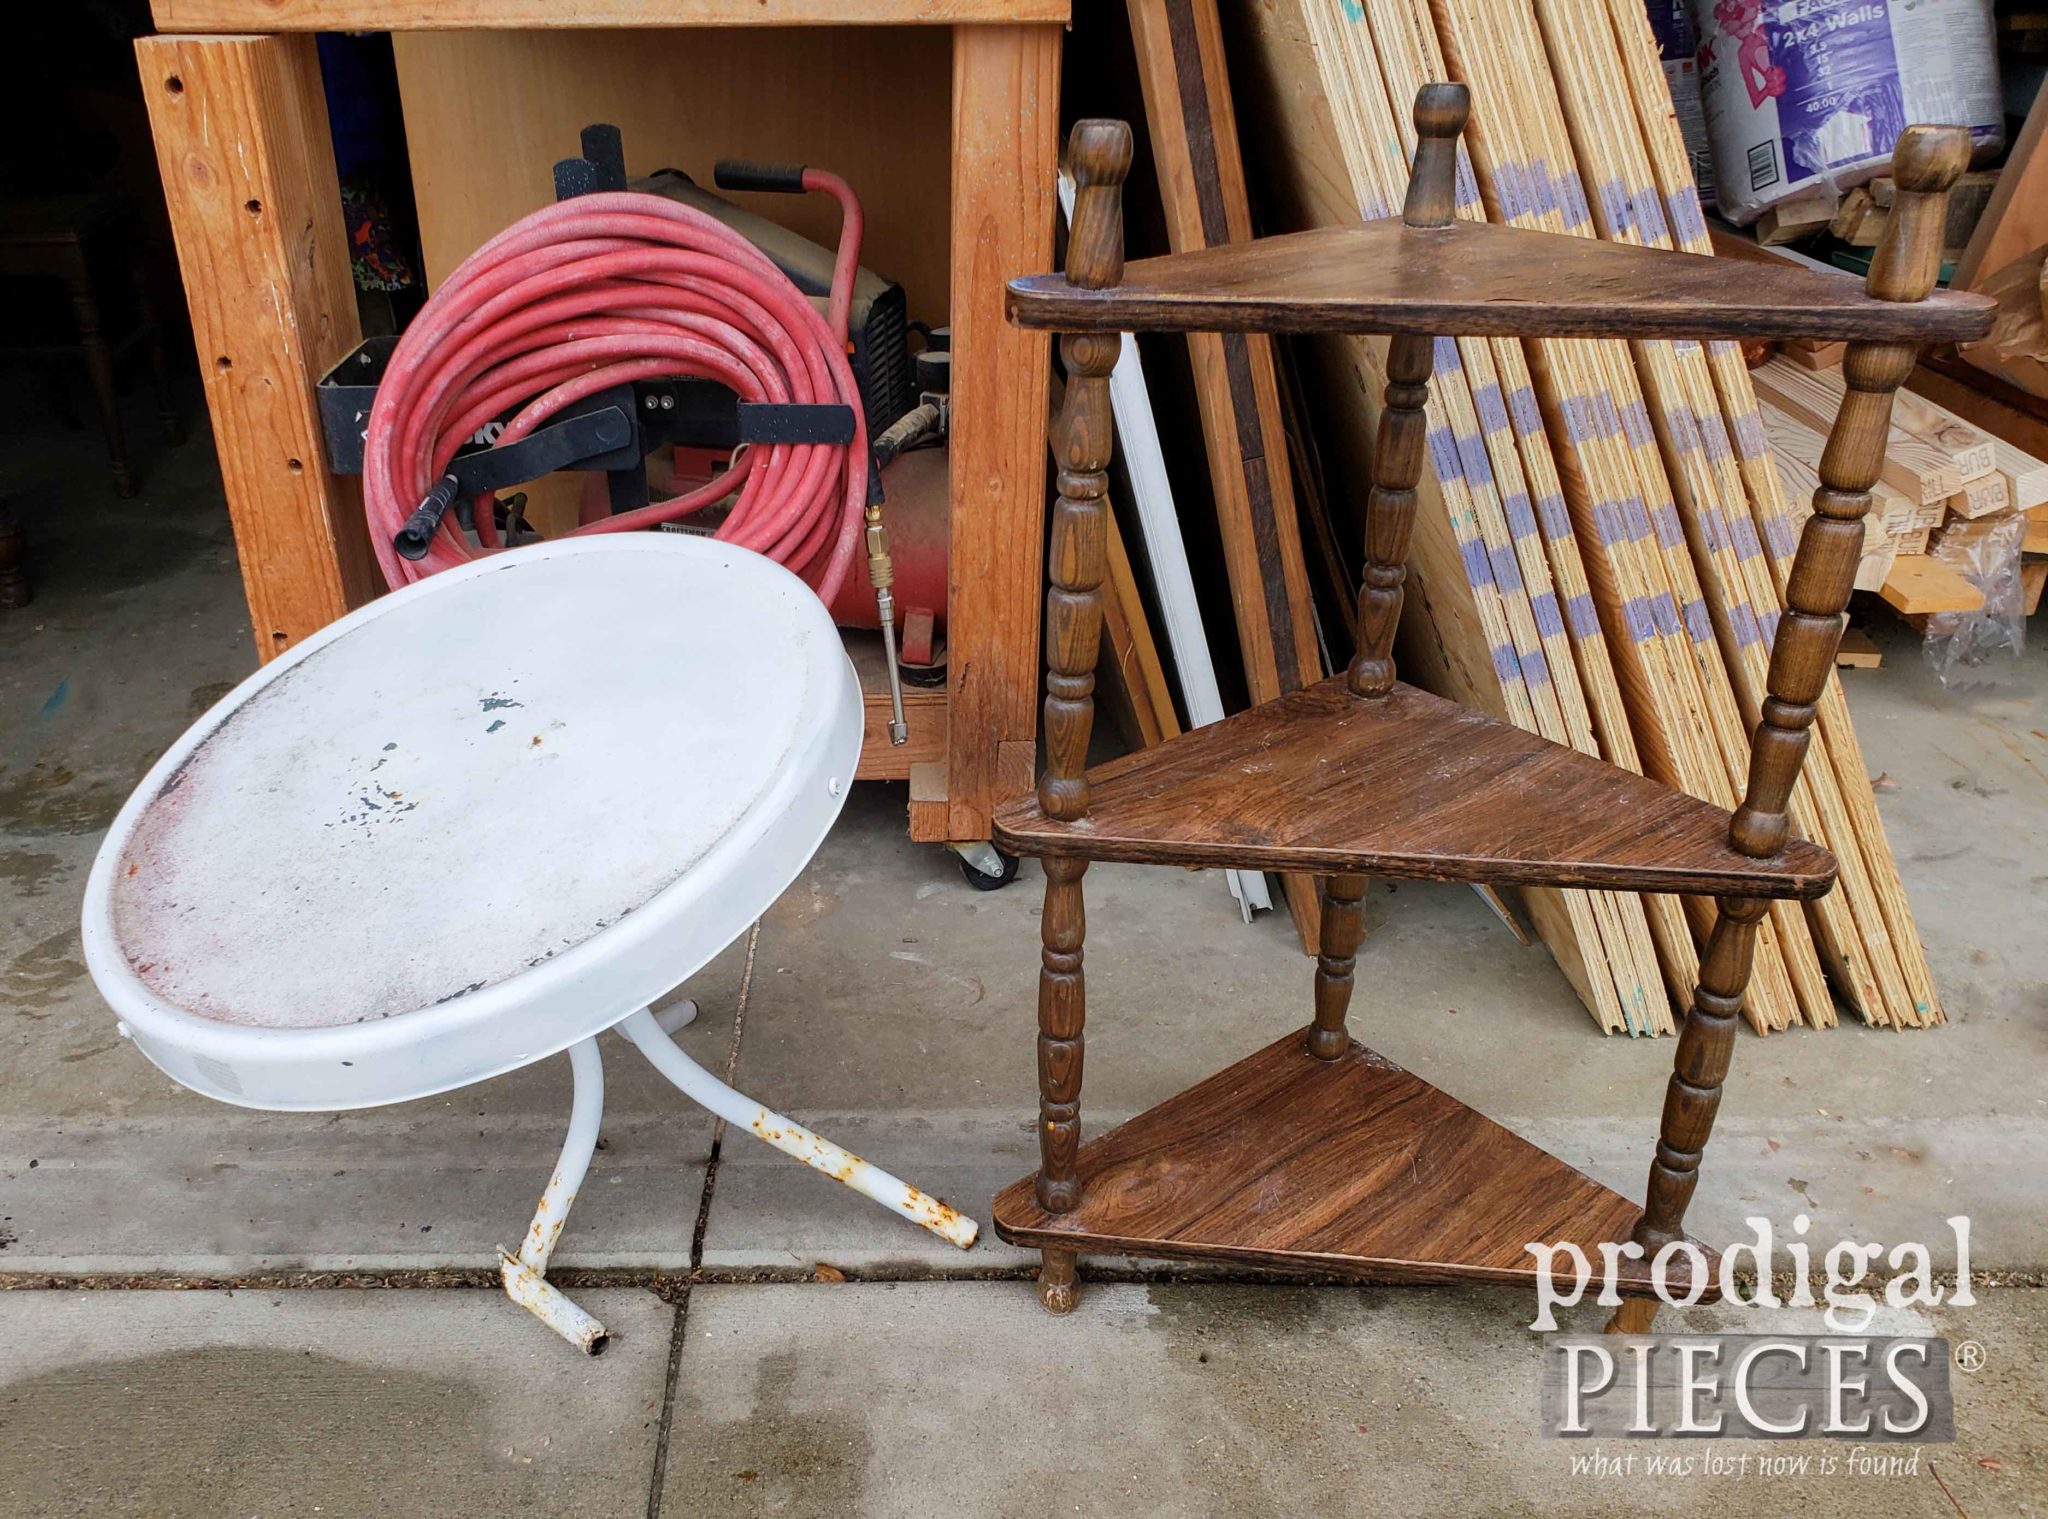
In case you missed the first post, I found these two tables in my neighbor’s trash across the street. The tiered table got made into 3 new projects you can see HERE.
Now, as if that wasn’t enough fun, I couldn’t resist the challenge that this broken metal table gave me. My first inclination was to pass it along to my scrapper friend who recycles metal for money. All I originally wanted to do was to keep it out of the landfill.
DIY TIME
But then…I decided to give it some lovin’ and make it new. While most sane people would just maybe replace the table legs and use it as a table again. However, me and my quirky self said it’s time to get funky with it. hee hee!
Then, the idea struck to turn it into an upcycled farmhouse tray when I looked at it stored upside down in my workshop. Tray because it’s functional decor, and farmhouse because it’s one of my favorite styles. You could totally go retro funk with it or even cutesy cottage too.
For those of you who prefer video, I created a demo at the bottom of this post of how I recreated this broken table.
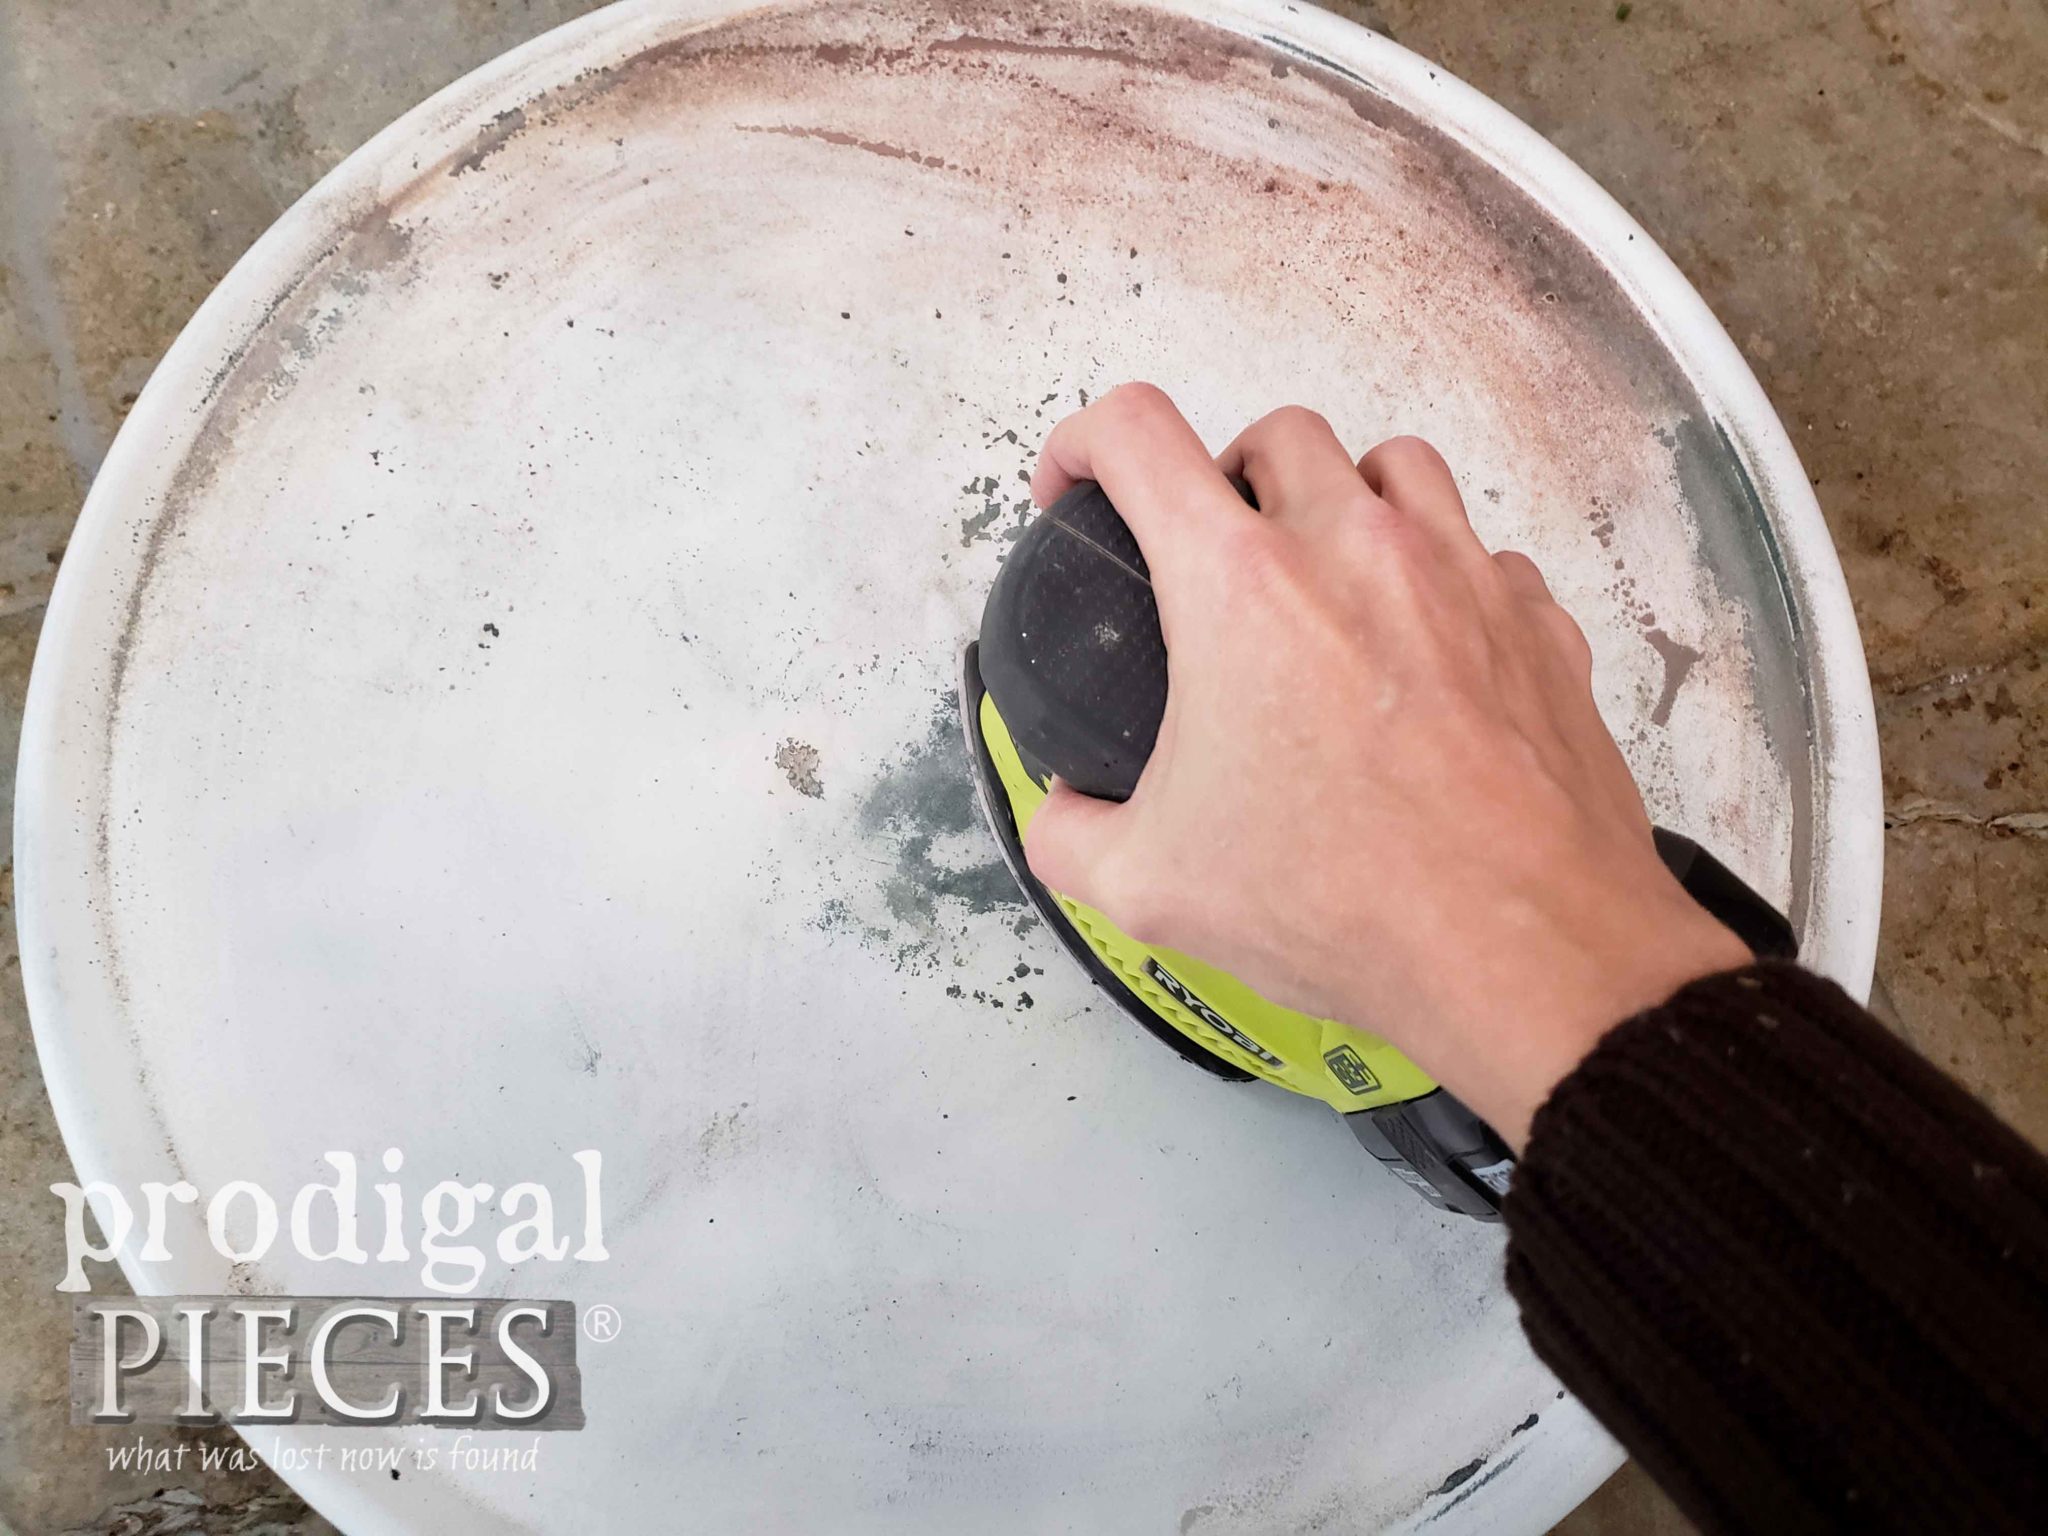
First, I removed the legs and set those aside. They will be getting a new life too. woot! And, since I obviously wasn’t smitten with the green paint peeking out from the rusted white, I sanded it down with my sander.
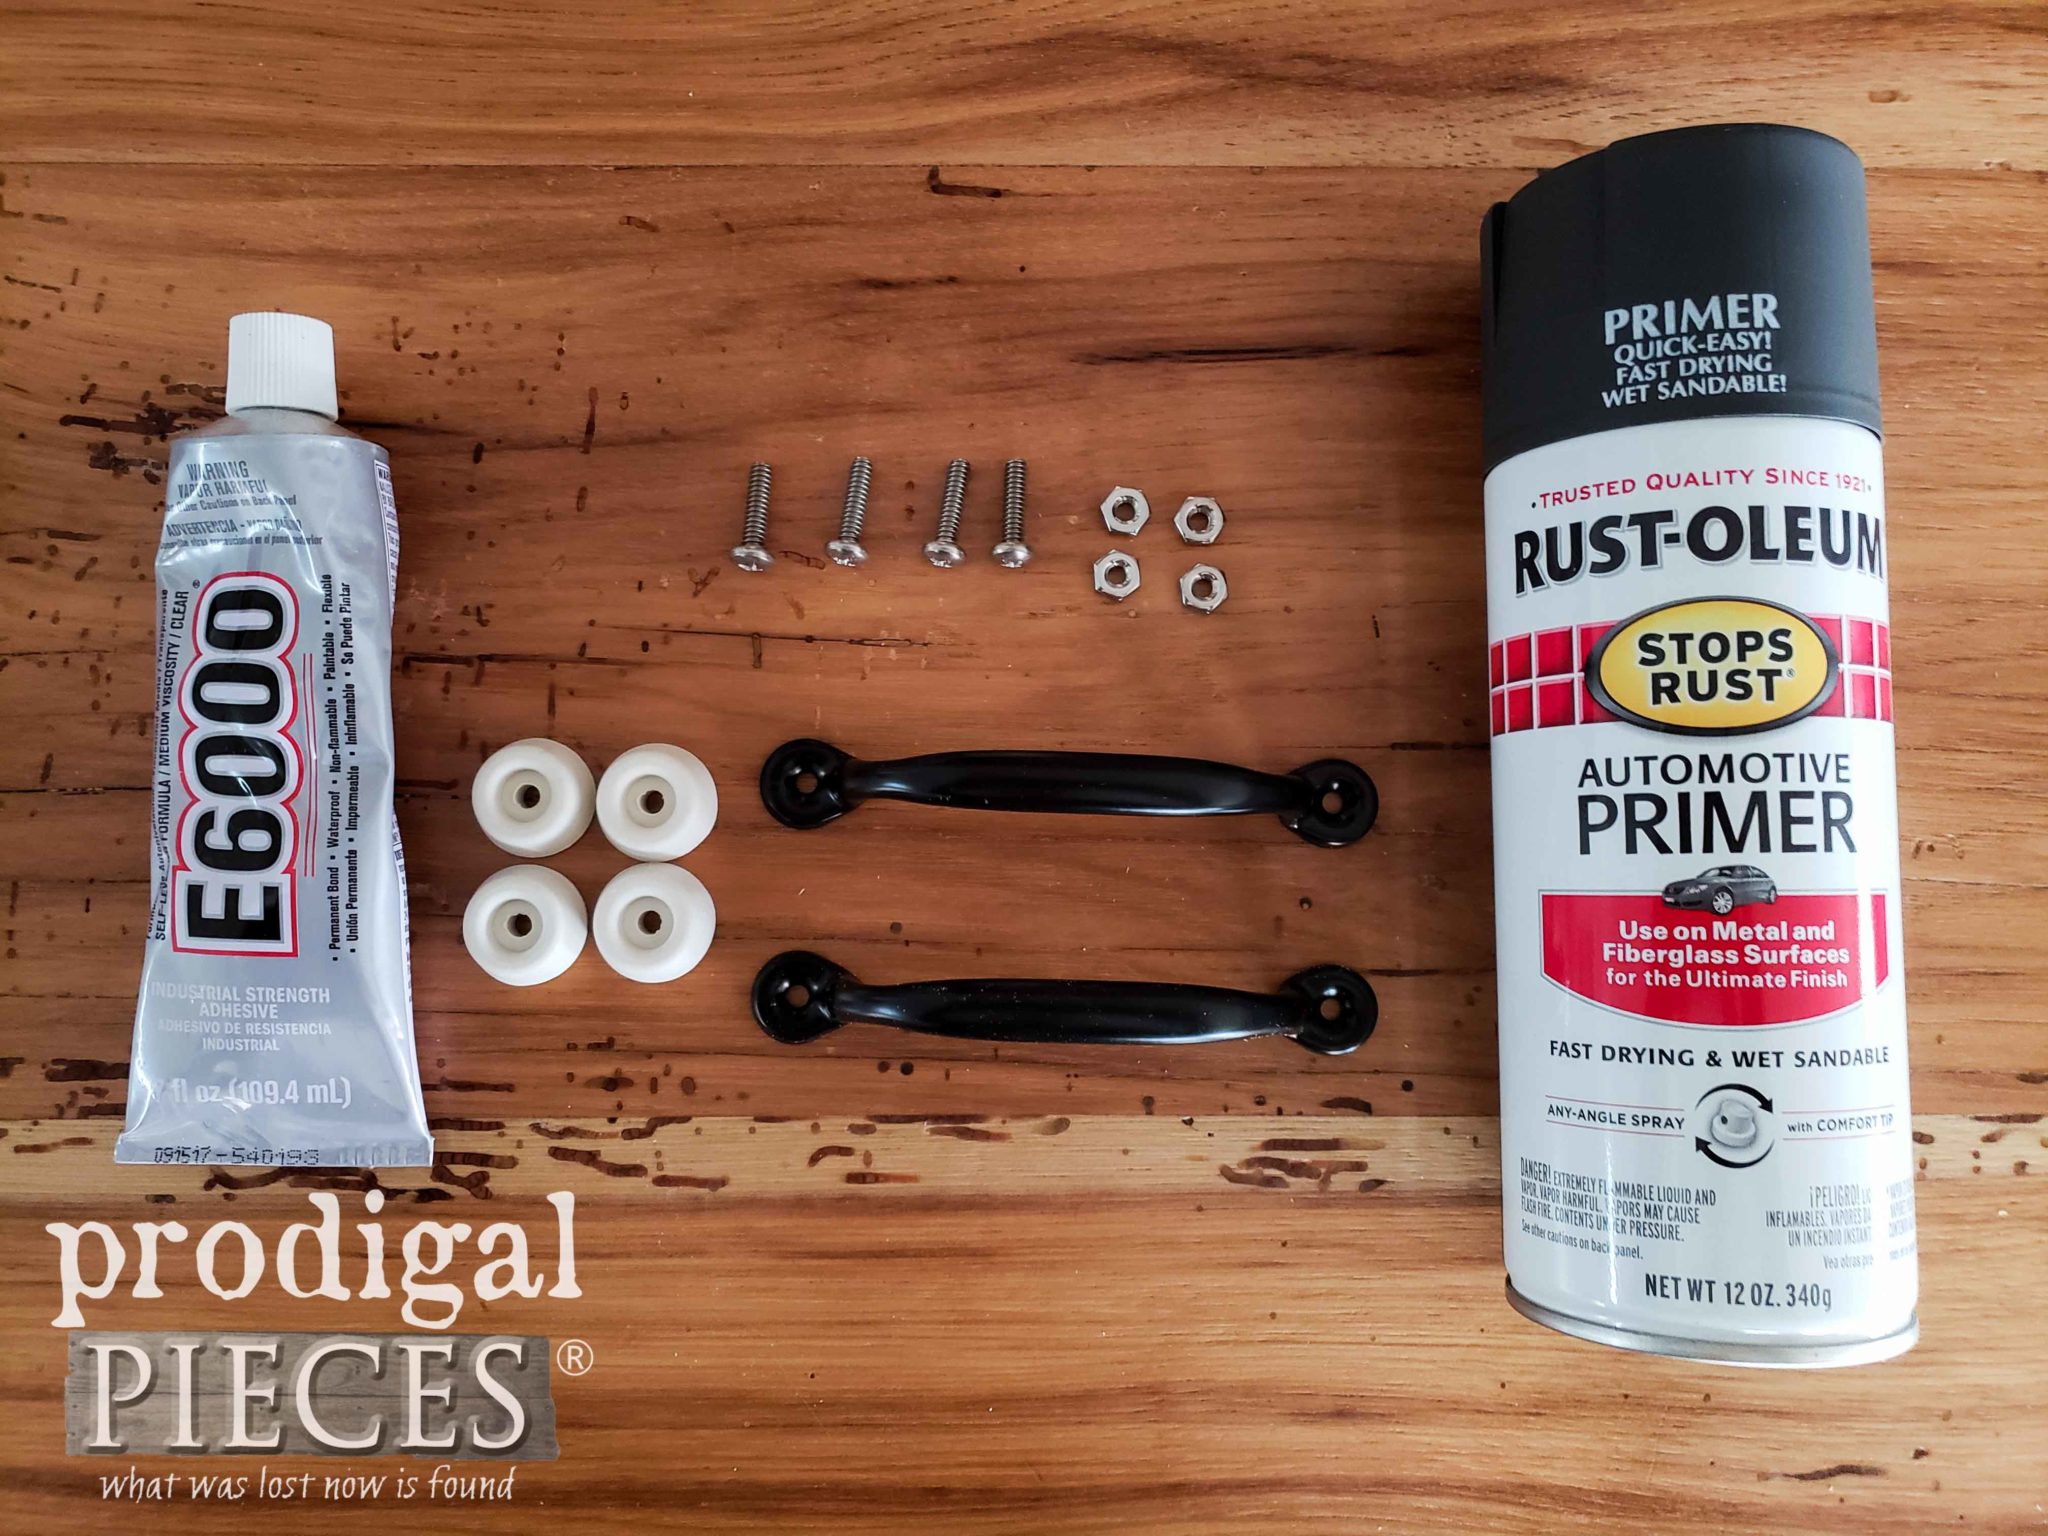
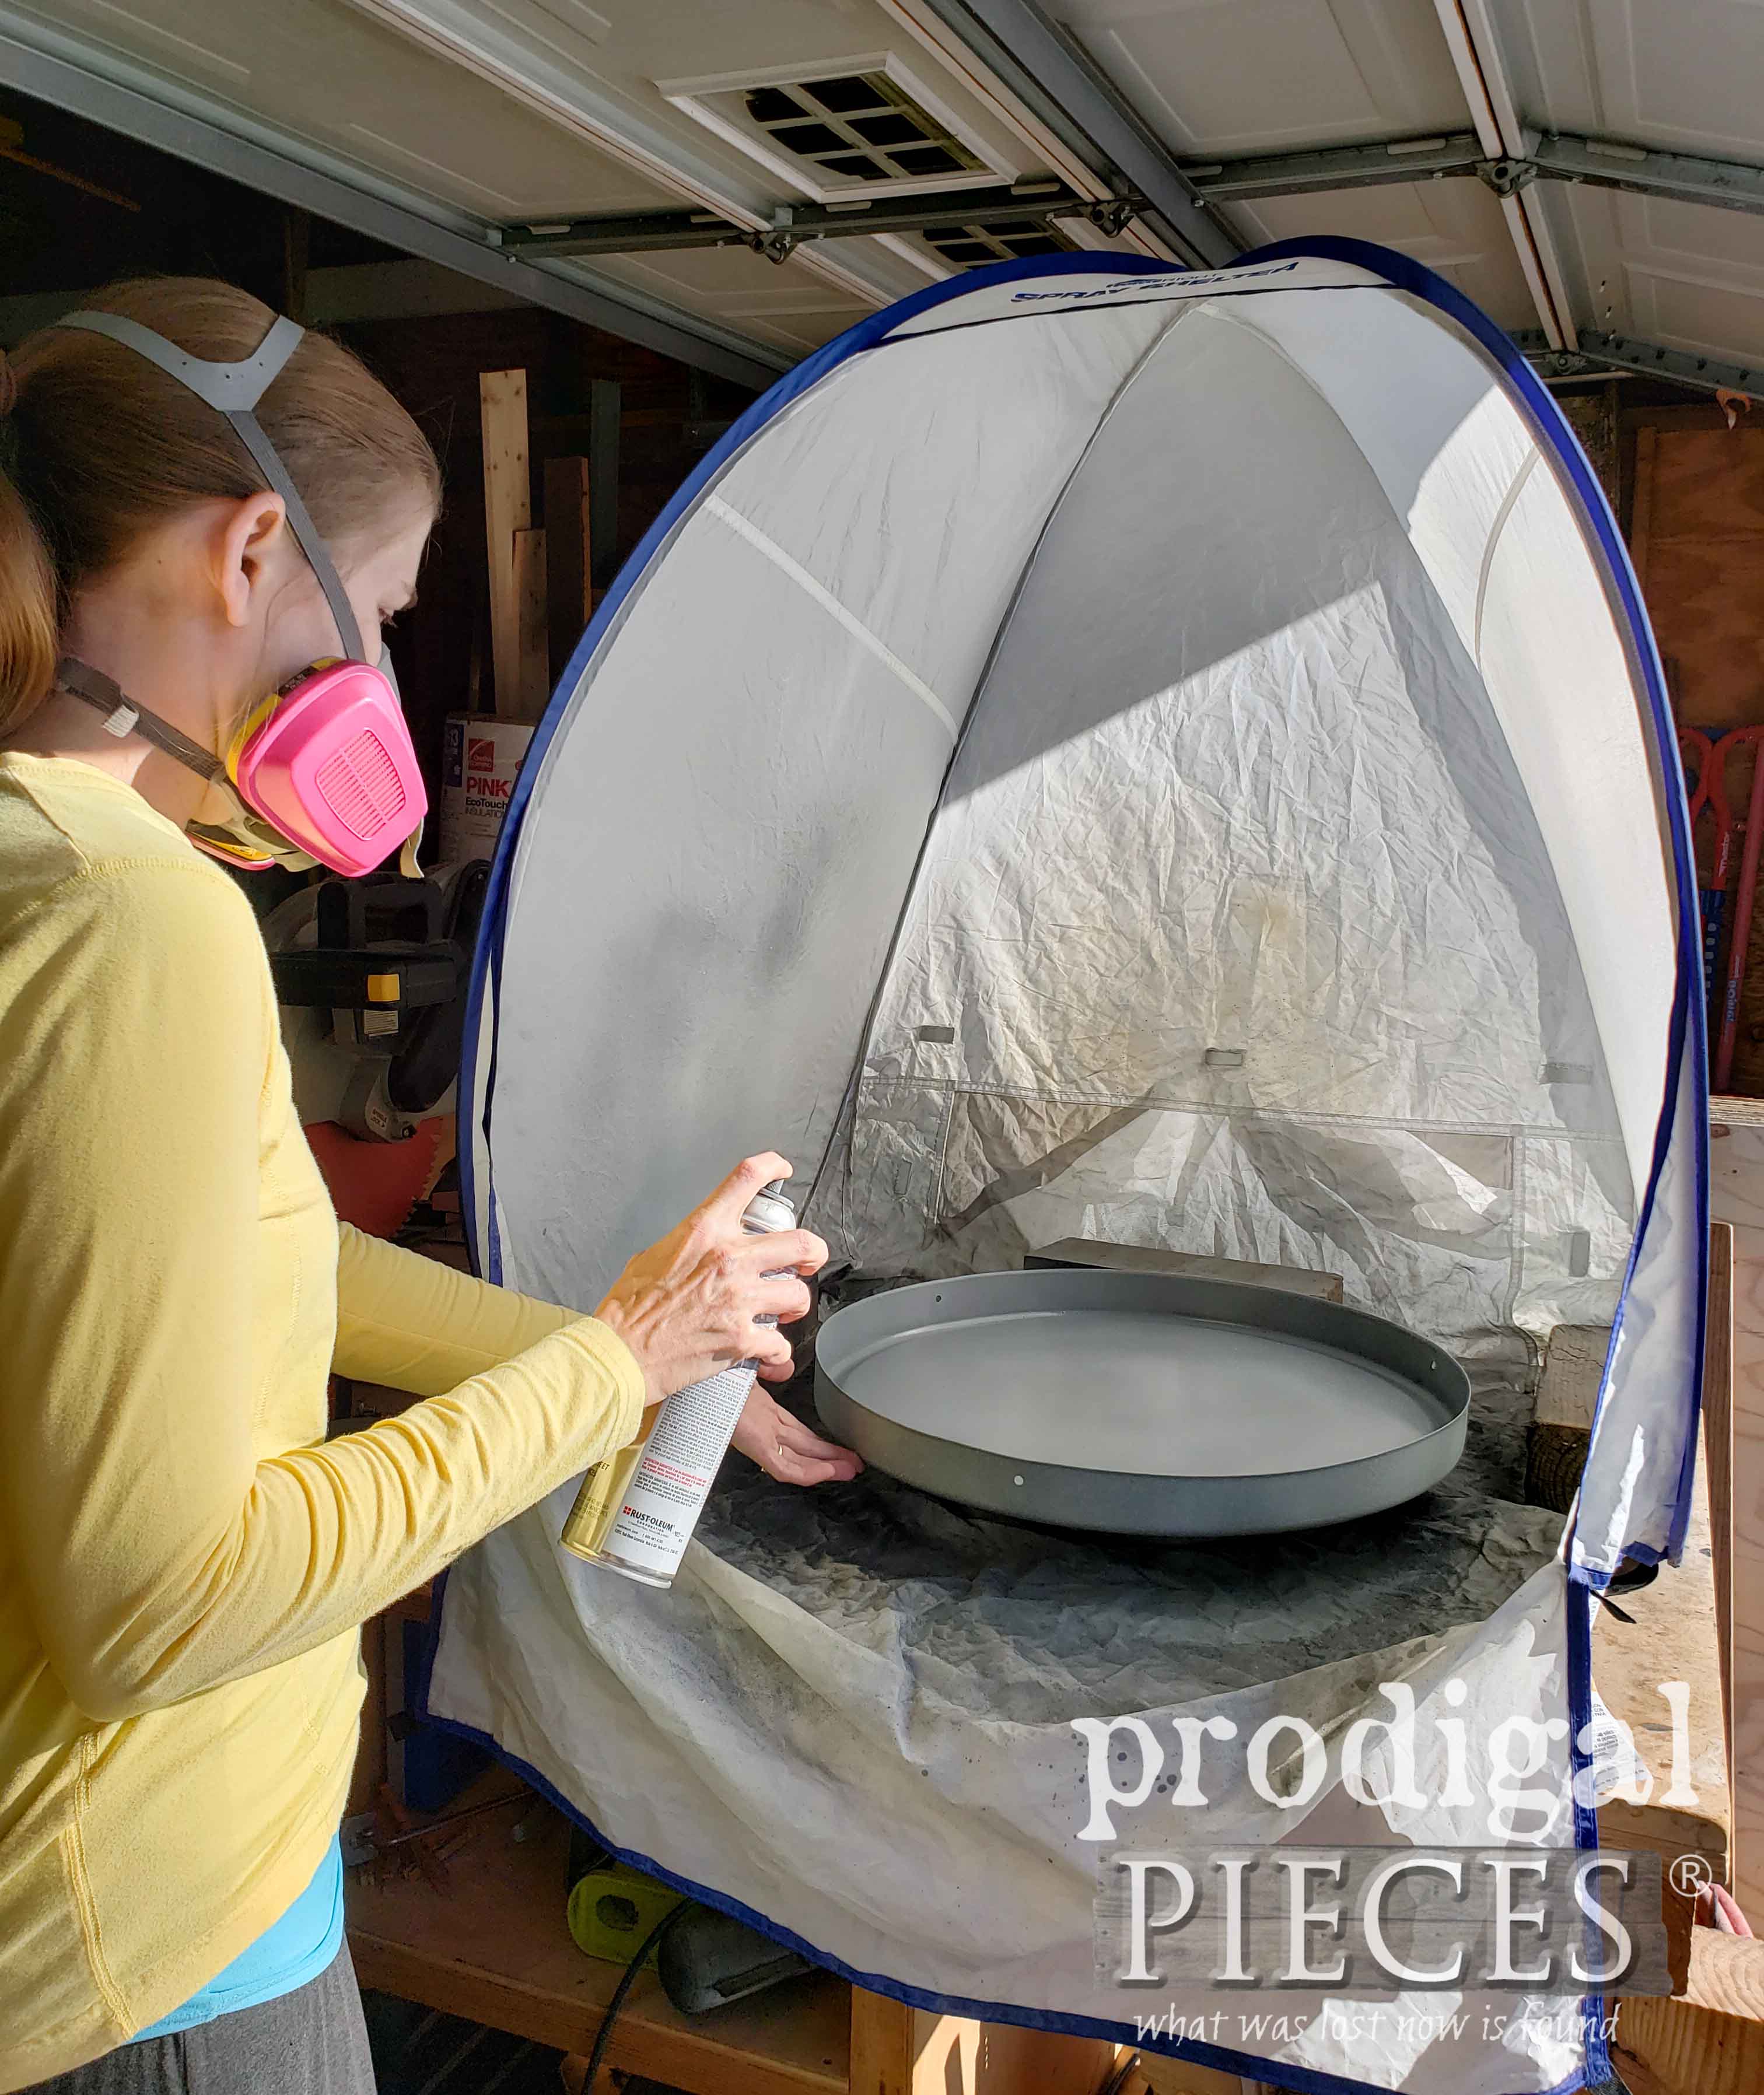
Next, I set up my spray shelter and turn table to get ready to have some spray paint fun. Since my table top had rust that I didn’t want to peek through, I used an automotive primer shown below. This is also the other materials I’ll be using too: E6000 nuts & bolts, rubber feet, and two handles.
PAINT TIME
What is more, after one coat of primer and letting it cure, I used two coats of this High Performance Spray Enamel. I knew this tray would be seeing much use, and I wanted it to last.
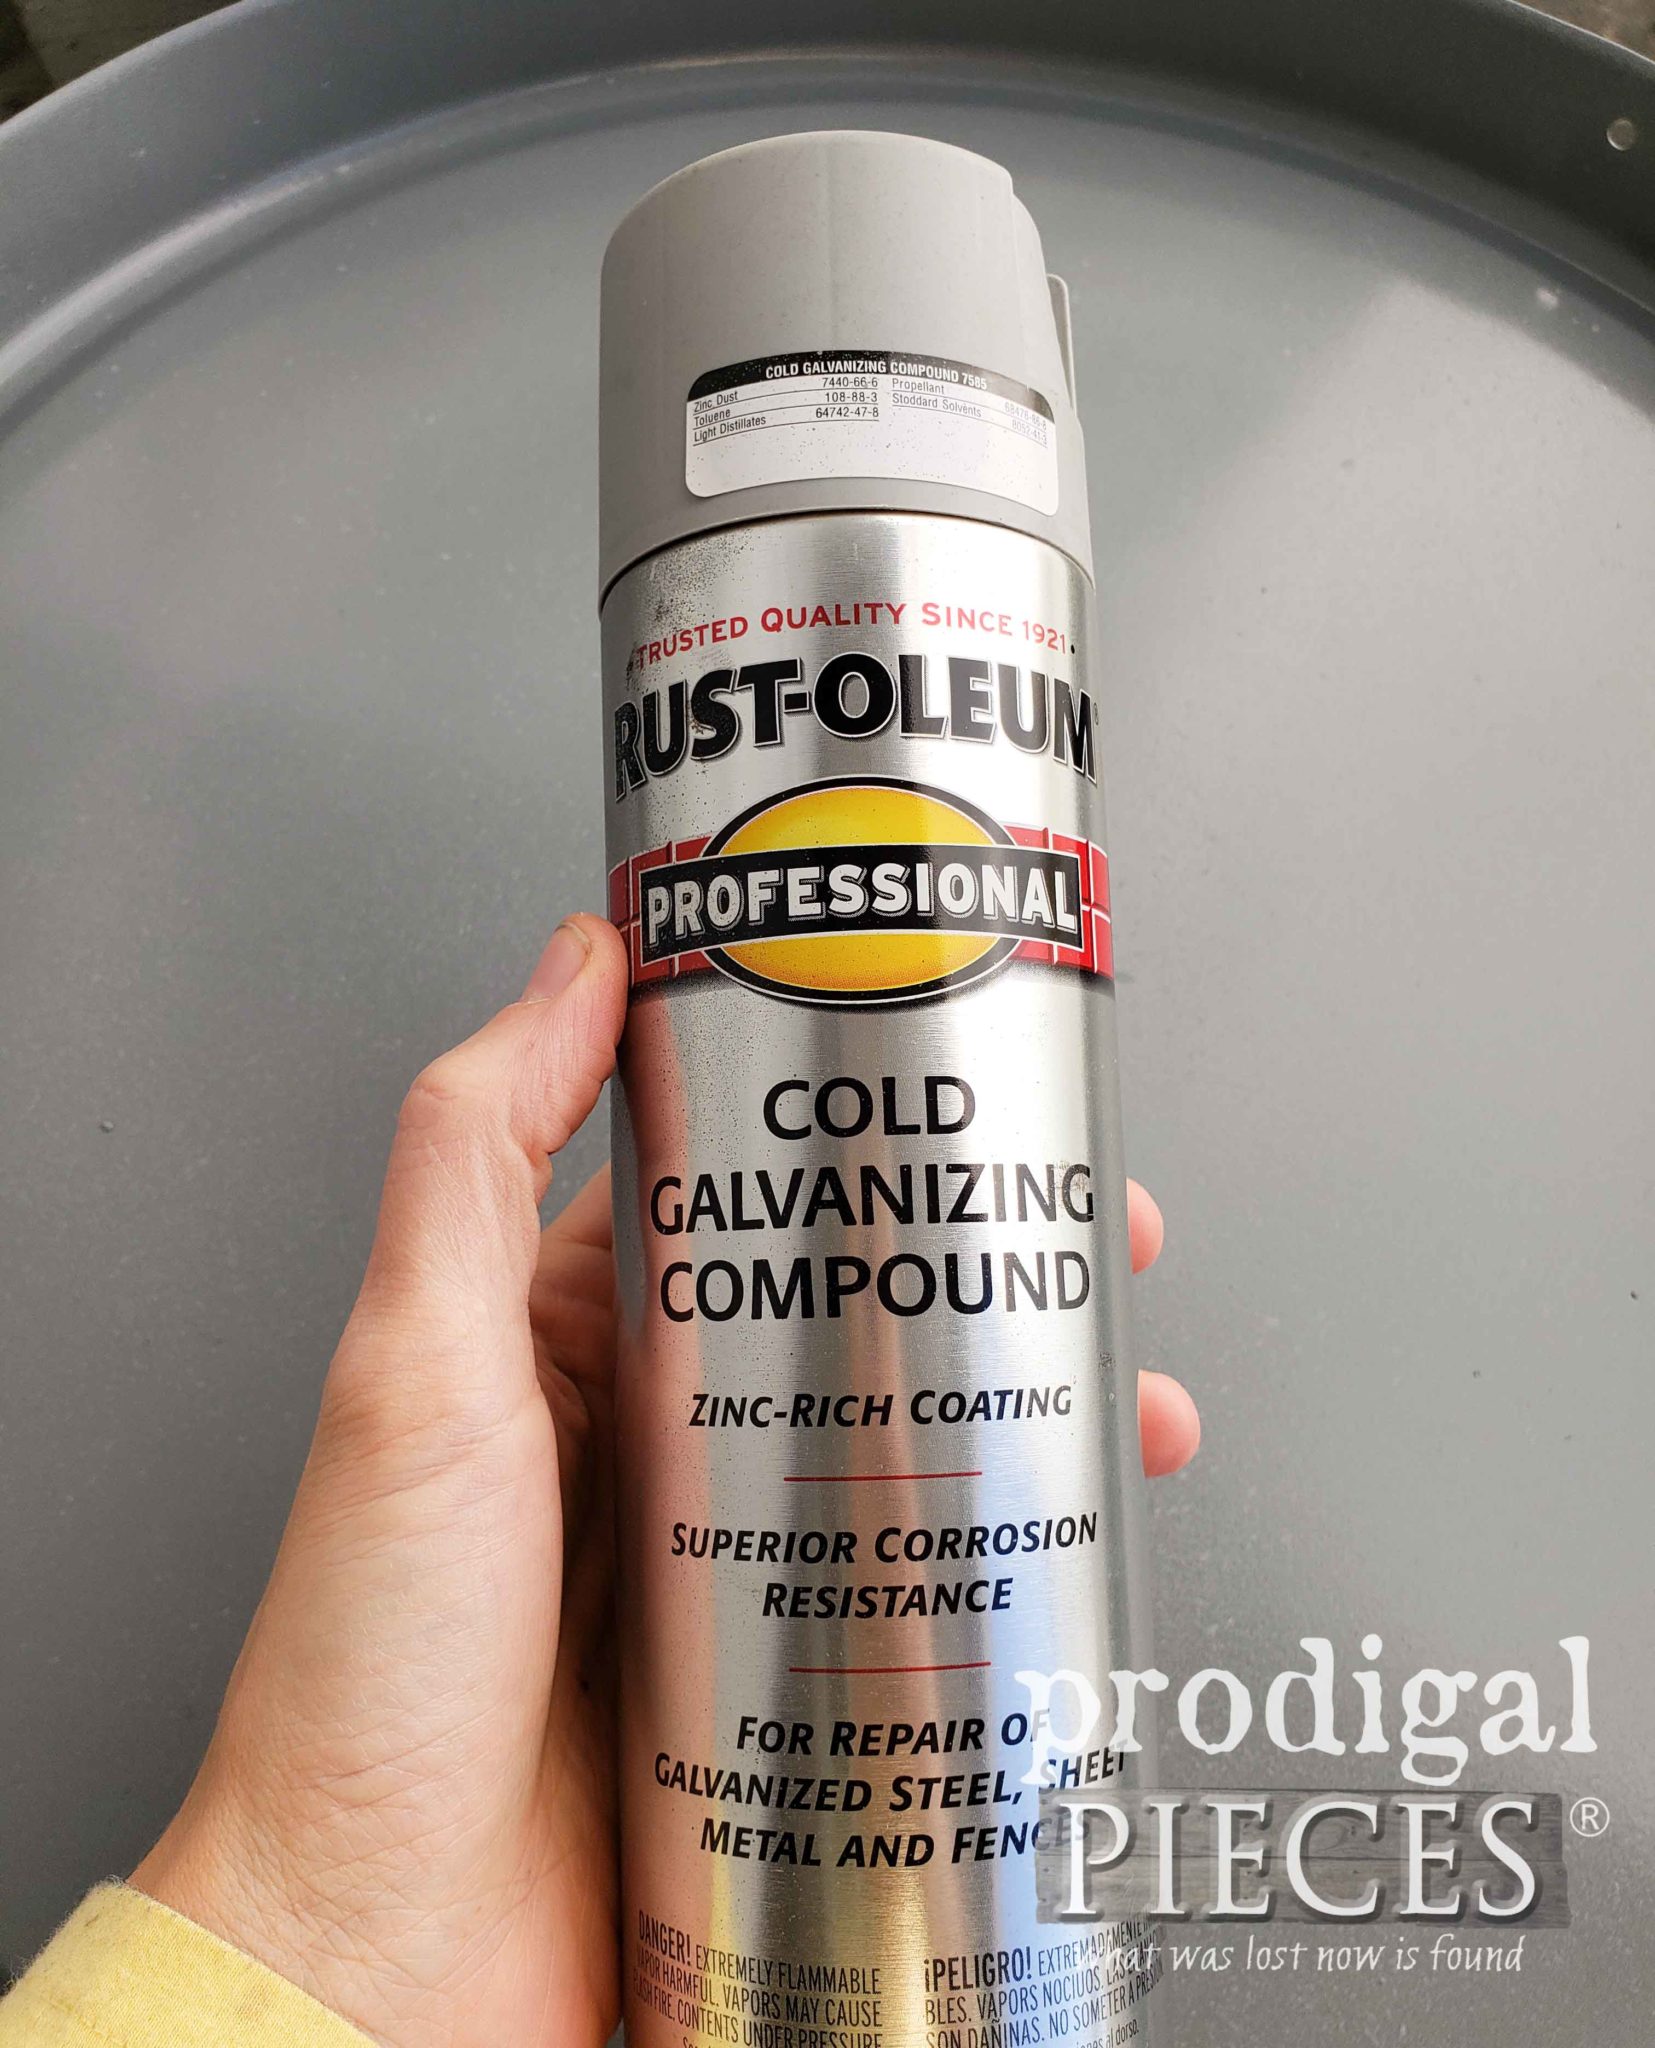
However, the only “problem” with this enamel is that it is glossy. meh. So, in order to remedy that, I used the same Cold Galvanizing Compound I use in my zinc tutorials. Why? Because it’s basically zinc in a can. I LOVE IT!
NEXT STEPS
While using my turn table to spin the tray, I intermittently spray the zinc onto the glossy gray. This give is the mottled effect I’m after, similar to galvanized metal. The video shows it in action best. Basically, I’m not looking for complete coverage, just a fleck.
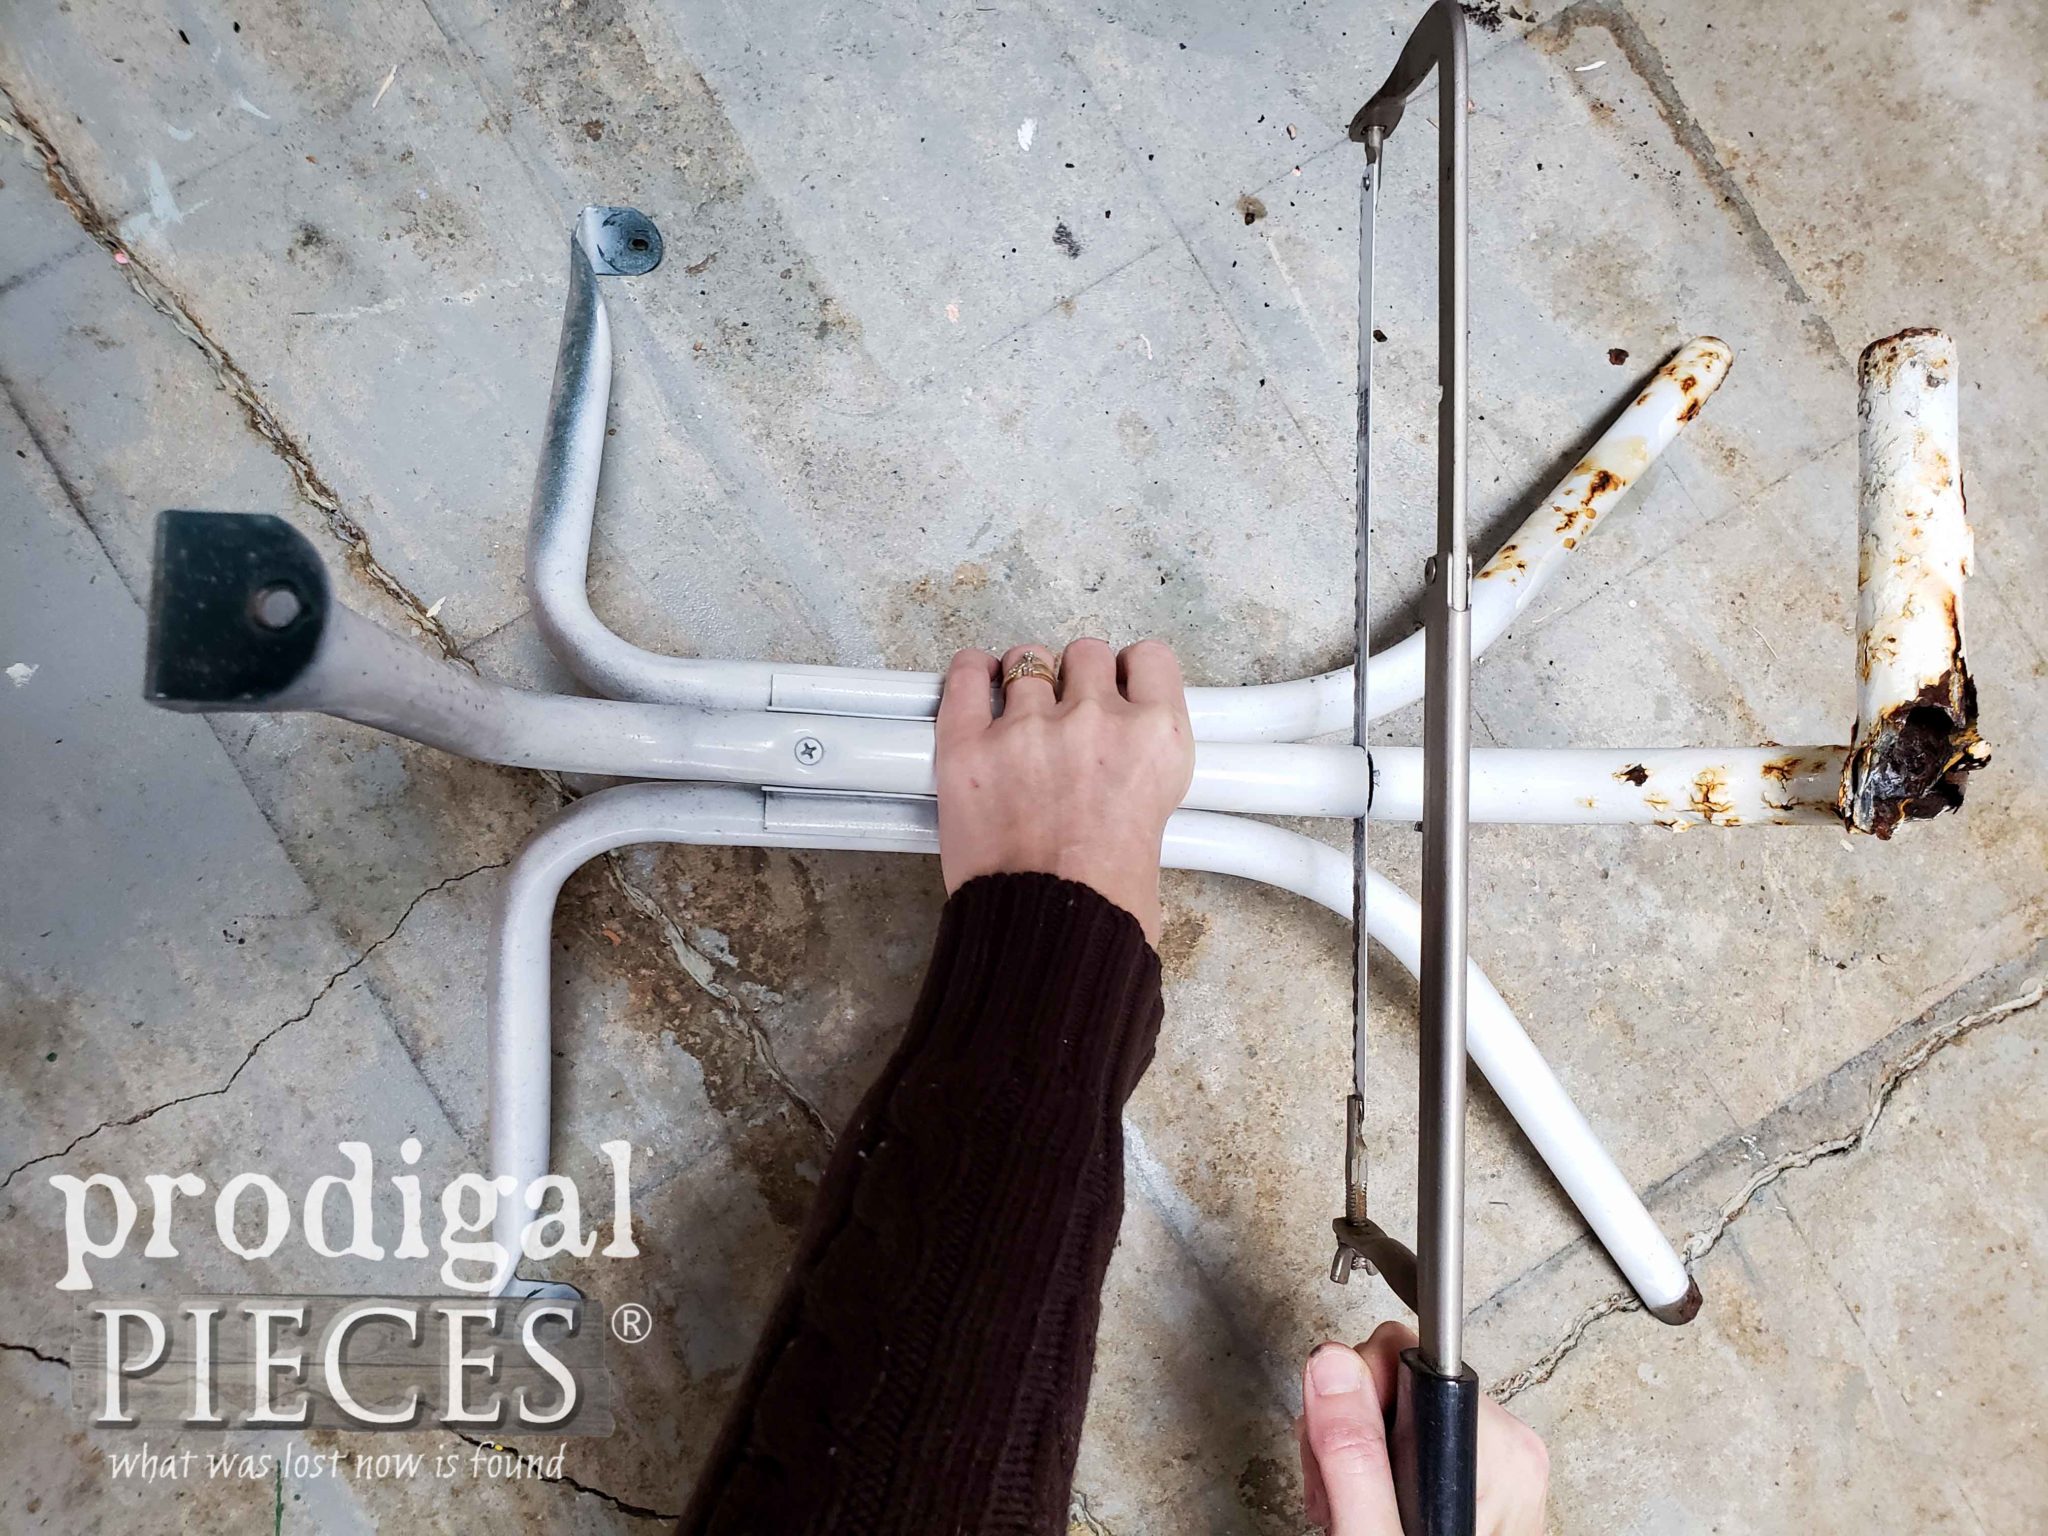
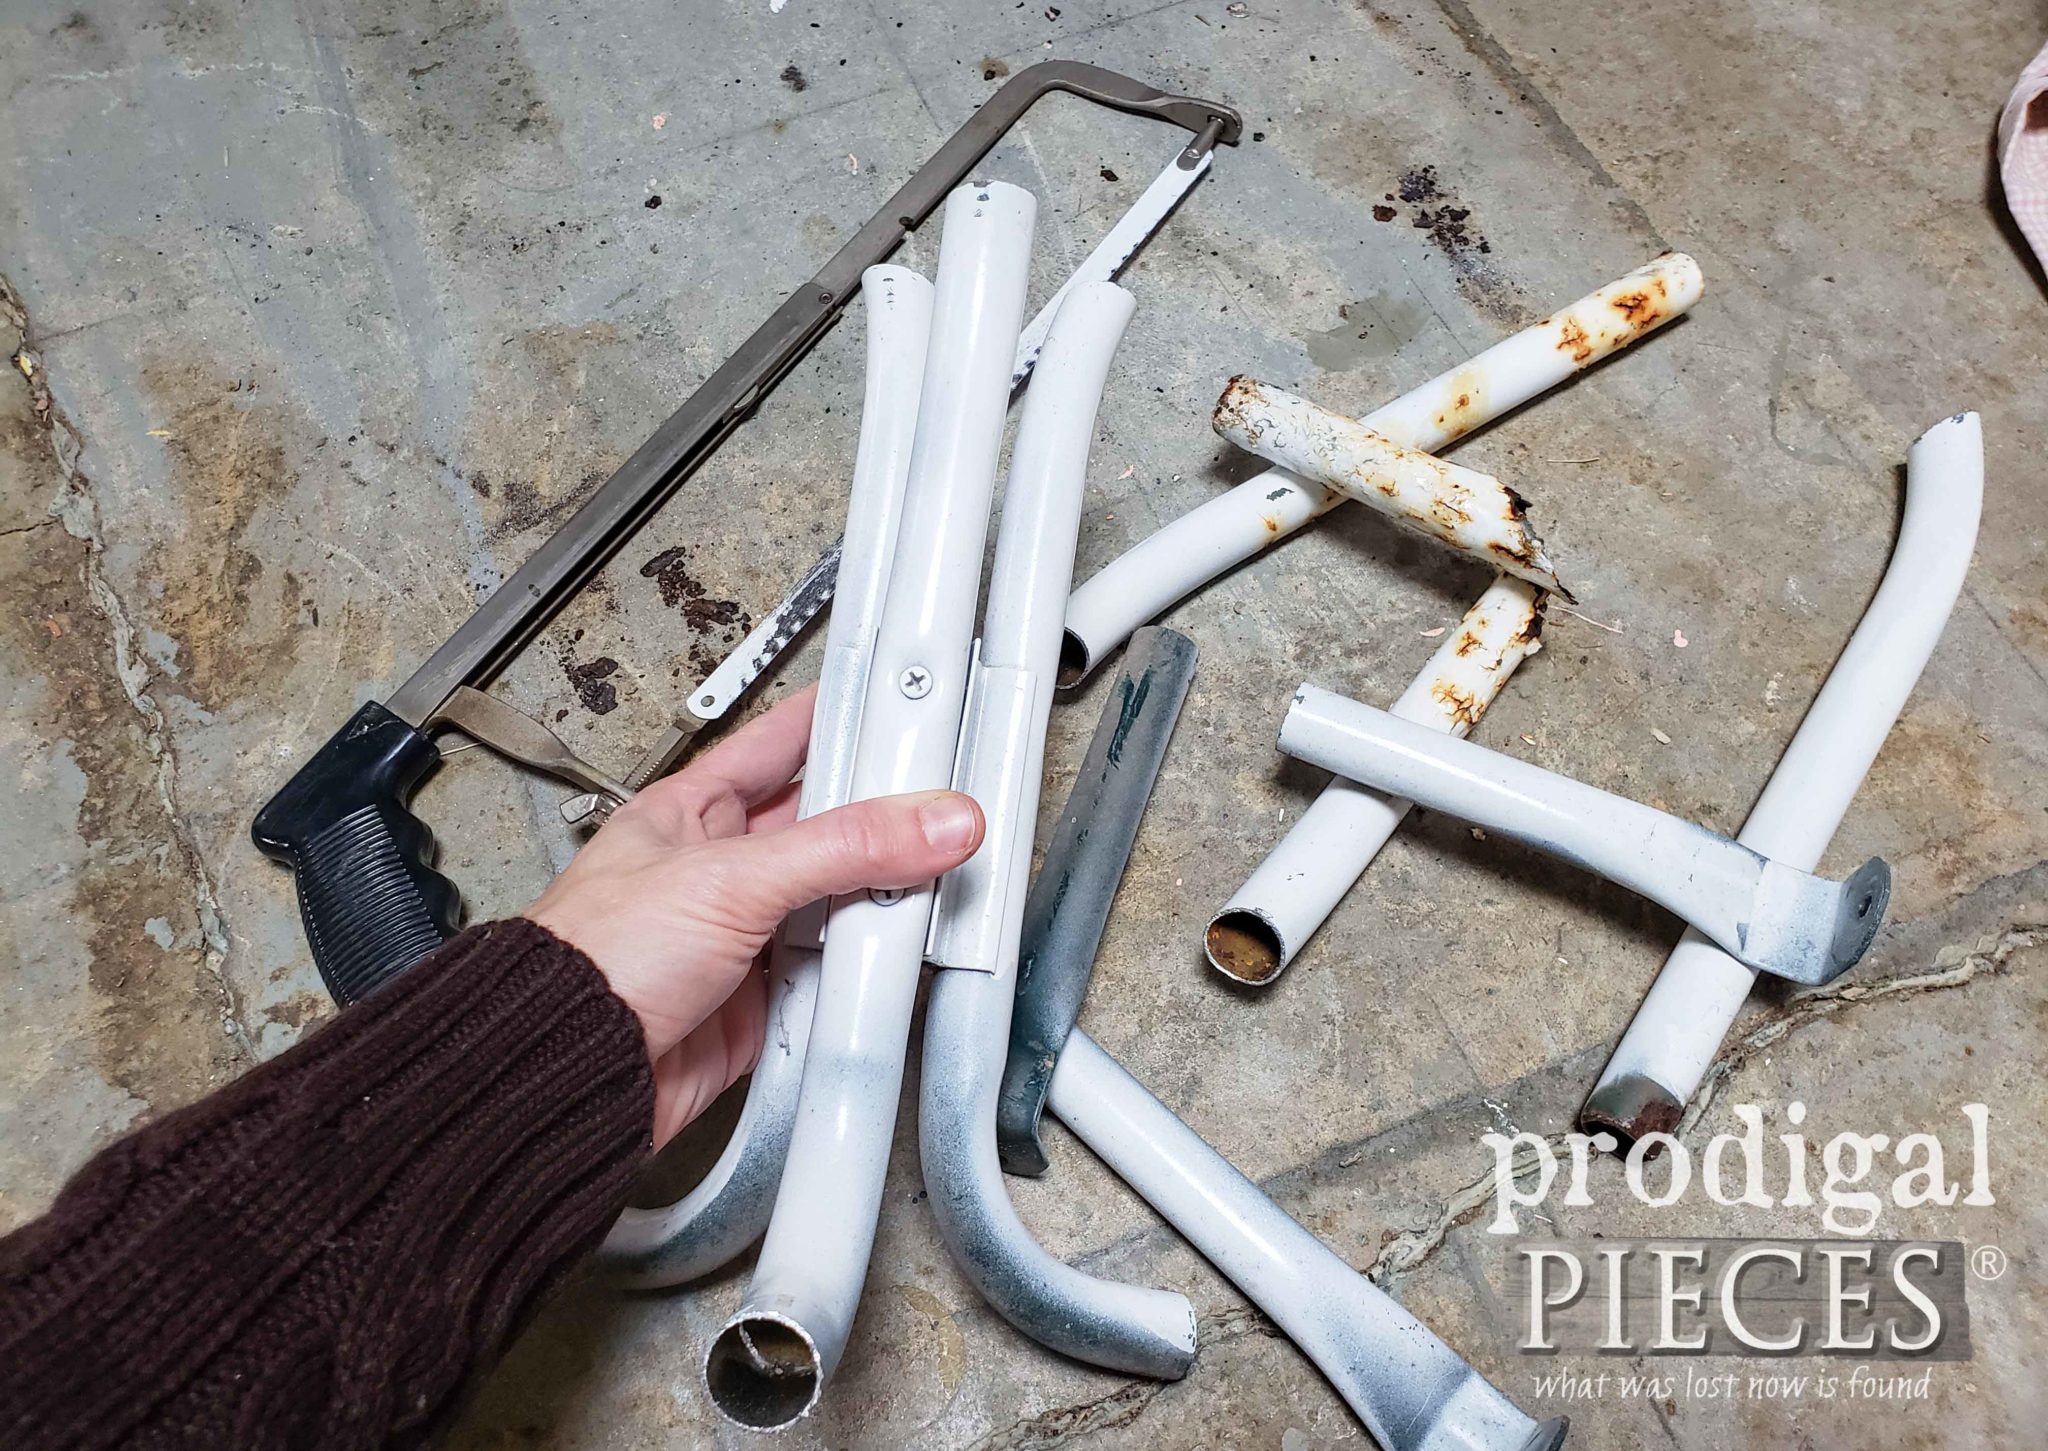
At this point, all my paint layers are curing, I’m busy as a bee making use of the table legs. Yes, they are a rusted mess, but I see potential. After that, I use my hacksaw, I cut off the damaged parts.
While I could have made use of even the leg pieces, those went to the recycling center instead. Now, I have a funky chunk of metal to play with. I’ll show you what it became in a bit.
Back to the upcycled farmhouse tray to finish it up. A tray needs handles, so I use my drill to add holes to opposing sides, then used the nuts and bolts I showed you above to attach them. Also, to protect surfaces and add a bit of height, I use the E6000 glue and the rubber feet to add to the bottom. See video for demo.
THE REVEAL
Last, we’re ready to see the tray and my other table leg creation? I am!
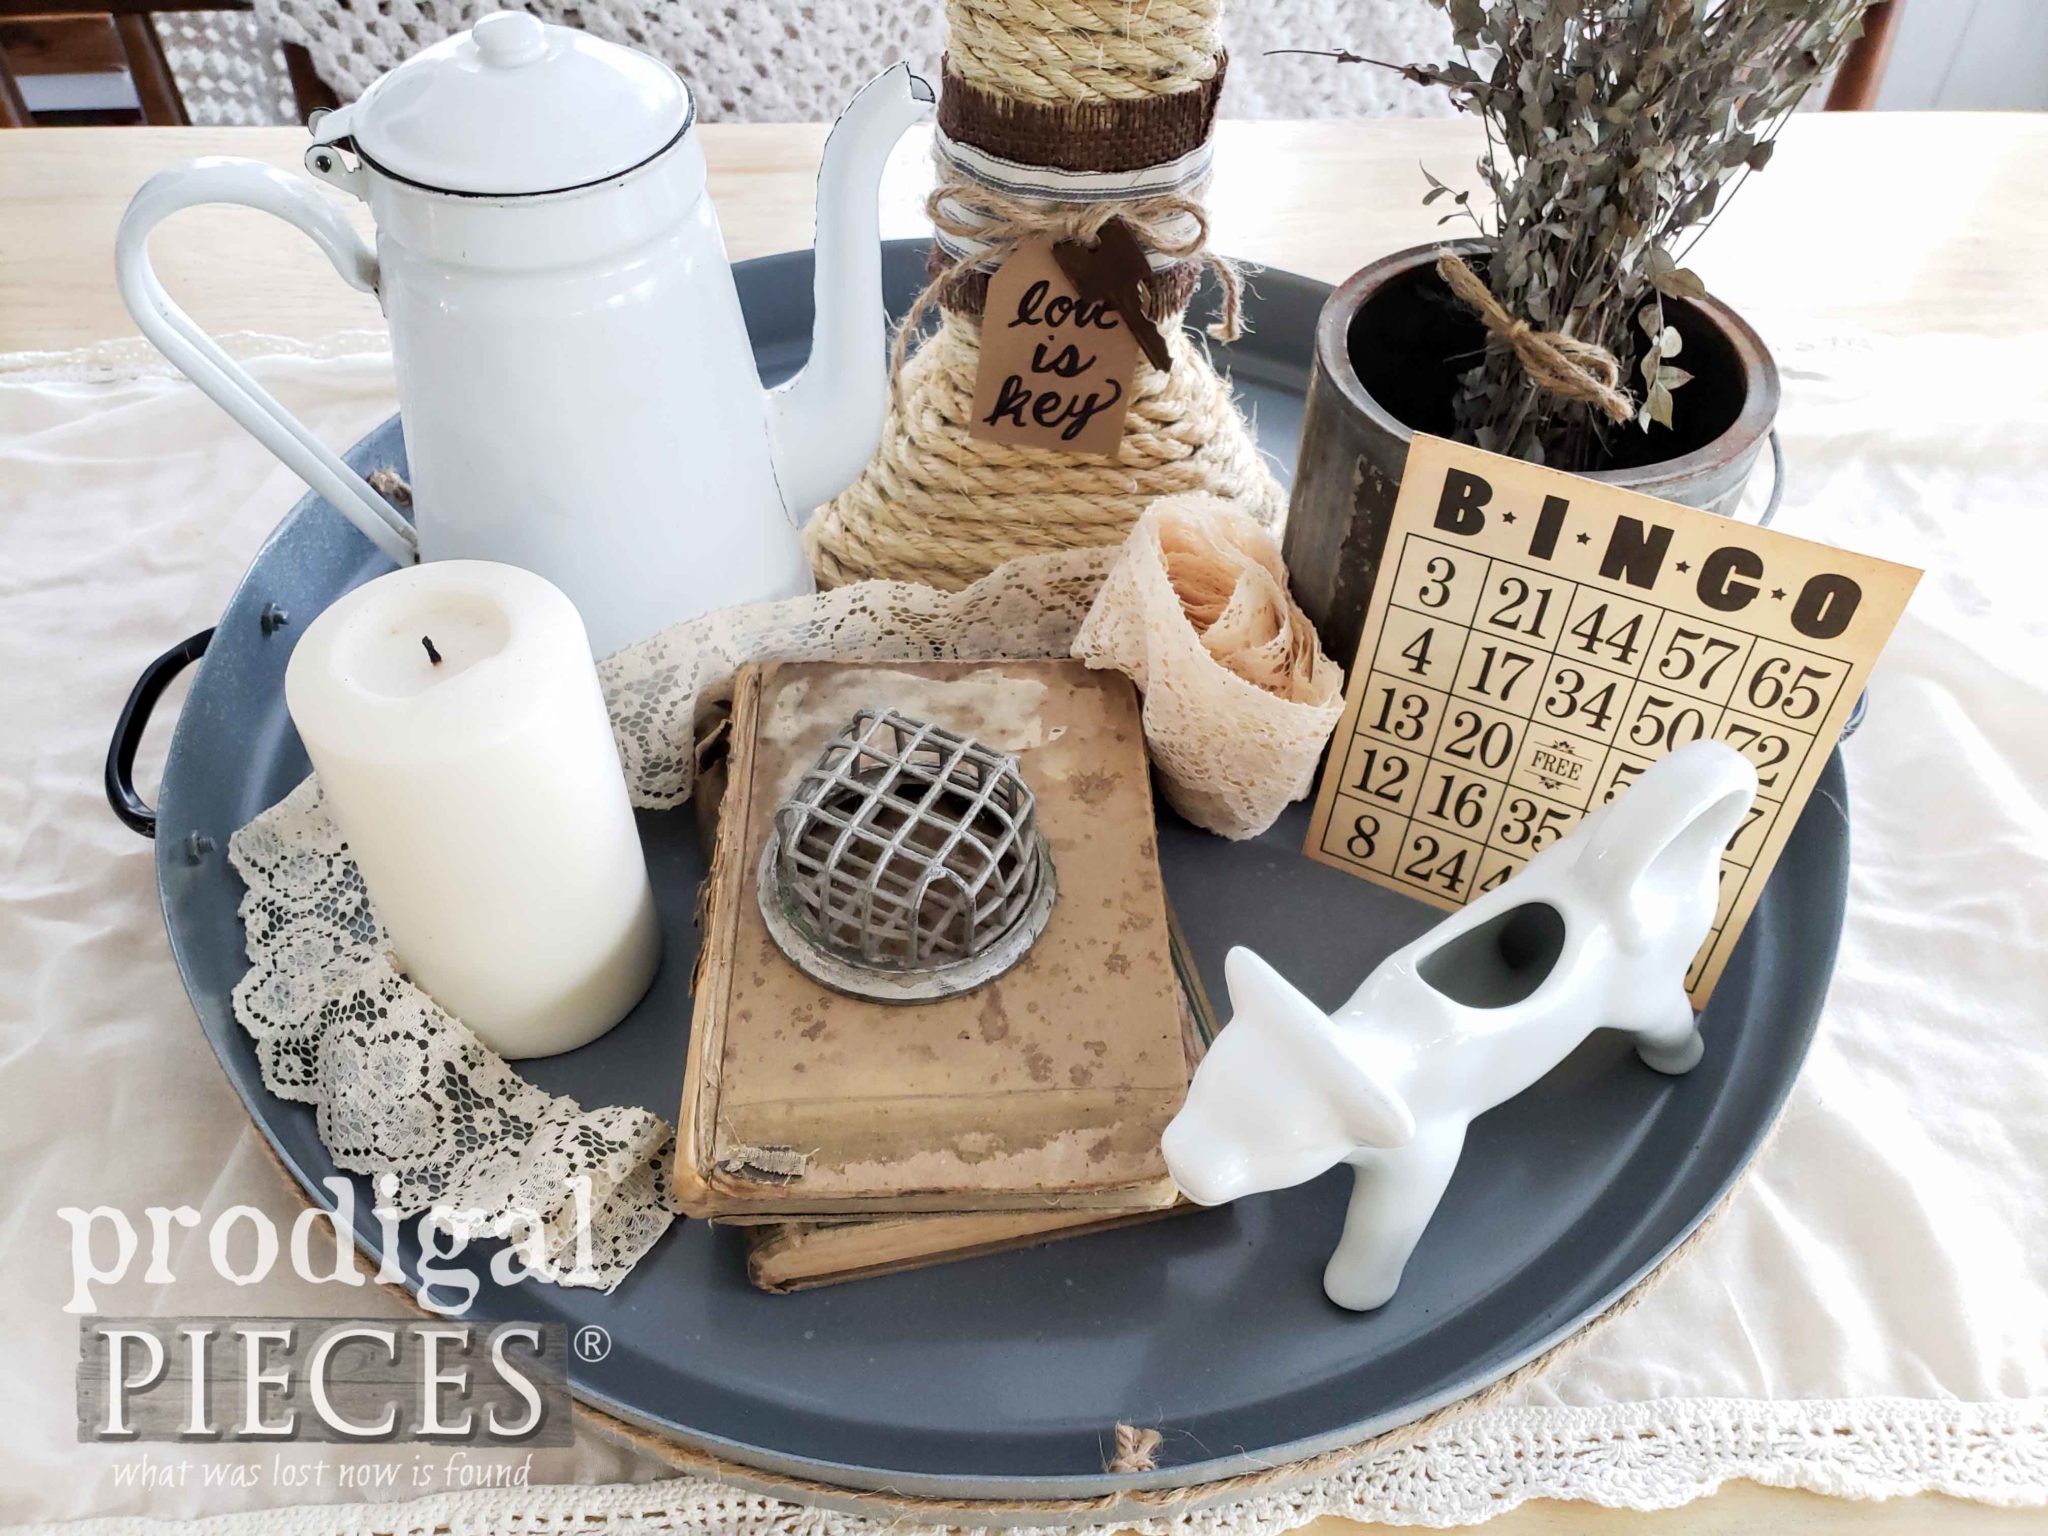
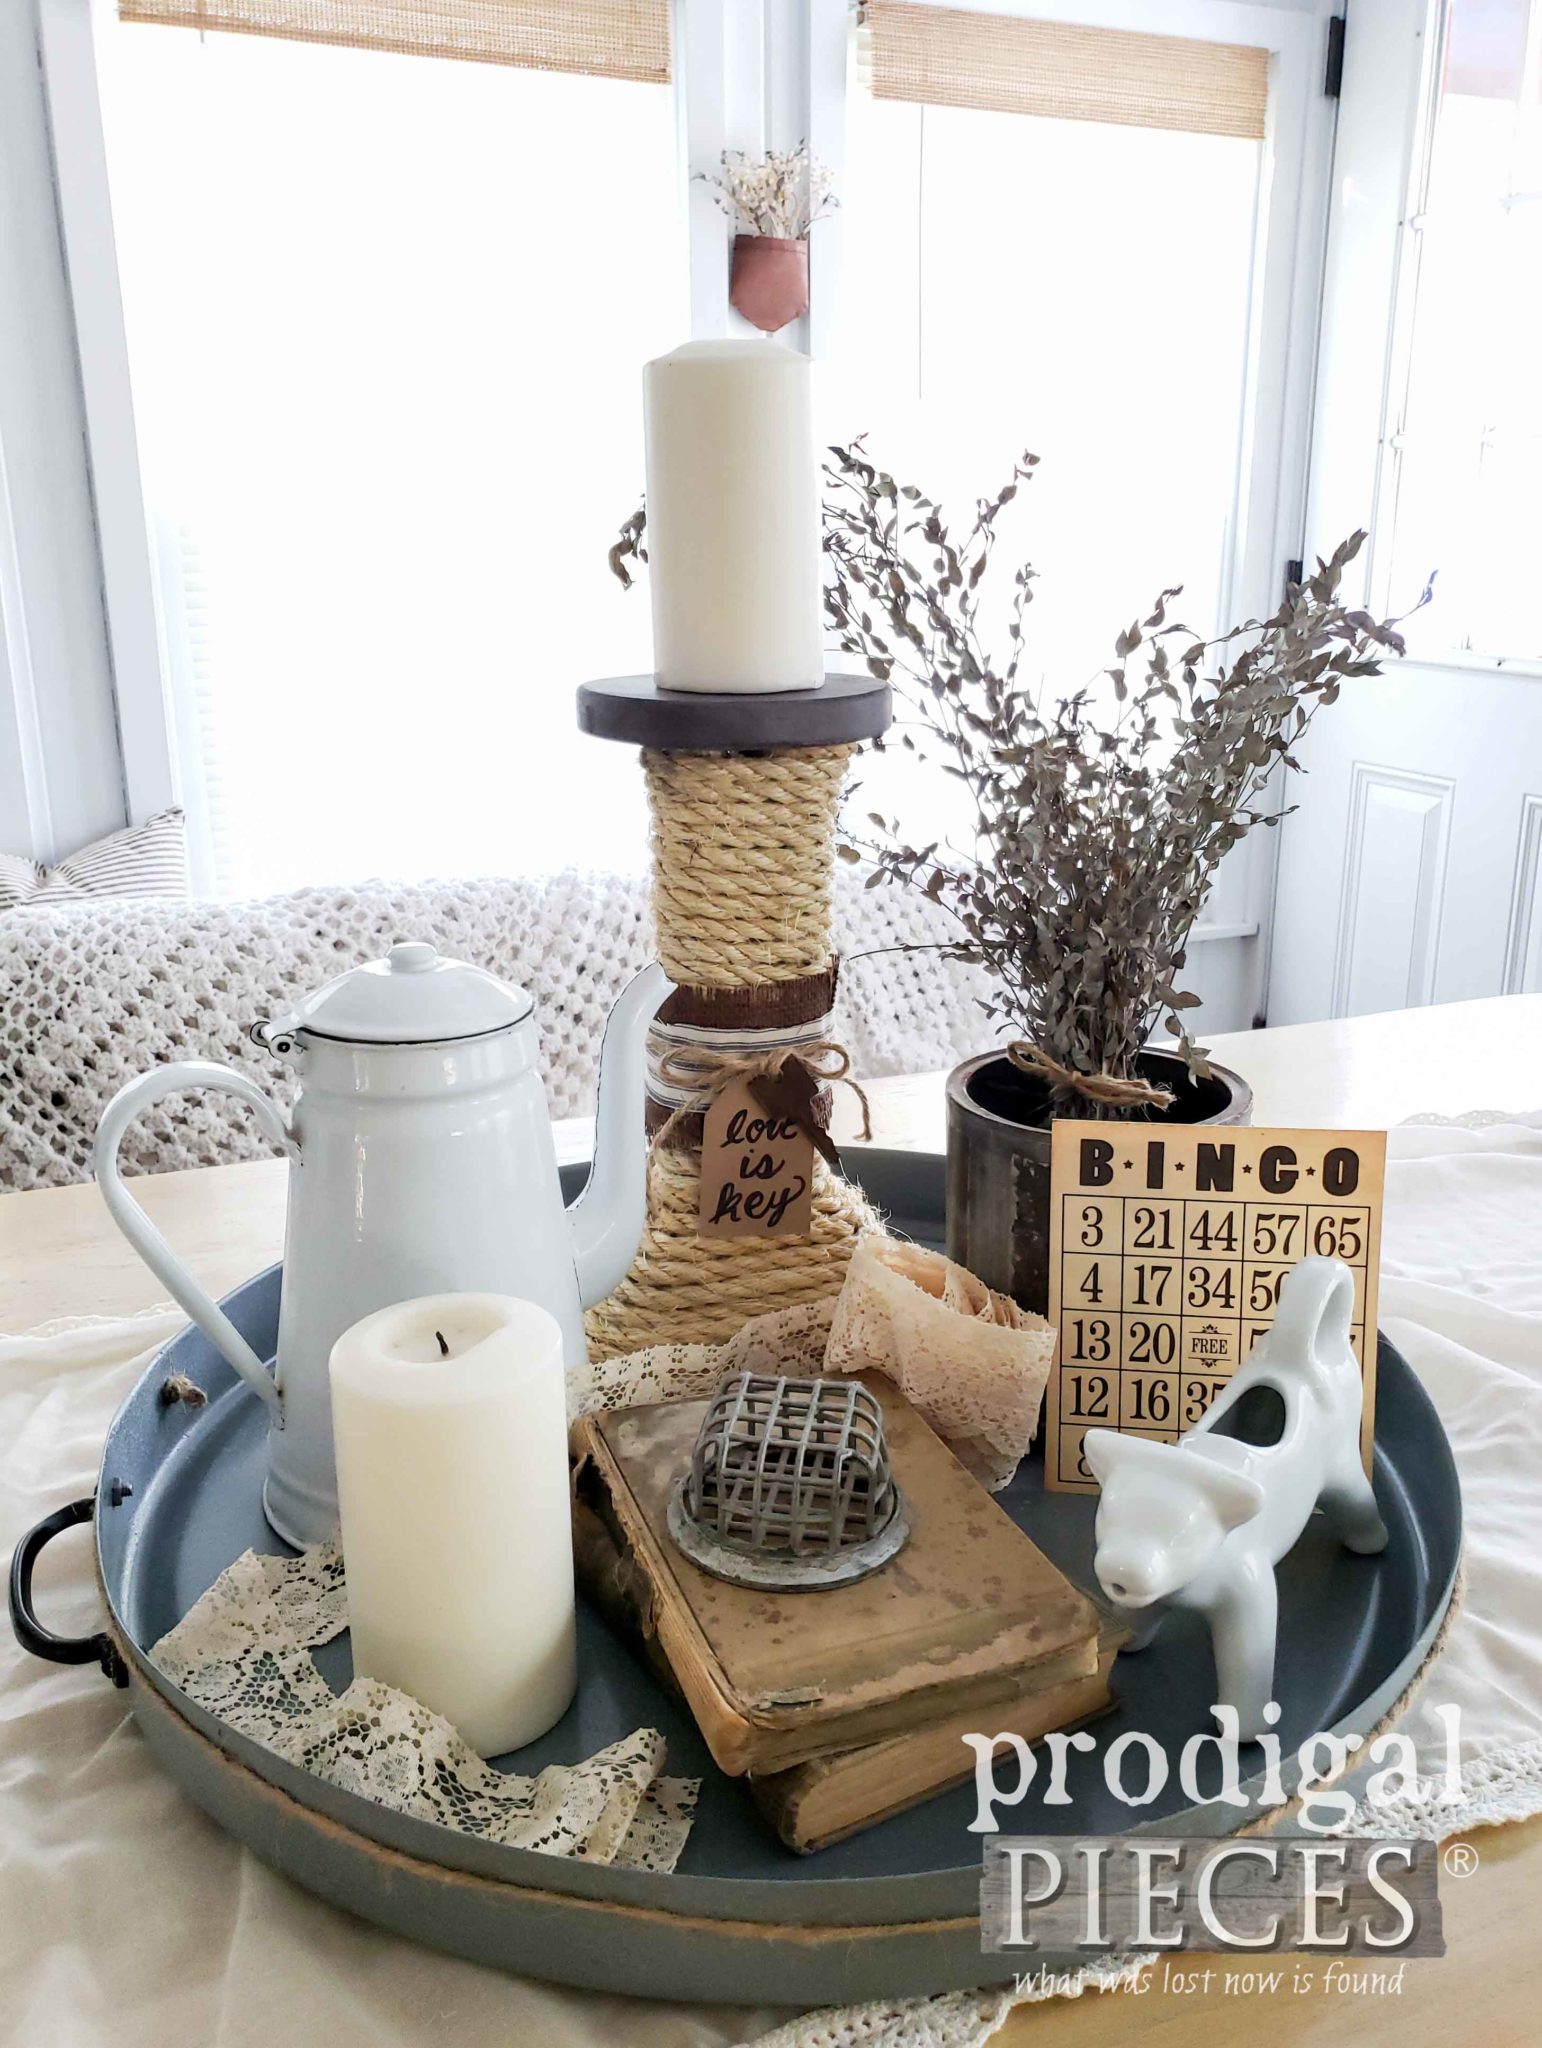
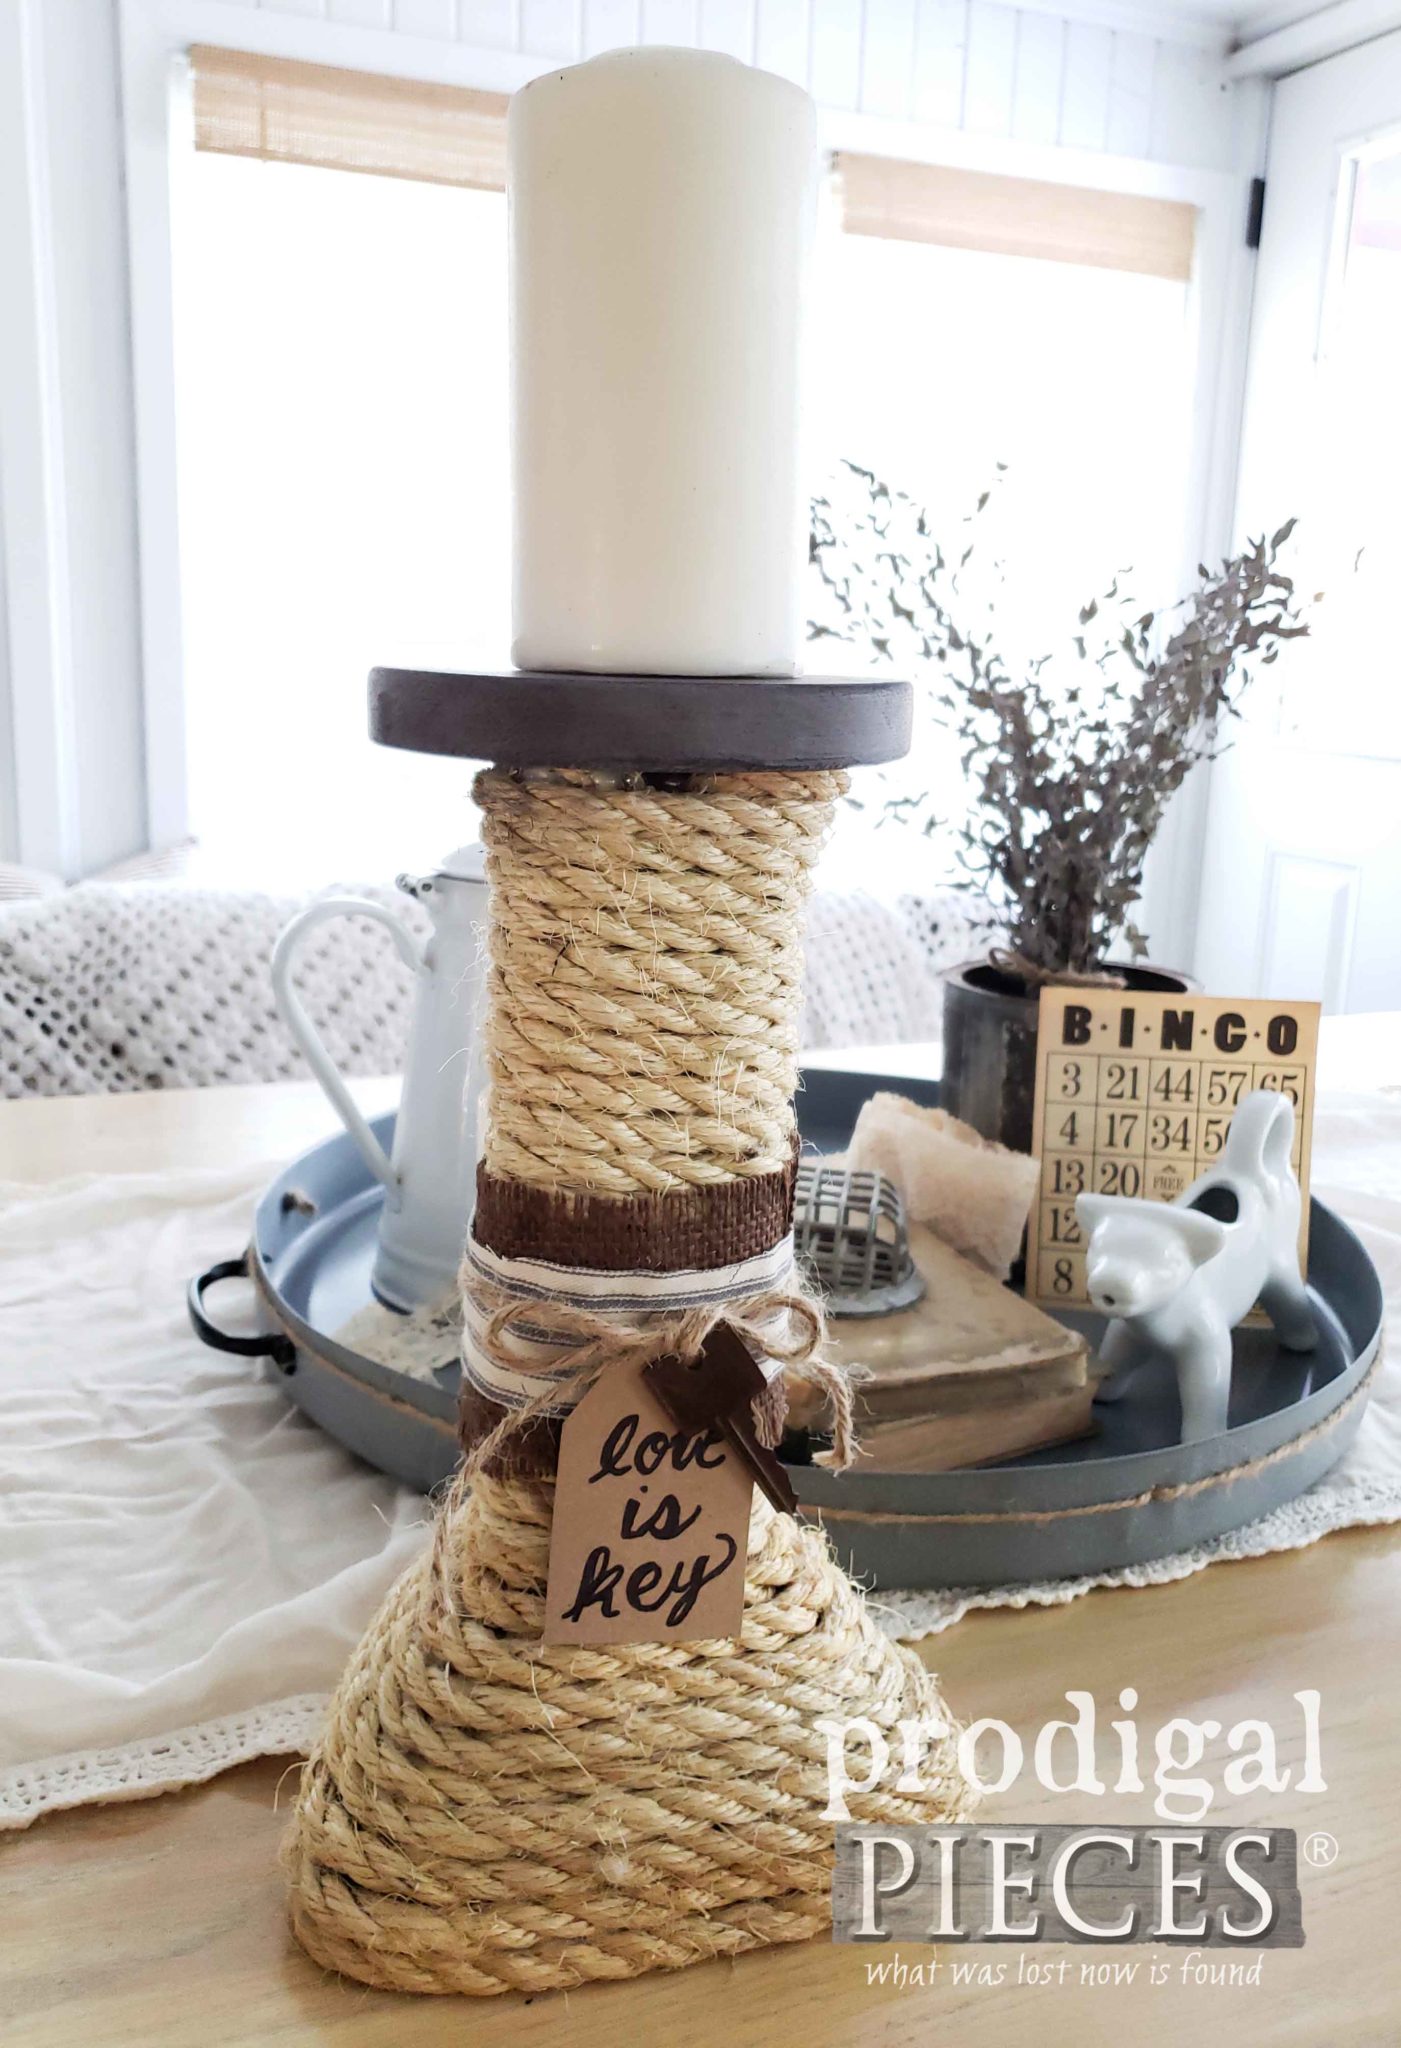
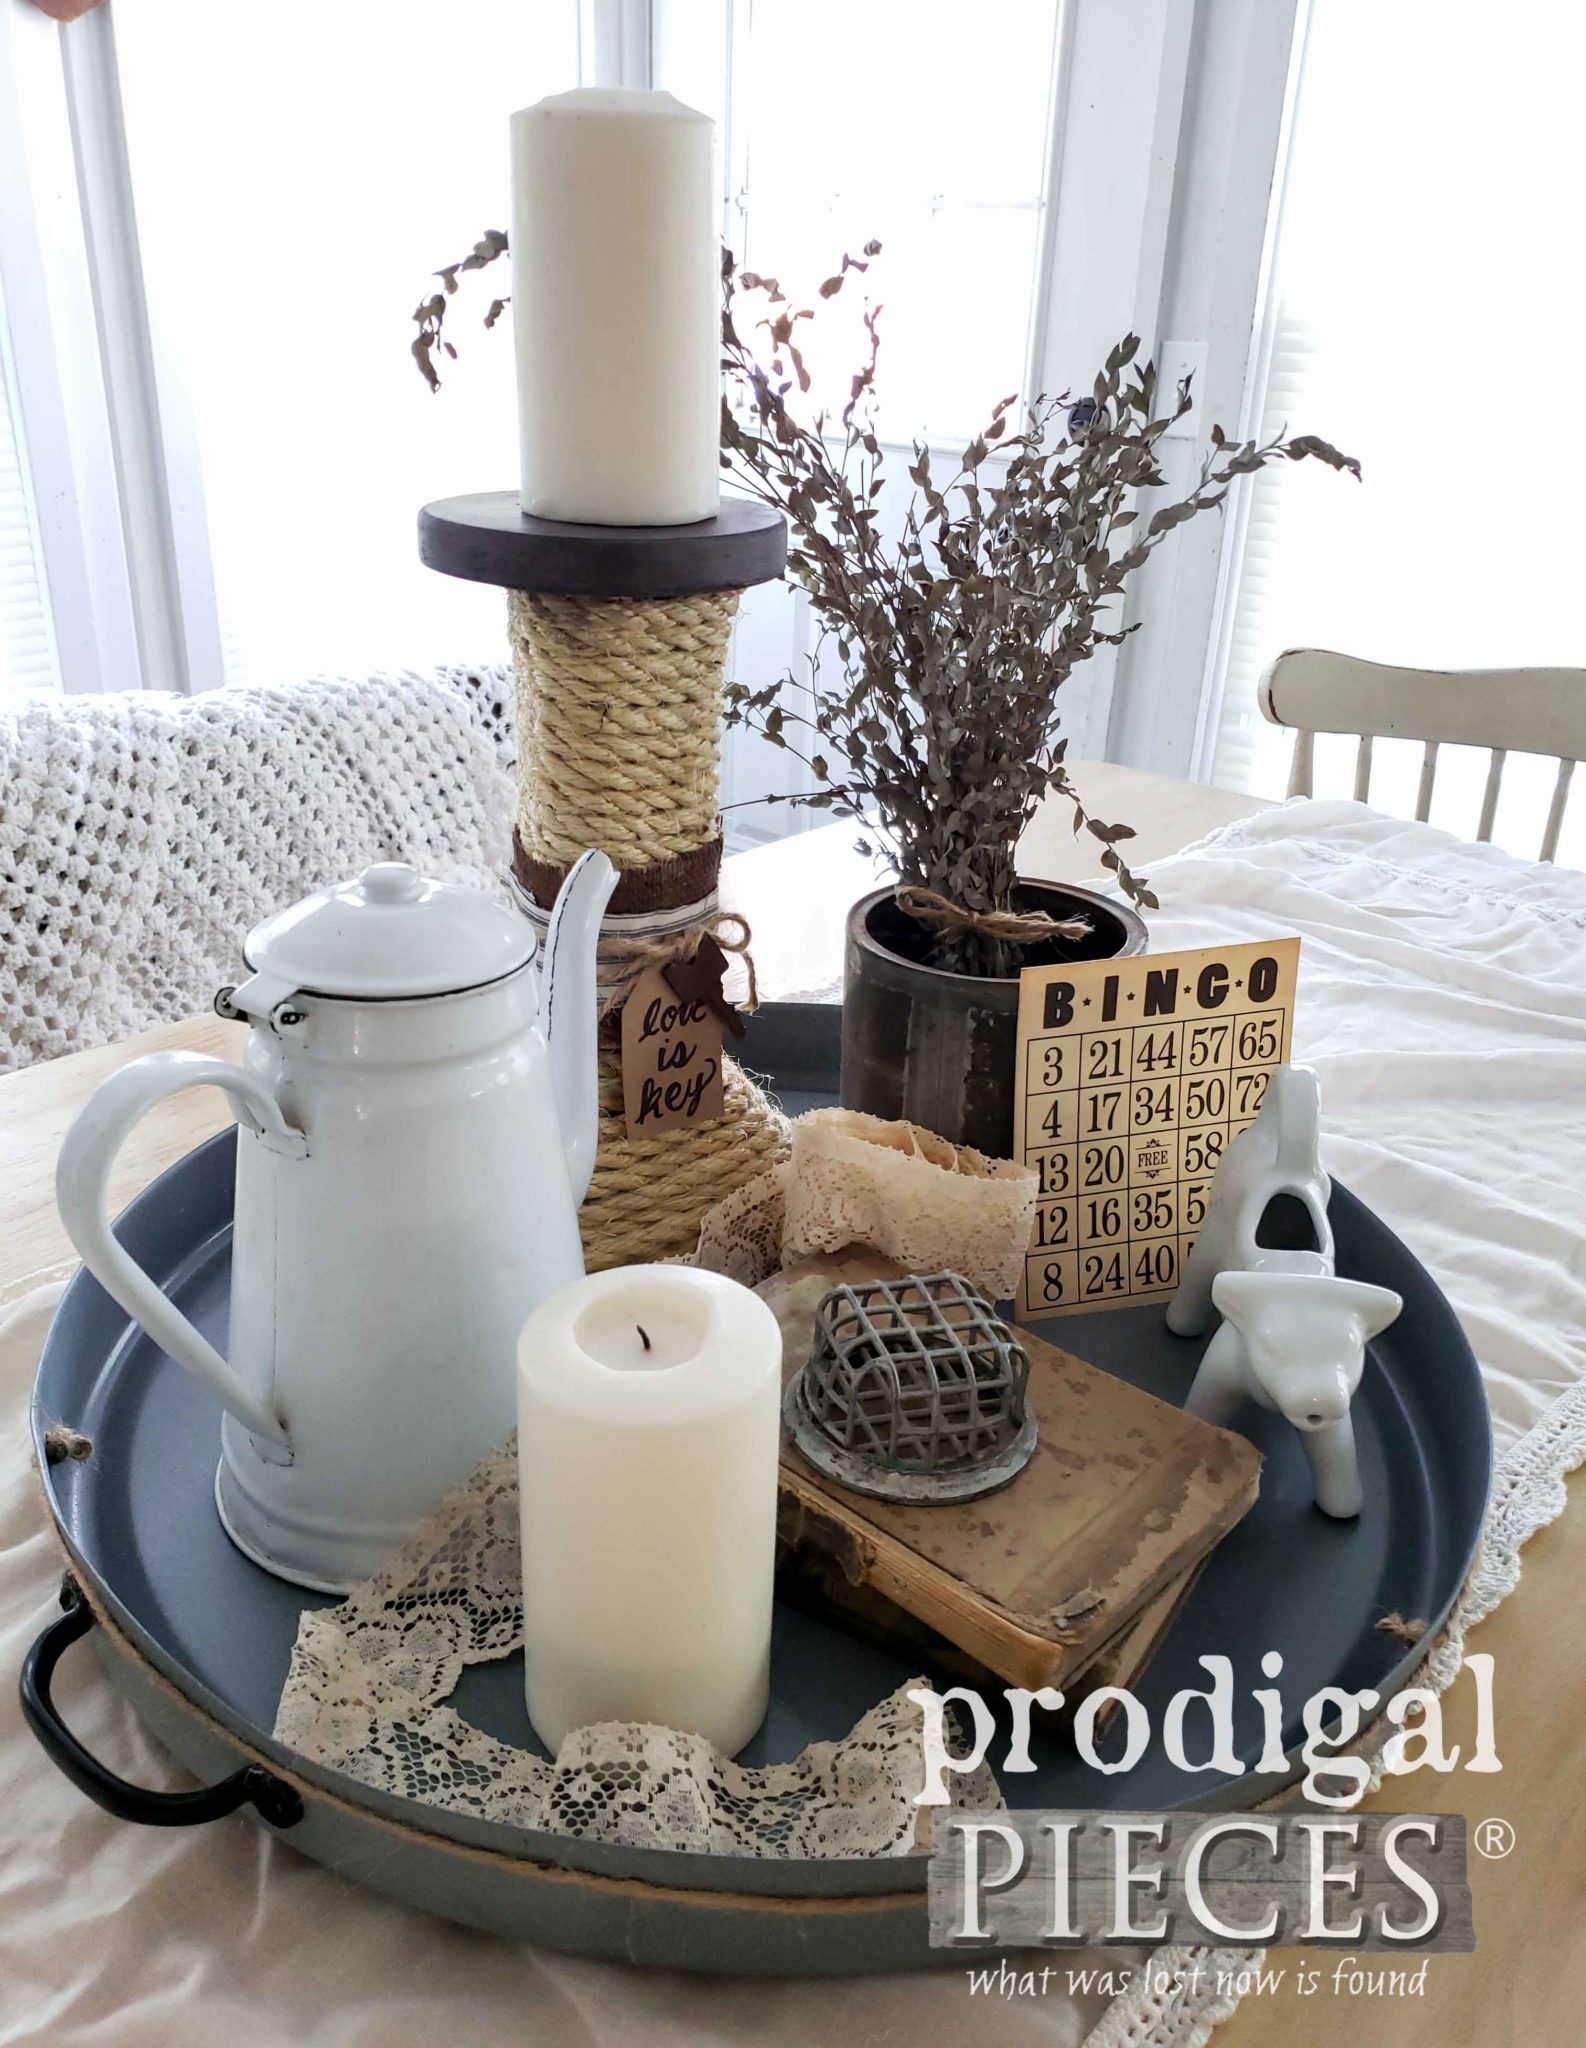
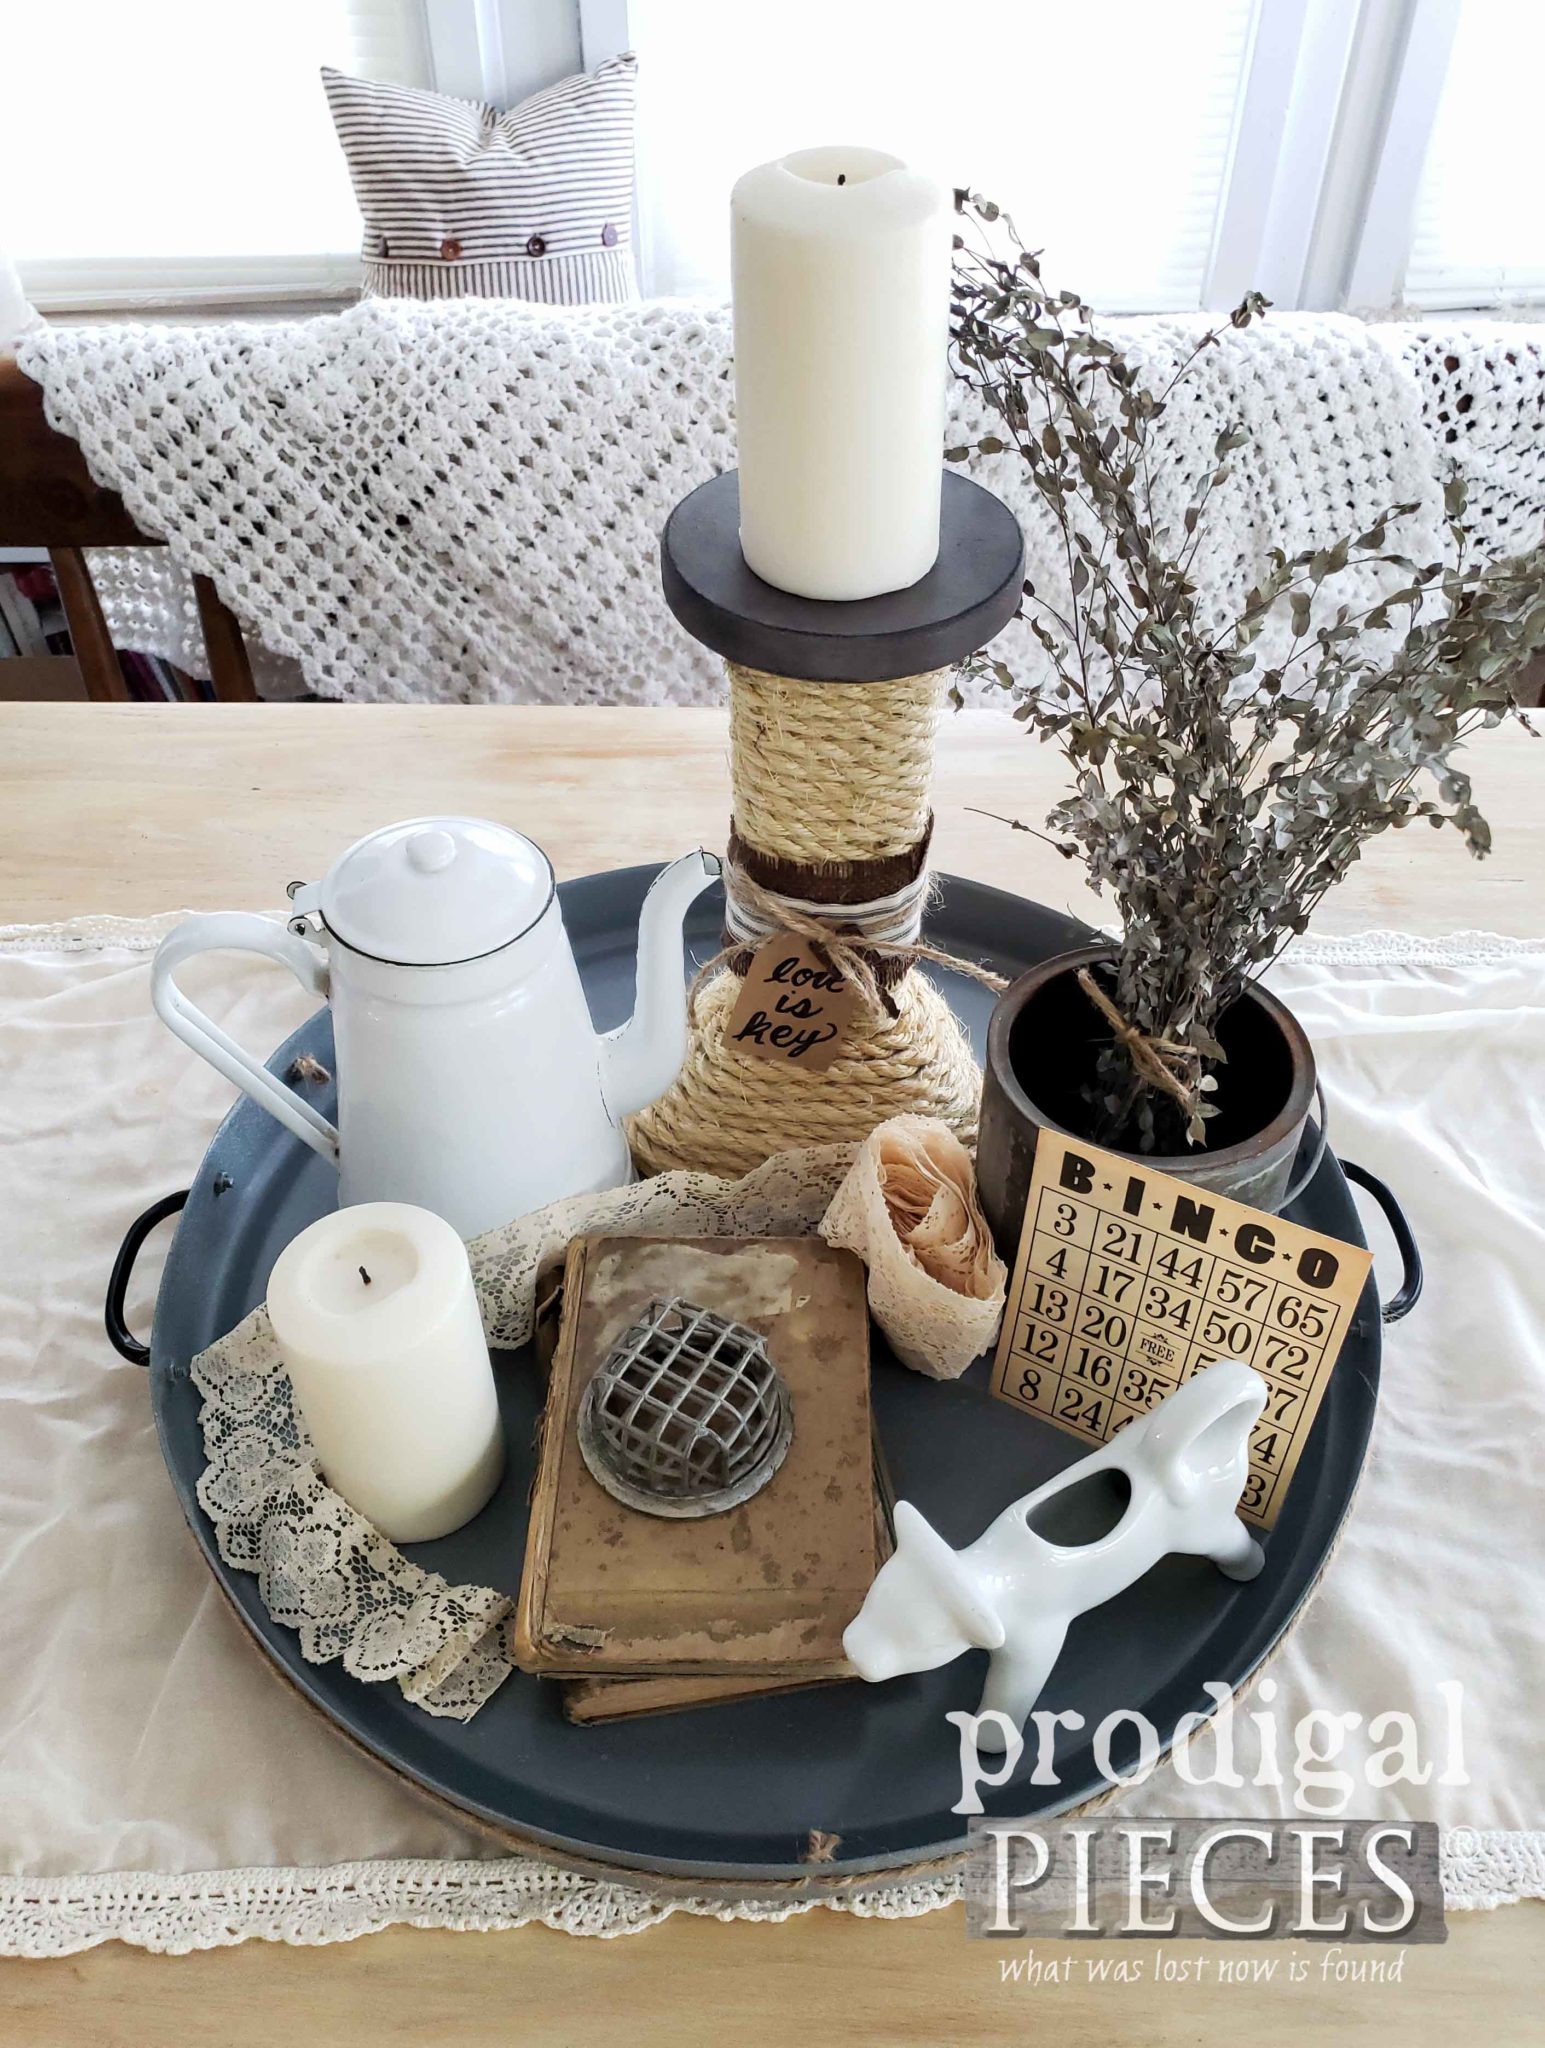
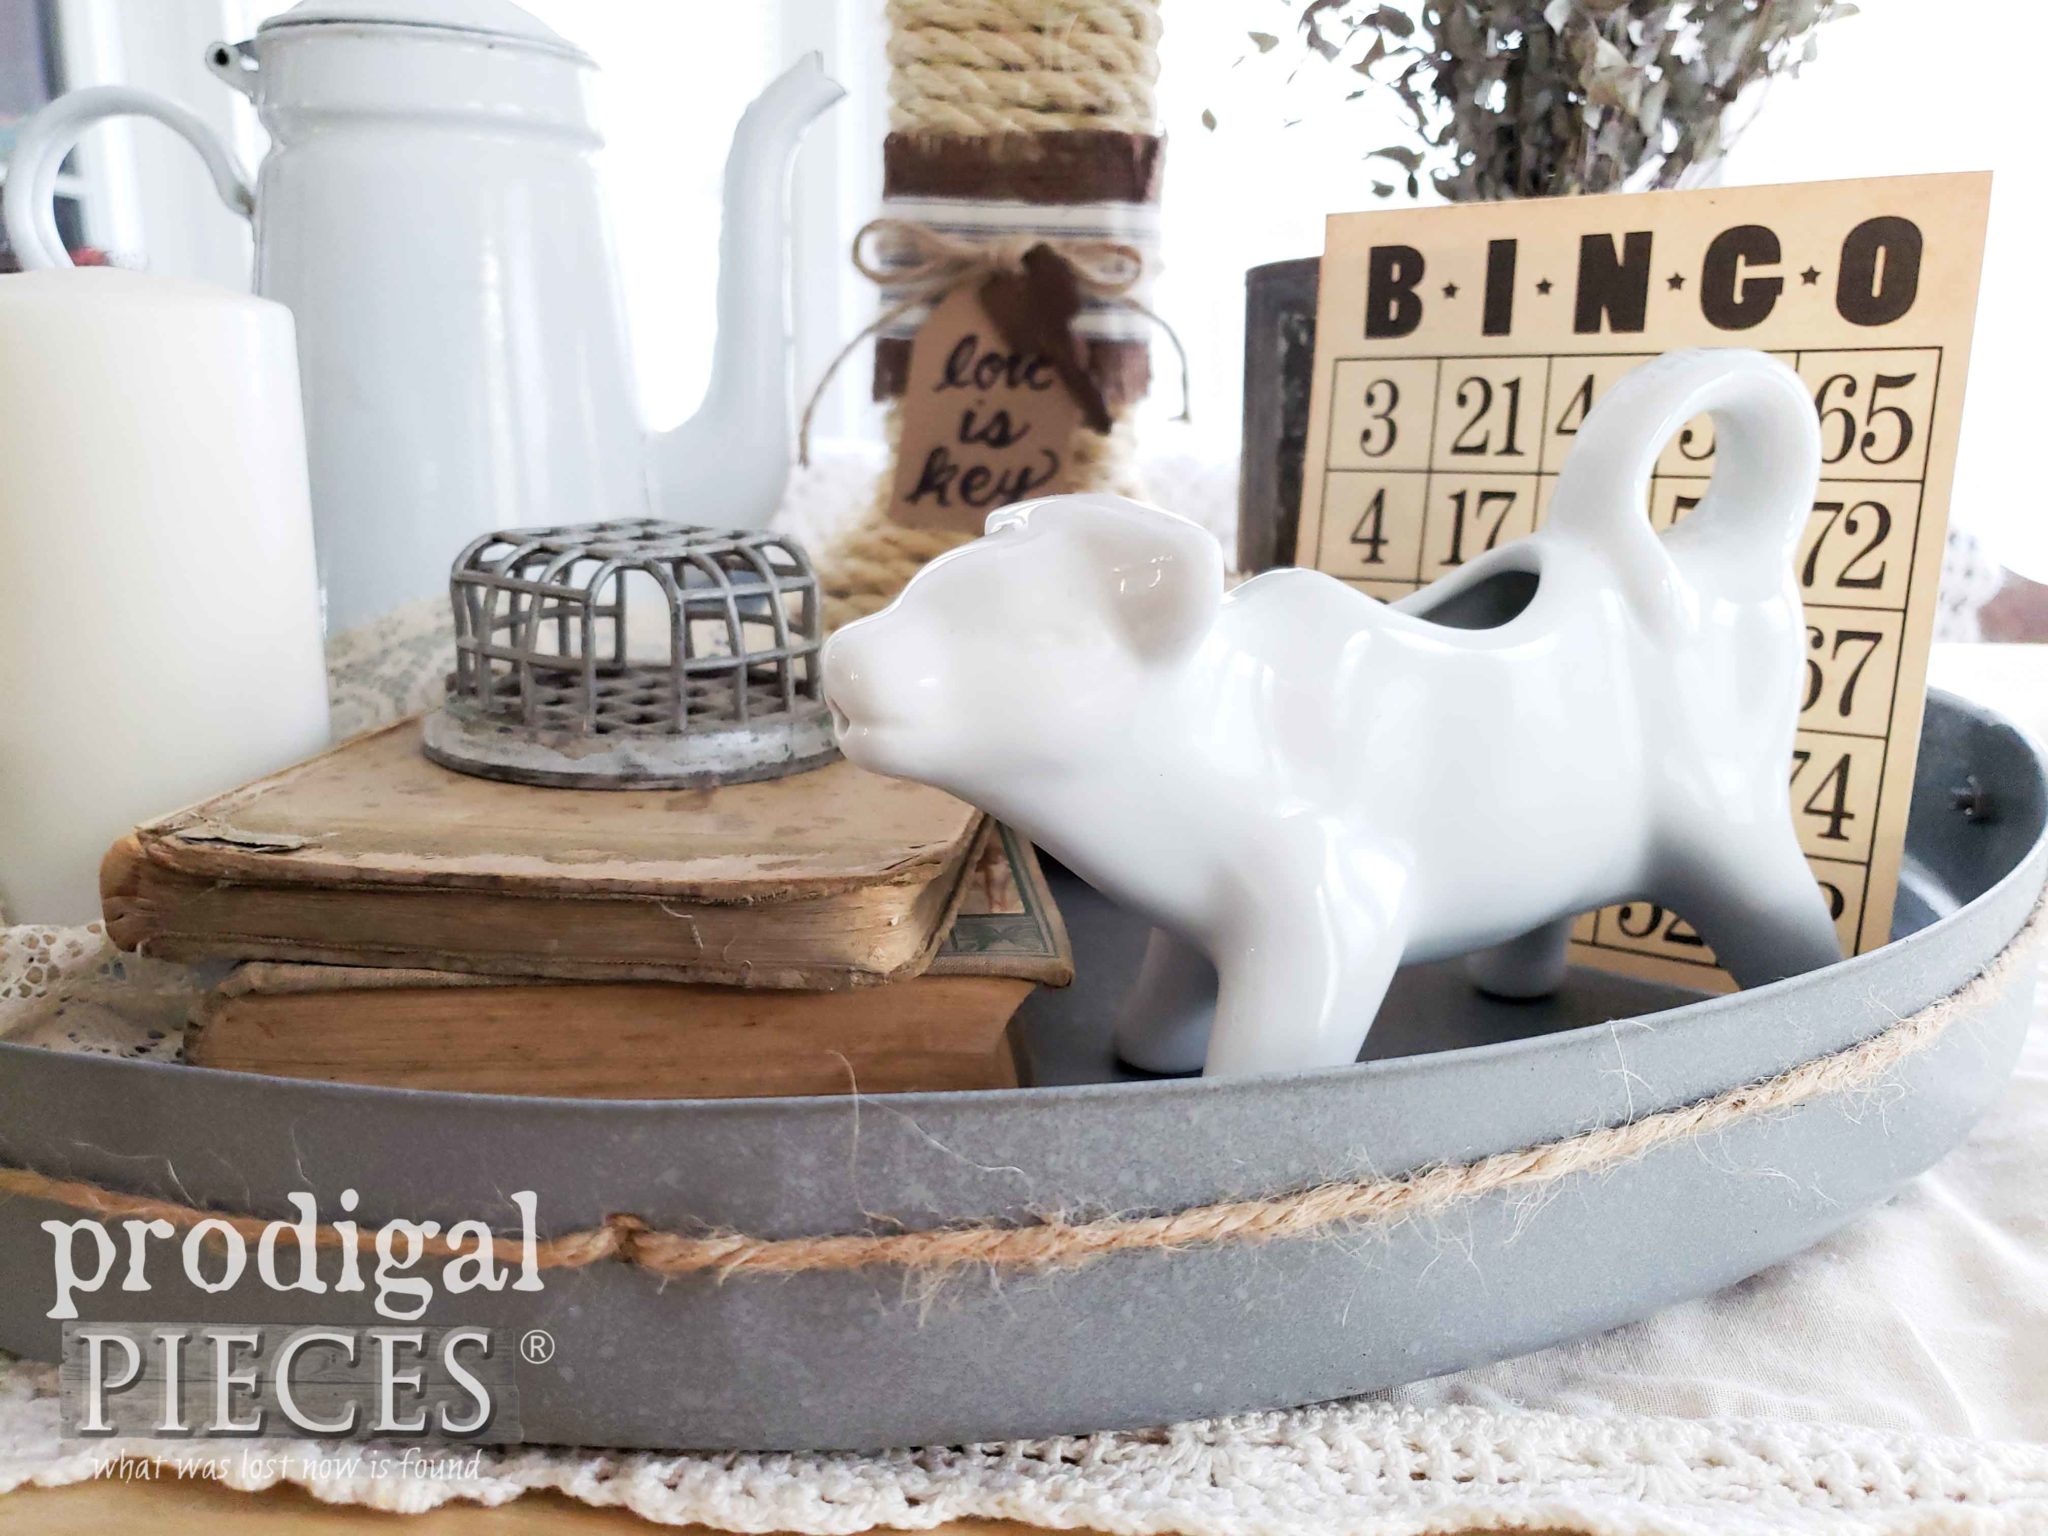
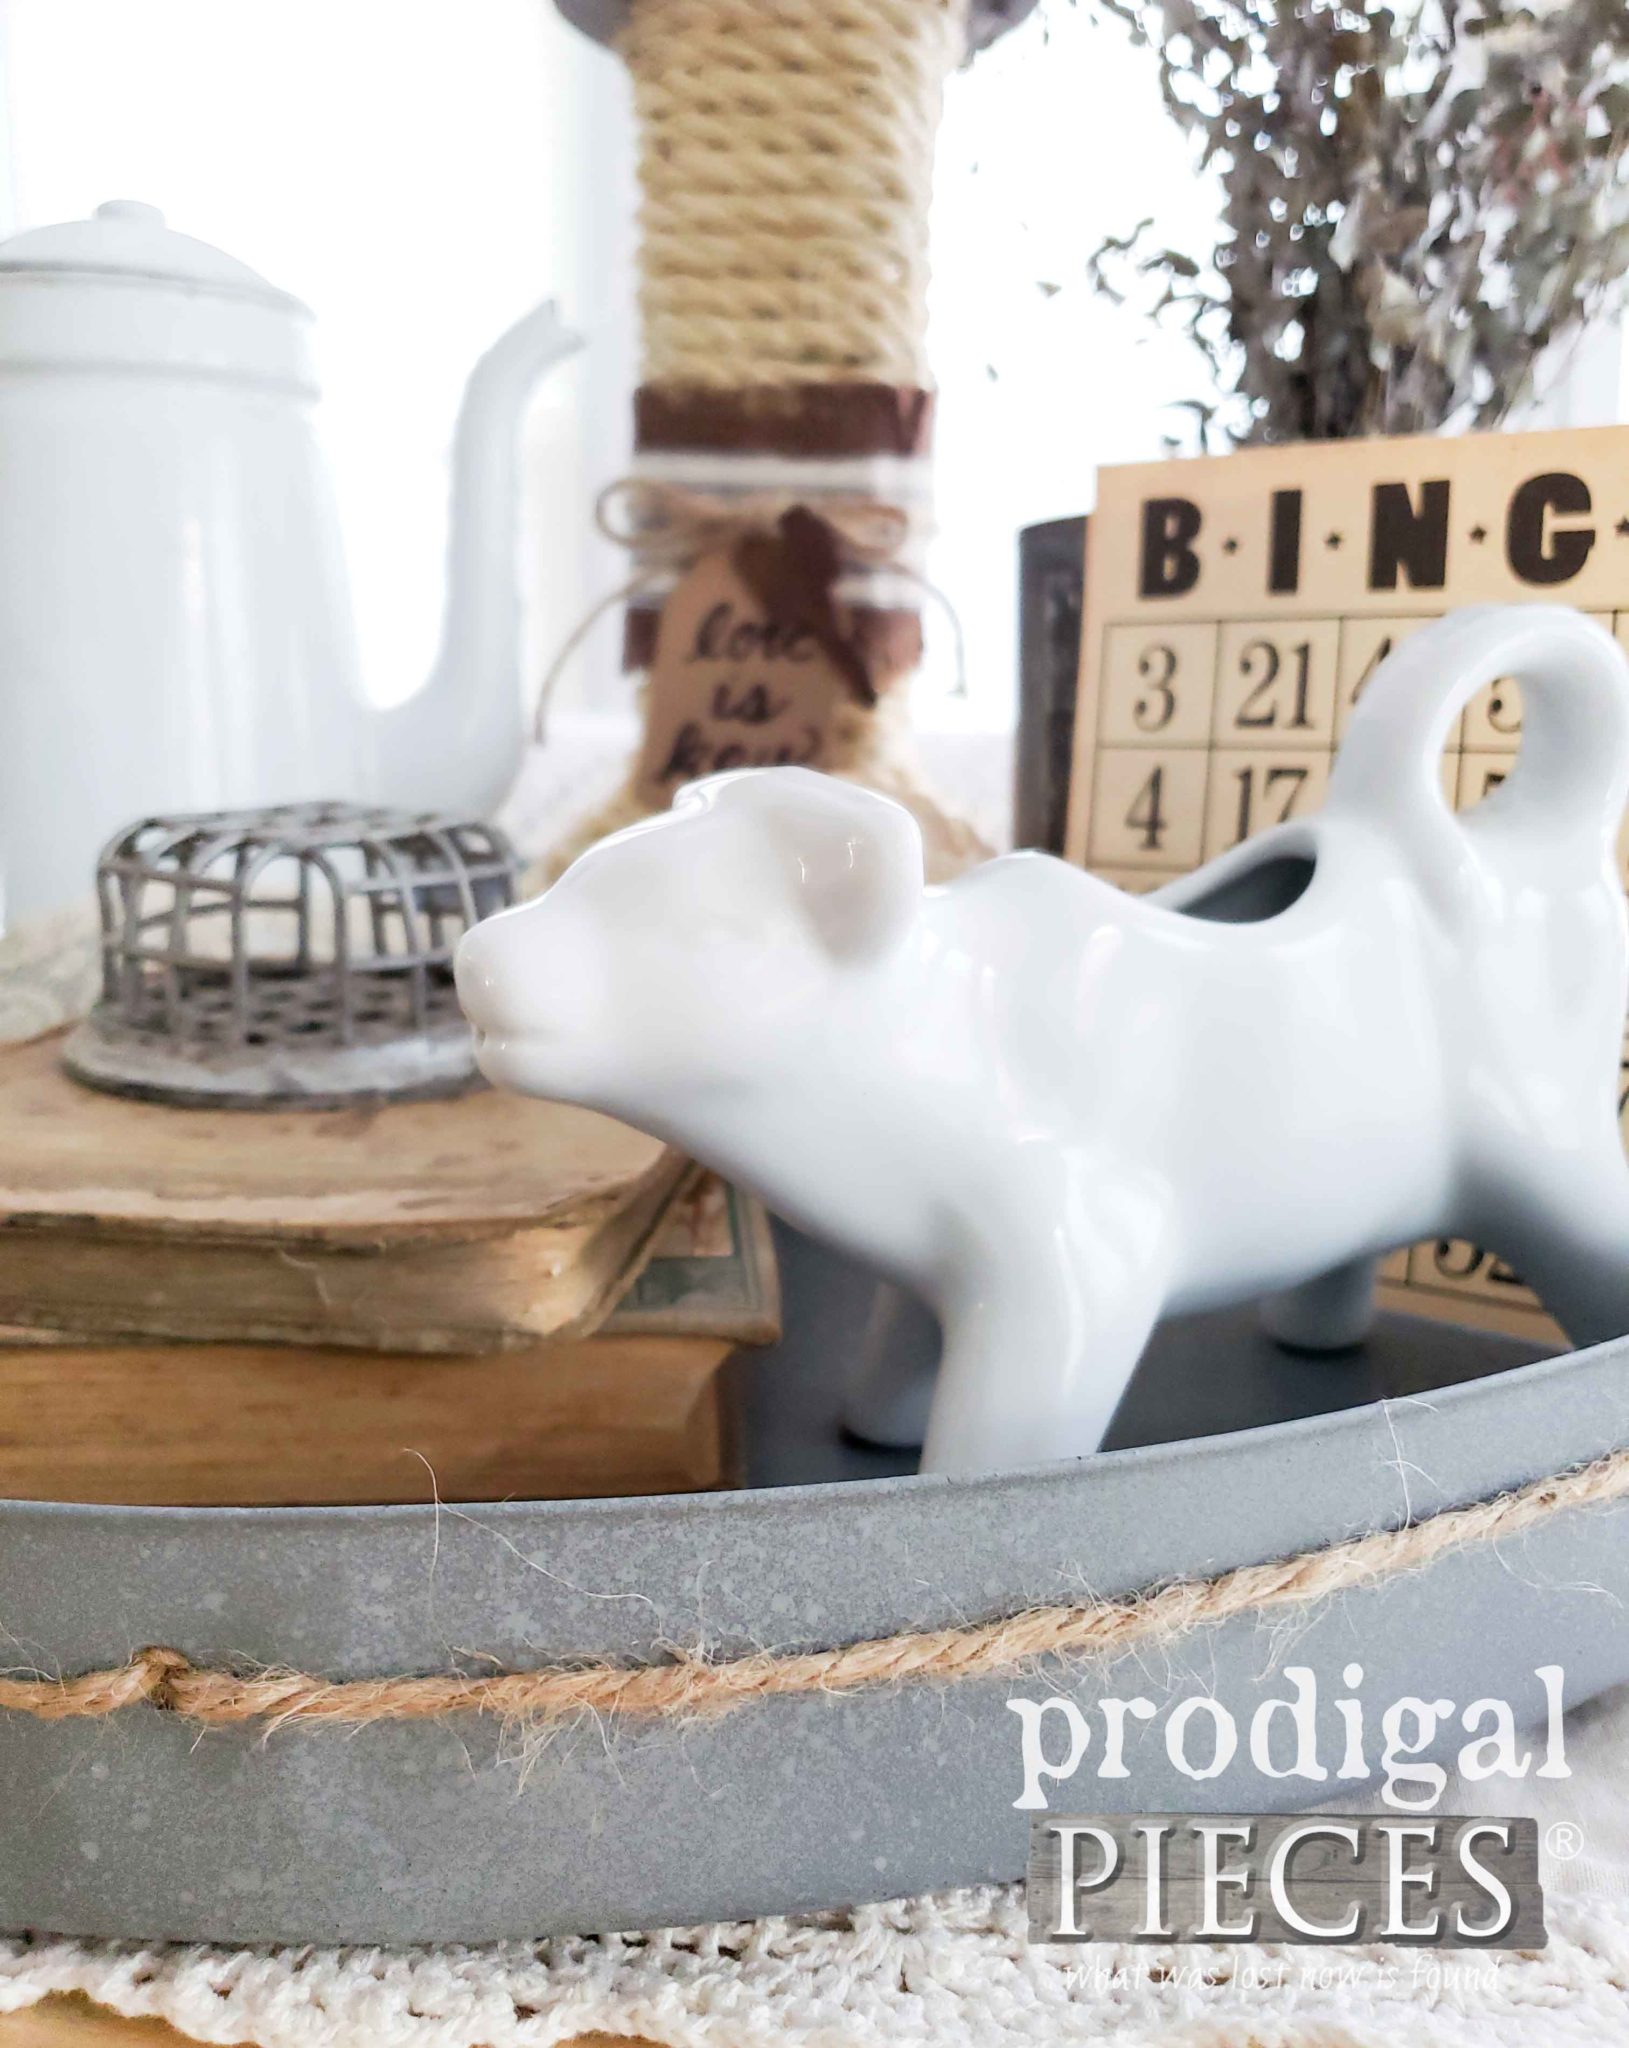
Hard to believe it’s the same table I grabbed off the side of the road, isn’t it? I’ve filled it with various thrifted goodies I’ve picked up over the years. It’s fun to create a story with found items.
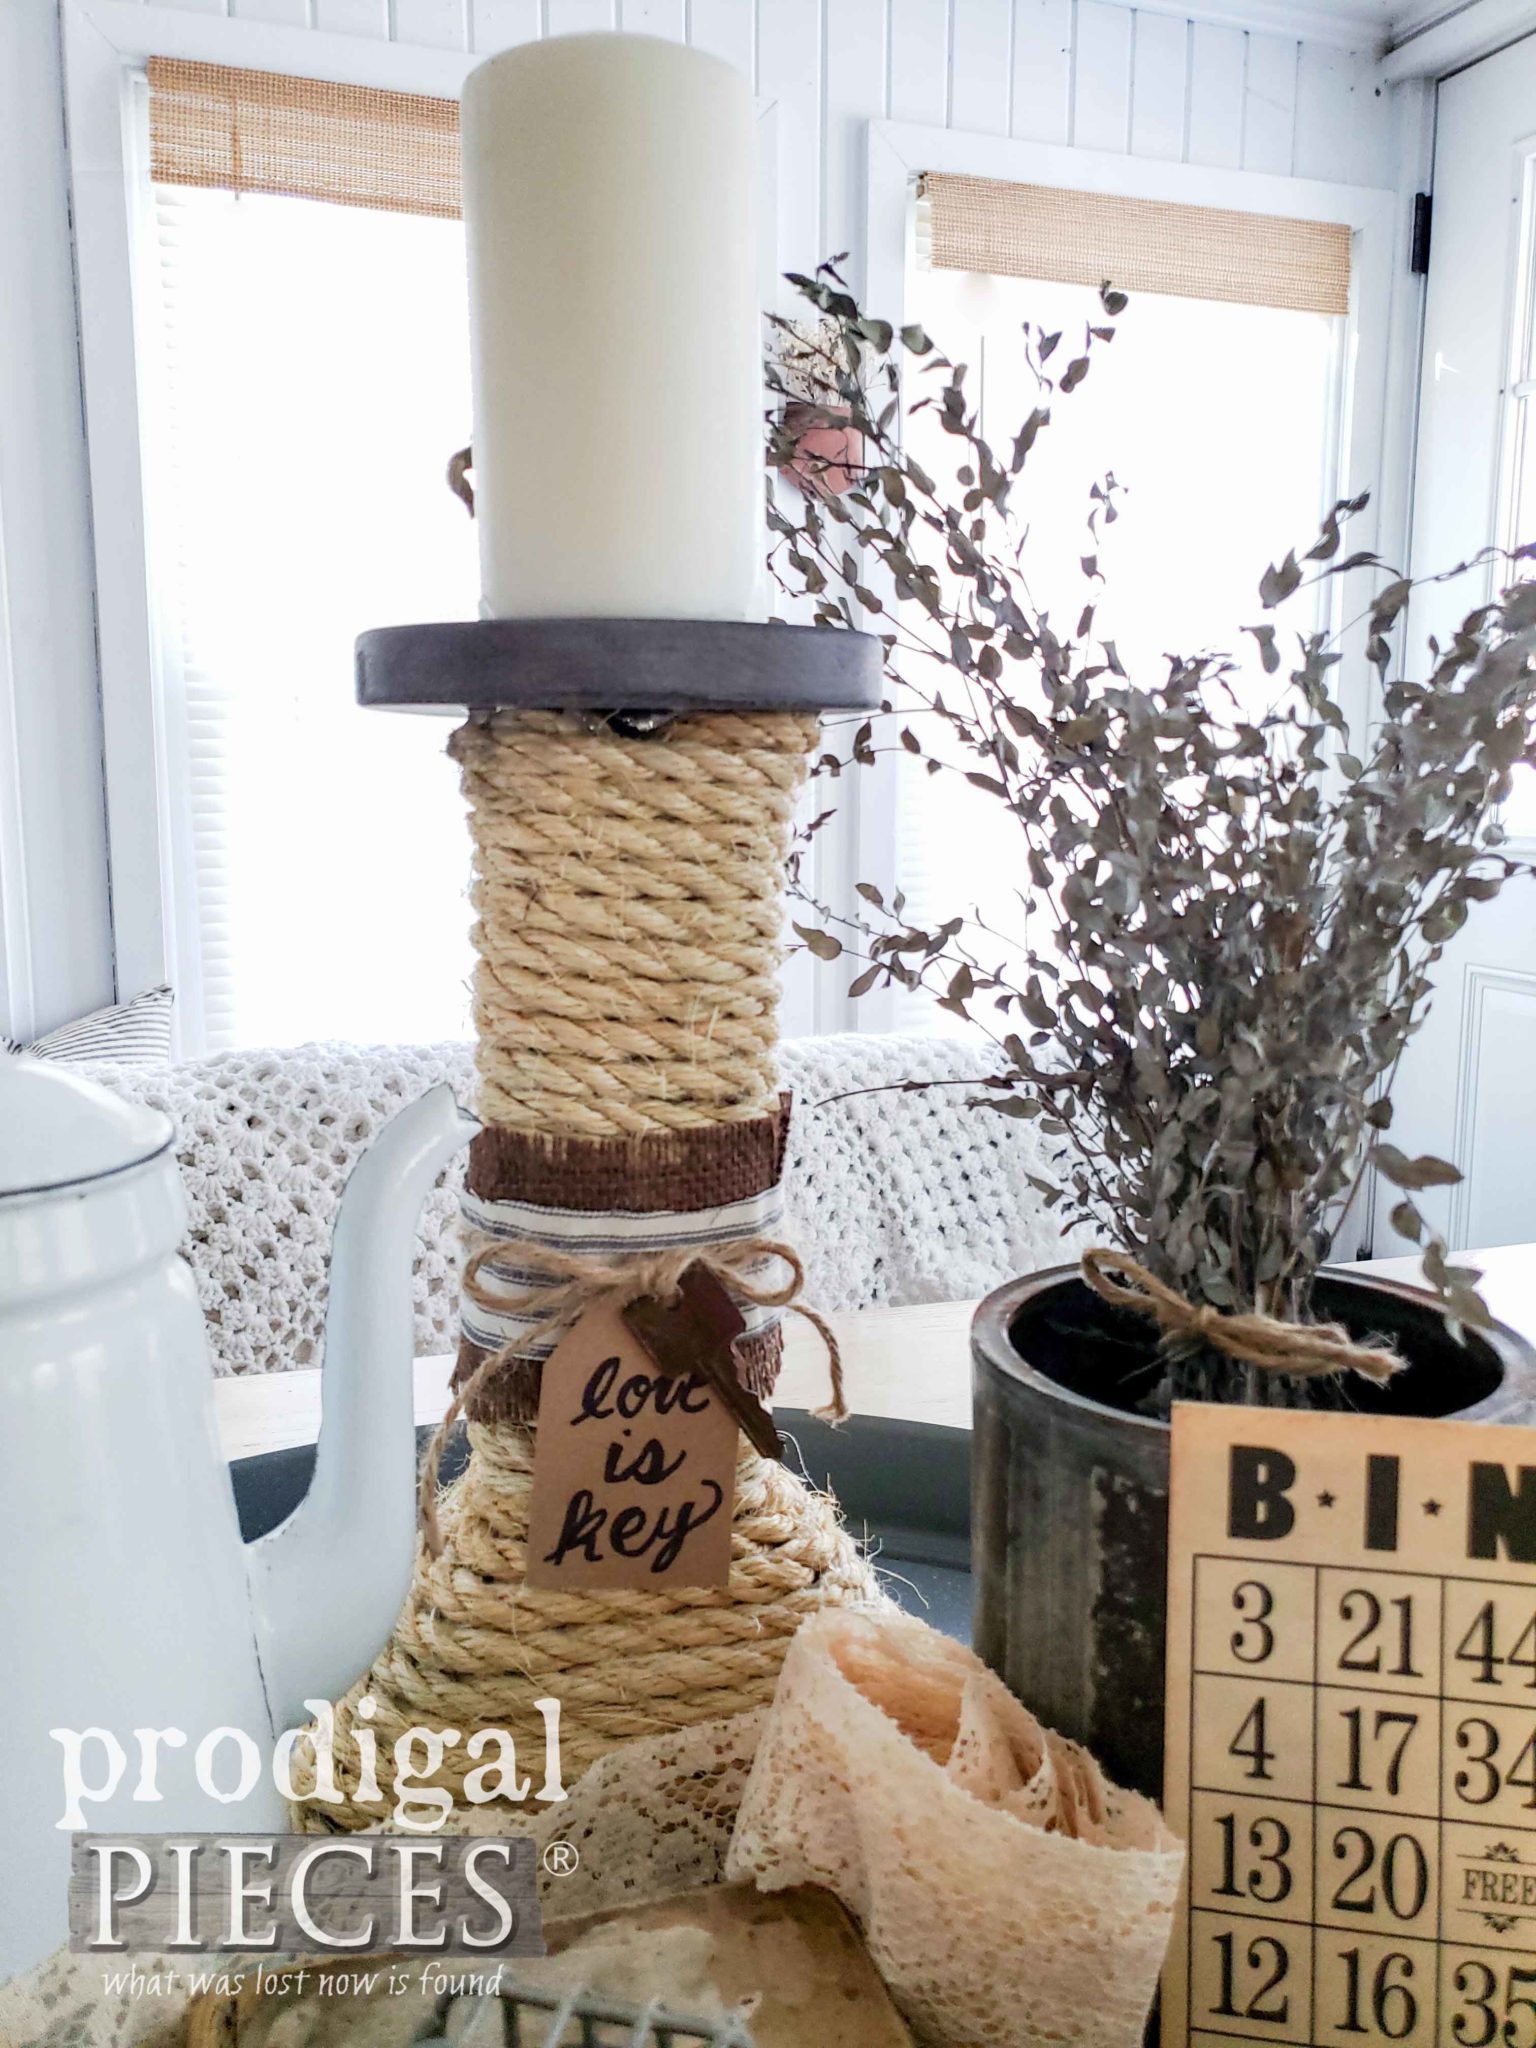
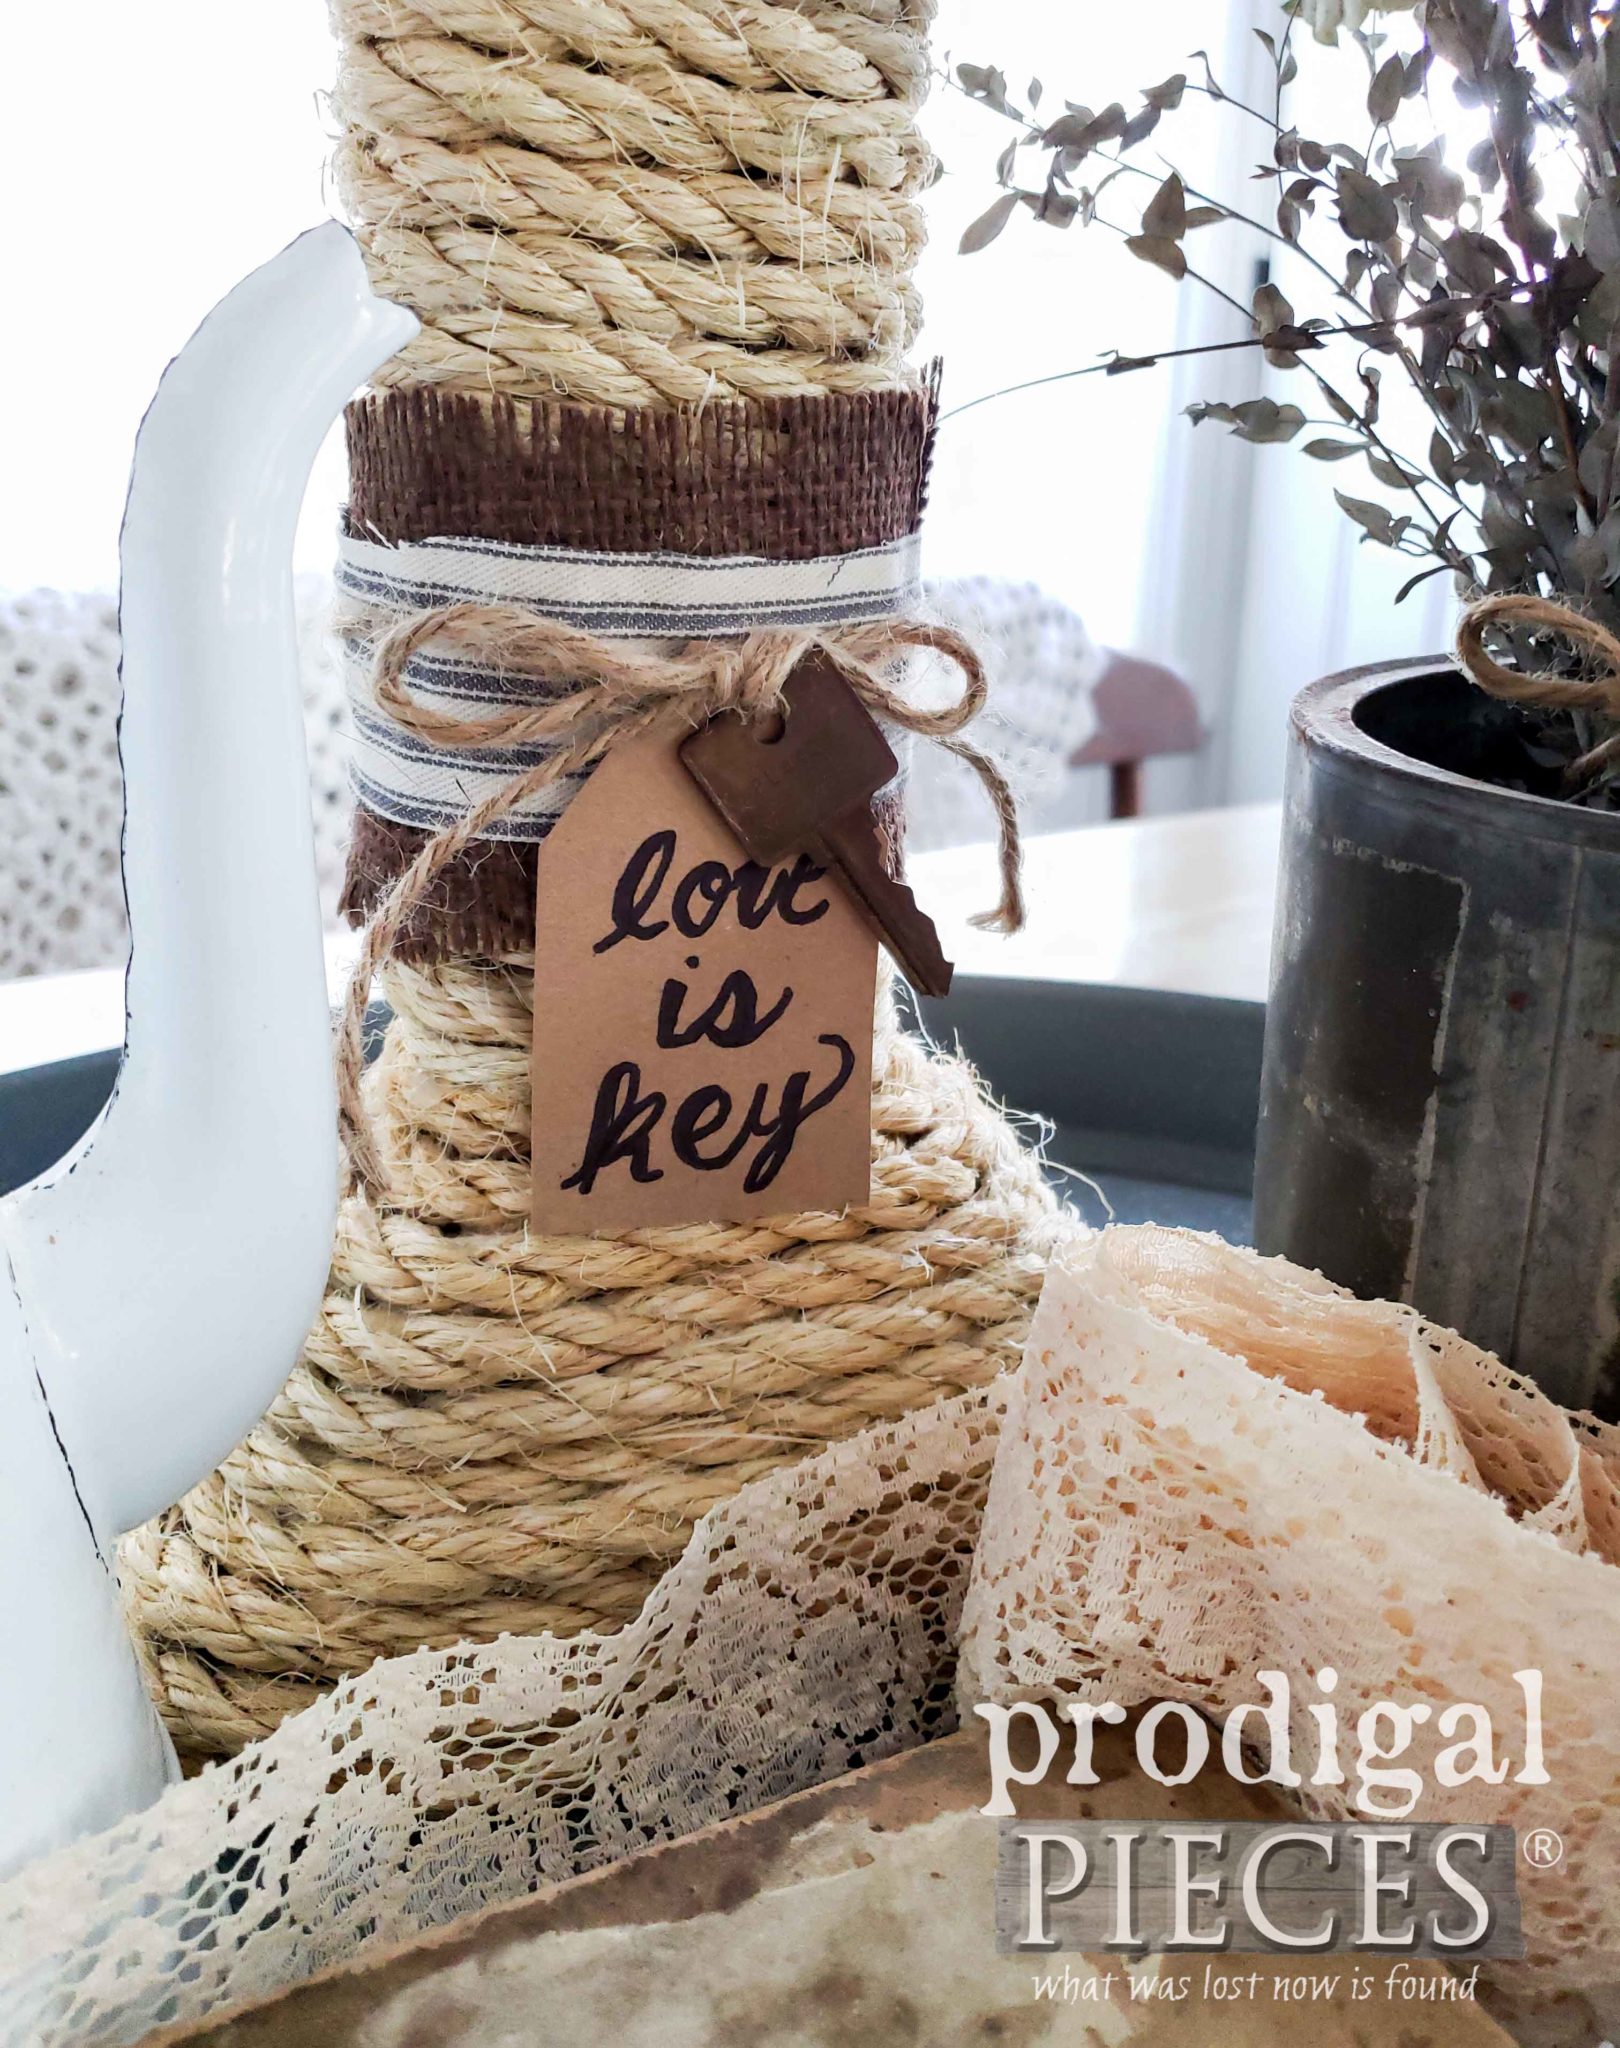
Now, did you know that candle holder was made from the table legs? tee hee!
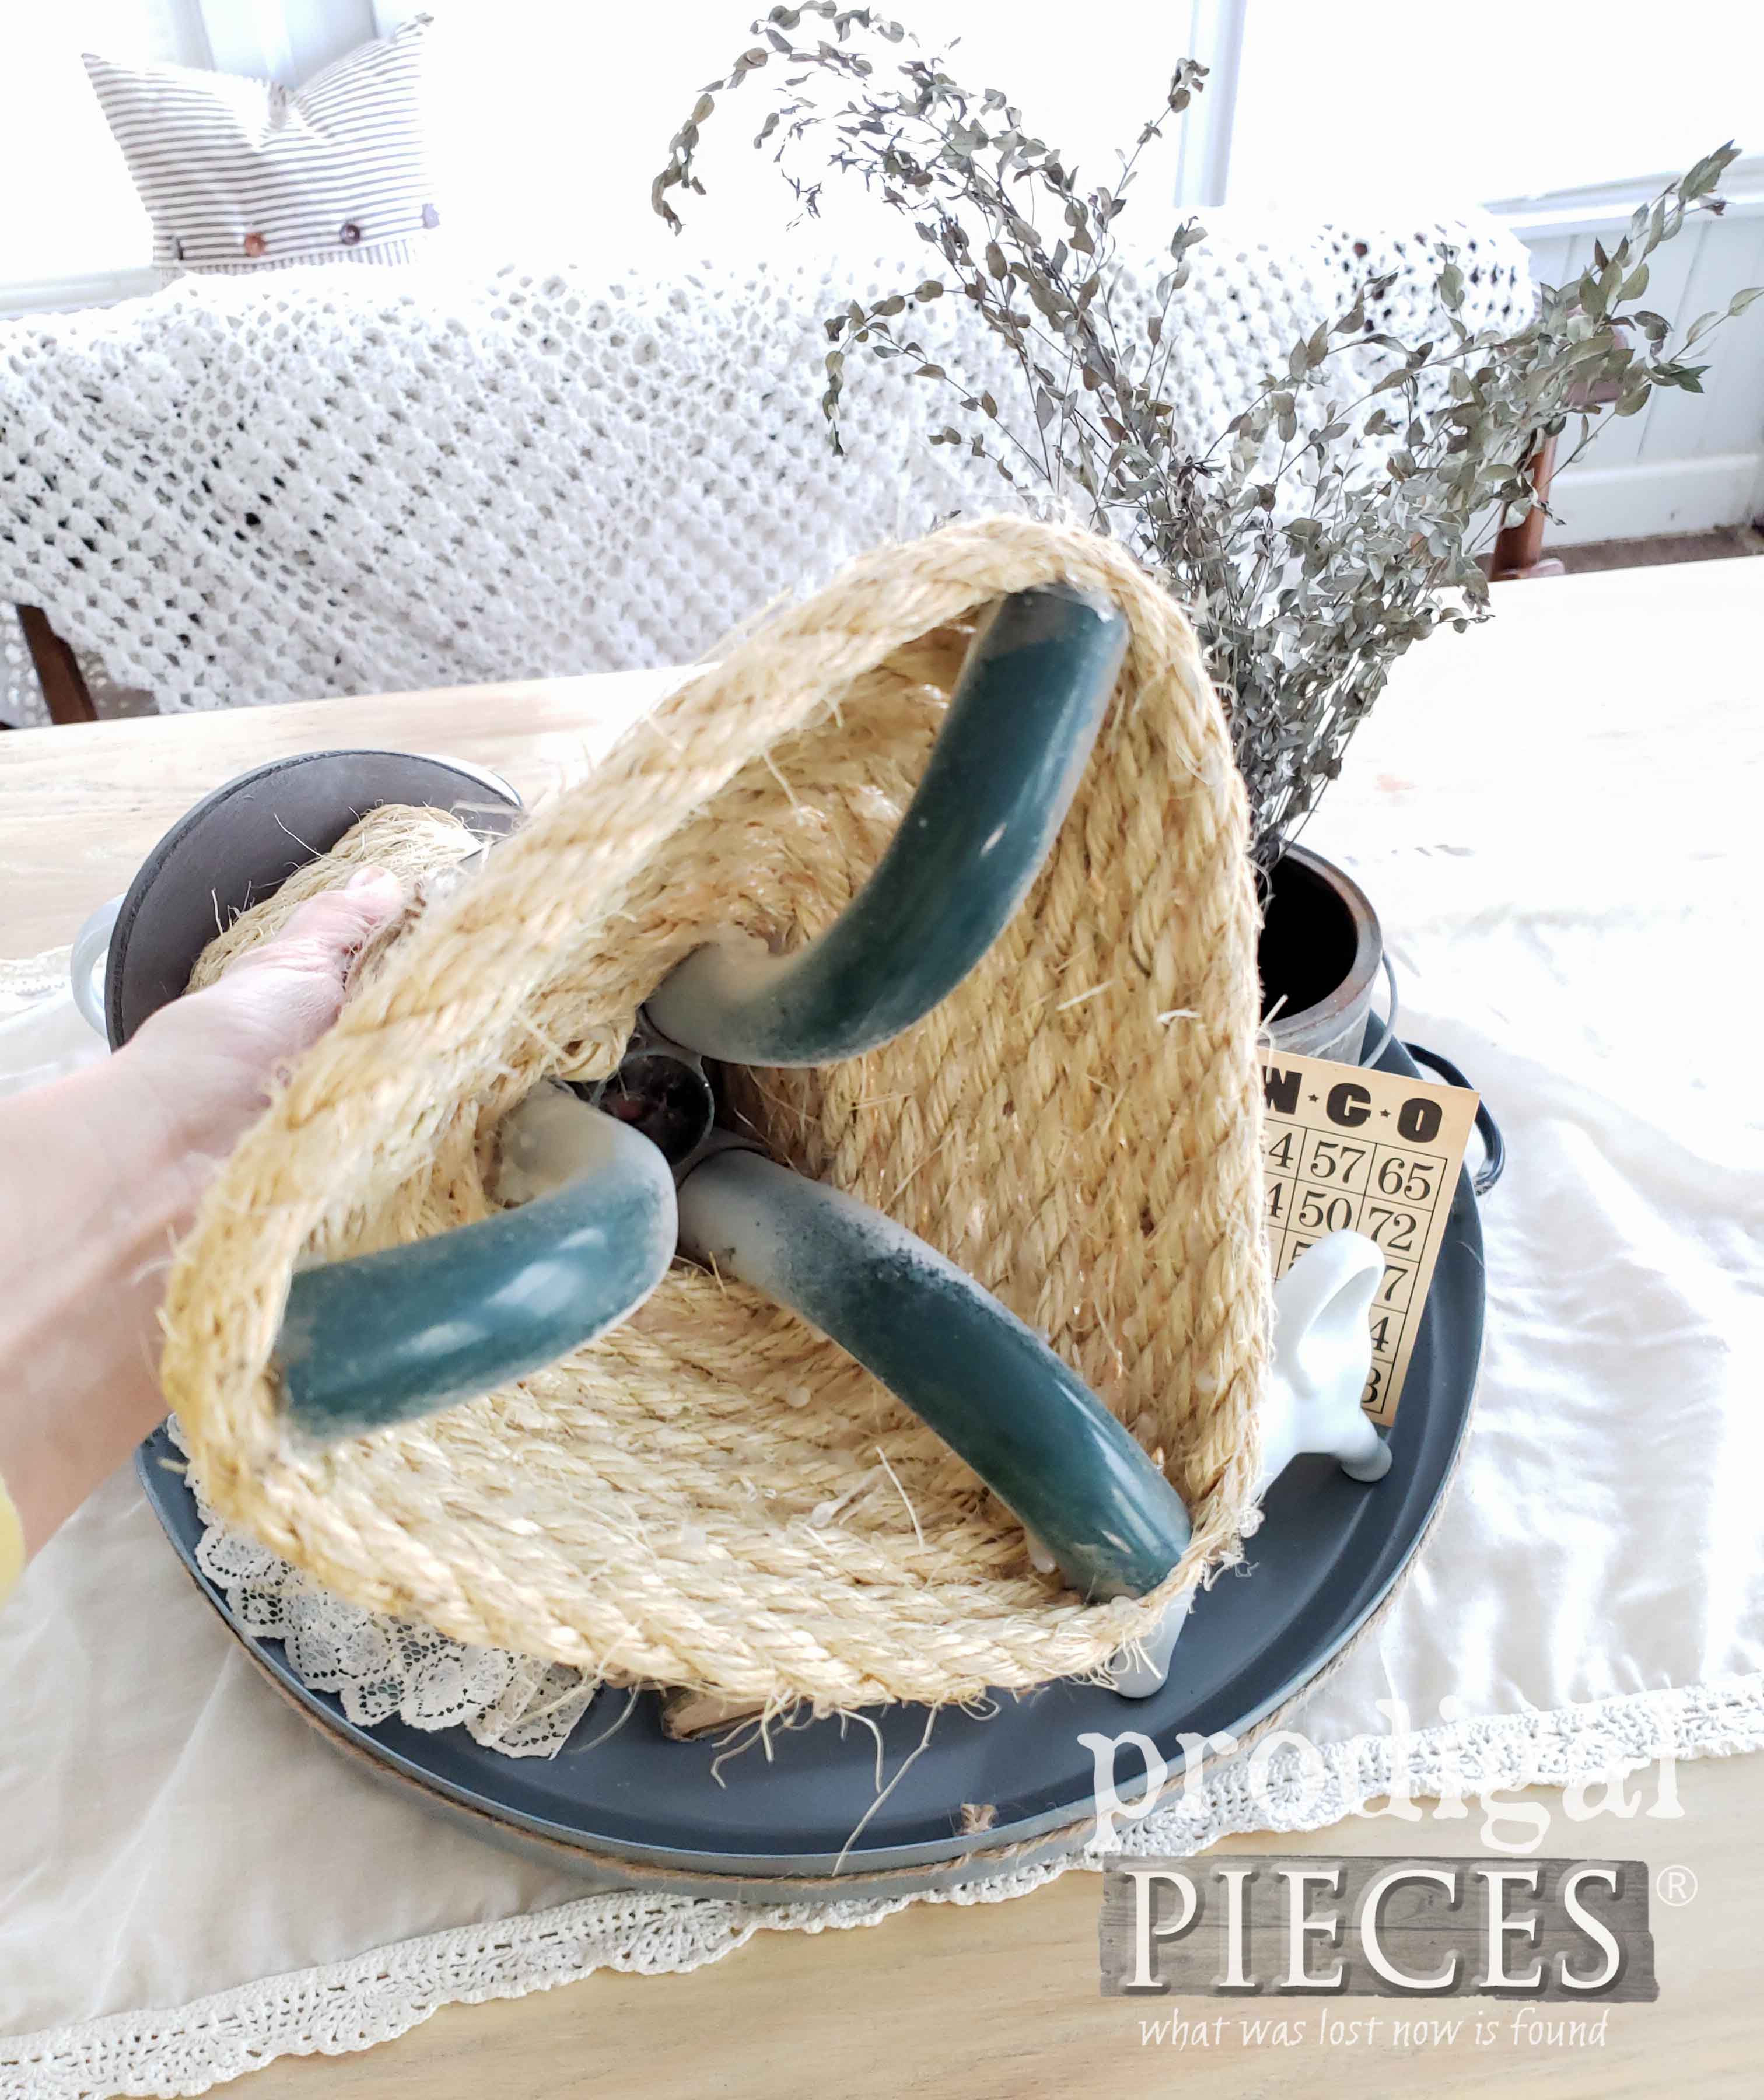
I use the same method of wrapping the legs with sisal rope like I did in my bee skep tutorial. So many uses for rope! Then, I added a burlap wrap along with a ticking wrap, some twine, and a little fun with a rusty key. Video demo below.
FUN!
Did you notice my original table top had 3 holes in the side where the legs were attached? To hide them and add a bit of texture, I wrapped the edge with a bit of jute twine and tucked it into each hole.
Additionally, if you look closely, you can see the galvanized effect I gave the tray with the zinc spray.
Not only is my goal to inspire you to reconsider what most would call trash, and see the potential #trashure, but also to have some FUN! This tray and candle holder are now available in my online store if you would like to make them your own.
SHARE
While you’re at it, also pin and share my upcycled farmhouse tray and candle pillar to inspire others to give DIY a try too.
Up next, the next chapter in our Finding Home program is getting ready to be launched. I’m SO EXCITED!! Head HERE to see.
To get these DIY tips & tricks in your inbox, be sure to sign up for my newsletter. Head below to see what my Trash to Treasure ladies have for you!
Next, time for some Trash to Treasure fun from my friends!






Well I never saw this cute tray and candle stick coming from that table! I couldn’t imagine what you were going to make out of it. The makeover is amazing. Your vision never ceases to amaze me!
hee hee!! This was so fun for me. Thank you, Debra!
You are SO clever!! I never imagined that table top could become such a great tray! And you used the legs too?? So talented! XOXO
I’m glad you like it as I had such fun. Thank you, Christy.
Brilliant! You give me so many ways to look at things I may find for my antique booths! Thank you Larissa!
That’s what I’m all about, Sheryl. Thank you!
Amazing… and I thought you had hopeless trash to work with! You are crazy creative!
Just having the chance to share my crazy ideas with all of you makes it fun. Thanks!
There is no doubt that you see potential in things few others would. Love how the tray turned out, Larisa.
It’s kinda like a challenge that I can’t get out of my head. woot! 😀
Awesome makeover, Larissa! I would’ve passed that table by for sure!
I’m a nut, I know. haha! Thanks, Jen. 😉
Hi Larissa, I never, ever would have seen a tray, nor a candle holder in this table. You crushed the trash to treasure on this one for sure, way to go girl!!
It’s my gig to be quirky. haha! Thank you, Kaycee.
Wow! You always blow me away with your creativity Larissa! I never would have thought to do this! Awesome. xo
You’ve made my day, Nancy. Thank you!
Now that was fun. Both projects are fantastic.
Gotta love some junk, right? 😉 Thank you, Debra.
What an amazing way of giving second life to furniture! Tray and candlestick are very nice. love the way you use tent for painting 🙂
Thank you, Steve.
Another home run!
You made something useful and cute AND saved it from the landfill.
My hero?
Blessings to you ?
Minnie
happy dancin’! Thank you for the smiles, Minnie. 😀
What do you use for a spray booth? It’s cold here in Minnesota, so I need something to use in our garage. Please let me know. Thank you!
Howdy neighbor! I use a pop-up spray shelter or also use large sheets of cardboard because sometimes the shelter blows back on me when I can’t open the garage. I get my cardboard from a local company that uses freight, and they always have sheets from their pallet shipments. You can also check with a local appliance store for large boxes too.