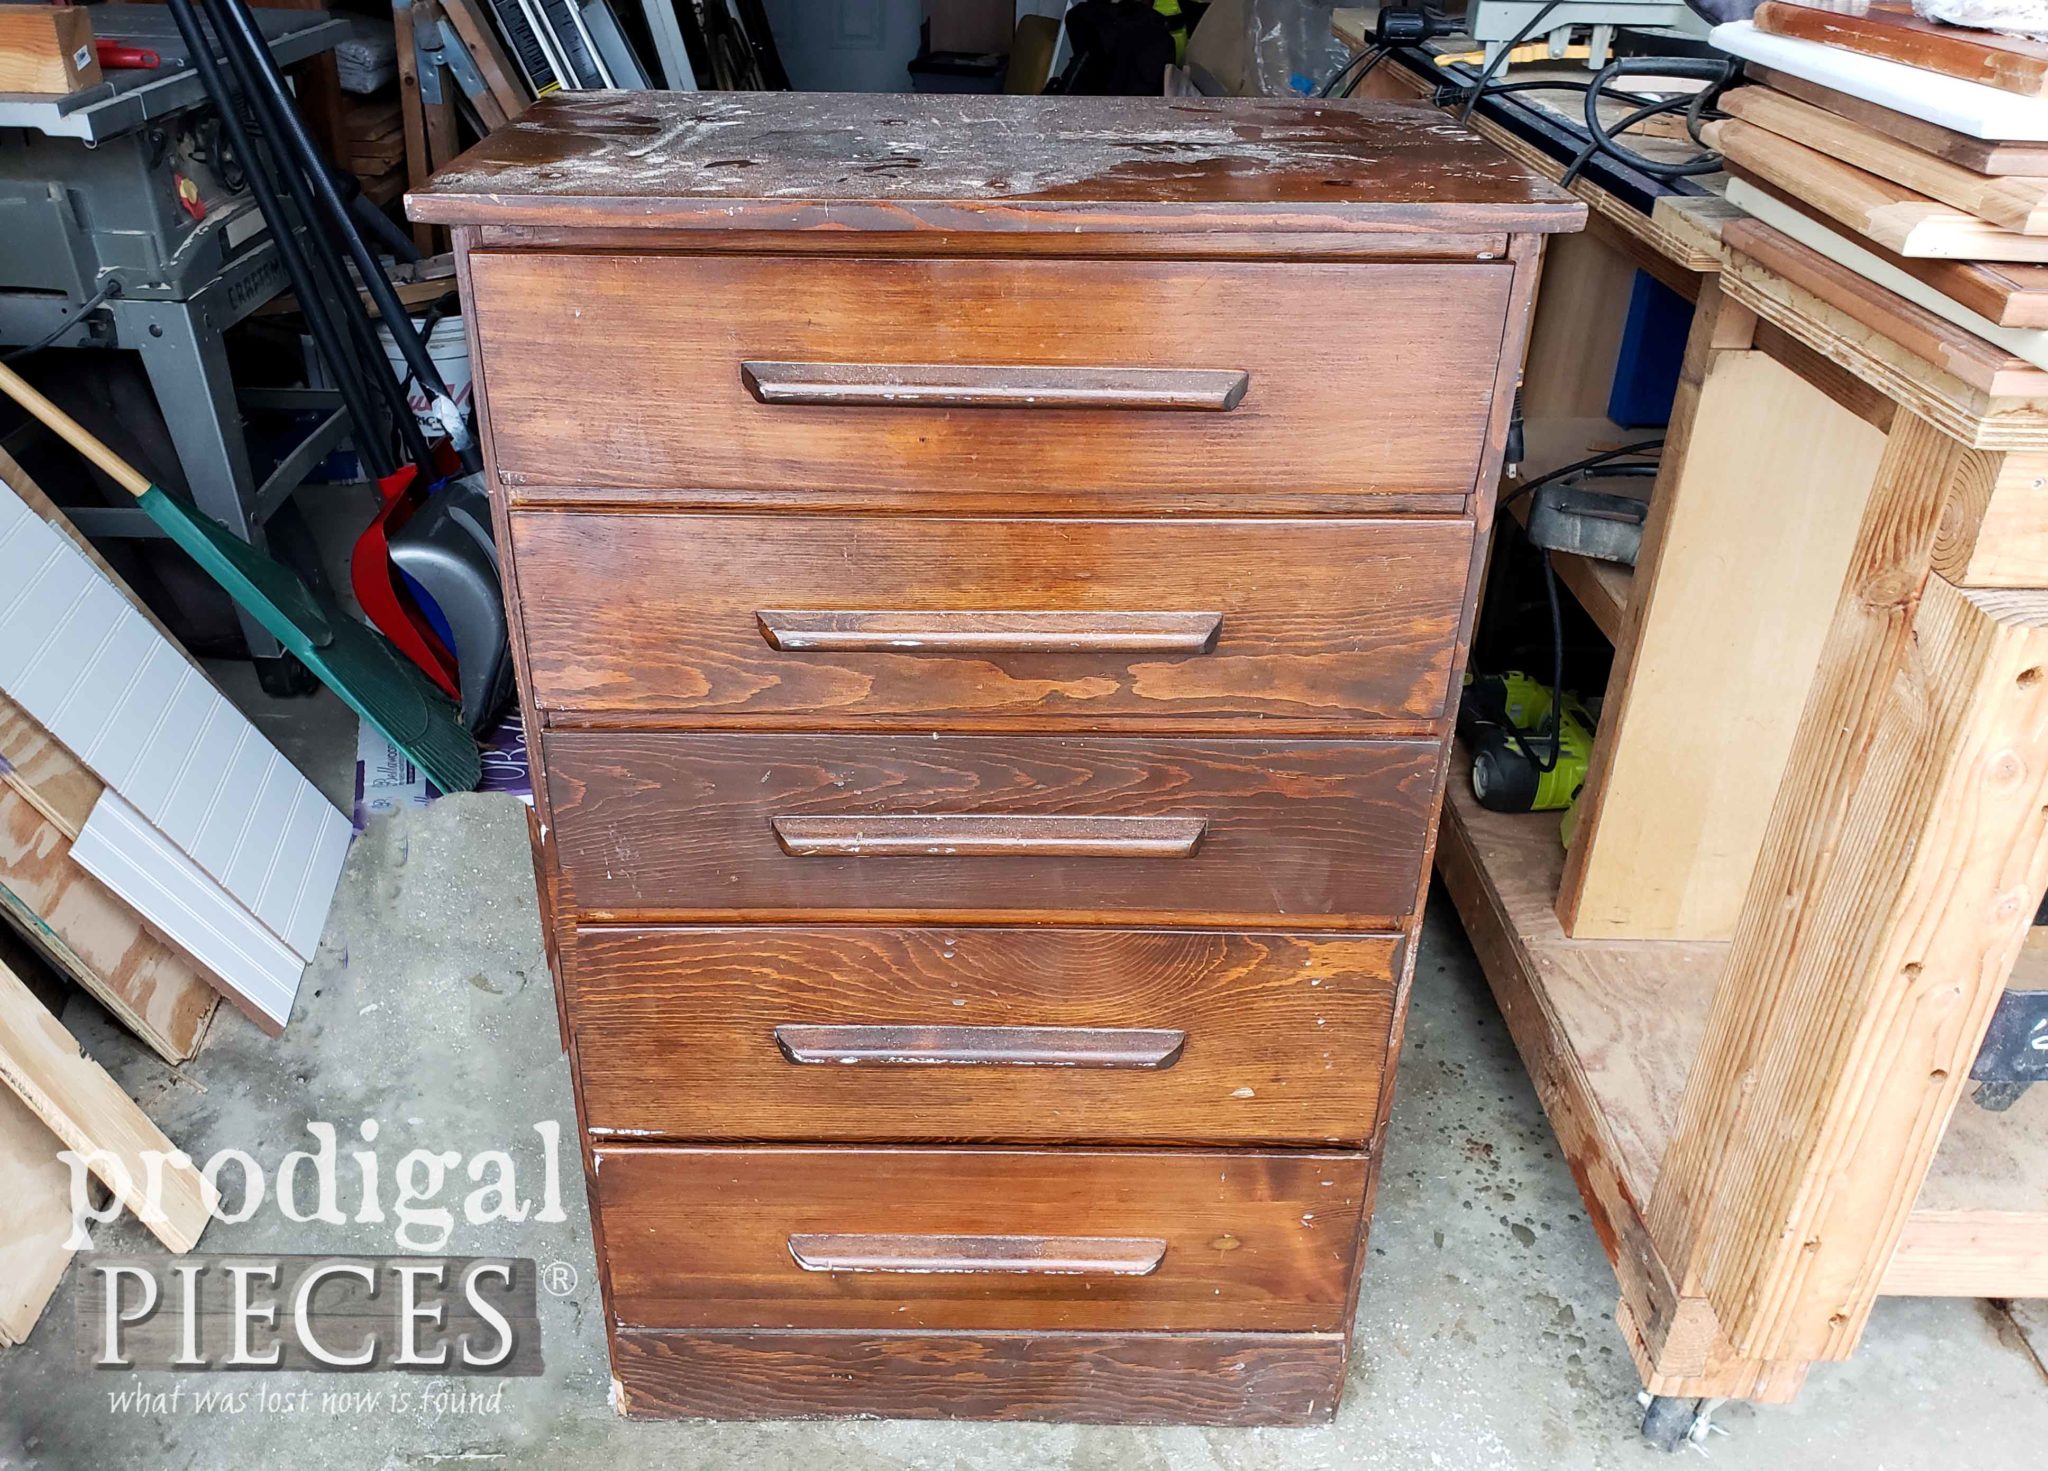
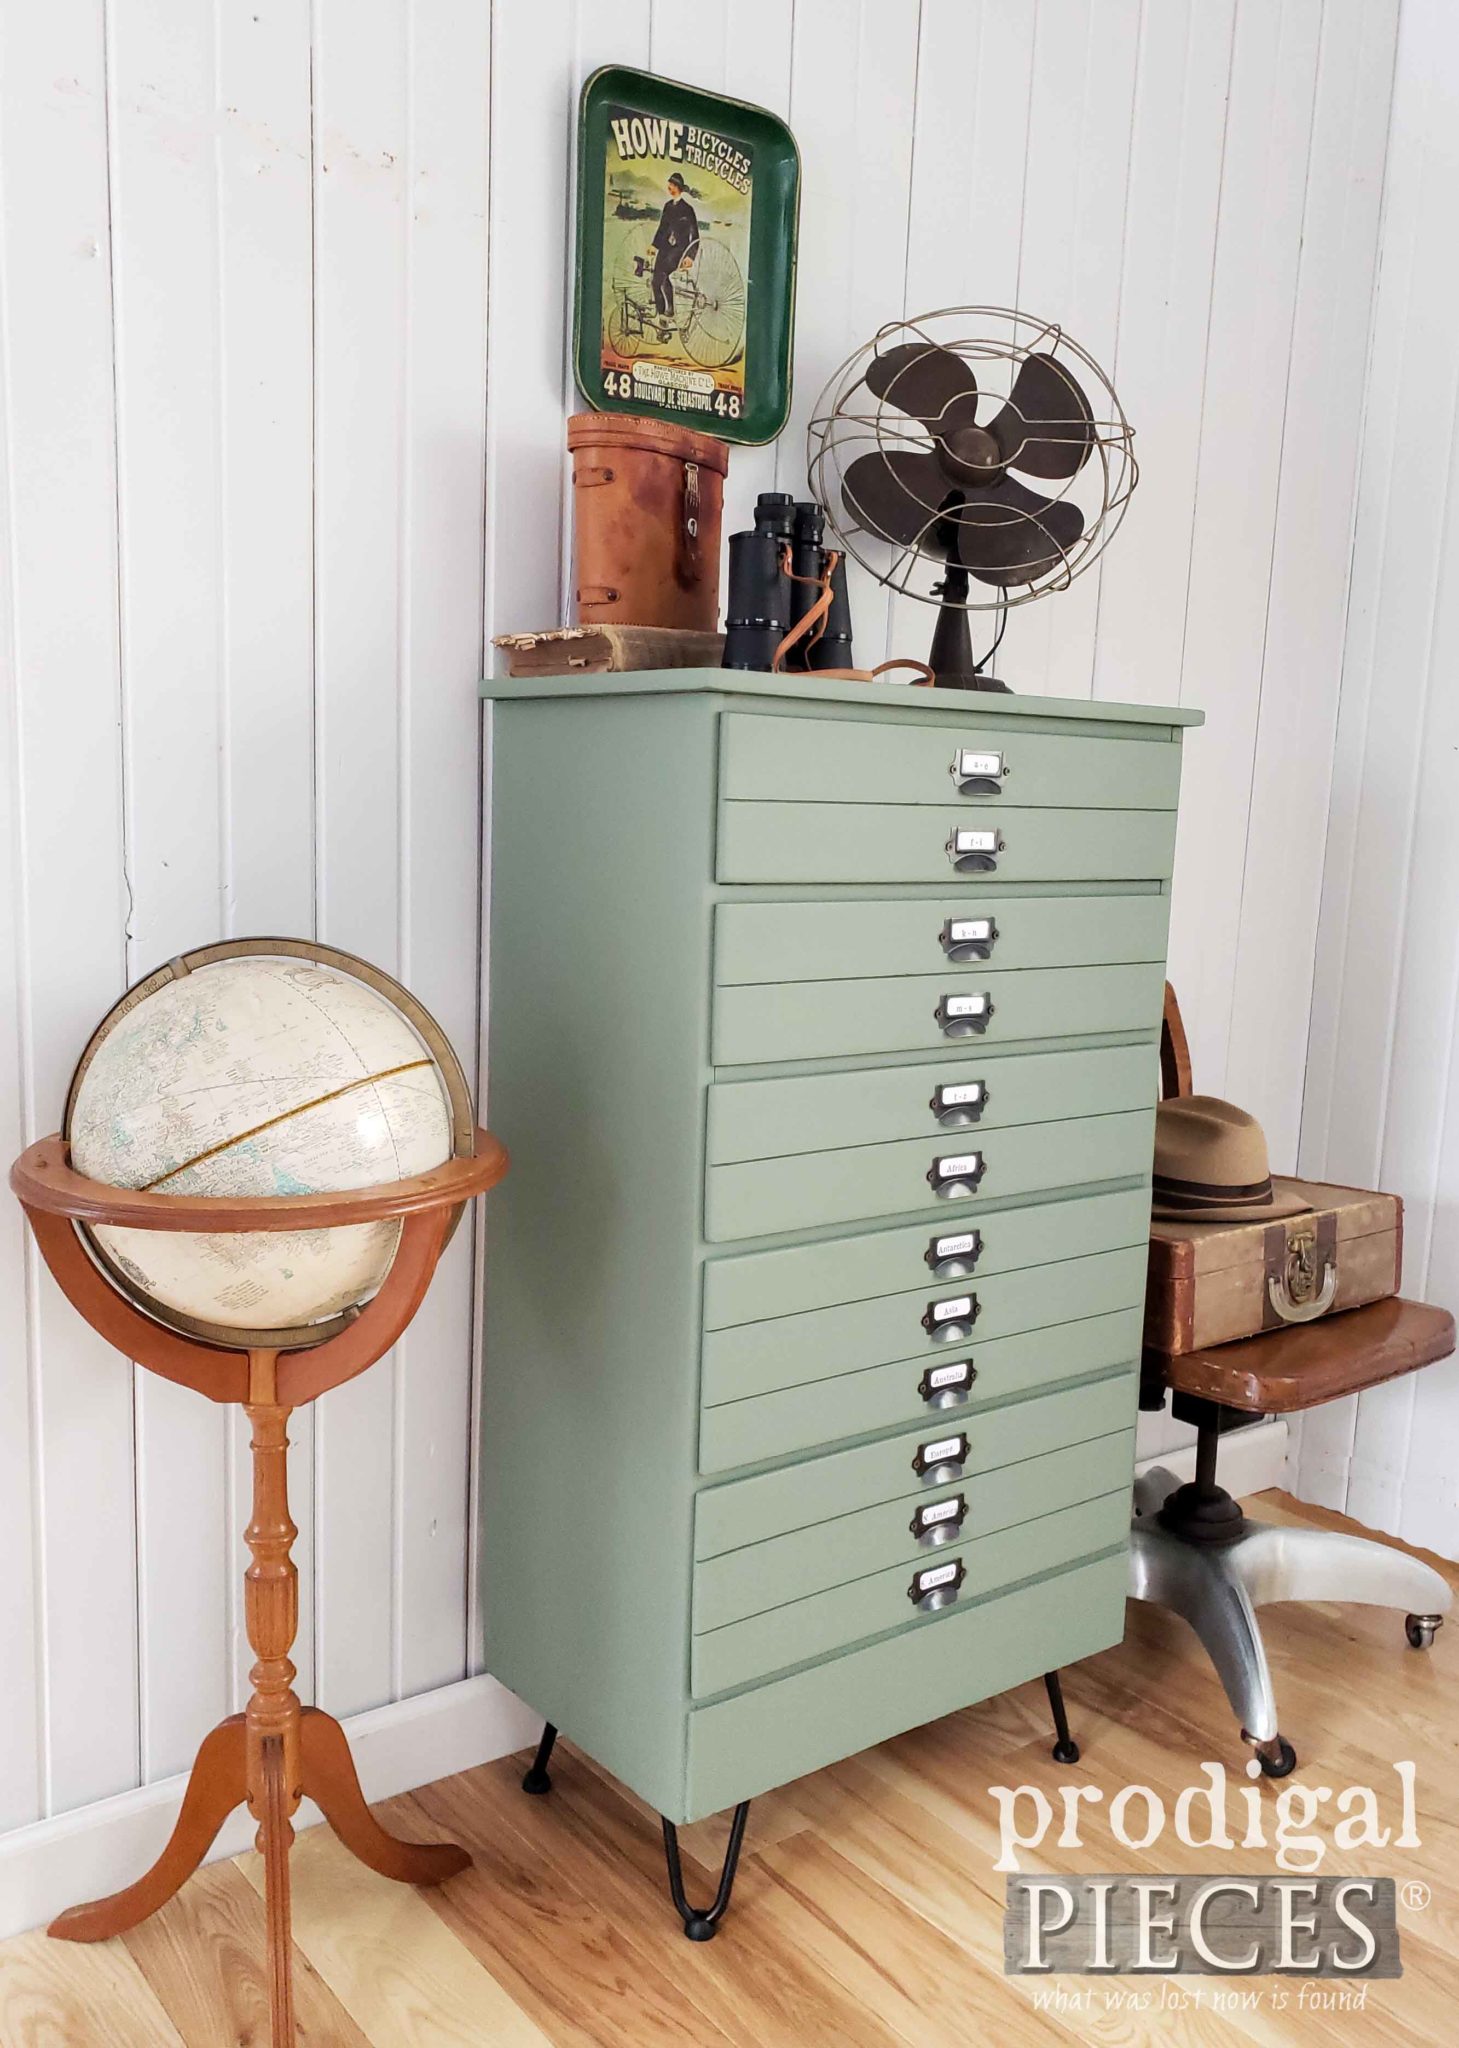
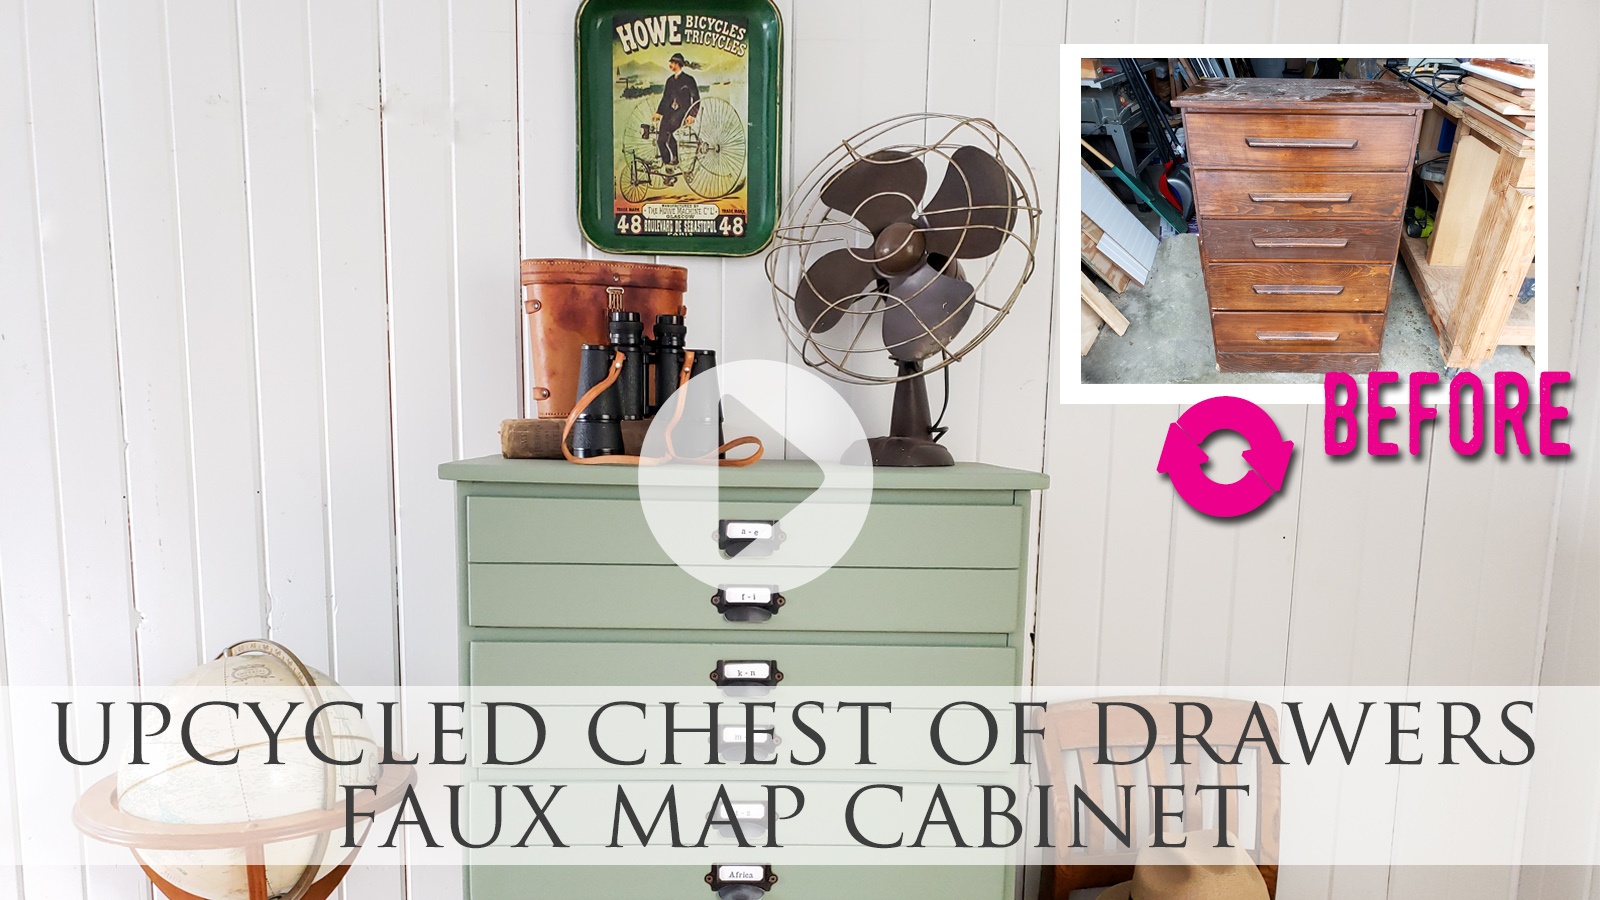
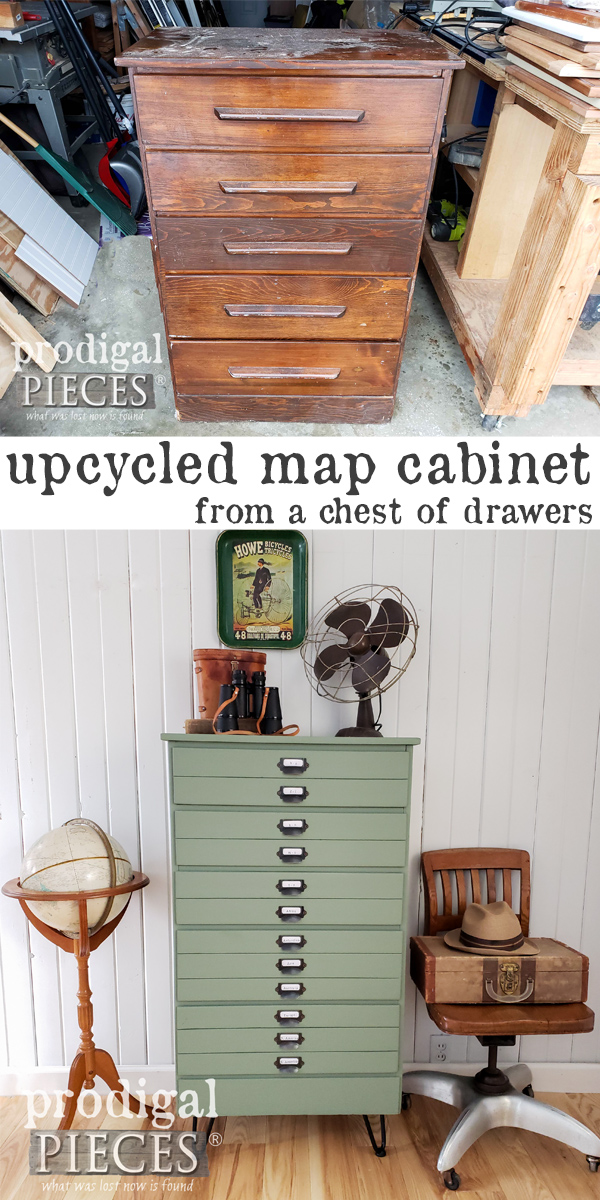
Do you like to change things up from time to time? It’s not a new revelation that I enjoy change, especially making things broken and worn new again. Sometimes I begin a little adventure because I have to and other times because I want to. Today is an “I want to” kinda project. You see, this old chest of drawers has been tucked in my sons’ closet for few years and I am relieving it of its hardworking status. It is now time for it to be come a glorified upcycled map cabinet. Yahoo!!
Can you see my vision for this? Well, no worries if not. I’m here to show you my nutty ways. mwahahaha…
When I say this thing was hardworking, I wasn’t kidding. I put this in my boys’ room hoping to help them stay clean and organized. Well…my good intentions went down the drain. All they did was use it to cram it full of junk, so I yanked it out. I have found (as a mother of 6) that the more I created storage places for my kids, the more “stuff” they hang on to. That was NOT my goal was. So, over the years, I’ve removed much of my storage places so they have less storage – less junk, less clutter and more freedom. Freedom to not have a heartache of cleaning up “stuff”.
DIY TIME
Back to my upcycled map cabinet project… This chest is made of a basic pine with no bells and whistles. It has much wear and needs some TLC. However, it is at least solid wood, which makes it a perfect candidate. At this point I claim fair game to let my creative side take control. tee hee.
I’ve created a video tutorial for you below so you can see the steps in action. Meanwhile, I’ll take you through my process step by step.
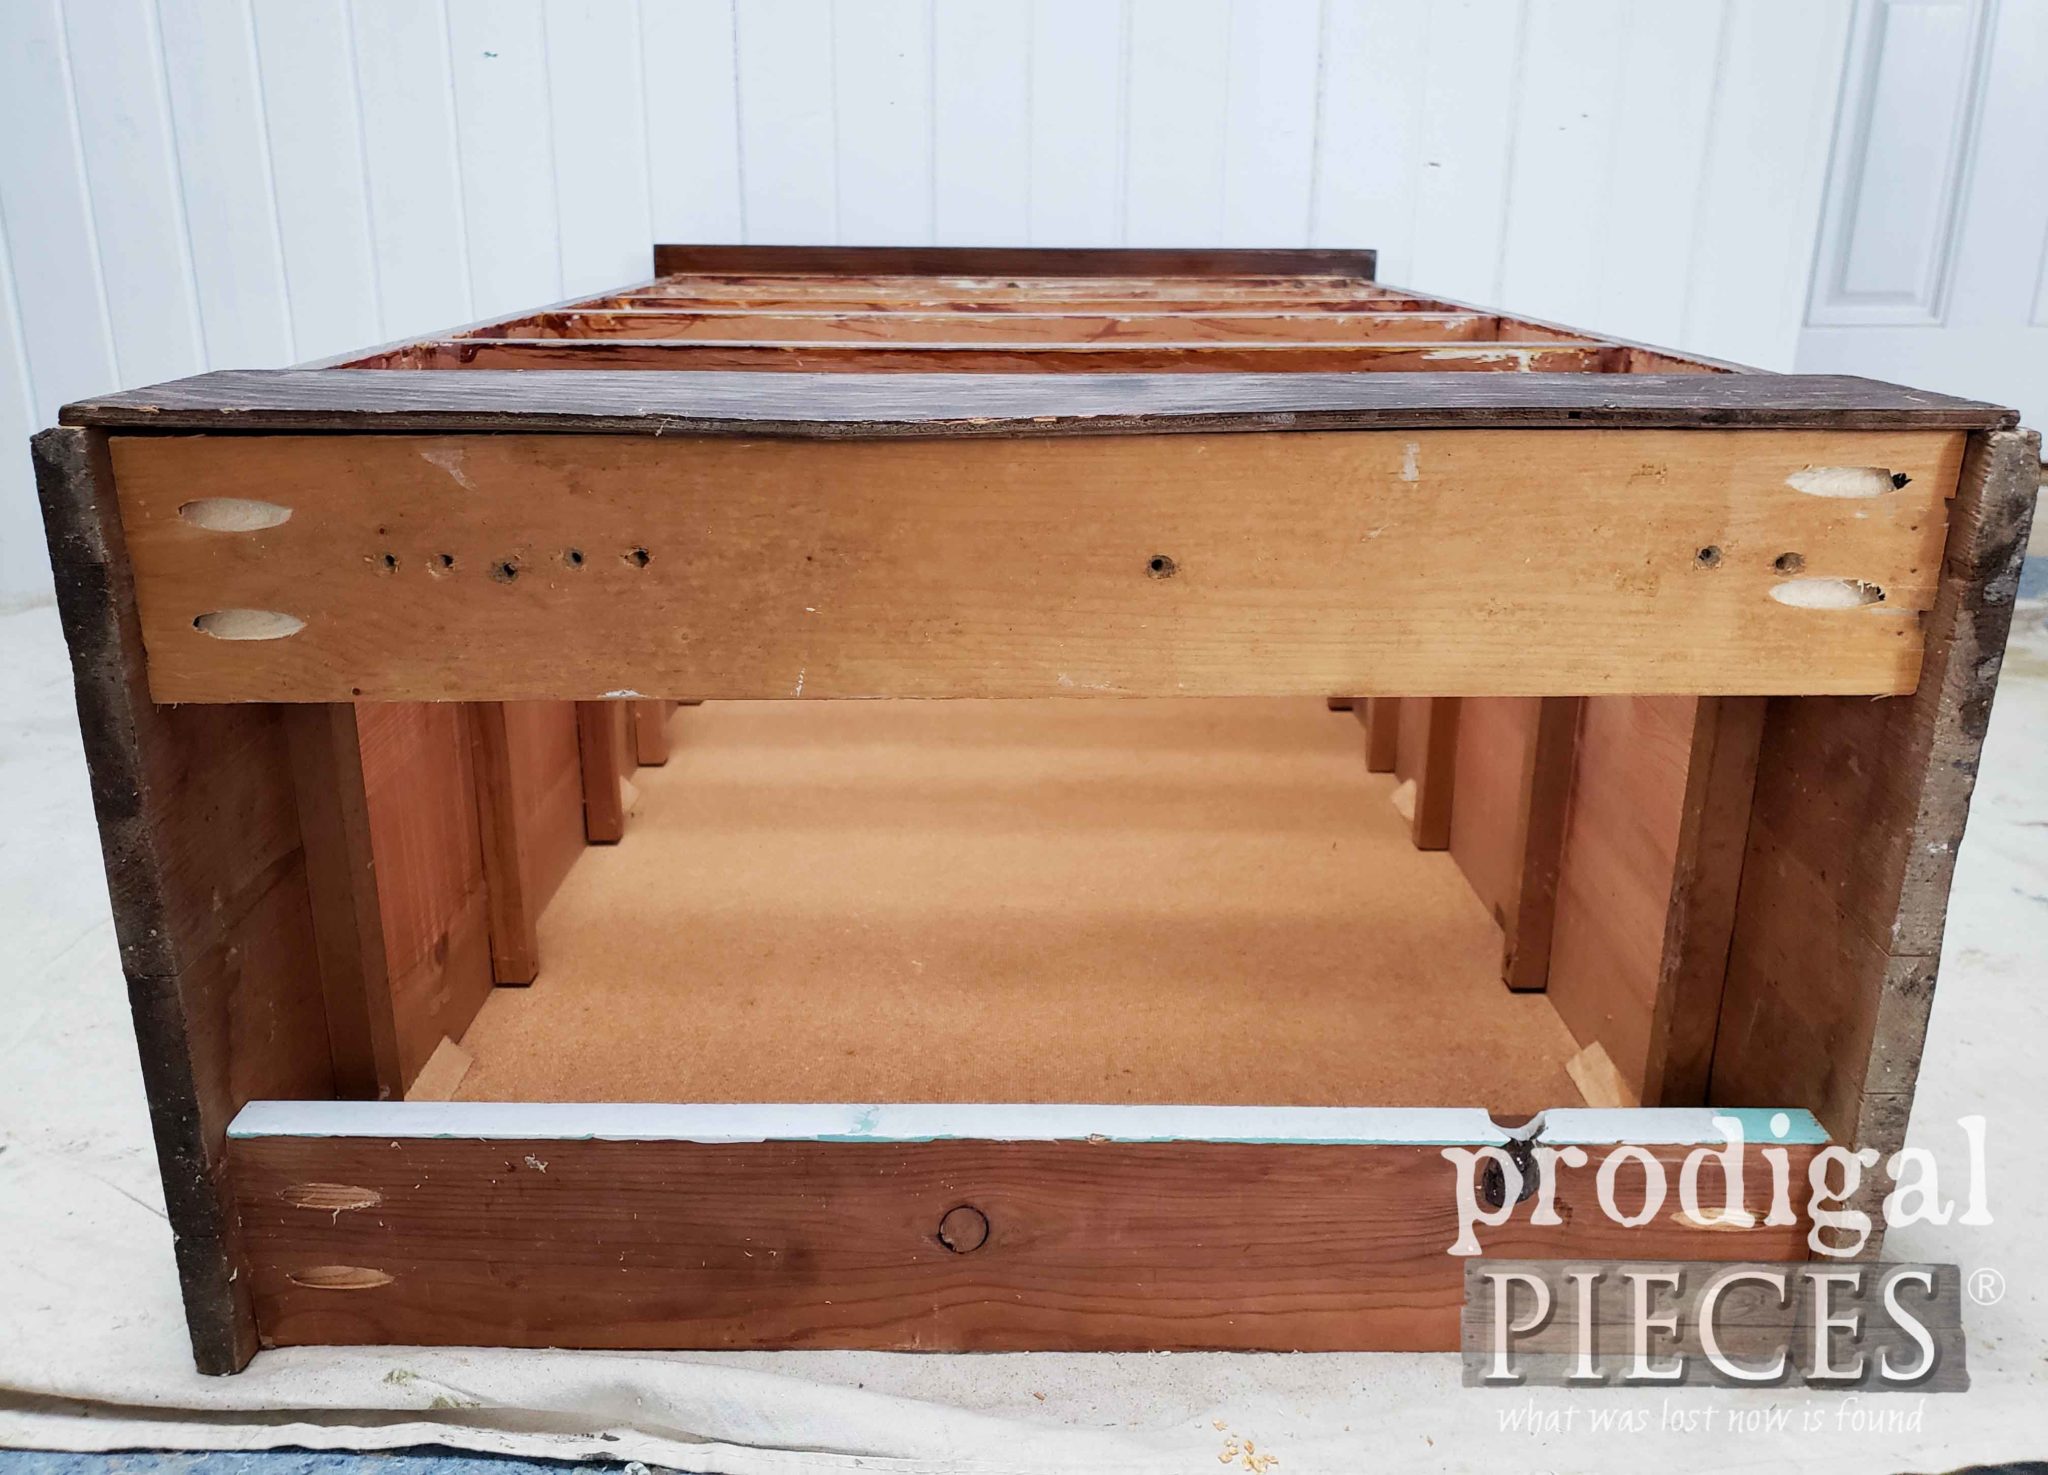
First, I took out the drawers and removed the wooden drawer pulls. No worries. I’m saving them for another project – SEE HERE. Once the pulls were off, I began to build up the bottom of the chest to prepare to accept some legs. I felt adding height would not only increase the stature of my desired upcycled map cabinet, but also provide a stance to make it more stable. This chest is kinda lightweight and the legs would add heft.
*post sponsored by HomeRight. (see full disclosure)
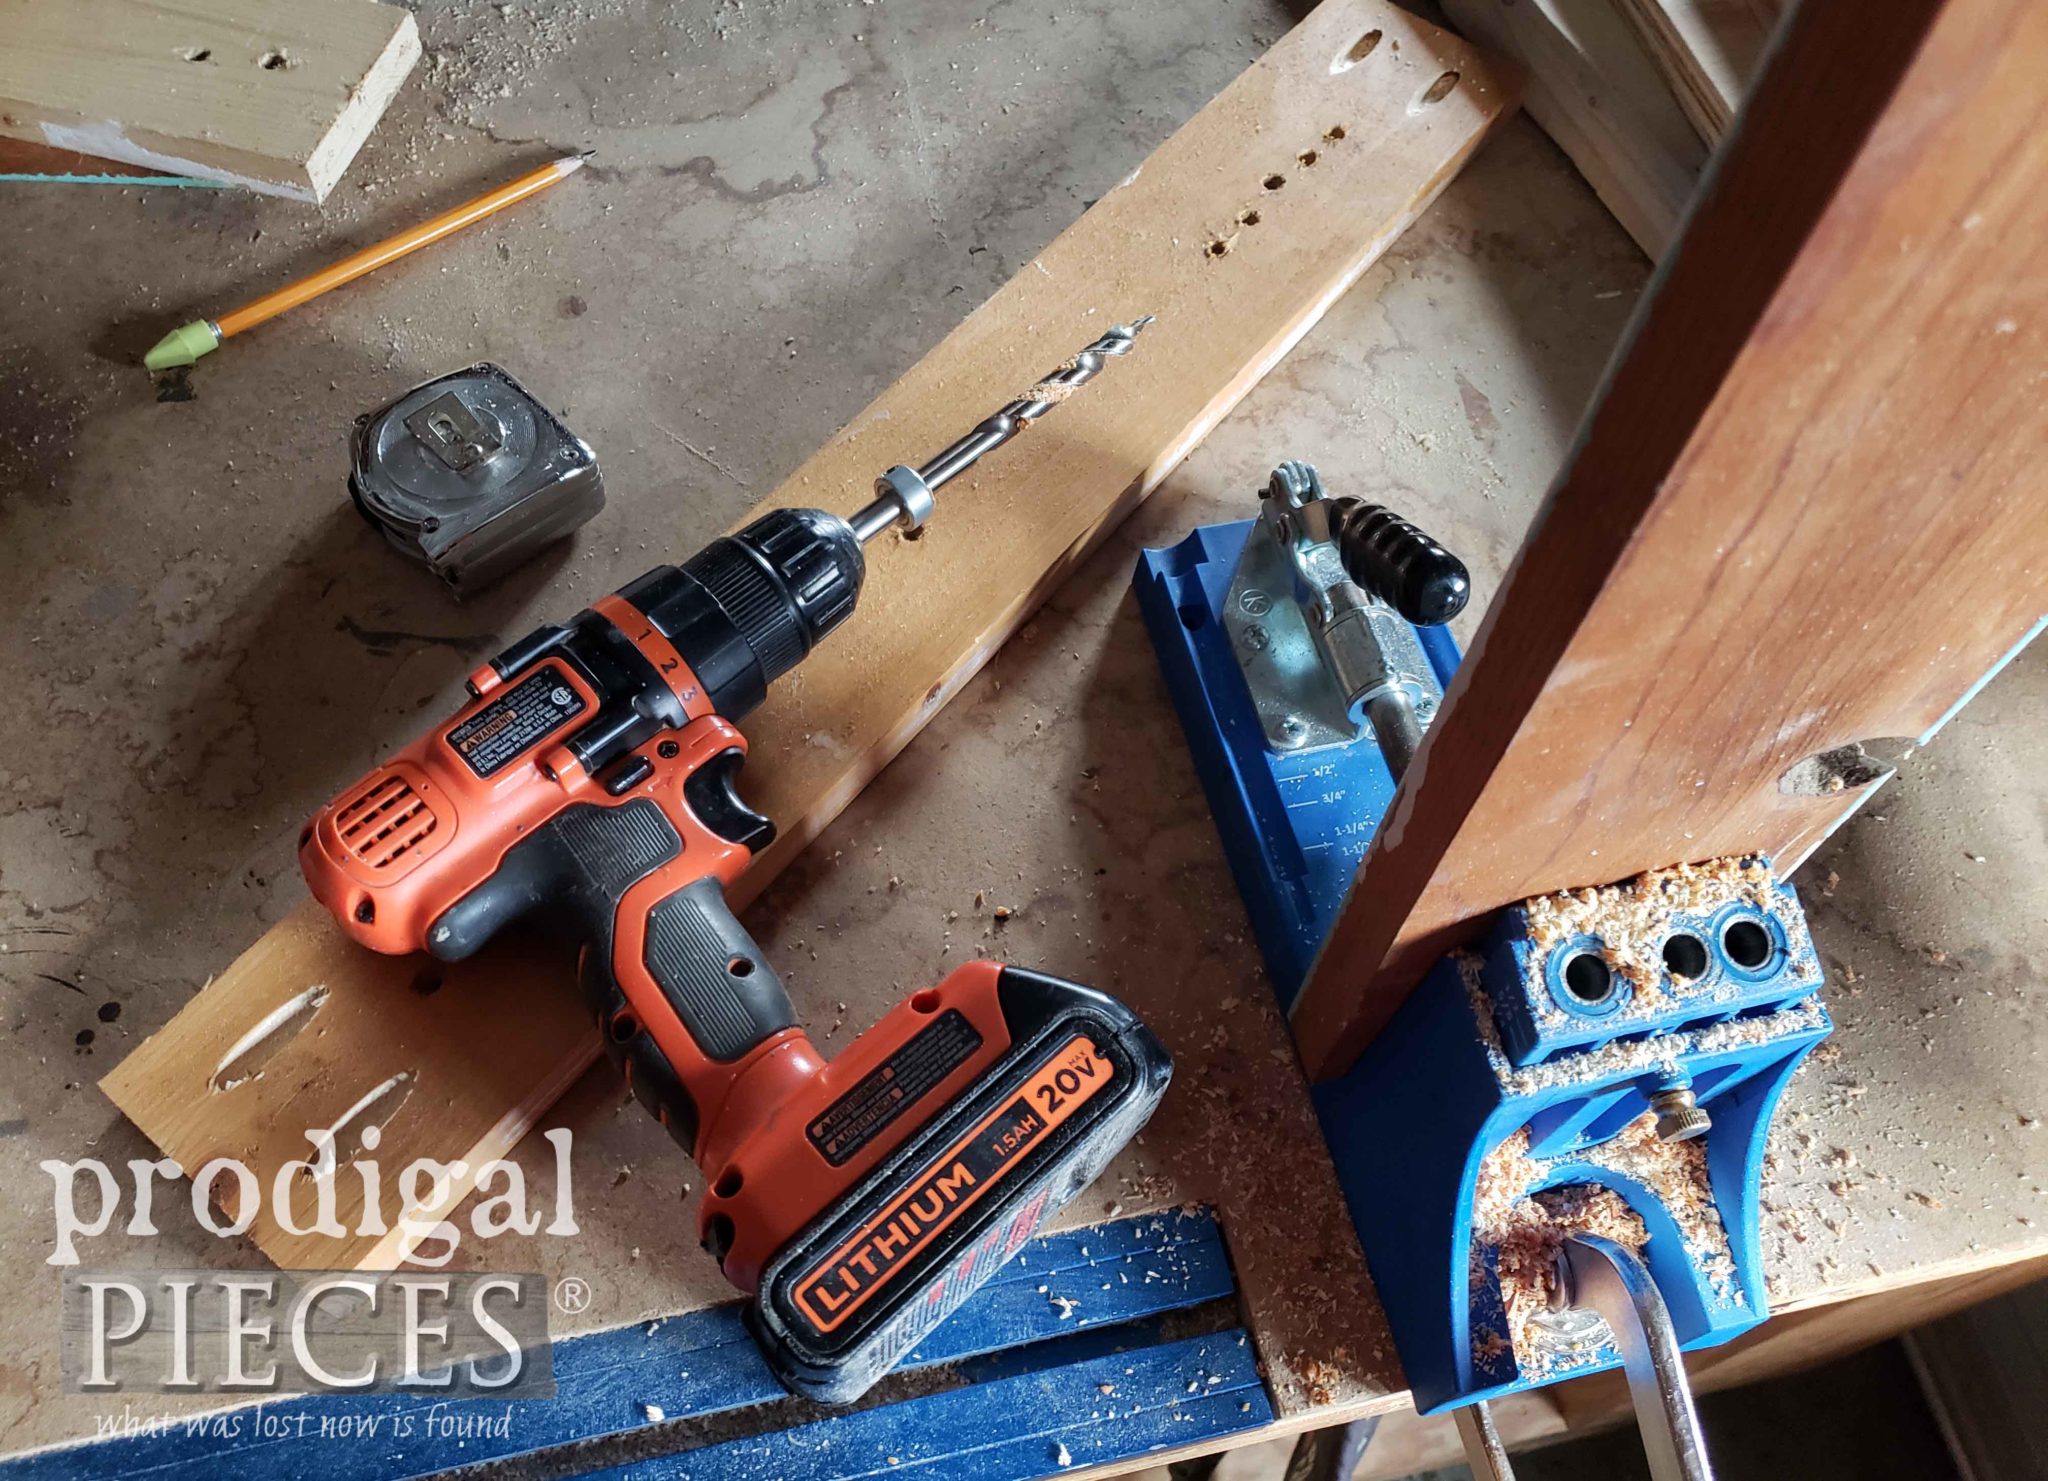
I dug into my stash to get some 1″x 4″‘s and cut them to length with my miter saw. Then, I used my Kreg Jig to add pocket holes so I could attach them to the bottom of the chest. I love these tools.
NEXT STEPS
I’ve installed the slats installed on the bottom using my drill. Eventually, I’ll be adding legs once the rest of my process is complete.
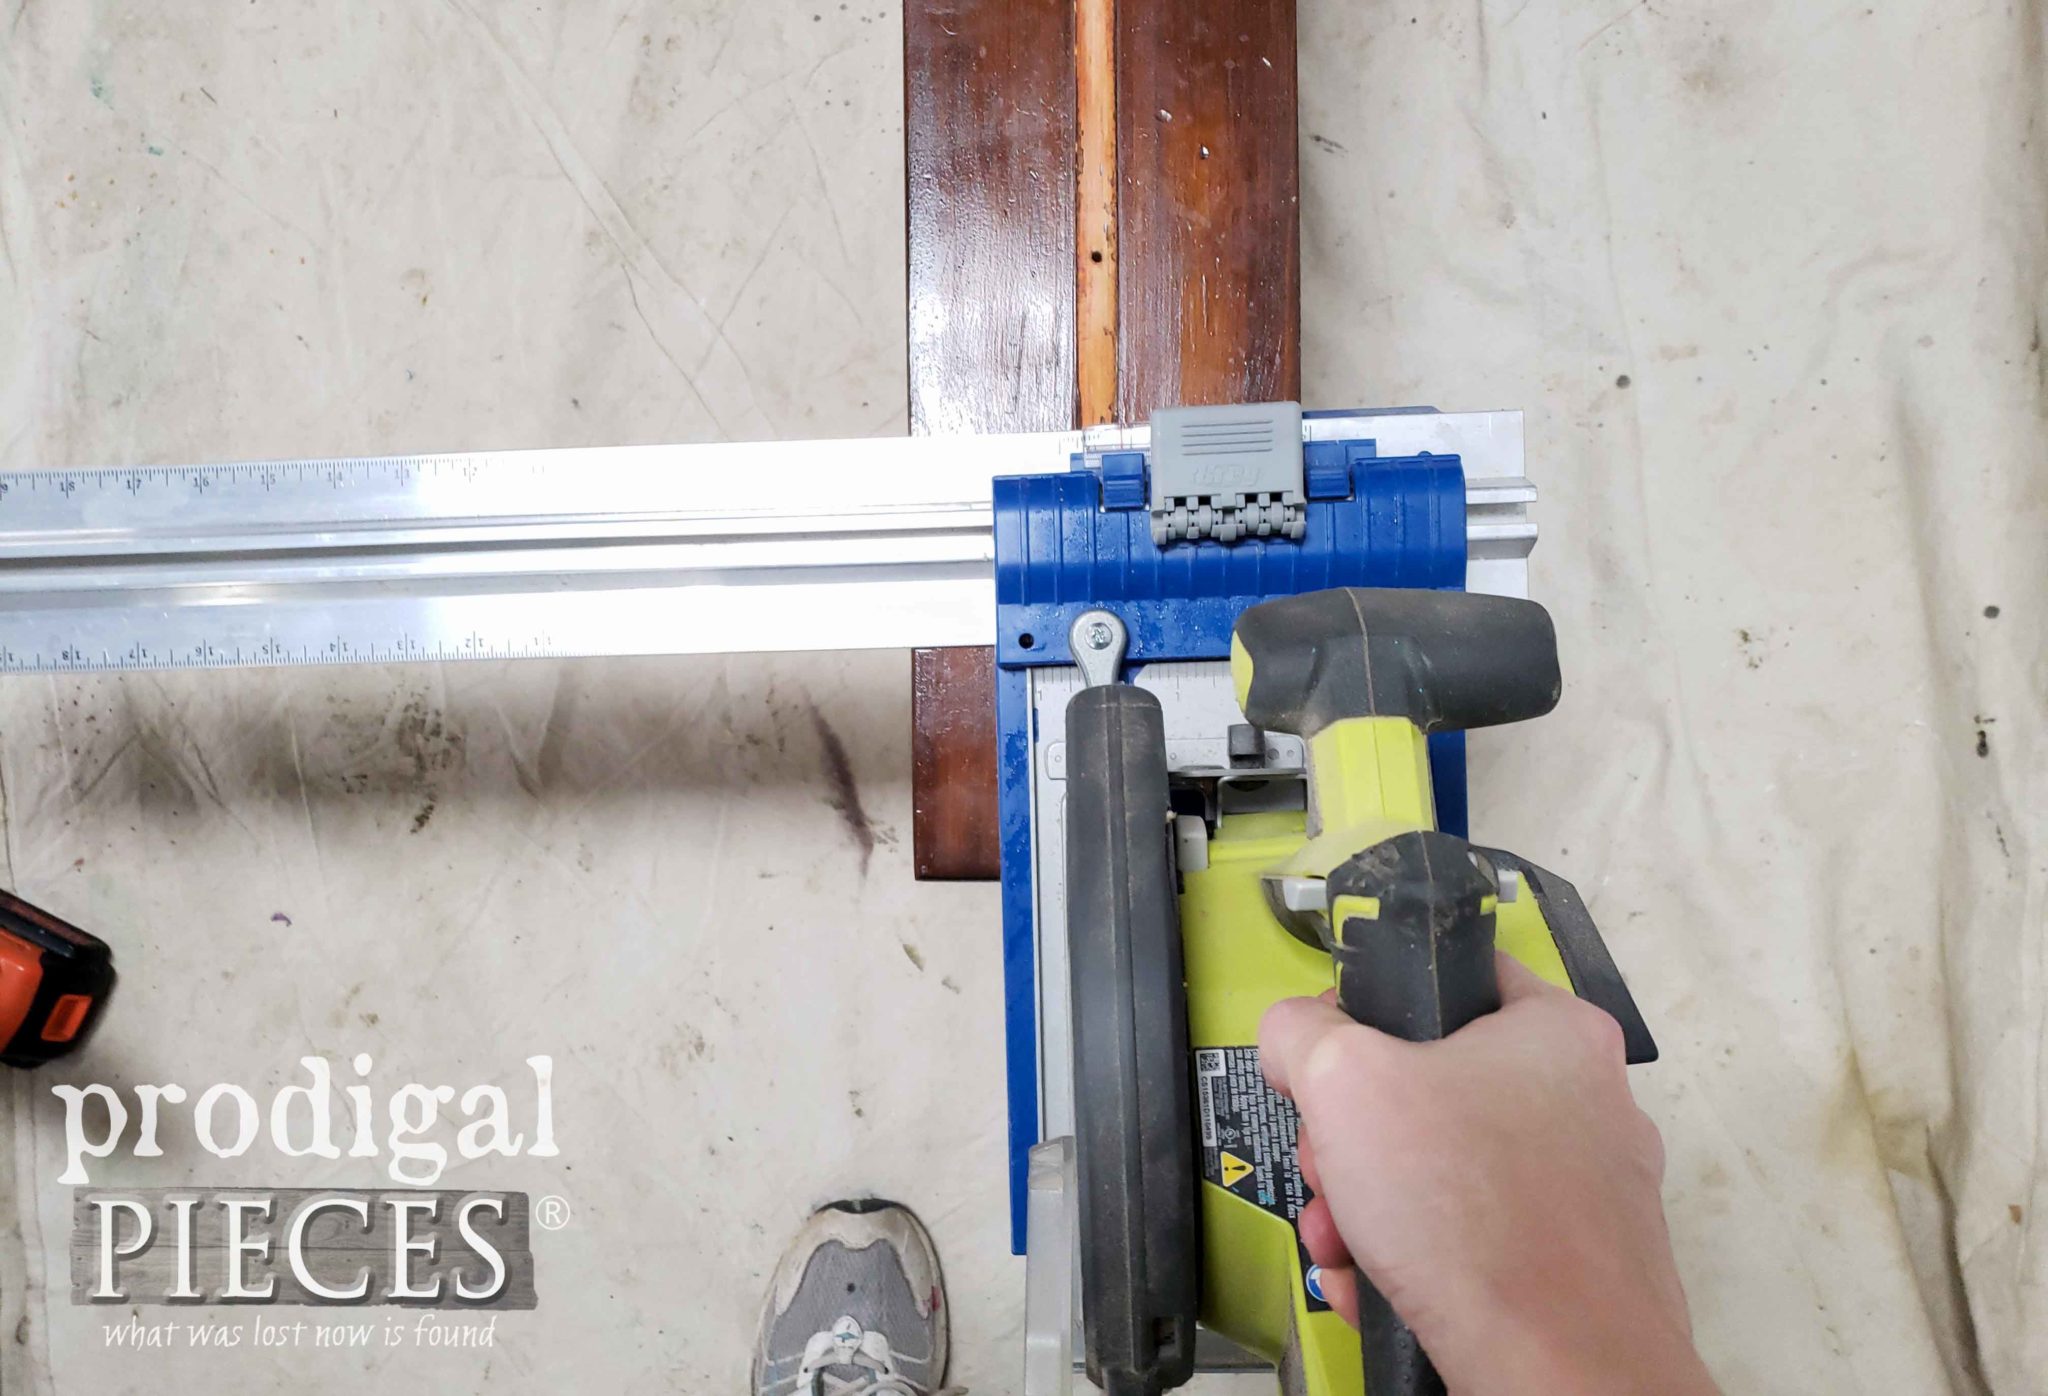
Next, the drawers on on my list of makeover fun. In order to get to the upcycled map cabinet status, I need to create the visual of many drawers. To do that, I used my circular saw and my Rip Cut jig to make shallow cuts in the drawer front. You can see my demonstration in the video below.
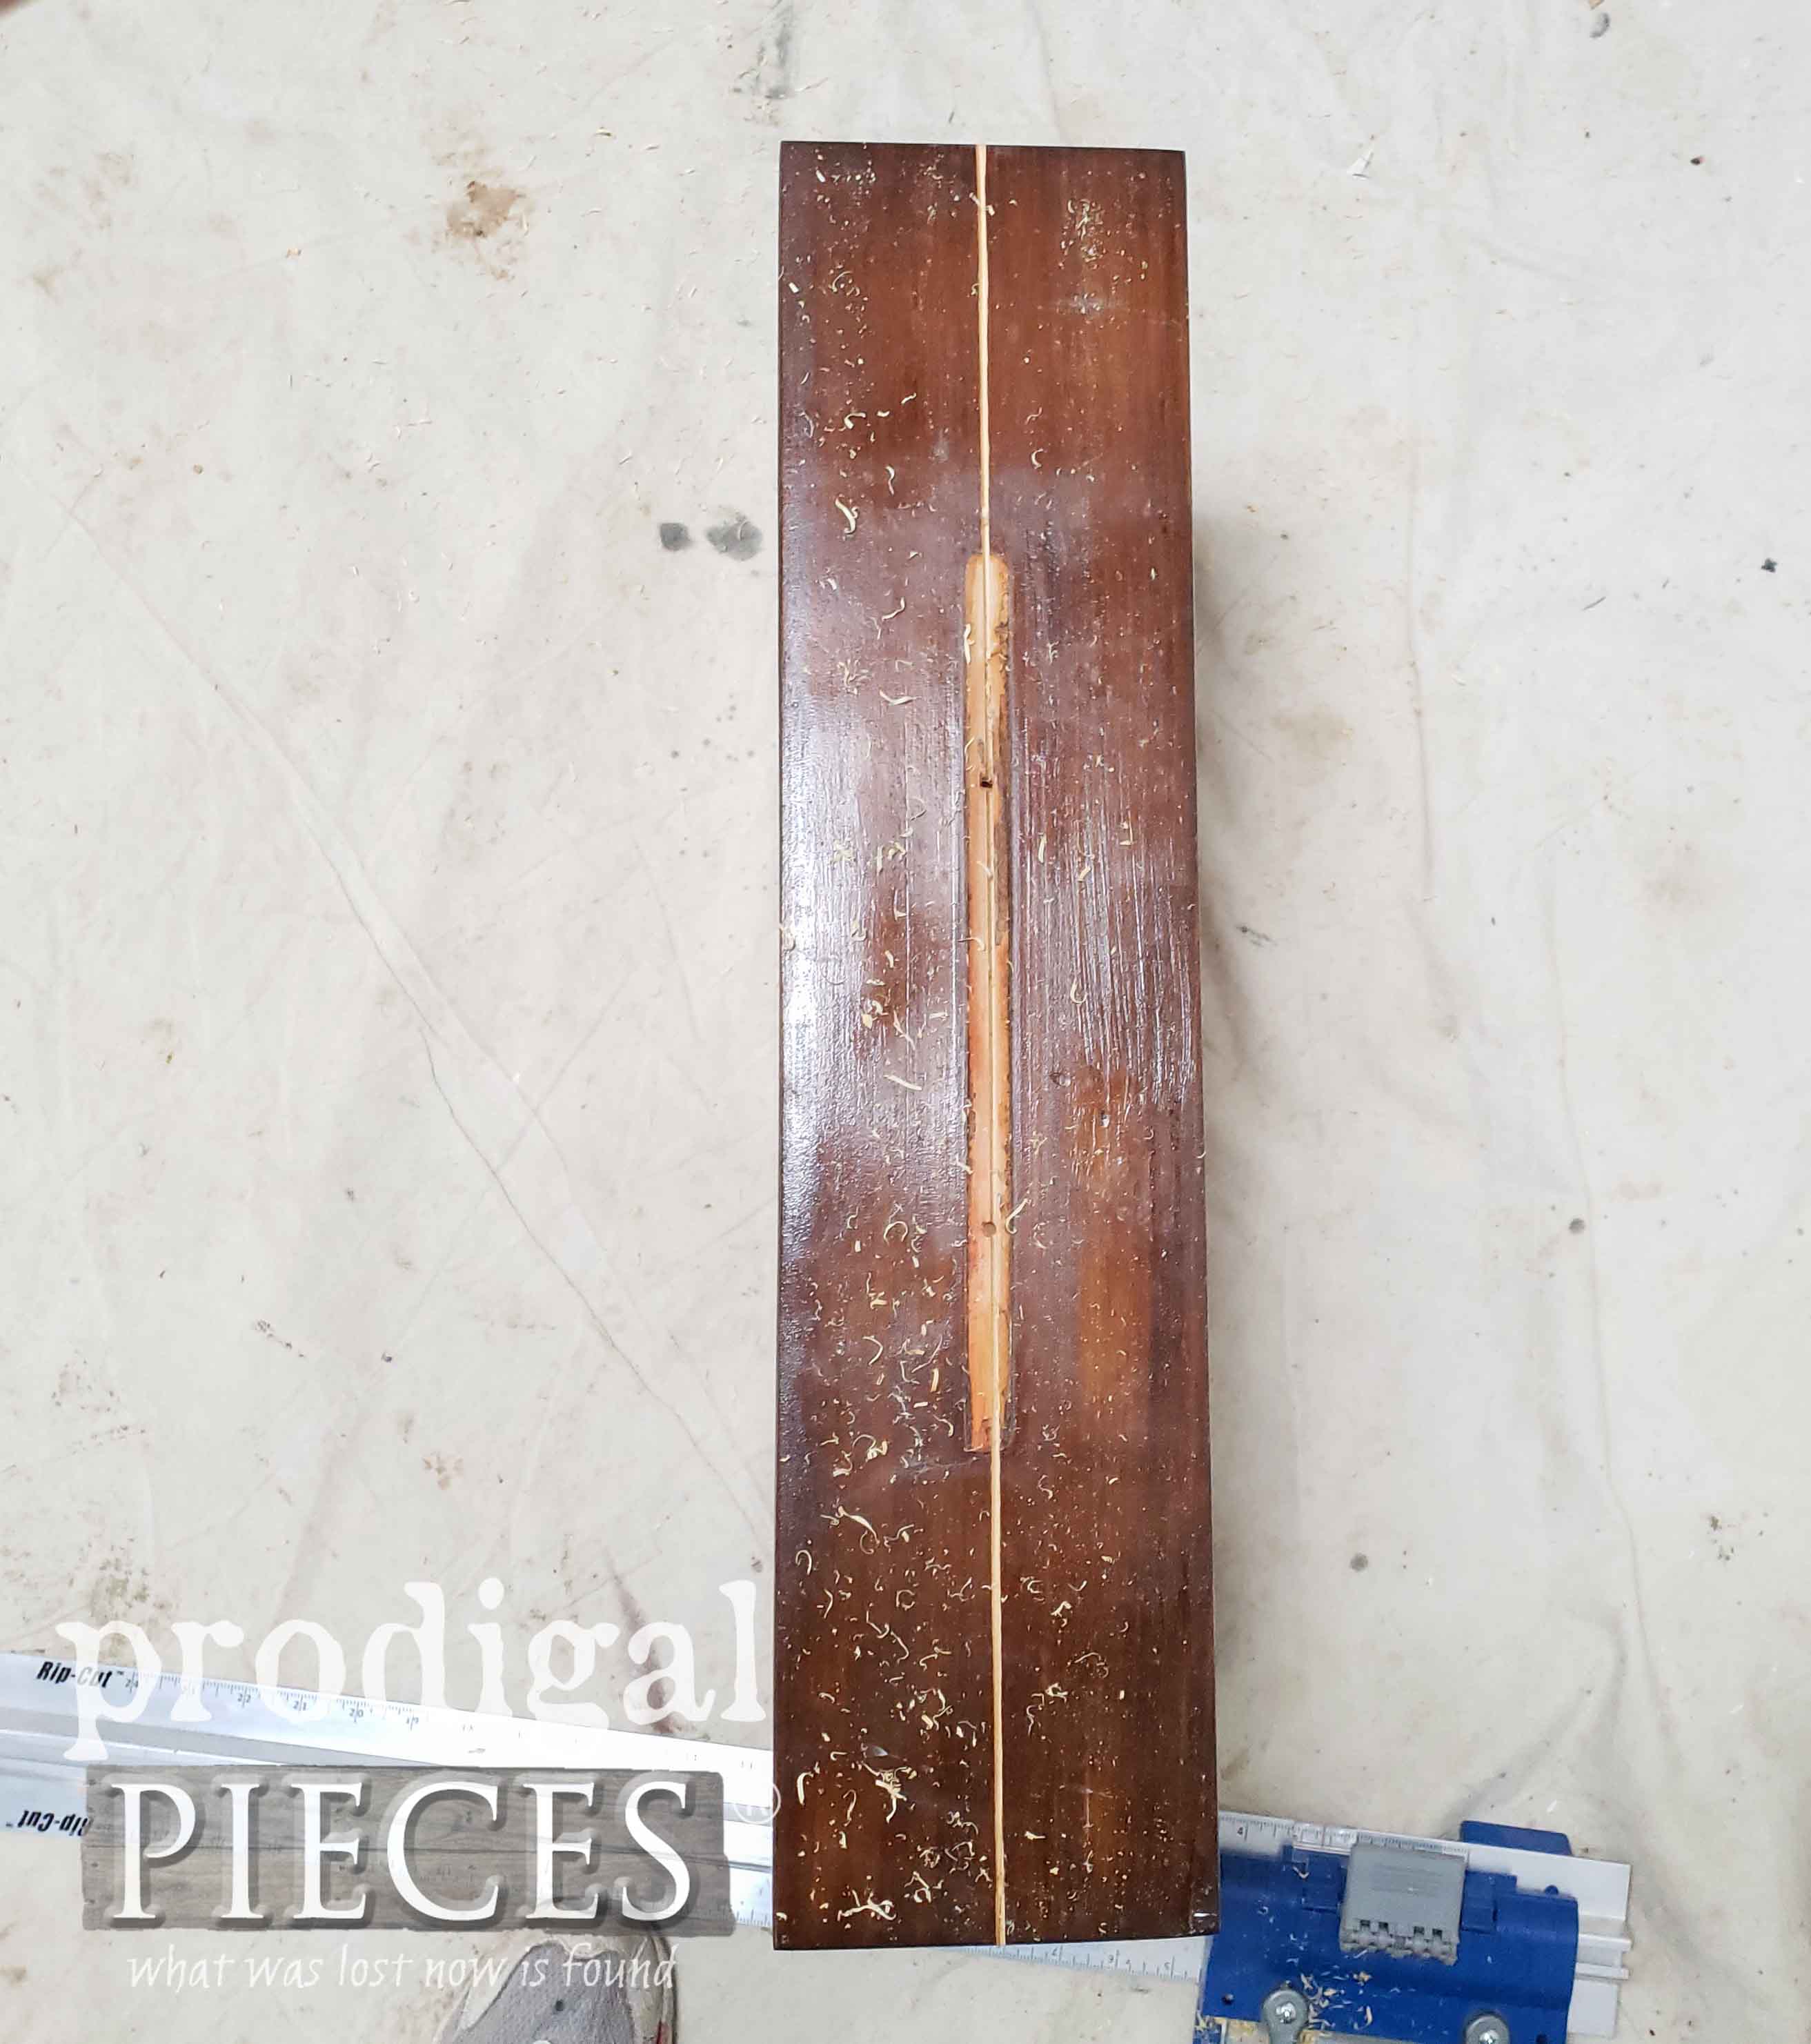
Do you see the shallow cut I made down the length of the drawer? The jig helps my blade stay straight. I could have done the same thing by setting my table saw blade at a shallow depth and then run the drawer over it too. I’m just trying to show you how you don’t need BIG power tools to get it done.
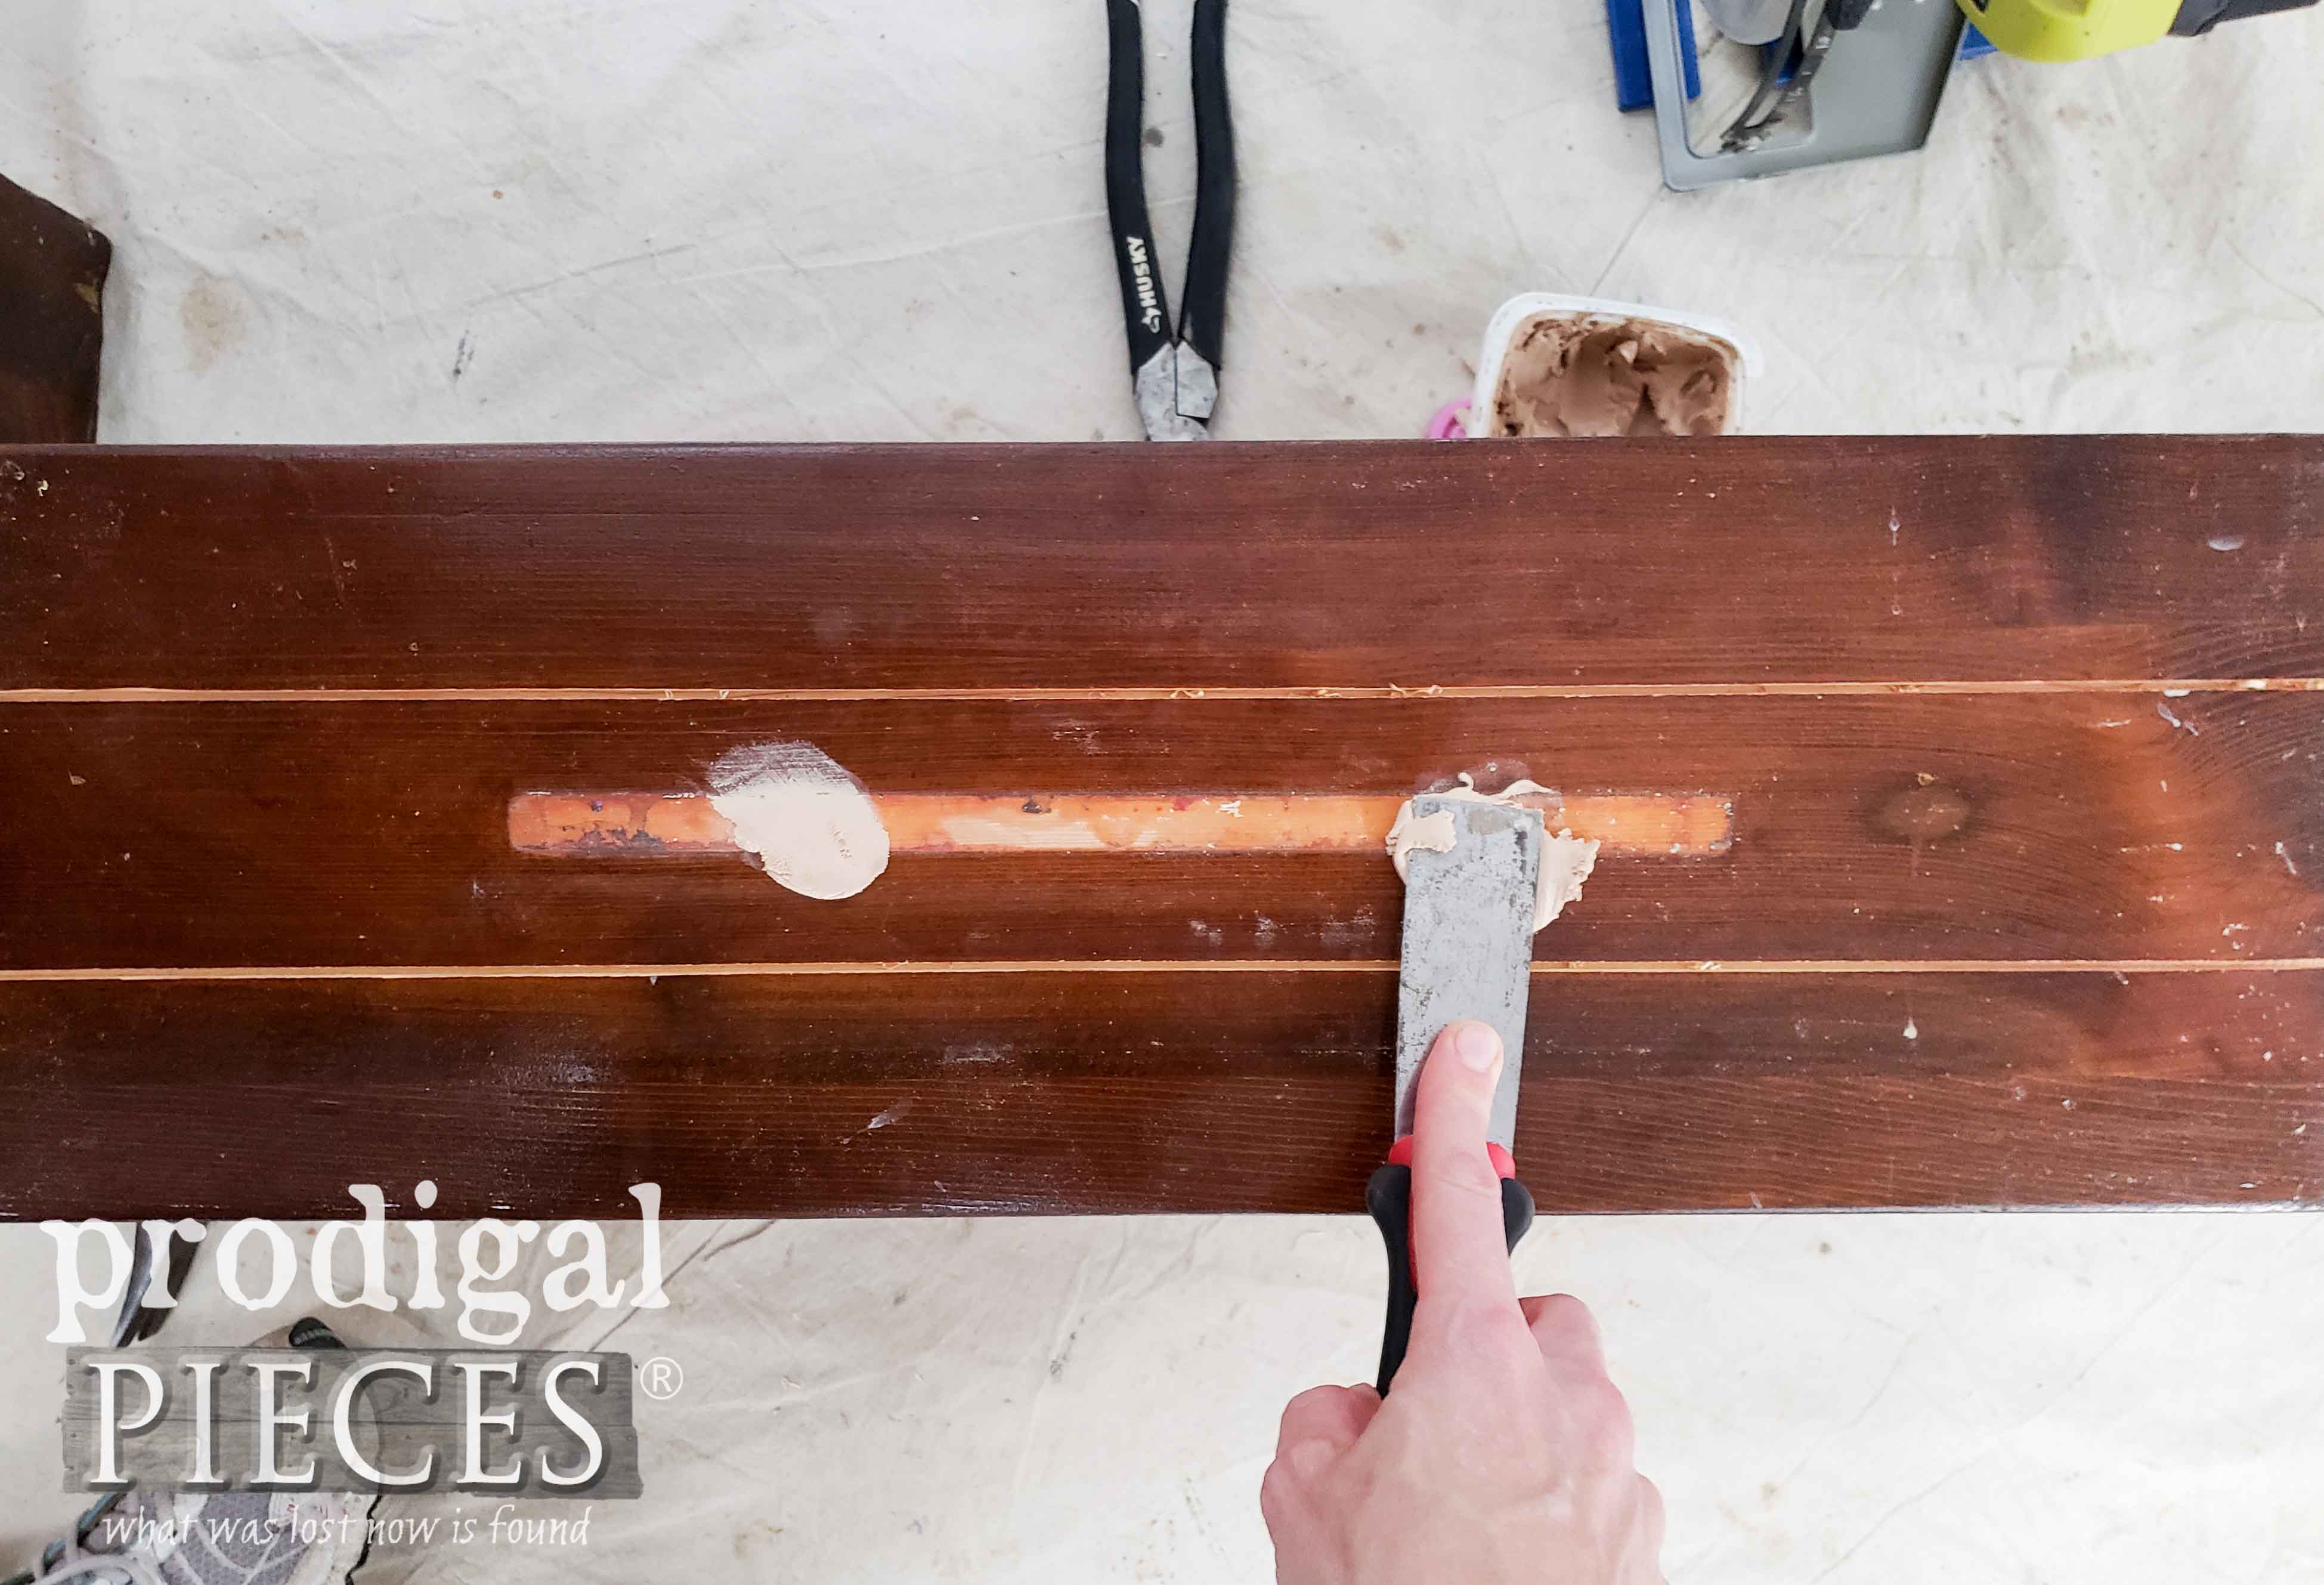
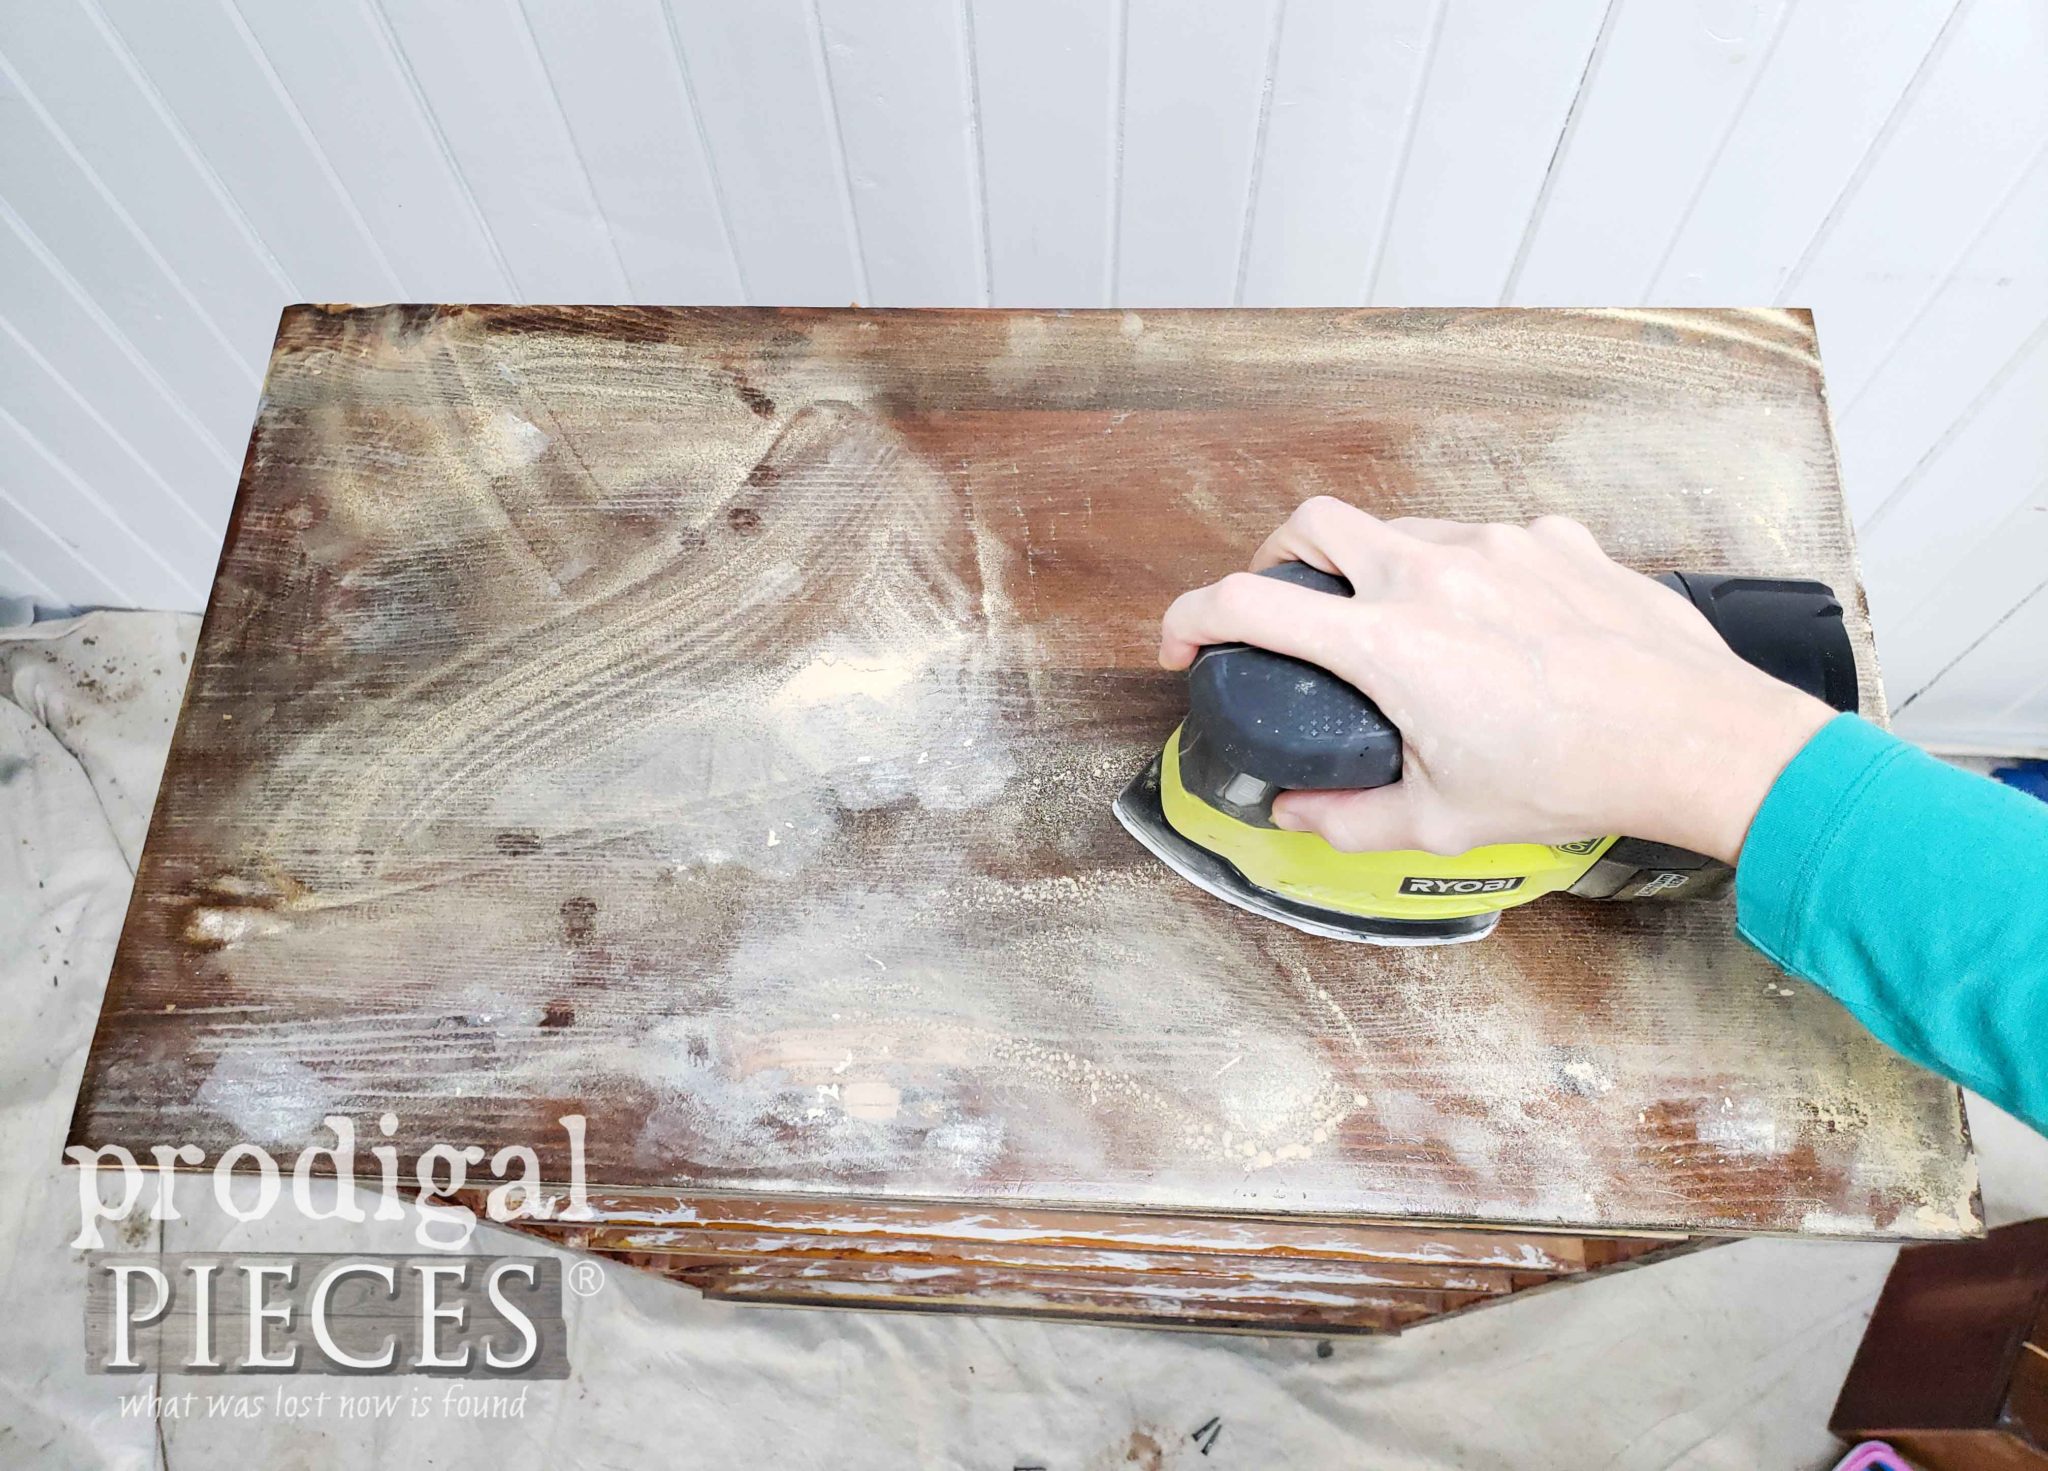
I used wood filler to fill the old drawer pull holes and any dings and dents too. Once cured, I then use my sander to get it ready for the next step…paint.
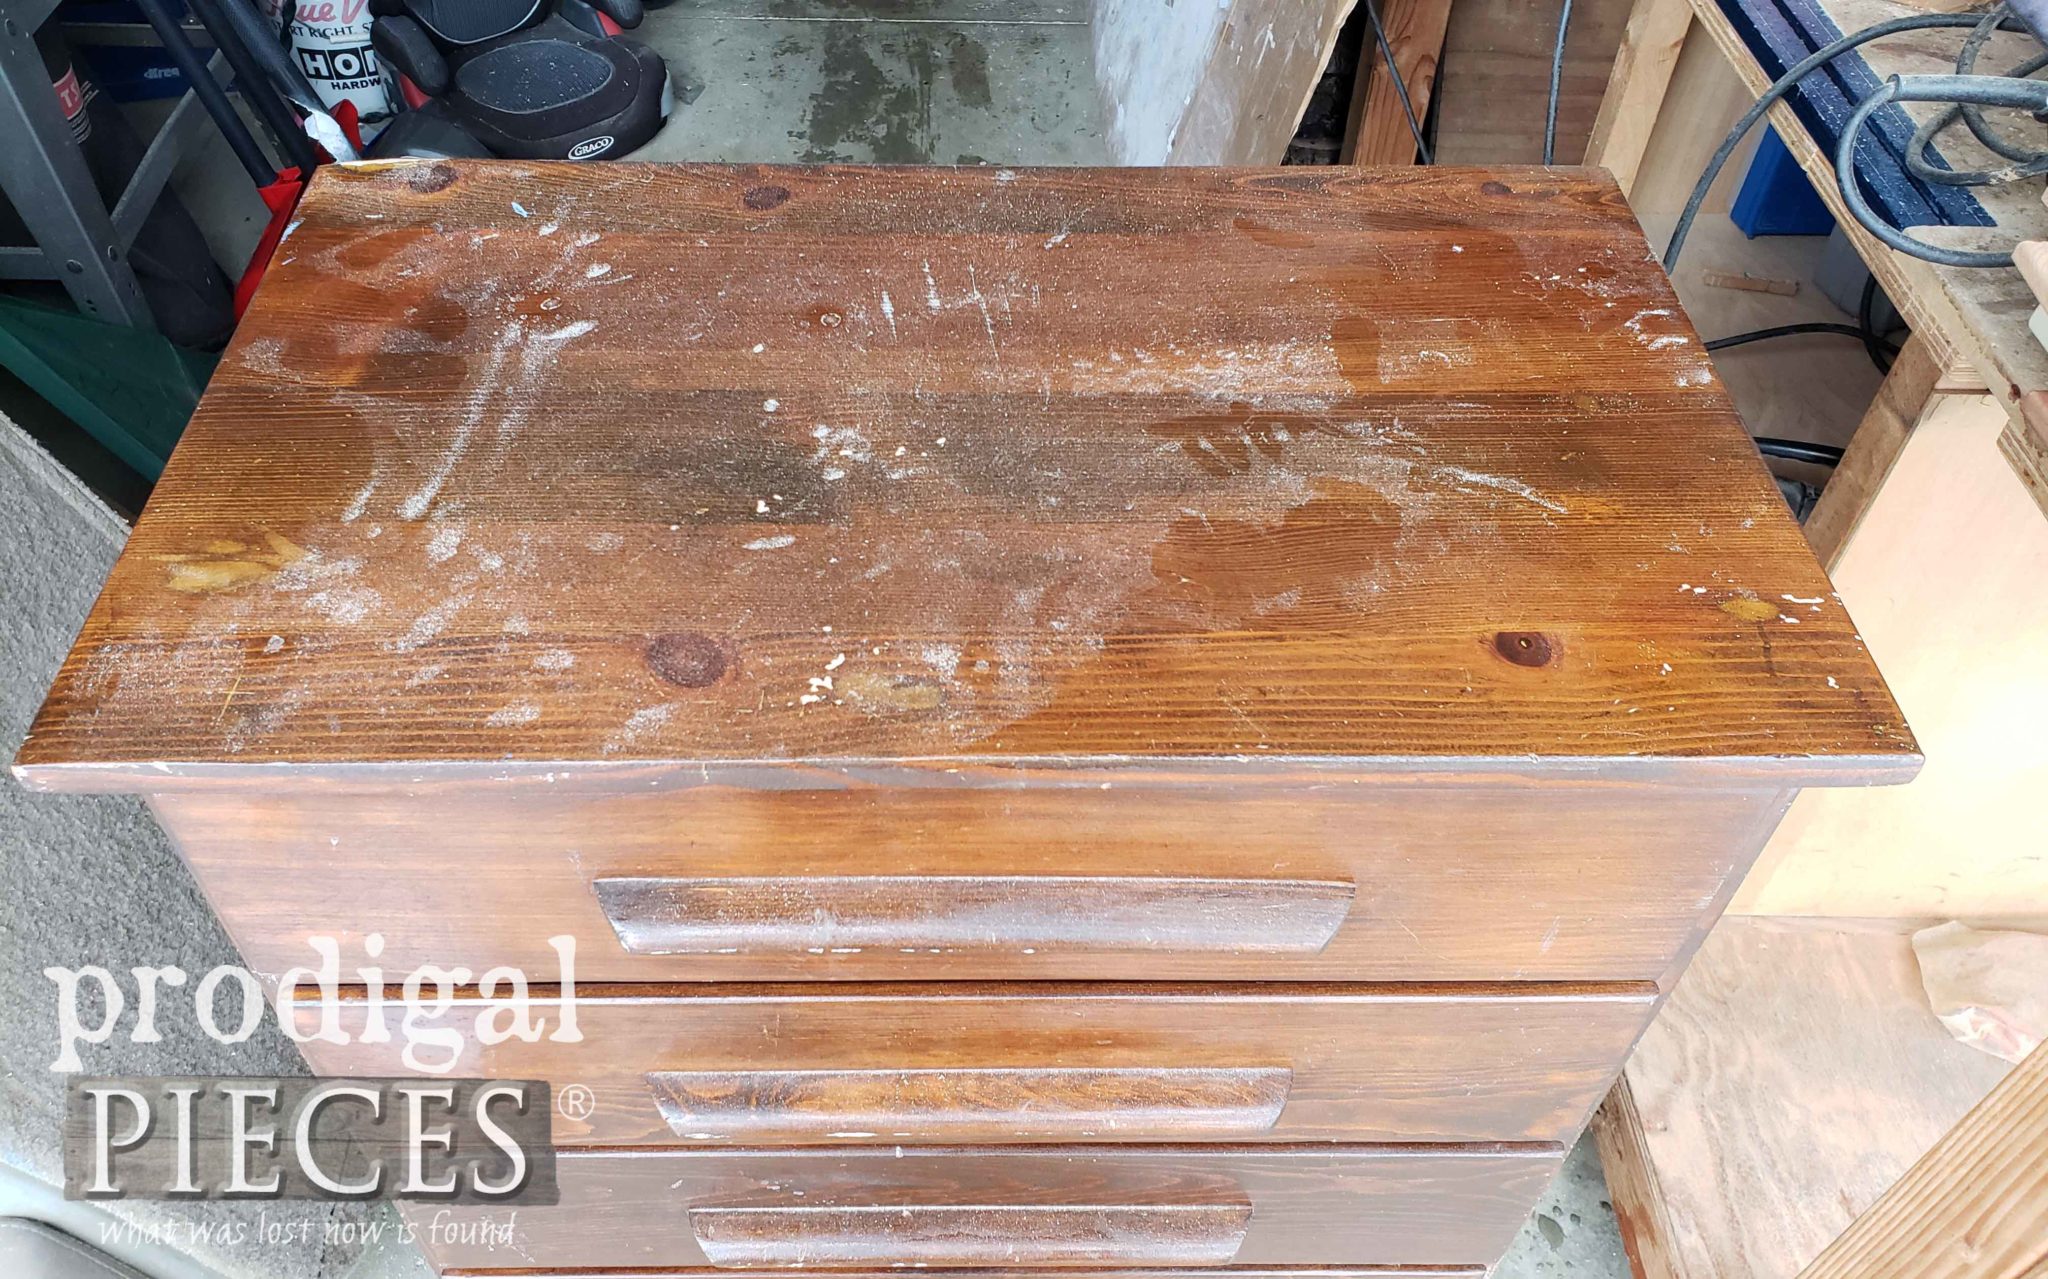
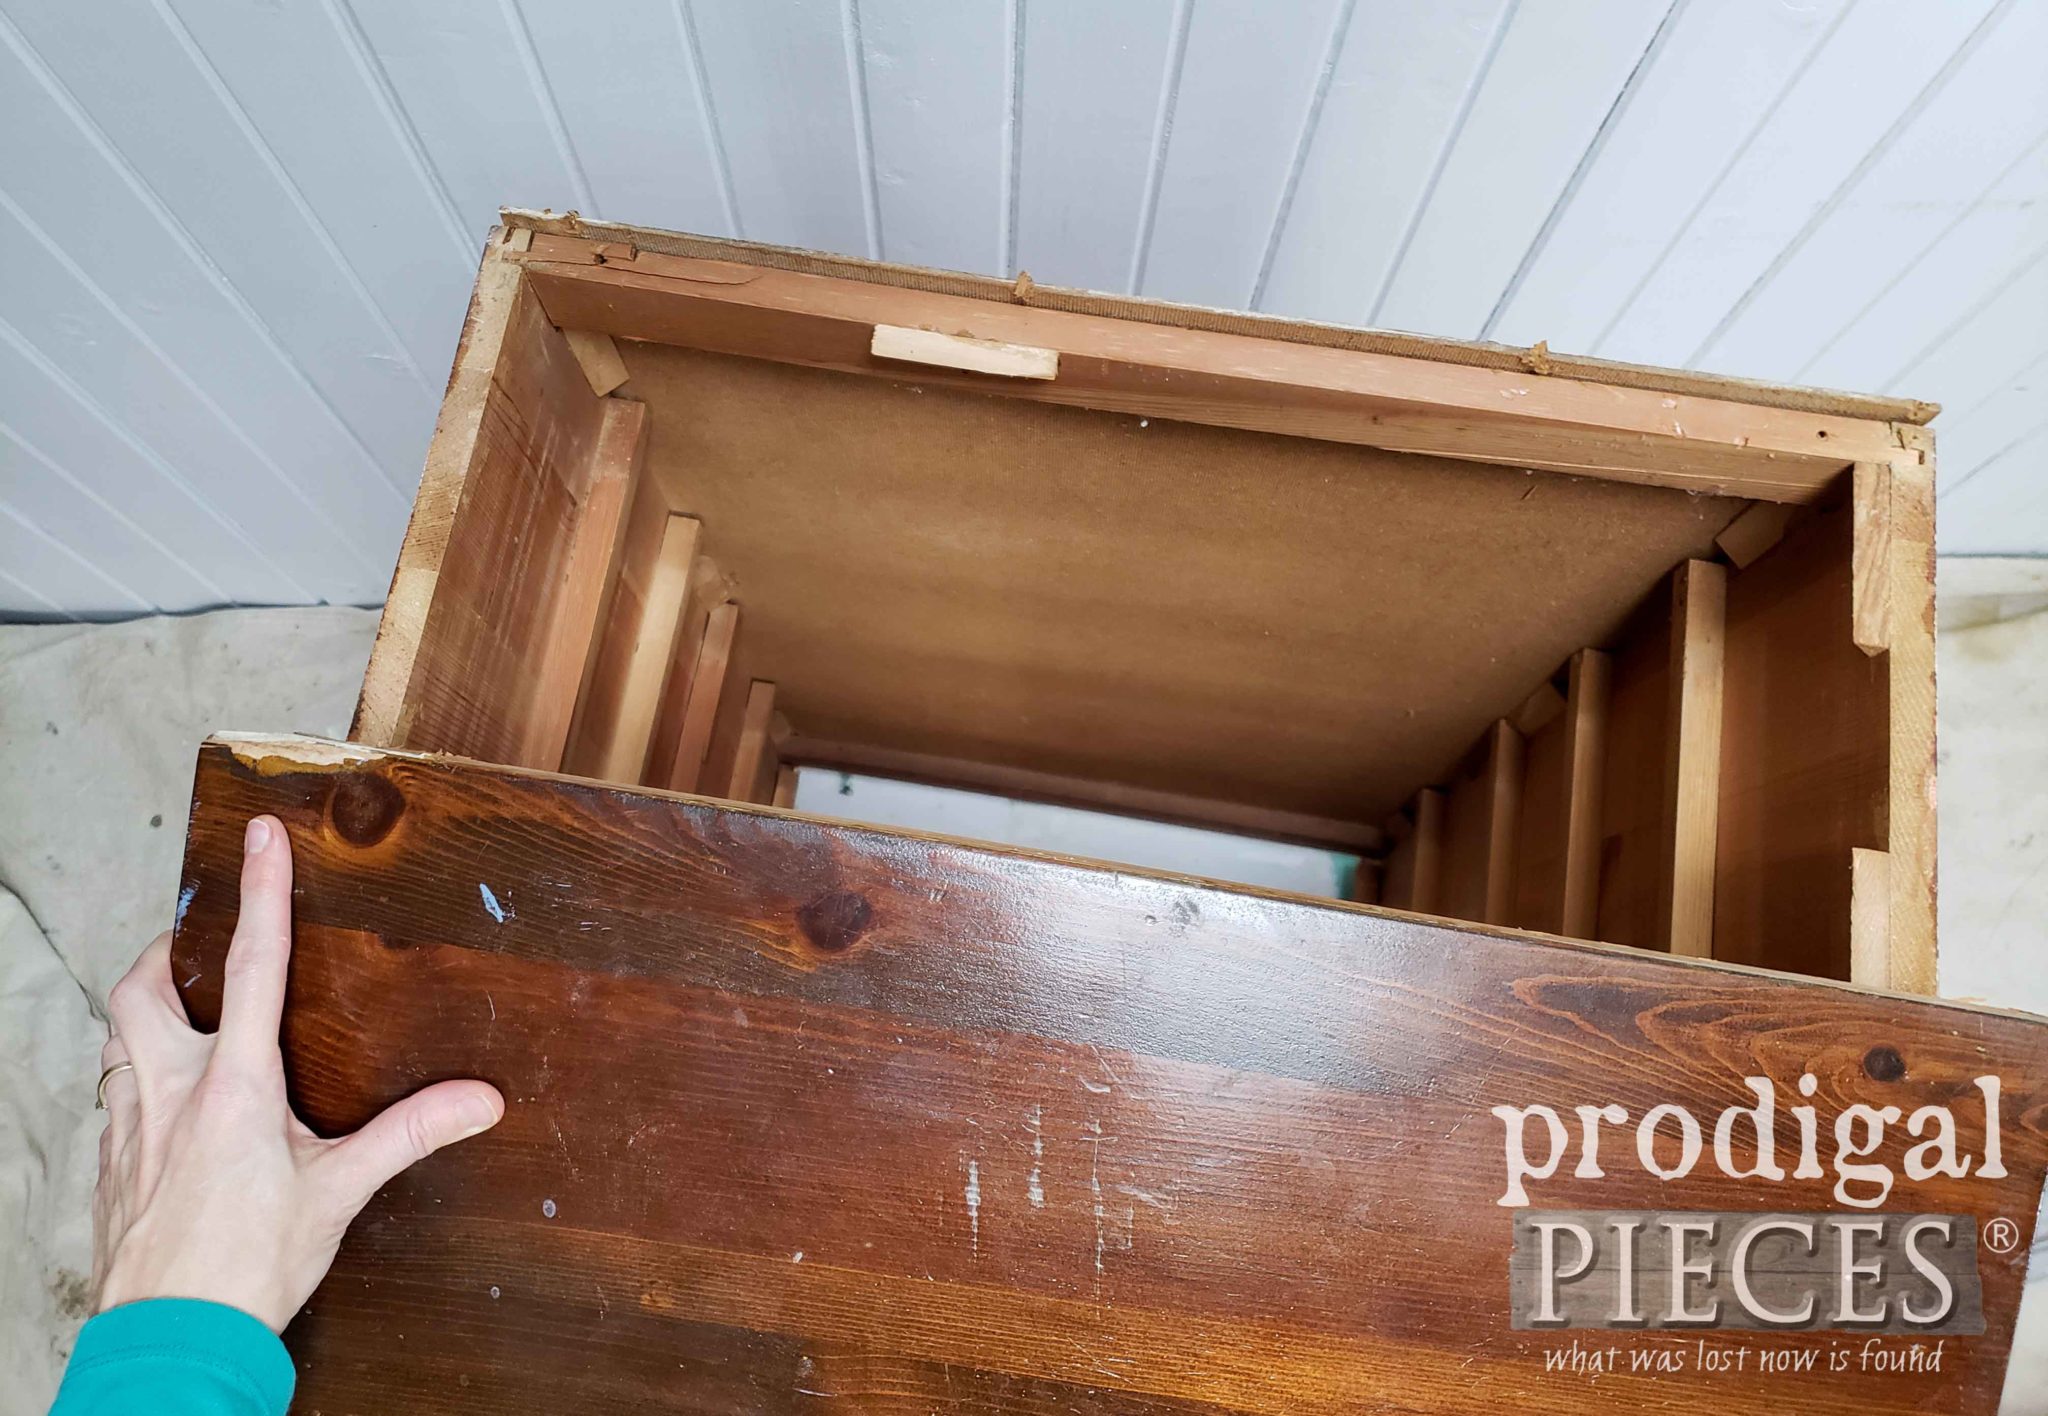
Also, before I could move on to the next step, I couldn’t let a boogery thing go without taking care of it. The top of the chest had a missing chunk out of the back corner. I knew wood filler wouldn’t hold in there, so I took off the top and cut it down on my table saw. Getting rid of that damage made me feel so much better…aaaahhh.
I used my nailer to reattach the top and the back panel, filled the nail holes with wood filler, sanded, and away we go!
PAINT TIME
Time to break out more of my favorite tools! Oh yeah…{{happy dance}} My motto is still #toolsoverjewels since I was a teen and this is why. The HomeRight products are so easy to use that they pop up before your very eyes.
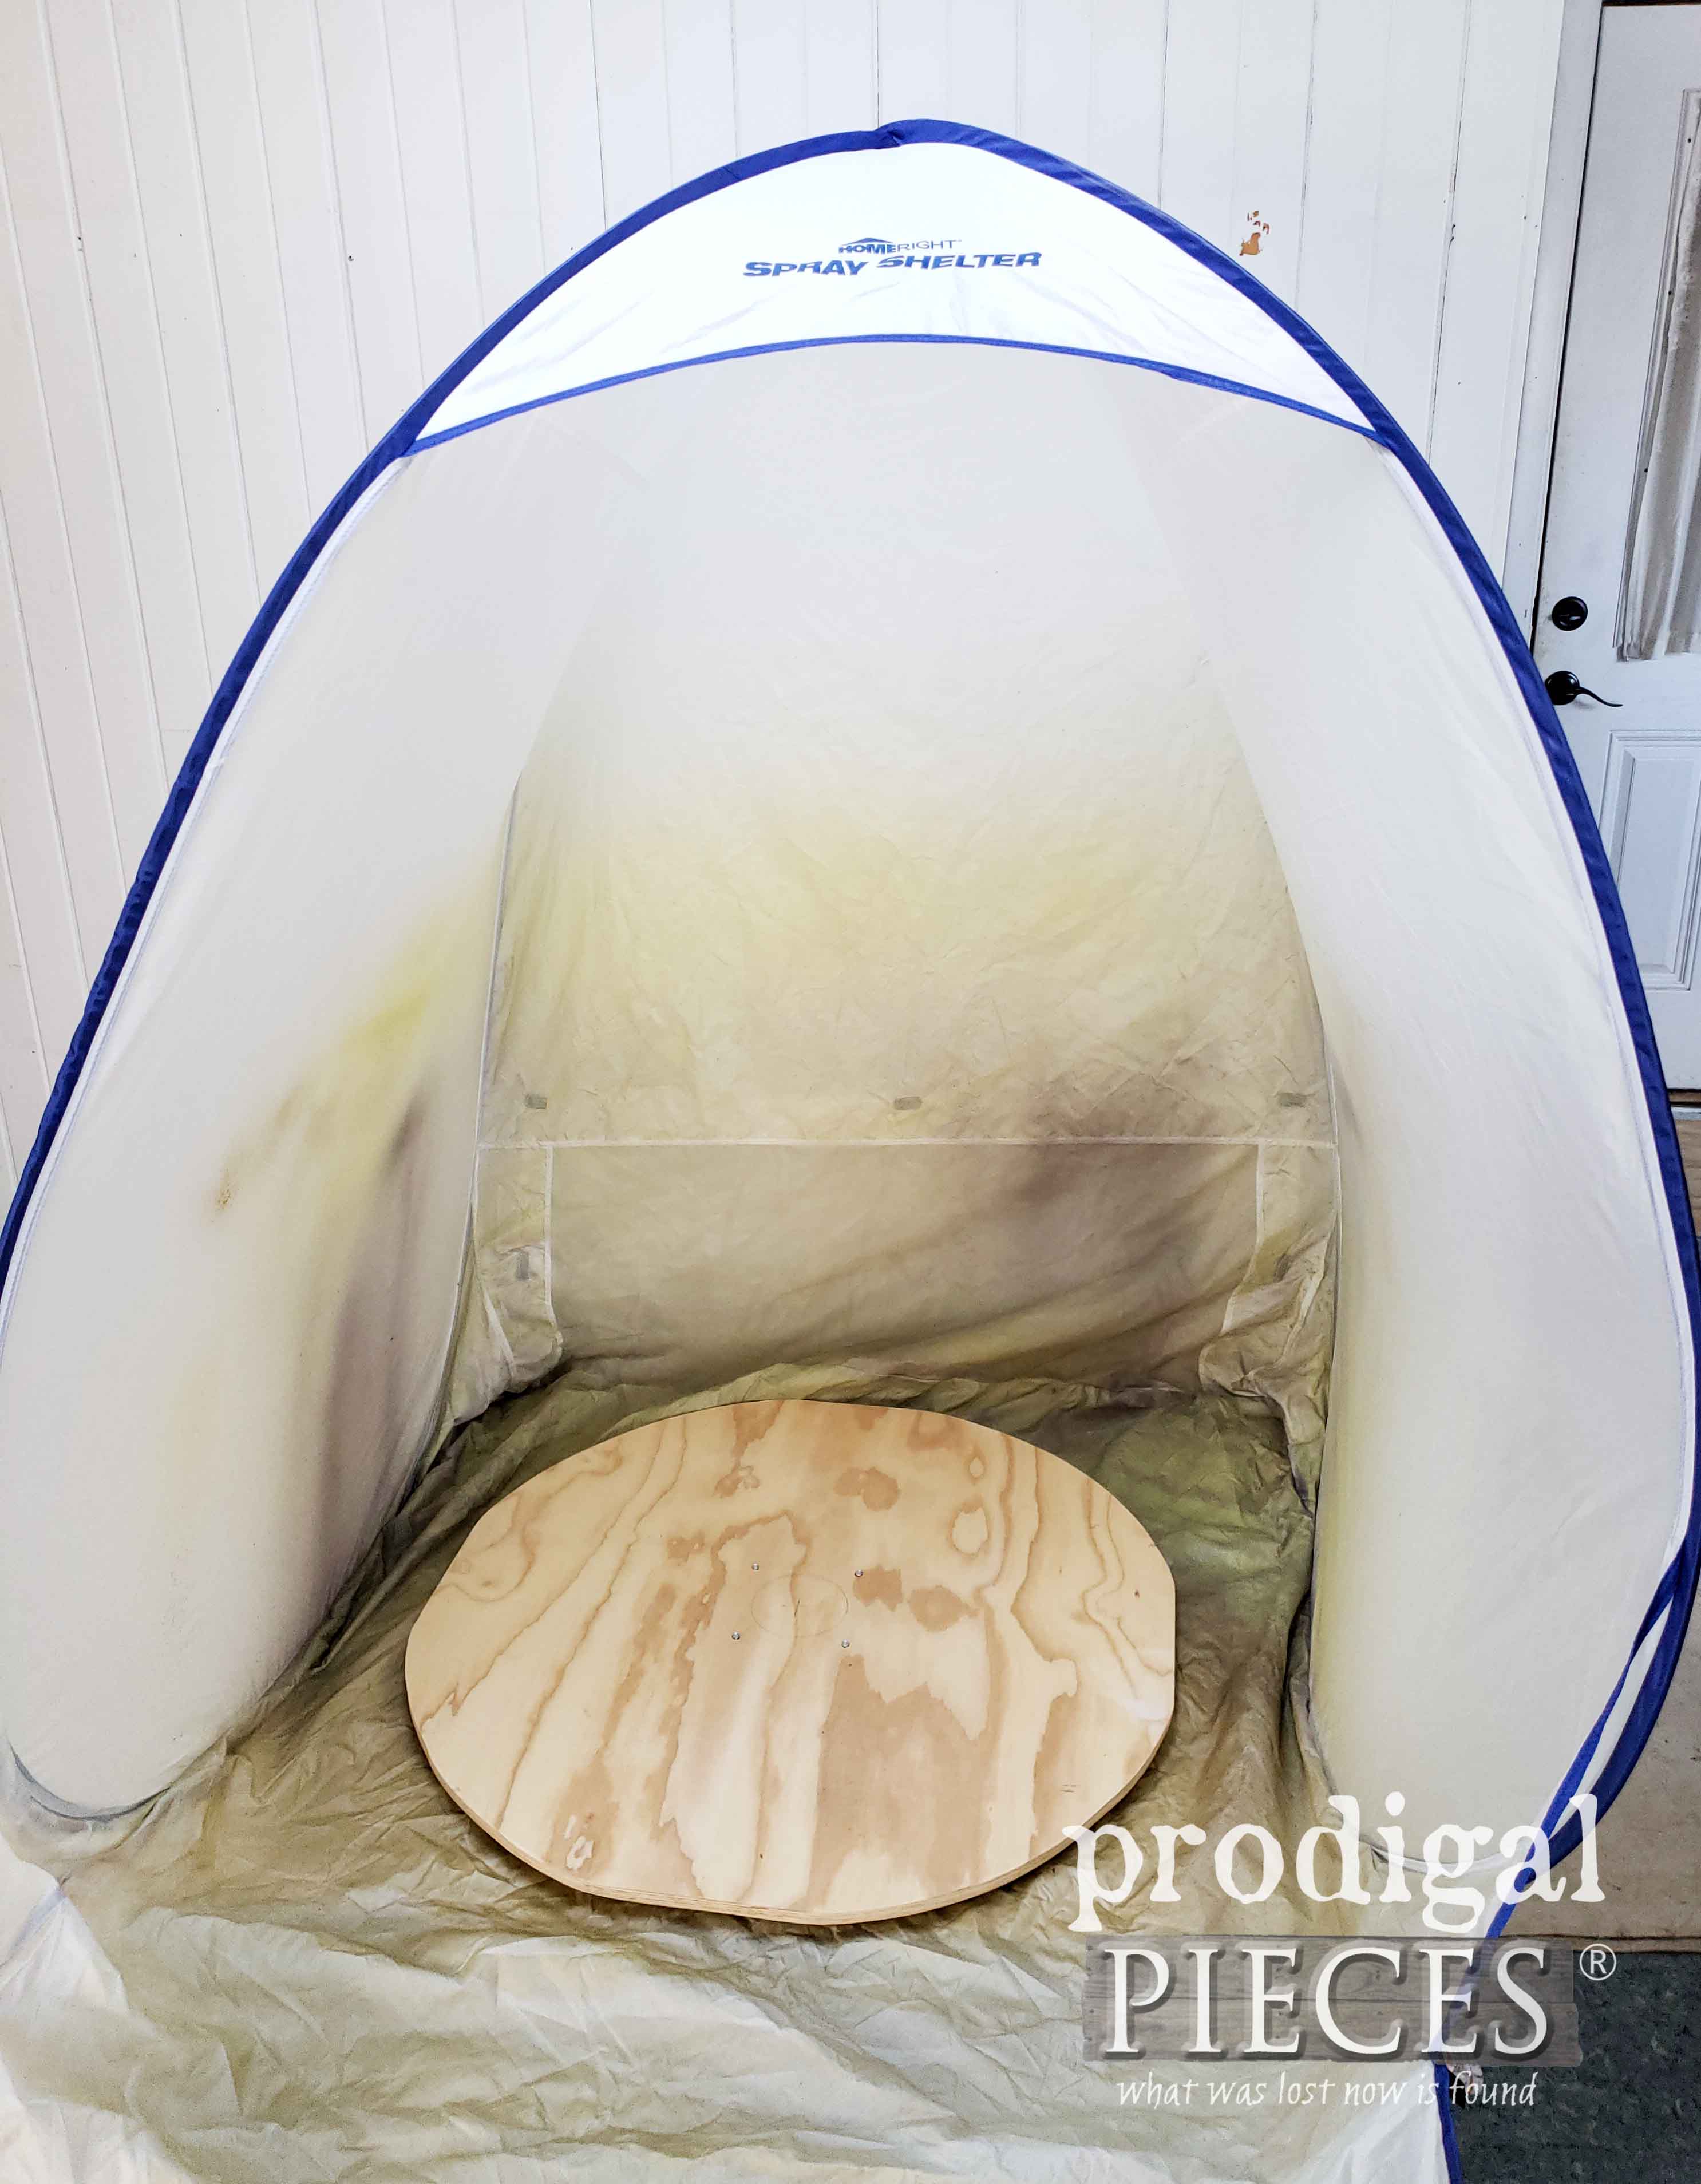
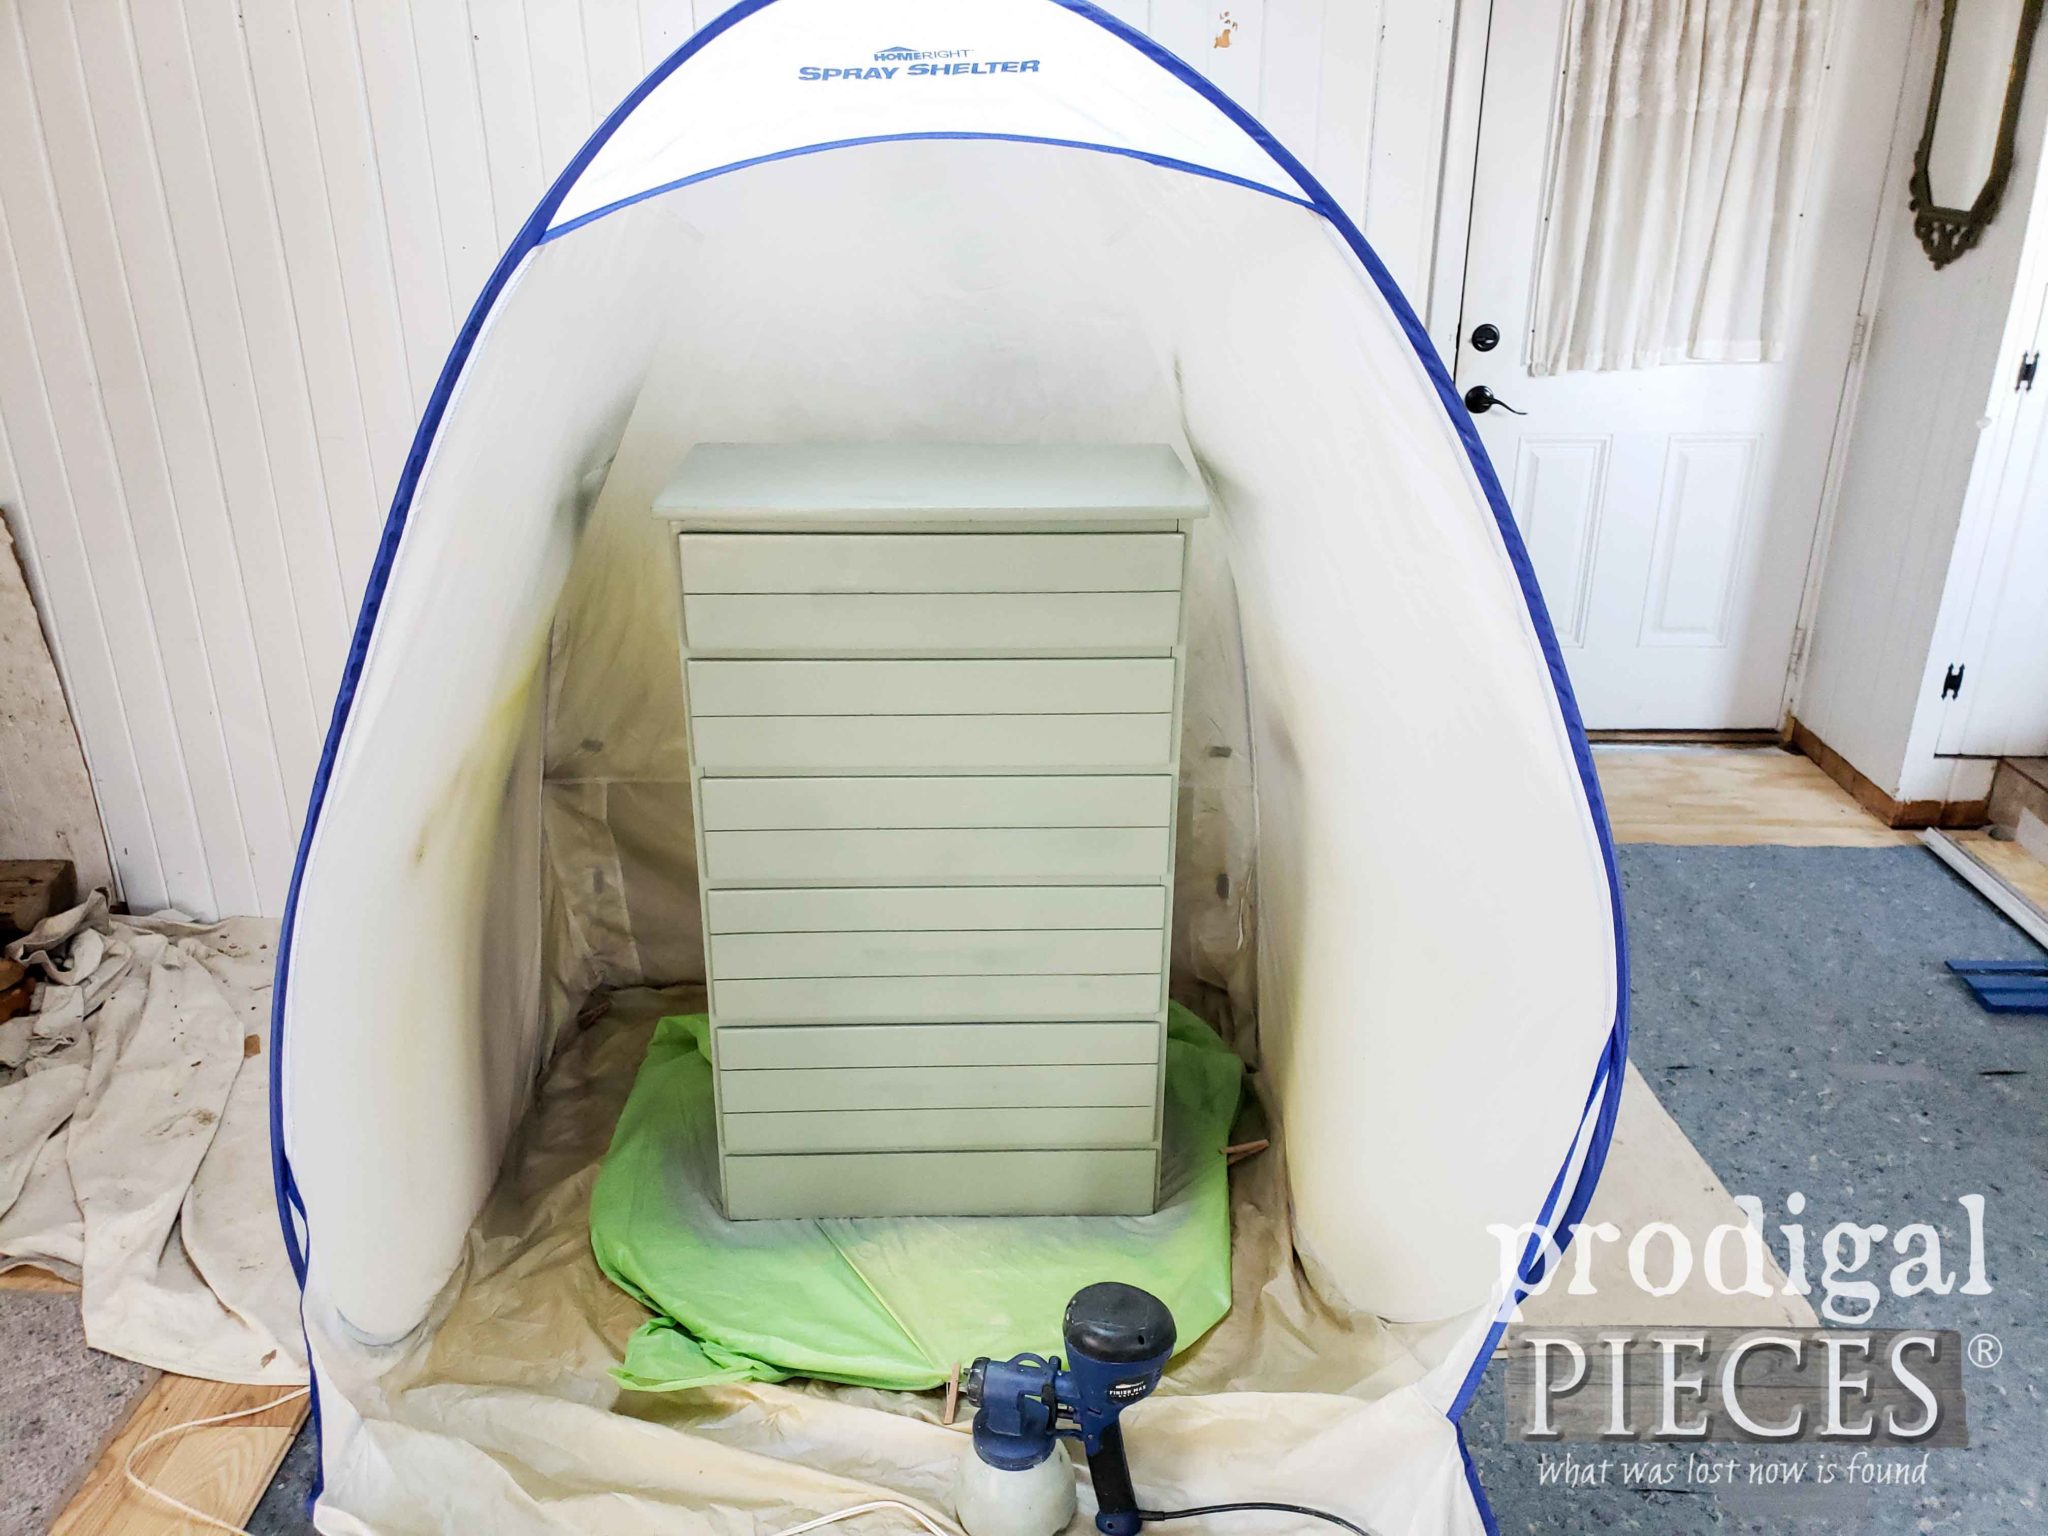
Here I have my DIY Furniture Turn Table (aka. Lazy Susan). You can get the tutorial for the Turn Table HERE. Also, to join my in my DIY fun is my paint sprayer. I have a blast with this thing…literally! You can see my past posts using these tools HERE.
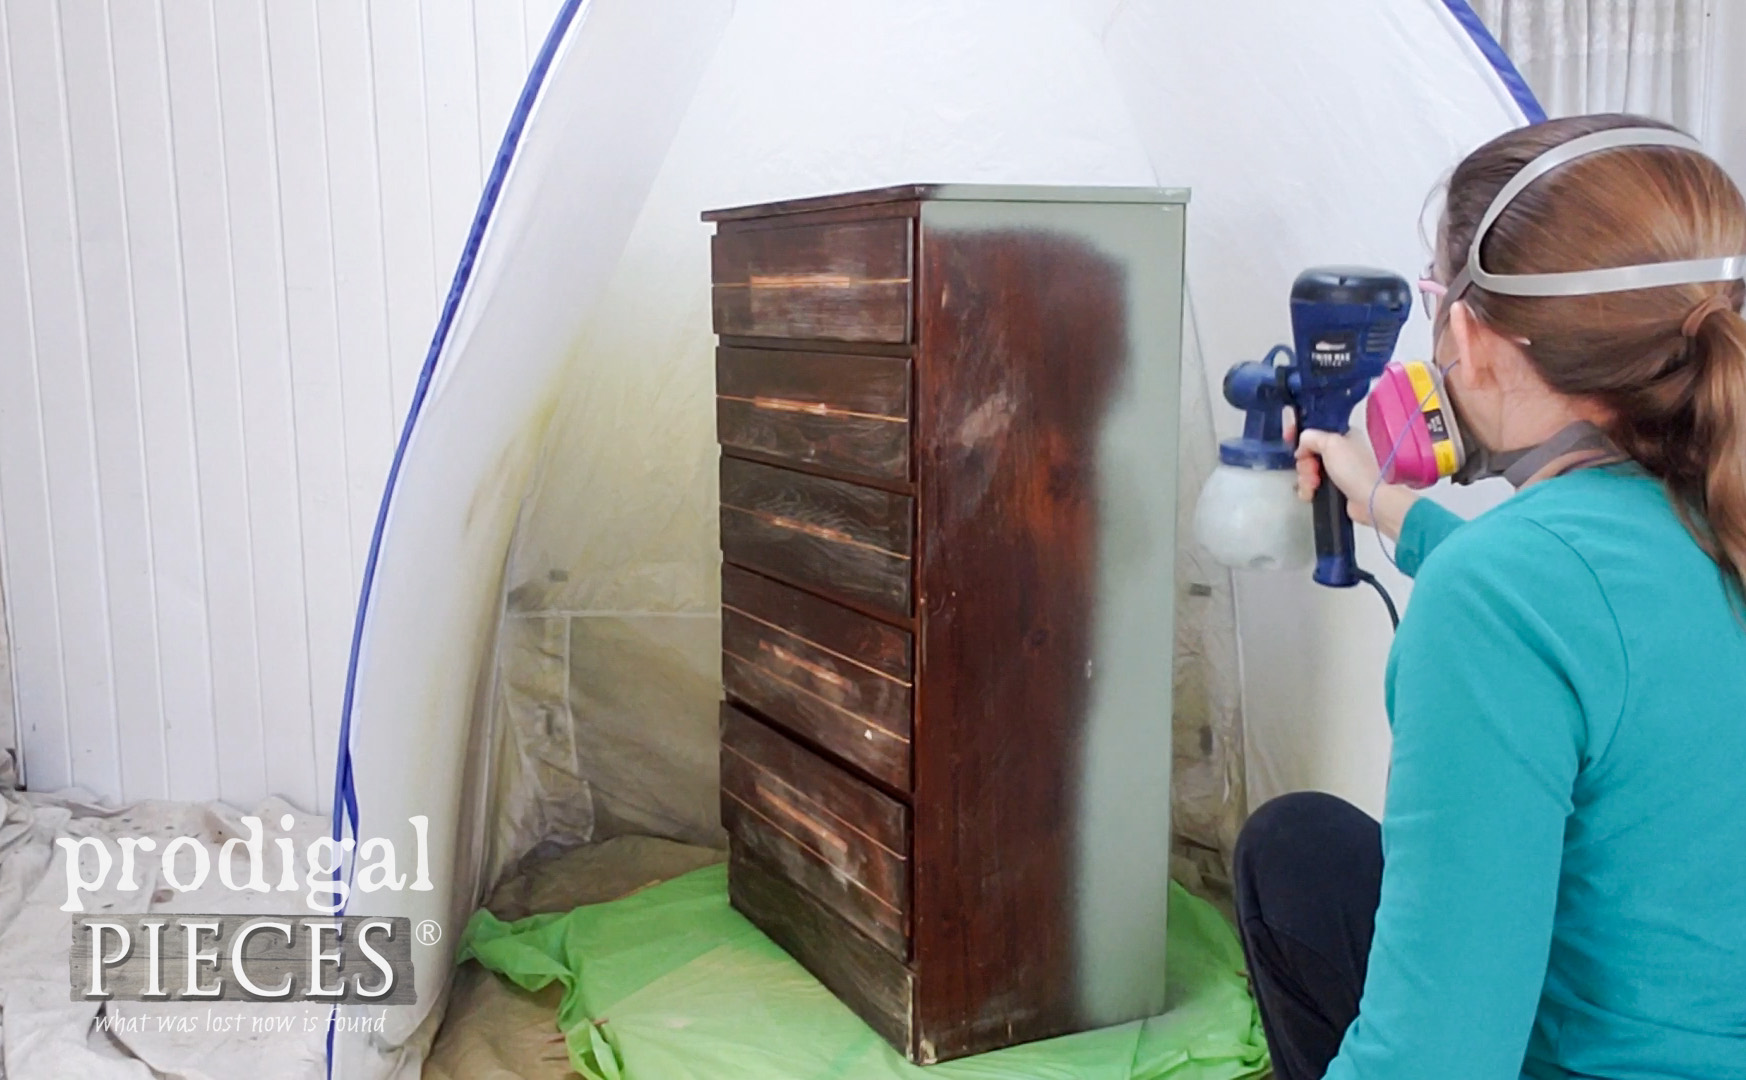
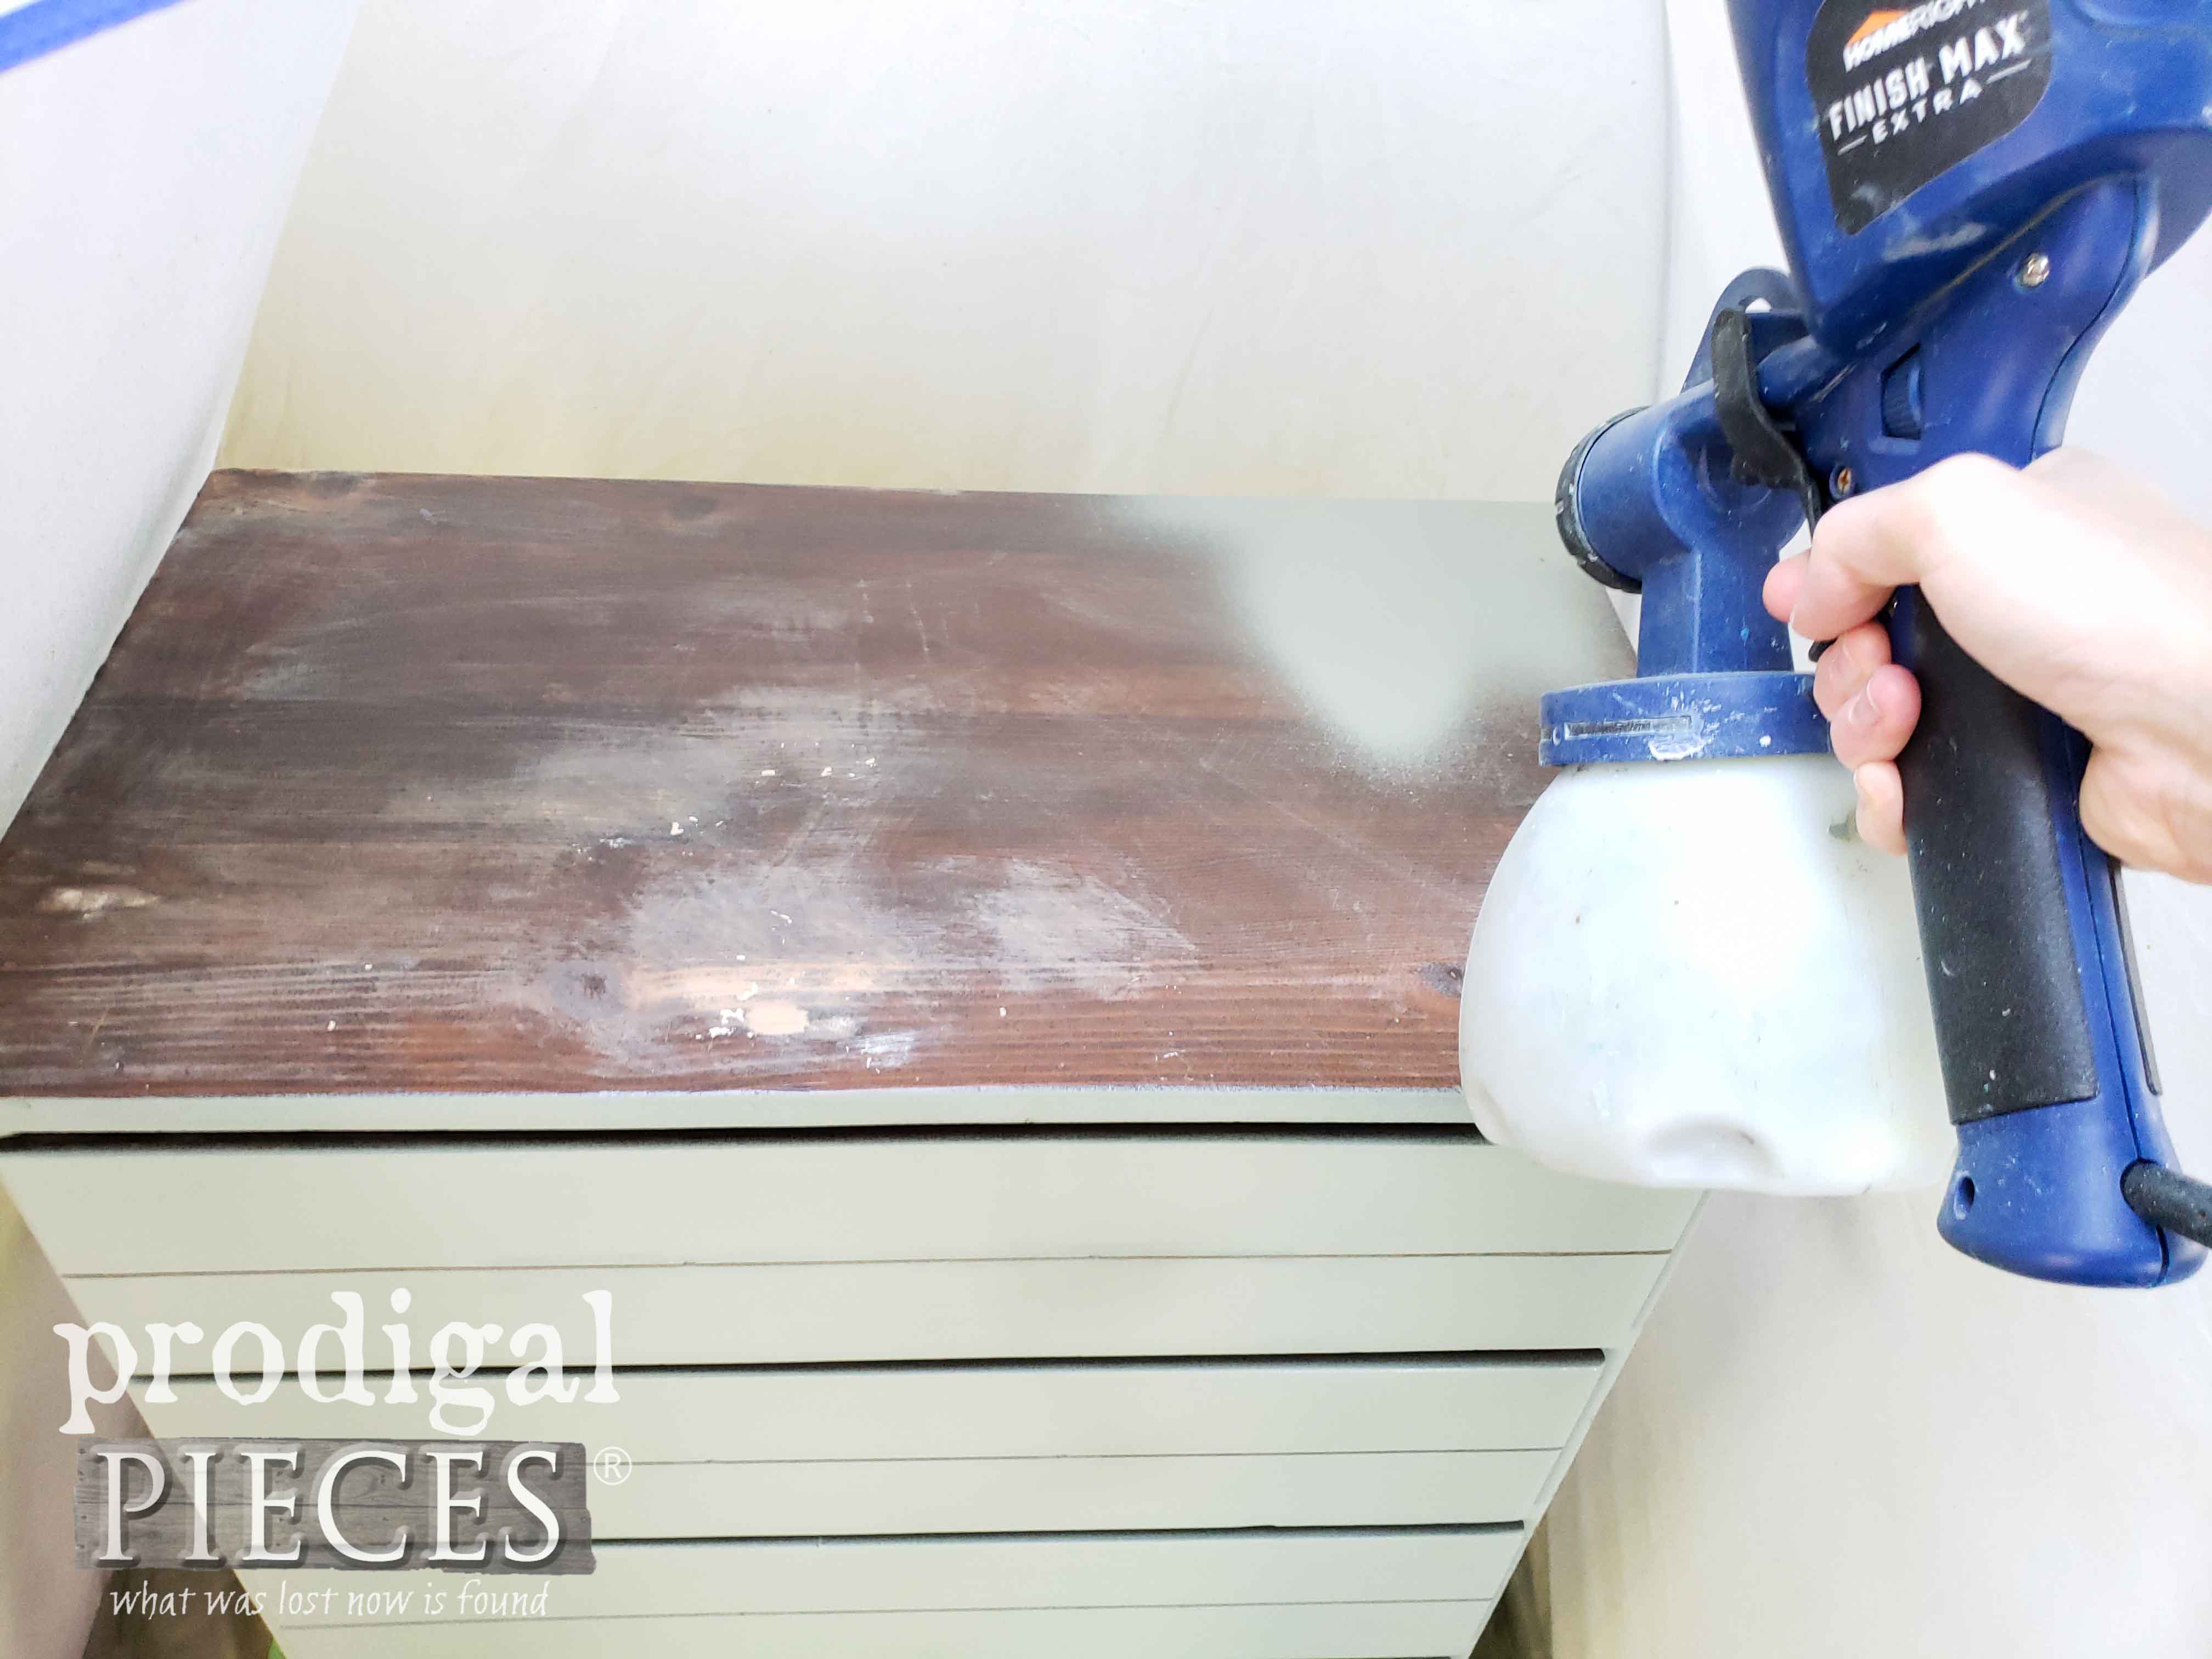
In seconds I am able to coat the chest of drawers with my custom color mixed paint. The finish is superb and done in a flash. My video demonstrates how to adjust the tip for different sides, and how to move from your shoulder, not your wrist. In addition, you can always practice your flow and spray on a piece of scrap wood or cardboard. You can see my video tutorial how to set it up HERE in this post.
I let the first coat cure, and then add a second coat. Between coats it is important to clean the sprayer. Just pop the lid on the canister of paint to save it for later, and then clean the rest. It only takes a few minutes of time. Yay!
REVEAL TIME
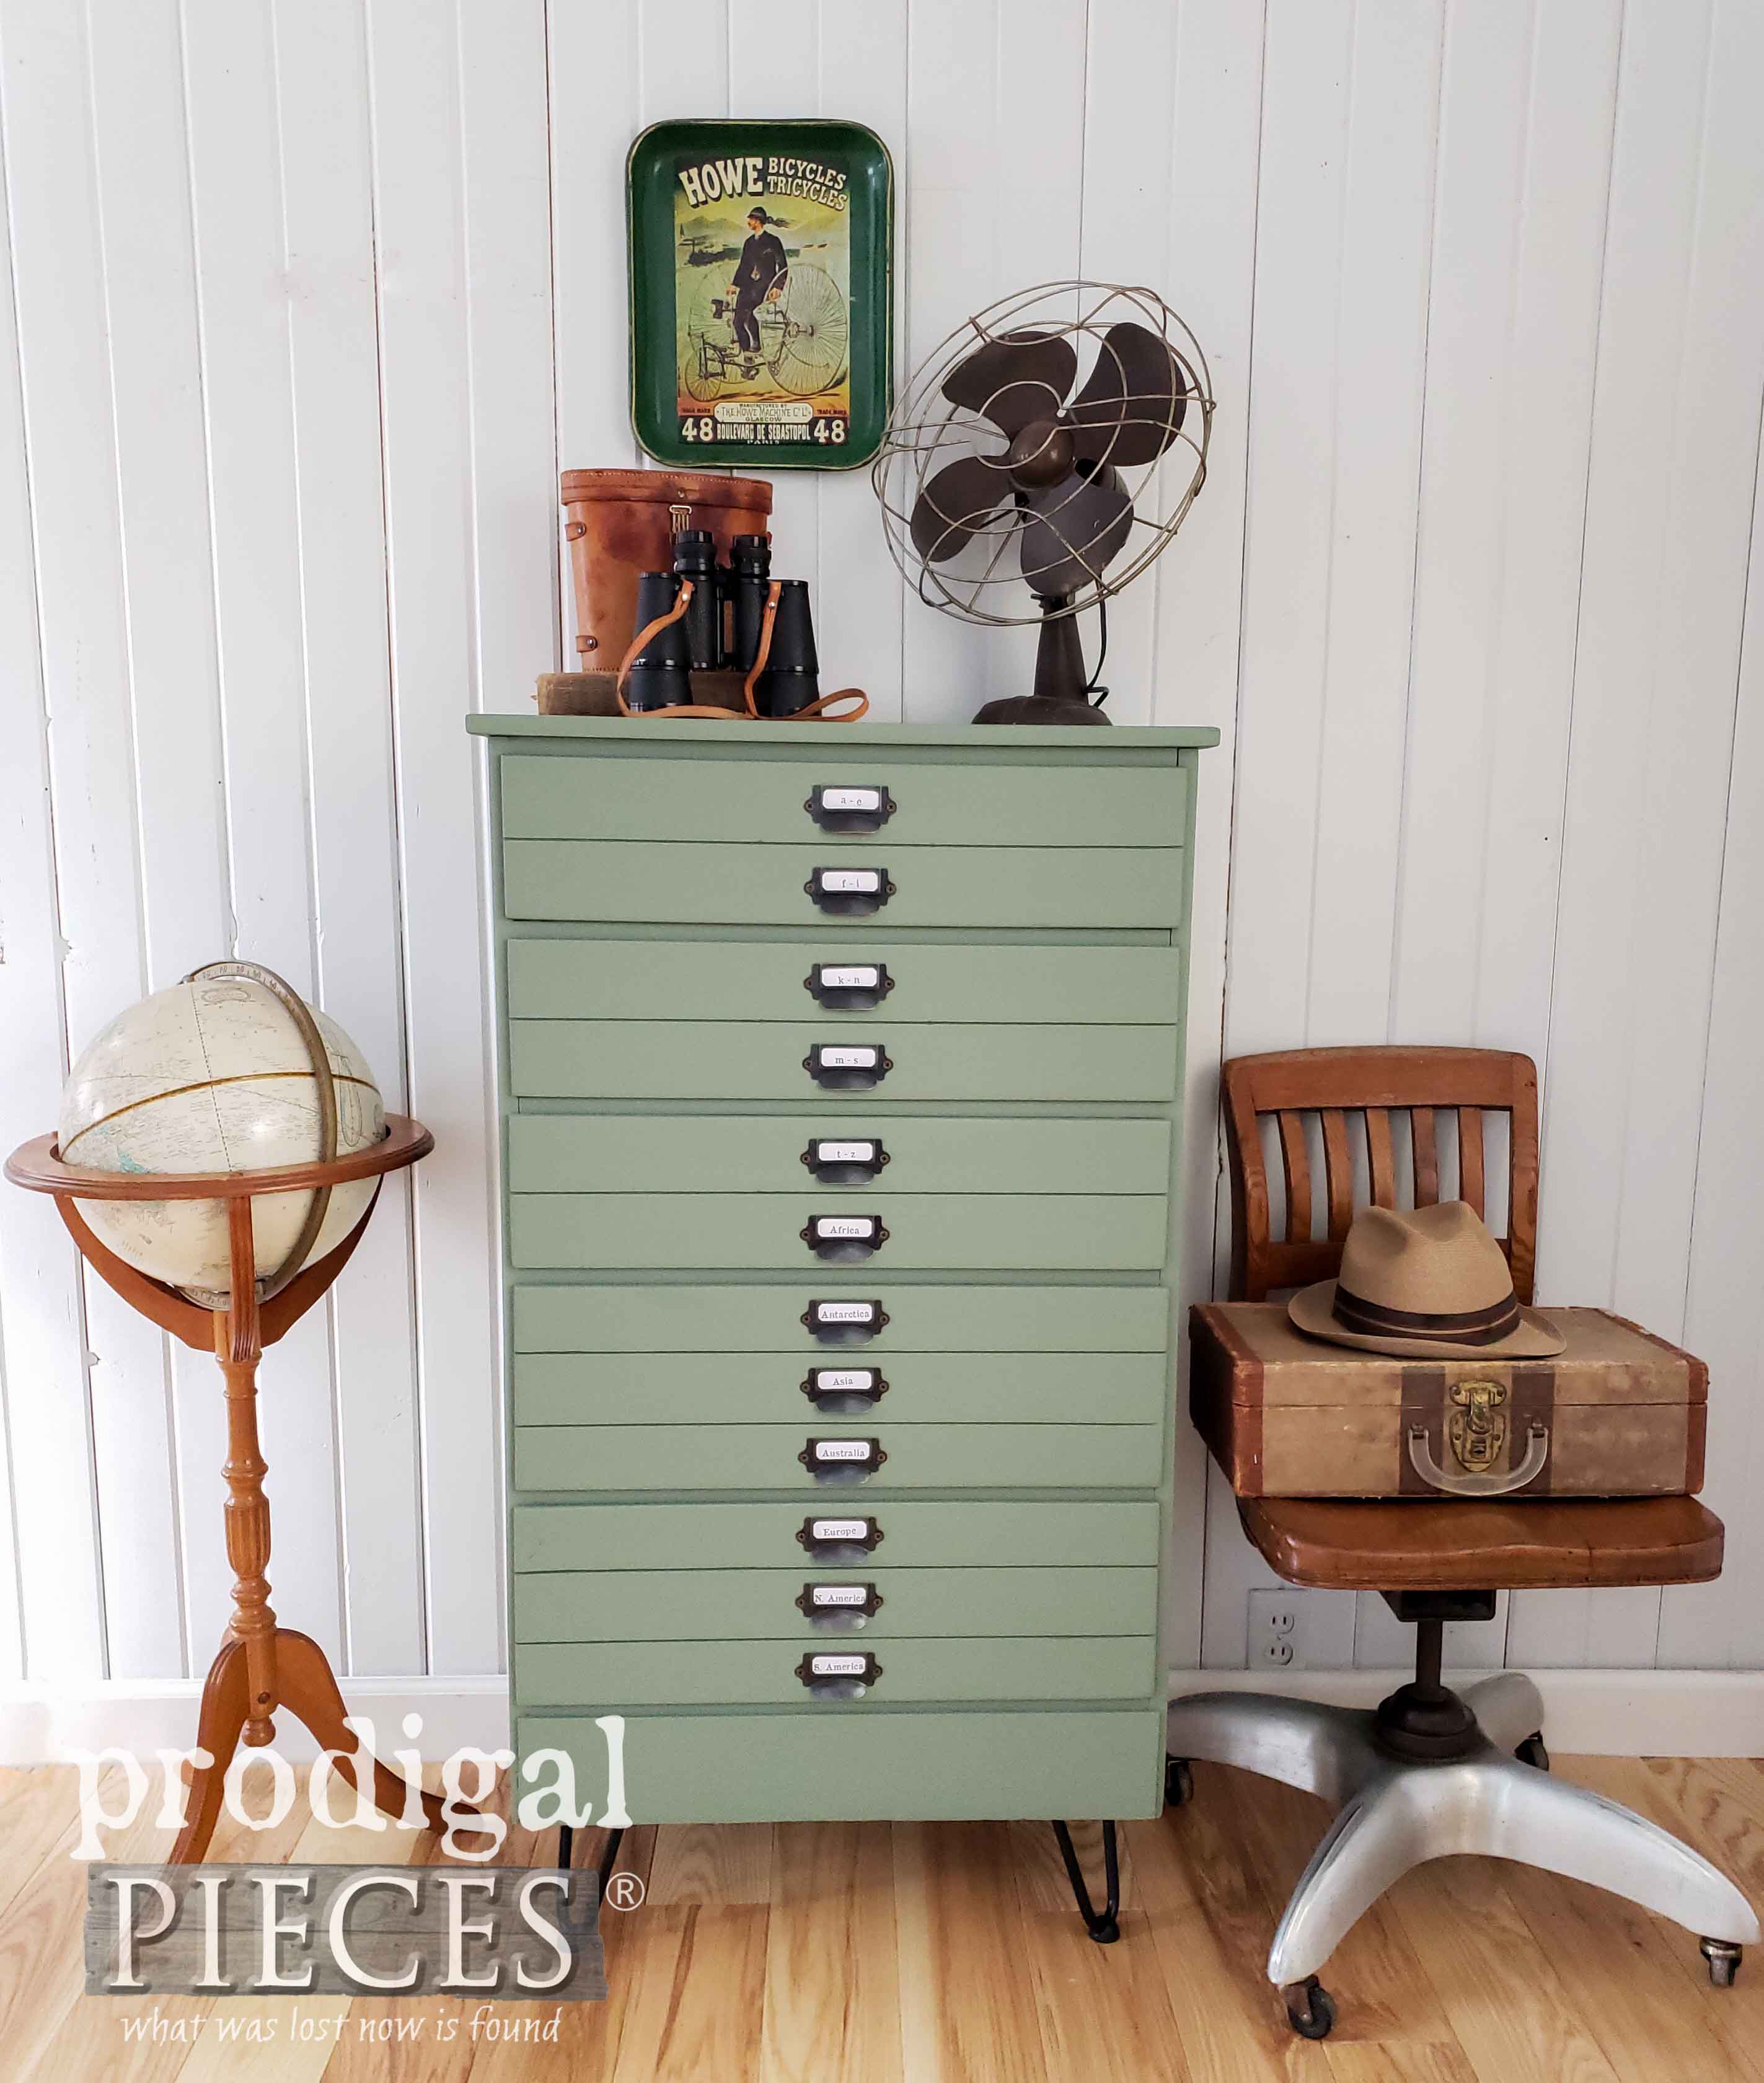
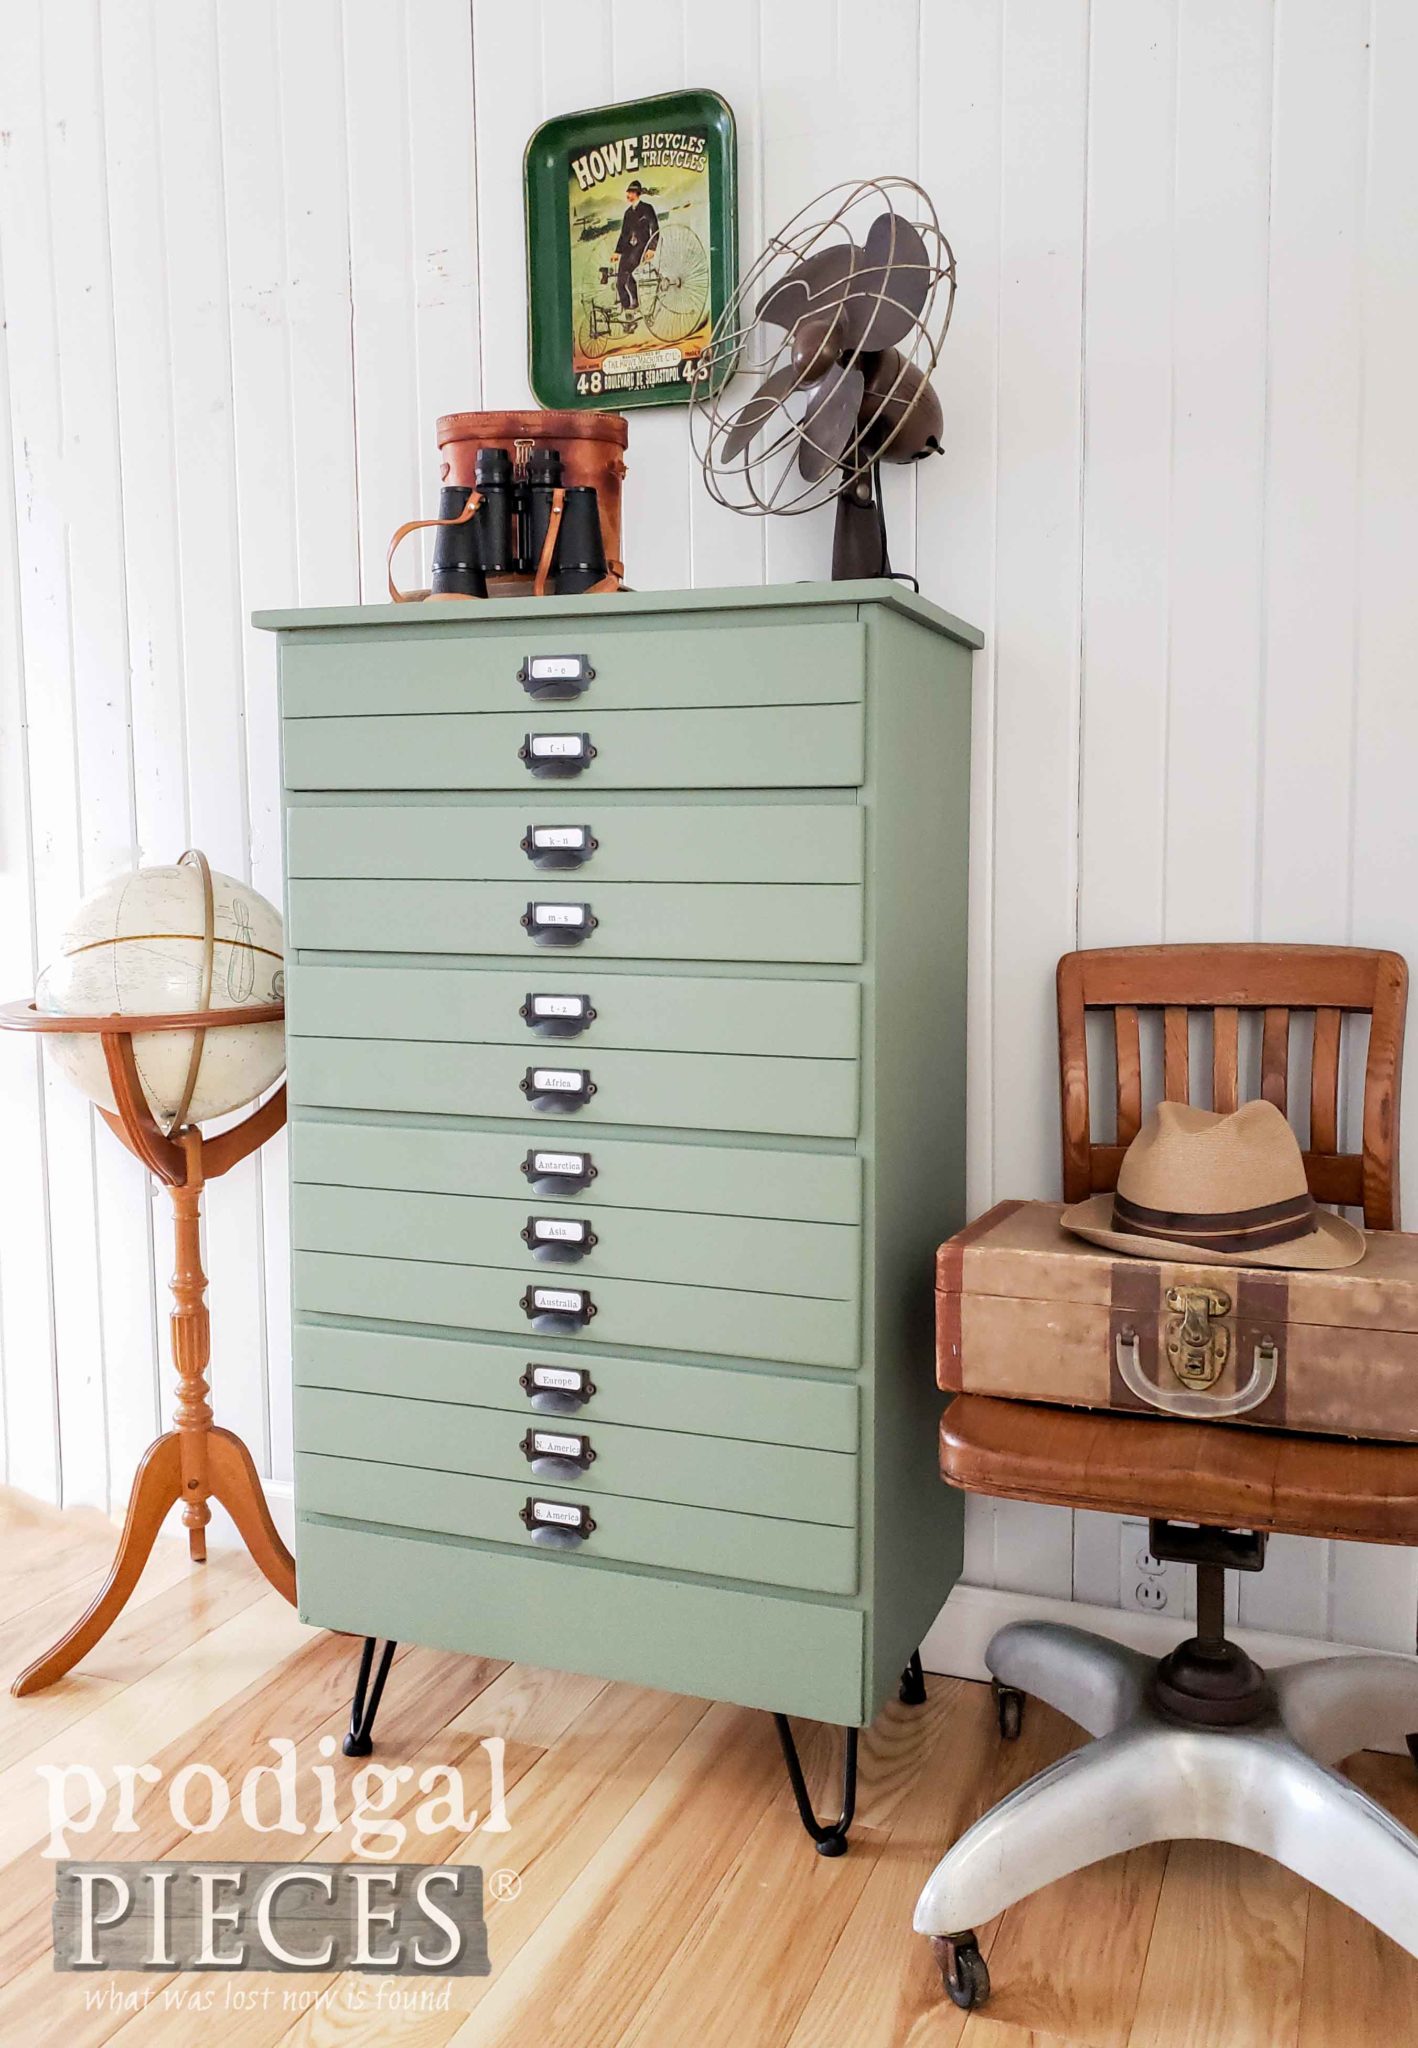
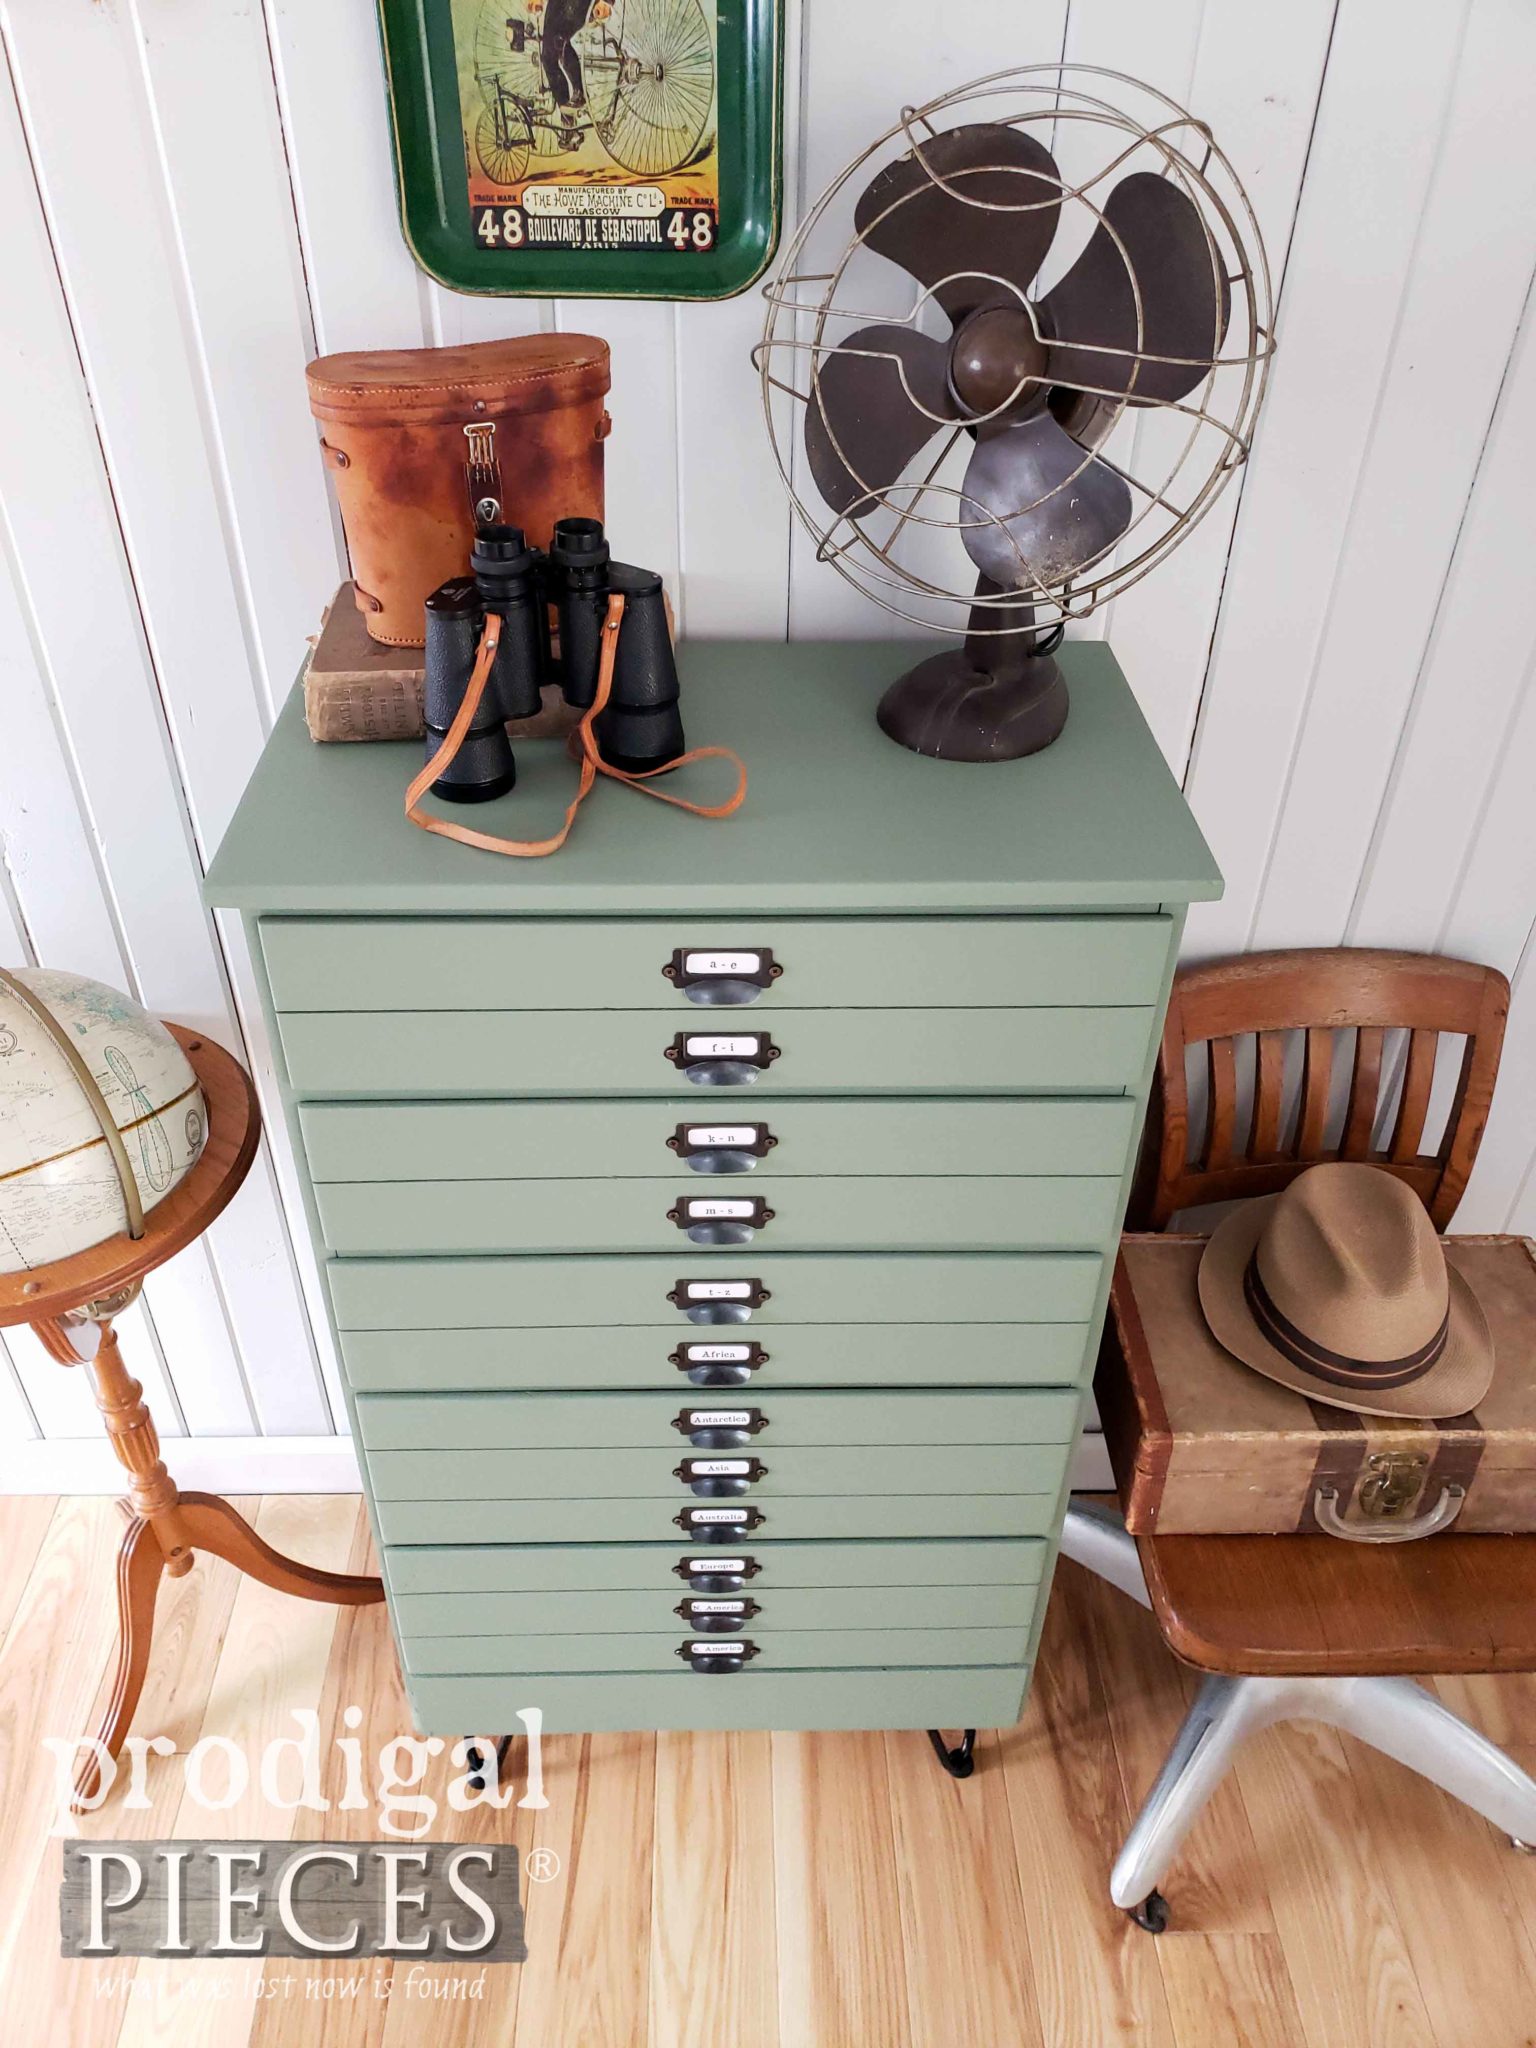
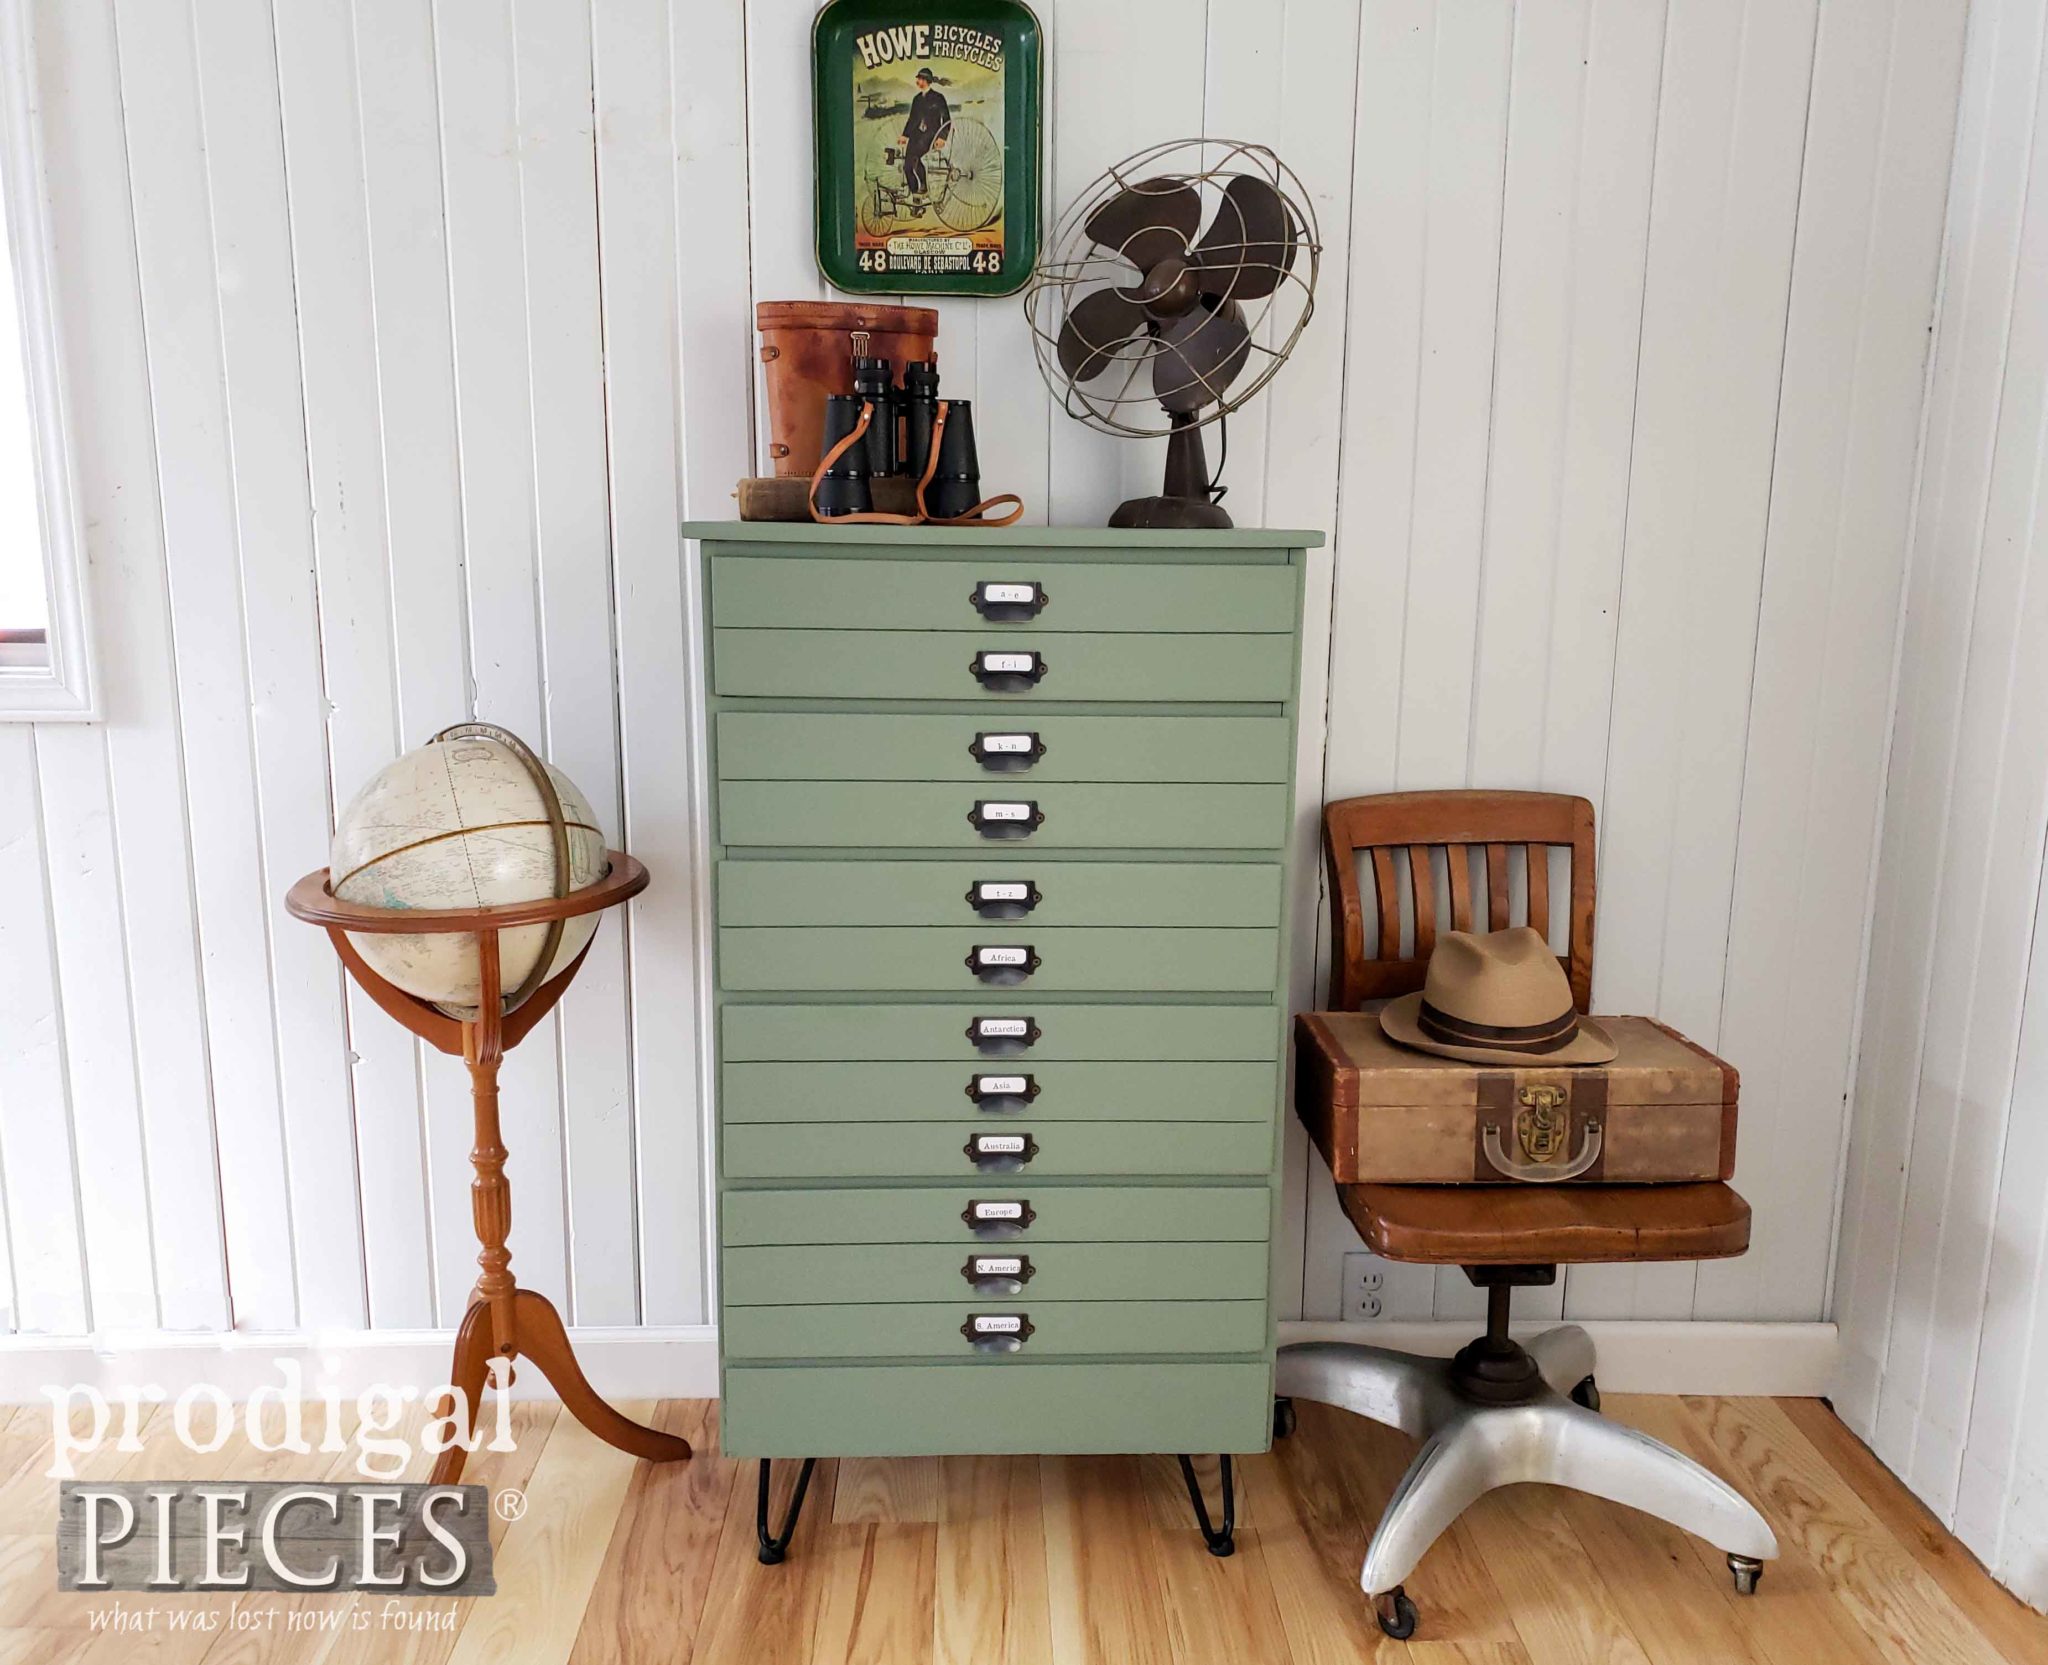
Last, when my paint is cured, I added apothecary label hardware and the hairpin legs I prepare the chest of drawers for. Meet my new upcycled map chest complete with a fun style.
This little gem is no longer meant to be stuck in a closet but is ready to shine. Isn’t it fun?
What is the icing on the cake for me is that when JC (aka. husband) came home he was puzzled at how I got all those drawers in there. I got this done in a day and he was floored. Yeah, baby! {{fist pump action}}
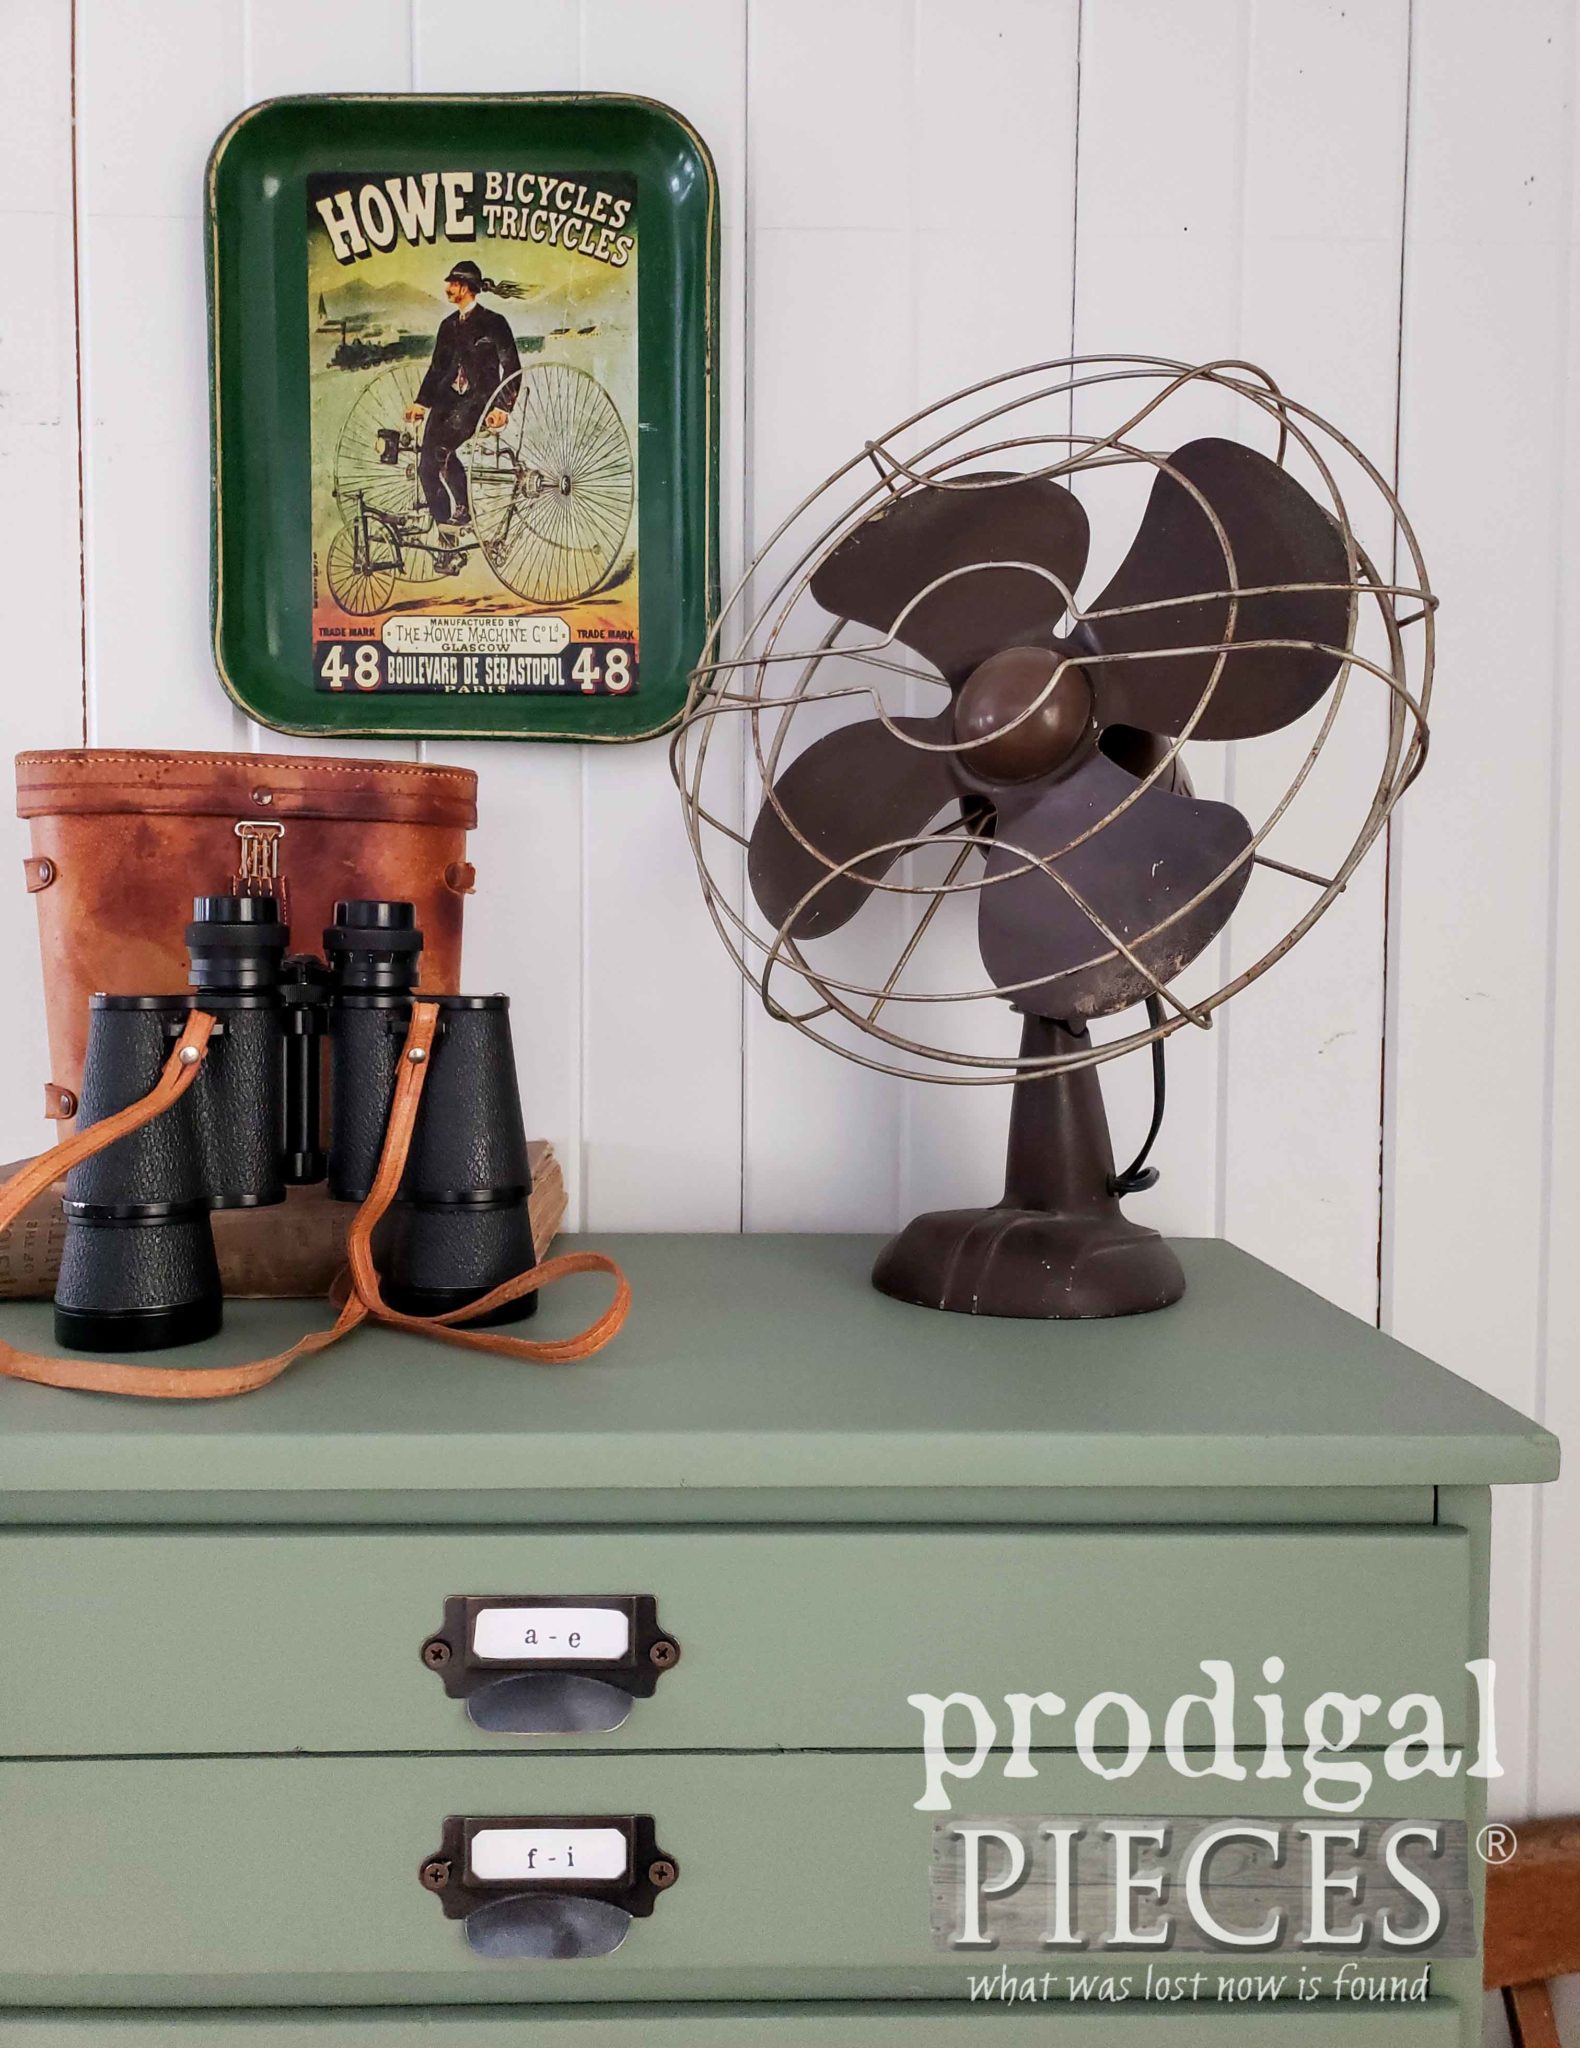
I even painted and lined the drawers for added peek-a-boo fun. A girl’s gotta finish all the details, right? Even the apothecary pulls have alphabetic and continental labels.
I do believe this chest is thanking me. haha. If you’d love to own this upcycled map cabinet, you can find it and much more available in my online shop.
SHARE
In addition, pin and share this fun upcycled map cabinet project to inspire others too.
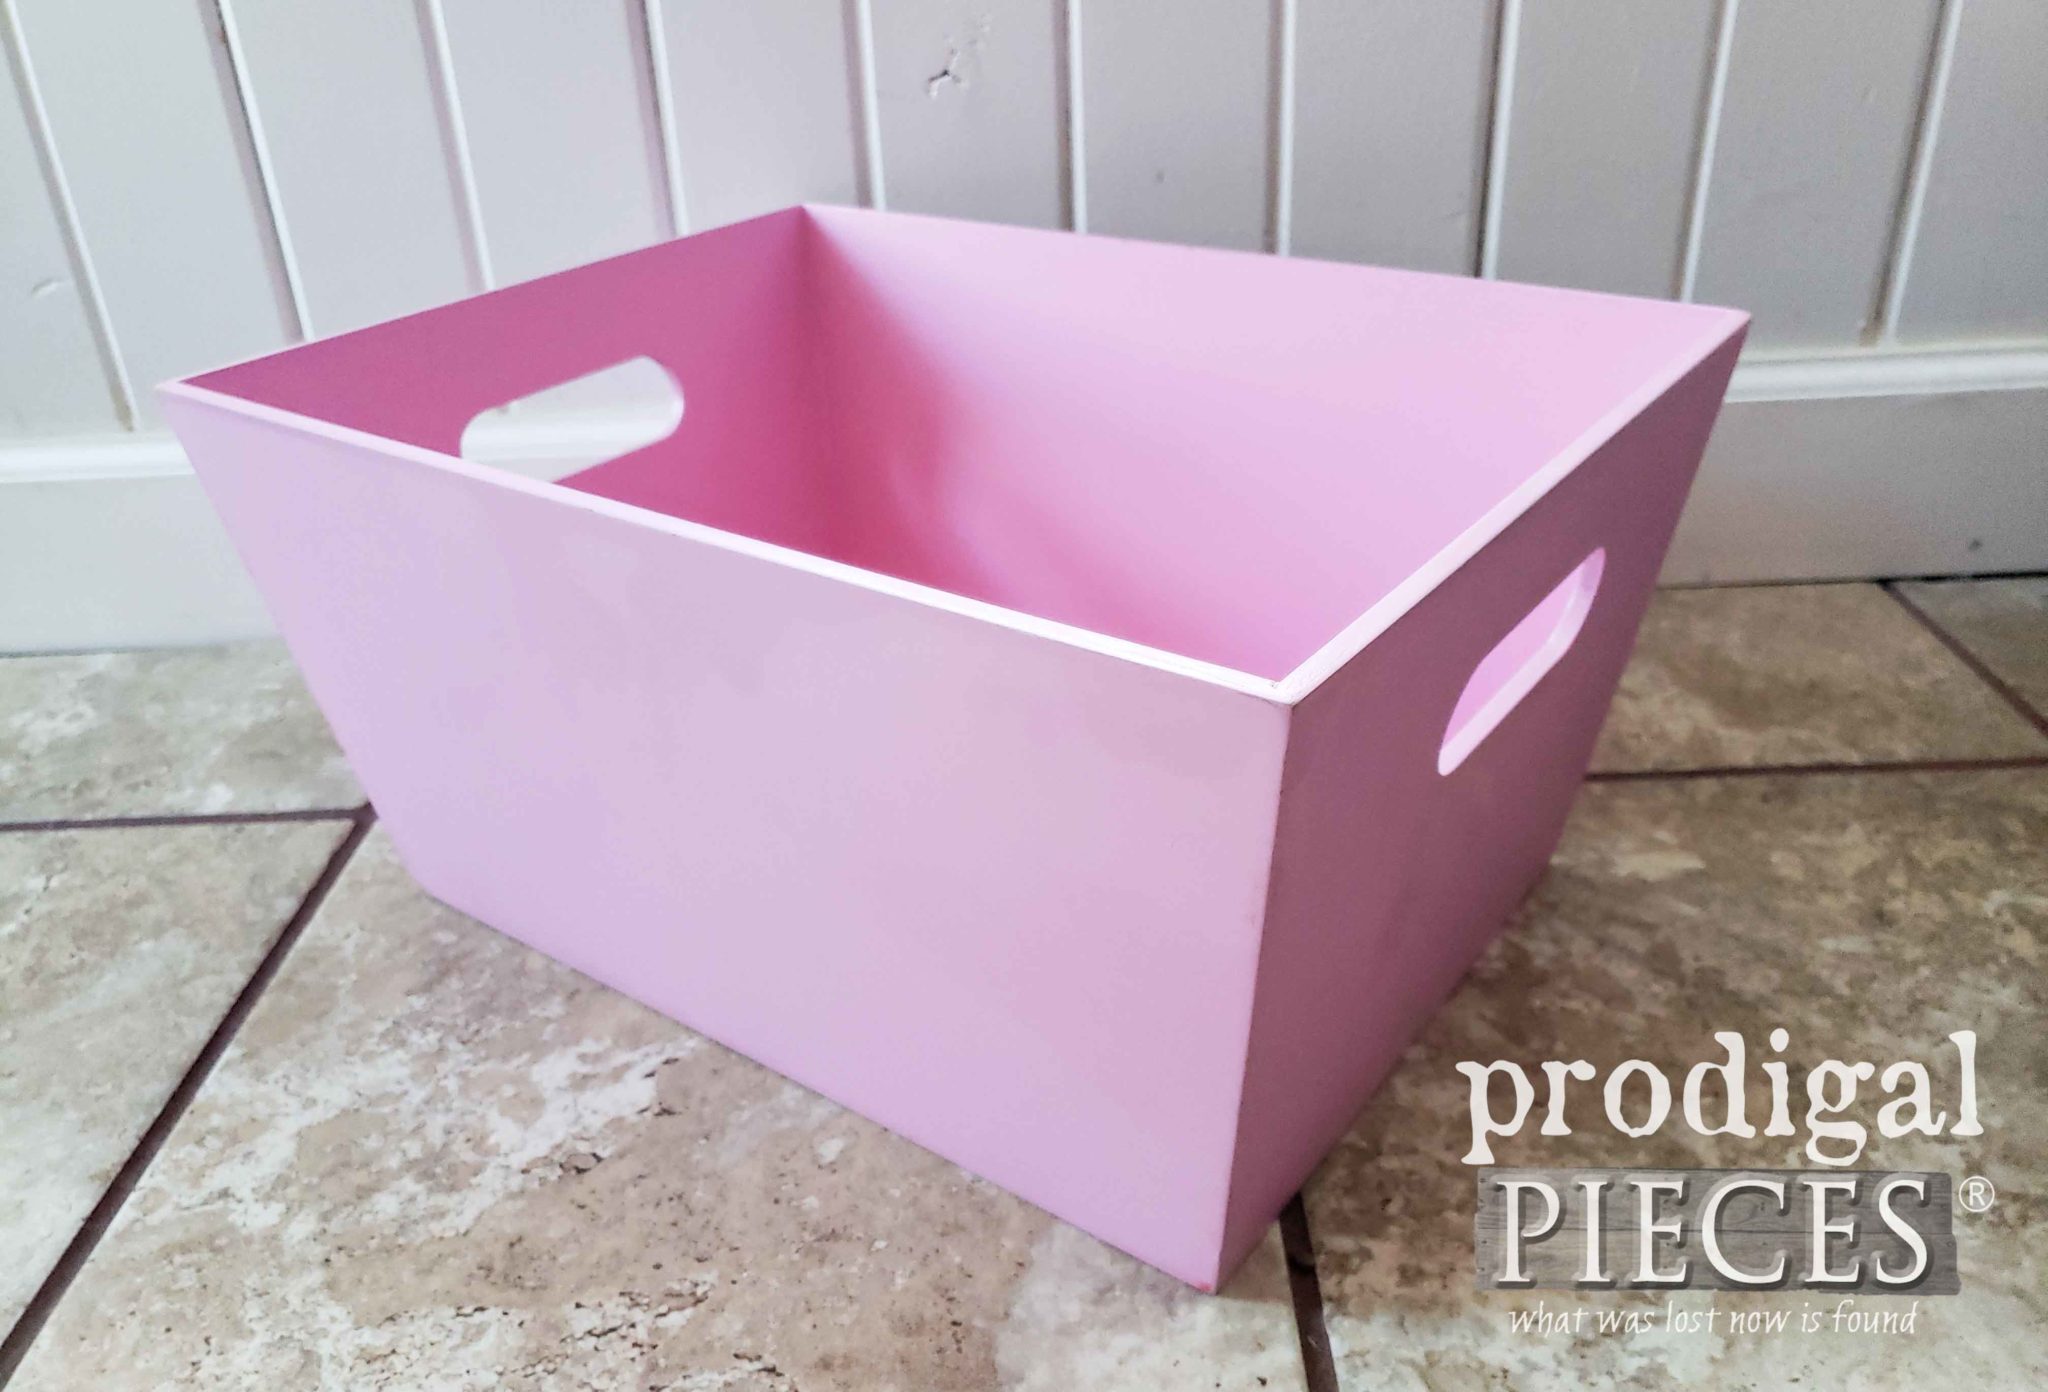
Up next, this pink bin is going to be relieved of its pinkness and get a whole lotta fun. hee hee. See the new look HERE.
To get these DIY tips & tricks in your inbox, be sure to sign up for my newsletter. Until next time!





This is beautiful! If (when) I get the proper tools (my daily excuse) I can’t wait to start painting, upcycling, and creating all the wonderful ideas and works of art I read about on a daily basis. I’m not sure why, but its taking that first step that’s so intimidating for me! Thank you so much for being such a huge inspiration!
You CAN DO IT! 😀 I wish I could be there to guide you, but that is why I blog too. I’m so glad you enjoy my work, Shannon. Thank you!
Wow that looks fantastic. I love all the “map” drawers. Great job
I’m just a bit stoked it came out as I planned. eep! 😀 Thank you so much, Karen.
I think of you when I see wood pieces at the thrift store sometimes and wonder what you would do with them!
aww…how fun! Maybe I need an app that will scan the item and show you my vision…hahaha…just kidding! 😀
So creative! love it!
Thanks! I feel like I finally did it justice. 😉
Larissa, The dresser is awesome
Nancy
Fantastic! Thank you.
Wow, what a great job! Love rhe makeover.
Yahoo! I had a blast with this…literally!
You really are amazing. There have been many of your project pieces that at first glance I woul have passed on. But your creativity turns many ordinary items into real eye catching keepers. Of course, having the right tools always helps. I have this spray shelter and just love it! No more spray painted grass in the backyard!
This is so fun for me to share and even more so when I get to hear feedback. Thank you for taking the time to show love, Alicia.
Wow! Now that is a makeover! Really its like night and day! Love what you did with it and so impressed with your vision. Congrats on the new and beautiful piece! xo
Thank you so much! It better sell fast or I just may keep it. haha!
This is amazing Larissa!!!!! I love following your page!
Thank you for the love, Lisa! 😀
Another awesome upcycle!! You are sooo creative! Wish I had half that creativity! It’s rally a gorgeous piece! Can’t believe you did it in one day!
Such fun for me to share and hear from you. Thank you,Kim!
I have some chairs I would like to paint.
This is so cute!!! The color reminds me of my kitchen… I would LOVE to spray my cabinet doors! They are homemade cabinets from the 1950’s, and they could use a good sanding(got my ryobo ready!) and a solid coat of paint to brighten the room!
Sounds like you have quite the DIY project. You will love these tools!
OMG. This turned out amazingly beautiful!
Thanks so much, girlie! 😀
Oh at the list!! I have 5 eastlake chairs, a bench I’m building out of an eastlake headboard, and the list goes on…
Sounds good.
I could not love this more! Great idea! Winning this HomeRight Spray Shelter would be such a blessing. I have so many projects that need painting but it is very difficult to do in an apartment. ?
Thanks! I know what you mean. Tight quarters here and winter is so long…
I love this project!
Awesome!
I love that you made it into something different. You just didn’t paint it and call it a day. I was really impressed to know that you completed it all in a day; especially with 6 children!
Thank you for sharing your process!!
You got my thinking…woot! Thank you, Amy. I have the best helpers!
That is sweet and I really like the color. It’s amazing how you come up with these ideas and can still get it done in winter. Plus you’ve given me an idea for my craft storage. Keep up the good work!
It helps me stave off cabin fever. haha!
This looks like it’s be easy, so it would be fun to try! I’ve just stuck with rollers and brushes. Thanks for continuing to show us new upcycles! I love the new dresser look!
That’s the spirit! 😀
Very cute, as always!
Thank you, Kim!
Wow, Larissa! What a transformation! Would love to do something like this. You are my hero! Thank you for the opportunity to win this giveaway. I have so much to do, but I might start with a chest of drawers I found curbside. I also have tables and chairs and plants stands, oh my ! 😉
aww…thank you for that awesome love, Patty! I had such fun!
Goodness sake’, what a talent you have! It’s just awesome!
You are so sweet to say so. Thank you, Tammy. 😉
Great makeover!
happy dance!! Thank you, Liz.
Wonderful! I would really love to win the sprayer and shelter. You make it look so easy, I’m sure even “I” could do it. Thanks for all you do – you are my inspiration!
You CAN DO IT! 😀
I love this chest and have been wanting to do something similar. I recently did two end tables with a faux apothecary look. Now I am continuing my hunt for a chest to make a “map cabinet”. Thanks for all the inspiration.
I just love doing that style. I’m think I’m addicted! haha!
I love what you did with the chest of drawers! I did not see that coming at all until the end. That type of chest is my very favorite and the color reminds me of when I was very young. What a great job you did! You don’t know how much I could use the sprayer and shelter. I am going to start painting my kitchen cupboards and they would be a lifesaver for that job!!! Thank you for sharing all your projects! You give us amateurs tons of inspiration!
Green is the thing…haha. I love blues and green, most any color, really. Thanks so much!
very nice job! Love the color too. Need help organizing? check out the Netflix show Tidying Up with Marie Kondo! It really helped me with organizing!
Thanks! I’ve heard about that (I don’t watch TV) and I have no problem organizing, but my kids…hahaha.
You did that in a DAY??!? I am awed! It turned out GREAT!
I’m with you on not giving kids too much storage. They think it must be full! …except that it spends more time empty… all over the floor.
I’m doing a kids closet makeover now. And yes, there will be paint involved. Walls…shelves… After I get the shelves in I’ll get more precise measurements for crates/boxes to fit them, which means yet more painting. Is it safe to spray in the house? Cuz would that ever make painting All Those Little Spaces easier!
Yes! Super easy when they are smaller like this and easy to fix. yay! My latest project tho took me 3 days. oy!
Absolutely beautiful and very clever!!
You are so kind to say so. Thank you, Mary.
I am so inspired by your vision! I am beginning to create my own “look” in my home because ya know – at 62 – I can! haha
Thanks for all you share to help give me the confidence to try new things!
You sure can! I’m so excited for you, CeCe!
What a fun makeover! I love that you were able to do this in the house with your HomeRight sprayer and tent. I do admire your hardy spirit when you get all bundled up and work in the garage, but I felt better that you could be indoors (’cause that’s where I’d be!). I just got a bookshelf that is a little too brown for my taste, would love to paint it to look good in the kitchen.
You are too funny! I was born here and it’s no big deal. It makes it exciting! (to say the least…haha)
Love it!! I would use the Home Right sprayer to paint a dresser that is in bad need of some love.
Thanks! That sounds good.
I think this is one of the coolest, most creative makeovers I have seen. Thanks for giving me new ideas.
I’m skip-happy to hear it, Judy. Thanks so much!
You’ve once again exceeded my limited imagination for how you will repurpose a piece of furniture. I never saw this one coming! This is so gorgeous! Love it and the map drawers. Have a table and chairs, as well as a couple other pieces I want to paint so could really use the paint sprayer. Thanks for the giveaway!
I love surprises!! And fun DIY’s. Thank you so much! 😀
What a difference! I can see why your husband was confused…Lol! It doesn’t even look like the same chest. Well done!
haha…right?! Even my kids were stoked. That makes it so fun. Thanks!
I would like to paint my coffee table. Your project turned out great!
Thanks! That sounds like a perfect project piece.
Love the paint on the map cabinet! It seems to me this could have so many uses. My bookcase needs help badly. Enjoy you always.
I think so too. Thanks!
you are so talented –I love your work -I would also love to win the Home Right Sprayer and paint shelter –
I could hug ya, Janet. Thanks!
Love, love, love this. The color is gorgeous!
I am so smitten with it. I custom mixed it with 3 colors. I am in LOVE! 😀
This makeover has truly inspired me. I have an old dresser similar to yours that I would use the paint sprayer and the shelter on. I love the green color I just wish I could find the same. Love the way you finished the drawer fronts.
That’s what I love to hear. Thank you!
Love those legs, and the color!
I’m delighted to hear it, Melissa. Thanks!
Hi Larissa, Wow, what a fantastic card catalog inspired piece! The color, hairpin legs, and hardware are just perfect together!! I’ll bet your sons want to have this handsome piece back in their rooms, huh?
Thank you! They were glad to be rid of their clutter and get more space for clothes and necessities. I’m the one wishing I had room for it. haha!
WOW, what a big difference the apothecary labels made. This was a great idea!
I had fun. Thanks!
This is amazing. I wish I could work side by side you to learn. And you did it in one day! It would take me forever. I’d love to win a paint sprayer as I have never used one. Thank you for all your tutorials.
I would have a blast teaching. I hope to one day. My pleasure, Susie!
You always have amazing projects. I love that you share and inspire everyone. Thanks.
My pleasure, Tracy. Thank you.
I want to do my basement ceiling!! Rip out the dropped panels and go black with recessed lights, but it ain’t happenin by hand!!
Sounds like fun. 😉
I would tackle my bedroom furniture, dressers, side tables, headboard and footboard.
A wall shelf and a standing shelf then on to kitchen cabinets. Thank you for the giveaway.
You’re welcome.
So pretty! I love the upcycle.
Thank you, Ashley.
I love your work! Always creative and thrifty.
Thank you for that love, Lisa. It means so much.
As always, clever and beautiful. I also love the way you staged it.
What fun I have getting to do what I do. Thank you, Donna.
Great Idea! I would use the sprayer on my next project, a table with 2 leaves and 6 chairs 🙂
Thanks!
Love this project! I would love to use this on an older desk we have in the basement.
I’m so happy to hear it. Sounds like the perfect project piece.
Really cute idea. Making the drawers look like map drawers was a stroke of genius!
Woot! It’s one of my favorite ways to dress up boring furniture. This isn’t my first time, but I think one of my favorites. Thanks!
I really like this project!!
If I had a sprayer, I would prob paint a dresser that I’m turning into a kitchen island.
Such fun to hear. Thank you, Kelly!
Other than “Beep”, I think this is my favorite piece you’ve done!
How fun is that?! Thank you so much, Kimberly.
I love the subtle color :), it’s inspiring me to make something similiar.
That’s what I’m all about. So awesome to hear – thanks!
What an awesome transformation! Love that colour green that you chose!
Thank you, Sam. I had fun mixing up that color. I think it’s one of my top 5 faves.
I would have never thought to do this. It turned out beautiful! I have some larger pieces of furniture to refinish and a sprayer would definitely make it easier!
I’m so glad you like it, Kelsey. Yes, you will LOVE this sprayer! 😀
Love the color !!!! So many uses for a piece like this one.
Thanks! Yes, you are so right. I love the functionality of chests.
I have an old mirror I’d love to stencil.
Would want to redo an old dresser.
I love the look of vintage map cabinets, but their prices are a little out of reach. I would love to try making a ‘faux’ one and would love to win the tools to help me do it right!
You are telling me. These are fun to do too!
What a great makeover! Thank you for sharing your ideas and providing information for us to try to recyle pieces.
My pleasure, Sally. 😀
I would tackle my dresser with the HomeRight Super Finish Max Paint Sprayer and Spray Shelter.
What a great job you did! I love it.
Thank you so much, Eileen.