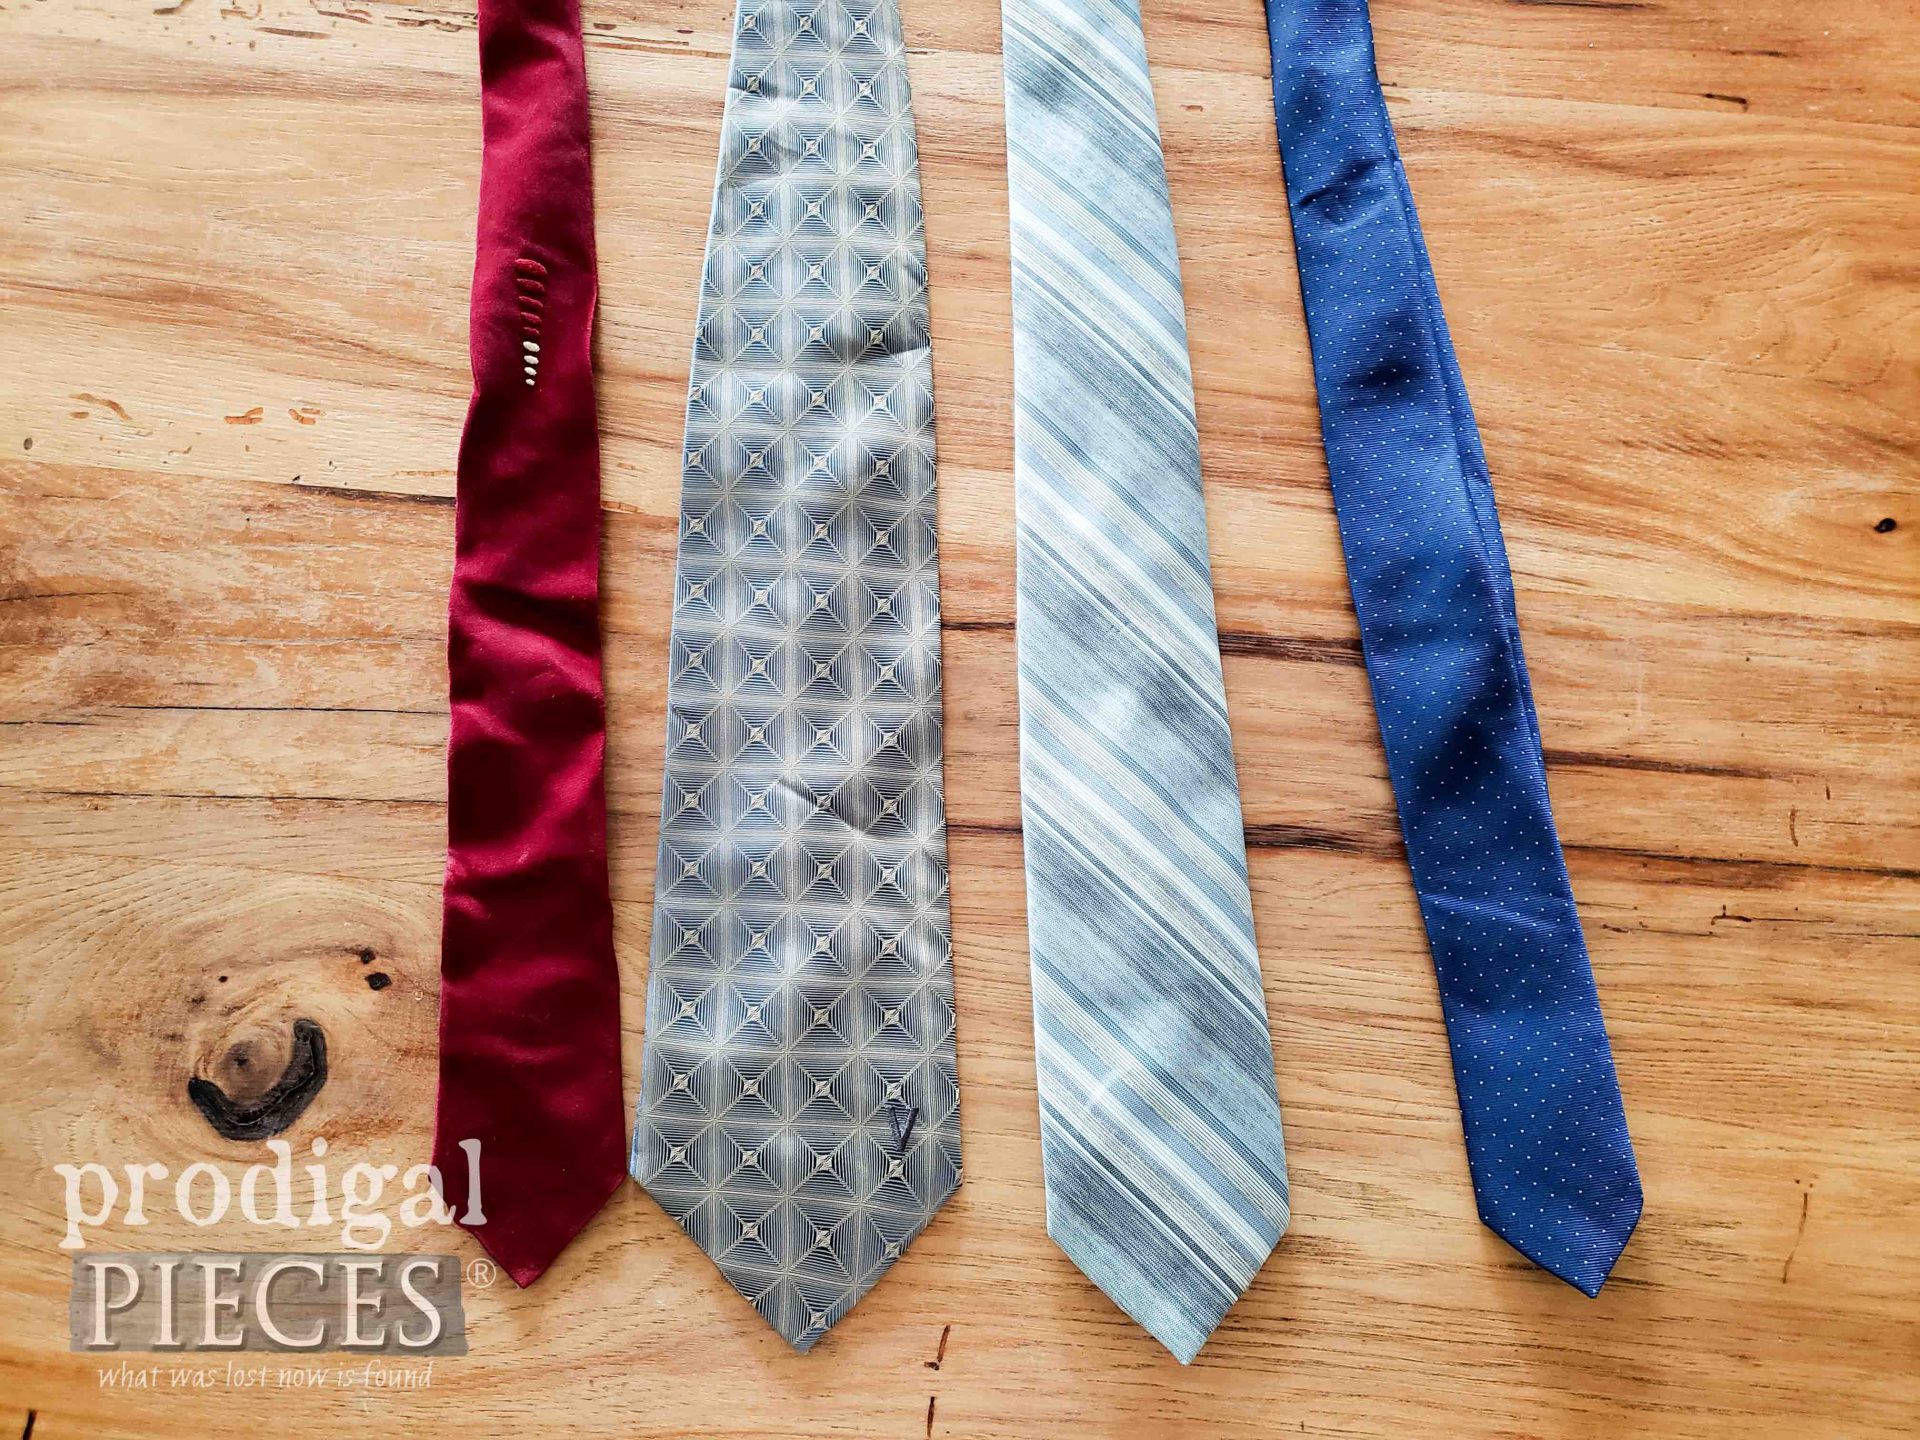
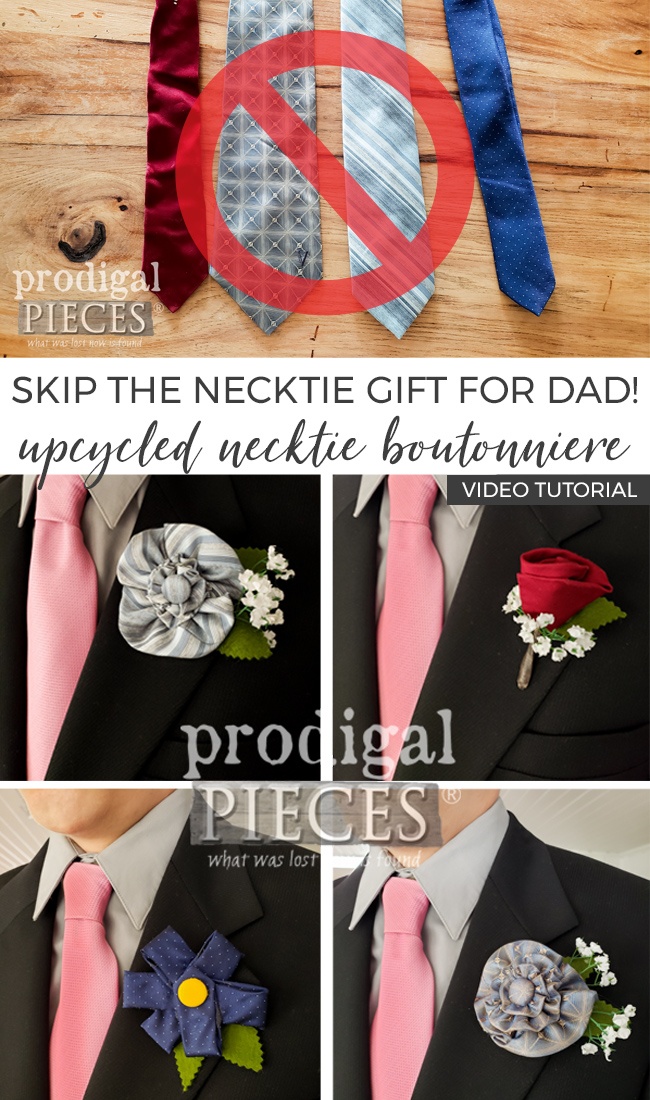
Oh happy day! It’s Reduce, Reuse, REFASHION time! The last Tuesday of every month I share my latest upcycle of various textiles into something new. Today, I’m eager to share with you this fun project using dad’s (or grandpa’s) old neckties. How about instead of the classic necktie gift we make an upcycled necktie boutonniere instead?
I can’t say that I blame dad’s for sighing when they see that nemesis size wrapped box each year. haha.
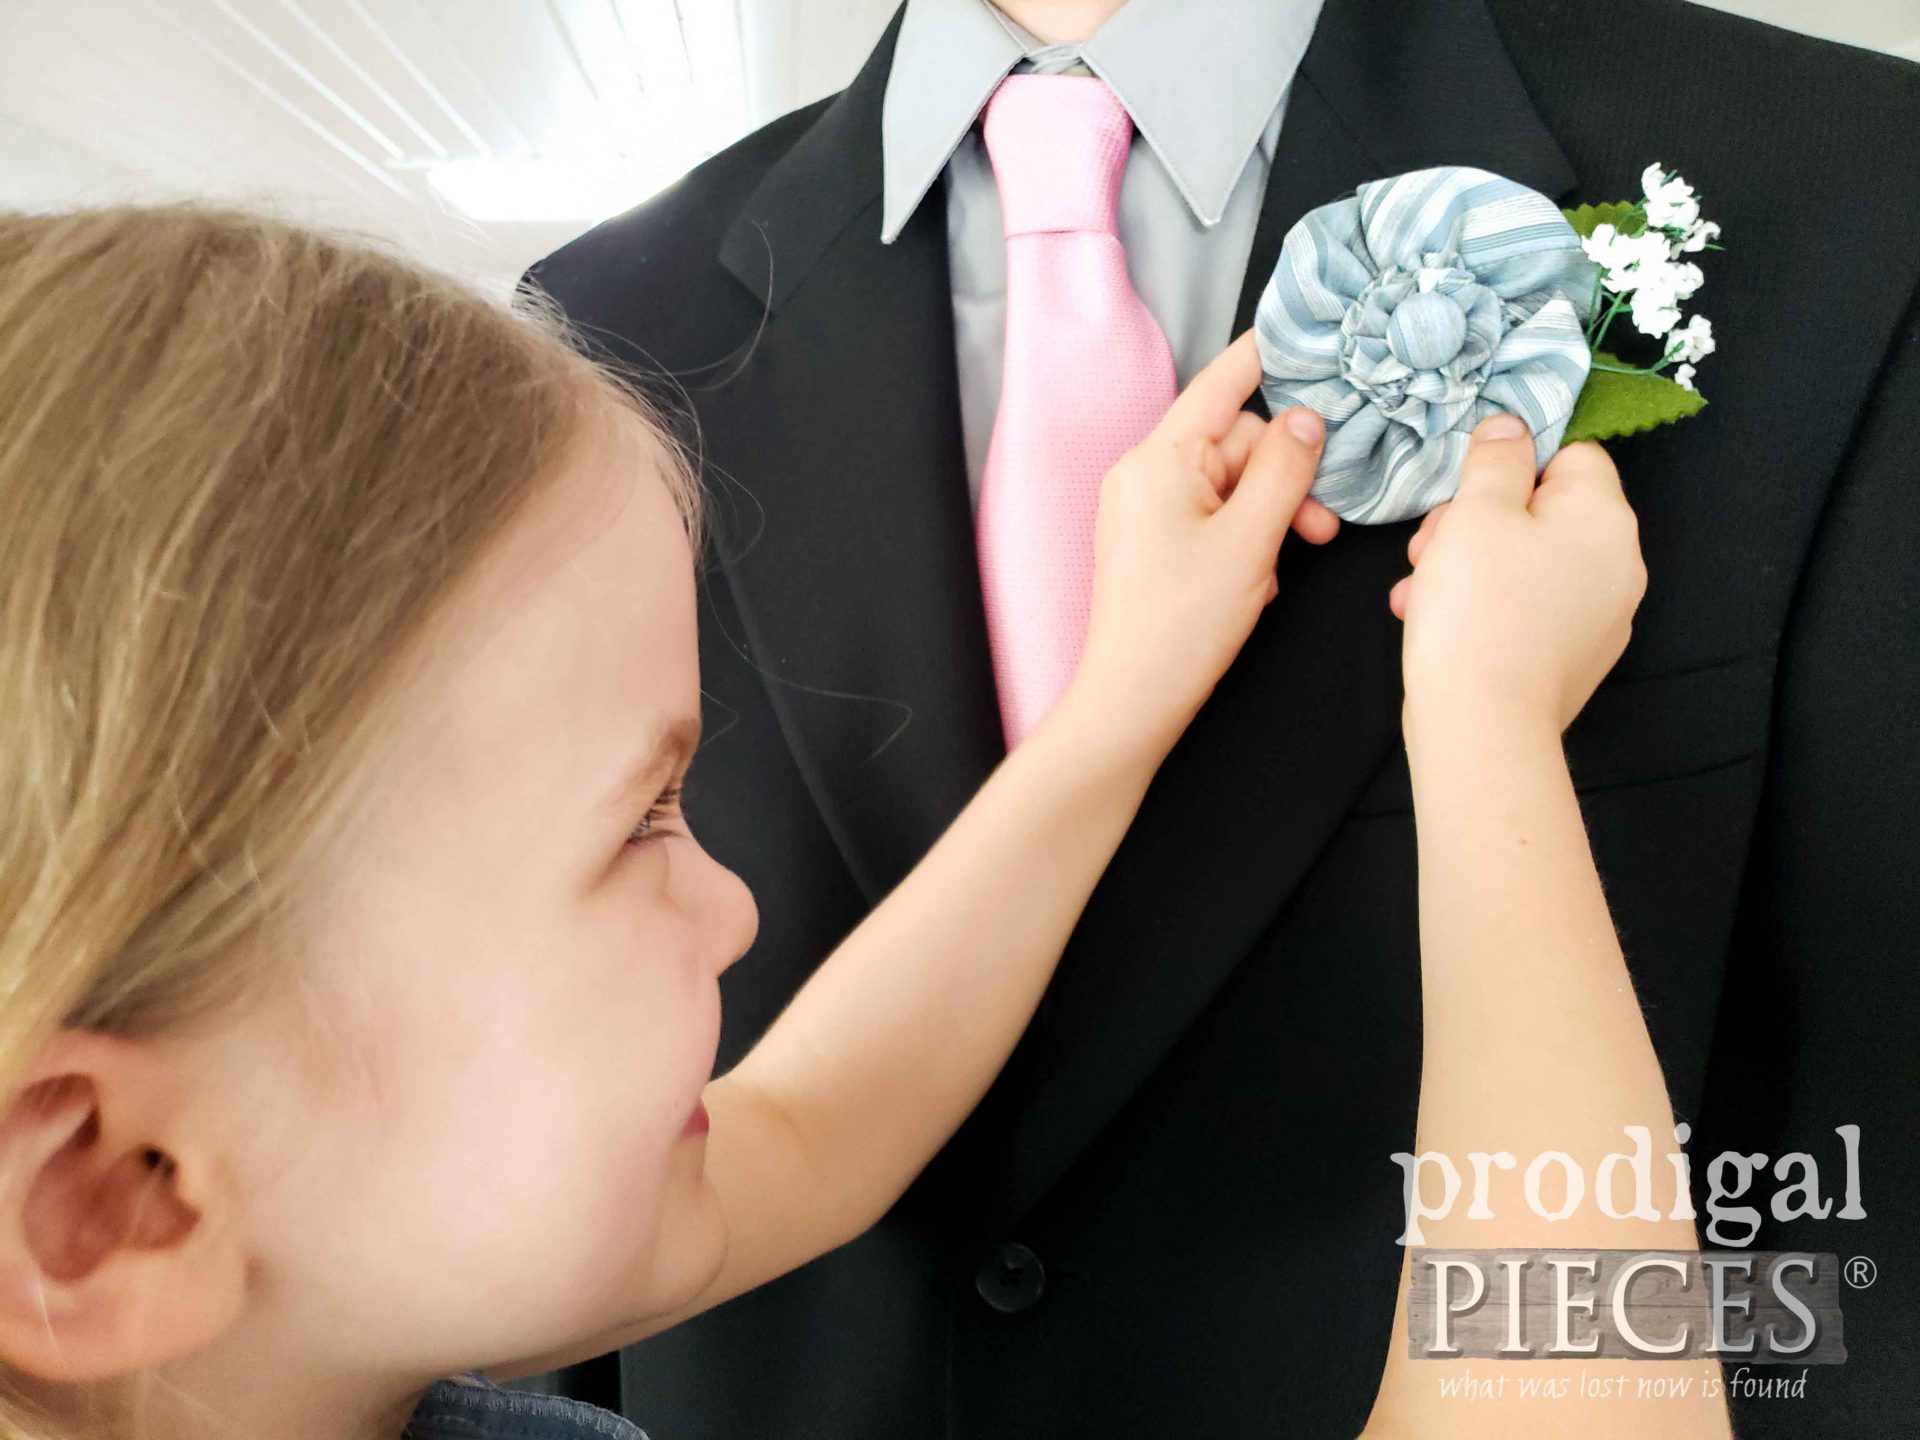
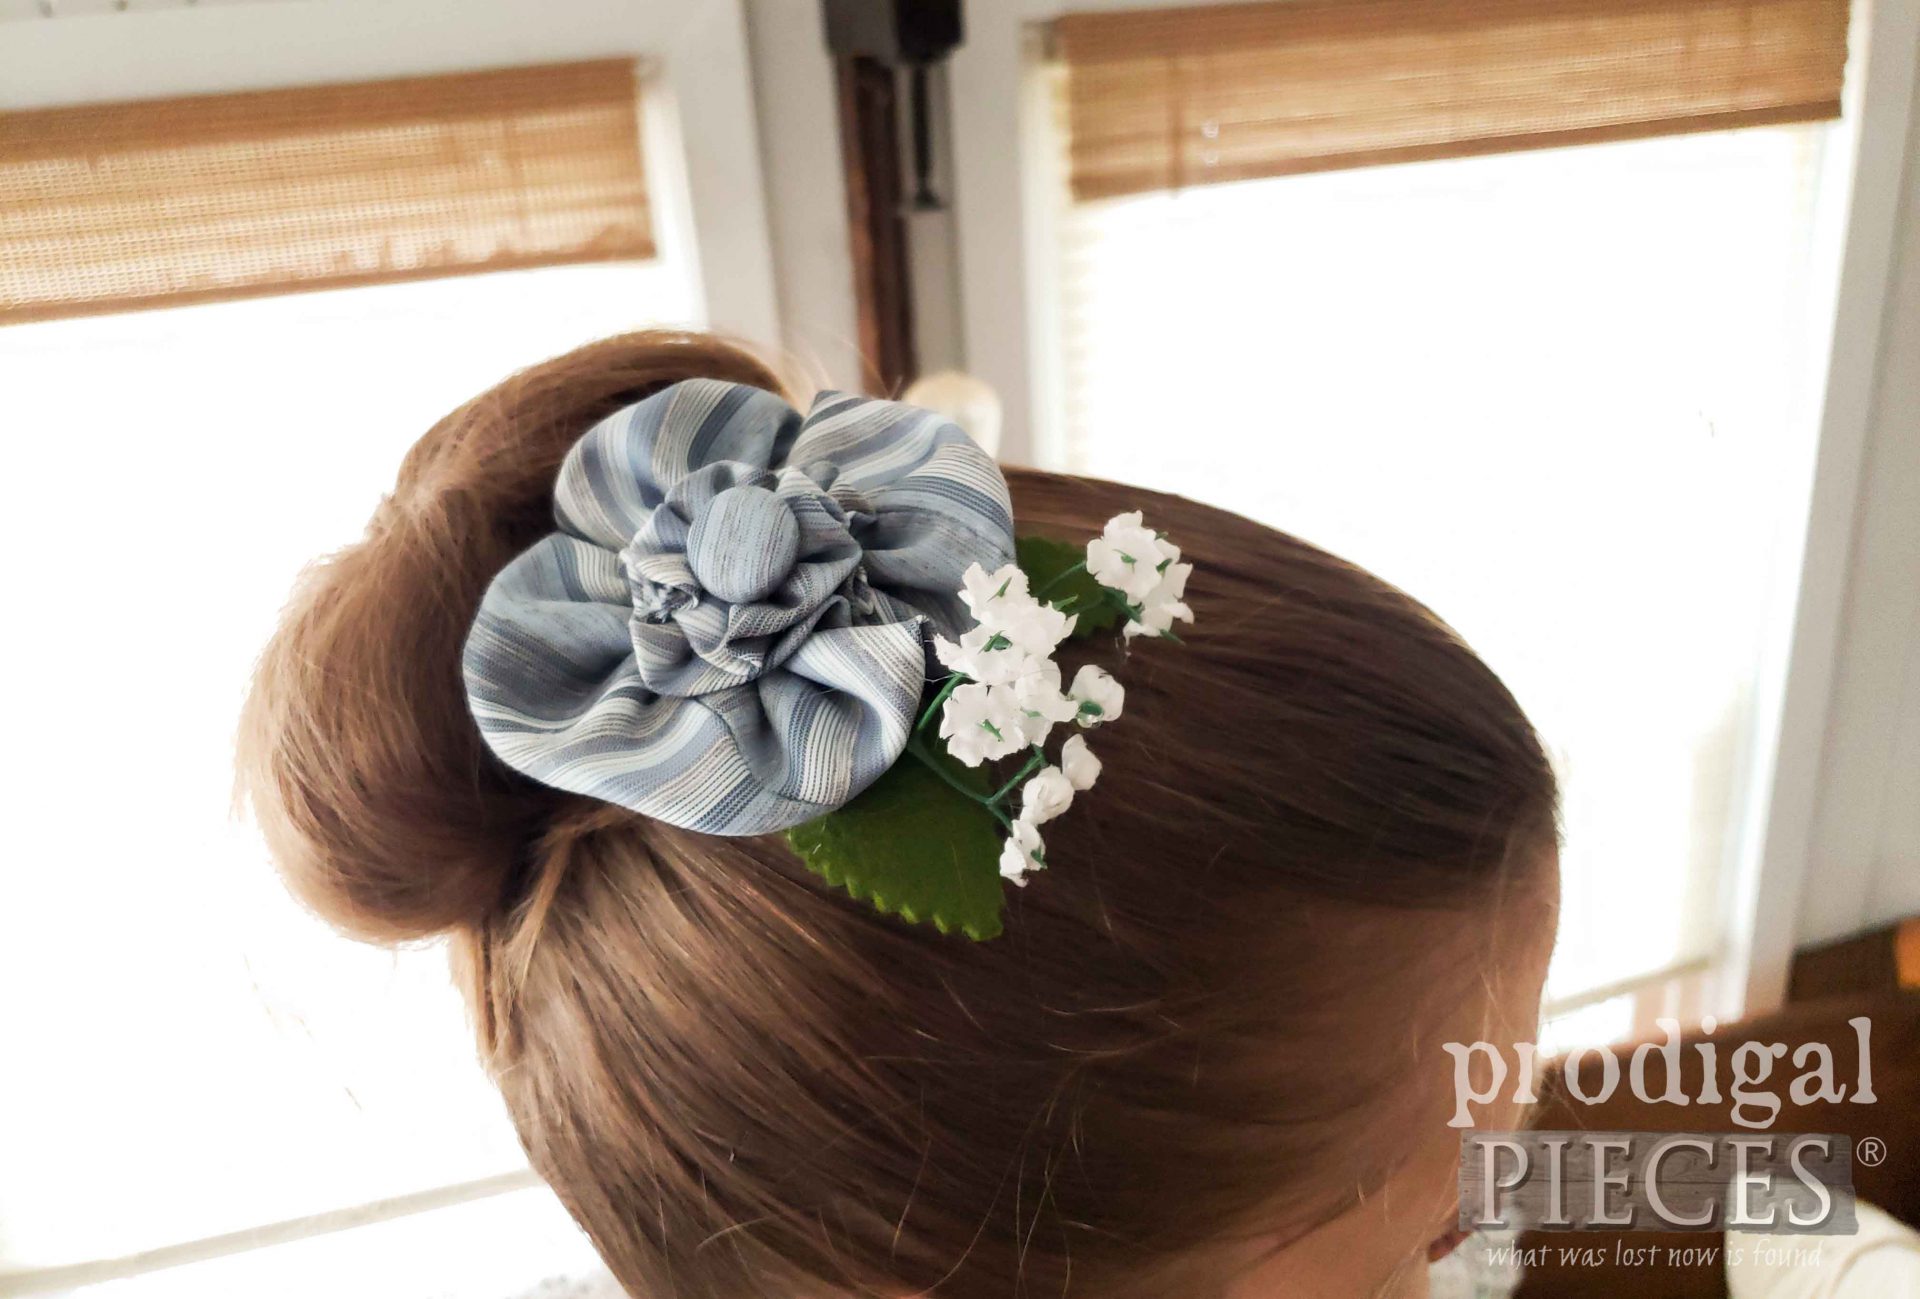
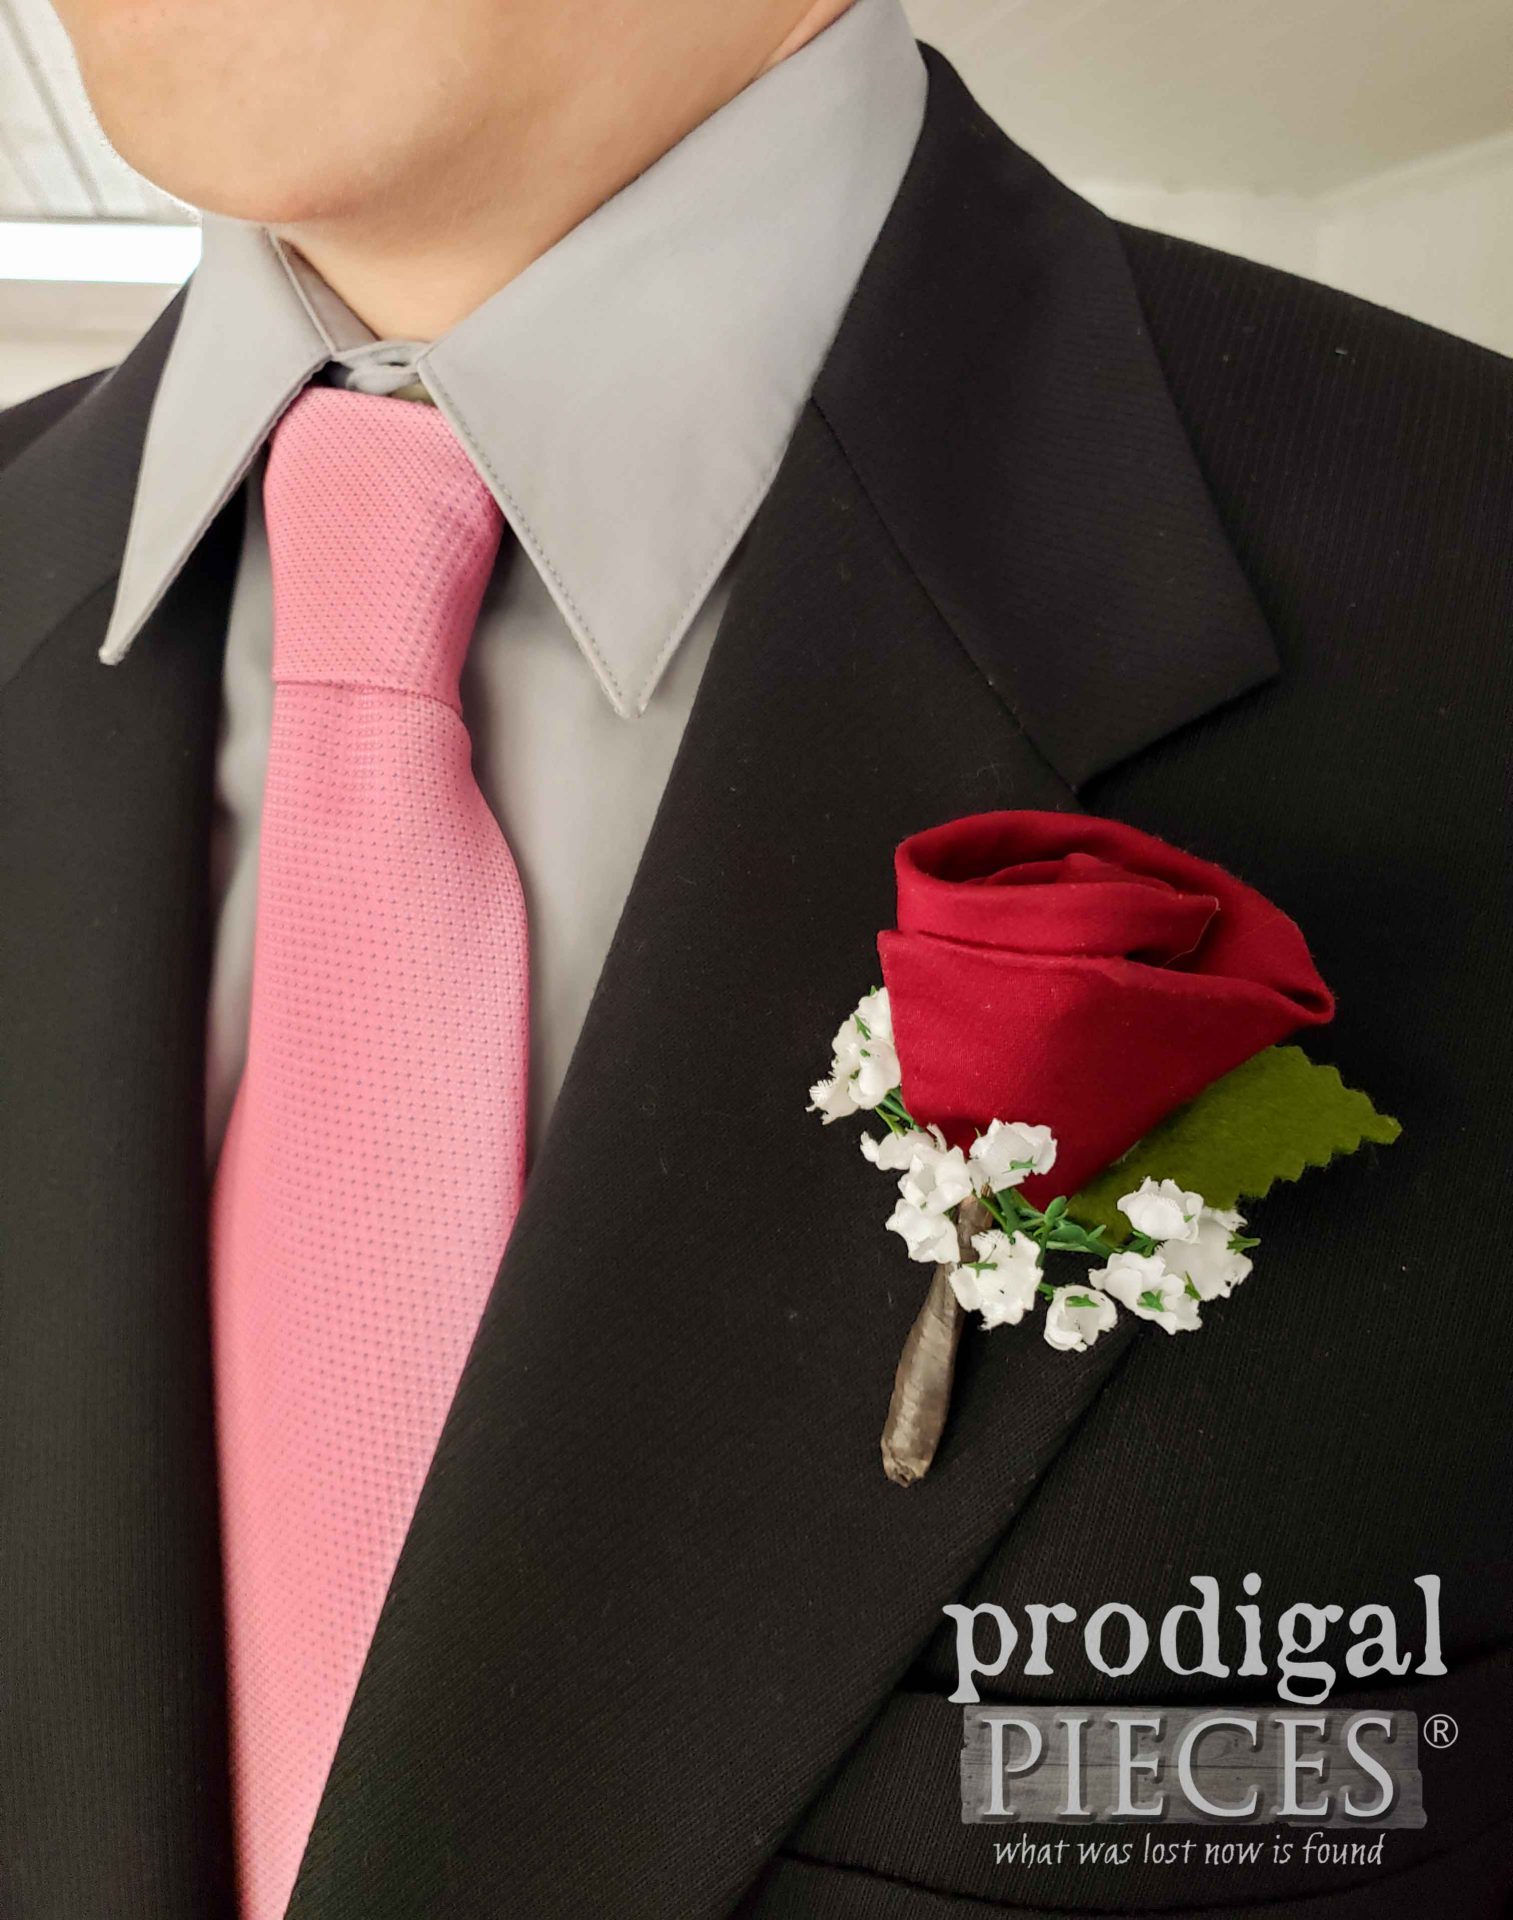
The idea I have for today makes it fun for kids, dad’s, and even can celebrate those we love both present and deceased. Just think, you can take that loved one’s necktie and upcycle it into something like this…
Also, these can be used for hair accessories, shoes, bags…you get the idea.
DIY TIME
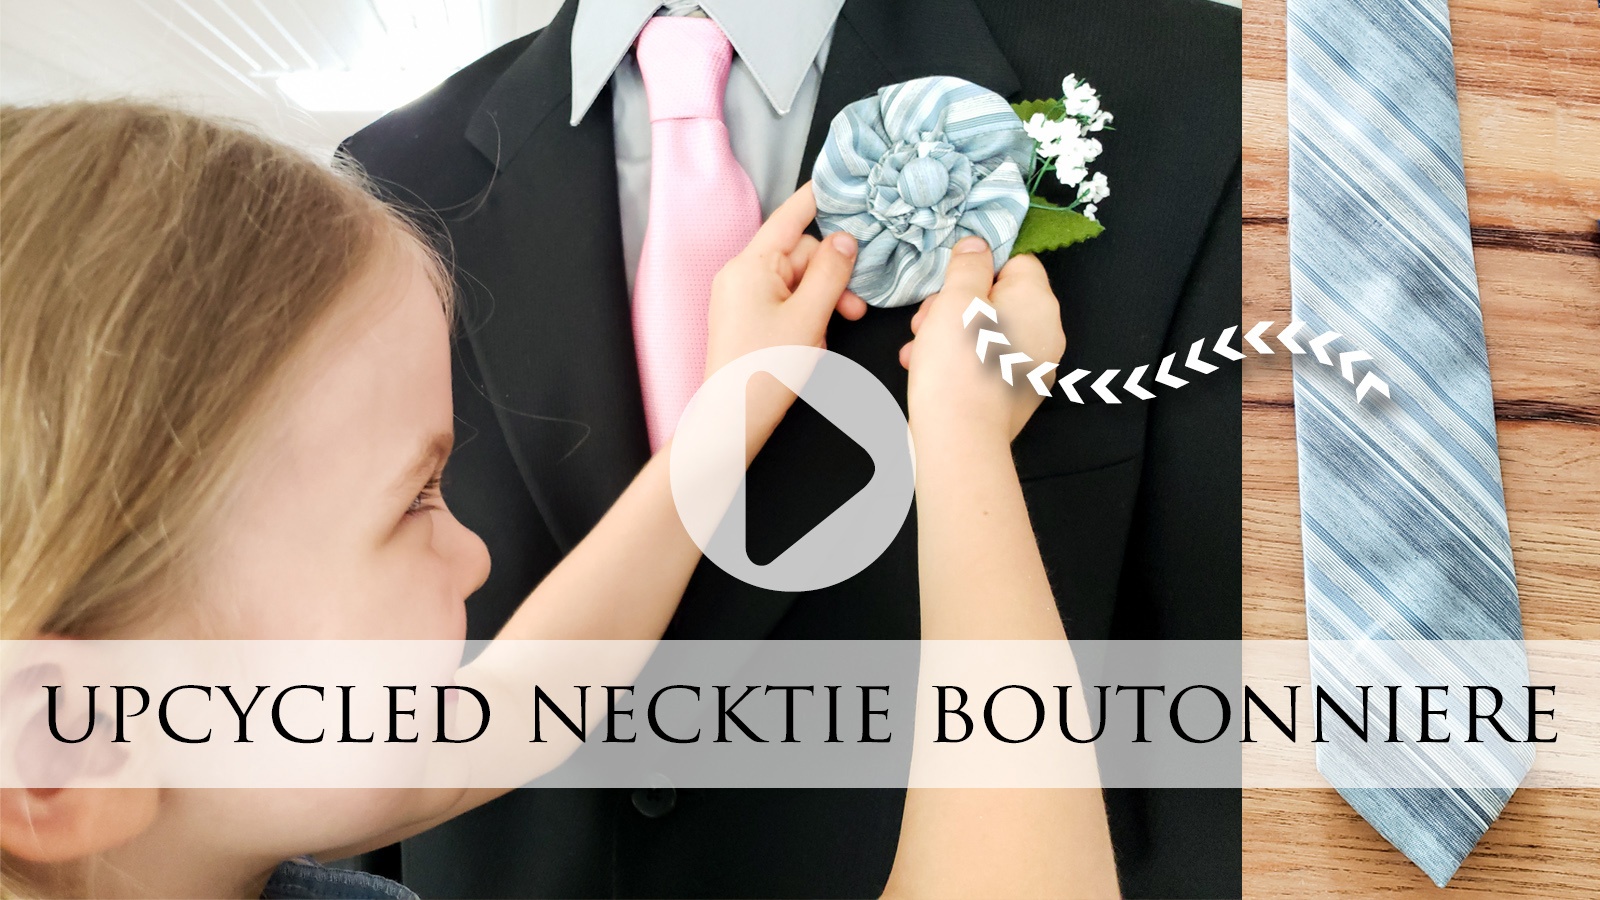
Want to make one? Let’s get started! First, I want to let you know that I’ve created a super-short video tutorial down below for those of you like me that are visual learners. However, I’ve also outlined the steps for the others here too. The sky’s the limit with ways you can create these, so don’t feel limited. Experiment, play around with designs, and have fun with it.
Materials:
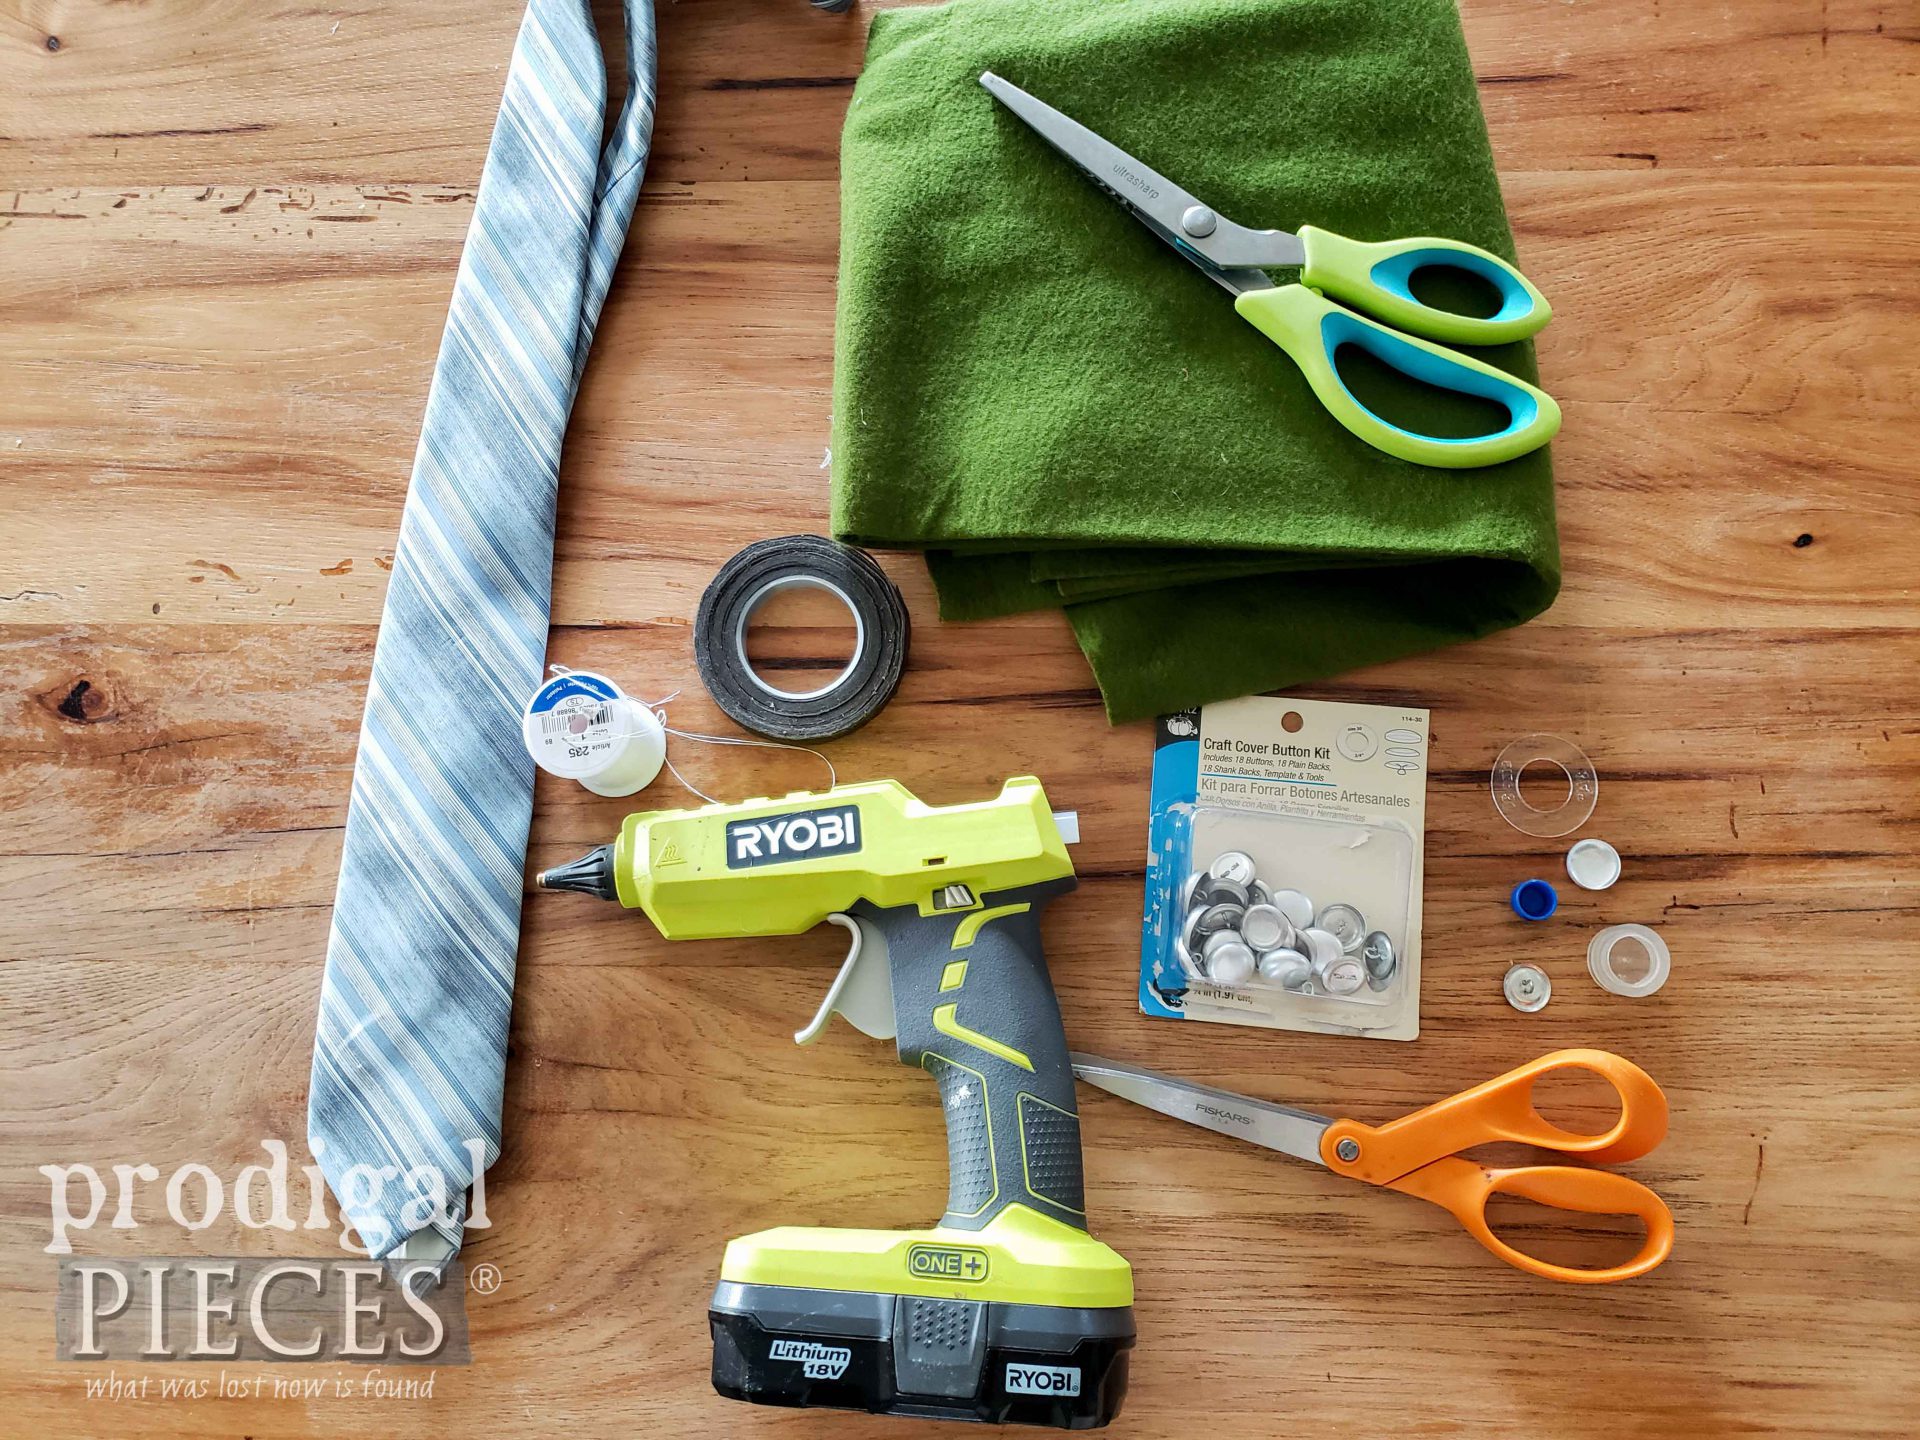
- necktie (dad’s, grandpa’s, or thrifted ones will do)
- craft cover button kit< (optional)
- fabric scraps (optional)
- faux baby’s breath (optional)
- floral tape (optional)
- bar pin hardware or safety pin
Tools
- hot glue gun
- hot glue sticks
- scissors
- pinking shears
- needle/thread
STEP 1
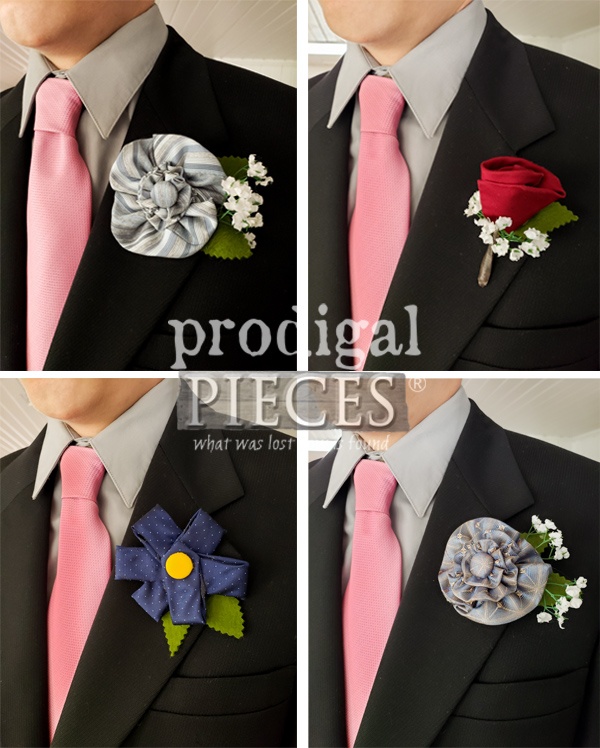
First, since I’ve already created the video tutorial for the rosette version below, I’m going to go over the rosebud and pinwheel boutonniere. They are both very simple and straightforward. However, I want you to know there are many other ways you can create a flower with your upcycled necktie to create a boutonniere.
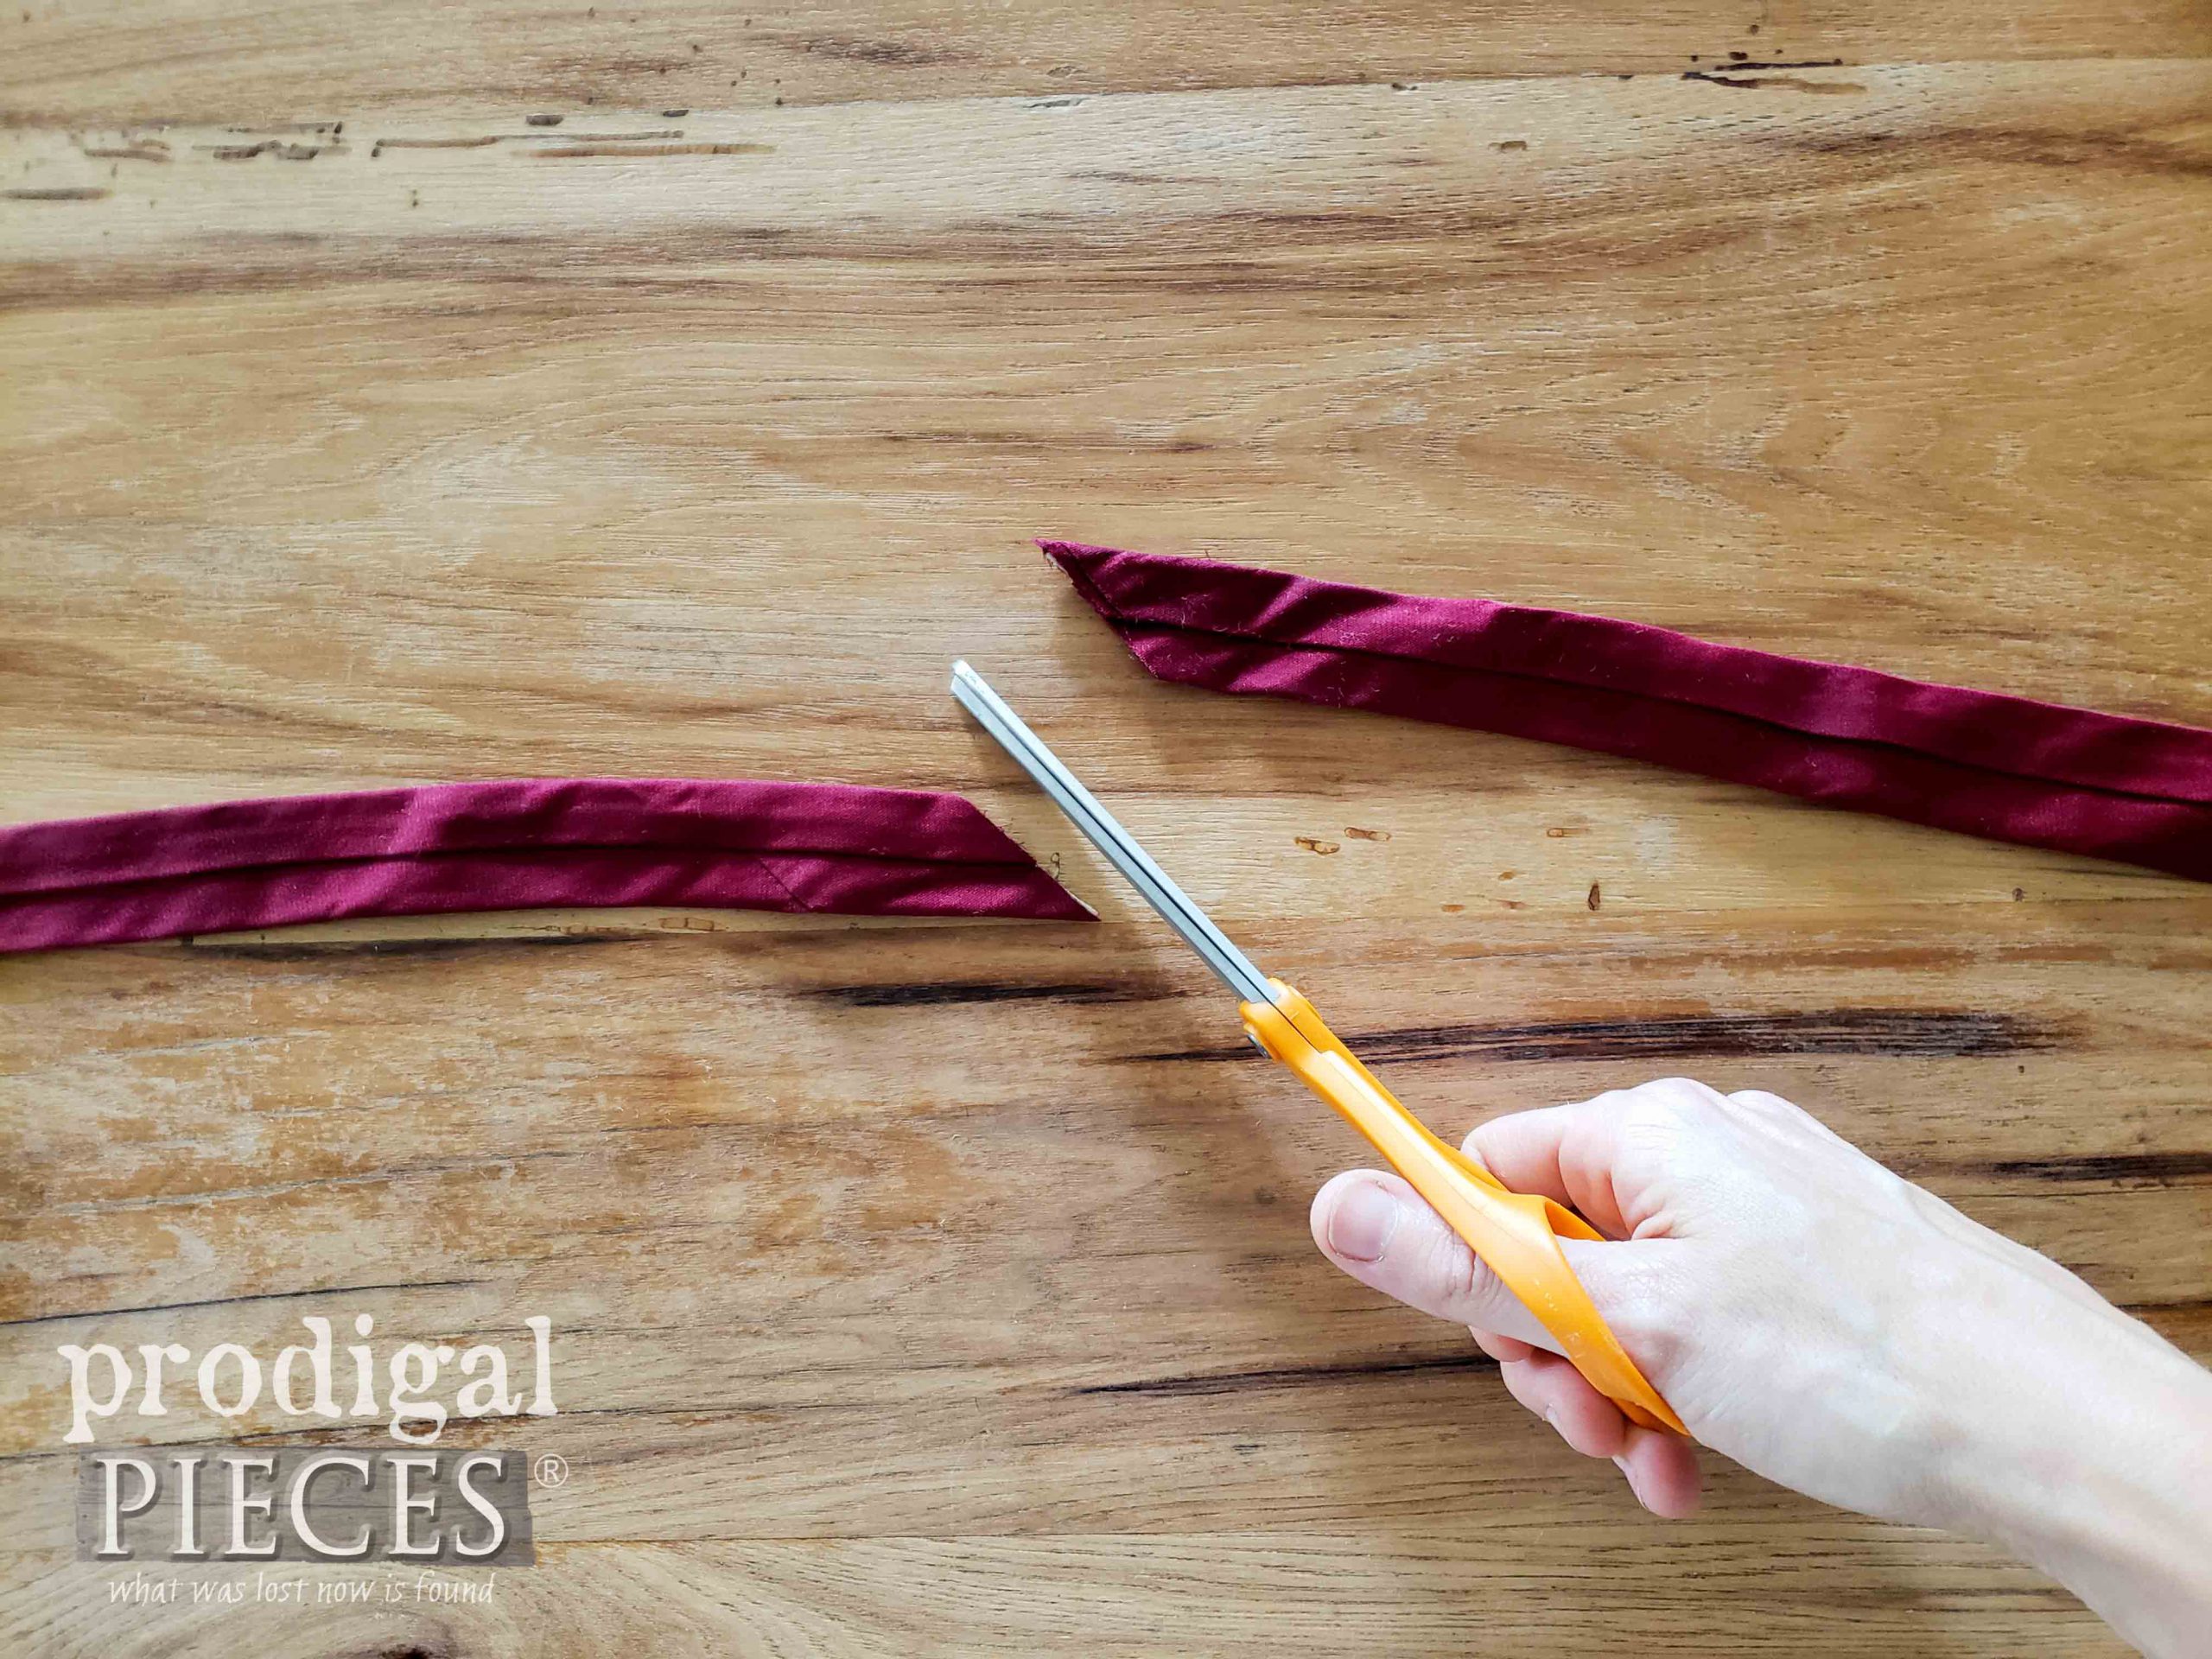
I’ll start with the rosebud using the thin red necktie. I cut about a 12″ length from the narrow end of the tie. Be sure to save the rest of the tie to make more with it.
STEP 2
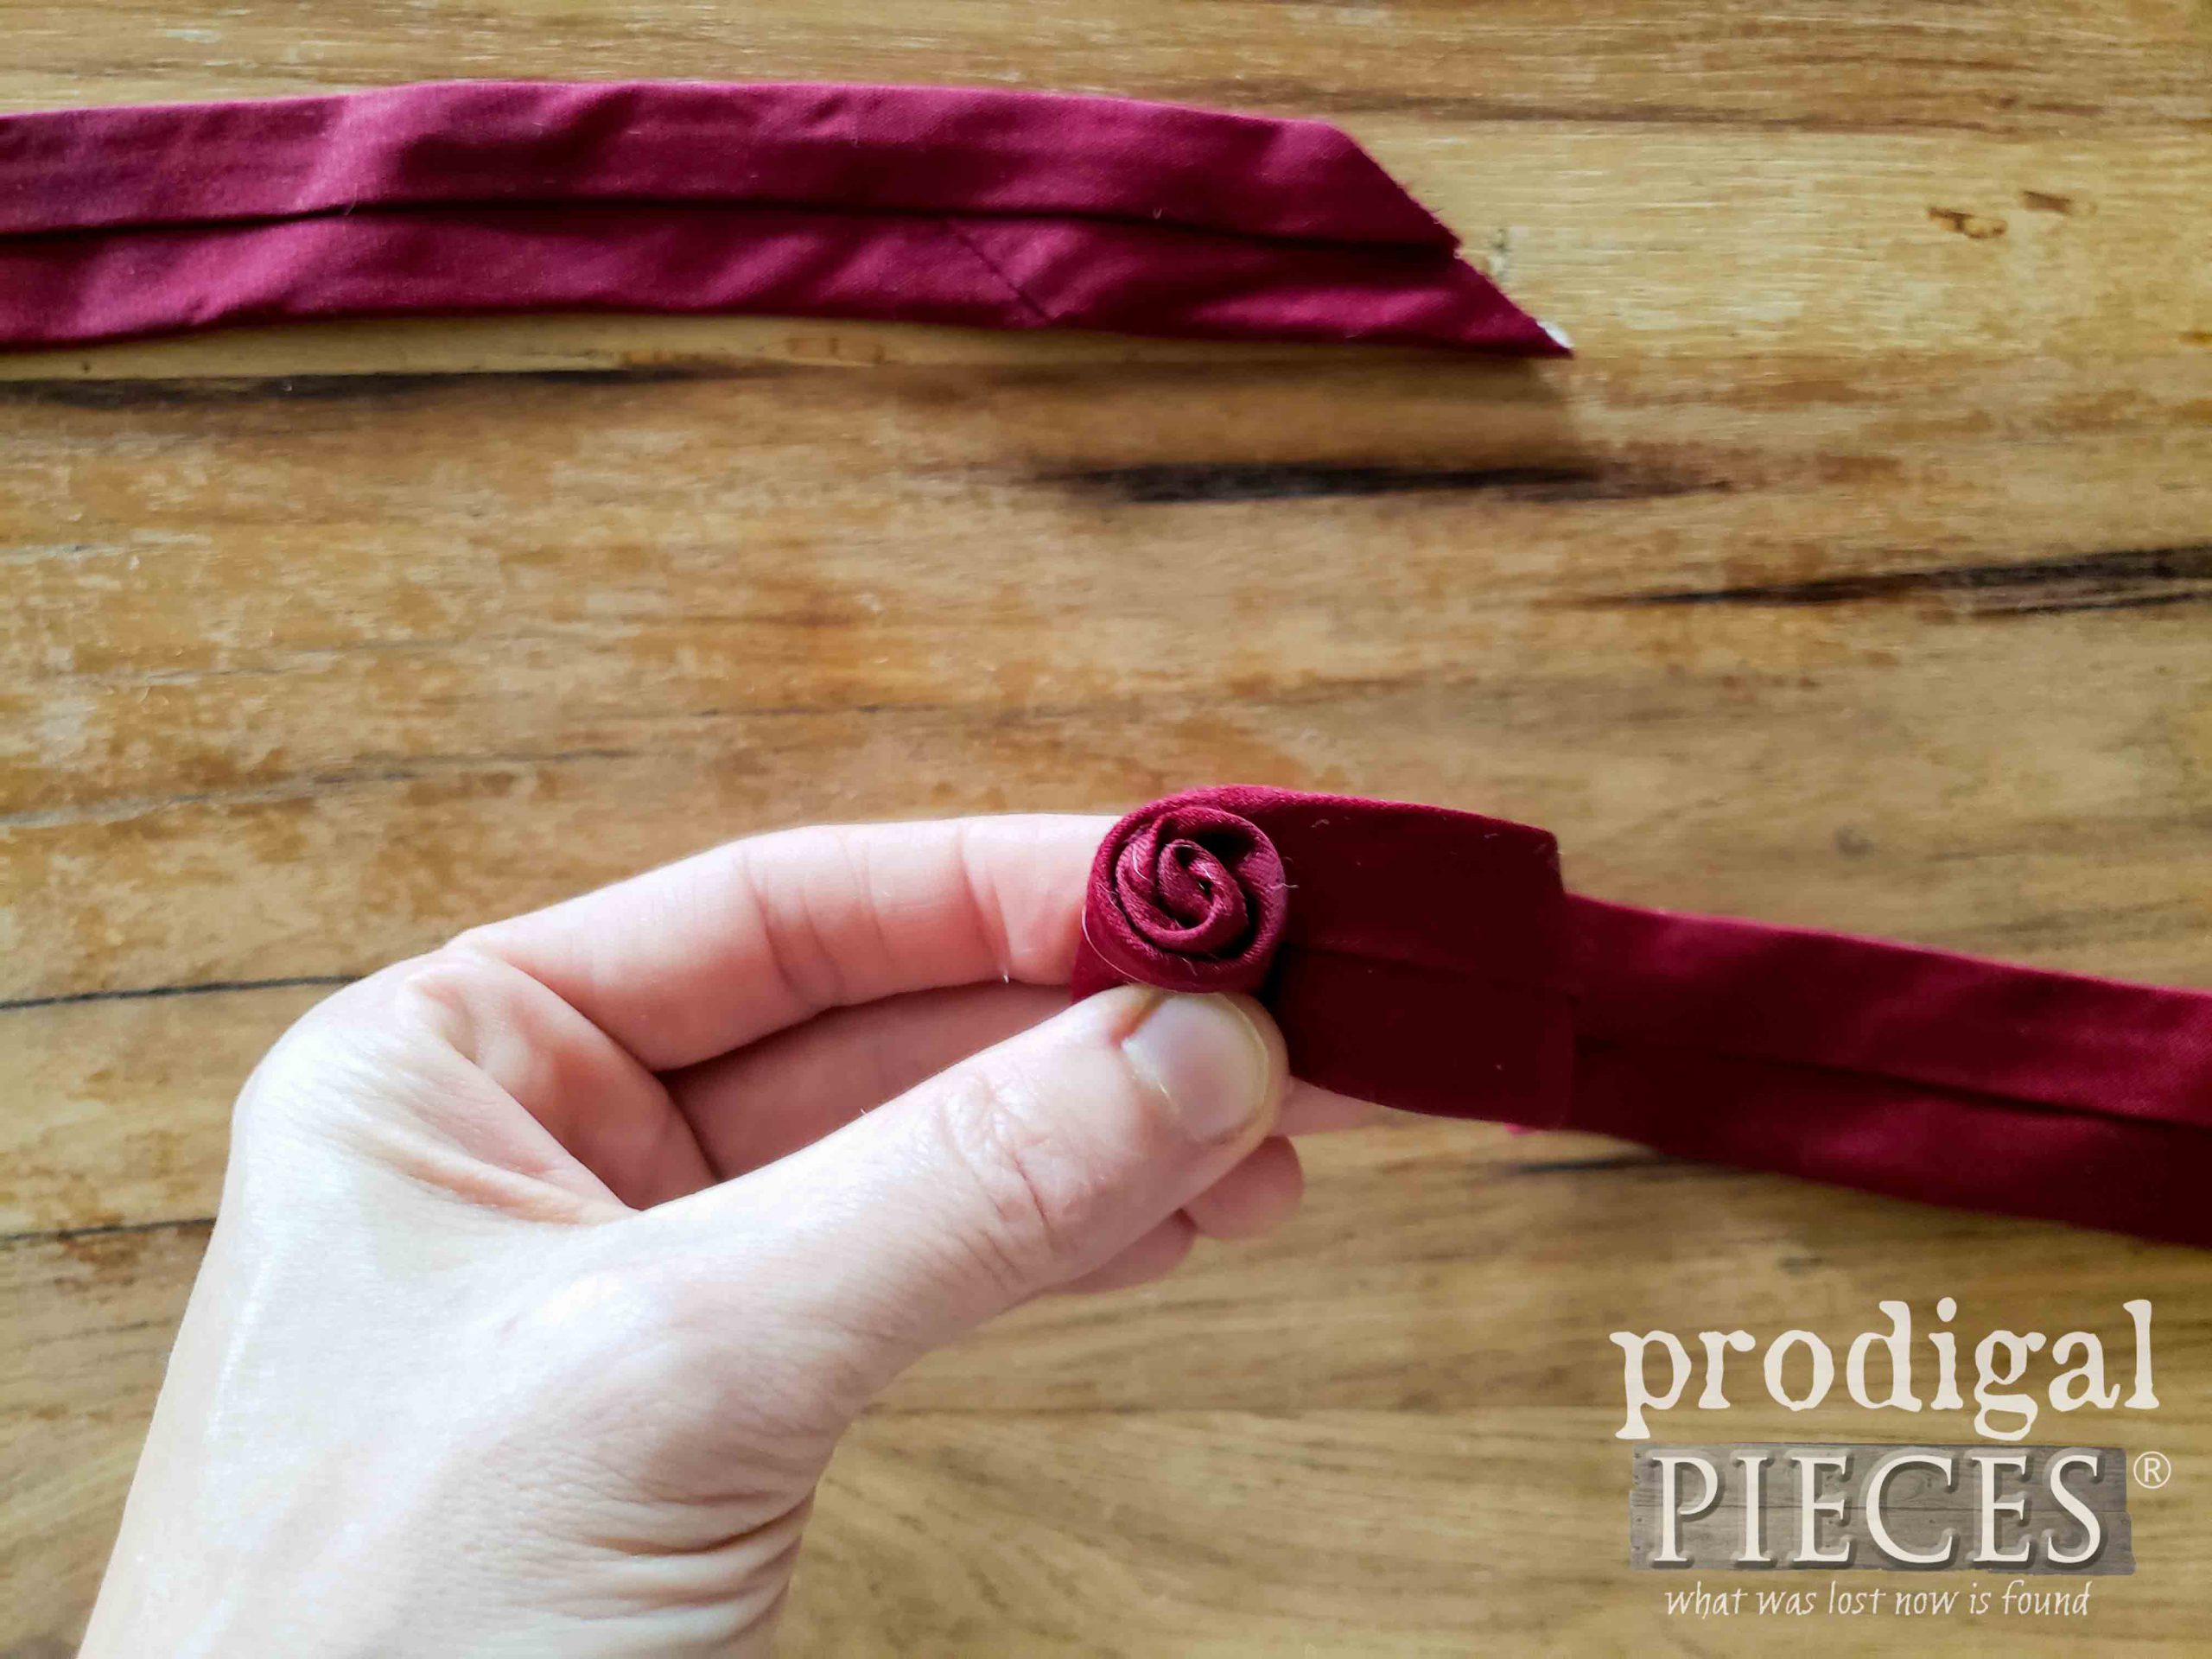
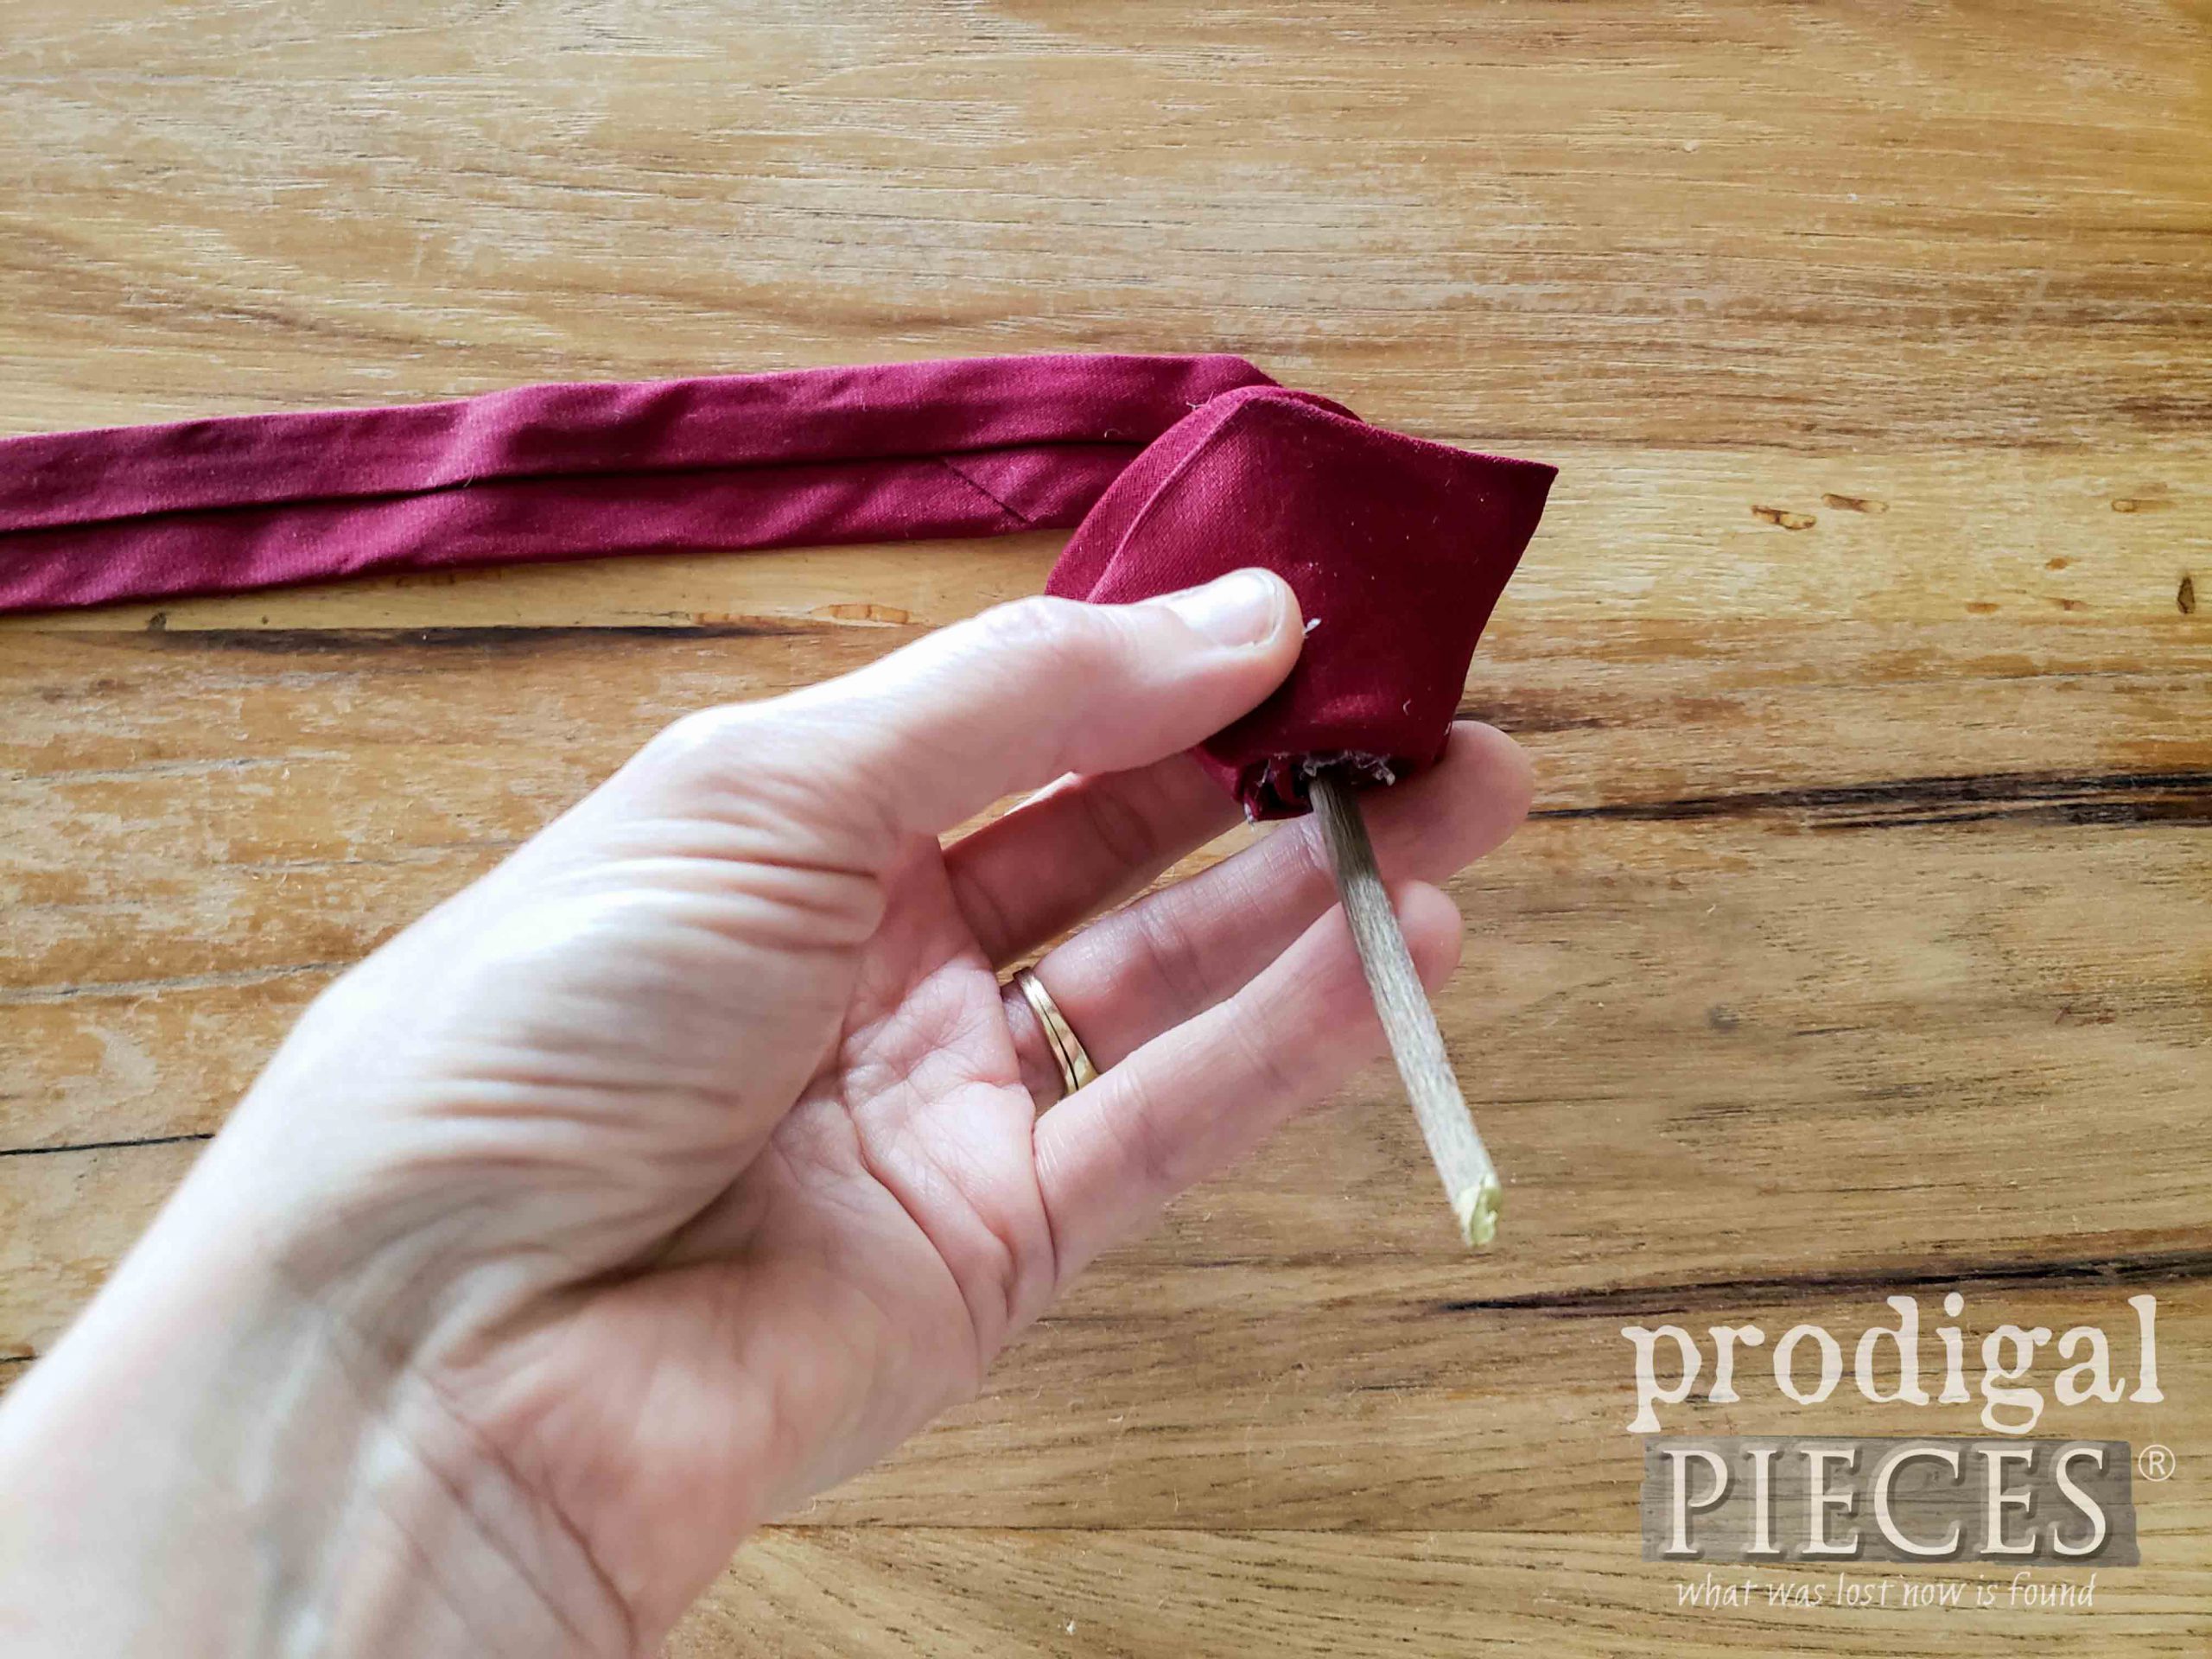
Then, using my hot glue gun and glue sticks, I put a slight bead of glue on the cut end of the necktie and begin to roll it up. Once that bead has cured a bit, continue to roll up the necktie. Feel free to leave it loose the bigger it gets to resemble a rosebud beginning to open.
STEP 3
Next, finish the rosebud with the pointed end of the tie on the front. Glue it down to secure it. Then, use a stick, a dried rose stem (like I did), a pipe cleaner and glue it into the base of the rosebud.
STEP 4
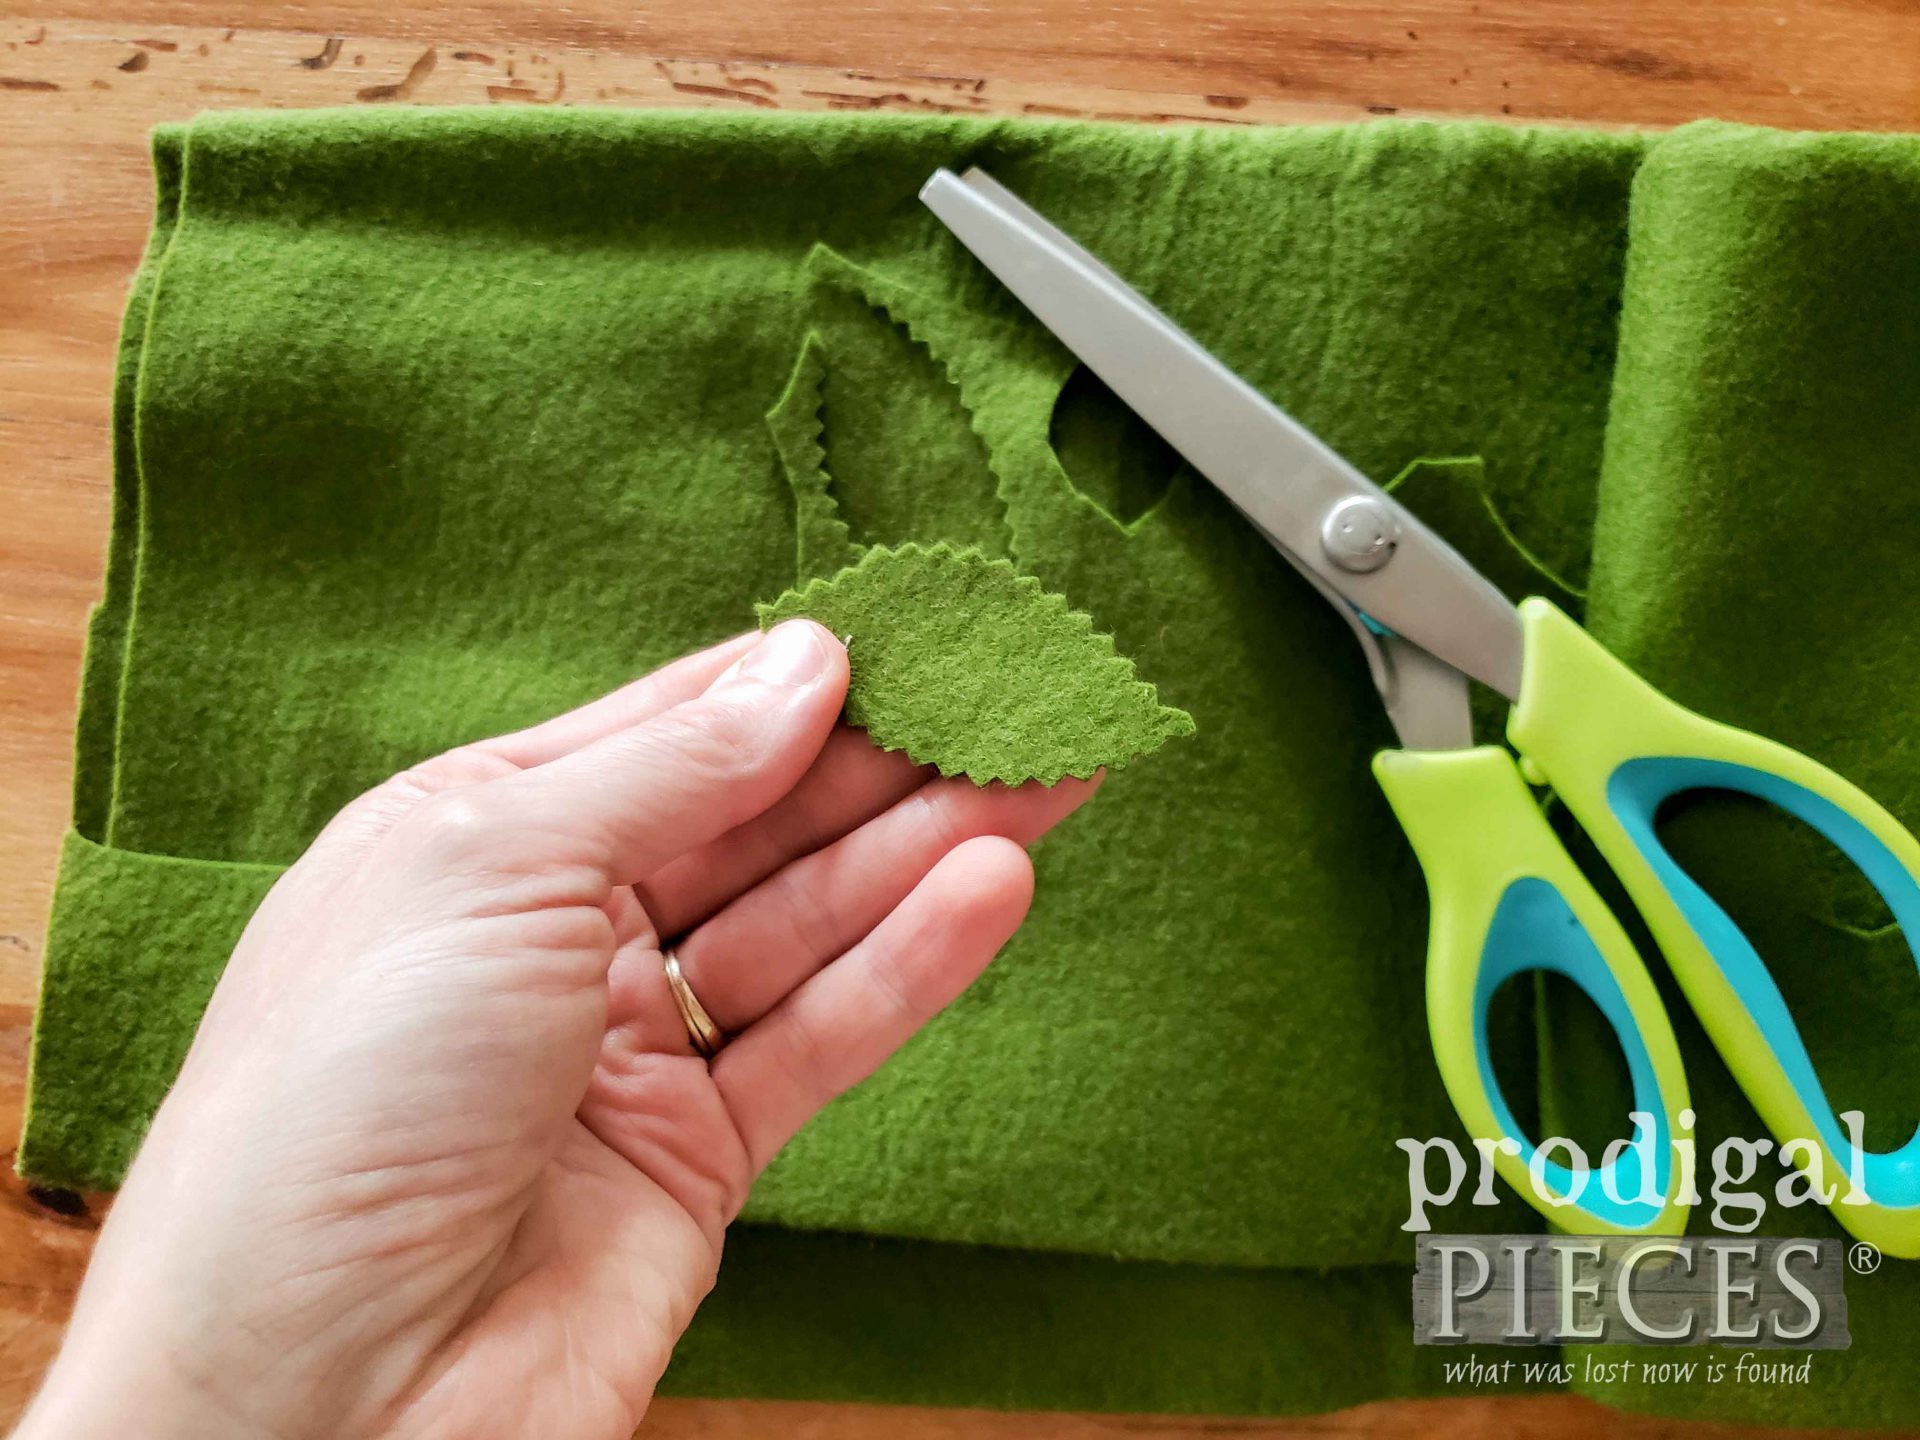
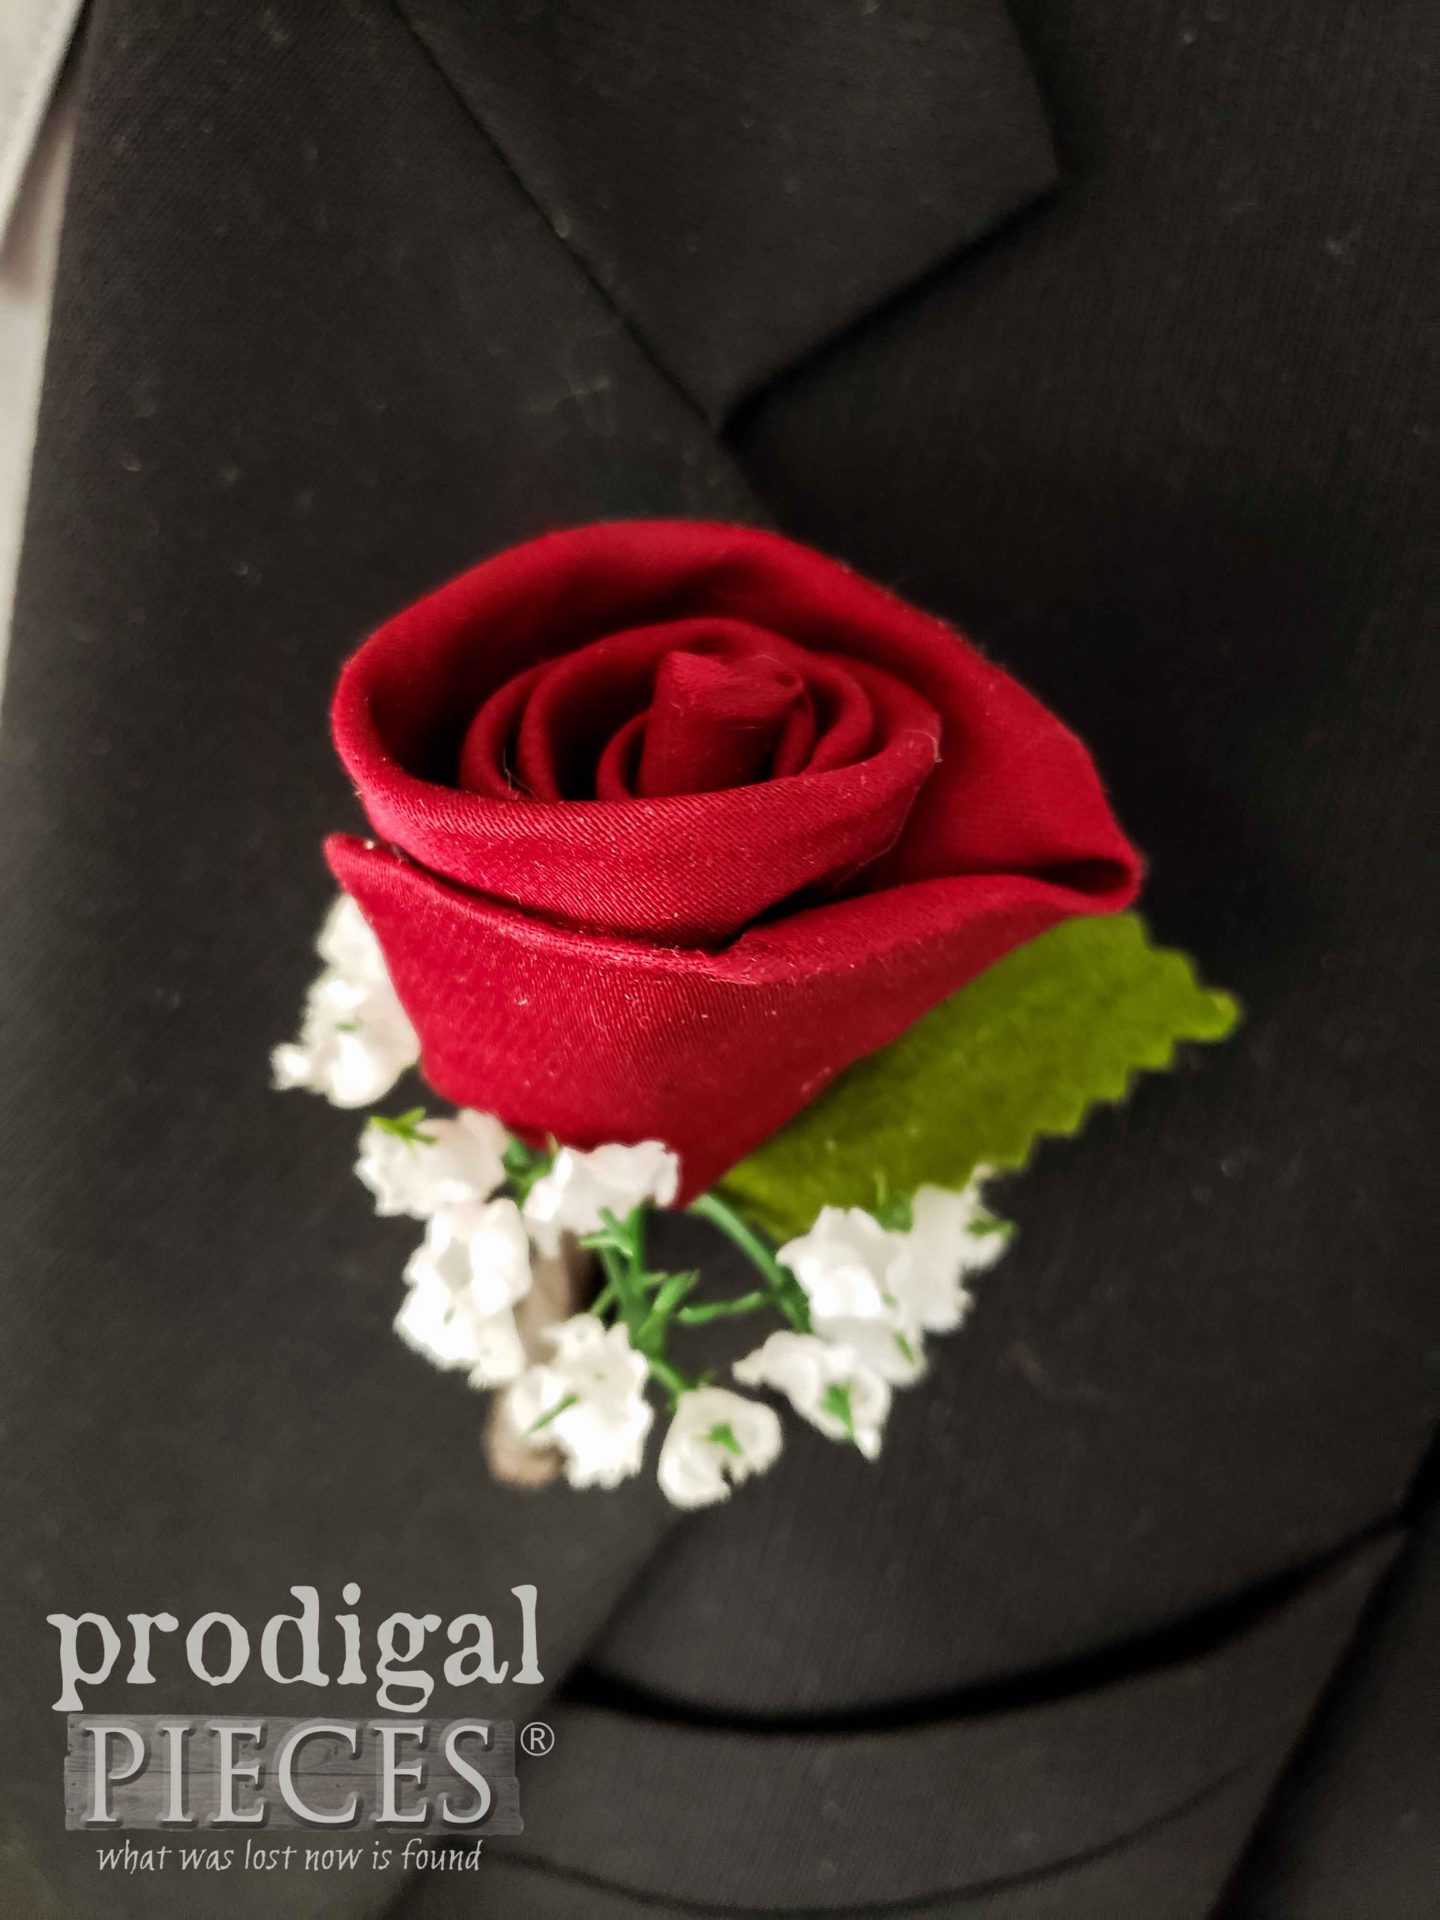
Last, but not least, you can add different elements as you see fit. I chose to add a felted wool leaf and a bit of faux baby’s breath. Cut the leaf with pinking shears to get that ragged edge look.
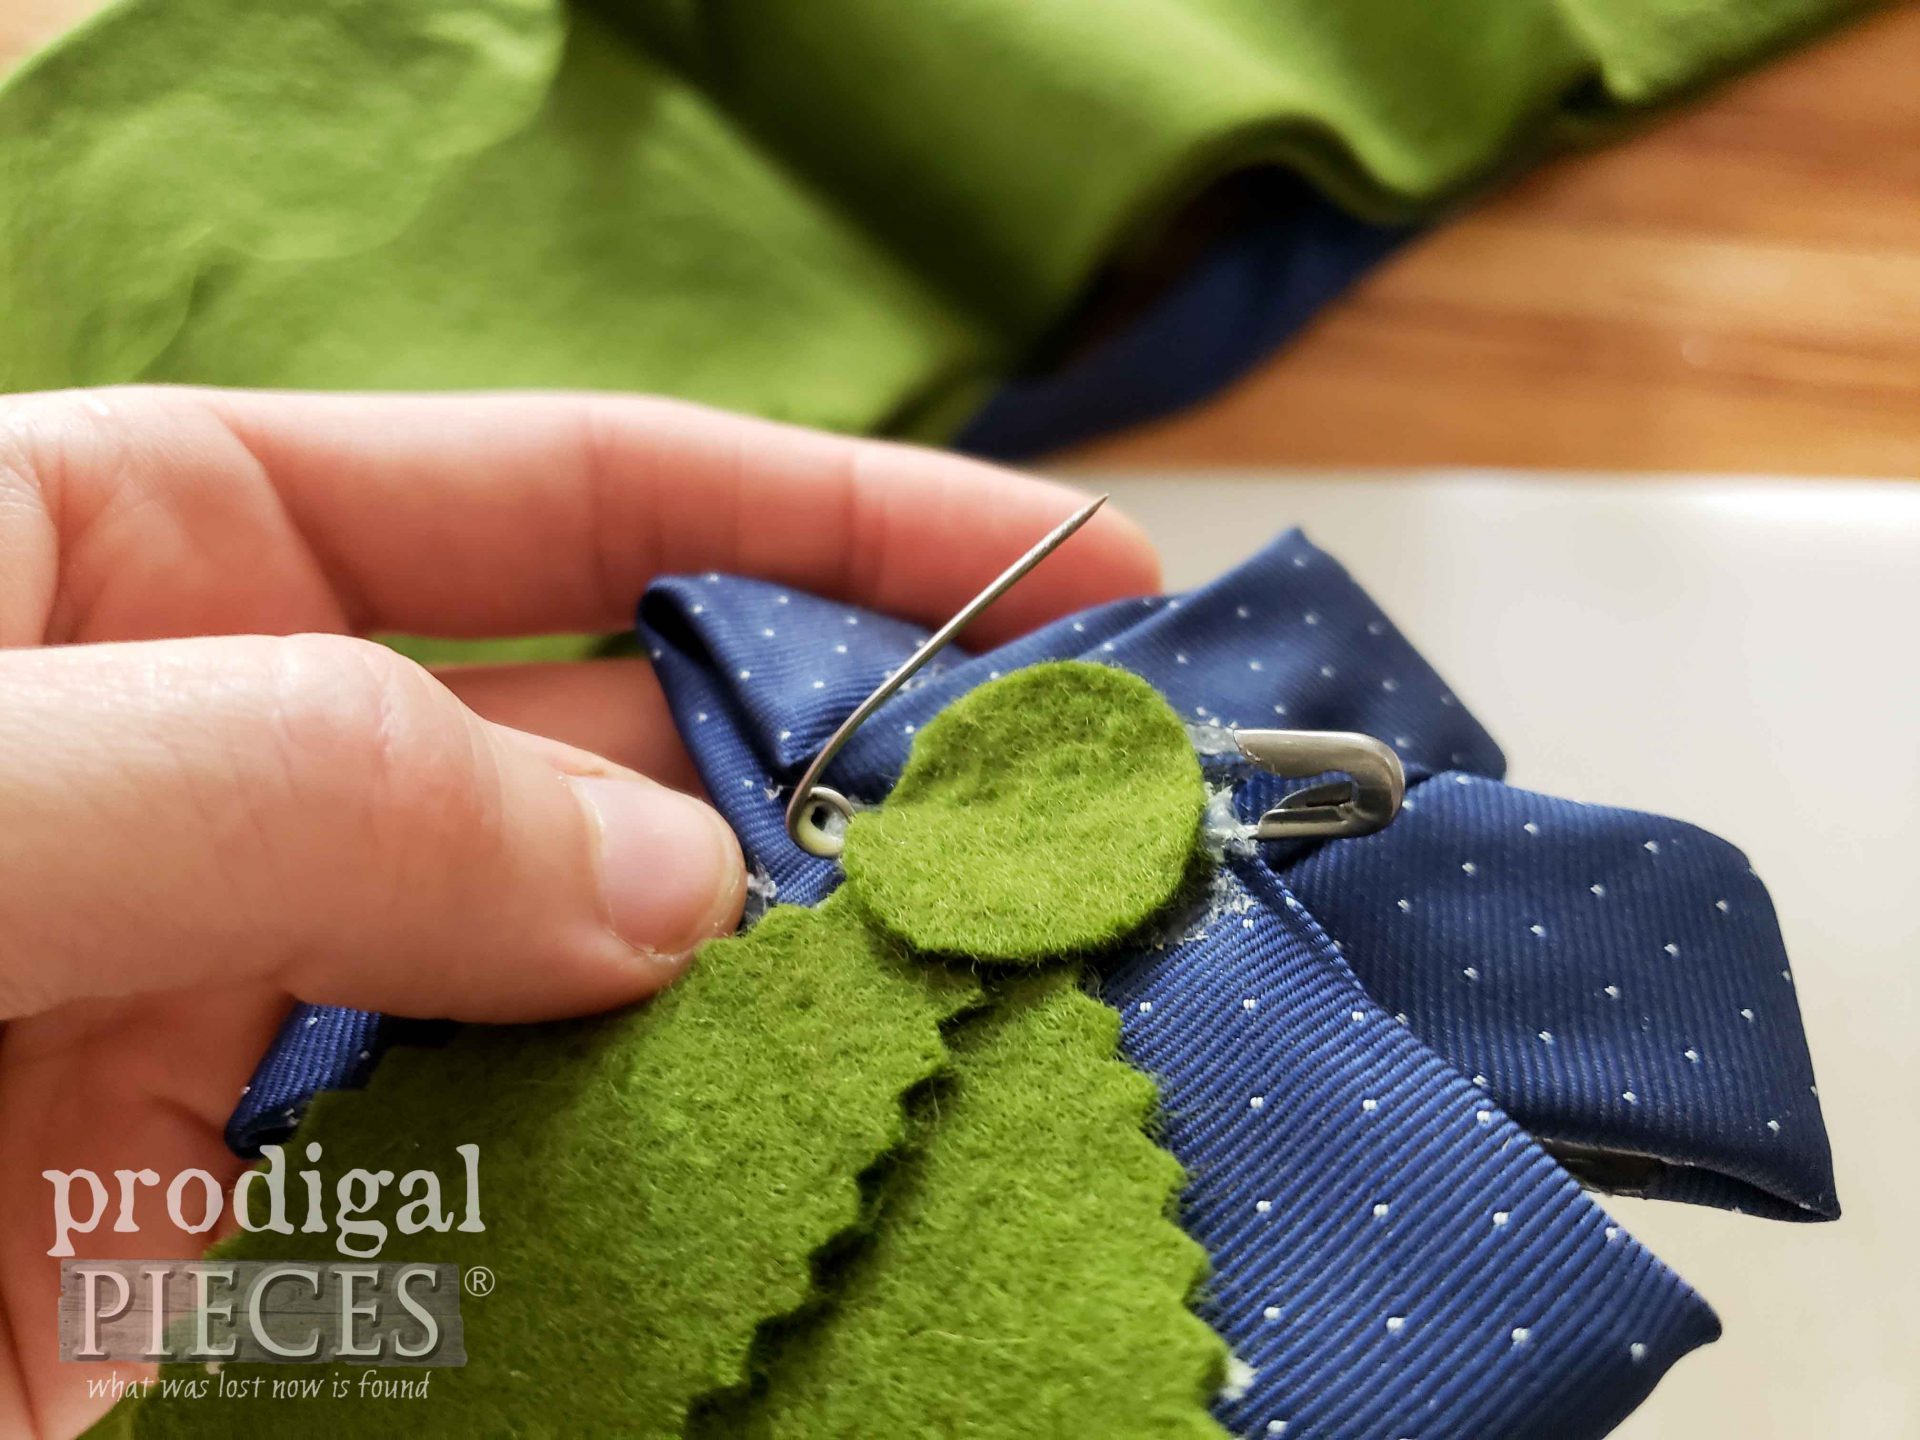
Then, glue it (and the flowers) on to the base of the rosebud. Once you’ve got it as you like, wrap it all in floral tape. In addition, add another bead of glue to the back side and adhere a safety pin. I like to use a small round of felted wool to cover the pin and reinforce it. See video for demo or below as well.
TIP: If you find a bit of extra glue poking out, let it cure, then use a hairdryer to reheat it and remove the excess.
ONE MORE
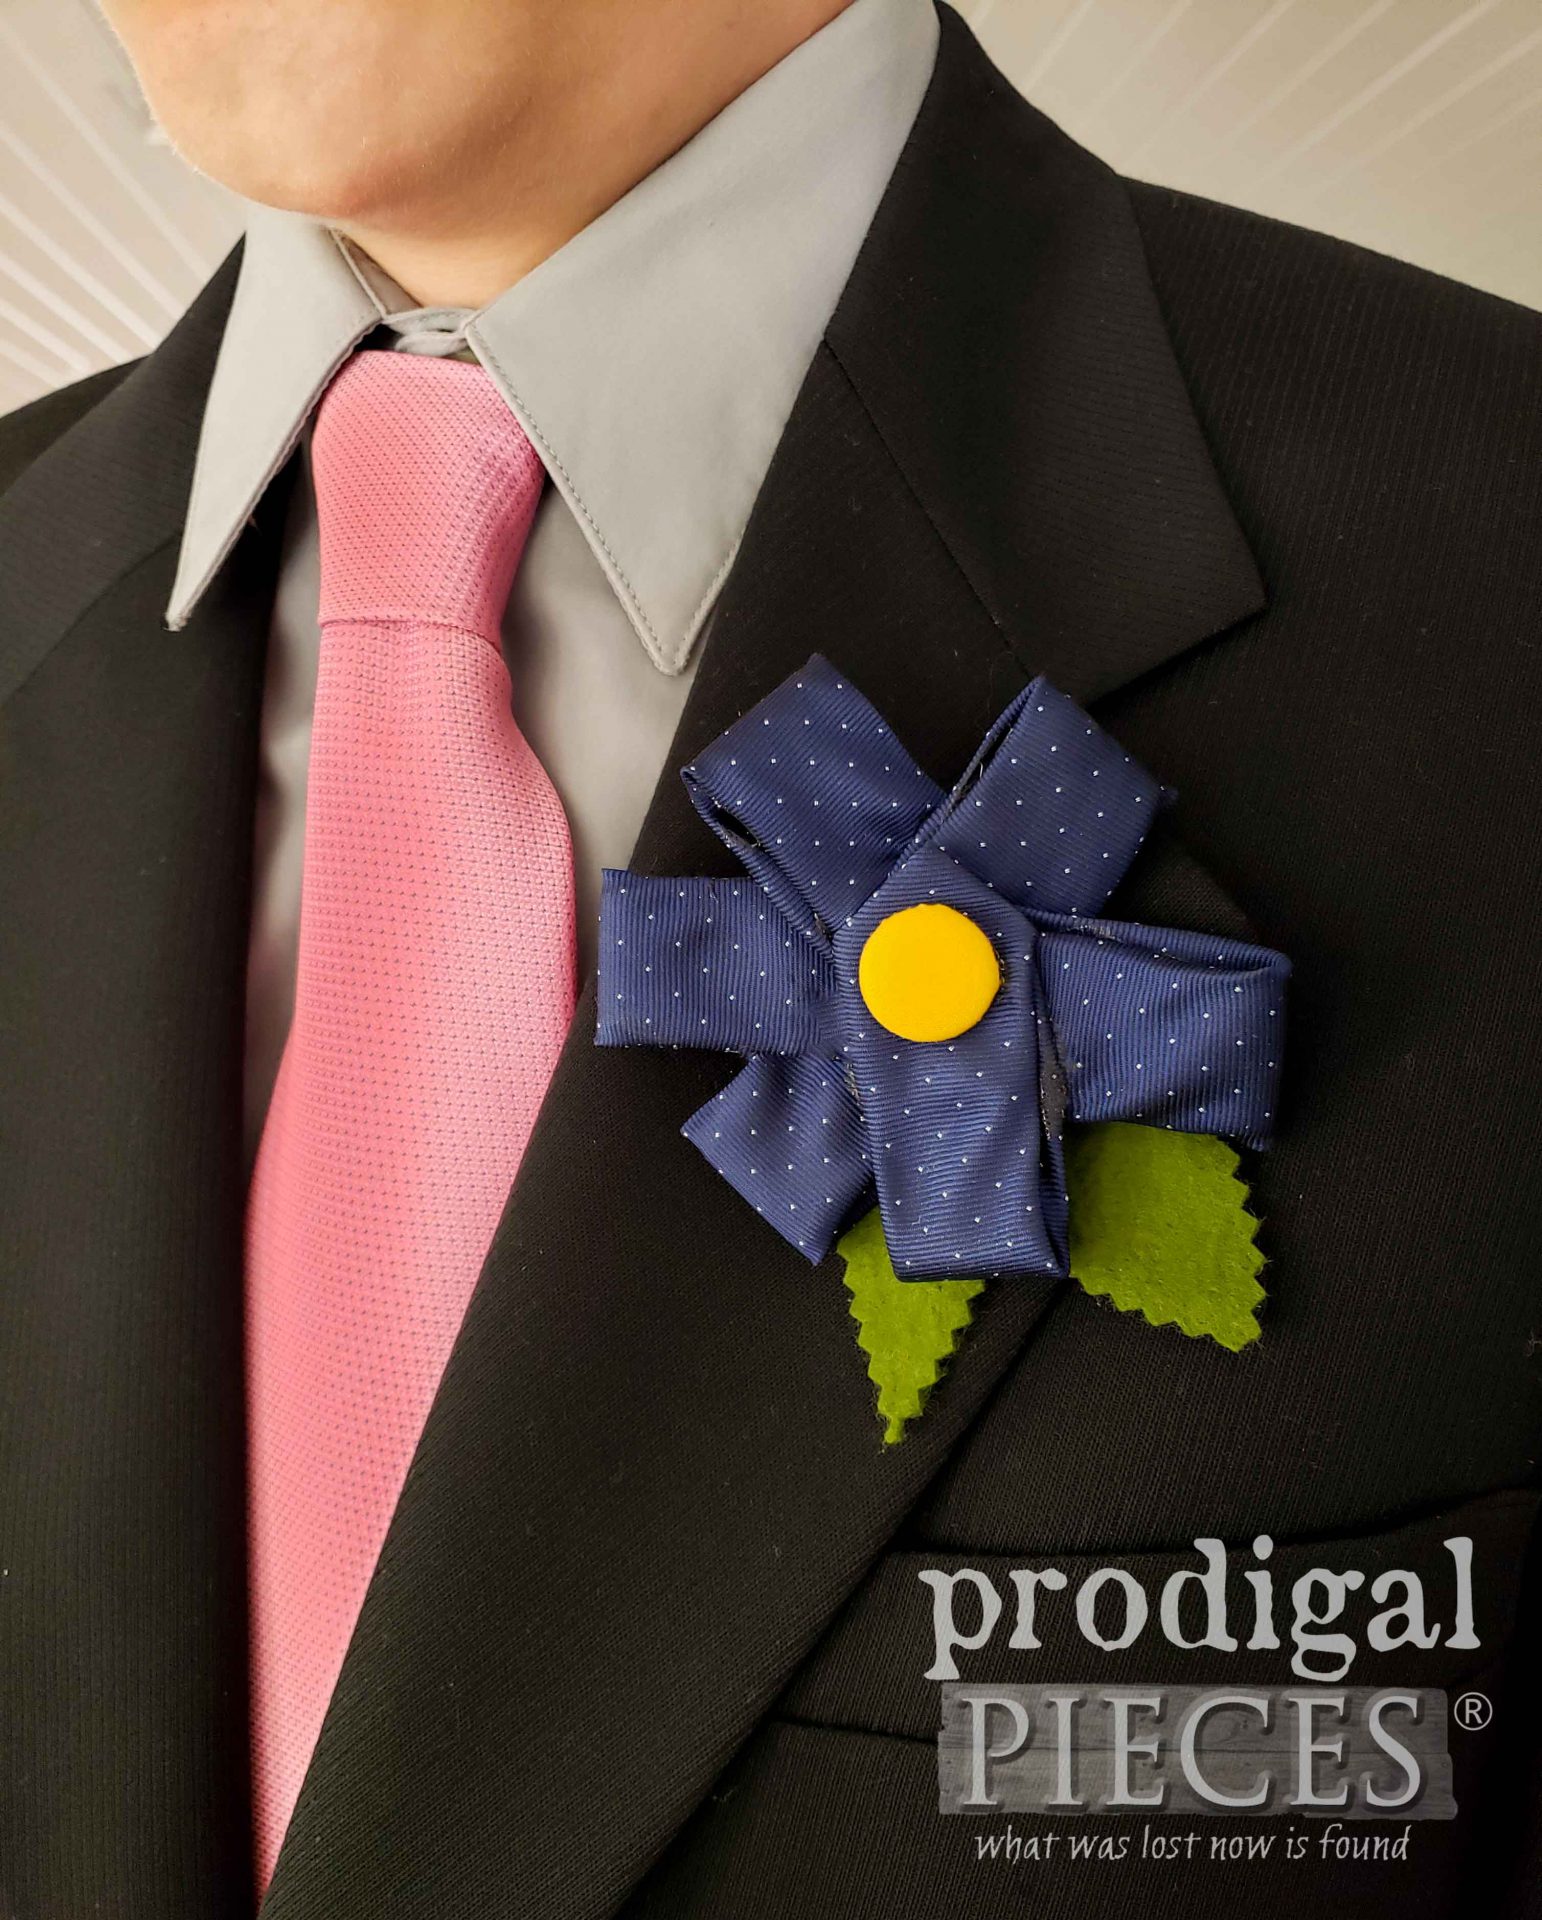
If you also want to make the pinwheel version of the flower, here it is. First, cut about a 12″-14″ length. Begin by folding over the cut end with right side out about 1 ½” and glue down. Fold the next section down in the same manner, but open it up to a “V” shape. Continue until you run out of necktie.
Then, using your button kit, cover a toggle button with scrap fabric of your choice. My video demonstrates how to use the kit to assemble. Next, glue on the button to the center of the flower. At this point, you can decide to leave it simple or add leaves and more flowers. Mix it up and have fun!
To finish it off, add a safety pin and around of felted wool to the backside so it can be pinned on.
WRAP-UP
Did you have fun? I sure did! I wanted to keep crafting and crafting different versions. Now to gift them…woot!
I’d love to hear a sweet something out the dad in your life. Share a memory with us and let’s celebrate those awesome men in our lives.
Also, pin and share this upcycled necktie boutonniere tutorial to inspire others too.
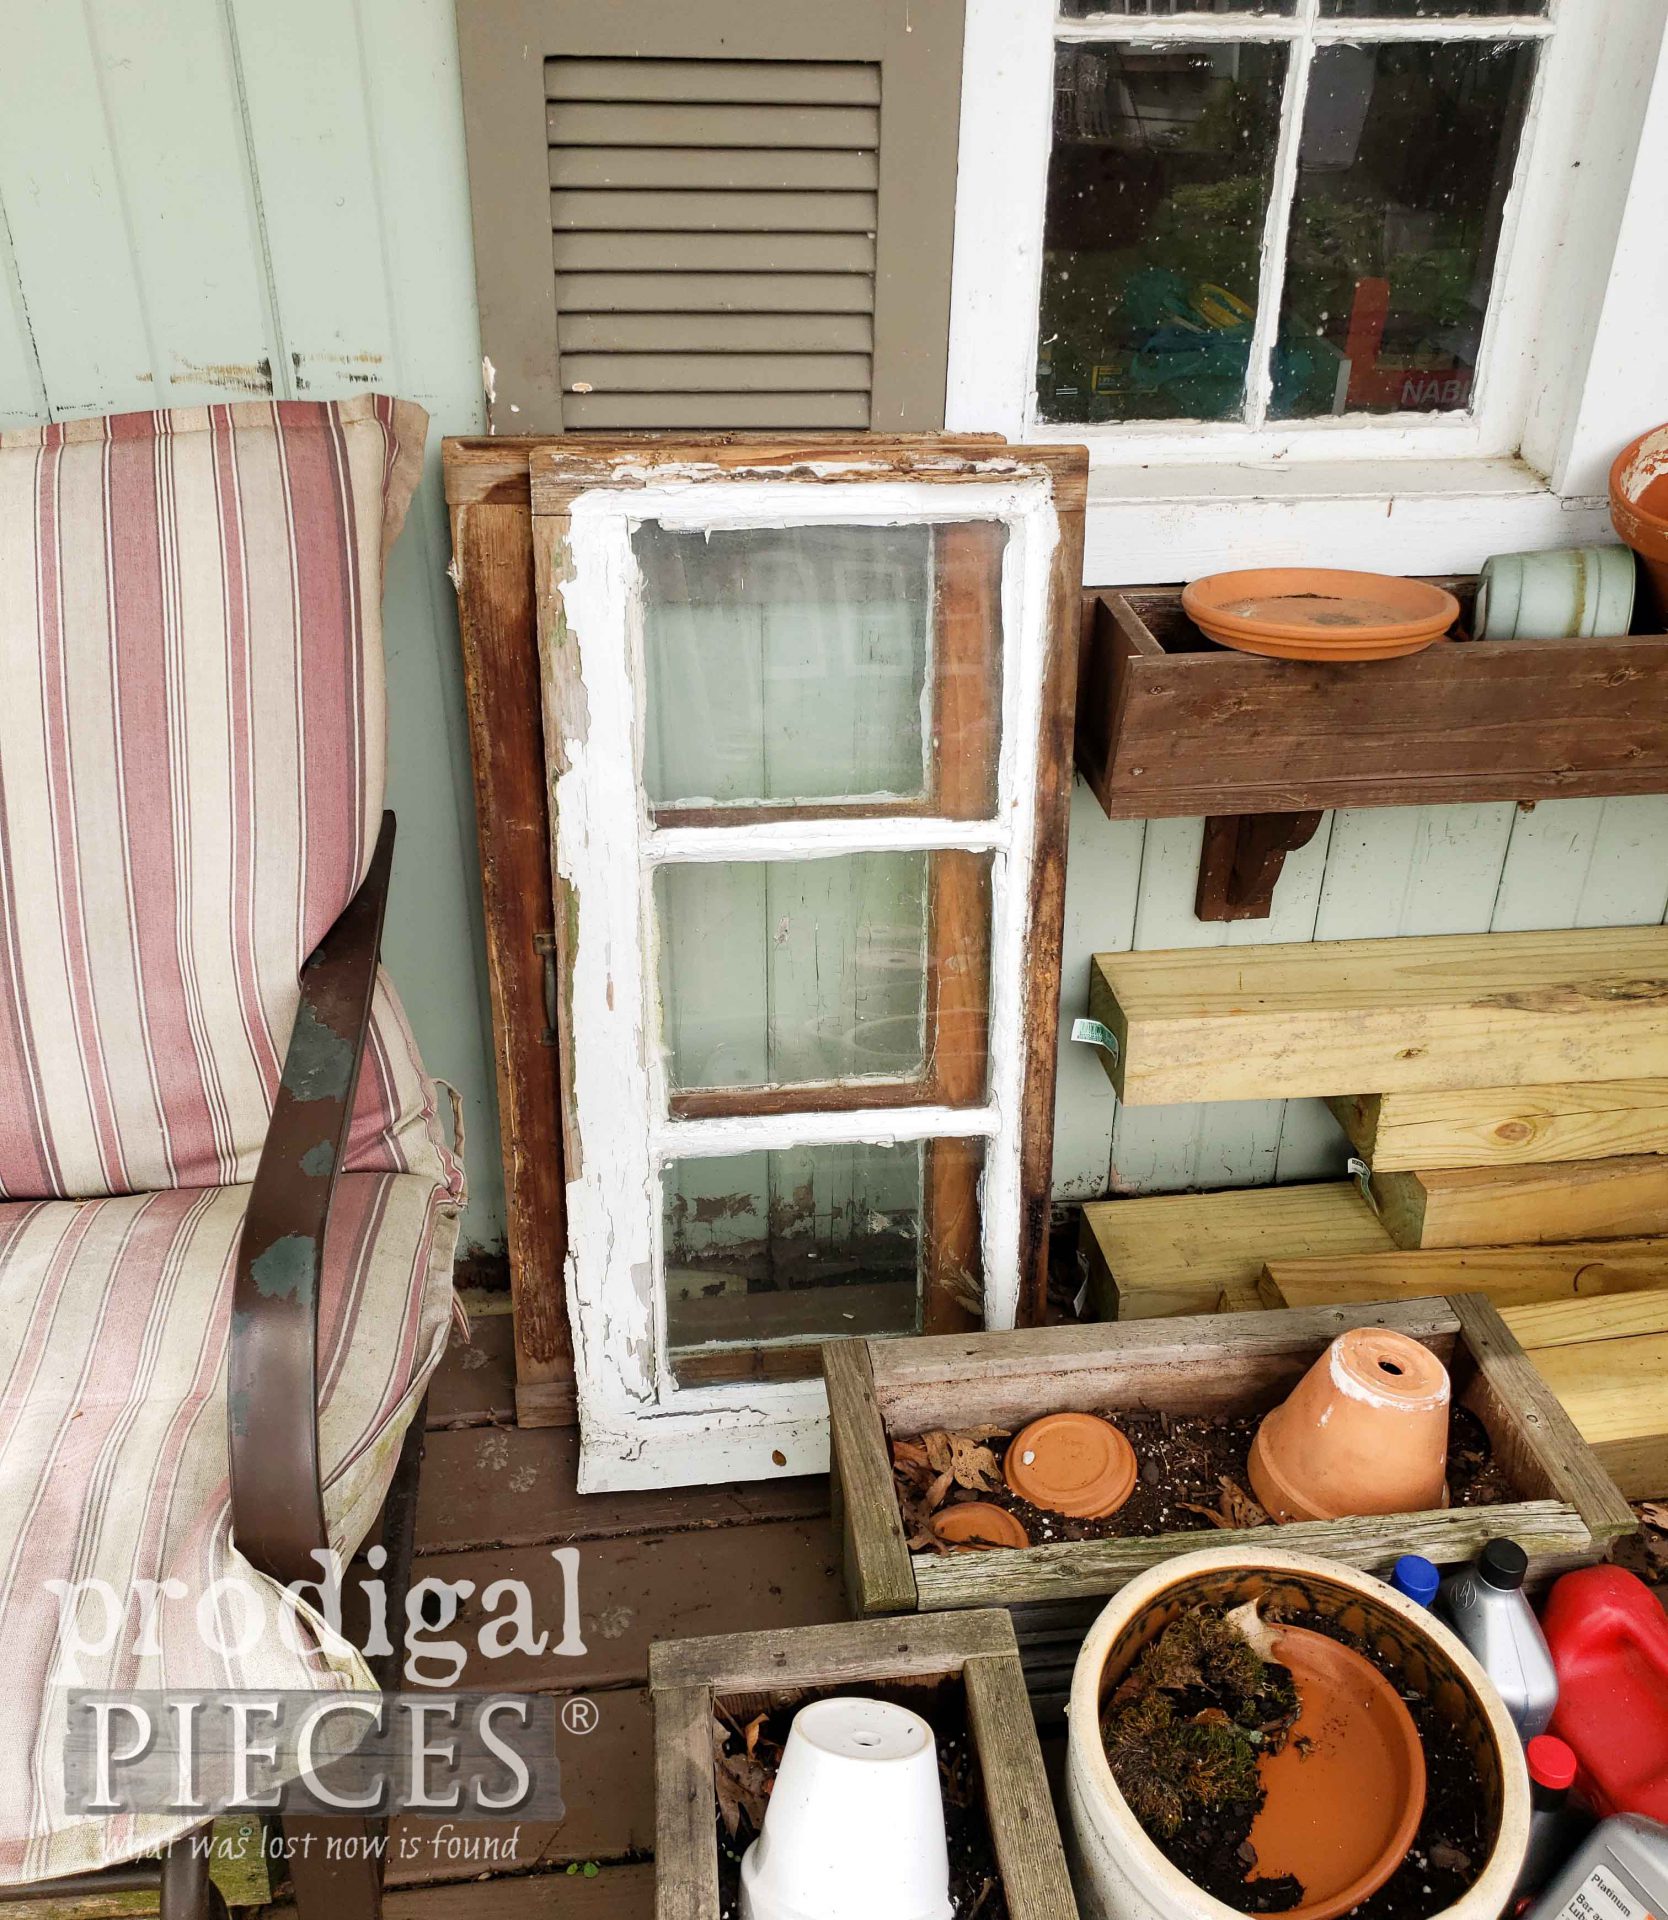
Up next, I’ll be giving my old shed windows a new purpose. See their new life HERE.
To get these DIY tips & tricks in your inbox, be sure to sign up for my newsletter. PLUS, you will get your FREE Furniture Buying Checklist and special discount to my shop. Until next time!




So cute!!! I love them….great video tutorial. Thanks so much.
Thank you, Mary. They’re surely addictive and fun to make. 😀
Larissa.
They are so cute and pretty,
Thank you..
Thank you. I had fun! 😀