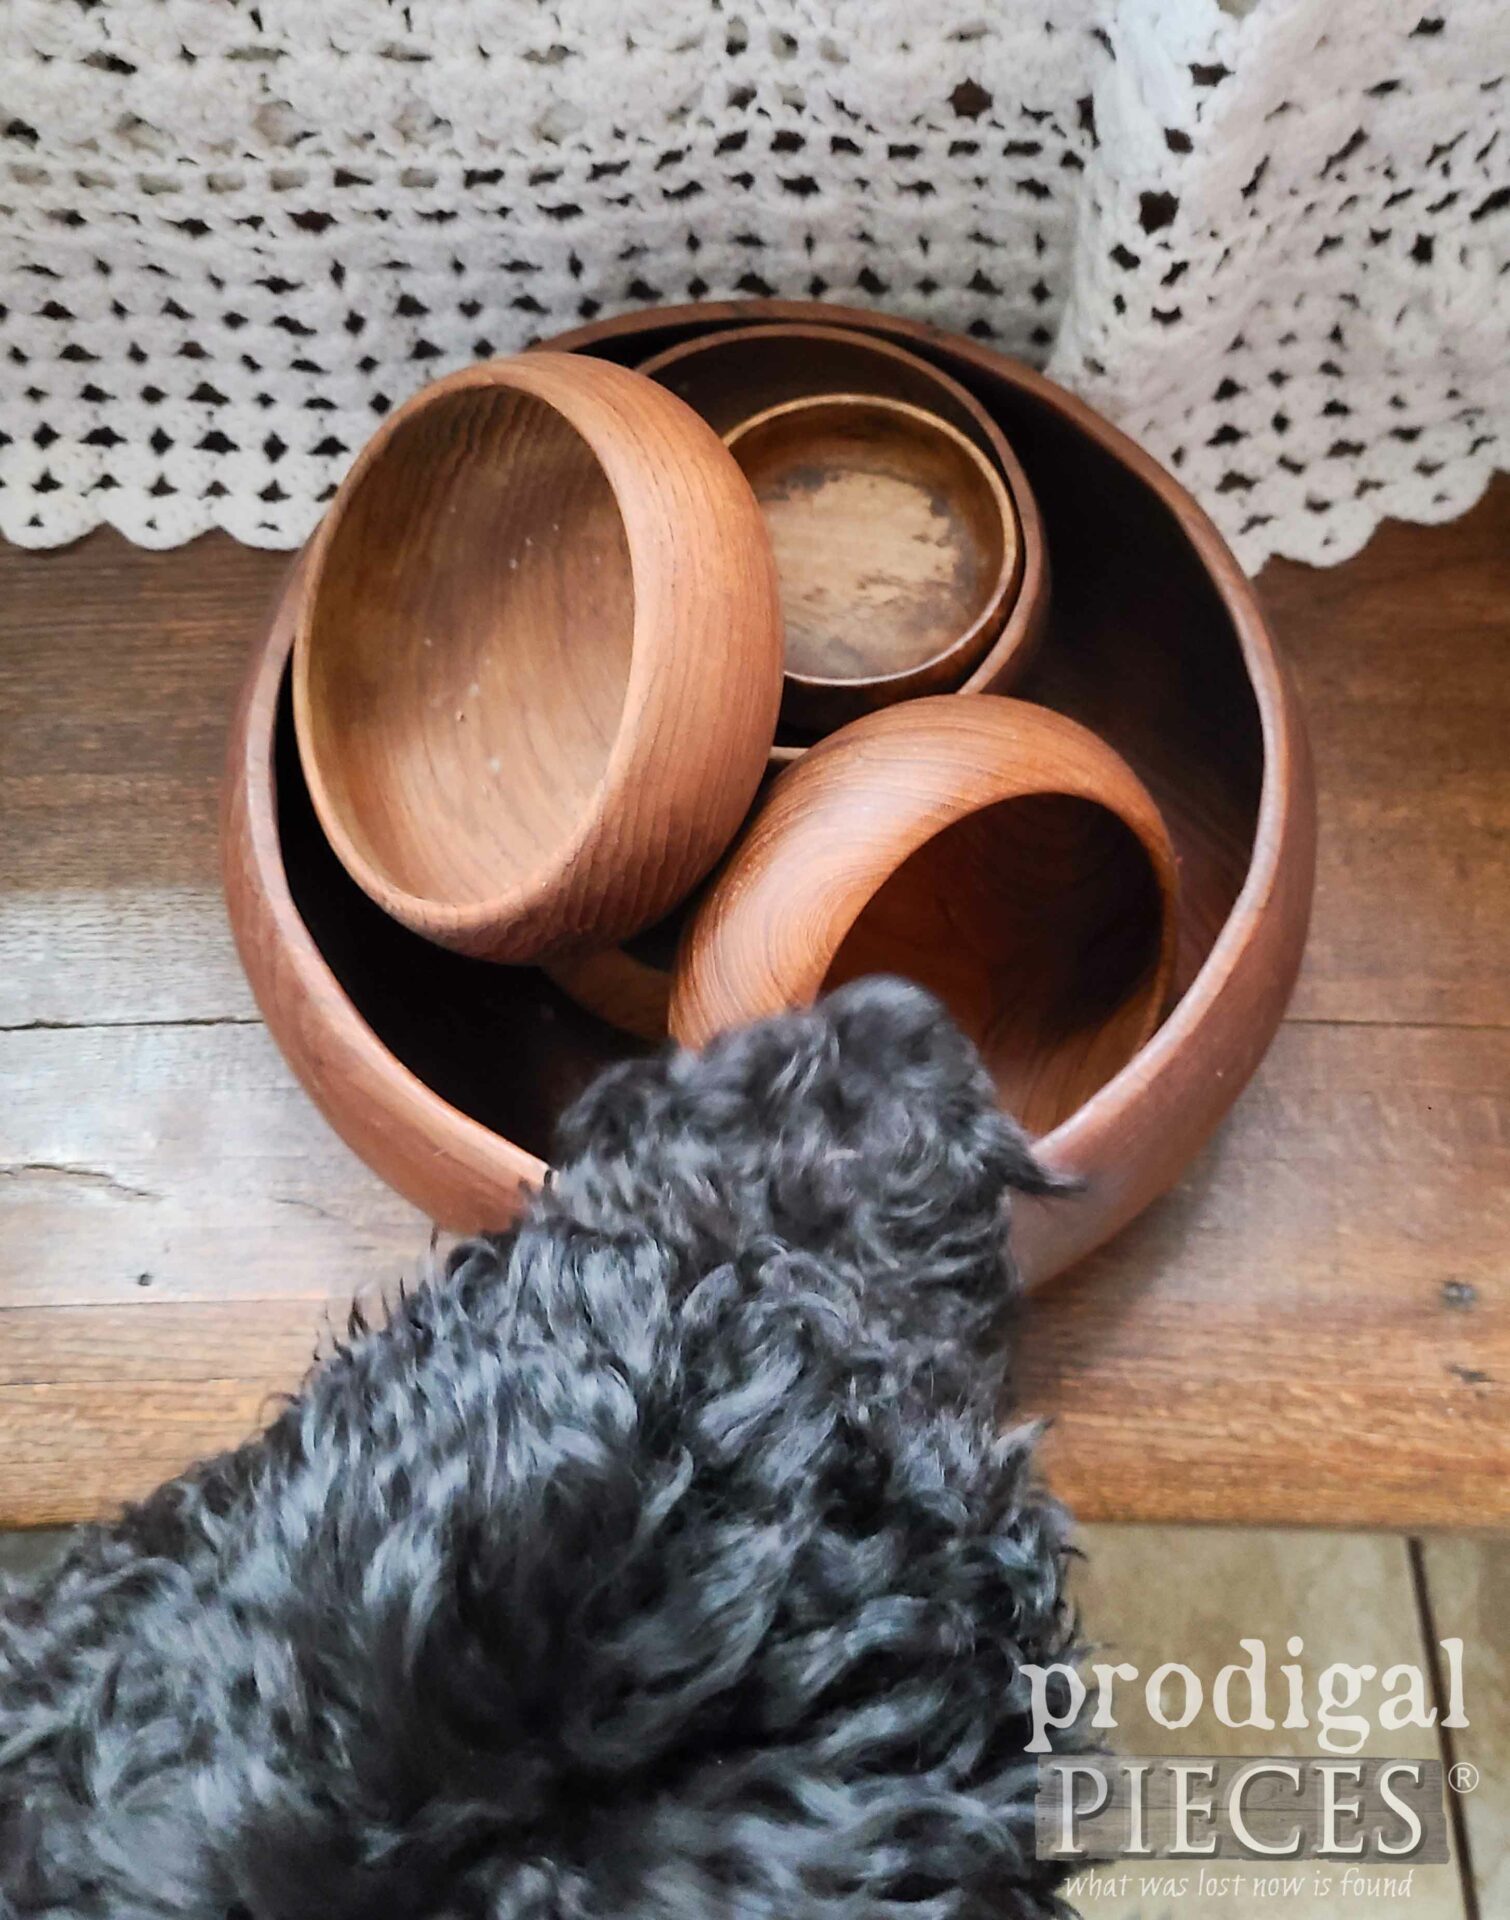
It’s funny how while in the middle of a season, our eyes gaze to the next – maybe wishing for it to come sooner or wishing the current one to last longer. Savoring is a blessing not matter what season we are in…even in life. I won’t deny I’ve been on both sides of the coin and try to focus on savoring and giving praise for blessings. (may I just say I crave sun?! tee hee) Today, I’m giving praise for folks’ unwanteds. Yes, kinda loopy, yes, but it’s true! What would I do without them? If you want to see what these upcycled salad bowls become something more, hang around for some fun! Even Loula has interest in this one.
The minute I set the bowls down, she stuck her nose in and claimed her prize. You see, I’ve upcycled salad bowls before. However, last time, they became holiday decor instead.
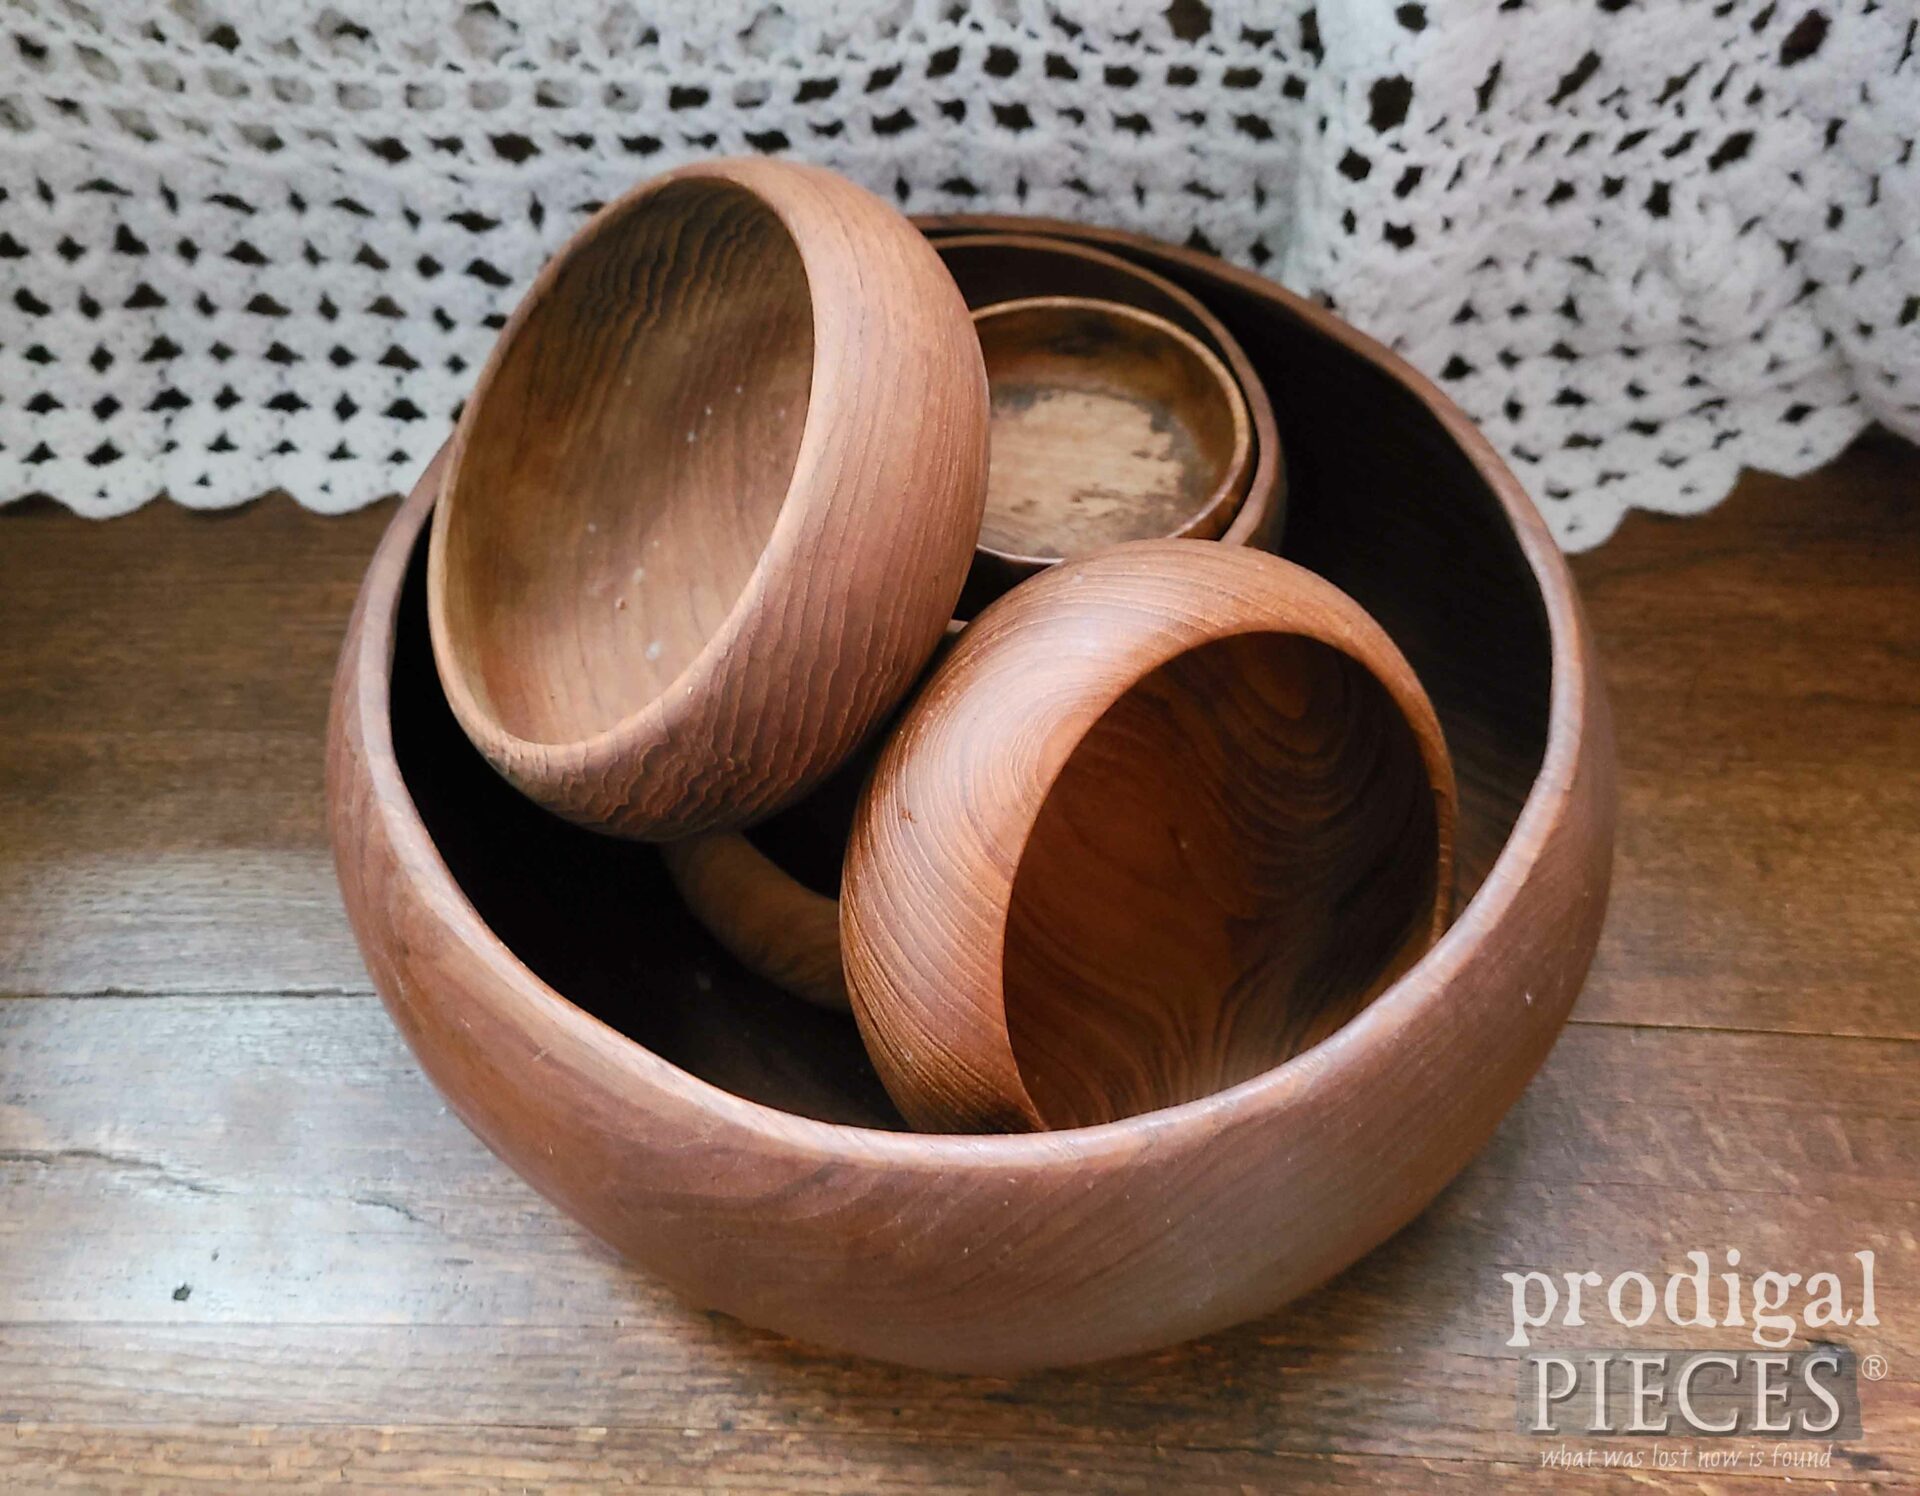
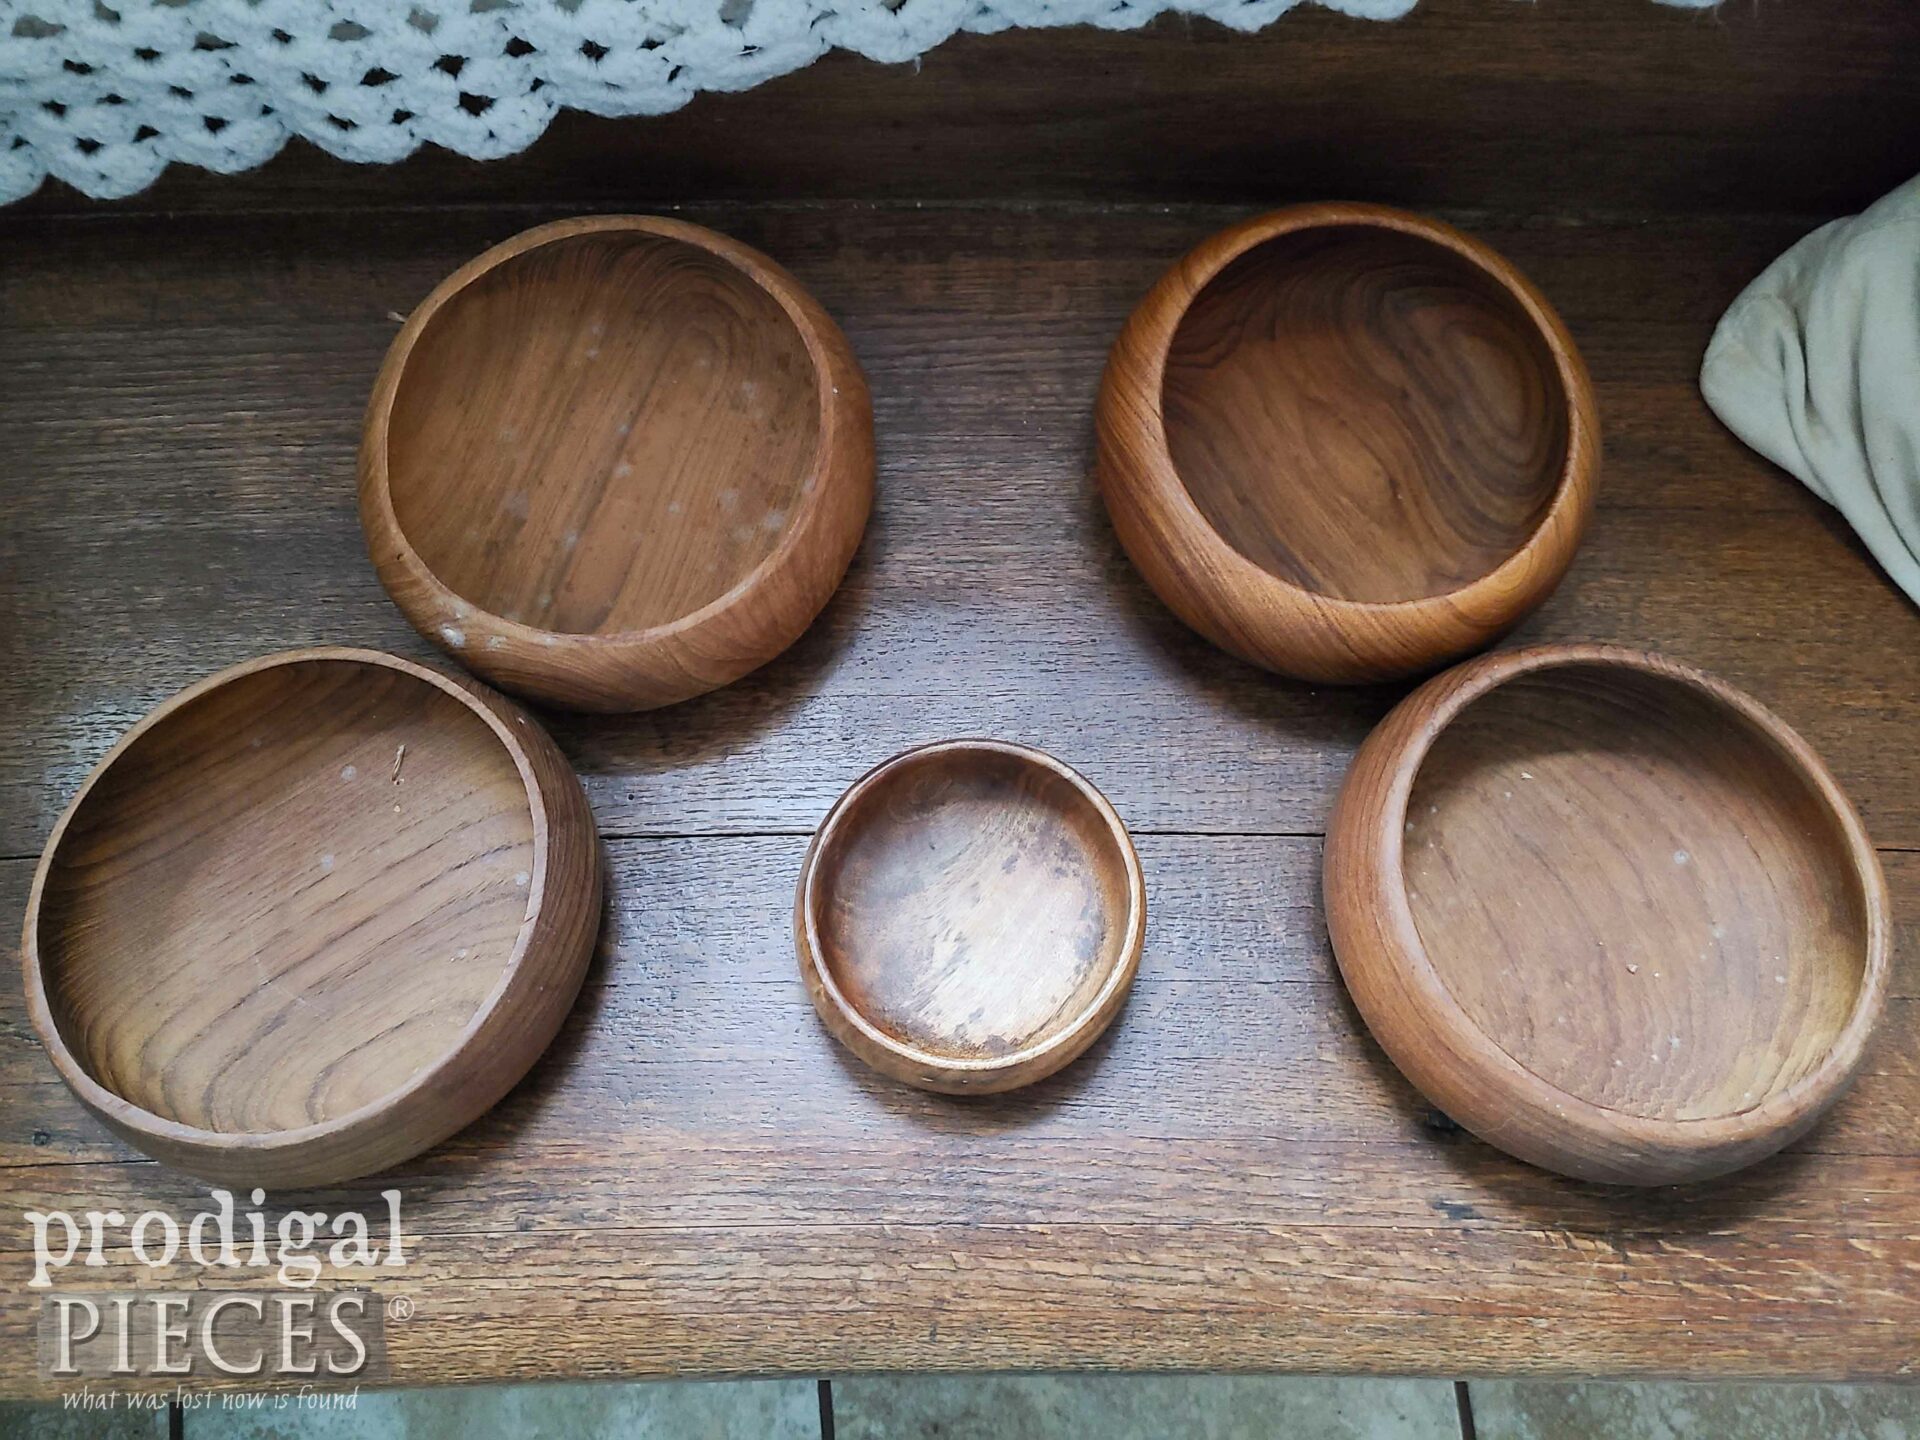
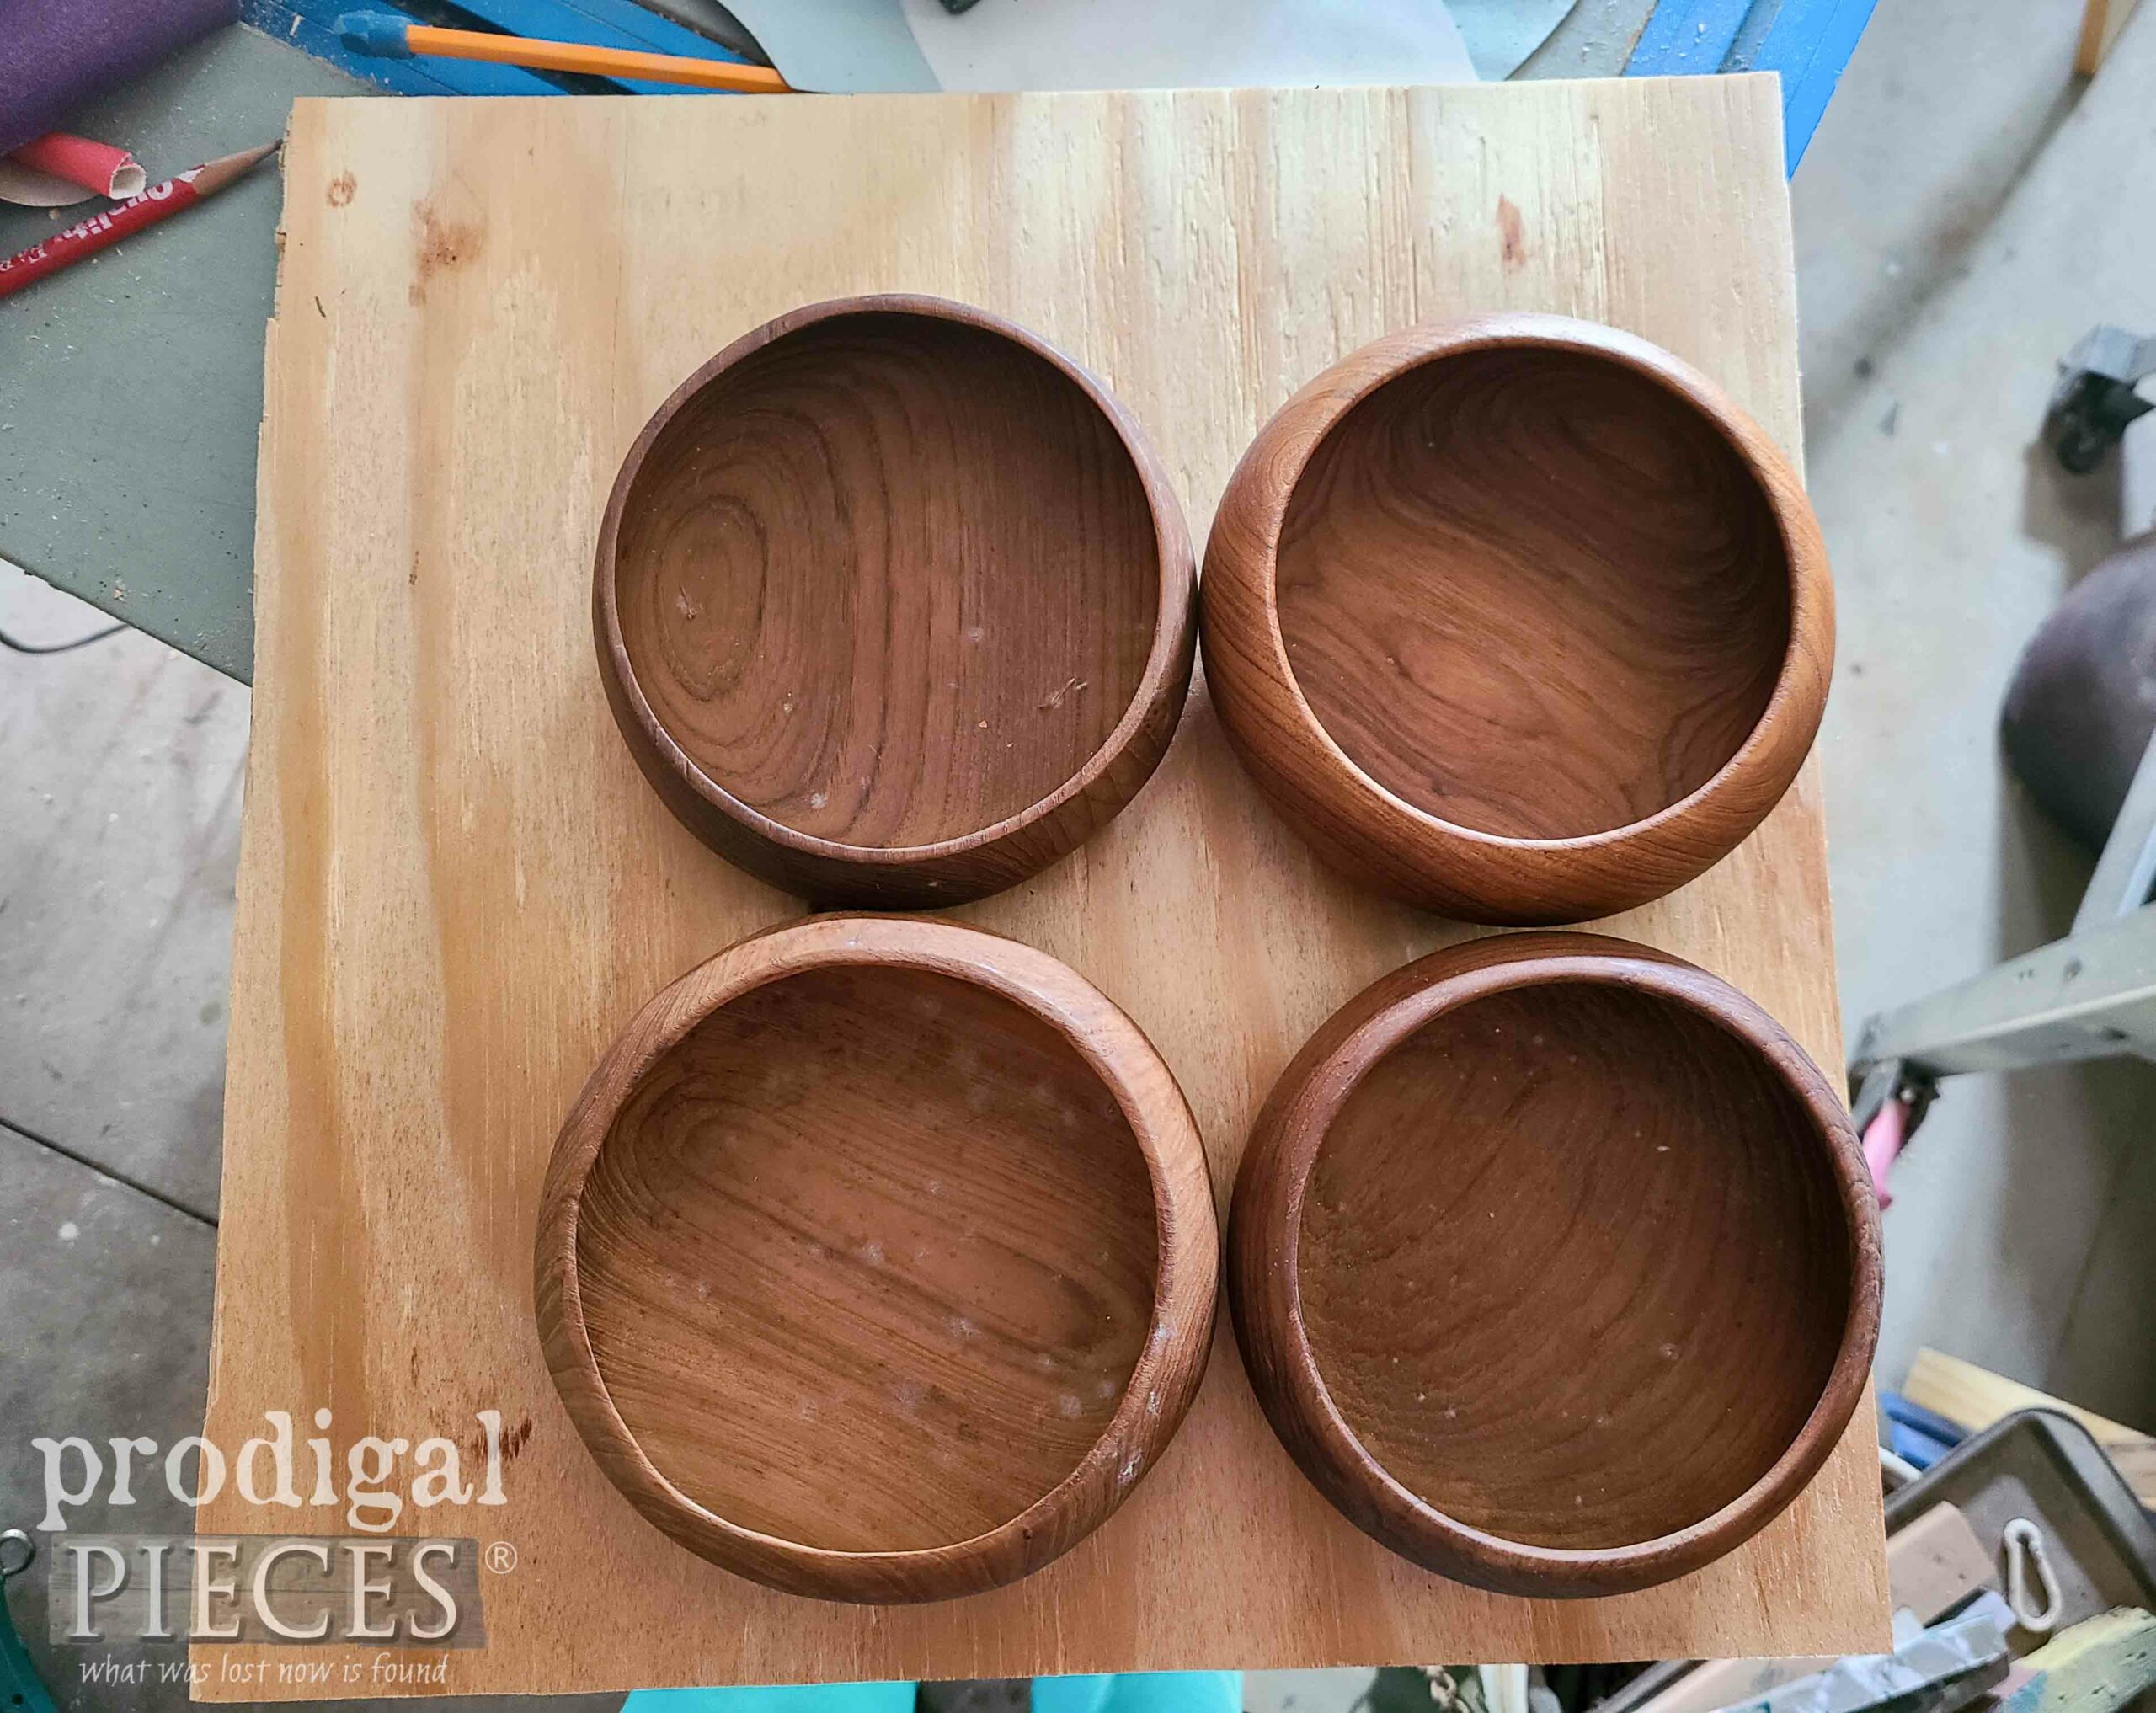
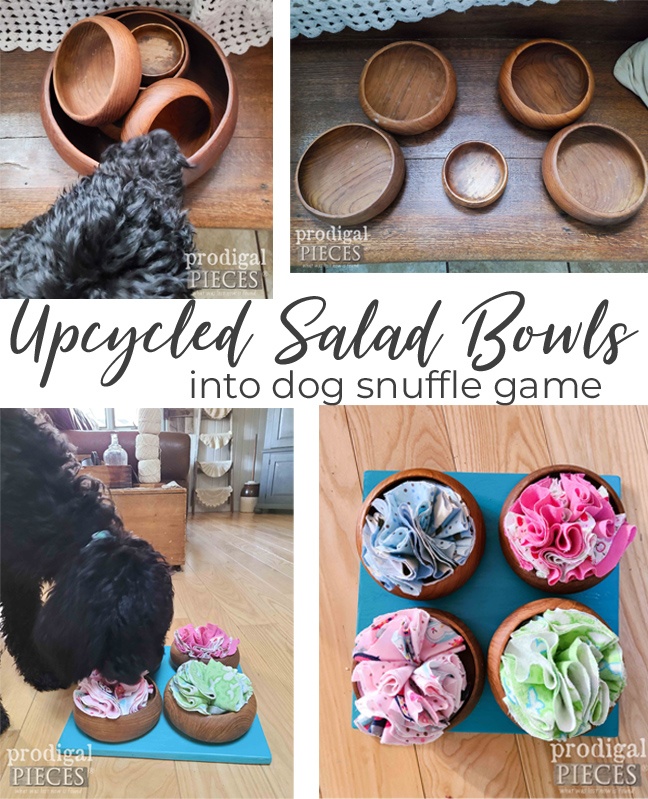
Let’s take a closer look, shall we? First, I have one large mixed with four salad size bowls, and one mini bowl.
There are many ways to go with this, but for today, I’m focusing on two projects in particular.
LET’S CREATE
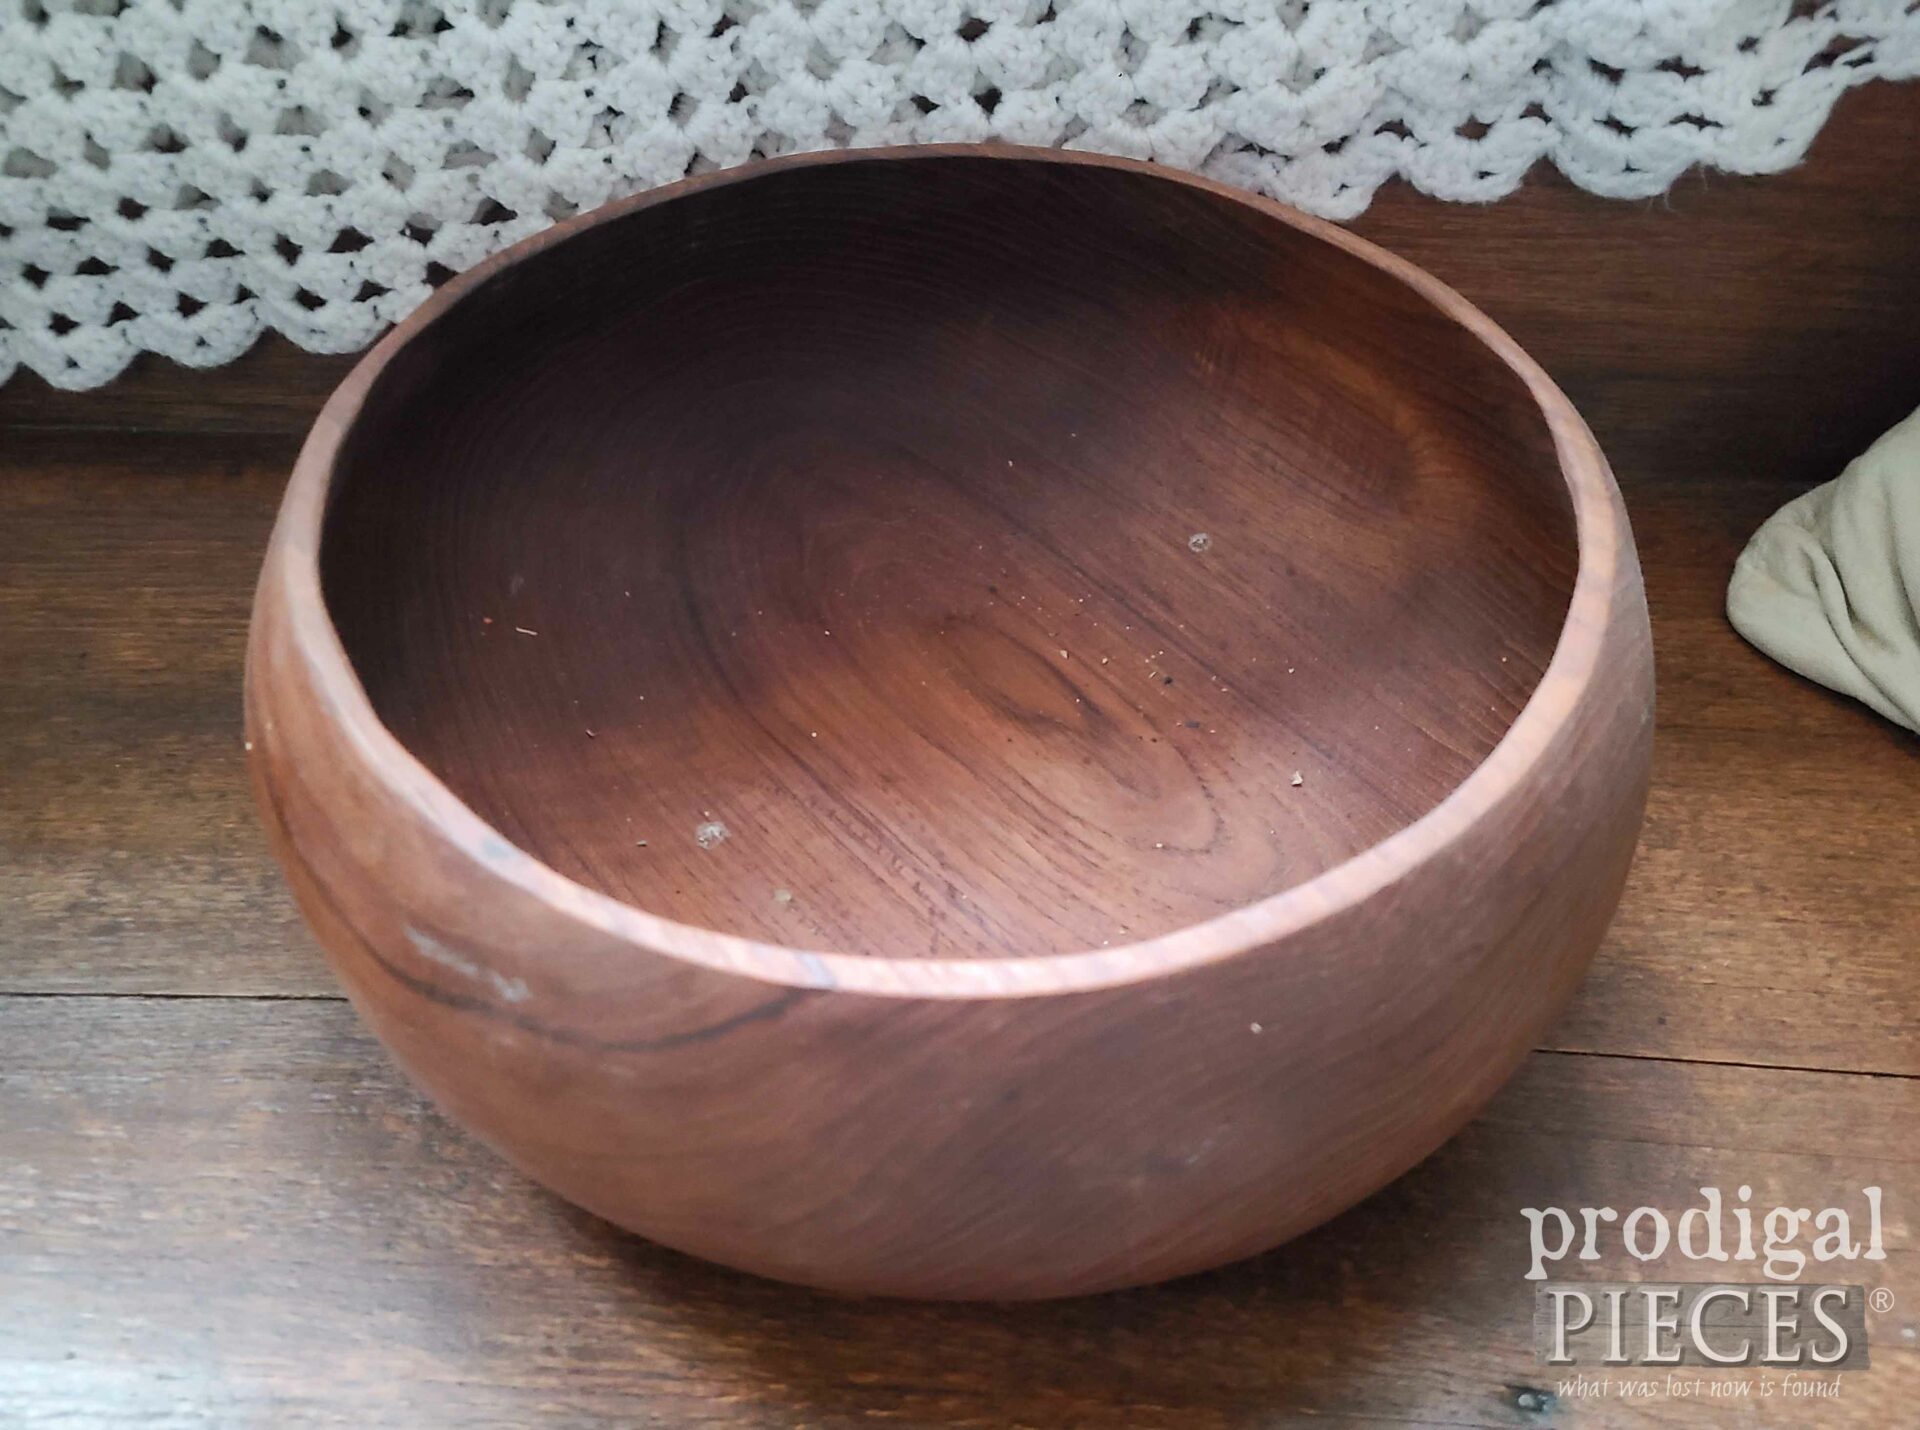
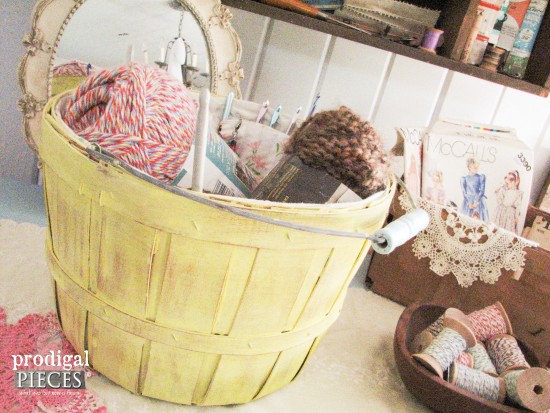
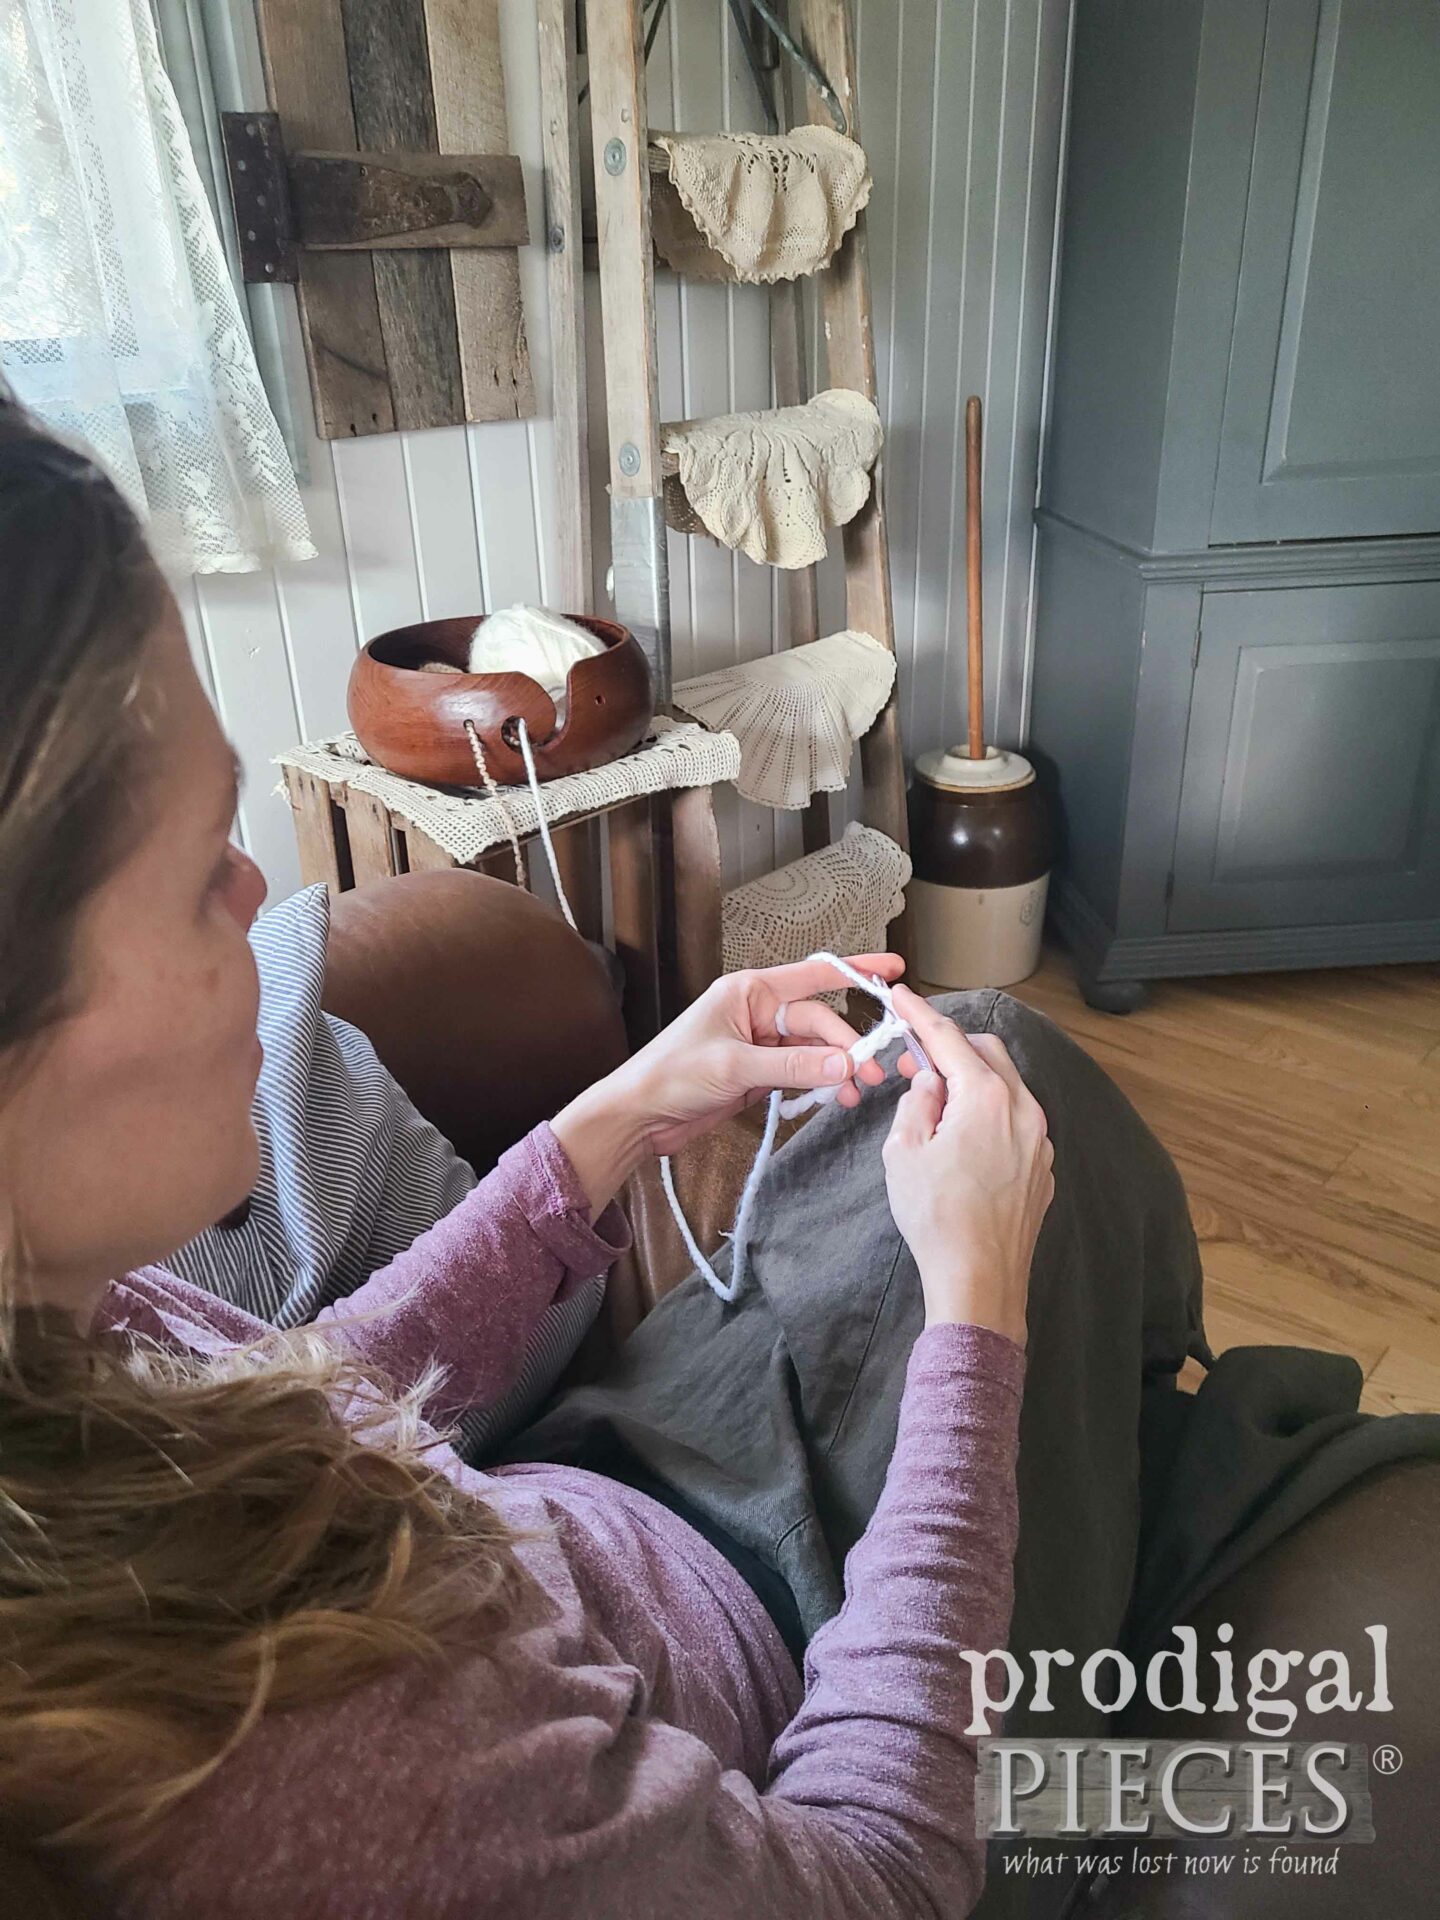
First, the large bowl is gorgeous. Solid and the perfect shape for a yarn bowl. Yes, this hooker (of the crochet kind) sees potential for my yarn while I work. In the past, I’ve spent time making my own supplies for my hooking pleasures using a half-bushel basket.
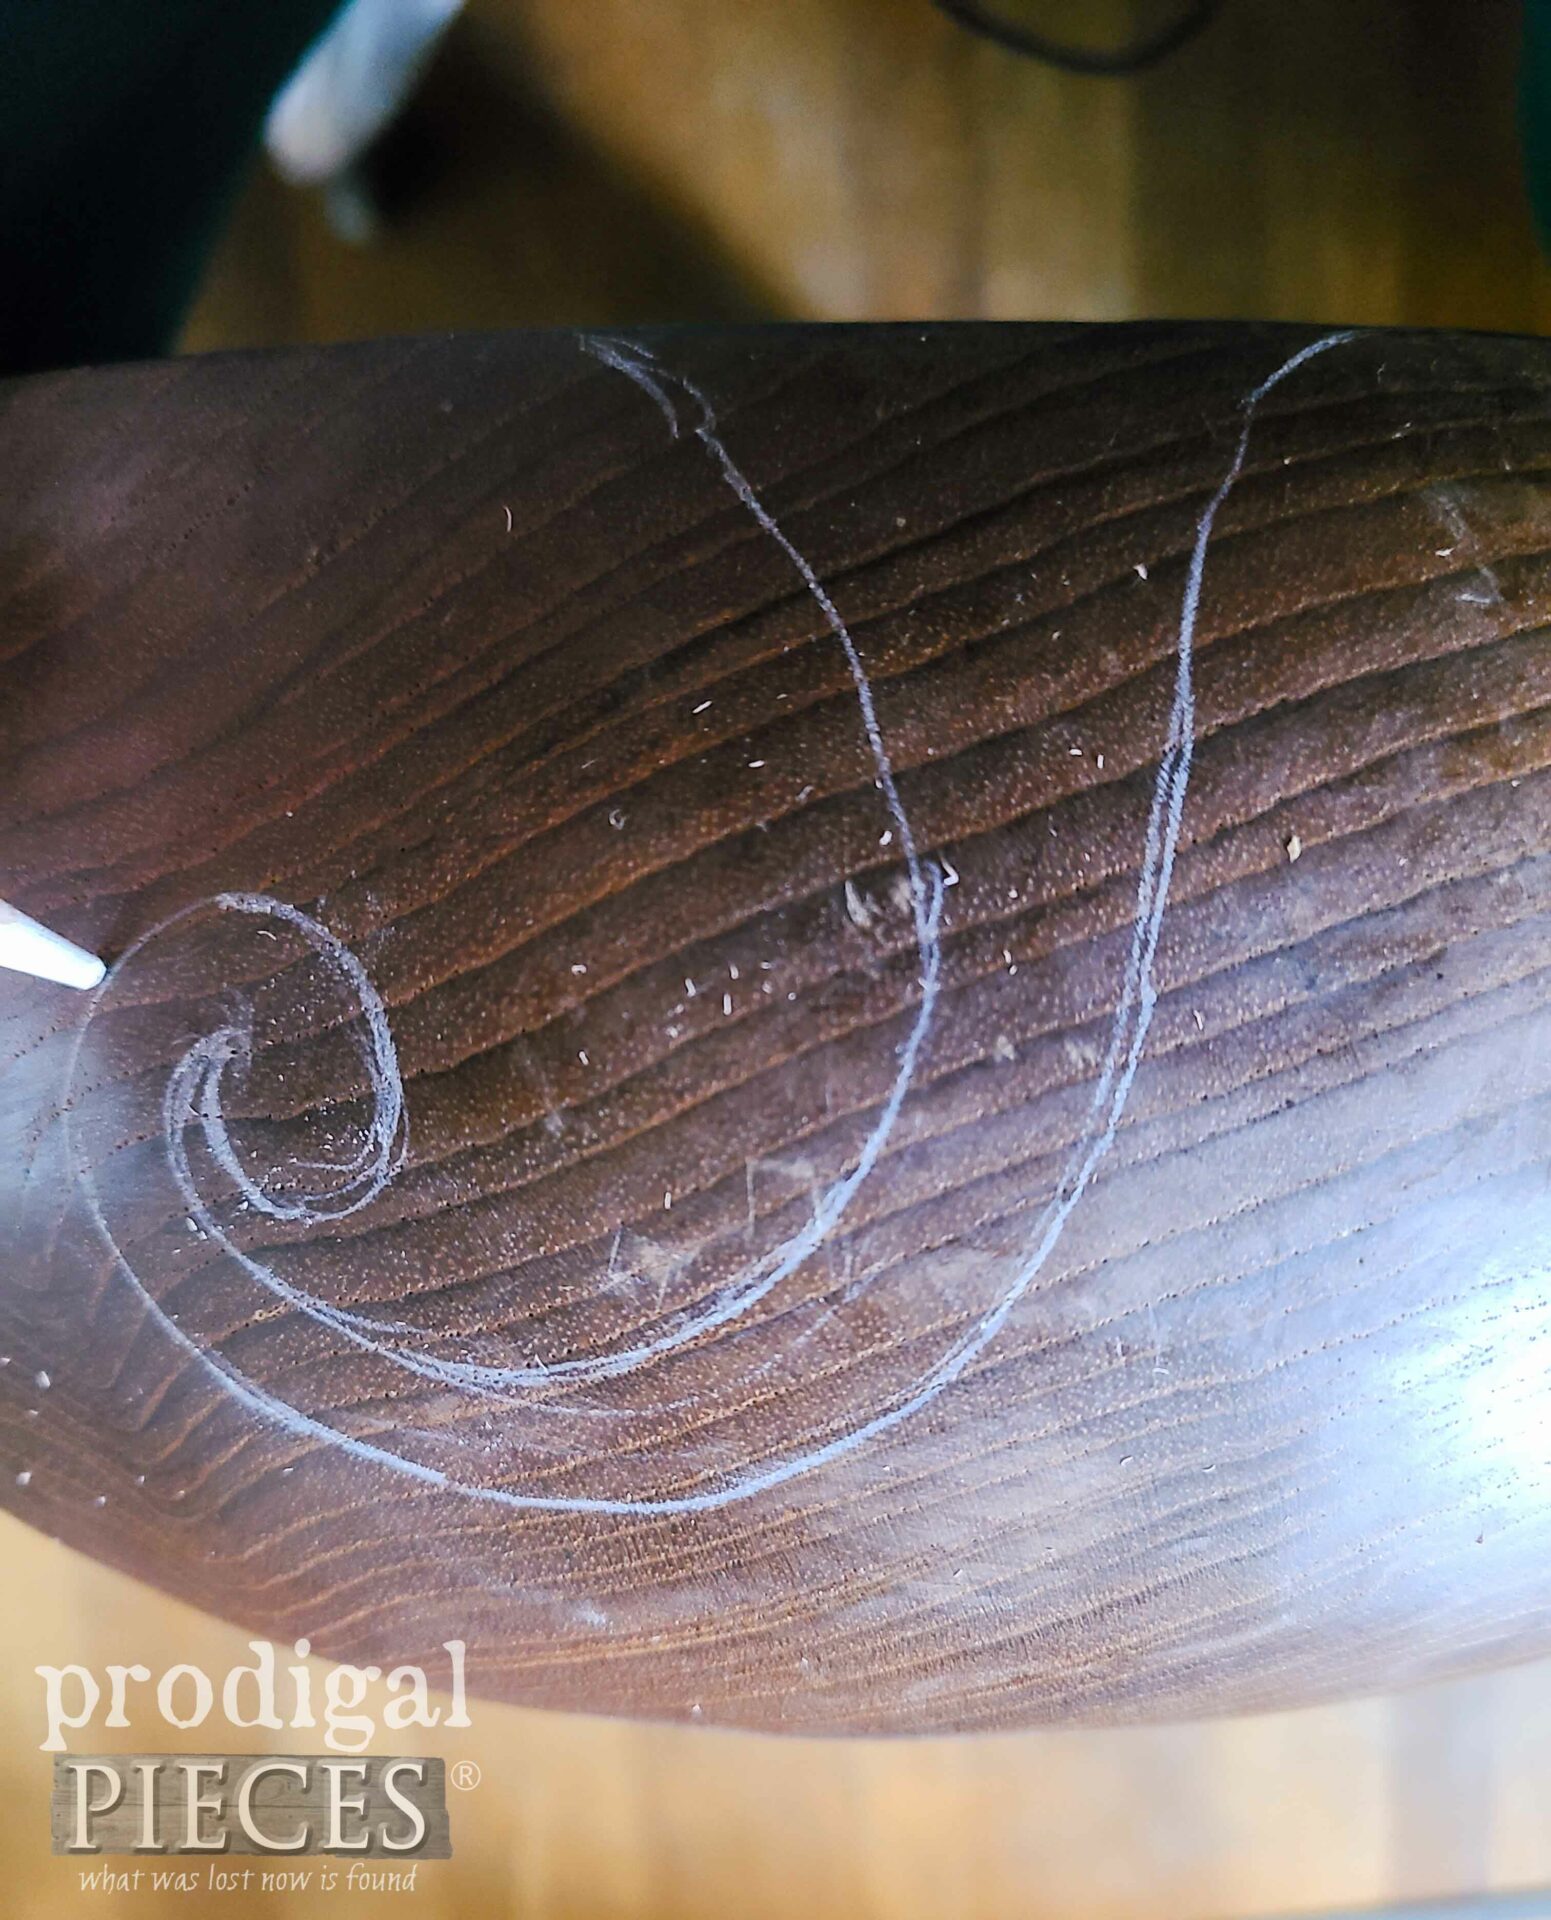
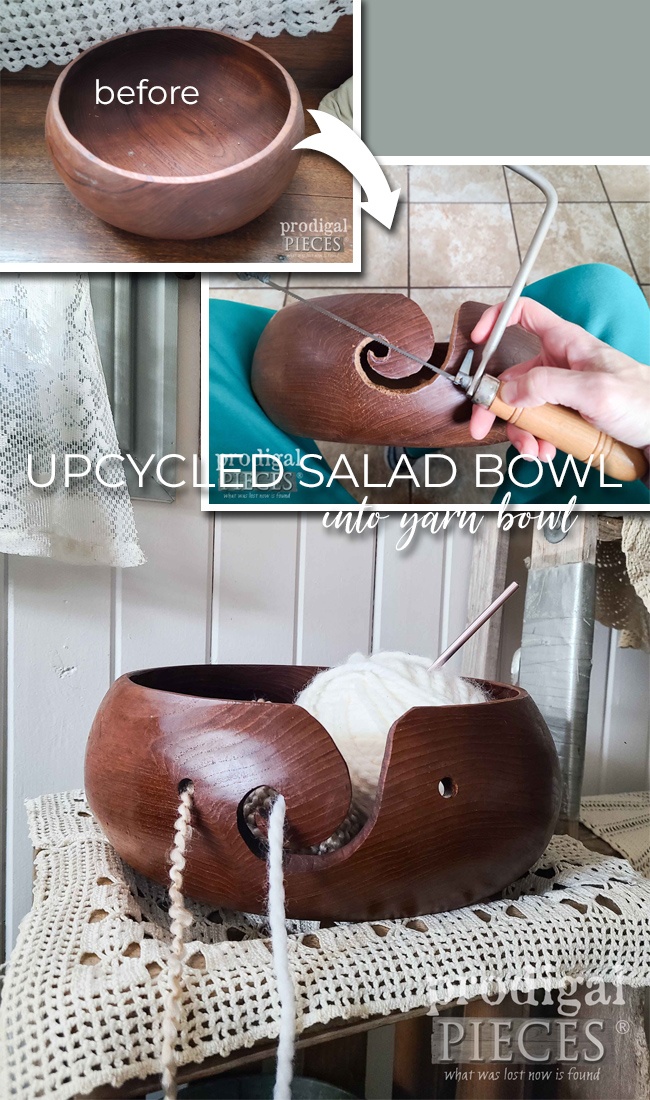
So, how does one create a yarn bowl from an upcycled salad bowl? I simply draw on my design using a white colored pencil first.
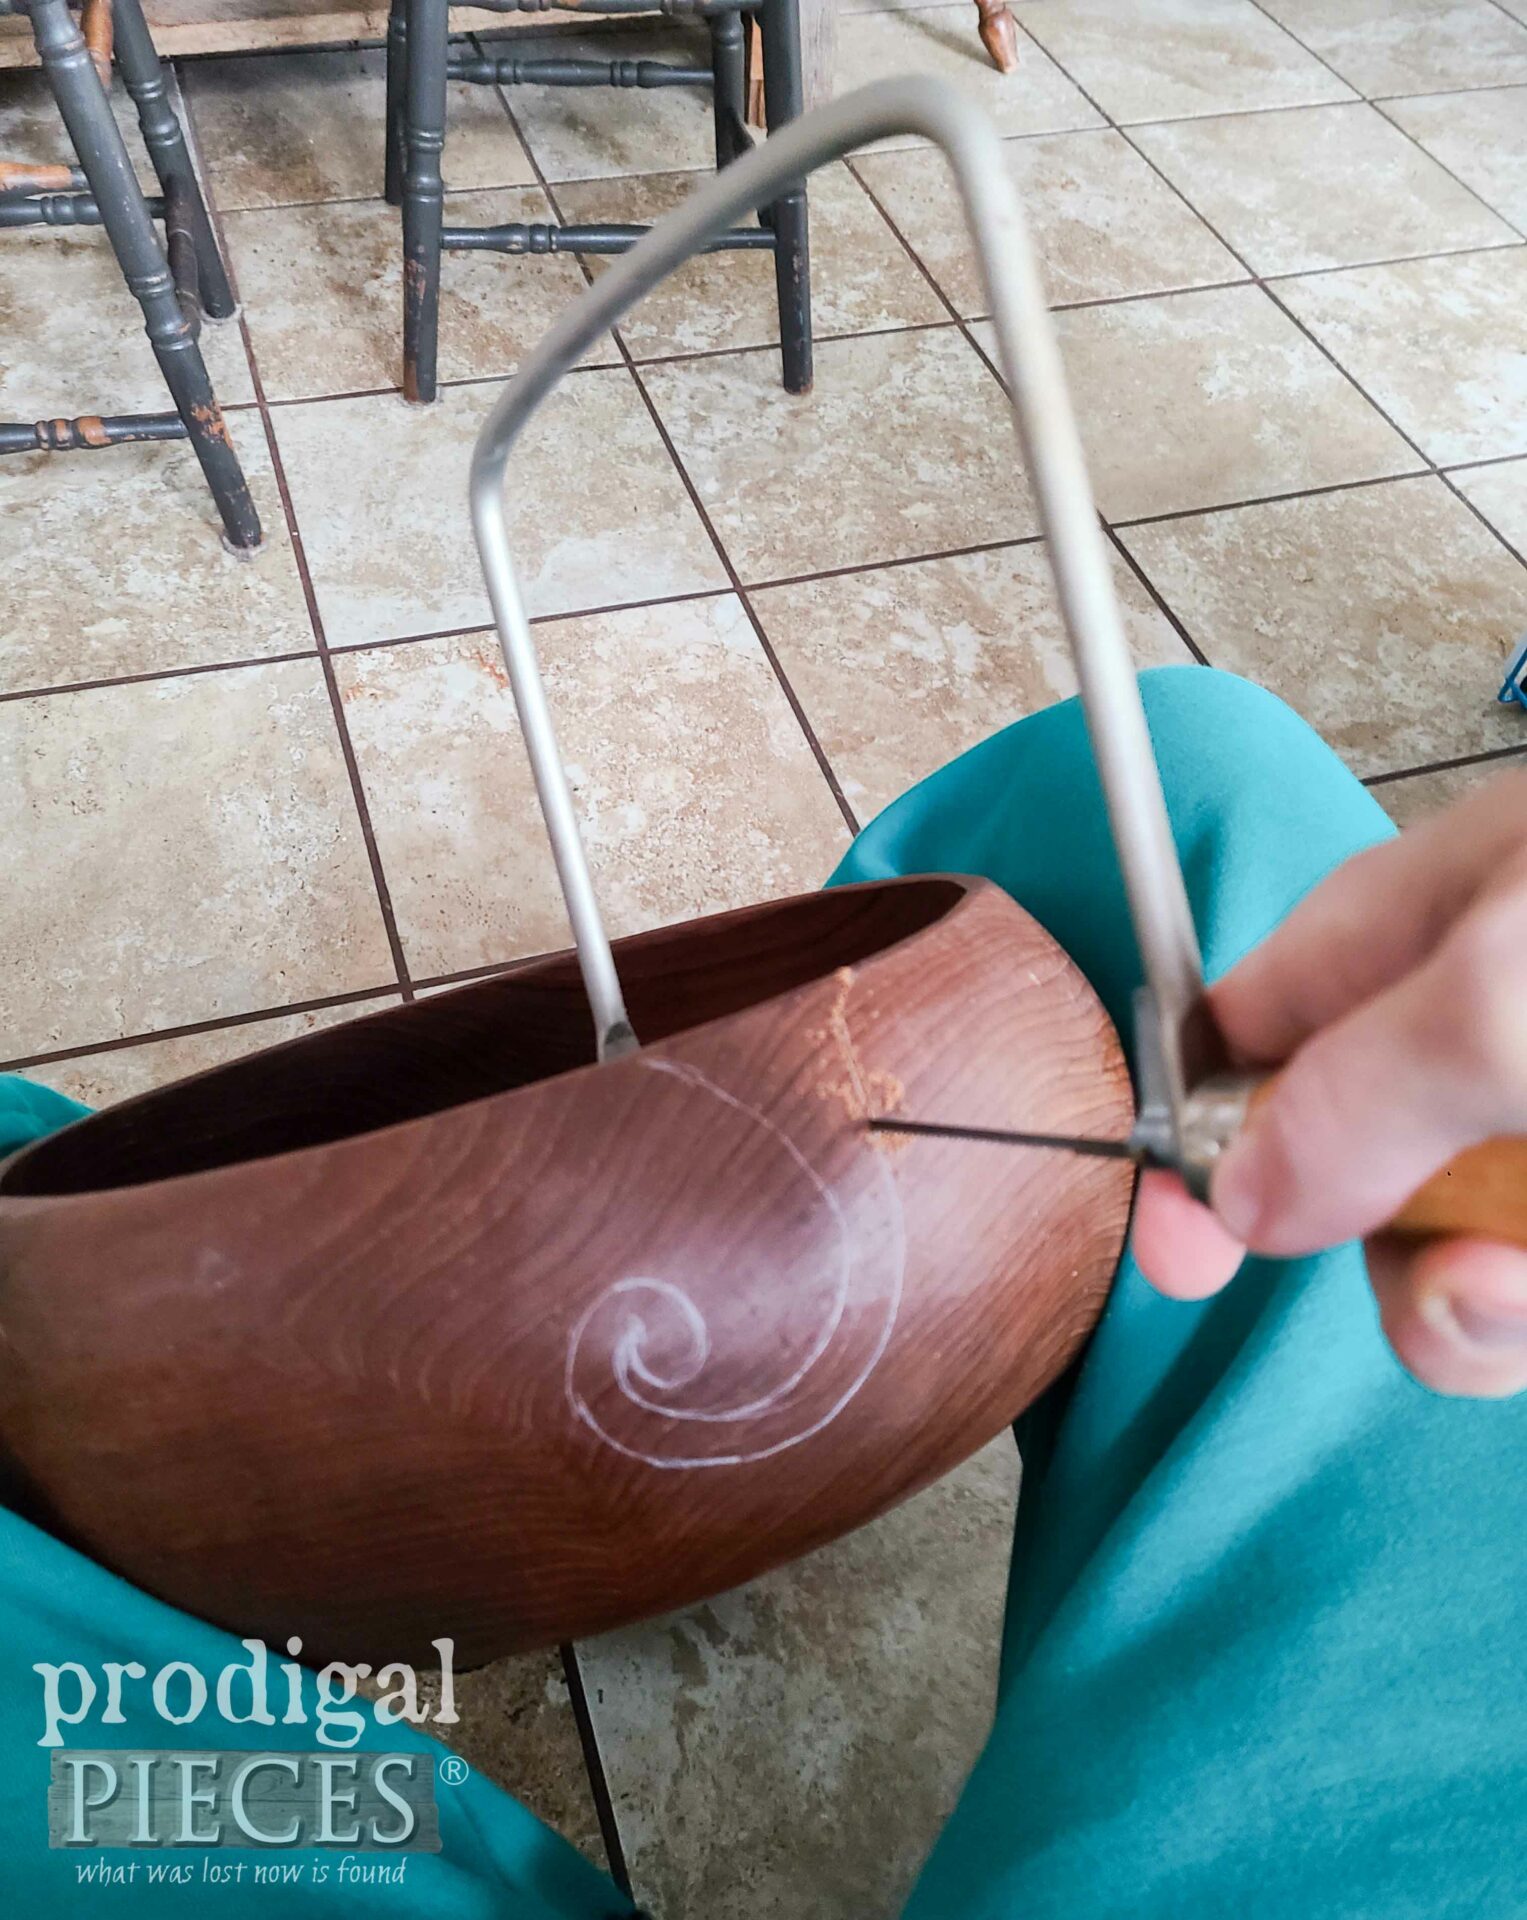
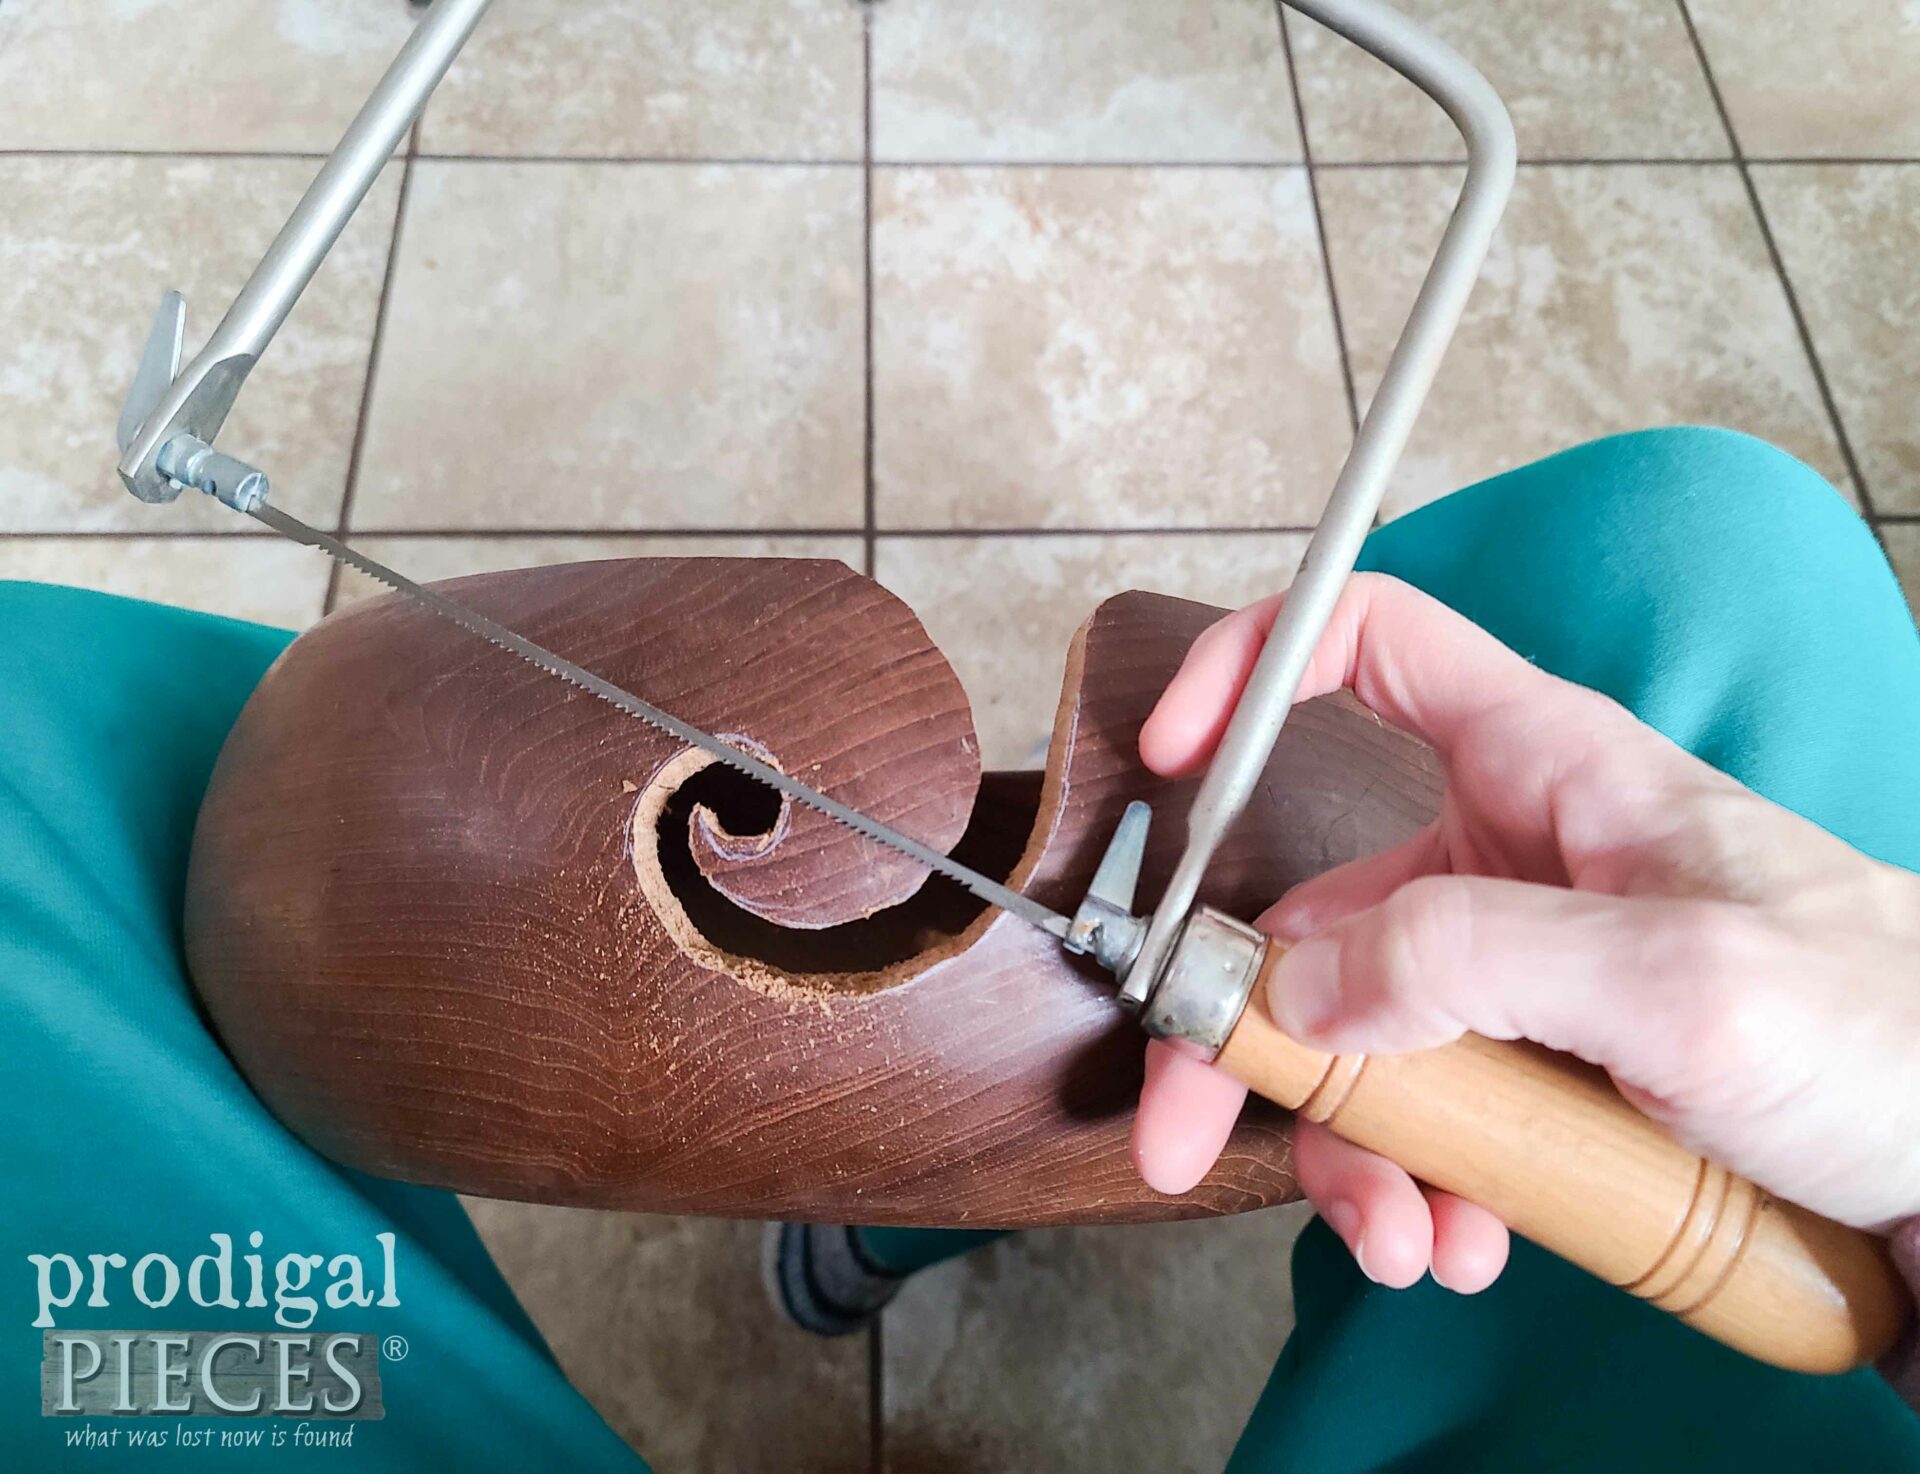
Then, I use my coping saw to cut the details out. It’s a must-have! If you have yet to try one, it’s a super-affordable saw that allows you to make intricate and curved cuts as the blade adjusts to any angle.
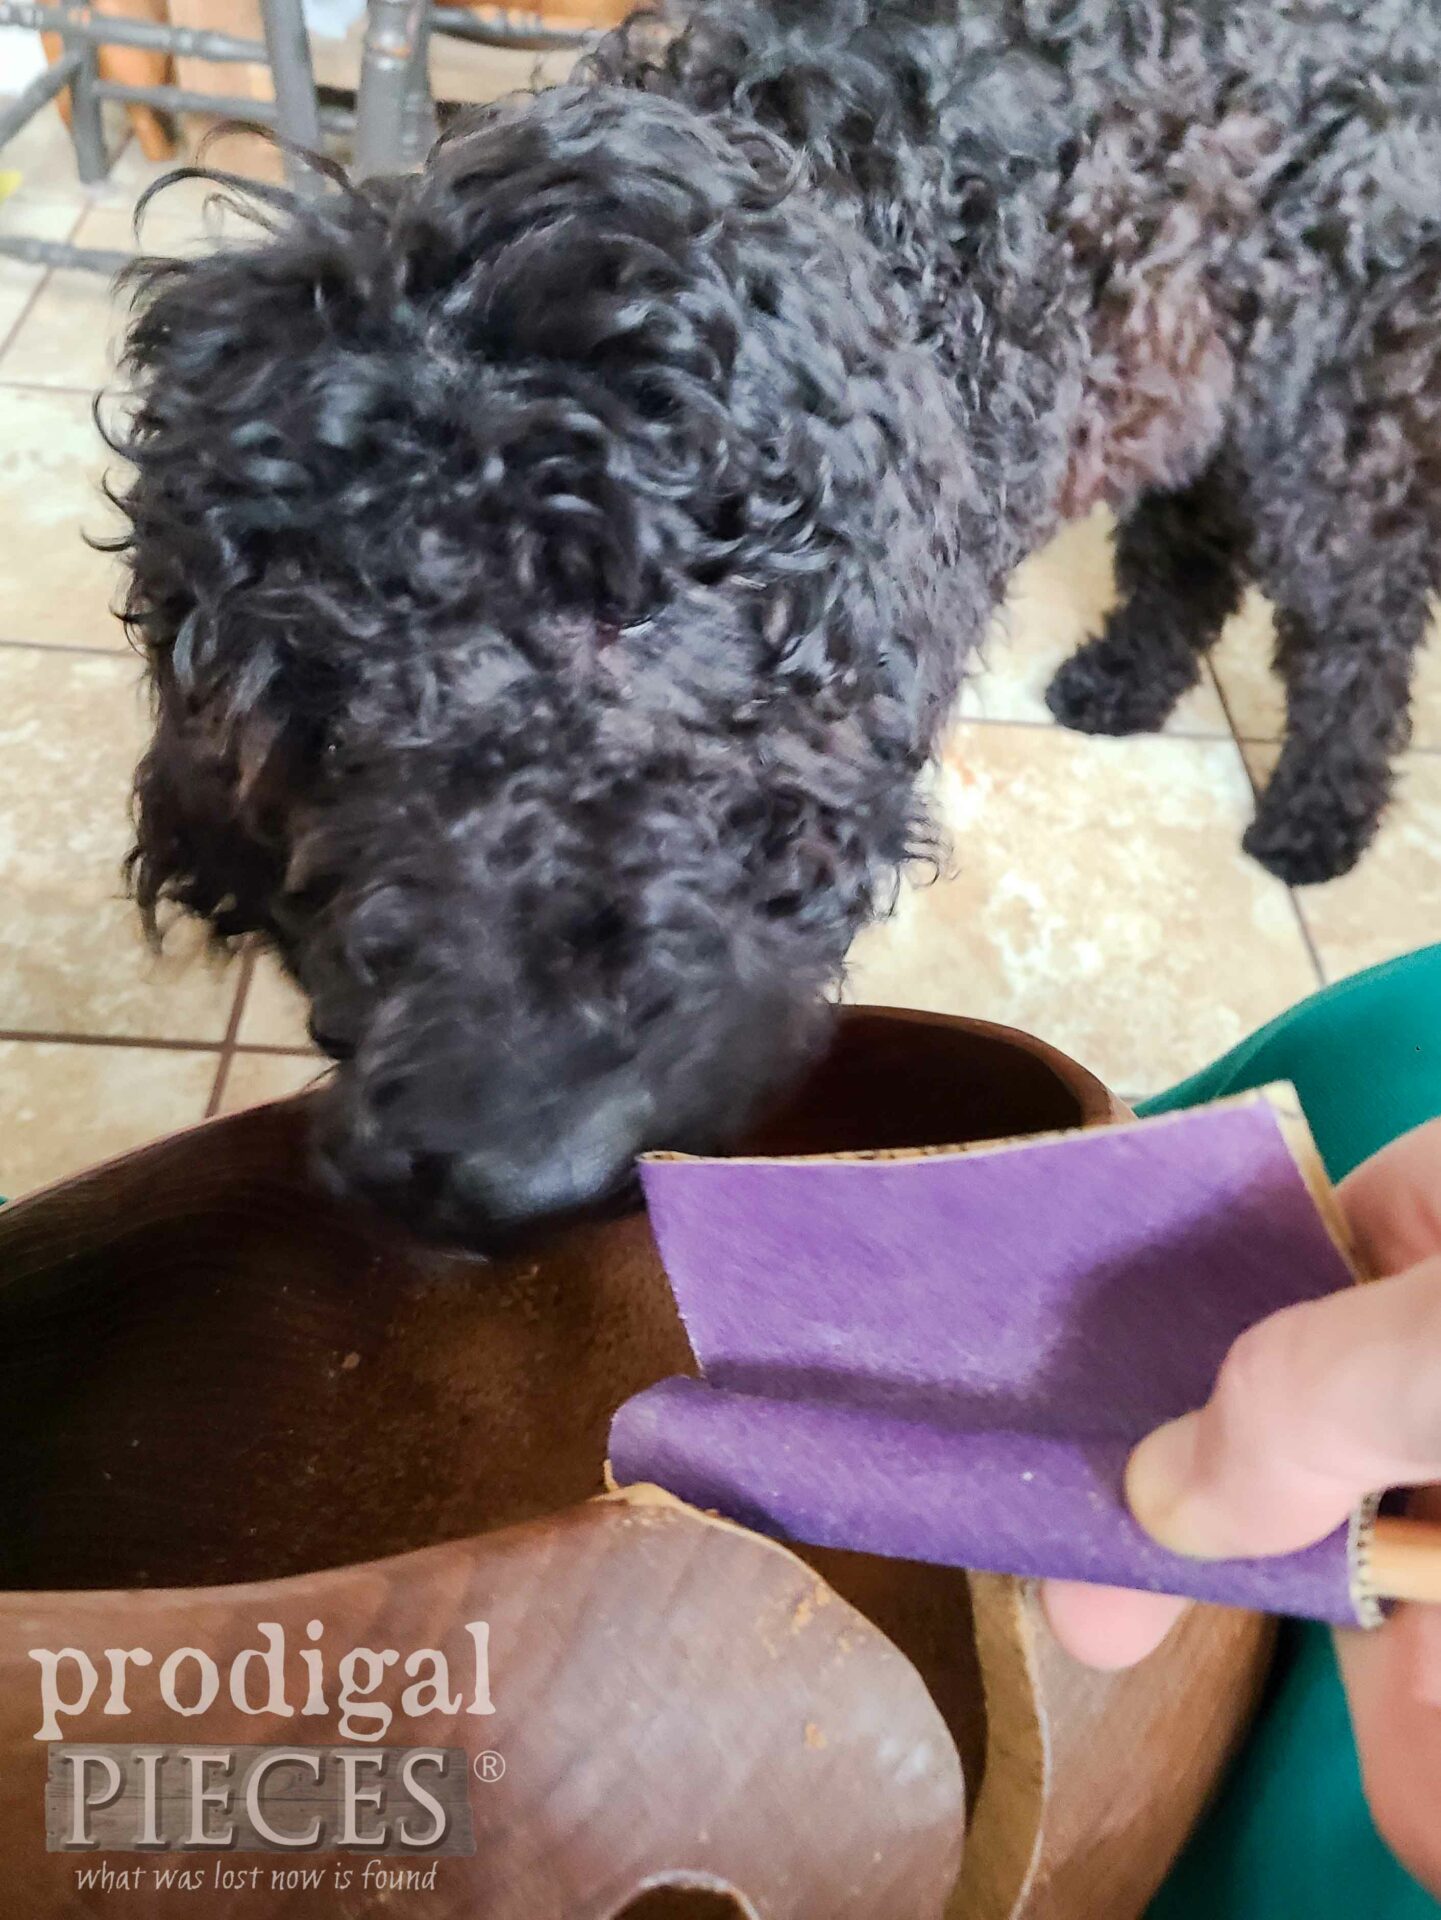
Next, once I have it cut, I simply sand it down by wrapping a dowel with sandpaper. Last, I refresh the wood with natural hemp oil. Notice who’s keeping tabs on my work. What a cute floof!
DIY YARN BOWL
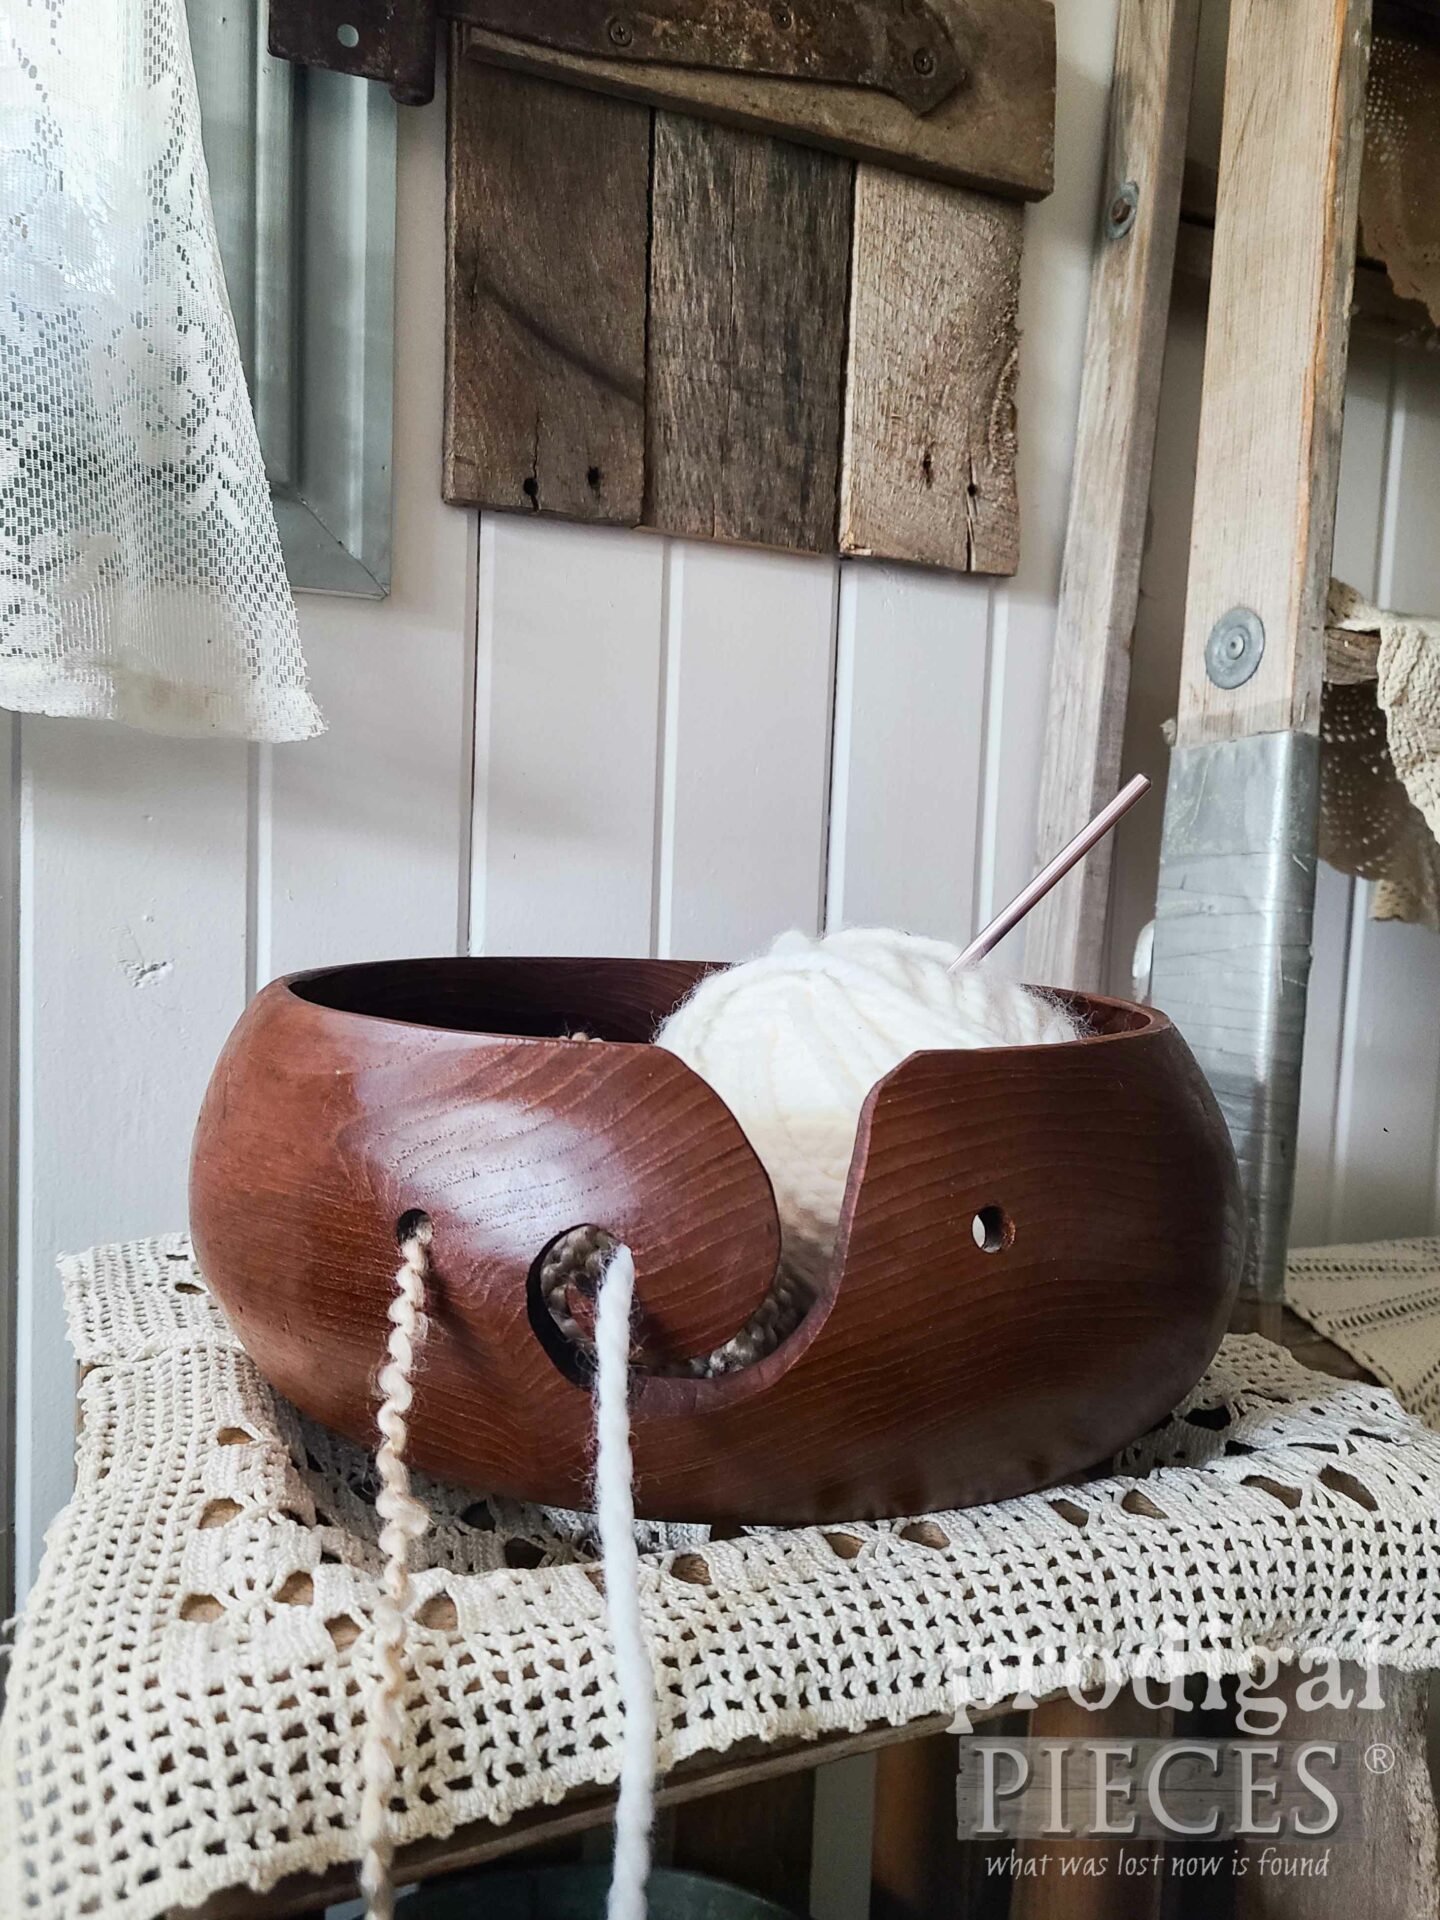
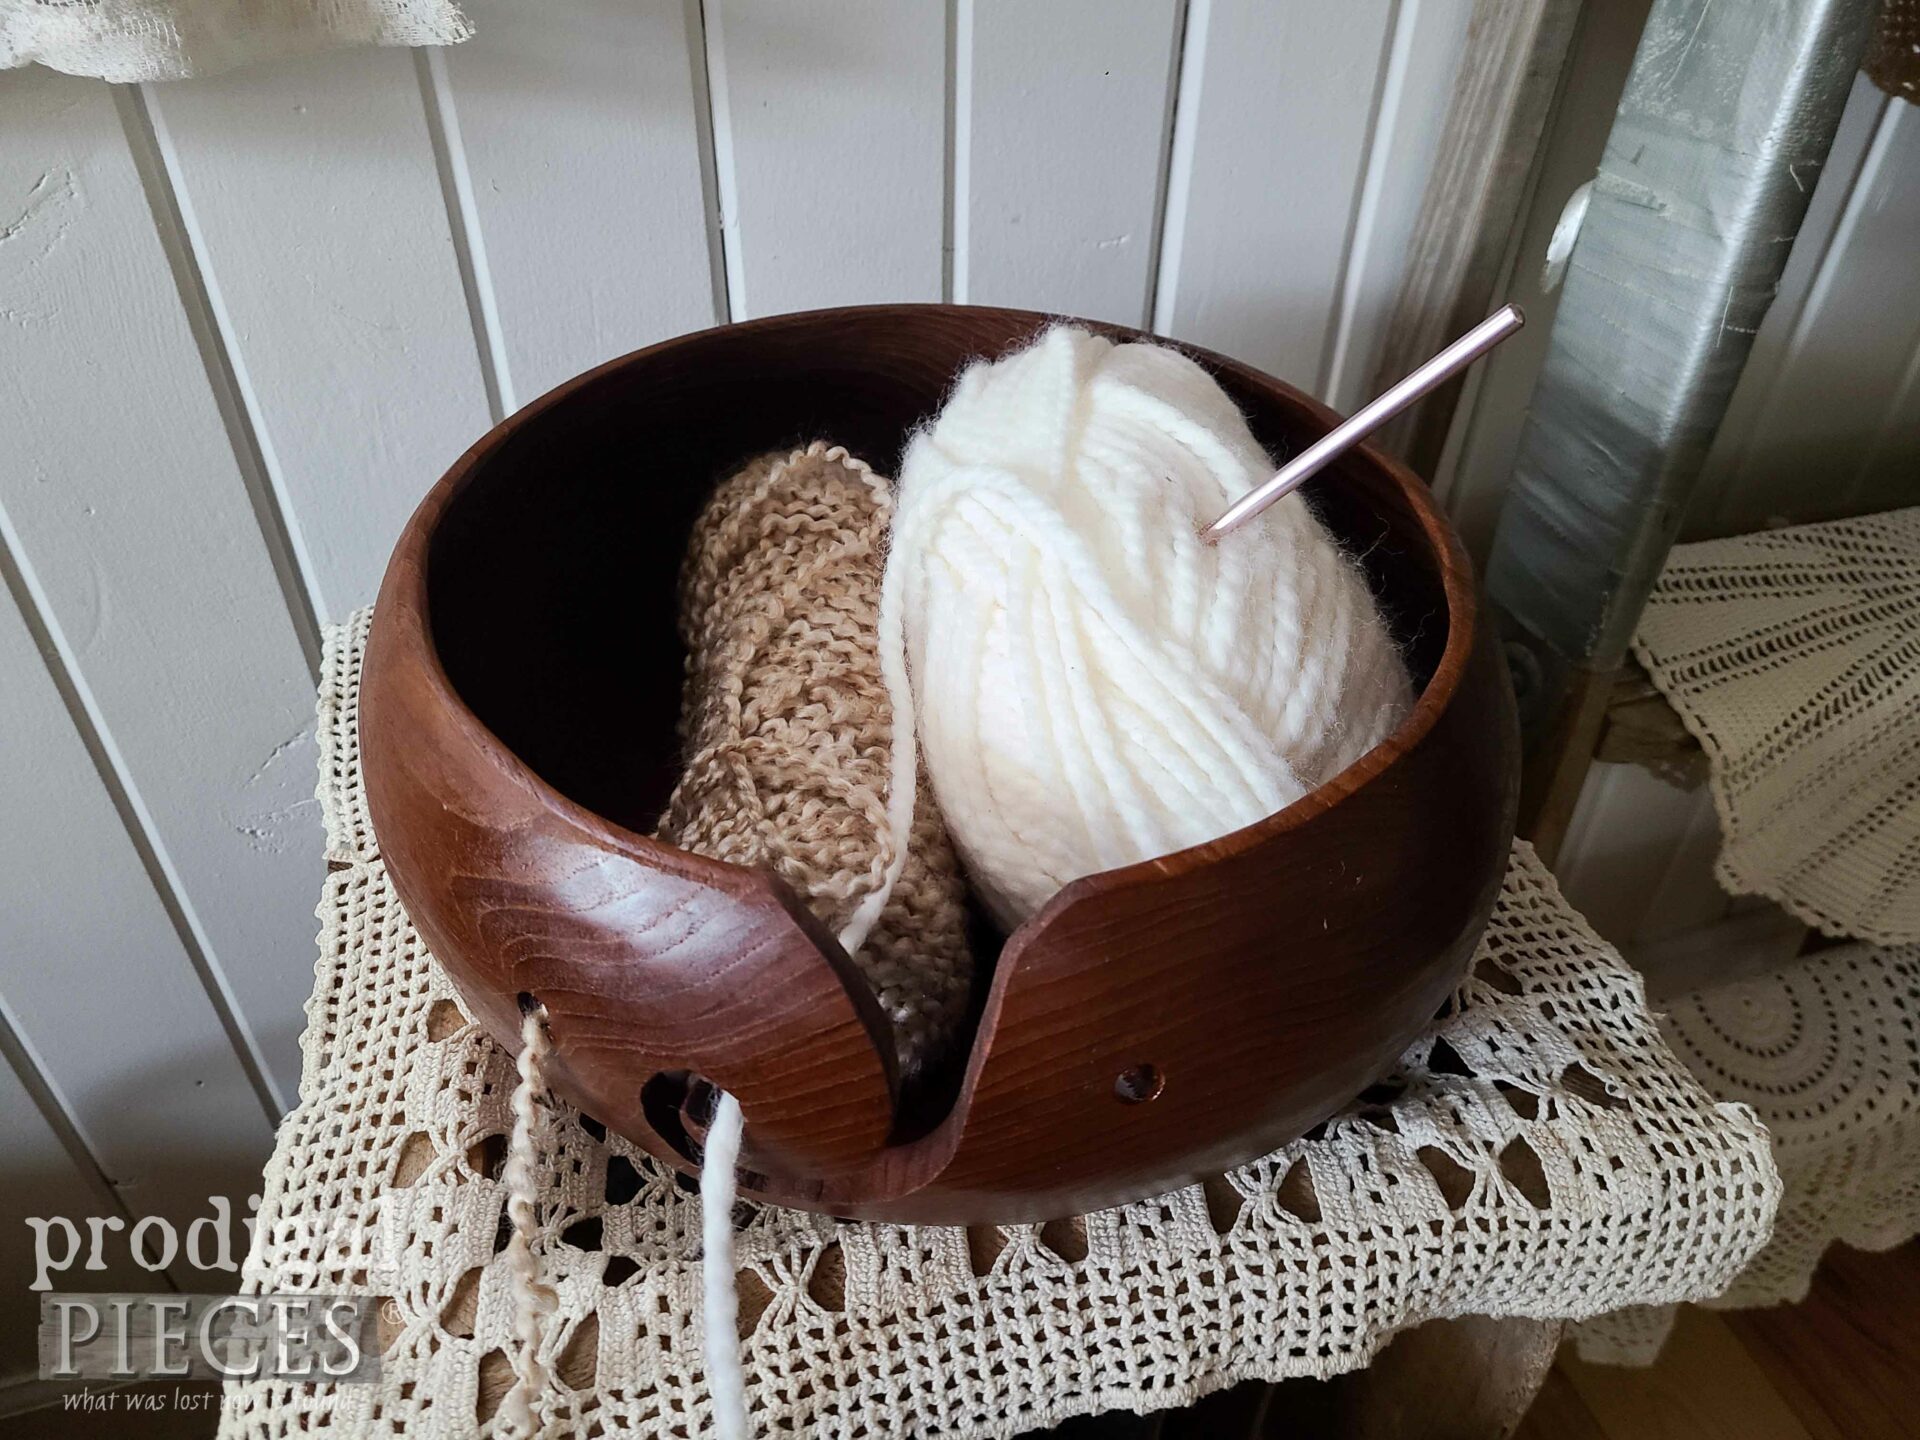
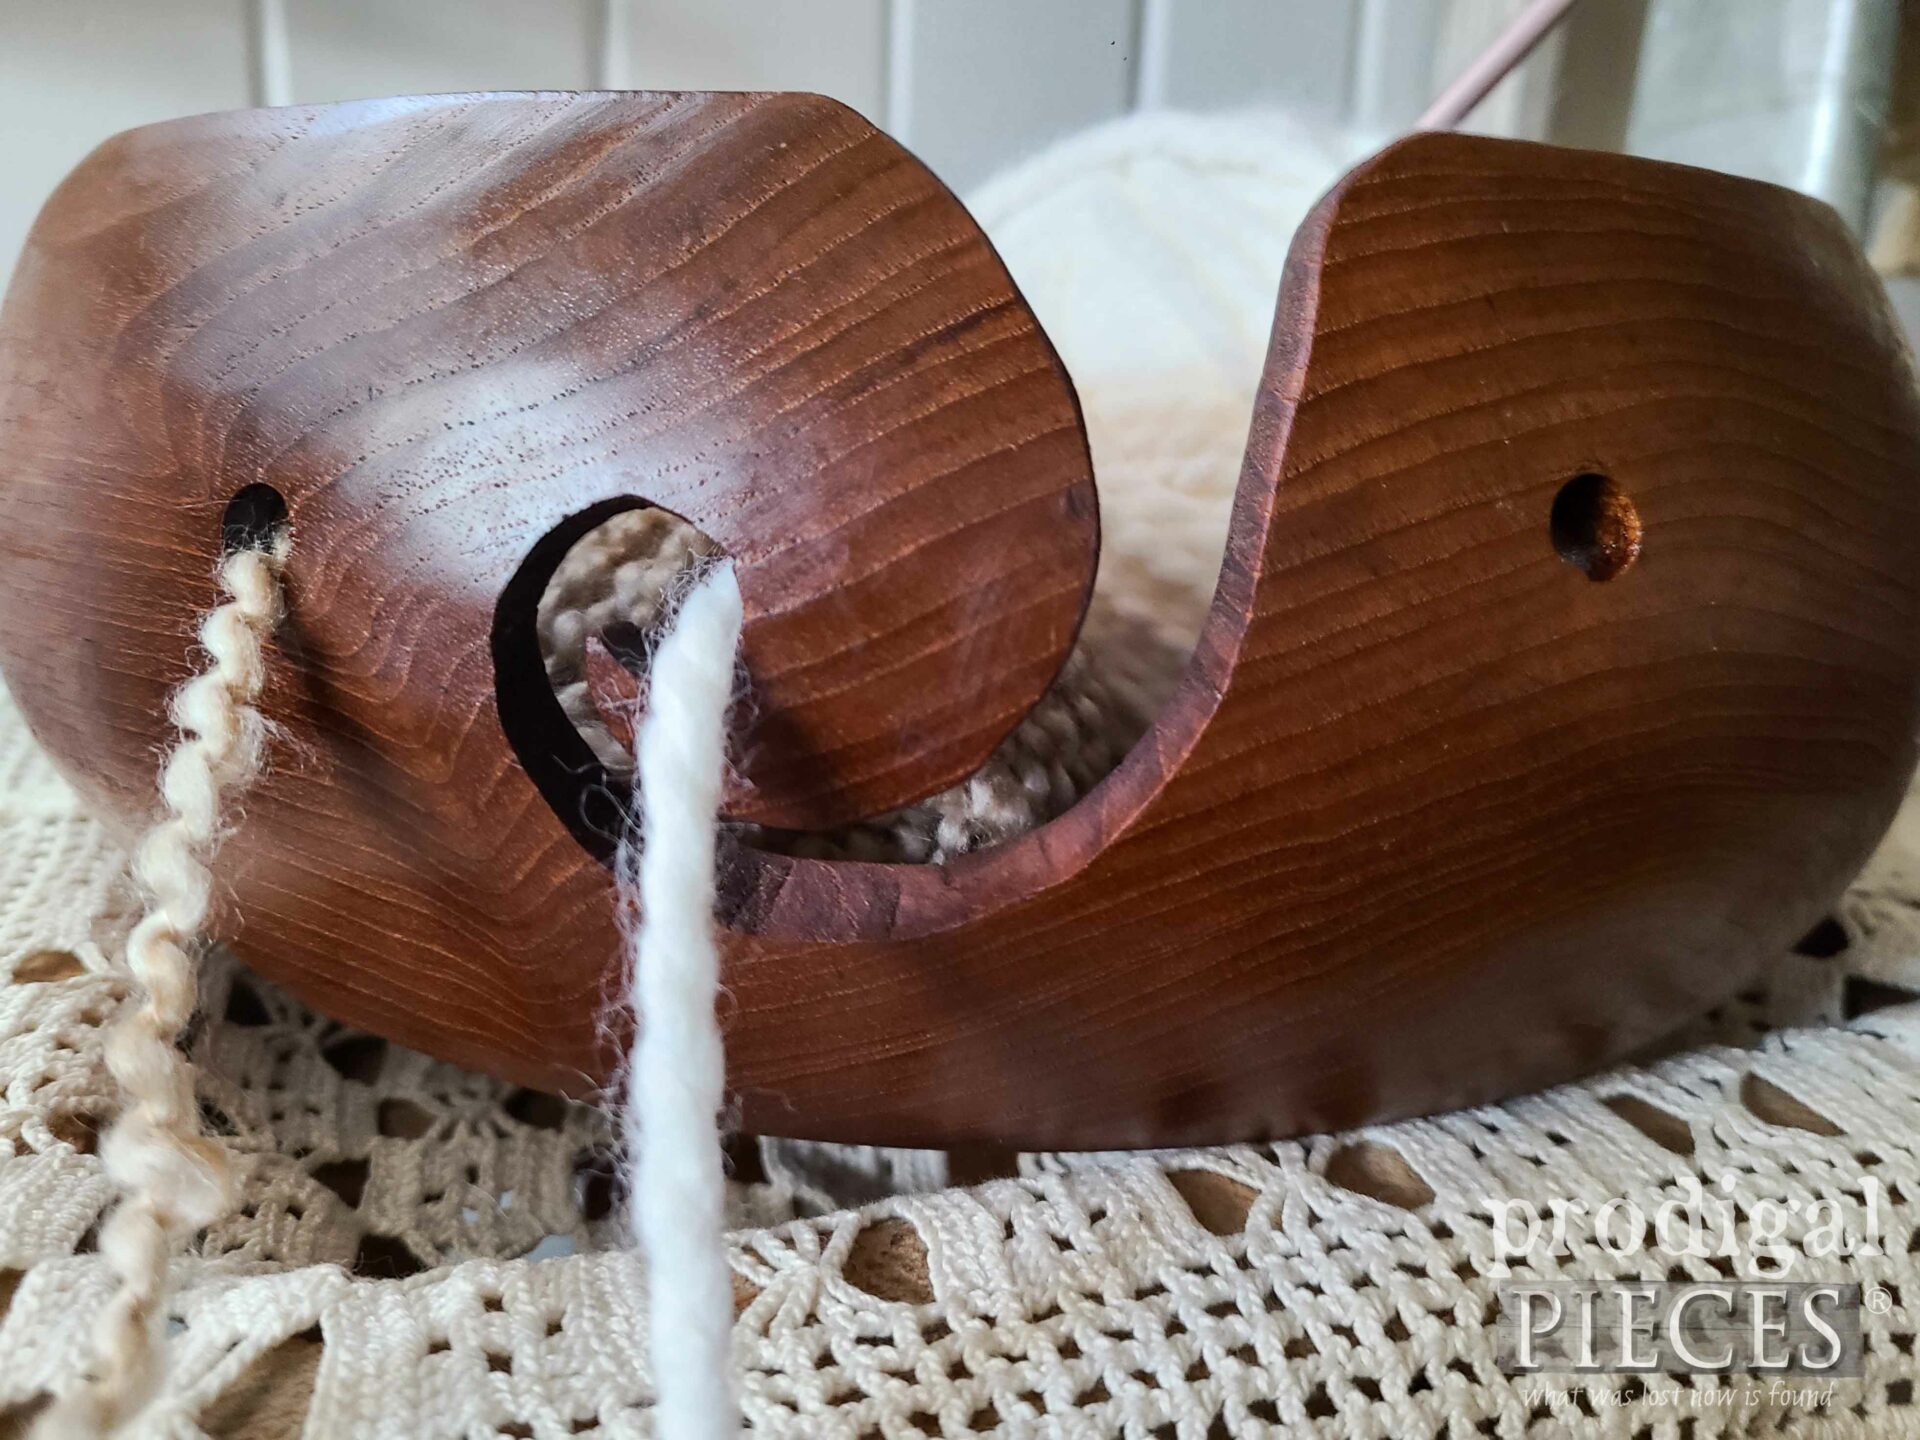
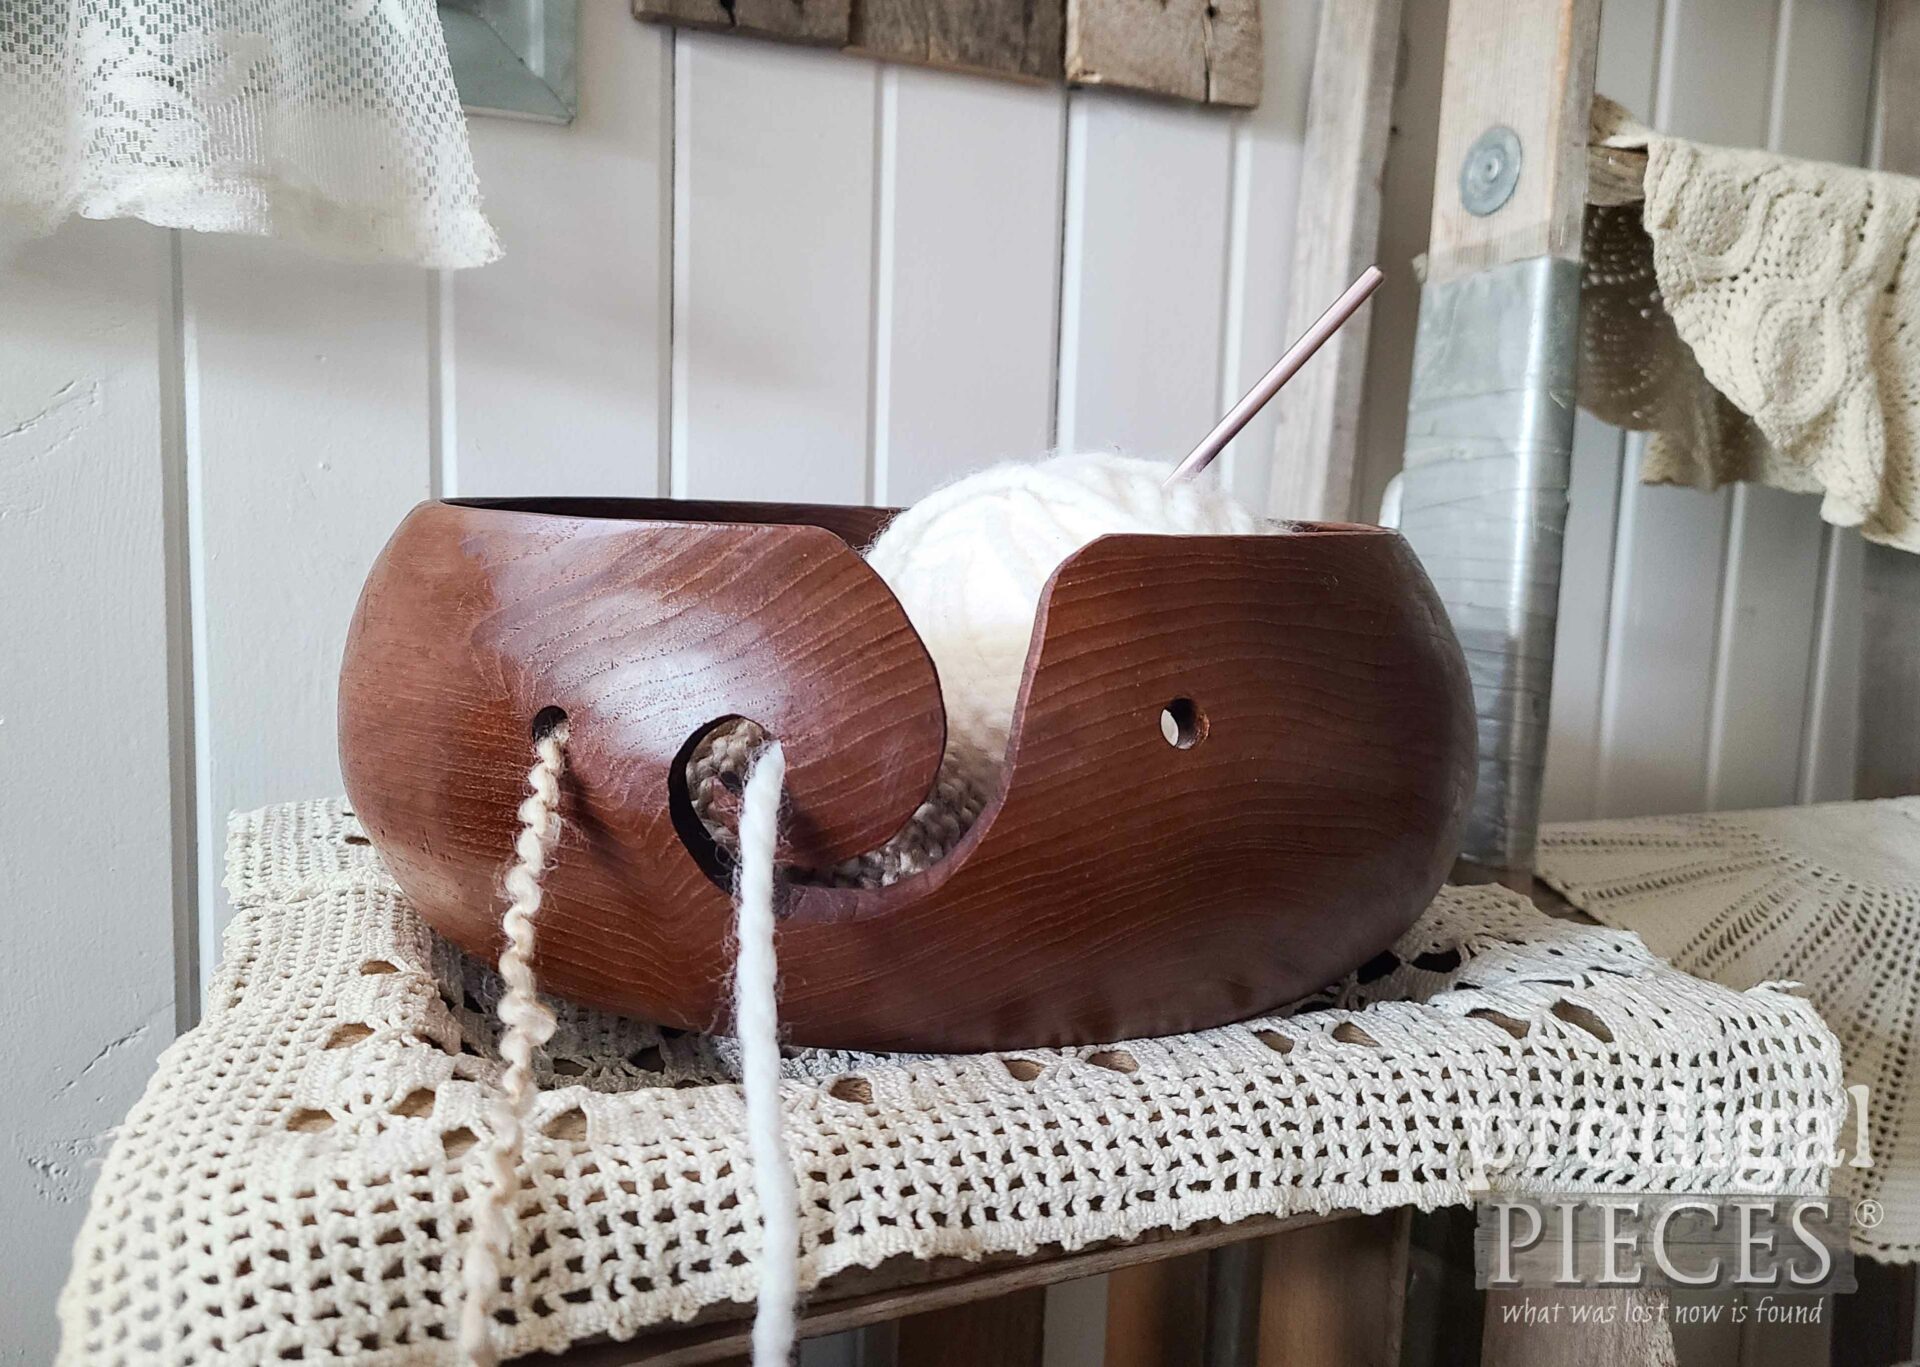
Finally, here’s my finished DIY yarn bowl ready to go for oodles of crafting fun – whether crochet or knitting kind.
Isn’t that wood, gorgeous? All it needs is TLC and it’s ready for many more years of use. Likewise, it’s pretty enough to leave on display as well.
What you think? Project #1 is complete and I’m happy as a lark. If you’d like to make this your own, you can find it and more available in my online shop.
In addition, I invite you to pin and share to inspire others to look outside the salad bowl.
PUPPY TIME
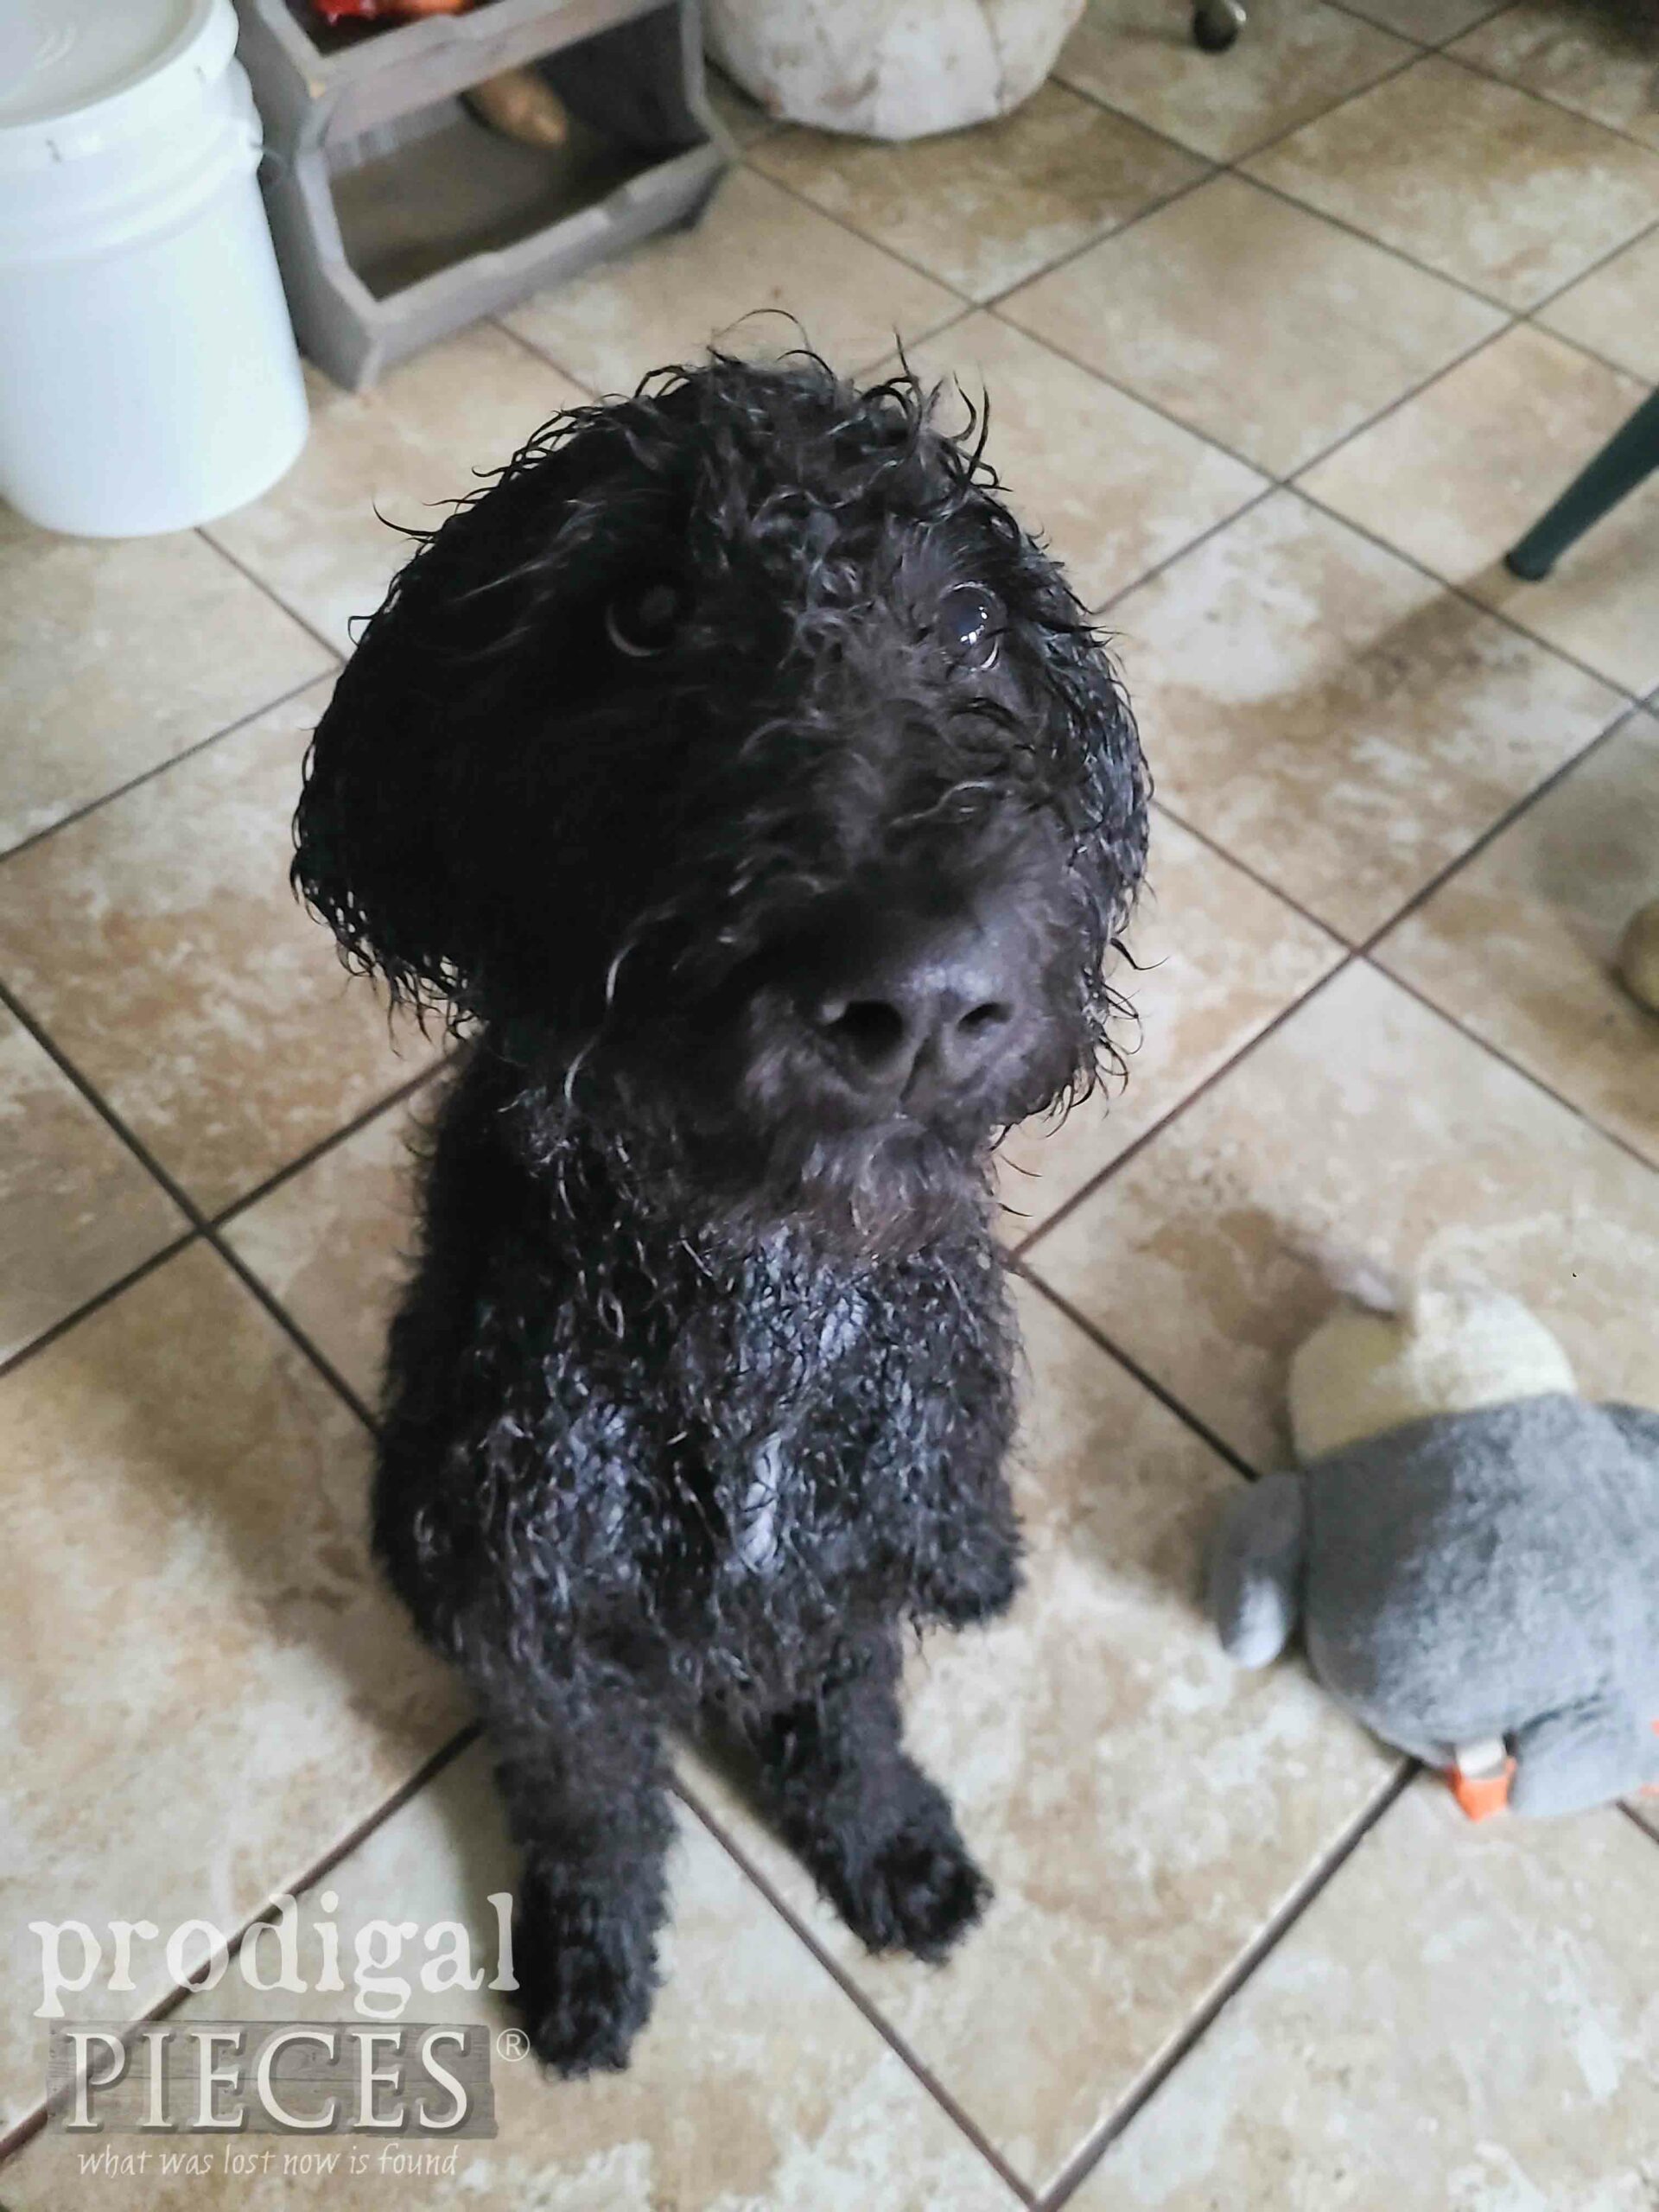
At long last, at least for little Loula, her project time is come. Here is her four-month-old self after her first bath from me. Now I need to clip her proper as she’s a bit too shaggy, eh?
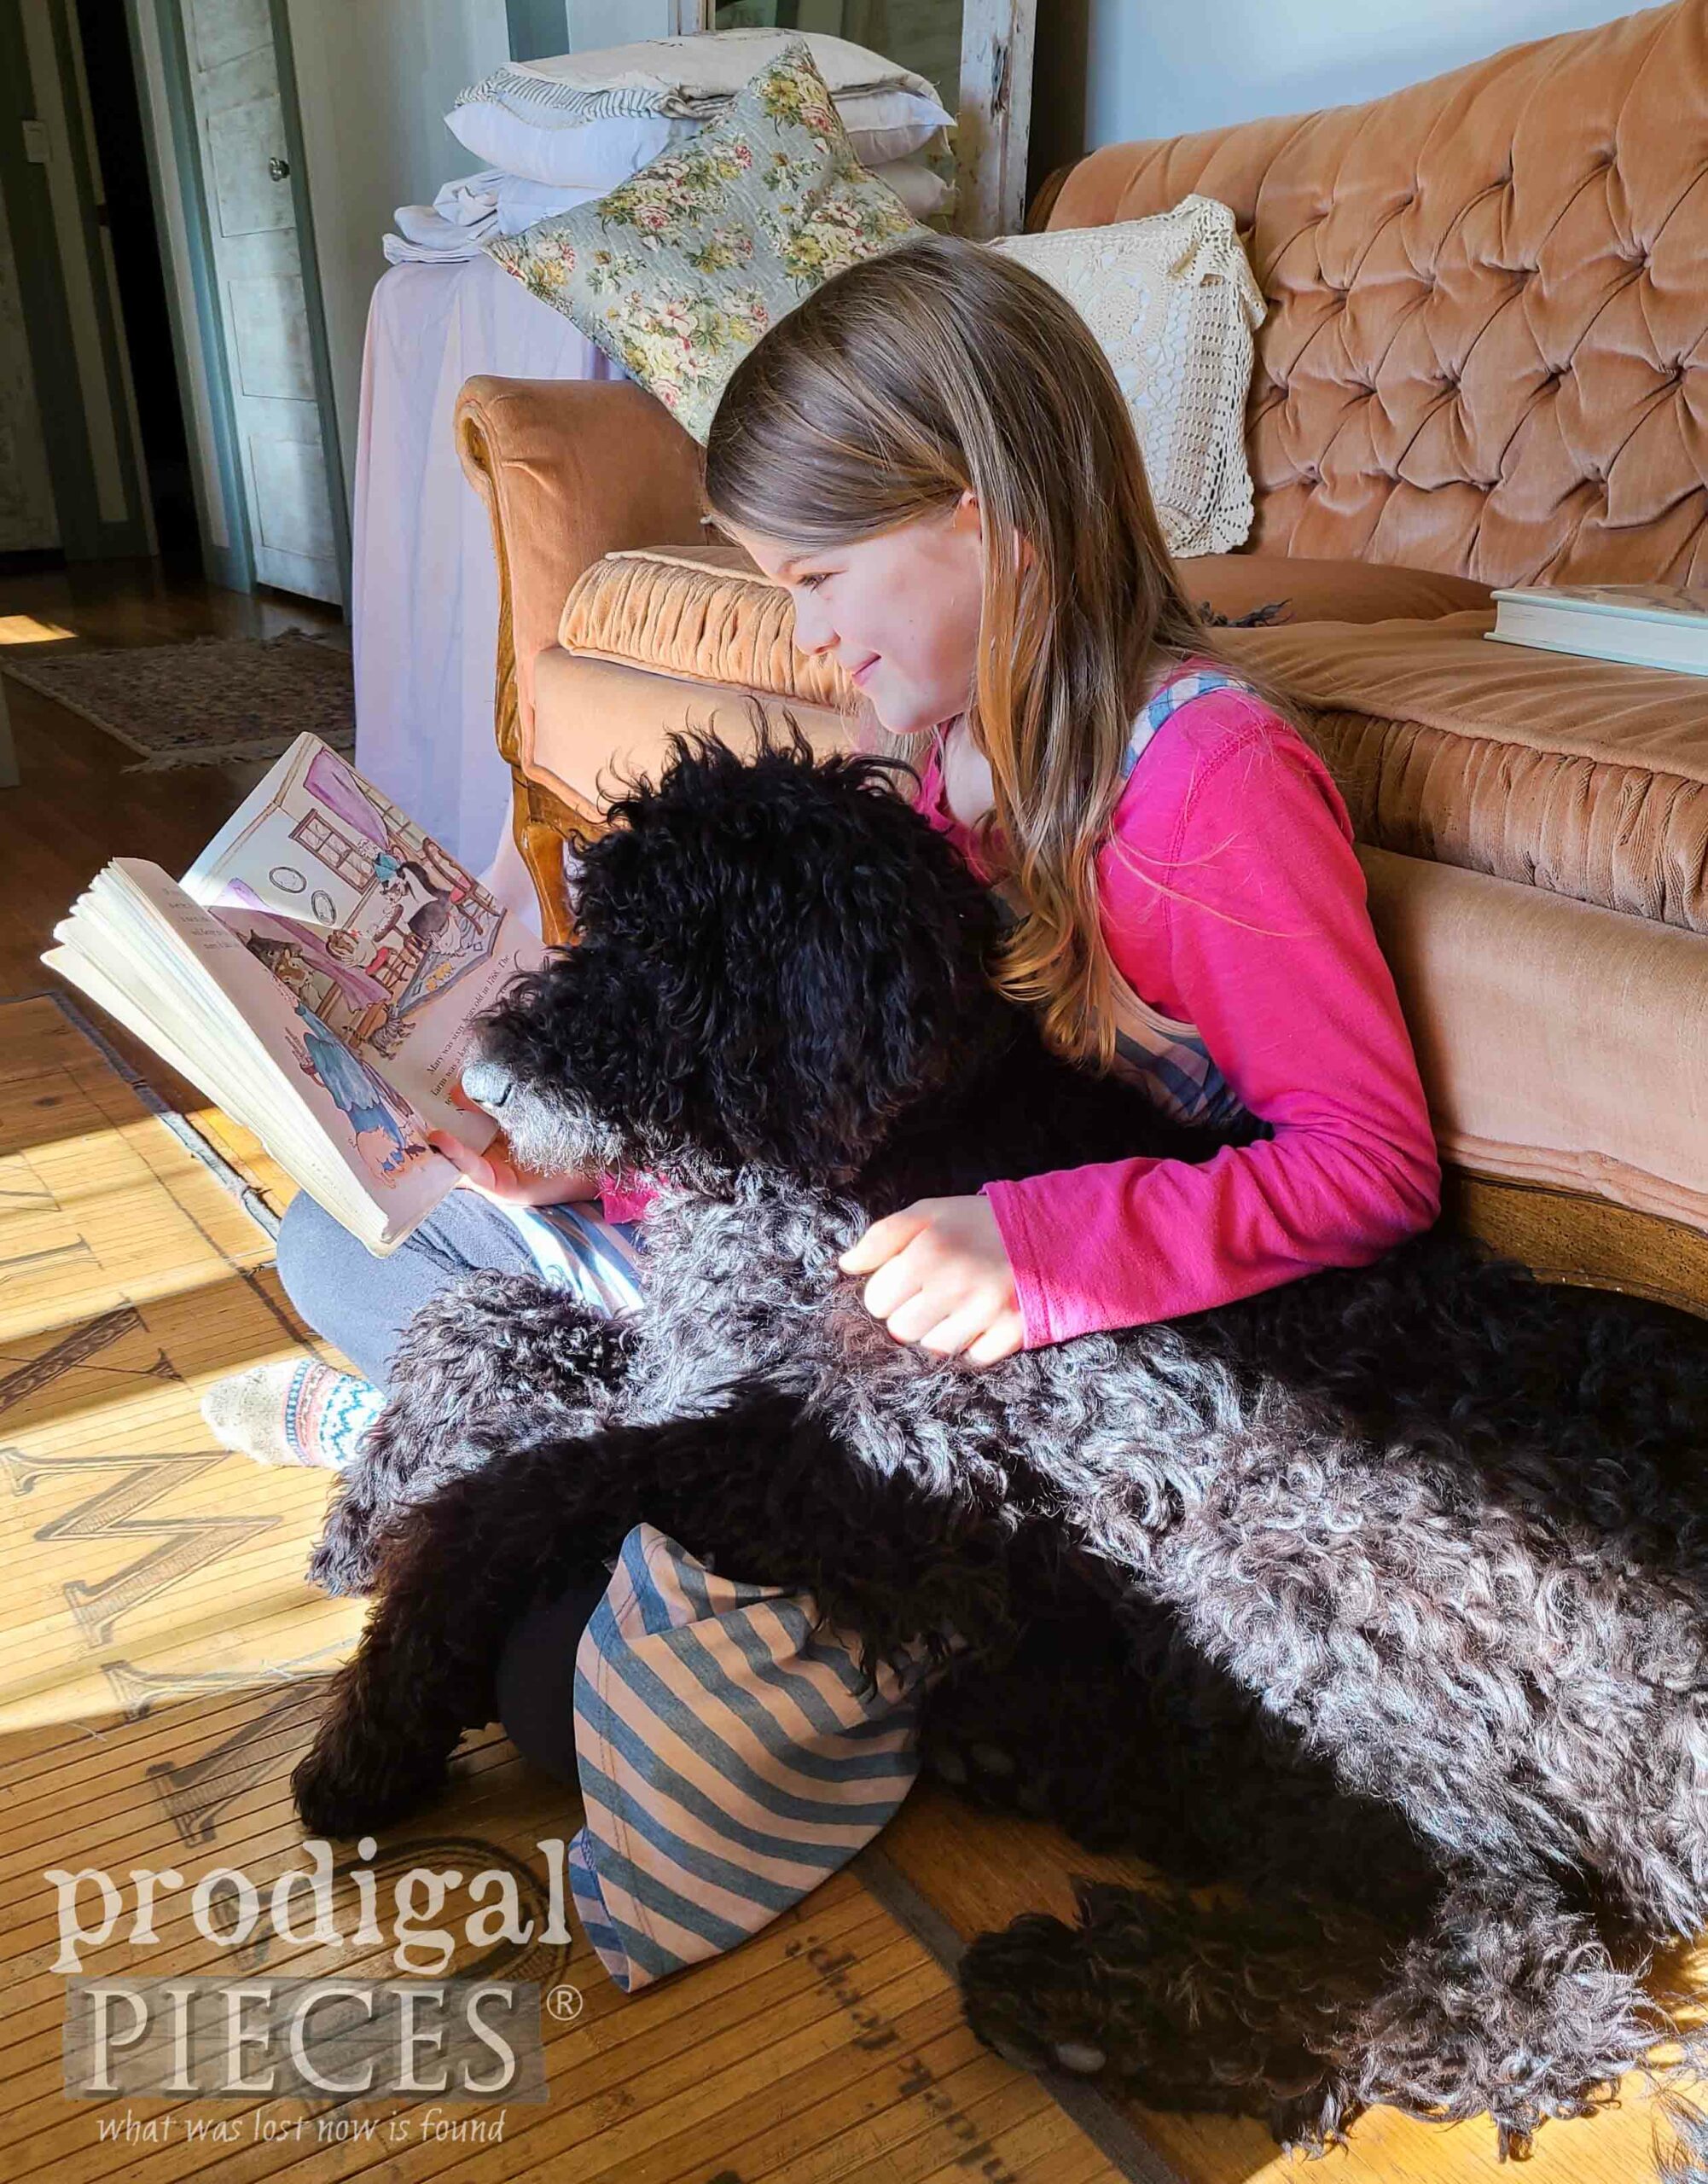
Or here she is after she plopped down on my youngest while she was reading a book. Can you tell we’re smitten just a bit?
This time around, for the upcycled salad bowls I head out to my workshop and pull out a piece of plywood to help me create a DIY snuffle board. What’s that, you say? It’s a fun, stimulating toy to engage your pup’s sniffer and mind. While the plywood is not the right size, that’s nothing that my saw can’t fix.
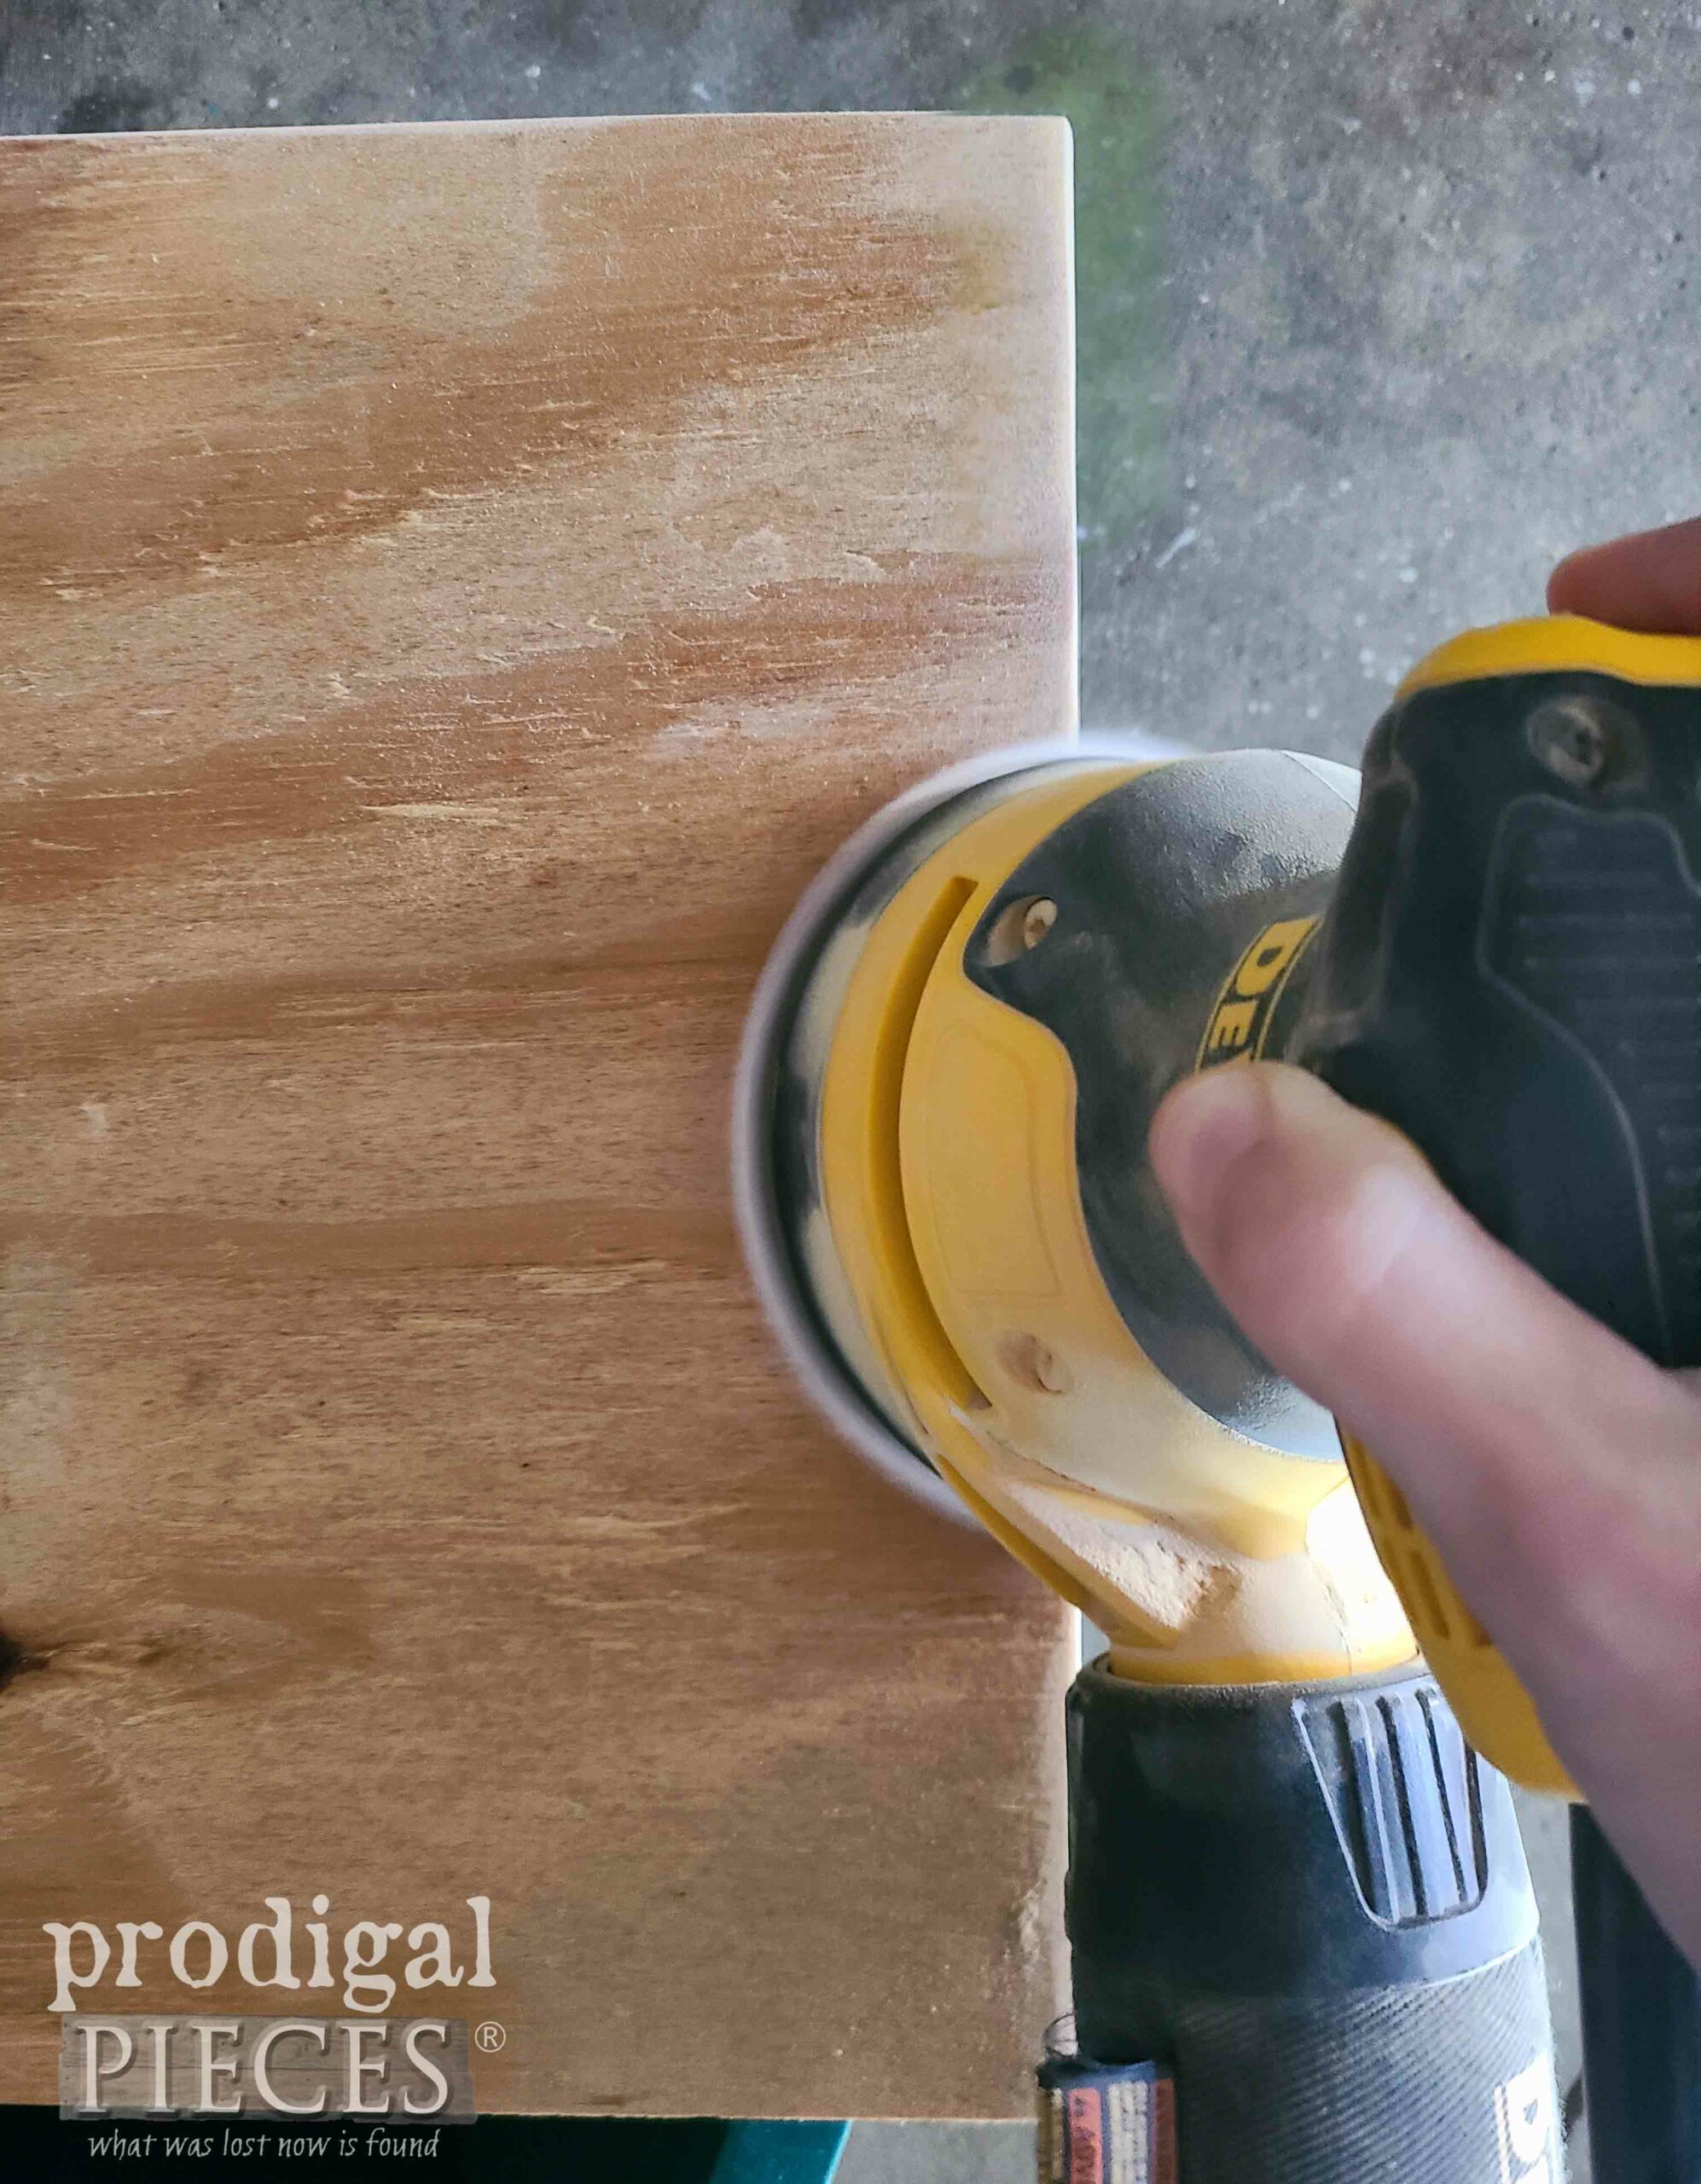
First, I cut it square, and then sand it smooth for puppy safety.
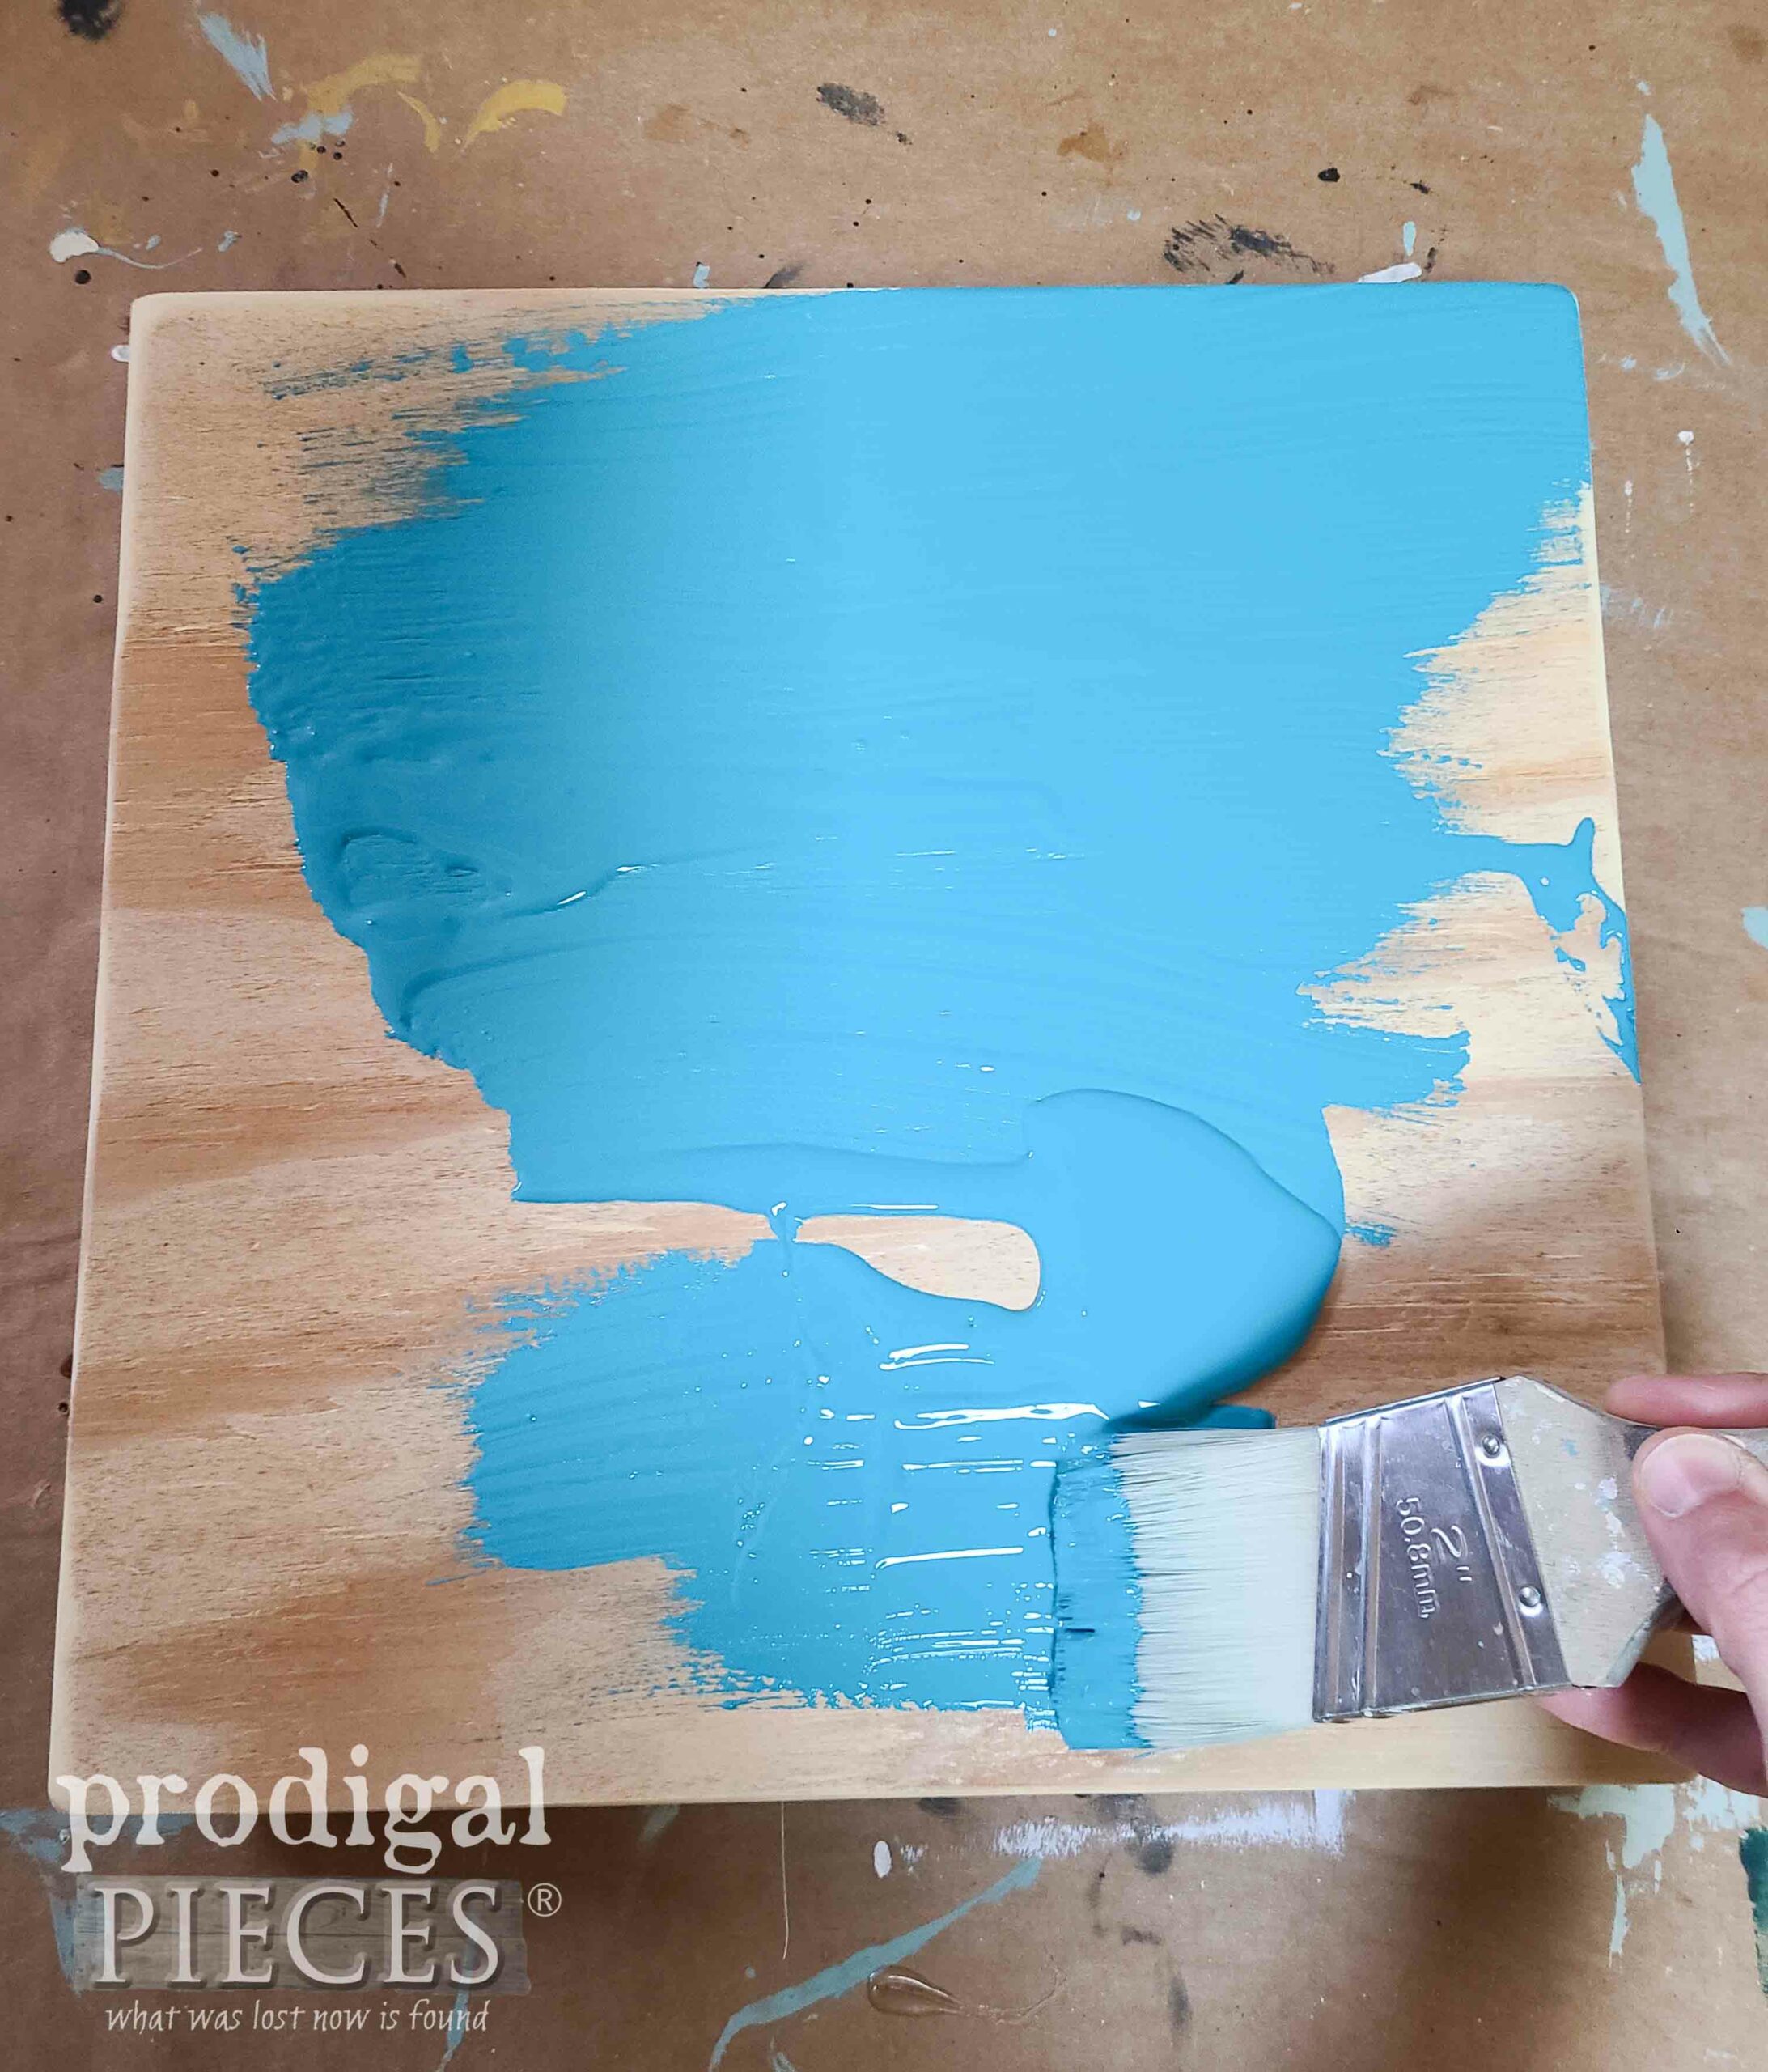
Then, I apply a coat of this beautiful outdoor paint for longevity.
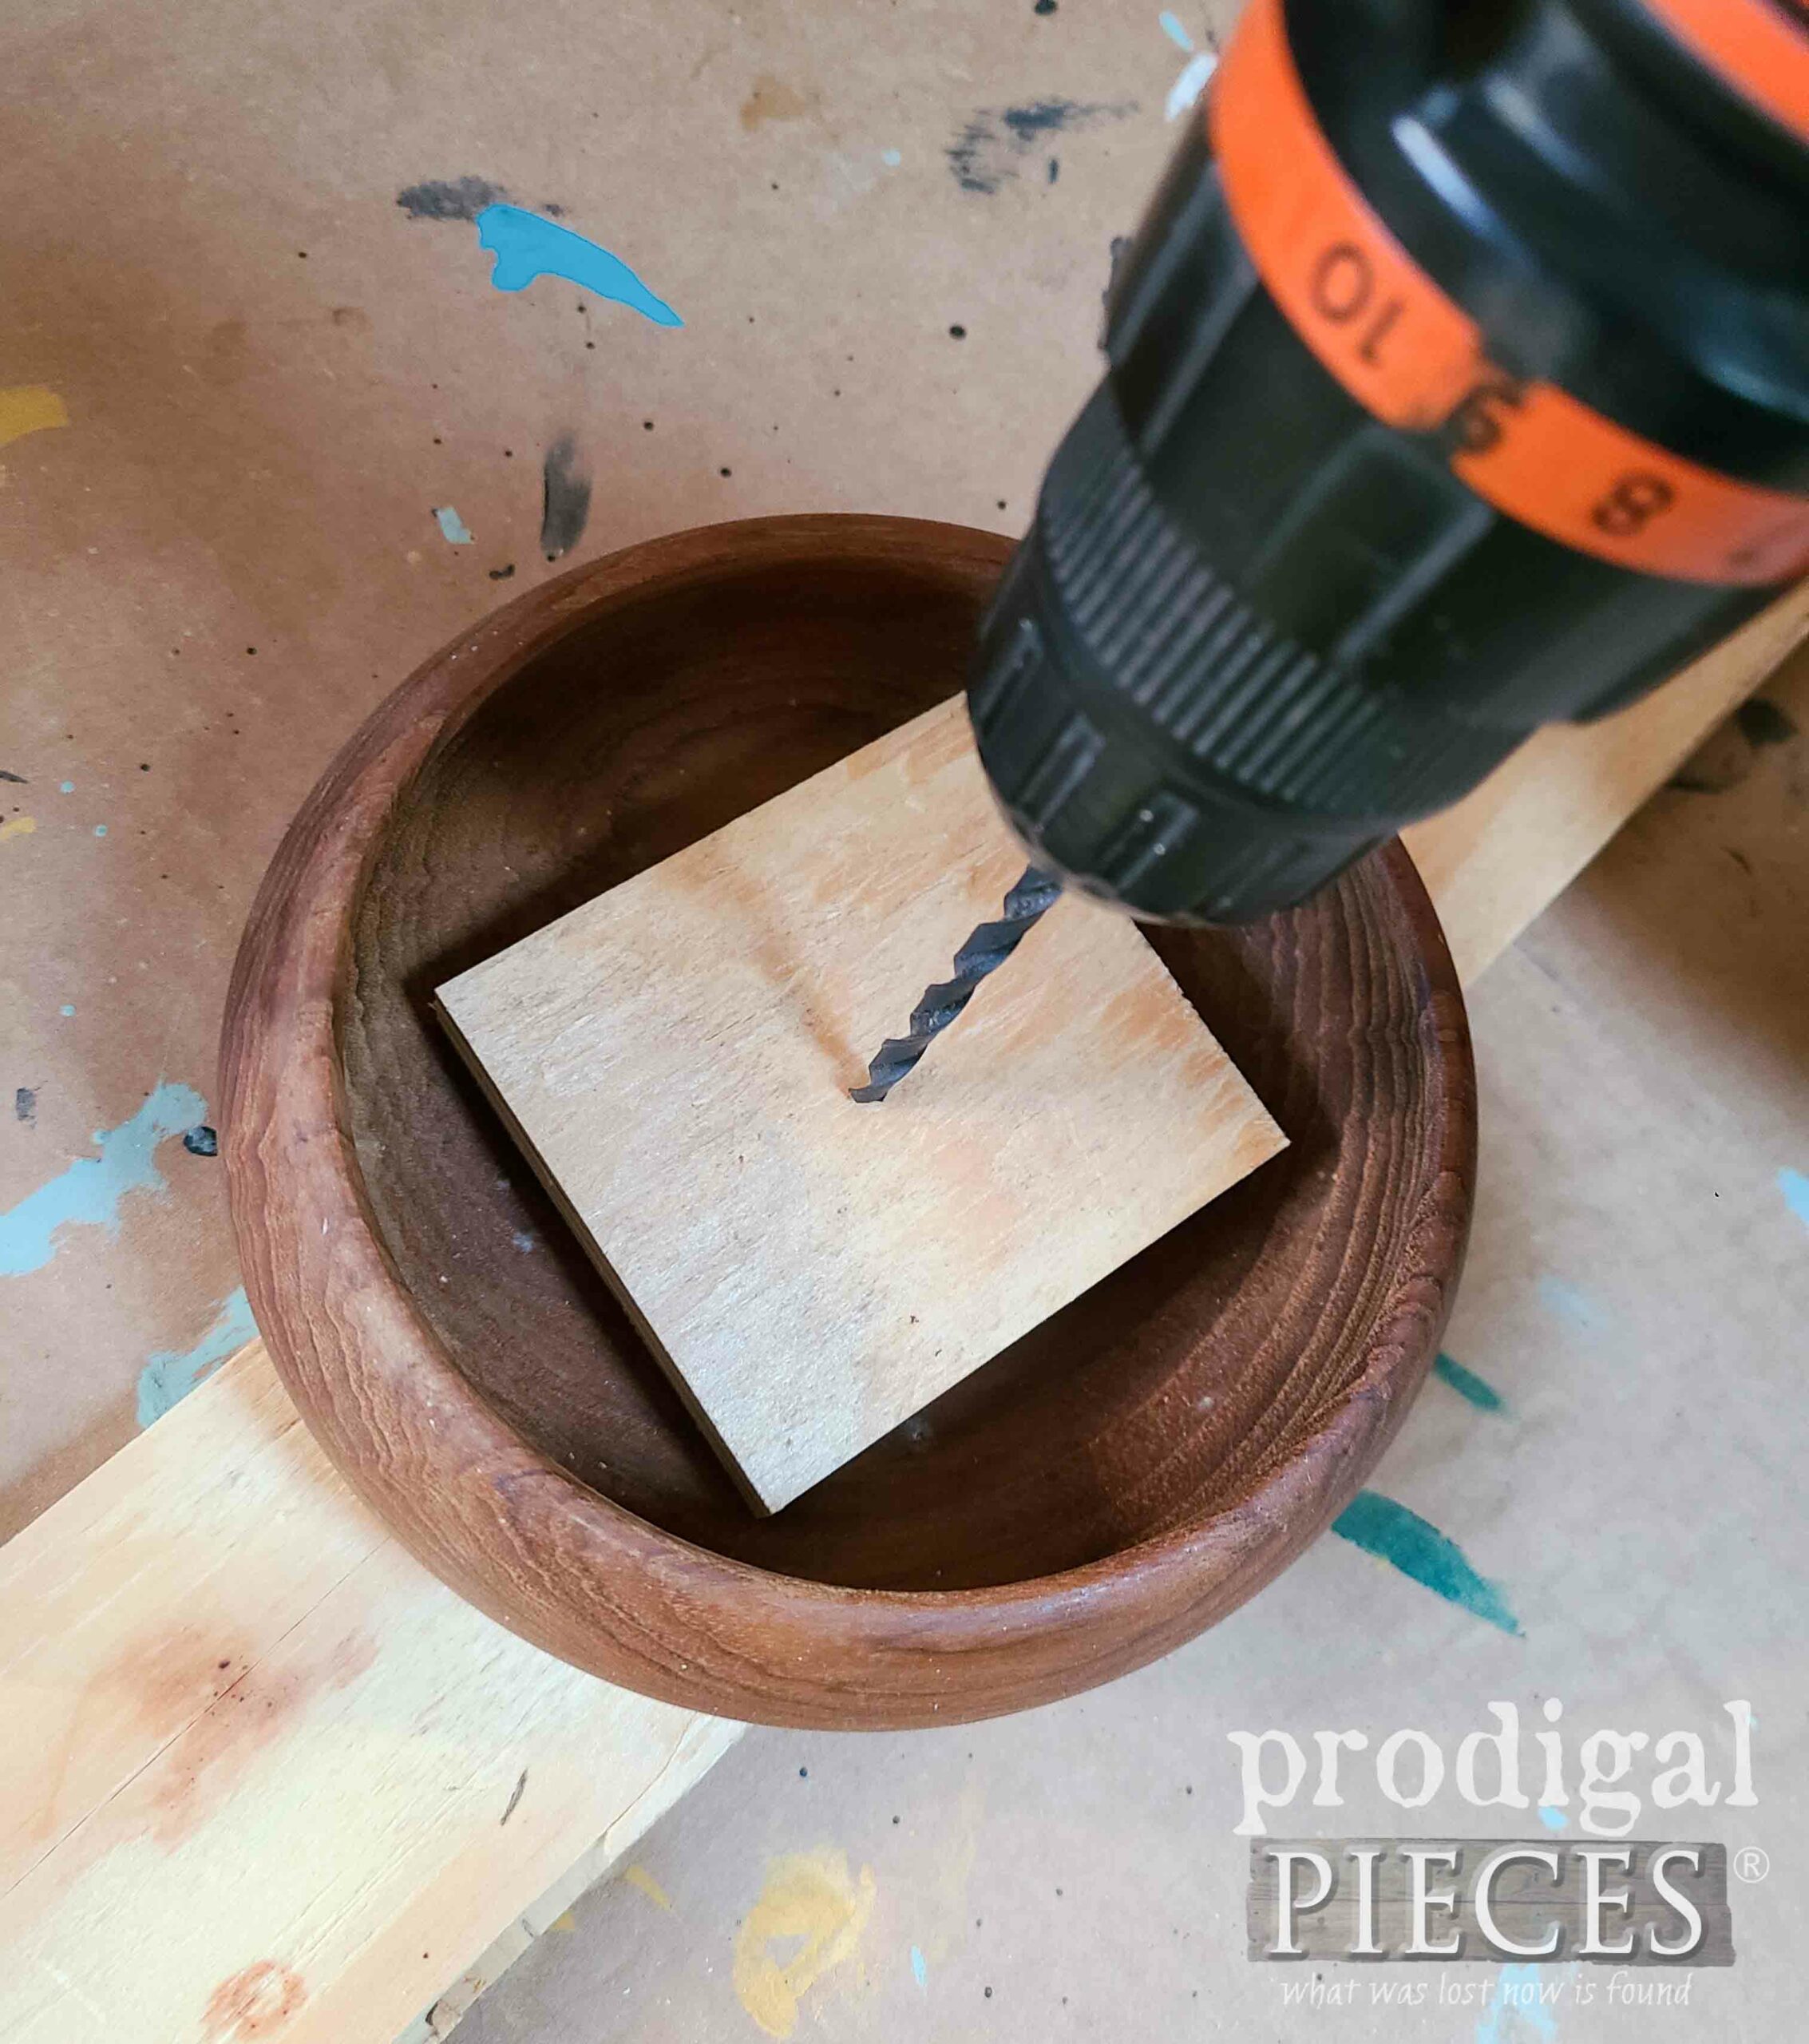
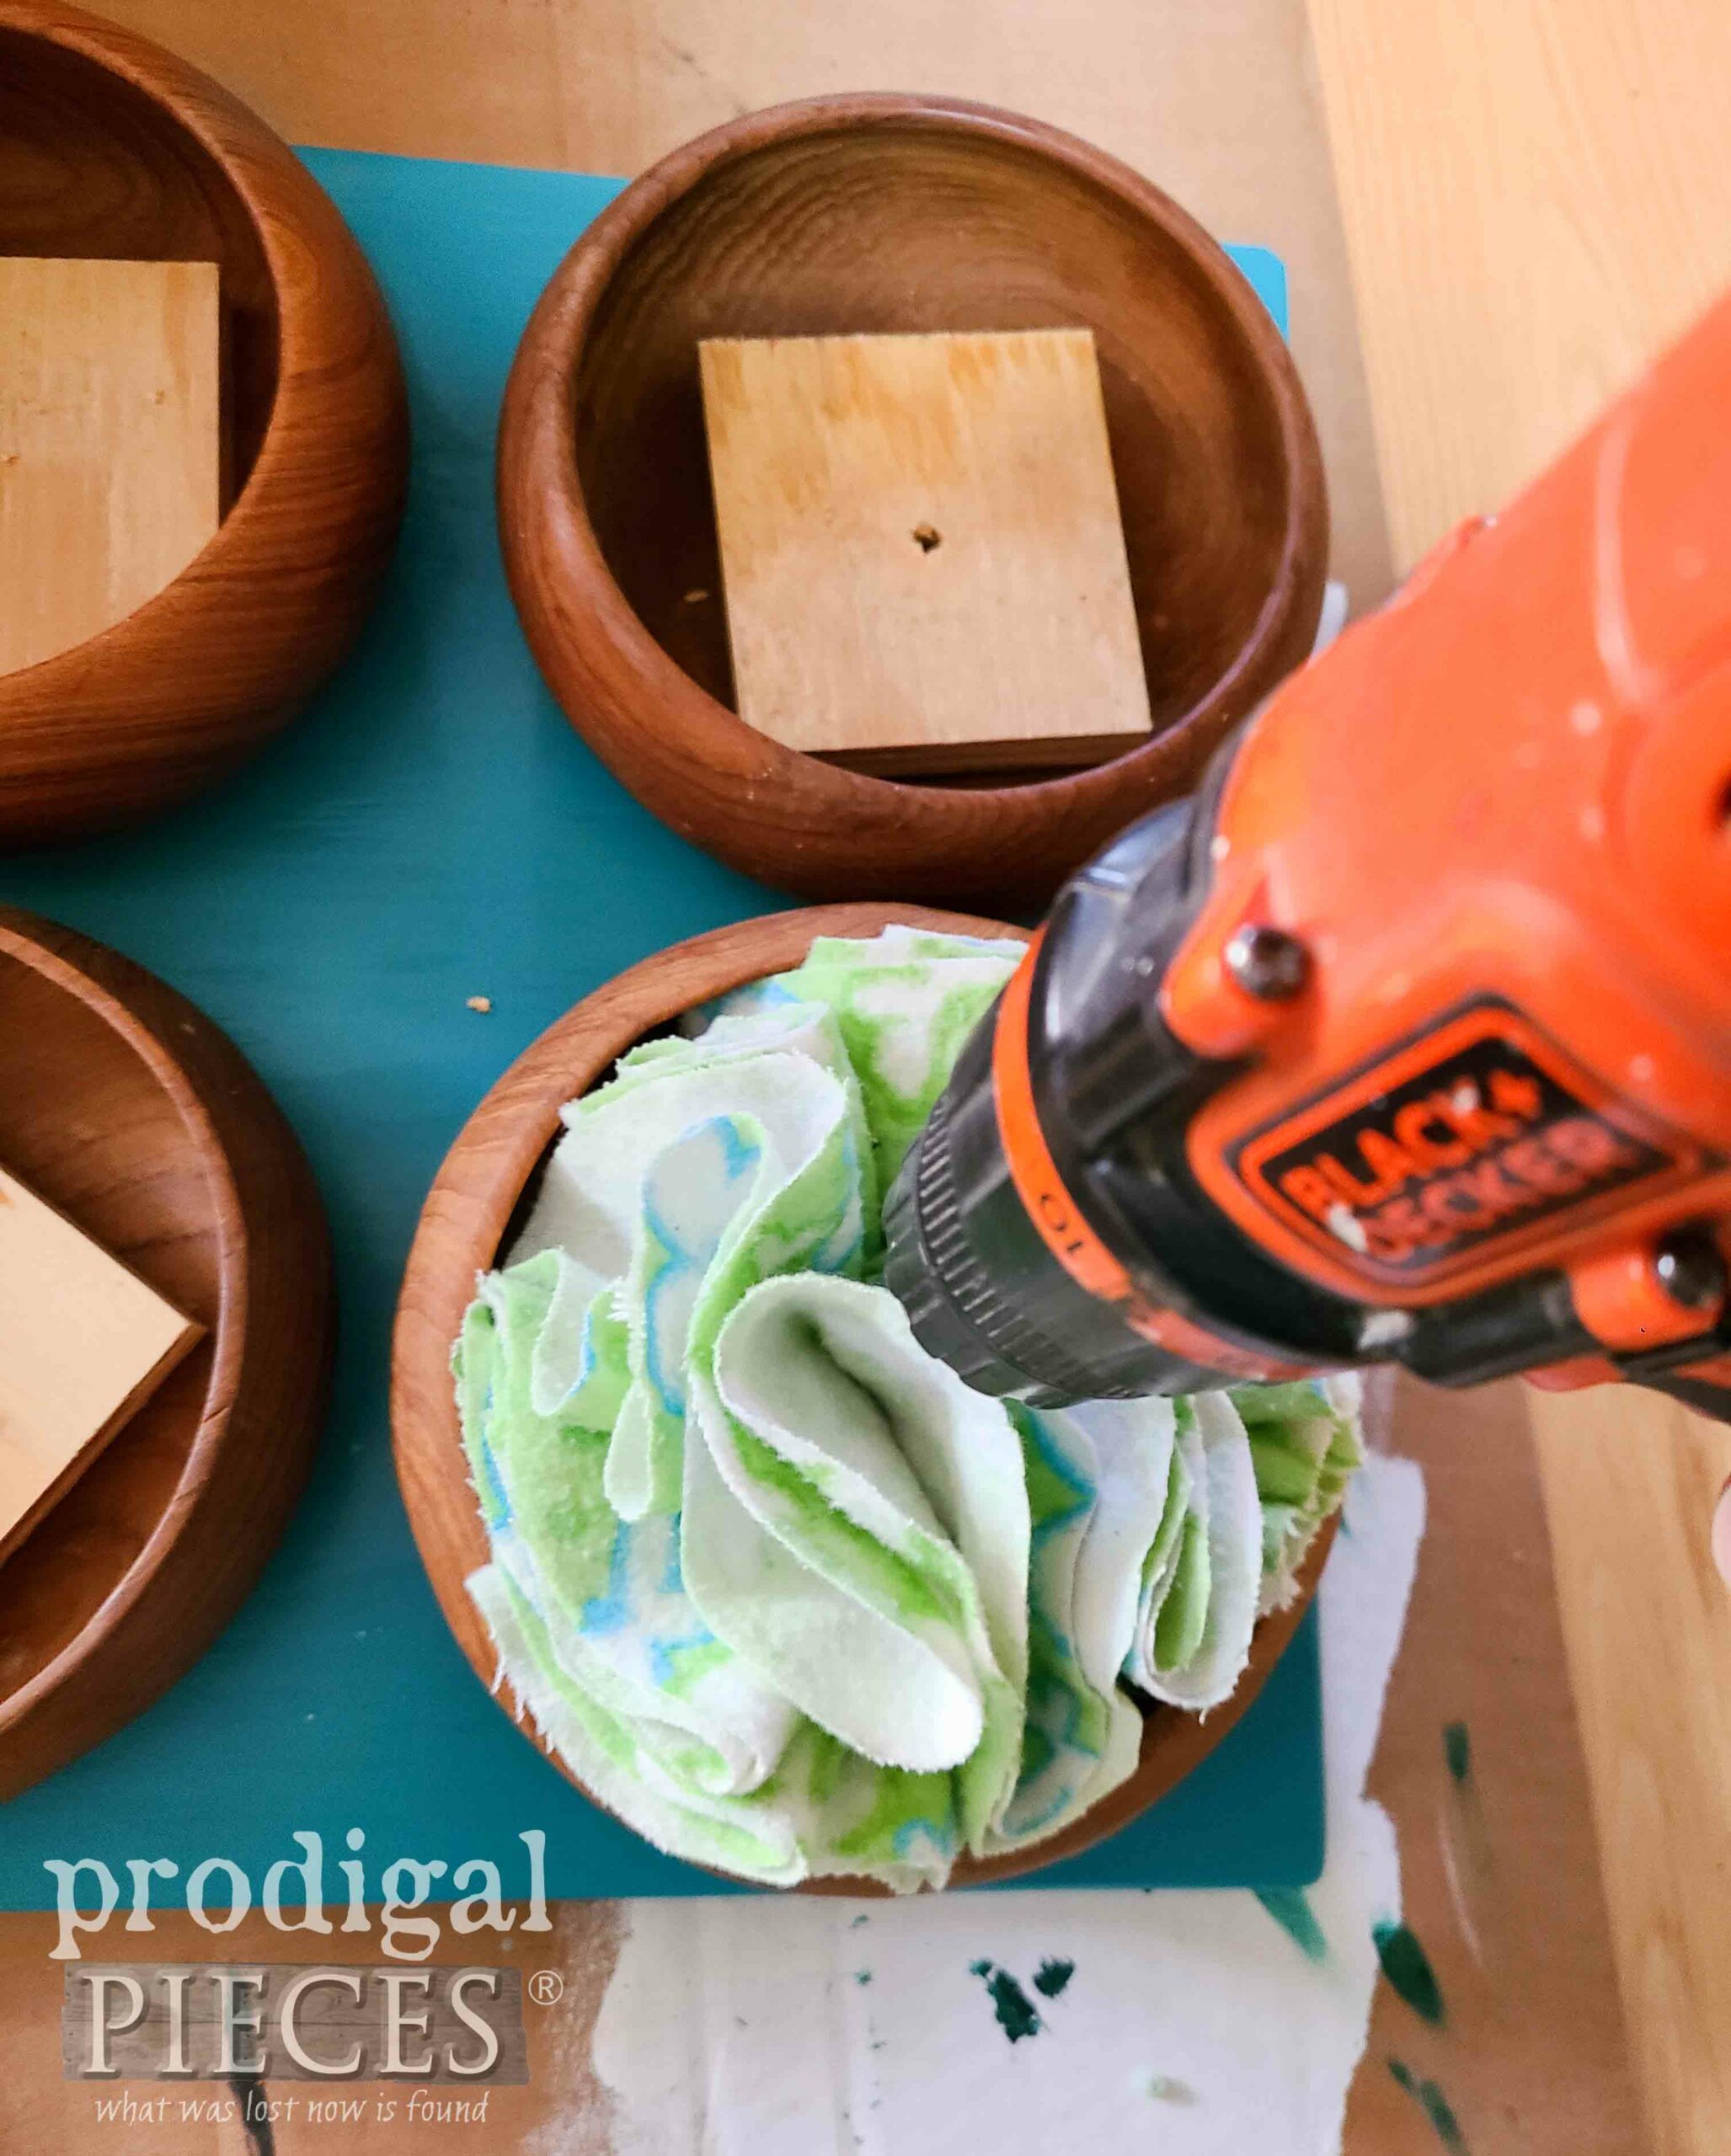
Next, I cut pieces of that scrap plywood to create a platform for my snuffle balls I have yet to make. Afterward, in order to attach the bowls to the board, I pre-drill holes through the scrap wood and bowl.
However, while I’m waiting for the paint to cure to assemble my snuffle board, I need to create the snuffle part. If you want to make these too, here are the supplies you’ll need for 6″ half balls. Keep in mind, you can skip the bowls all together and make double for each to be a full ball.
Tools & Supplies:
- 12 circles of flannel, fleece, denim or other dog-friendly fabrics (feel free to refashion your unwanted or damaged clothing!)
- 2 – 6″ zip ties for each half ball (4 for a full ball)
- fabric scissors
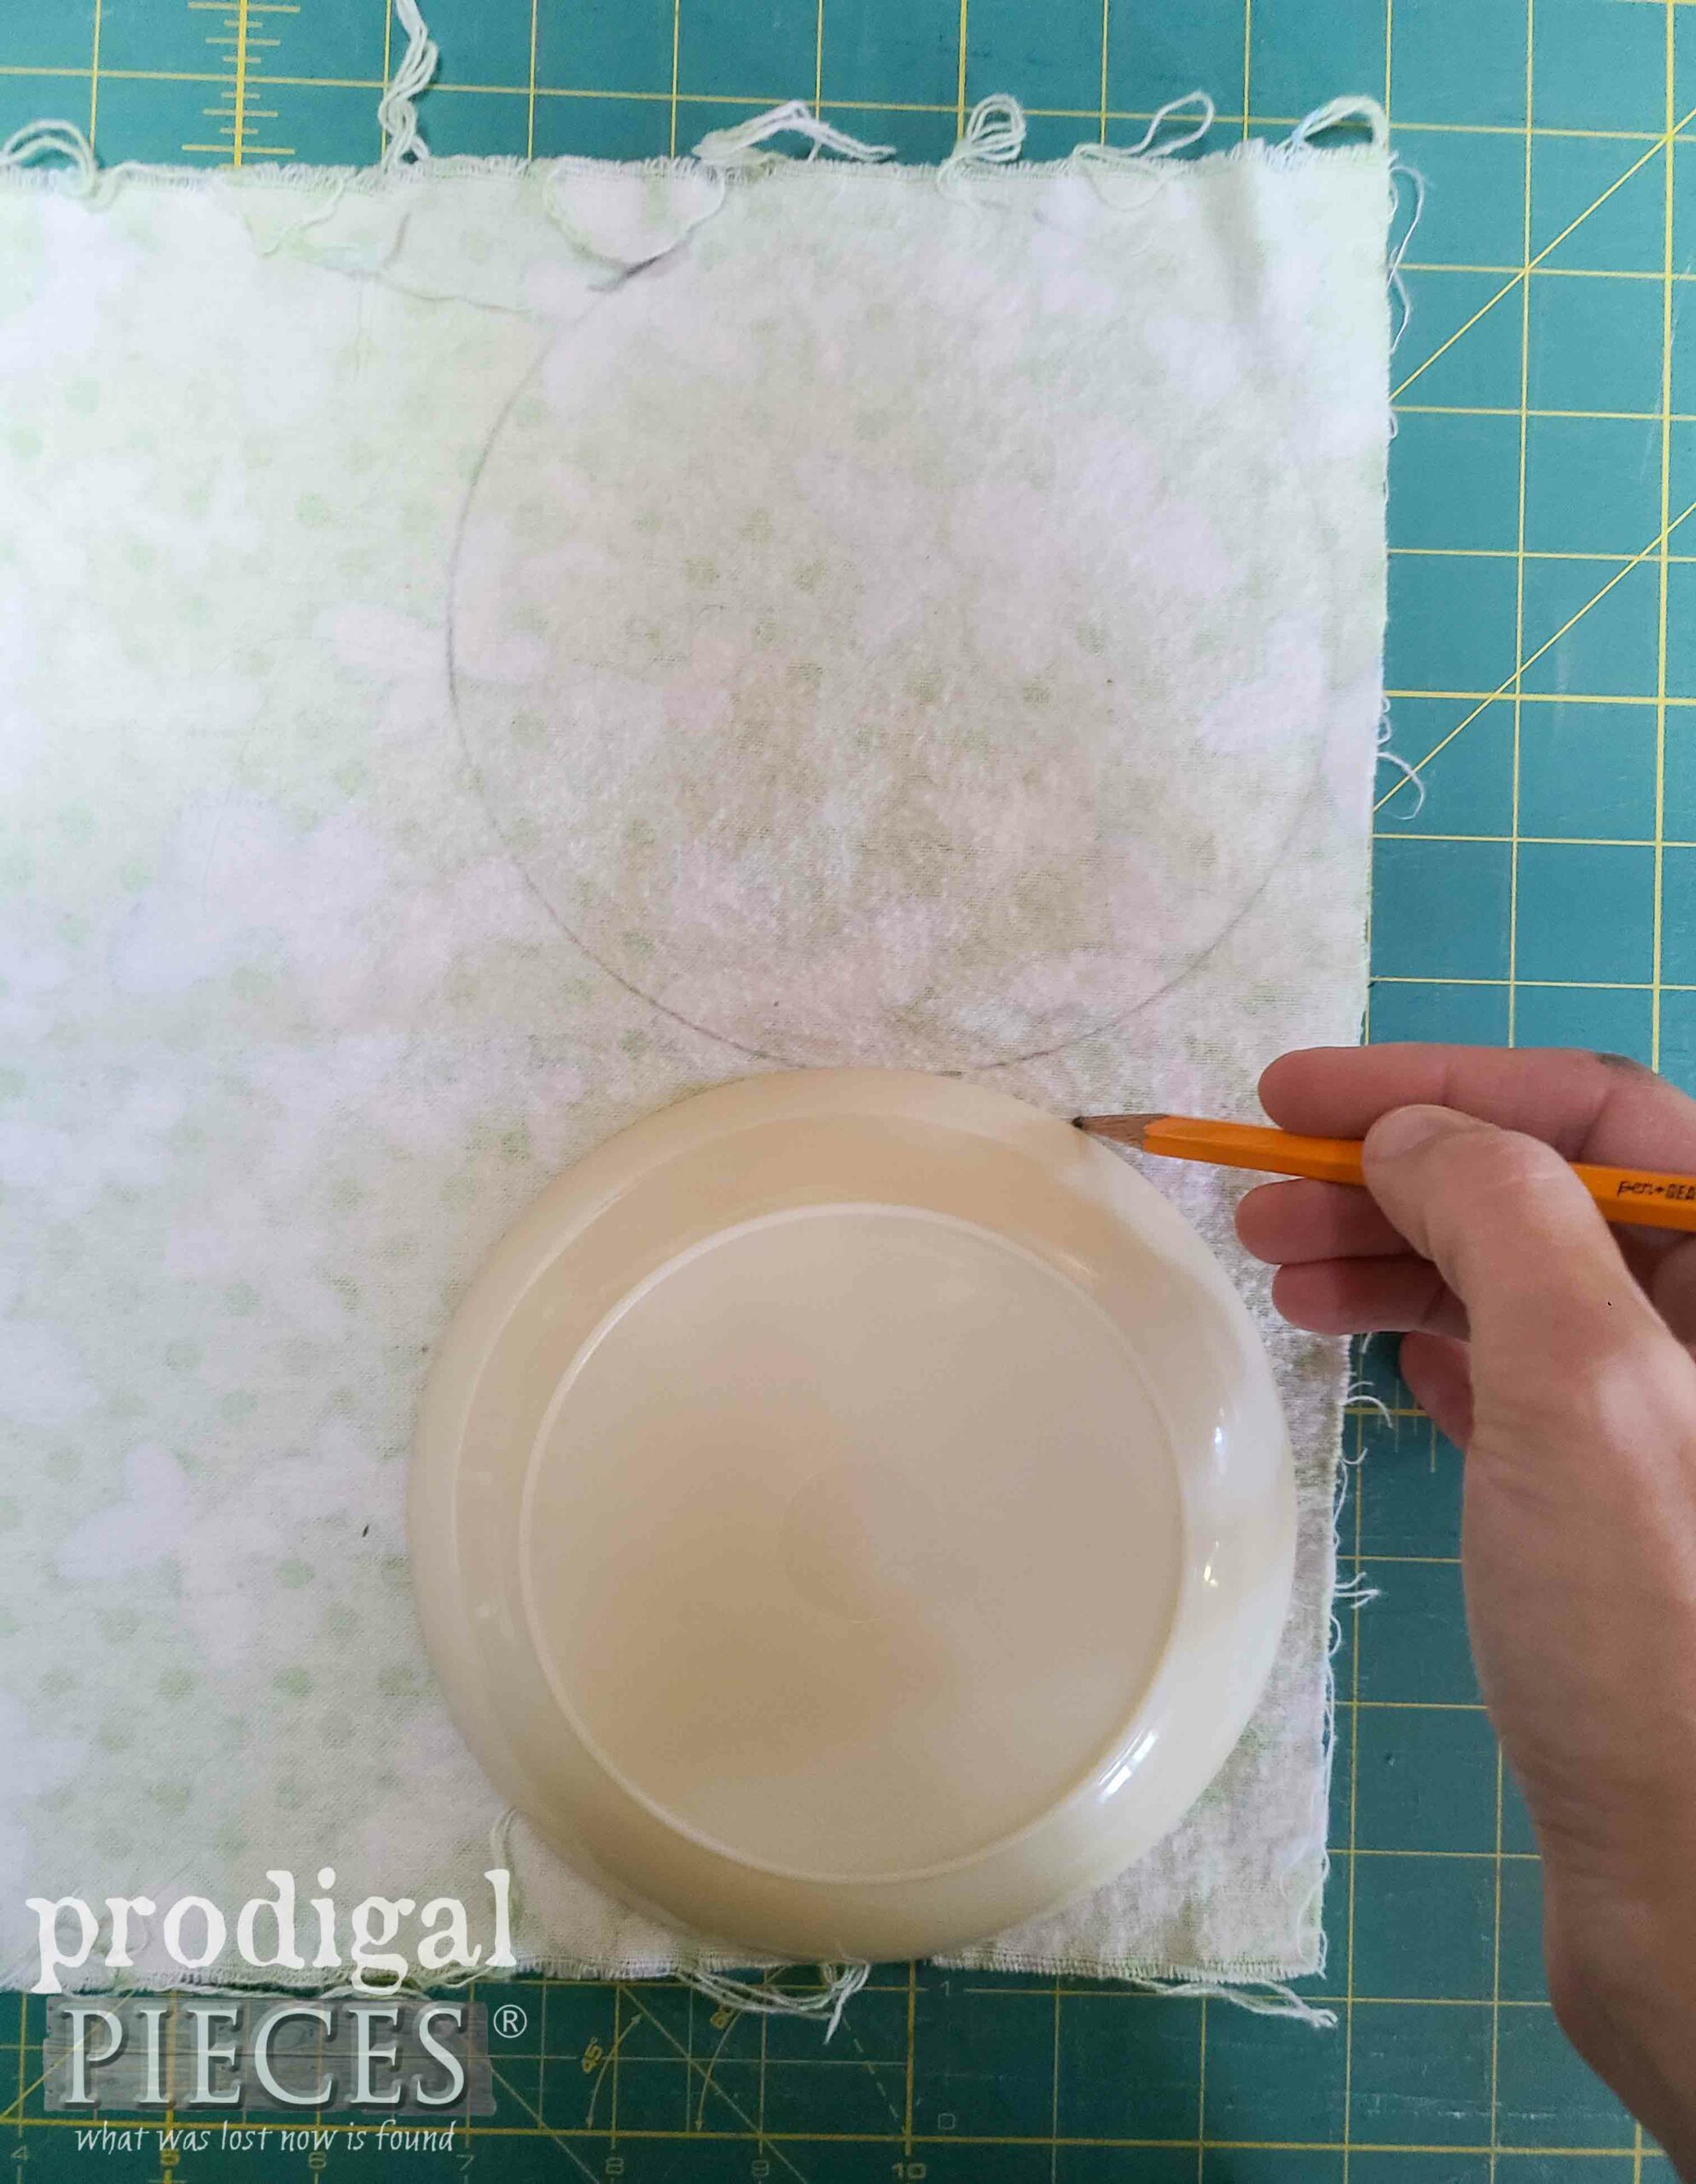
- 6″ template (I used a plastic snack plate) – feel free to make the balls as large or as small as you like. I’m making mine to fit the bowls.
STEP 1
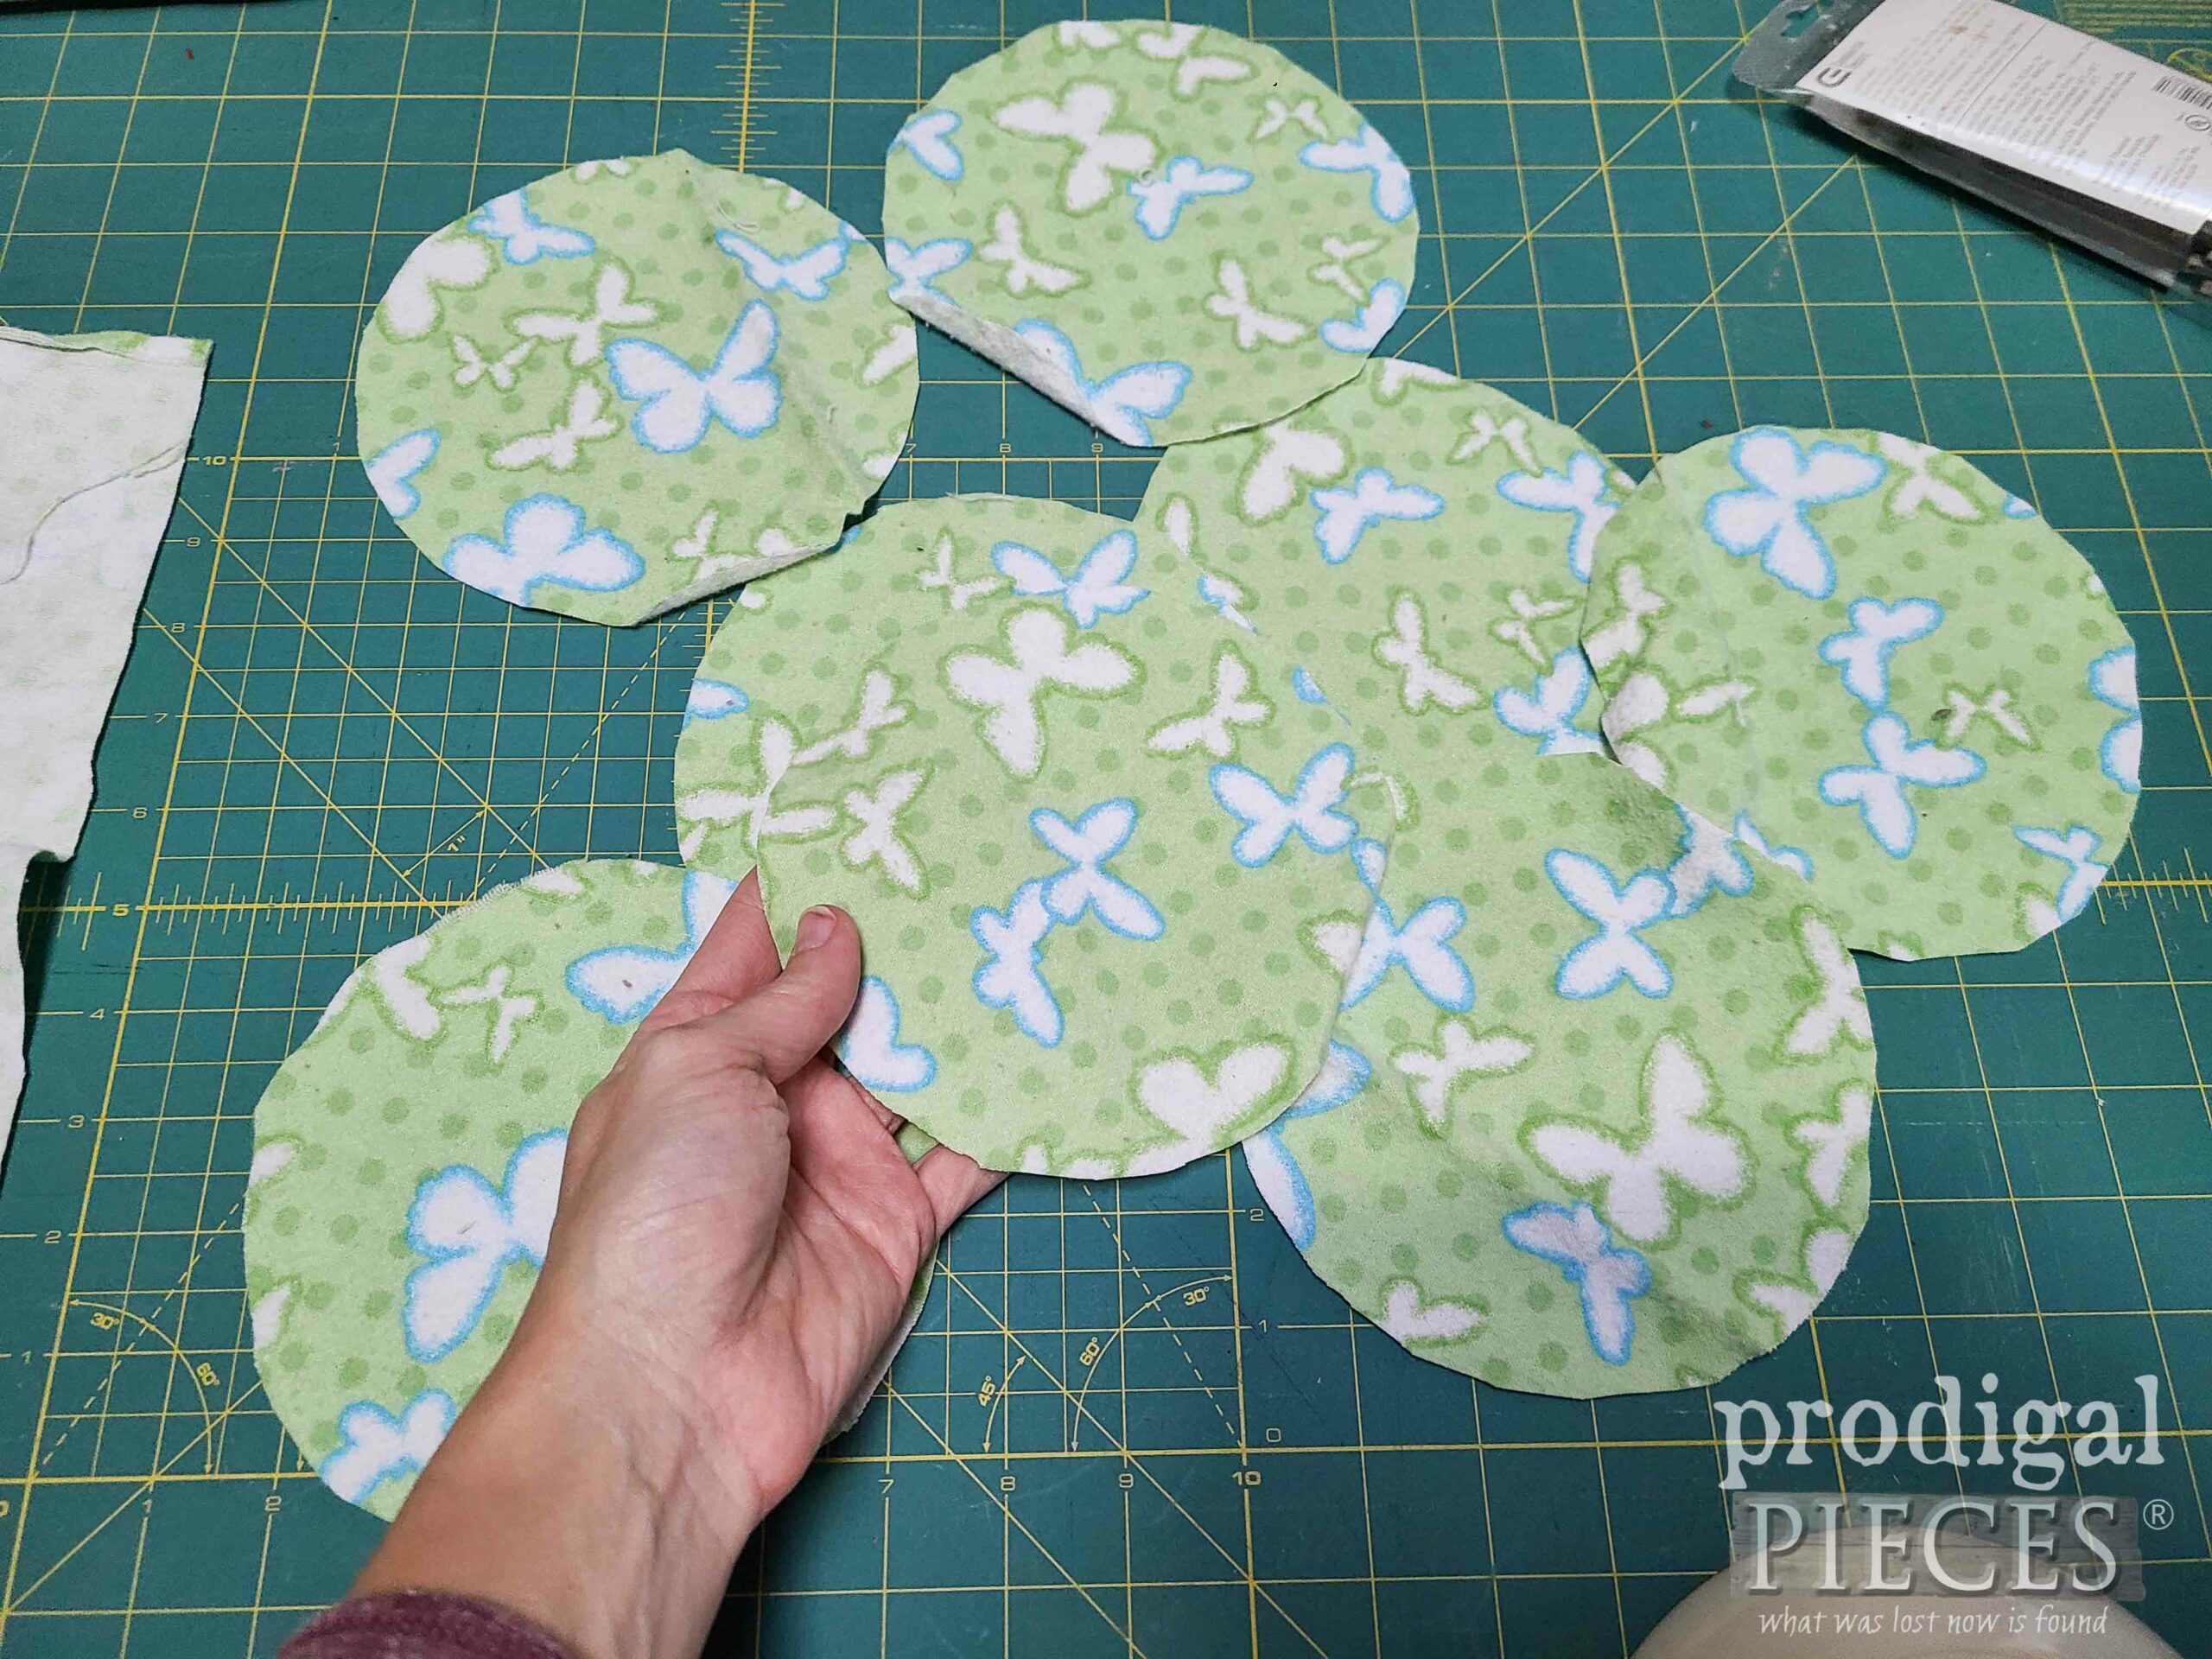
With that in mind, let’s get started. Trace your circles onto the wrong side of the fabric and cut out. For my first ball, I cut all of the same fabric. However, for the rest I use two colors to mix it up. The best part is that I am making this from thrifted flannel, leftover scraps from making my kids hankies, and even old clothing and bed sheets. woot!
STEP 2
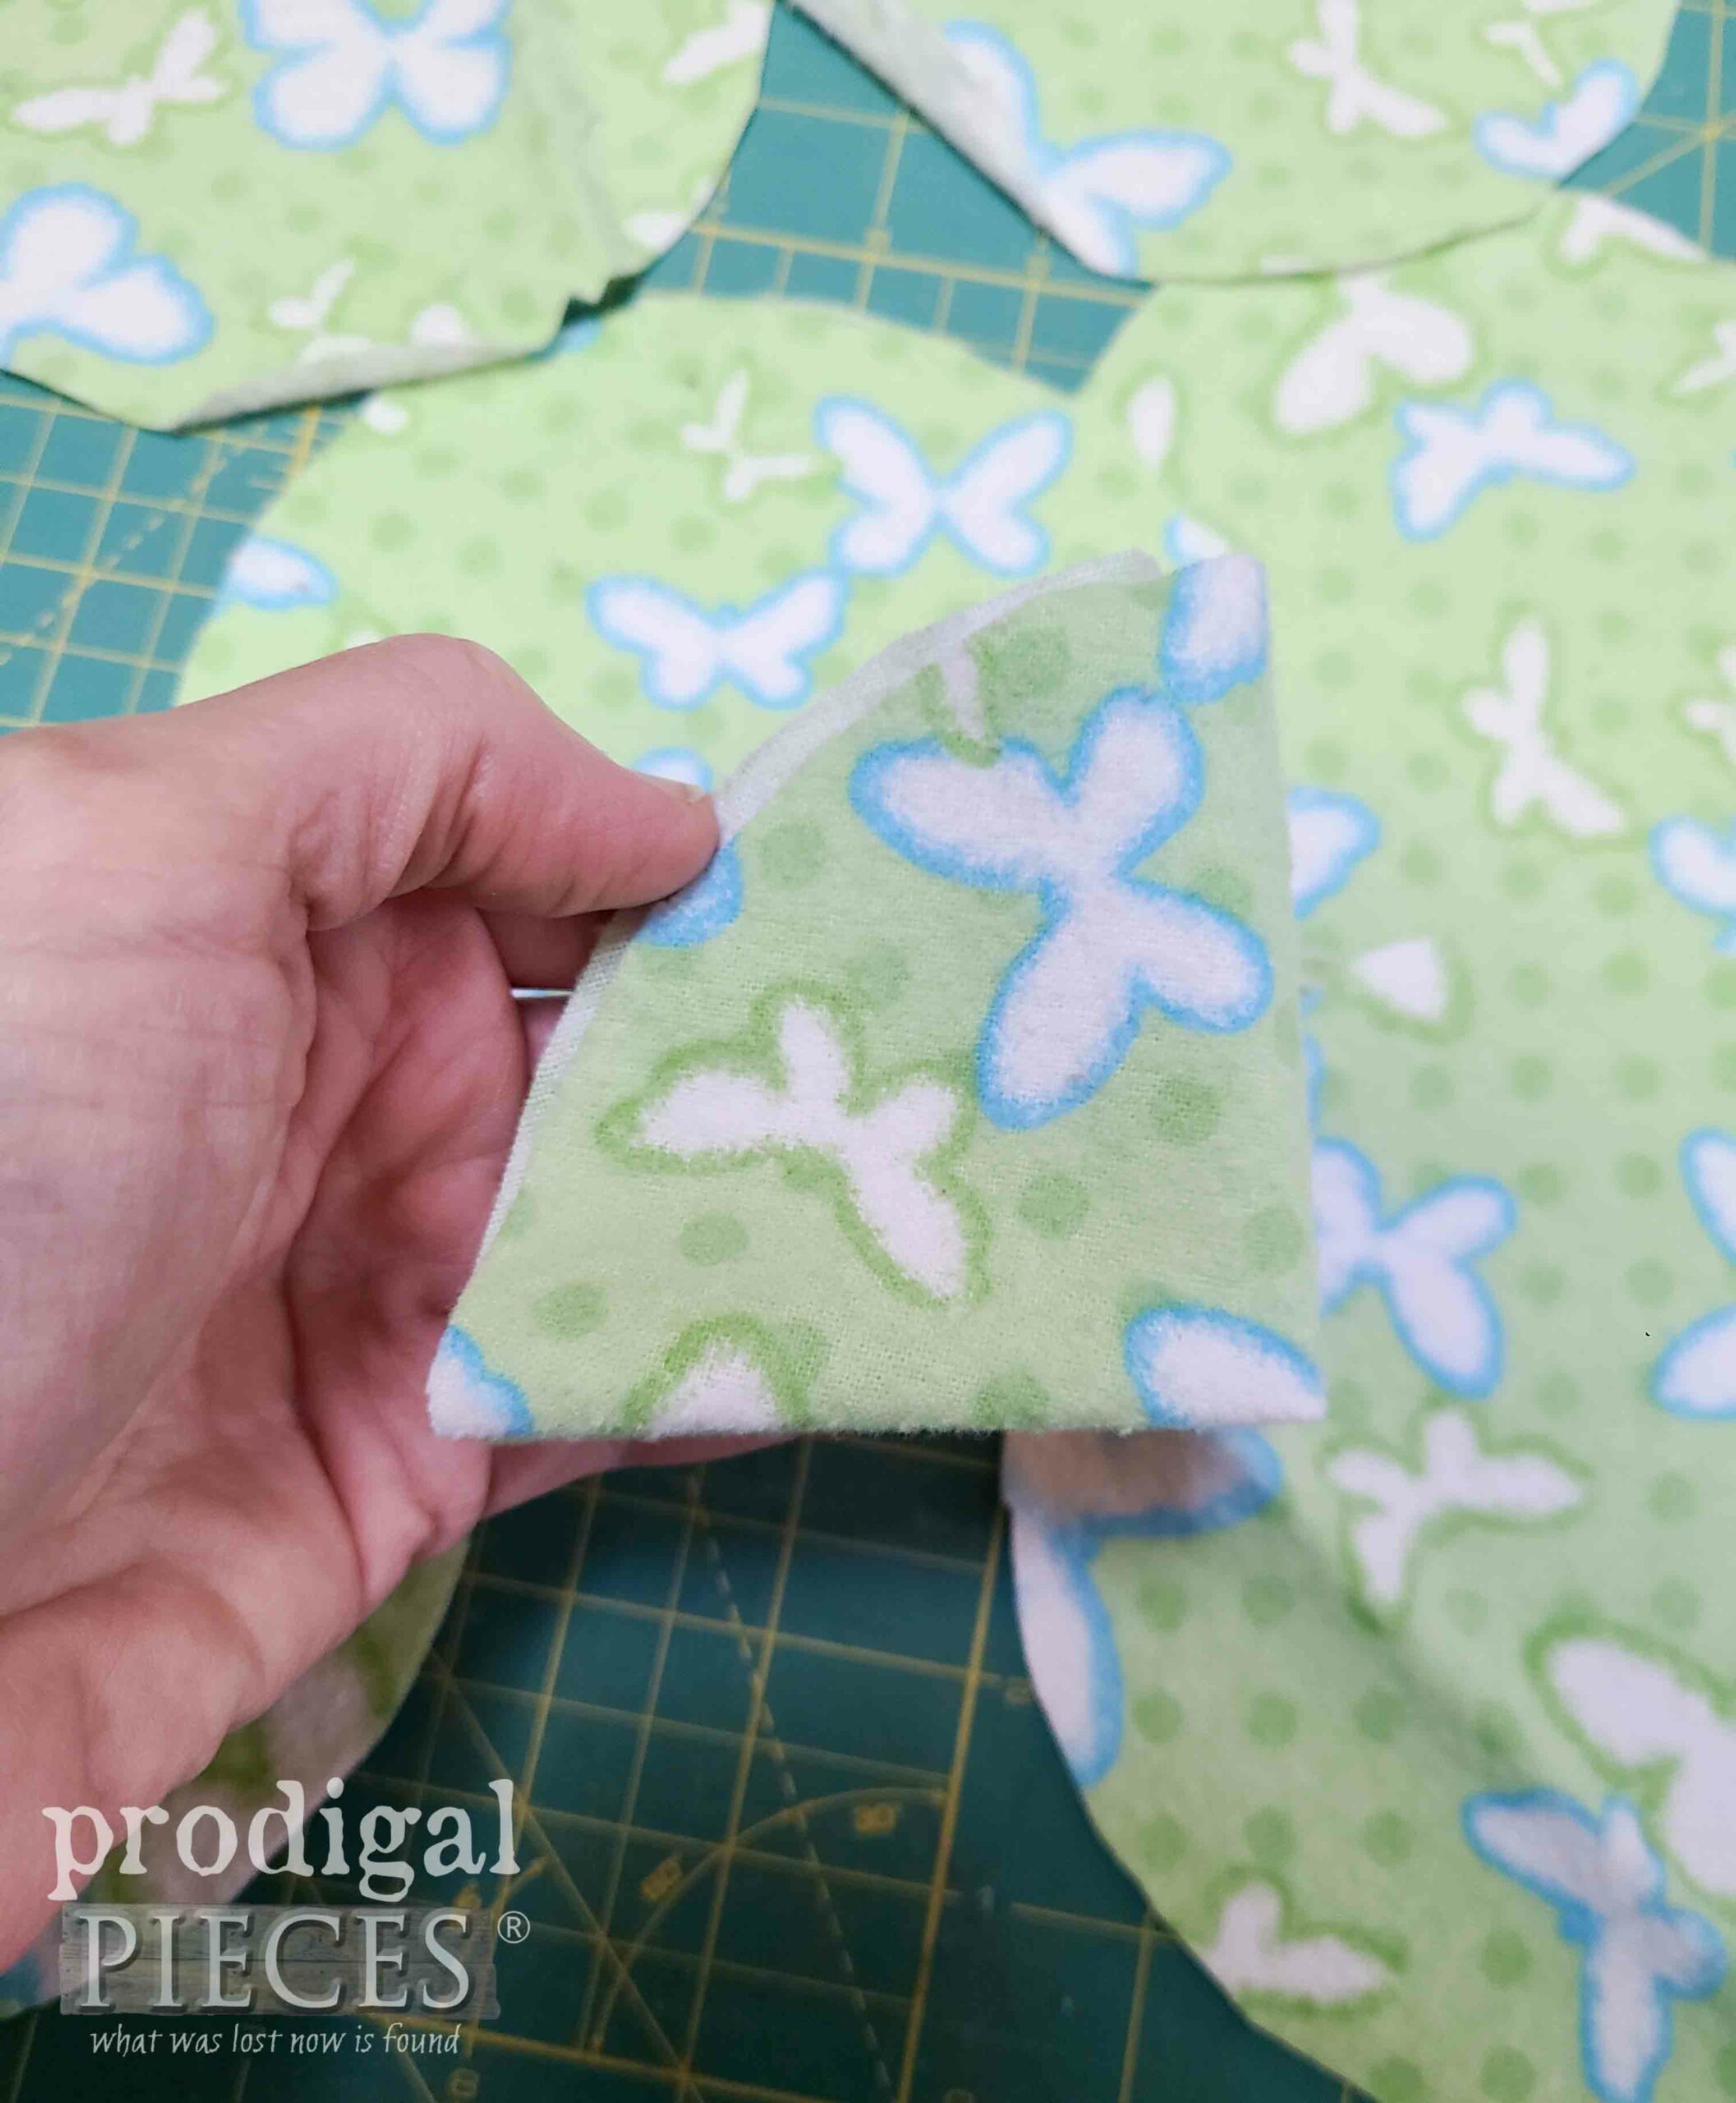
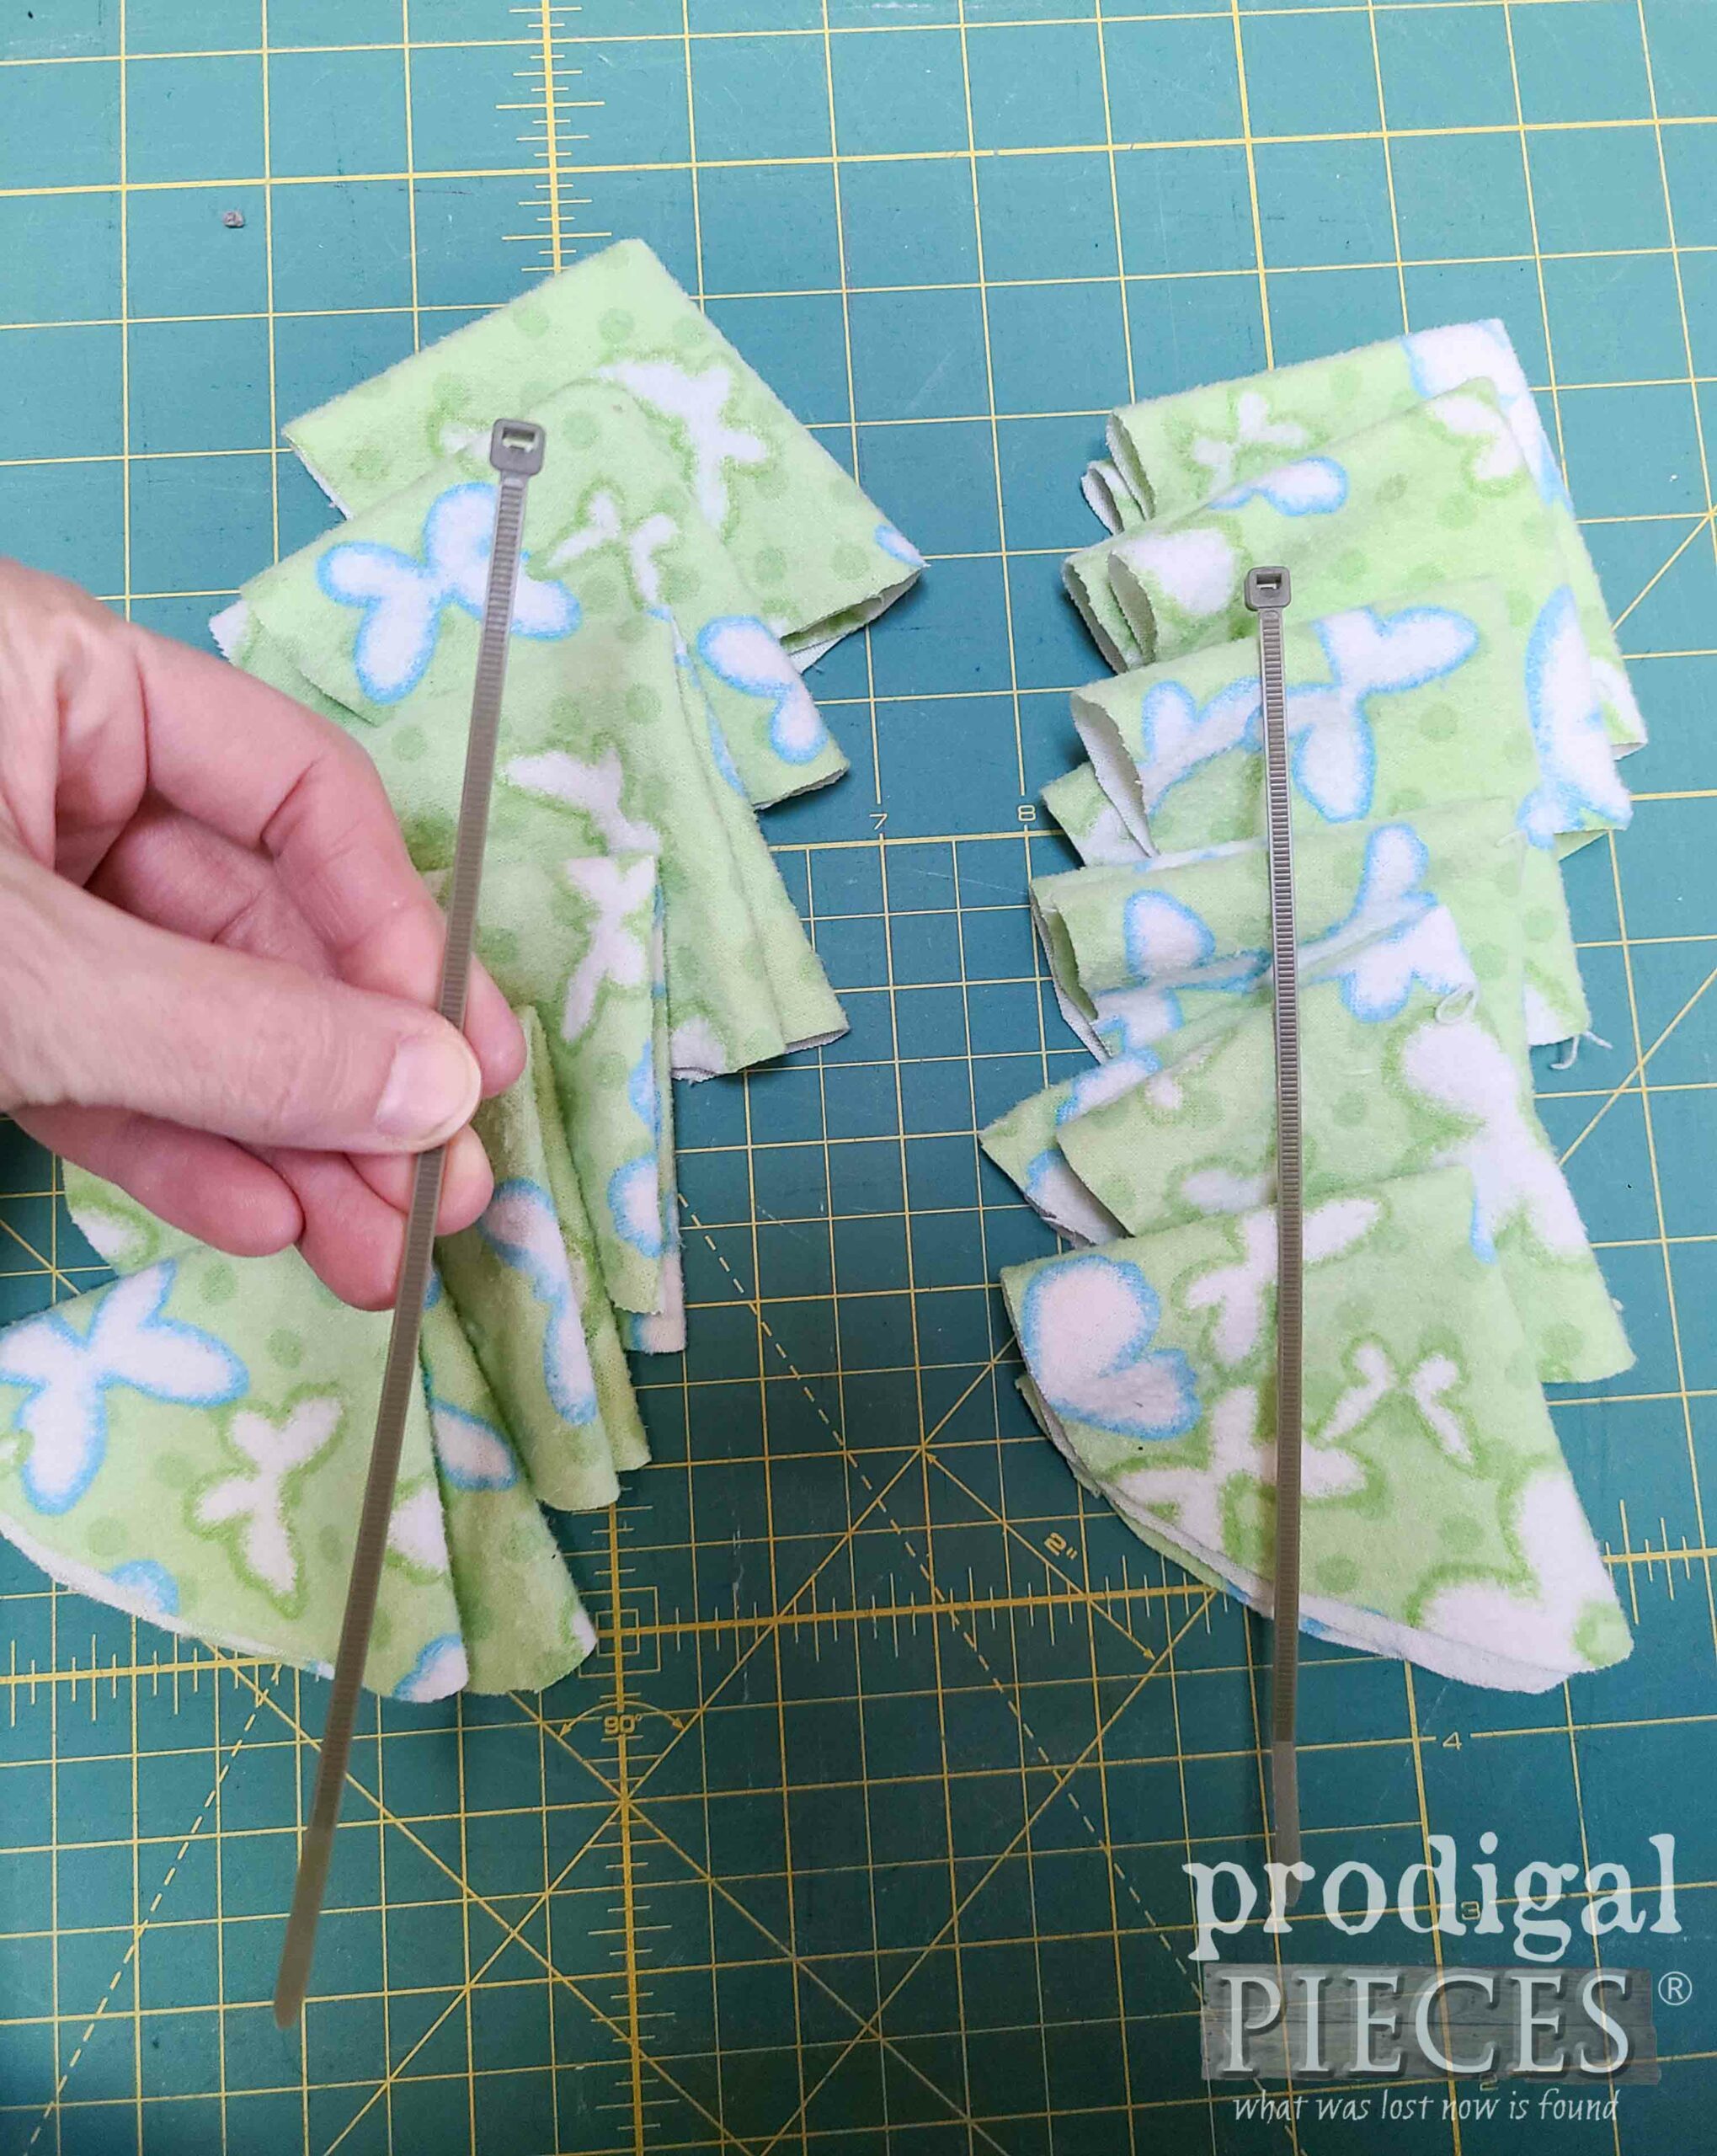
As soon as you have your pieces, cut, fold each circle into fourths. You’ll need six pieces for each zip tie.
STEP 3
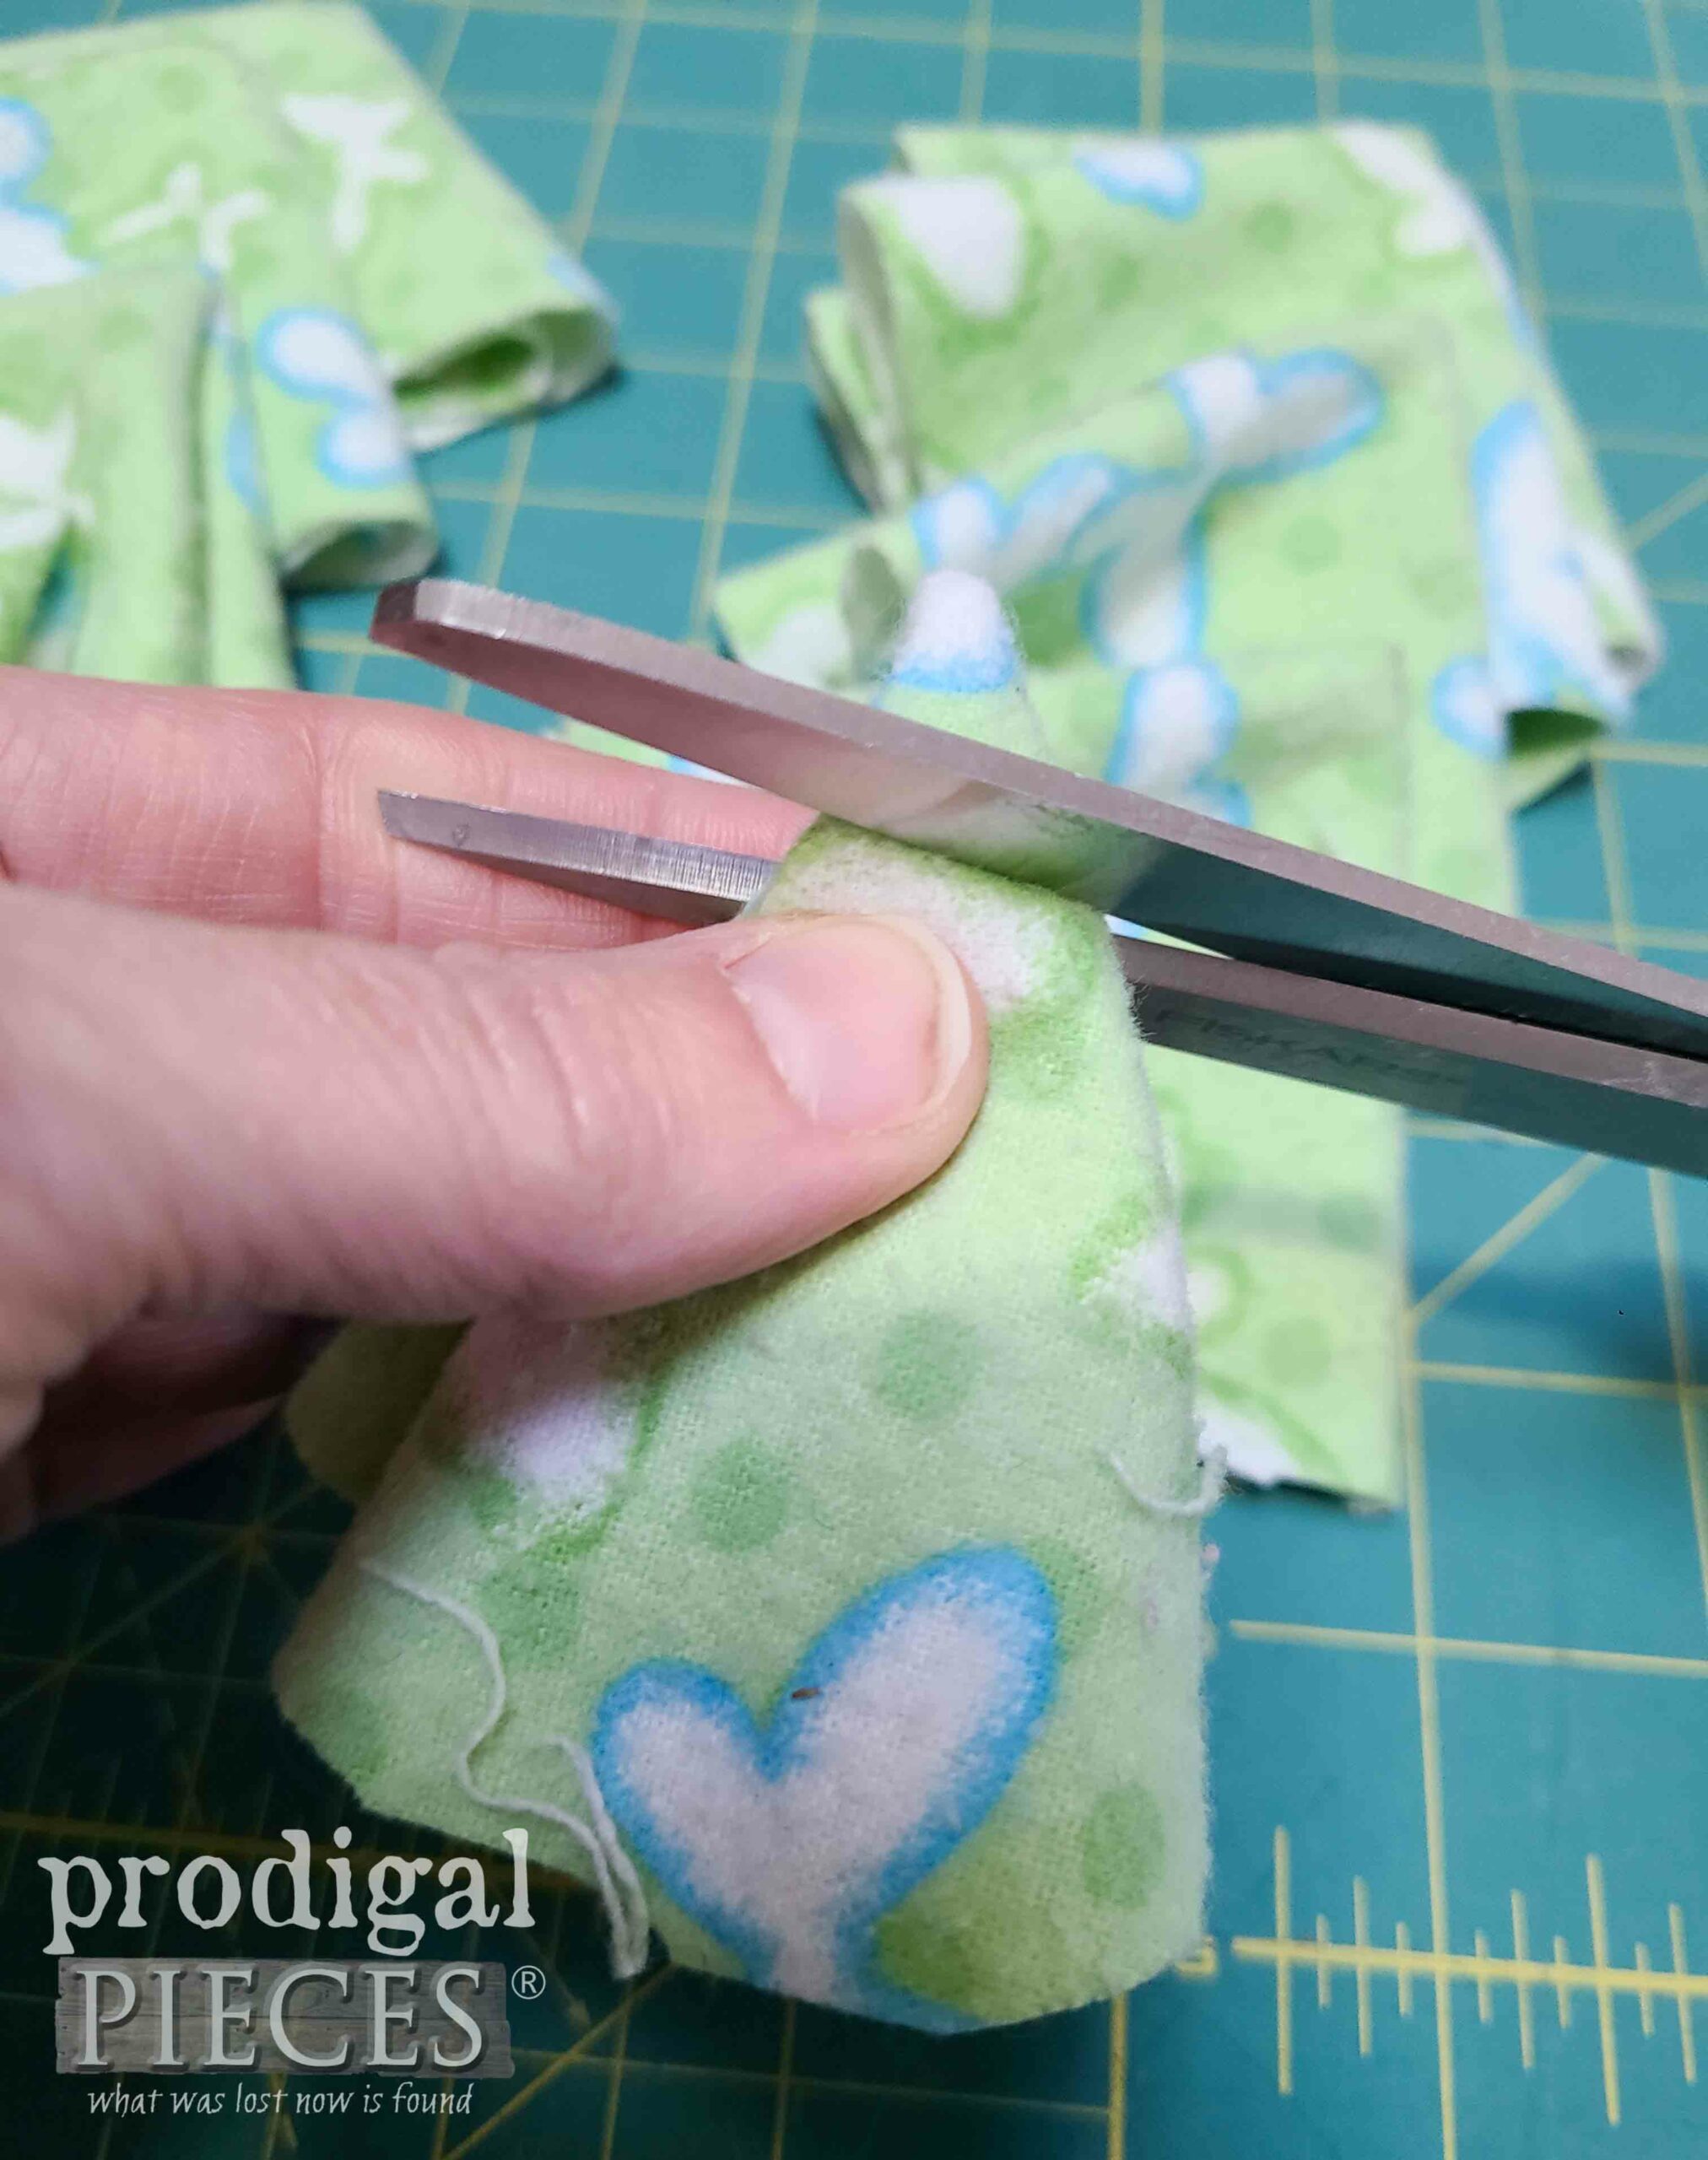
Next, fold each folded circle one more time into eighths. Secondly, take your sewing scissors or craft knife and make a hole approximately ¾” – 1″ up from the tip.
To ensure the hole goes through all four layers, I reverse the fold and cut from the other side as well. After that, slip each quarter-folded circle onto a zip tie (6 per tie).
STEP 4
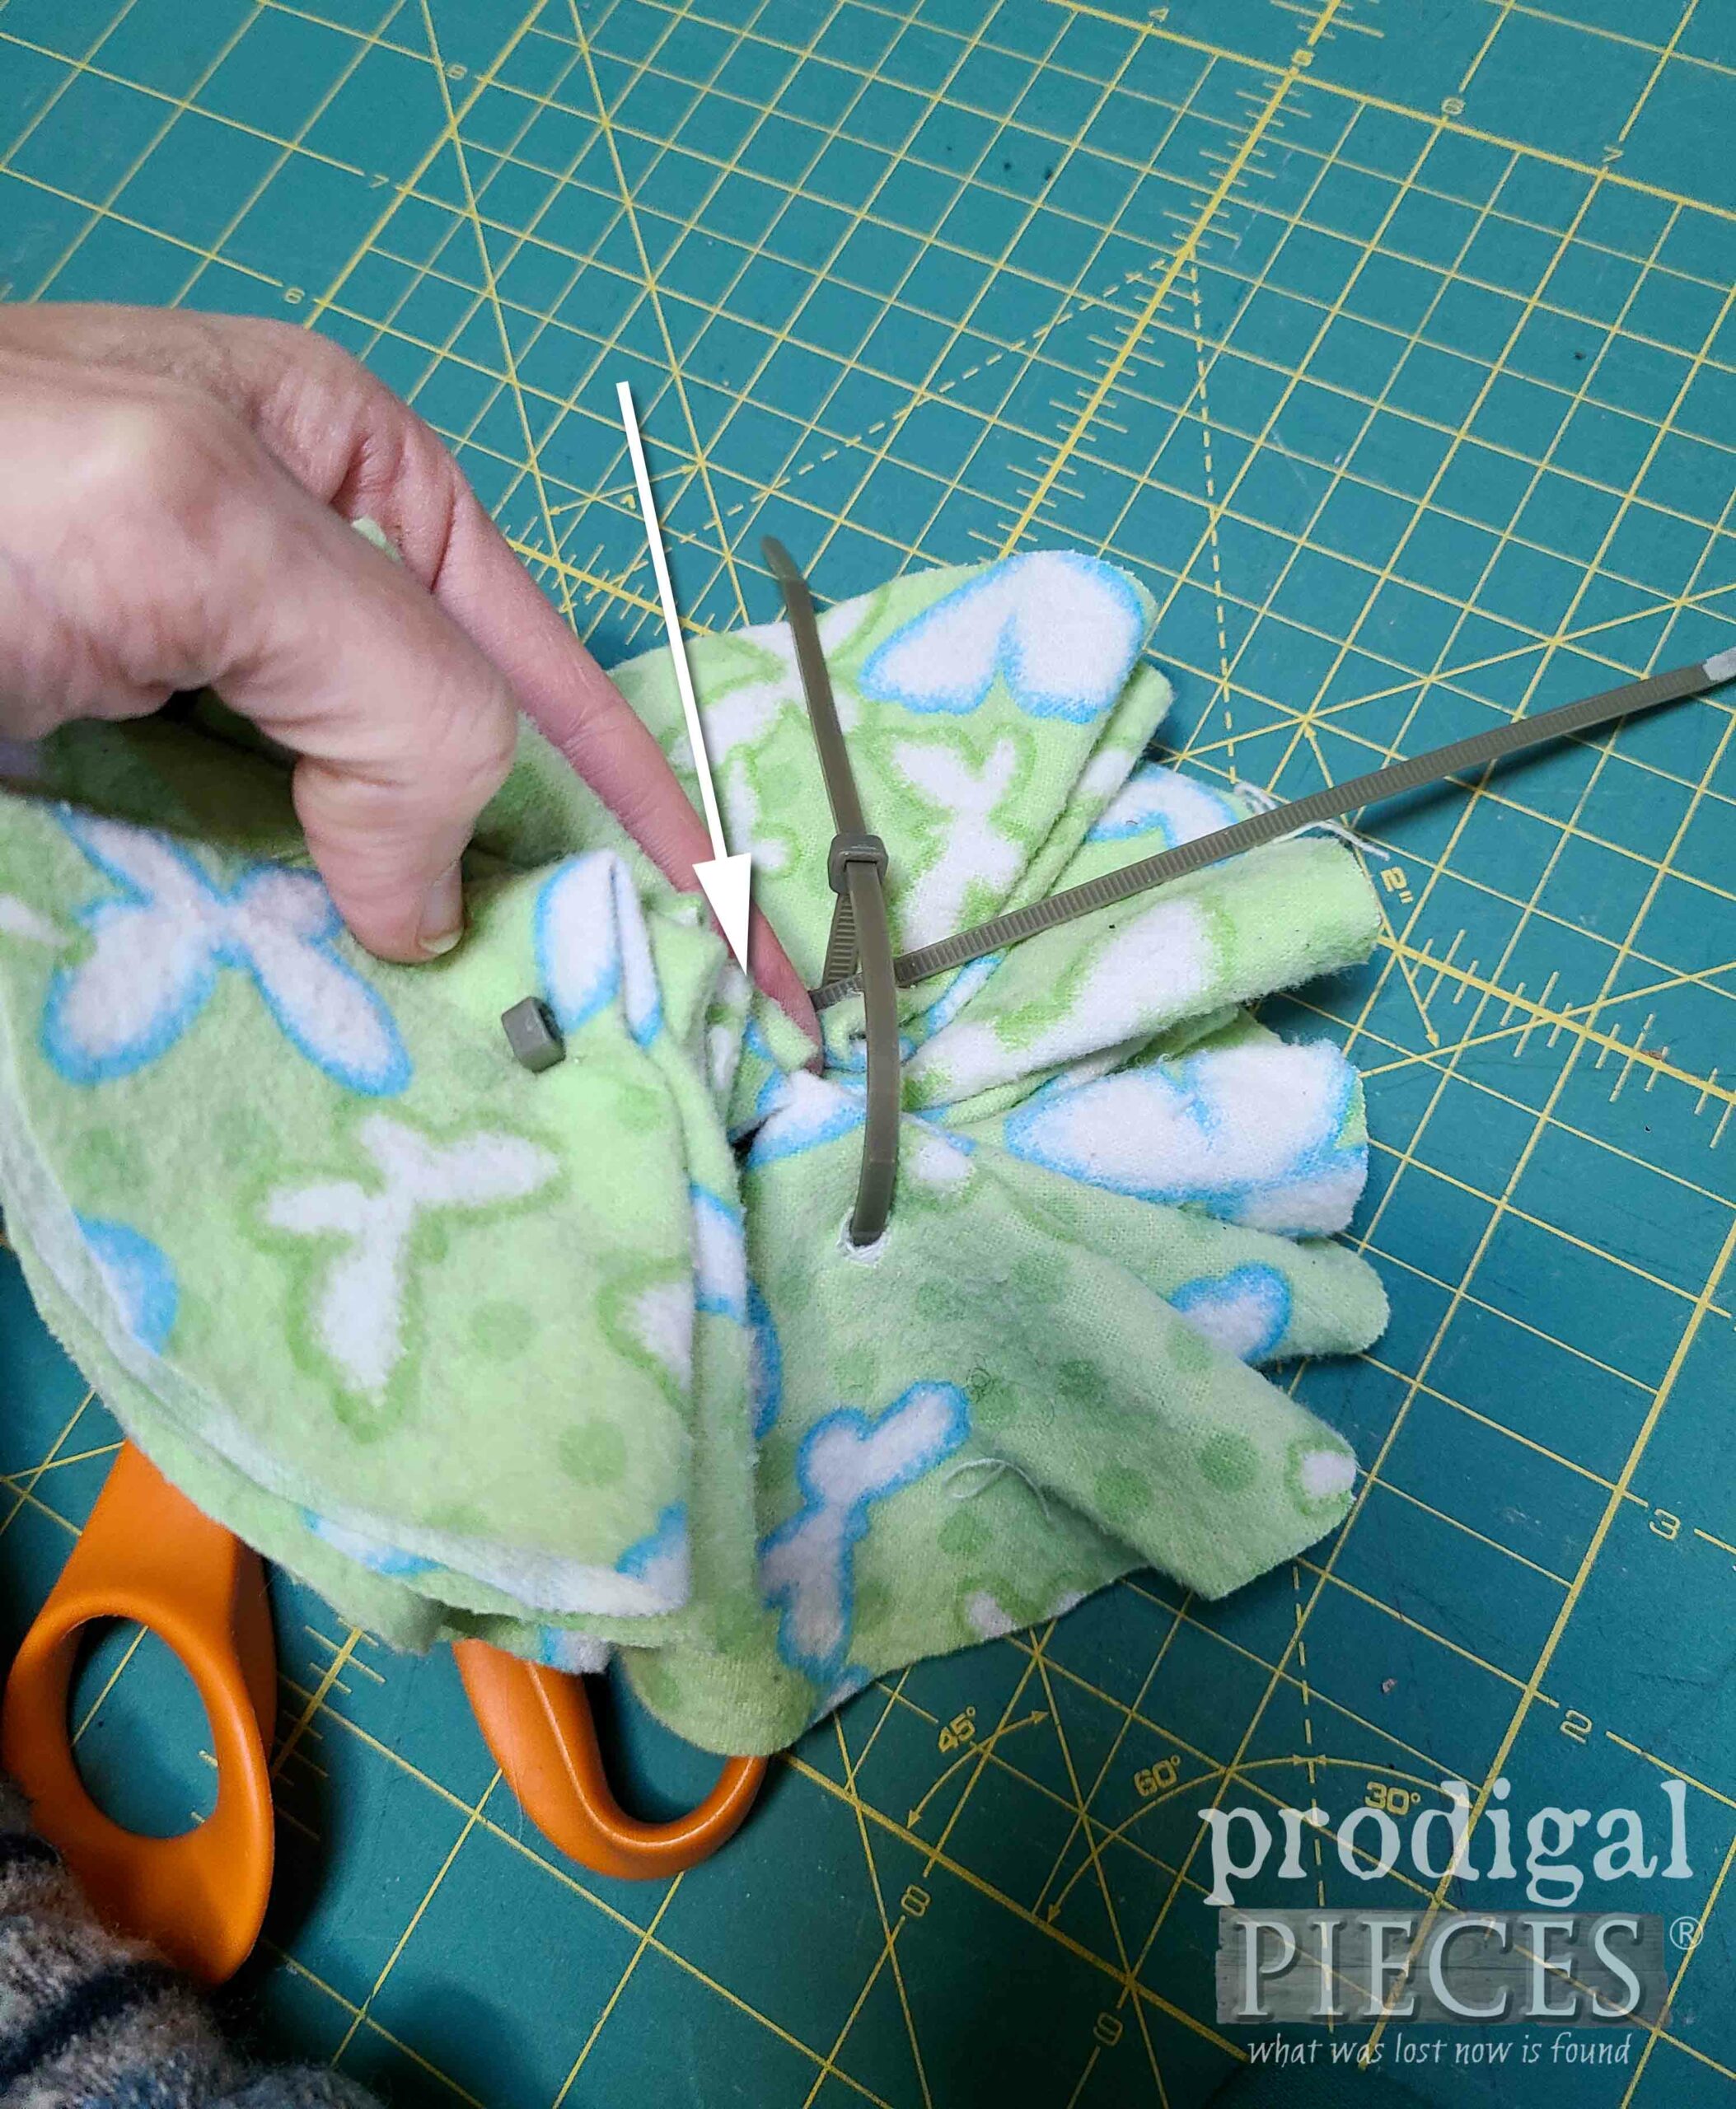
Once you have your pieces on the zip ties, close one of the zip ties loosely. Next, insert the open zip tie bunch into the closed zip tie bunch. Tighten both zip ties as tight as you can get them. At this point, if you want a full ball, make two more pieces and assemble all four together.
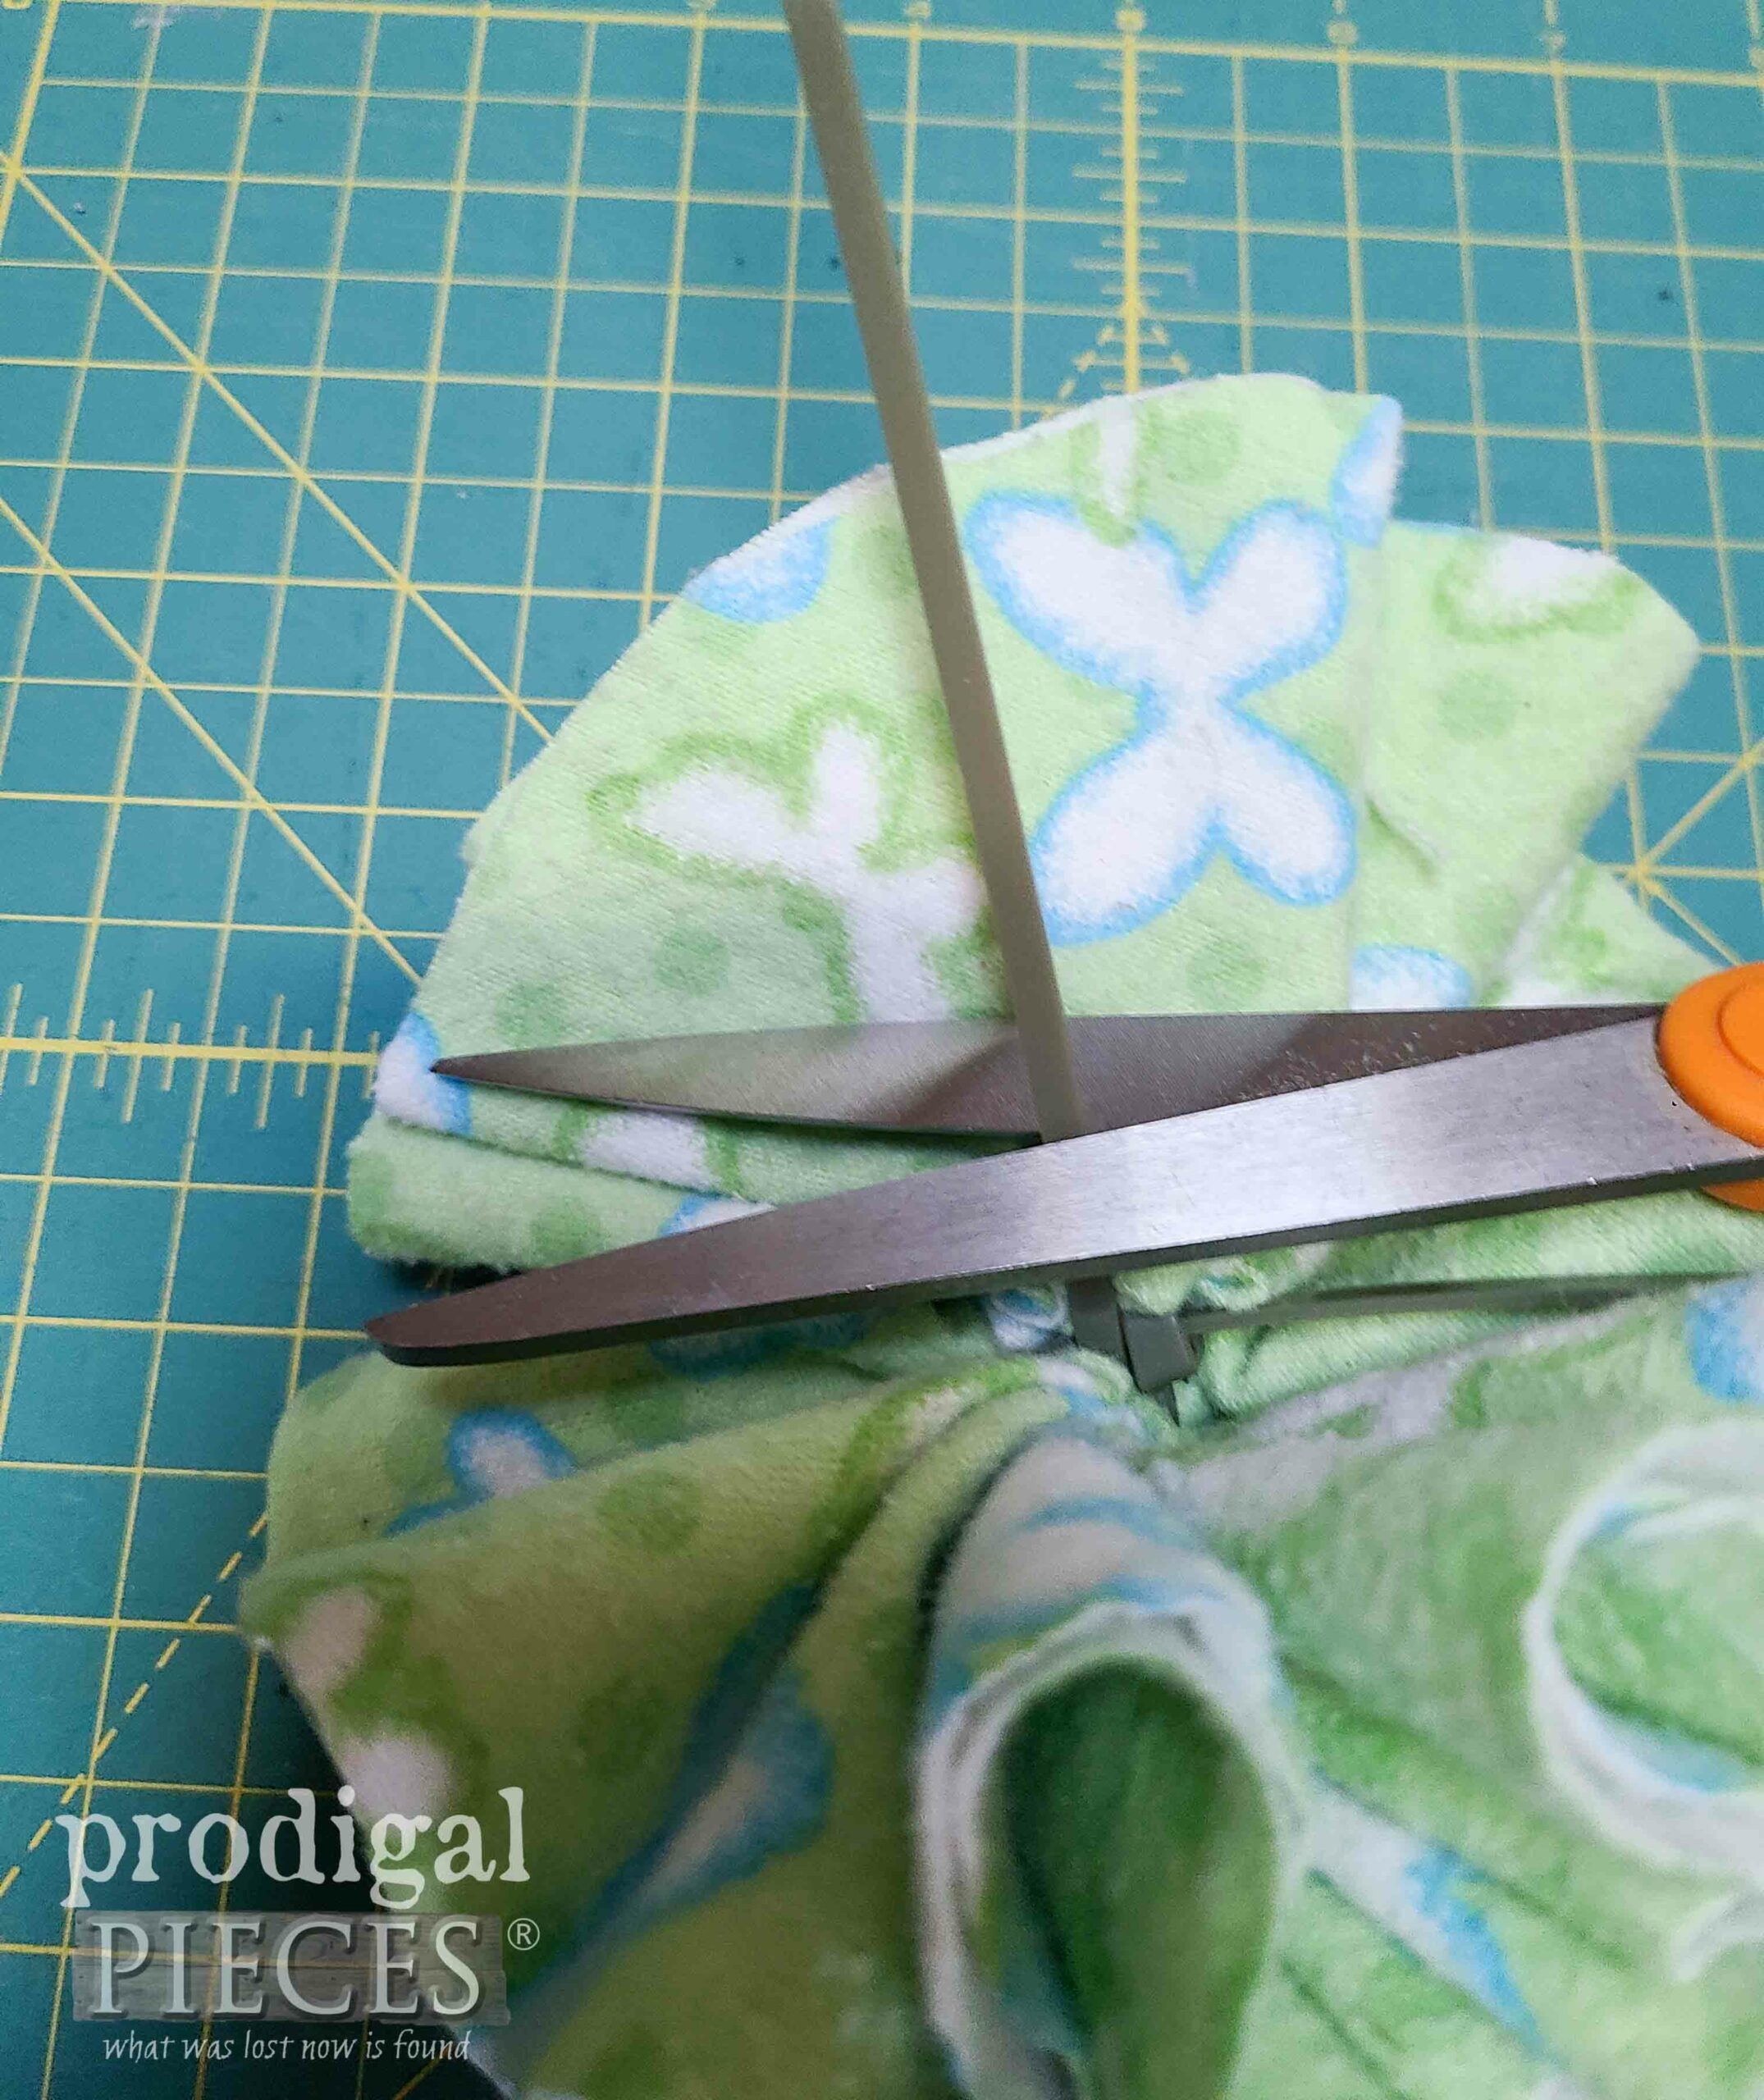
Cut excess zip ties and lightly sand smooth the cut ends.
STEP 5
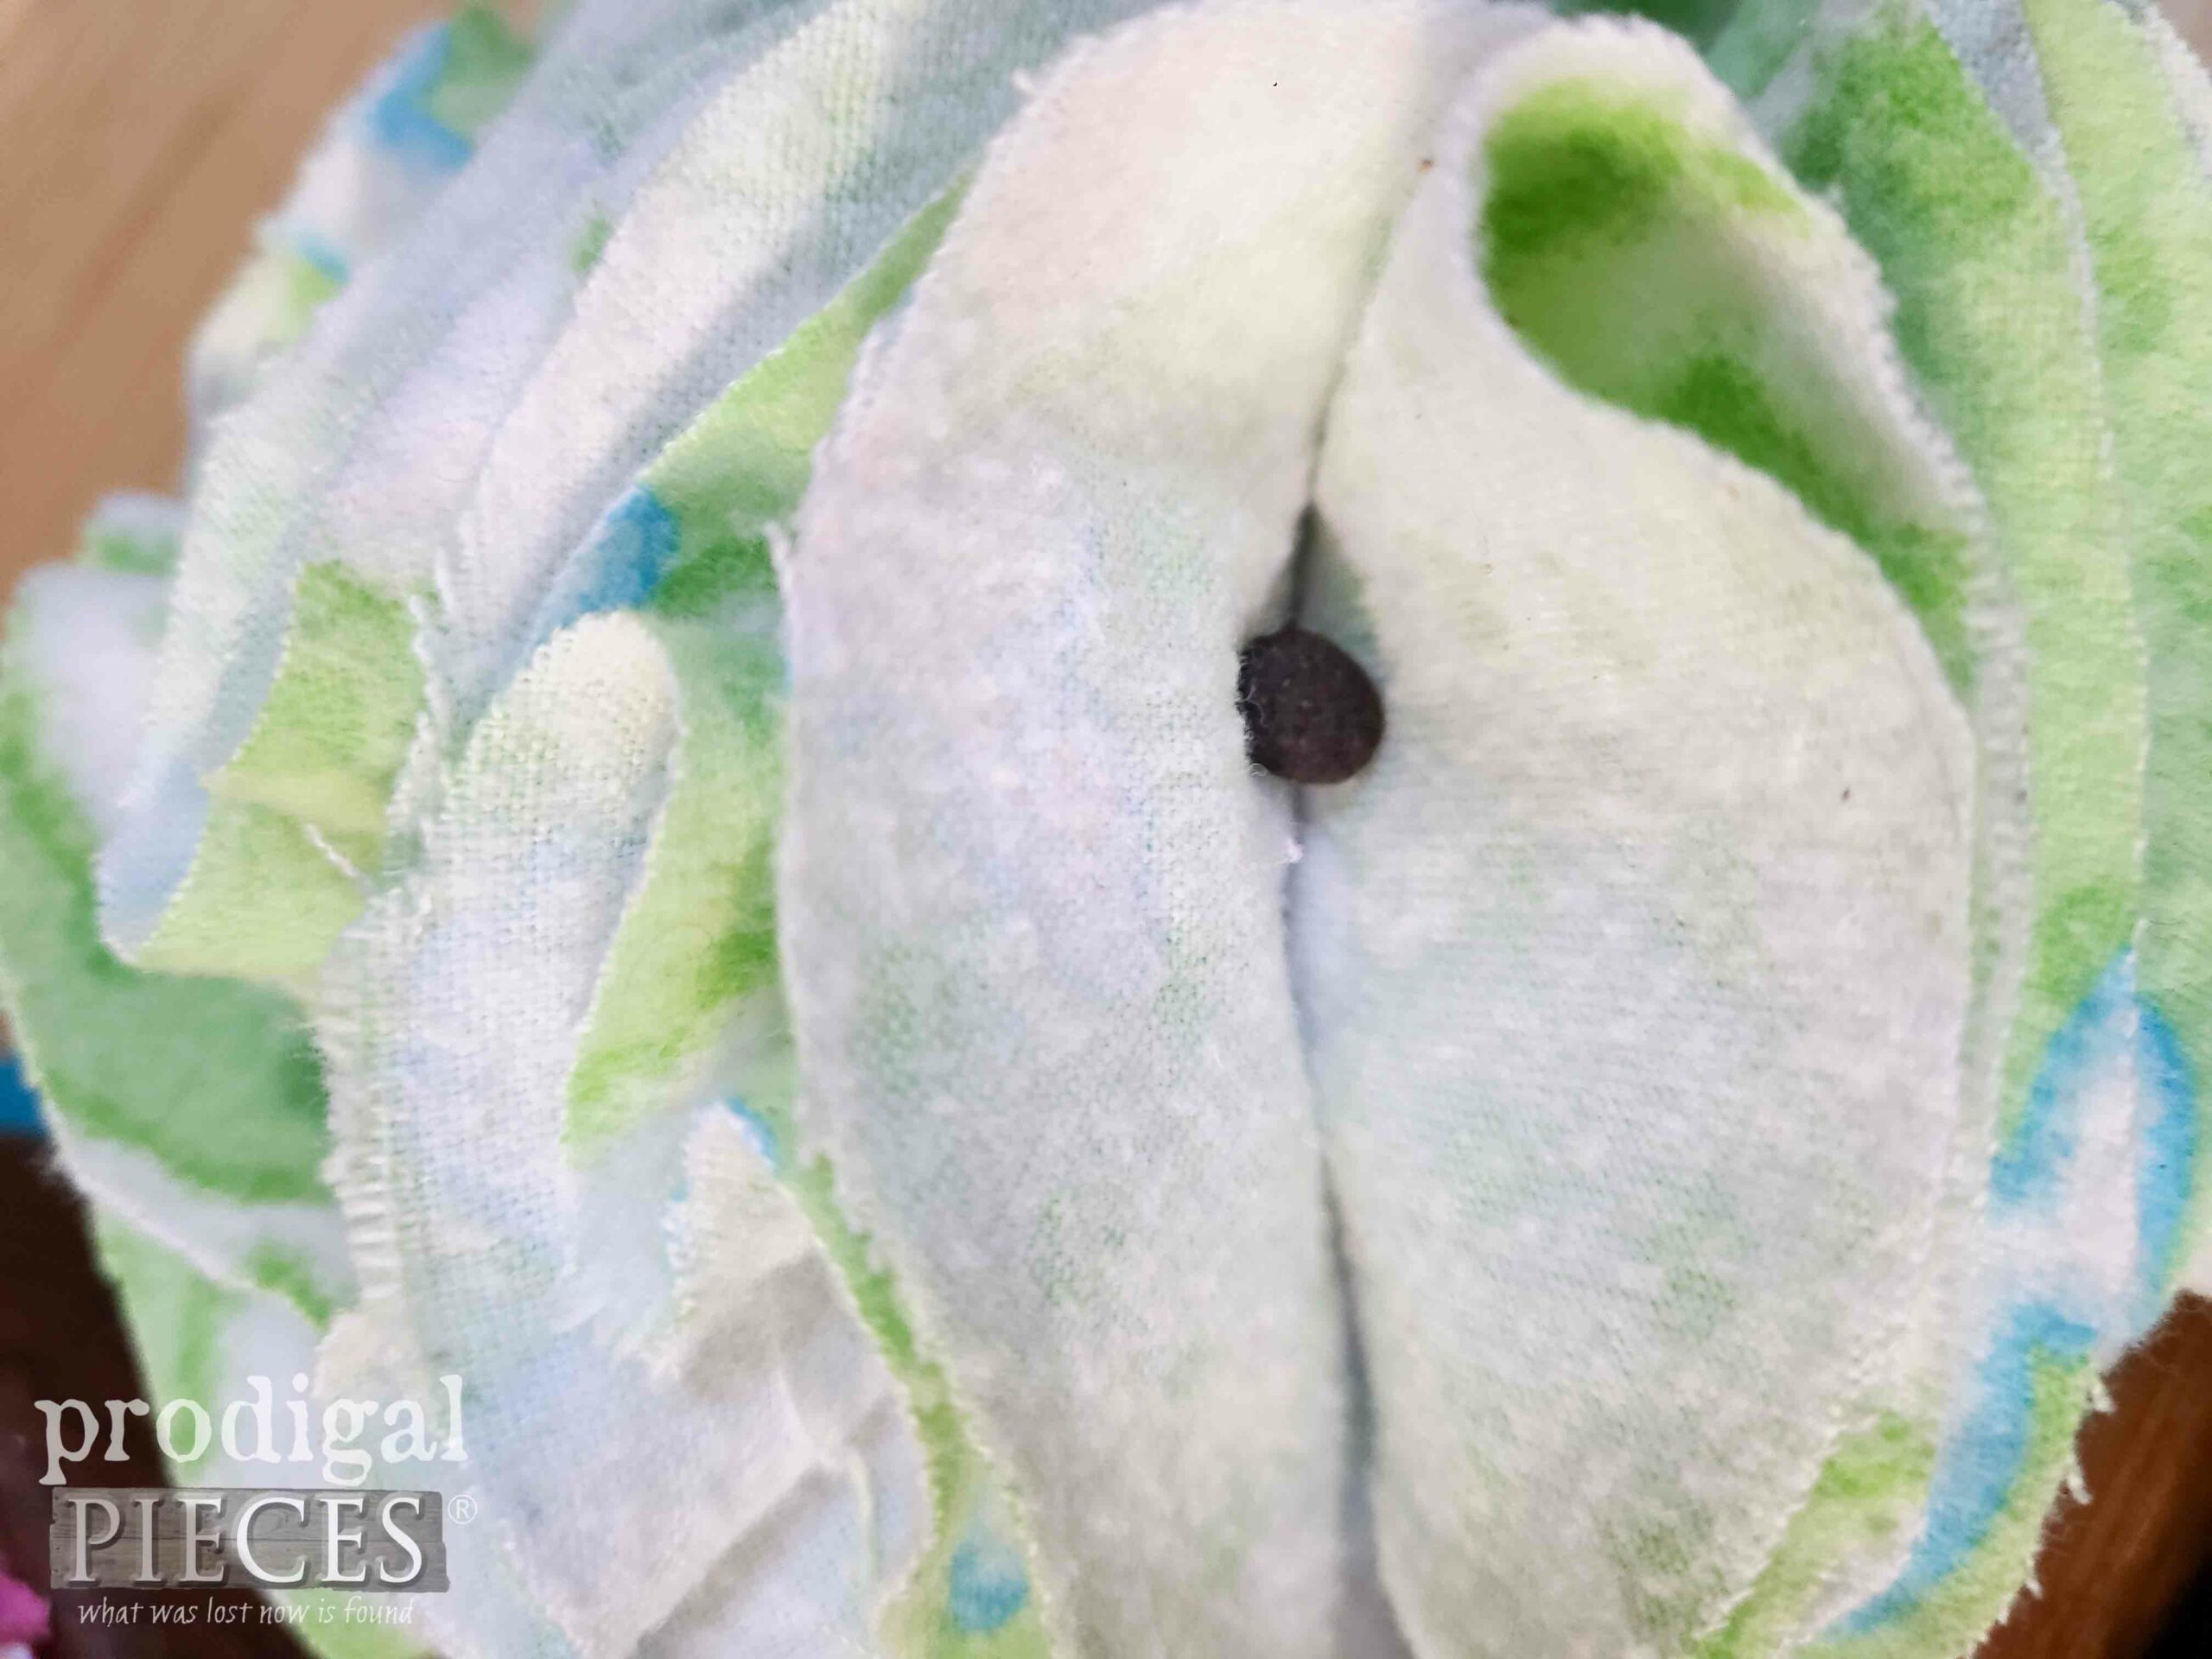
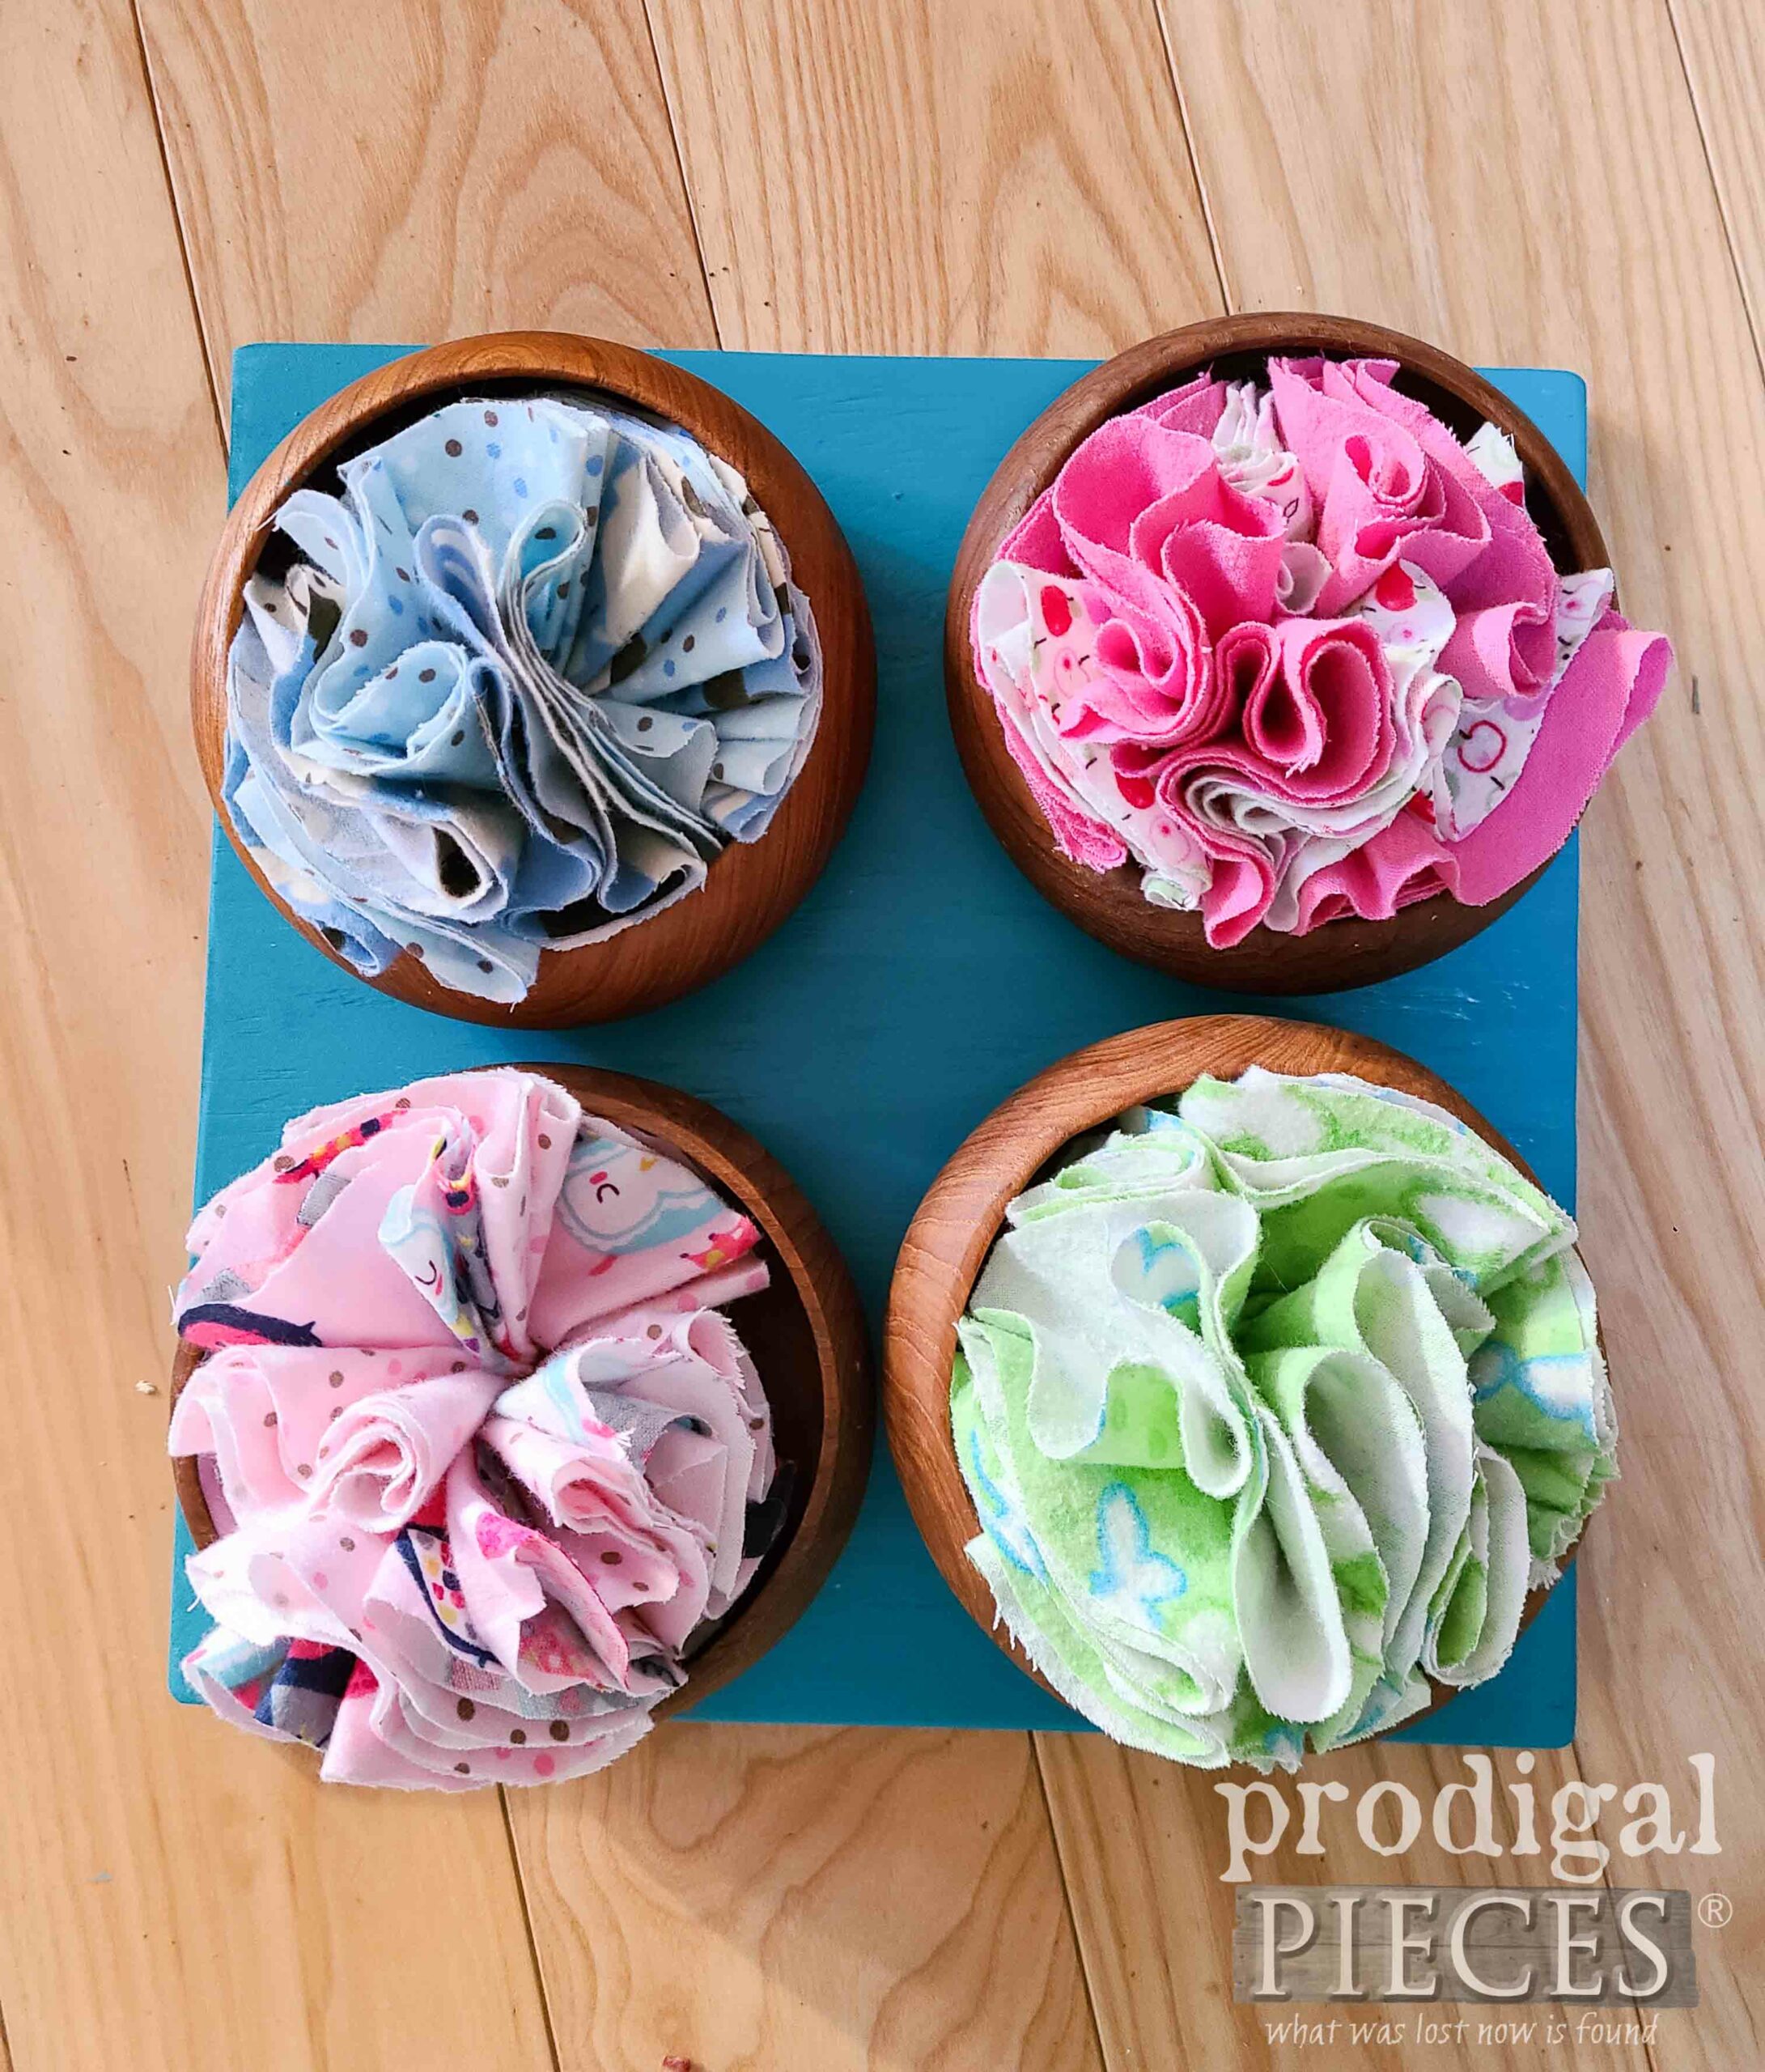
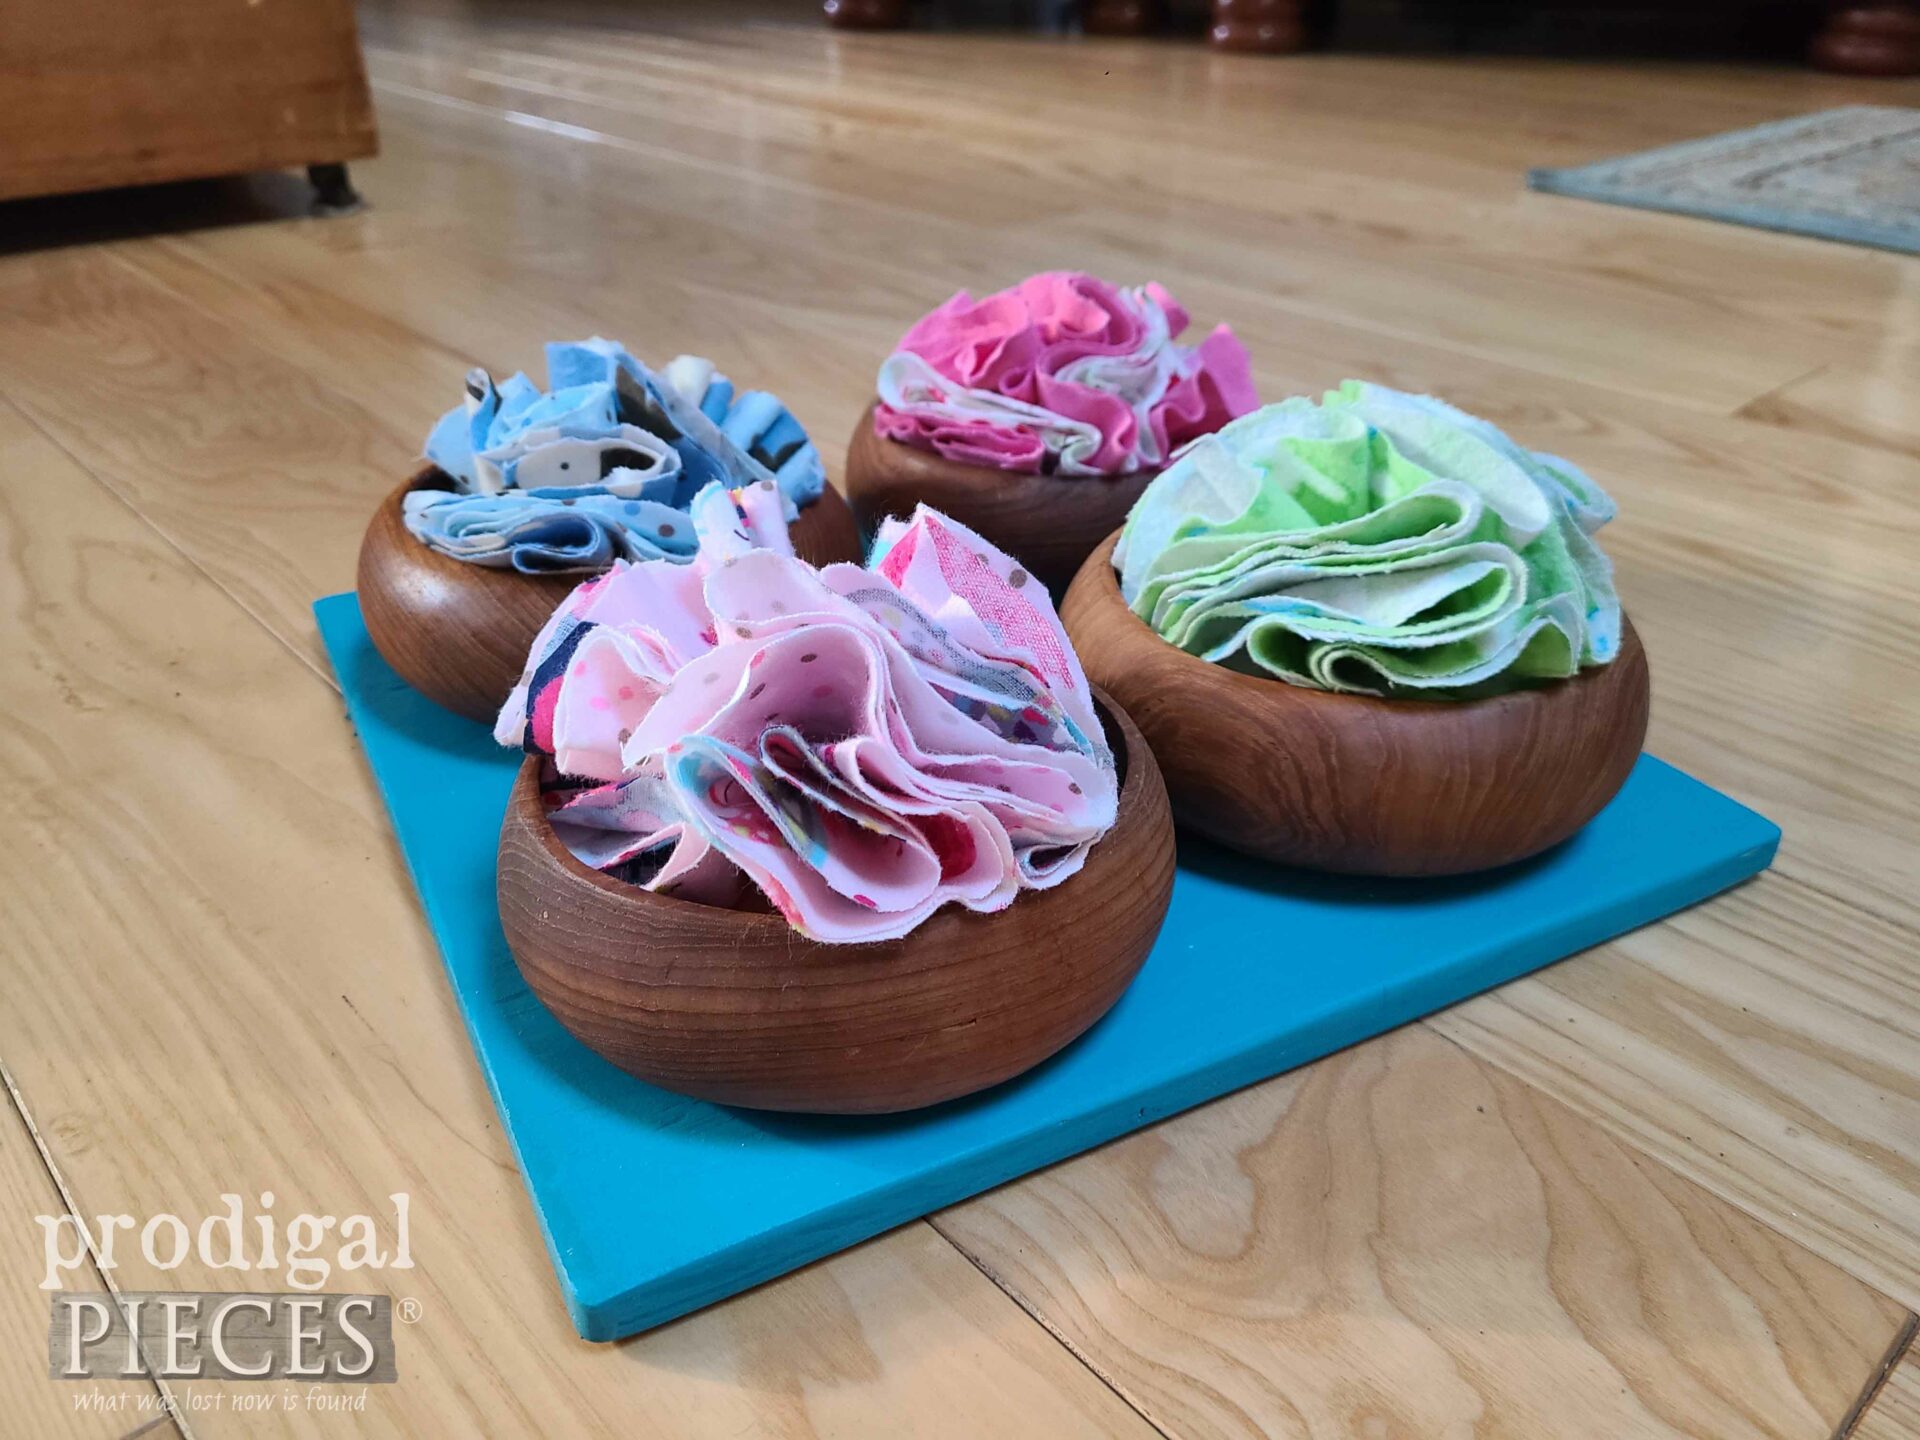
Last, but not least, I use a 2″ wood screw set in each half-ball and then finish it though the scrap wood, bowl, and into the base I created earlier. Just make sure the zip ties are facing down toward the scrap wood. No worries, when done right, the fabric will cover the screw head and keep the zip ties from hurting your pup.
PLAY TIME
Loula is all about the word “game” as I’m teaching her how to talk. Yes, talk. If you haven’t seen the amazing work of Stella, the talking dog, and those like her, you’re in for a treat! See HERE. Meanwhile, I say “game” to Loula and she is like…GAME ON!! She loves her tennis ball game too.
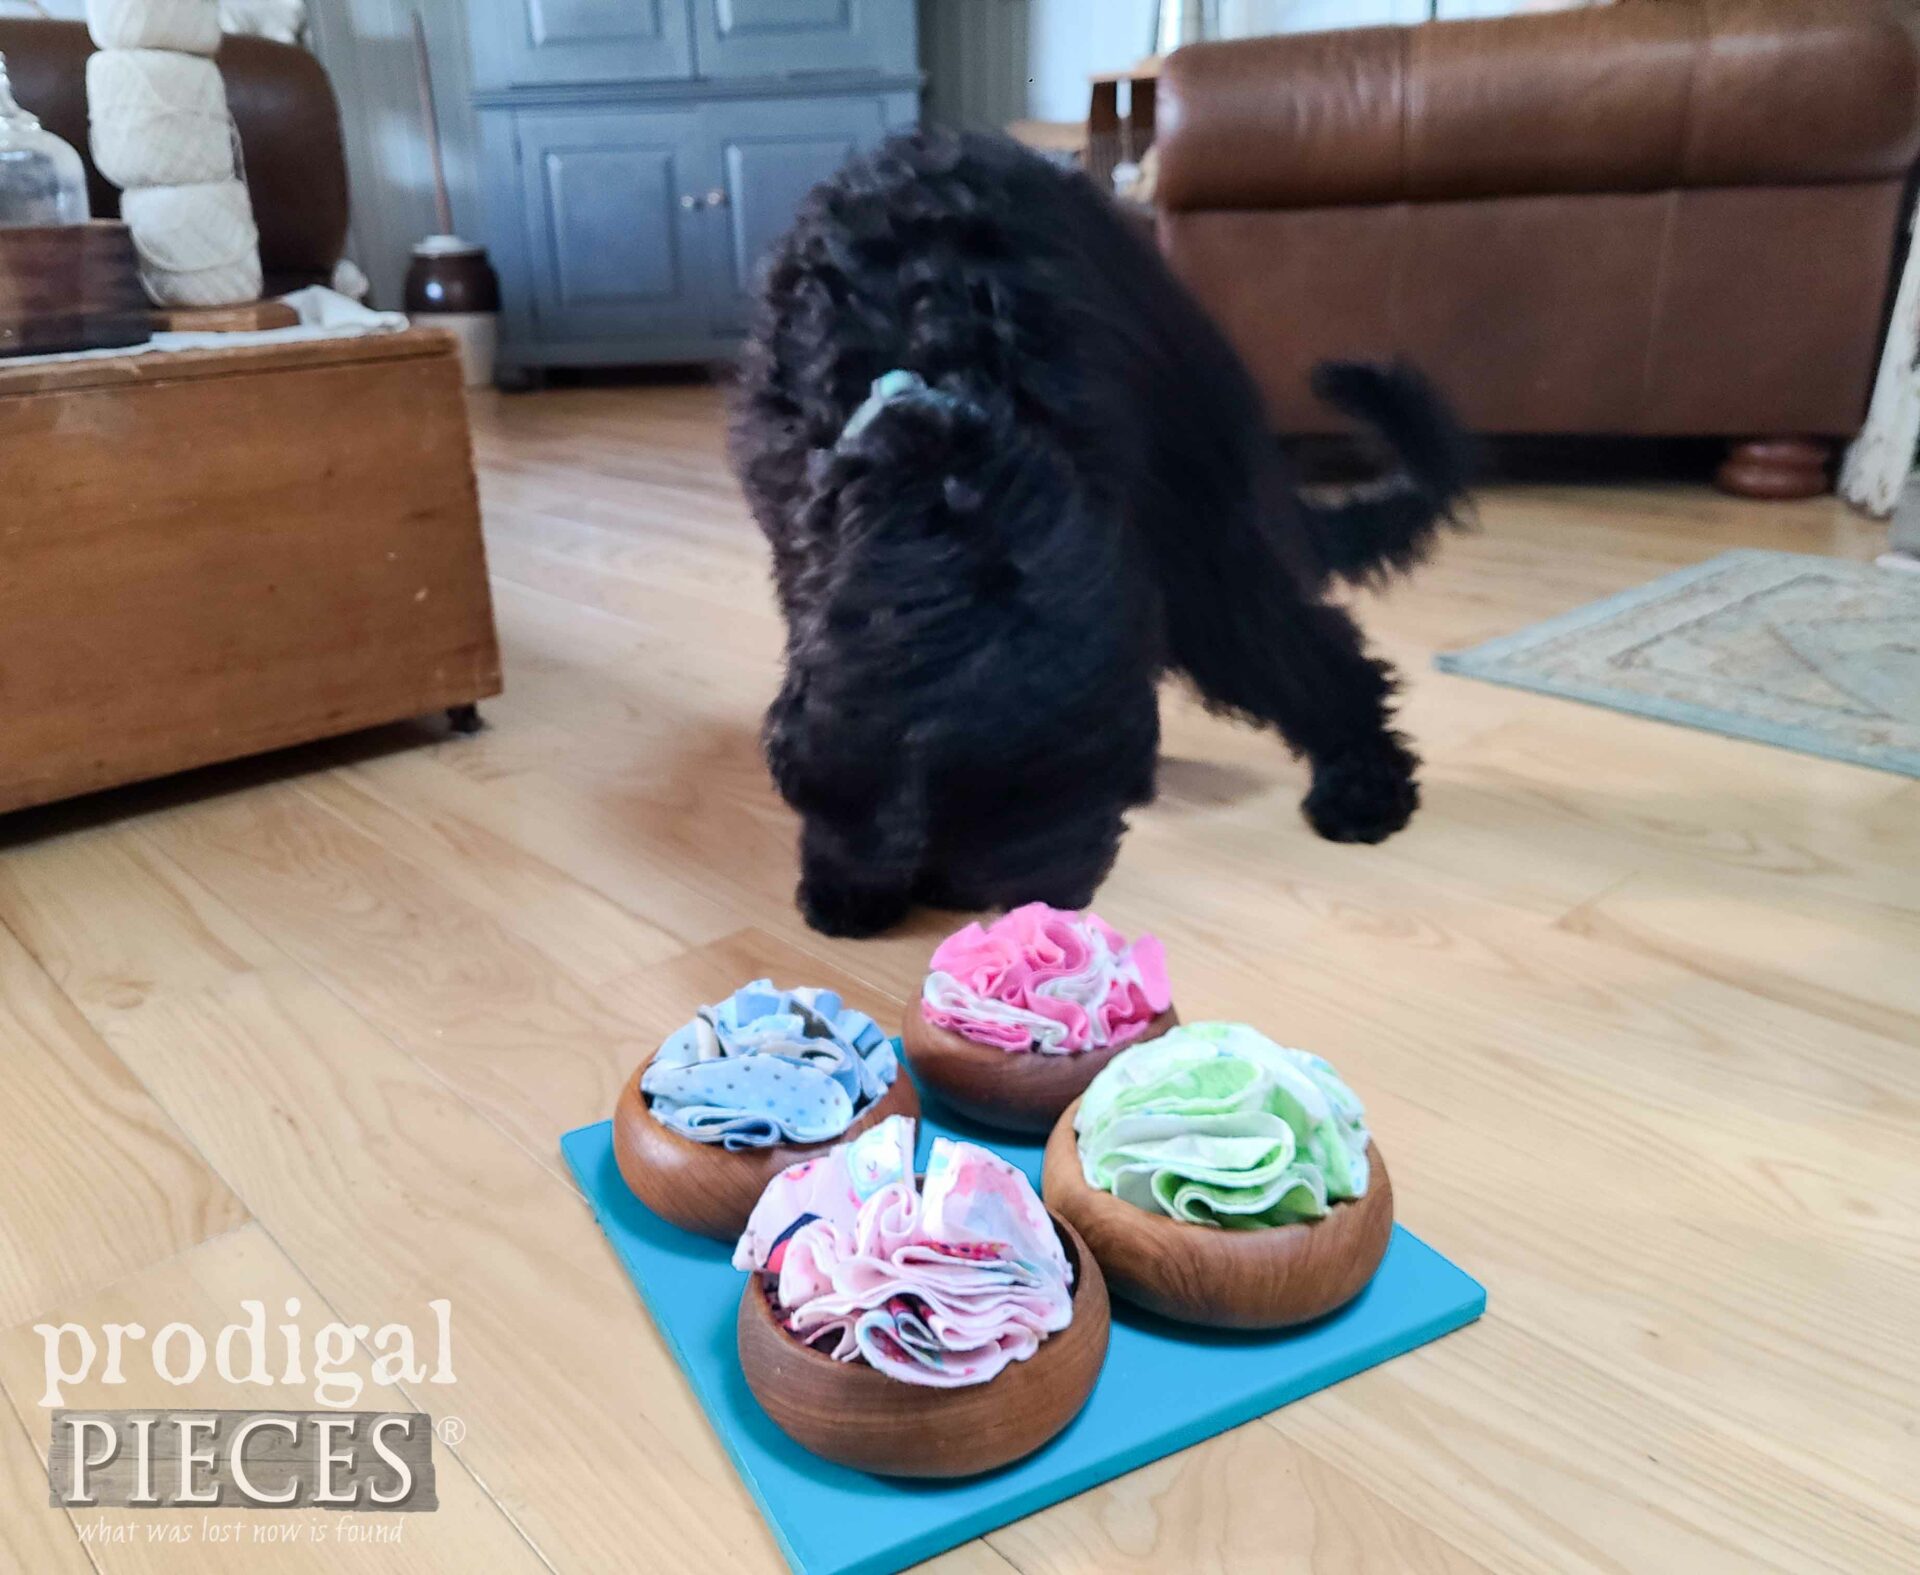
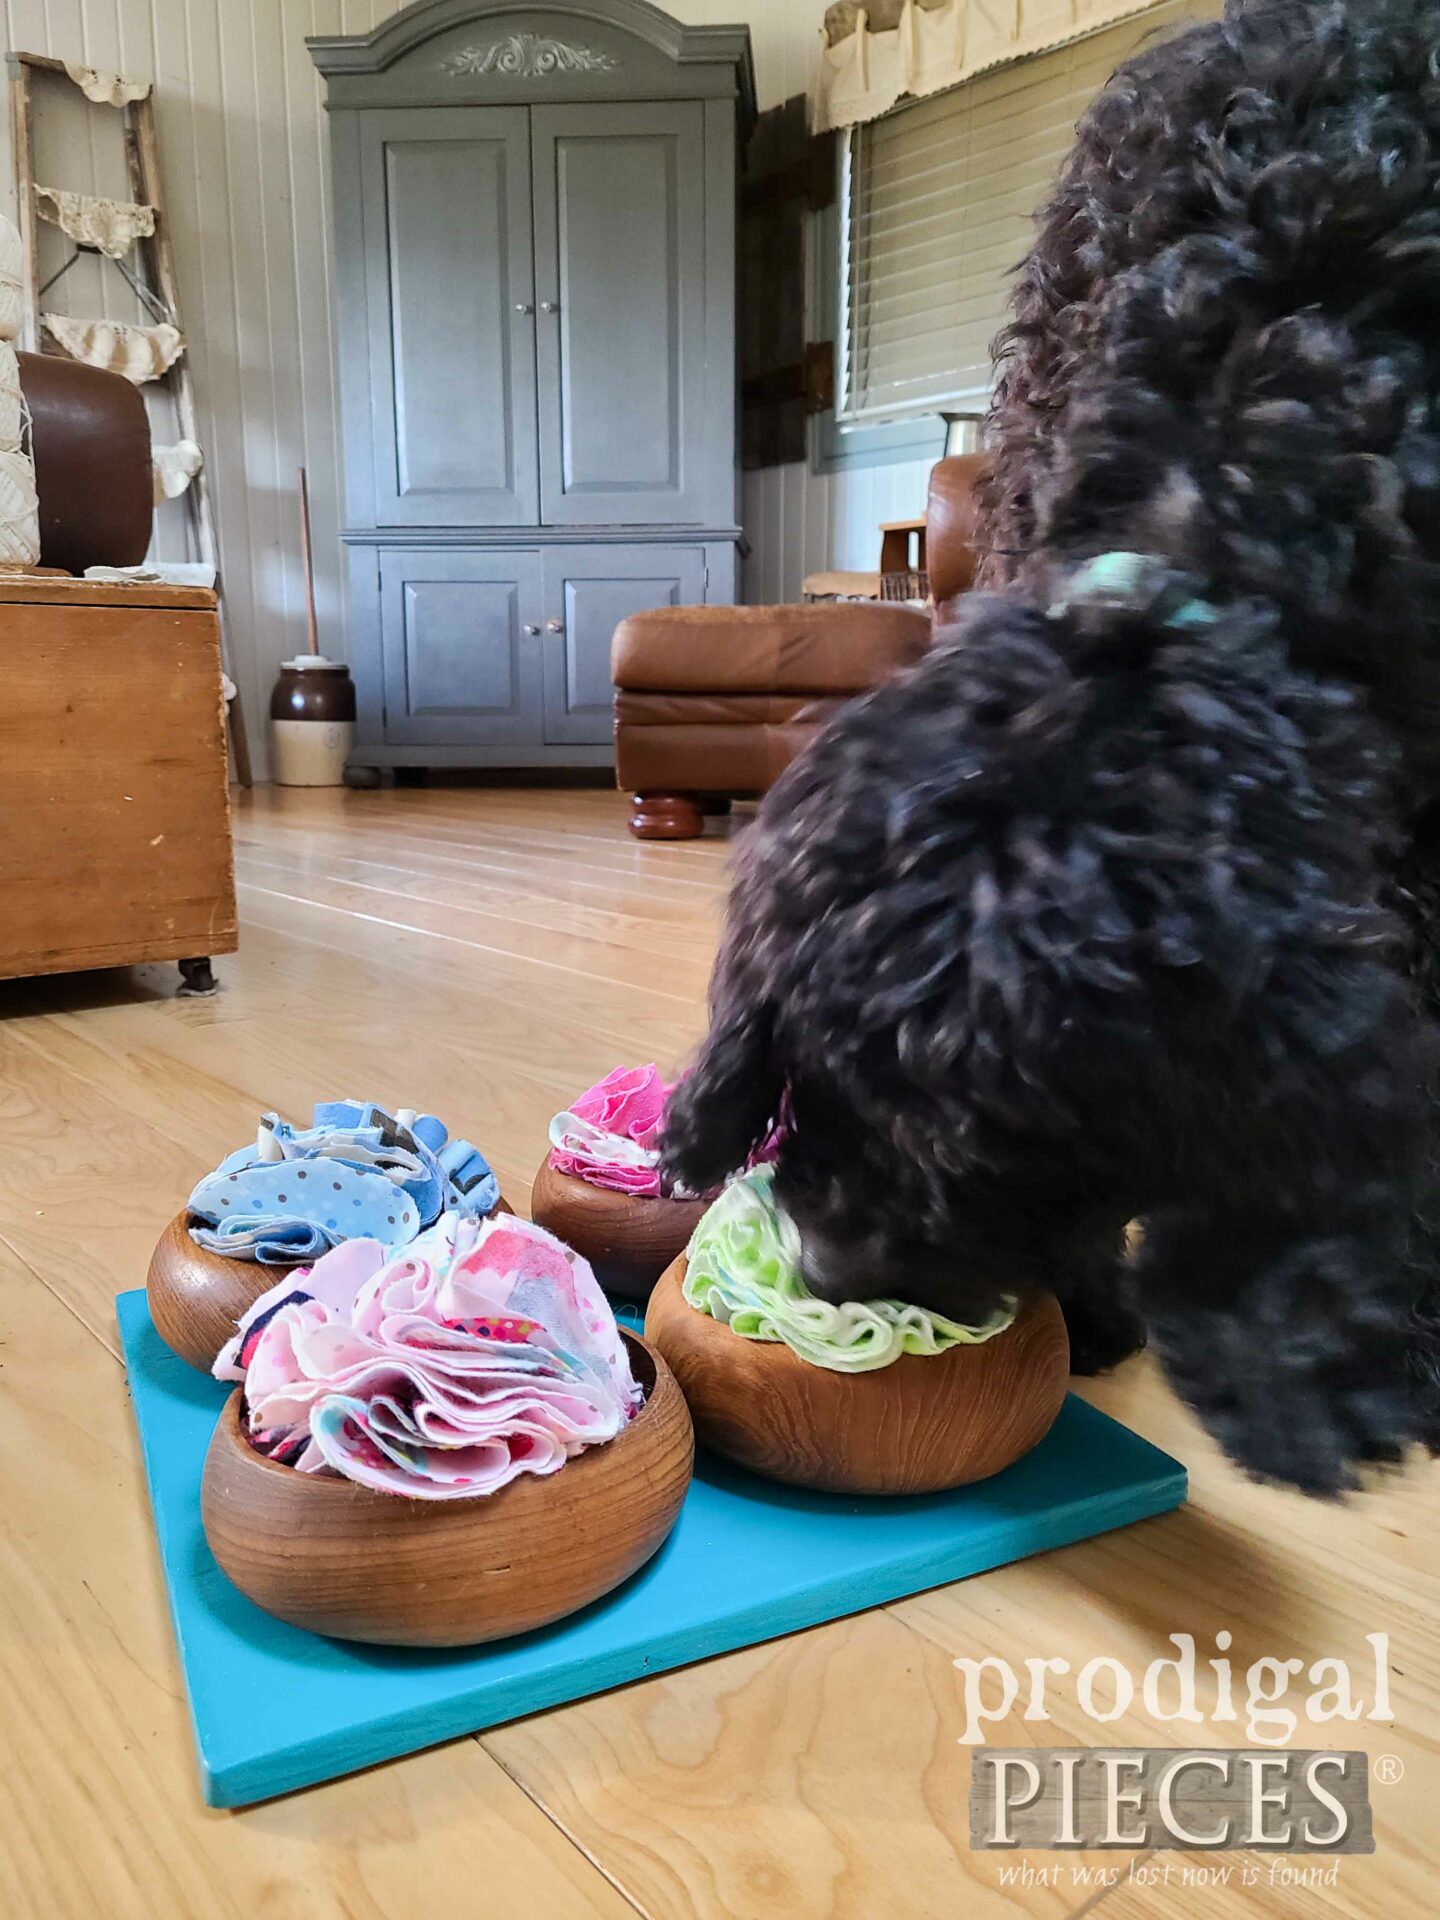
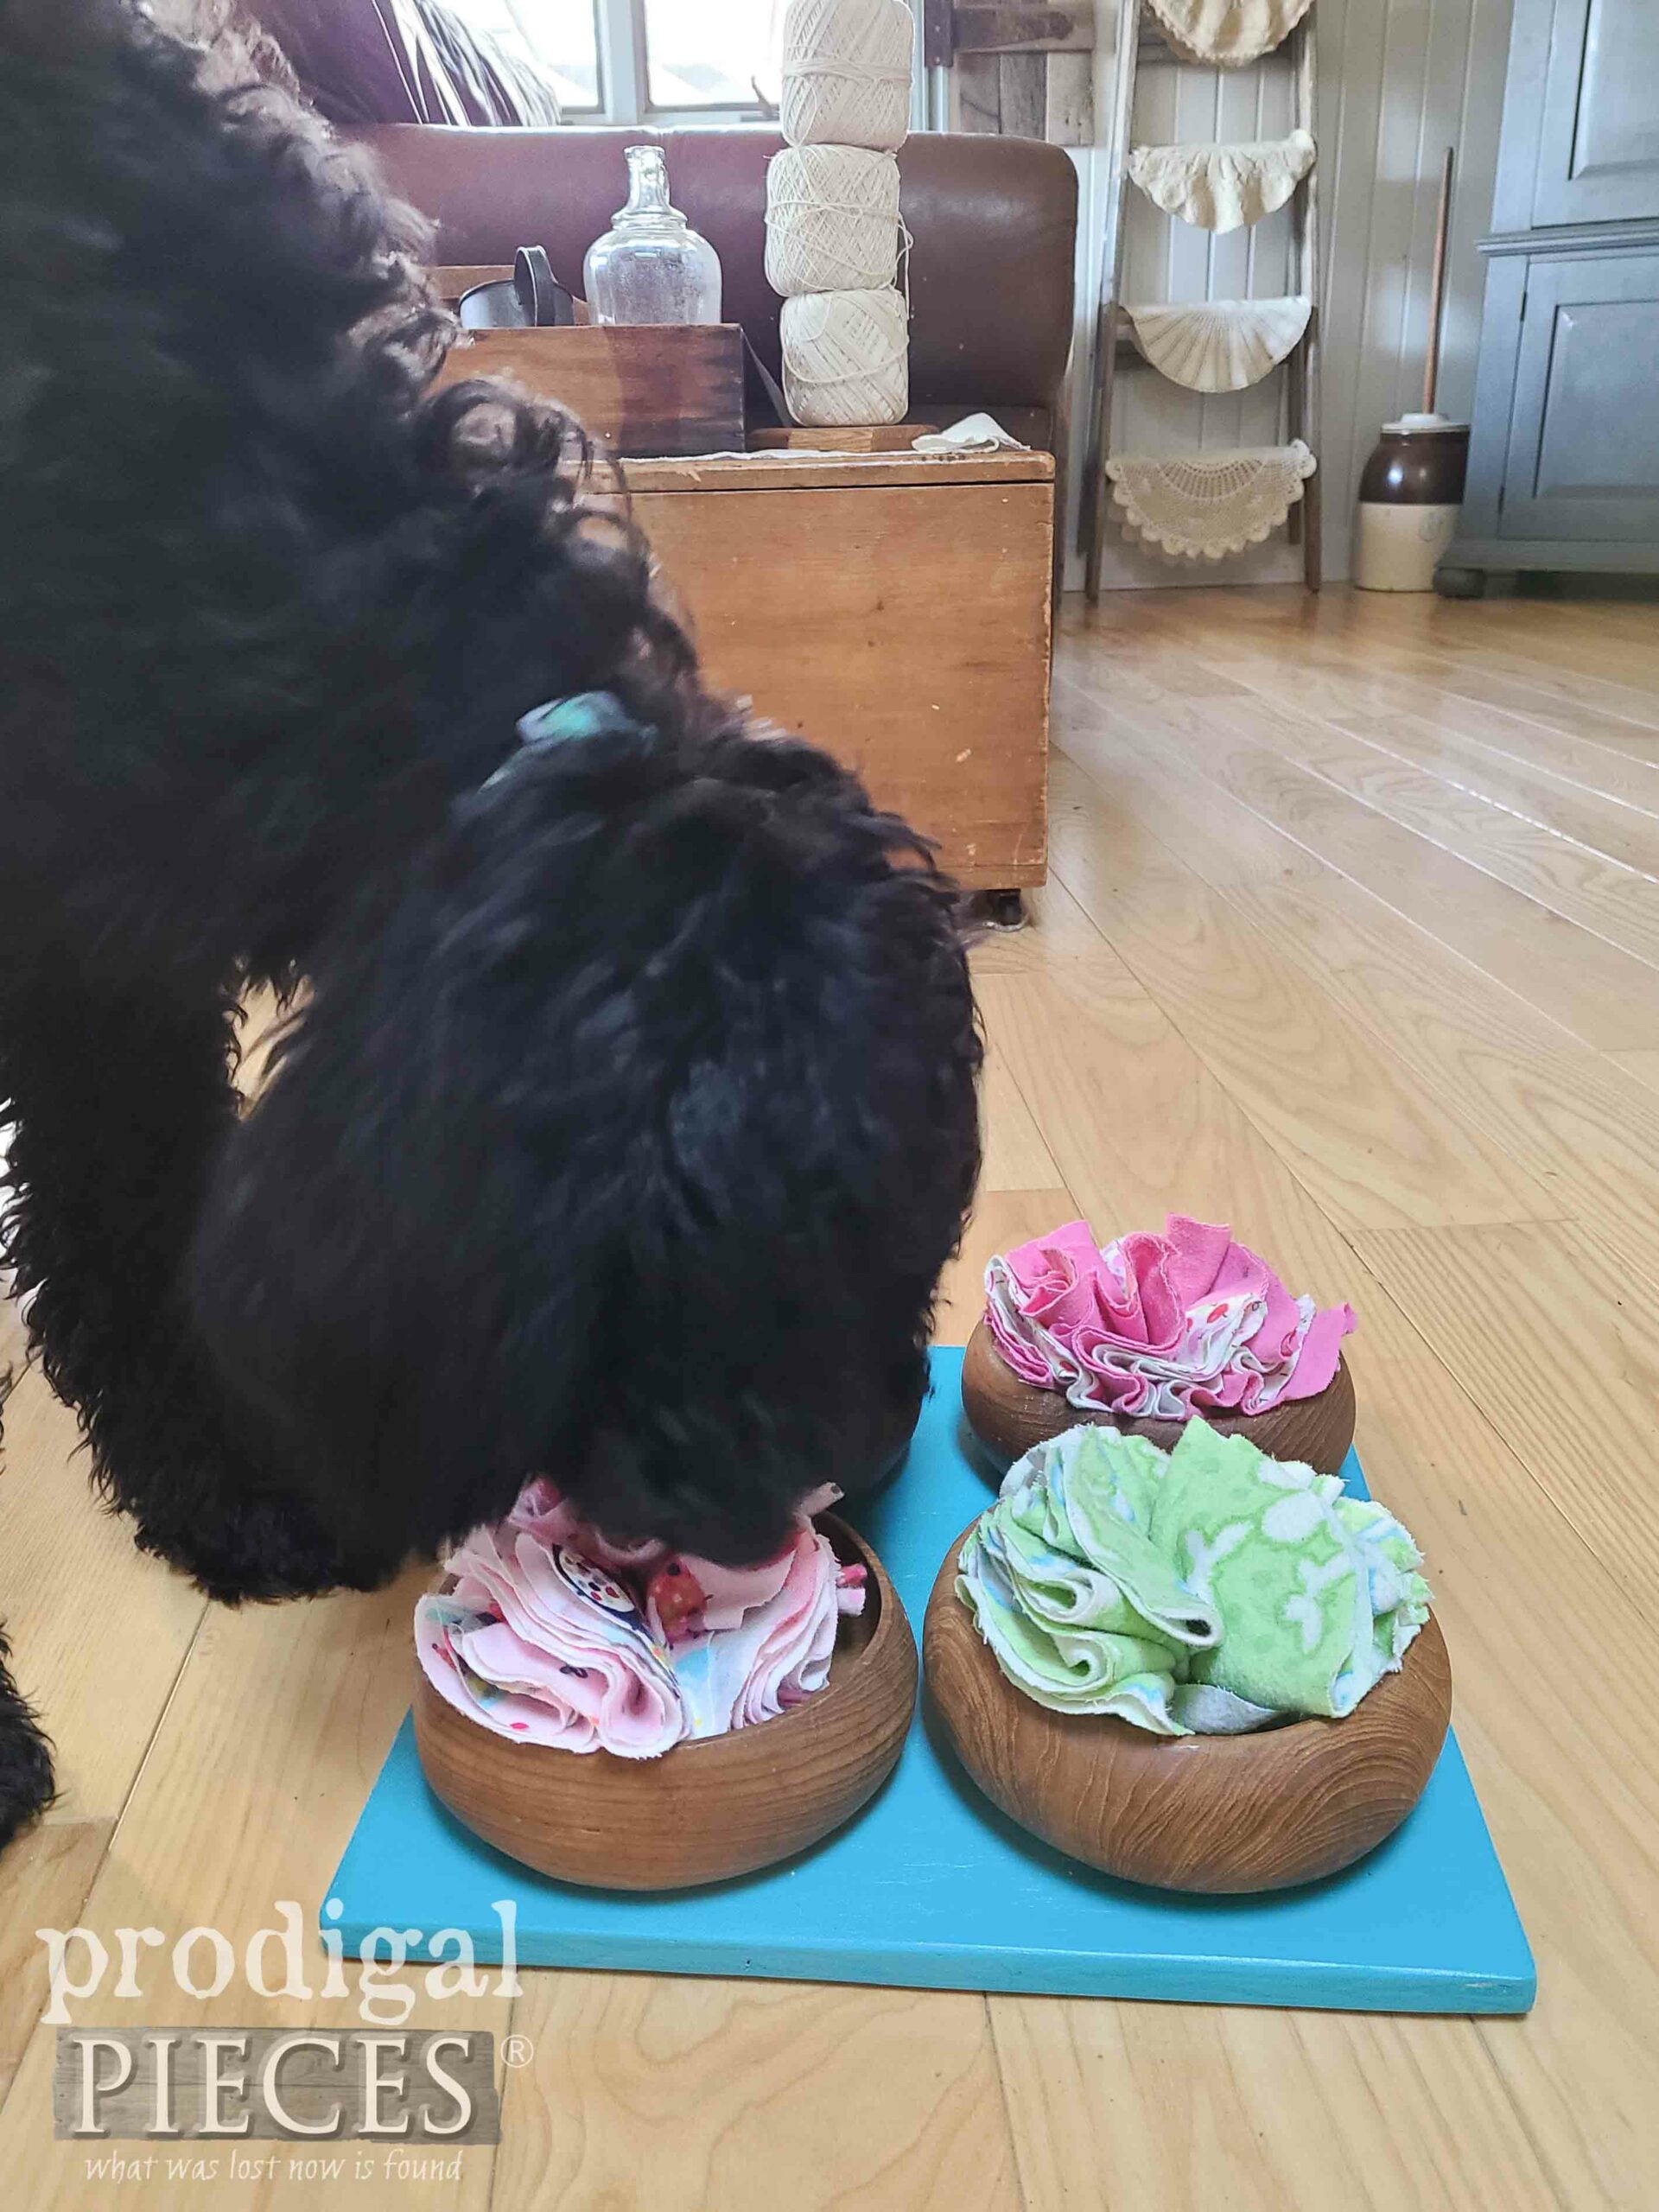
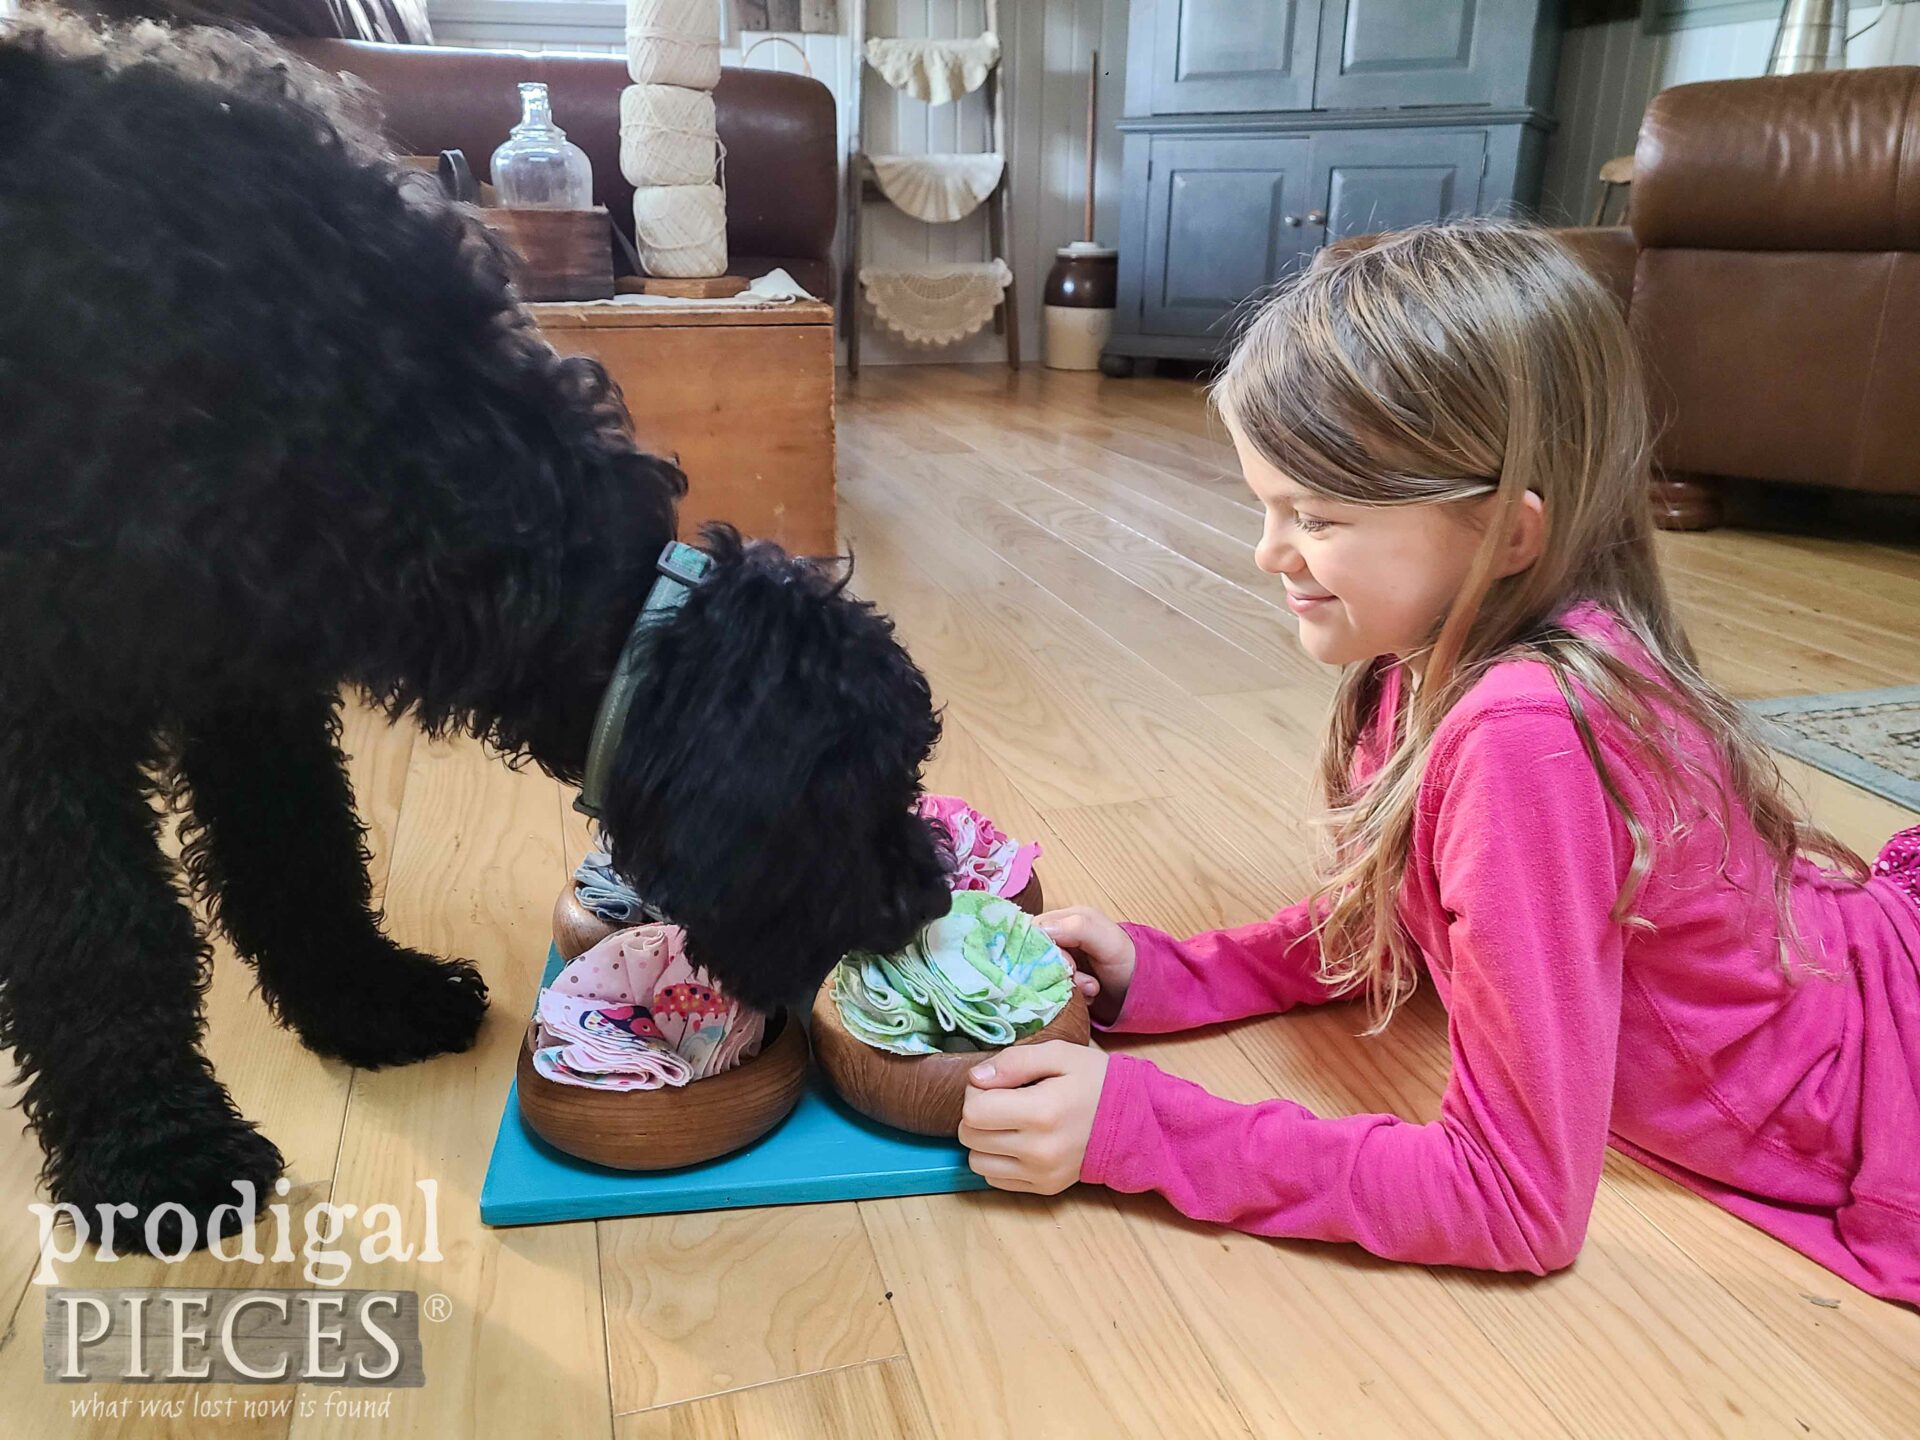
Loula dives right in to find all the treats I softly nestle into those fabric folds. No special treats needed for her as she is VERY food motivated. Her kibble works perfectly.
Don’t they look like pup-cakes? So fun and so very frugal while entertaining our young pups’ minds.
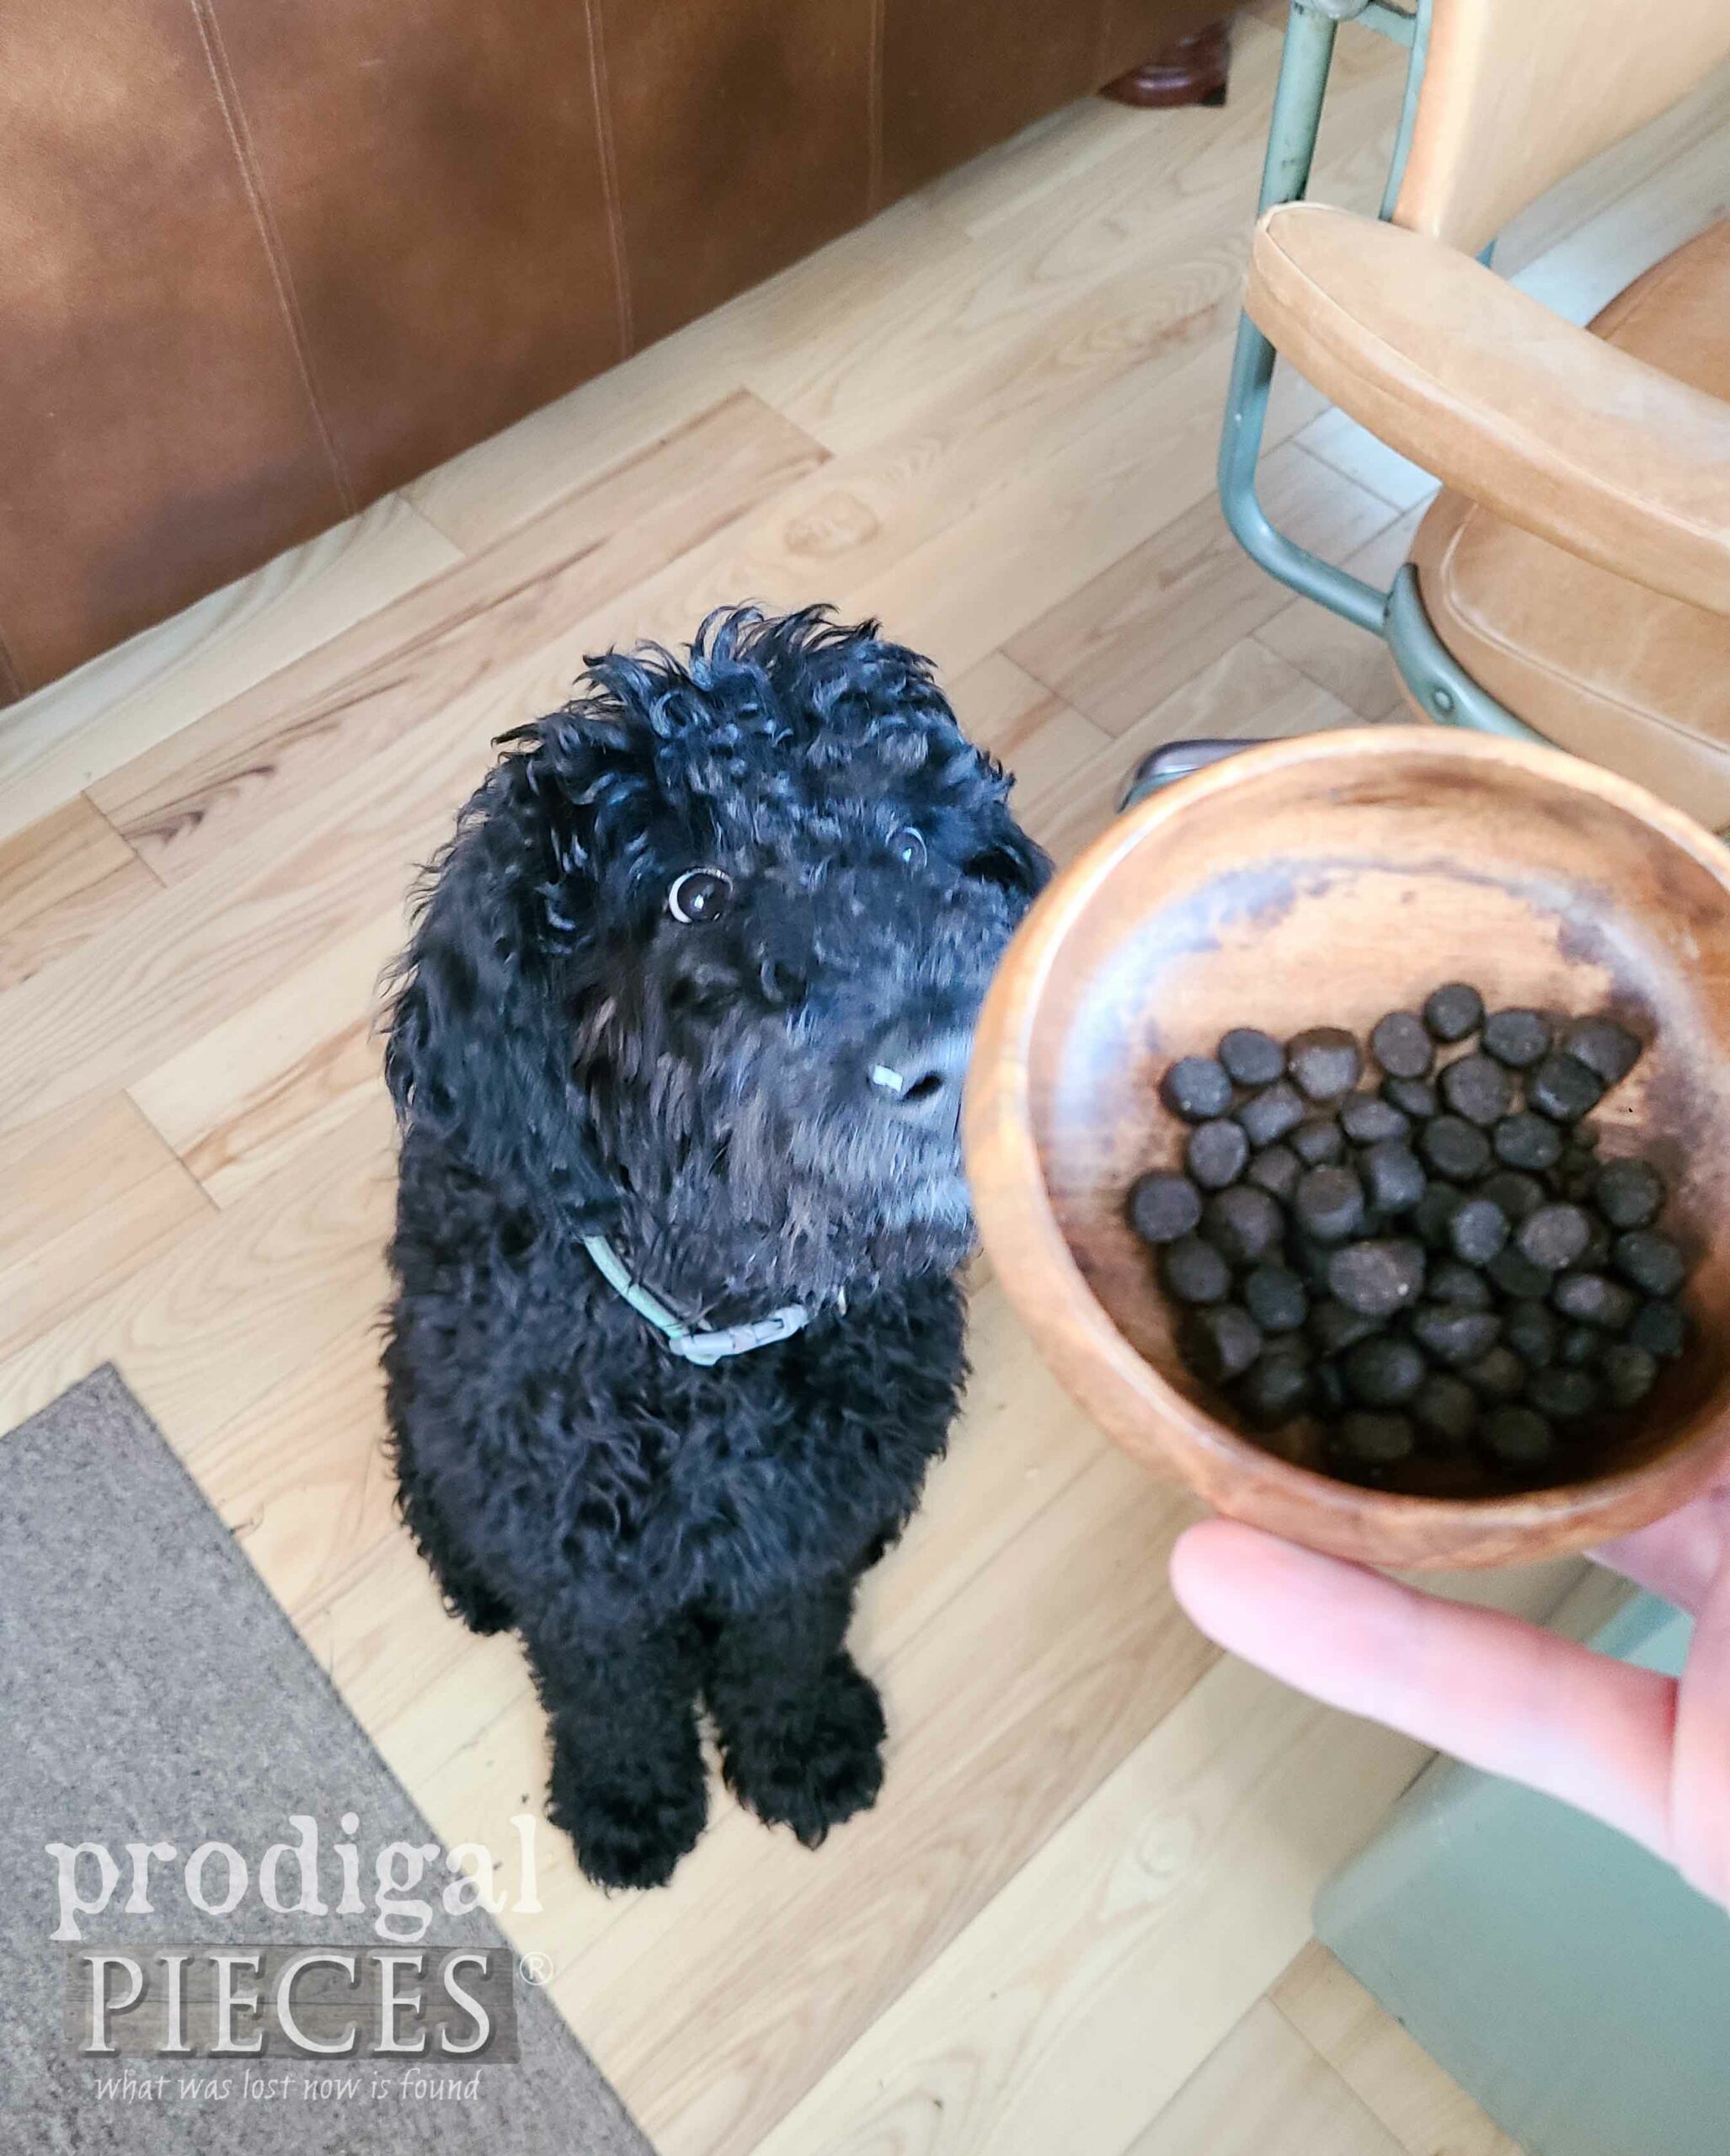
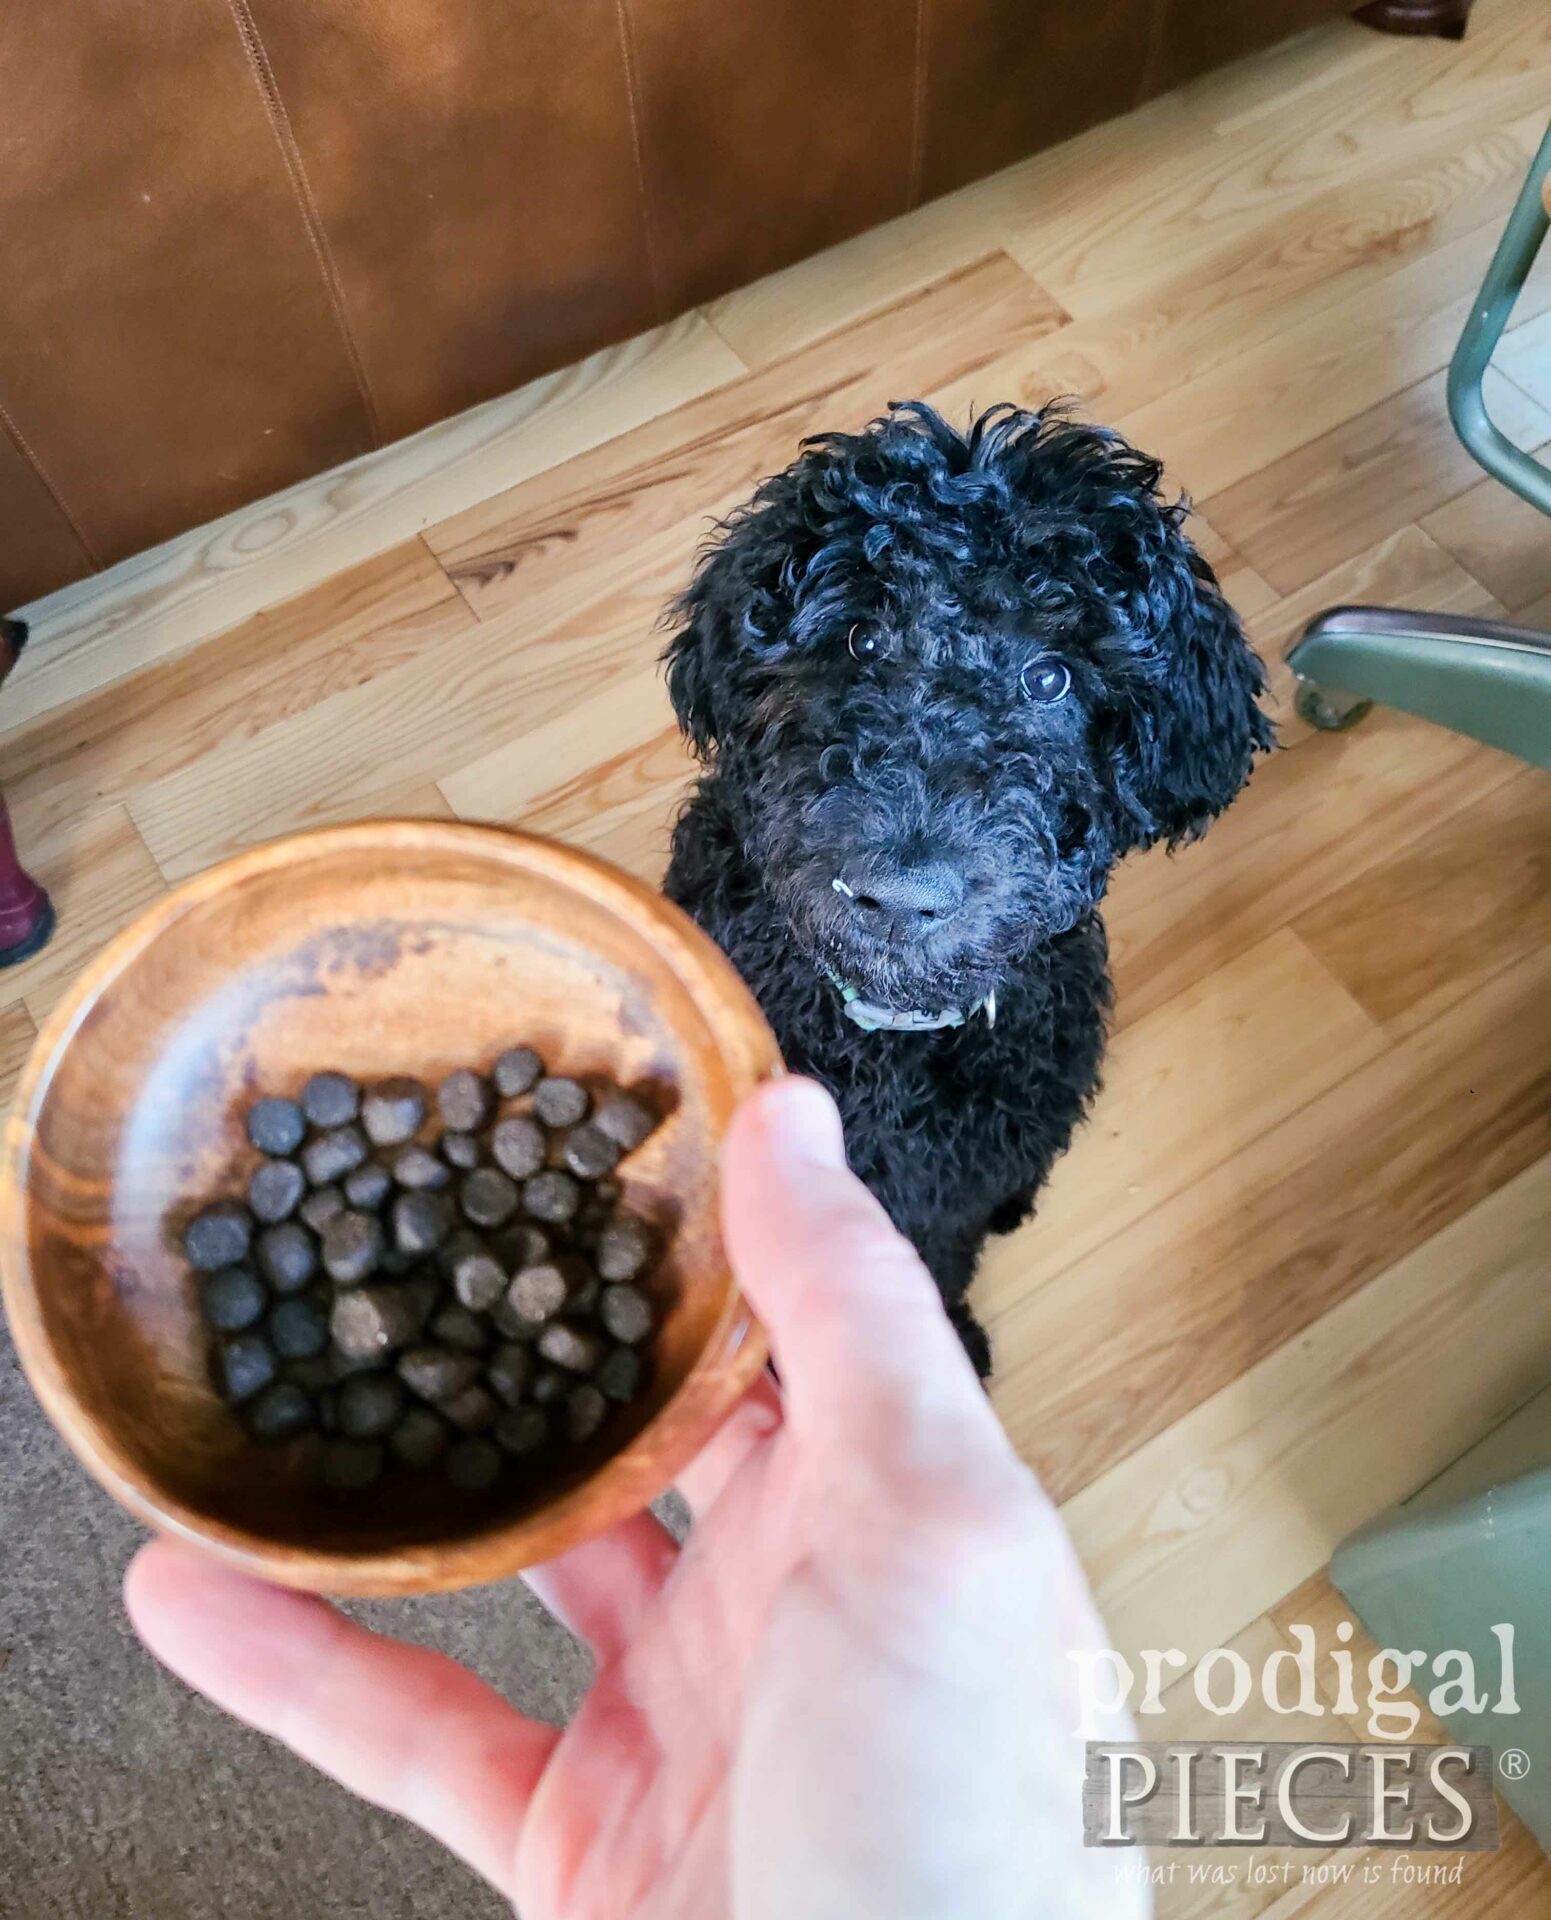
Well, there you have it folks, two projects out of six upcycled salad bowls. But wait…what about the sixth bowl? Actually, Loula’s kibble is her treat for many things, like going potty so she anxiously hears that rolling around in the tiny bowl as we get ready to head out. Look at that focus…haha! She potty trained in a week!
SHARE
As with as all my projects, I’m so eager to inspire you to create your own home story, your own family fun, or just learning something new. Moreover, let’s inspire others by pinning and sharing. Meanwhile, leave me some comment love about which is your favorite upcycle.
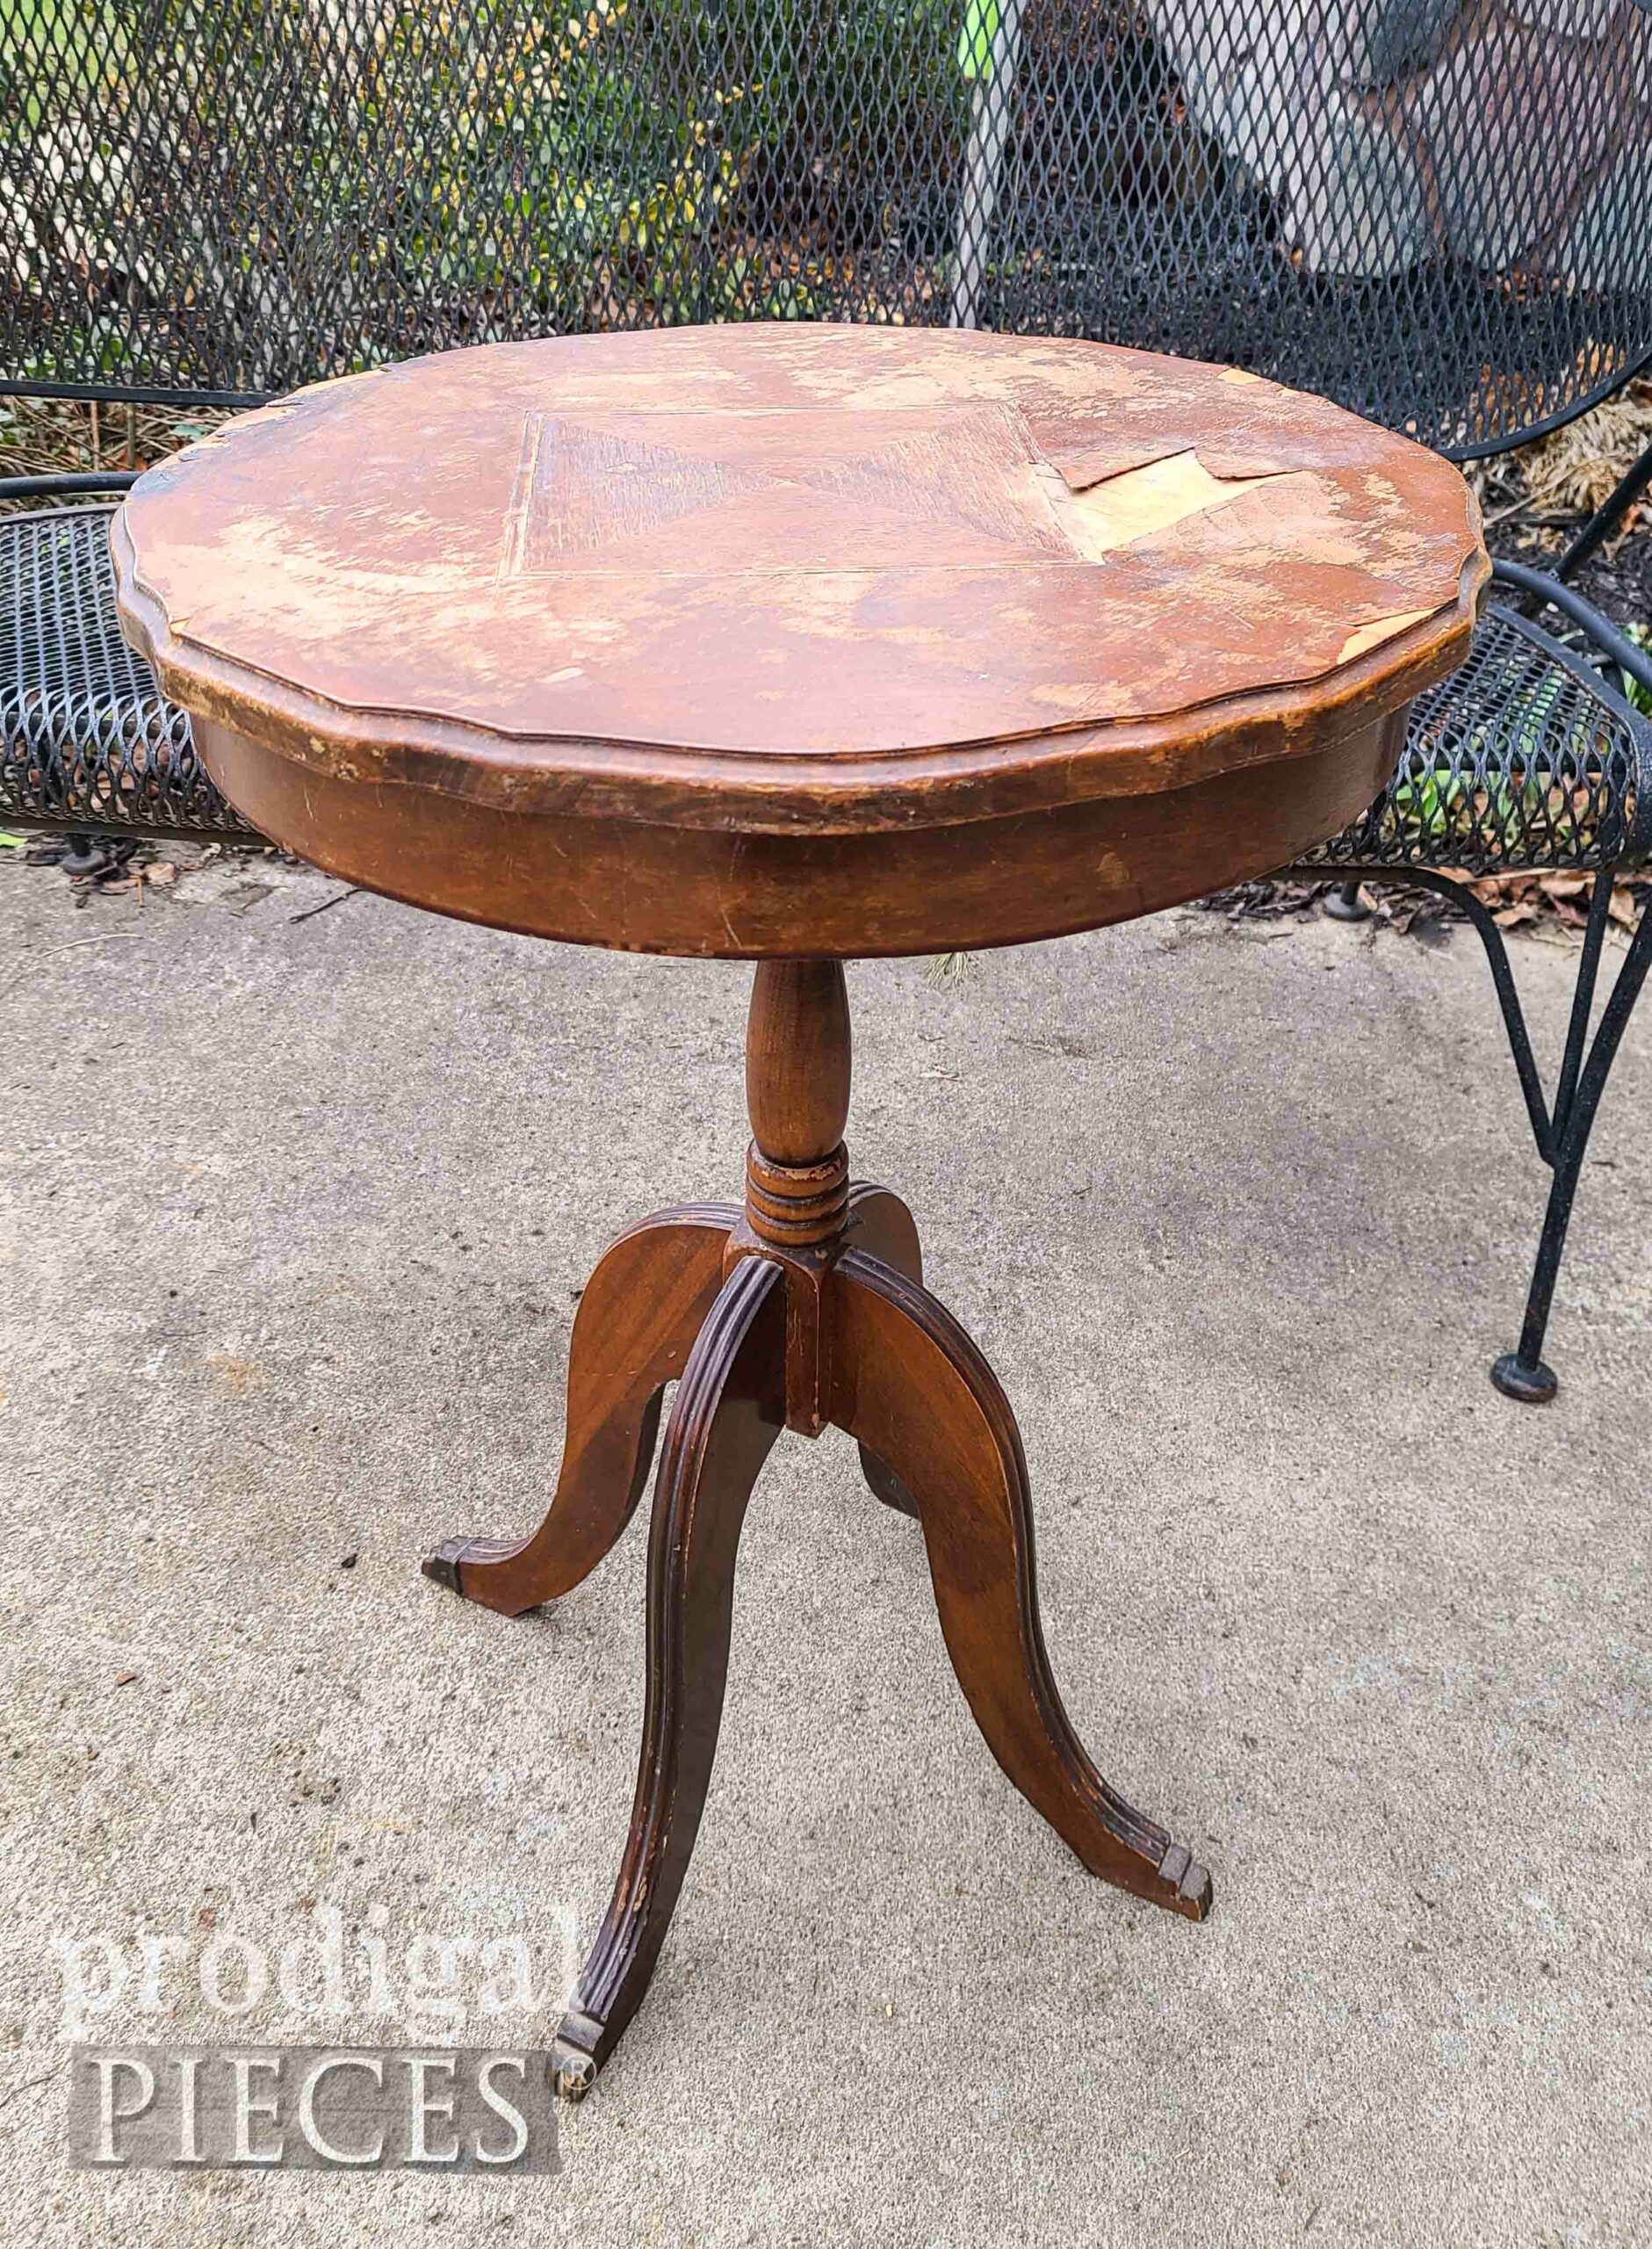
Additionally, before you head off, take a minute to sign up for my FREE newsletter because I’m sharing this sad little table that is next on my project list. Finally, the reveal is over HERE.




So often Larissa your projects happen to address things I have in my “stash” of future projects, but don’t know what to do with them so there they sit. I used to do decorative painting and craft sales, so these had a purpose then, but not so much anymore. But anyway, your creative mind did a fantastic job repurposing these bowls! The salad bowl is just beautiful now! And has a wonderful new purpose 🙂 And so do the “pupcake” bowls (I love that! 🙂 I’ve always wanted a Loula as so many of us have allergies…it makes my heart happy to learn of your story of acquiring her and how smart she is and how well she is adapting to your family. God is good! ❤️ Happy Friday and Happy Weekend!
I totally get what you’re saying, Mary. I have been paring down my stash and feeling like I can purge and feel good and let others enjoy those treasure. I’m so glad you stop by, join my fun, and share encouraging words. It means so very much! 😀
Larissa, I love your projects but your puppy is too cute and precious. You look so happy!
She has been a light in a dark time – totally God’s answer to prayer. Thank you!!