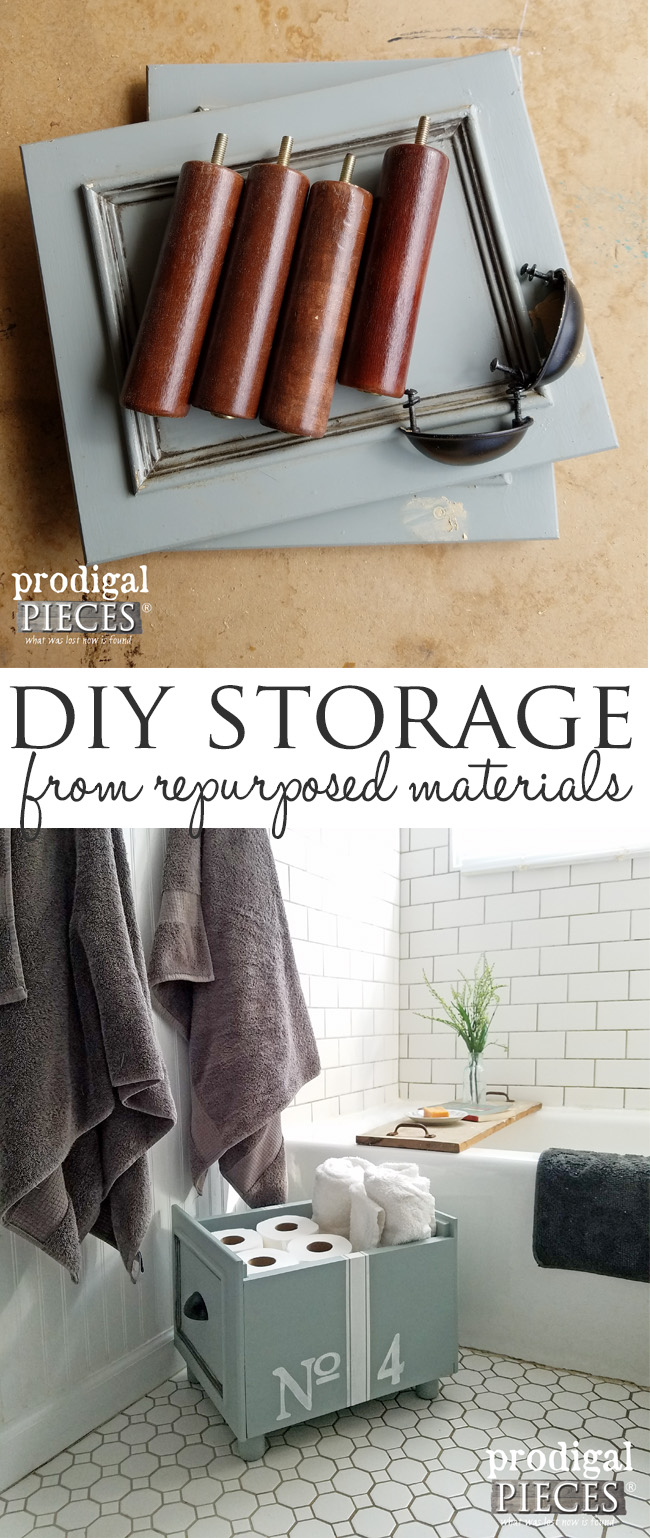
Tackling a spot in your home that needs a thorough cleaning can feel so good, doesn’t it? Kinda like therapy in and of its own. Not only do we have the opportunity to get rid of naturally occurring filth like dirt and dust, but then also really evaluate what exists in that space. Once such area I consistently tackle is my workshop. Not only is it full of dirt and sawdust for sure, but also oodles of potential – of things yet to be. For today, here is what I chose to work on today from my constant cleaning spot. Do you know what they are? Well, they’re going to become upcycled storage and some DIY wall art. Woot!
Okay, so I told you what they’re going to become. Any guesses as to what they are? A friend gave them to me and told me they were off her beds used as bed rails for kids. I will admit I had a totally different plan for them initially, but I like what I came up with secondhand better.
DIY TIME
First, I took those pieces with spindles in it and decided to create the upcycled storage. Then, I grab some wood from my stash and cut it to length using my miter saw.
Yes, I jerry-rigged a sheet around my saw to catch the sawdust that I am perpetually cleaning up. It saves me oodles of time!
Next, I gave those few slats of wood a couple coats of paint with paint brush. Meanwhile, while those were curing, I spray the spindled rails with a Pure Gold.
Finally, to assemble my vision, I really wanted to use only items from my stash, so instead of running to the hardware store for conduit straps, I made my own. I’ve had these metal straps I yanked off a curbside chair ages ago and they have come in handy for things like my funky junk coat rack seen HERE.
Once more, I simply cut the metal to length with my tin snips, drilled holes, and bent to the shape desired to go around those spindles.
NEXT
However, before I show you the finished upcycled storage, let me show you what I did with the rest. What remains to create with are these wood slats that were part of the bed rails.
They instantly spoke to me to become wall art with that slot notched out of them. So, again I used my miter saw to cut them to length and miter the corners.
After that, I cut some hardboard that I use often to make chalkboards, and such as seen in these posts. That stuff is one of my must haves in my stash. In an instant I have a blank slate.
This was my dry fit, so to get done what I envisioned, I took it apart and sprayed the frames with antique brass and painted the hardboard with the same white as the wood slats above.
PAINT
Afterward, it’s time for the art. I want to do a fun metallic effect to go with all the metal colors I’m using. I’m all about patina, so I used my copper patina paint to create my design.
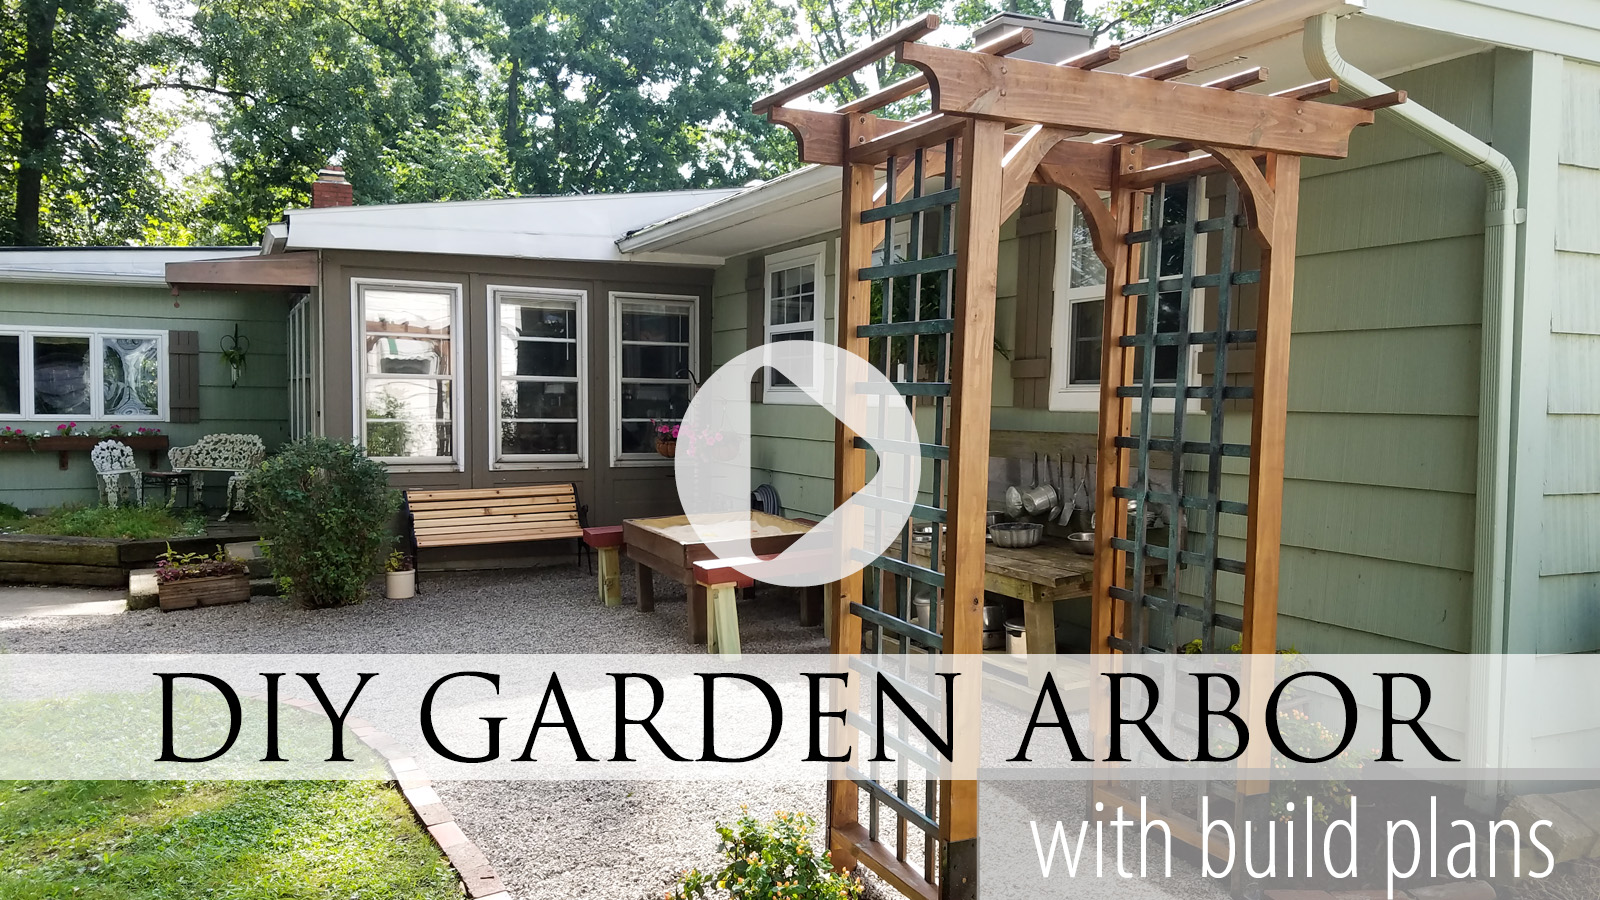
The key to using this awesome stuff is to add the patina spray while the second coat is still wet. In fact, what happens is that actual metal in the paint interacts with the corrosive spray to give you instant patina. For the purpose of a visual, you can see in the video below how I add patina to our garden arbor.
Last, once all is dried, everything is set in place to show you.
THE REVEAL
Finally, I couldn’t be happier with the outcome of my visions for these cast-offs. What is more, this upcycled storage can be used as towel rack as I’m showing, or for most anything really…plants, toys, collectibles…you name it!
Not only is there plenty of storage for bath essentials, but also the design has the modern boho vibe that I have come to love. Also, my DIY conduit straps worked out awesome to hold it all into place. All this was created from scrap in my stash…how awesome is that?!
Additionally, who doesn’t love a cute place to stick a plant?
Further, my DIY wall art up above was fun to create and make. With that in mind, those rails were perfect for making frames for both of my art pieces.
Even more, the copper paint and brass metallic paints keep with the same theme I’m after with the upcycled storage. Unfortunately, it’s hard to tell in the pics of the patina, but I think you get the idea.
After all, what is even better is that the naturally occurring patina will continue to age over time. Isn’t that so cool?!
SHARE
In sum, I hope you’ve enjoyed these couple creations of mine. Likewise, if you’d love to make them your own, they are available in my online shop.
In addition, pin and share to inspire others to create some upcycled storage or DIY wall art for their home. Because, you may not know what cool stuff you have lurking in the corner.
Likewise, to get these DIY tips & tricks in your inbox, be sure to sign up for my newsletter. Until next time!


Now that is a fantastic upcycle. I love the whole ensemble.
Certainly fun to try. Thank you, Debra. 🙂
Oh nice! Great use for all the pieces. Gives me another idea for the crib rails a friend gave me. Still deciding the best use for them. I can see them as shelf ends!
There are so many uses for them.
OH. MY. GOSH! That reveal at the end was such a wonderful, completely unexpected, pleasant surprise!! My heart actually jumped a little! LOVE IT! I am now on the lookout…. WOW!
You made my day, Robyn!! Thank you for the giggle. 😉
You have a magic wand somewhere I am convinced…..such a fab make-over once again Larissa, you are such a talent….love it…xx
I sure do…not. ahahaha… would be nice though! 😀 Thank you, Janette.
Always look forward to see what you come up with. You make me say WOW every time!
How fun is that to hear. I mean it, really! Thank you for the awesome encouragement, Bonnie.
I ditto what Bonnie said!!!
Hugs to you too, Marie!
Larissa what I wouldn’t do to get my hands on something like this. I need to make storage for scarves and that rail would be perfect!
That would be sweet!
Brilliant upcycling! Looks so good!
Thank you so much, Denise!
Well how cute is that!
Love it, and your wall art Larissa!
Thank you bunches, Kim!