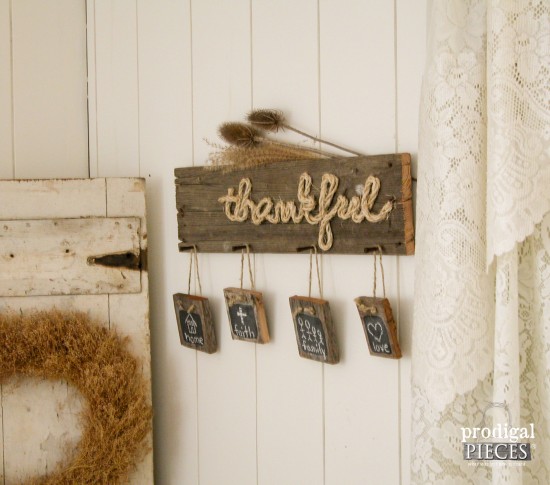
Thanksgiving is not the only time of year would should give thanks for all of our blessings. In hopes to keep my mind on what to be thankful for, I have a fun DIY Thankful sign for you. It’s all about some wood and rope. Woot!
It’s a simple build that you can create with reclaimed wood, and can even be built from new wood. Also, this project is versatile and can be changed up to suit your decor – paint it, change the word…do whatever you feel. Likewise, the mini chalkboards make this thankful sign unique since it can be changed as you see fit. Have fun with it! My example is just that…an example.
Here’s what you need to get started:
TERMS OF USE: If you want to create a sign, you agree to the following: it cannot be shared or distributed for monetary gain in any way, it may not be modified in any way, and you may not claim the work as your own.
- 1 – 1″ x 6″ x 22″ board
- 4 – 3″ x 3″ pieces of scrap wood
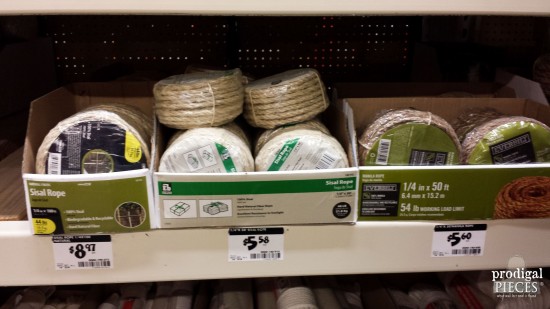
- 1 – ¼” x 50′ rope
- 4 – masonry nails
- 4 – 12″ pieces of twine
- glue gun/glue sticks
- drill
- flat black paint or chalky paint
- artist’s paint brush
- “thankful” print out (see below)
- chalk
- 2 – large sawtooth picture hangers
- hammer
- utility knife or scissors
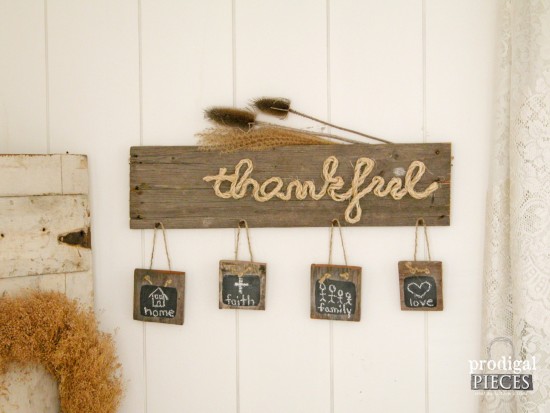
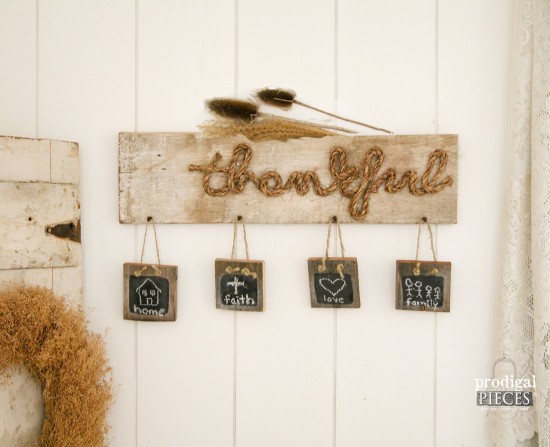
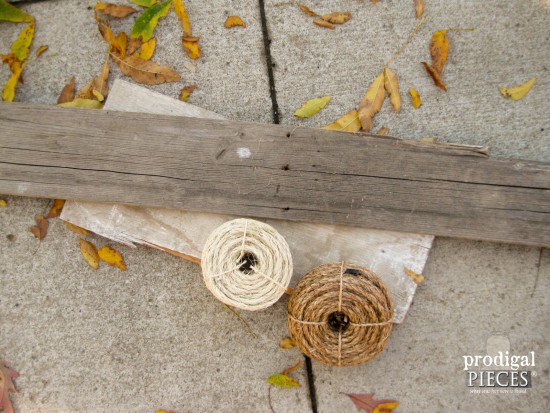
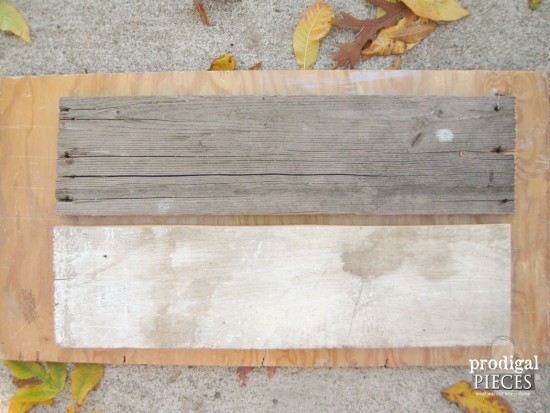
For my example projects, I used two scrap pieces of barn wood. One was a piece of dark weathered barn siding with a lighter colored rope, and the other was a piece of chippy siding with dark colored rope. You can find the rope at most home improvement stores.
DIY TIME
I am showing you that this project doesn’t have to be limited to my style. You can paint your wood or do whatever you like to get the effect that suits your style. If you don’t have scrap wood, you can use new wood bought from a home improvement store, and create an aged look using my layering tutorial or stain it to look aged with a weathered stain.
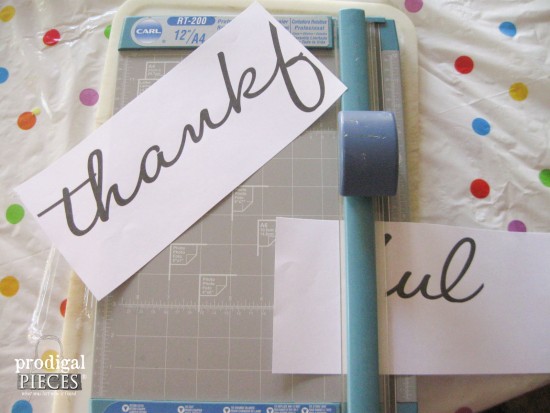
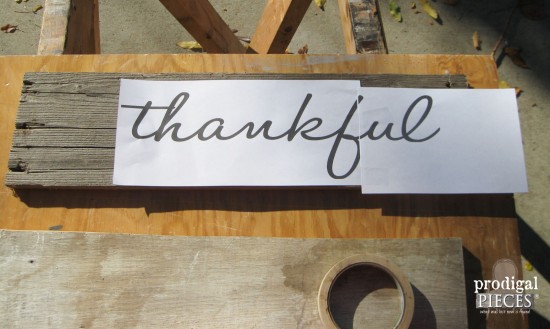
Once you have your board cut and ready to go, you will need your “thankful” print out. Go ahead and click the images and print.
Trim your printed paper close to the edges and tape together to make one piece for you thankful sign.
NEXT STEPS
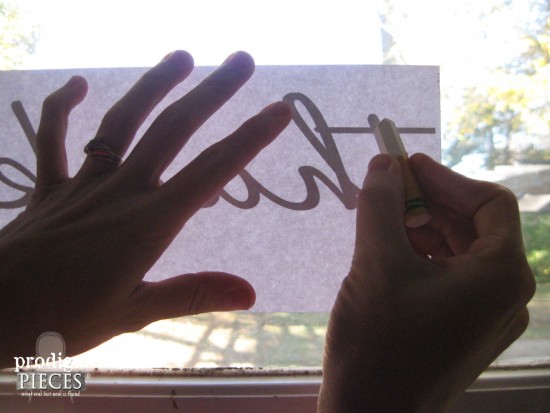
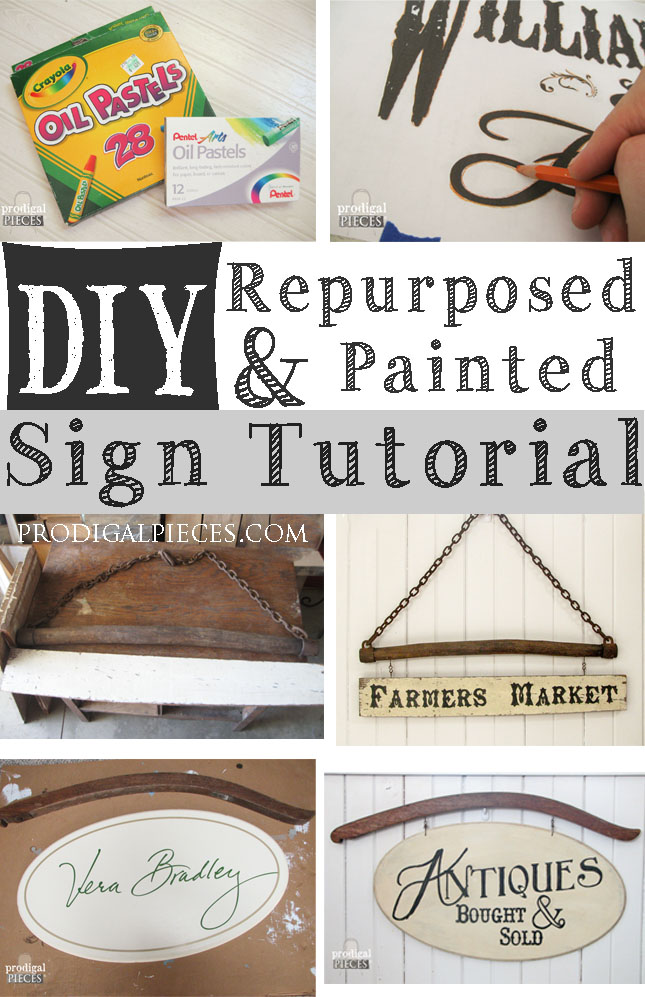
Next, you can follow my transfer method tutorial, use an artists’ oil pastel to rub the back of the image. (I use a light pastel for dark wood, and a dark pastel for a light wood) Place your sign on a window or light box to make sure you are covering all the text. You could also use transfer paper to do this too.
Now place your “thankful” sign on your board. I chose to have mine right justified (set to the right of the board), but you can place yours wherever you like.
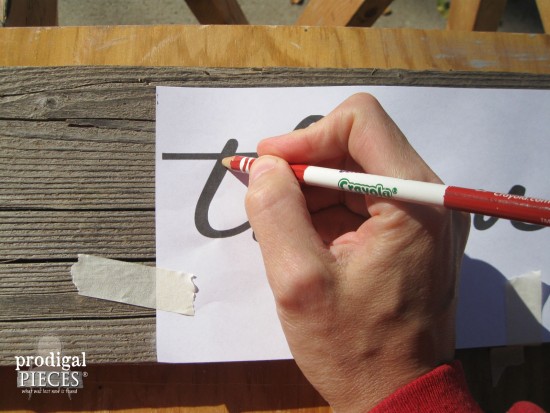
Then, grab a blunt object, like the top of a marker or dull colored pencil to trace over the “thankful” text. Press hard to make sure you get the pastel to transfer to the wood.
MORE FUN
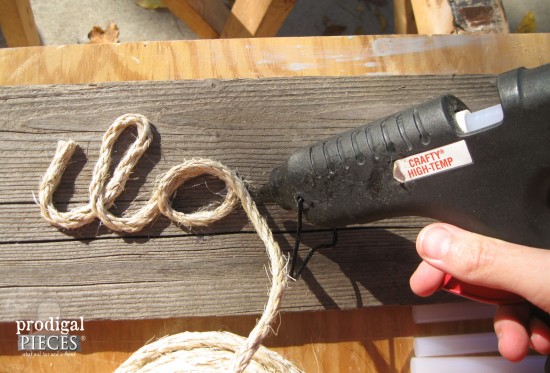
Now grab your hot glue gun, glue sticks, and rope. Working in small batches, apply a bead of hot glue over the transferred “thankful” text and press your rope into the glue, holding for a minute or two to let it cool. Just unwind the spool of rope as you go instead of cutting a piece so that you don’t run out of rope. Also, don’t worry if it doesn’t set right, you can always pull it up and do it again. Be careful of that hot glue and your fingers!
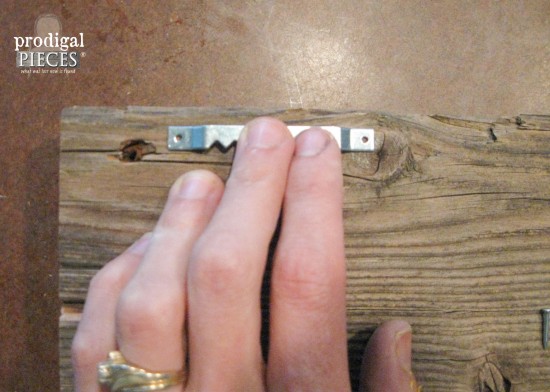
Once your glue has set, add your picture hangers to the back about 1 ½” in from the ends and about ¼” down from the top edge.
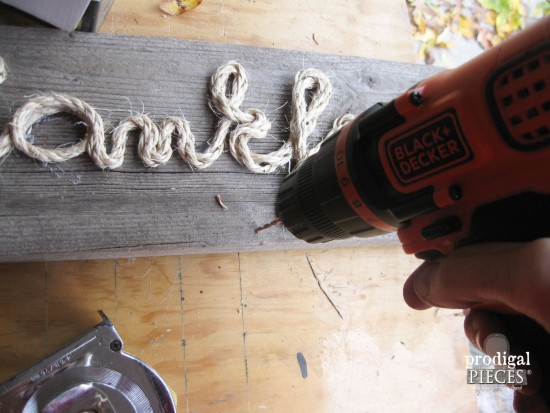
Now you’re ready to add the nails. Using your drill and the 7/64″ bit, drill two holes 2″ in from either end and about ¼” up from the bottom. Drill the next two holes 5 ½” in from your first holes.
RUST
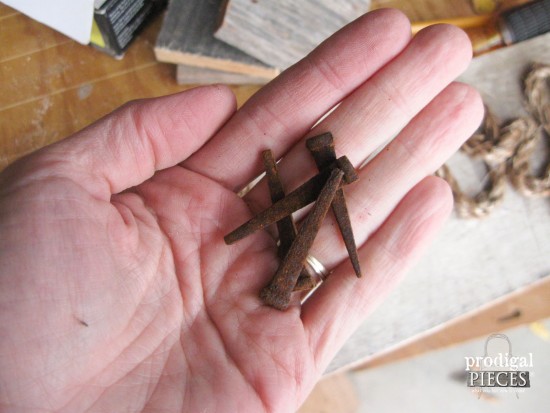
I like rust and so I rust any type of metal I can, including my masonry nails for this project. Great thing is you can rust a whole box at once and have them ready to go for another project. You can find my rust recipe HERE.
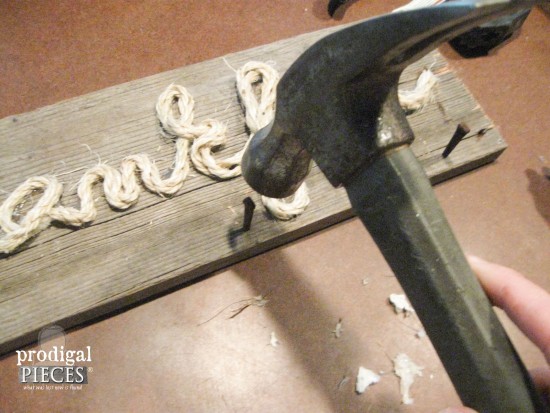
Nail the masonry nails into your pre-drilled holes.
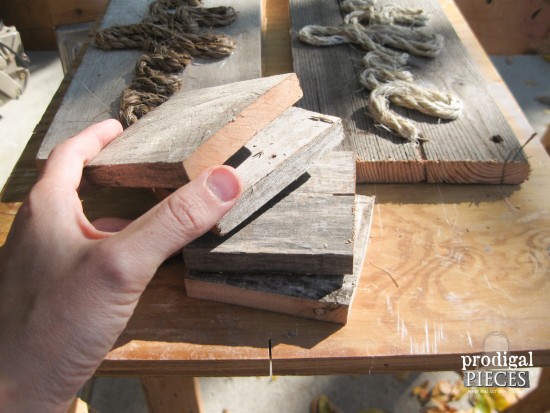
Next, you’ll need your four, 3″ x 3″ pieces.
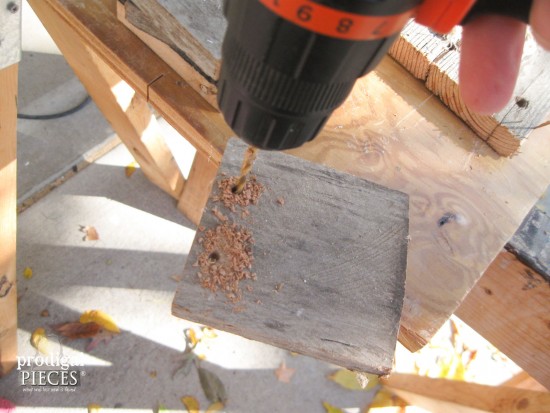
Using your 5/32″ drill bit, drill two holes in the top edge of your pieces about 1″ apart and ¾” in from the edges.
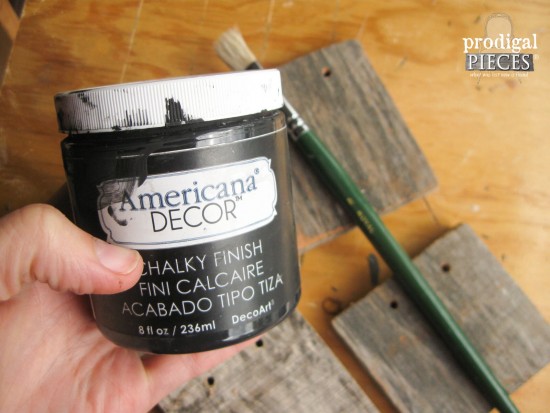
Next, you will need your flat black paint or, like I used, a bit of black chalk paint. Either will do.
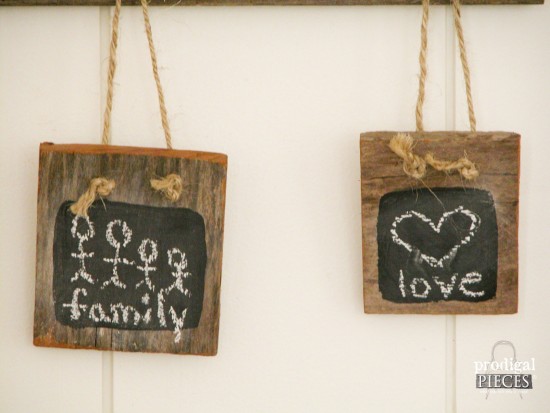
Paint on a small chalkboard in any shape you desire. Don’t feel limited to do a square as I did. Make a heart, circle, star…whatever!
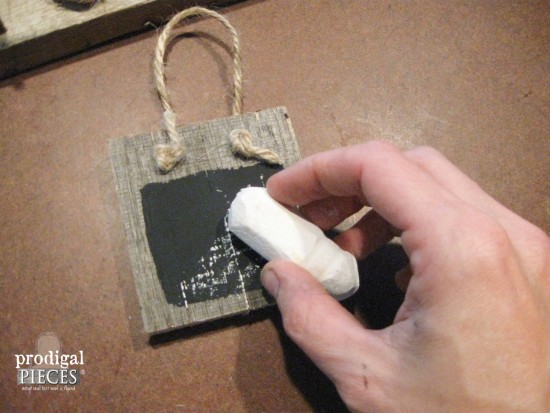
Do two coats of paint, letting cure between each coat. Thread a piece of your 12″ twine through the back and double knot at the front. You will then need to prime your chalkboards with a coat of chalk.
THE REVEAL
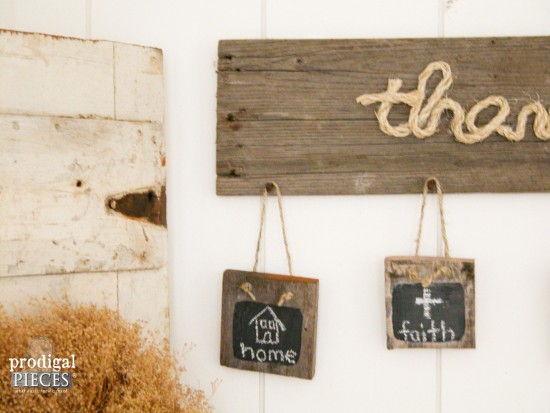
Embellish your board with things you are thankful for, hang, and you’re done!
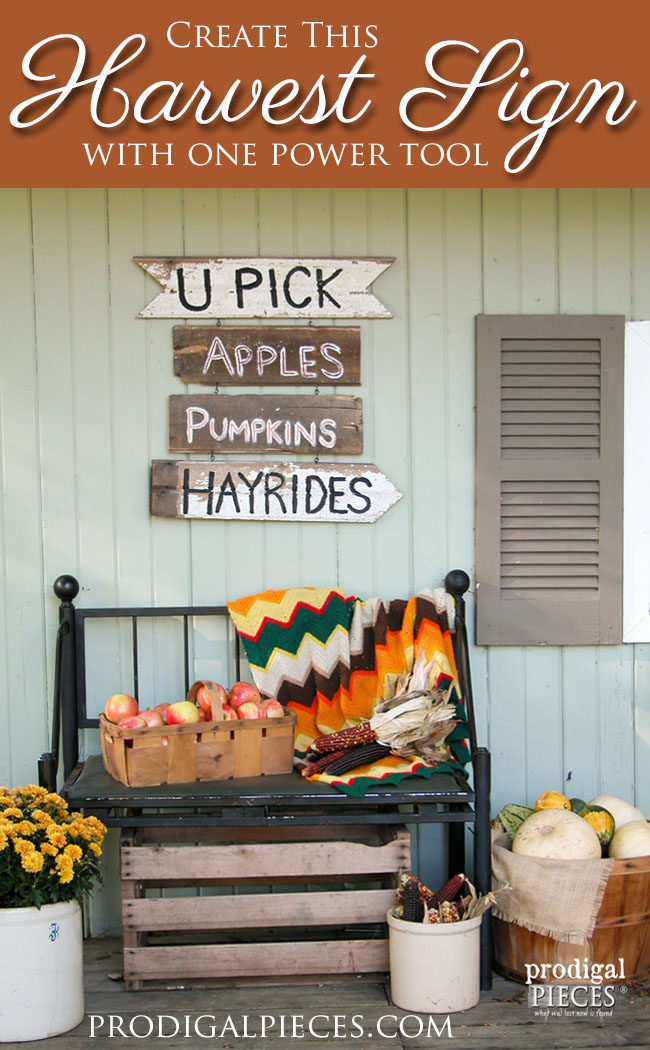
The best part about this project is that it doesn’t have to be limited to the “thankful” theme. In addition, use any word you like for the text and hang something different below if you choose.
I’m not sure which sign I prefer more…which thankful sign is your favorite?
If you’re not the DIY type, you can find these sweet signs and other goodies in my shop.
In addition, pin and share so other can learn how to make a thankful sign too.
To get these DIY tips & tricks in your inbox, be sure to sign up for my newsletter. PLUS, you will get your FREE Furniture Buying Checklist and special discount to my shop. Until next time!
Also, more projects like my thankful sign:





I love it! Thanksgiving is really my favorite holiday…family, friends, and focusing on what we are thankful for! This is perfect for that.
It’s such a fun time and my hope is that our family will remember to be thankful all year. Thank YOU for stopping by!
Great for year round reminder.
Exactly. Thank you for understanding why I created it. 🙂
And let’s not forget Pumpkin pie for Thanksgiving. When we moved here we capt up the tradition for years buying yams and making turkey. I will always love that holiday. Can’t wait to go back and start reliving it.
Oh yes…a classic treat. That’s wonderful you have kept the celebration alive. Blessings to you, Mary!
The sign can be displayed all year to remind us all that we have so much to be thankful for. Thanksgiving is one of the best holidays. Heading over to Best Laminate.
Absolutely. 🙂 There’s so many things I know I take for granted. It’s nice to stop and remember.
And now it is my turn to give thanks to you for all your support and help. I am nominating you for the Blogger Recognition Award. because you more than anyone has been there for me and encouraged me to continue in this wonderful journey. I thank you from the bottom of my heart. You do not have to accept this award (I know that you are so, so busy) but I am still putting your name in because I appreciate all that you have done. My list would not be complete without you. Posting on Monday .
You are too sweet, Mary! It is my absolute pleasure to get to meet people like you and share in our journey. Thank you!