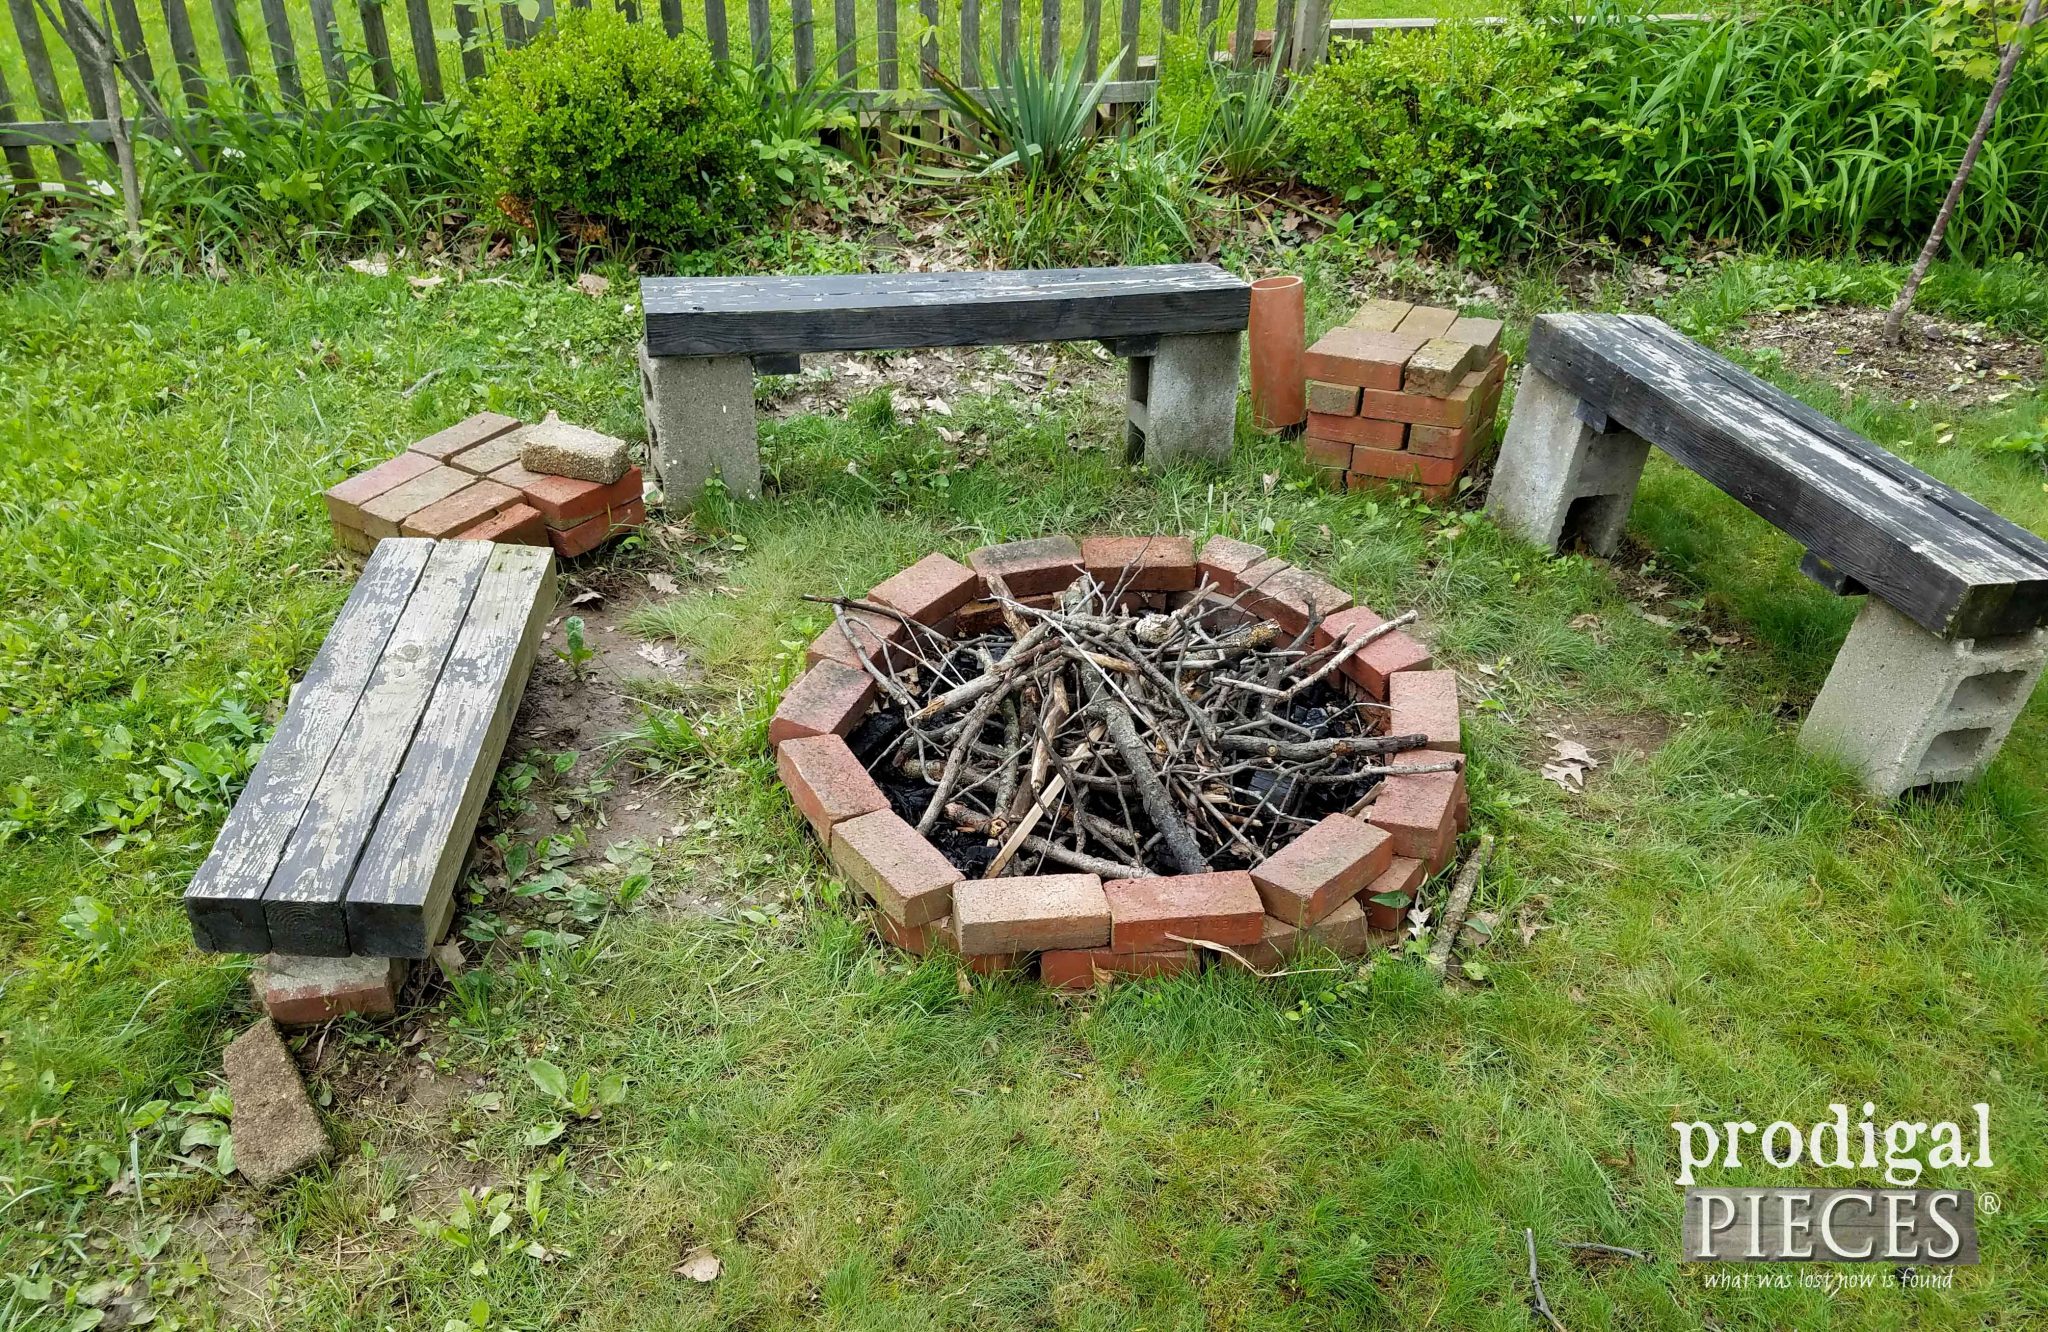
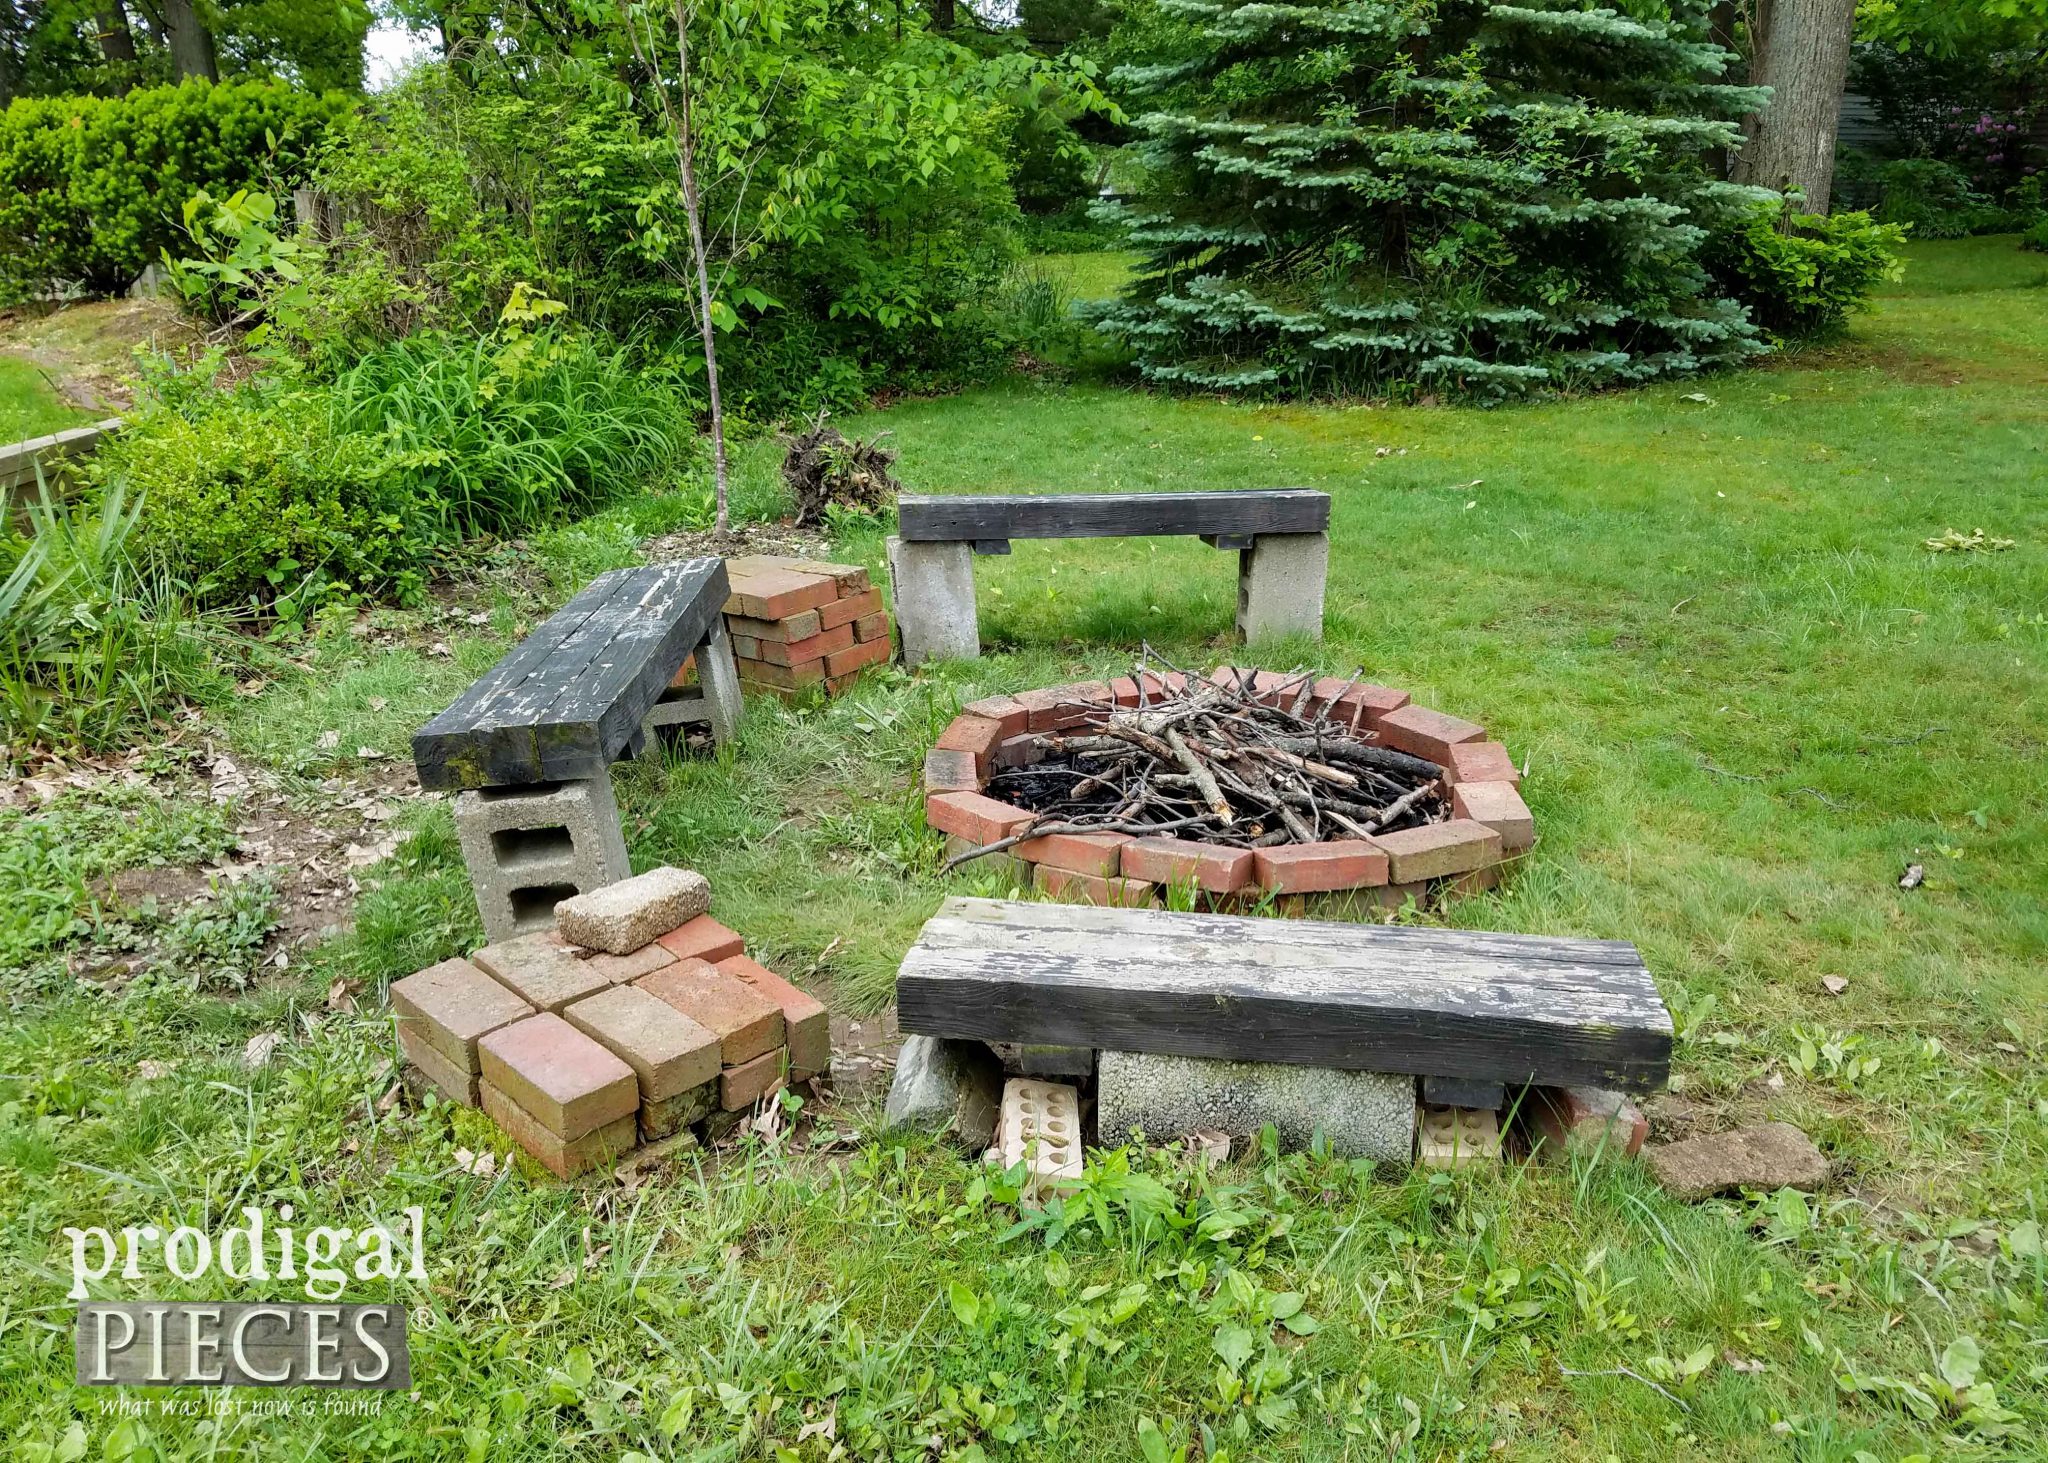
It is finally summer and I am so excited!! Why? Because my cabin fever stent is over and my family and I can finally get into our back yard. I have been staring out my windows all winter scheming and planning new and improved ways to make it more hospitable. I’m also about making it easier to care for (can I get an amen?). Today is all about our forlorn fire pit. It has served us well over the last four years, but today is demo time. Follow along as we show you how to create your very own DIY fire pit.
Before we get started, I wanted to give you a bit of history on this fire pit. Four years ago I shared this original post detailing how blessed I was to be able to create it for JC on Father’s Day without spending a dime. All the materials were sourced from the curb and I was over-the-moon excited to surprise him with it after building it in a day.
A MESS
I certainly could reset and re-stain everything, but we felt it was time for a do-over. Our back yard makeover began with my recent build of our compost bins made from pallets. I share the DIY with you and invite you to see the transformation of our MESS. That’s what happens when you are as busy as we are. It was driving me nuts and I had to do something.
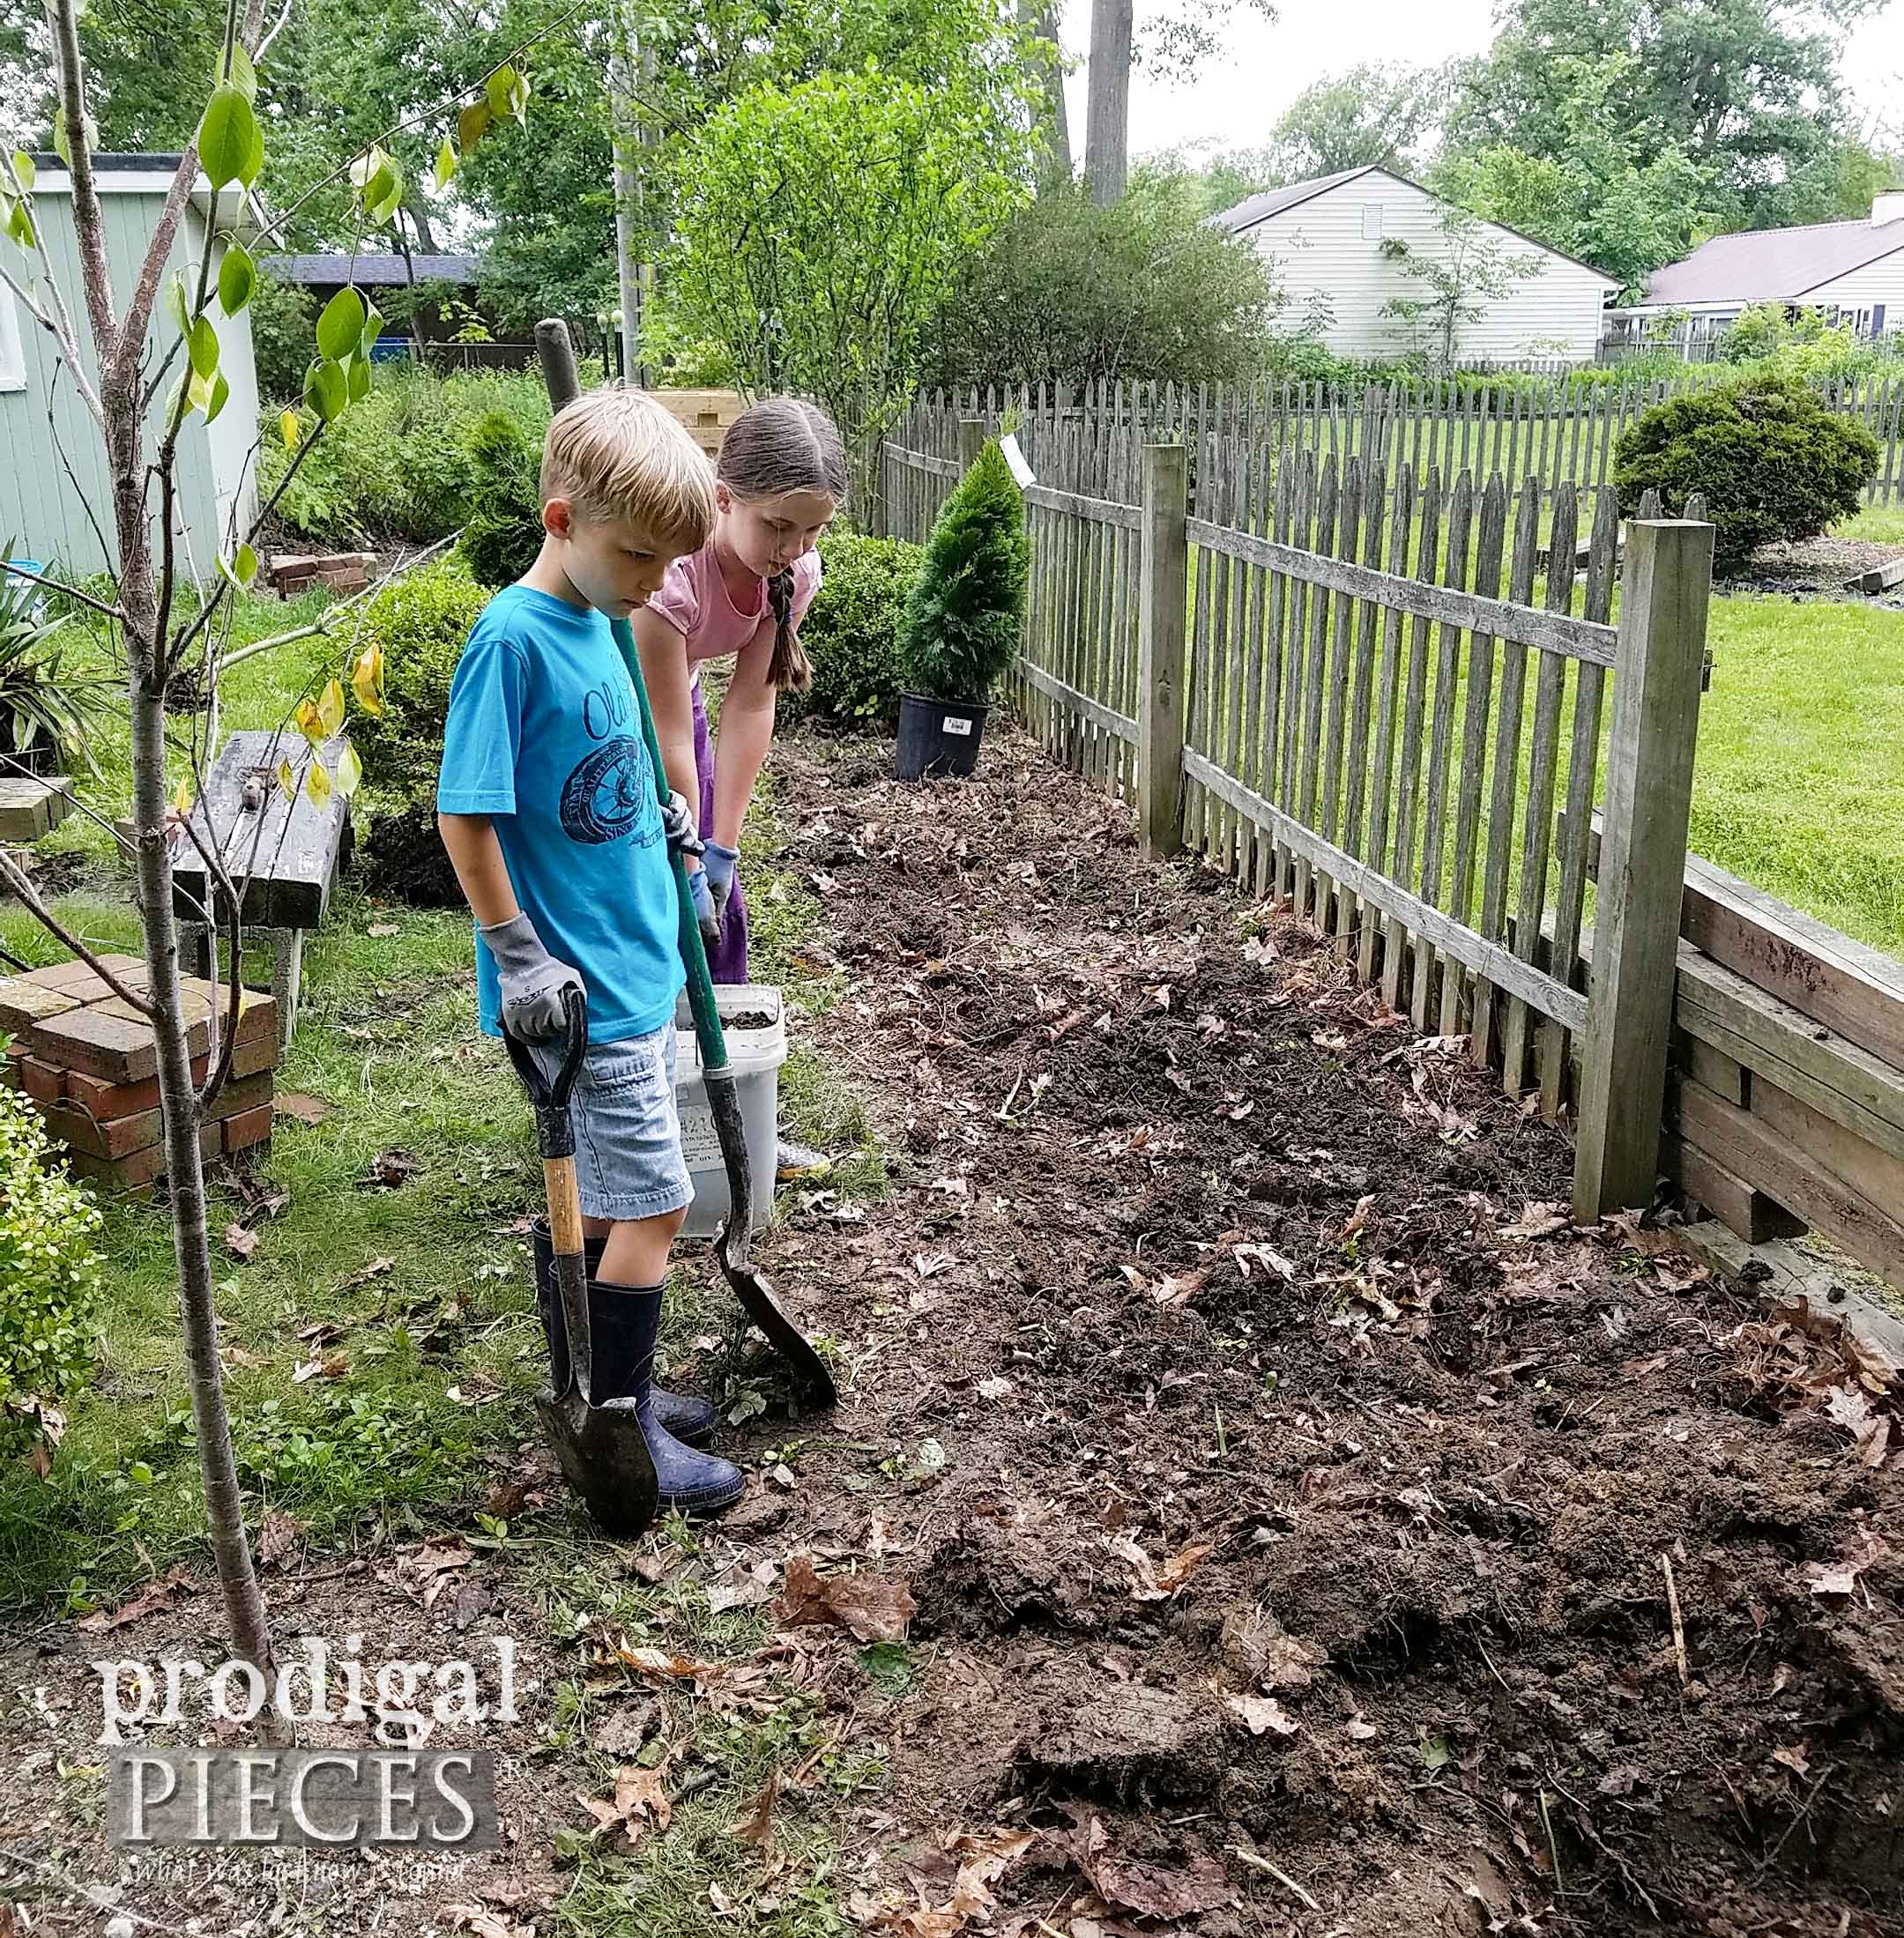
After the compost bin I moved on to our back fence. It was a hot mess as you can see in the above picture. My gang and I yanked out everything to start over. We gave all of the perennials to a Paid in Full group since I never wanted to see another tiger lily again! Oy! I have been digging those things out for years when we moved in 14 years ago and I am tired of wrangling them in. So, buh-bye! I am so happy that many were delighted to get them.
*post sponsored by DFOHome and HomeRight (see full disclosure)
Aaahhh…just look at the clean start. Hooray! My goal was to create a bed that had much less maintenance involved. So, I dug out my Rose of Sharon bushes, boxwood bushes and rearranged them, then added a few shrubs and limelight hydrangeas to create a visual barrier. (BTW, the fence that is in disrepair is my neighbor’s.) Those new additions will grow in nicely over time. Around them I used landscaping fabric and then topped with landscaping stone. A huge job, but it is done and I can relax…for a minute. ha!
DIY TIME
Onto the DIY fire pit!
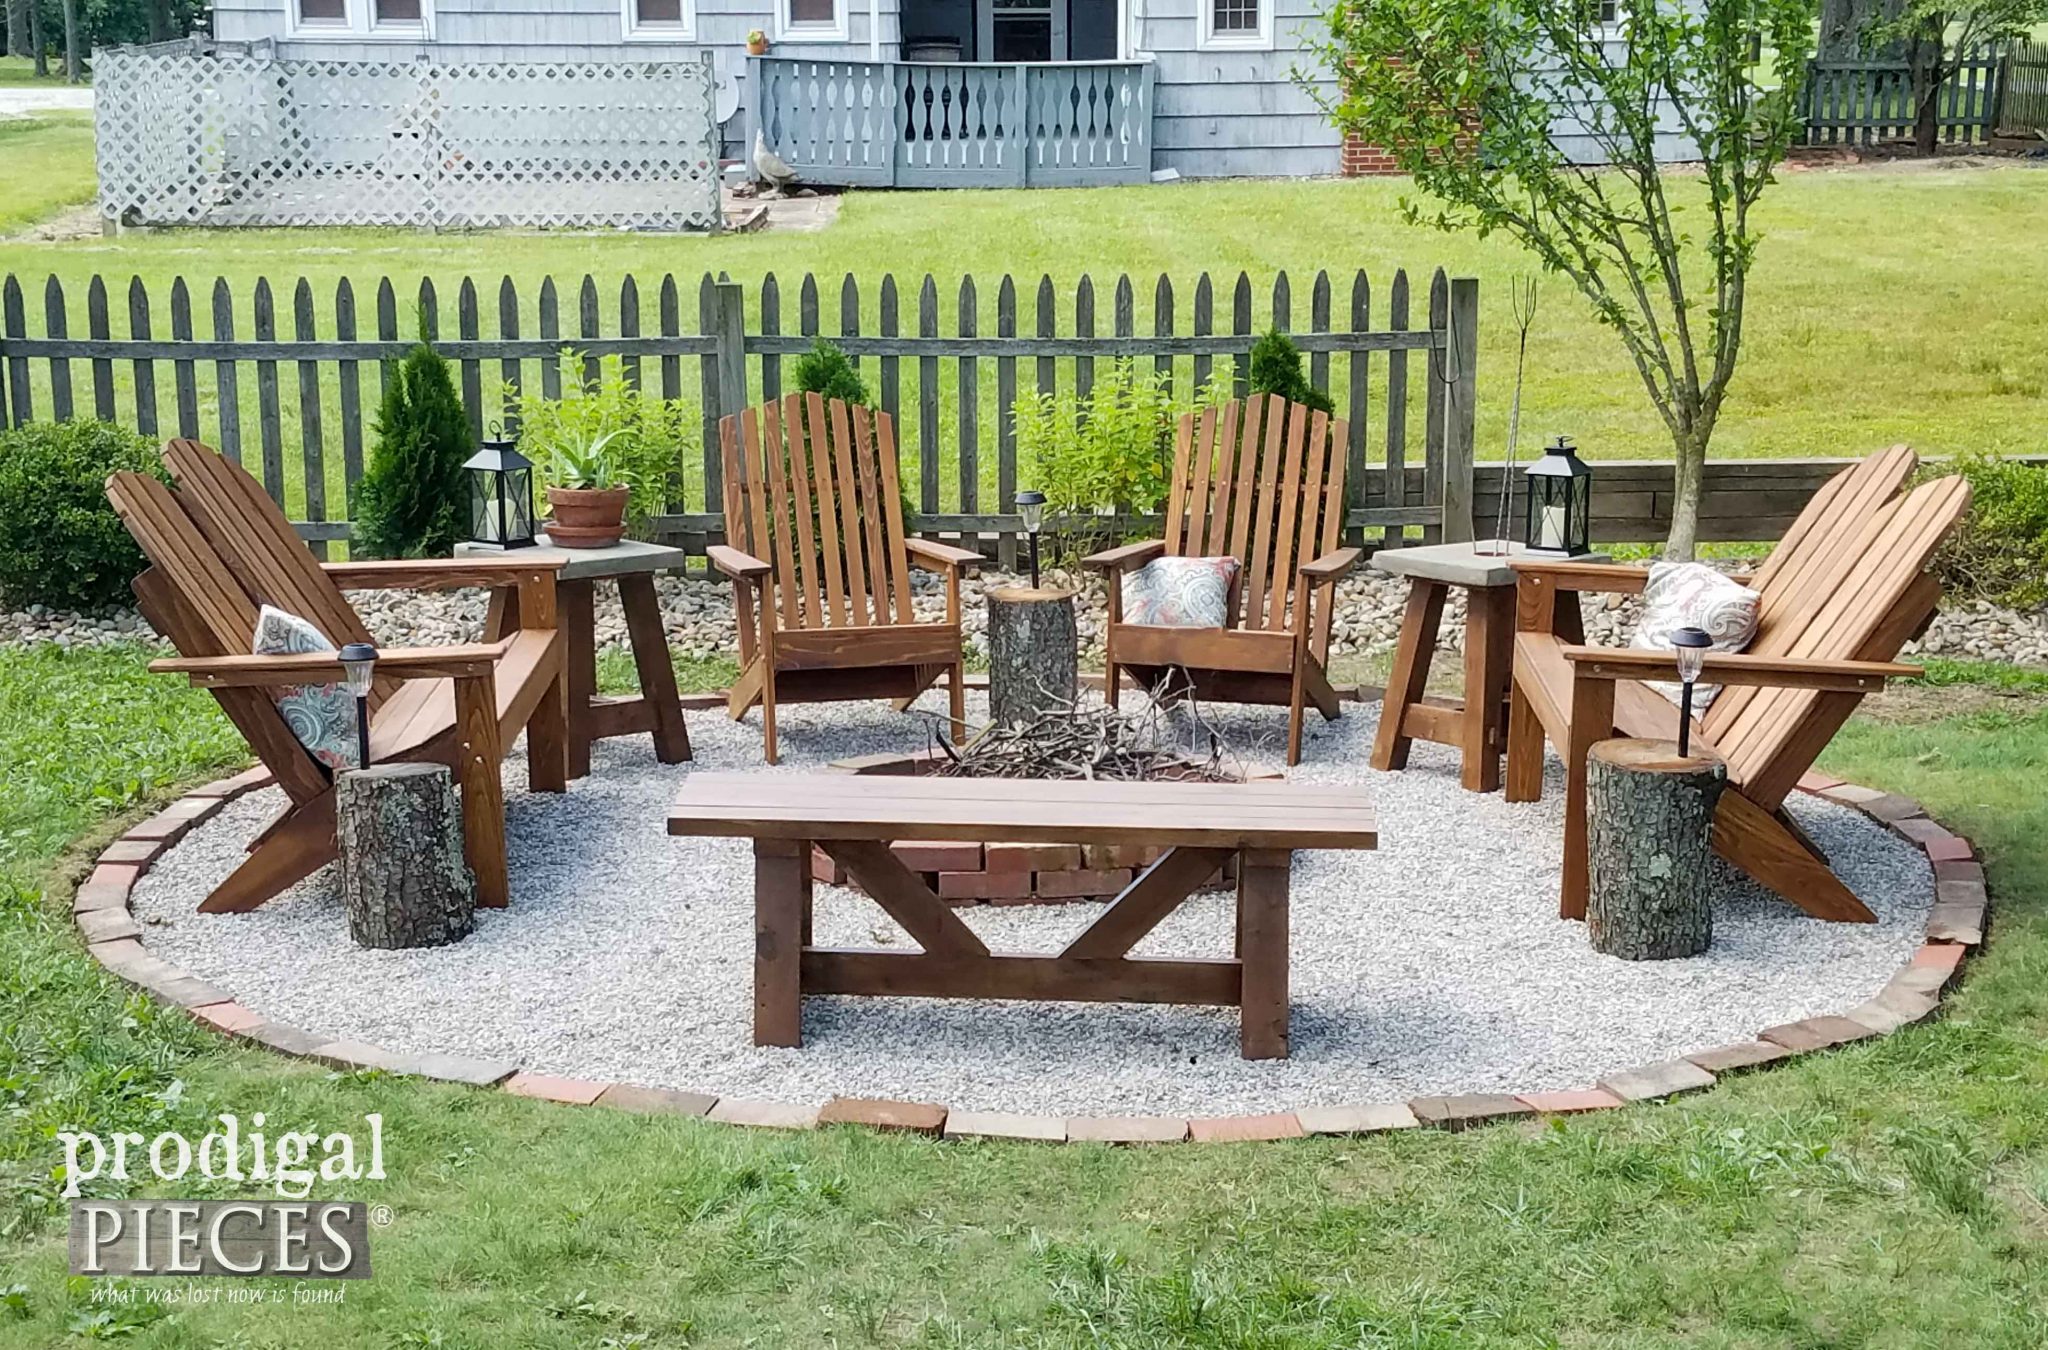
Isn’t it 1000 times better?!? Here is what you’ll need to create your own: (this is based on our 14 ft. diameter, so adjust materials to the size you need) With all the materials ready to go, we easily had this done in a day. Funny that it ended up being Father’s Day weekend 4 years later. haha. Best part is it was for less than $250 (that includes an $84 delivery fee for gravel, so you could even do it for less)
Materials:
- landscaping fabric
- 106 (approx.) – red brick at 75¢ each (or rock, railroad ties, or border of choice. You can source this from Craigslist and Freecycle too)
- 2 ton (approx.) – #8 limestone or pea gravel
- furniture and decor
Tools:
- square point shovel or sod cutter
- spray paint – any color
- garden stake or anything to mark center
- twine or rope
- garden rake
- Wheelbarrow
- garden/work gloves
- utility knife
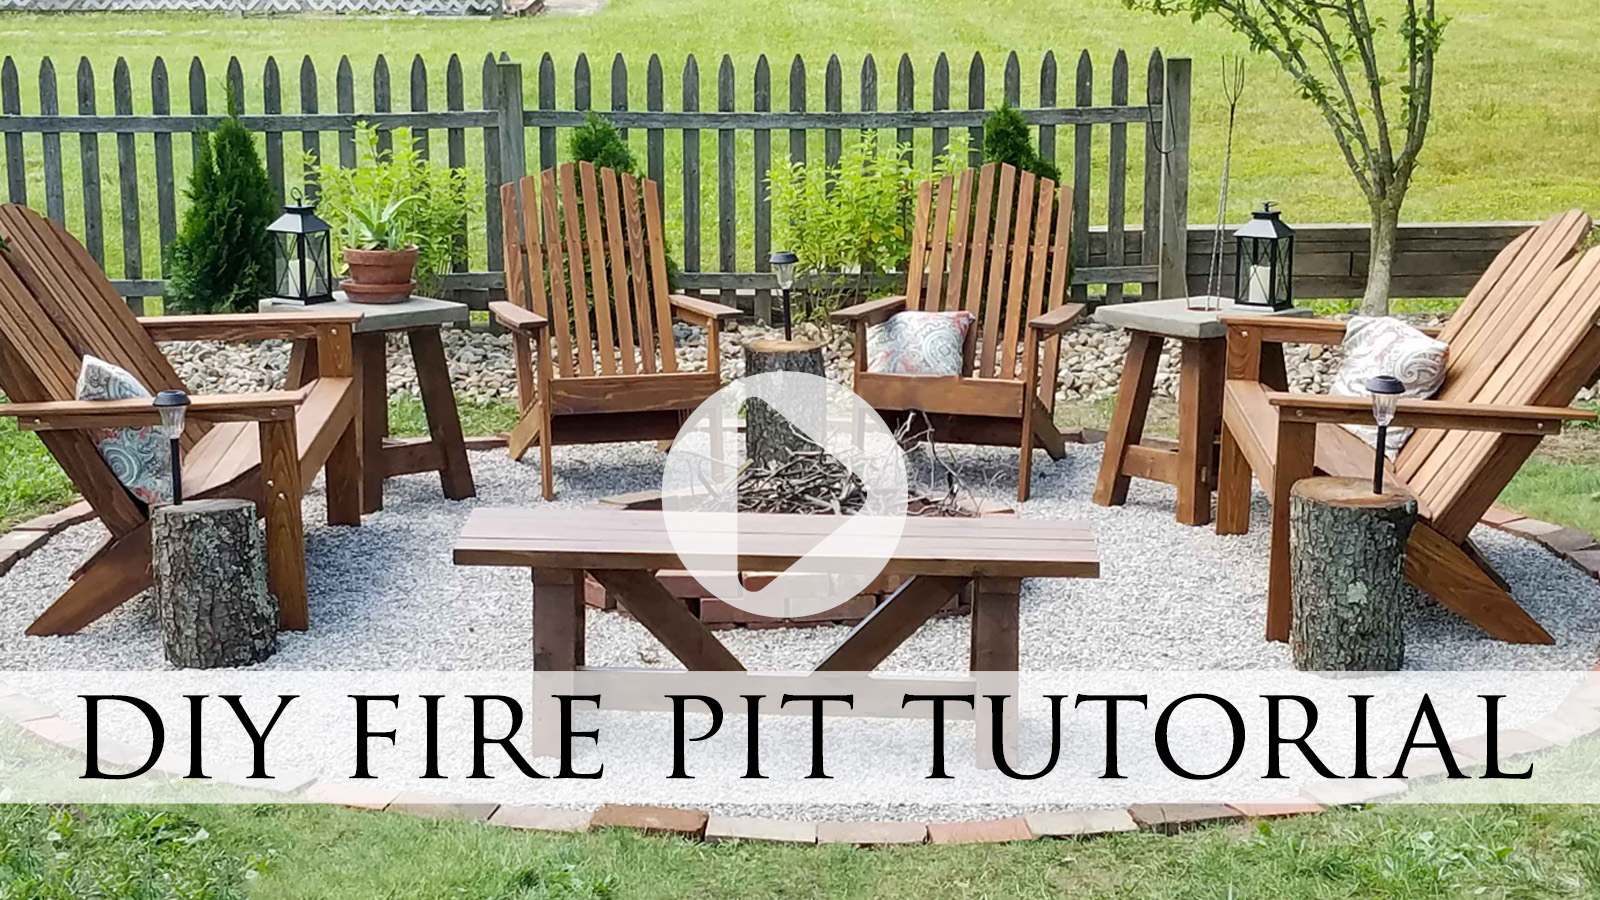
To show you how easy it can be, check out our fun video and then follow the steps laid out below to get the job done.
Step 1
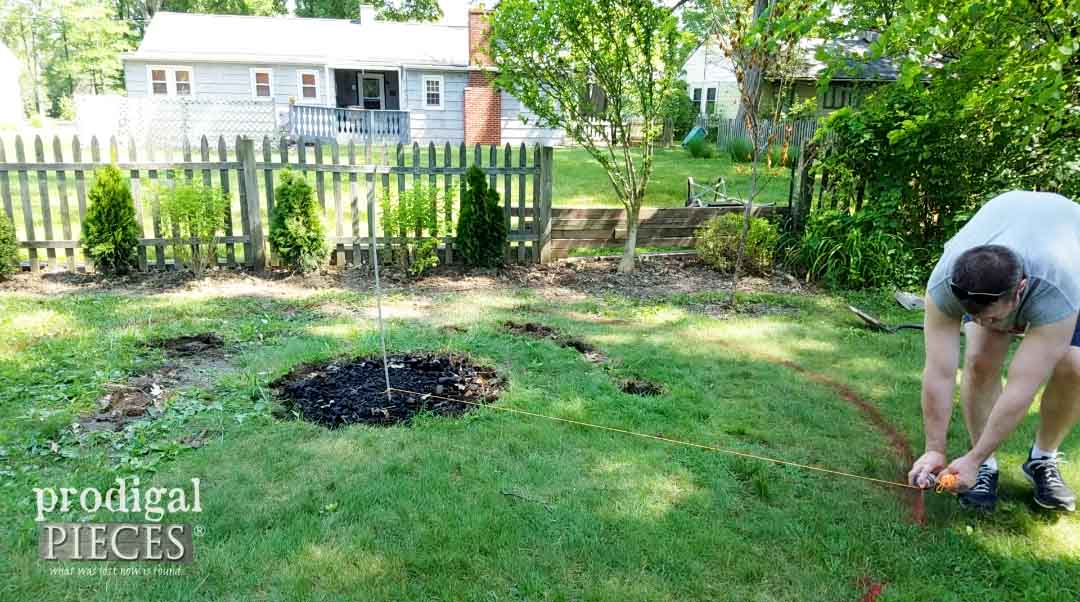
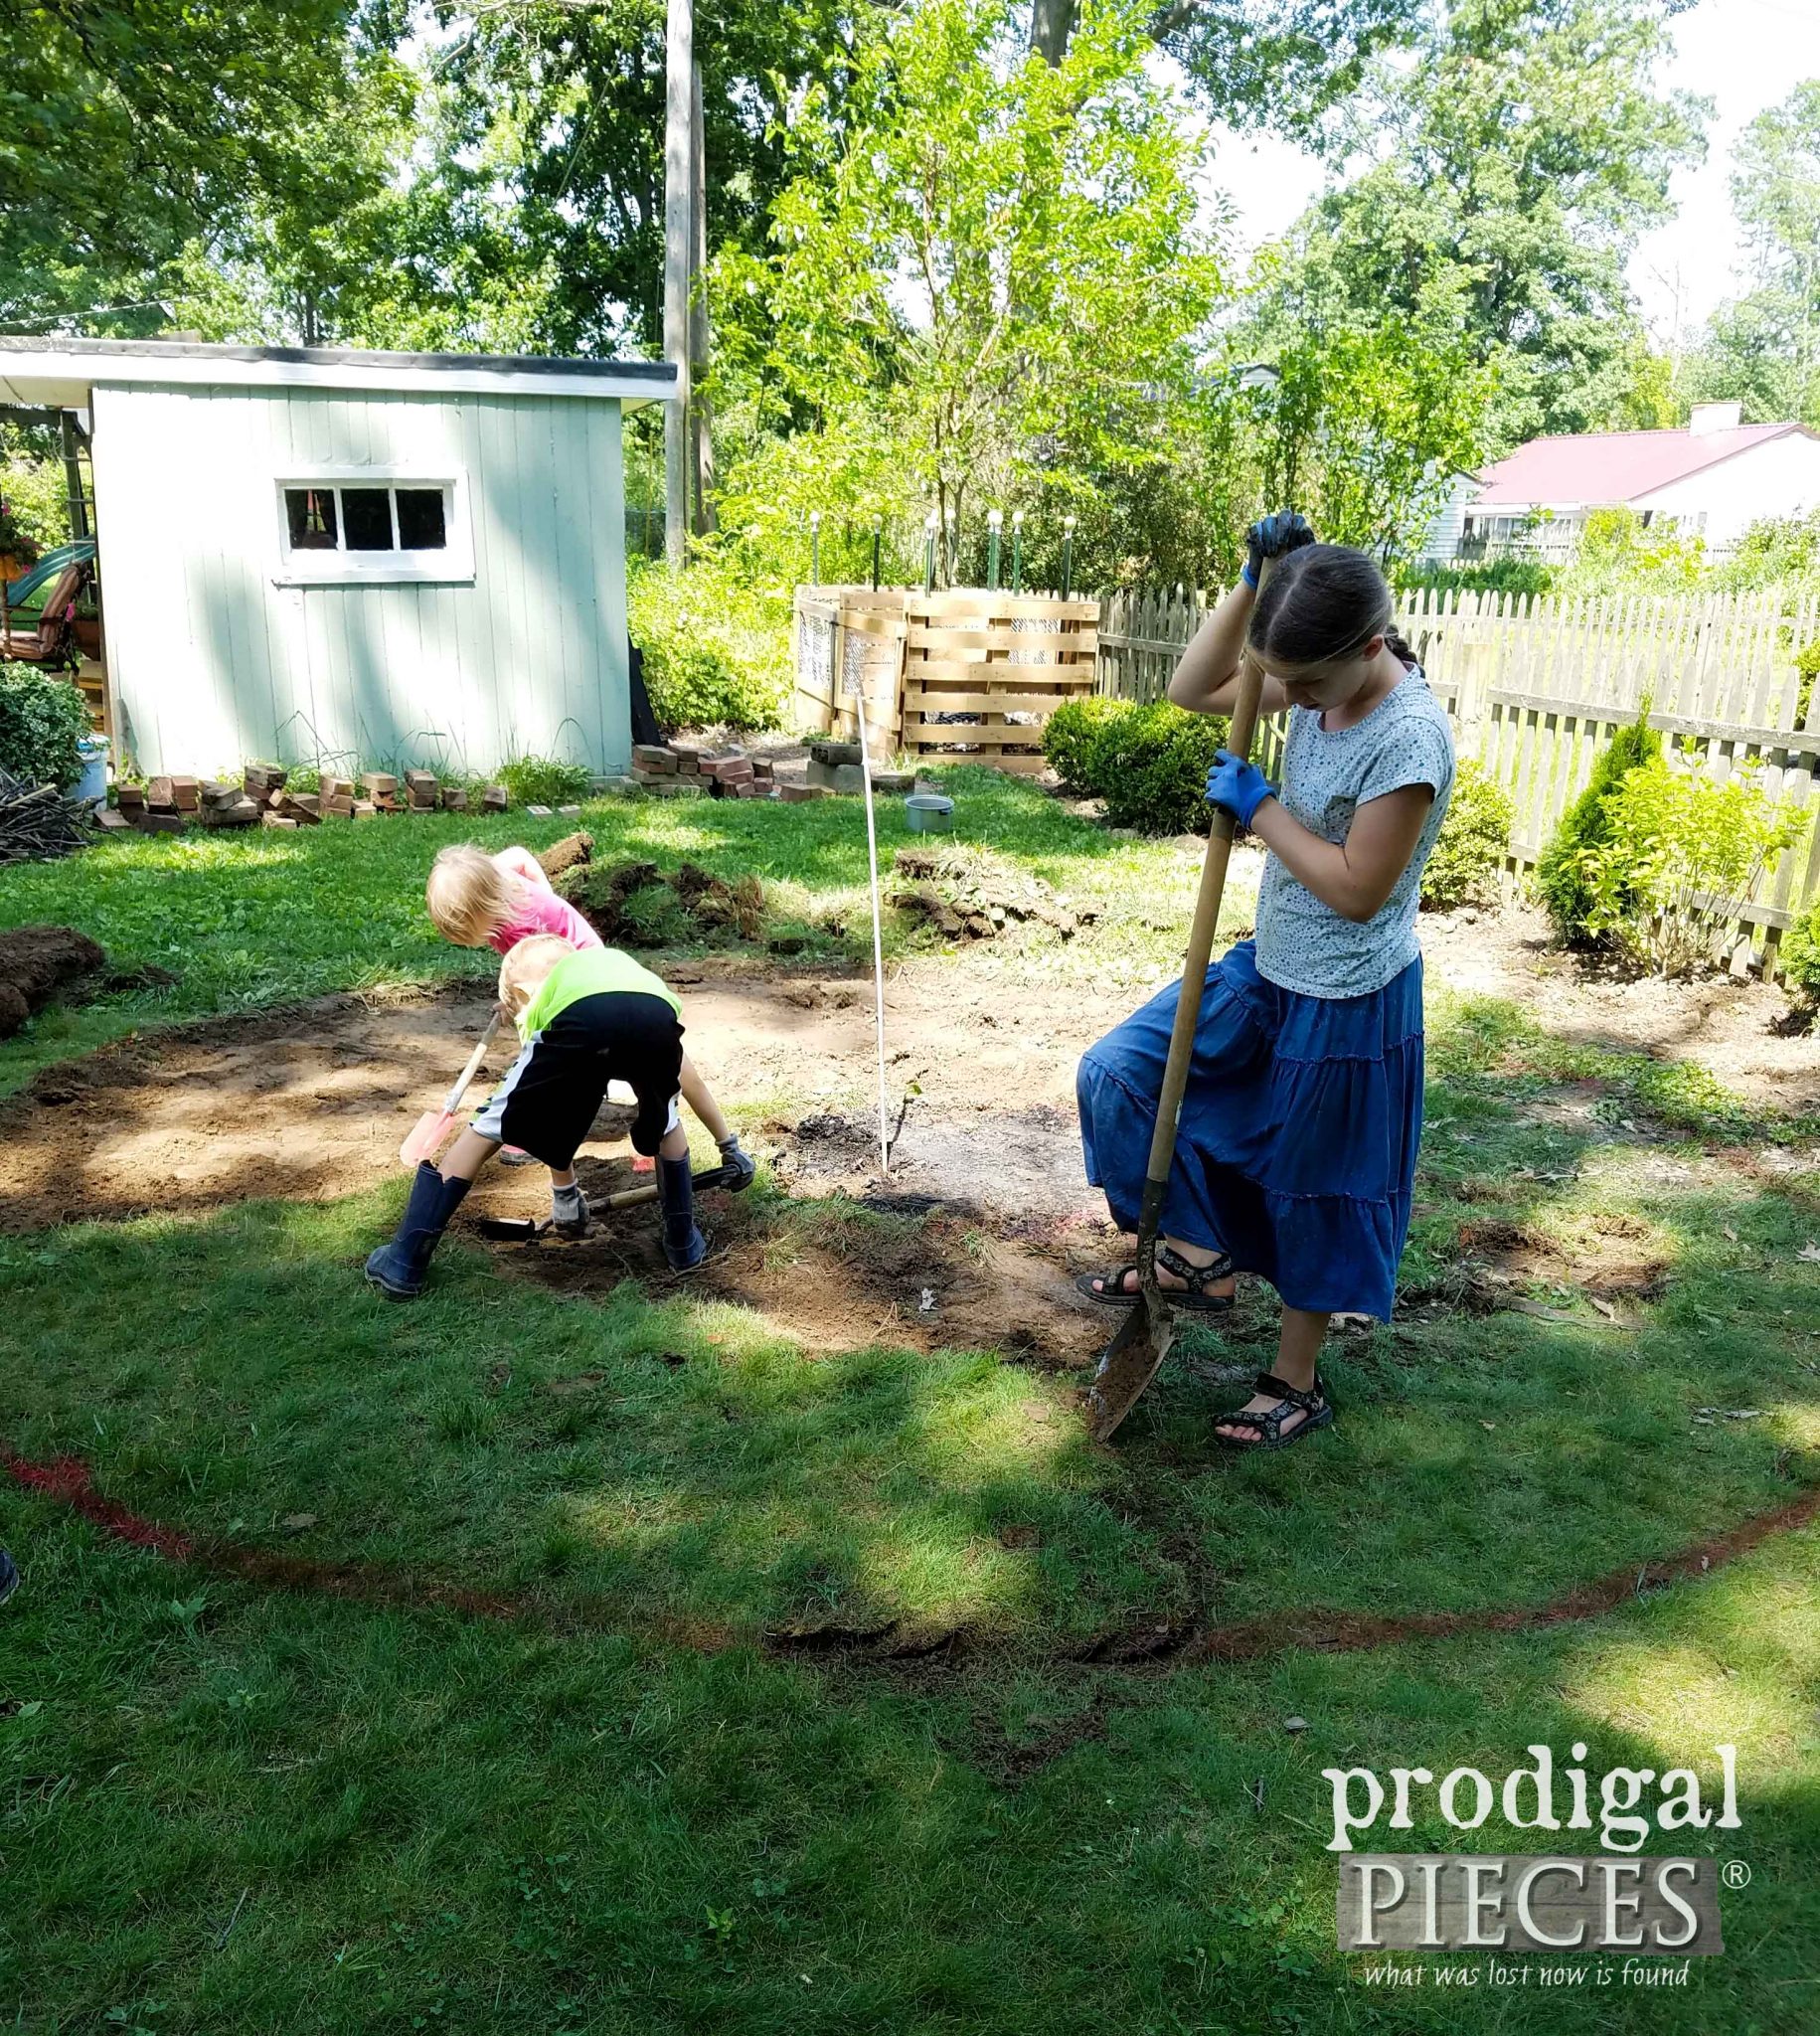
First, find center of where you want your pit to be. Second, insert in a stake into that center point. Next, tie twine around your stake the length of the radius (We decided to increase the size of our area and create a circle and wanted 14 ft. diameter = 7 ft twine). Then, use spray paint to walk around the circle while spraying an outline. Basically like using a giant compass.
Step 2
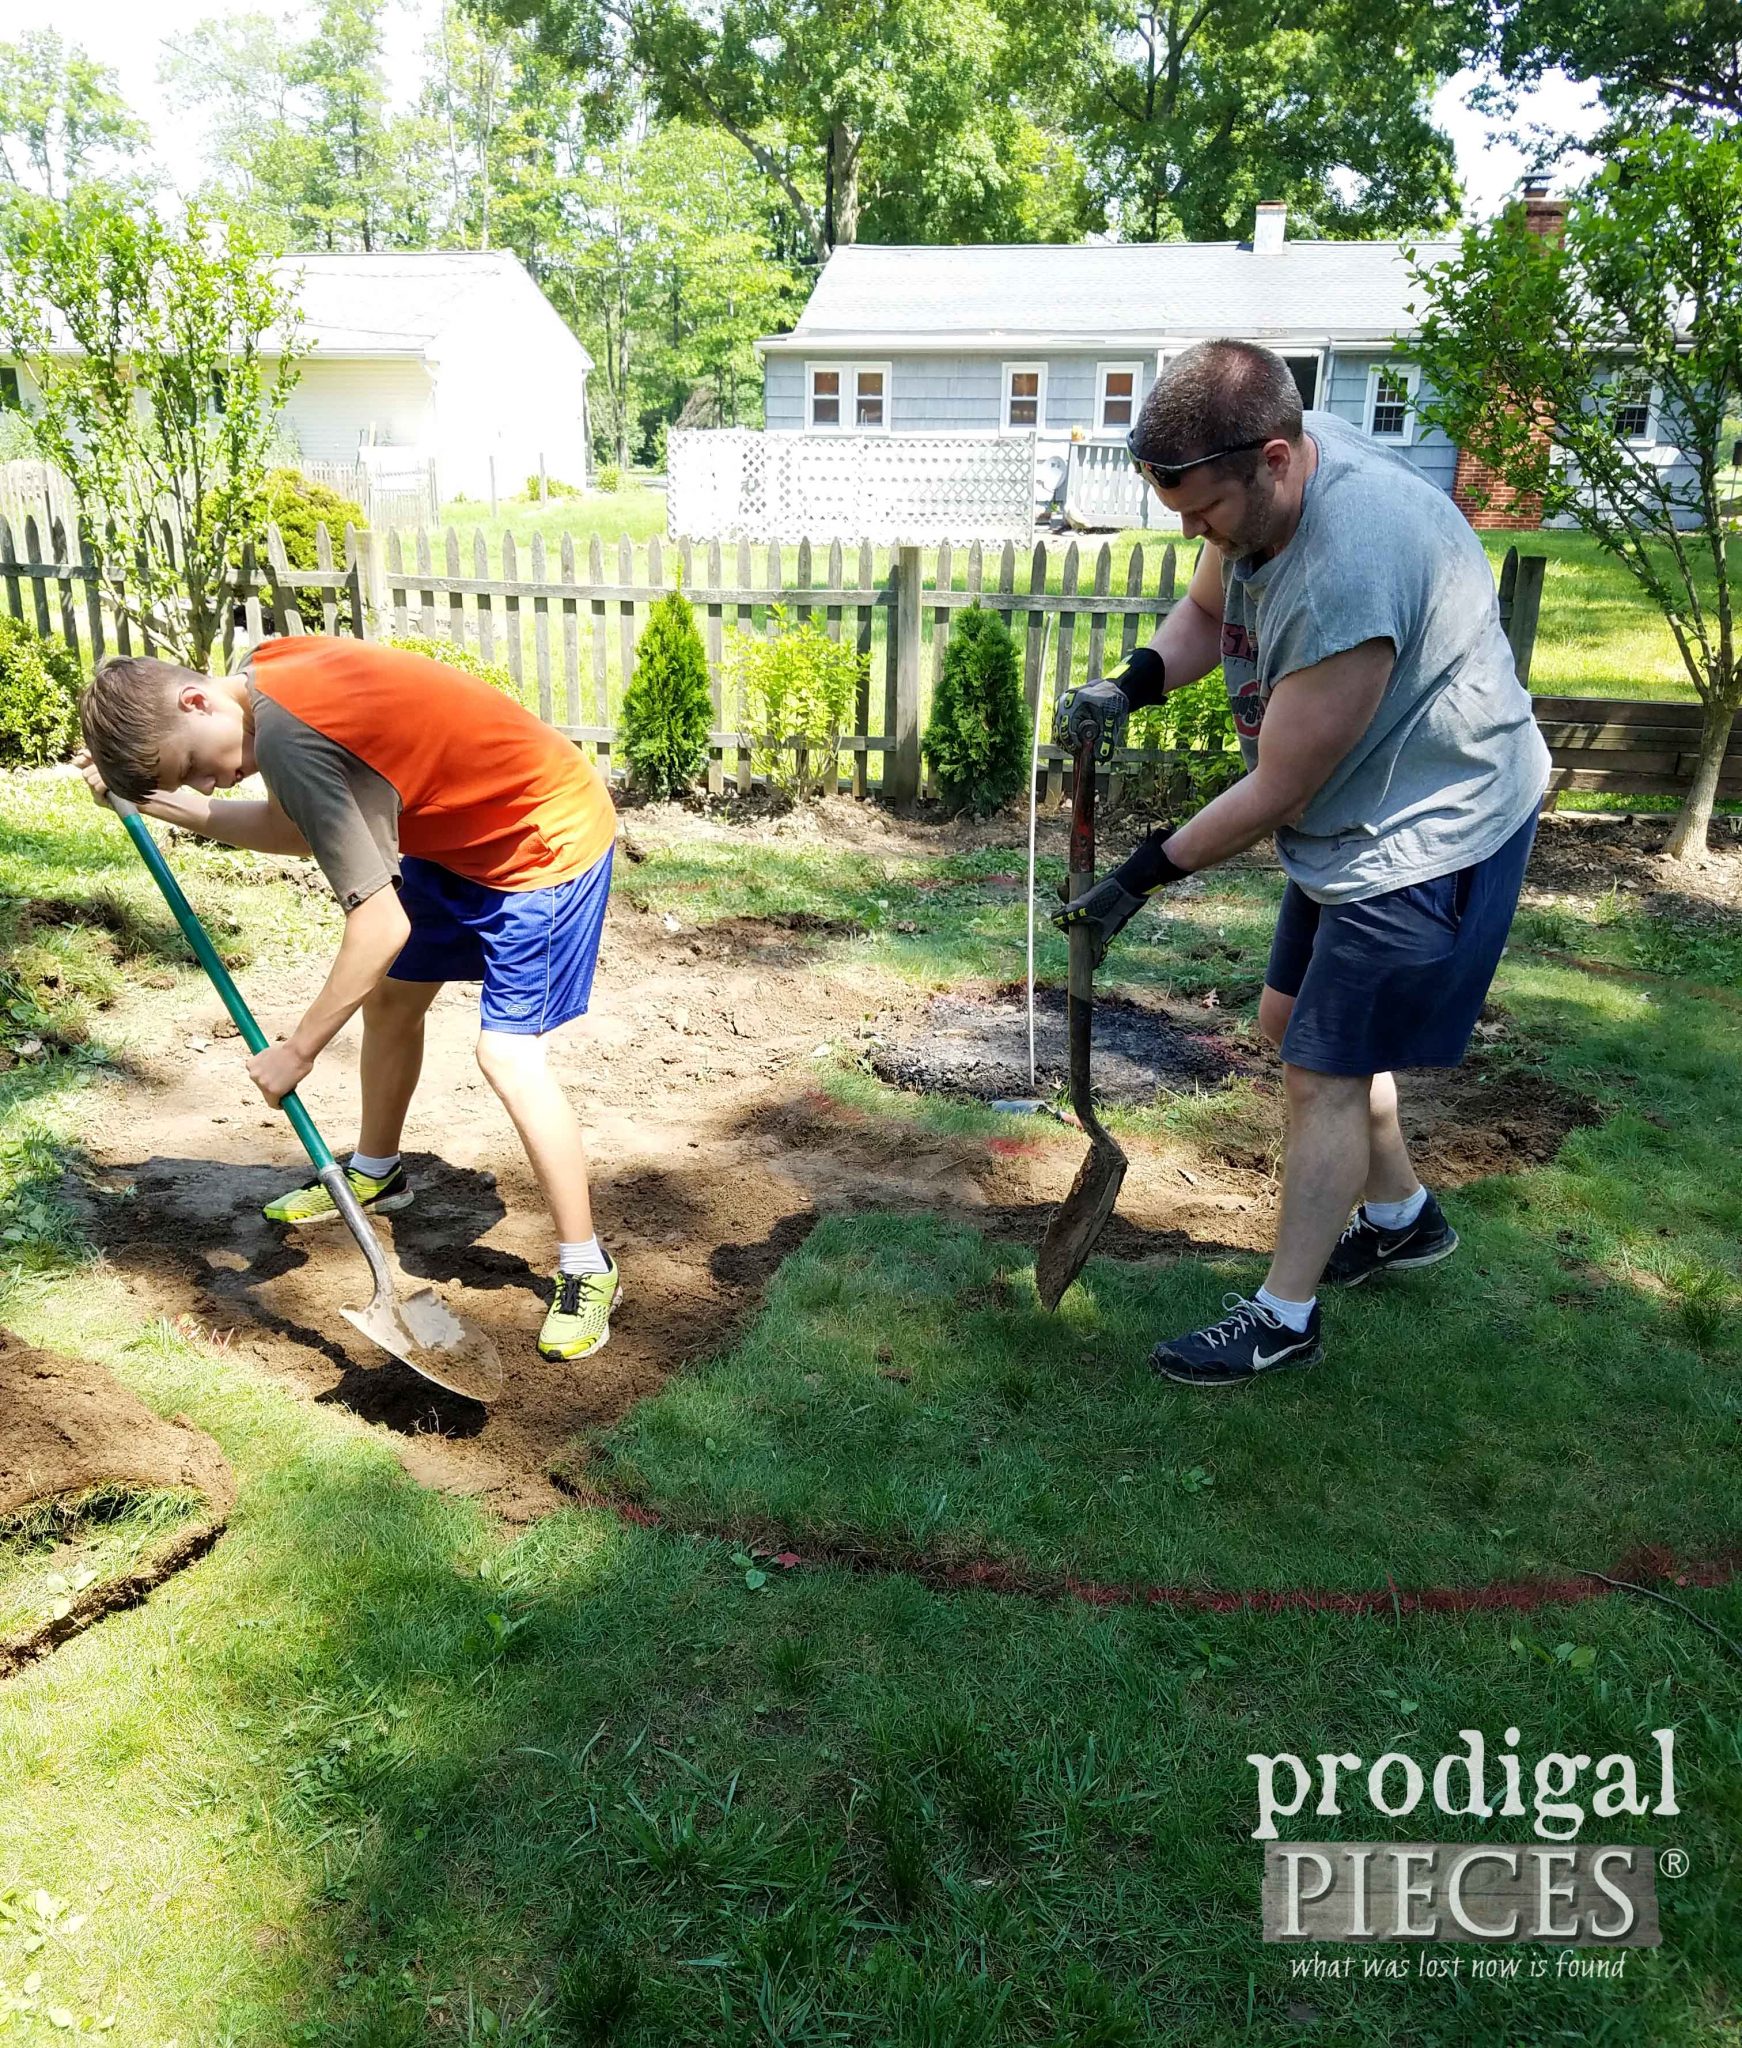
Remove the sod from inside the painted circle. Use your square point shovel or a manual sod cutter. When we did our front yard garden we rented a gas powered sod cutter that works super fast. For this though, it wasn’t bad to remove it by hand.
Start at the circle edge, cut through the sod and then make a wedge shape (pie slice) with your shovel. Make a shallow cut trying to keep the shovel parallel to the ground to only get sod and not dirt. Once you get started you can move quickly. Make sure to keep your center stake in while digging.
We had many helpers from our gang of 6.
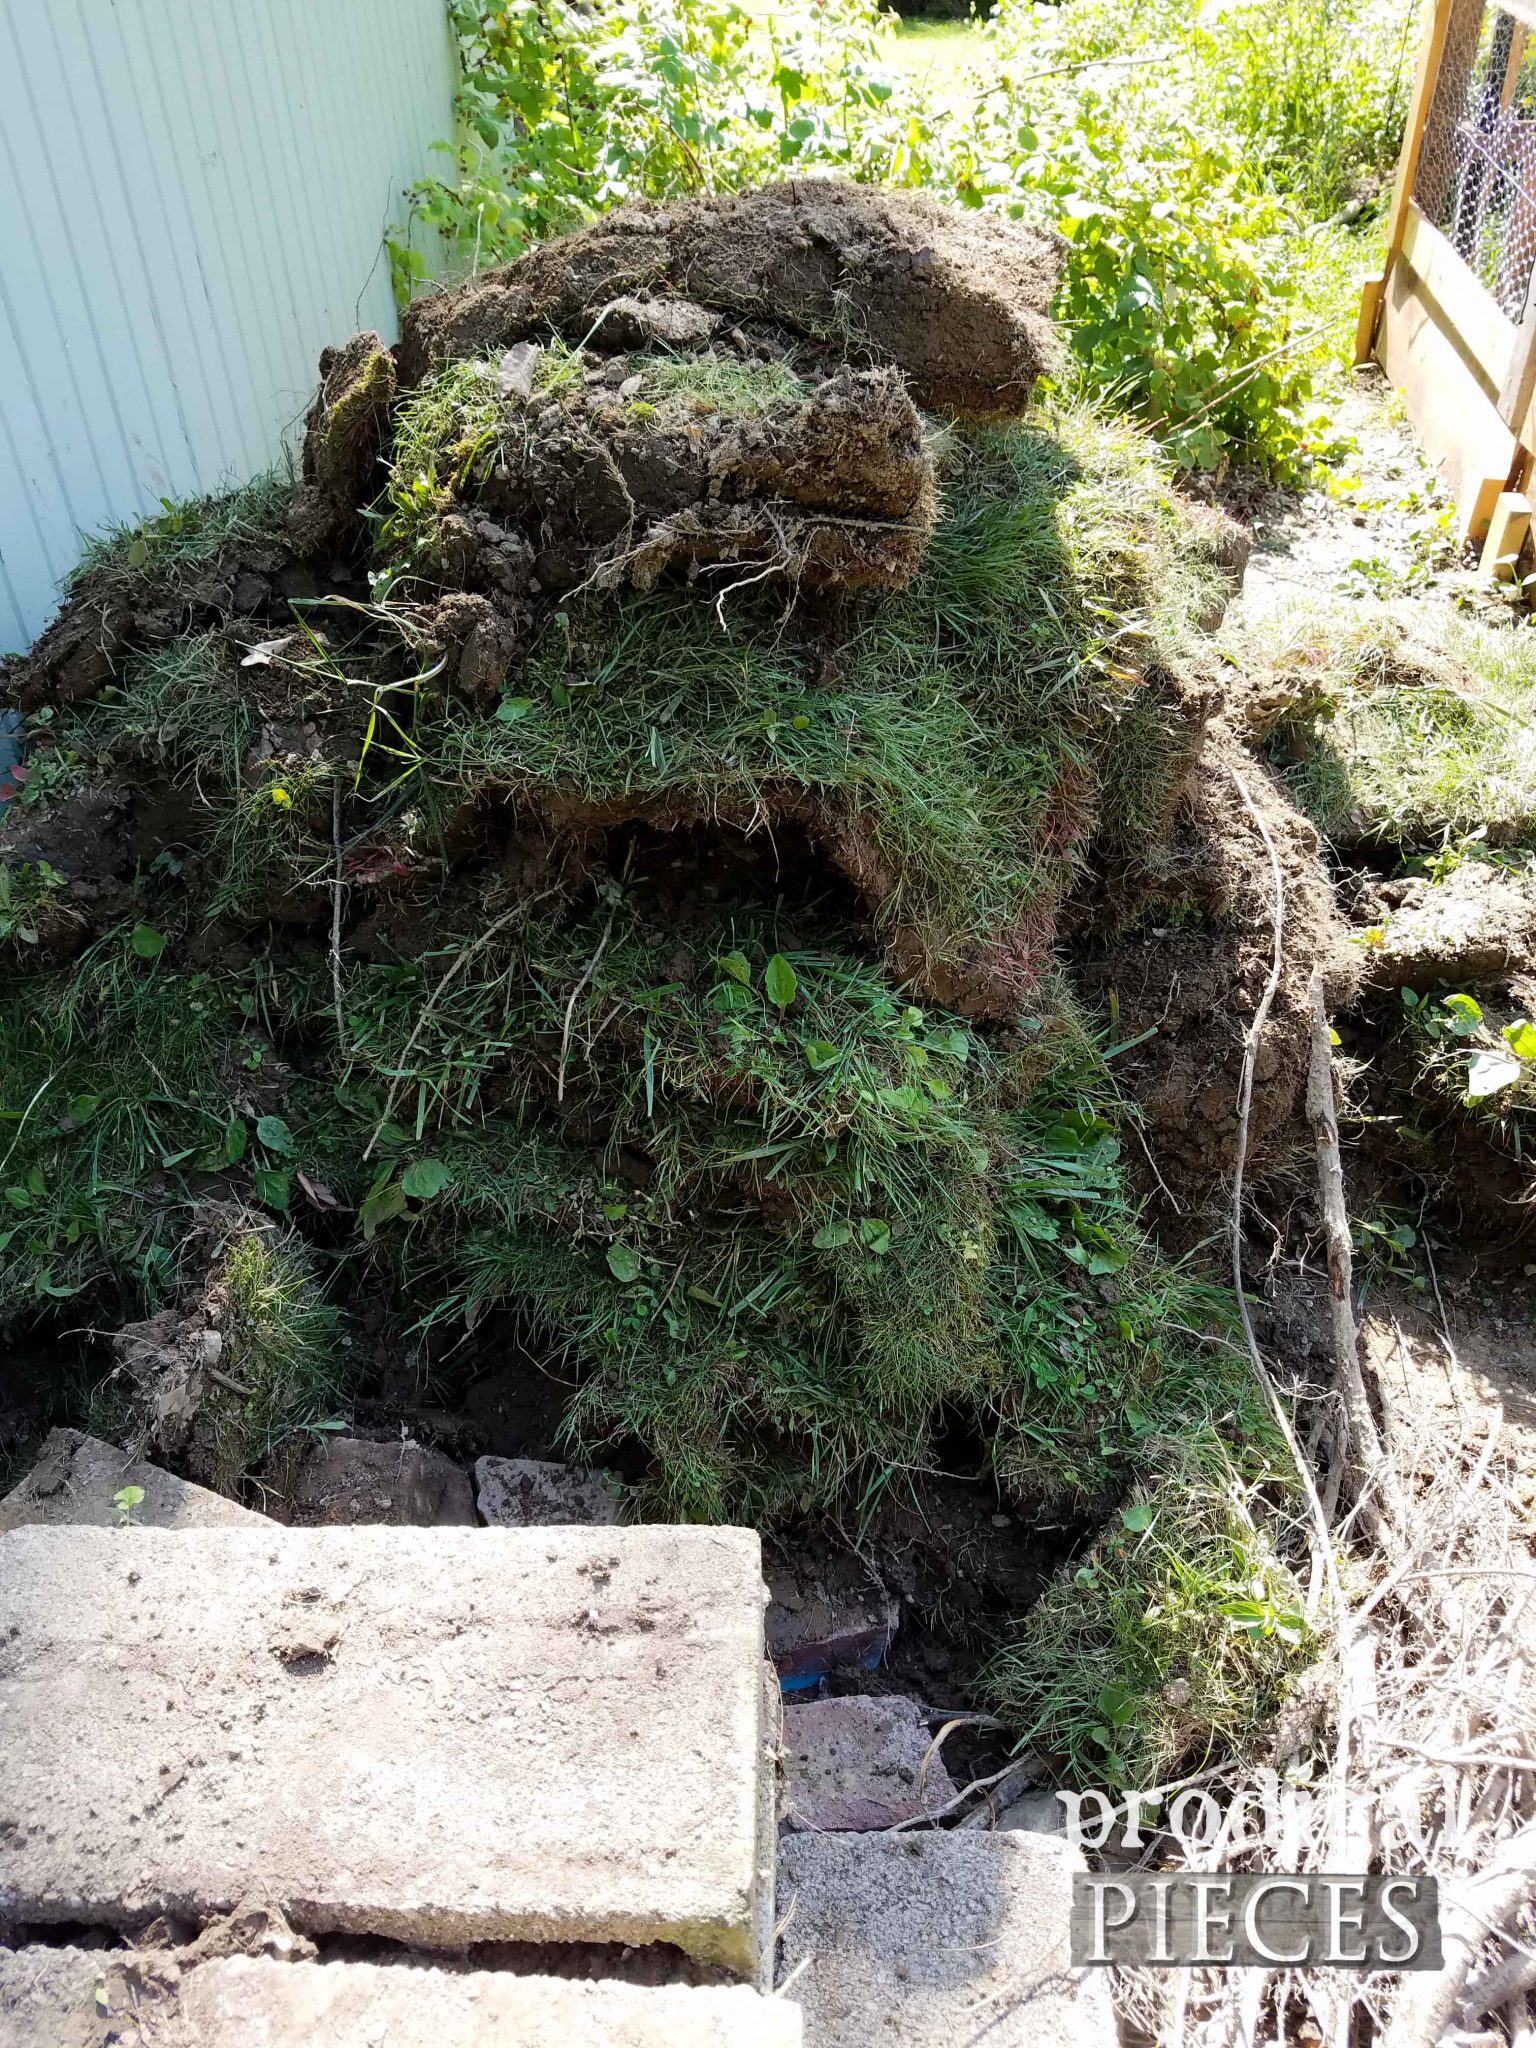
Roll up the sod and set aside. Because we like to create less waste, we put our sod on Craigslist in the free section. Many will scramble to come get it from you to patch their yard or cover damage from construction.
This huge pile was gone like a flash of lightning. woot! You can even set up with someone prior to digging to give them your sod, that way you don’t have it sitting in your yard longer than you want. I just cleaned up that spot, so ain’t no way it was stayin’!
Step 4
Using your garden rake and shovel, grade the area level as best as you can. You don’t want standing water or trip hazards. Create your fire ring by using a second piece of twine tied to the center stake and measuring out 24″ from center. Use your spray paint again and make a smaller circle. Place one layer of your red brick on that circle (approx 48 bricks for total ring). Our fire ring will be 3 bricks high, but only lay one layer down at this point to move on to the next step.
Step 5
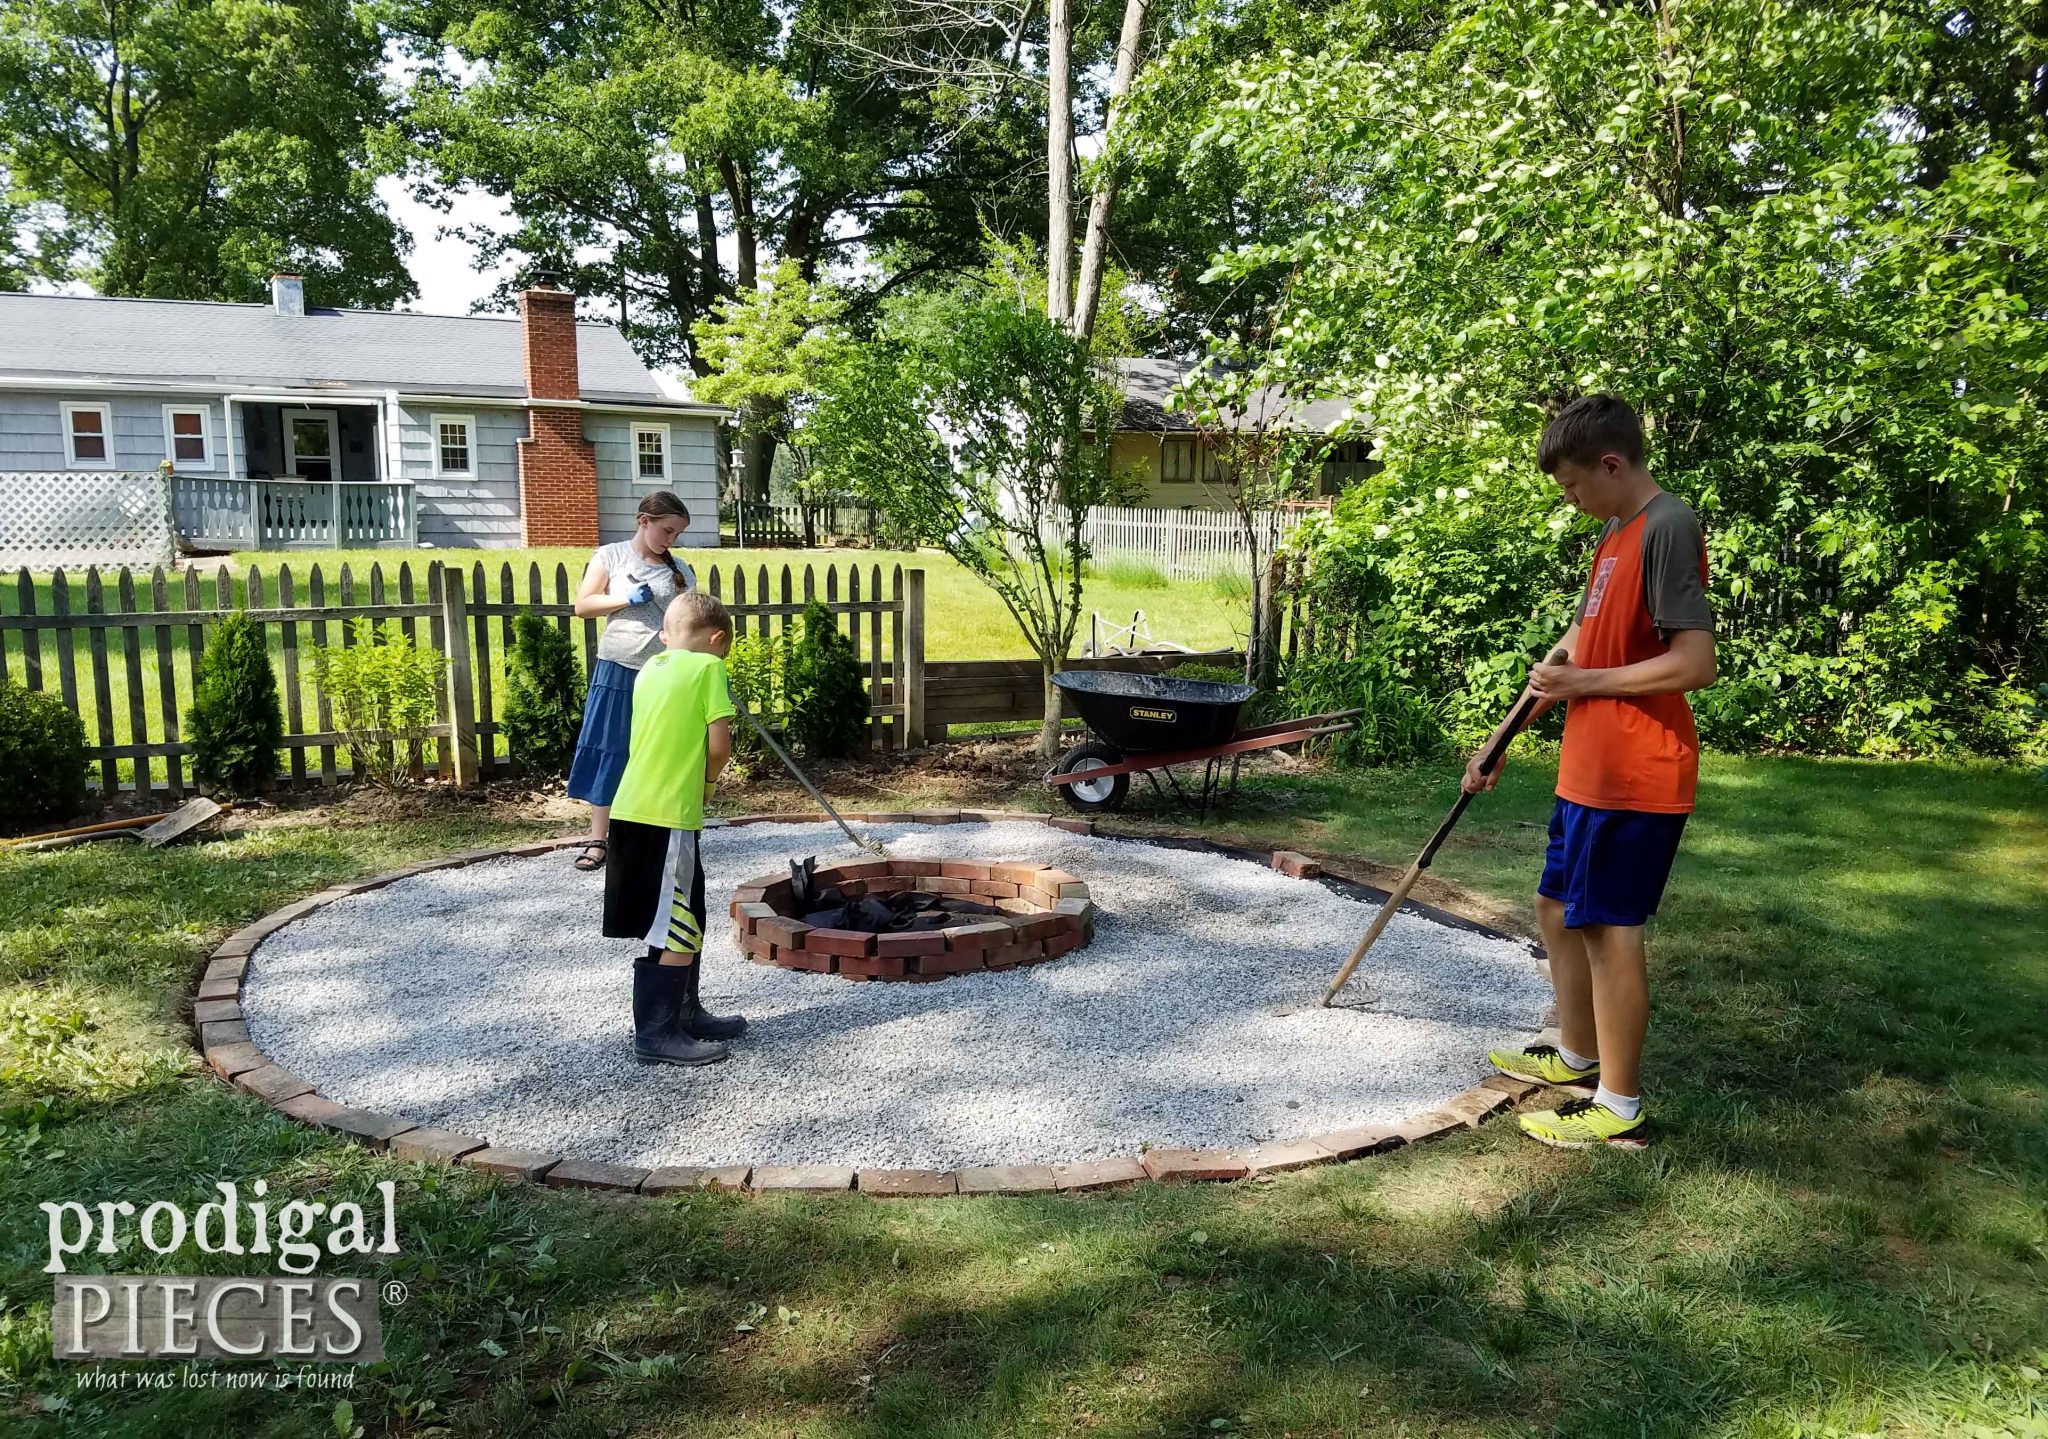
Grab your roll of landscaping fabric. Beginning at one edge of the circle, cut a length of fabric and trim it to fit the shape. Place your red brick on the fabric edge as you go making sure to overlap the fabric about 4″ or more to get plenty of coverage. Tuck it under your fire ring bricks as well. We chose red brick because the previous owner of our home used it to edge different places in our yard and we want it to match. It also is very affordable at 75¢ a brick and many have them sitting around you can snag for free.
The brick should be placed just a bit higher than level with the grass as it will settle over time. That will create less trip hazards and make for a nice flush finish.
Step 6
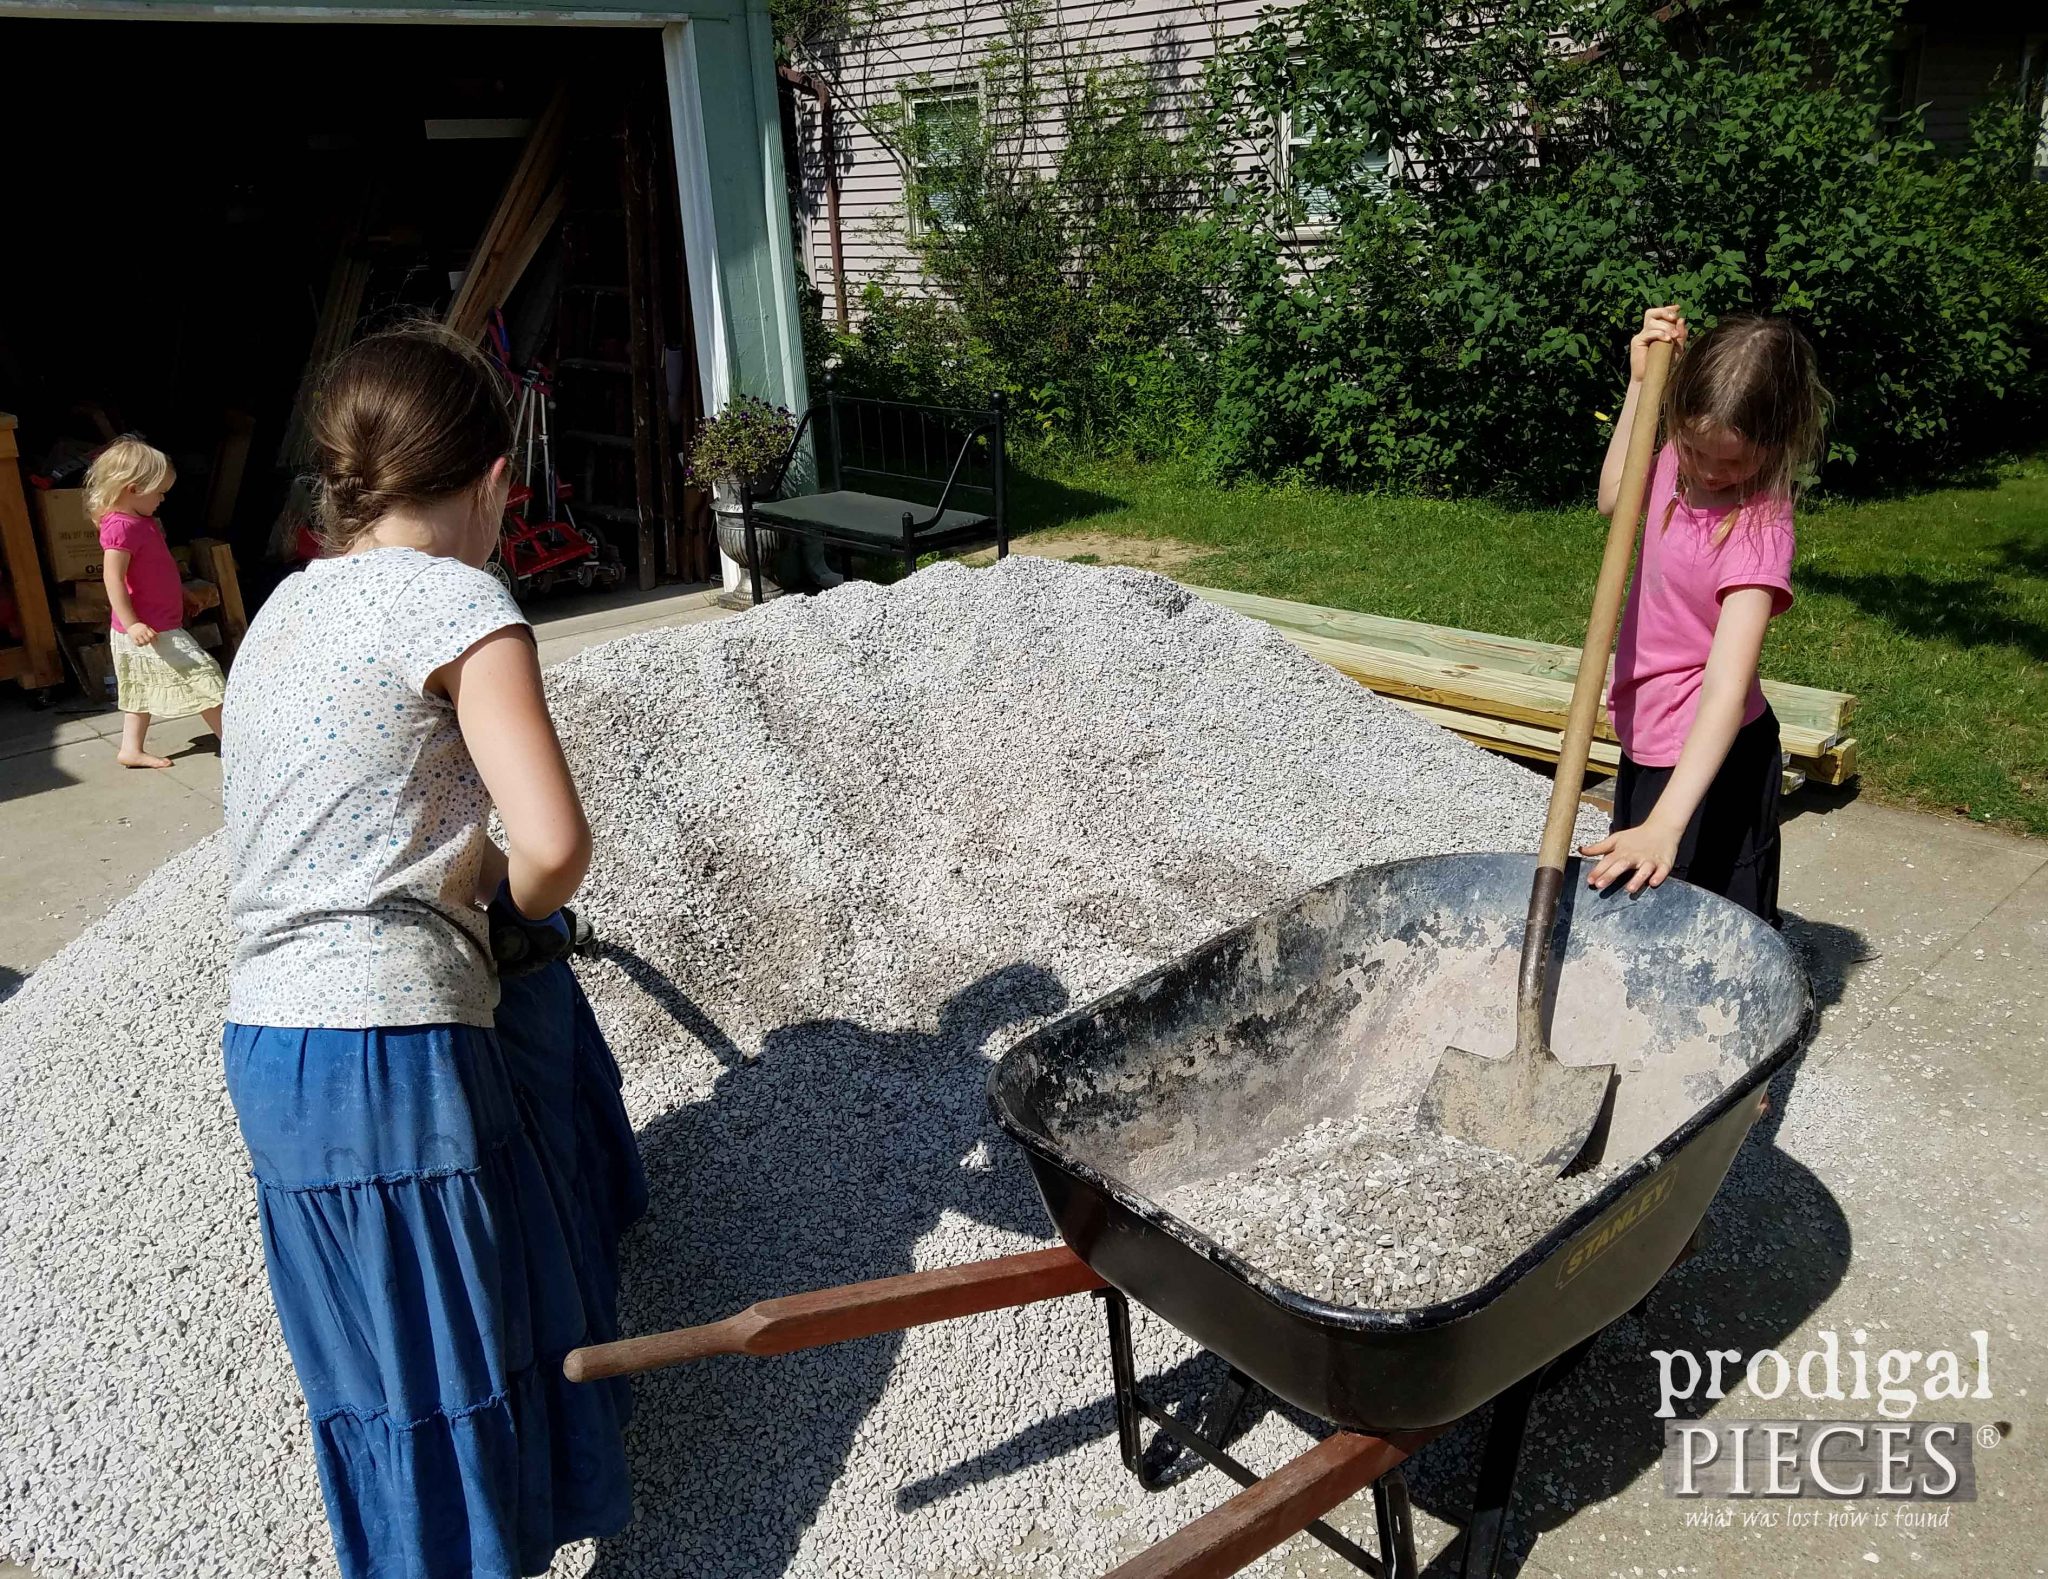
Once your fabric and brick is in place, it is time for your gravel. Again, because we already had #8 limestone in our yard in other areas, that is what we chose. It was $22 a ton with an $84 delivery fee. We also considered pea gravel for $6.25 a ton, so there are many options. I really wanted to use decomposed granite because it compacts and make for a more solid surface. However, it can’t be sourced anywhere in our state. So, gravel it is. This pile is 5 ton as we are doing more improvements after the fire pit, so stay tuned!
We even considered using asphalt shavings or crushed limestone to create a packed surface before adding our top layer. However, we really didn’t feel the need to as we have used the landscaping fabric with much success for many years in other areas. If a stray weed pops up, we just spray with vinegar. Safe, natural, and easy.
Dump your gravel on and spread with the back side of your garden rake for even coverage. Our DIY fire pit used approximately 2 ton of limestone to fill the area 2″ deep.
Step 7
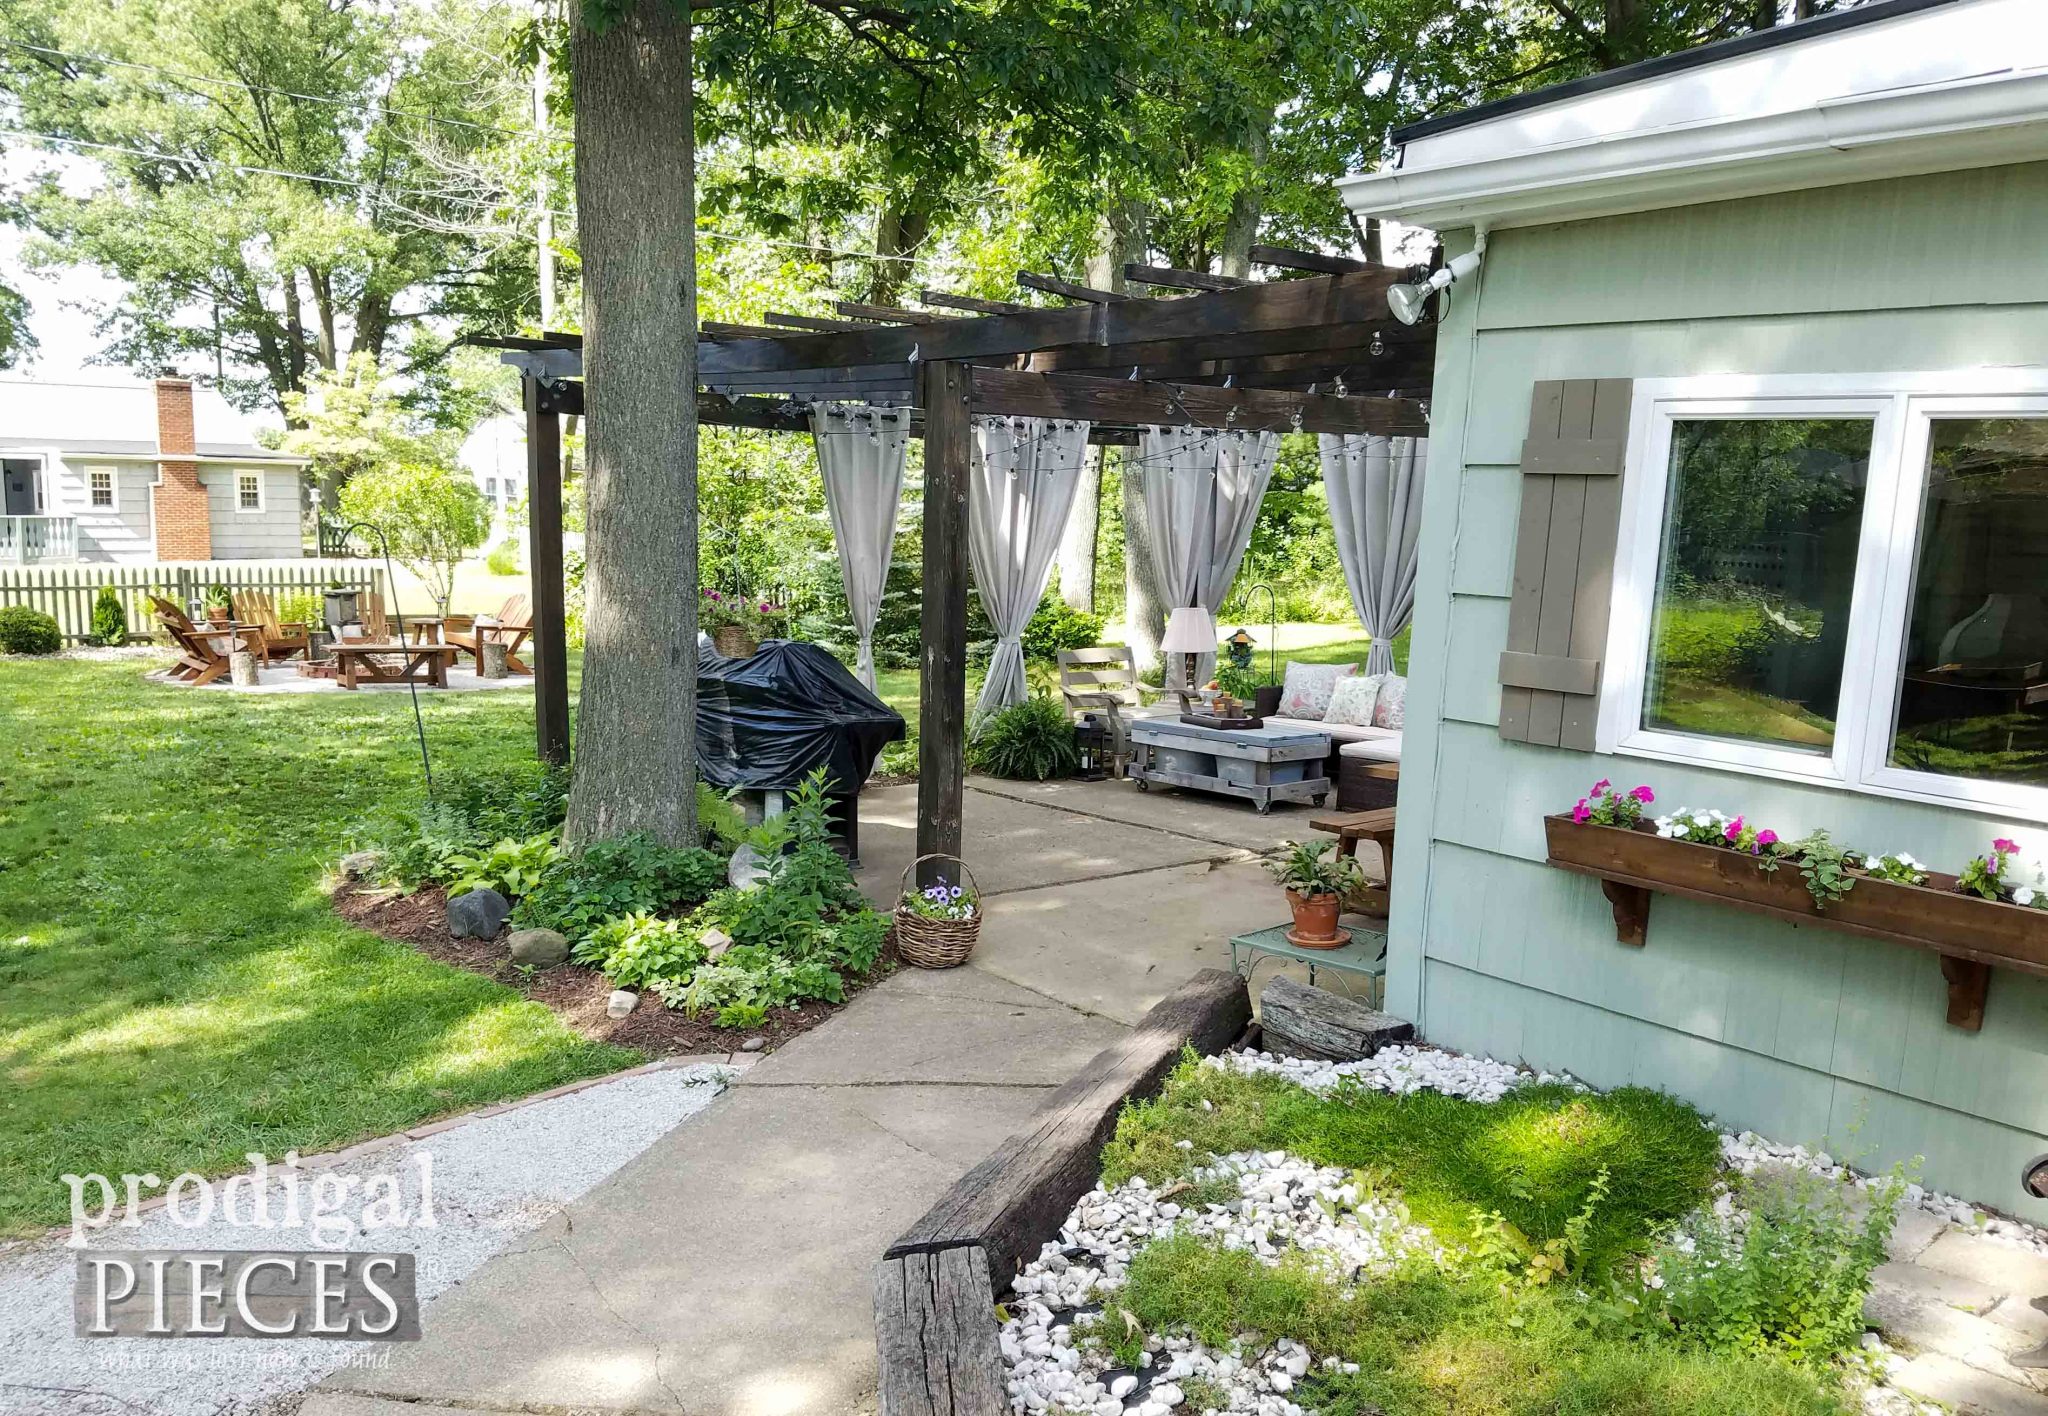
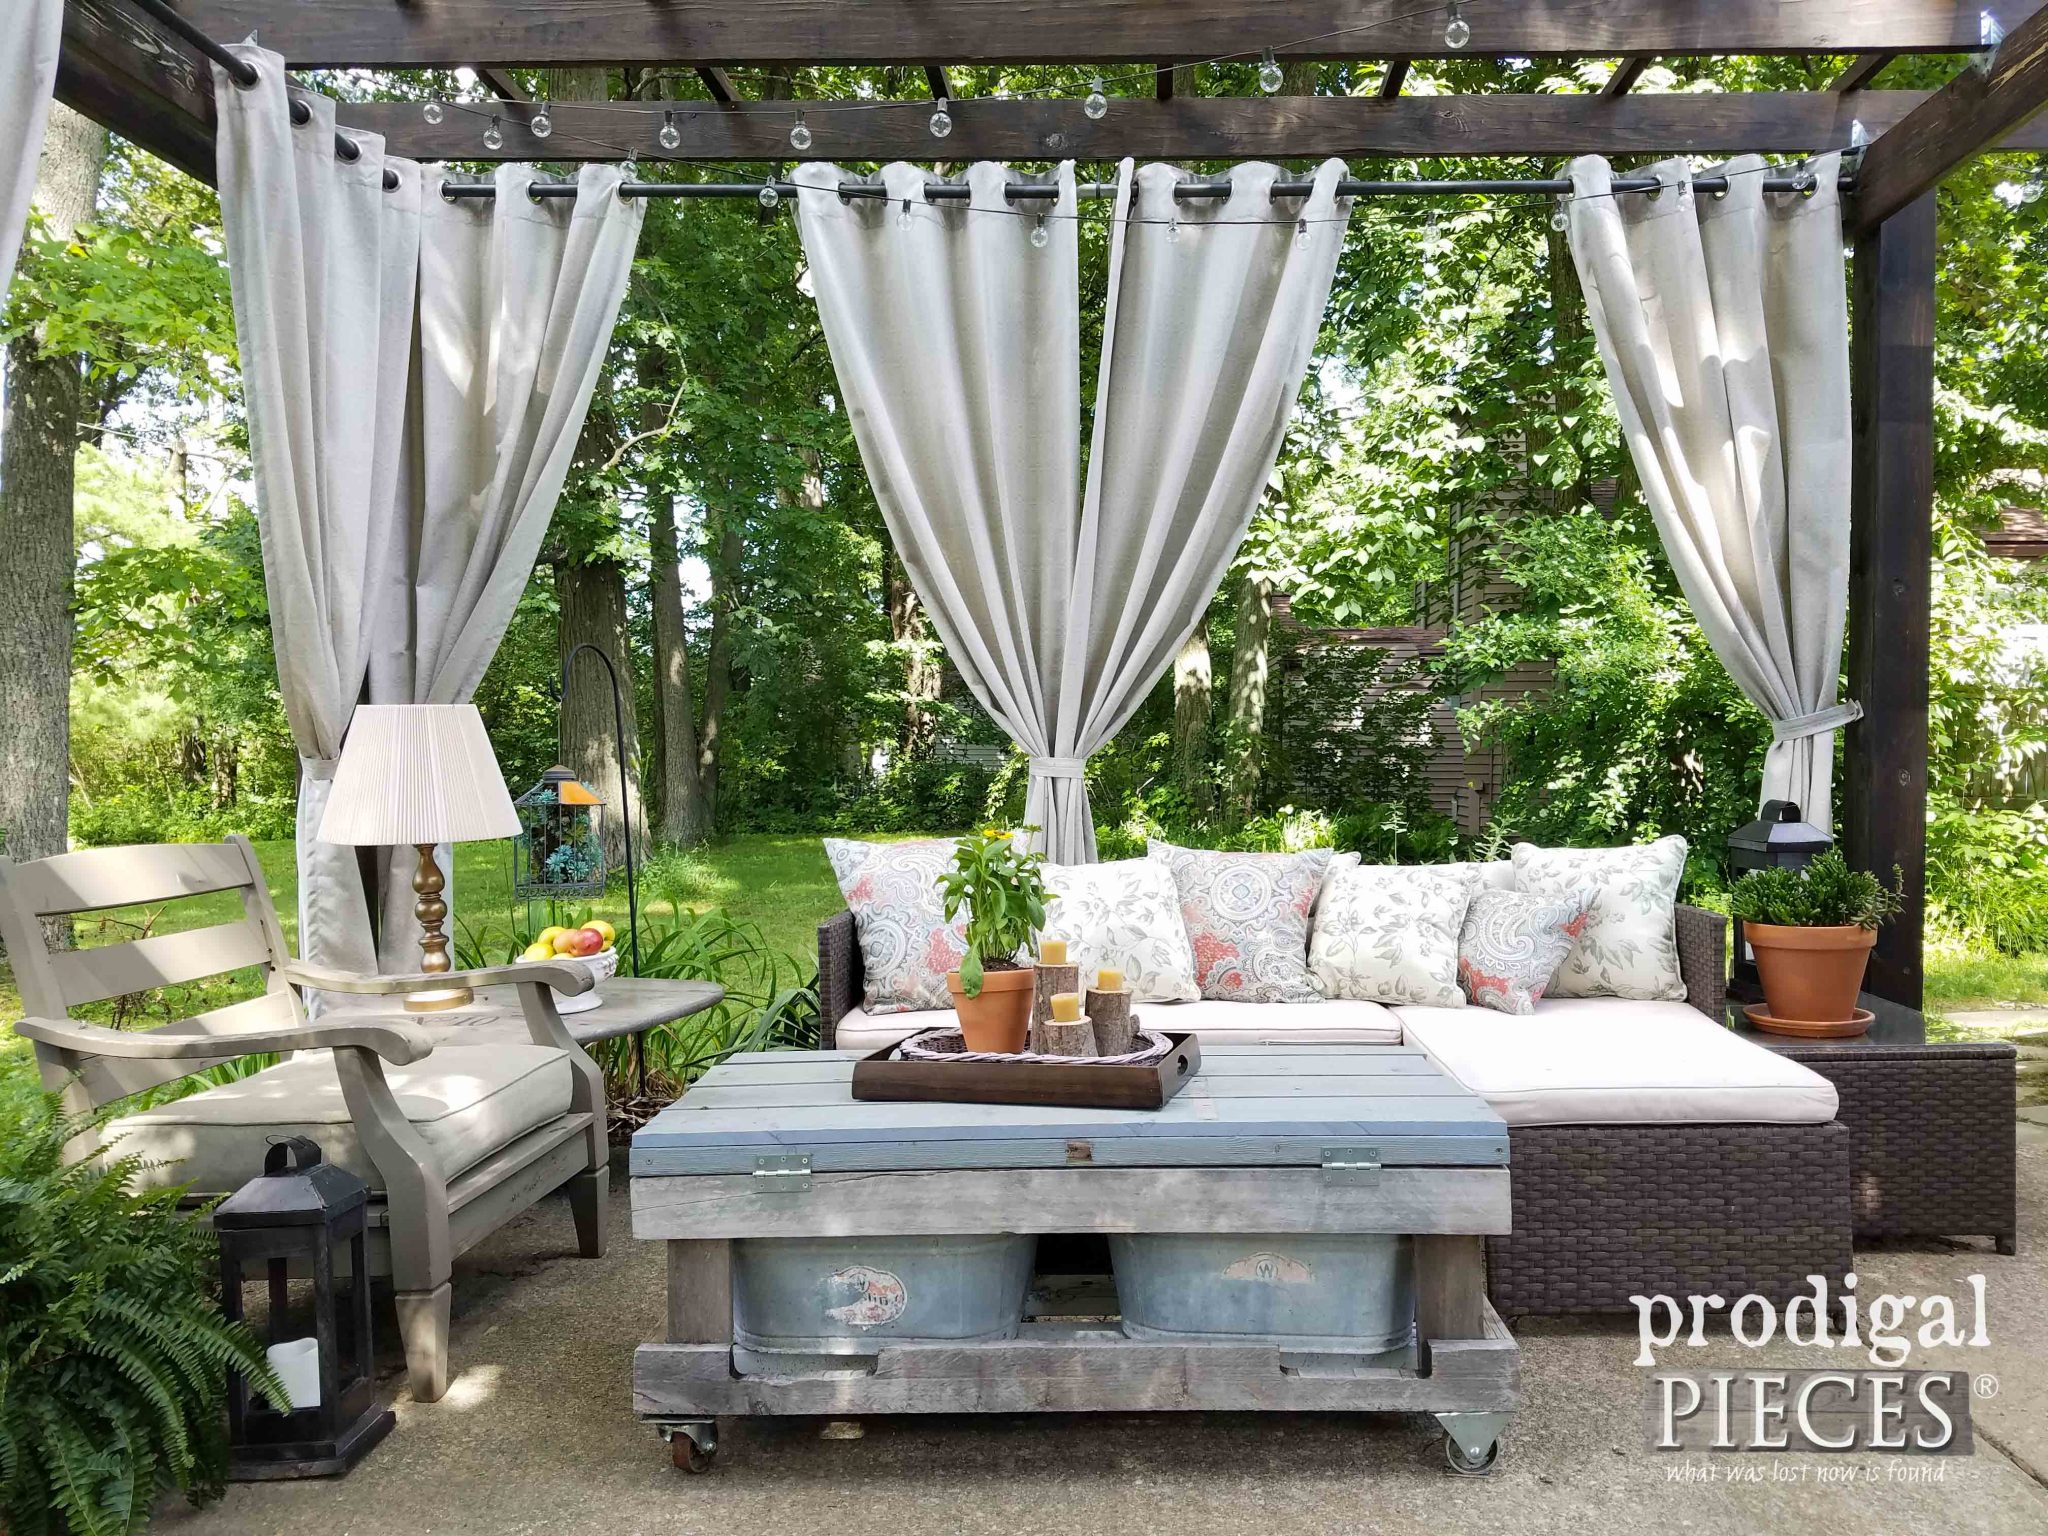
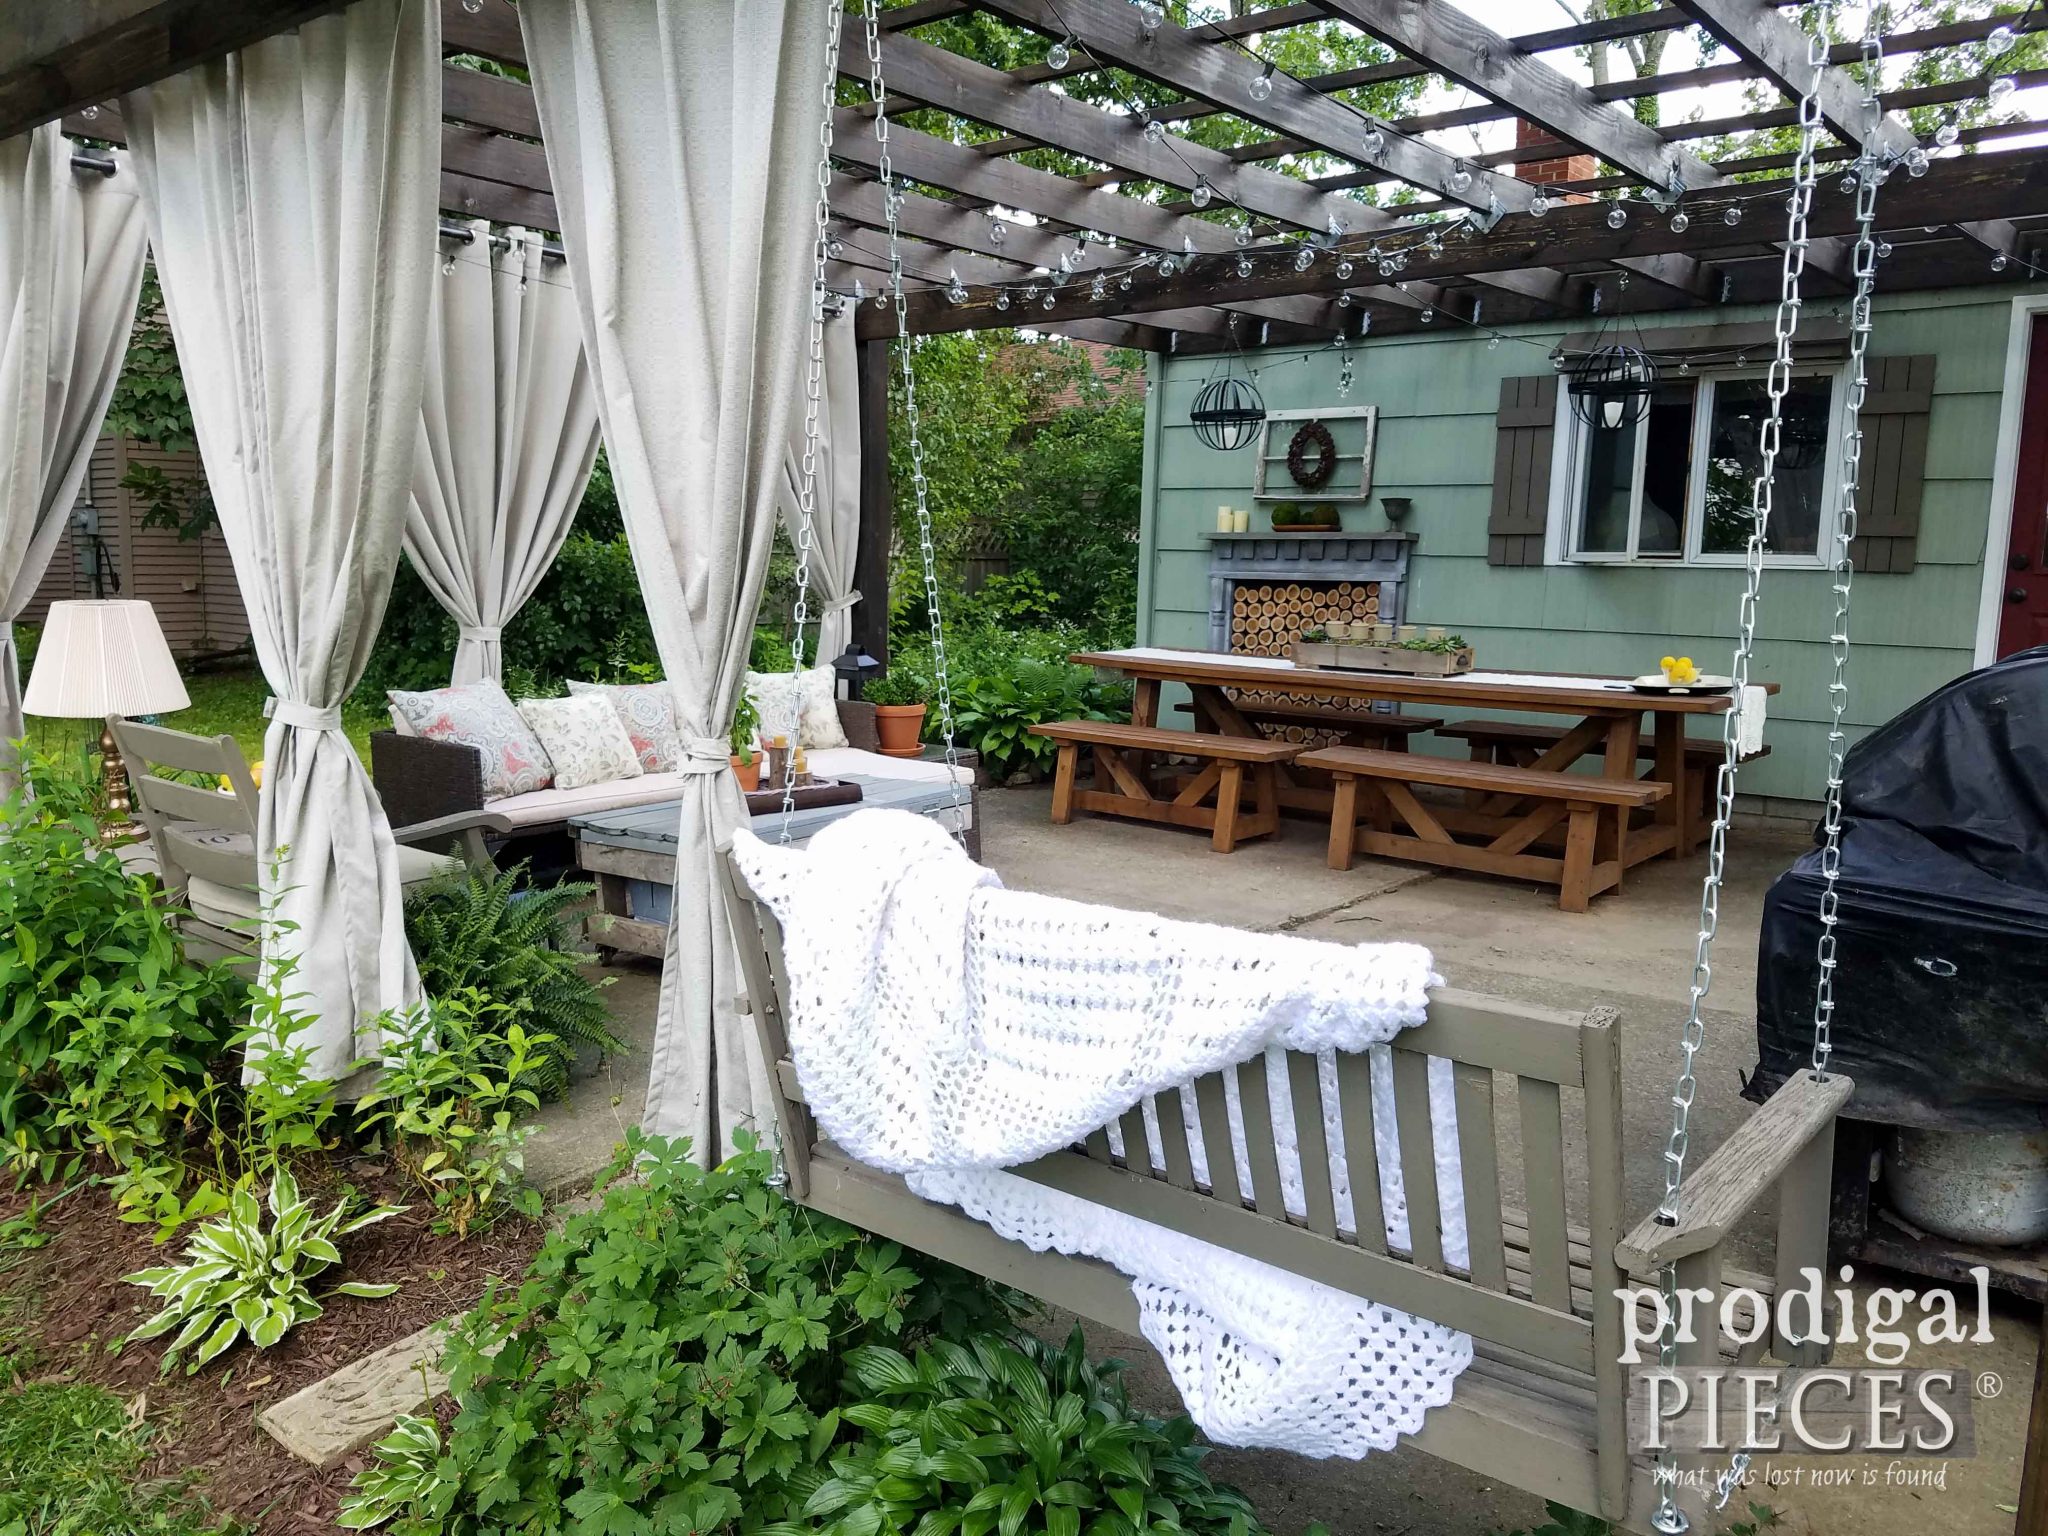
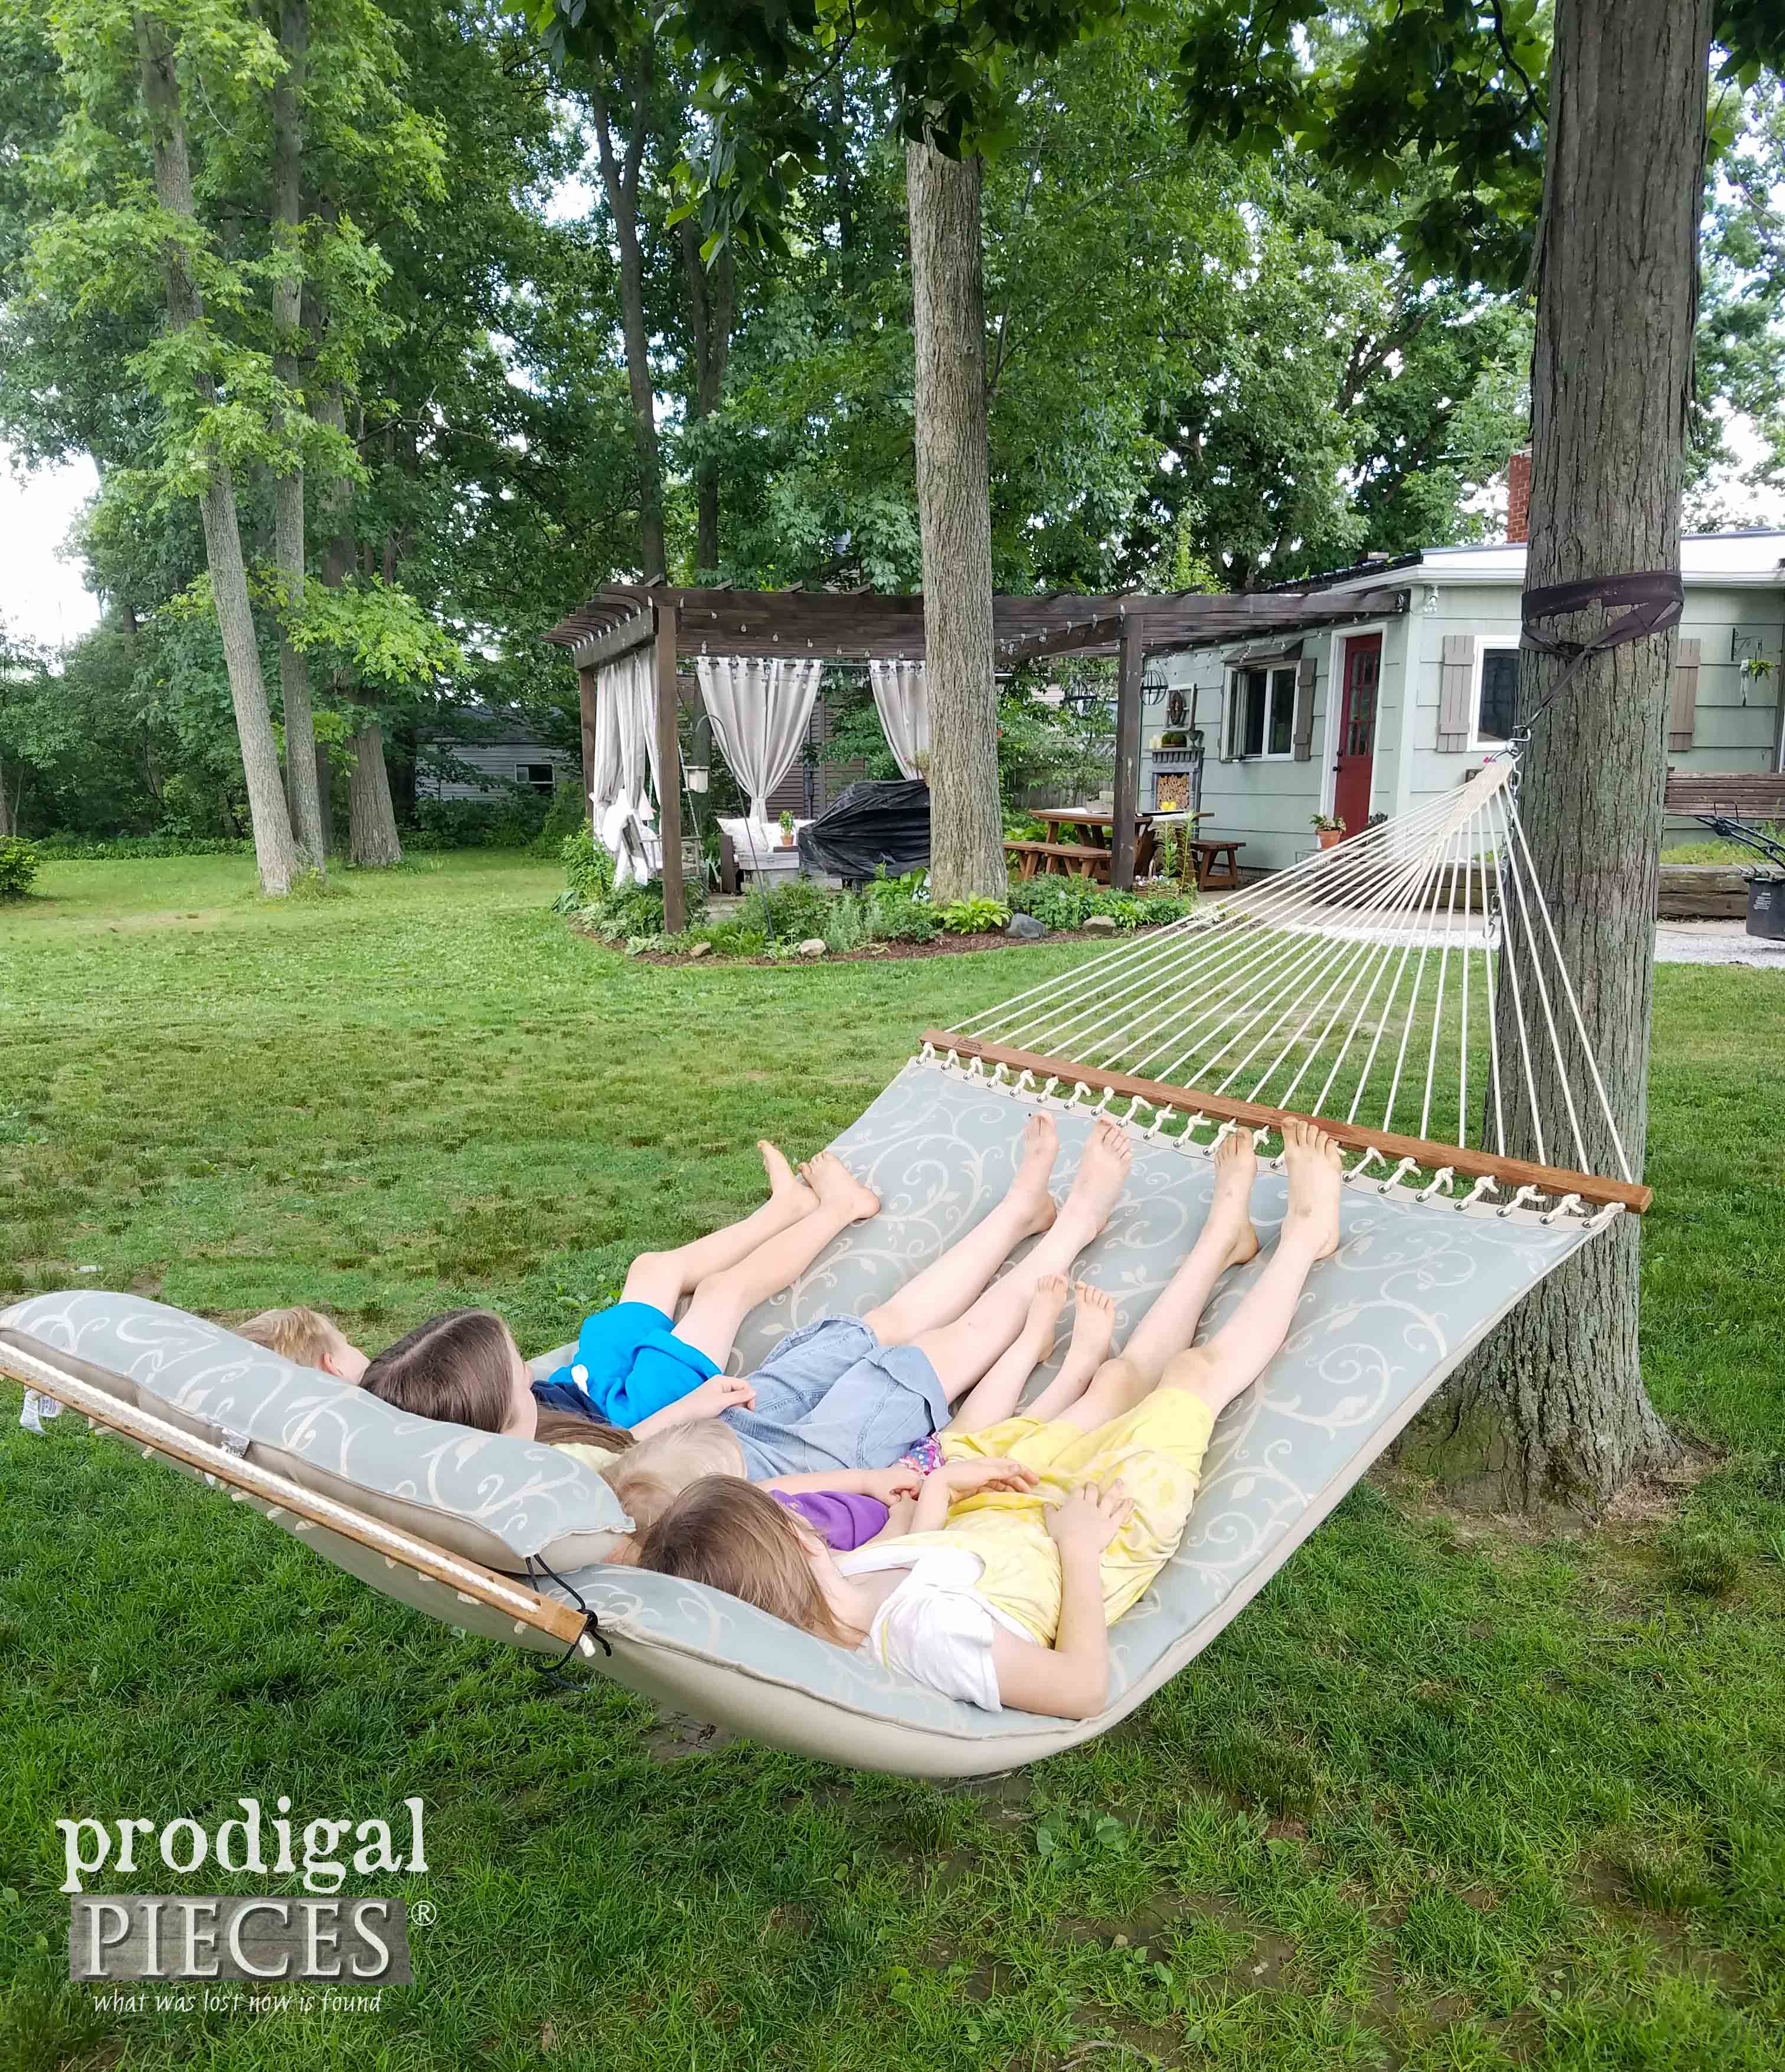
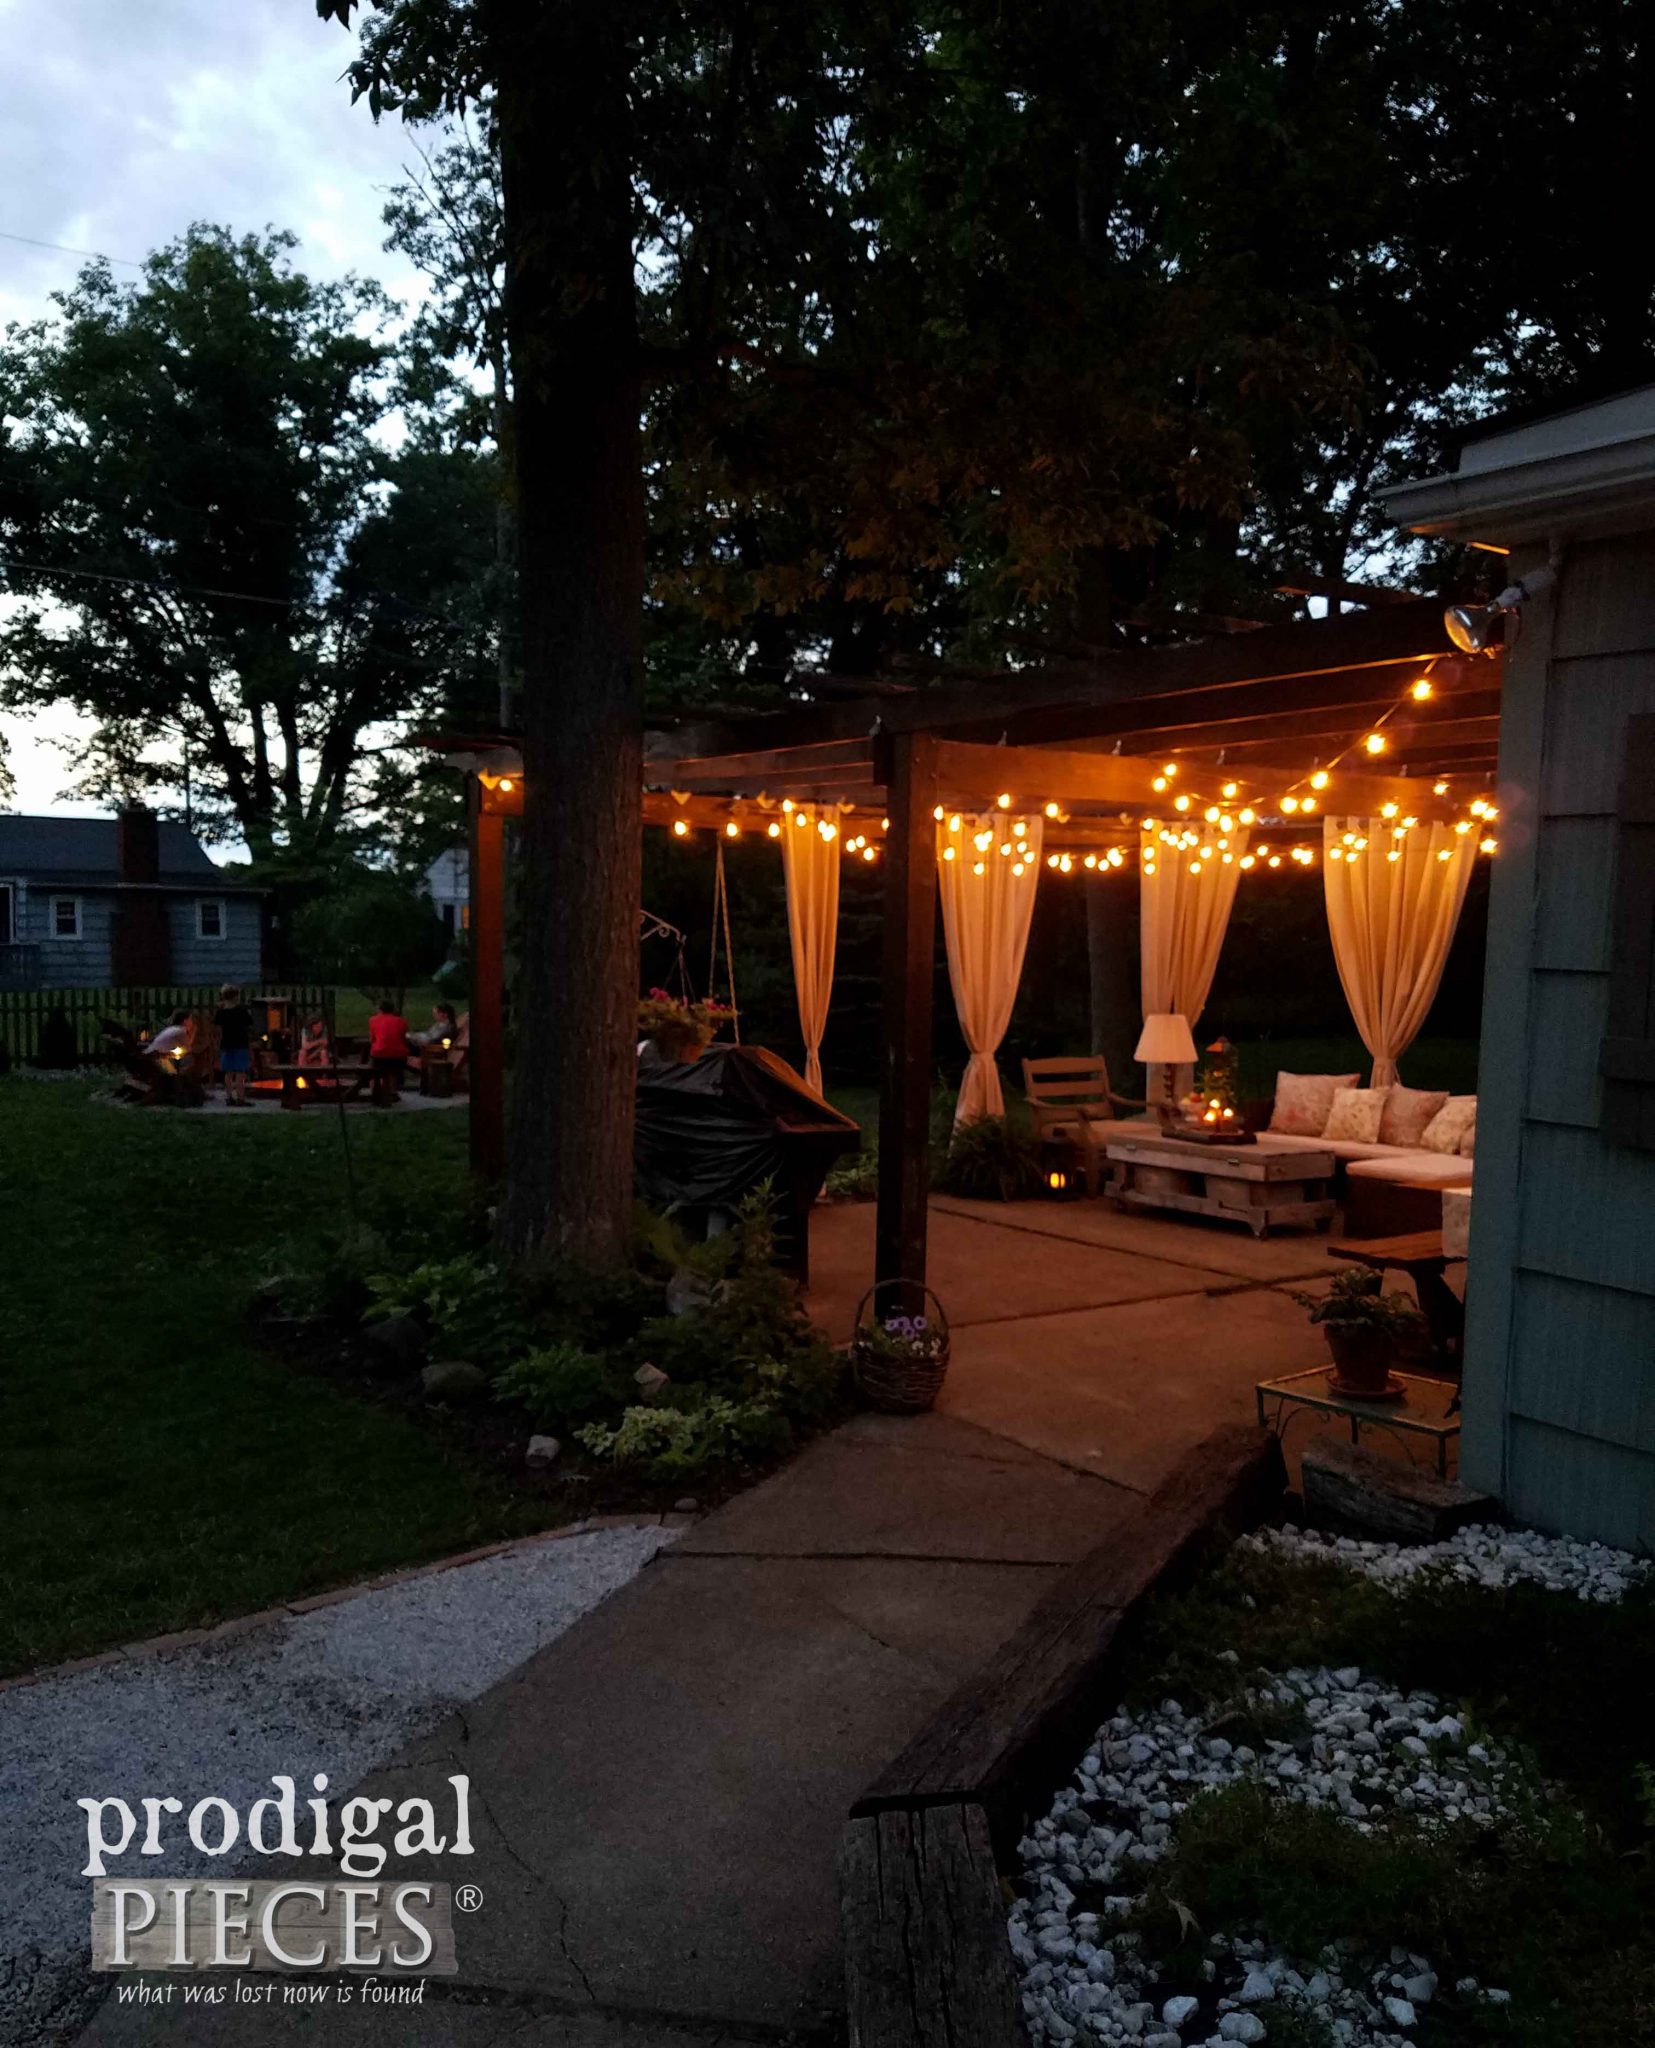
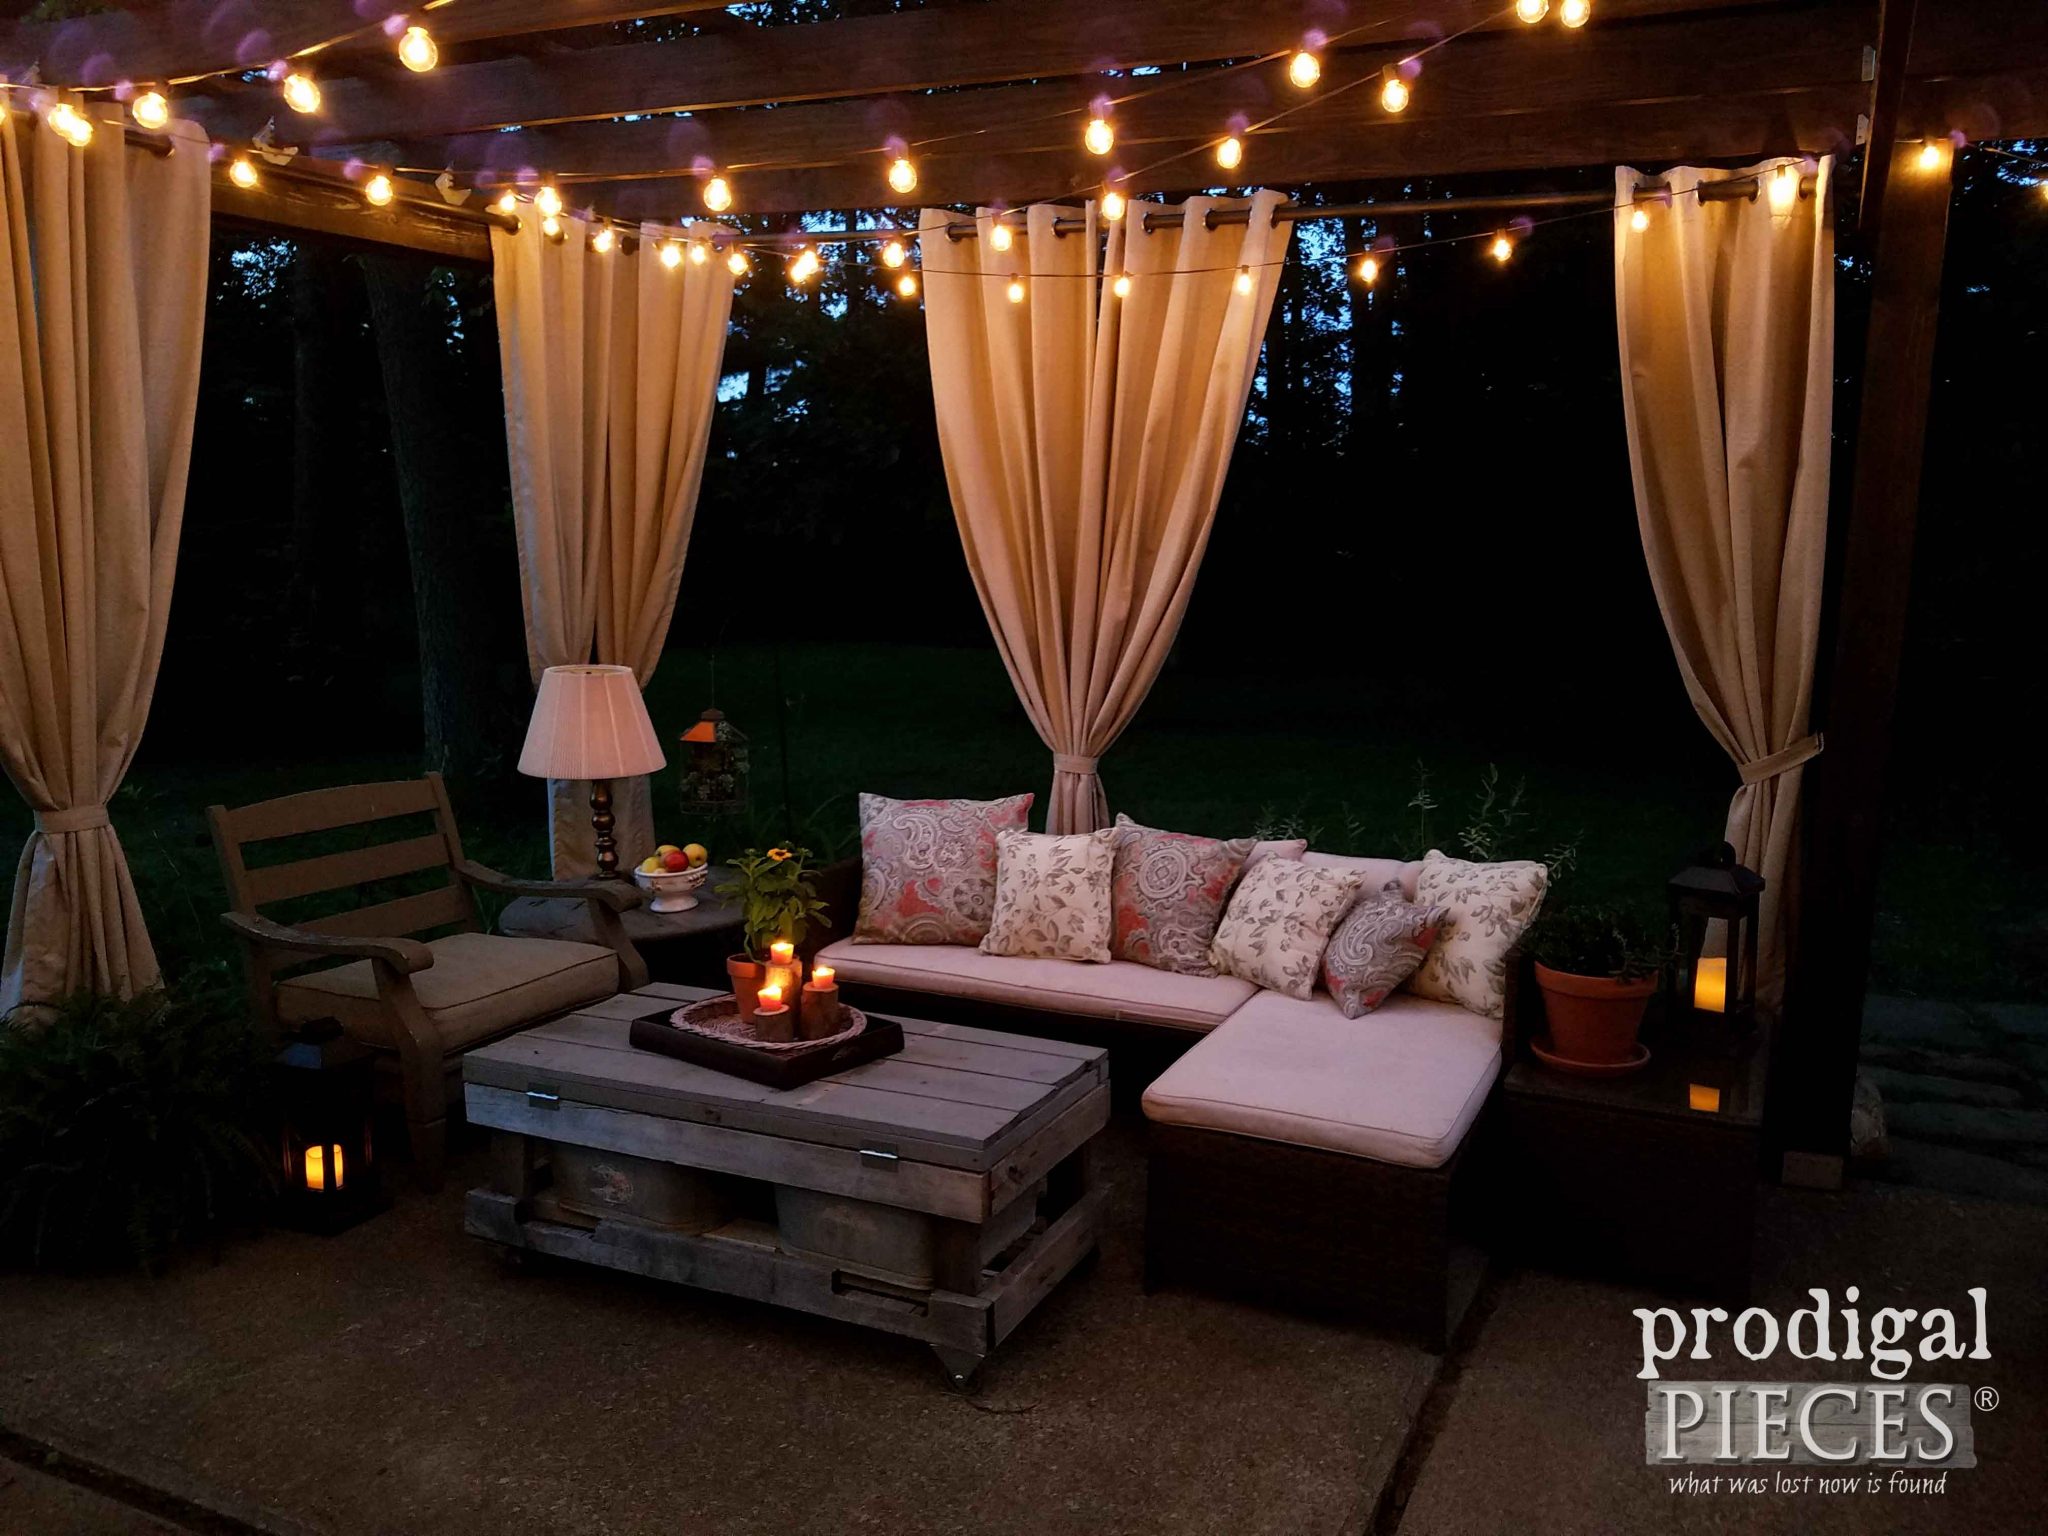
Time for fun – Add furniture and accessories. In our patio makeover, we added privacy and charm with our outdoor curtains from DFOHome (Designed for Outdoors), and comfort with our tufted hammock.
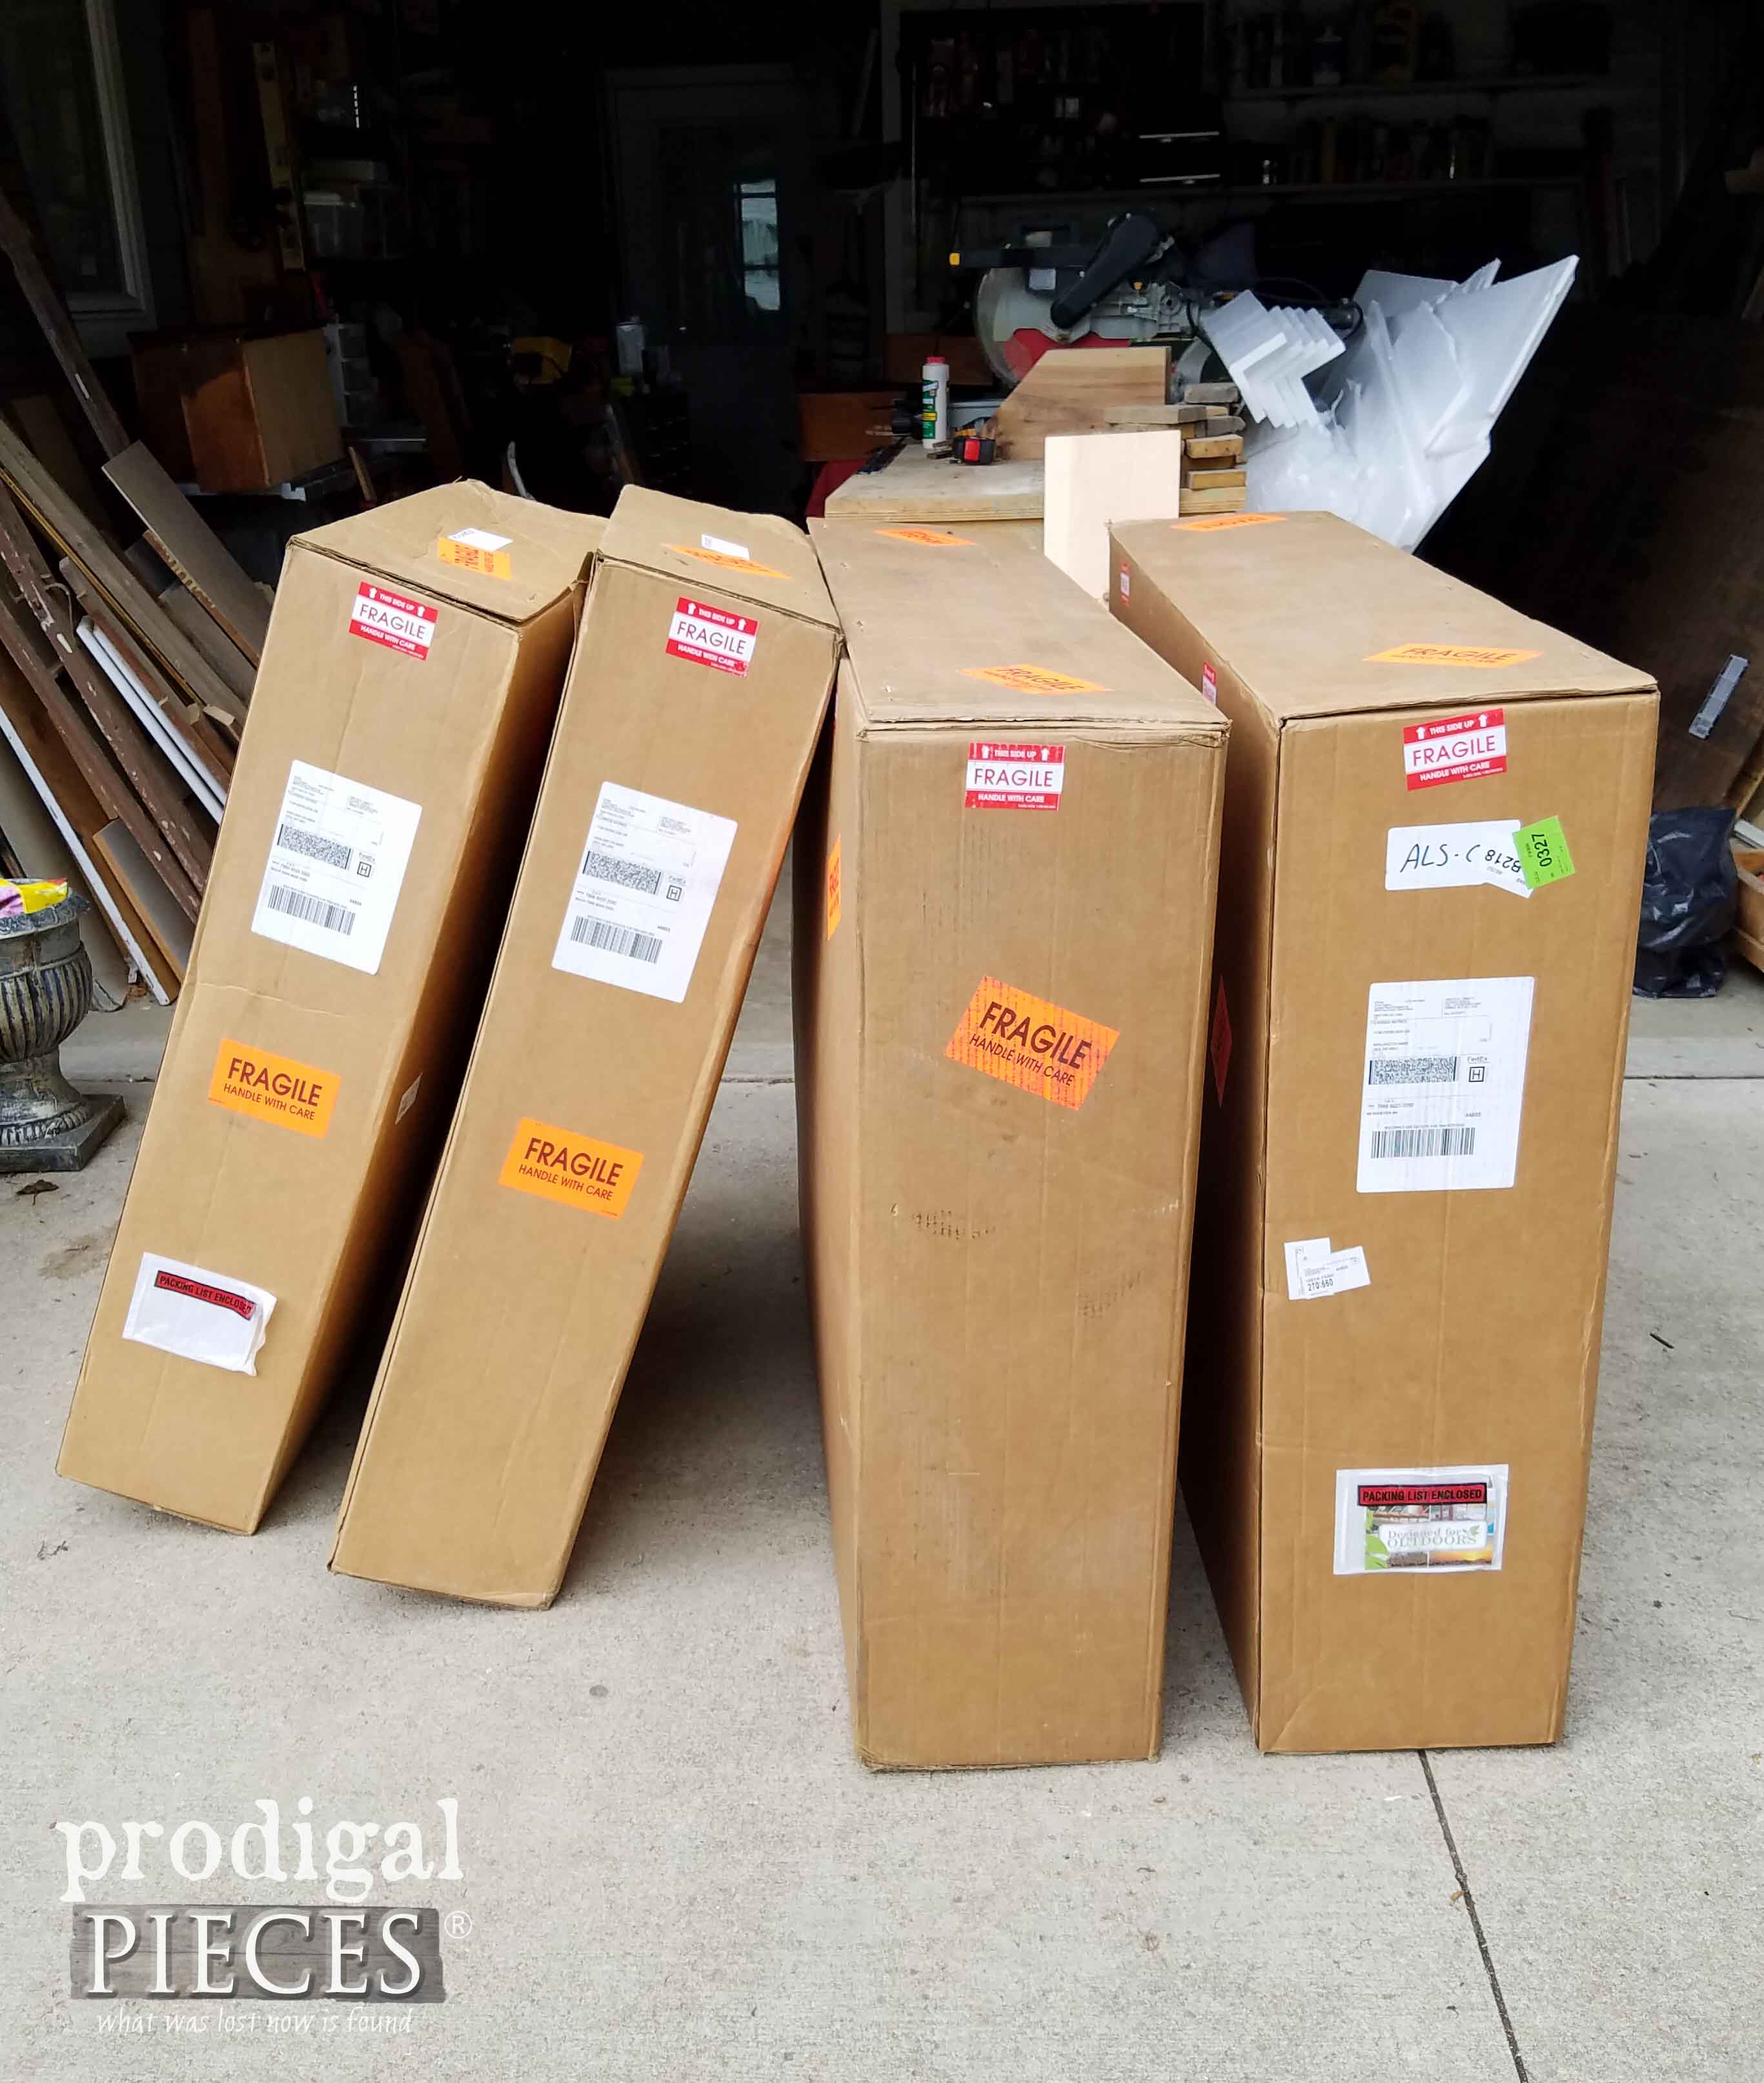
You can see it was an easy choice to head back there to get furniture to finish our space. You can imagine my delight to see this happy mail sitting on my driveway. My neighbor quickly came over to inquire. tsk.
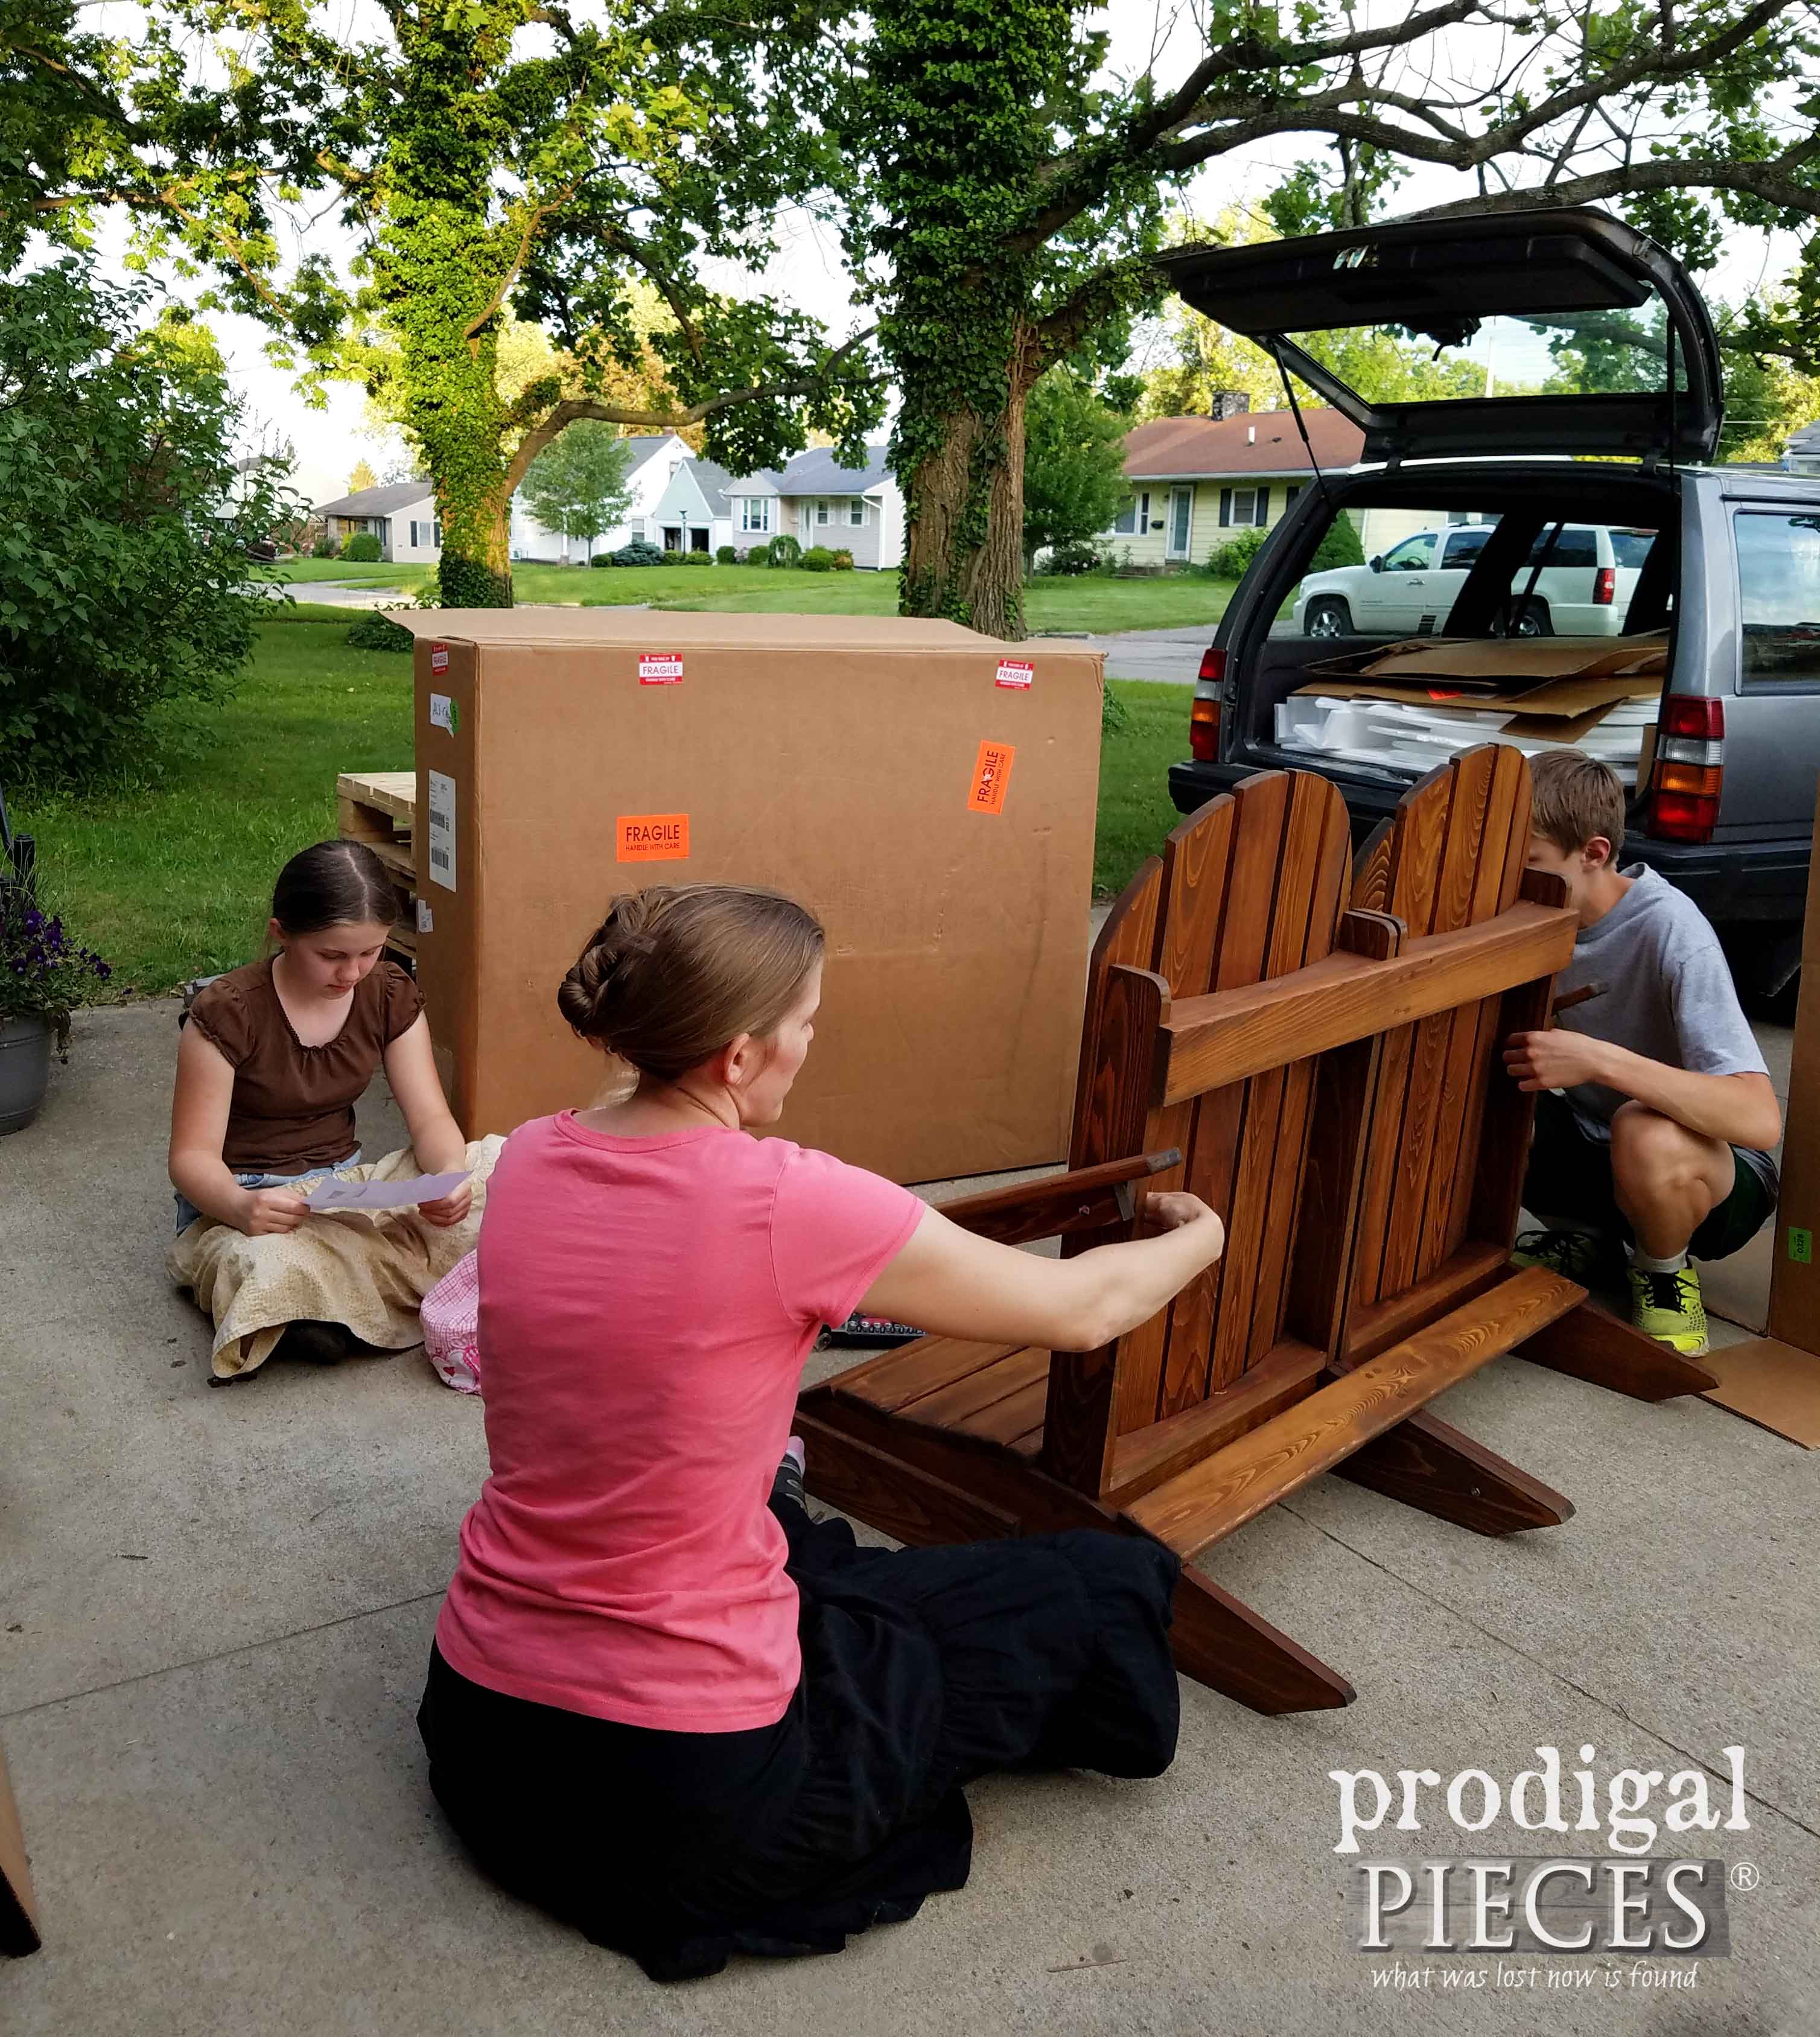
Straight from the box, the folding adirondack chairs are ready to go. The loveseats needed a bit of assembly, but nothing my gang and I couldn’t handle.
JC and I stayed out late that night to get it done. What better way to spend time with your husband, right?
FINISHING
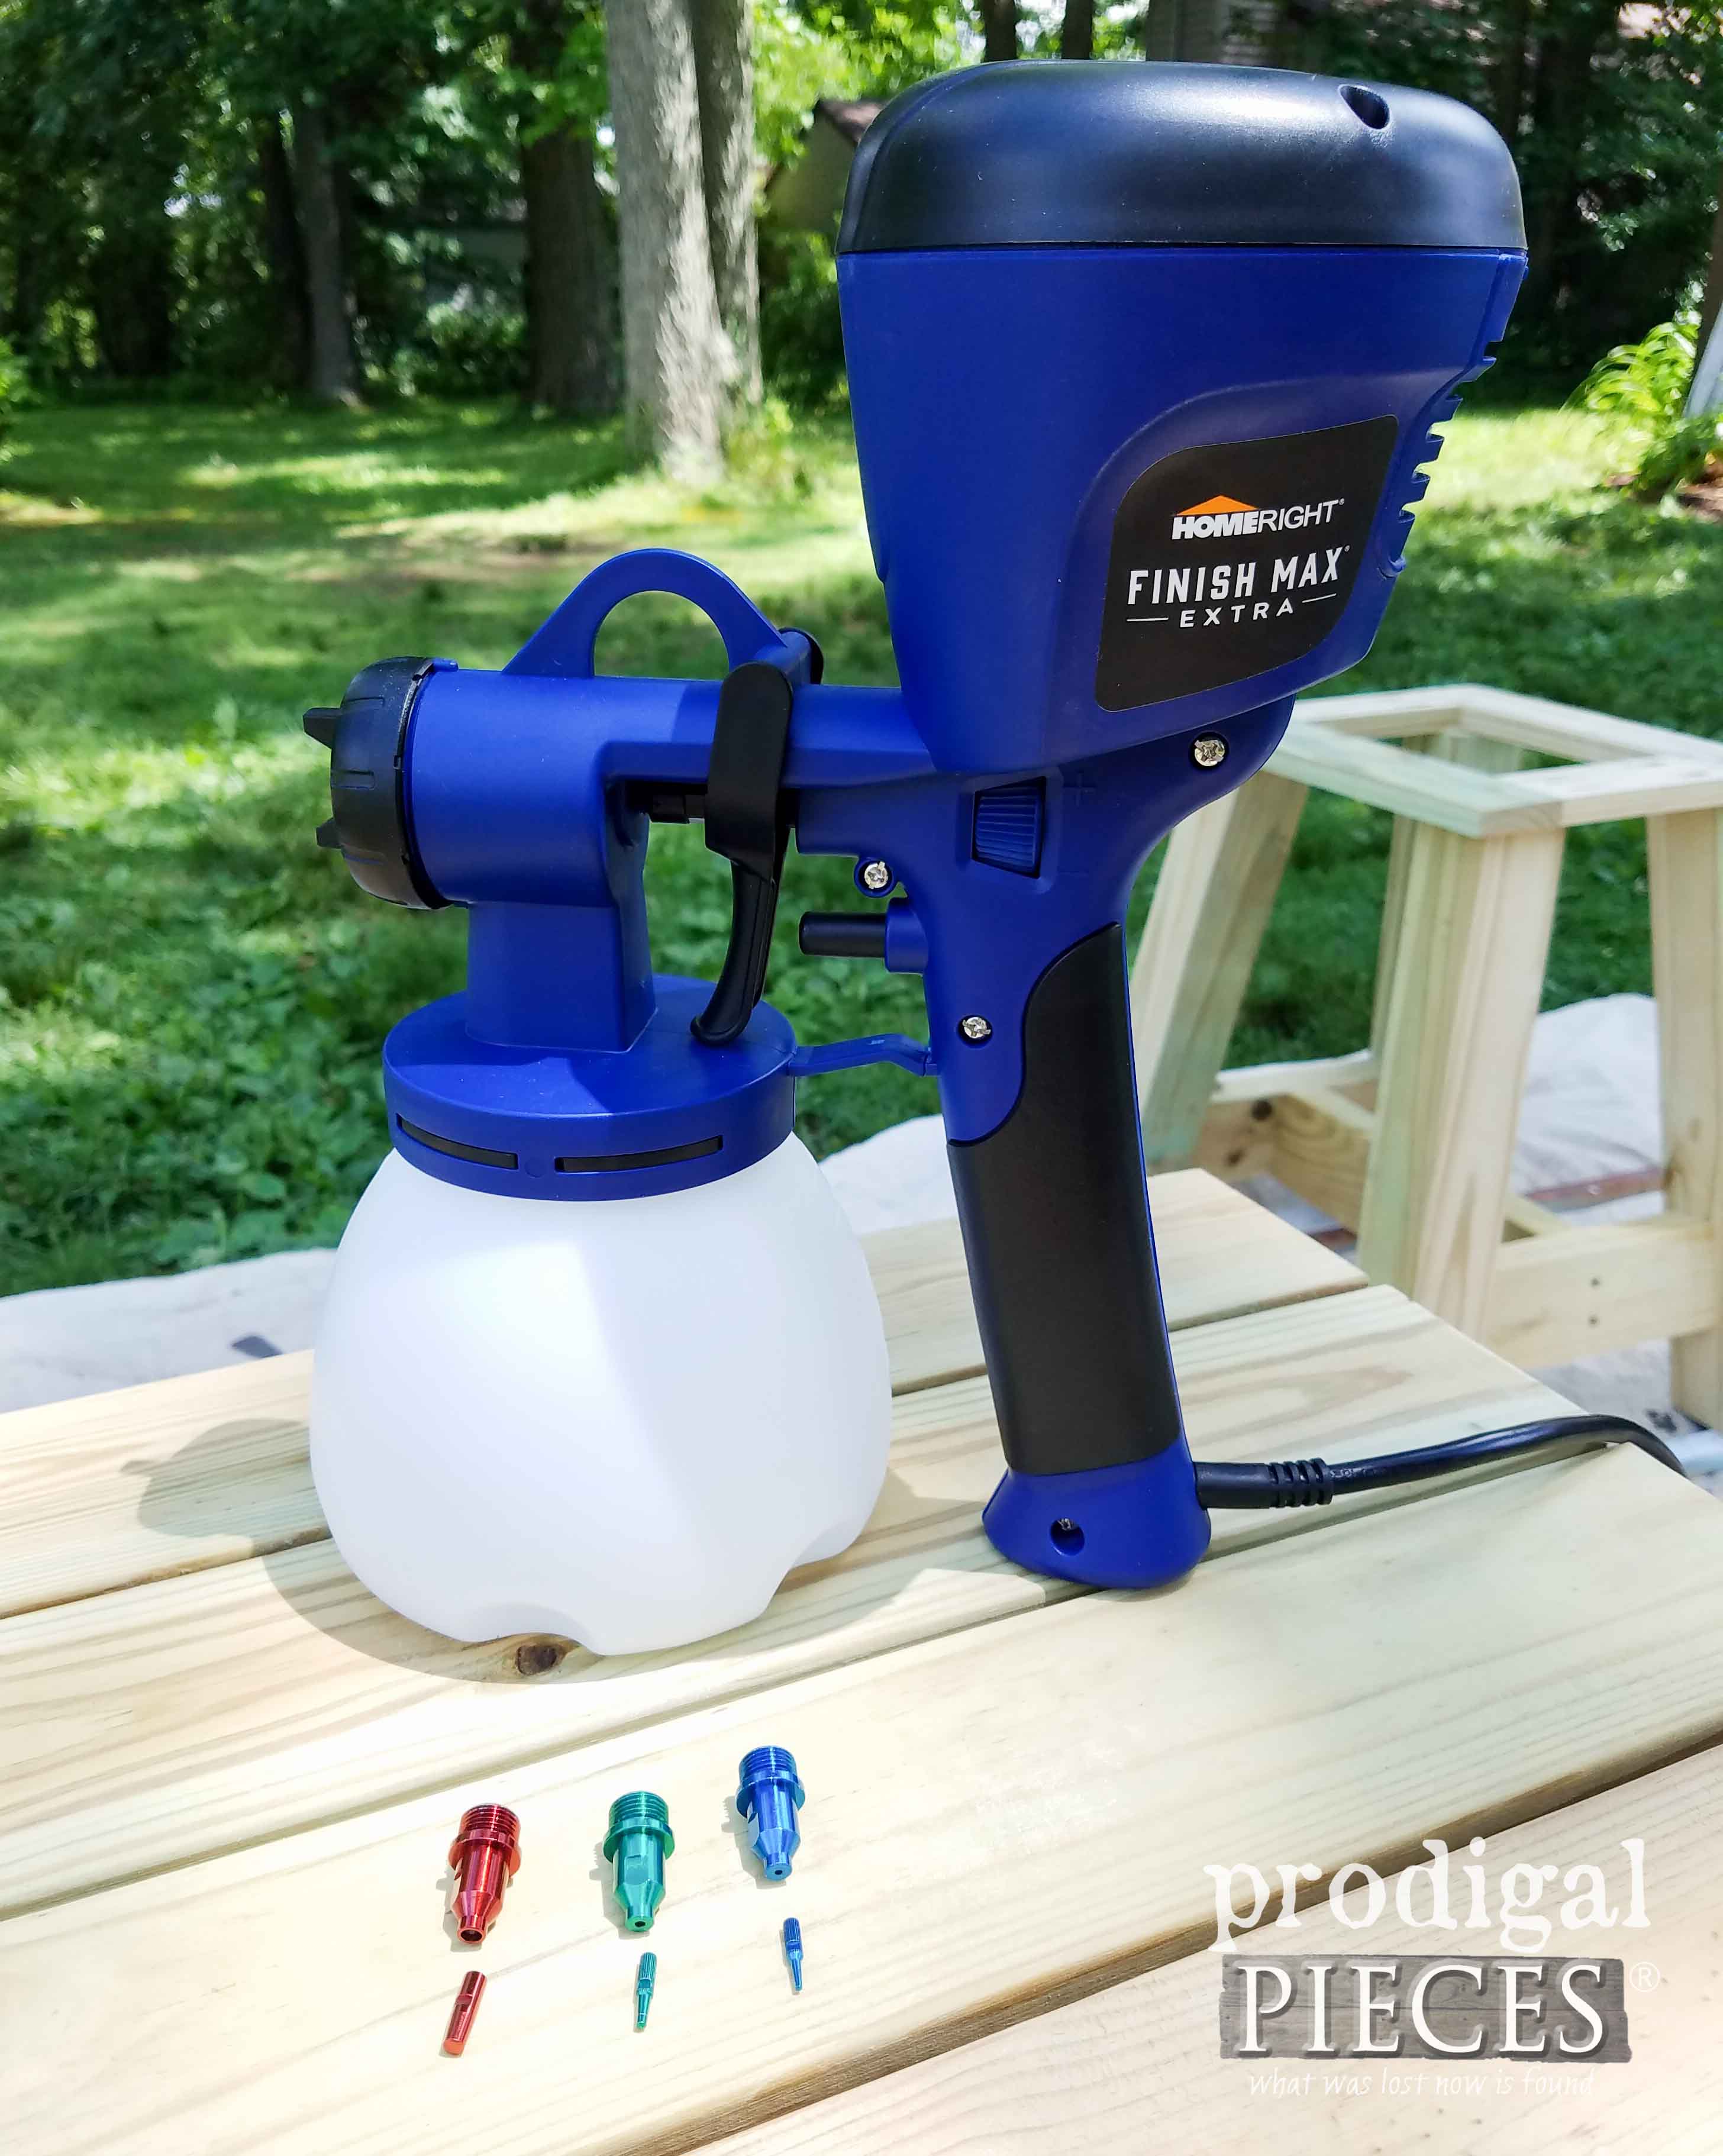
The furniture is ready to go with a protective finish, but the furniture we built needed a topcoat. My go-to tool is my HomeRight sprayer for a job like this – ain’t nobody want to hand-stain those things. But, guess what?? They have come out with a new and improved sprayer!!
Meet the new Finish Max Extra. Not only can this one machine do a fine furniture finish, but also can tackle all your heavy duty jobs with the switch of a tip. This means my Finish Max works as well as my stain sprayer, and my heavy duty sprayer are now all wrapped up in this one tool. {{happy dance!!}}
This set comes with two different nozzles and 3 tips, though more tips are available. For my project, I’m all about the blue tip since it gives the spray pattern I want for applying the stain to the tables and bench we built to complete our space (complete build plans coming soon!)
Check out this video to see it in action…
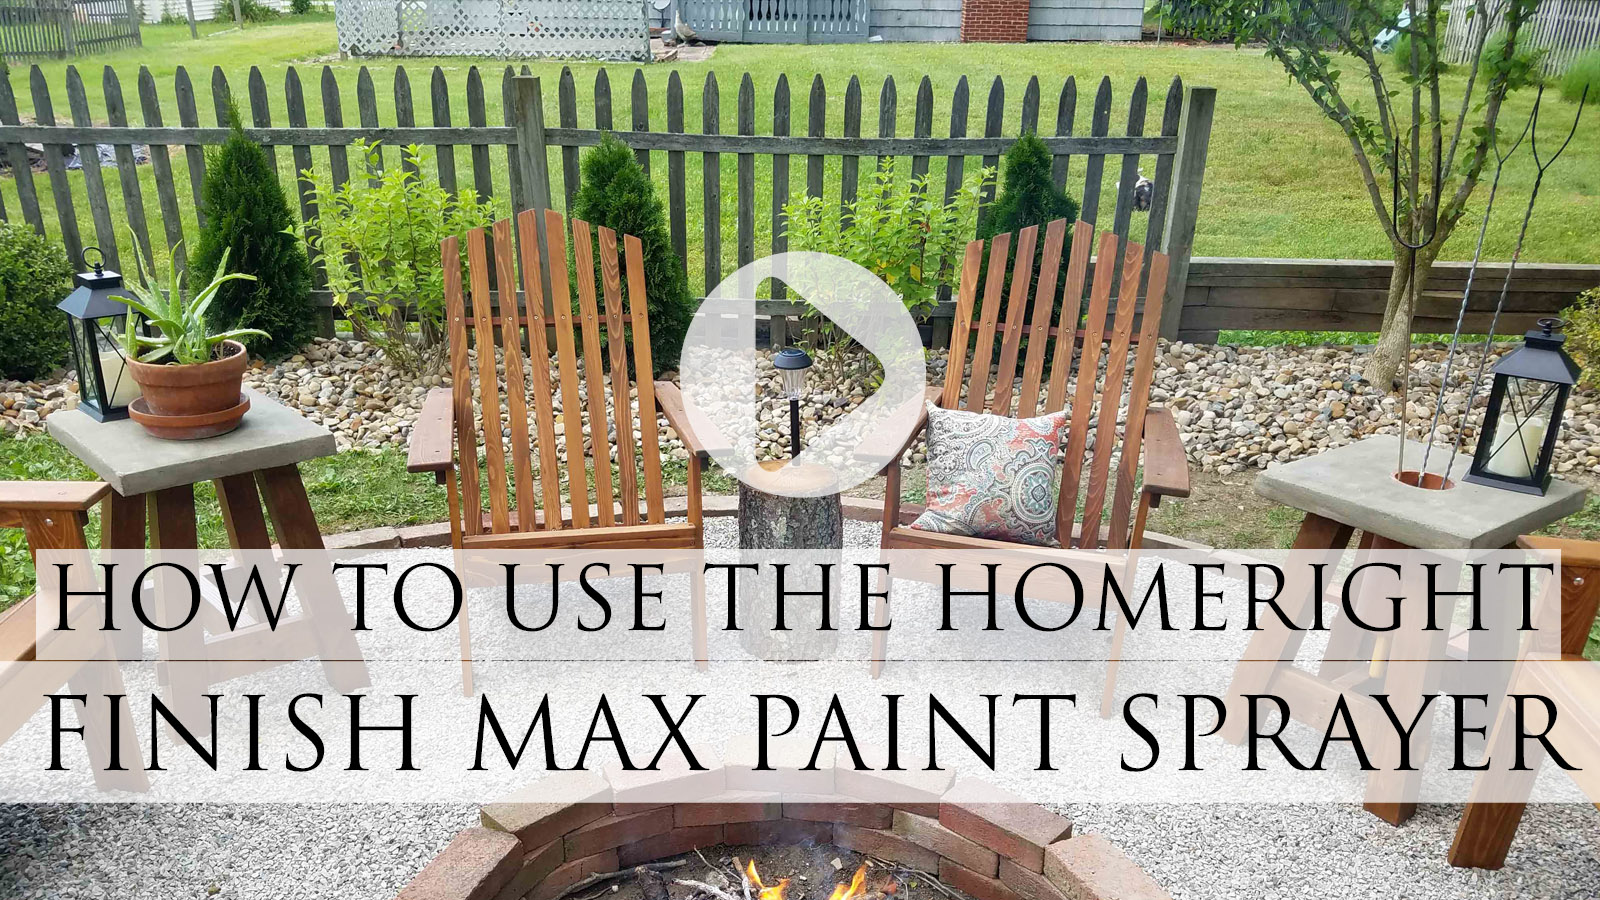 Once everything was dried and cured, it was time to enjoy.
We couldn’t be happier with our space as it is not only more pleasing to look at, but fits us all, and is so much safer. It compliments our patio area in more ways than one.
THE REVEAL
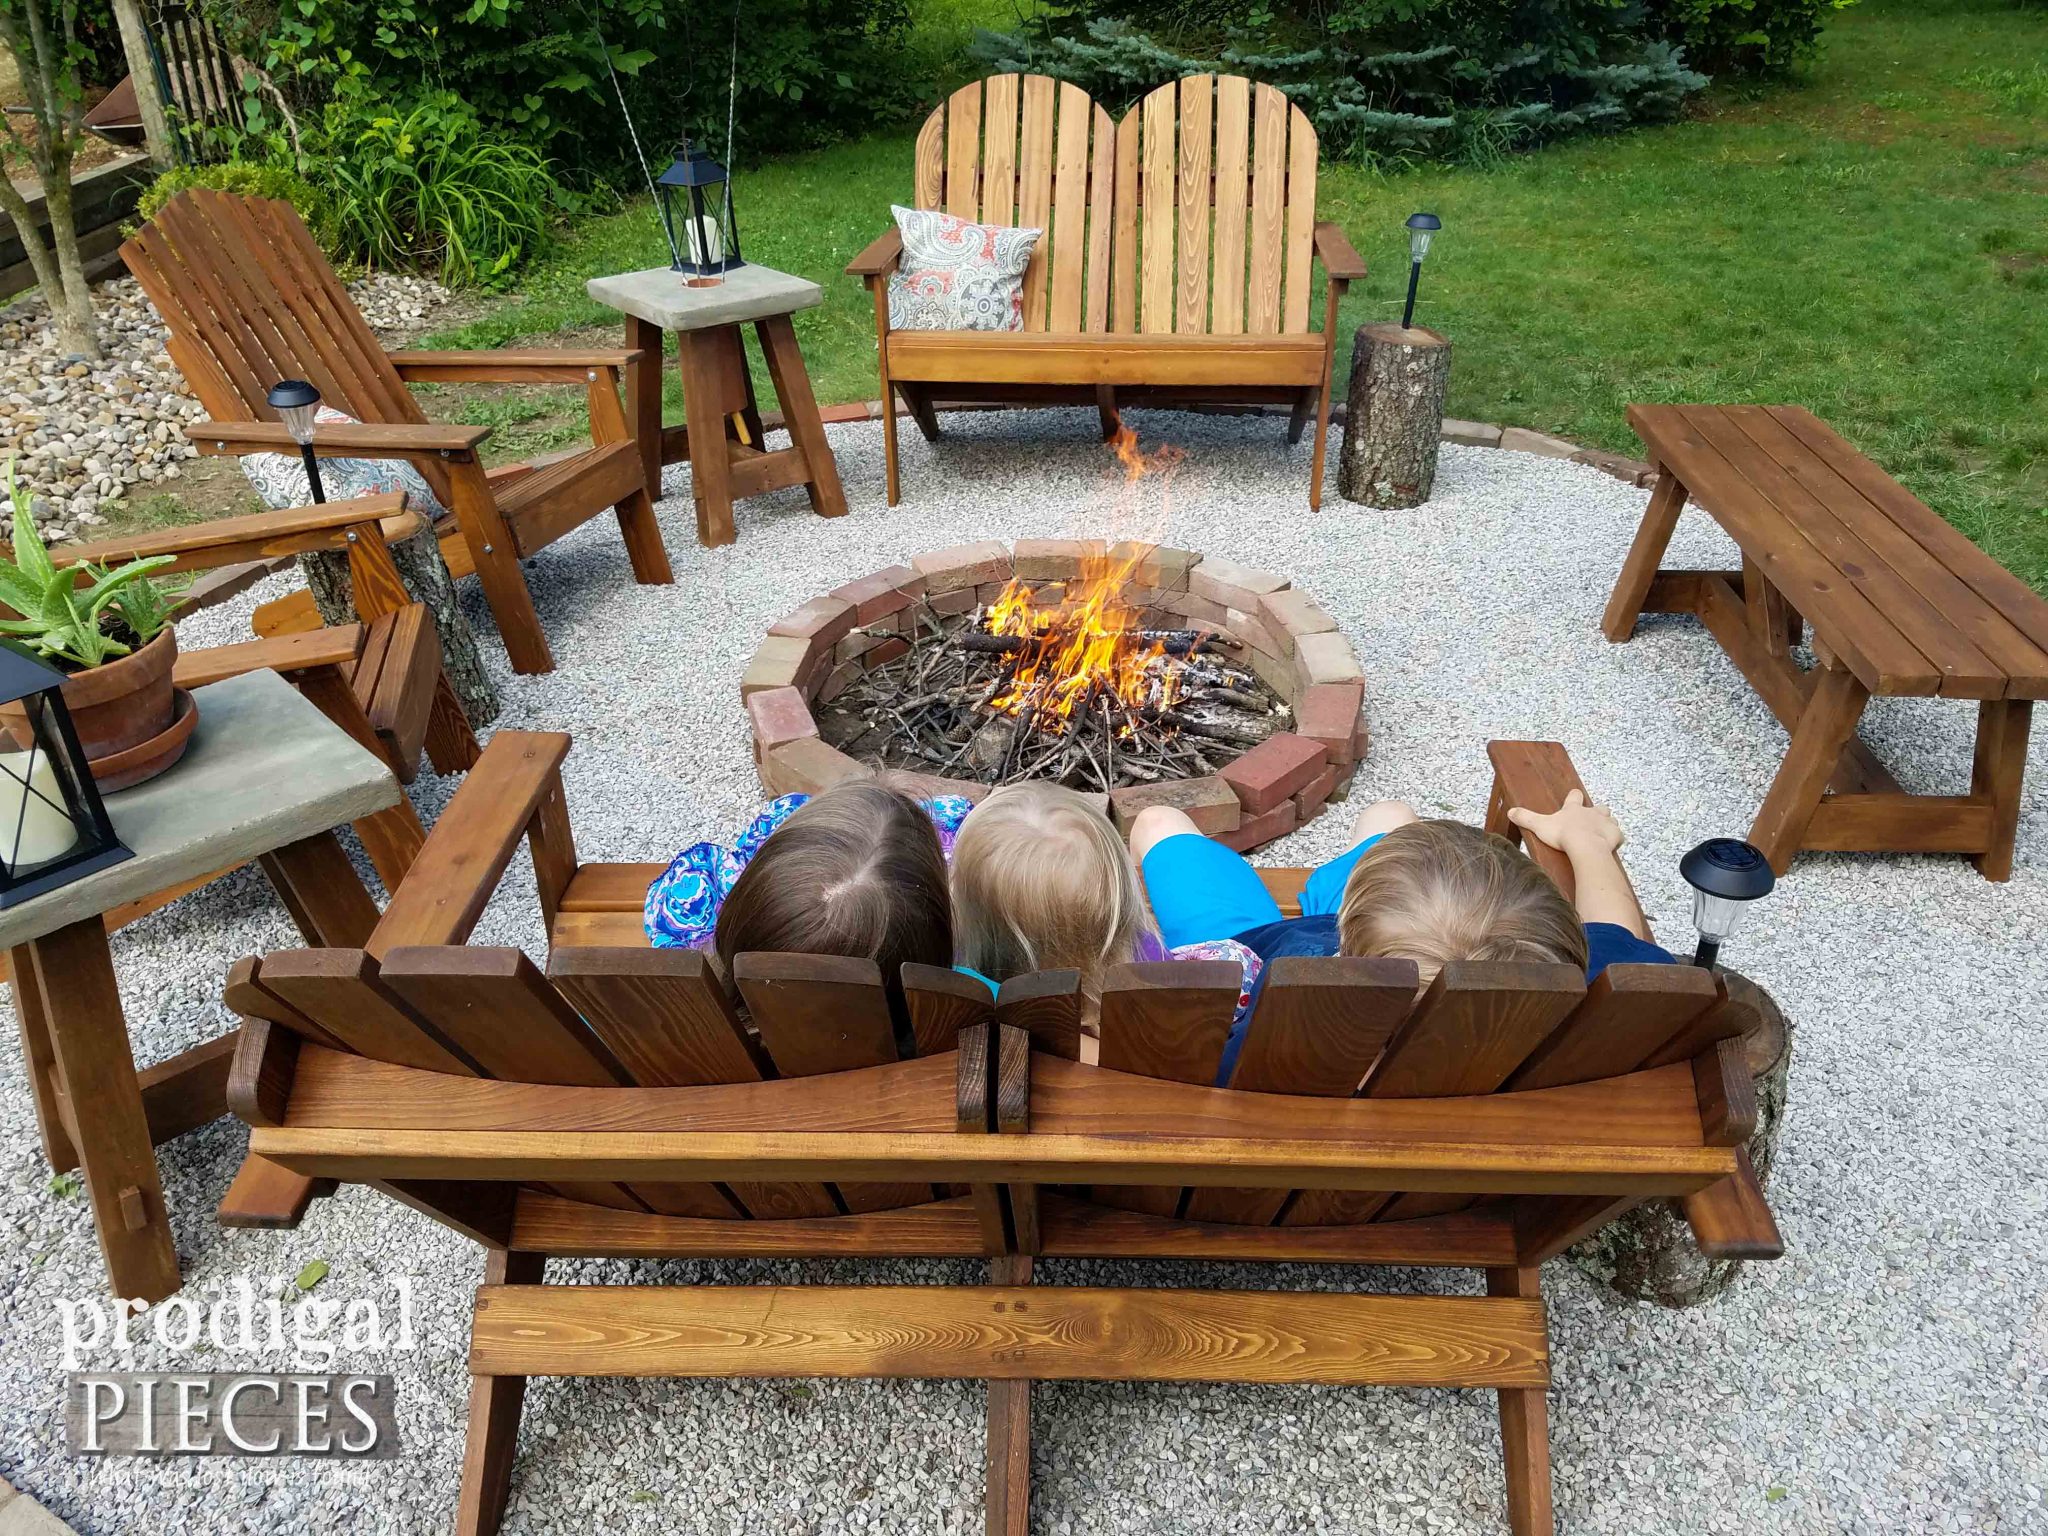
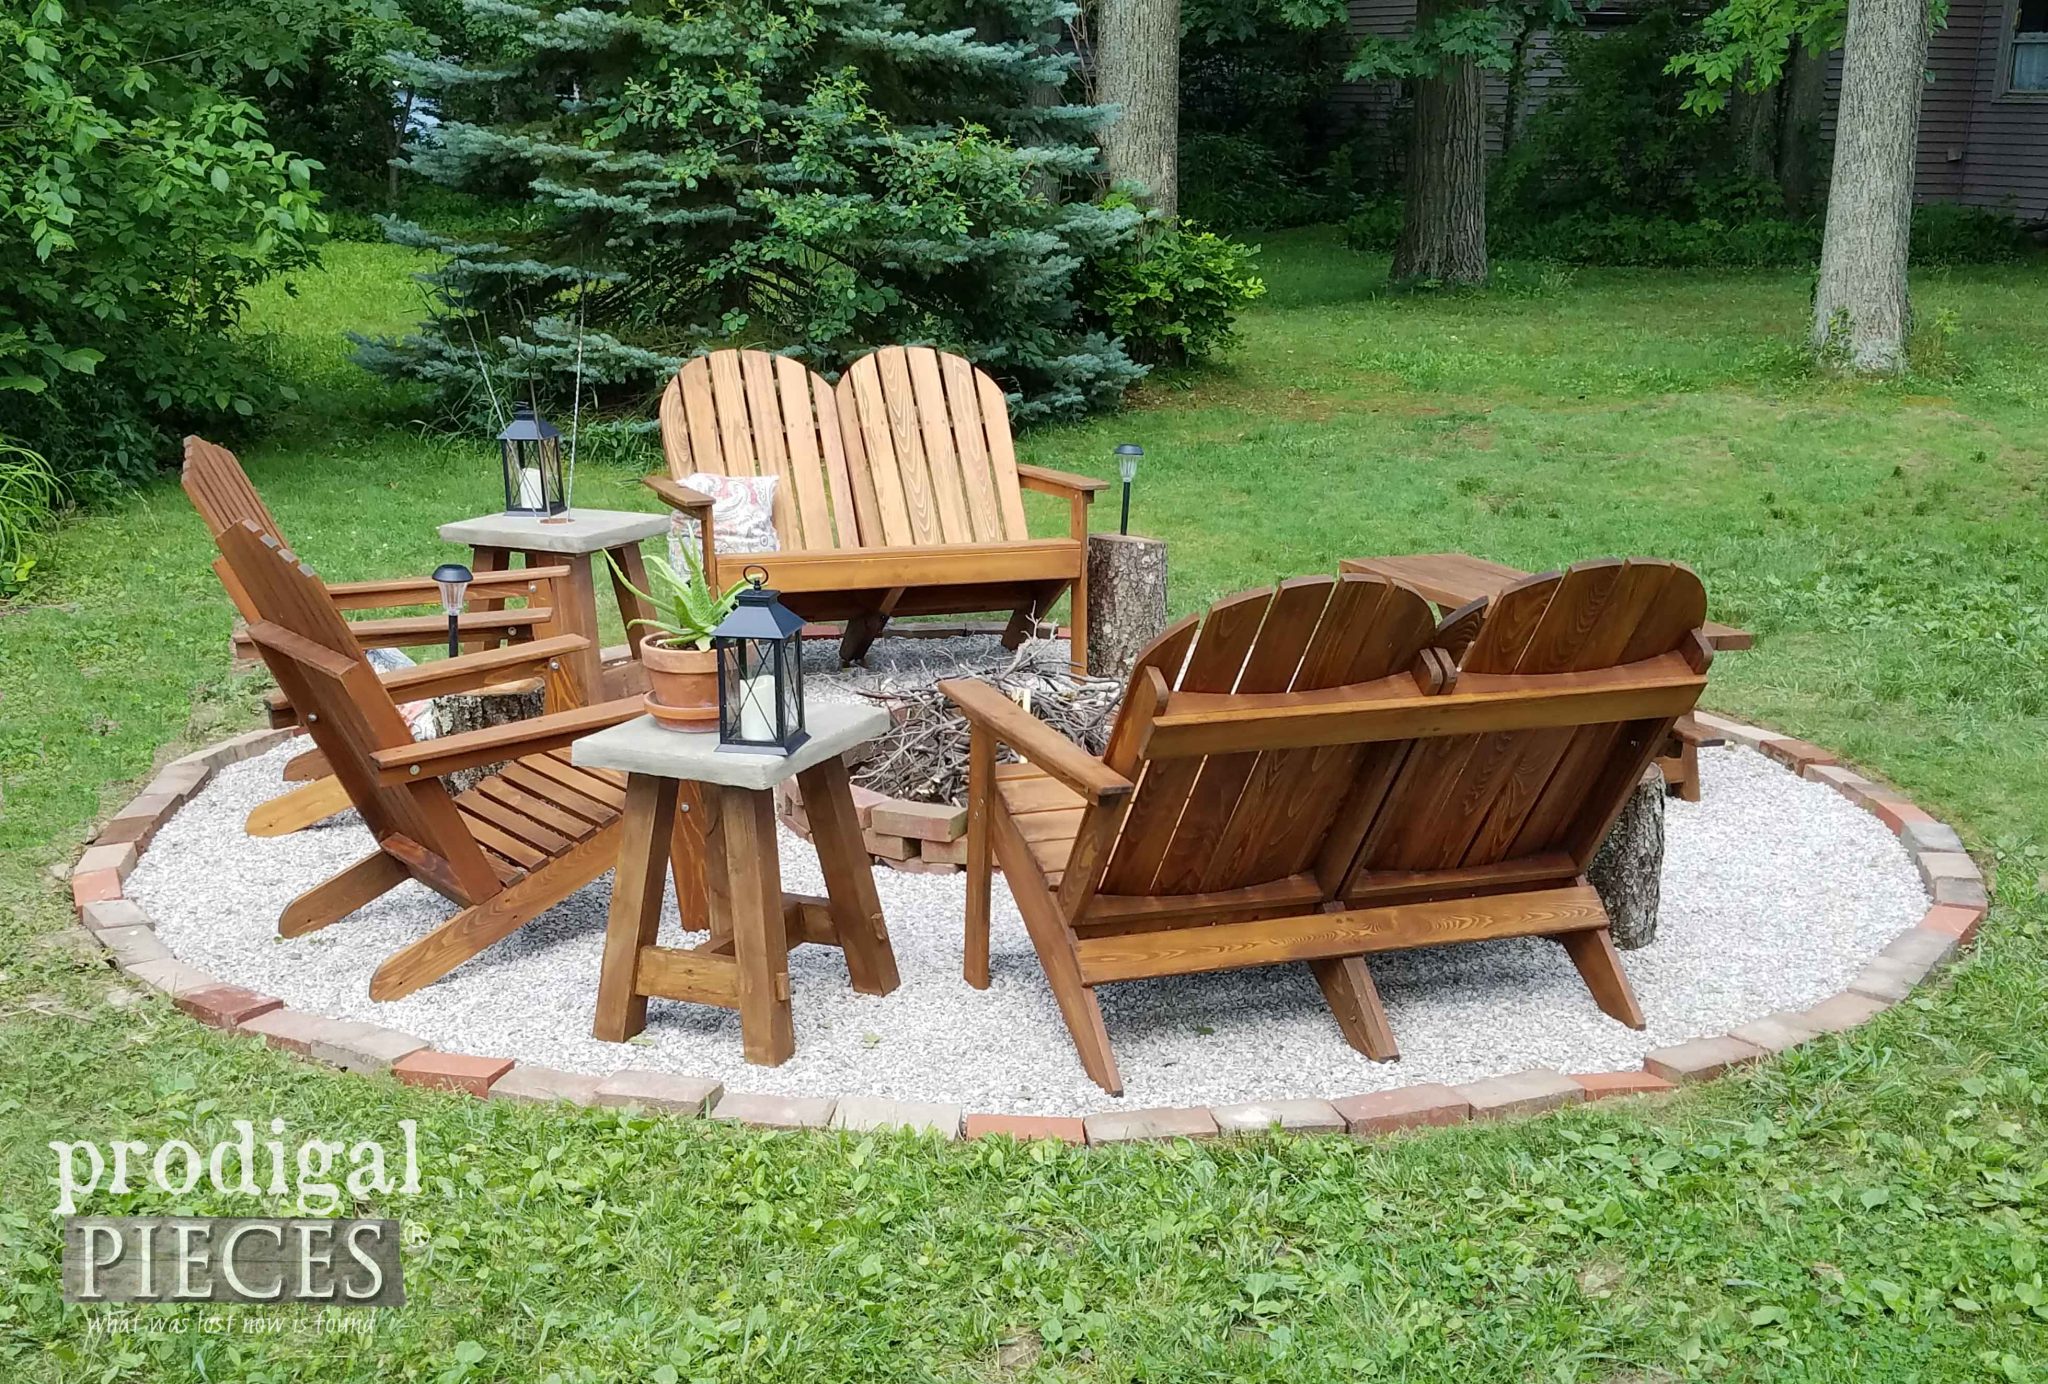
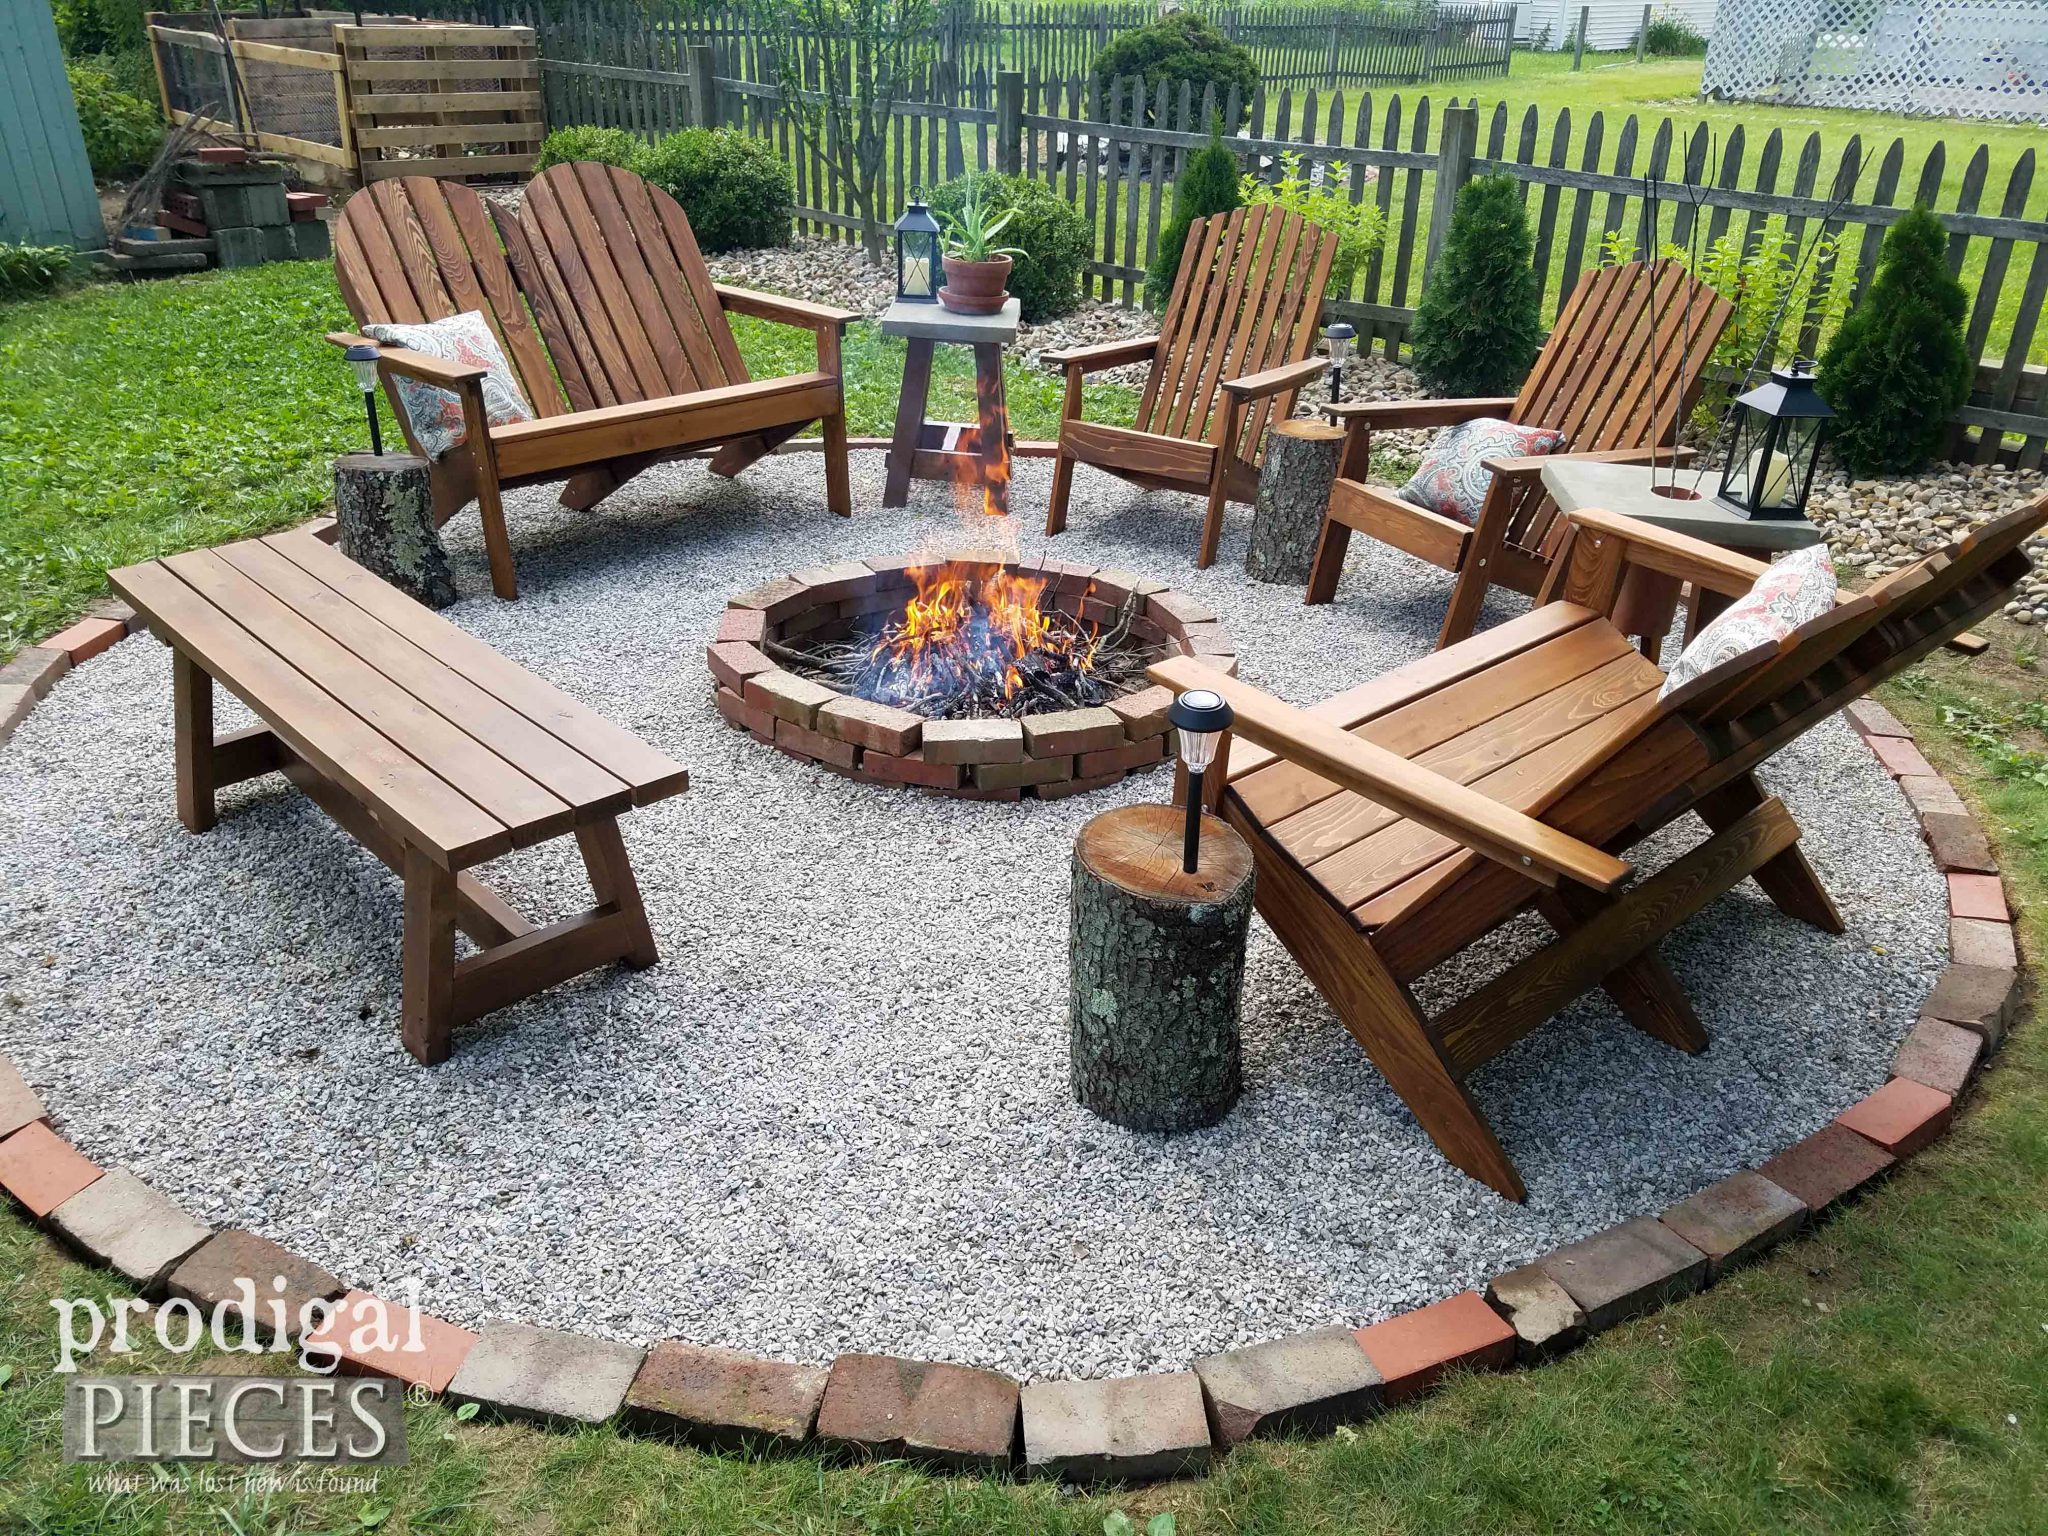
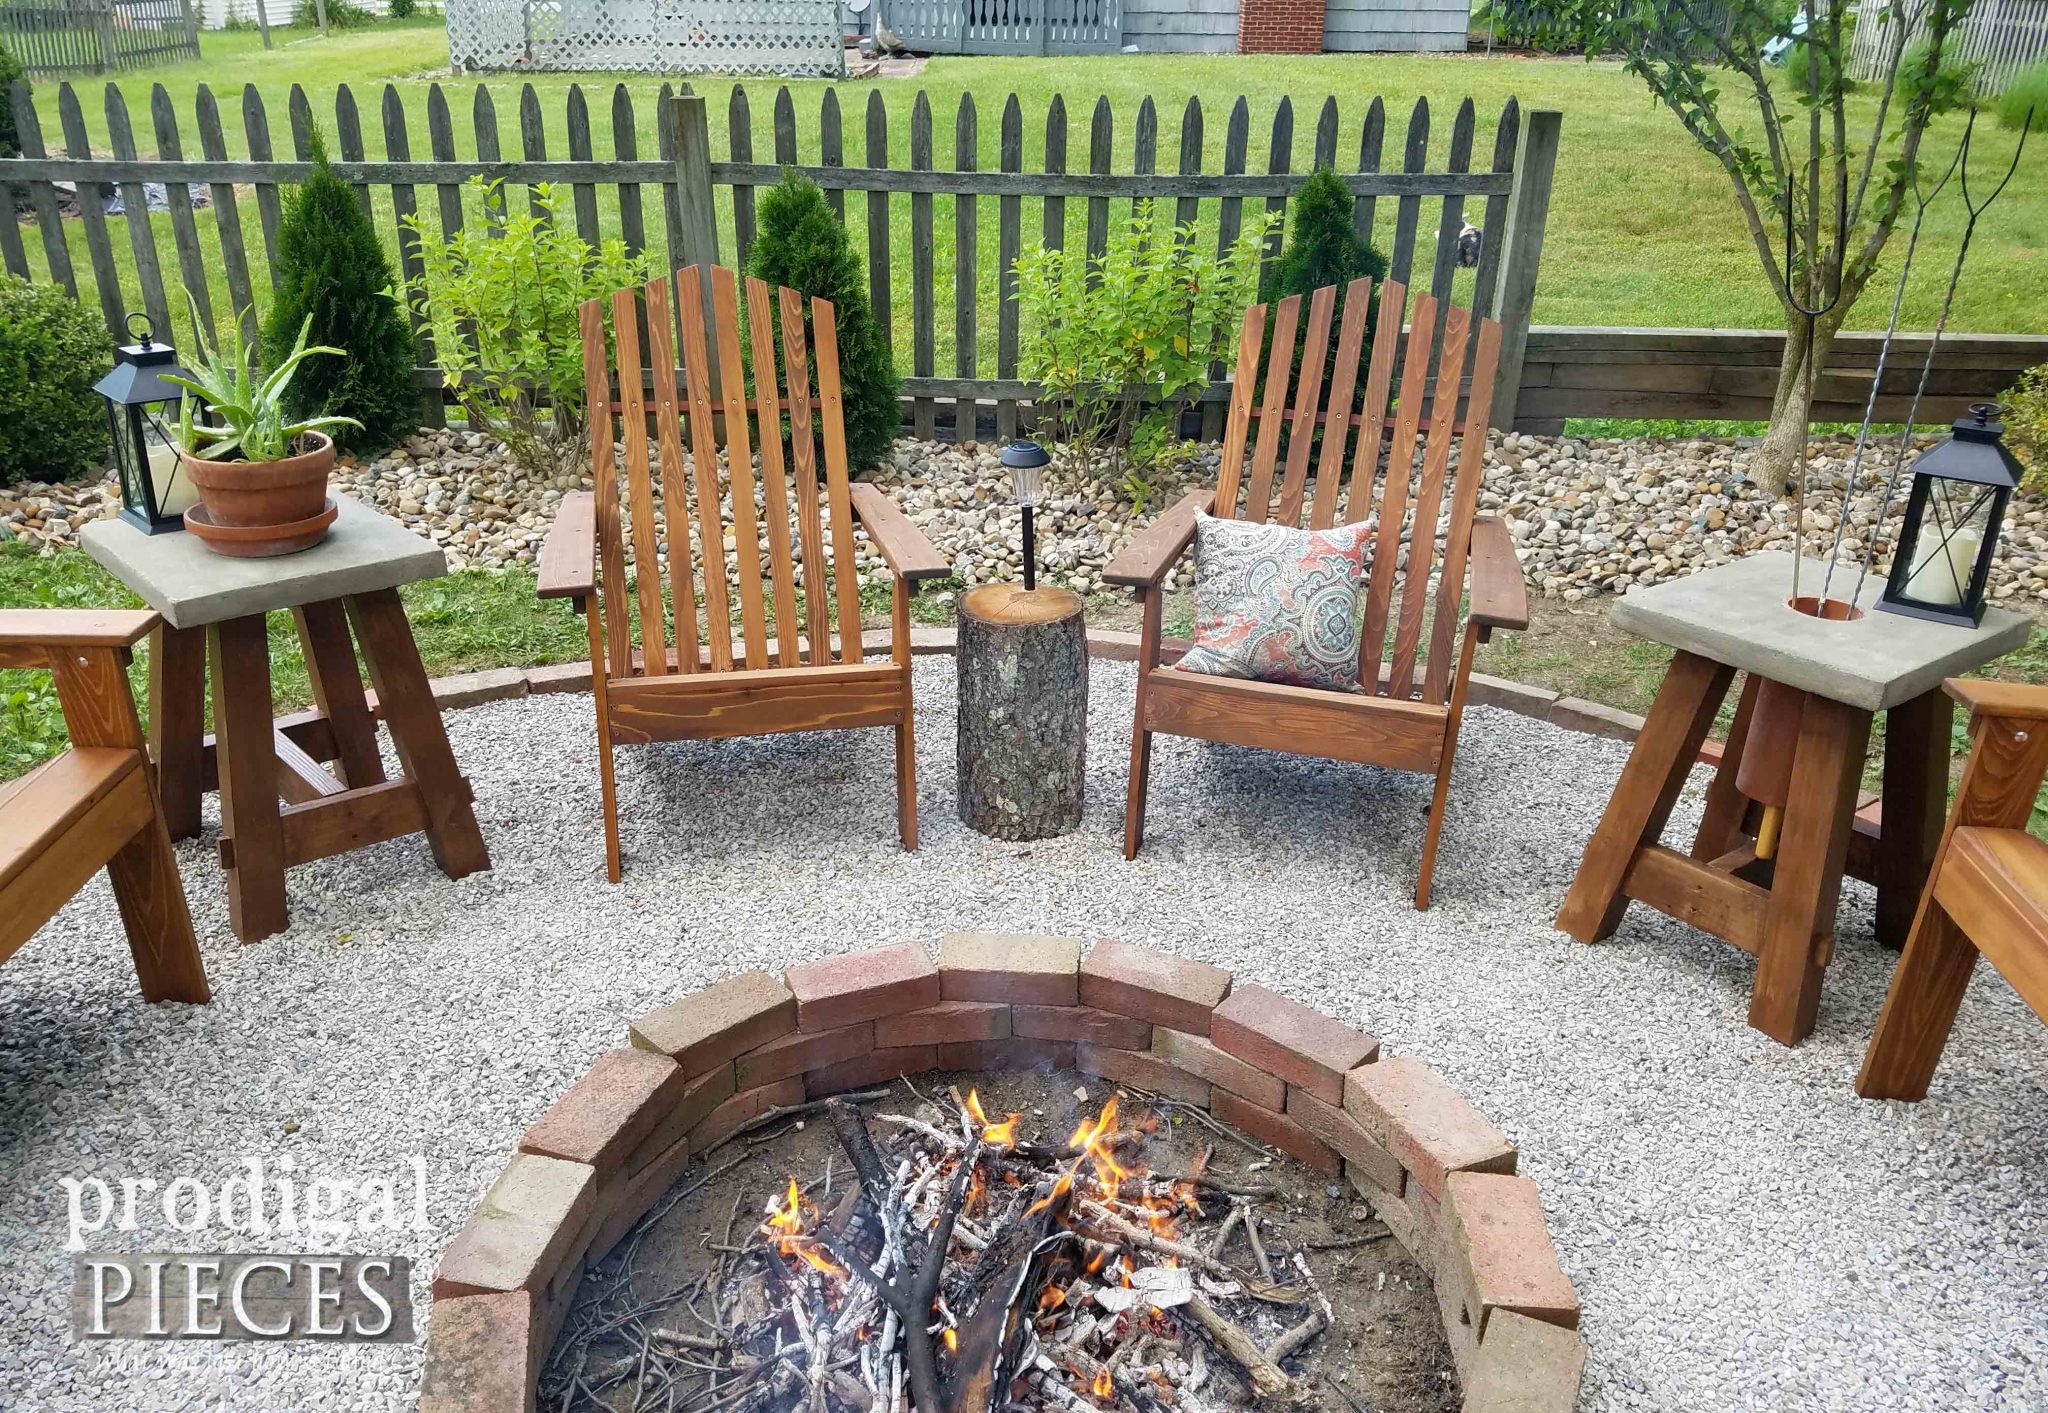
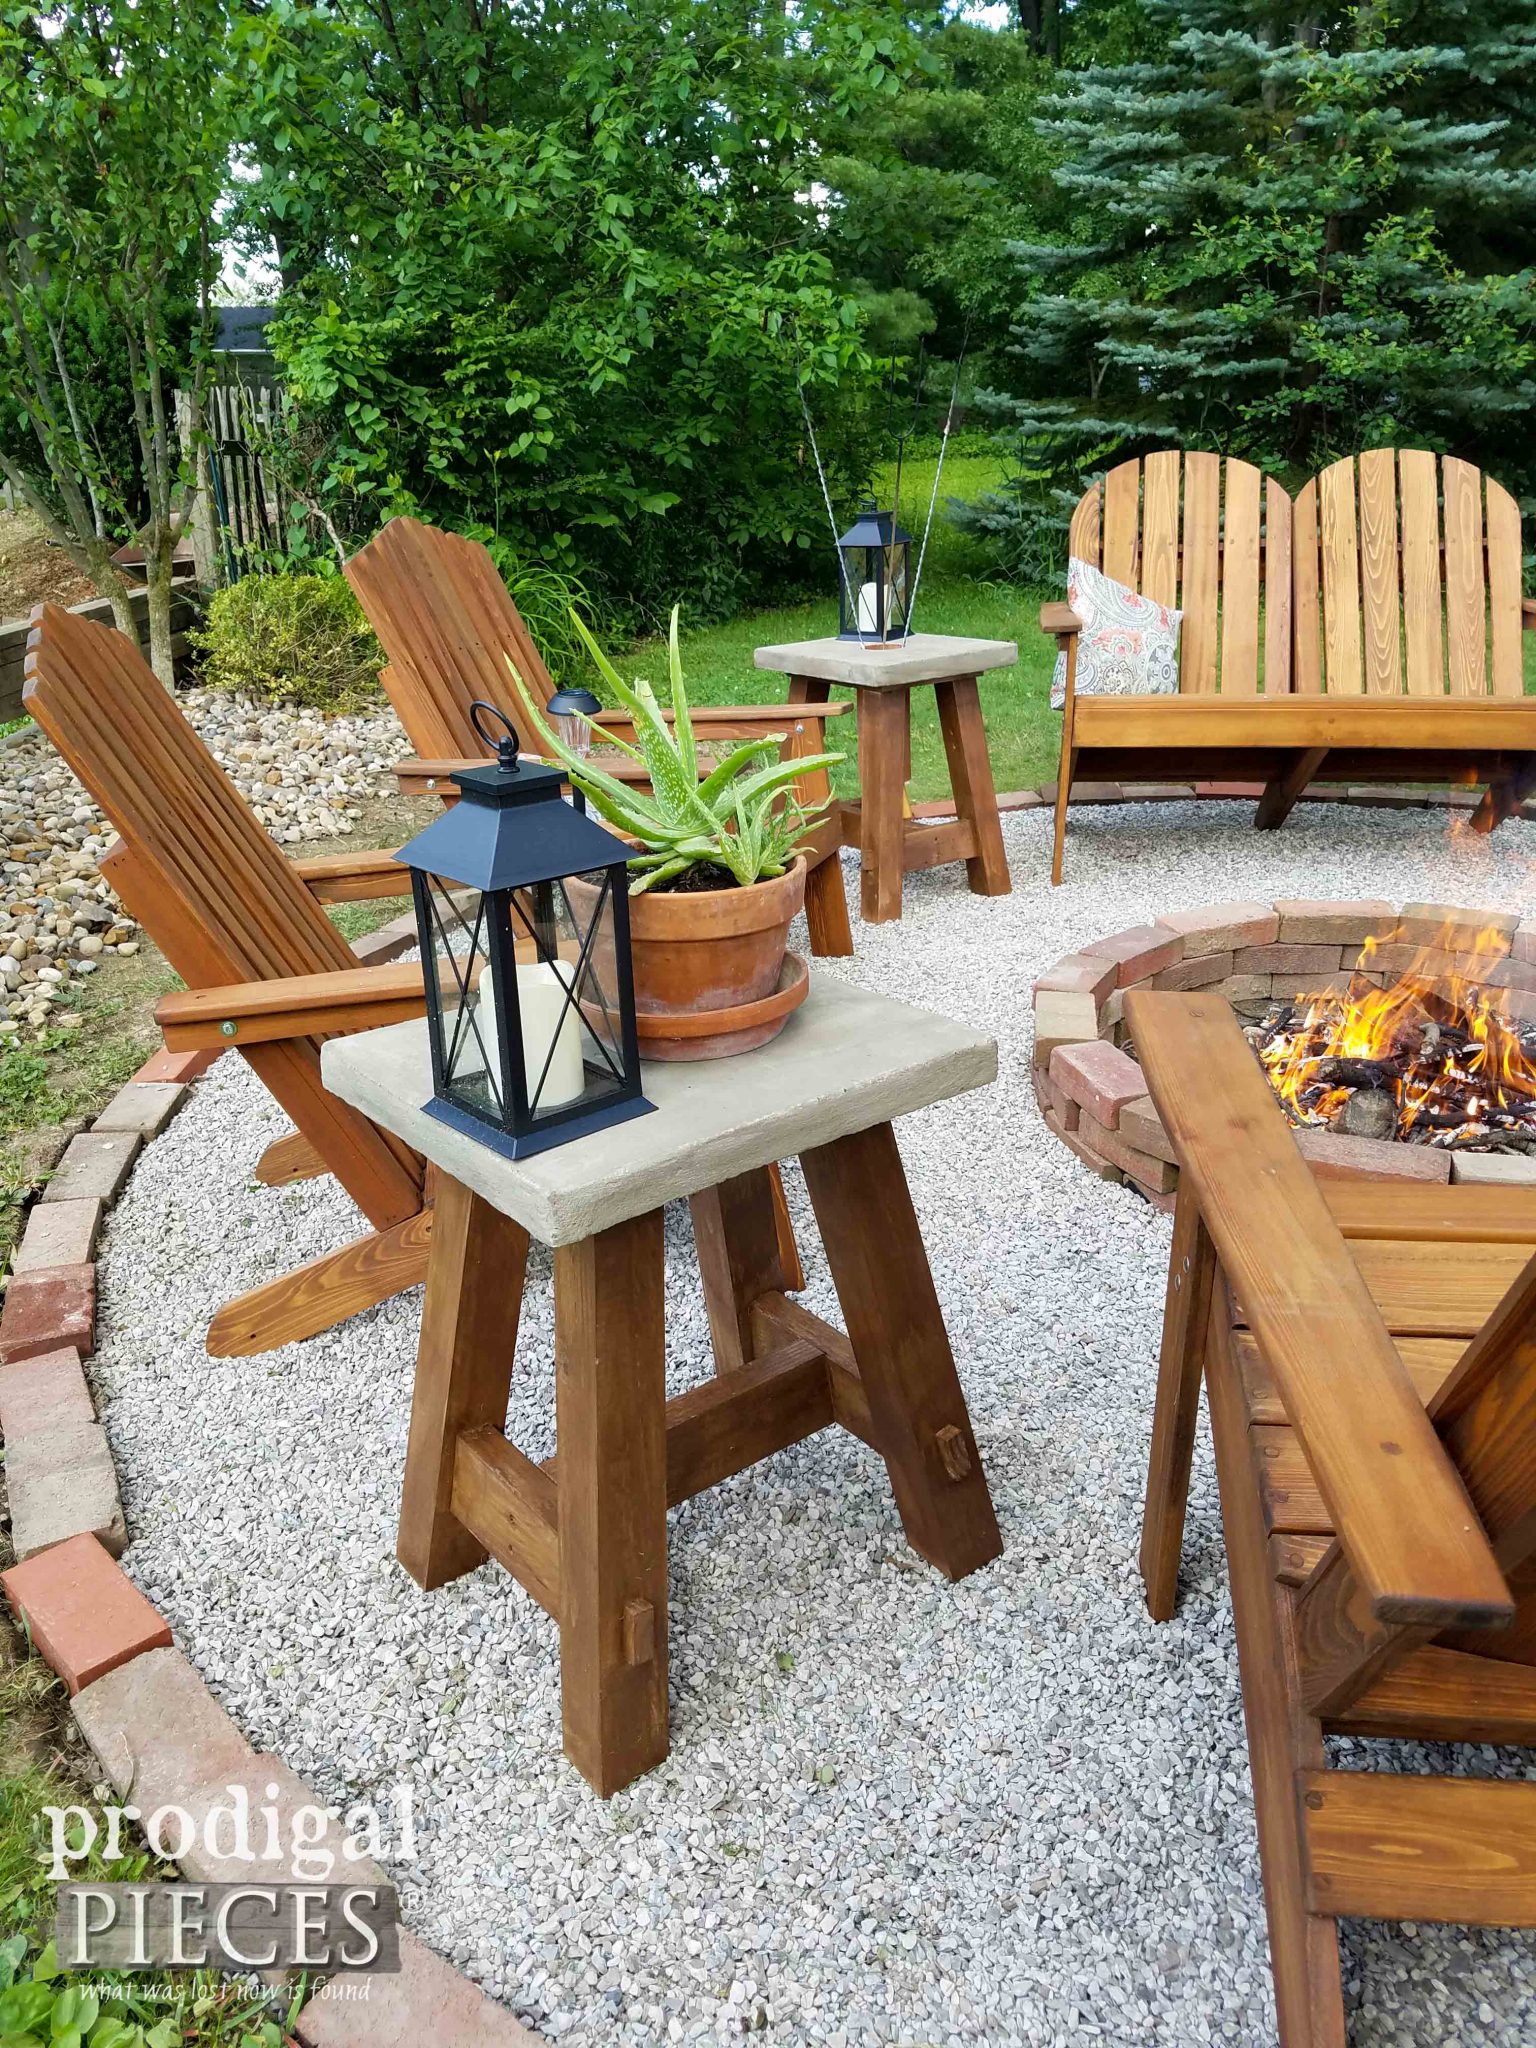
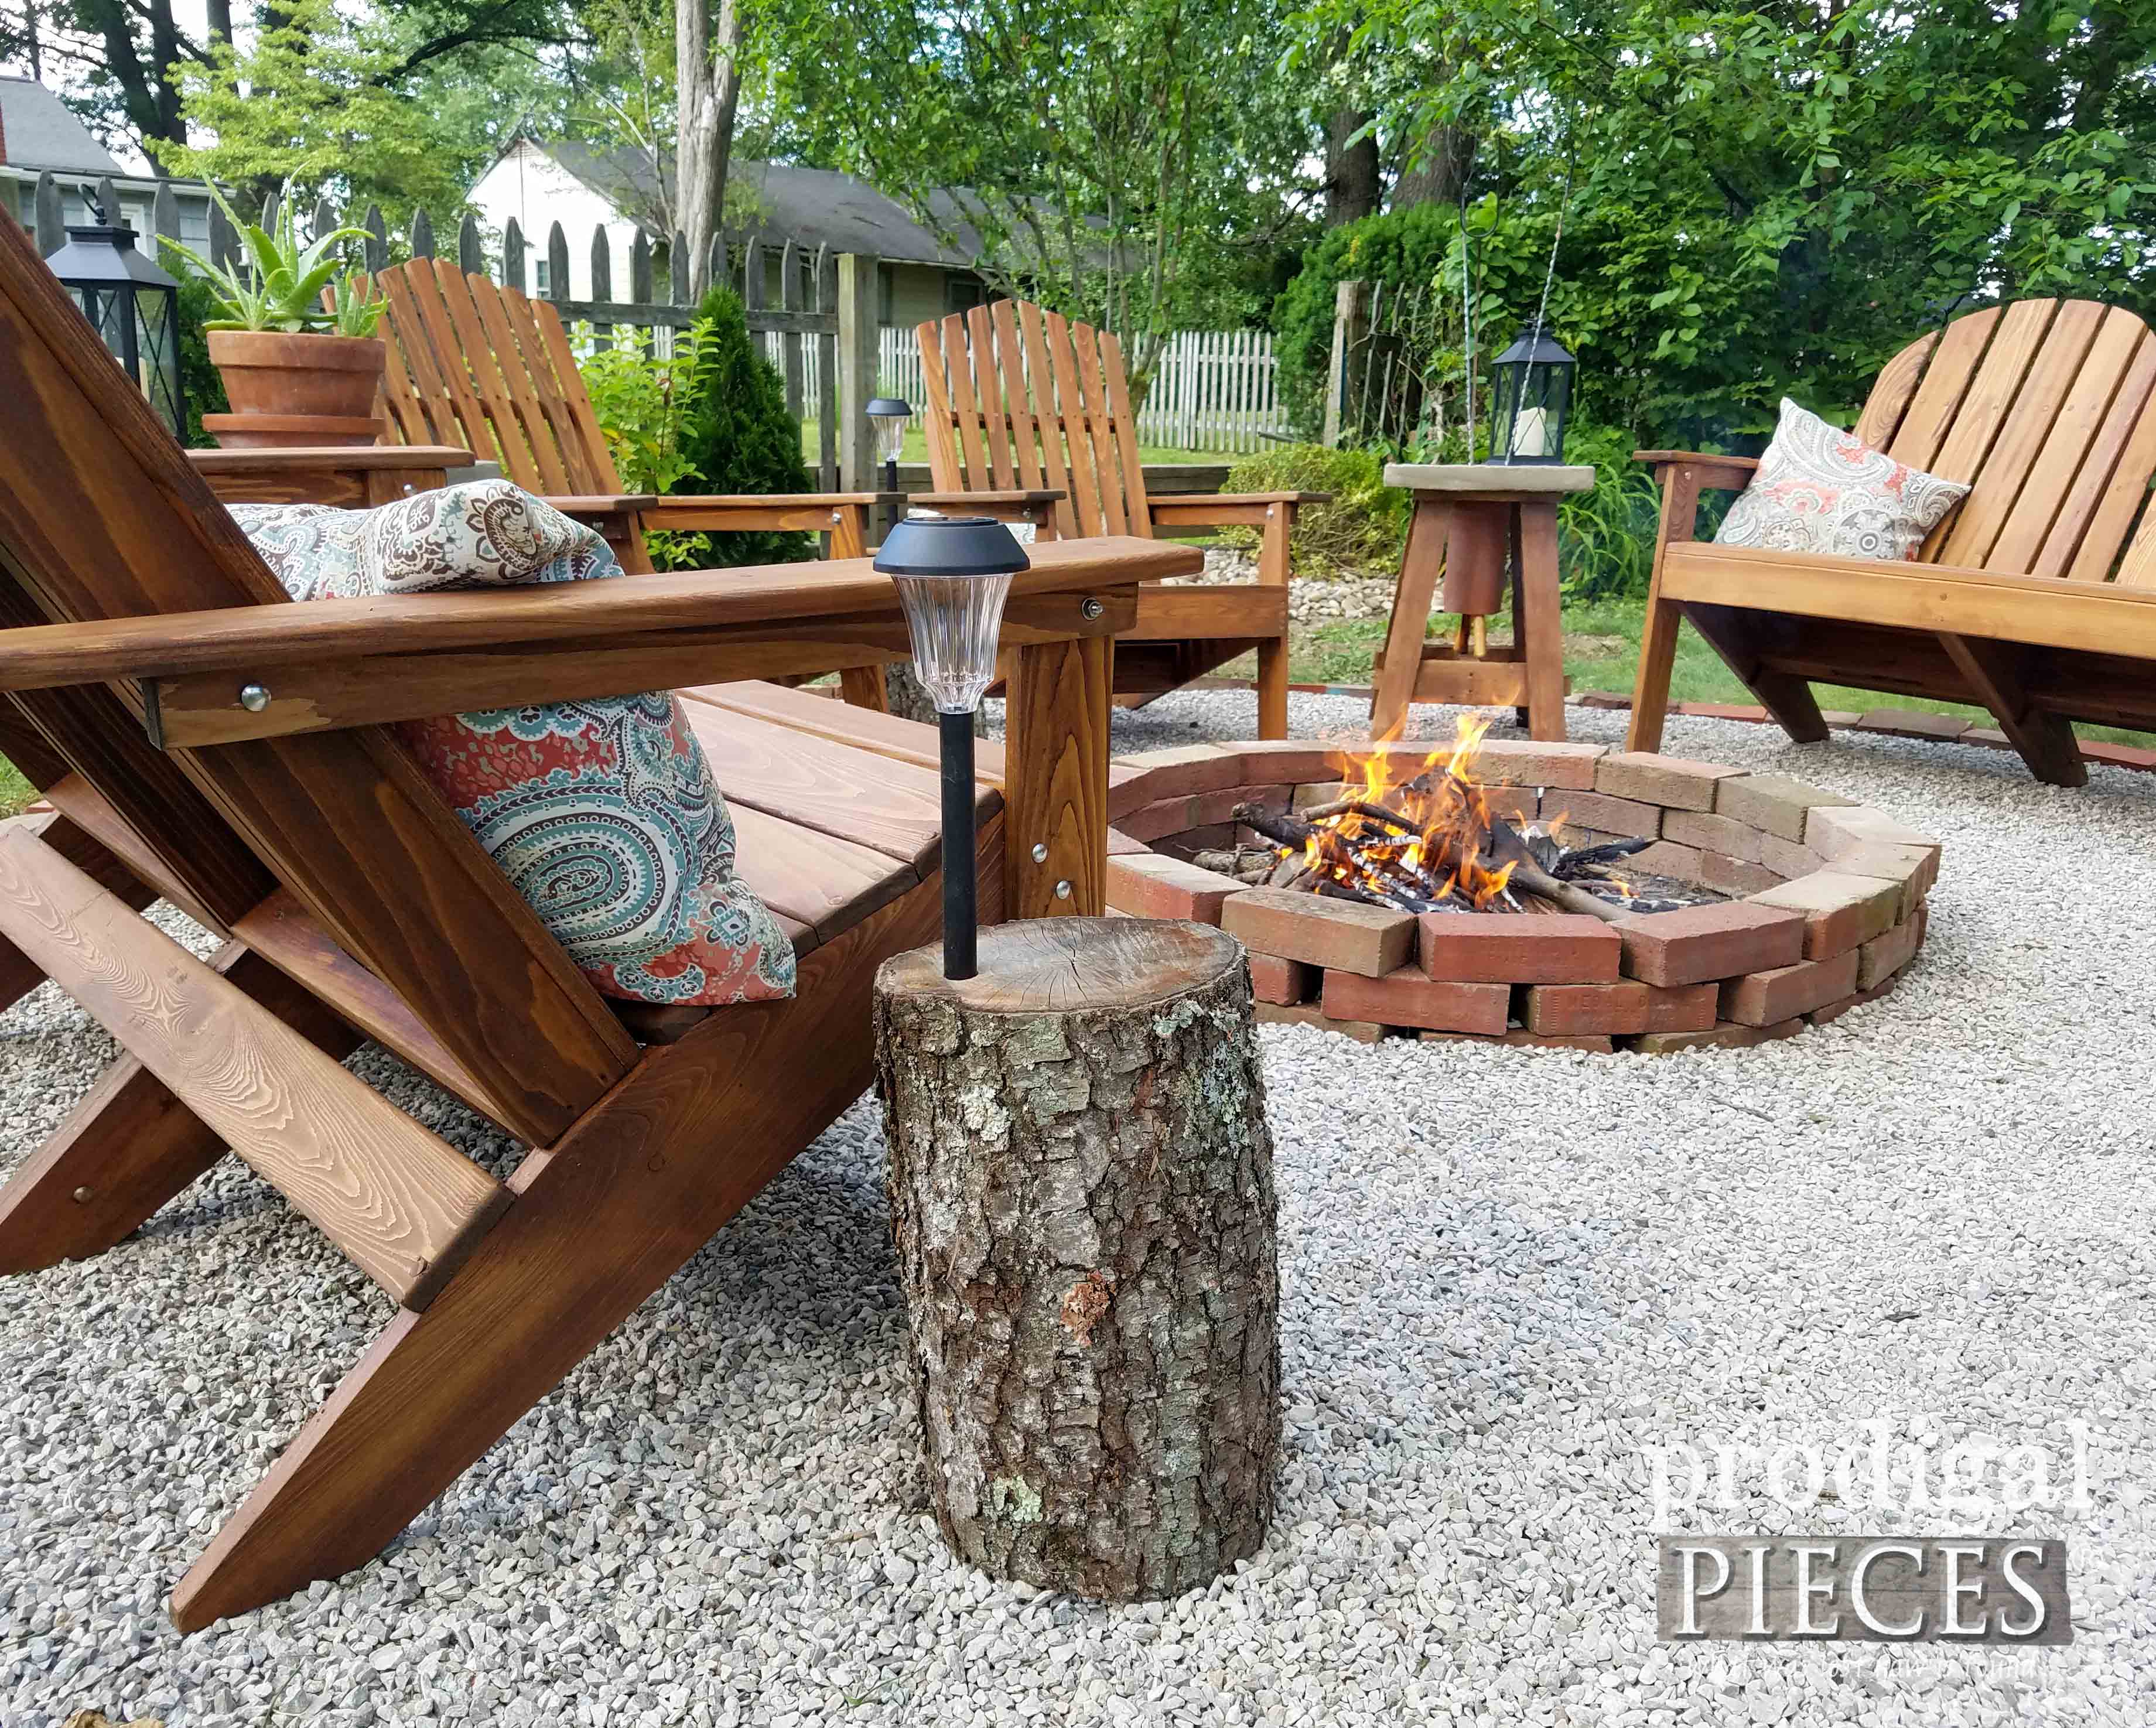
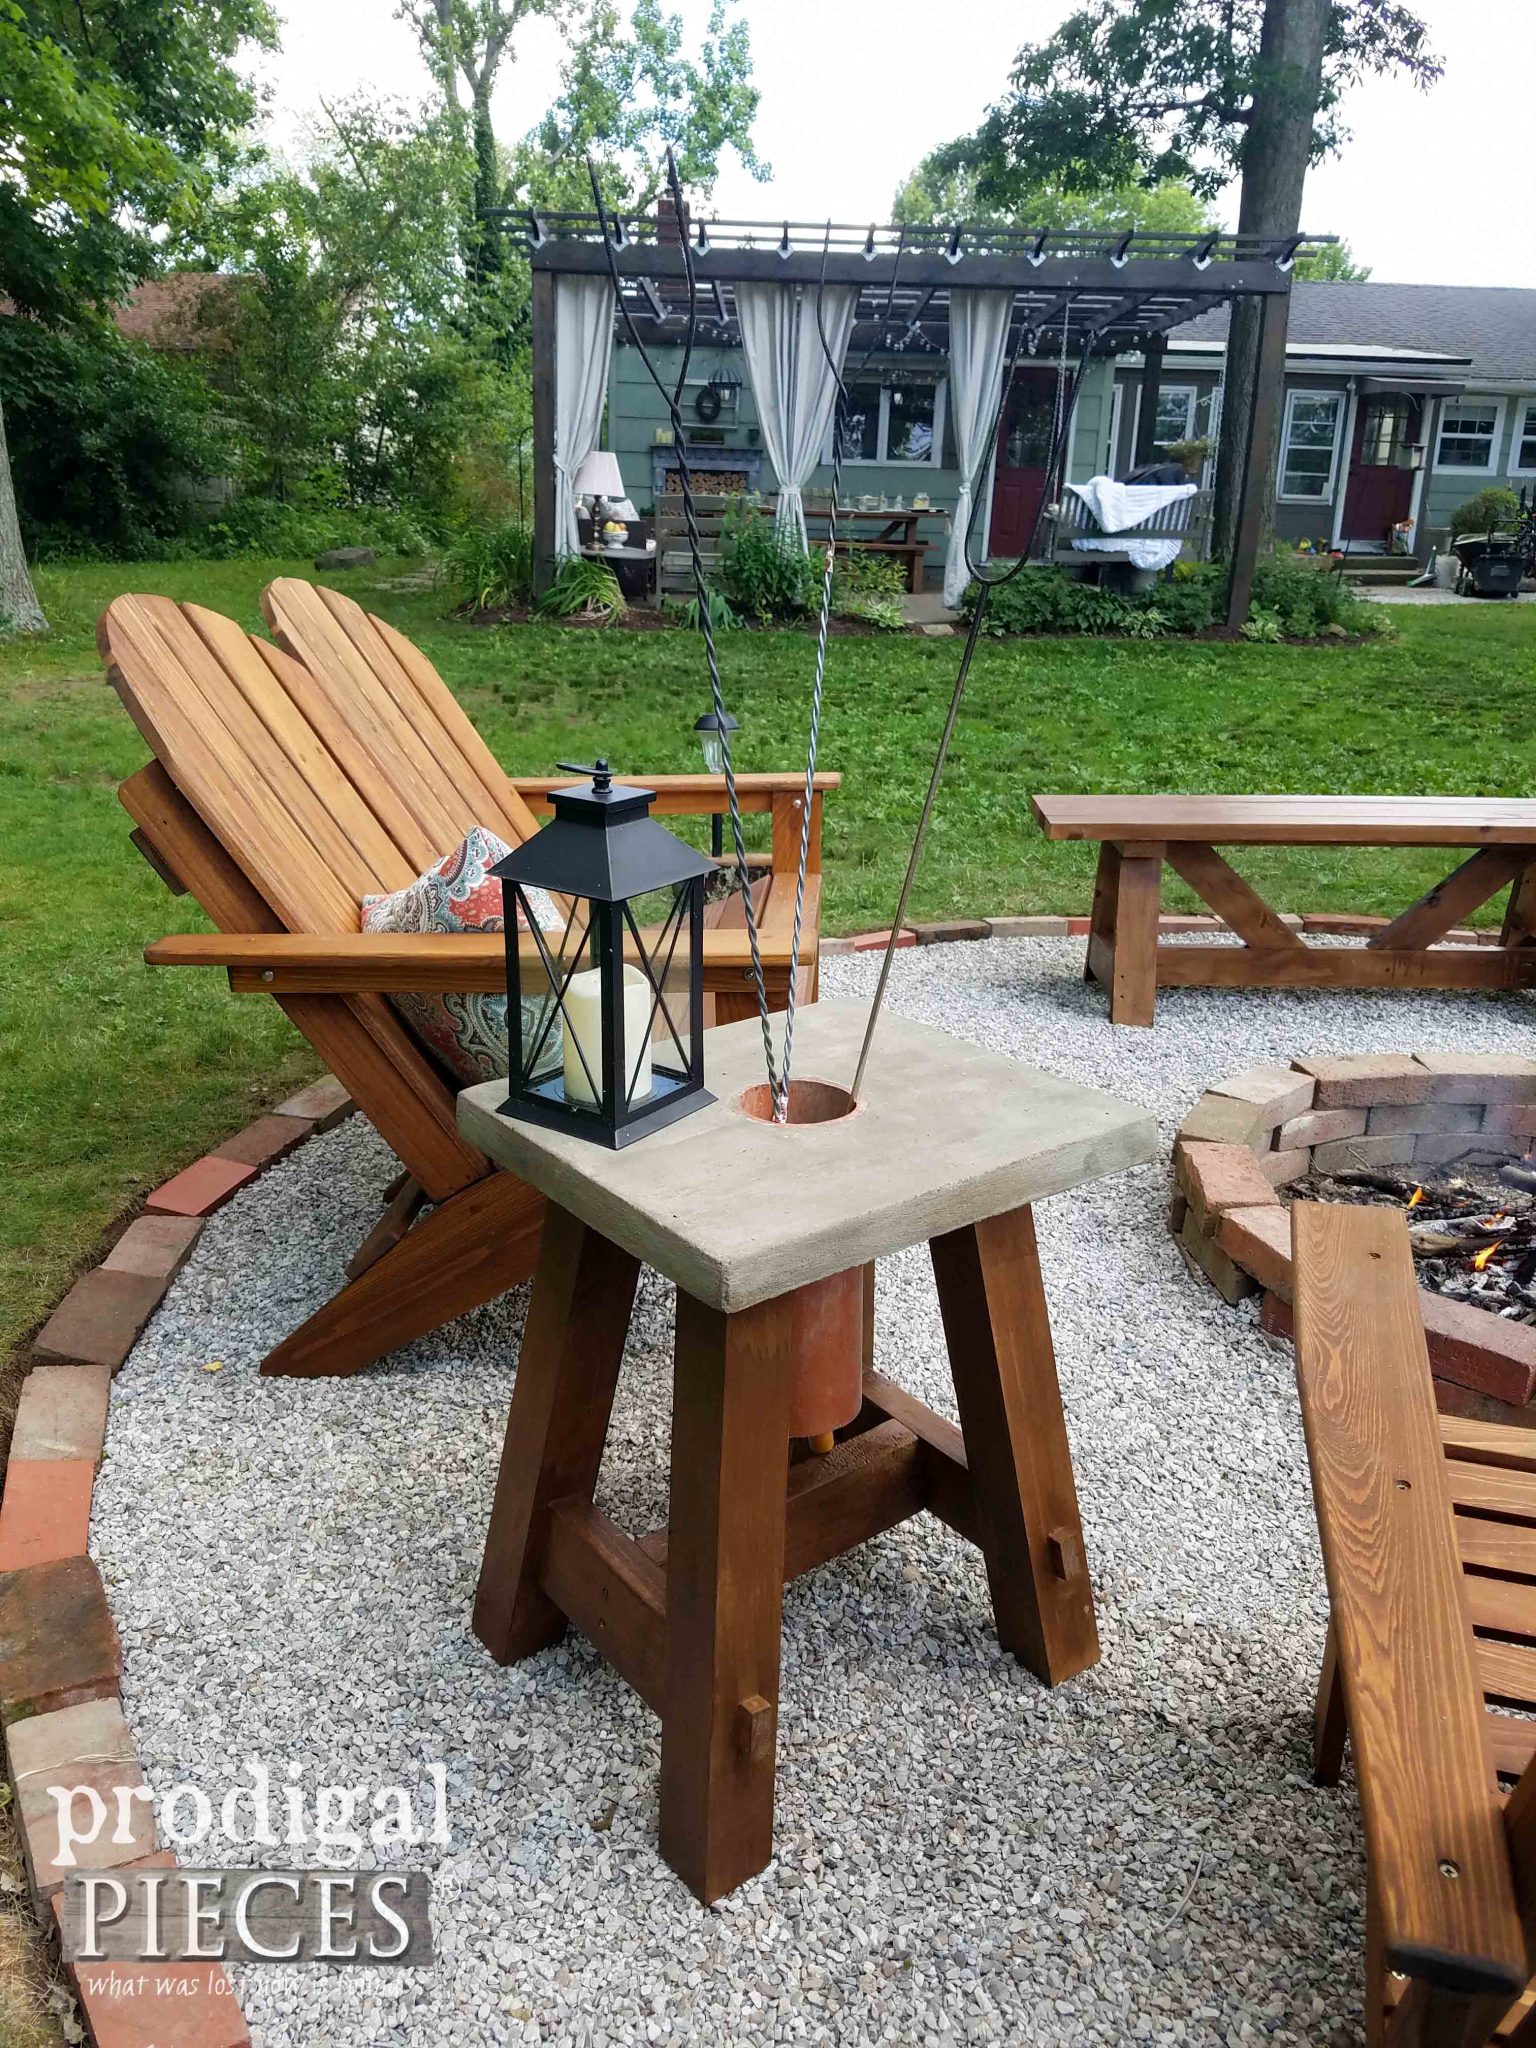
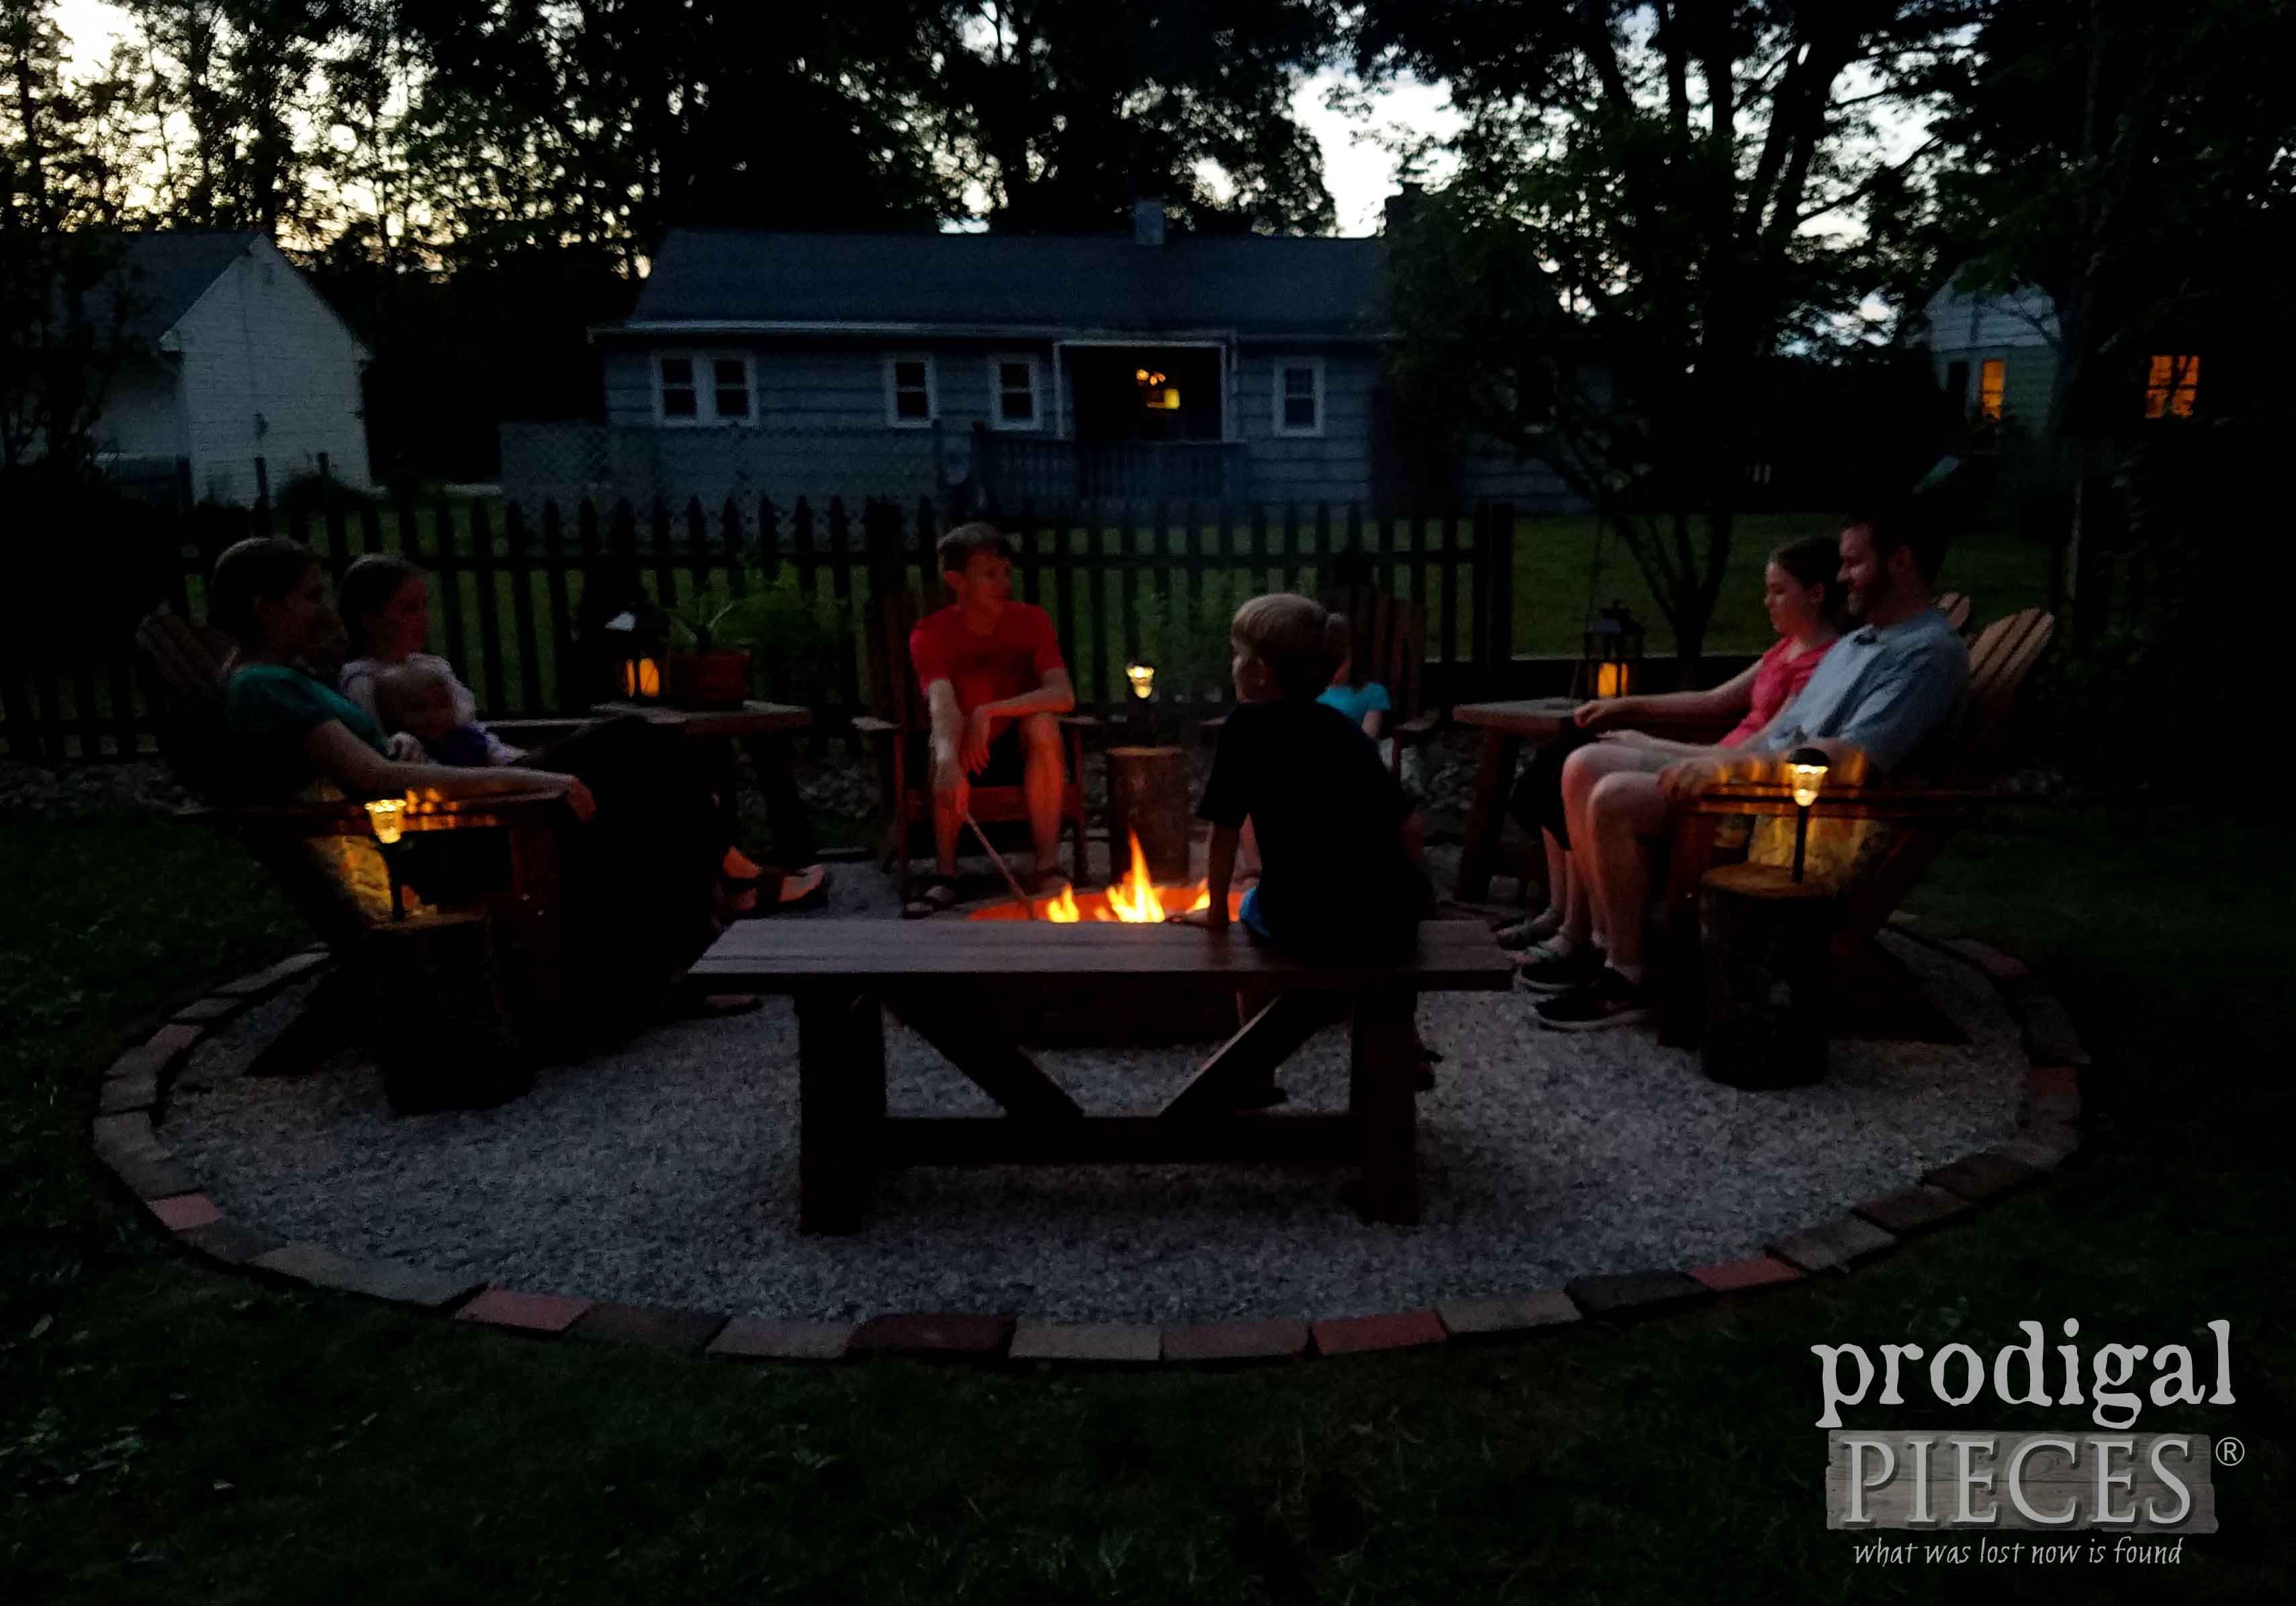
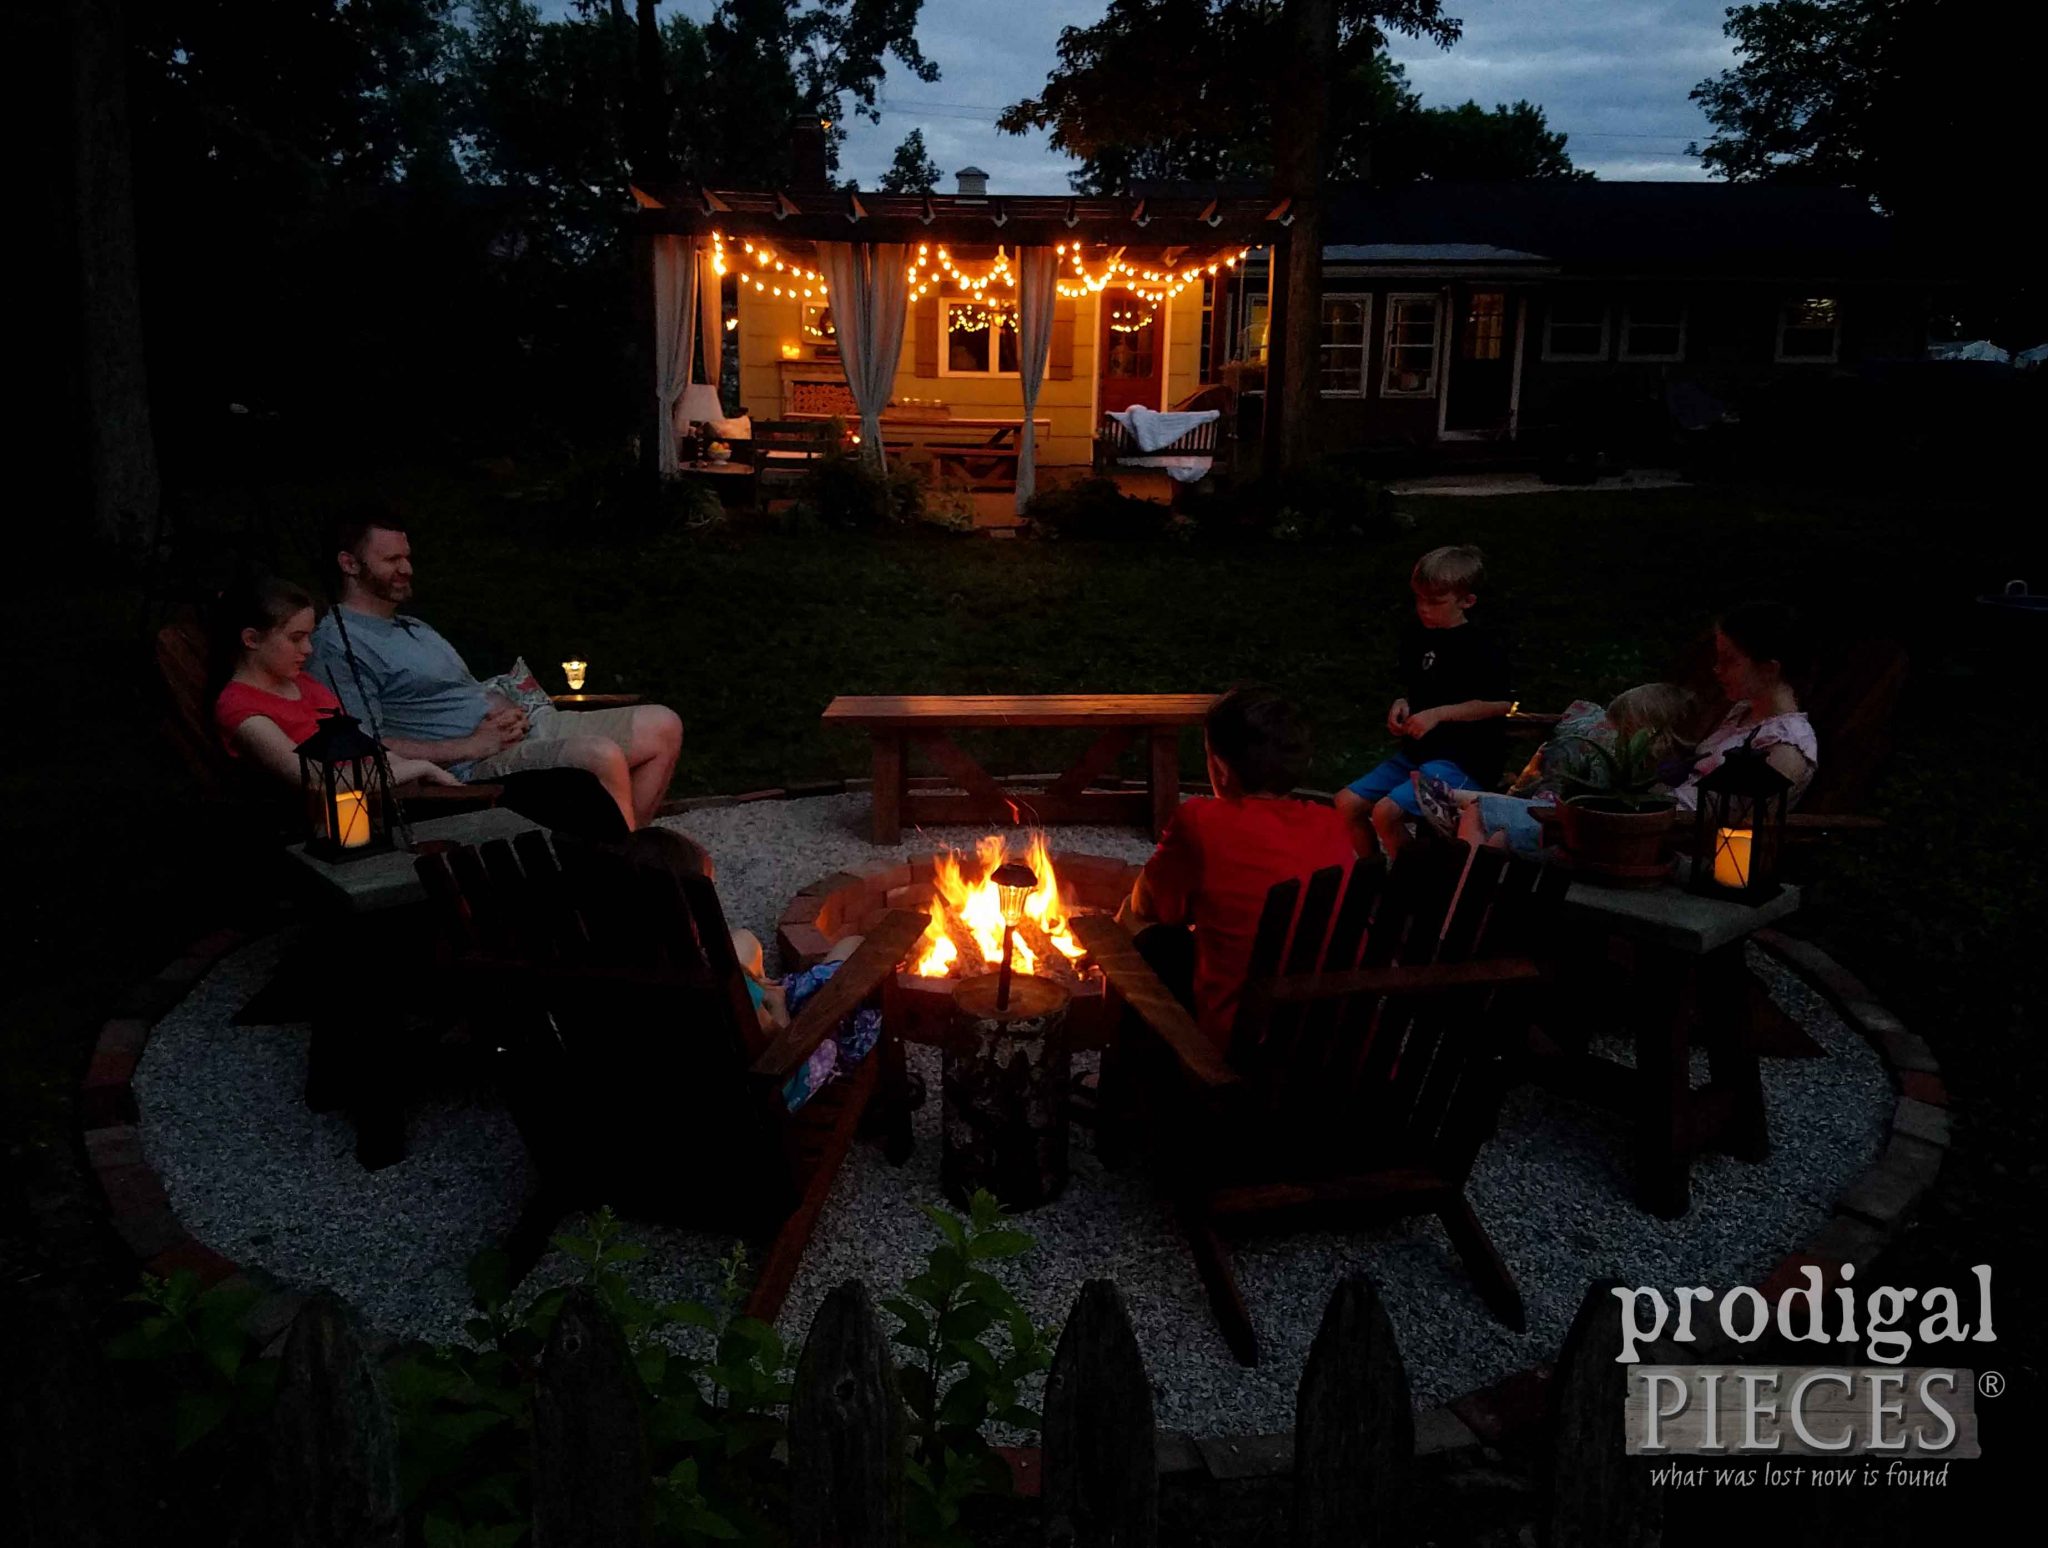
The Adirondack chairs and loveseats now allow us to all sit together. Our concrete tables fit nicely among them, as do the log accents with solar lights.
The one concrete table even made use of our spare drain tube that was from our old fire pit. It continues to hold our roasting sticks, but now in with style. Both the tables and bench came out just as planned thanks to the HomeRight Finish Max Extra. Build plans coming soon!
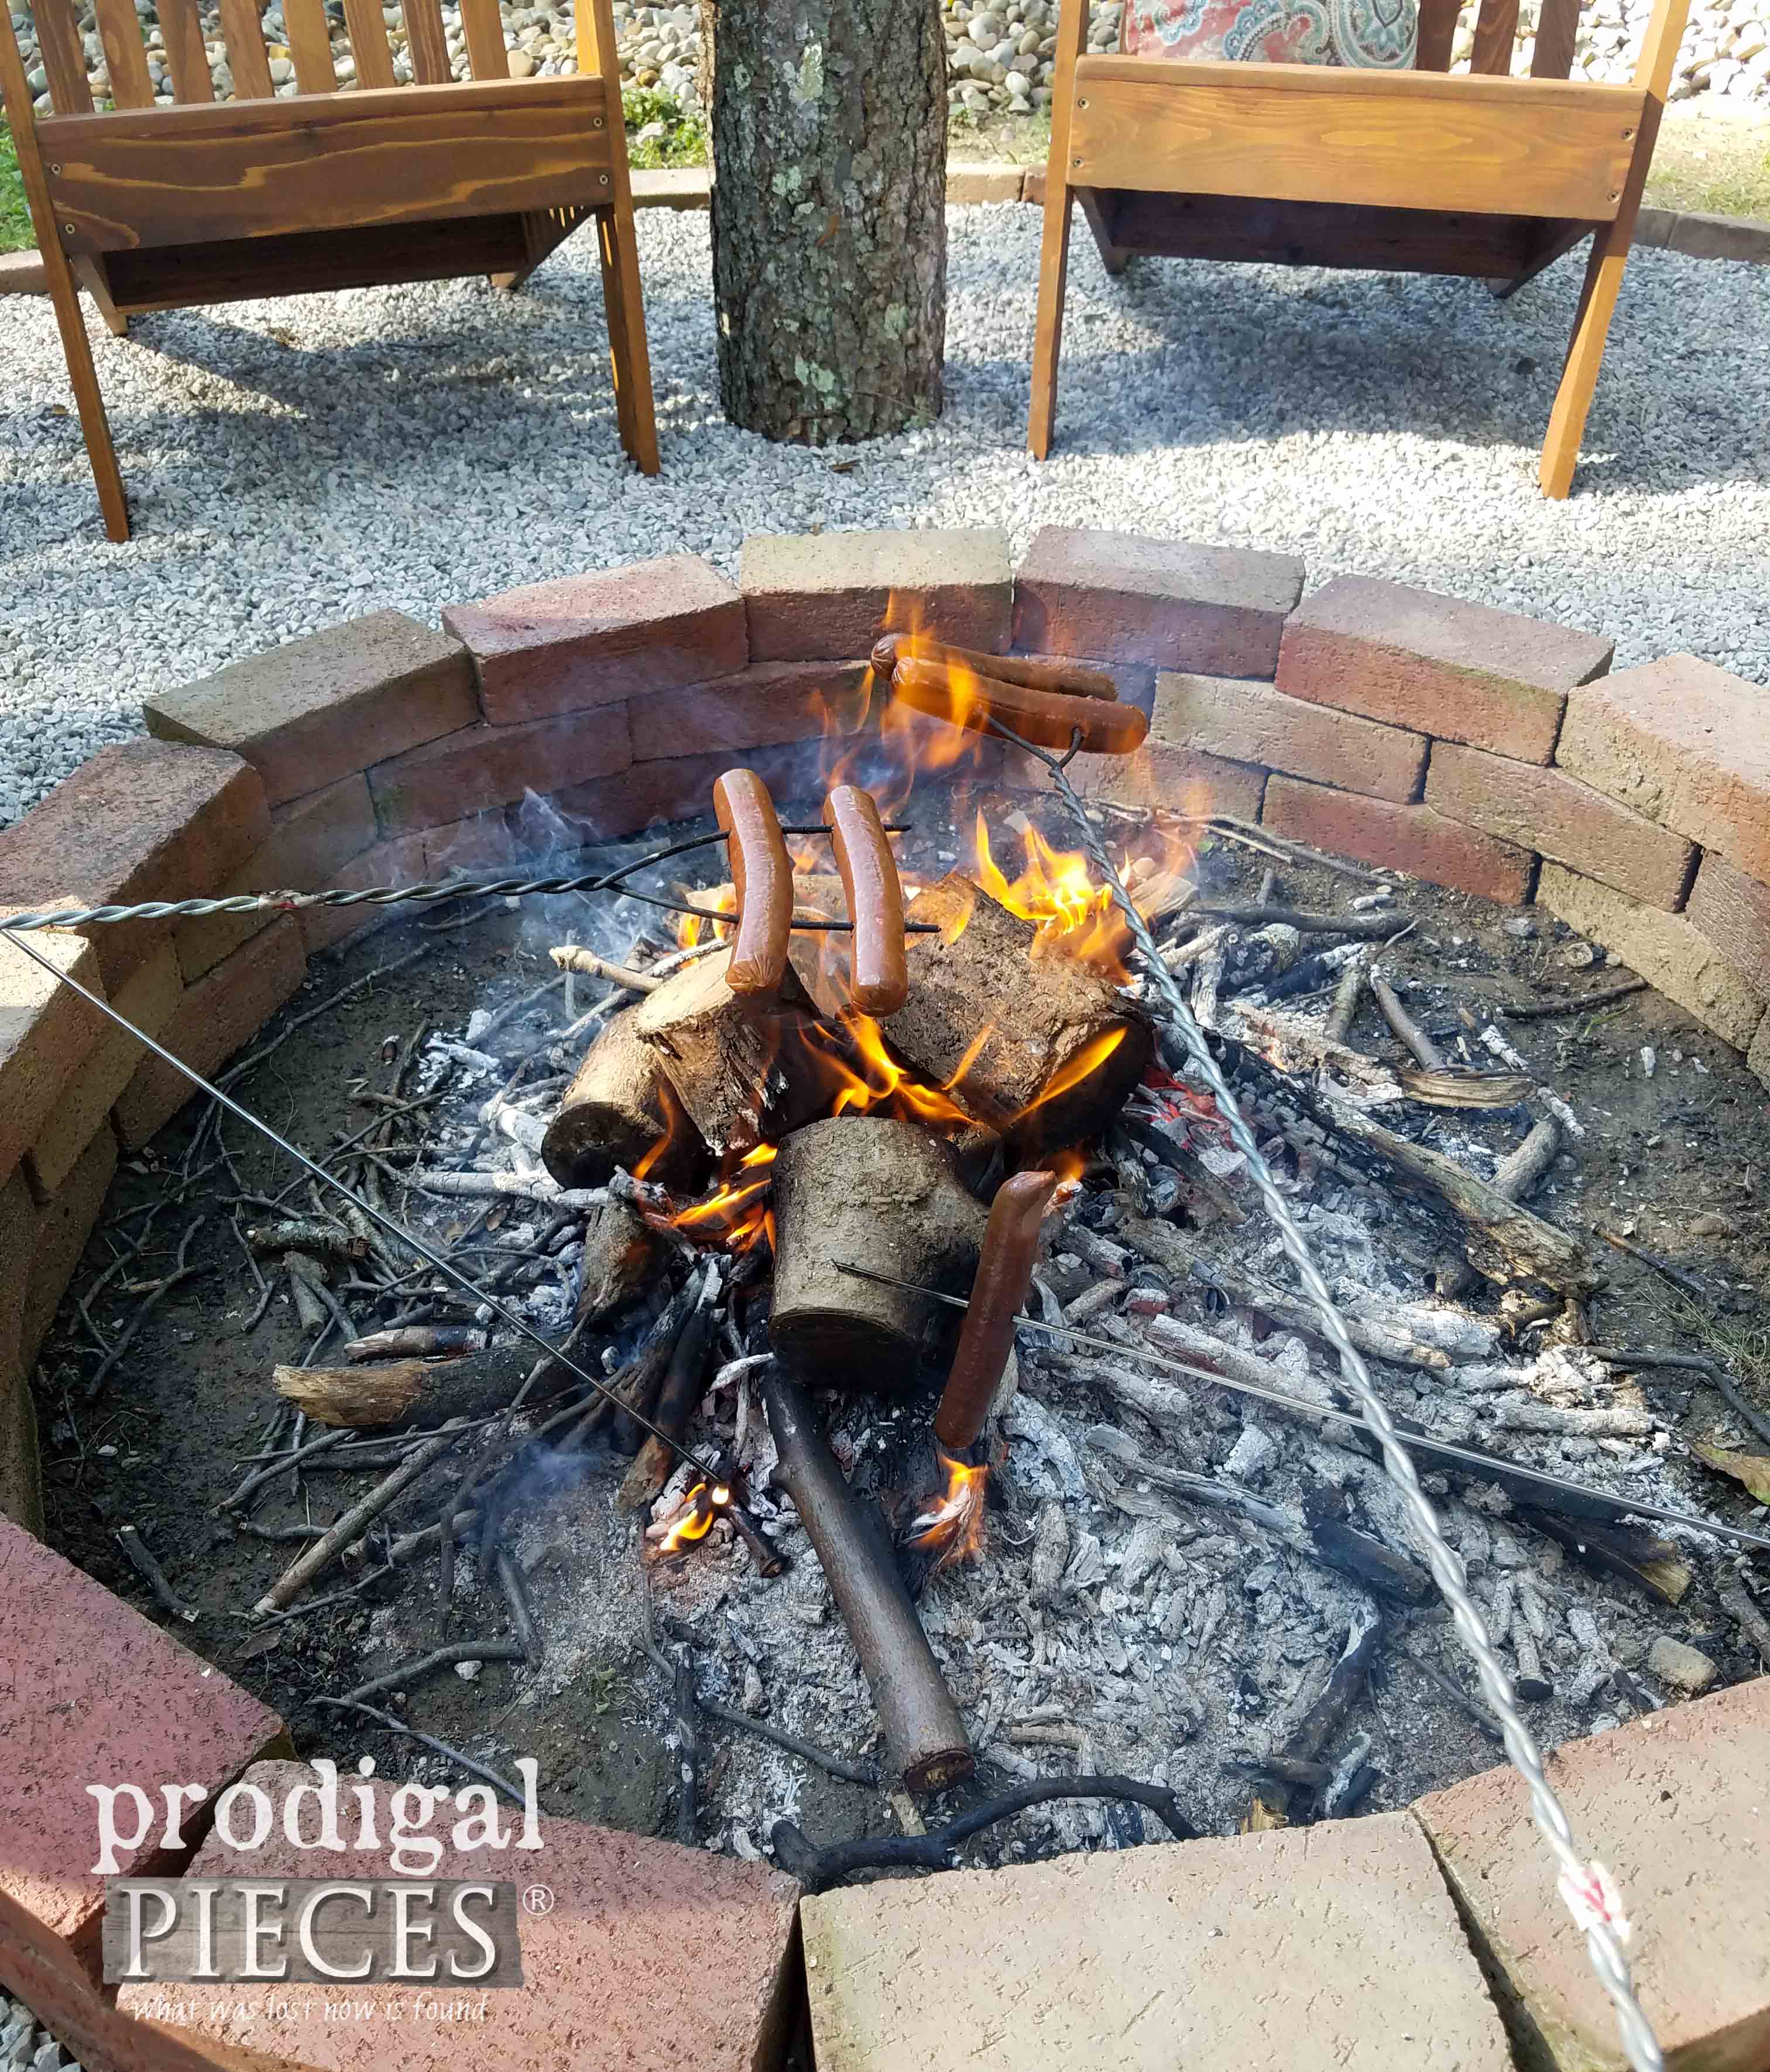
I don’t know about you, but I’m getting the itch to eat and it’s time to roast!
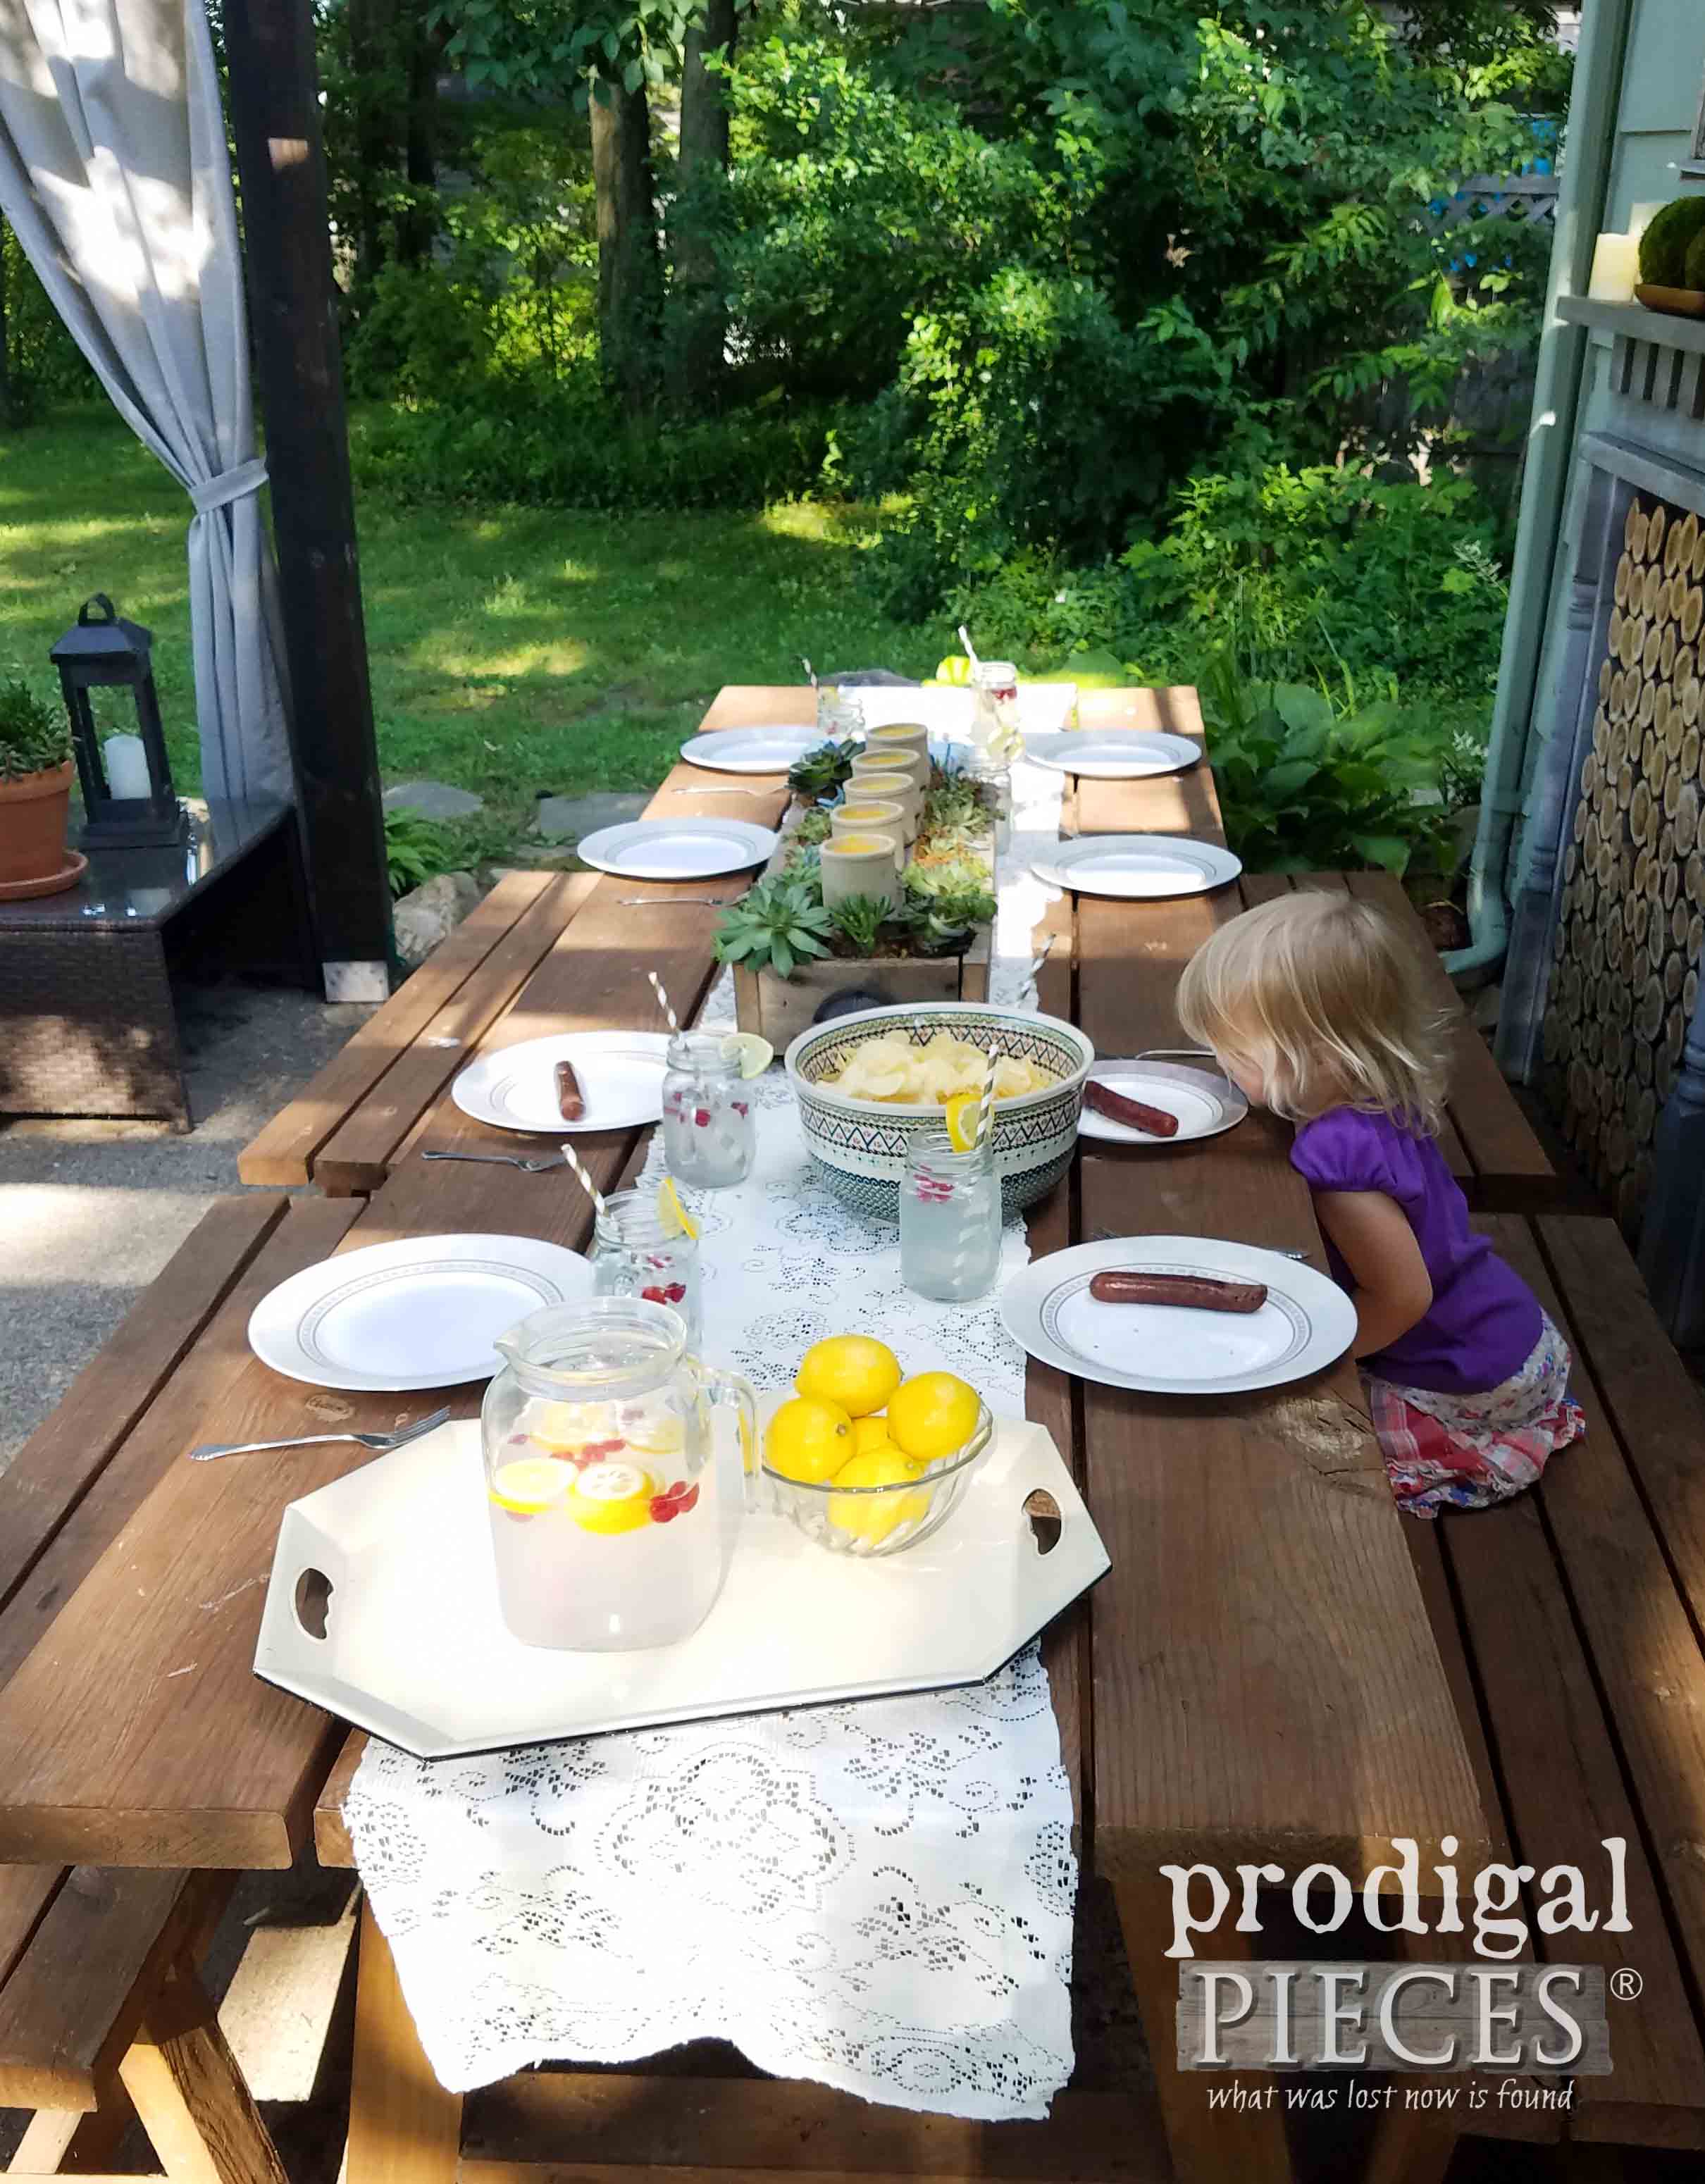
Our littlest couldn’t wait to dig in…here is where I found her. tee hee hee.
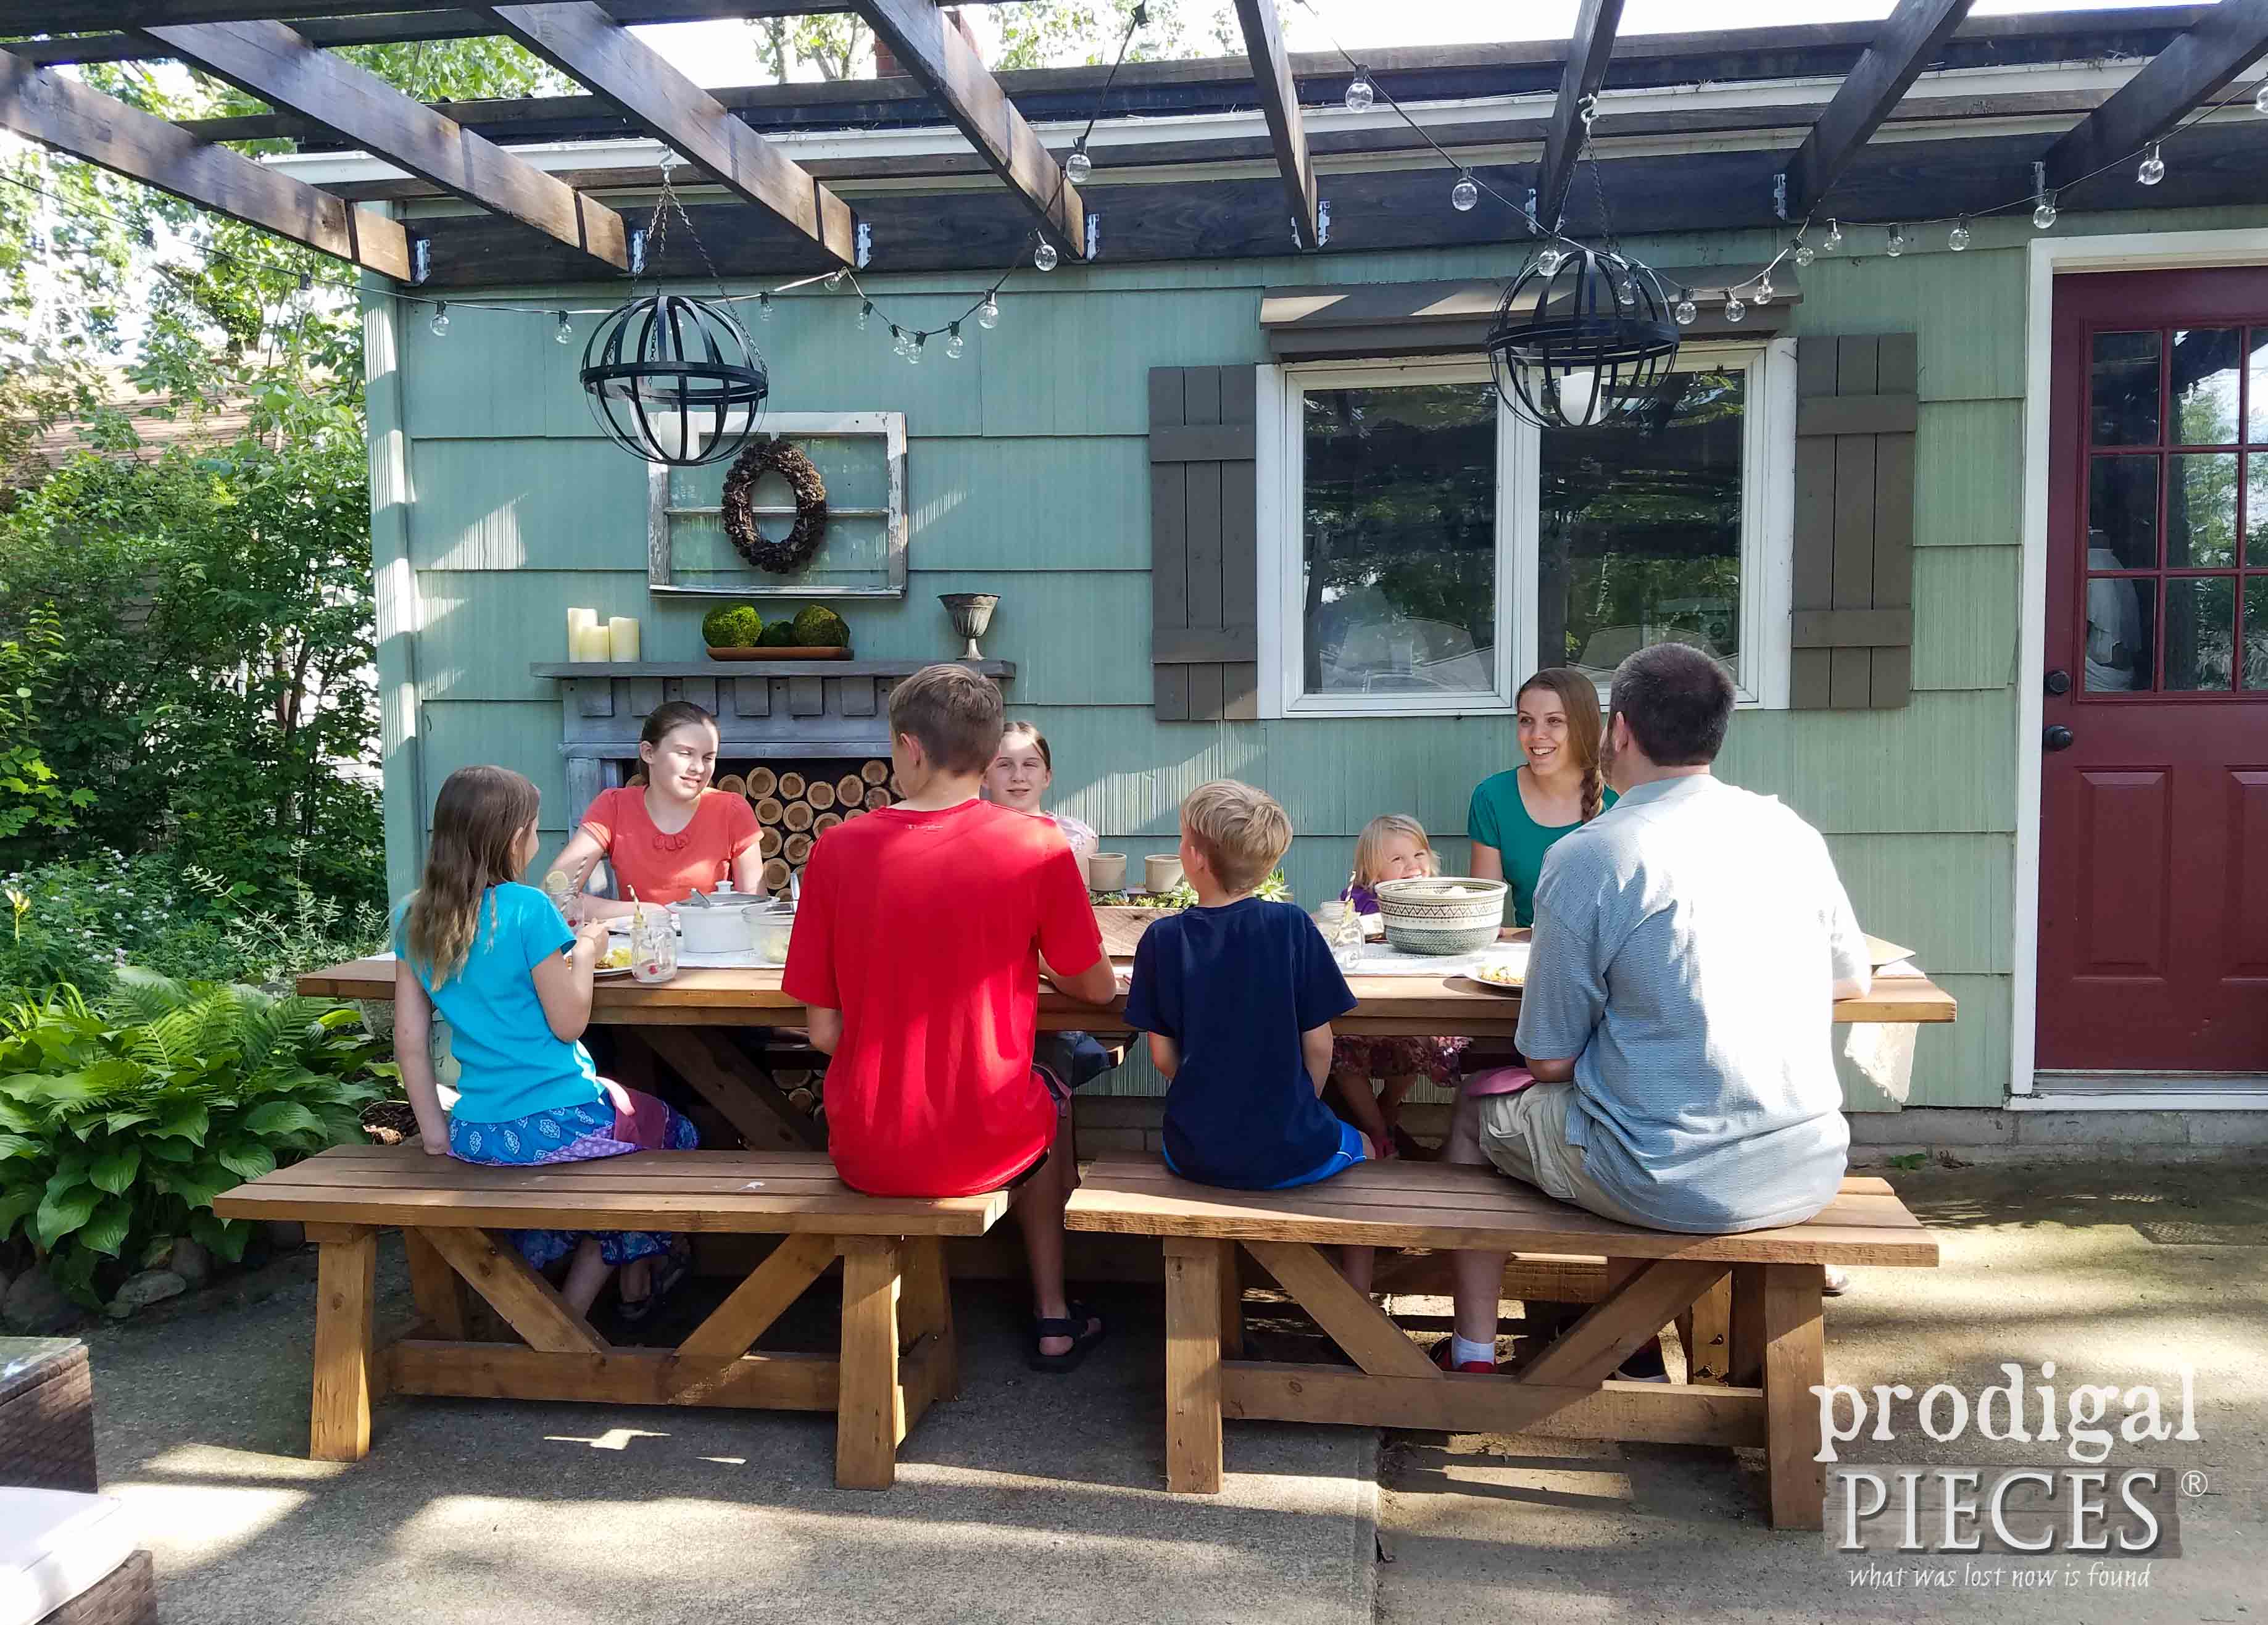
Now, the whole gang was able to join her to celebrate our hard work on the new DIY fire pit. High-five guys!!
Full bellies means it time for swing in the tufted hammock from DFOHome. That is my sweet spot for sure. Little do they know I’m about to snuggle in with them in a minute.
As night begins to fall, we decide to just settle in an enjoy each other’s company and also make some of our favorite Roasted Stone Fruit Dessert with homemade ice cream. It sure didn’t last long!
Enjoying the lights as the sun sets makes me sigh. We may not live in the country as my heart desires, but we are making the most of all that we are blessed with…health, happiness, and family.
NIGHTTIME
Now to make more memories that will last a lifetime.
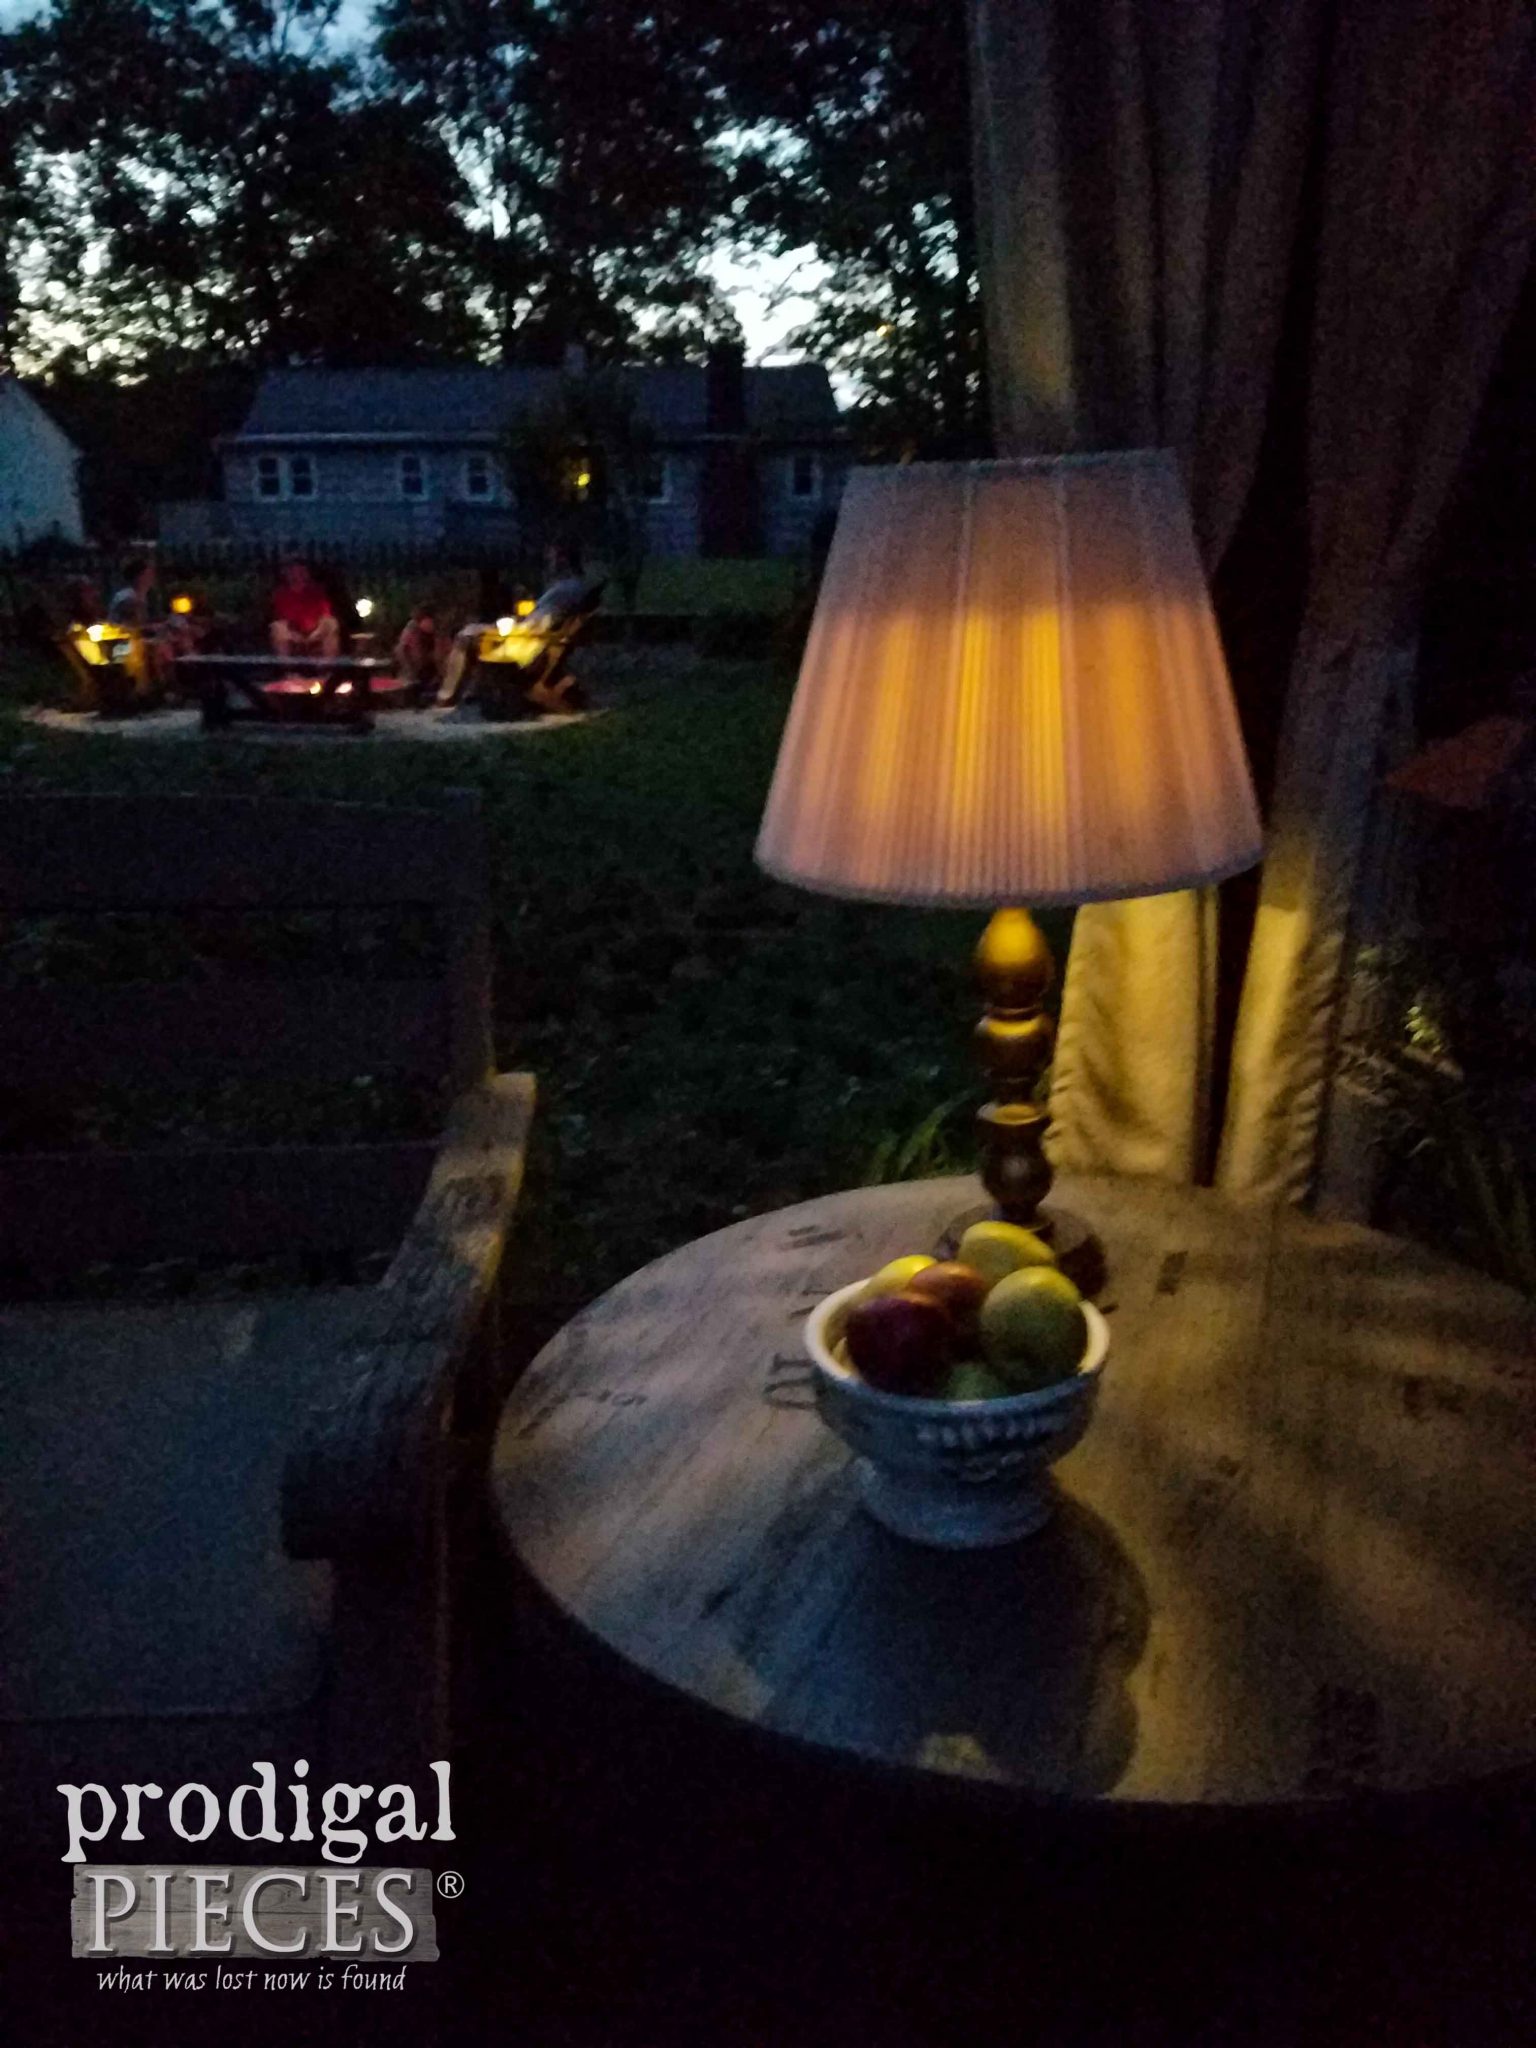
Our hope is to inspire you to make your house your home. We may all not live where we want to, but we can make the most out of what we have. As I mentioned before we will be sharing the tutorials on how to create all the accents, like the solar powered lamp below. That’s what we’re all about – empowering YOU.
And…to get you started on your own DIY fire pit adventure, I am giving away one of the new HomeRight Finish Max Extra sprayers valued at $100 to one of you. Easy entry – just fill out the widget below. Open to U.S. & Canada residents 18 years of age and older.
We invite you to pin and share our DIY Fire Pit so that others can learn how to create their own space too.
Outdoor projects for your DIY reference:
- Patio Start
- Patio Reveal
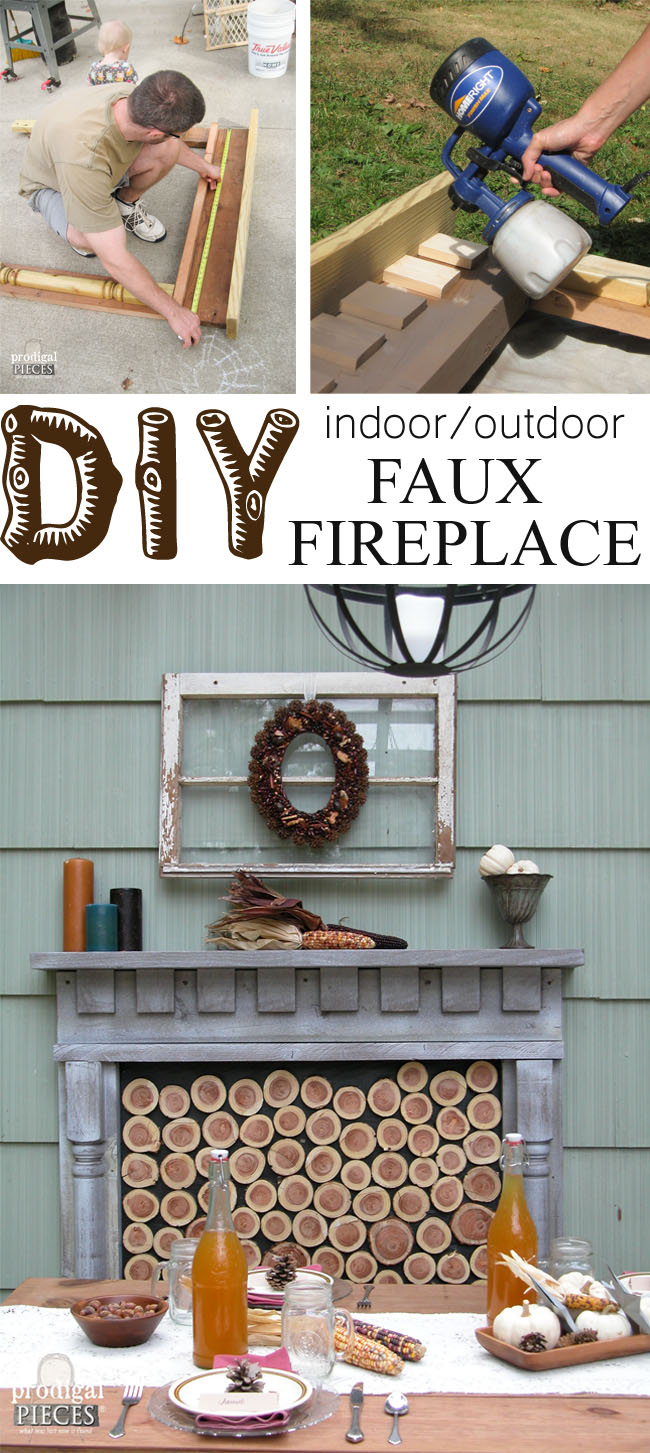
- DIY Faux Fireplace
- Concrete Fire Pit Tables
- DIY Lanterns from One Board
- Outdoor Space Inspiration
- Budget Outdoor Pillows
- DIY Faux Shipping Crate Table
- DIY Succulent Centerpiece
- Faux Succulent Planter
- More Succulent Love
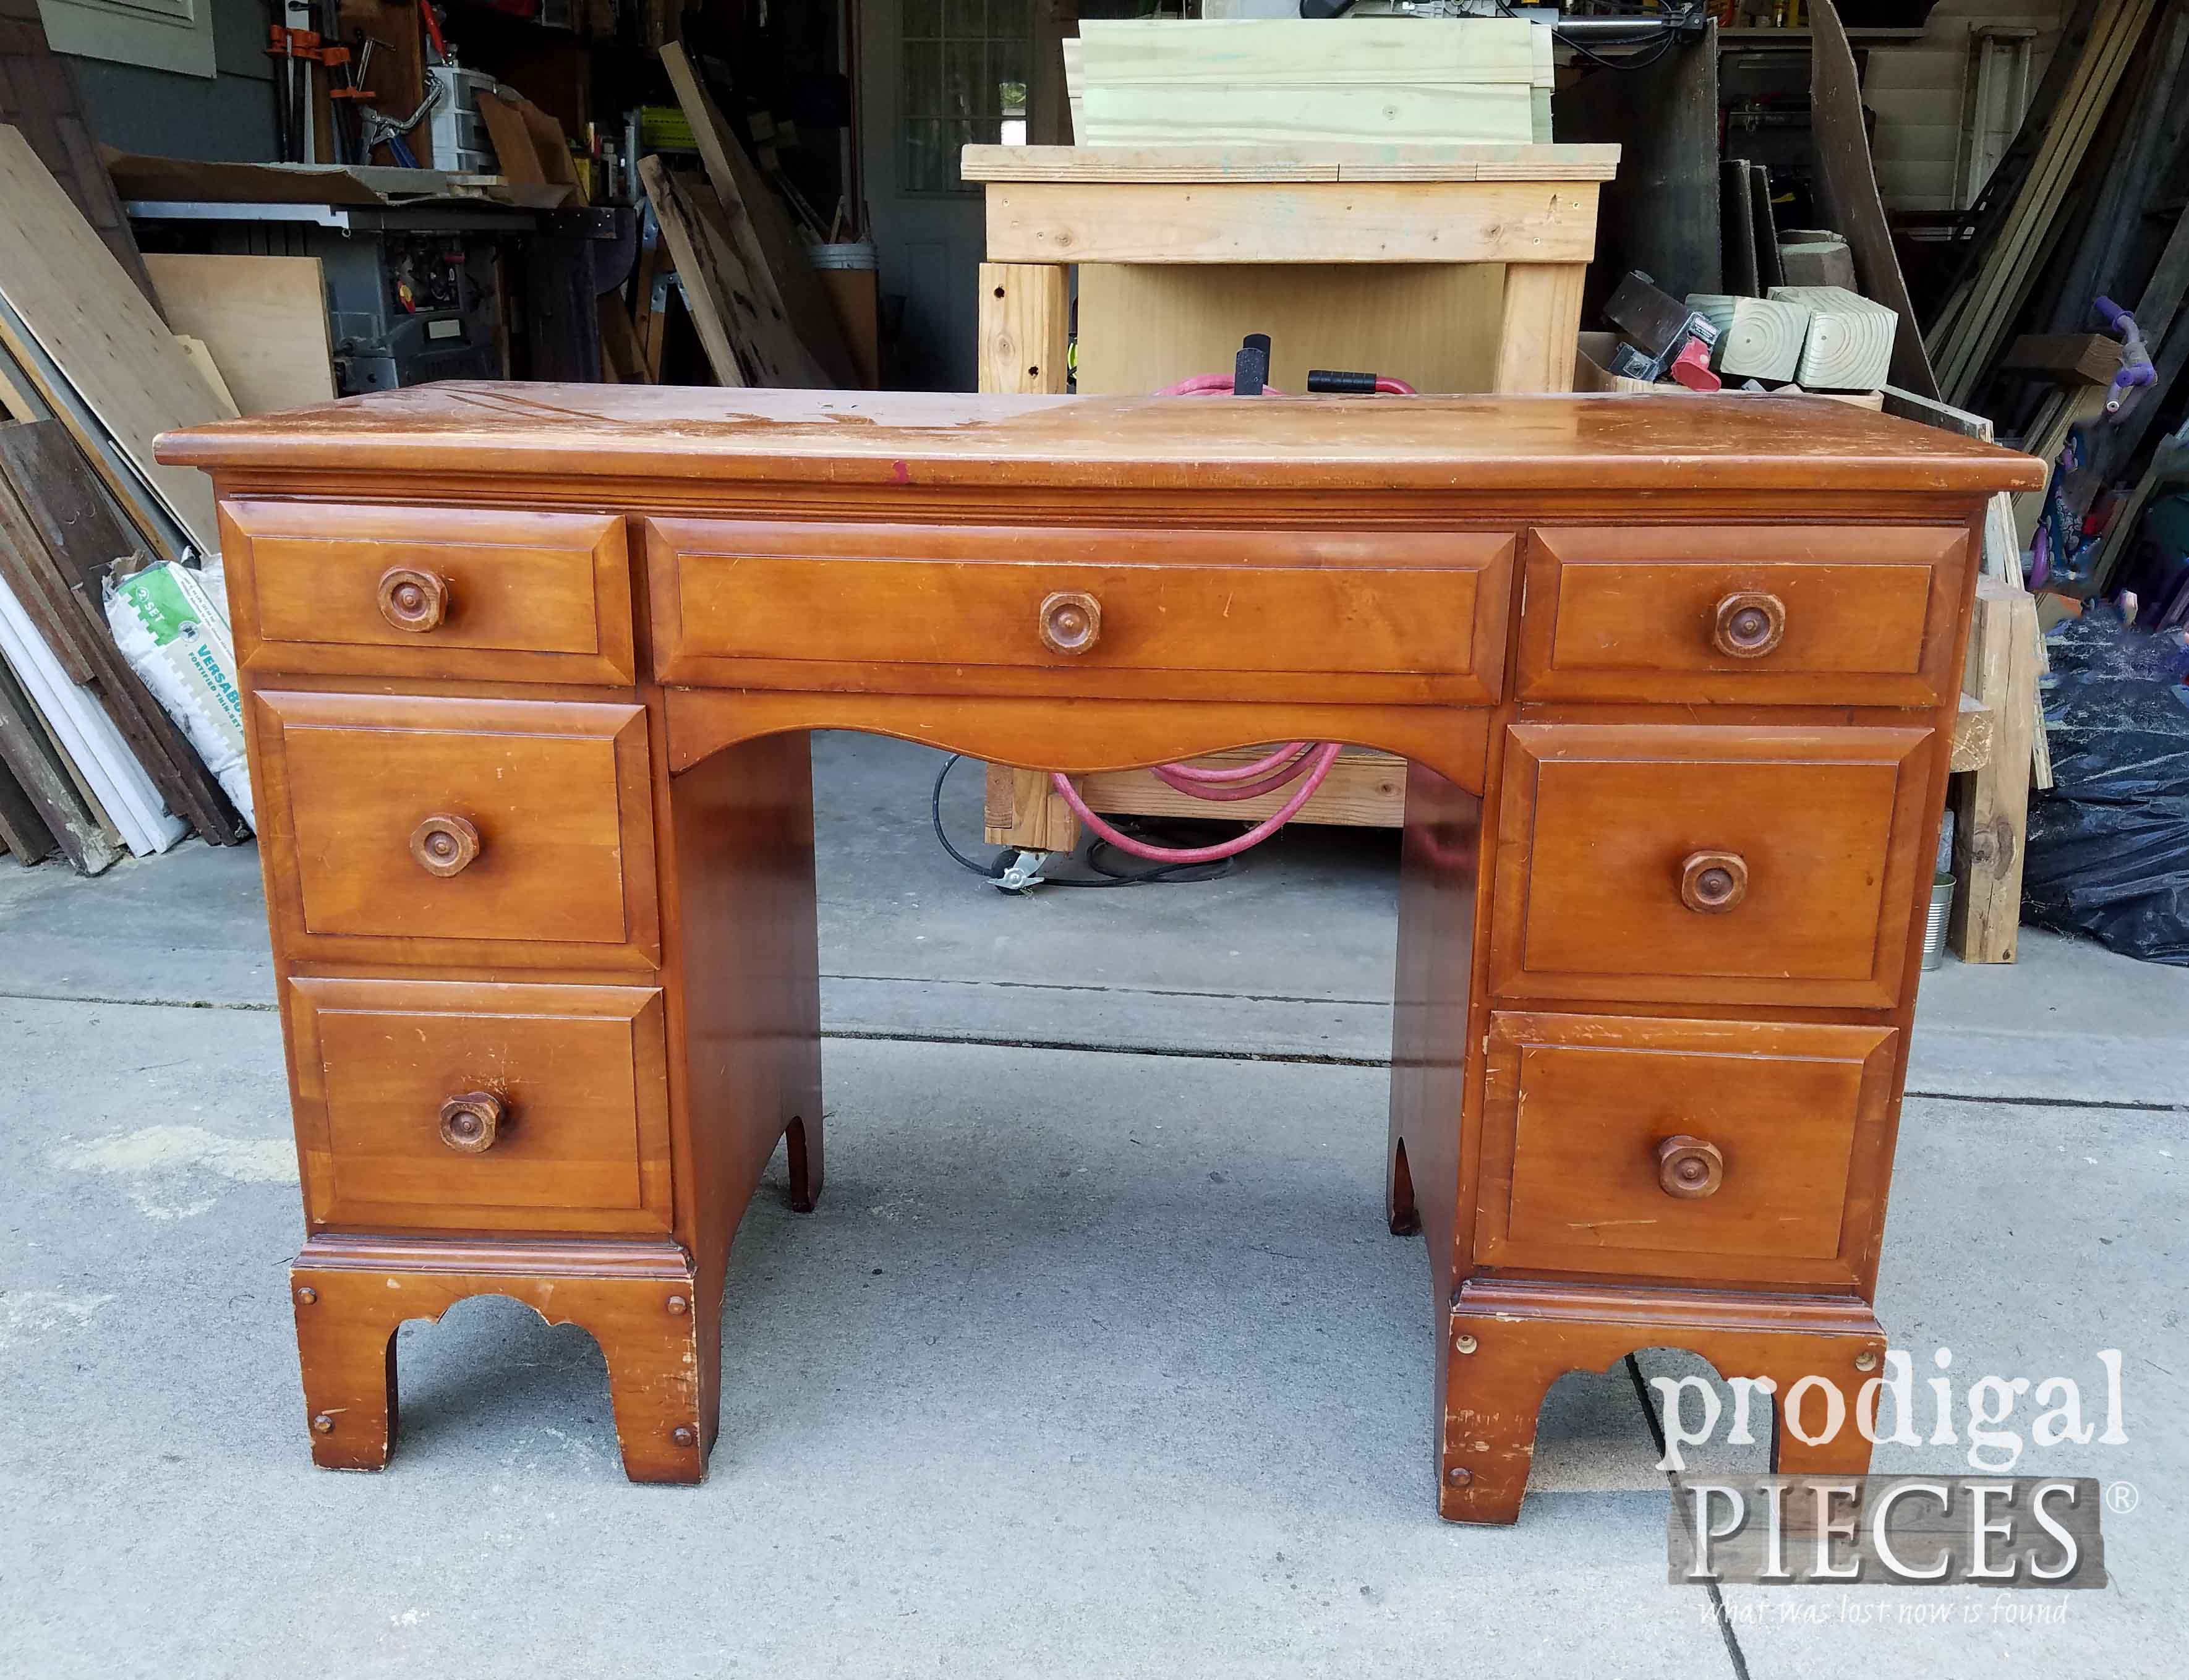
Up next, I have a sweet makeover using this thrifted “desk” as my subject. See the after HERE.
So be sure to sign up for my newsletter. PLUS, you will get your FREE Furniture Buying Checklist and special discount to my shop. Until next time!







This is such a lovely space you have created, You will be able to enjoy it, as the photos show, and the kids will have fond memories all of this when they grow up. That is the best gift ever! Next time I’m in US I’m coming to take over your hammock! 😉
We will keep it warm for you, Mary! Unless it’s winter and then it’s all yours. hahaha…thanks, girl!
What wonderful memories you and you children will have! Very warm and inviting. All you need now is a guitar for some sing a long moments ?! Love the plantings around your trees. That’s what I am working on. Picking out the best plants so I won’t hurt my tree. Your yard is so pretty! I bet your neighbors are working on theirs now! Ha! You truly are inspiring! Thank you!
We have four guitars, two violins, and a piano! haha!! Thanks for the love, Jamie. We are so happy to have it done and ready for the next steps. Coming soon!
I would live to know what you used for the outdoor curtains. I live that look!
Thanks! I have the link to them at DFO Home in this post: http://www.prodigalpieces.com/2015/09/our-patio-reveal/
Did you really use 2 tons of pea gravel, or did I misread that?
Yes, we did. 🙂
Holy smokes, the fire pit and your whole yard is AWESOME! Over the top gorgeous. You ALL did a great job! I adore that your whole family participated in creating the fire pit. Your patio looks so romantic, soft and peaceful. The hammock is so inviting. Enjoy!!! Thank you for all the details! 🙂
Before I forget, I want to spray some chairs with paint so they have a white washed look. 🙂
Sounds perfect!
You are so fun! Thank you, Christina. We have worked many years on it and are so glad we put in the time and sweat. We need to have a party! 😀
This is a beautiful space you have created! I would use the Homeright finish sprayer to help our daughter paint furniture that she will be taking to her college apartment! TY so much!
Thank you, Terie. That would be a sweet project for sure.
Beautiful outdoor spaces for your family. I would spray some old outdoor chairs for my painting project.
Sounds perfect!
What a beautiful fire pit! Your whole yard is lovely!
We all thank you, Carol. It is a favorite spot for us for sure.
Beautiful fire pit setting as well as your patio. Such a beautiful setting in the evening as well. Lovely area for nice family gatherings.
Hard work but so worth it seeing the end results and nice to see the whole family involved. Them hot dogs sure do look delicious. Nothing taste better than roasting hot dogs on an open fire. Like them solar light tree logs. I have the logs but have yet to buy the solar lights.
You all done a Wonderful job and High 5’s to you all.
Pinned. I would use the sprayer (which I could really use) to put on a stain on my new 16×24 ‘she’ shed floor.
Thank U 4 this giveaway opportunity
Got it!
It was a job that pays in full from start to finish, especially when done with loved ones. Thank you, Colleen! Oh,and yes, they are 100x more tasty roasted over an open fire. 😉
I have a bacpatio that is desperate to be refinished…this would make much quicker work of it. Especially the skinny area between boards.
There ya go! 😀
Pinned!
Got it!
Love it! Cant wait to try my hand at mine!
Thanks!
You have indeed inspired me! I have the space and would be happy if mine looked like your old pit. But my new goal for the summer is to round up some materials and get going on a fire pit of my own. Thank you for all your inspirations! You all did a great job.
Hooray!! That’s what it’s all about, Jane. I would love to see yours when done! 😀
Oh my GOODNESS, Larissa! This is GORGEOUS! You guys did an AMAZING job! Between your patio and your new fire circle (and a great family to enjoy them with!) I think you have a little piece of heaven there. : ) I can’t wait to see those furniture plans, your bench and tables are wonderful!
I love to give a sprayer a shot on our new space we’re converting to an entryway. It might be awfully handy on our deck though too! We’ve got projects coming out our ears, and I’m guessing your cute little fire pit tables may have just lengthened my list. : ) Happy summer!
I sure am blessed to have them and the ability. Thank you! Yes, build plans coming next week. Yay!
You better believe I have this PINNED!
Got it!
I have always admired what you do on such a small budget!! Love the backyard,it is looking just great! I could use this sprayer,for I have a lot of projects myself in the works. We all have our own spaces to contend with, I always tell my friends that my mansion is coming soon!!
Woot!! Thanks, Melinda. We had a blast creating and are so happy to share. My mansion is ready and waiting! 😀
My mother always said, “Bloom where you are planted” and you are a wonderful example of making the most of what you have. Your home is blooming with beauty, practicality and love! Shine on sweet pea.
Gorgeous! And all for less than $300. I so want to do this. Thank you for sharing once again, your lovely home.
It is our pleasure, Cathy. Thank you!
Making a house into a home is probably the most rewarding aspect of finishing one project and beginning another. Great job on both the patio and the fire pit area – great family gathering spots !
It sure is a continued blessing. Thank you, Susan. 🙂
I only have 3 blogs that I follow. Thank you so much for writing interesting, useful projects and letting us see why you create! I enjoy your projects! Keep creating and thank you!
I really like the pea stone, but boy is that a lot of work! It turned out beautiful though. I pinned this post too 😉
For us it was so much easier than our garden and other projects like the landscaping, but all is worth it. Thank you and I got your pinning. 😉
You just made my day, Michelle. Thank you!
I so love the closing theme on this wonderful project. I just finished reading At Home in this Life and the book resonates with the same message. Bloom where you are planted is so true. Thank you for sharing your wonderful family project and the awesome results. Just beautiful!
How wonderful is that? Yes, all about making it a place to love and be loved. Thank you!
You know what, you did it again, amazing job, oh my word it all looks so devine, your family are a bunch of cutie’s too, nice work all of you….x
aww…thank you, Janette! hugs.
Your fire pit is awesome. And what a beautiful family. No doubt many evenings will be spent there making memories.
Now I feel that the kids are safer and we’ve been able to get our yard looking normal again. Thank you!
Looks just wonderful! Wish I had your “helpers” in my yard for a day! LOL! Thanks for the chance to win this sprayer – already have some projects in mind I have been putting off because of the difficulty – I sure could use this!
They are such a blessing! Thank you, Barbara. Hope you win!
The yard looks gorgeous! You should be featured in Country Living magazine! I love how you make it a family affair and get all of the kids involved. I’m excited to learn how you made the side tables.
You are too sweet, Rachel. Thank you! Yes, we’re all about family and we wouldn’t have it any other way.
I would use the sprayer to re-paint my wicker front porch furniture!
Perfect! I have a strong dislike for painting wicker any other way than with a spray can. 😉
That is gorgeous!! I would tackle my front deck, we are rebuilding one next month.
That sounds perfect!
I pinned the project 🙂
Got it!
That looks awesome and so inviting!!!! Great job!!
I’m so happy to hear it as that is what we were after, Sandra. Thank you!
Your backyard is amazing. I am wanting to do a similar fire pit area in my backyard.
It sure is such a blessing to have it cleaned up and family-friendly. Thanks!
The fire pit is fantastic and your backyard is beautiful. Thanks for sharing this project. I would love to get a sprayer so I could paint my shutters. I’m doing an exterior makeover on our 112 year old house and the shutters really need some paint. Then I would use it on our garage doors. Thanks for the giveaway!
Thank you, Becky. We love it! Sounds like the perfect spray project.
So cozy and beautiful! My husband and I would be out there playing guitar and singing! I would love that paint sprayer for my kitchen cabinets!
Wow, just wow. Your fire pit area and whole backyard area is just gorgeous. What a wonderful place to spend time with family and friends. Well done!
We couldn’t be happier with it. Thank you, Deb!
Love your website. You inspire me; I am always amazed at how you can do so much with six children! Your backyard fire pit looks great and I know you’ll create so many memories there. A sprayer would help me re-do my son’s furniture for his new apartment. Thanks so much for this opportunity!
They are the reason I can do much as they help out in any way they can. They truly are a blessing. Thank you for the love!
Beautiful outdoor space! I can’t wait to share this with my daughter!!
aww…how fun! I hope she like it. 😀
Gorgeous area and I love the chairs. You all did amazing job and so inspiring.
Thank you, Vanessa. Now to enjoy summer, right? 😉
Beautiful fire pit! I appreciate the level of detail in explaining the different steps that will make it safe and last a long time.
Thanks for saying so. 🙂
Love this project a I love all you share! I would paint the metal motel chairs around my fire pit!
Awesome to hear! Thank you.
Wow! You’ve all done a terrific job on the firepit area. Love it ! Although it’s usually too hot in Texas for this, it would be a lovely area to hang out. I’d probably use the sprayer to finish the lattice on our deck. It really needs it !
We like to enjoy it all year long, so hot or freezing we’ll be roasting! ahaha… Thank you, Patty.
Have pinned this to one of my Pinterest boards ! I see someone else mentioned using the sprayer for her wicker furniture….a GREAT idea…. I need to do that also ! Glad I saw it!
Oh yes, I have a strong dislike for painting wicker by hand. Evil! 😀
Larissa, you never cease to amaze me! You and your family’s drive and creativity are an inspiration to me. I think my favorite part about your posts is that you always throw in tips about how to share or make use of things you no longer need or want. You are my role model!
You made me blush, Michelle. Thank you so much for all support.
Larissa,
You and your family never cease to amaze me! Beautiful, functional, creative yard amenities, ALL of it! I could sure use that HomeRight sprayer! You have no idea what needs to be done around here!
We are so happy to hear it, Linda. Thank you for taking the time to show love. I wish I had a sprayer for everyone!
I’m new here and your whole outdoor space is absolutely perfect. I will need to go back and read all the prior posts!
Hi Christine! So glad you stopped by. 😀
I just went back and watched your vide. I am a mother, grandma, teacher, DIYer, and repurposer. The amount of love you all put into raising your family makes my heart happy. Your blog is so honest and full of love that I never miss reading it and reccomend it to my friends and customers. You are a true example of how we can live a life that has quality. If all parents took the time to instill important values in their children our world would be a better place. Thank you.
You spoke my mind Judy! Well said!
aww…thanks, Paula!
Judy, I have to tell you that you absolutely made me tear up with pride. Thank you for getting why we do what we do. We don’t always know what we are doing, but we try. Hugs to you!!
I love that your whole family gets included in your home projects. Not only do your children learn work skills, but it tightens the family bond and honors the Lord. I would love to win a Homeright sprayer! I keep hearing good things about them and have many projects to finish – some outdoor chairs, a plant stand, and a dresser, among others. Thanks for sharing your home adventures.
You are so kind to notice how we do what we do. That means much as it is hard to convey our heart via the internet. We really do try to do what’s best. Thank you! 🙂
This firepit area is awesome! Your family did a great job. I just built some outdoor furniture and need to get some stain and sealer on it, too. Thanks for the inspiration!
Kudos to you for doing it yourself! It feels so good, doesn’t it? I would love to send everyone a sprayer. Hope you win!
Wowzers! Love the new fire pit area. Y’all did an awesome job on it and made it look so easy. Enjoyed the video, too and amazed at how quickly the new sprayer works. We could sure use one of those as we are building and addition on our house, ourselves, and are going to be doing a LOT of painting.
It sure does beat brushing by 1000 times! (ask me how I know) ahaha…
Your backyard looks so inviting. You did a fabulous job.
You are so sweet to say so, Debra. Thank you!
AHHH-Mazing!!! You all did a fabulous job! Kudos!
Woot, woot! Happy dance from us! 😀
Your new fire pit turned out great! It is so nicely done and looks very inviting. Our fire pit is a big hole in the ground – ugh! If I had the new sprayer, first thing I would do is weatherproof my outdoor swing and a couple of other pieces of outdoor furniture. Thanks for sharing this wonderful project.
Yours sounds like ours was…hahaha…to which I always told myself some is better than none. Right? It is my pleasure to share.
Absolutely ❤️️ the finished look! The hand made and purchased furniture blend together so well. I especially like that there’s multiple areas to relax in so everyone can be together but have separate space also. The lights in the evening make the entire space look so warm and welcoming! Job well done!
You nailed it! I want them to feel like they can get away with a book or sketch and just be. Thank you so much, Nicole.
Wow Larissa! I was prepared to be amazed. But this is incredible. The best part is the love put in and the love that will come out of this. Thank you for sharing and inspiring. PS I haven’t gone to the raffle widget yet but I’ll go ahead and tell you that I pinned this and I’m not staining that picnic table until I have a HomeRight sprayer! We are about to start on a permit-required entry porch (that we will add on to later to make a deck when we have more $ to work with) so we would definitely use the sprayer for that too! Thanks for another great opportunity to win tools! YOU are the Jewel!
I am bursting with pride, Paula. A good pride – one of accomplishment and favor for my family that worked countless hours to make this happen. Thank you! (and got your extra entry) 🙂
Larissa, all I can say is, , , wowzers girl another fabulous transformation!!! Your property is so warm, inviting, and beautiful!!! I especially love the evening photographs, those really show off the beauty you and your family have created! I wish you and your family many, many happy memories together enjoying your fabulous outdoor retreat.
I breath a sigh of satisfaction, Kaycee. We really tried to make it inviting and am so glad to hear you see what we feel. Thank you!
Absolutely love the fire pit and your patio. What a wonderful place to enjoy with your family and create wonderful memories. I have a picnic table in my yard that I could really use the sprayer on as well as other projects. Thanks for your amazing inspiration you always provide and another great opportunity to wind tools. You leave me hanging on edge wondering what awesomeness you’re going to create next.
It sure is a blessing to have, Debra. Thank you! I love your vibe. 😀
Larissa!!! Team Prodigal Pieces did awesome, it looks wonderful.
High five, girl! So glad you stopped by.
You have a lovely home Larissa, but your outdoor spaces steal my heart — I have enjoyed following along with the individual projects and this one is no exception!!! Makes me even more excited for the upcoming ones as well! Just when you think it can’t get any better, you do it again (LOVE that)!!! I’m pretty sure I’ve pinned all of all of them!!! I can think of numerous projects that the HomeRight Finish Max Extra (and a number of their other cool products) would not only simplify but actually result in more completed projects, starting off with the deck at my Dad’s cabin! Thanks for the inspiration and your outstanding step-by-step tutorials (on all of your projects) which has finally resulted in me subscribing instead of stalking your blog on a daily basis!
I love to hear that, Kelly, as we really do try to keep it fresh and alive. Thank you!! Your dad’s cabin sounds like the perfect spot. Yay!!
Your yard looks great. Your comment about living in the country is our family’s feelings as well. We’re currently saving for that one day, but grateful for where the Lord has us now. We are very blessed. Projects are too numerous around here. I suppose I would use the sprayer more than I can count! Our back door needs to be replaced, walls need painting, and we are contemplating painting the house. Yikes! Thank you.
I feel that we may never get there and it’s best to make the most of our spot as heaven will remedy my longing one day. If He feels suited to bless us with it then I will be all the more happier. Good for you on doing the same. Thanks so much!
Larissa! I’m beginning to believe that you really are the inspiration for SUPERWOMAN!
I need her body figure too!! hahahaha…thank you!
What a cool family gathering spot! I would like to be in the dawing for the sprayer. I need one to refinish the front porch!
Sounds good to me! 😀
Gre!at how to.! I’ve pinned it for future reference.
Got it!
Thank you for blessing us with your talent and family! This is a wonderful project.
You are so kind to say so, Linda. Thank you!
You created such a cozy space to spend downtime with your family. Watching the first video, your little one is so adorable helping dig up the grass. Your yard (while it may not be your dream farm is such a nice size) is coming along beautifully. I may steal your idea for holding the wiener sticks when not in use. Ours are inconveniently hanging in our shed.
Thanks,Marie! Everyone worked so hard and it really came together as planned. We had ours in our shed too! ahaha…
What a great backyard change! So serene and comforting.
We certainly enjoy it. Thanks, Dianne!
Pinned! I would love to have a sprayer like that to stain our back deck and then I have a corner cabinet and desk that need some TLC. Thanks for all your inspiration! 🙂
Got it! 😀
I would make a privacy screen for our hot tub.
Sweet.
Loved this family project! I would use the sprayer to repaint furniture. It would make the job quick and easy!!
It most definitely would!
Pinned it to my diy board!
Got it! 😀
Great job!!! You do such amazing transformations, I always look forward to seeing what you’re going to tackle next!!!
What fun to hear, Tania. Thank you!!
Loved your work! looks amazing!
I would tackle spraying some of our outdoor furniture.
Awesome! Thank you, Steve.
Your back yard looks amazing, and I would love to give that sprayer a try.
We’re so happy to get that part of it done. Much more to do, so we’re flying around! haha… Thanks, Sandy!
The fire pit area turned out great, and it was a great family project too! Enjoyed the post.
Thank you, Carlene!
Absolutely amazing !
aww…thanks for saying so, Charlene. 🙂
Oh my … could I ever relax in your lovely yard on a summer’s night! You and JC have created an inviting environment in your own backyard. I want to come live with you! Tee, Hee!
We couldn’t be happier with it, Bonnie. Thank you! Now for the other side. gulp. 😉
I love everything about your back yard makeover! The fire pit update is amazing and what a sense of satisfaction it must be as you set and enjoy the fruits of your labor! I have six wooden porch rocking chairs that are badly in need of repainting. This sprayer would be just the ticket as I just can’t face brushing all of them! Always enjoy reading all of your posts!
It sure is a wonderful feeling, especially to be with my family. Thank you, Lynette!
I have an old table that I’ve been meaning to get to!
Perfect!
I love this, all of it, the diy fire pit, the design, the furniture, and the stain. You inspire me so much, I love you style and your I can do anything attitude. I want to be like you when I grow up. Haha. You have some of the best ideas and have so much talent. I’m learning to be more creative and to trust my ideas. This sprayer would make my list of painting projects go much faster and easier. Thanks for the giveaway.
Brandi, you are so kind to say so. Thank you! That’s the DIY spirit!!
i have an old dresser i cold redo and id use this to paint it with and id paint a fence
Those sound like perfect candidates.
i pinned it
Got it. 🙂
I love your project! I think that the first product I would tackle is refinishing a dining set that I got at a rummage sale.
Those are so much easier with a sprayer!! That was one of my first projects I used it on and boy did it rock my world.
I want to paint my cabinet faces. Not quite sure if this will be able to do the job. Otherwise I have some lawn furniture that needs painting.
Sounds good!
Such a great job, Larissa! LOVE the furniture and the addition of the fire pit section to your yard is amazing!!! Congrats, girlie. Susie from The Chelseaa Project
Hugs to you, Susie! Thank you for taking the time to stop by.
I’ve been dreaming of repainting my IKEA cubbies with a HomeRight sprayer. After that task, then a lot of outdoor furniture and planters. All those jobs with corners and crevices would be soooo much easier.
Love how your yard came out. Looks like hours and hours of enjoyment.
Thank you, Robin.
This os exactly what I have been wanting to do sith my backyard. Yoj have inspired me to get started!
Excellent to hear! 😀
I love the new fire pit area and the patio/picnic area. Both so pretty and inviting!
Like a dream come true to have it done. Thank you!
1st your pergola is my favorite,but now your fire pit I’m in love with this idea. Now I have to stay tuned a,solar powered light is genius. Love your tutorials
I can say the same, Cheryl. Thank you! We are so excited to share.
P.s. pergola tutorials…? Love the lights
I have the links near the bottom of the this post. 😉
What a peaceful looking place. I would love to sit either around the fire pit or have dinner on your patio. Great job
I wish we could have you all! What fun that would be. 😀
Love this project, looks very cozy..
I want to paint my dresser..hope to win
Sounds good! 😉
Pinned it!!
Got it!:D
Awesome job. Your backyard is truly an amazing space. I have lots of furniture to paint and a HomeRight sprayer would make it alot easier and quicker. Thanks for the chance to win.
They sure are a blessing to make the job easier.
Pinned it.
Got it!
Absolutely beautiful and how wonderful that it was a family project too. I love the fact that you gave your grass and other plants away instead of tossing into garbage. I have a swing and a similar looking chair that would love to be update with that Awesome Sprayer along with my potting bench!
Thank you for sharing all the pictures of your project and family. I’ve pinned this too ?
Yes, we would hate to be so wasteful. I love that others love our castoffs! Thank you for the encouraging words, Cornelia. Got your entry.
Pinned 2 mages to my landscaping and outdoor living ?
Got it! 😀
What a difference!
Thanks, girl!
Love your work. When I first started following you, I ask my husband for the Homeright sprayer you were using. But as most men do, he chose a different one andI don’t like it at all. Would rather hand paint to use it. That being said, I would finally have the one I wanted in the first place.
Oh no! hahaha…yes, men can be like that. He tried! 😀
Pinned
Got it! 😀
I bought second hand furniture for our lake cottage, so I definitely have several pieces that I have to re-do to go with my color schemes.
Oh to have a lake cottage. Fun!
This project is so timely for us! We are in the thick of working on our outdoor space. We are rebuilding a deck that is falling apart…so the sprayer would come in very handy to help spruce up the boards we are able to salvage and for the new ones we put in!
It sure is! I hope you win, Deanna.
I would love to have this sprayer to refinish my chairs
It makes them a breeze for sure.
I would adore having your backyard creation in my own yard. It looks beautiful during the day and magical at night. You should all be so proud!
That is such a treat to hear, Susan. Thank you!
Another great project! Thank you for sharing.
Thank you, Cathy!
Ooops! I’m supposed to tell you what project I would use the sprayer for. We inherited the bench we gave my father-in-law when he passed away. I would so love to give it a makeover that would do my husband proud and make us think of “Poppy” every time we stepped outside.
That is a treasure for sure.
Great transformation! Can i rent out your helpers?!?
haha…on their way! And the charge. 😀
My over-size garage needs painting so desperately! That is first on my long list!
I know the feeling! 😀
Gorgeous fire pit! You will have so many fun memories there with your cute family!
Thank you, Anya. We sure hope so.
WOW! Can I hire you to make my yard look that nice?
I’d use the sprayer to cover my old ugly outdoor furniture.
hahaha…sure!
I would tackle the railings on my deck!
Those are a pain to brush! 😀
You did a great job! I saved this idea for my vacation land in MN. I’d use the sprayer for a dresser that is sitting in my garage, waiting for a new paint job!
I’m on my way!!
I’ve been looking for an inexpensive but nice looking way to put a fire pit in our yard and I think I’ve found it! Thanks!
The project I would use the sprayer on is an Artdeco waterfall dressing table I scored for $30. I usually paint by brush but have hurt my hand which makes painting by brush on large pieces a bit tricky. I would use the sprayer for the overall painting and brushes on the details.
Hooray!! I hope it works out for you. This sprayer would be so nice for you.
I just bought an inexpensive sprayer to use on a home remodeling project we are just finishing up. I wanted to spray all our trim before it was nailed in place so I would only have to do touch up paint indoors. But now I have several pieces of furniture to paint to complete my rooms. Would LOVE this Finish Max!
That is a great idea to get it done. I’ve done that too and makes it so much faster. Hope you win!
Beautiful! You always do such a wonderful job and are truly inspiring. First thing I’d attack with that sprayer would be my dining room table and chairs followed by my ridiculously huge nightstands that are in need of a makeover. Love how you got the whole family involved. Enjoy that space and make wonderful memories.
Thanks for saying so, Rachel. We enjoy sharing!
Larissa – Your backyard looks awesome with that great furniture and the stuff you made. The thing that really finishes it off are the white lights. I’ve always wanted those in my yard. There is something about the soft white lights at night that is nostalgic and so homey in my opinion. Kind of makes me feel all warm inside. Hope your family thoroughly enjoys your beautiful yard.
I’m right there with you, Jane. It add that magical touch.
How much fun to have the whole gang work on this project, Larissa! The sprayer is great for furniture and I’d love to try using stain.
It sure was and I love having them with me. I will be lost when they are gone. 🙂
I would spray my outdoor furniture and the wood fence around the patio. Love your project!
Love that idea!
I’ve pinned it!
Got it! 😉
I love your project! I love all of your projects! And you have a beautiful home and family, I know you’re proud! I just landed my first cabinet painting job, so that would definitely be the first project I would tackle, however I have several kitchen chair jobs to do as well…and you know how fun that can be by hand! Thank you for inviting us into your home daily! Be blessed!
Dana
Congrats to you, Dana, and thank you for the love. This would be perfect for cabinets as they are not so much fun to paint. Ha!
We want to do something like this in our “ugly” backyard!
It would be so fun!
Love HomeMax
Yay!
Your fire pit is lovely and very inviting. Your project inspires me to beautify my patio area. I would paint/stain my patio benches, planters and steps.
Thank you! I’m happy to hear you enjoy it.
Larissa,
I look forward to your posts everyday. I am so impressed with the skills you are passing on to all of your children. Seeing your wonderful backyard oasis and your family gathered around the gorgeous table takes me back to years ago spending almost all day (and sometimes all night!) with my family in our back yard. There were ten of us kids. Imagine the fun games we played with all of us and all of the neighbor kids as well. My mom would have loved your outdoor farm table! Keep up the great work.
Oh, what fun it is! I’m sure you have memories to last a lifetime. We are so happy to be able to share with you and make memories of our own.
Oh How I Love your project! It is the perfect summer smore station! Thank you for sharing your projects and family with us!
As far as what I would first with the HomeRight Finish Max Extra? It would be very hard to choose from a million projects… May have to start with one and let her rip! Color Everywhere!
mmm…yes! We are delighted to have it done and enjoy. You sound like a gal after my own heart!
Wow, your firepit is surely fantastic, but I”m also loving your patio as well. What a great backyard for living and enjoying each other’s company. Give your entire troop a pat on the back…looks great.
Hugs, LYnn
Thanks so much, Lynn. We love it!
Can I ask where you got the benches and aderondeck chairs?
I have links to them in my post. 🙂 We built the benches and got the chairs from dfoHome.
I love your yard! I agree about using the limestone if you can get it. I plan to use some here. I just foundout last year while relatives were in town and we did a boat tour on Lake Huro n that we have the largest limestone quarry in the US about 30 mins from us. Who knew?
I think it’s a great choice NOT to have gone with the pea gravel. While there is something very appealing to the rounder stones, we did a project with it a few years back and I found it very frustrating how much it moved. There were always footprints, and the stones got kicked out of the walkway we’d mde CONSTANTLY.
If I were to win the sprayer I’d use it to paint our 16x20ft 2-story henhouse and it’s fence!
Thanks! Yes, the tracking of stone is not my favorite thing, and we are happy with our stone. We actually just used the 411 size to make a walk along the side of our home and love how it came out. I wish I had a henhouse too! 🙂
Love the fire pit area. Wondering about the concrete tables, did you make or purchase?
Thanks, Shauna. I have the tutorial for them right HERE.
This looks awesome.
Thinking about doing the same in our yard. How is the drainage? We are on a slight hill and wondered if the yard tarp is sufficient
Thank you. It drains great. No issues whatsoever with it for several years now.
What size fabric did you buy?
Size doesn’t necessarily matter as long as you overlap seams and cover the area. However, I think we used a 3 or 4 foot roll.
Where did you find the furniture around the fire pit? The link II at working. Everything looks great! Thank you for sharing. Now I feel confident that I can definitely DIY my fire pit.
Misty, I’ve updated the link to DFOHome as mentioned in my post. I’m absolutely sure you can DIY it. Have fun!
Can you please share either how you made the side tables or where to purchase them? Thank you very much
Sure! I have the link up in the post, but also you can find it here: https://prodigalpieces.com/diy-concrete-table-diy-solar-lamp
Hi,
Stunning back yard. We are doing a fire pit area as well. Wondering how the Adirondack chairs have held up?
Not sure how long ago this post was, but if recent would love to go into your drawing for the sprayer 🙂
Thanks
Tanya
Hi Tanya! This was a post from 2017 and the chairs are holding up wonderfully. We cover/store them during our Ohio winters, but also am planning to refresh the protective coat this summer. Thanks!