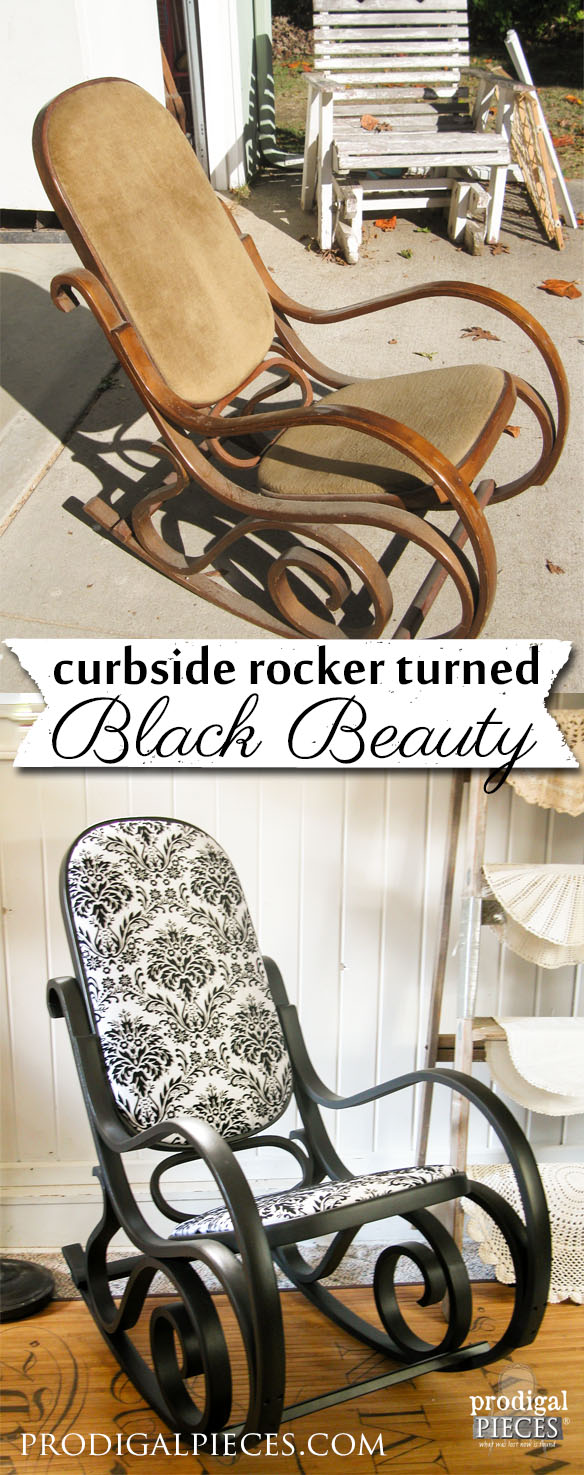
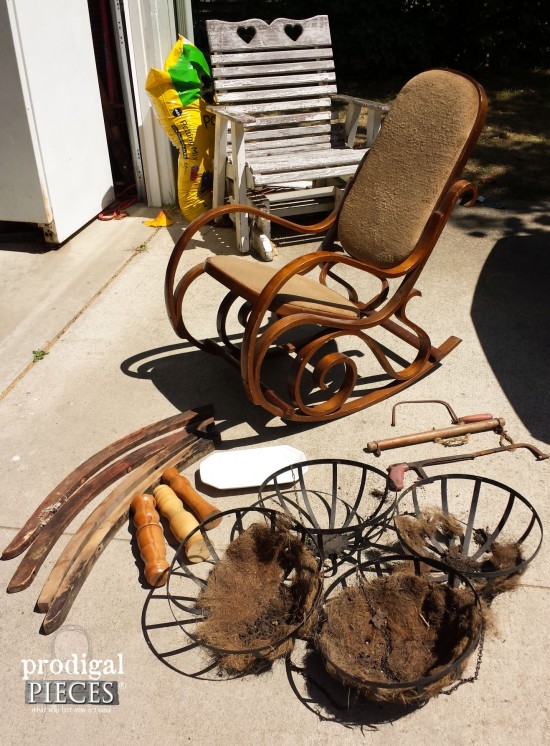
I’m doing a happy dance because today is Trash to Treasure Tuesday! It’s a fun time when I get to join up with my bloggin’ gals to inspire you to see past the junk and find the treasure beneath a thrifted goodie or curbside find. My #trashure piece, a Bentwood rocker, was found curbside while on my way home from a garage sale. Check out my haul…
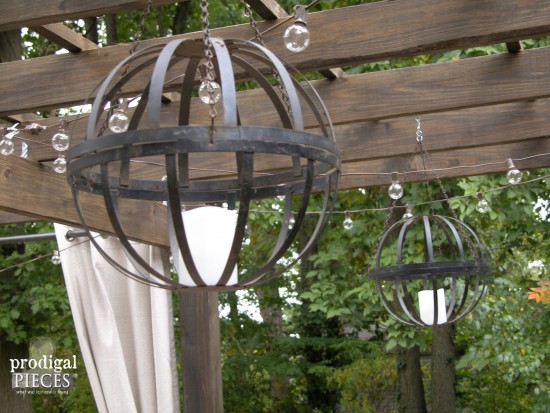
Junky heaven, right? From the garage sale and only $10 later, I found some wood turnings, old rusty tools, salvaged rocking chair rockers, a vintage Pfaltzgraff bread plate (sold lightning fast from my shop), and those four hanging flower baskets I turned into lanterns for our patio makeover. (Head on over to check out our patio, it’s full of good stuff!) First, the turnings became tiered stands, complete with DIY tutorial. Then, those rockers become a lamp for my family room. Next, those turnings became tiered stands here. Oh, and the coping saw became a funkified sign – see HERE. whew! Not bad,eh?
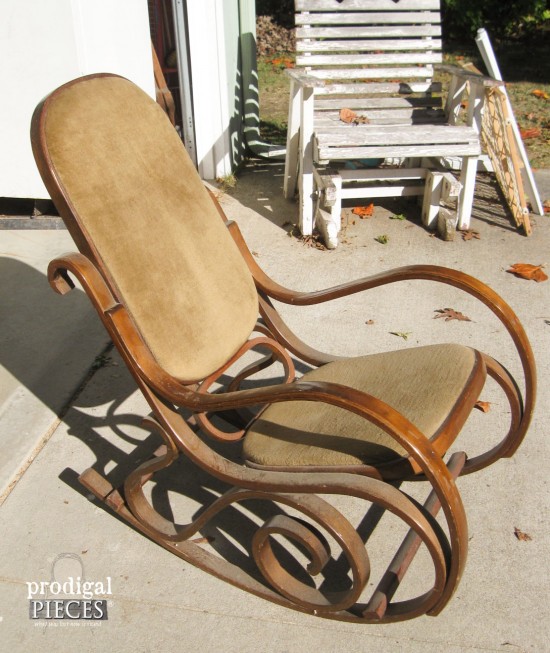
With that in mind, on my way home from that garage sale, the cruddy Bentwood rocker was sitting curbside, so I checked with the owner and he said, “Take it”. tsk. That’s music to my furniture-lovin’ ears.
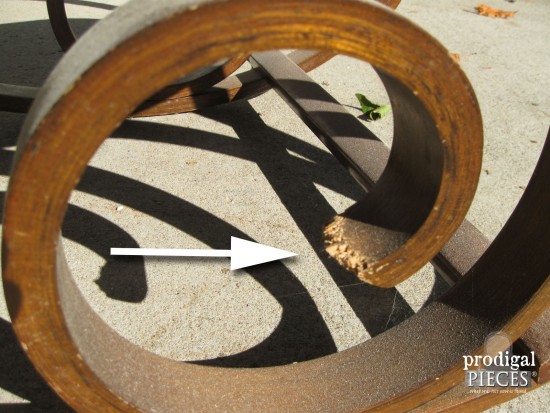
In the first place, outside of being plain ugly, it really was in decent shape. Not only is the upholstery was worn and faded, but also some puppy had used it for a chew toy.
DIY TIME
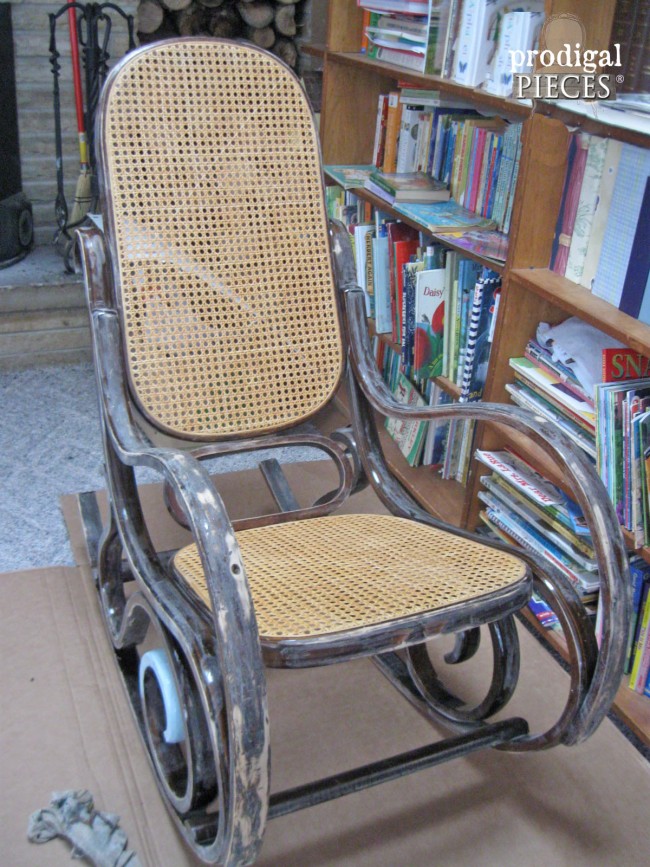
To begin with, a little wood filler and sanding, that damage is easily repaired. Now, in case you didn’t know, I’ve worked on a Bentwood rocking chair before. That one was caned, and totally called out to be embroidered. Likewise, you can read all about that makeover HERE.
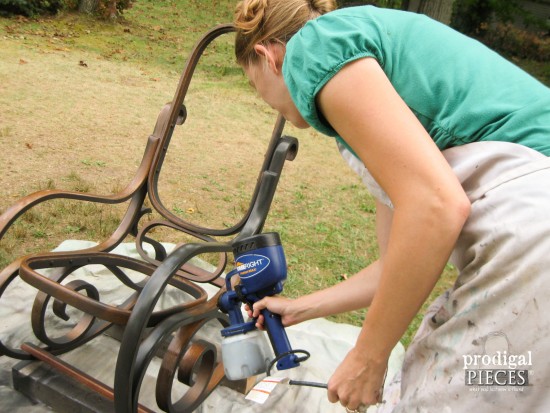
However, for my newest rocker though, it was all about the paint. Knowing how un-fun hand-painting those rockers were last time, I have shied away from snatching up these chairs again until now. Either way, I’m not trying to sound commercial, but I absolutely LOVE my HomeRight Finish Max paint sprayer! I’ve used it in on a farmhouse dining table, a highchair, our DIY fireplace, and even the HomeRight Heavy Duty sprayer in our boys’ room makeover (you need to check out those posts, my videos show the proof is in the puddin’!). Seriously, those sprayers are lifesavers in my book.
PAINT TIME
So, of course, this time I didn’t hesitate to whip out my sprayer to tackle those curvy legs. First, I apply a coat and it’s done in 10 minutes…eep! ♥ And with my HomeRight Rapid Clean, clean up was in 5 minutes. You can’t beat it.
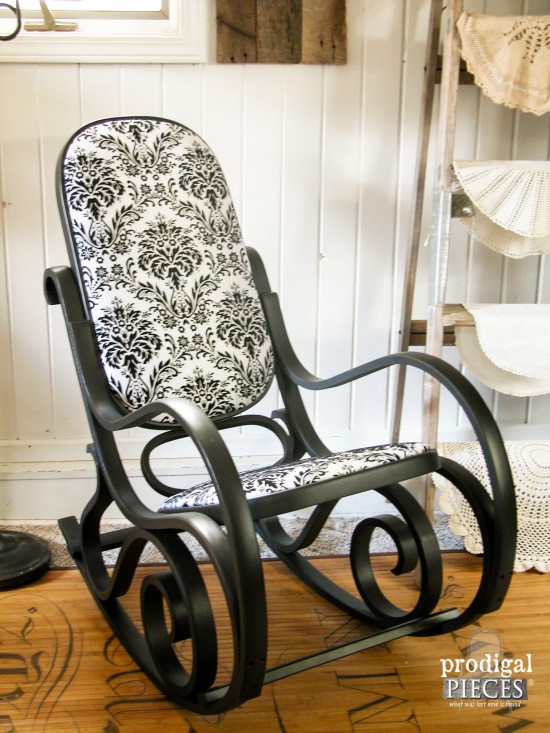
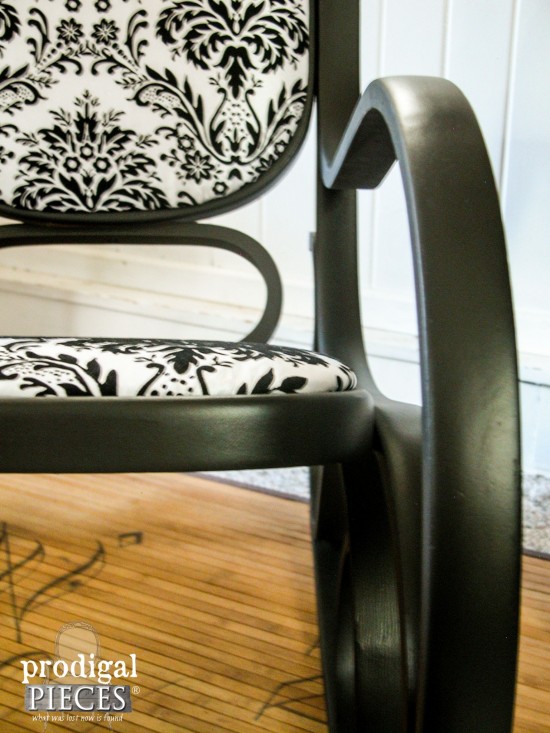
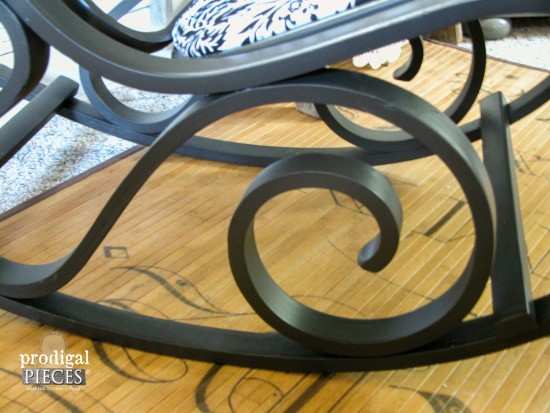
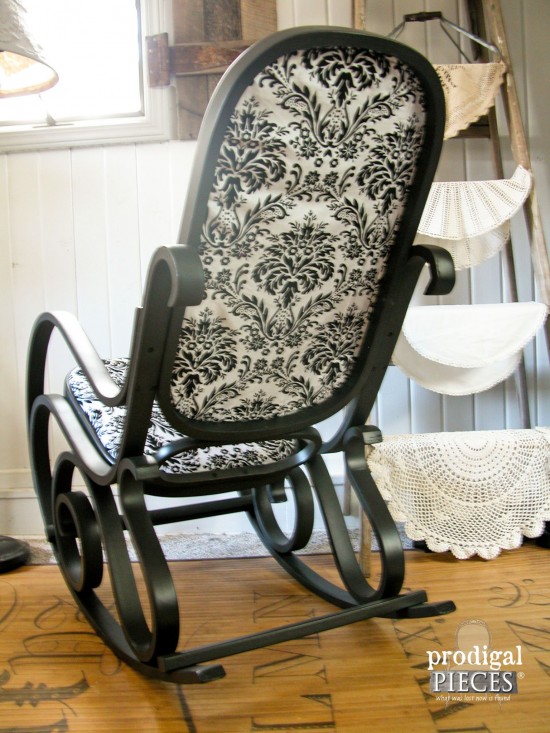
Then, after two coats of flat black paint on both top and bottom, I did a coat of satin poly. As a result, just look at that even coat and that glorious shine.
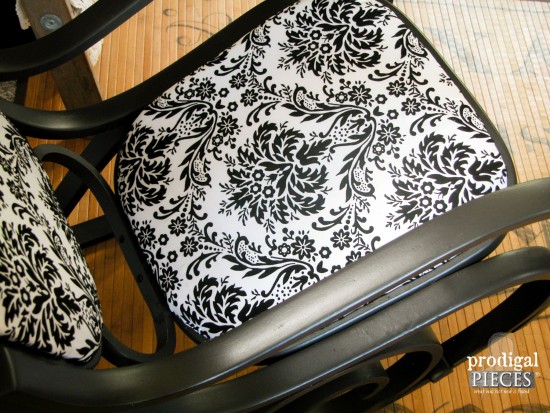
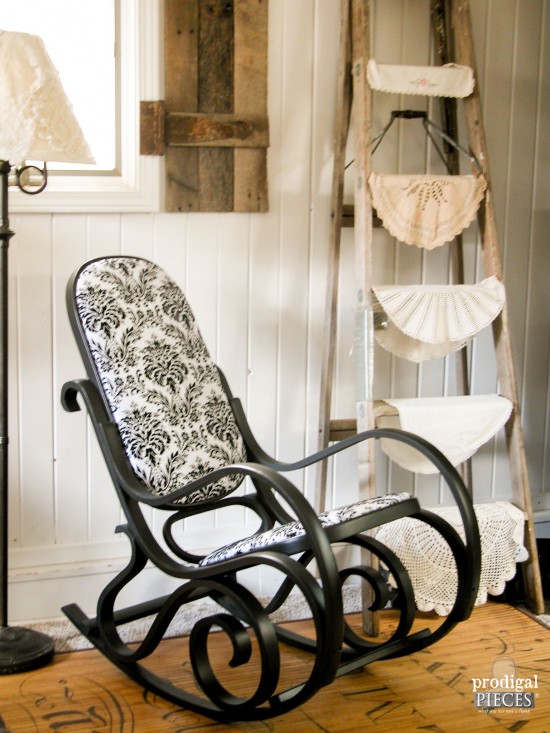
Additionally, I love the damask fabric I found to cover those ugly brown cushions. Now this curbside rocker is a black beauty, don’t you think?
Finally, dog chew toy, no more. This curvy lady is now whole again and stealing the show.
Funny that you can find these chairs at garage sales, thrift stores, and even curbside. Maybe now you may think twice and grab one for yourself? In the end, I decide to donate this chair to a local crisis pregnancy center to help a new mom in need. Truth be told, I love a good #trashure story with a happy ending.
SHARE
In addition, I’d love it if you’d pin and share so that others can look past the trash and see the beauty too!
To get these DIY tips & tricks in your inbox, be sure to sign up for my newsletter. PLUS, you will get your FREE Furniture Buying Checklist and special discount to my shop. Until next time!
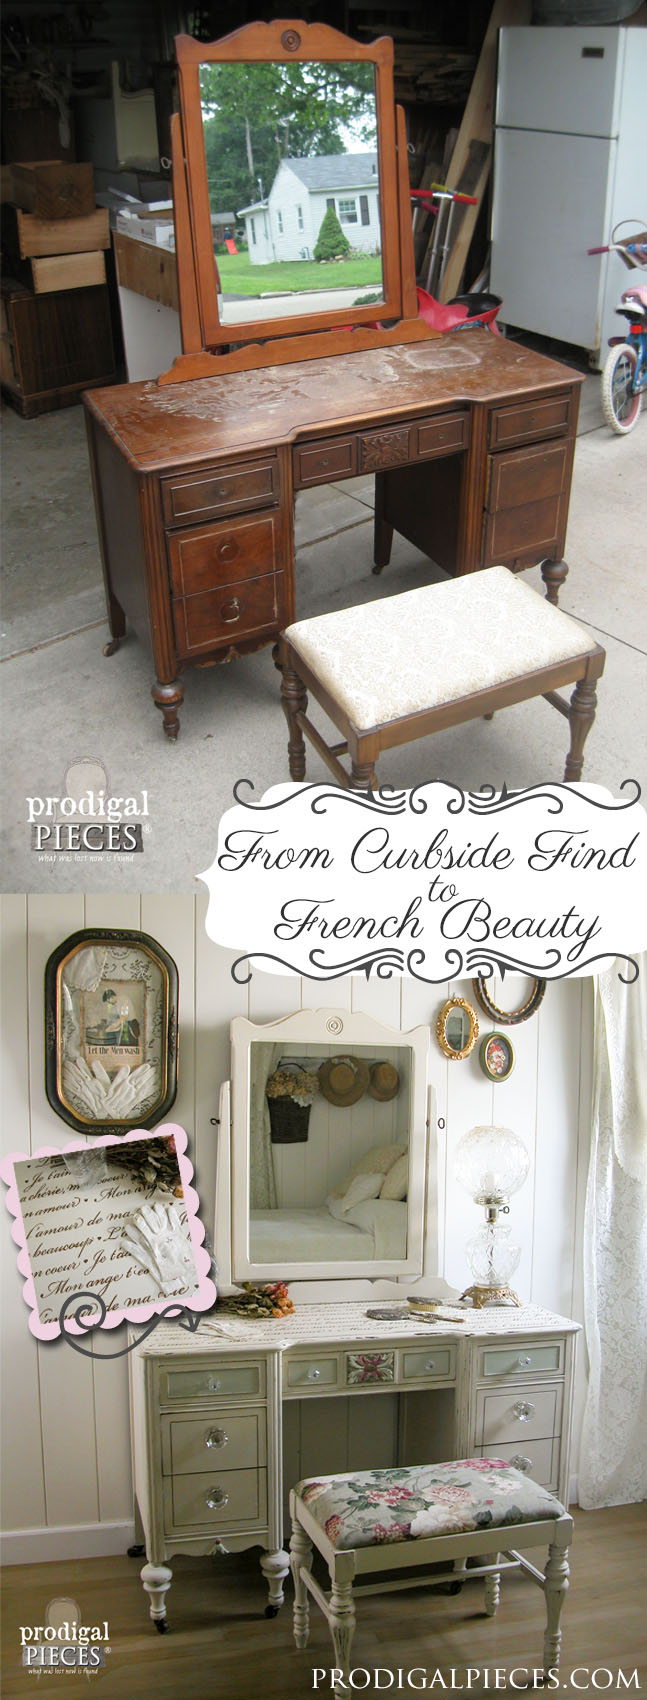
Also, more #trashure makeovers like this Bentwood Rocker:
Now don’t head off yet! Just wait until you see what my Trash to Treasure friends have whipped up for you!
Confessions of a Serial DIYer |
Girl in the Garage |
| Artsy Chicks Rule | Bless’er House |




Love the black & white – very chic!
Thank you so much! Those rockers remind me of a Fleur de Lis, so black it had to be. 😉
Wow Larissa, you took that rocker from UGLEEEEEE to downright gorgeous and current!
It was so horrid, Marie. Dirty and bleck. I’m so glad you like my update! 🙂
I did not know how on Earth you were going to make that ugly rocker beautiful again, but I should have known you better! It is gorgeous!! XO
hahaha…it was SO UGLY! But you know me, I love a good challenge. Thanks for the love, Christy!
It is a black beauty indeed. I really like how you went for the black paint this time, always full of surprises. And the fabric is lovely and very modern.
Classic black can do no wrong. I kept seeing a Fleur de Lis in the legs, so that’s what it became. Thank you, Mary!
This is so pretty! I did a bentwood rocker in my pre-sprayer days as well – I can’t even imagine how much faster the process would be with the sprayer! Can’t wait to find another one! 🙂
uuugghh…it is not fun to paint these with a brush and this sprayer made me rethink picking them up again for sure! I can’t wait to see what you do. Thanks for stopping by!
That curbside rocker is definitely a black beauty now!! Awesome job! I have a paint sprayer but never use it! I need to!:)
xo
Nancy
Yes, you should, Nancy! It has saved me in so many ways. Thanks for the love!
i was wondering about your spray painter???? have you used chalk paint in that? and if so do you add water to it and how much? I mean your pieces are sooo flippin pretty !and i paint with chalk paint and milk paint and i was not sure if that would work. thank you so much….karen
Thanks for the love, Karen! I honestly don’t really use chalk paint, but have seen on Pinterest that other bloggers have used it in this same sprayer with much success. The sprayer comes with instructions and a fluidity tester so you can determine if it has the right flow and amount of water in your paint. I wouldn’t hesitate to try it! 🙂
thank you so much
I 2 as wondering – if u don’t use chalk paint what type of paint do you use
I use a basic paint by Glidden. Either flat, egg shell, satin, or gloss depending on the project.
This is so beautiful – you have made such a difference and love the fabric you have used – well done and thank you for sharing 🙂
My absolute pleasure, Denise! Thank you for stopping by. 🙂
This is very French-y and so chic! That damask fabric really makes it special. Fabulous job as usual Larissa! xo
Can you believe it was left curbside? So crazy that another one came into my path, and I’m stoked to have given it new life. Thanks for the love, Jen!
I have also purchased,. The exact rocker. Can’t wait to get started on it. You did a beautiful job with the black paint. What type of paint sprayer did you use? I have used foam rollers and brushes in the past with pretty good luck. Would like to learn to use a paint sprayer.
Thank you, Joanie. 🙂 I have all the info. on the sprayer in the post – if you just click the link it’ll take you to Amazon that has the specs on it. Seriously, the sprayer is by far the fastest, and easiest way to paint a rocker like this or anything for that matter. Hope this helps!
Fabulous as always! I’m crazy for your orbs! Such vision my friend!!
Thanks Wendi! I was like a kid in a candy store when I found those hangers…eep! 🙂
What a beautiful Black Beauty result Larissa! What I want to know is how you ‘mended” that chewed up mess with wood filler?
Thank you, Janie! I just filled it with wood filler, let it dry, and sand smooth.
Hi!! Can I ask, did you sand this before painting? The piece still looks like it had the gloss to it, and I wondered how paint adhered to it? You are using latex paint, right?
Thank you!!
Yes, Carrie, I did sand it to give it “teeth”, and yes, a basic acrylic paint.
I also re-did one of these, and had the HARDEST time, getting the back out of the chair to reupholster. It had been glued in I think. How did you remove yours?
Good for you! I just knocked it like crazy with a hammer and it finally came out. 😀
Wow! Wonderful job. Love it!
Thank you so much, Nancy! 🙂
You continue to amaze me with your talent and eye for detail. I love the black and white rocker. So cute. What I love even more are the hanging globes from the flower baskets!! Do you know how many of those I have passed up at garage sales???? NOT ANYMORE!
Thank you for the love, Deirdre.
Larissa! Beautiful job! I’m trying to redo one of these chairs myself and am stumped on the process of how to attach the new fabric so that it covers and looks nice. I’m new to DIY. Any chance you could share your process on how you did the fabric? THANK YOU!!!!
I first wrapped the front panel of fabric to the back and attached with hot glue. Then cut a piece the size of the back with 1″ overlap so I could fold under for a finished edge. Hot glued that on the back. Hope that helps!
Love the finished rocker and I’m planning to refinish a bentwood rocker from my mother in law. How did you remove the seat and back and reattach them? Mine doesn’t have obvious screws, so did you just pry out the seat/back and glue them back in?
Thank you, Katie. I’m excited to hear you are going to give it a try. I had to just pop them out as you mentioned. The cushions with the upholstery held it in.
I just got one of the these chairs and am wondering How do you reupholster the front and back of the top part? Where do the staples go? On the side?
Yay for you! 😀 Mine was just glued in. I popped it out and when I added the fabric it made it tight enough that I could wedge it in and it held awesomely.
How did you attach the padded seat and back to the rocker itself?
The original was a super-snug fit, so I did the same, but also add Liquid Nails adhesive.