The time has come for me to share with you the beginning of our family room remodel and the continuation of how we are making our house our home. There is not doubt that owning a home is an adventure and such a blessing. Never did I think we would be here for 15 years, but happily here we are. My goal today is to share with you yet another journey, update you on our past projects, and invite you to learn how to create your own DIY coffered ceiling. (so many have asked!) Let the fun begin…
Truthfully, I hadn’t intended to post much about our next room adventure until our kitchen was complete. If you are new around here, we are wrapping our 2.5 year kitchen/dining/laundry remodel that began HERE. We did take last summer off to work on numerous outdoor projects too. What I am able to help with in the kitchen completion has been on pause. So, I decided it is time to jump-start our other room – the family room.
THE BACKSTORY
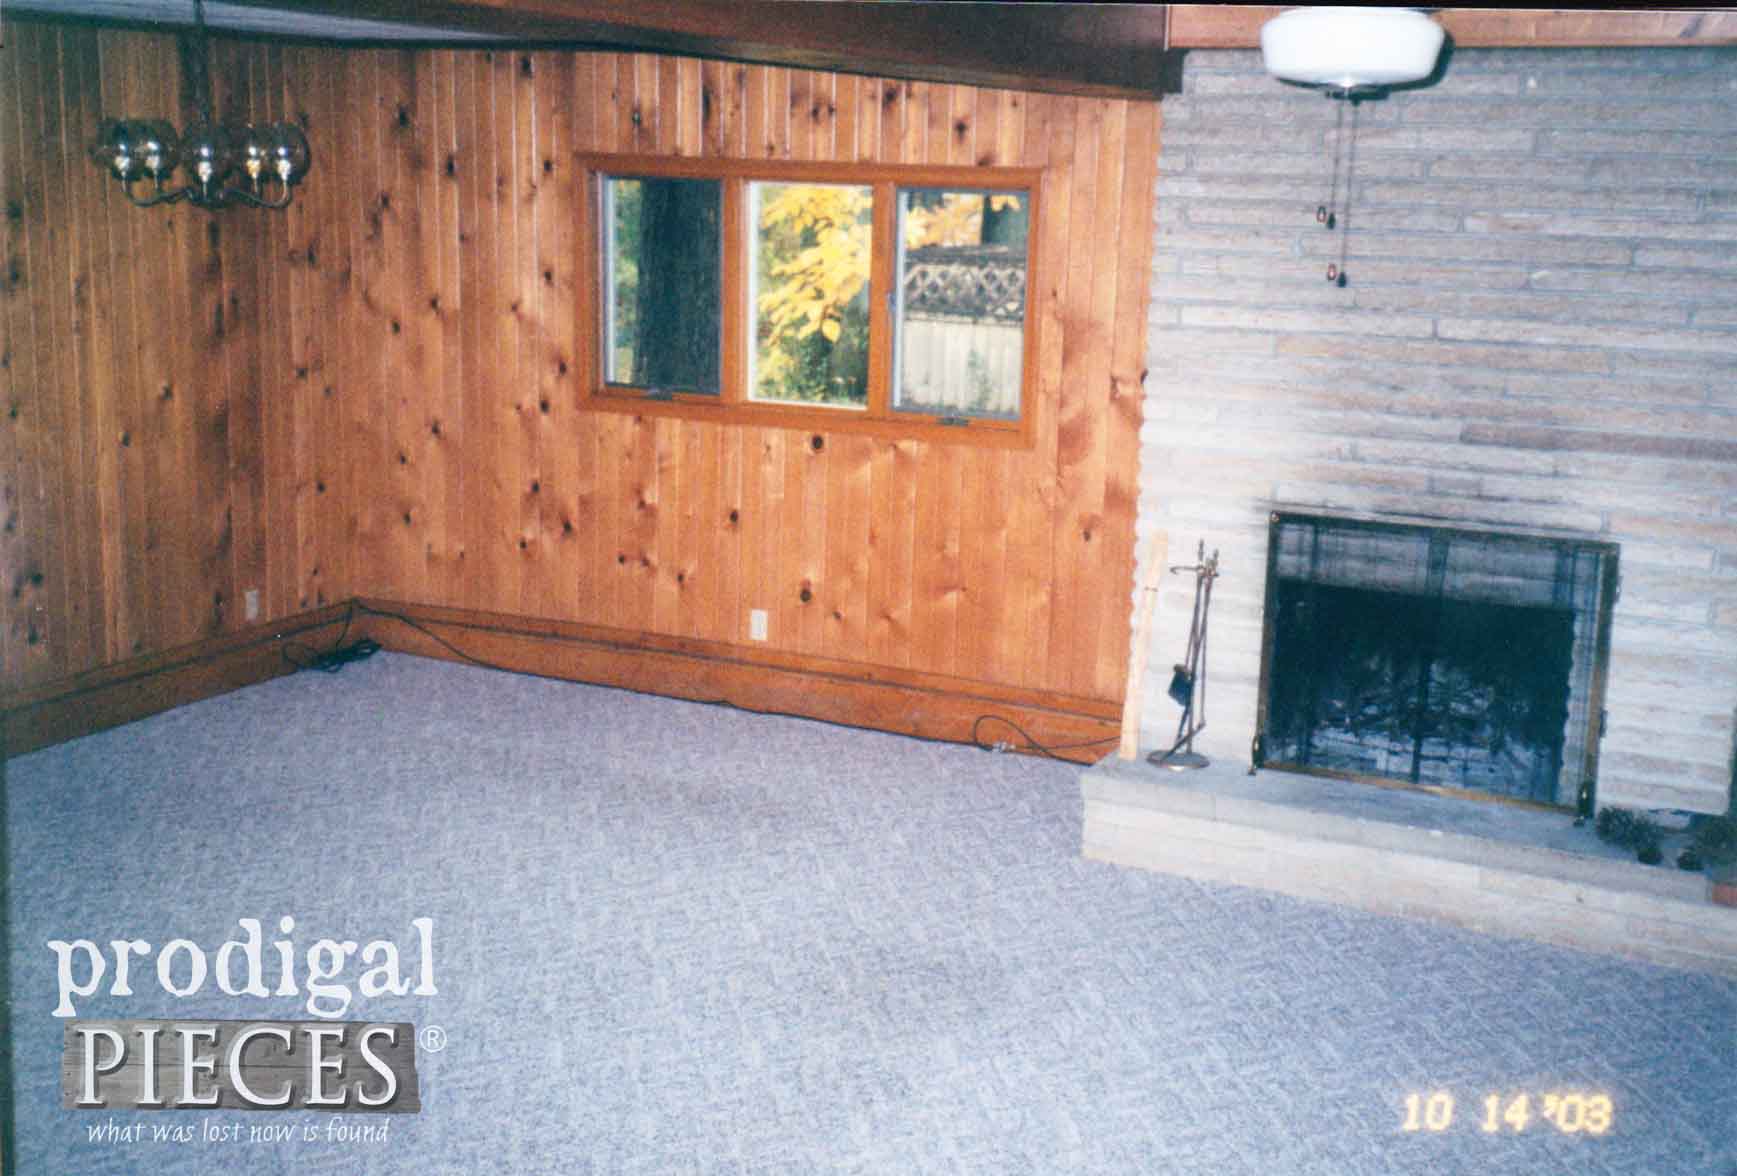
The story of our journey really began in 2003 when we bought this house and began the first remodel. Here is peek at the family room we saw when we moved in.
Pine paneling, old Berber carpet, and open fireplace with built-in bookshelves unseen. You can even still see the drop ceiling just above us. Boy, hard to believe my oldest was a toddler and I was expecting our second baby.
God moved mountains for us to be able to purchase this much of a home in the first place. Never in my wildest dreams would I think we could own a home in the wonderful neighborhood we live in. In the end, the mountain moved to the tune of a price reduction of 25K by the generous owner. Talk about knocking our socks off!
FIRST HOME
Within the first few months of ownership, I got horribly sick while pregnant with our second and was in ICU for a couple of weeks. I nearly didn’t make it. The bills that accrued threw a wrench in our plans and budget for sure. But that didn’t stop us and I was so thankful to even be alive. With a newborn and toddler in tow, we began by updating windows, doors, and roof. Then we began the interior. We did what we could, and began to try to sell our home while pregnant with our third. I had no idea the selling roller coaster ride we were in for.
NEXT STEPS
Let me tell you that when you are seeking God’s leading, there is no point in banging on the closed door in front of you, but rather waiting for His lead. We had over 75 showings with several near misses all in one summer. We were EXHAUSTED and couldn’t figure out why it wasn’t selling. It was then we chose to pull the house off the market and try again next spring. That ended in more stress and chaos too. We finally agreed we are done trying until God opens the door. Well…here we are 15 years later and redoing our home a second time.
I have learned in all this time to cherish what I have, make it my own, and make the best lemonade ever of my lemons. Is city living for me? NO. But God obviously has me here for a reason and I’m daily trying to stay in His will. After the passing of our two children, I needed a sort of reset and to make my house my home. No more fixing it up to sell for others to like. It was then I decided it was time to paint all the wood paneling in our dining room and family room, as well as update our kitchen for the third time.
NEVER DONE
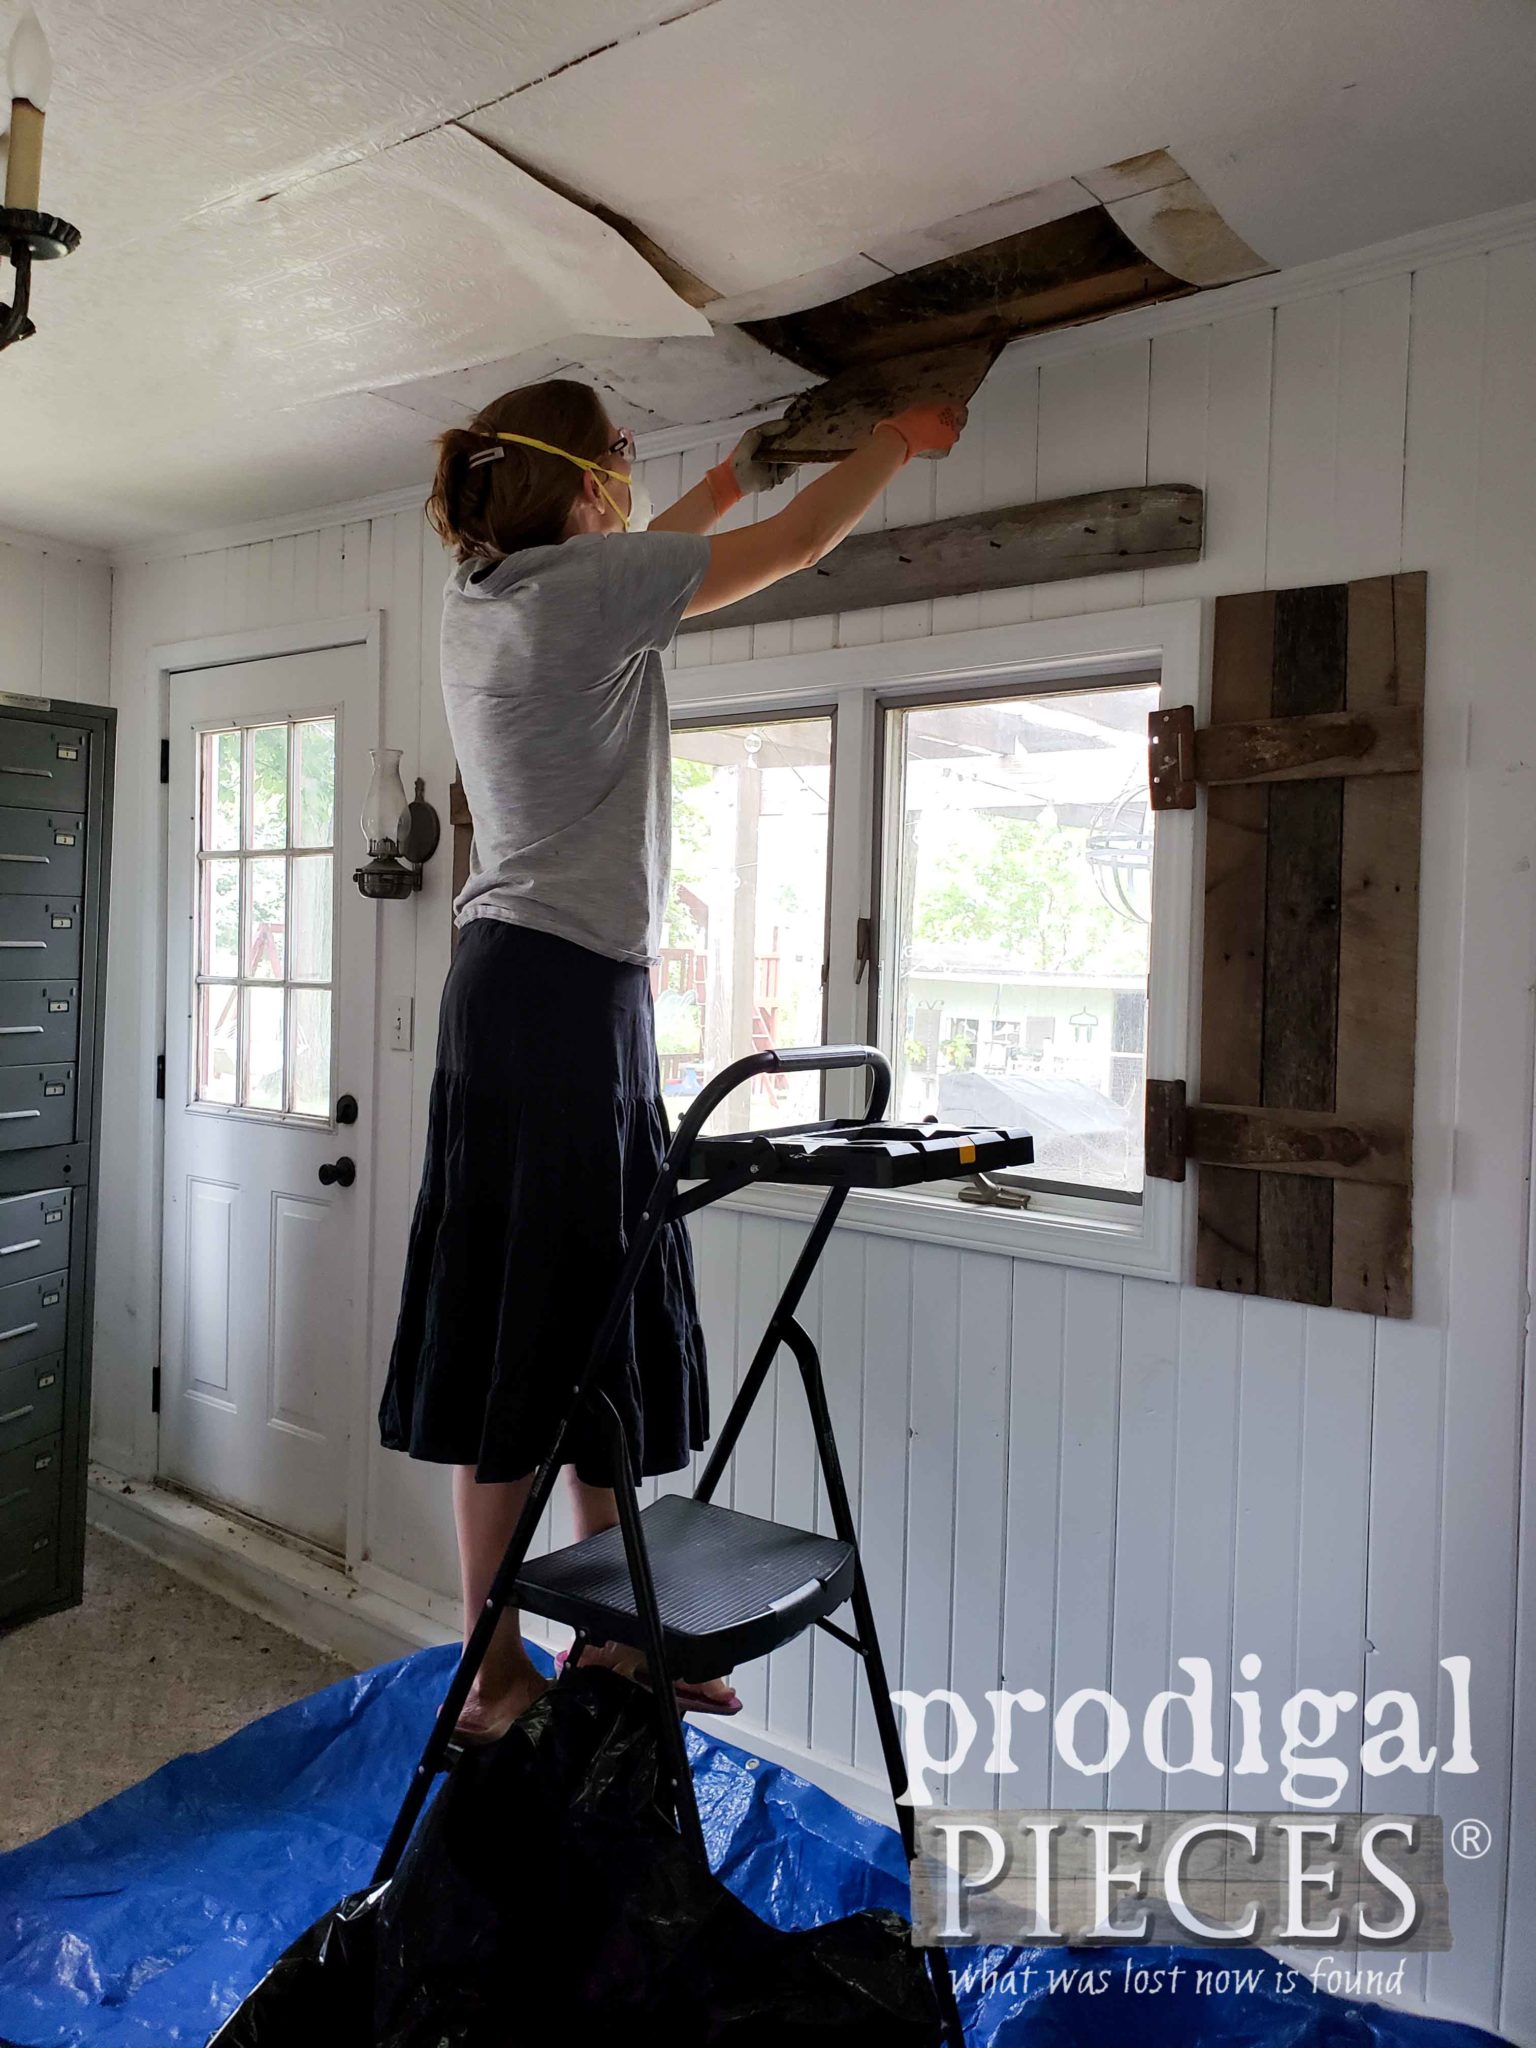
What a chore it was to remove the drop-ceiling and put up paintable pressed tin wallpaper over the existing tile. It felt good to see it the old ceiling come down and helped me work through my grief.
All was good until 2 weeks later we had a heavy snow, it melted and refroze which caused an ice dam to back up under our roof and cause the nemesis gape. See it sagging here along the back window?
Mind your our roof doesn’t do that every time it snows, this was a freak incident. It actually never had leaks. So with my hard work thrown out the window, we had to wait over 5 years to say goodbye to that eyesore. Last fall we were finally able to put a new metal roof on hoping to prevent the ice damming. The roofer had been let go of his job that day, was in a bad mood, and accidentally broke our window in the process as well. All I am thinking is “just get the roof done”.
WHAT NEXT?
That next winter, last winter, we had leaks. A perfectly good roof that never had leaks, now leaked. To top it off, the roofer wouldn’t do anything about it. I was sitting Christmas Eve by our tree all lit up and happy and I felt a drip on my shoulder. No way…
Turns out he didn’t even flash the skylight. His lack of roofing 101 skills led to us having buckets placed in our room for the entire winter. We couldn’t fix anything until spring and I was a fired up angry mama. Mind you, we were still working so hard on our kitchen during this time as well. All the time, I’m praising God we have a house to work on that is warm and full of those I love.
PRESENT DAY
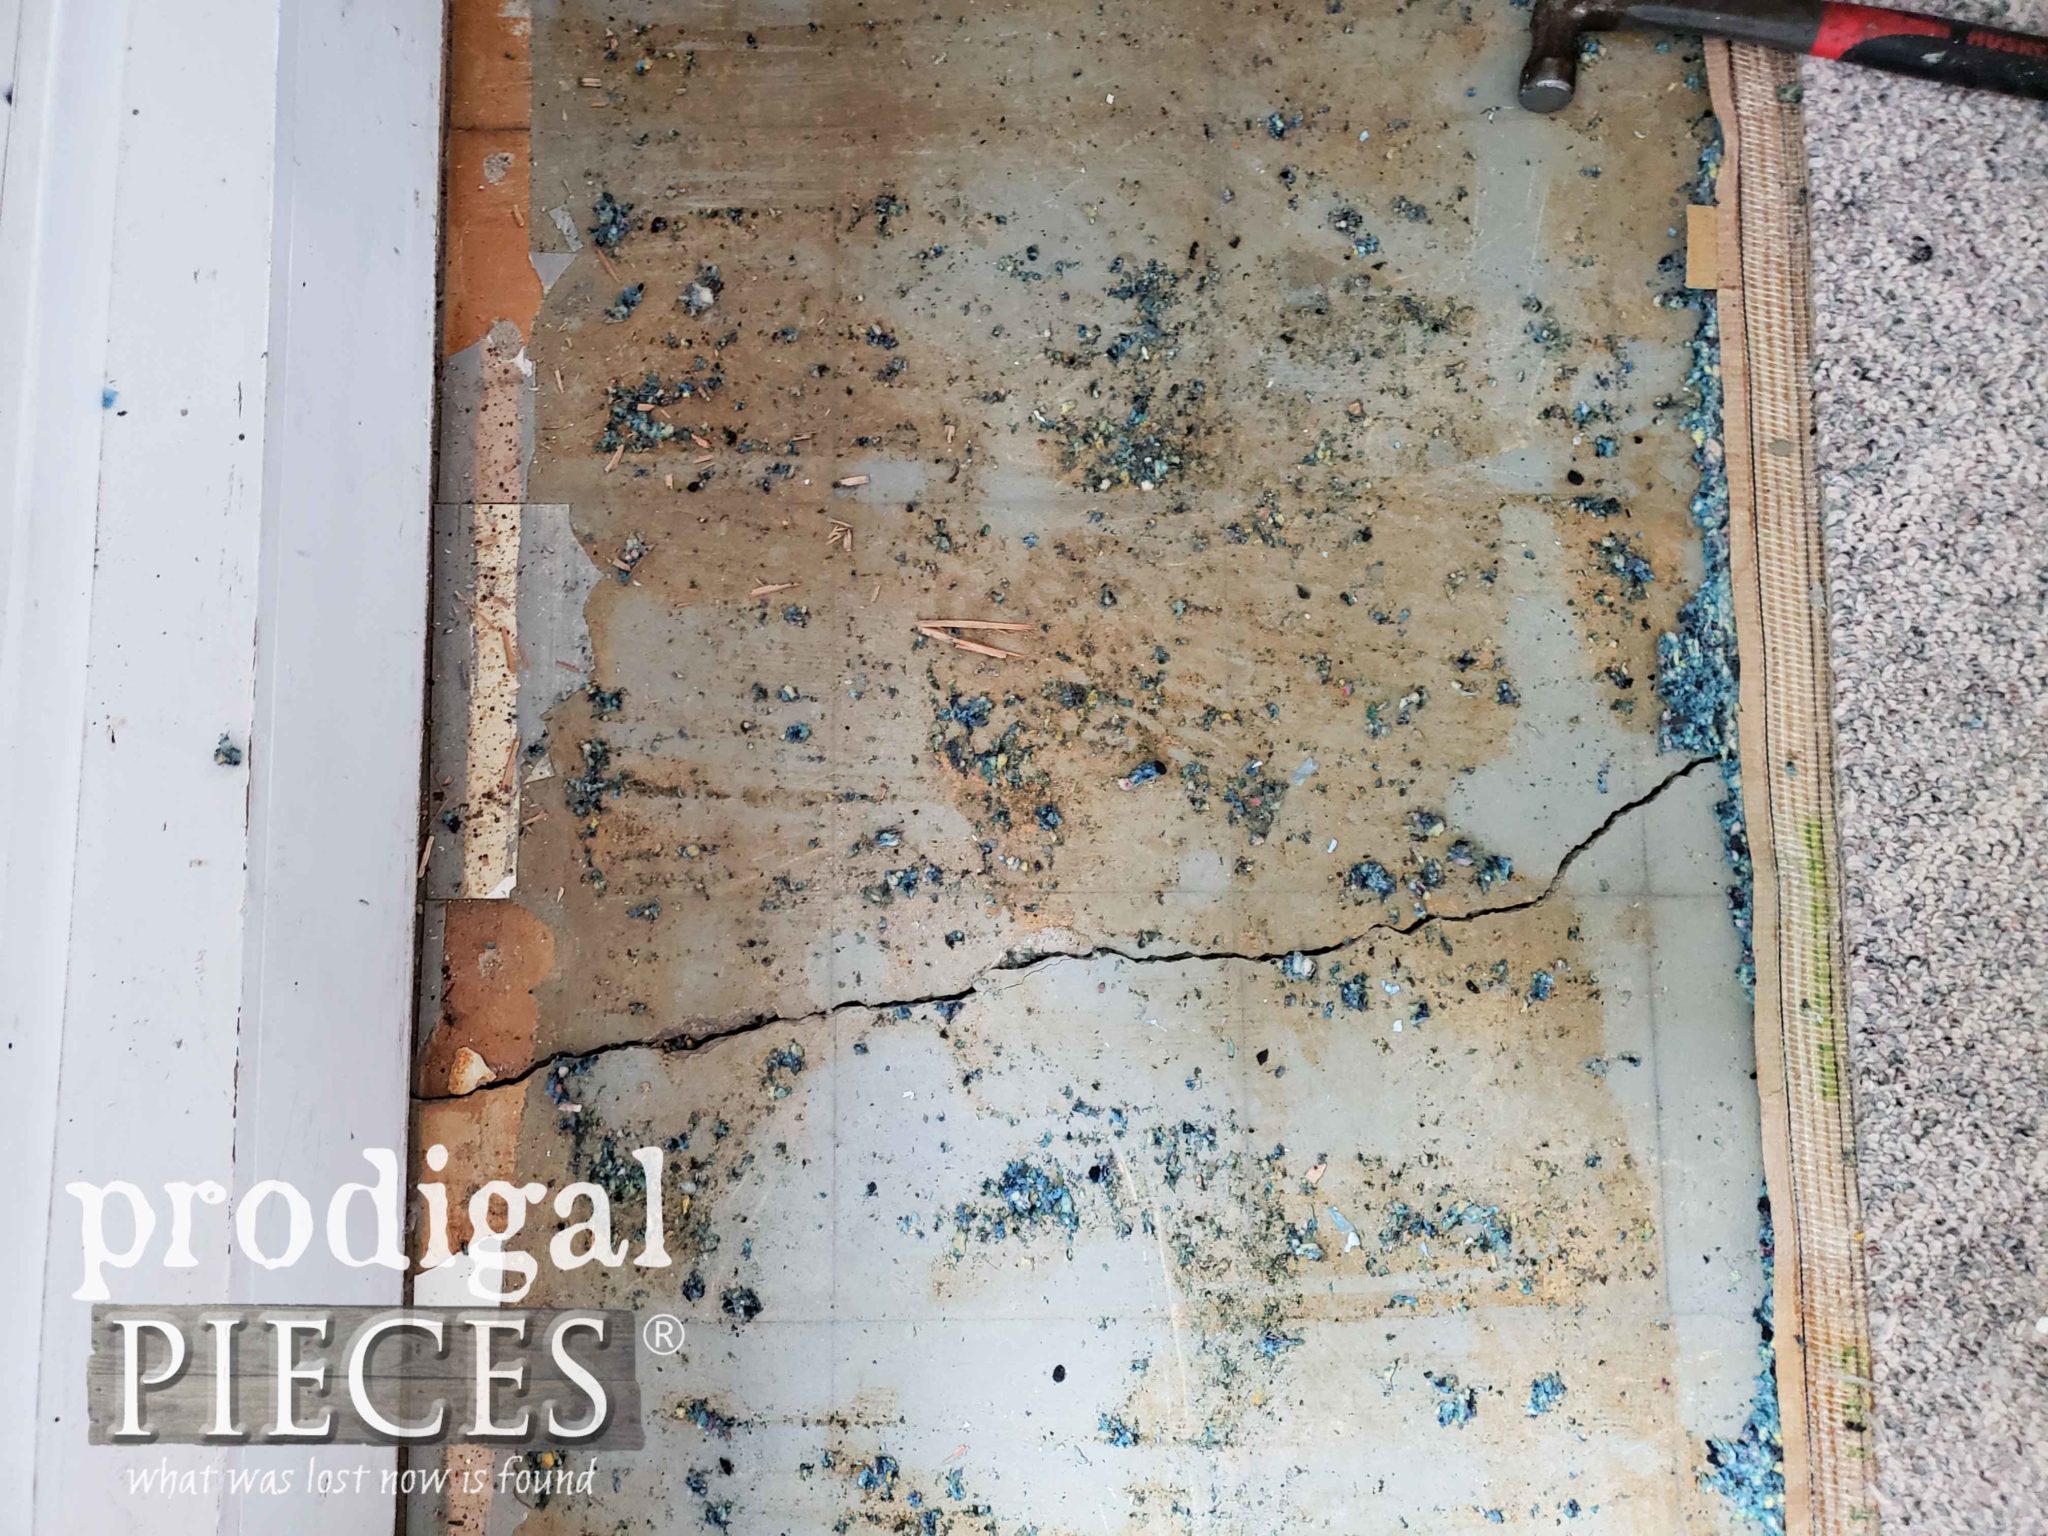
Fast forward to present day…JC is finishing up the kitchen and there’s little I can do to help it get done faster. He gets one day a week to put into it and sometimes that one day is needed to repair vehicles or do other “normal people” work. In Ohio, you begin preparing for winter the moment summer starts, so I knew we have little time to get our family room done before the cold hits. Why before the cold? Well, our room used to be a garage that was turned into a living space. It has a poured concrete floor that had one MASSIVE oak tree on the one side and a twin trunk MASSIVE oak tree on the other.
We had the trees removed years ago, but their damage had already been done. The floor had cracks when we moved in and we knew it. Our furniture never sits level and the immensity of our problem was not affordable until now. So, with JC’s approval, I told him I would start the family room while he finished the kitchen. And our fun begins…
THE BEGINNING
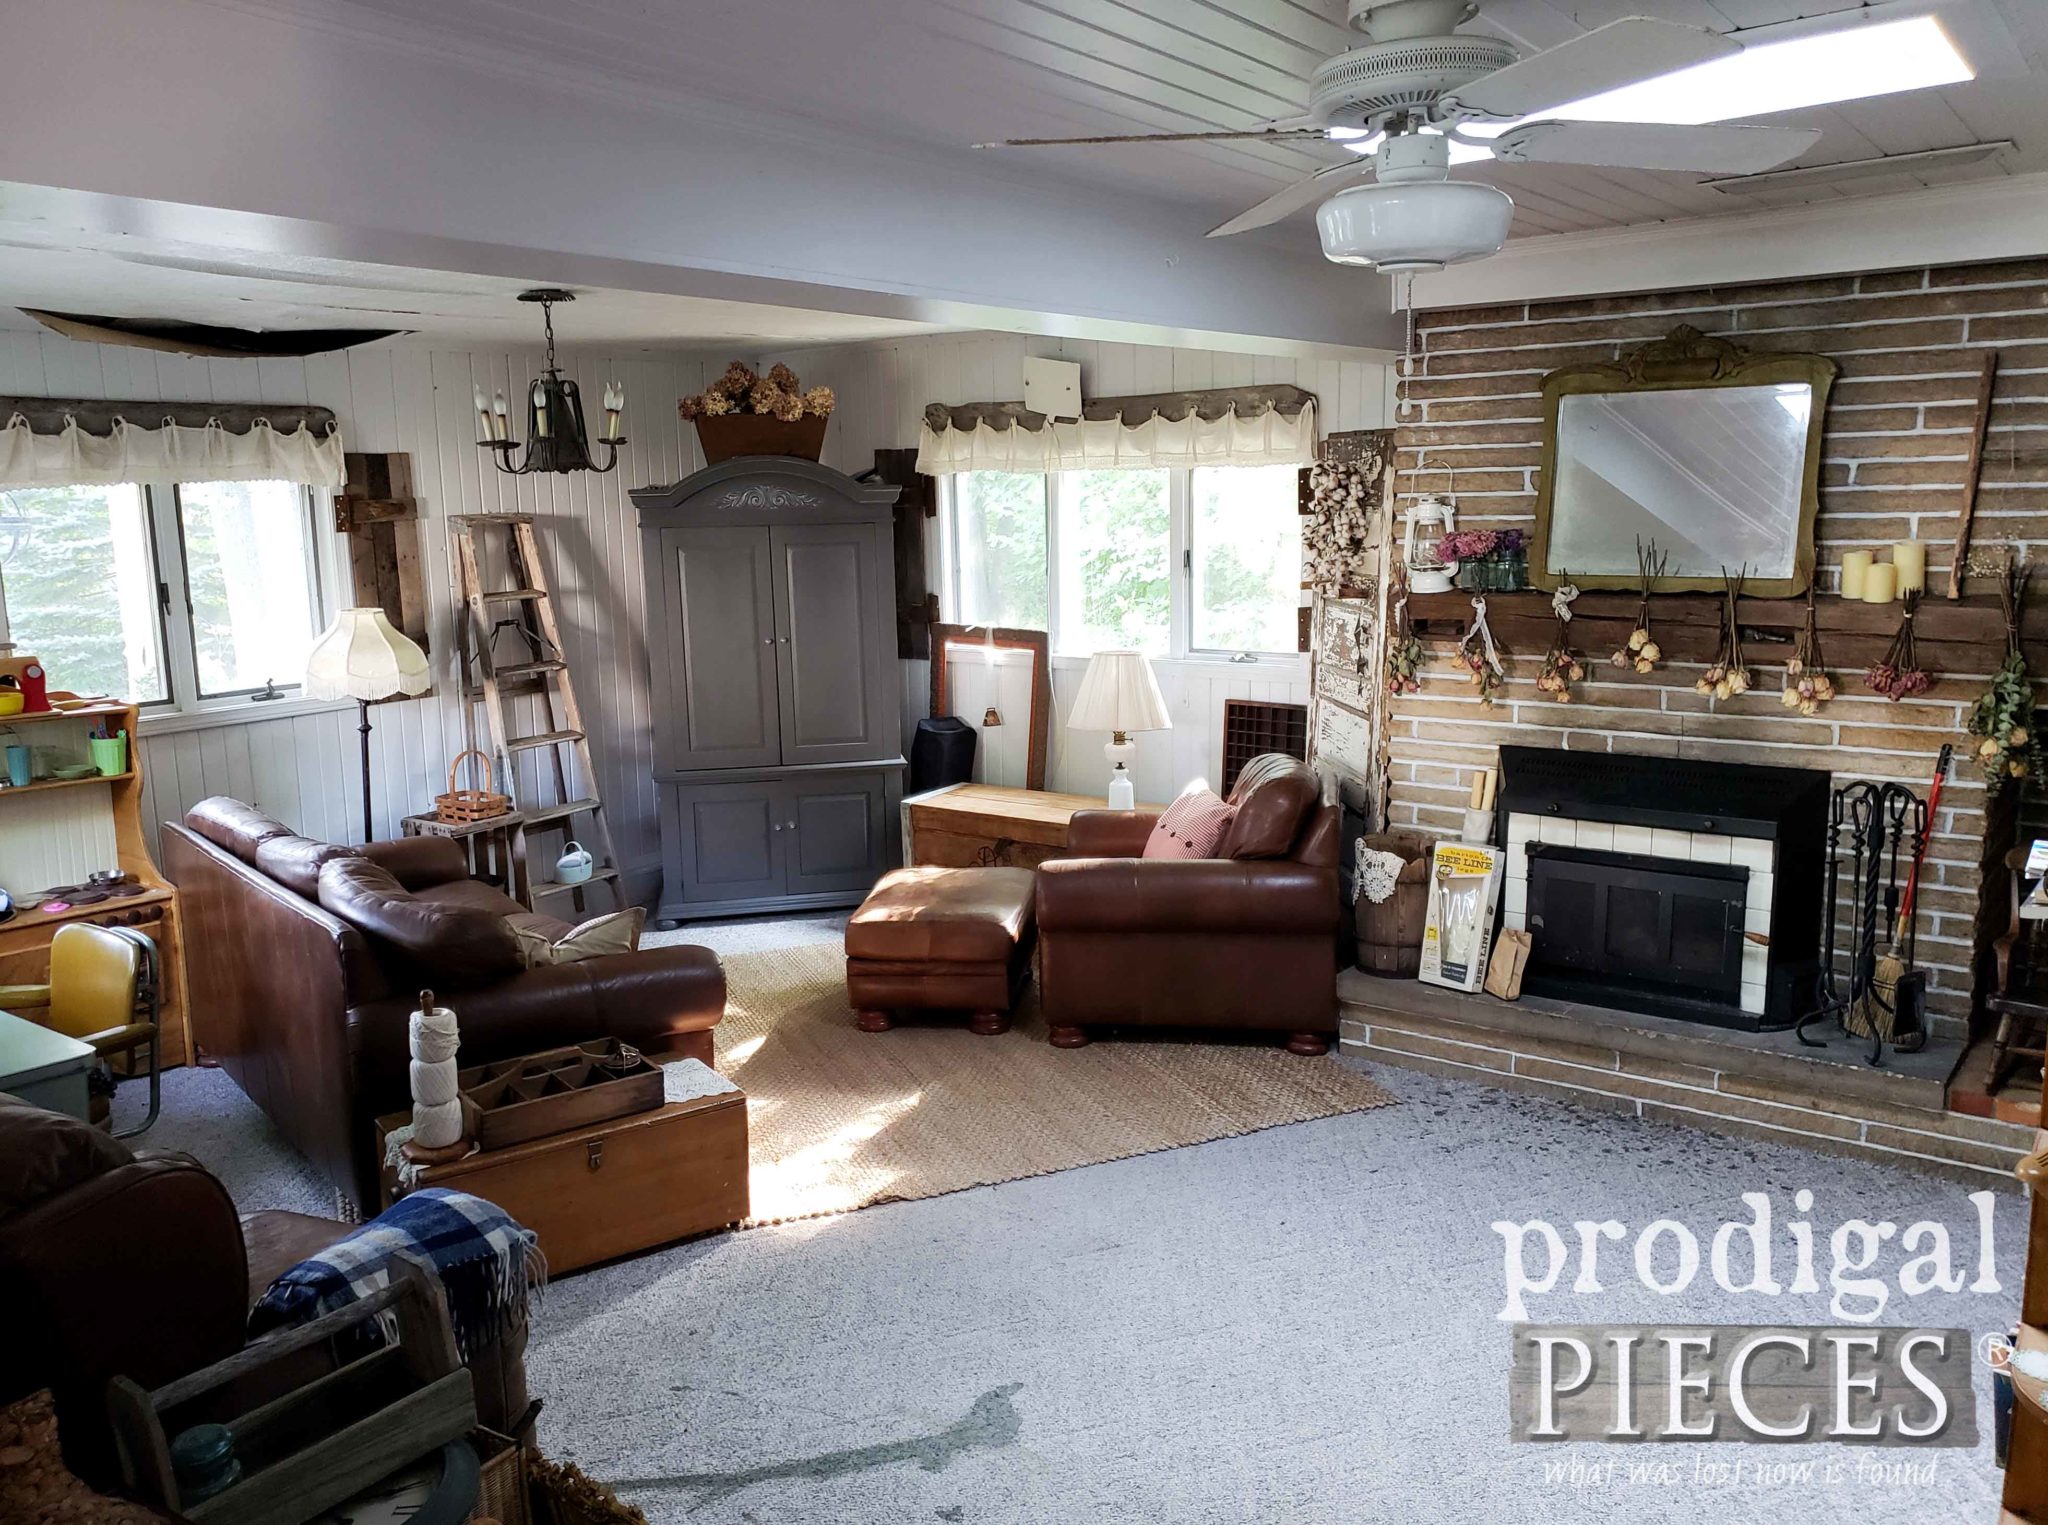
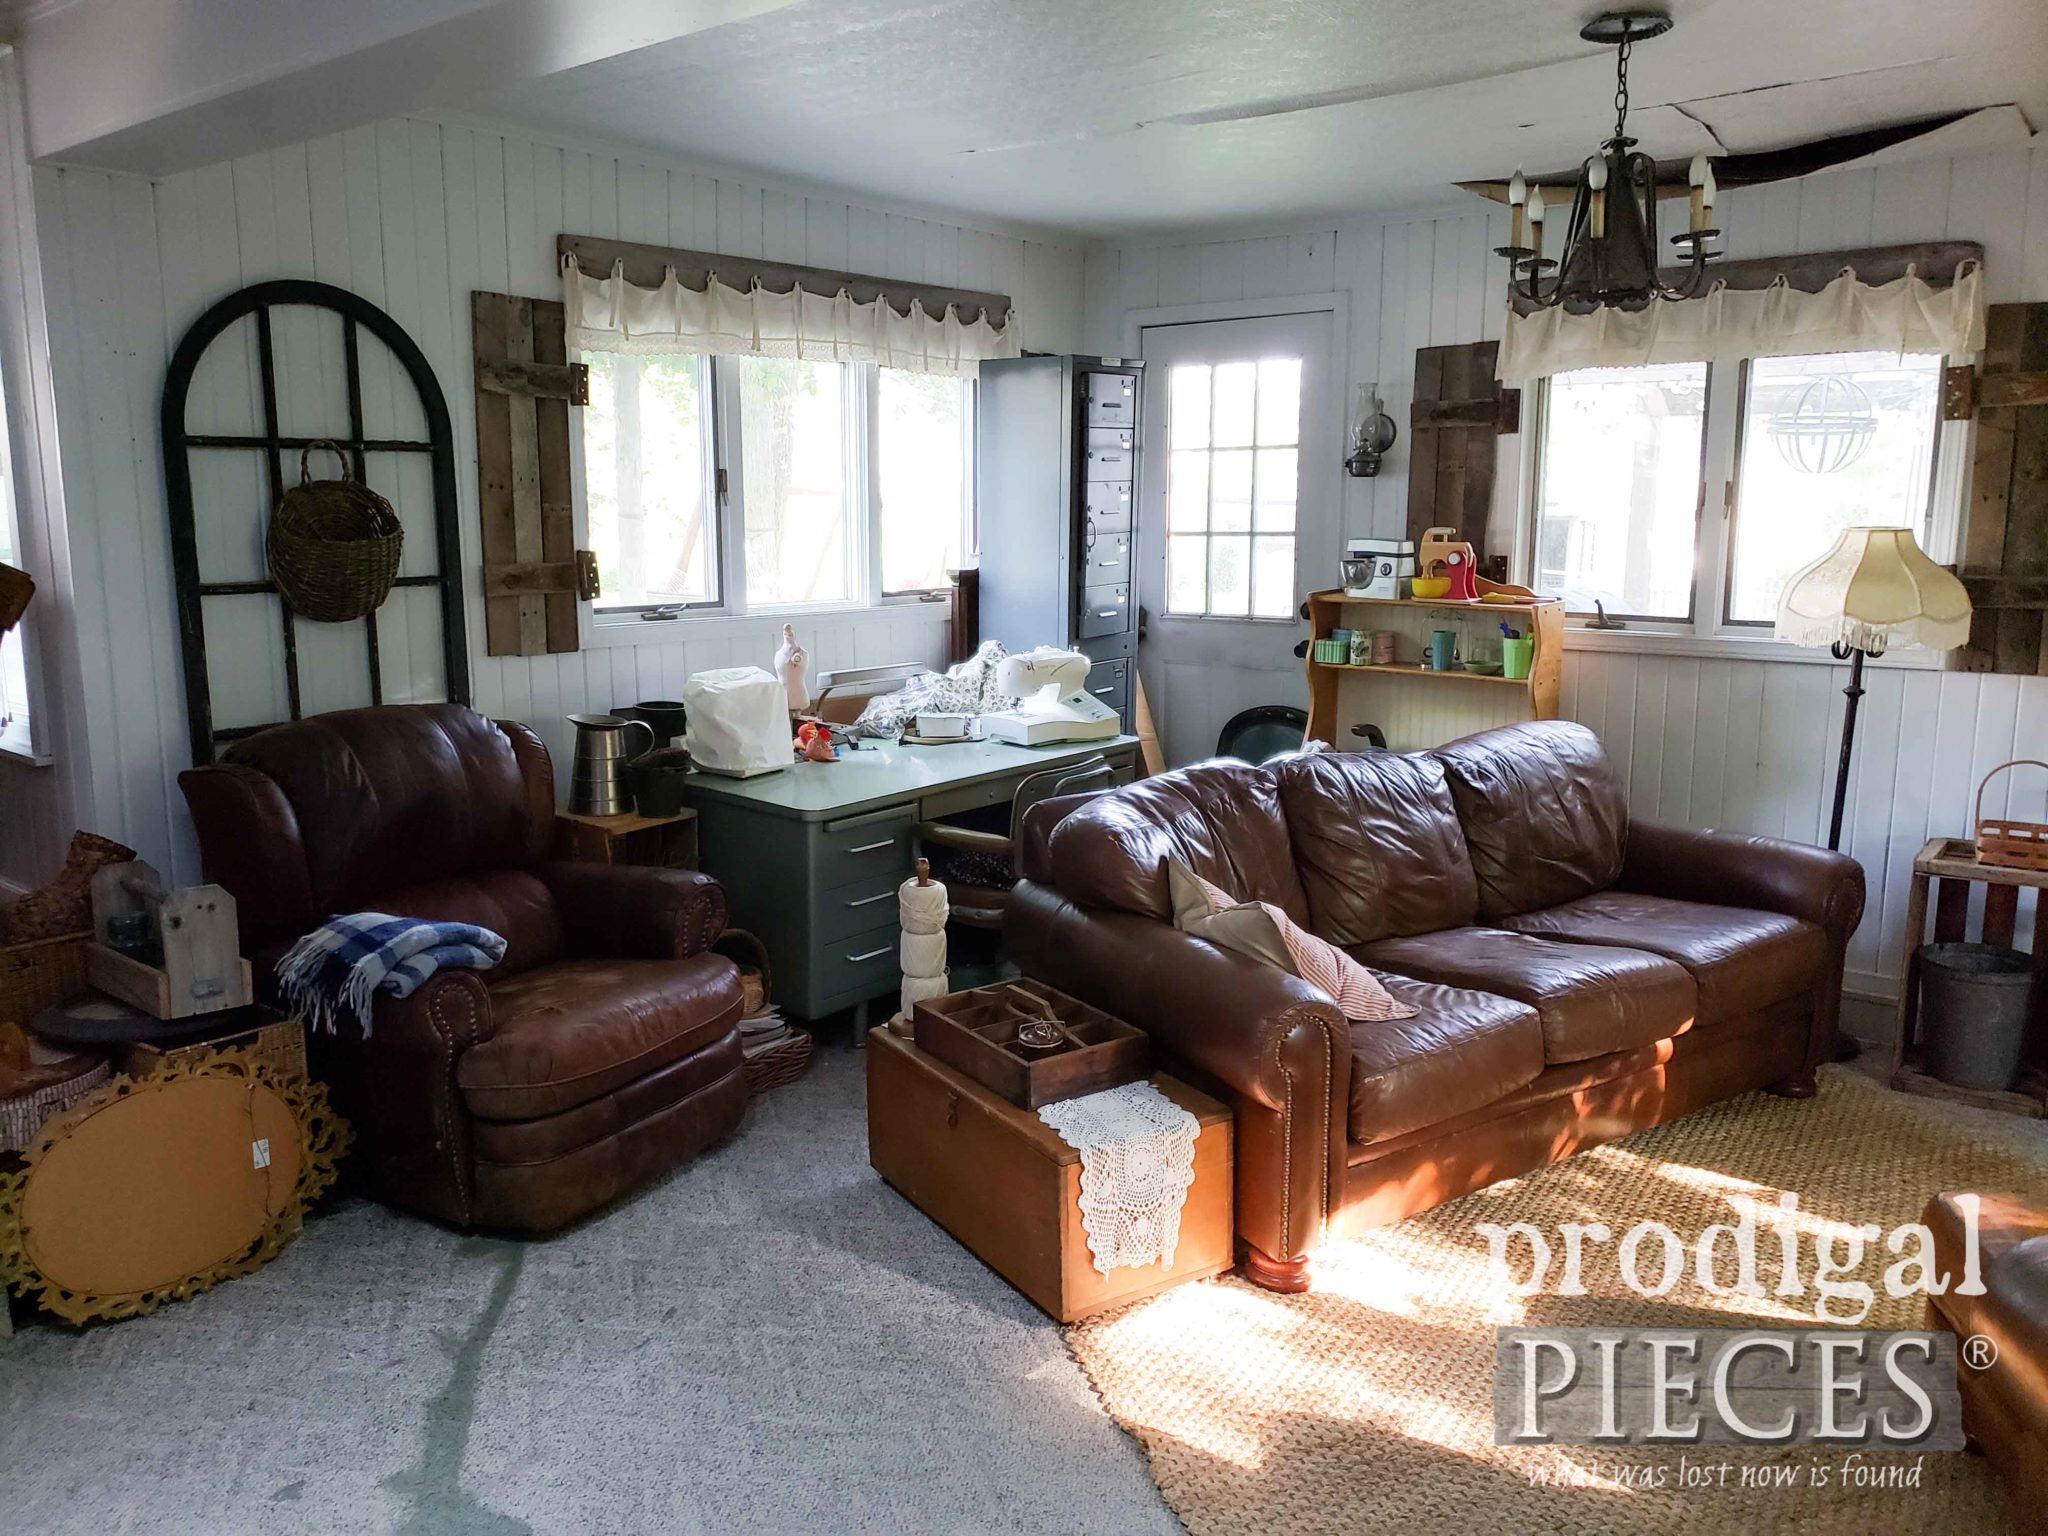
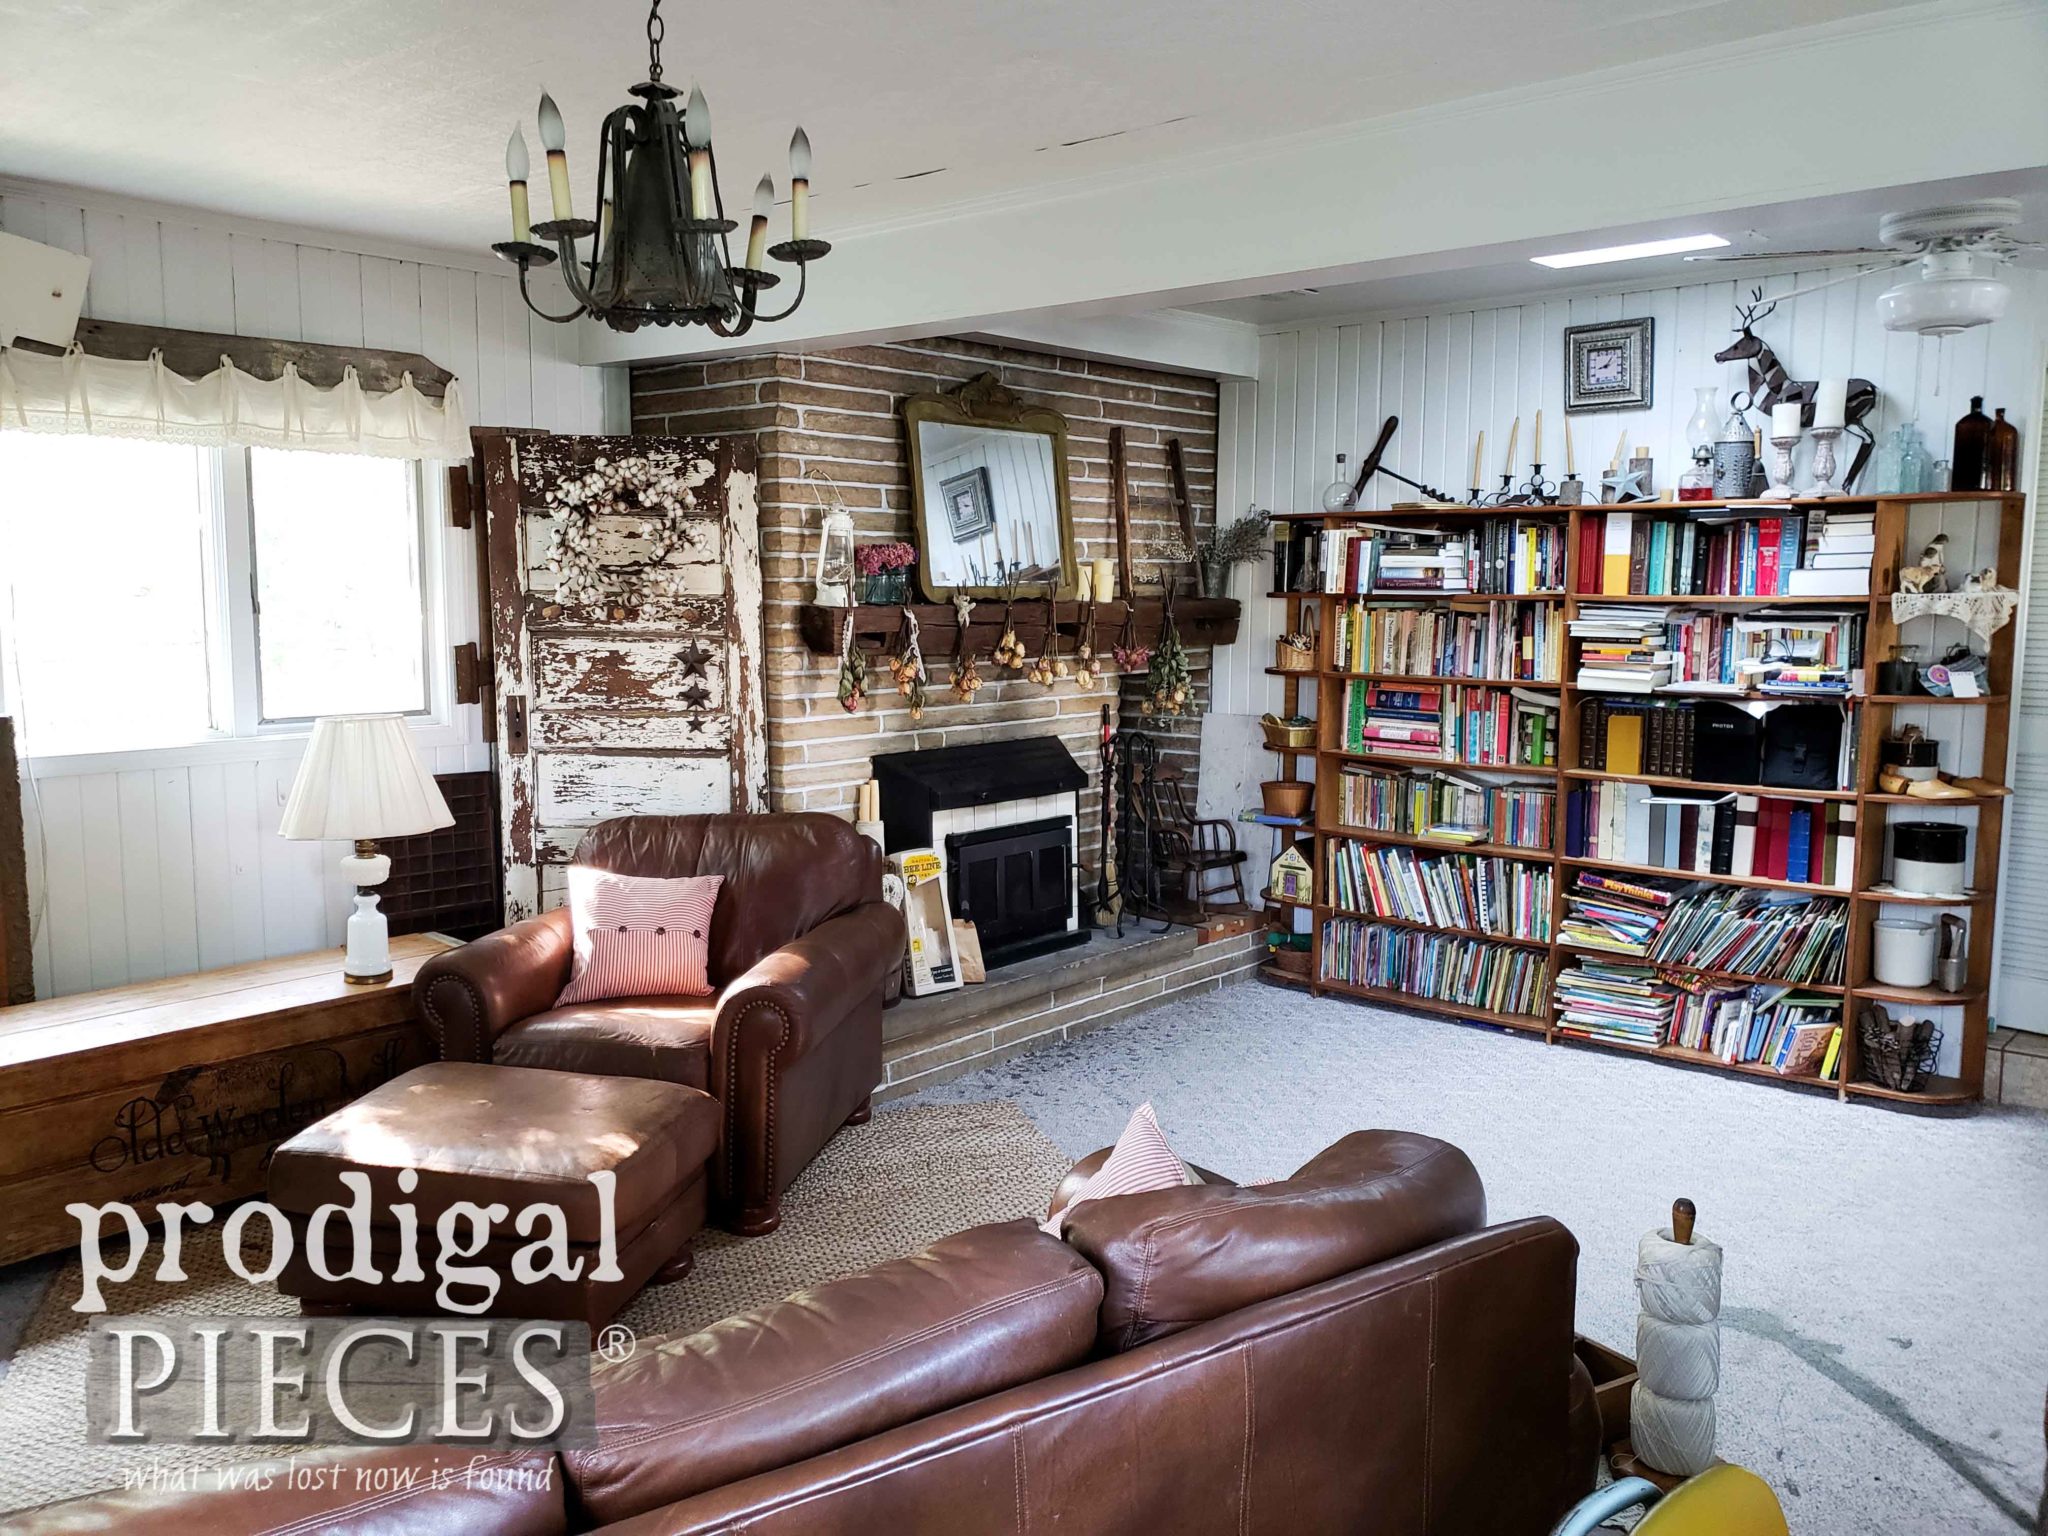
Here’s a quick tour of what it looked like prior to my current start of my DIY coffered ceiling. (never mind the mess – I’m being real with y’all) You’ve seen the view of the ceiling in the one area, here’s what it looks like from the steps.
It certainly an improvement from where it started, but still a long way to go. One of my very first few blog posts were my pallet shutters and the barn wood & bedskirt valance. Then, we added a floating barn beam mantel with tutorial here, and then not long ago I stained the mantel and painted our fireplace grout to pop a bit.
UGH…CARPET
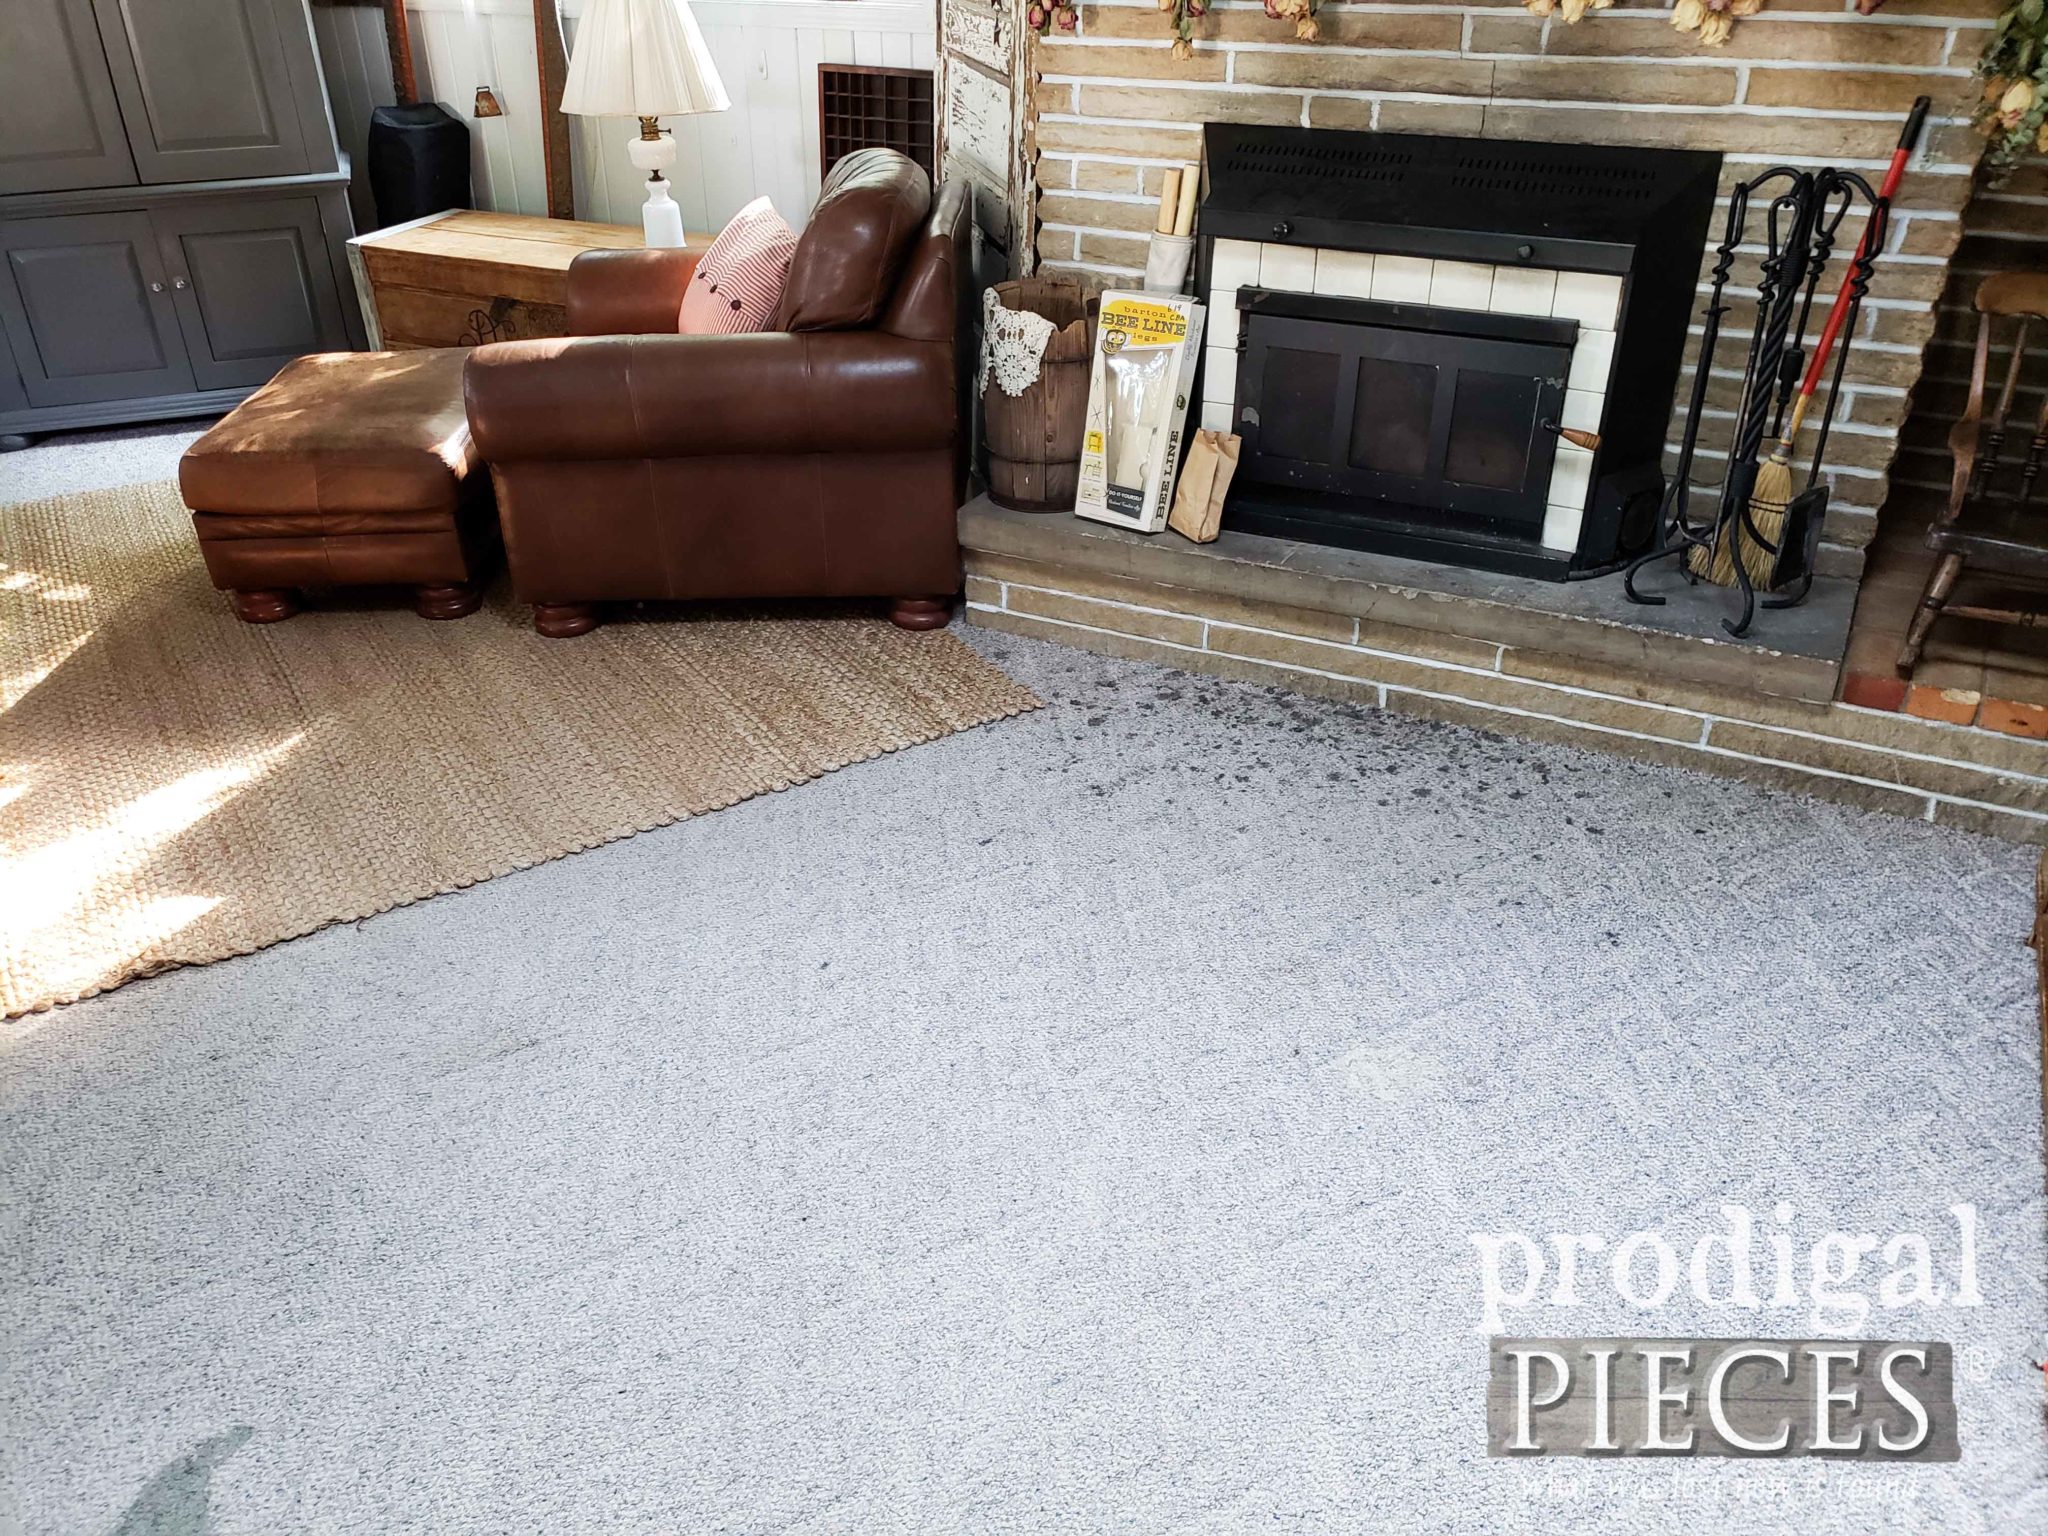
The disgusting Berber carpet has had a death sentence since we moved in, but we never knew what to do with the floor, so it stayed. ugh. I mean, who puts carpet up to a fireplace?! It wasn’t until the other day I dropped a quart of paint on it and that sealed the deal for me to get this demo started.
The other end of the room is where I sew and do my work in the early hours. The door back there is never worked as it should. Sadly, the tree lifted the foundation and made it slightly askew. We will be putting a new one in and remedying that soon so we can access our patio.
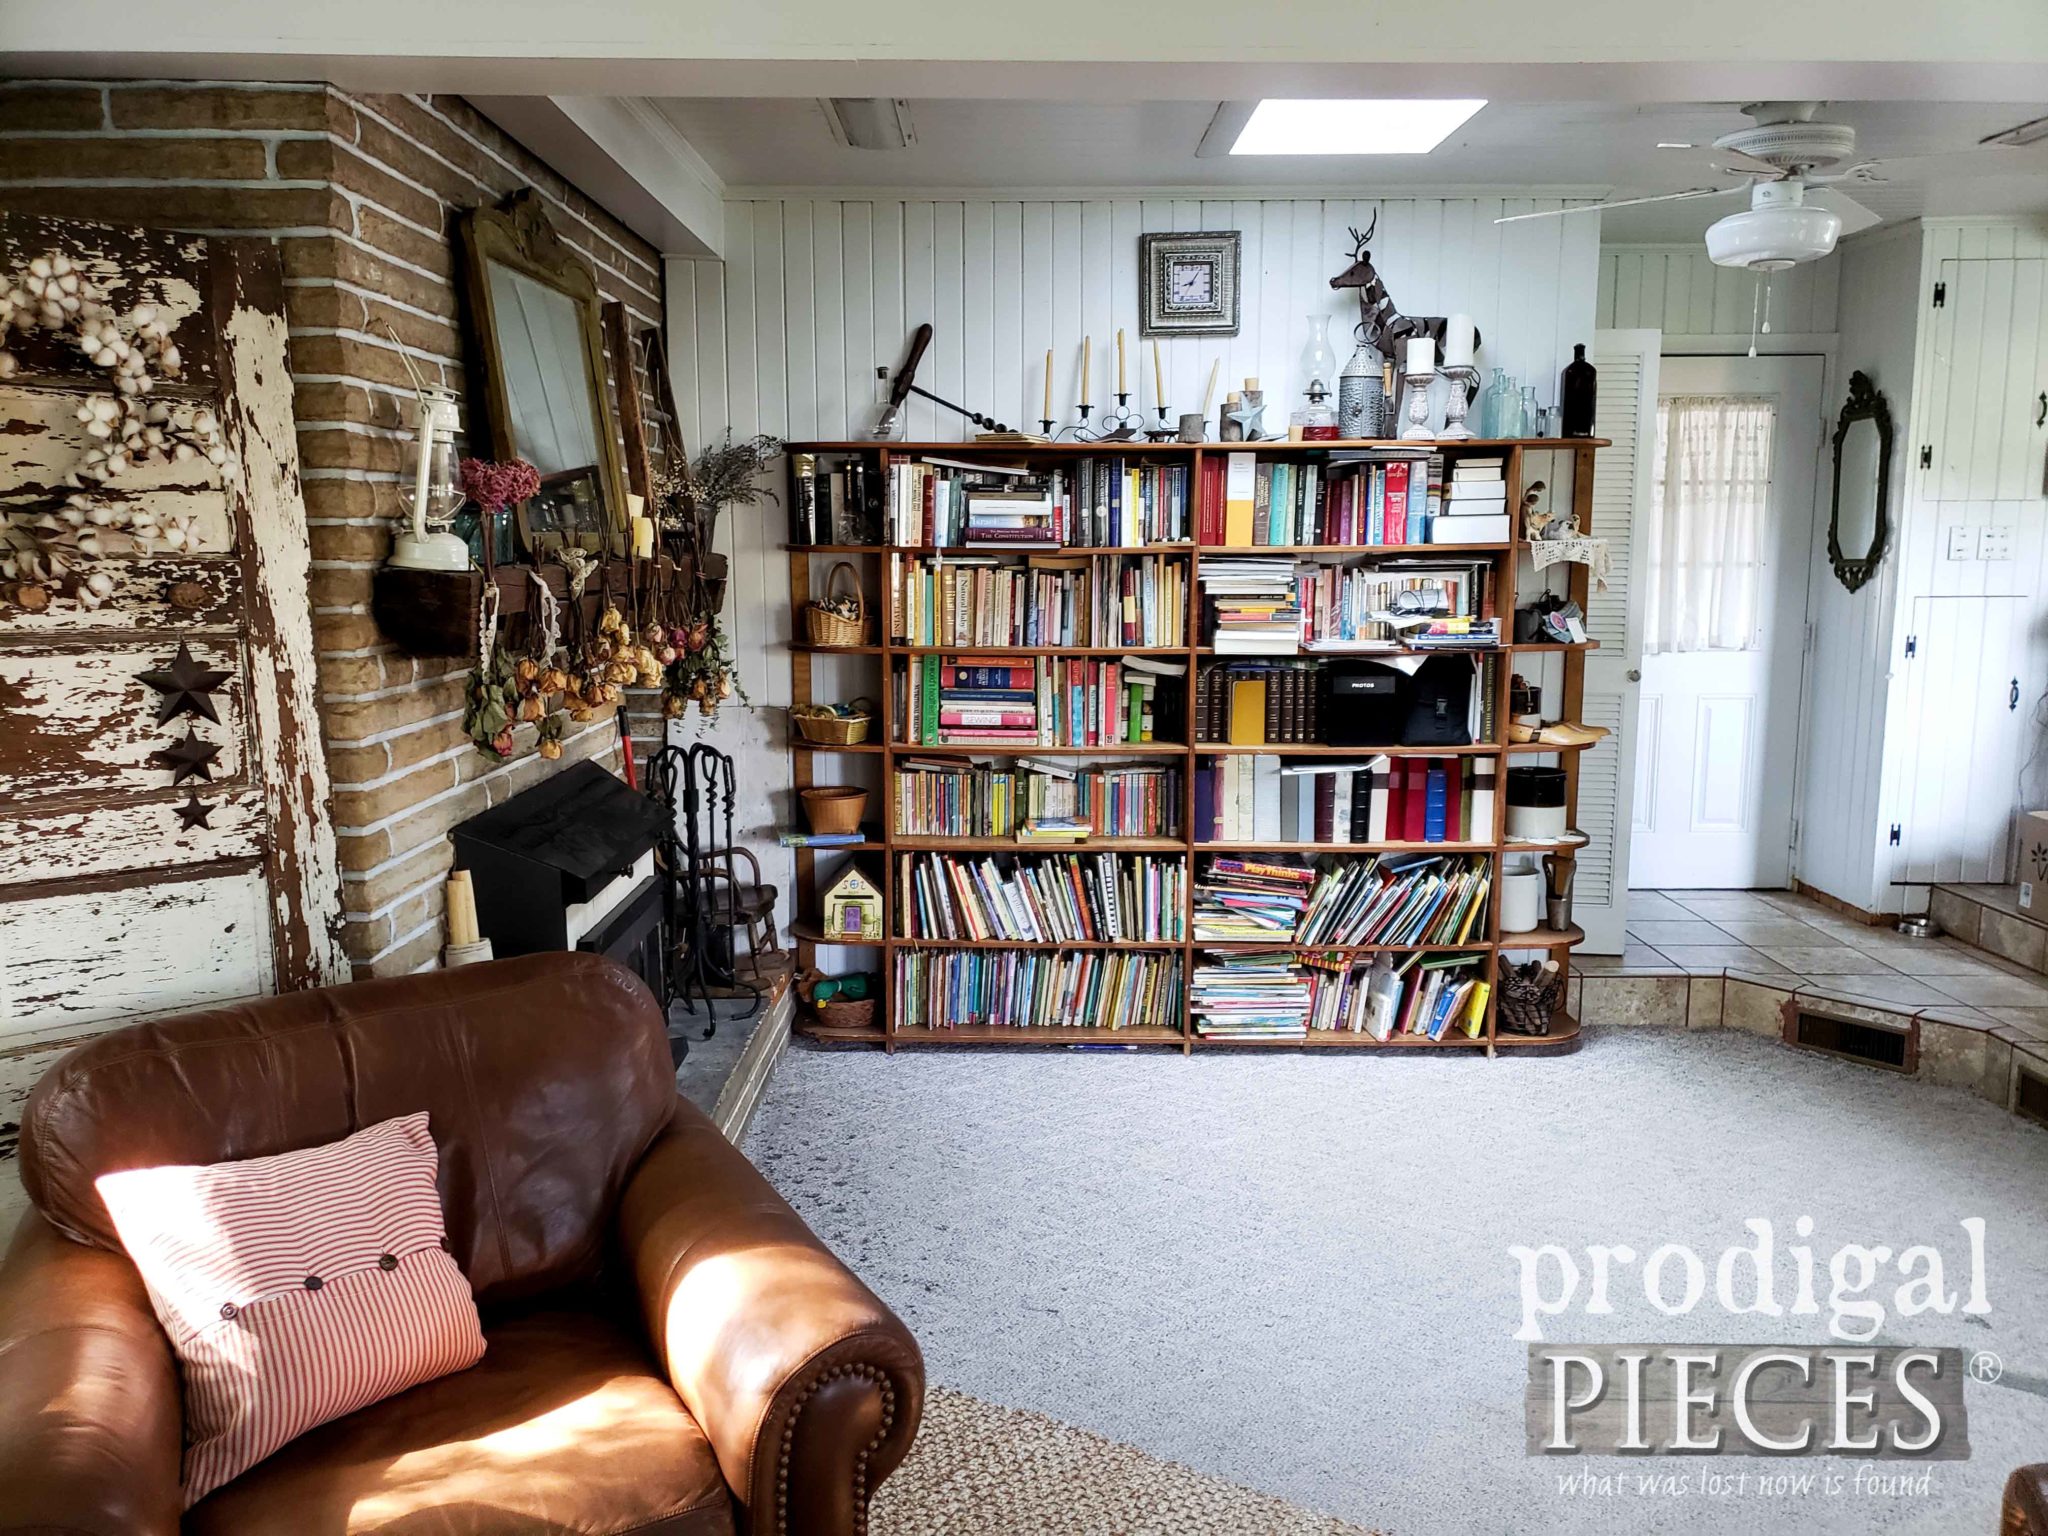
If I turn around you see our dated built-in bookcase. We are confessed bibliophiles, so that is a must. Plus we homeschool, so ya gotta have books. However, it doesn’t work right for the space because of our wood box and I don’t like dusting knick-knack shelves. We will be removing those and putting in a custom bench and shelves to the DIY coffered ceiling with added lighting.
MORE DETAILS
Speaking of lighting…my kids broke my punched tin chandelier over six months ago, so that is coming down. And if you take a peek over the bookshelves, you’ll see the very odd placement of fixtures.
There are those two totally retro rectangular lights that are not equally spaced. Then this bulky fan just stuck in between them and the skylight. I have no idea what someone was thinking. We’ve never turned on the recessed lights because the wiring is messed up. We are replacing those, and the fan will be gone forever.
Now the fun begins…mwahahaha…
DEMO
The day I was able to finally yank down, not only the wall paper, but the tile underneath I was screaming my excitement! (yes, my neighbors love me) No need to pay for therapy, just demo your home! yeah baby!!
I’m not the only one who was excited. My kids couldn’t wait to join me in the fun. Let me tell ya, I have THE BEST crew in the whole world. I love it! While I tore down the mess with my oldest daughter helping me pull staples, the rest of my 6 kids helped pick up and bag it all.
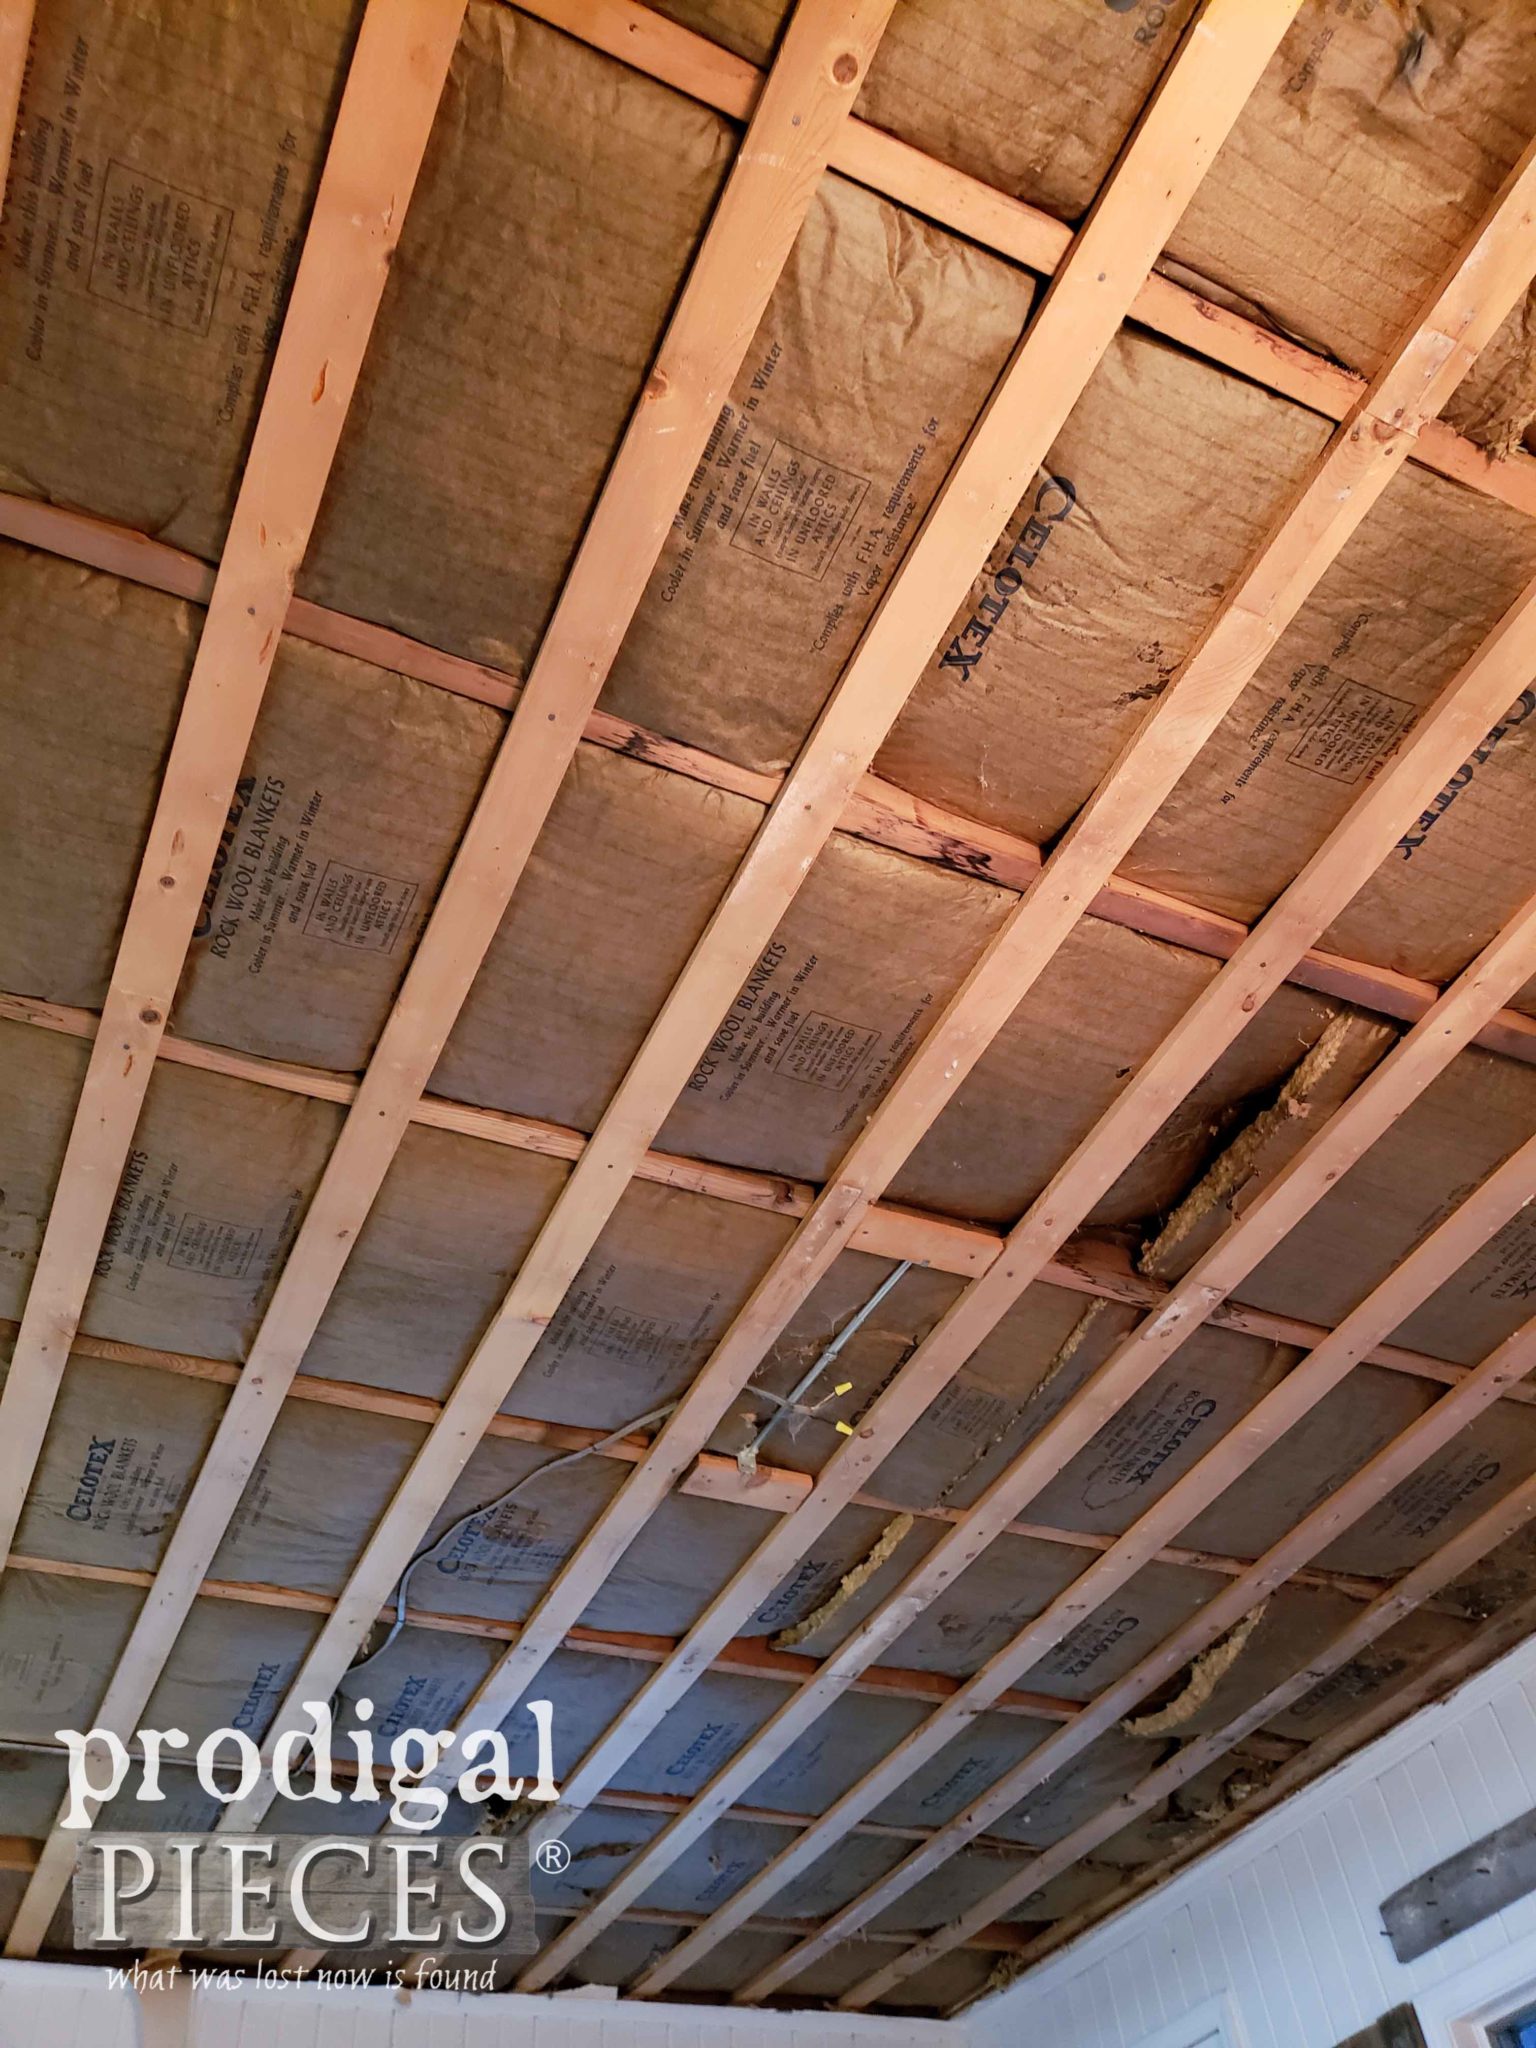
Scary part is I have no idea what we will find under the tile. I knew we have had critters living up in there in the past, so we definitely found nuts, leaves, and much yuck. But…did I have a surface I could work with or would I have to replace it all? I was holding my breath for more reasons than one.
WHEW!
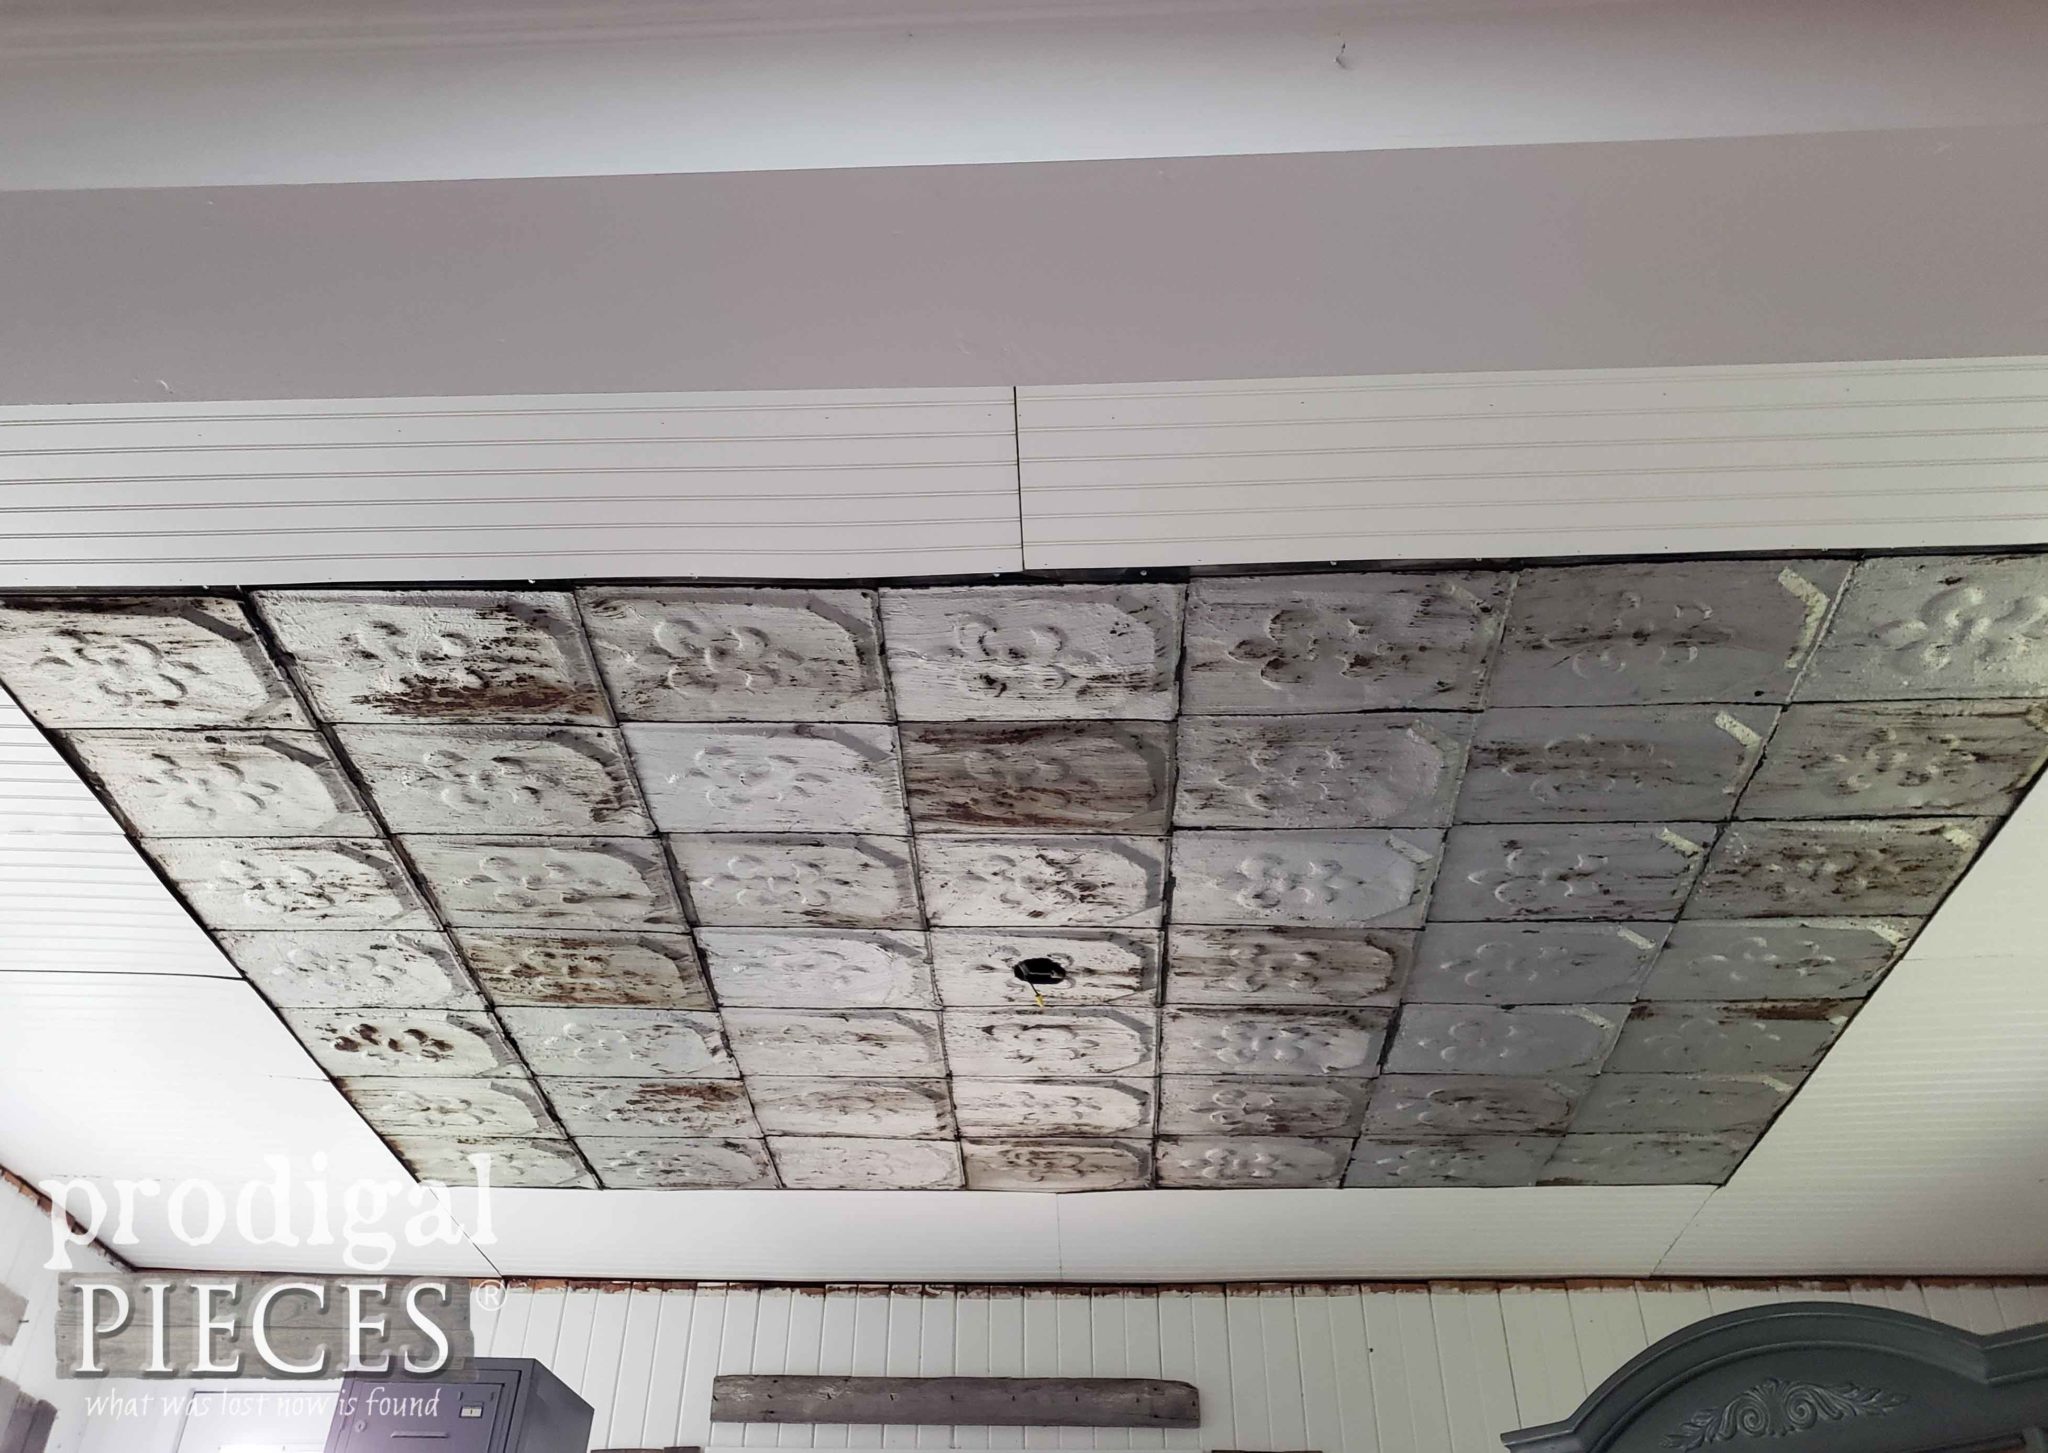
Thankfully, I found a perfect grid in great shape and ready to go for my new DIY coffered ceiling. For those of you that have been asking for the details…here ya go.
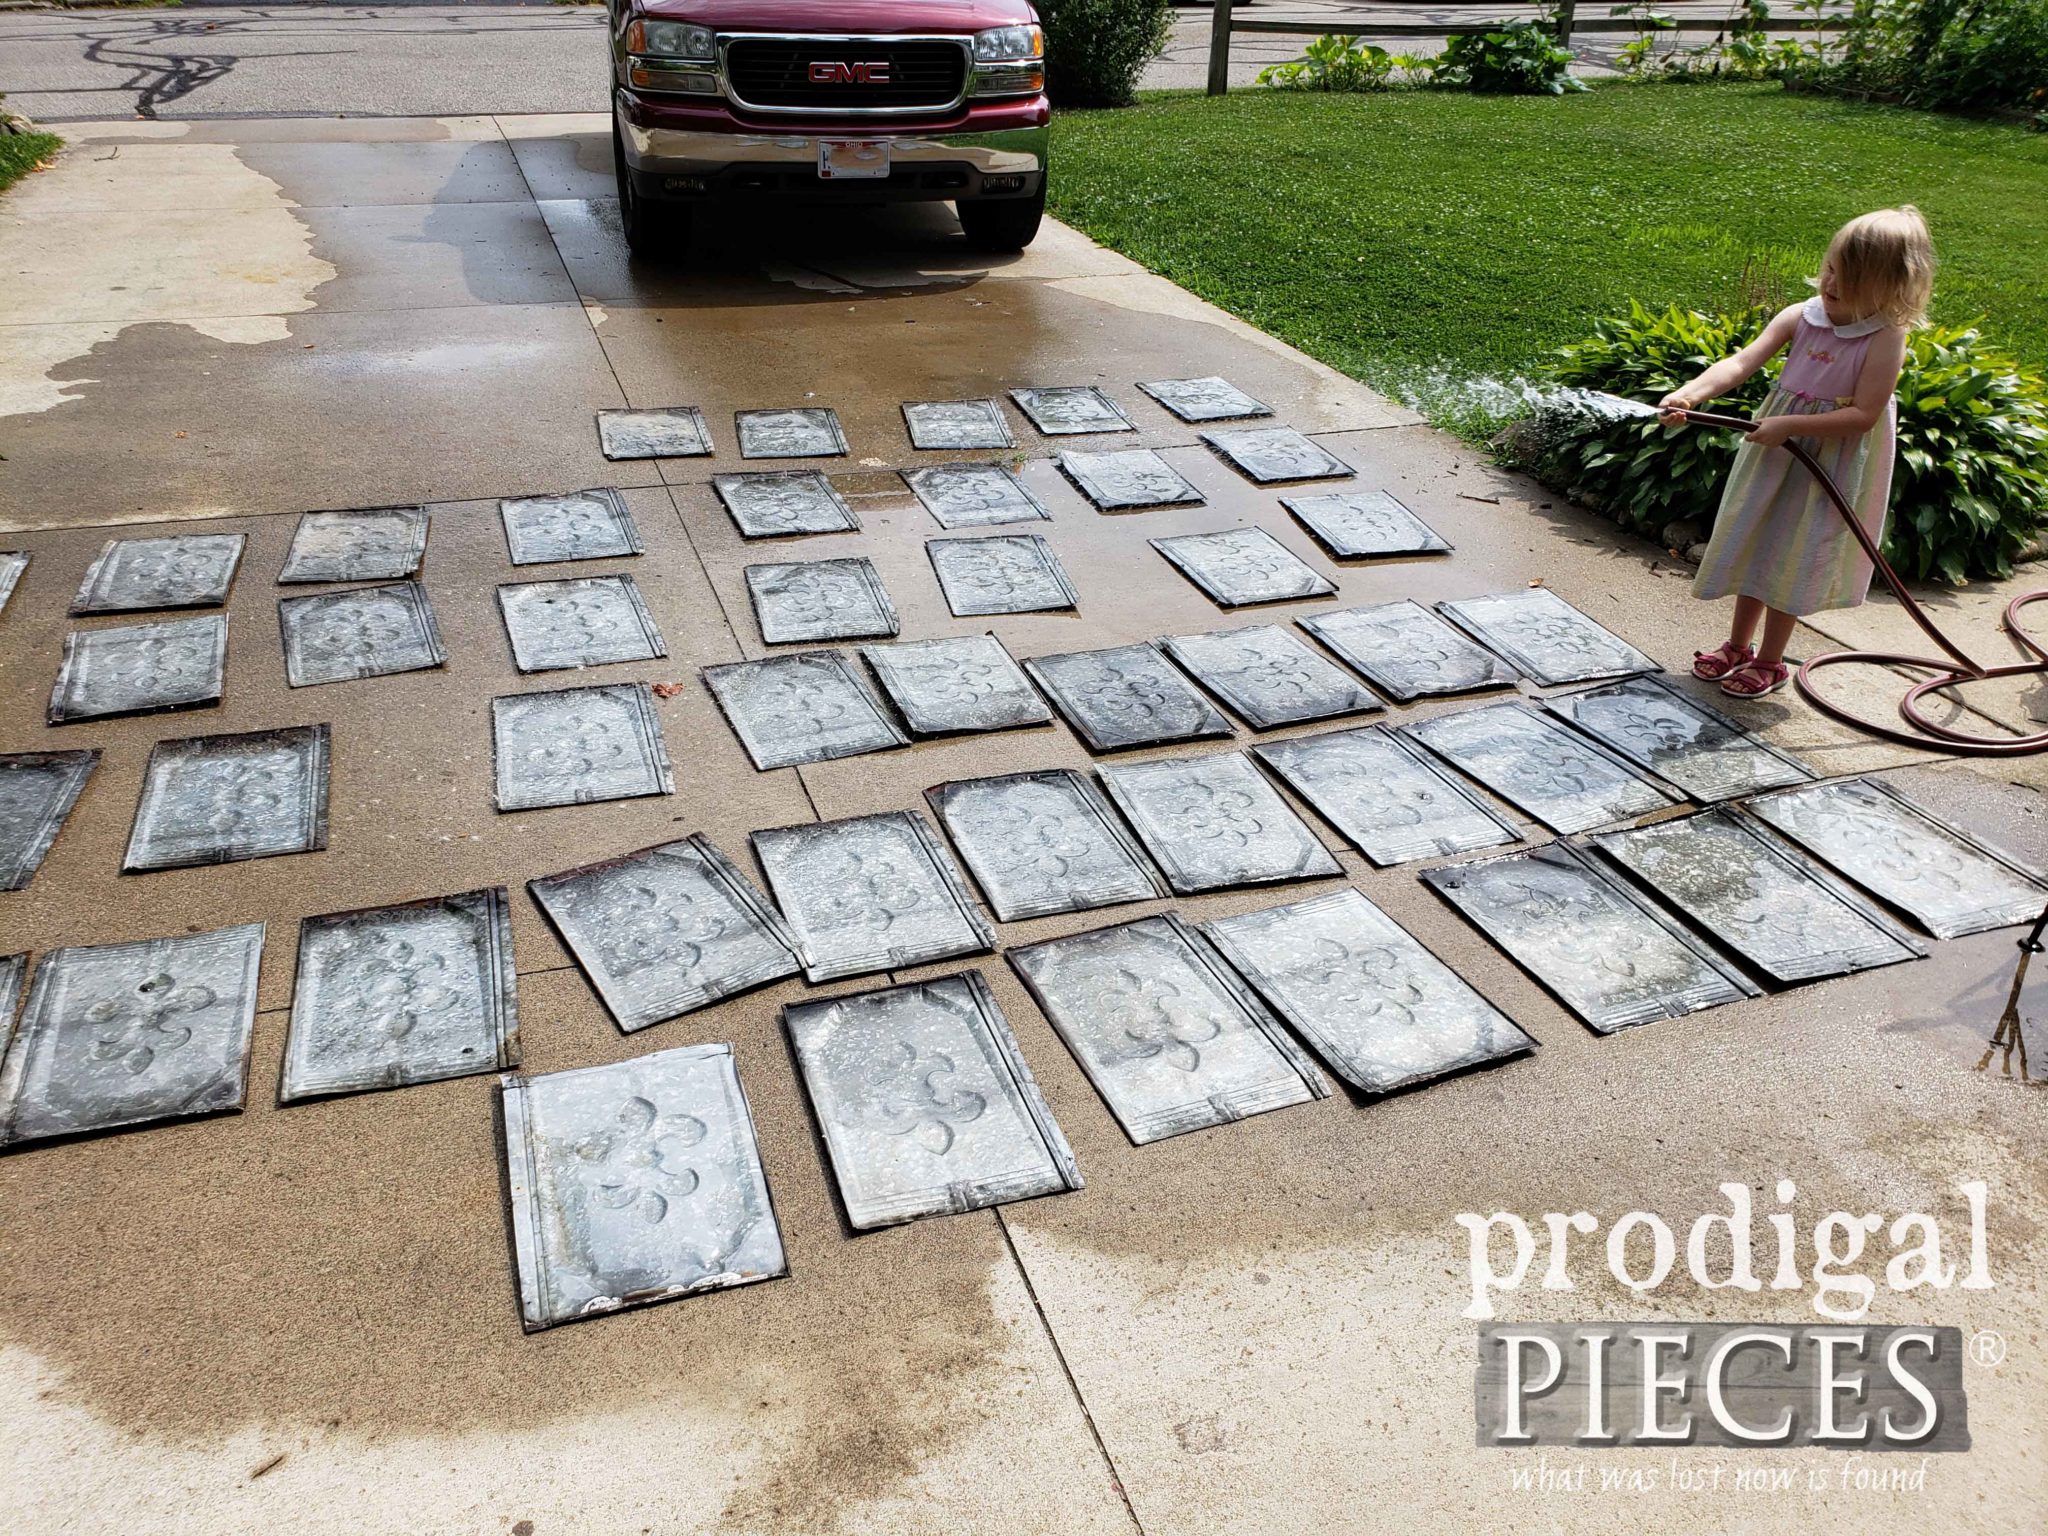
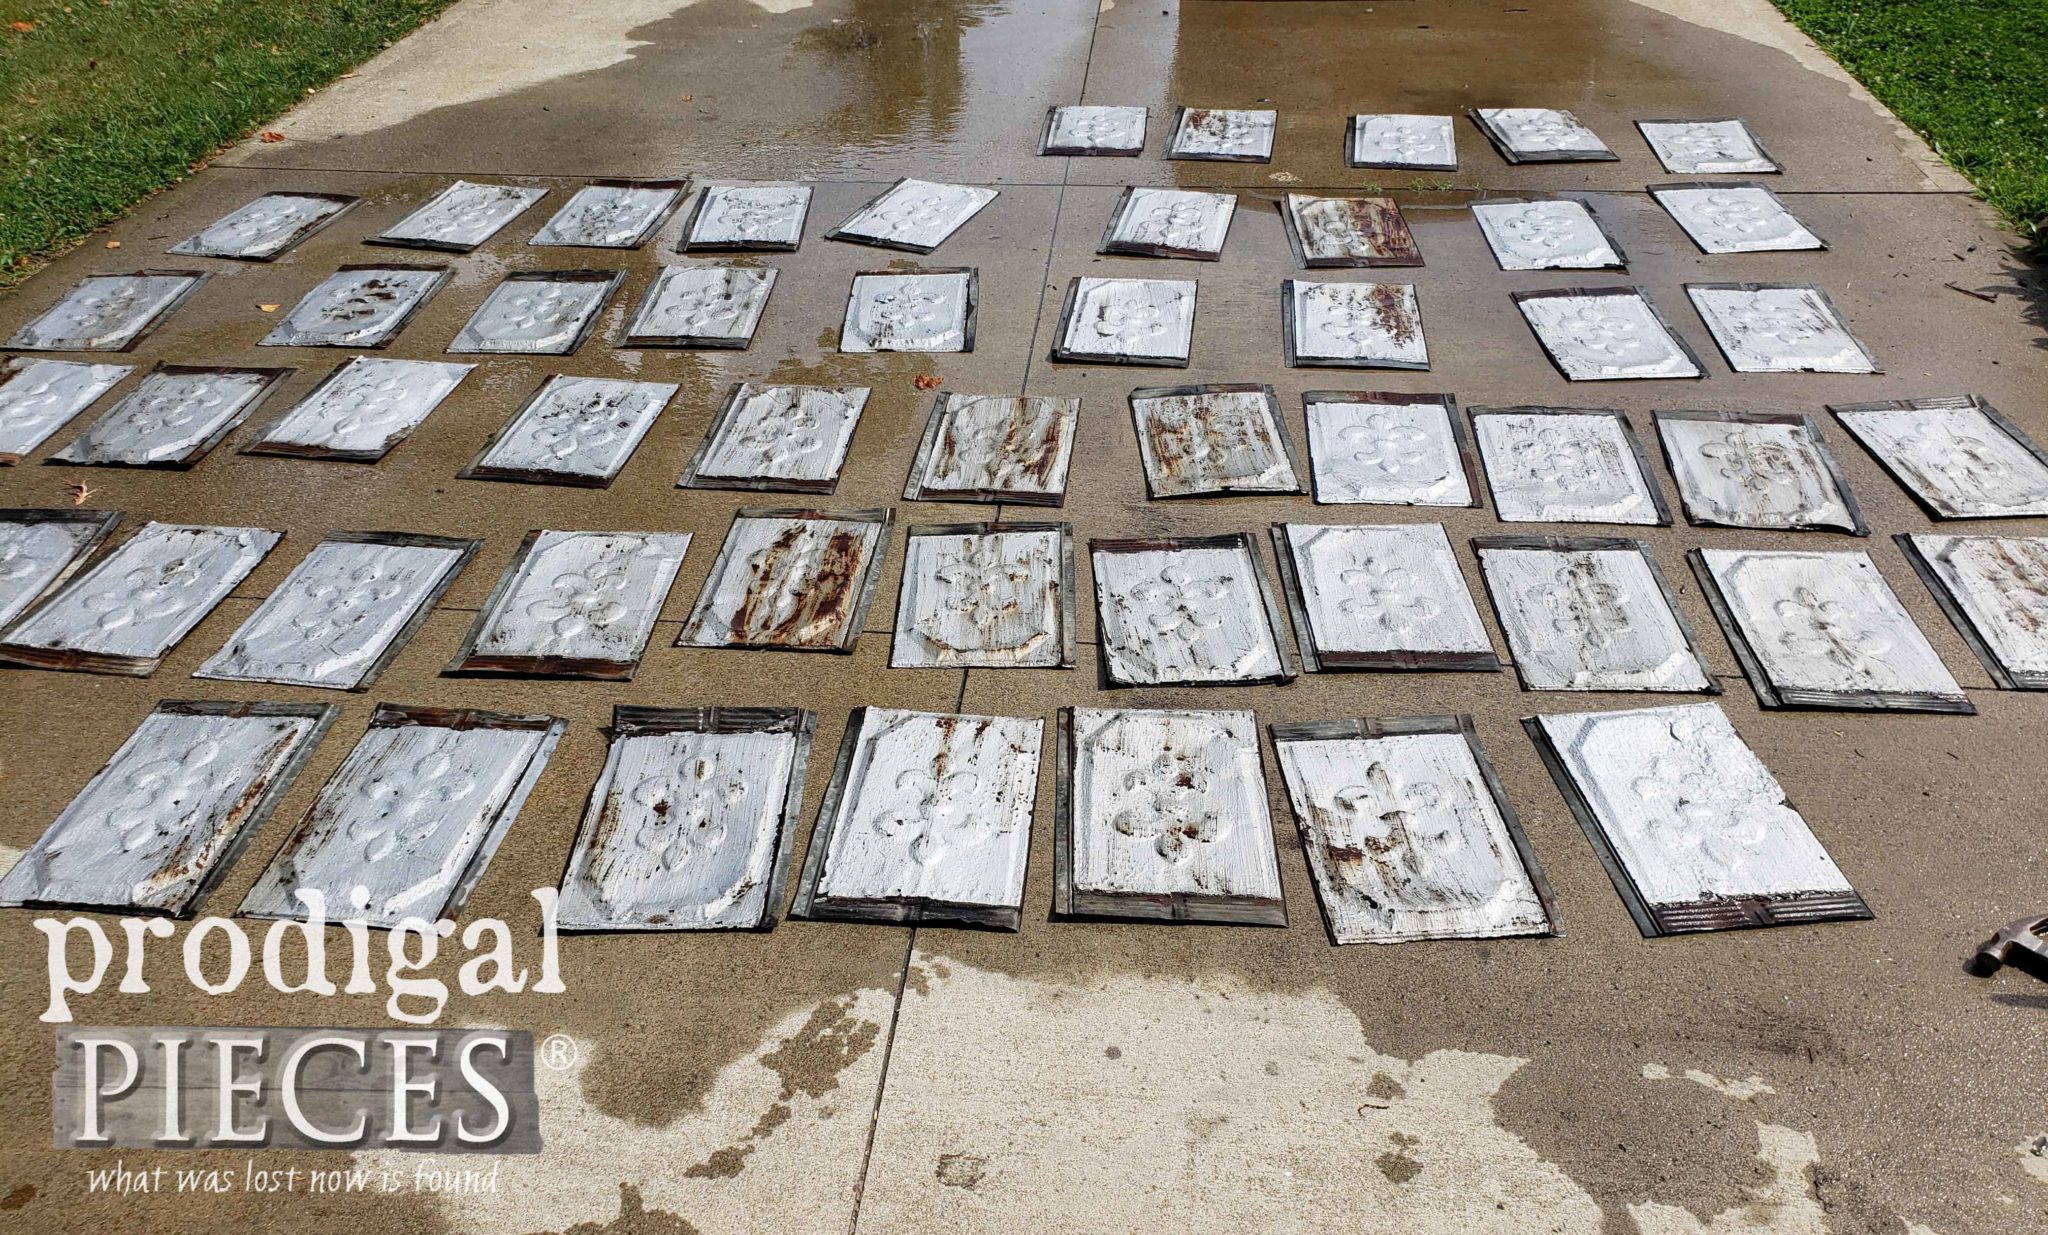
I had been saving this pile of antique barn roof shingles for about 5 years now, aching to have them out of my workshop and up on my ceiling. Can you imagine what my face looked like when I scored 52 of these for $50?! Talk about a SCORE! Hardest part was waiting to put them to use.
MY LOOT
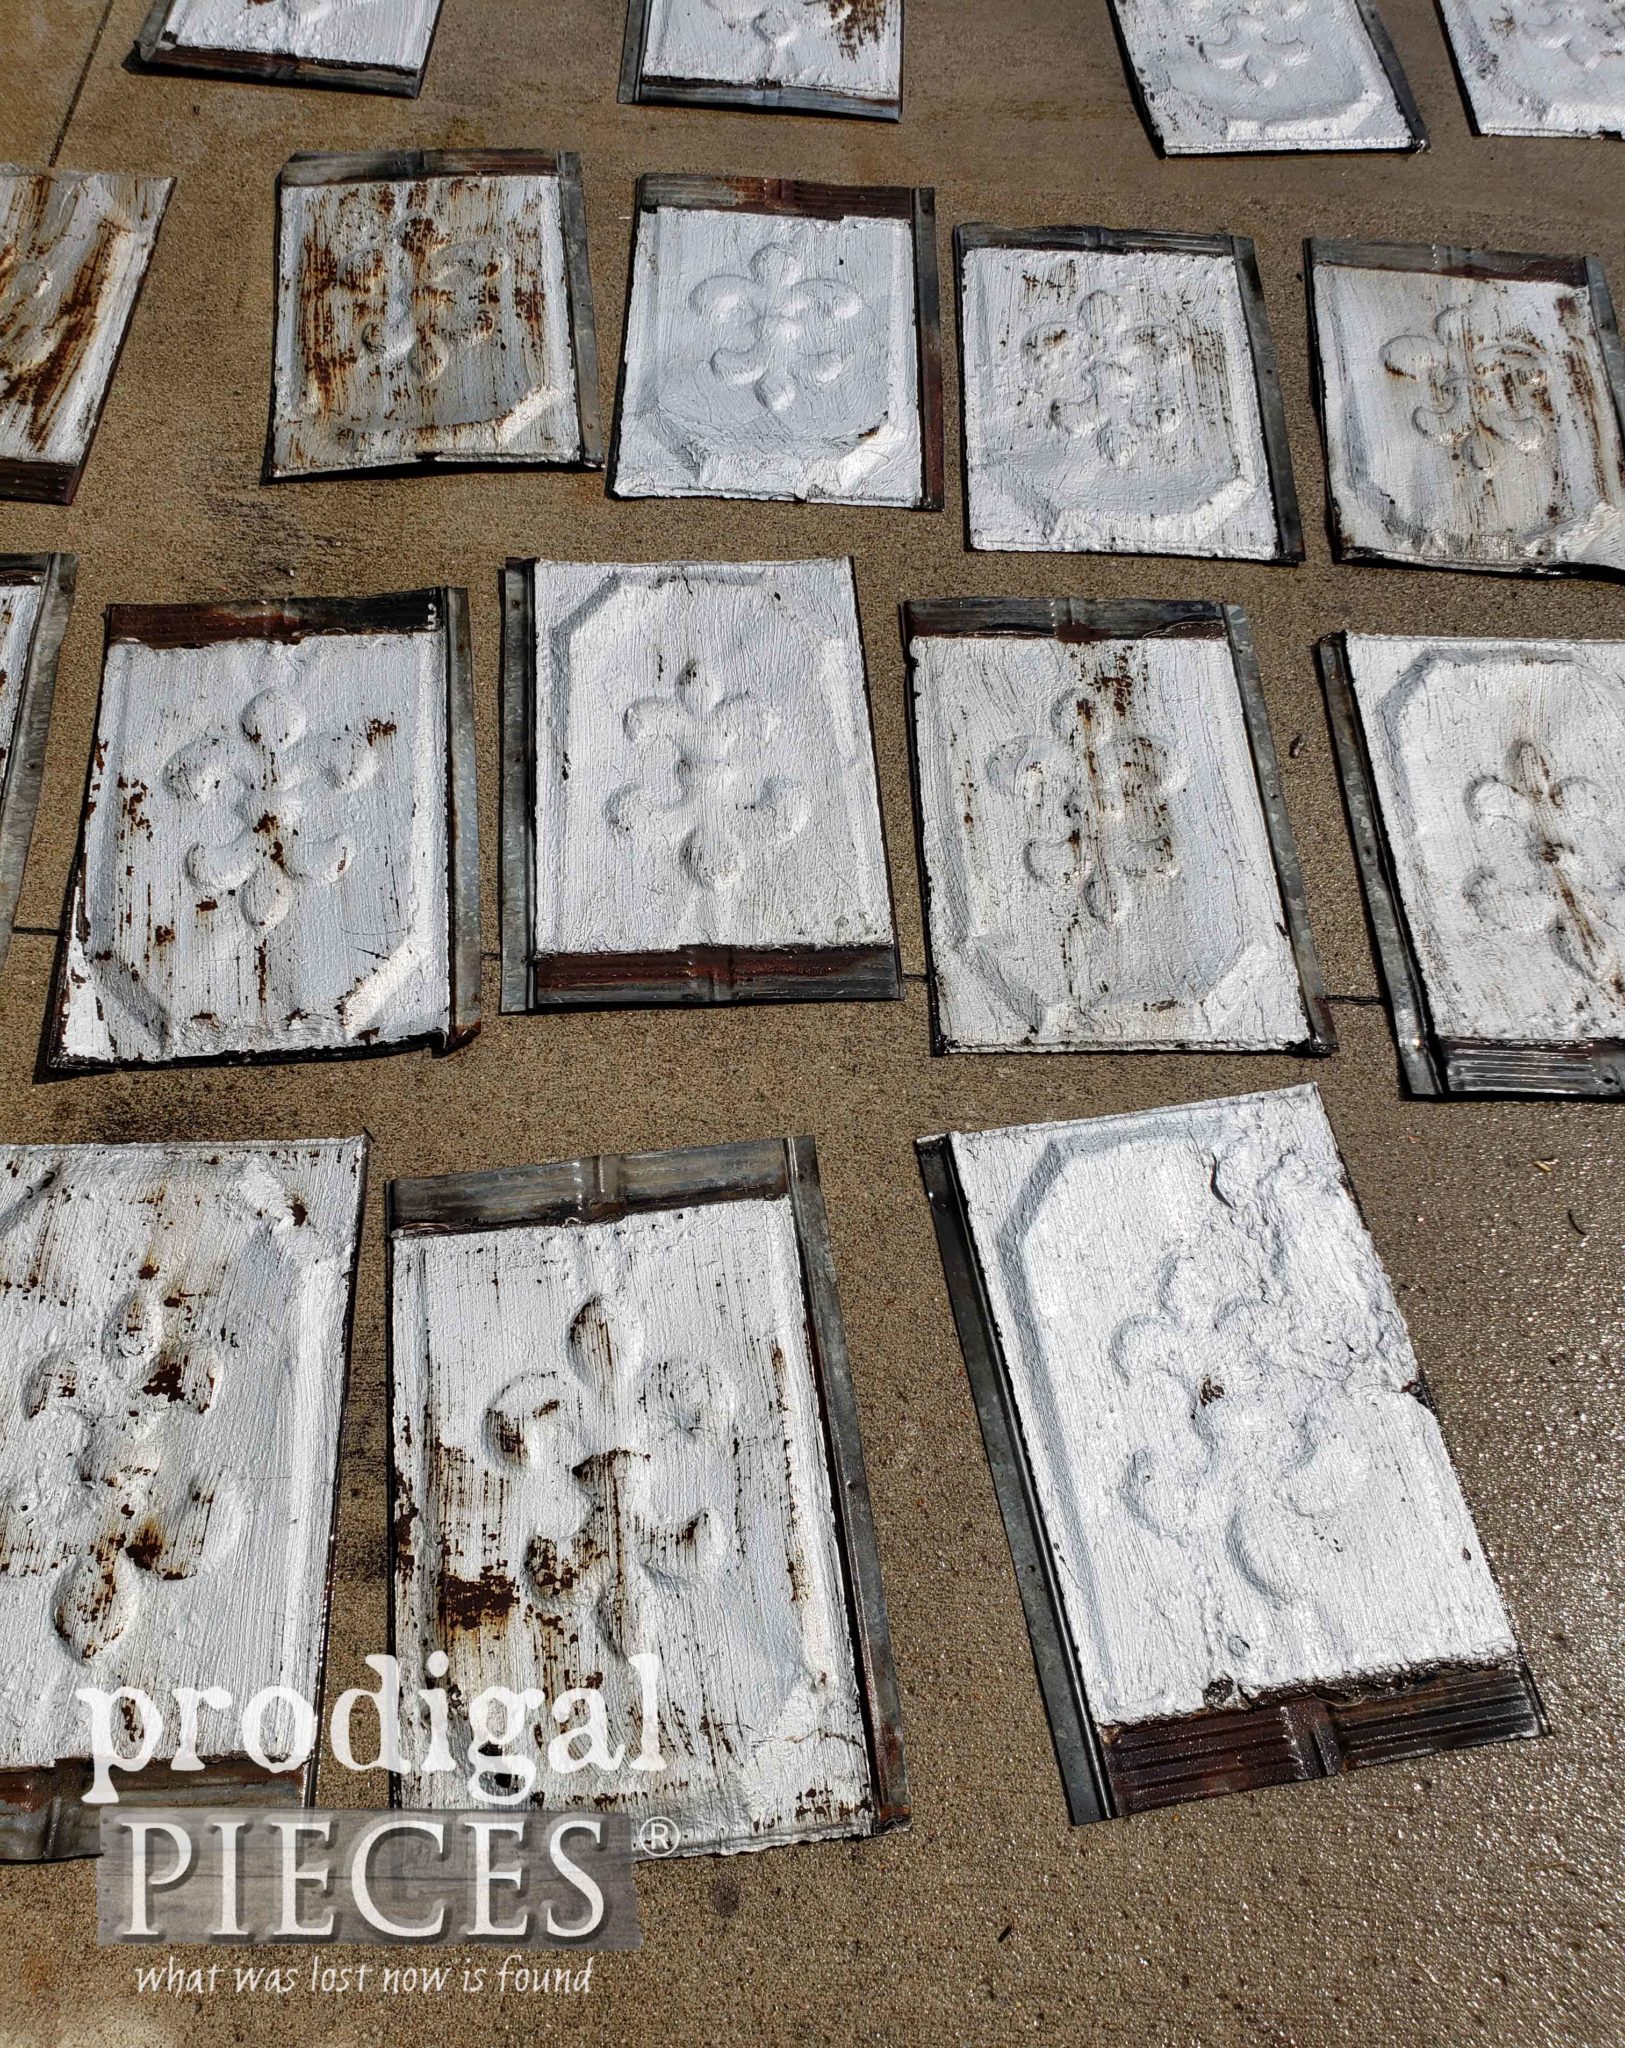
My oldest and youngest girls both helped me clean them up, then I hammered the bent edges and scrubbed them. The Fleur de Lis and the gorgeous patina are easily my favorite features. Funny thing is that JC can’t handle the patina, but bless his heart he lets me have my way. The fact they are from an early 1800’s barn right here in Ohio makes the story even sweeter. I wish I had a picture of the barn they came off of. How fun that would be!
*post lighting provided by eFaucets (see full disclosure)
Installing them wasn’t an easy task by far and it was all me. I started by finding center and measuring out from there to find where my first course would start. I had to layer the shingles and interlock them as I went. That meant bending and prying and hammering them to fit as they originally did. All this work with my injured rotator cuff. However, I was on fire to see my DIY coffered ceiling done. My jigsaw came in handy to cut the hole out of the center shingle for my light fixture.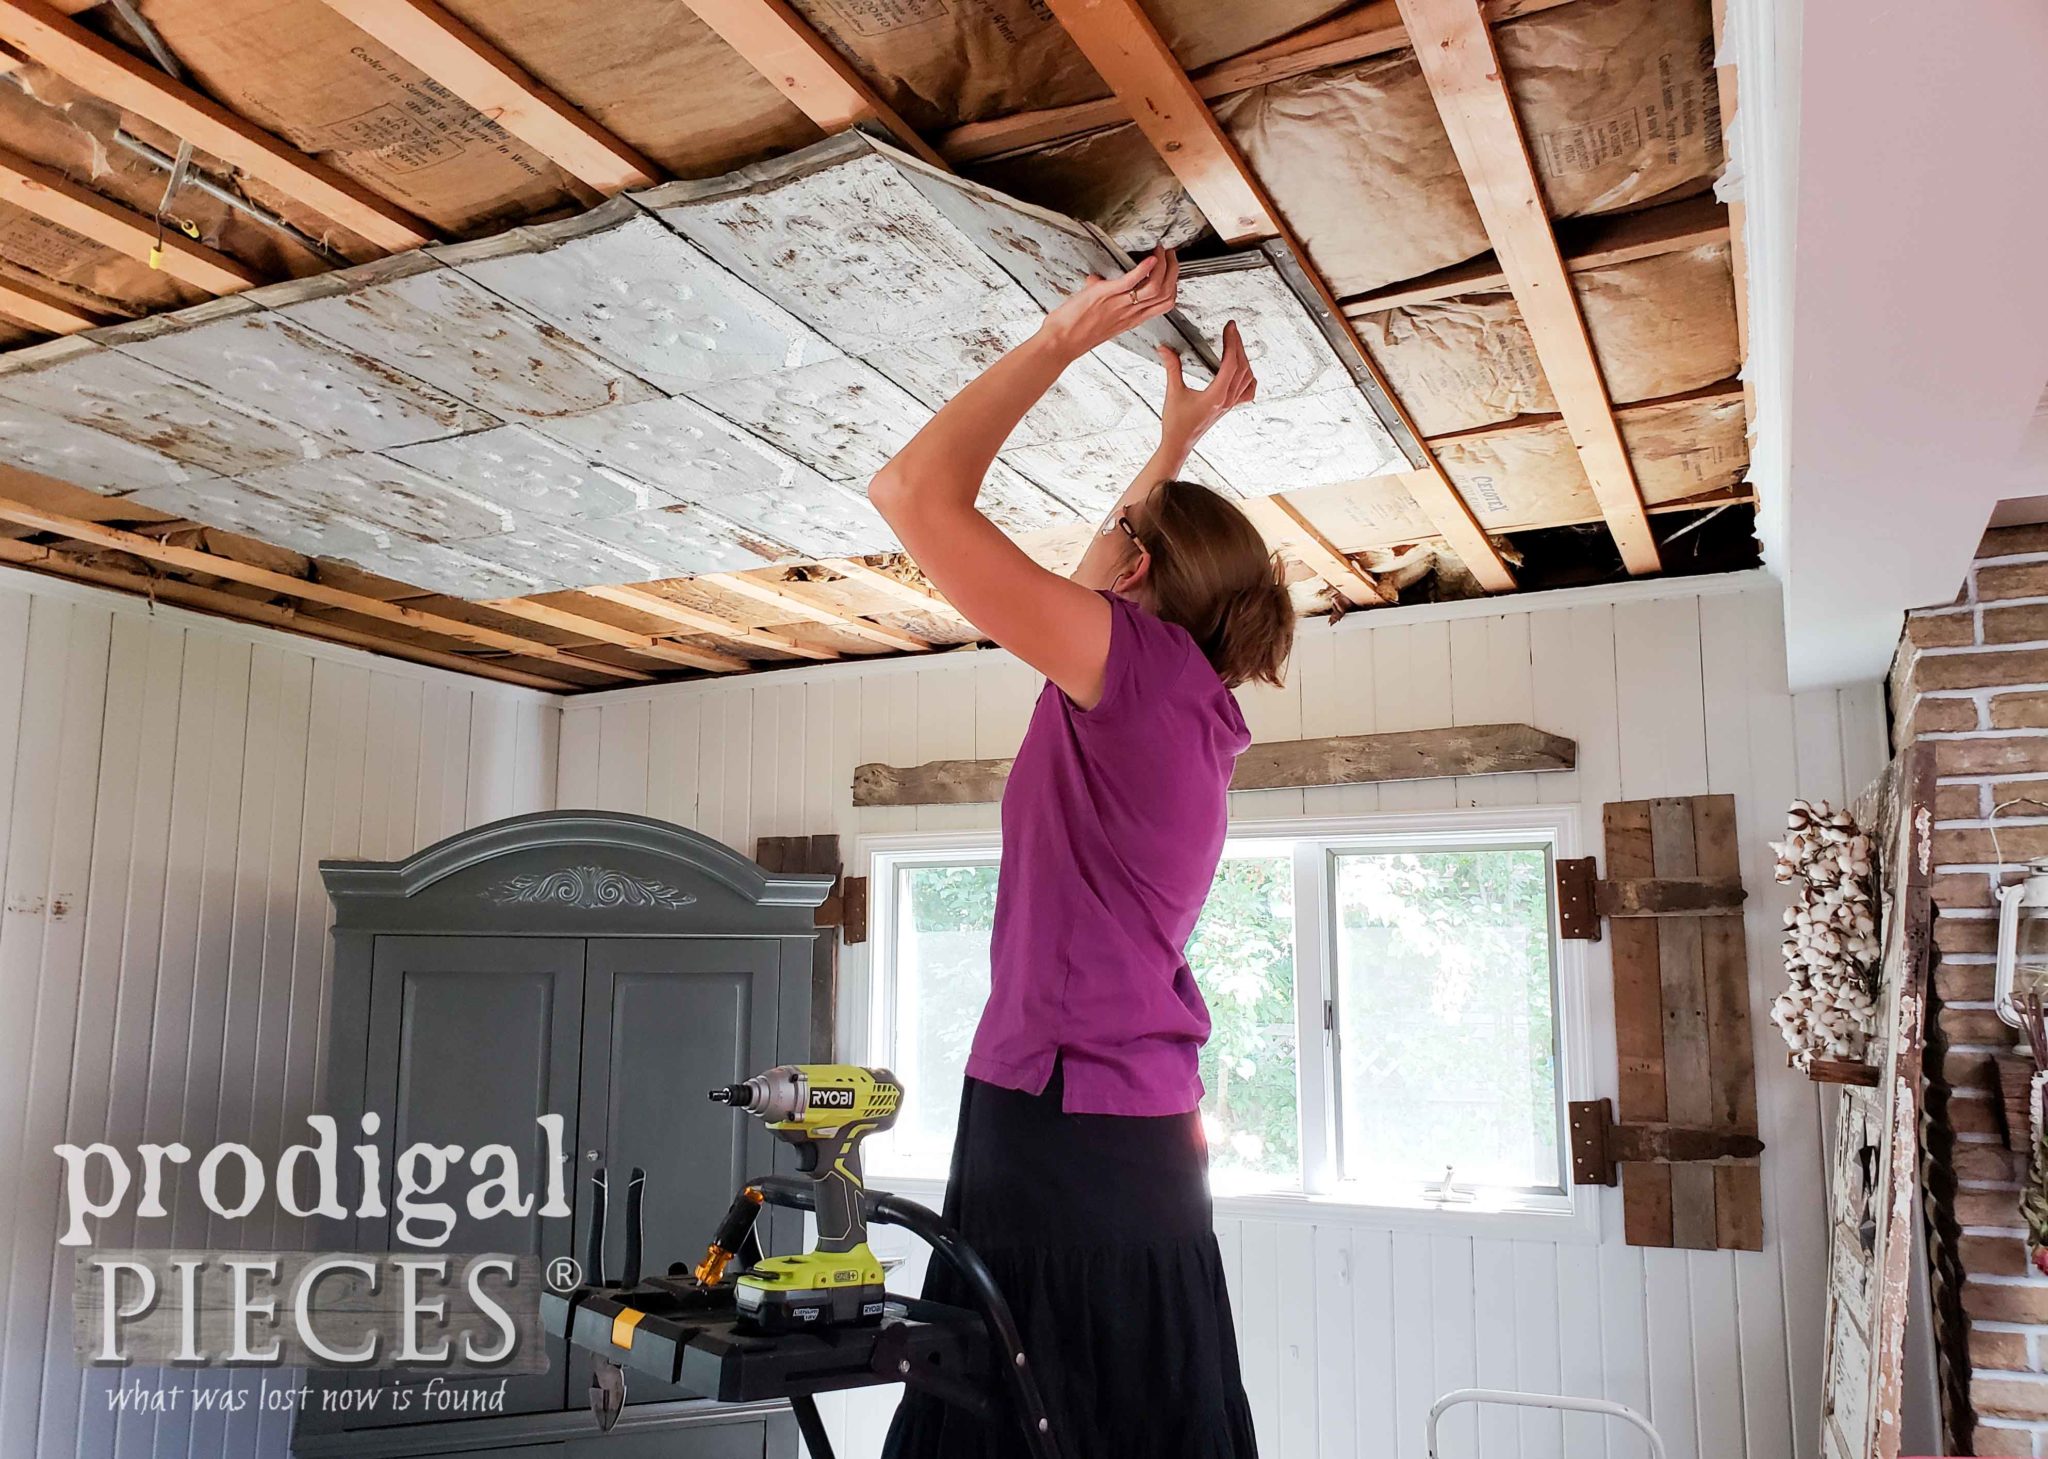
BUILDING
Once the center panel of shingles was up, I then began cutting beadboard panels to go around. Me and my little circular saw had oodles of fun.
Here they after installing using my nailer. You can see how I planned for the seams to fall in the center of the shingles and at the corners. Since the beadboard comes in 4′ x 8″ panels I had to work with those dimensions to know where my boards would be placed. In addition, you have to factor in lining up the beads.
FIRST COURSE
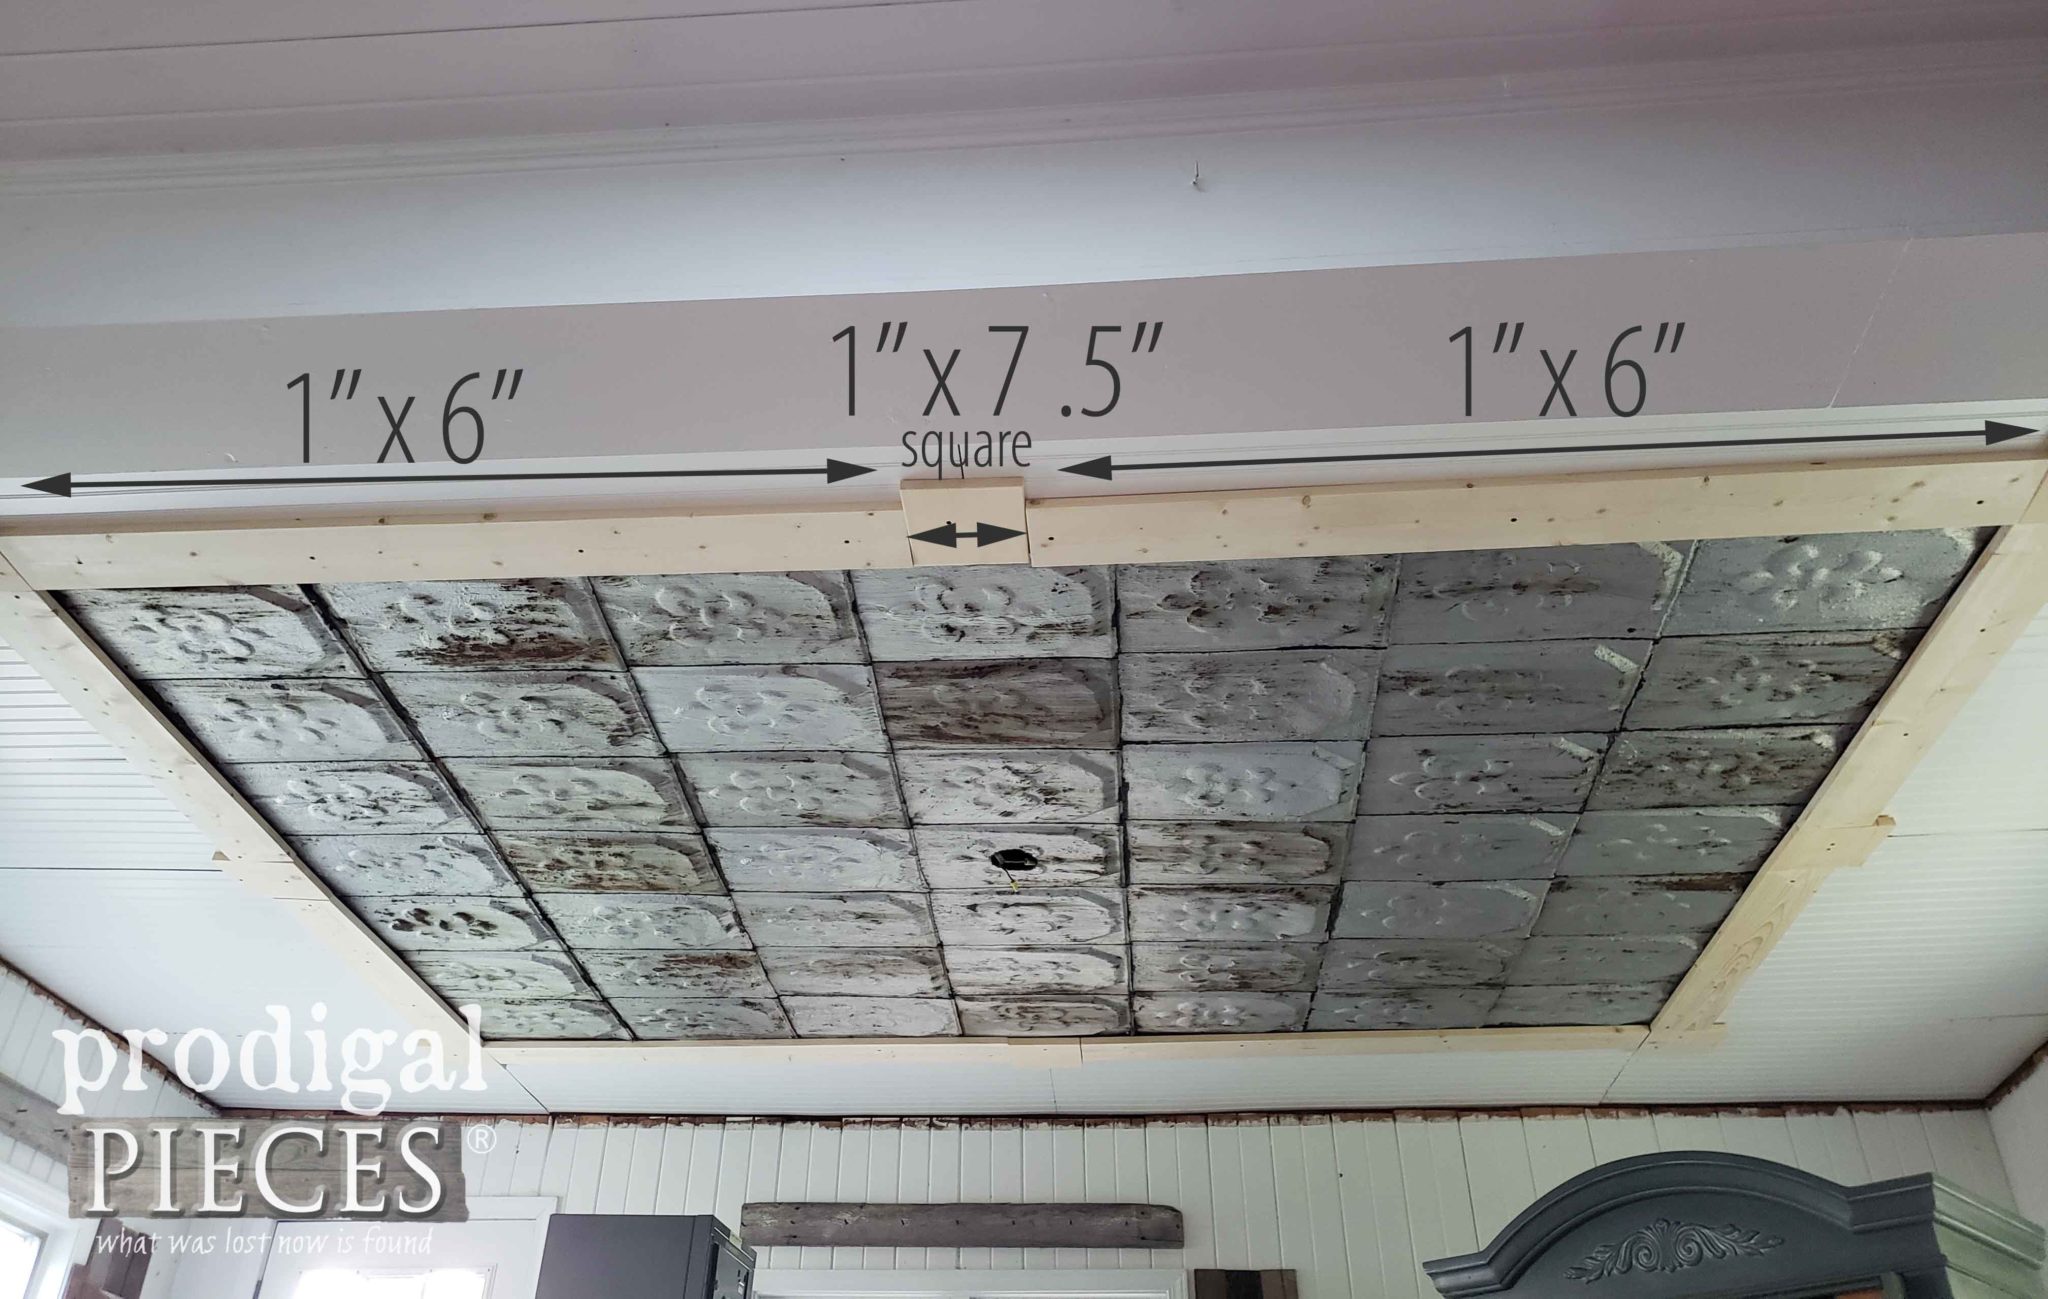
For my first course of wood, I began with my squares cut from 1″ x 8″ boards. They are set at each corner and in the middle of each section for a total of 8 squares. I attached them to my underlying grid with screws and my drill. Then, for each section between the squares, I measured and cut 1″ x 6″ lengths on my miter saw and attached them with screws. Just had to maker sure to land on my underlying grid.
SECOND COURSE
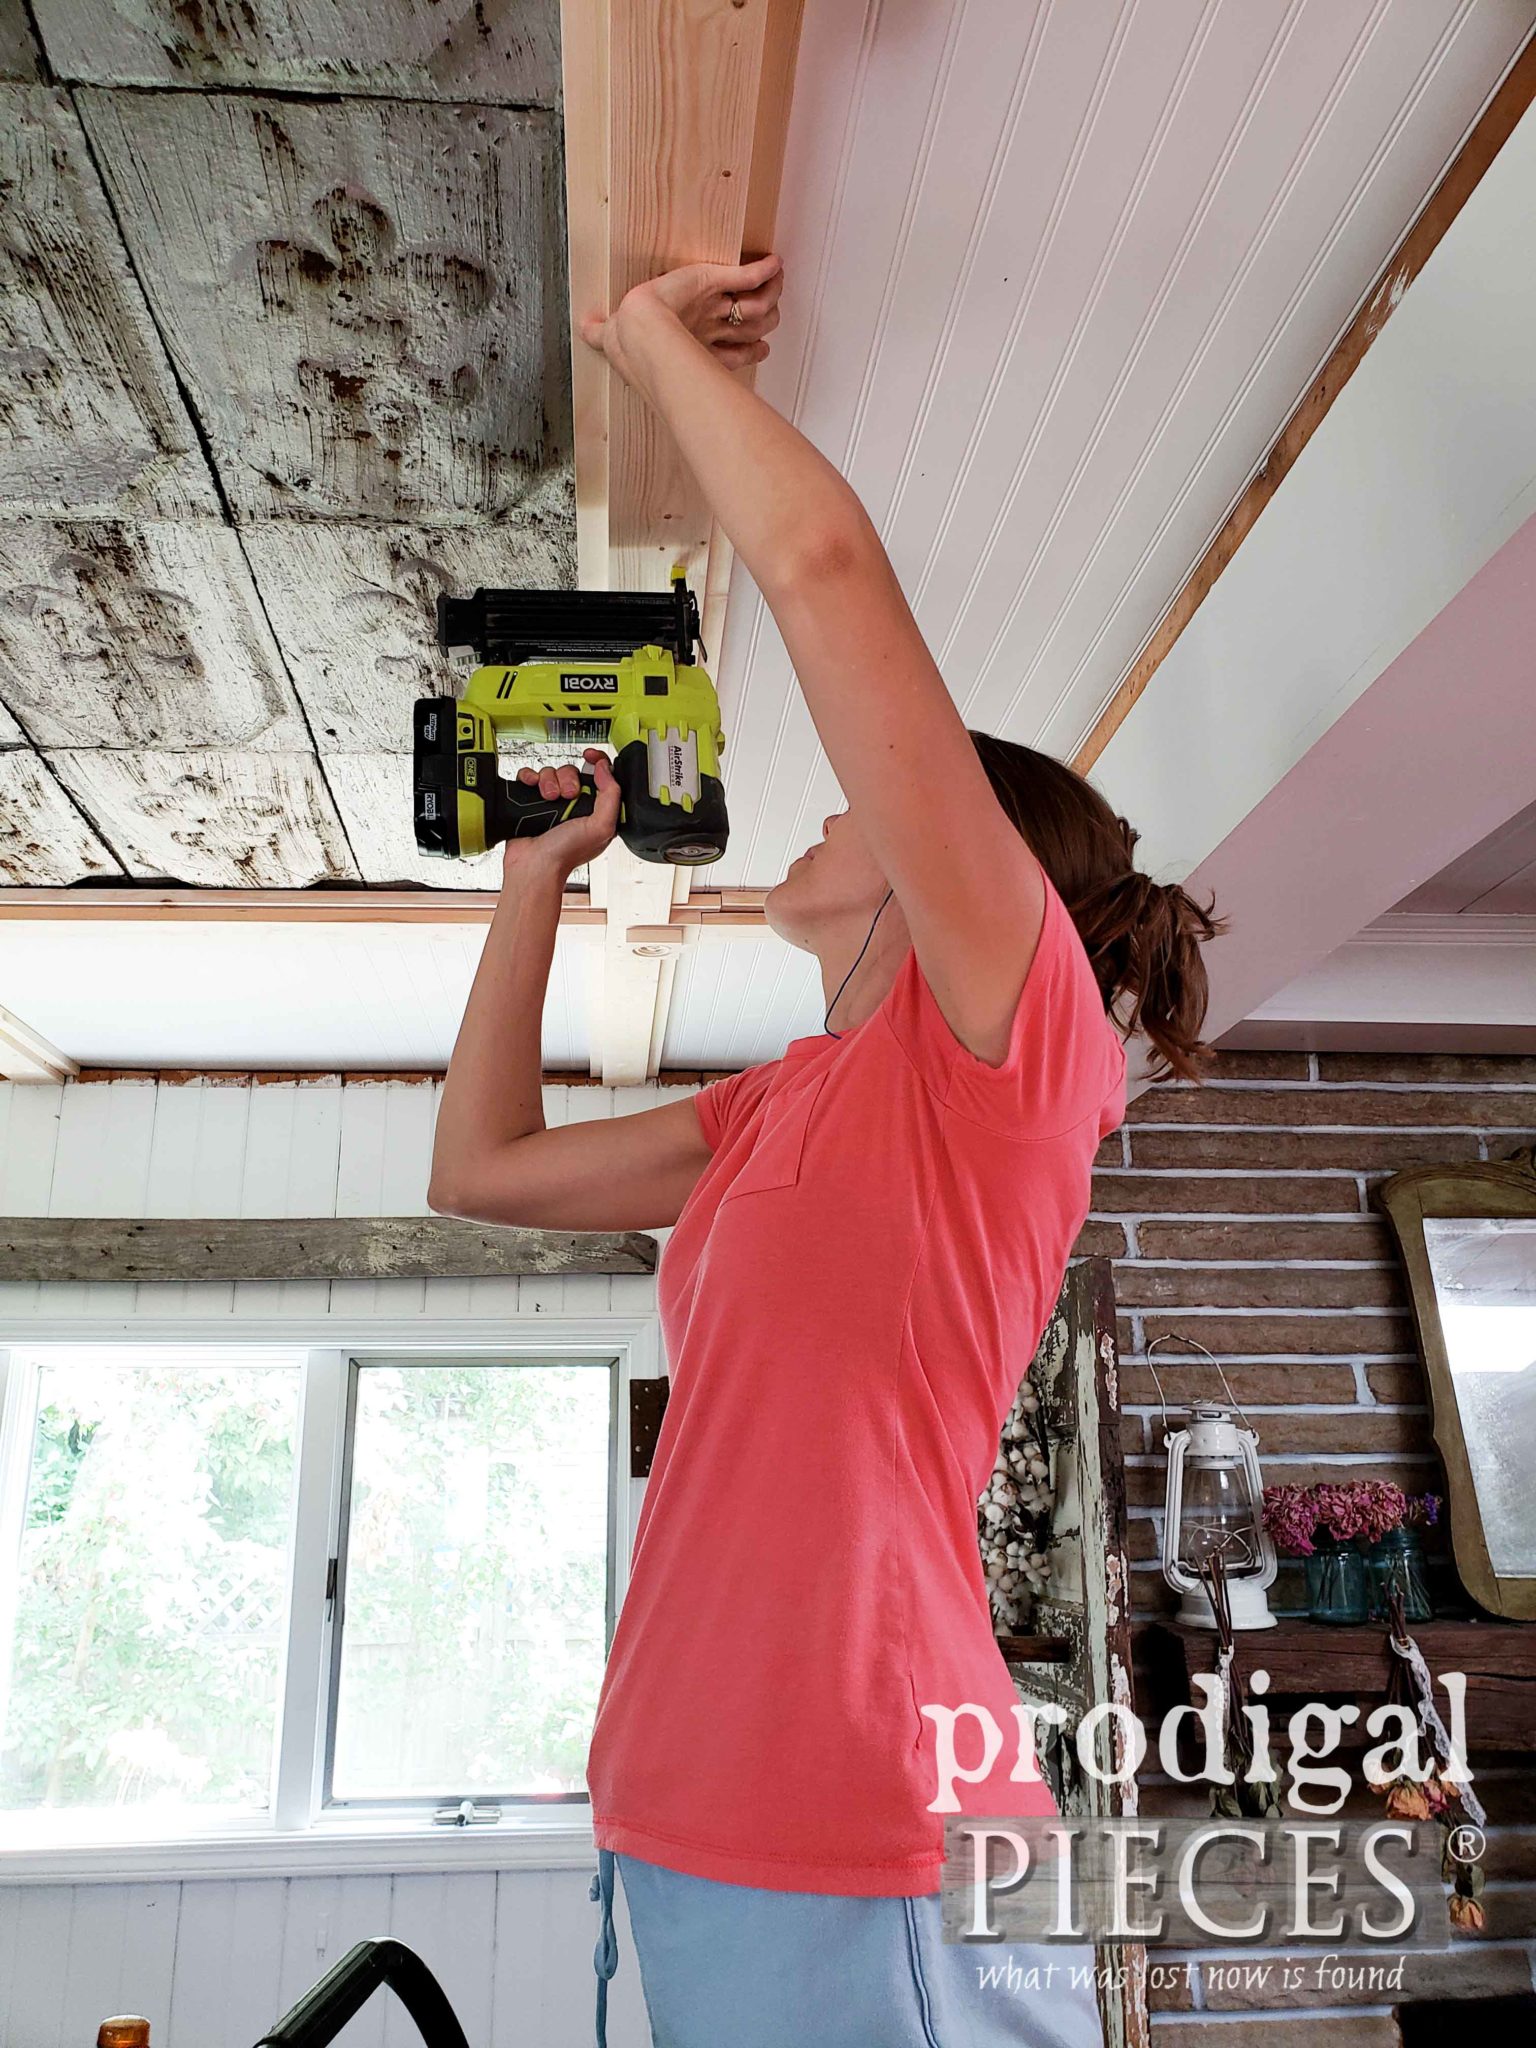
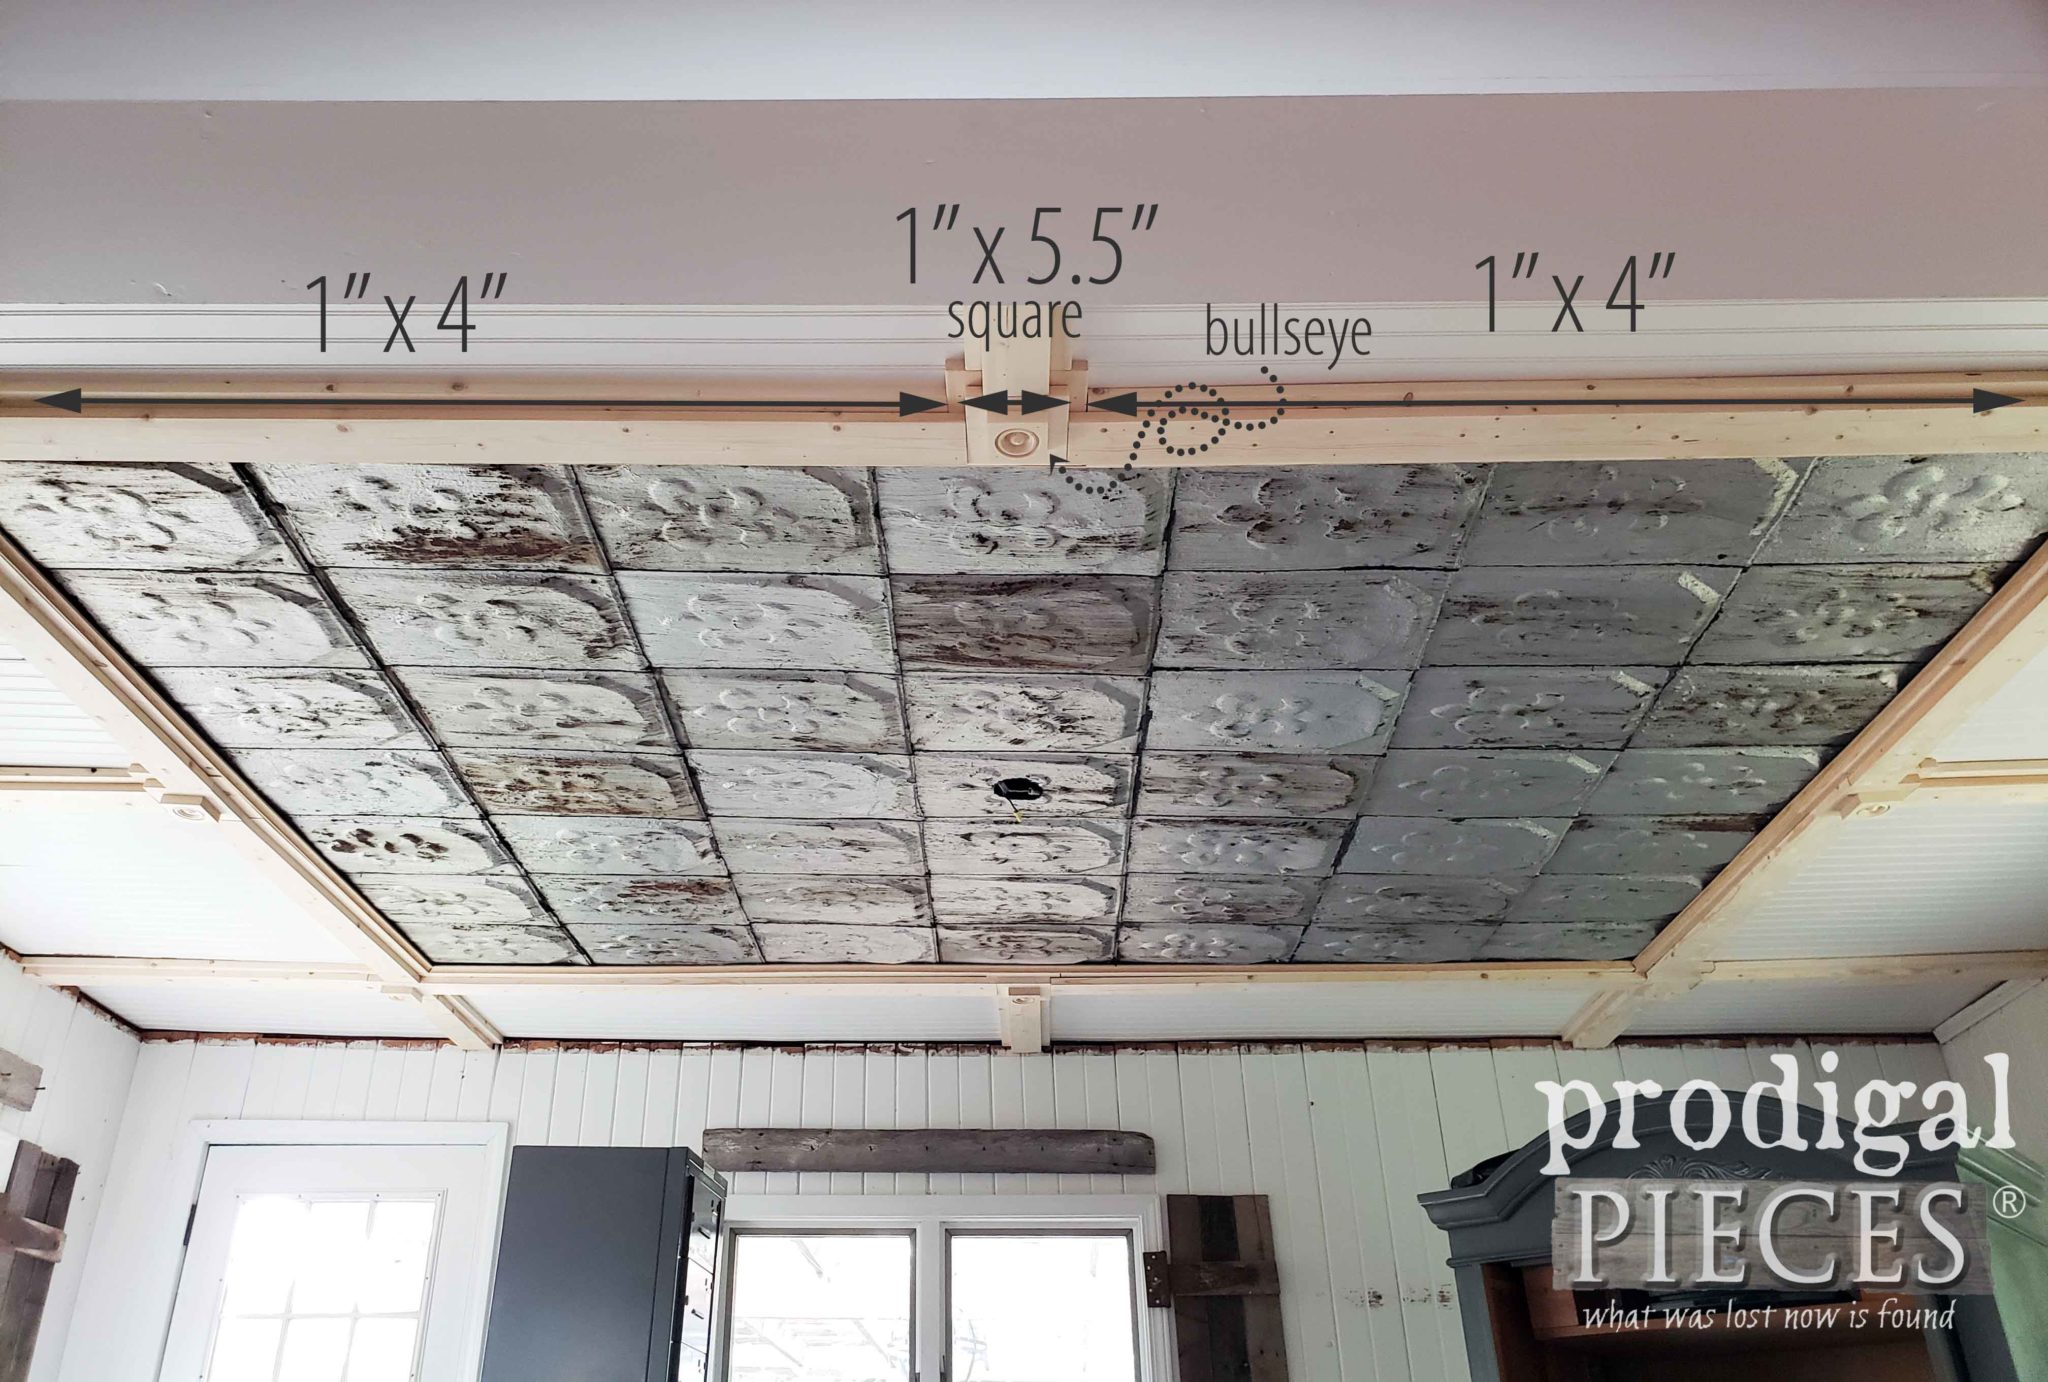
For the second course, I stared in the same manner with my 1″ x 6″ squares layered on top of the larger squares using my nailer. On top of the square stack I added a rosette (or bullseye) for interest. Once the stack of squares were in place, I measure the length from 1″ x 6″ square to the other 1″ x 6″ square. Then, I cut my 1″ x 4″ boards.
After the wood was installed, I add cove molding to the interior panel around the shingles to create a finished look. I also cut and replaced the ceiling trim around the perimeter using the trim I had taken down. All the nail holes were filled with wood filler and then sanded down with my sander. Plus, I caulked all the seams so we’re ready for the next step.
TIME FOR PAINT
Time for paint! To ensure no knot holes would bleed through, I first primed the boards with Kilz stain-blocking primer, and then topped off the entire ceiling with two coats of an eggshell paint in Dove White. Also, huge thanks to my oldest daughter who jumped in to help this mama with a stiff neck.
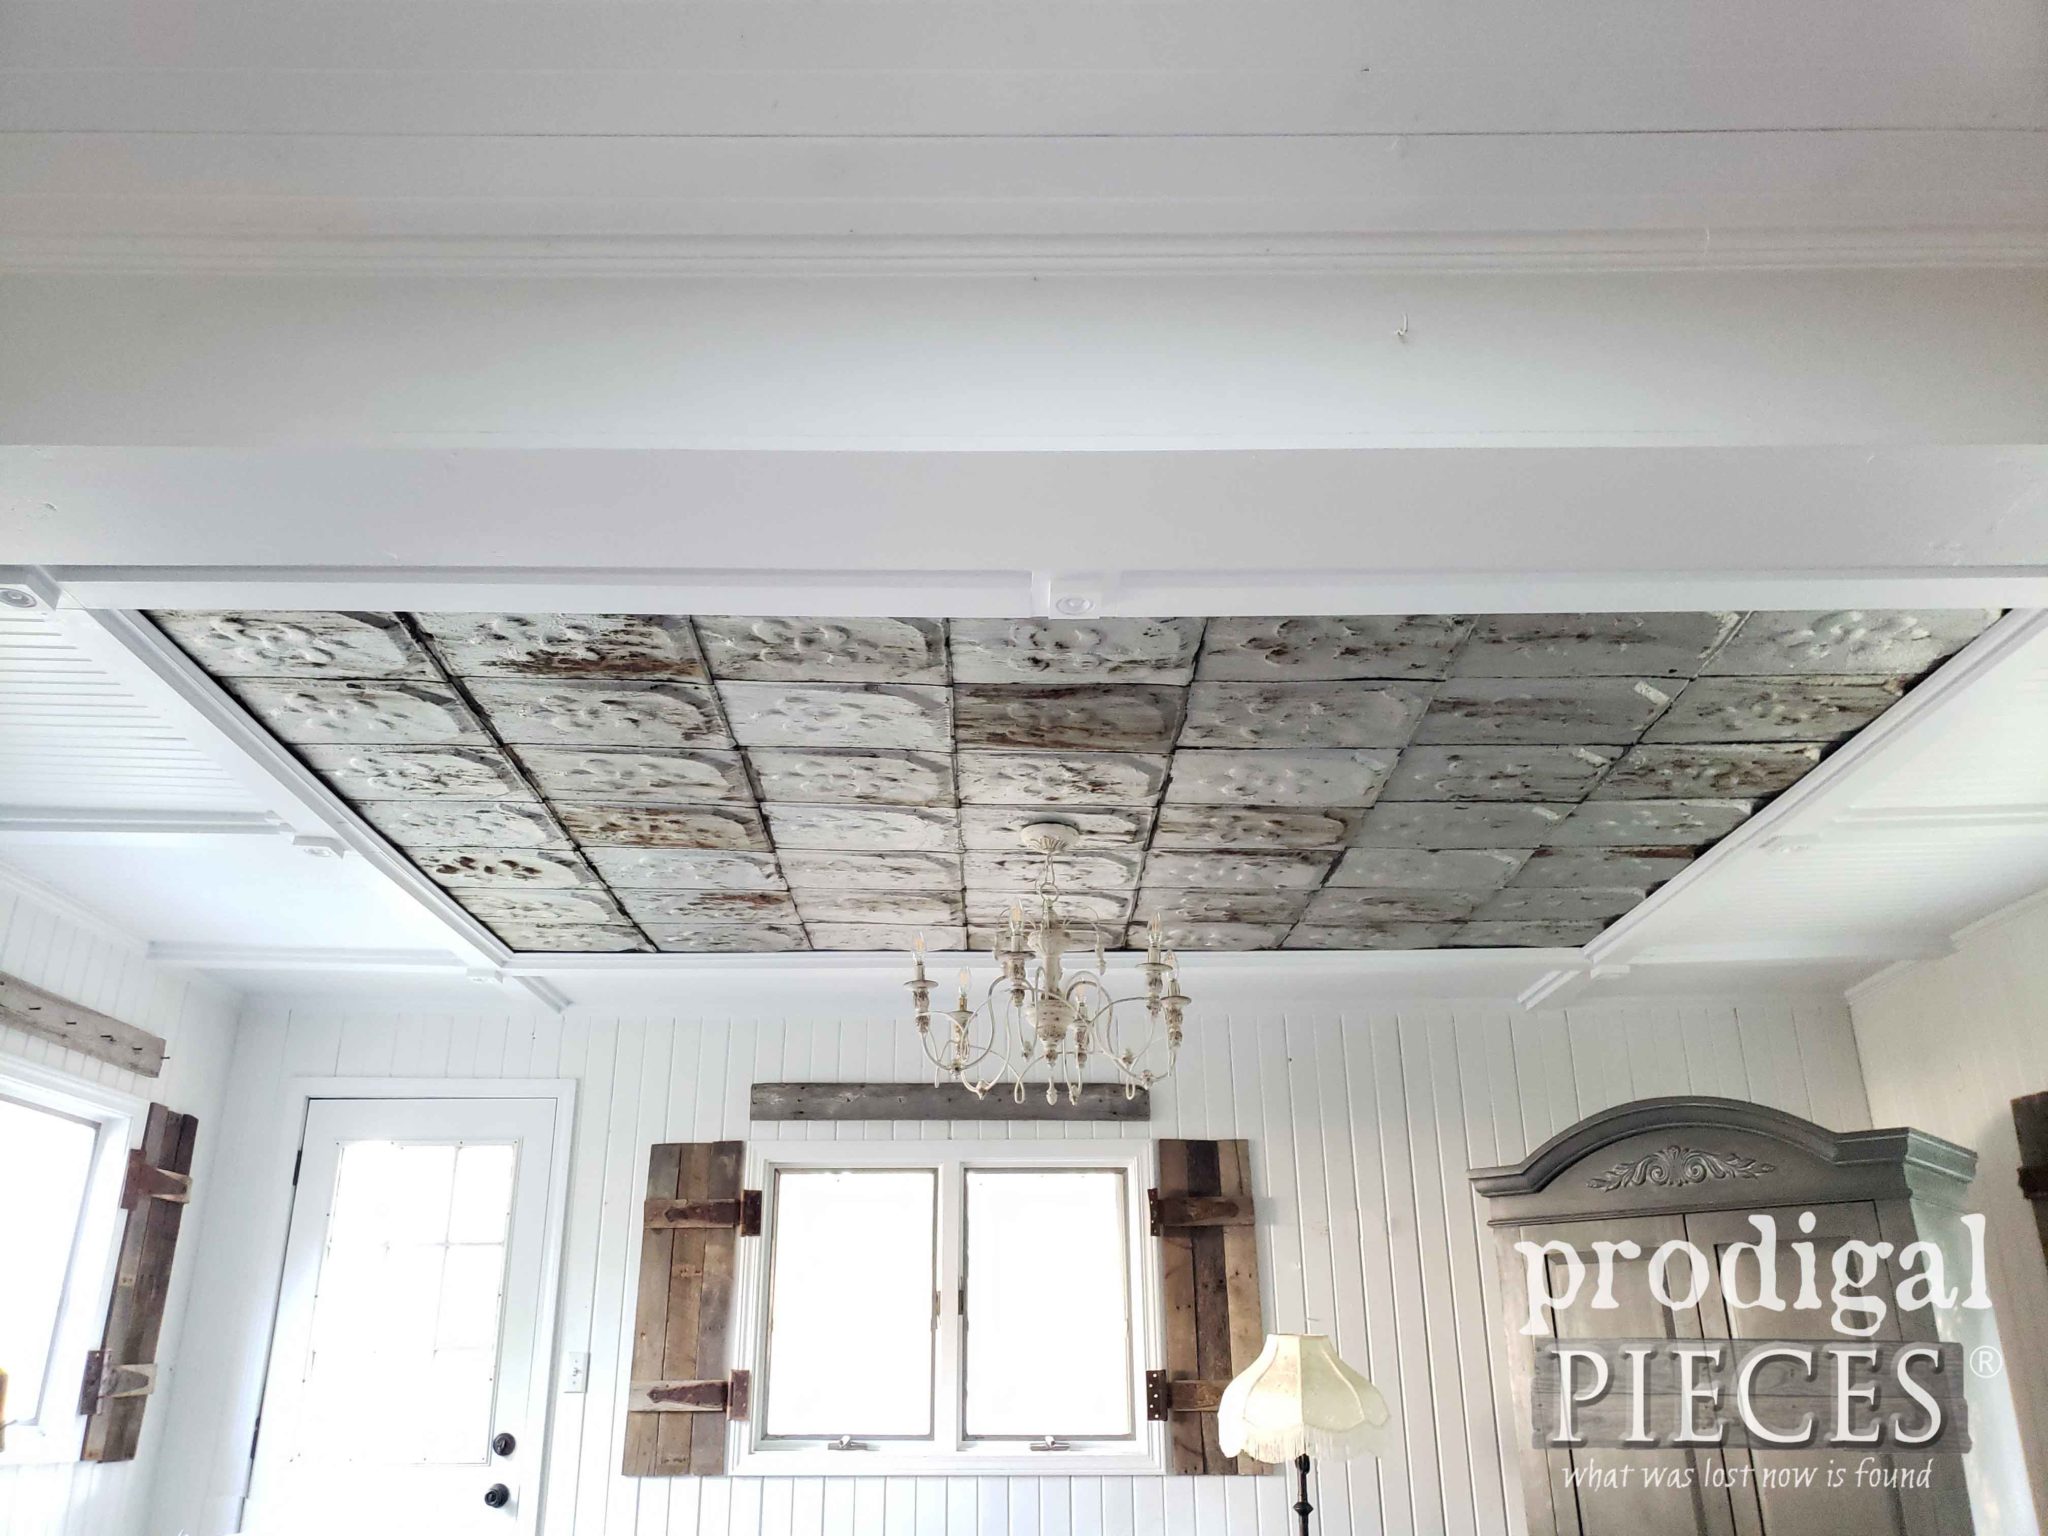
Here is my DIY coffered ceiling ready for my new light fixture. I’m so excited!!
We’ve happily worked with eFaucets in the past for our lighting, our bathroom fixtures, and our new kitchen sink faucet. I had no doubt they would have exactly what I was looking for because their selection is endless! I’m serious. Not just faucets, but oodles of lighting in thousands of choices in all sorts of styles.
LIGHTING
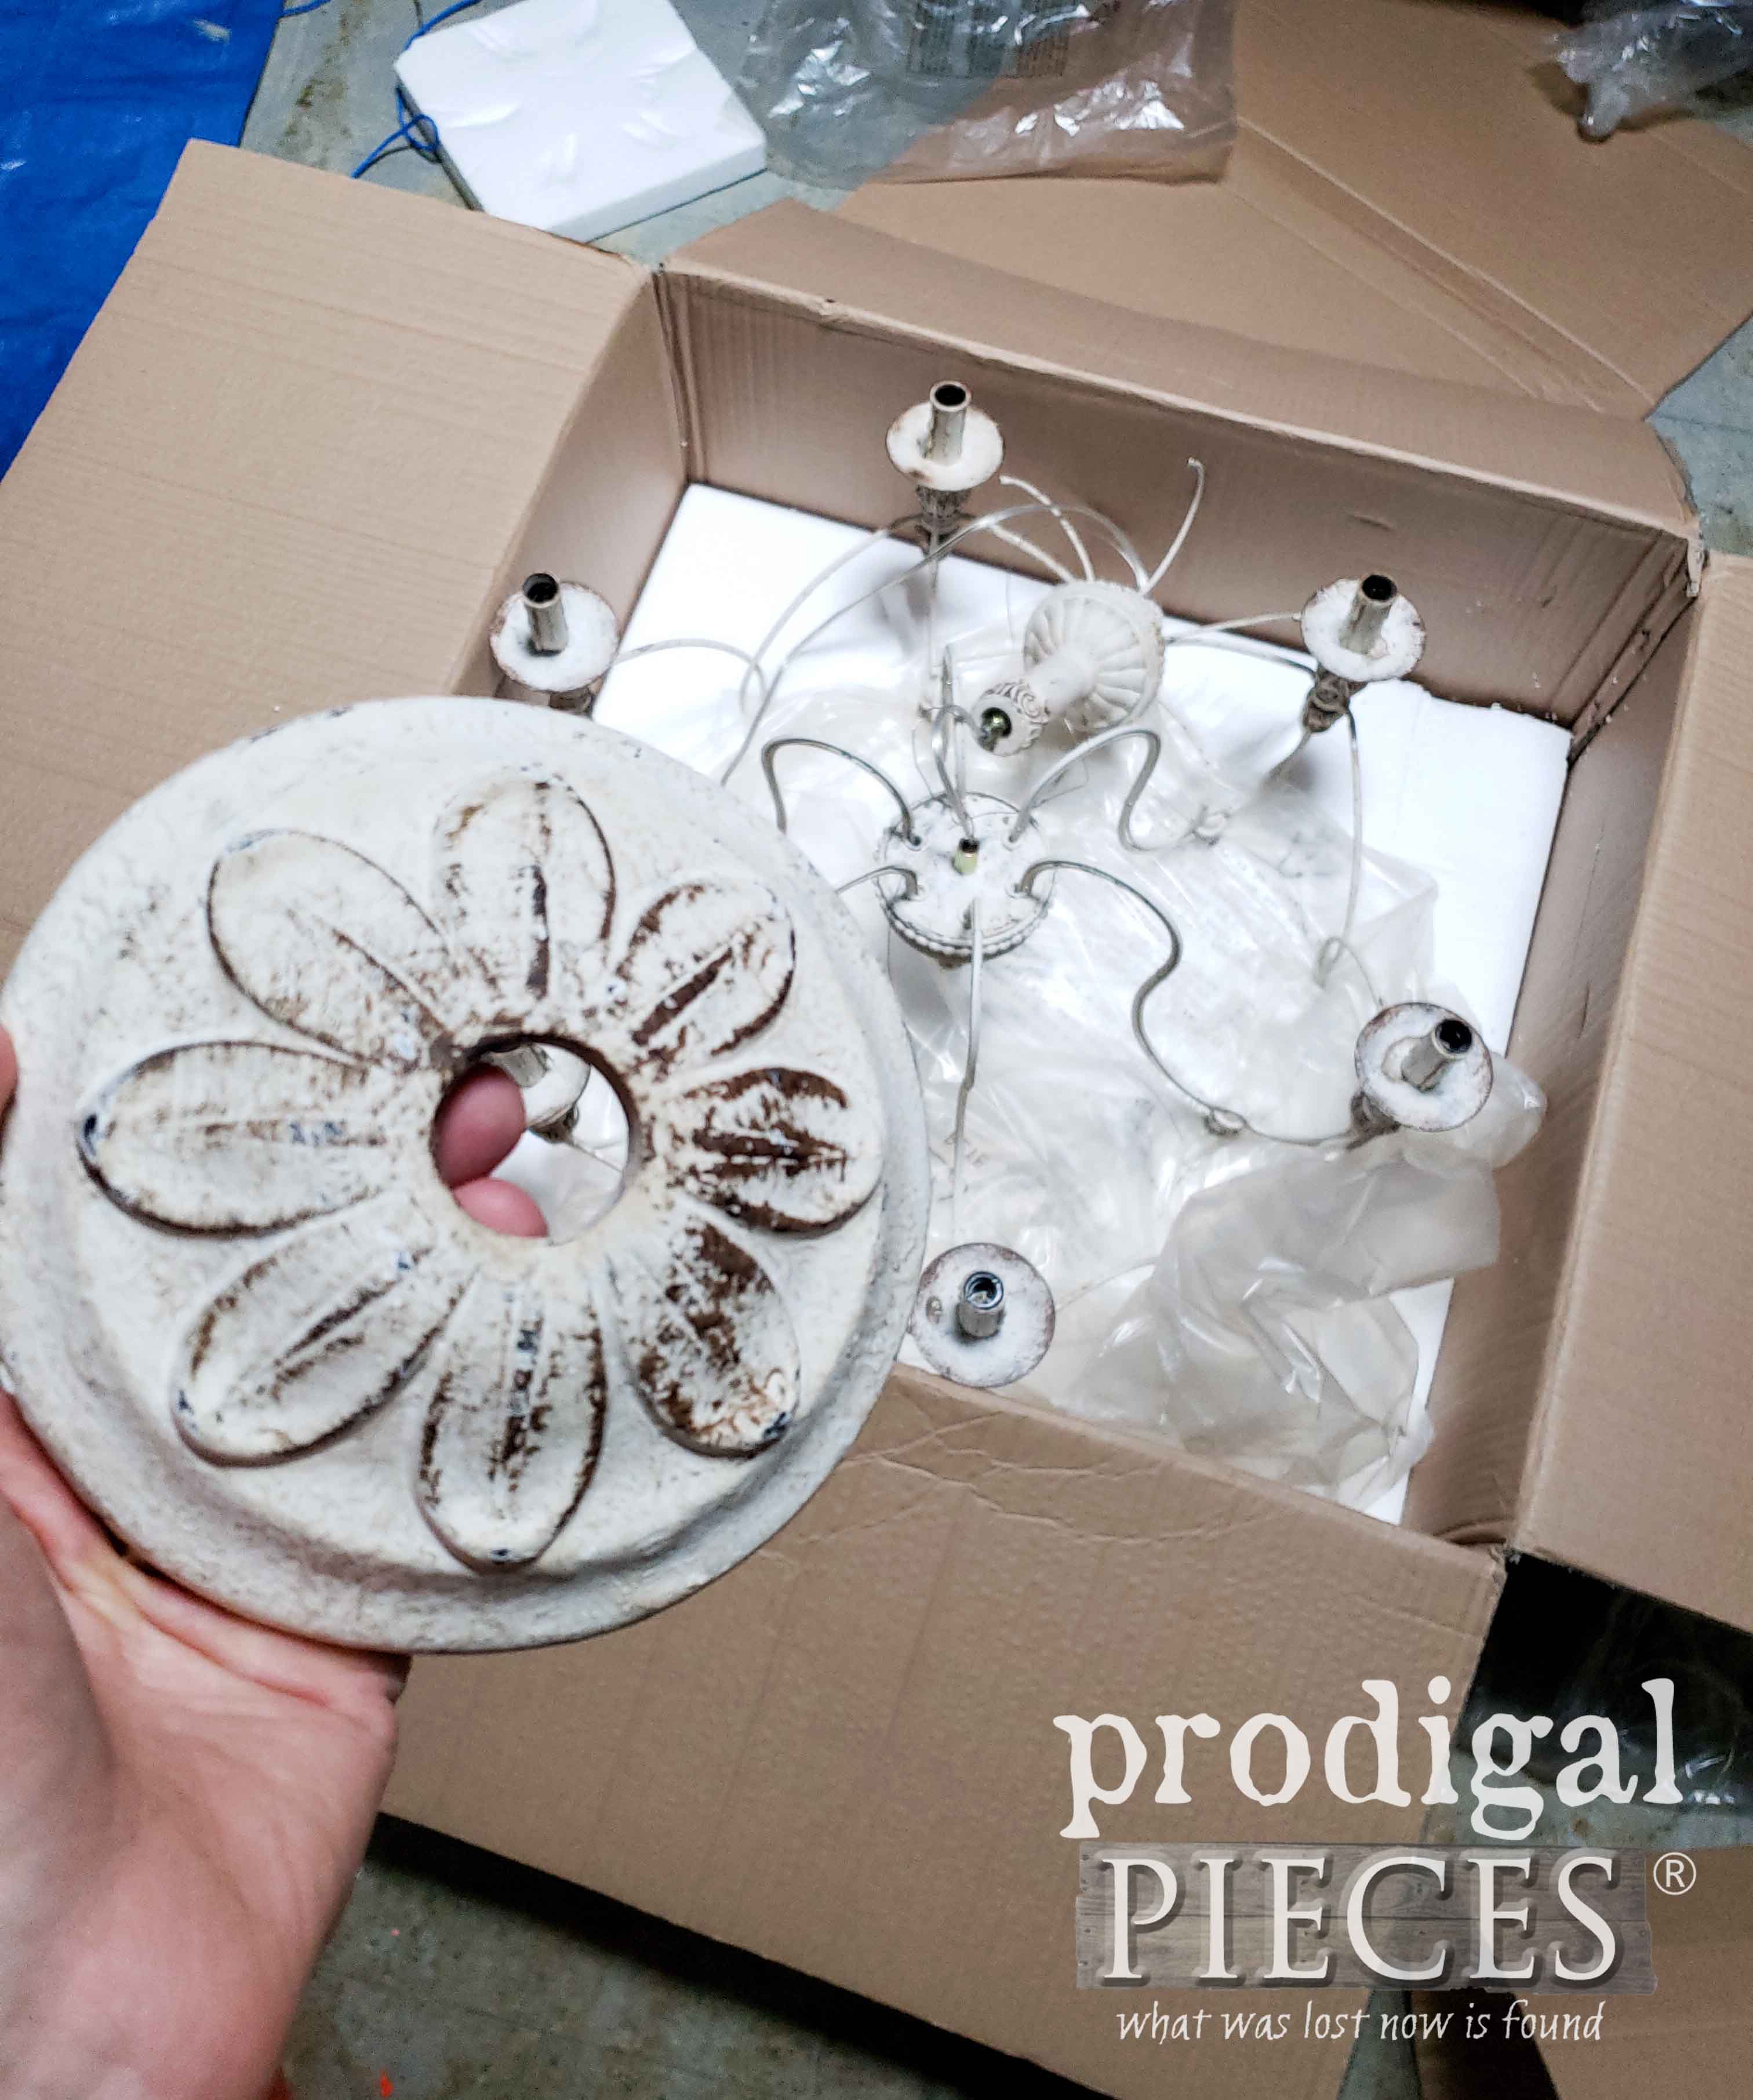
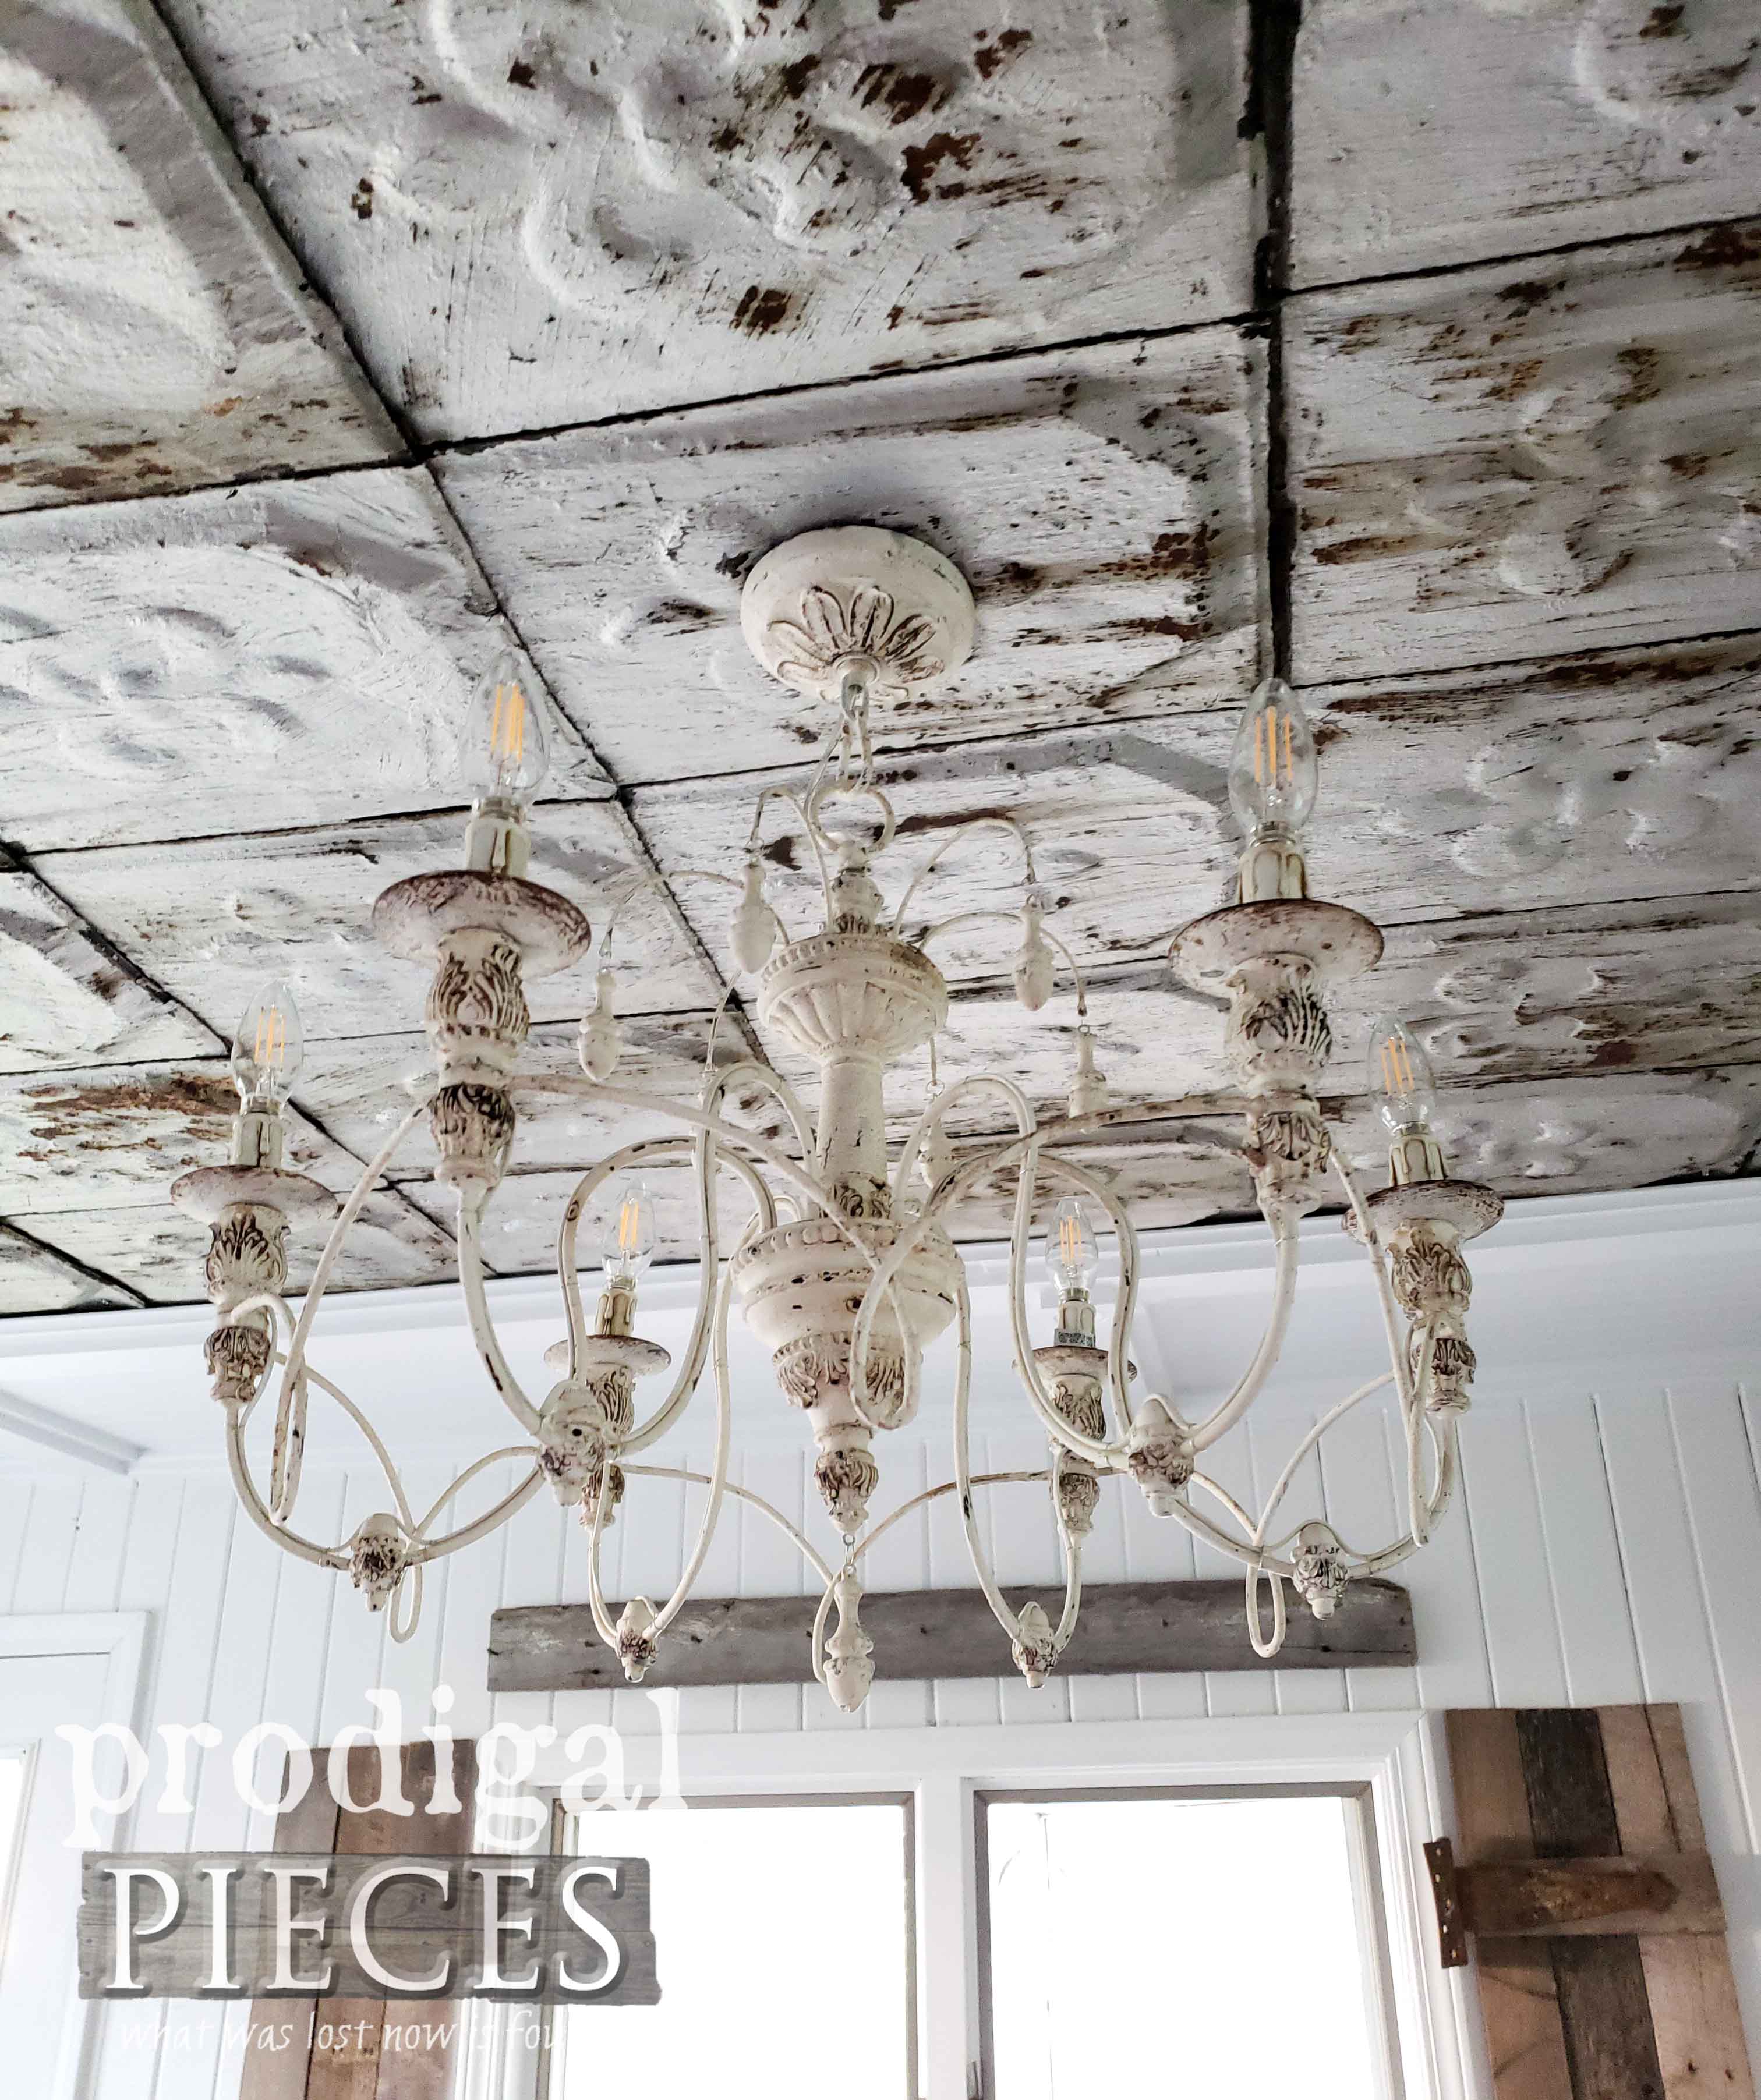
When I found the light that would match my rusty patina, I was like a kid in a candy store. Just look at the ceiling medallion! You can read the details on the fixture HERE.
I pulled JC away from the kitchen remodel to help me install it this past weekend. What a delight! It has dimmable function and we used soft white LED bulbs for longevity. Here it is up and ready to go in my DIY coffered ceiling. I love it!
Having been without a chandelier for months was not the most fun, but now we can take a deep breath that our roof, our ceiling, and now our lighting is complete.
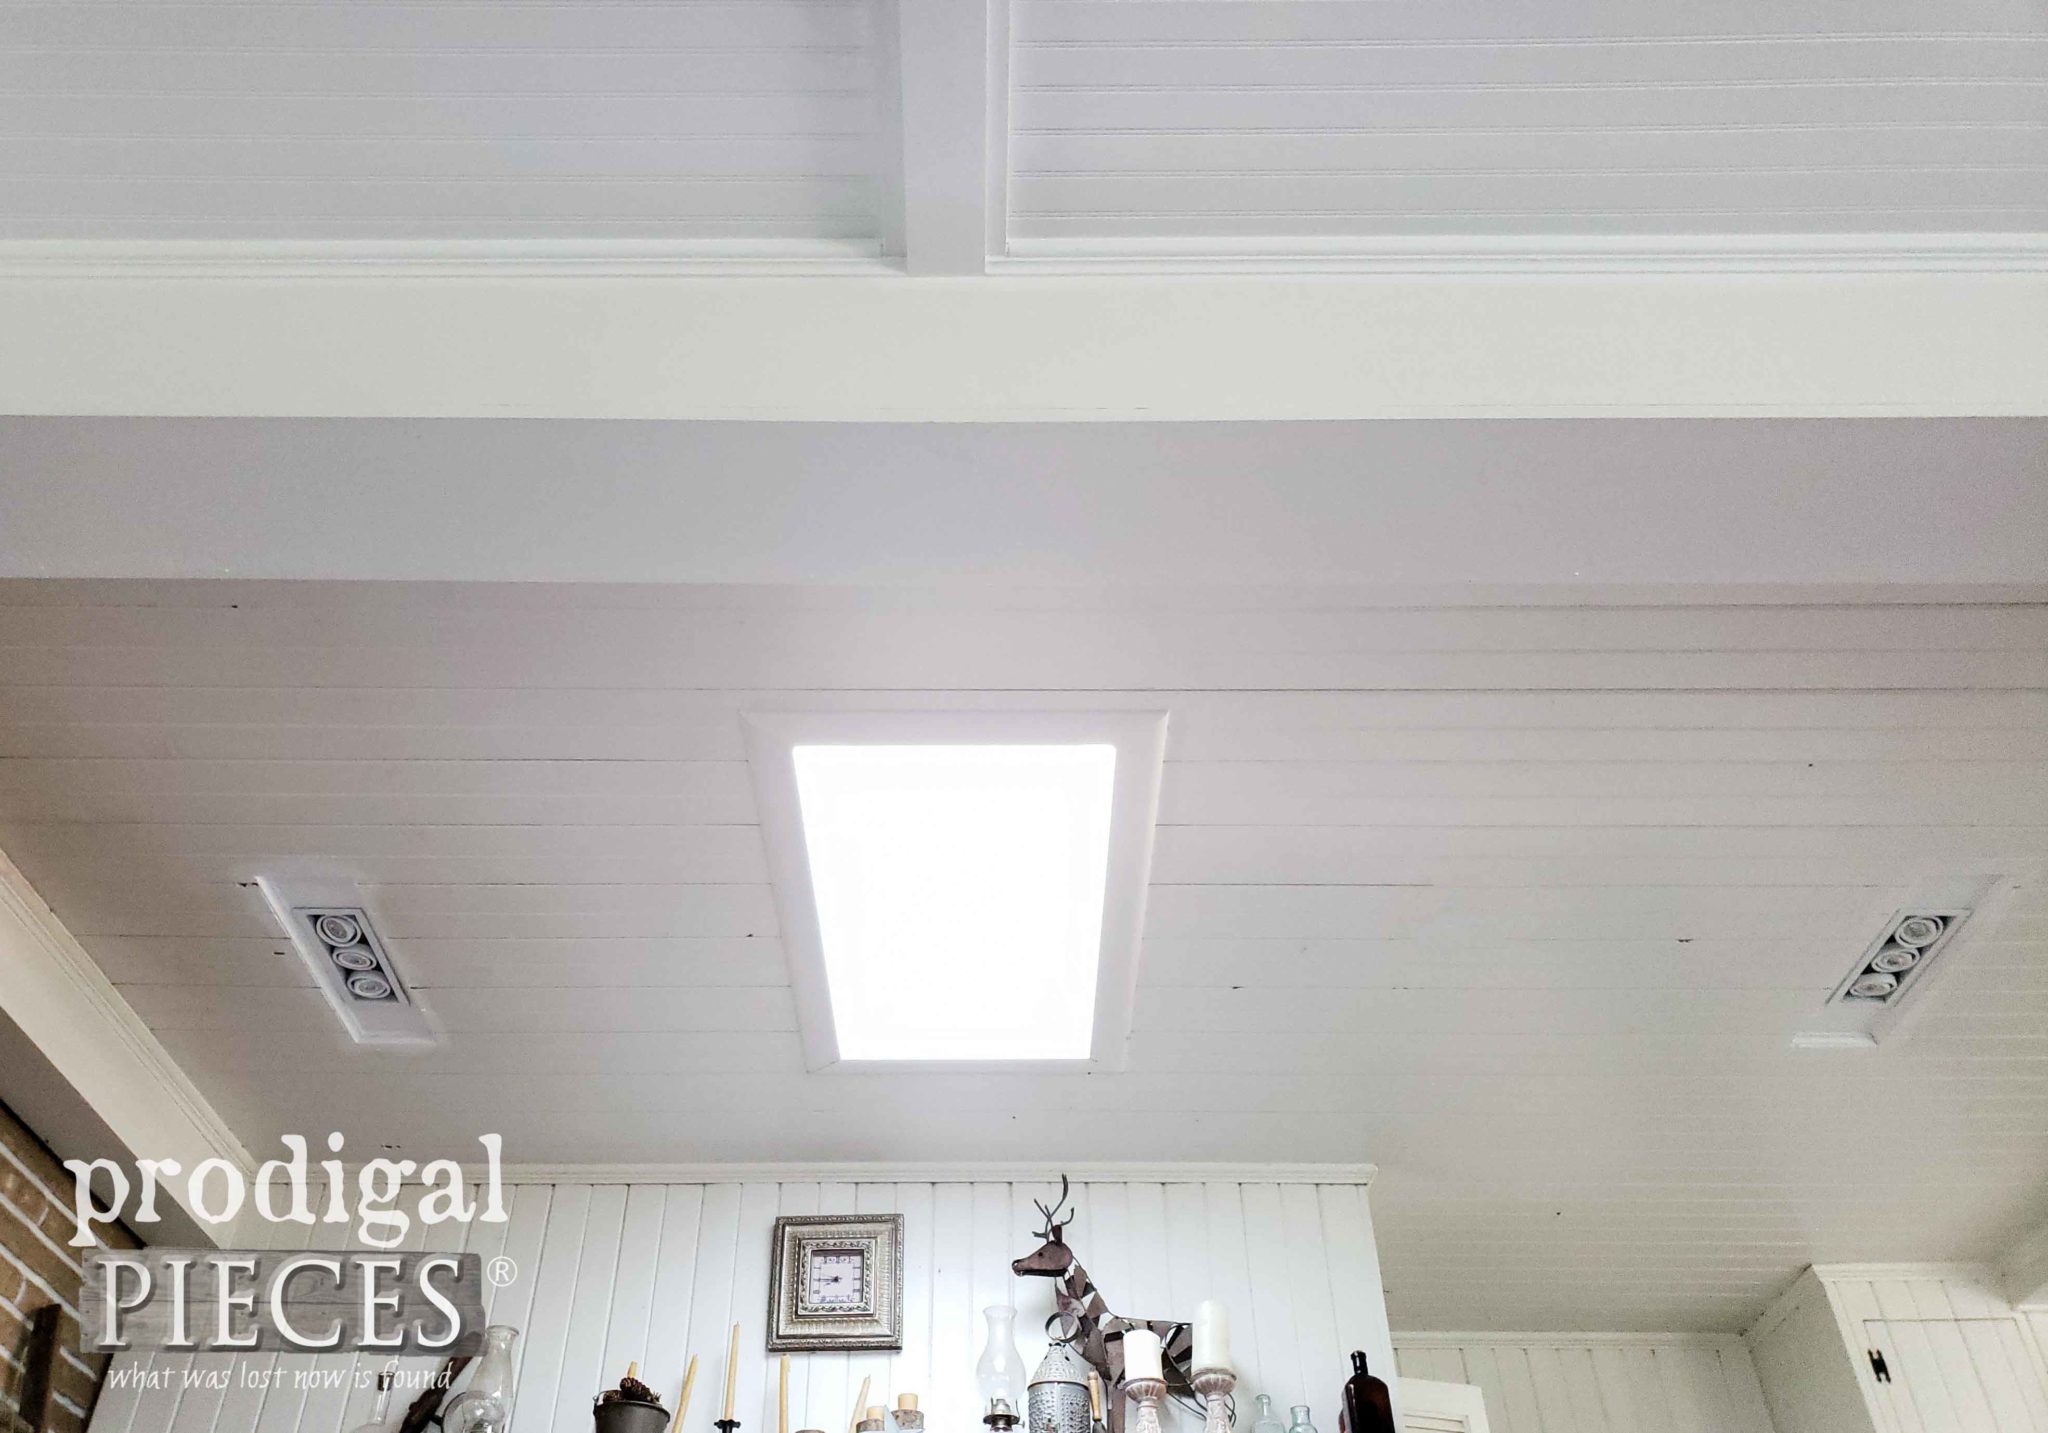
We have finished the other section of DIY coffered ceiling. First, we replace the lights with positionable LED recessed lights. Then the awful fan is vamoose. I have yet to paint the entire surface over there, but am doing that when our bookshelves are done.
ALMOST DONE
There’s still much to do before the temps drop. We’ve been waiting for over 4 weeks for a concrete company to feel like telling us if our floor is salvageable or if we need to build a floating floor. (I’m not happy in the least about that and have called everyone in the area…grrr). So in the meantime we’re working on what we can.
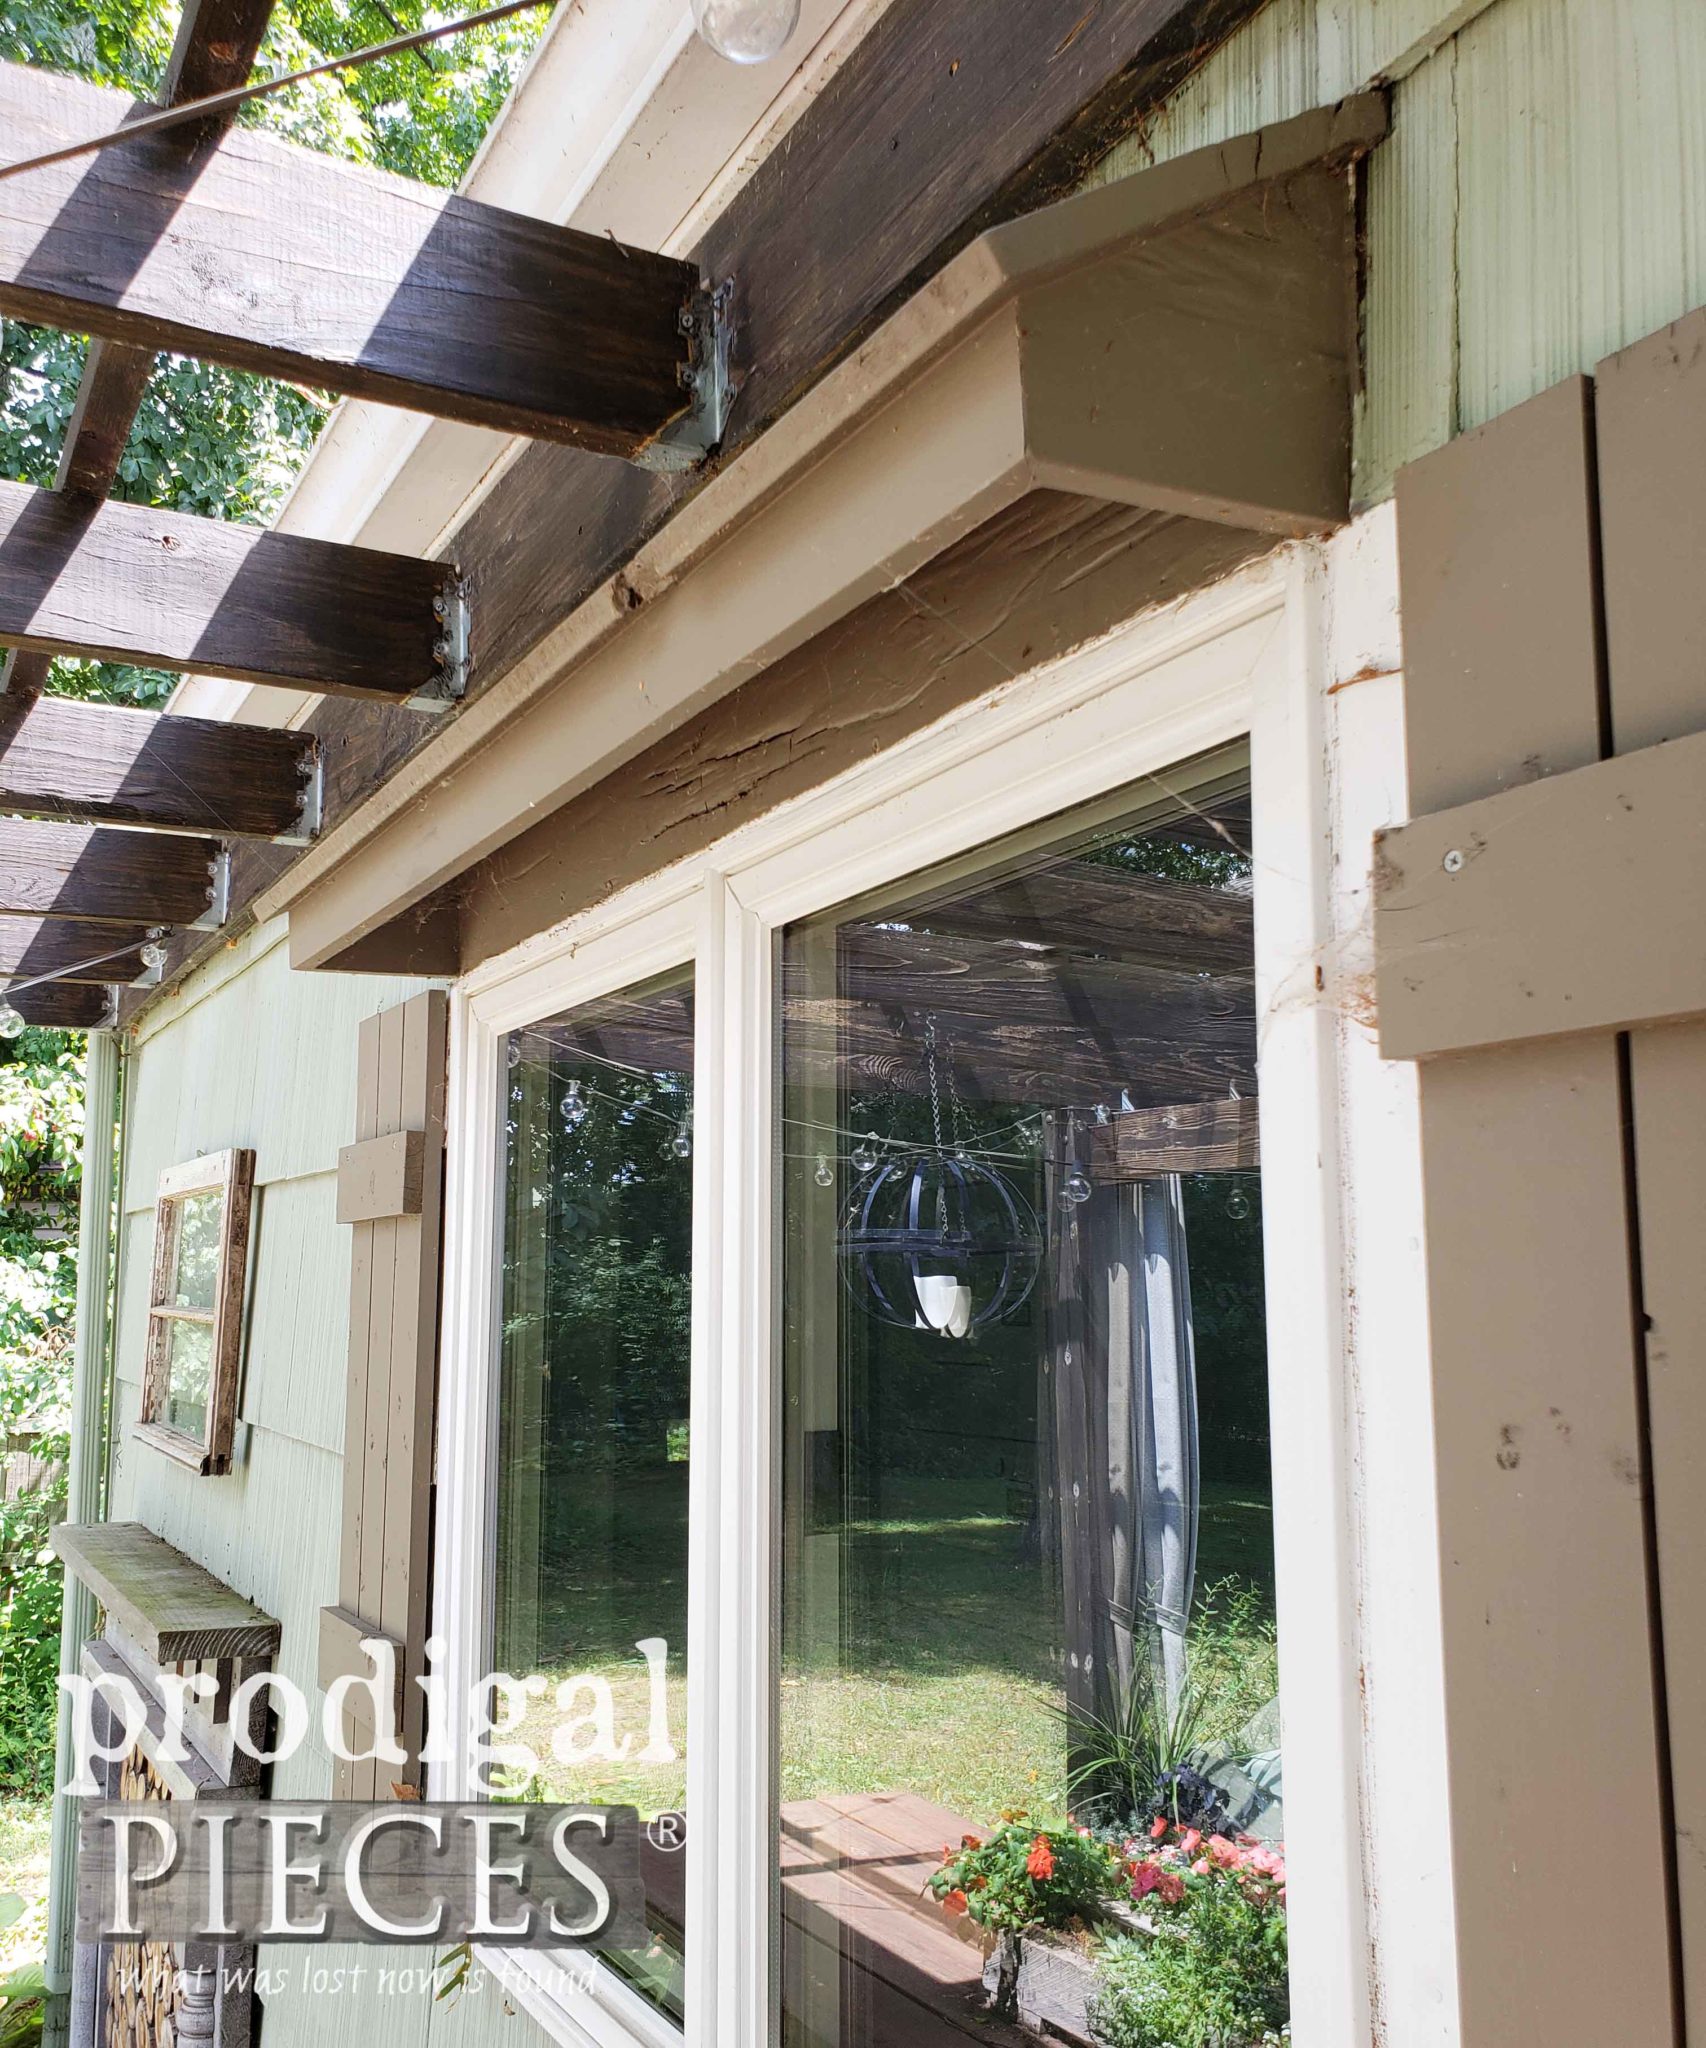
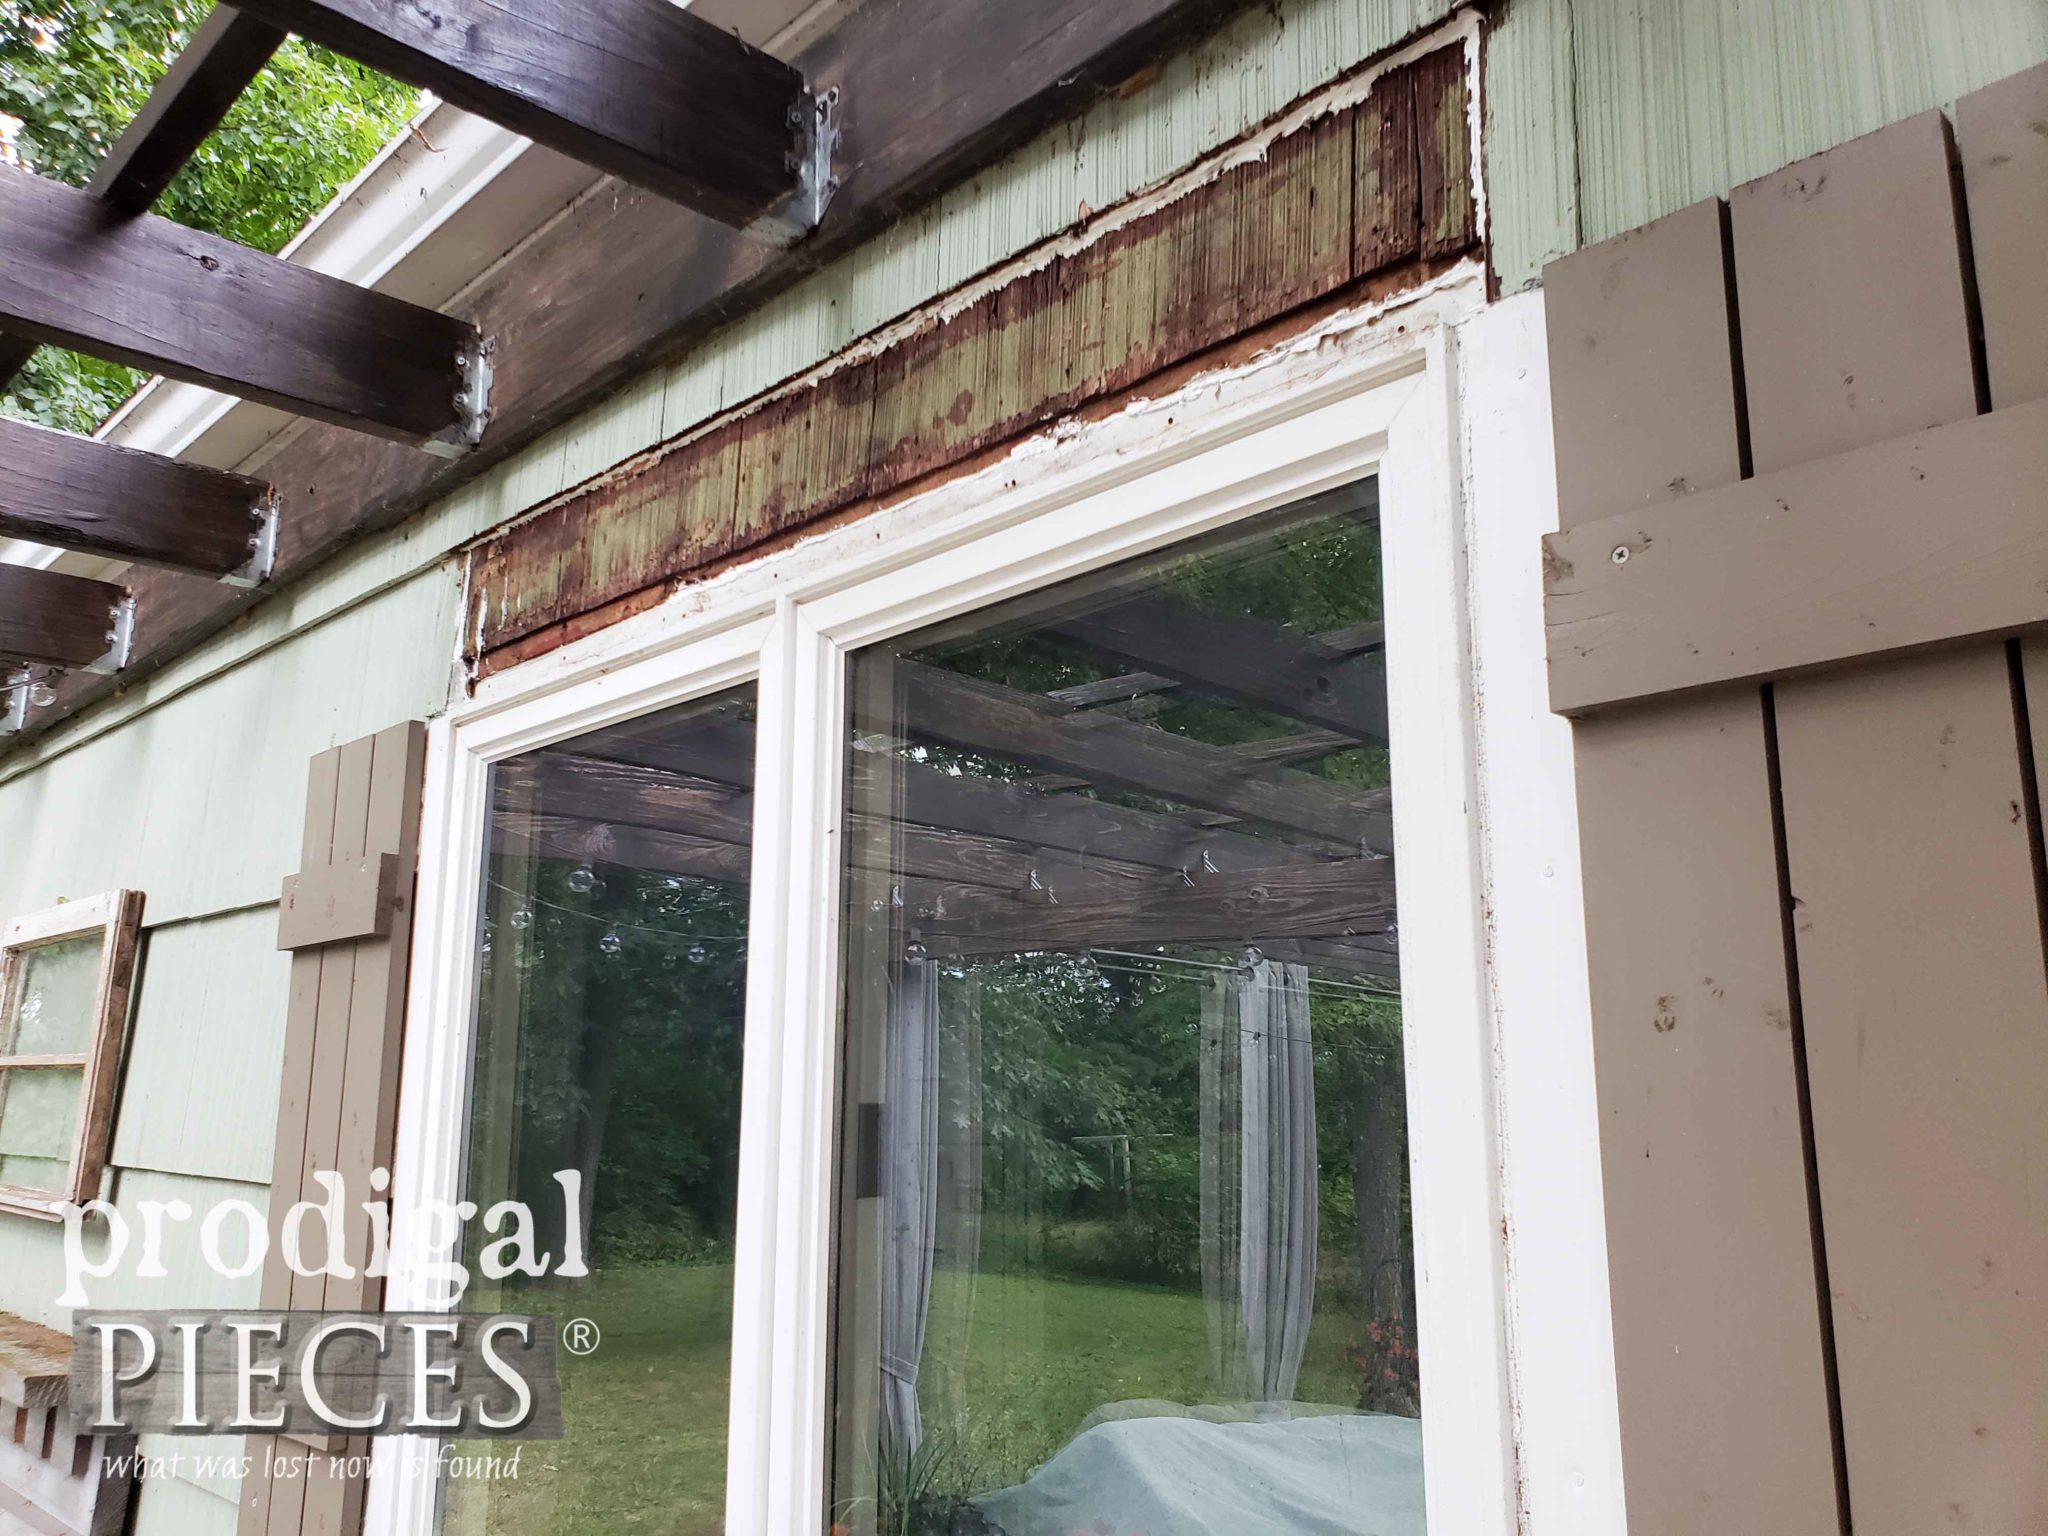
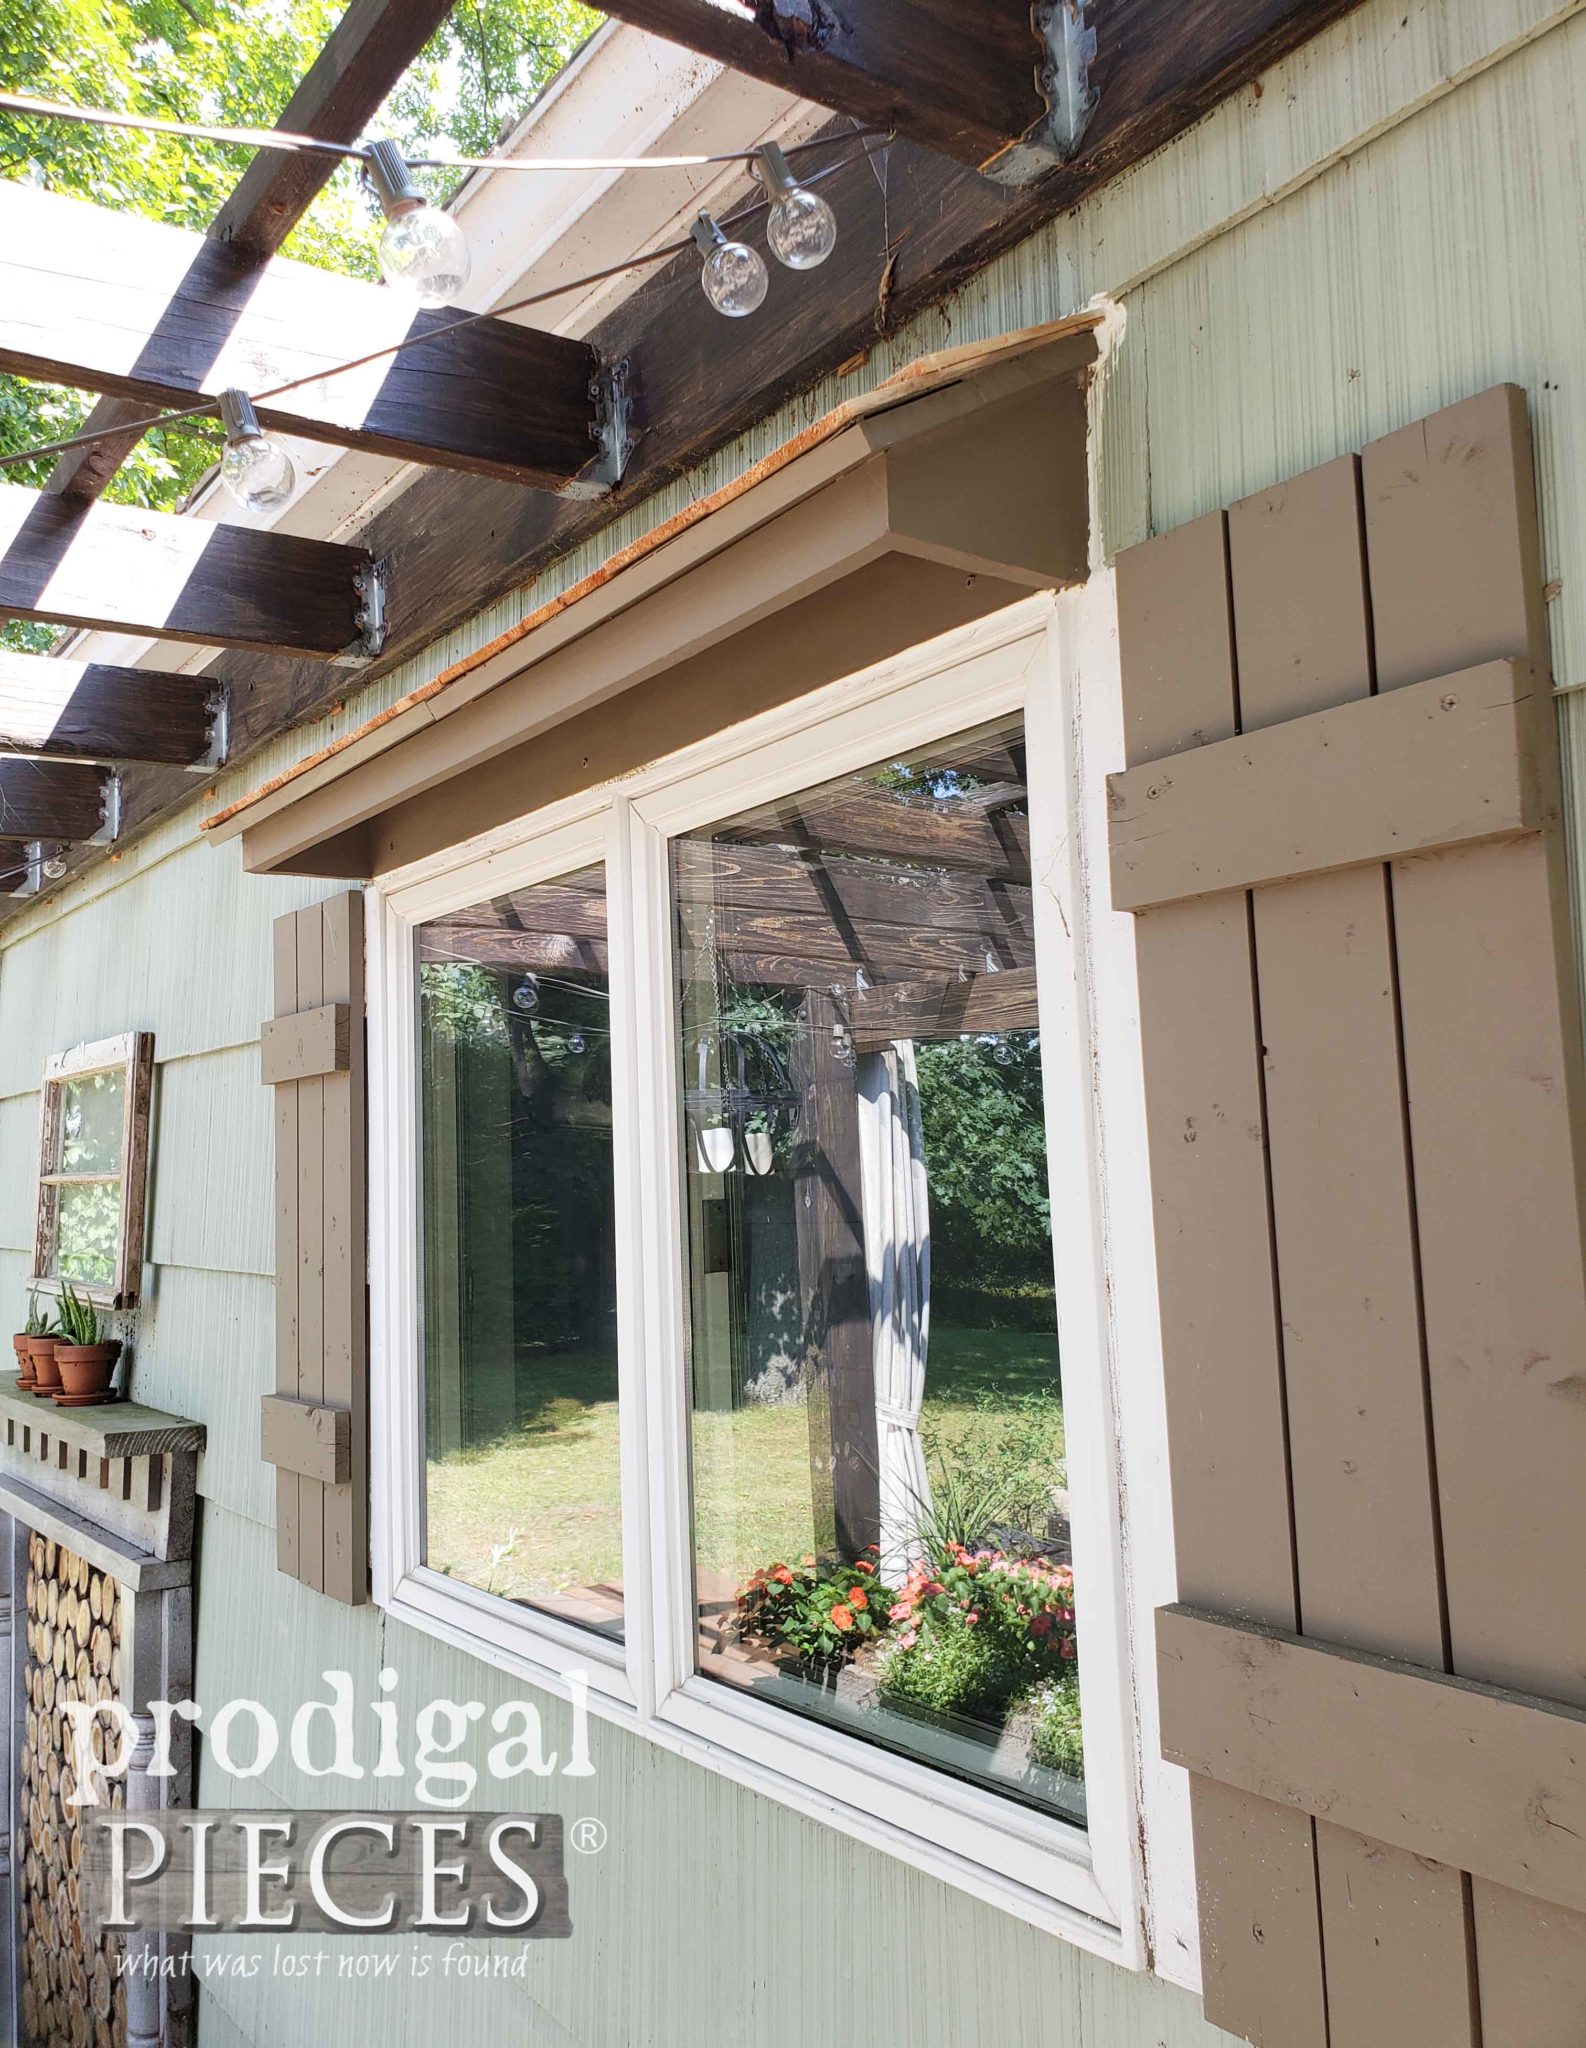
Our back window awning had a leak, so we built a new one for that last week. See how badly it is rotten? It is an adventure to repair because of rain, but…we got it done and now have a cute cedar shake roof. yay!
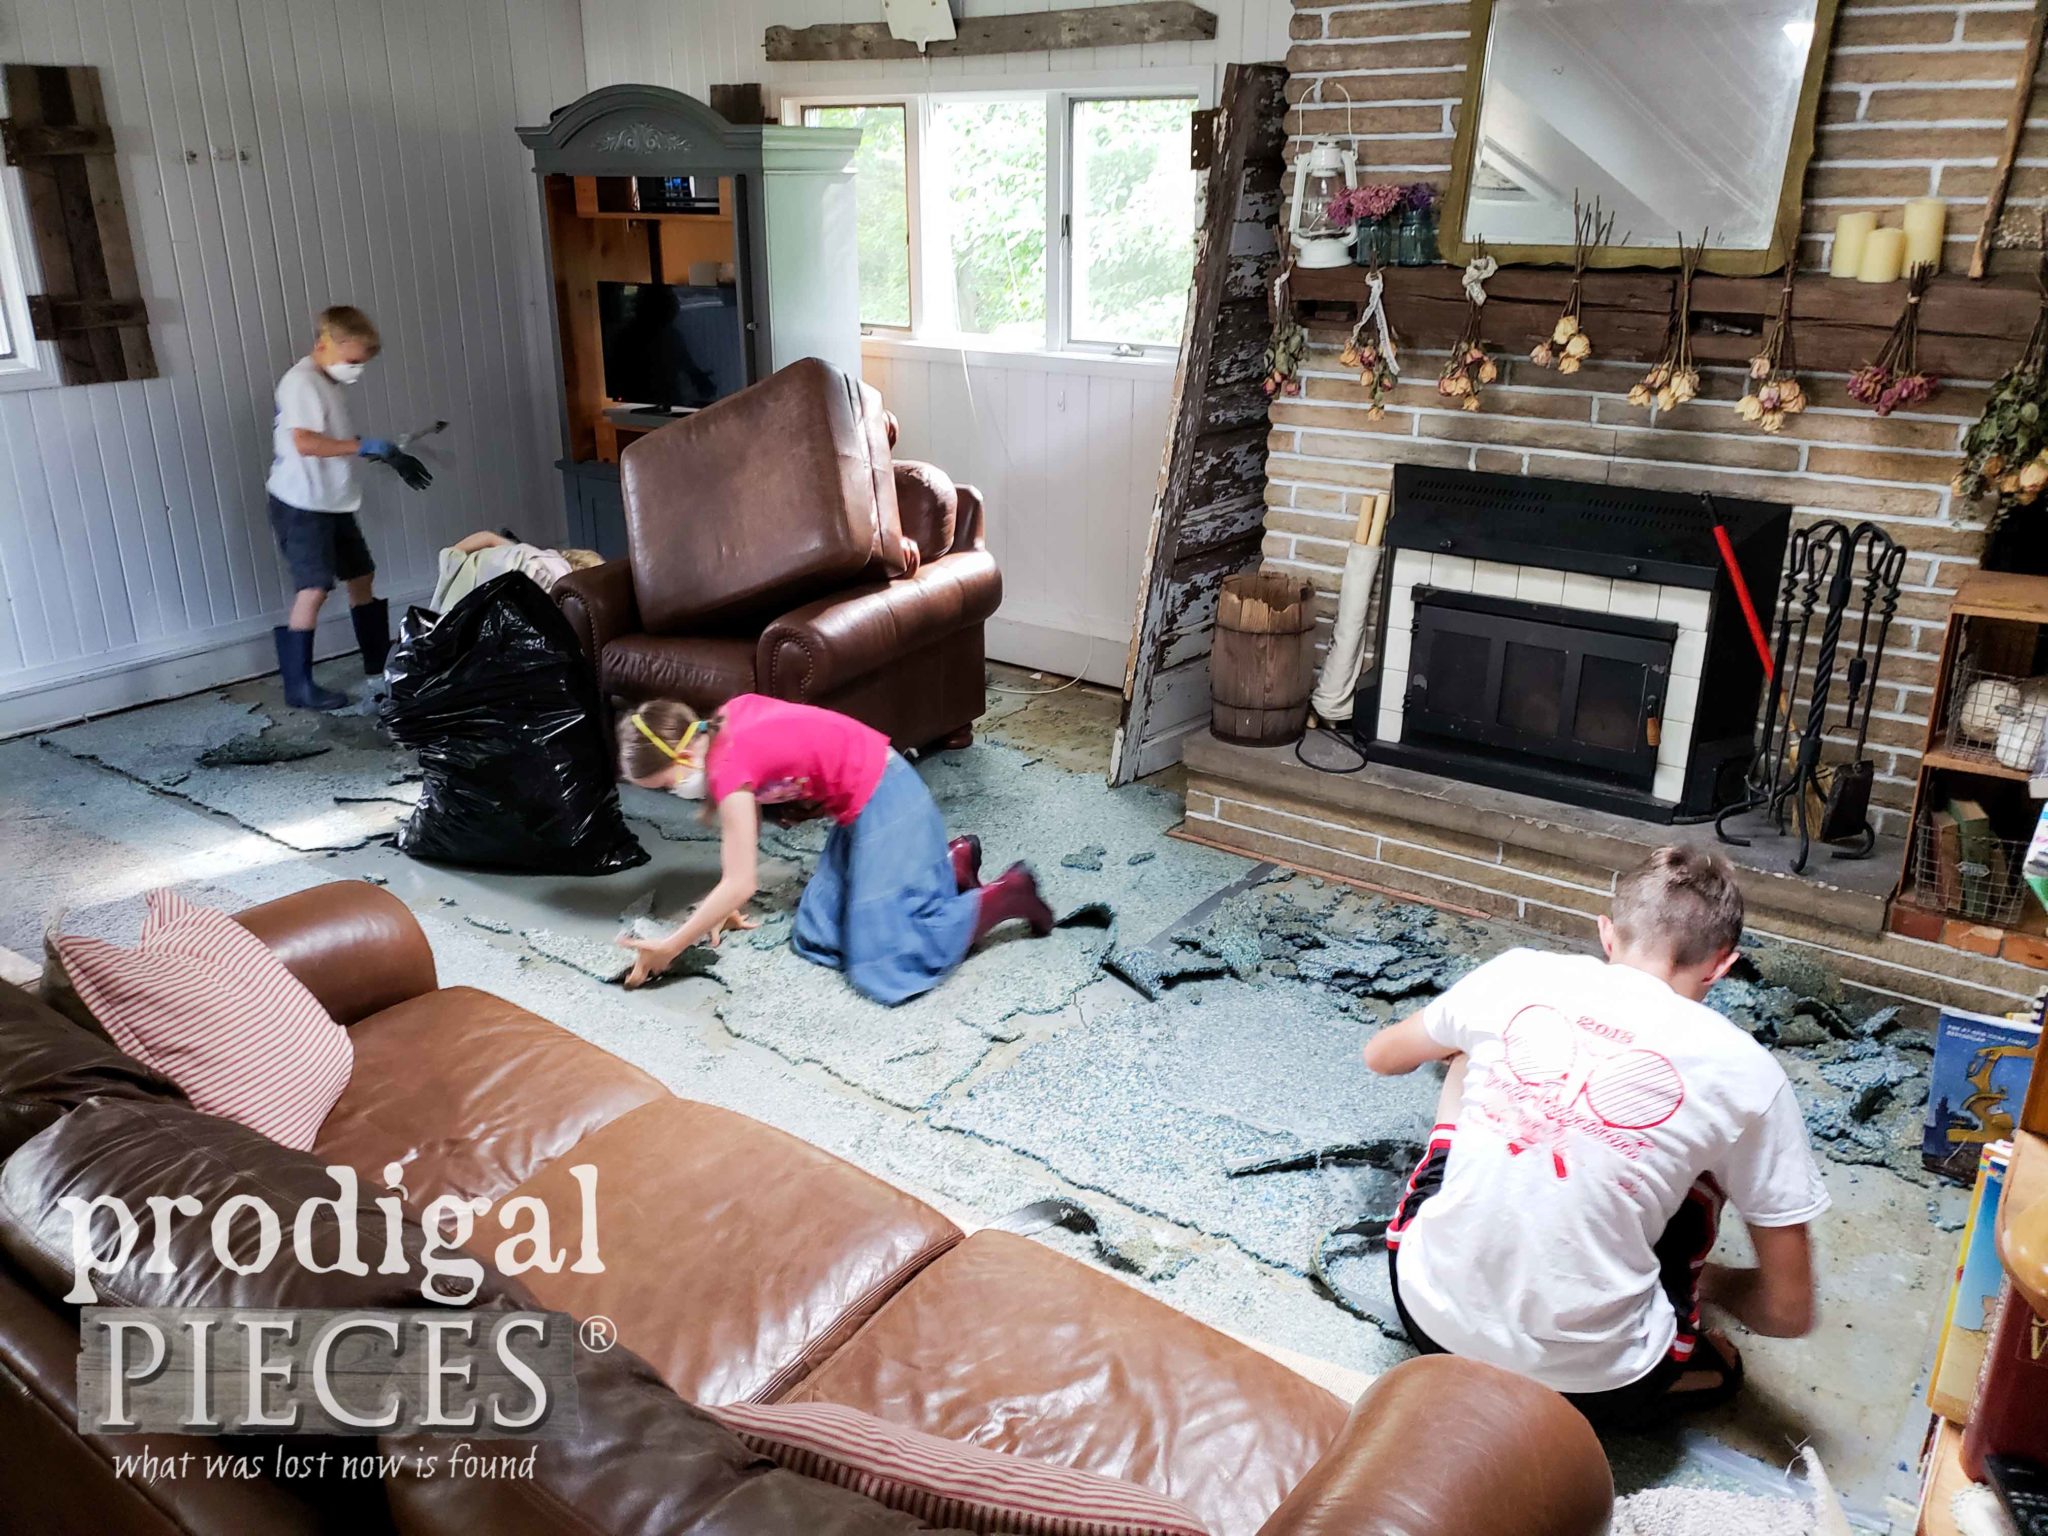
And for the more of the best therapy ever, I got to yank out that awful, disgusting, nasty carpet!! WAHOO!!
My kids were on it like bees to honey. They too couldn’t wait to rid the room of the stuff even it if means we’re living on the nasty floor for awhile.
DOG DAYS
Teddy isn’t too happy though. He refuses to move as we took up the last bit of padding. No worries though…he has several beds throughout our home to keep cozy.
See…the angels sang again as they came to haul it away. I remember vacuuming before we yanked it up. Then, it hit me this is the LAST TIME EVER I would have to do that. No more carpet in my house. WAHOO!! You can see my other carpet adventures in this post. Yes, I even watermarked it claiming it as my own trash. {{fist pump}}
Prayers we get answers to our floor dilemma soon so we can put this behind us. We are also so thankful we have physical, financial, and emotional strength to be able to do this ourselves. What a blessing! UPDATE: You can see our family room remodel HERE.
ONWARD
So, for those of you who would love to have the look you want, it’s doable in most instances. Patience and hard work is key. There are so many ways to improvise and make do because there are so many fantastic DIY bloggers who give you free advice. If you have ANY questions about what I’ve shared, please send me an email. I’m happy to help!
In the meantime, do pin and share my DIY coffered ceiling to inspire. You just know there are others who would love to learn how. (or even follow our crazy adventure) It’s never dull here!
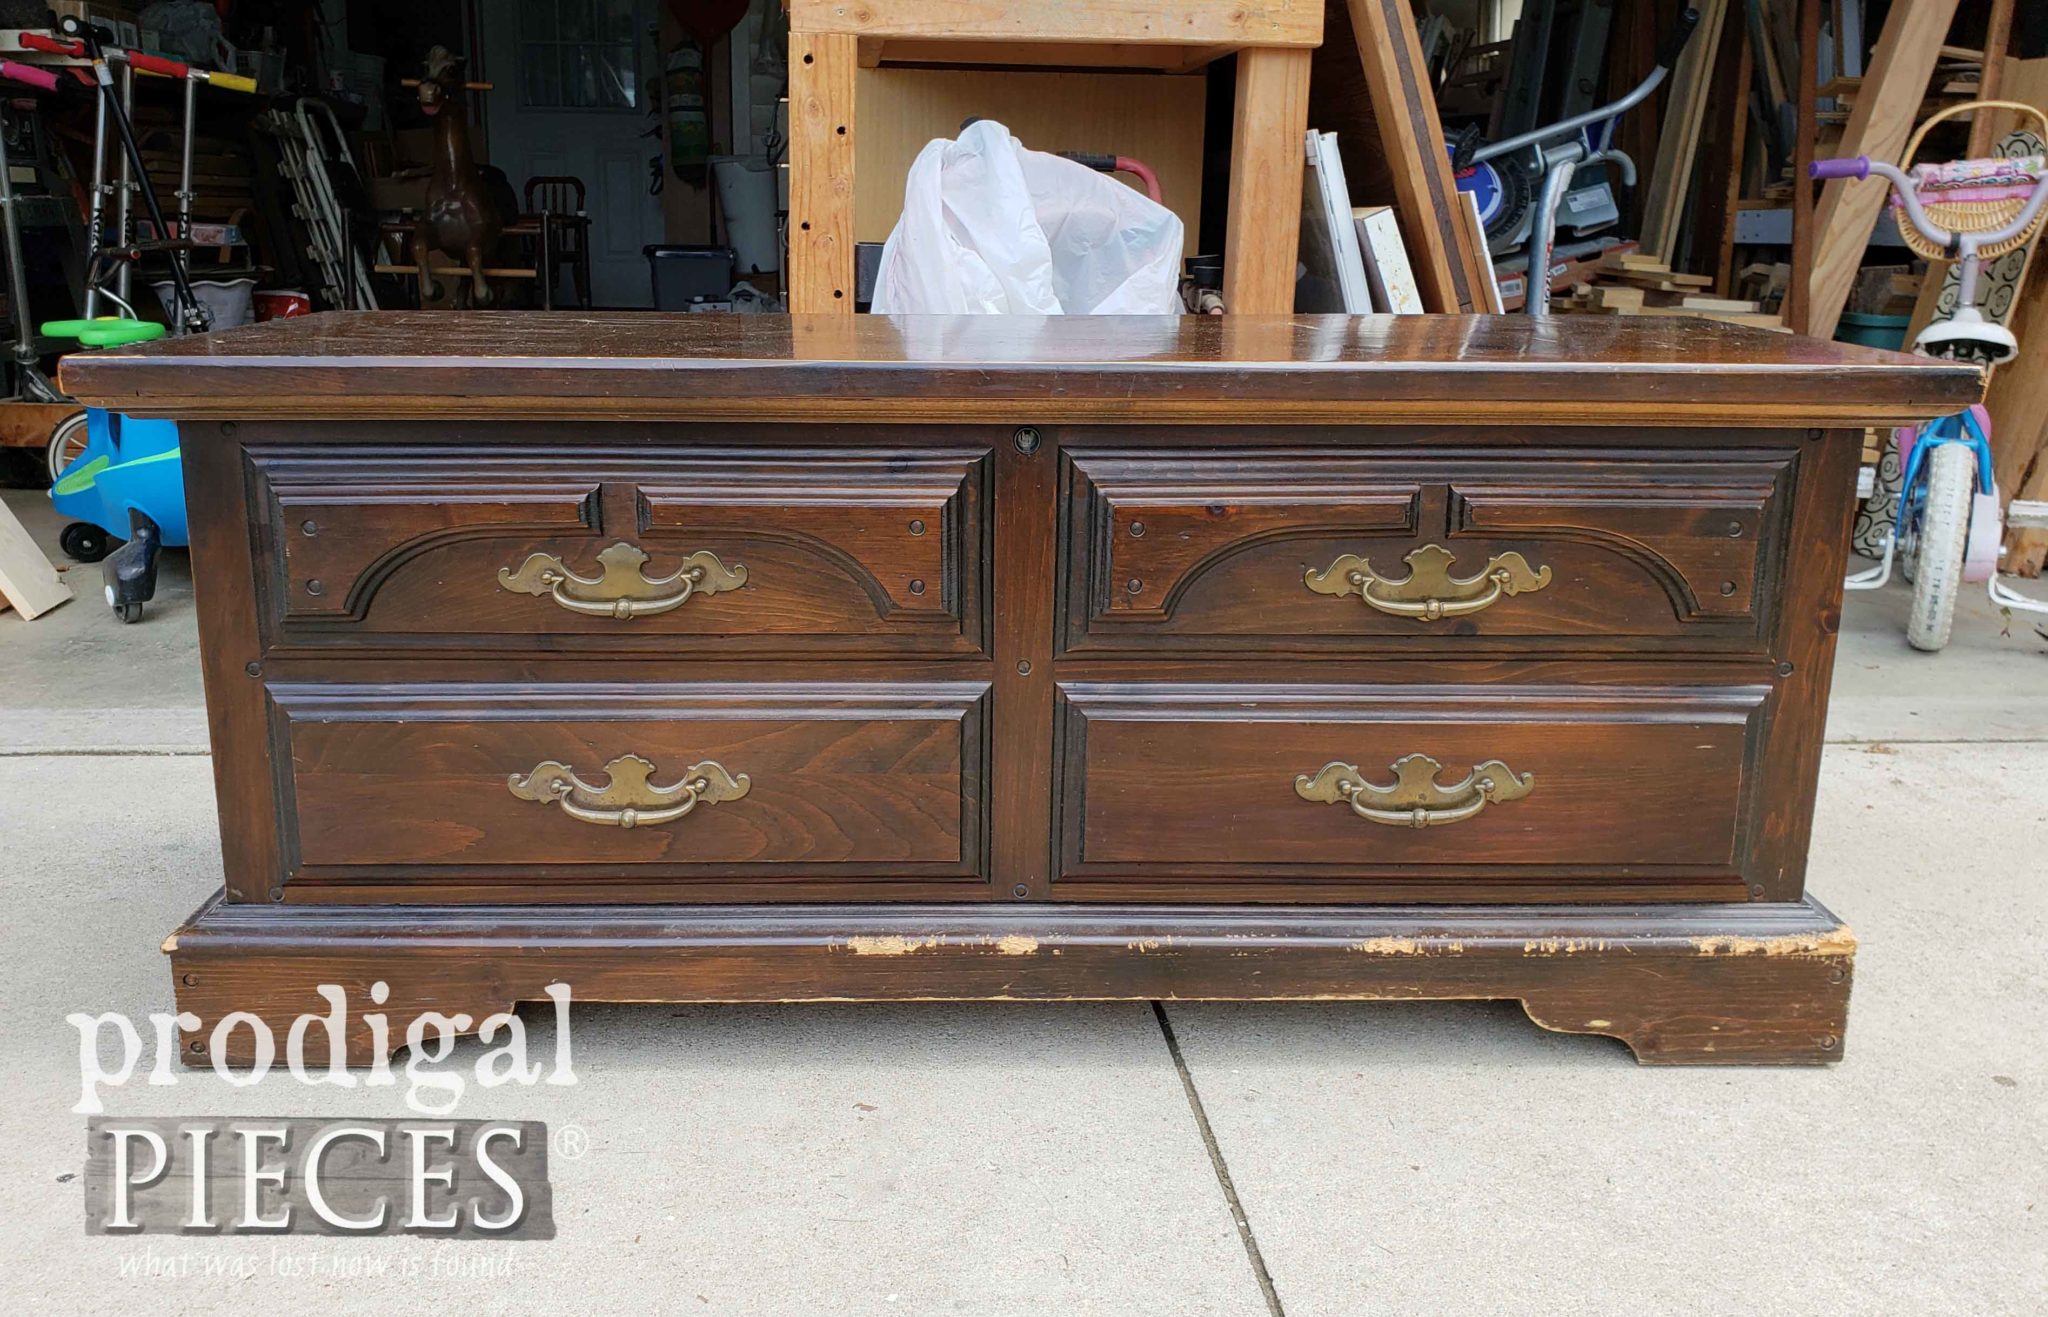
Up next it’s Furniture Fixer Uppers day and this dog chewed up beauty is begging for a new life. See the after HERE.
To get these DIY tips & tricks in your inbox, be sure to sign up for my newsletter. PLUS, you will get your FREE Furniture Buying Checklist and special discount to my shop. Until next time!













Wow! You Go girl! Love that your kids all help. What good work lessons and fond memories they will have.
They are my best supporters and help. I couldn’t do it without them. 😀
I love it when a plan comes together! Great job Larissa & family! I know you are happy to get that project checked off the list. Prayers for your floor situation and keep us updated!
It felt so good that it all came out as planned with no major hold-ups. We always have some so this was refreshing! 😀 Thank you, Betty.
I could not follow your description about the barn shingled ceiling, but the end results looks great! If it were MY project, I would have never had enough shingles…(minus two or something) but it all came out in the dimensions you needed! What wonderful help you have! You are amazing with all your skills. Can’t wait to see the end result and the “journey.” Thank you for sharing all this.
I’d be happy to explain, Sherry. You’re too funny! I ended up with two extra and have to figure out a use for them in the room when we’re done too. Thank you so much for the love!
Great job and new chandelier is AWESOME!!
Woot, woot! Thank you!
Boy Larissa, you are a fighter. Many things have been tough but you battled through. Love the little ones working hard.
We have gotten items from Efaucets over the years
Things are coming together. Hang in
Cindy
I don’t know any other way, Cindy. I think it’s just the way God meant it to be. Thank you for the smile. 😀 I can’t say enough good about eFaucets. What a wonderful company.
Love the ceiling tins and the chandelier is the perfect match for it! What great helpers you have and it’s wonderful the work ethics you’ve instilled in them. Hoping your floor dilemma gets resolved soon.
I still can’t believe I found them and hung onto them for this long. So crazy! I’m glad you love it too. I have the best family!
Dear Larissa,
I was reading this post and crying… because its honest, its real and it does give me hope that although life is hard sometimes, we are still blessed and just need someone to remind you this simple truth…thank you! I don’t write comments often, but I read every single post here. With love, Olga
Oh, Olga. Your words really speak to me. Thank YOU for taking the time to show love. Hugs!!
You are ABSOLUTELY amazing! What a great job you and the gang did! Thank you for the back story and the peek into the many blessings along the way. So inspiring and so true to life. Big hugs from a big fan!
My pleasure, Carol. It had to be told because we’ve come so far. Thank you!
Larissa, I am speechless after reading this post and the links you shared within this post about your journey to this point! Your strength, courage and tenacity are a testament to your faith in our Lord!
Look at all that gorgeousness up on your ceiling, wow!!! I can’t pick just one favorite thing, all of it, the tiles, the new chandelier, the wood aaaahhhh so beautiful!
Our story needs to be shared because I know we’re not alone and other who have or are facing worse. Thank you so much for you unending support, Kaycee. It lights up my day!
That ceiling and chandelier are to die for! Incredible work on that job, Larissa.
Yahoo!! I’m doing a happy dance to have it done! 😀 Thank you, Leisa.
I love the fleur de lis – my Mom was from Quebec and since she passed I’m completely drawn to them – gorgeous and wow what a score! The ceiling looks amazing and YAY, no more carpet, fingers crossed we get to do the same soon too!
They truly have stood the test of time. Hugs from me to you, Laurie.
Great job! It looks so very different. Those tin tiles are beautiful and the chandelier is perfect!
I’m delighted you said that because the before was horrendous! 😀 haha! Thank you, Linda.
Wow, THAT was a job! Sooo much improvement though! I was in a friend’s house with a sagging ceiling and the oppressive nastiness is unbelievable until you are there! So glad you are out from under that, haha!!! Well done. Praying for quick action from the floor guys. I know the pressure to get-it-done-before-winter. I live in MI and am feeling the same with some of my projects!
You ain’t kidding! It took much time, but thankfully went pretty smooth and was so glad to finish the last coat of paint the other day. Yes, you just can’t understand all the webs and yucky stuff we could see. It was embarrassing! Here’s to winter, neighbor! 😀
Oh, Larissa! I’m not sure what impresses me most- Your patience, your creativityor/your vision! The ceiling is SO Stunning and the chandelier is the piece de resistance! I love it all! fabulous job!
You are so very sweet to say so, Ginny. Thank you!
What a great vision and great job you all did! The ceiling looks ah-mazing! I would have loved to have seen that barn – it really intrigues me! Never heard of anything like that! Beautiful!!
Thanks so very much, Sue!
While “Farmhouse” is not my favorite style — you make it all come together so beautifully!! YOU ARE AMAZING!!! YOU CAN DO ANYTHING AND EVERYTHING!! AND DO IT ALL SO WELL!!! “Prodigal Pieces” is my absolute favorite blog; I feel like I really know you and your precious family. This project would have scared me off — but you made it seem doable even though you lost me in the details – LOL! I love how your chandelier and ceiling tiles match perfectly!! What a SCORE! You are one of my heroes!! Not just because you can do anything and everything but because you live your beliefs and aren’t ashamed to openly share your Christianity!! THANK YOU!!
You are so fun, Marti! Thank you for the giggle and smile. 😀
Google plywood plank floors. We are just starting on ours. It will cost about $1 per square foot. I actually stumbled onto this post looking for ways to distress mine (I was on your mercantile sign post where you distress the wood with a hammer and went down an internet rabbit hole lol). Its the only way I could afford to rip out our old nasty carpet. Your ceiling is gorgeous.
We are having to put in a floating floor because of all the damage to the concrete original floor. We’ve found an awesome product that will allow us to build it and lay on the flooring we want. I’m so excited! Details coming soon. Thank you for the tip! Hope you get yours done faster than us…haha.
That is a crazy amount of hard work, but looks amazing. The light fixture couldn’t be any more perfect! Love it Larissa!
You are so good to say so, Kim. Thank you for stopping by!
For some reason I missed this post beforehand, but am So happy to have found it now. Oh my…did the ceiling ever turn out gorgeous! And as Ginny said above, the light fixture matched those beautiful tiles SO well….truly the piece de resistance 🙂 I just love when that happens in a project. Gave me goosebumps when I saw your photo unpacking it! And, once again, you have inspired me to look with new eyes upon a problem area in our home, and be open to something different! Thank you from the bottom of my heart for sharing your creative process with us…such a gift.
You’ve made my day, Mary. Thank you! I always use that phrase…piece de resistance. Love it! We have come to enjoy our space to the full now with everything done. God is good!