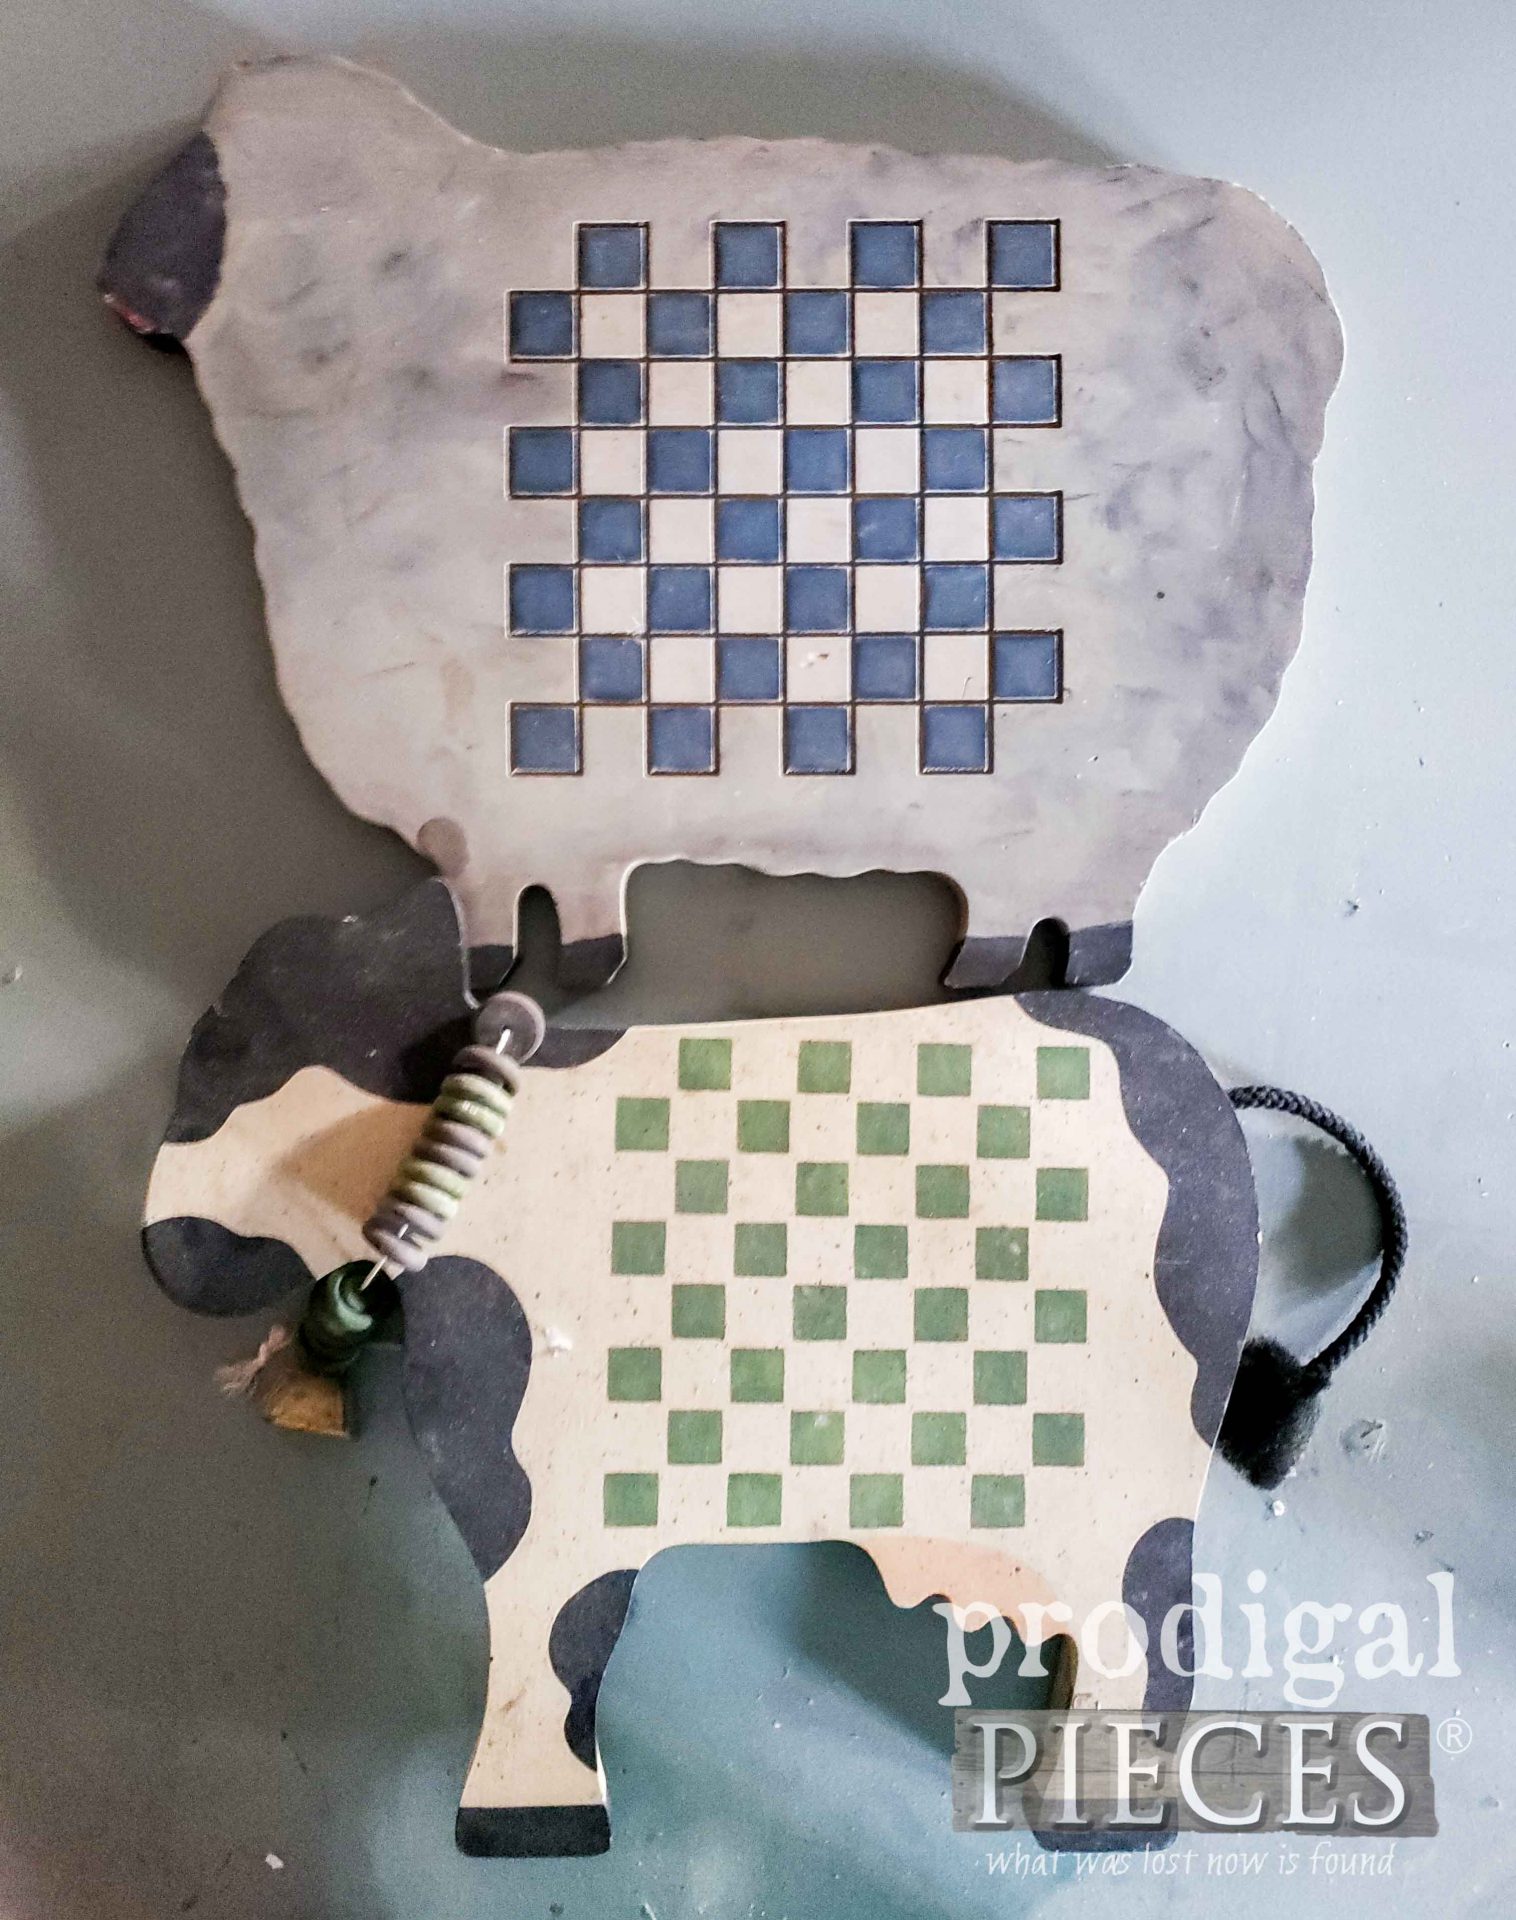
I’d like to introduce you to Bo and Mo, my latest thrift store finds. Why on earth would I bring these home, you say? Well, they’re wooden, cute, and full of potential. Do you see it? This chessboard duo is about to help me show you how to create a DIY farmhouse sign with typography. Oh yeah! {{twangy banjo music begins}}
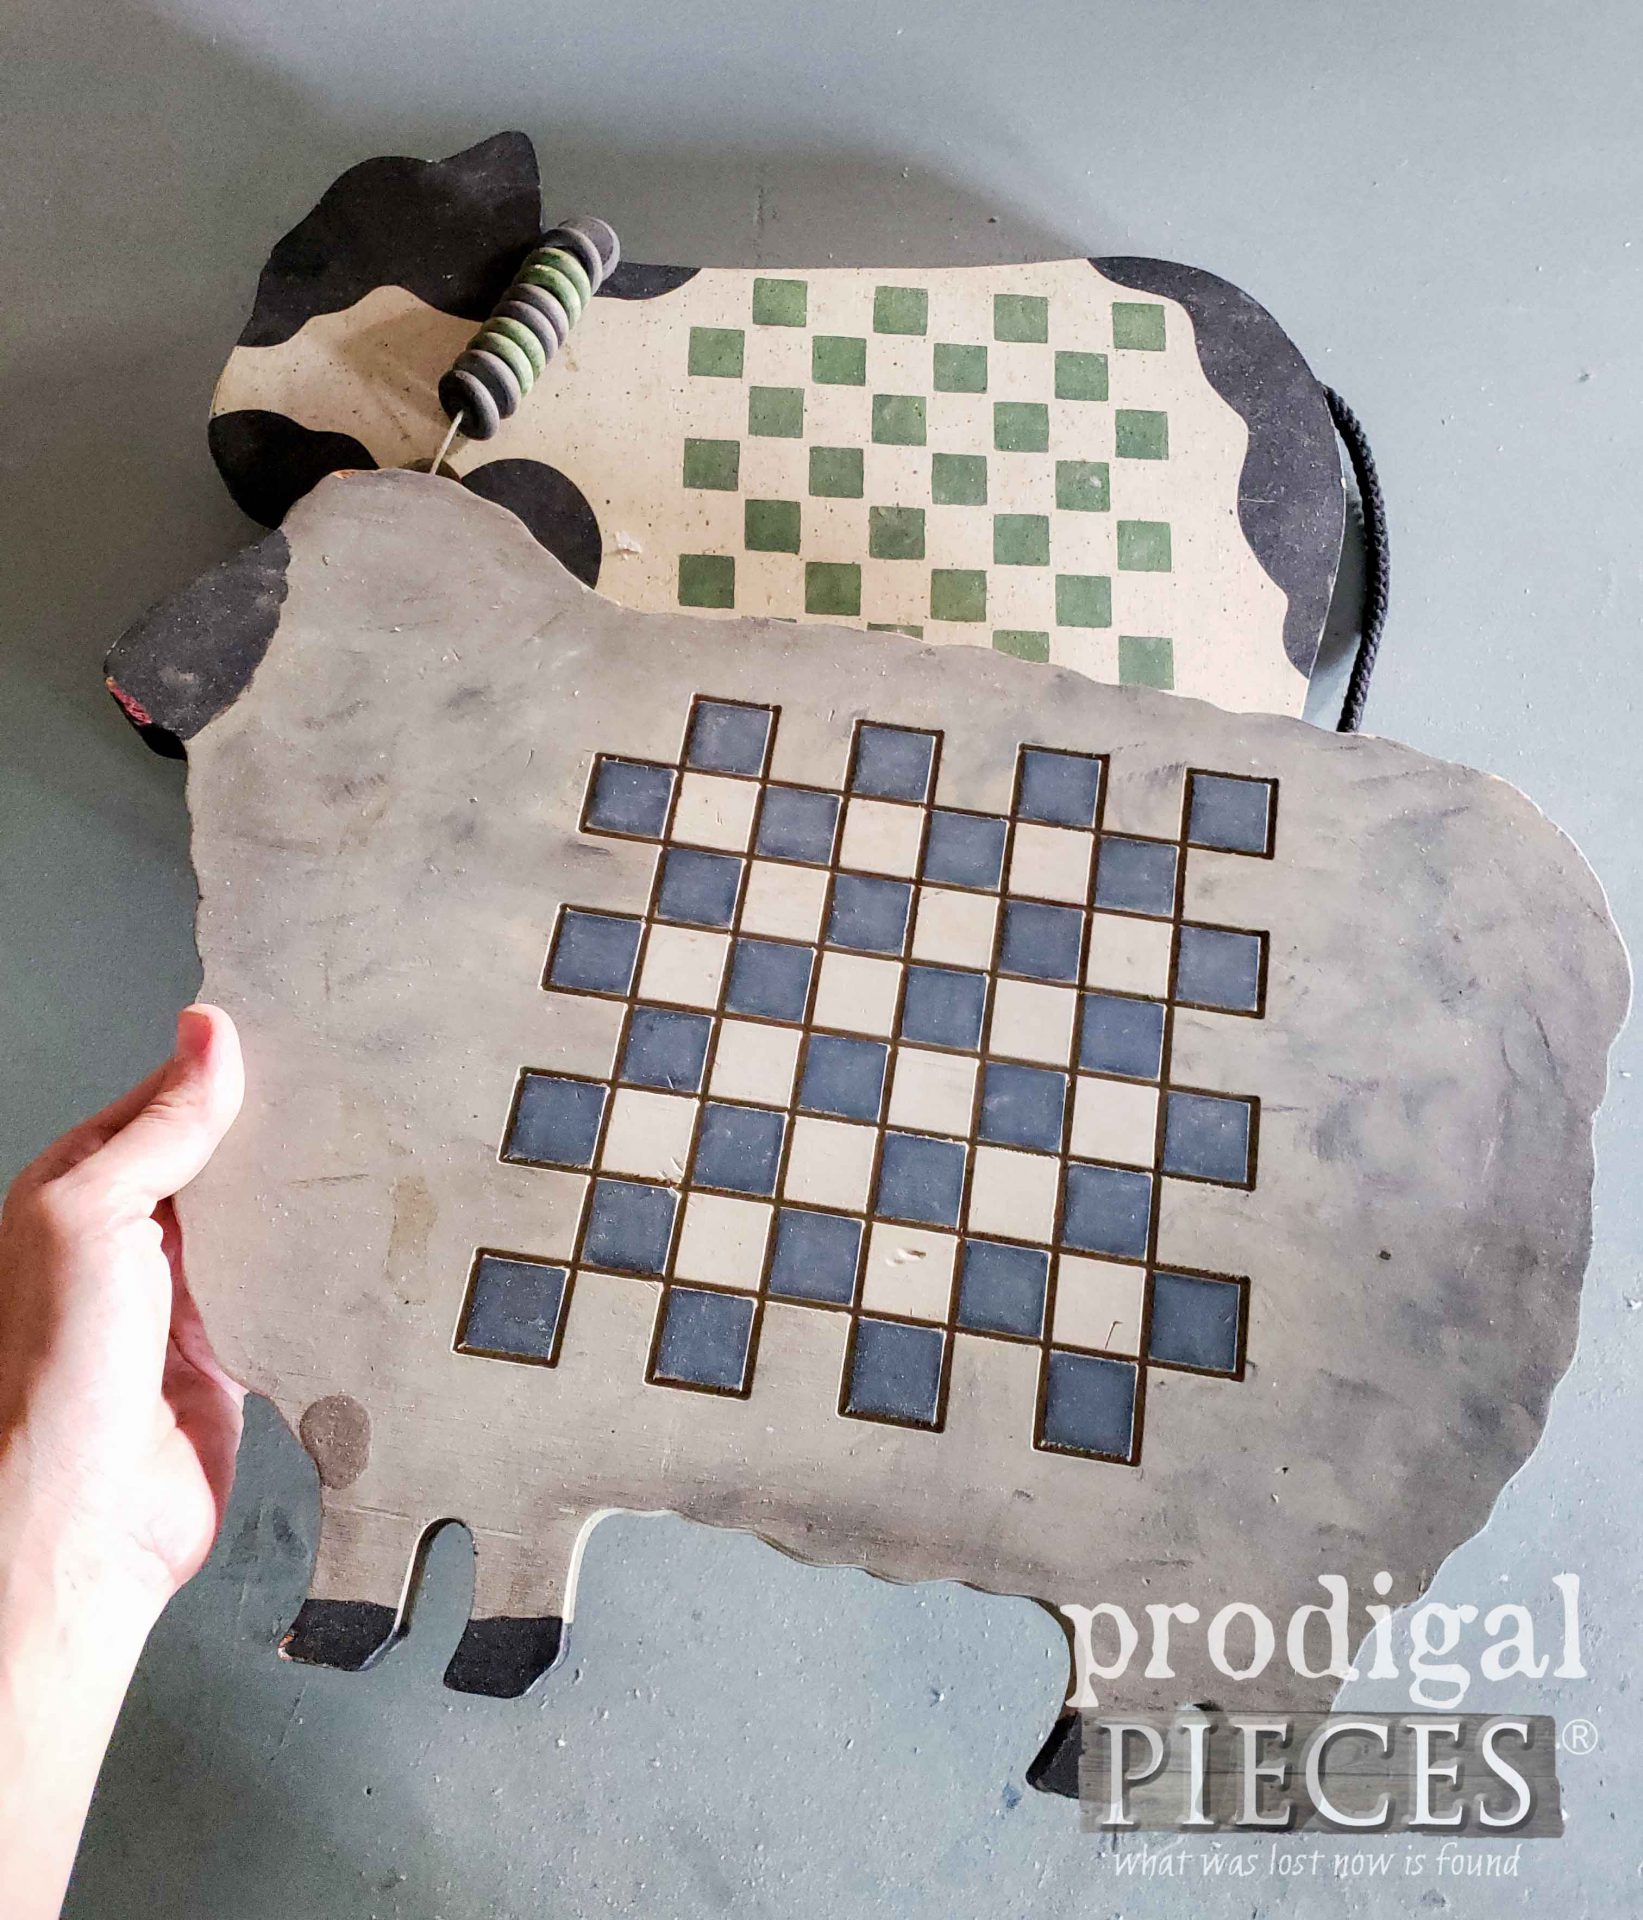
Okay, so maybe I’m a little nutty for seeing potential in these two pieces, but you can’t blame me for trying. If you take a closer look, Mo (the cow) is just a wood cutout with a chessboard painted on, plus that snazzy bell necklace. However, Bo, on the other hand, has the chessboard routed into her side. Poor thing.
One might ask why in the world that feature was added to either and my answer is…I HAVE NO IDEA. tsk. They’re not sanely big enough to use, so I’m chalking it up to country cute decor taste.
TIME TO DIY
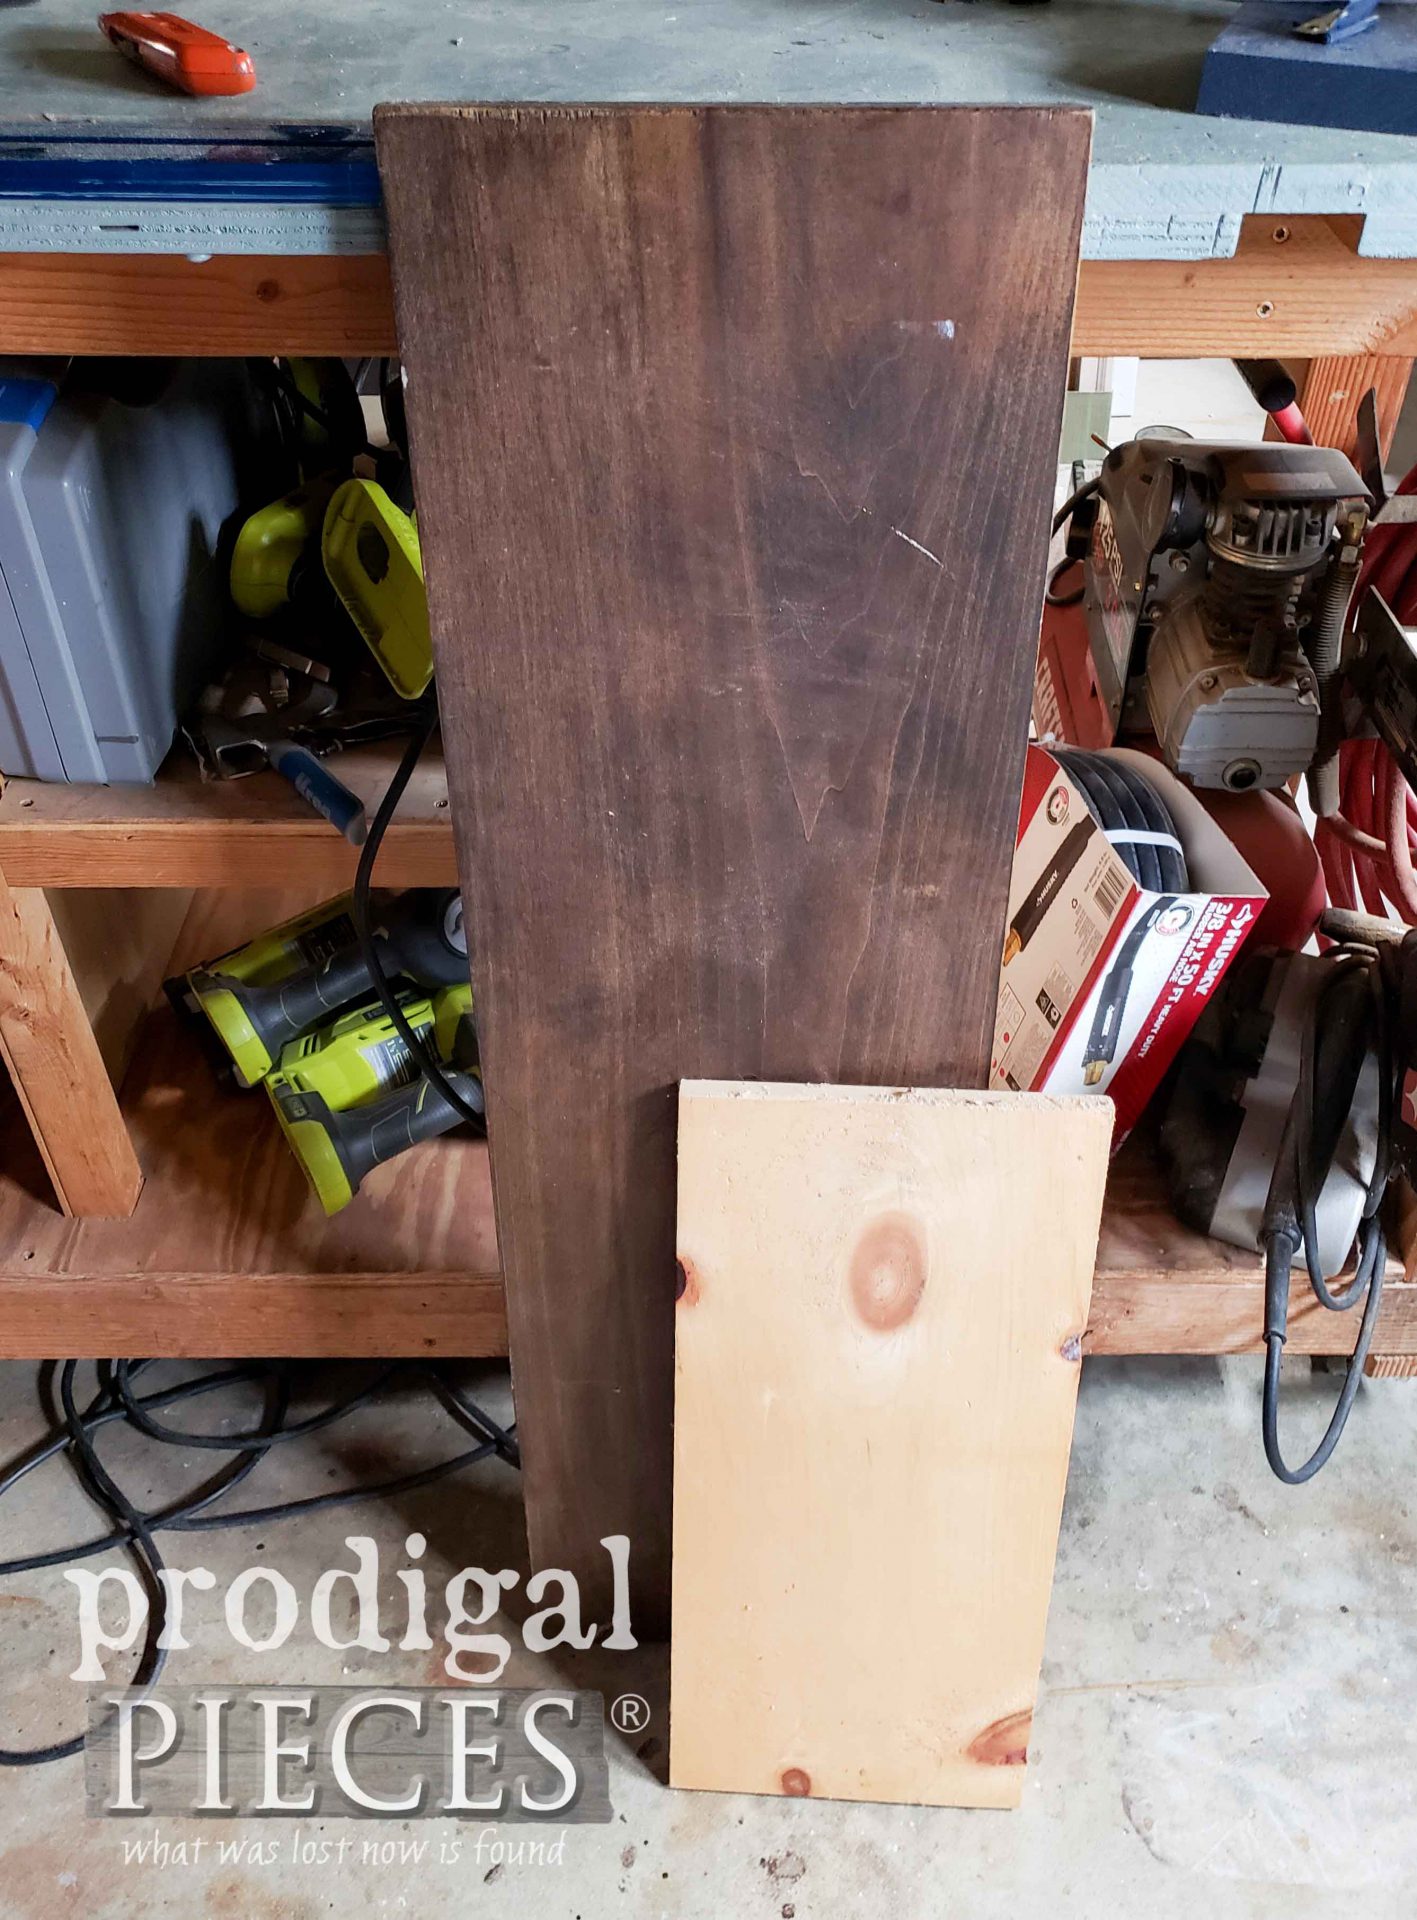
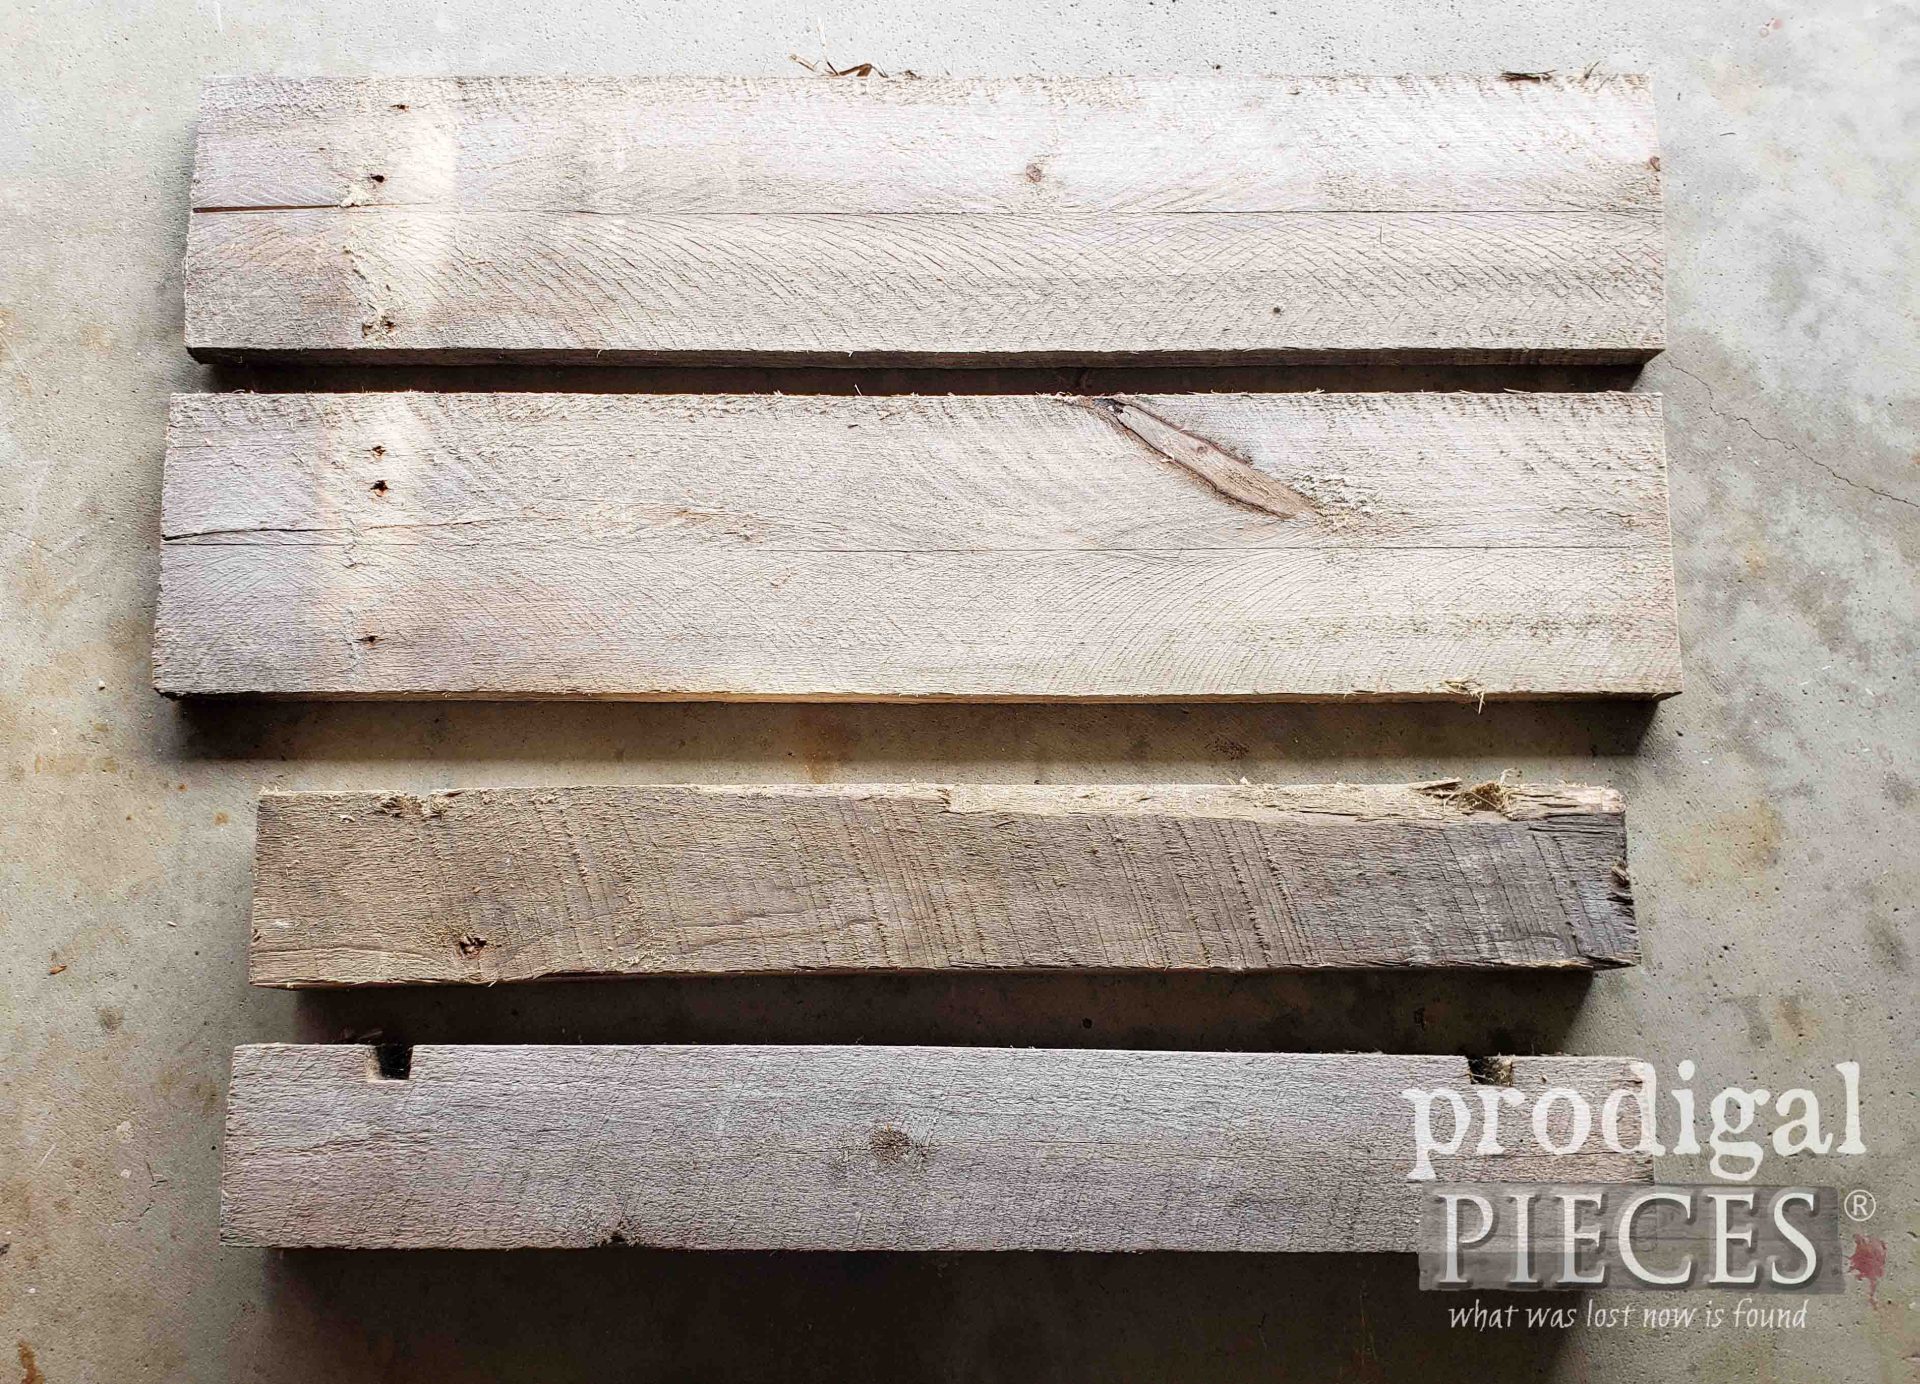
However, since cutesy country is not my thing, it’s time to break out my tools & supplies to get this DIY farmhouse sign tutorial underway. First, I went to my wood stash and found a couple of planks that would suit the result I’m after. The long one used to be my sons’ desk, and the other is scrap.
TERMS OF USE: when you create these repurposed signs you agree to the following: it cannot be shared or distributed for monetary gain in any way, it may not be modified in any way, and you may not claim the work as your own.
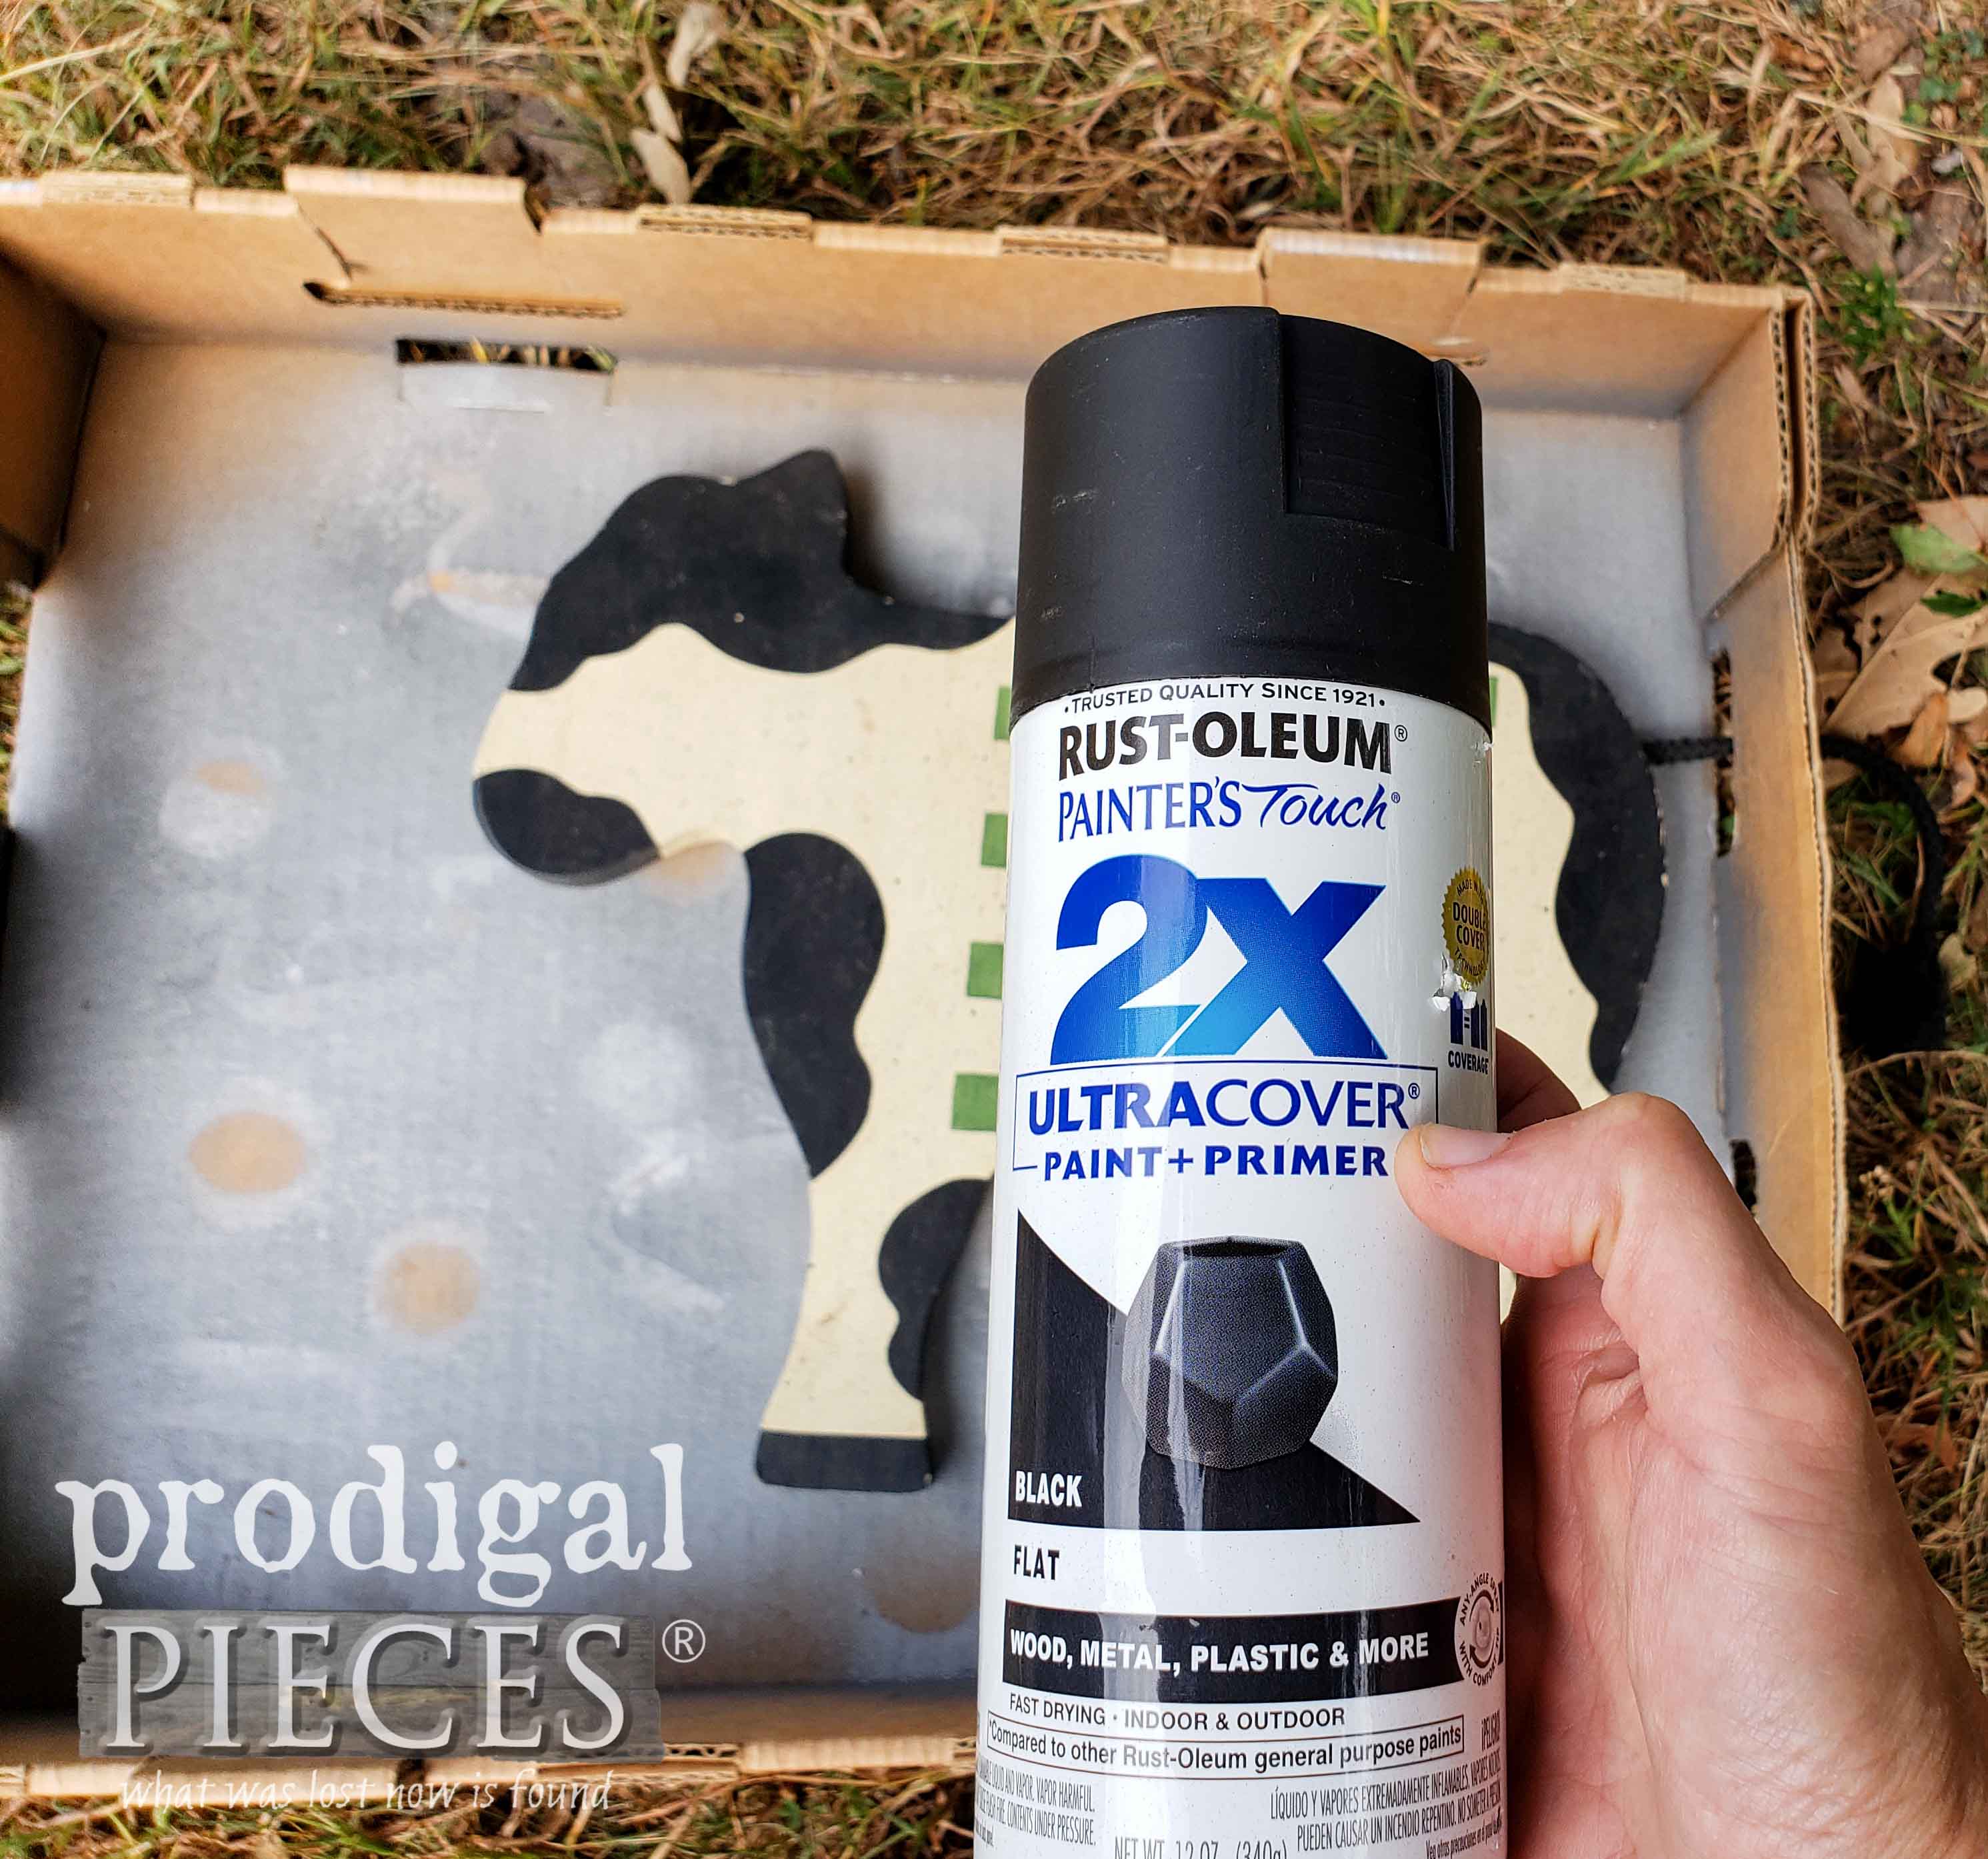
First up, Mo is my first subject for a redo. I took off that bell necklace reserving all parts for a higher purpose. Then, I grabbed my Flat Black spray paint to give my little cow friend an fresh new look. Buh-bye chessboard cutesy thing. Notice her tail is sticking out of the box so it doesn’t get crunchy with paint.
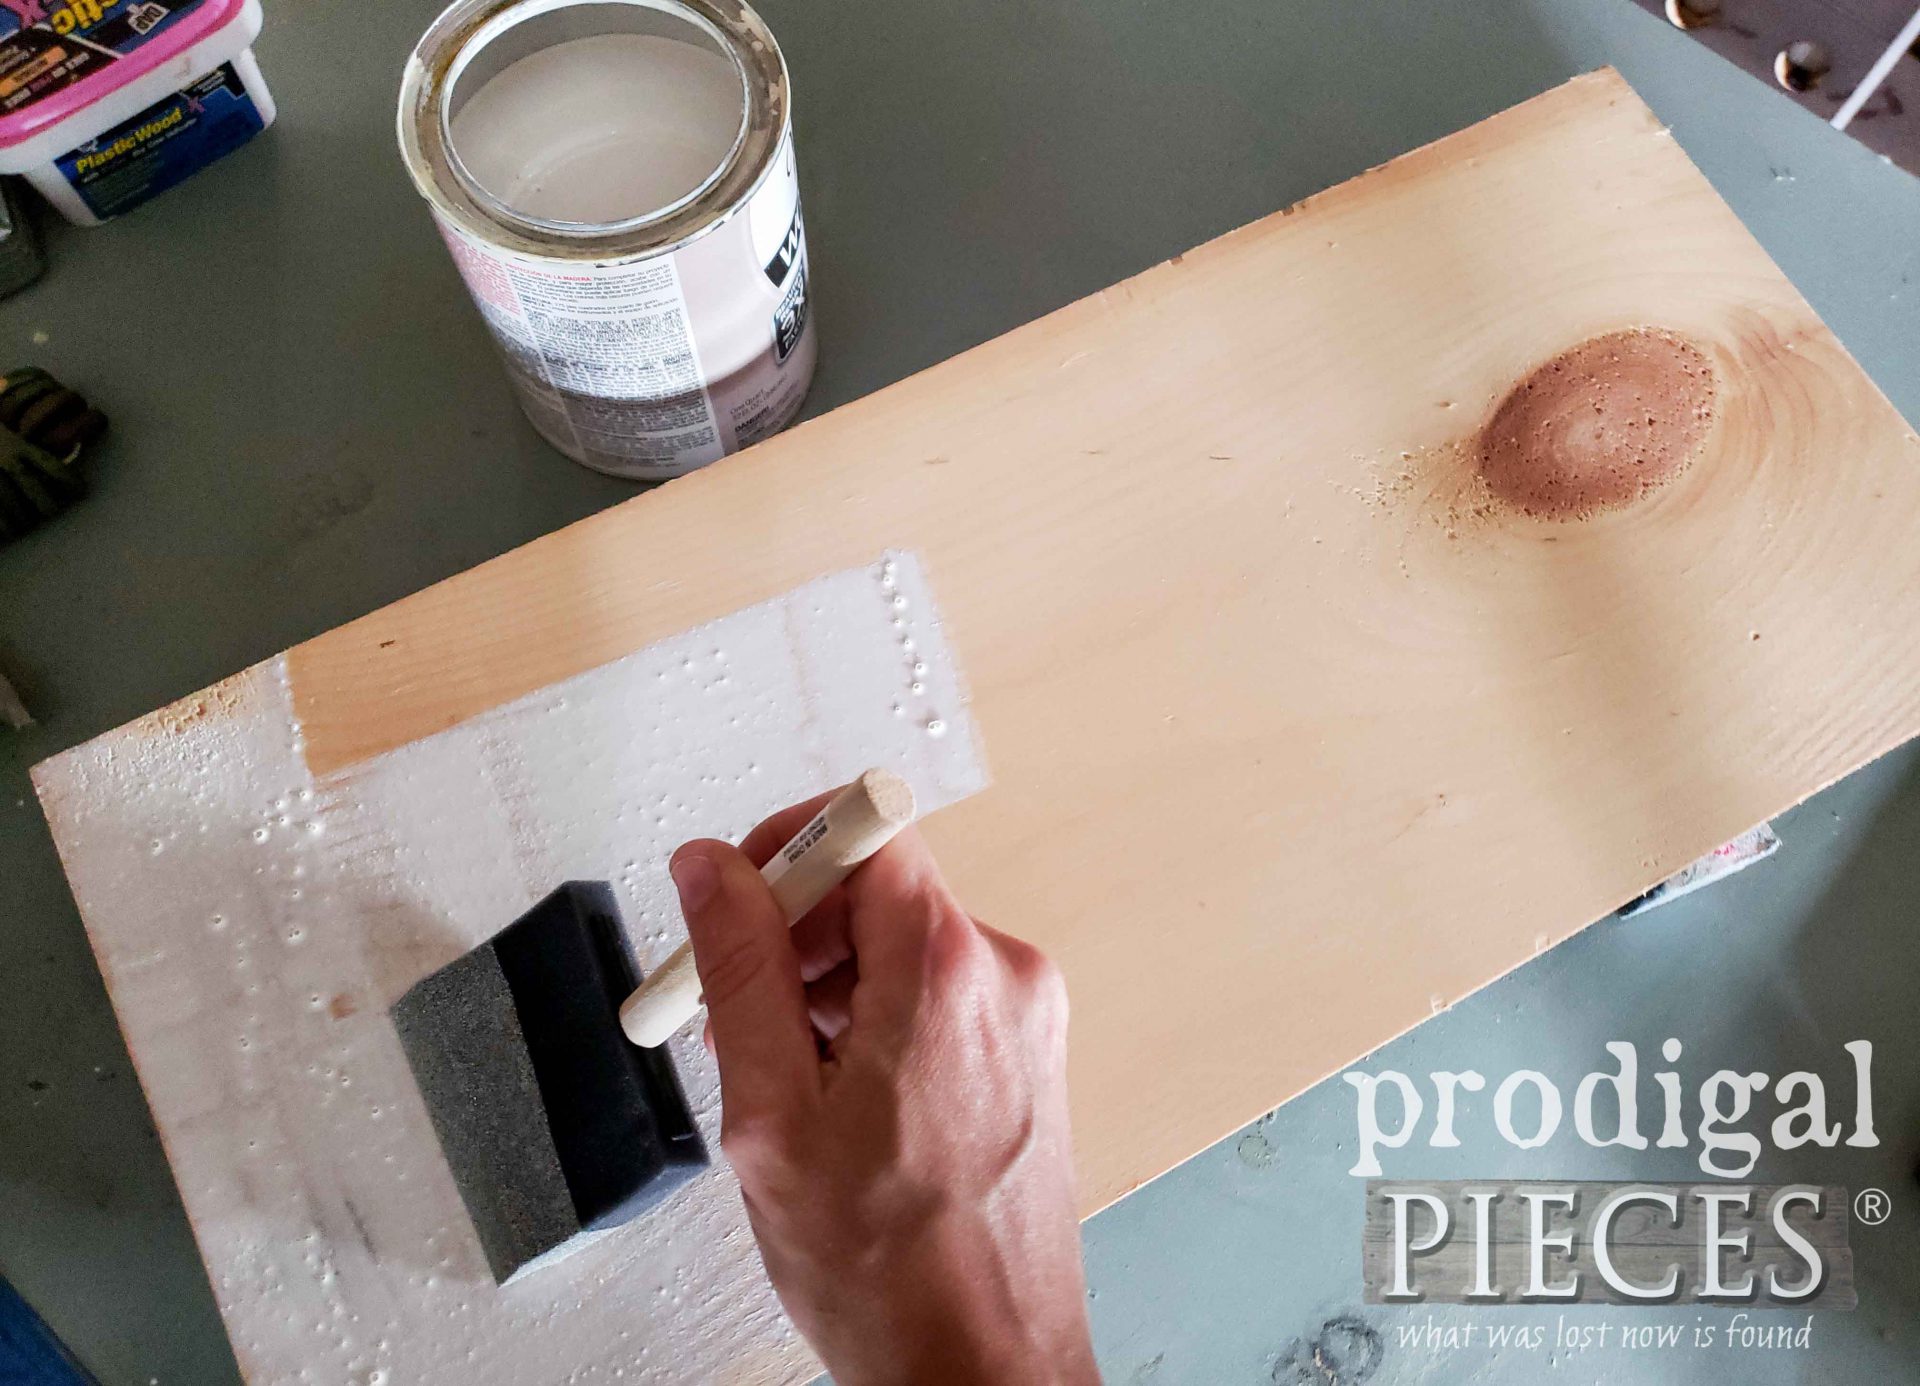
Next, in between coats of the black paint, I applied a few coats of this Antique White Stain to the shorter of the two boards.
Meanwhile, during cure time for the paint and stain I began work on Bo’s makeover. It’s pretty much the same process as I’m doing with Mo, but with a different colors and outcome. Eventually you will see the end result in a bit.
ASSEMBLY TIME
Once all the pieces cured, I assembled them with my nailer In addition, I also added sawtooth hanging hardware to the back. I basically reused the hardware I removed earlier and added extra for safety.
Finally, it’s time to add some typography you know I adore. You can see all my past typography posts HERE. You can even view my videos to see the process for different techniques. I’ve added this one for you to see.
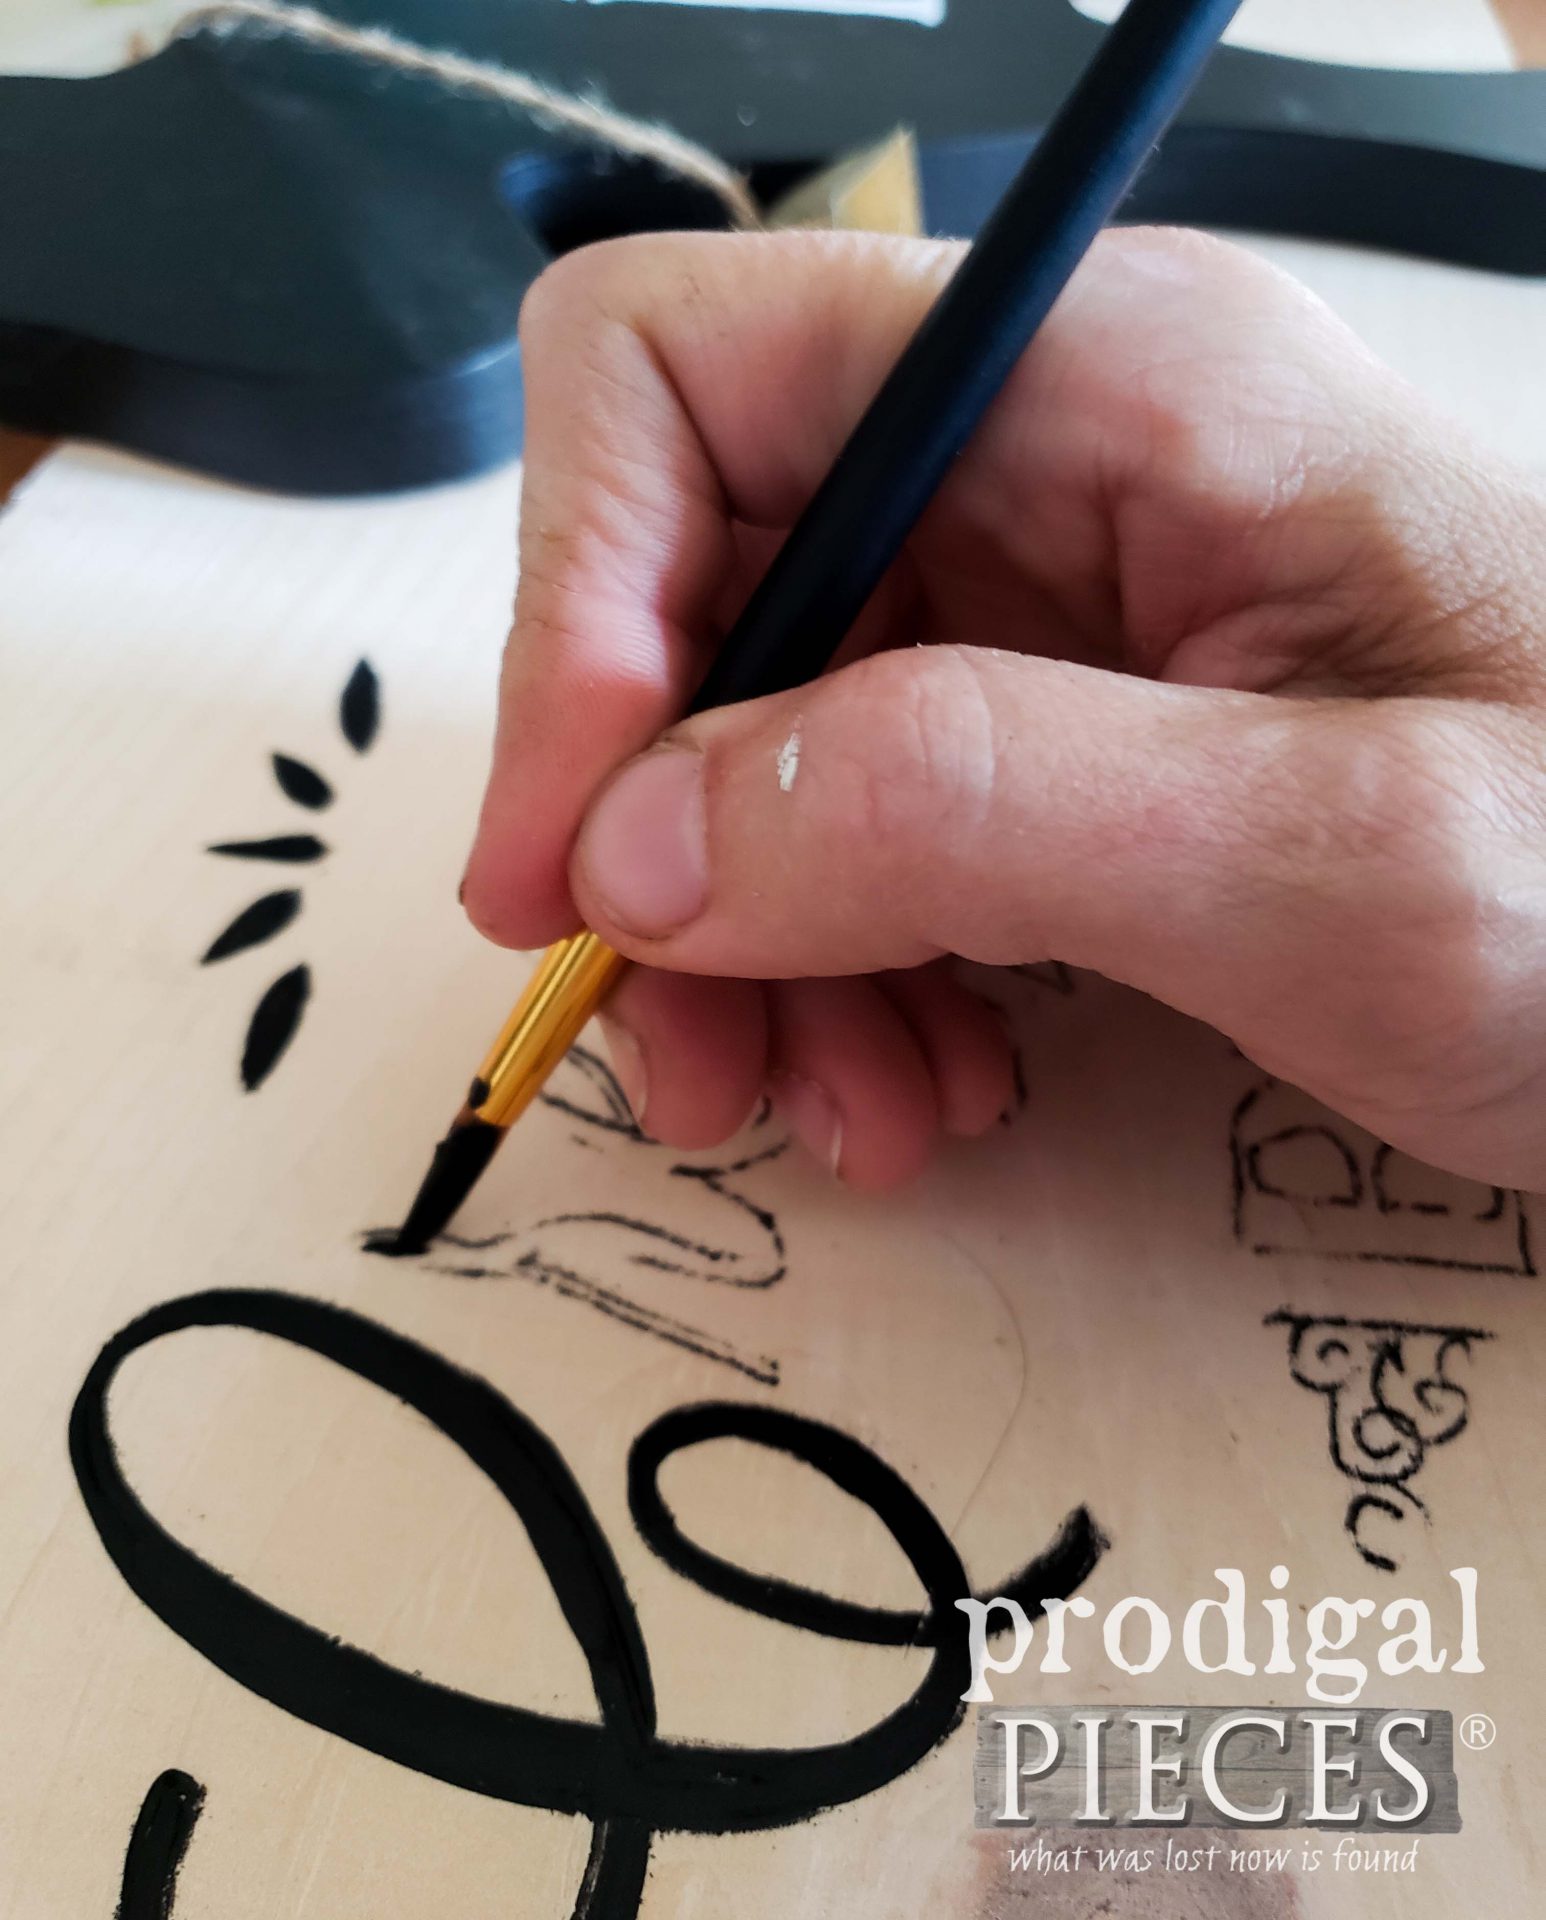
Today, I used my favorite transfer method to add the custom typography I created to apply a design. Then, I hand-painted it in. Such a task is my kinda therapy. It allows me to just let go and create.
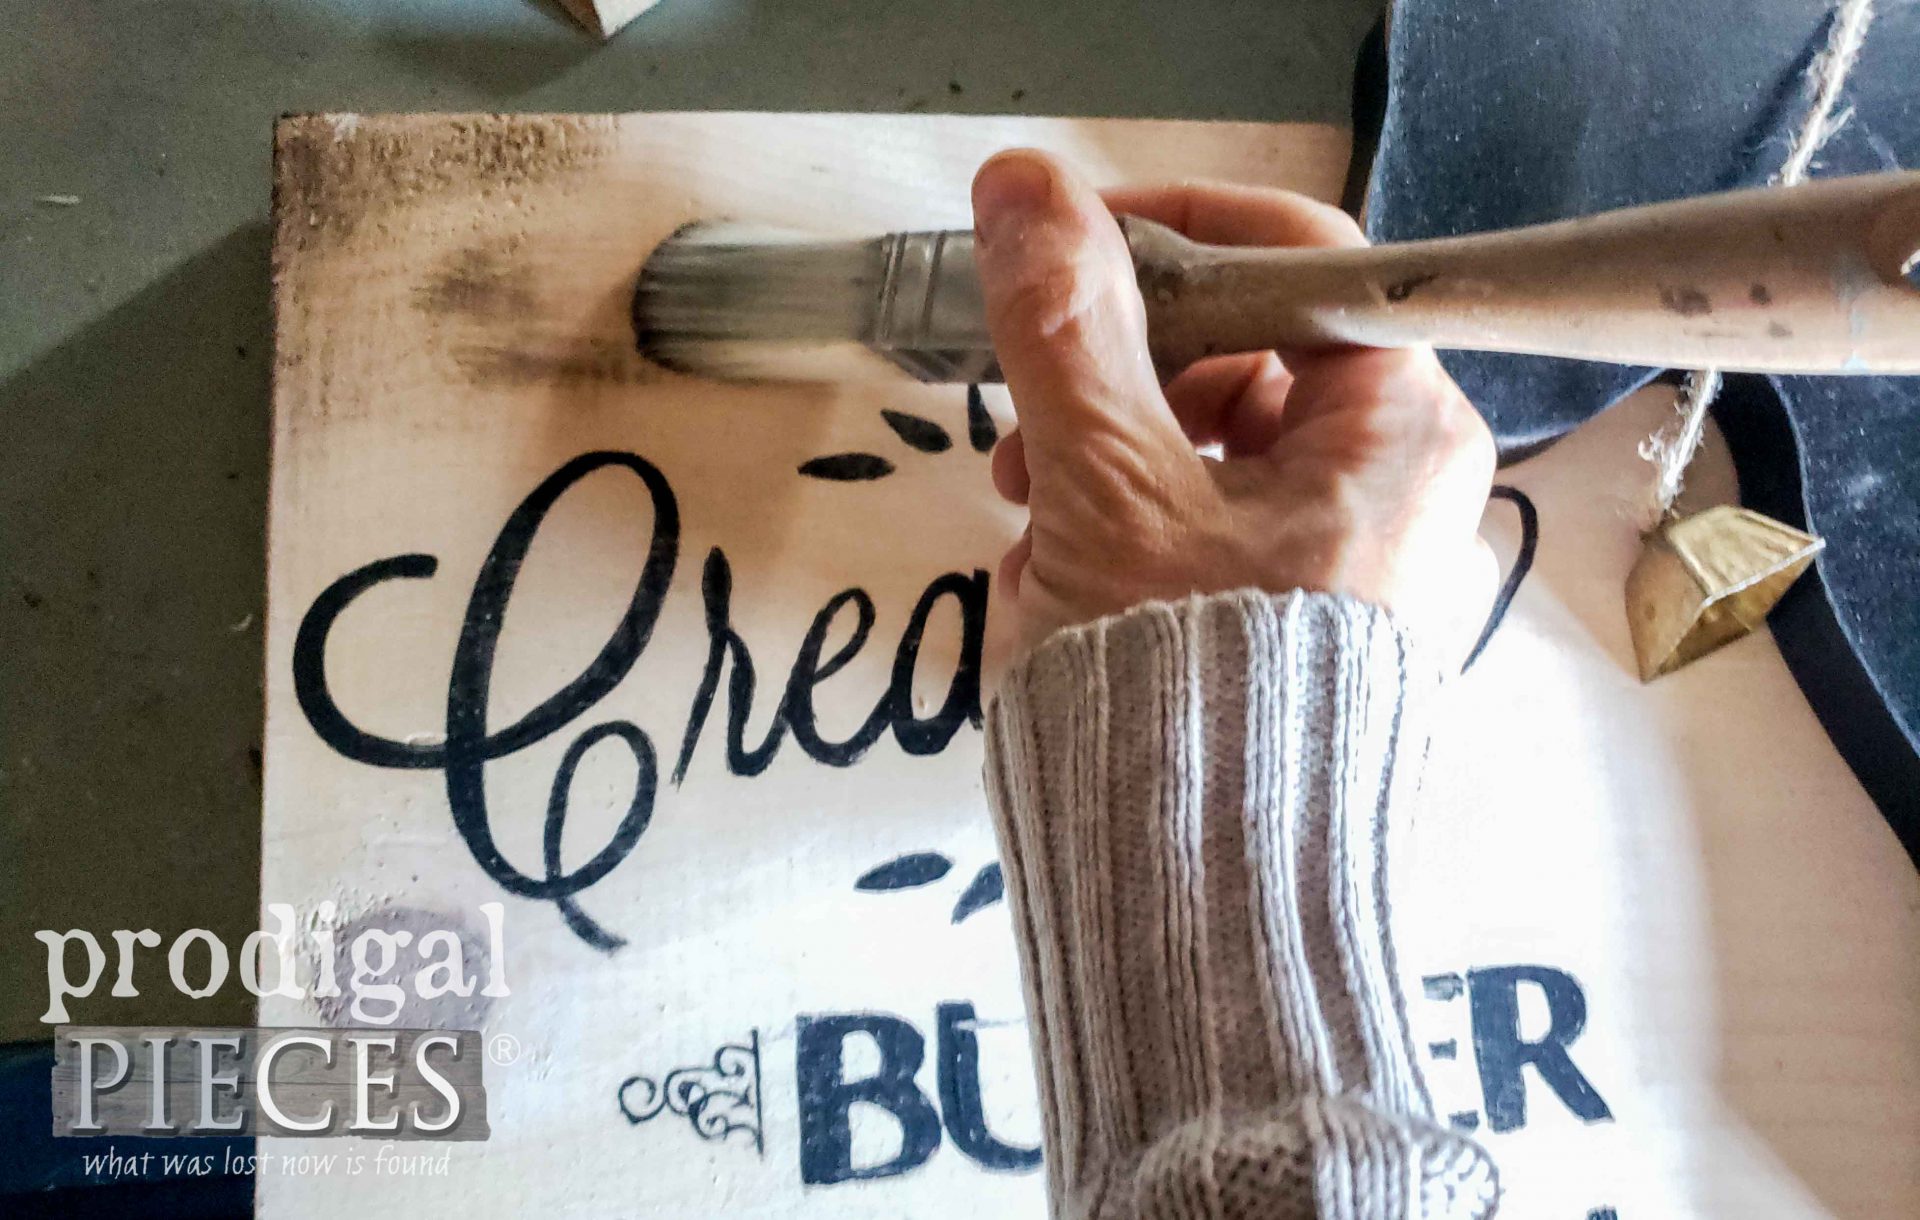
For the final step, I used a brown wax and my brush to apply an aged look. It also adds a layer of protection to my work.
REVEAL TIME
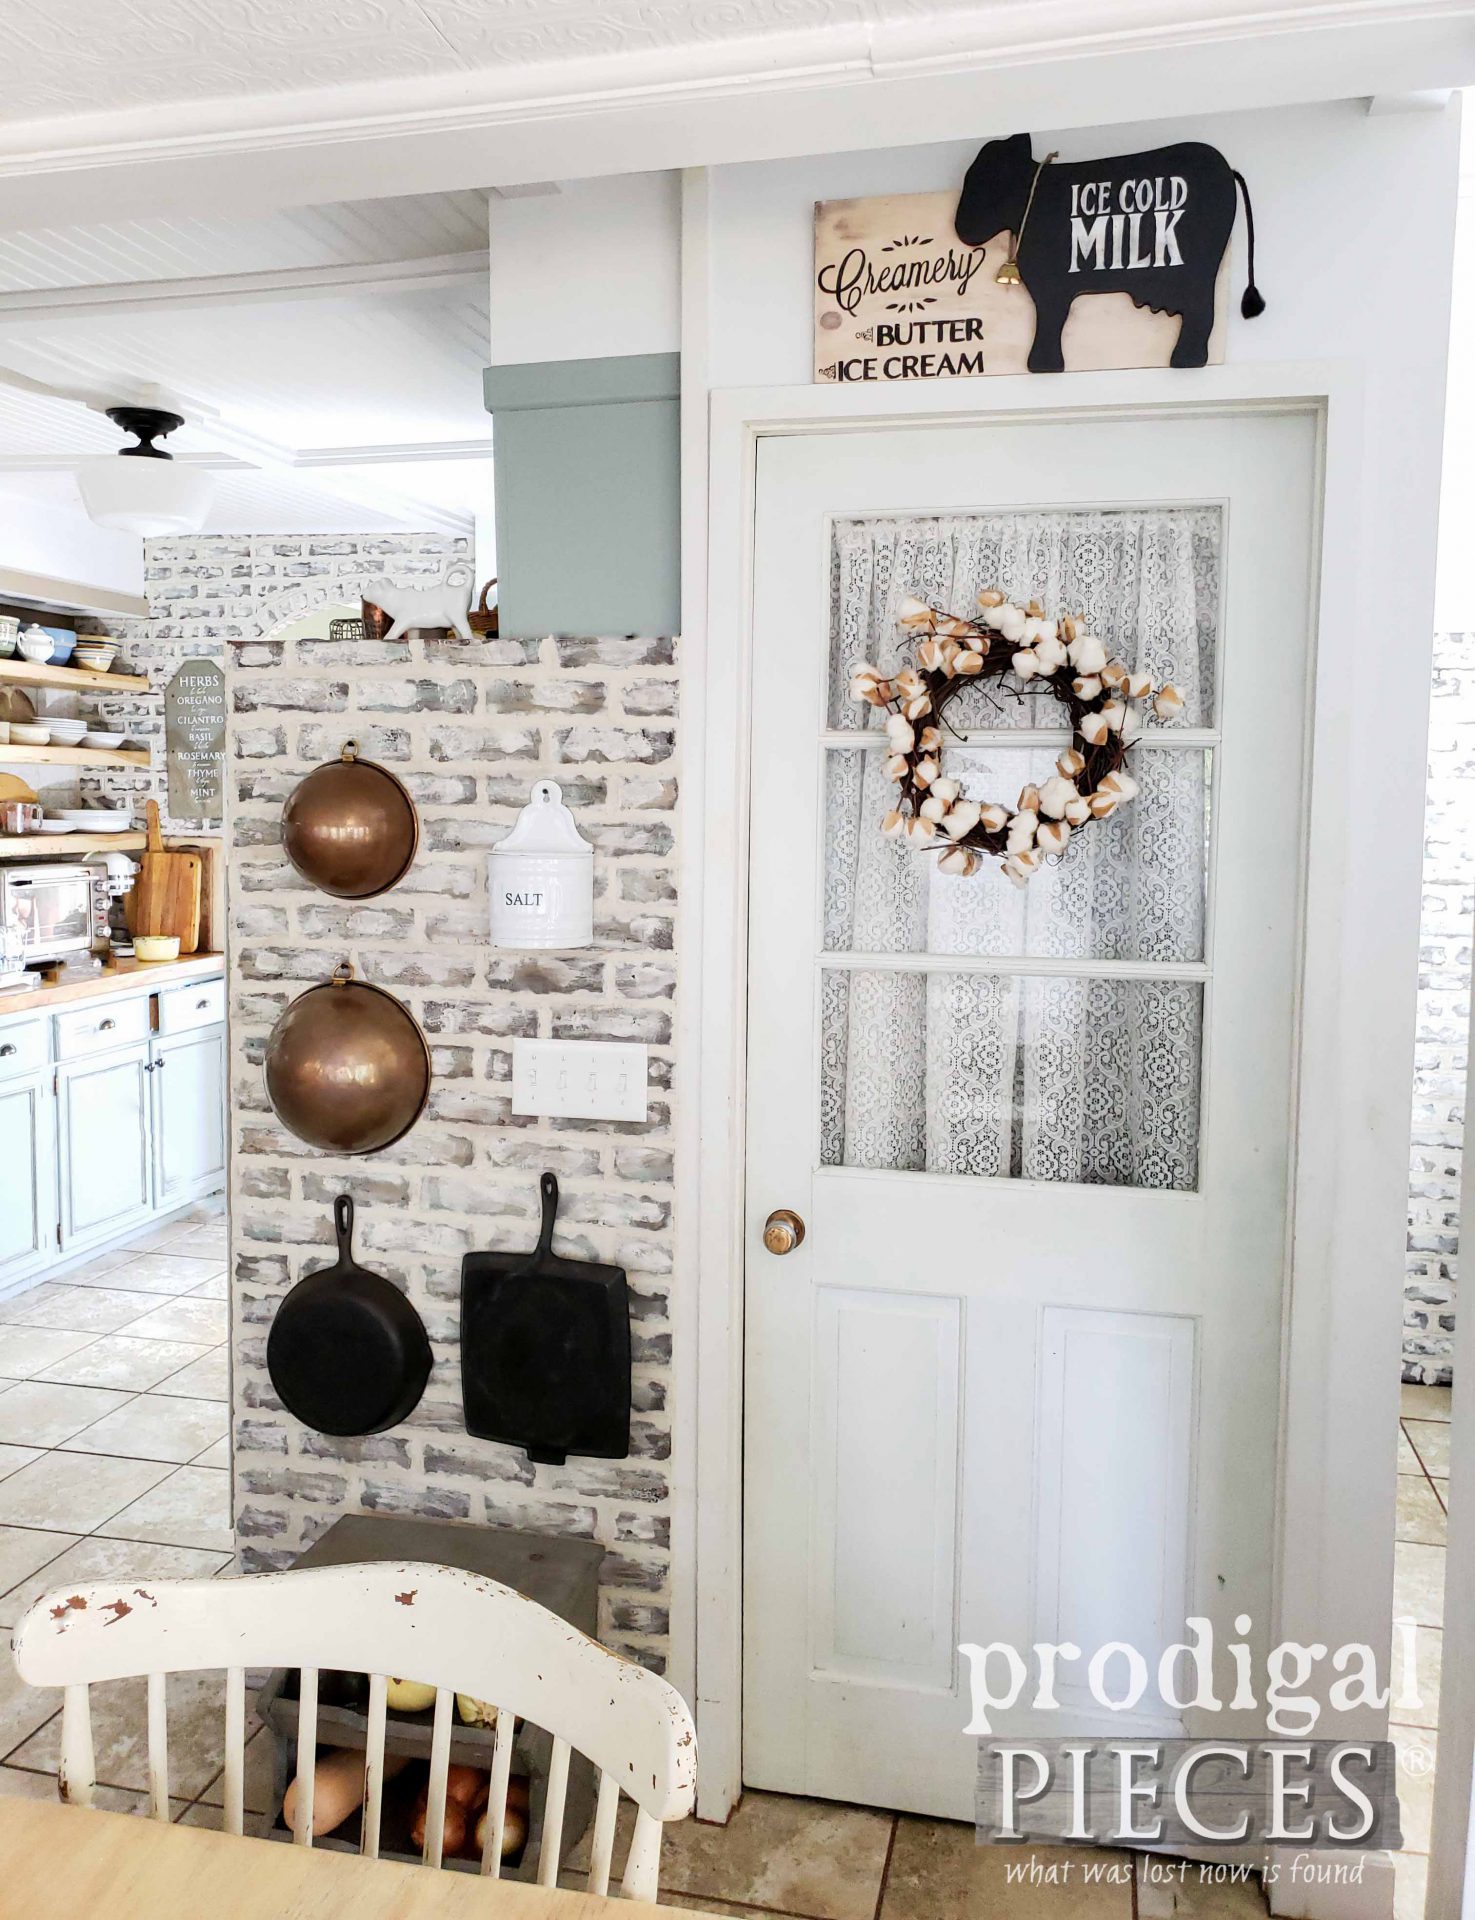
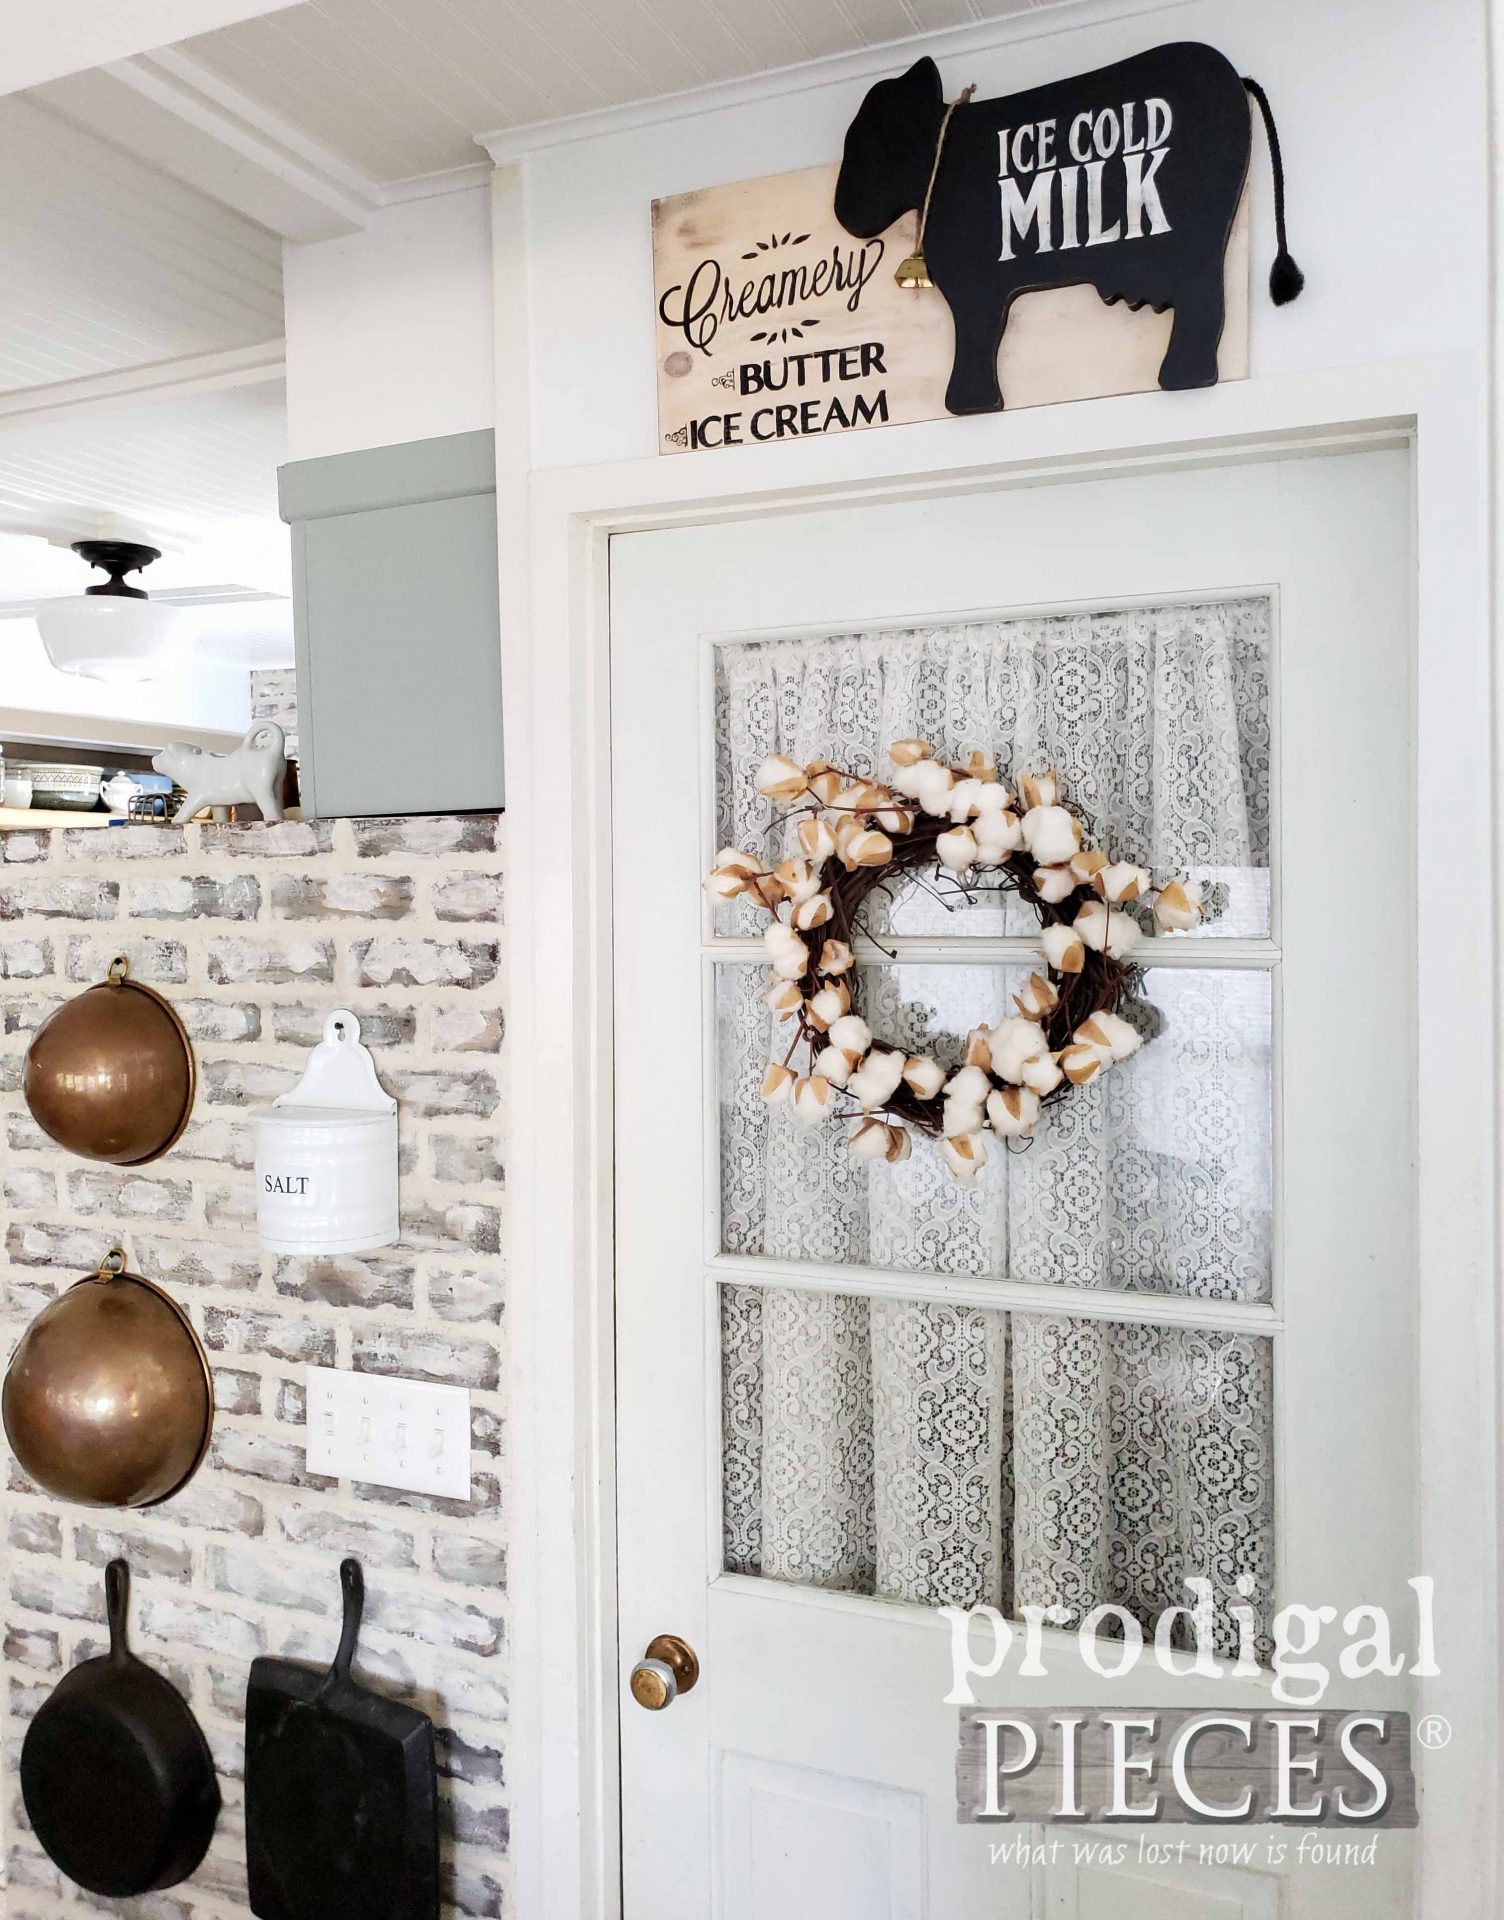
At last and true to my word, here are Mo and Bo with their new look and purpose. I love it! First, let’s see Mo…
Isn’t Mo cuuuute?! Yes, I’m a sucker for farm animals. Therefore, there’s no denying that.
In addition, I also have to mention that the door you see on our basement entry is from the curb. Originally, there was an ugly hollow core door and I wanted some charm. I grabbed this one and convinced my husband, JC, to let me have at it. One of the panes was busted and I replaced that, added a thrifted curtain, and it’s good to go. Gotta love #trashure! Also, you can see how I’ve replaced other panes in this project HERE if you have a hankering to learn.
Also, an extra bonus for you is how to create that cotton wreath for pennies. You can view the full video tutorial in this past post HERE.
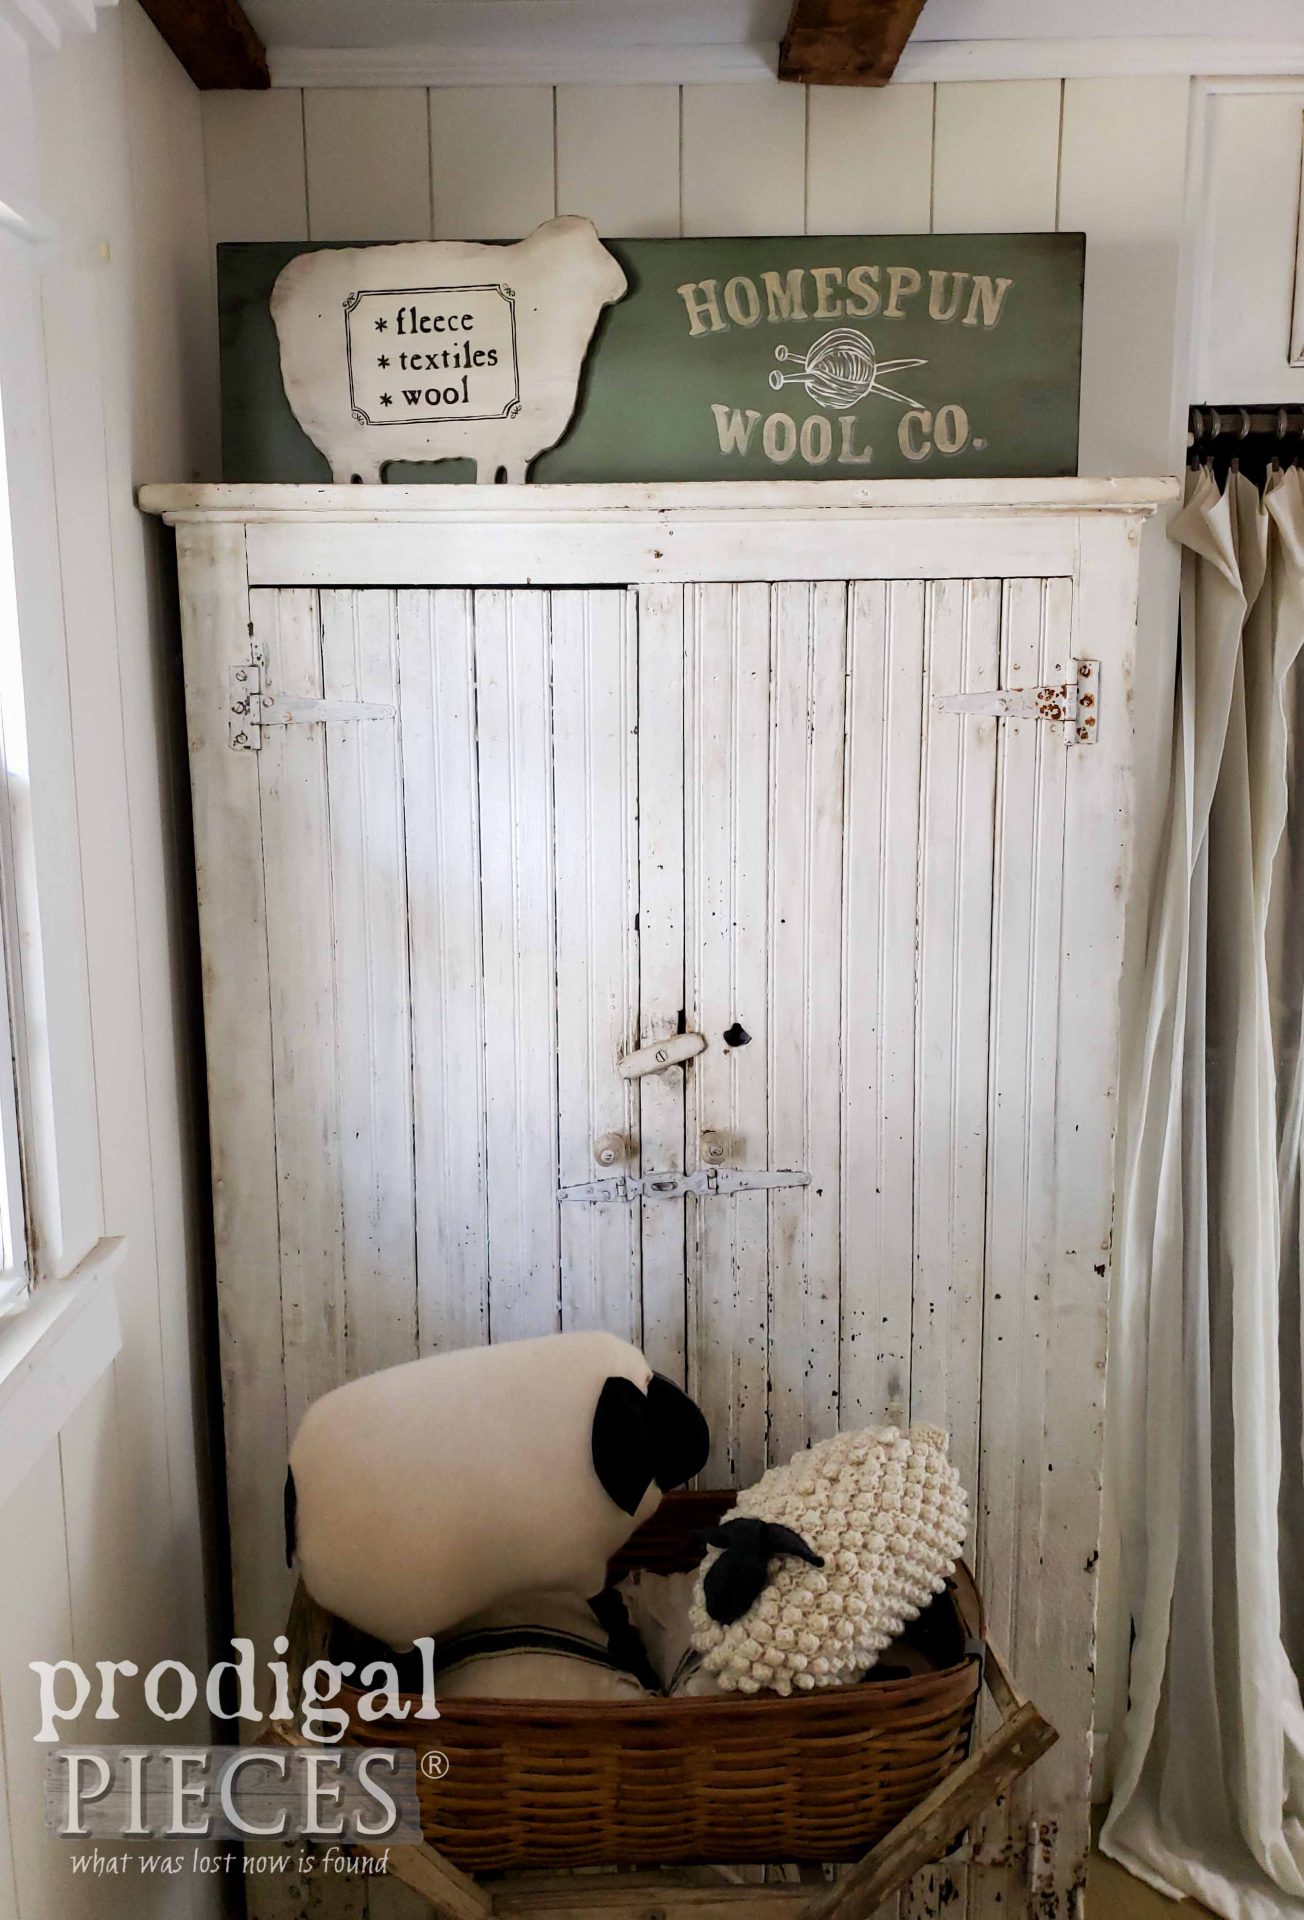
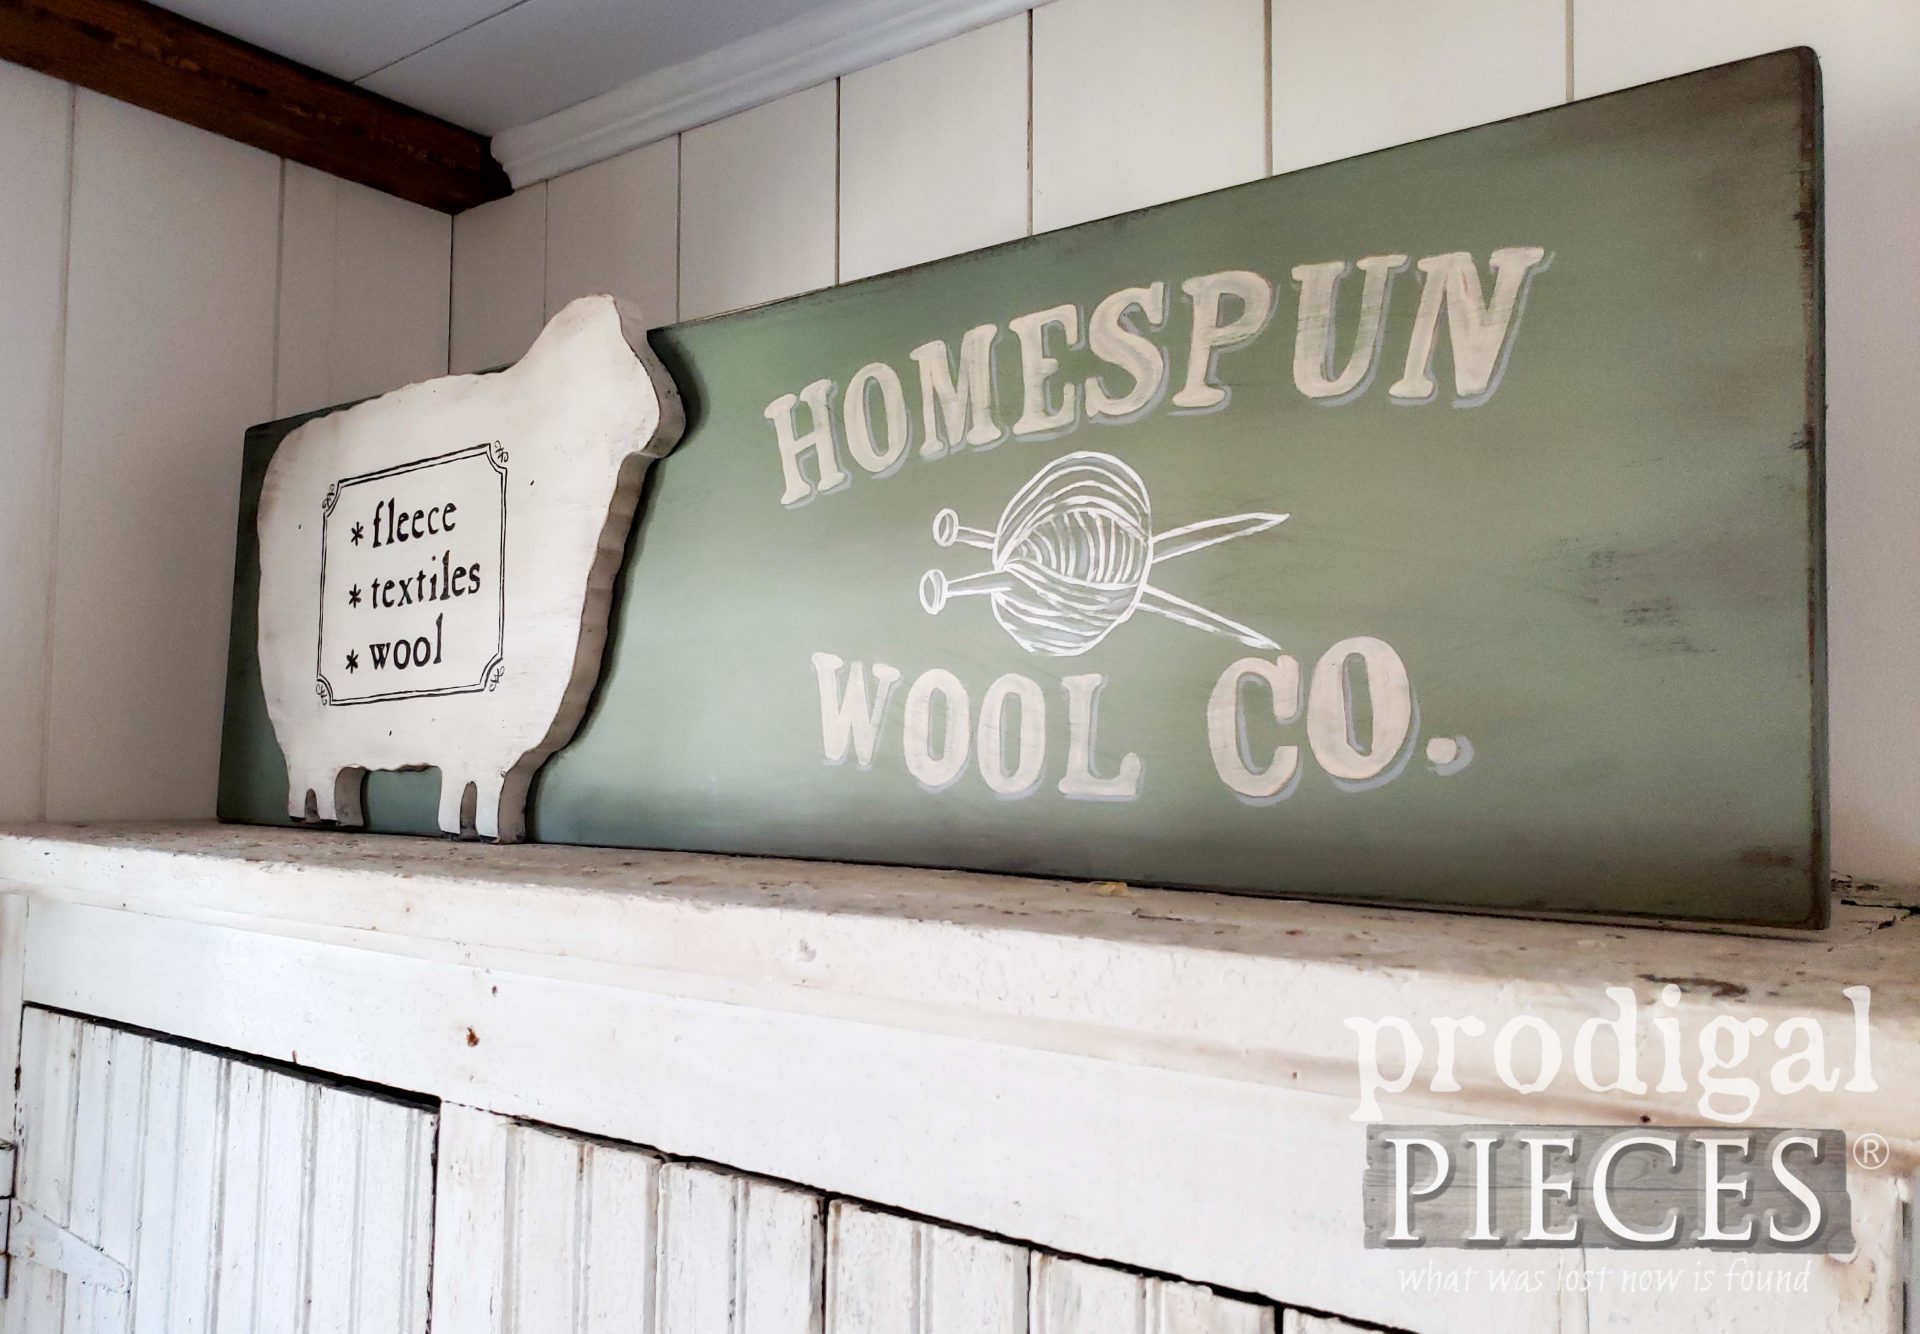
Next, it’s Bo’s turn. Do you name things too? Just askin’ for a friend. tsk.
Notice that my other baa ram ewes are joining in the fun. If you’d like to see how I made the one on the left, HEAD HERE. You can get the pattern for the lumpy gal on the right, OVER HERE. Similarly, you can get the tutorial for my clothespin sheep tutorial in this post (video tutorial there too).
WRAP-UP
Are you inspired? I hope you are. Honestly, I can’t say enough how affordable and easy it can be to make your house your home. You just need to have a DIY spirit!
Likewise, if you’d like to own either of these signs, you can find them available in my online shop. (SOLD) Plus, don’t forget to sign up for my free newsletter for discounts and freebies.
Also, pin and share this DIY farmhouse sign tutorial. You just know there are more animal cutouts out there just waiting for some typography fun.
Up next, a stack of pallets I received from my neighbor will be helping me change up my decor. Head HERE to see.
Before you go, be sure to sign up for my newsletter. Until next time!






Simply fabulous I love them.x
Thanks, Janette! What fun this was to do. 😀
I love this!
I ❤ these signs!!! So creative you are!!! Now I will be on the lookout!!!
Aww…yay!! Thank you so much. Can you tell I had fun? 😉
Never saw that coming! Your creativity ALWAYS amazes me, Larissa ? So stink’n cute ?
Woot! If I surprised you, then I know I really pulled it off. haha. Thanks, Marie!
Cute! New life for a sad old decor trend, haha!
Thanks! These things are everywhere and I had fun! 😀
Oh Larissa they are so handsome! Glad you saved them! Keep up the good work.
Well, I sure had fun with them. Thank you for the love, Mary. 😉
Larissa, you have amazing vision! Those signs are perfect! I would have been totally stumped.
Yay! Thanks so much, Karen. Finding and creating is a blast for me. Great therapy too!