Yay! It finally stopped raining, just enough, for me to finally share with you my DIY Fire Pit refresh. {{happy dance}}. Guys and gals, I know spring means rain, but the number of dry days, let alone sun, have been few and far between. While I know the good Lord knows what we need and I’m ever thankful we have lush greens around us, I’m ready for at least 3 days of sun… in a row.
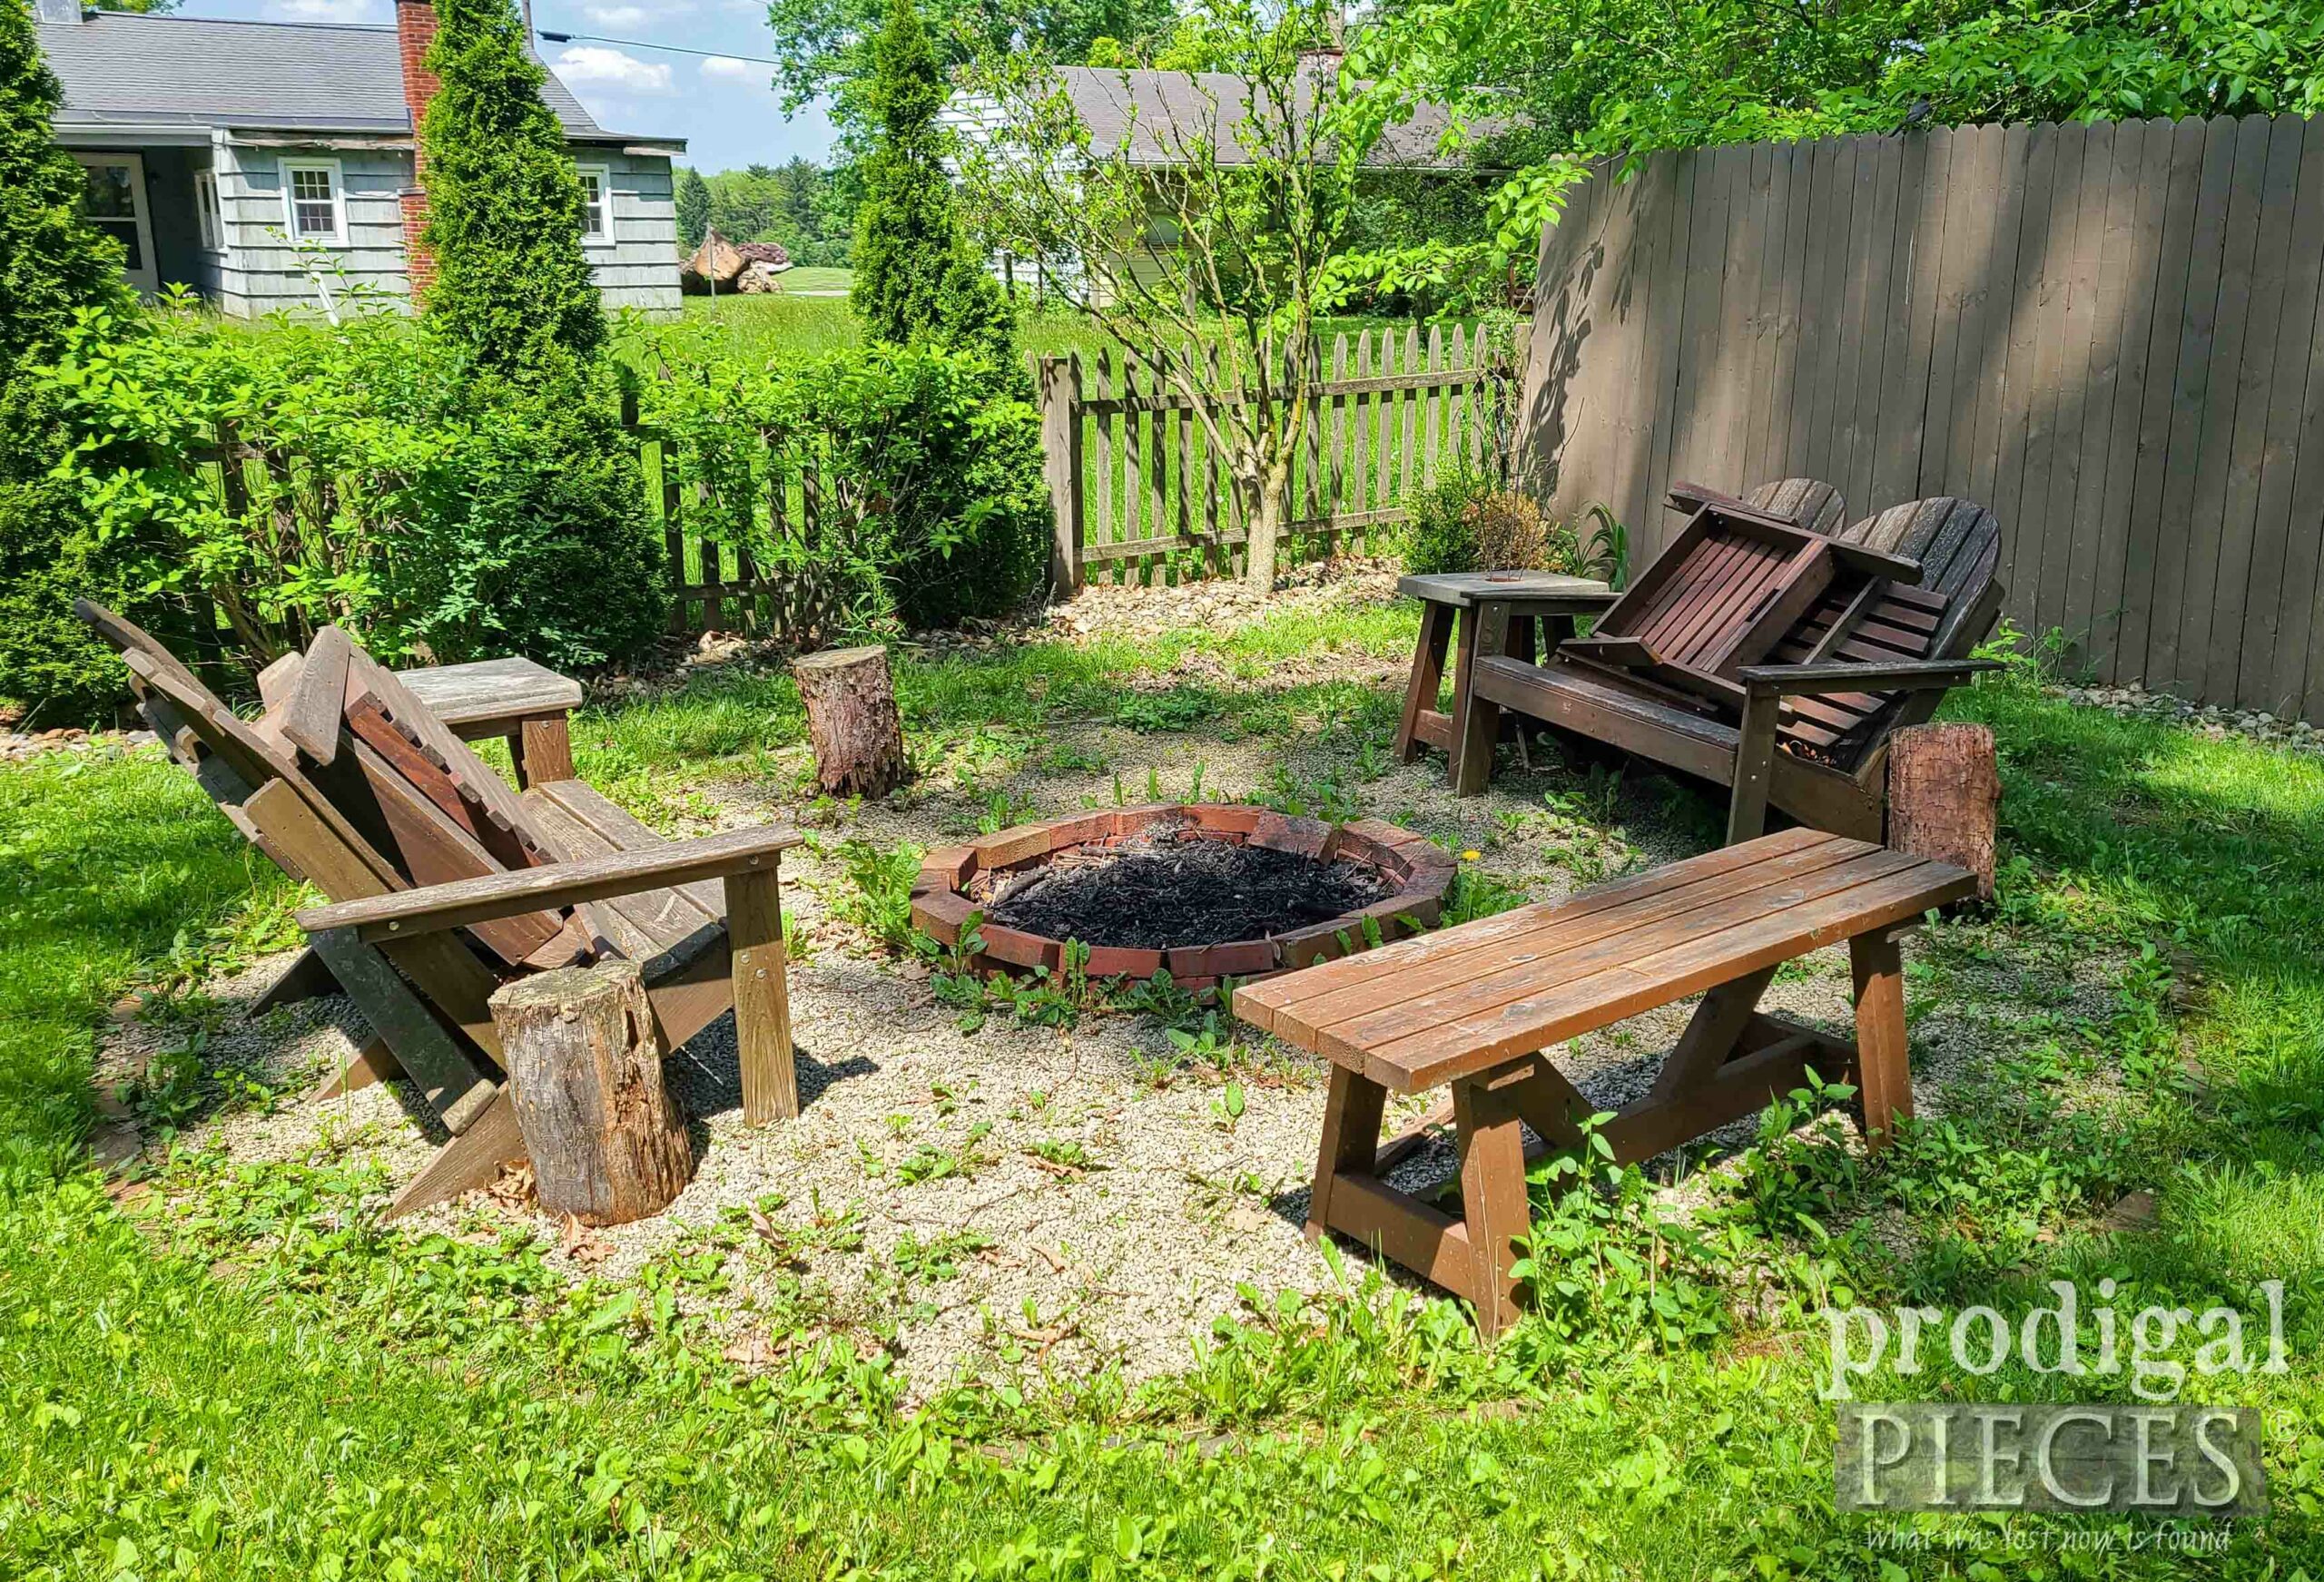
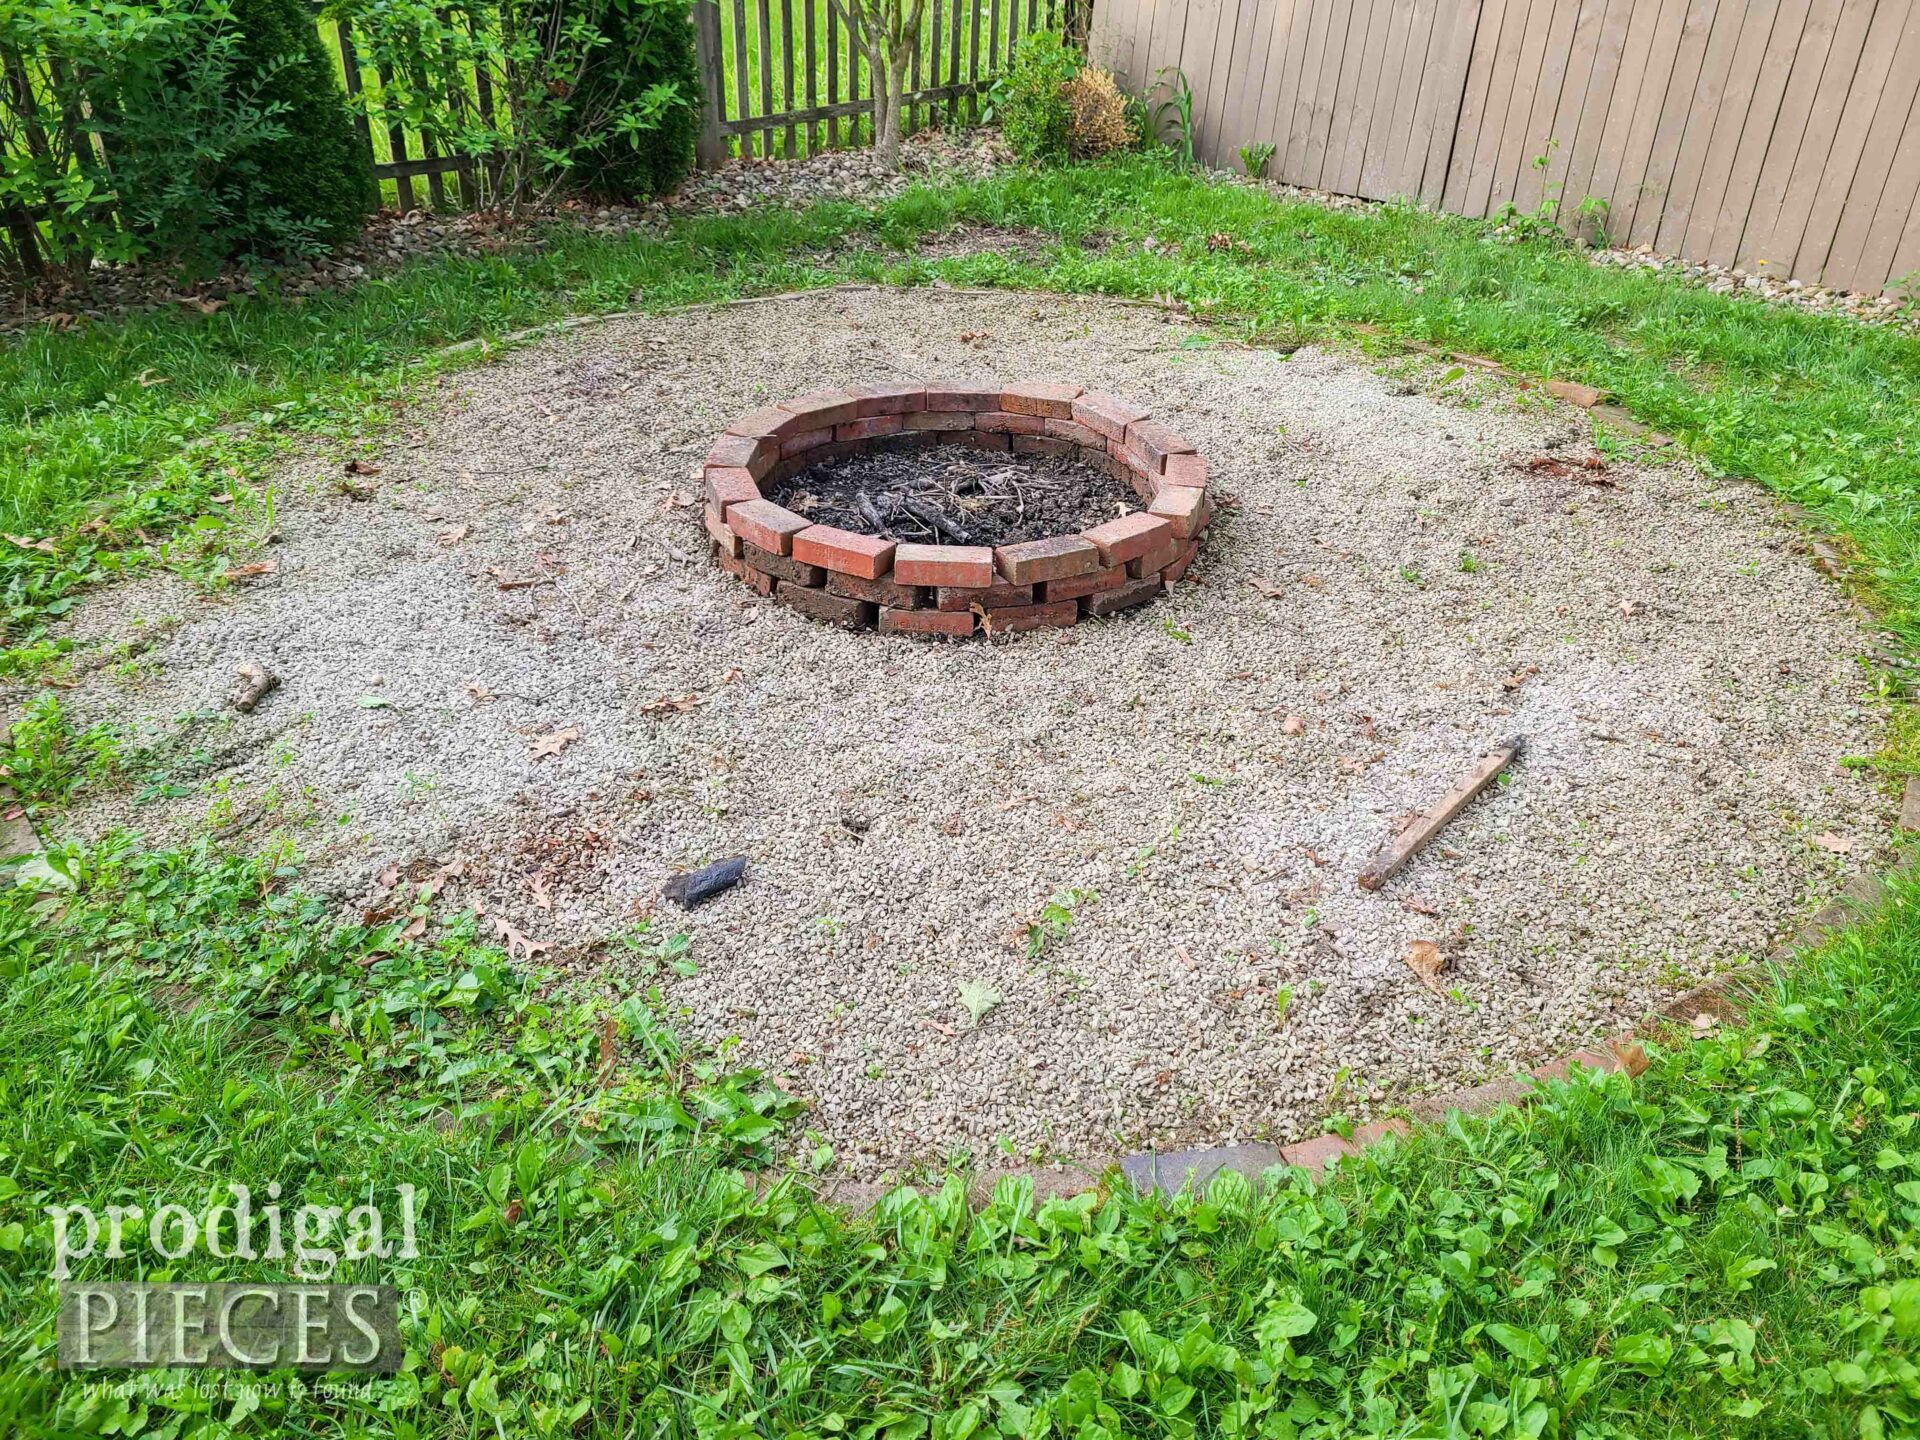
With that, take a gander at what my backyard spot looks like after I remove the tarps from winter. Typically, I don’t unearth this spot until May because of all the rain our spring season brings. Yes, we weeded last summer, but this growth happens very quickly in this lush environment. Thankfully, when I originally designed this fire pit, I made sure we used a heavy landscaping fabric so that those weeds and plants pop right out.
I share a full video below but read on to get the full scope and fun.
TIMES PAST
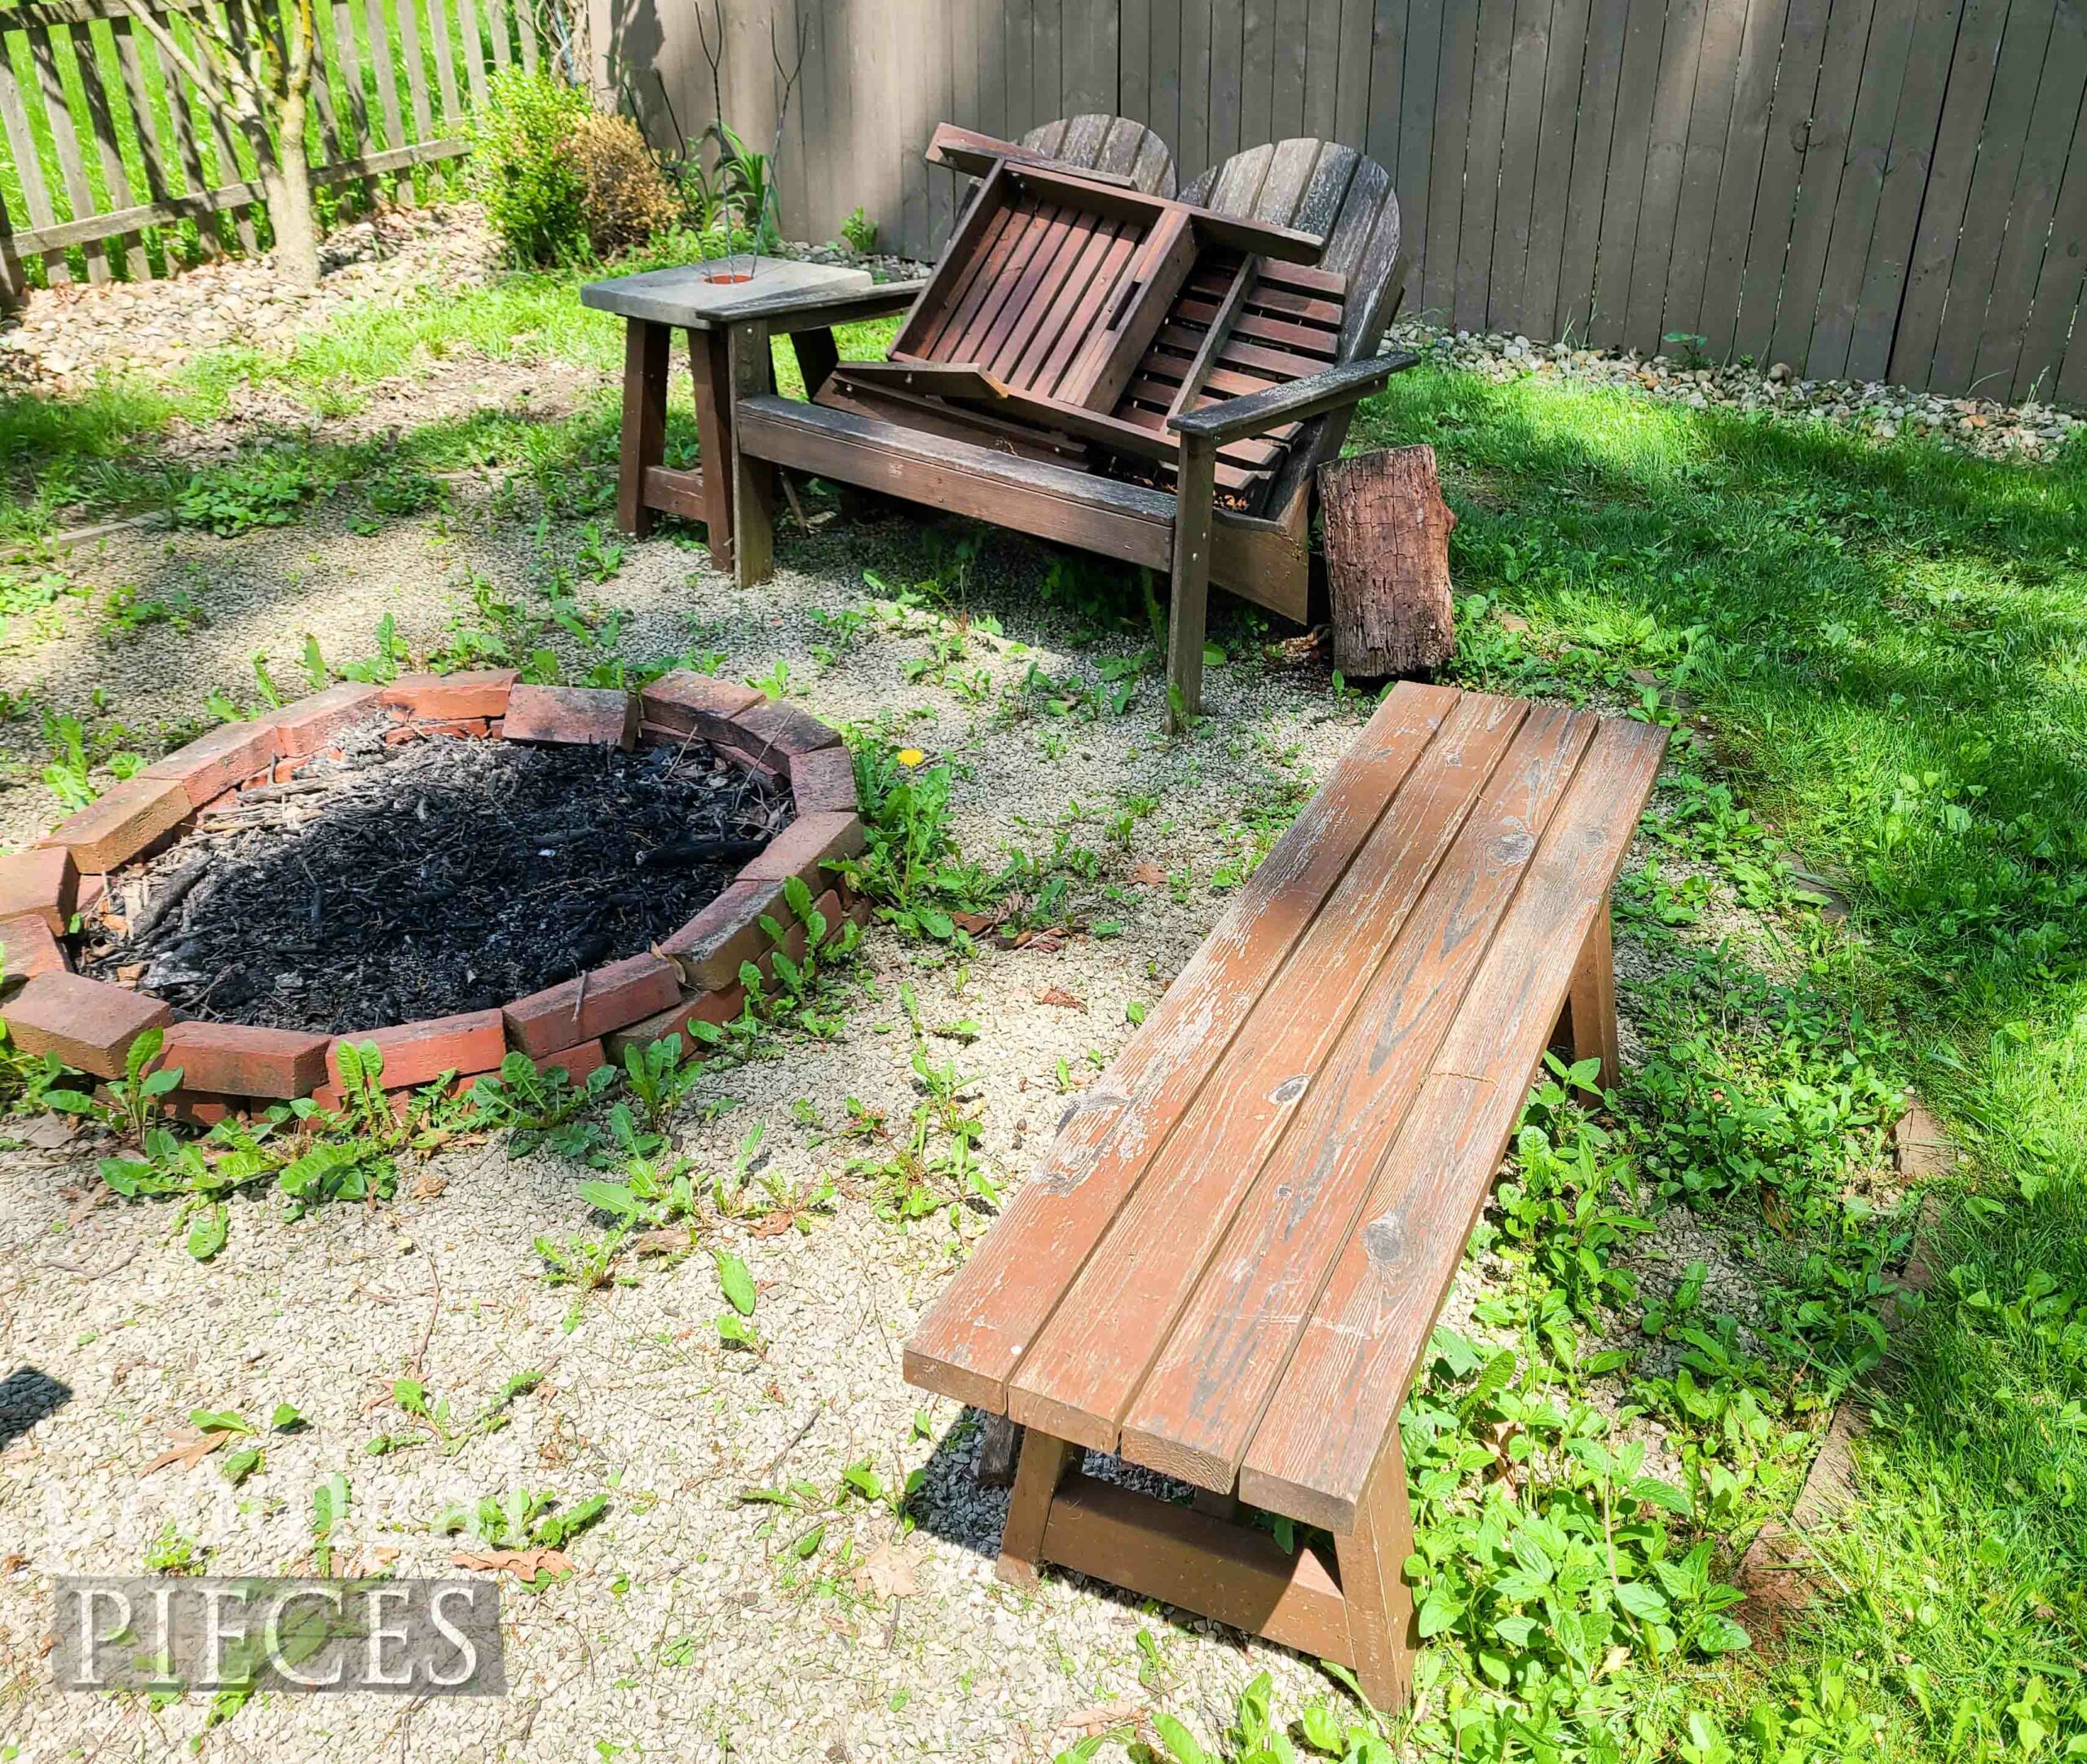
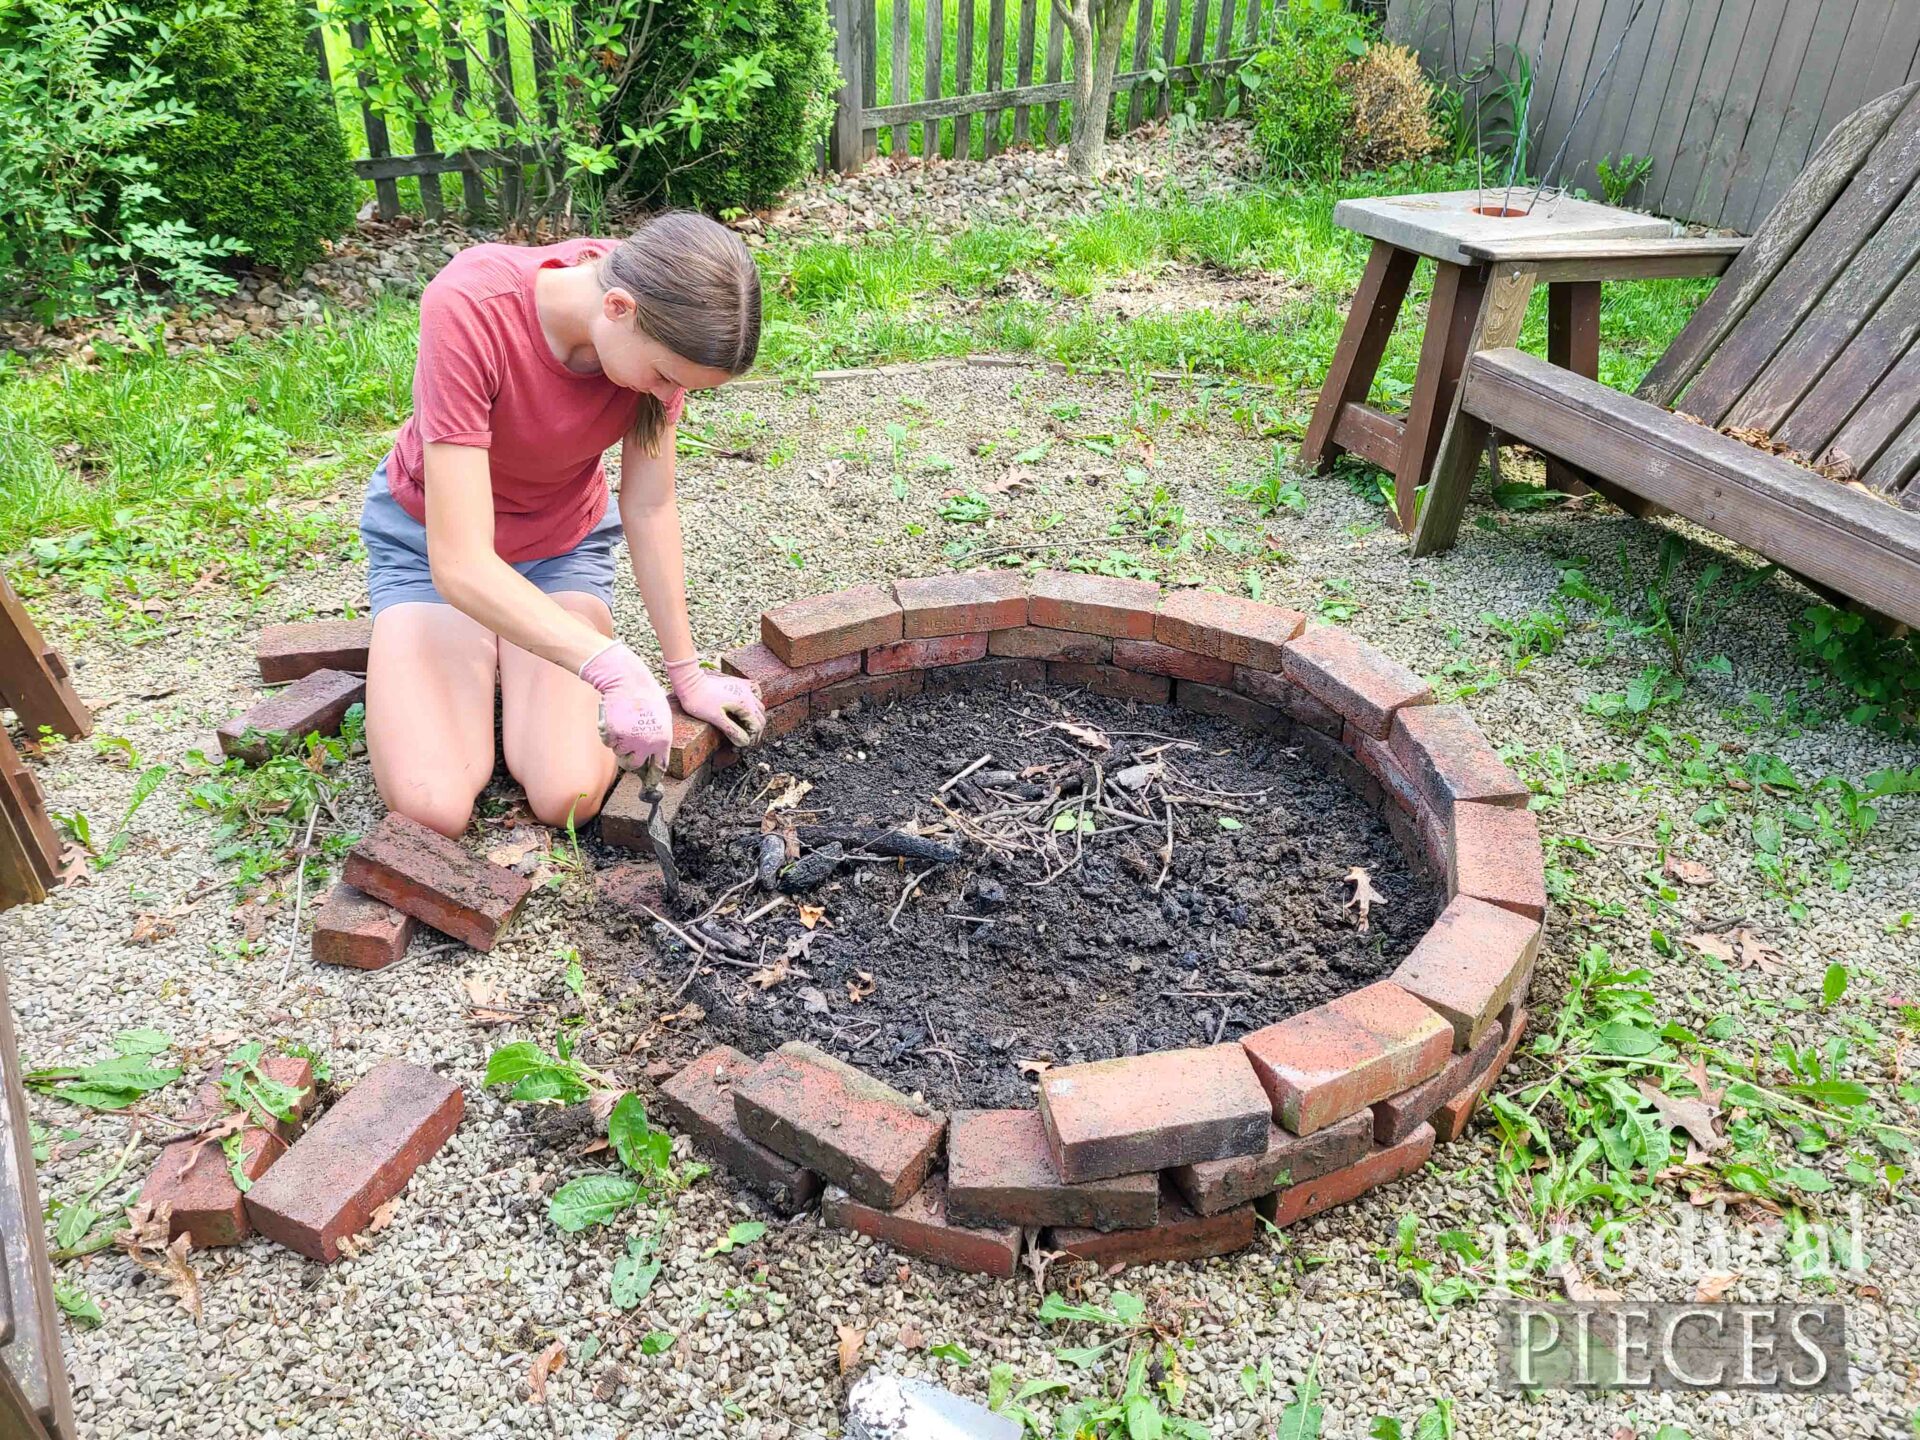
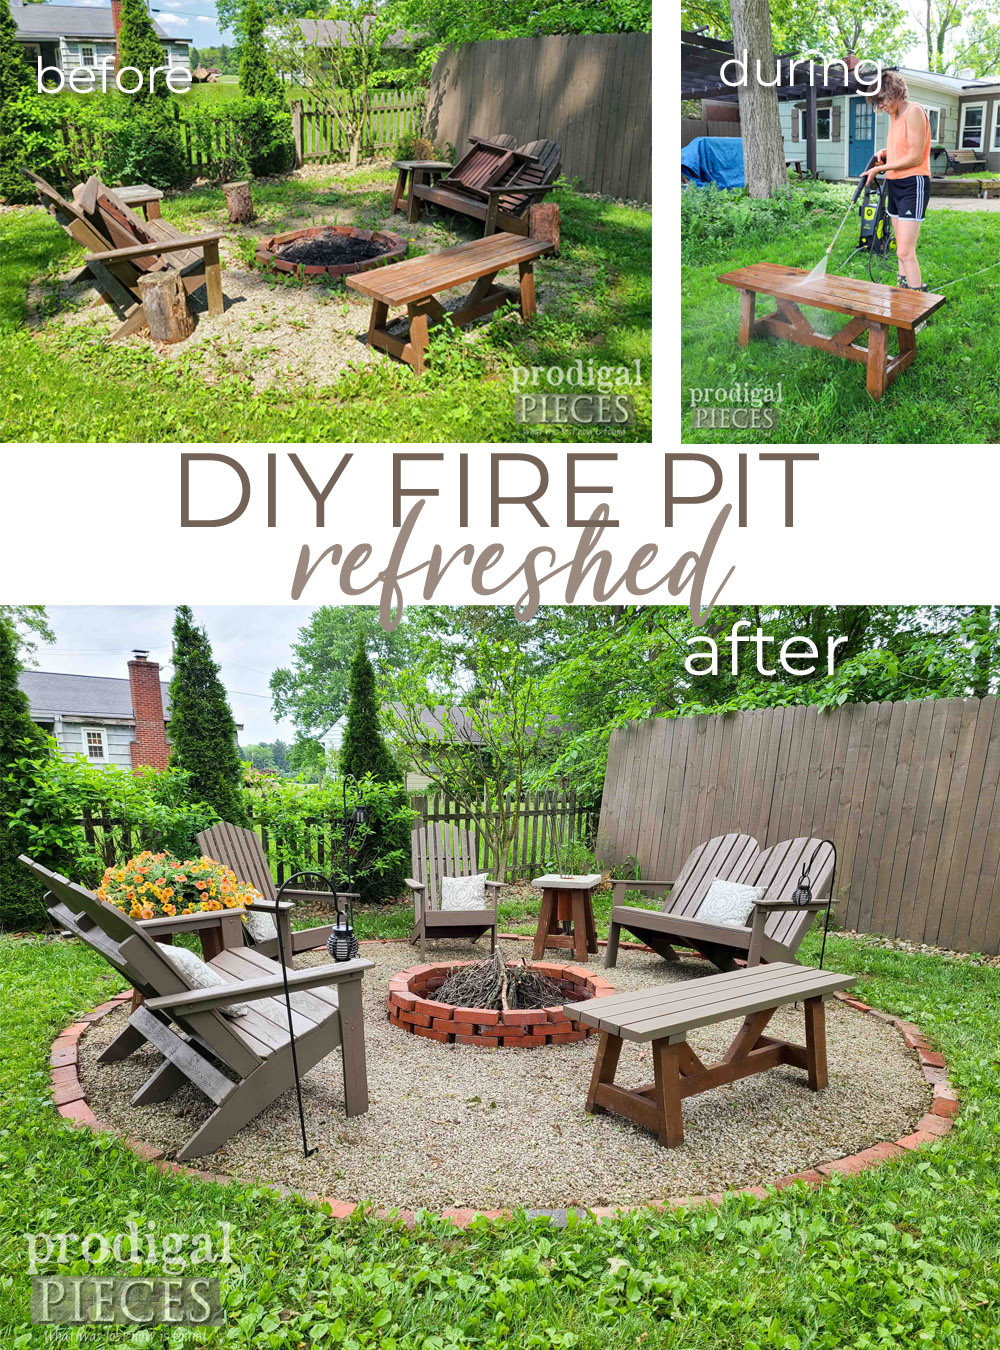
On close inspection, you’ll notice our actual fire pit needs emptied, but also that the “pit” is only two bricks deep. In actuality, it’s supposed to be three bricks deep with a fourth row sitting just below the surface. After seven years it has slowly sunk and a little topsoil settled in. Especially because our awful neighbor was allowed by local law to put a swale on the edge of our property which now drains into our backyard causing this spot to flood often. Even the city engineer came and asked him if he would be okay with installing a drain to the sewer (which is generally not allowed) and he said NO.
You can see the back corner is nothing but a slowly sinking pit.
It’s funny to me that I had to get a permit to put up that fence, but he can literally build a swale that directs onto our property with no permit. Hence the saying, “fences make good neighbors”. I want NO neighbors, honestly.
WHERE TO BEGIN
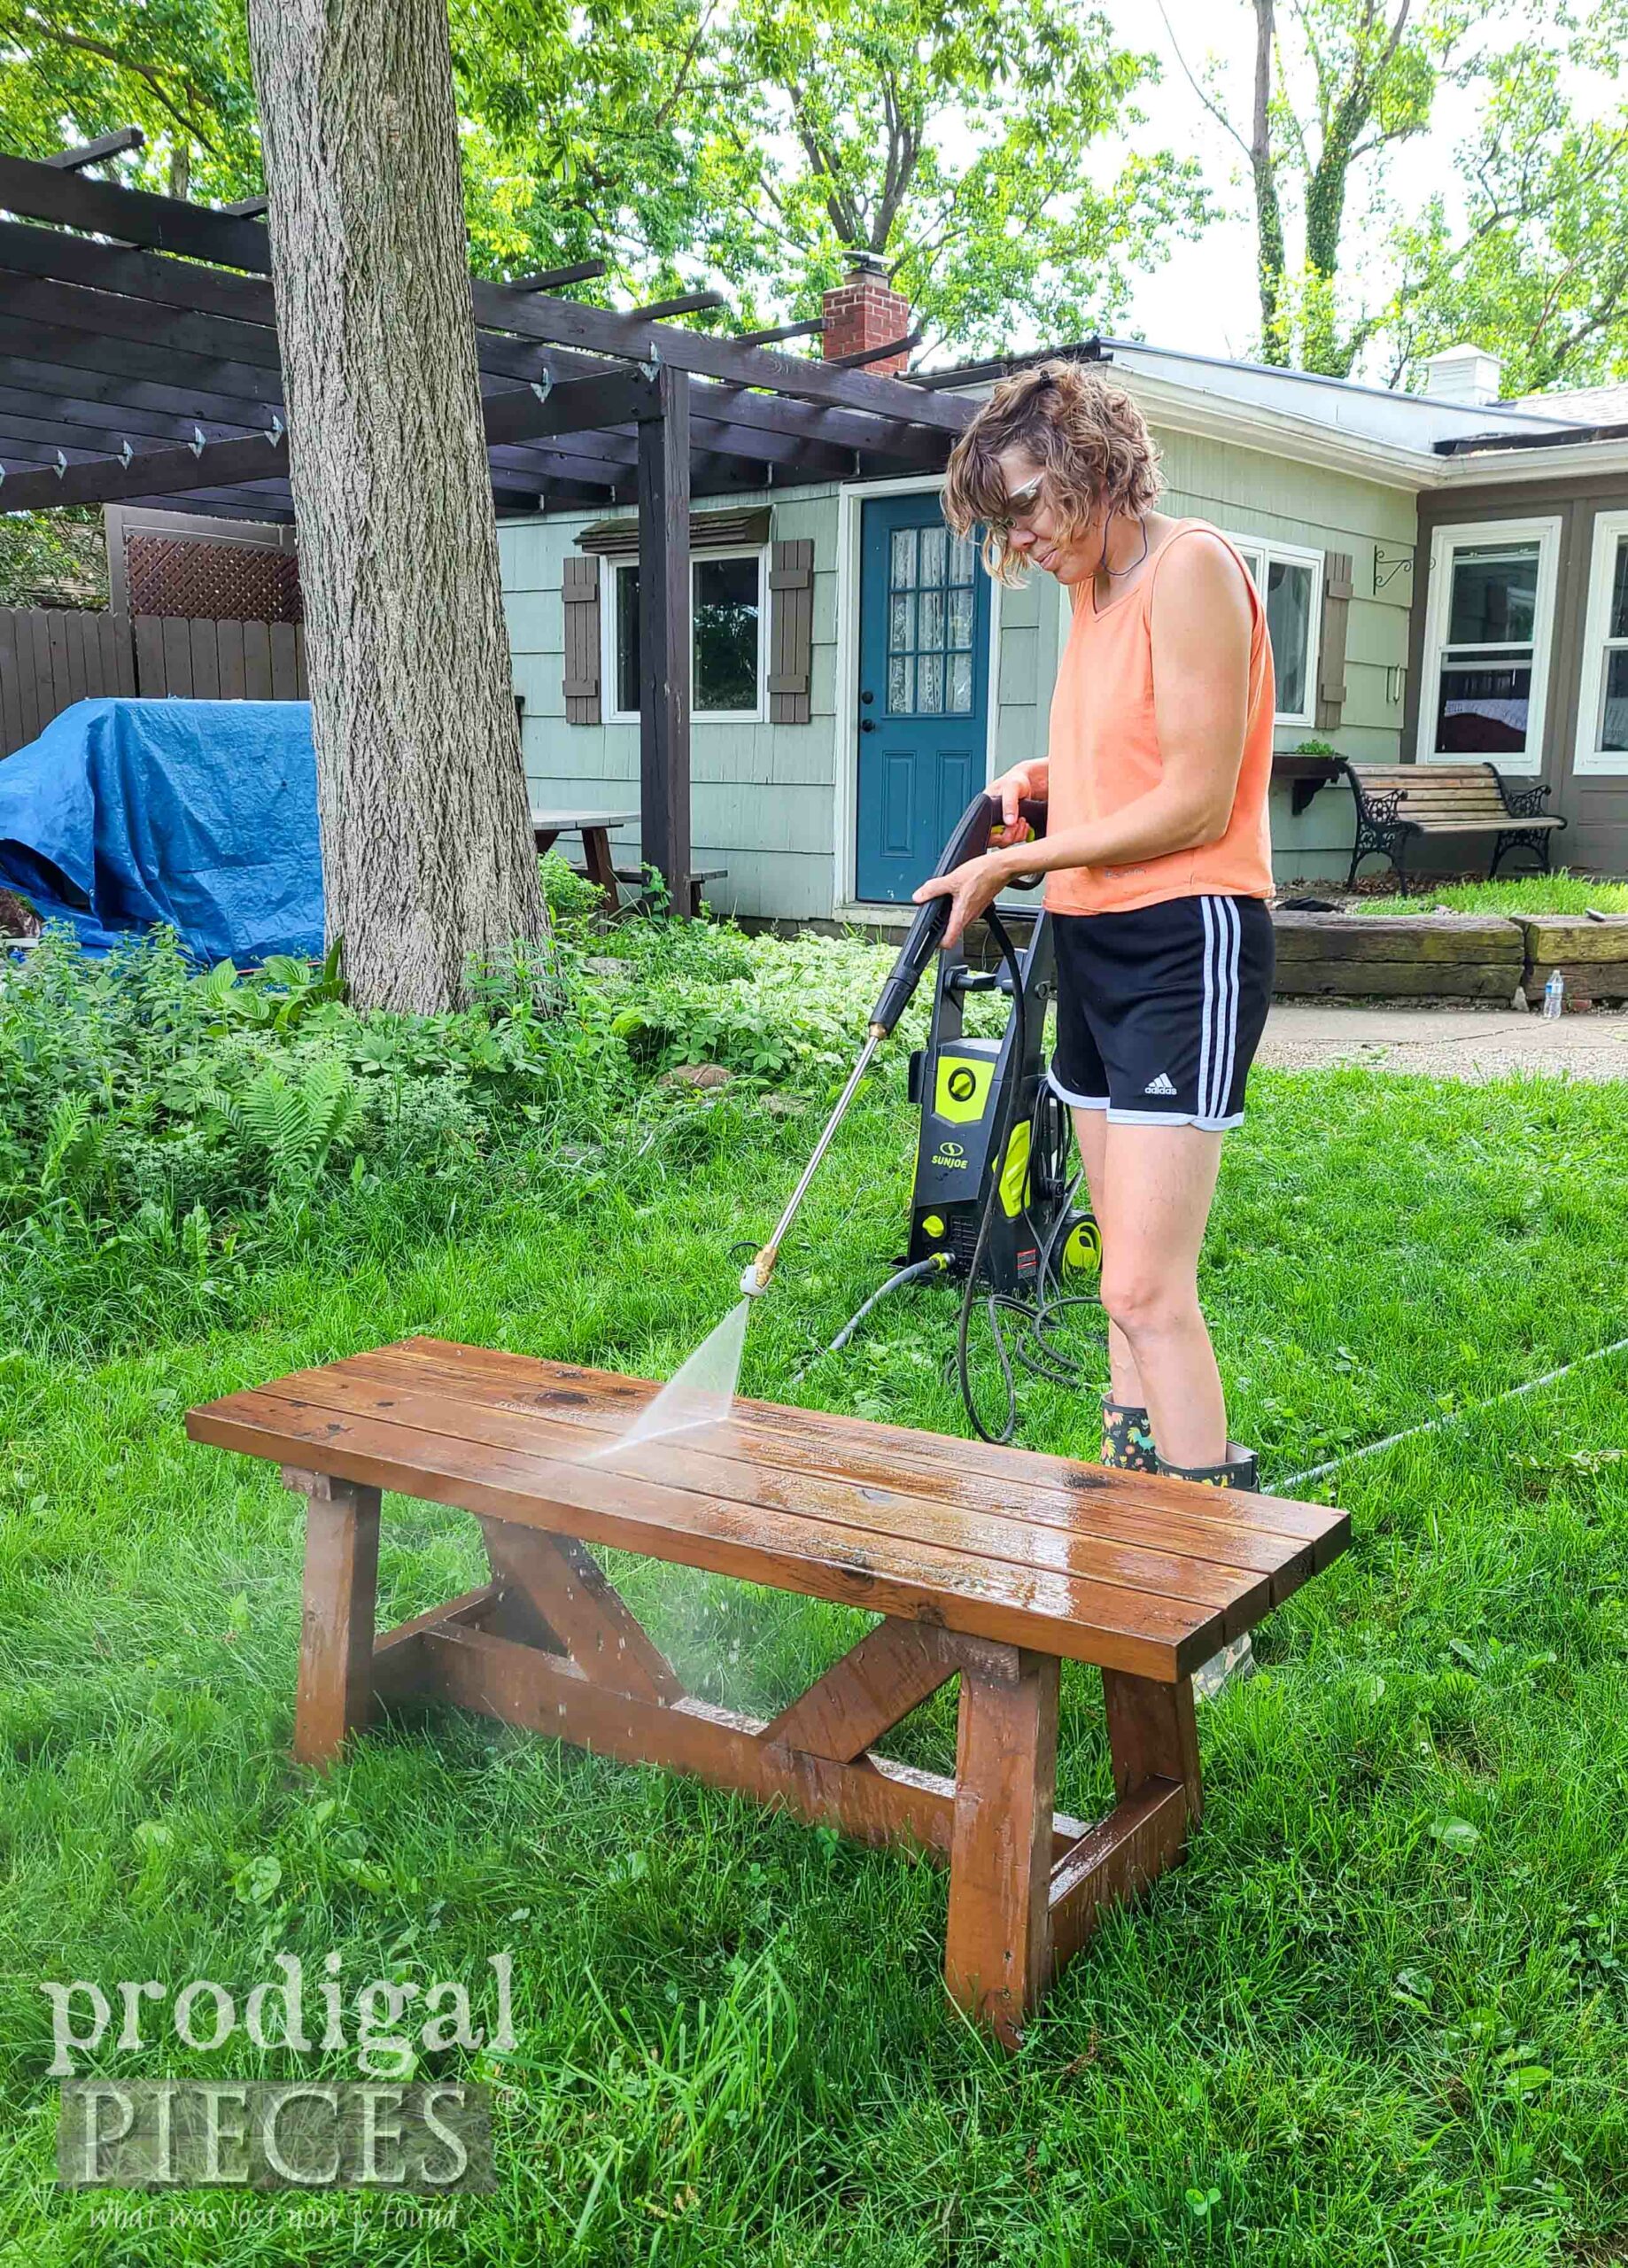
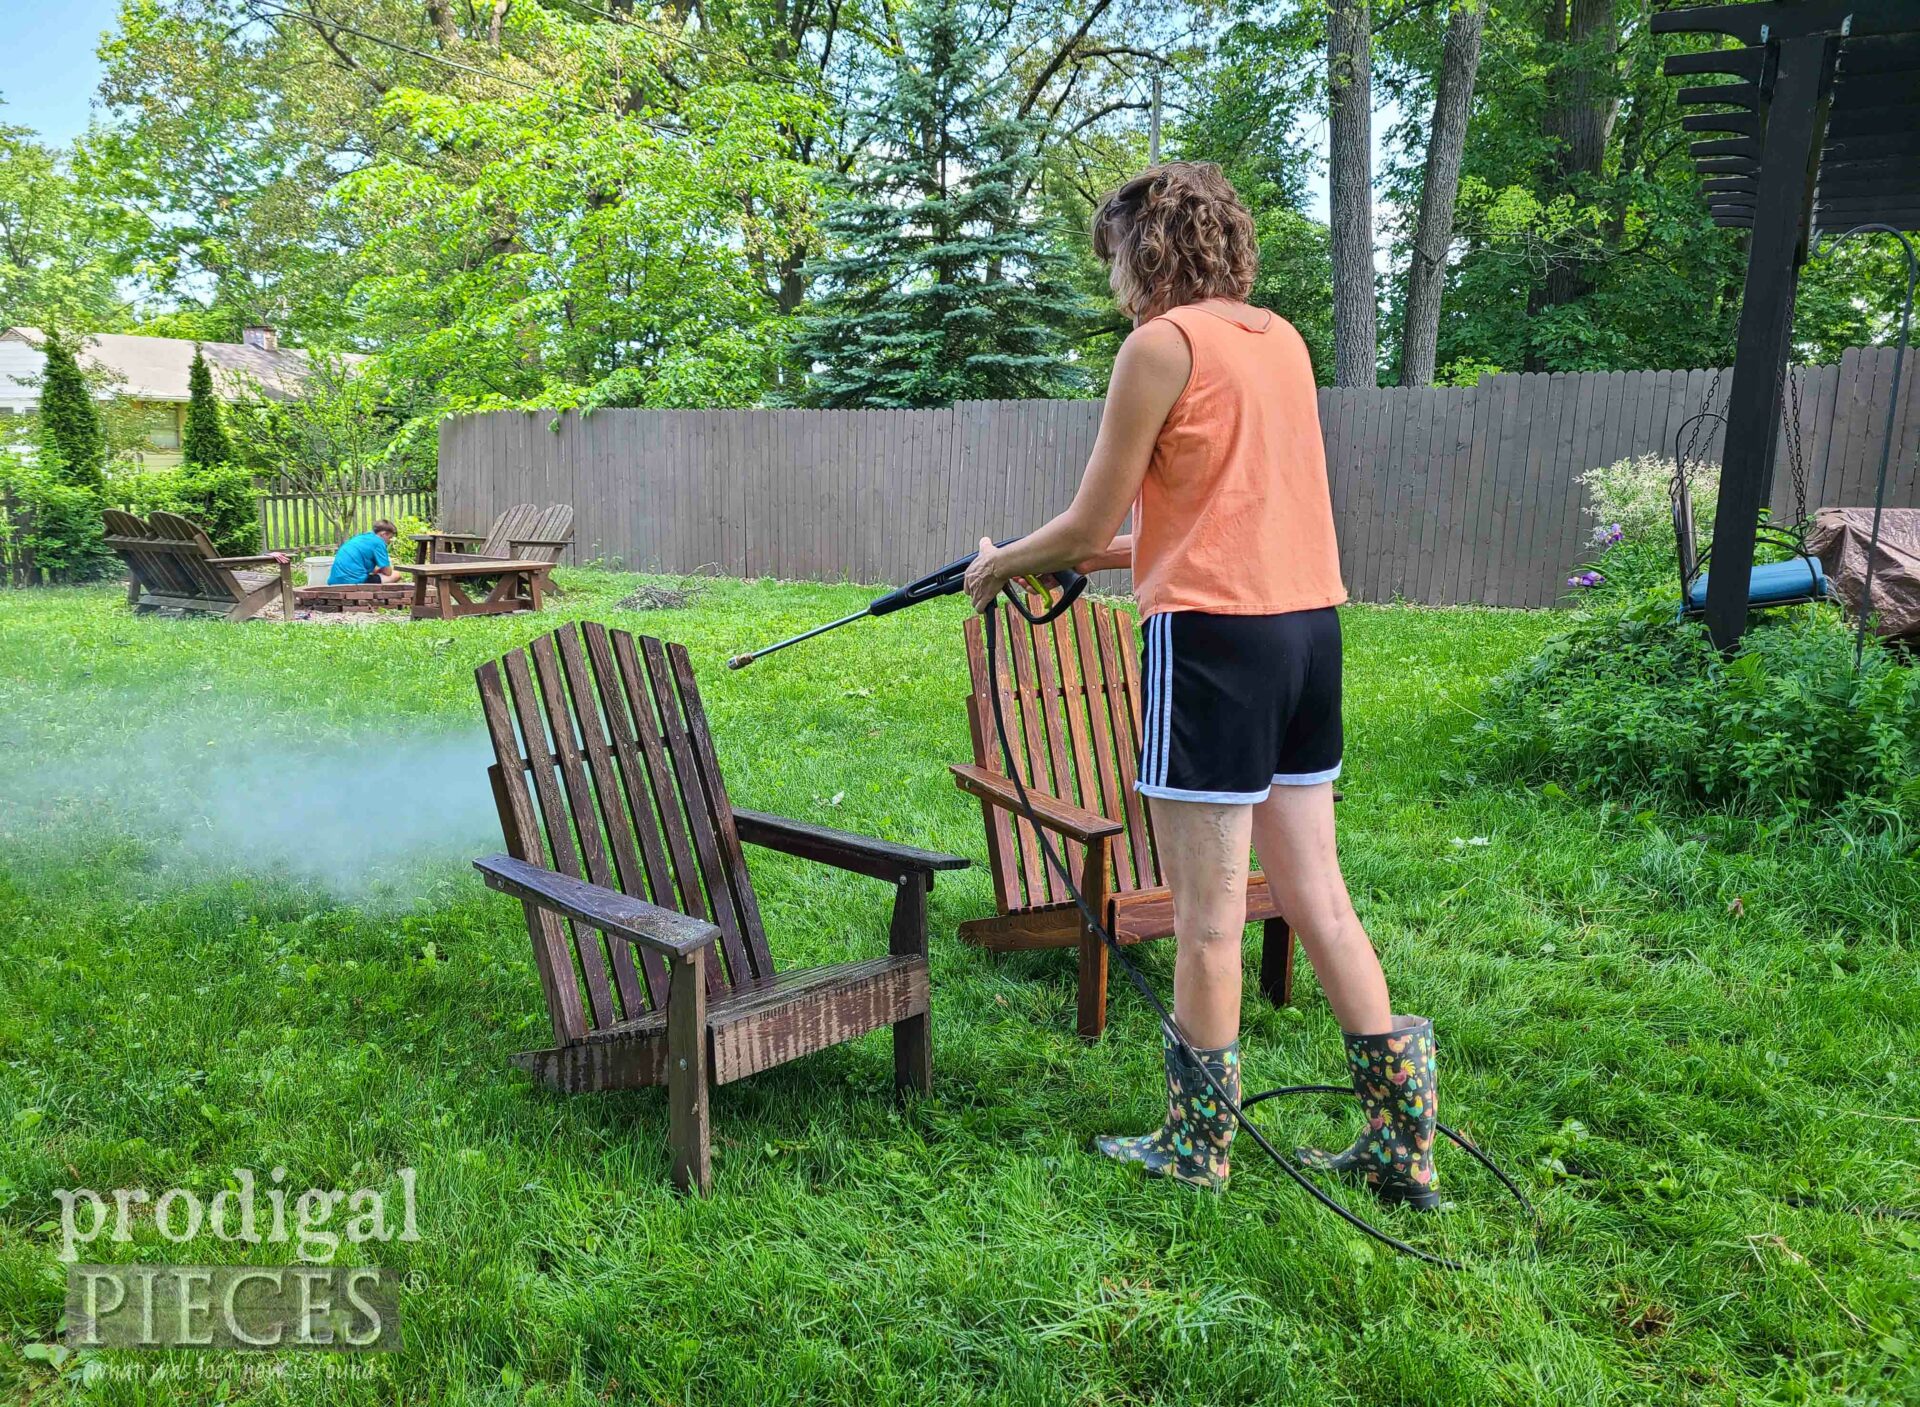
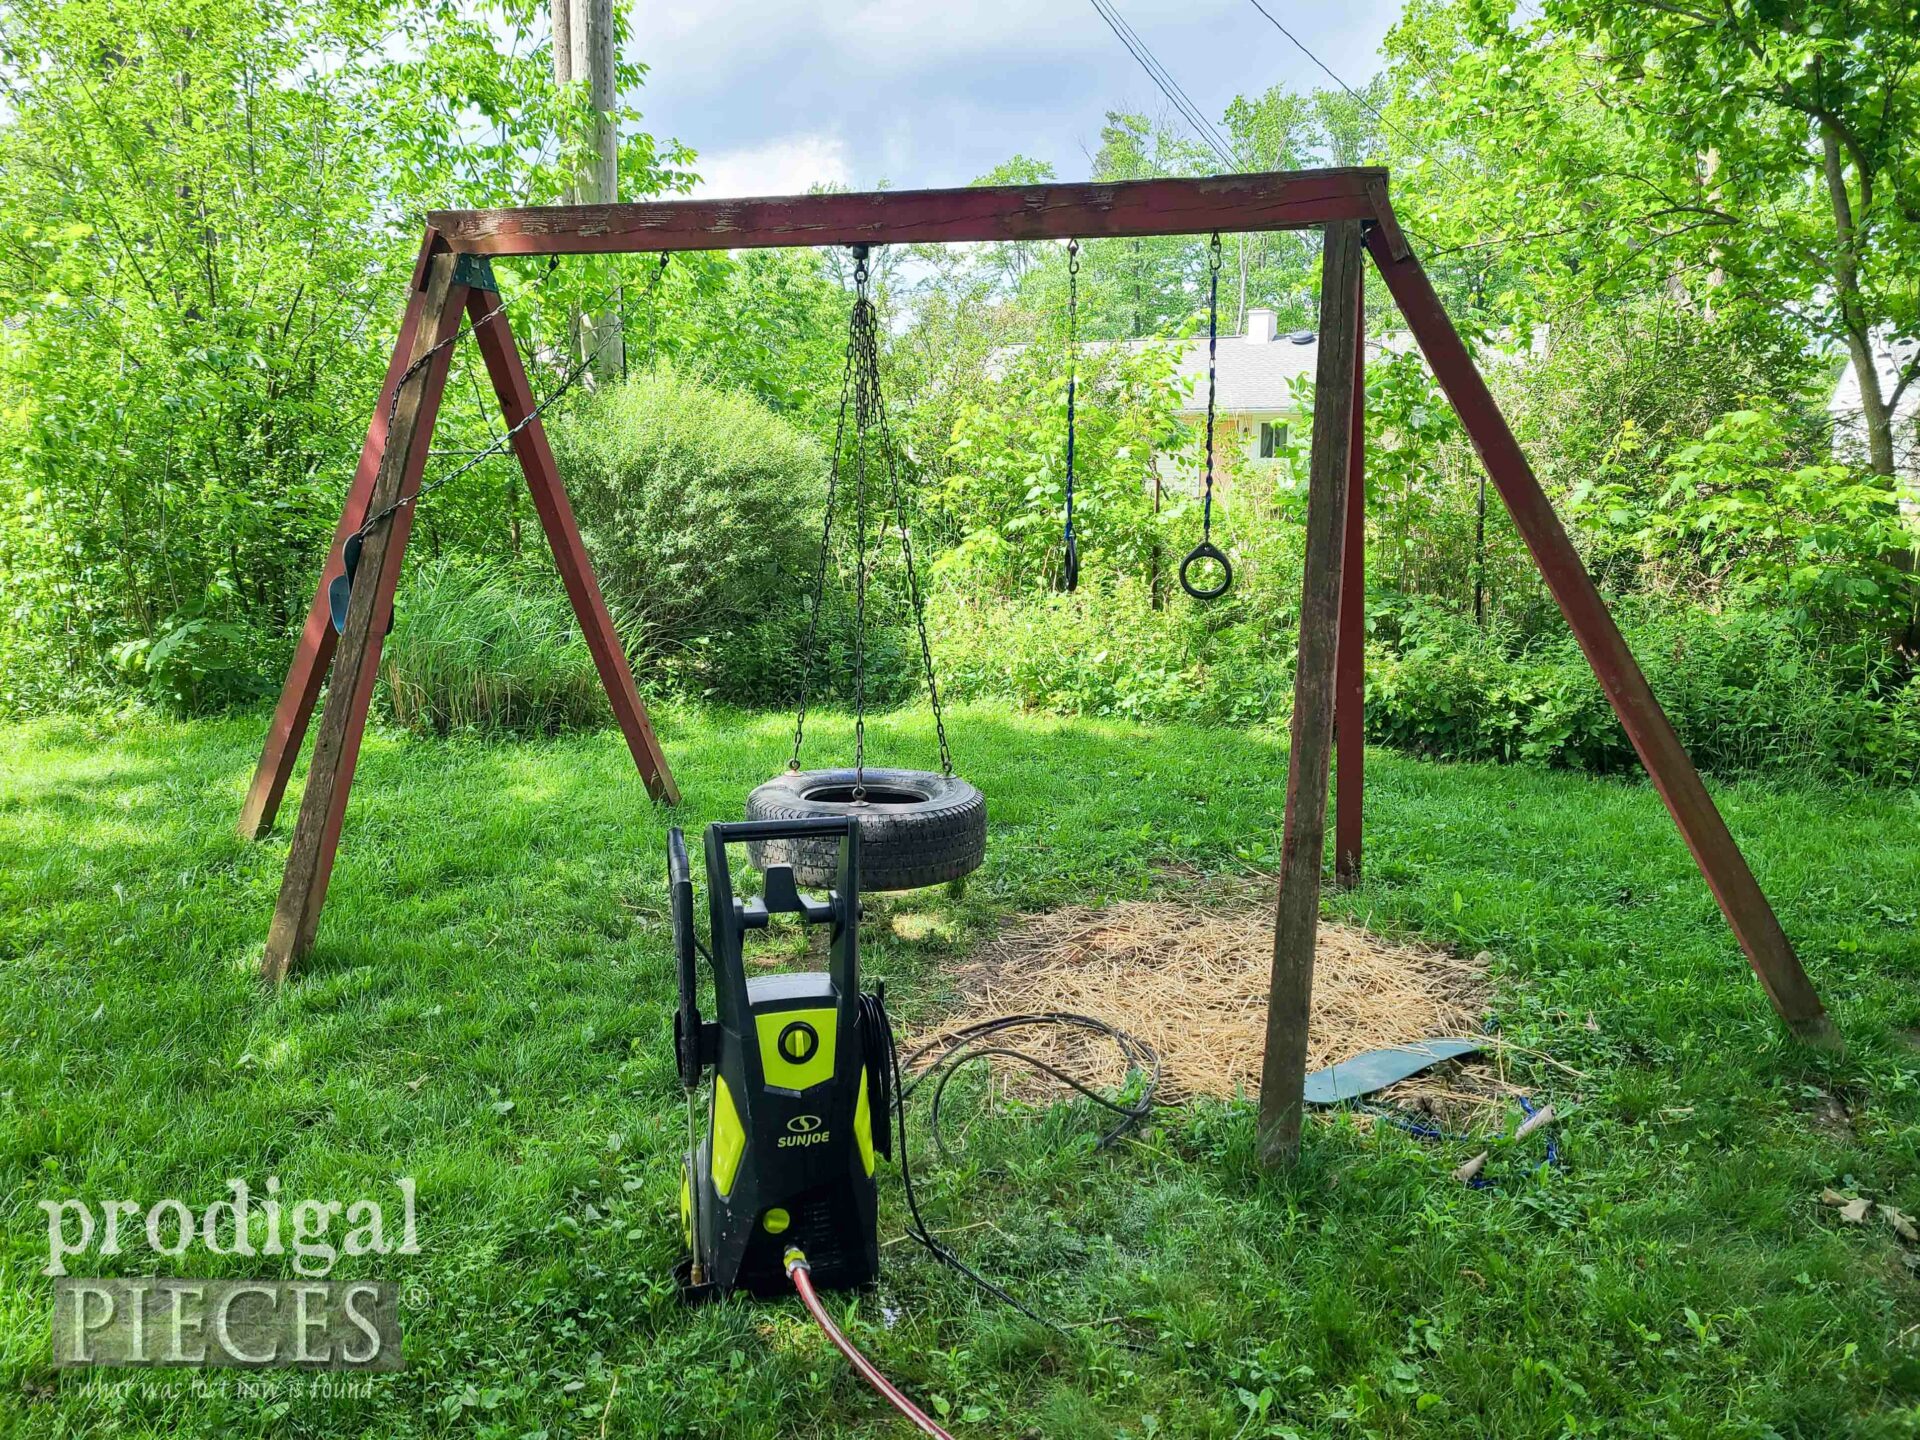
First, as you can imagine, I’m constantly checking the weather to find at least two days in a row without rain. I don’t even care if it’s cloudy, but just no rain so I can get this done. This past week I got up very early to online, walk Loula 5 miles or so, and then hit at this project as soon as it’s daylight. This pressure washer is one of the best gifts to self I’ve ever done. It allows me time and time again to easily care for my property and even wash my car.
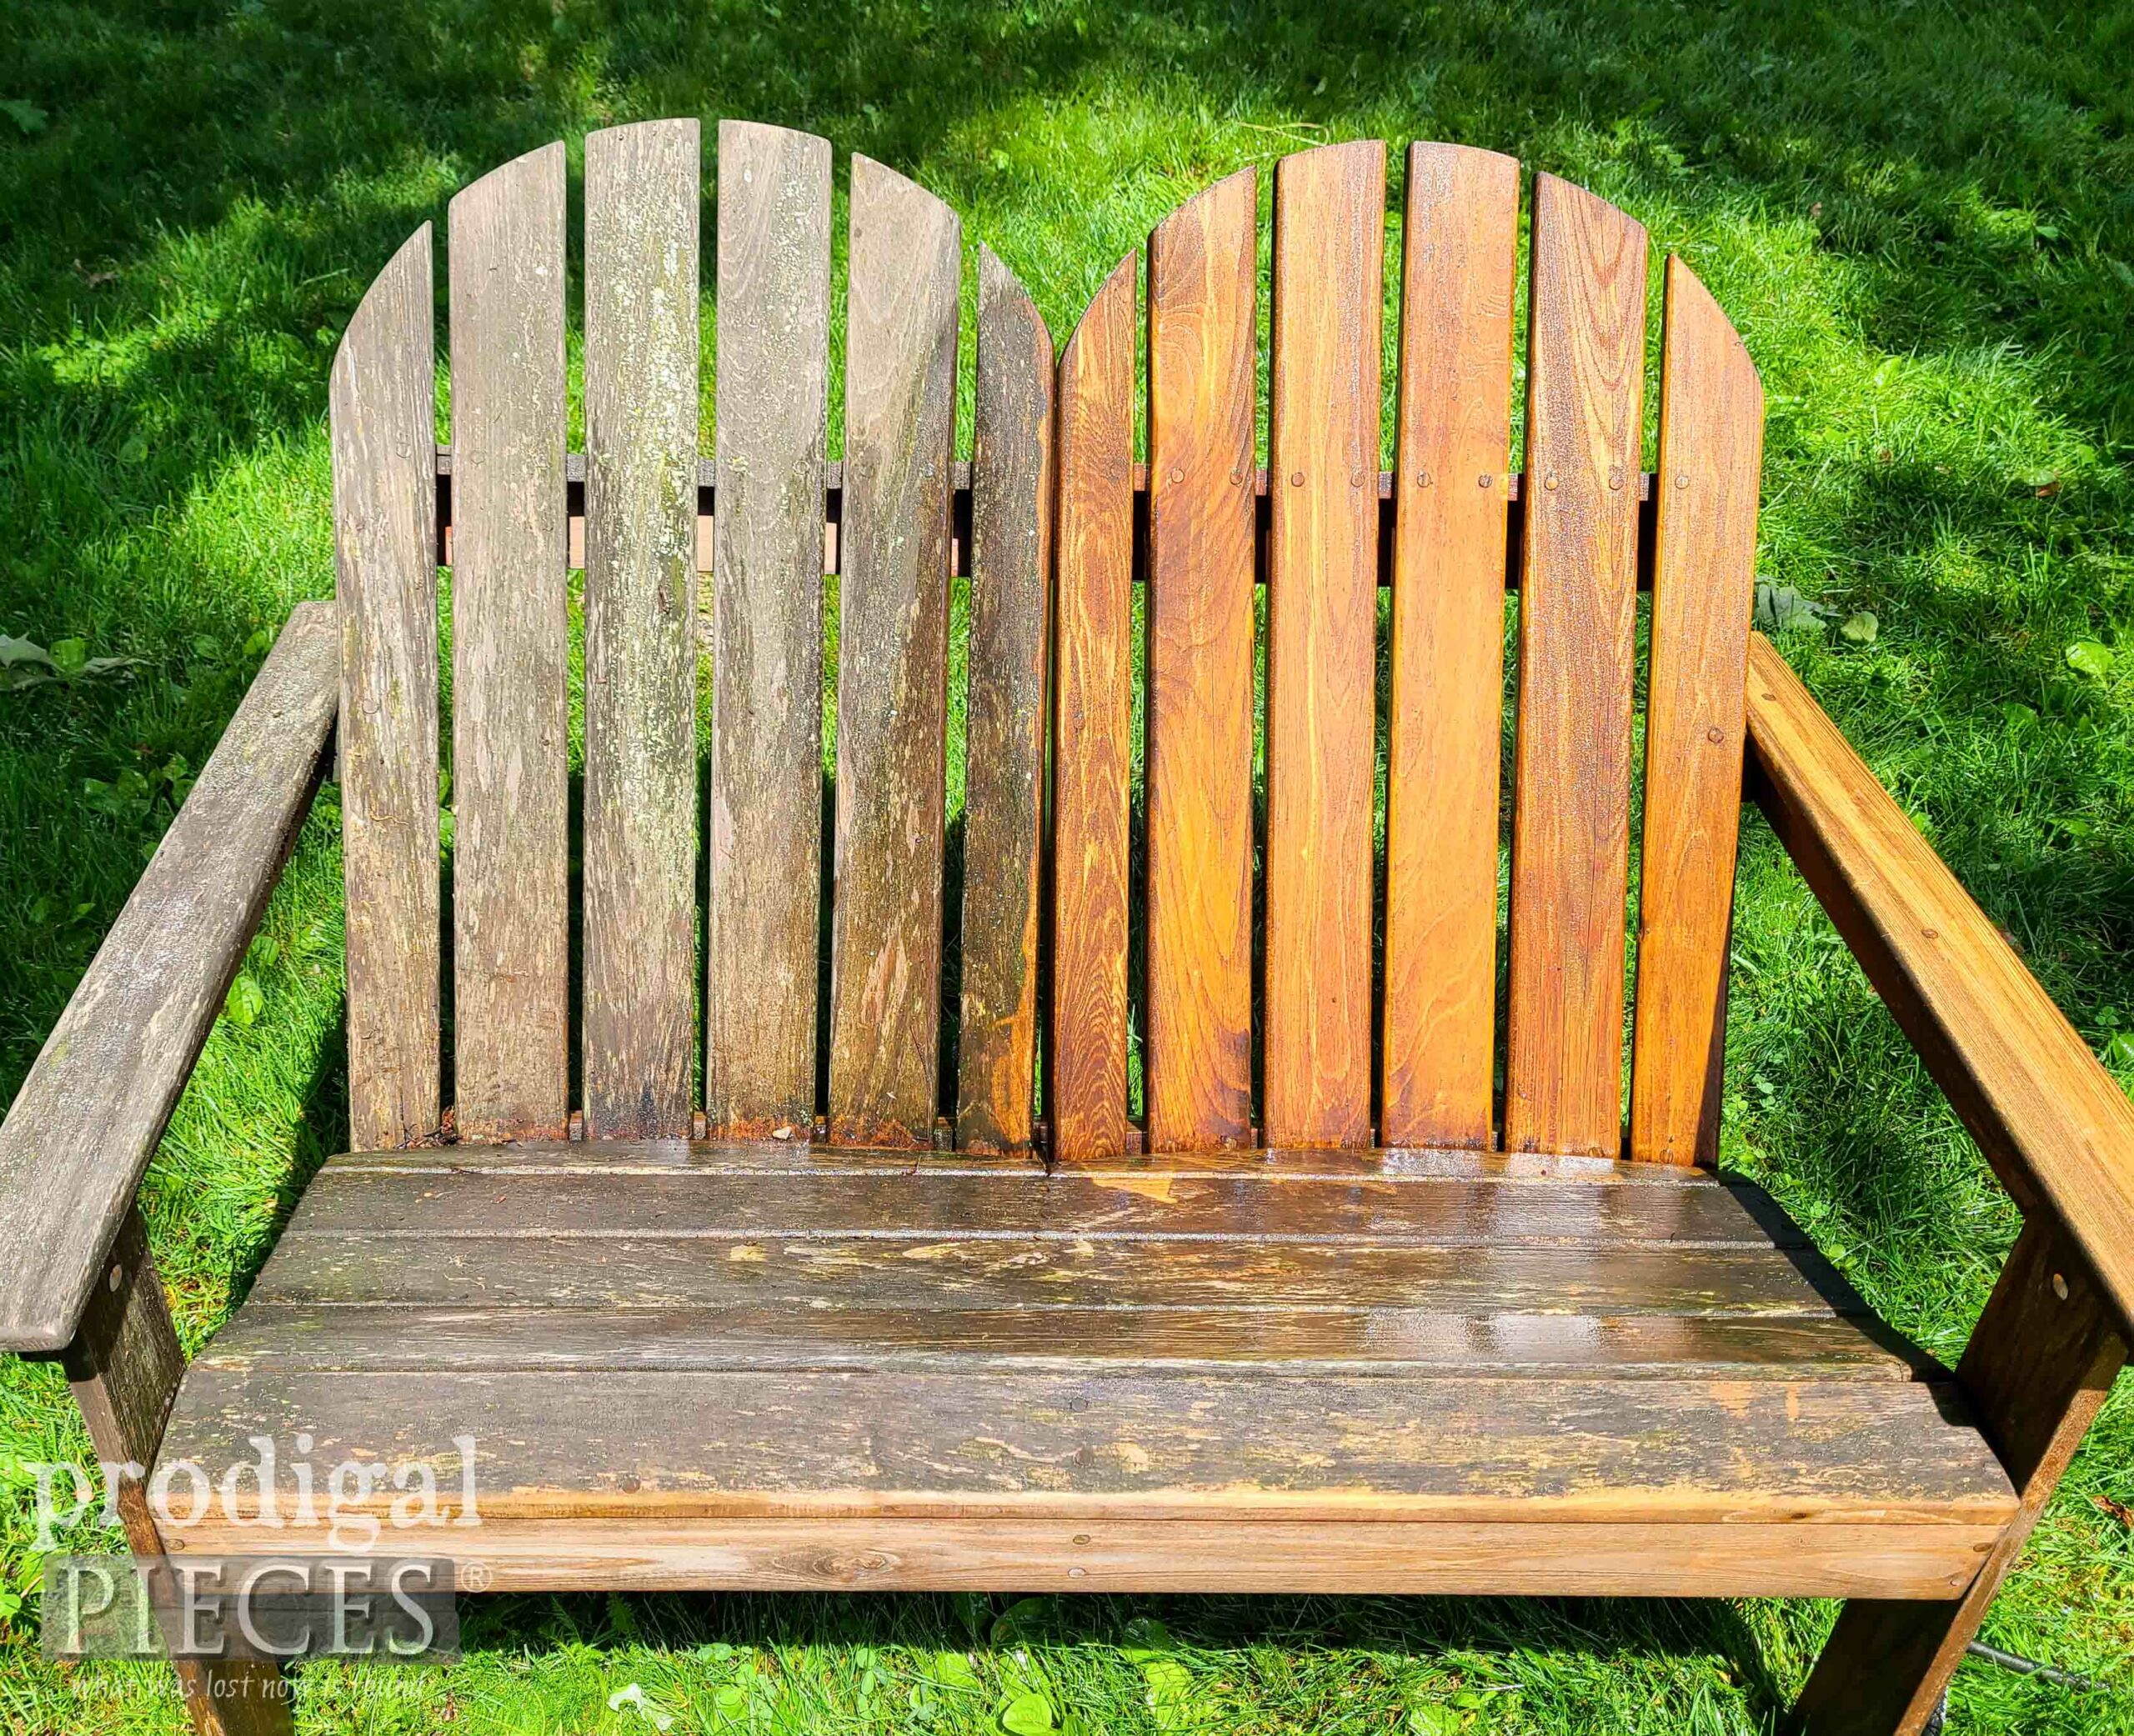
I need to get the grime off without damaging the cedar wood grain, which is common when you pressure wash. Ideally, you keep things clean before needing this step. However, it’s been 7 years since the fire pit is installed, so it’s time for a good cleaning. Thankfully, this unit comes with several tips to make the job a breeze.
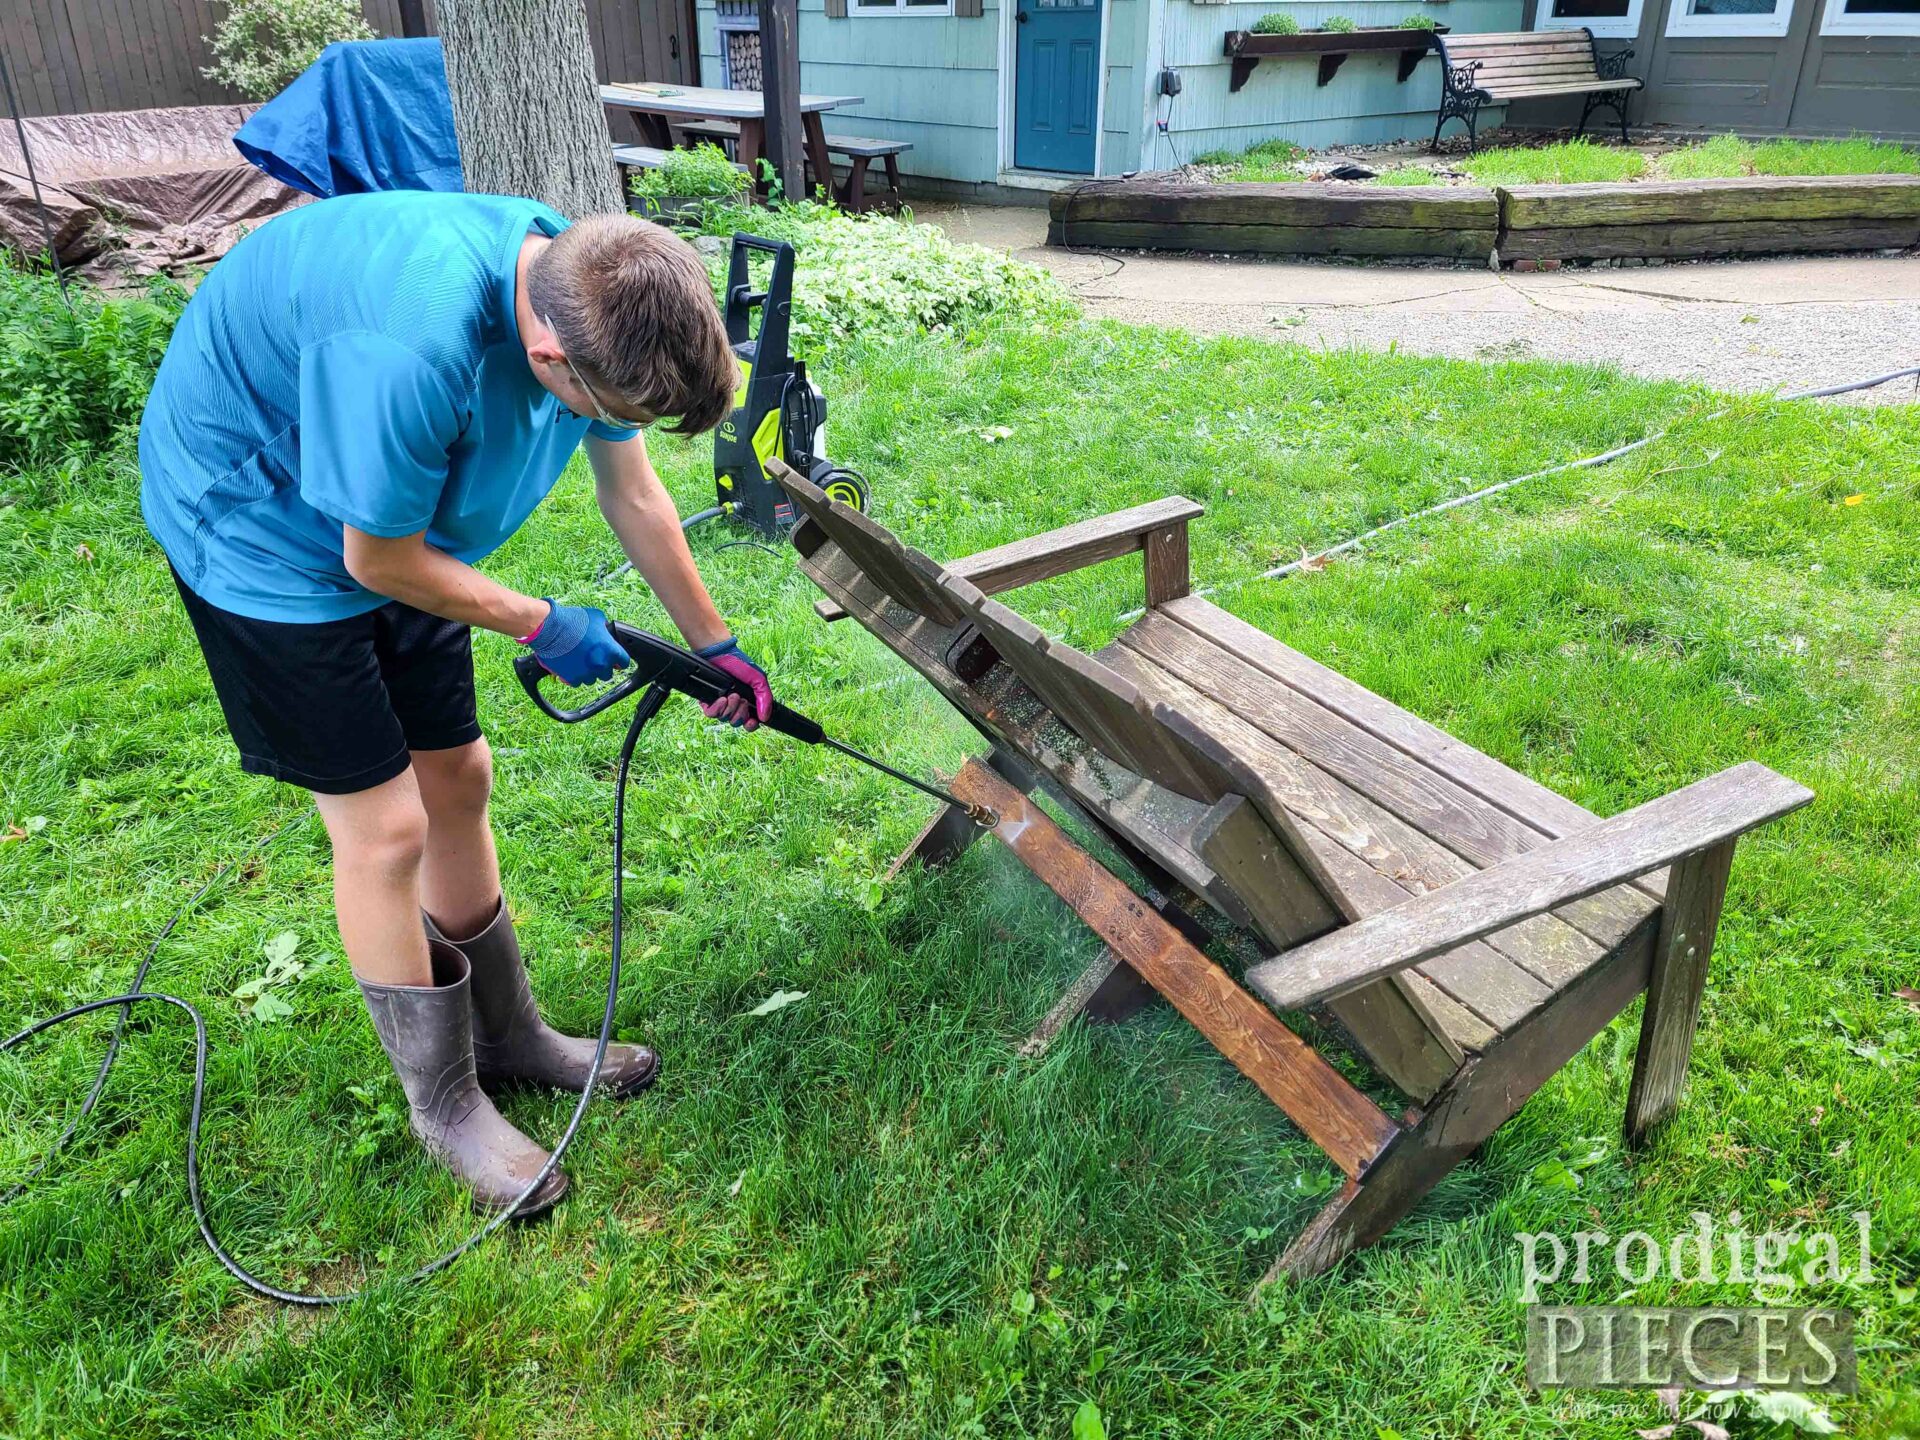
Have you ever pressure washed? It’s soooo addictive! All of my kids know how to use it and we take turns tackling various projects.
I will say this took the most time, but so entirely worth it. Here’s Mr. O who’s not new to DIY giving a go at cleaning these benches (found HERE).
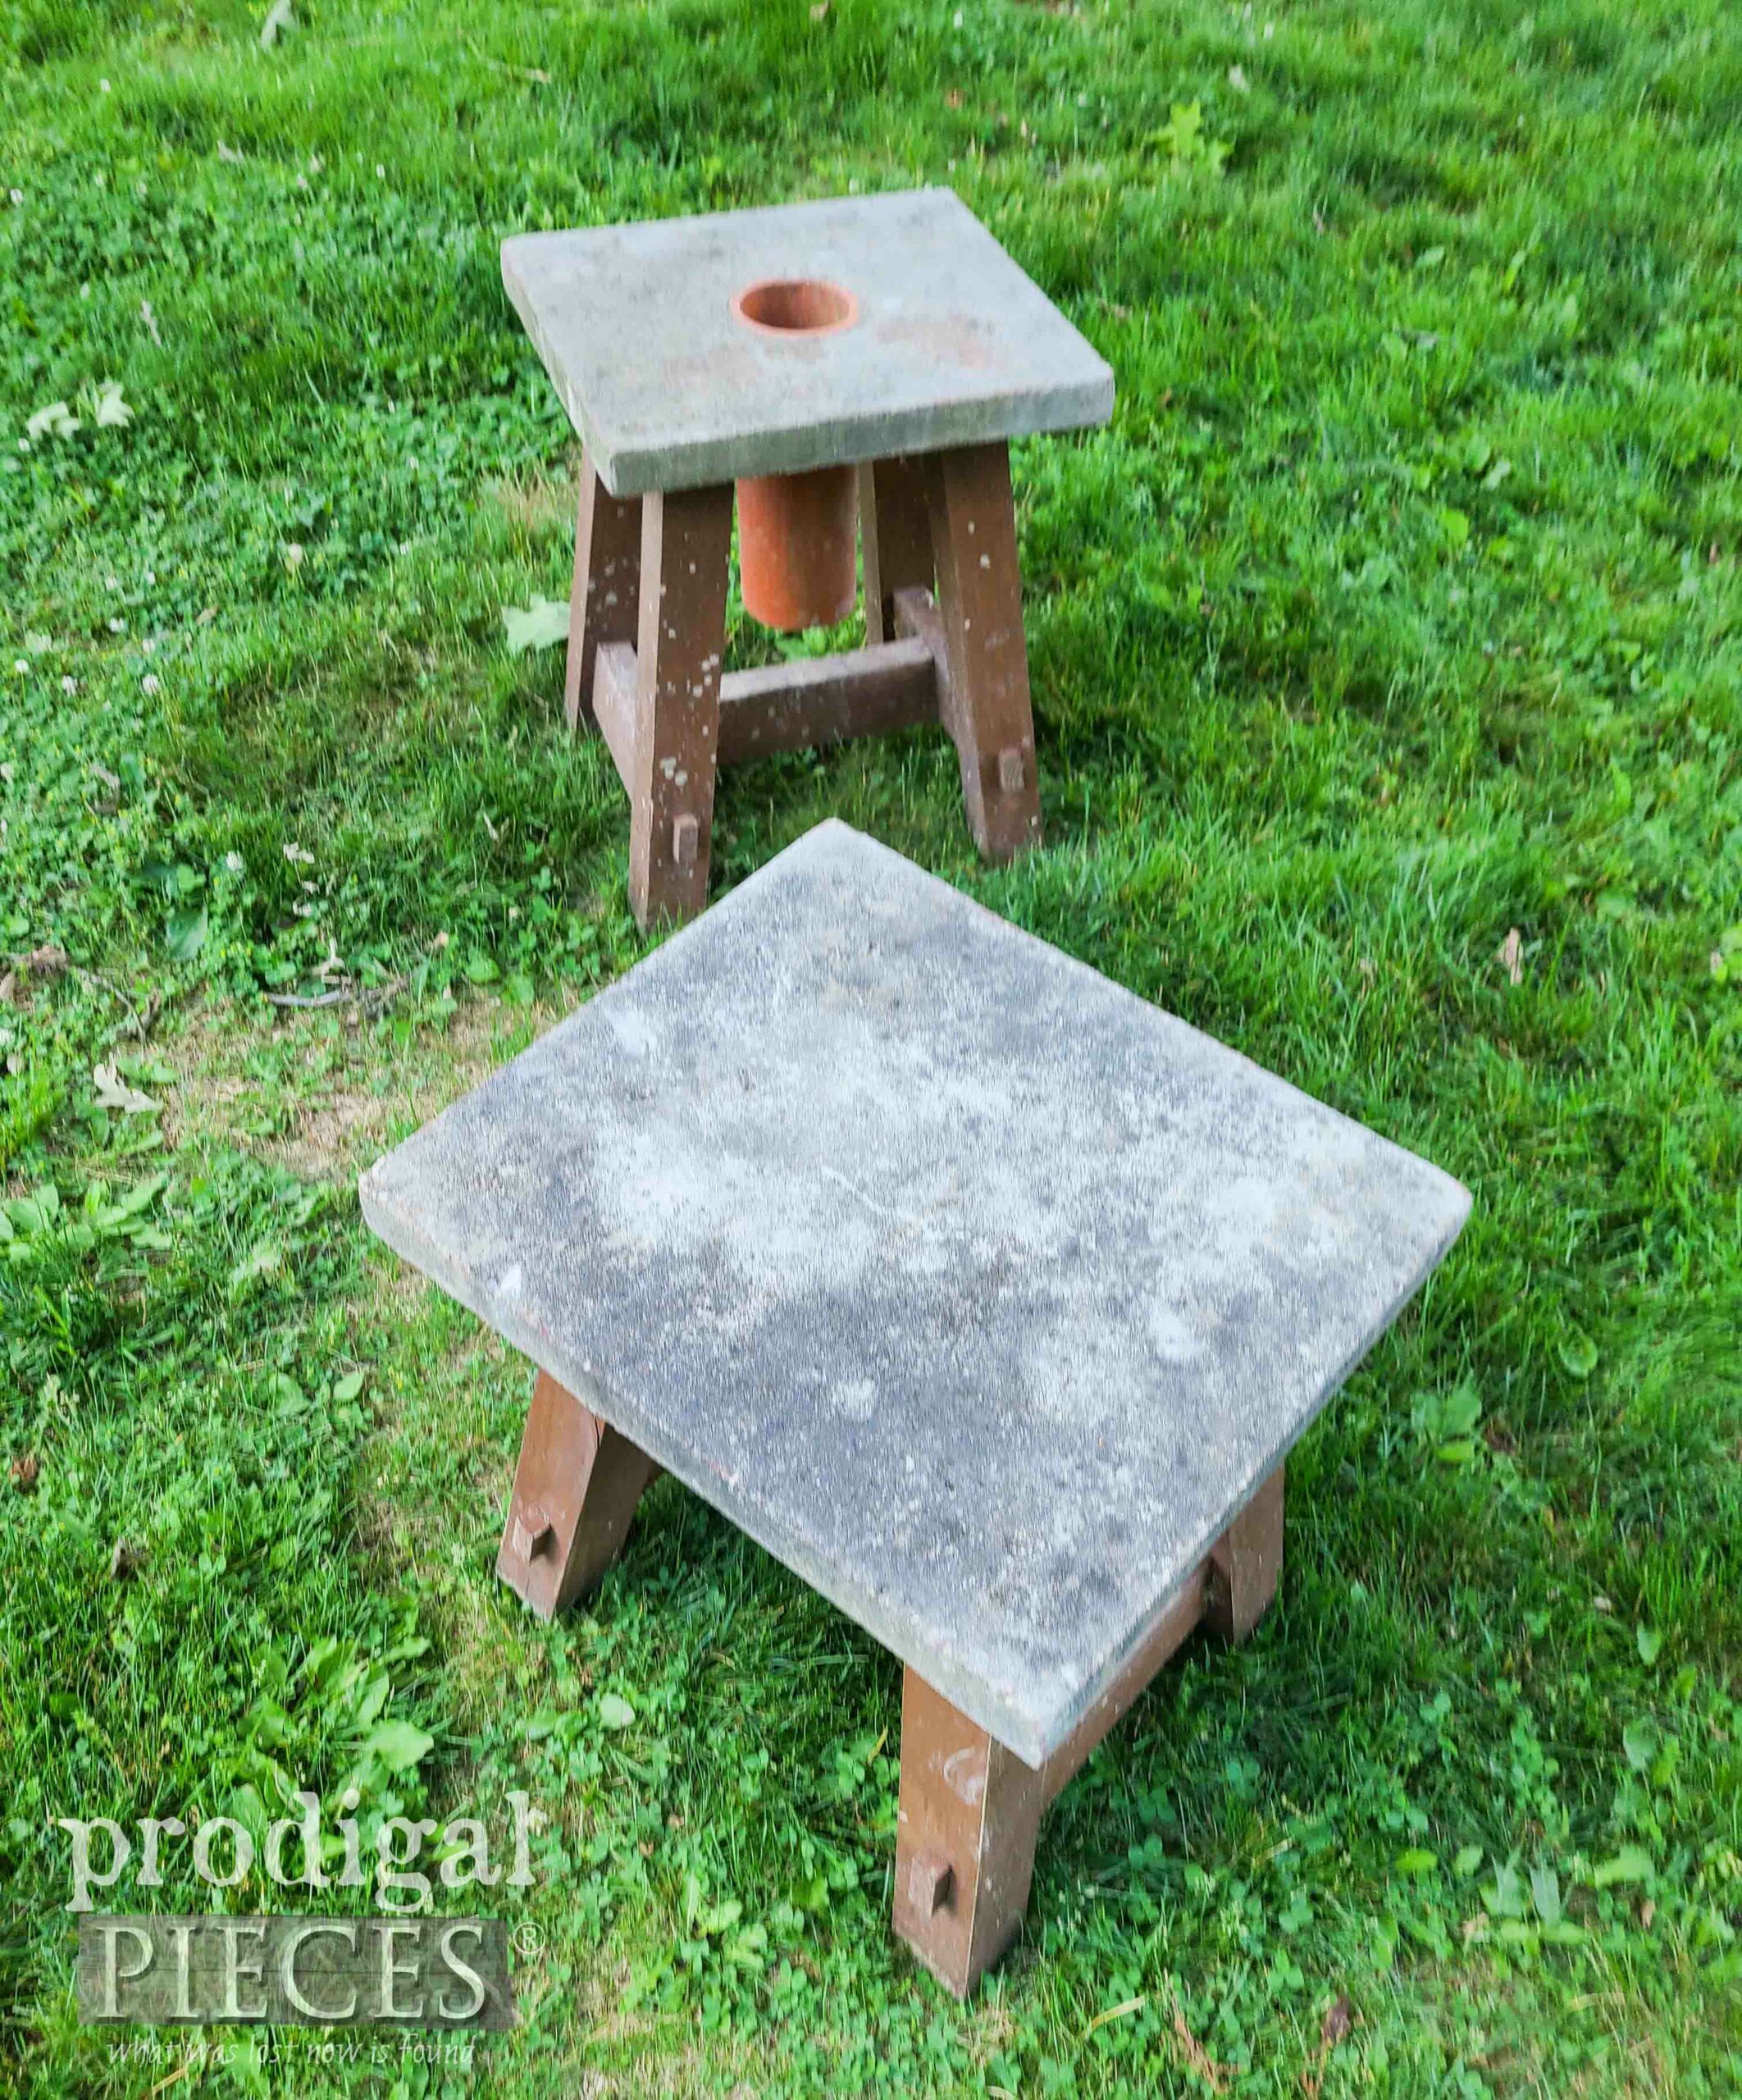
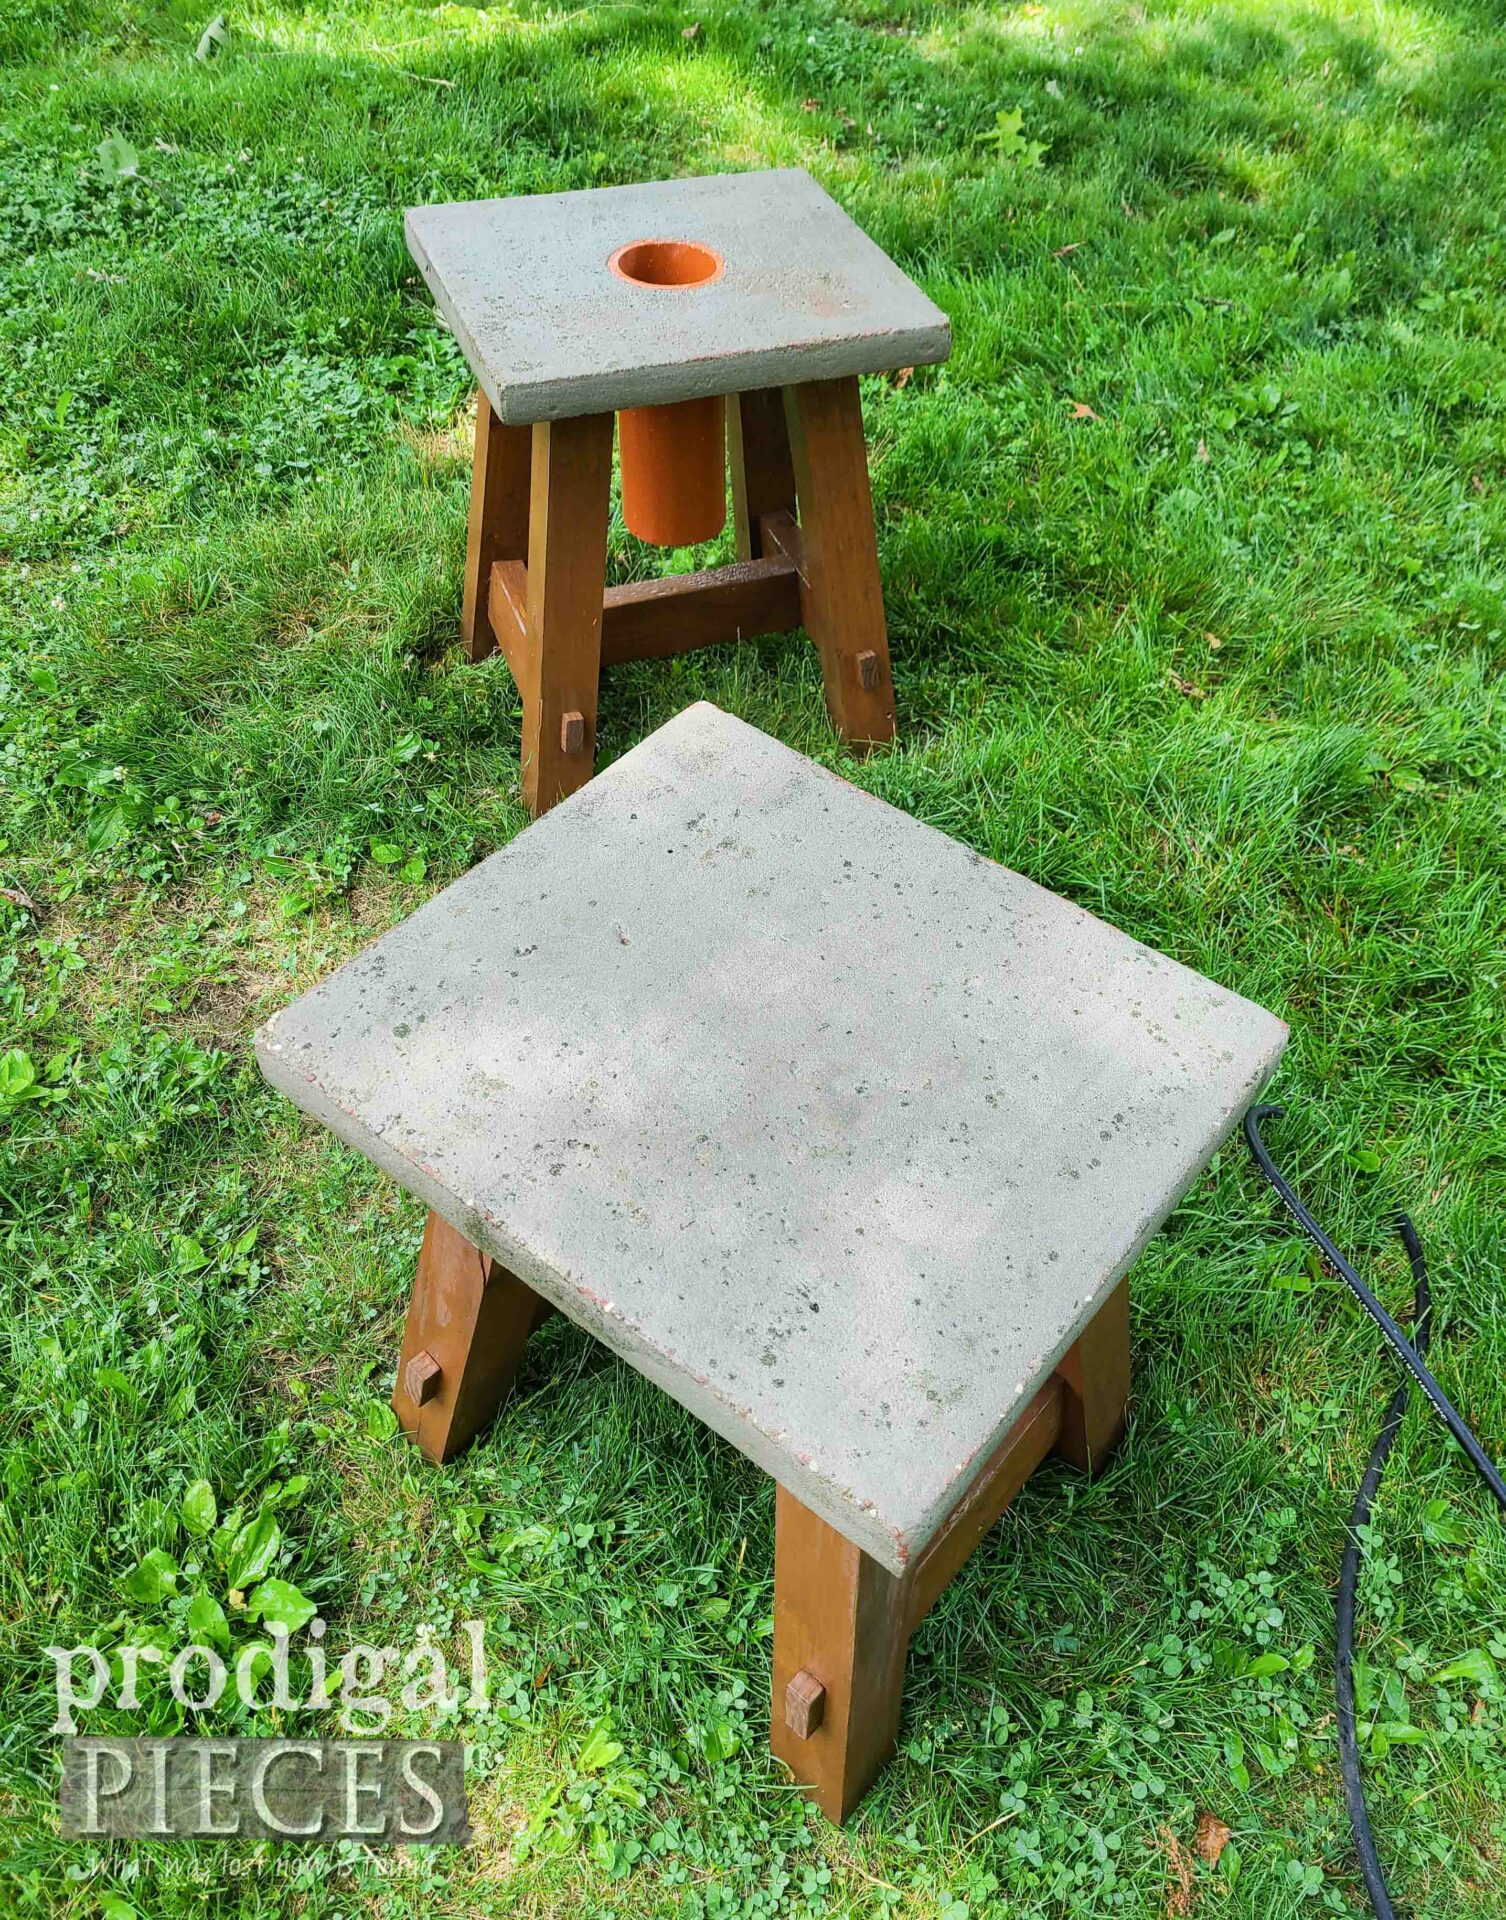
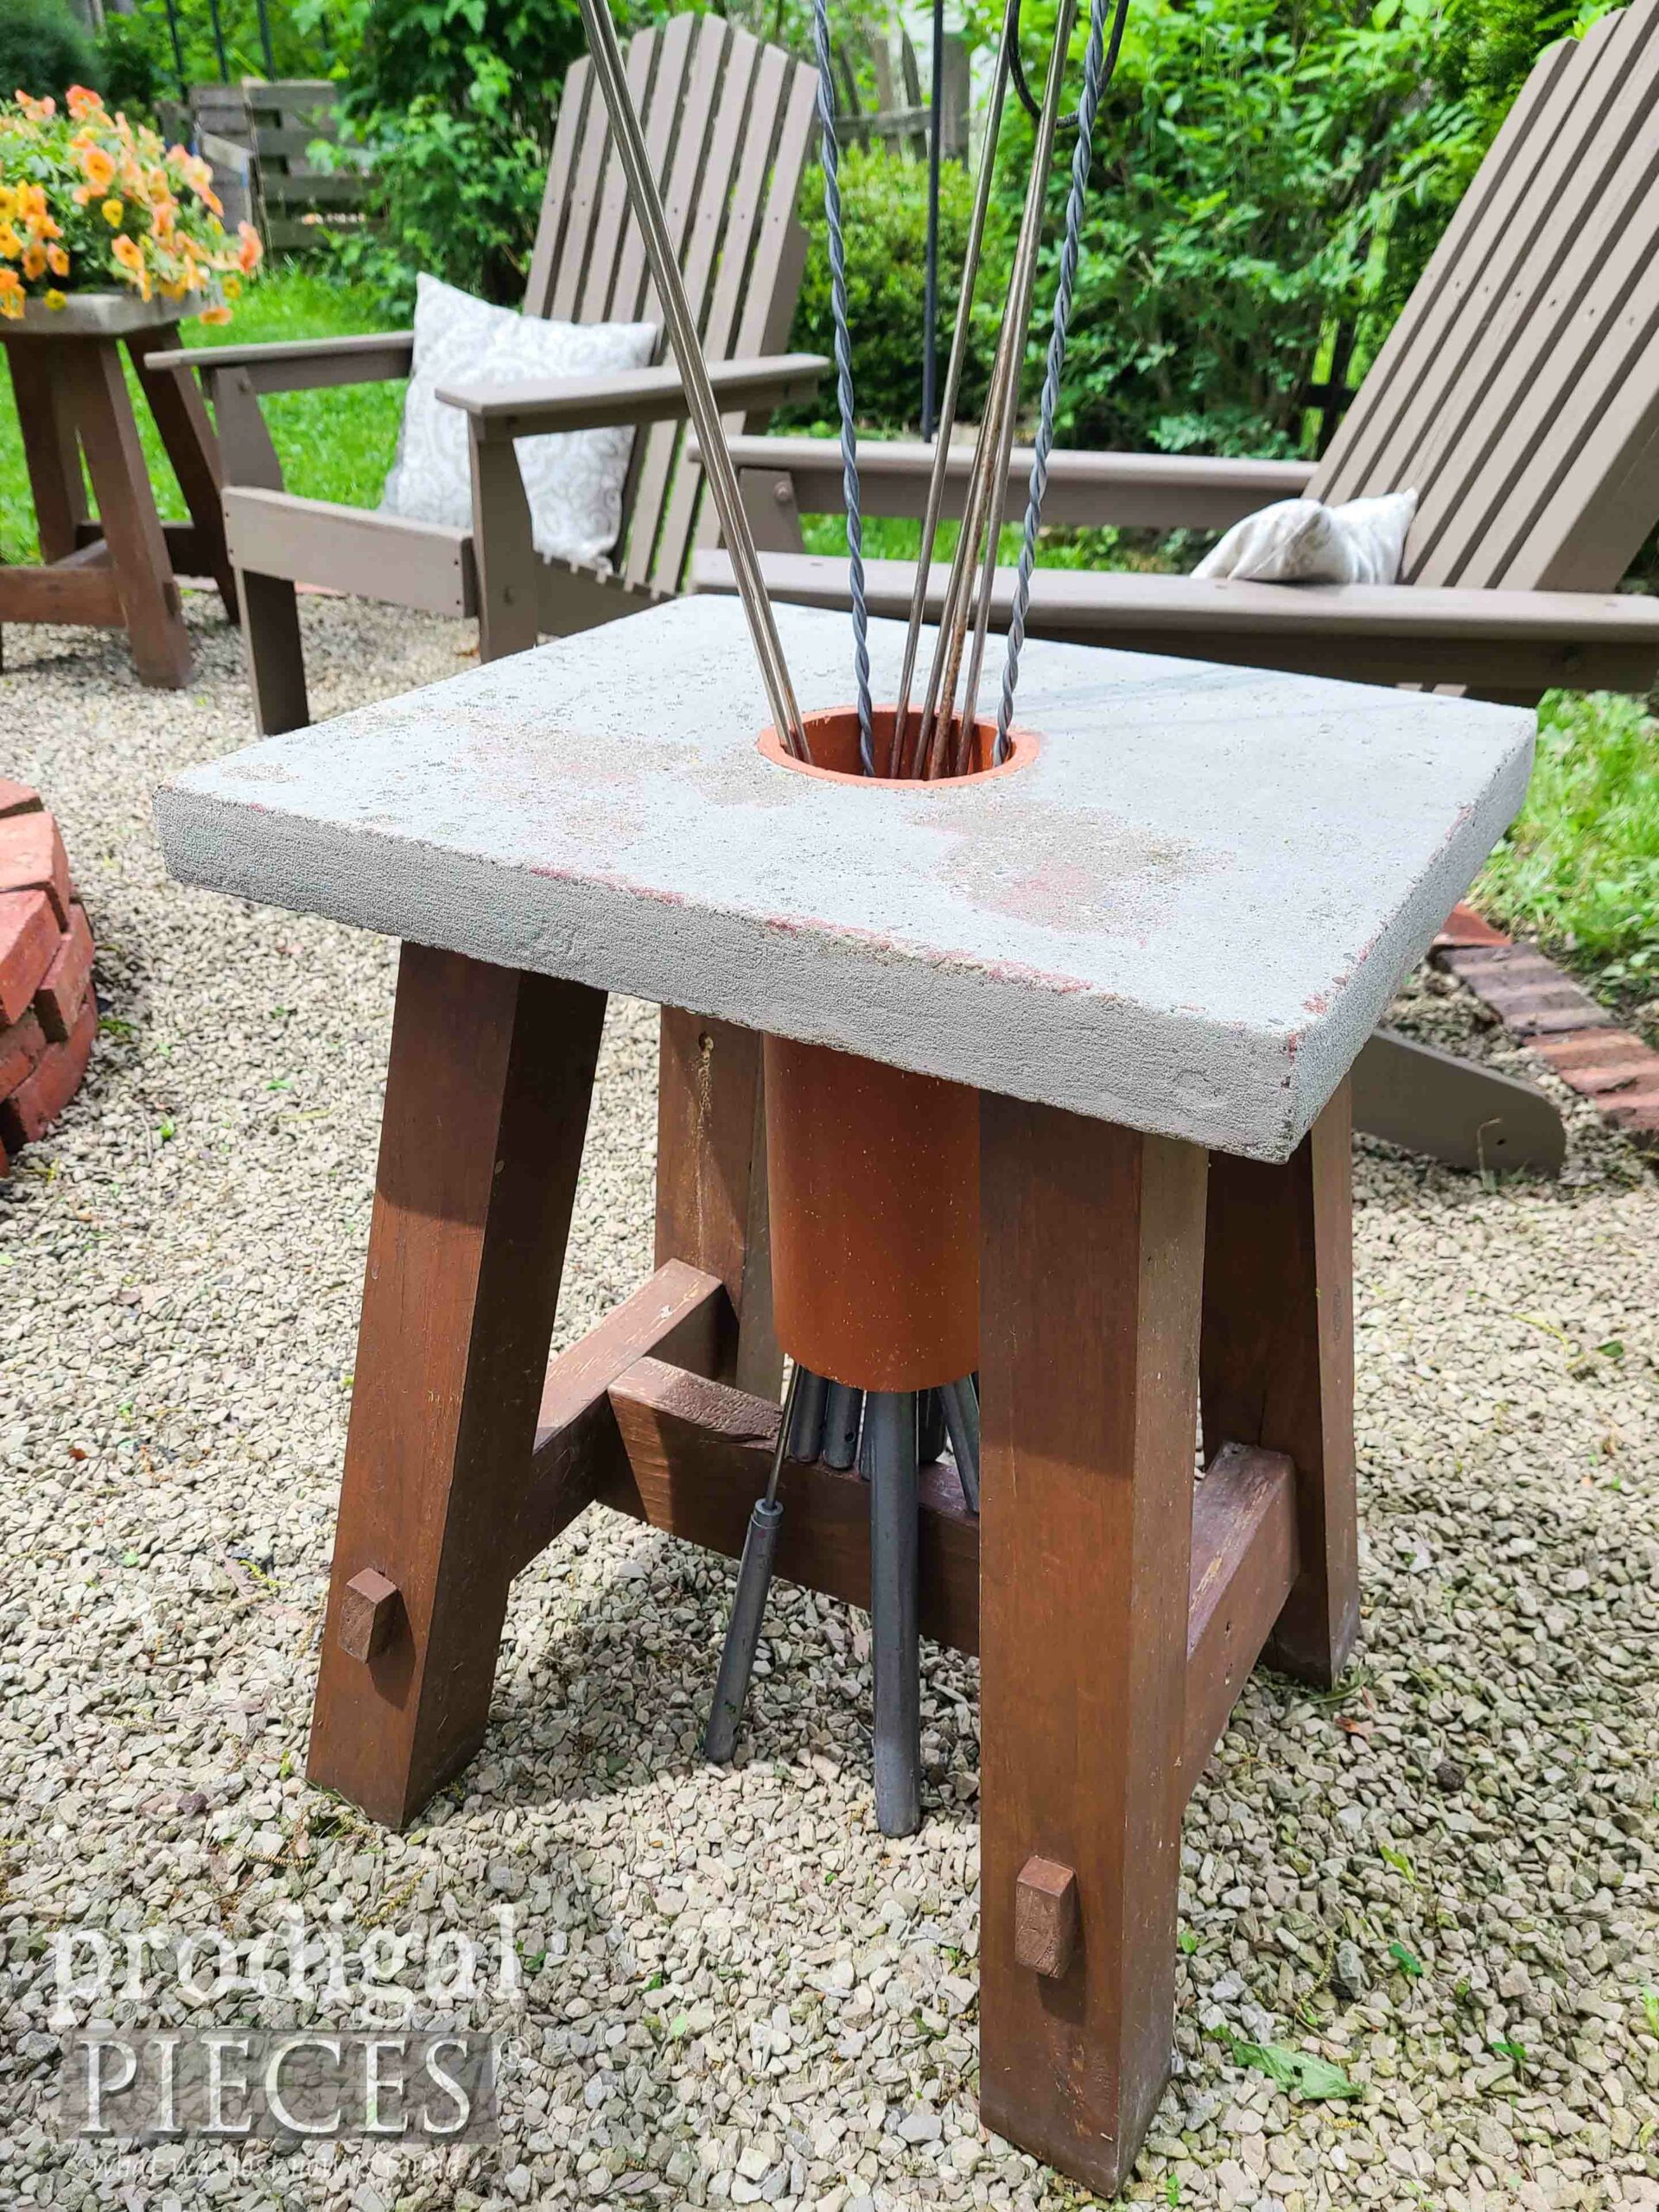
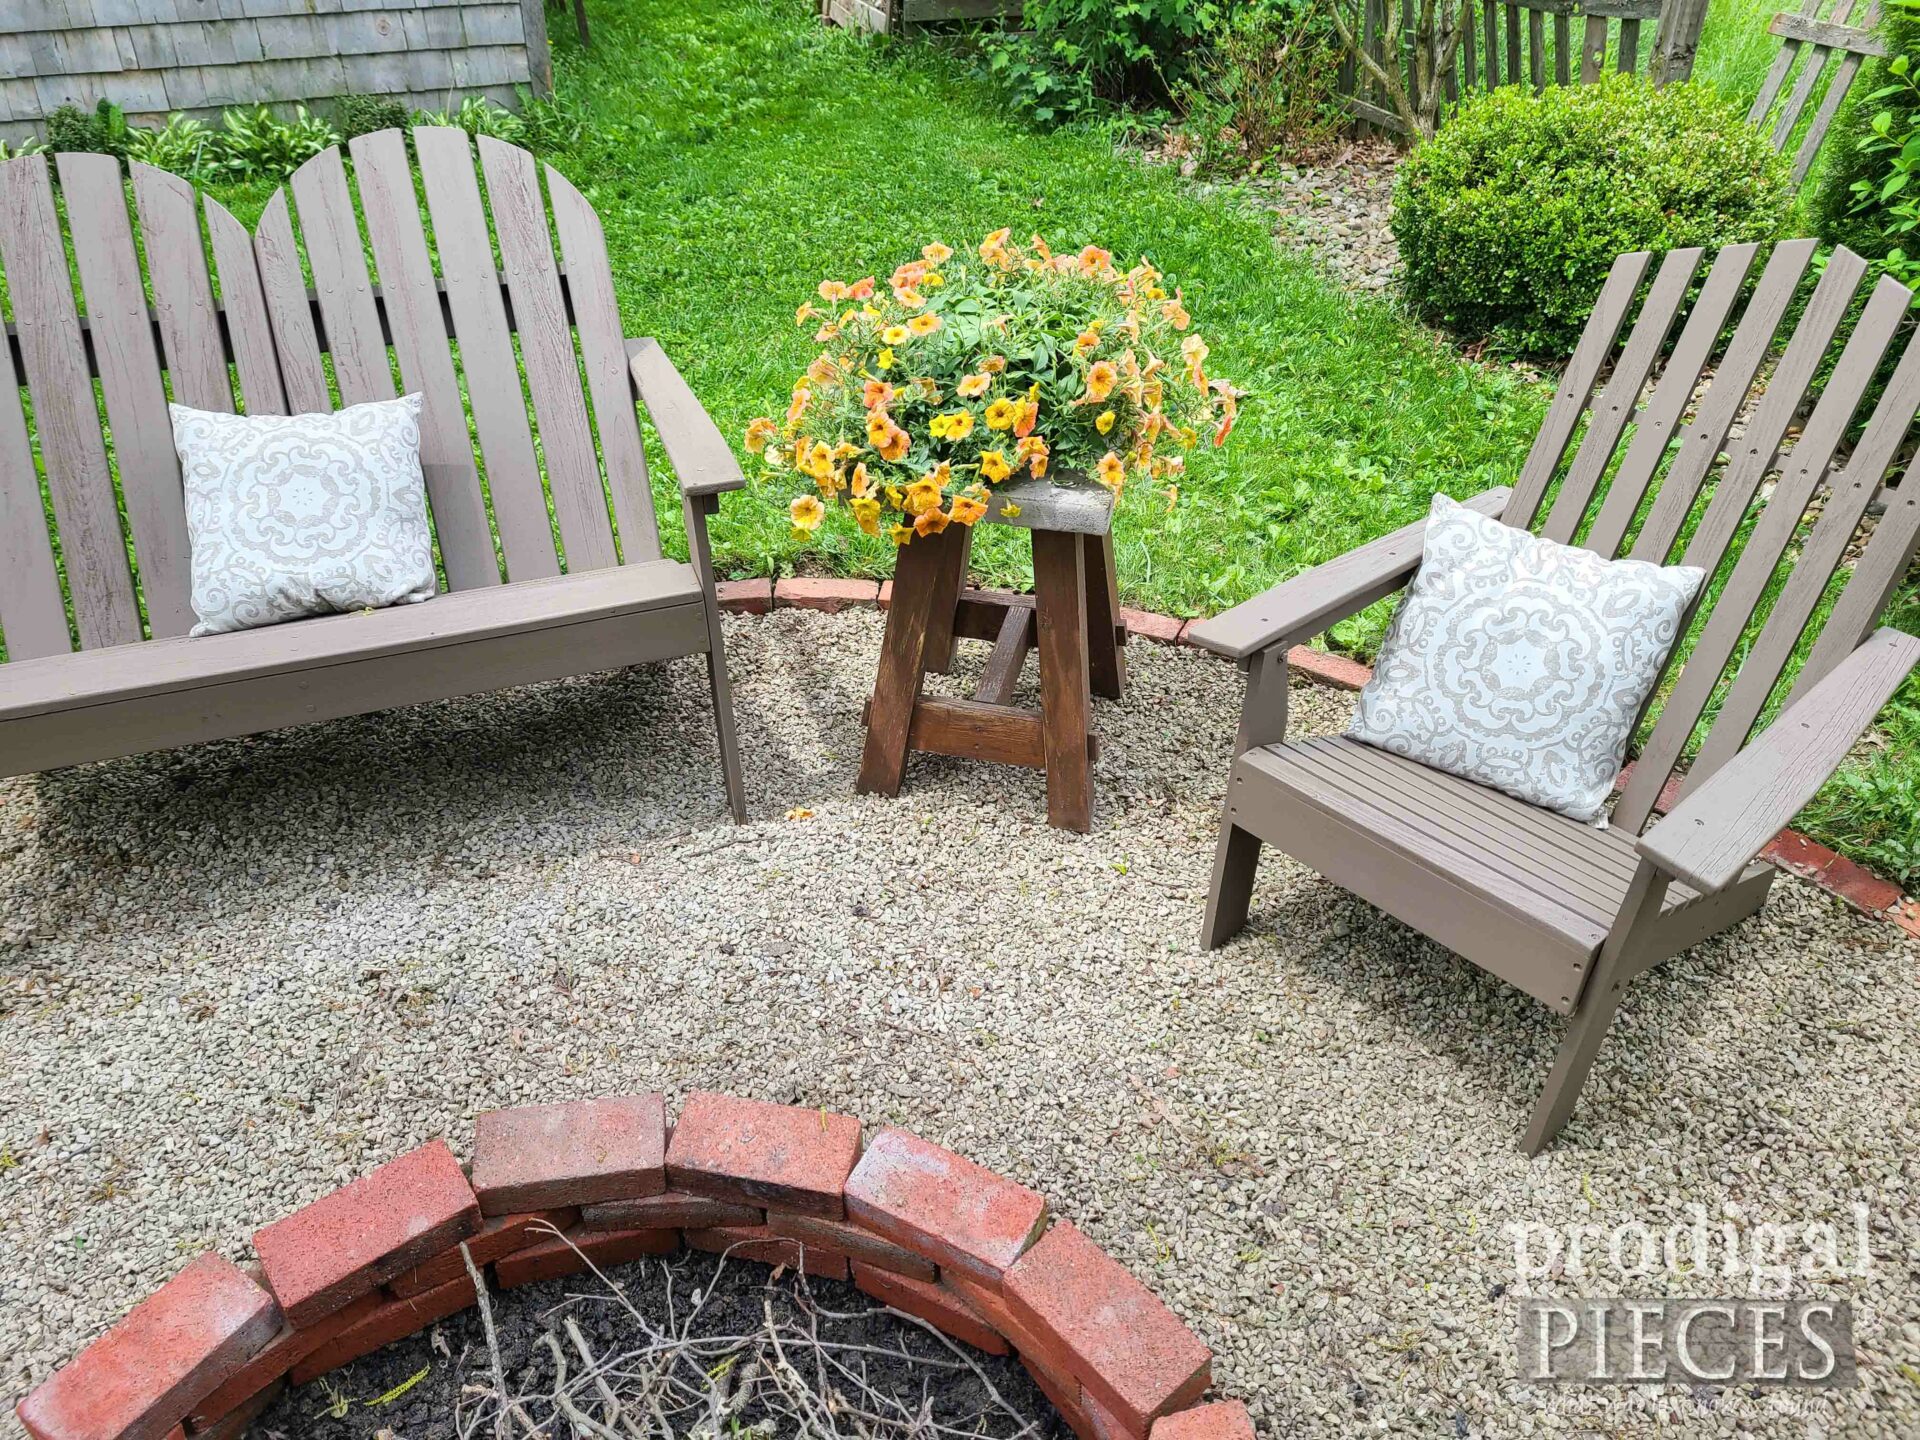
Even my concrete tables (link to free build plans in list below) need a tune-up.
EXTRA CLEANING
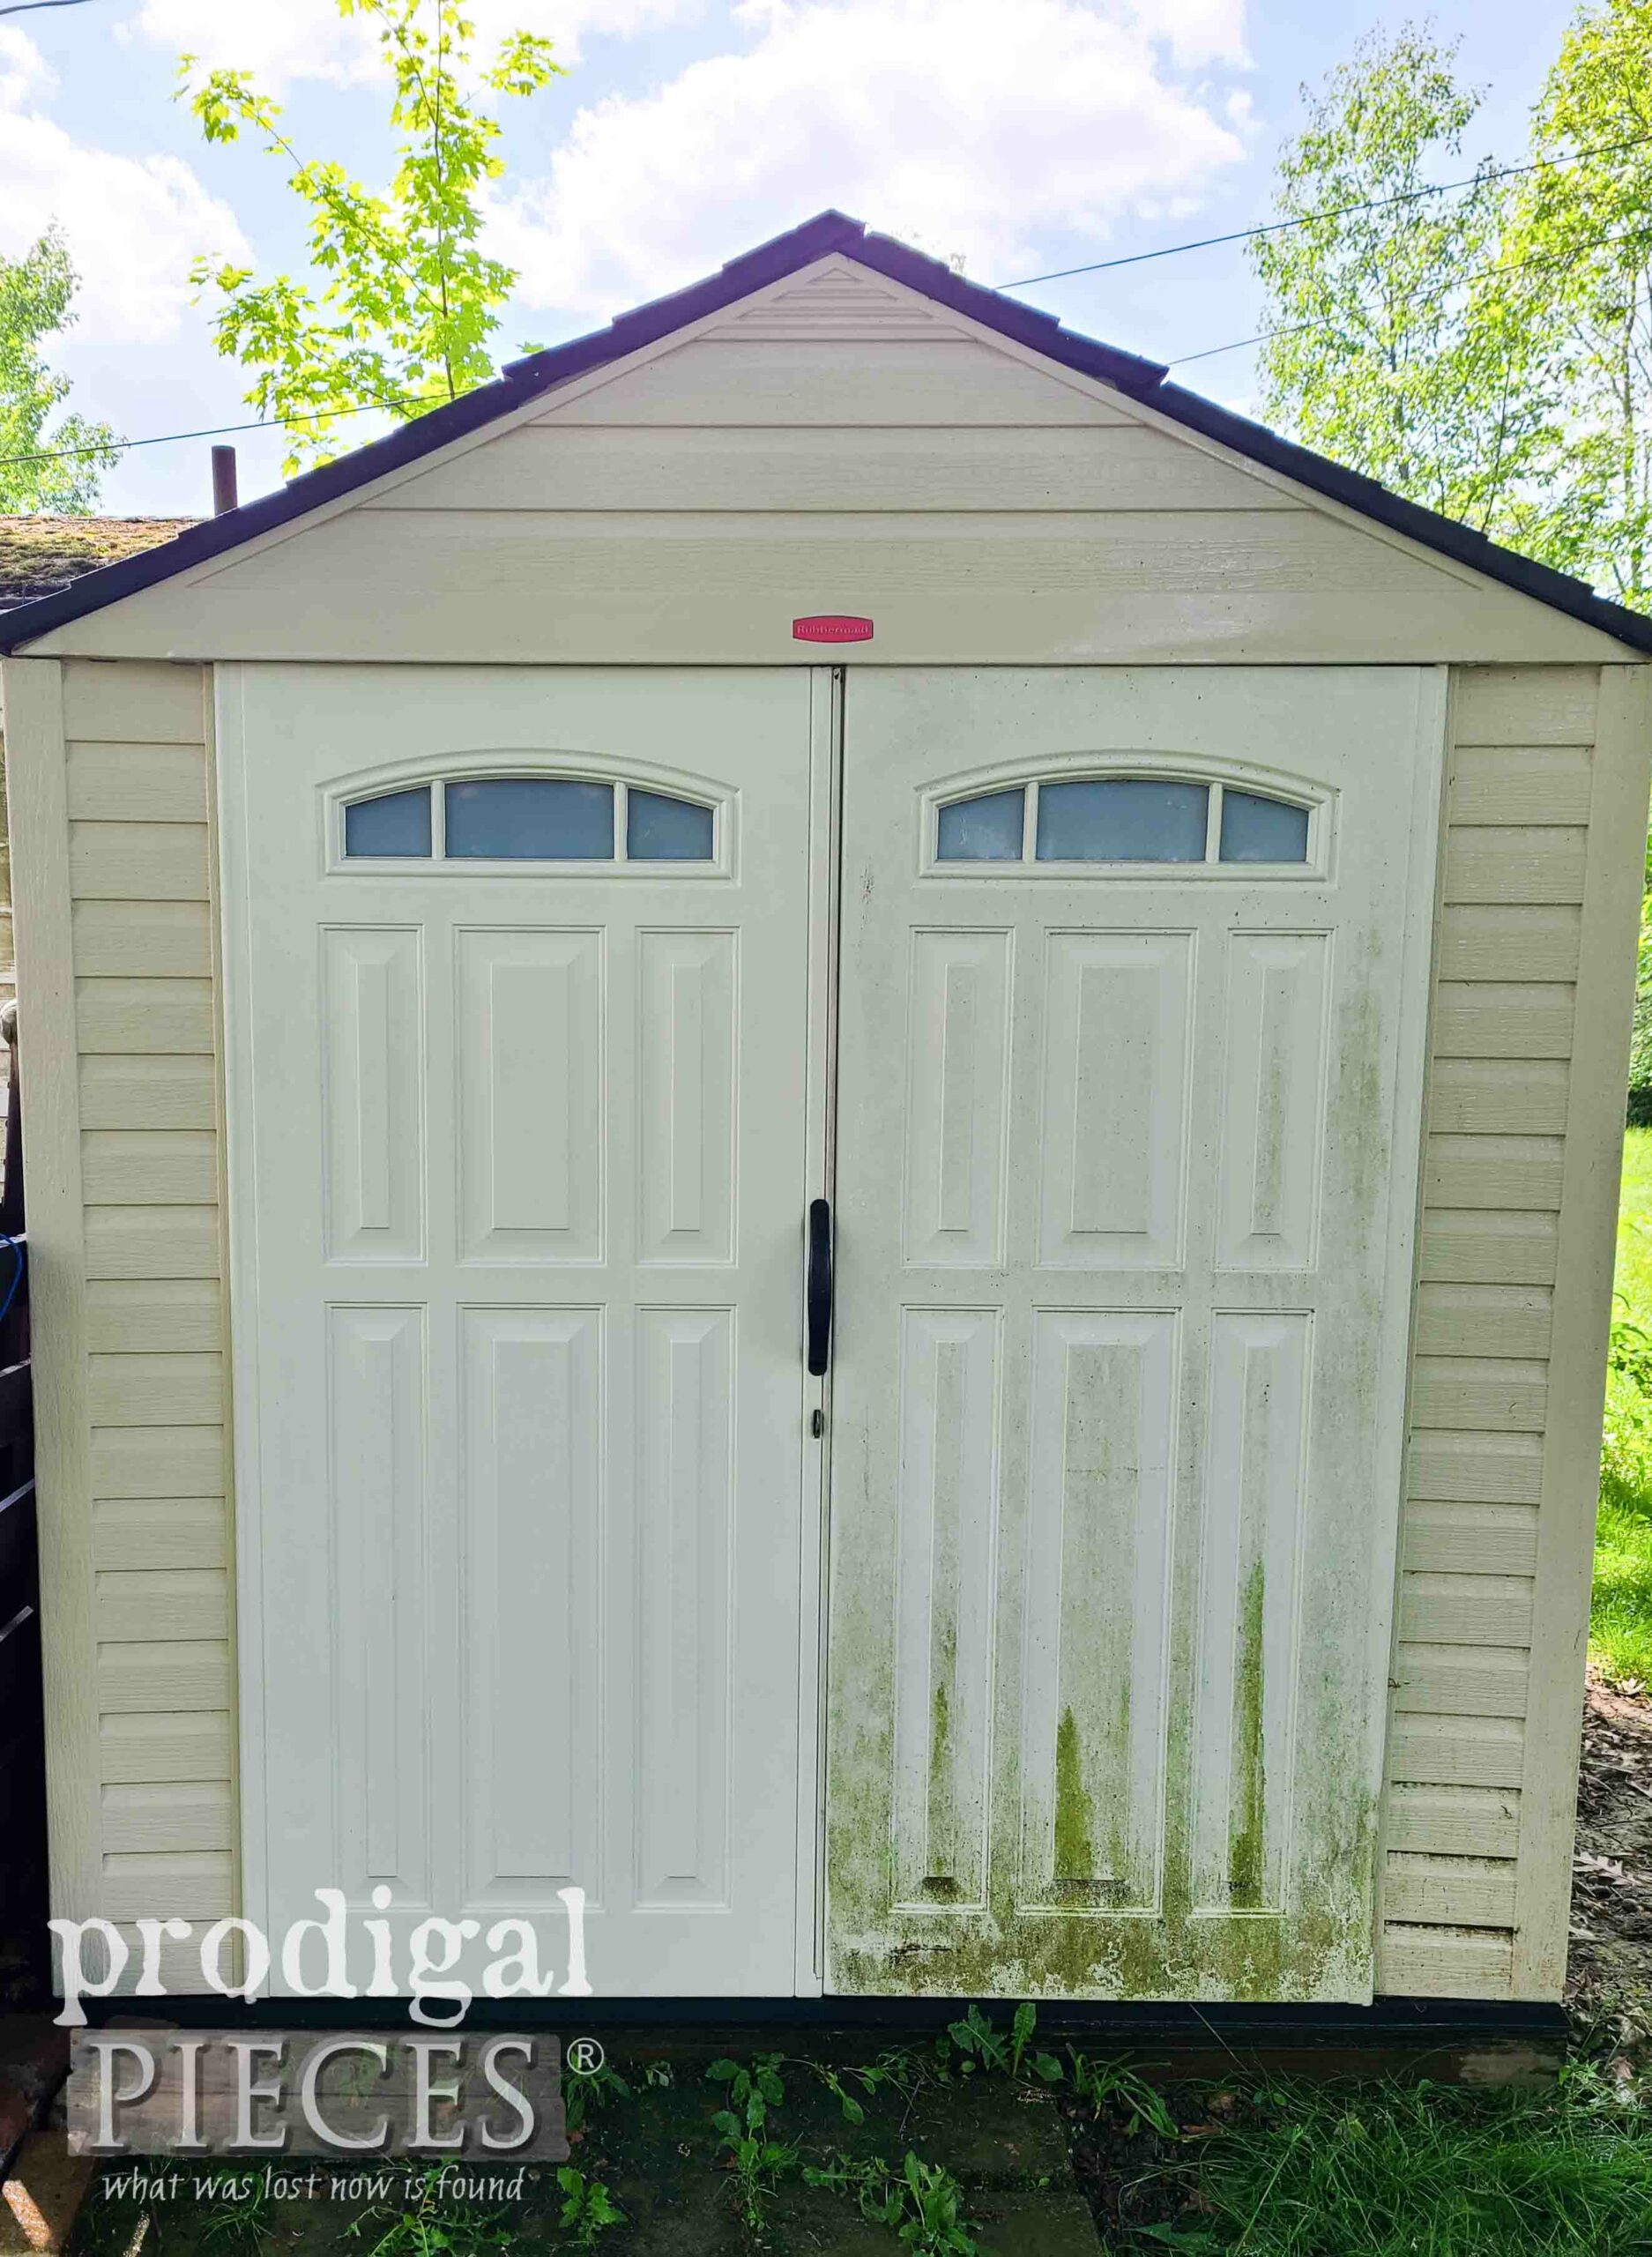
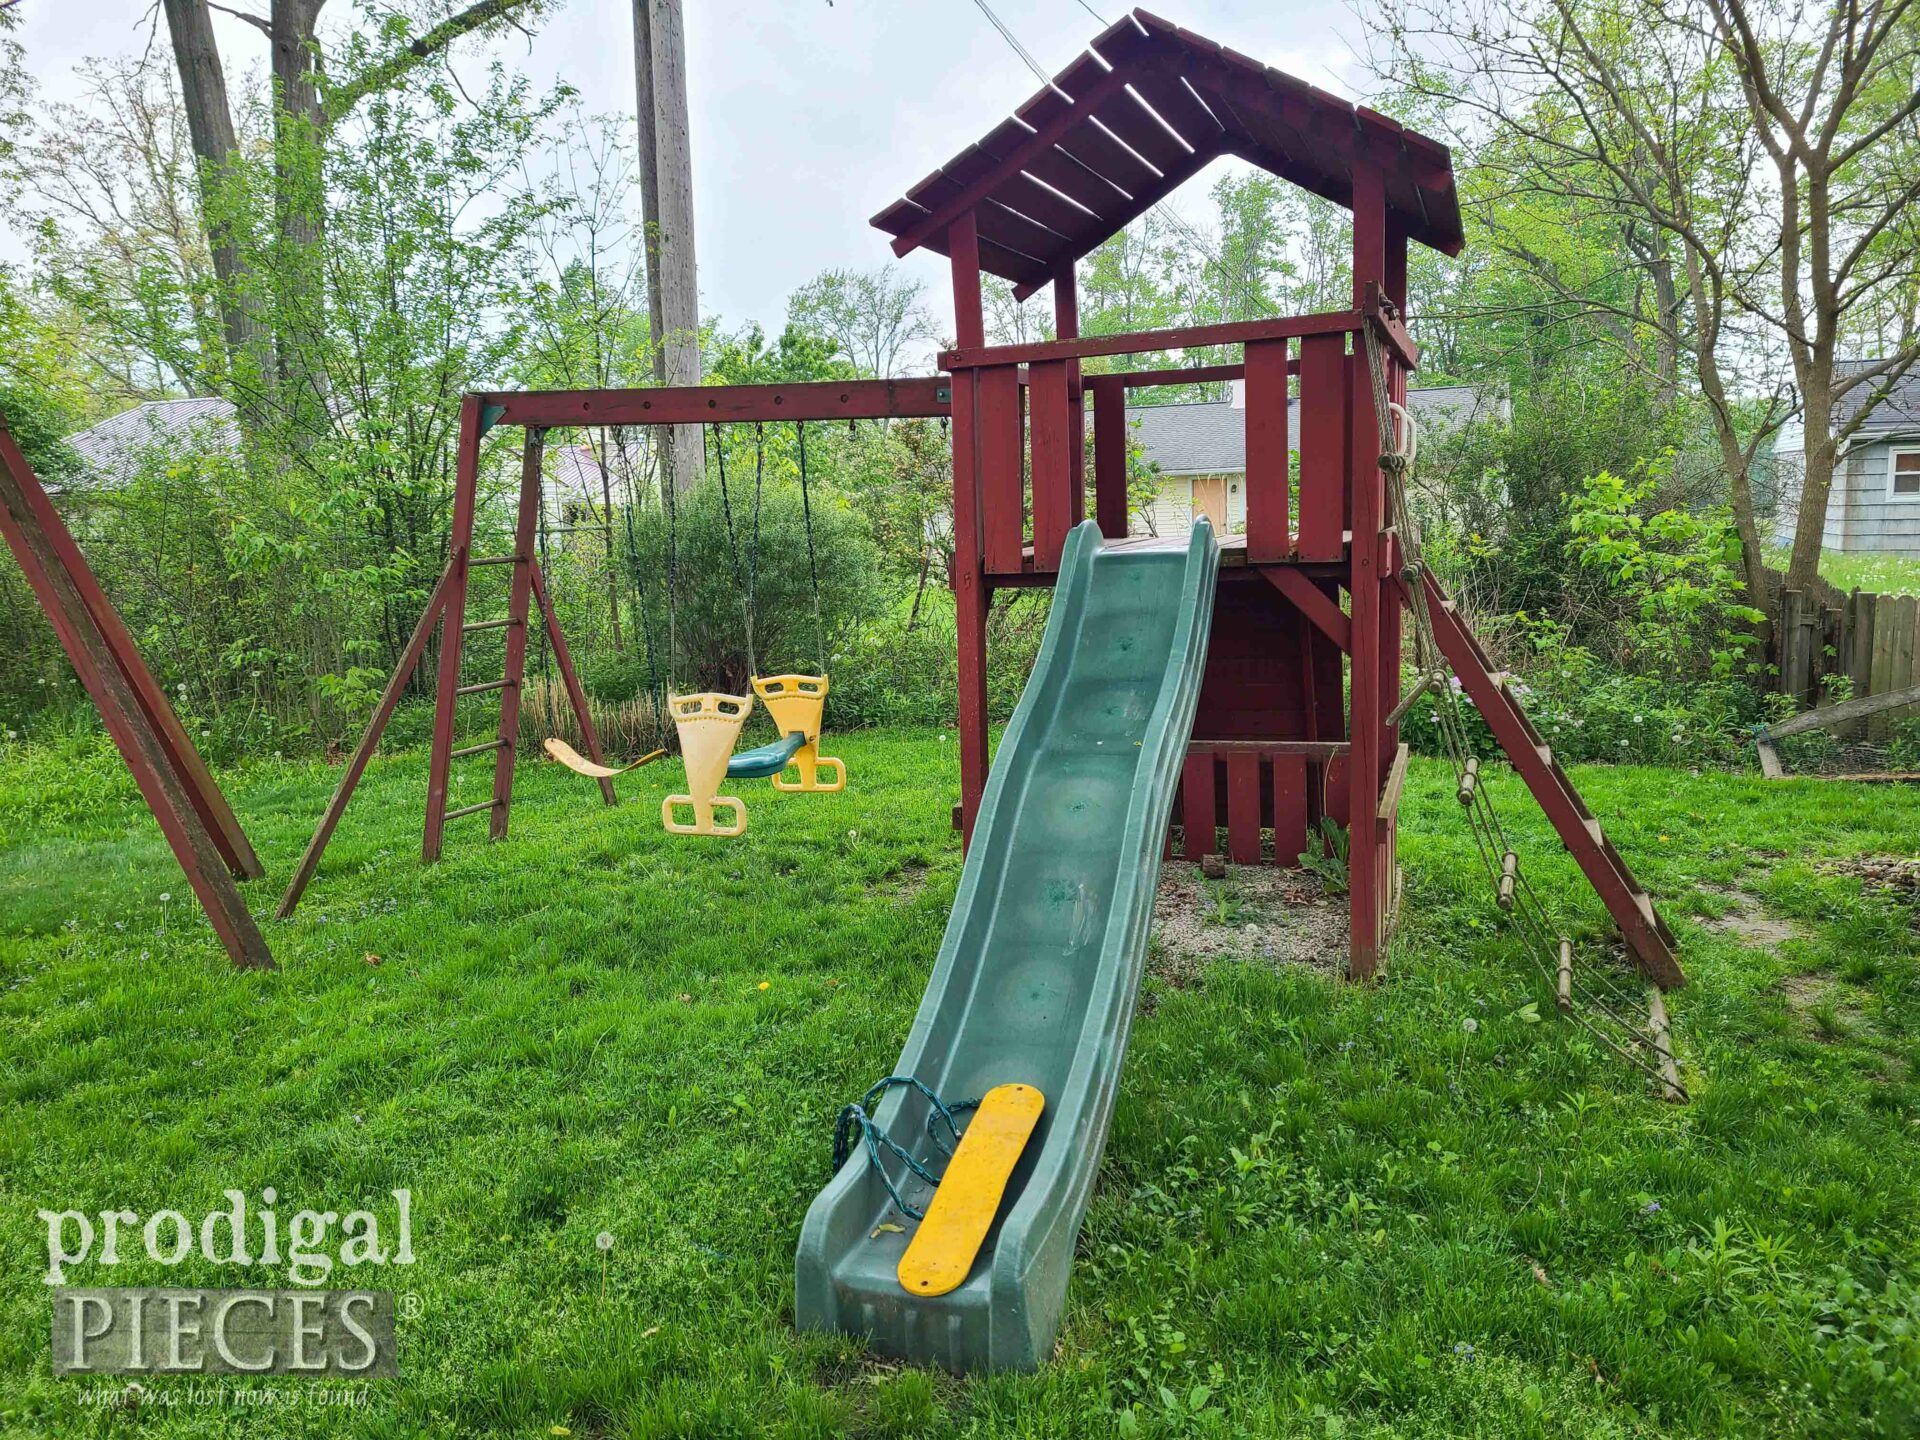
As you can imagine, in our four-season state, we get little time to tackle things in warm weather, so when it warms up, it’s game on. Not only did I pressure wash my furniture, but also my bike shed, the swing set, and still have to do my patio, driveway, etc. I will have the water bill to end all water bills this month. {{gulp}} But, it’s getting done and done fast. I have plenty more to do!
This swing set below was given to me free years ago and I rebuilt much of it twice over in the last ten years. Now that my youngest is bigger and we have two sets, we decide to give it to another family. It needed reworked again and we also have another swing set off to the side to keep.
With joy, the big set went to a pair of twins for their first birthday, and we moved the other set in its spot and washed it.
BRICKS AND STONES
Meanwhile, my middle daughter, Miss E. (I have four lovely girls, and two wonderful guys) takes on digging out and resetting the brick as soon as Mr. O digs out the ash for my pallet compost bins. Notice they are now stacked three high above ground. whew!
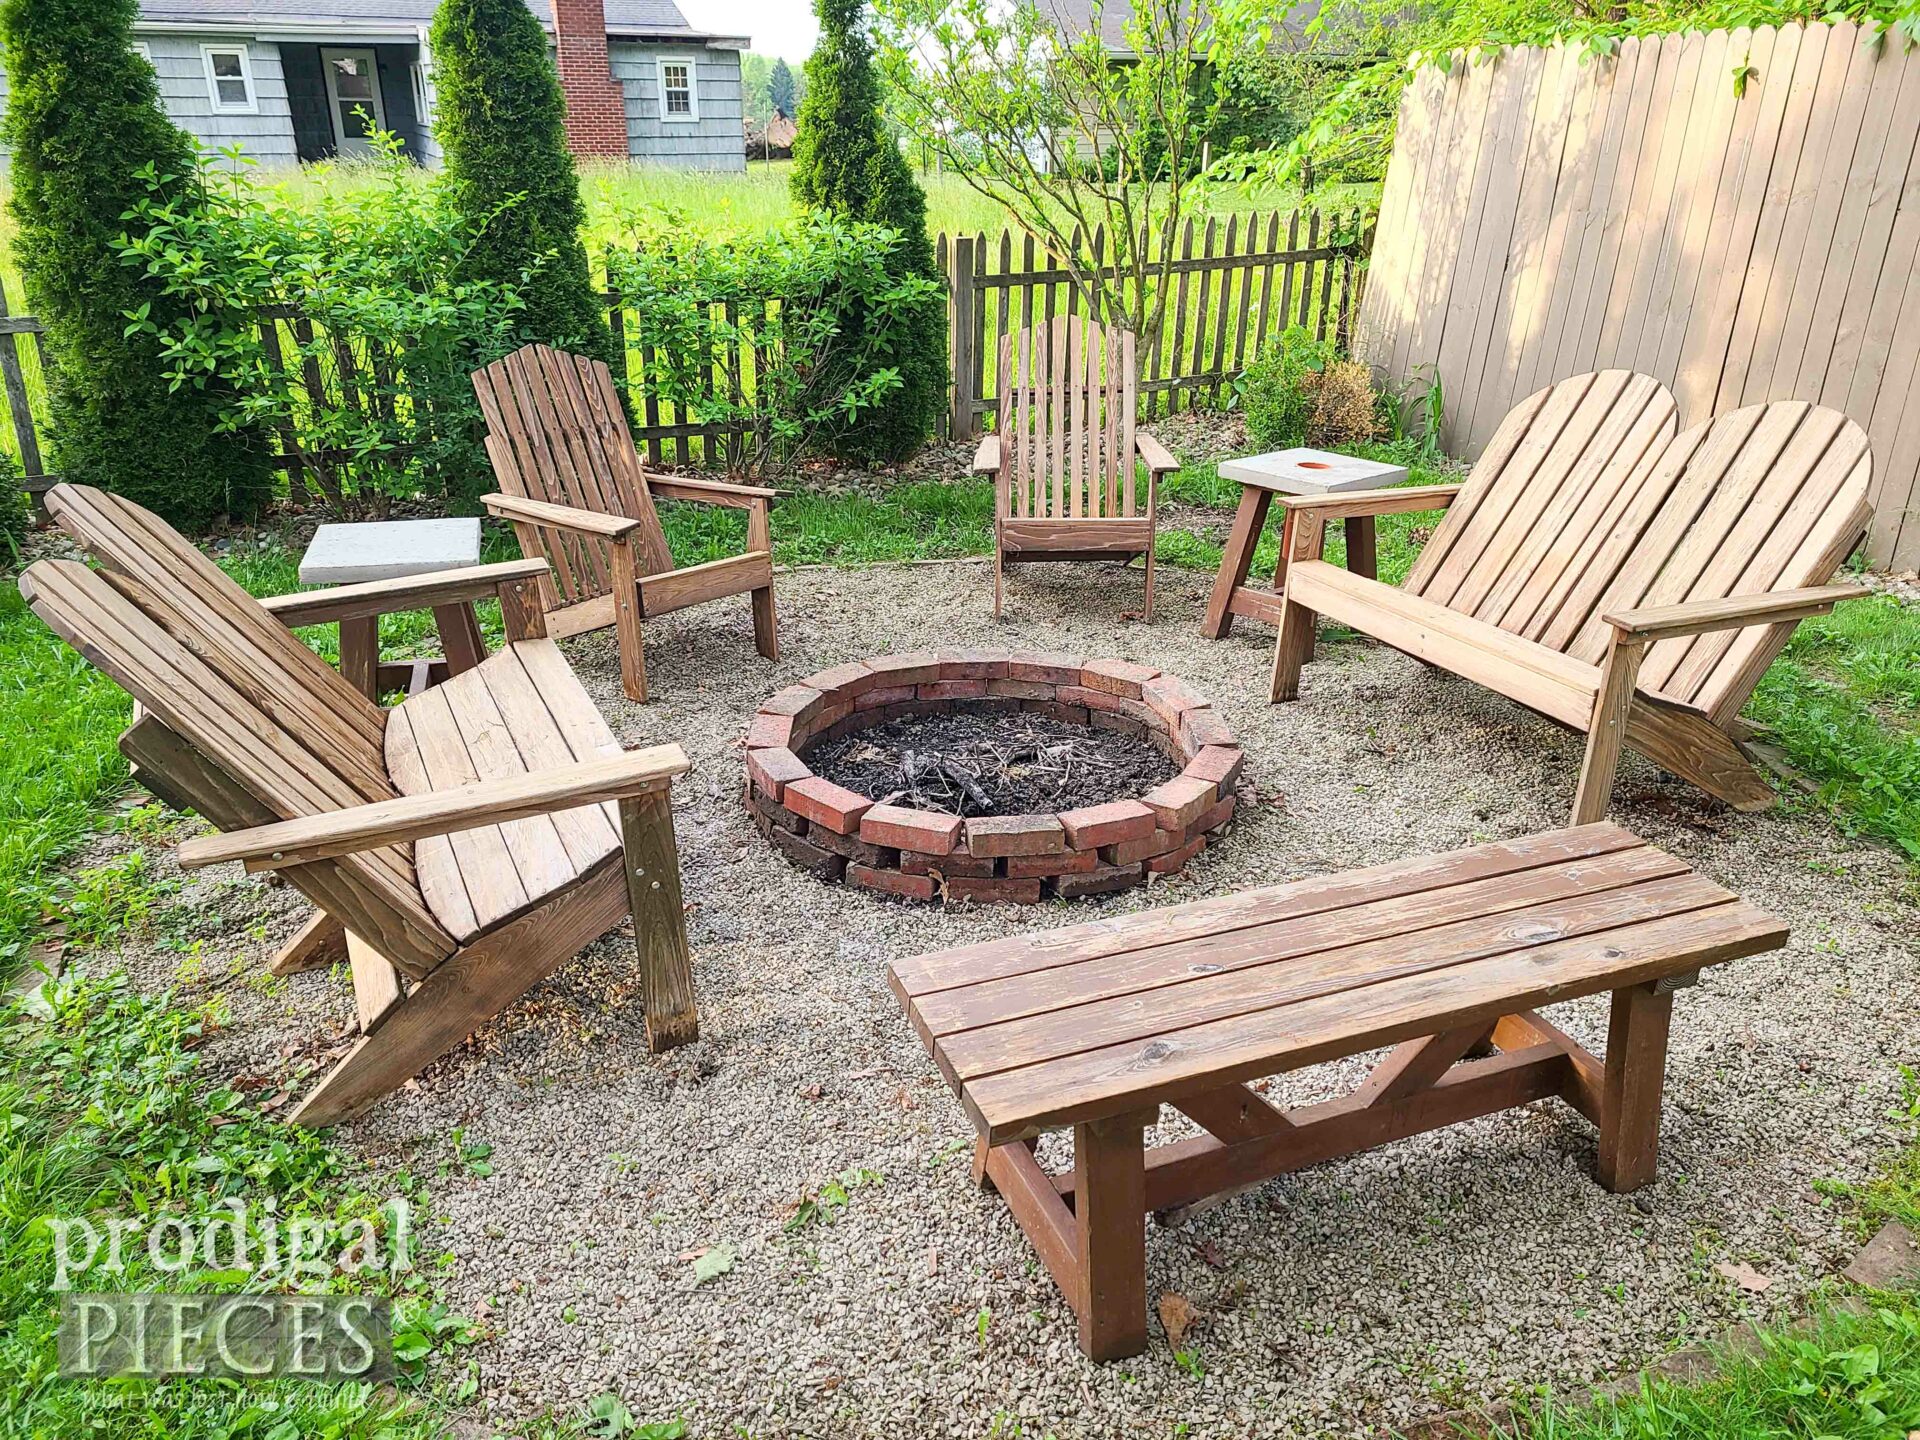
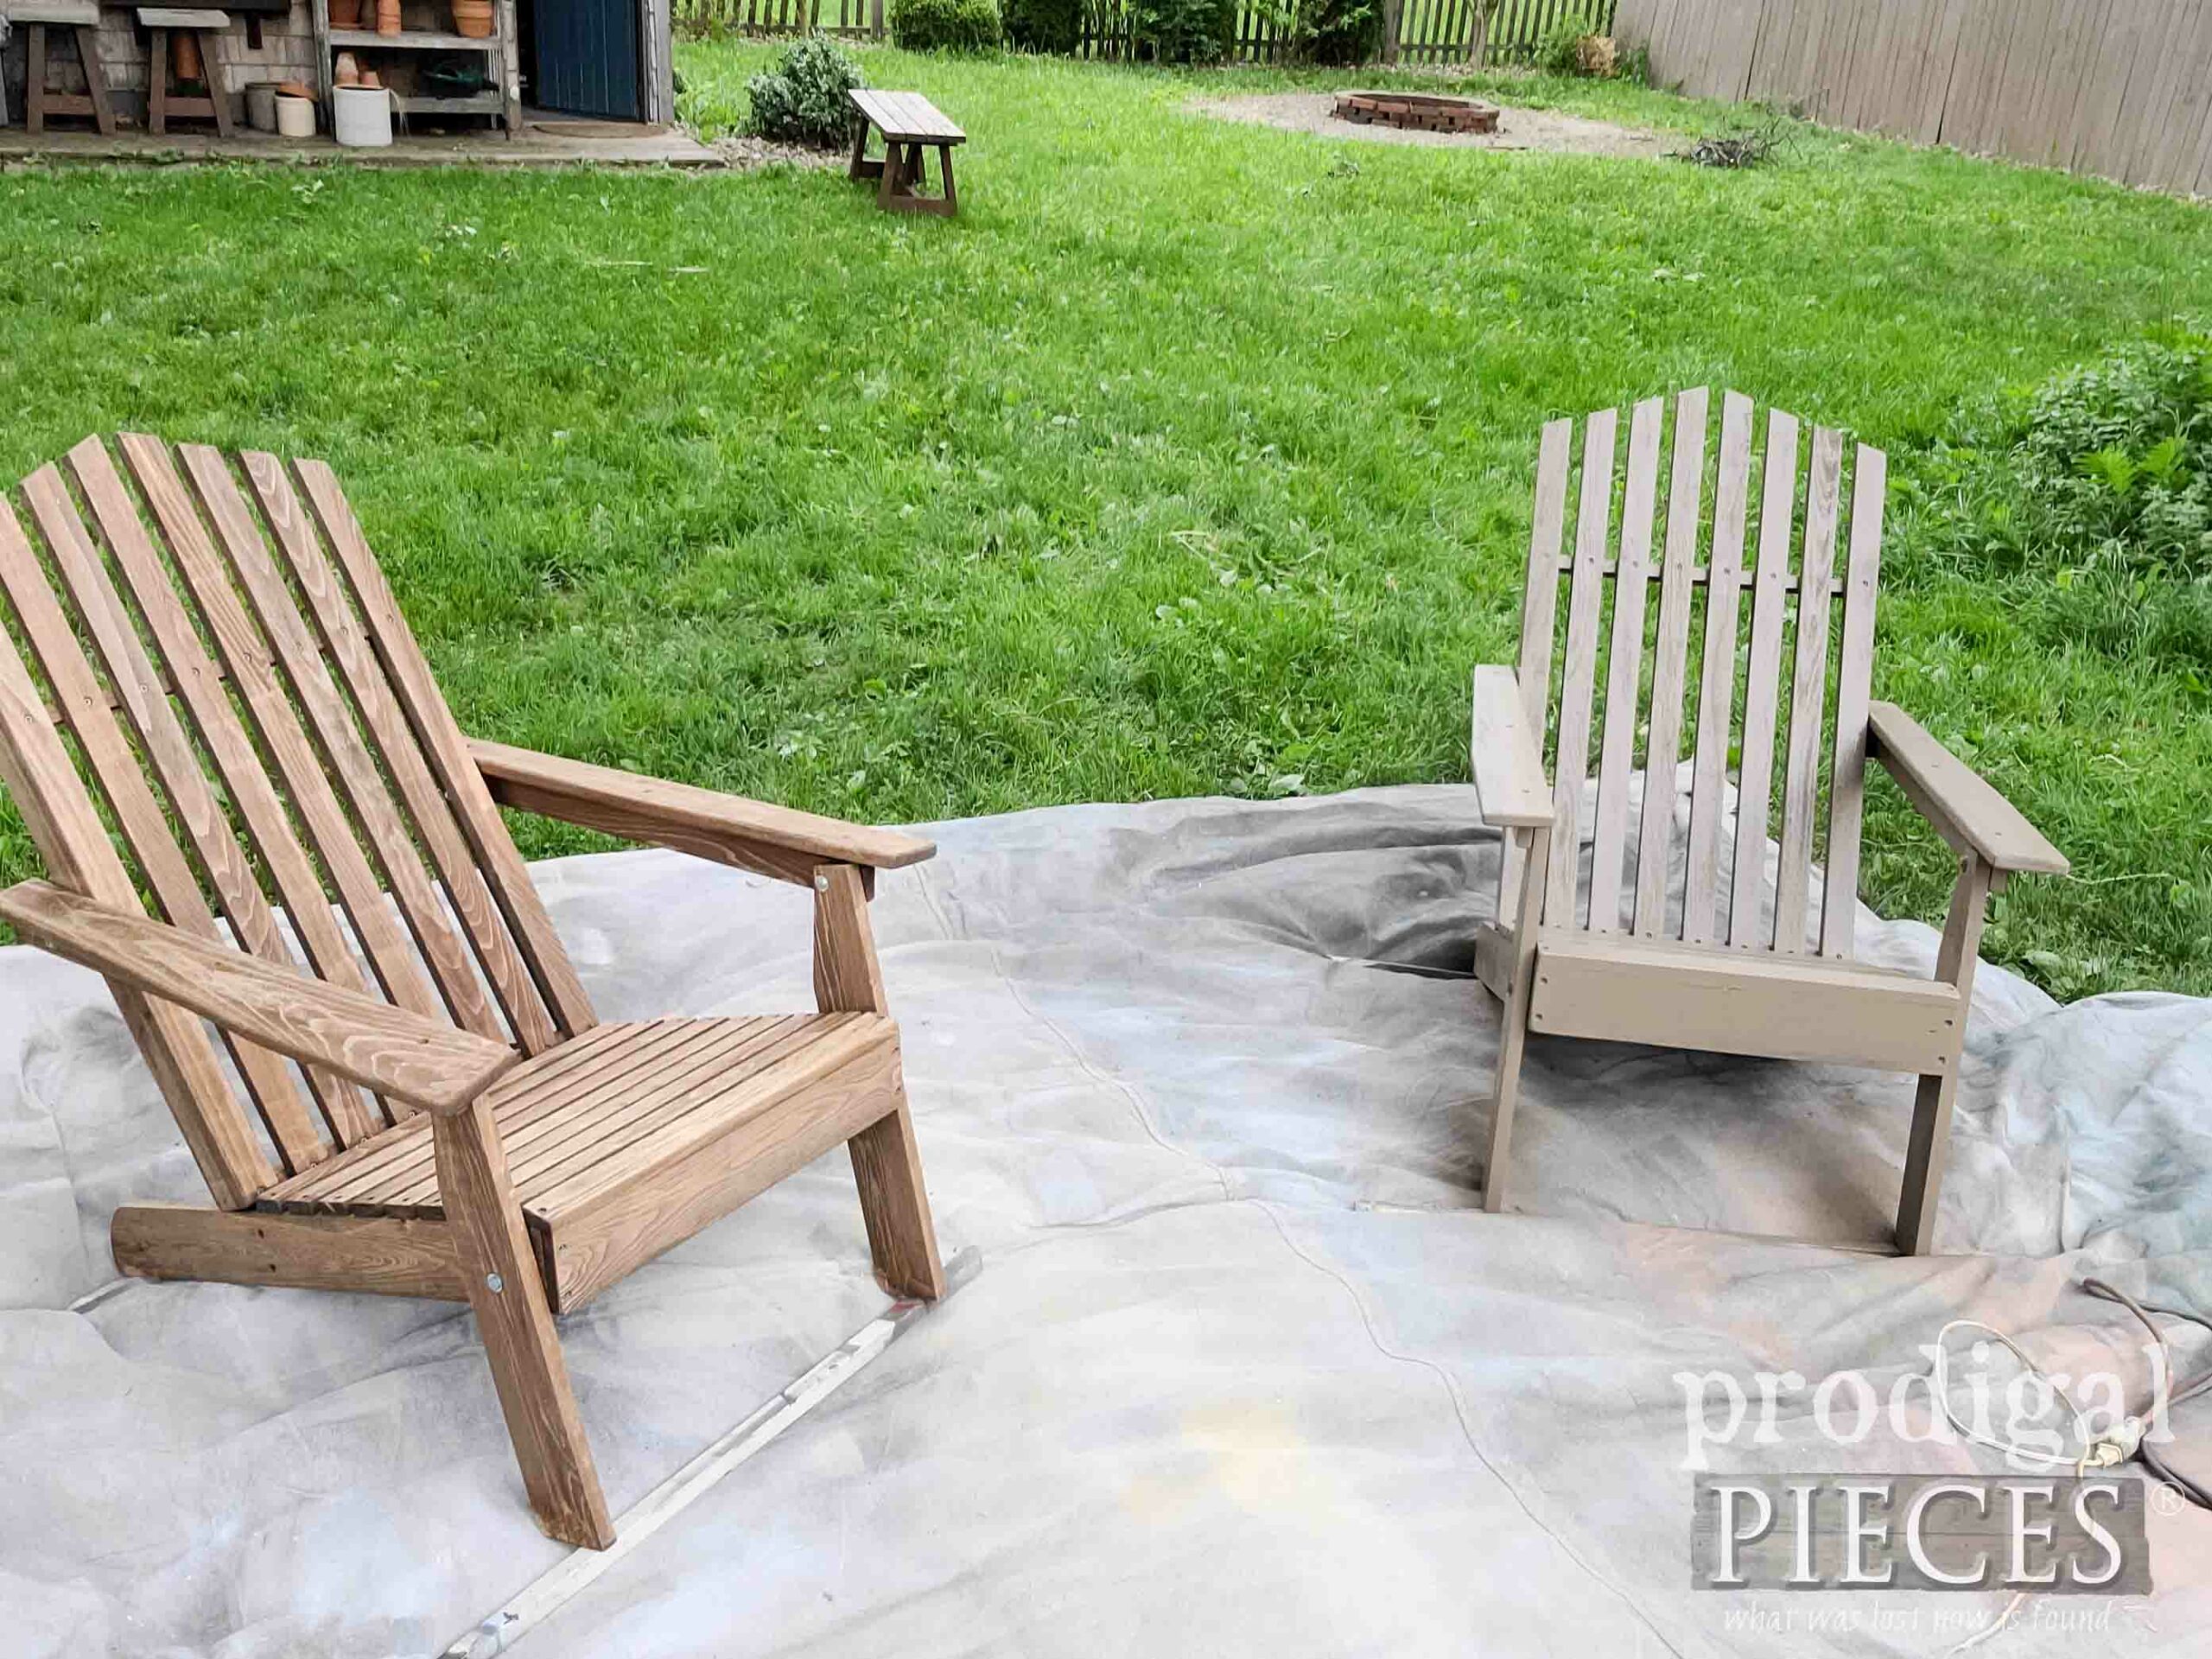
Here is the furniture before and in raw form.
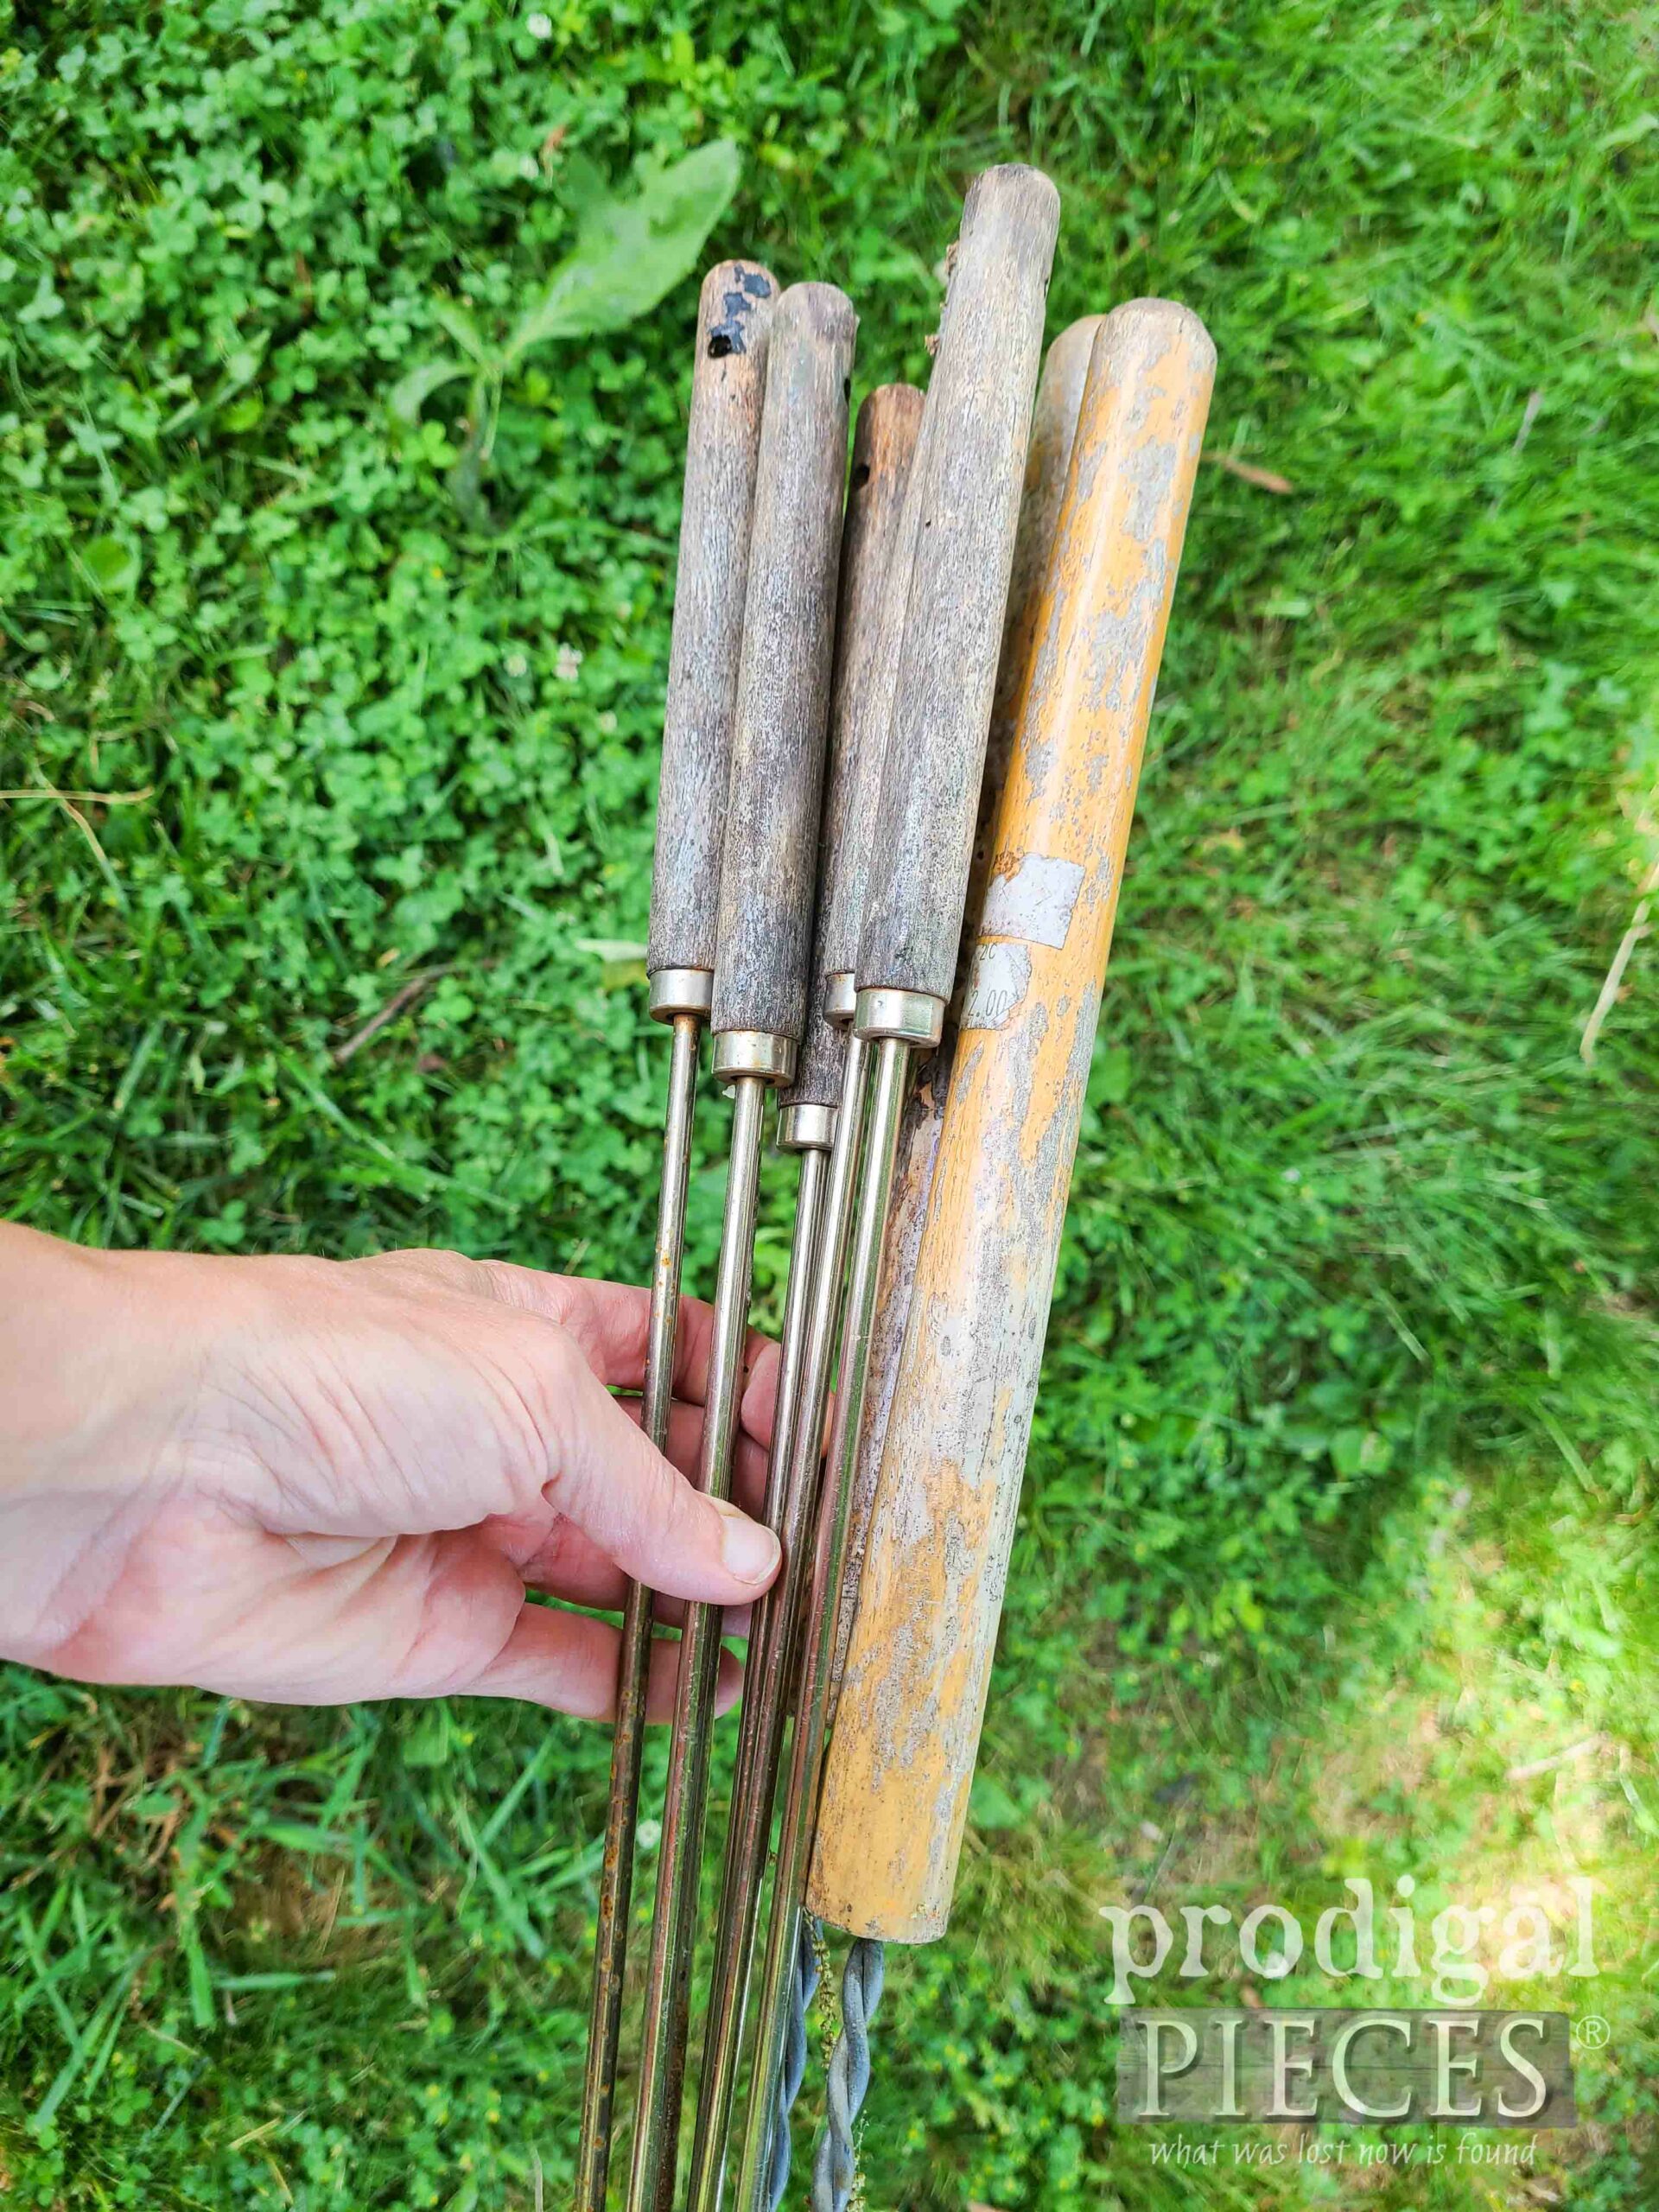
My youngest three kids are the ones that helped me out with finishing this (the others are at work). Once we pull out the weeds, we dig out the perimeter brick and pressure wash the pit and those bricks too. While we tarp the furniture and put much inside over winter, wear stll occurs over the summer months. Even our roasting sticks need some TLC.
STAINING TIME
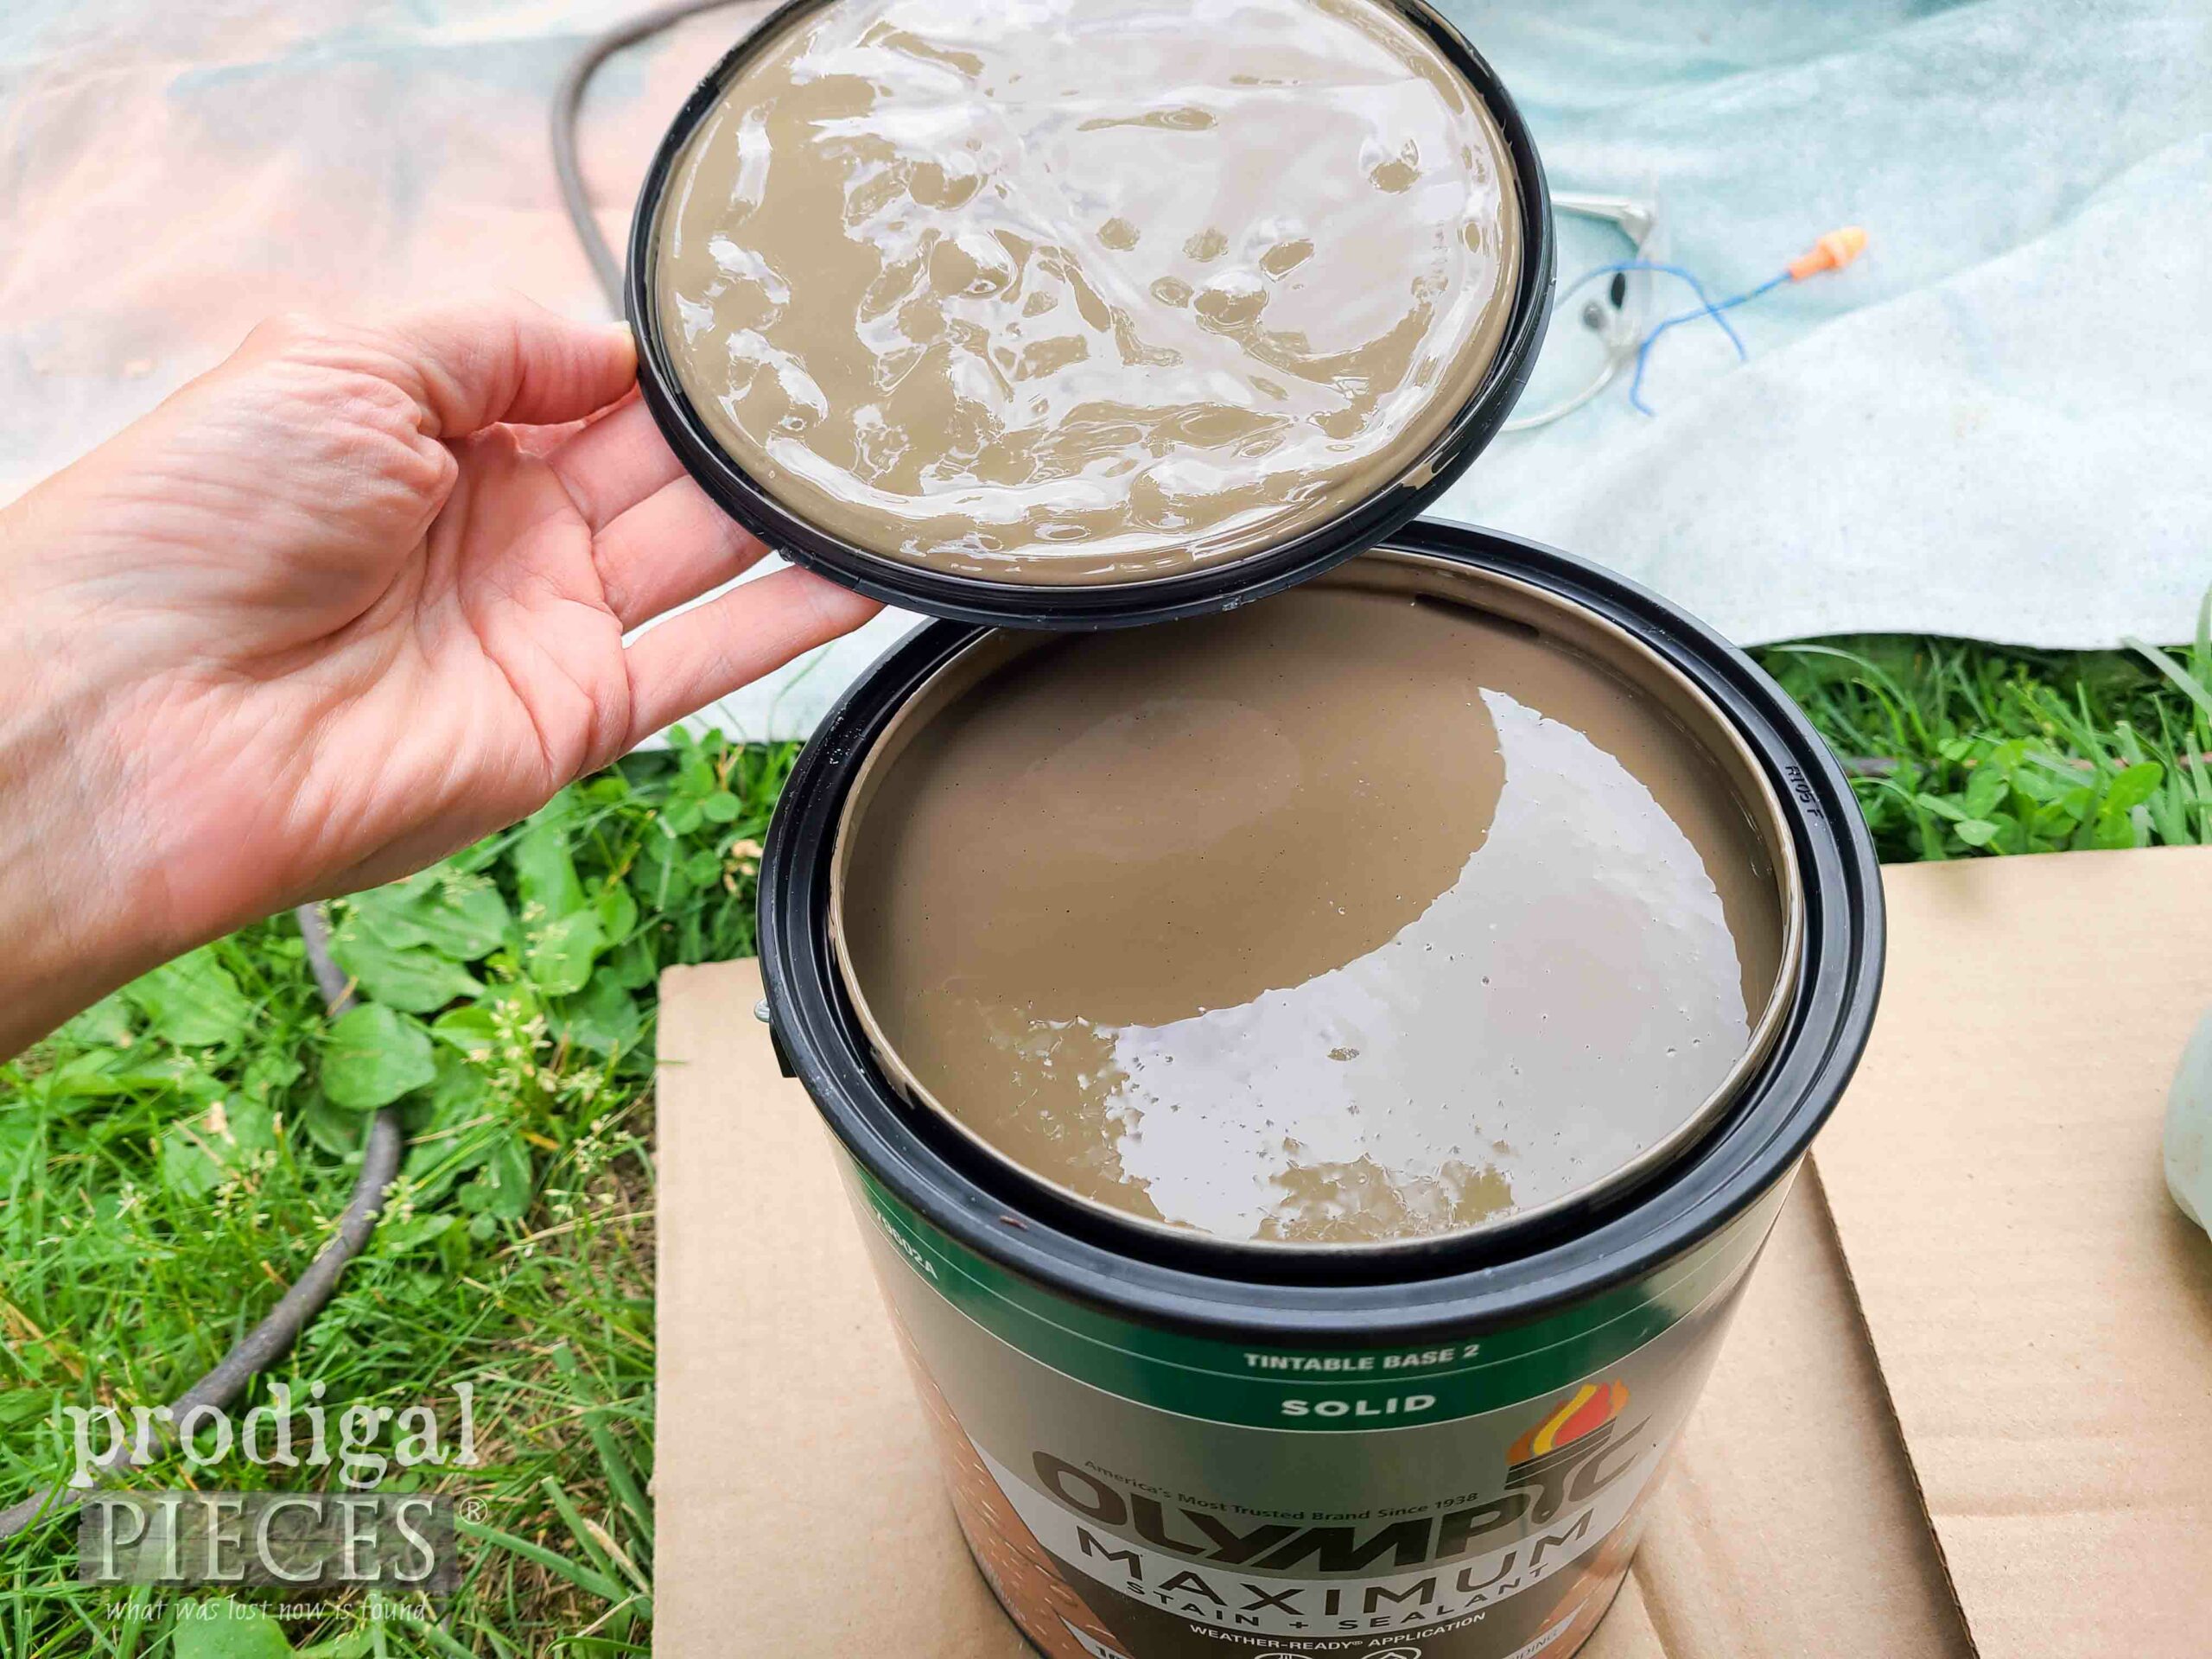
Last, but not least, the next day it’s calling for a storm mid-day and I debate on applying my stain. It needs 2 hours to cure before re-coating and then 24 hours to cure completely. eep. I gulp down my anxiety figuring I can haul them up to my garage in a pinch, but really need to get this done. I load up my airless sprayer with this solid Grantie Gray stain and have at it. There is NO OTHER WAY to do furniture quickly and smoothly when it has all sorts of pieces.
Not only did the stain go on beautifully, but it also had no tannins peeking through as can happen with certain woods like cedar.
FINALLY DONE
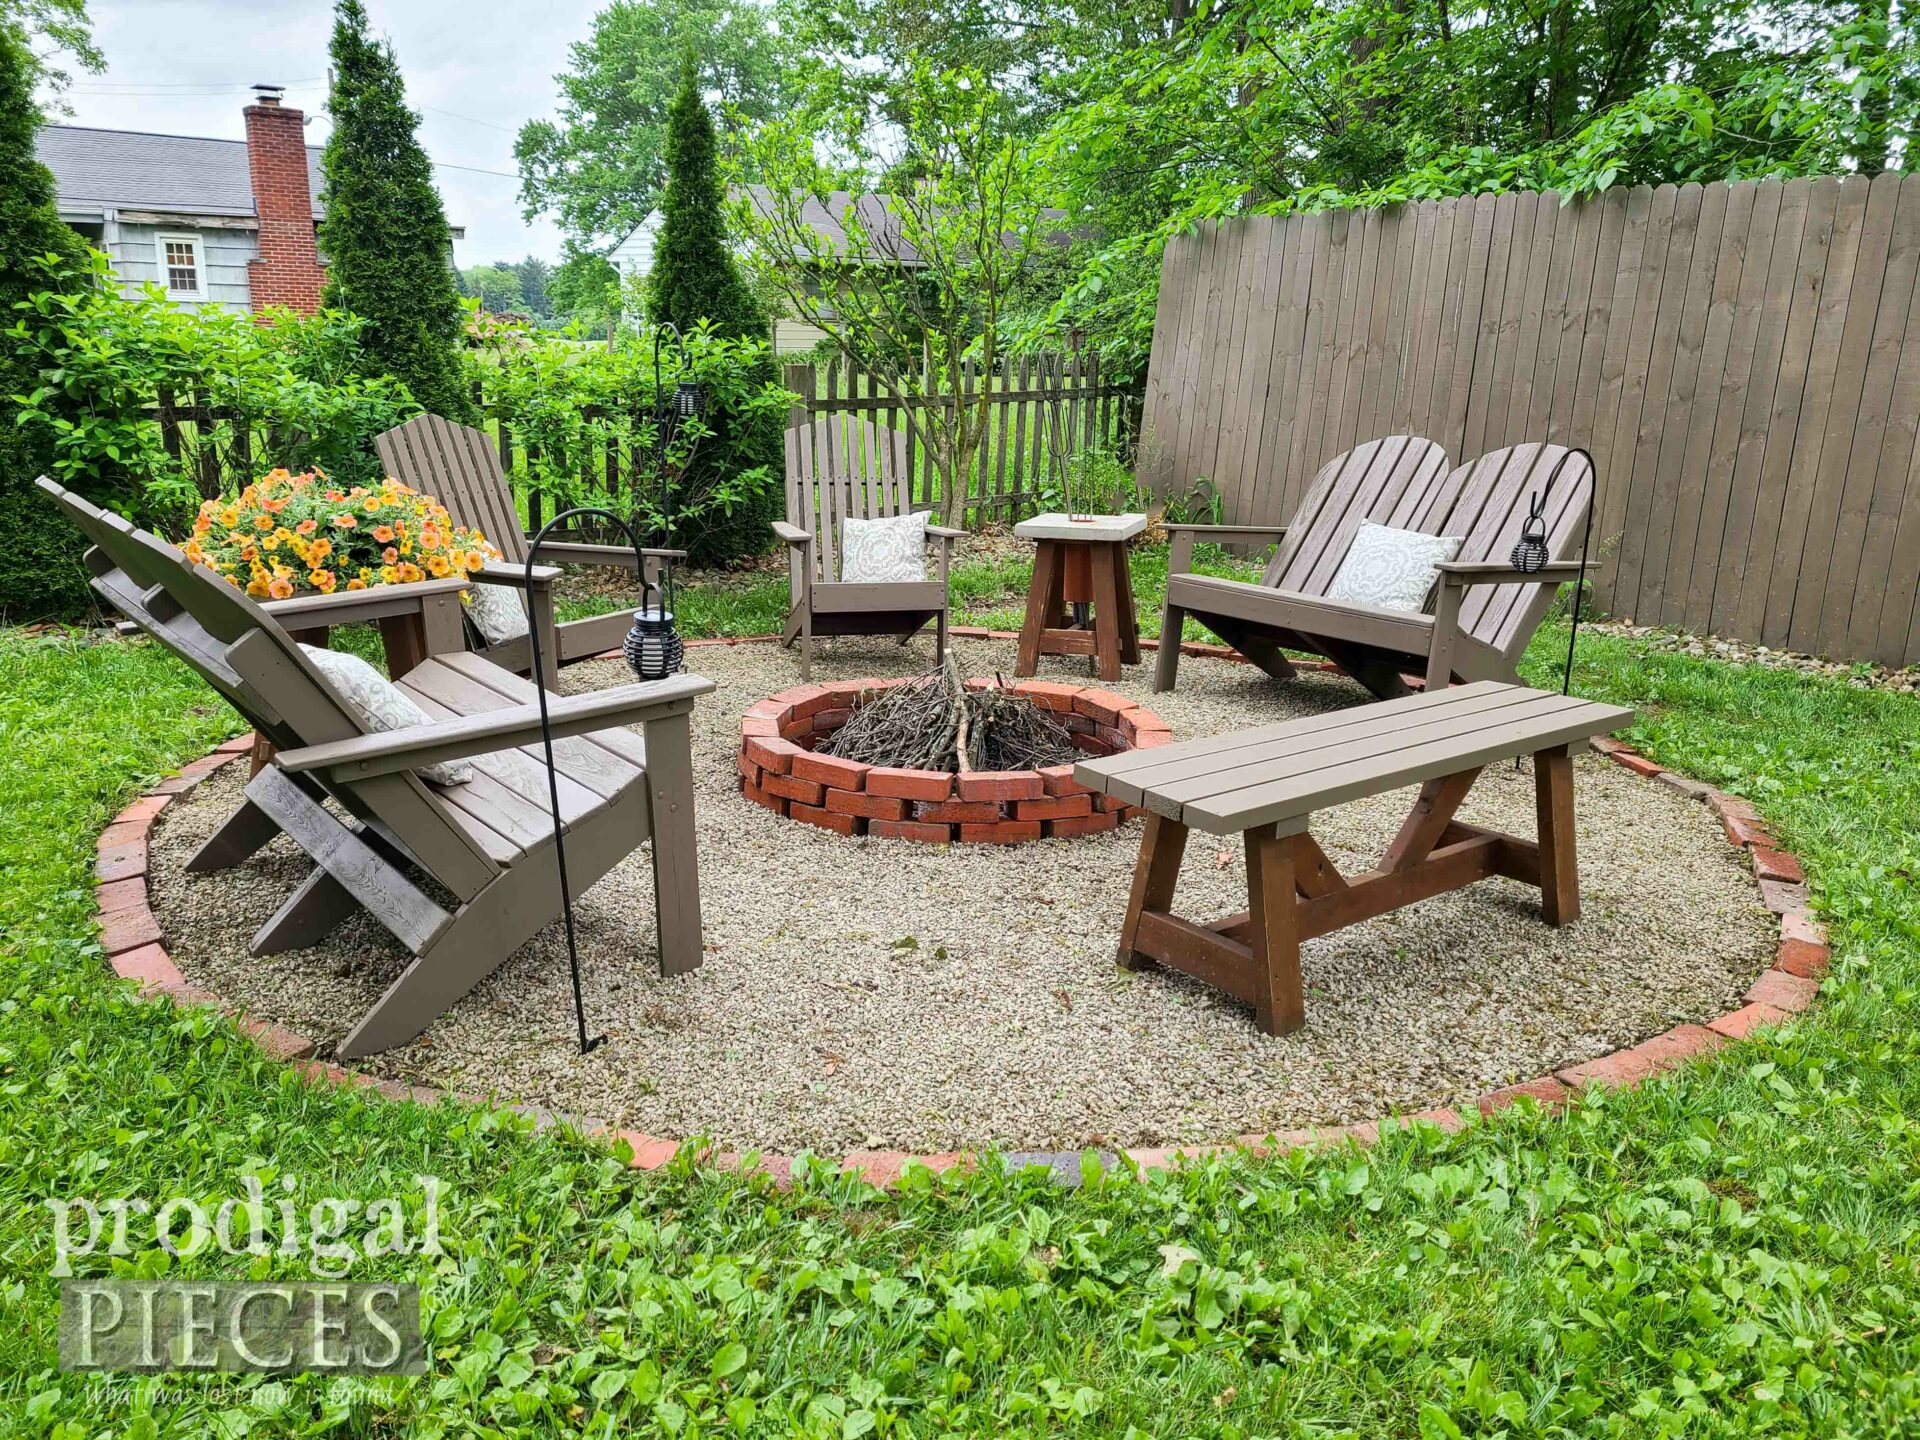
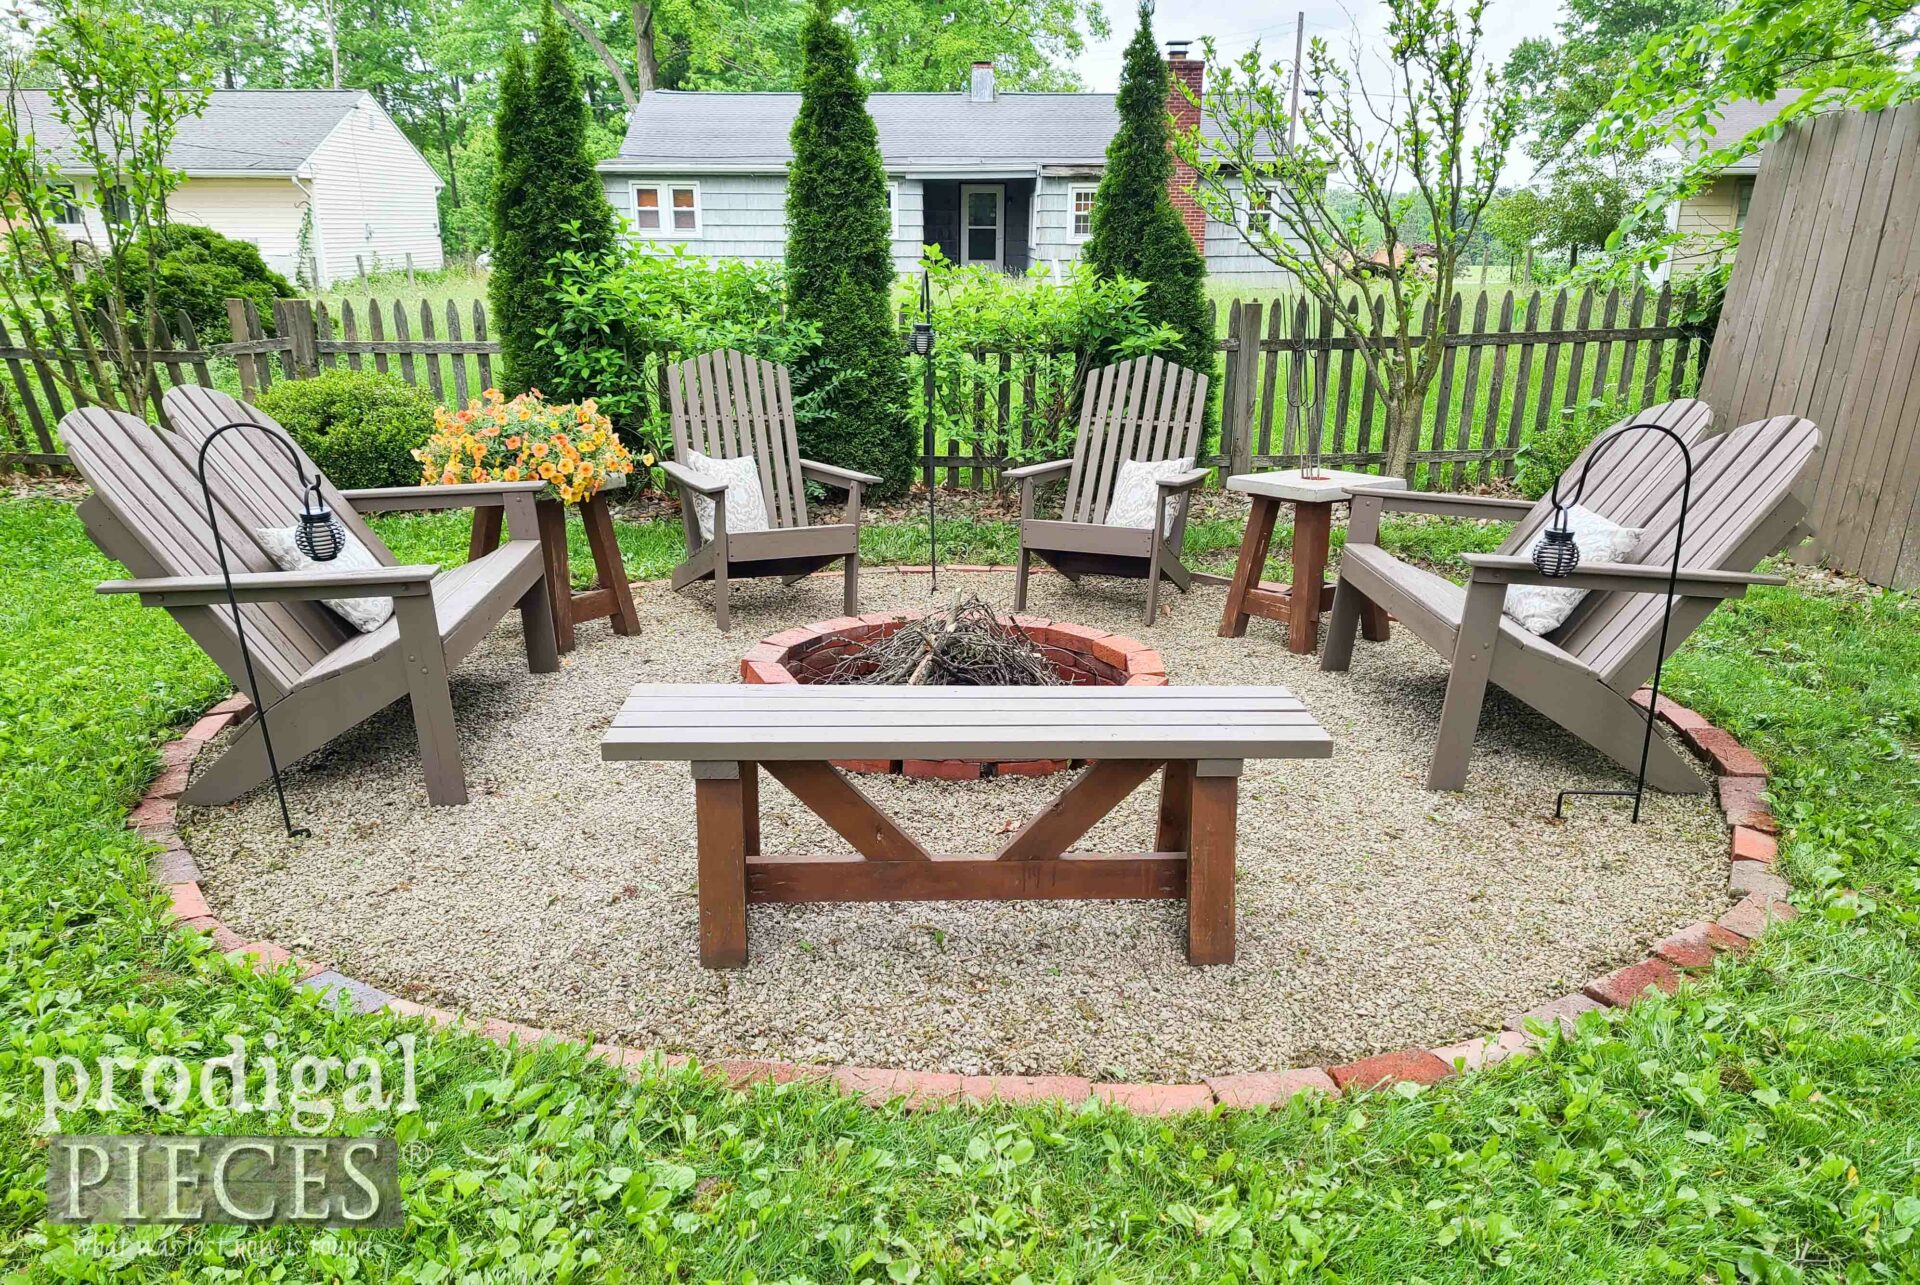
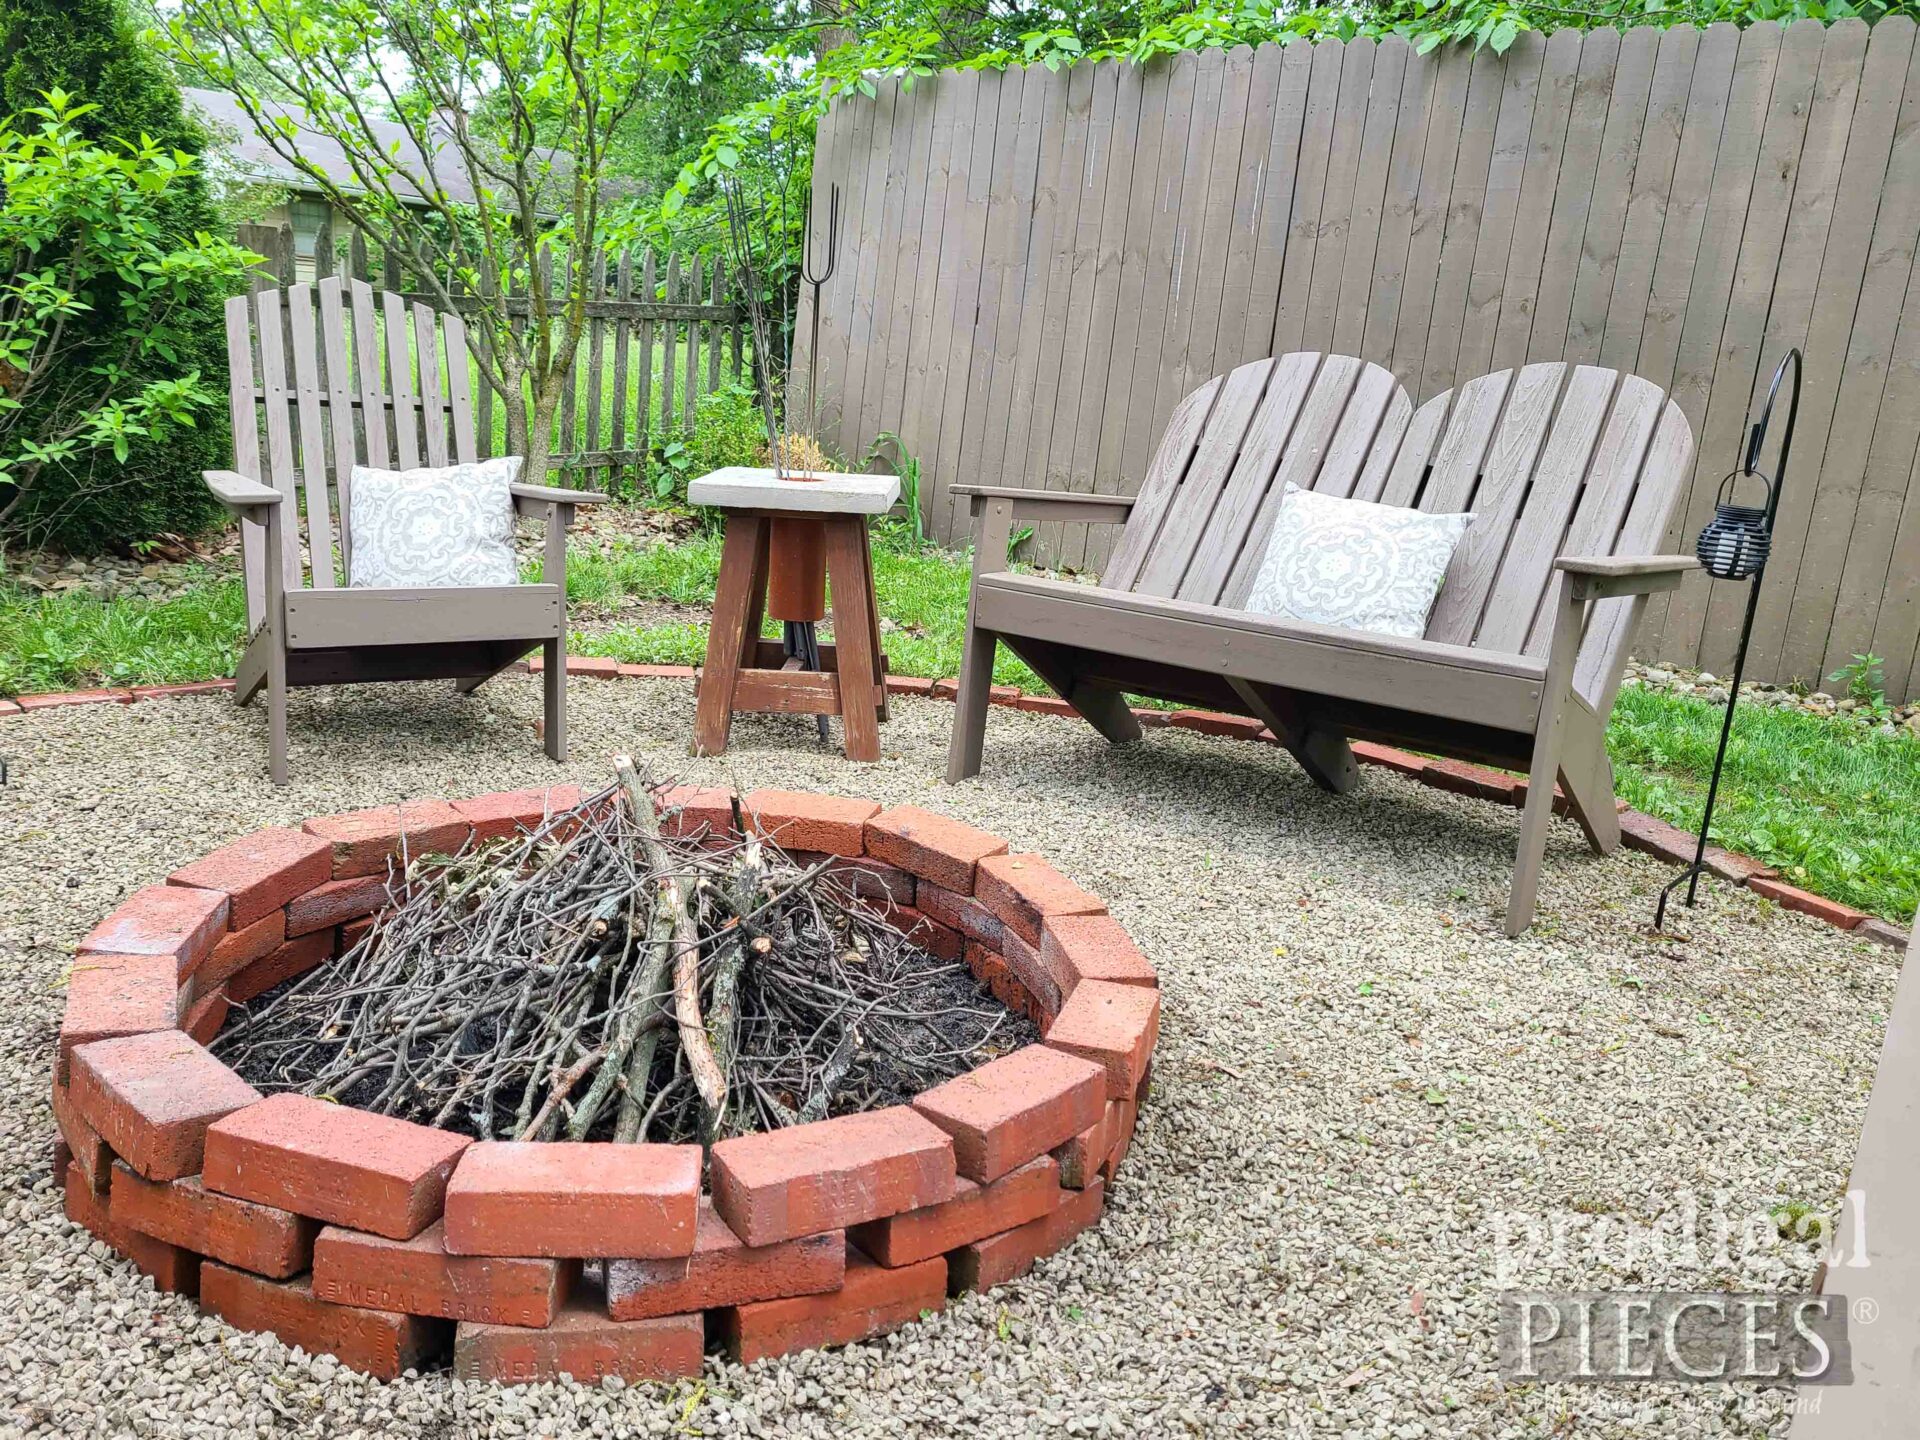
Y’all… take one second and scroll back up to see the “before” of this same angle. Can you see me doin’ the happy dance in between. My kids and I got this done in less than two days, not also counting the extra projects on the side.
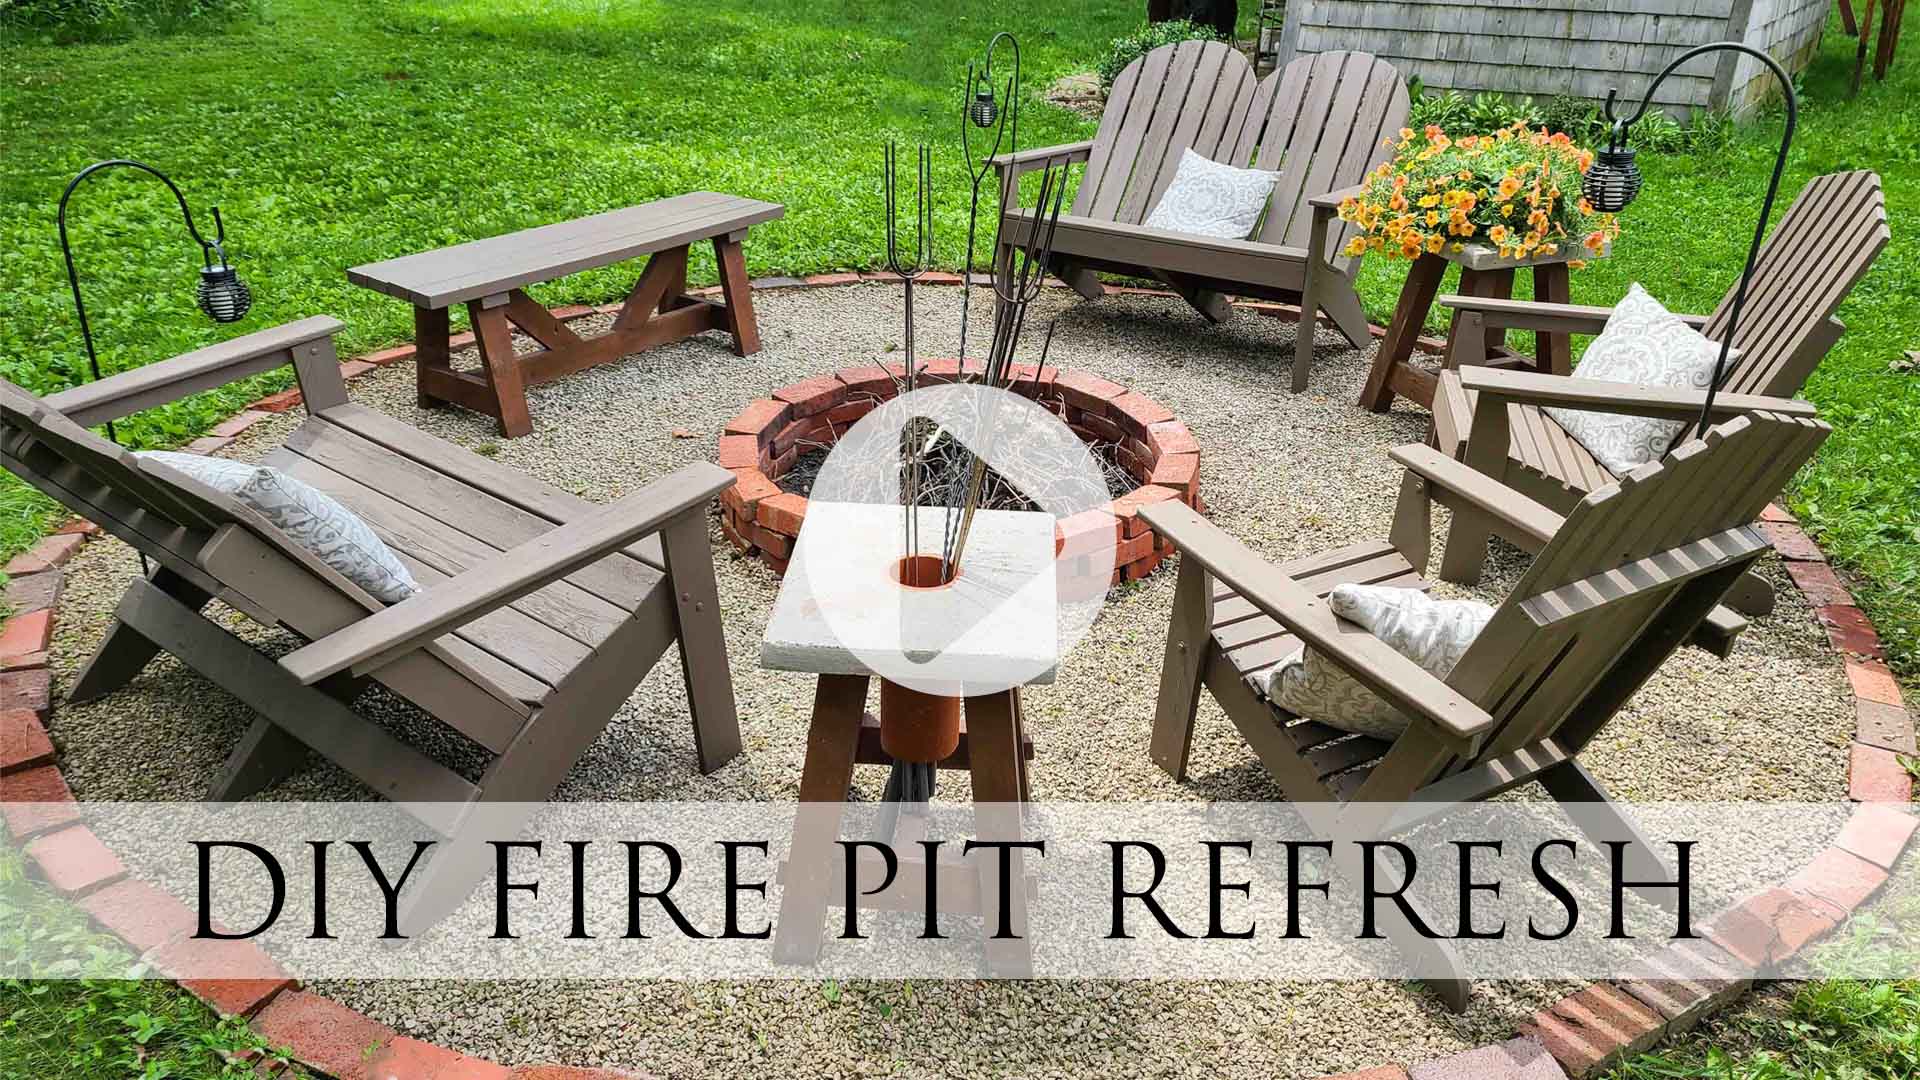
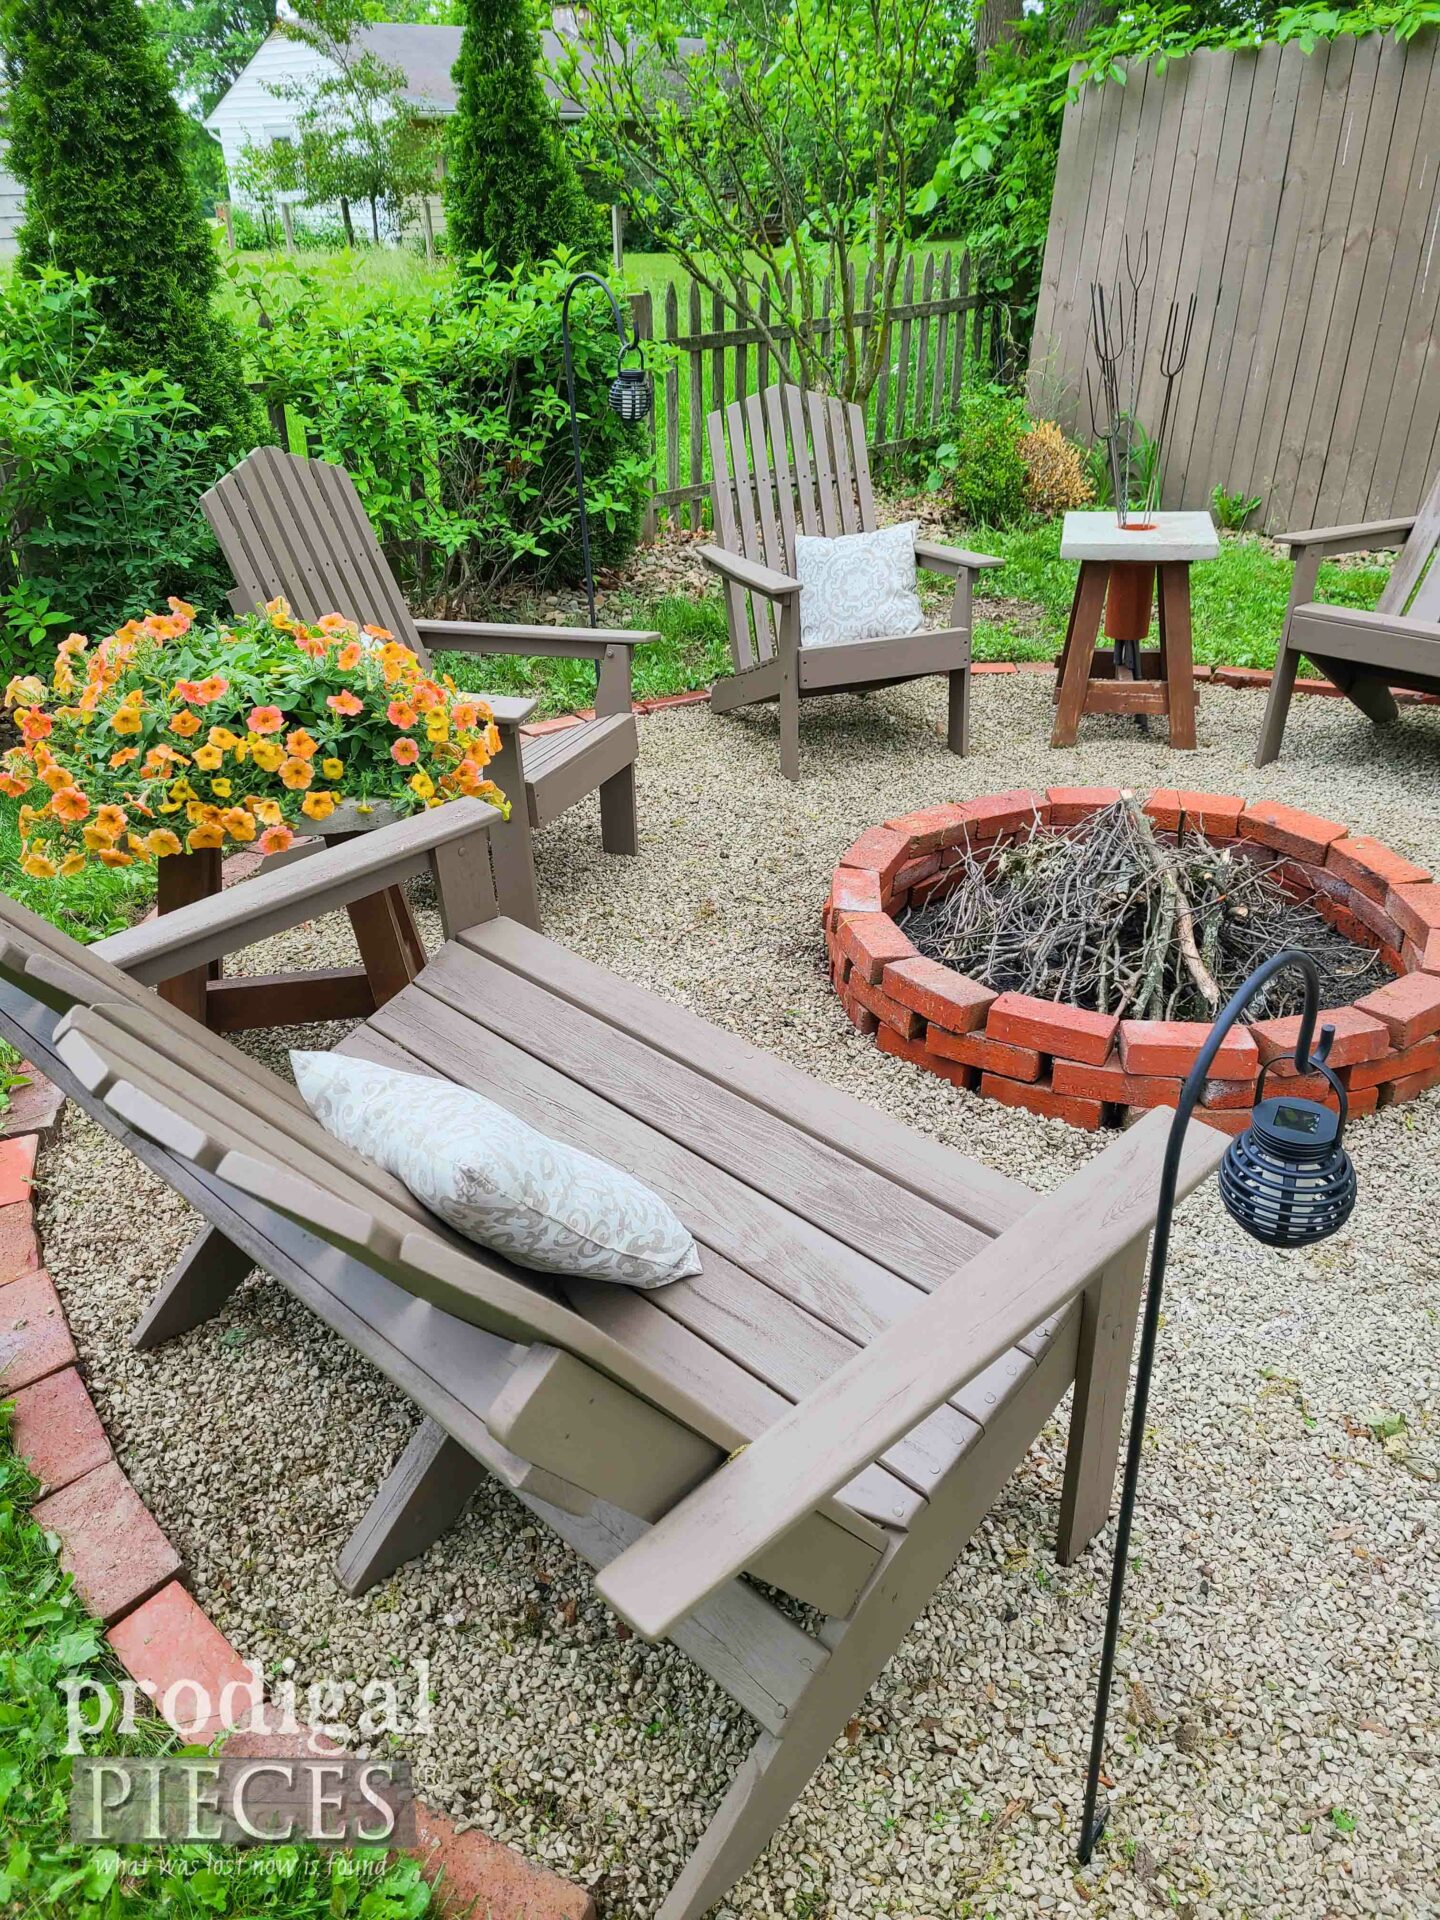
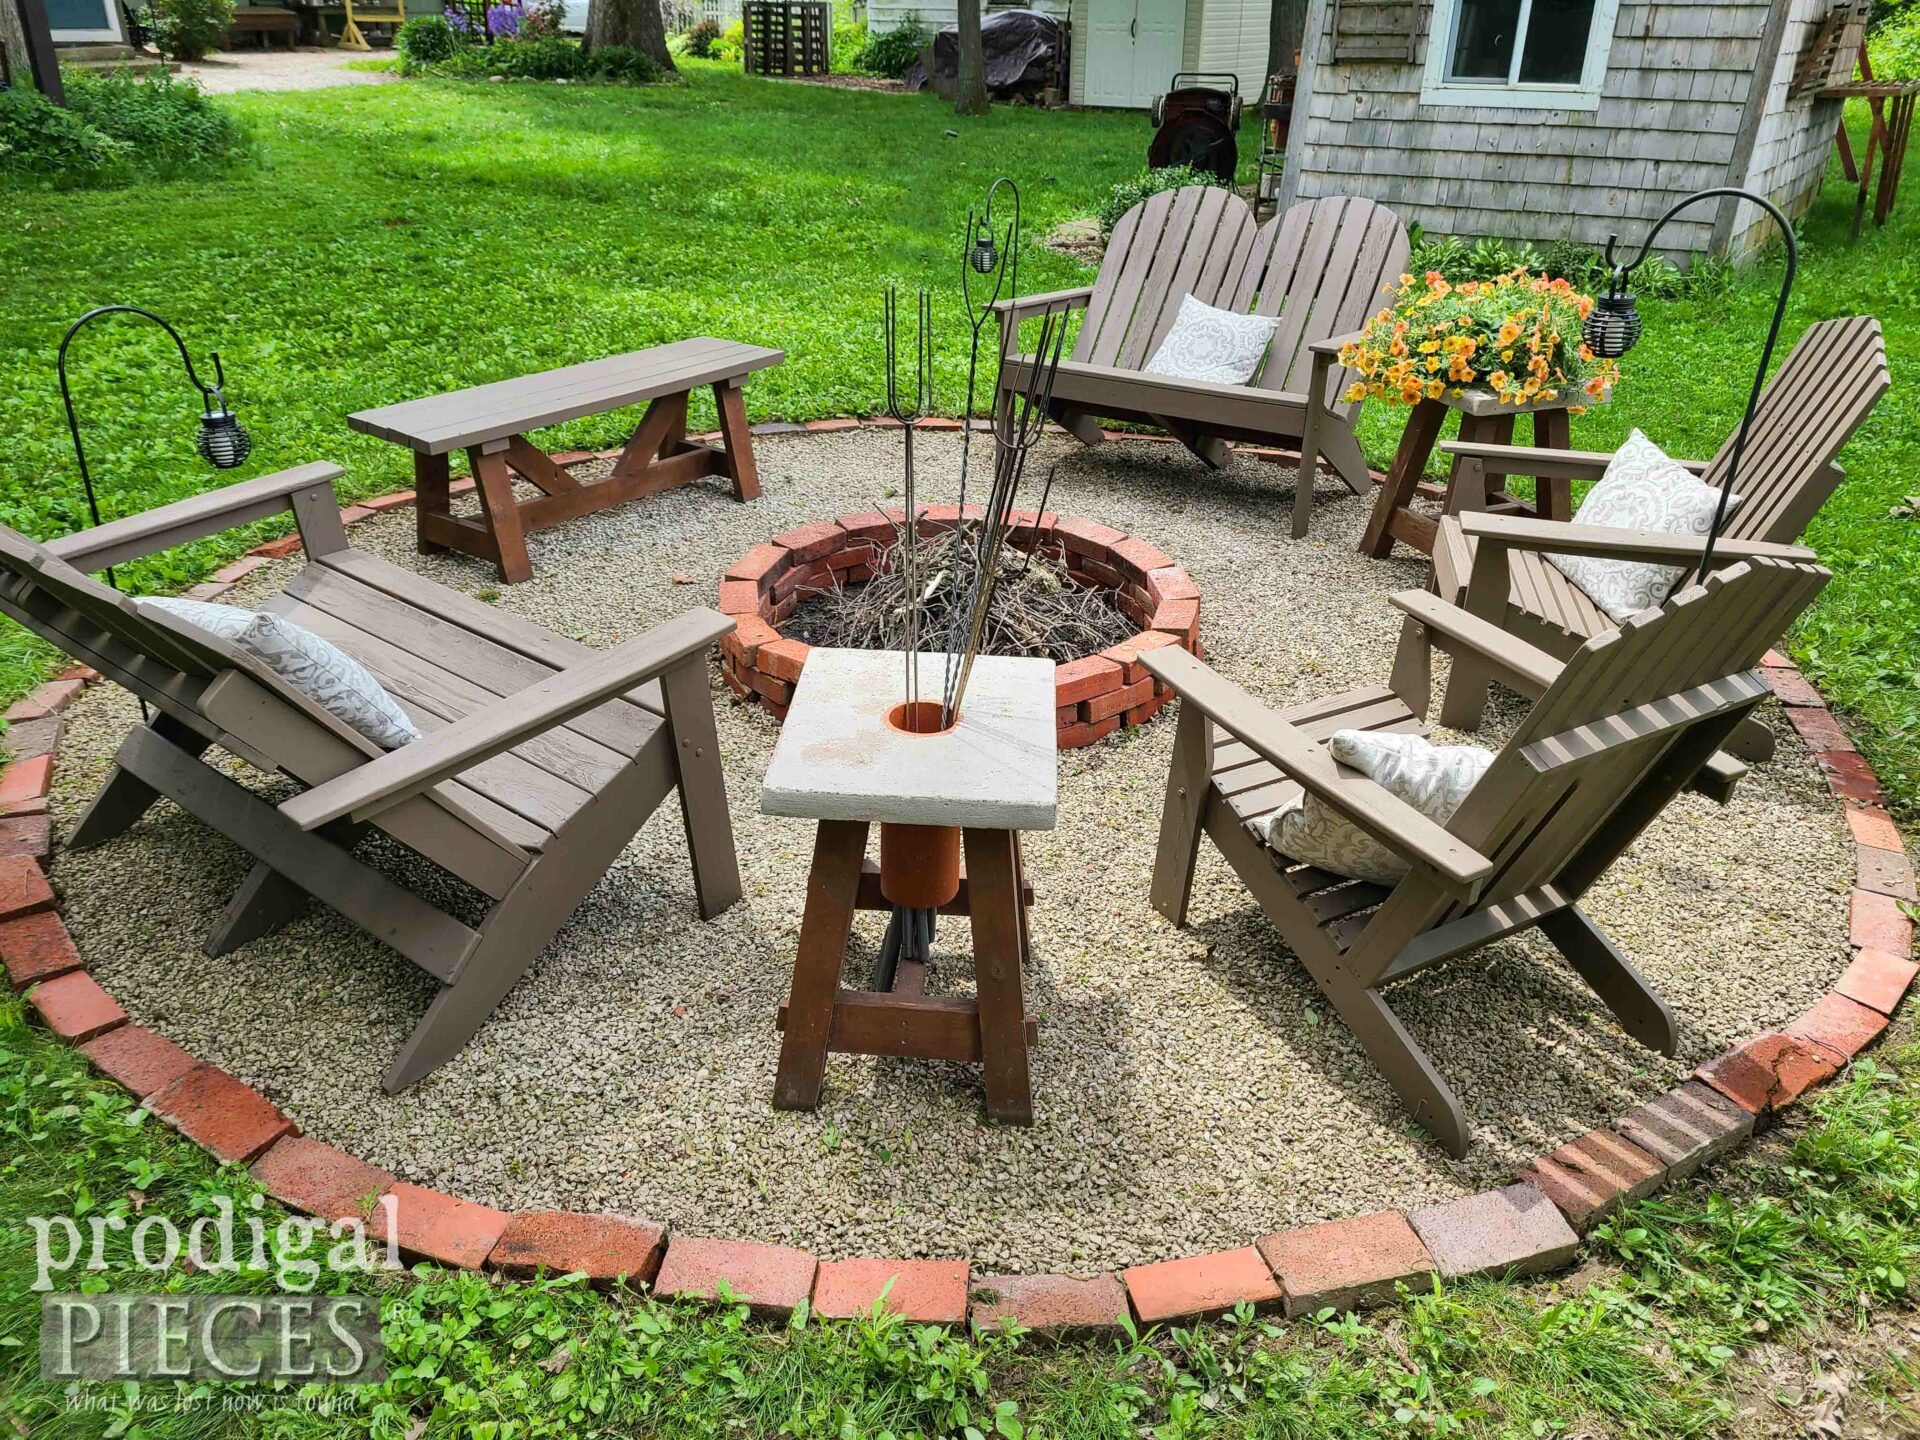
The pond smell is gone, the wood doesn’t look scary, and my fire pit is actually a pit and not a dent. haha. I’d say this DIY fire pit refresh is a hit!
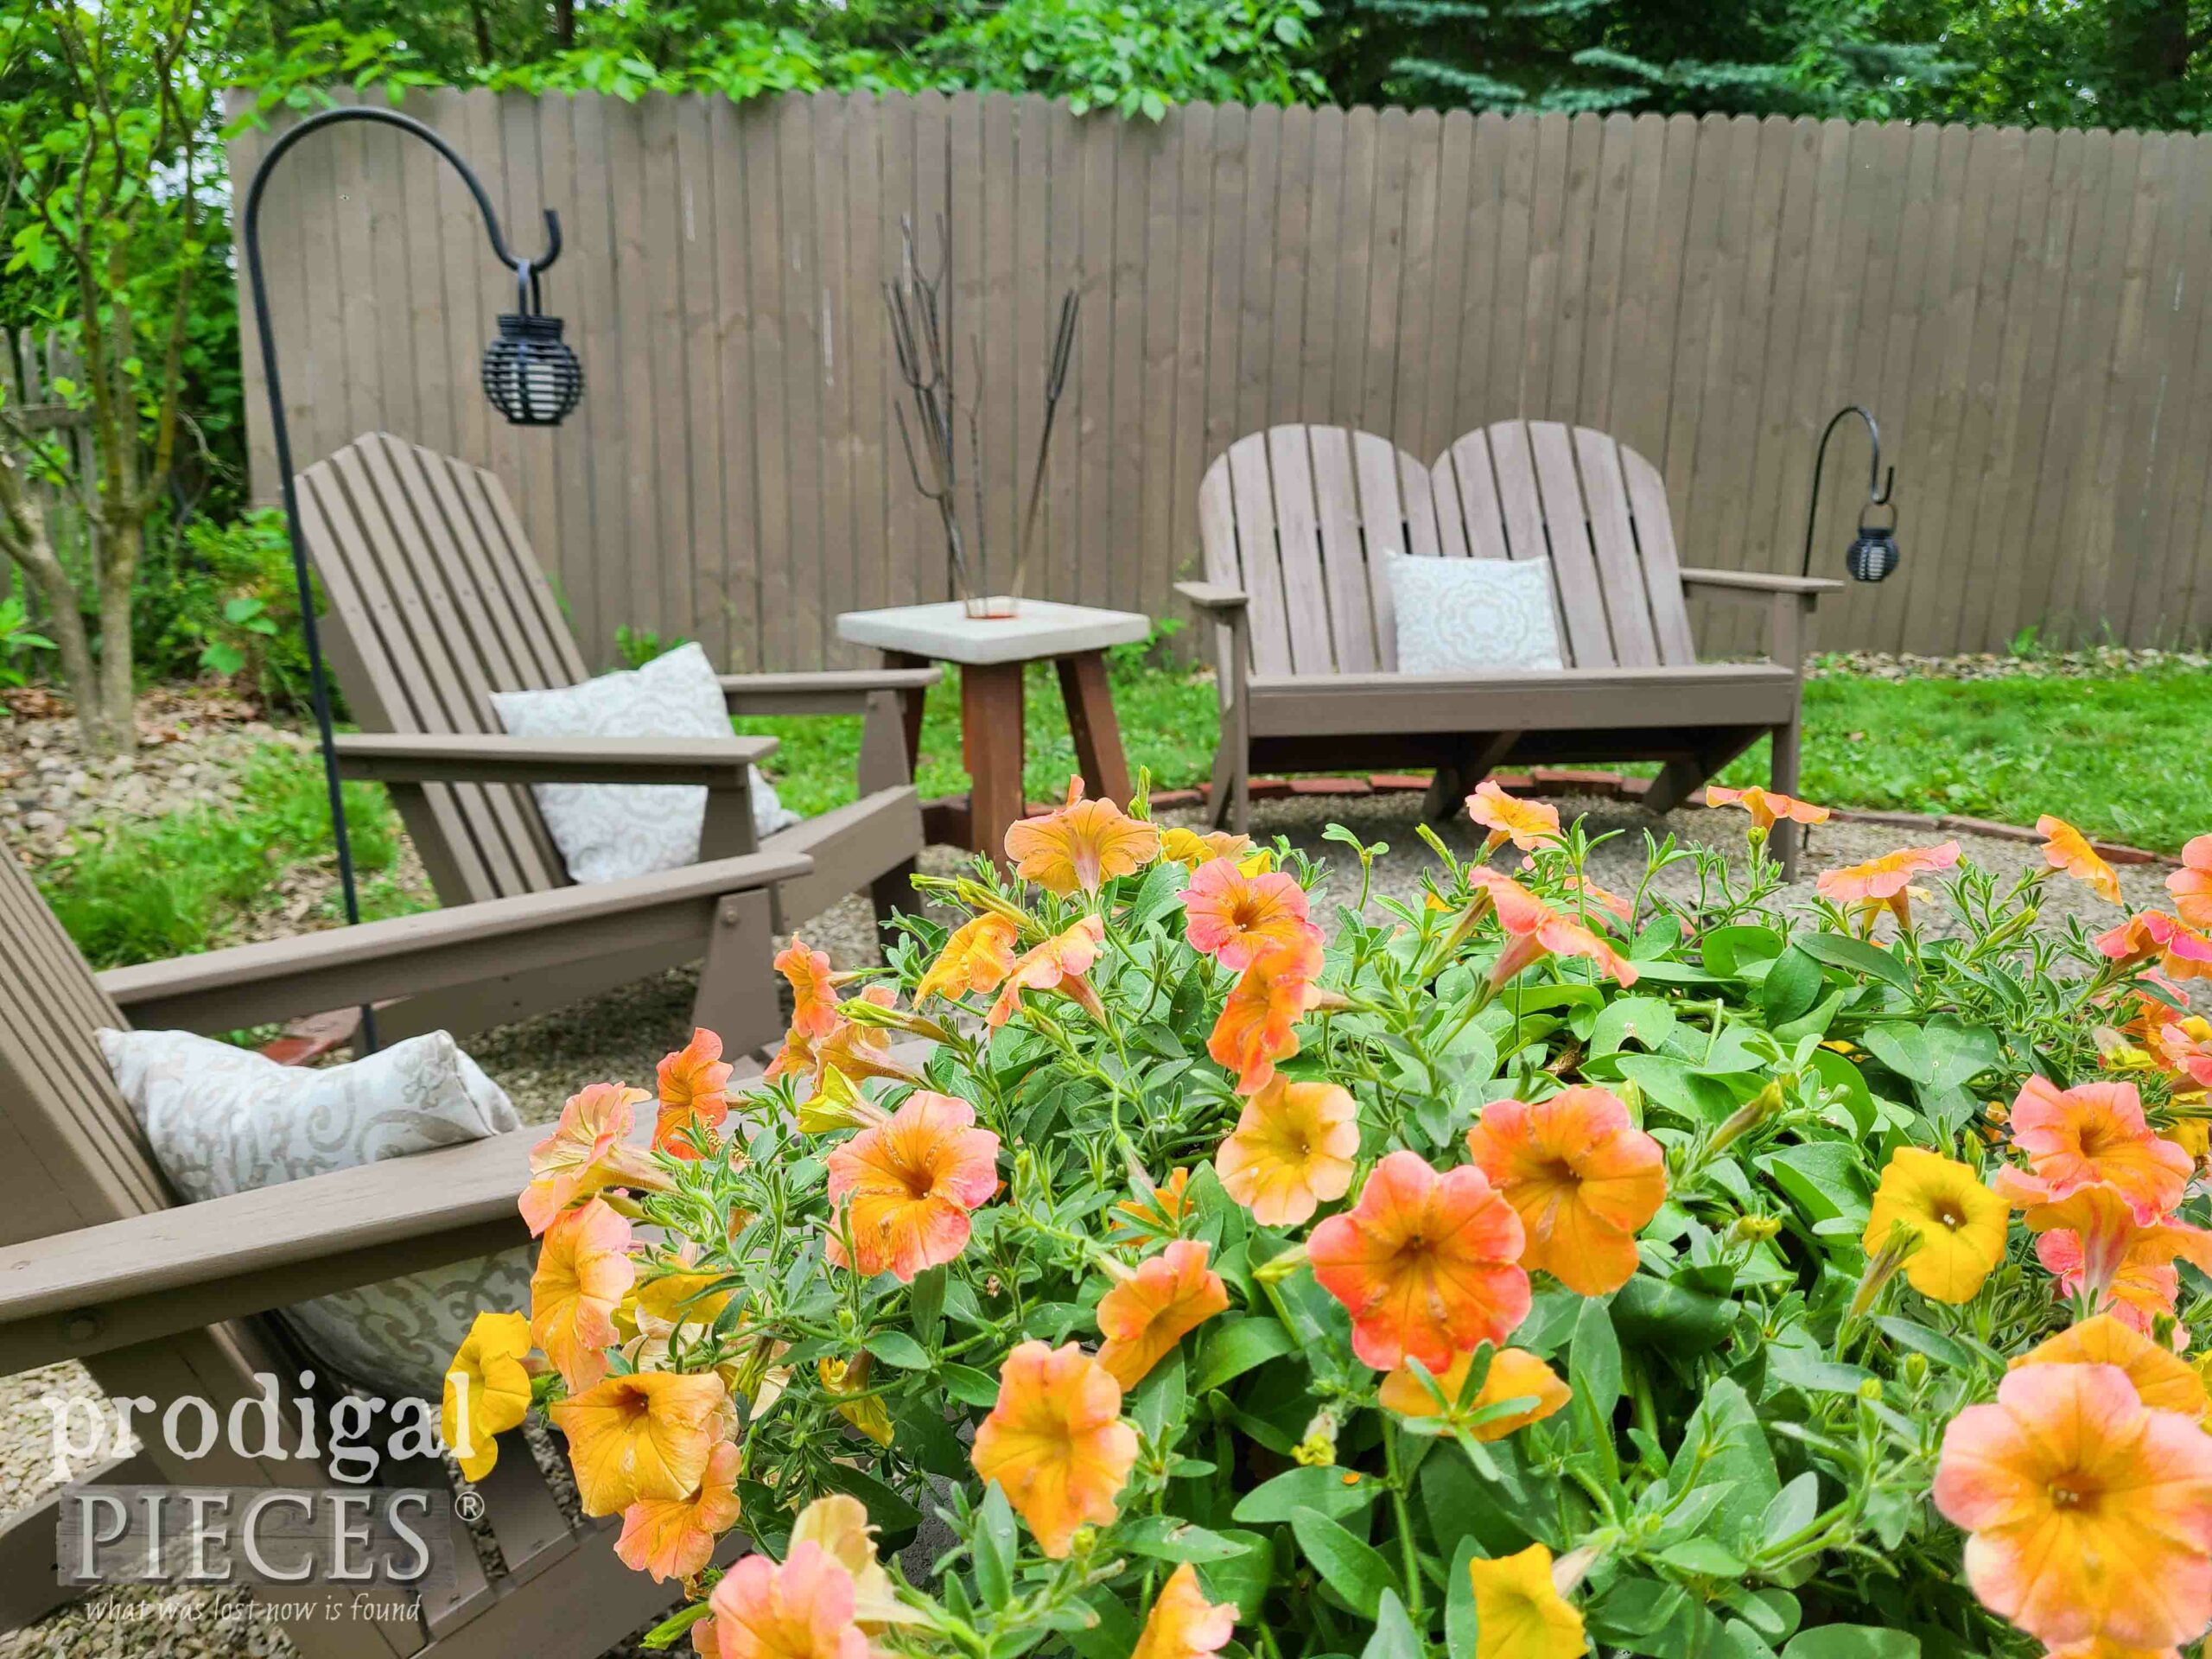
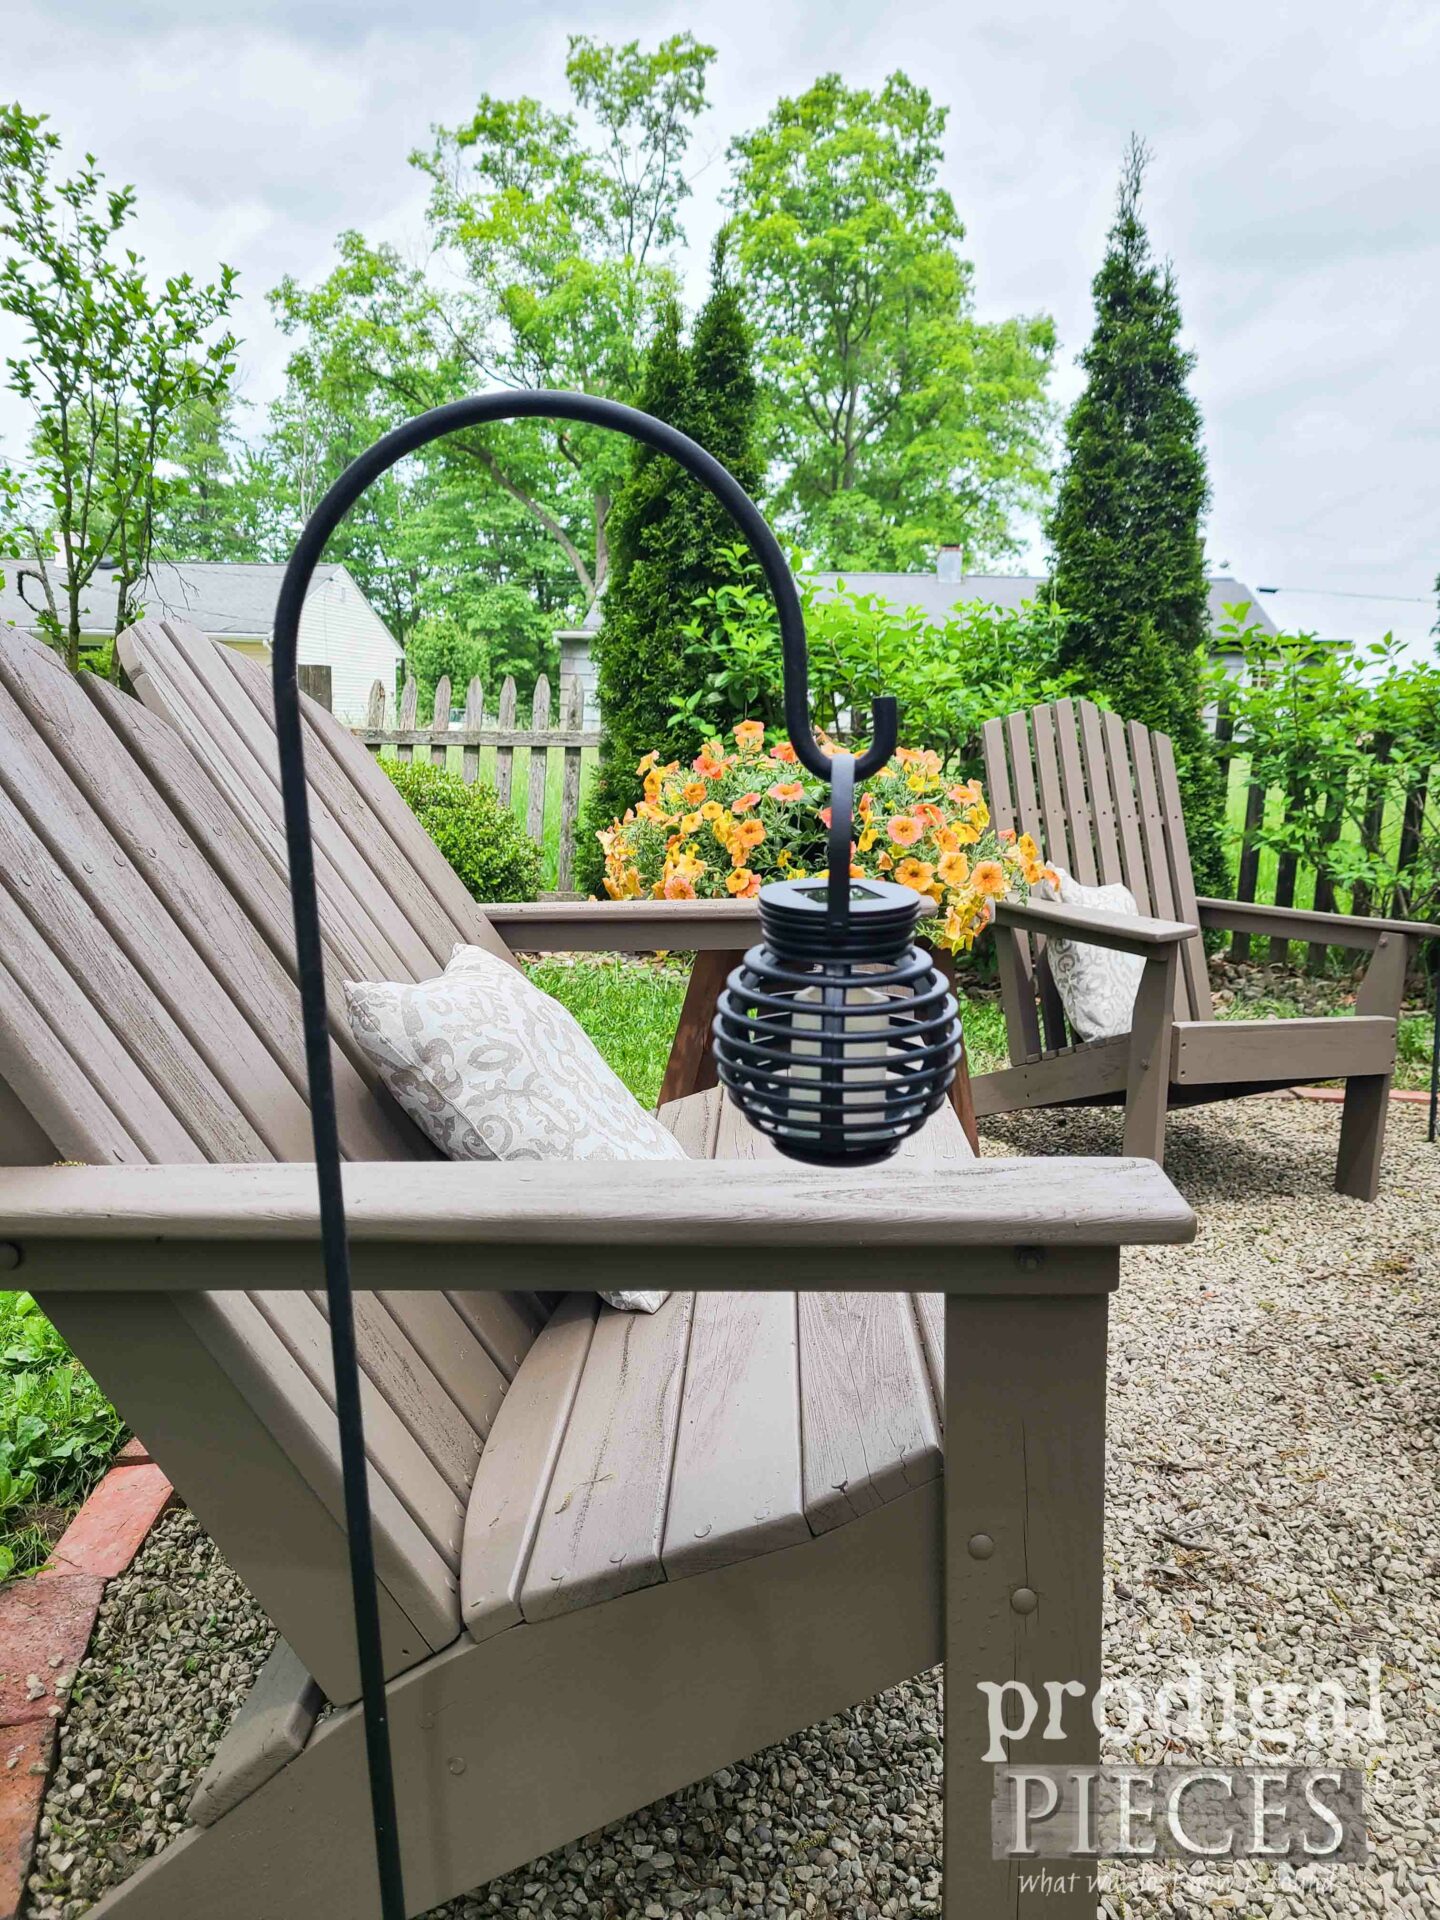
In addition to trying to declutter all over my home and property, I want less to care for over winter. I got rid of my solar light stumps and added my shepherd’s hooks here with these dollar store candle lanterns. Aren’t they cute?
My roasting sticks are ready to go, we gathered sticks for a fire and then… a storm is rolling in. After I filmed the video, we had to head to the basement for a tornado warning. Yes, I’m thankful none landed, but ya know… I just wanted to have a fire with my kids to celebrate our hard work. Ah well.
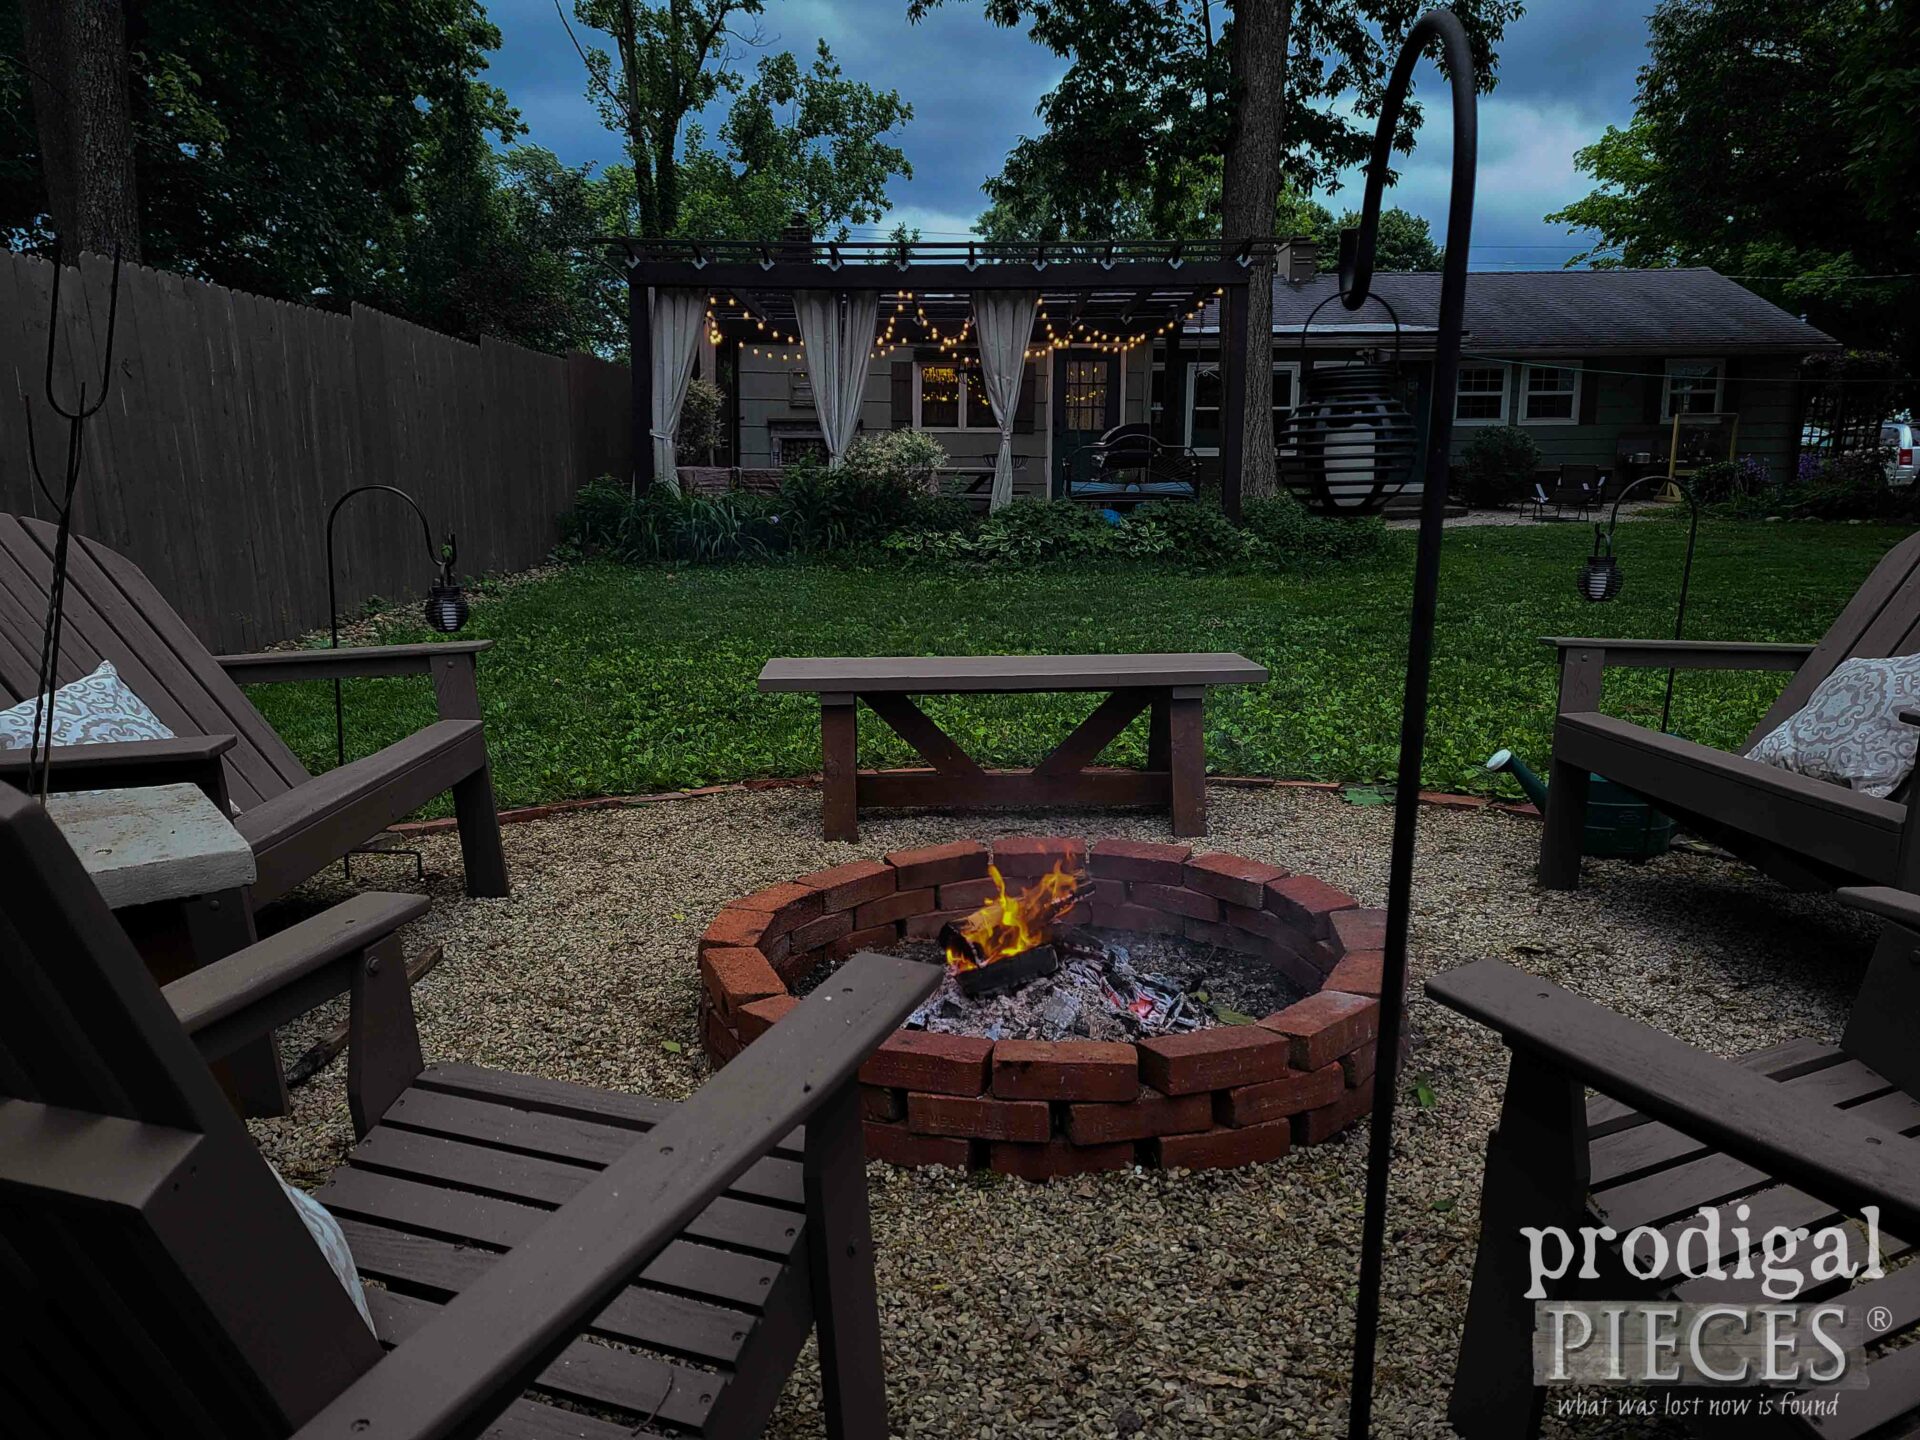
Obviously, one of the best parts of having a fire pit is the fire at night. With our patio lit up and the fire glowing, we are finally able to enjoy our hard labor the following evening.
SHARE
As always, I am eager to hear from you. Leave some comment love down below, but also share and share and share some more this DIY fire pit refresh. Many folks are like-minded and just need the inspiration.
Also, if you’ve got questions, feel free to ask and email if you like. I’m eager to help!
MORE OUTDOOR DIY PROJECTS FOR YOU
- Concrete Tables/Solar Lights
- Patio Pergola
- Pergola Update
- DIY Outdoor Sectional Sofa
- Garden Shed
- Potting Bench
- Privacy Fence
- Bike Shed
- Outdoor Pillows
- Free Garden Arbor Plans
- Free Planter Plans
- Faux Fireplace
- Raised Bed Garden
- DIY Rain Barrel
Before you go, be sure to sign up for my FREE newsletter. Until next time!

Congratulations! What a beautiful job done with the best kind of helpers! Starting off the season with a solid win!
whew! I think I need a vacay from all that. haha. Thanks so much for the loving support, Kaleria.
What a joy to finish projects and have the help of eager kids! You all did a beautiful job. No fun having to basement dwell while storms rolled past. I’m thankful no tornados touched down in your area! And at last ……..ahhhhh ,family time- around the pit. I would love for an evening like that.
Yes! They are glad it’s not an eye-sore any mor and actually inviting again. And yes, no tornado, thankfully.
Larissa!! What a transformation!! You and the kids did an amazing job. I know you’ll enjoy many a quiet evening roasting marshmallows, sharing stories and making wonderful memories!!!! Lots of love!! 😍
Thank you from the four of us! We are happy to be making big changes that also feel good. Hugs to you, Rebecca.
It looks wonderful! You all did a great job in getting it done so quickly. Now on to fun evenings enjoying all your hard work!
That’s the plan! Thank you, Ginny. We’re staining the swing set today.
Fabulous before and after, really like how you finished the area off with the brick edging. Gotta love a pressure washer and paint sprayer to speed up the work, and make it more enjoyable 🙂 You’ll really enjoy hanging there with your family now that the hard work is done…thanks for sharing!
Larissa, what an absolutely amazing update!!! I know you and yours will have wonderful times out there this year!!!
I recently read an article about rain gardens and wanted to pass that idea on to you. Hopefully it will help with the issues you’re having with the water coming from your neighbor’s area. Might be a nice ‘in your face’ if you could turn their man-made disaster into a beautiful area in your yard!!!
Here’s the link:
https://www.architecturaldigest.com/story/rain-gardens-everything-you-need-to-know
Hope it helps!!!
Have a great day and stay safe!!!
Thanks! I honestly have looked at that and just plan to move. haha. There are some amazing designs out there. Thanks so much, Jean.
Oh my gosh, Larissa, what a wonderful job! It looks like a brand-new set. And, the fire pit is really ready to go. Have a wonderfully blessed Summer. Much Light, Sharon
eep! To say I’m stoked (and exhausted) is an understatement, Sharon. Thanks! I’m eager to enjoy some days with my kids.