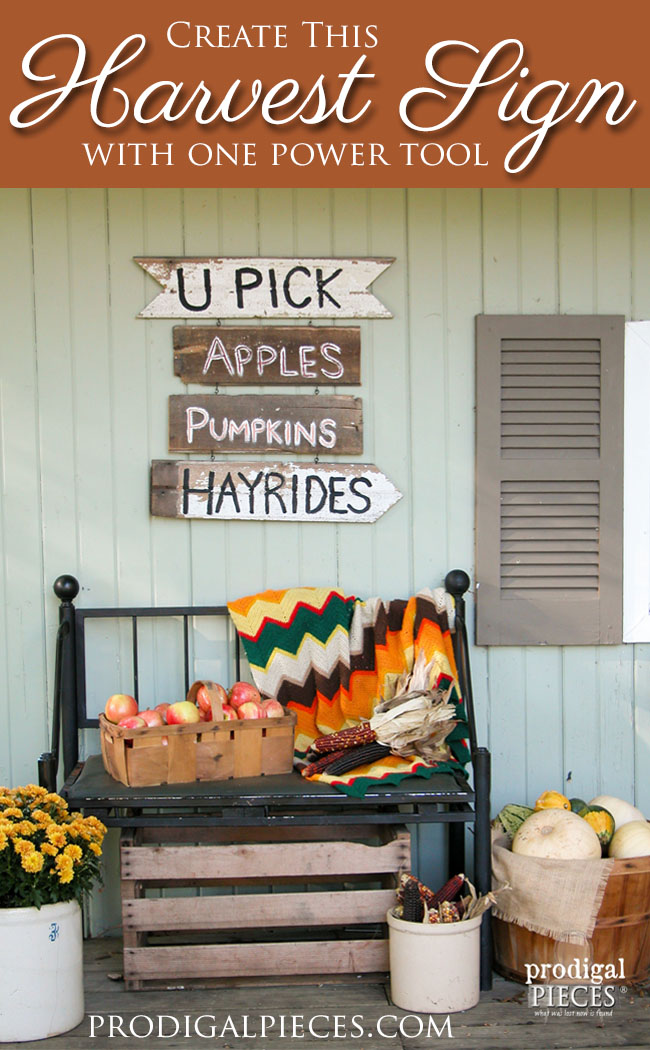
I tell ya, there needs to be a song about harvest time. It truly is a wonderful time of year where we reap the benefits of sweat equity in our labors of garden and more. I’m especially thankful for farmers and their endless devotion to keeping us fed. To celebrate, I’m taking these scrap pieces of wood and sharing a DIY harvest sign fit for any home.
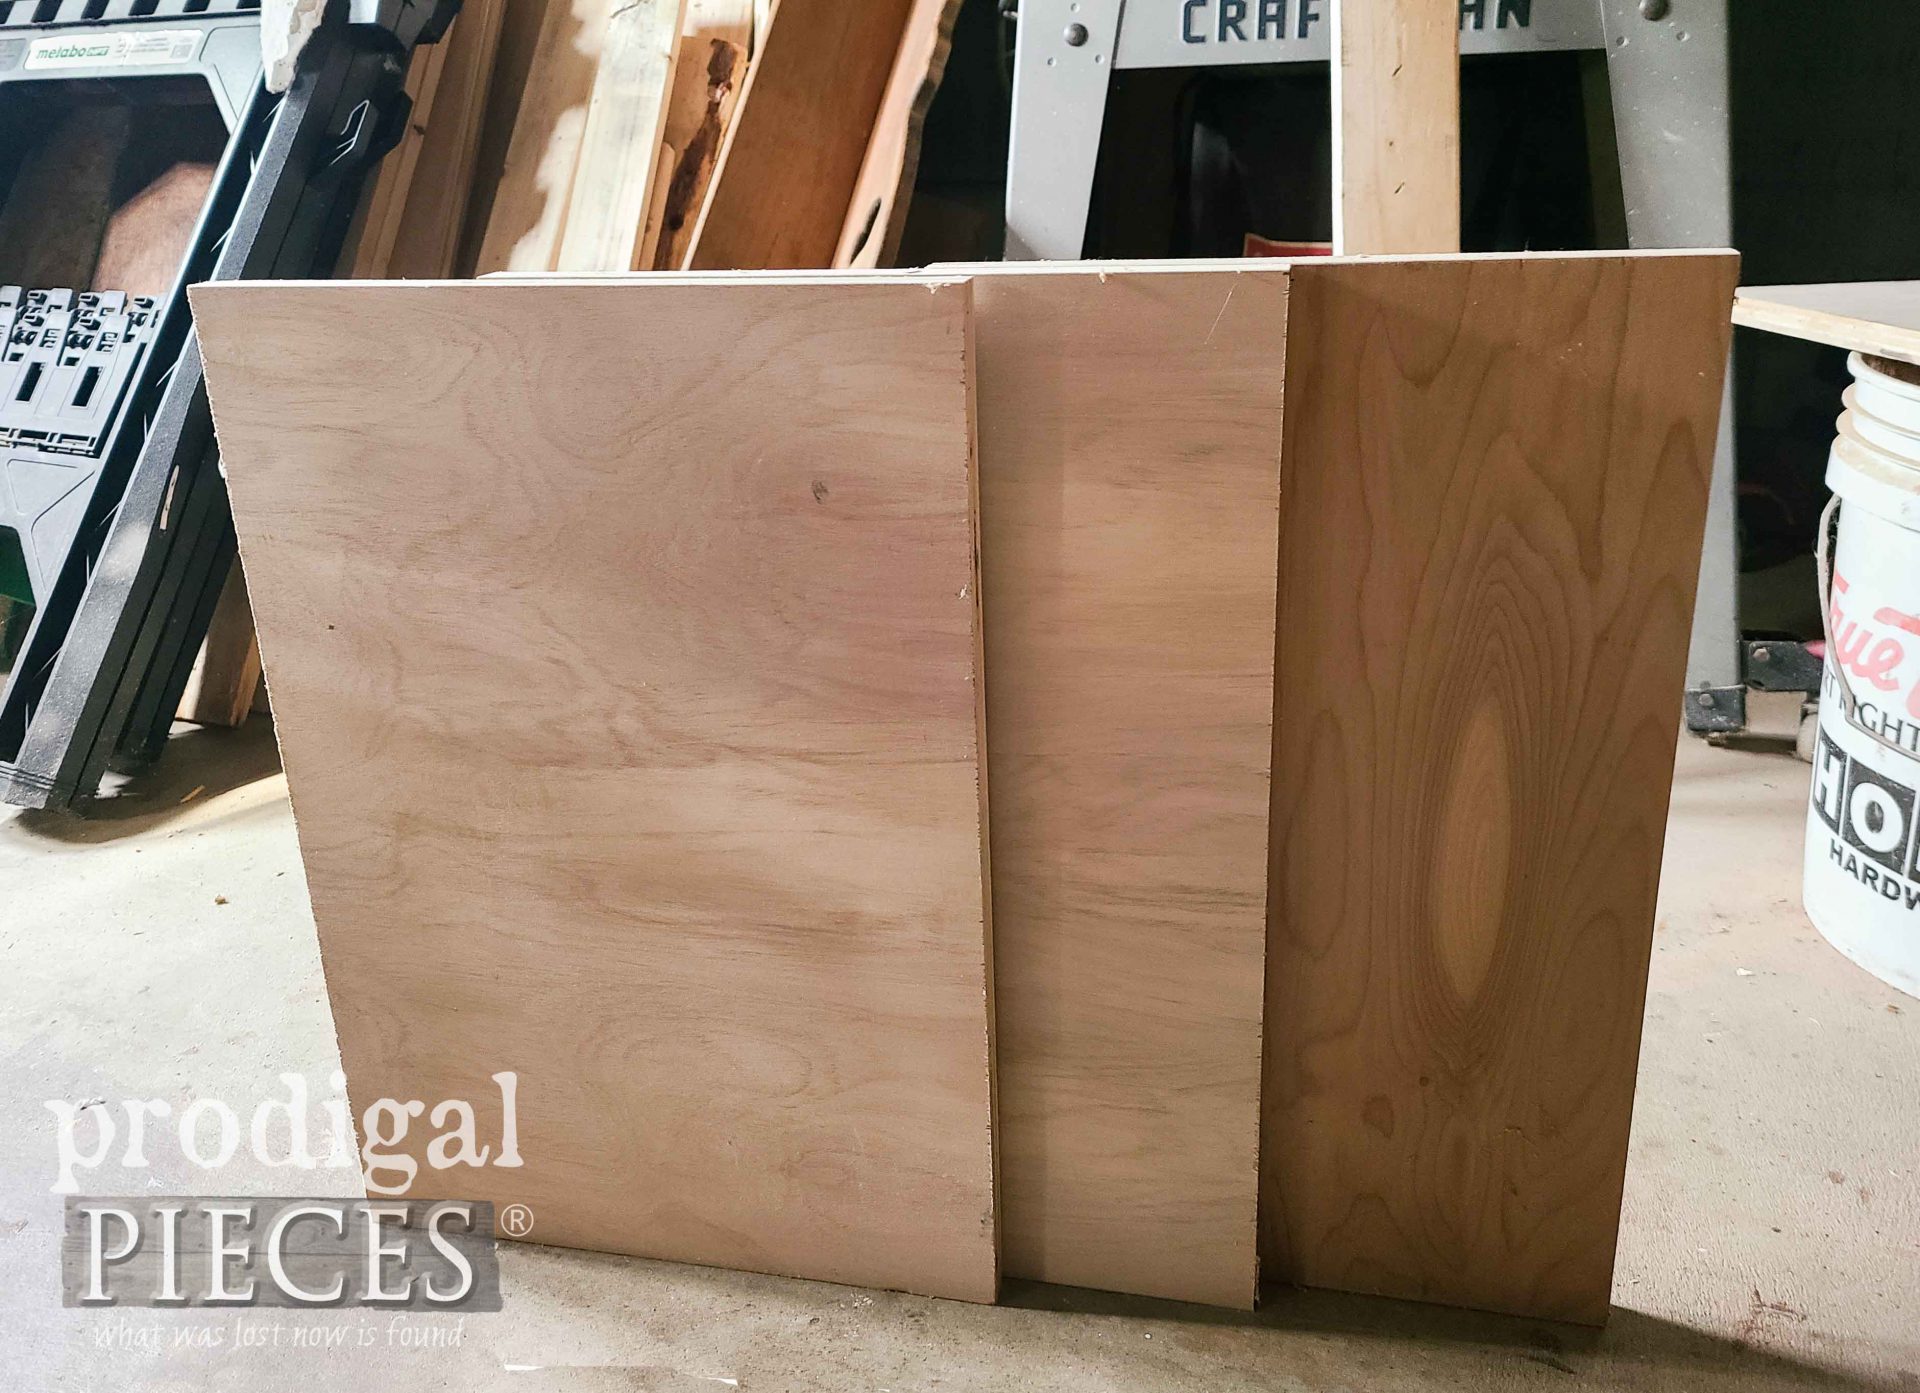
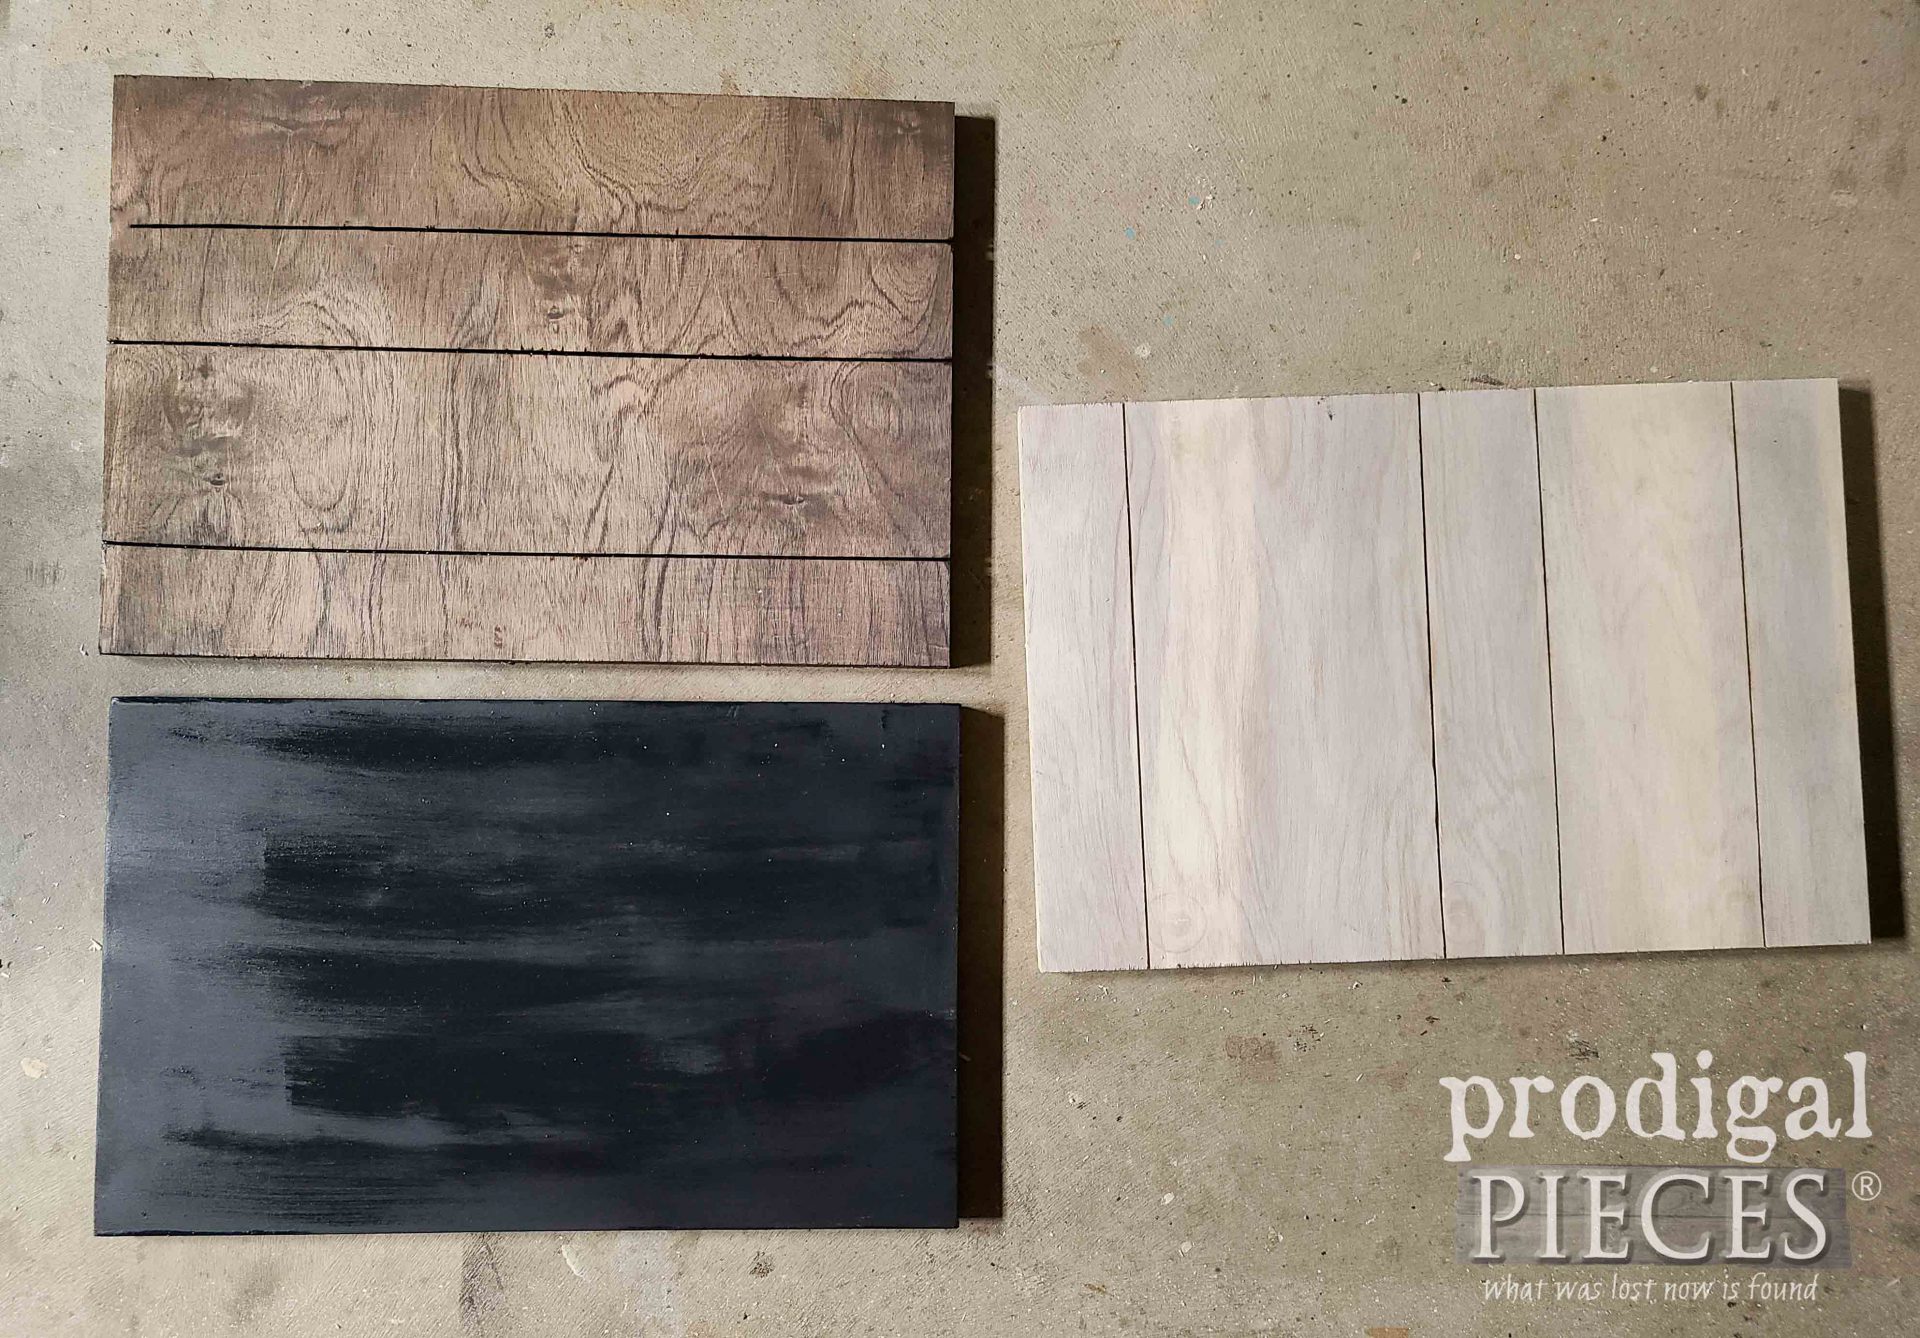
Well, I had these 3 similar pieces of cabinet-grade plywood staring at me in my stash. It’s not a magic number, just thought it would fun to take each 3 and make them up in the same manner, but with 3 different finishes. So, at the end I want to hear which one suits your fancy, k?
If you want to make this too, here’s my basic supplies list:
TOOLS & SUPPLIES
TERMS OF USE: if you recreate this exact harvest sign, you agree to the following: it cannot be shared or distributed for monetary gain in any way, it may not be modified in any way, and you may not claim the work as your own.
- ¾” thick scrap plywood (can be any grade in any size)
- scrap pallet wood
- paints & stains of choice
- circular saw (optional, but fun)
- Kreg Rip Cut Jig (optional, but also super fun)
- Kreg Pocket Joint Jig (a must-have for any DIYer)
- miter saw
- tape measure
- builder’s square
- stencil or graphic of your choice
- artist pastels
- 1 ¼” wood screws
- >wood glue
- keyhole hardware
DIY TIME
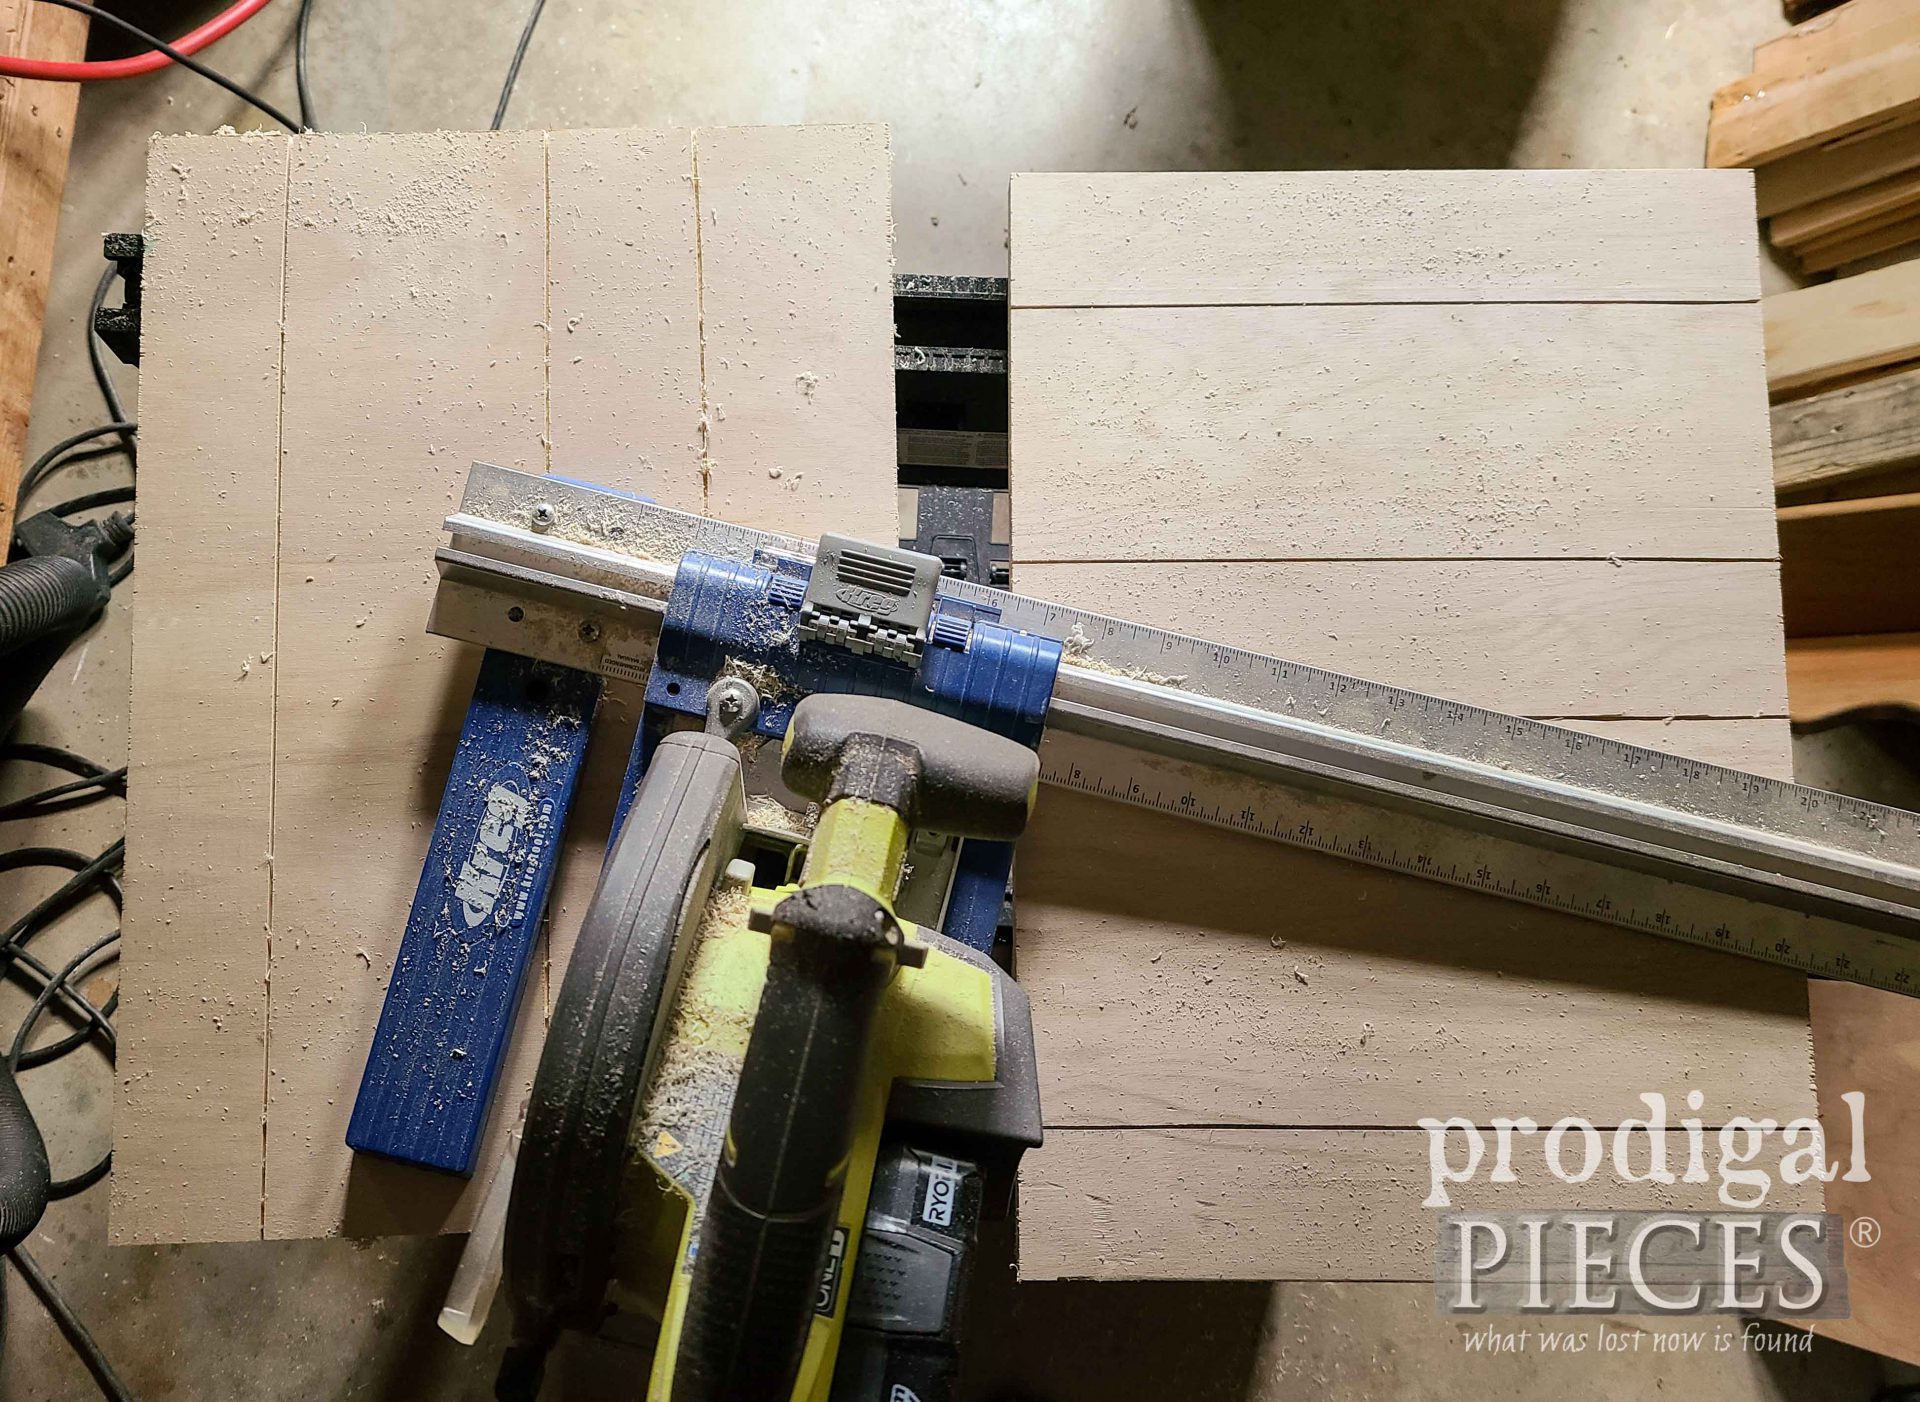
Let’s get started! First, I wanted to create a faux planked look on two of my harvest signs. In order to do that the easiest way, I hook up my circular saw to my jig and add random cuts about ¼” deep.
Notice I did cuts vertically on one and horizontally on the other. That’s just to show you variations using this idea.
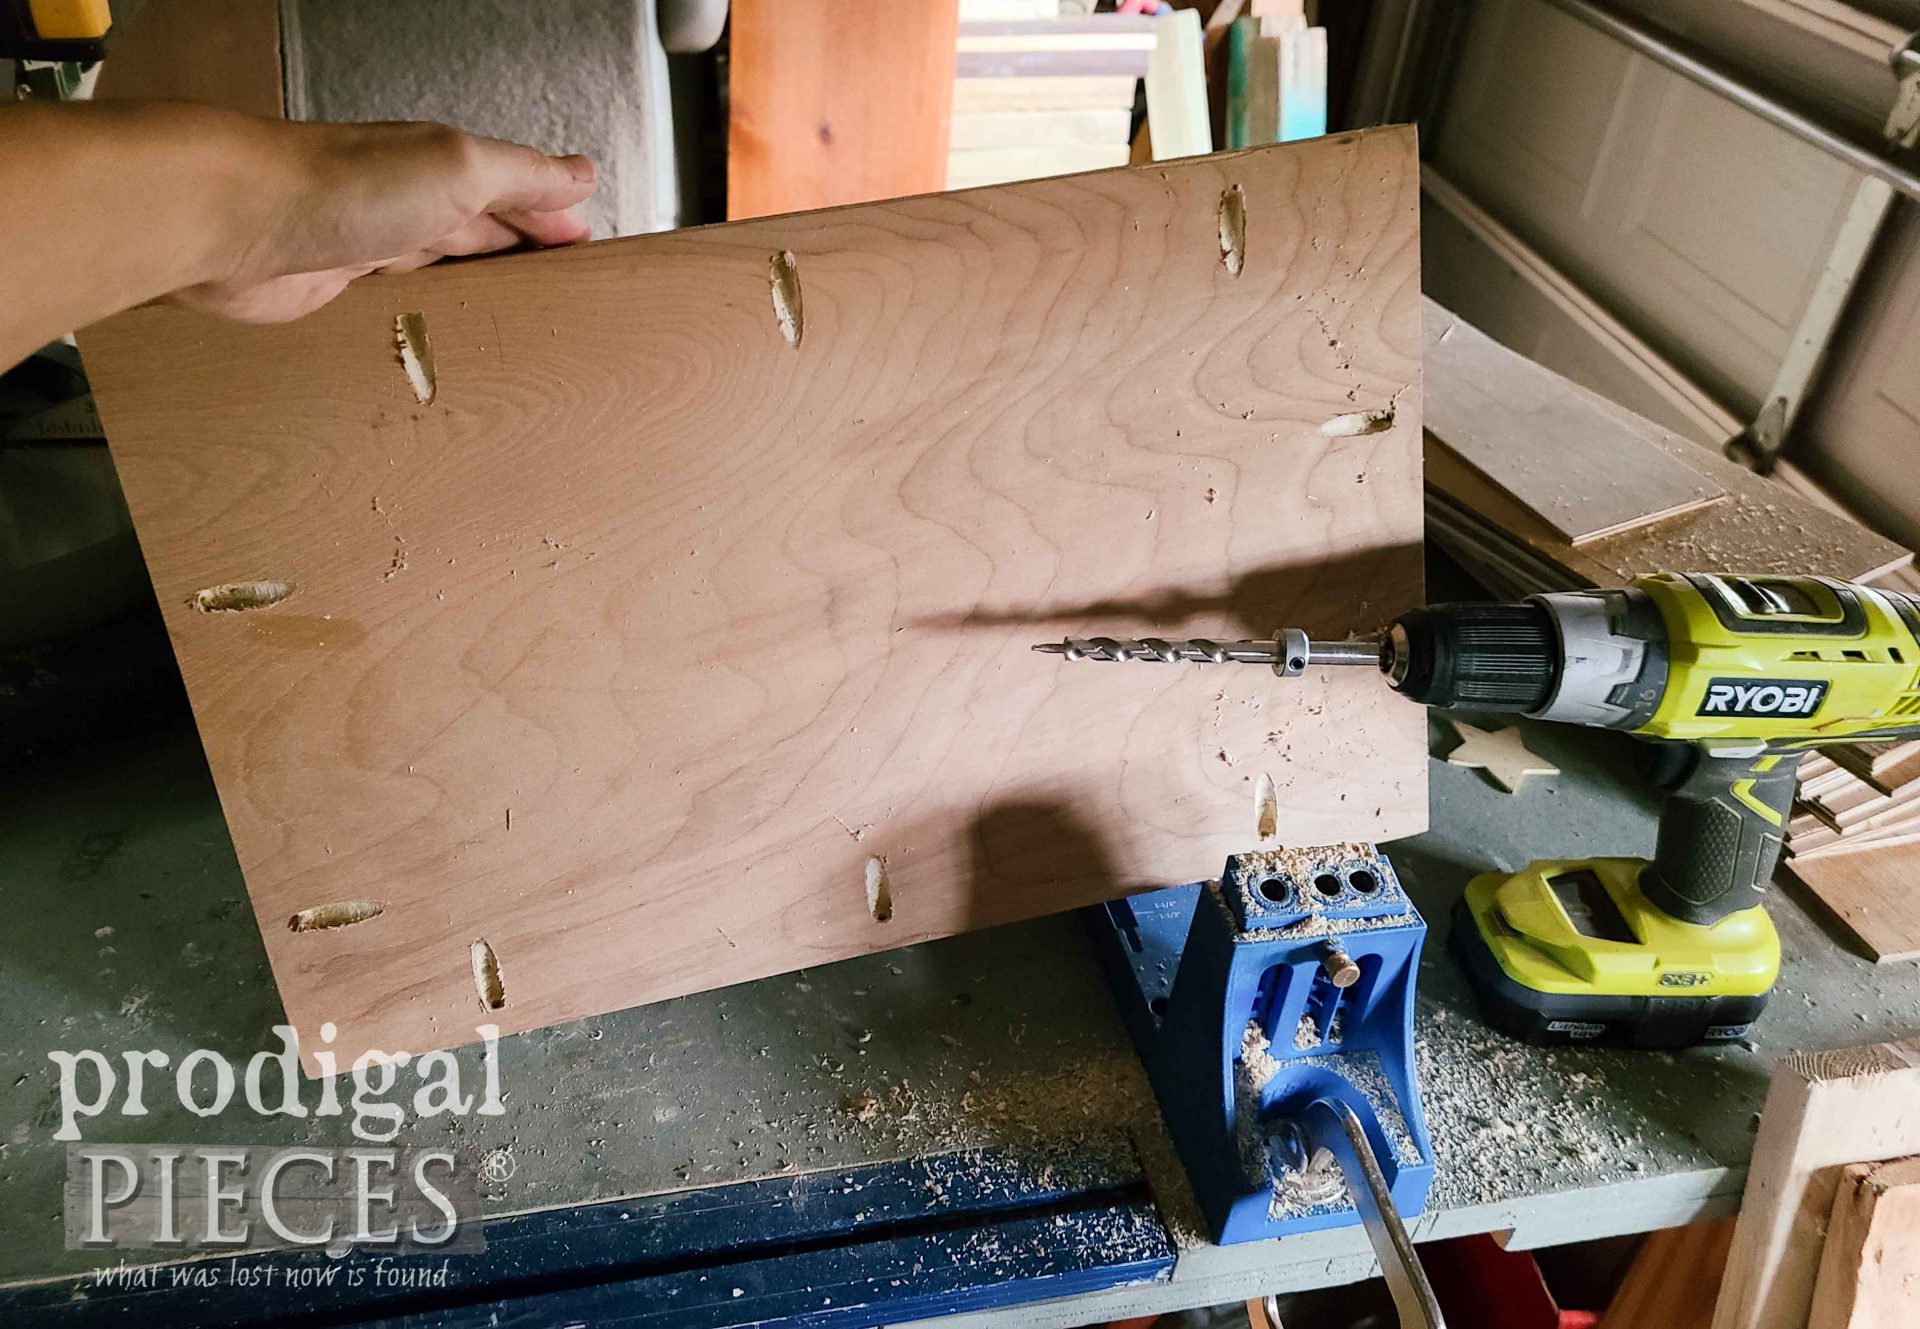
Next for my DIY harvest sign, I use my pocket hole jig to add joints to the back side of each of my boards. If you don’t have one of these jigs, I can’t stress enough how awesome they are! You can build endless things…like my mudroom storage and reclaimed workbench.
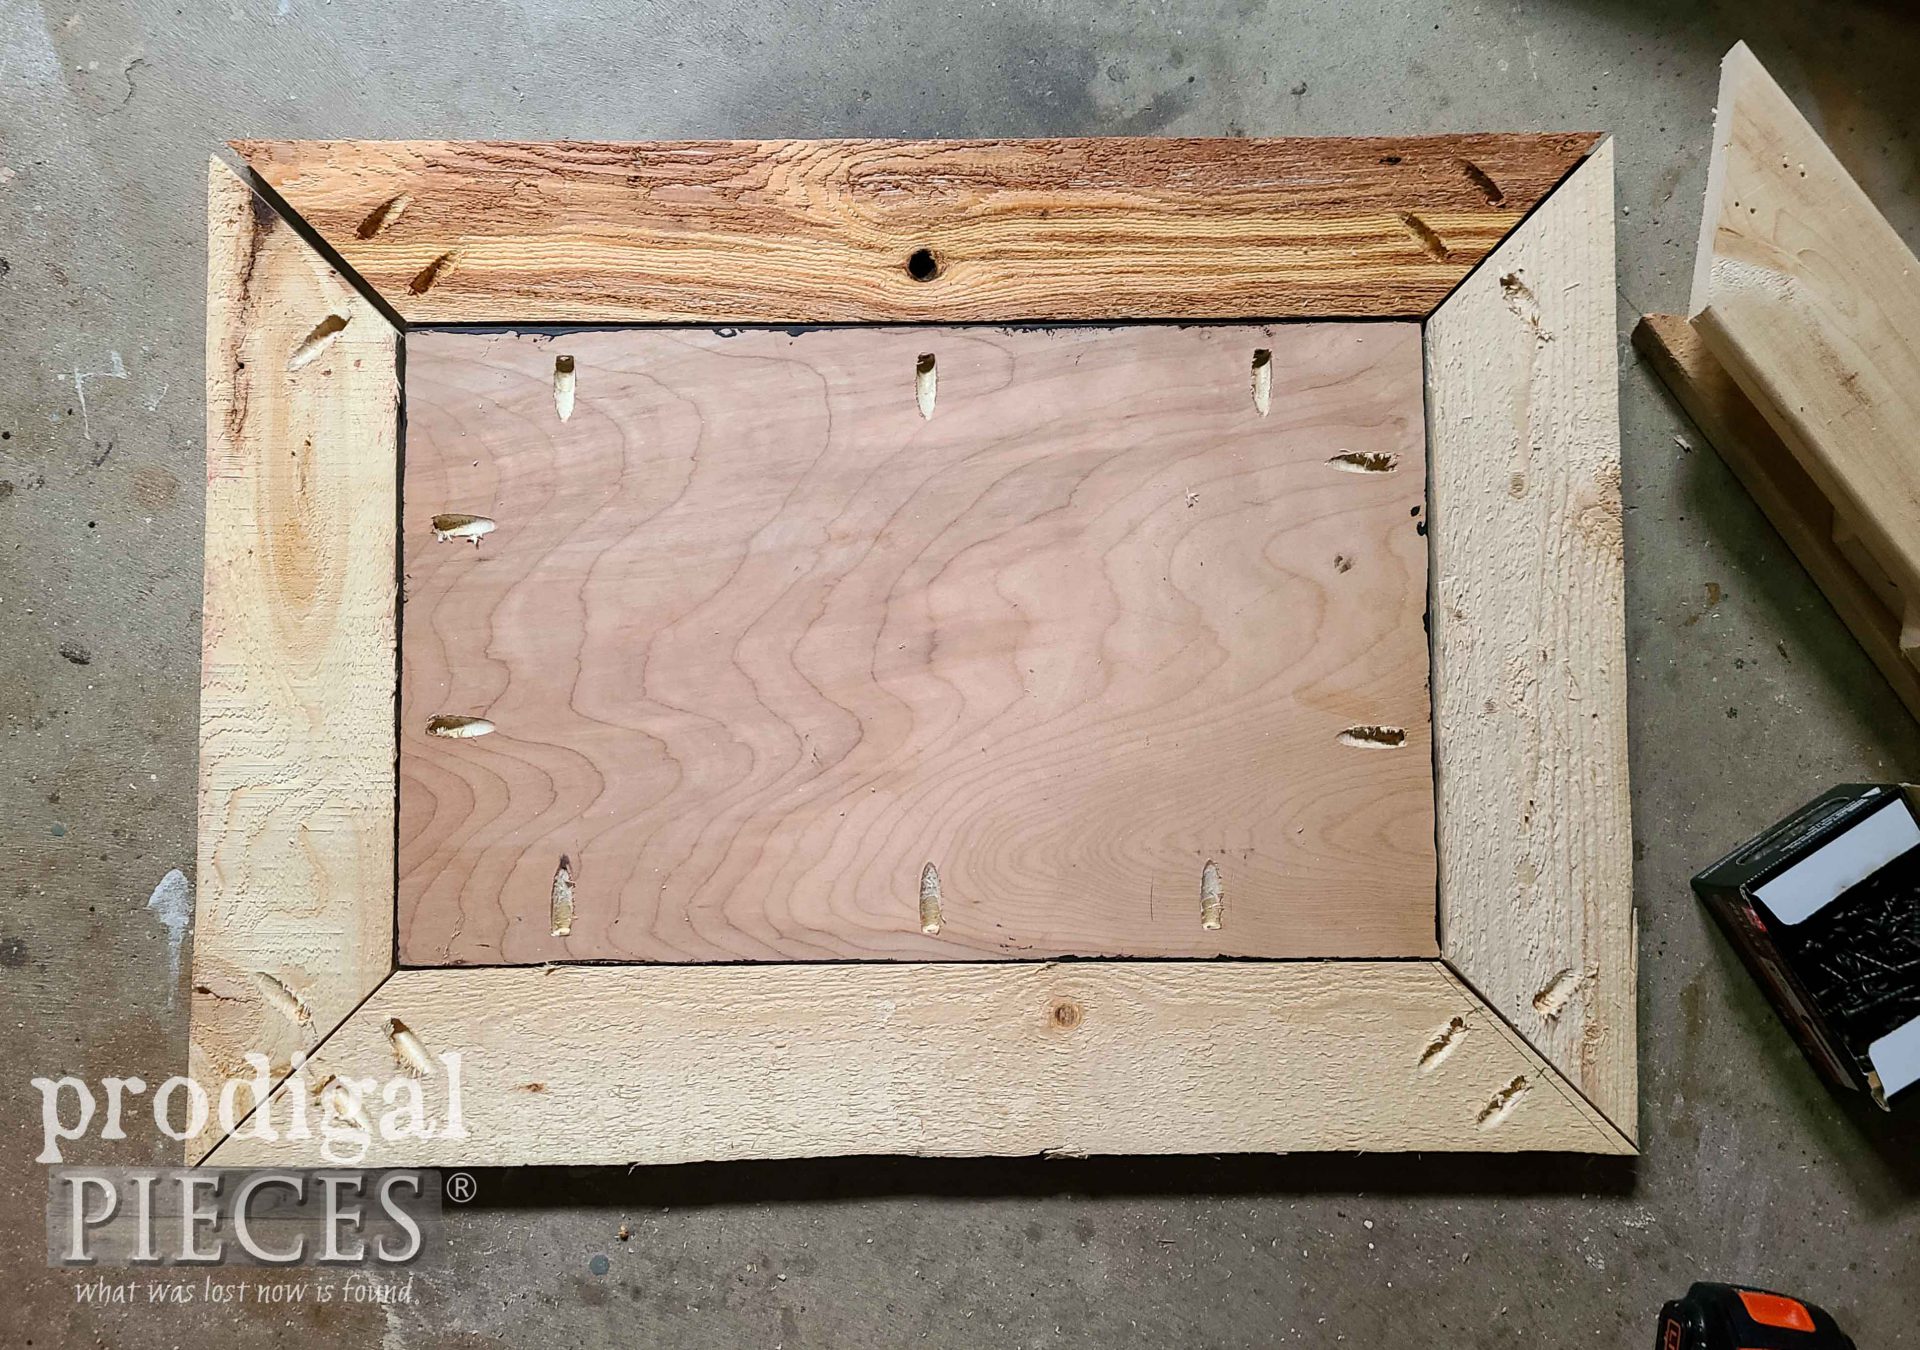
Also, we need to cut a frame for our sign. I am using leftover pallet wood from this project to make a frame. I wanted to miter my ends, but you could make it flush if you prefer. To make a mitered frame, measure the outer dimensions of your art and add the width of the wood. So, for instance, my sign was 19″ wide and my pallet wood is 3 ½” wide. I add 7″ to my 19″ width. Cut on a 45° angle with a miter saw or miter box.
Last, add pocket holes to the frame as shown below. However, don’t assemble yet.
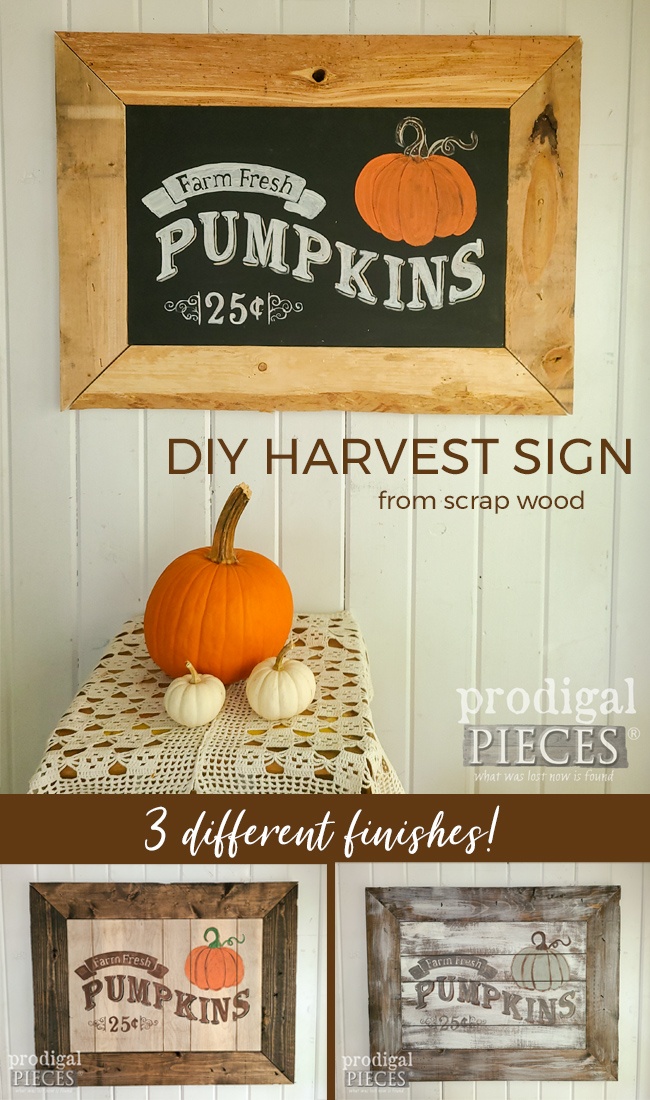
Then, before I assemble, I give each one a different finish. One I use a flat black paint (still wet in pics), the next I use a reactive weathered wood stain, and the last is a darker stain.
NEXT STEPS
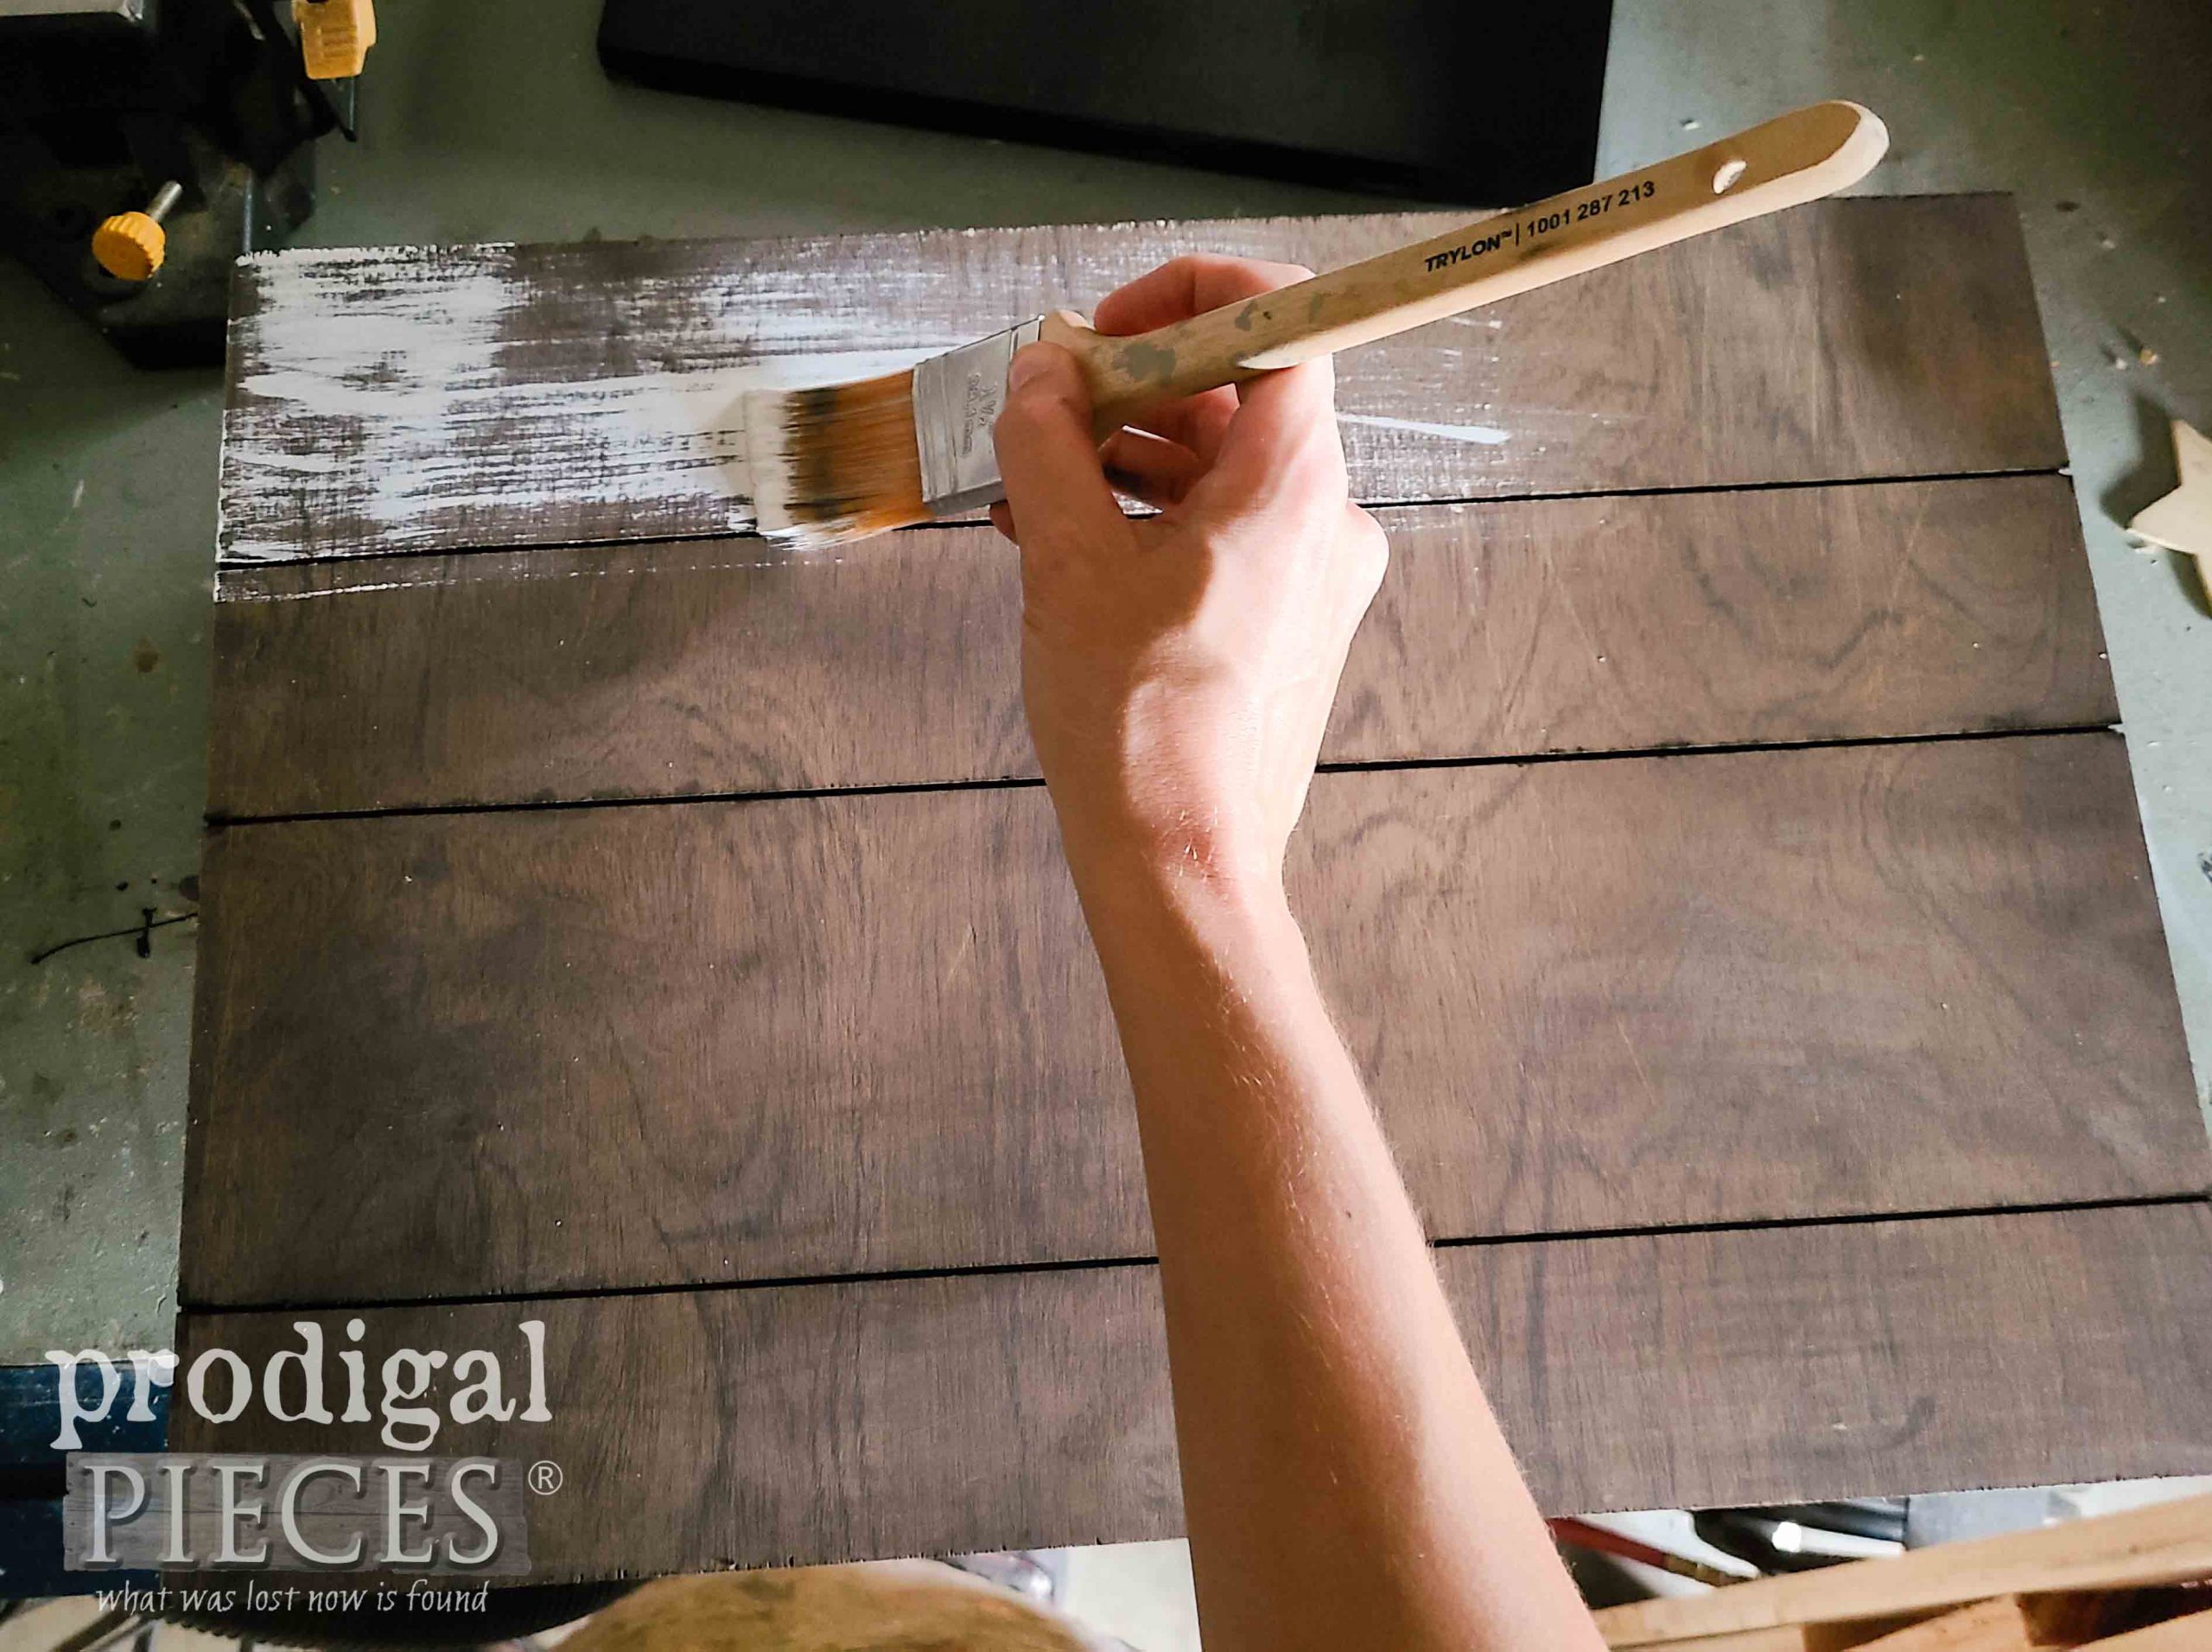
After my stains/paint cure, I wanted to add texture to one of them. With an old brush I whitewash the dark brown stained one following the cut lines.
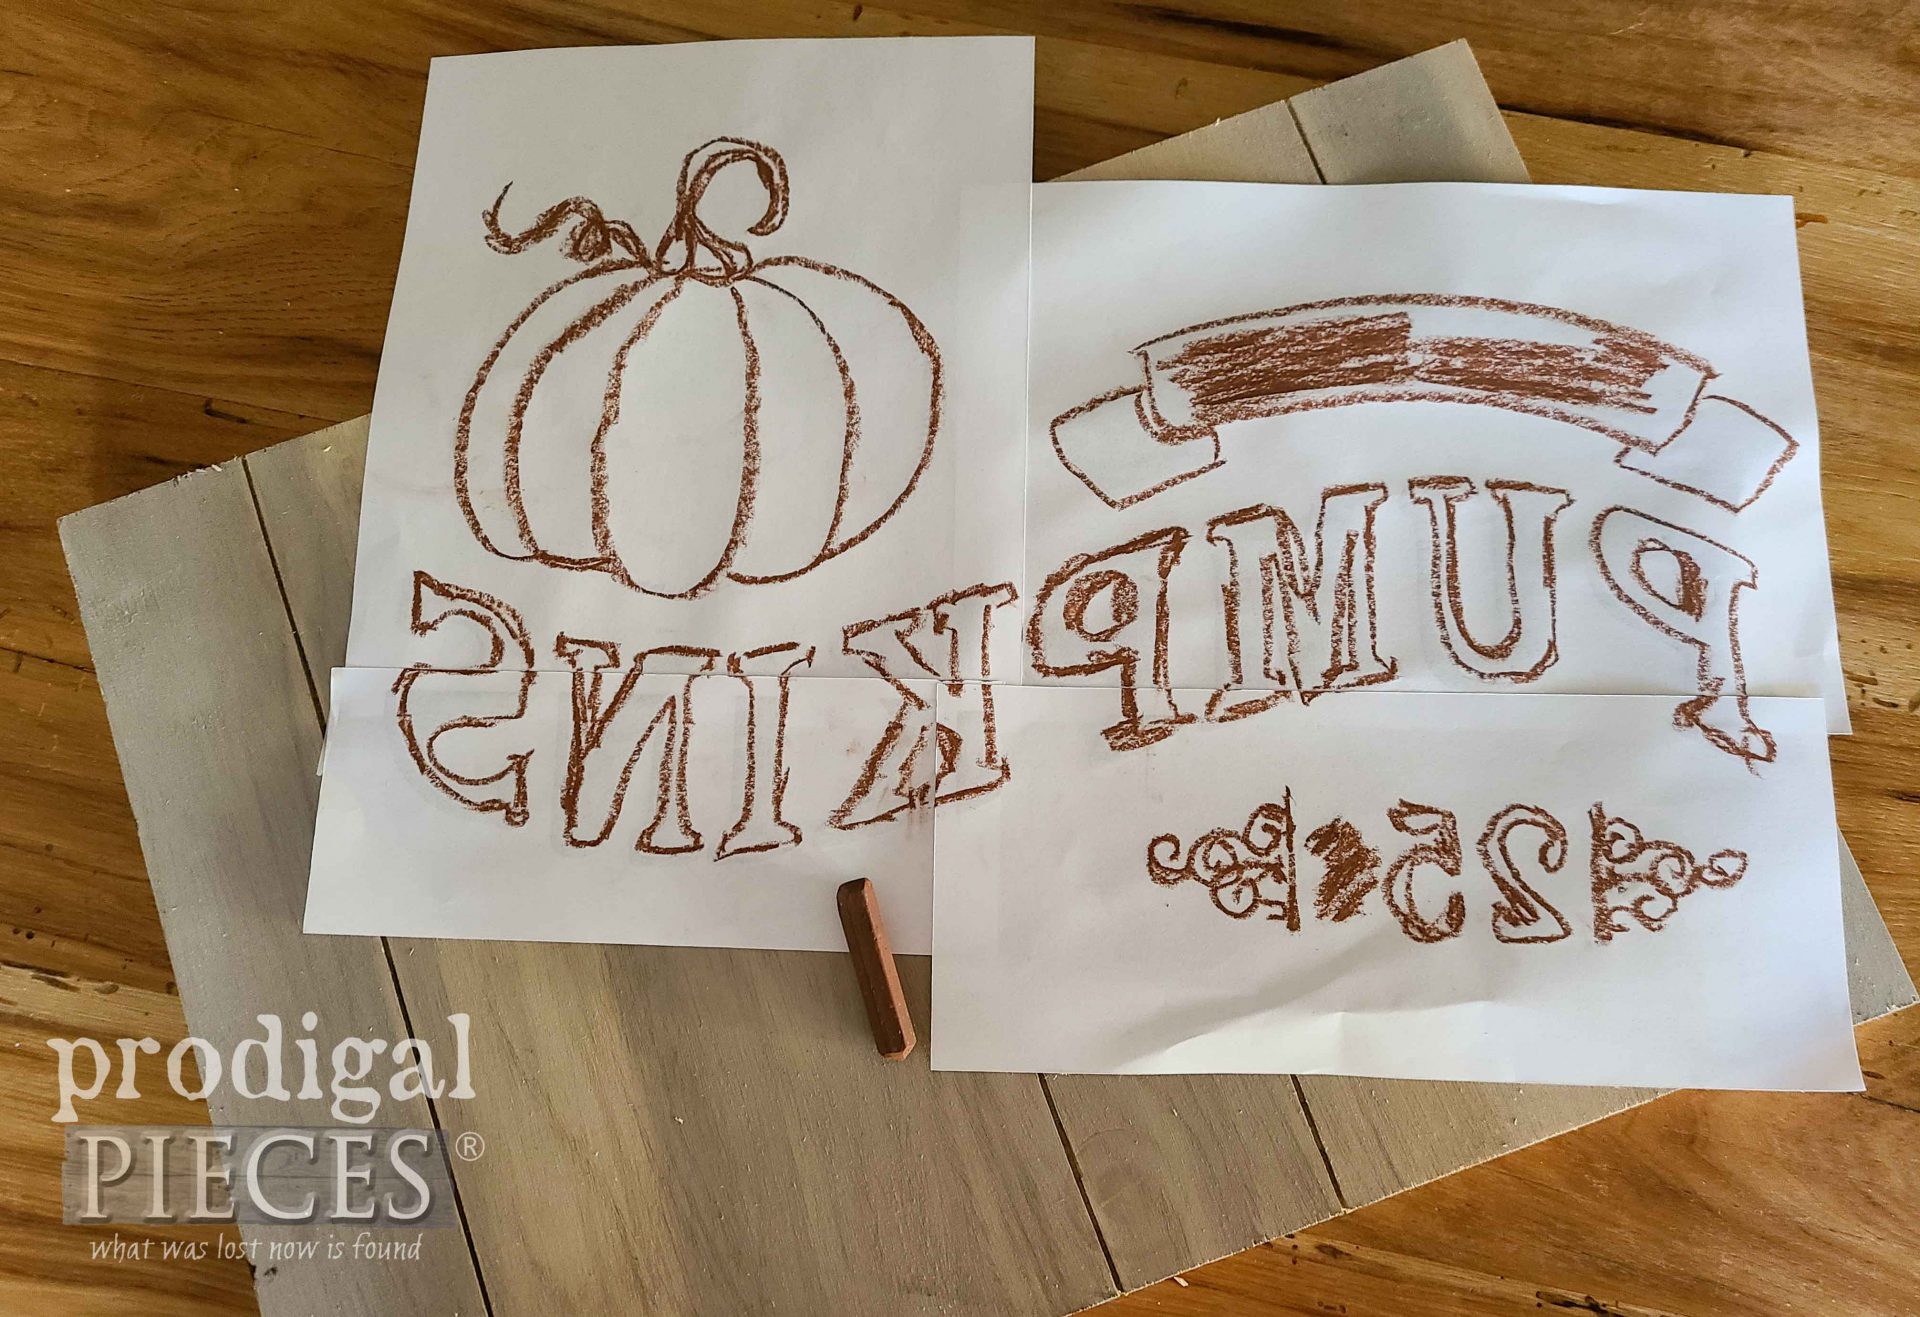
One more thing, I love to add typography, so you knew that was coming. haha. Using my age-old technique first mentioned in this post, I rub pastels over the back side of my own design. Use a window or a light pad to make it easier. You could also use any graphic you like or even stencil at this point as well.
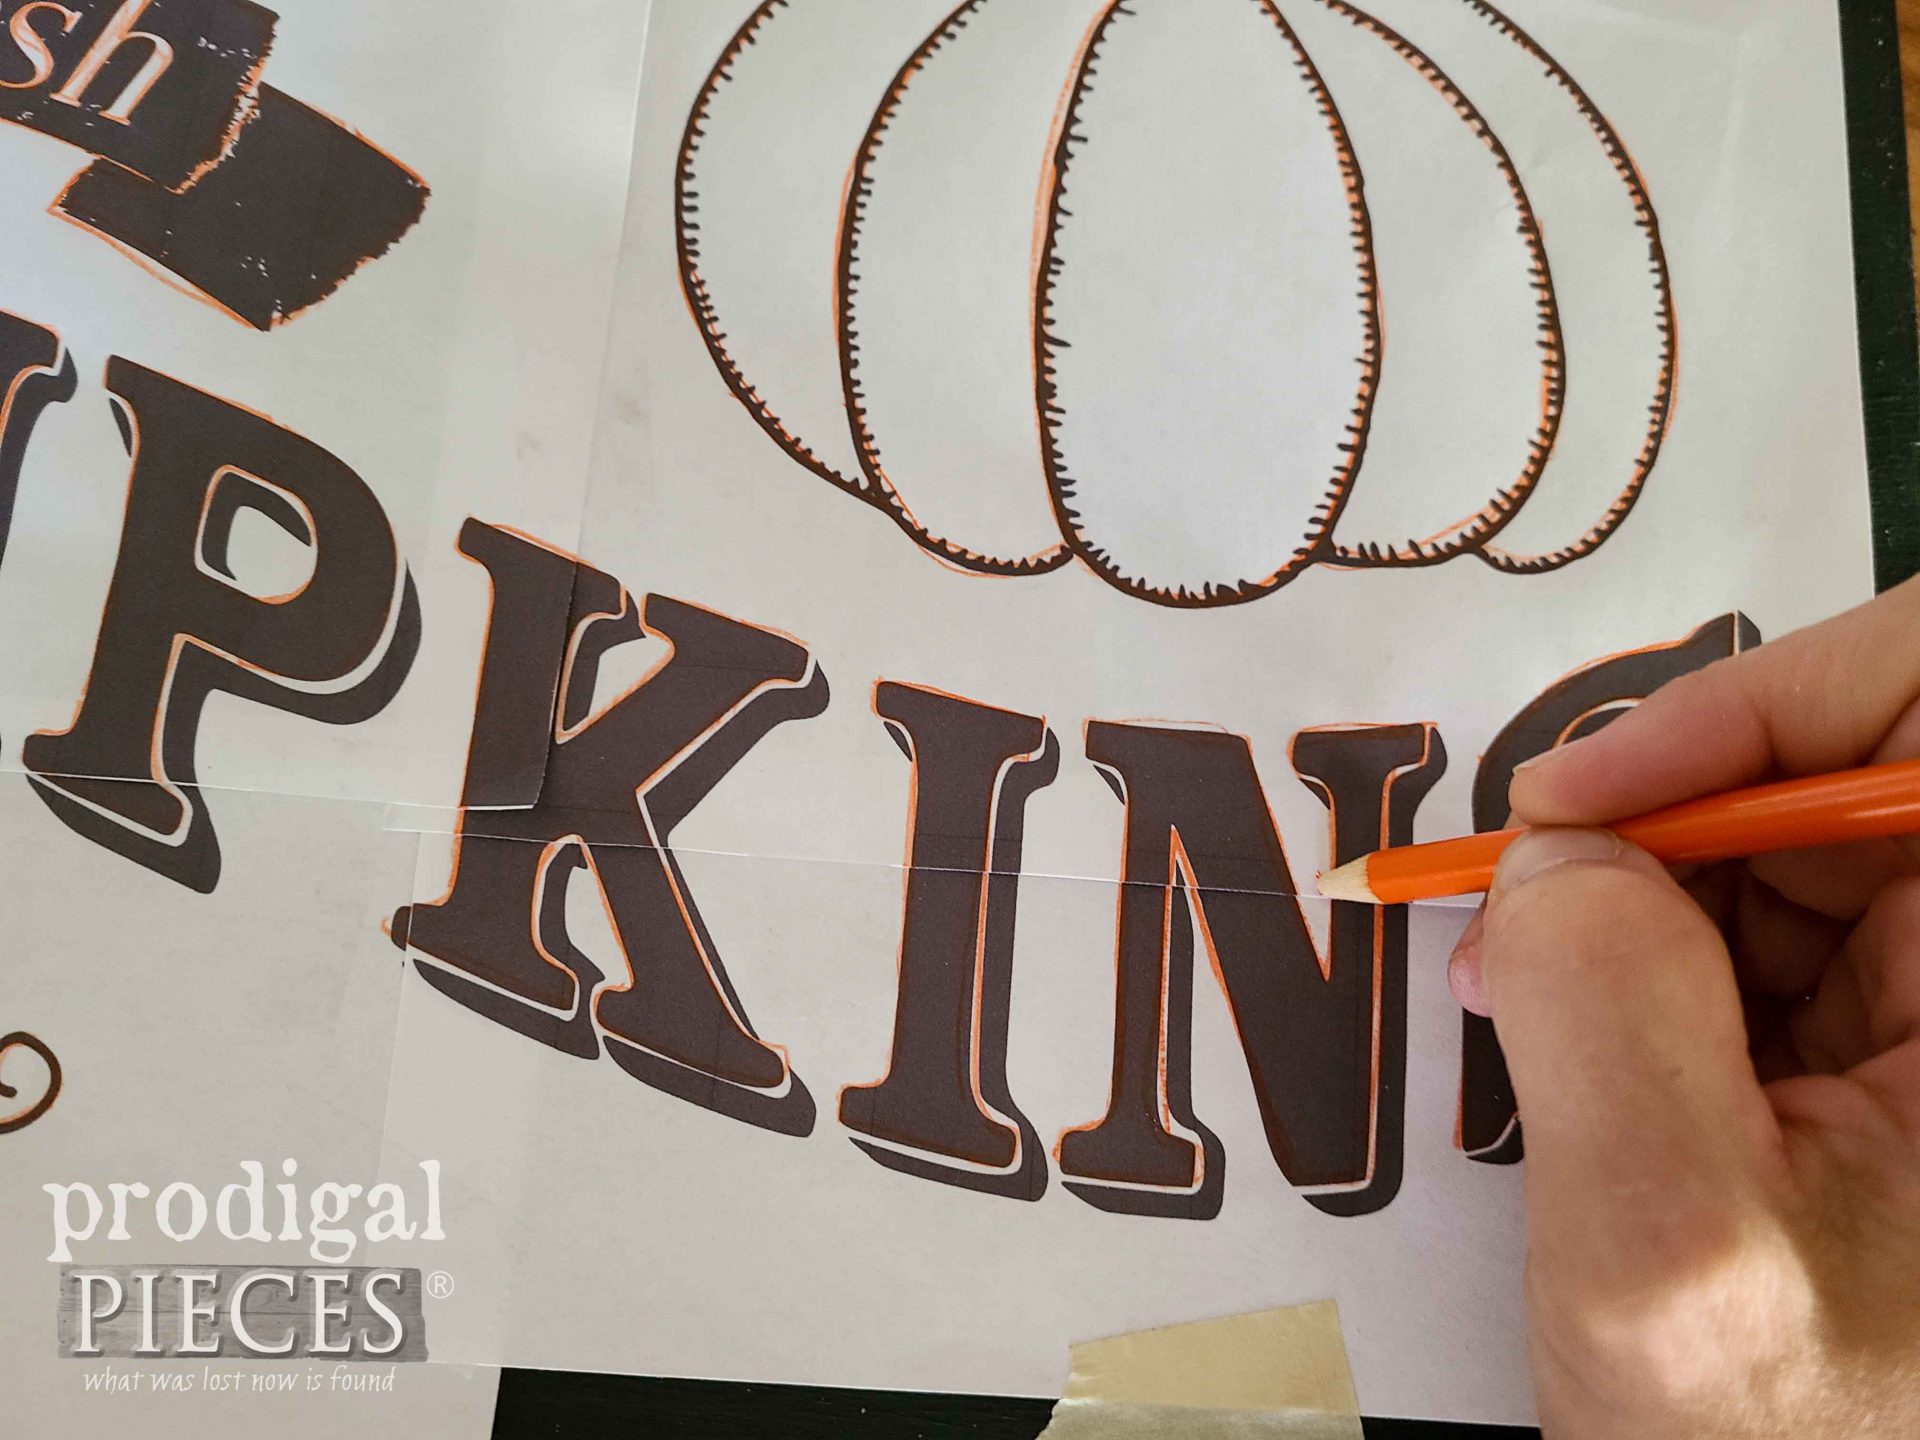
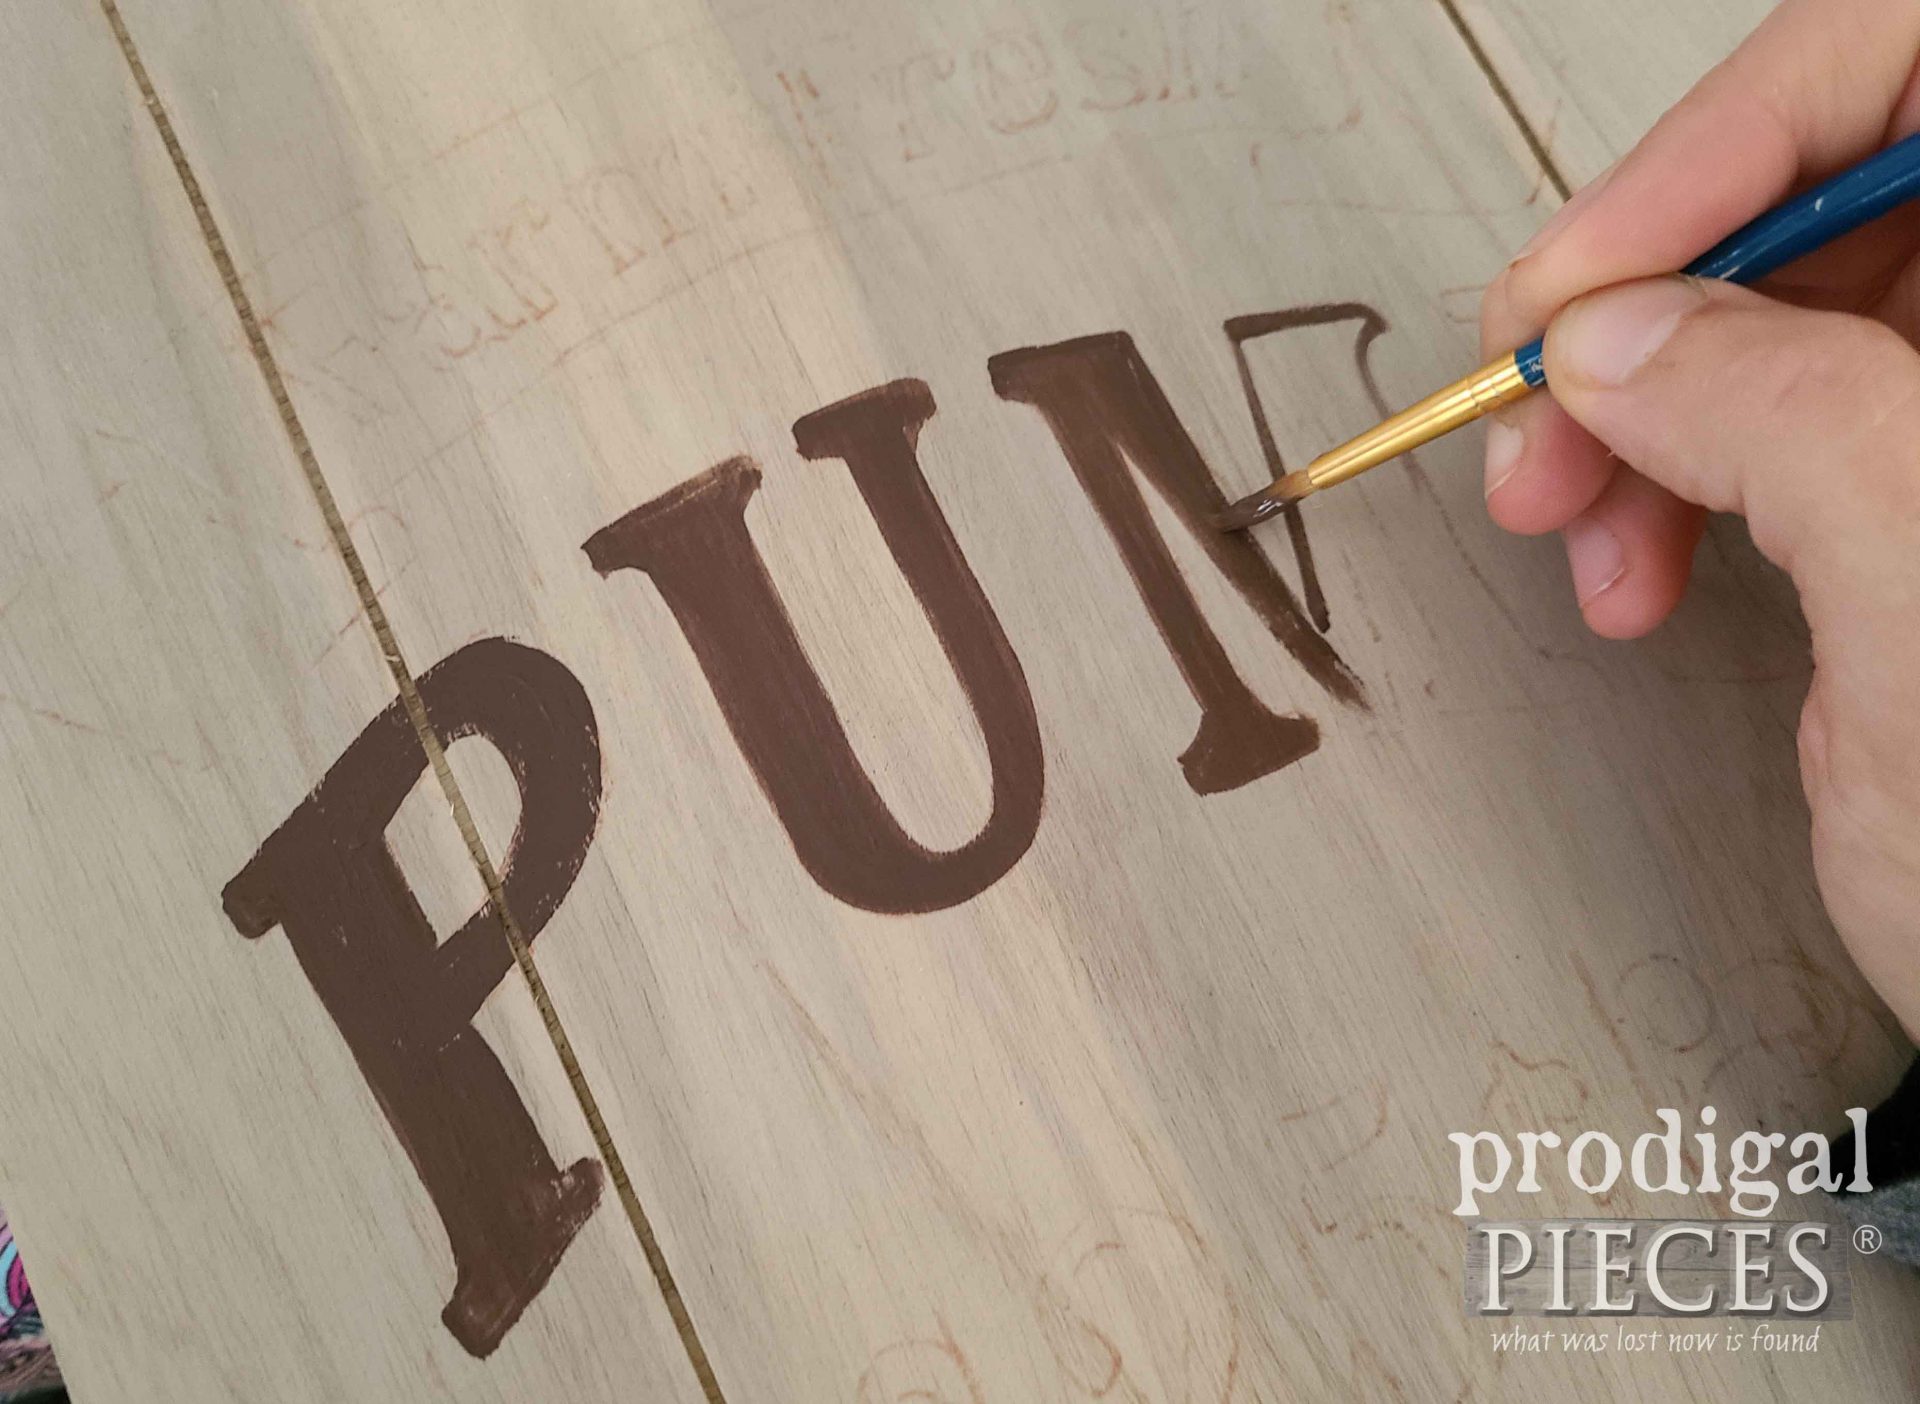
Next, center and tape the design to the front of your sign. Using a colored pencil so you can see where you’re working, trace the design onto your sign.
Then, paint in your design. Feel free to mix it up and add different depths with shadows and such. Have fun!
While we’re waiting for the paint to cure, you can finish you pallet frames in whatever finish you want. Last, assemble it all together and add your keyhole hardware to make it ready to hang.
THE REVEAL
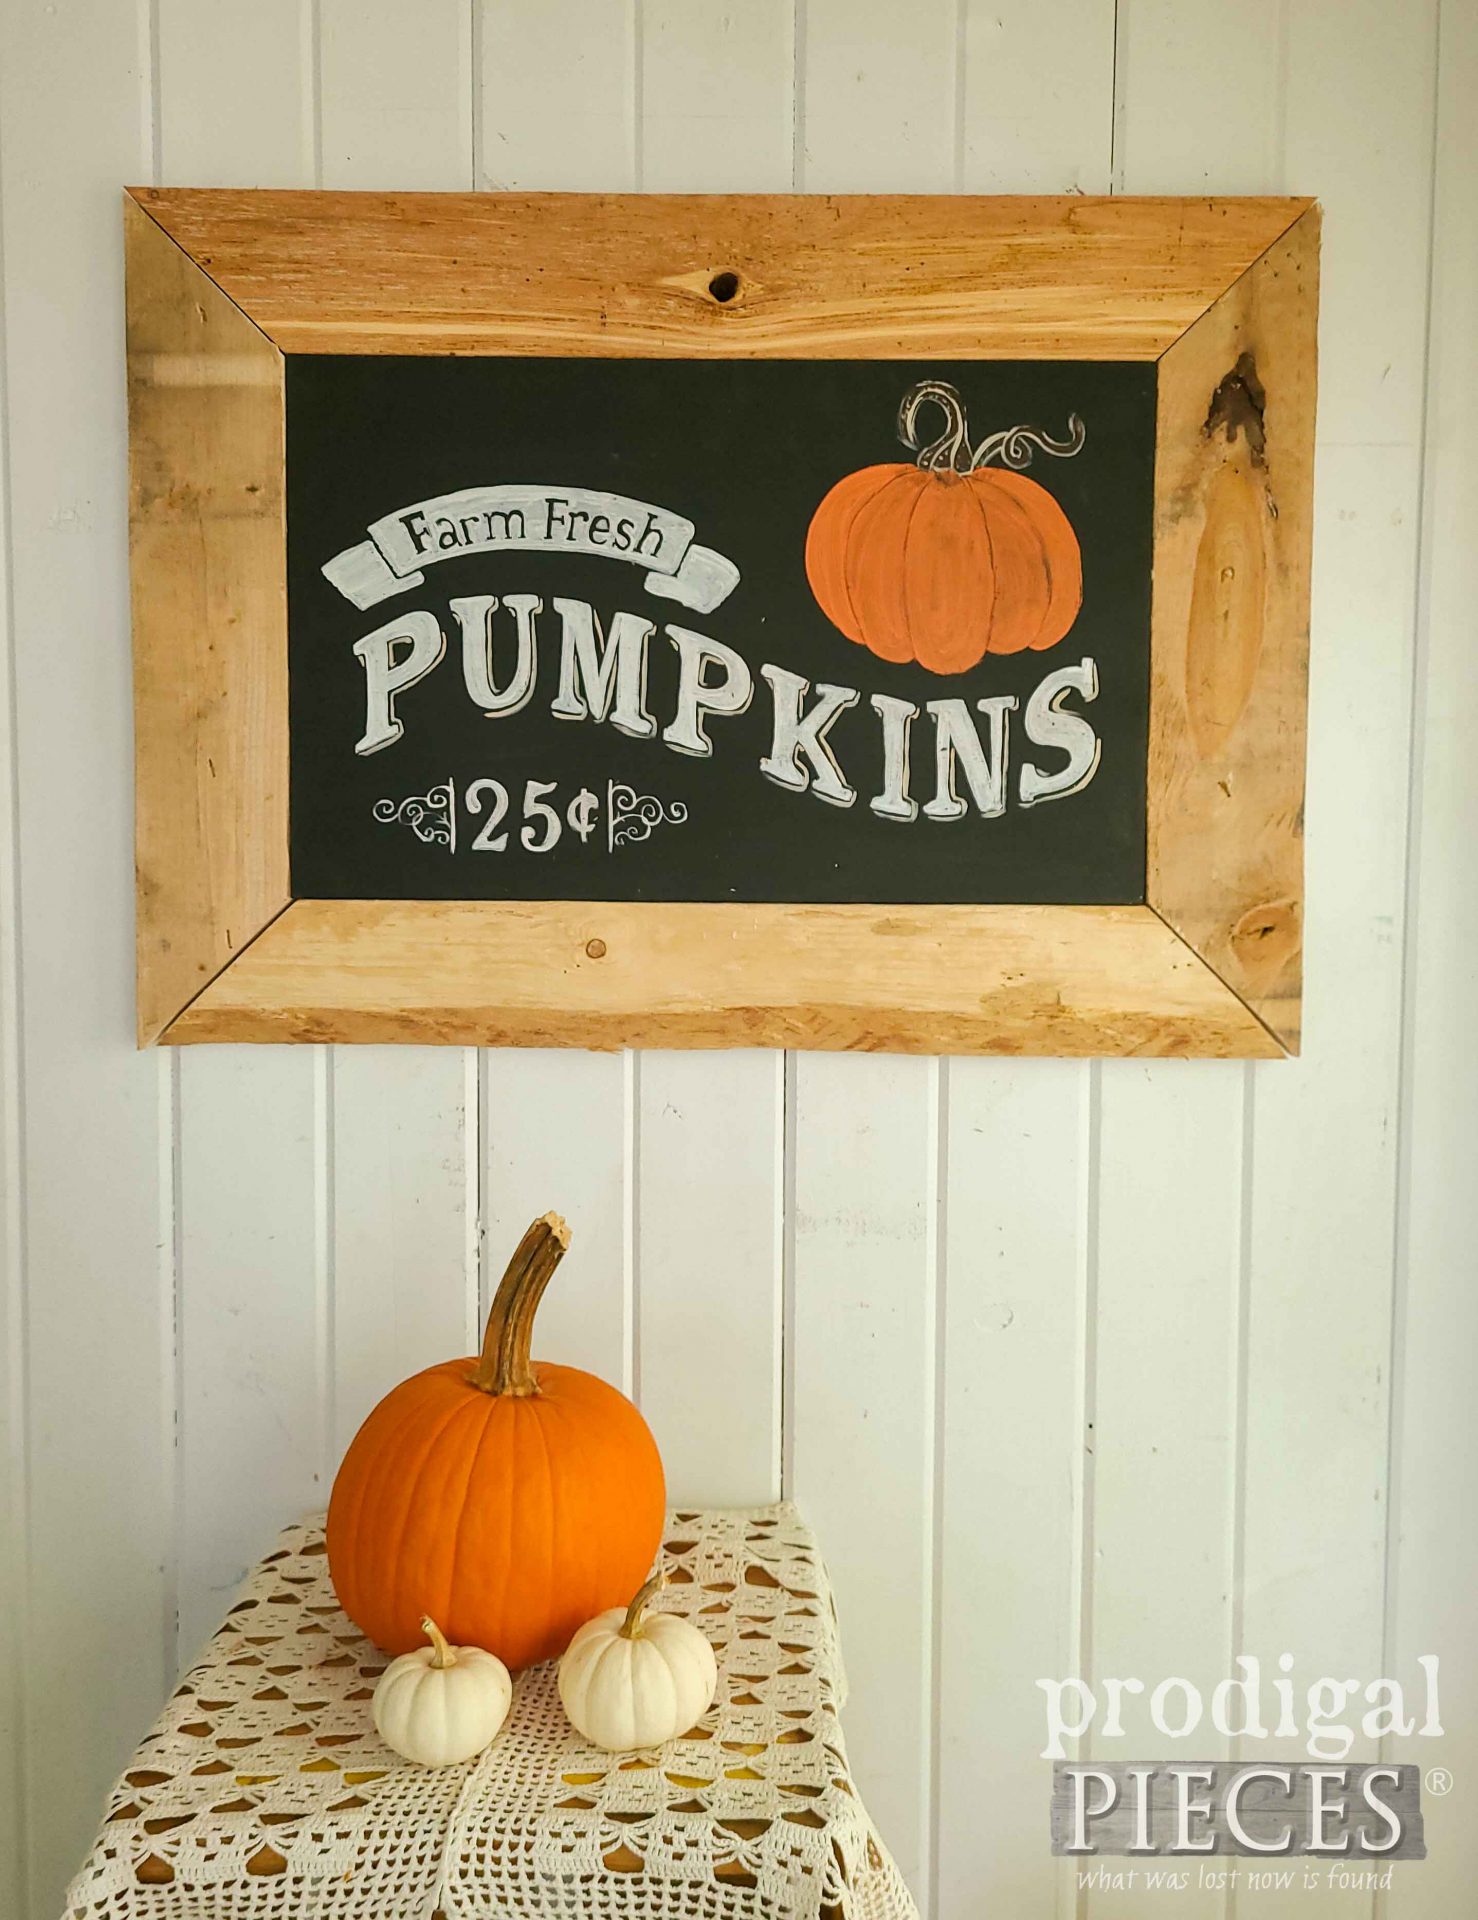
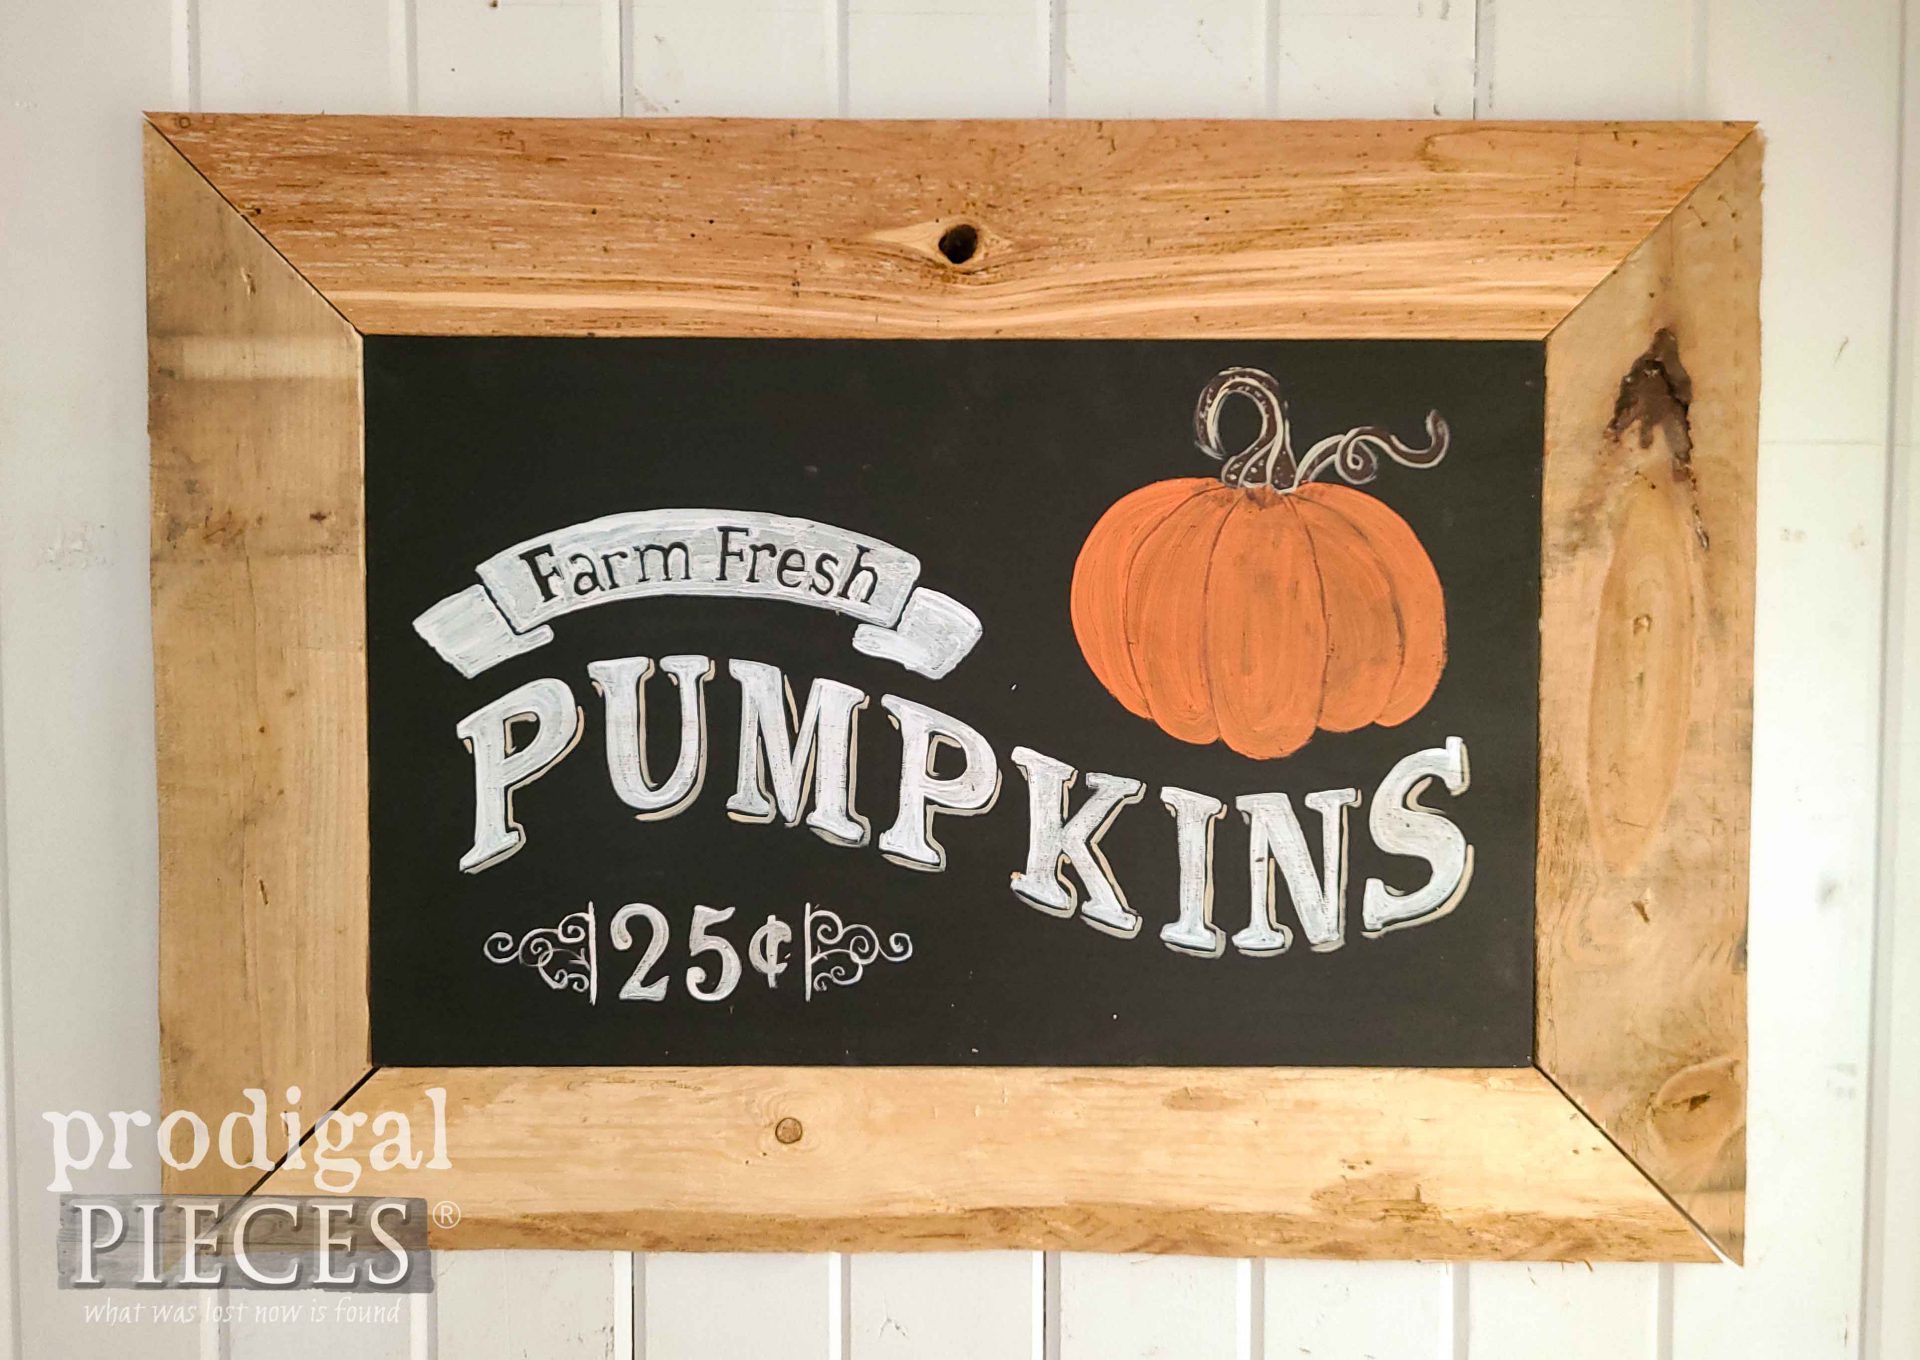
It’s time to see all three DIY harvest signs complete. wahoo! First, is this chalkboard style harvest sign with a natural, rustic pallet frame.
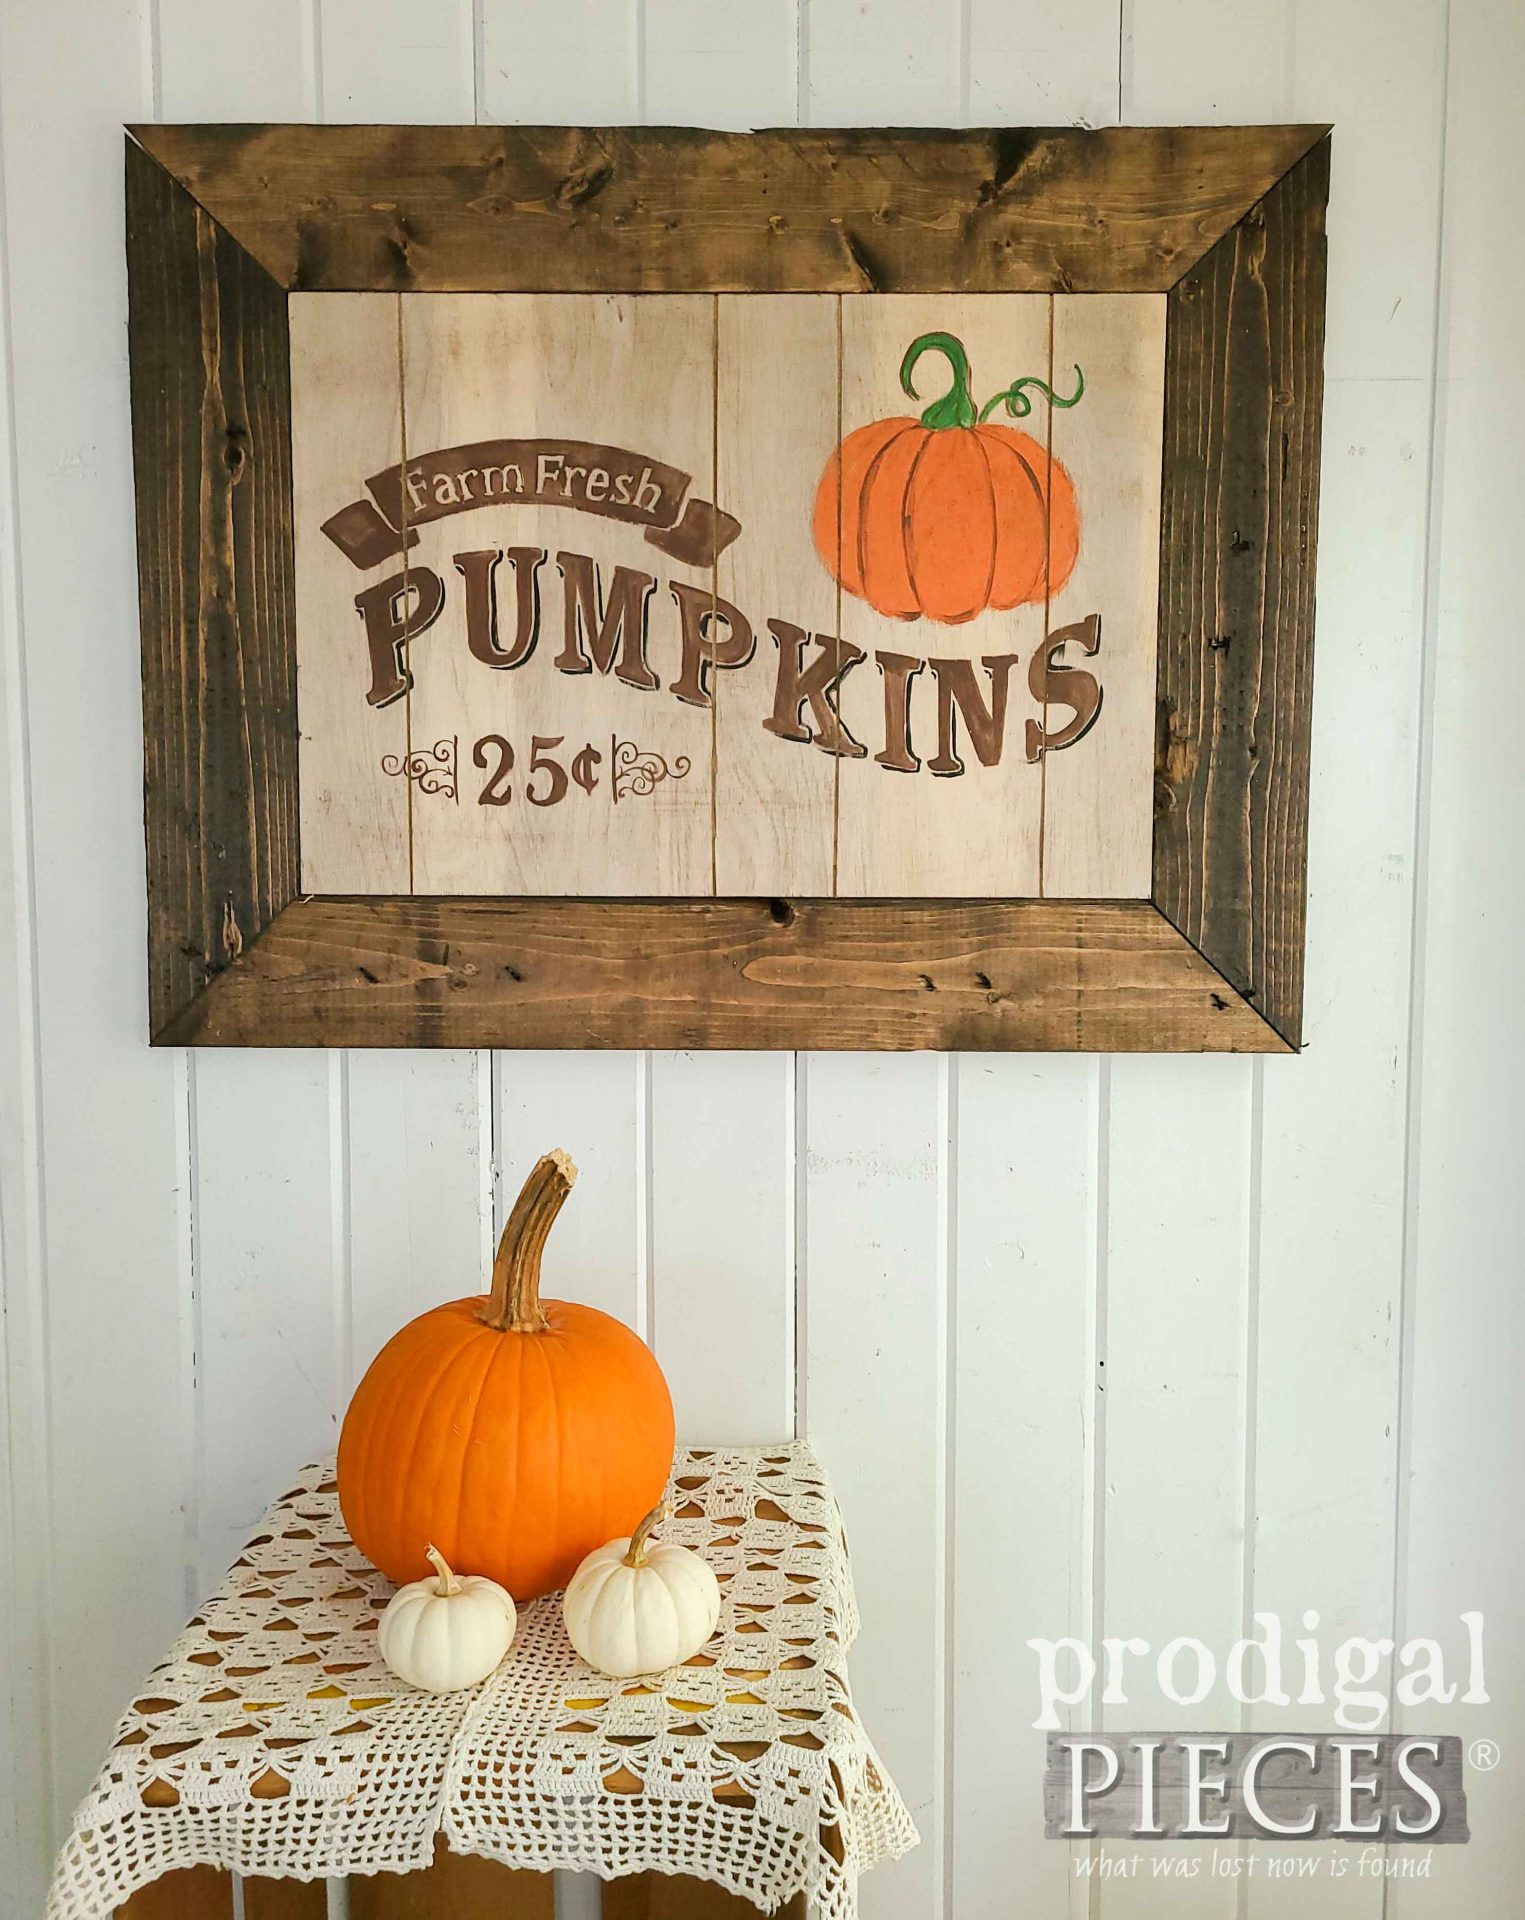
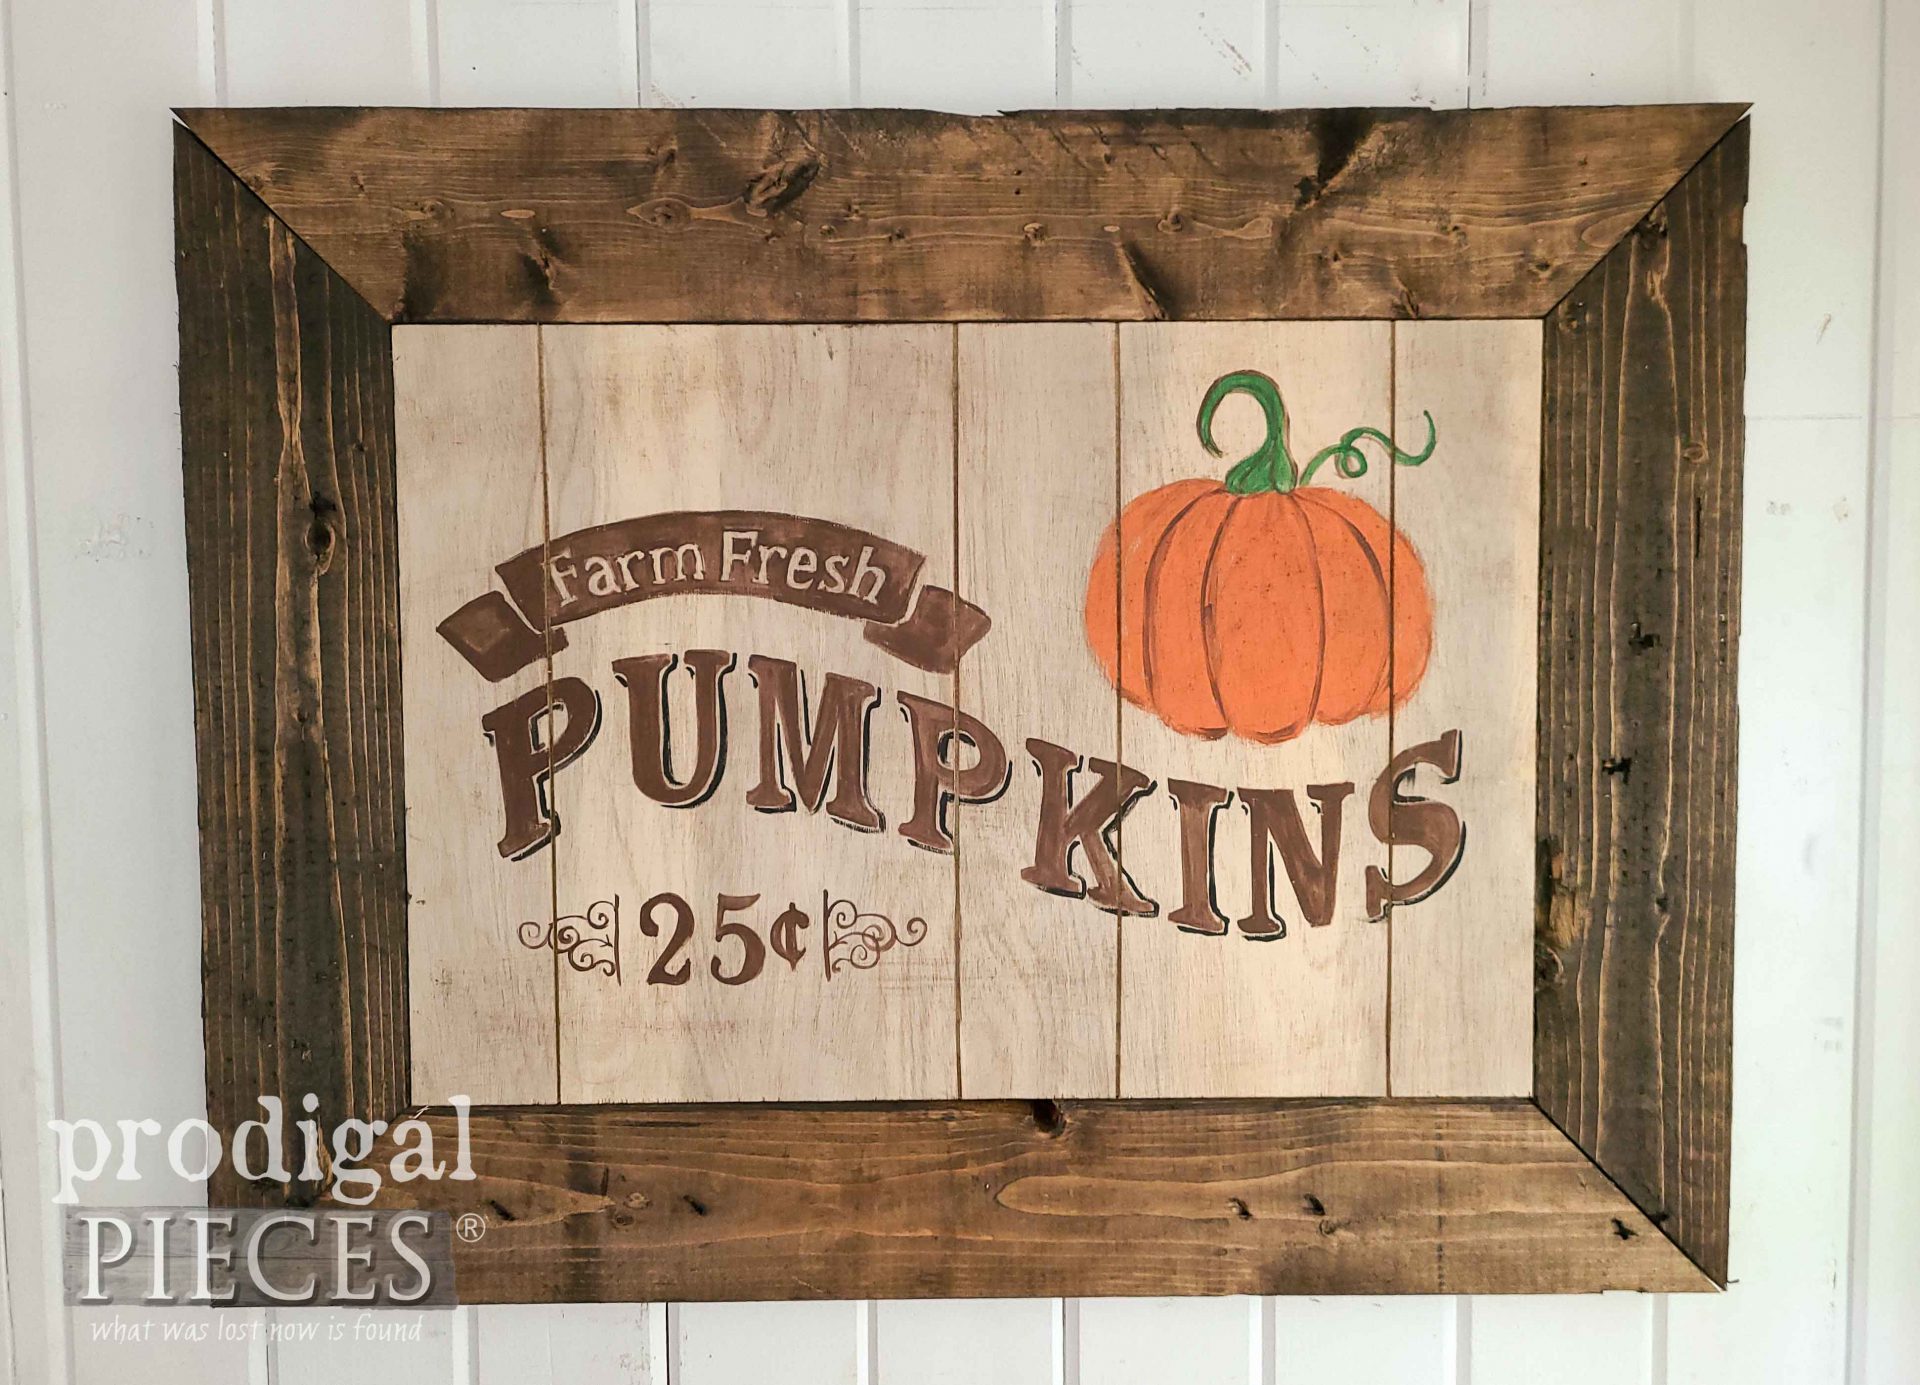
Second, is this one I finished with reactive stain and a dark frame.
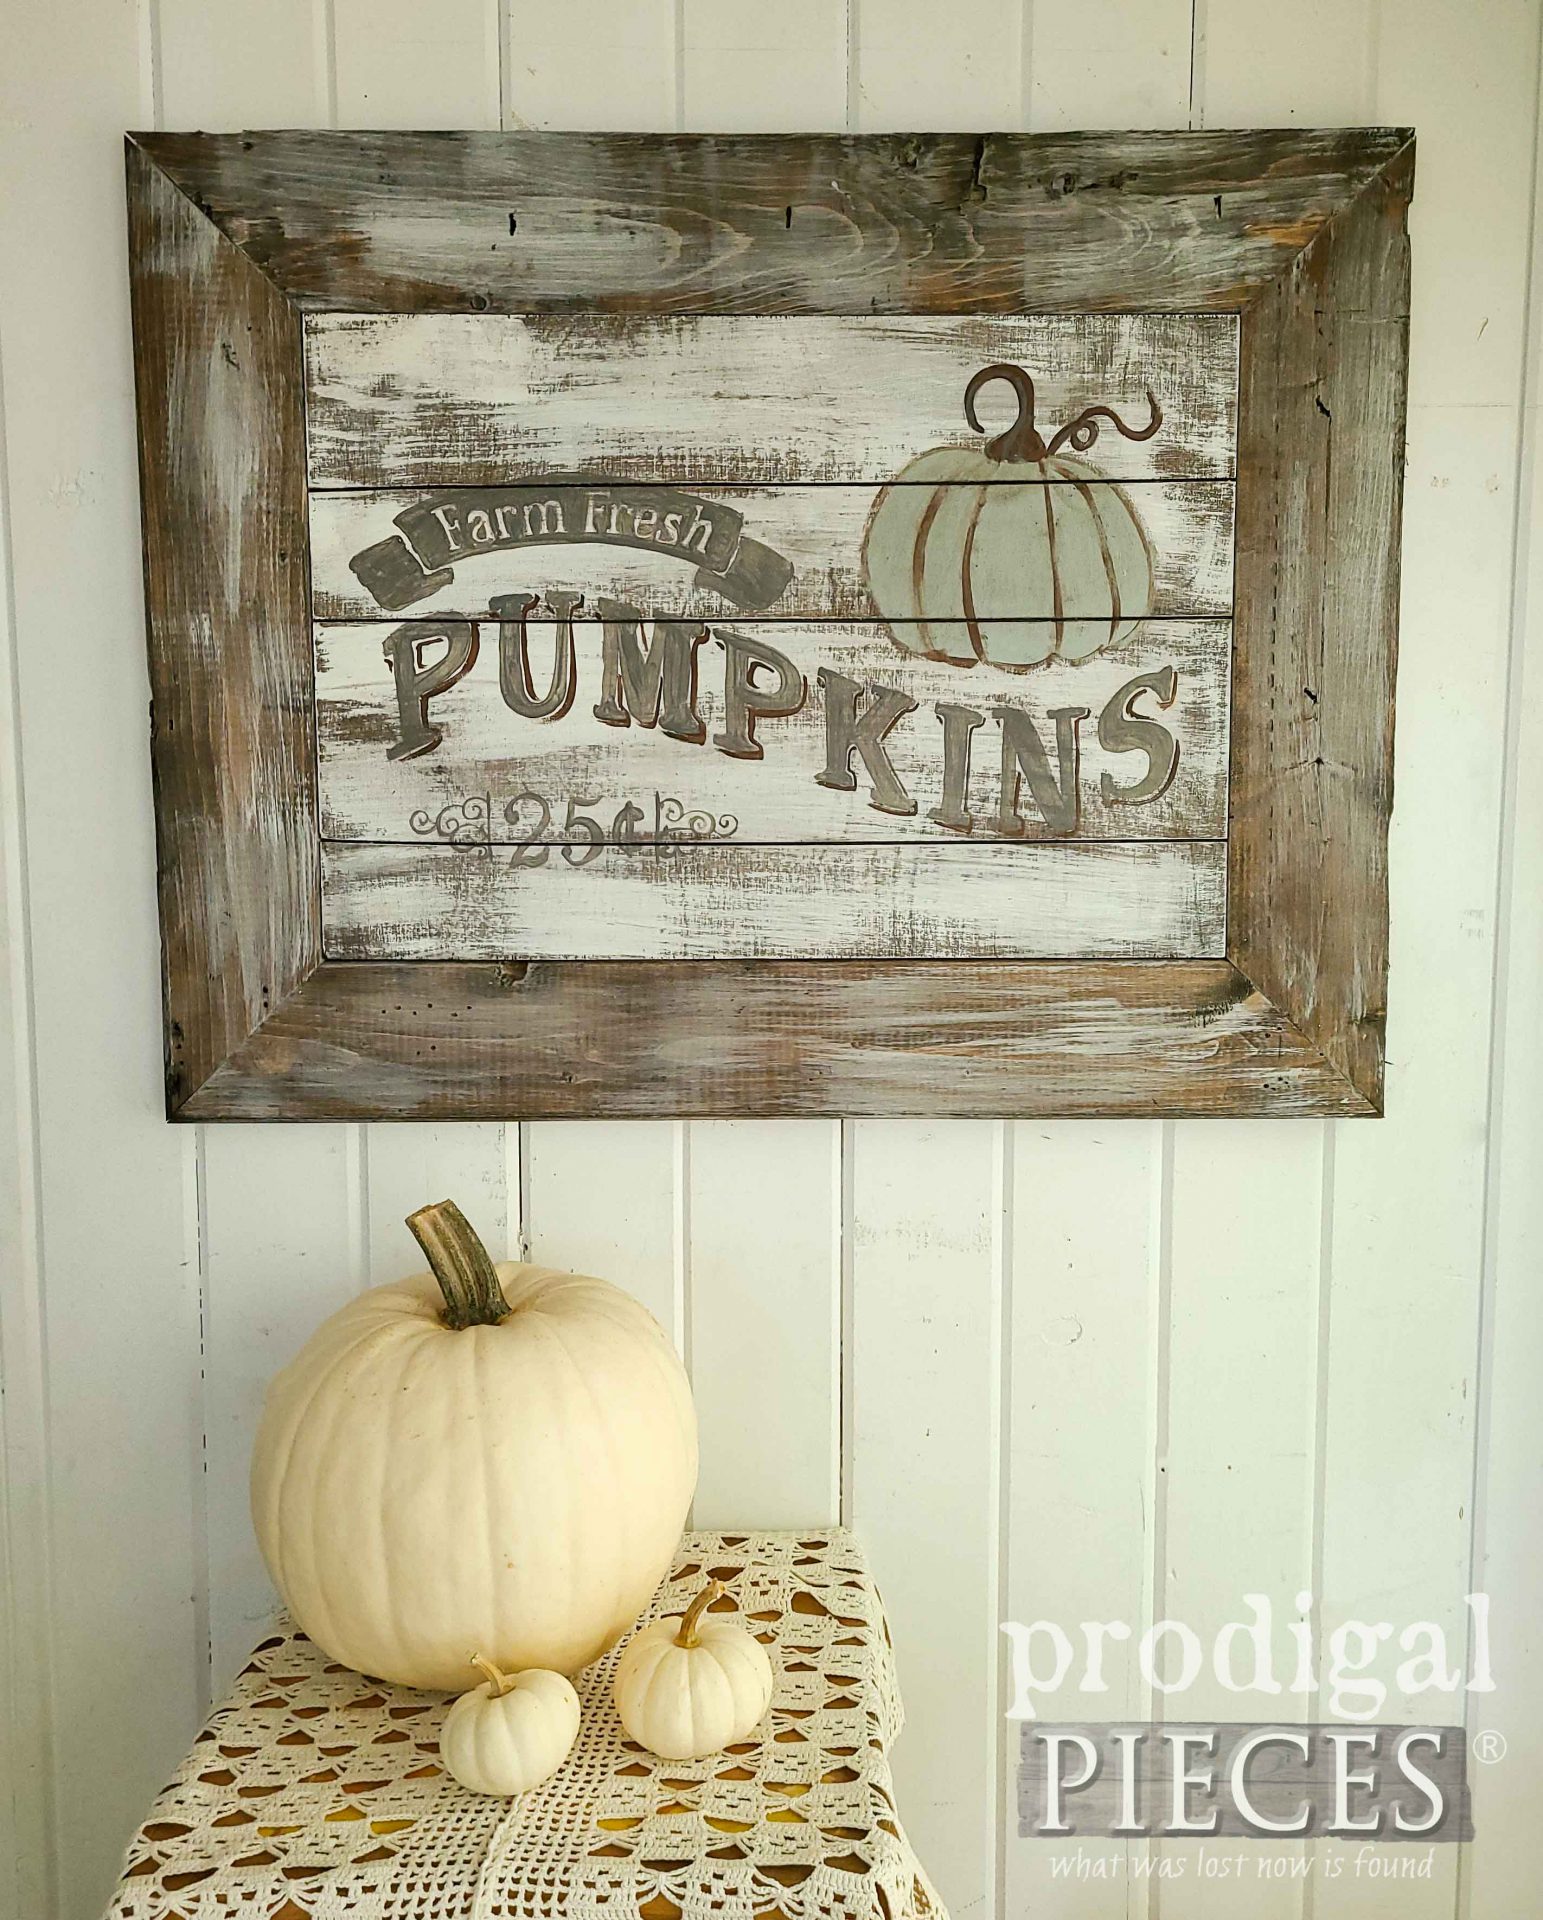
Last, but not least, is my whitewashed sign with gray-wash frame.
So…which is your favorite? Most of my kids were partial to the last one. However, I like them all for different reasons.
If you’d like to make one of these your own for your home, you can find them and more available in my online shop.
In addition to giving me feedback, do pin and share to inspire others to skip the box store and create their own harvest fun decor.
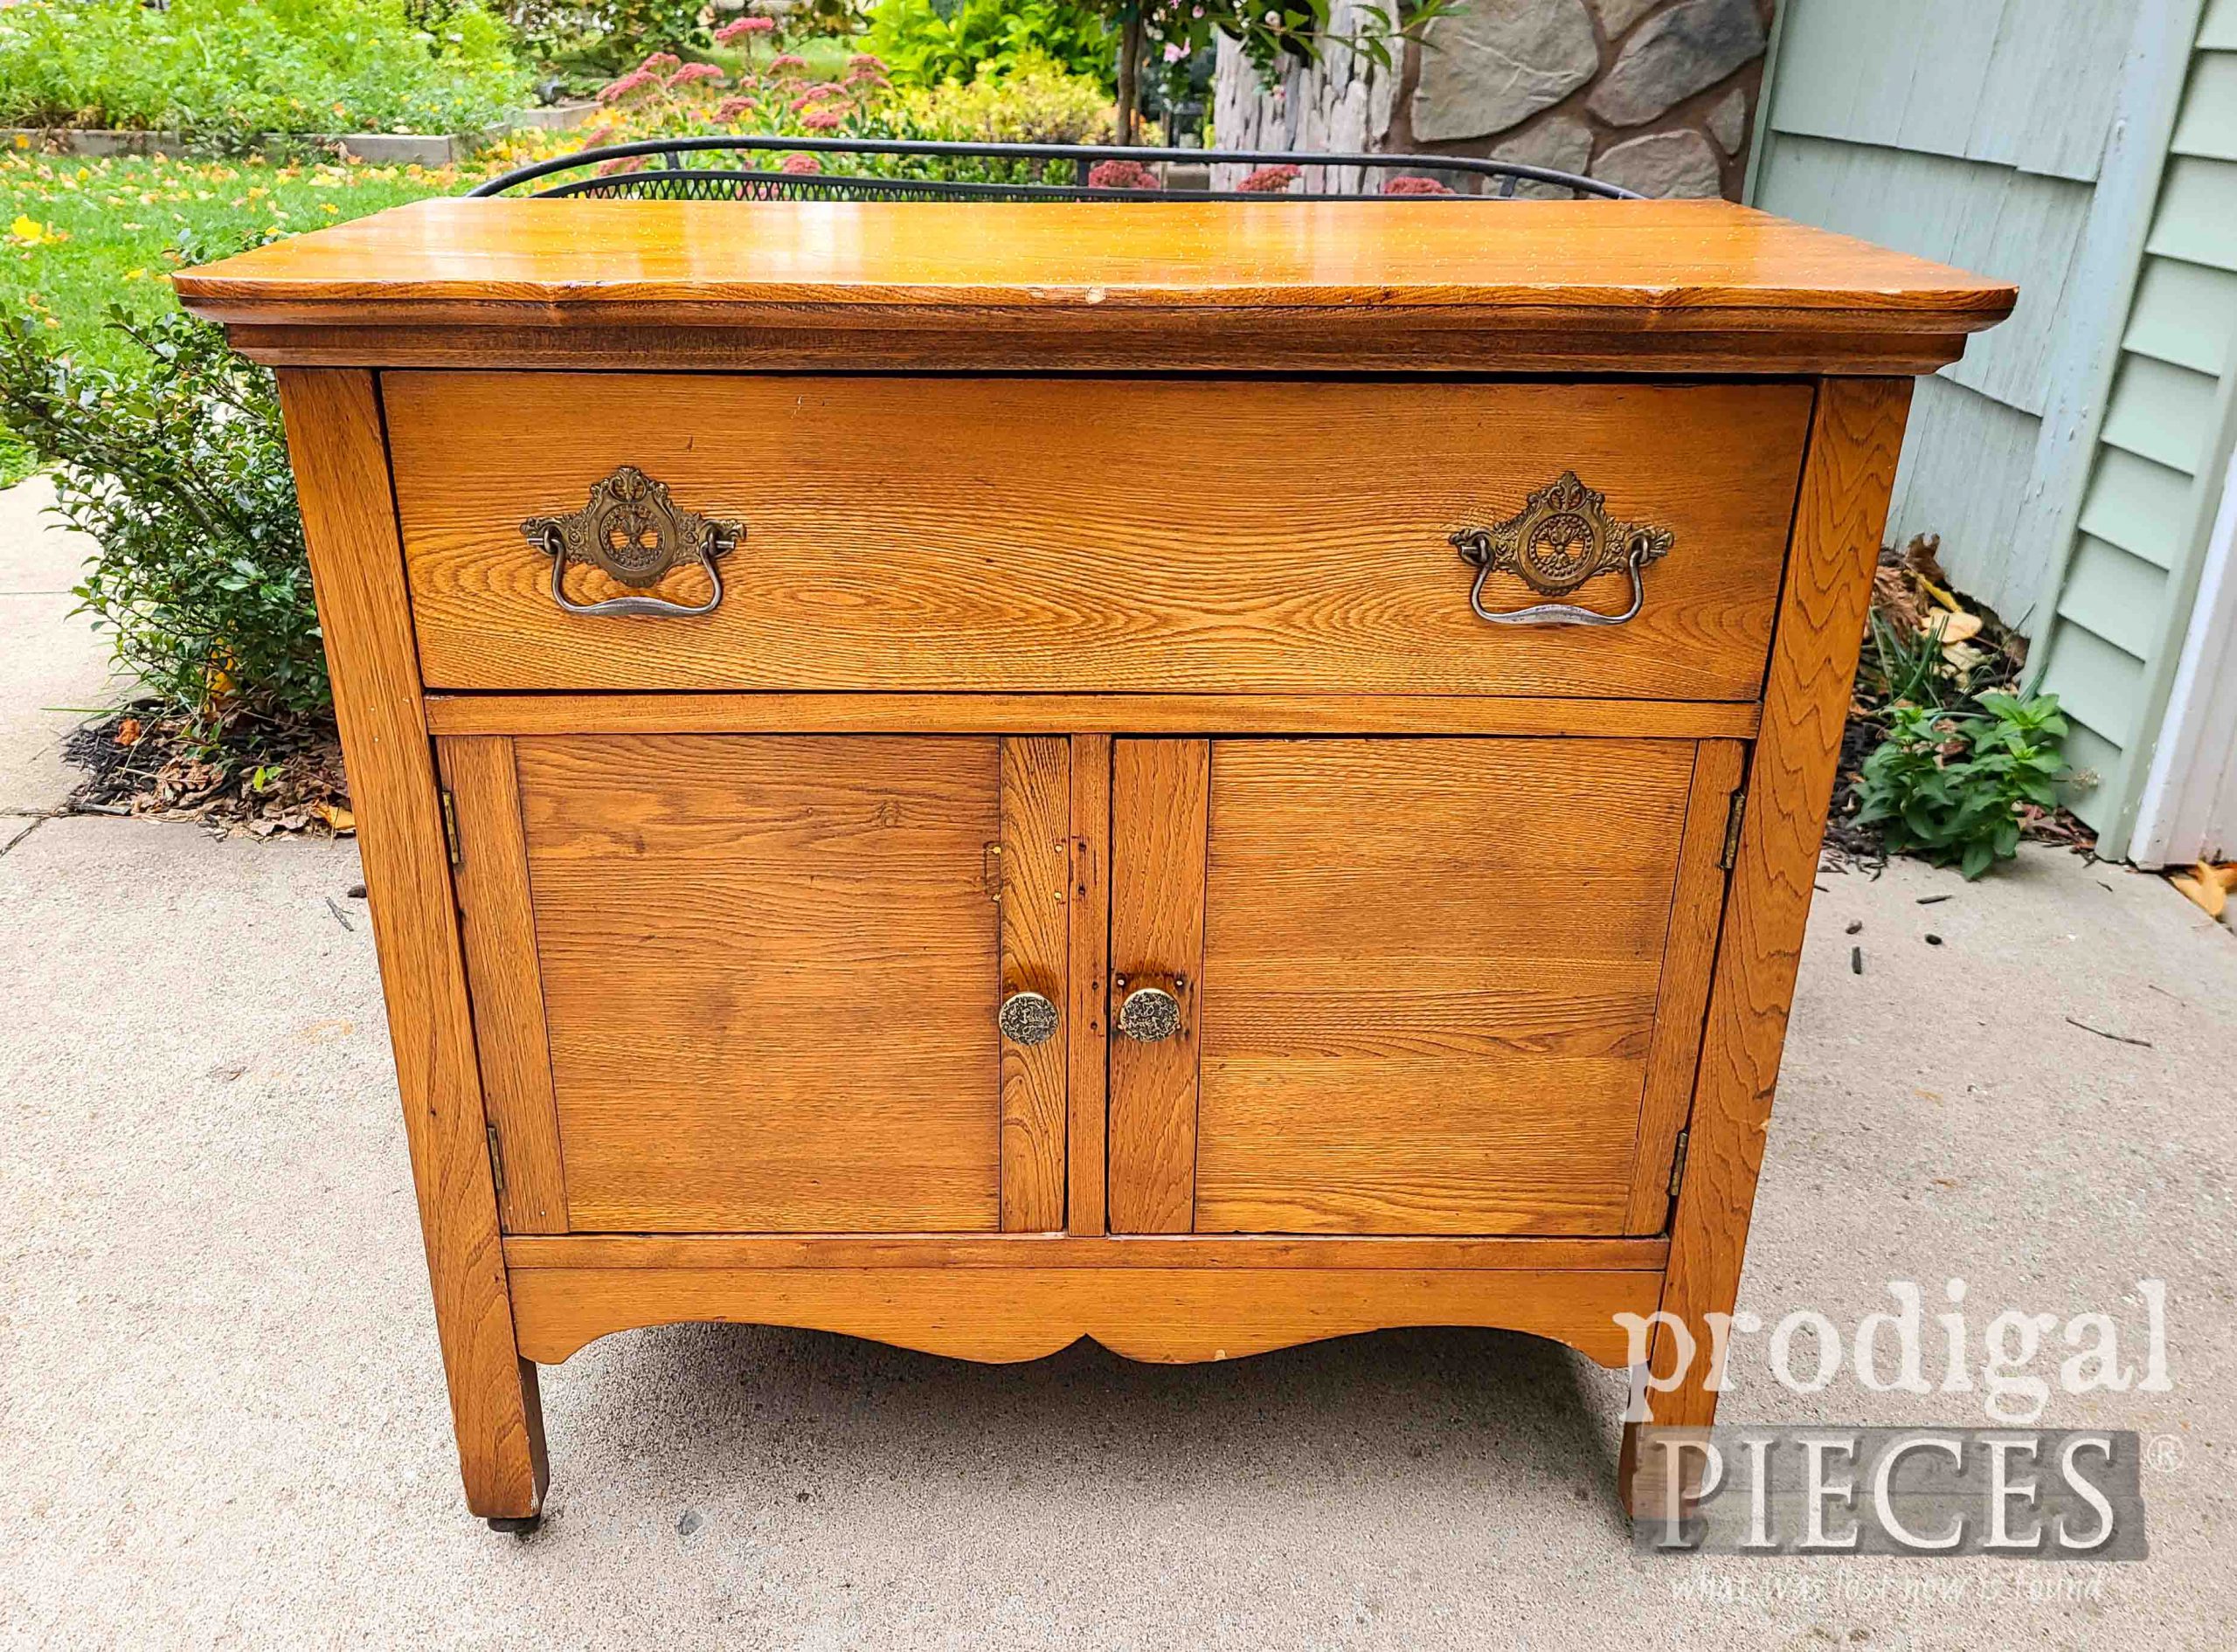
Up next, I’ll be giving this vintage piece some repair and TLC. Come see its new life HERE.
To get these DIY tips & tricks in your inbox, be sure to sign up for my newsletter. PLUS, you will get your FREE Furniture Buying Checklist and special discount to my shop. Until next time!



I like all three, but I absolutely LOVE the last sign you made!
Yay! So fun for me. That’s the top pick in my home too. 😀 Thanks, Jane.
Wow!!! I love them! The third one fits my decor…. but the first two show your amazing painting talent!! And by the way, thank you so much for your hard work. I can only imagine how difficult it is to share so many new projects with us each week. And, your blog posts are so detailed and instructive! THANK YOU!!!!
Rebecca, you’ve made my day! 😀 Thank you so much for getting how much time and energy goes into each post. It means much! Hugs!
I also love all three. If I HAD to pick just one, I really like the second one because it looks more like a sign from yesteryear. I agree with Rebecca about being amazed at your posts. Not only alot of work creating your project, but then writing , photographing, editing and posting. THEN you respond the comments. All this while keeping happy, healthy home and family. You do inspire us in many ways!
That one was one of my faves to paint. Thanks so much, Paula. Yes, much work, but I truly hope to reach folks and inspire them to try. Sending hugs!!
I love them ALL!! The chalkboard sign is so fun and colorful. The second one reminds me of a sign that could easily be in a lovely old farm stand bakery near my home. The third is just so rustic and comfy! You are so talented, and I have to “ditto” the earlier comments about how amazing you are to do all that you do. God has blessed you with vision, insight, and organization to get all of this done, and with such a flare! Because of your encouragement through your blog, I am currently working on a little painted box to put on my 3-season porch so I can try to “over-winter” some Gerbera Daisies I was gifted with. A little paint, distressing, some graphics, a little hardware and it should be good to go! Thanks so much for your inspiration and instruction. Love, love, love it all!
Wahoo!! You’re so awesome, Judy! Thank you for the smile. 😀 And…you just made my day. I’m tickled to hear you’re DIYing it!
Totally agree, Kreg pocket hole jigs are the jam. Love the rustic vibe of all three of your DIY Fall signs, Larissa! We are on the same wavelength, girl. I created an almost identical graphic for a project scheduled to share next week.
No joke! I am so addicted to mine. I can’t wait to see, Marie! 😀 We are sisters of another mother. hugs!
Hi Larissa, Happy October 1st, what beautiful signs for the season. I love all three of them, but the first one really showcases your artistic talents.
Same to you, Kaycee. Thanks so much for the encouraging words. 😀
I like them all but the second one speaks to me! I wish I had your imagination as you have the best ideas. I love the way you create beautiful items from scratch. I don’t know how you do it all with home schooling your kiddos, remodeling your house, shed and yard into home magazine-worthy projects! You’re awesome!
You are so sweet, Janet! You made me tired just reading that. Thank you. It is a crazy time of my life and I do often wish things would slow down and I know it will one day. Probably won’t know what to do with myself. haha.
Love all three, but the first one I would love to have. I love how everything just stands out on the black background. everything you do is great
Thank you so much, Vickie. Chalkboard art is always a classic fave of mine.
Love your work! I Look forward to Your blogposts, it is always fun to see what you are up to. Cheers, Di
Awesome to hear! It’s fun for me to share, though it’s much work. Thank you, Diane.
Hi Larissa! I like the third one the best. Great job!
Hello! Thanks so much. They all were fun and make for different tastes.