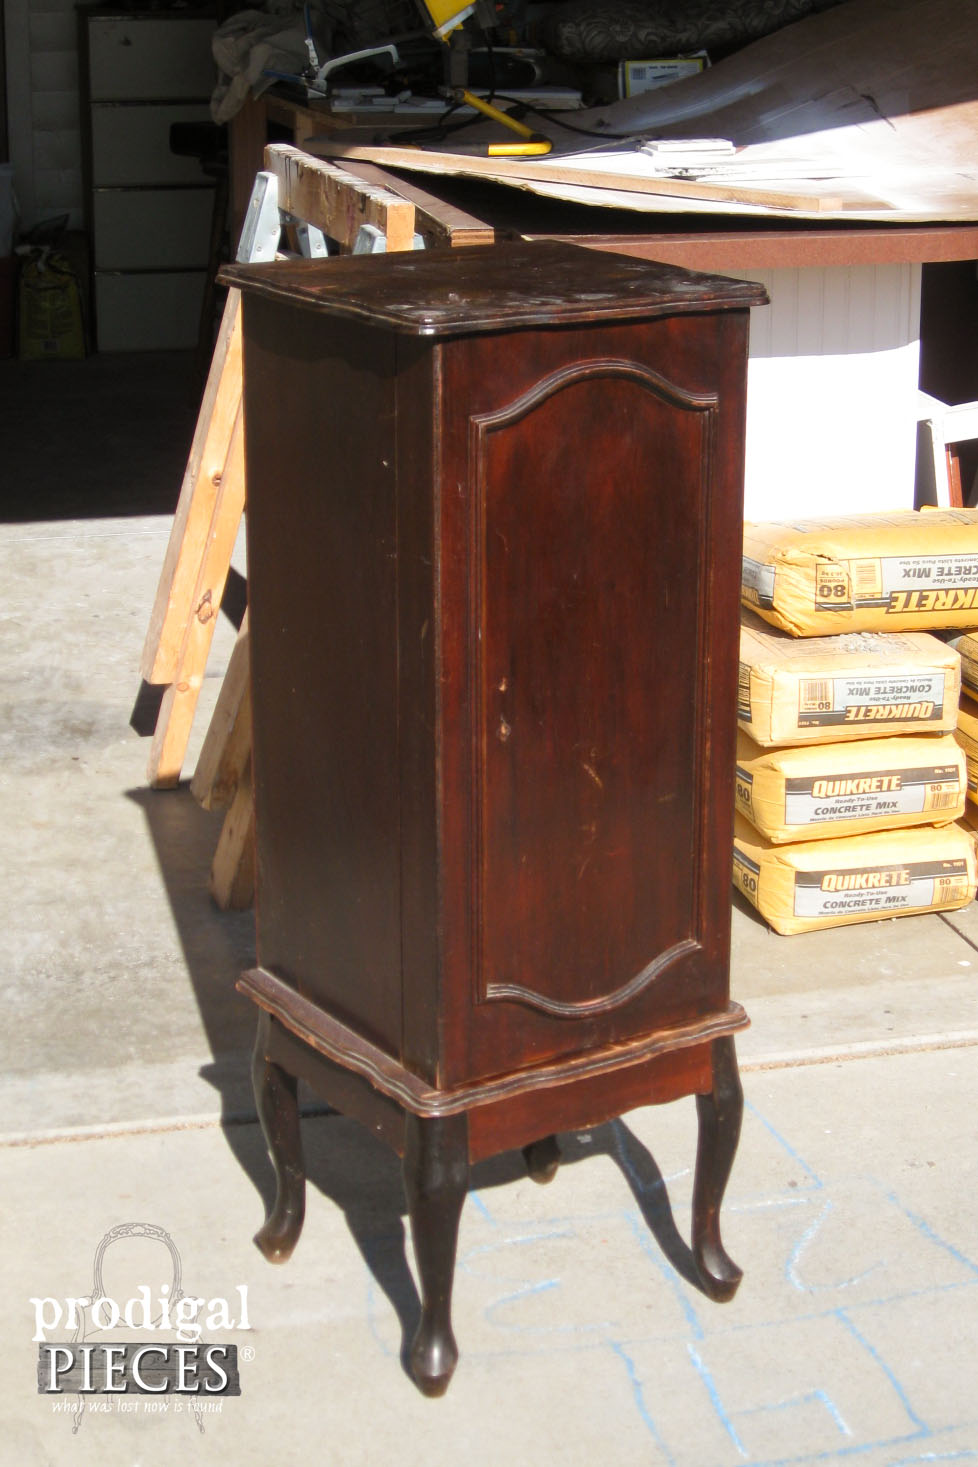
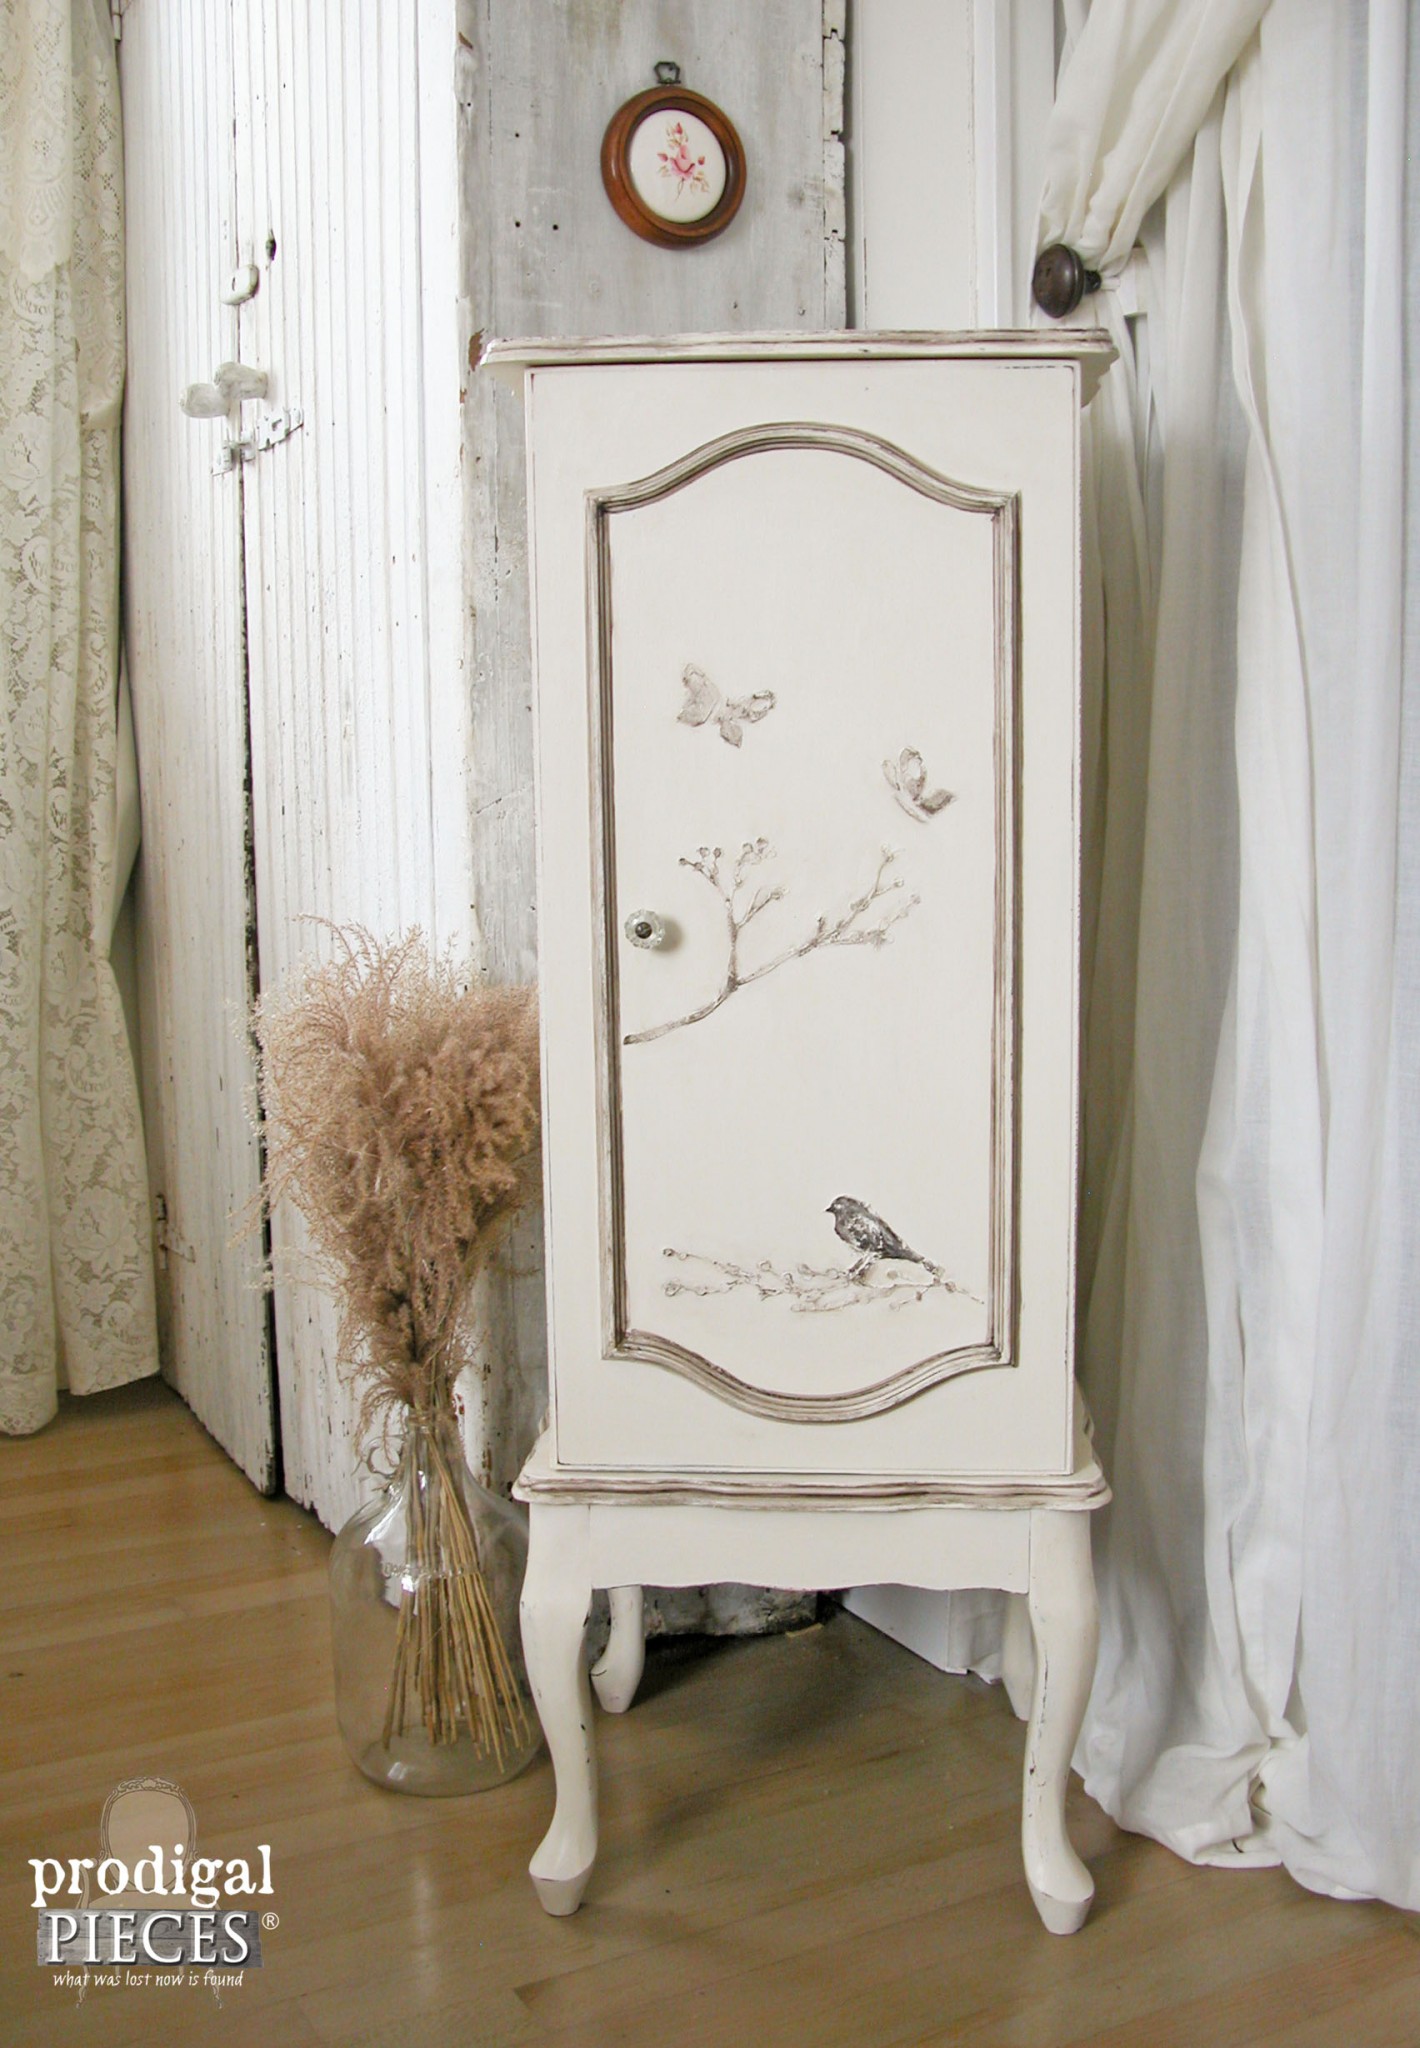
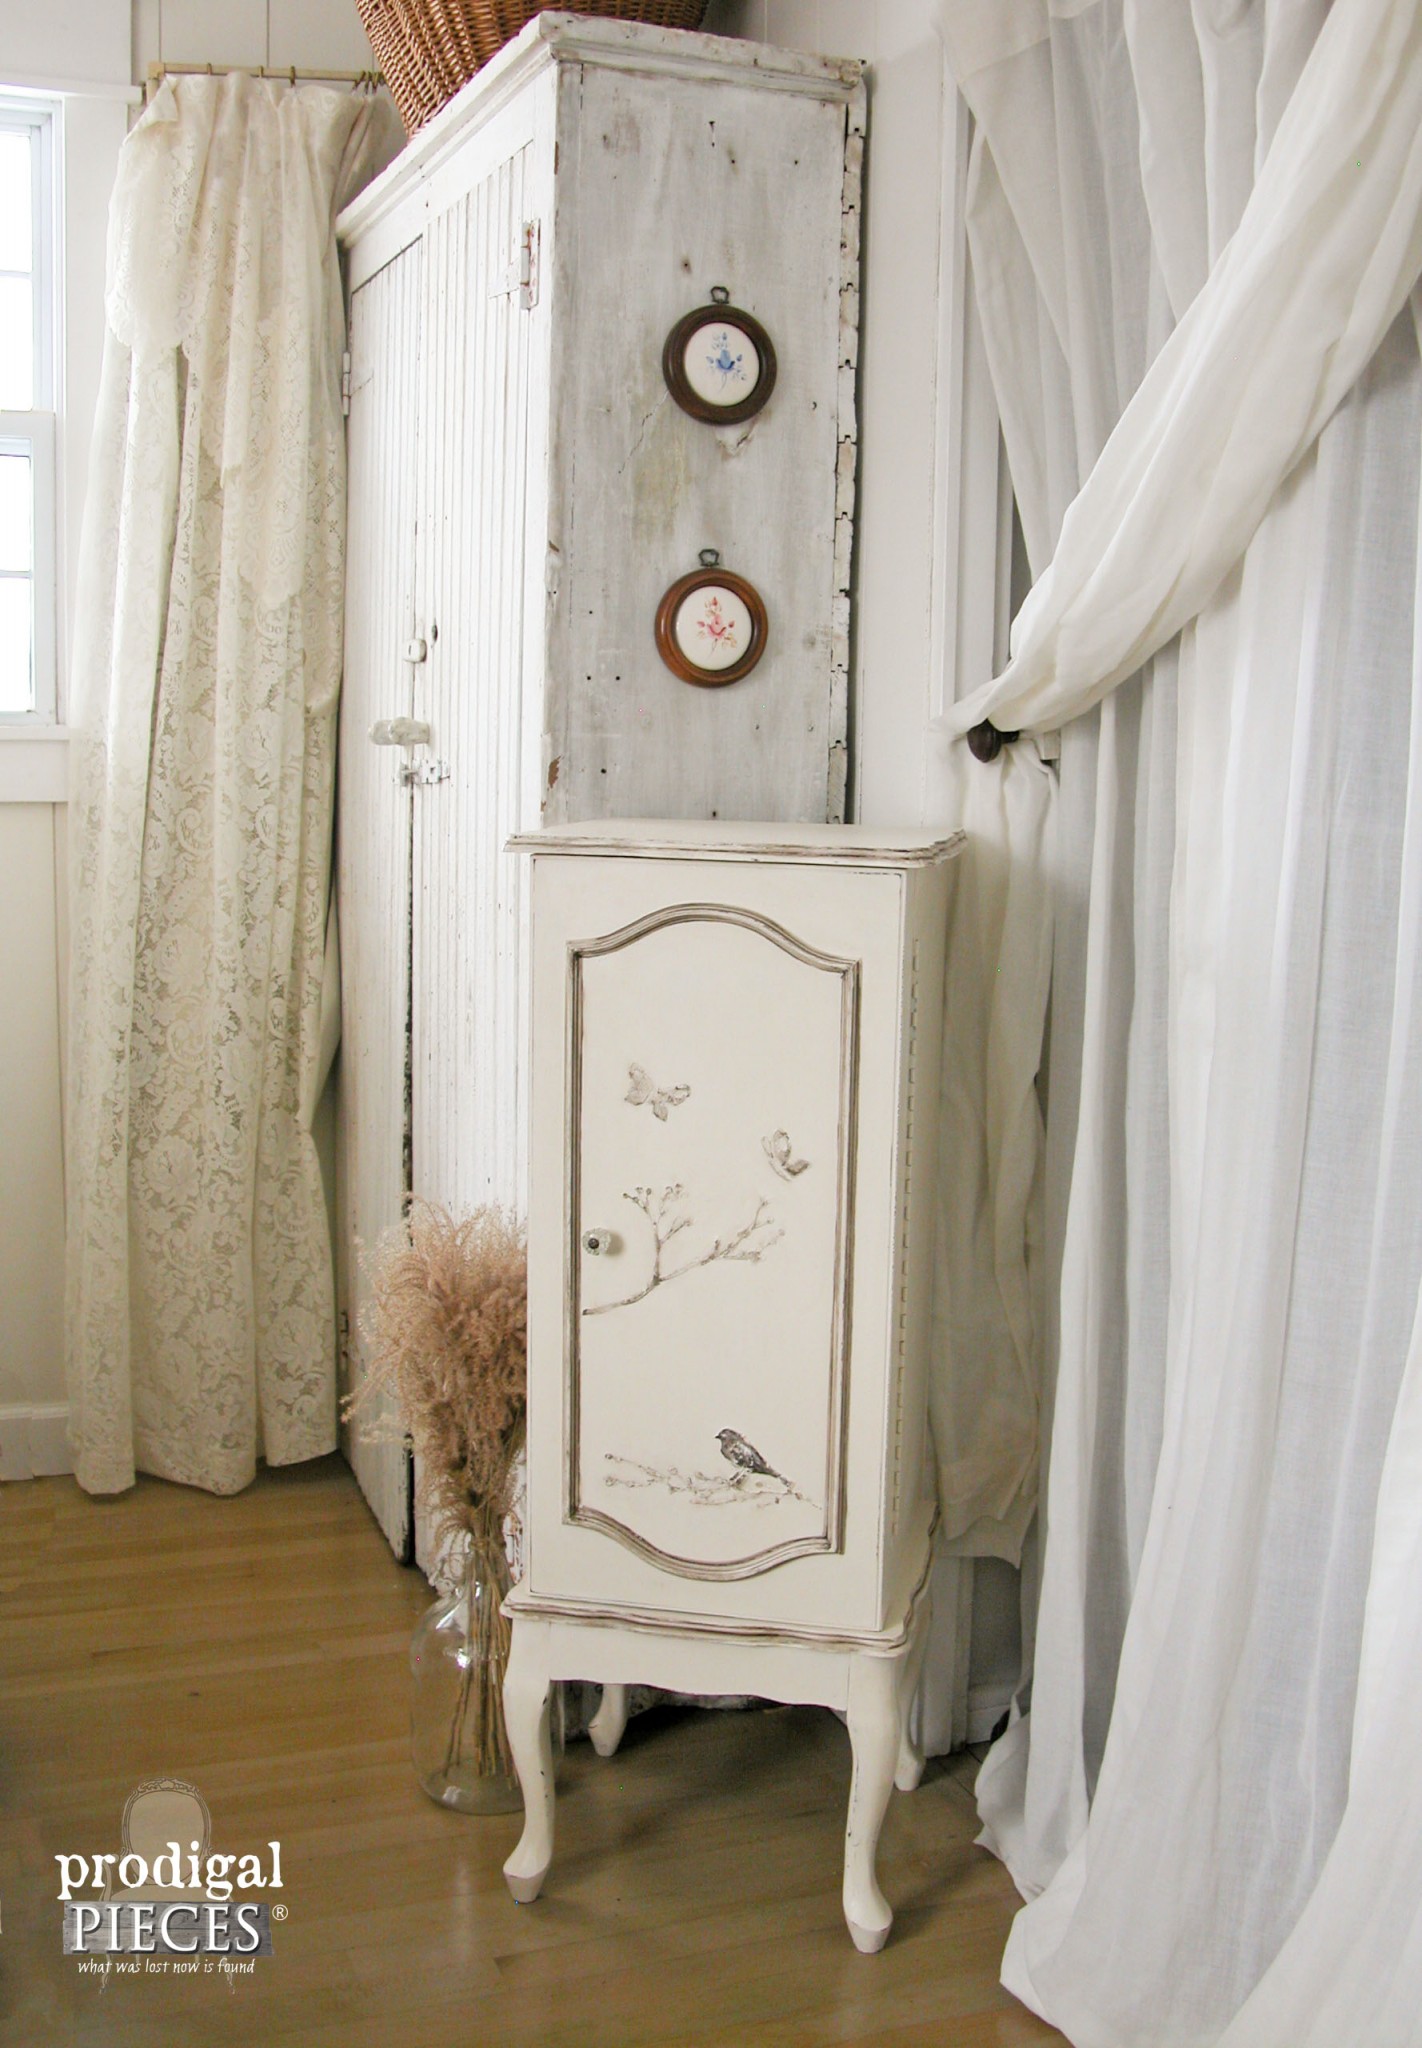
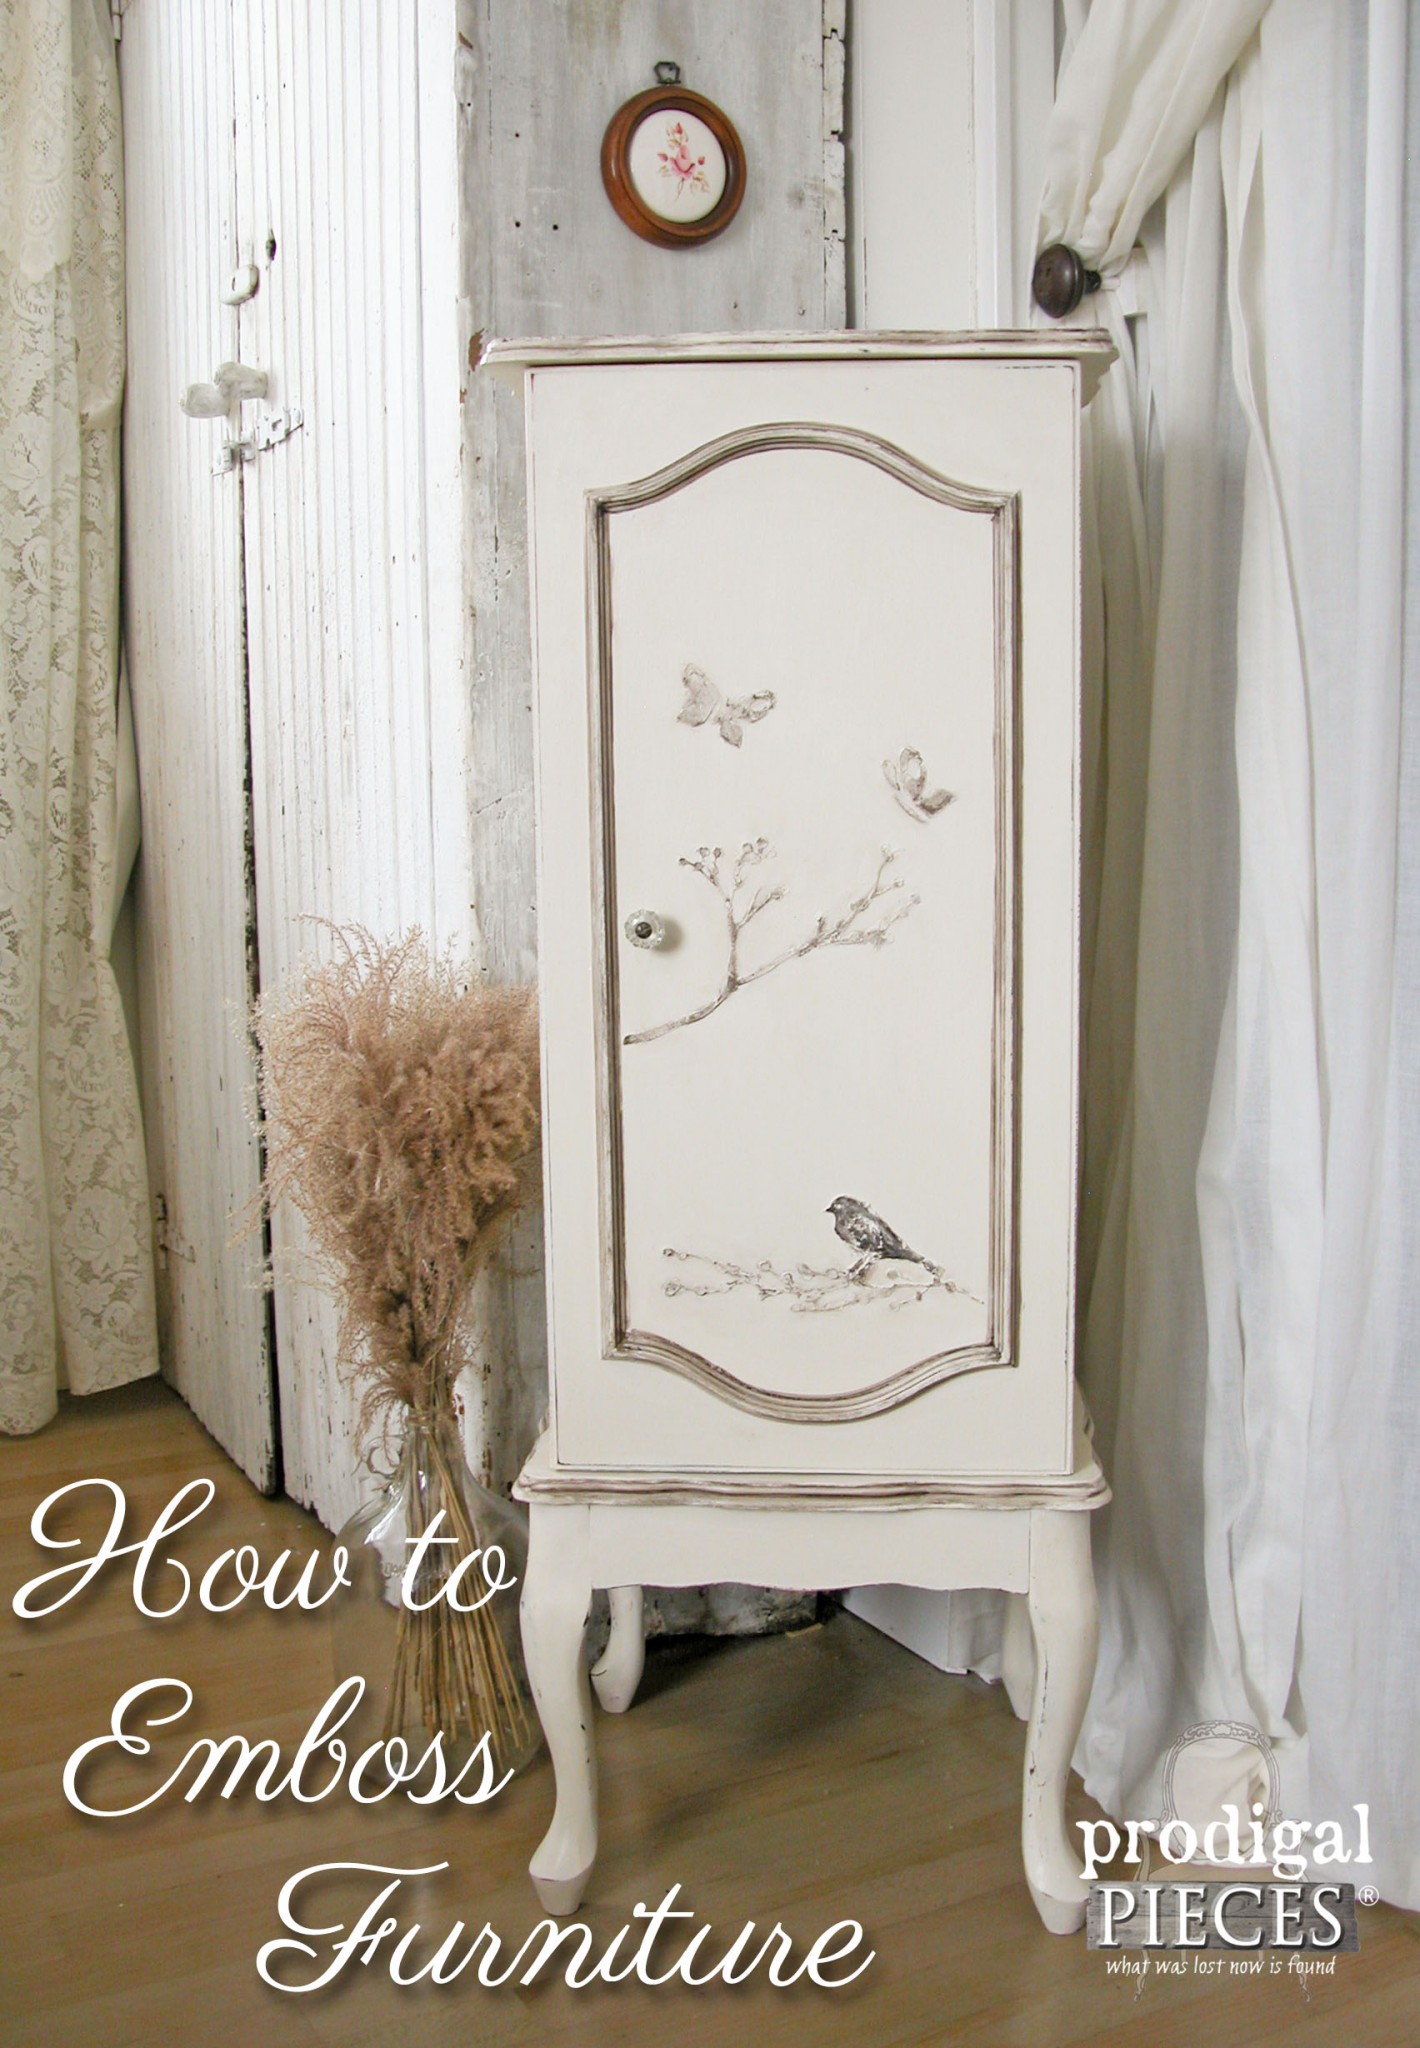
Whether it’s embossed glass, paper, metal, or wood, I have always been intrigued by that design element. I love to create that effect in my artwork whenever possible. So, it may not surprise you that I also emboss furniture too. It is so absolutely easy and only take a few basic materials. Let me show you what I did with this worn-out jewelry armoire.
THE BACKSTORY
The story behind this piece goes like this: I went to pick up an antique nightstand from a guy that I had just spoke with the night before. While on my way there with kids in tow, my oldest began to feel ill. I didn’t want to go back home and stand the guy up, so we headed over anyway with my oldest’s permission.
Turns out the guy sold the nightstand before I got there (me not happy at all), and he had a bunch of other stuff that he kept trying to sell me. He said that he and his wife “shabby chic” stuff and asked if I did the same. ummm… (wink, wink). Anyhoo, I was upset I wasted my time and didn’t want to come away empty-handed for my effort, so I bought this thing. meh.
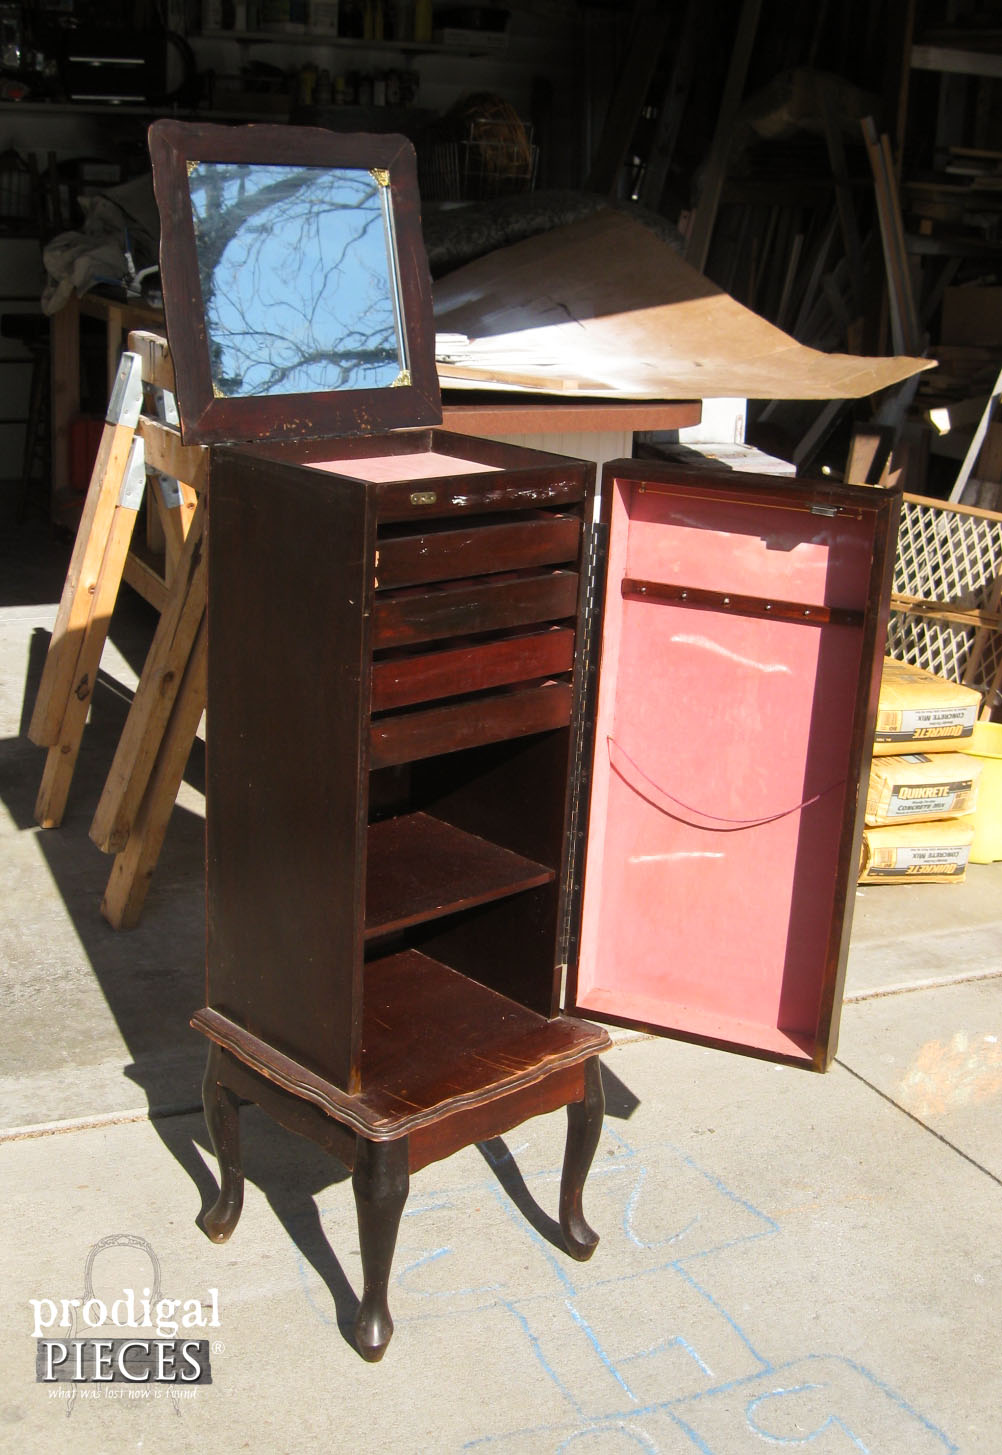
I wasn’t too keen on working on it because it looked like a whole lotta work, but thought I’d give it a try, and if I didn’t want it I knew one of my kids would like to have a crack at it.
DIY TIME
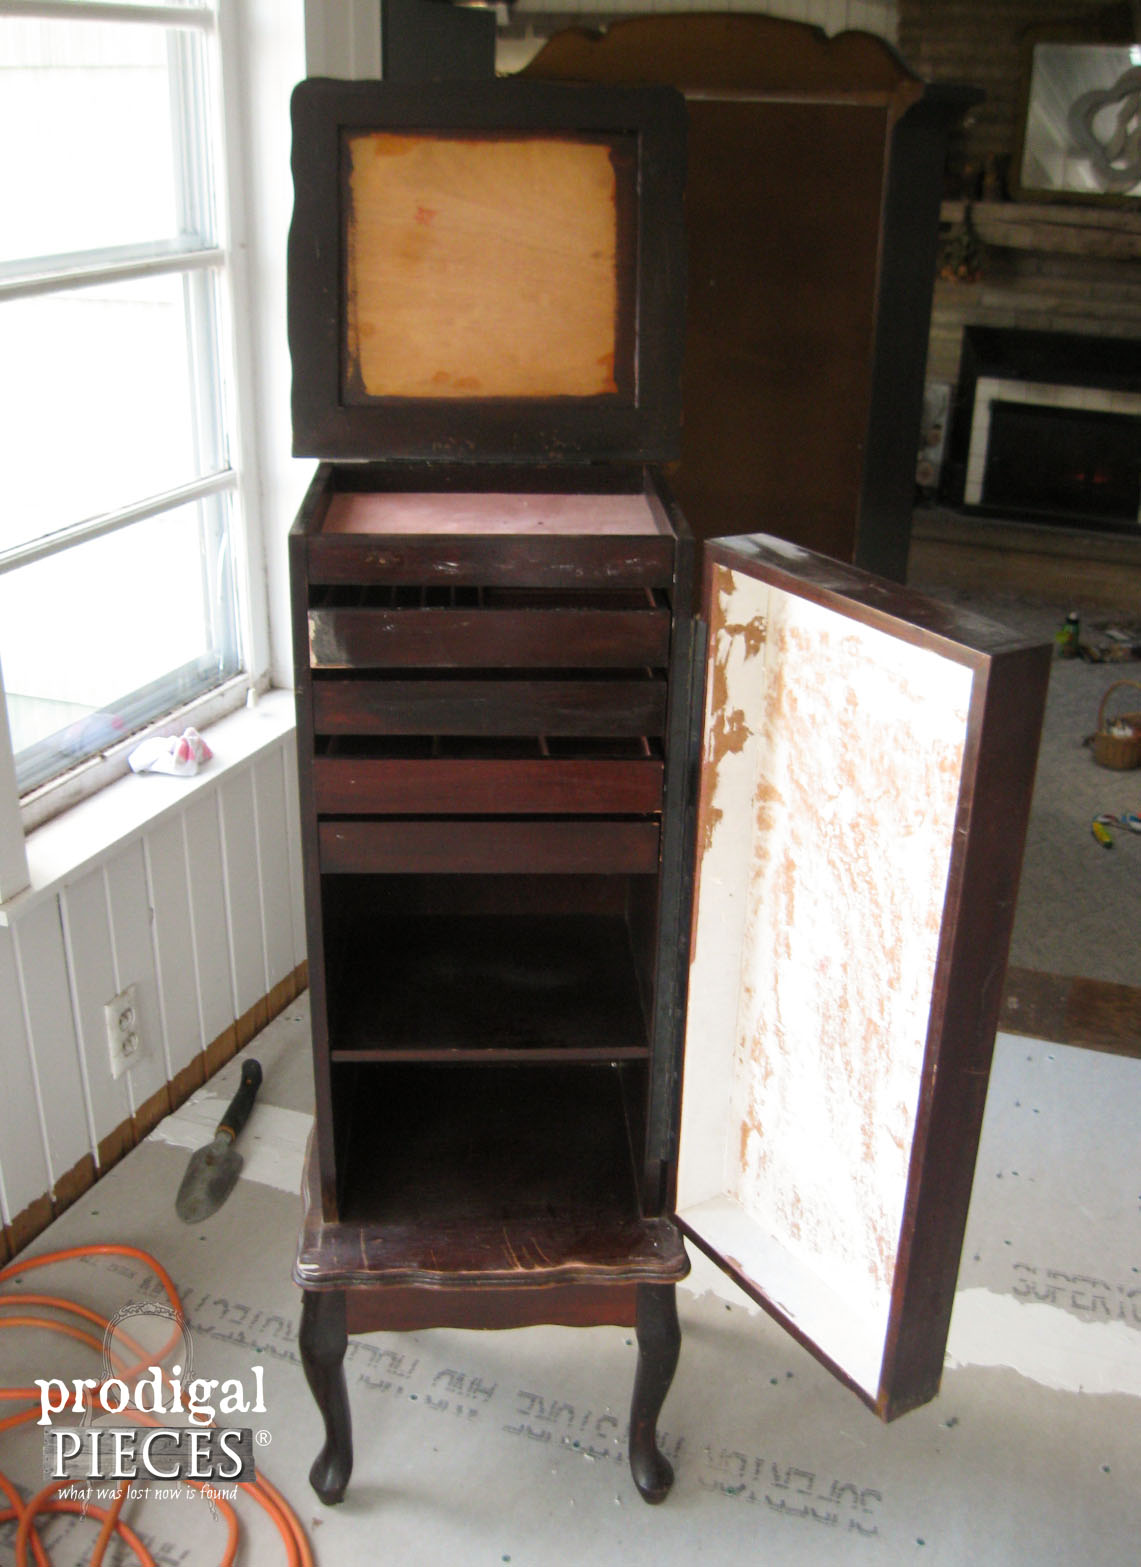
To me, it looked like a blank slate and since I have yet to add a piece like this to my repertoire, so I thought I’d have a try. To get started, I removed all the damaged velour, and made repairs.
Then I primed like crazy because this was a mahogany stain that would bleed through. Bleeding isn’t an issue if you’re using a deep dark paint, but I intend to go light on this one.
Once primed, I did two coats of my favorite Antique White by Behr using a Glidden Flat Paint. I’ve used this same color oodles of times, like on my chest of drawers and this dressing table and this French beauty.
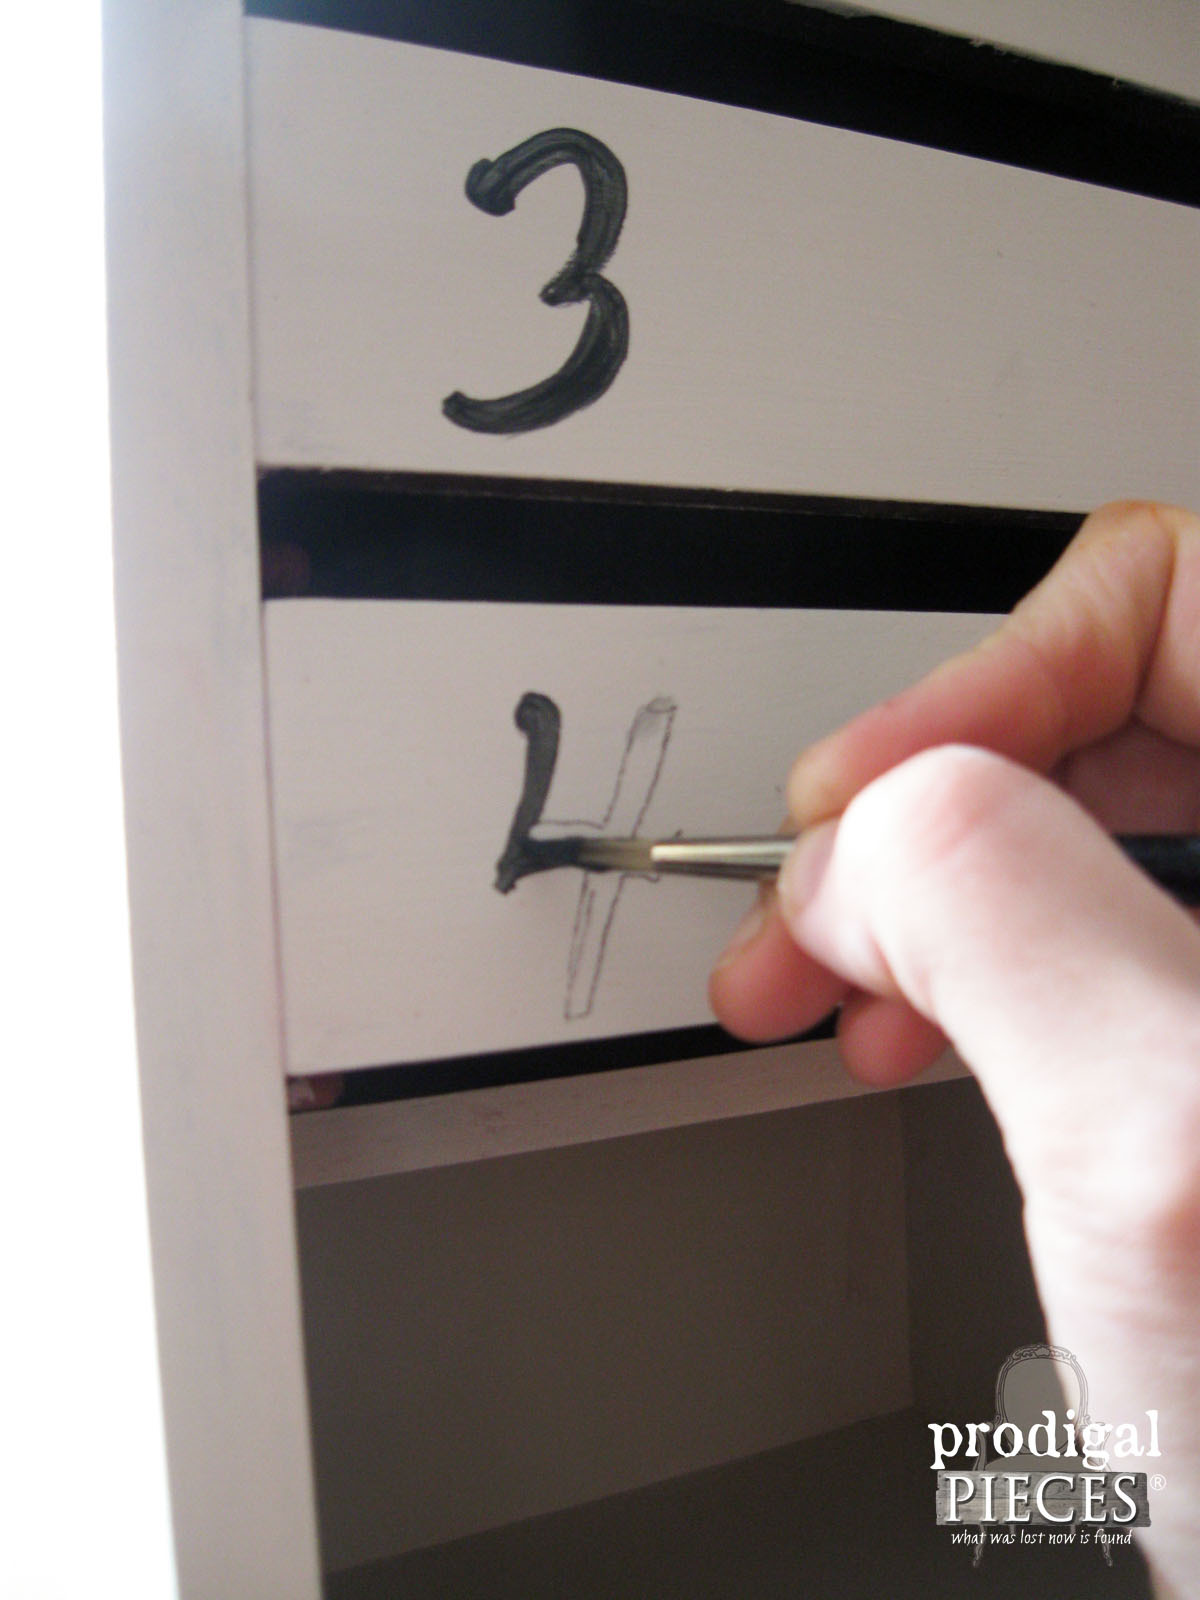
Once the paint was dry, I hand-painted the drawer fronts to create some whimsy.
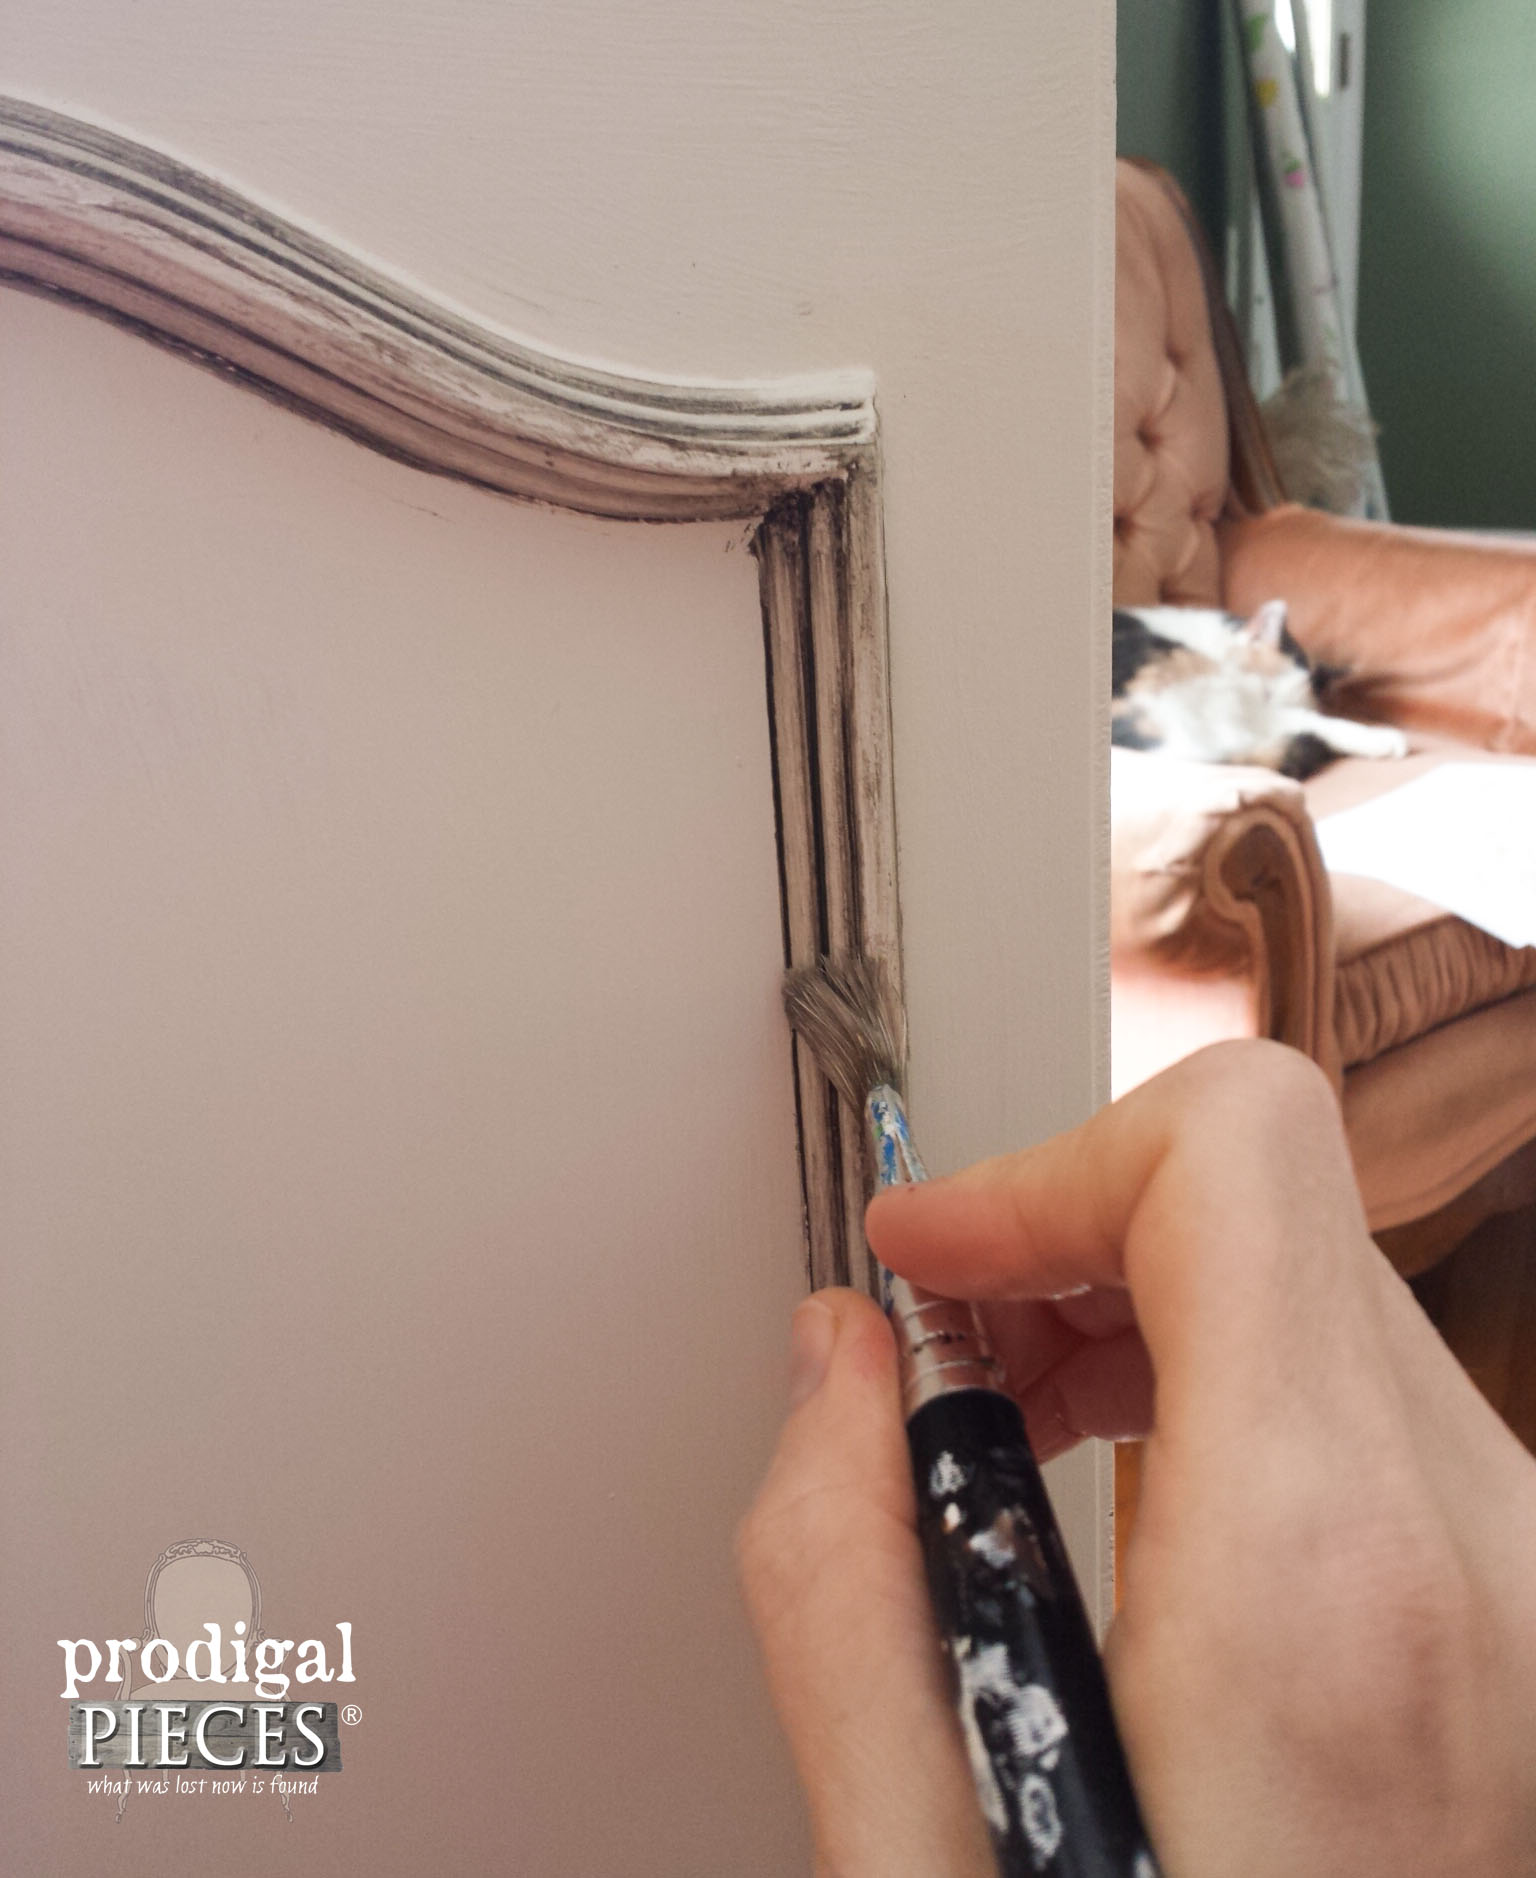
I decided to glaze the details using a homemade glaze I talk about HERE, so that it would add dimension. (See my diva cat, Lily, snoozing in her perpetual spot? I share about her often. tsk. Silly cat.)
NEXT STEPS
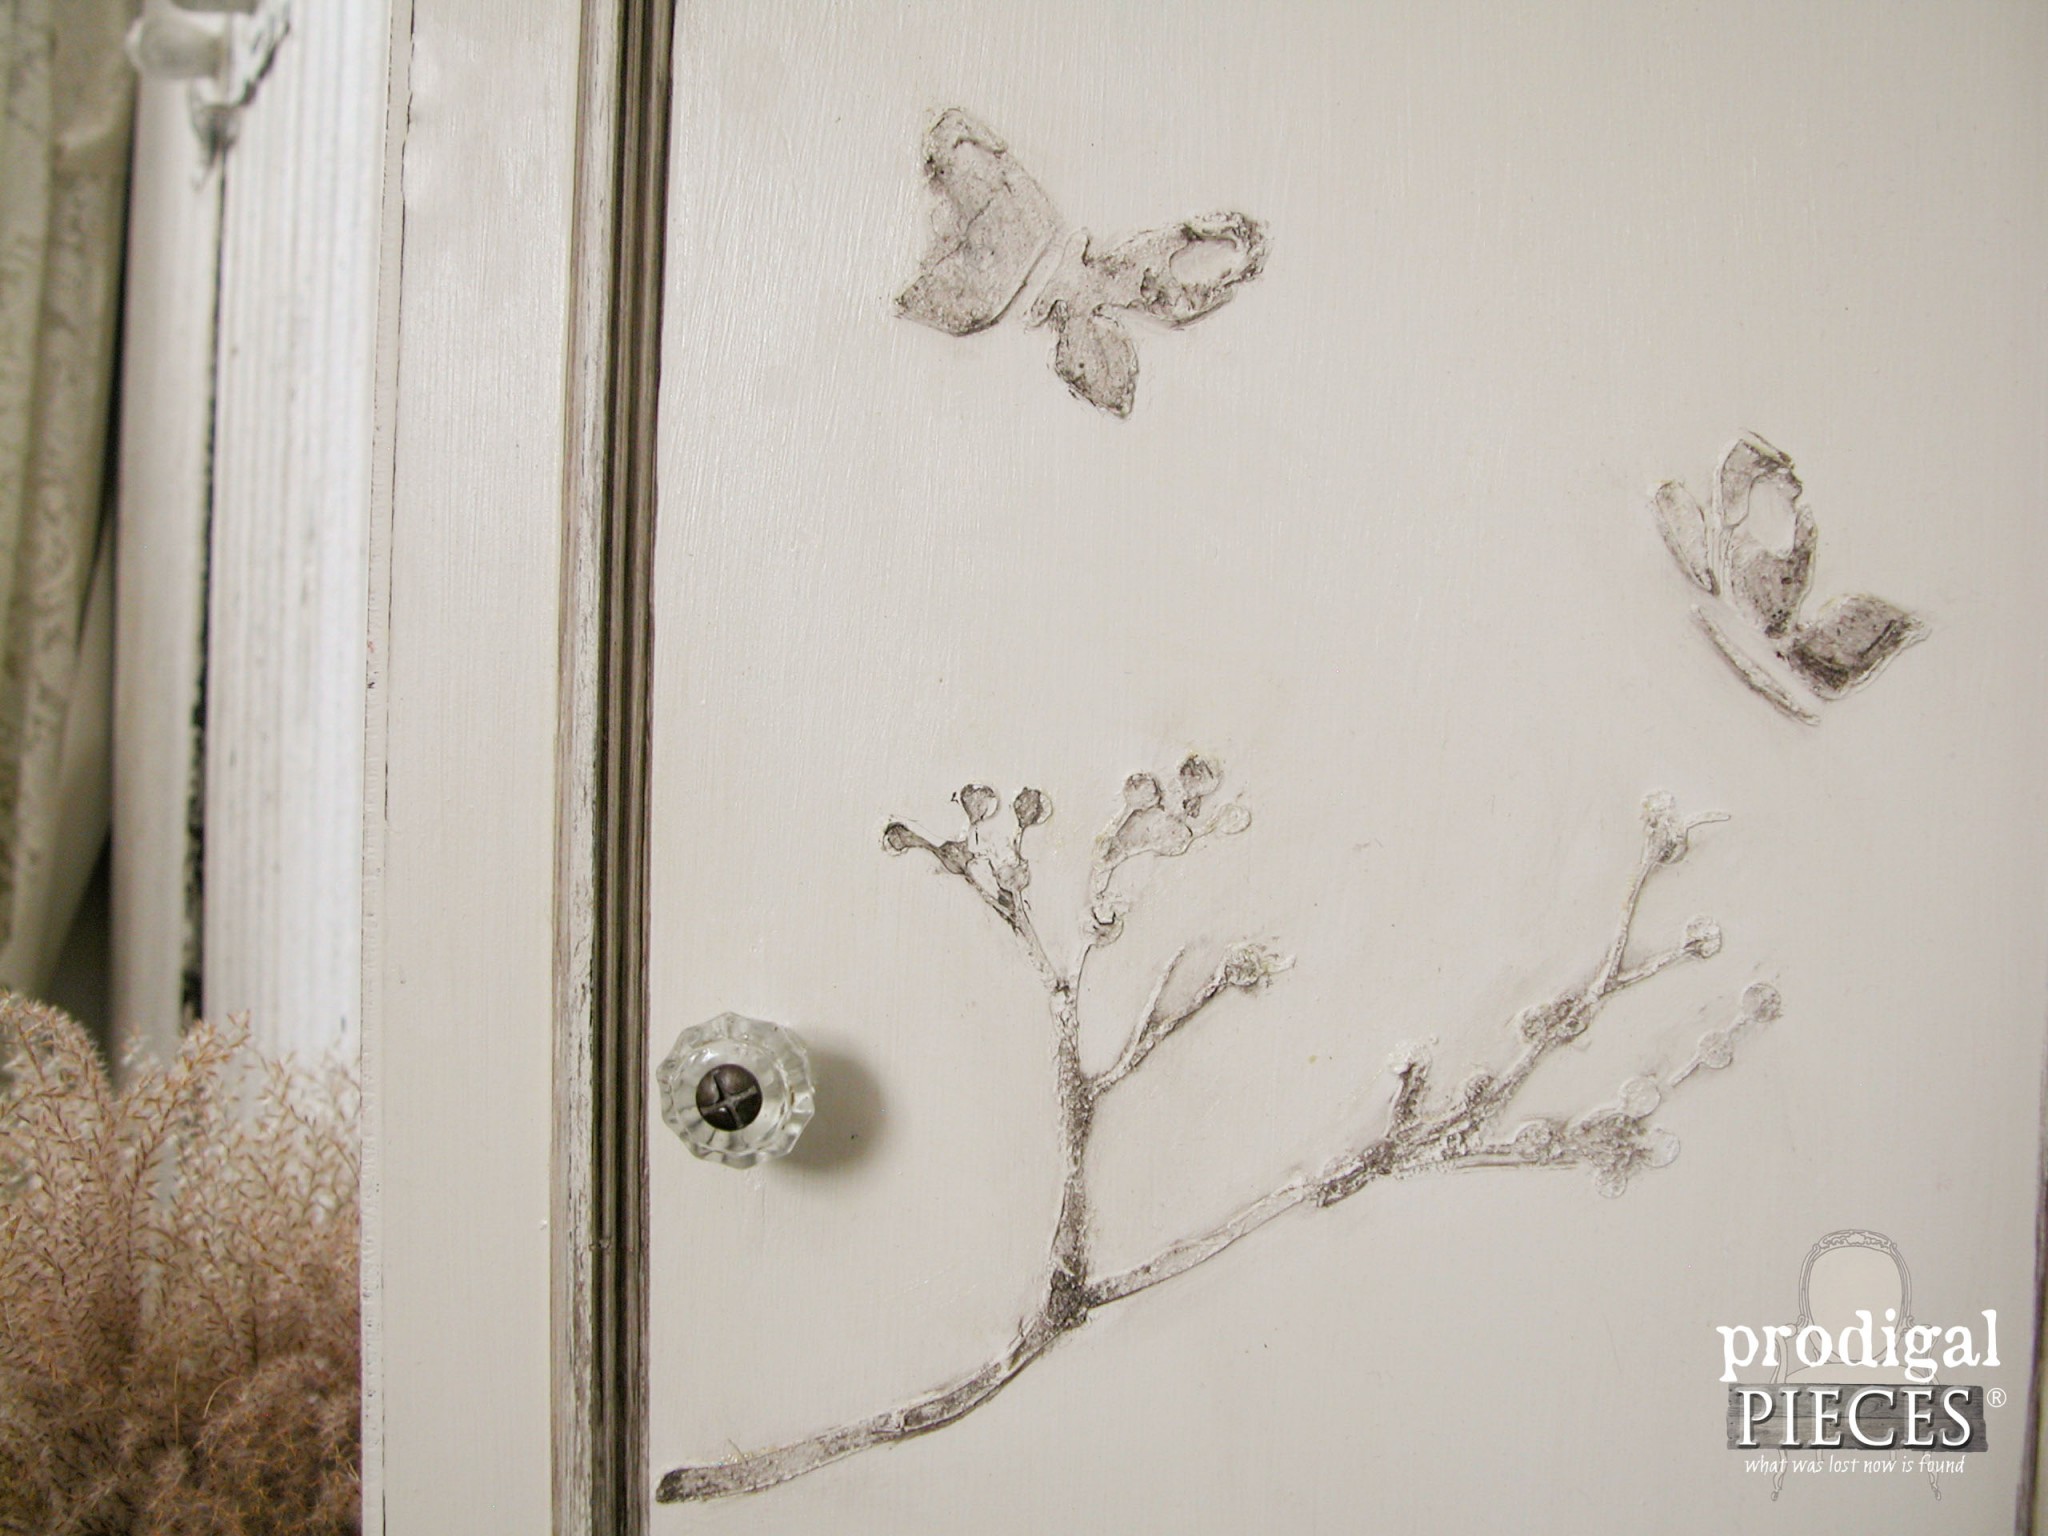
My original intent was to hand-paint a floral design to the front because to me it was like a canvas, but I really didn’t want to add any color. It just needed something, so I decided to emboss the front panel. Hint: You could also use embossed wallpaper like I did on this nightstand for a simple effect too.
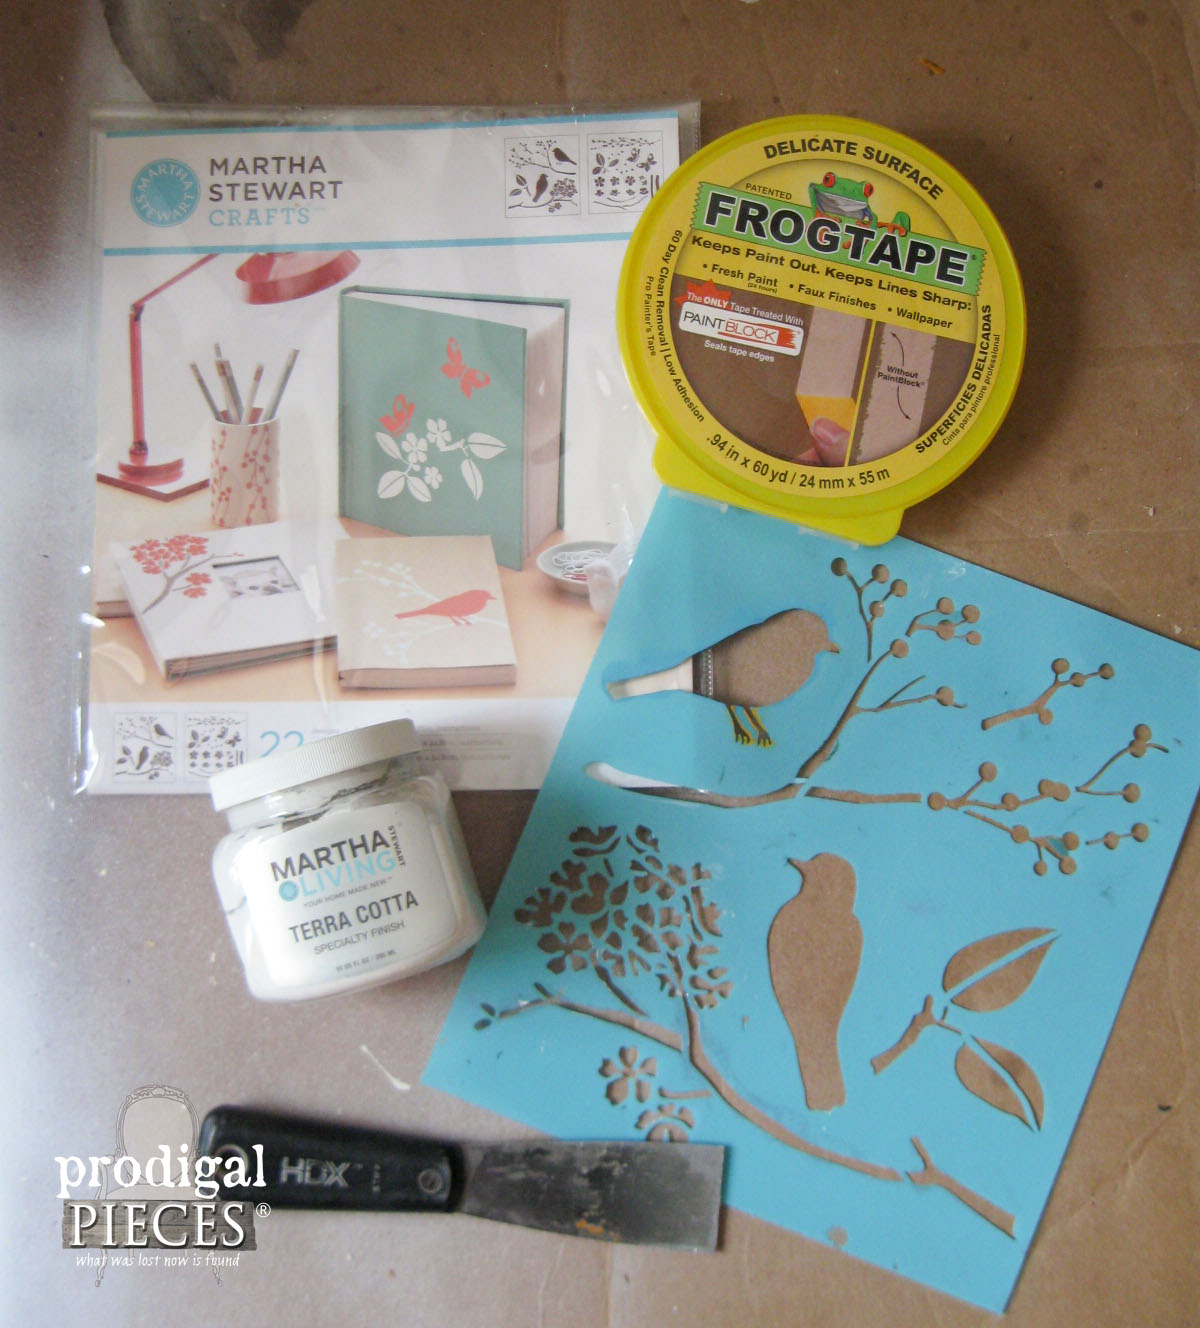
Seriously, this method is so easy and creates oodles of texture – you must give it a try! Here is what you’ll need:
- Stencil (I used Martha Stewart’s Birds & Berries) that I also used on this project)
- Delicate Surface Frog Tape
- spackling
- putty knife
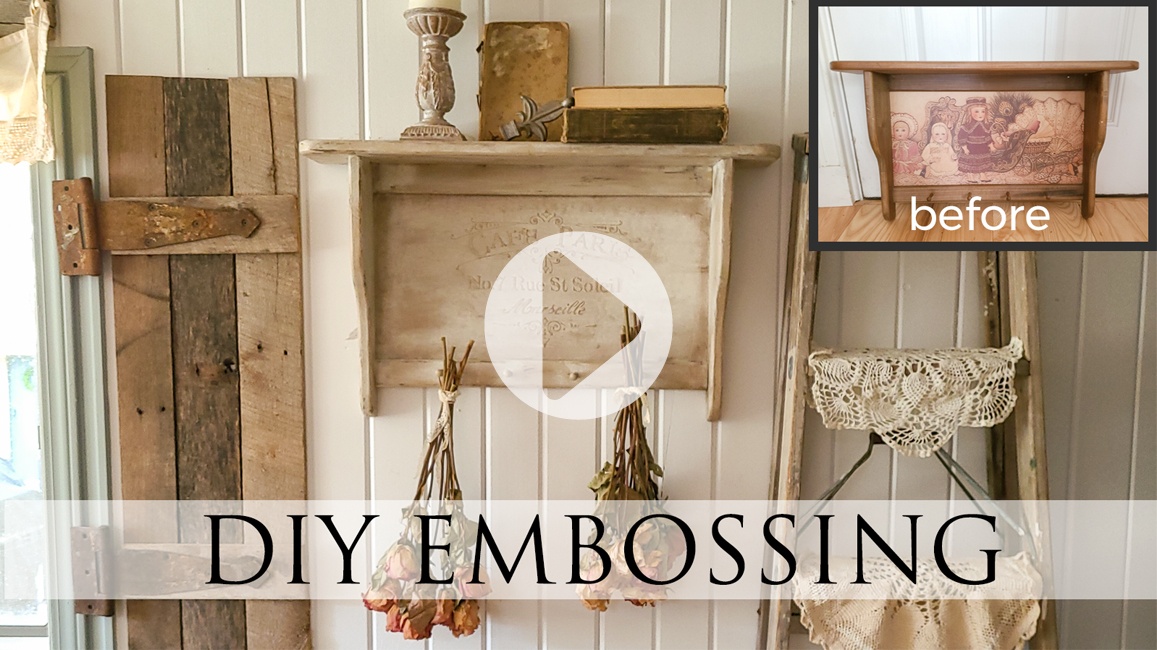
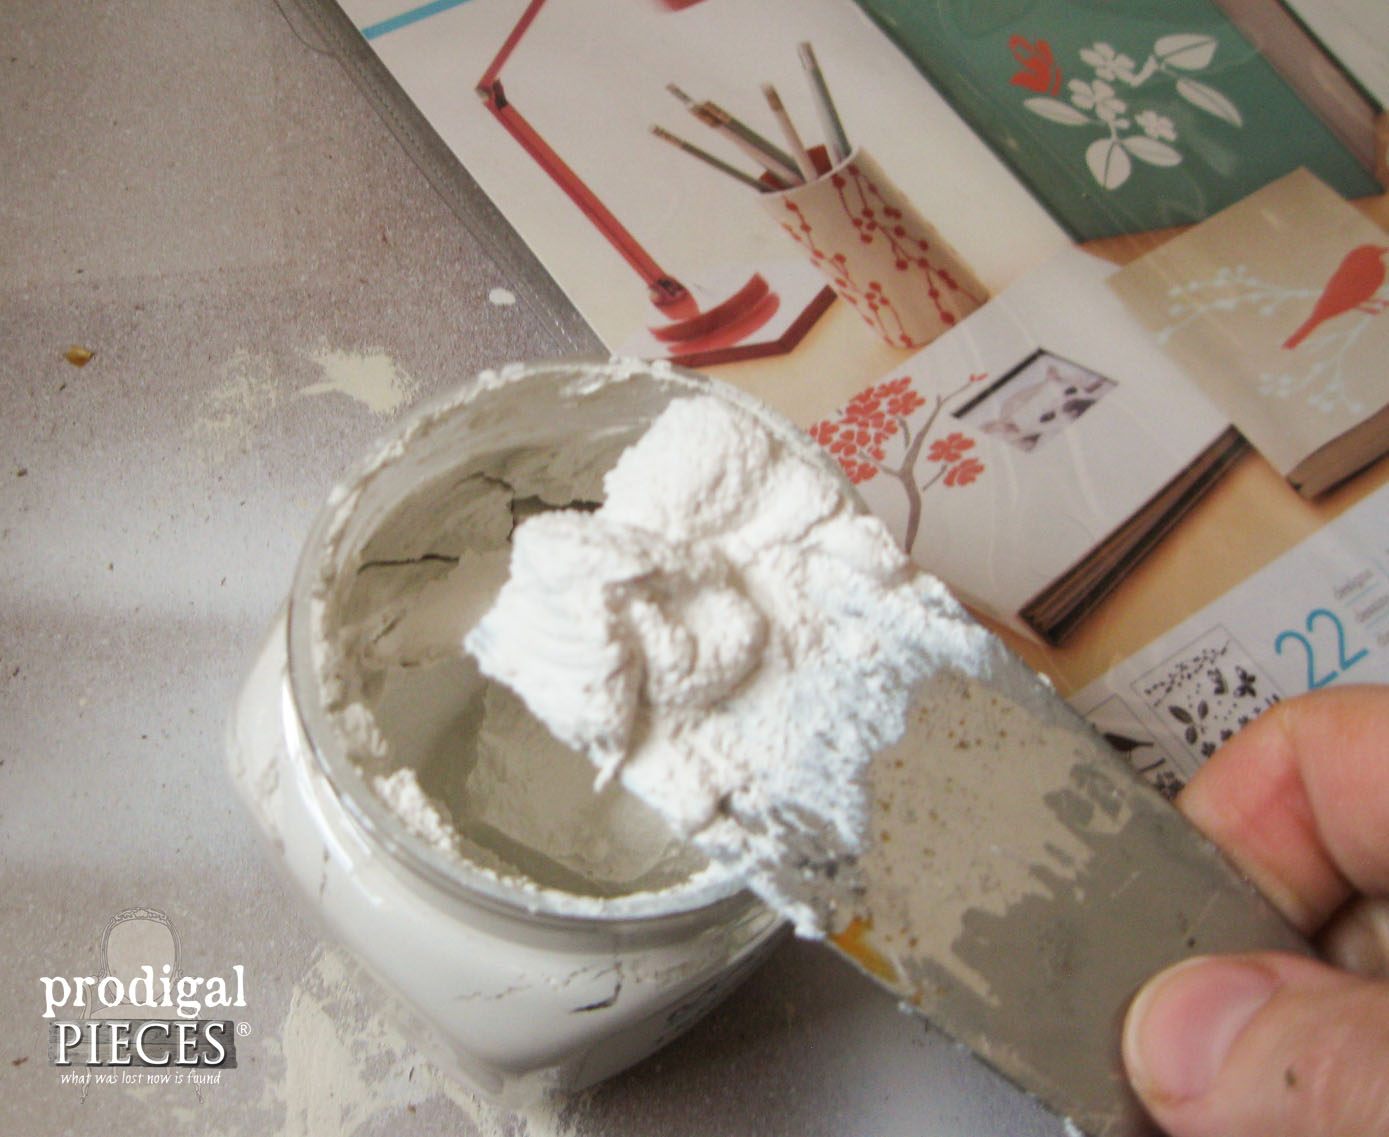
I typically use spackling for a smooth finish, but when I went to work on my project I found my tub dried up. tsk. So, because I have been under-the-weather, I wasn’t about to go anywhere and used what I had on hand instead – a specialty finish by Martha Stewart. It’s a bit grainier, but I like the effect too. Also, here’s a video demonstrating (tutorial HERE) the technique with spackling or see this post too.
EMBOSSING
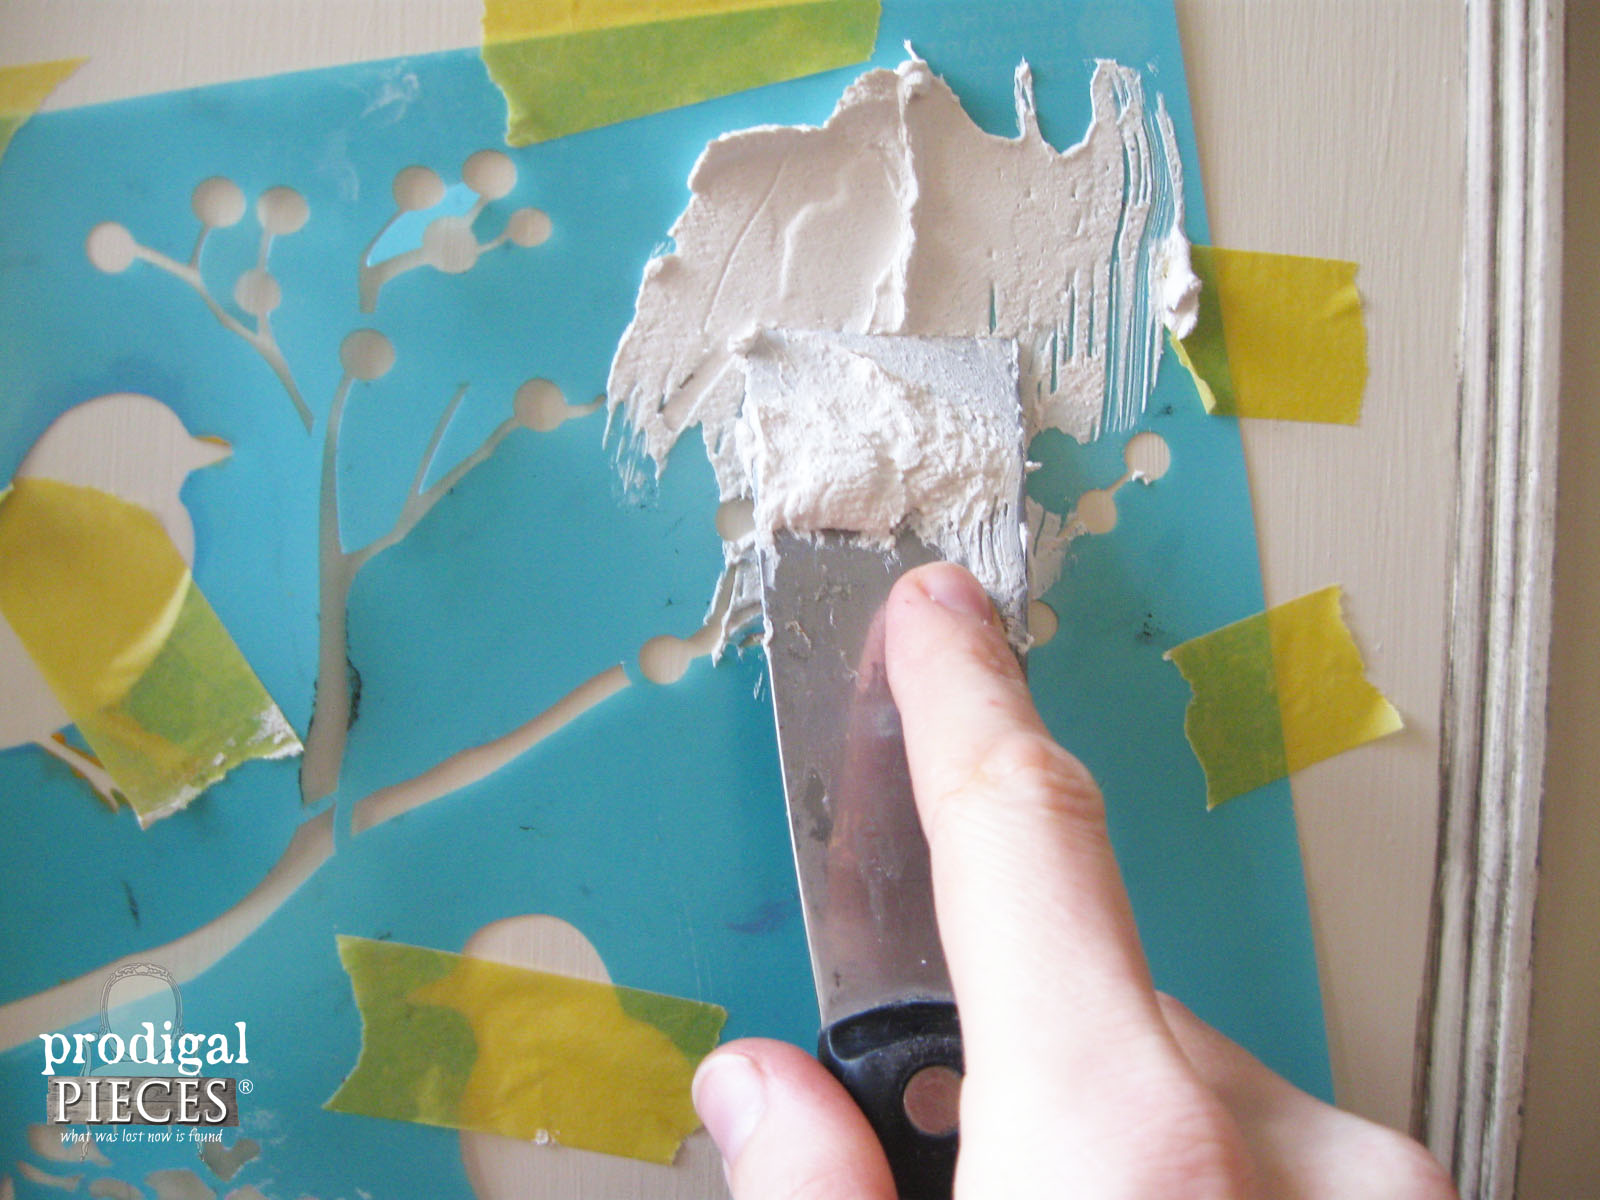
Grab your stencil and tape it in place. (you could certainly do this before painting, but since this was last-minute, I did it on top) Get a nice chunk of spackling on your putty knife and smear it evenly across the stencil.
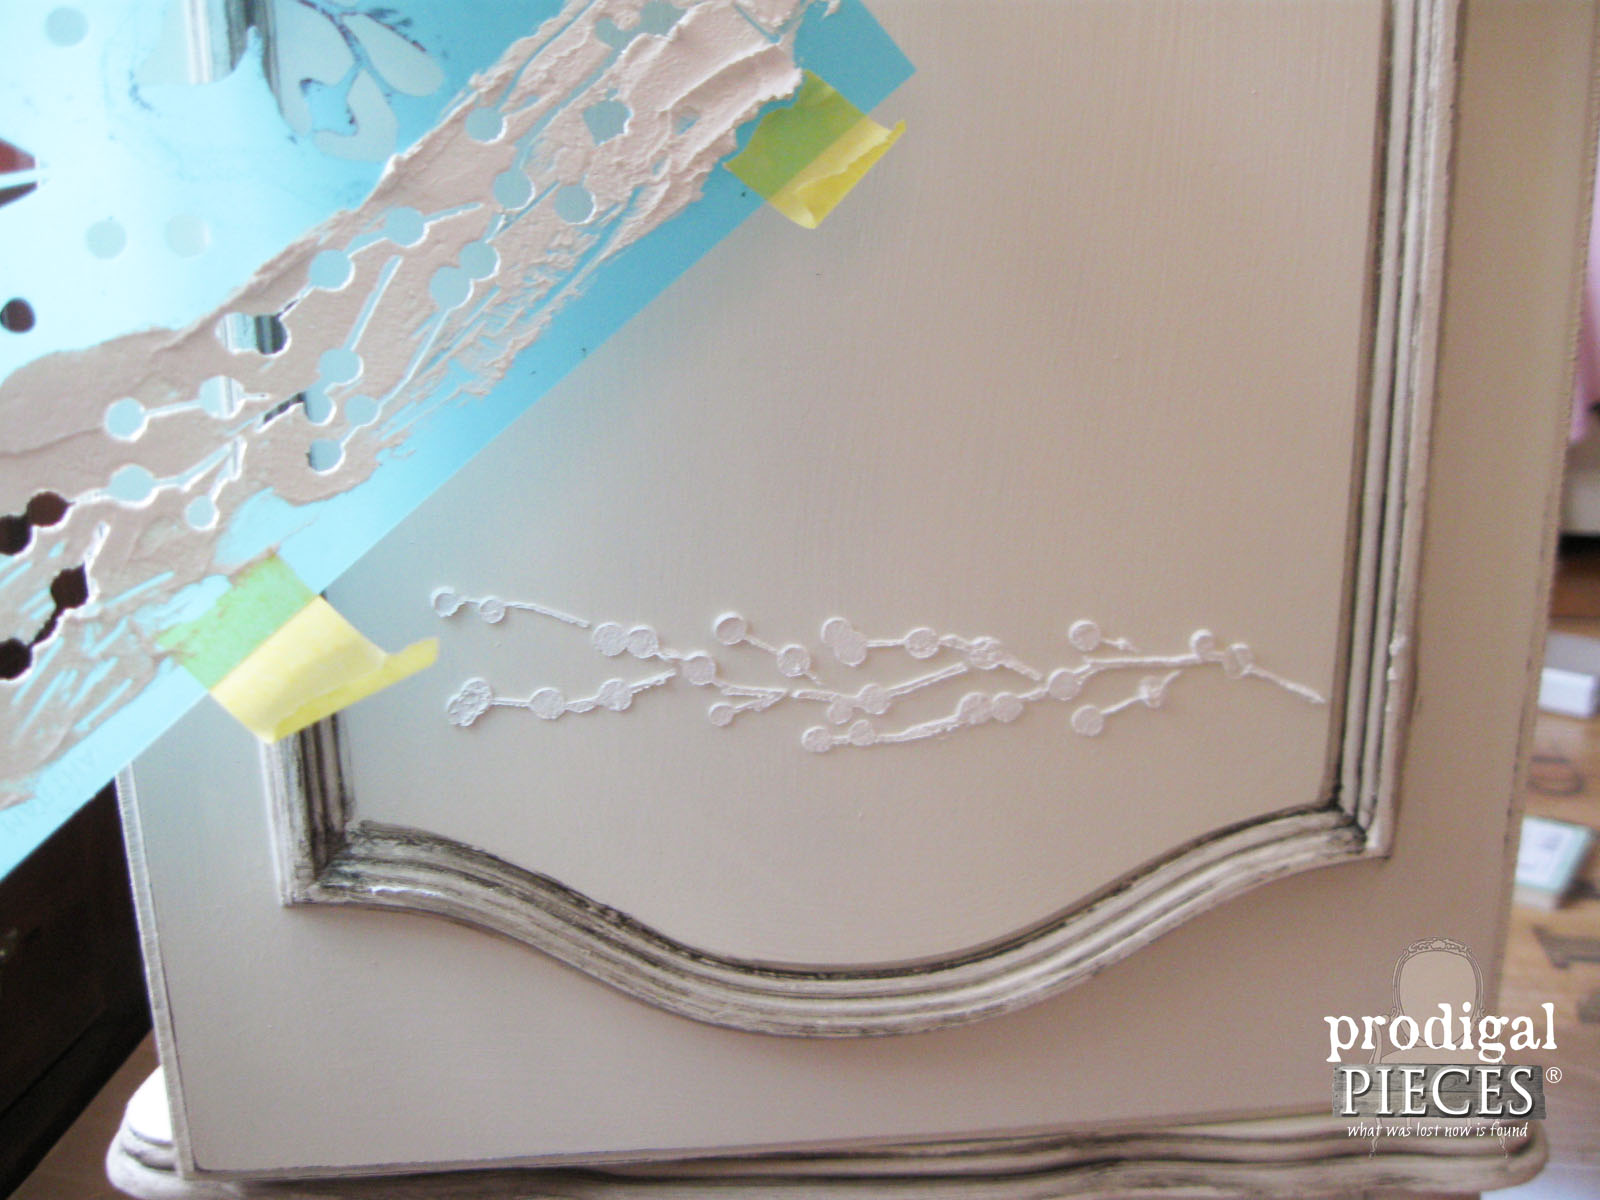
Carefully remove the stencil by rolling it back towards you and this is what you should see.
The best part is that if you mess up, just scrape it off, wipe the surface clean and try again.
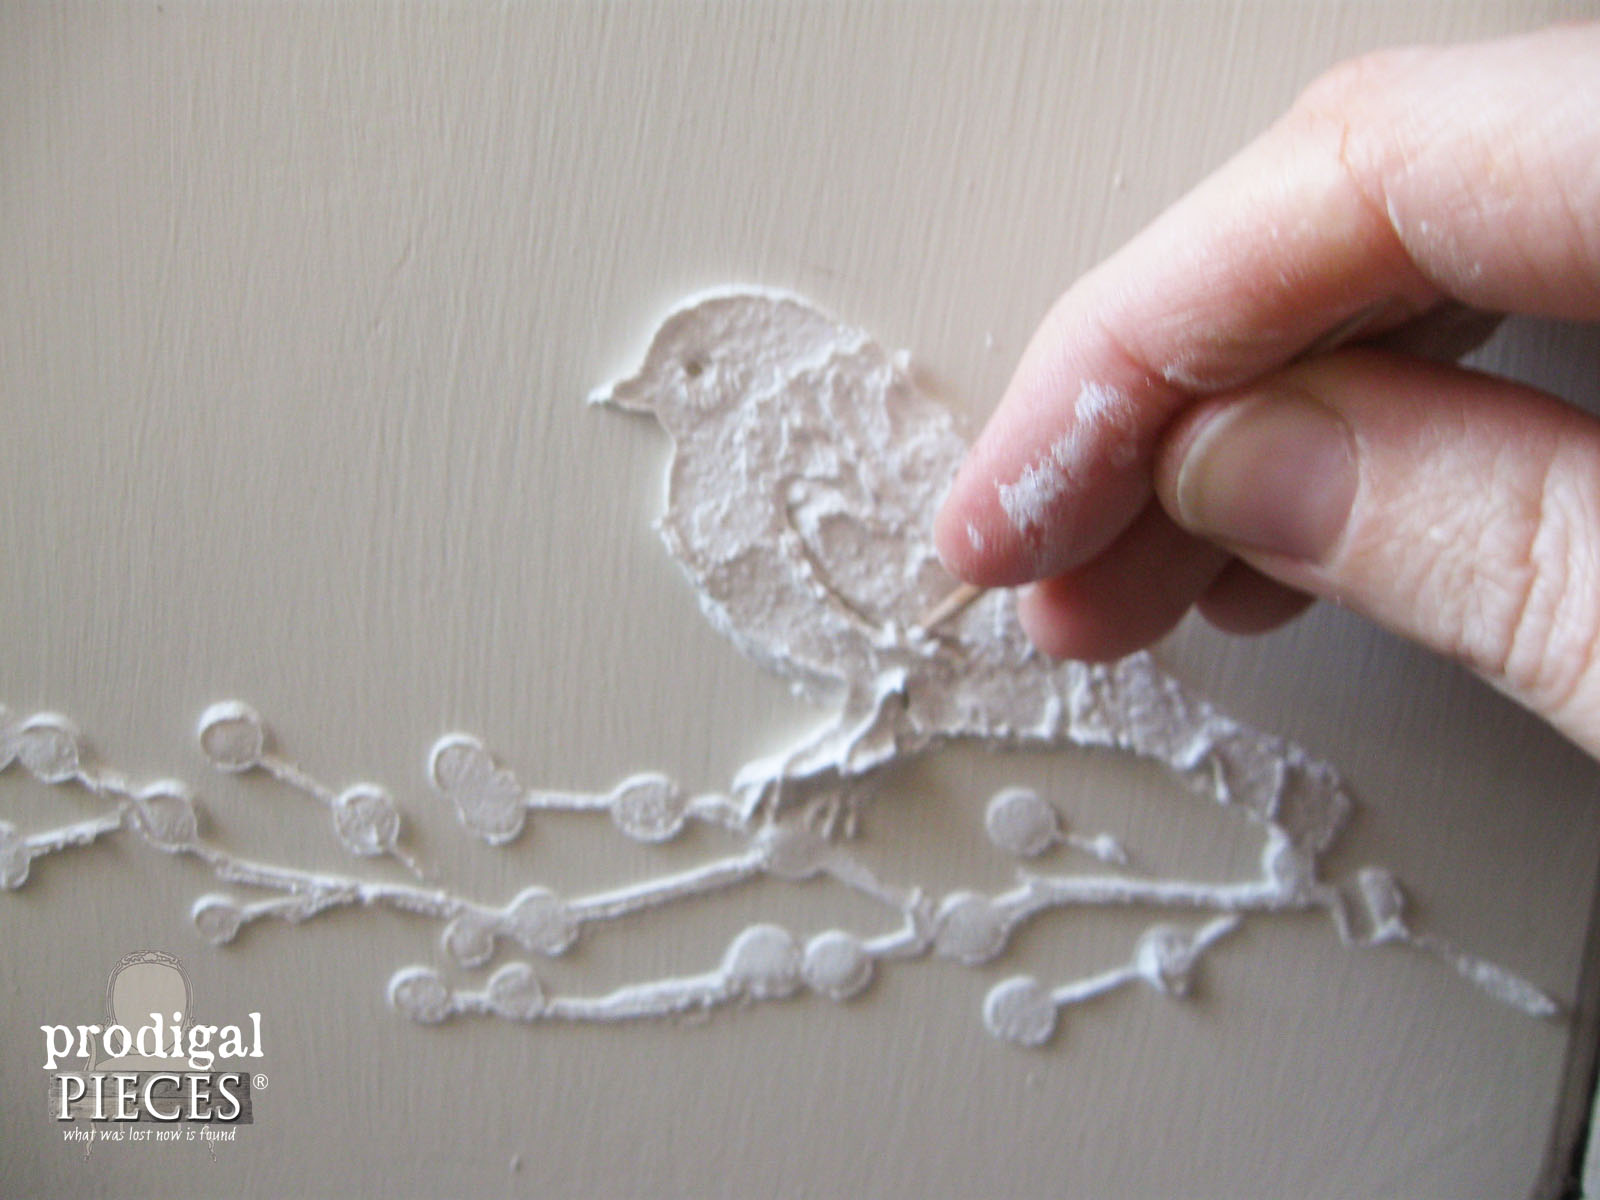
For added dimension, I used a toothpick to create features in my embossing.
Since you will be needing your separate layers to dry before working on another element, I found it best to use a hair dryer to quicken the dry time to about 5 minutes.
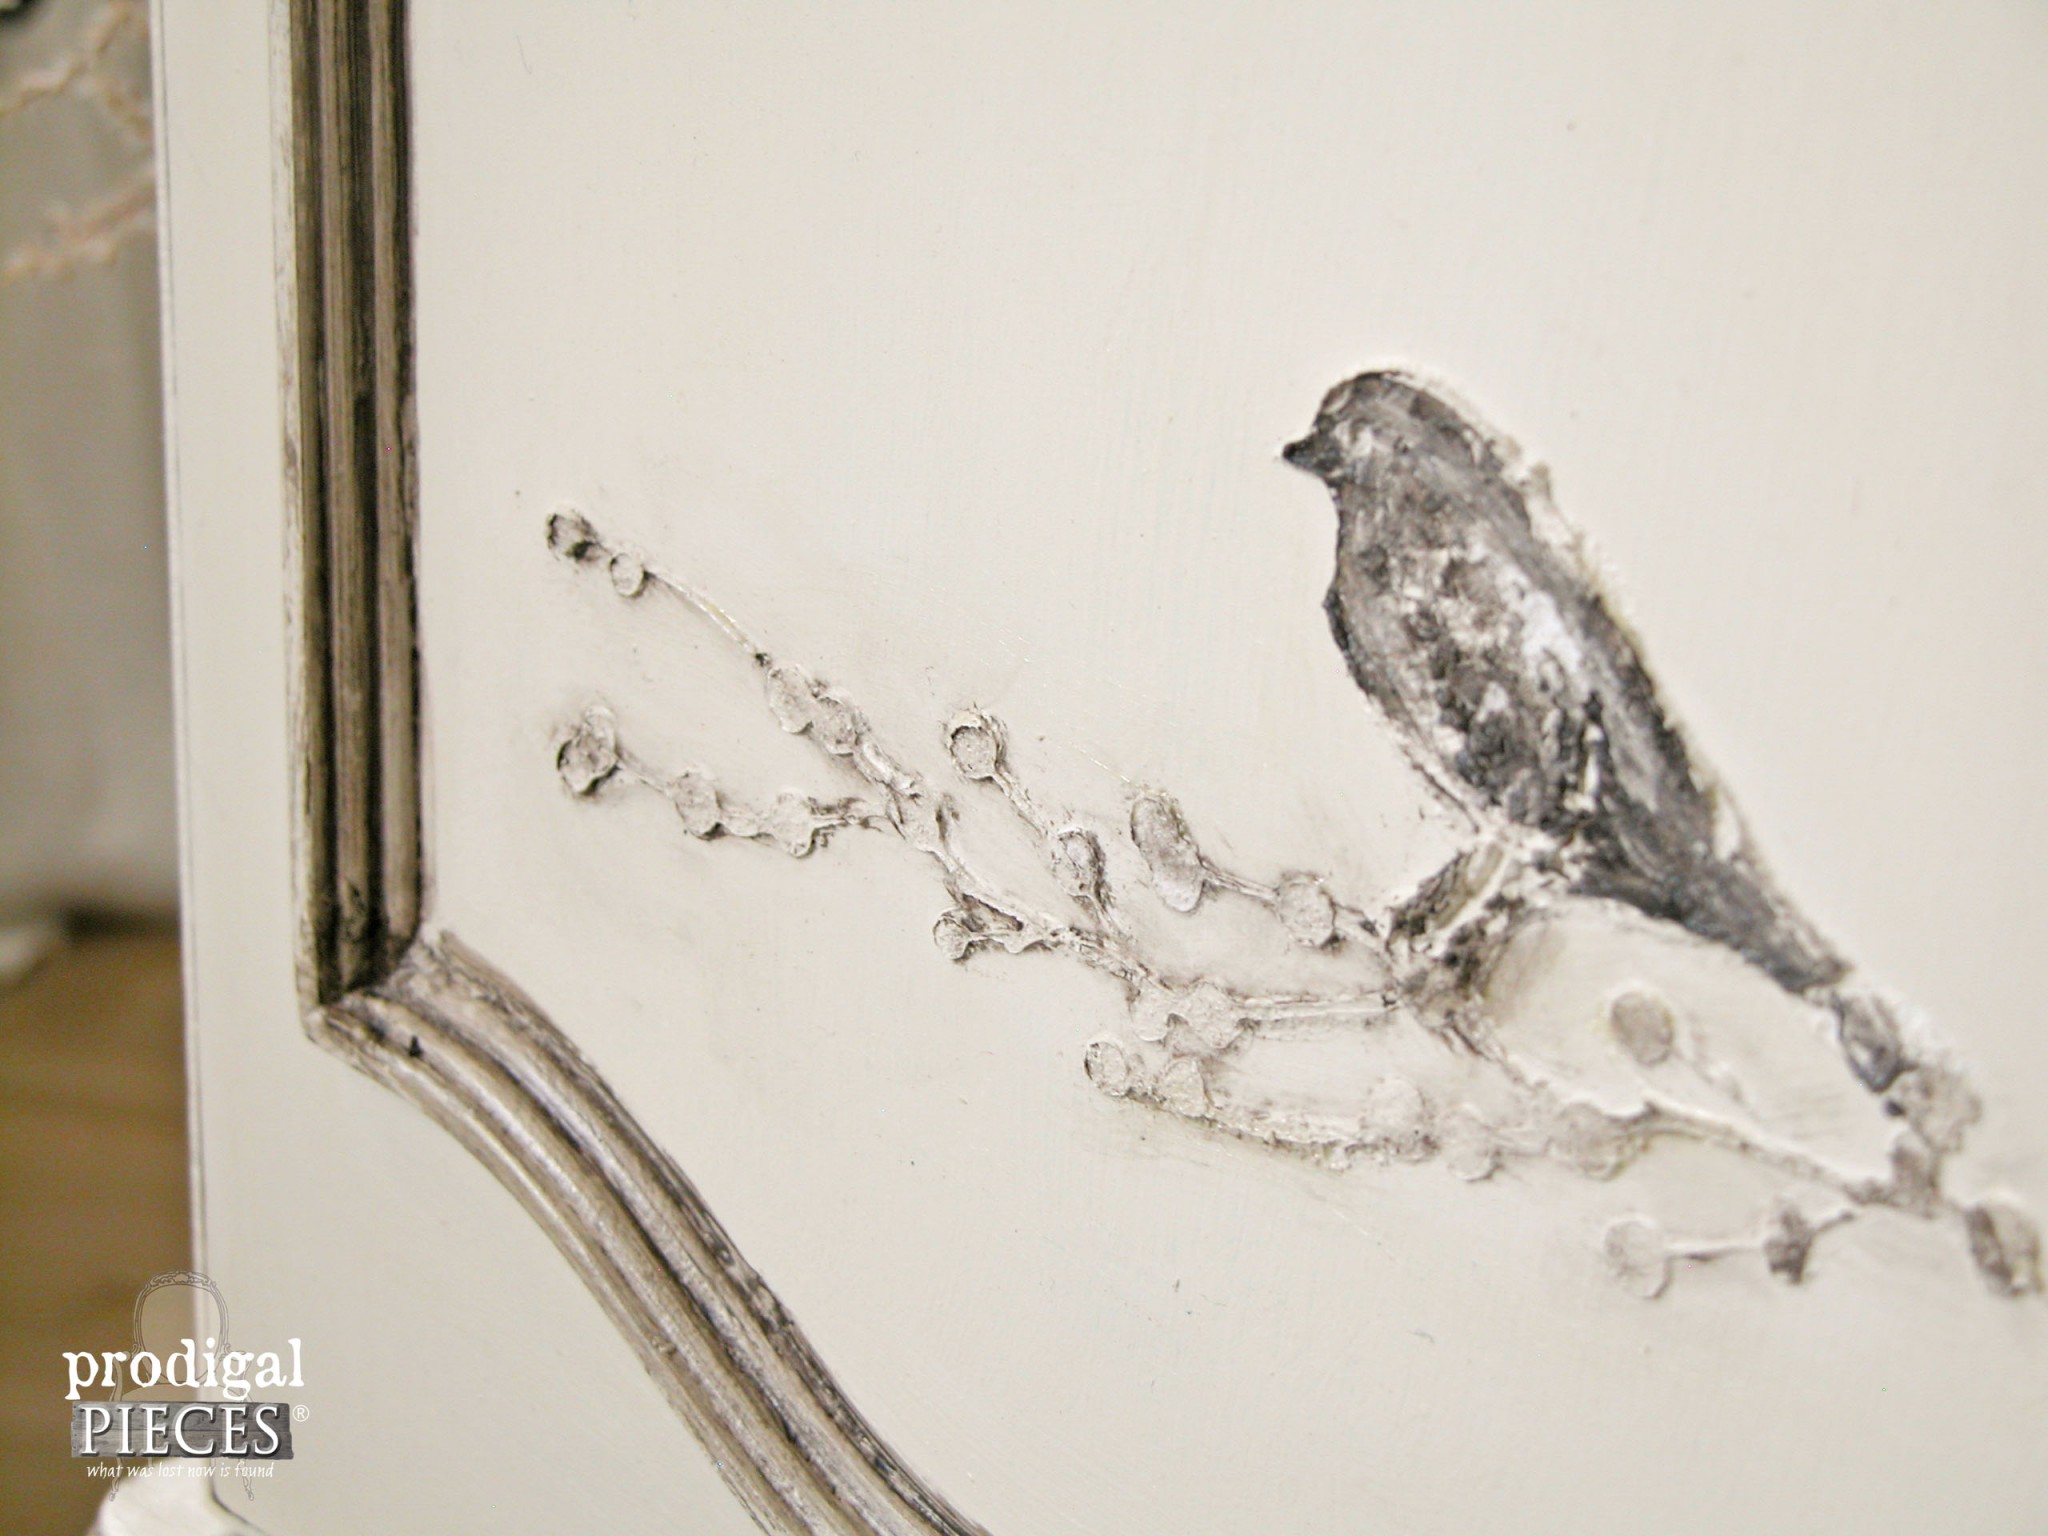
Once all is dry, you can paint it and even glaze it as I did.
THE REVEAL
Ready to see my how to emboss furniture project? woot!
The outcome is perfect and I’m happy to say this thing is done! I even had an antique glass pull to add to it from my stash.
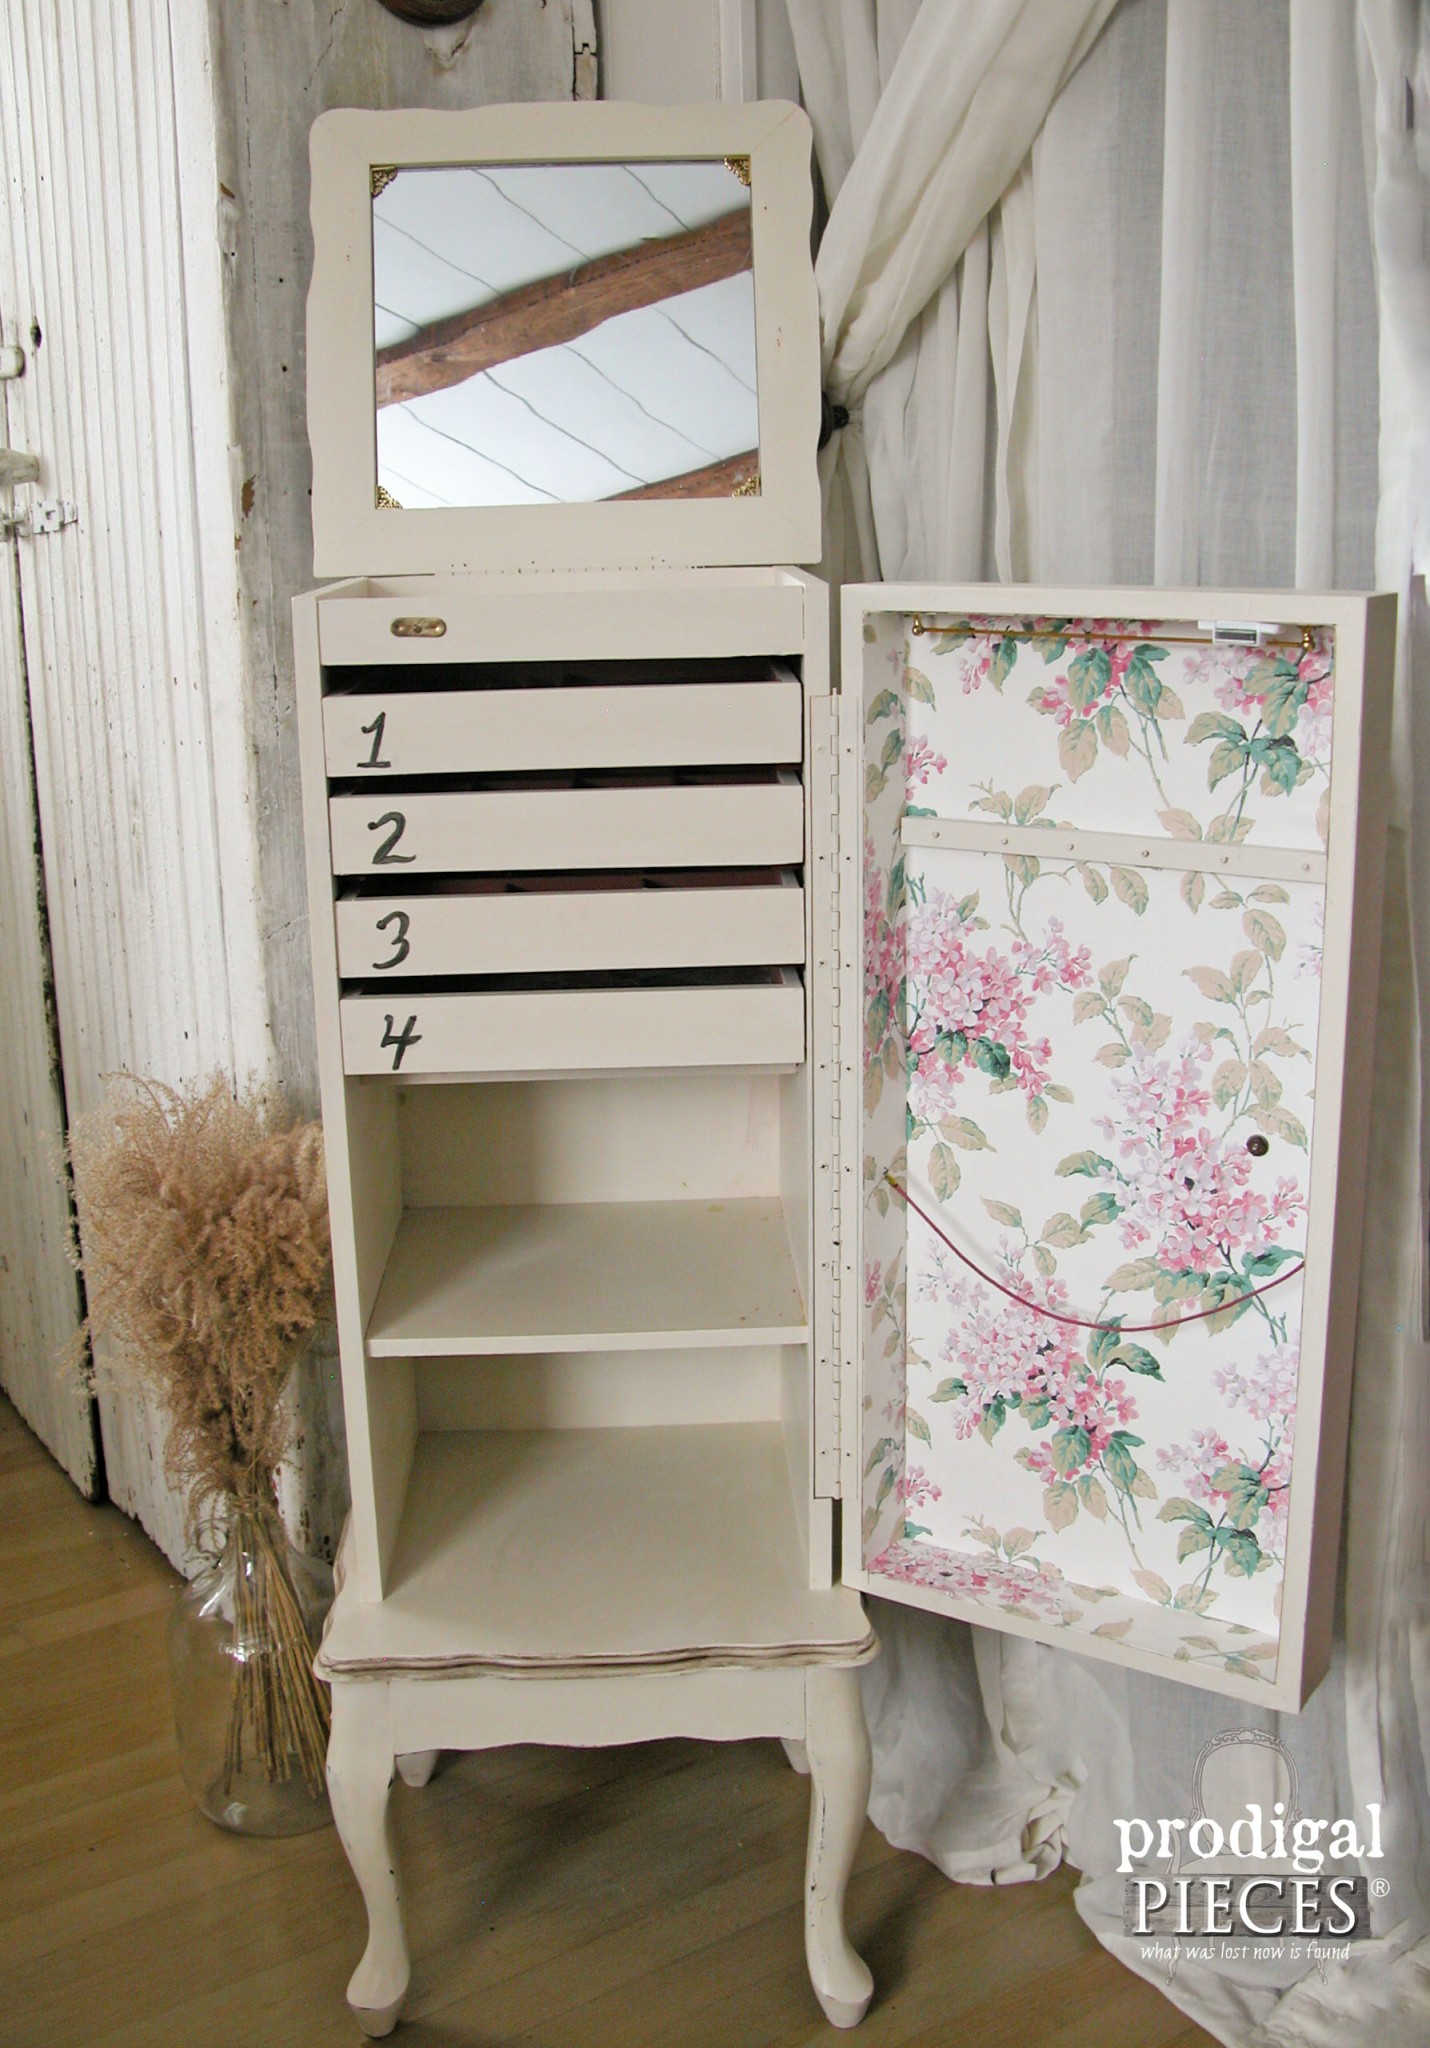
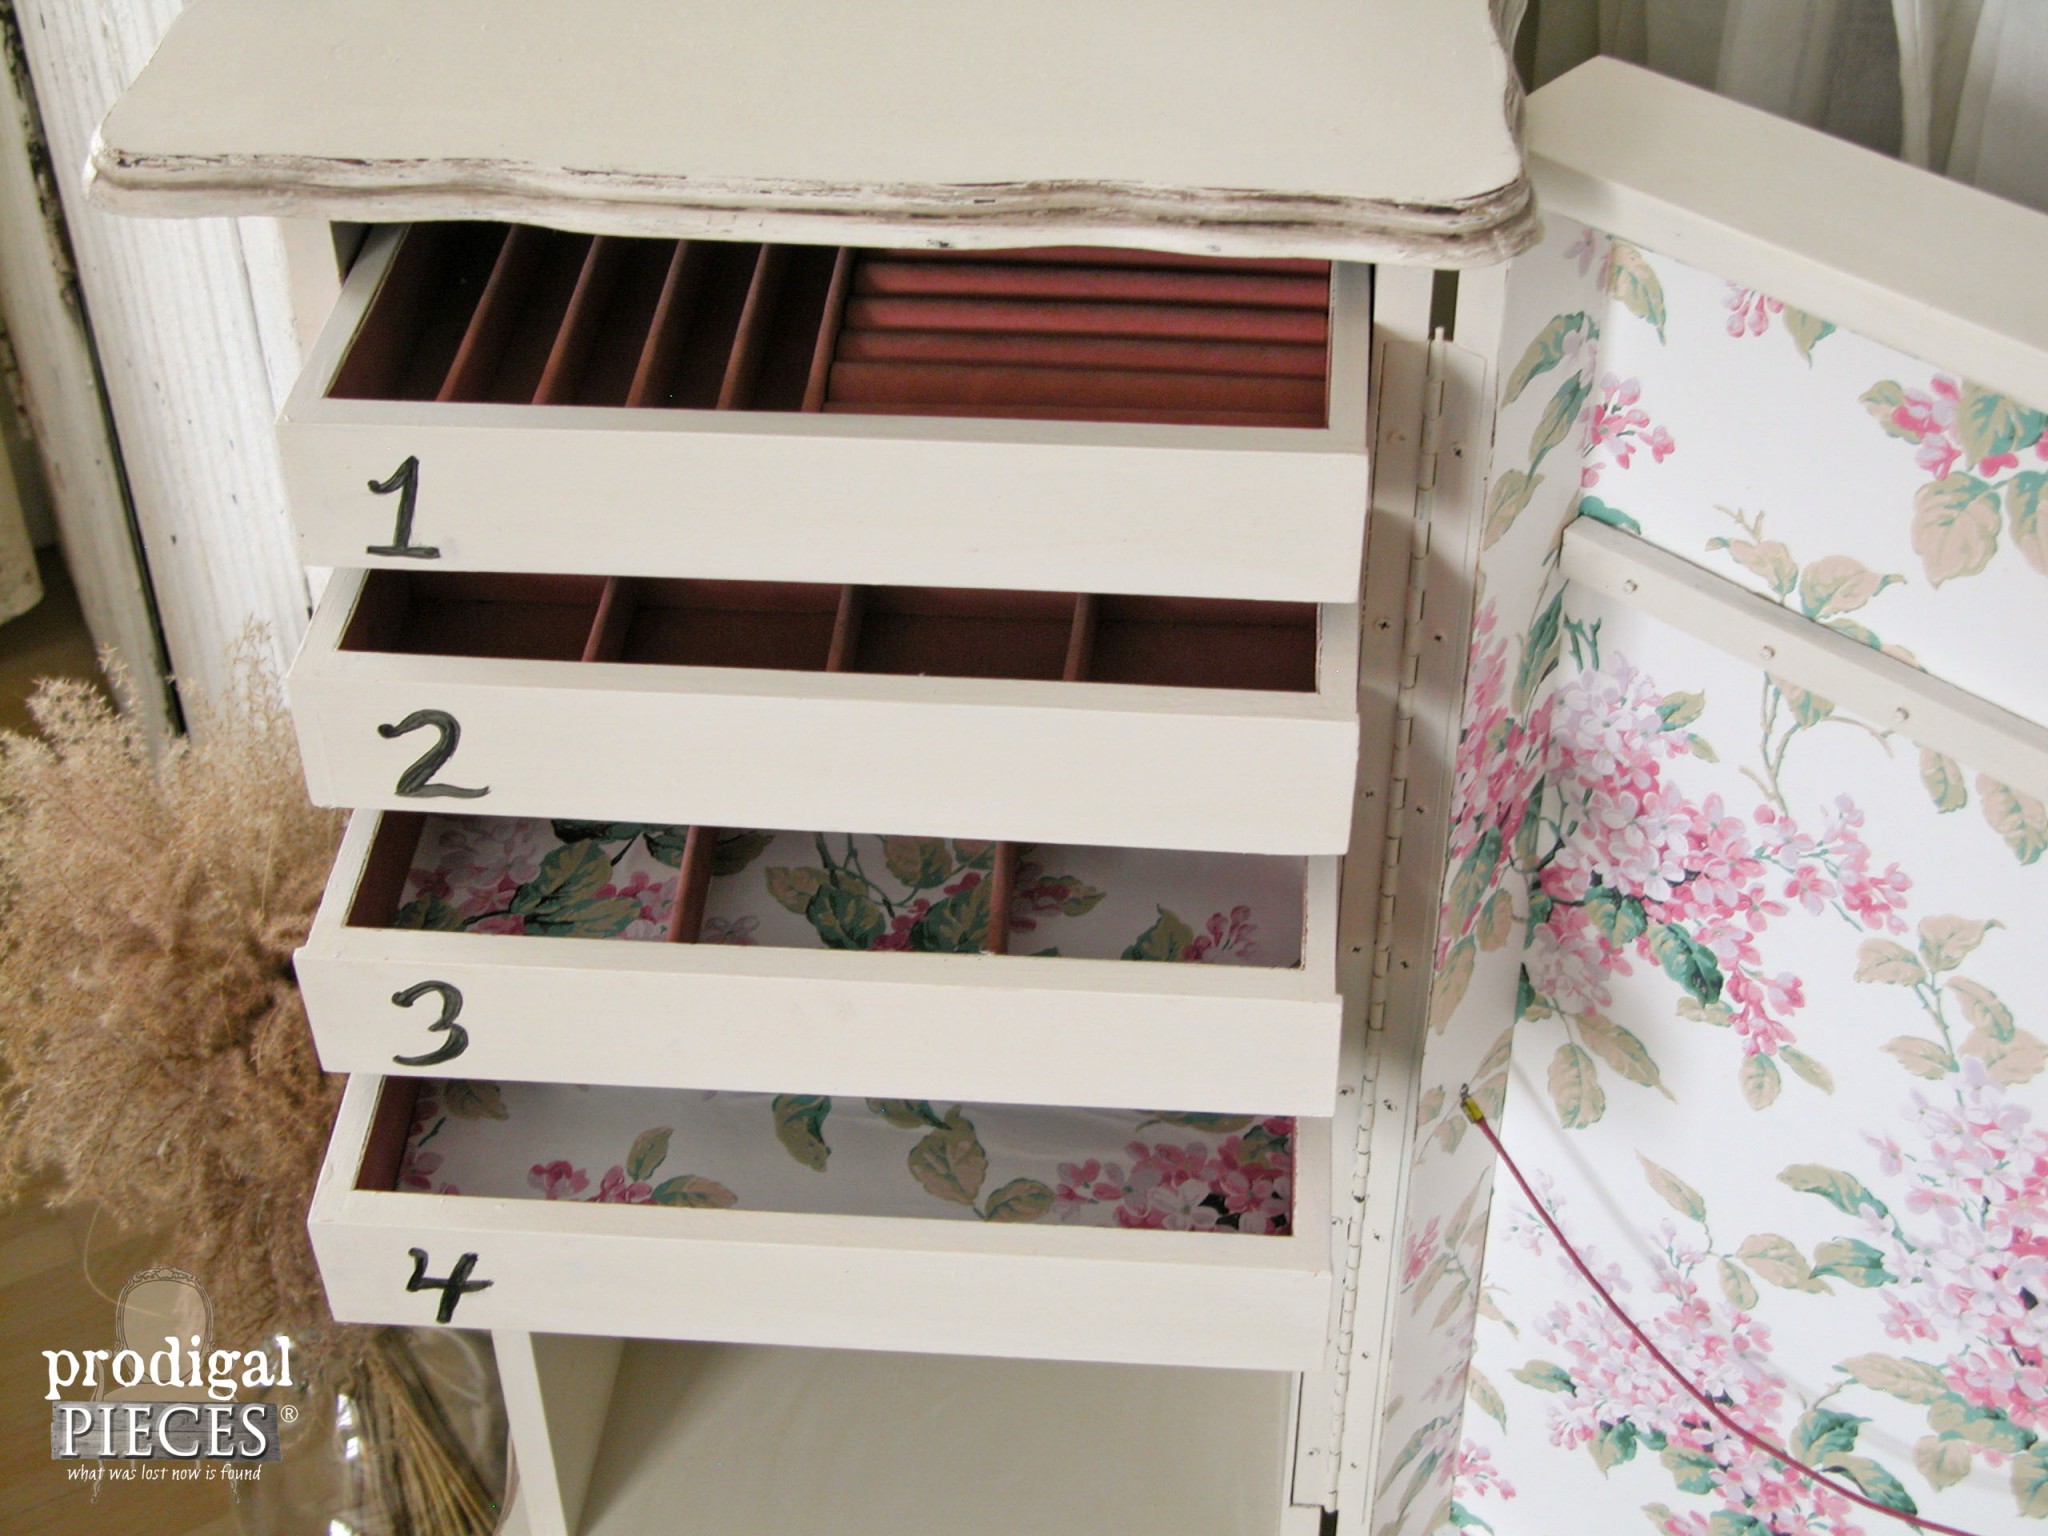
I replaced all the damaged velour with wallpaper, the same one I used on this sewing cabinet, and love the spring-like feel it has.
And you have to love the numbered drawer fronts, right?
As much as this looks sweet in my master bedroom, I am adding it to my shop.
I know that I will be using this method again to emboss furniture, so pin and share so you can find it again. ♥ And…you can certainly do this on most anything! Give it a try – you know you want to.
To get these DIY tips & tricks in your inbox, be sure to sign up for my newsletter. PLUS, you will get your FREE Furniture Buying Checklist and special discount to my shop. Until next time!


WOW OH WOW OH WOW! That’s amazing! Love every thing about it!
hee hee hee…you made me giggle! Thank you!
It turned out so pretty.
Thank you so much, Debra. I’m glad you think so.
Love the embossing! Looks so pretty! Looks way better than before!
I just had to have a crack at it and am glad I did. Thank you, Sherry!
That is amazing!!!
I’m so happy you like it! Thank you.
Beautiful!!!!
Thank you!
That is just beautiful. Thank you for sharing. I really enjoy your blog. Makes me happy and smile.
Now that made my day, Tracy. Thank you!
It turned out great. Thanks for sharing this method with us. I always love to see your finished pieces. You have great foresight to be able to see the beauty in some of the “before” pieces. I’m always amazed at what you do.
Thank you, Janie! I have fun with what I do.
would never have thought to use a stencil – that makes it actually ‘almost’ do-able for me! uest
Question – do you EVER sleep?
Awesome, Gwen! I hope you give it a try. 😀
Wow, that was soooo pretty! This one is definitely going to Pinterest! You start out with lemons and end up with lemonade!
hahaha…good thing I like lemonade. 😉 Thank you, Mary!
I’ve done that on walls for a boarder, but never thought to try it on furniture!! Beautiful!!
It’s amazing how many ways it can be used, isn’t it? Thank you!
It turned out just lovely 🙂
Thank you so much, Jann. 🙂
Your talents are endless Larissa! What was a stressful and unsuccessful trip turned out to be a blessing in disguise because this new piece added to your repertoire, is mahvelous dahling! I bought embossing supplies months ago and have been nervous about giving it a try…until now. Thanks for motivating me to give it a whirl.
You have to give it a go, Marie, you will love it! Yes, a weird trip ended well, but still wish I had gotten that nightstand instead. ha! 😀
A most beautiful and delicate looking piece!
I am wondering how fragile the spackling becomes when dry? Did you ‘set’ it with anything? And as the weather becomes drier do you think that the pattern will hold as made? Hate to be such a worry wart but this is is so beautiful .
Thank you! Once coated with paint and even topcoat, it is pretty durable. You would have to pick at it to get off. Doesn’t hurt to ask! 😉
Gorgeous! I love the texture it adds!
Thank you, Kimm! It is such an easy addition and I honestly could do it more often. 😉
You are amazing Larissa!
You are too sweet, Kathy. Thank you so much!
I’m visiting from Hometalk and your piece is absolutely beautiful! I have used DecoArt Dimensional Effects with a stencil on glass and love the results but never thought about using it on furniture. I’ve also tried spackling on cardboard but found it to crack after drying. Perhaps the cardboard soaked up the moisture allowing the spackling to crack. In any event, your work is beautiful and I love your creative talents!
So happy to have you over to my blog. 😀 Yes, I would believe the cardboard aided in the cracking since it is pourous. Thank you so much for you kind words, Gail.
This Jewelry chest has got to be one of the sweetest pieces i have seen in a blog. Just precious. I am just about to try my hand at doing something so similar but it’s weird, I’m a nervous wreck about starting it. ( : I don’t know what scares me so much about this process because it’s not like if you screw up , you have to throw the piece away. So one of these days i will get up the nerve, i sure hope it’s before I get to old to finish it ,lol. Well thanks so much for sharing your beautiful diy handy work, i can’t believe you sold it though ( :
Thank you so much! No need to be nervous as this method is very forgiving. Give it a shot and you’ll be glad you did! BTW, if I kept every piece I work on (which is like 2-3 a week) I would have no where to stand! 😉
Can you please share the paint and antiquing information that you used prior to stenciling. Thanks so much. Love this look
Thank you. I have the paint color in my post, called Antique White, and give links to other pieces I’ve used it on. I also have a link in there how to do glazing like I did on my garage door. If you can’t find the info, just let me know. 😉
Larissa this turned out just beautiful, I may have to try this technique on something soon!
Thank you, Chris! I hope you do and show me when you’re done. 🙂
You are a magician! Beautiful!
Ha! I love it. Thank you for the commendation. 🙂
I love this project so much. I have a double door jewelry case that is just too Oriental looking for my bedroom decor so I am going to try this with mine.
I adore all of your projects, you’ve inspired me to try so many things, and thanks to you my home is looking more and more farmhouse all the time.
My husband loves it because there is actually less clutter, and I love it because it’s the look I have always wanted!
Thank you!!!
Well, you just made my day, Christina. Thank you! 😀
Just sat down to catch up on blogs and saw this jewelry armoire. Stunning! What a beautiful piece it is now. Someone is certainly enjoying it! Thank you for sharing such a neat idea and such a treasure!
How fun! I’m happy to hear you are enjoying my work because I truly enjoy sharing. Thank you!
I can’t even begin to tell you how much I love this! It is completely awesome. I have always wanted to do this with a stencil. I am definitely going to try it. Beautiful, beautiful piece!
How fun to hear, Sharon! I hope you have fun.
Beautiful…the bird is the perfect touch!!
Thank you so much, Karen! 😀
I definitely want to try your embossing method. Your piece looks pretty.
Thank you, Rita. You will have fun with it for sure. It’s forgiving and makes for a blast by using different stencils. You can also see how I used it HERE and HERE.