Oh, happy day! You guys…I have to tell you that I have so many things that have been going on since we listed our home back two years ago. ALREADY?? wow. With our family of 8, you can imagine there isn’t much time for grass to grow under our feet, let alone have my bum on a sofa for long. So, I’ve been putting off revealing one of our several remodels until I “felt” like it. However, I feel like slowing down isn’t quite on the horizon (and I’m happy with that). I thought I would begin with my hollow core door makeover. Try saying that 5 times fast. eep!
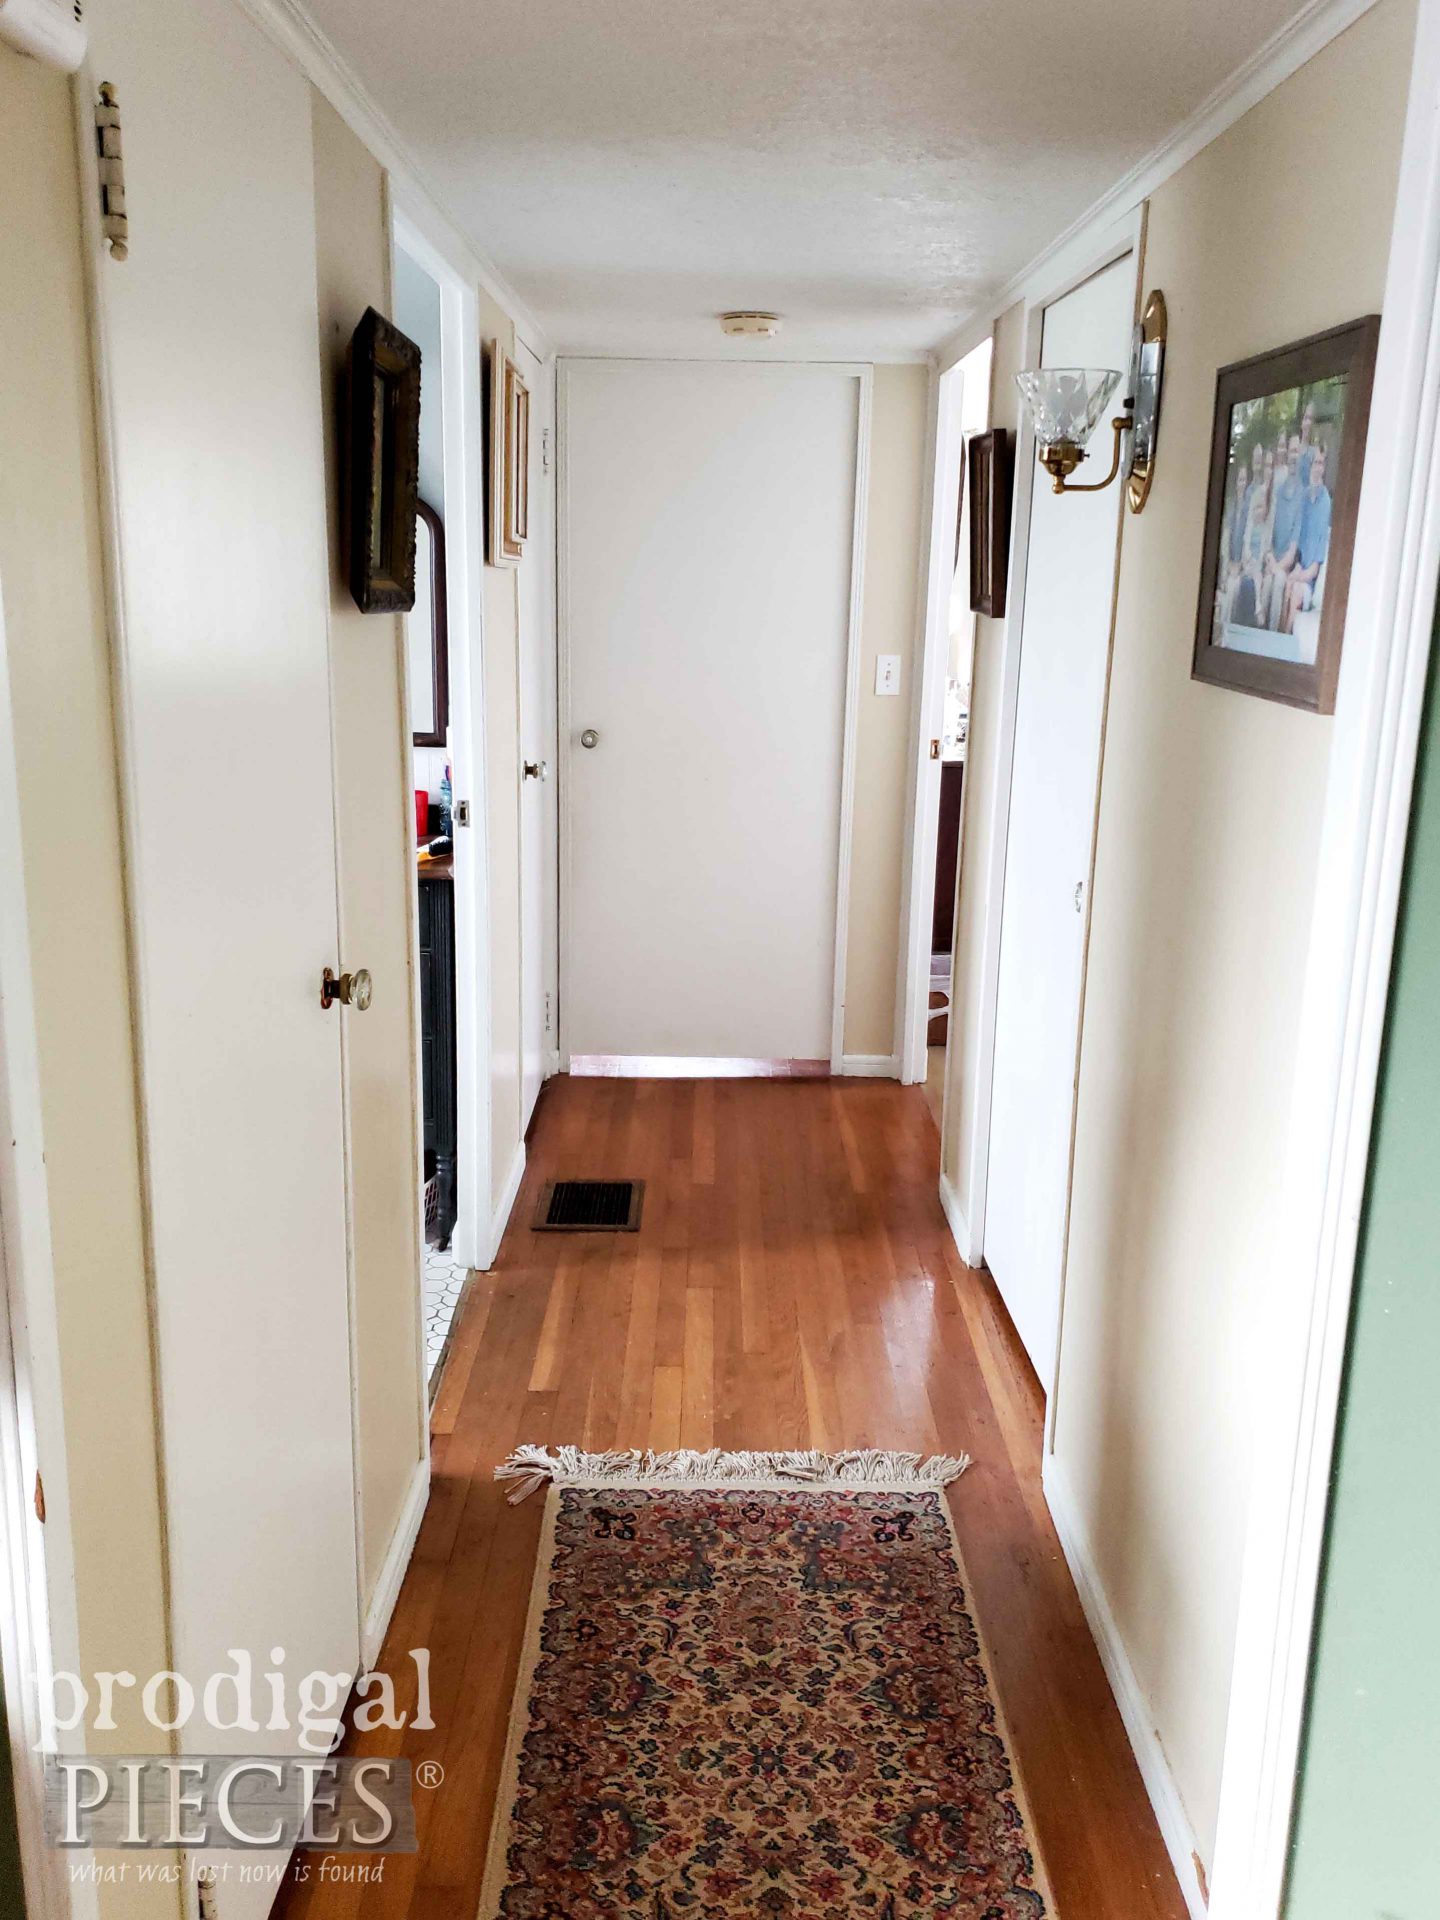
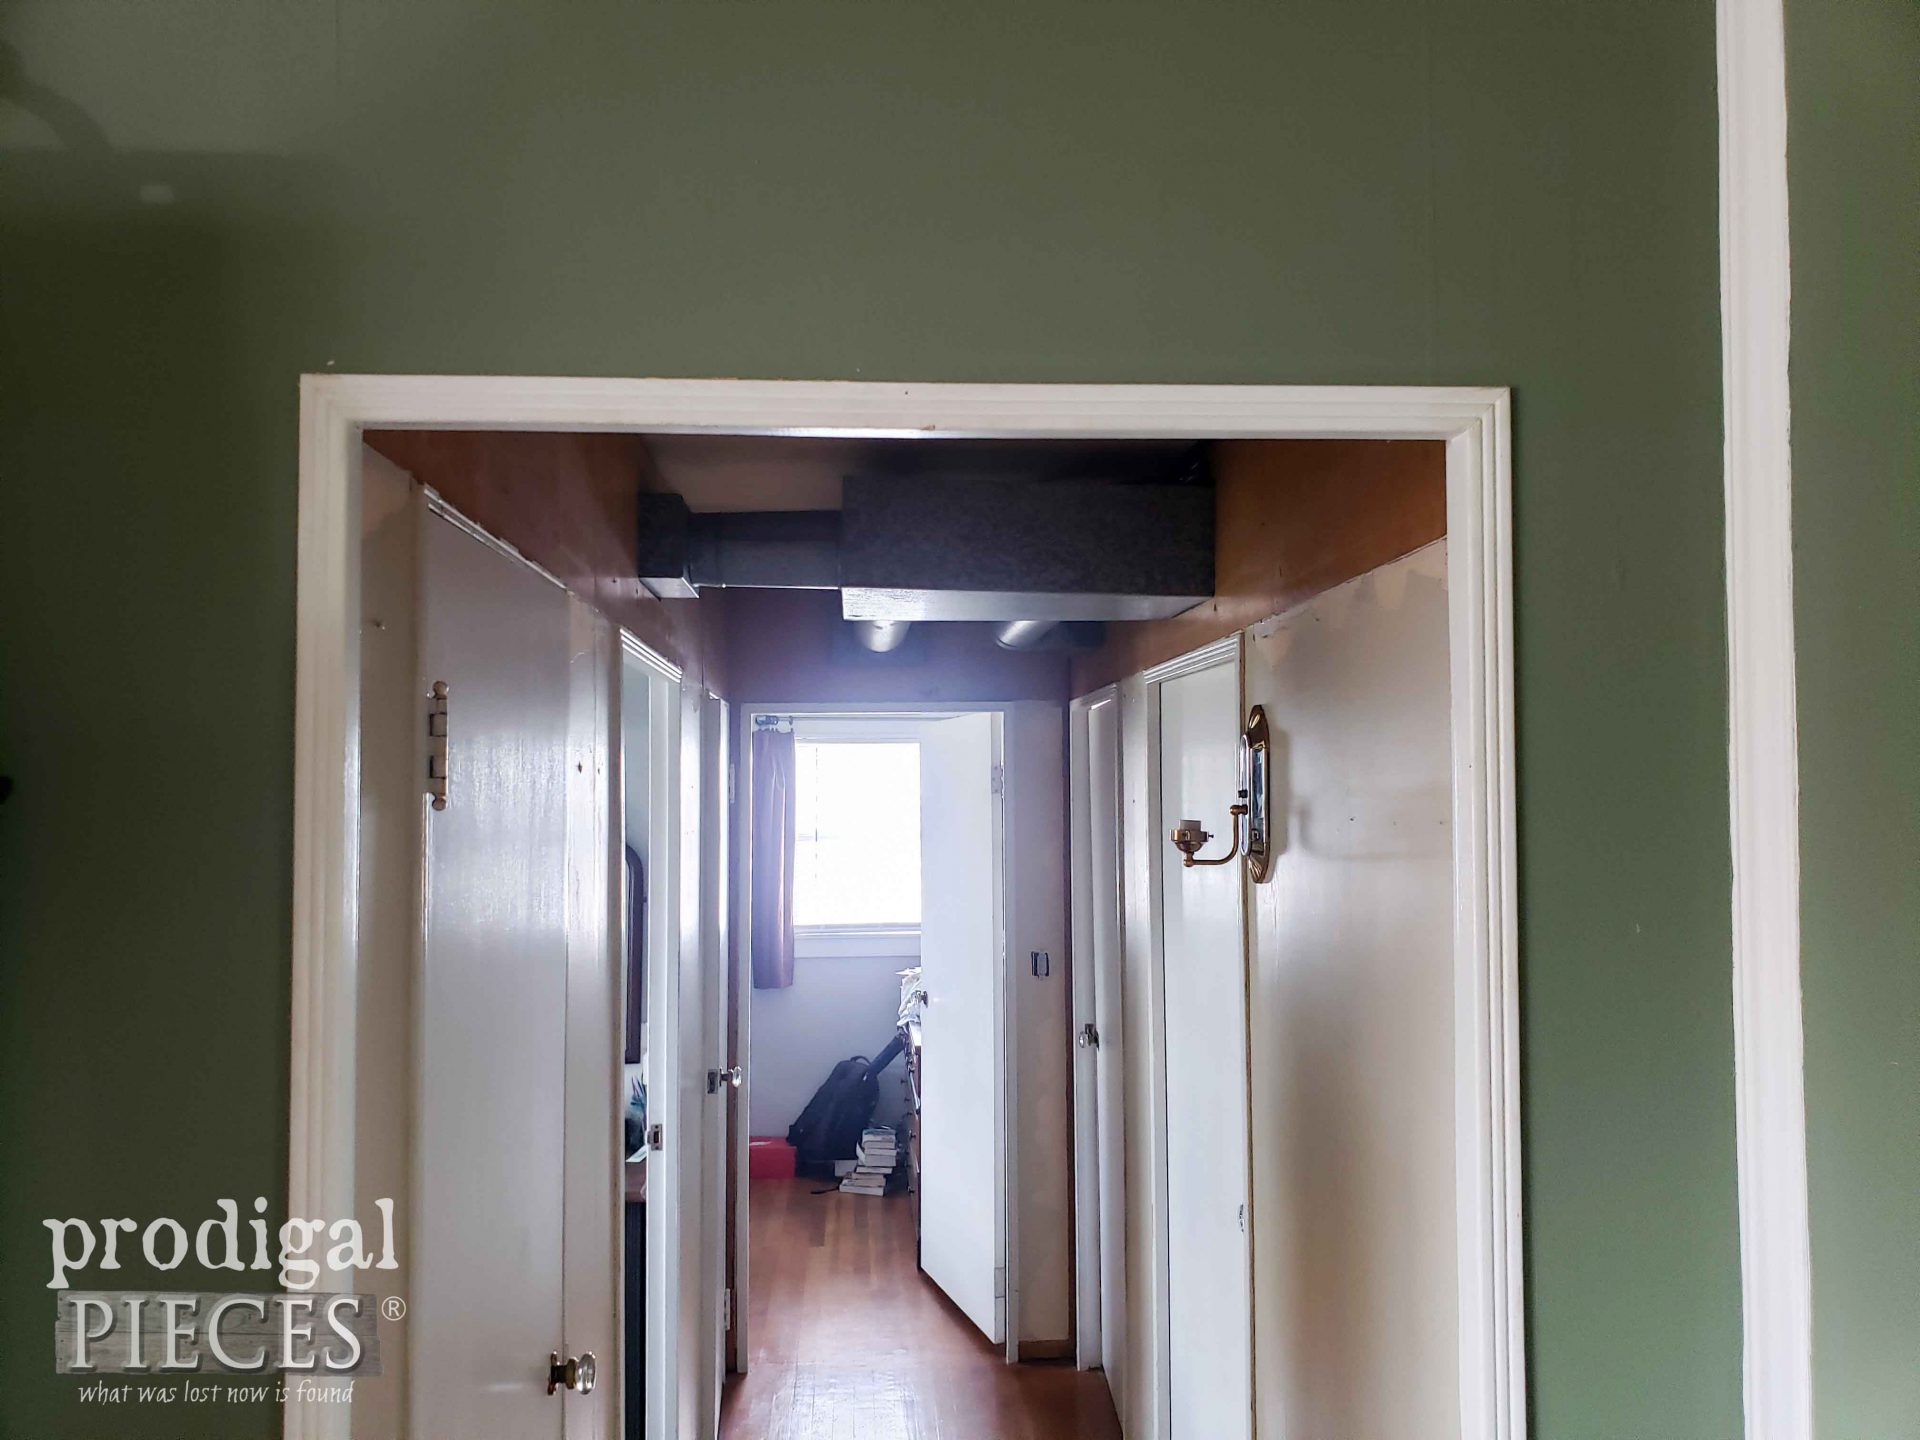
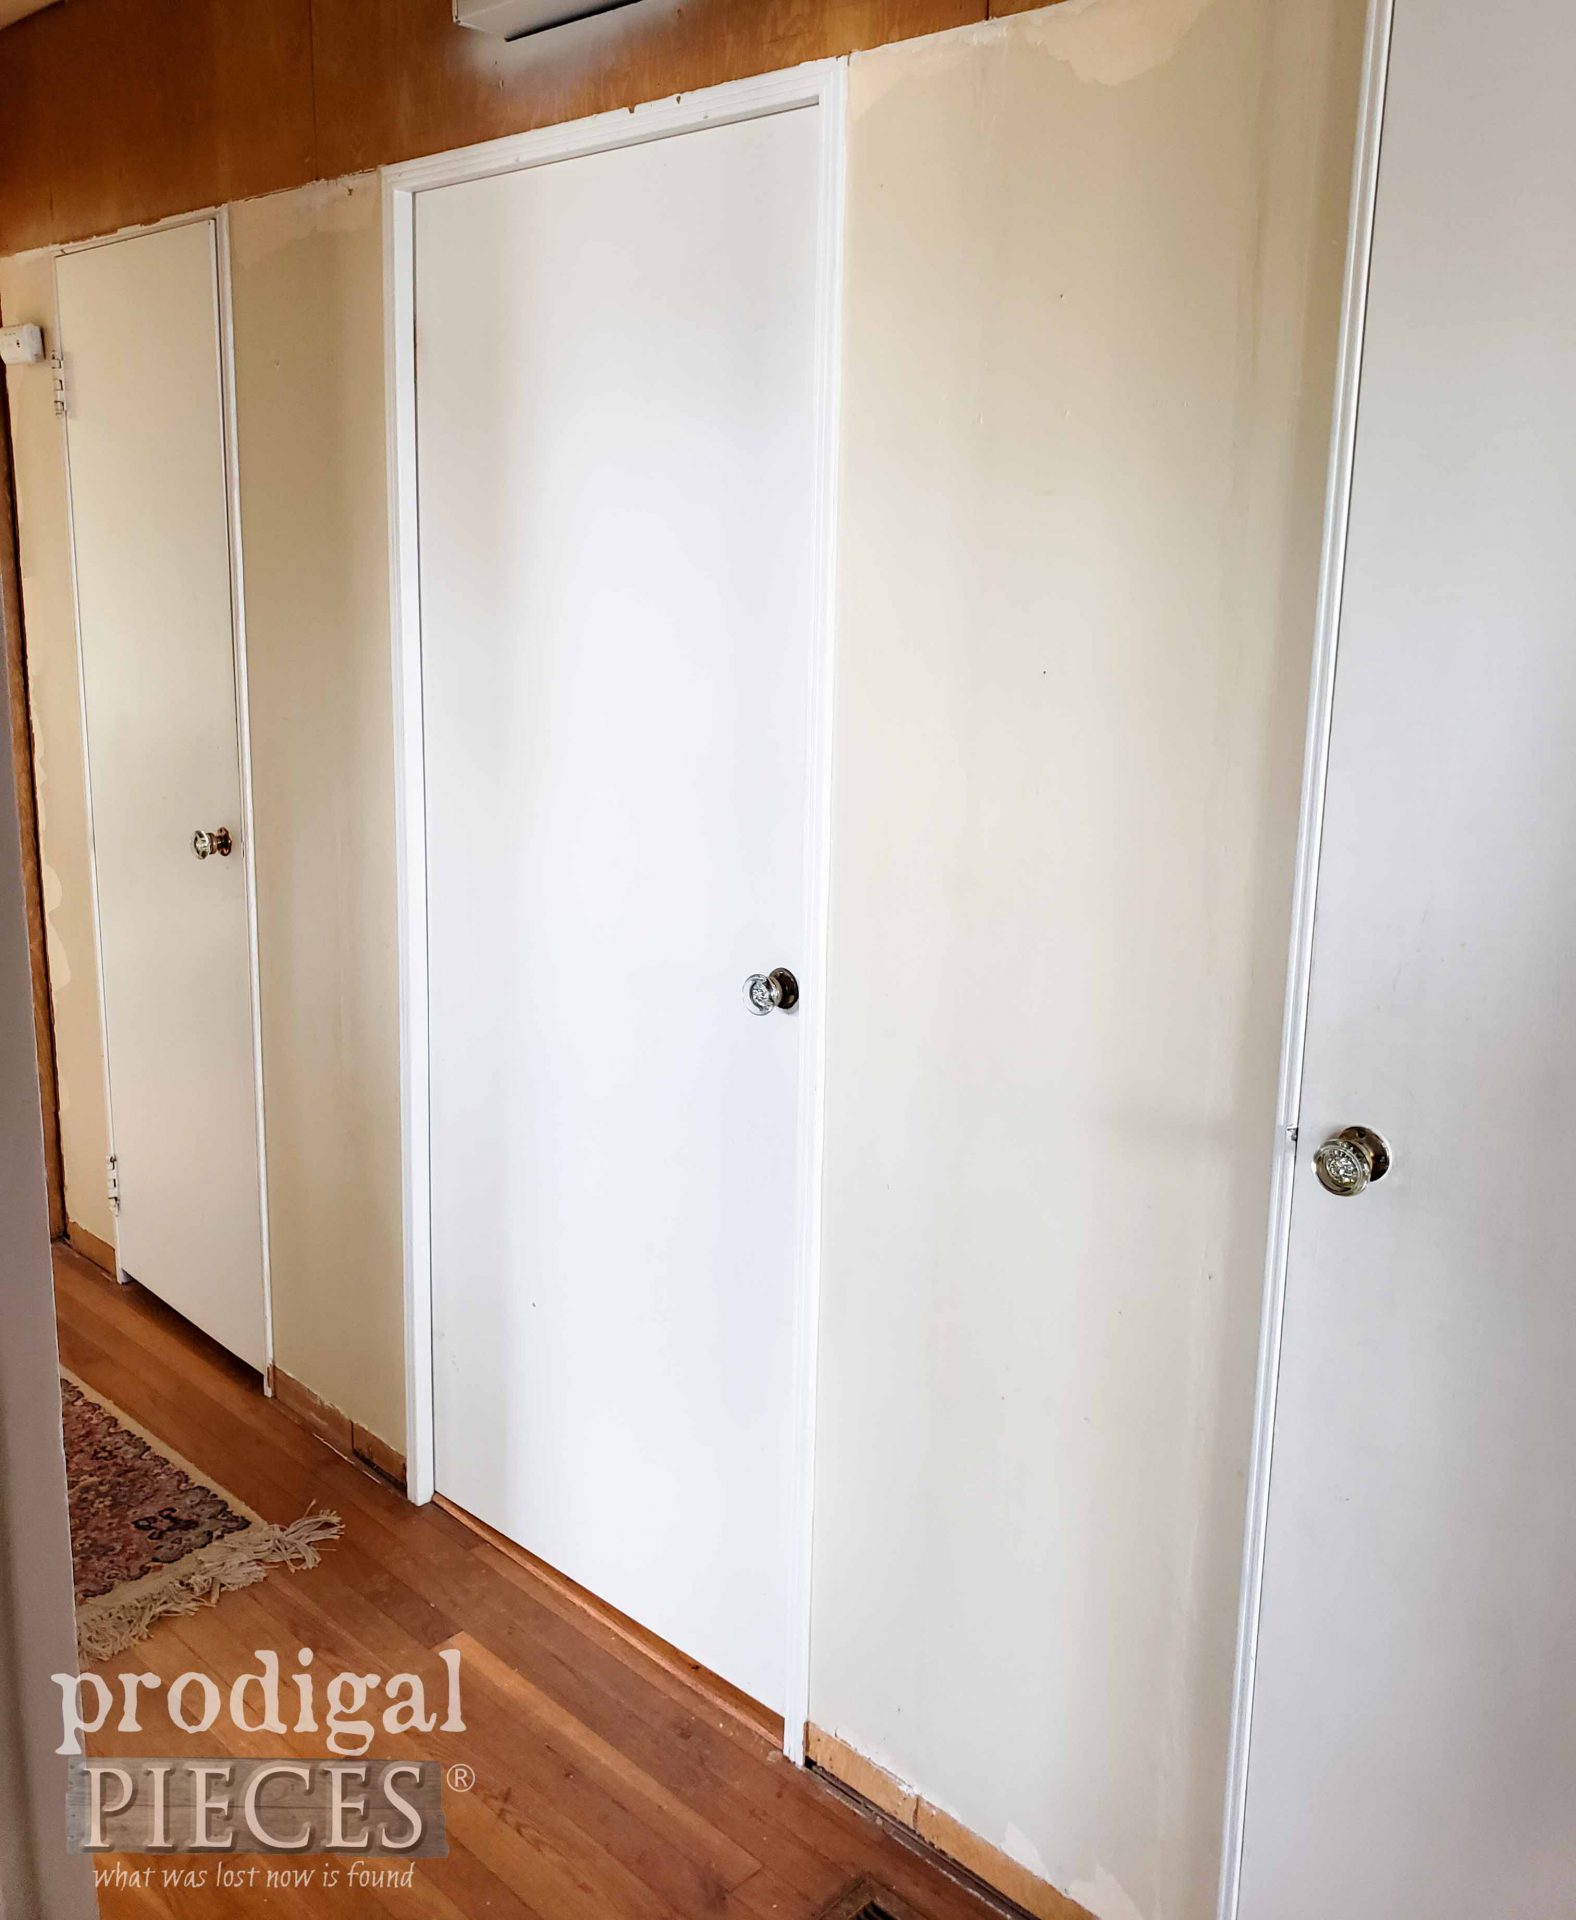
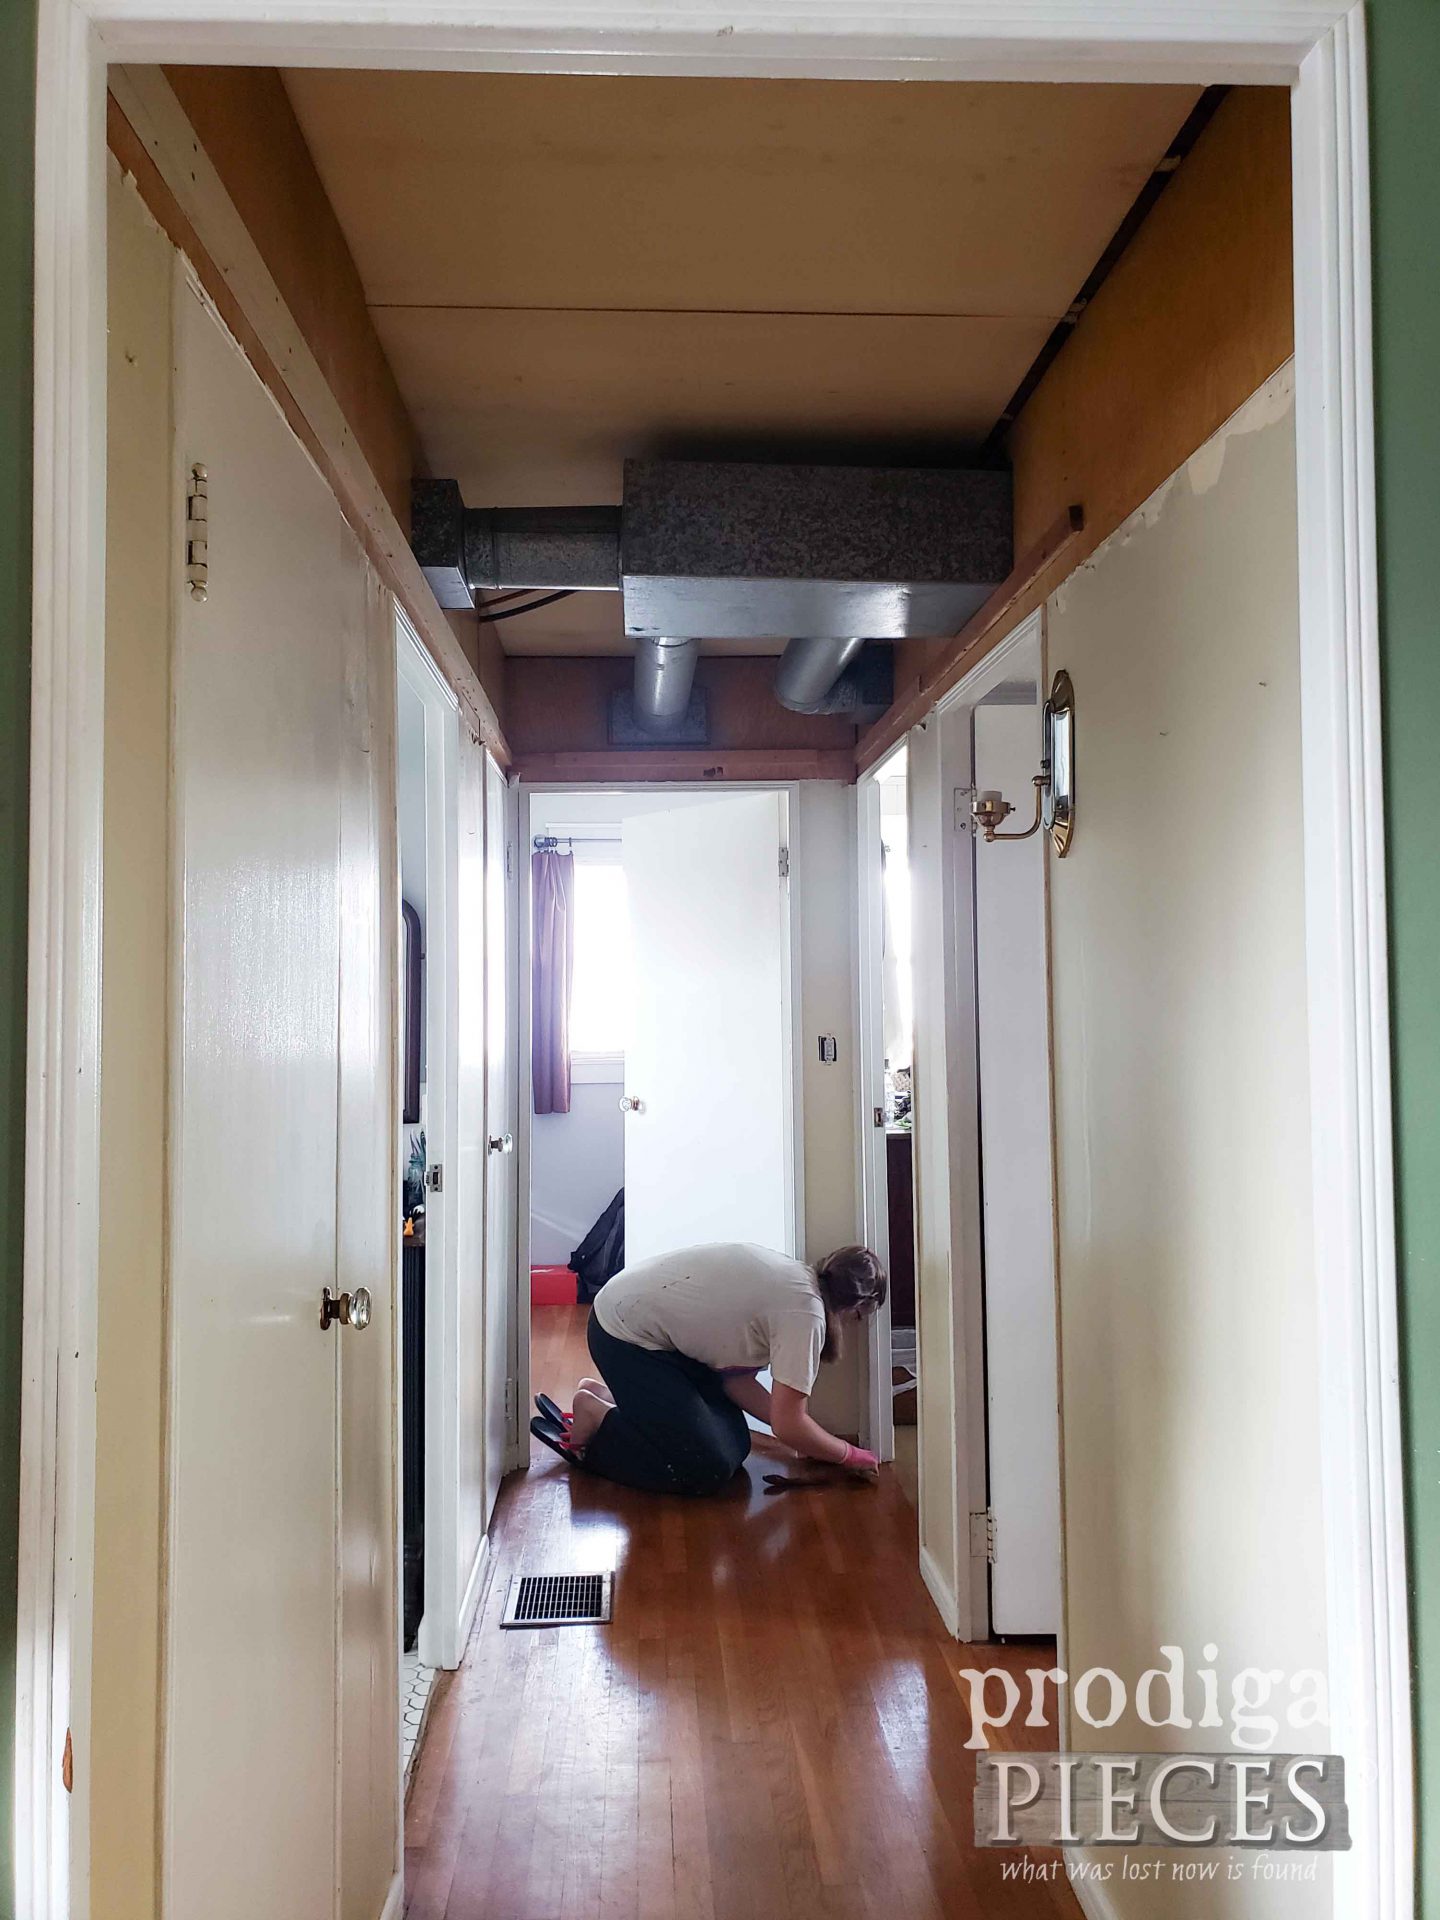
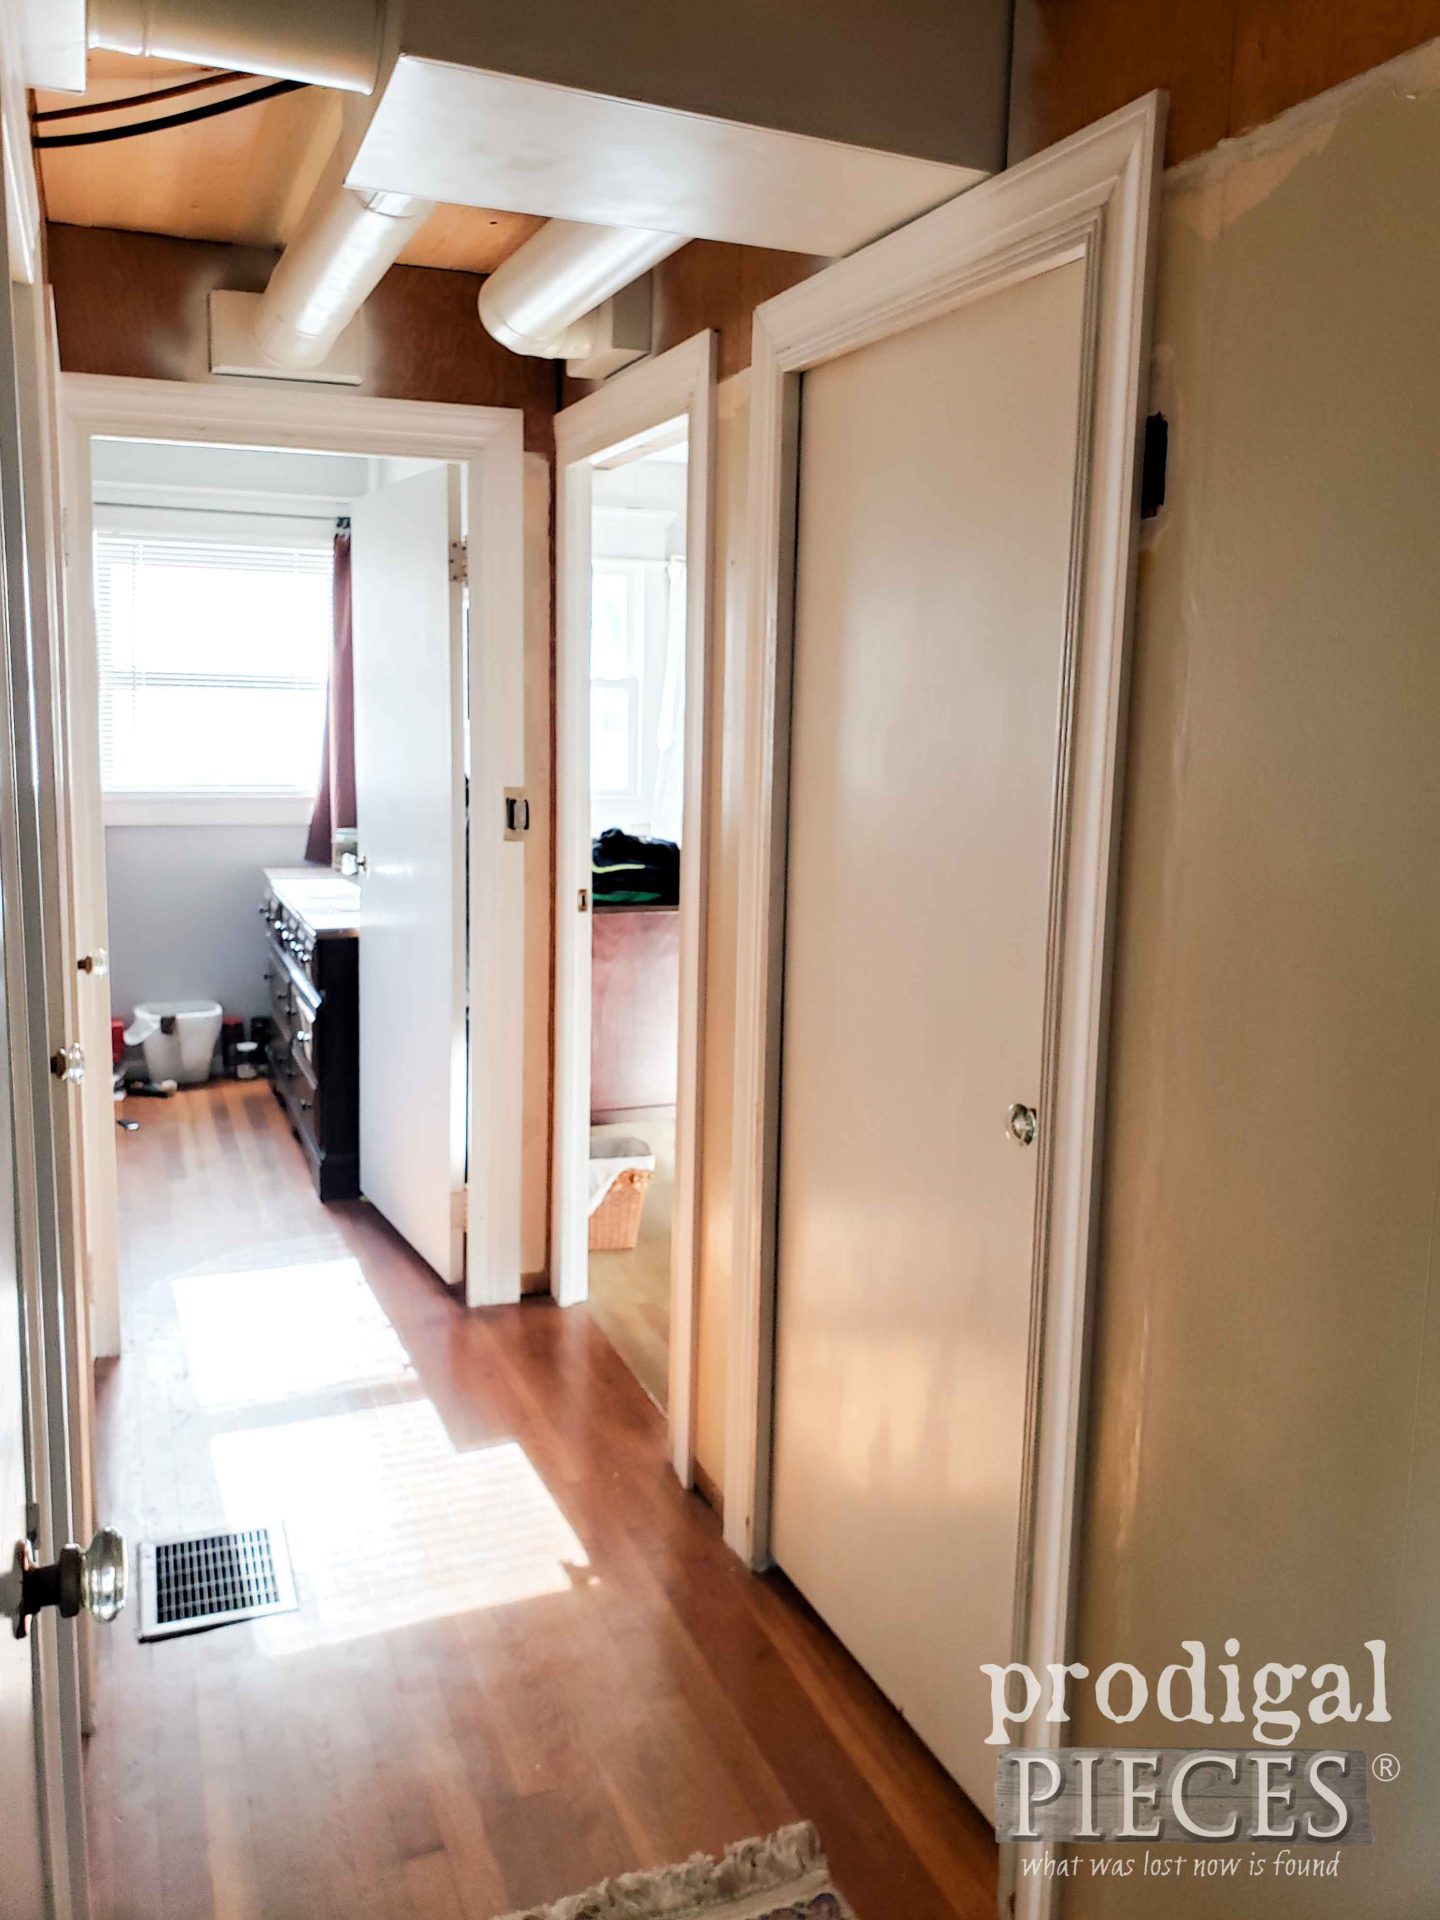
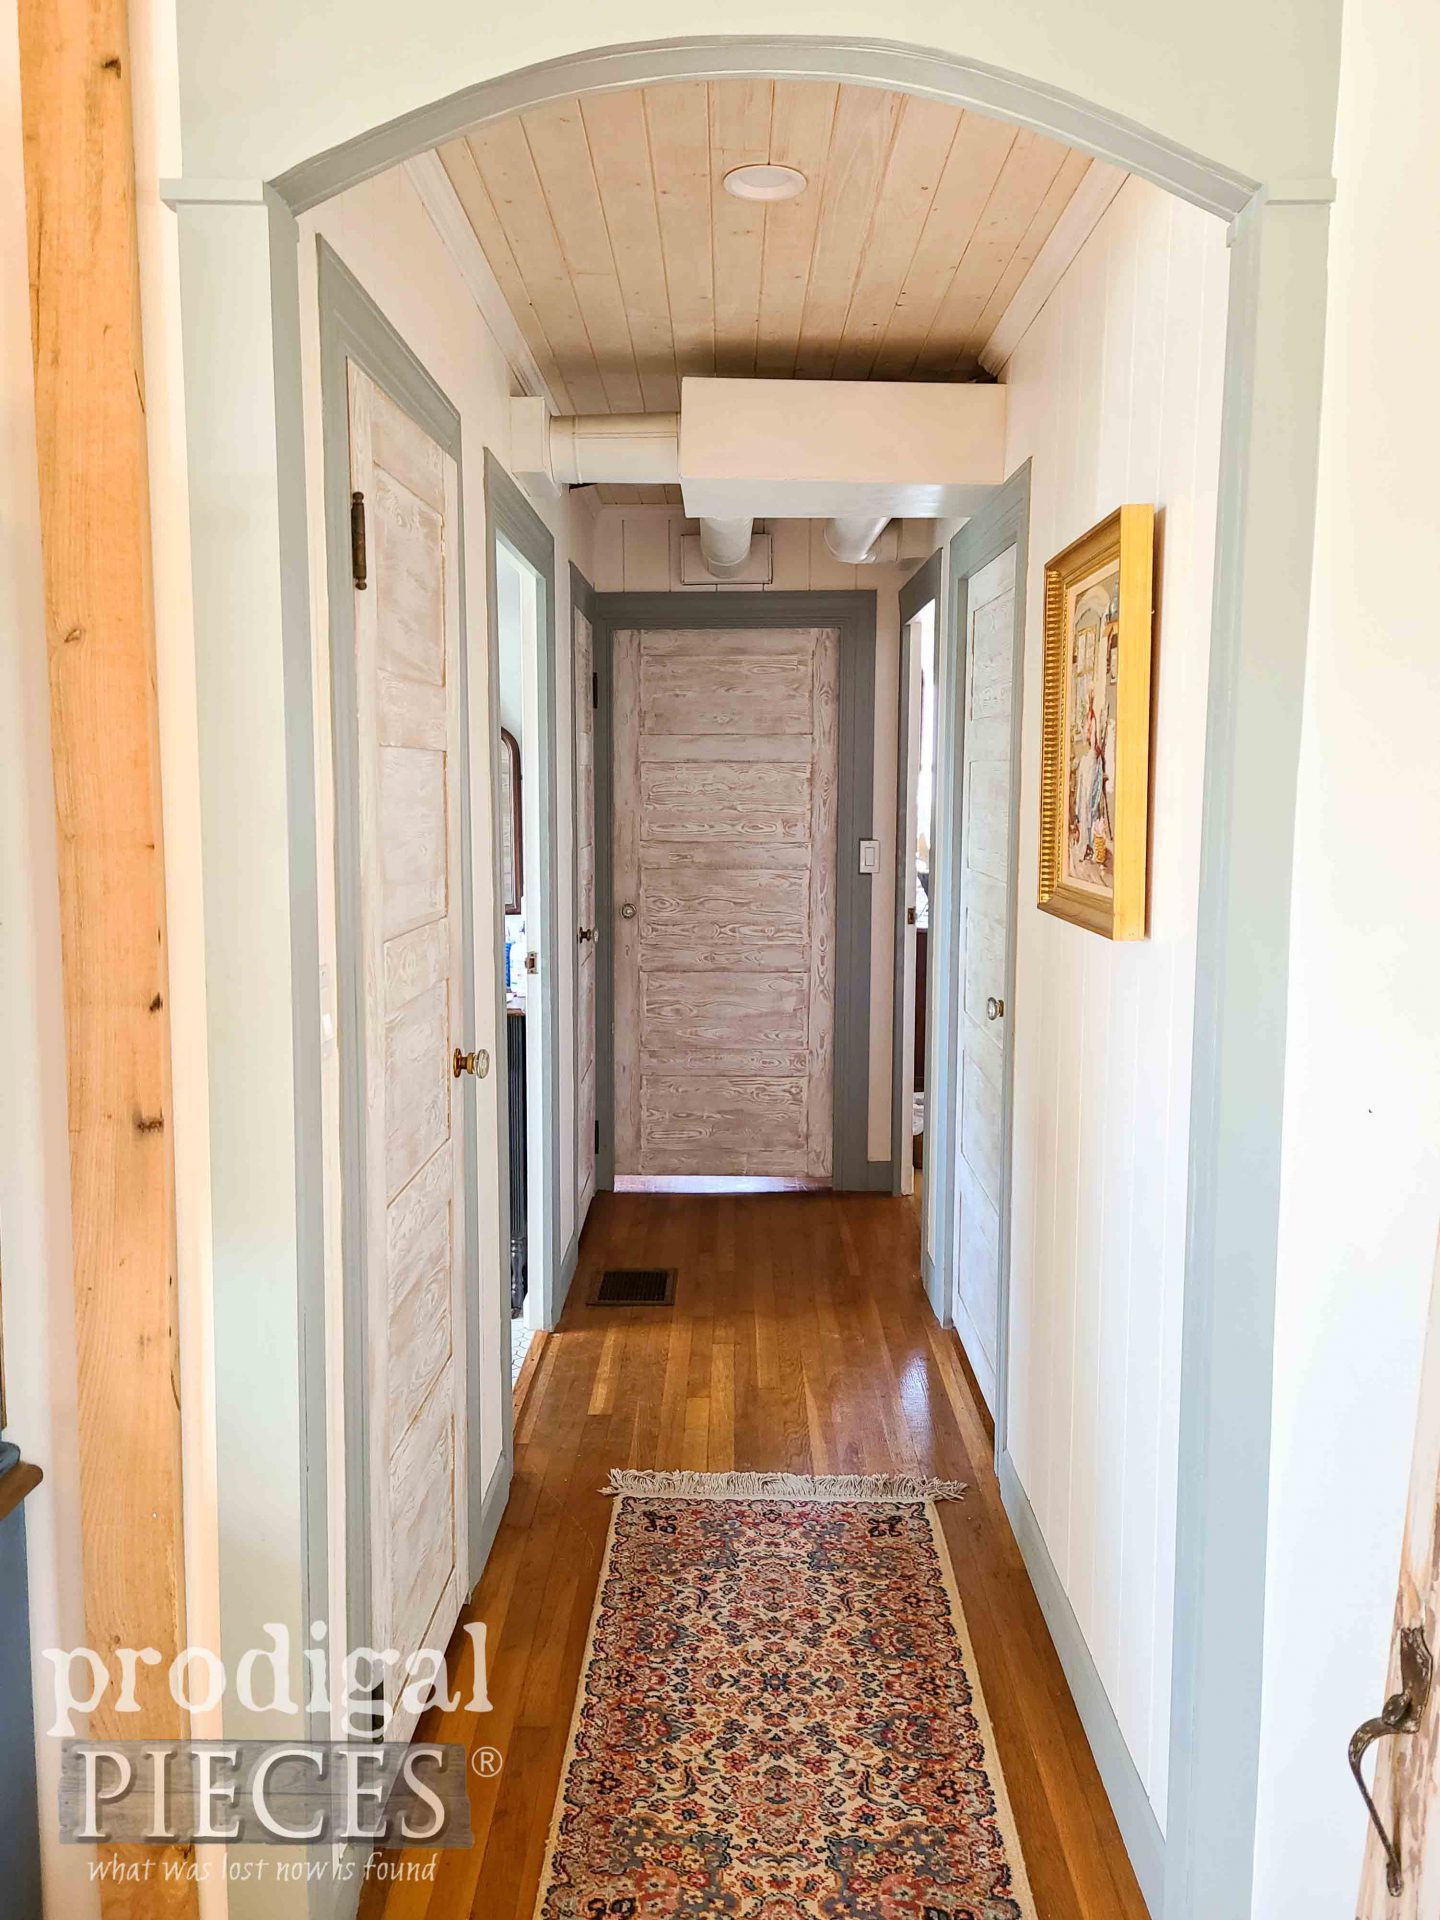
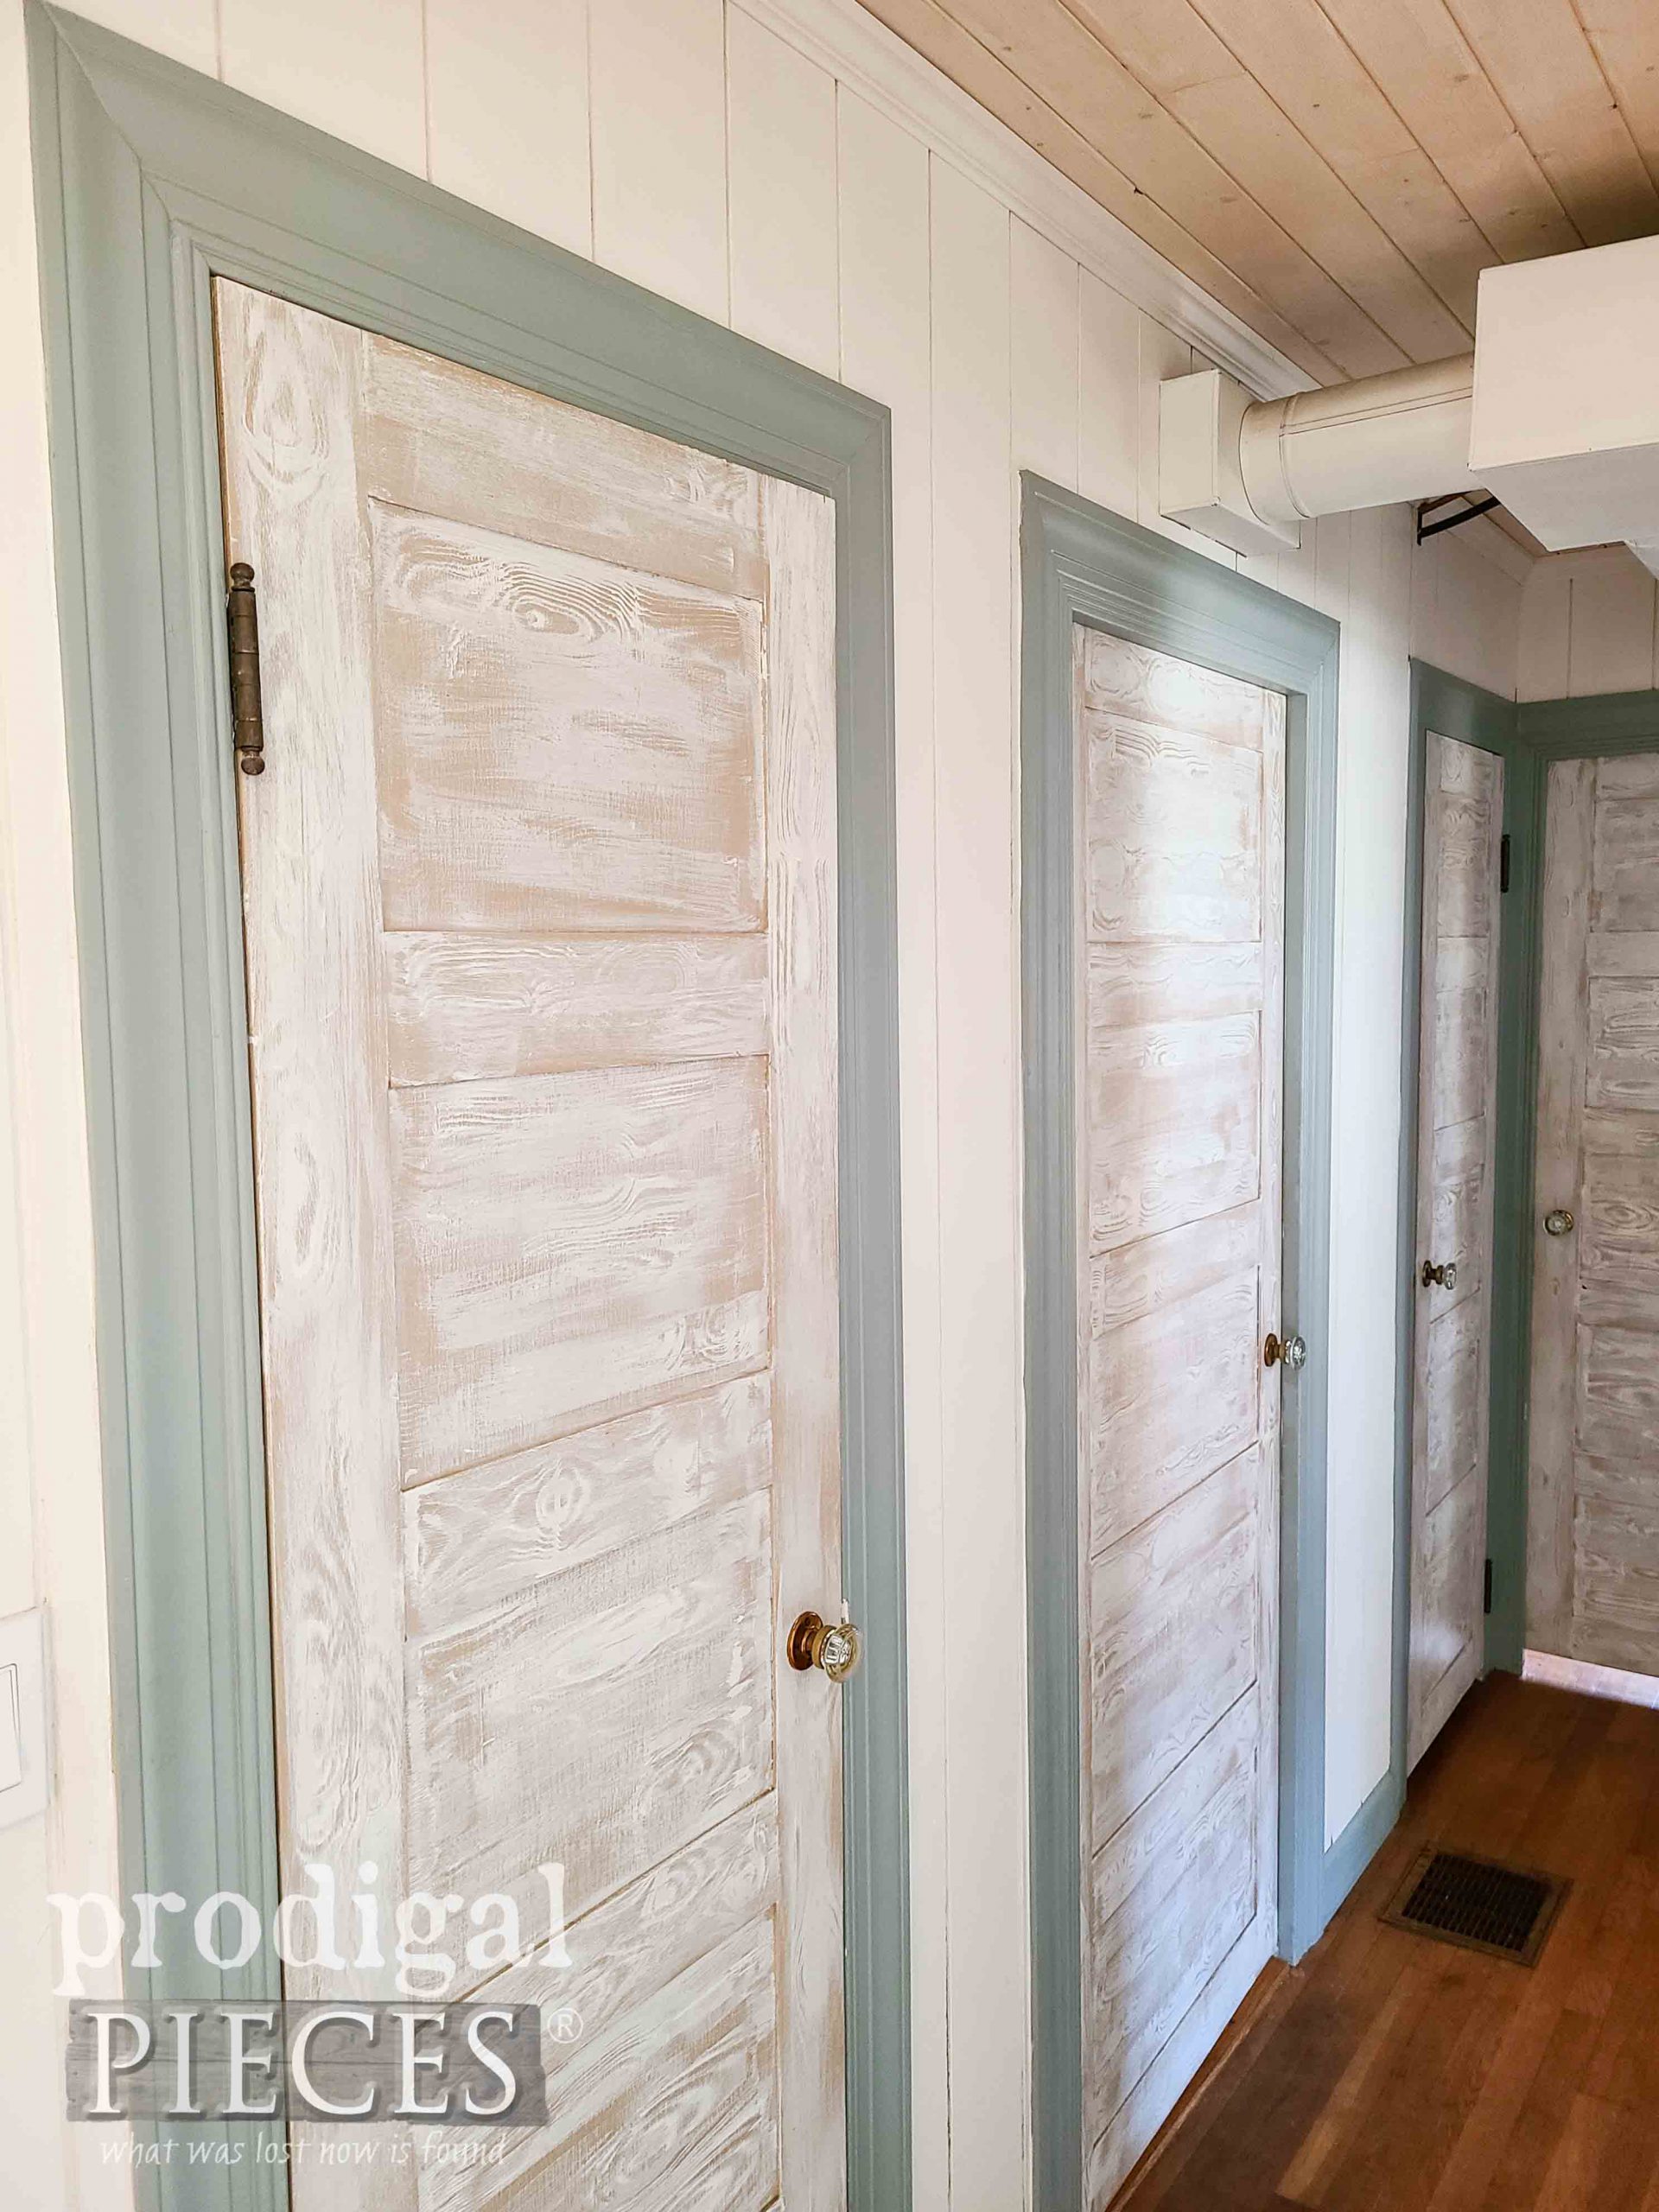
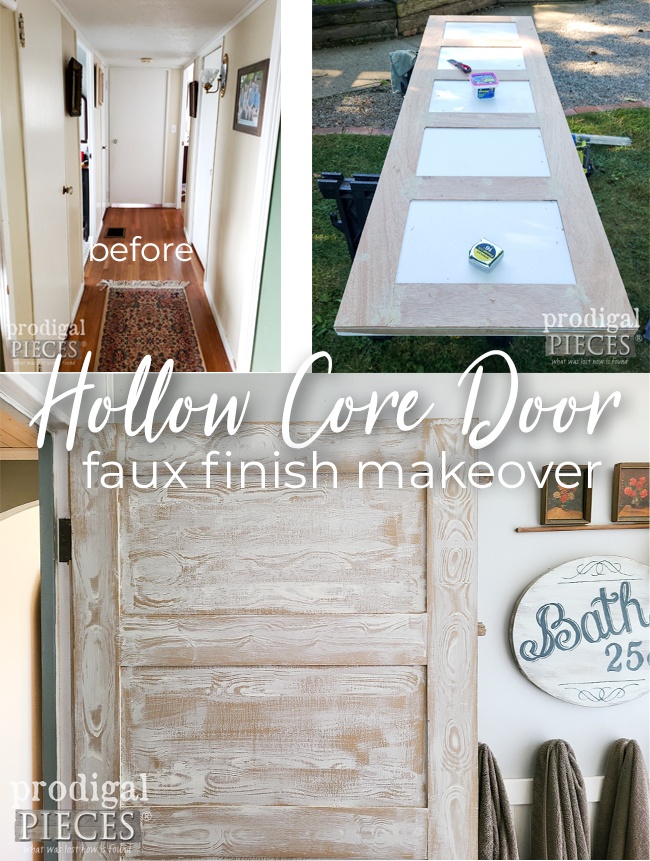
Above is our one and only hallway that has 6 of the 7 hollow core doors in my house. That is a bunch of doors, just sayin’. When we first moved into our 1952 Gunnison home nearly 20 years ago, plush white carpet covered these gorgeous wood floors. We’ve only cleaned them up and enjoy them as-is.
To be honest, over the last decade I was saving paneled solid wood doors so I could completely replace all of them. I didn’t care so much if they were matchy-matchy, just solid with durability. Plus, I certainly wasn’t purchasing new doors. Wouldn’t it be fun to have a mix of door designs? Anyway, after attempting to strip two doors, I realized my life was worth more than spending weeks taking off layers of paint (including hazardous lead paint. nuff said).
ADVENTURE AWAITS
My goal when starting this journey was to finish our remodel so we could sell and move to the country where I belong. Or at least enjoy NOT working on my house every day of the week. This hallway leads off of our living room and began the remodel for that space too. While this post is primarily focusing on the closets and bedroom doors, I also am remodeling the entire space.
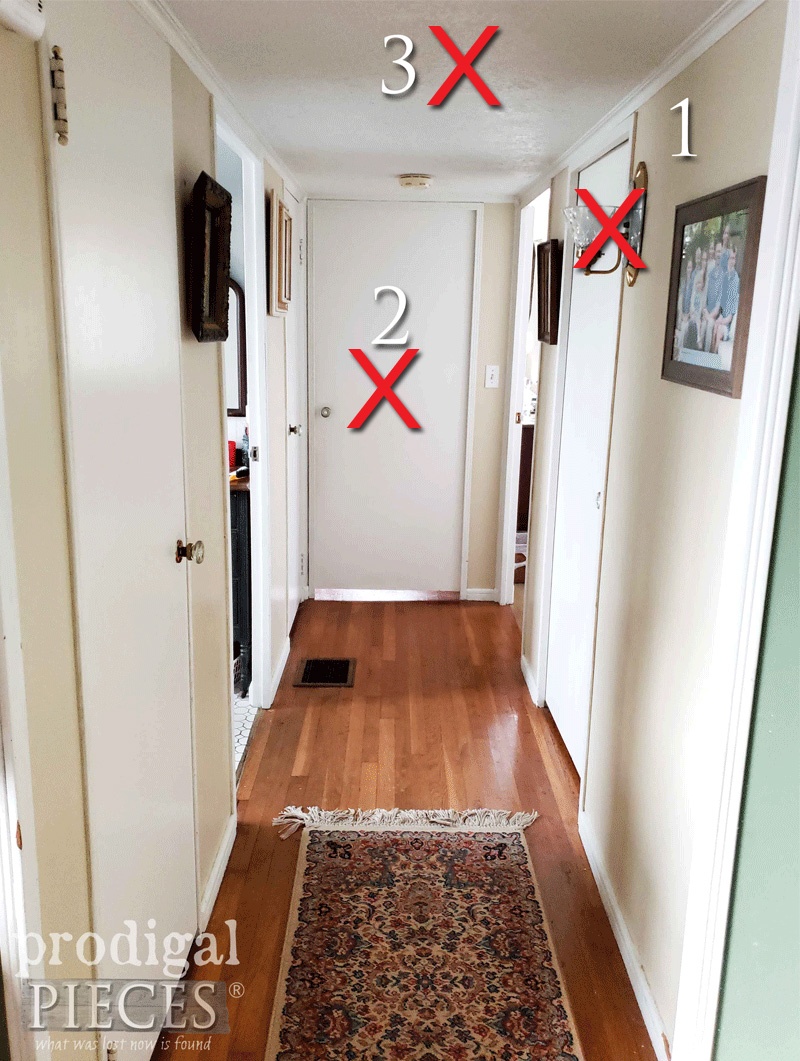
- That hair-catching wall sconce that is literally head-height
- Obviously, the doors,
- Also, the too-low ceiling for my tall family
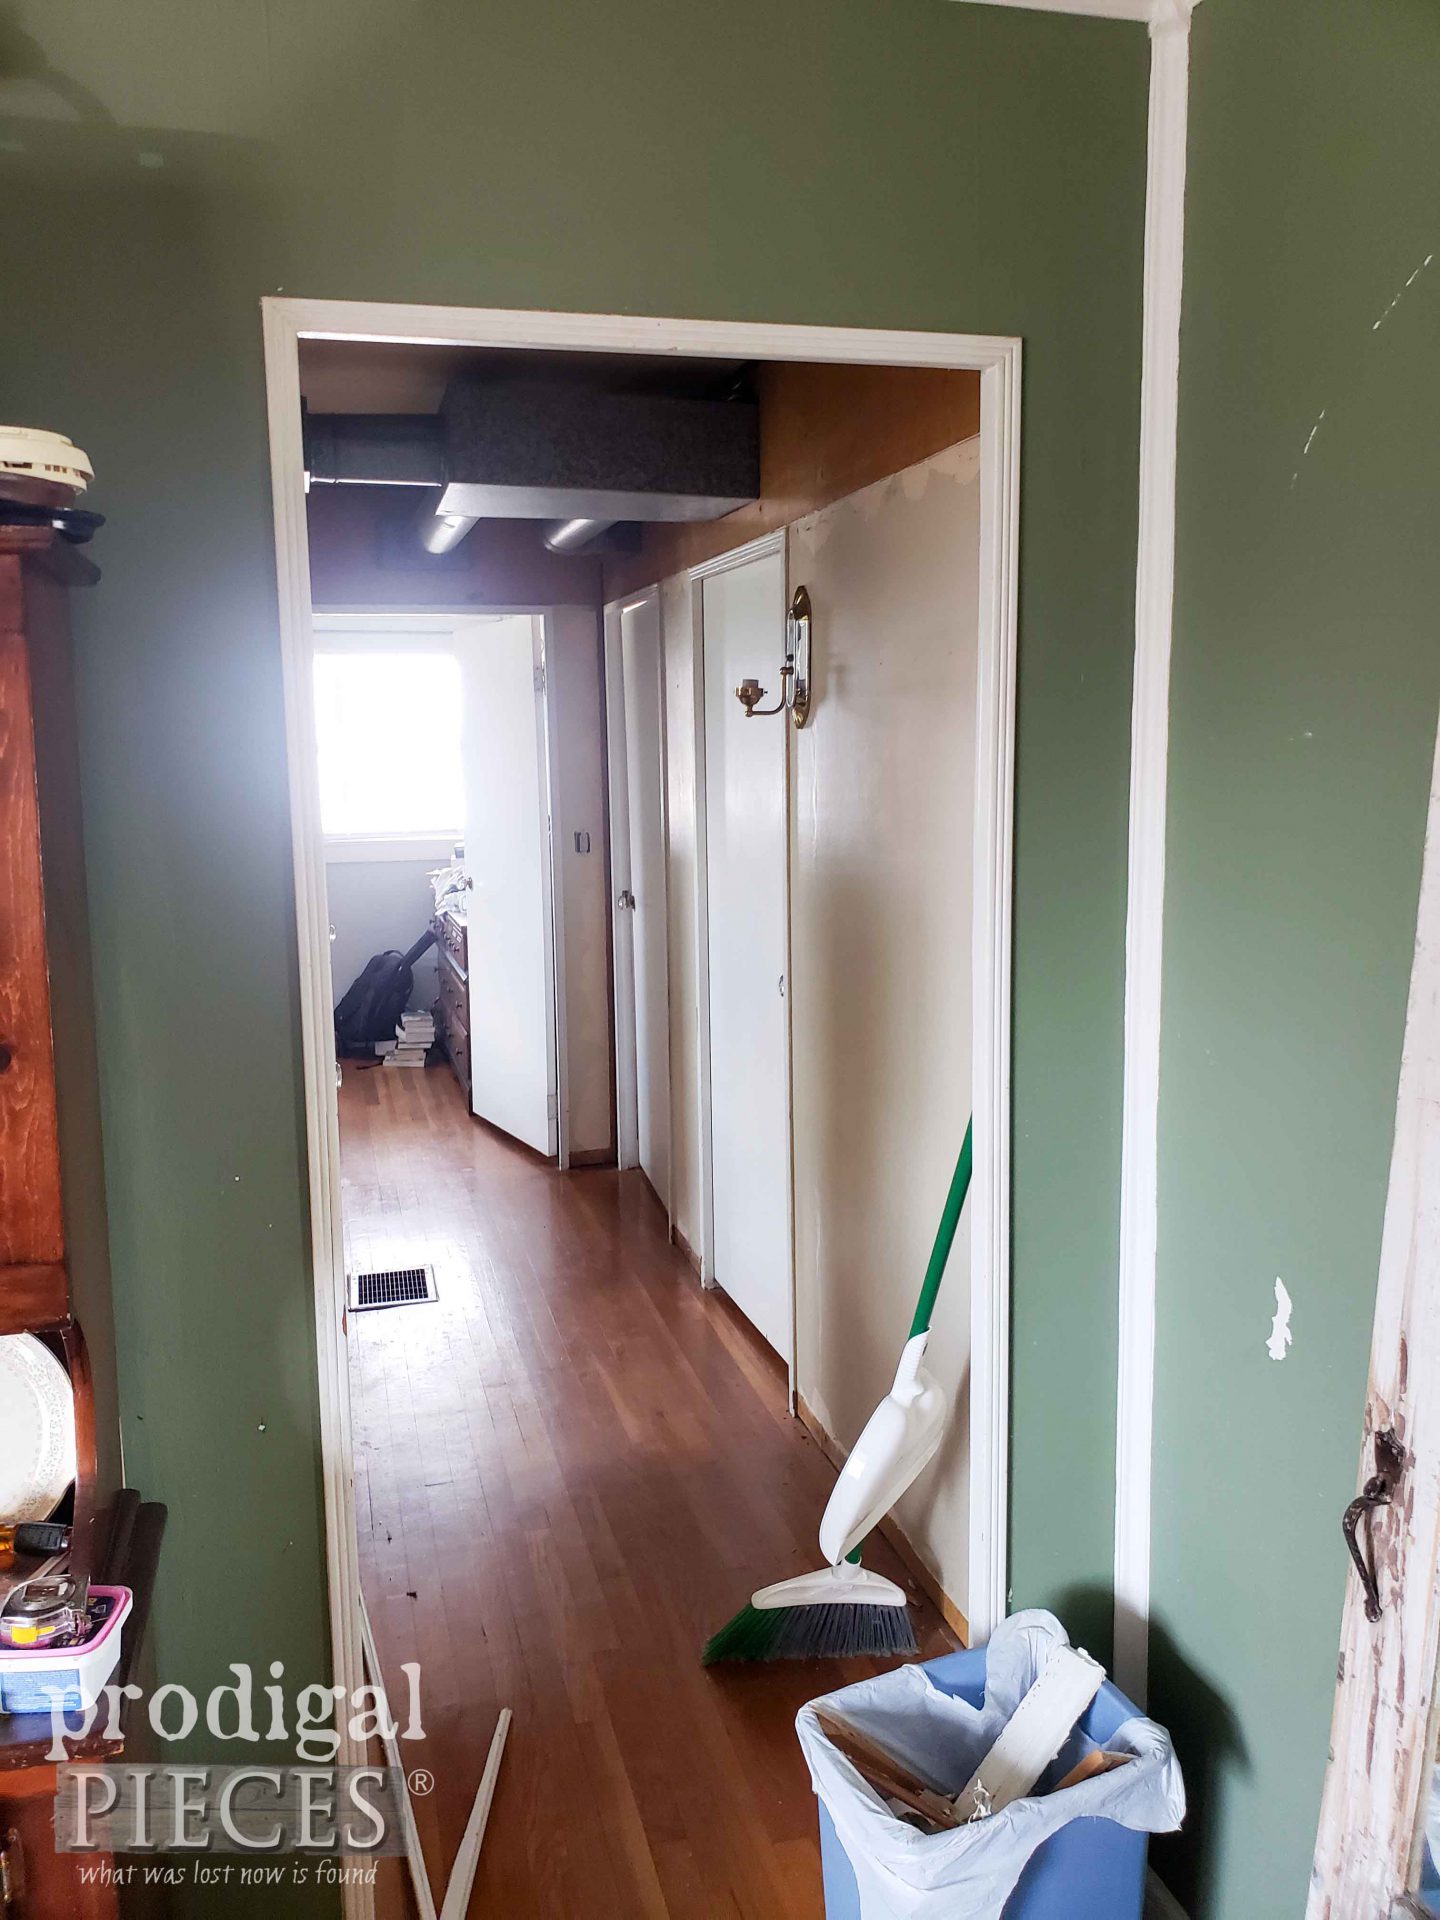
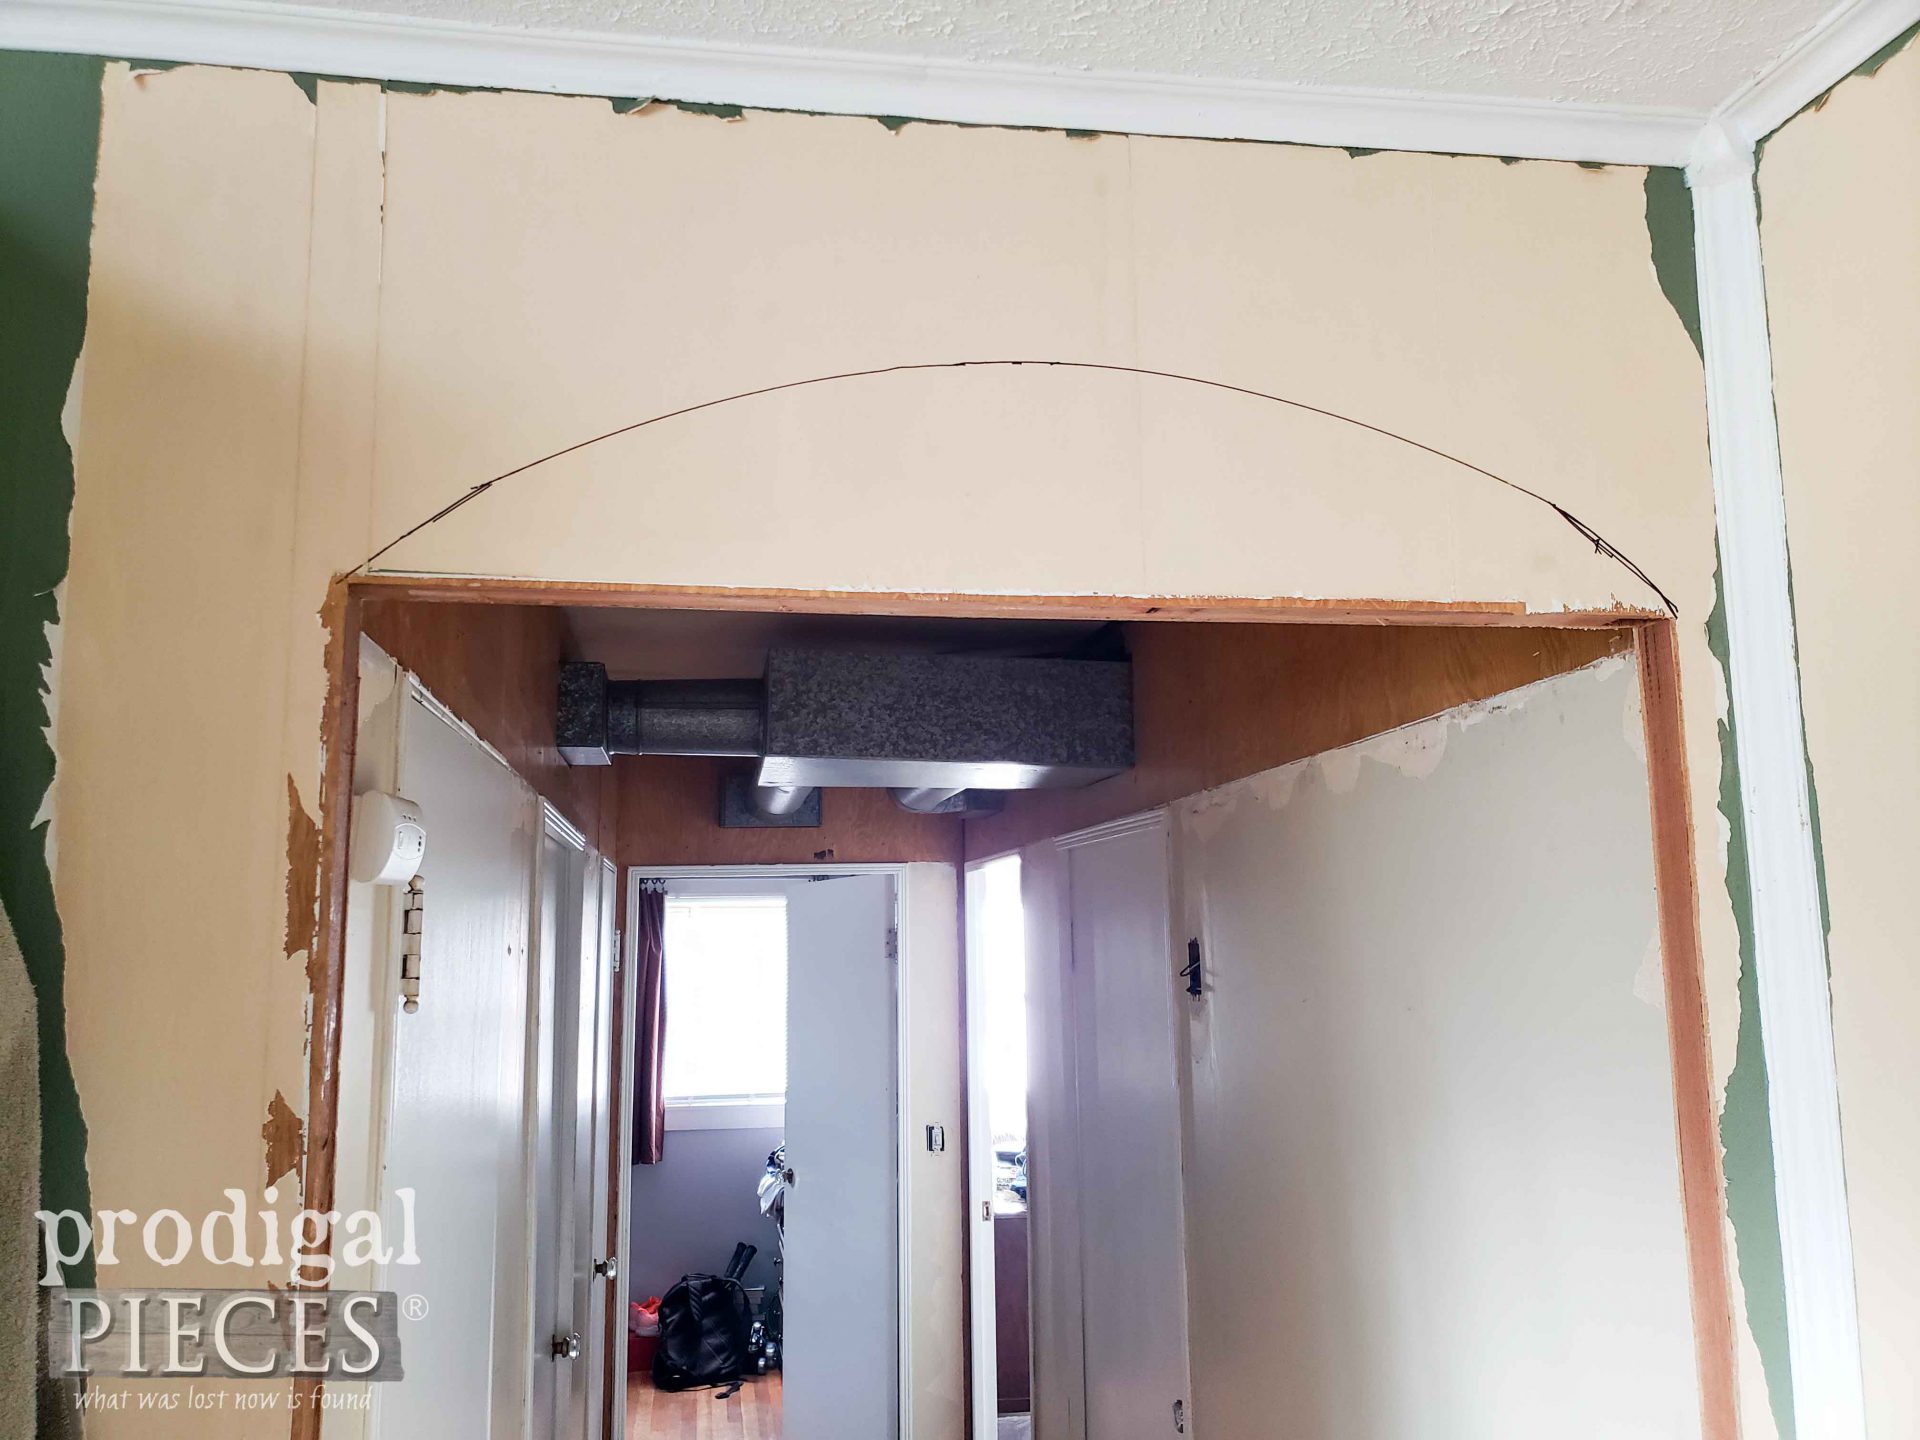
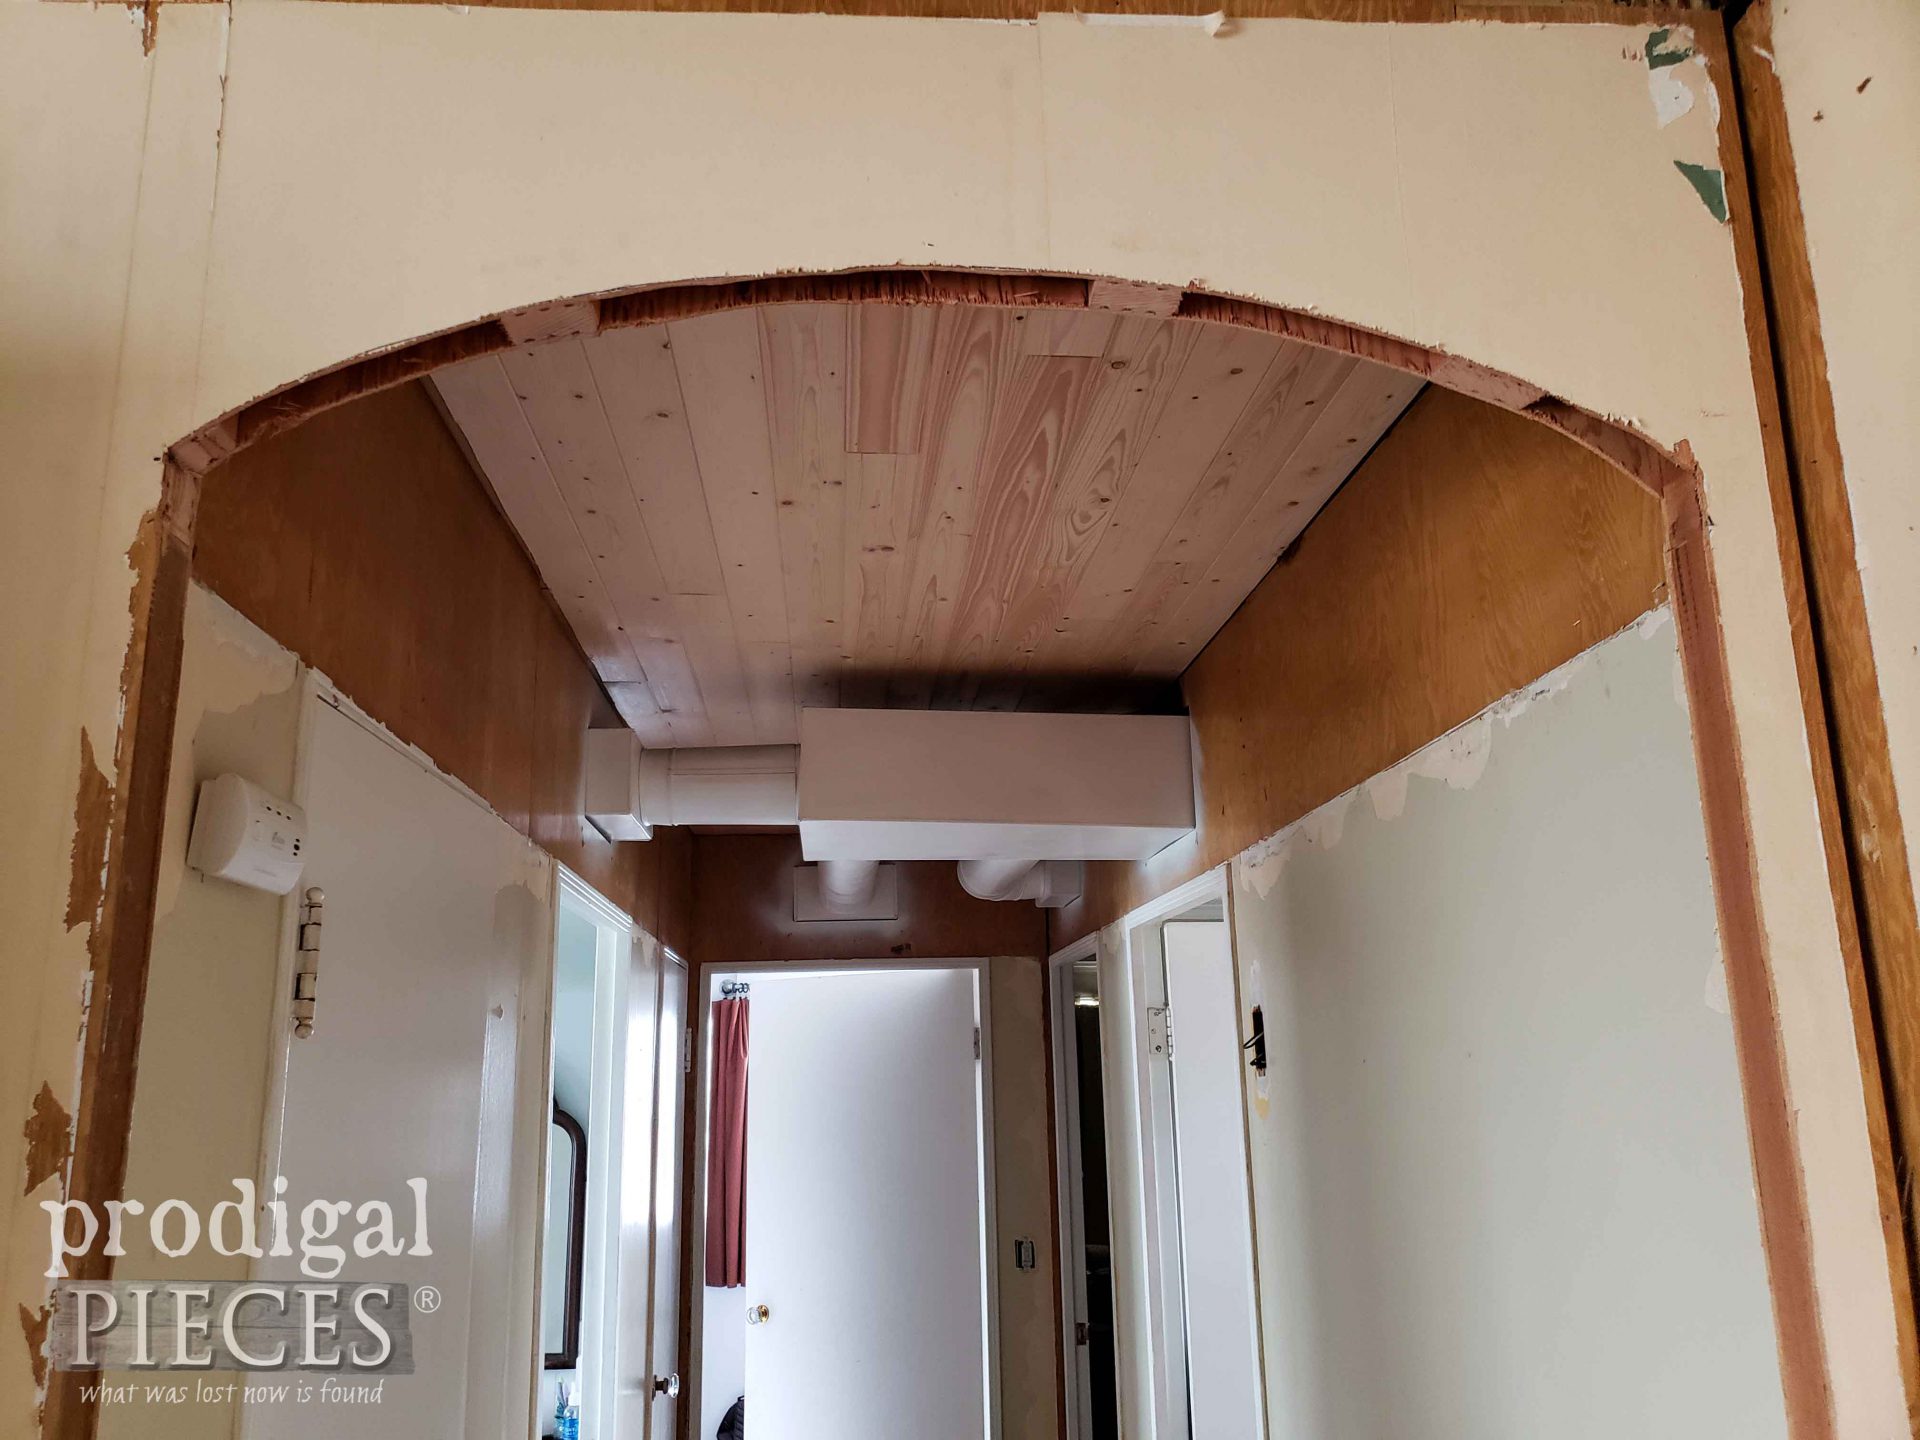
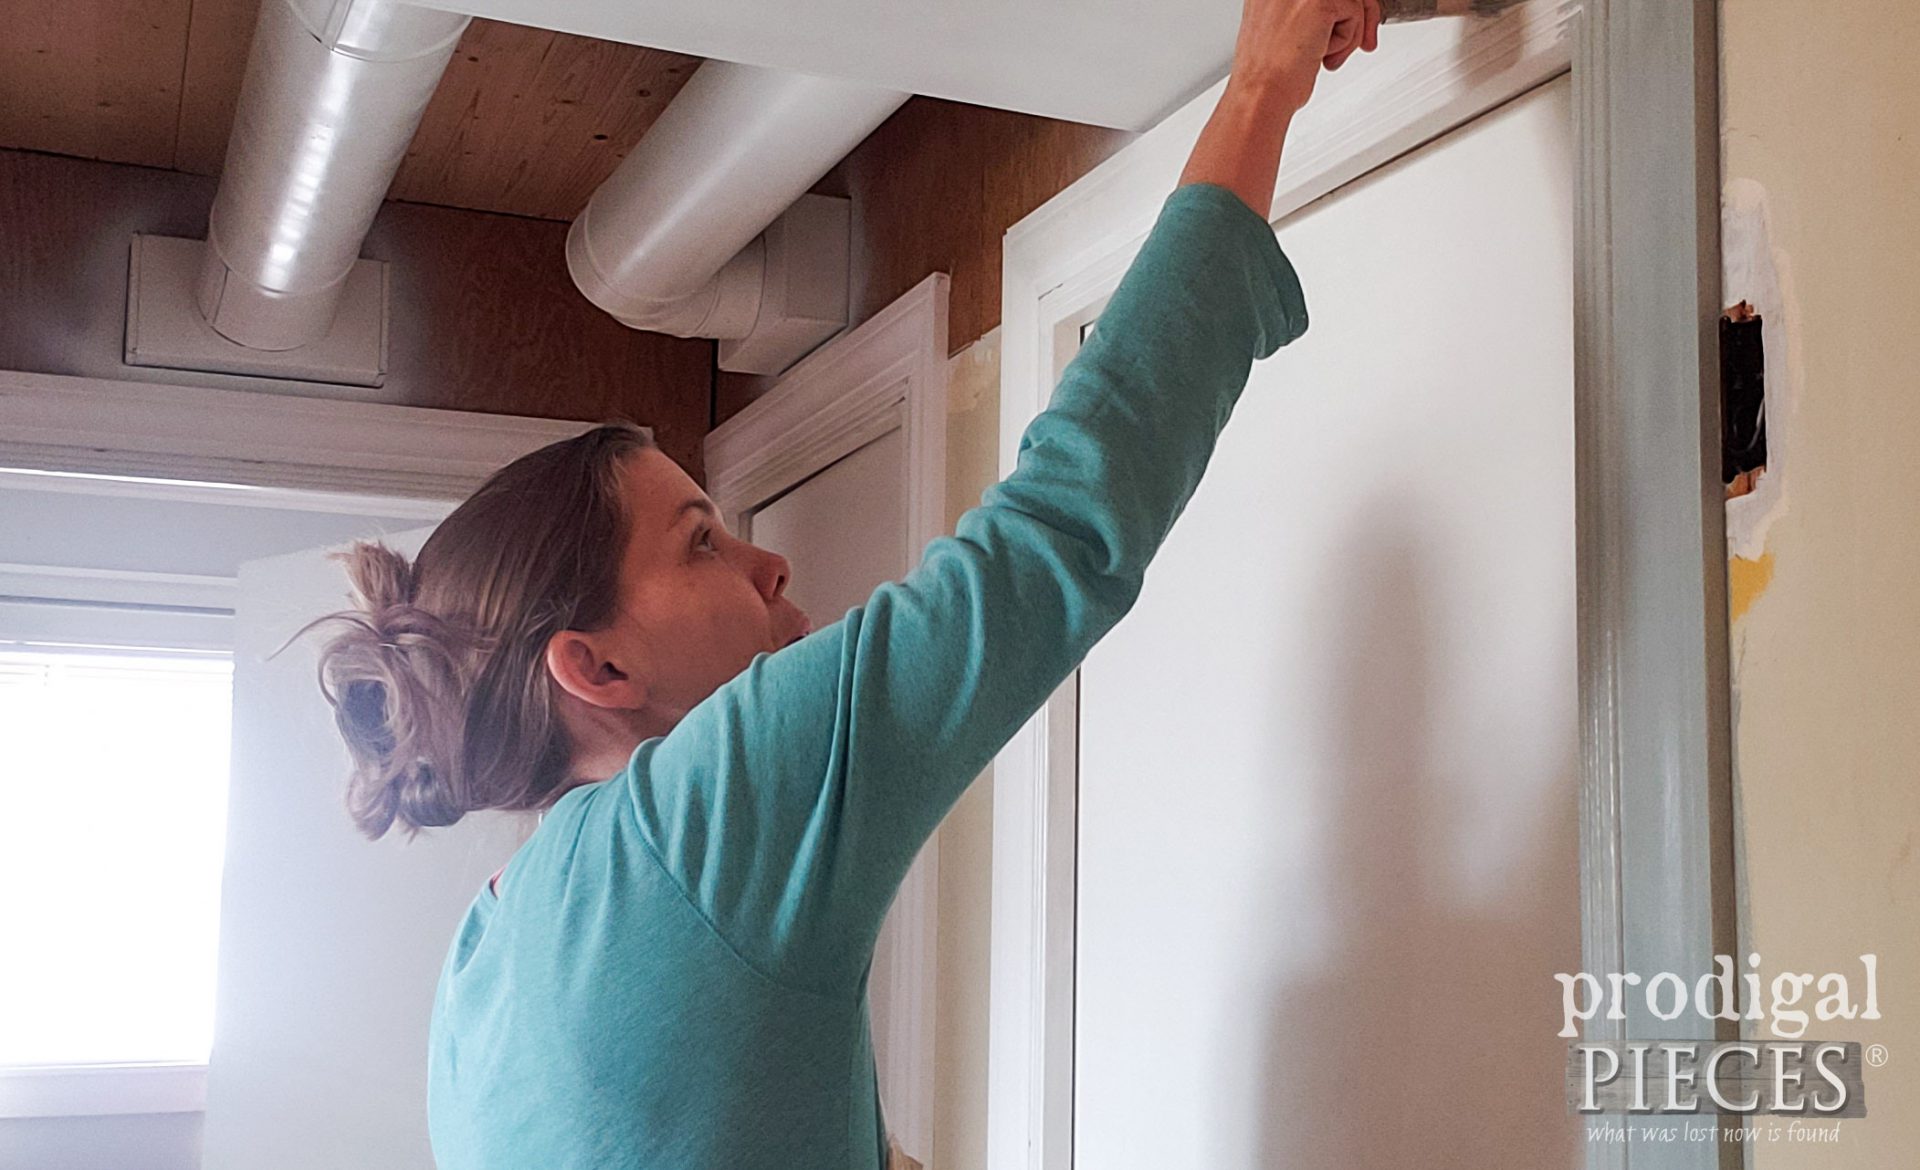
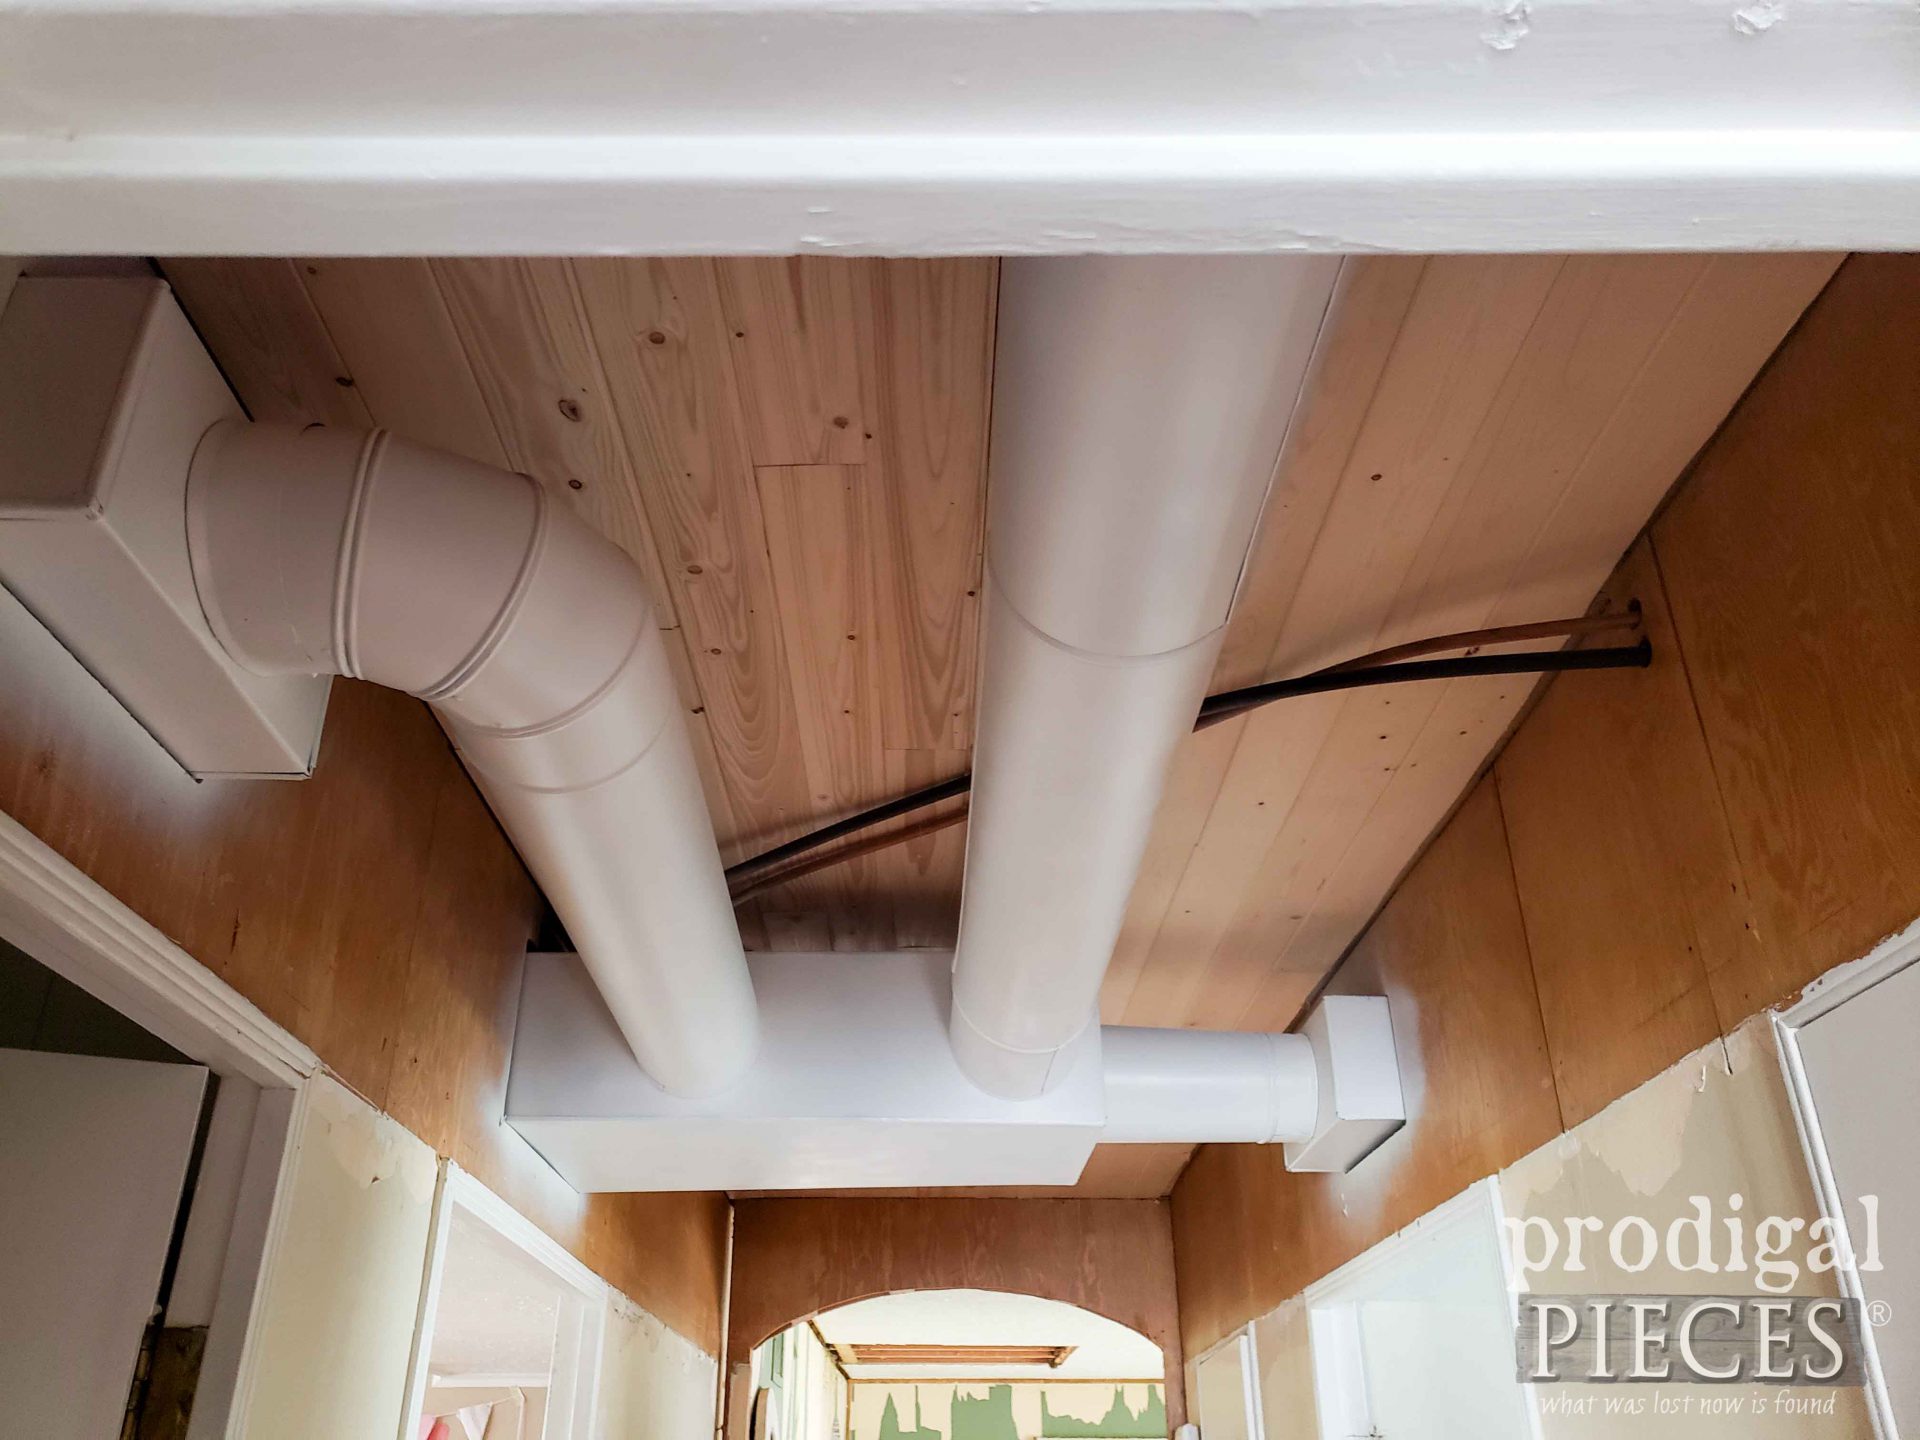
First, I leave the doors up so we can have privacy, but also I’m not damaging my newly refreshed doors. I knew I was heading down a supremely messy road, but what fun would it be if it were easy, right? If you look closely, you can see my stippled ceiling is gone, and my duct work is revealing all the glory.
Then, in order to tie in my hallway with the living room which leads into our remodeled kitchen on the other side, I need to make this doorway frame into an arch. Using a scrap piece of luan and string, I trace on the arch shape.
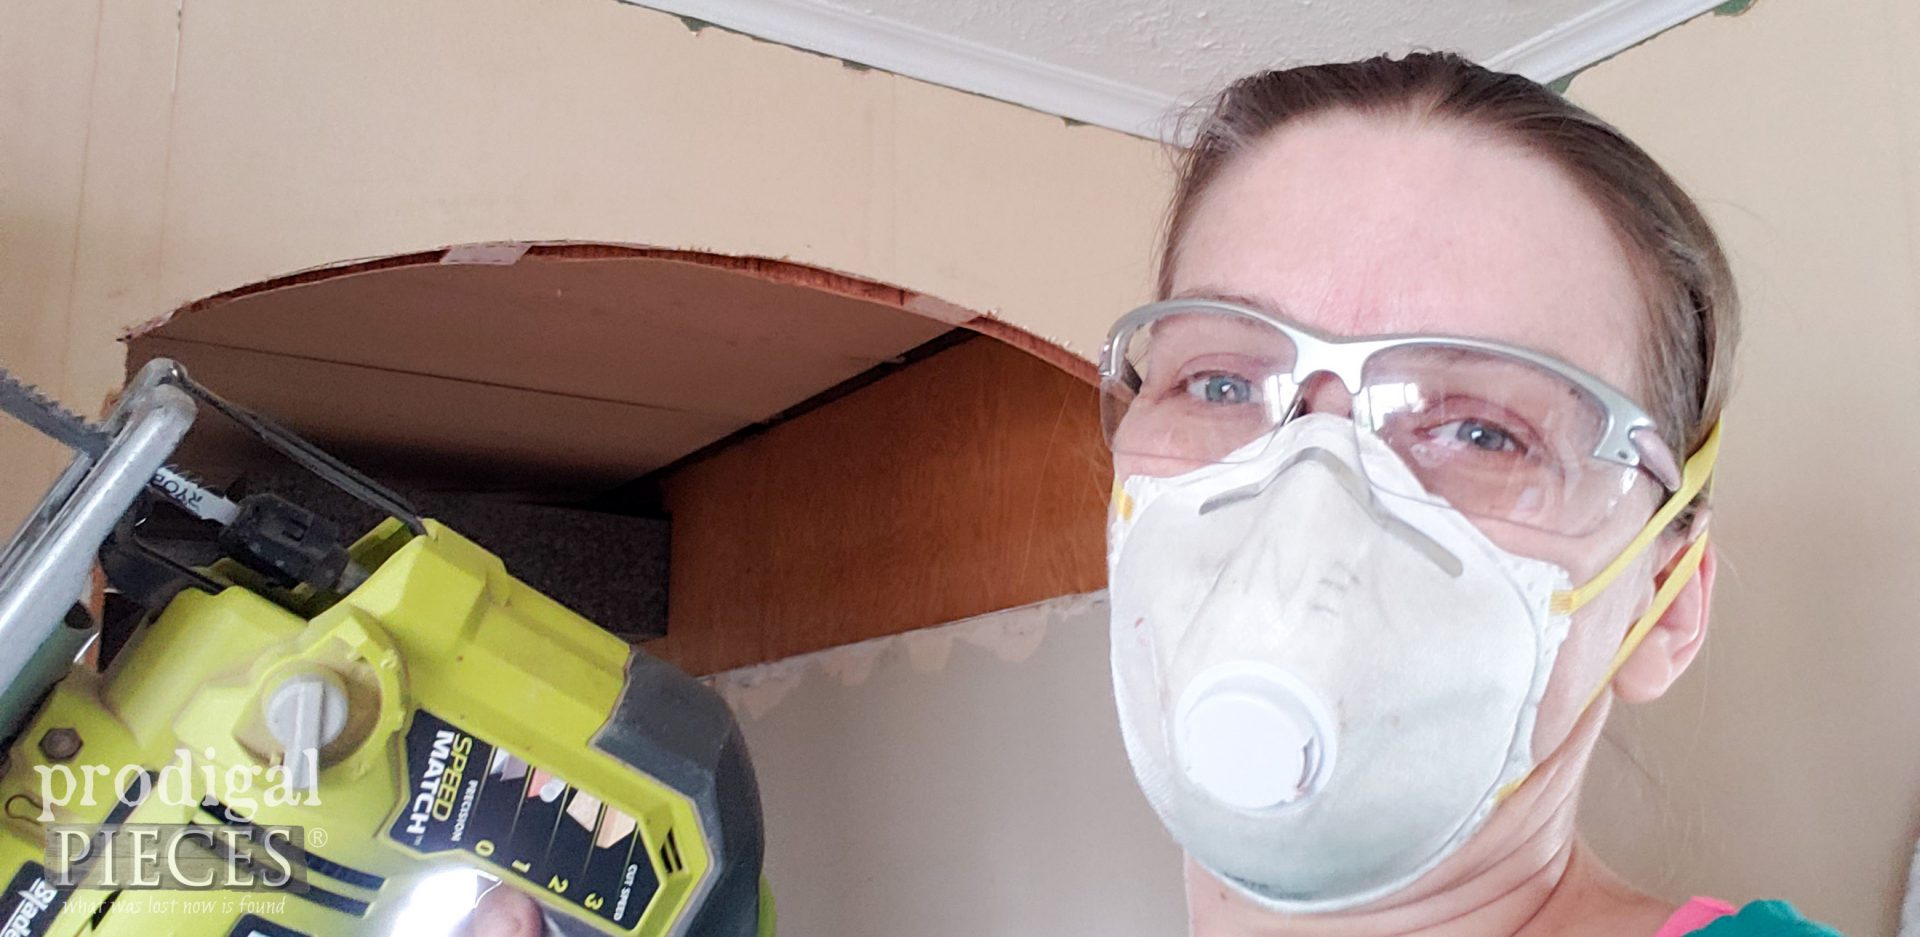
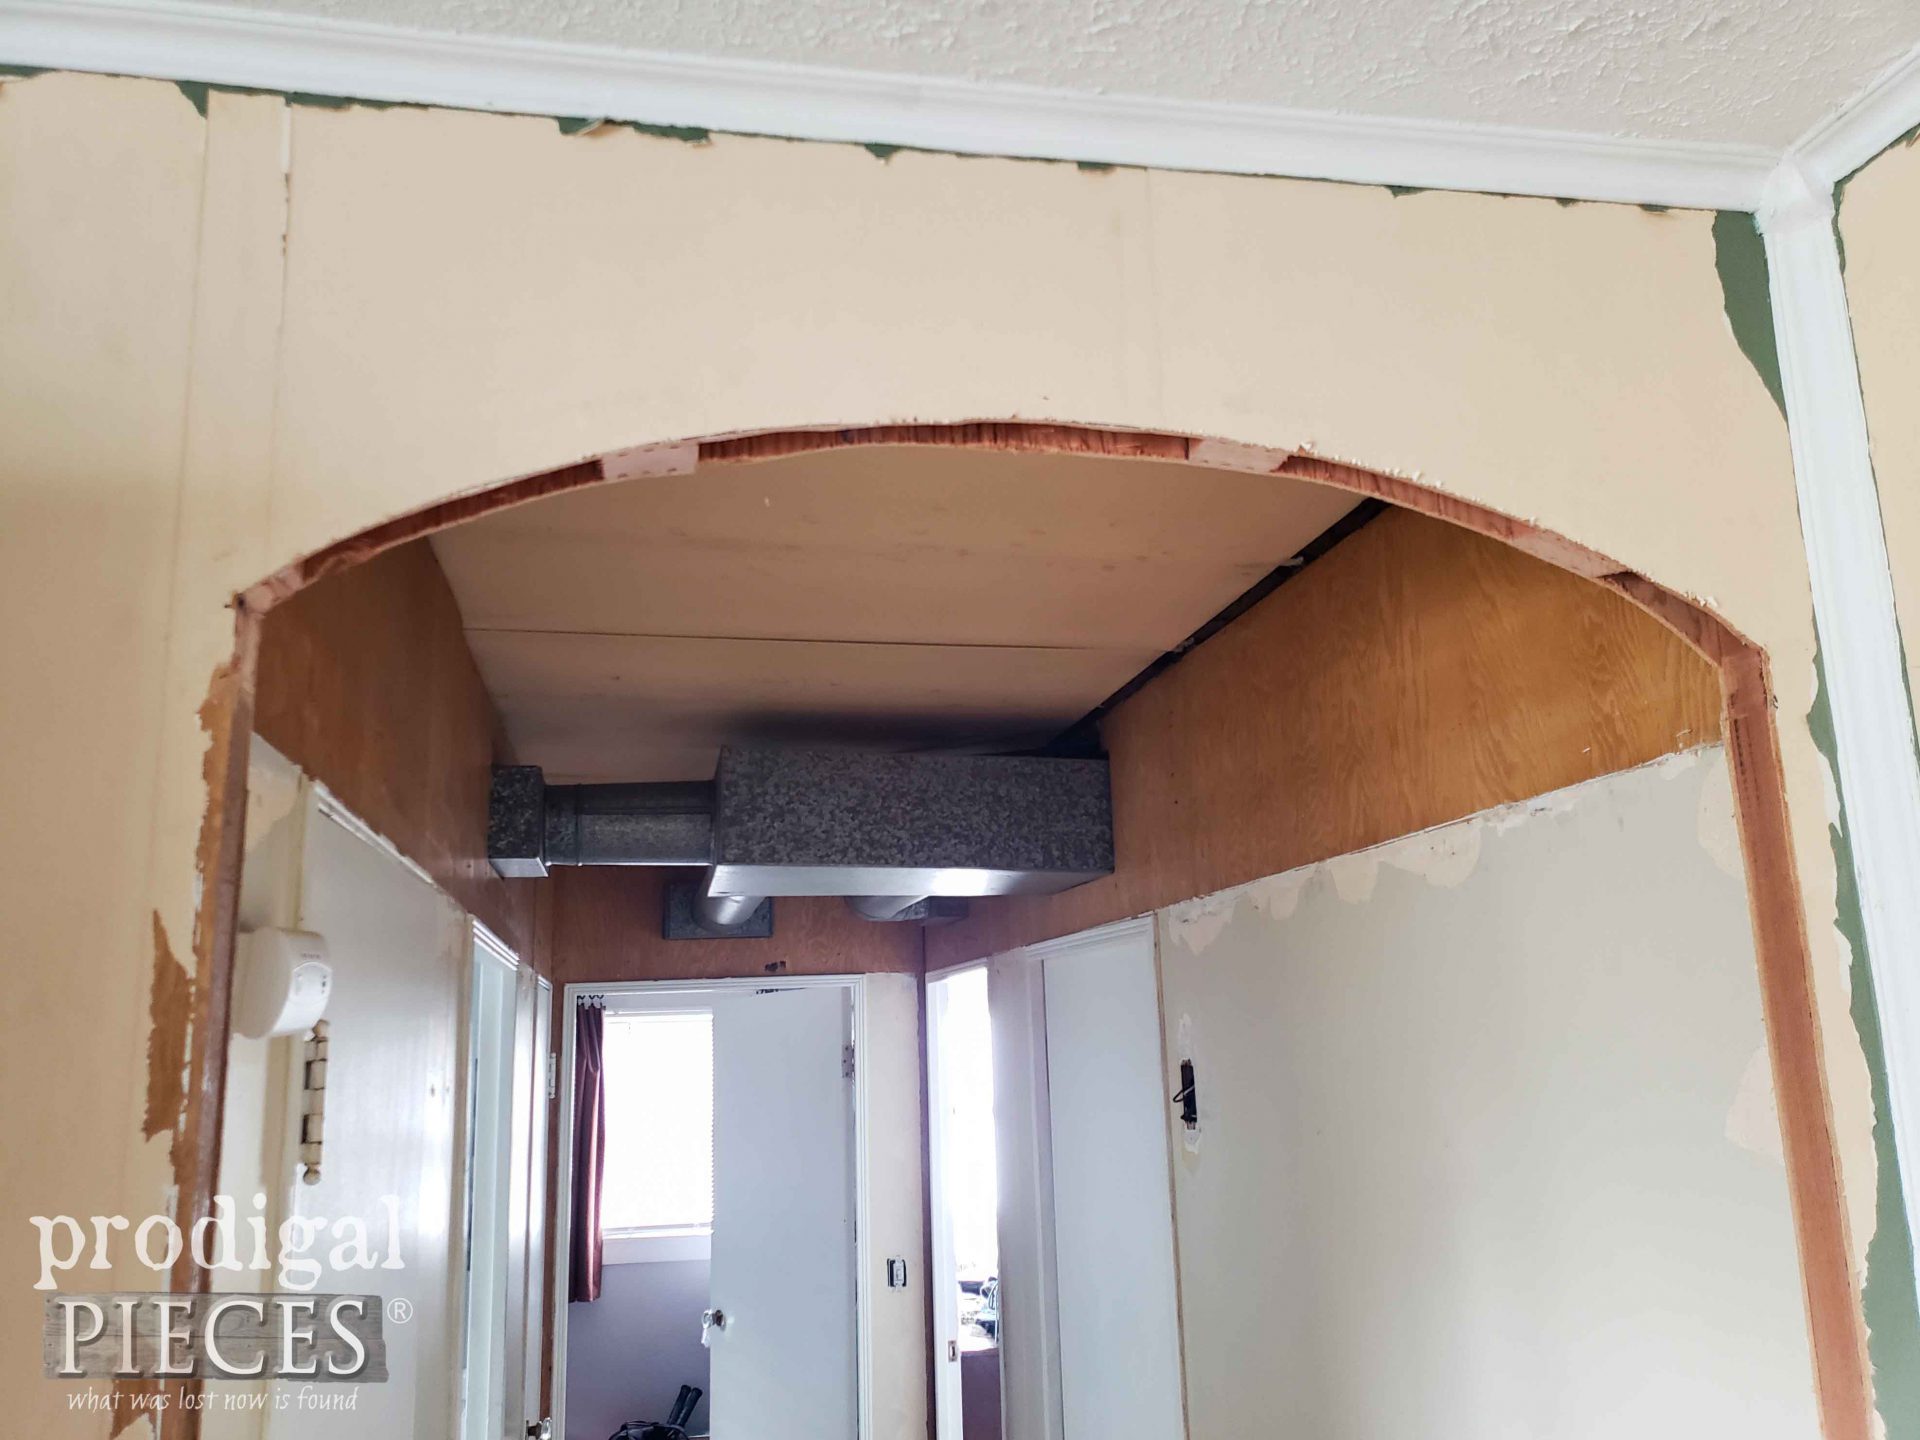
Using my jigsaw, I have at it, and it’s done very quickly thanks to my wood walls. woot!
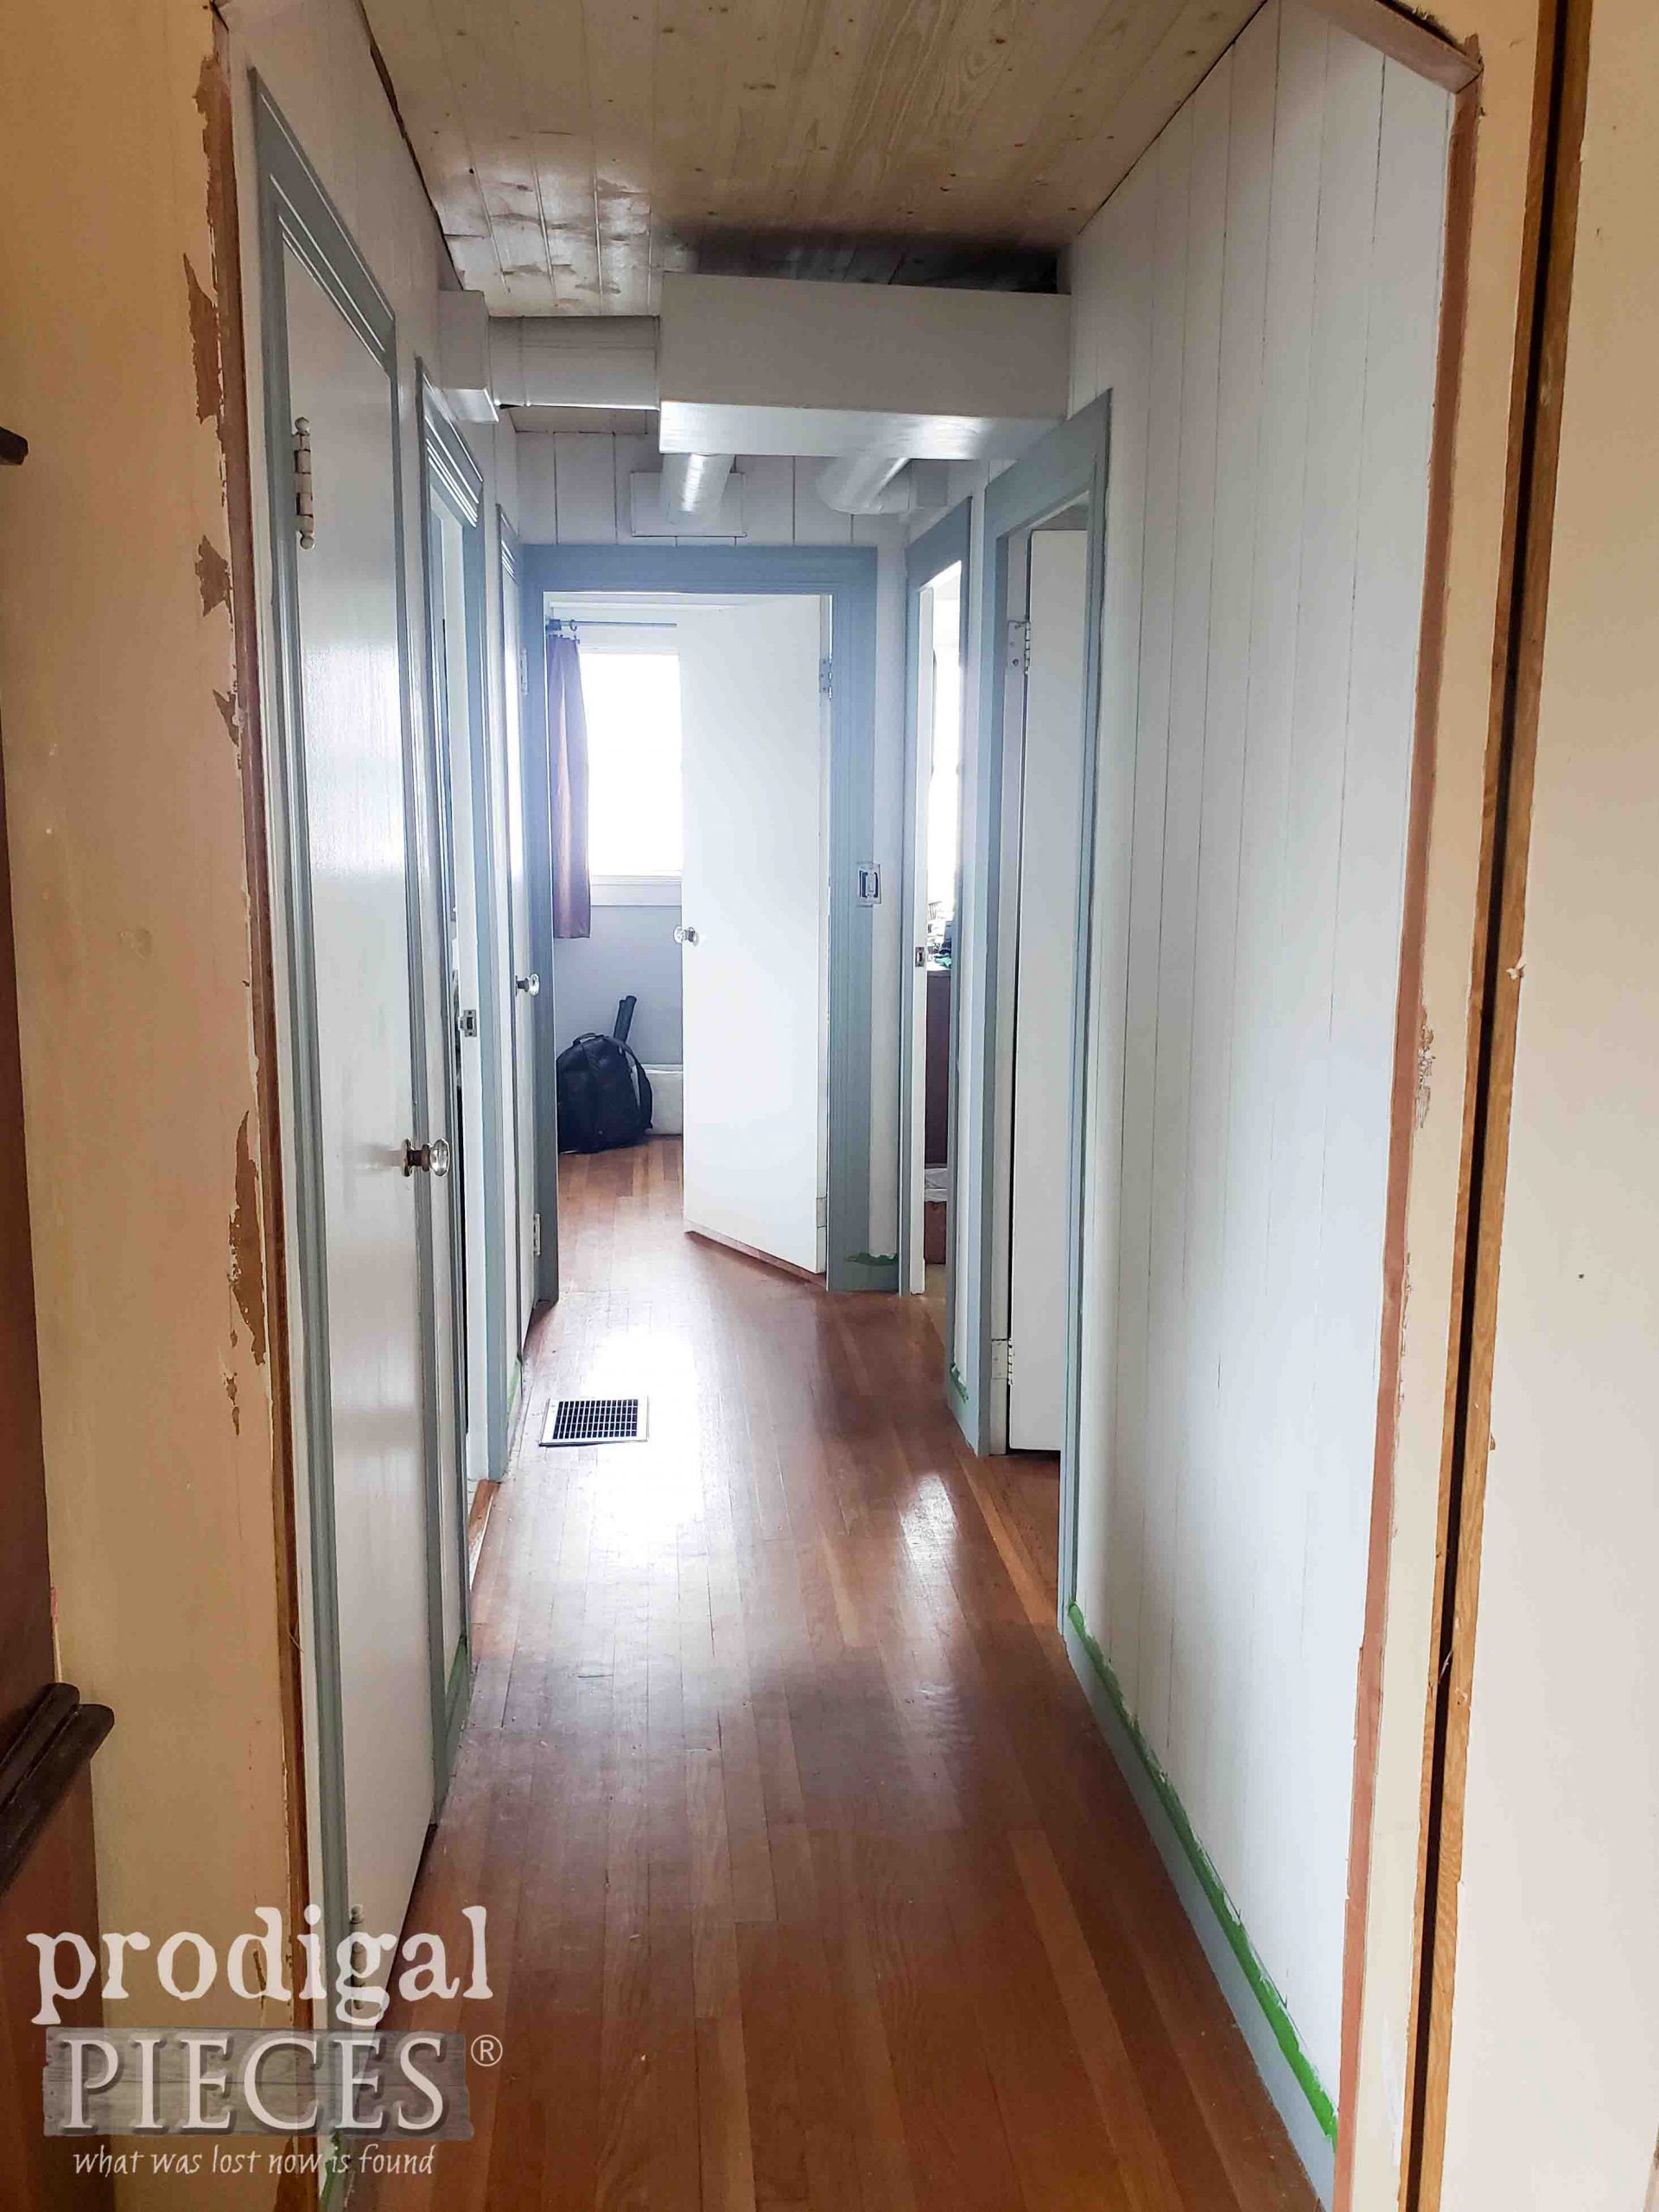
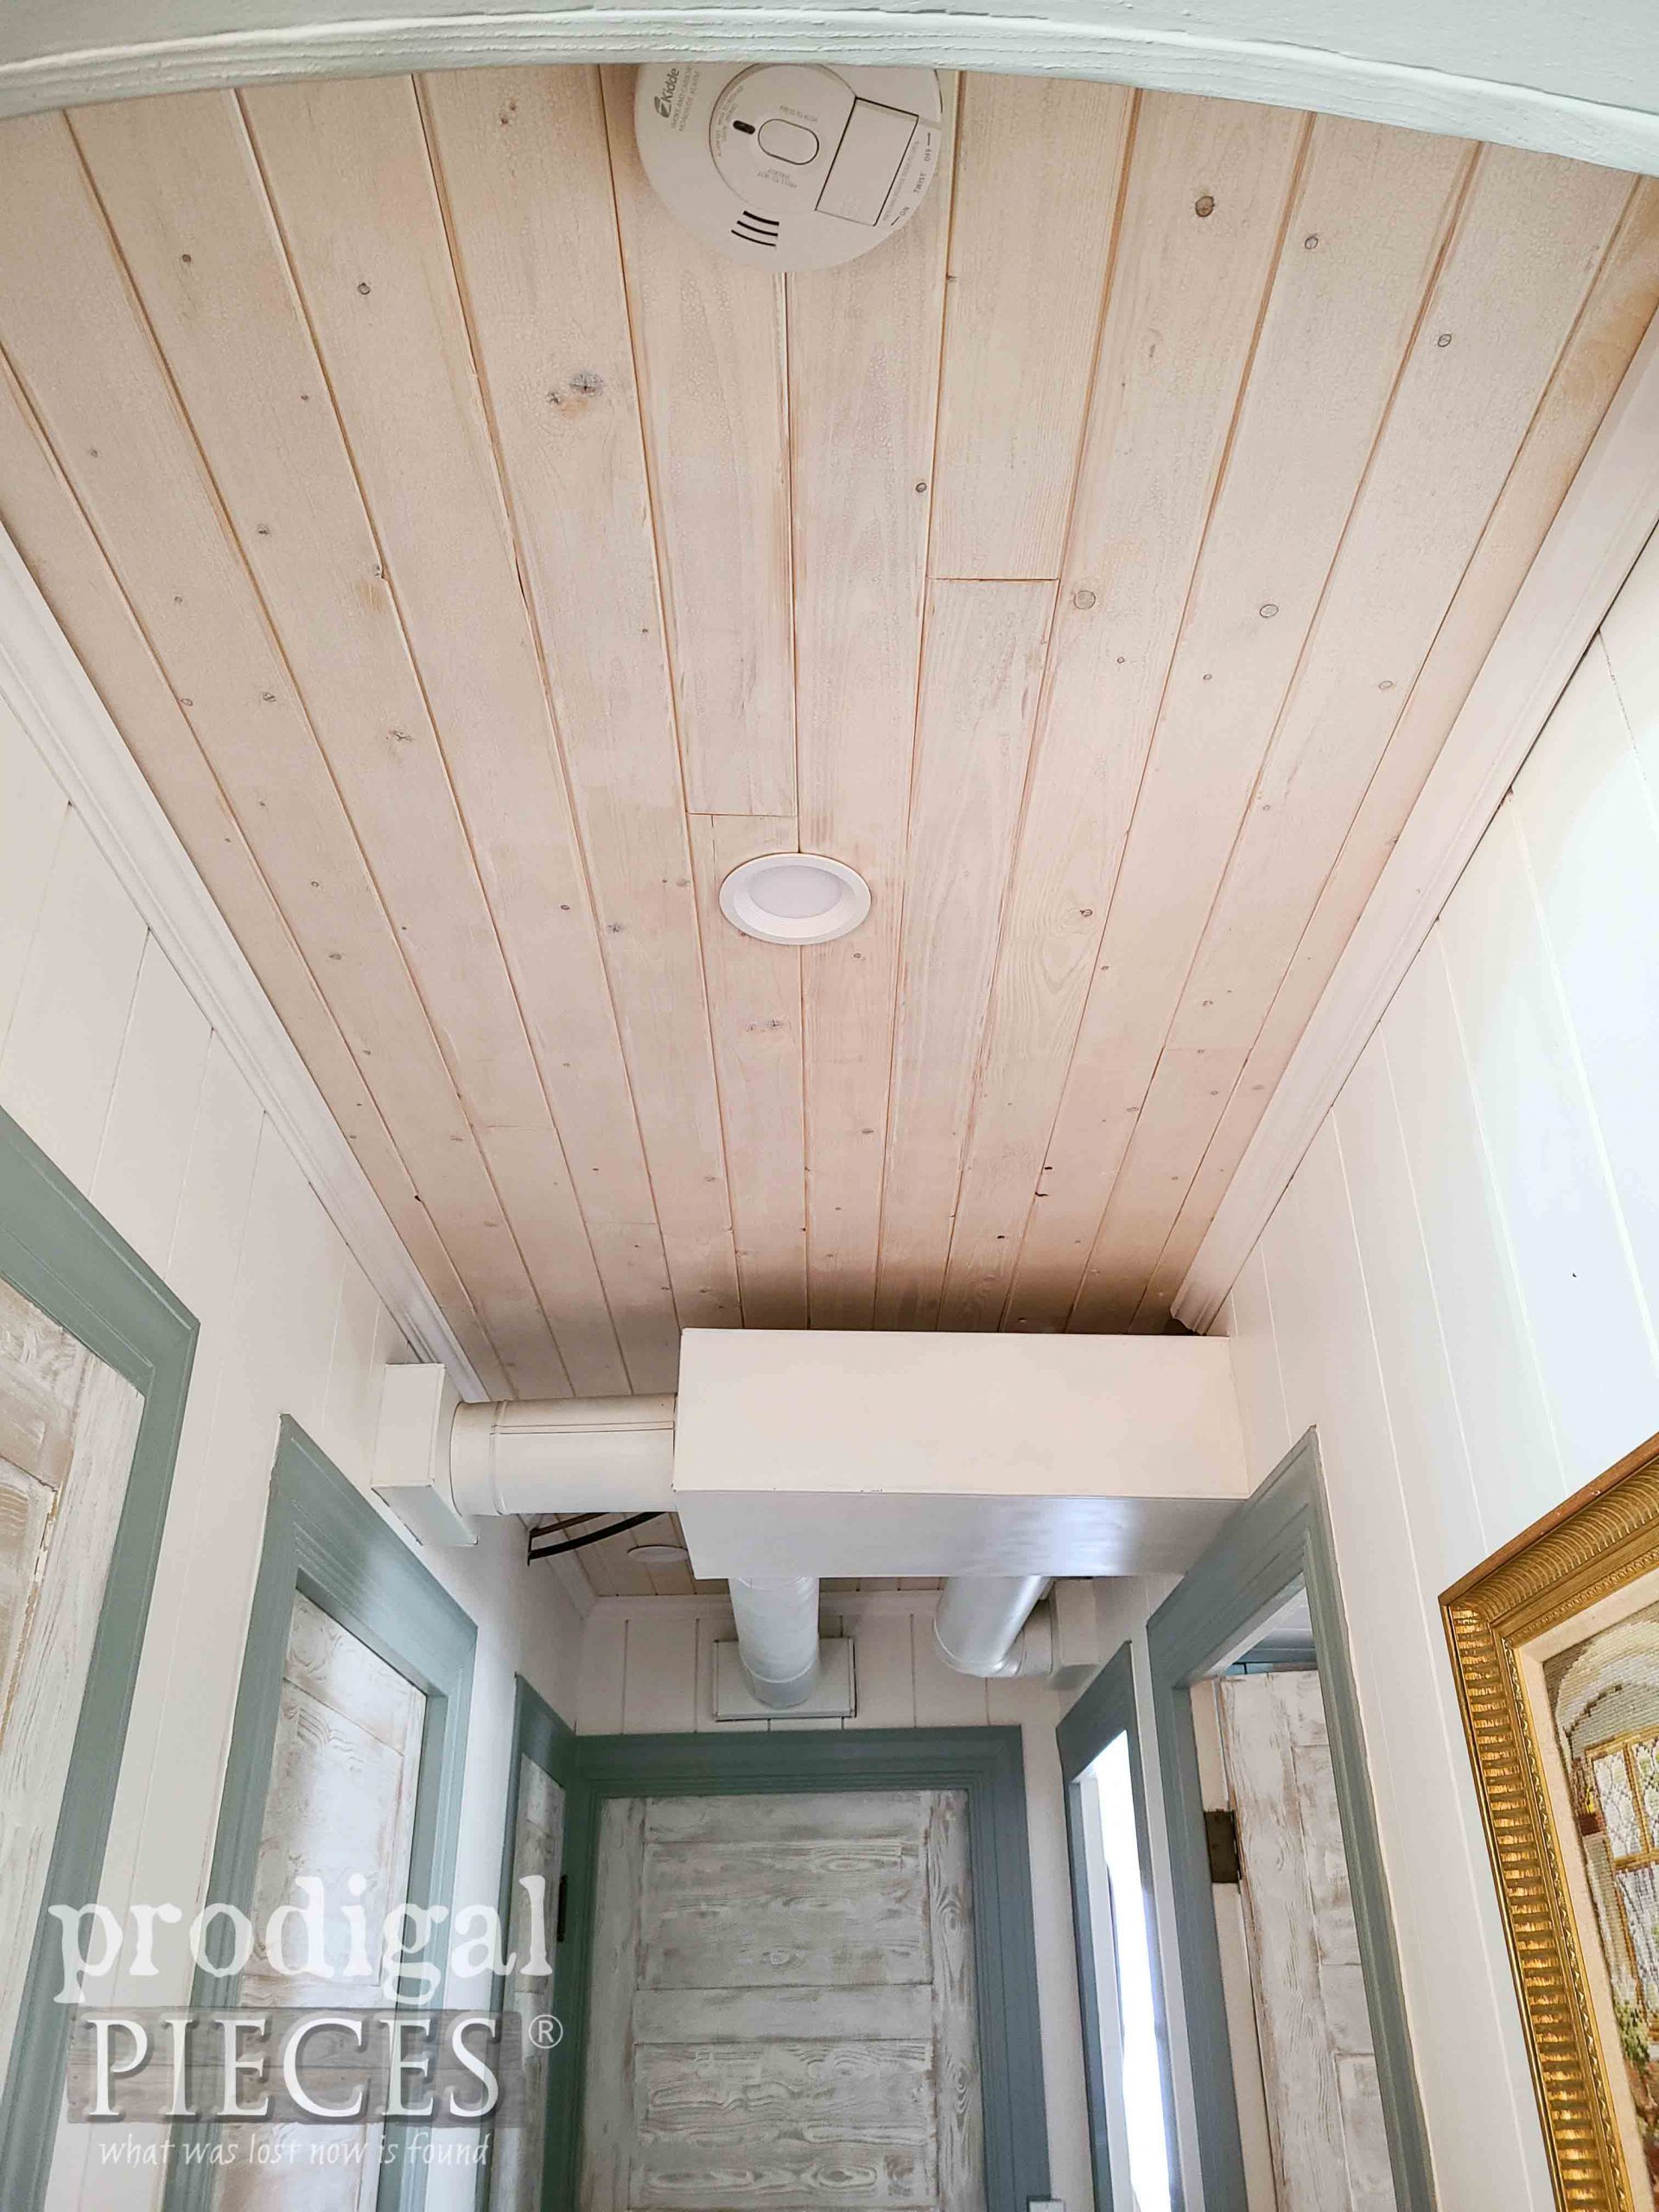
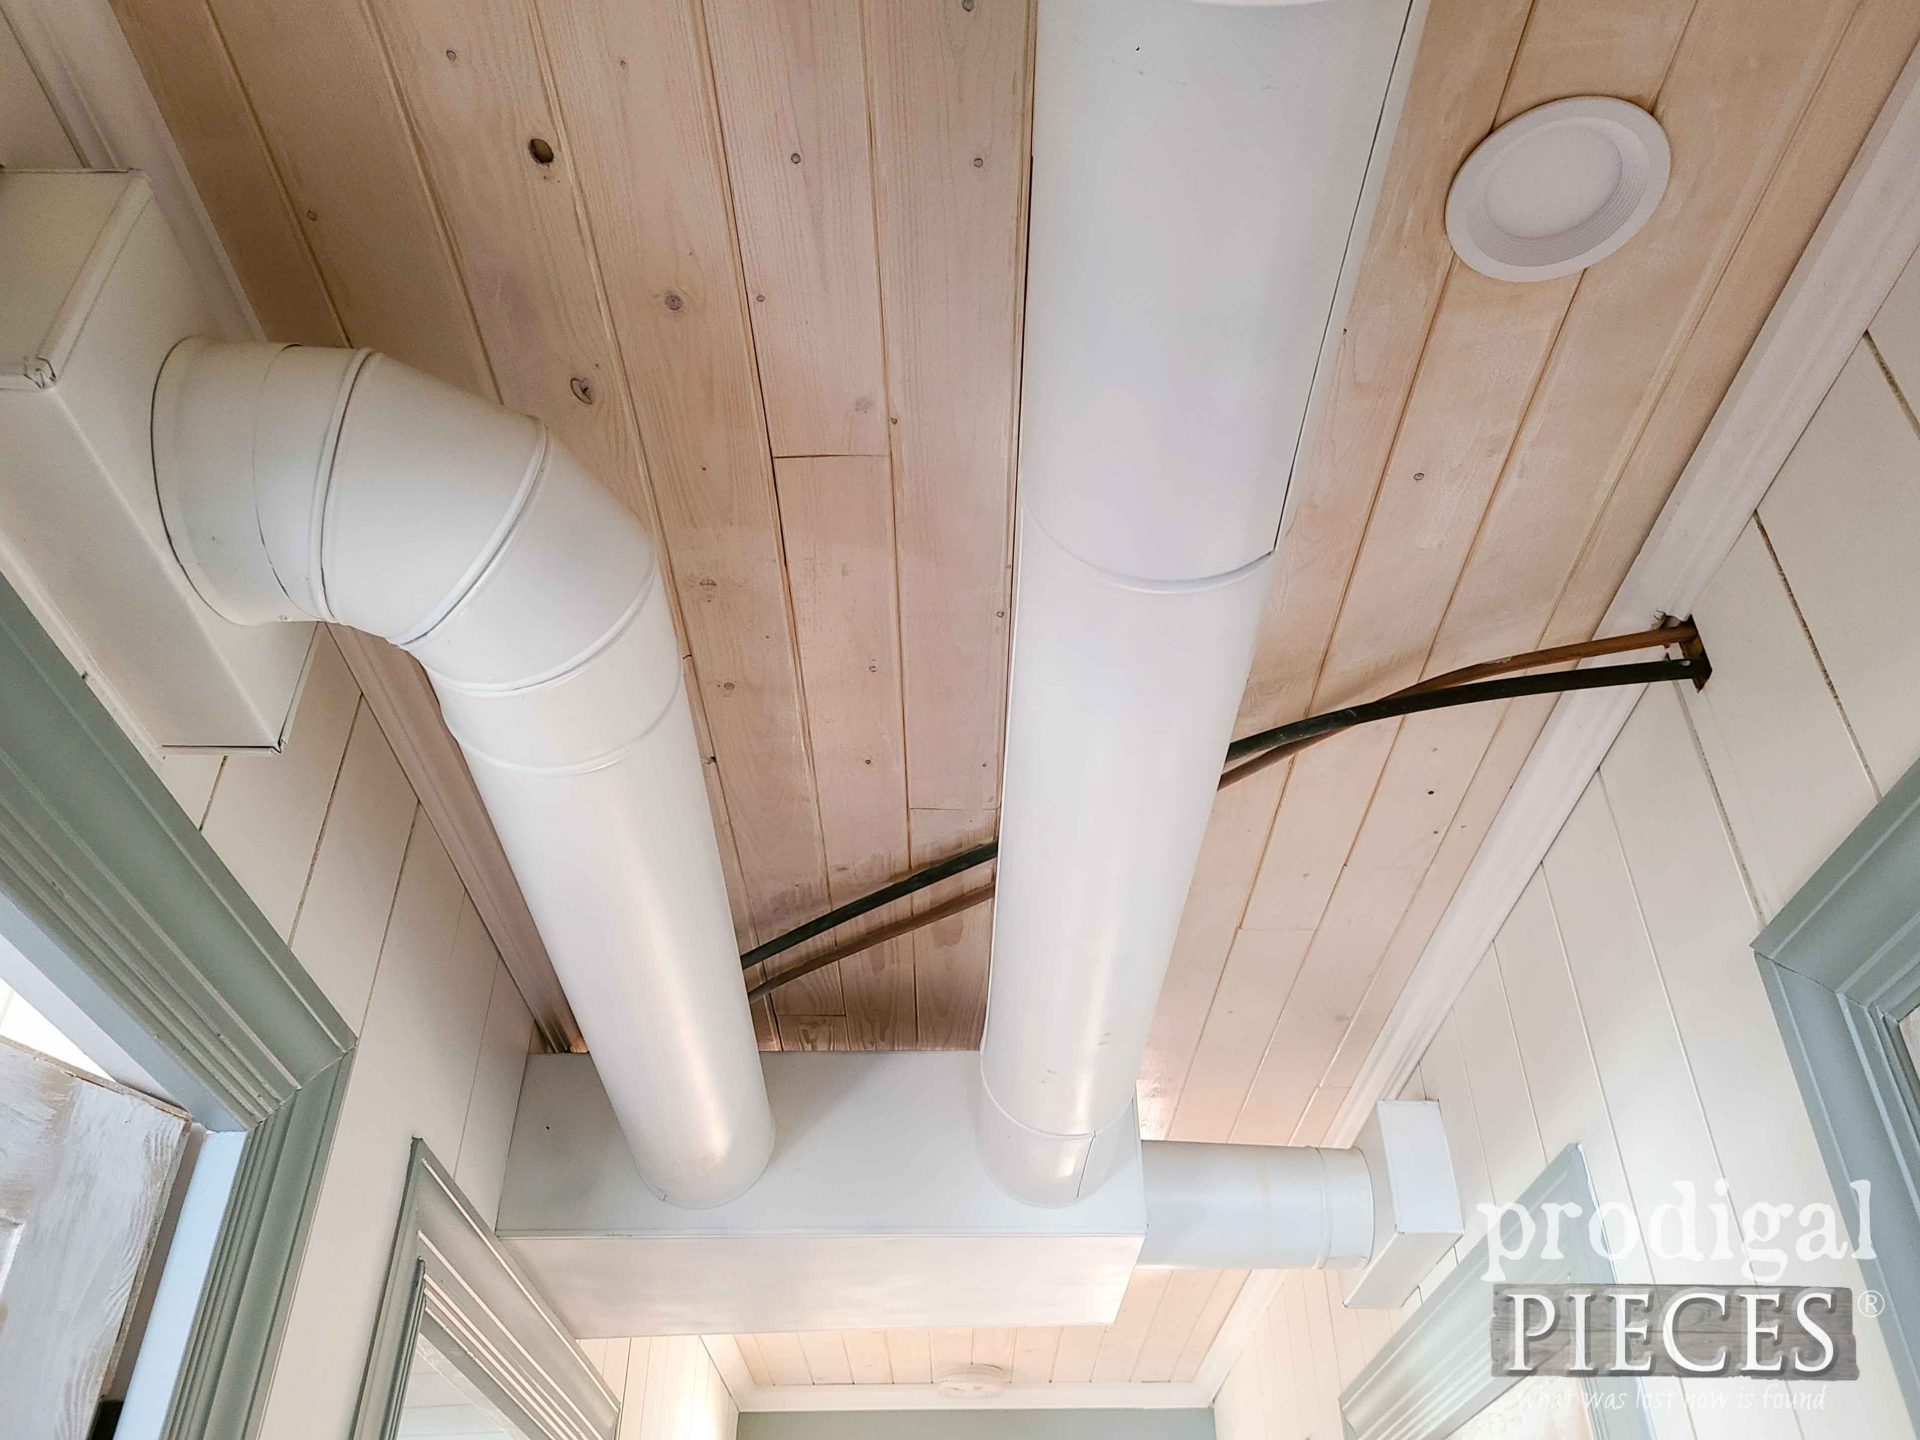
Next, I want to dress up that exposed ceiling with the same wood planking I use in my dining area and in my boys’ bedroom. It was a bit of a struggle in the installation to get pieces under that ducting, but it’s done. Also, I paint the ductwork with a white spray paint and stain the plans with antique white as well.
TRIMMINGS
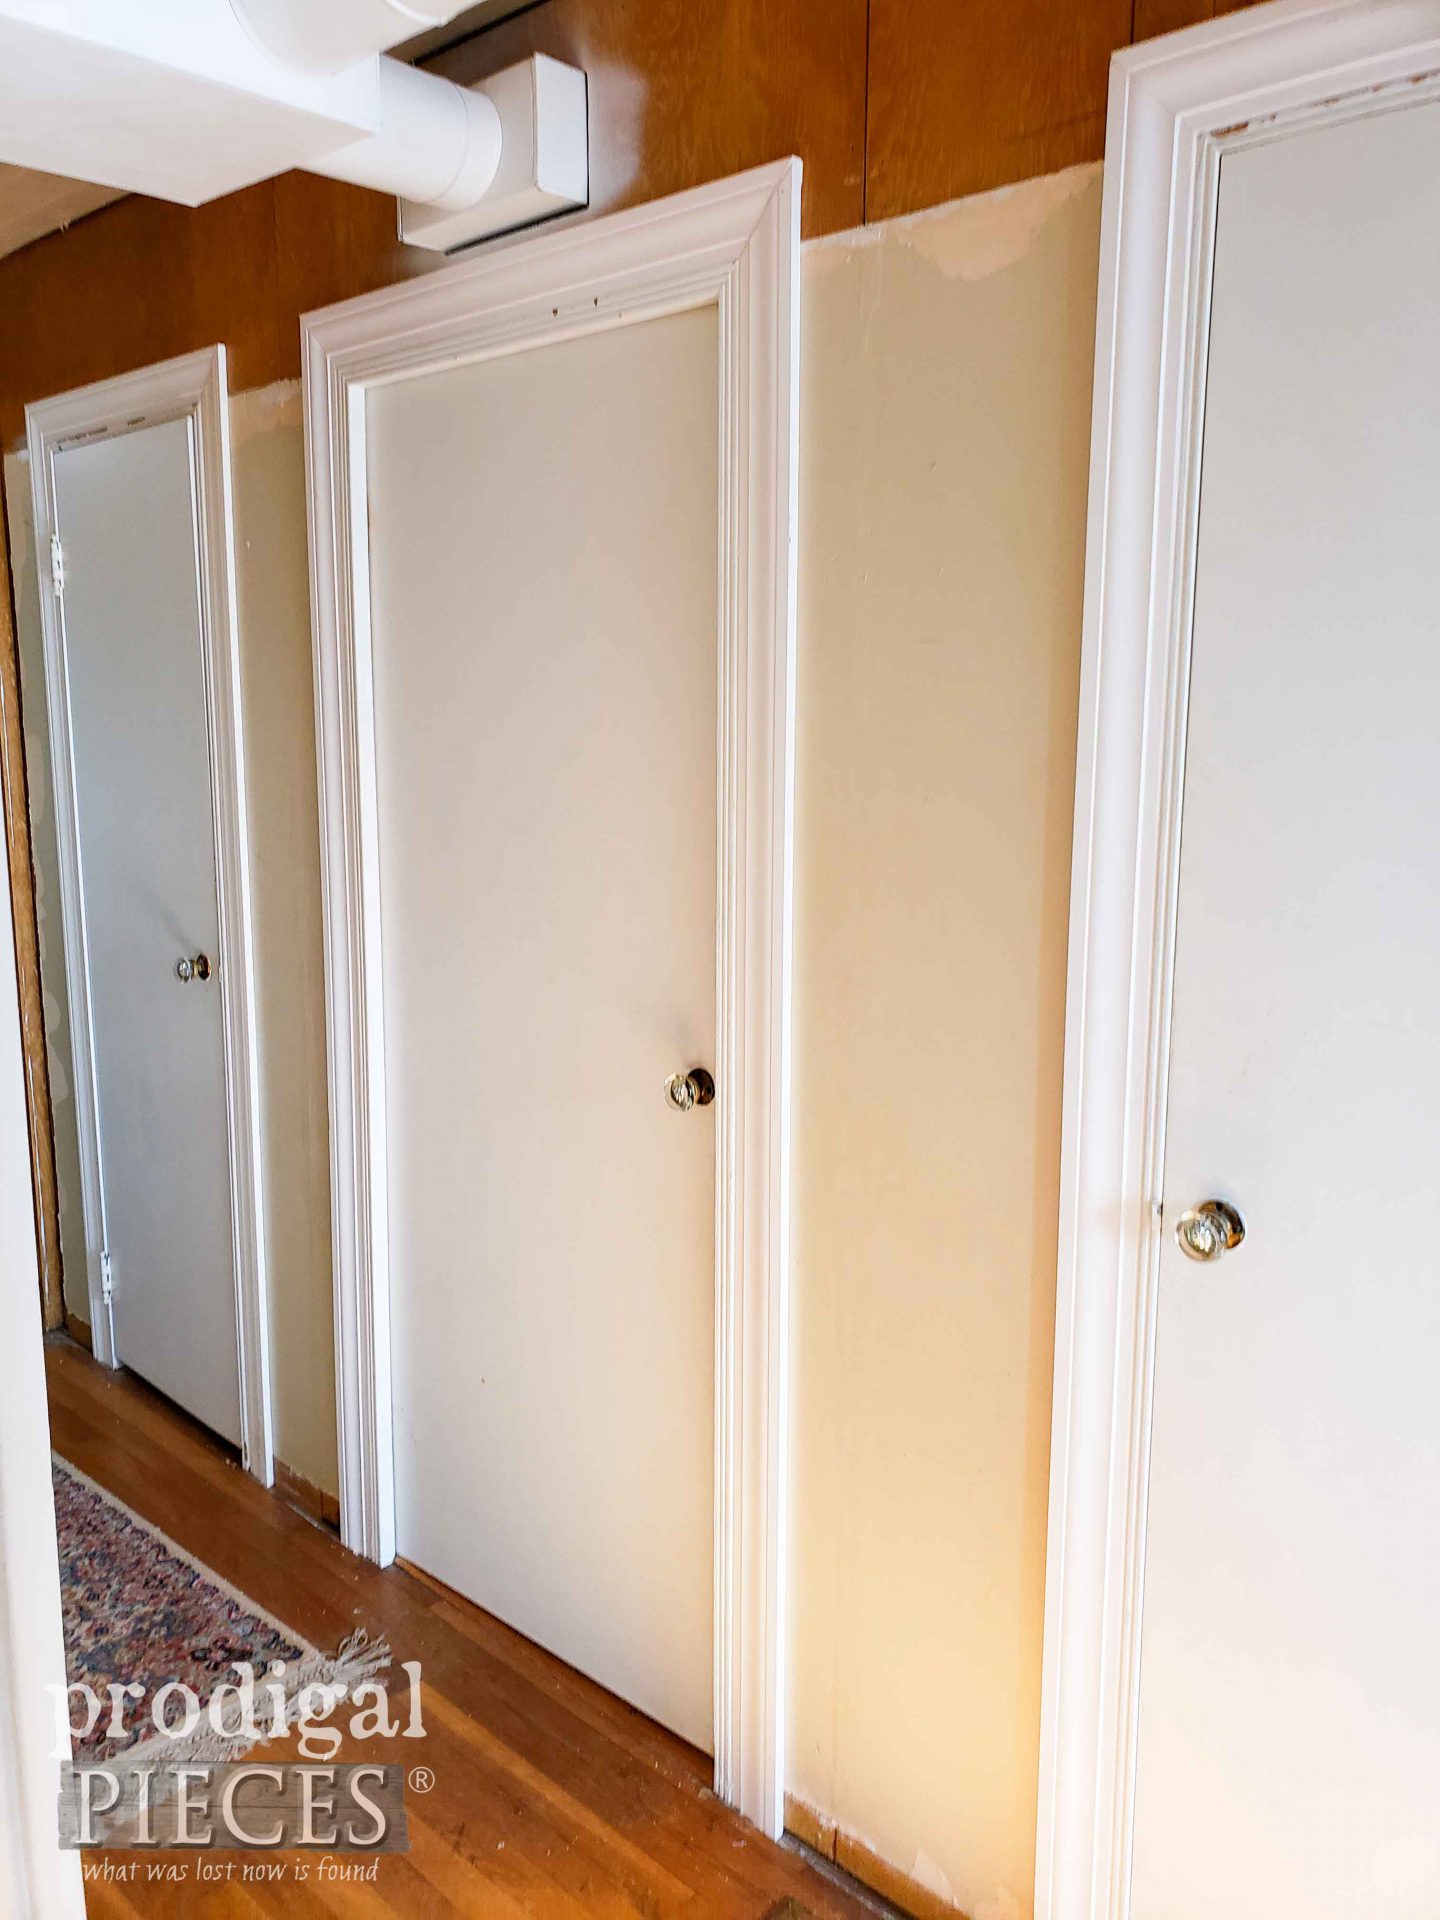
Once the pine ceiling is up, I need to add the trim. If you look closely, you can see the original trim is quite light weight and not very appealing – one of the disadvantages.
Not only were my kids intensely patient while I worked, but they also chipped in to help here and there. This is my oldest daughter helping me remove baseboard.
With the skinny trim issue needing resolved, I buy large trim to beef it up. I saw no need to remove the old trim since it wraps the doorway and is not easily removed. But also, because it made it a great place to just add on,
Isn’t that a thousand times better? Of course, I add a beefy baseboard too after my walls are complete. As soon as the trim is up, I paint to match the slate green color I use on my kitchen cabinets.
PLANKIN’ IT UP
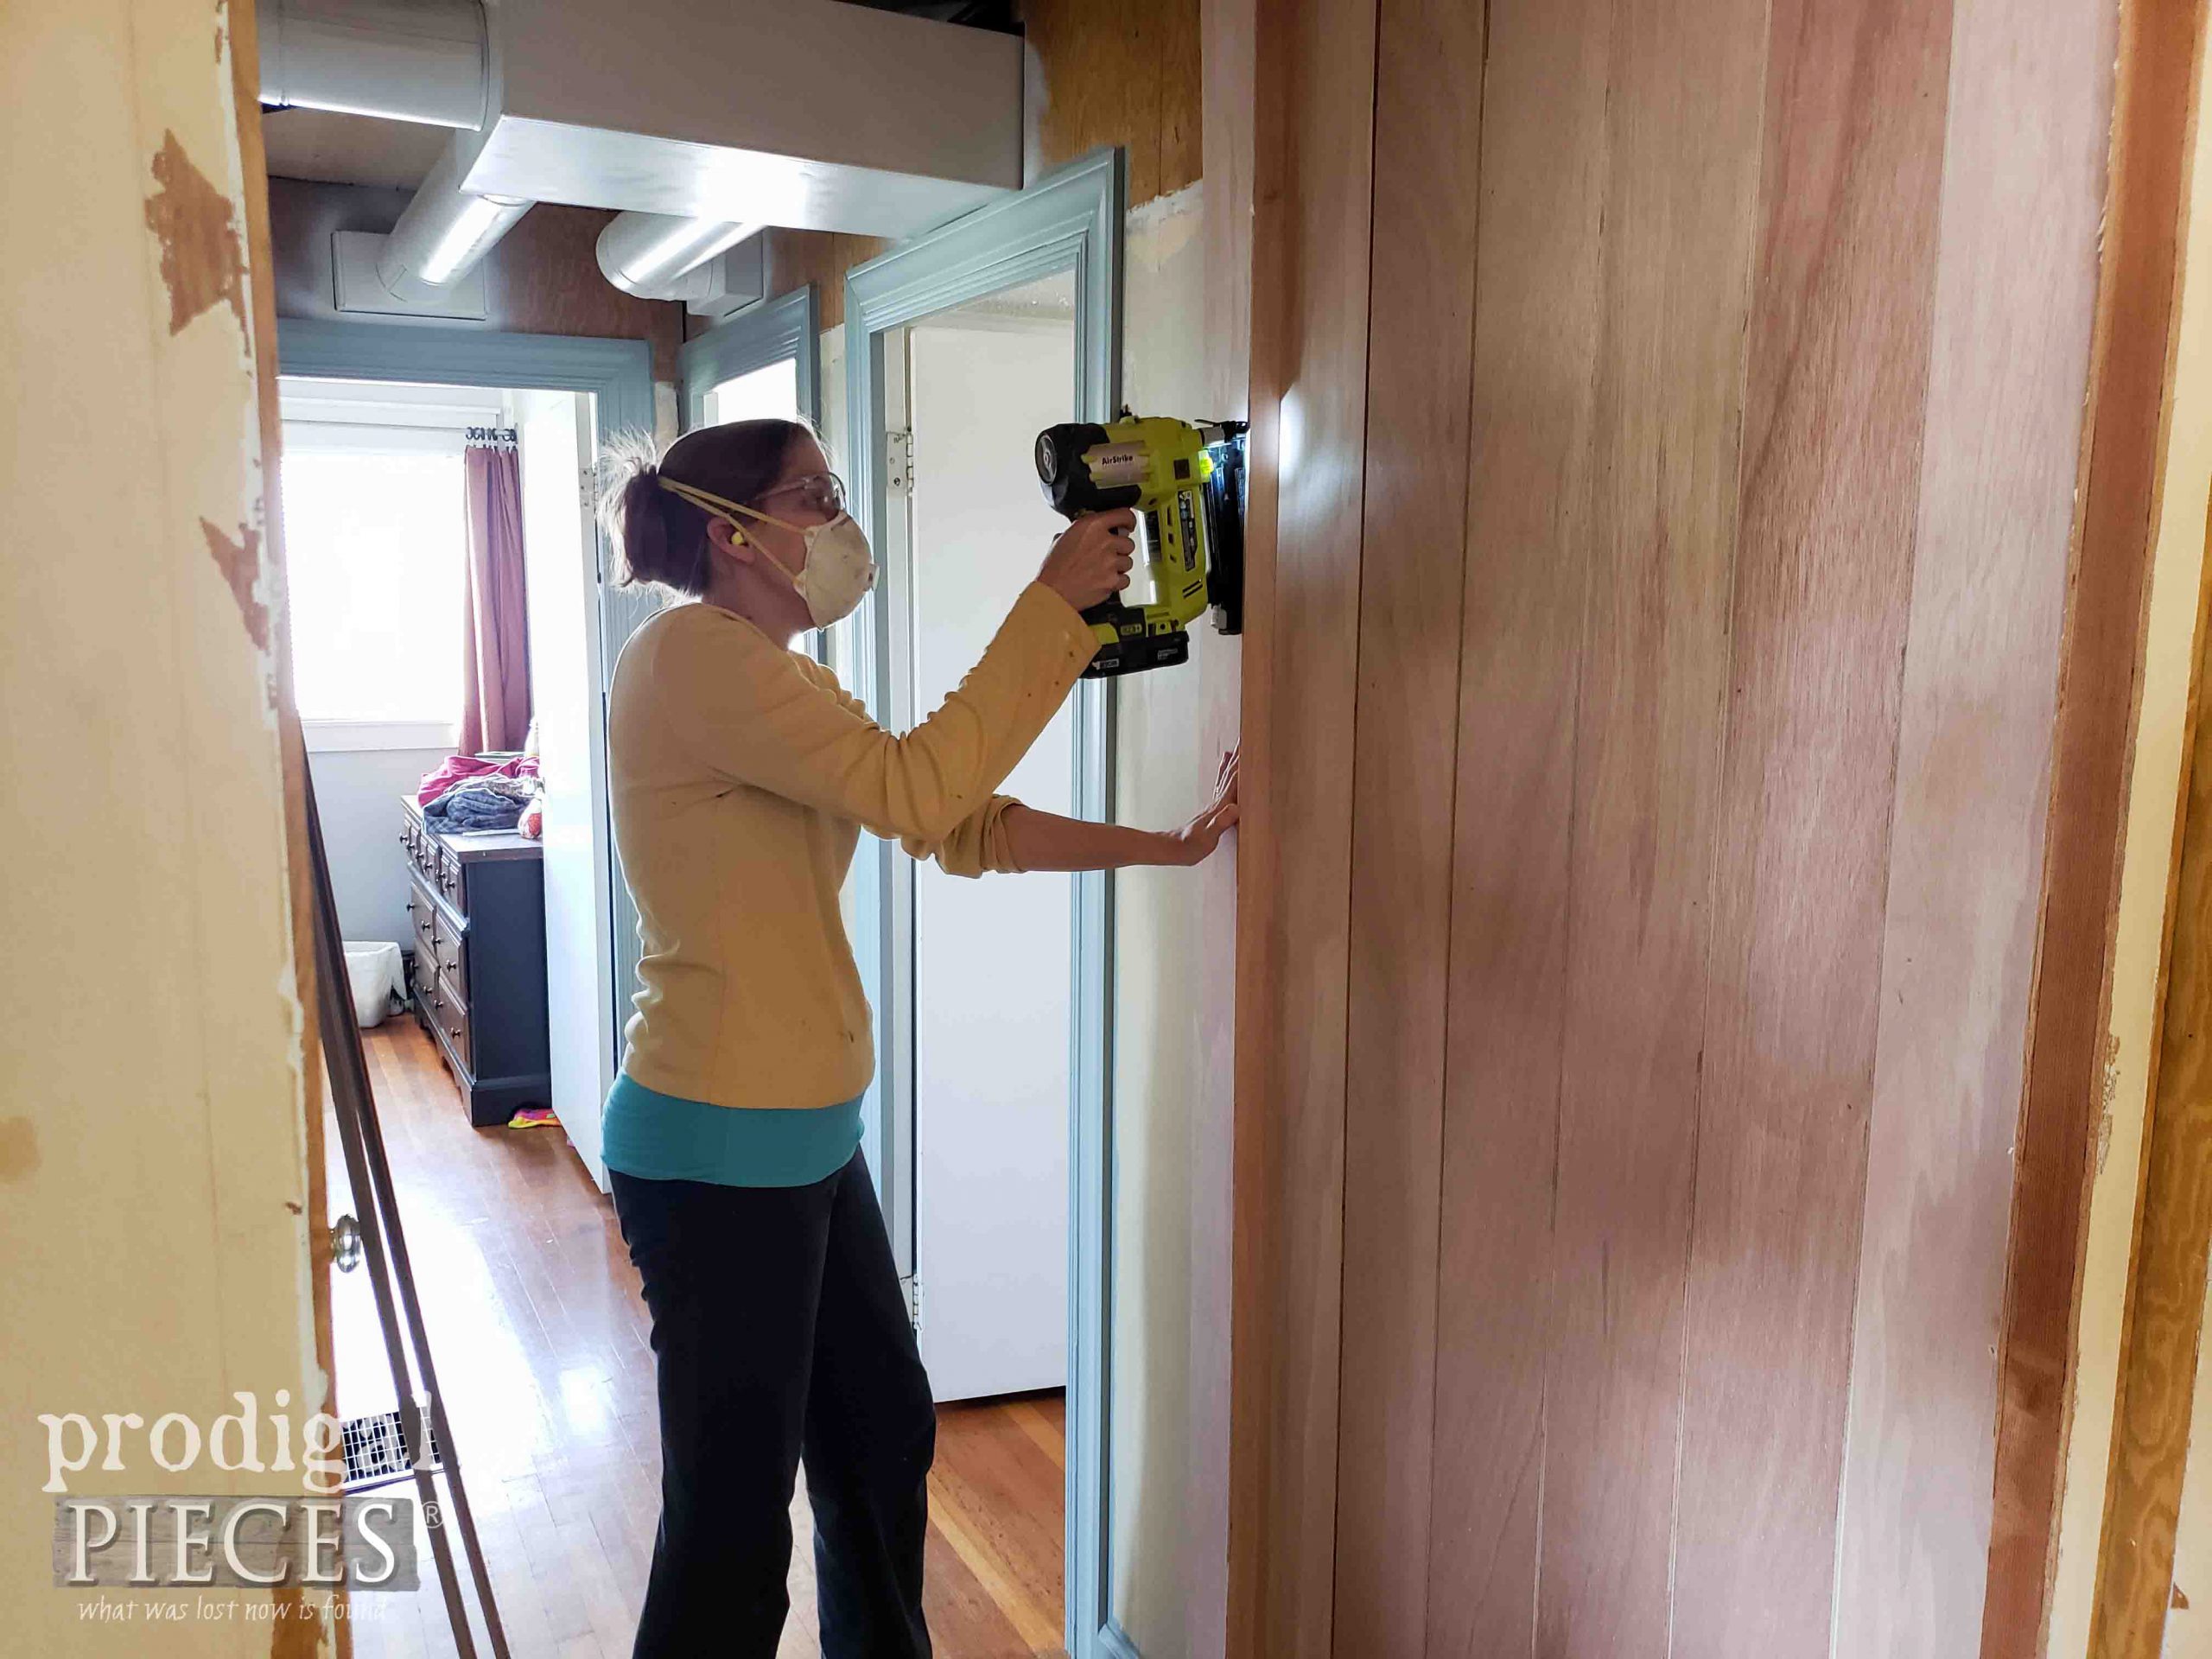
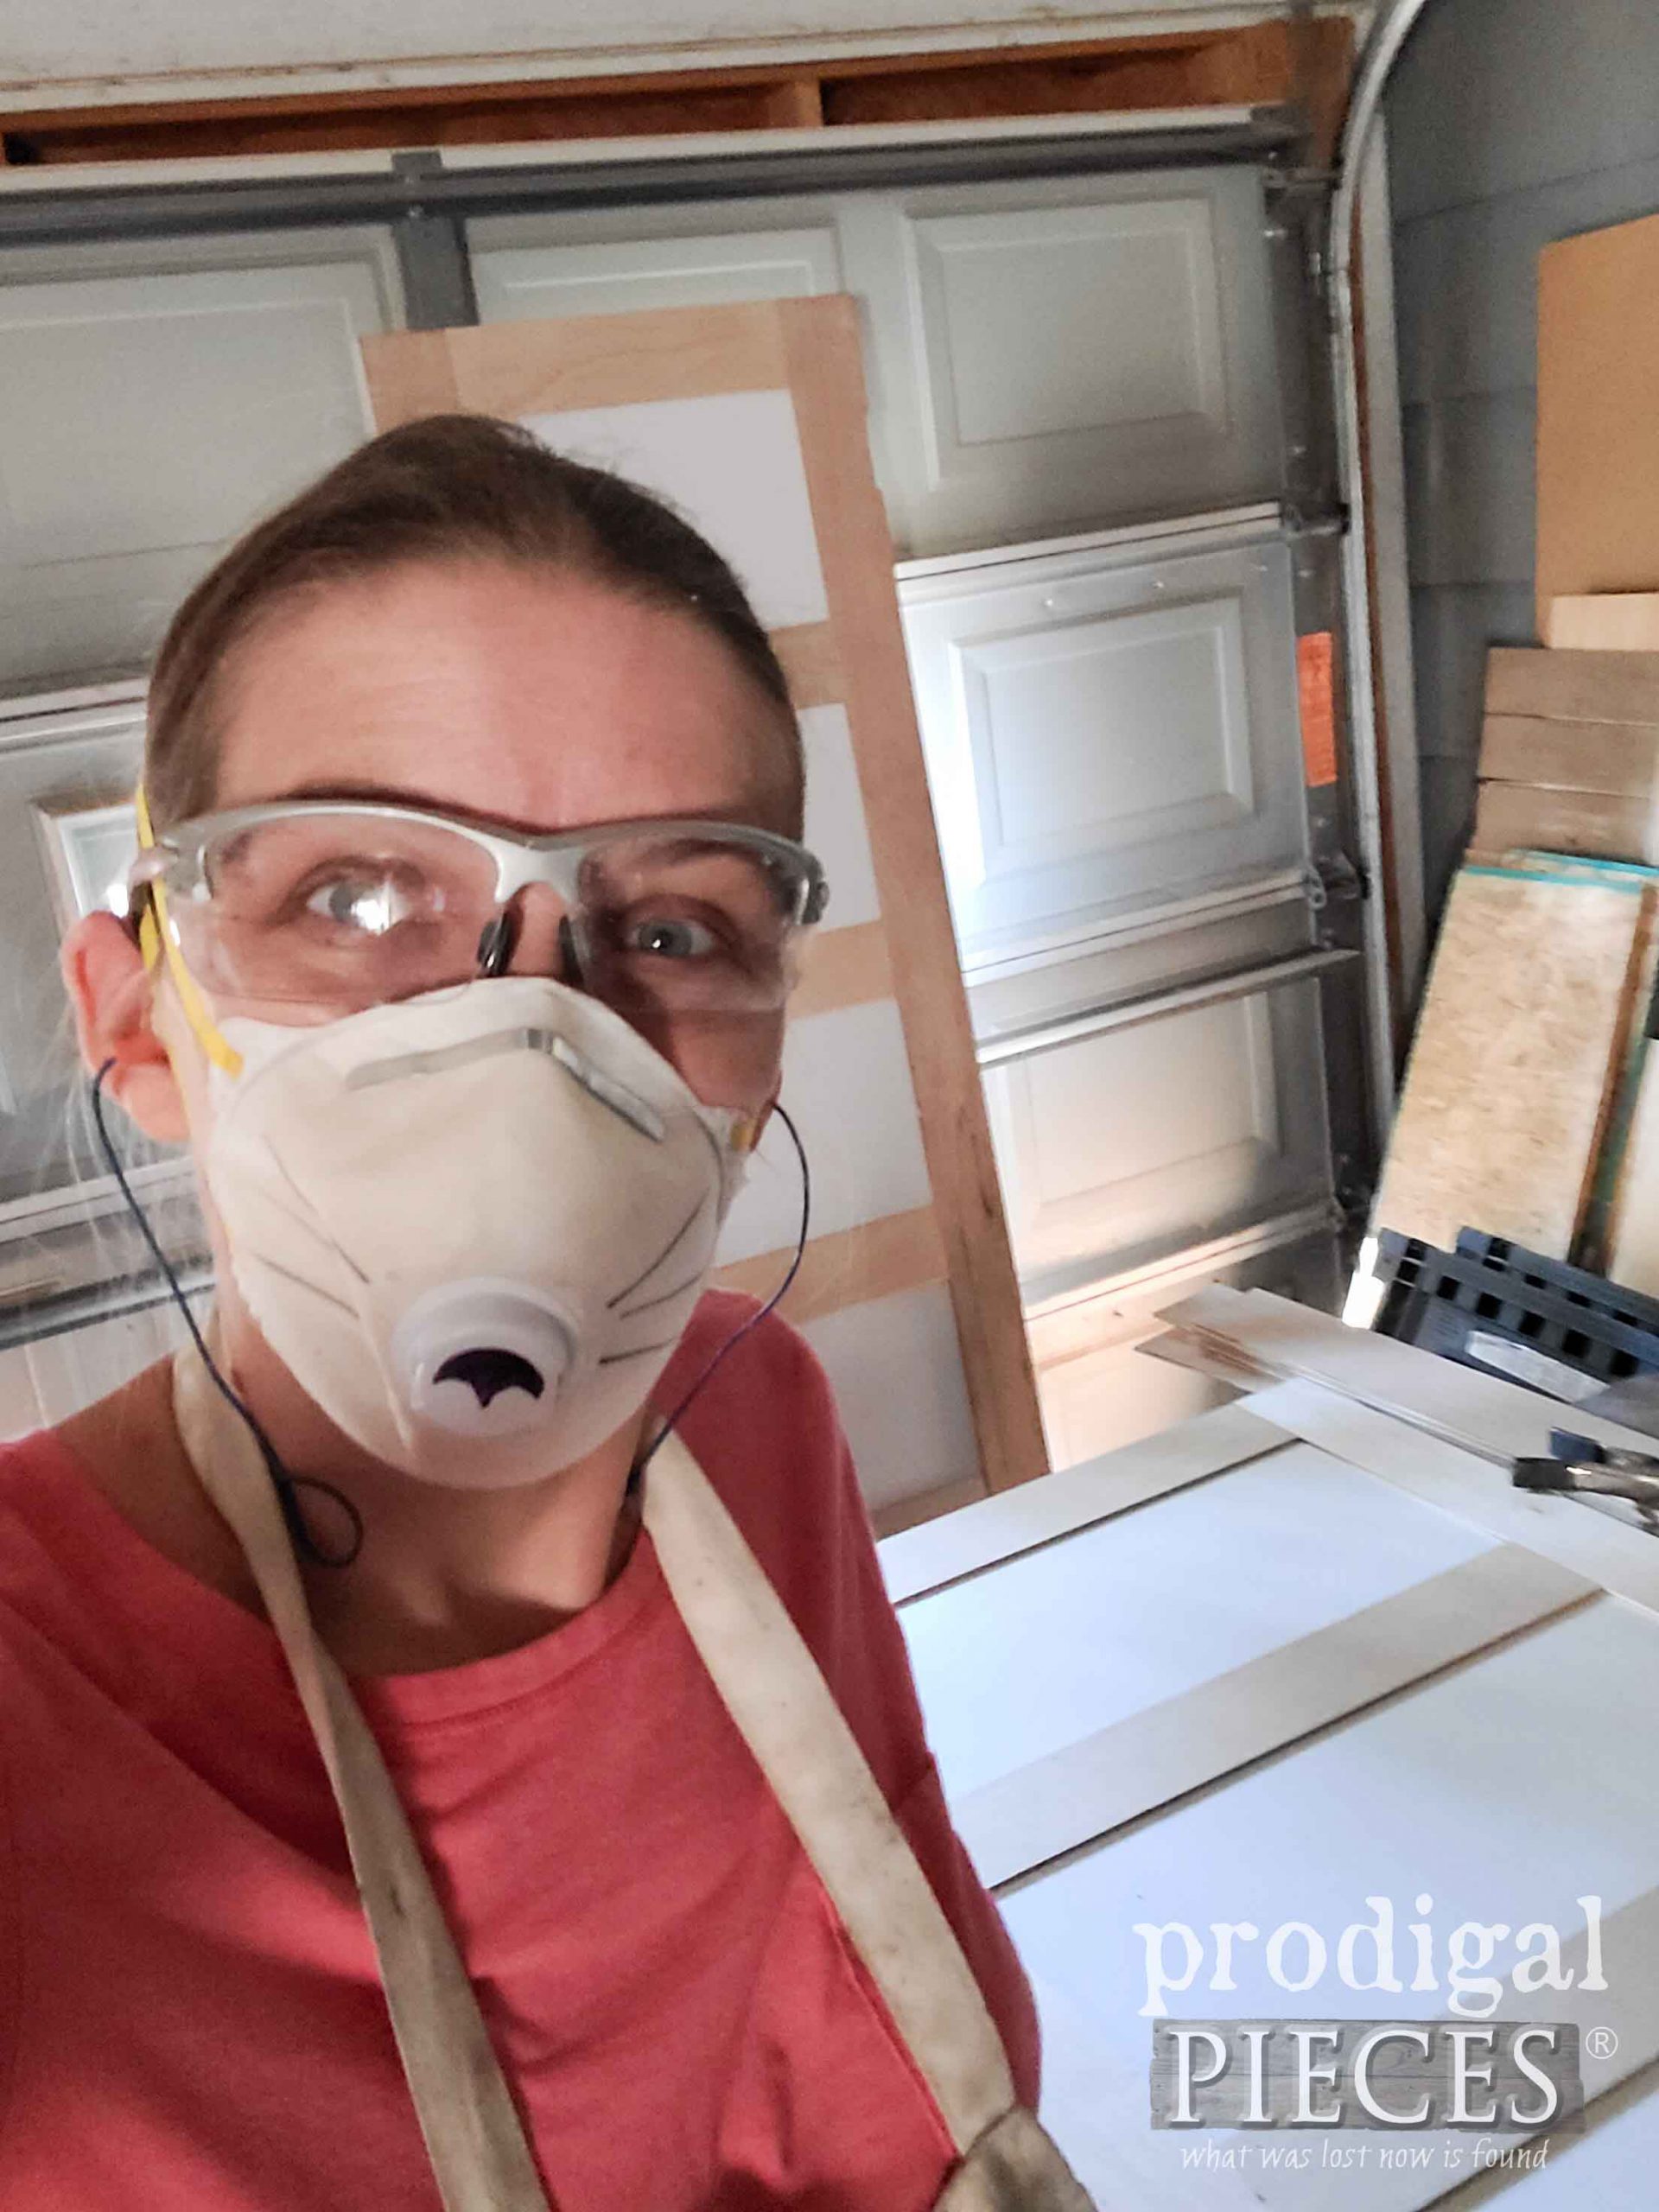
Again, because our Gunnison home is unique with wood walls instead of drywall, I need to dress them up. Using the same planked look as in our master bedroom, I rip sheets of luan and nail it on. For reference, I ripped all of these using my circular saw and rip cut jig. However, some home improvement stores will cut it for you as long as it’s not smaller than 6″. I’ve had it done for free, but they may charge a bit if you ask.
Then, I fill the nail holes with wood filler and sand down followed by paint in the same creamy white color as my bedroom (Swan Wing). Talk about light! The space is nowhere as constrictive or dull any more. Oh, happy day!
HOLLOW CORE DOOR
Finally, it’s time to tackle the hollow core door issue. Of the total of 7 interior doors in my house, there are 6 of them right here in this space. Plus, one right around the corner, so I’m tackling all of them at the same time. eep! No worries, though, because I have a plan. mwahahaha…
First, I take down one of the doors to do a test run before I attempt all of them. Guess how I learned to be so smart…yep, by making oodles of mistakes in the past and years of experience. It’s part of DIY, right?
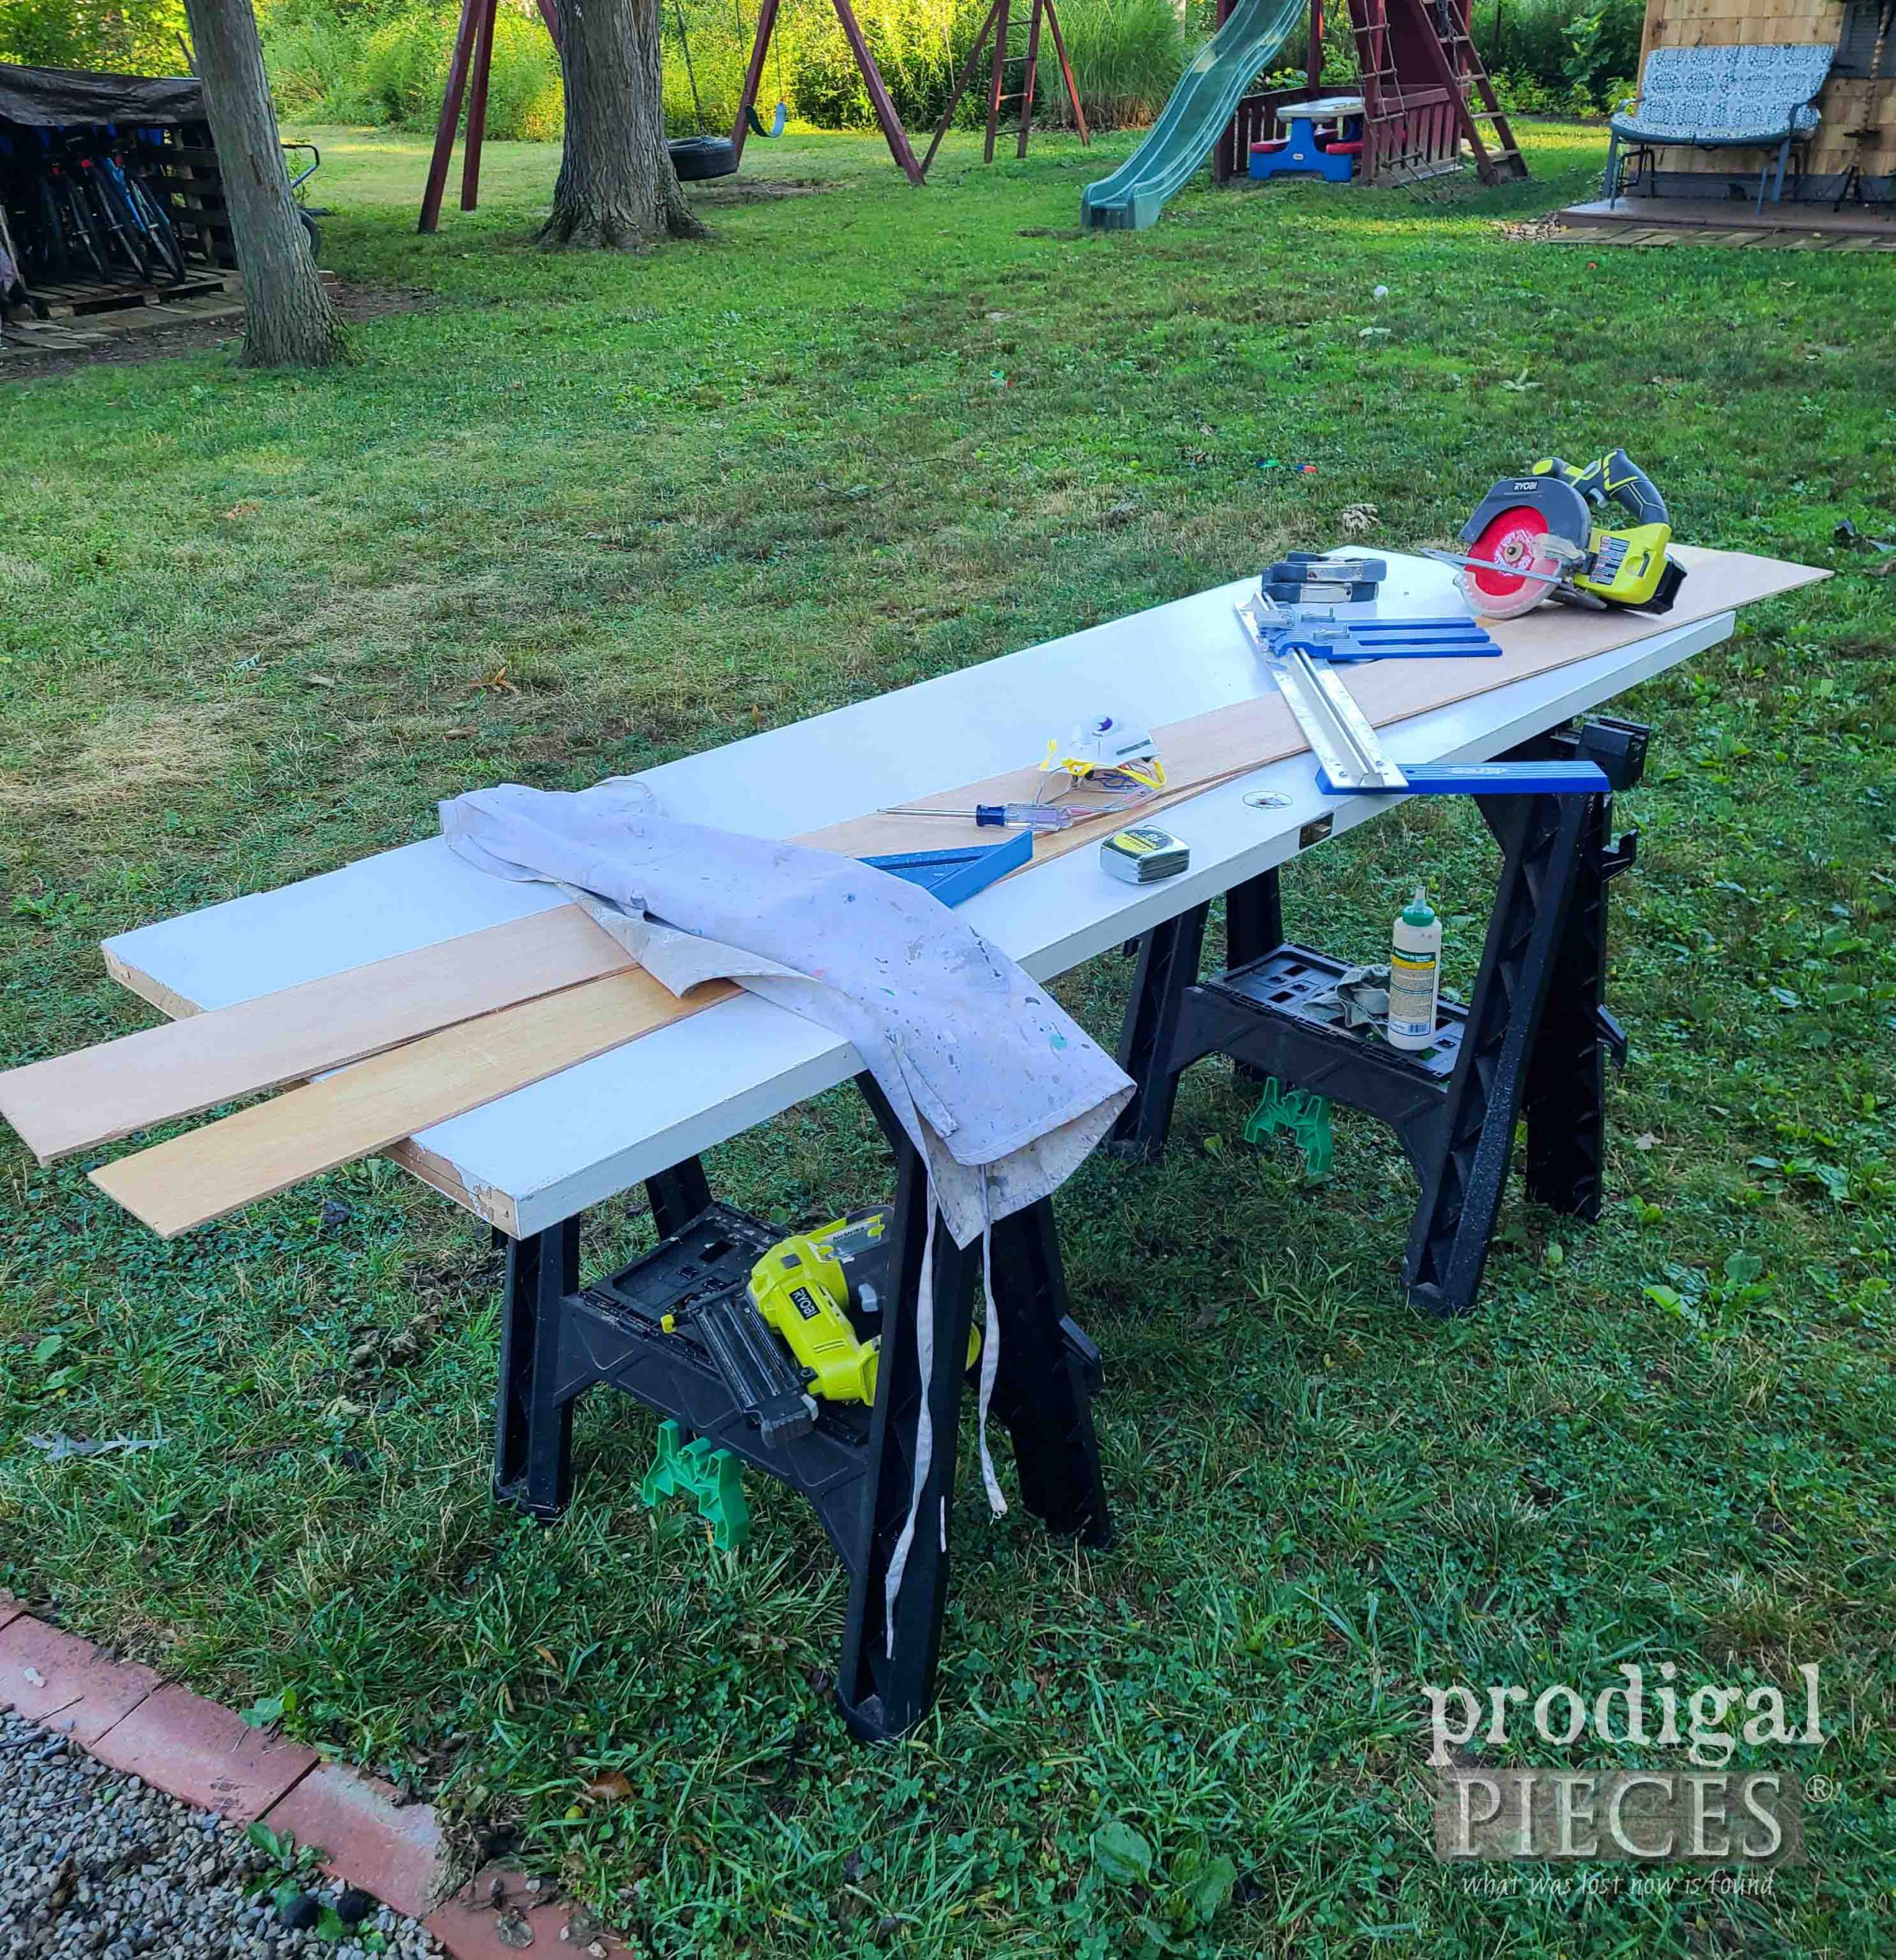
MATERIALS & SUPPLIES
- hollow core door (obviously)
- 4′ x 8′ panel of luan – a thin plywood approximately 1/8″ thick
- wood glue
- wood filler
- brad nailer
- tape measure
- clamps
- drill
- forstner or spade bit
- coping saw or utility knife
- builder’s square (aka. quick square)
- circular saw with rip cut guide – optional
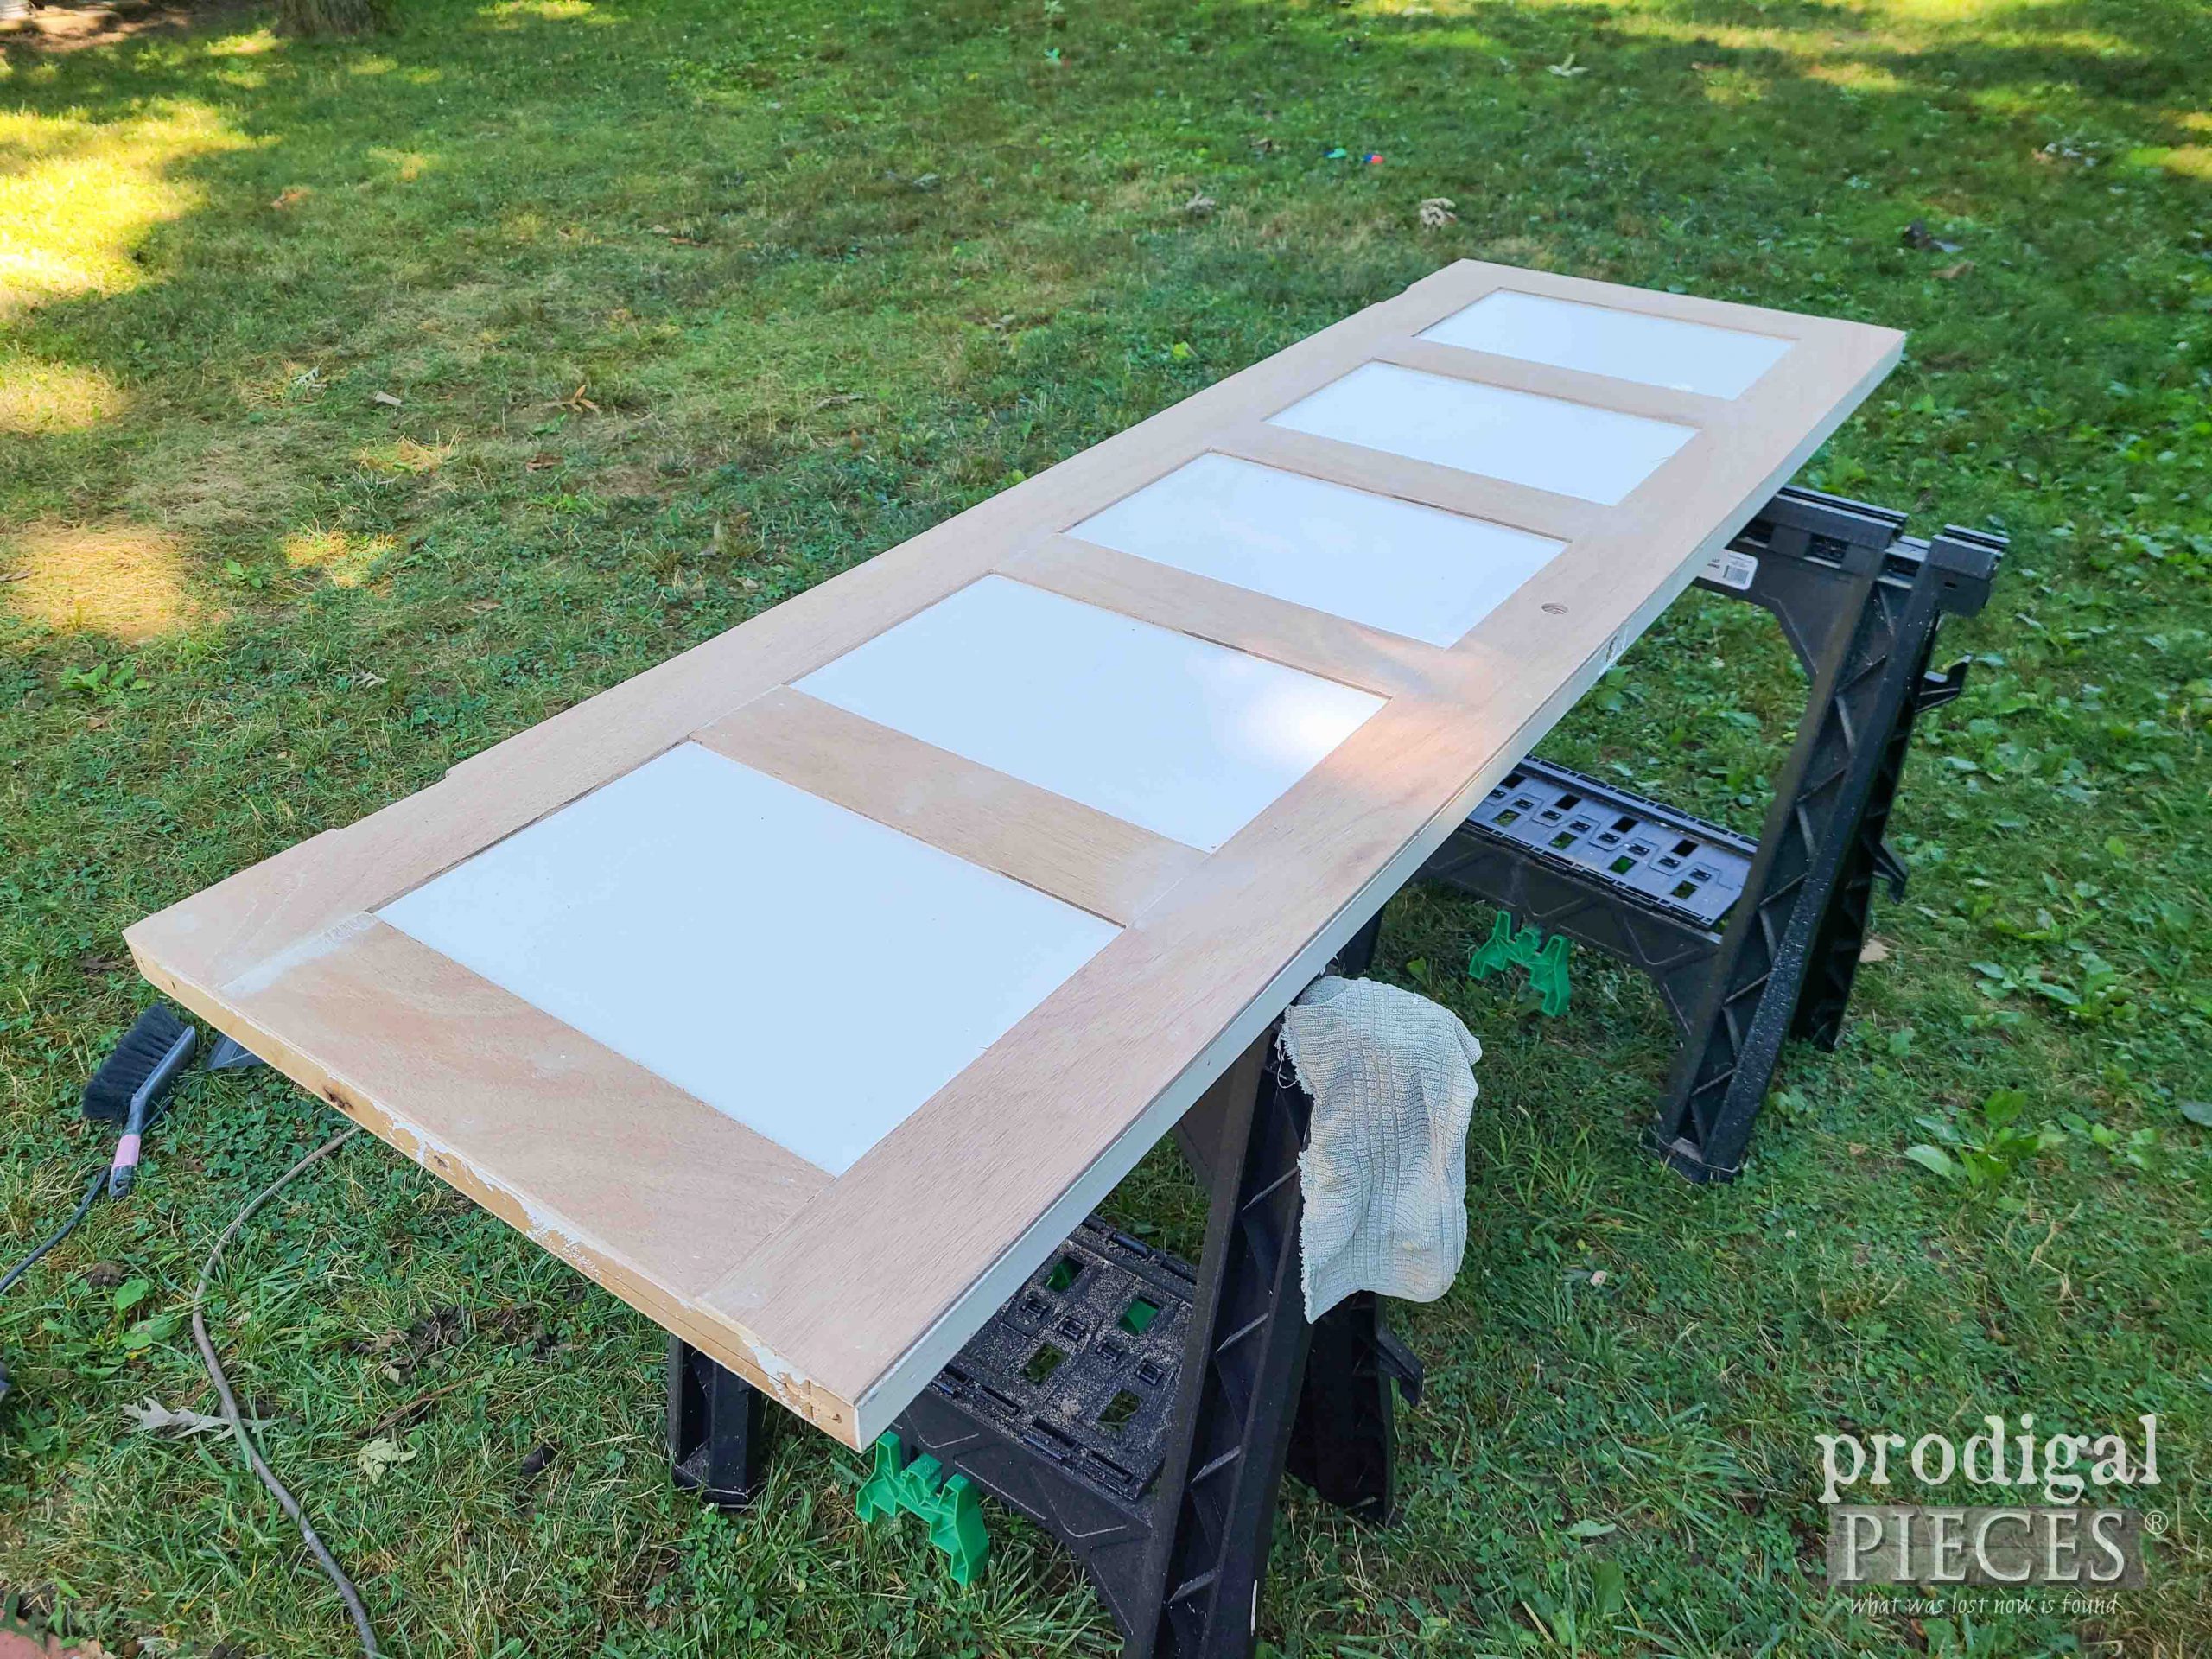
First, I remove the hardware and set aside. Then, I rip the softwood luan into 4″ wide strips. You can choose whatever width you want for your door type, but my goal is to mimic an antique door. In addition, figure out how large you want your panels to be. I wanted even spacing, but feel free to mix it up! To make the job move quicker, once I figured spacing, I cut luan scrap as a jig the same length I want the spacing of the door slab panels to be. I set up shop and have it all cut in no time.
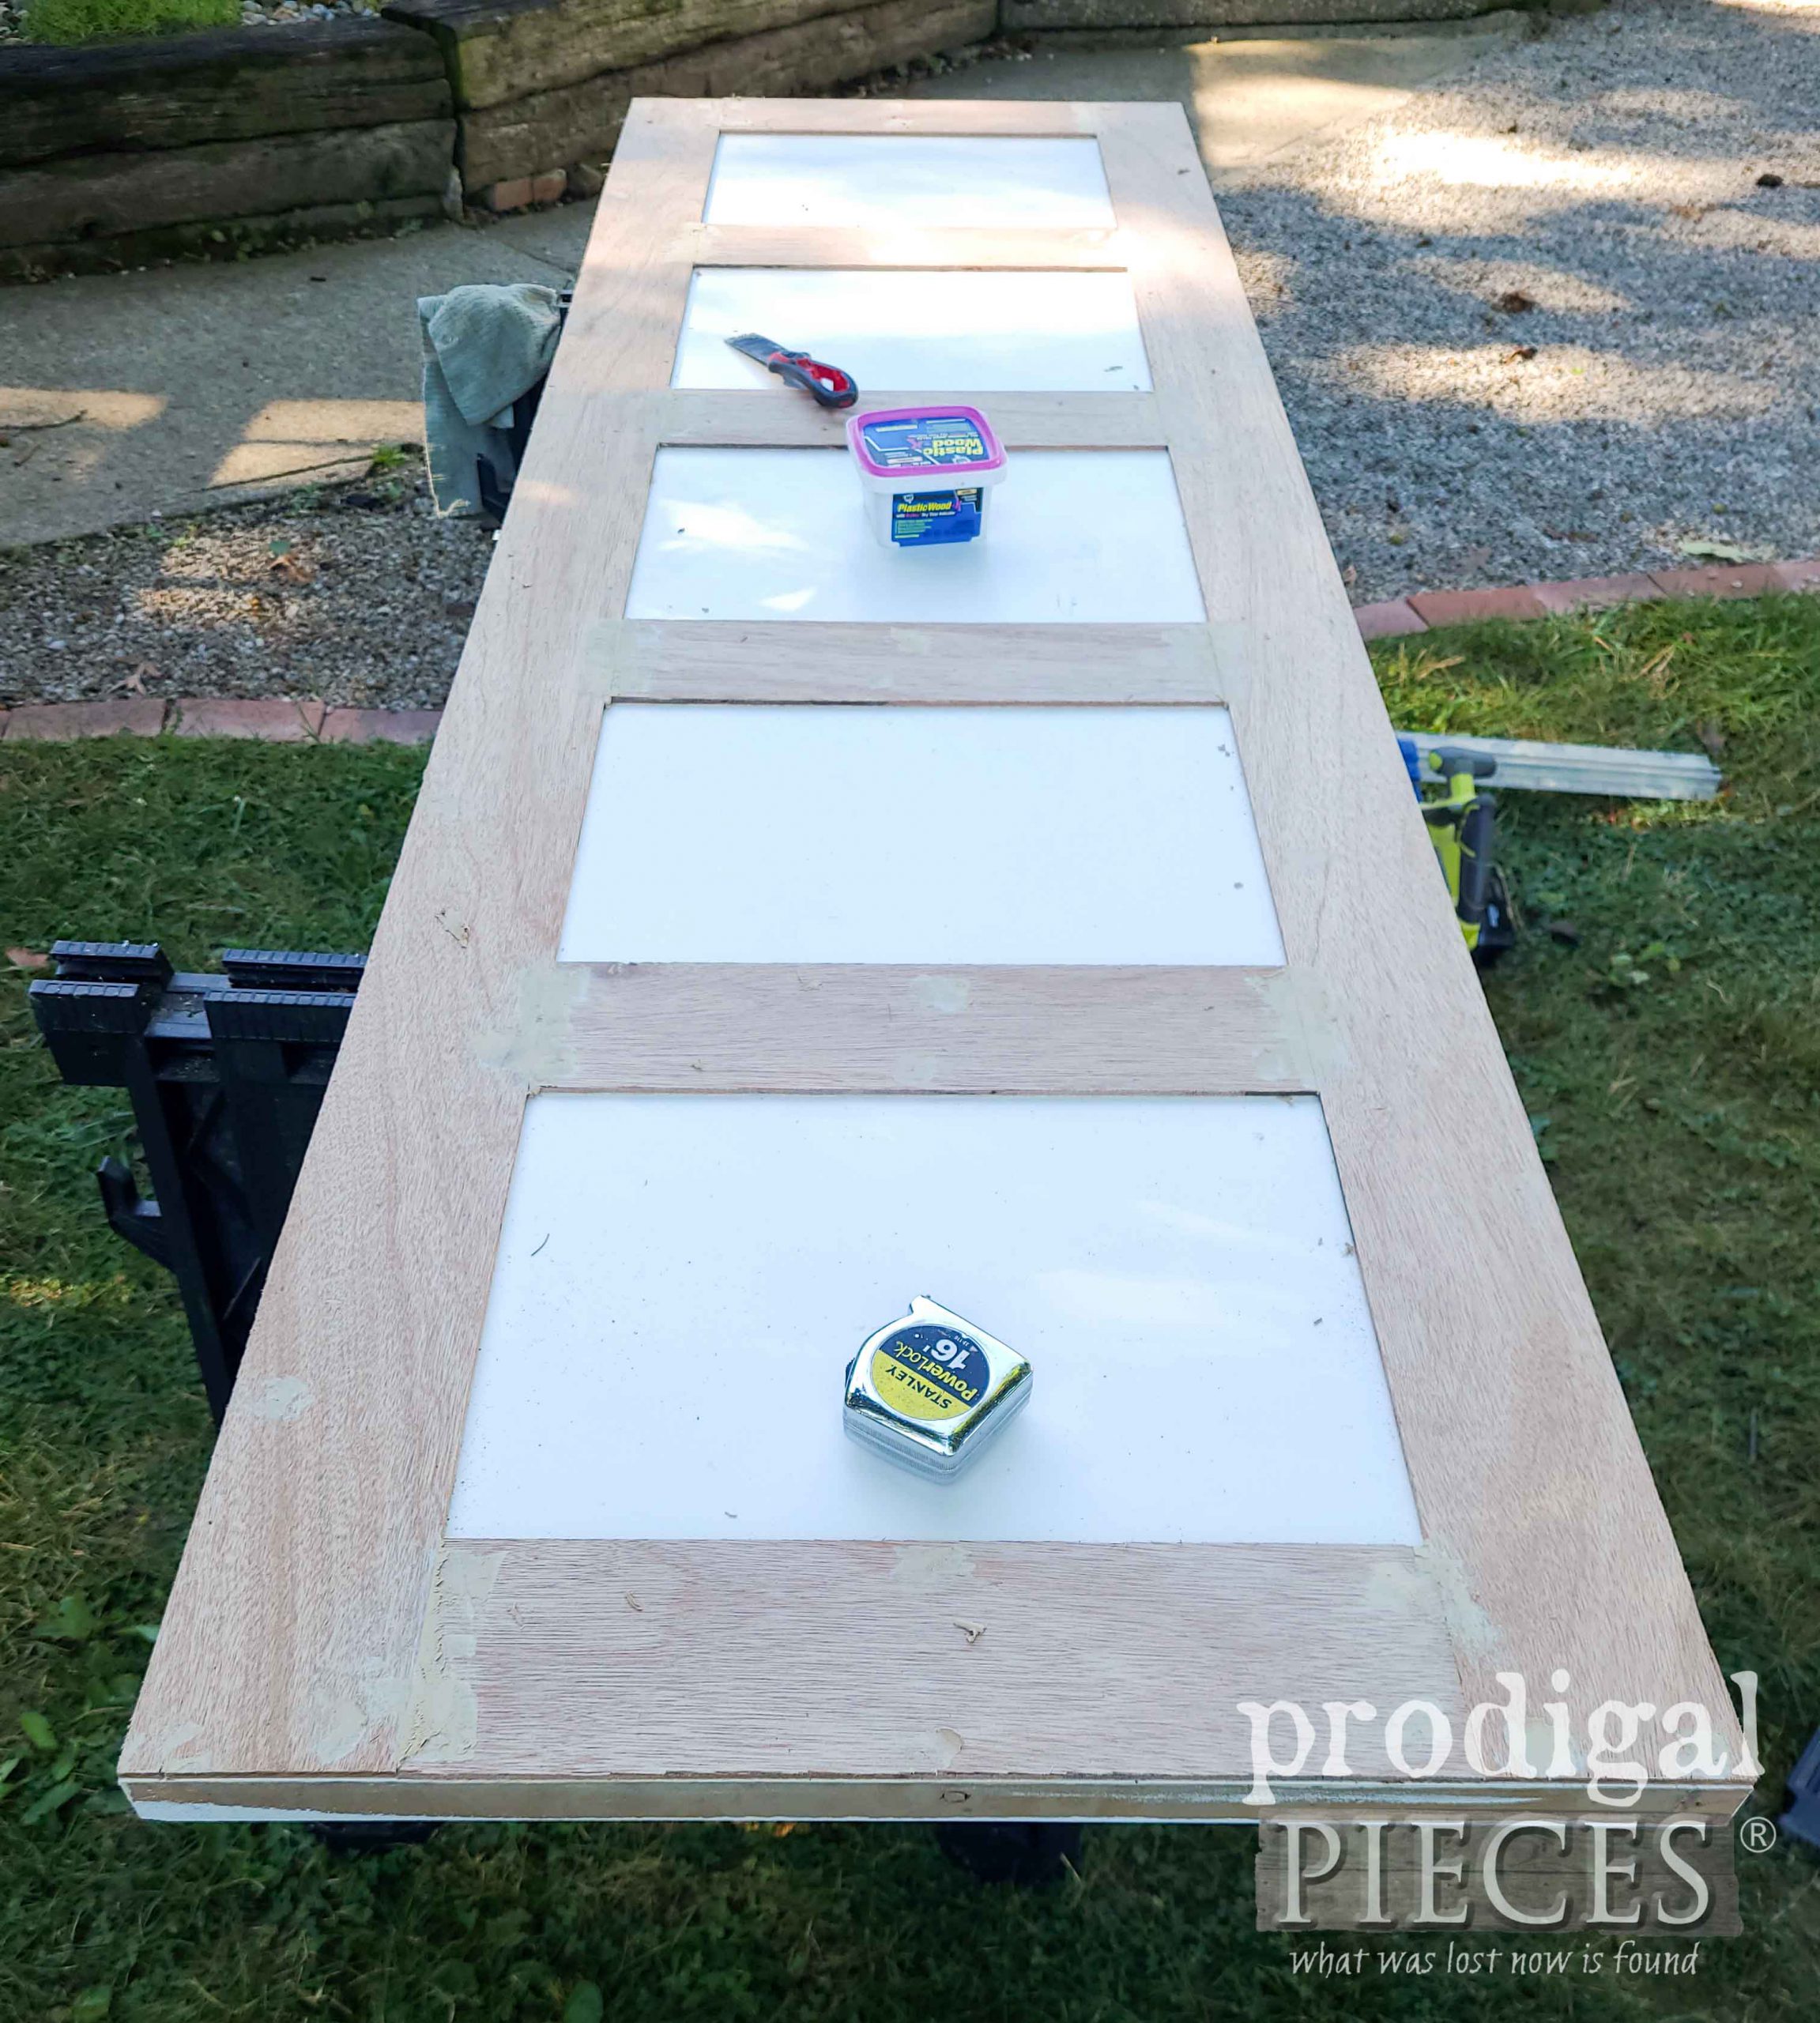
I use my circular and rip cut jig again, but you can also use a table saw. Both are handy, but one might be easier for those who rent or lack tool storage space. To attach the luan, begin with the two side rails followed by the stiles. Apply a bead of wood glue, clamp in place checking if square, then nail on. Also, this adds better soundproofing too.
After that, use wood filler to hide those nail holes and sand smooth when cured.
ONE MORE THING
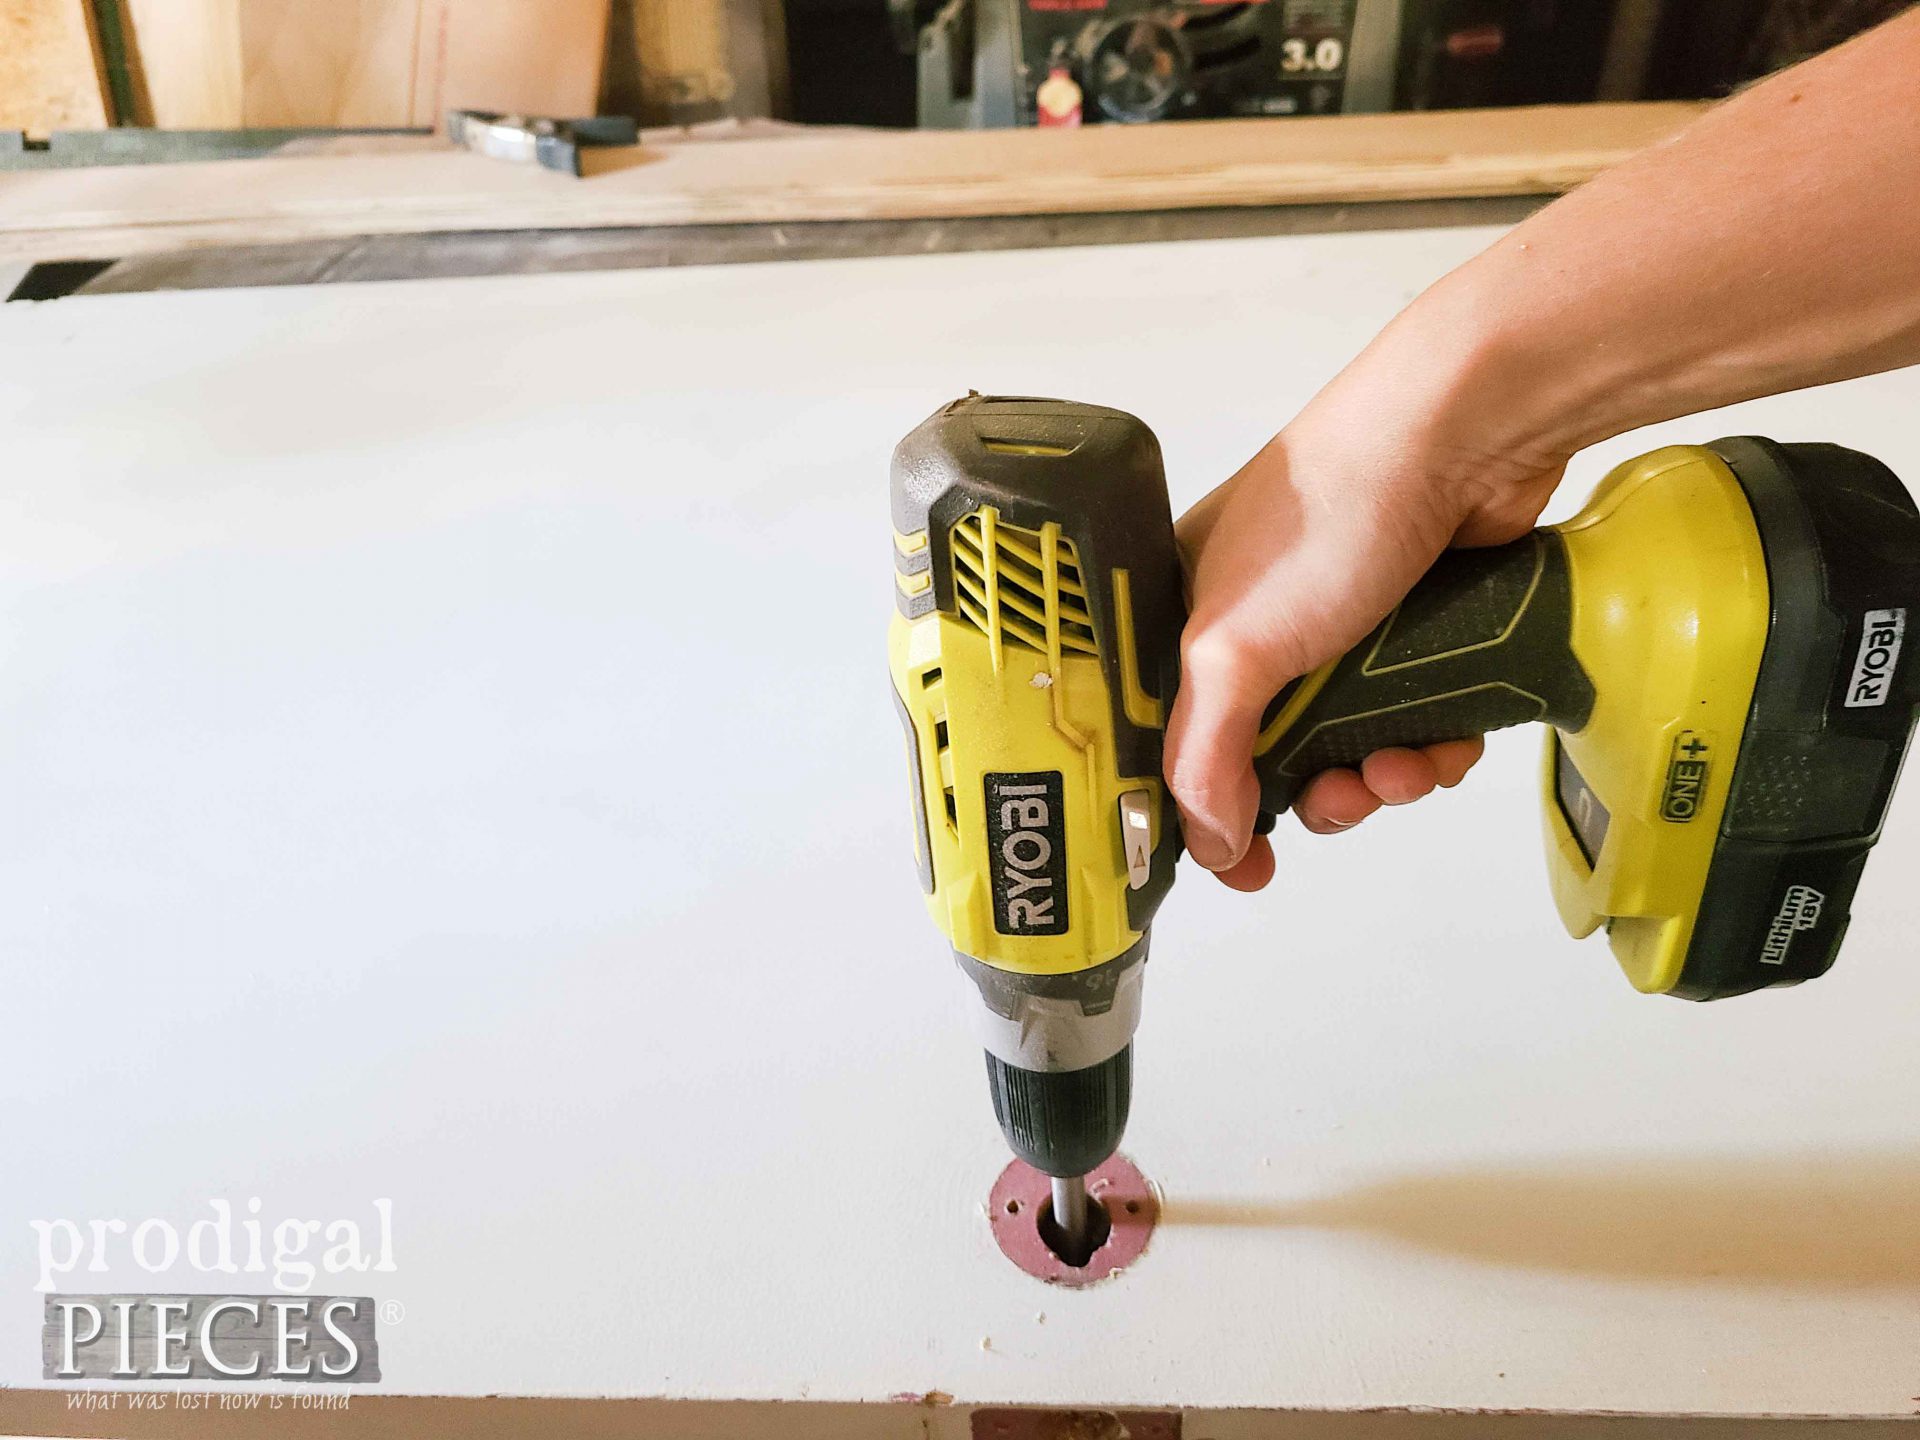
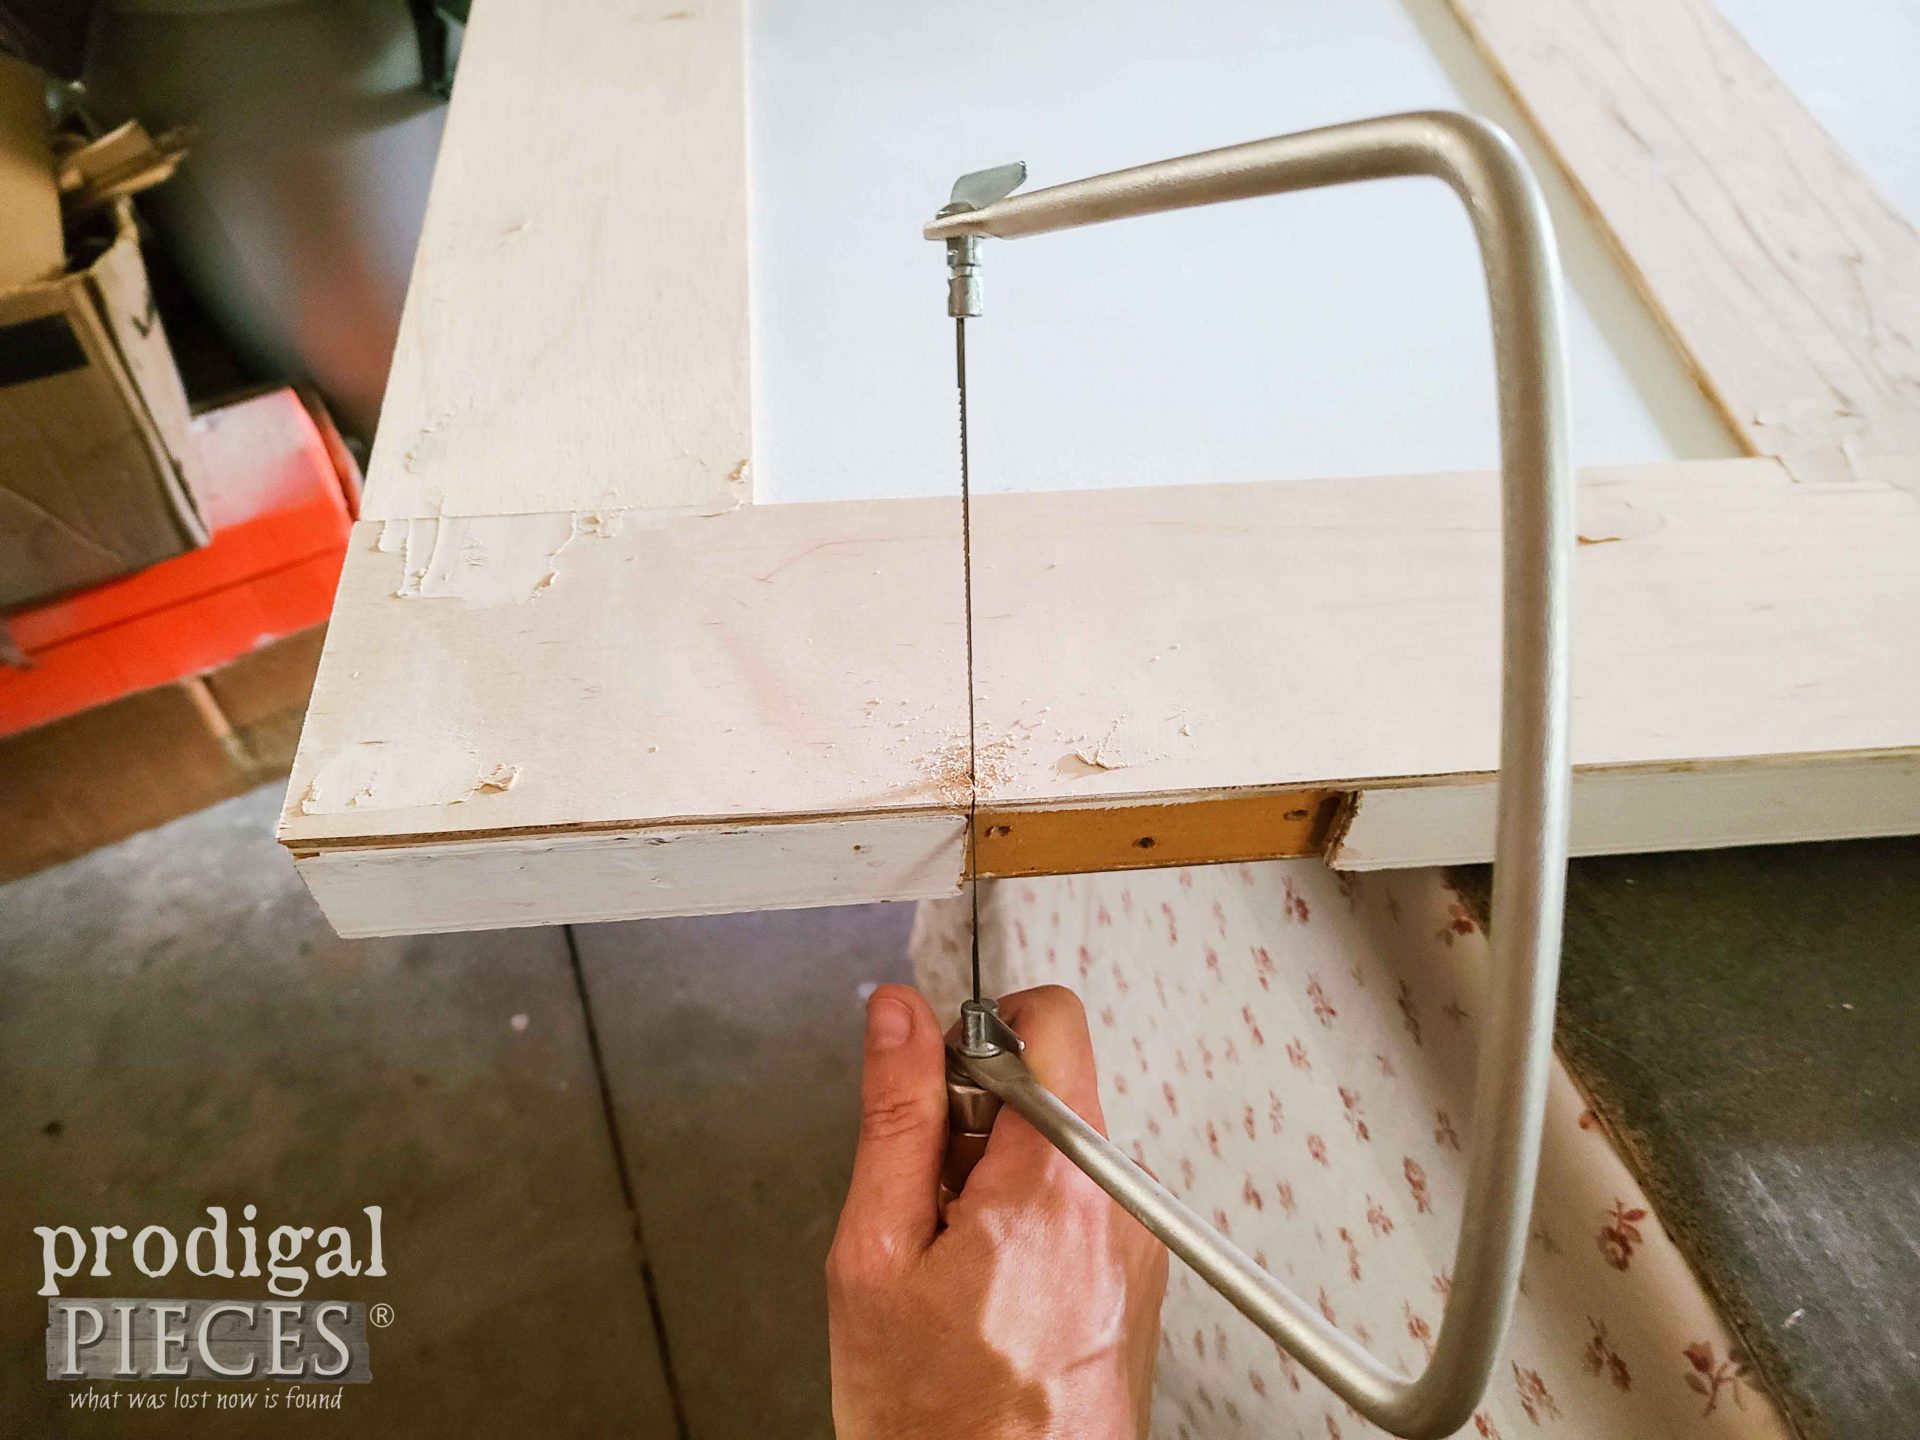
Before you move on to doing the other side of the same door (if you desire that effect), make sure to drill holes for your door handle and notch for hinges. I took my drill and bit and make a pilot hole from the reverse side, then finished from the front.
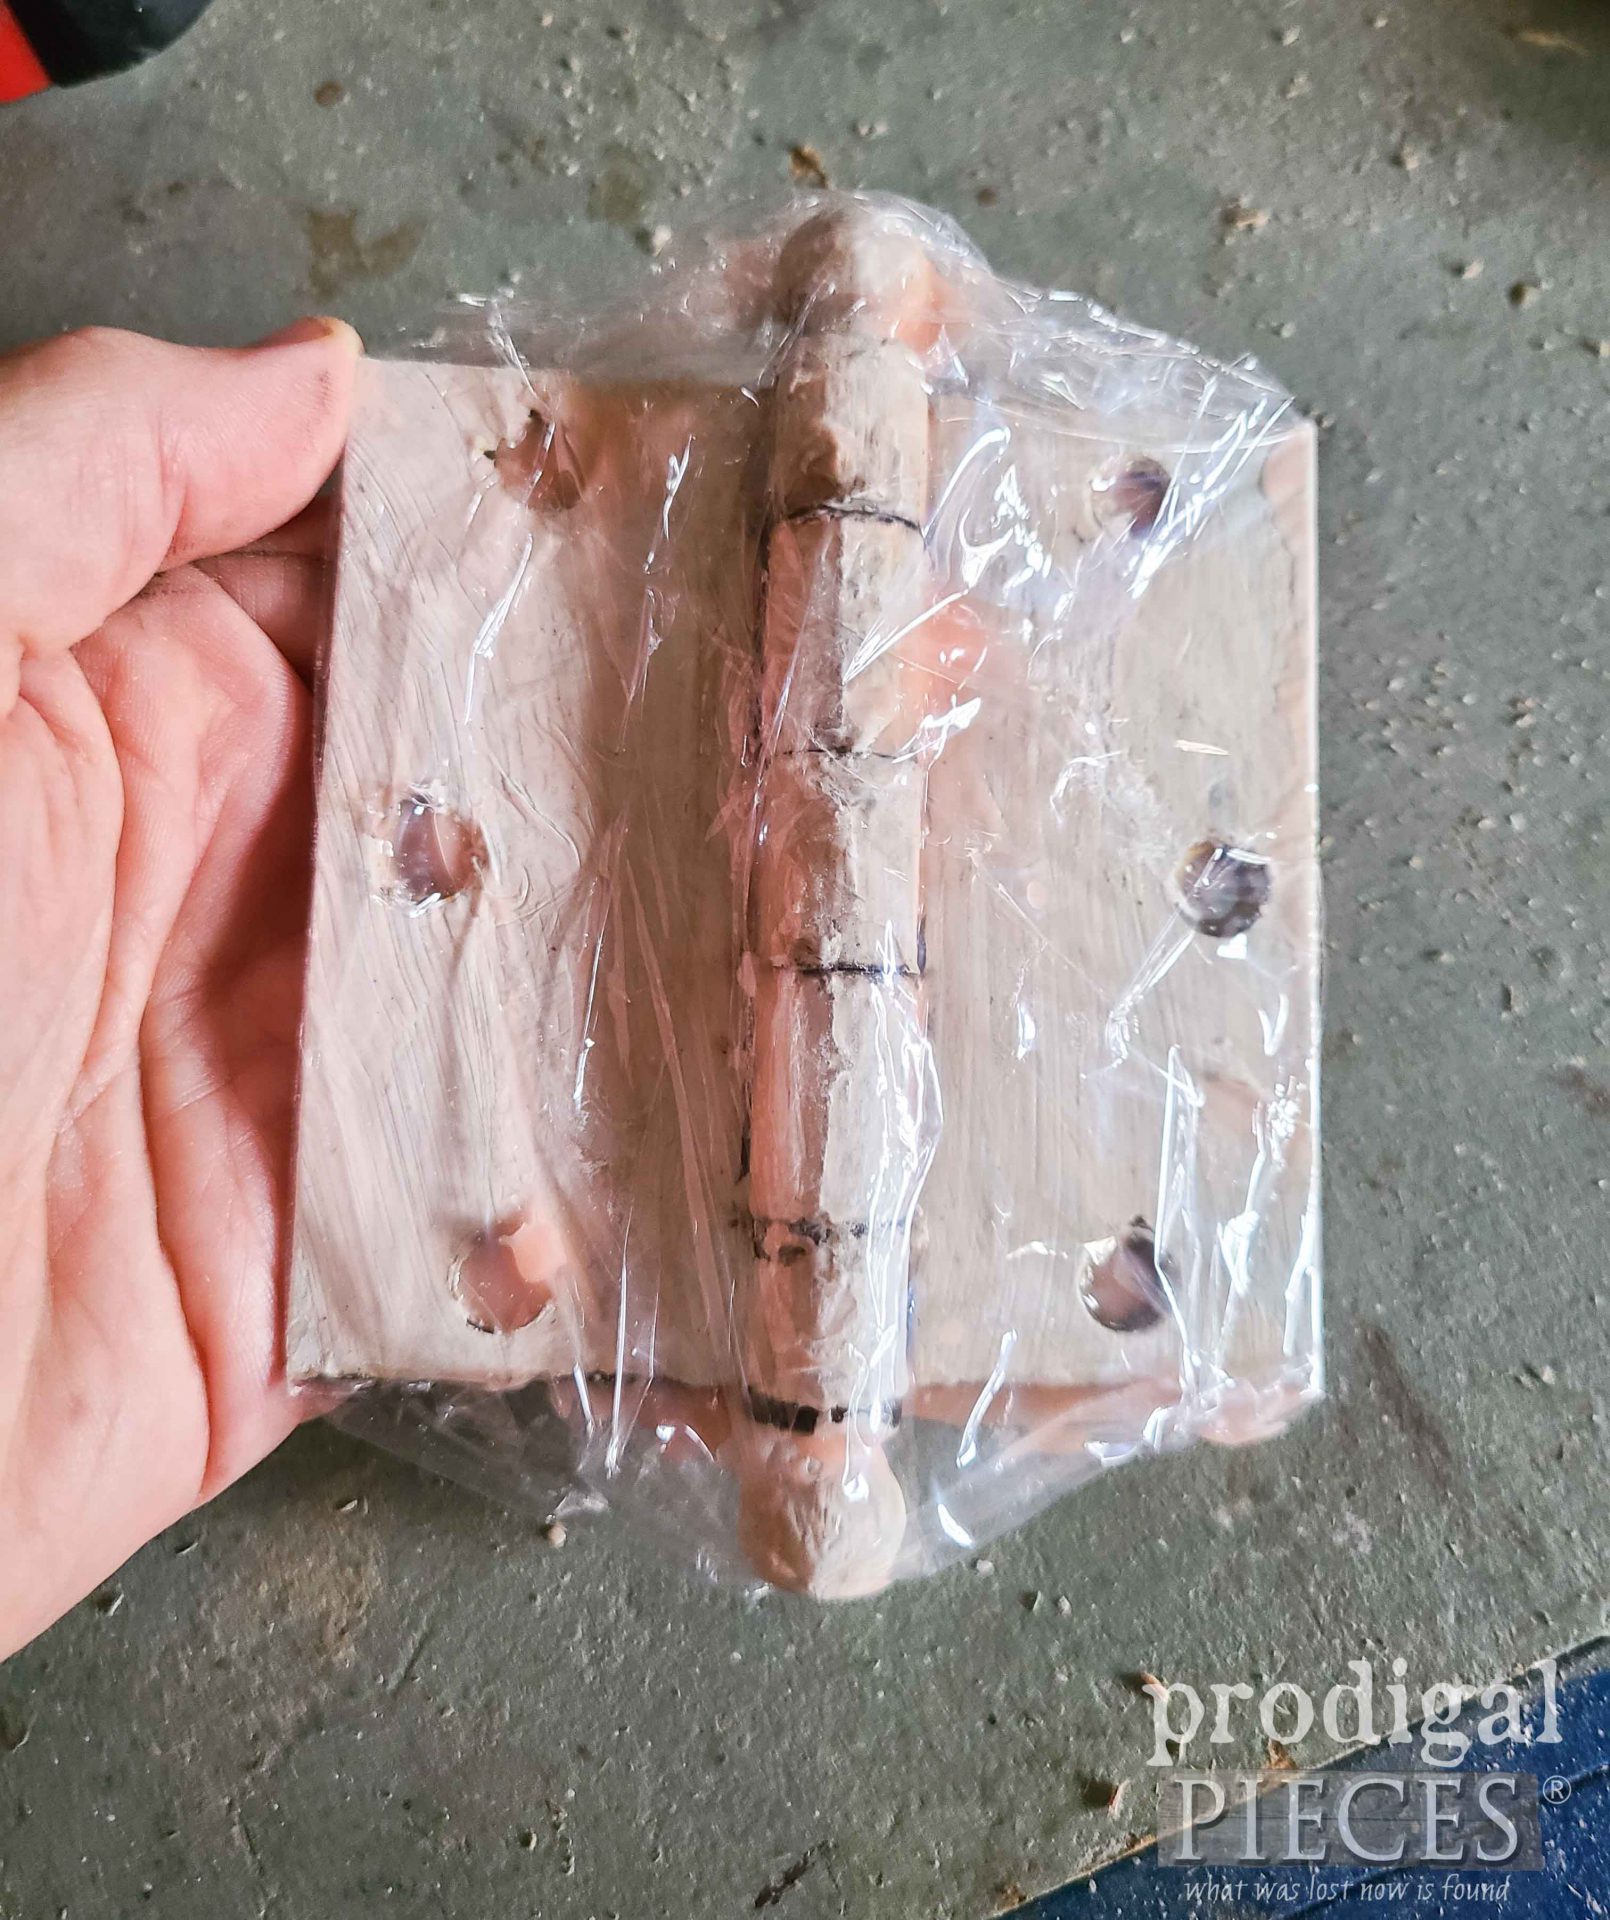
Last, clean up your hardware and replace it back on your door. My original brass hardware showcases layers and layers of paint. I brush on a coat of CitriStrip paint stripper, wrap in plastic wrap, and rest overnight. The paint comes off wonderfully and I leave them hinges with a patina instead of polishing which makes this low cost.
FAUX FINISH
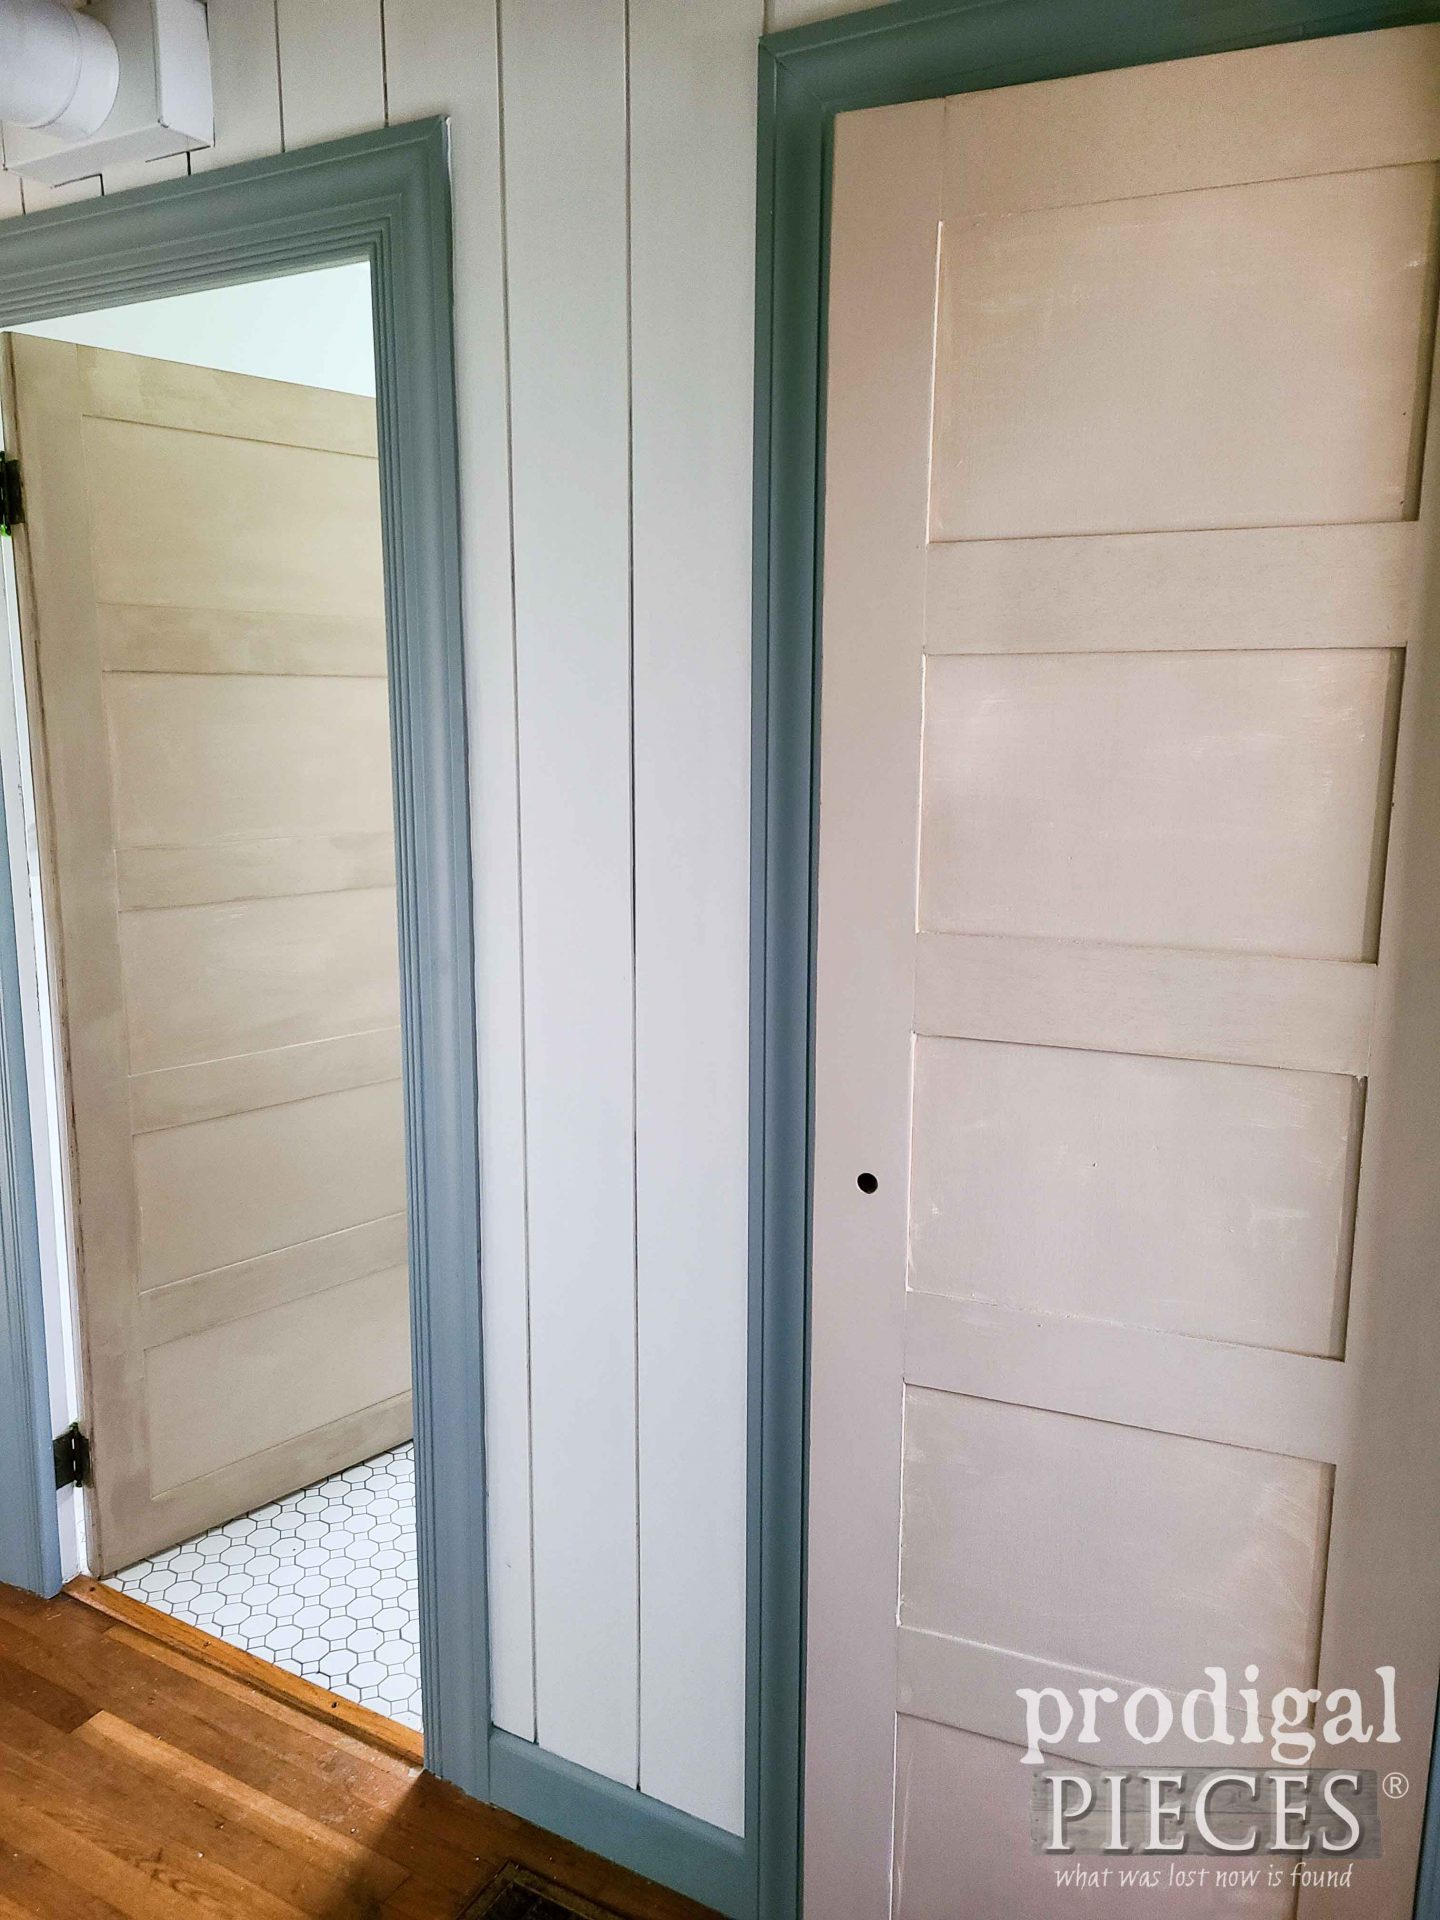
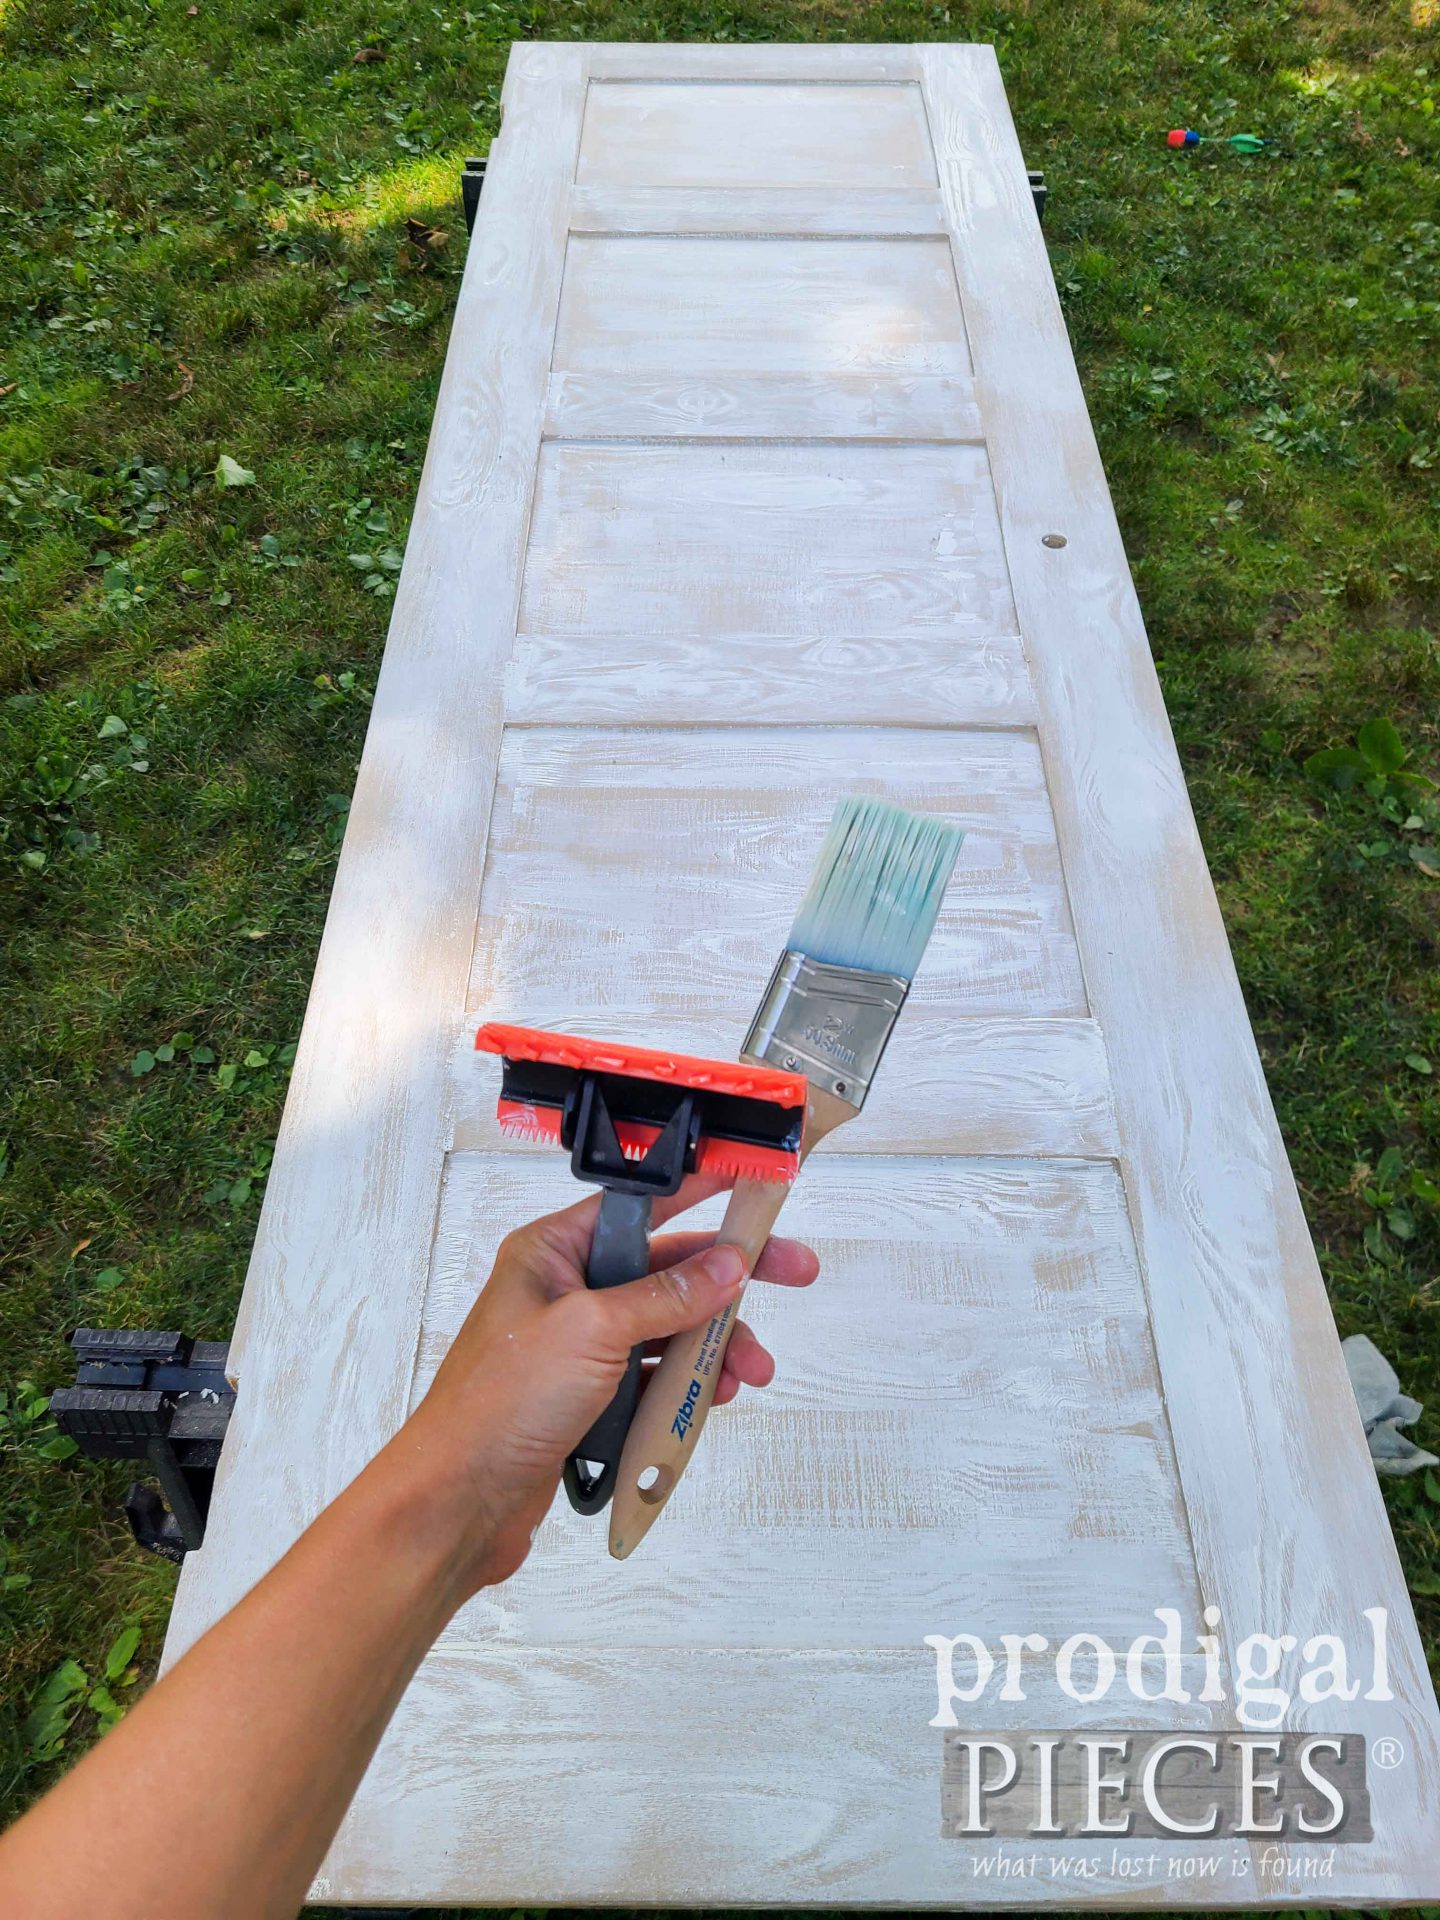
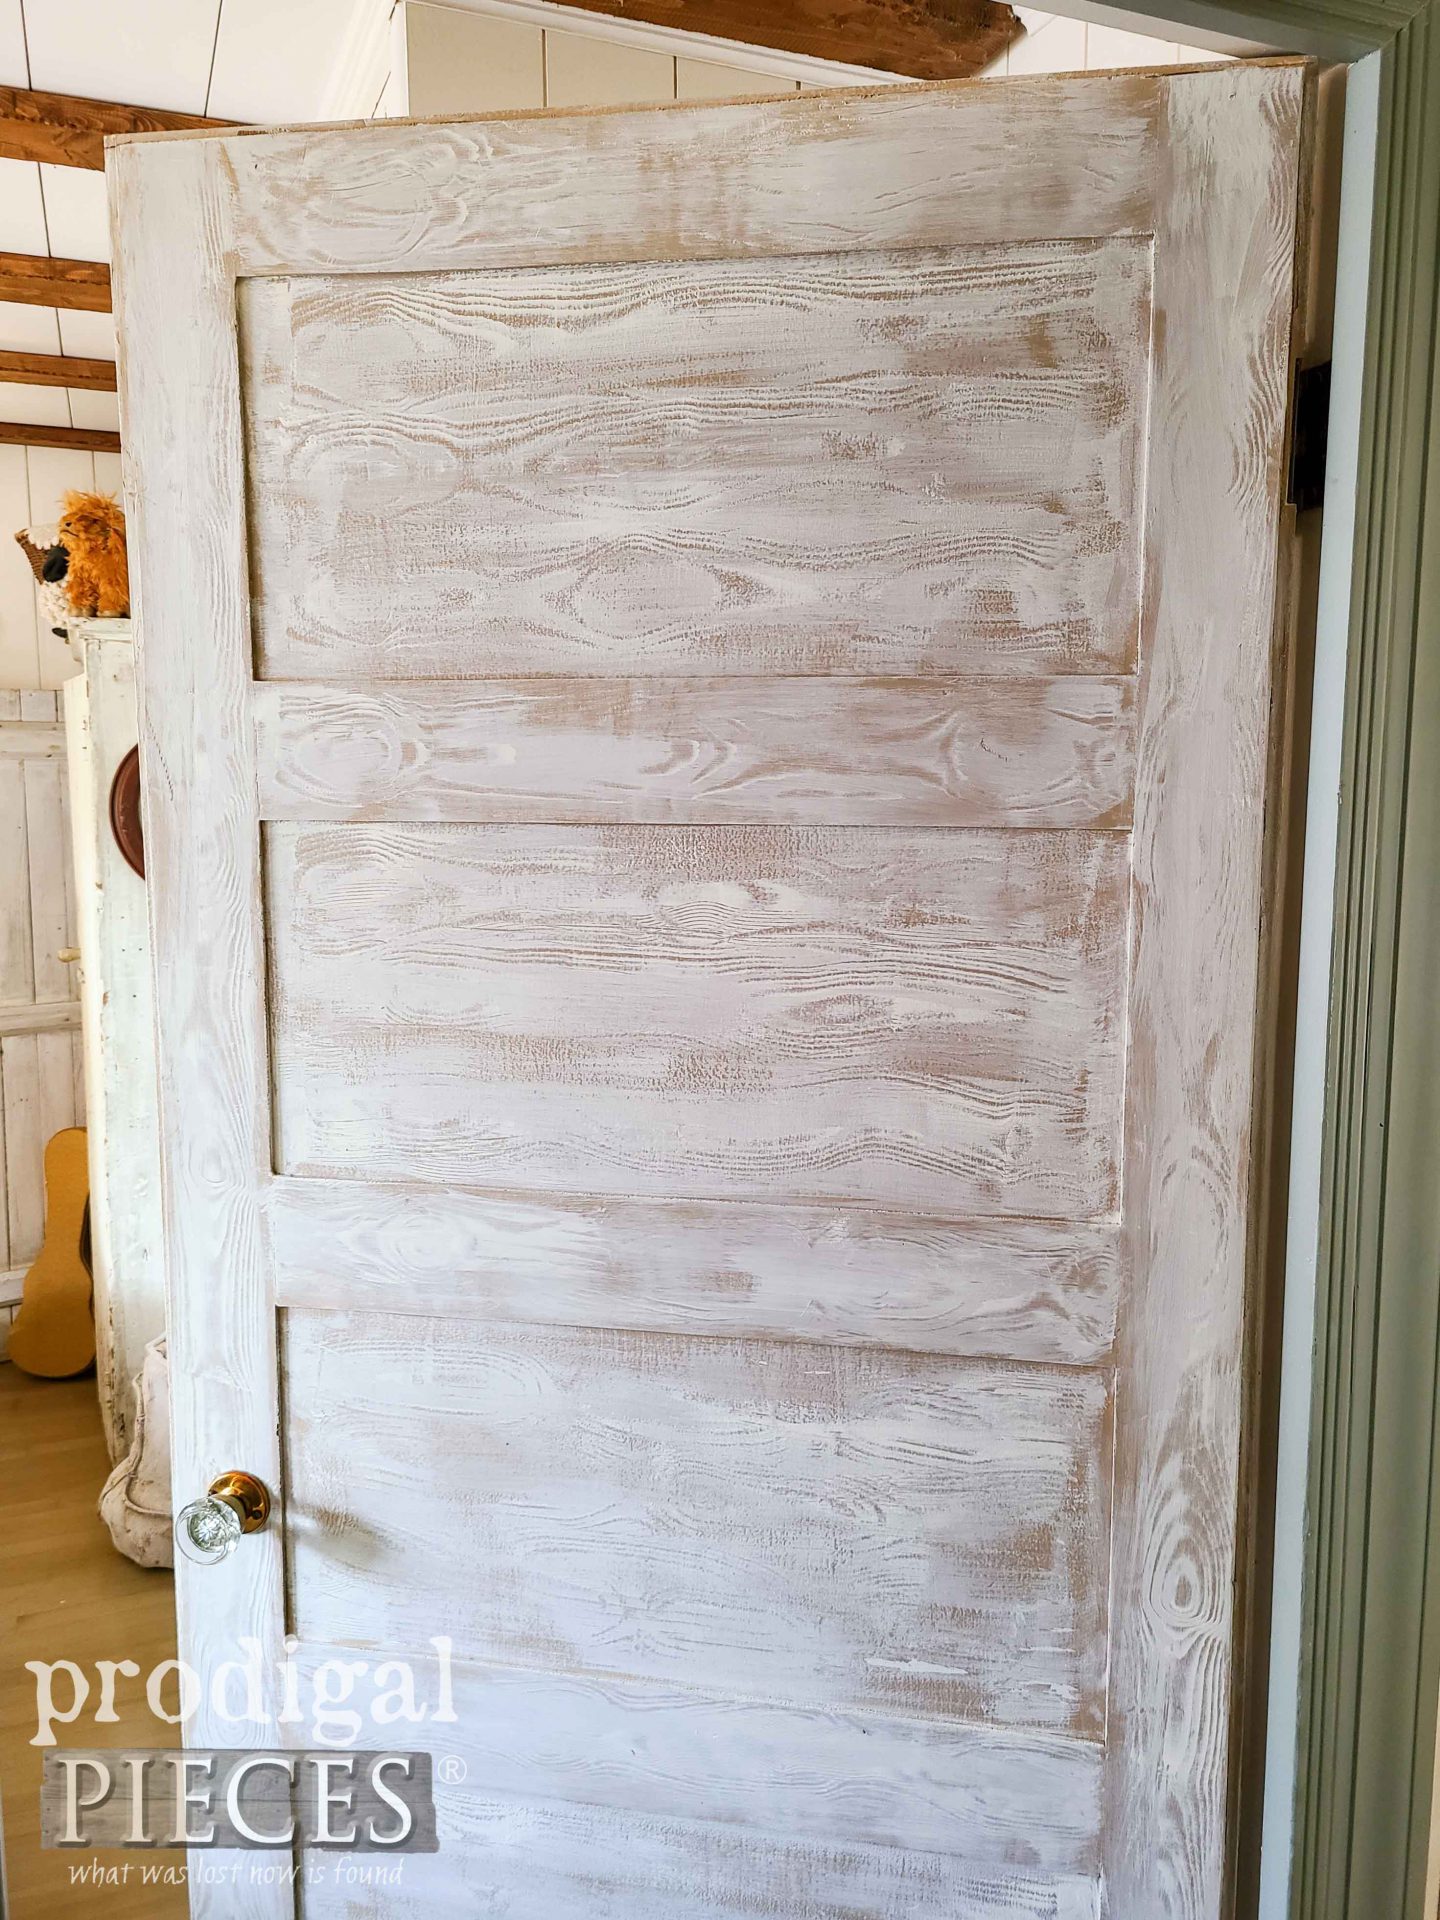
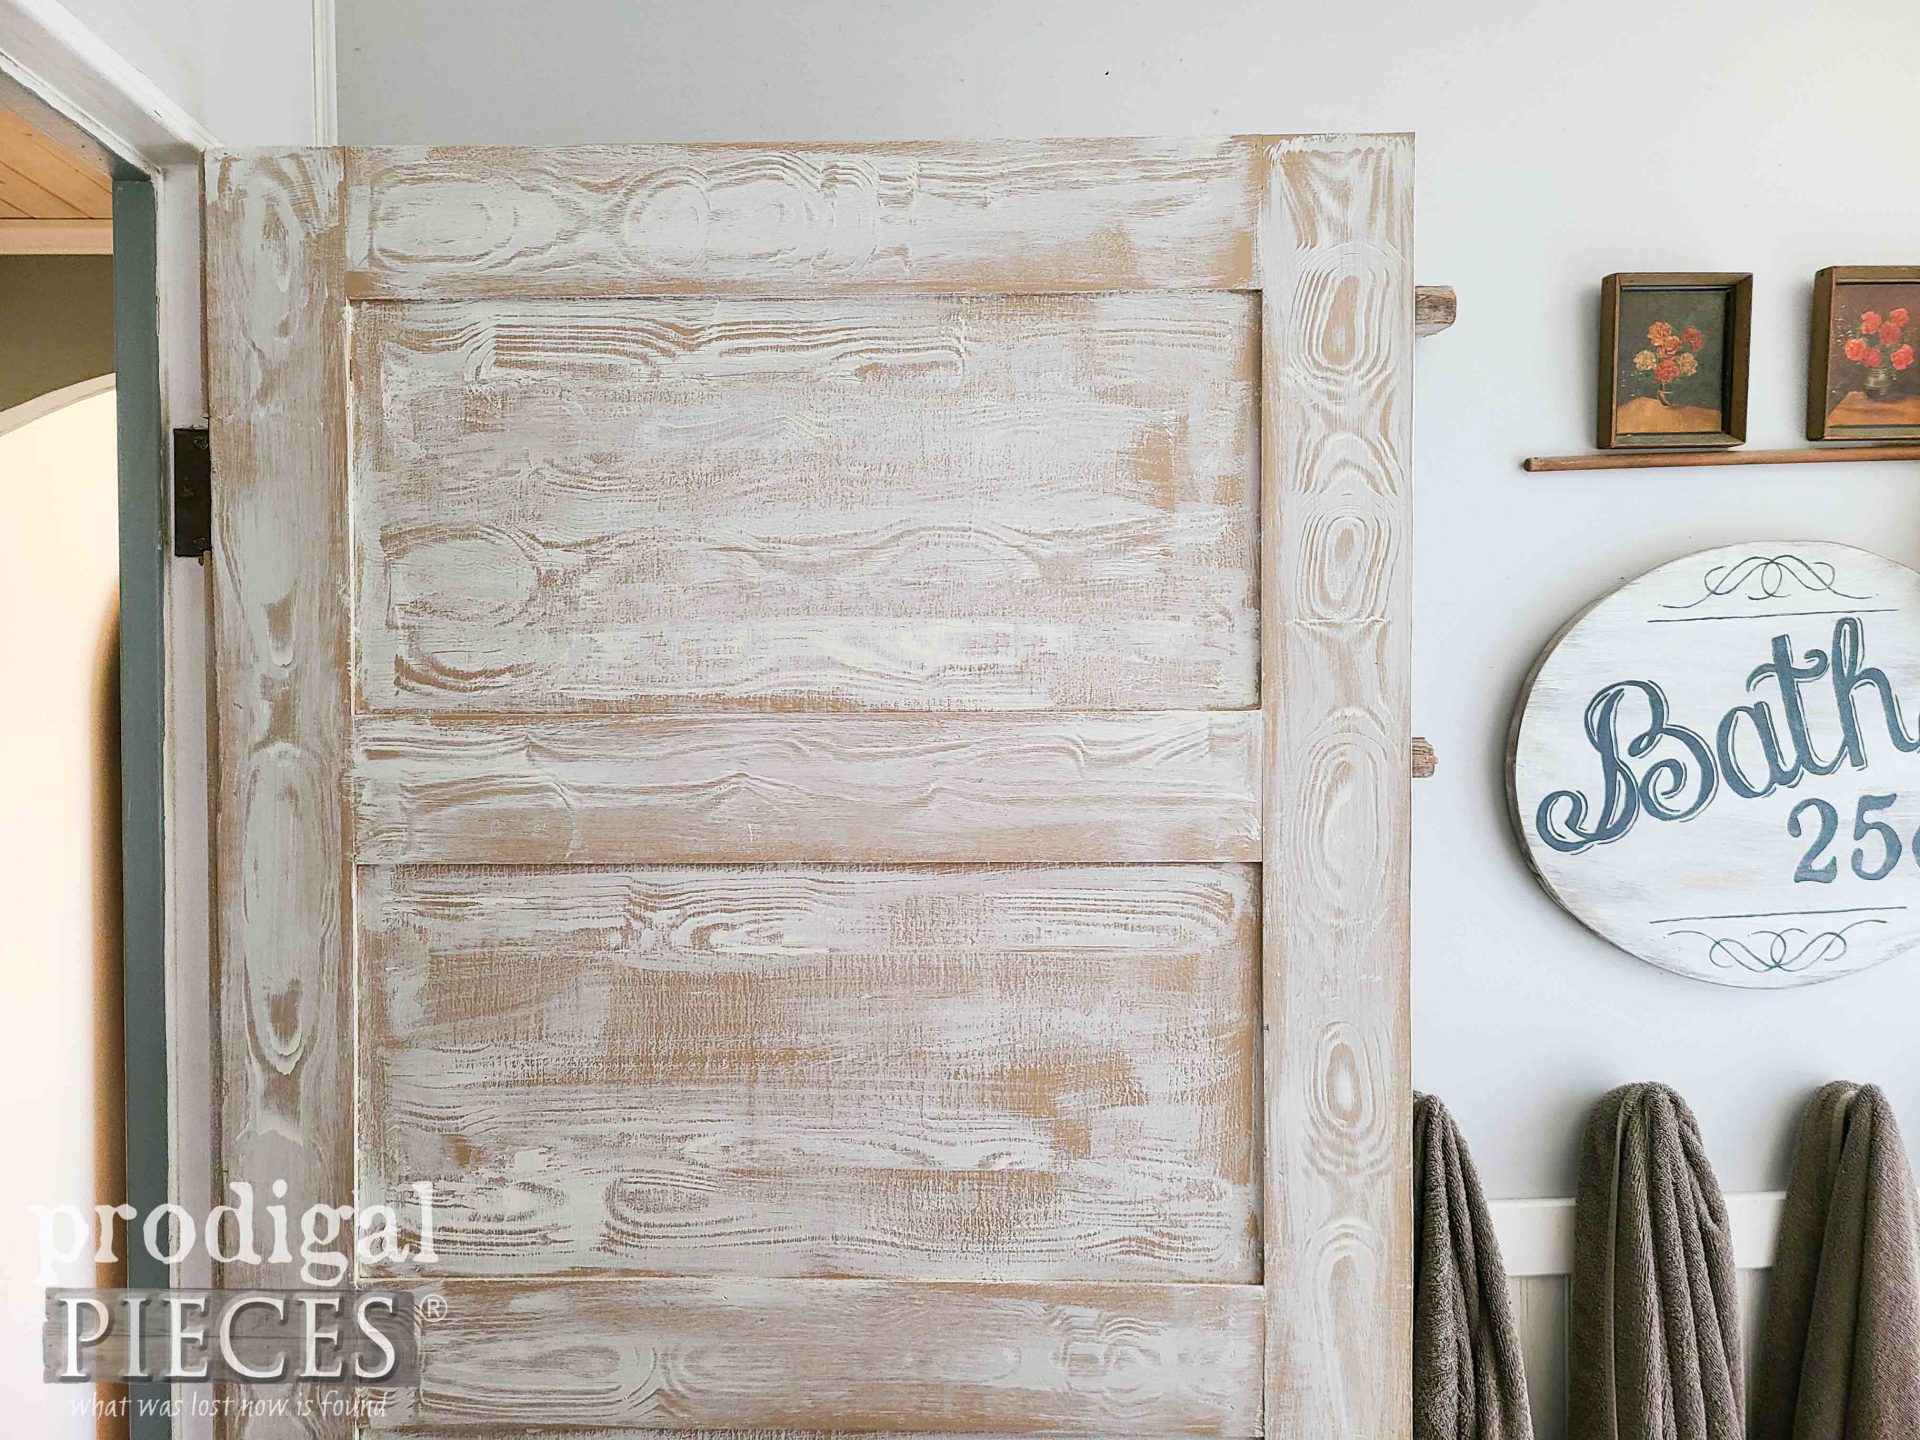
Finally, it’s time to put the finishing touches on this hallway remodel. As you can see, I’ve hung the doors back in place without knobs and painted them a neutral base color. You can use any color you want. However, I’m aiming for a faux whitewashed paint finish, so I paint my doors a color that I want to peek out. The color I use is similar to a shade called Basketry. Additionally, you can see how I did a faux wood treatment to my garage door that’s lasted over 9 years in Ohio weather!
Not only do I have the steps outlined in this post, but I took the time to create a video tutorial for you too.
MATERIALS & SUPPLIES
- base paint – what you want peeking out
- grain paint – what you want the grain to be
- graining tool set
- paint brush
- old toothbrush, rags, bucket of water (to clean graining tool as you work)
- cardboard or drop cloth to catch paint
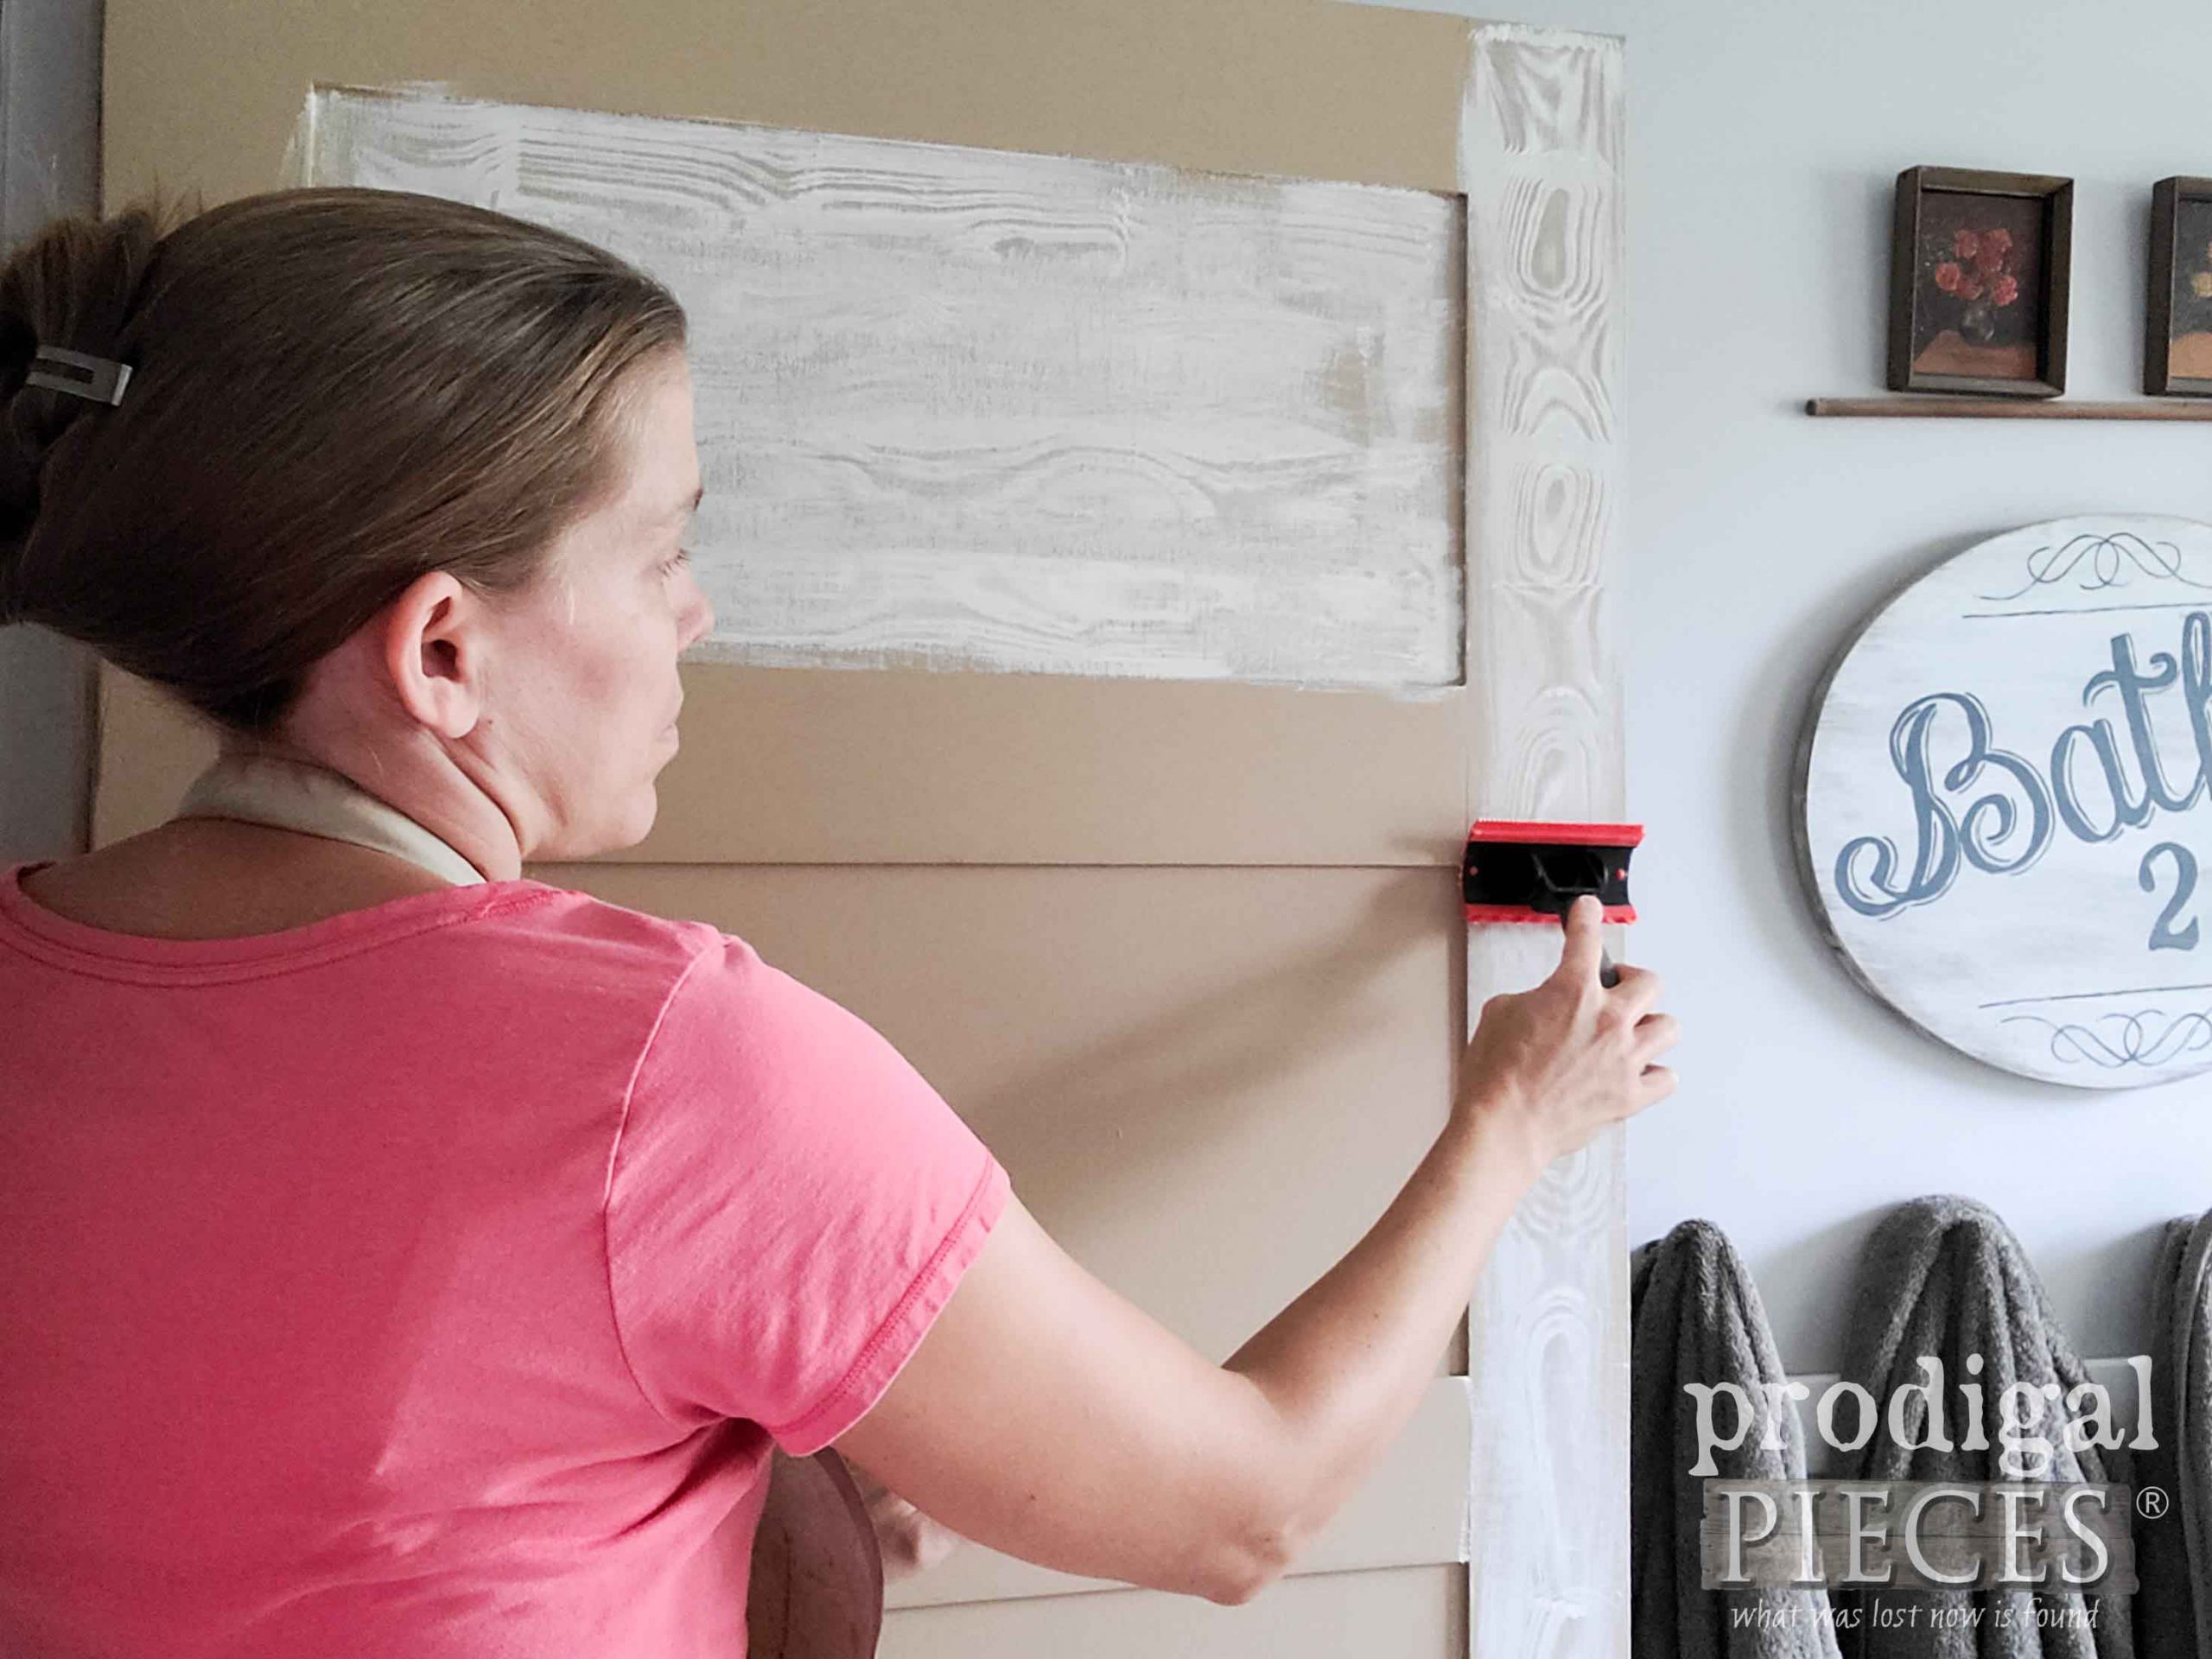
Before you get started, I want to point out that a solid wood door would be assembled in pieces as well. So that means the grain will run in different directions. You will want to replicate that effect. For instance, your side rails would grain vertically, while your panel rails and panels would have a horizontal grain. See video for reference.
You’re going to be working in small sections and need to work fairly quick. First, lightly apply your grain color paint following the grain pattern. Then, using your graining tool, rock back and forth in random lengths to create your grain effect. Feel free to flip the tool over to use the other side for a varied effect. Likewise, you can see how I use this same tool on a thrifted storage bin or on this kid’s play table.
Before you know it, your hollow core makeover is complete, and we do a HAPPY DANCE!!
MISSION COMPLETE
I’m all about that fifth wall being showcased – the ceiling. The stain instead of paint really keep this space from feeling like I’m boxed in. Not only that, but also those lights that just pop in are a lifesaver. Yes, I’ve been on this DIY journey long enough to say that electrical and plumbing are not my favorite thing on a remodel. A new build, yes, but not fixing what a half-wit jerry rigged together. ugh.
Notice I didn’t paint the copper. Those are water pipes that will sweat. I did check before leaving those exposed if they would sweat enough to drip, but I’m all good to go. In addition to the front light, I also add this back light right above my linen close. No more spelunking to find my linens!
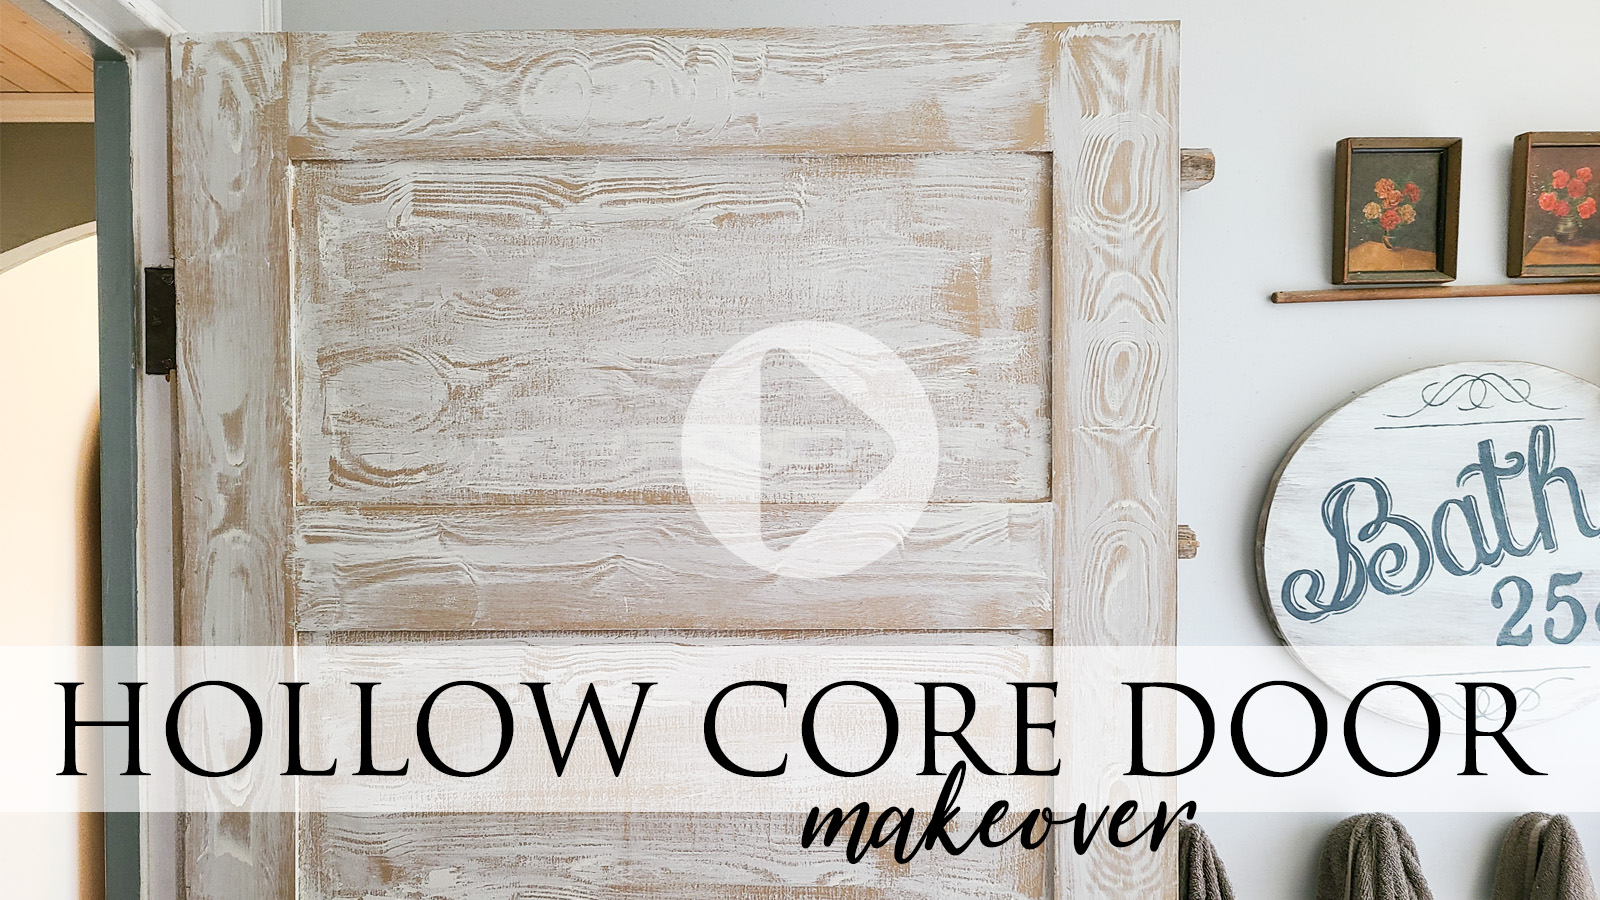
And, of course, I’m totally smitten with the outcome of this hollow core door makeover.
Are you inspired yet? You better be! haha. Y’all know my passion is to encourage you to give DIY a try. Thinking outside of the box store and creating your own home story is truly an adventure. If you have any questions at all, feel free to leave a comment below or take a second to send me an email using the contact tab in my menu.
In the near future, I hope to reveal the attached living room remodel. It’s been complete since we were selling our home. However, we literally flew through it in the final stages because it needed done in less than a week in order to list it. Talk about INSANE!! So, I’d like to finish what I didn’t get to and share.
SHARE
Until then, leave me some comment love below, pin, and share to inspire others on their own DIY journey.
To get these DIY tips & tricks in your inbox, be sure to sign up for my FREE newsletter. PLUS, you will get your Furniture Buying Checklist and special discount to my shop. Until next time!

I’ve enjoyed watching you and your home DIY projects through the years. I totally agree, a “willing spirits” goes a long way. Thanks for sharing your hallway makeover. You would never know those doors aren’t sold wood now. Well done, Larissa.
That’s wonderful to hear. I truly hope to inspire and encourage. Thank you for the kind words. 🙂
Larissa, you did an awesome job! The doors look exactly like solid wood. I wasn’t sure about the exposed ceiling when I saw the first picture of it removed, but it looks so great! Thanks for sharing all of your skills and talent!
Thank you bunches! Yes, kinda scary, but I had a vision and glad it came out as I’d hoped. I had no idea what was under there.
Wow! Your hard work sure did pay off! It turned out just beautiful. I love your vision for seeing what things can truly be, and then how you actually make it happen! Thank you for always being so positive and encouraging to us also.
I’m just happy it all went well and as I’d hope. My joy is sharing and making smiles. Thank you!
Larissa,
Awesome job. I love your hallway, the doors the ceiling.
Thank you for sharing
Nancy
Crazy how a little hallway took so much work! 😀 Thank you, Nancy.
I would literally go mad with that many doors in one hallway……You did a great job as usual Larissa!! And, this reminds me of yet another thing on my to-do list. My problem is our hallway is long and narrow like a bowling lane. Can anyone say claustrophobia!! Haha.
Right?? haha. It took time, but not hard to do. I totally get what you mean! I felt like our hallway would shrink like a funhouse as you walked in. Not cool!
I am so impressed with what you did to your hollow core doors, Larissa. I’ve seen (and we’ve done) adding decorative trim to dress them up but seriously girl, this is brilliant! They look just like solid core antiques. I’m equally impressed with your faux bois skills because I can’t master the graining tool if my life depended on it.
Hi Marie! 😀 Your words mean so very much to me. I just know that if I want anything done I have to do it myself. And, you made me giggle!
Great job Larissa ! The hall is so much more open and spacious.
Ripping into an enclosed ceiling…. is Intimating for sure !!
I admire your woodworking skills. Thanks so much for sharing your process.
I love the 5 panel doors. EVERYTHING looks wonderful.
Best wishes for your home sale and impending move 🙂
p
Thanks so much! It was quite the doozy of a job. We were listed, but took it off and I’m staying put for now. I have the post with details HERE. Hugs!
Awesome job Larissa!
Huge sigh of relief from me. woot! Thank you!
The door looks just like a solid wood door. Good job! I have a question. Since you added to the thickness of the door does it close properly? I have these doors in my house, too, and would love to change them up, but wonder if they would close right.
Thanks! It has made such a difference. Yes, I measured my door before removal and left off between an eighth to a quarter inch on the jamb sides if need be. Some needed it, while others didn’t.
You raised your ceiling!! I never comment on blog posts but my mind is blown at what you did here. This is amazing!!! You are inspirational!!!
aww…that means so much to me that you left a comment. Thank you, Sarah. 😀