Our kitchen remodel is going strong and it’s time to make some changes. One of the pieces in our kitchen is my vintage sideboard. I have had this handsome server for several years and hadn’t had the time to give it a makeover. My personal things always come last. tsk. So, for today’s Themed Furniture Makeover, which the topic is CHOCOLATE, I decided it was high time to get ‘er done.
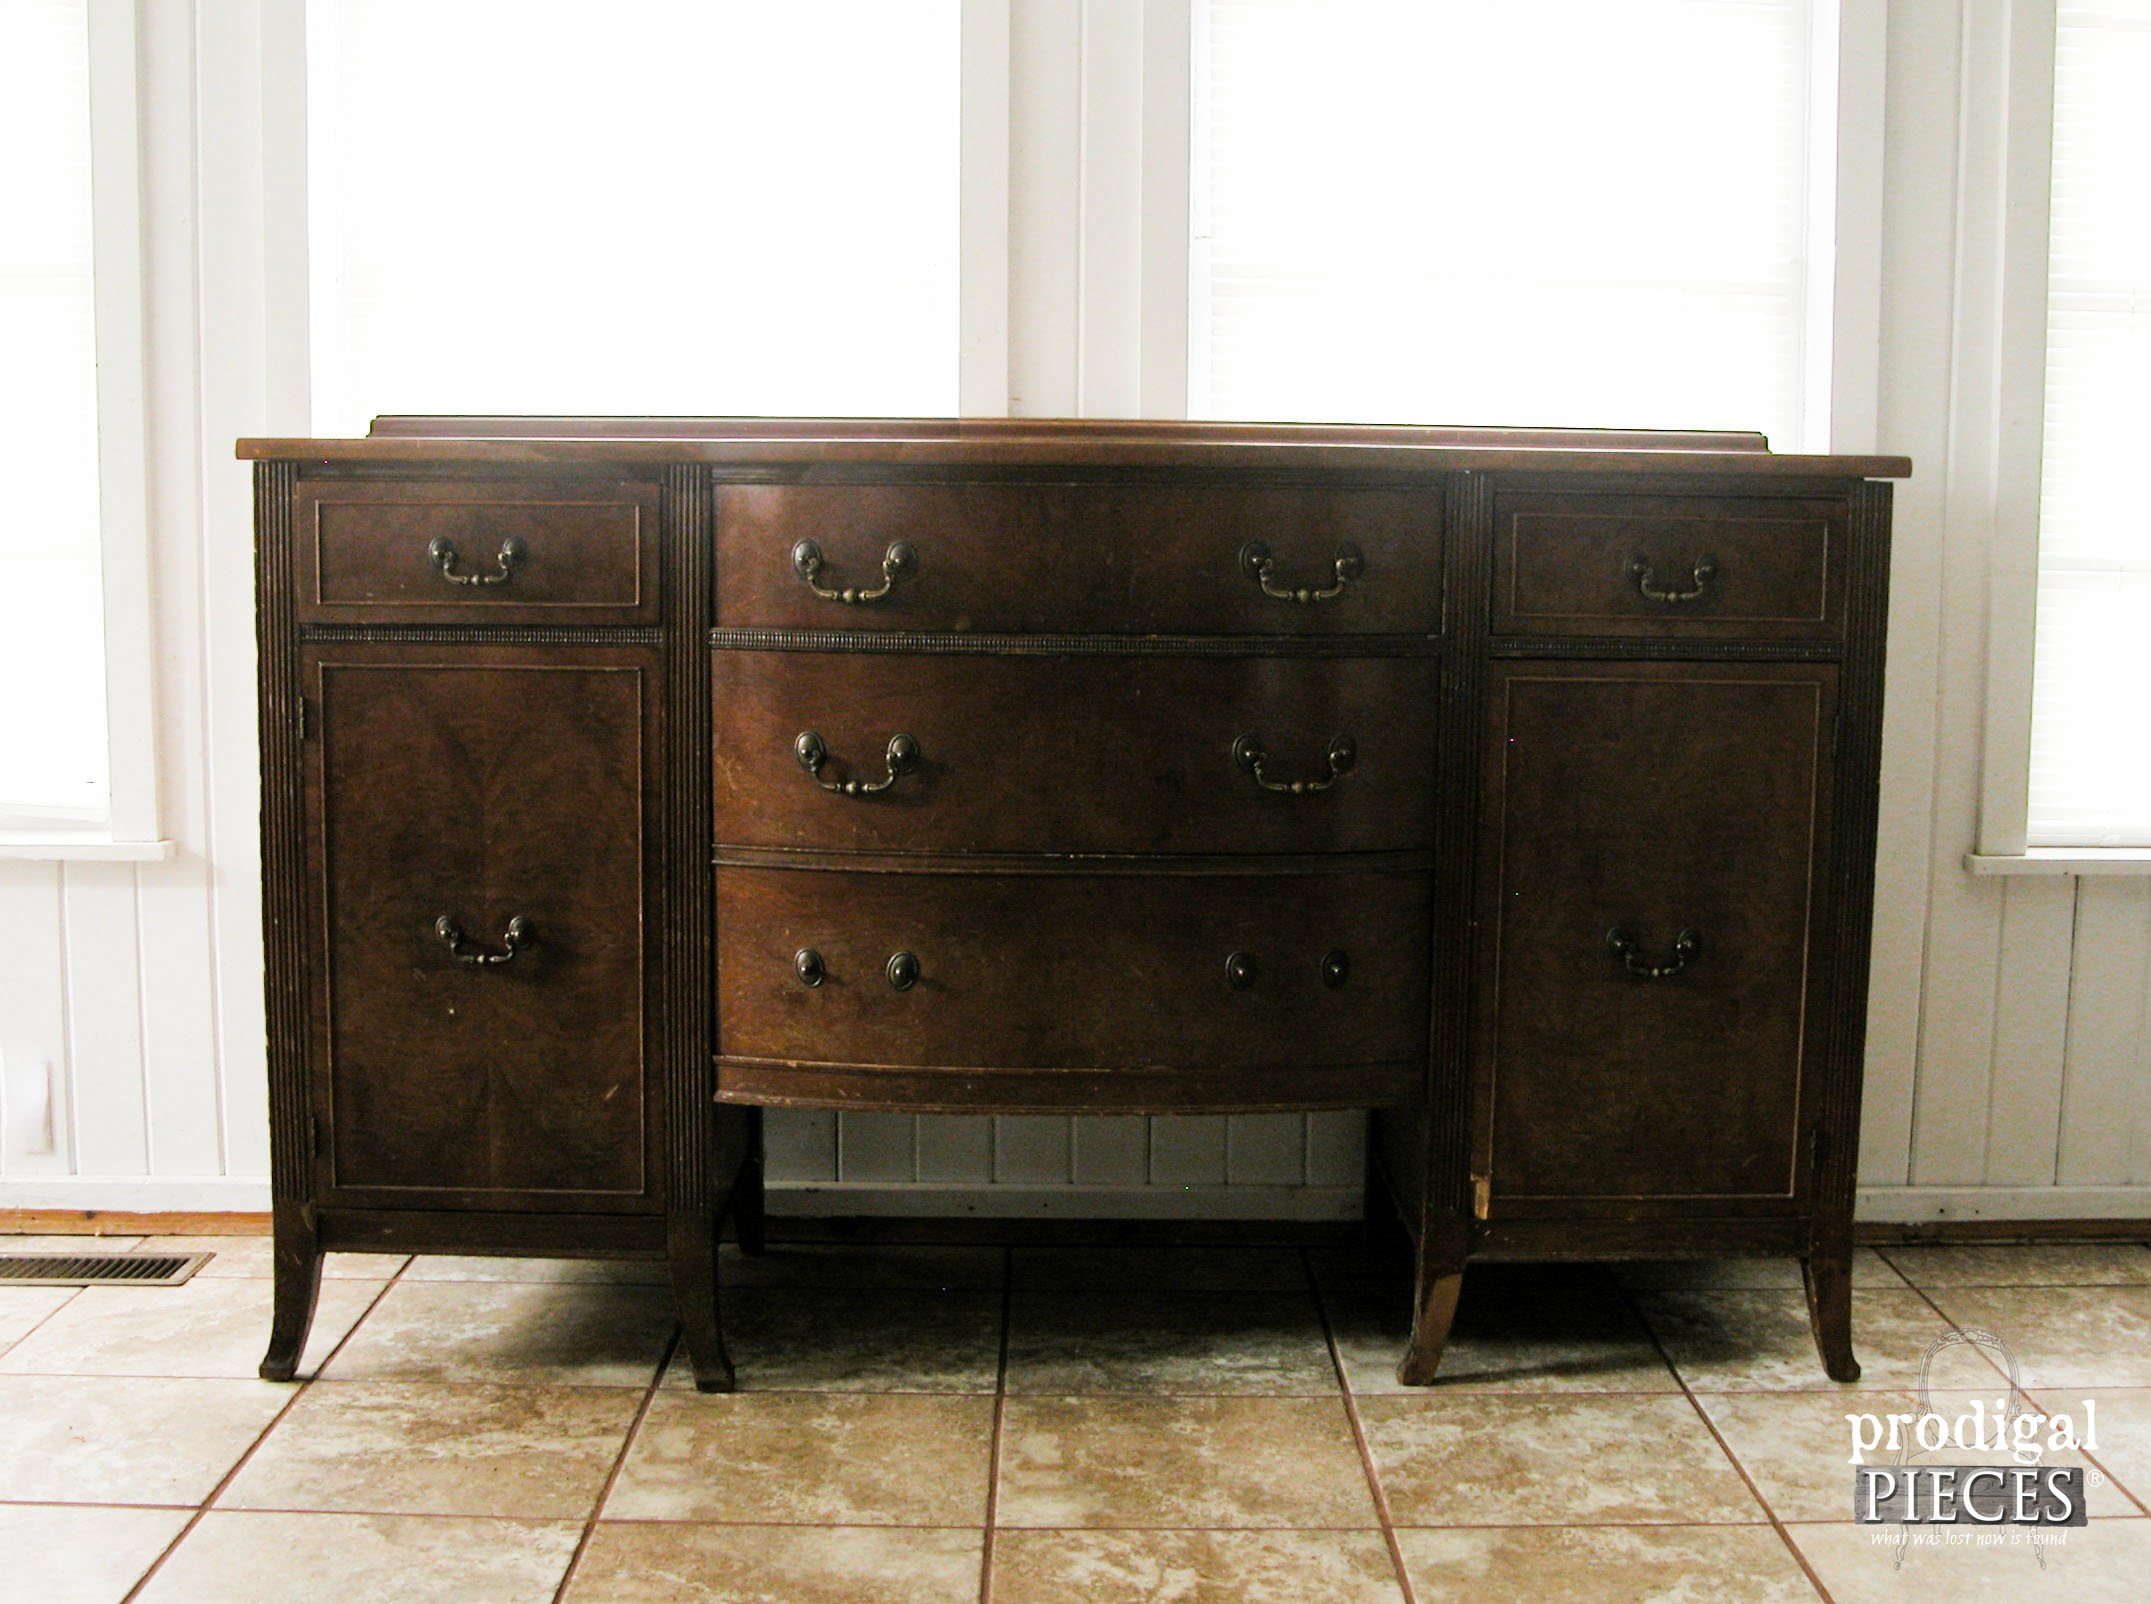
Since we have 6 kids (and homeschool), our table space is somewhat limited. We have our custom farmhouse table that I recently refinished (you can see it HERE), but at one point I bought a Duncan Phyfe extension table hoping to enlarge our seating capacity. The table was a no-go due to our dining area dimensions, so I sold it. But… I kept the matching sideboard.
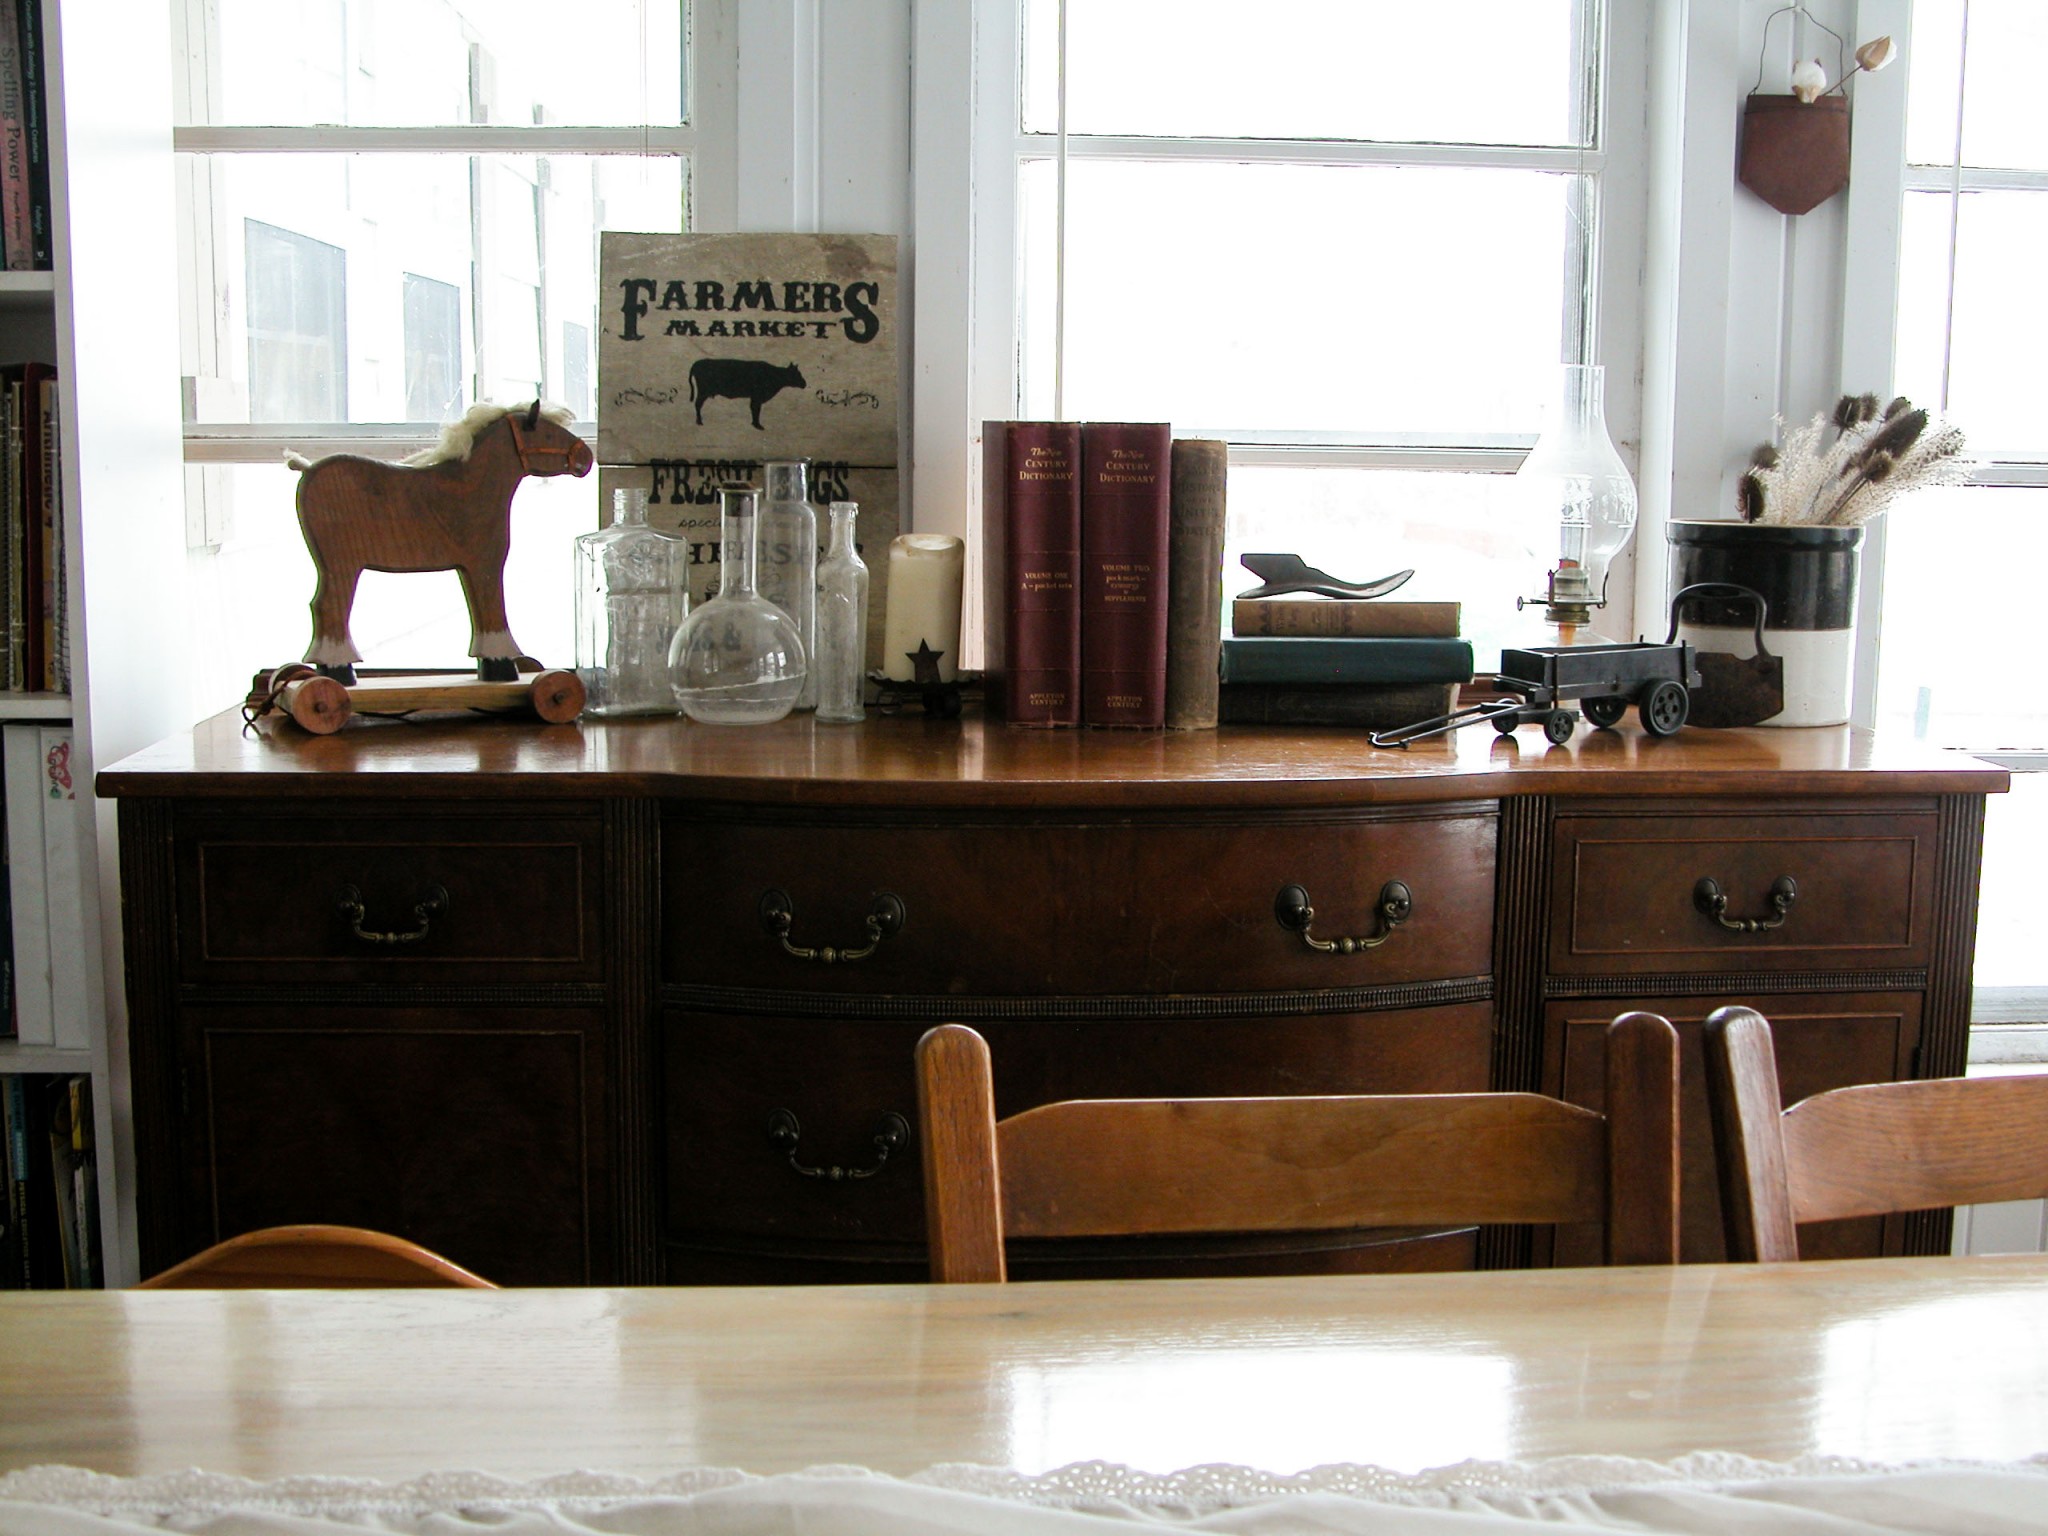
Over the years, it has held our homeschool materials and served us well. I would sit and daydream…”One day I will finally give you the makeover you deserve”.
DIY TIME
Today’s the day! I have decided to part with my gem. (gasp!) When we pulled it out from our dining area, I loved the extra light. We have always planned a built-in for that space anyway, so out she goes.
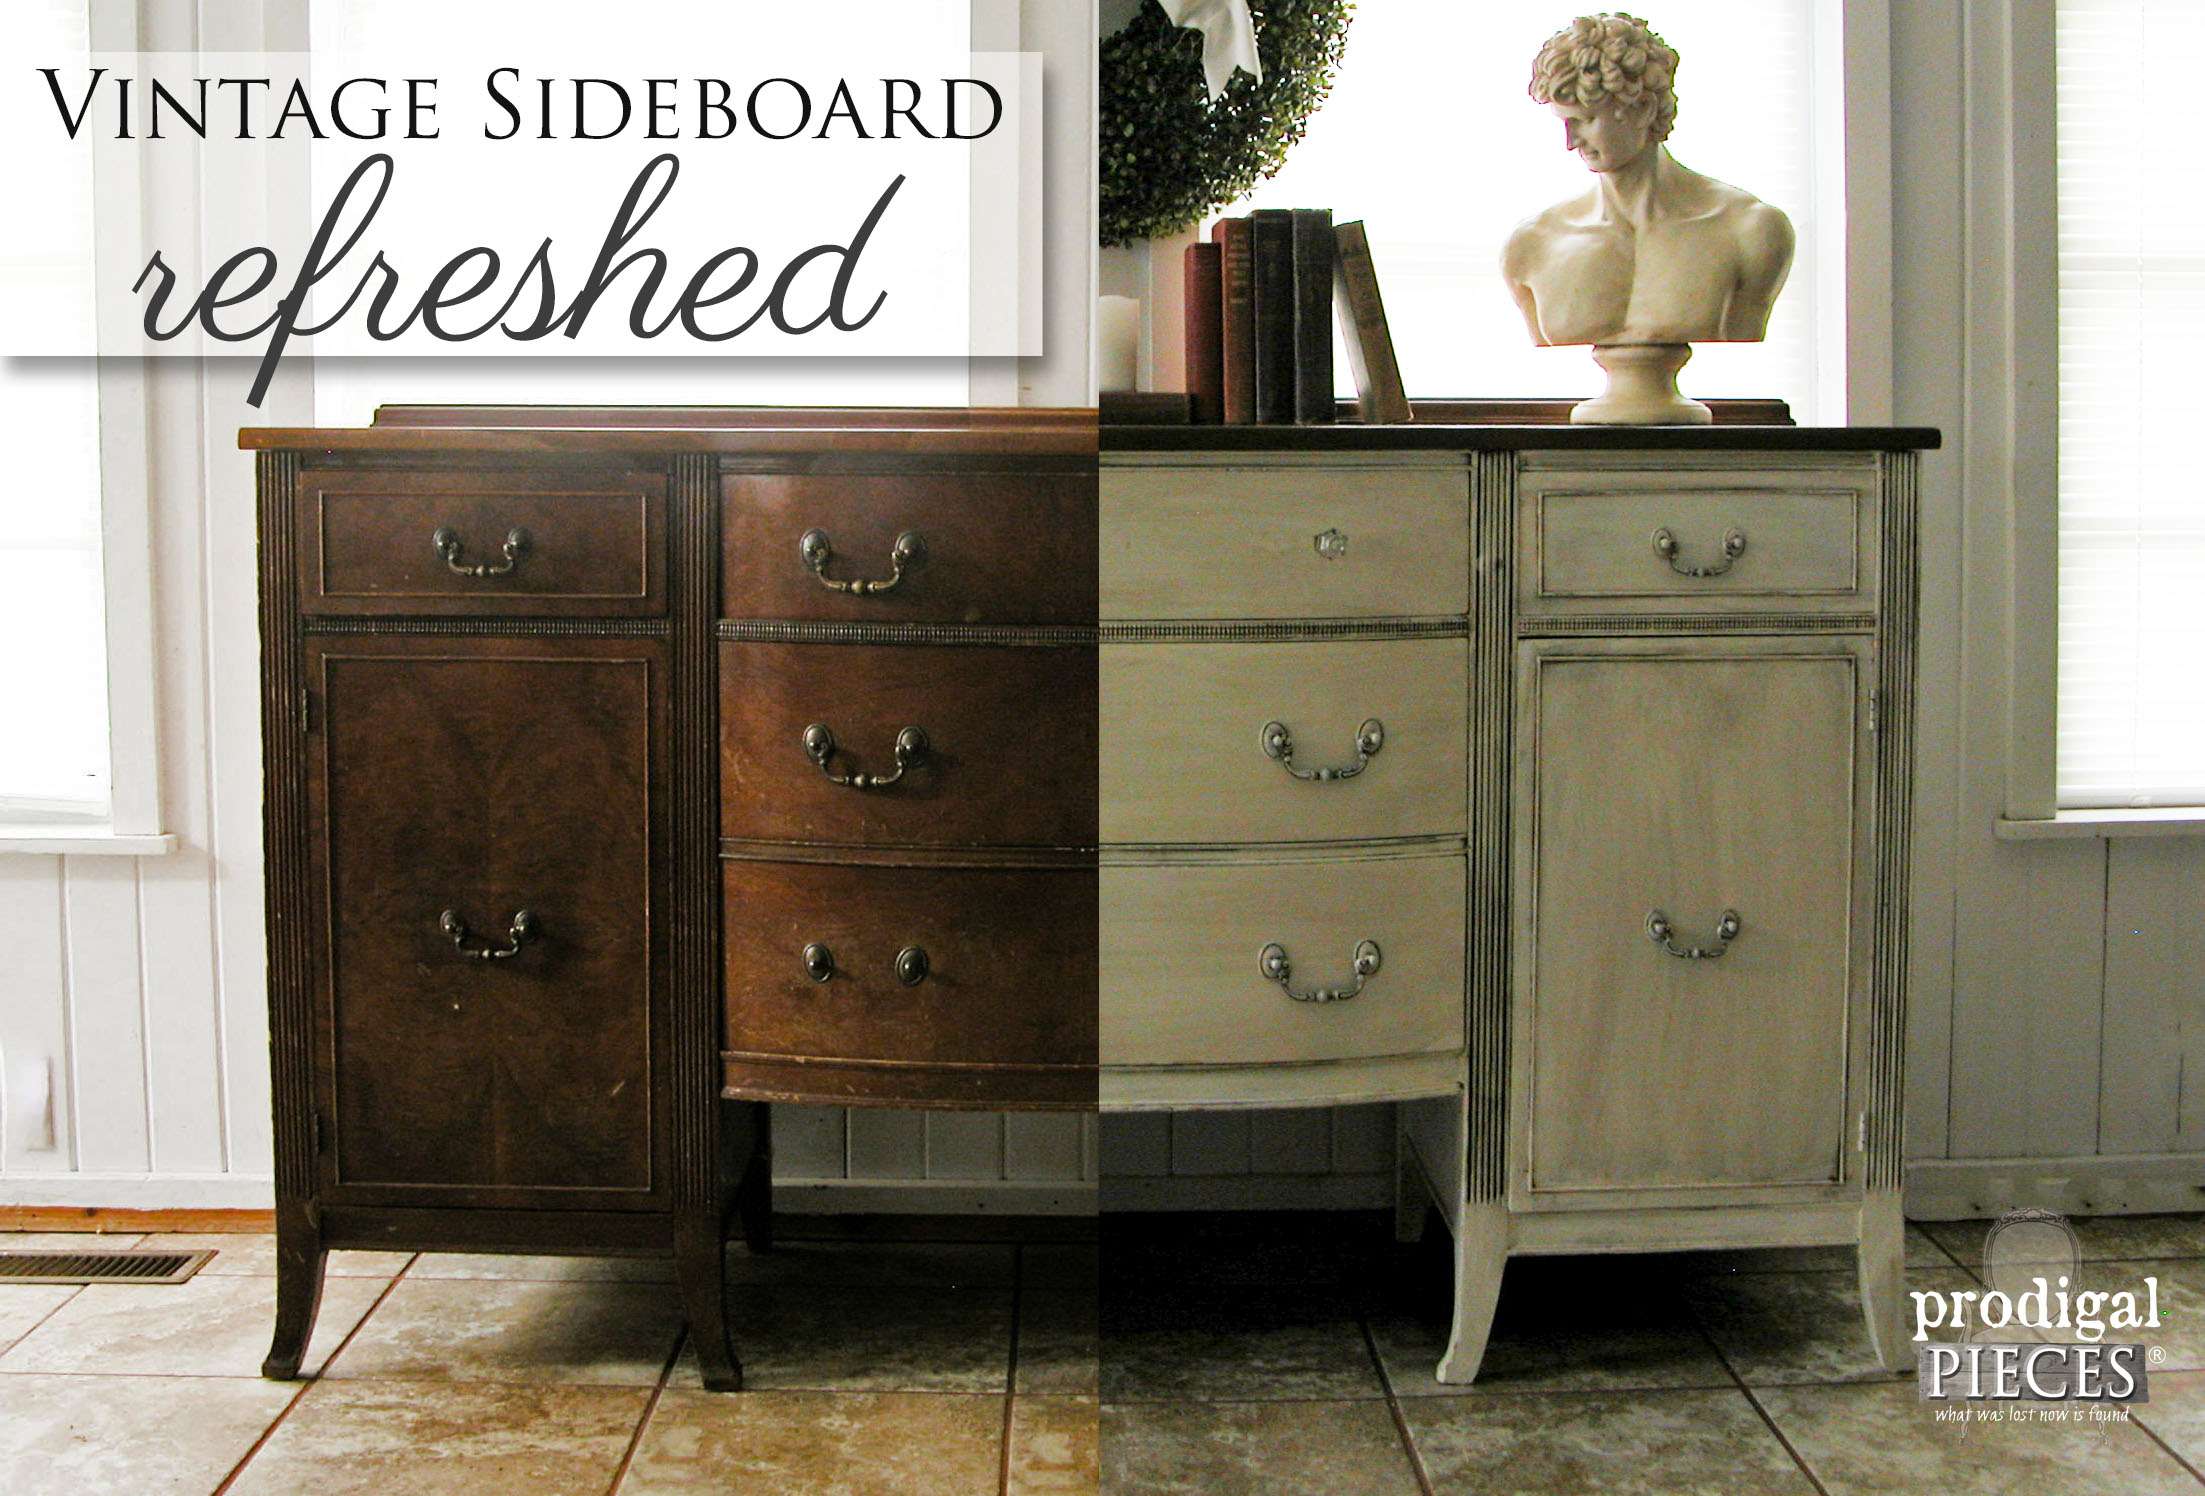
Though it’s missing some pulls, damage to the legs and doors, and just needing some TLC. The top was in great shape with some very large scratches, but those would come out easily.
I grabbed my orbital sander and got to work taking it down to raw wood.
STAIN
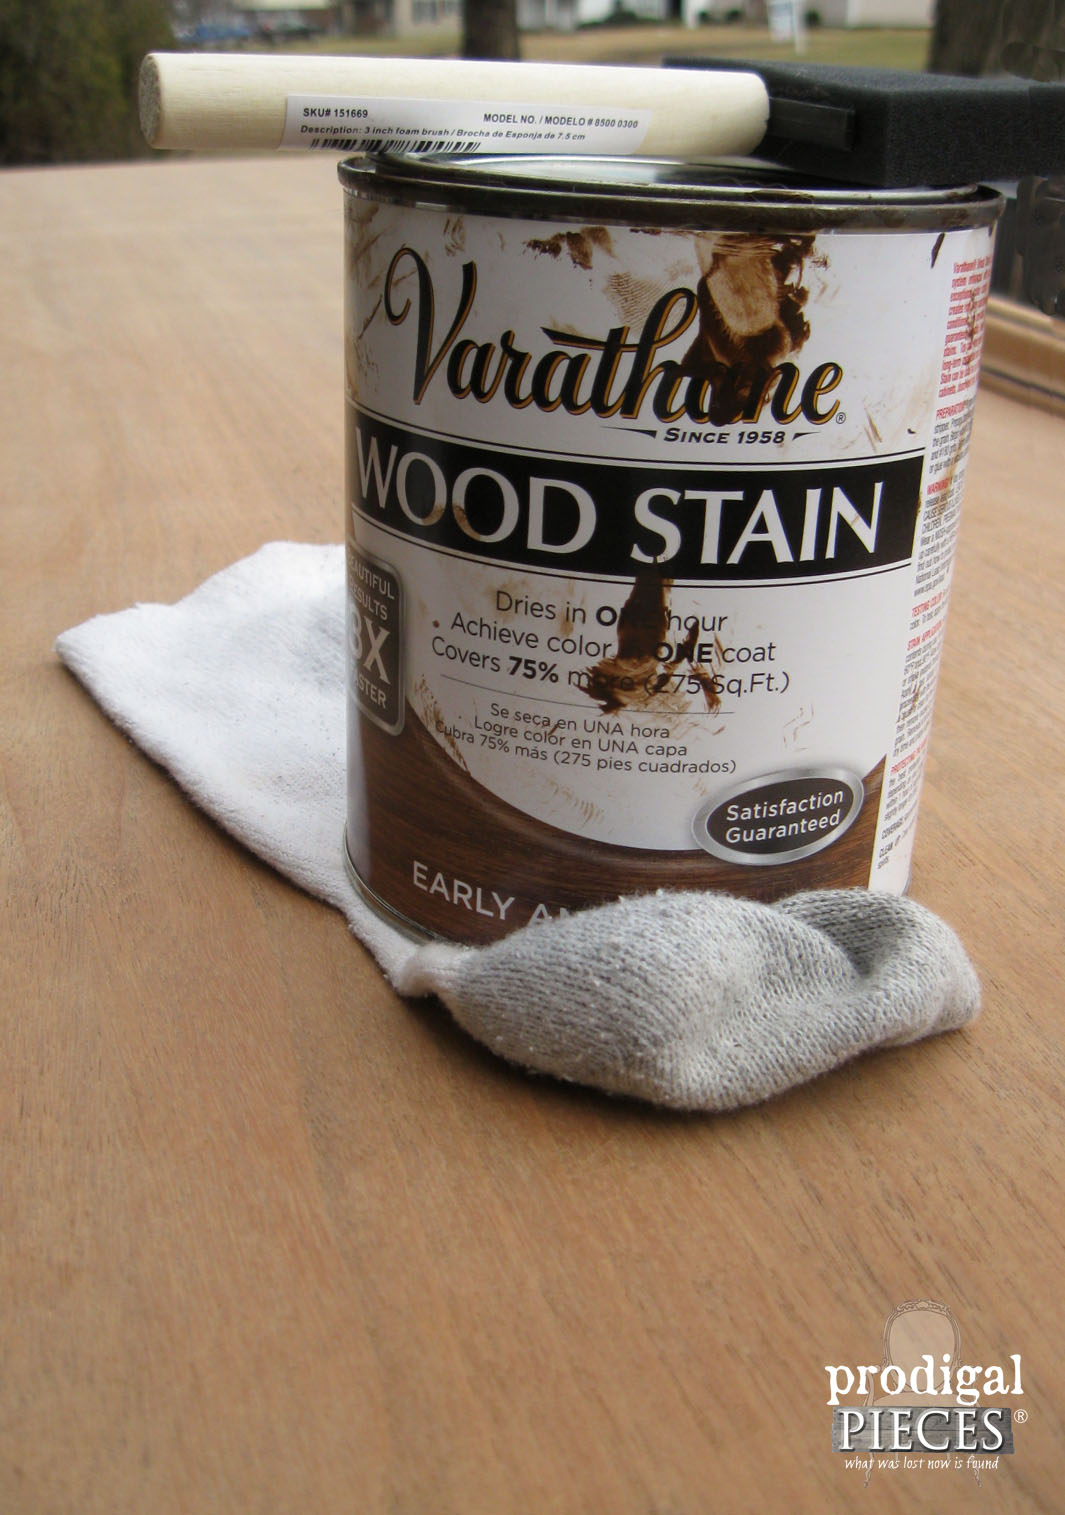
Now down to the good stuff and no intent to paint, I used my favorite stain used in our master bedroom and bathroom, called Early American.
Once the top has a poly topcoat, it is time for the cabinet. I decided to use DecoArt Chalky Finish Paint in Lace, since it’s very much like my favorite antique white and easy to use. By the way, yes, I realize the theme is chocolate, but I’m getting there. Hang on! tee hee.
GLAZING
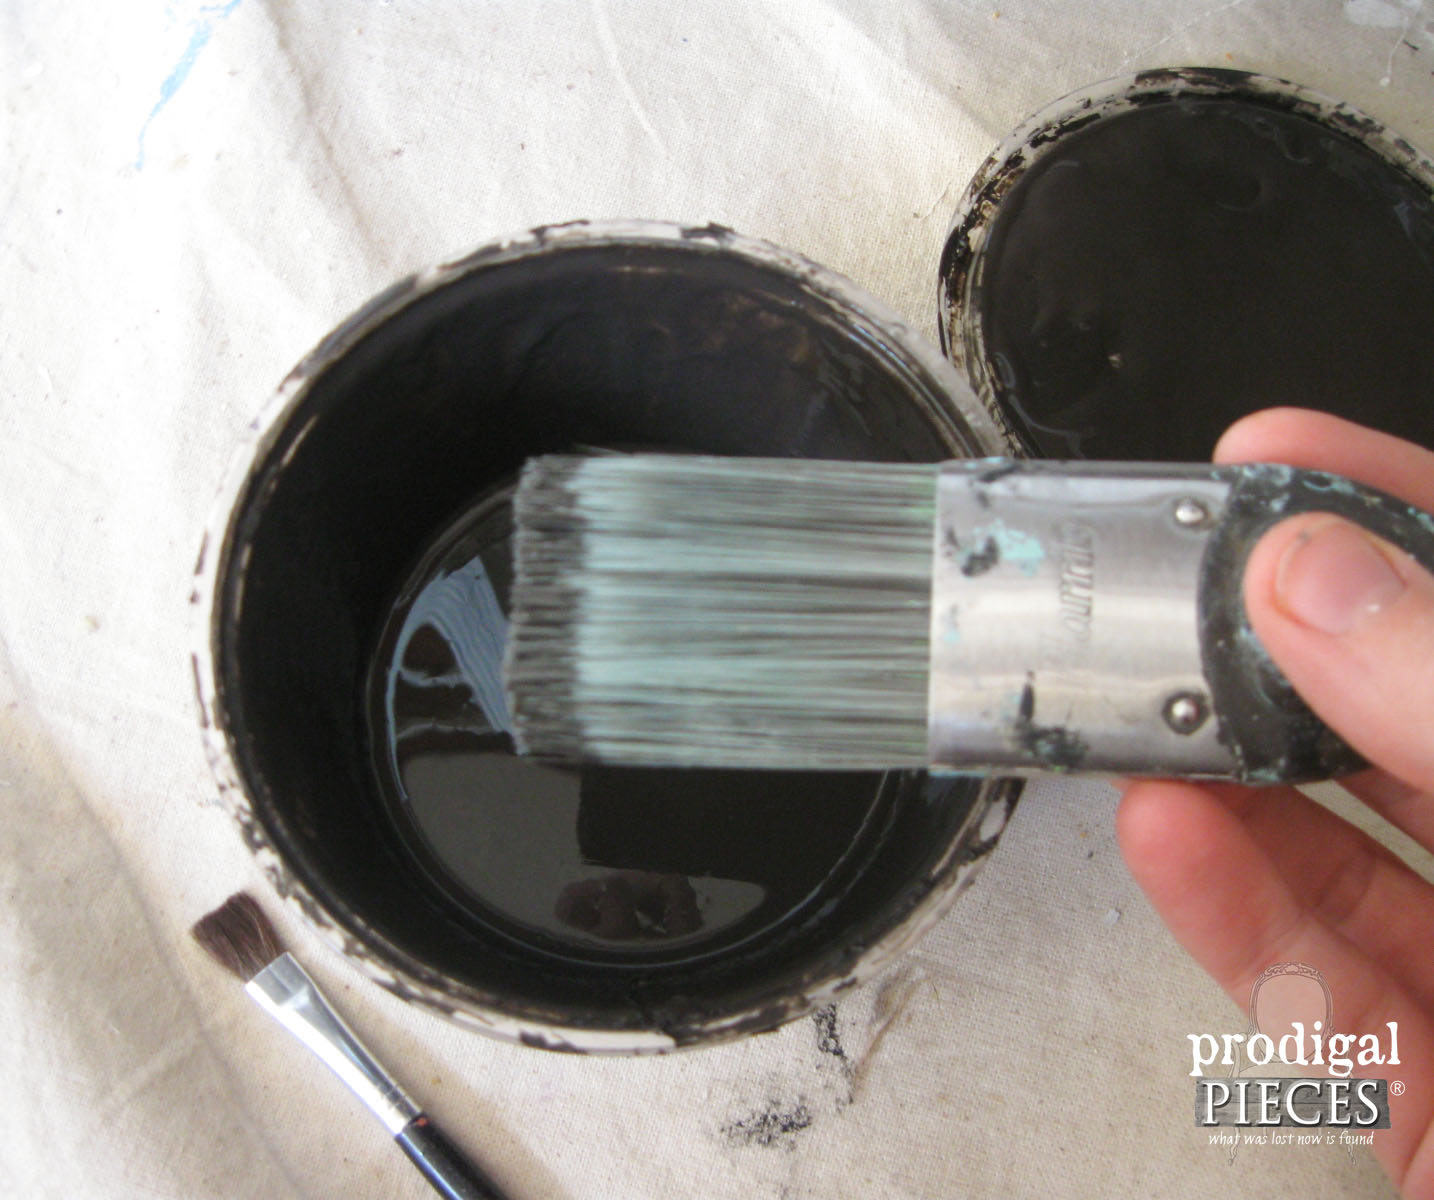
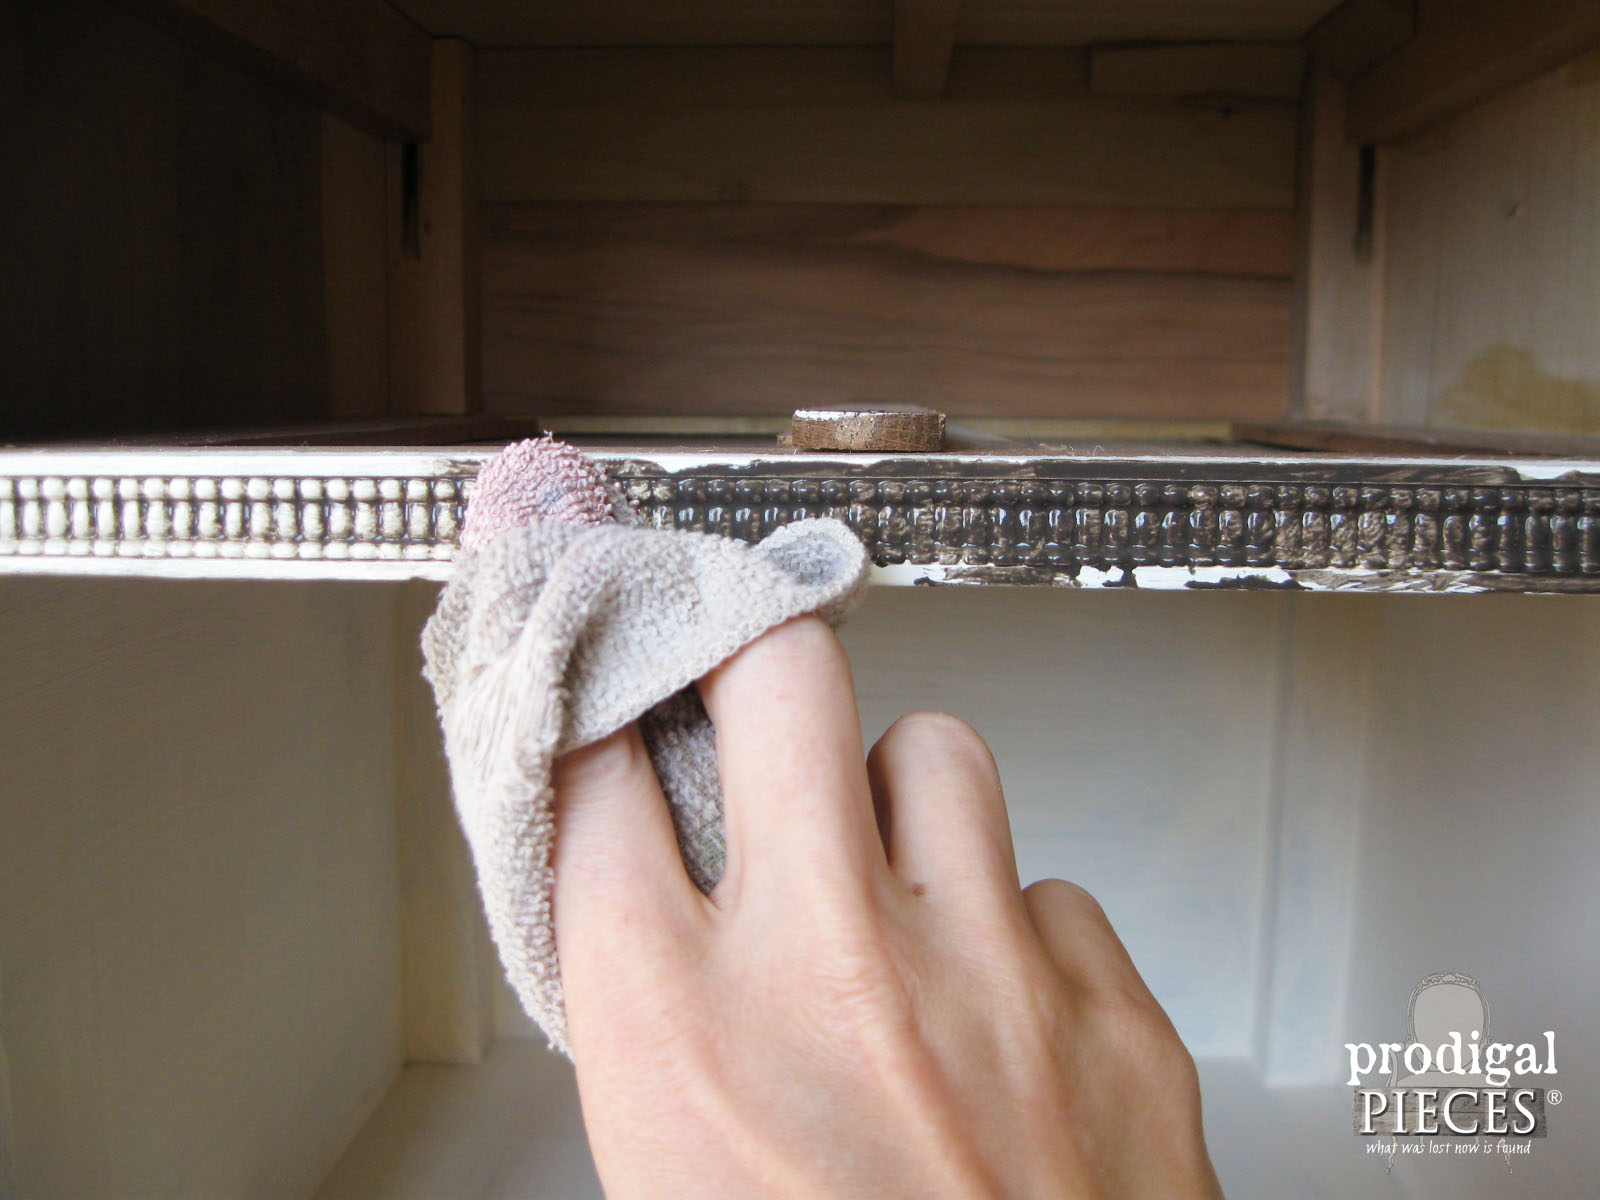
Once the cabinet was painted and cured, it was time to add my chocolate glazing. (see I told ya!) This is the same method I used on our garage door (recipe here) and on the piano face turned transom in our bedroom remodel. Easy-peasy.
Whenever I’m glazing, I have the Karate Kid guy, Mr. Miyagi, in my head saying, “Wipe on, wipe off”. Bet that takes you back…and if you have no idea what I’m talking about then you’re missing out. tsk.
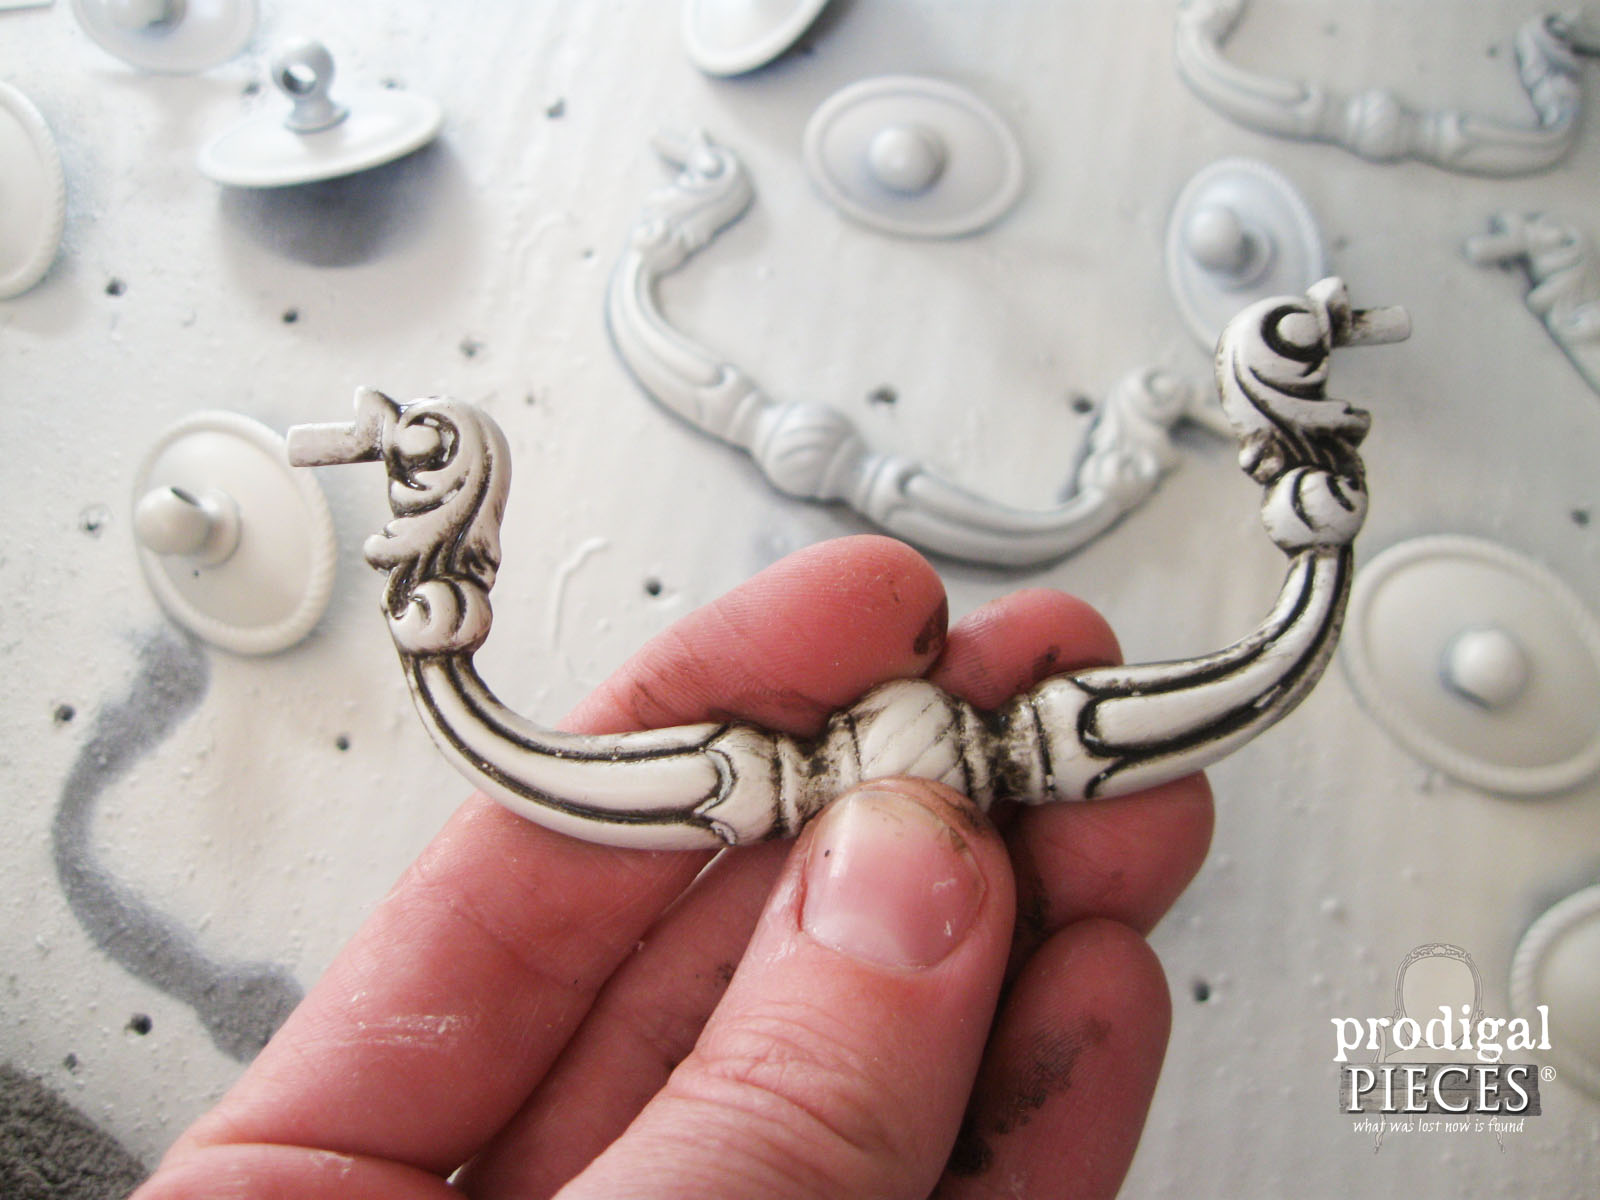
Next, it was time for the pulls. I used Rust-Oleum Heirloom White to spray the pulls and then glazed them as well.
Question: Is it just me or do those pull pieces in the background look like white nipples to you? Ahahahaha…I couldn’t help but point out what I saw! Sorry. hee hee.
Back to sideboard…ahem.
REPAIR
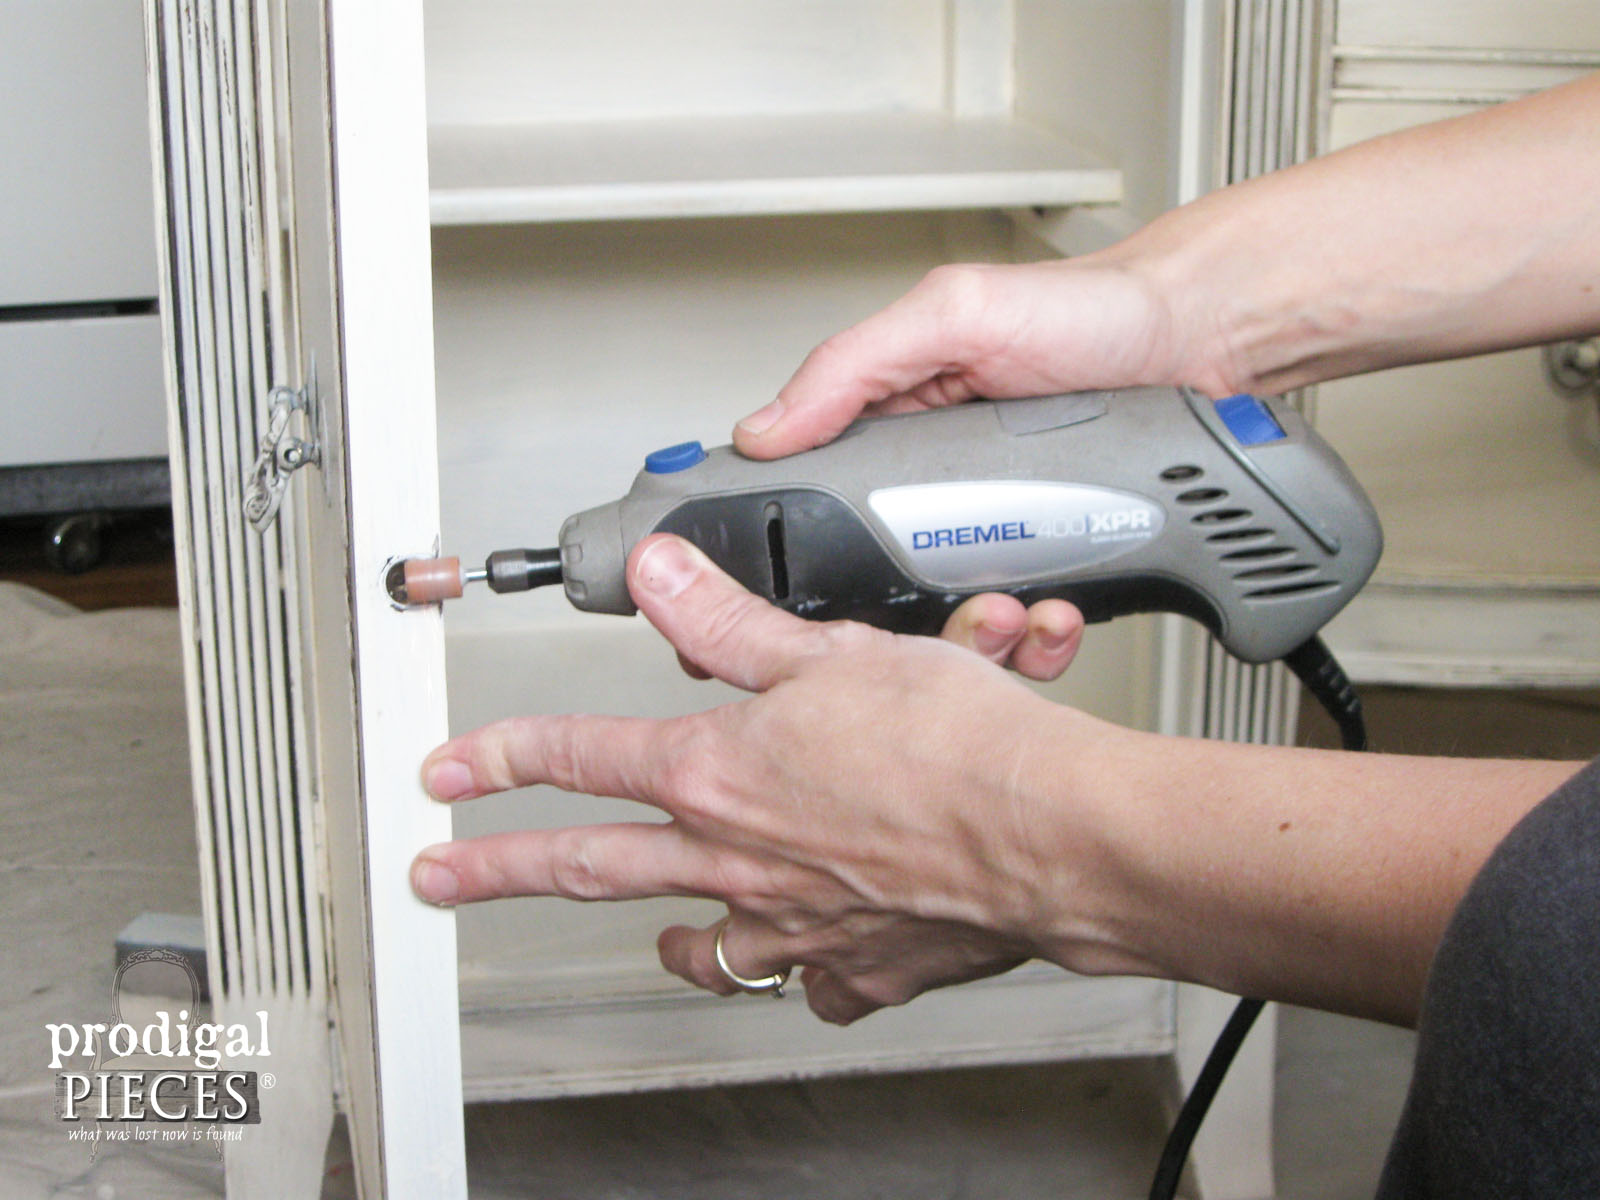
Well, the hardware on the doors have been a booger ever since I owned it. So, I whipped out my Dremel and ground them down to fit. Wouldn’t you know I fix it when I’m not going to keep it. That’s how it always works, right?
I distress and then add the topcoat to the cabinet to give it extra protection.
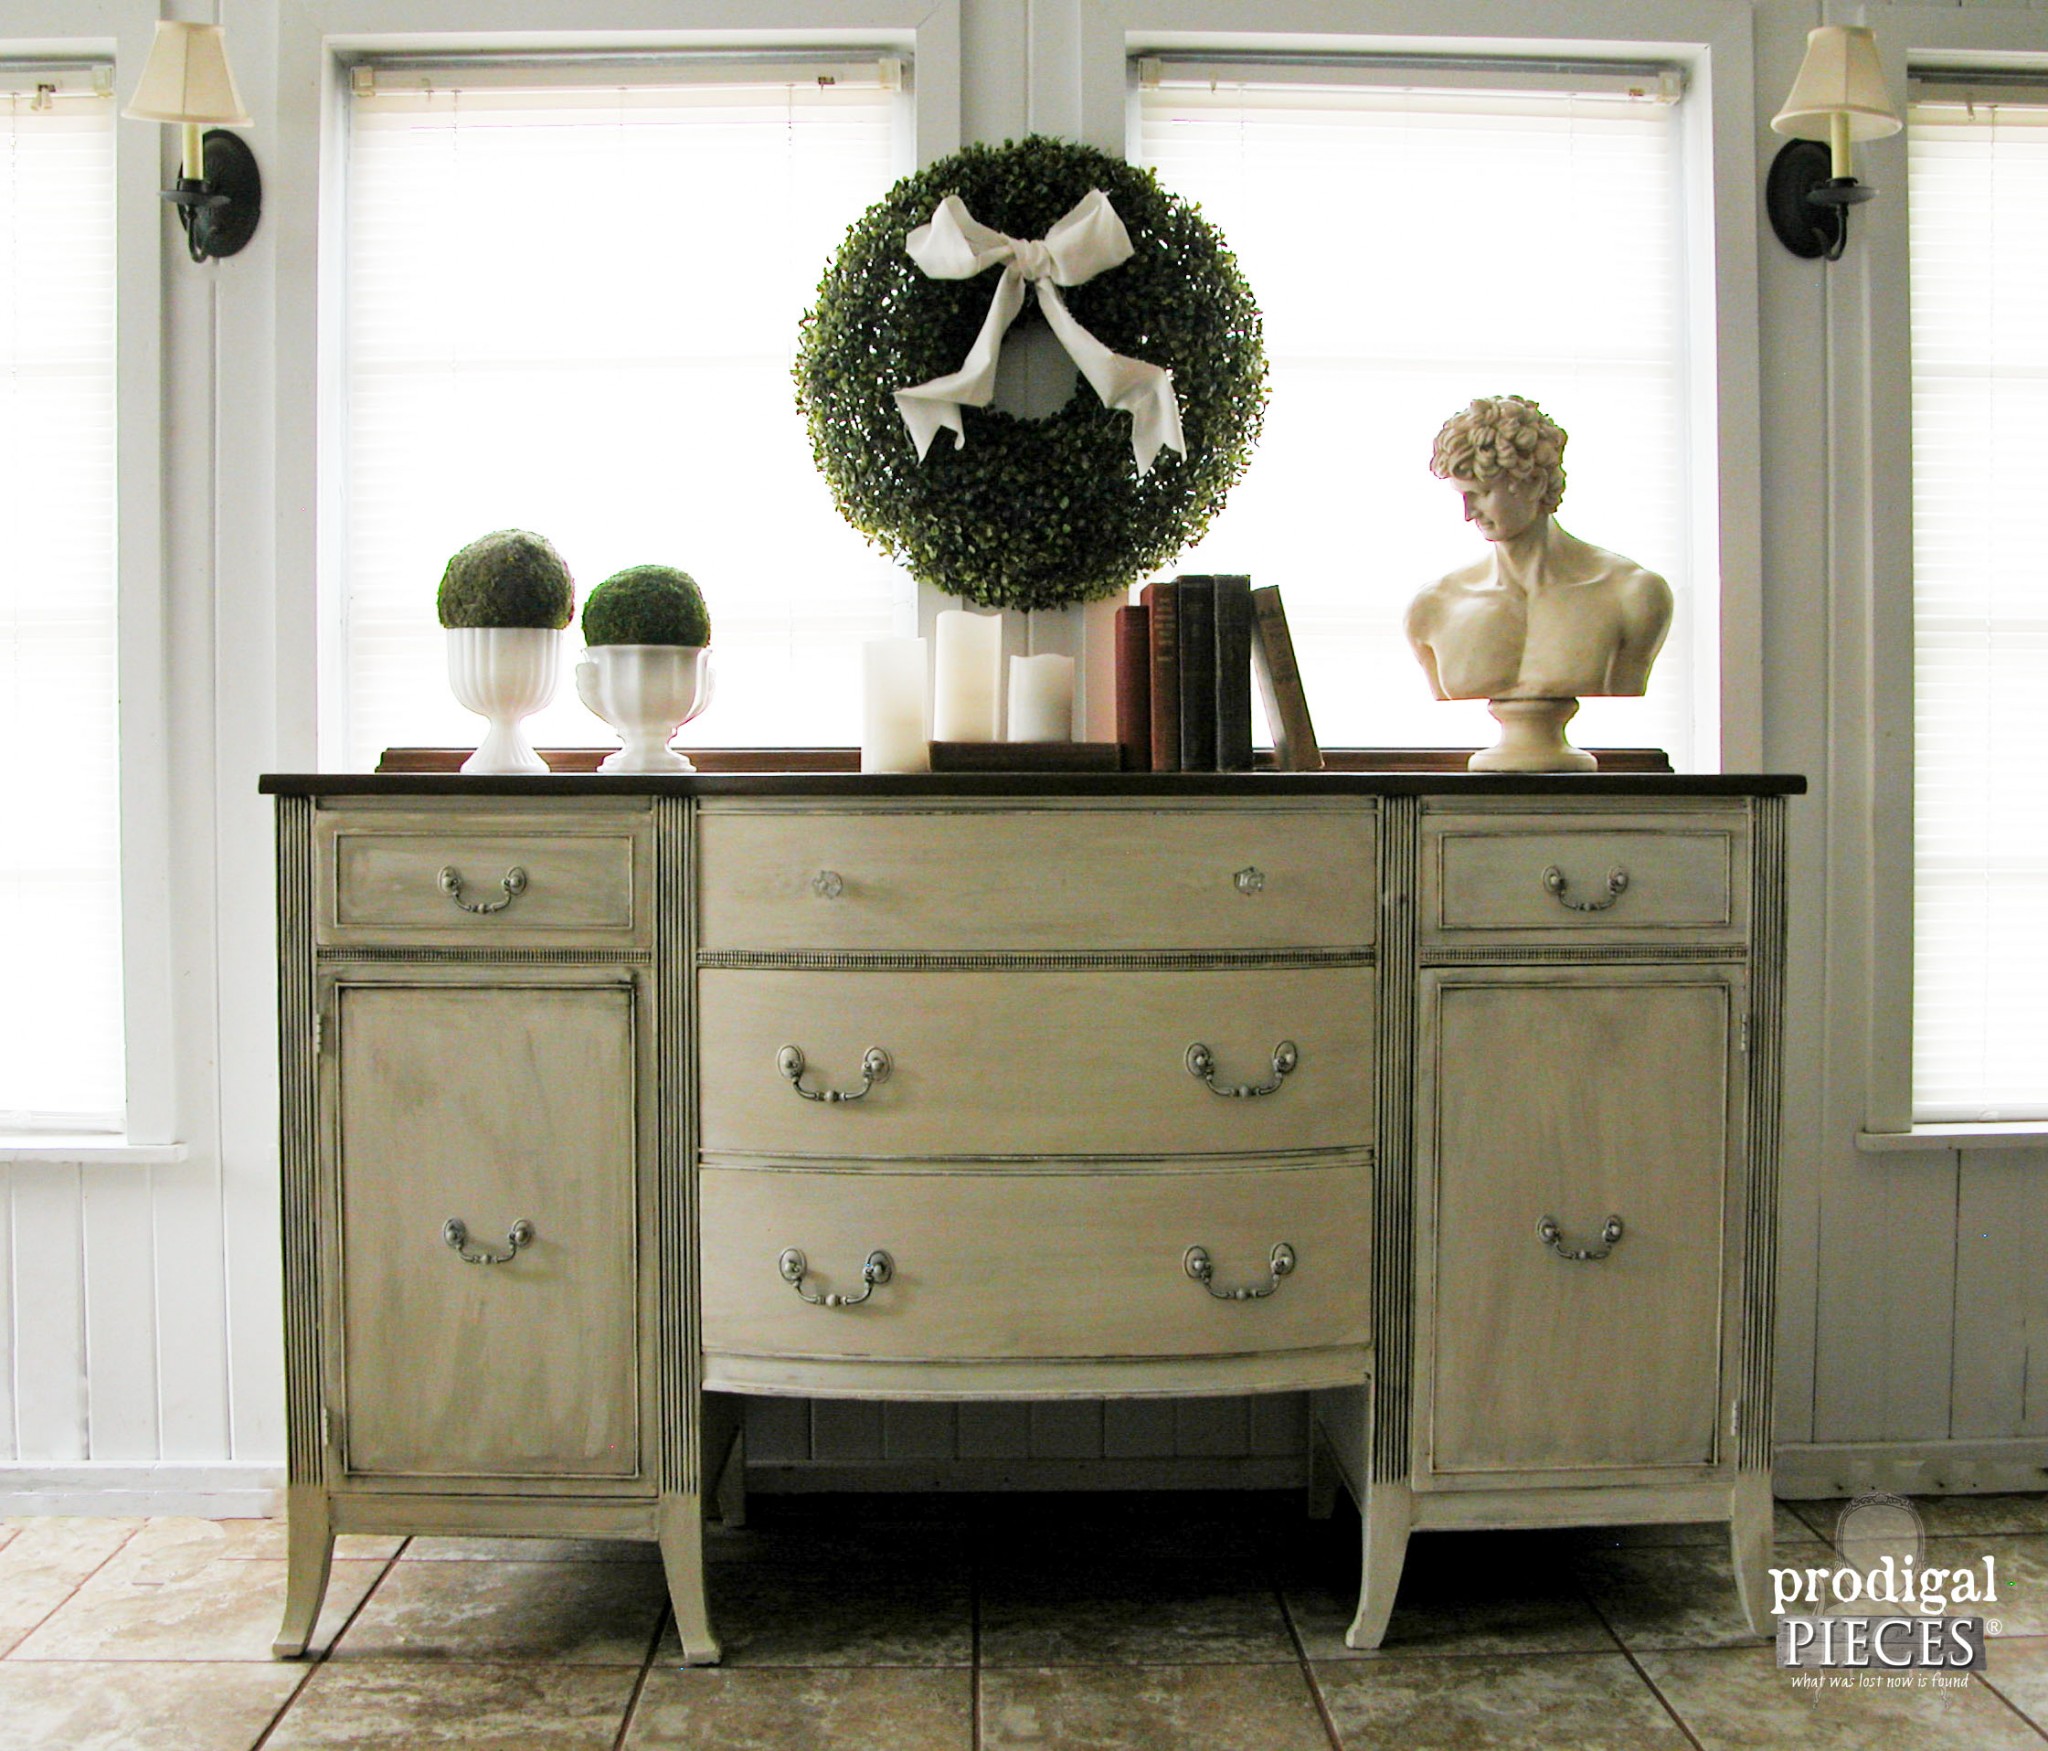
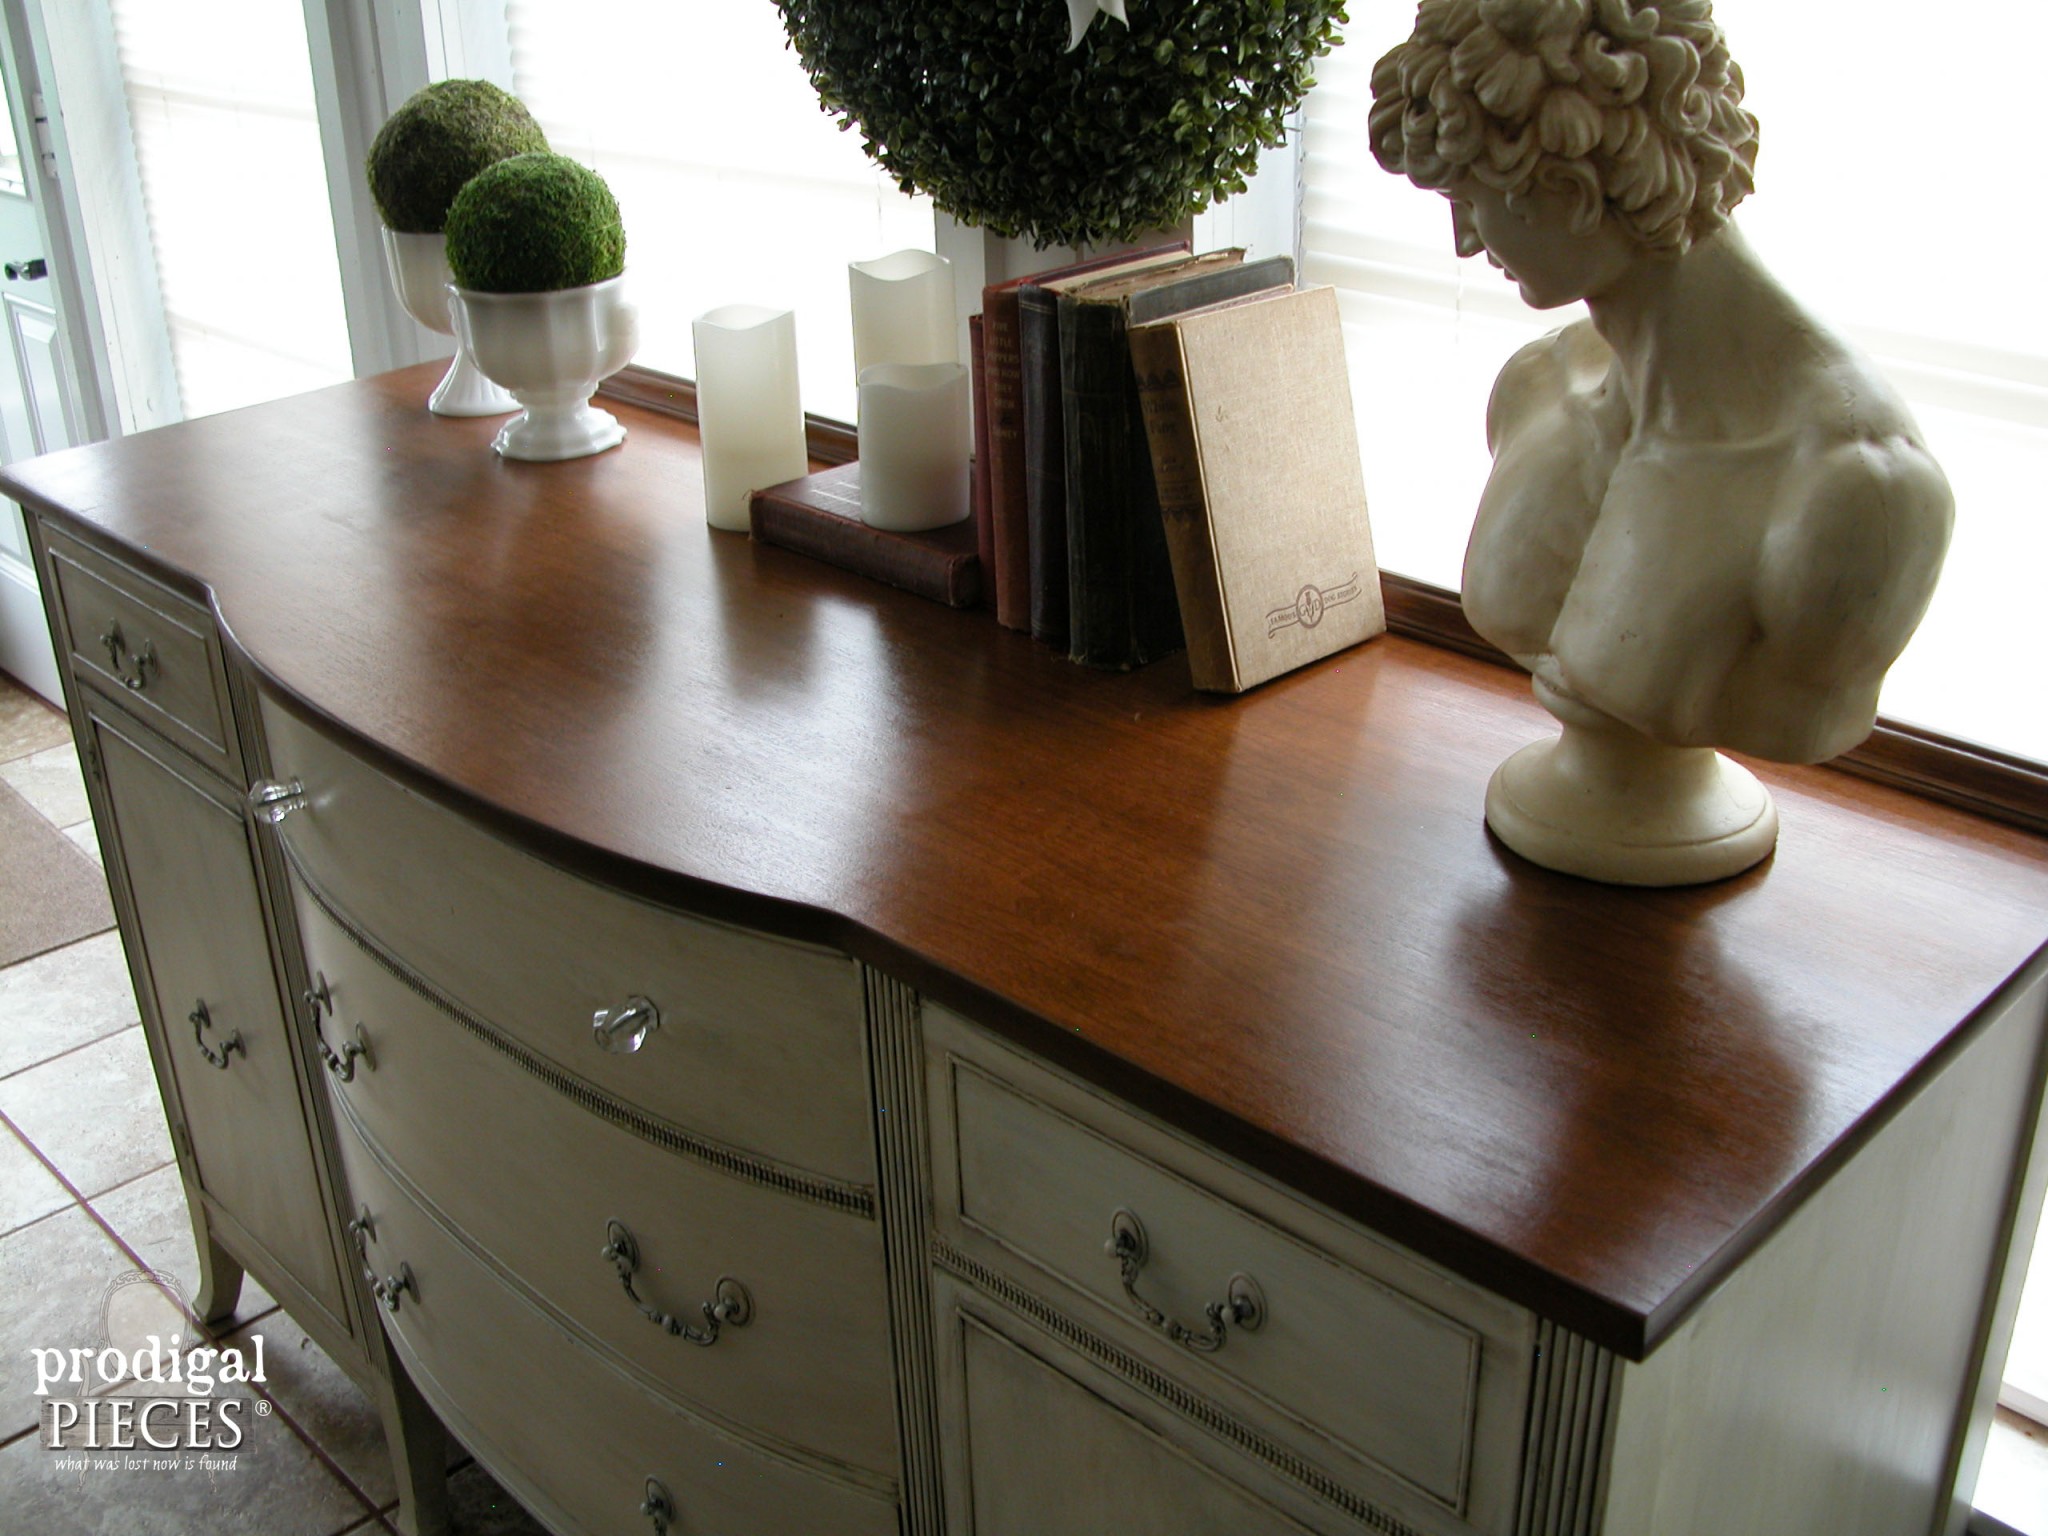
I love the classic lines of this piece. However, if it was in better shape, would have been pretty refinished to all wood. Check out that top…
…sigh. So pretty, isn’t it? I think everyone should have vintage sideboard.
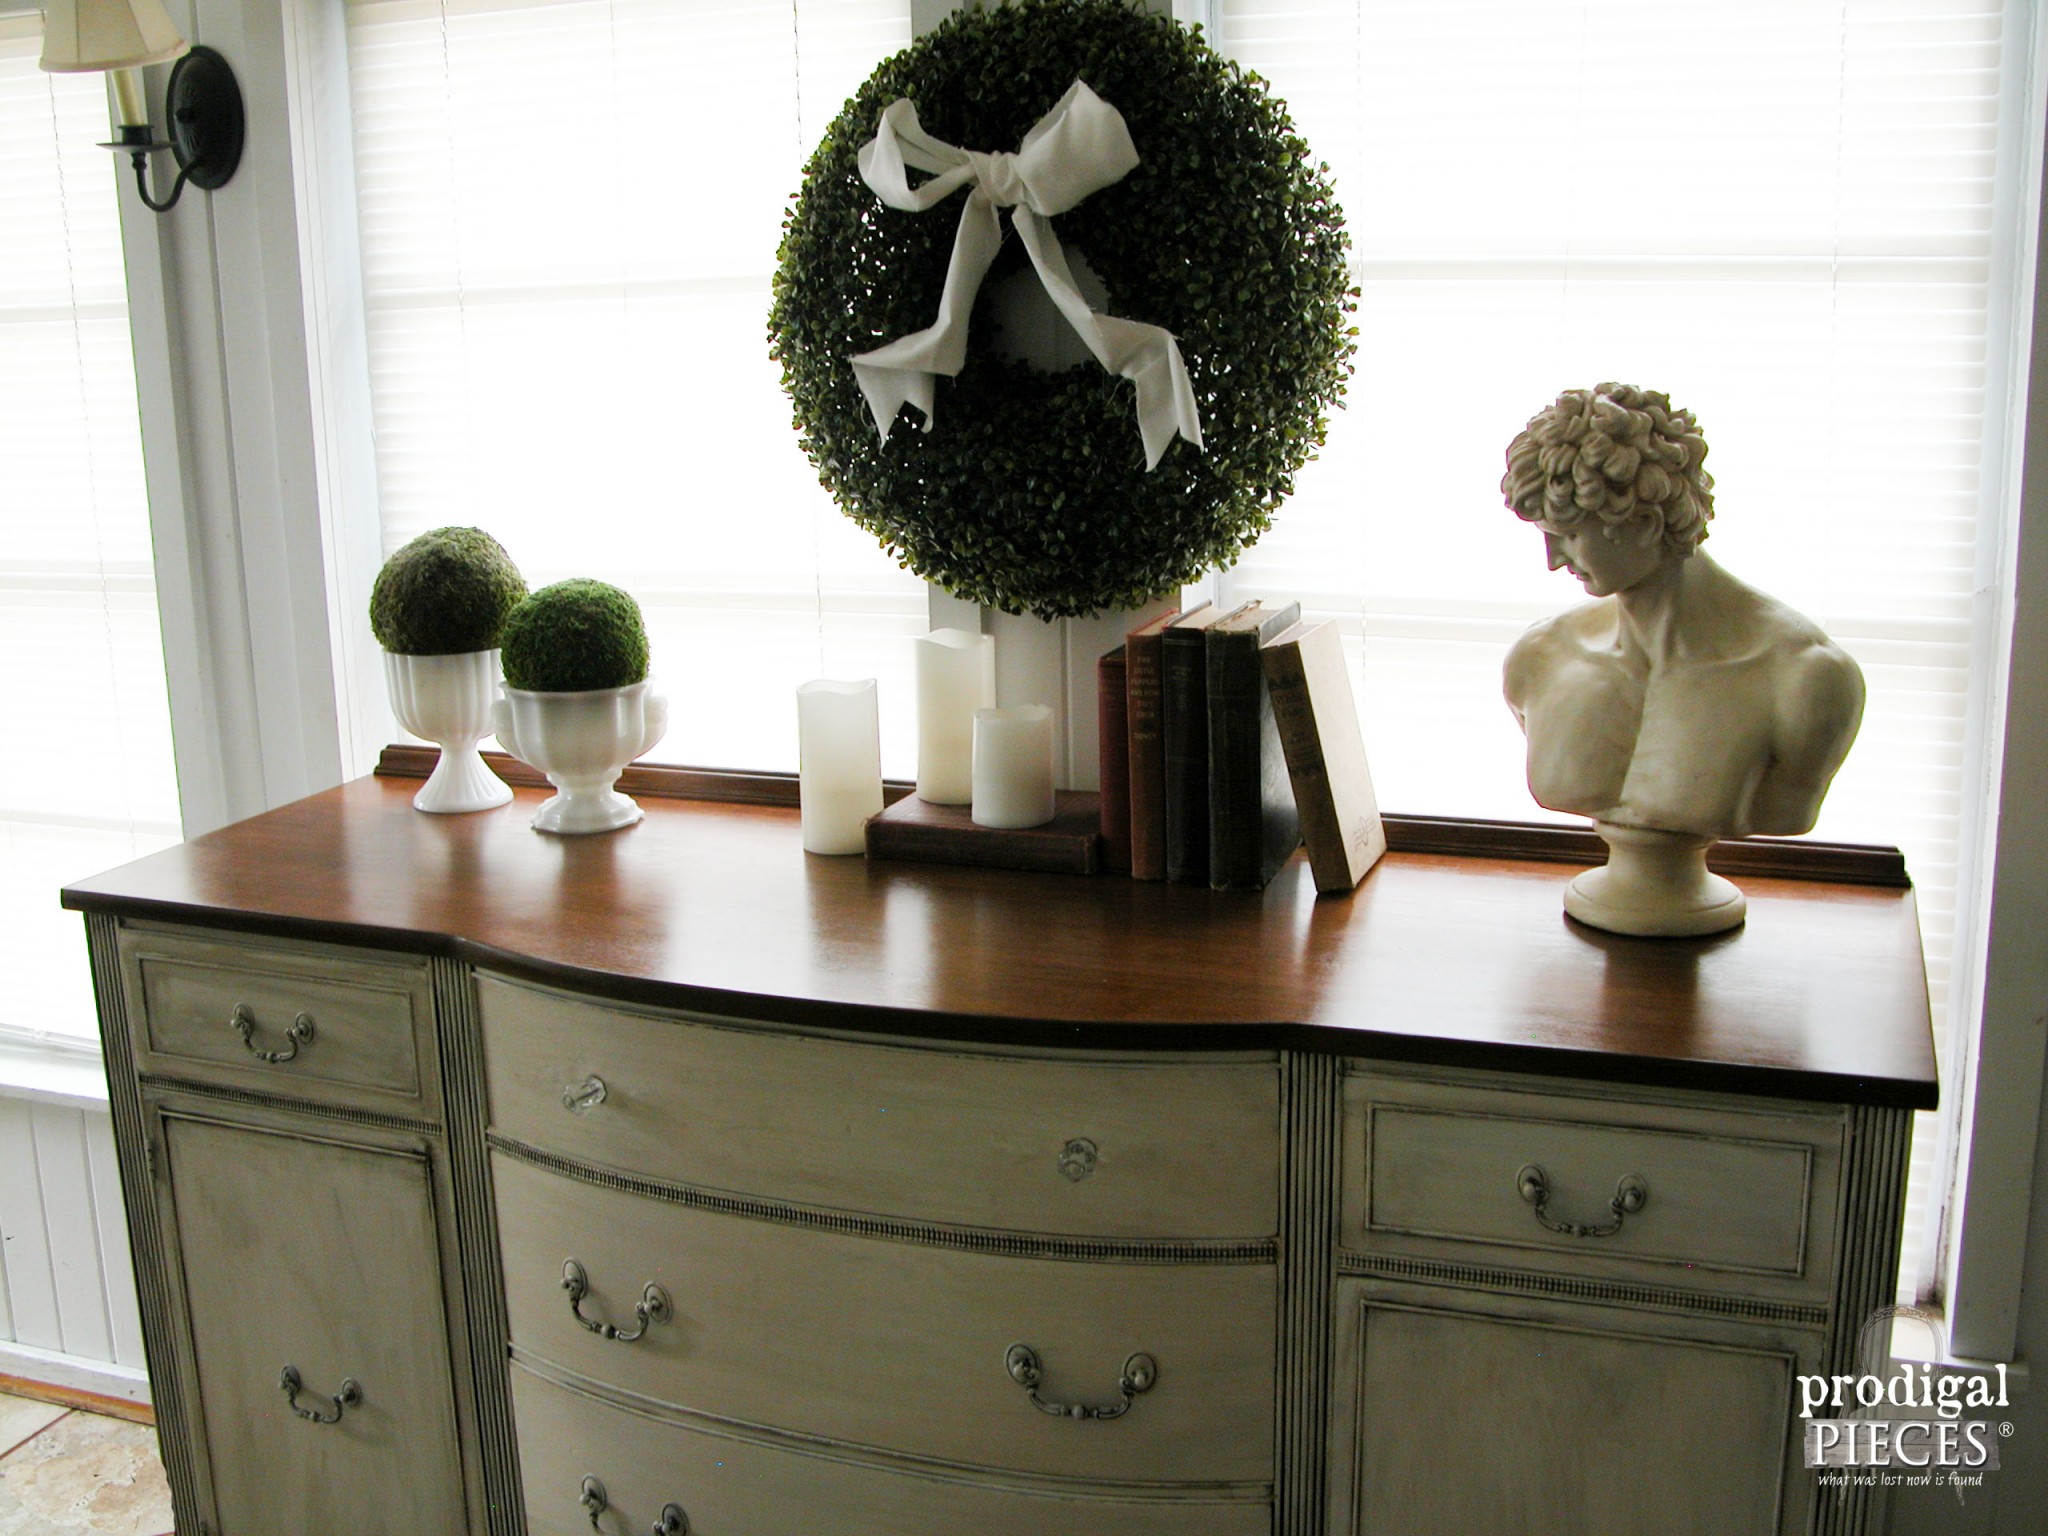
The glazing adds depth to the paint and brings all all the gorgeous detail.
I choose to replace the missing pulls with two glass knobs since I like to keep original pulls with a piece as much as possible. I think the contrast adds character.
Well, I said I wasn’t keeping this gem, so if you’re interested in making this vintage sideboard your own, you can find it in my online shop.
SHARE
Sometimes furniture is worn and dated, and a little bit of DIY attitude goes a long way. Do pin and share to inspire others! ♥
Up next, I’ll be sharing with you how to take these flea market finds and turn them into farmhouse decor. Head here to see!

To get these DIY tips & tricks in your inbox, be sure to sign up for my newsletter. PLUS, you will get your FREE Furniture Buying Checklist and special discount to my shop. Until next time!
Before you head off, be sure to check out all the CHOCOLATE themed furniture makeover goodness!





Larissa,
In my traditional home, Duncan Phyfe is welcomed like family. I am thrilled that you could save the wood on the top, but the paint treatment is beautiful, too. The piece was lovingly brought into 2016. Great job, girl. It’ll be ok if you just send it right over.
XOXO
Susie
Same here…it’s serpentine style and lines are superb! Thank you for sending the love, Susie. 😀
I LOVE THIS! What a great piece to begin with and you have really made it AMAZING!!!!! Great makeover!
It had awesome bones and I love the storage capabilities it has. Thanks so much, Lindsay!
Such a beautiful makeover. The top couldn’t have turned out any better and the rest of it is gorgeous too. (Even the white nipples, haha!!).
hee hee…thank you, Amy!
Ahhh I expected nothing less than stunning and it is!! I don’t know if I’d be able to part with it! XOXO
I really had a hard time deciding, but when I saw that open space I knew it was the right thing to do. Thank you for the love, Christy!
Beautiful job Larissa. I love the added depth of the glazing!
~Tami
Thank you, Tami!
What a beautiful makeover Larissa! You work so hard on so many pieces that you deserve to have the best for your own home. This one is chocolate yummy. The cream color must be the whipped cream!
hahaha…yes! It will be headed to a new home soon, but am happy to have had it for a time and finally give it the love it needed. Thank you, Mary!
Larissa, that turned out just GORGEOUS! What a beautiful statement piece now!
Just gorgeous
Karin
The classic lines are swoon-worthy, aren’t they? Thank you for the love, Karin!
Wow – really beautiful! Love this new look!
That’s awesome to hear, Anne! Thank you.
I would have one heck of a time parting with this beauty now! I’m so glad you stained the top and the color you chose is fantastic! I know it will sell in a New York minute!
It is hard, but I’m looking forward to our new space too. There will be another I’m sure. Thank you for the love, Amy!
Ha ha ha Larissa, they do look like white nipples! ahem Beautiful makeover – love the stained top. Sad that you are not keeping it after all those years living with it all tattered. But I know the built-ins you have planned for that space will be amazing. Pinning to share.
hee hee…couldn’t help it. 😀 I am happy to see it refreshed and am looking forward to the extra space. Will it be missed, yes, but less clutter means more to me than ANYTHING. 😉
I always enjoy your make-overs, your blog. Where do you store your pieces before you sell them, as with this piece? Your garage doesn’t look that big. I started reading about your bedroom make-over…where can I take a tour on your blog and see the finished room? The story of each step was fascinating. Thank you for all your creativity. God is good to you!
Well…they clutter up my home for the most part. One day I will have a workshop where they will go, so that’s why sometimes having furniture all.the.time. can get pretty hairy. 😀
Hi..One more comment….love the bust that sat on the sideboard. Tell us the story of that! Is IT for sale? I don’t see it in your shop.
Thank you, Sherry! (just make sure you only hit the comment button once. 😉 ) The bust is a thrifted find that is my treasure. I have a list of interested buyers already!
ok, so this piece is amazing. Love how the top turned out, well the whole thing really! Your before and after side by side photos have been so great lately – love them!
So happy to hear it, Kim! Thank you. 😀
Larissa this is gorgeous! I love the stained top and then the white with the chocolate glaze over it. 😉 I know someone will cherish this piece in their home!
Thank you so much, Jen! I think it’s already found a home. Good thing because I would have to keep it. hee hee.
The piece turned out great! Love how the glazing brought out the detail on the wood! Great job as usual!
Glazing is one of my favorite finishes for detailed pieces. Thank you, Sherry!
Beautiful! Love the stained wood with the creamy white, one of my favorite combos. Great job, as always!!
Thank you for the love, Kimm!
You did such a lovely job on this piece, Larissa! The color of the top is so rich and warm, and I love how you updated the hardware 🙂
It really has great bones and served us well in so many fashions. Thank you for the love, Stacy!
This looks like a totally different piece! The update looks amazing and I’ll bet that you’ll sell it quickly.
Thank you, Paula! I hope so because I will want to keep it. 😉
Larrisa,
I see your piece as a fabulous TV cabinet if you need one. Your work is stunning.
Happy Creating,
Karen Marie
Thank you, Karen!
I’m trying to think of a clever nipple comment, but I got nothing except the sideboard turned out great.
Gotcha! 😀
It turned out beautifully Larissa! Can’t stop giggling about the white nipples!!
bwahahaha!! I couldn’t resist! Glad you liked it.
Did you sand or prime the cabinet before you applied the chalky finish. I’m not using chalky paint, so what is the best paint to use if no primer is used or you don’t sand it down. I plan on sanding the top of my buffet as well and leaving it natural. I don’t want the paint to chip or anything, have had this problem in the past where I applied paint to a dresser and it chipped off so easily. Thanks so much!
I lightly sanded with no primer. If you aren’t after the distressed look, then yes, prime. You can either use Gripper by Glidden if you’re dealing with a slick surface or Kilz for a stain blocker primer as well. Hope that helps!