Maybe the holidays have passed and you’re looking to purge, or maybe it’s time to drag out the decorations and you’re debating on changing it up this year. Either way, don’t pitch or donate your unwanted holiday decor. I’m going to show you one of the ways you can upcycle old Christmas decor into something new for your home. It’s Trash to Treasure Tuesday, so stick around to see what my blogger friends have for you too.
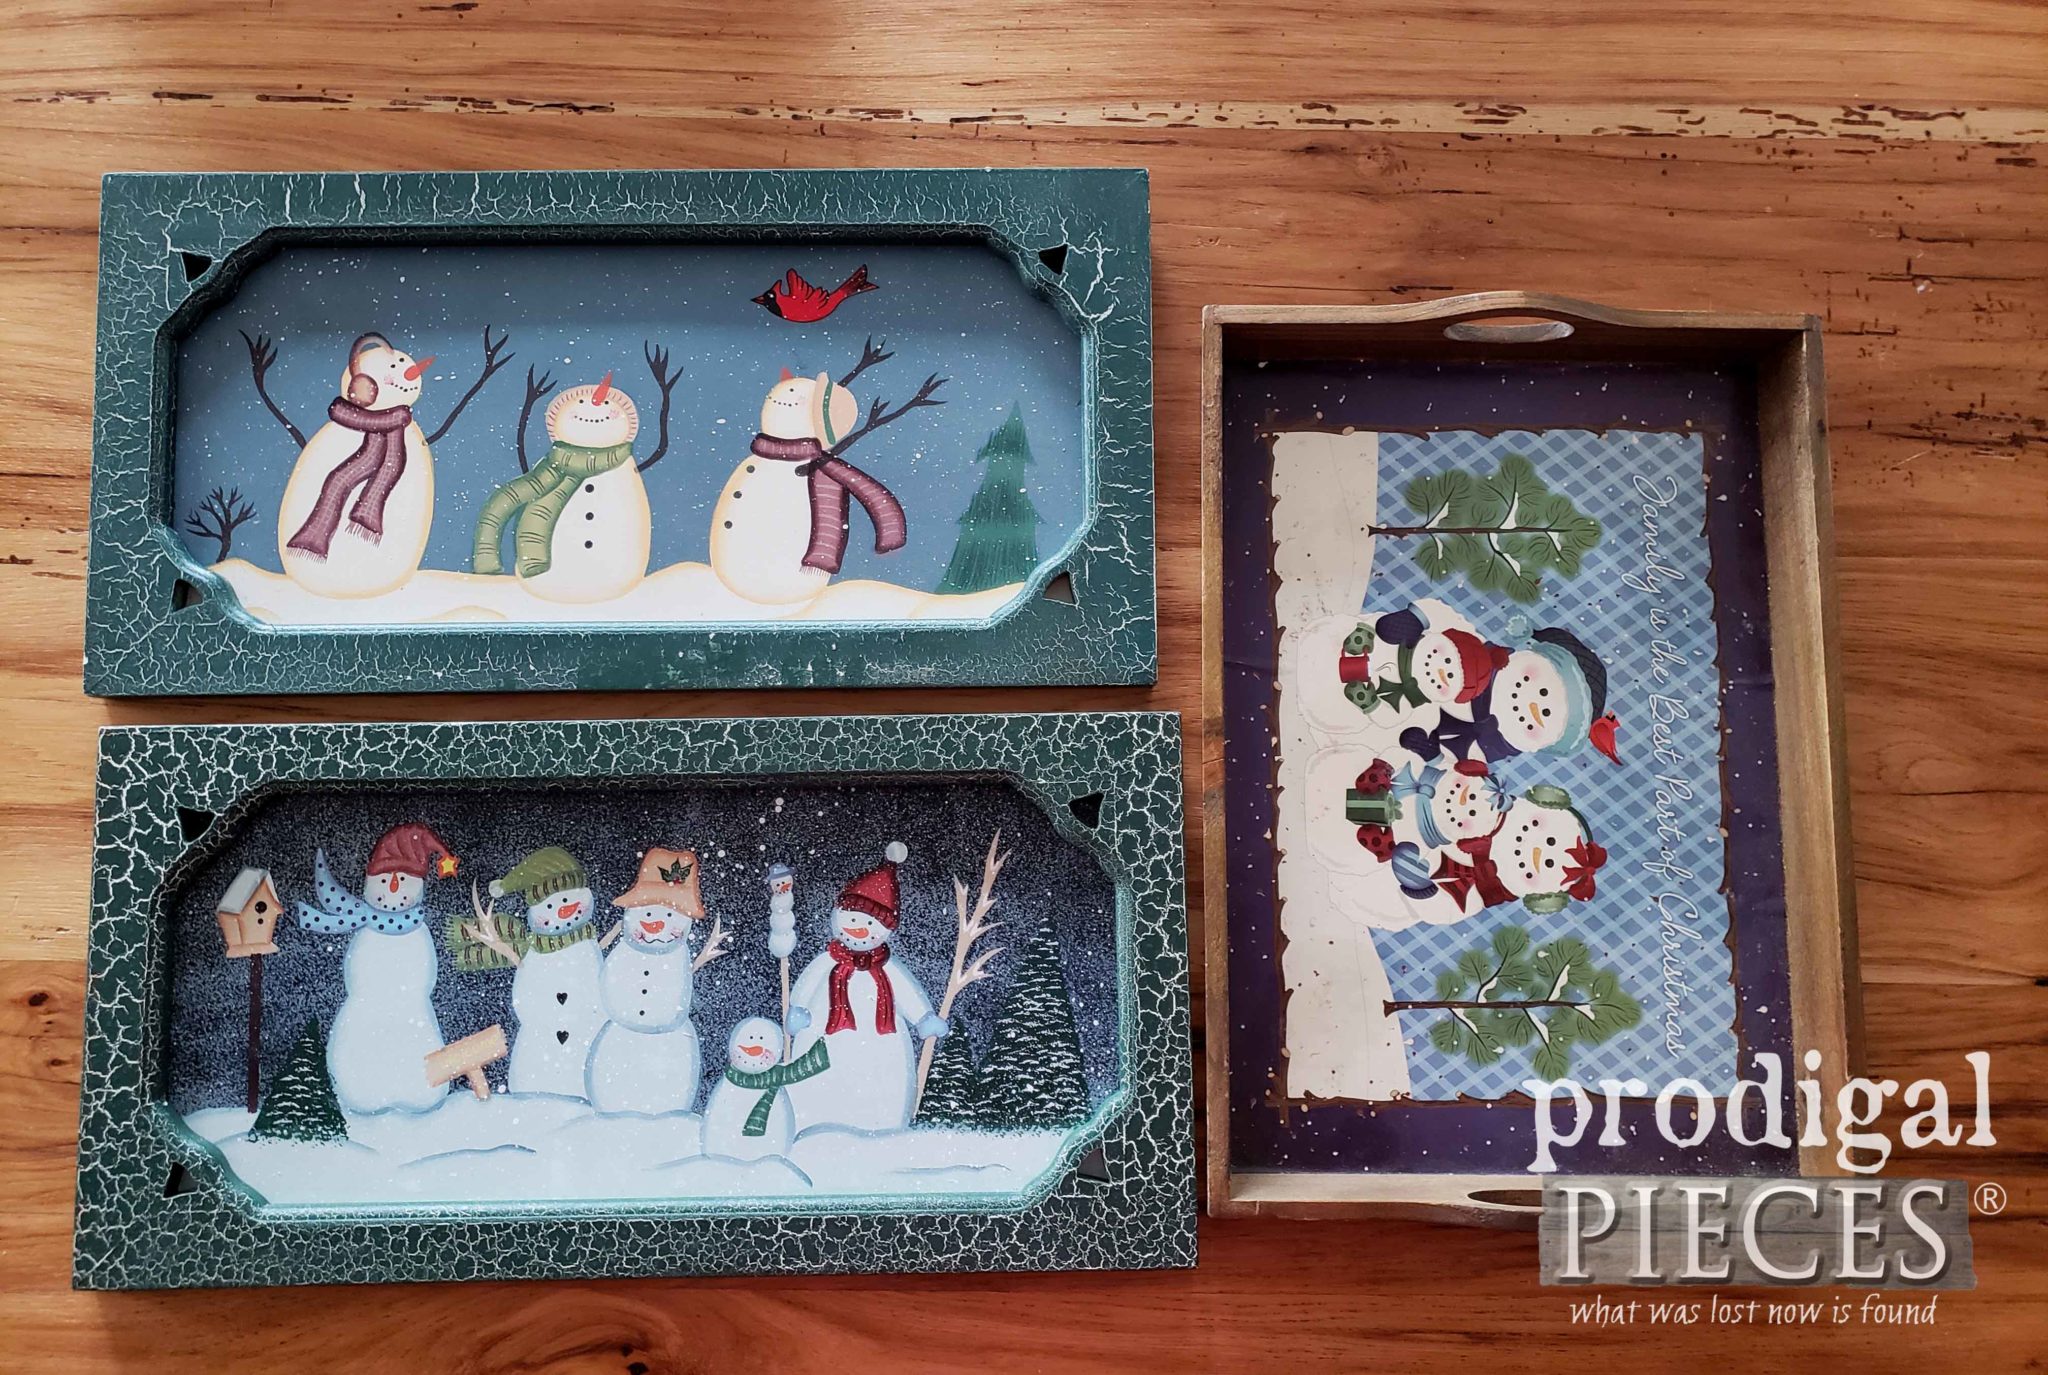
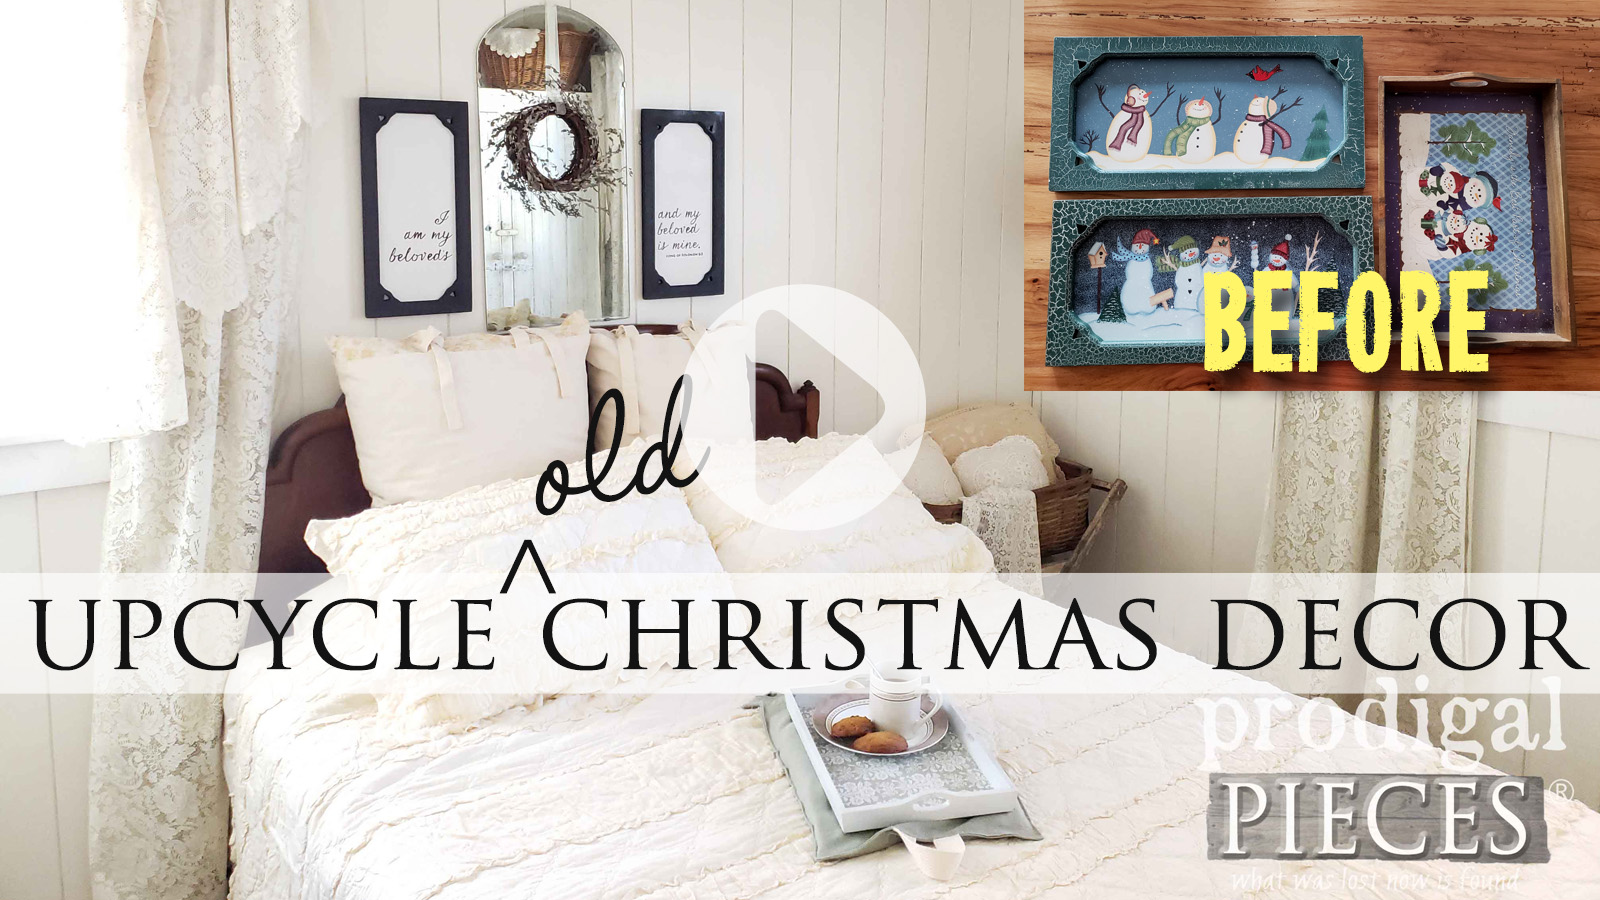
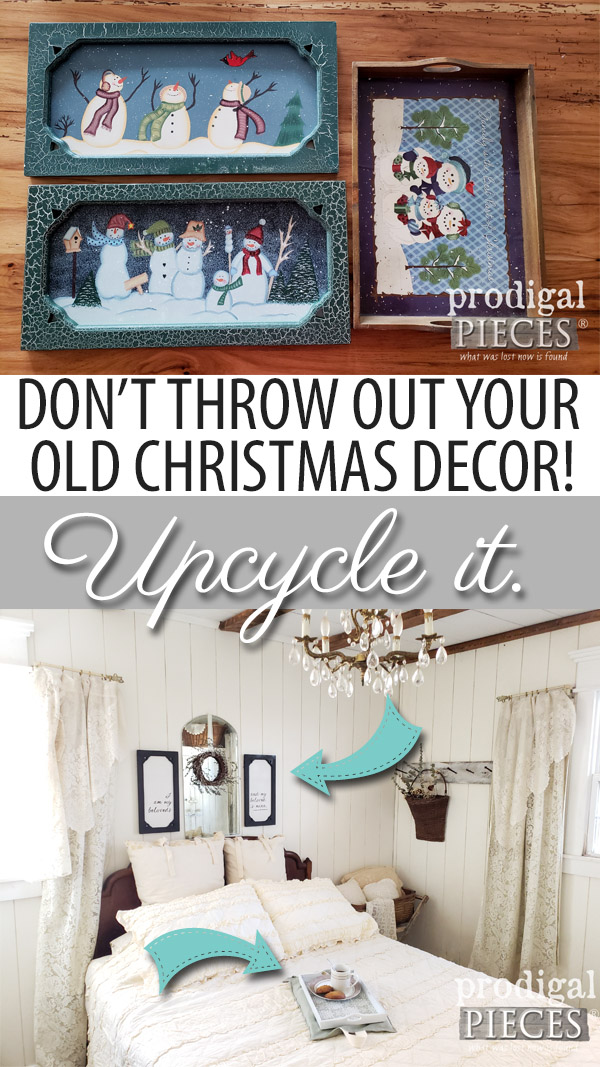
Let’s pretend for a minute that this set of cutesy snowman art is no long your fancy. However, I admit, even I have taken things to the thrift store like this just to be rid of it. However, let’s look at them in a different light.
At first glance, there’s nothing really wrong with them, and the bonus is they’re made of wood. For those of you who prefer to see a video rendition of this, I have that below for you. It’s time to get our DIY boots on and have some fun!
DIY TIME
First, I remove the center panel on the two wall art pieces by tapping them out with a hammer being careful not to crack it.
At this point, I can either cover up the snowman art, or simply flip the board over and use the back side. For this project, I chose to use the back side because I wanted a clean slate to work with. I could stain it or paint, just depends on what my end vision would be.
Since I wanted to create a word art set, I decided to use paint. I head outside to set up my tools. You can see how I love to use these tools in these past posts and how easy they are to set up in my video below.
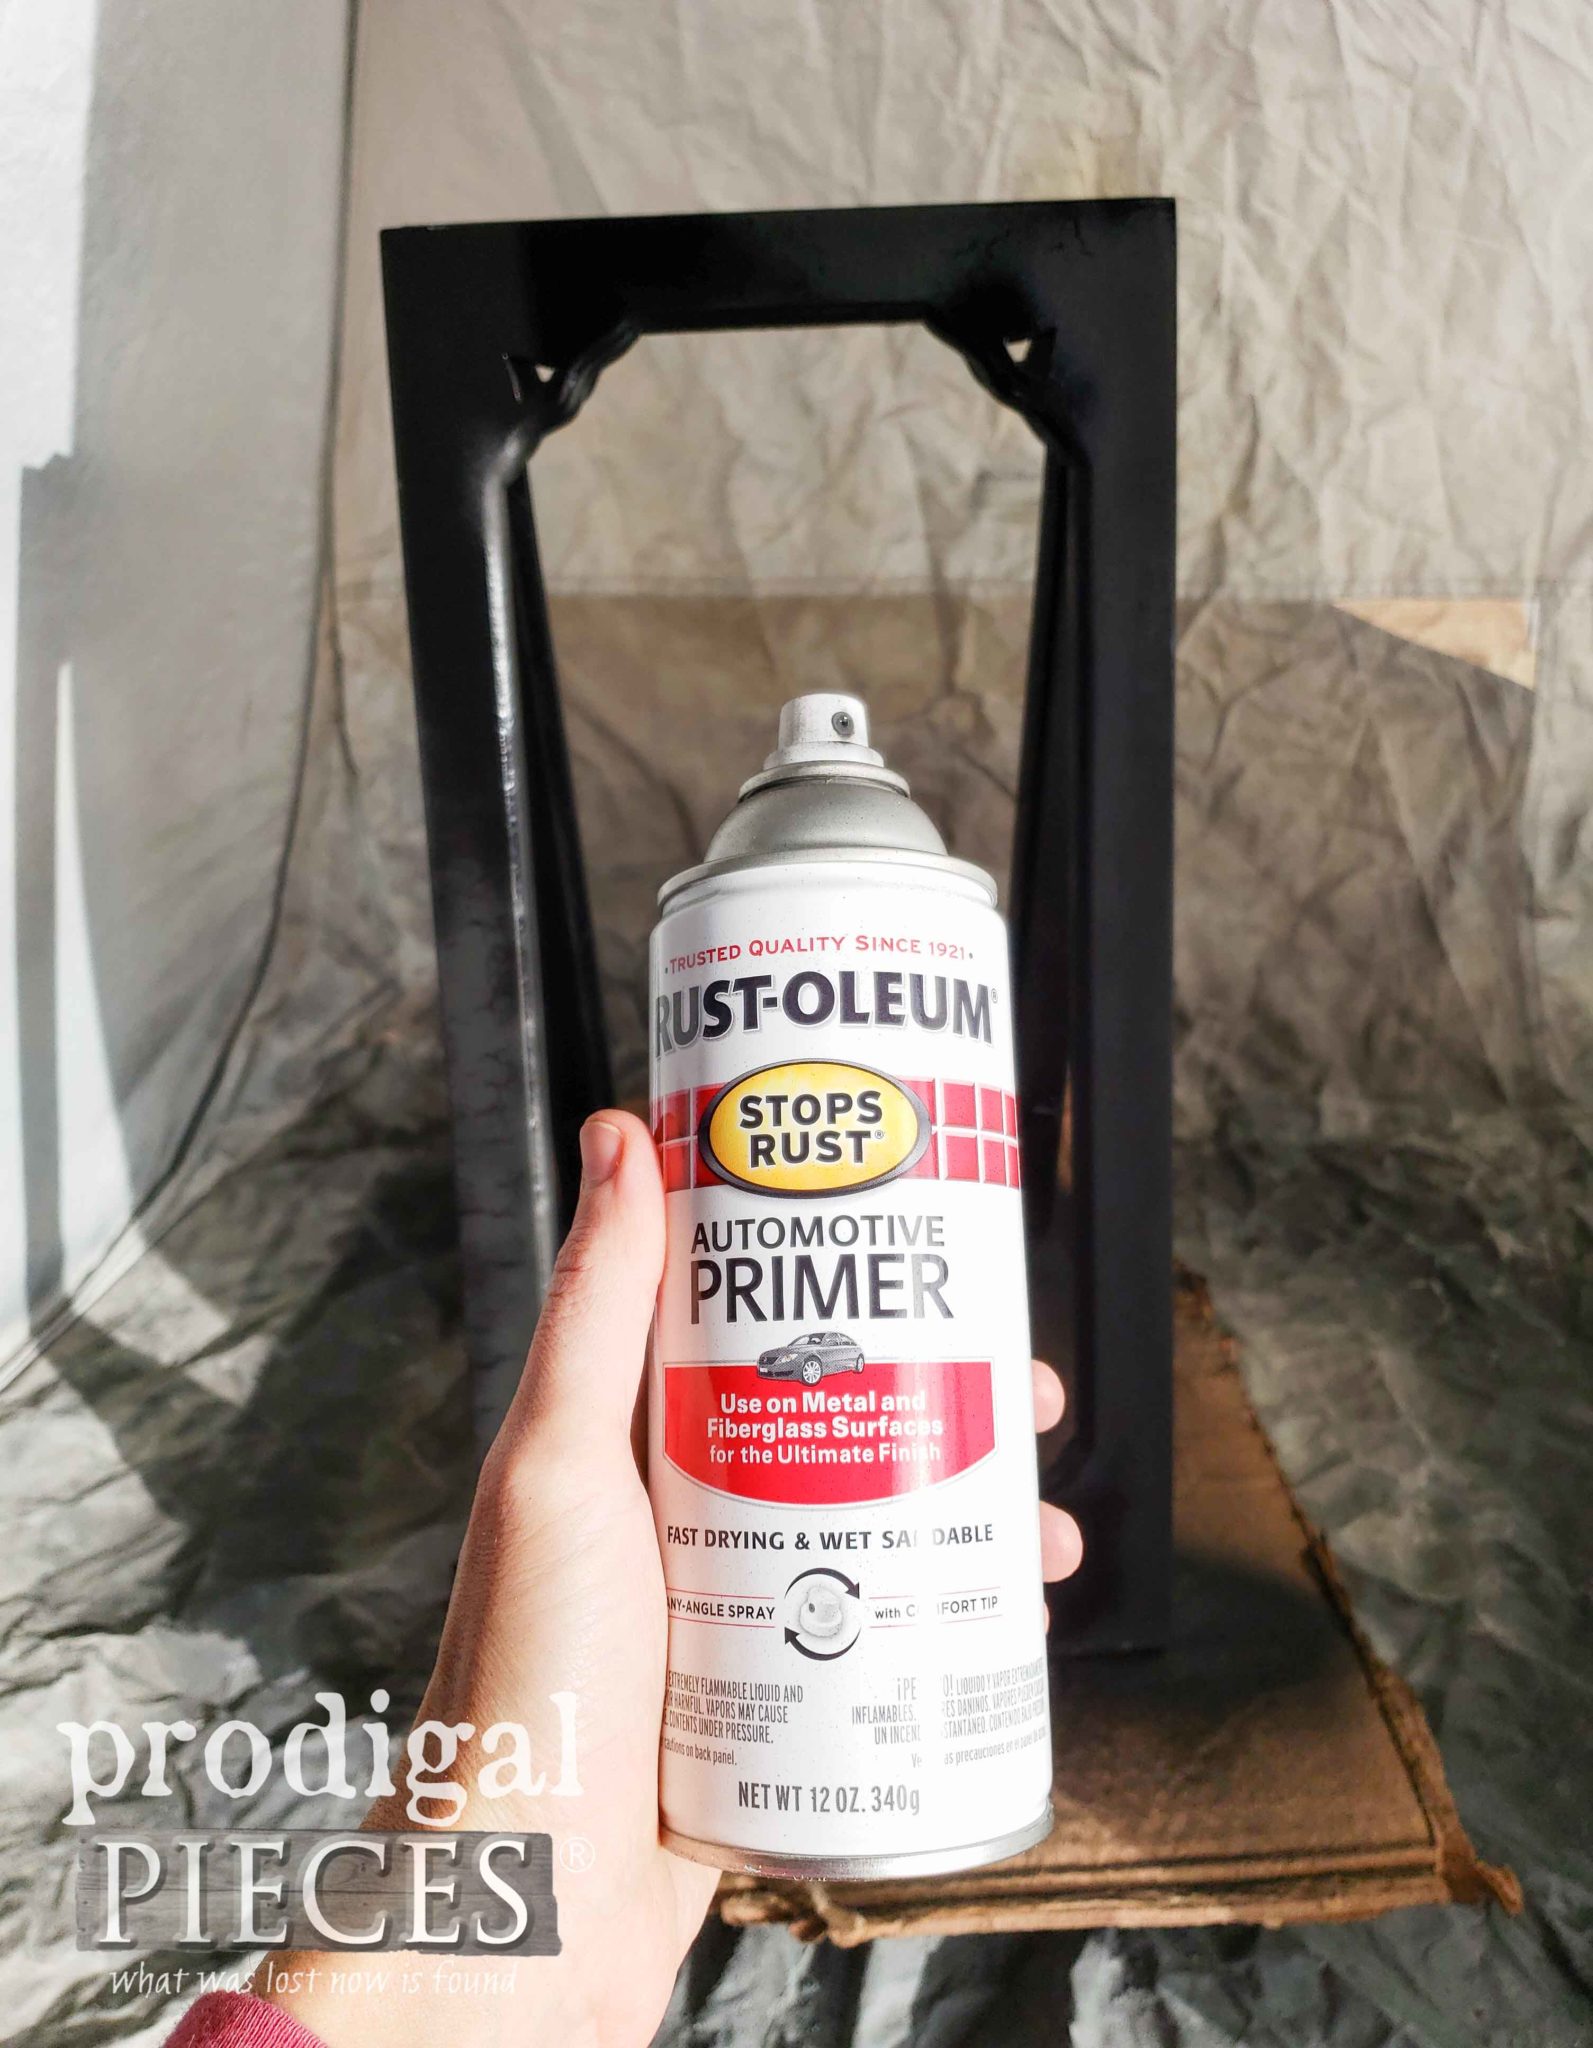
First, I spray the frames with this dark gray spray paint. It’s actually an automotive primer, but it is the only dark gray paint I can find in a flat finish.
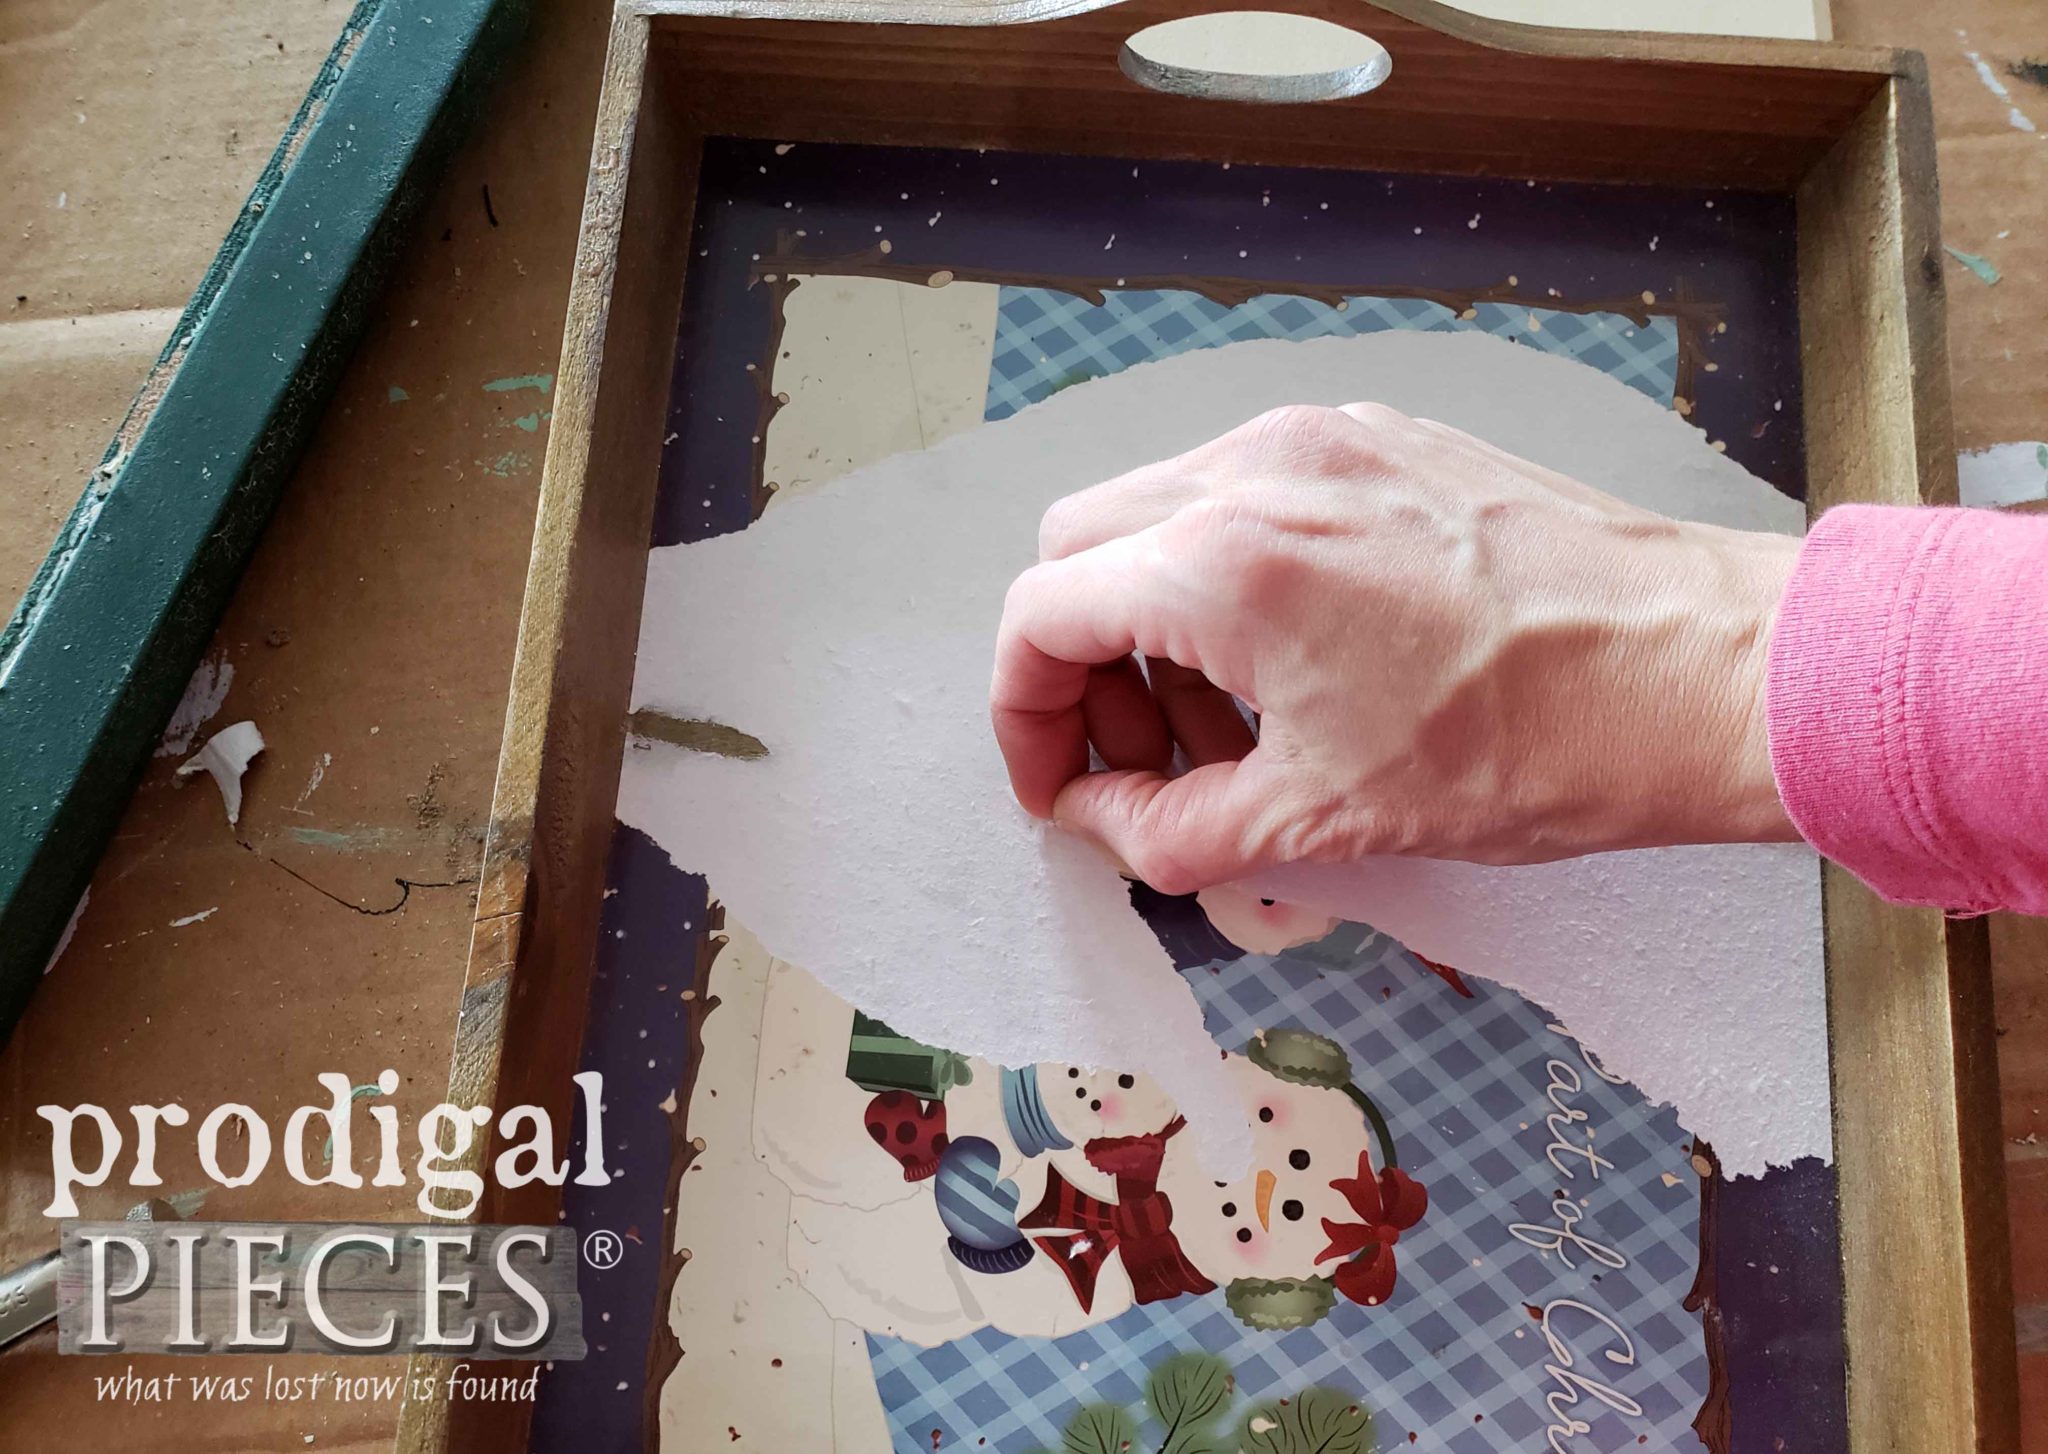
Next, while the frames are curing, I remove the snowman art from the tray bottom. This is an easy way to upcycle old Christmas decor.
PAINT TIME
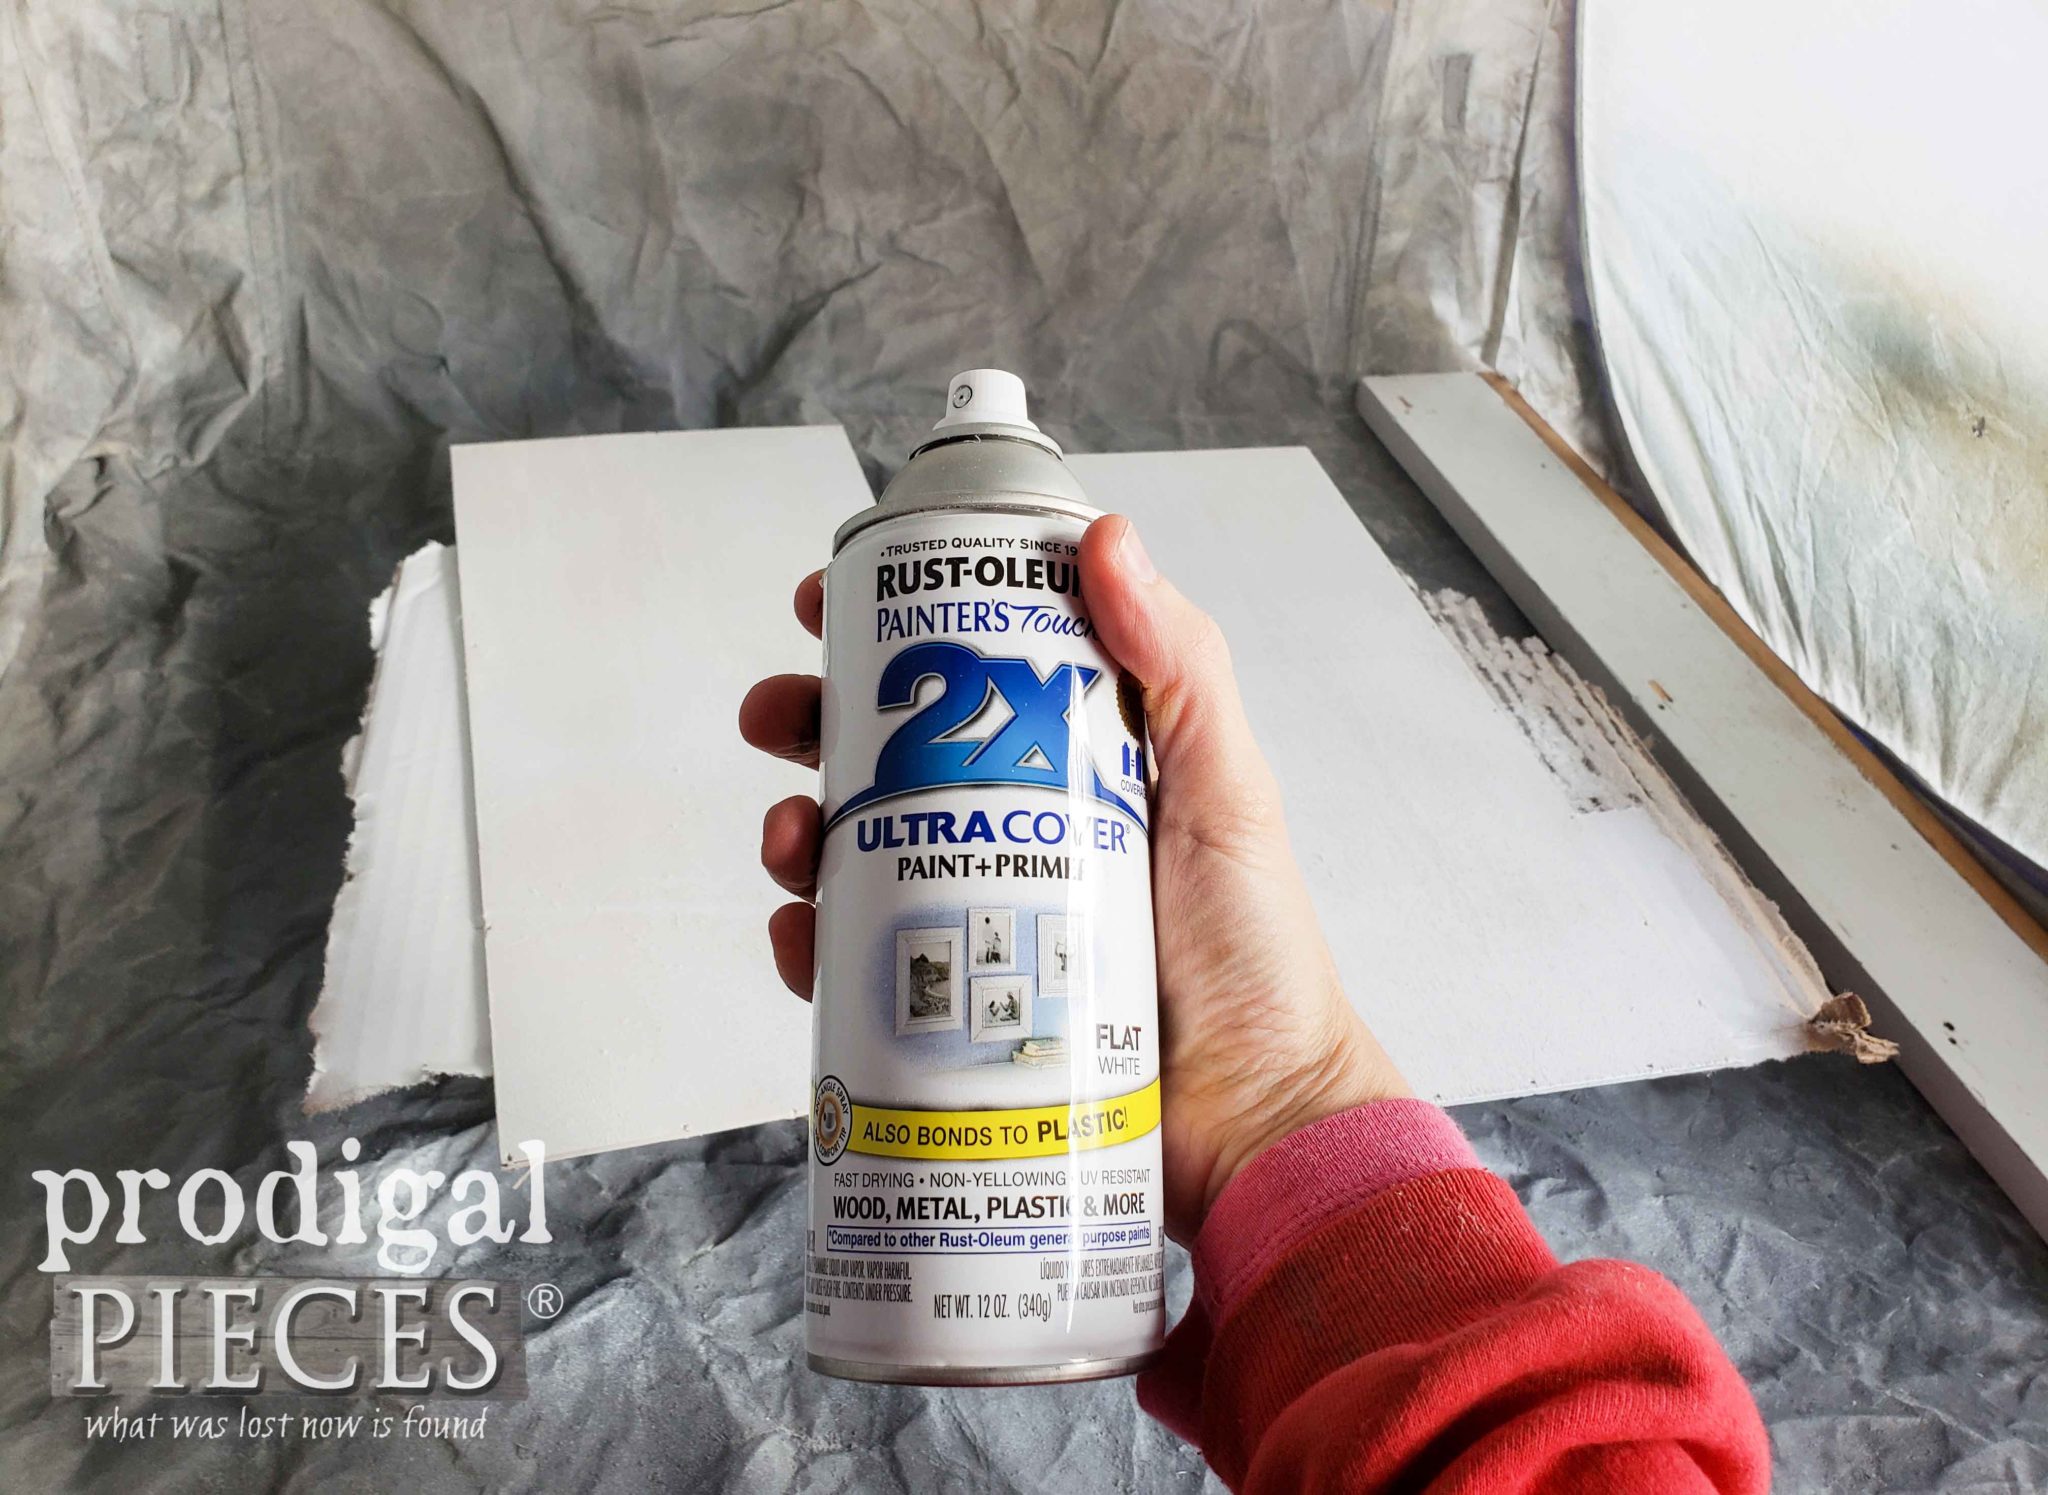
First, I peel off the top layer and then lightly moistened the remaining white film and rubbed it off. Then, I took it outside to my Small Spray Shelter and gave it a coat of flat white spray paint.
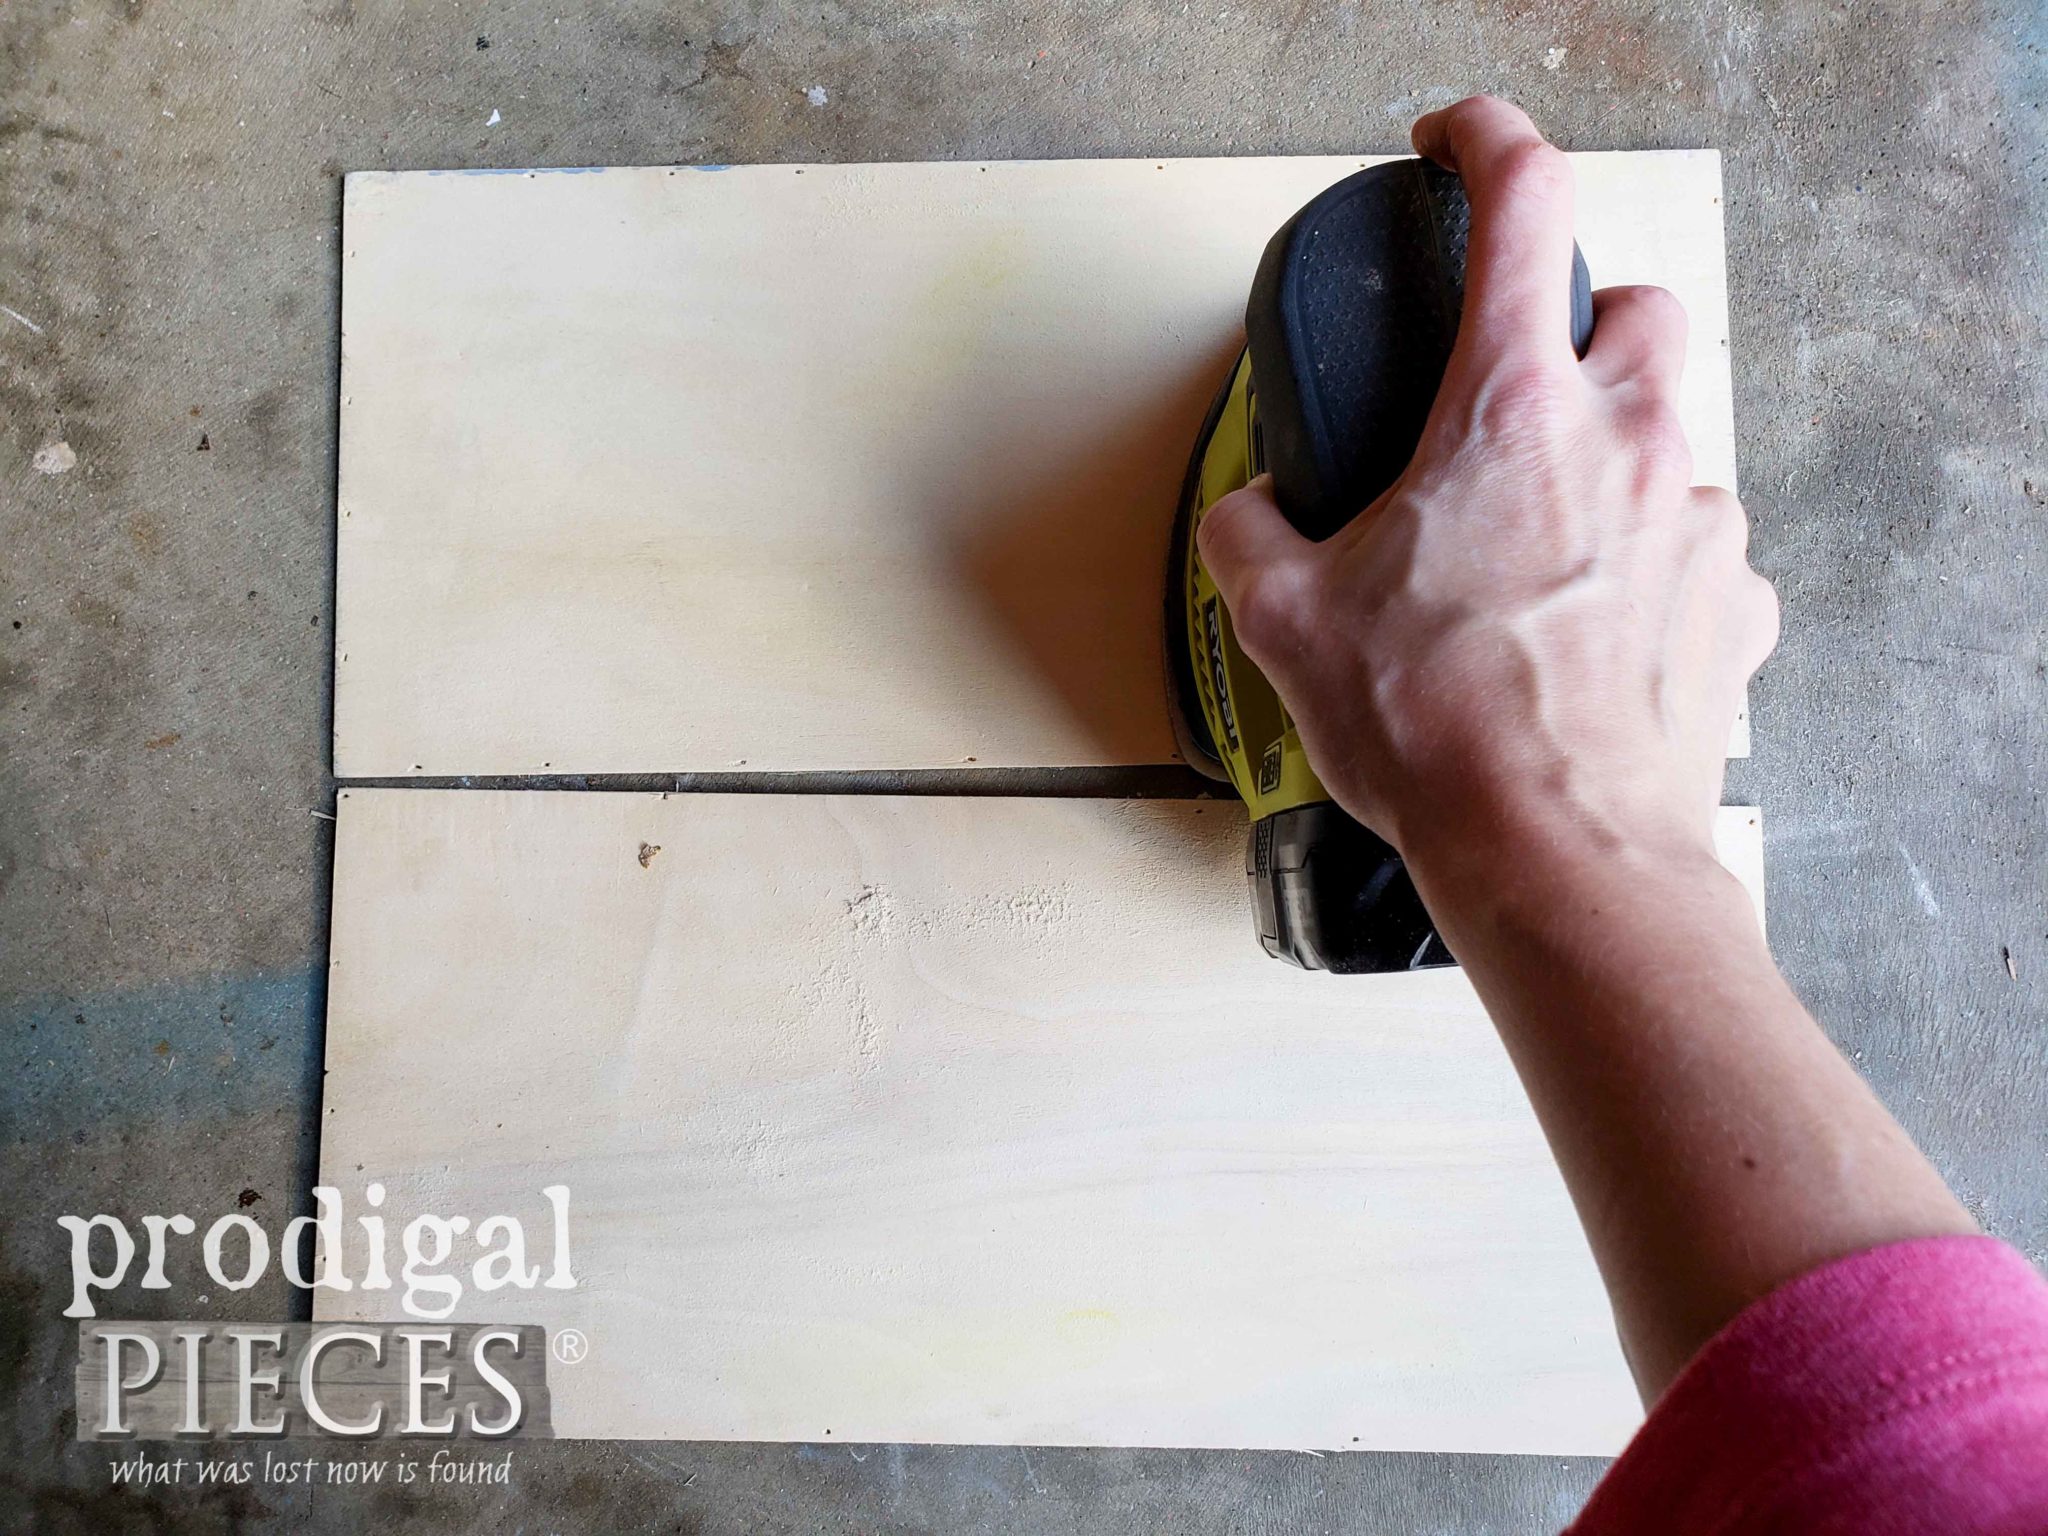
Next, while the tray is curing, I sand down the two art inserts I removed with my sander to remove any fluffed grain.
After that, I used the same flat white paint and gave it several coats of paint, letting cure in between coats.
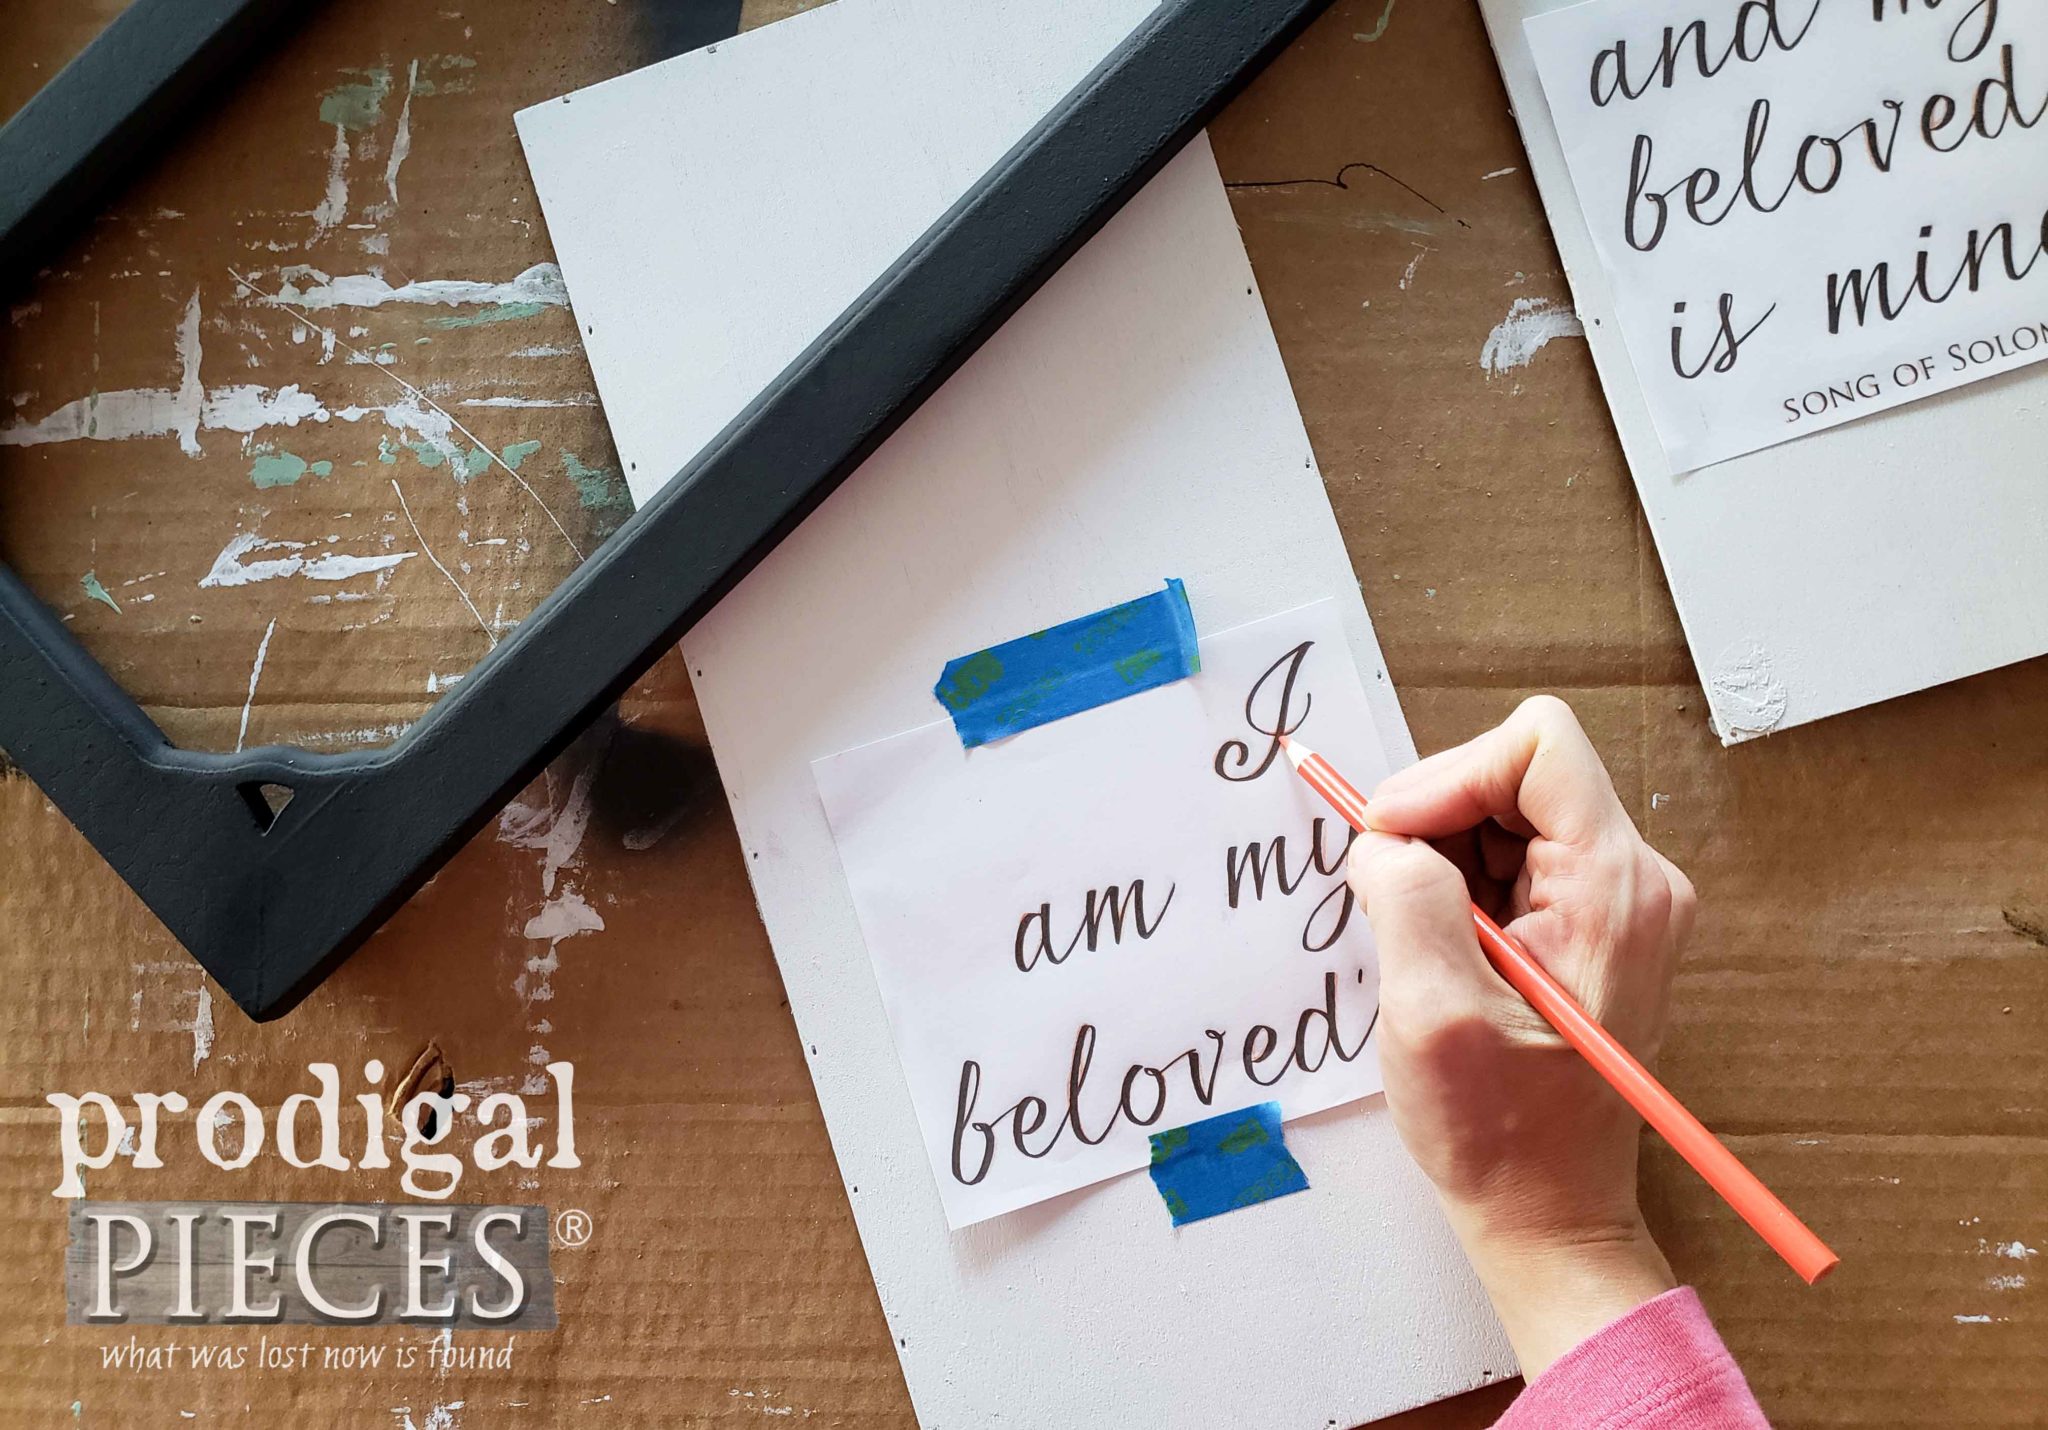
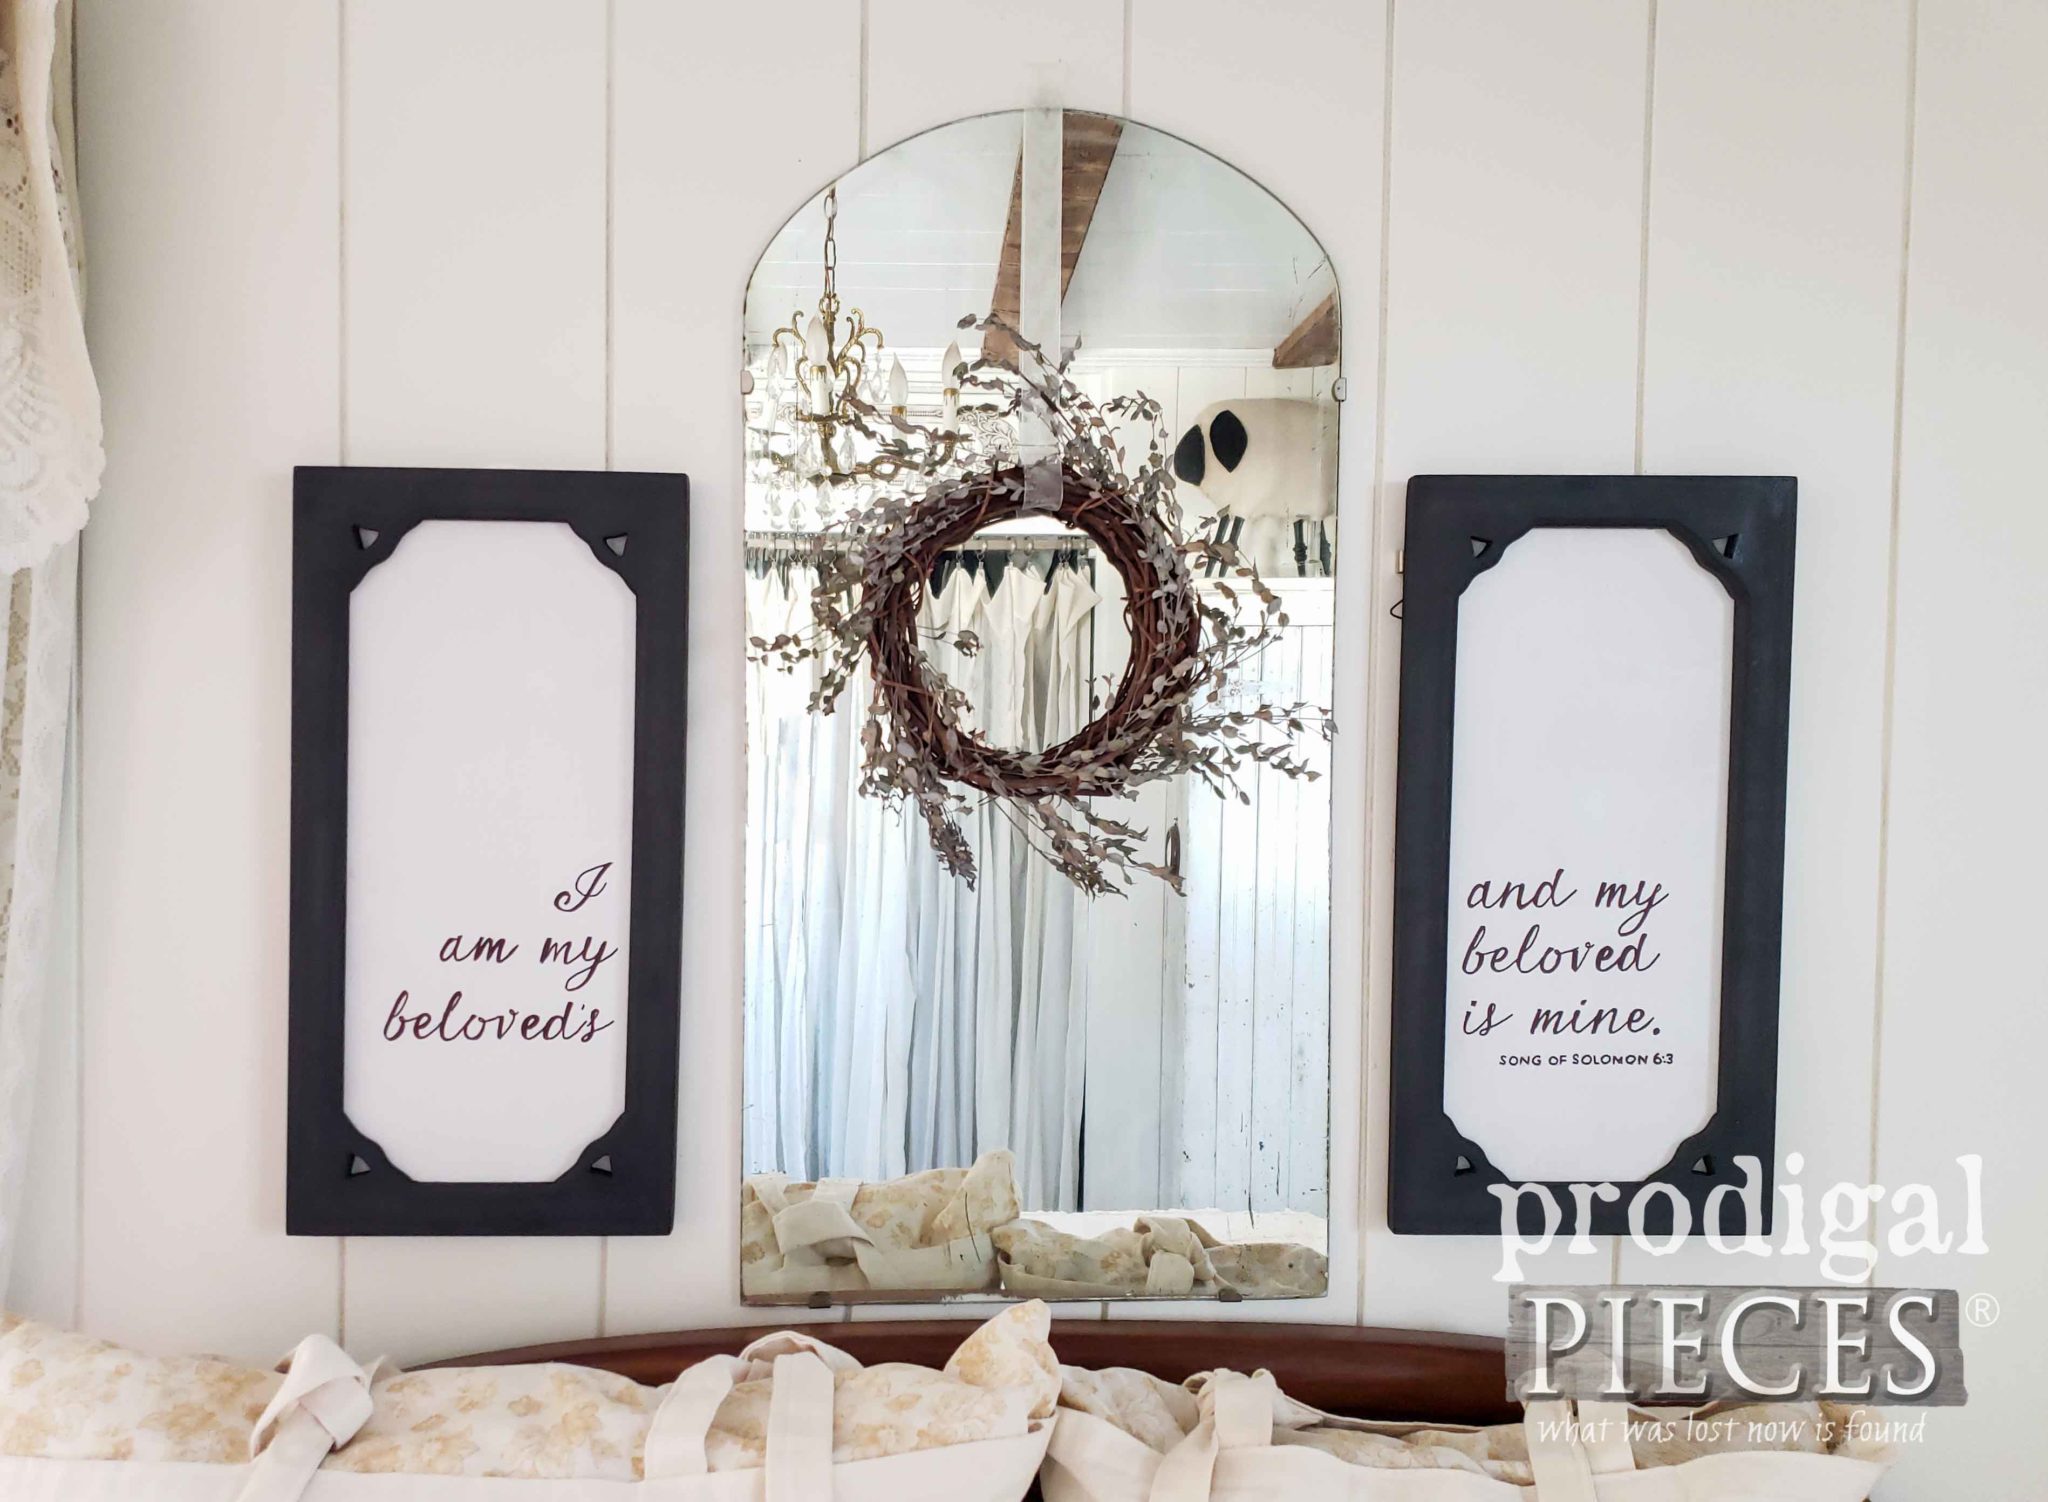
Then, once the paint cured on the boards, I added a scripture verse to both using my transfer method and then used a Sharpie marker to fill it in. The verse I chose to use is, “I am my beloved’s and my beloved is mine.” Song of Solomon 6:3.
Last, I used my brad nailer to reinsert and attach the boards. I also added a sawtooth hanger on the top end so they can now hang vertically. I’ll show you the end result in a bit.
THE TRAY
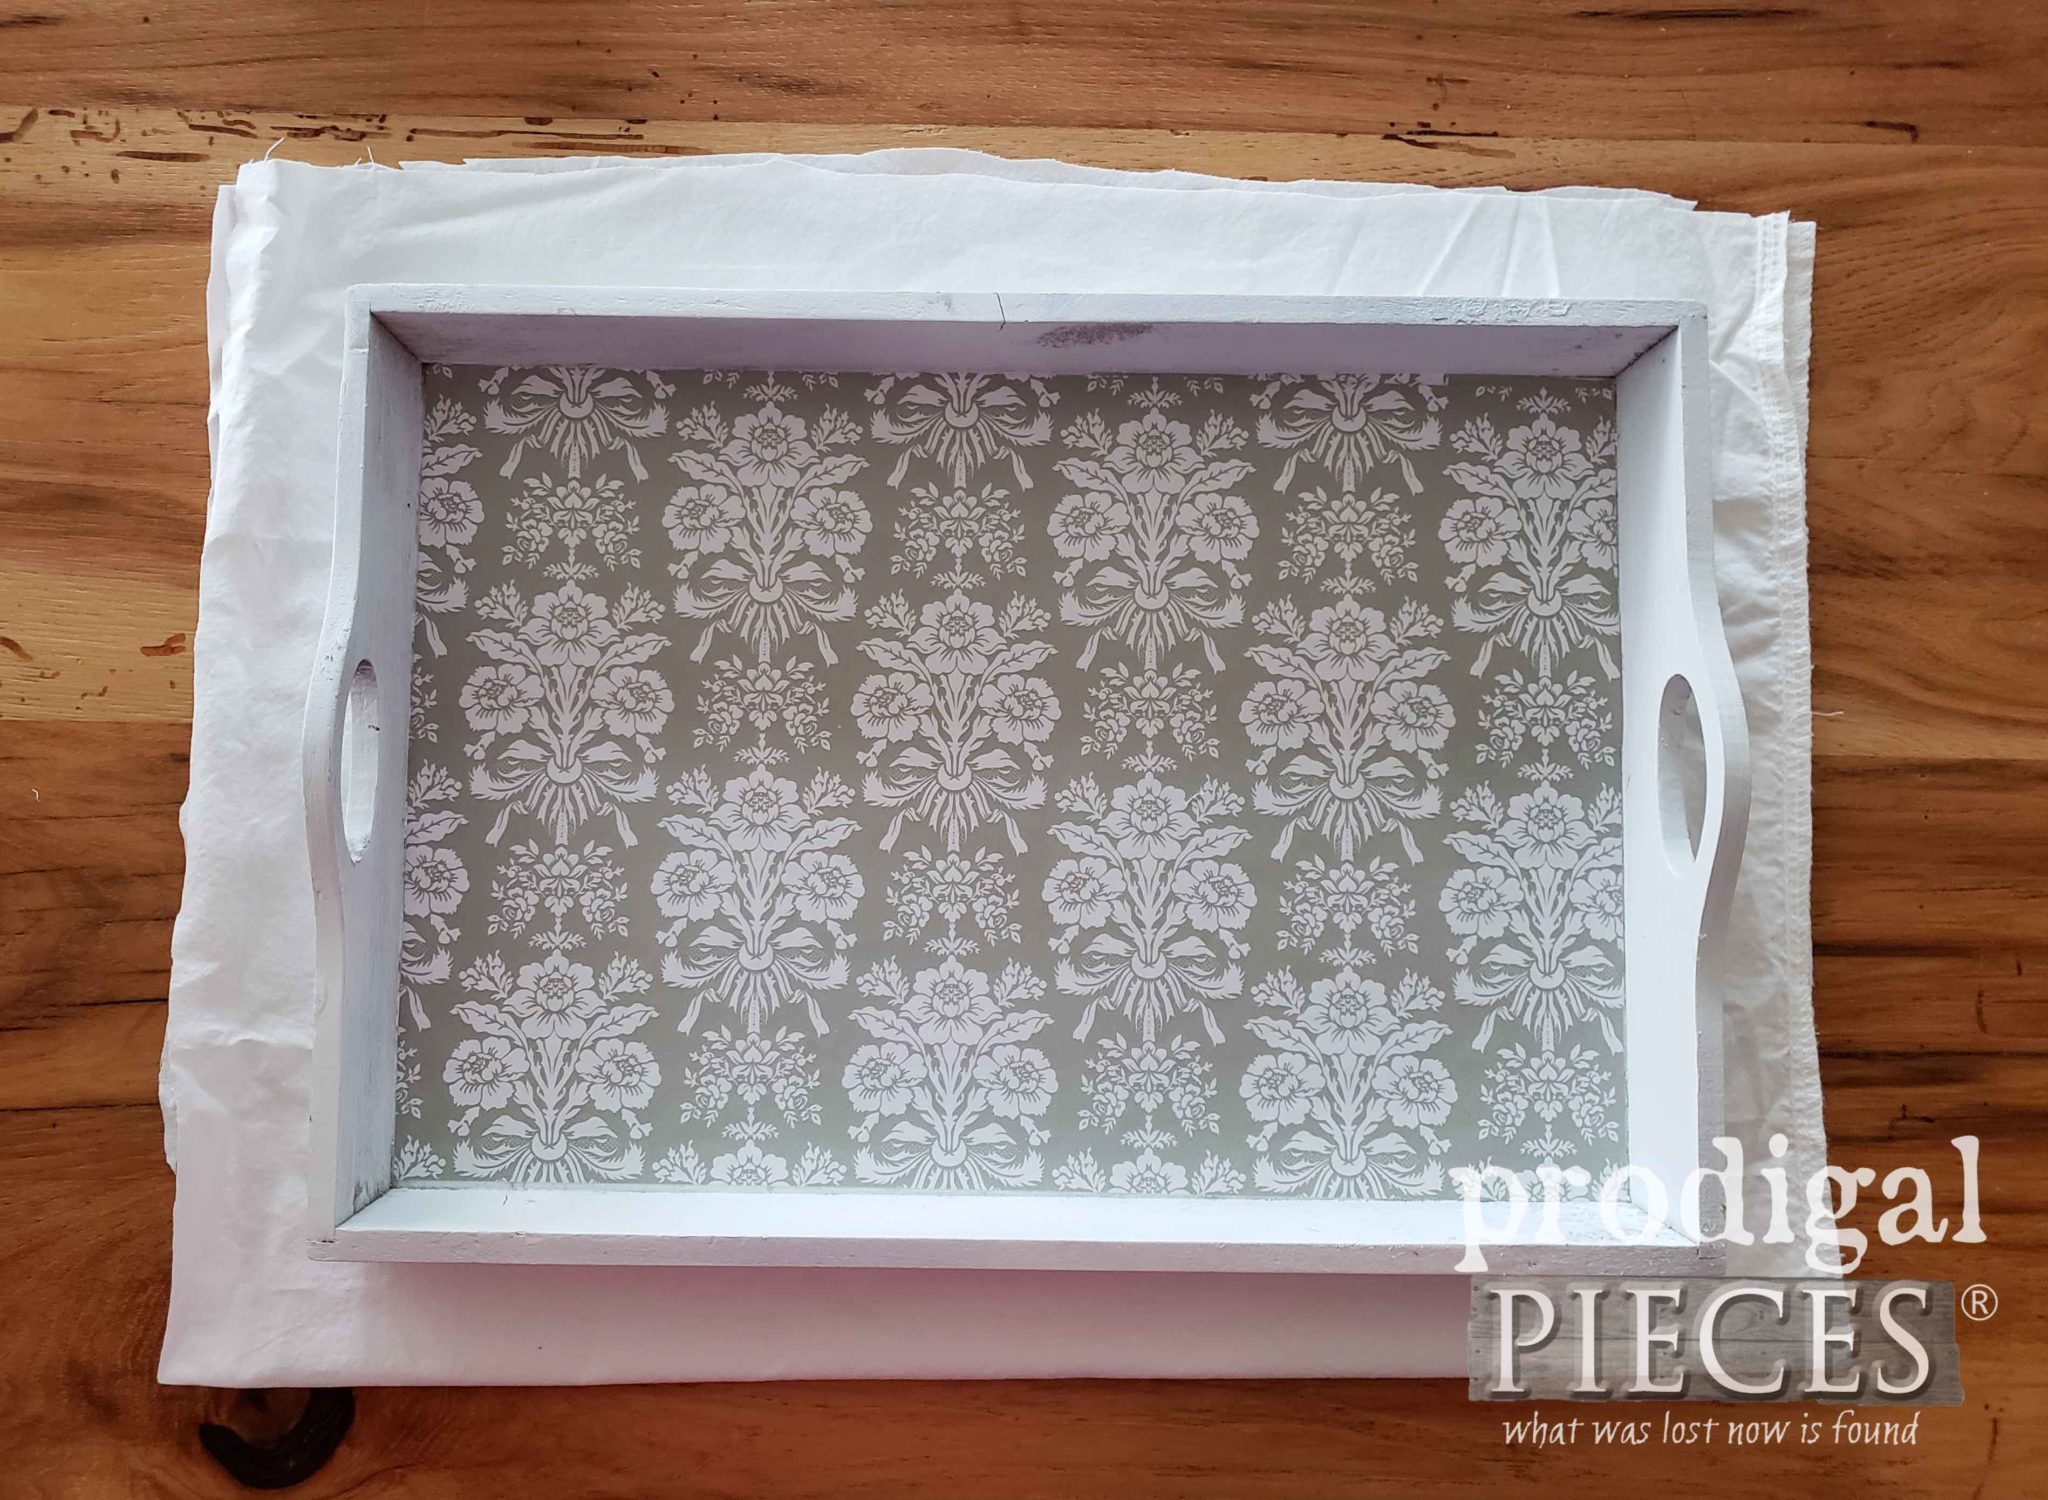
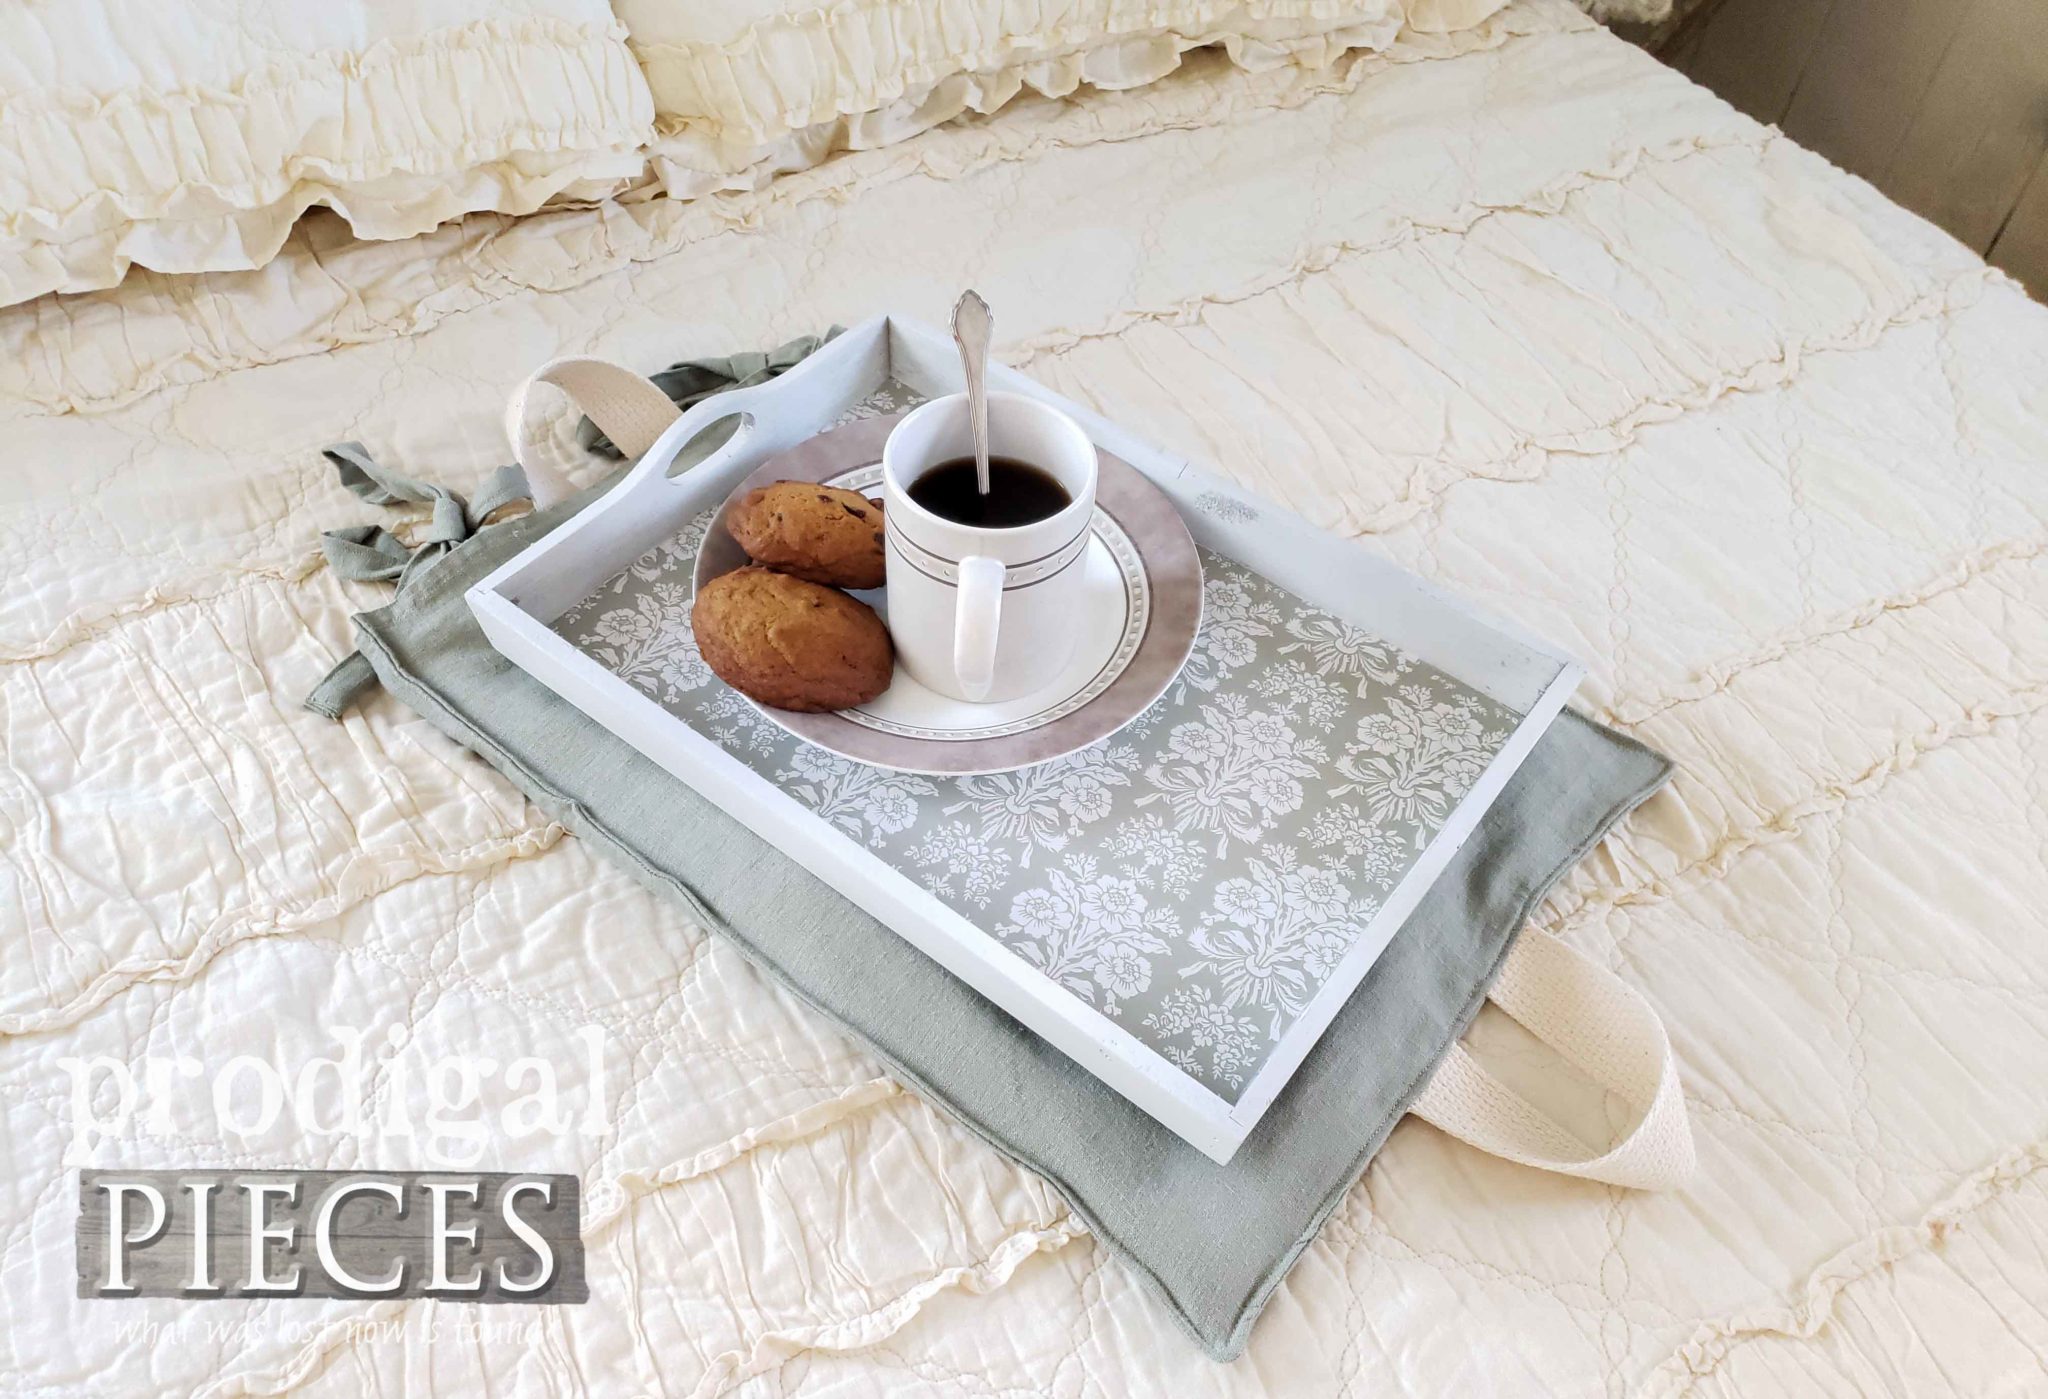
Now, onto the second part of how to upcycle old Christmas decor – the tray makeover. I line the bottom interior with the same thrifted Laura Ashley paper I used in this makeover. However, I wanted to up the ante on the function of this tray. tee hee! I decided to create a sort of pillow for the bottom. Stay with me now.
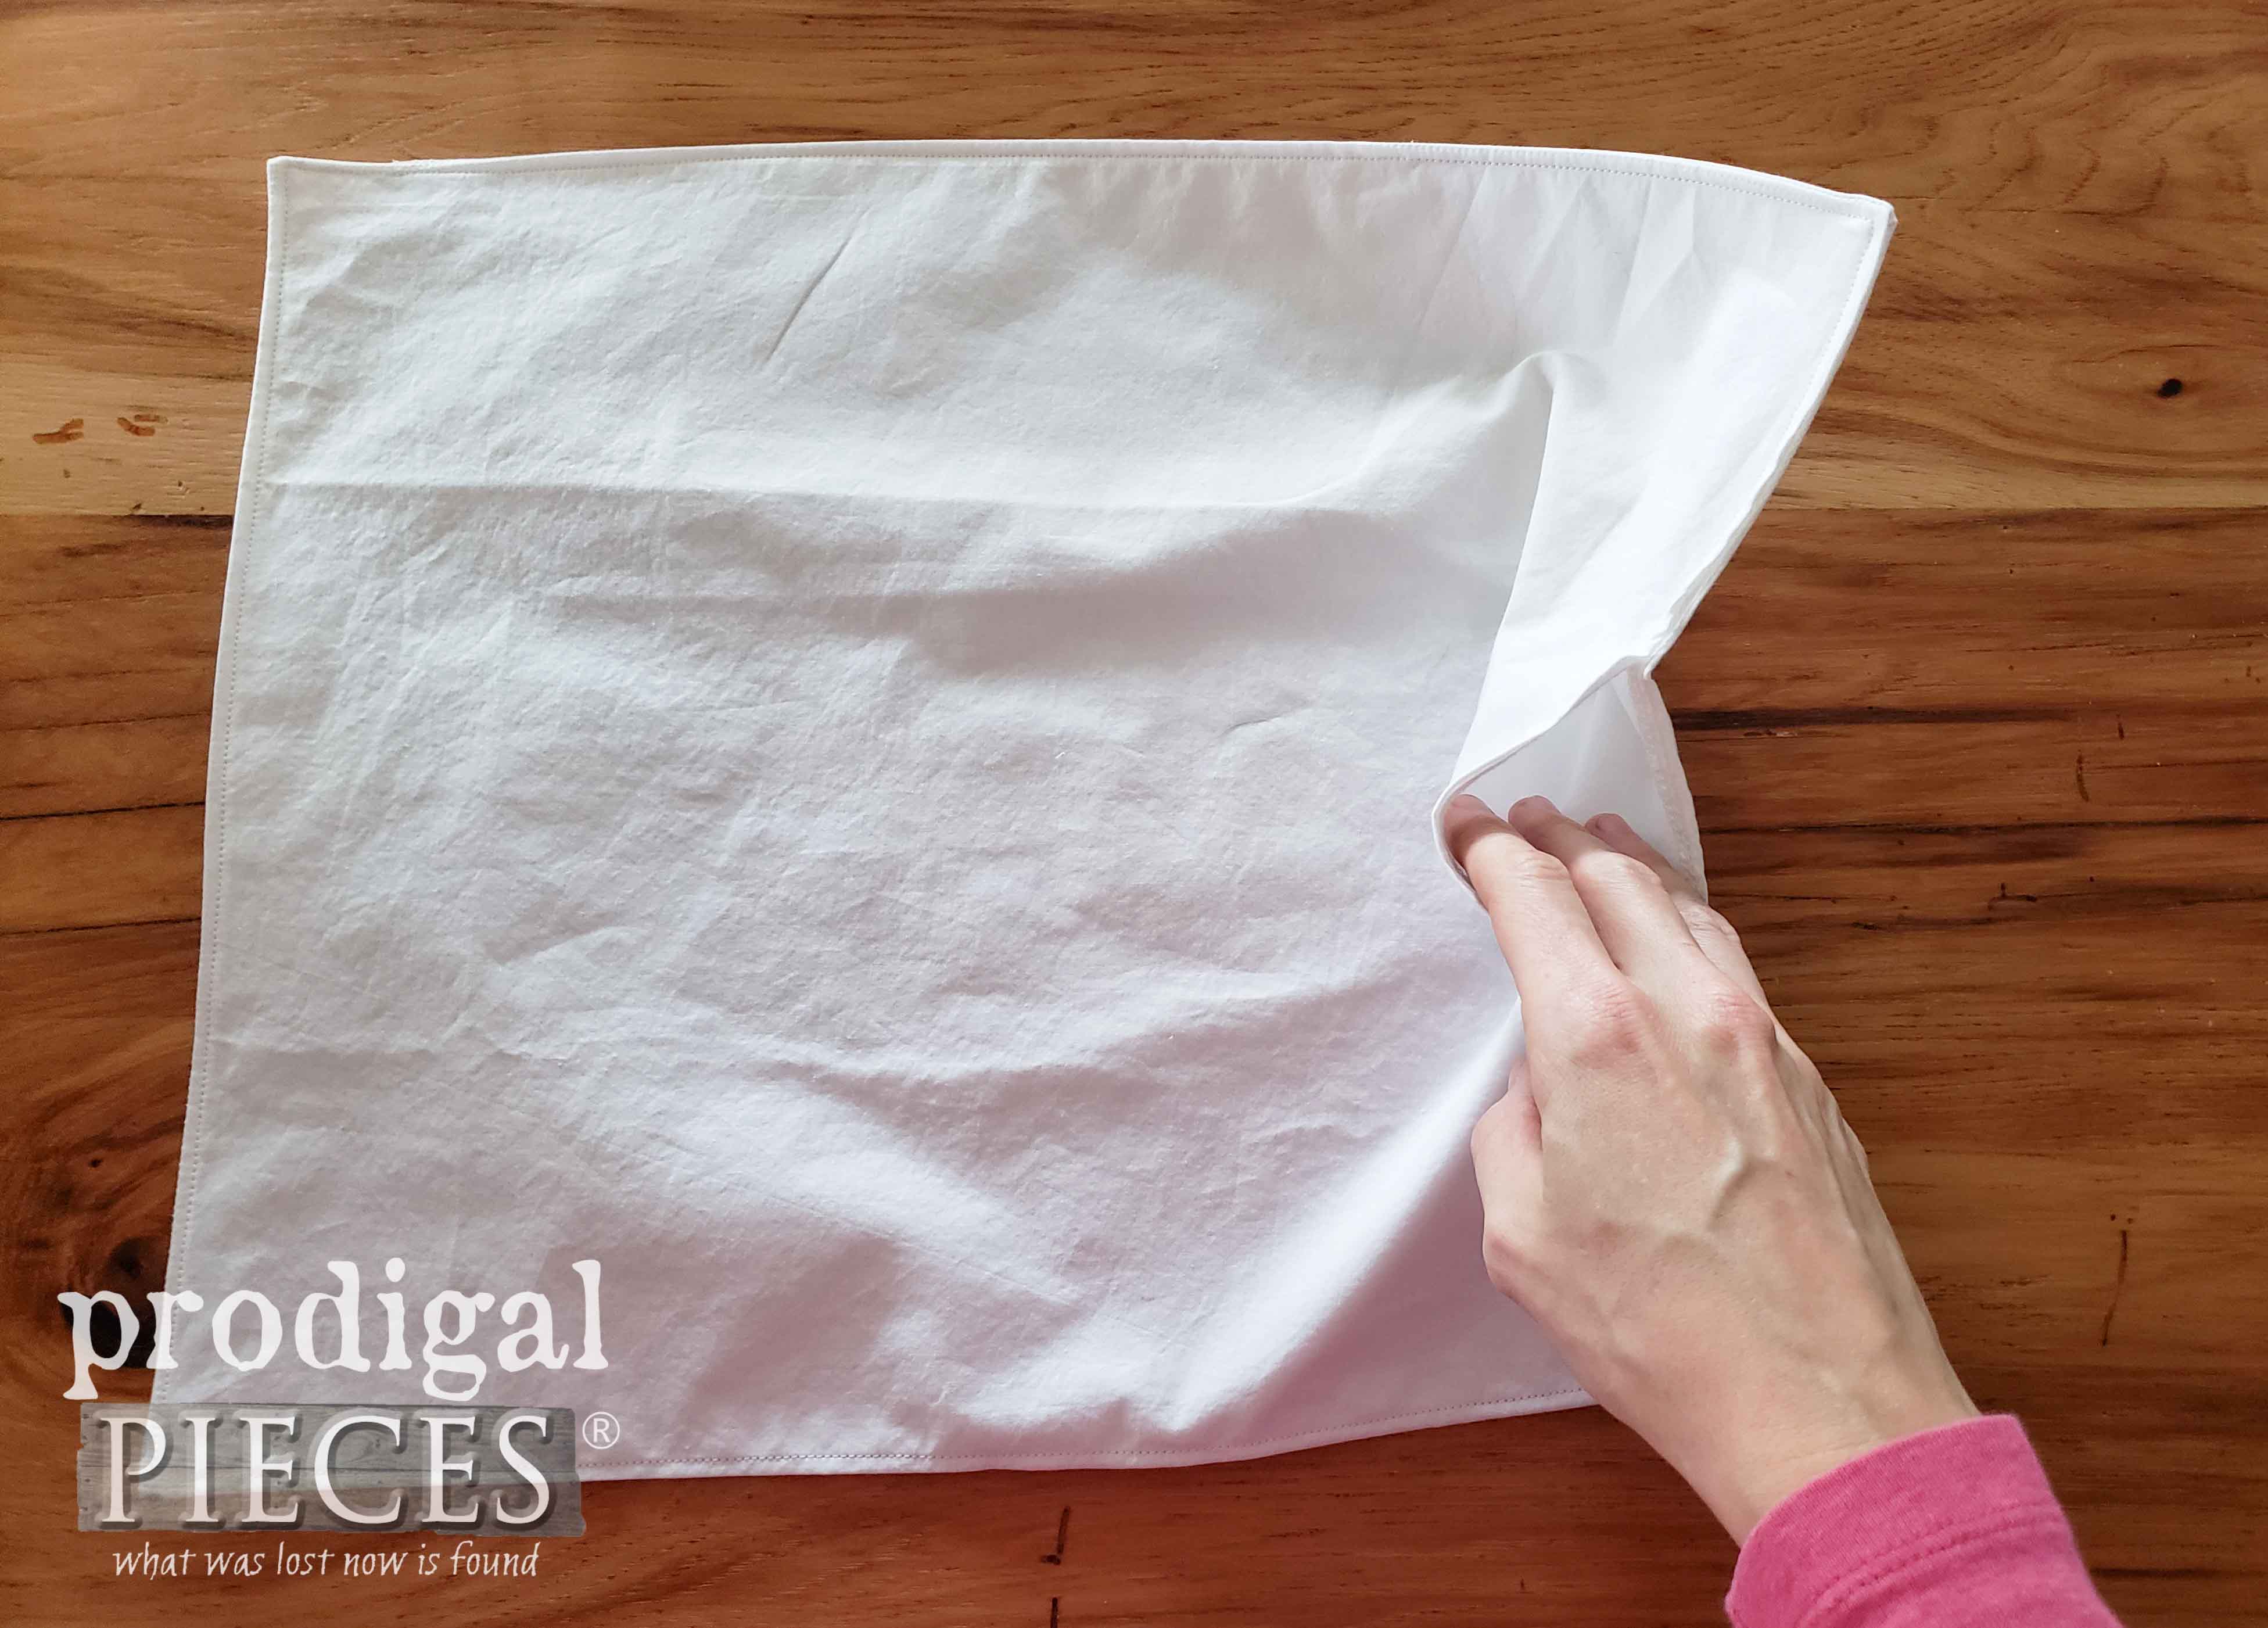
I cut a piece of folded cotton to extend about 2 inches past the tray edge. Then, using my serger I serged the edges, flipped it right side out and created a French seam with my sewing machine. This would make my “pillow” nice and tight and look pretty too. I left a small opening on one end for the next step.
SEWING TIME
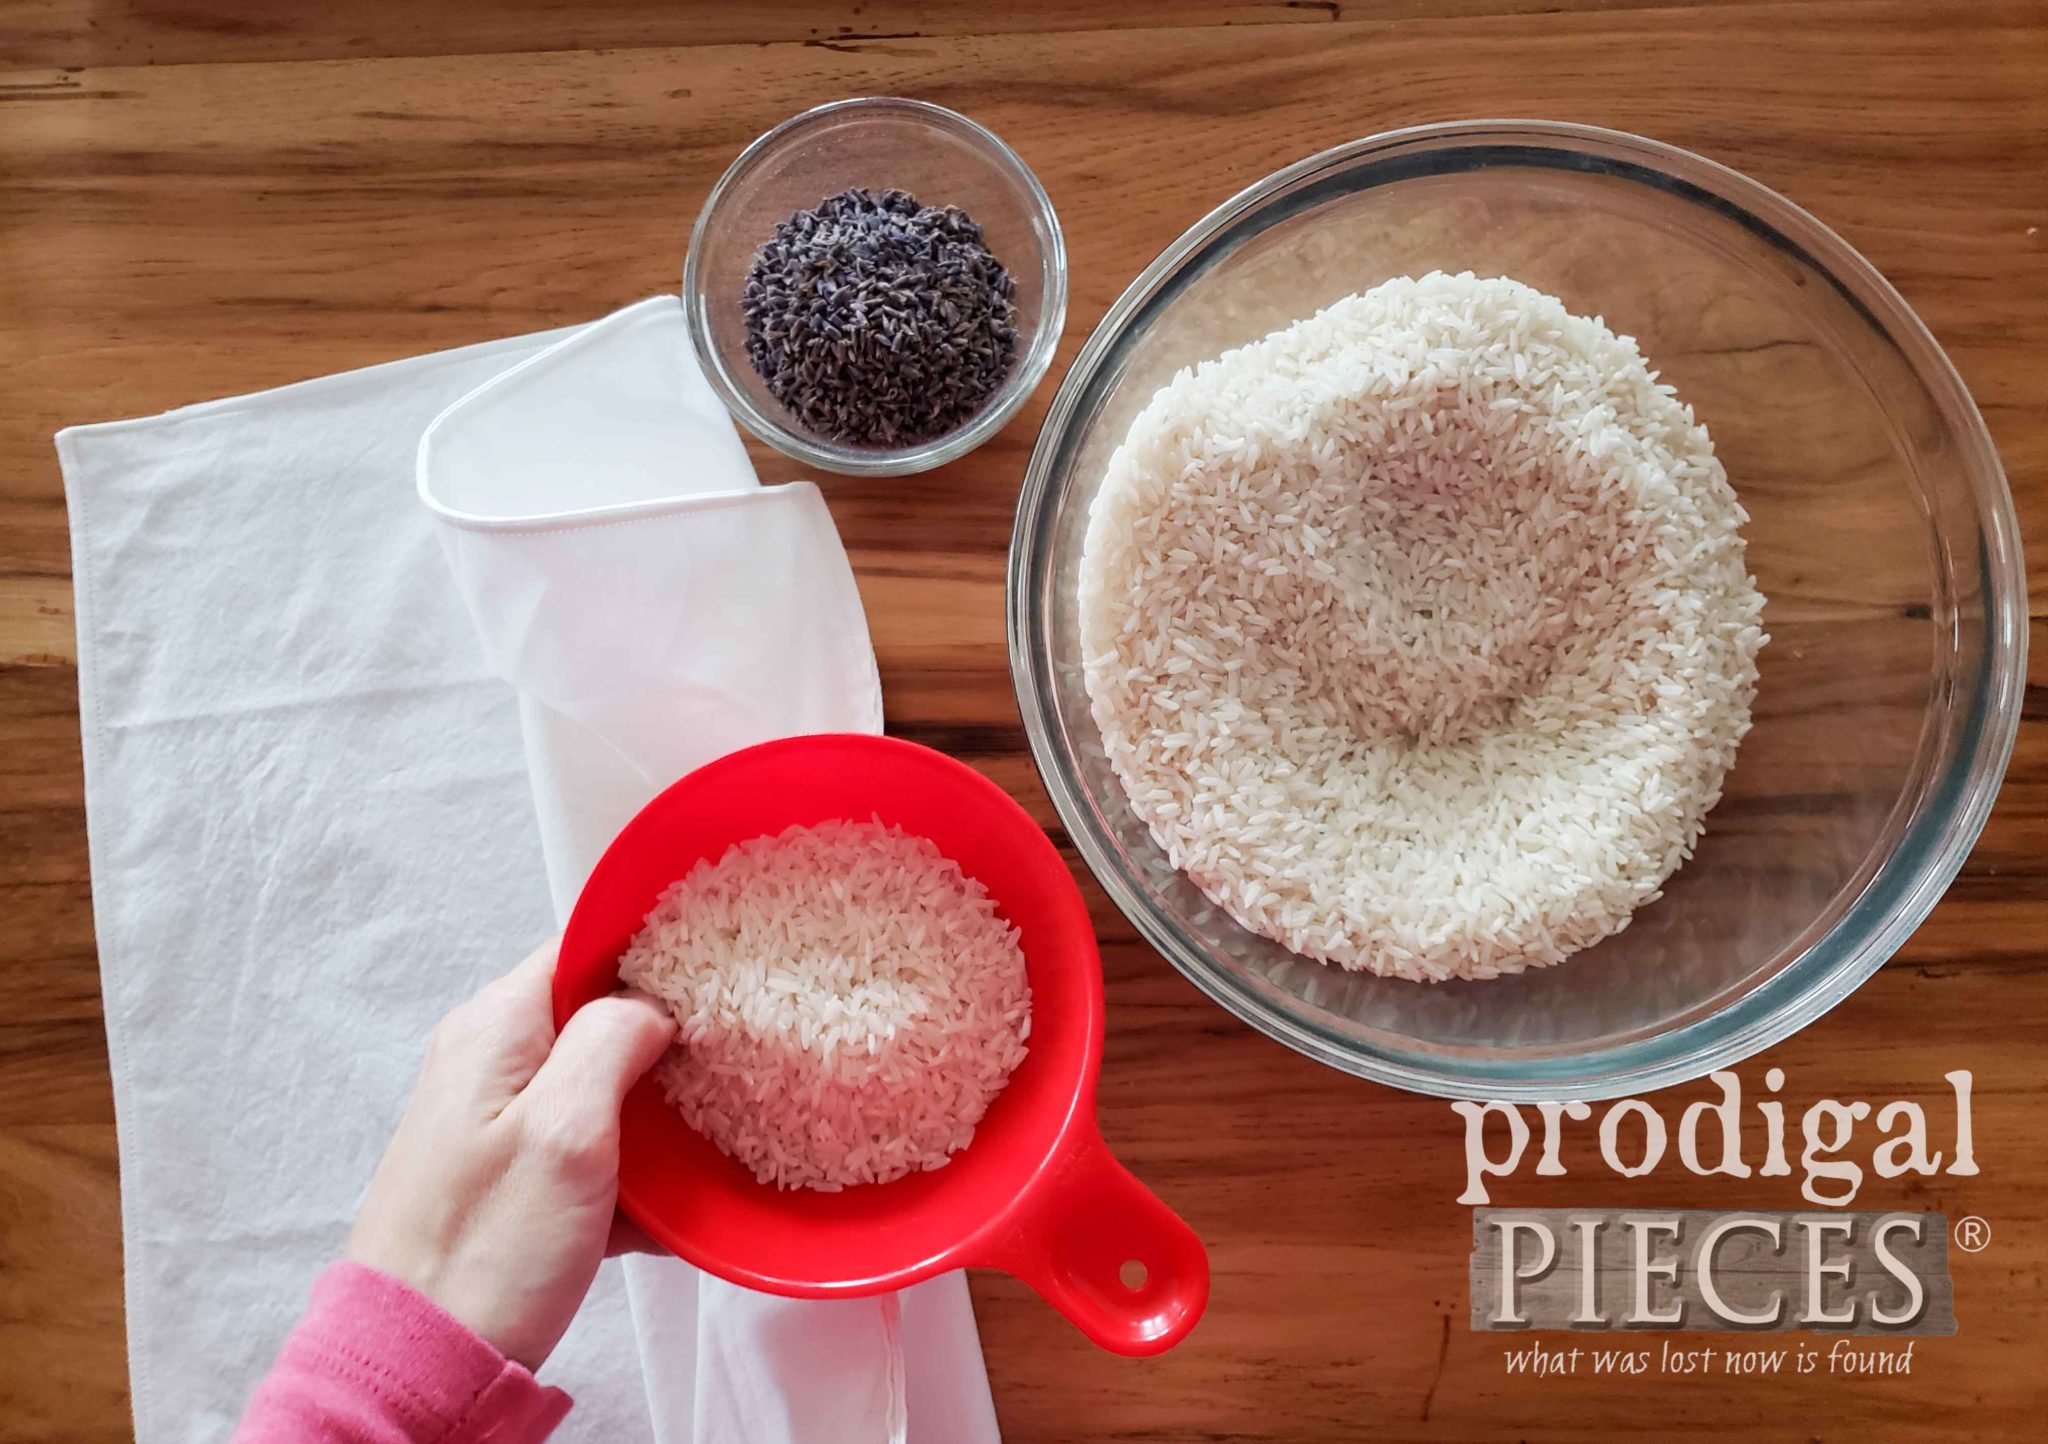
One of the favorite gifts that I like to make and people also like to receive is a rice neck warmer. They can be heated up in the microwave and the moist heat holds for hours. It works wonders on aches and pains and is so simple to use. The rice pillow I am creating is going to serve two purposes: (1) it will be a stabilizing base for my tray (2) and will also serve as a heating pad and/or ice pack. Do you see where I’m going with this? You can see my Boo-Boo Bear tutorial for little ones HERE.
I filled up my pillow with two bags of white rice and 2 Tablespoons of dried lavender, then stitched the opening shut.
CAUTION: Using a natural fiber, like cotton, for the pillow is critical as other man-made fibers like fleece and such will catch on fire in the microwave.
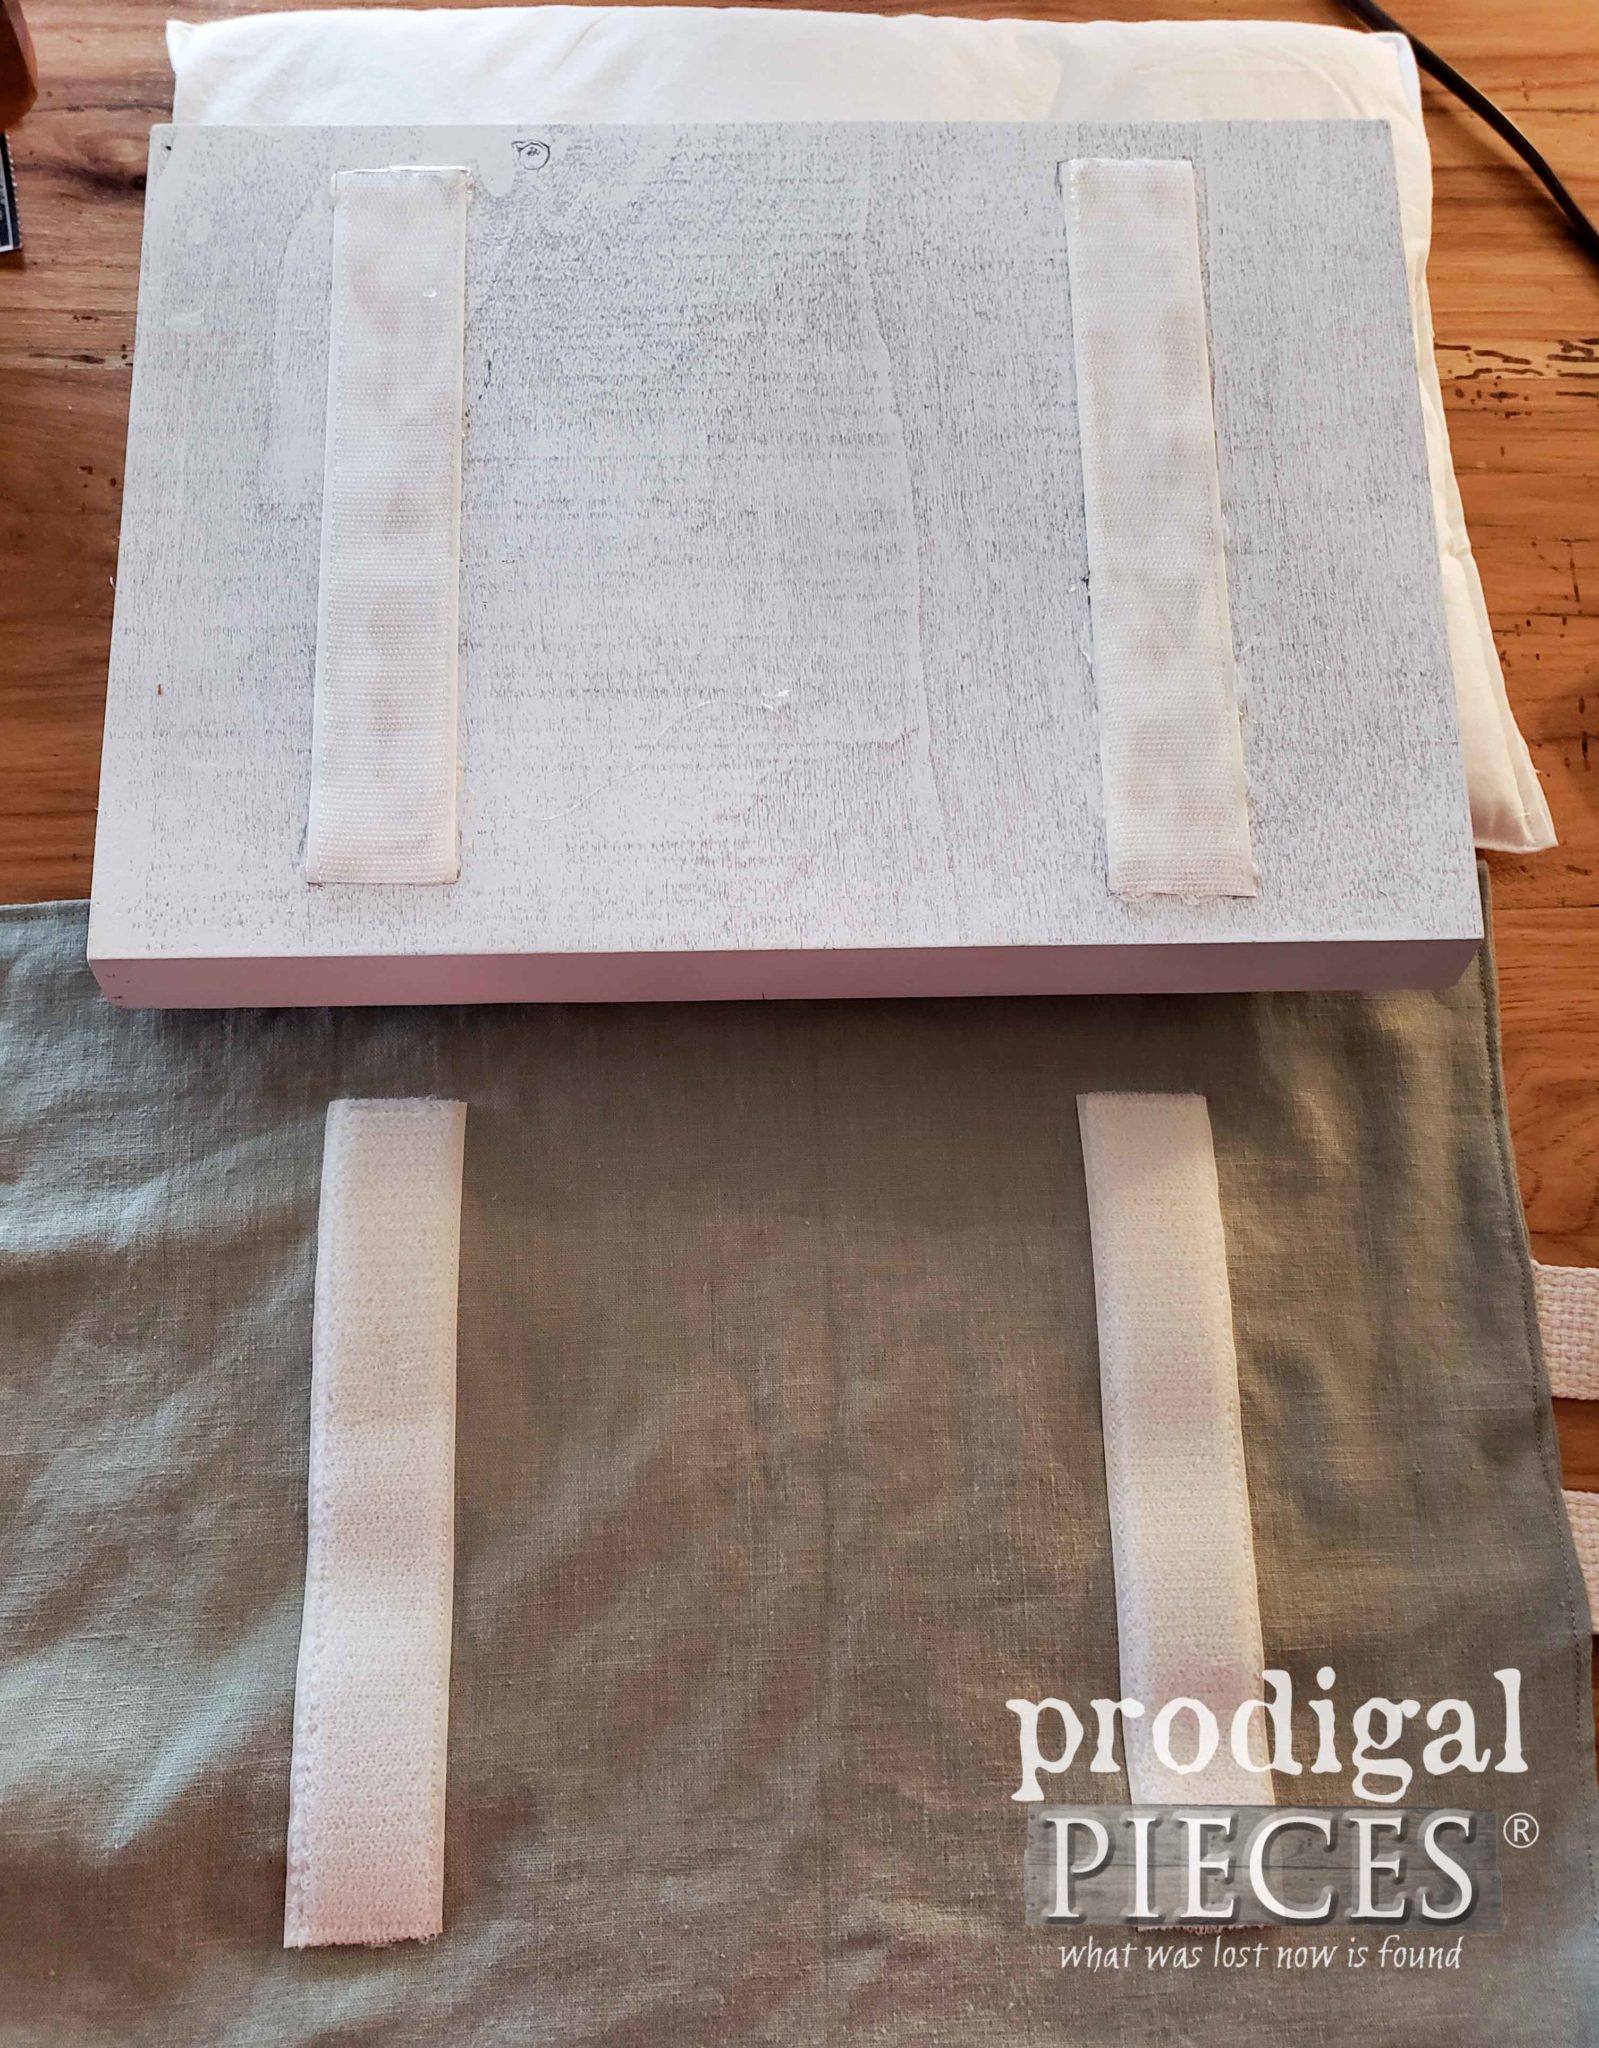
For added fun and function, I sewed a pillowcase with a soft green linen. That way it can be removed before microwaving and washed when needed. Before stitching it closed, I added two strips of heavy-duty hook and loop to both the pillow and the tray. I used my hot glue gun and glue sticks to attach the hook side to the tray bottom. The loop strips were sewn on to the pillowcase with my sewing machine.
Also, for added function, I also added two webbing handles to each end using a box stitch to reinforce. To finish the edges, I used the same French seam technique to make it strong and look pretty too. In addition, I also added ties on the open end of the pillowcase.
TIE MAKING
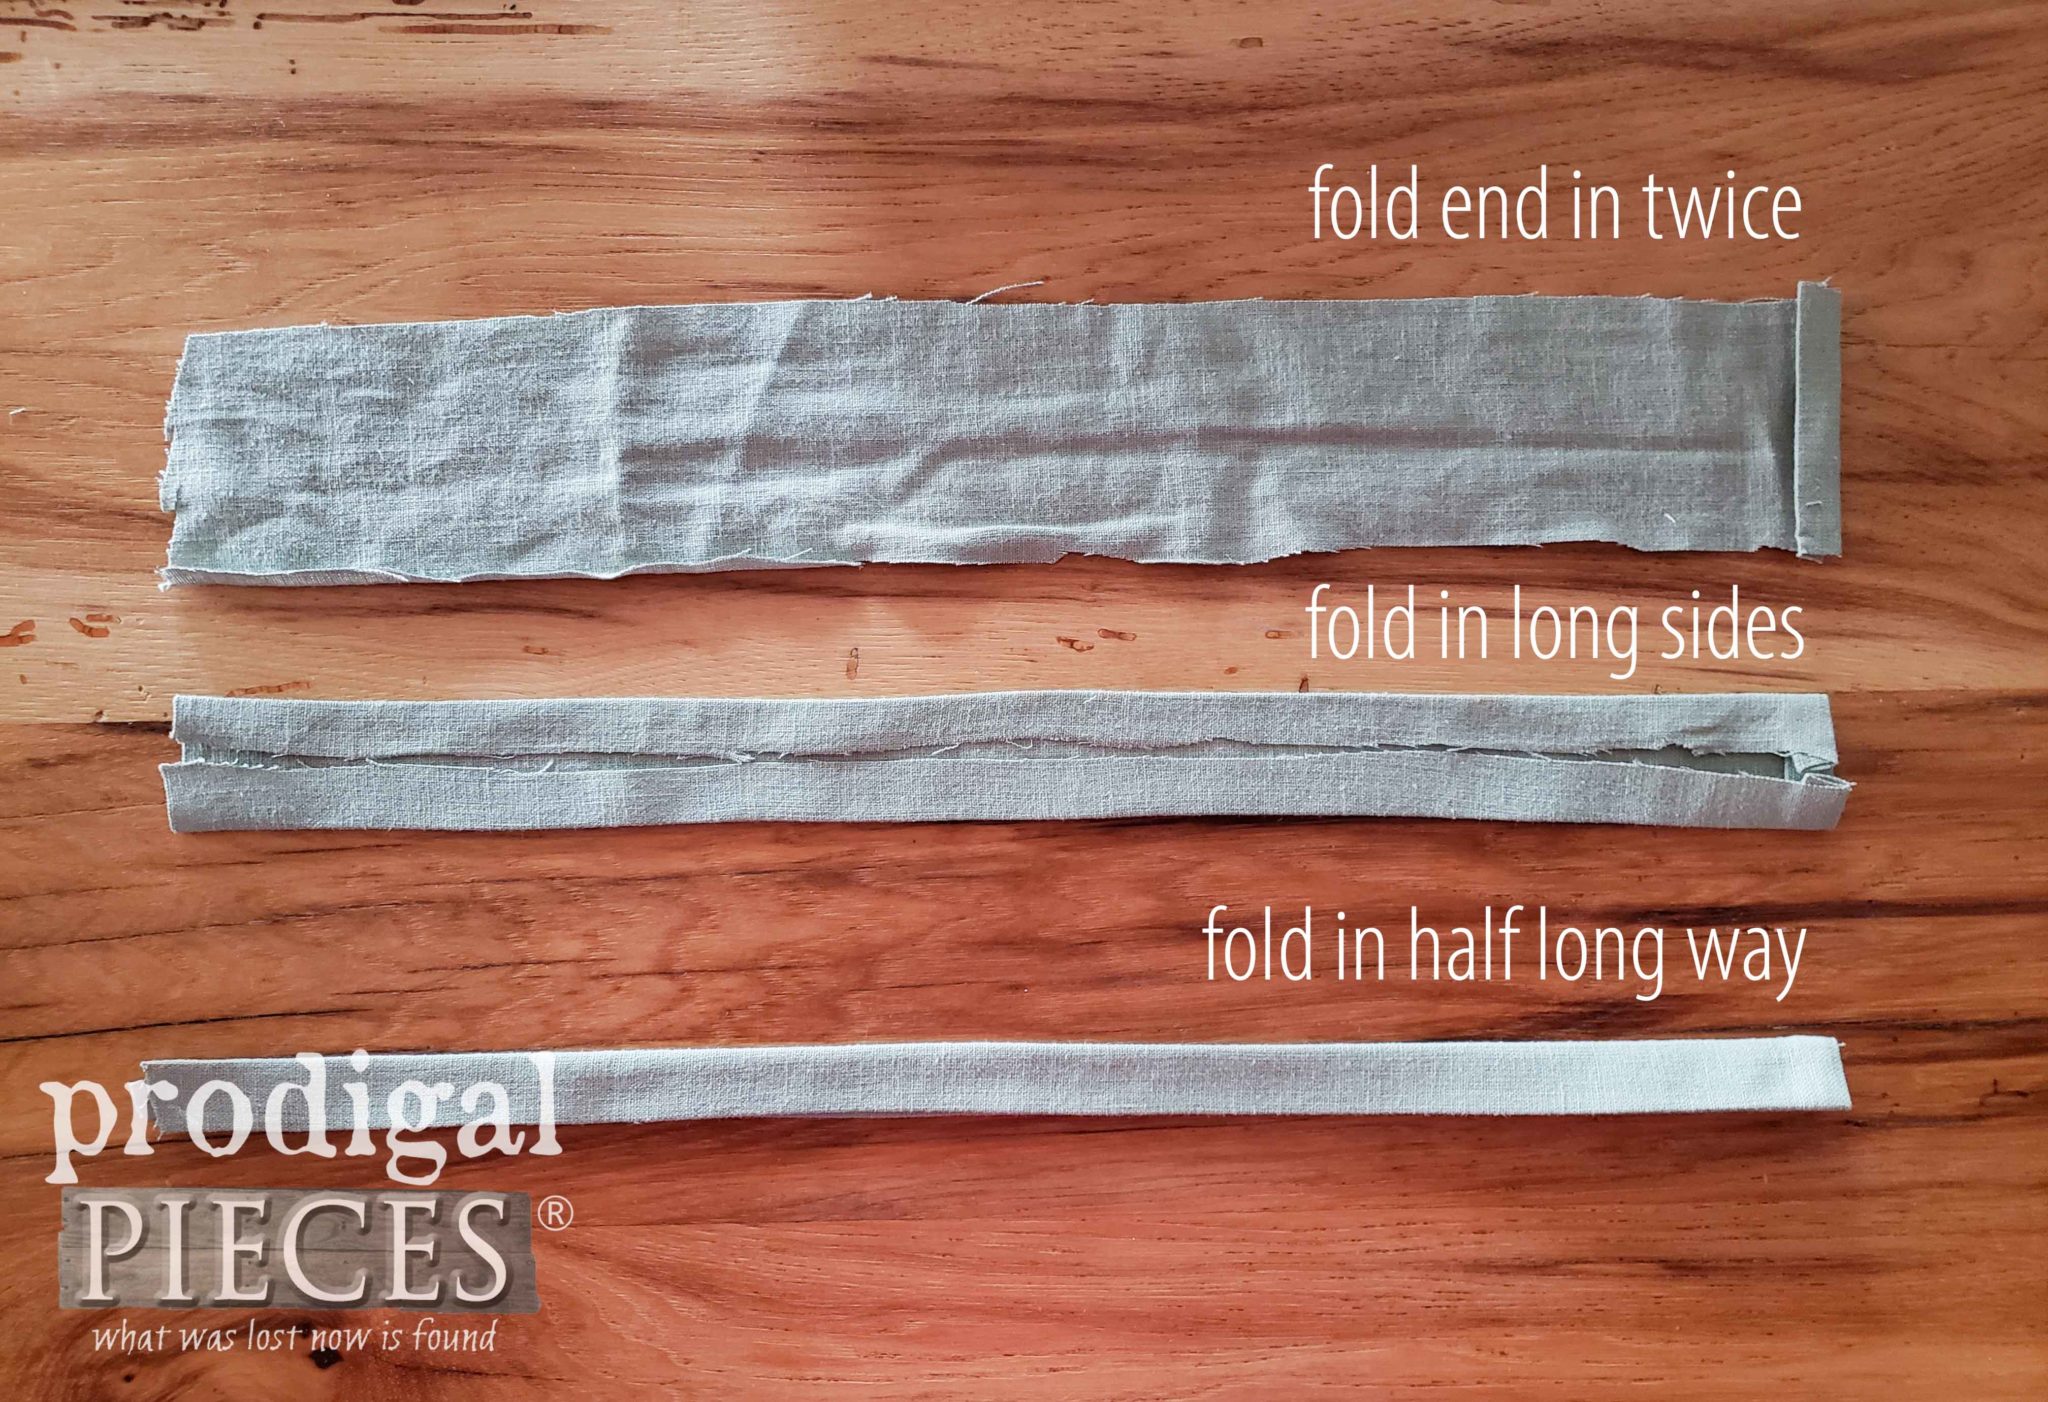
Making ties is simple, just measure the length you want and add 2″. Cut the ties to be 2″ or wider.
- Fold in one short end two times and press with your iron.
- Fold the in long sides to meet in the middle and iron.
- Again, fold in long sides and iron.
- Sew down short end, turn, sew down long end.
- Attach. Easy!
Now my vision to upcycle old Christmas decor is complete and I’m ready to show you their new look and purpose.
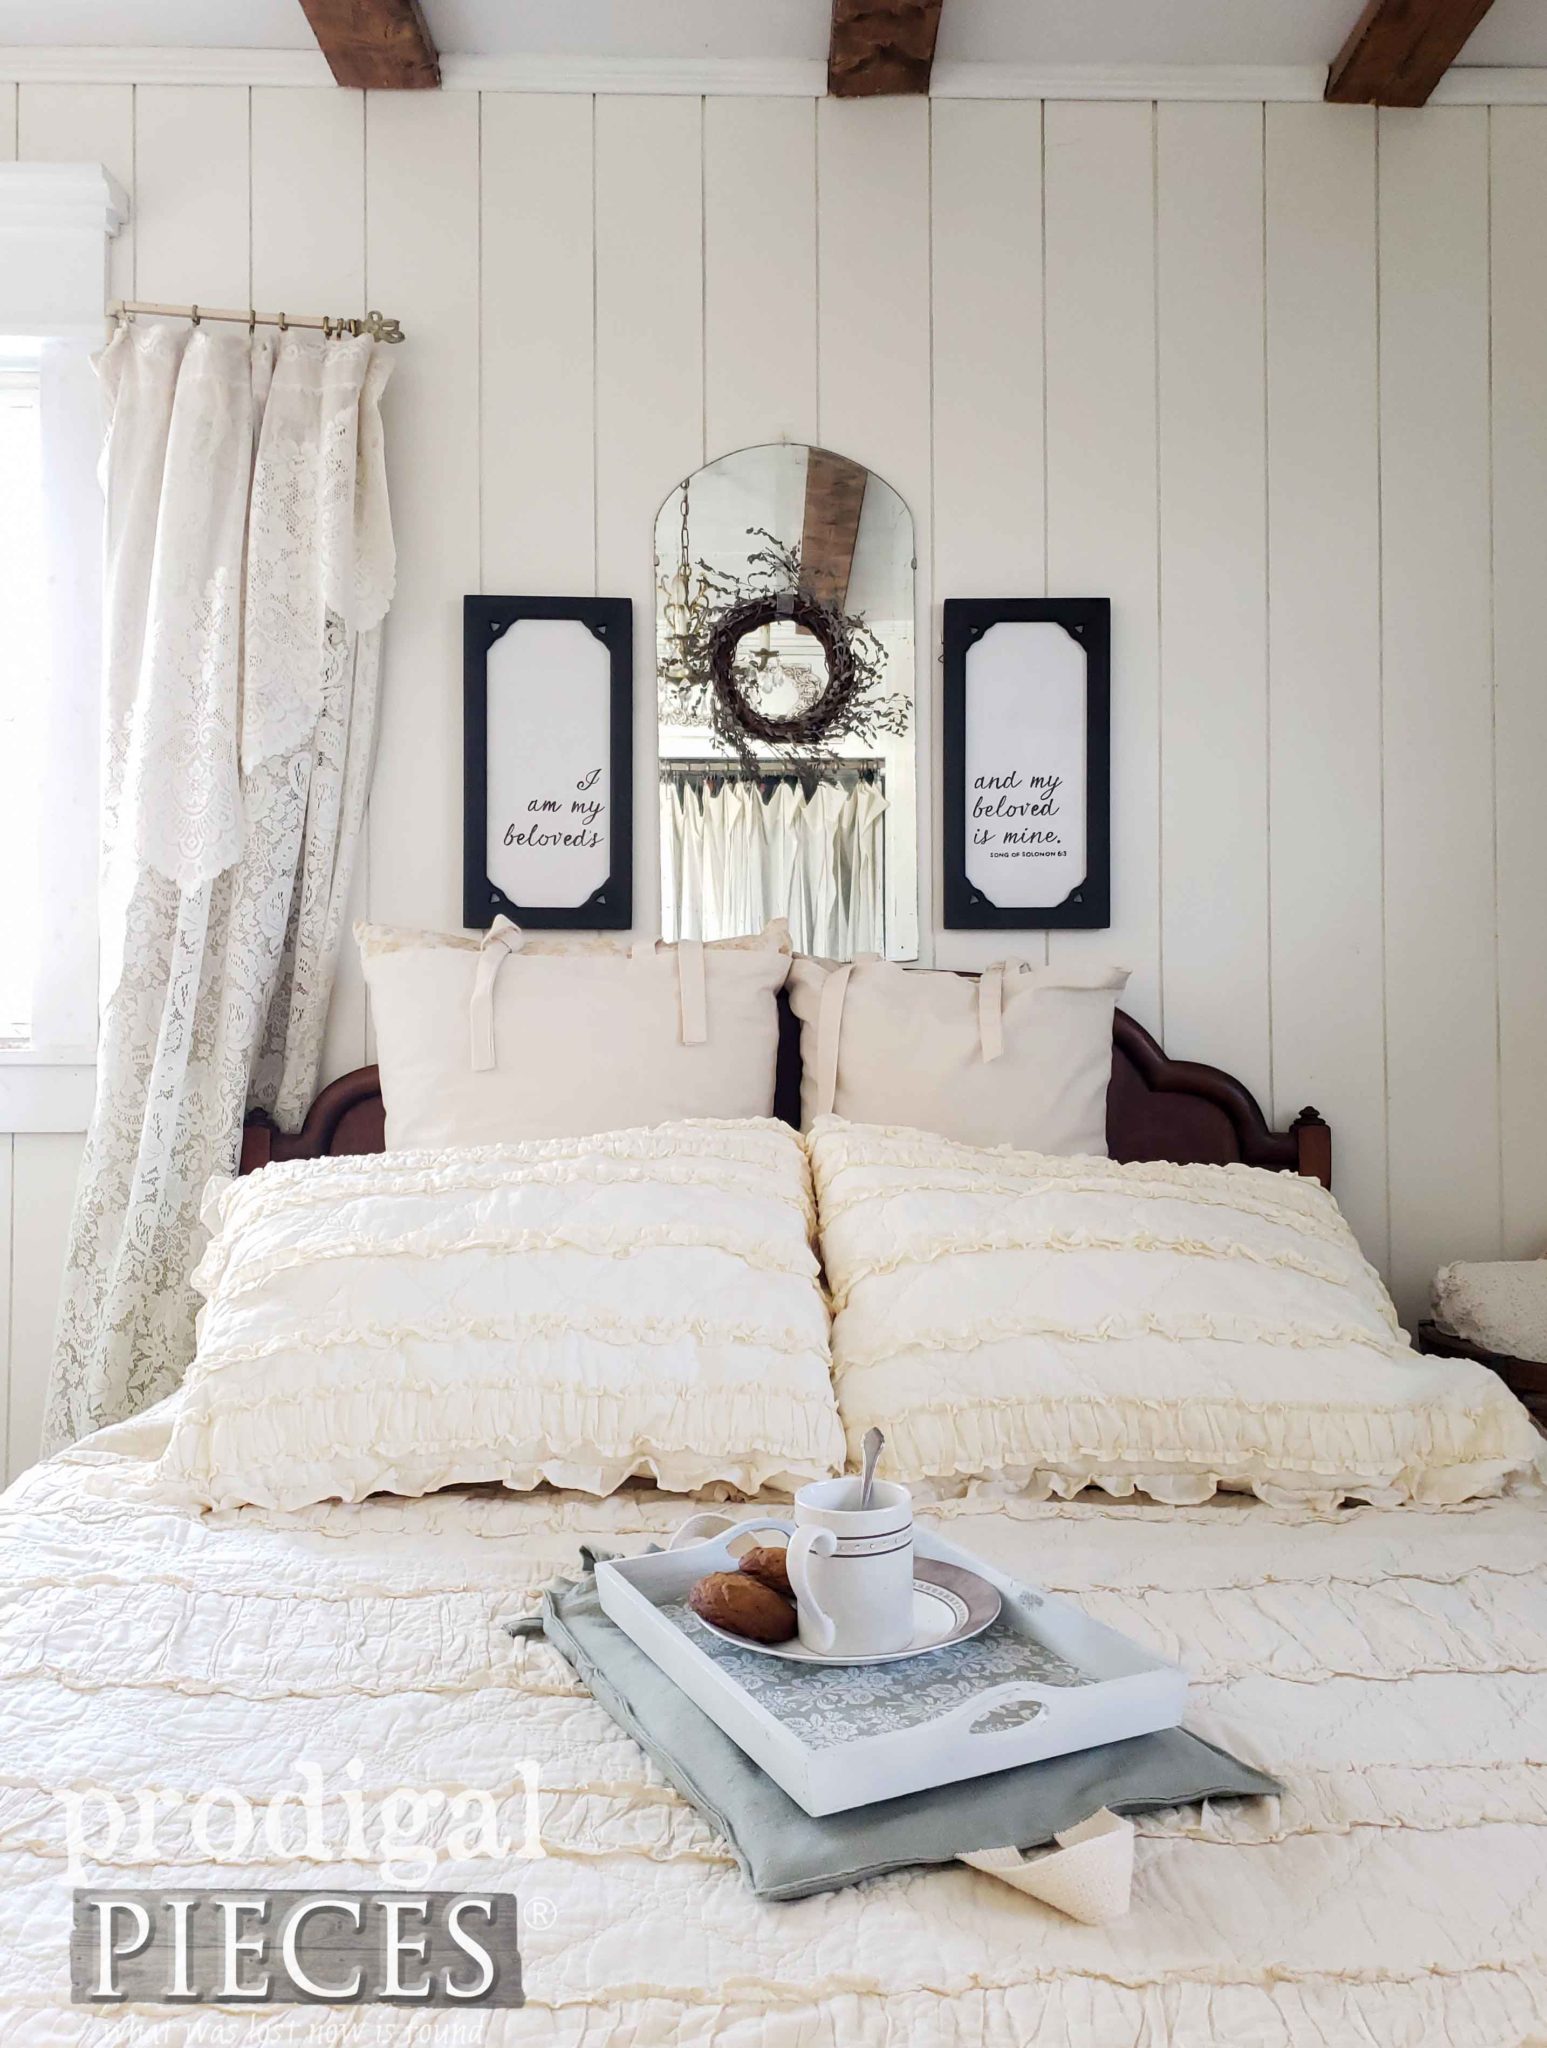
What fun it was to see this cast-off Christmas decor become something new! The wall art came out as I had hoped. I typically have the other two mirrors from my repurposed vanity mirrors hanging in those spots, but I wanted to show you how easy it can be to change it up.
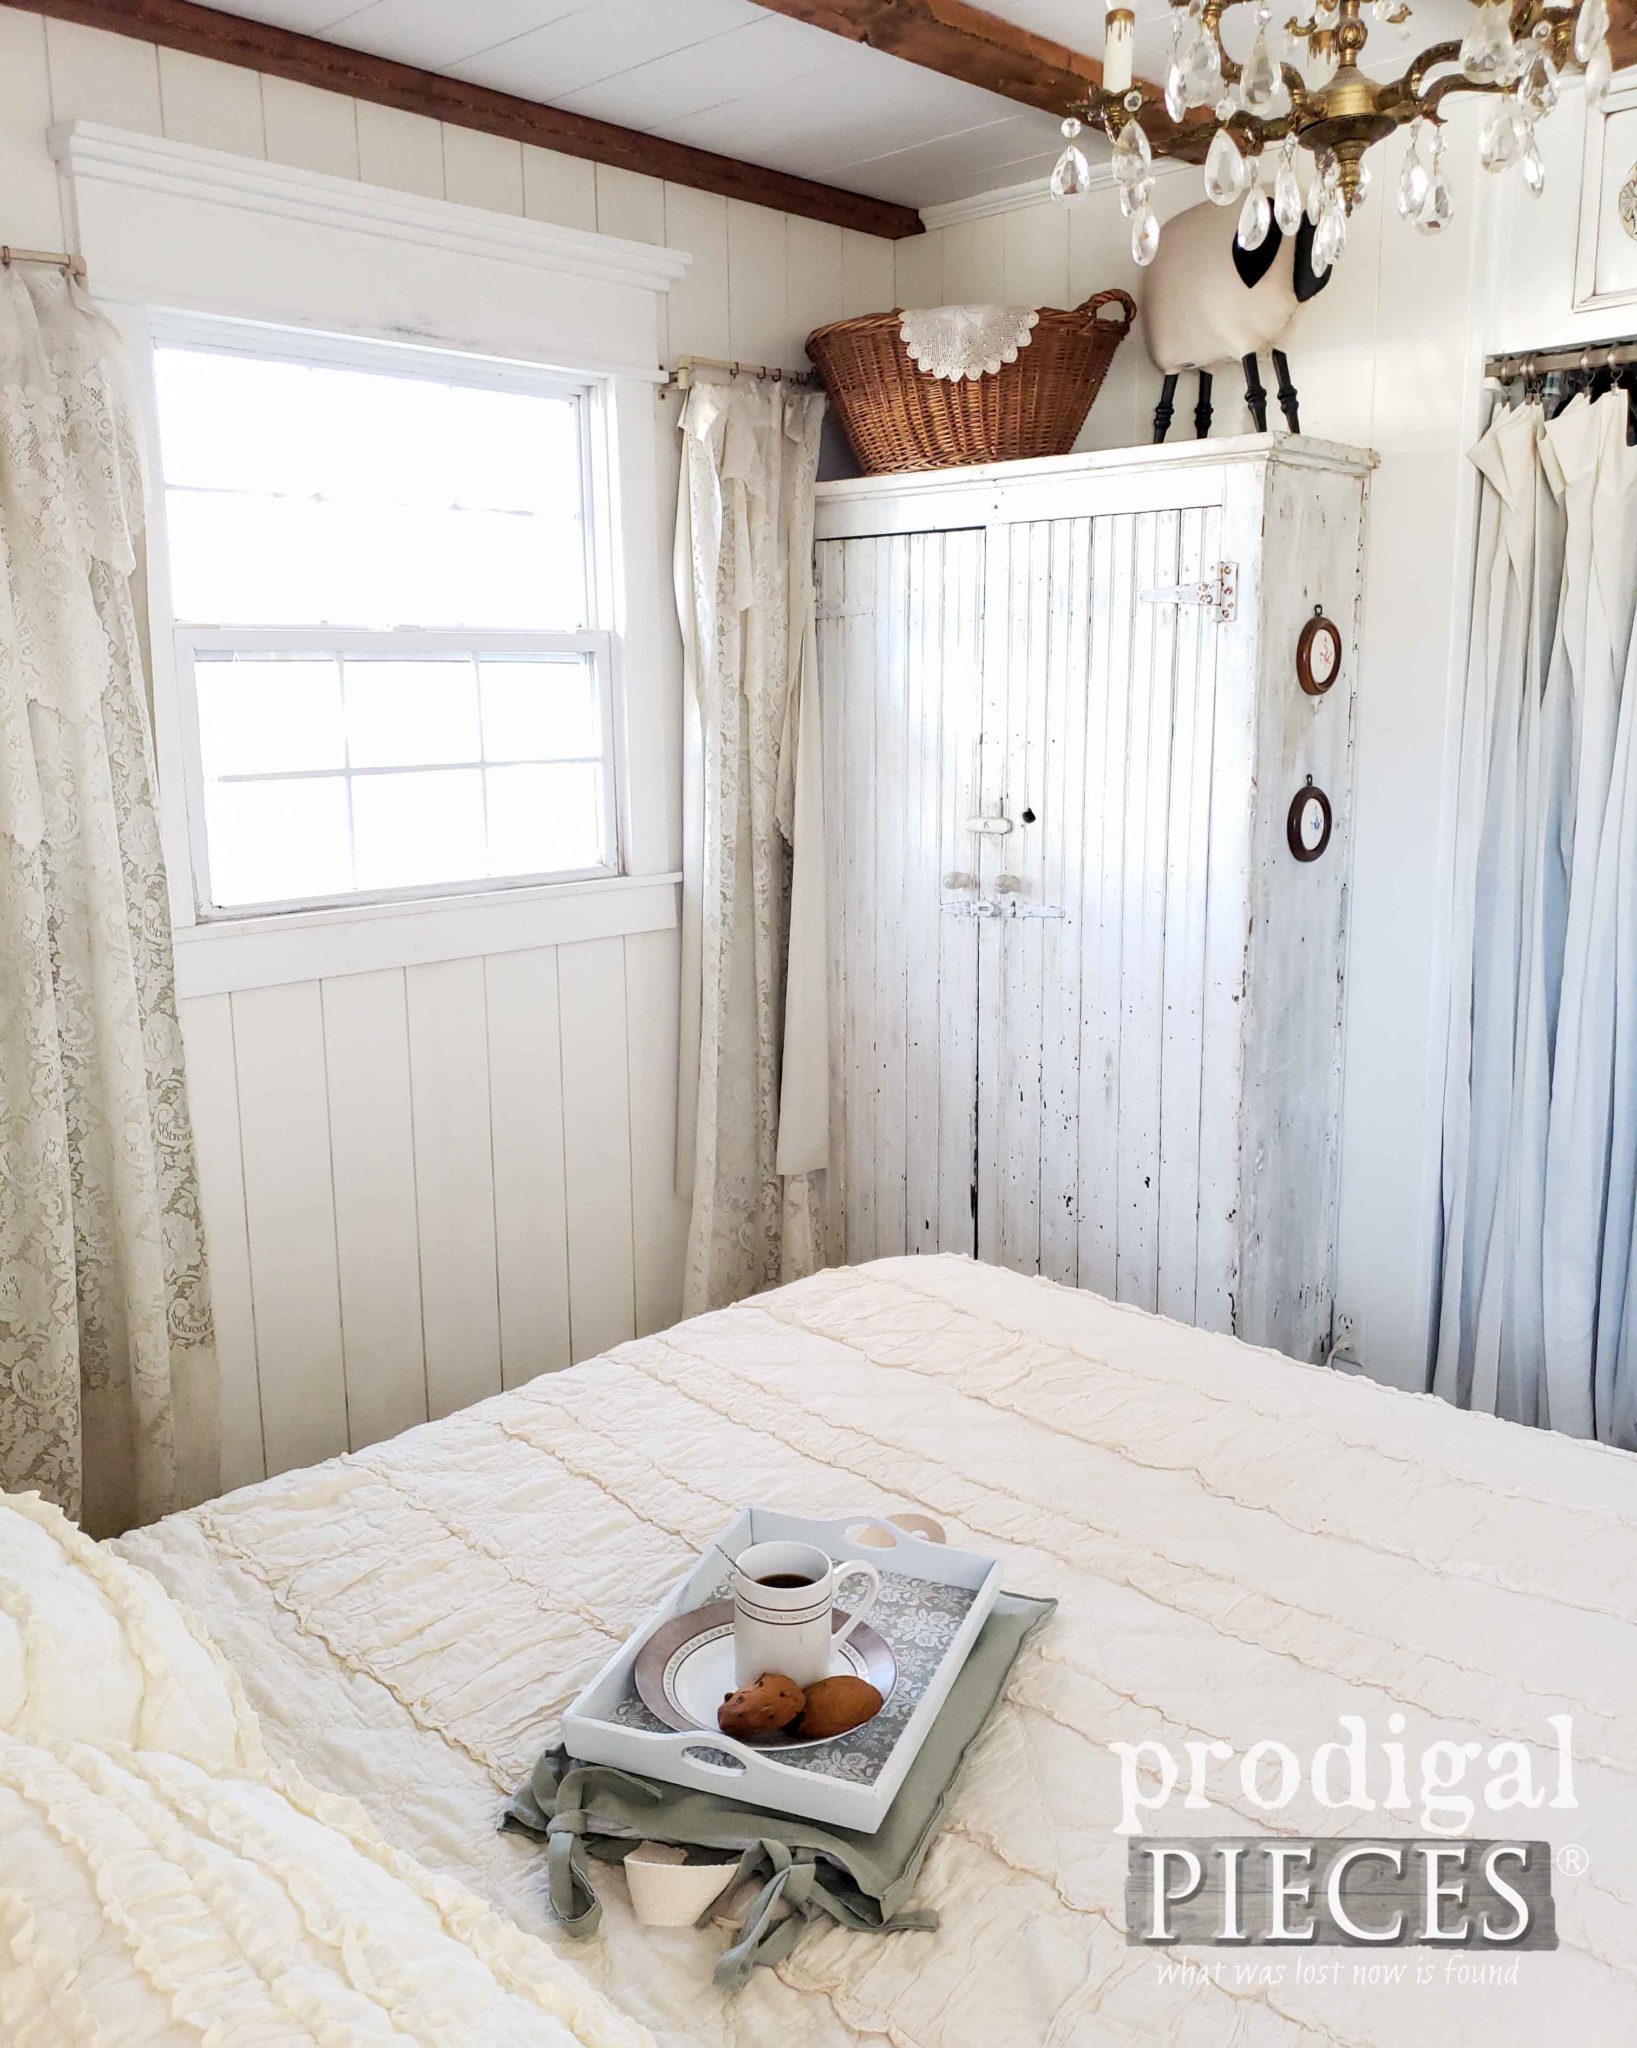
The tray is even more fun than I hoped. Yay! The rice makes for a steady base as well as a sweet way to relieve the daily grind stress. Take a peek at it in action in my video below.
How fun is that? I’m especially smitten with the colors as they are some of my favorite soothing tones.
INSPIRE
You can find both the wall art and tray in my online shop along with many other items for you and your home. Sign up for my newsletter below to get a discount on your first purchase.
With that in mind, my goal was to inspire you to see past the old and onto the new, the what-could-be. Also, it’s time to go snag up all those clearance Christmas decor items at the thrift store and make them your own.
SHARE
In addition, pin and share how to upcycle old Christmas decor because you know there are others out there debating.
Up next, this other thrifted item is about to get a new look and life. Head here to see.
To get these DIY tips & tricks in your inbox, be sure to sign up for my newsletter. Time to see what my blogger friends have for you below.
Likewise, check out what these fantastic DIY ladies have in created for you:








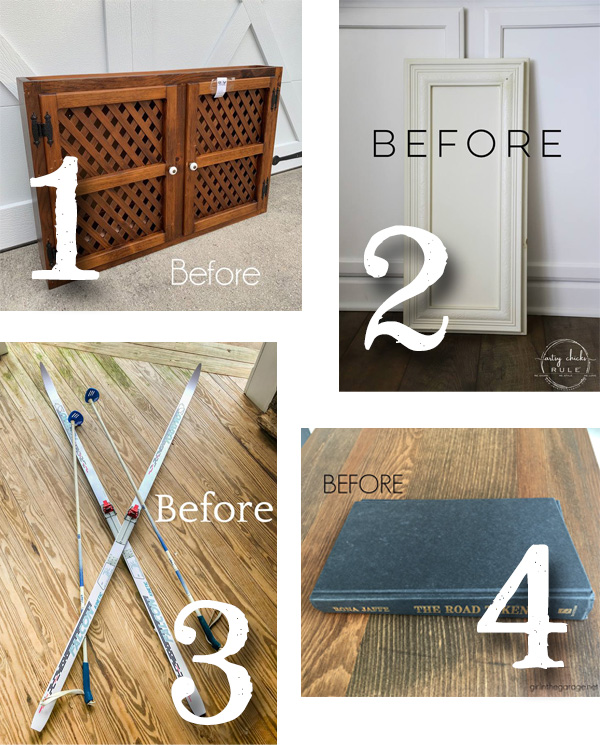
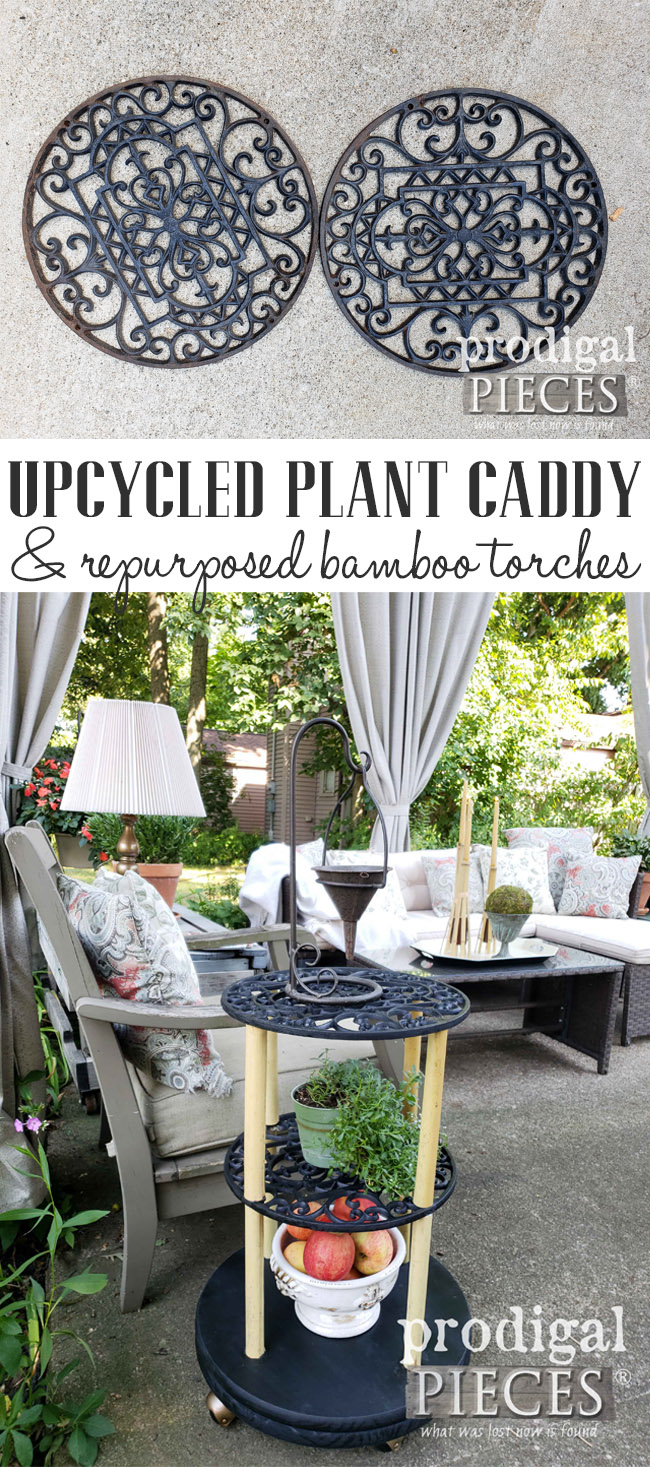
Such great repurposes, Larissa!! I never think to check out the holiday aisle at the thrift store… I think I need to do that more now!! XOXO
Thank you. You will rock it! 😀
Awesome ideas, Larissa! You are so clever!
Thanks! I had fun and got carried away. haha!
Really nice, Larissa! Love the fact that you add lavender to your rice bags! And love the signs and verse. 😉
It felt good to get creative in a different way this time. So glad you liked it. 😀
Great projects Larissa! I can feel that warmth and smell that heavenly lavender in my imagination, fantastic.
My aching back and neck could use one! 😀 We don’t have a microwave, however. haha.
Such awesome repurposed treasures!!
Thanks! It was a fun post-holiday thing to do.
Great projects Larissa. I love the scripture wall art. You are just so clever!!
Love this, Larissa! Great little flip!
Thank you, Lorin – for stopping by and a giving me a smile. 😀