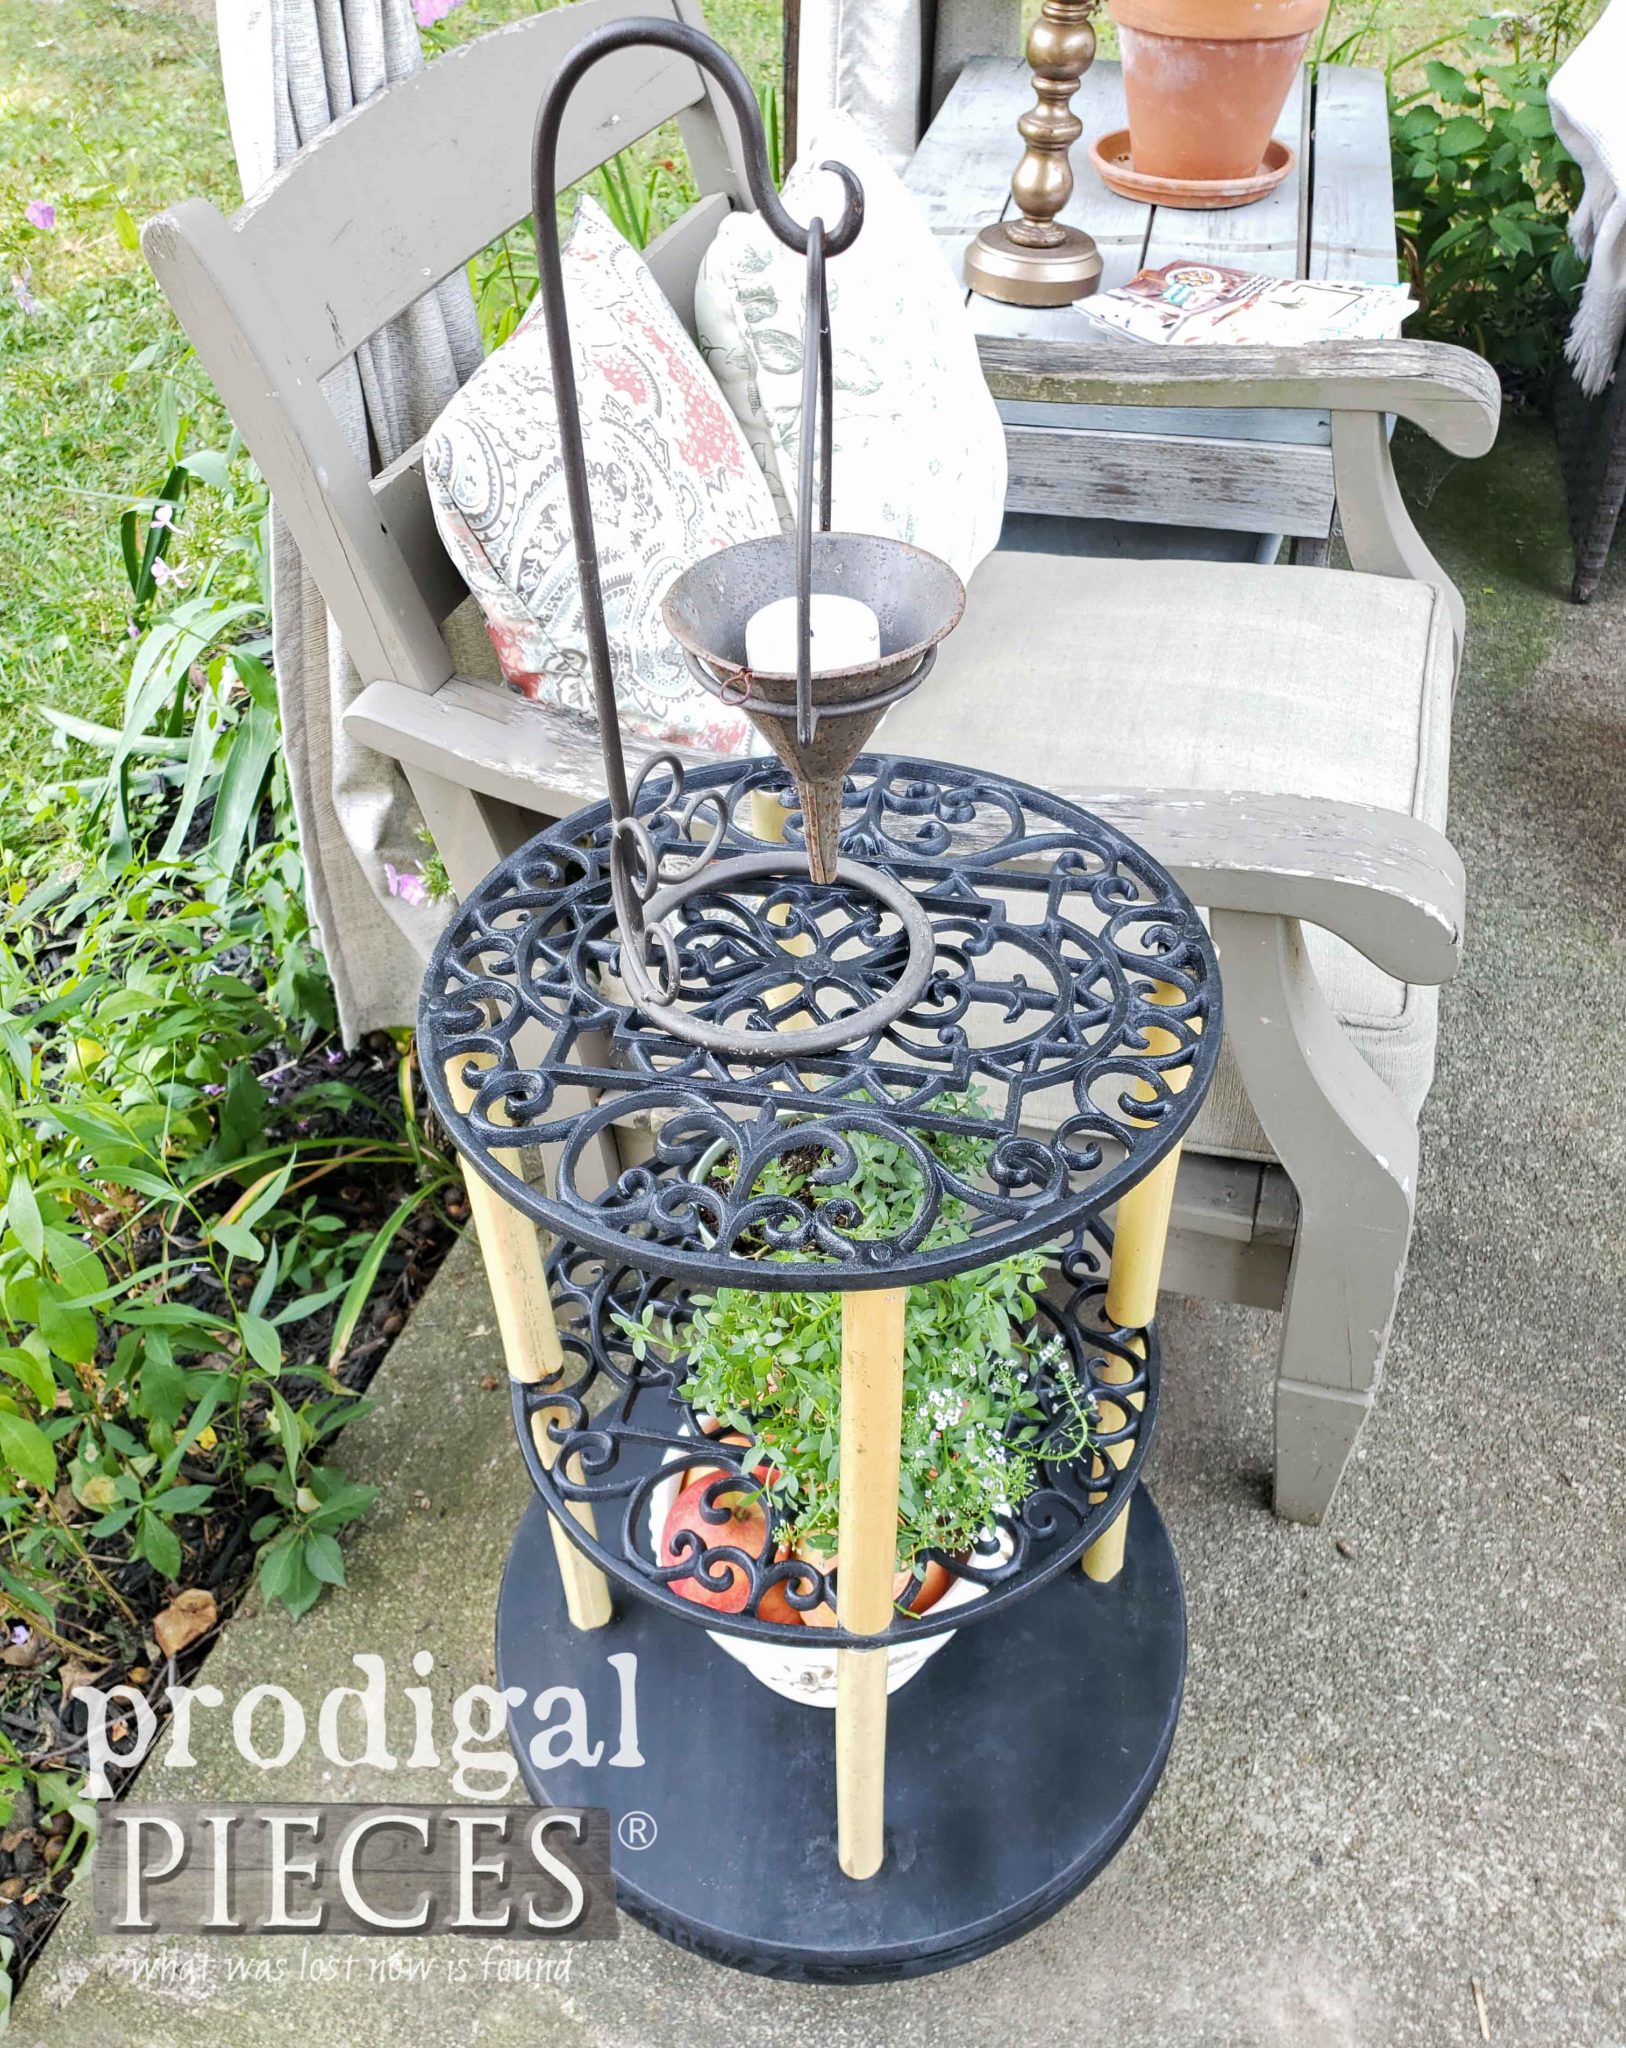
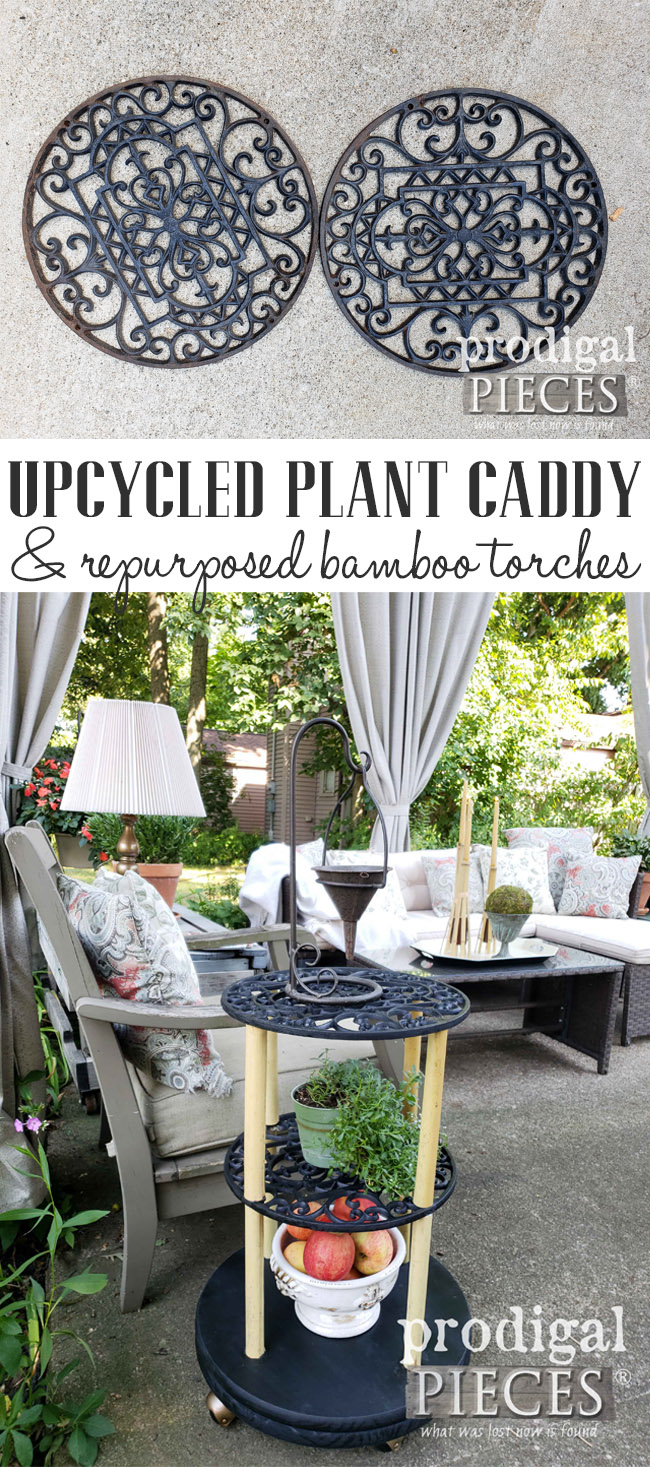
One of my favorite times of the month is here, Trash to Treasure Tuesday! This is a fun day where my blogger friends and I get together a few projects to inspire you. You’ll find their projects at the end of this post. For me today this pair of ornate iron plates are going to become my upcycled plant caddy project.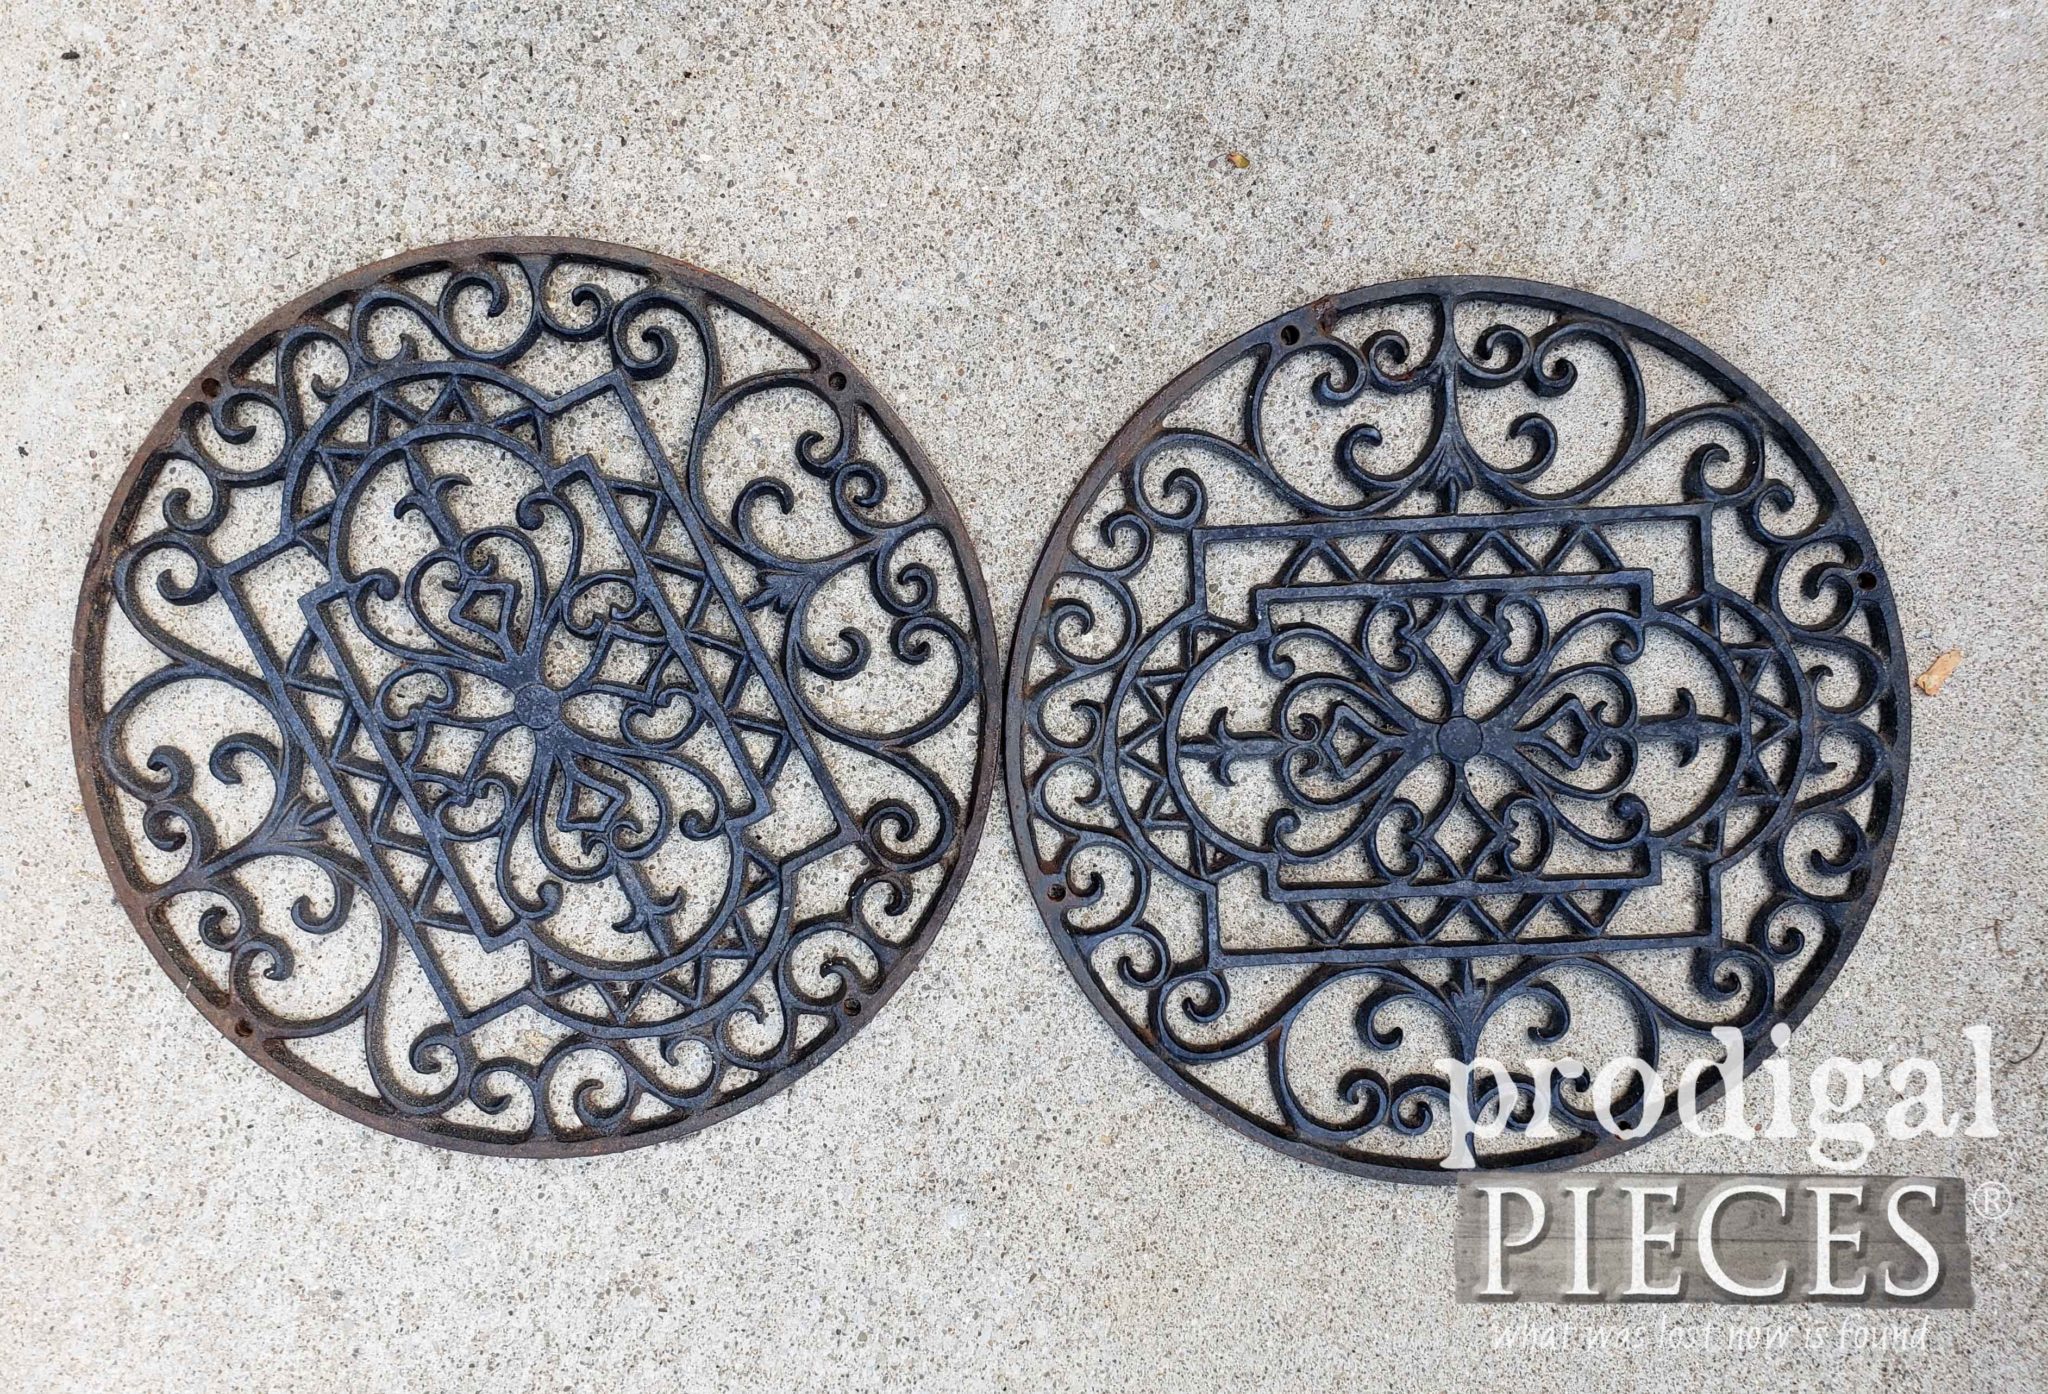
Yet again, my dad comes to the rescue. Apparently, these were my mom’s plant caddy’s that had the casters fall off. She was going to throw them away. {{gasp}} As soon as he showed me I replied, “They’re cast iron, nuff said.”
DIY TIME
While my first inclination was to use them as decorative garden wall art. I decided that they were too cool to just hang on the wall. There was nothing wrong with them. Each had four holes that were threaded to accept new casters if I liked. However, if you know me I tend to go overboard and really take it to a new level. mwahahaha!!
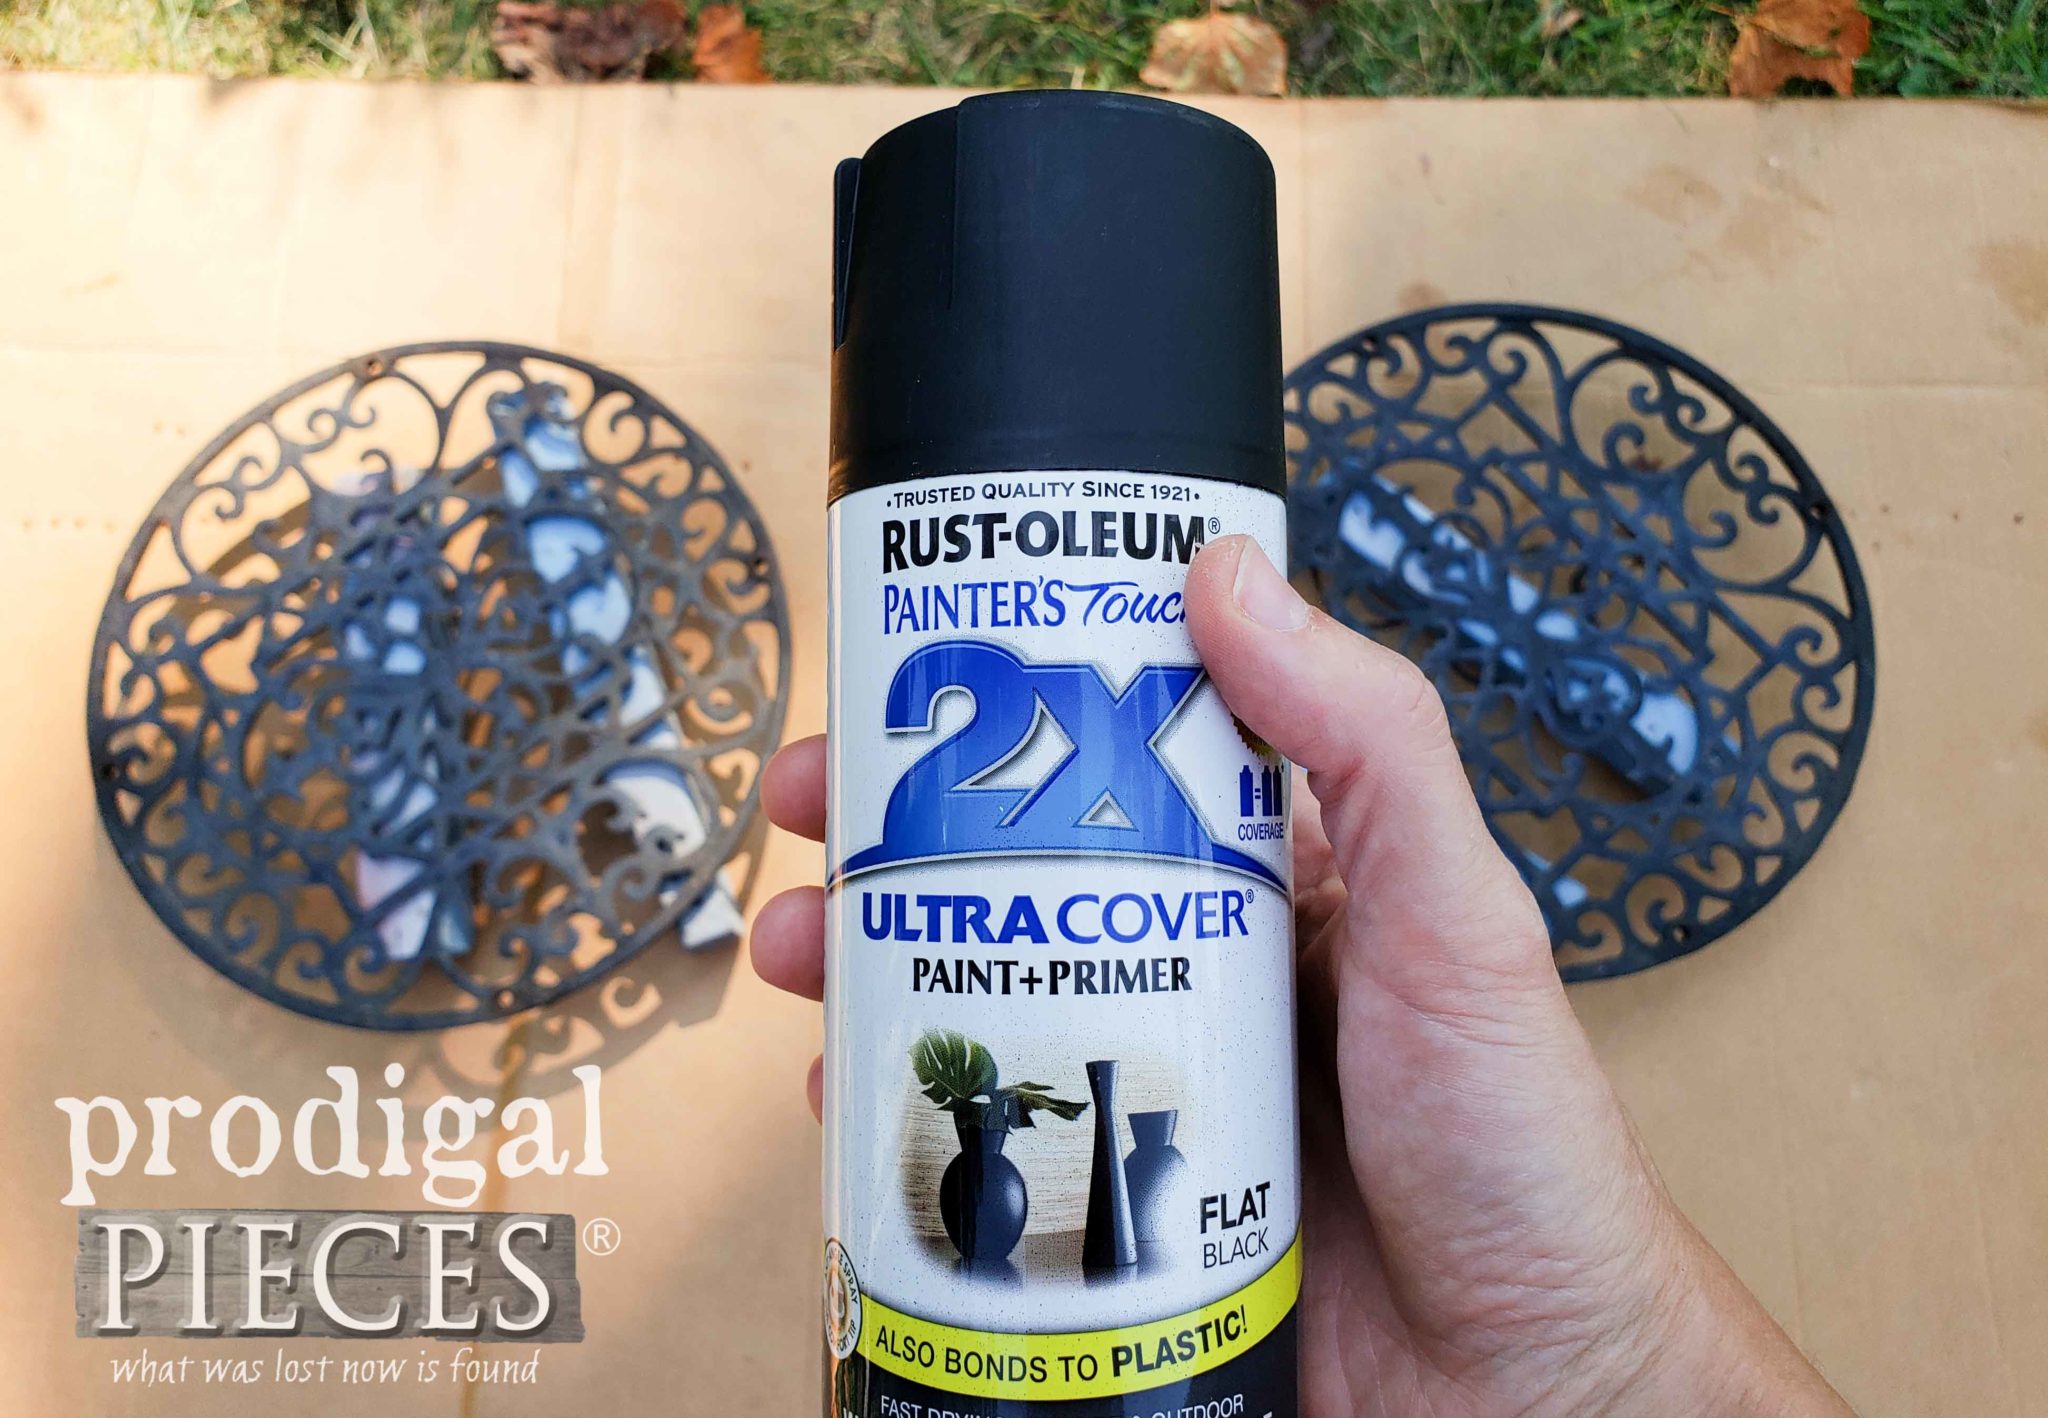
First, I refresh them with a spray paint. Typically, I prefer to start my projects by spraying the bottom and then flip them to do the top.
HARDWARE
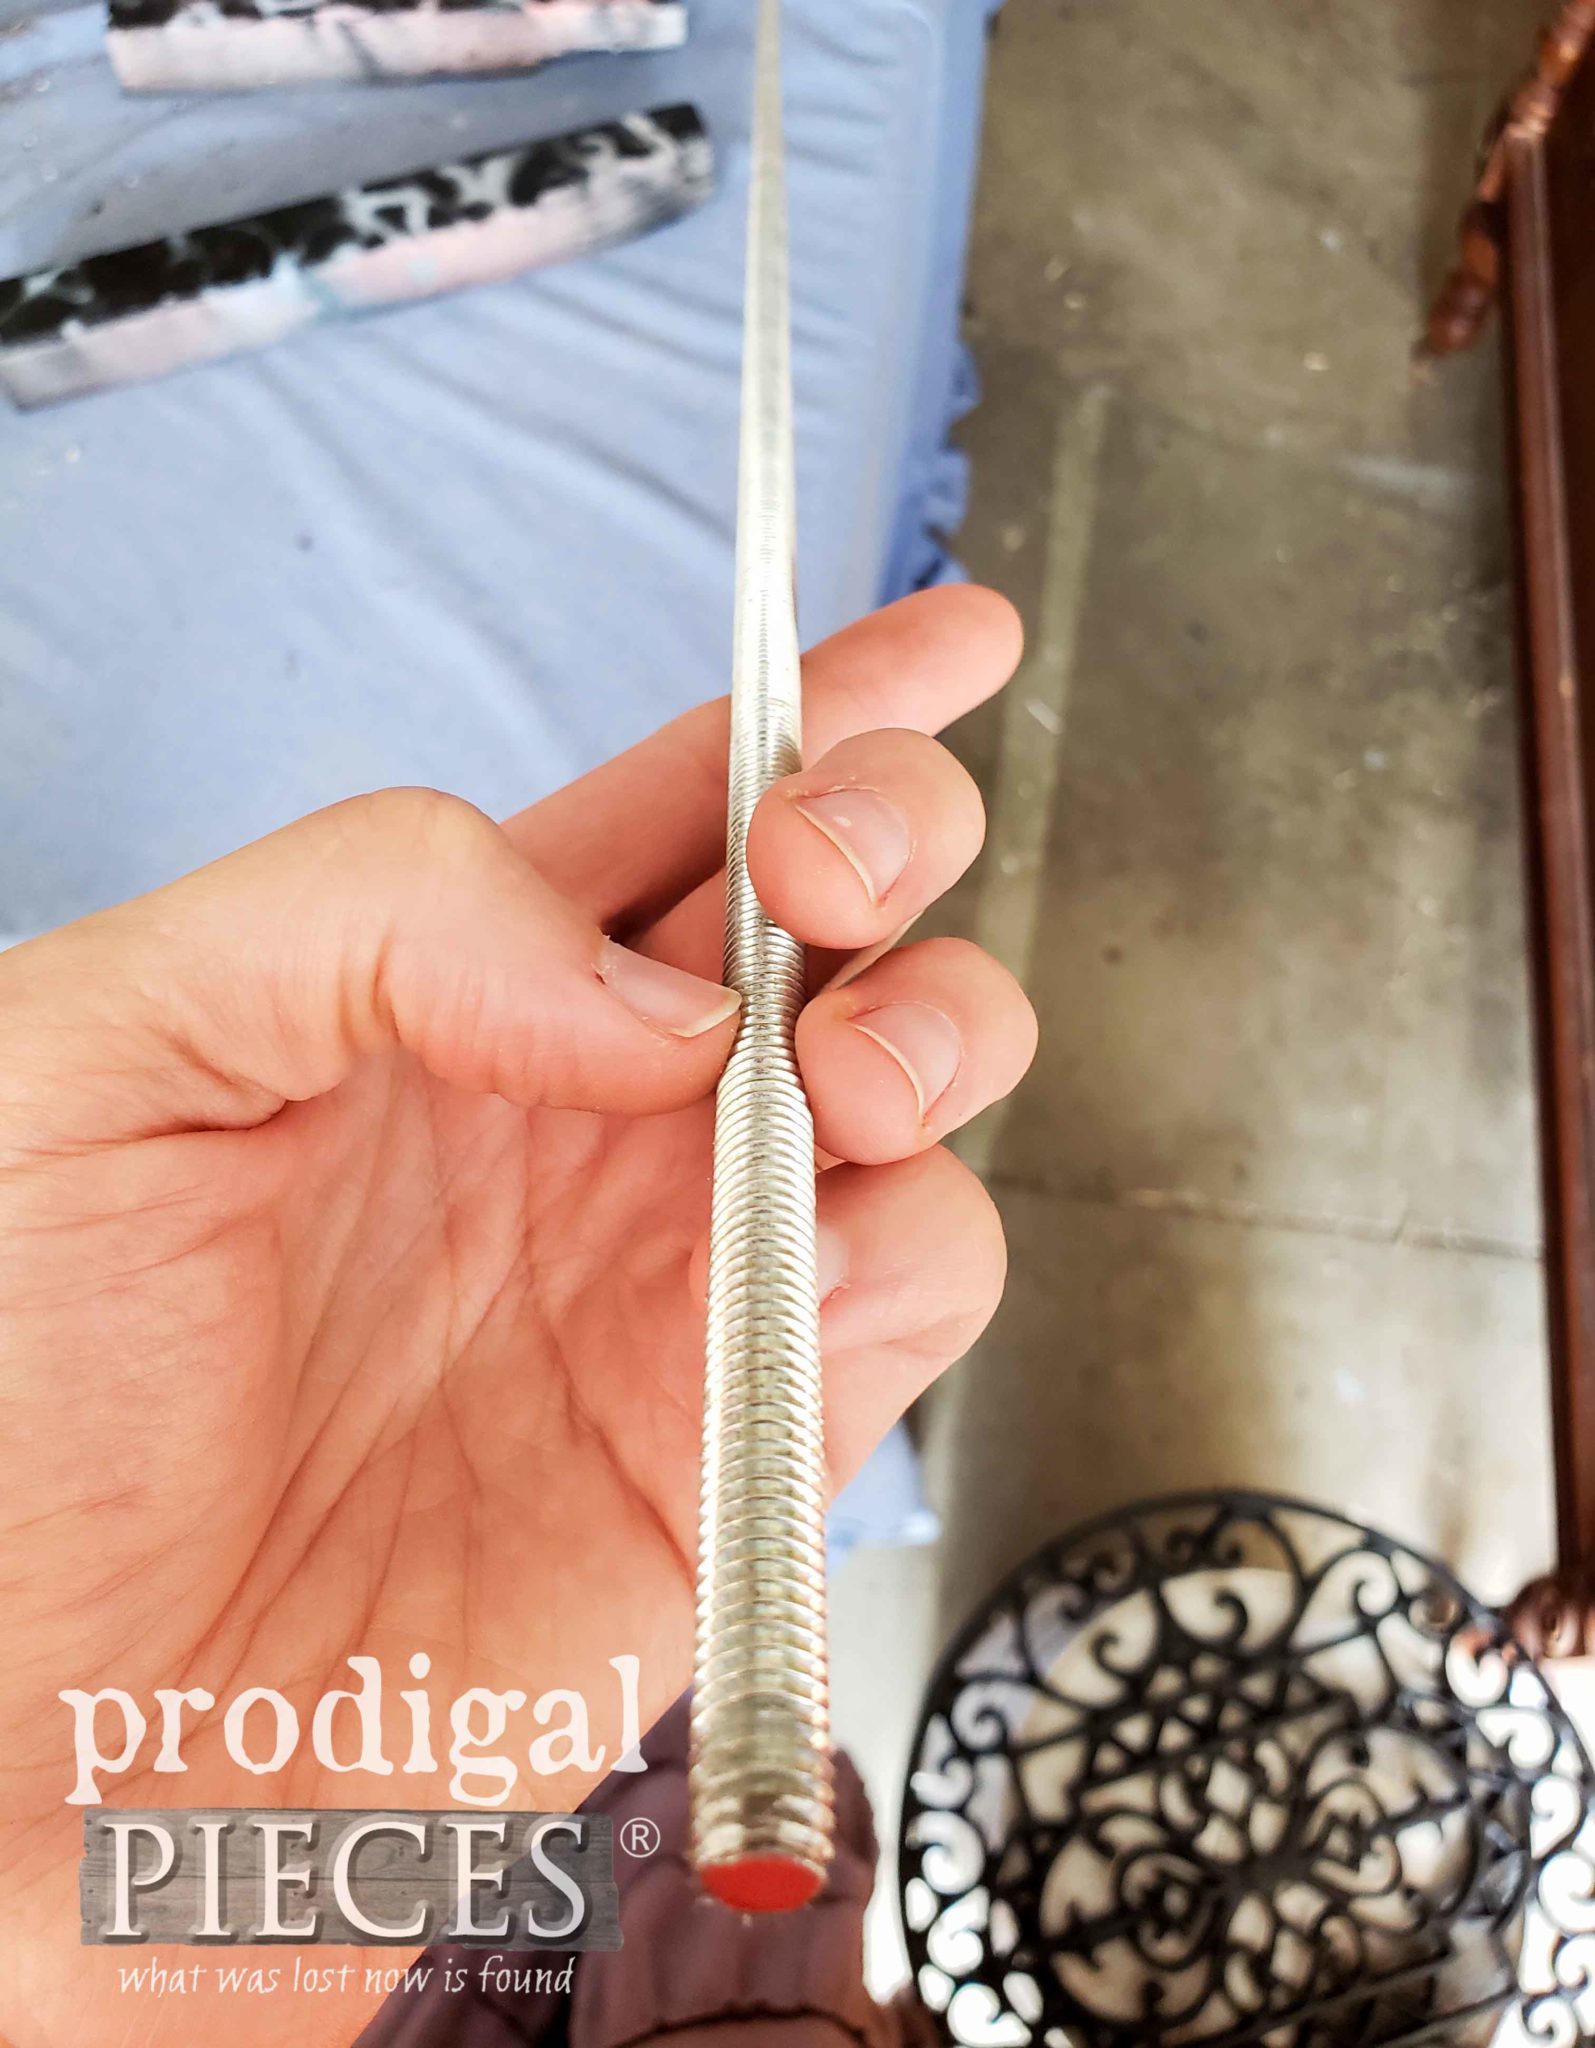
Next, once the paint has cured it was time to add some fun. Since each caddy already had threaded holes, I thought I could use long threaded rods to connect them together to make a tiered table. Can you see where I’m going with this?
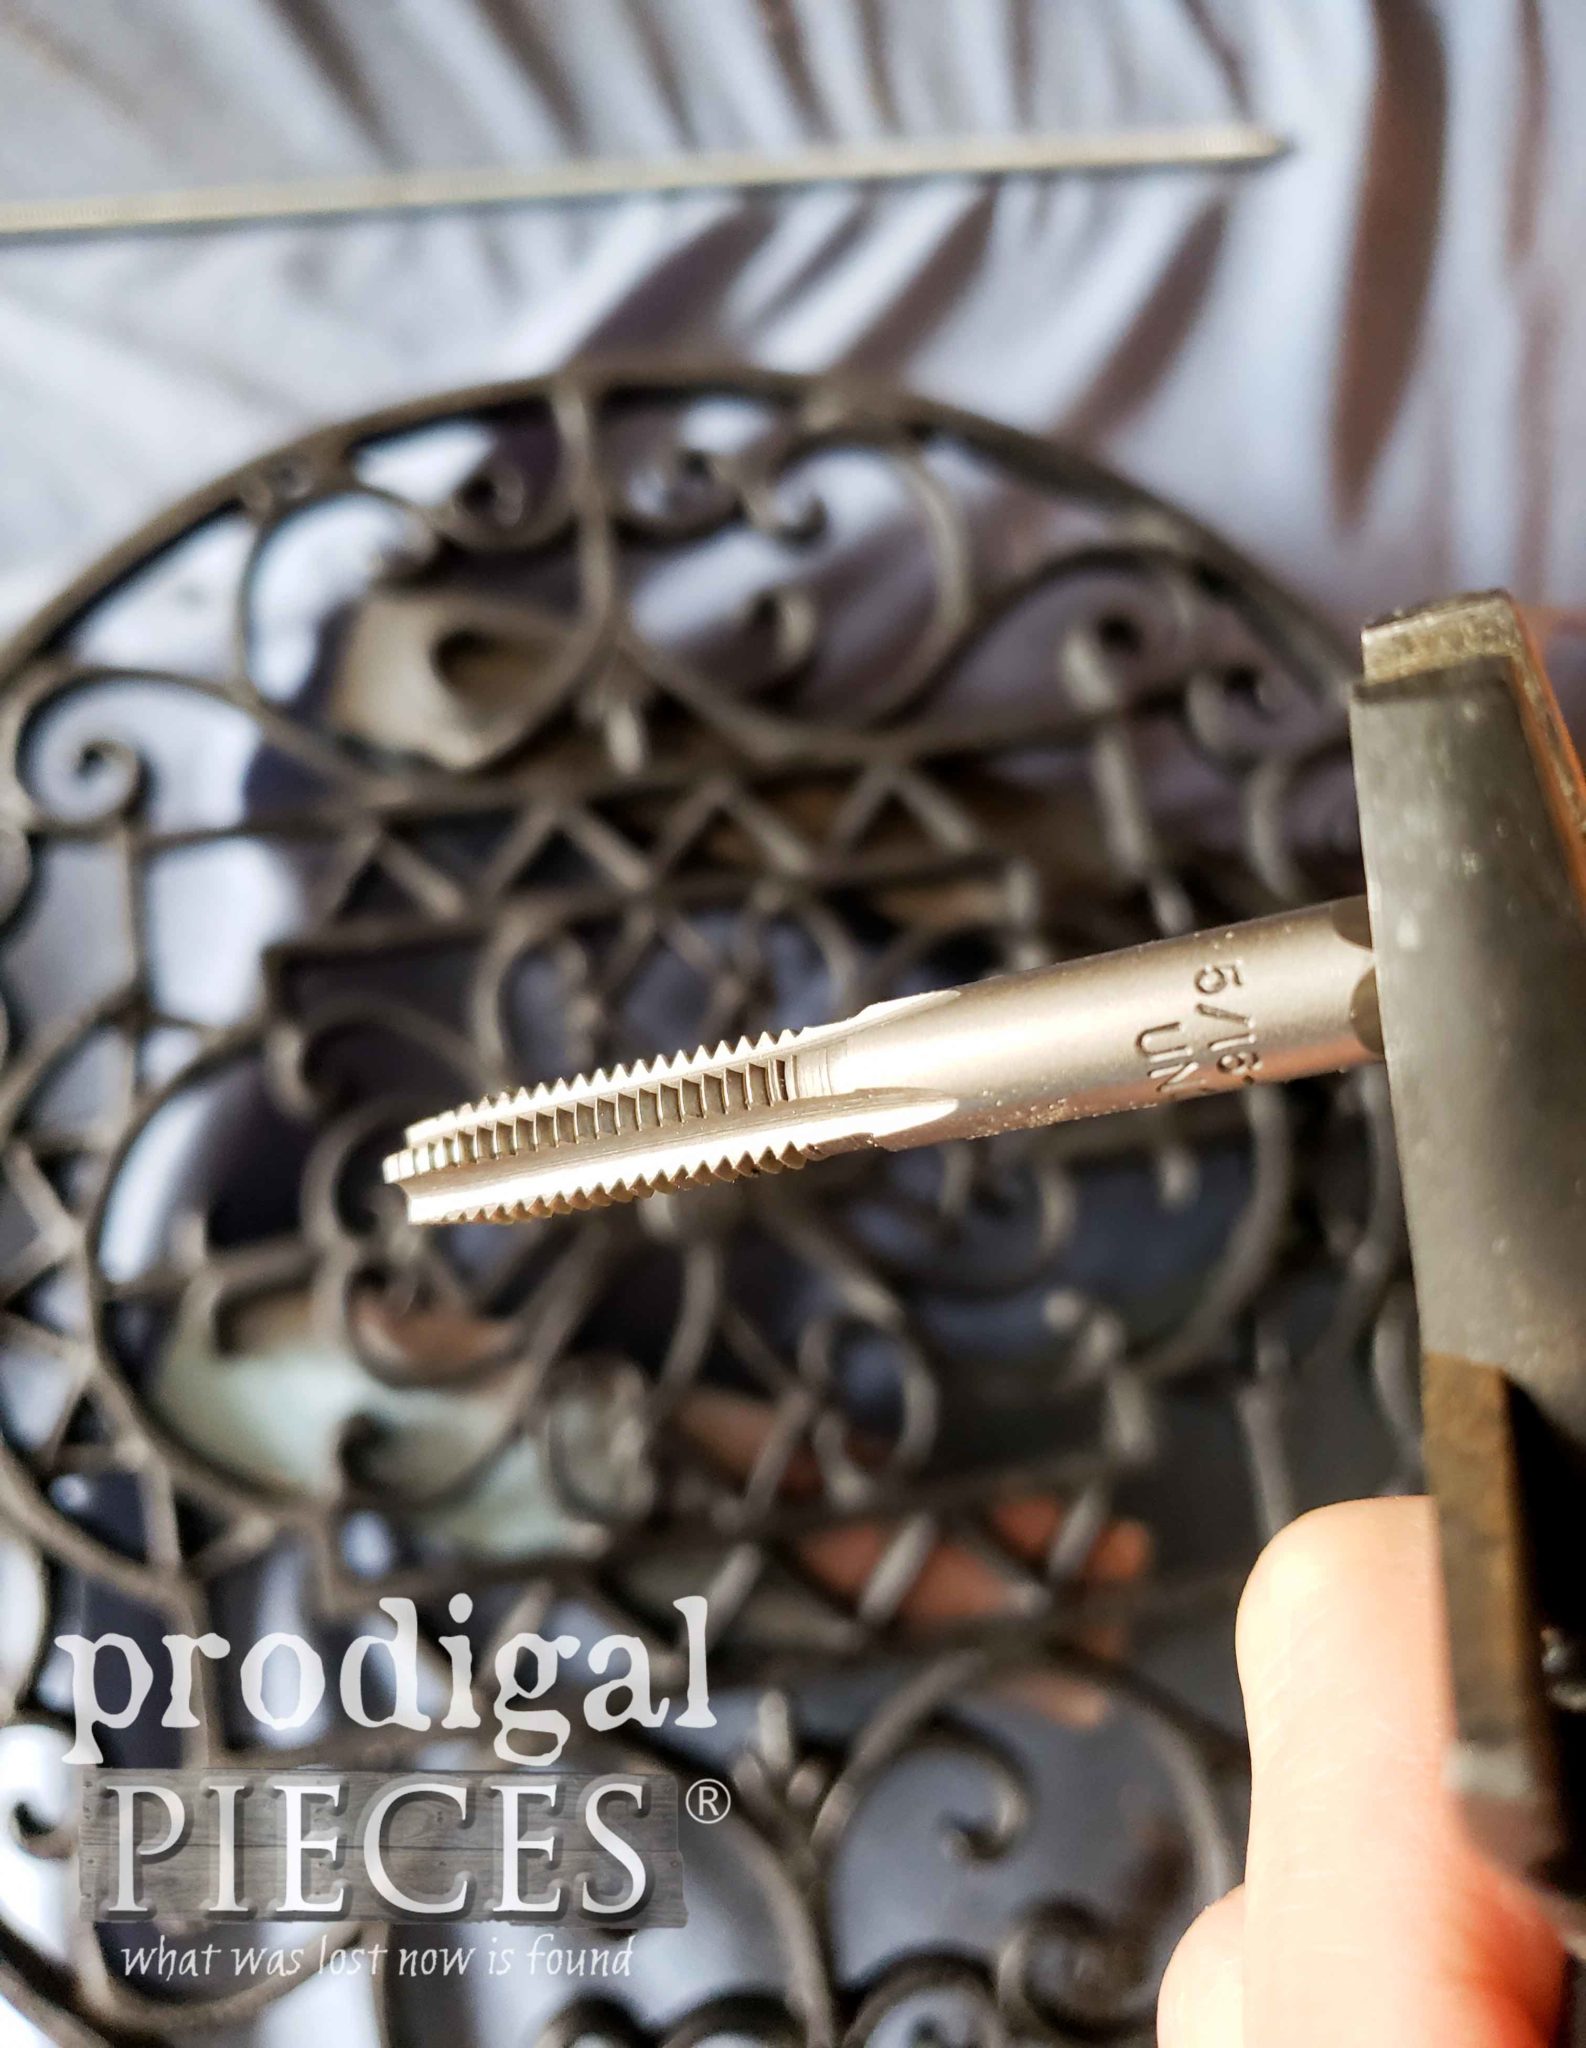
However, the only problem was that the size of the threaded openings were not standard, but no problem for me. Back in our college days we had a car that would make the most horrendous noise at one point because apparently a spark plug port had worn out threads and the spark plug would blow out. We figured out how to cautiously make a new threaded opening. By using a tap, it makes new threads and enlarges it as well. Also, one mistake and we lose our engine, but we had no money and needed to try something. It worked!
Then, I bought a tap the size of the rod I had and fixed my problem lickety-split. Woot!
TROUBLE
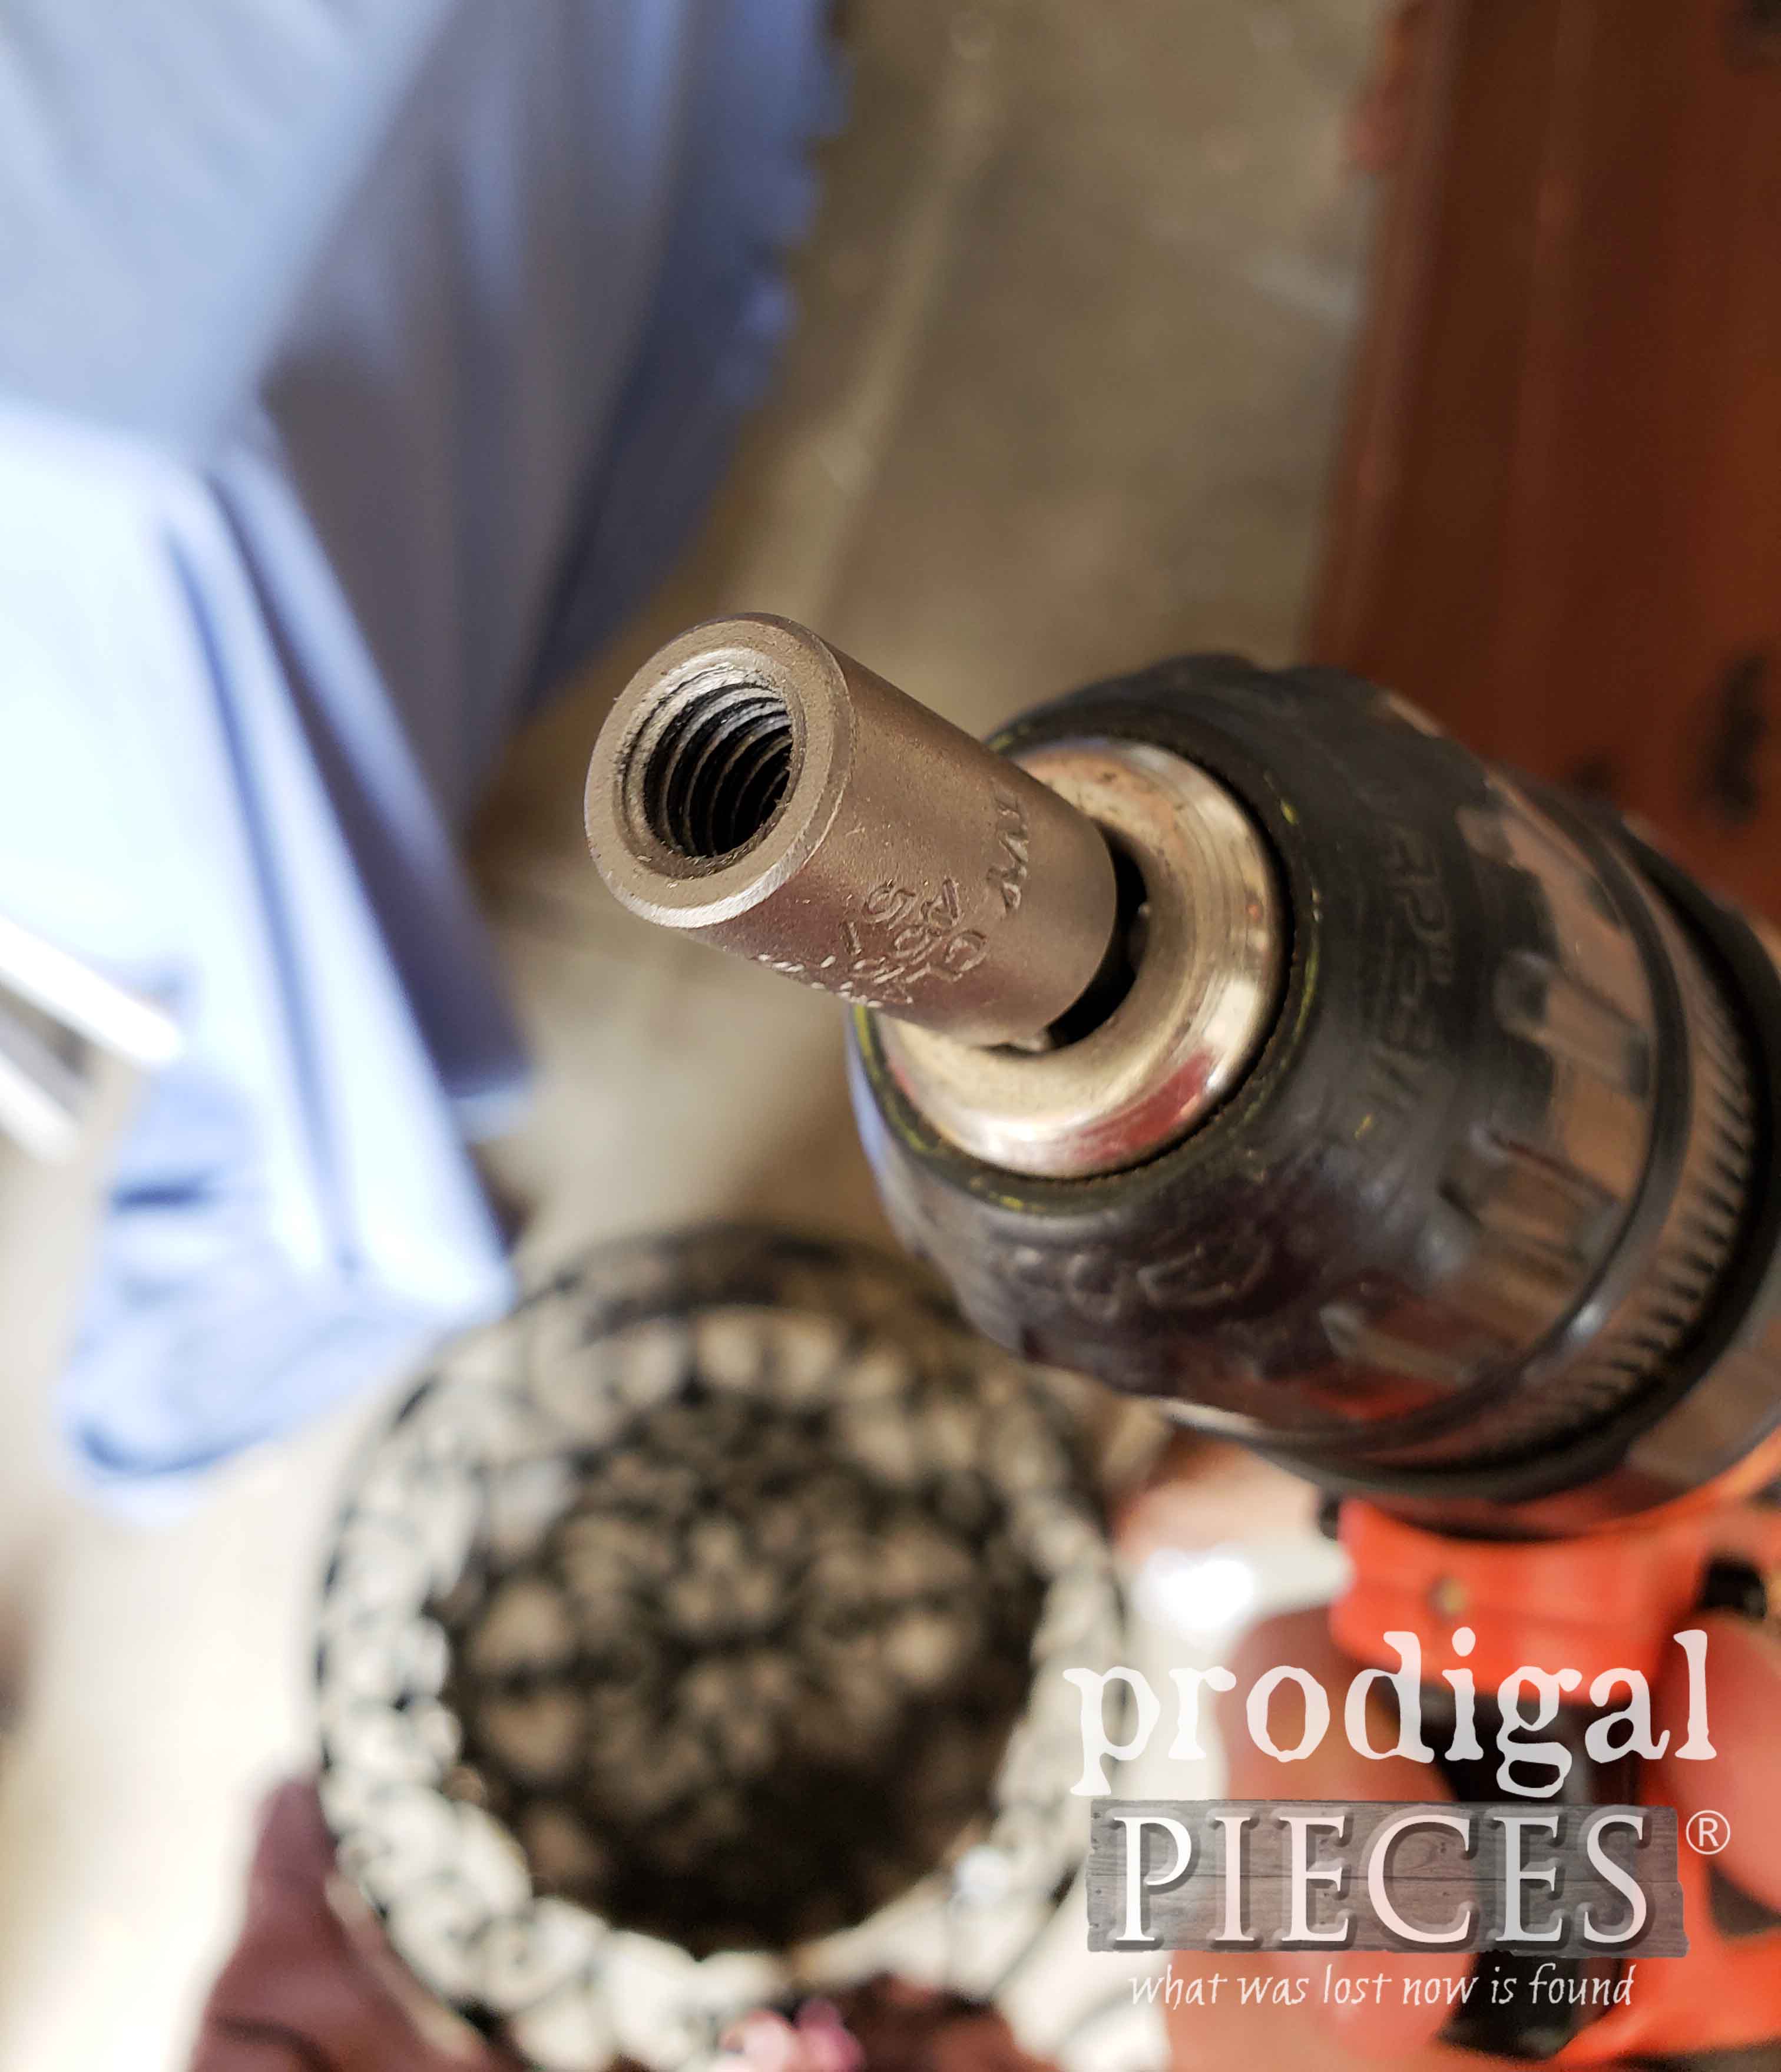
Now, how to get those rods in with out hand-cranking them in because this mama ain’t got time for that. JC piped up he had seen a drill bit for driving in double threaded bolts. Yay! So I questioned the local orange home improvement store and they treated me like a stupid female (per usual when I go in there), and even the local hardware store…nothing. Finally, I found it was a hanger bolt driver, which makes perfect sense so you can drive in those bolts to hang planters and such in your ceiling, or drive in the bolts in furniture feet.
Now, here was my dilemma…I have really pretty cast iron and ugly threaded rods. Hmmm…how to hide them and keep stability…bamboo! My upcycled plant caddy was going to rock the bamboo style. haha! At the same visit to the orange home improvement store I tried to find some bamboo poles like you use to stake in your garden – nothing.
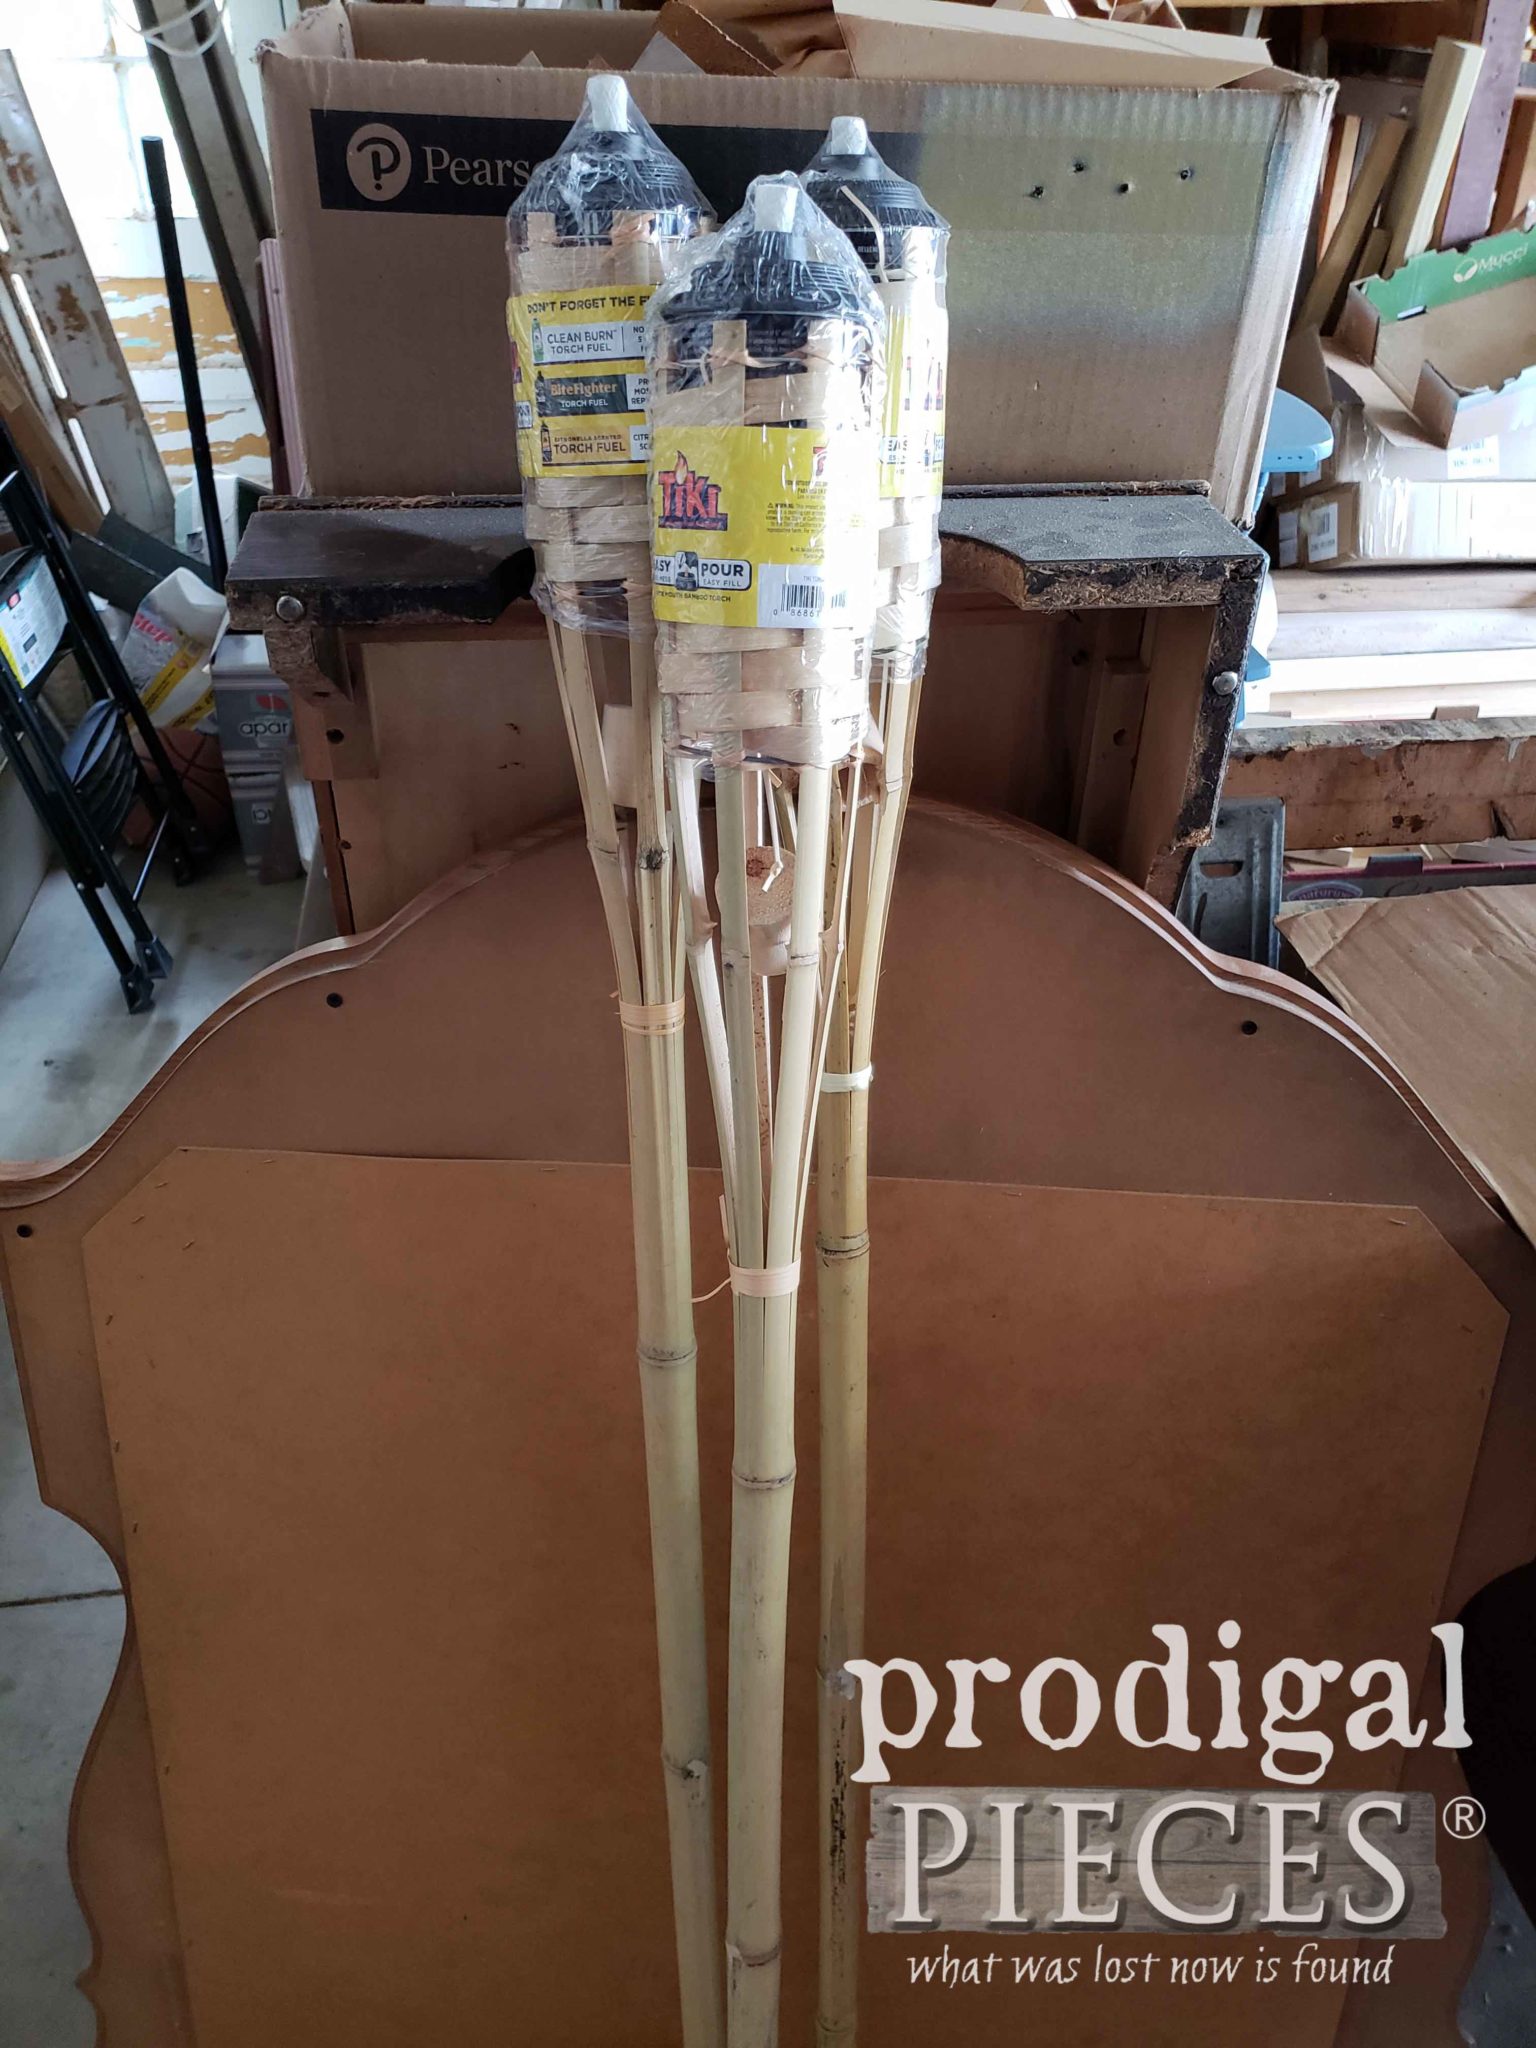
Next, the associate told me to try another store, and I remembered that’s where I had gotten mine in the past. Headed over there and they were already yanking out their summer stock for fall – geesh. I was heading out the door and spied the bamboo torches and had an “aha” moment.
Then, I whip out my tape measure and began to pull out the ones that had lengths I needed and similar diameter. note: always have a tape measure handy! Coincidentally, my kids love to see mama getting weird looks from others. pffft.
NEXT STEPS
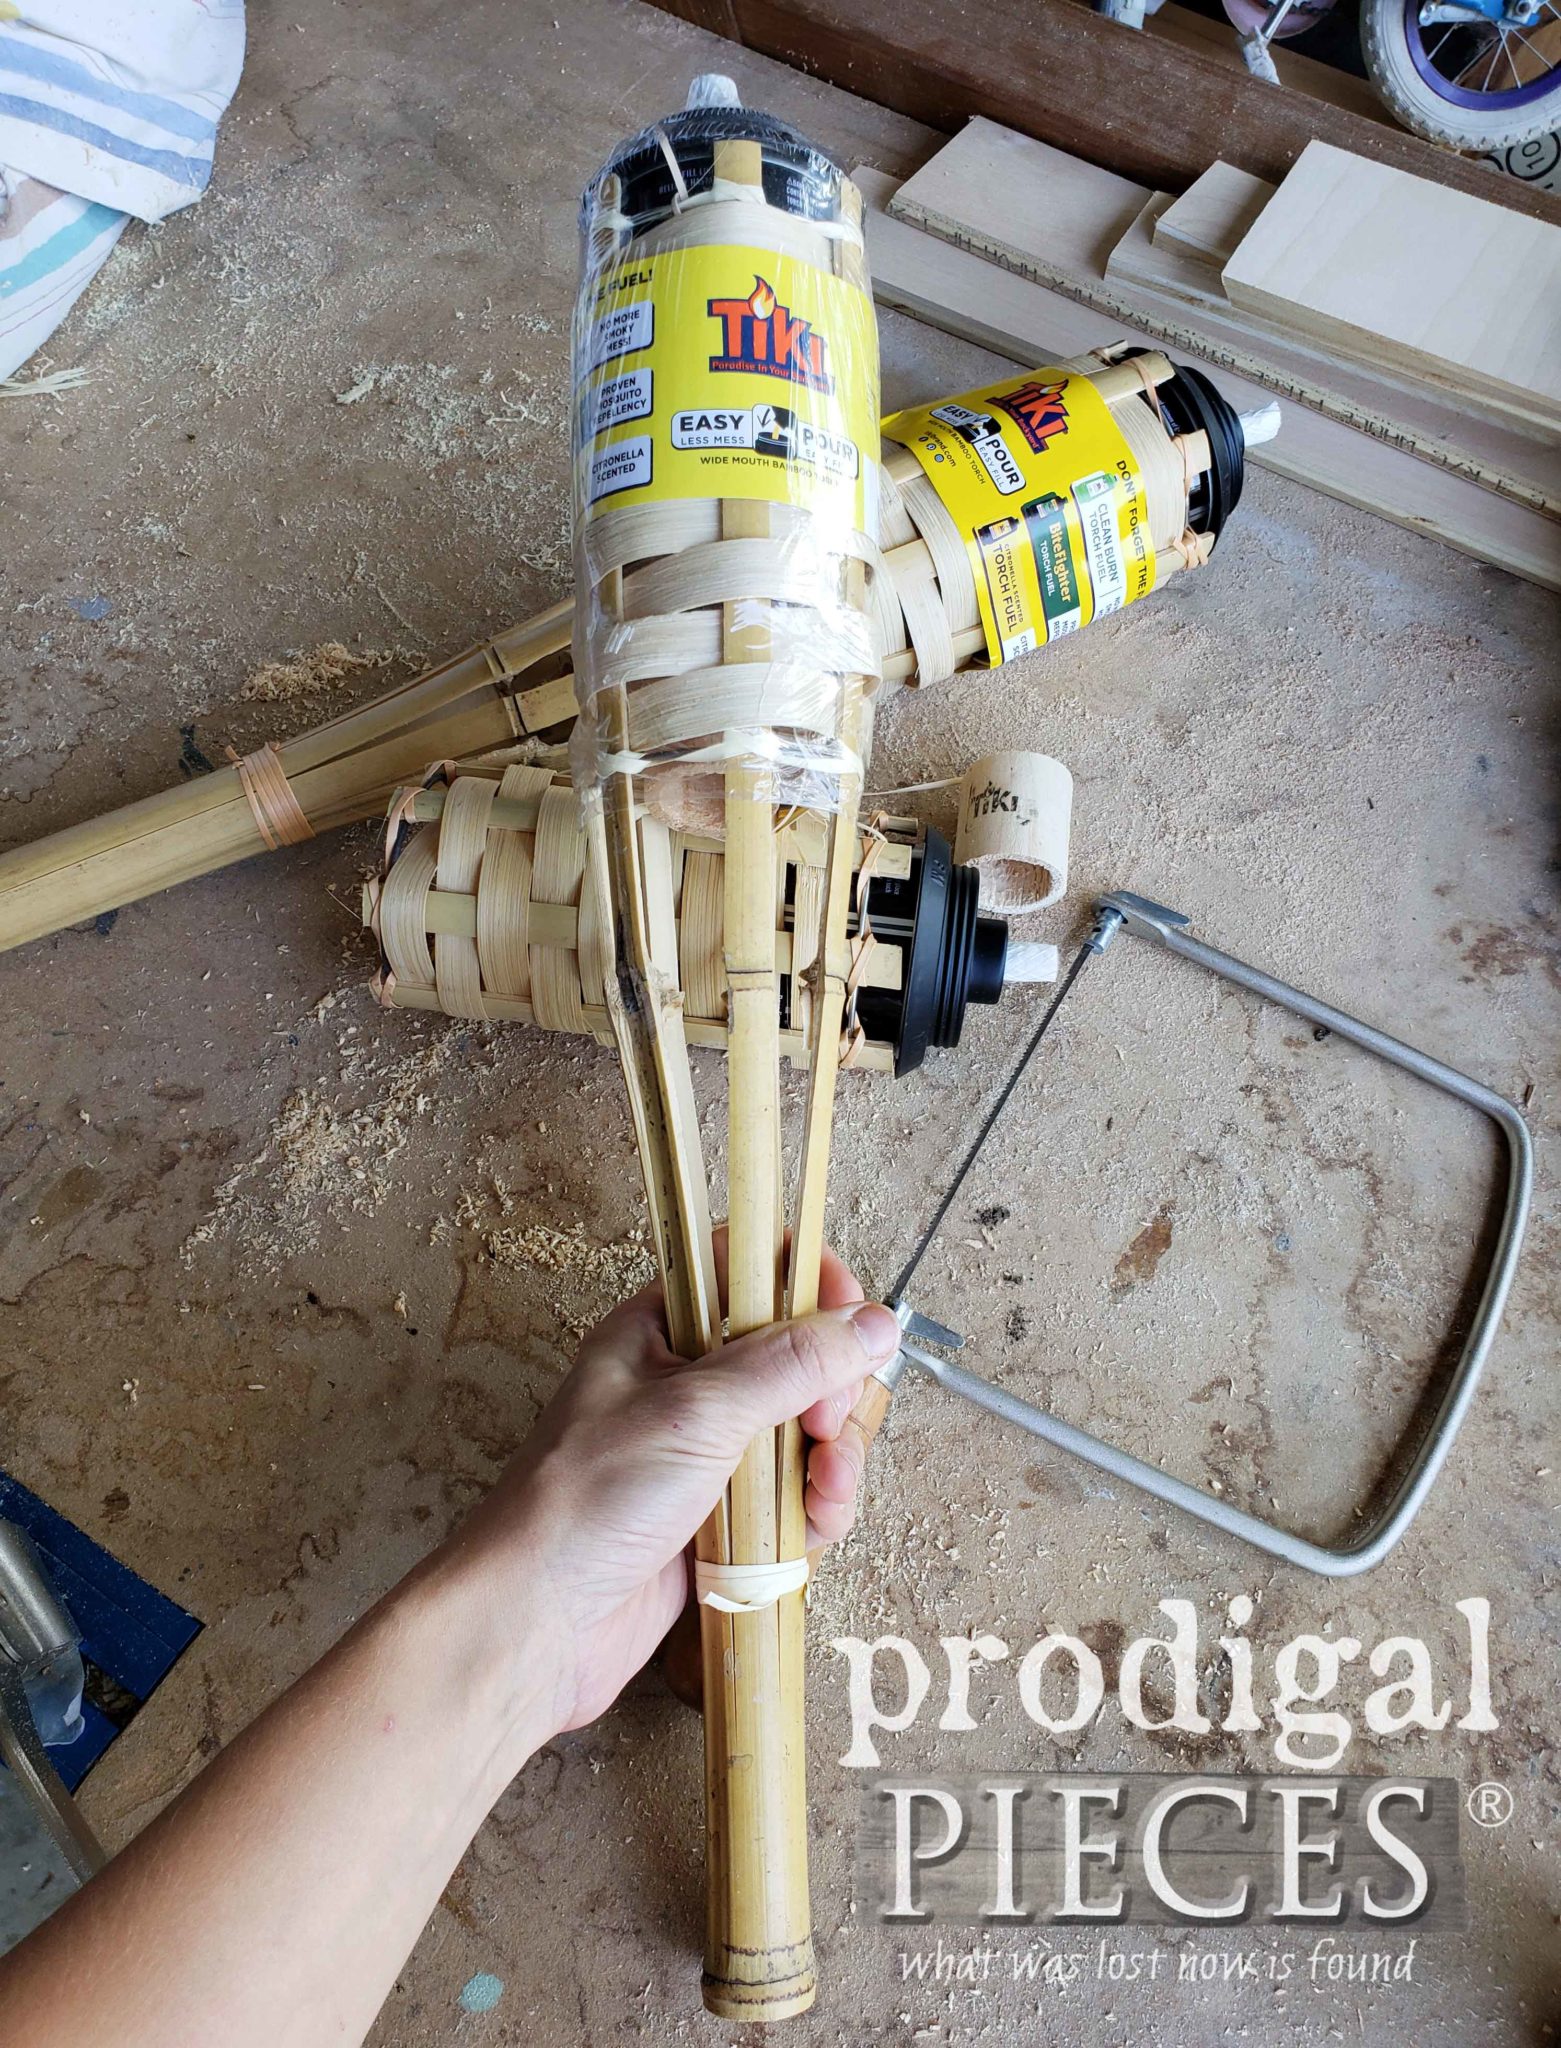
From this point, I used my coping saw to cut the bamboo and began to assemble like a crazy lady. While waiting for things to cure on my upcycled plant caddy creation, I decided to find a purpose for the remnant pieces of those torches. Nothing goes to waste around here – trust me.
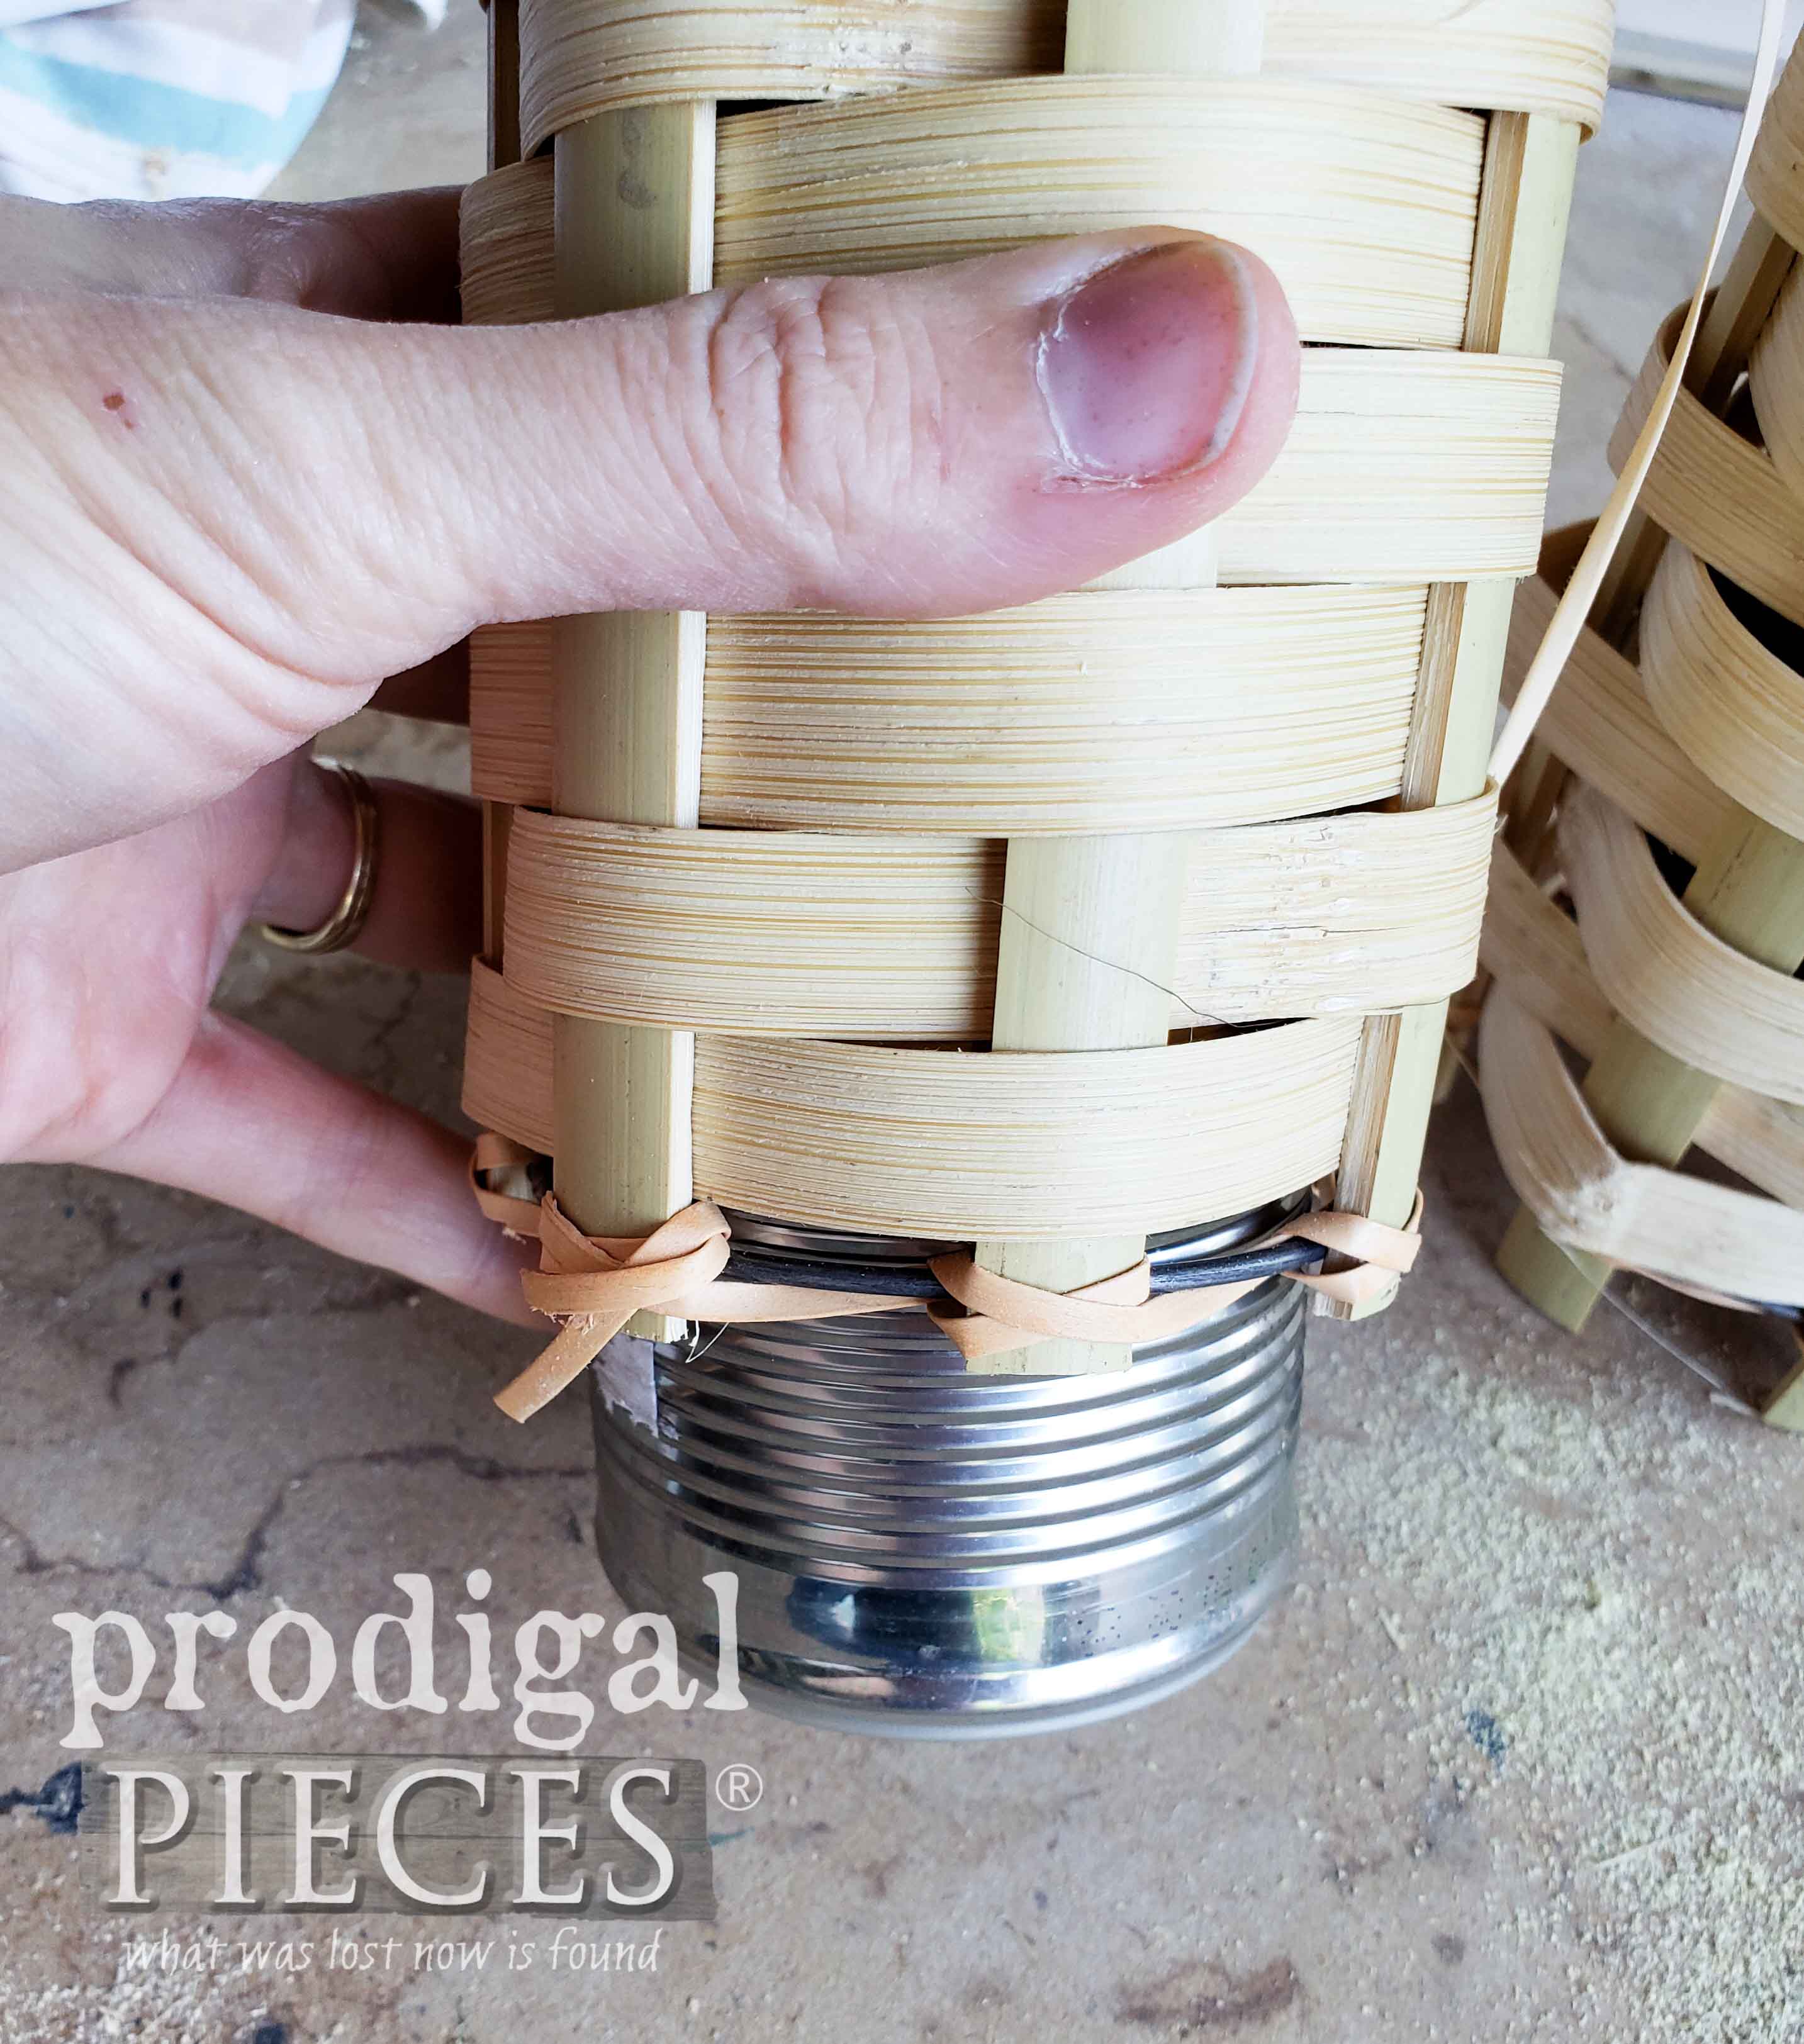
Last, I cut off the bottom of the torch leaving the basket encasing the oil can. On the other hand, the rest of the torch would get a new purpose too – hang with me. My intention was to stand the torches upright which would require a weighted bottom. Nothing that a can of tomato sauce can’t solve, right?
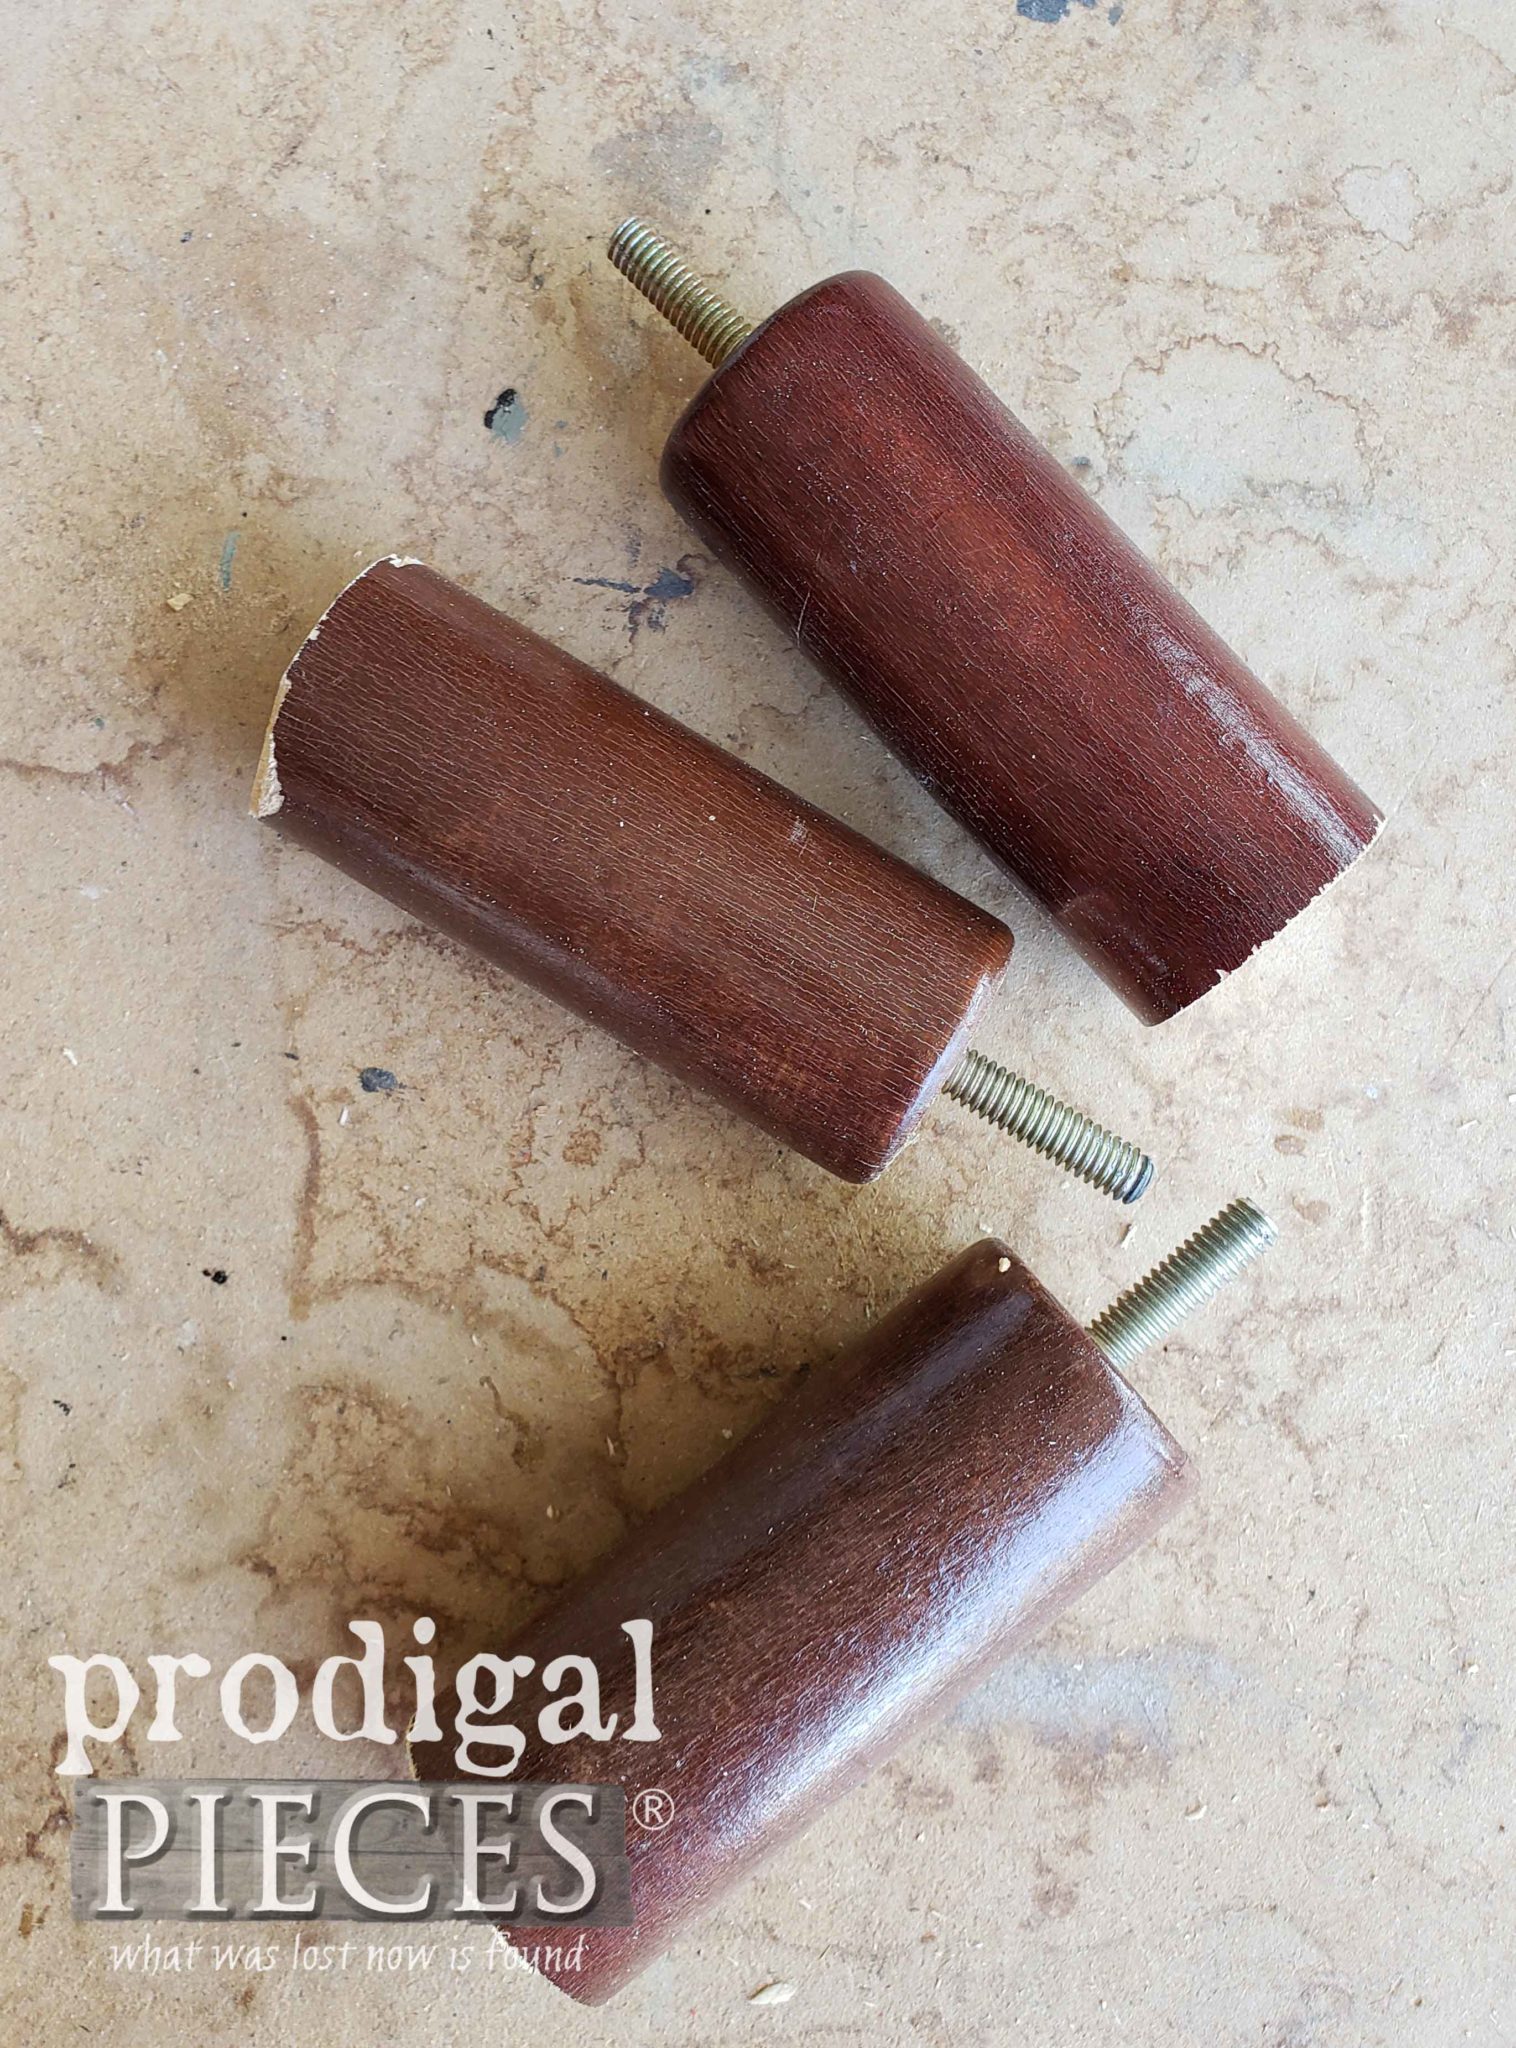
Last, for the other part of the torch that was left, I pulled out the couch feet I had taken off a curbside gem. Removed those bolts with my hanger bolt driver, and made use of them.
THE REVEAL
Are you ready to see all my insanity come to fruition? Check it out…
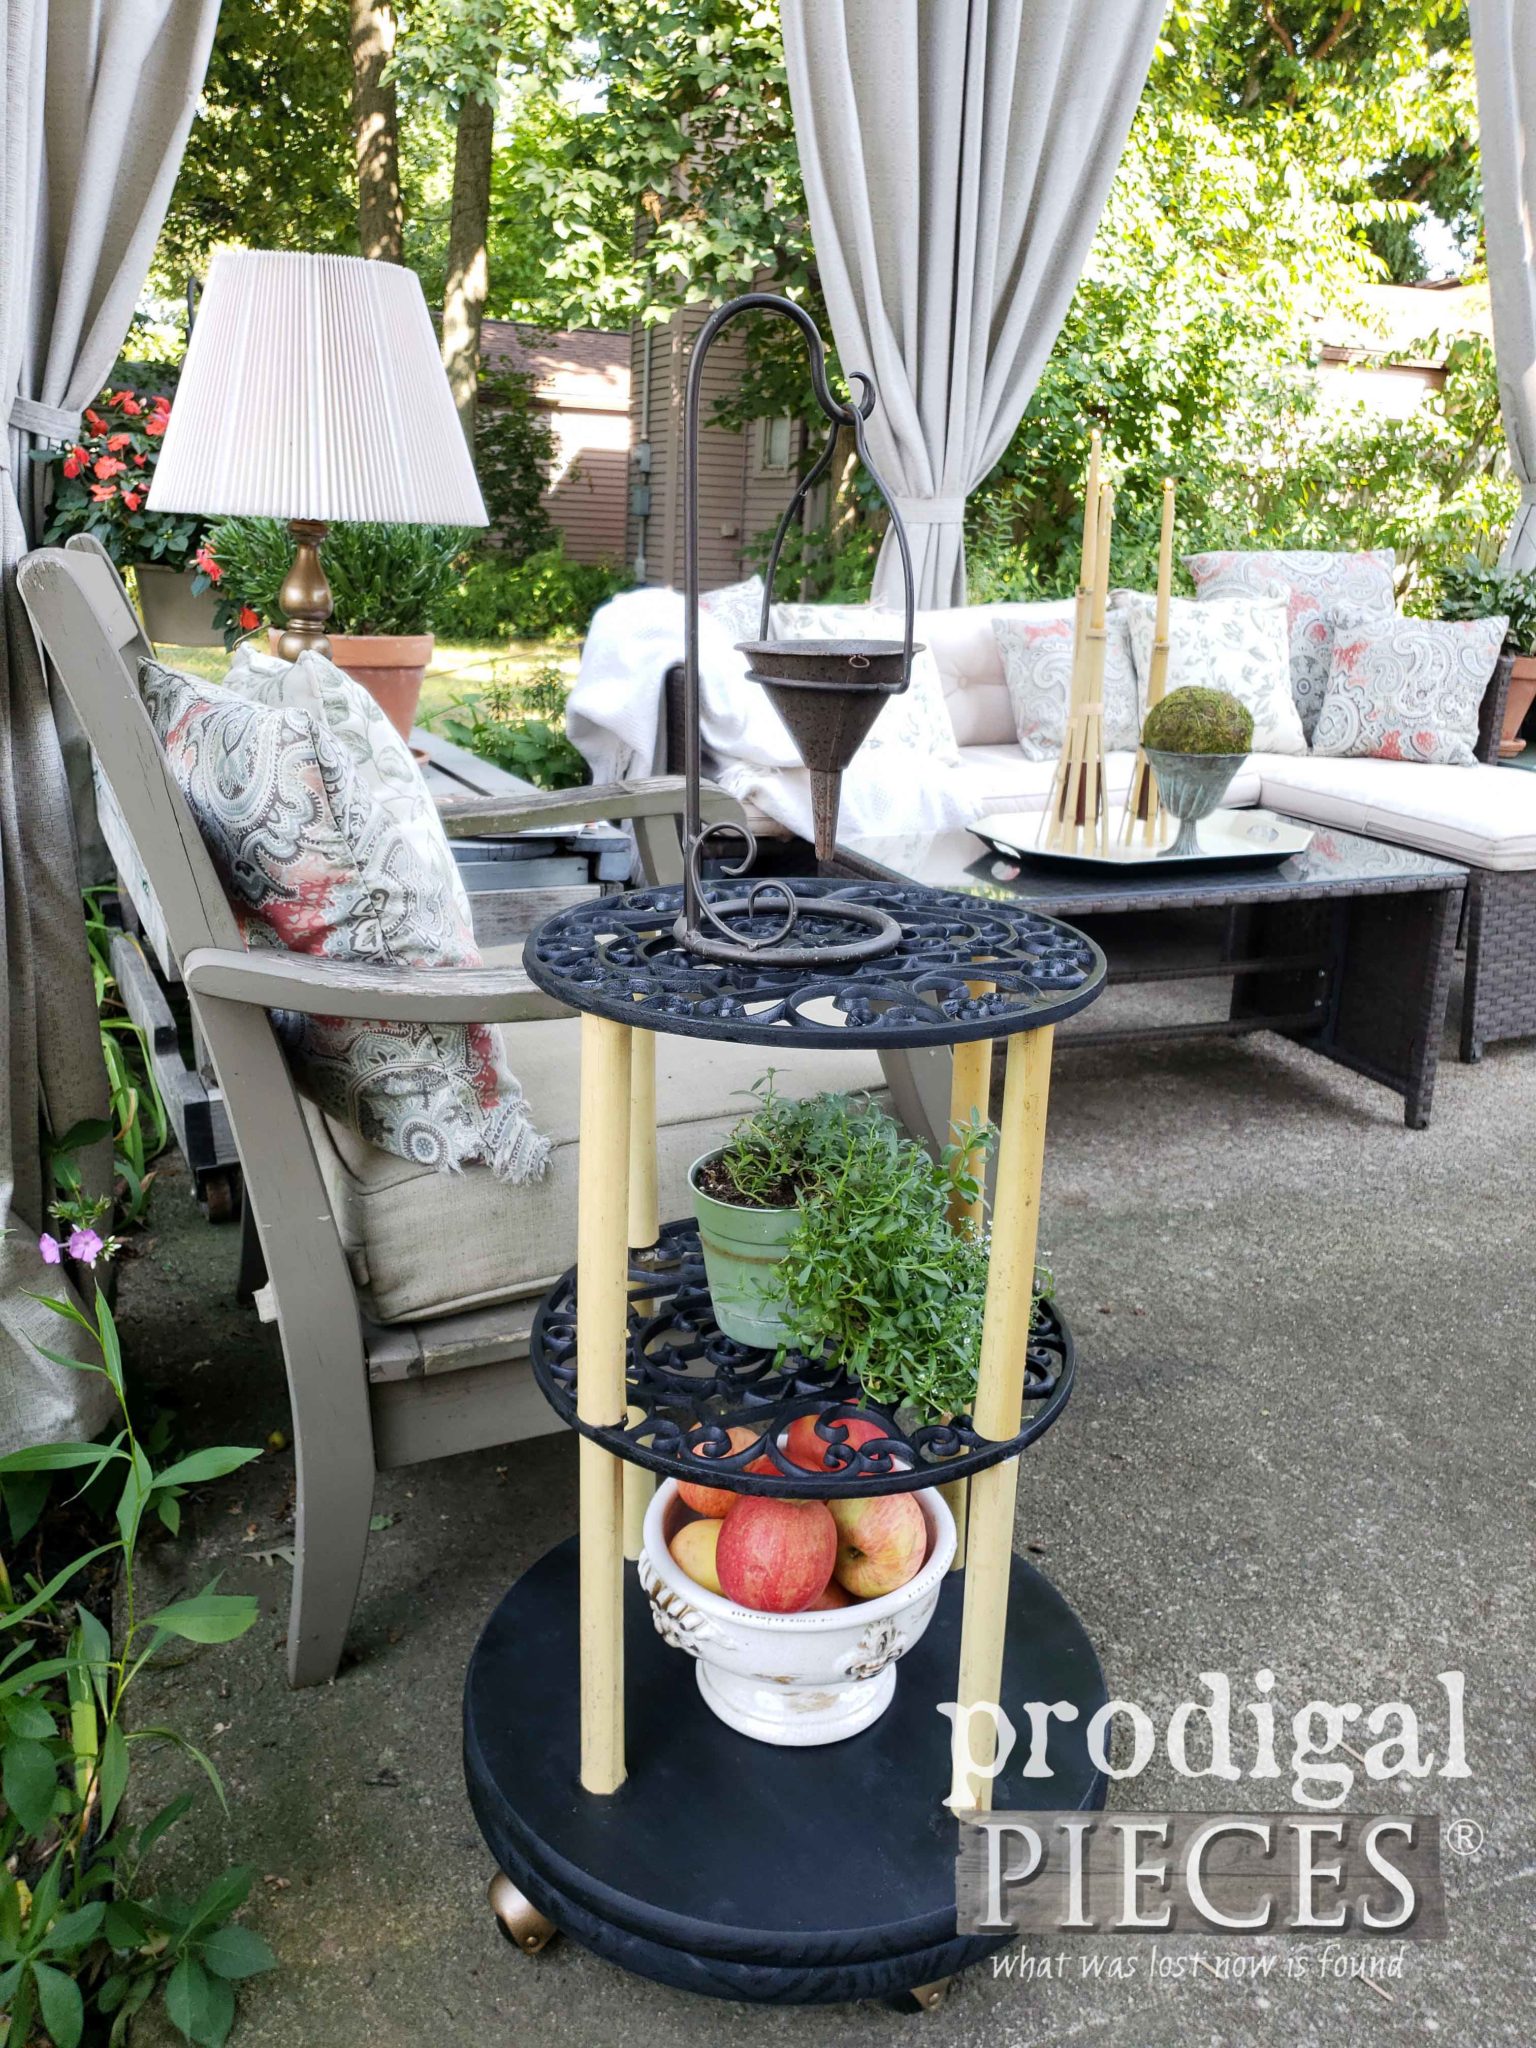
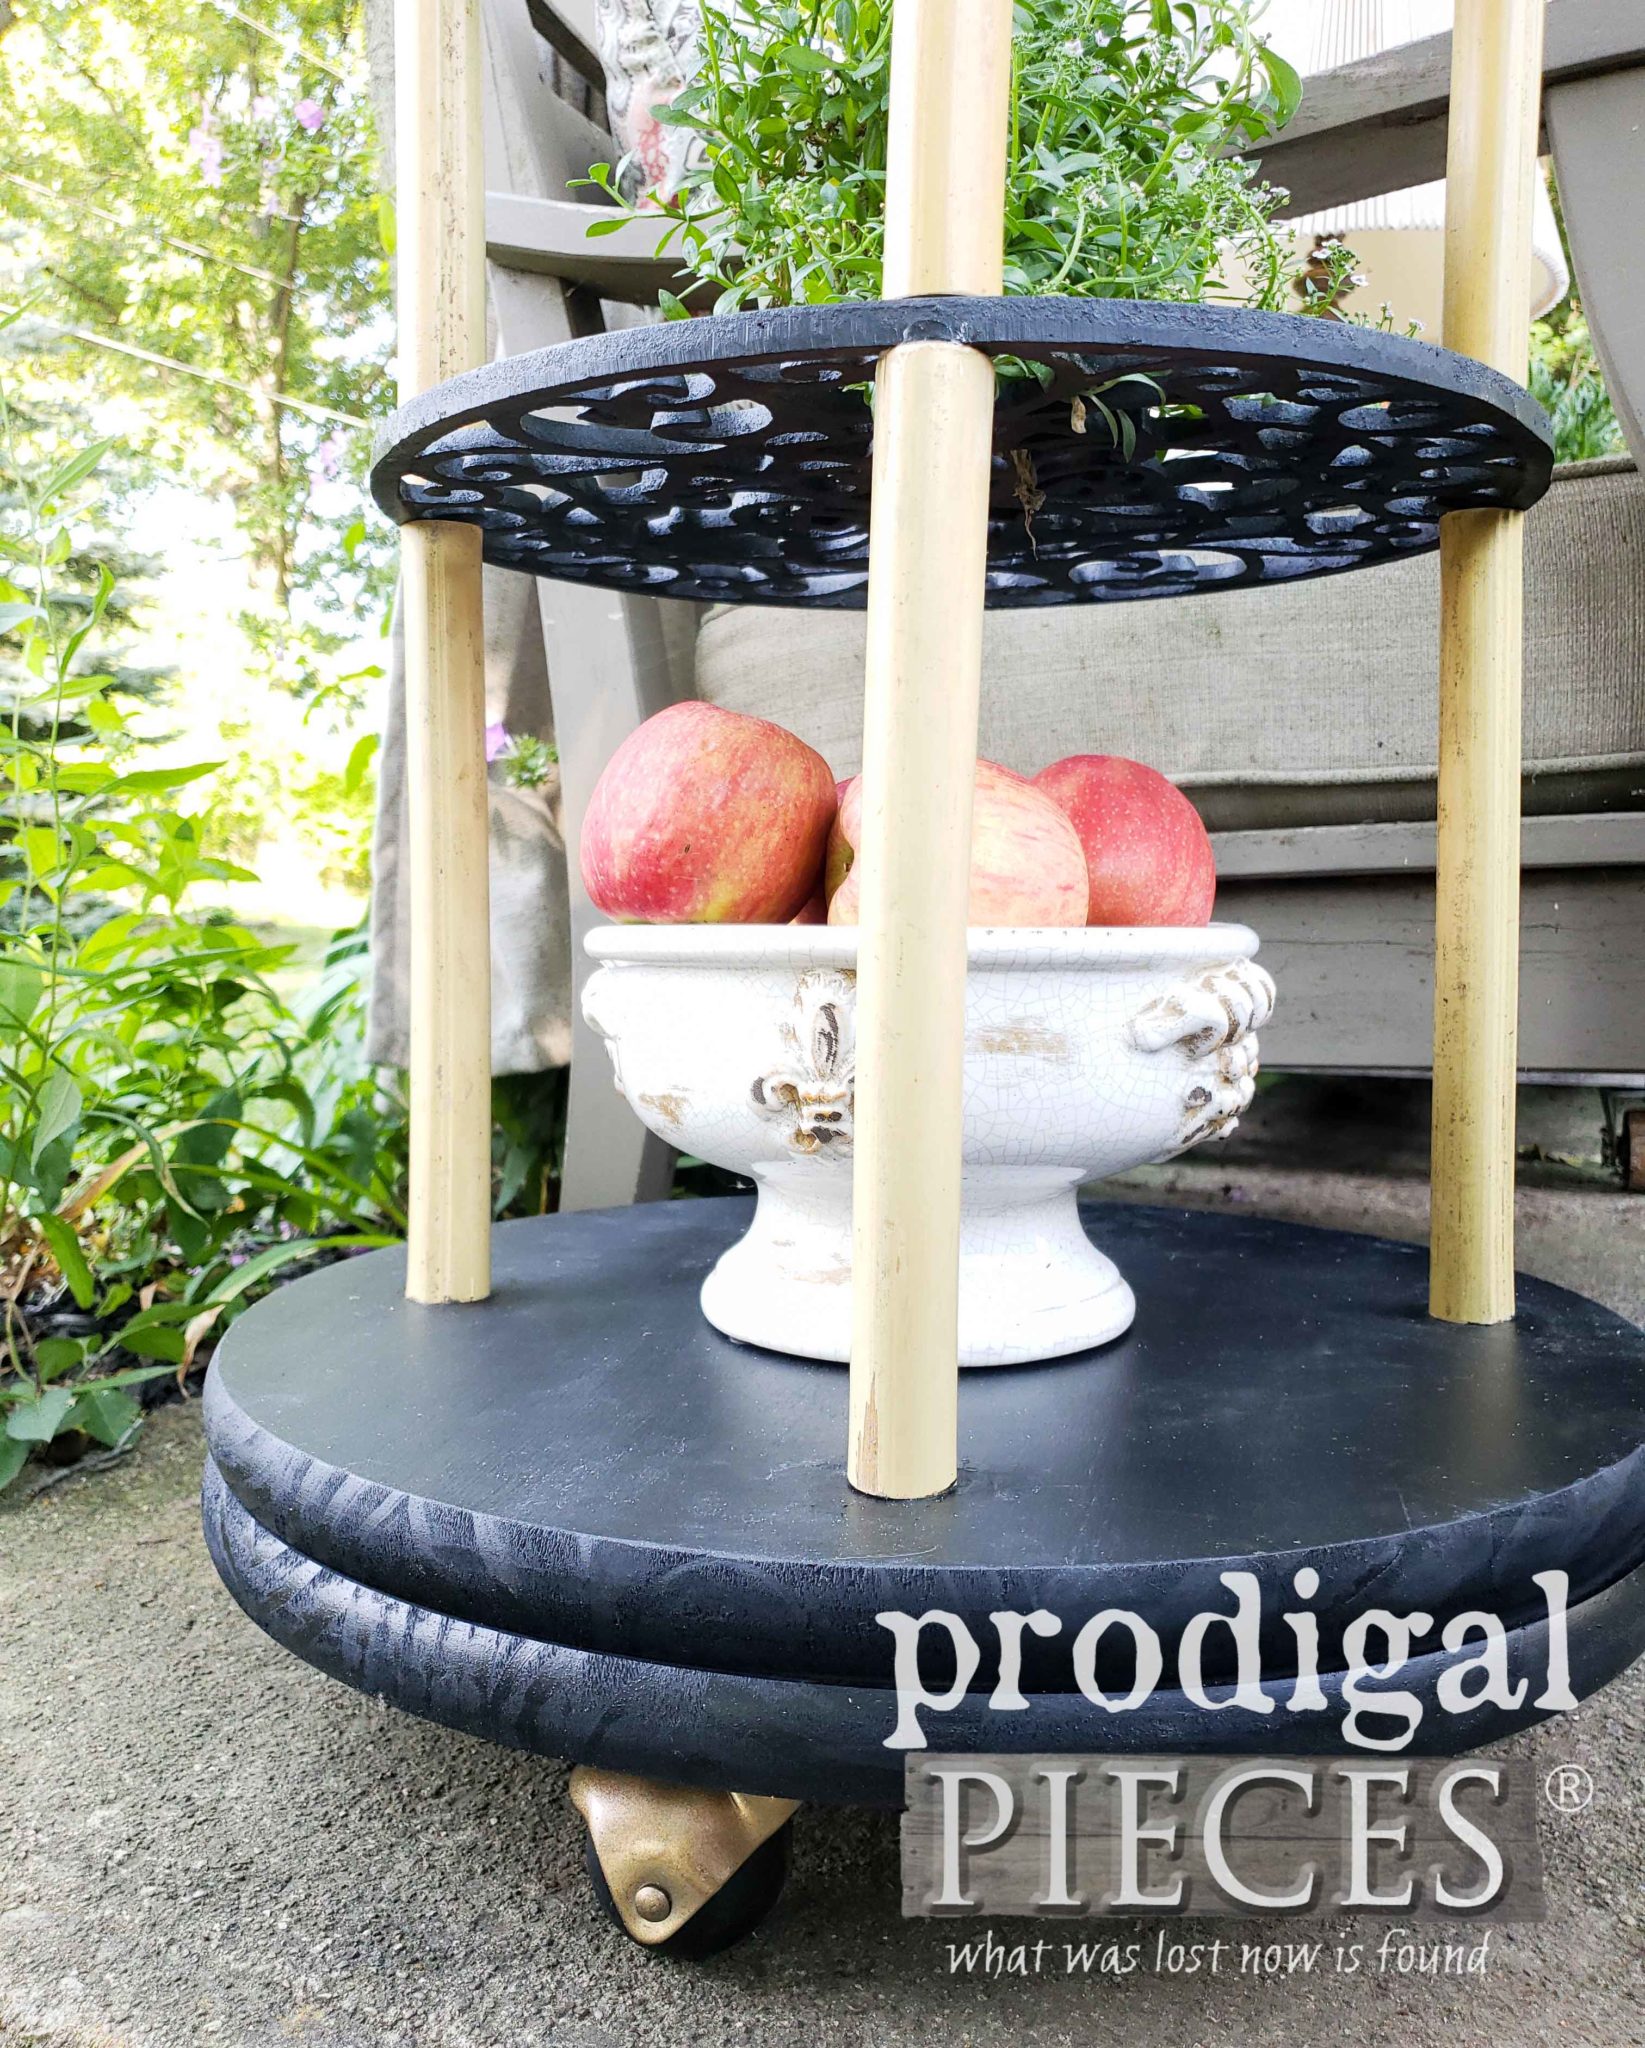
Finally, my upcycled plant caddy stand is complete. Truthfully, it was a bit of trial, but a fun challenge for me to take on. I added a double base of wooden rounds, plus a set of reclaimed casters I had in my stash. Just refreshed them with a bit of spray paint and they’re ready to roll.
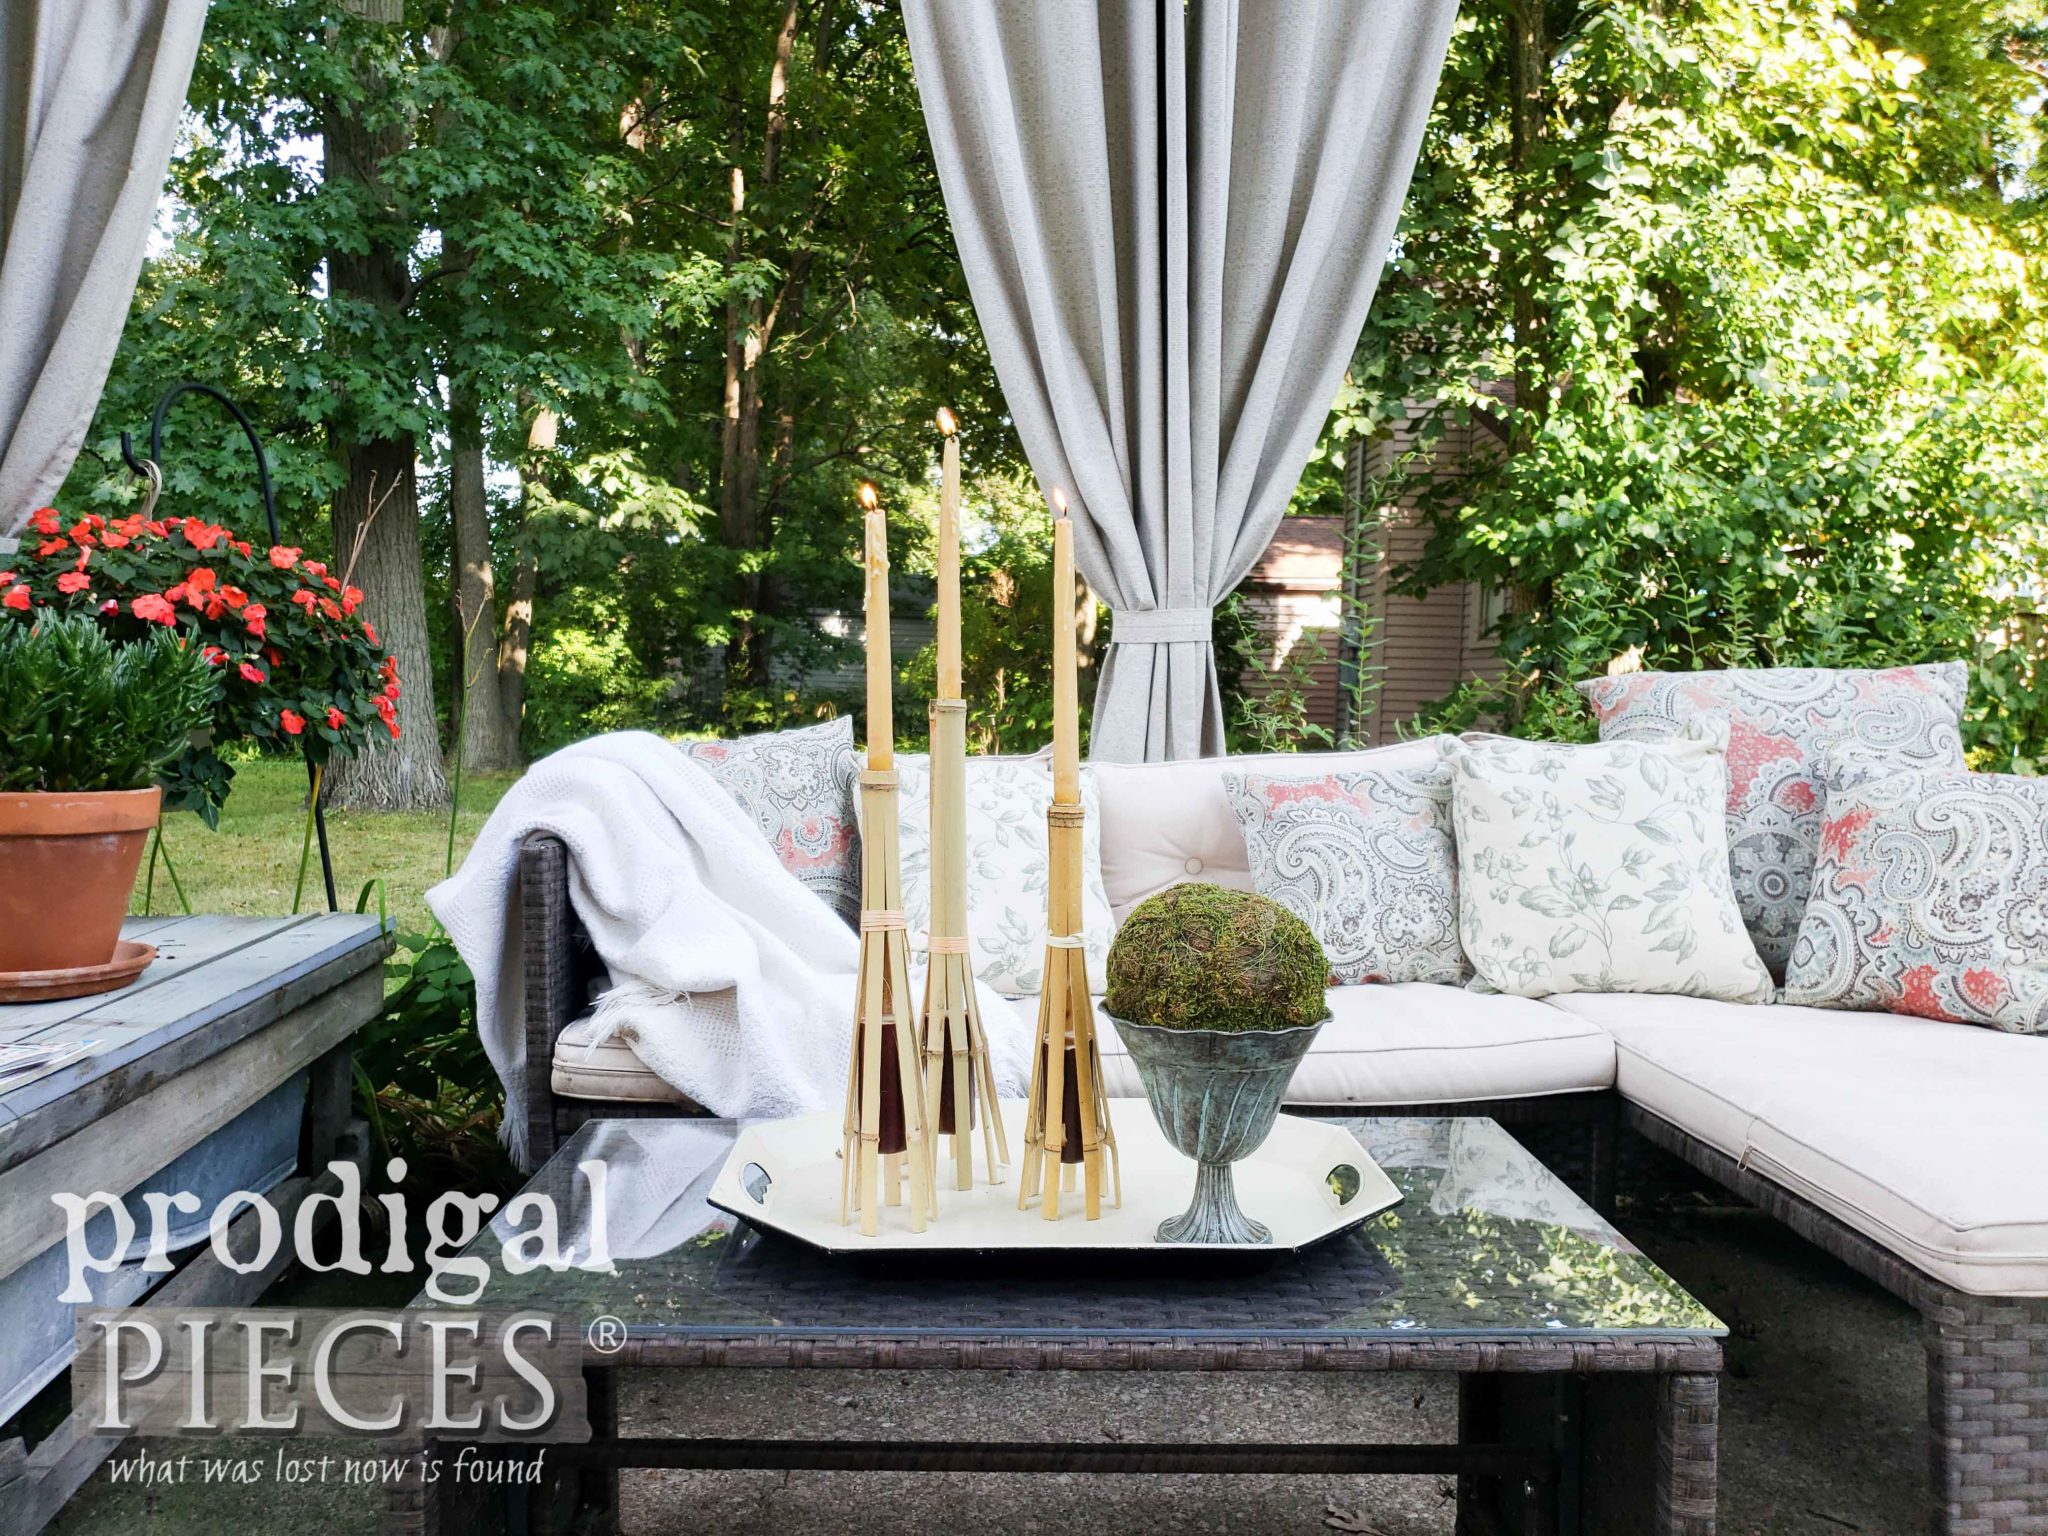
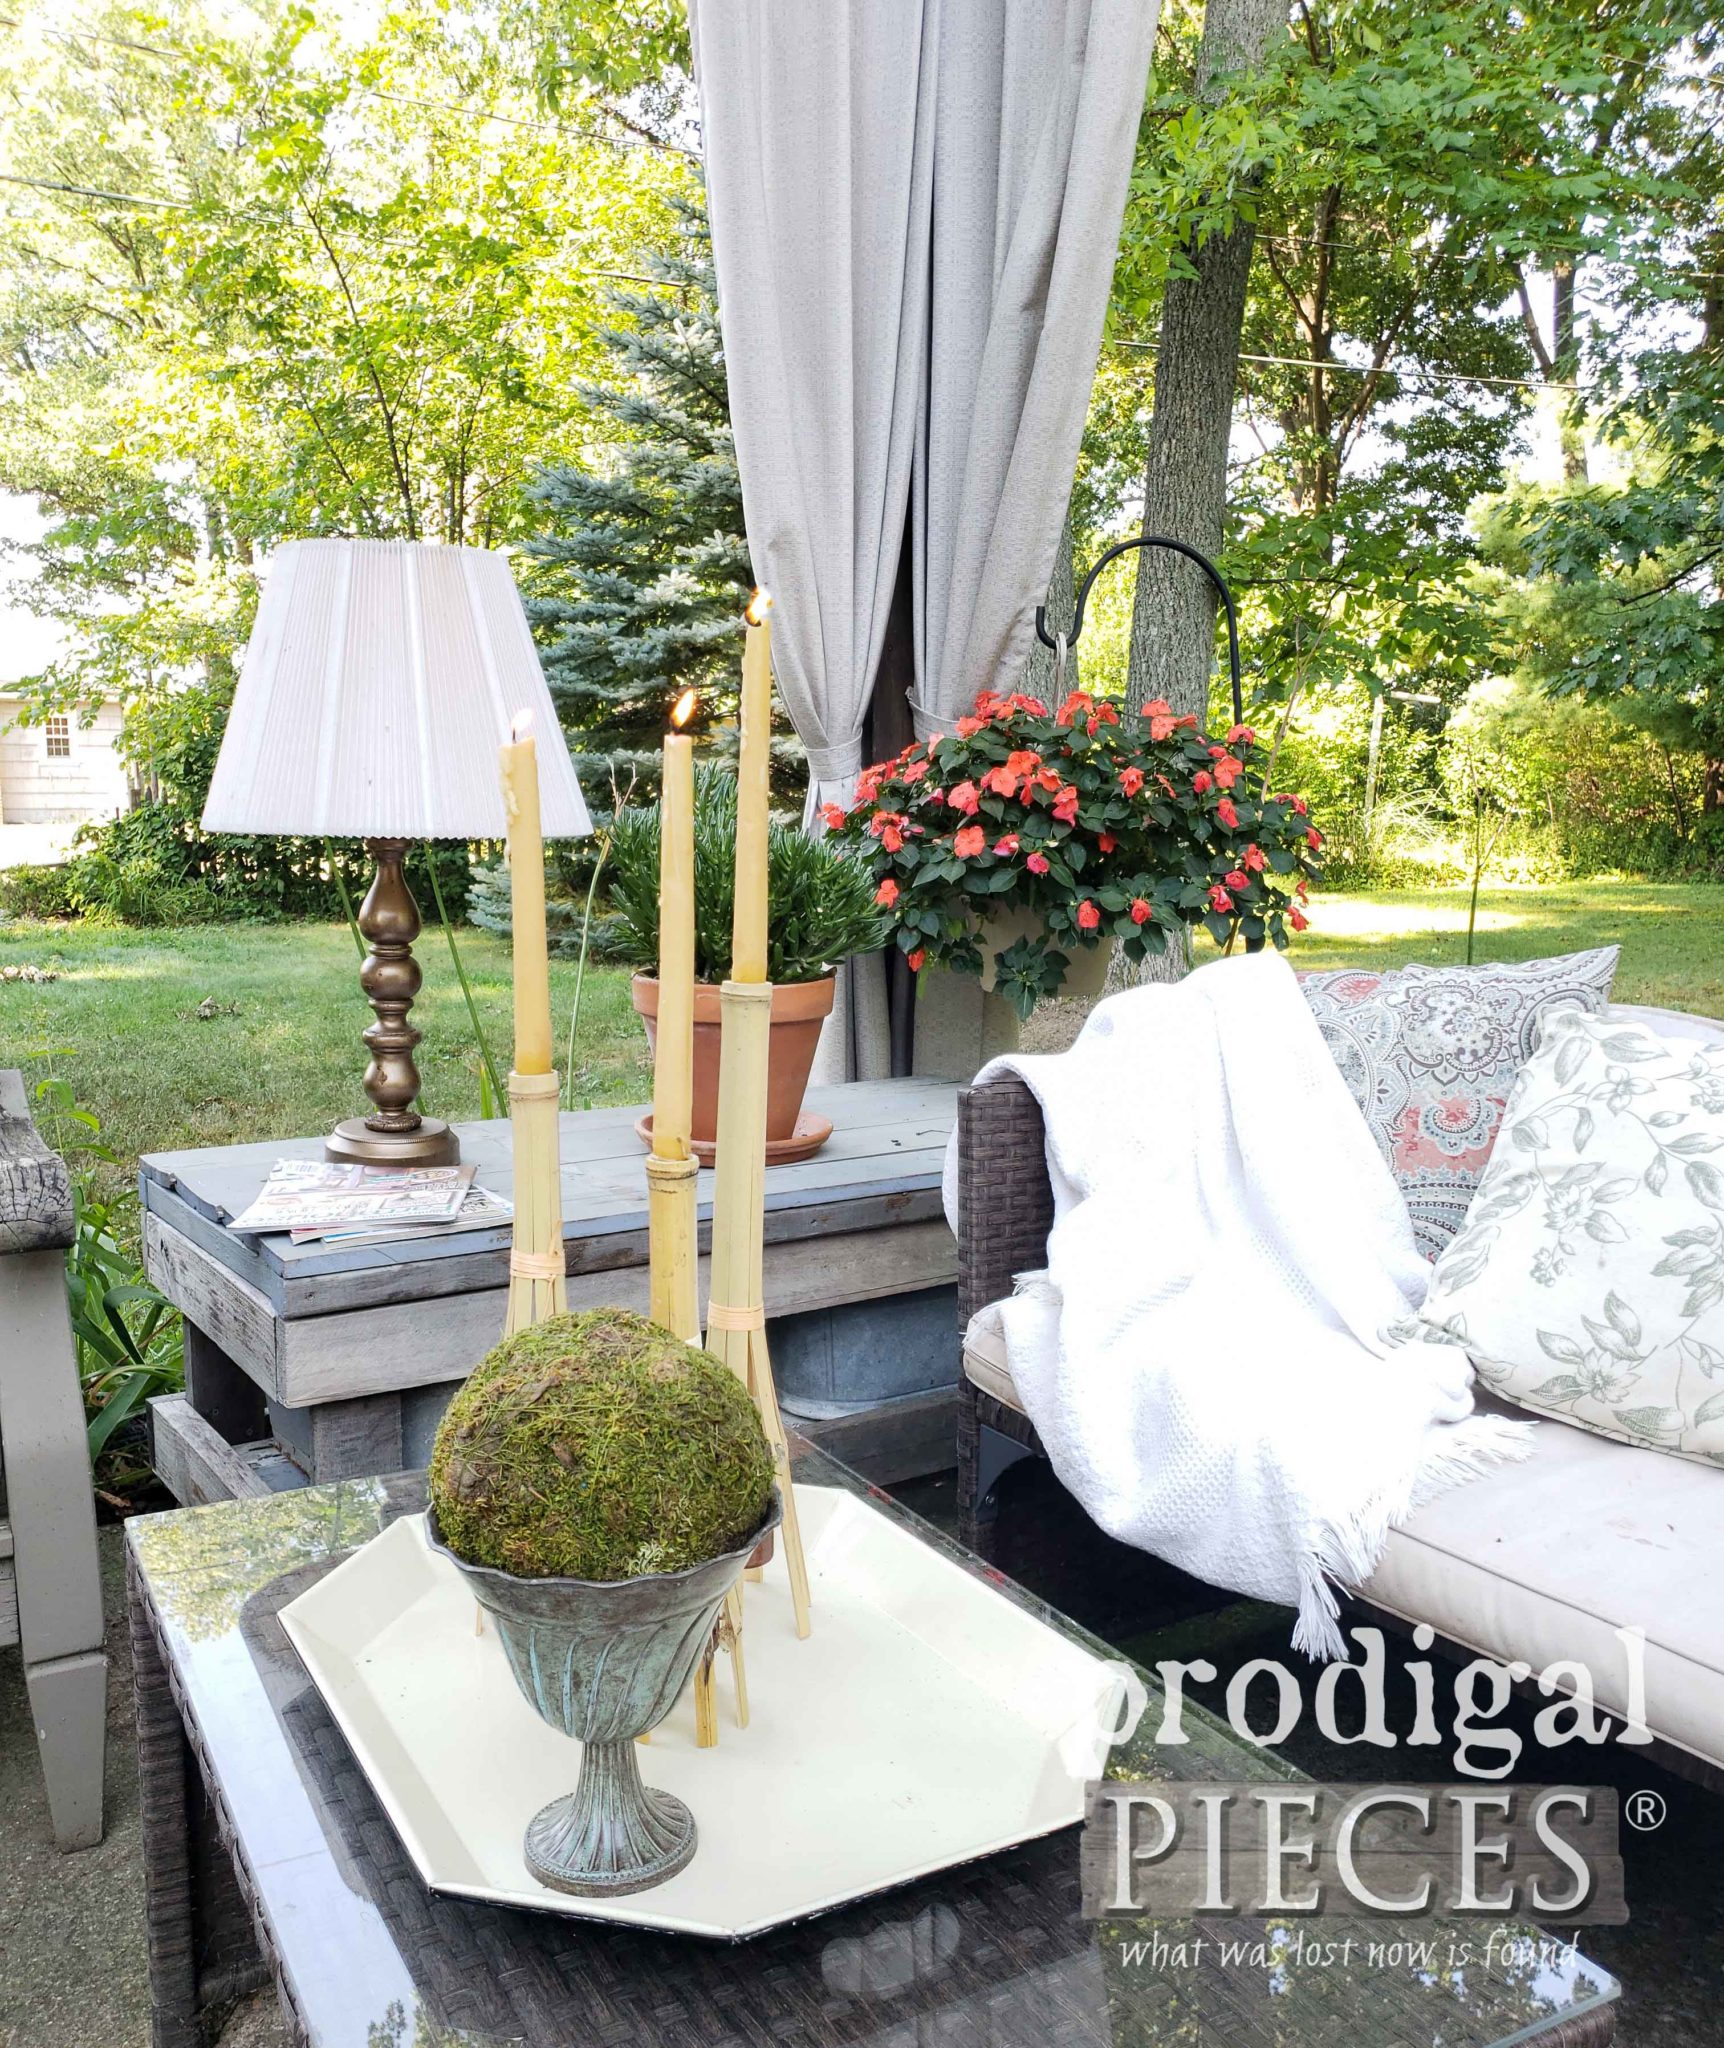
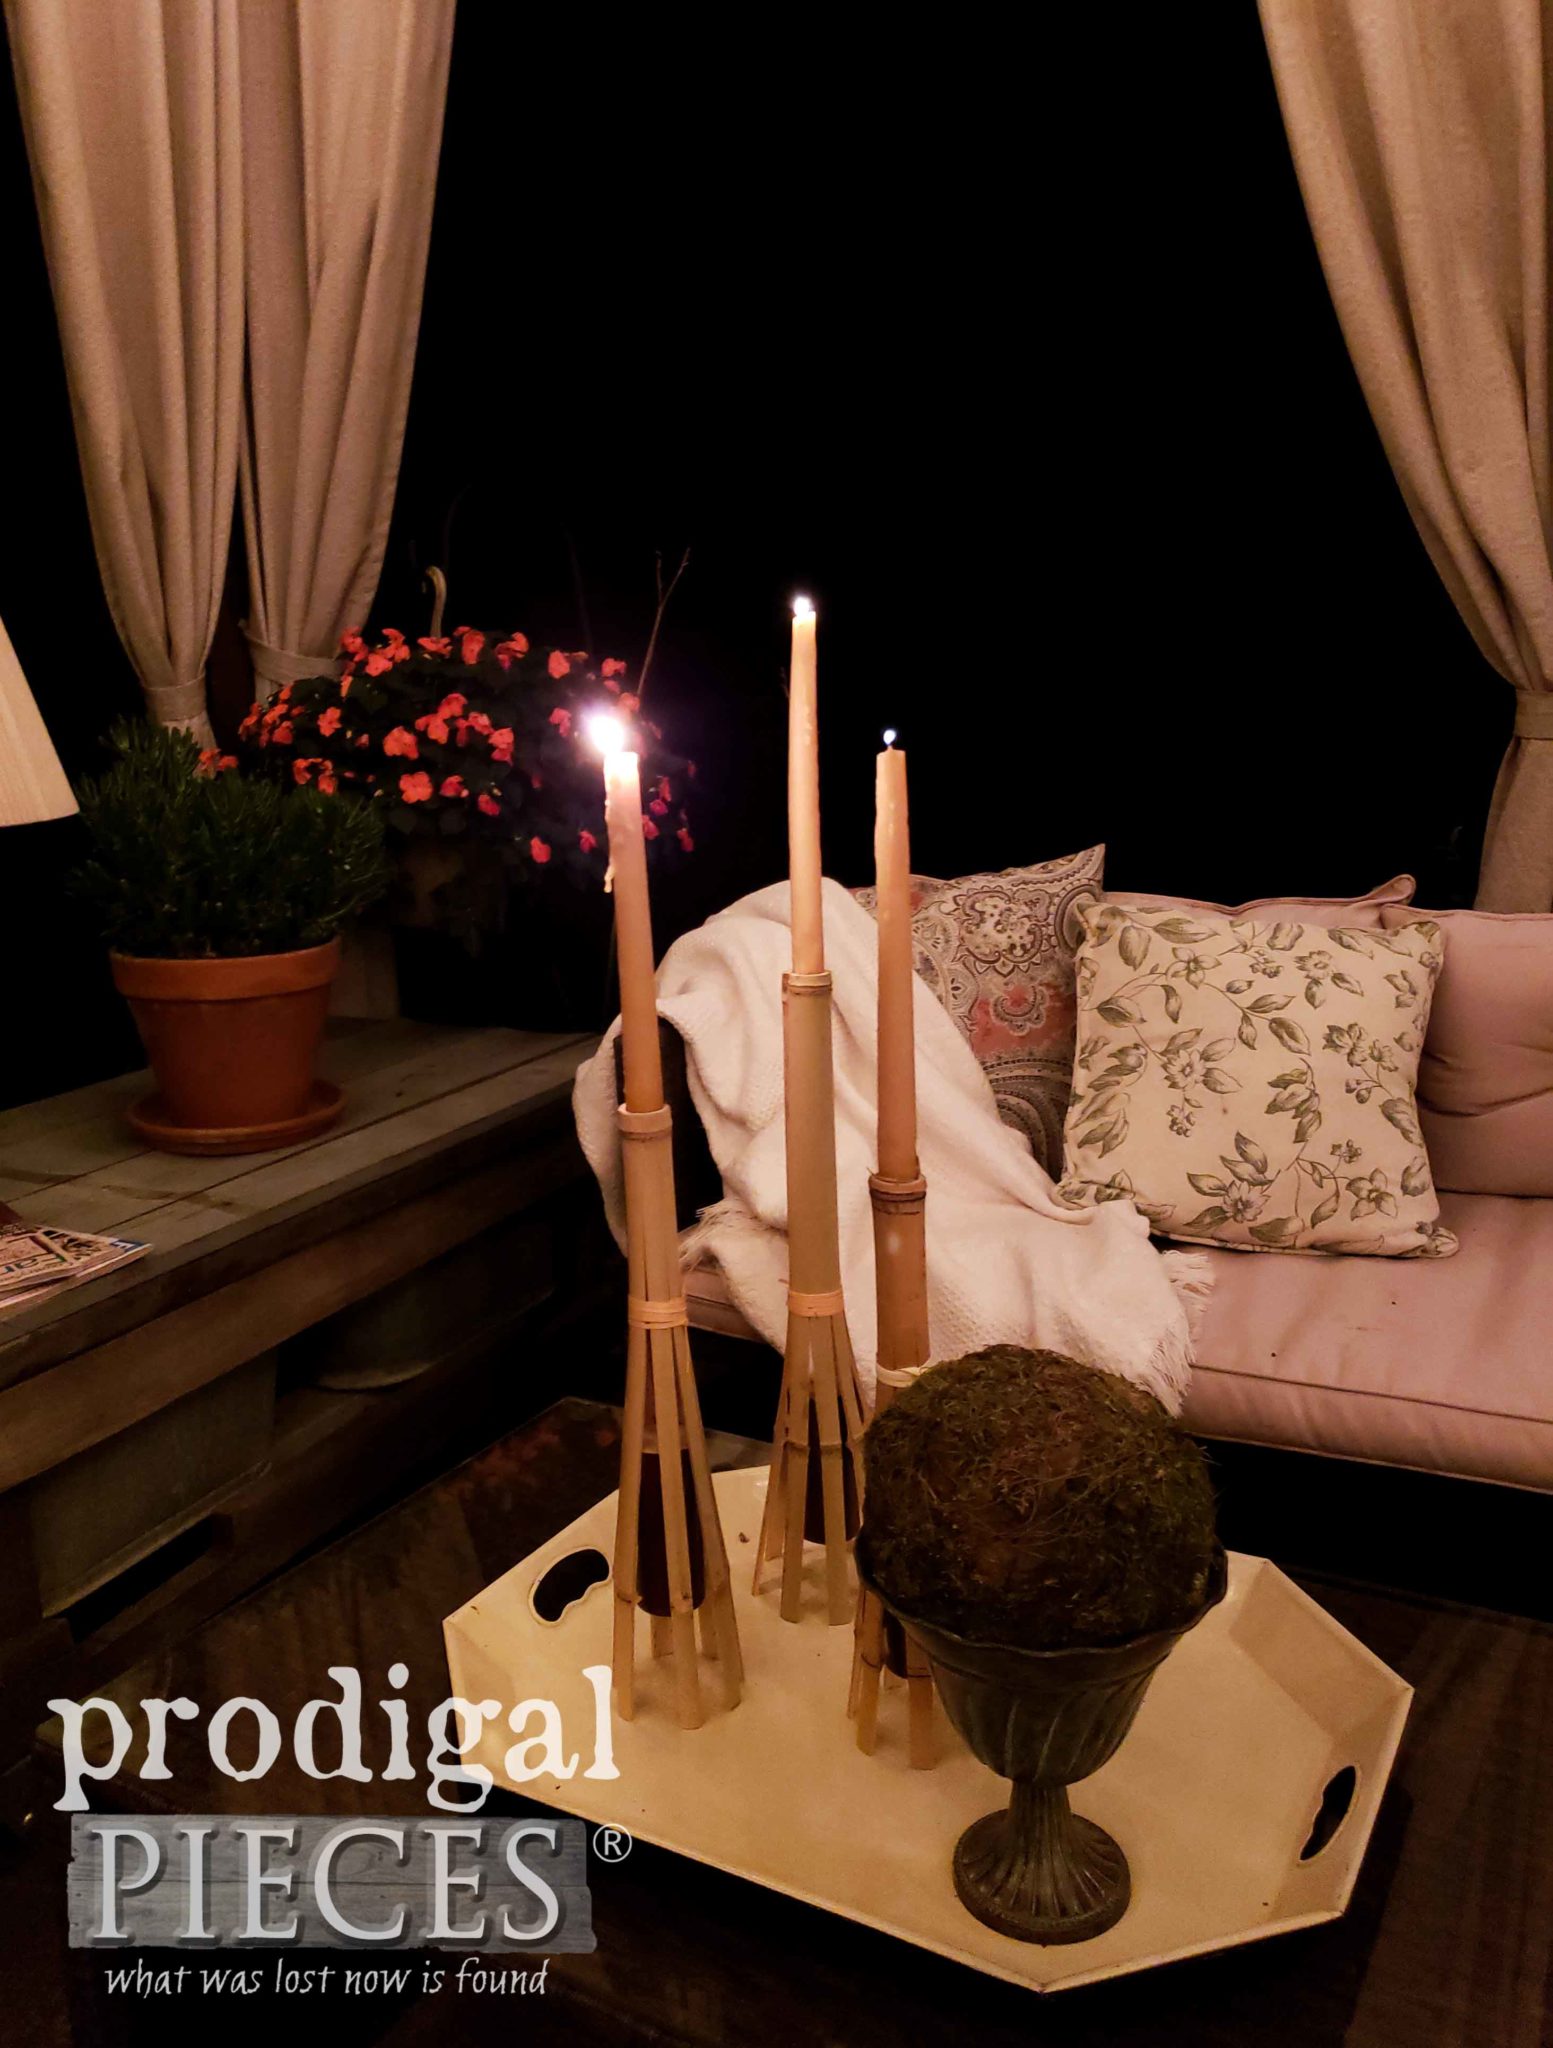
Likewise, those bit of bamboo parts leftover became a fun set of candlesticks for my patio as well. See how the couch feet keep the bamboo splayed to stand up?
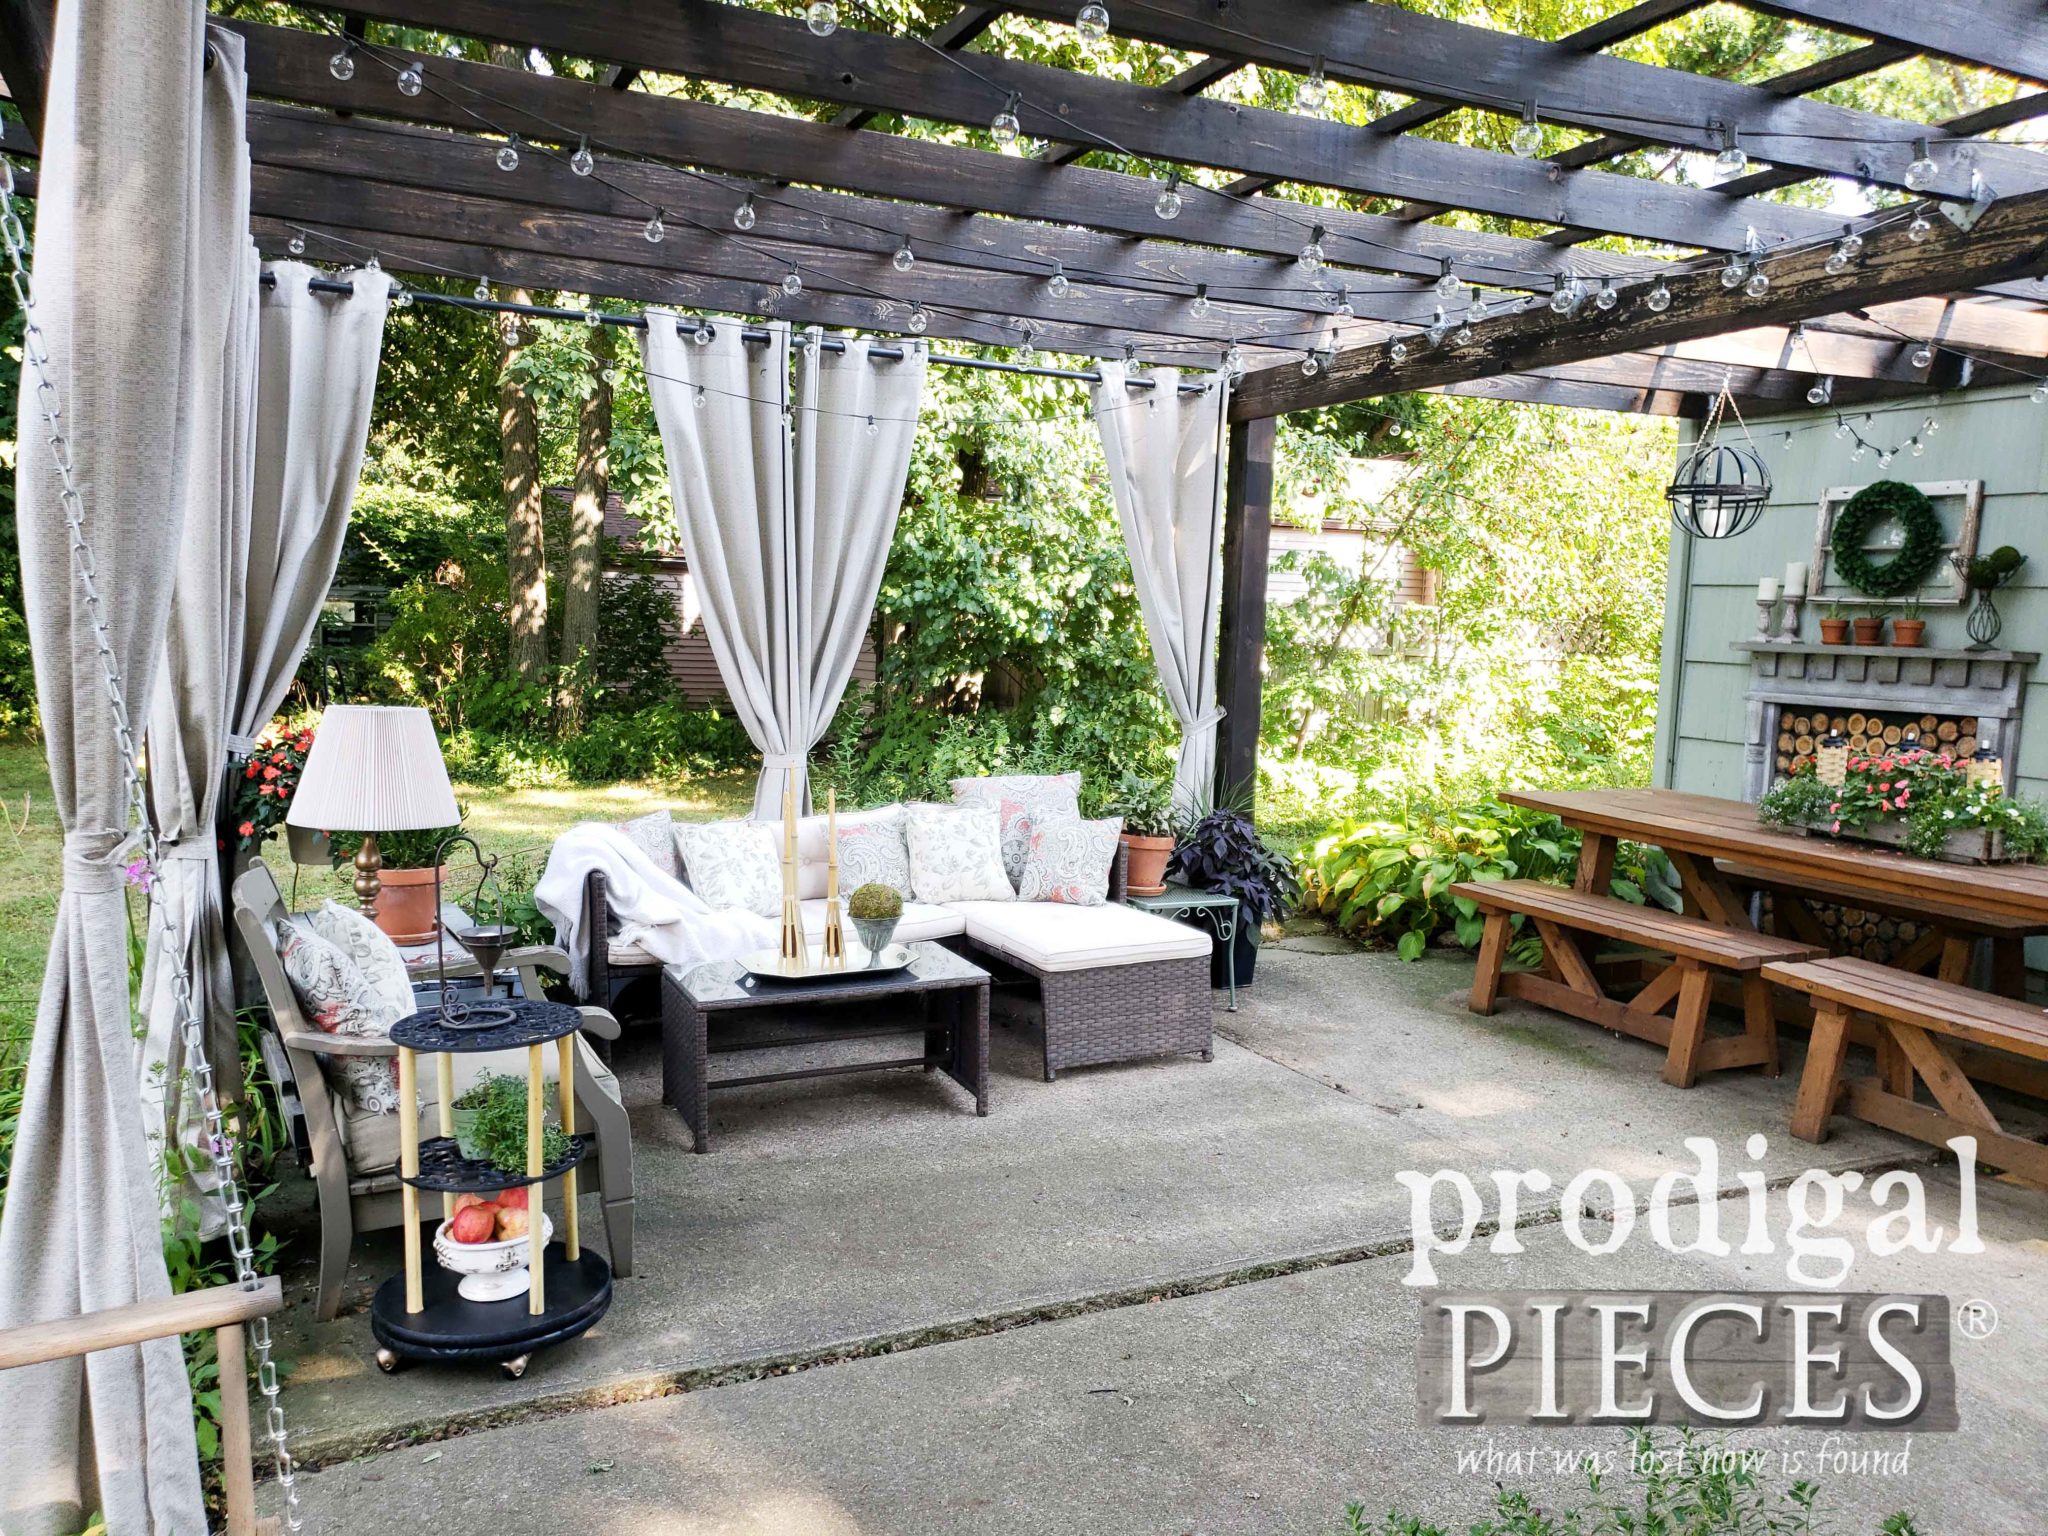
You can find the tutorial for budget-saving outdoor pillows in this post, or my DIY solar lamp too. Plus, you can see all my backyard creations and updates take a peek HERE.
MORE AWESOMENESS
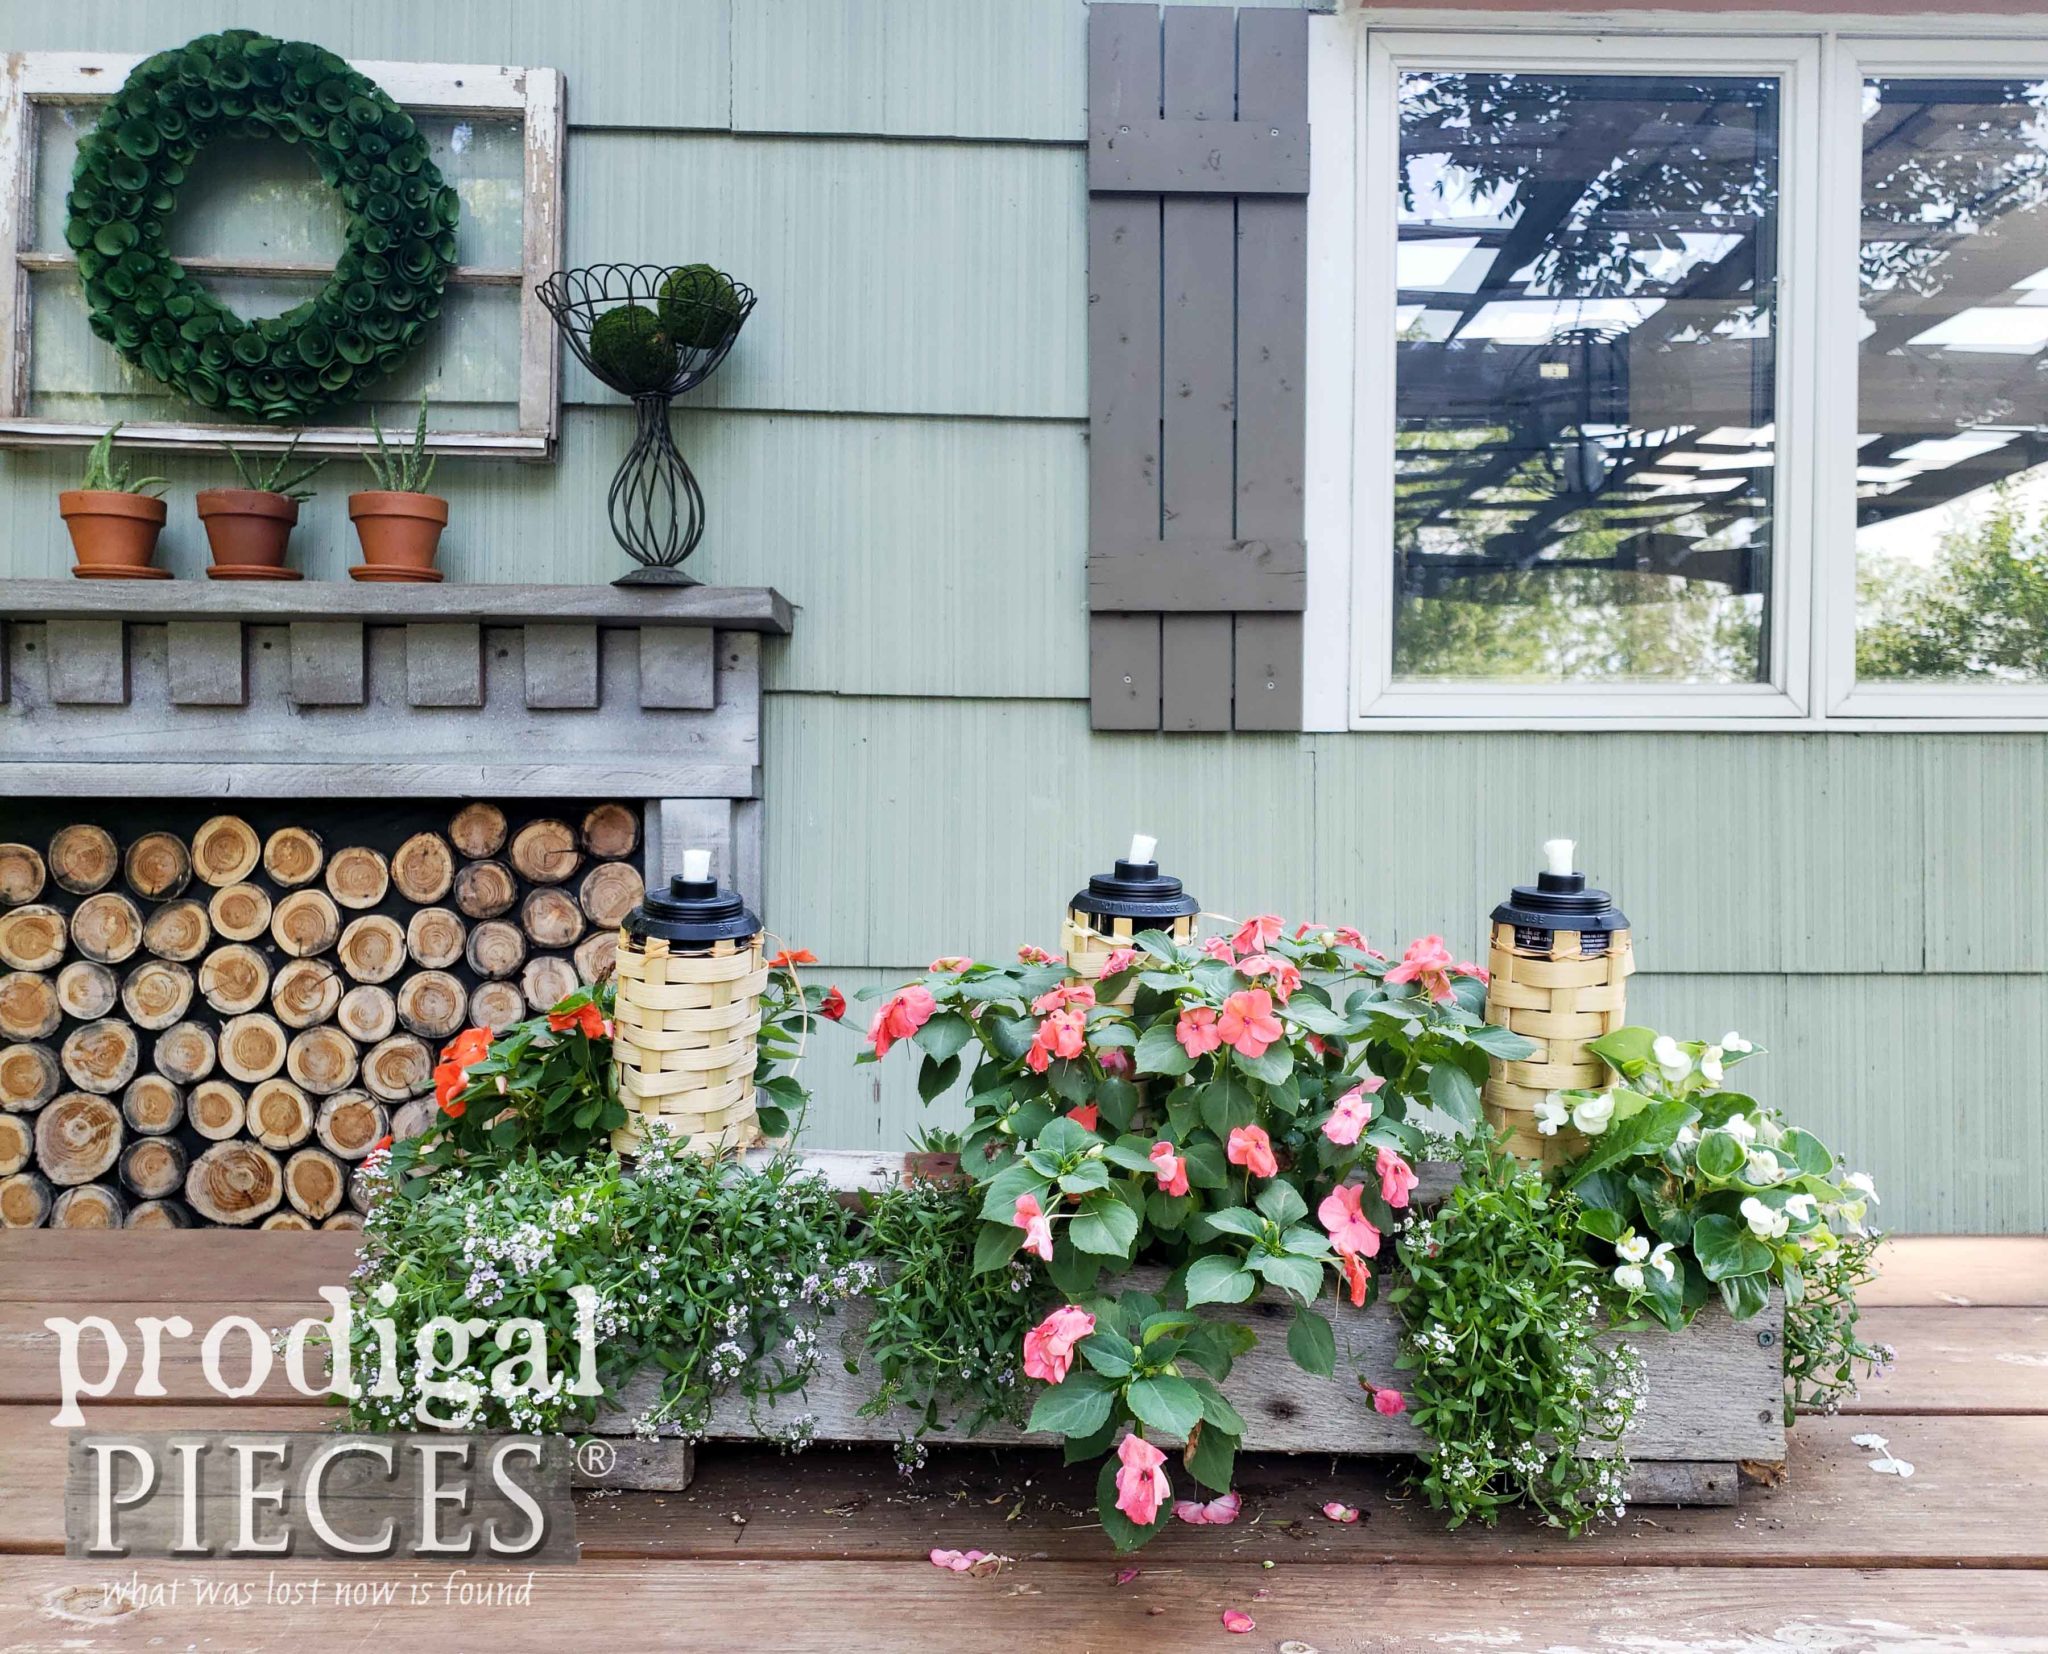
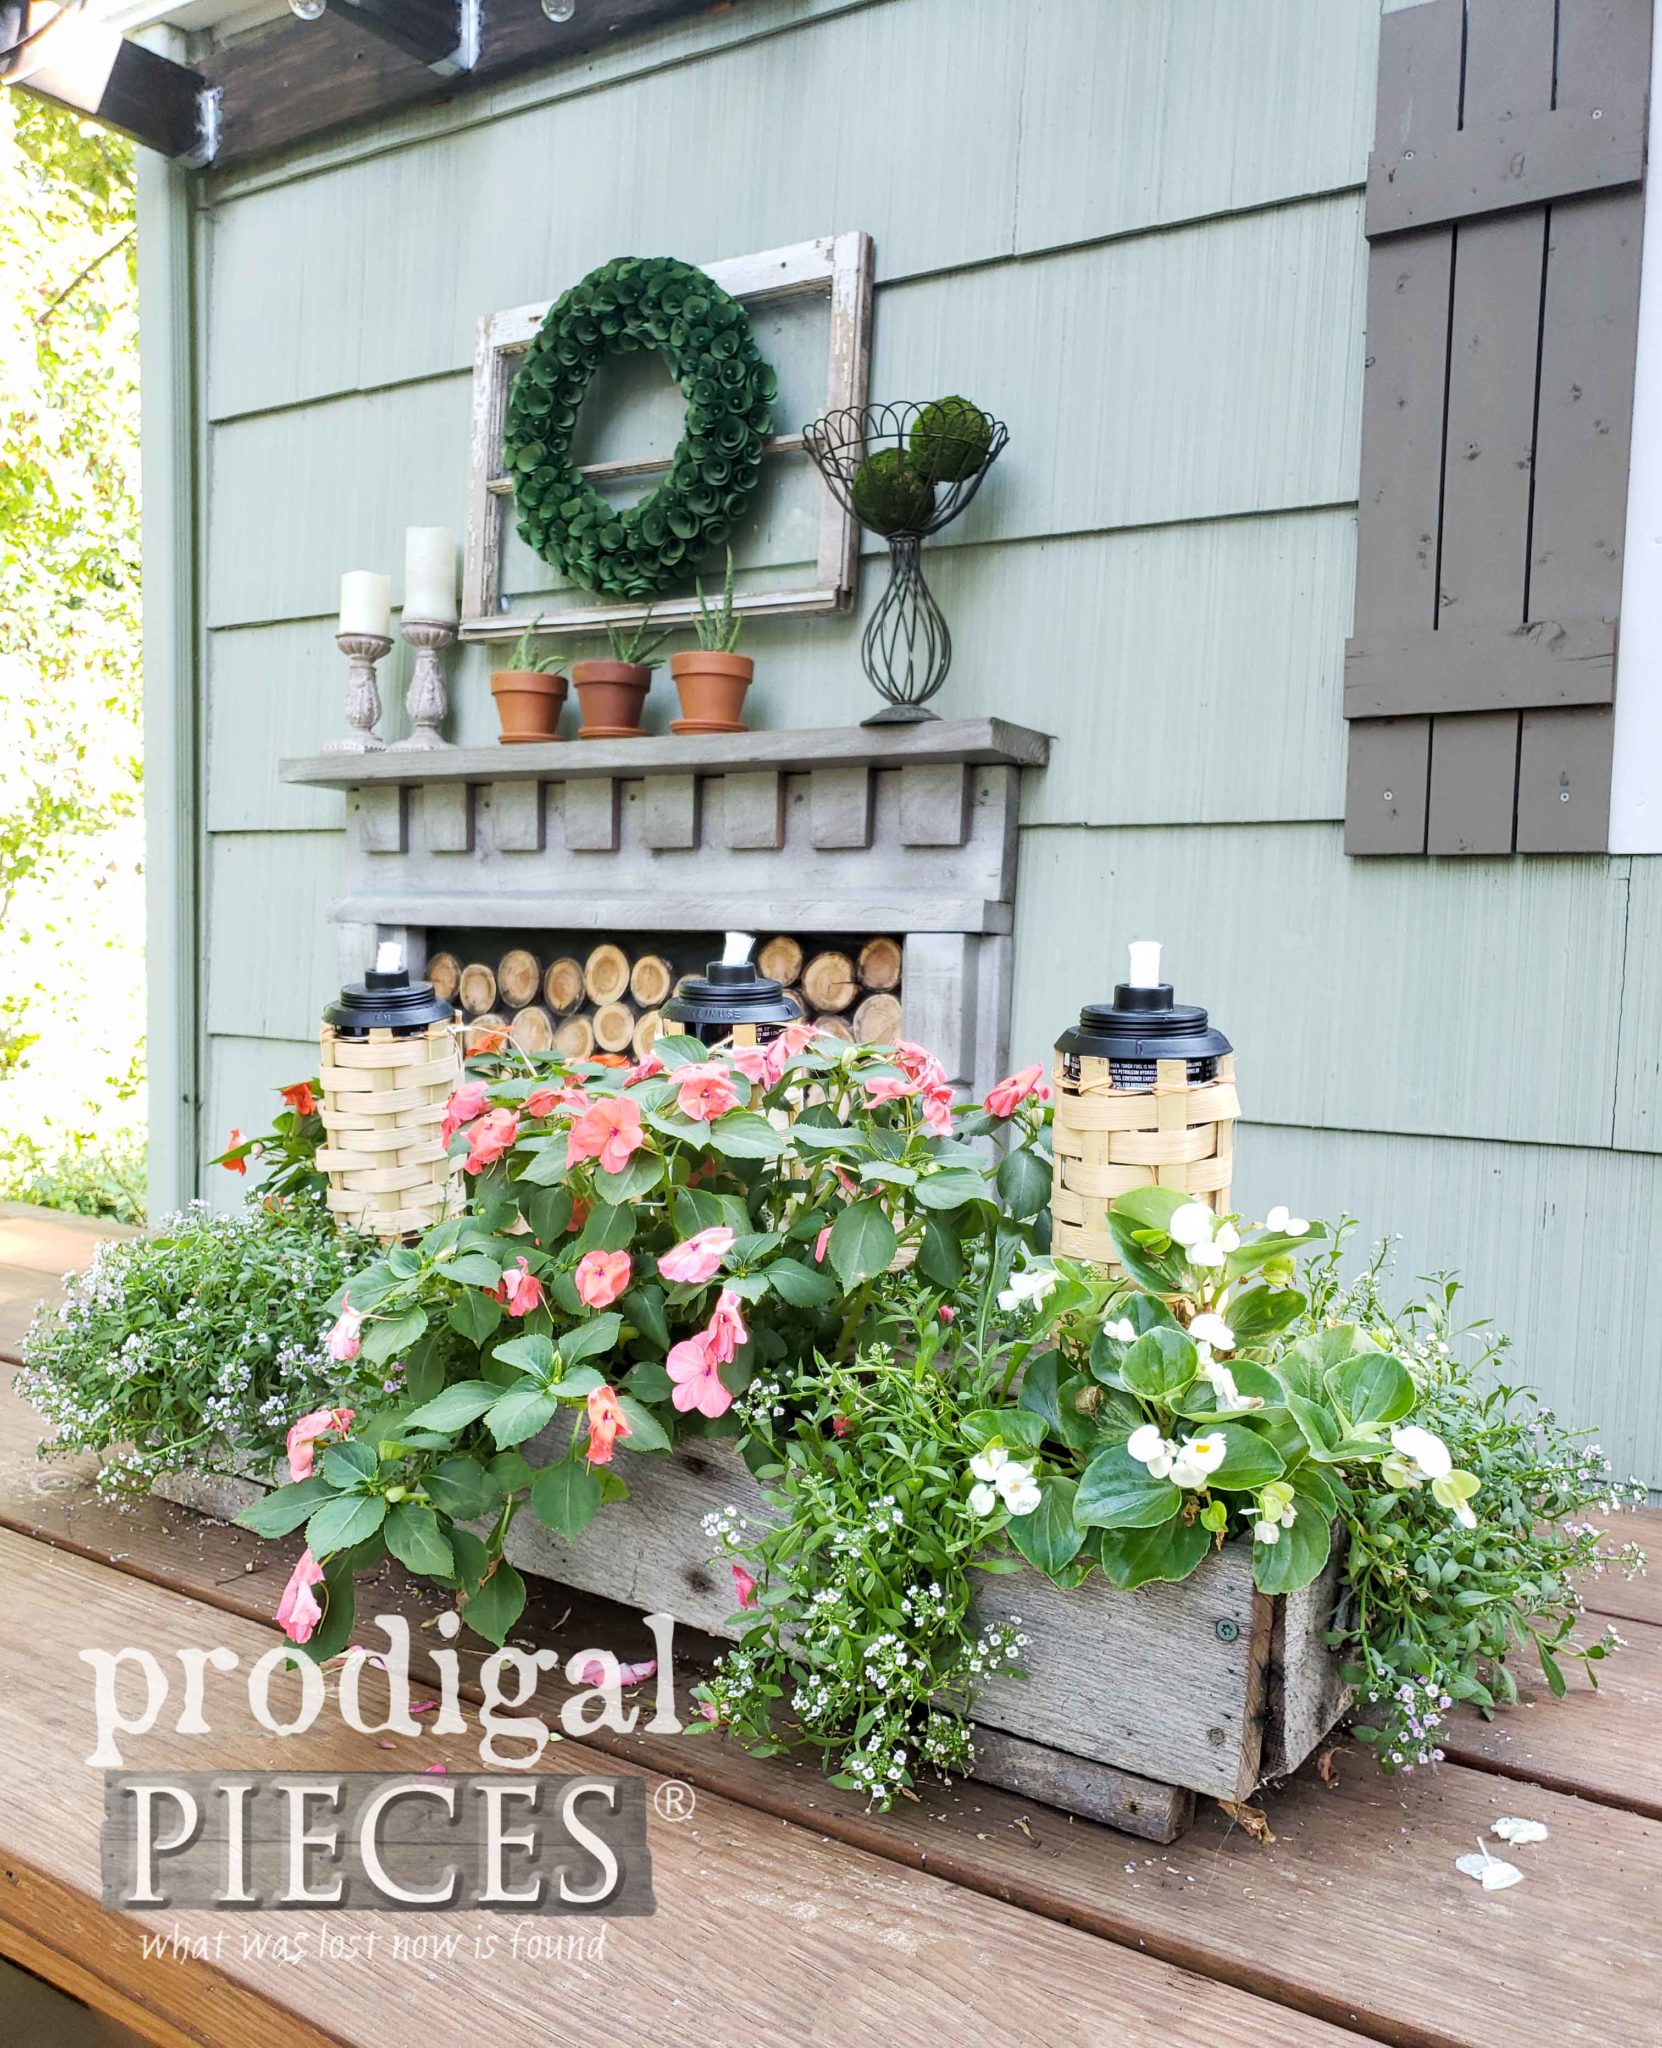
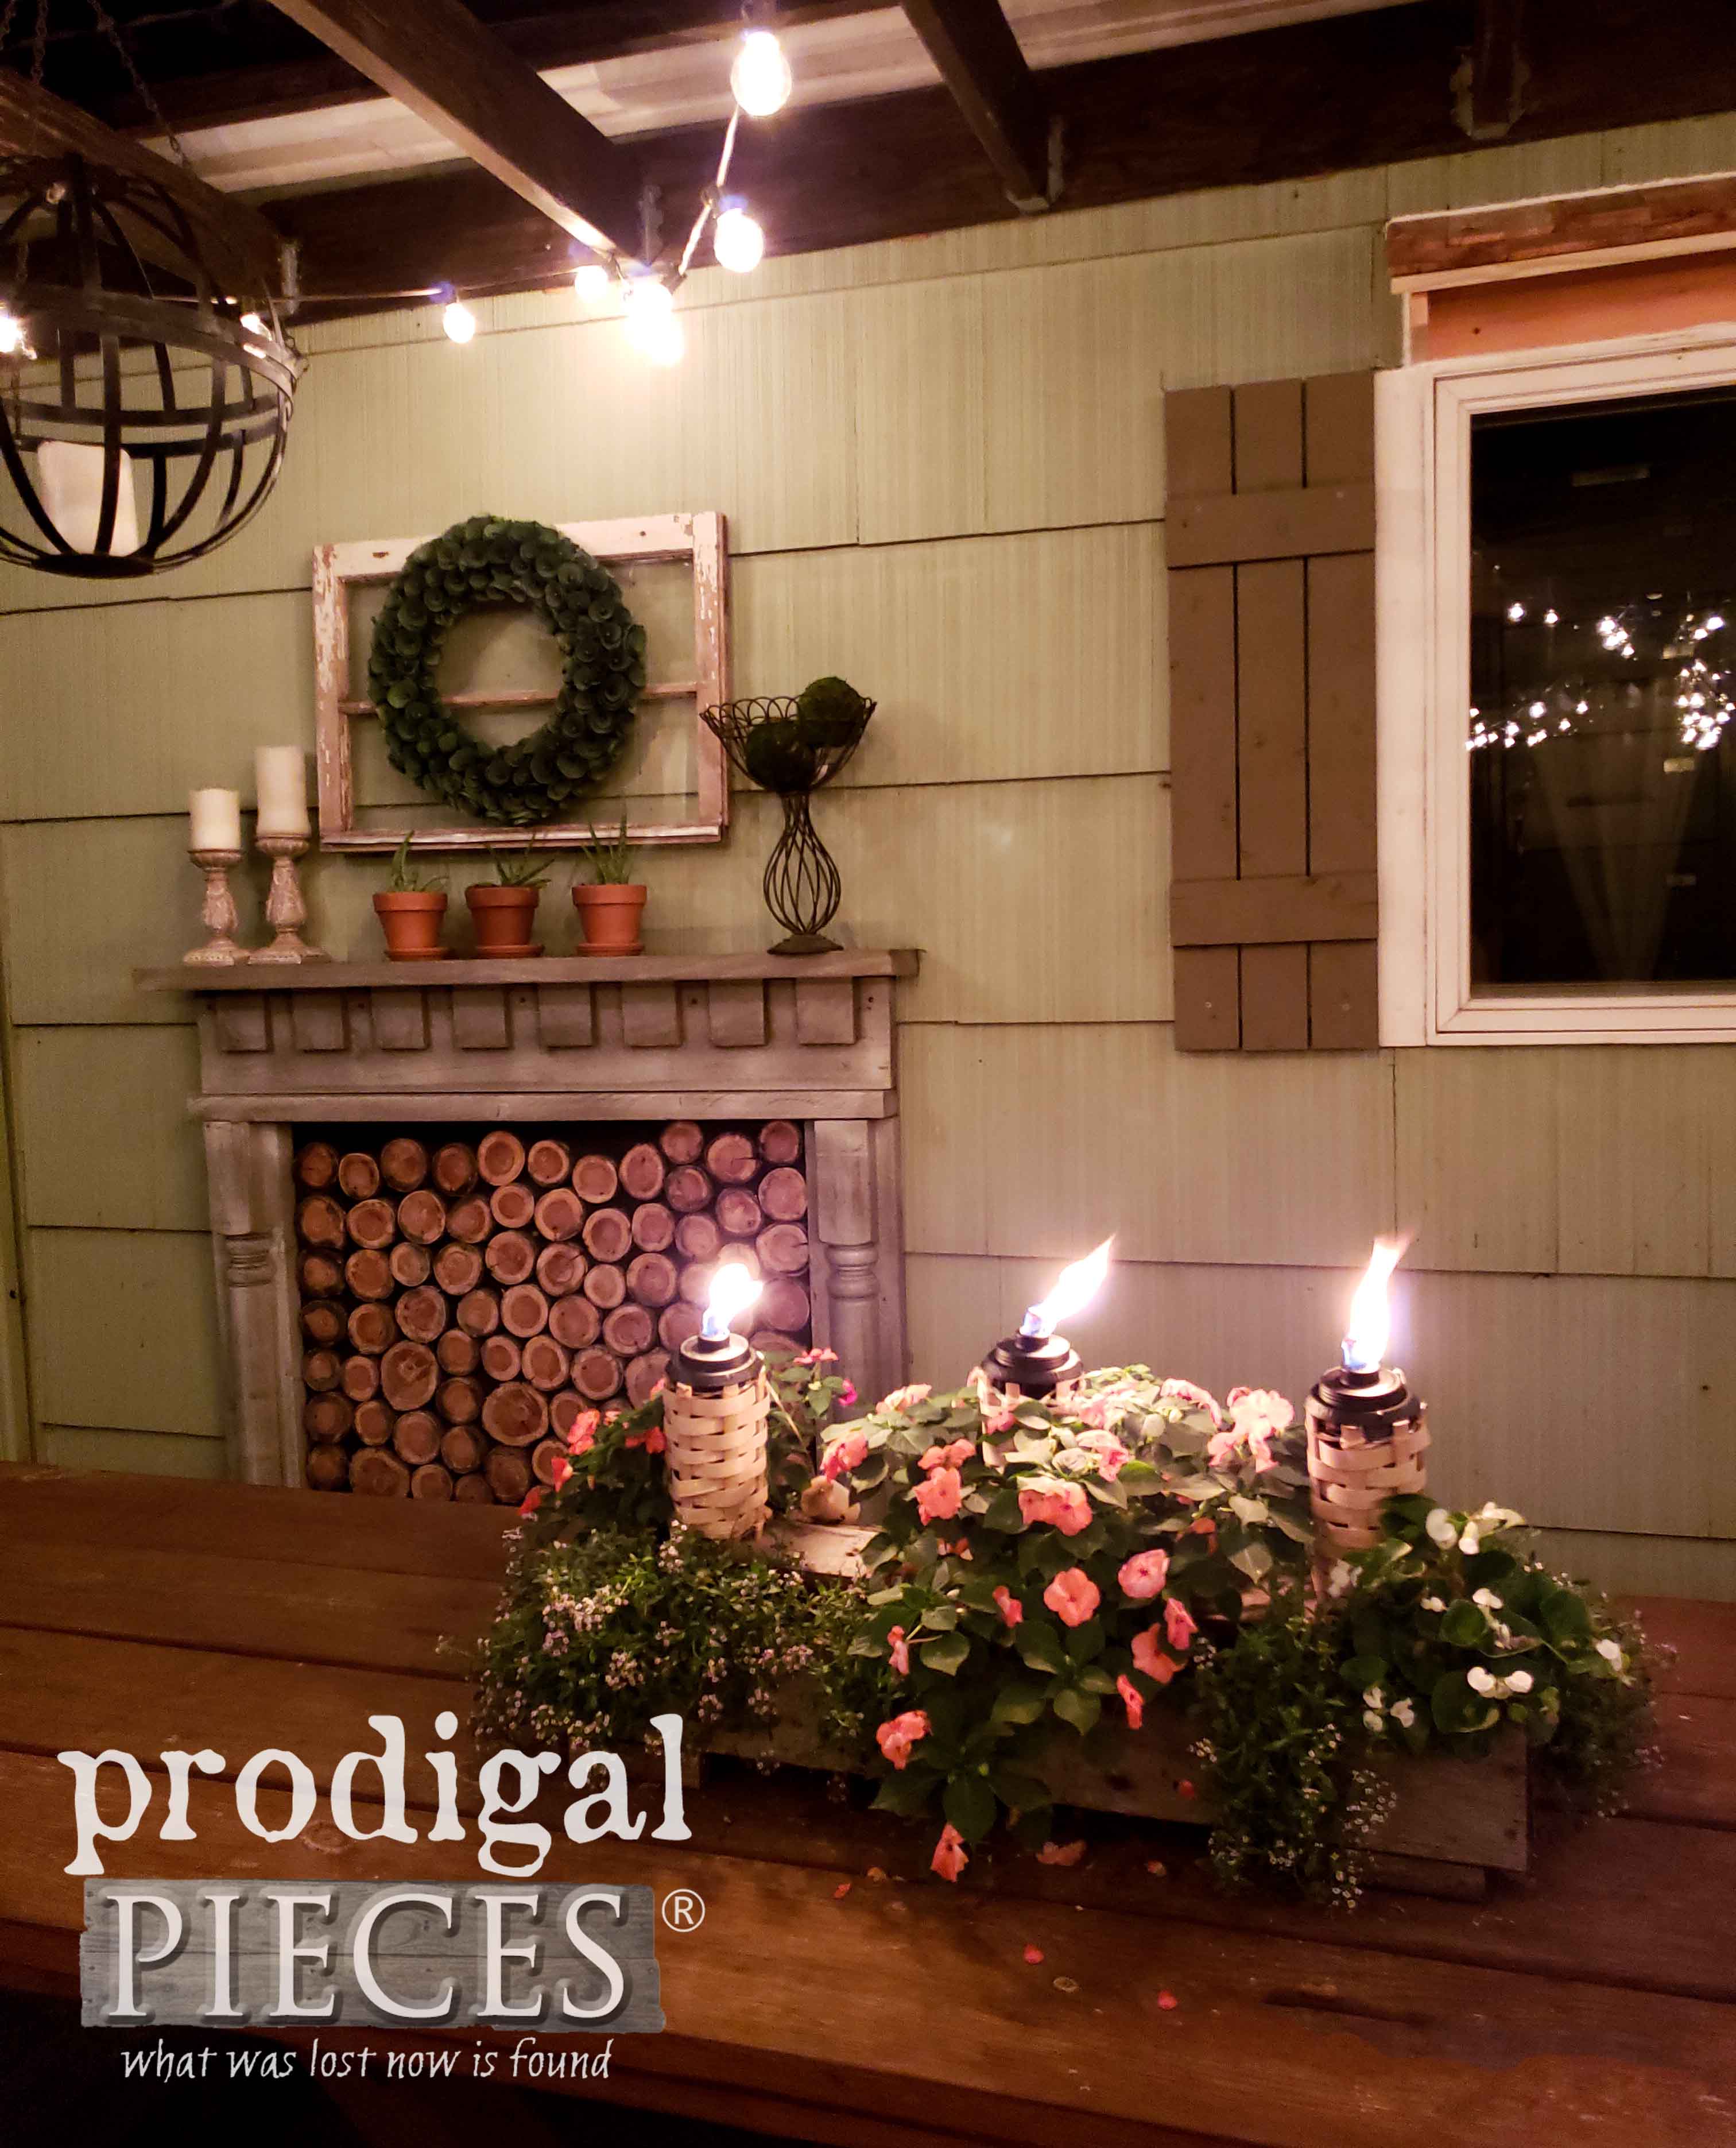
The rest of the bamboo torches became part of my DIY centerpiece (tutorial here). They added fun height and texture to my decor.
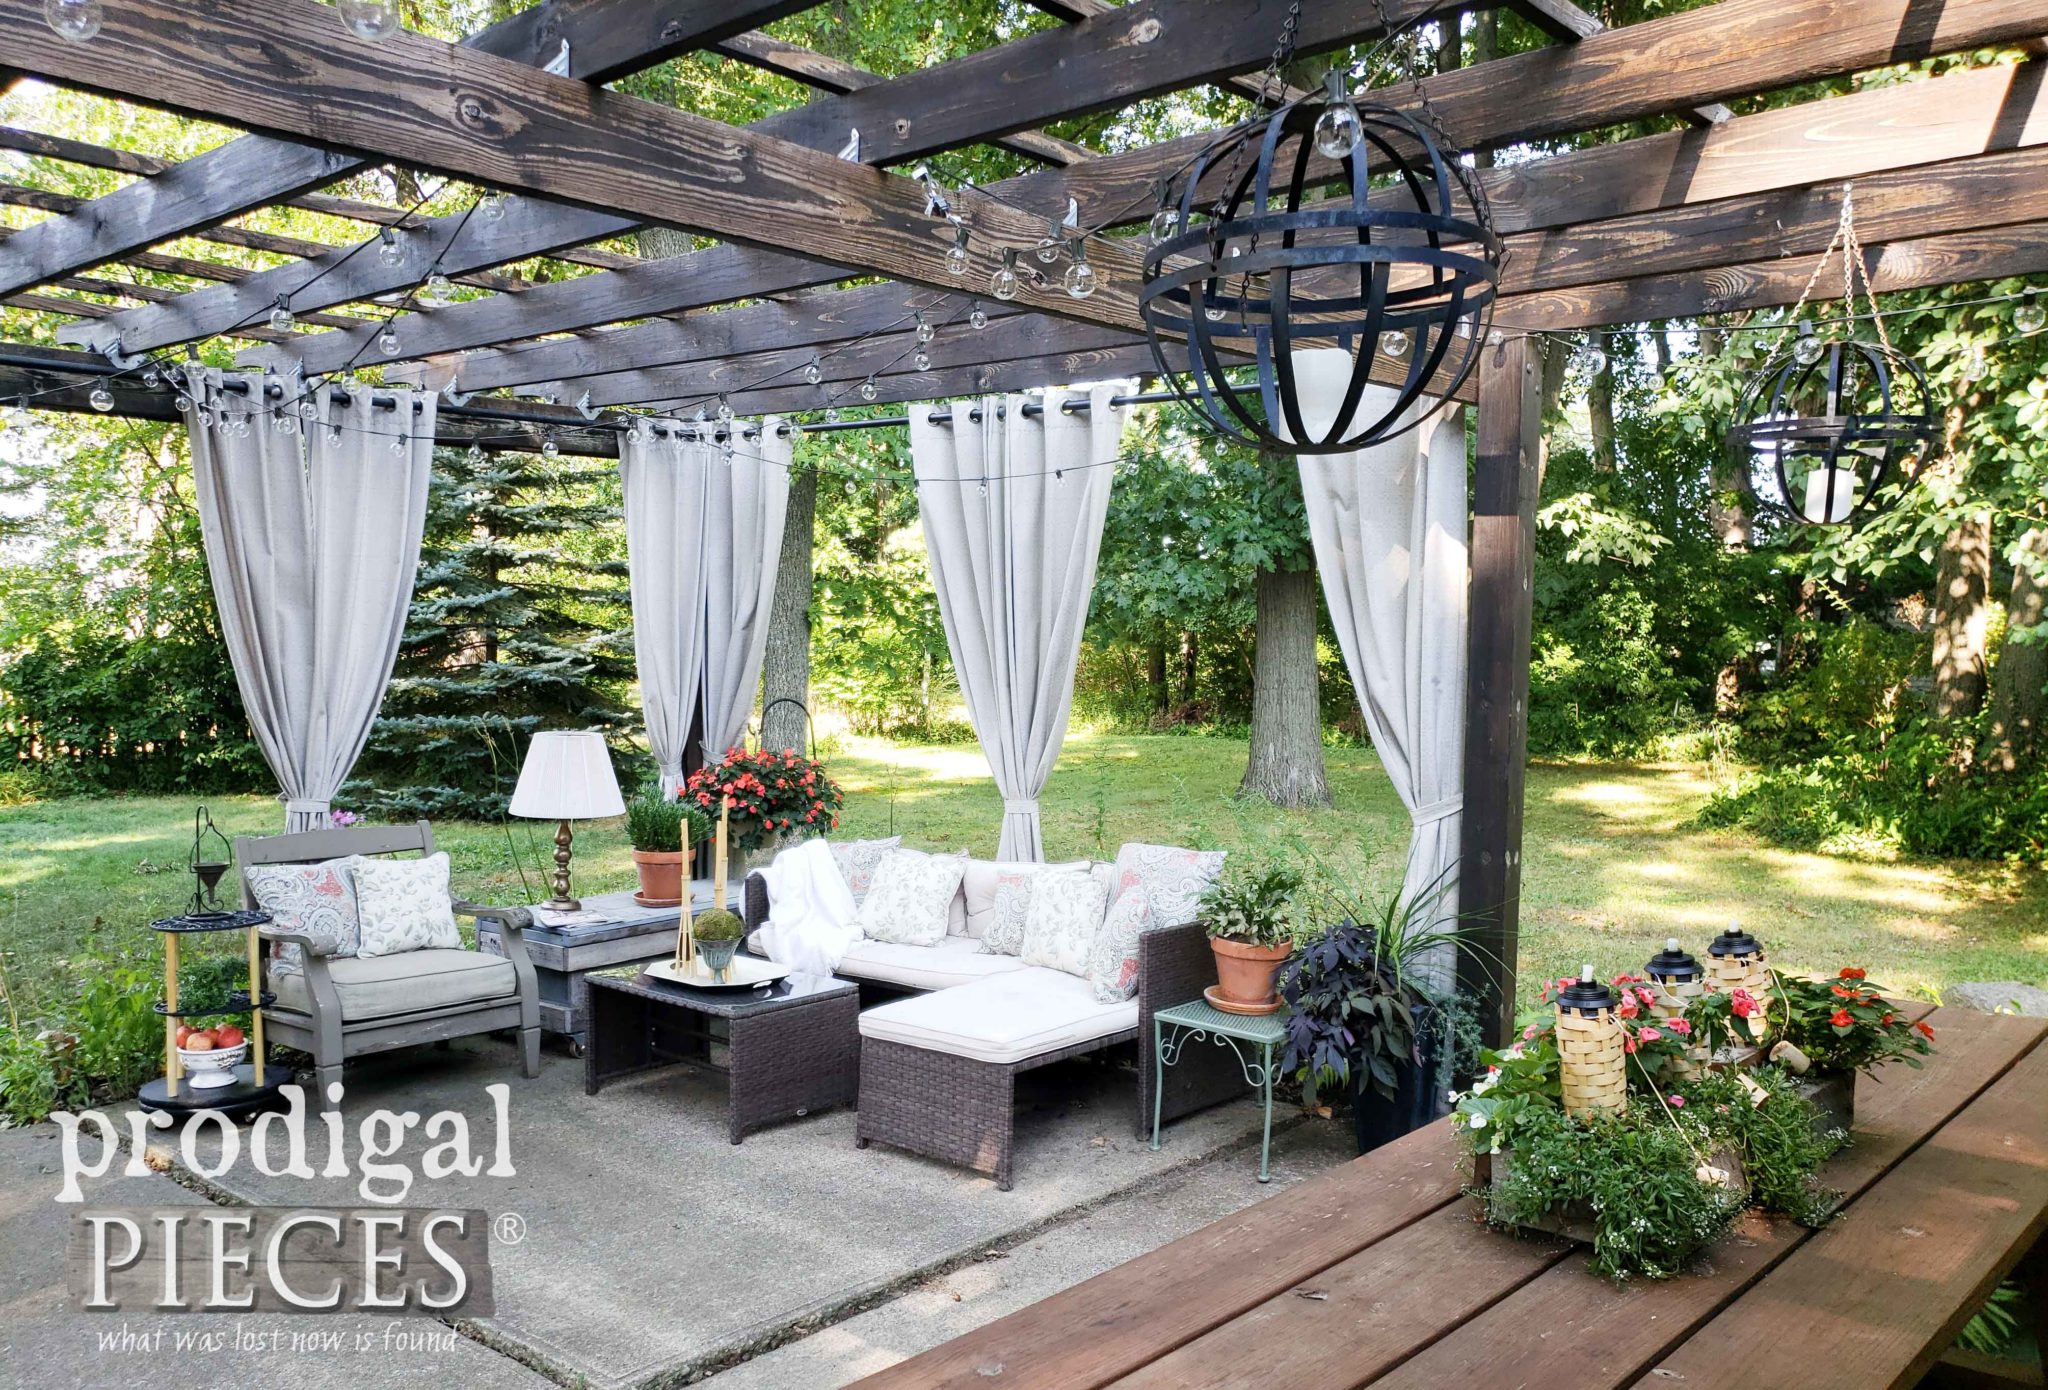
Back when we built our pergola and updated our patio, I insisted on making a faux fireplace to fill up our wall space. We used curbside wood to create it and love it as a focal point. You can get the step-by-step tutorial here.
To say we enjoy our backyard space is an understatement, really. We love it and have more planned for it in the next year. Ultimately, my goal is to custom build a sectional that will accommodate my family of 8 plus a few guests. And, I will build a custom grill section.
In conclusion, my hope is that you enjoyed my upcycled plant caddy creation as well as the other bamboo related crafts.
In addition, if you would love to make this table your own, you can find it available in my online store.
NIGHTTIME
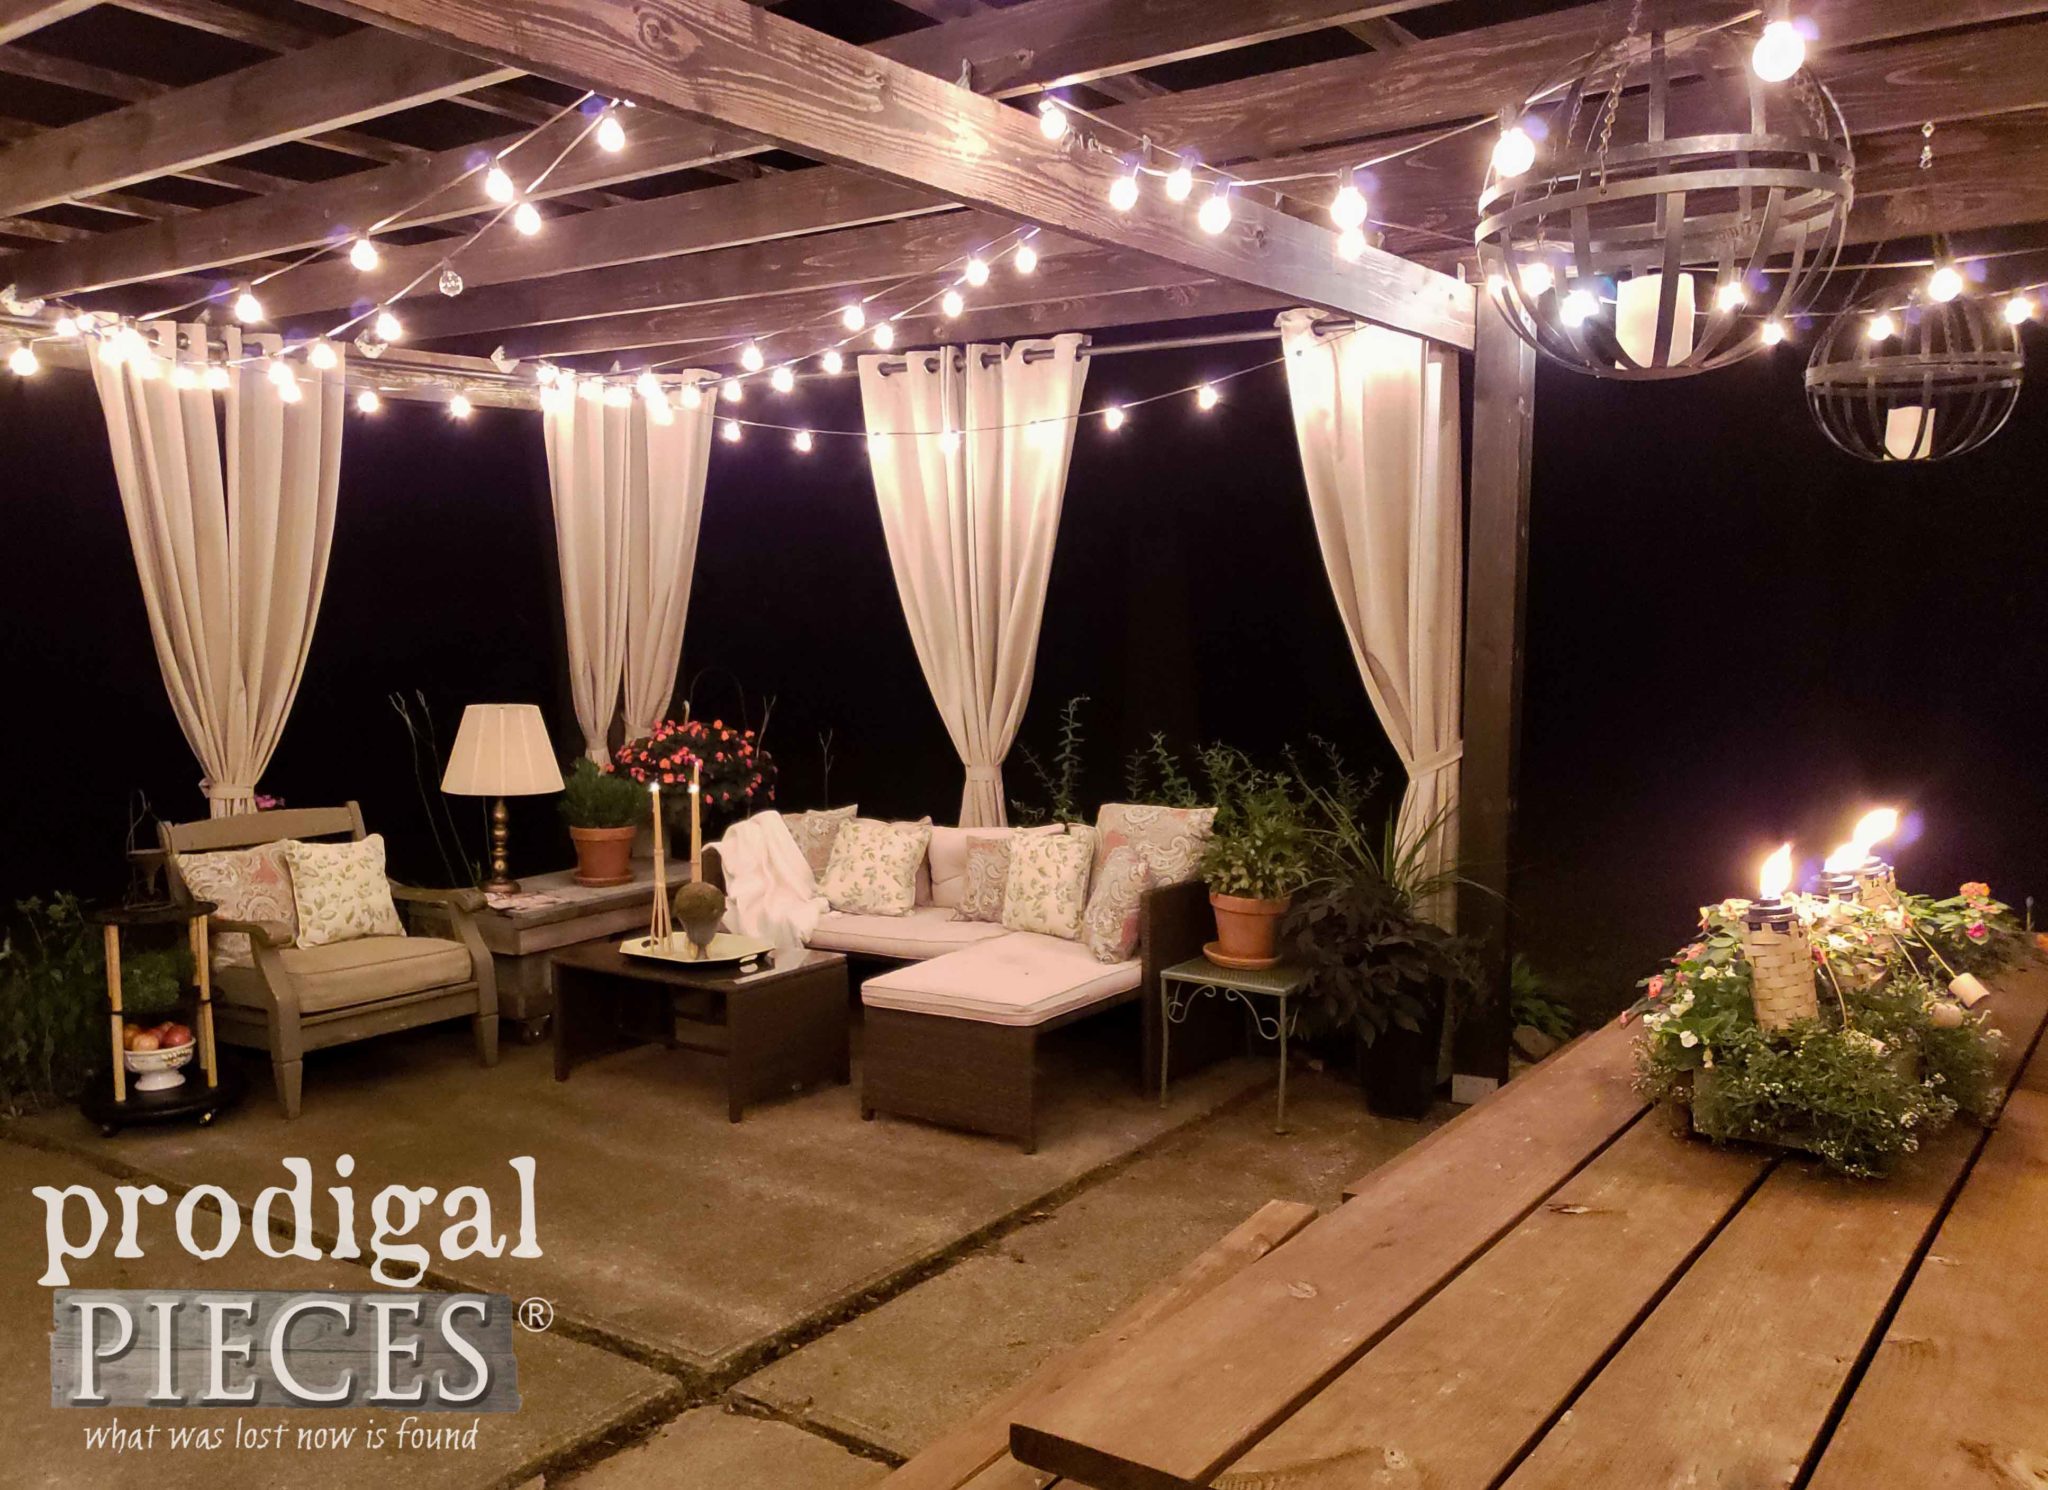
Just for fun, here’s a view of my patio in the evening when the sun has gone down, and all is lit up for a cozy stay.
In addition, pin and share my upcycled plant caddy and projects to inspire others to make their house their home. Not only can it be done on a budget, but my home is proof of that.
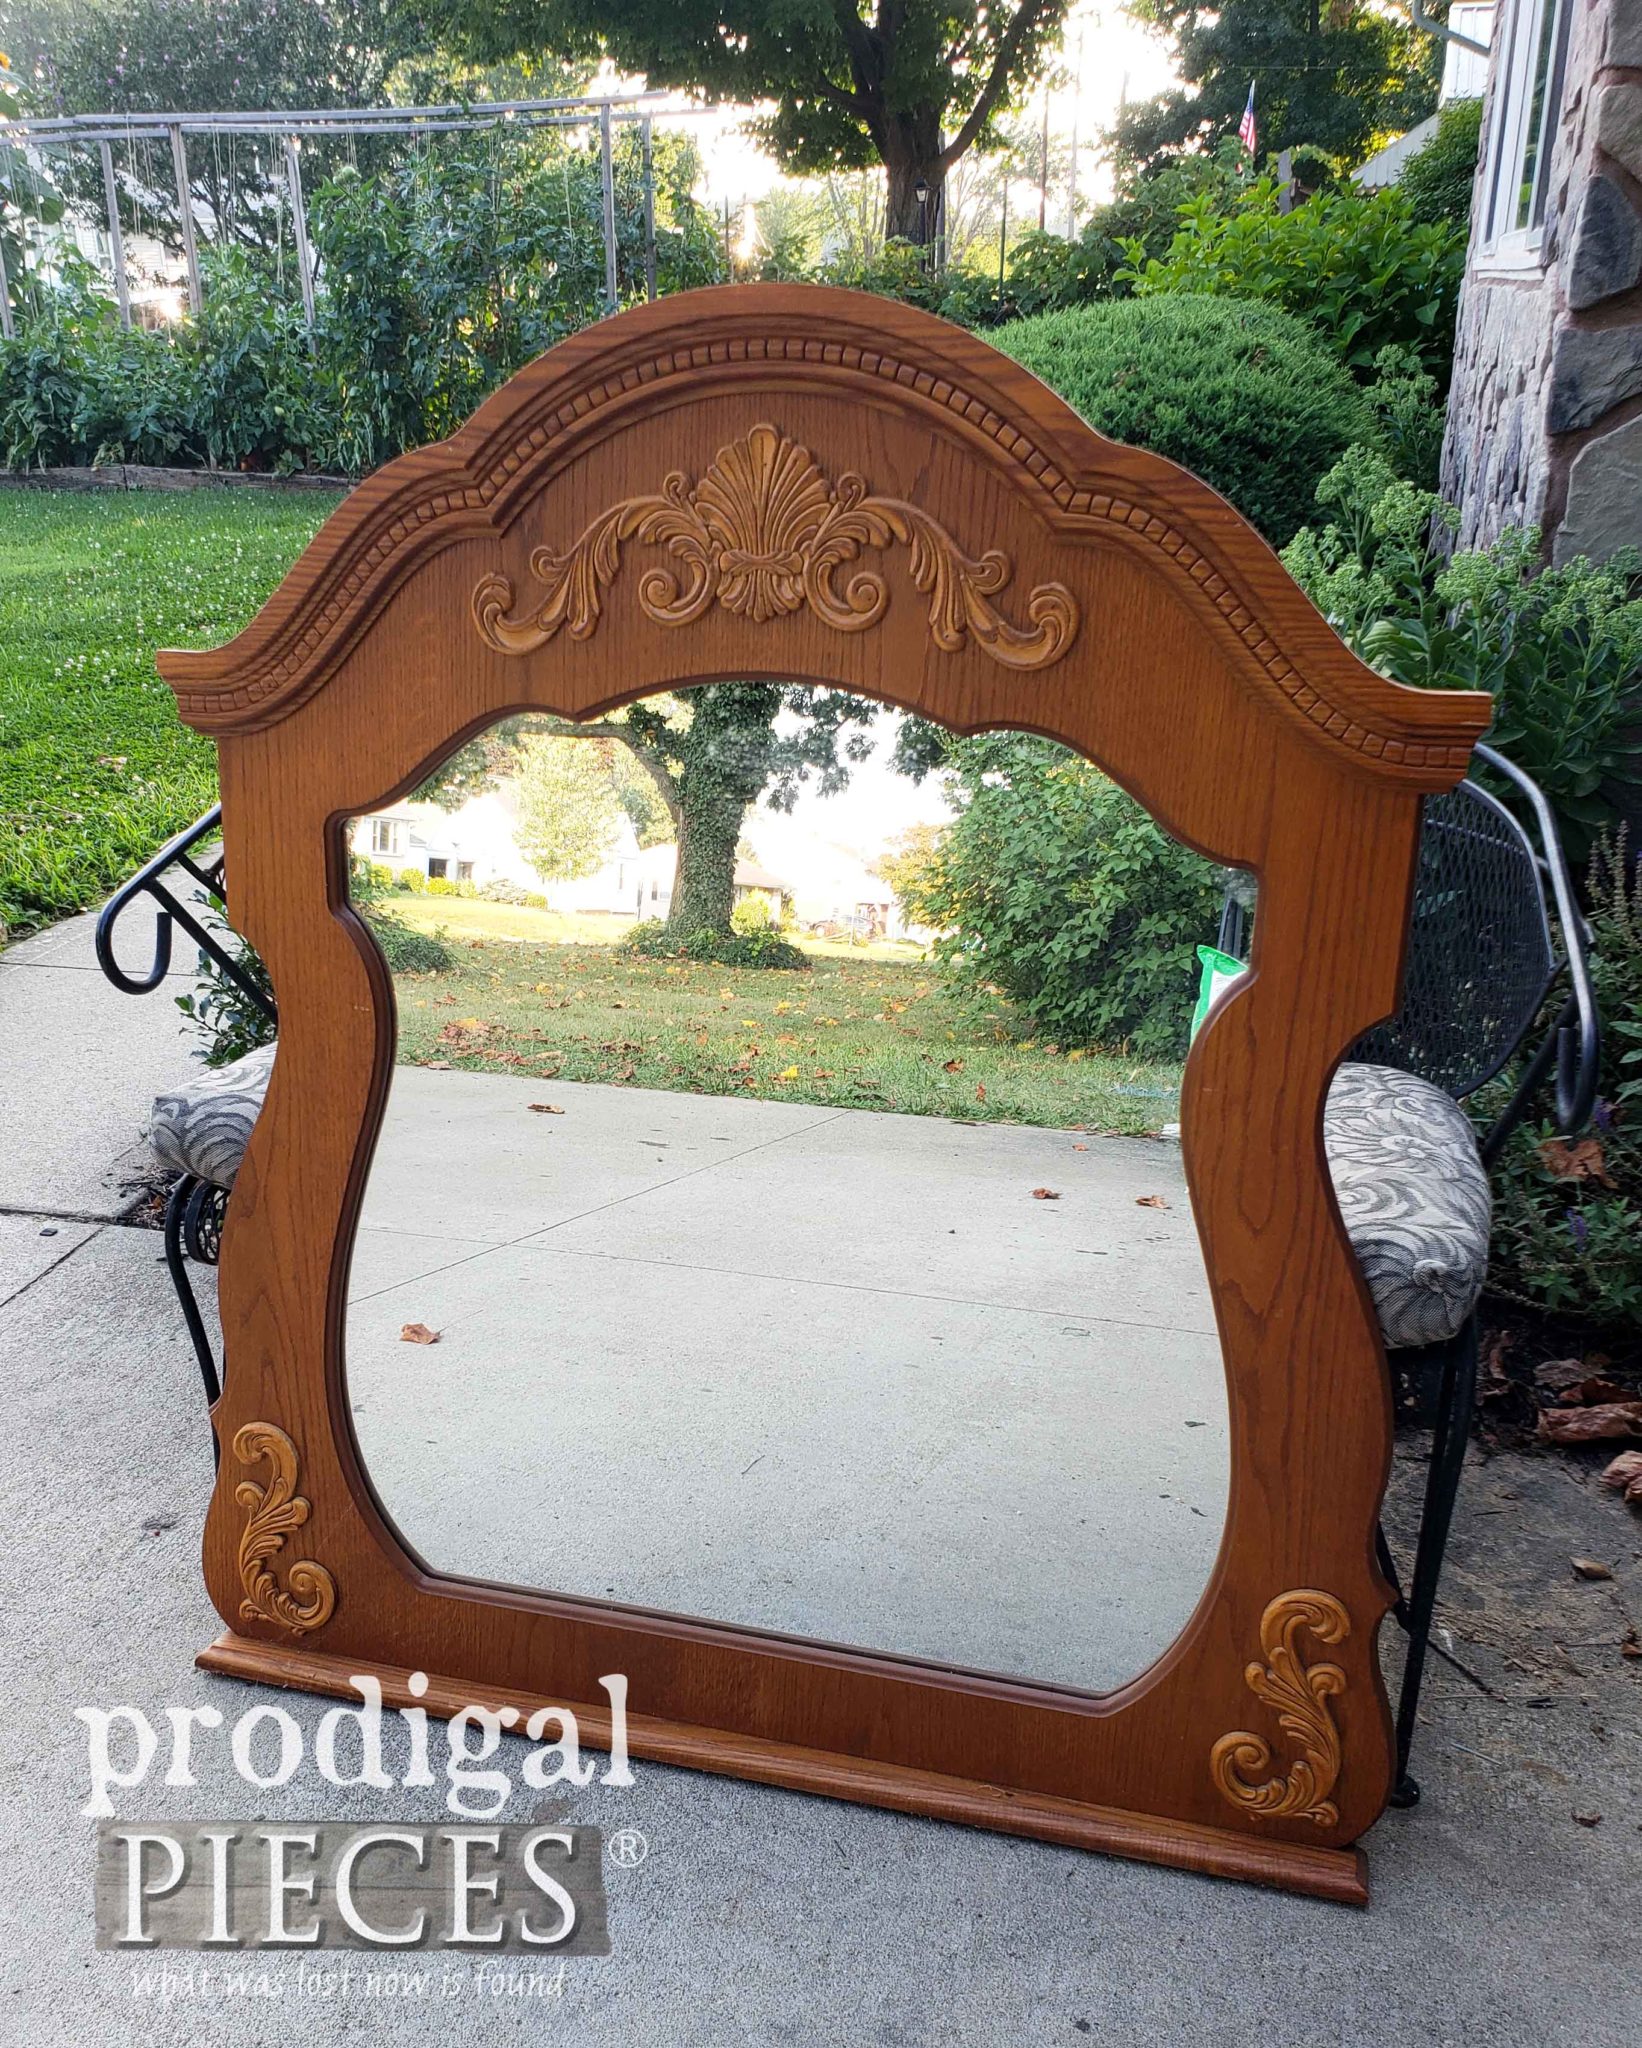
Up next, I share with you what I did with this mirror offered to me. Would you have taken her up on it? See the results HERE.
Before you go, be sure to sign up for my newsletter.
Let’s see what my Trash to Treasure friends created for you.




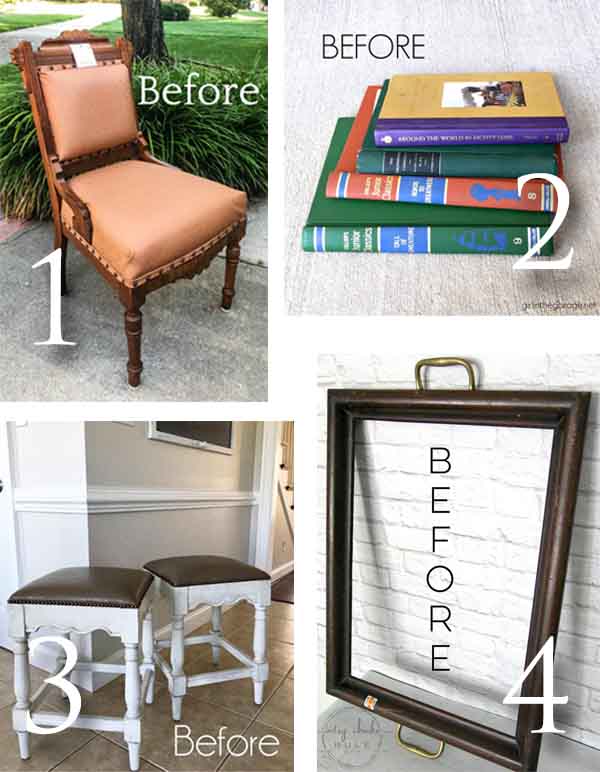


What an awesome looking plant stand
Thanks, Colleen! 😀
You are so inventive, Larissa! What a great outdoor table you have now! XO
Thanks! It was one of those challenges that’s fun to do.
Great! My favorite ended up being your beautiful centerpiece with torches! I love the cast iron too though. I just bought your cast iron circles cousins (still with wheels on) thrift shopping last week. : ) Maybe when they fall apart…
That centerpiece as a fun build and I use it yearly. How fun to find the same! yay!
Wow Larissa, what a sweet table you built, and just look at all the pretty things you were able to make with all these different pieces! I also really enjoyed looking at the photos you shared of your patio, you created such a beautiful space!
Larissa, you make the most awesome projects out of, well, nothing! I really enjoy your creativity and am totally amazed at the way you come up with ideas. You really think outside of the box! Keep up the great work! I love your posts.
The fun is the challenge and seeing it come to fruition. Thanks so much for Cecilia!
Great job, Larissa! They look smashing in their new venue!
I’m delighted to hear it. Thanks so much, Cate. hugs!
You are a rock star
I don’t know about that, but I have fun. Thanks, Valarie! 😉
You are SO creative Larissa! I never would have thought to turn them into a caddy. Your outdoor space is phenomenal btw!!!
I just couldn’t keep it simple. haha. Thanks for the love, Denise. Fun to try!
Larissa, you’re a genius for getting use out of every last bit!
It’s so fun to make use of it all. Thanks!
What a beautiful outdoor space! You’ve done an amazing job!
That is so sweet of you to say, Diane. Thank you!
That is so creative Larissa! And I just love your outdoor space! 🙂 xo
Thank you, Nancy. We do too. 🙂
What a clever upcycle, Larissa! I love how you don’t waste anything!
Right back at ya, Jen. 🙂
You went above and beyond. I would have just hung them on the wall!
tee hee! Thank you for the giggle, Mary. I debated on doing that, but I had already done that before, so I wanted to mix it up. 😀