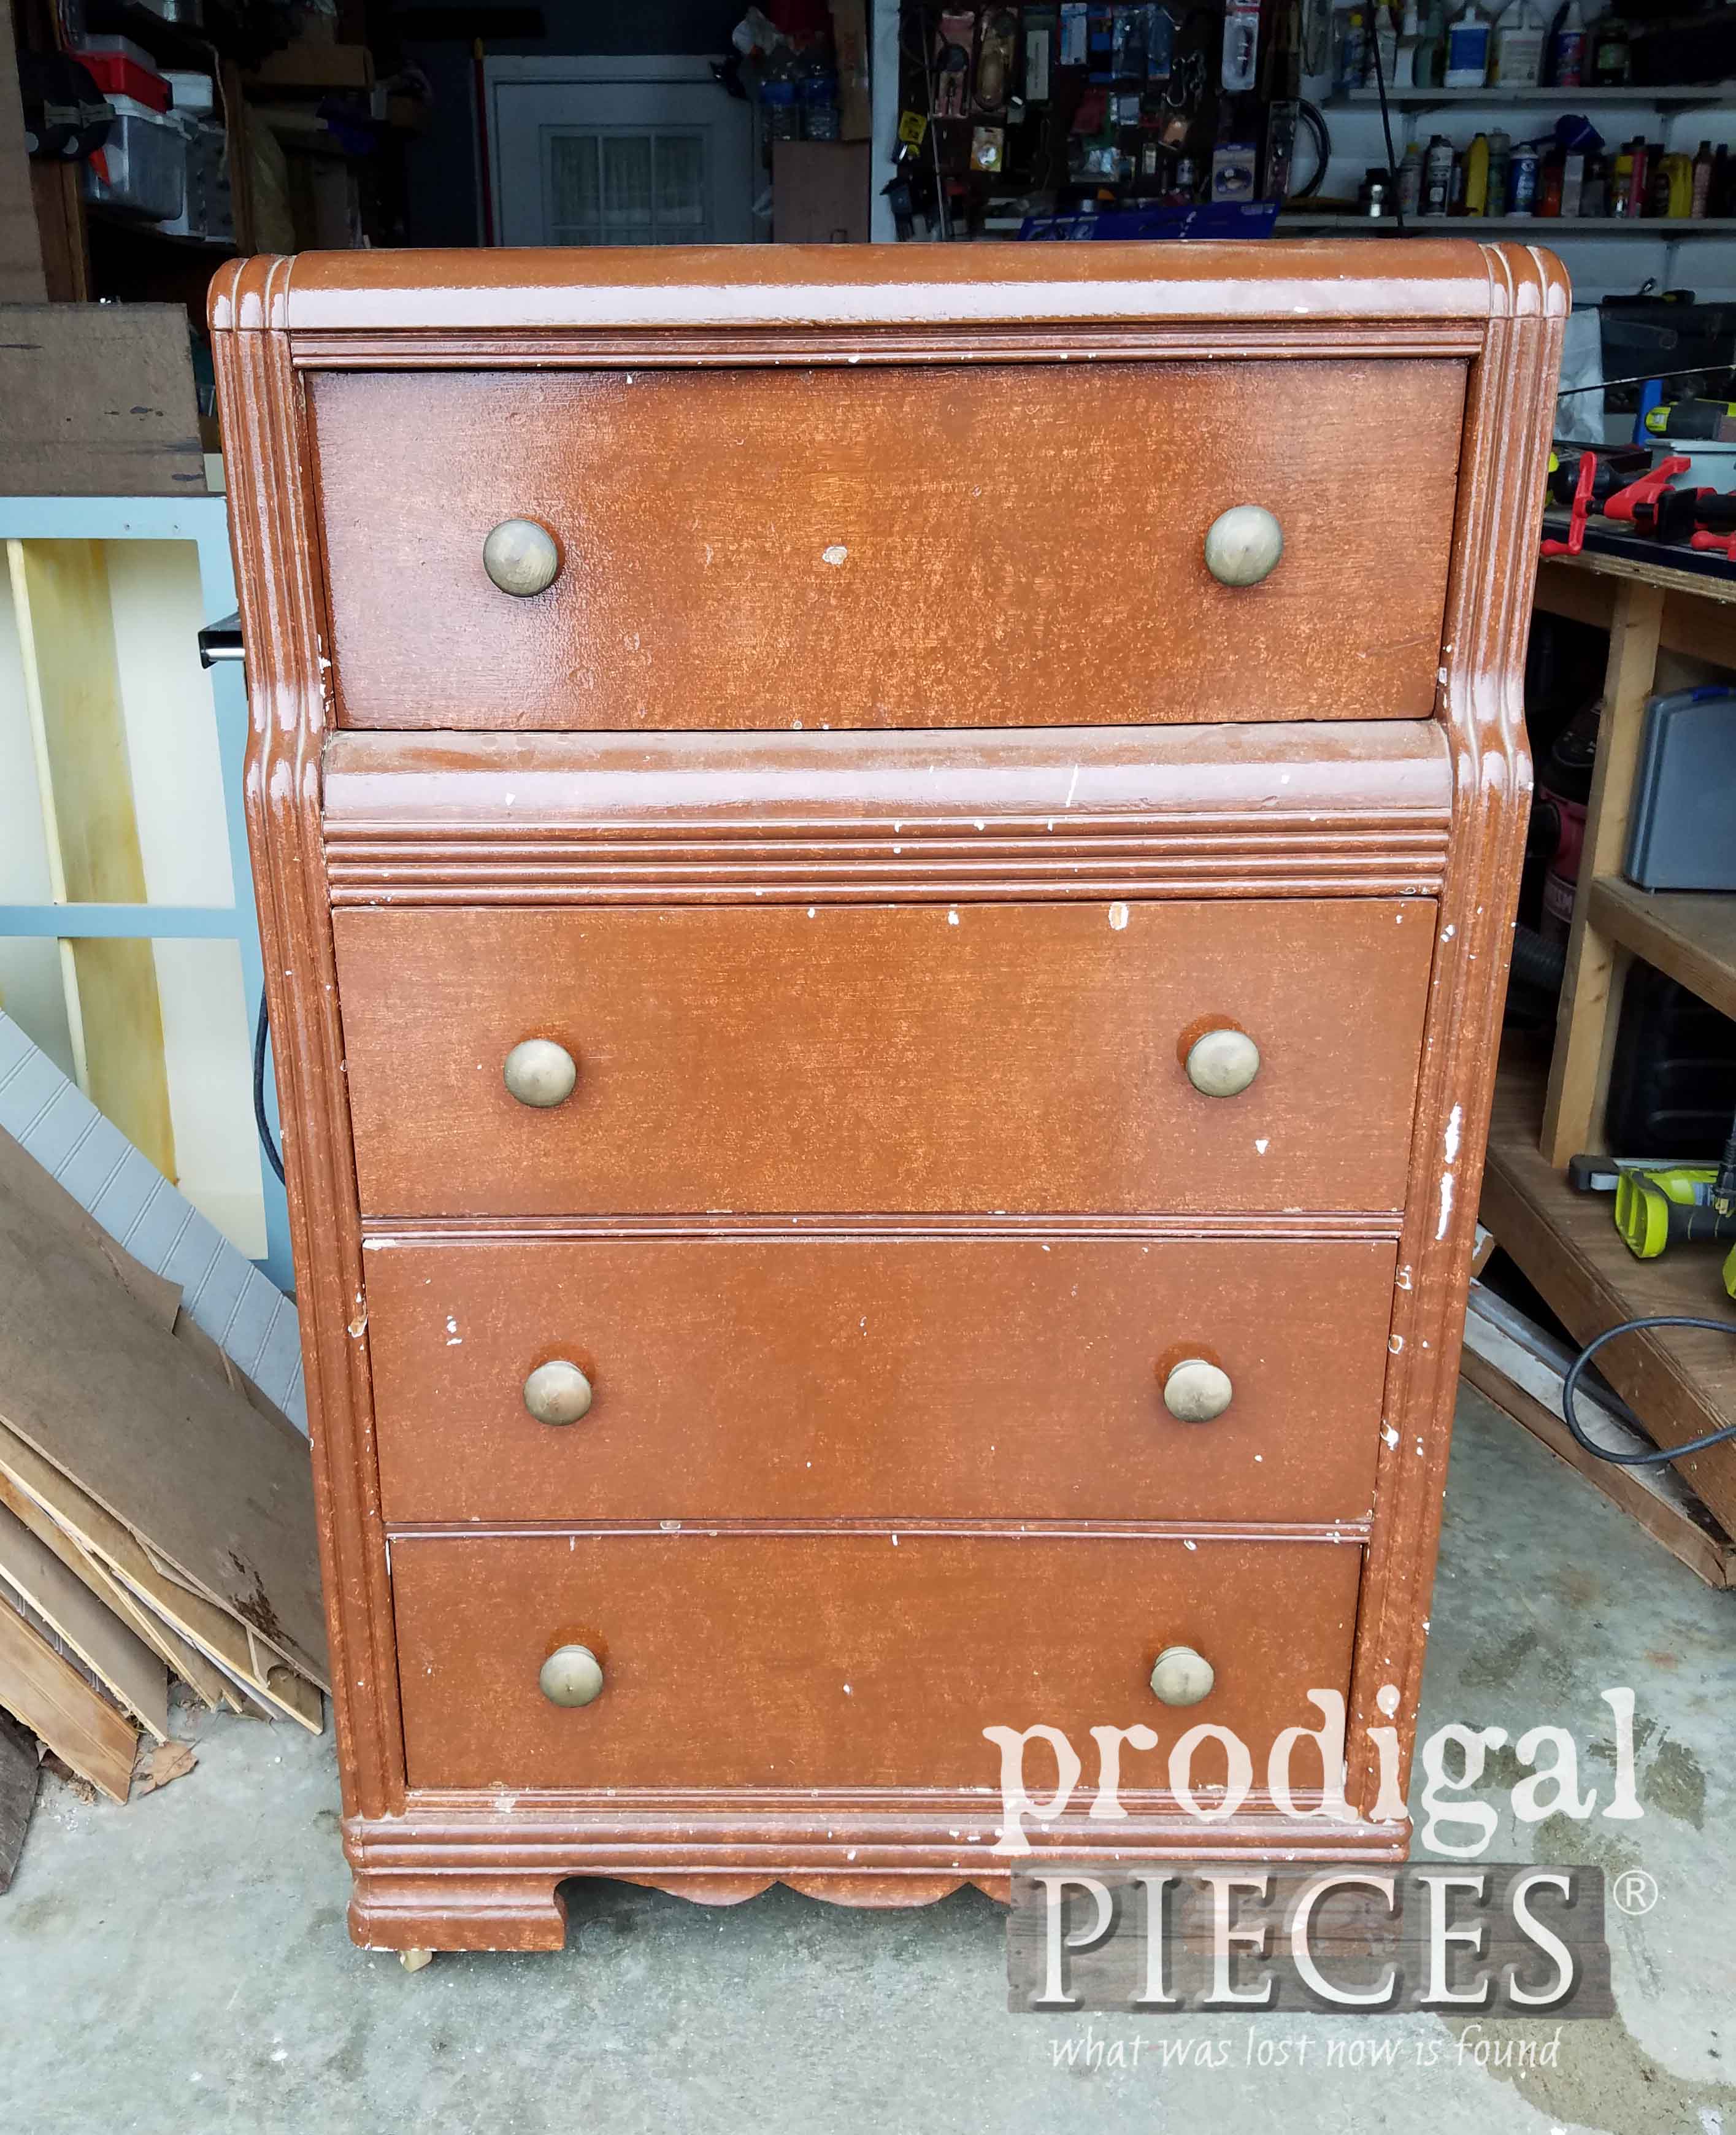
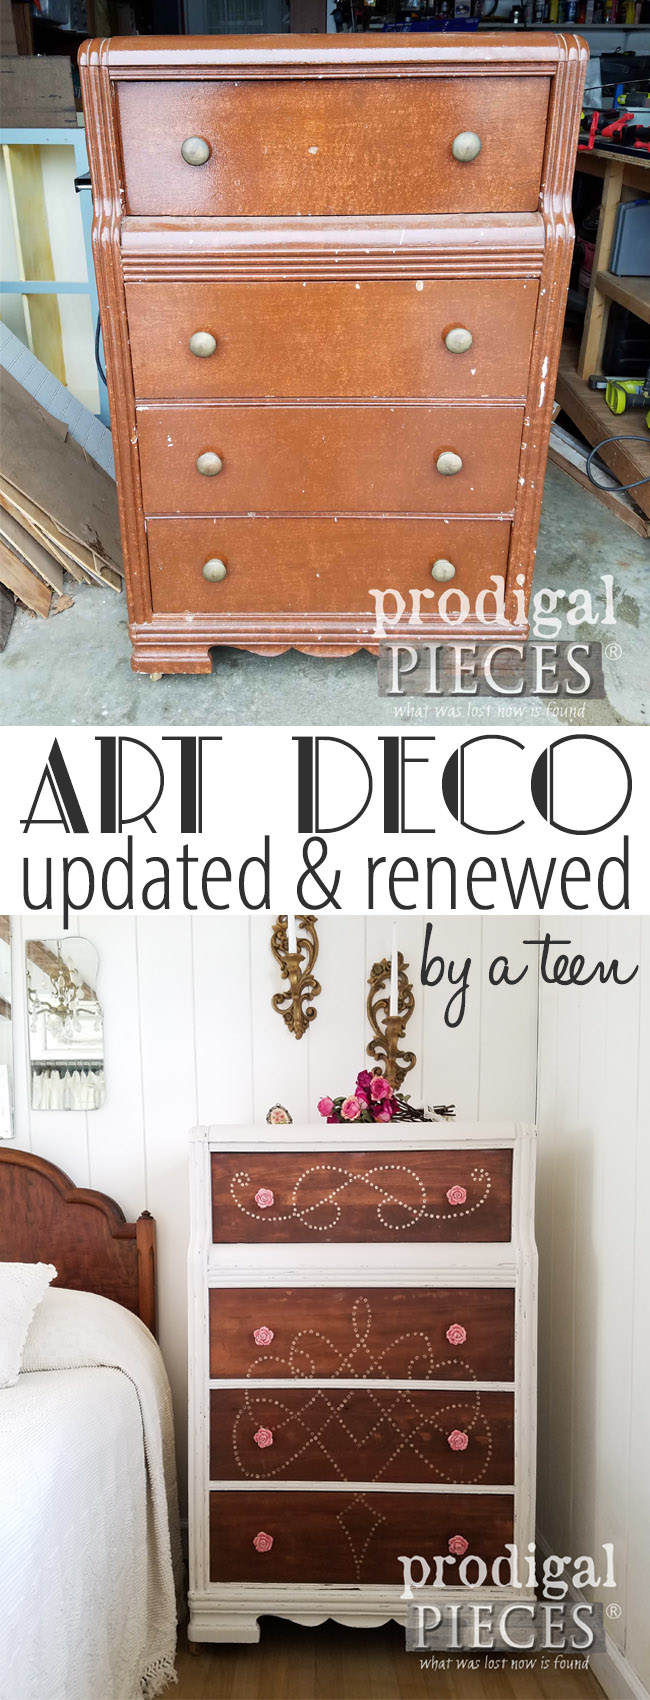
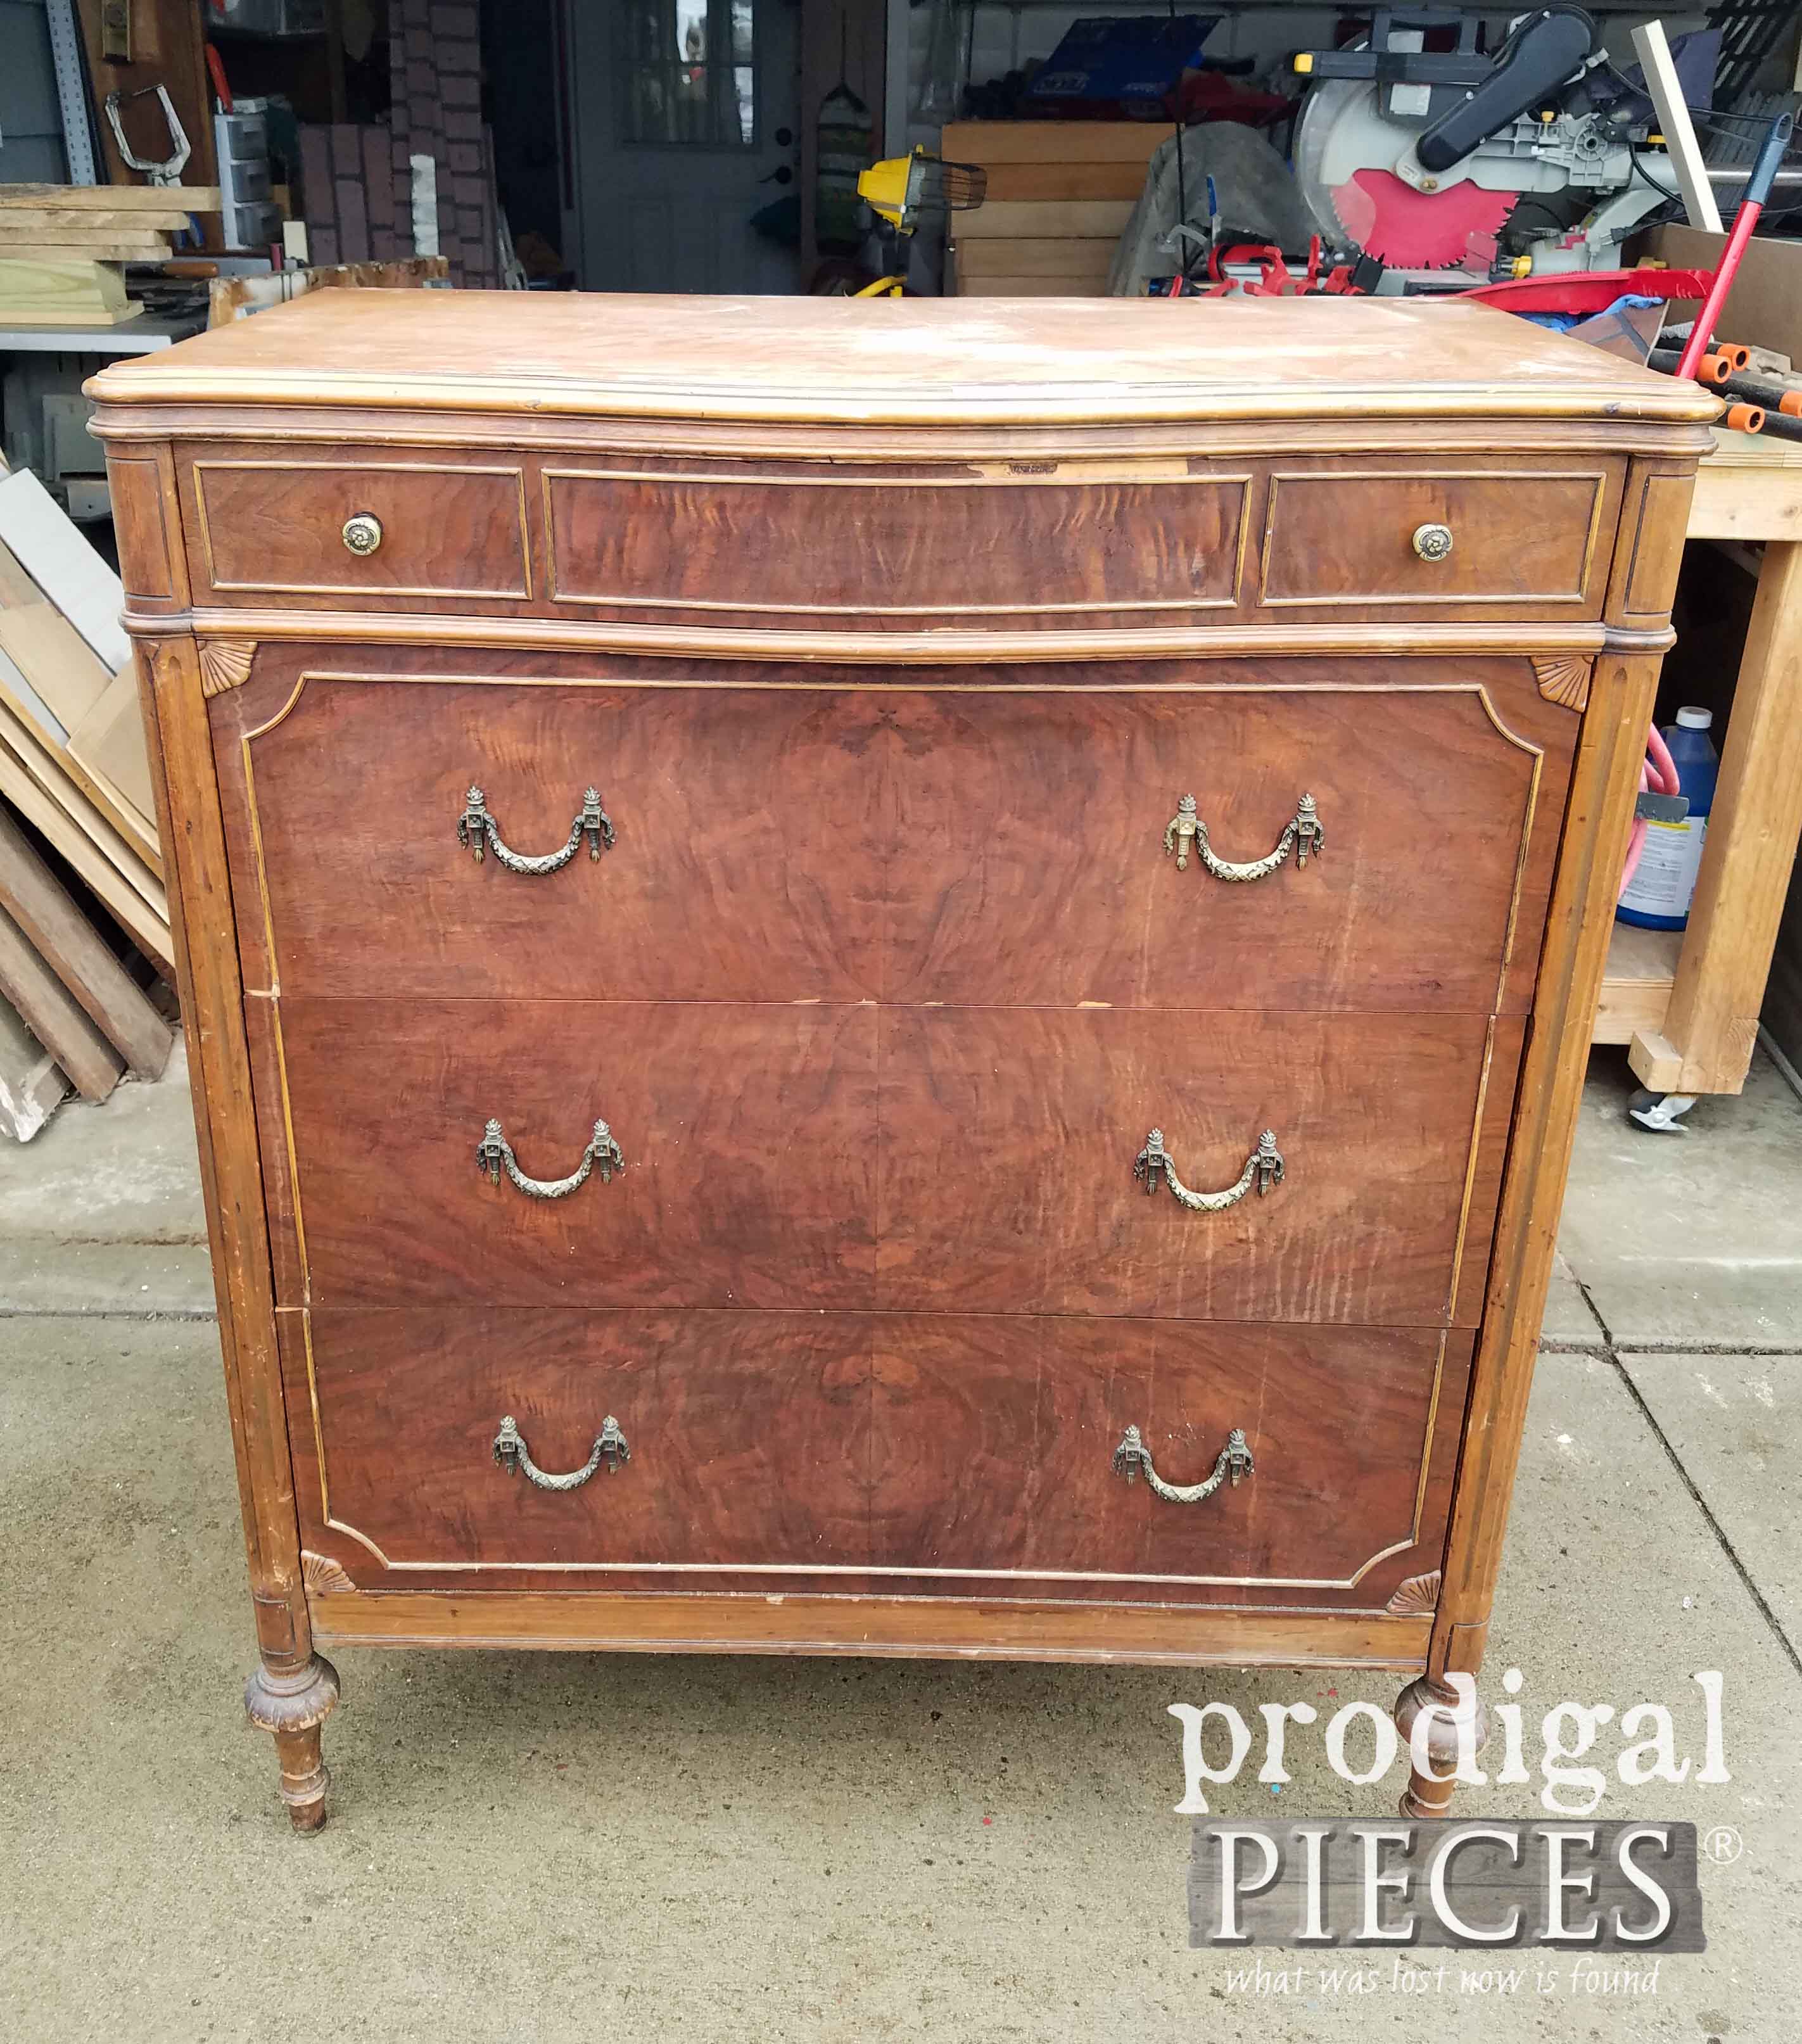
Nothing makes me happier that to share a new project with you. However, when it’s a project that is done by one of my kids, I get beyond excited, even giddy. My proud mama heart takes over and I it amazes me how hard they work to get the job done. For instance, take my oldest daughter’s latest project, an ugly painted beast in the before. Miss C is going to tame this brown beast and show you how it became an updated Art Deco chest of drawers. You go girl!
Many of you know that I have sworn off bringing home awfully painted furniture. I have had my fun messing with them, but apparently my husband keeps forgetting my promise to self, so when I send him out to retrieve project pieces he brings these things home. Bless his heart. Being the good mother I am, I pawn these items off on my children. bwahahaha!!
THE BEFORE
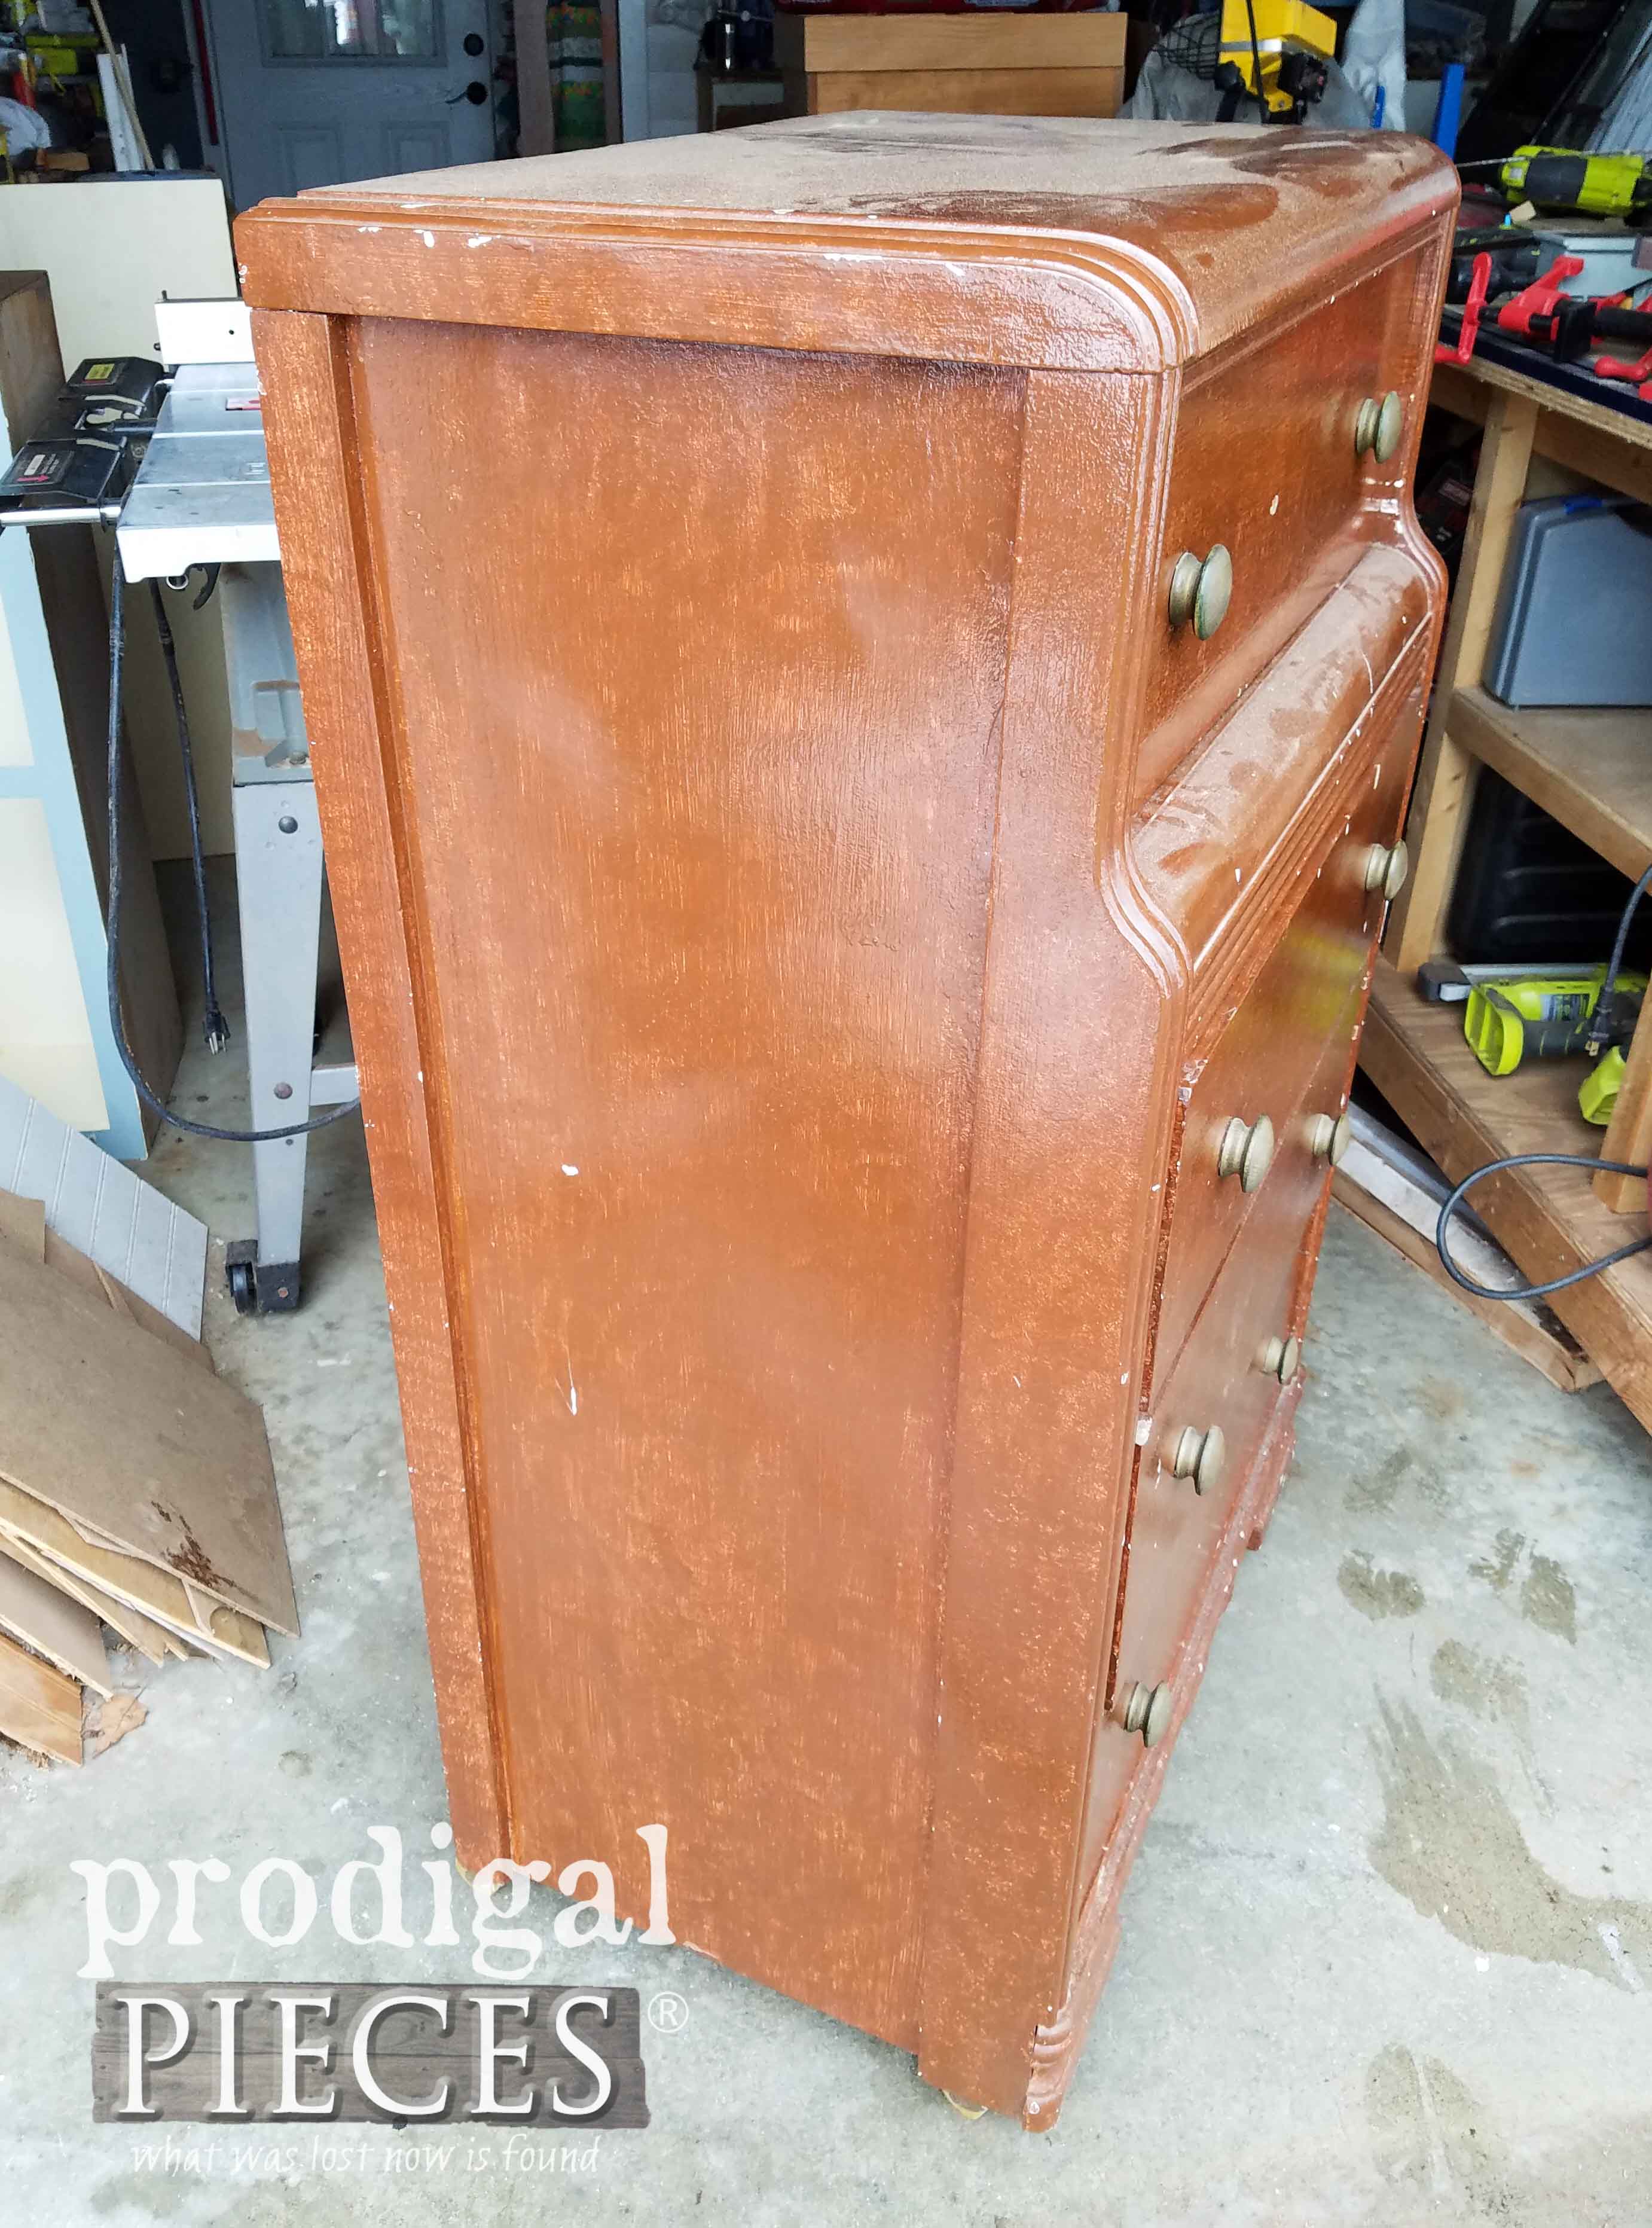
Honestly though, in the storage unit lot I purchased and have mentioned in my last two furniture makeovers seen HERE and OVER HERE, my daughter wanted a piece to work on. This one was one of the cheaper ones and now we know why. ahem. This poor thing was done wrong.
If you also know me, then you know I have a heart for these vintage waterfall chests, and waterfall furniture in any form. However, Miss C decided to tackle it and give it her all. You have to check out her past work here.
DIY FUN
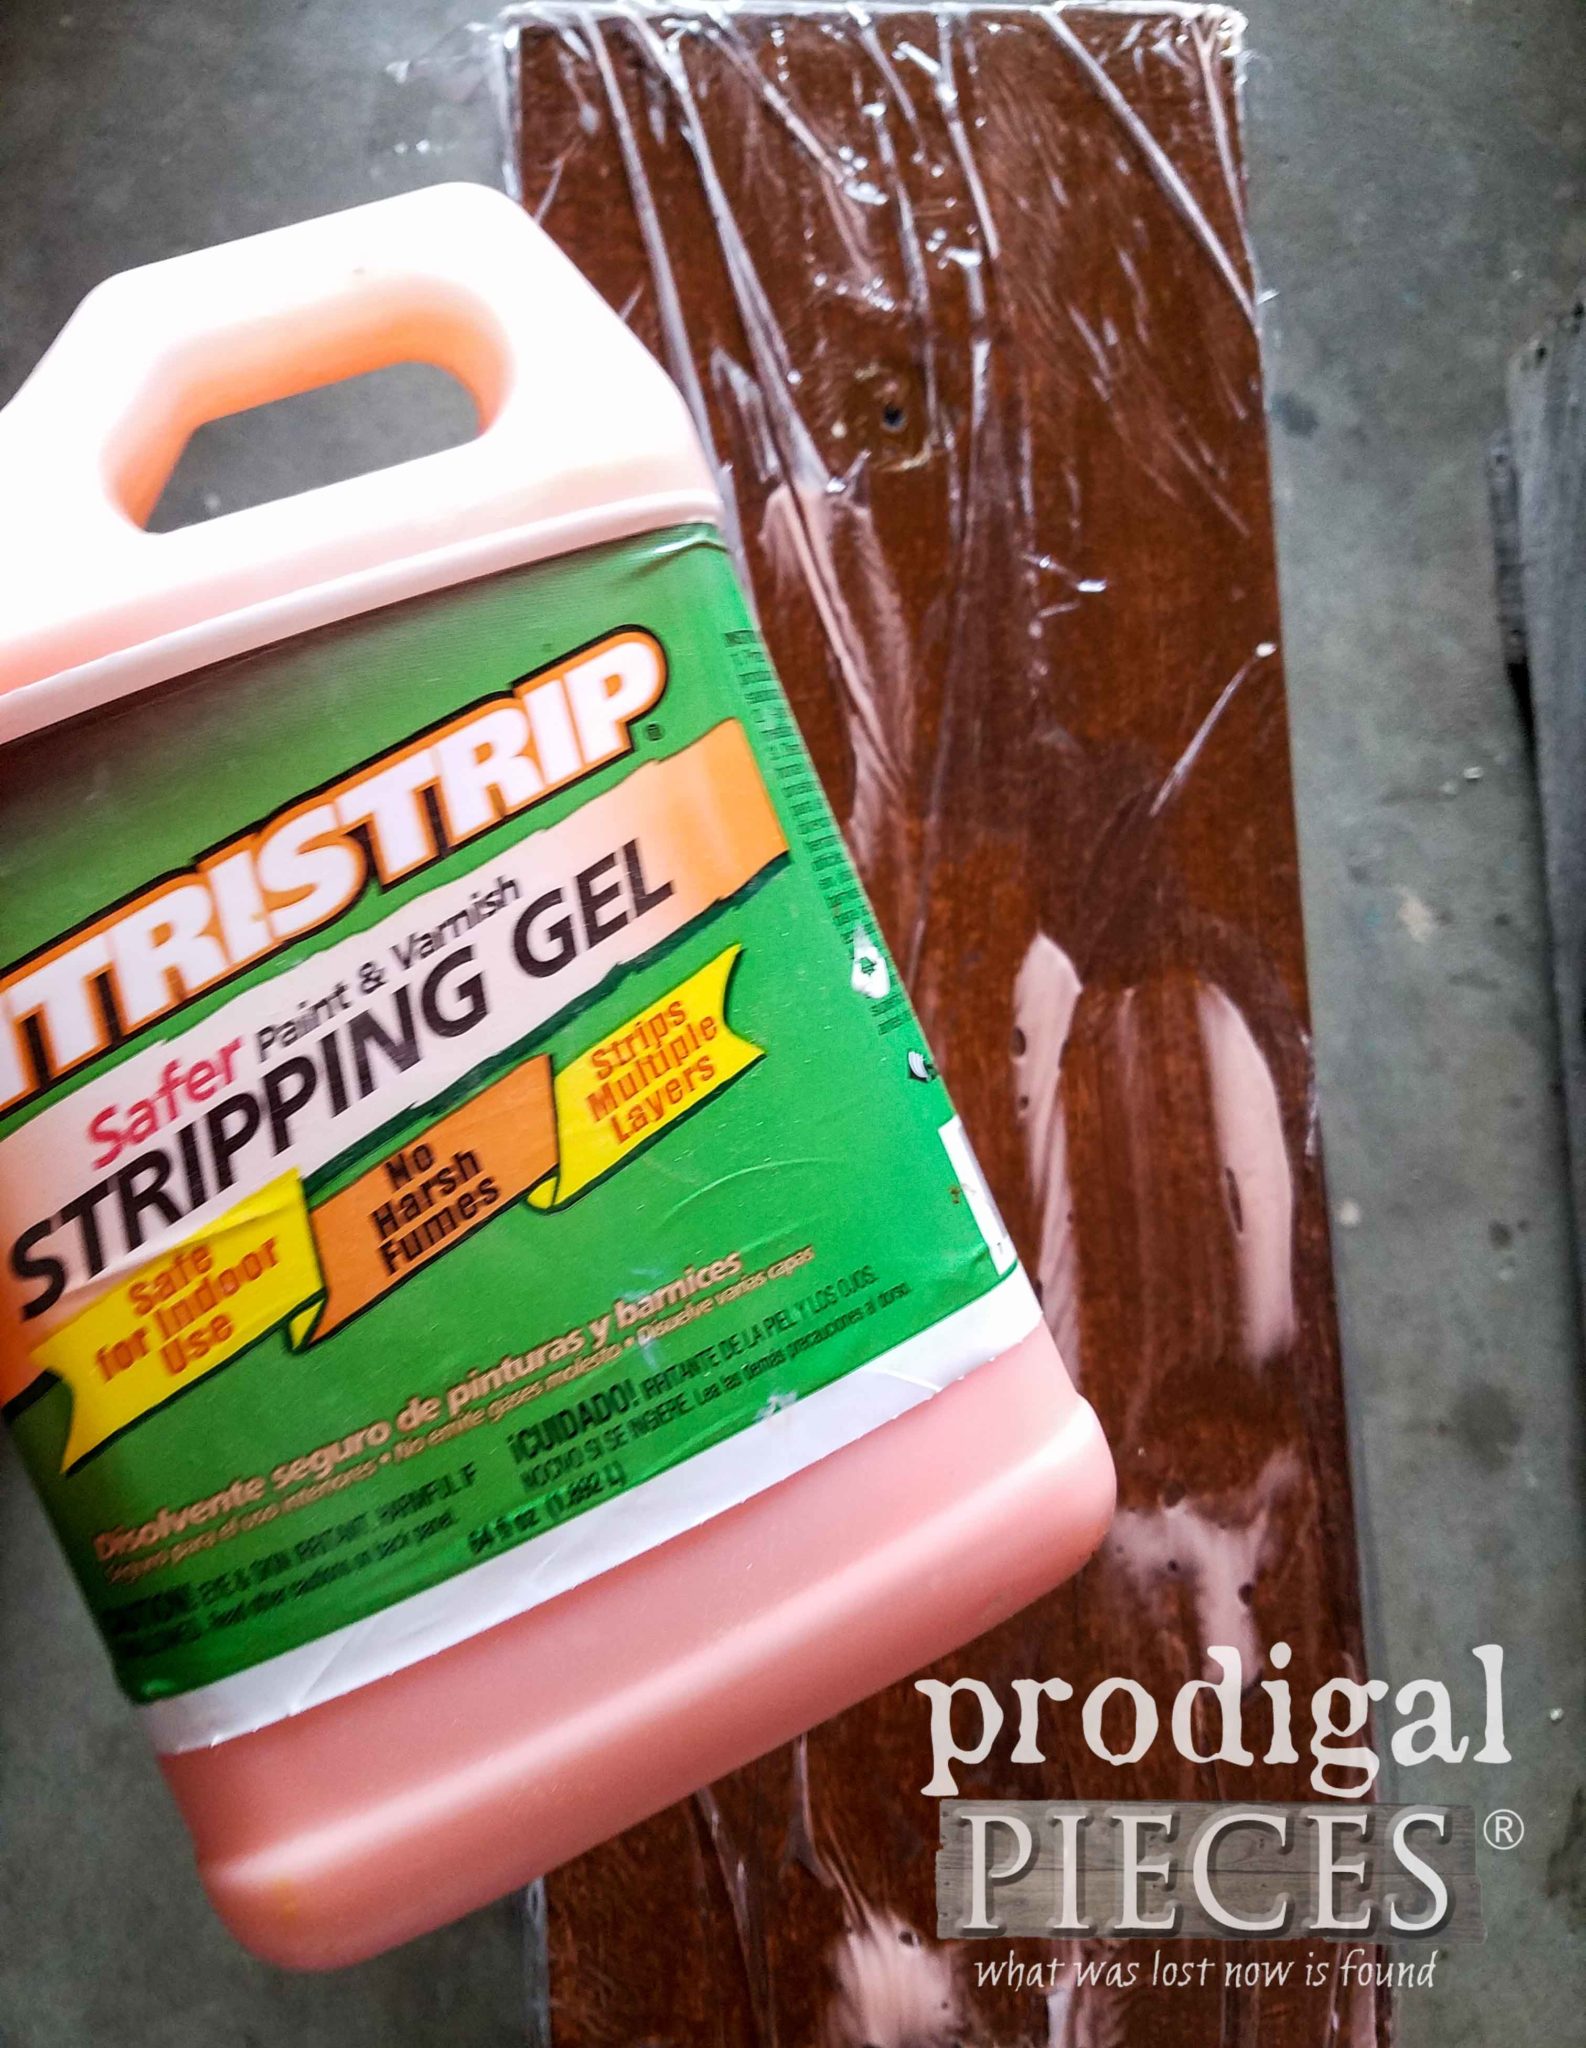
First, we wanted to see what was under that paint, so she applied CitriStrip to the drawers and covered it with plastic wrap until it had eaten away at a few layers. These Art Deco pieces are known for their intricate veneer designs, and we were hoping to strike gold.
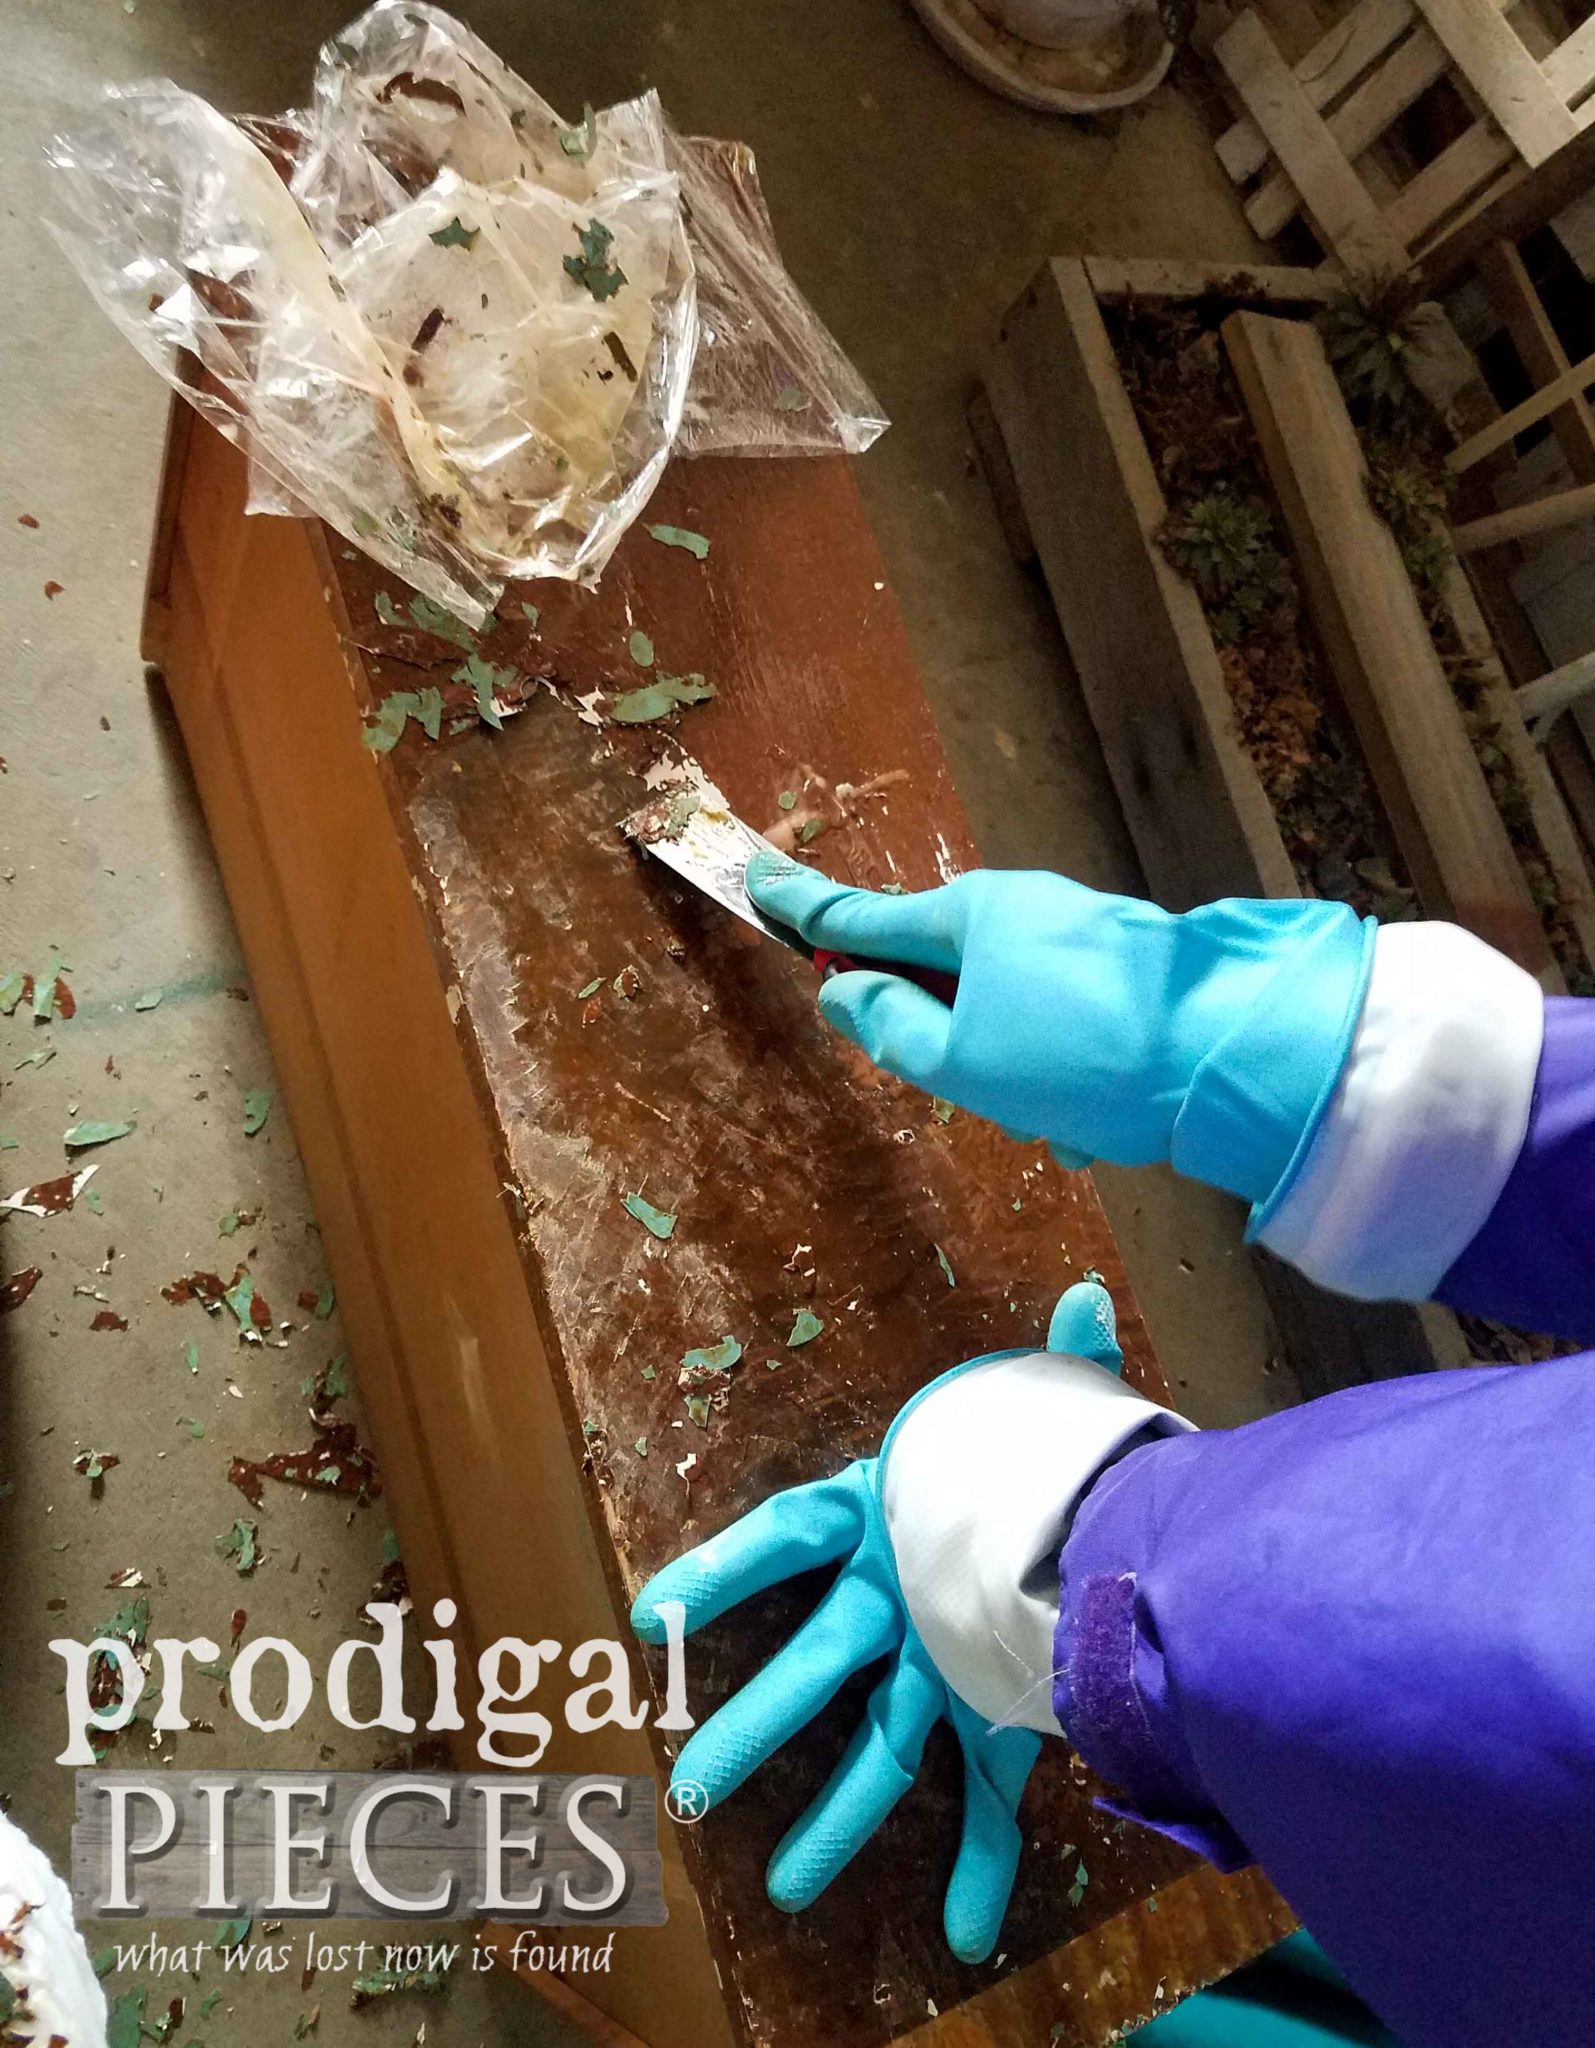
Upon first count, we found FOUR layers of paint – white, blue, green, and the awful brown. Likeweise, we were hopeful as we saw a veneer pattern showing up and she continued to scrape. See that lighter strip just under her arms?
Well, what we had hoped to find was a cool veneer, but instead we found a cheapo adhered veneer look-a-like. Basically, a sticker. meh. I’ve encountered this before when I did this empire set. It’s basically a hack of a quality piece.
What to do? Break out my sander and see if we can score some wood. Things were looking so much better at this point.
Do you know what she found? Cherry!! We looked at each other dumbfounded. Not only did this beautiful wood have FOUR layers of paint, but they stuck that awful faux sticker on it! Things that make you go hmmm…??
NEXT STEPS
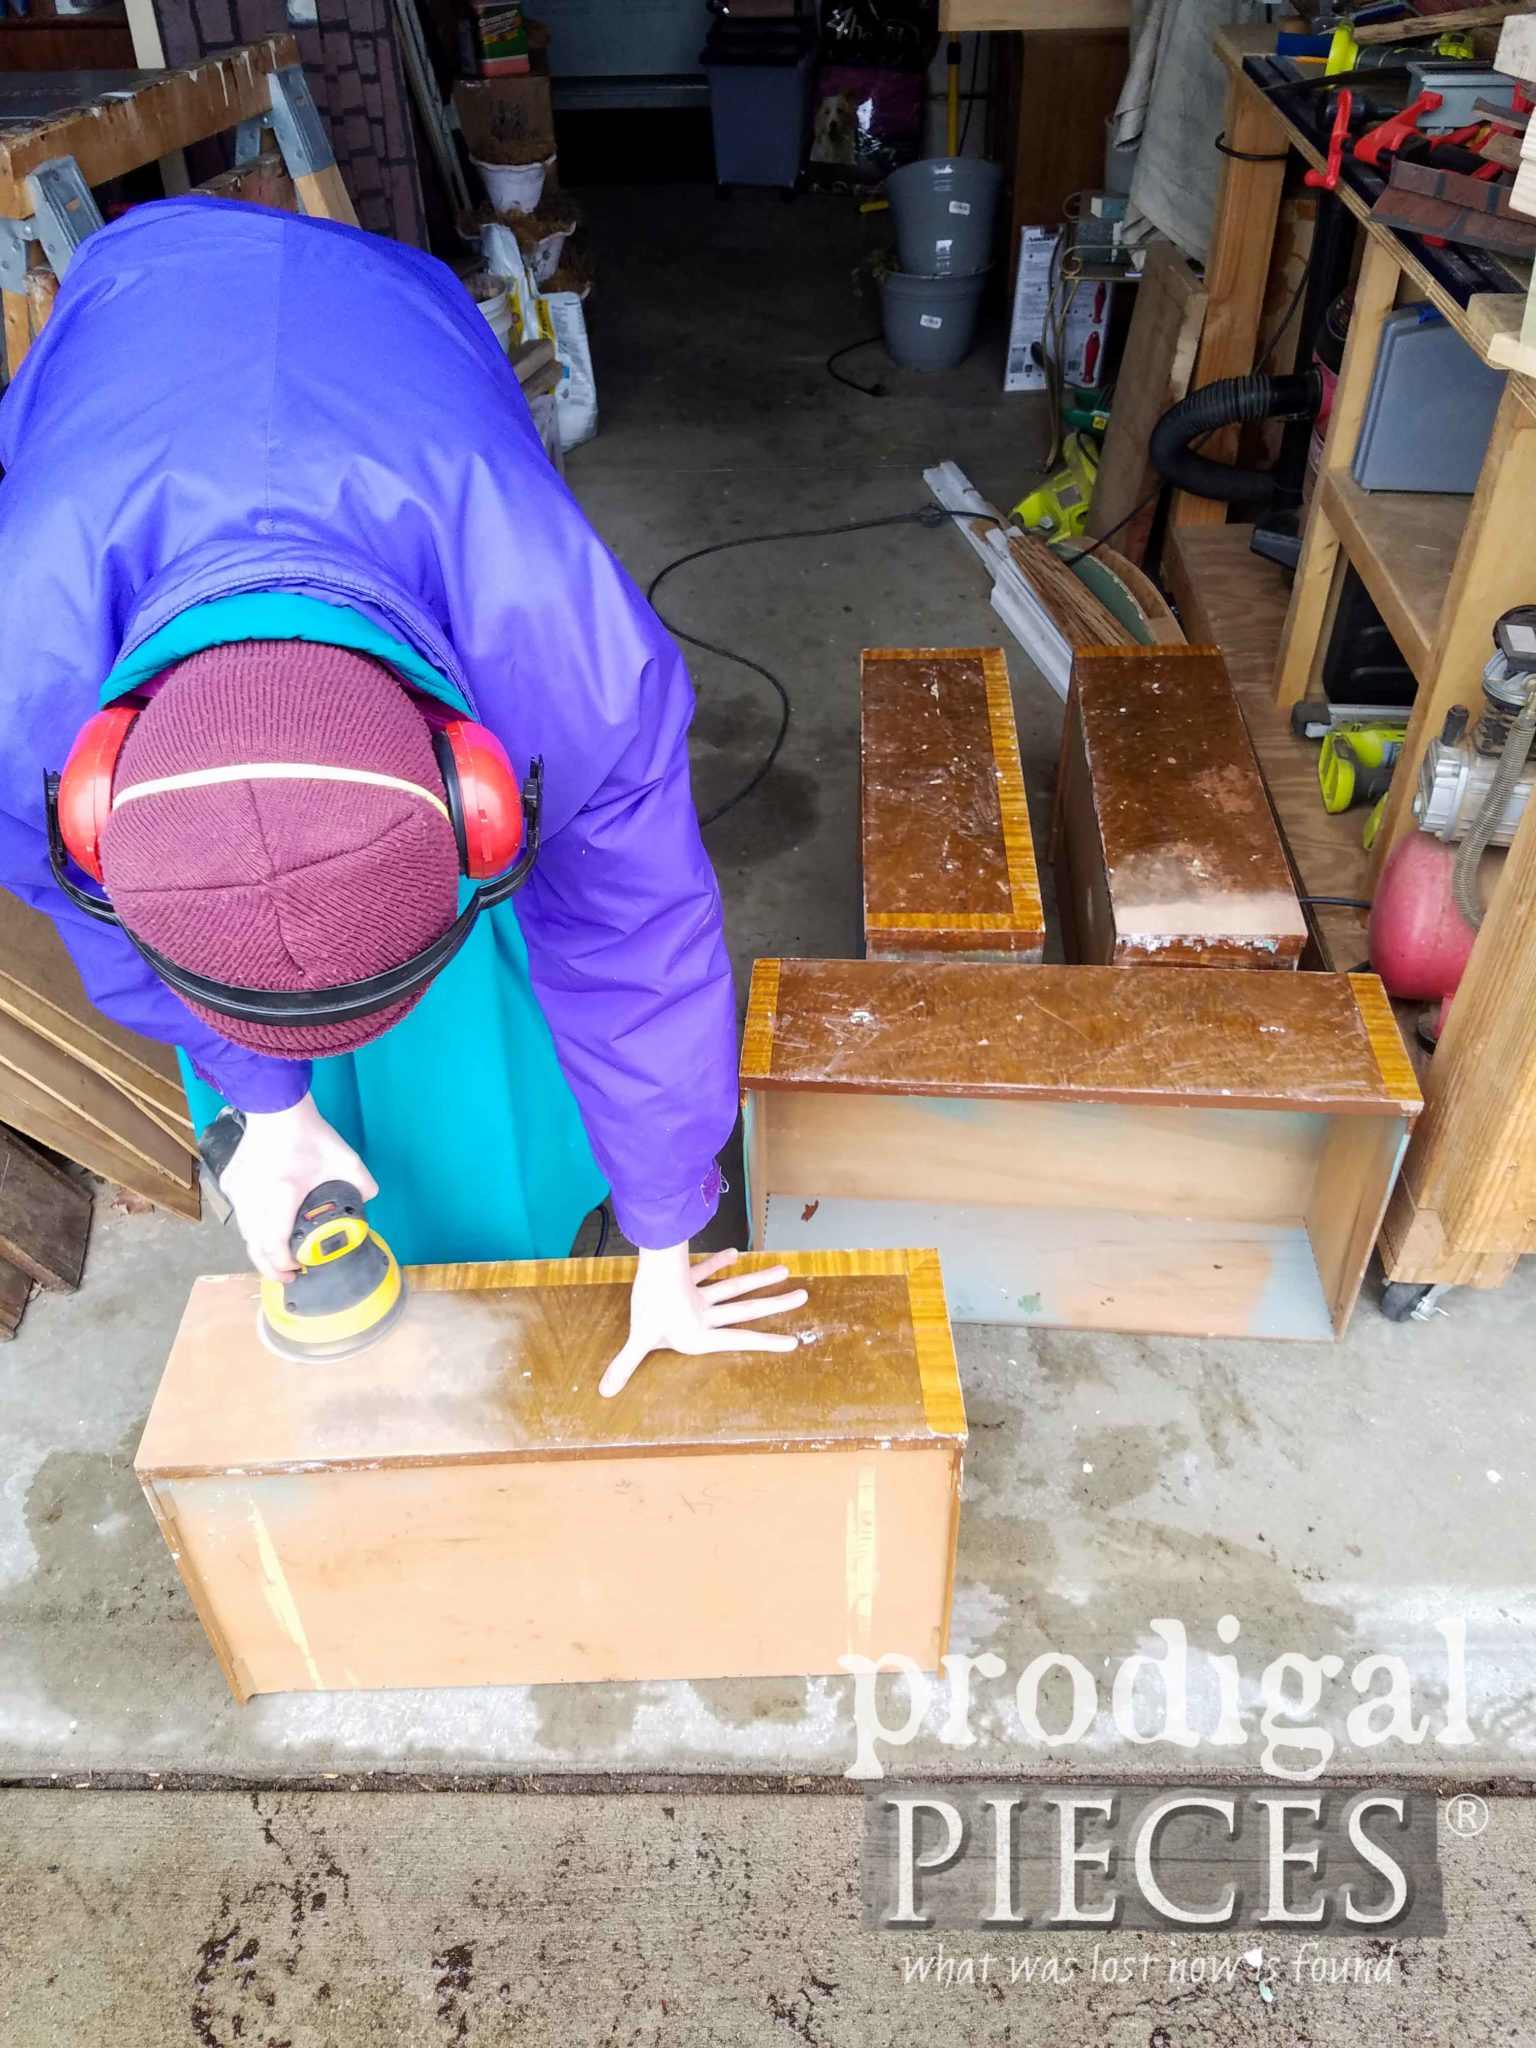
Since Miss C had planned to paint the cabinet, she gave it a good sanding. Not only did that allow her to get rid of all the awful brush strokes, but also give the surface tooth to work with. Nothing like working out in the snow, eh? hahaha. It was actually kinda warm that day for us northerners.
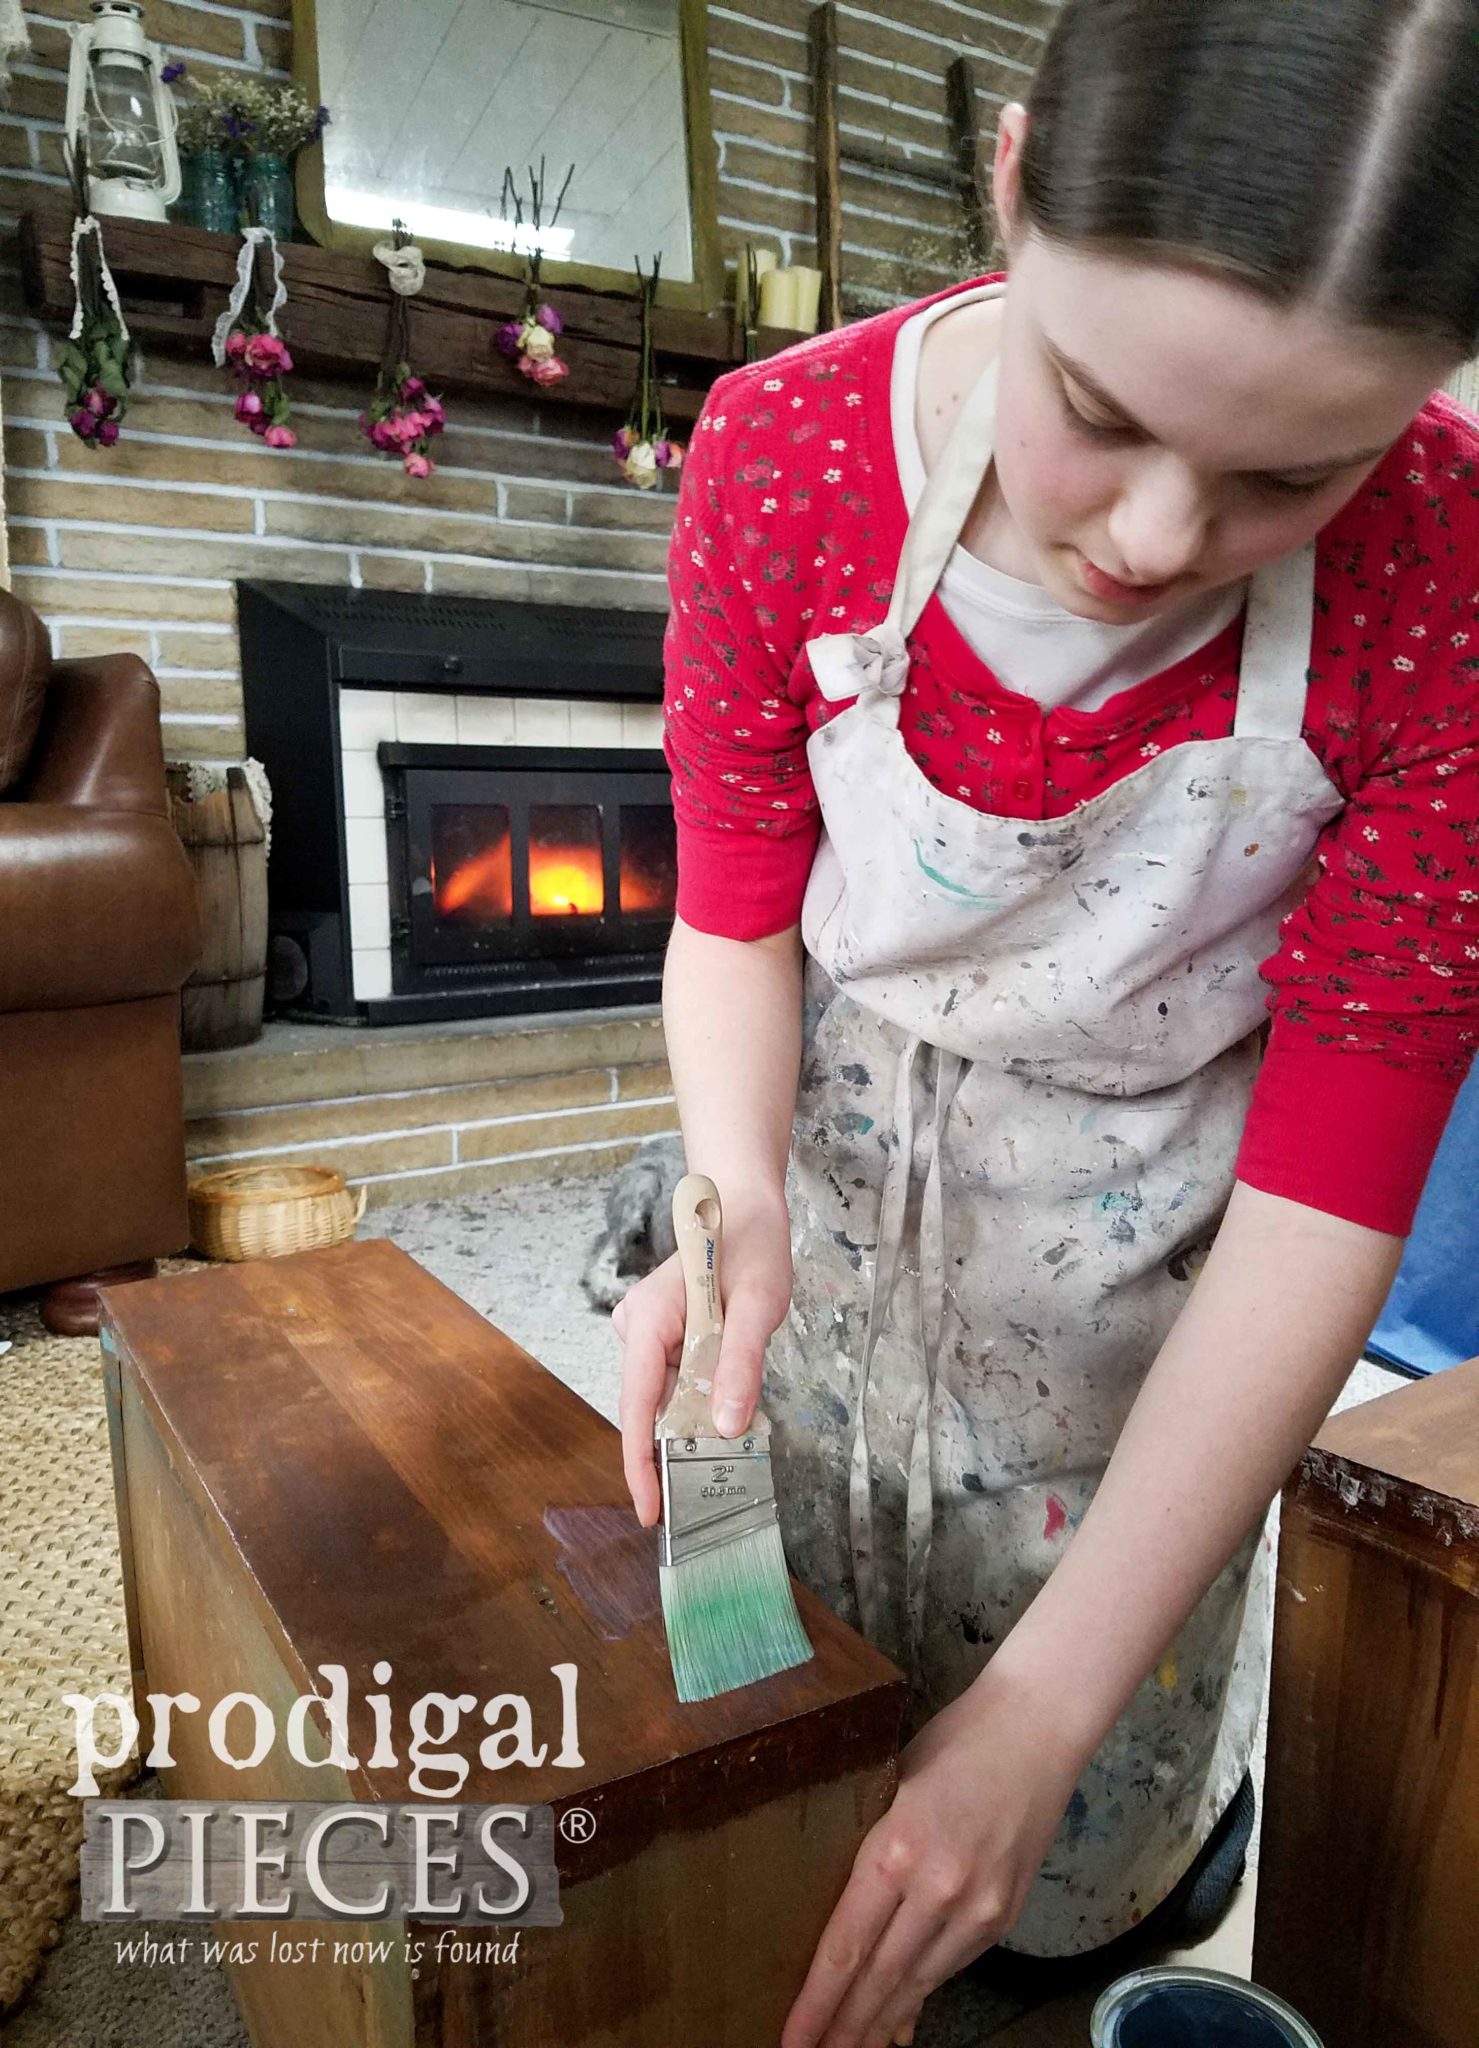
First, once all was prepped, Miss C decided to get this updated Art Deco chest started and stain the drawer fronts with one of my favorite stains, Early American (as seen in these posts). After that, she top-coated with a poly using a brush.
That looks much better…sigh…
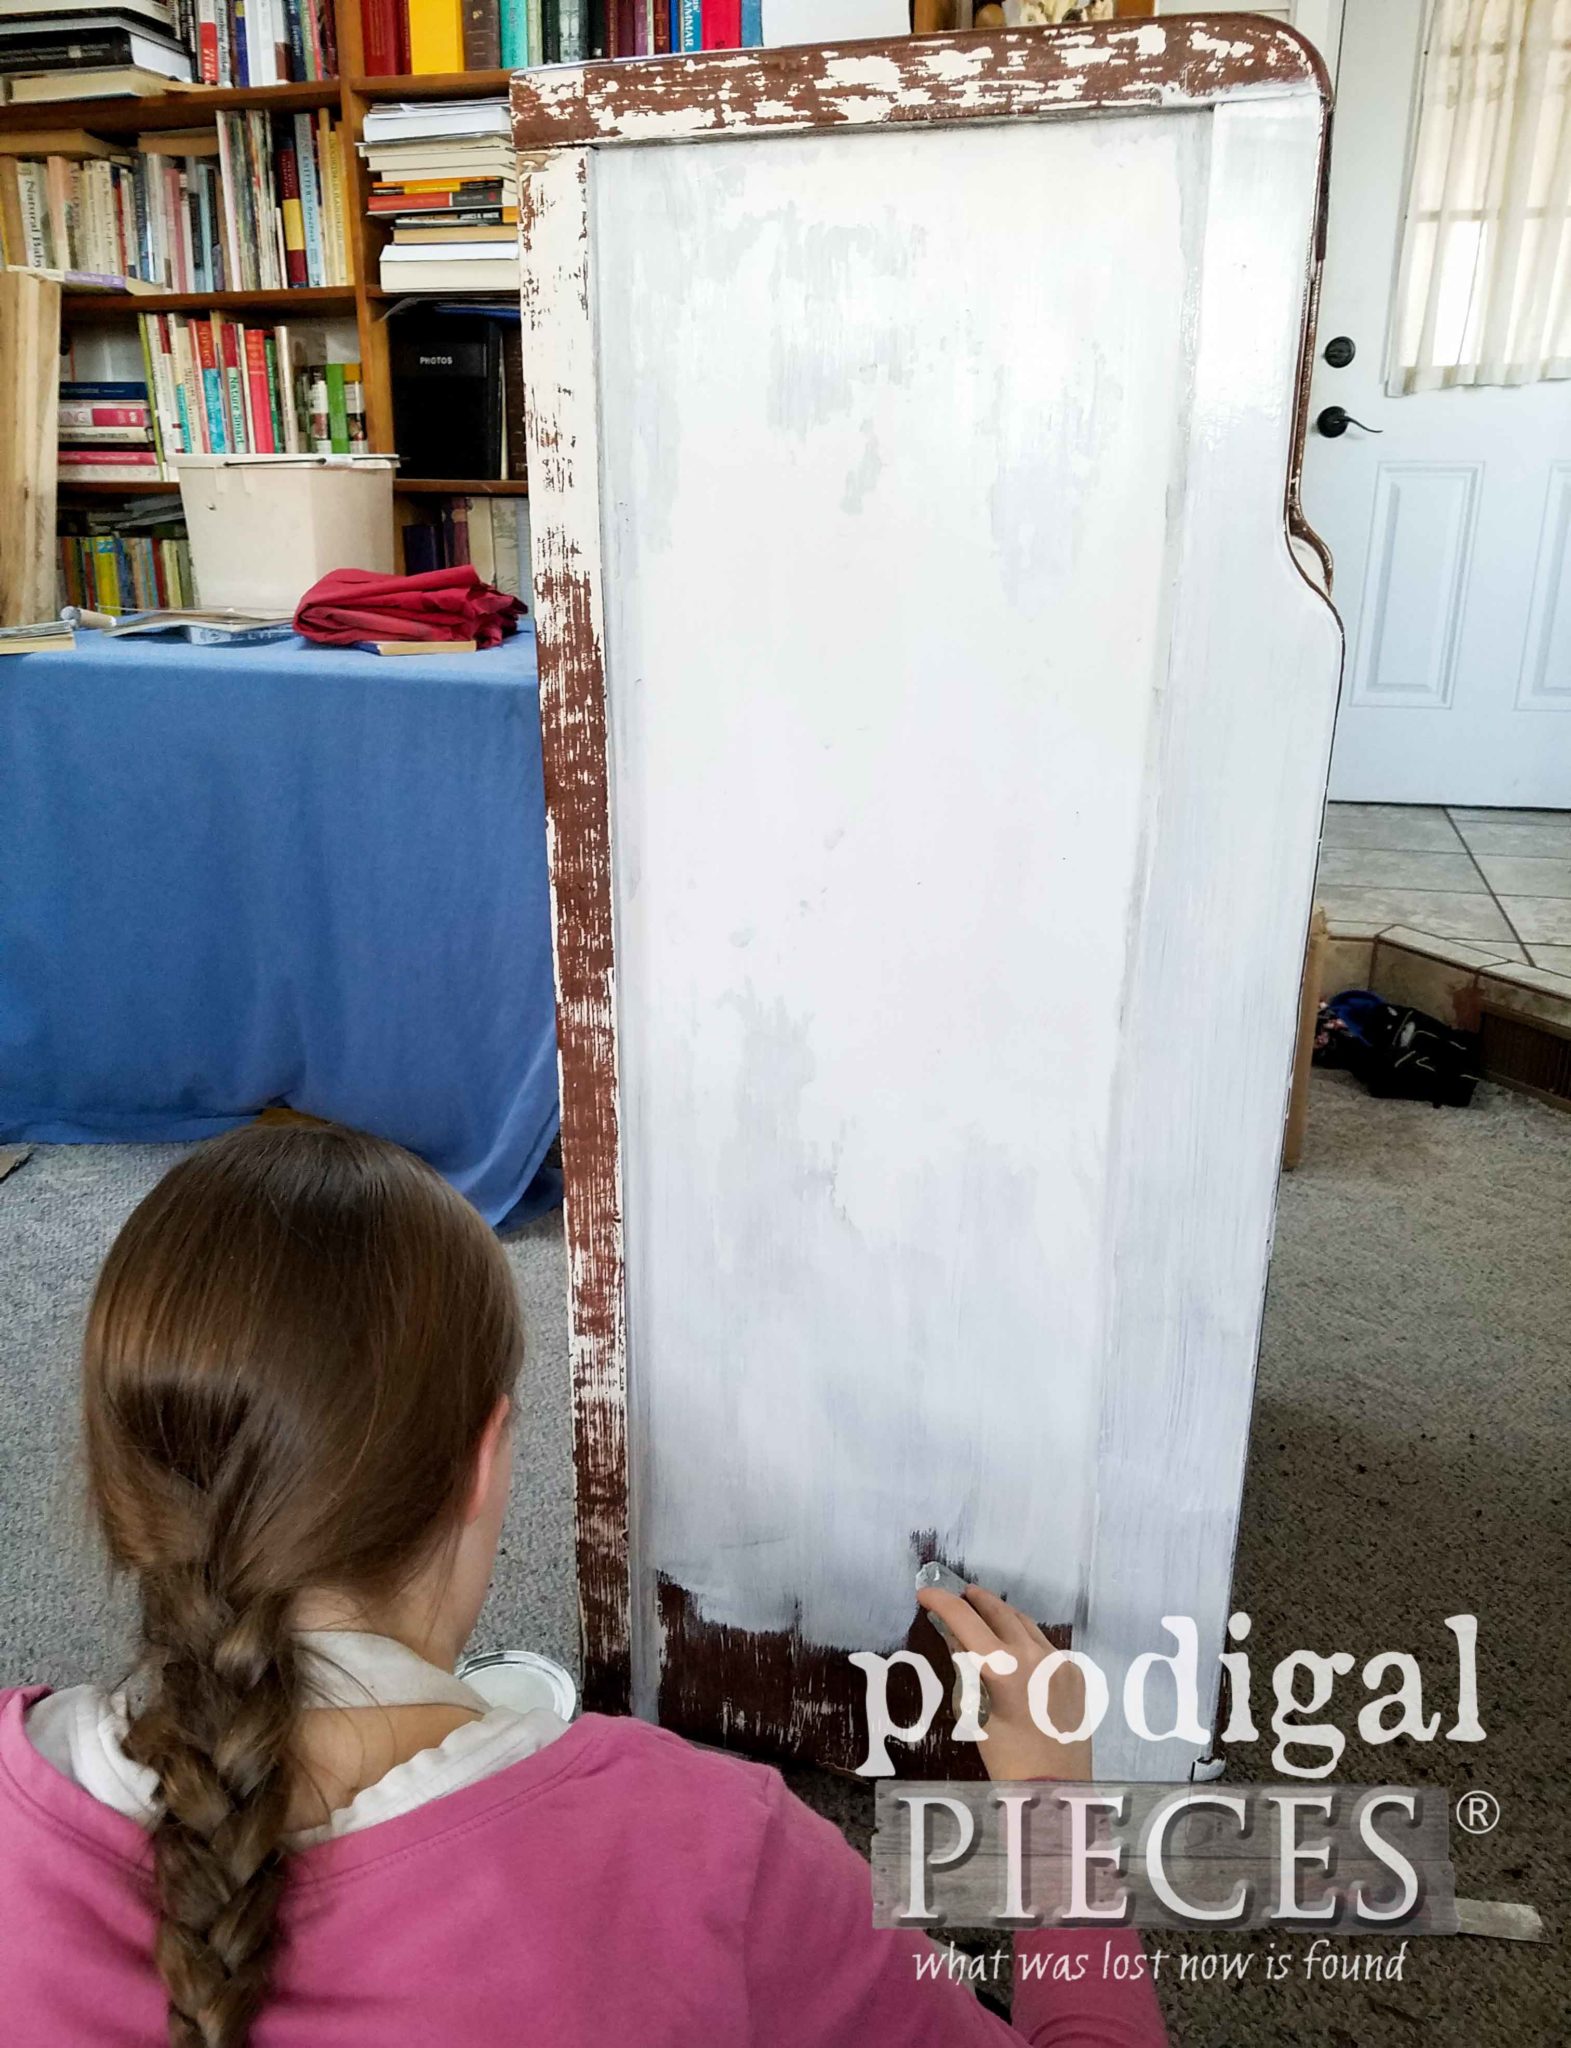
Then, for the cabinet, she applied the same Gripper Primer I’ve used on my Broyhill desk. It creates such an awesome bond between surface and paint. Not only does it work wonders on laminate, but also on previously painted surfaces. Buh-bye cow brown!
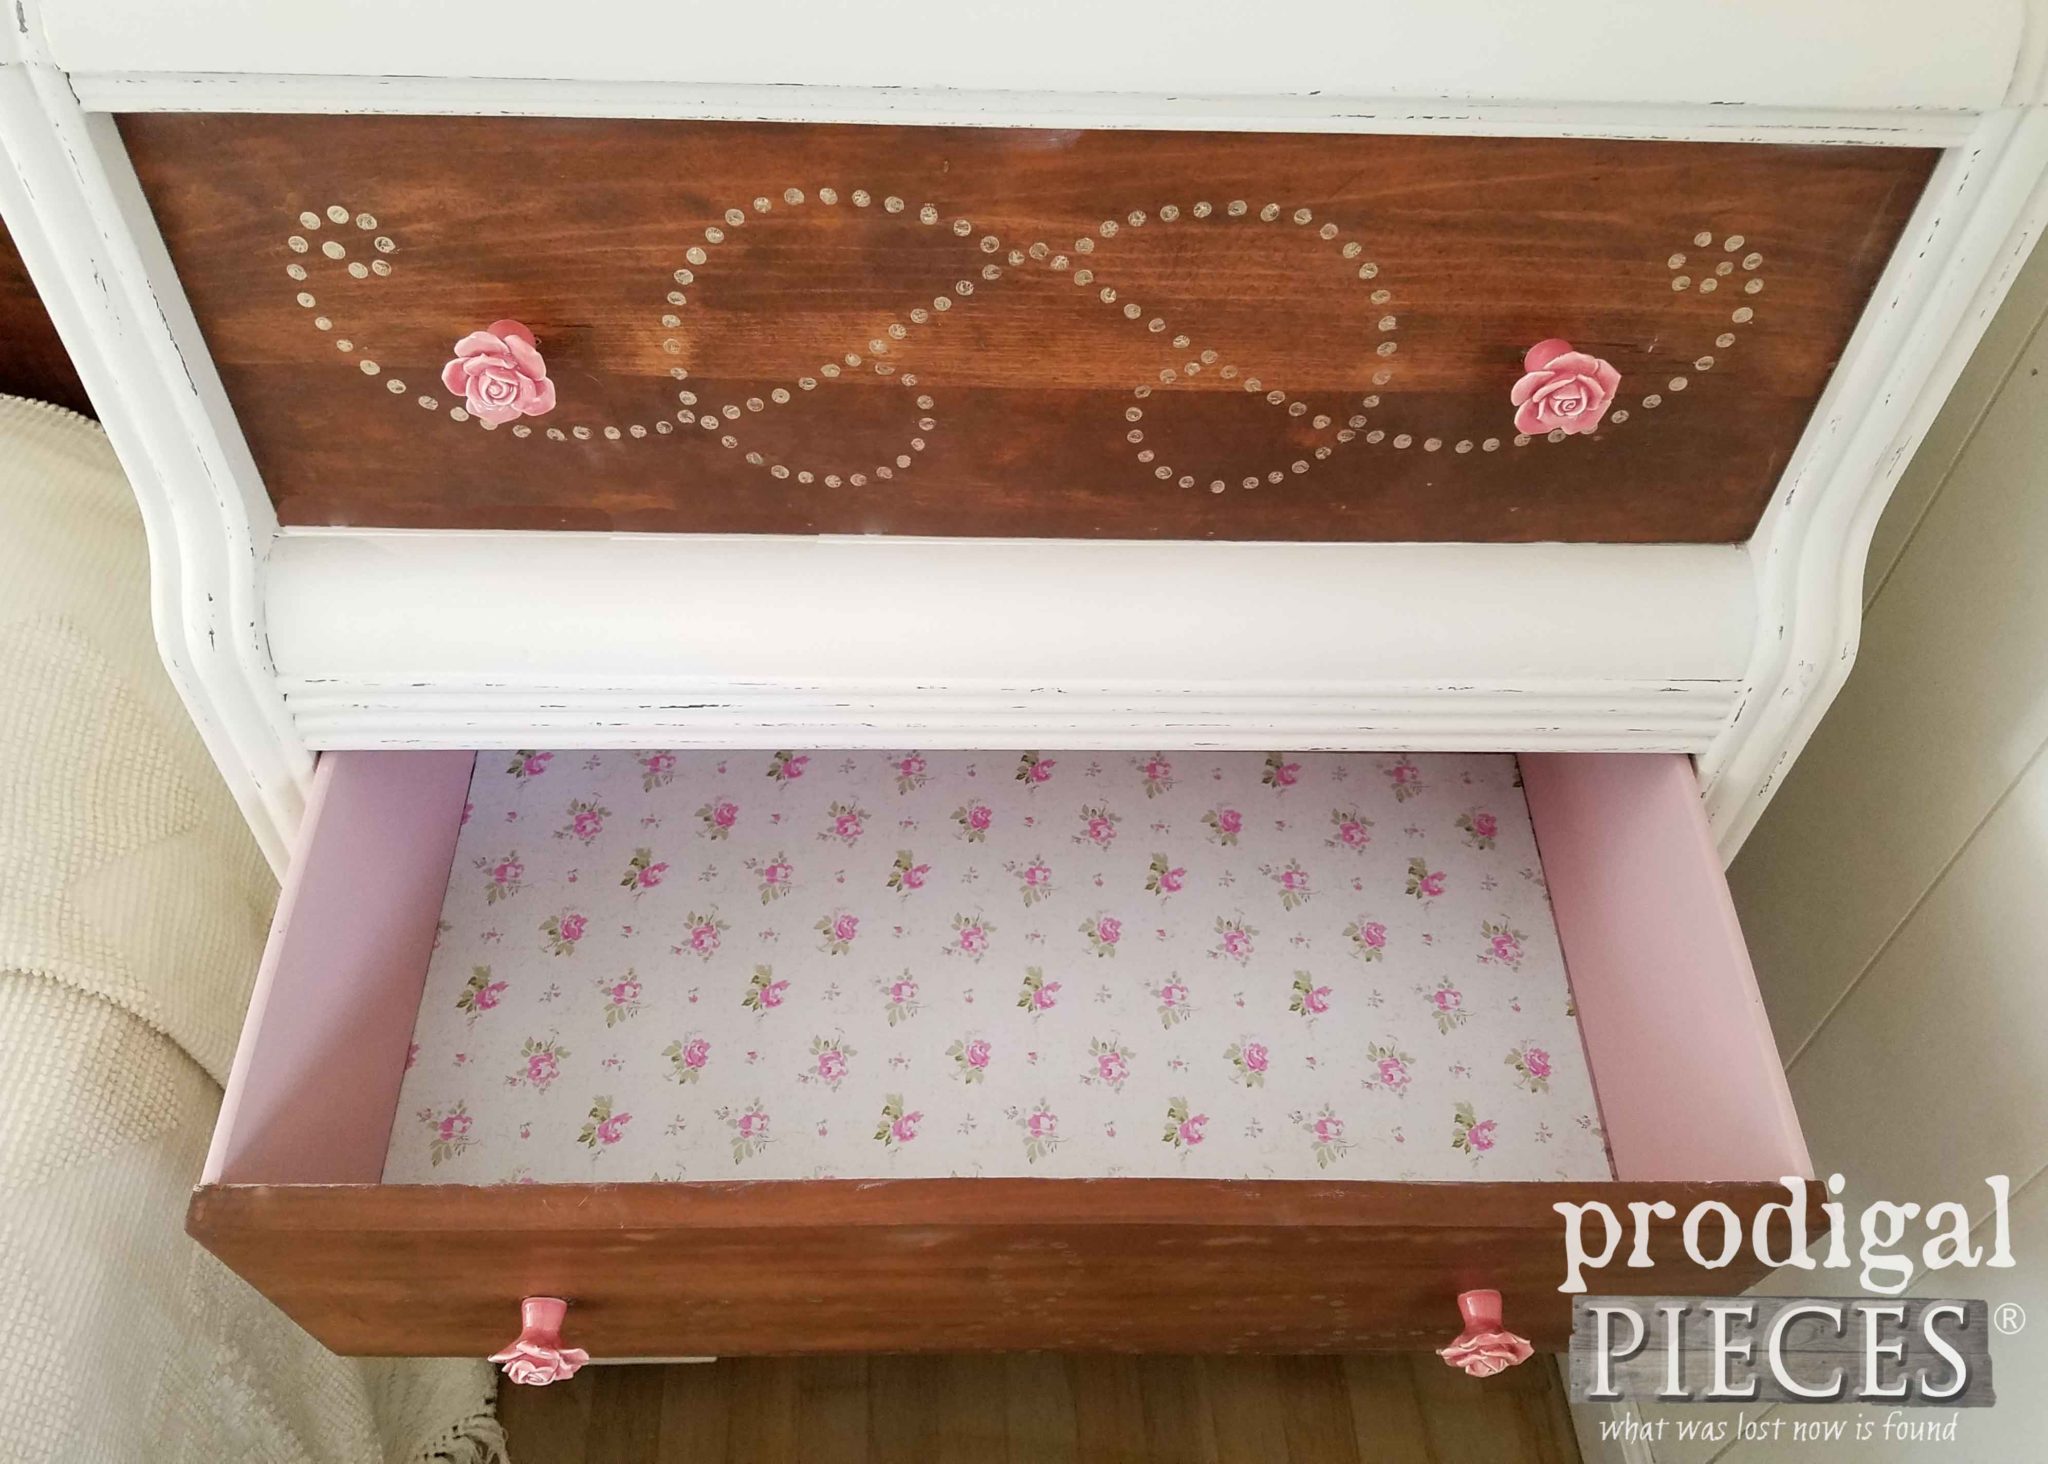
For the actual paint, Miss C chose to use a creamy white linen color. She applied two coats letting it cure in between. Next, she used a soft pink to paint the drawer insides and sides. They were still pretty ugly with traces of four layers of paint too.
FINISHING UP
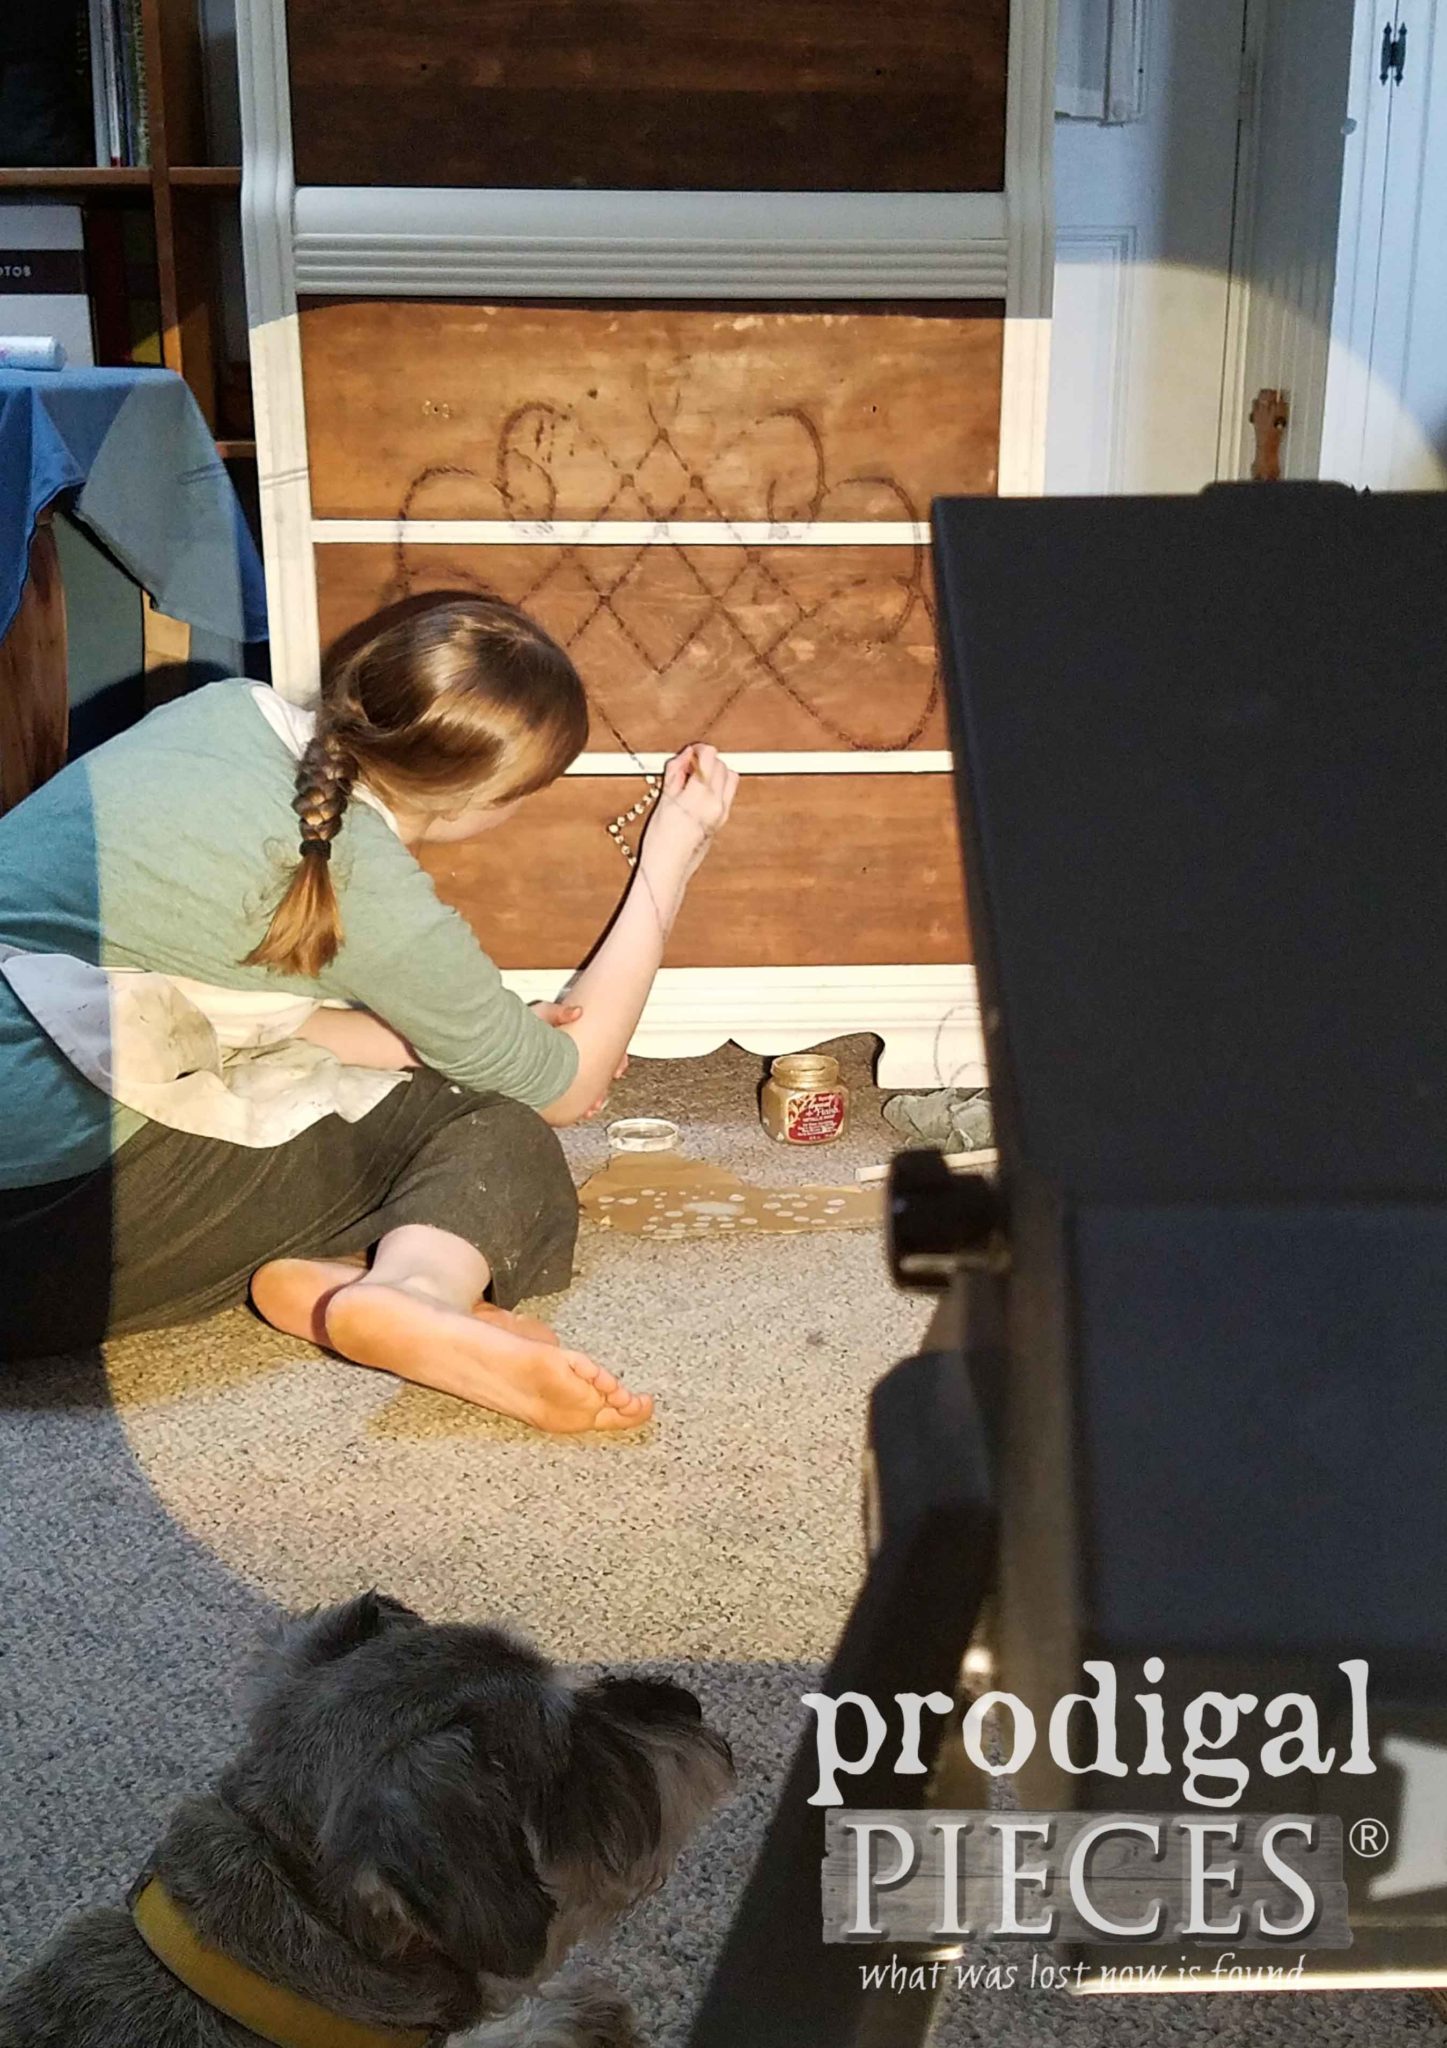
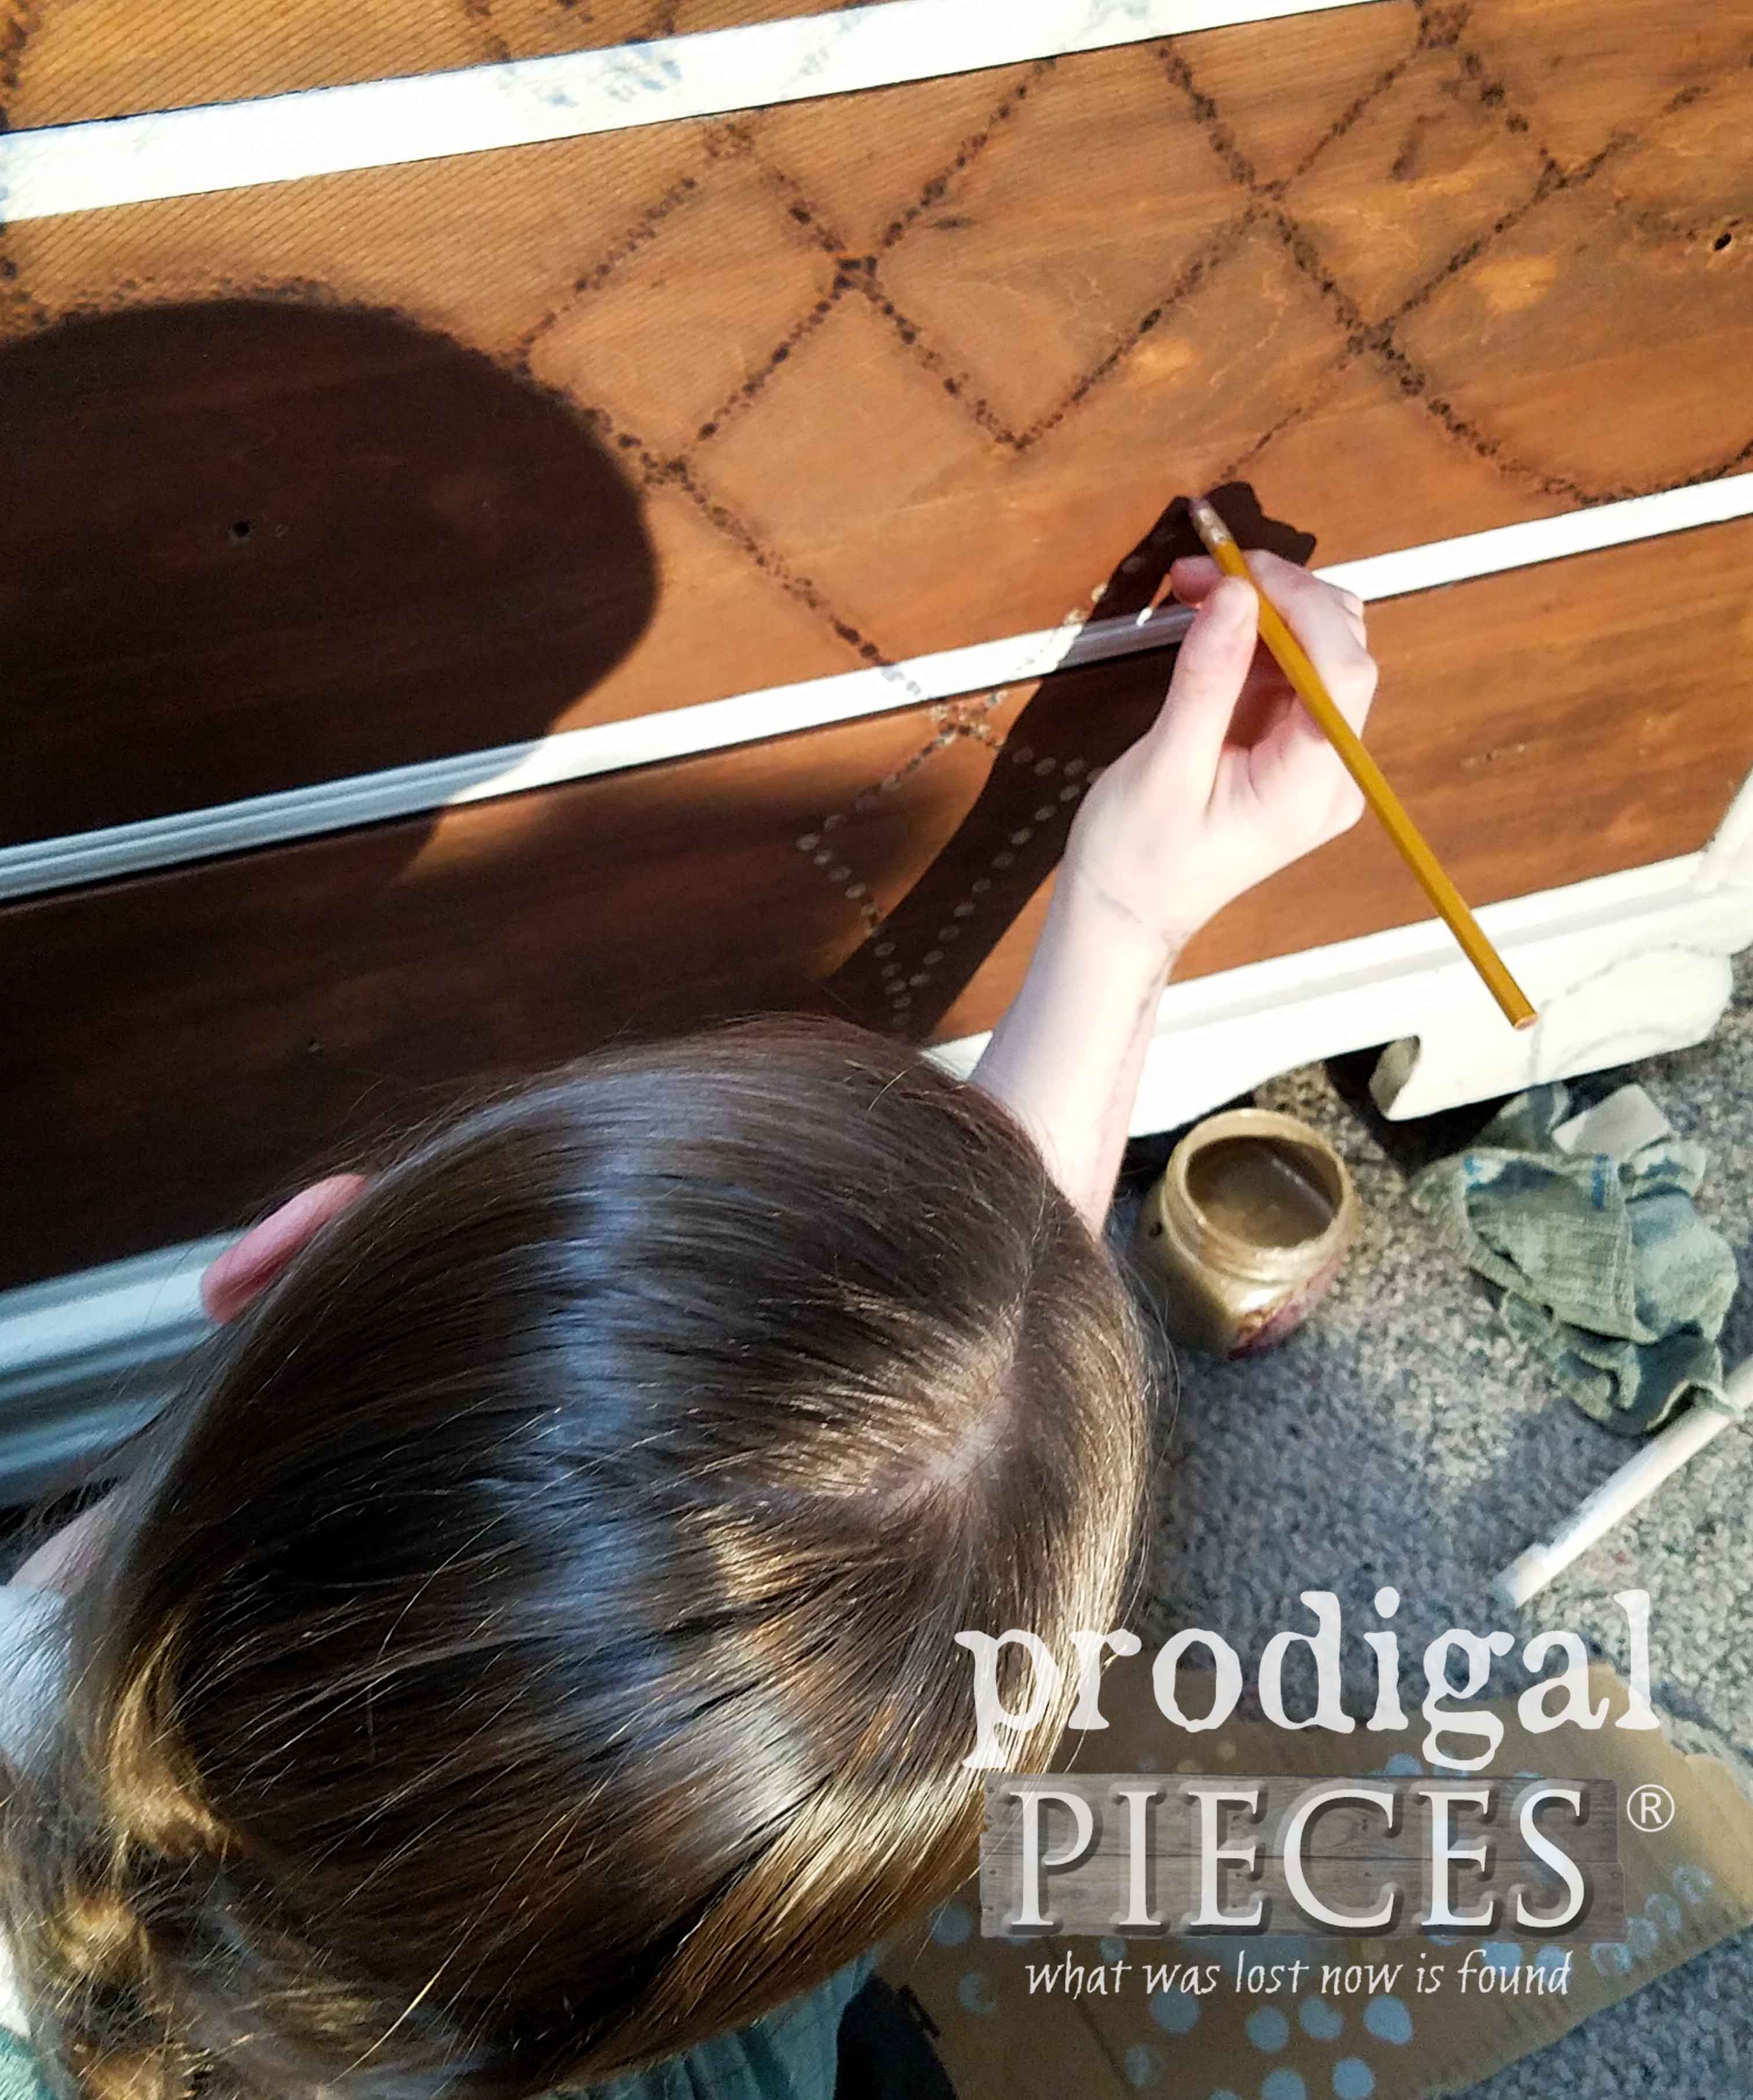
Finally, it’s time for the finishing touches. Last, she wanted to add some sort of pep to the drawer fronts, so I helped her create an image that we could project using my thrifted overhead projector. With that in mind, she used…get this…a pencil eraser to apply her dots in this filigree pattern. I used this technique all the time and it works wonderfully. (notice Teddy manning the overhead projector for us. What a cutie.)
THE REVEAL
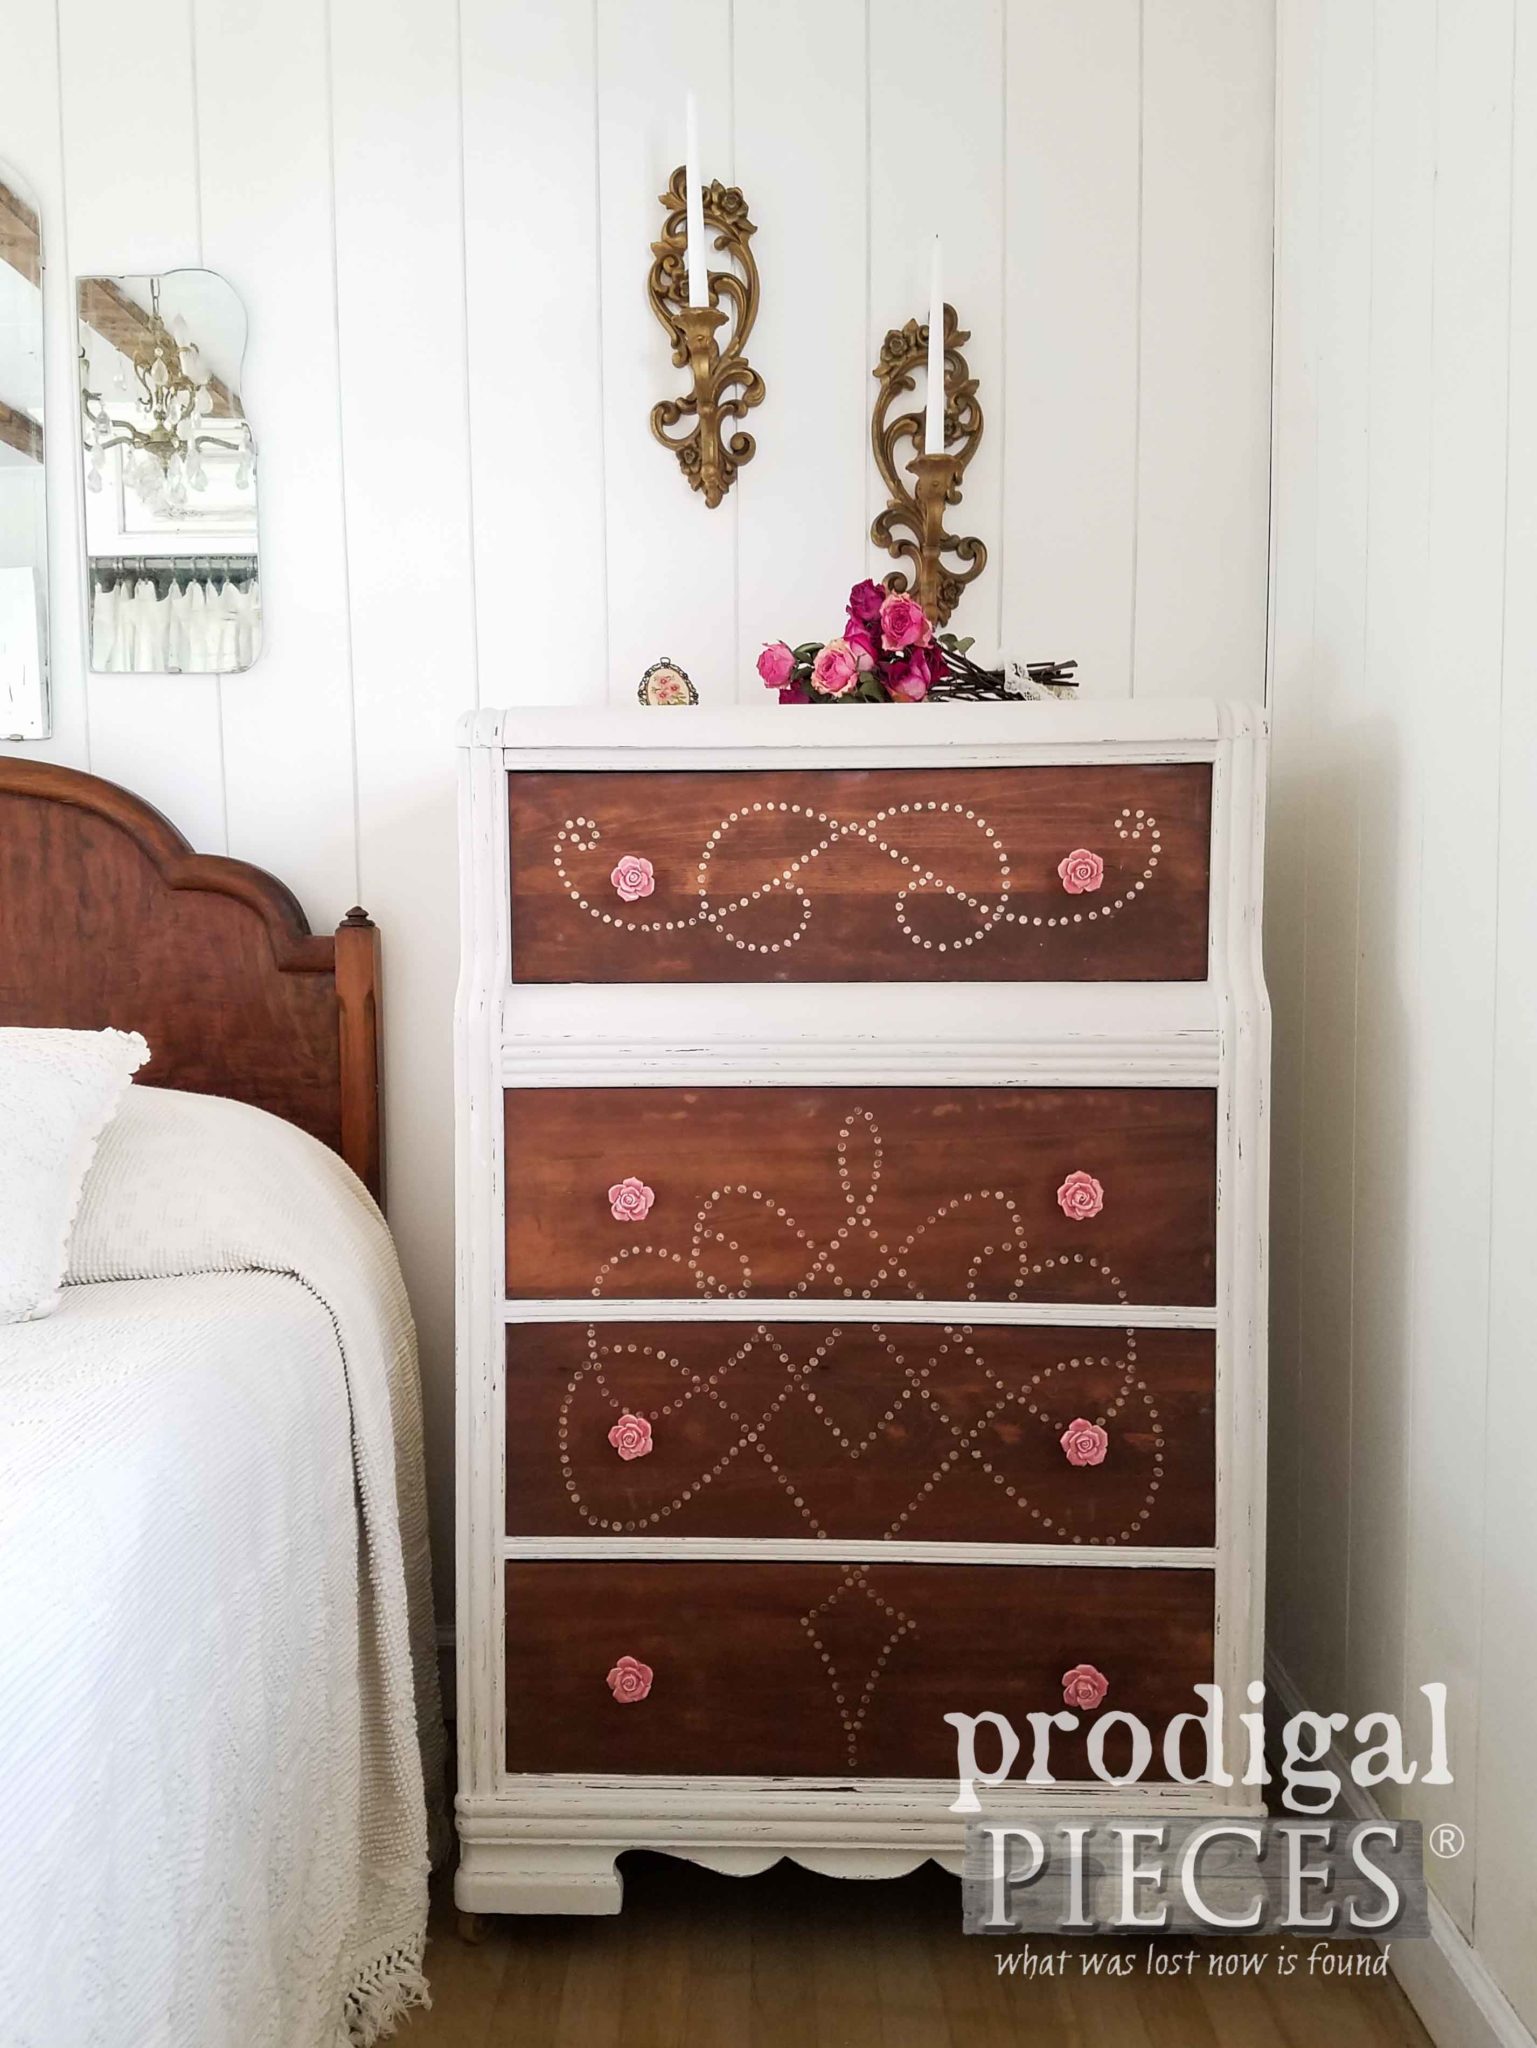
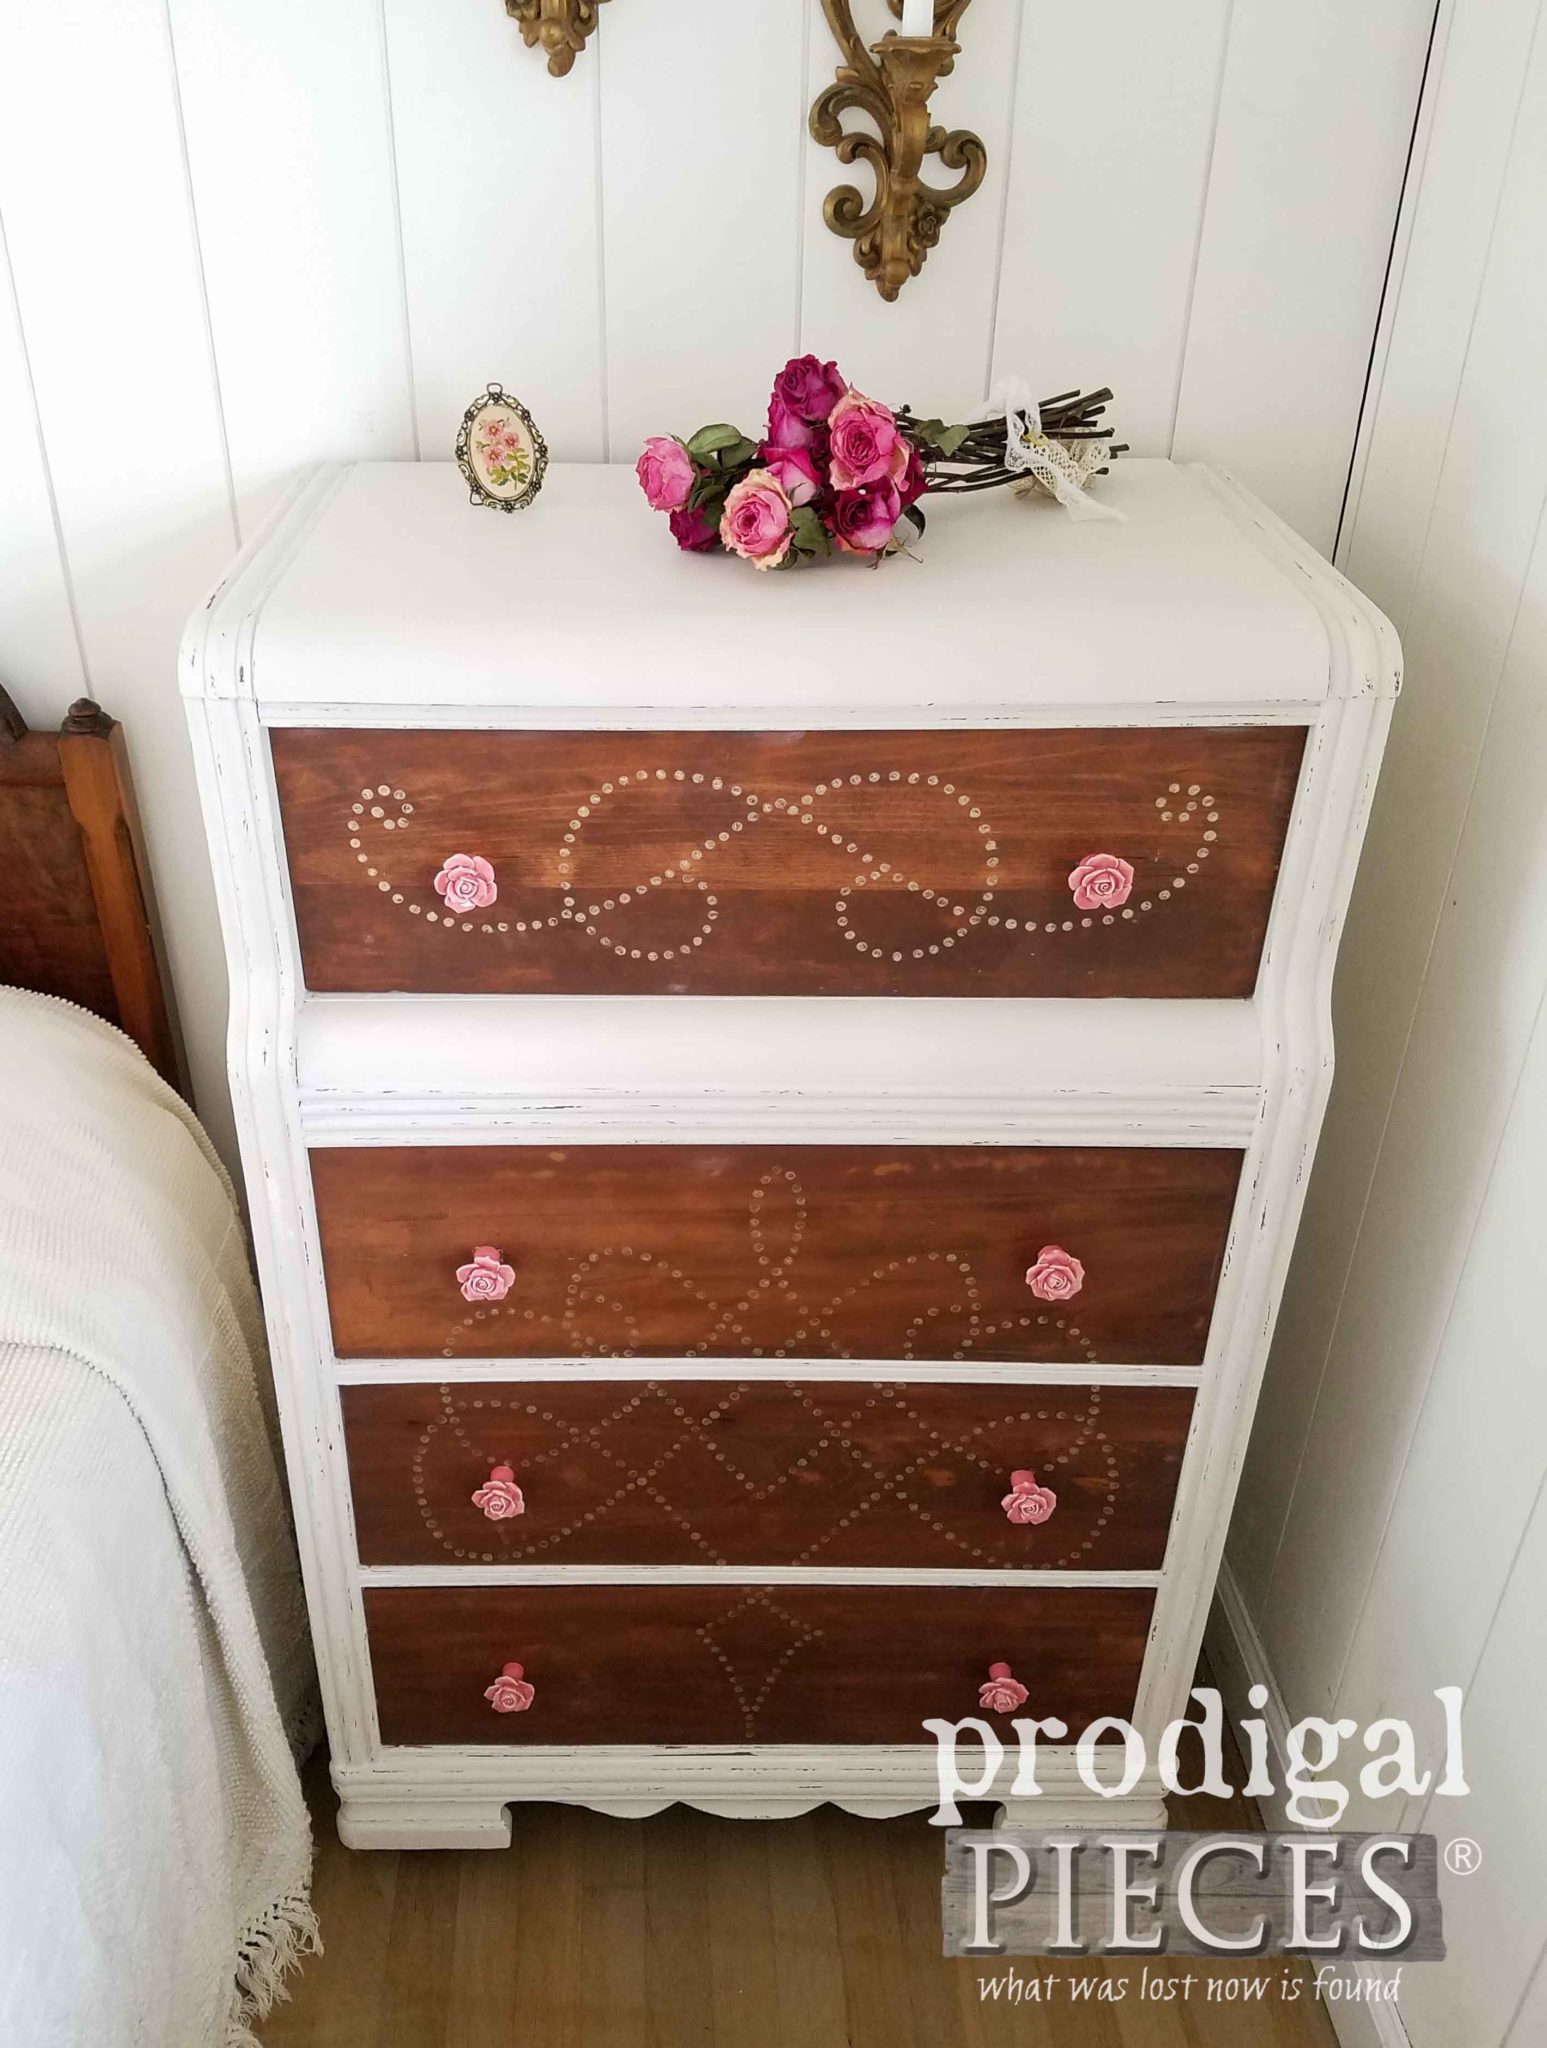
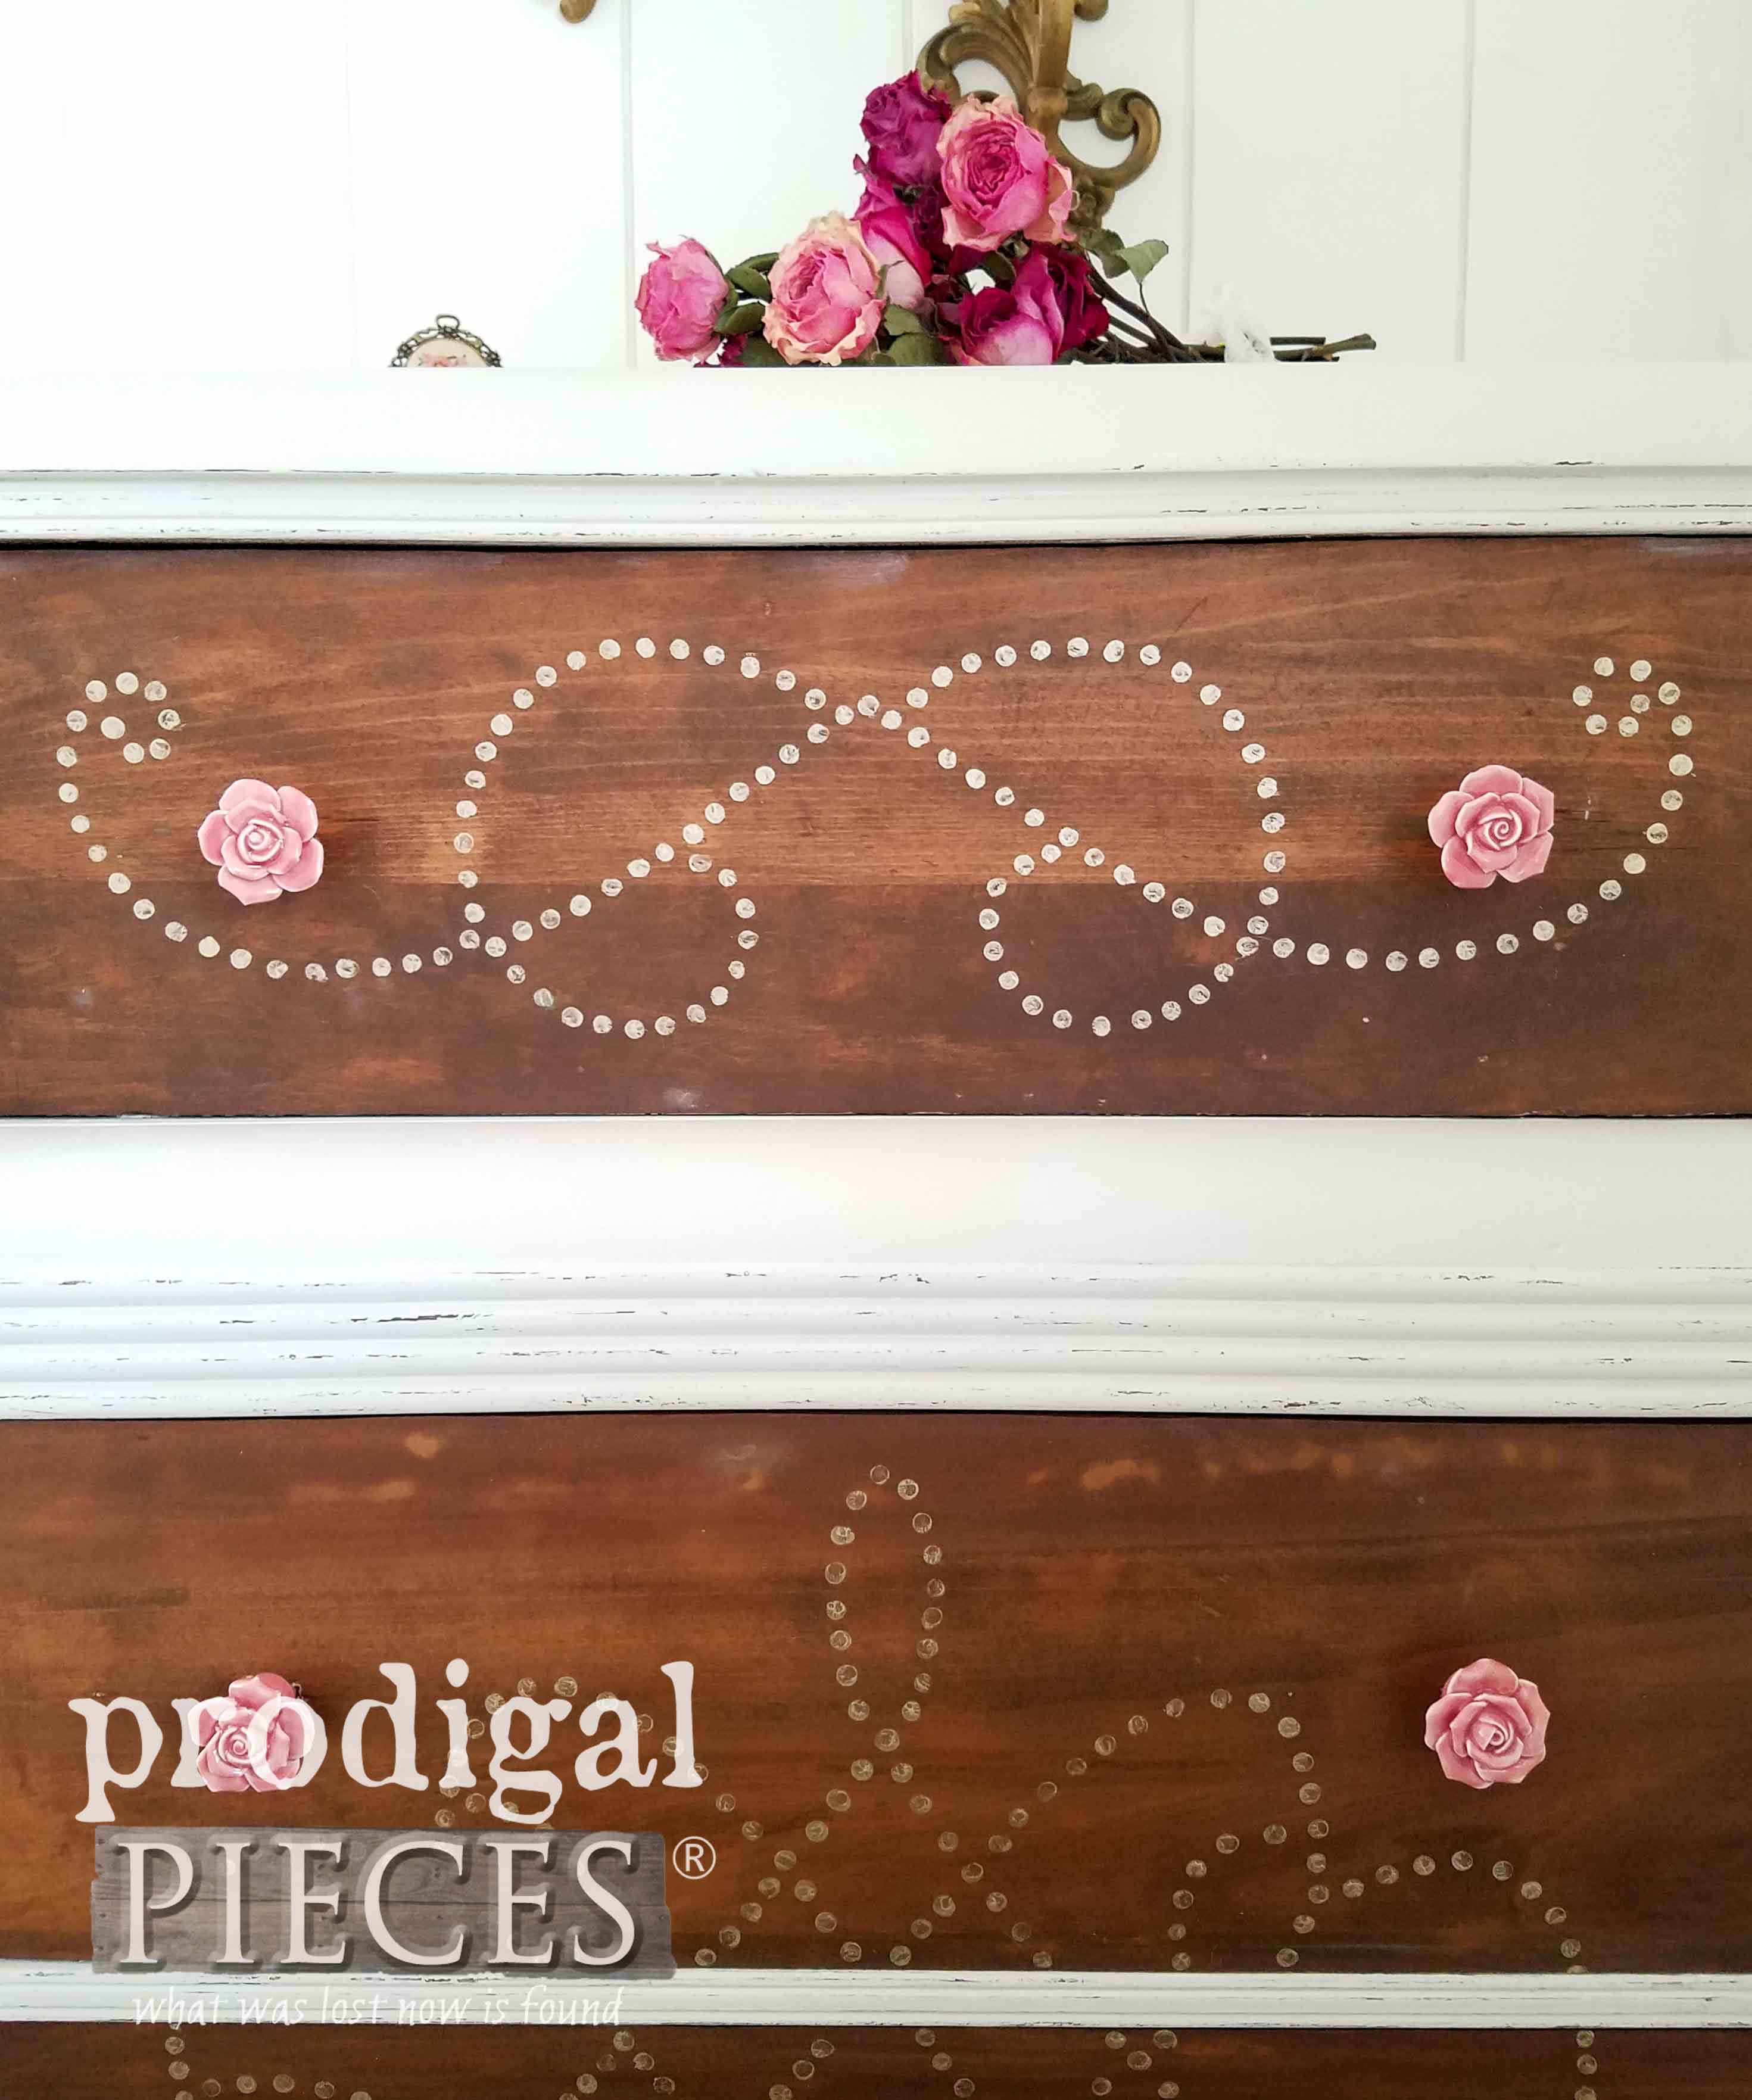
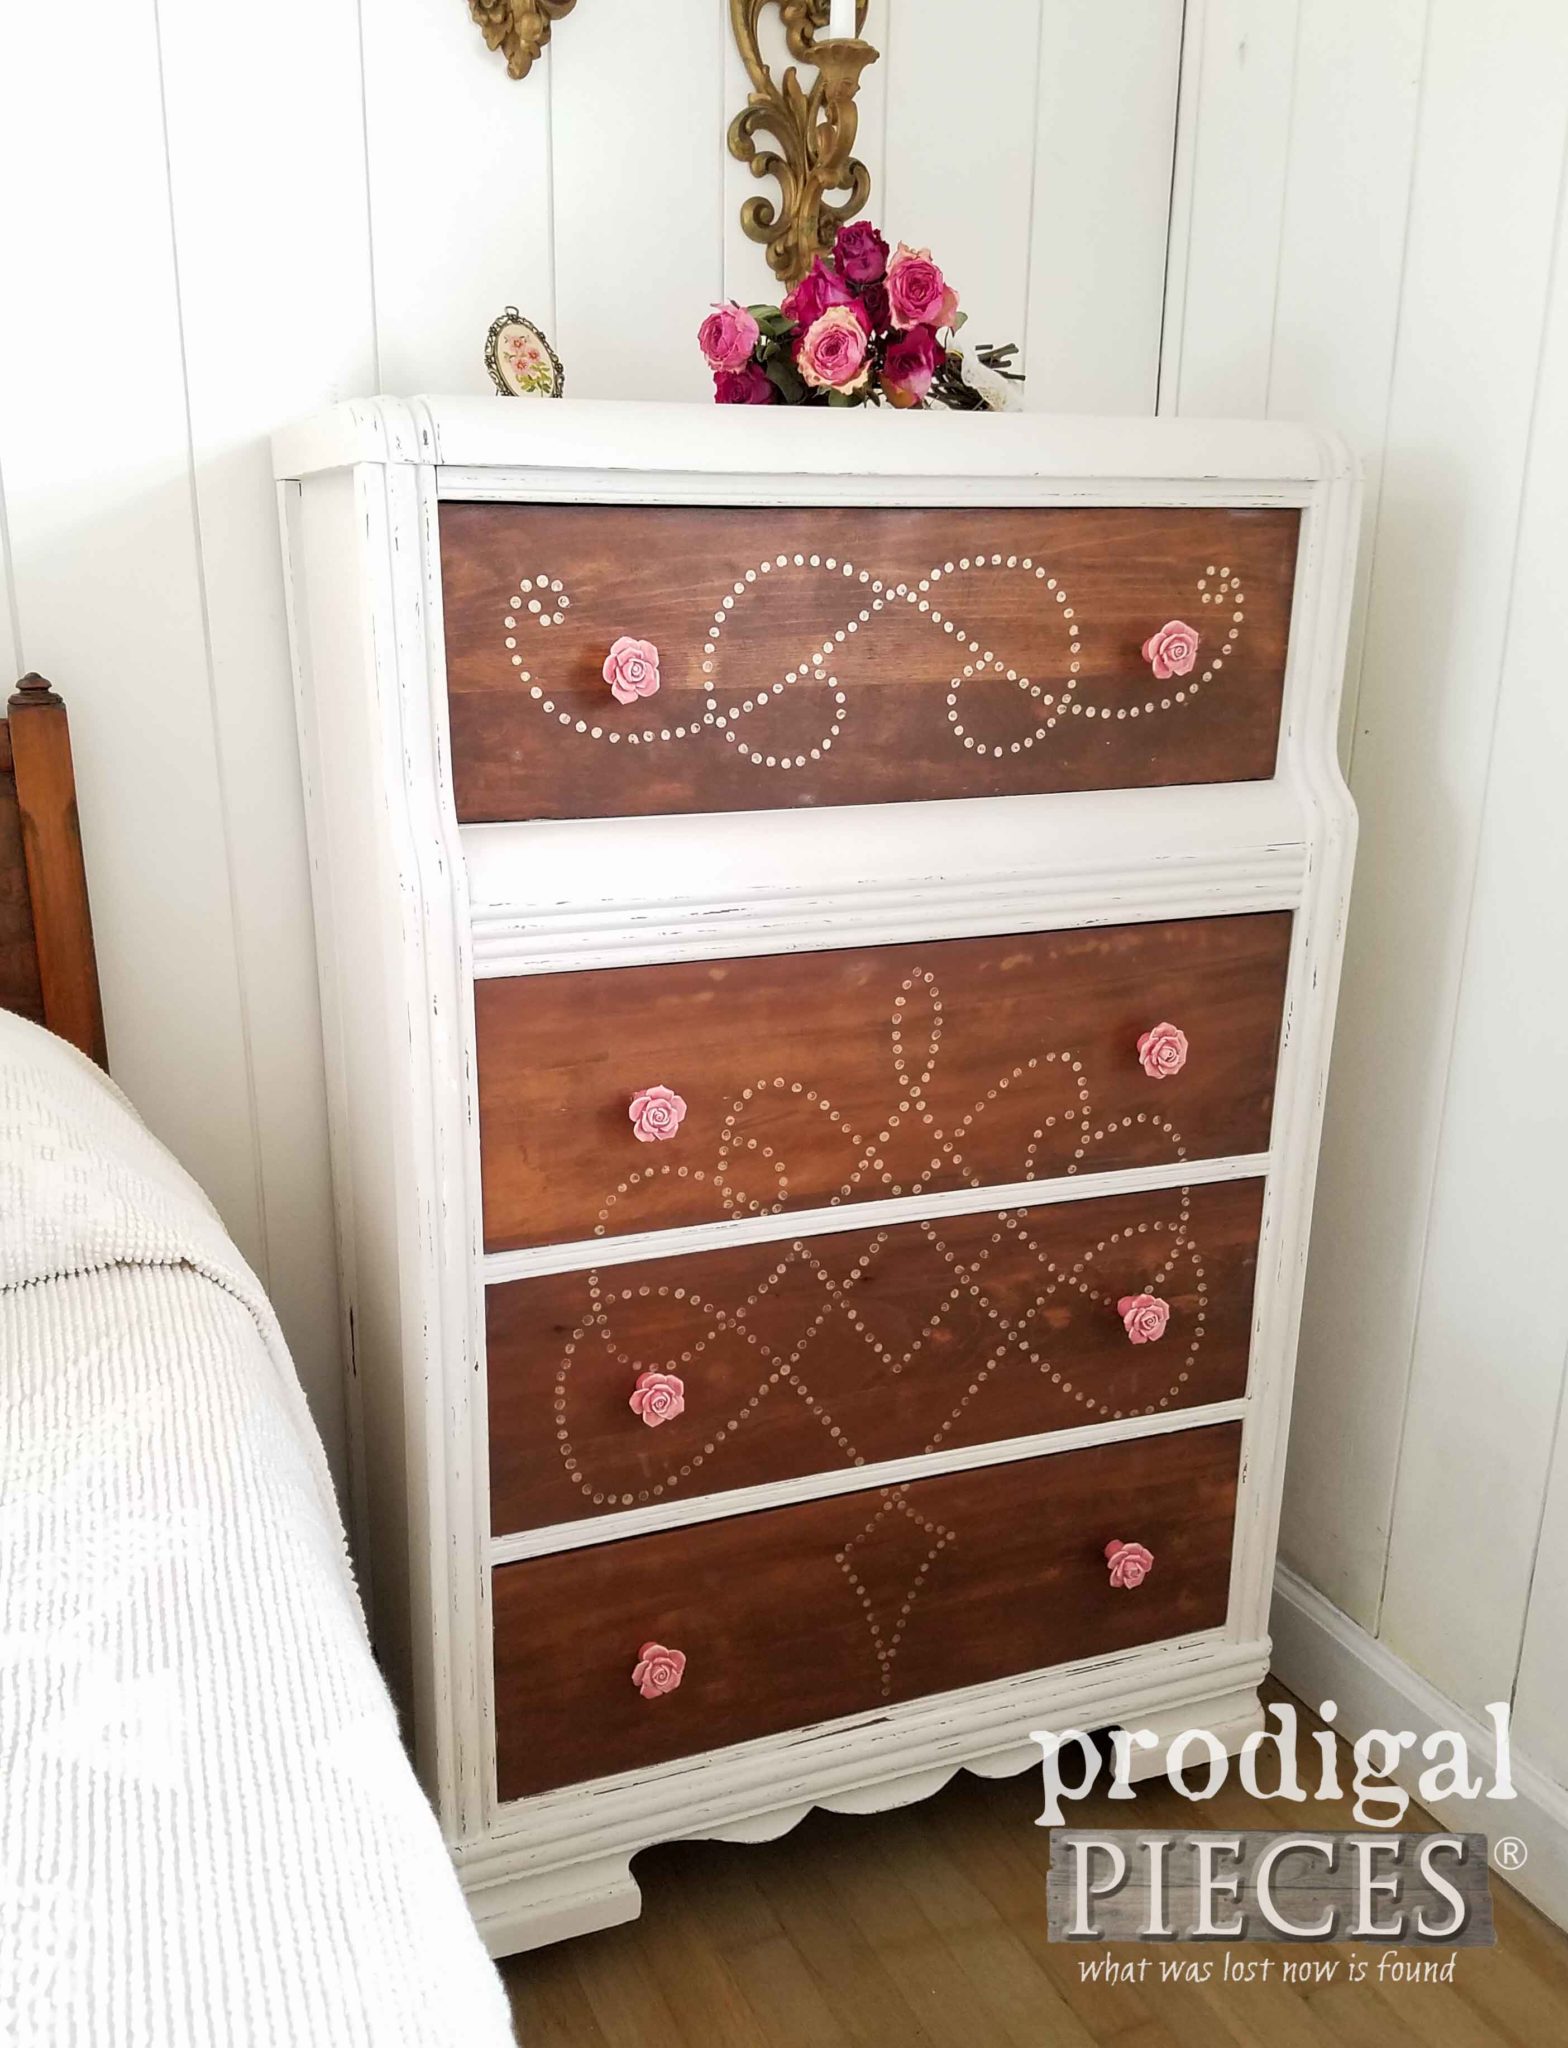
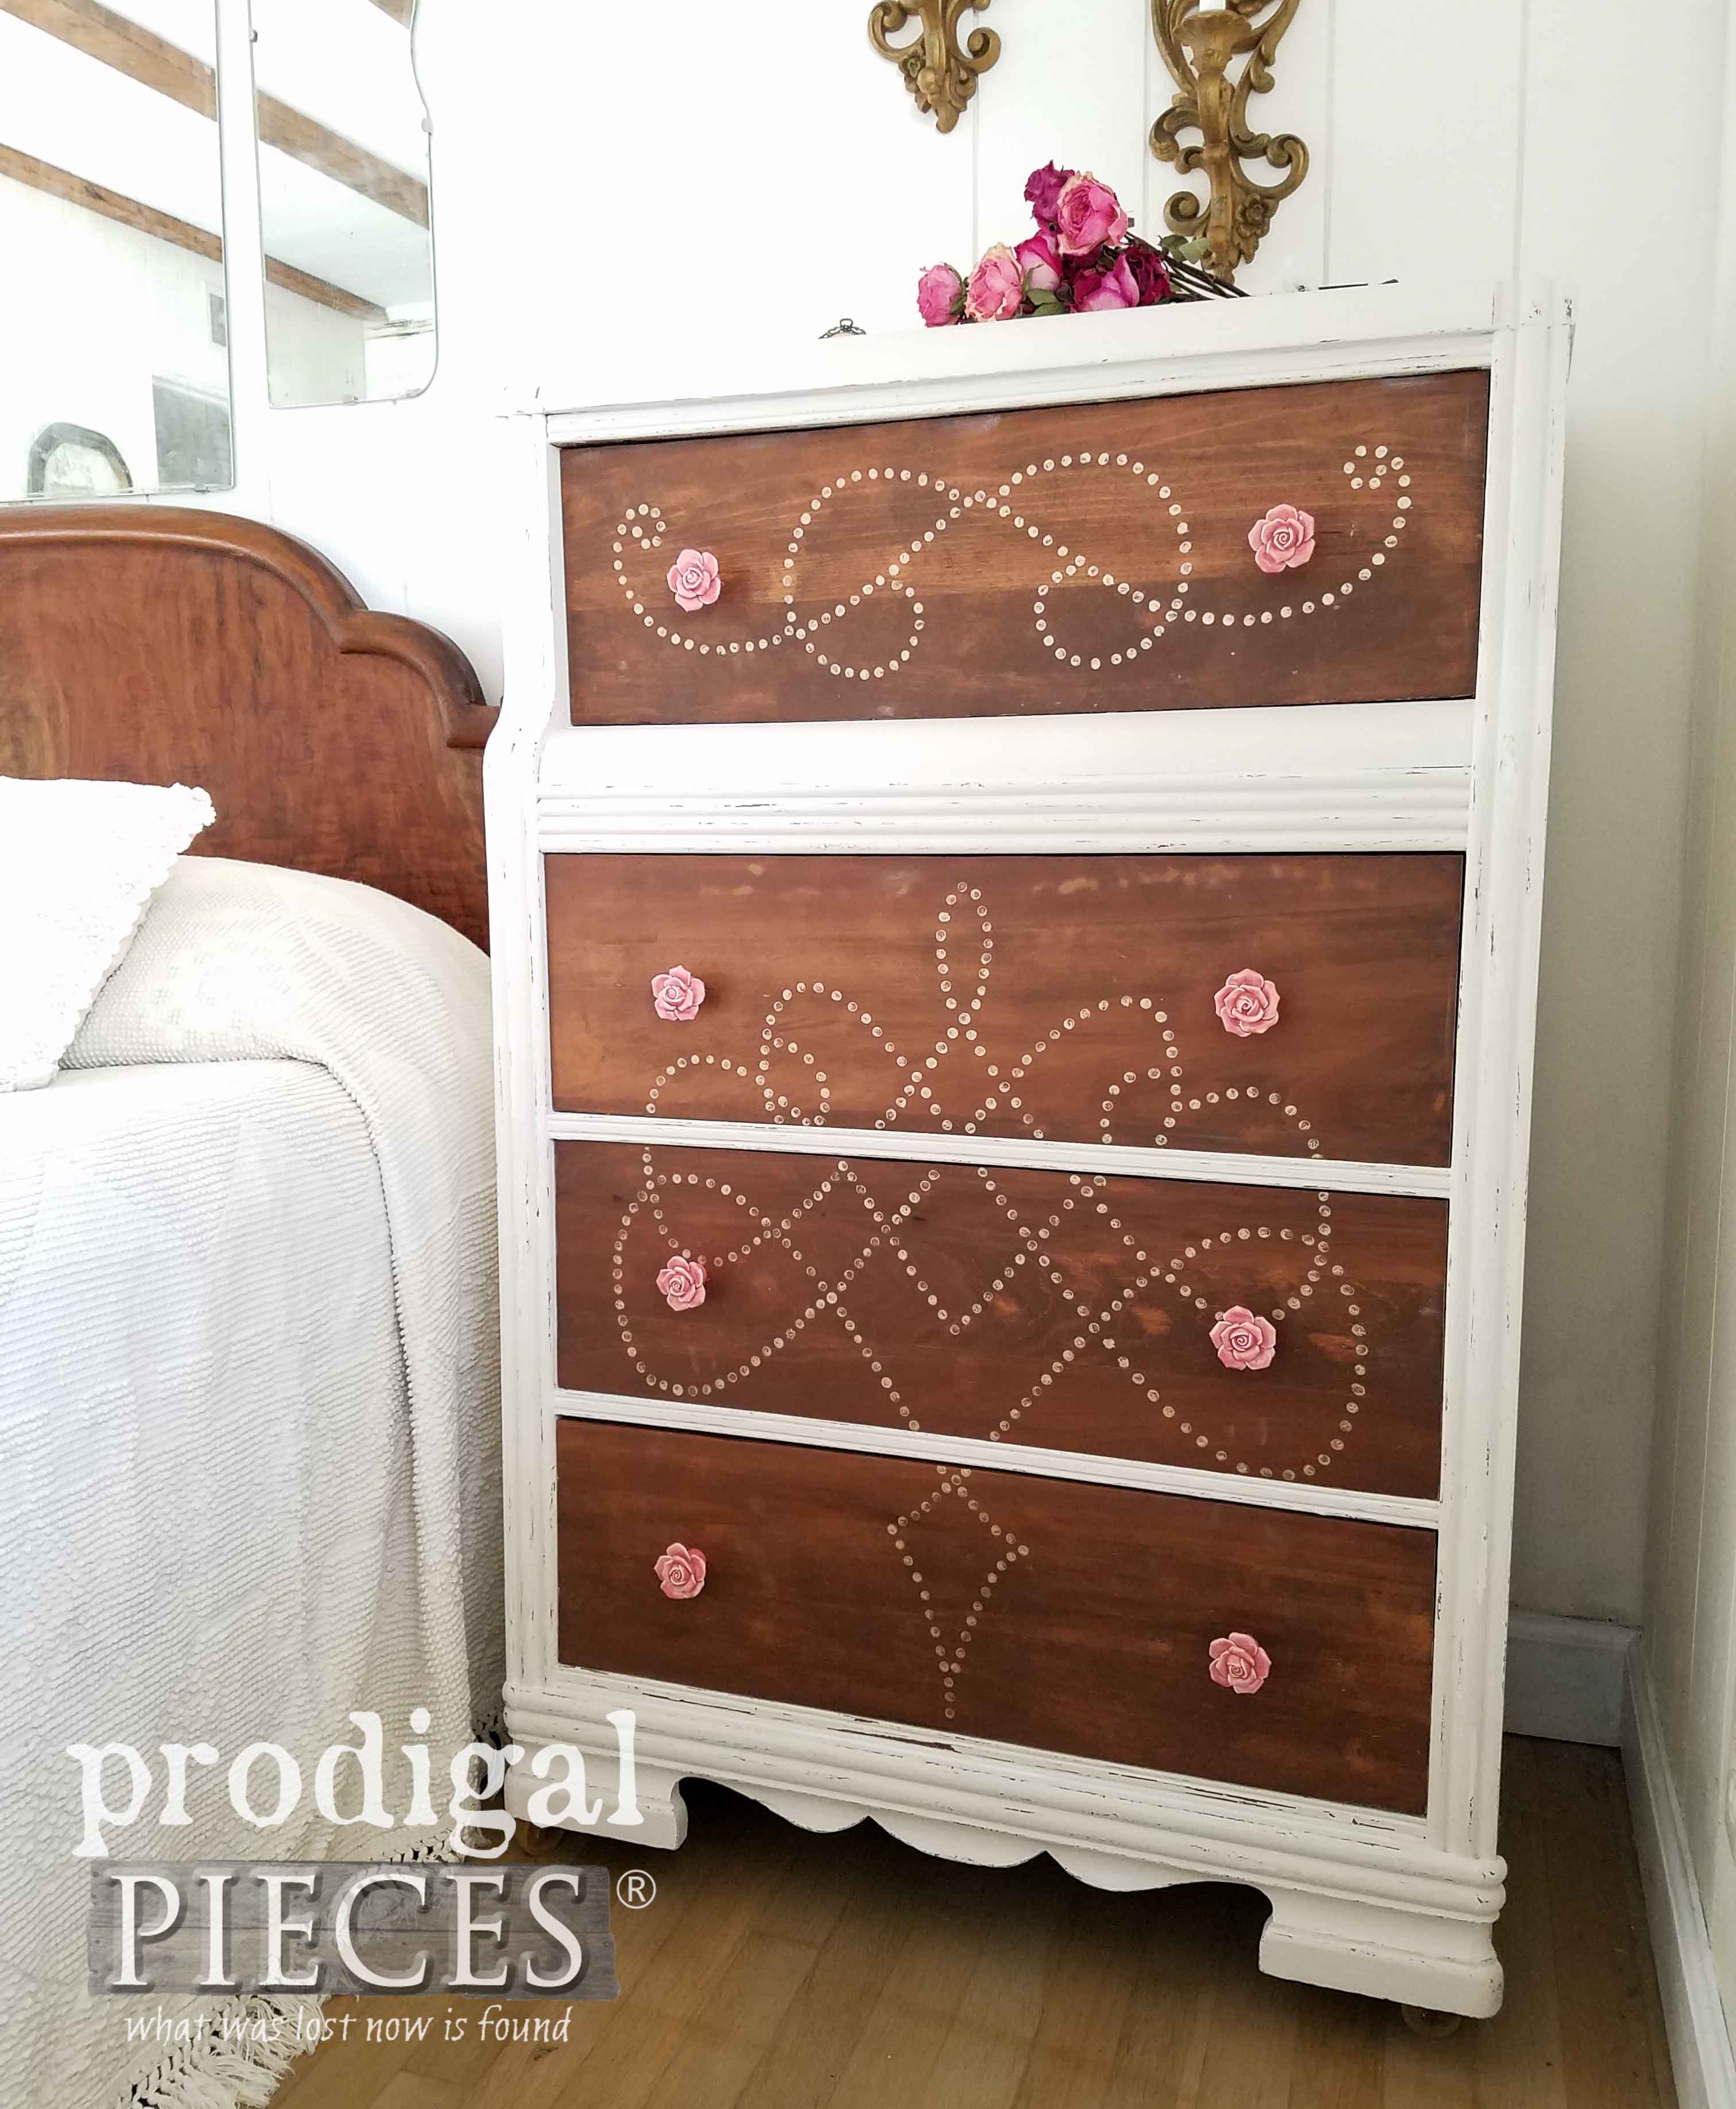
Once done, she did another coat of poly to the drawer fronts and applied a coat of white wax to seal it all together. Finally, here’s the new and updated Art Deco chest of drawers, if I do say as my proud mama self.
Doesn’t it look soooo much better? The soft, creamy white against the stained fronts makes a beautiful contrast. The rose drawer pulls add that delicate touch that Miss C carried over into the inside of the drawers as well with the soft pink paint and rose drawer liner.
Additionally, her added filigree art to the front makes it have a new twist to this updated Art Deco Chest. Likewise, isn’t it fun what you can do with a pencil and paint…and a thrifted overhead projector?
Happily, Miss C donated this chest to our Finding Home program.
SHARE
In addition, we invite you to pin and share this updated Art Deco chest of drawers to inspire others (including kids!!) to see past the ugly and see potential.
What is more, is Furniture Fixer Uppers and I’m showing you how the last piece in my storage unit stash is getting new life. See the after HERE.
To get these DIY tips & tricks in your inbox, be sure to sign up for my newsletter. Until next time!





She gets it from her mom. ♥️
You are the sweetest, Amy. Thank you!