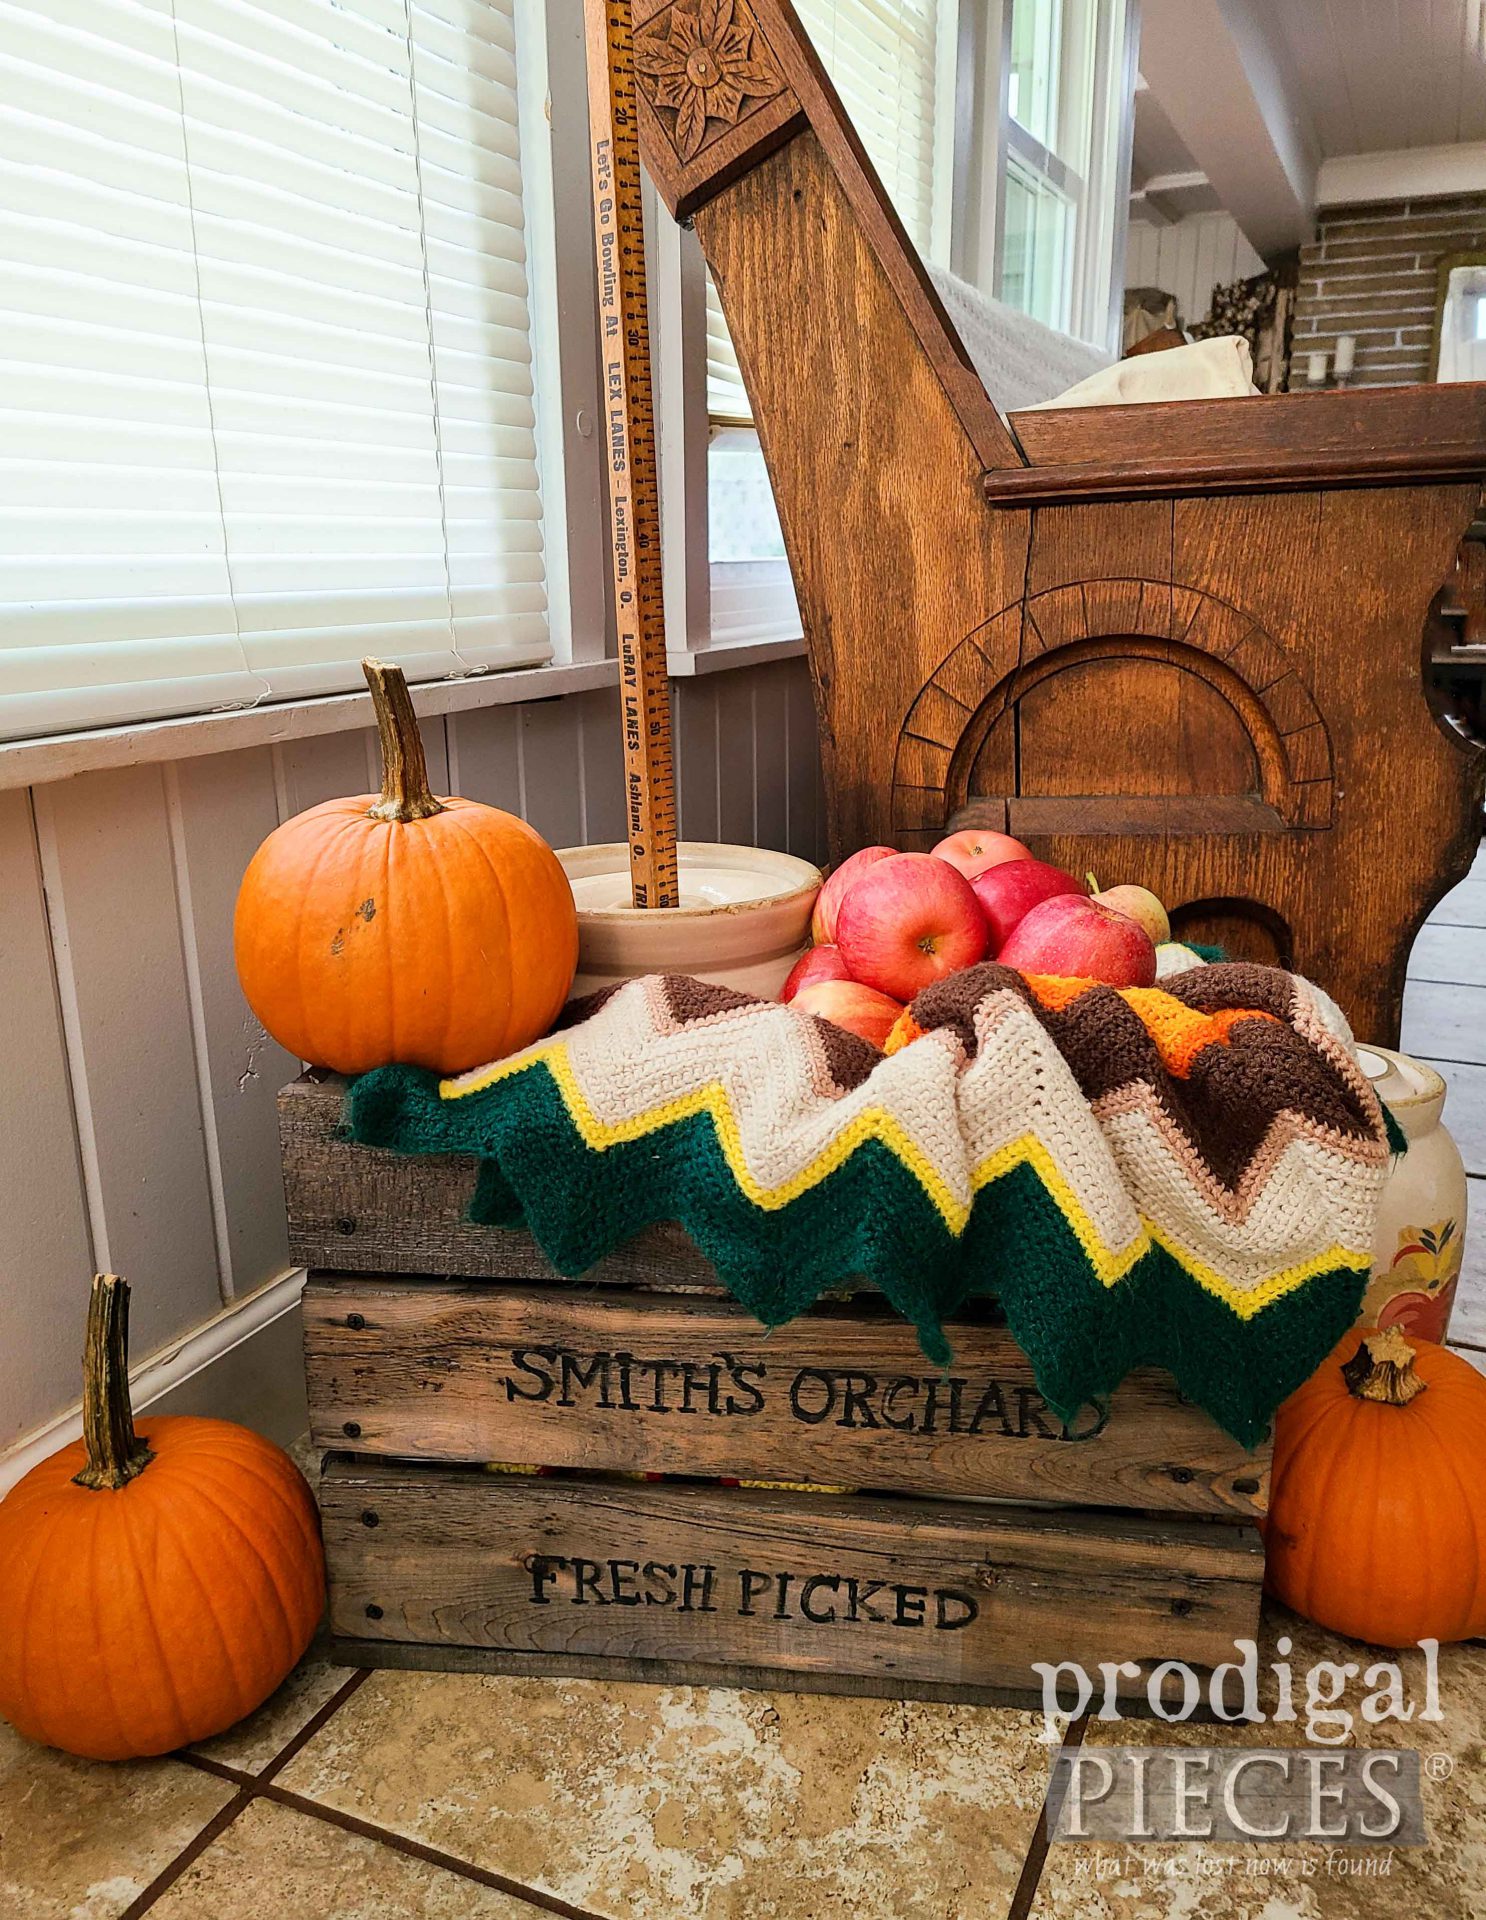
One thing is for sure, I love living where I live because of the change of seasons. When the cool breezes of autumn roll in, it truly breathes new life into everything, even though they are essentially going to sleep. The changing leaves, the harvest time, and even the smell of apples ripening on the tree. Today, I’m sharing how to create your own DIY antique crate to help celebrate each season.
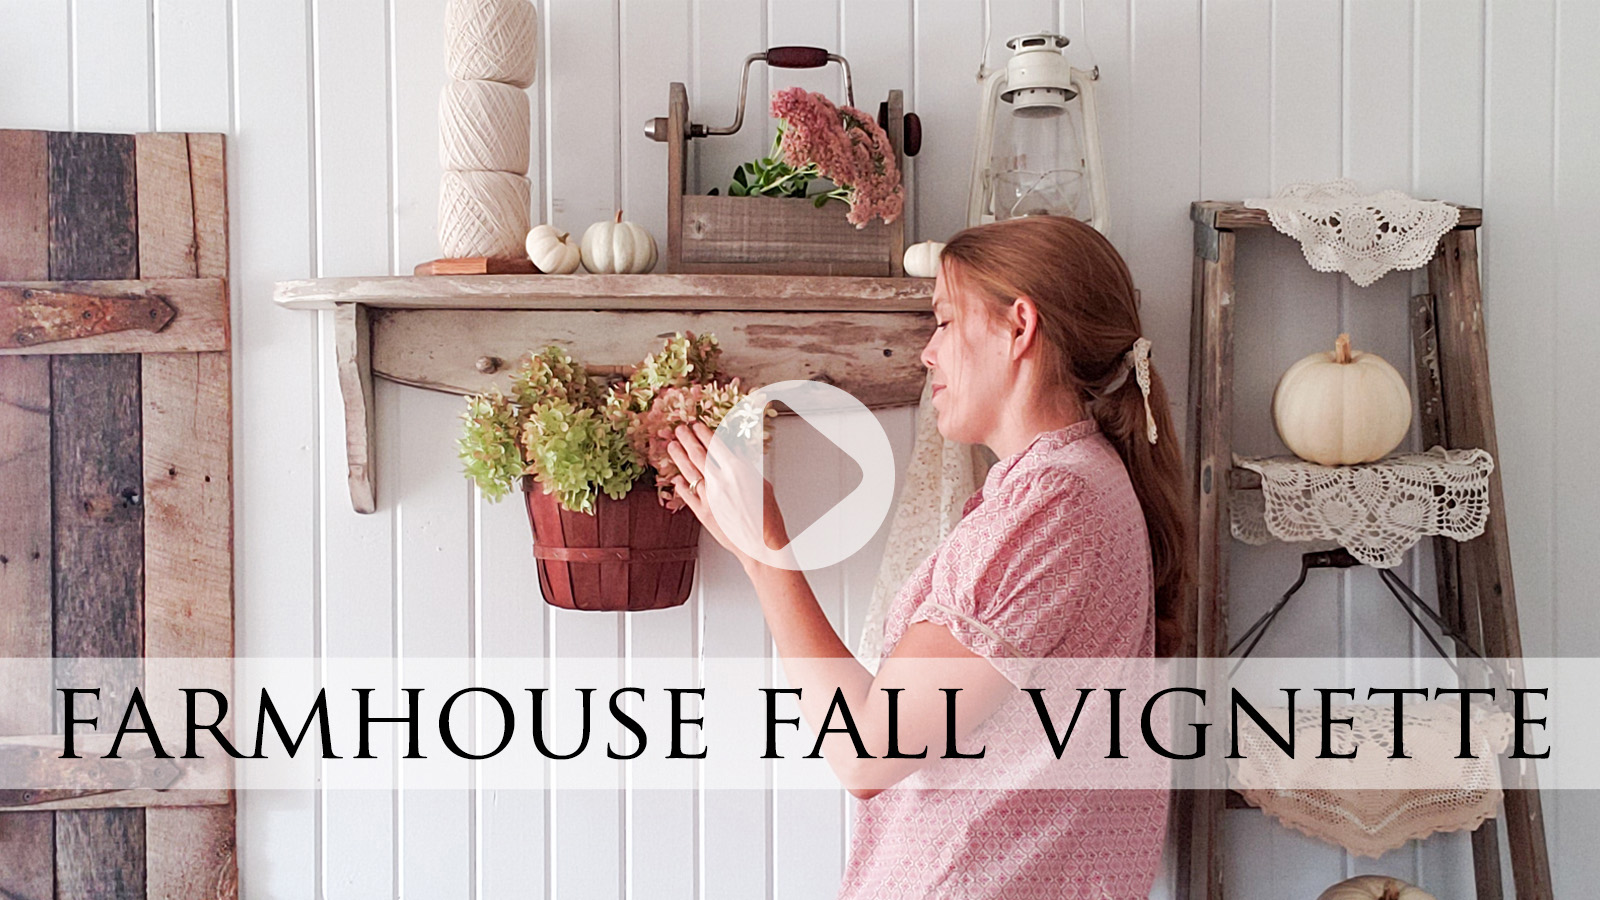
While I’m not your typical box store fall decorator, I do prefer simple understated style in my home. You can take a peek at how to set up a thrifted fall vignette in this post.
 *post sponsored by HomeRight (see full disclosure)
I’m also a DIY decorator, which means if I can make it or build it, then that’s how I roll. Yes, I realize not all folks feel handy, but do you think I knew this stuff straight outta the womb? nah. I’ve read books and magazines, watched videos, but most importantly…I’ve tried. Most of my projects are ideas that I want to have a try at. Are you willing to try?
In addition to being conscious of creating my own decor, I’m also about doing it on a budget. Likewise, there is absolutely no need to have a huge budget for decorating. If you have your #trashure goggles on, you’ll see things in a whole new light.
POTENTIAL
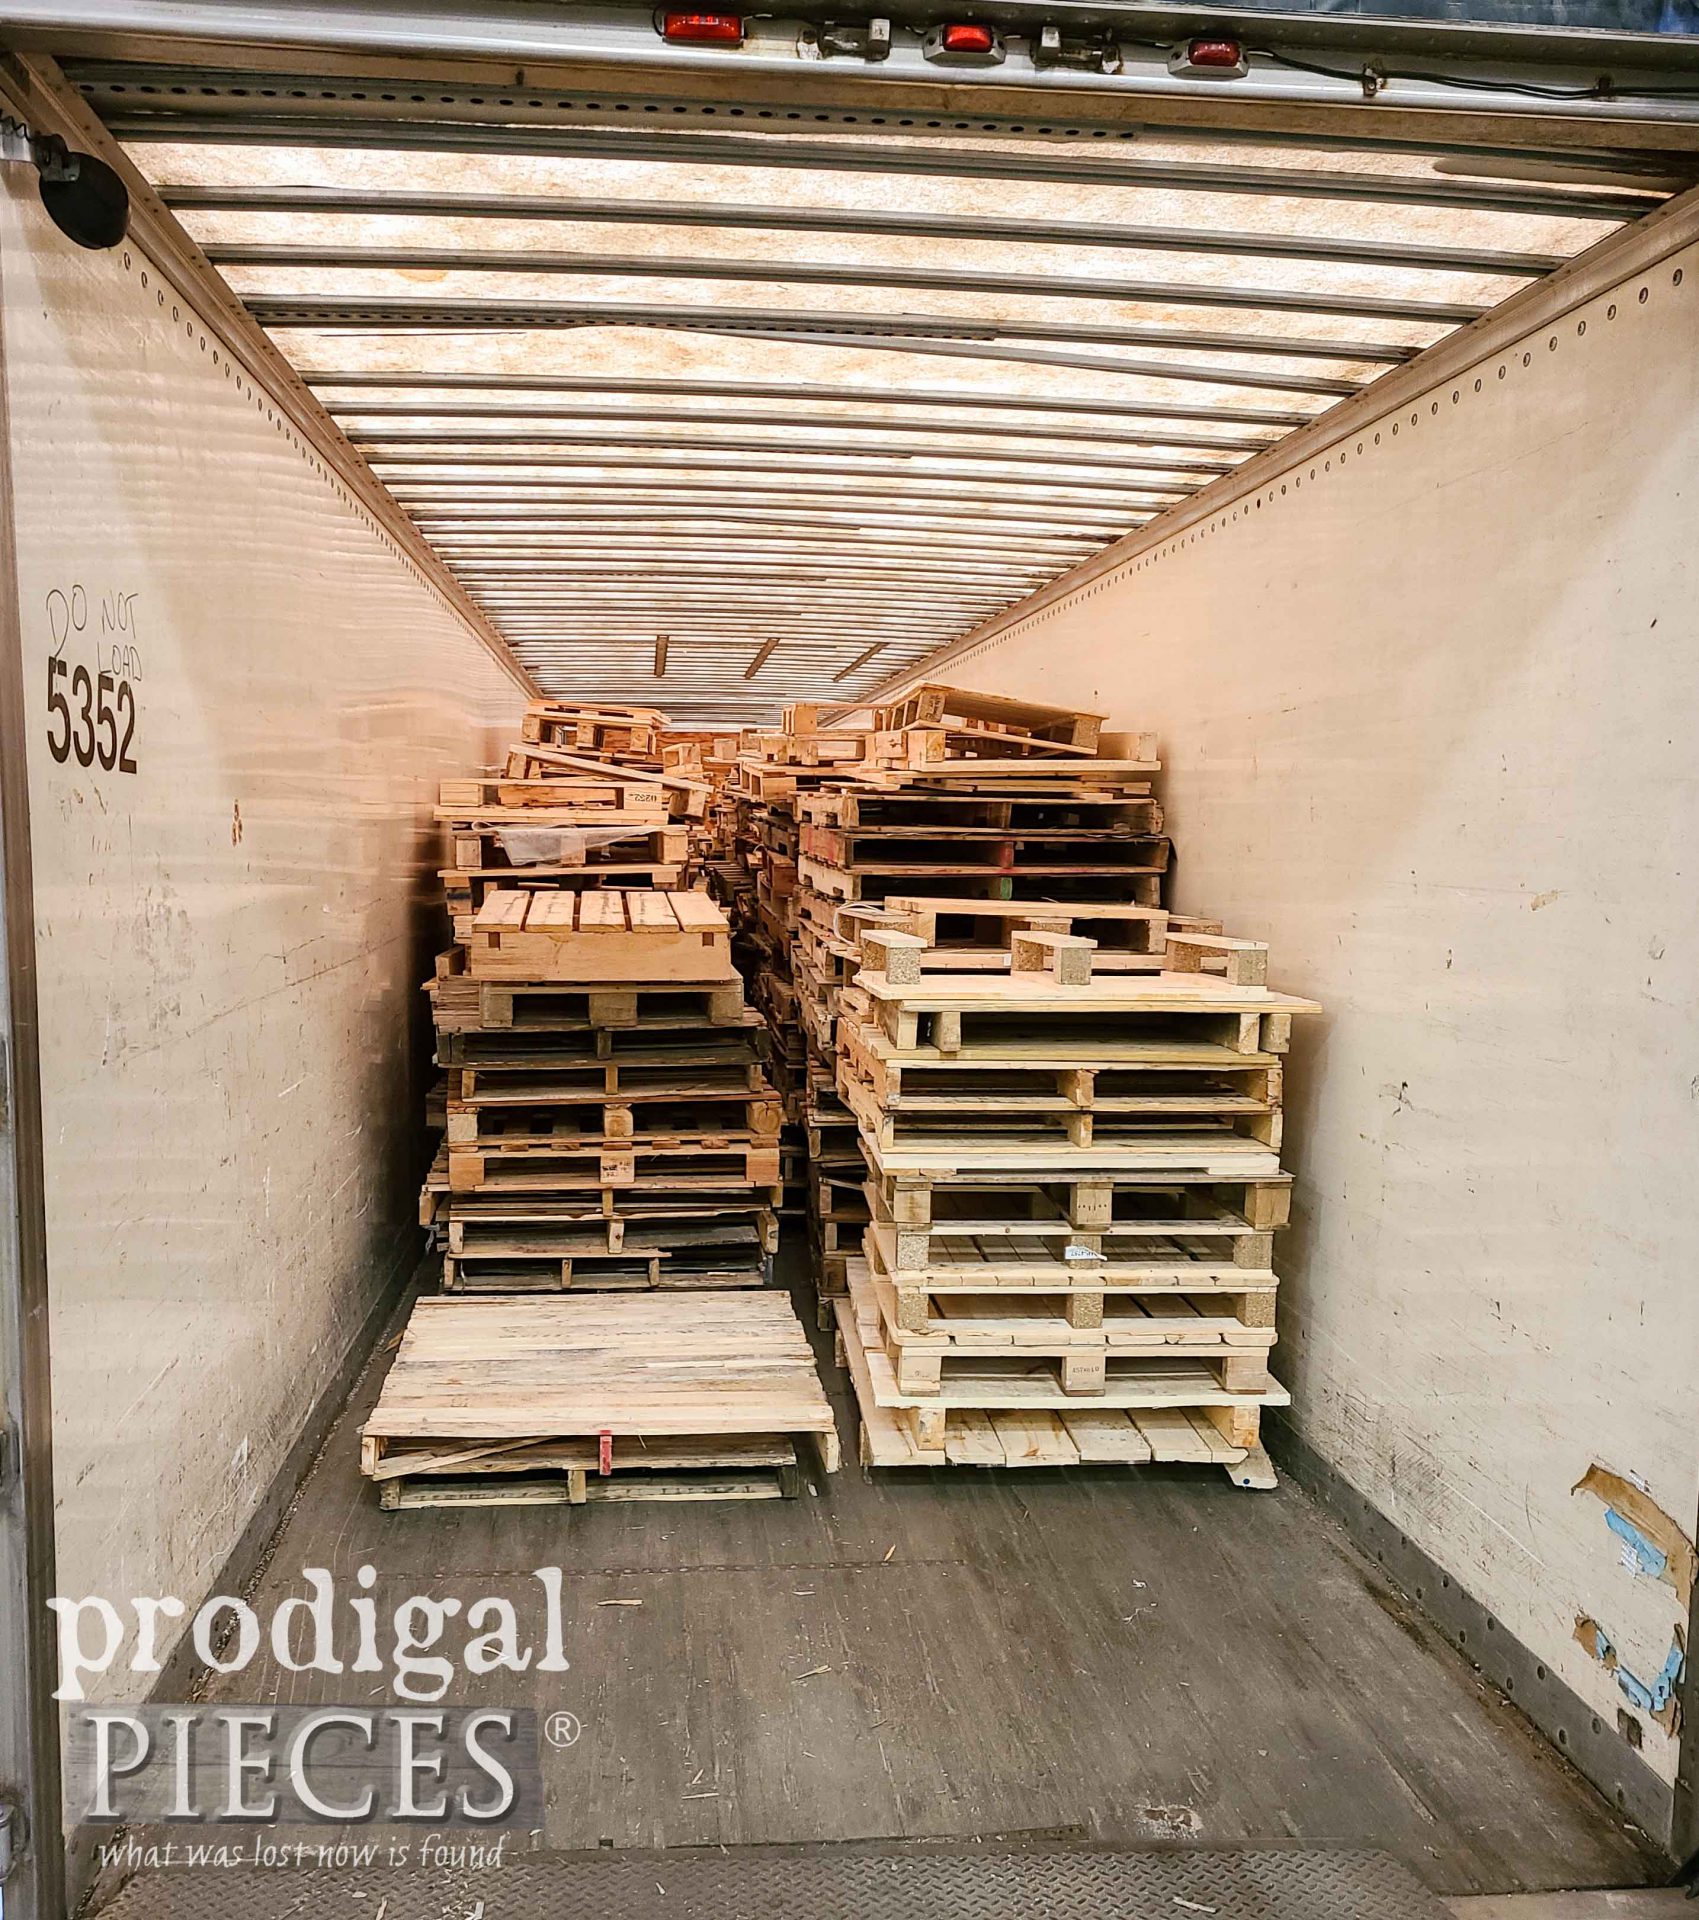
Take this tractor trailer full of pallets…what do you see?
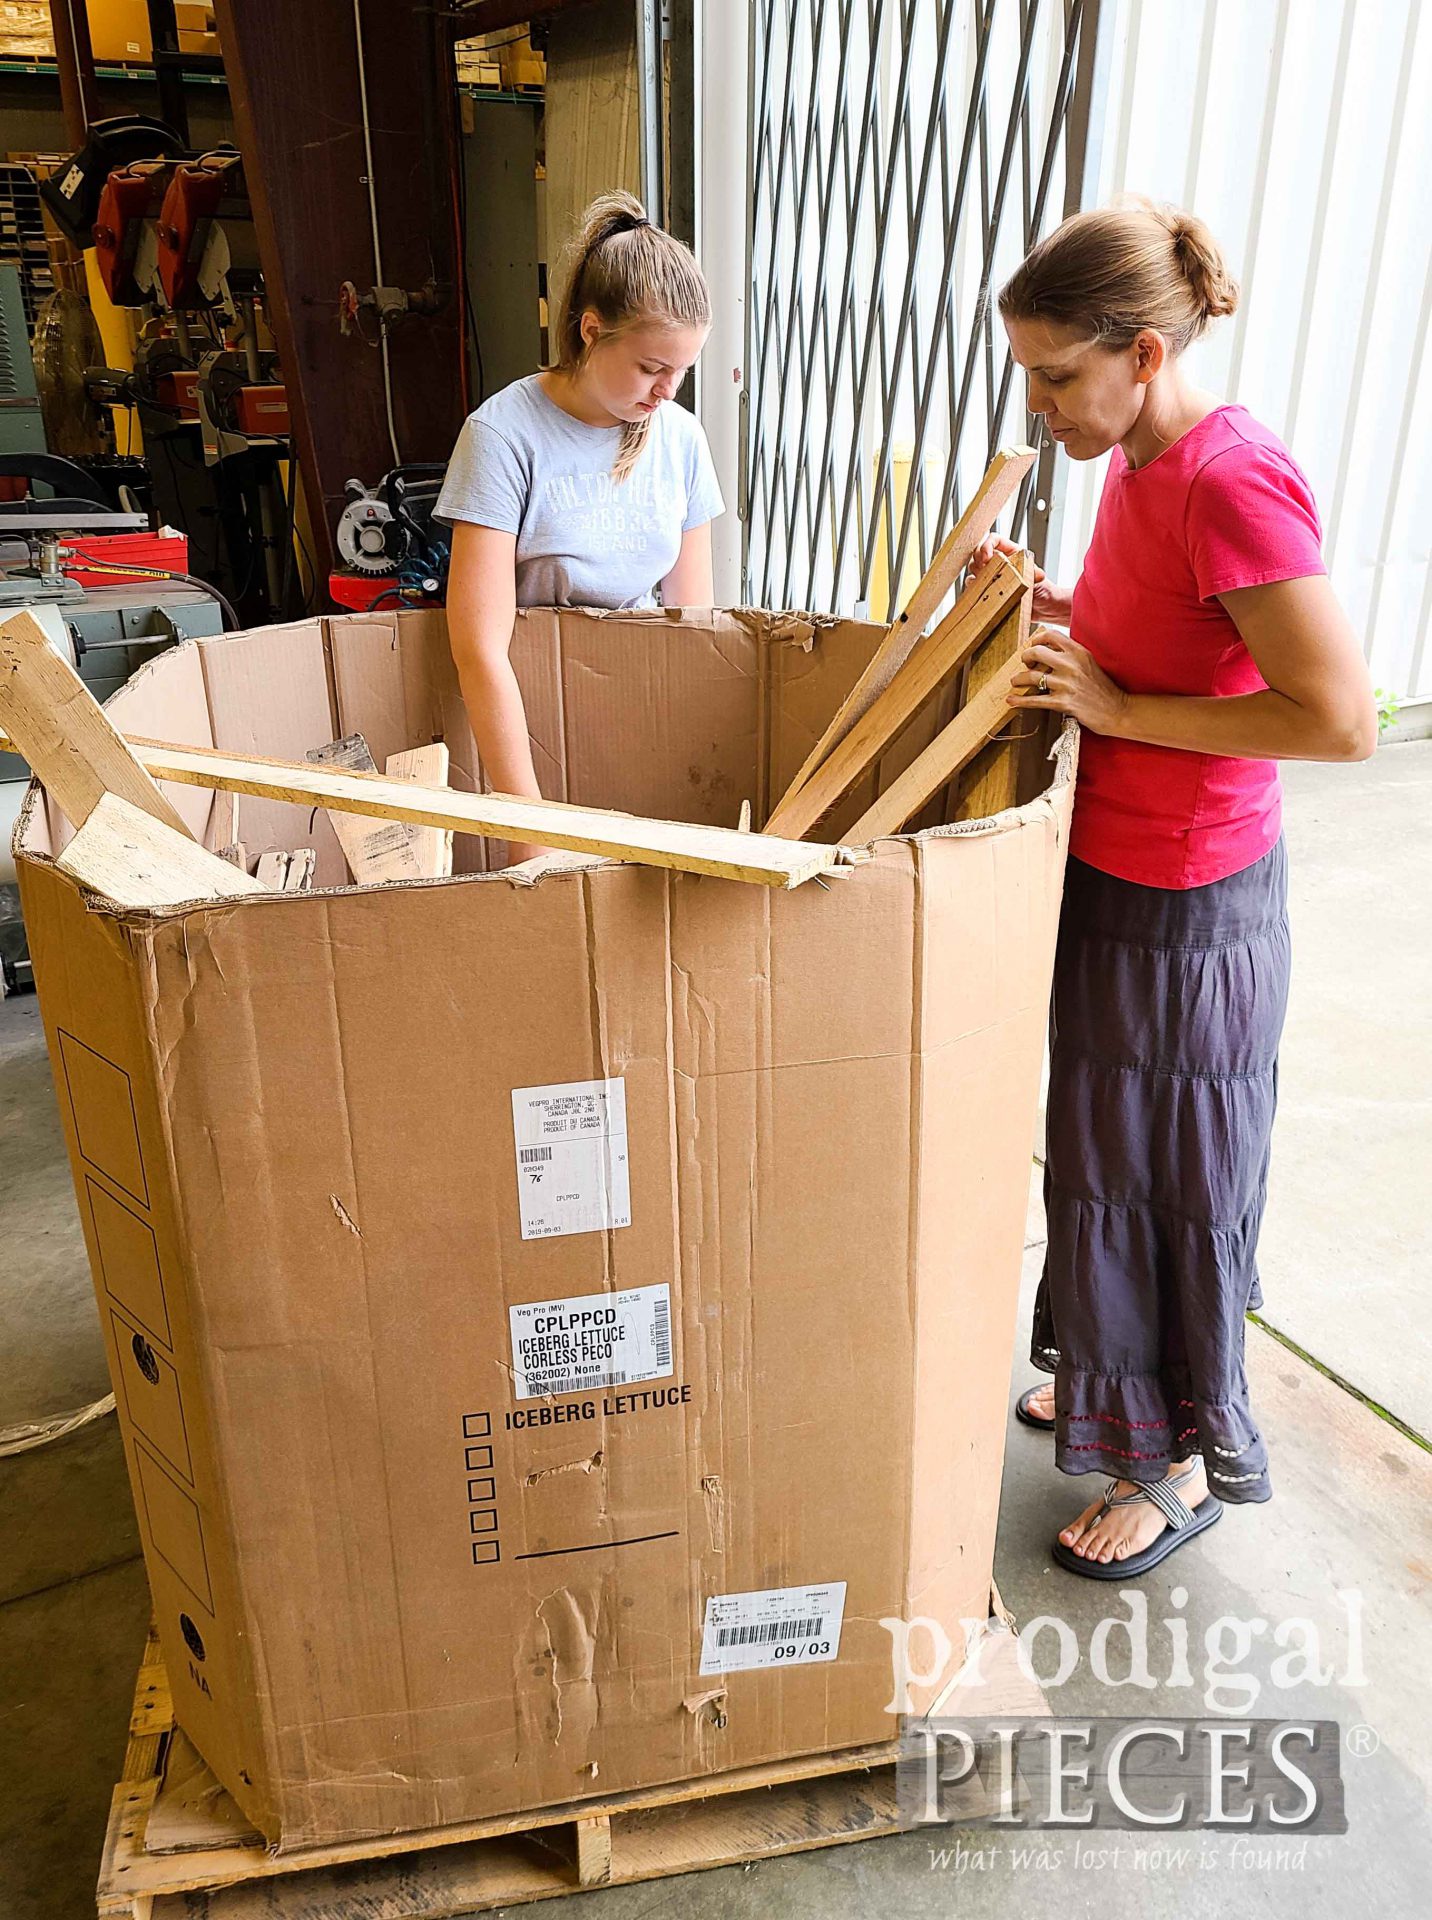
I spy potential. These are all loaded on here because they are the cast-off, busted pallets that businesses all have hanging around. However, thanks to JC, my husband, I’m able to get my hands on this fairly easy. They even have a bin of pallet pieces that I can snatch up.
If you don’t know of my affinity for crates, you can see them in my Crate Turned Footstool tutorial, or in my faux crate drawers in my kitchen. Also, I built a soda crate stand, or a crate built of cupboard doors, and my DIY crate turned wagon.
DIY TIME
Are you ready for some fun? If you’d like to create this DIY antique crate for your very own (or add it to your “please-help-me-create-this” list), let’s get started. You can do it! Here’s what you’ll need:
Tools & Materials:
- raw pallet wood
- saw – hand saw, jig saw, circular saw, miter saw (your choice)
- wood glue
- tape measure
- nailer (optional)
- masonry nails or black drywall screws (I used 1 ¼” length)
- drill
- drill bits
- finish sprayer
- stain (or paint) or choice – I used Weathered Wood Accelerator
- stencil or DIY design (you can do it!)
- acrylic paints & artists brushes (optional)
STEP 1
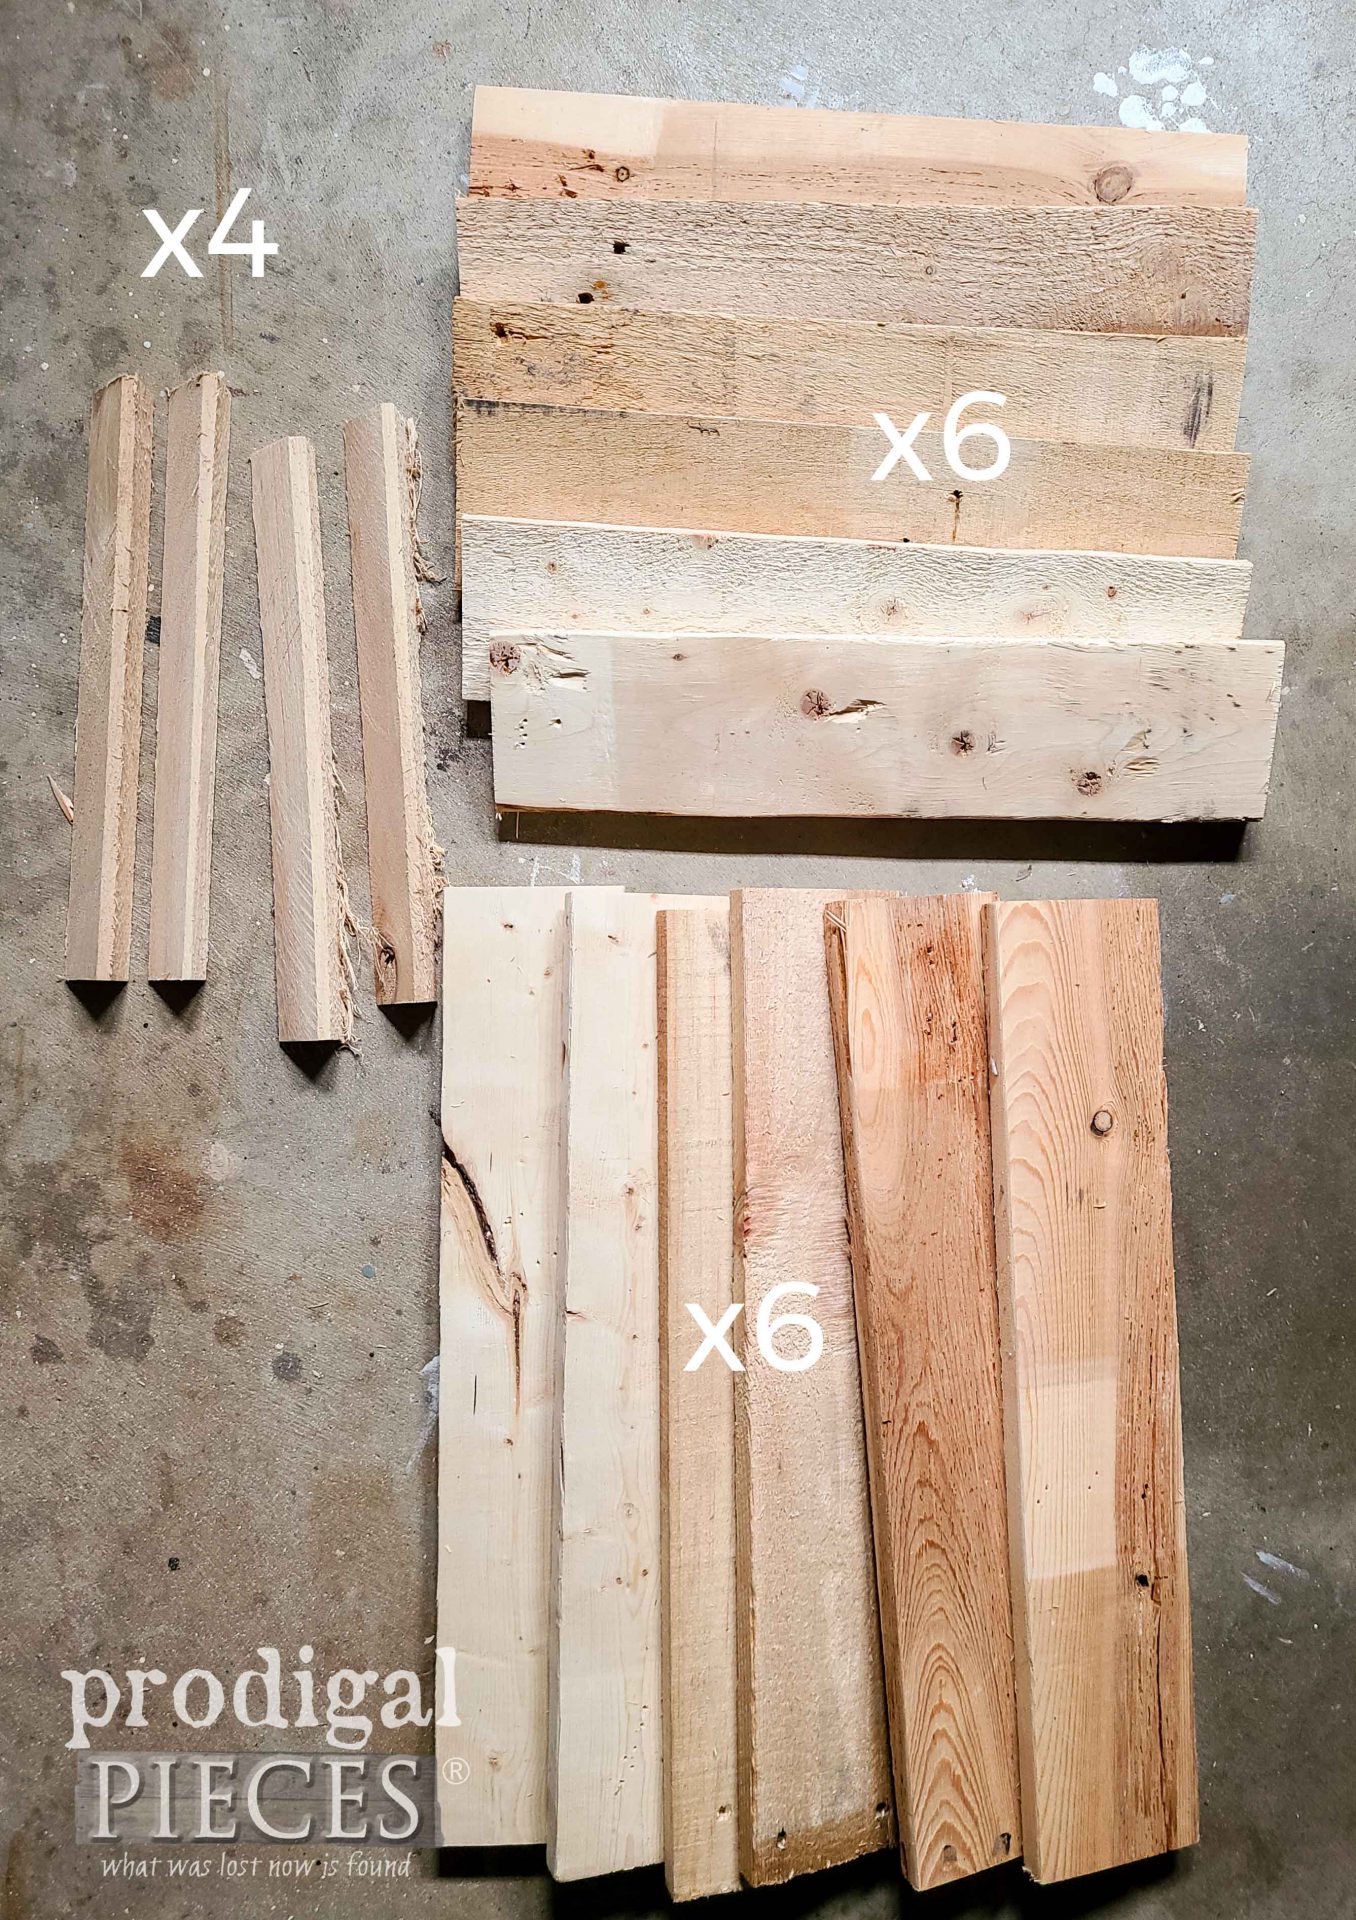
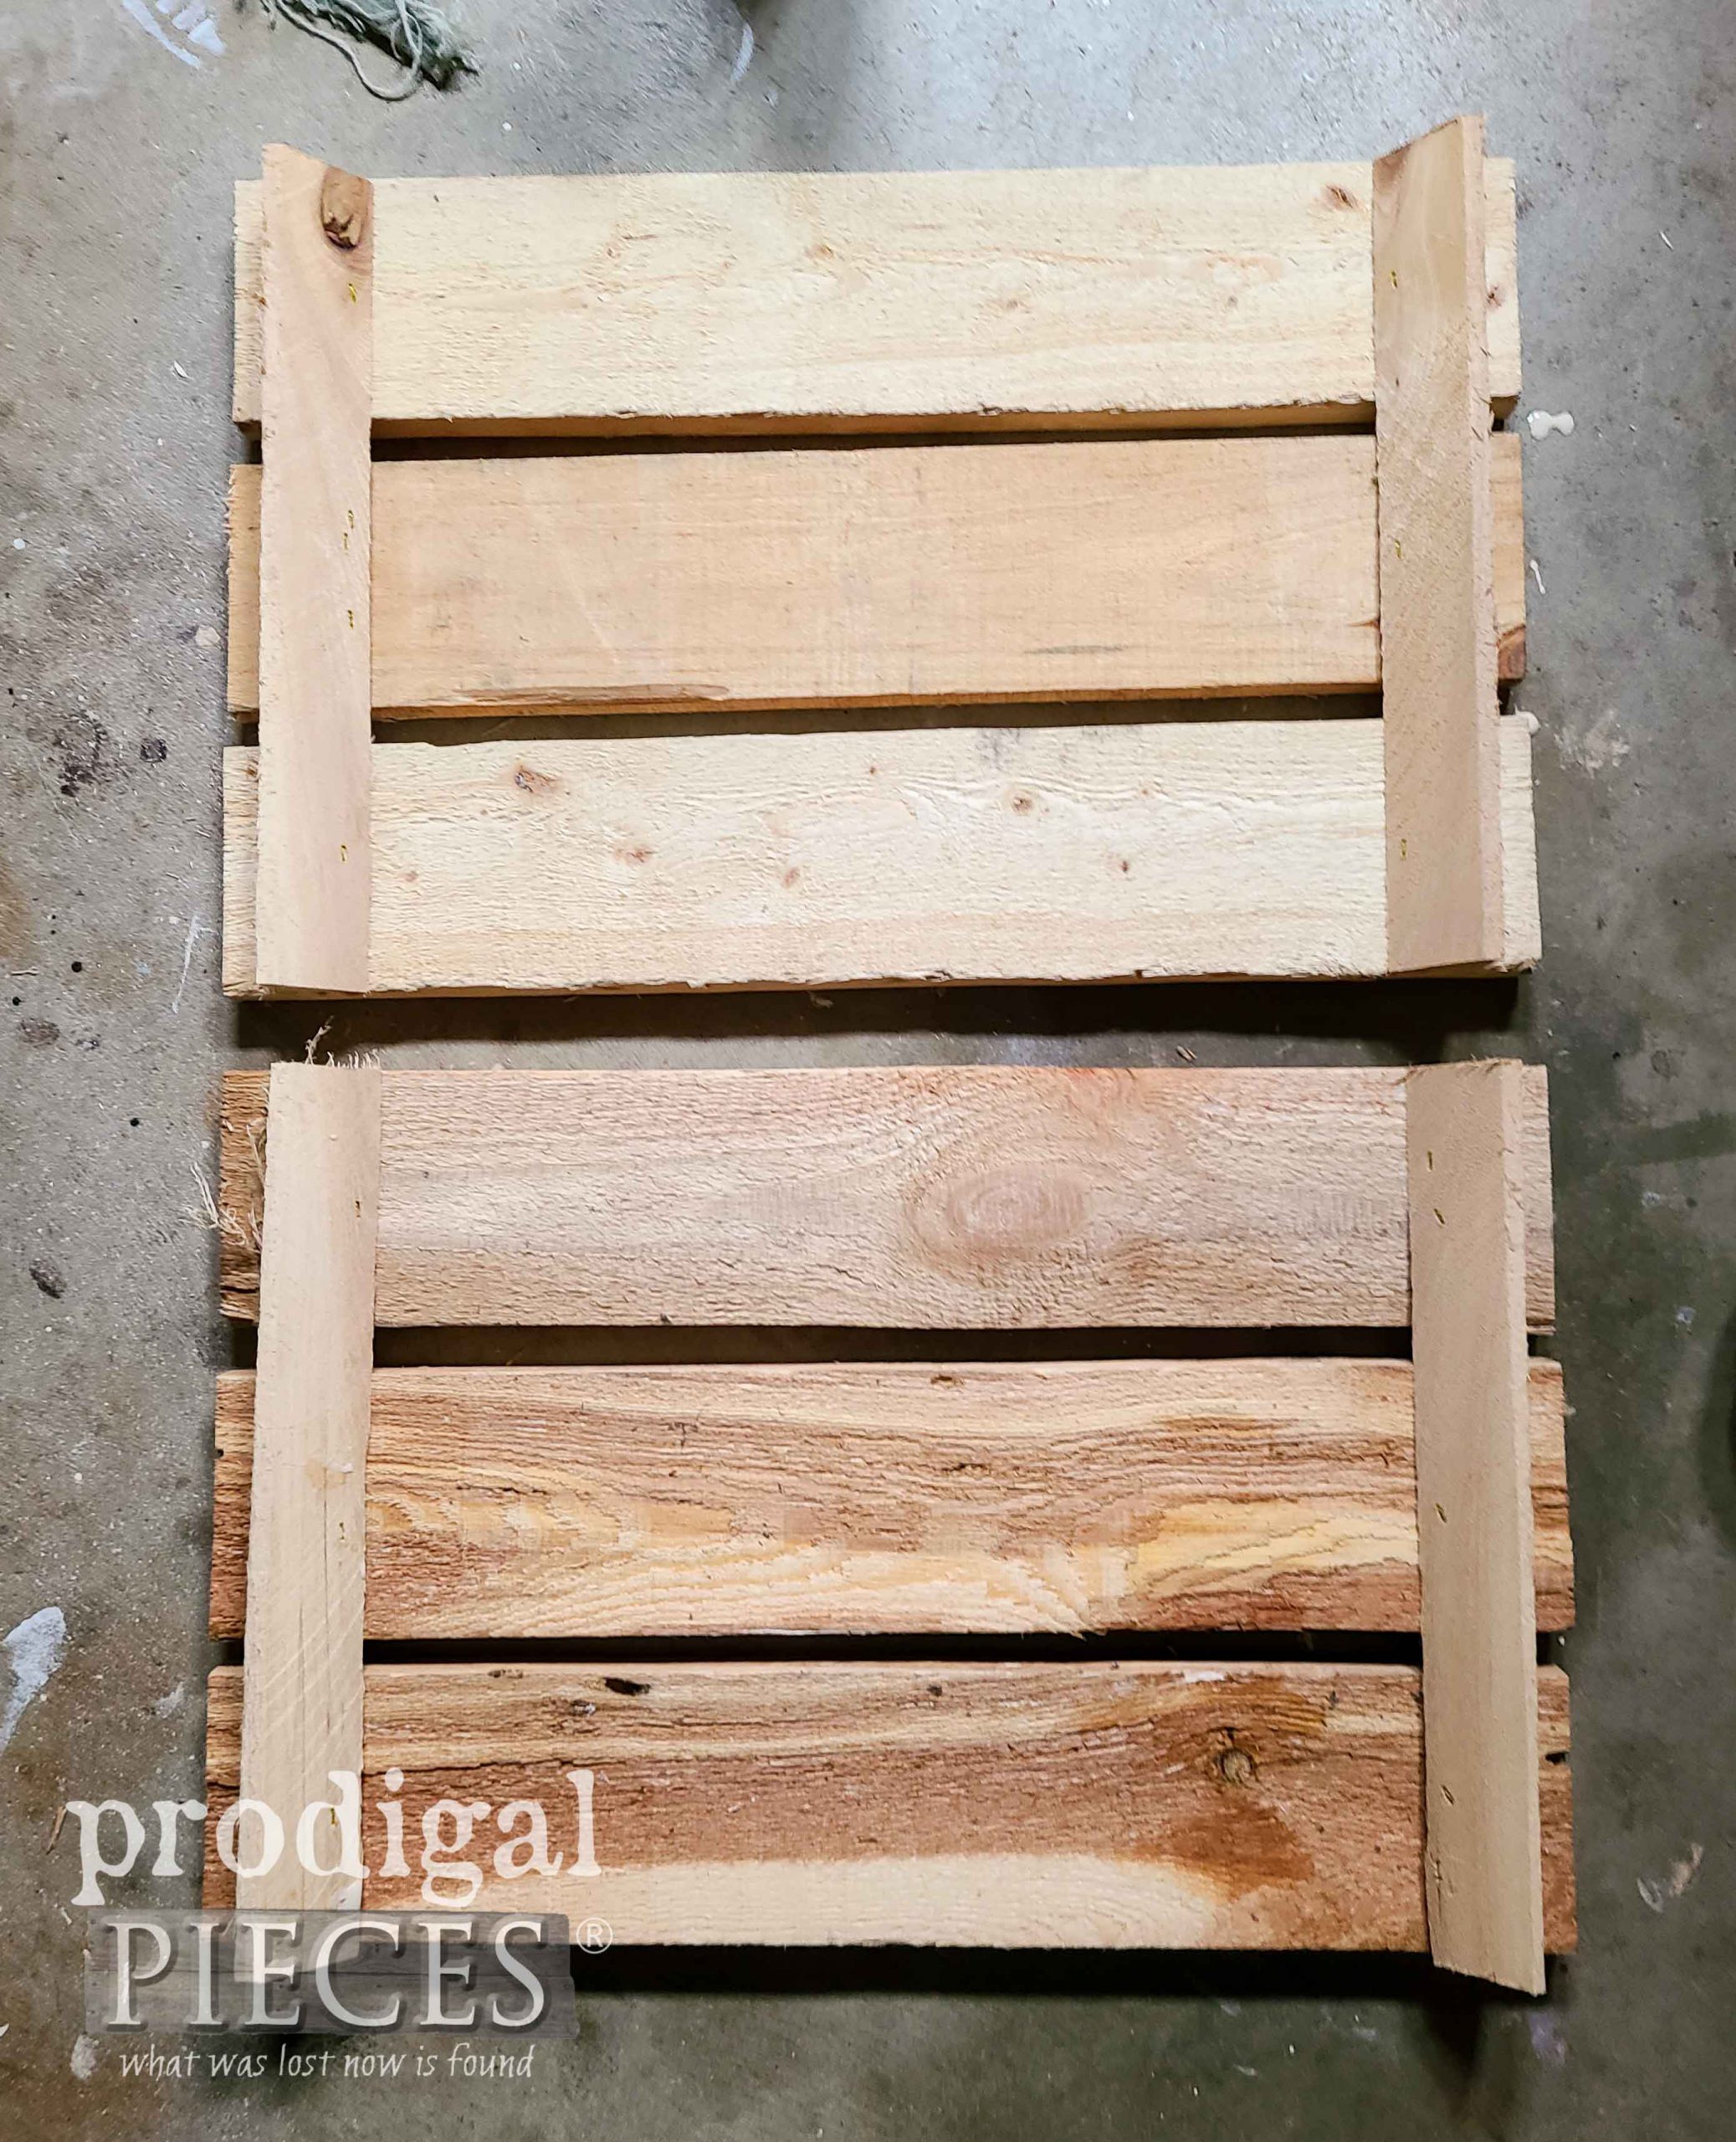
First, you want to decide the dimensions of your finished crate. You can build it BIG to fit over something, or smaller for table top decor. I wanted to mimic the crates I have in my home that I’ve found over the years. The rough dimensions are 14 ½” W x 18″ L x 12″ H. Also, a typical pallet piece is 48″ L x 3 ½” W. With that in mind, I cut:
- 6 – 18″ pieces
- 6 – 13″ pieces
- 4 – 12″ corner pieces
These are the pieces for the sides only. Eventually, we will cut and add the bottom pieces once we have the crate assembled. In addition, you’ll see I have 12″ L triangular pieces for the corners. This was scrap we happened to have on hand from the reclaimed elm we are using to build faux beams in our living room remodel. (coming soon!) I realize not all will have reclaimed elm available. haha. You can use any wood that is roughly 1″ x 1″. Likewise, I love that pallet wood is shaggy. It adds to the rustic charm we’re after.
STEP 2
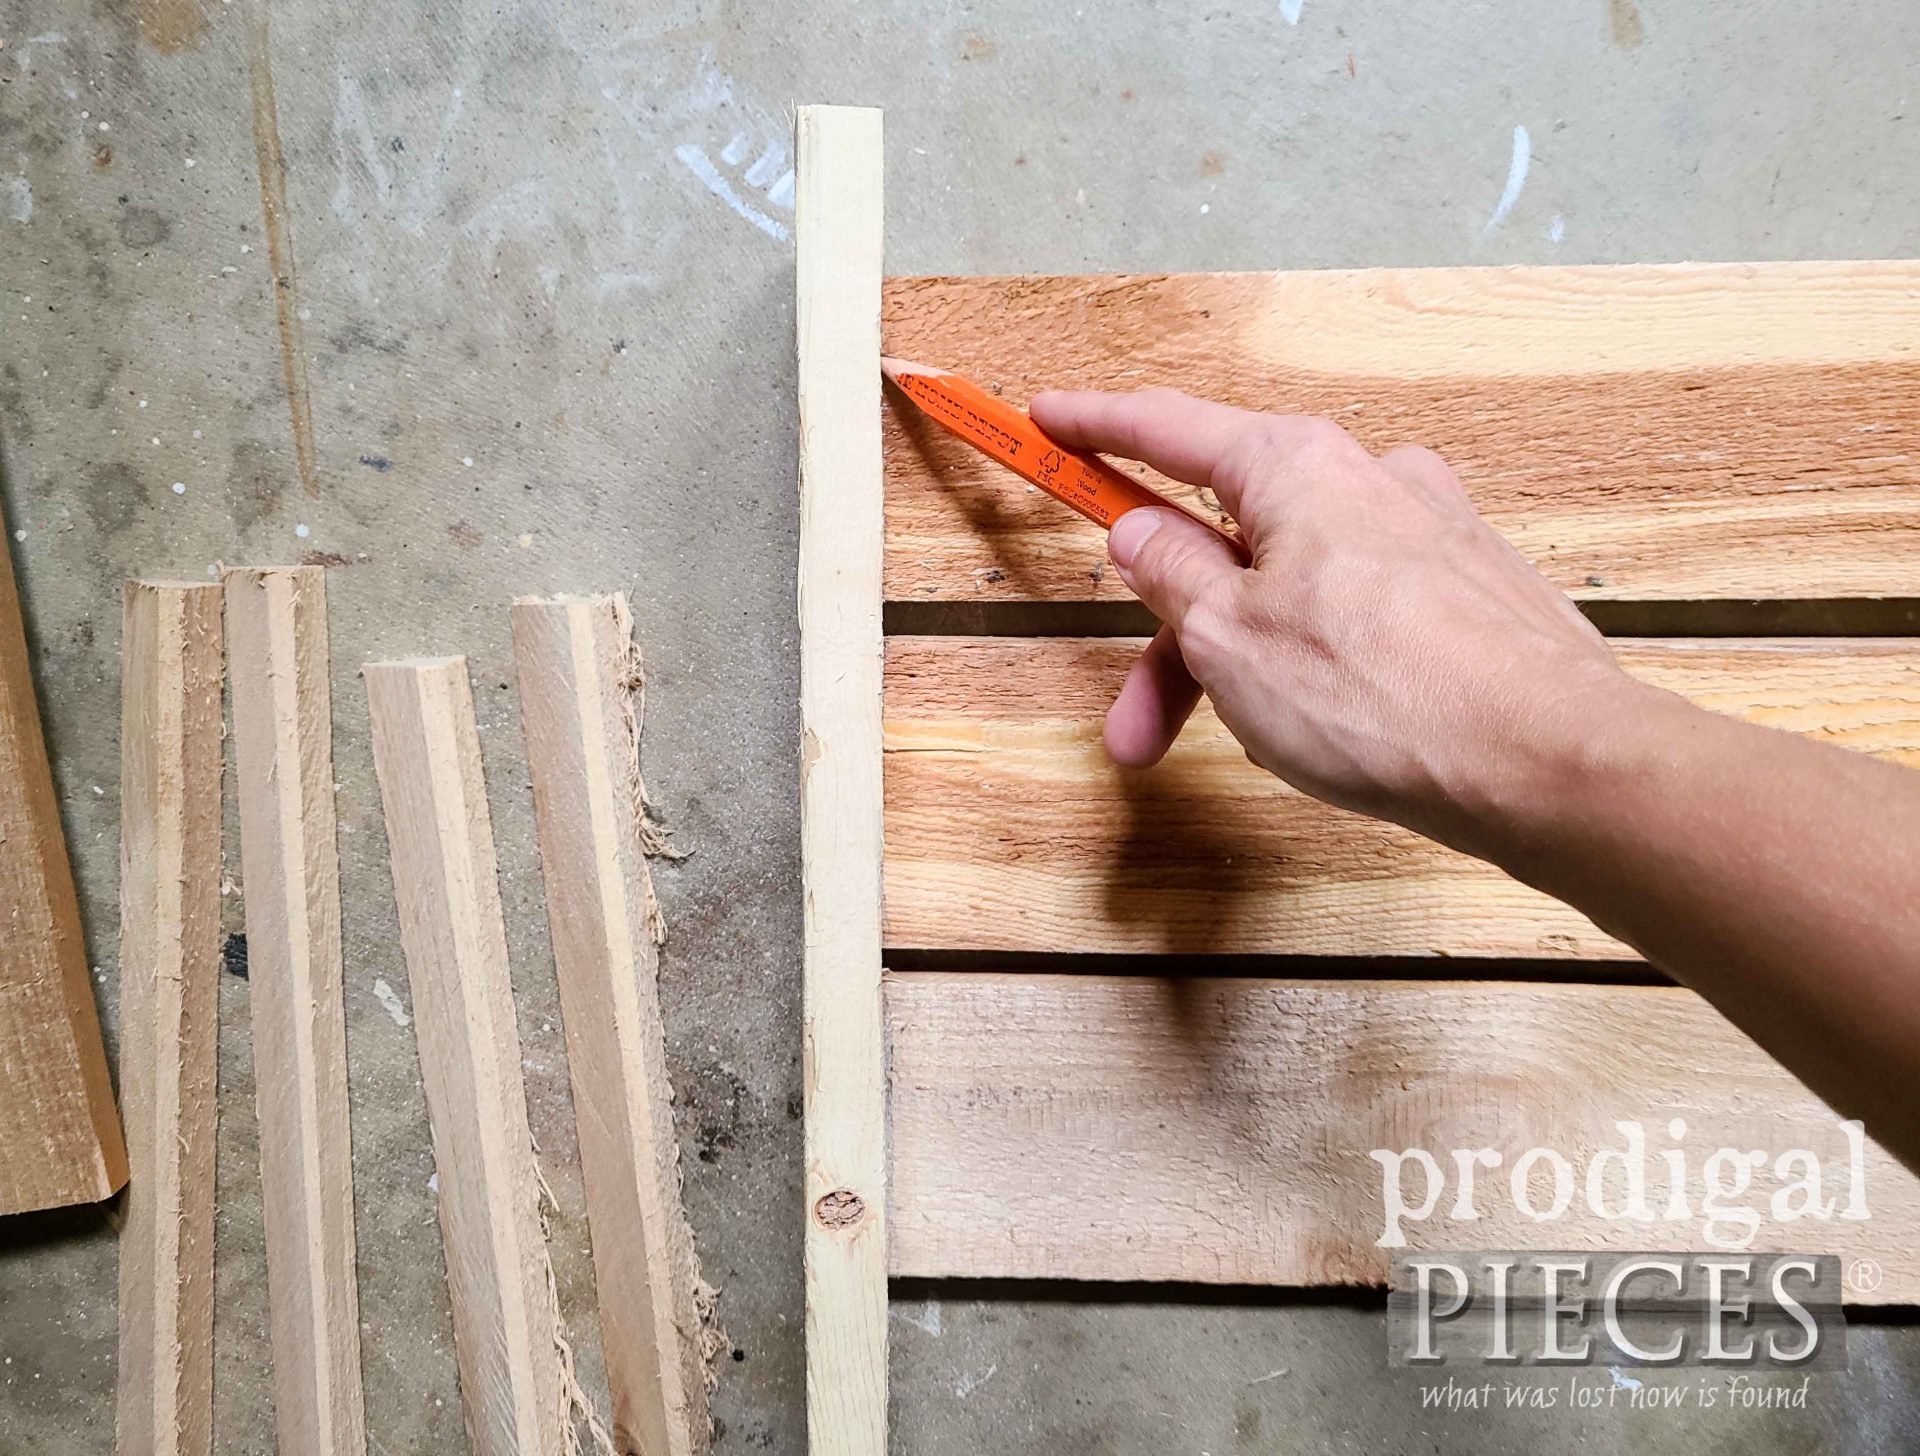
Next, we will use a piece of the crate to trace onto three 18″ long pieces on both ends.
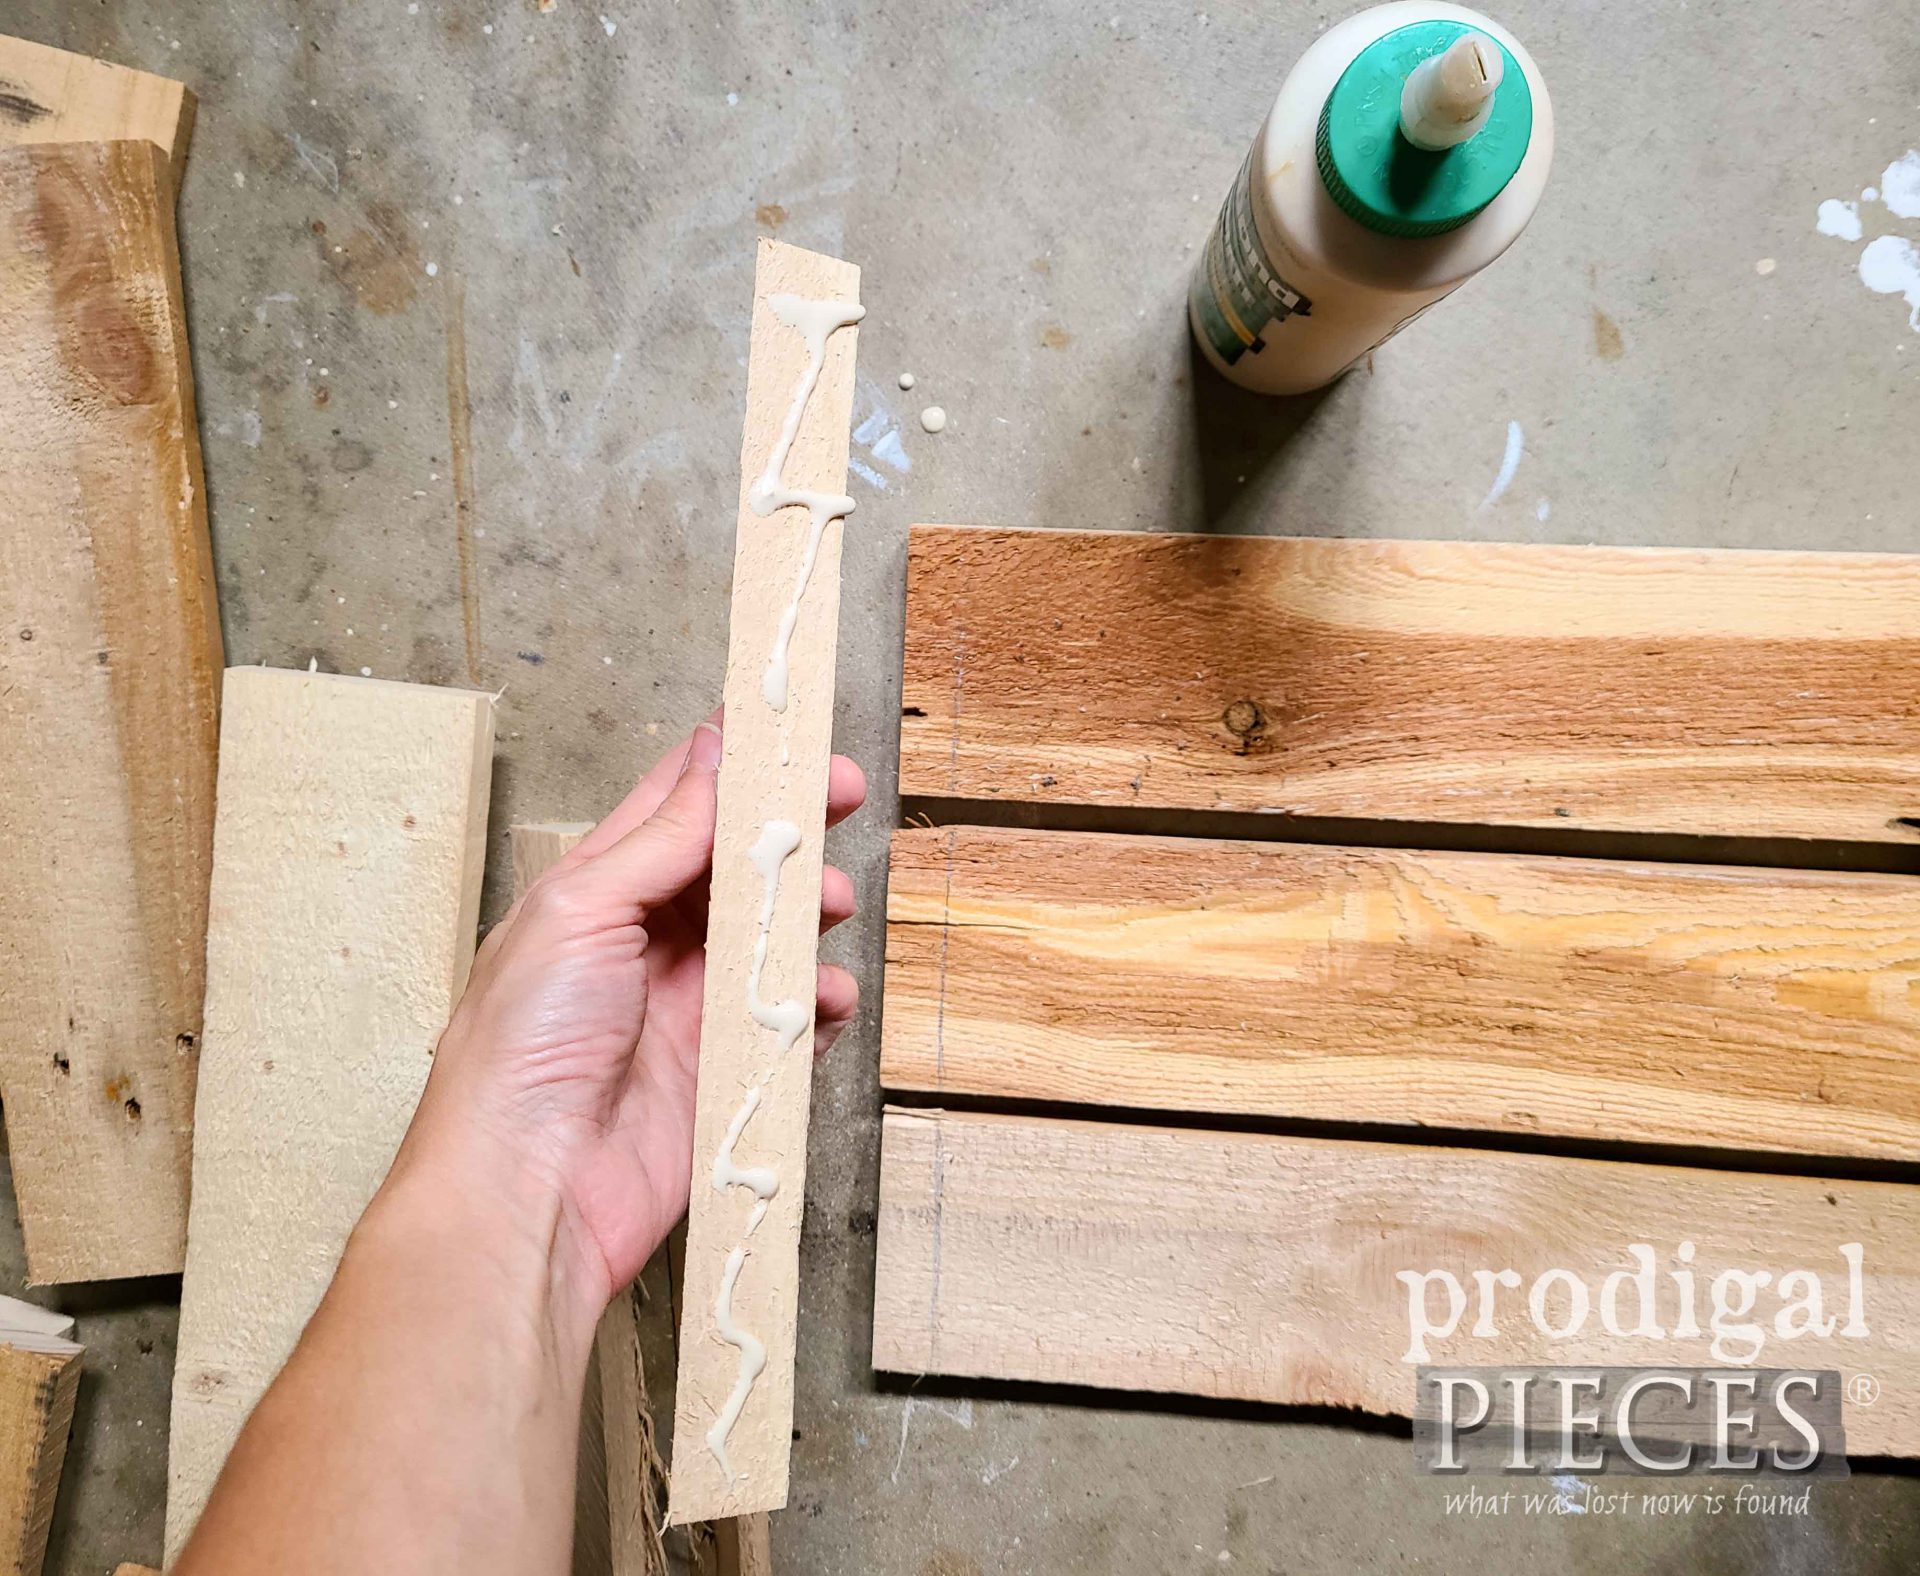
Then, add a bit of wood glue to the corner pieces, line up the edge, and attach it to the three 18″ pieces.
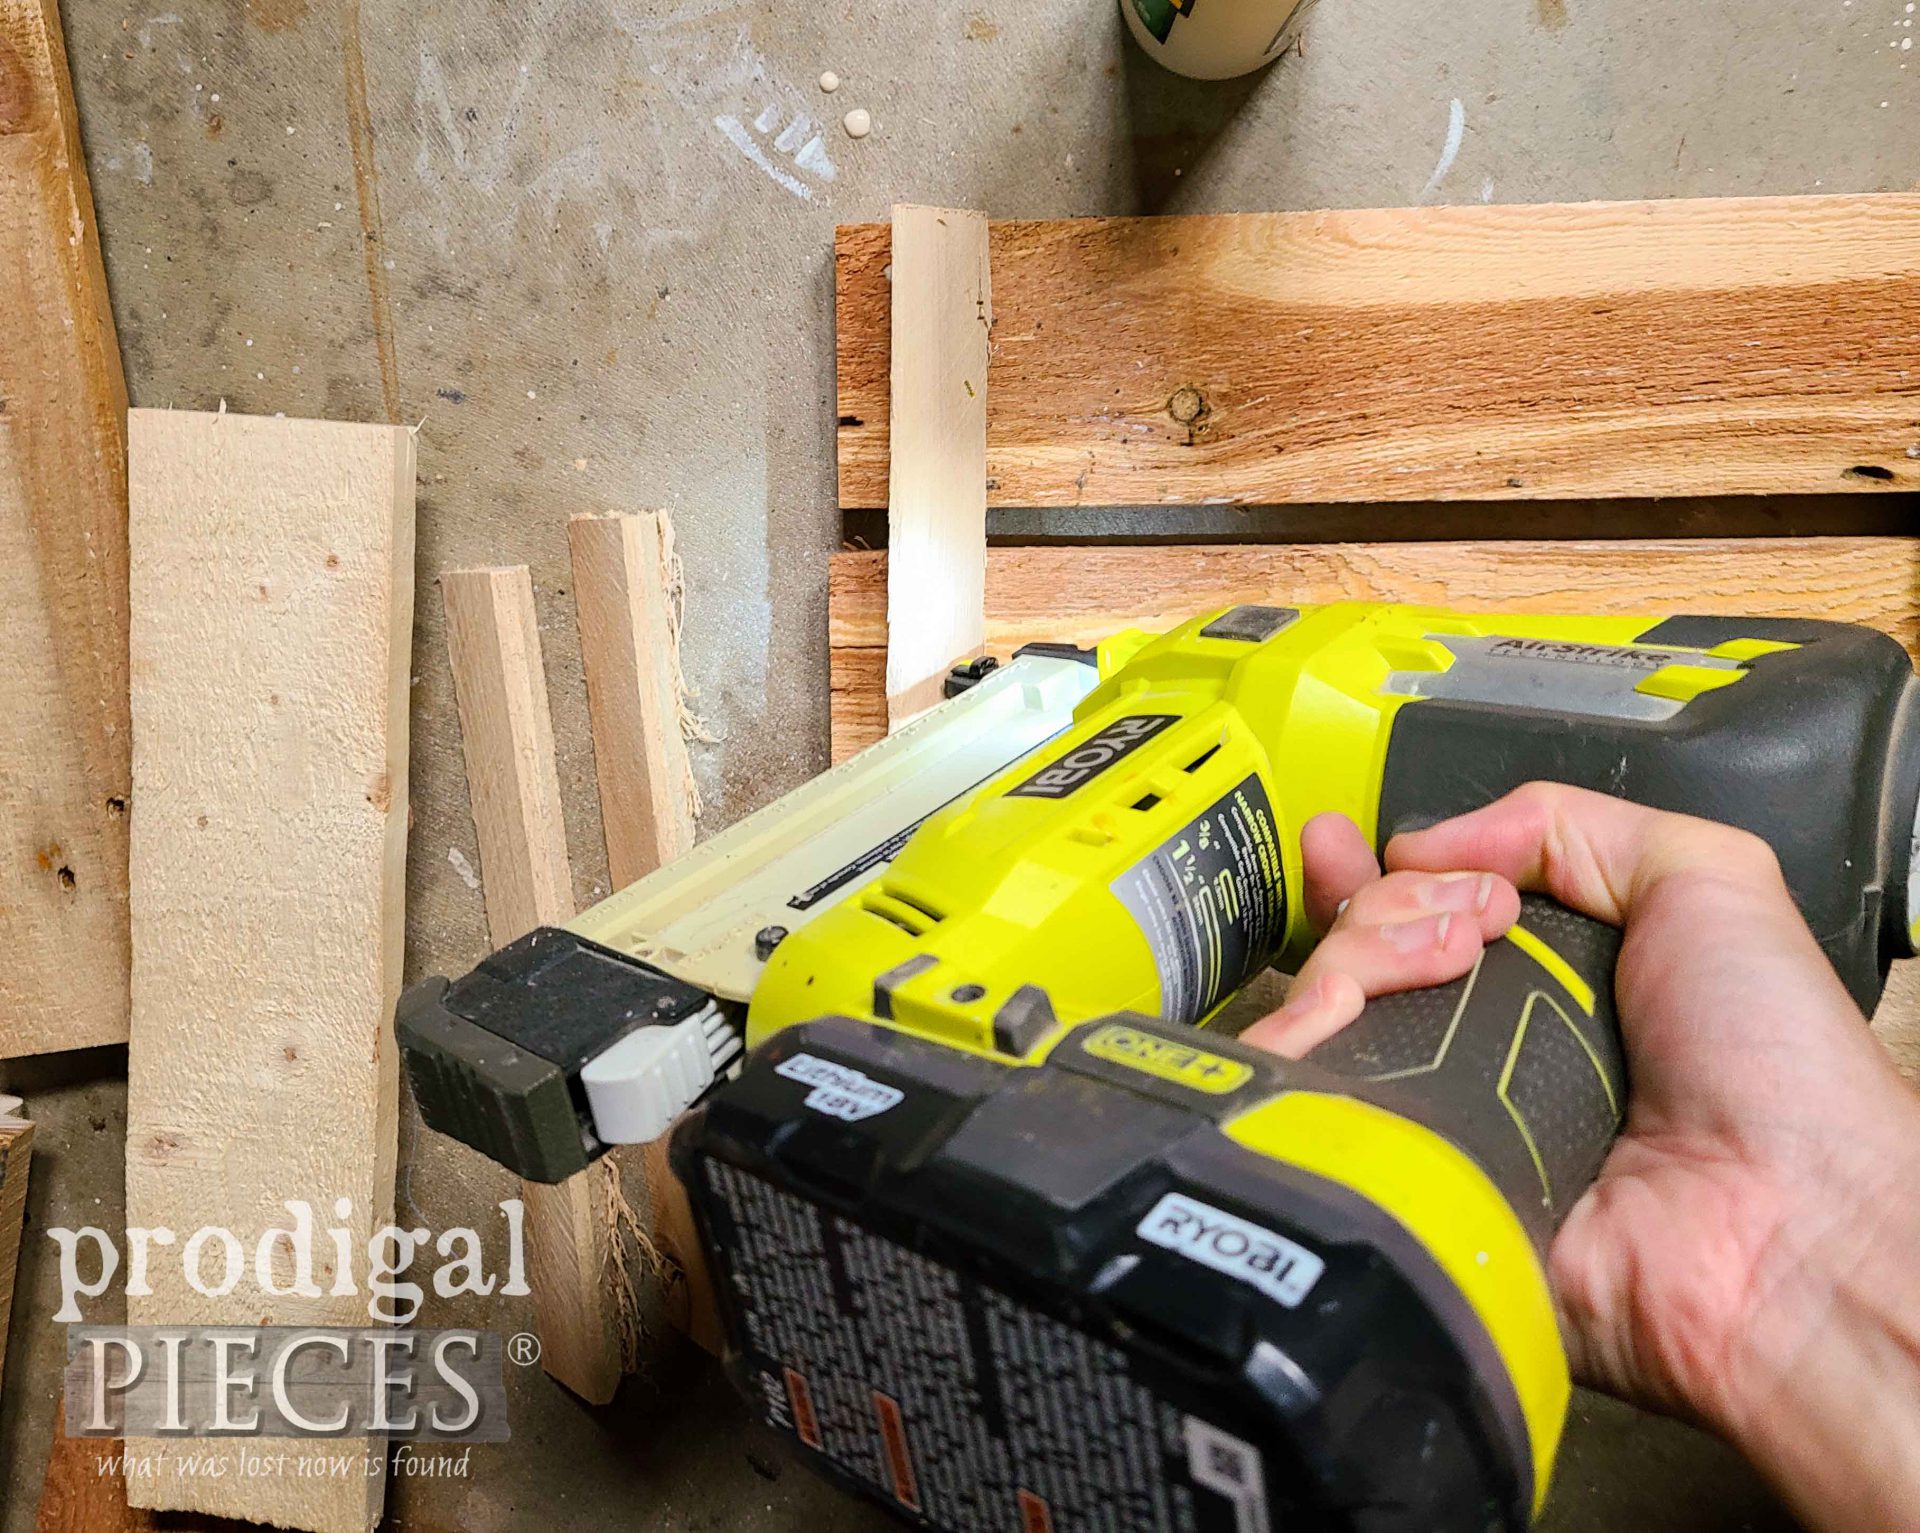
If you don’t have a nailer, you can just let the glue cure and then assemble.
STEP 3
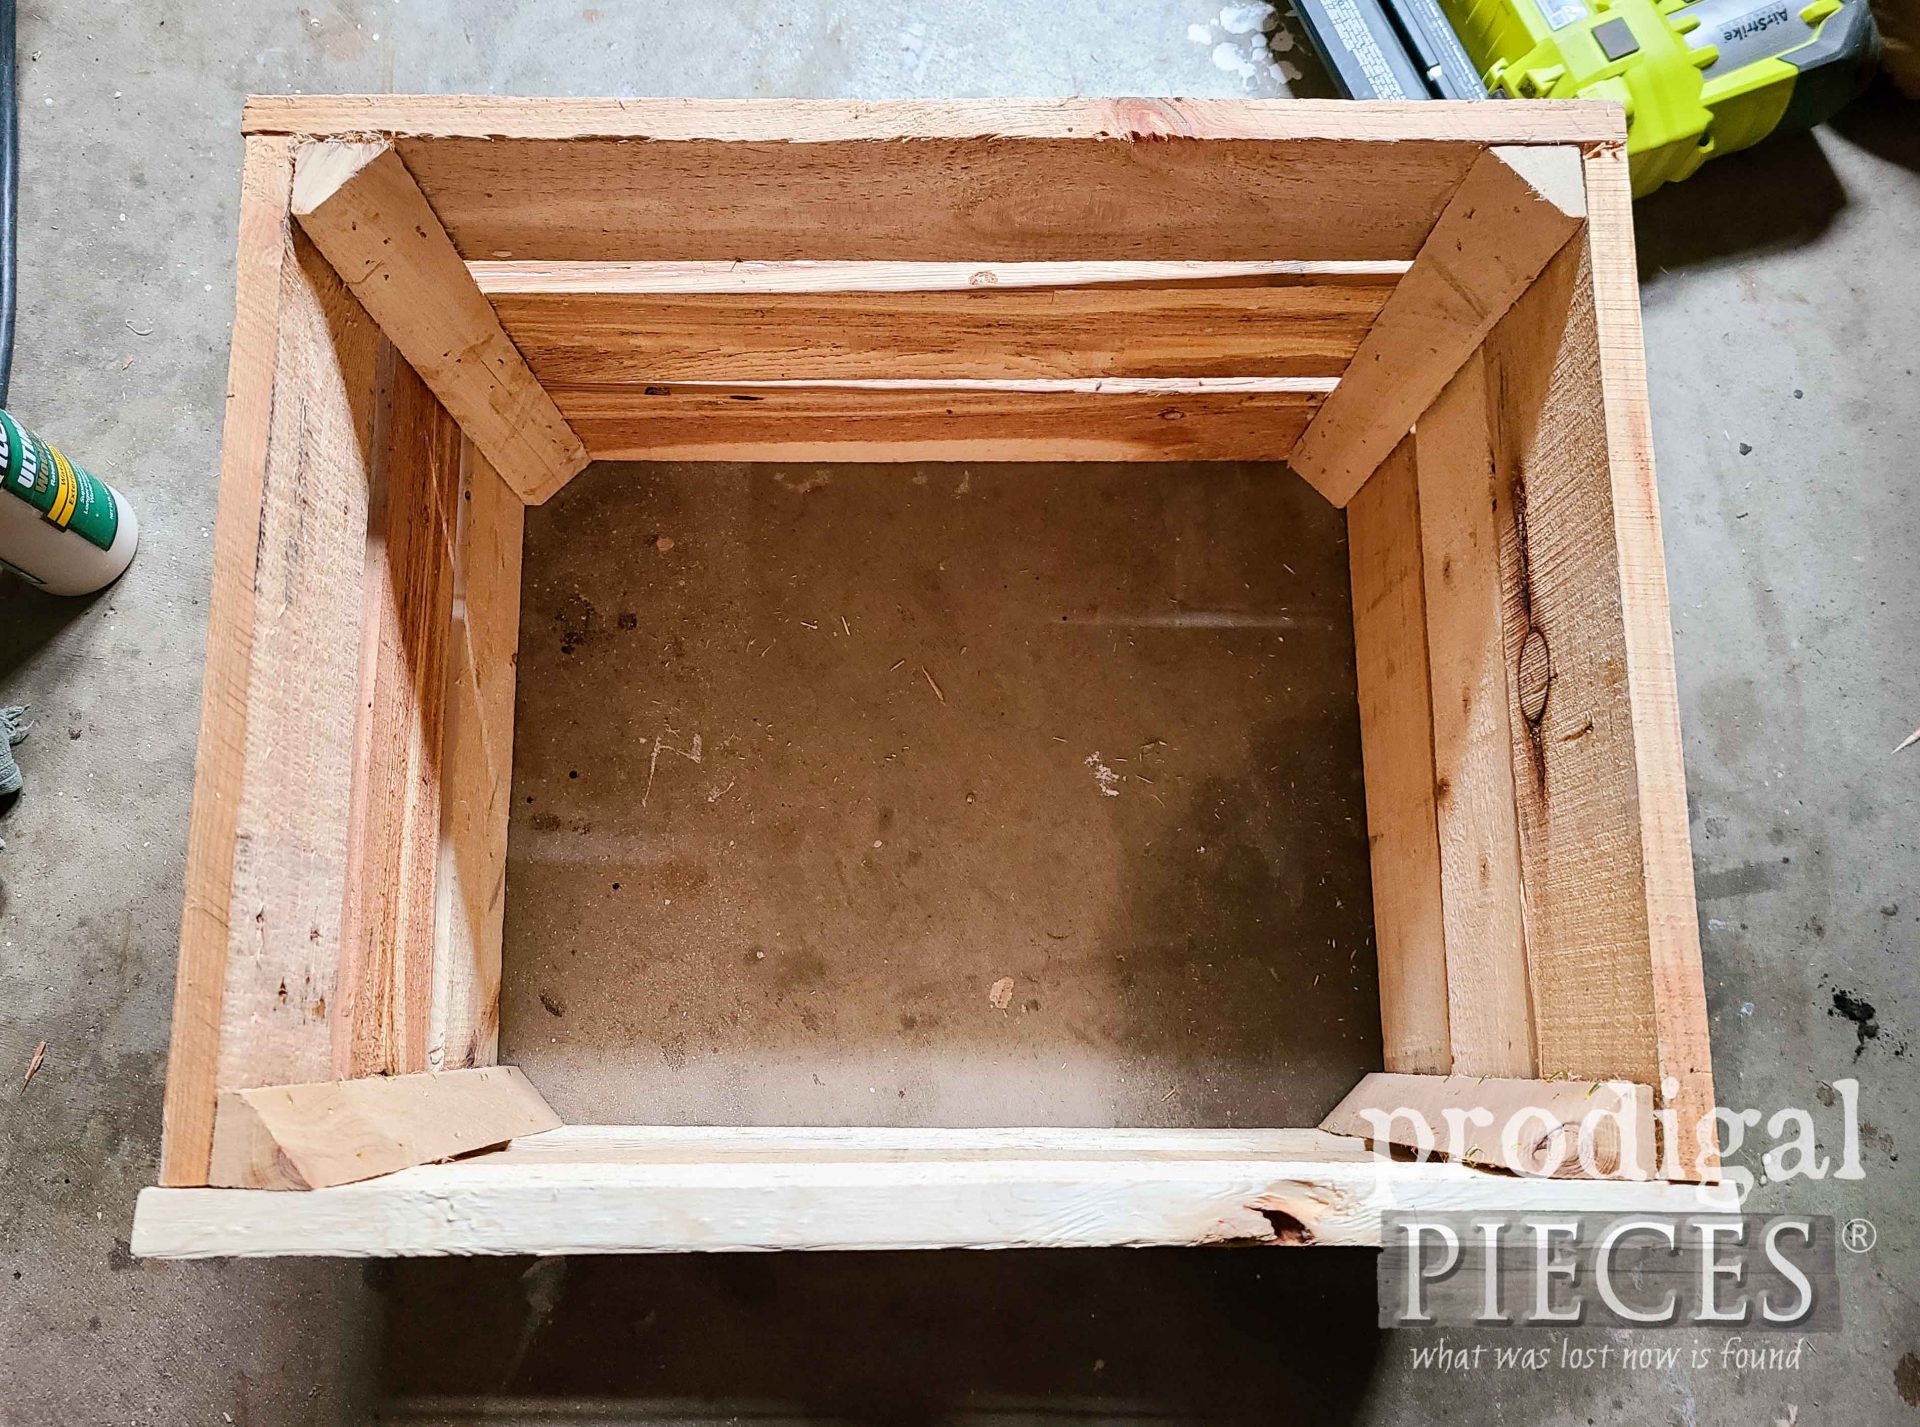
Finally, it’s time to attach your long sides to your short sides. Follow the same steps with glue and stapler from the inside. Then, when you have it square, use the drill and drill bit to pre-drill from the outside of the crate into those corner pieces. Then, drill in the drywall screws to anchor it all together.
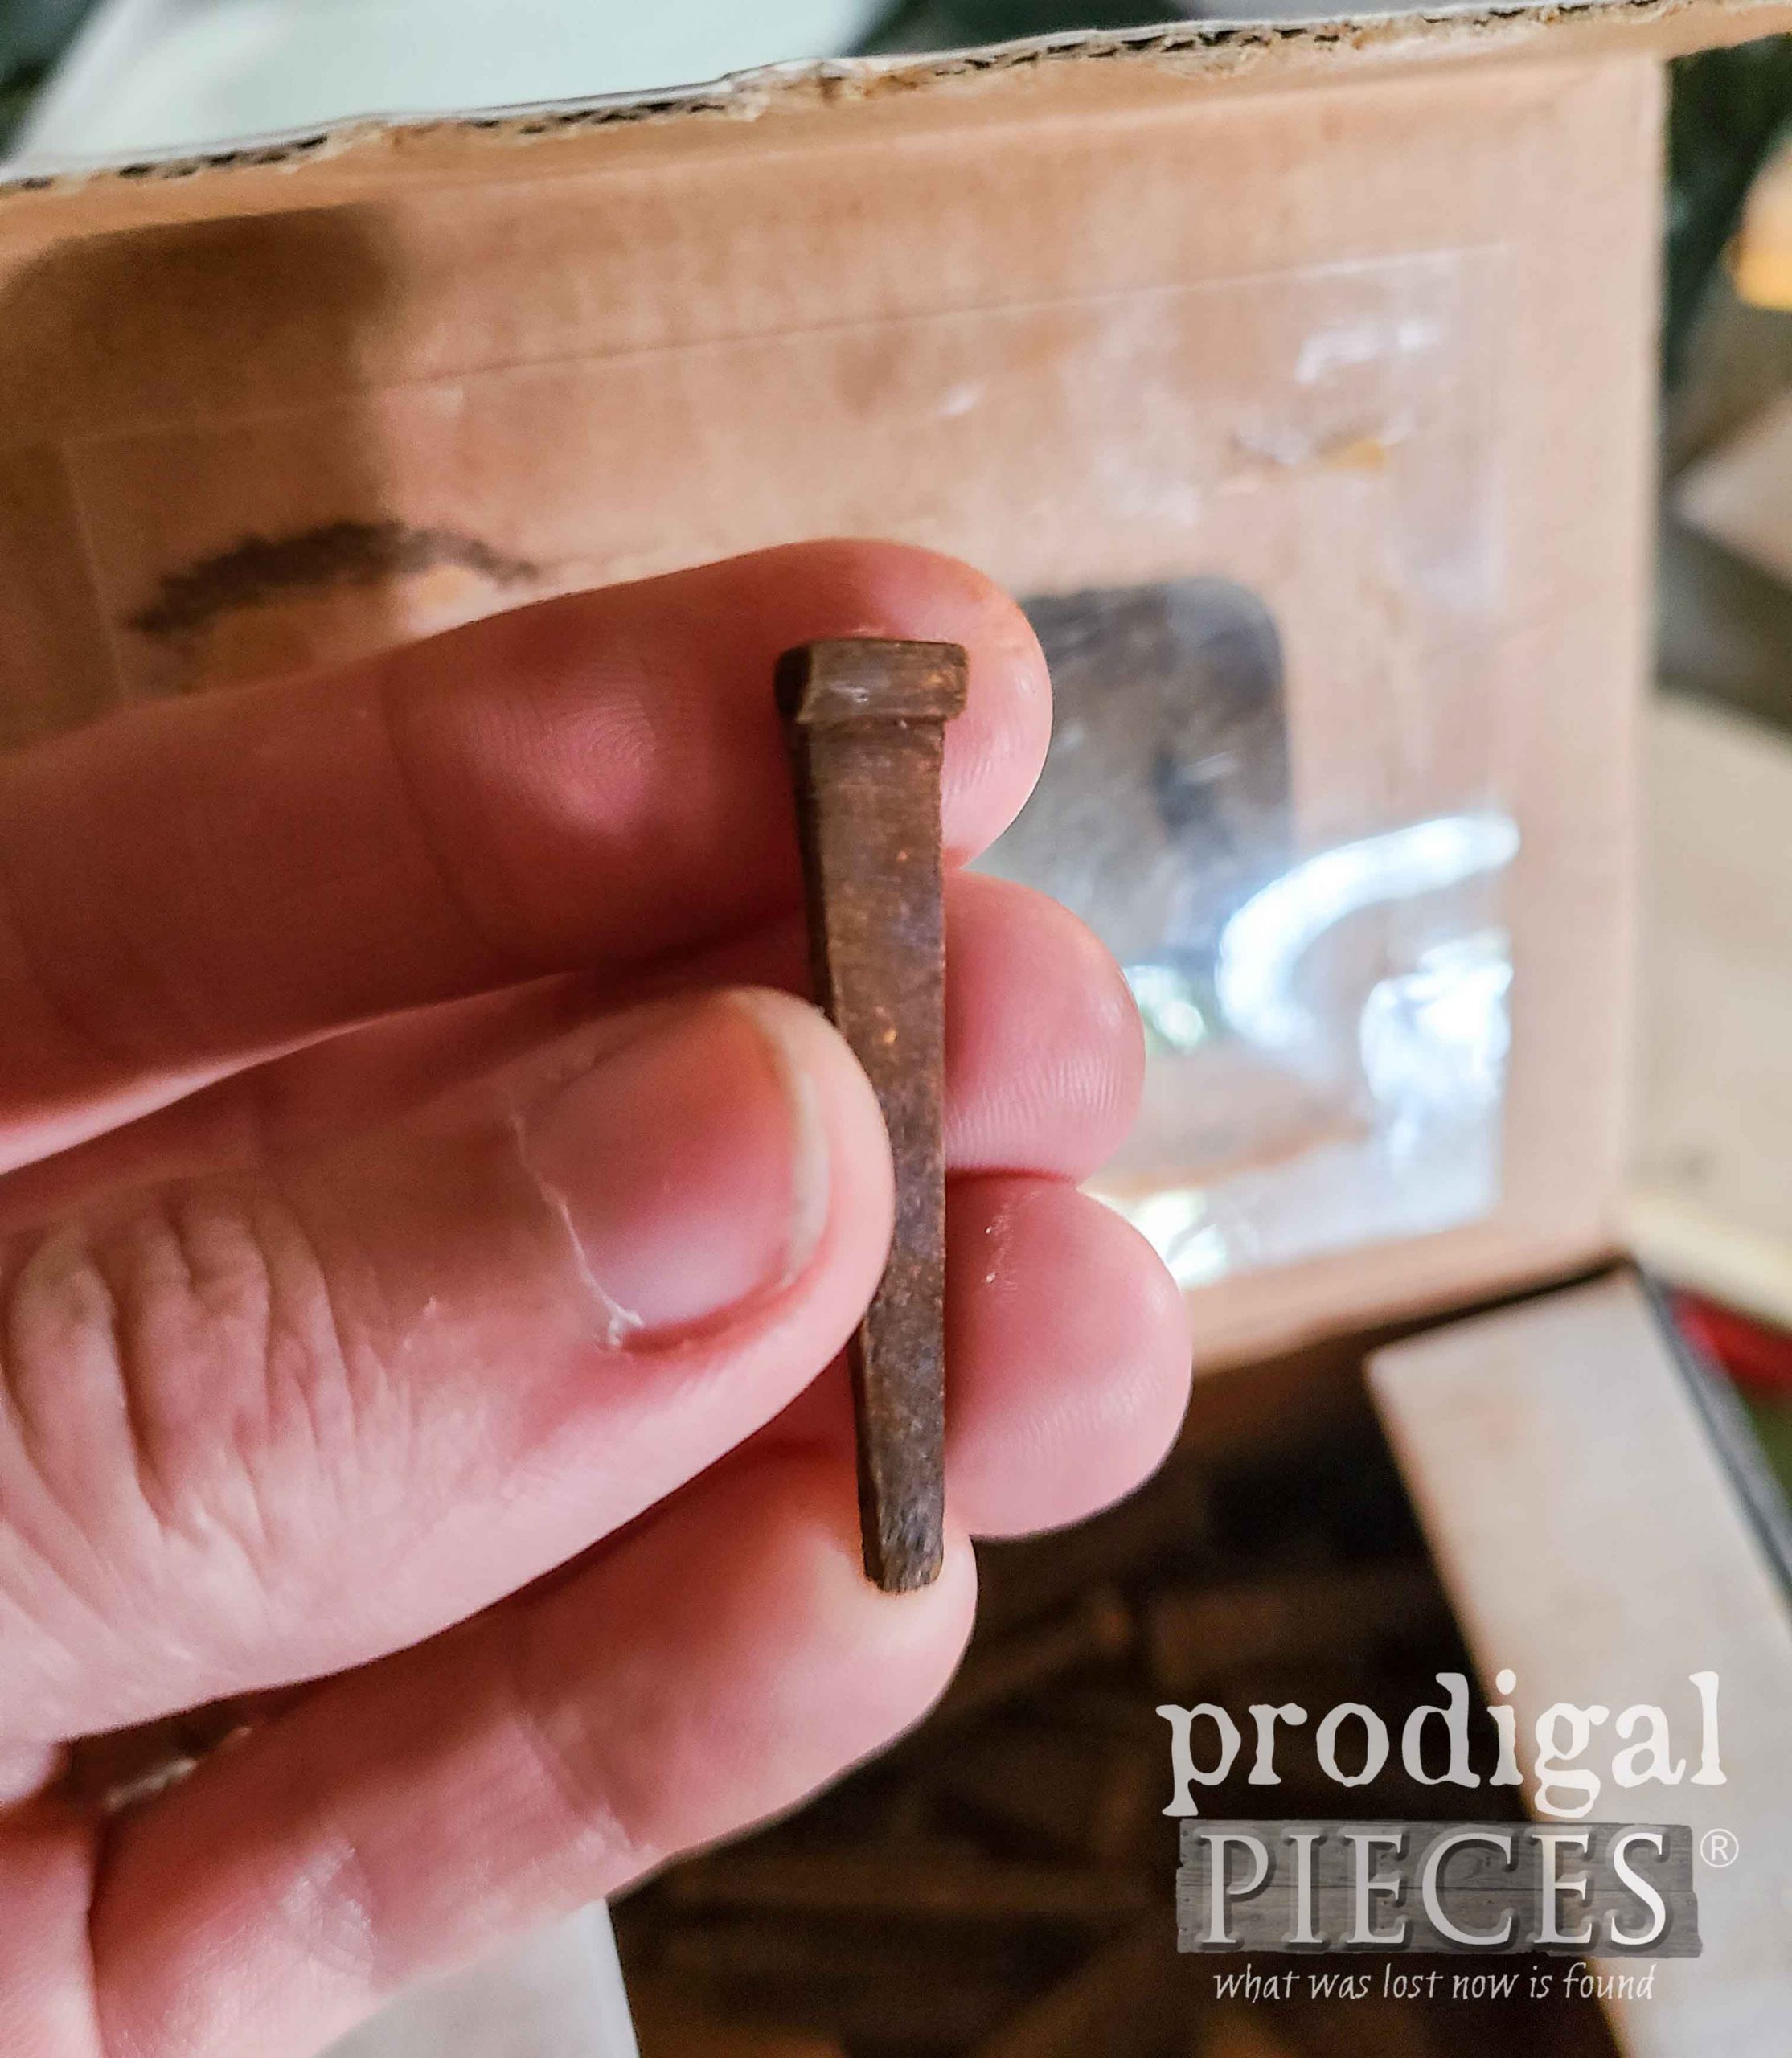
Also, at this point, you can skip the screws and go even further “antique” and use some rusty masonry nails. There is no doubt using screws are easier, but this is fun. Just so you know, masonry nails don’t come rusty, but in one day you can have them looking like this if you use my recipe in this post HERE.
STEP 4
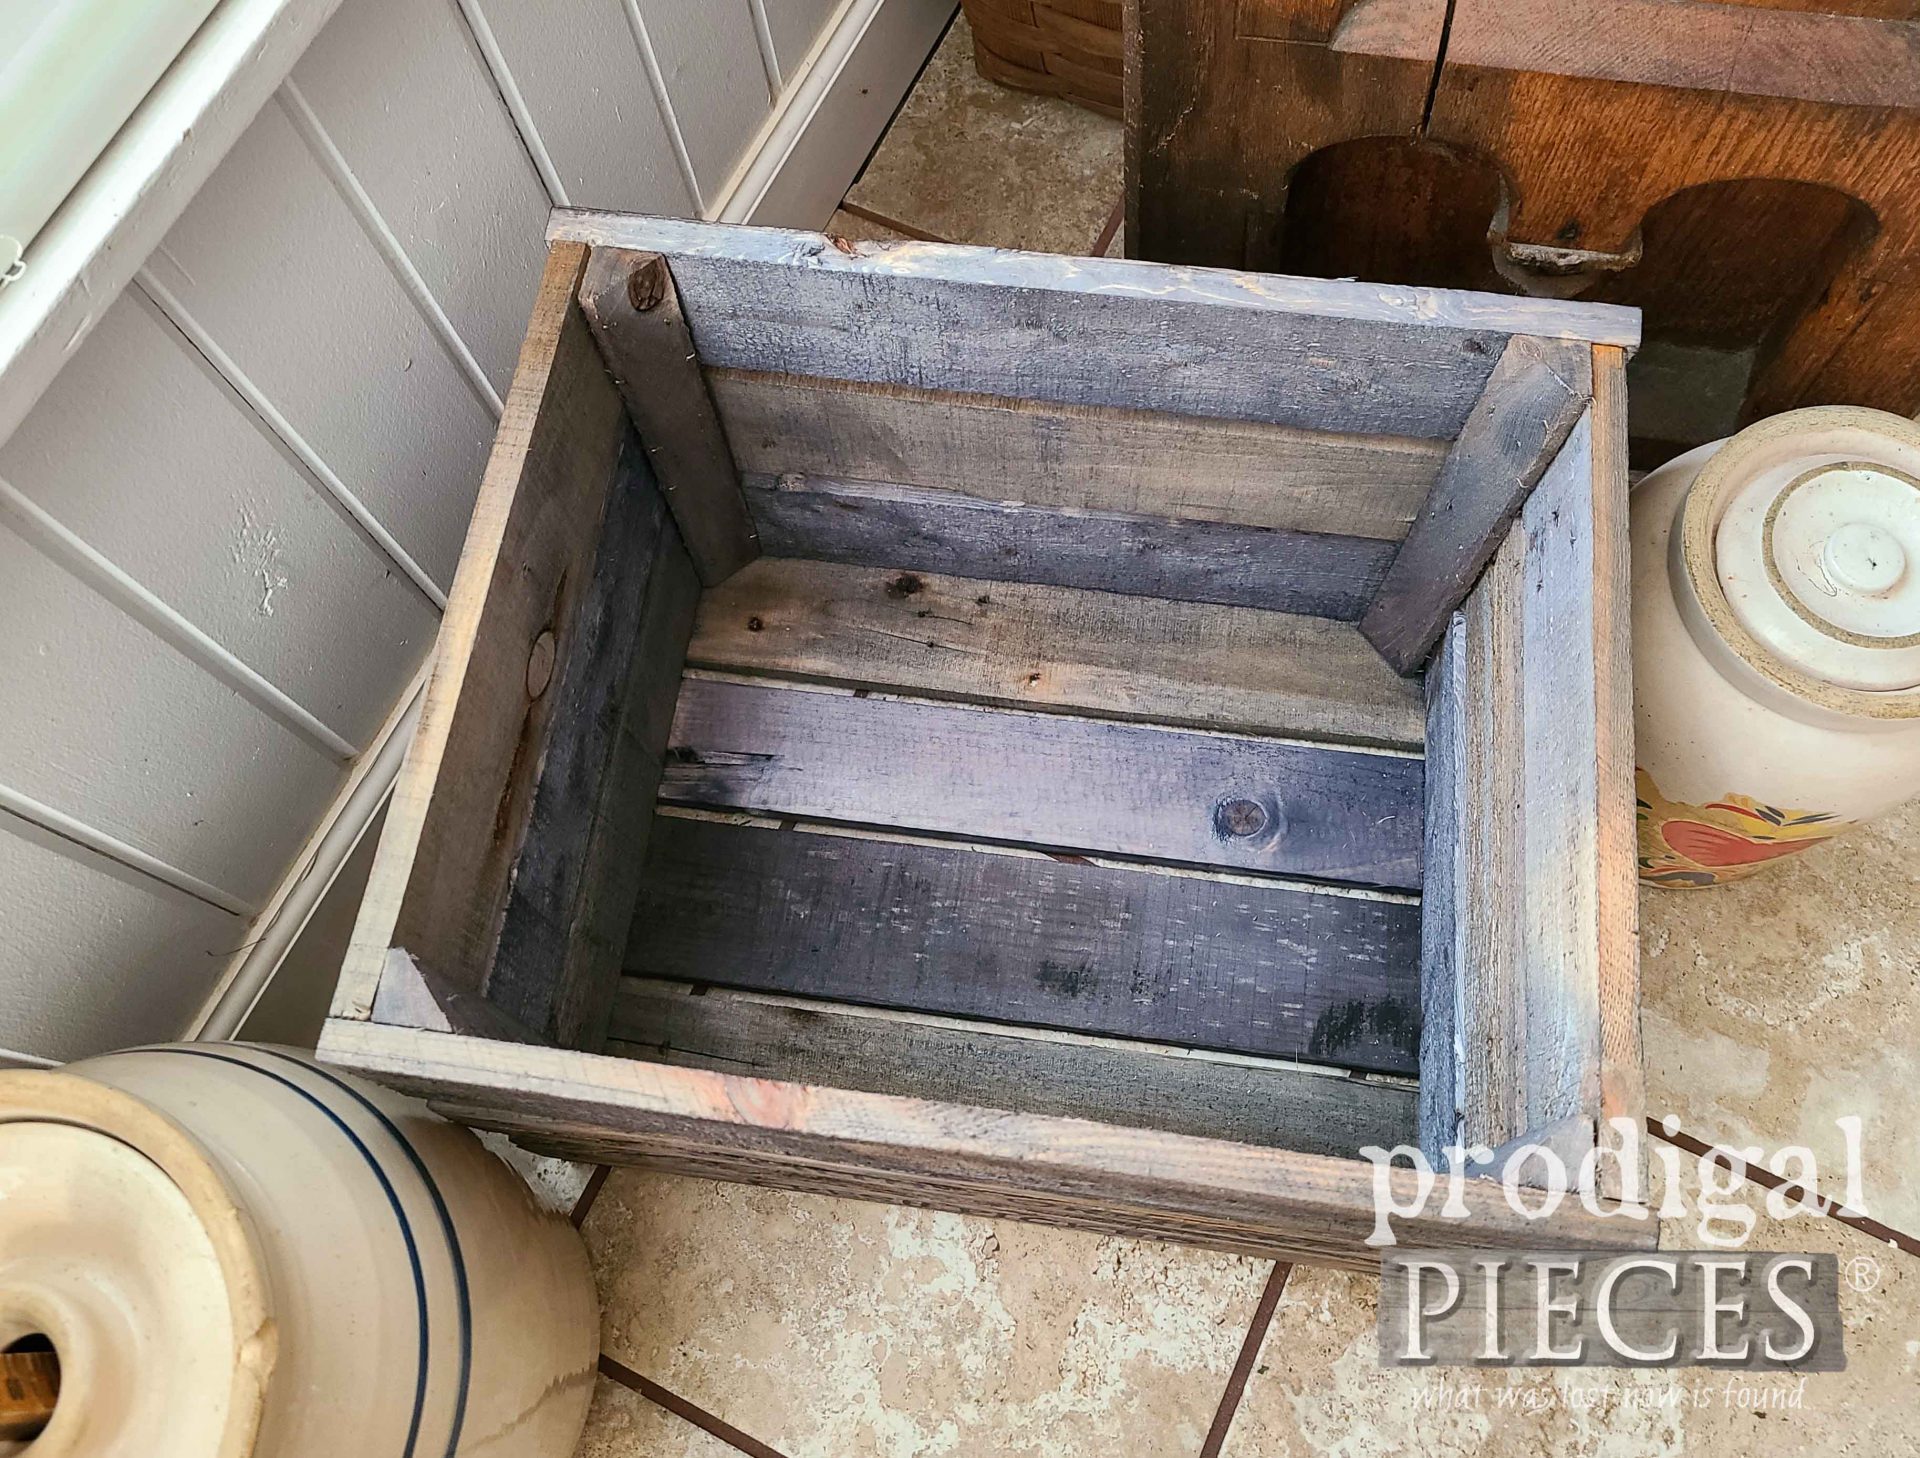
Before we get to the finishing fun, we need to add the crate bottom. If our build is square and as it should be, we just measure and cut. My crate bottom is made of 18″ pallet wood lengths, the same as the sides. How many lengths you need depends on your build.
STEP 5
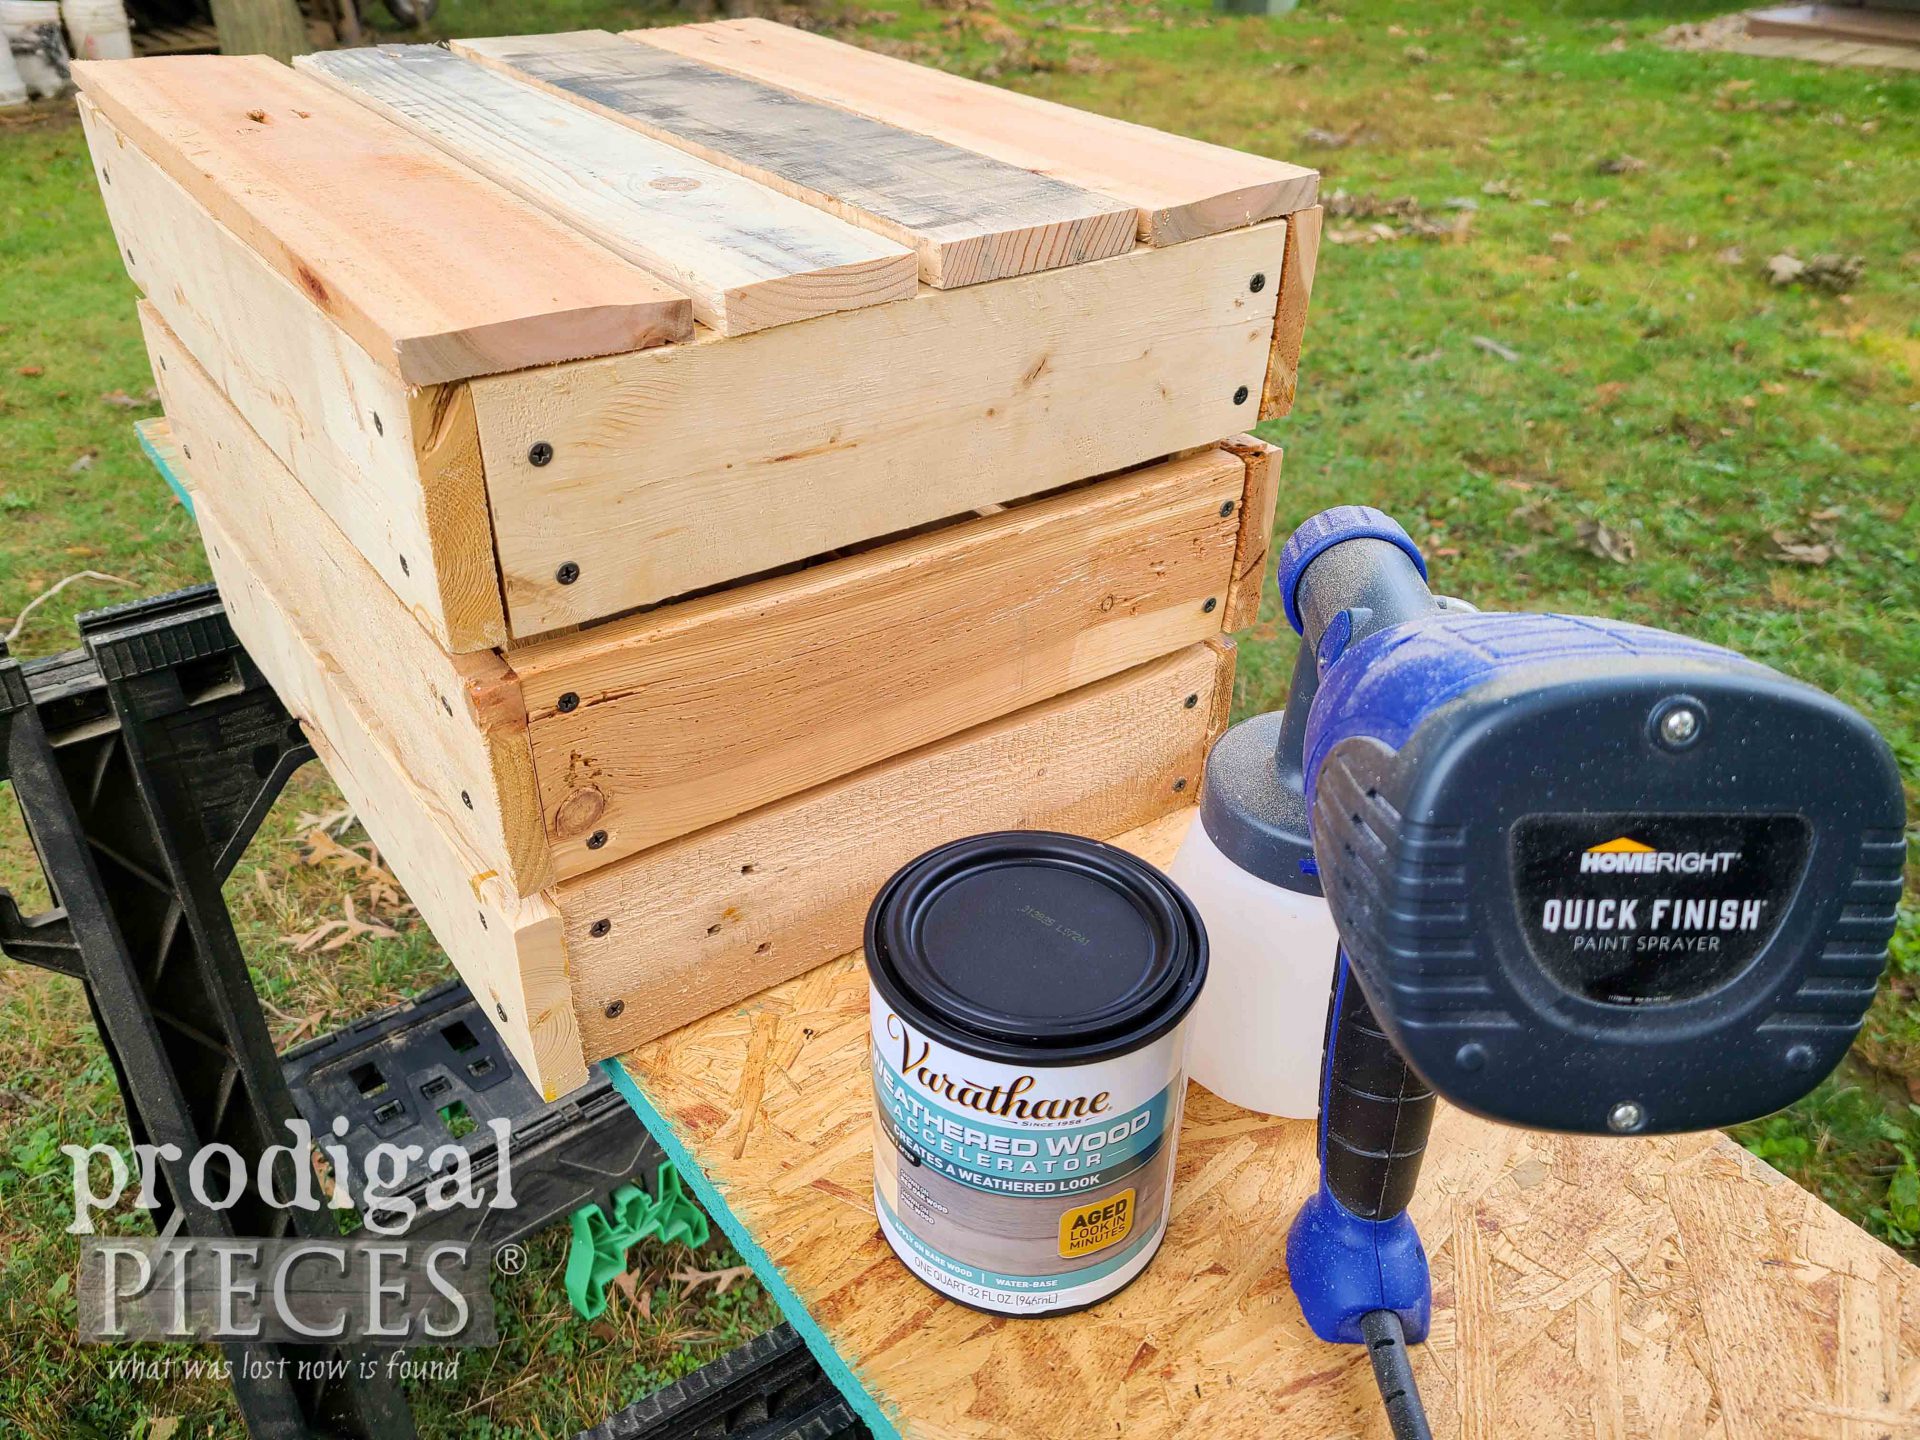
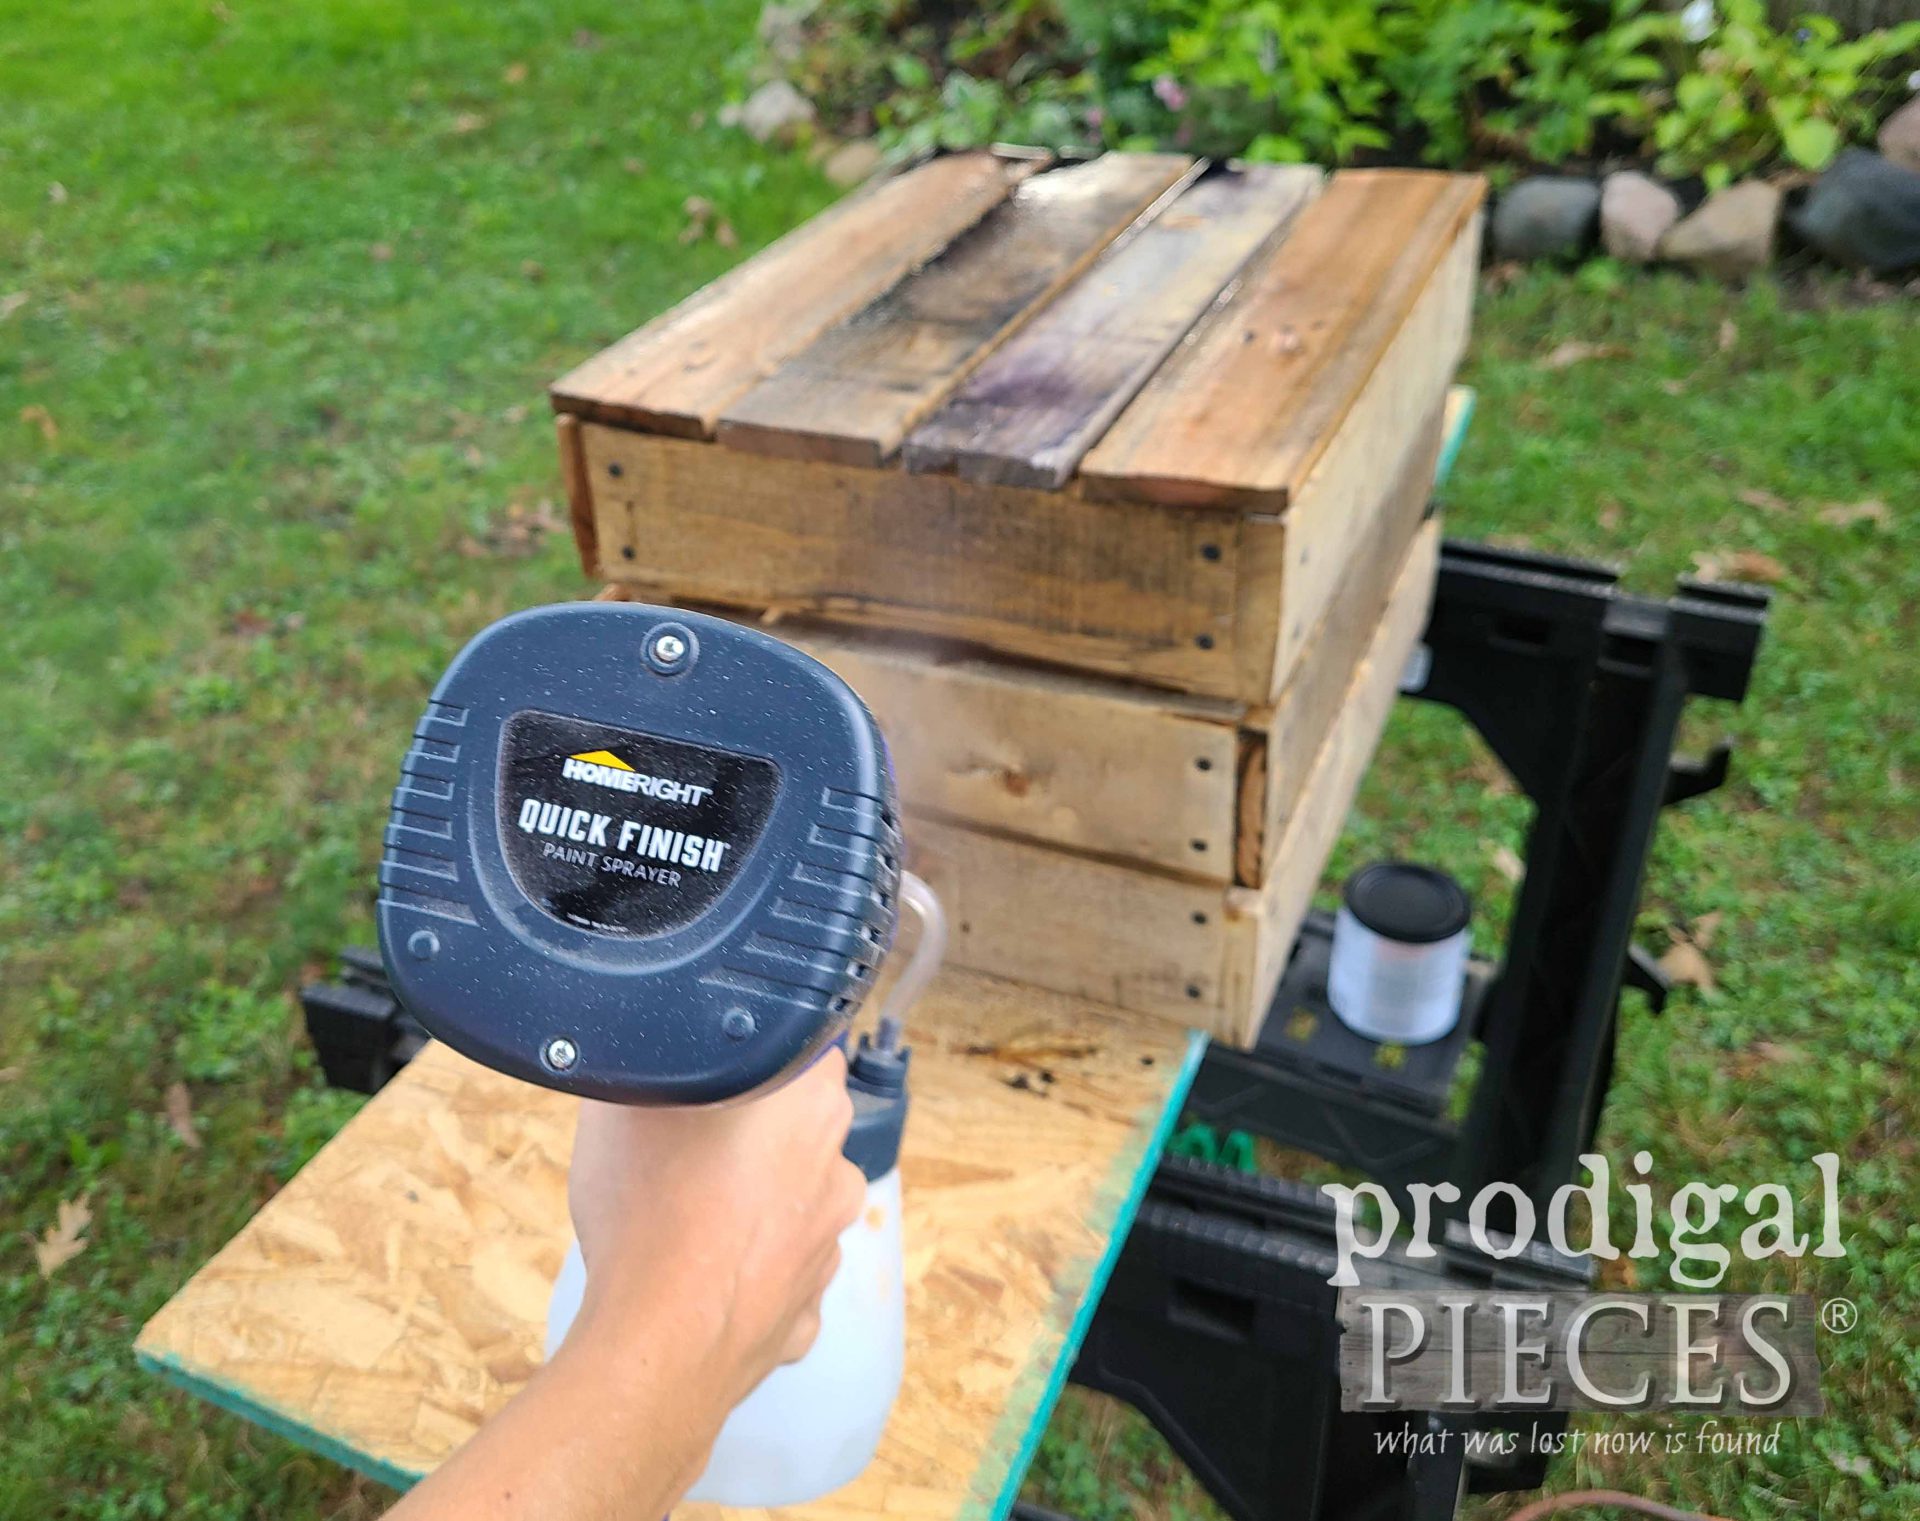
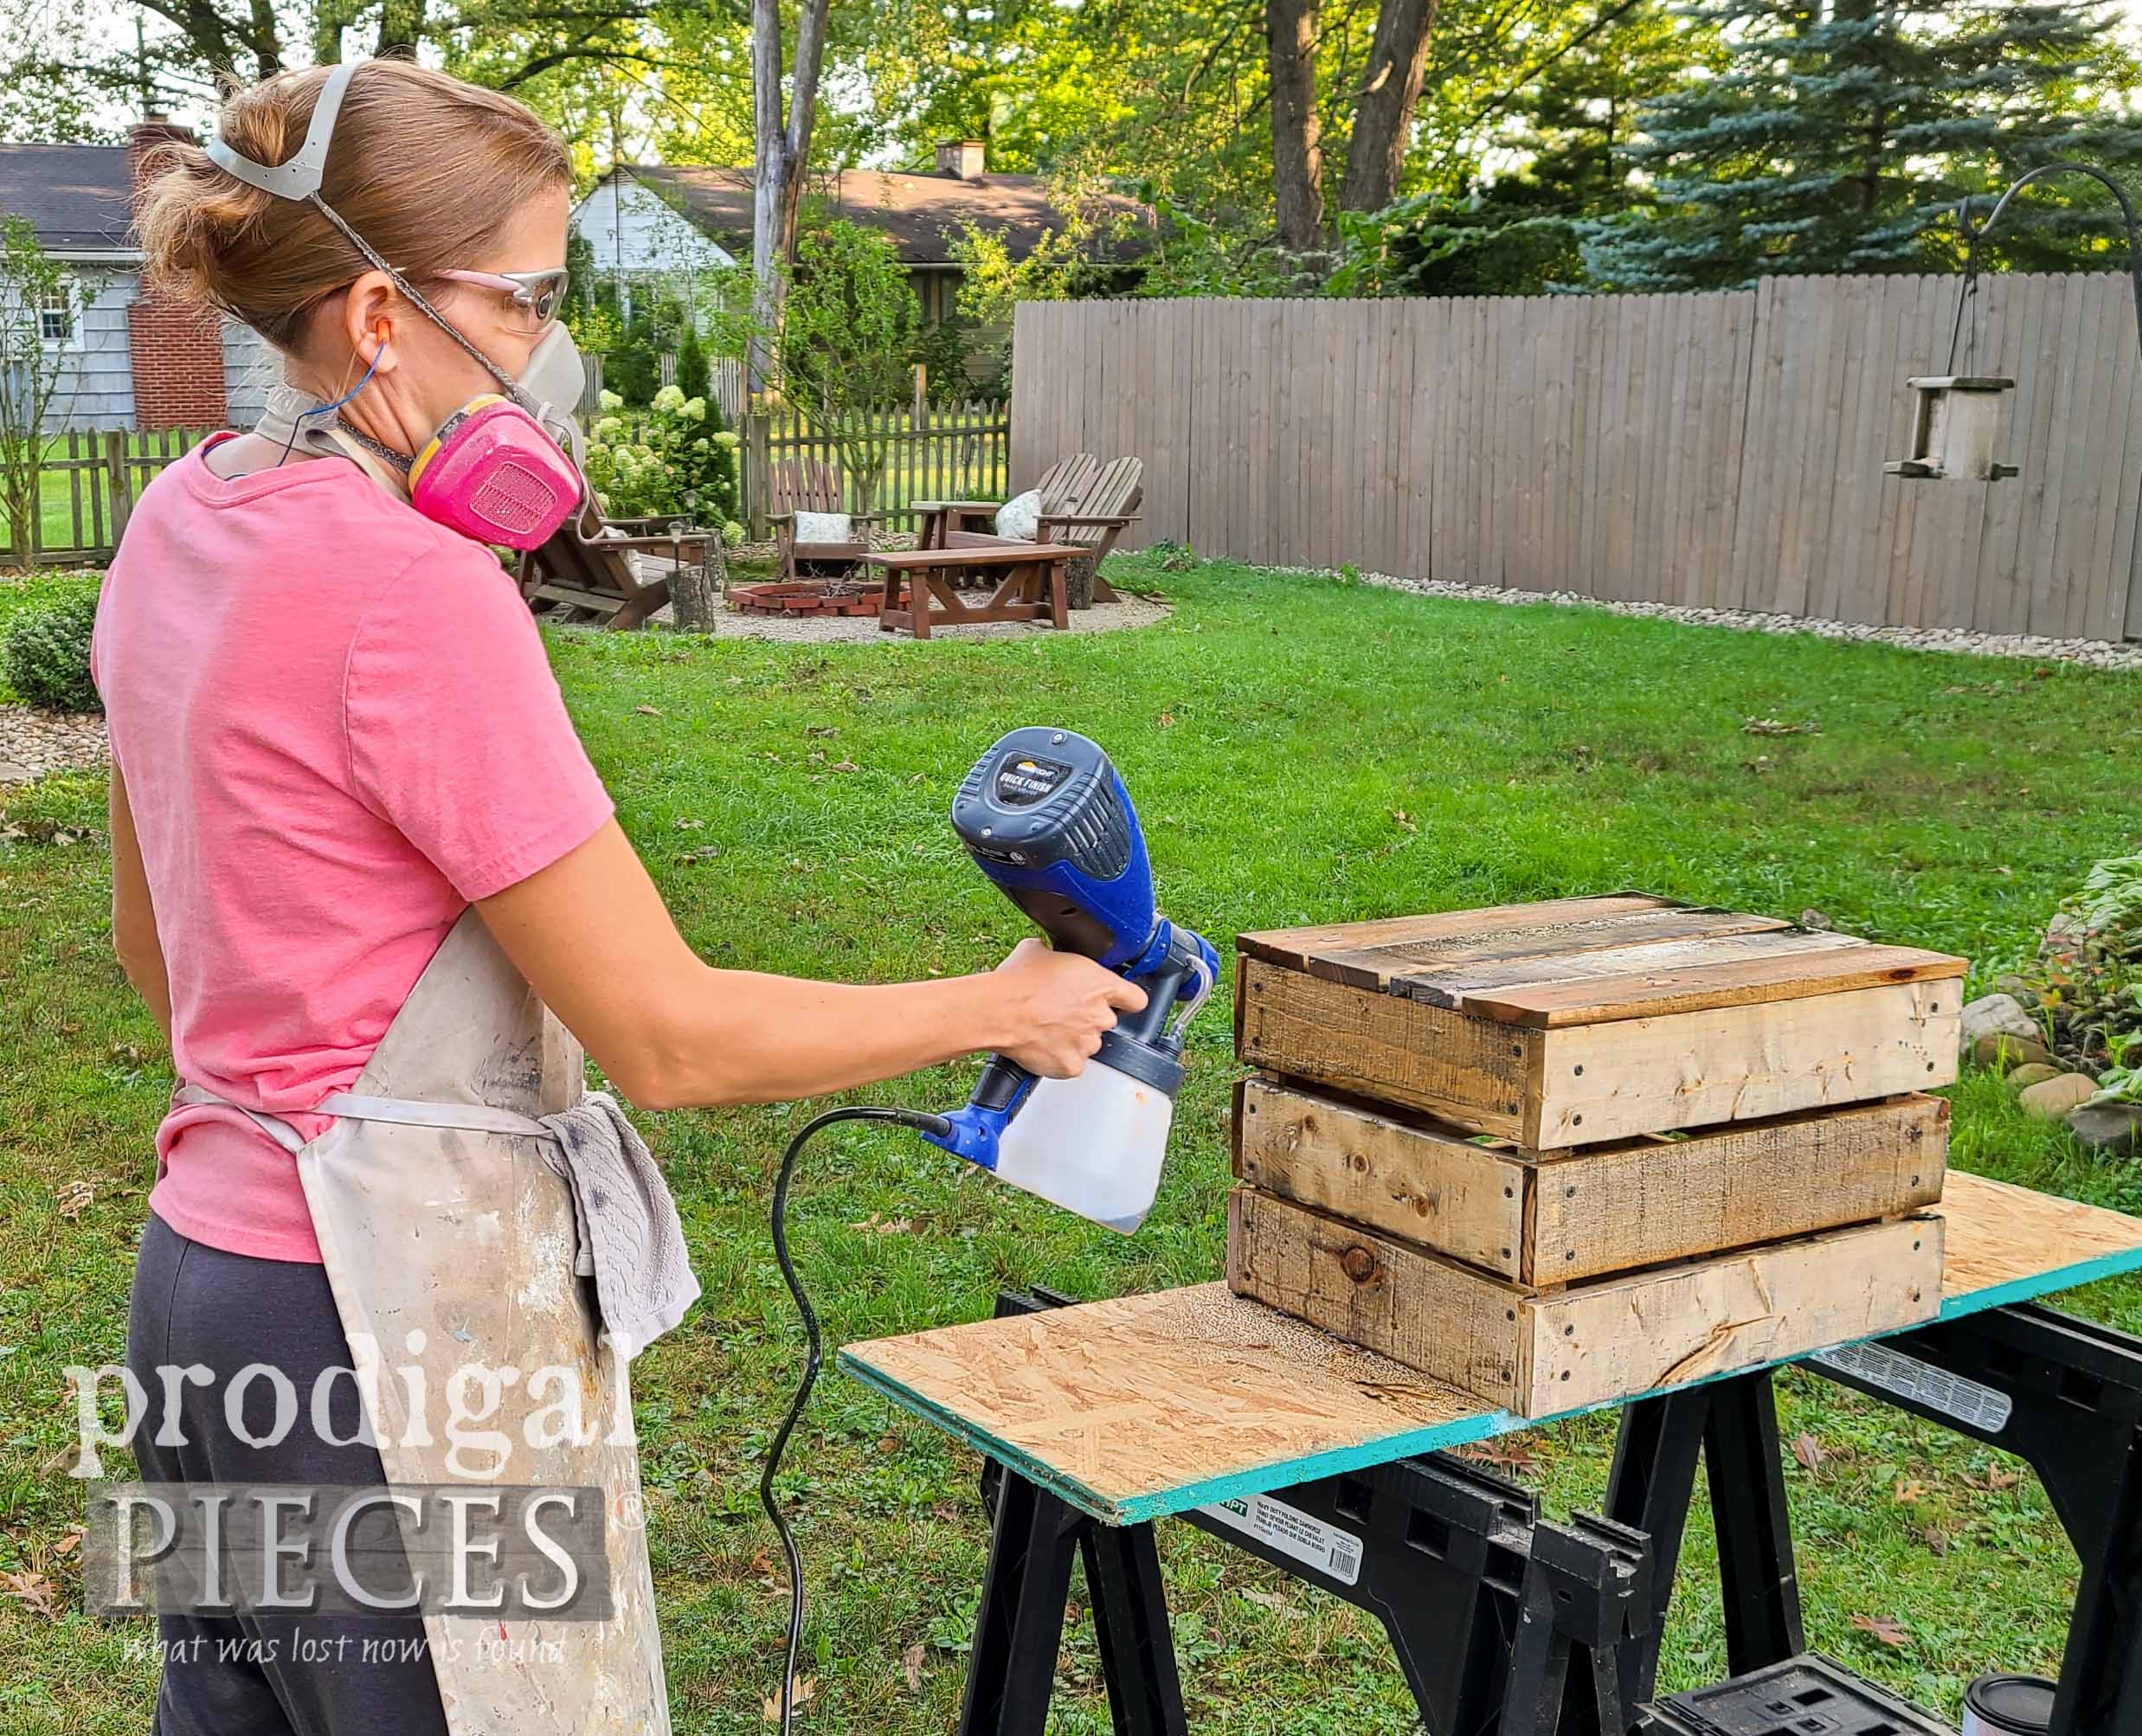
At long last we are ready for the best part of creating…the final part! haha. It’s at this point you can choose the route you want to finish your DIY antique crate. Whether you choose to keep it natural, paint, or stain, be sure to use the Quick Finish Sprayer.
No joke, when they say quick, they mean it! I just pour in my stain and have at it.
This weathered wood stain is also the one I demonstrated in my video. If you haven’t tried it yet, I can’t say enough good about it – easy, affordable, and fun!
Also, this stain just goes on and you let it set for 30 minute to an hour. I wanted this to be as rustic and weathered as possible, so I let it sit for over an hour. It’s so fun to see it age right before your eyes!
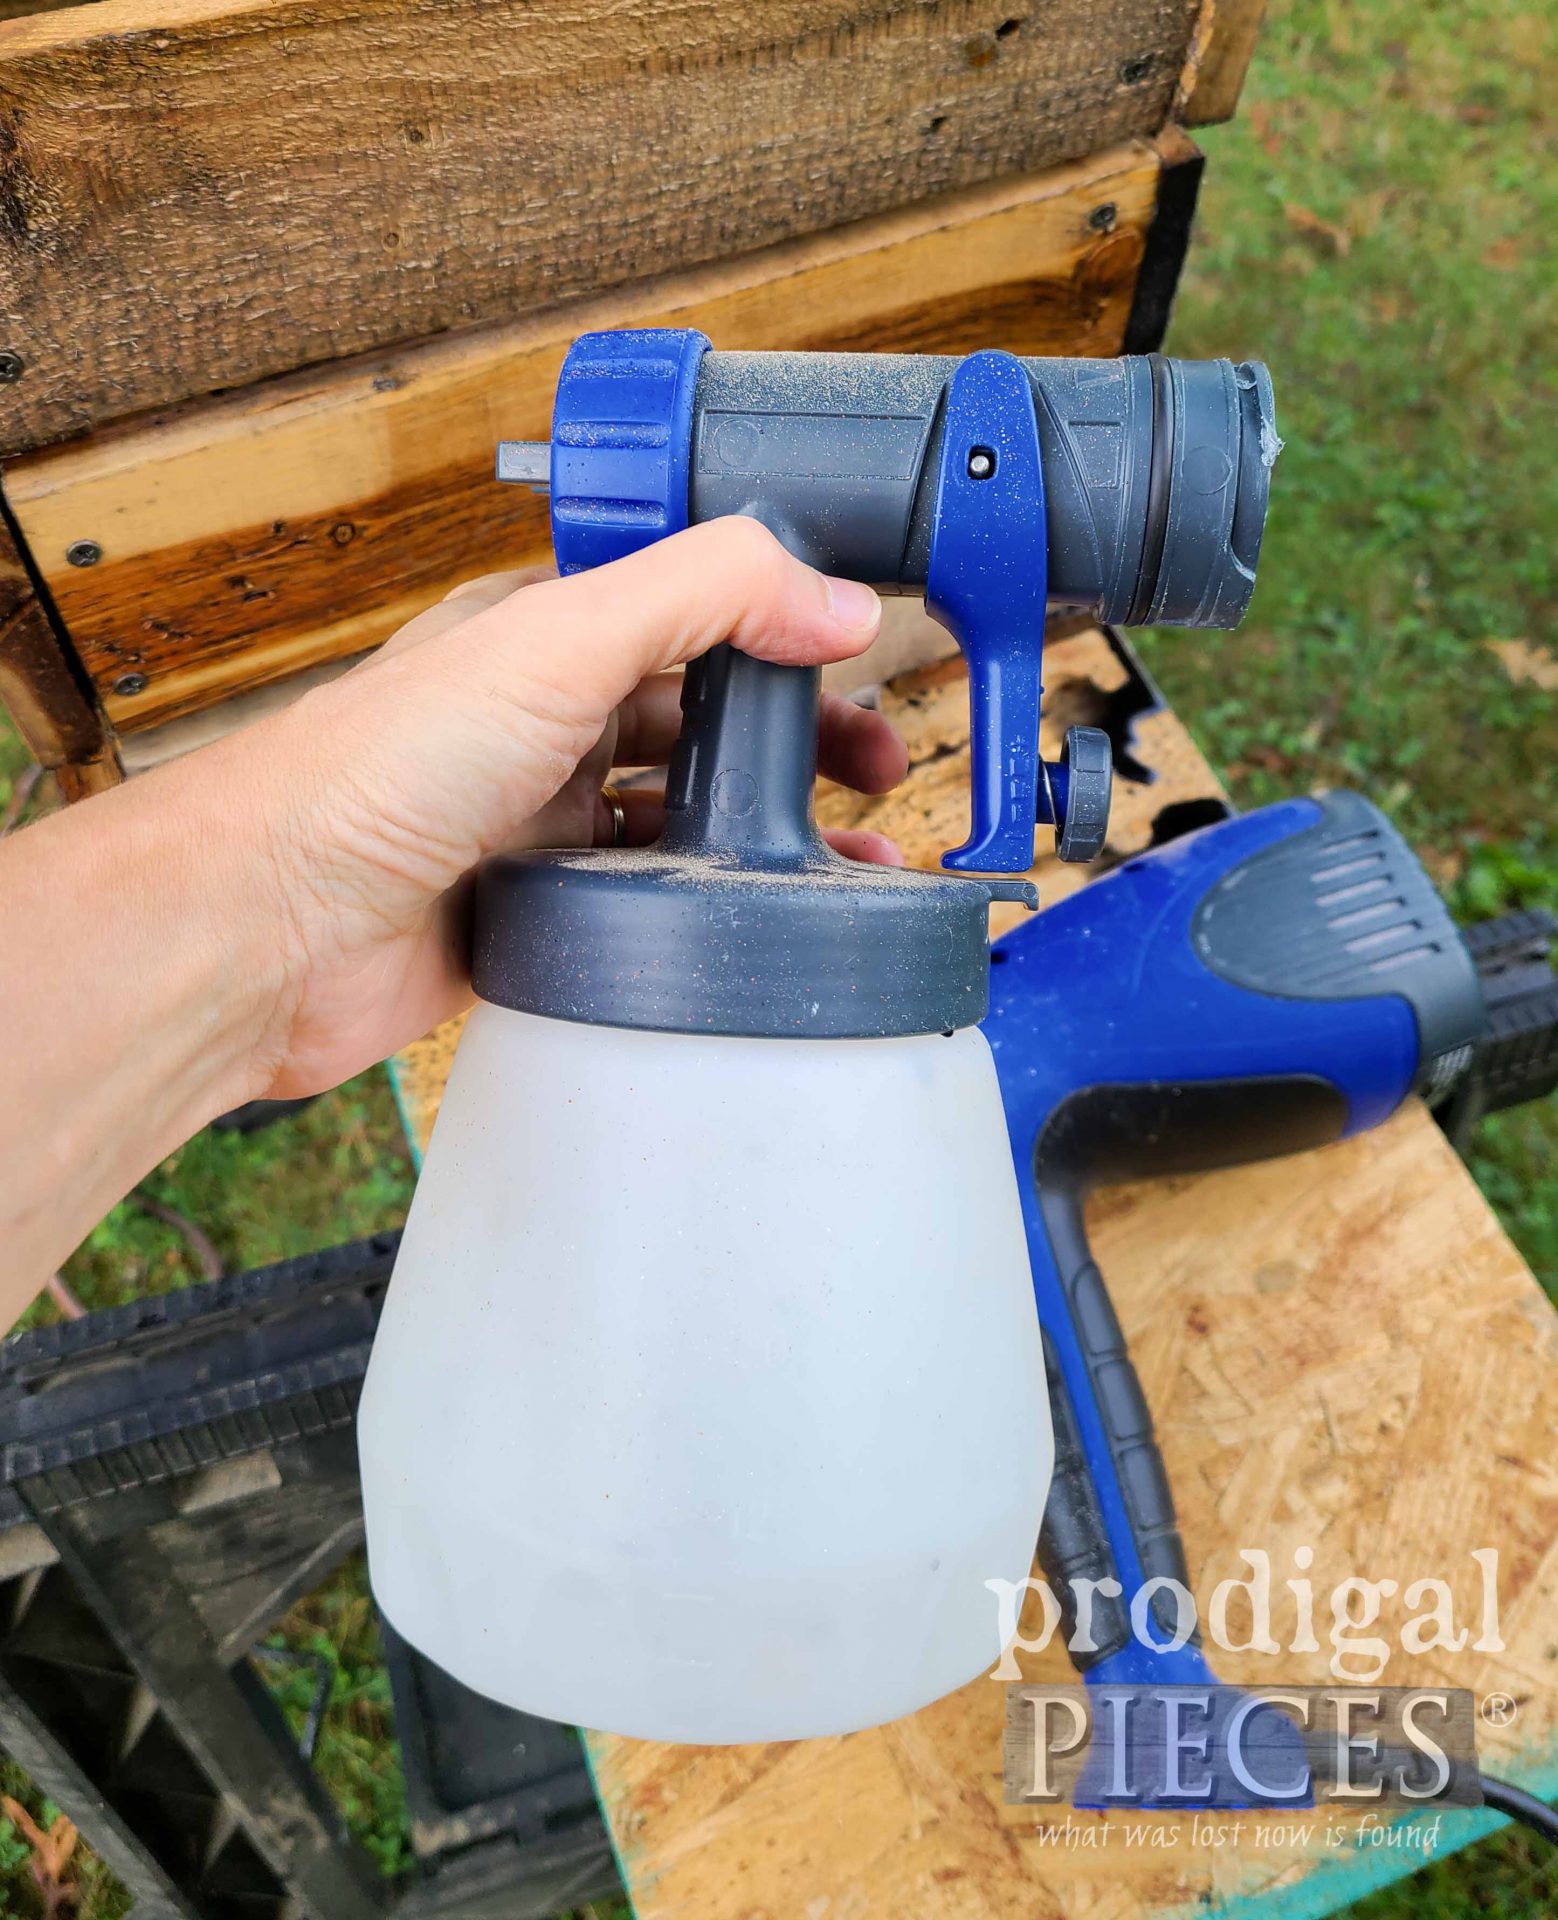
When you are done, just use the Quick Release feature to pop off the canister and the nozzle for easy clean-up.
STEP 6
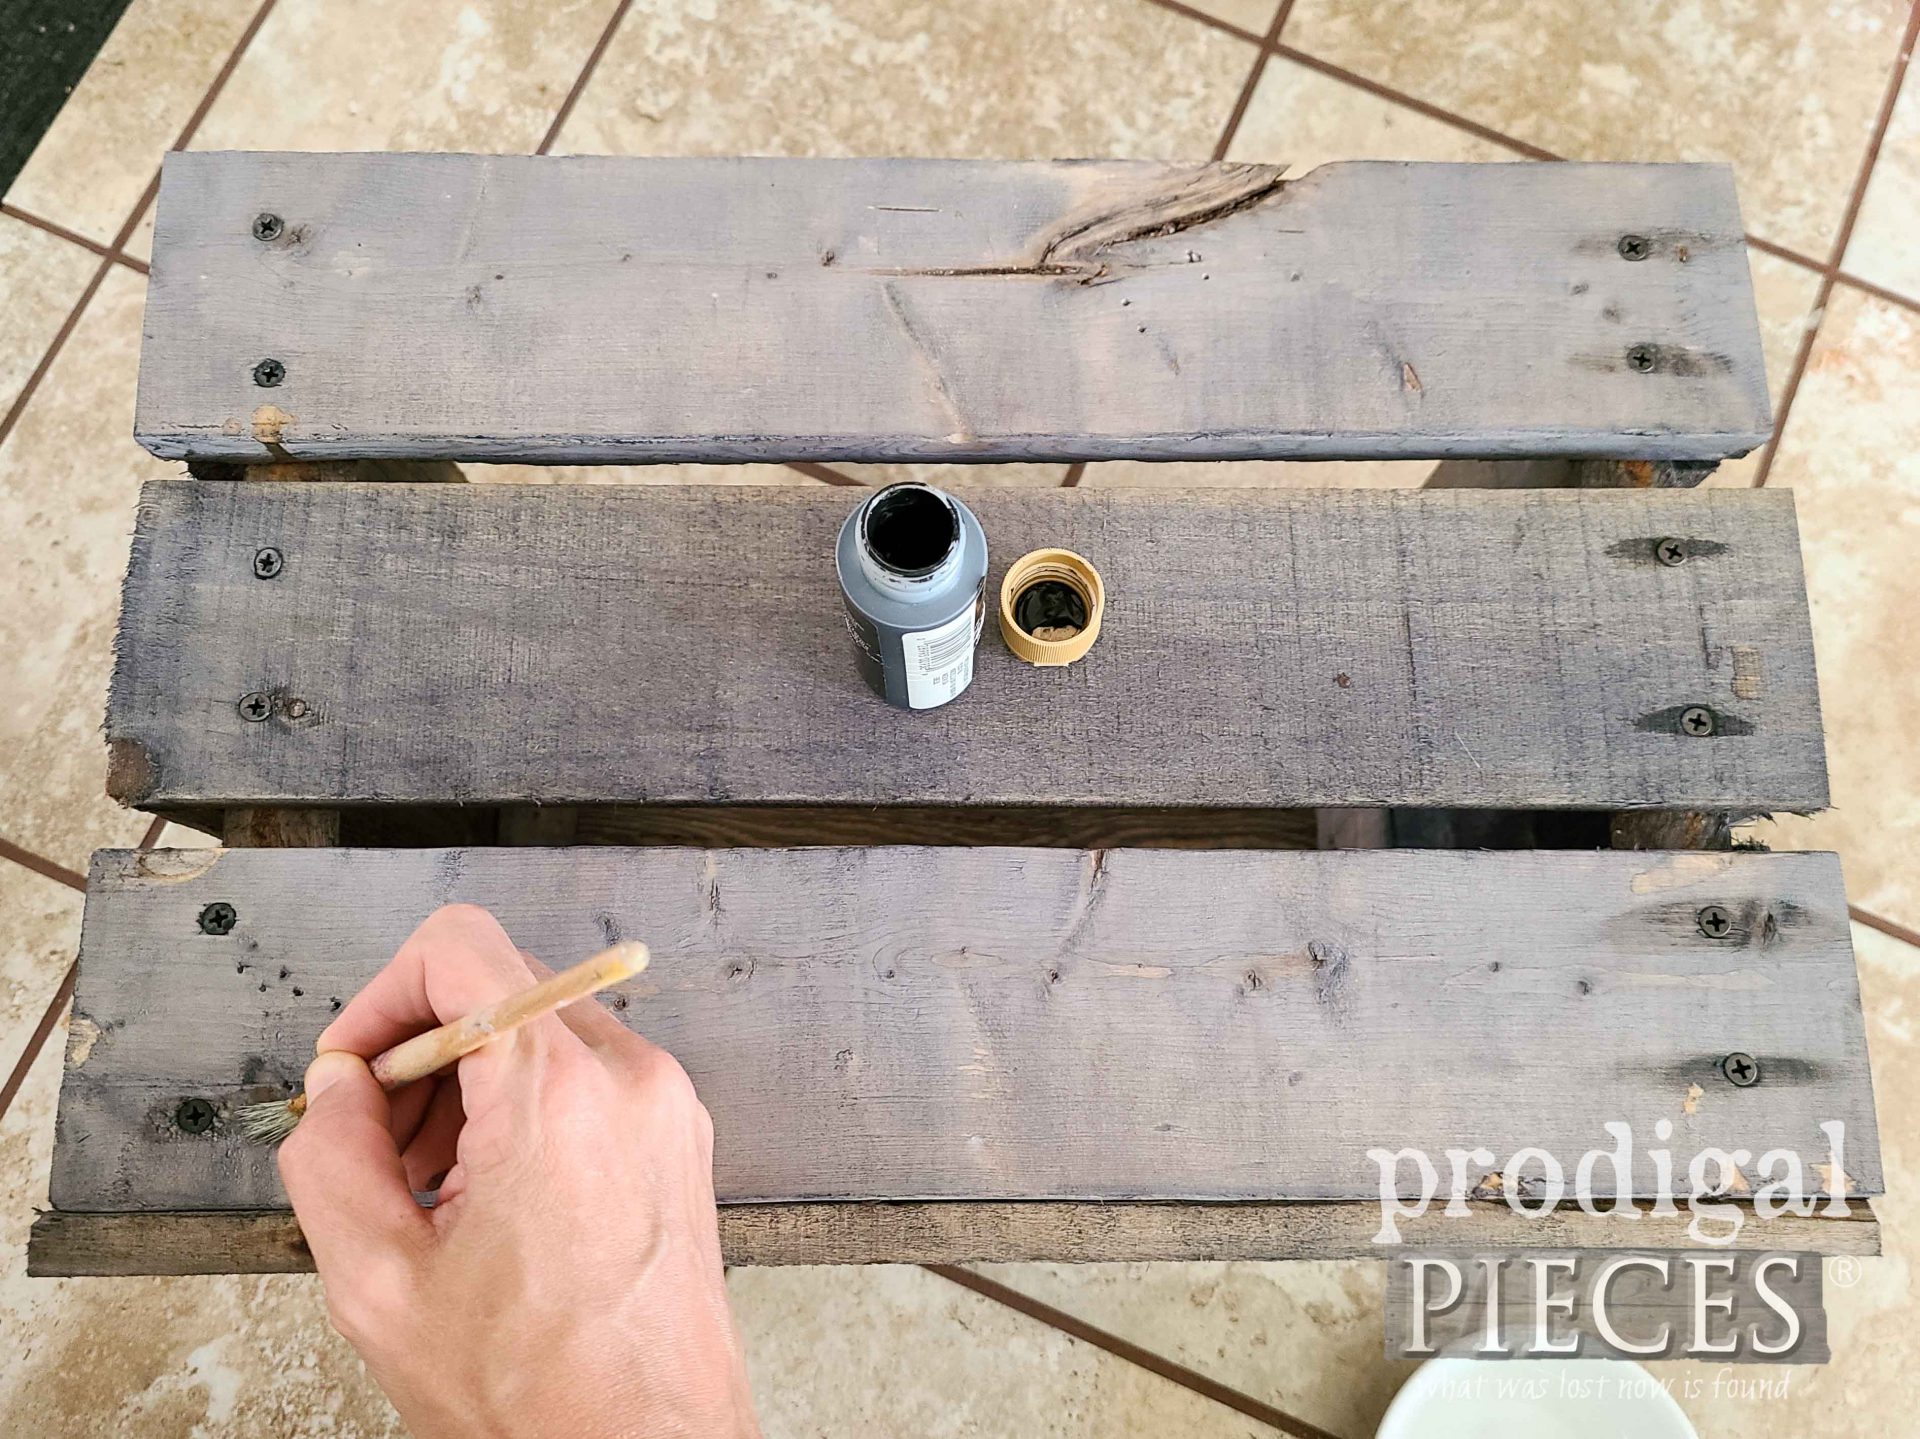
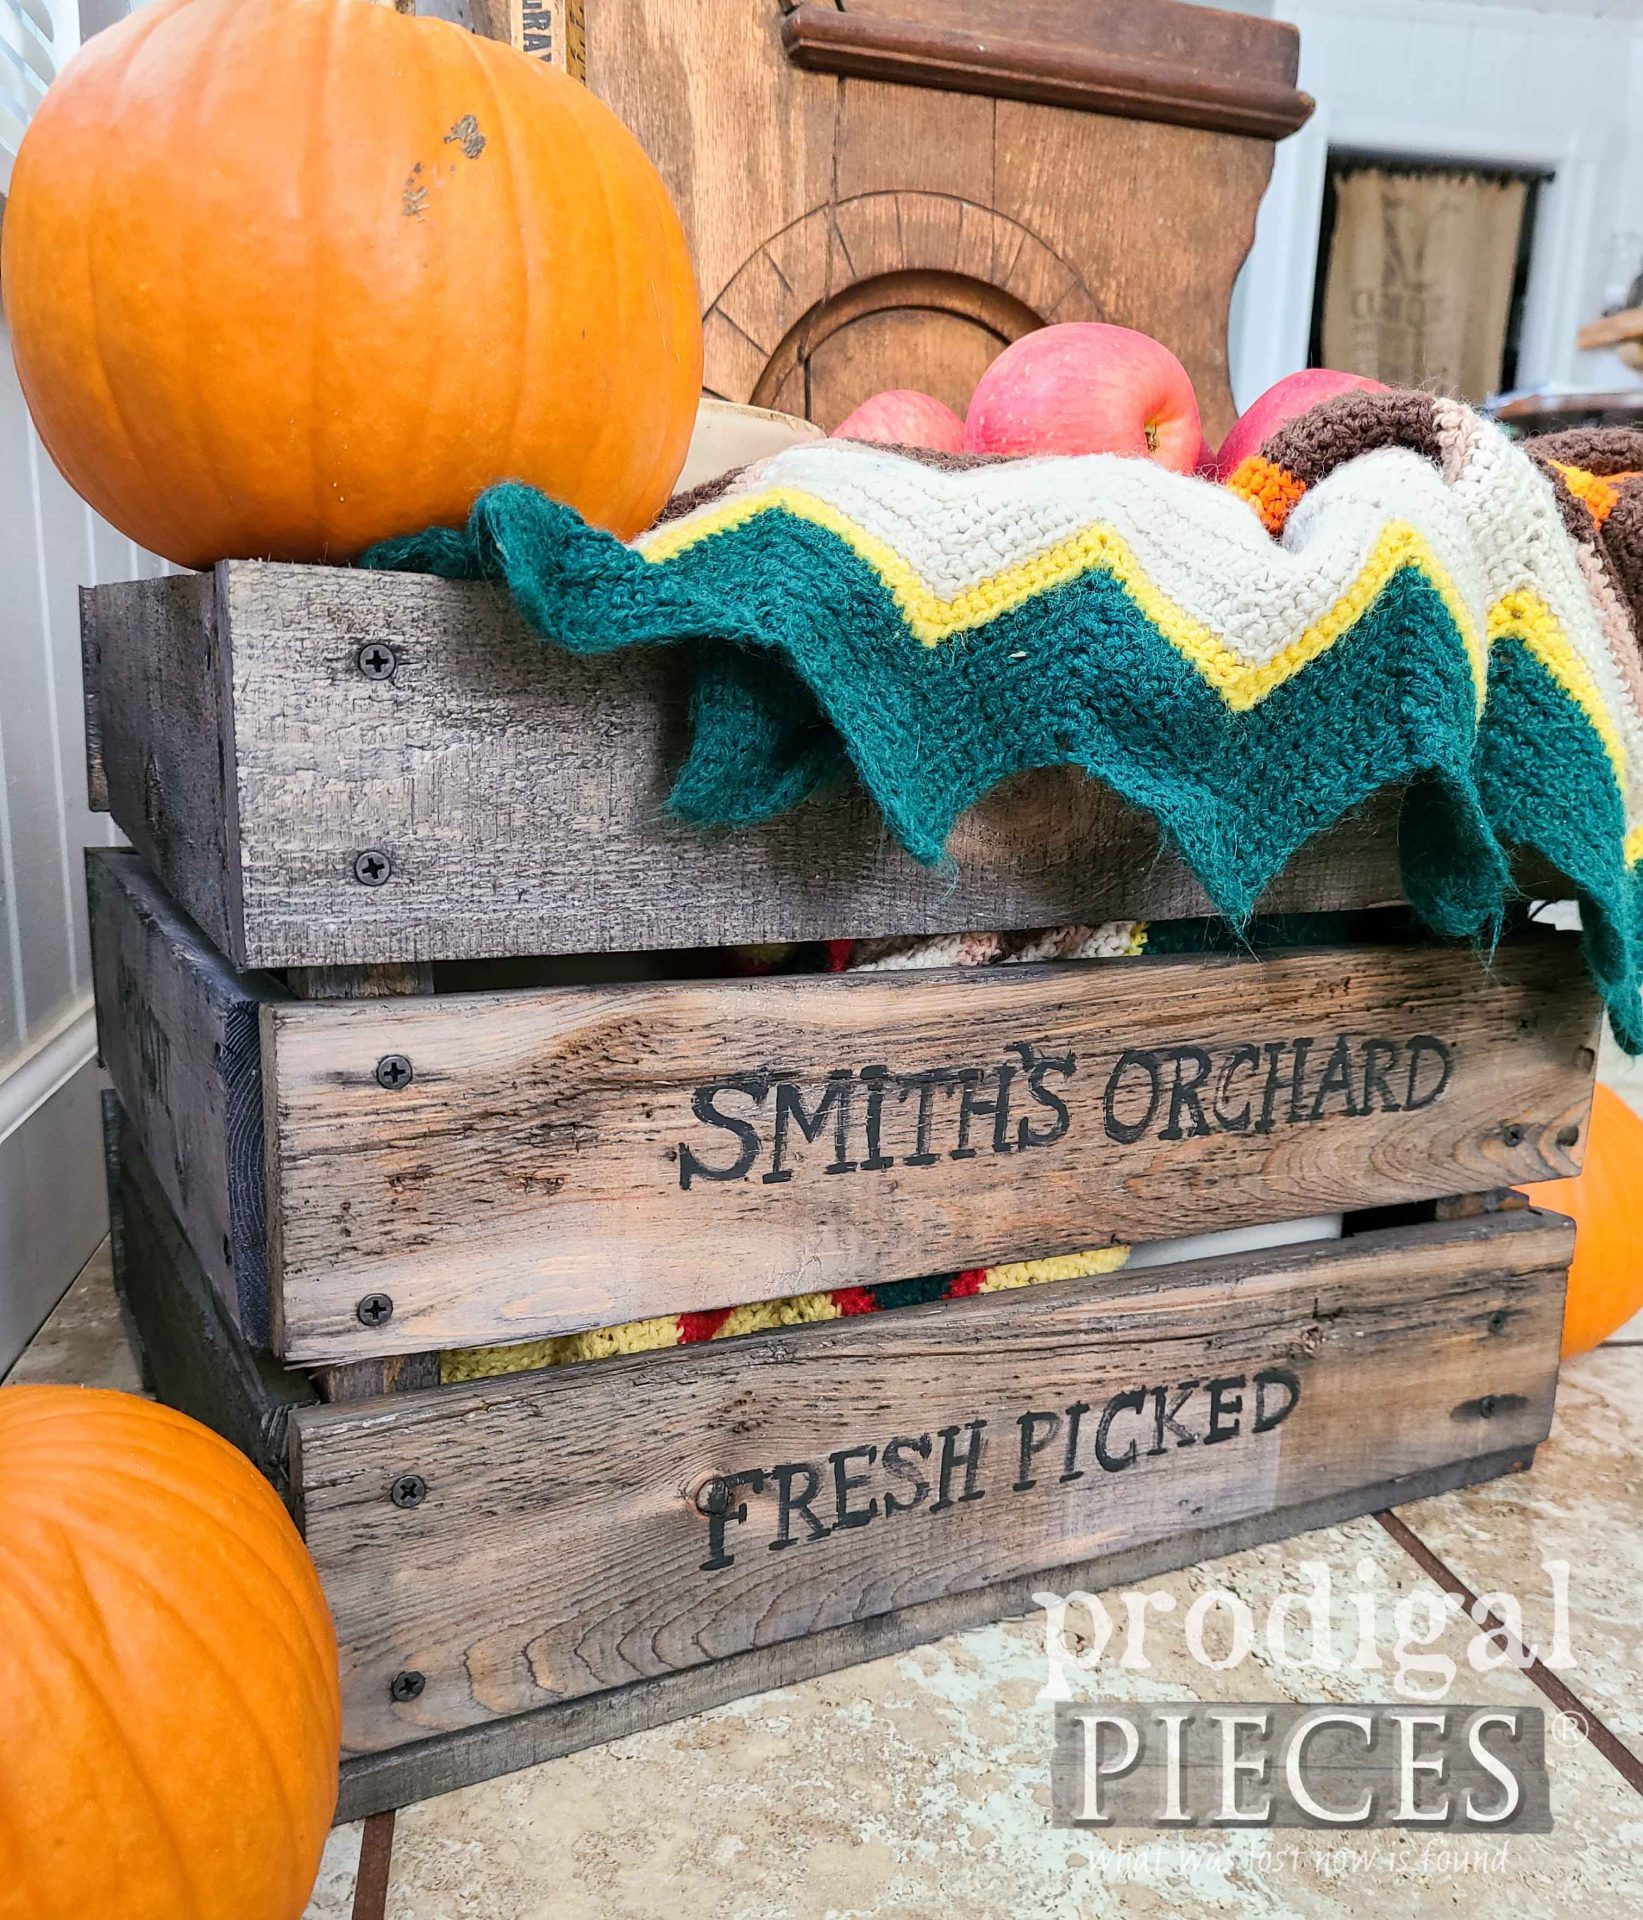
Last, before we call our DIY antique crate done, we want to add a bit of whimsy. Using a bit of thinned black paint, we want to go over the screw (or nail) heads in a horizontal pattern to make it look like they are weather-worn.
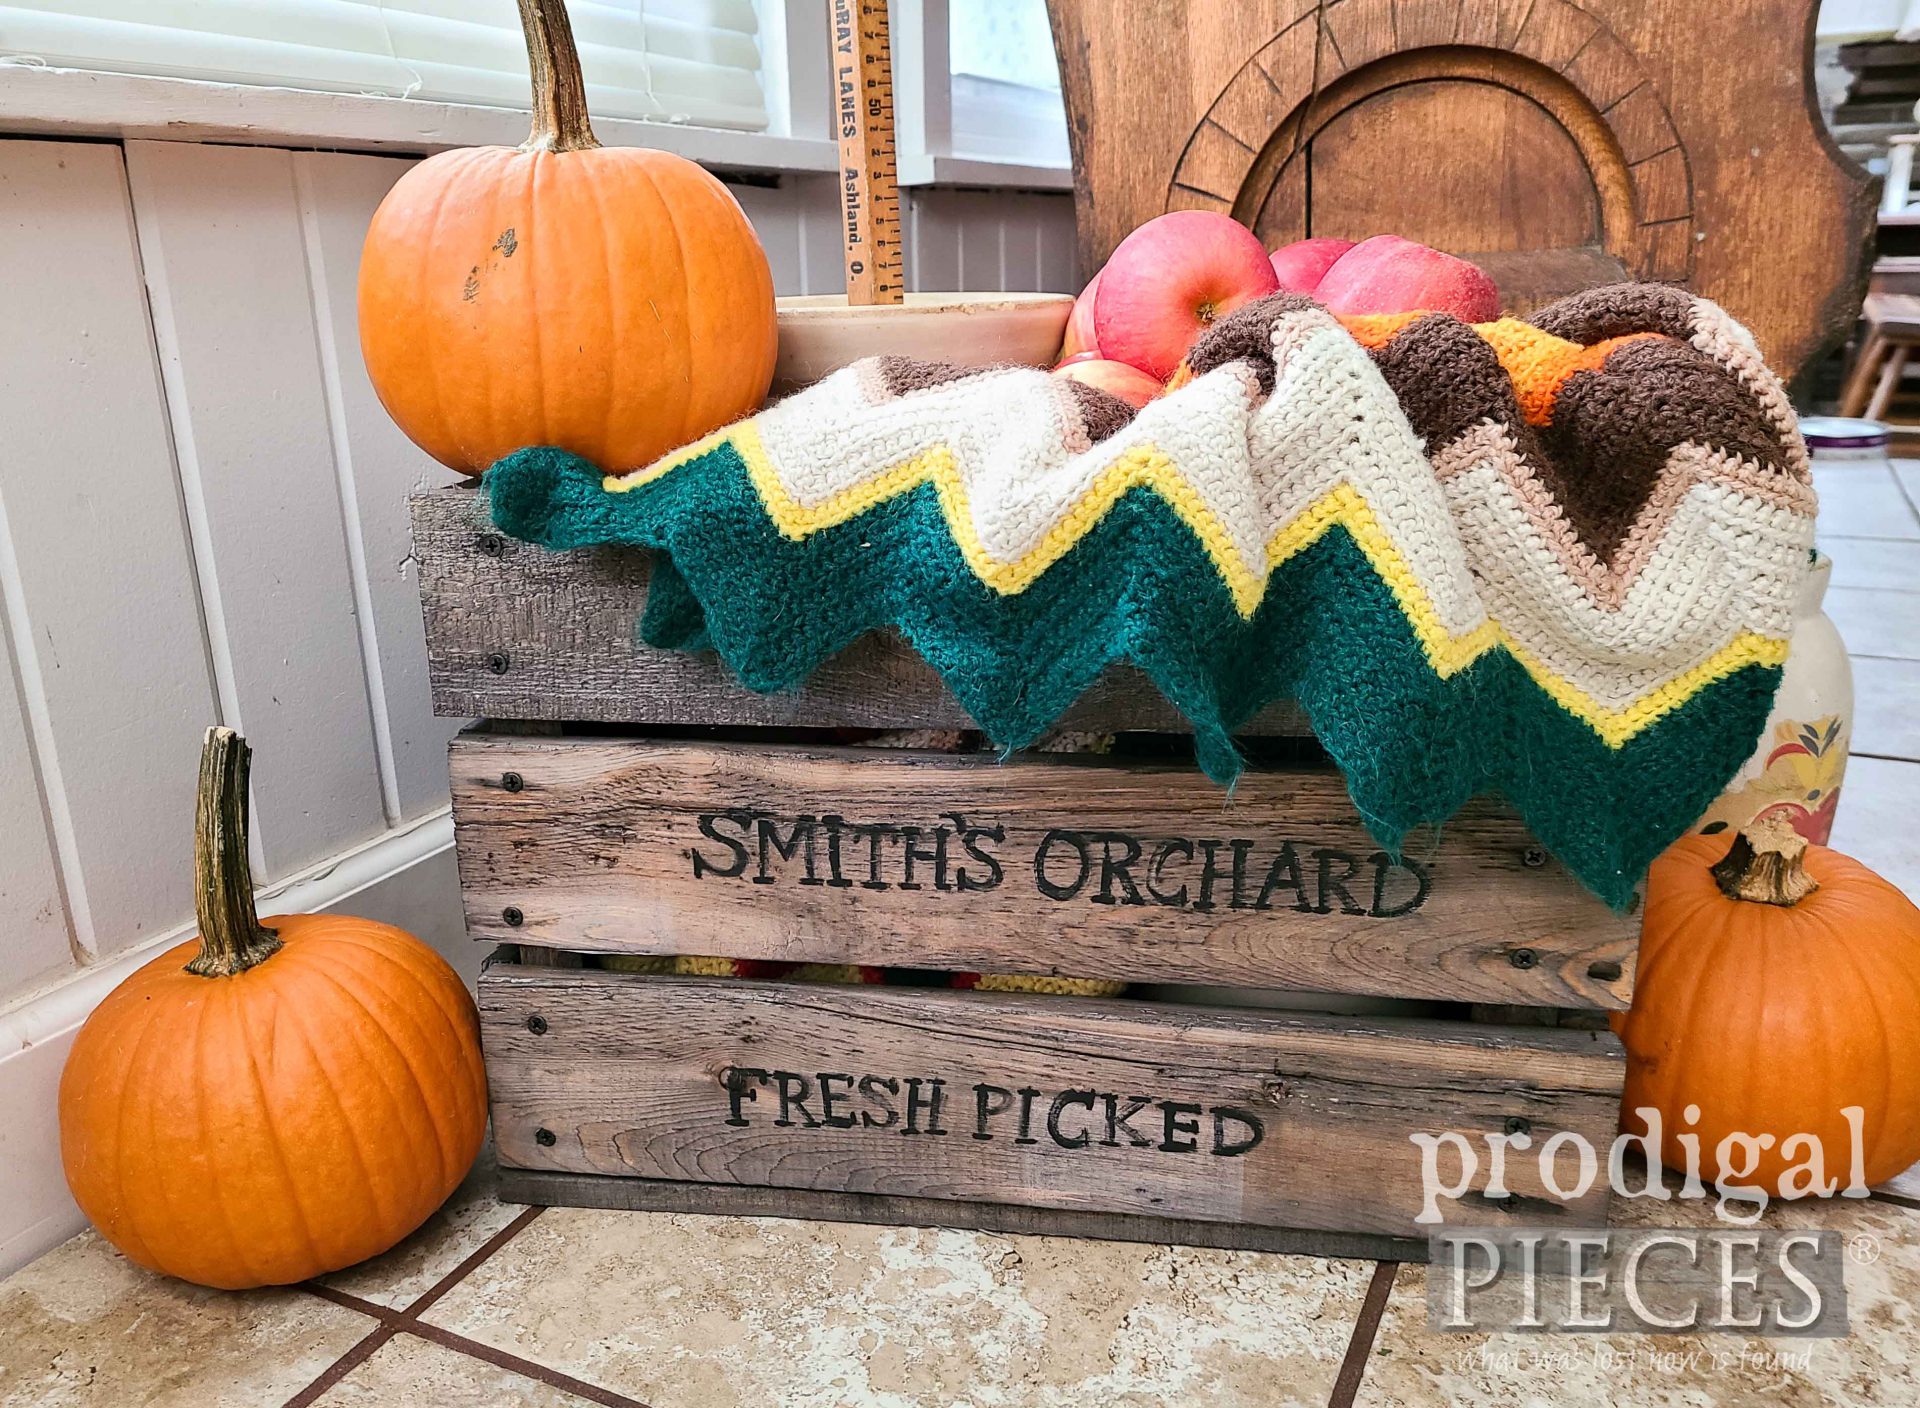
Then, if you like, add typography or a stencil or some artwork…whatever your heart desires. I wanted to stick with the antique crate vibe, so I paint on a few words. You can use my simple transfer tutorial too, if you are so inclined.
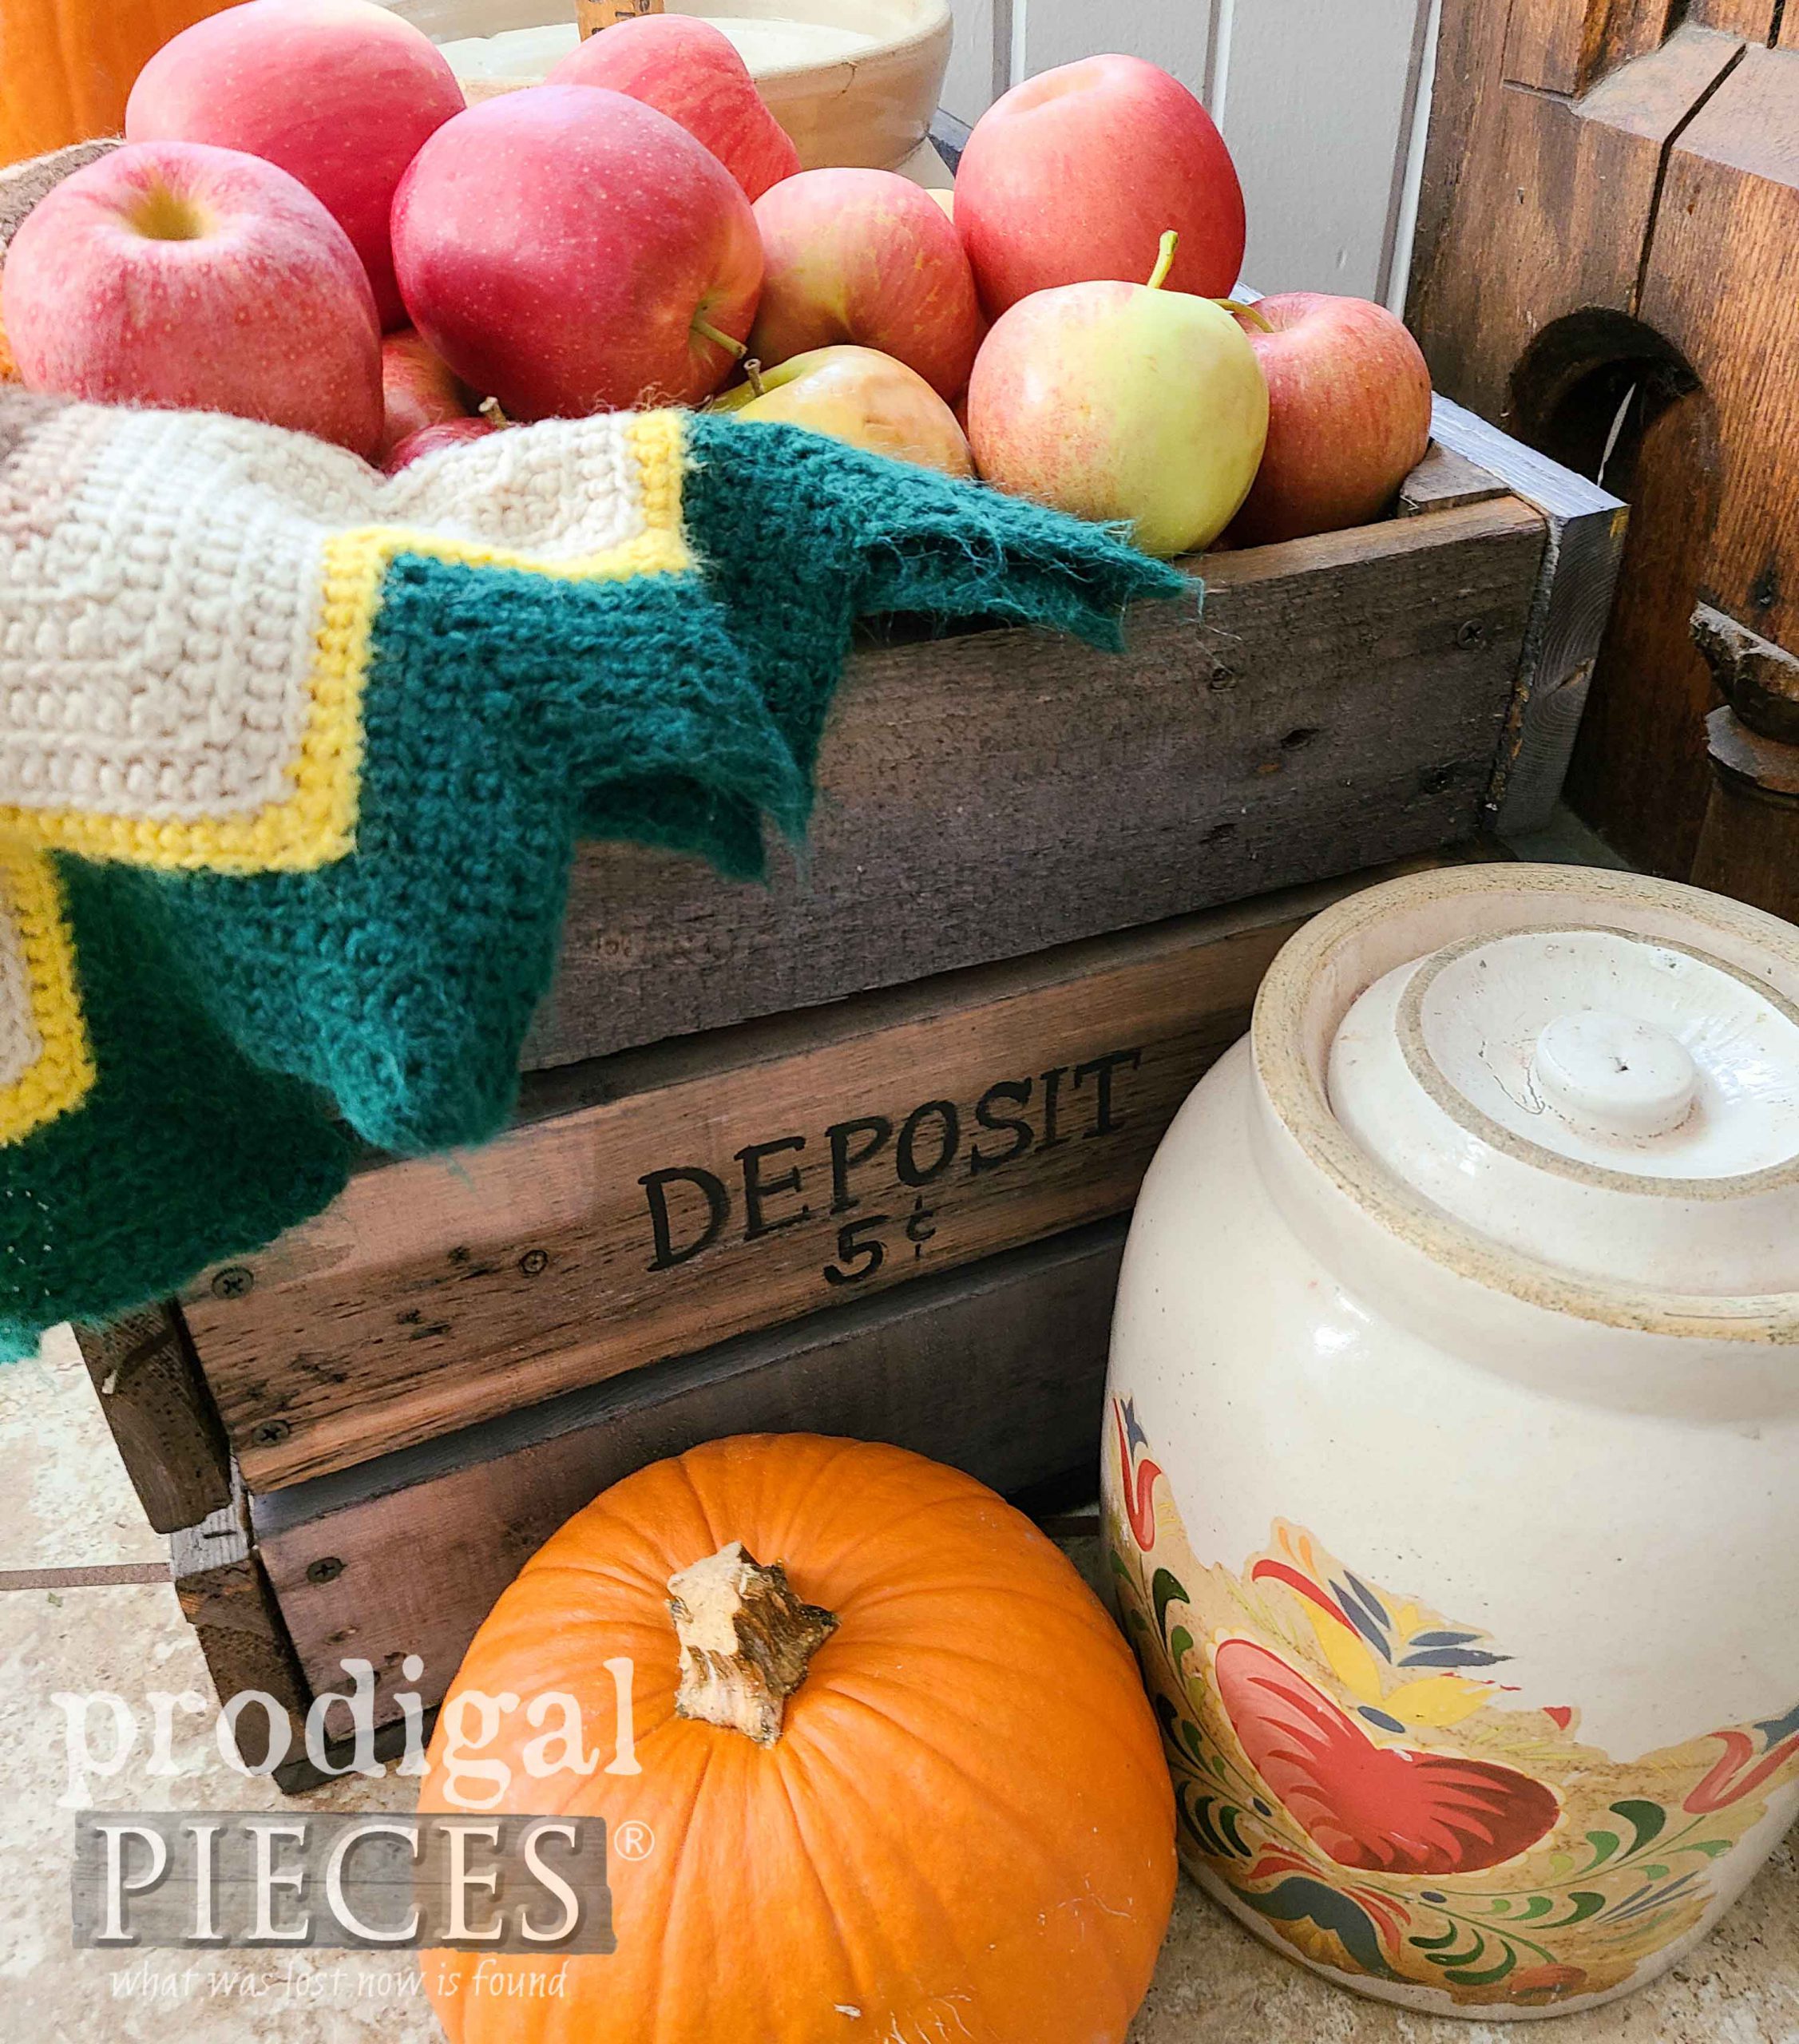
Isn’t it so fun! I have it staged for my autumn decor, but it is suited for any time of year. Use it inside or out, just have fun with it. Picture it with a Christmas tree standing inside. eep!
If you’re totally not into DIY but would love to have this crate as your very own, you can find it and more in my online store.
SHARE
Also, do pin and share my DIY antique crate tutorial because you know there are oodles of pallets that need new life! woot!
To get these DIY tips & tricks in your inbox, be sure to sign up for my newsletter. Until next time!






I want to you the sprayer on all my projects. I love spray painting but colors are limited.
Sounds good. I hope you like my project today. 🙂
I have been wanting a sprayer and have checked them out for months, but haven’t pulled the trigger yet on one. This would take care of my fear of purchasing the wrong one! Thanks so much for this give away. I have so many projects I want to do in my workshop.
You will love it! This is the most basic one that does oodles.
I love homemade over store bought any day. I’m having diy withdrawals ,both wrists are in splints from carpal tunnel.?
Yes! You said it. Ugh…I feel for you. Hands are such a fine tool. Praying!
As usual, you saw potential in raw materials. You thought outside of the box!!
haha…good point! I thought…BOX. 😀
I love how you take these broken pallets and make something new from them! I have never used a paint sprayer but would love to win one especially if it makes a job easier!!
Thanks! You will absolutely LOVE it, Ginny. It’s fun and the results make you want more. 😀
Another great project. Maybe this year I can create some of these Pinterest products I have pinned!
Thanks! That sounds like a fun plan and fruitful too.
I LOVE how the crate turned out, looks antique, which I love! The first thing I would do with my prize is to paint a set of dining room chairs that I haven’t painted yet because their are so many spindles! Thanks for the chance to win one!!
Awesome to hear, Mary! 😀 You are my kinda gal. Oh yes, these are wonderful for spindles and all the things I dislike painting. haha.
Thank you for all of the wonderful post. I love to see the projects you work on and how they turn out. I’d love to win the sprayer to complete a project I have coming up. Thank you for the opportunity.
You are most welcome, Susan. I love sharing what I do. The Quick Finish is a blessing!
So cute!!! Absolutely LOVE your attention to detail. The weathered screws just makes this perfect! I always find a message in your projects. Today, it’s focus on how the little things mean a lot. Such a blessing to me right now!!
You just made my day saying that, Rebecca. Thanks so much! 😀 I love your words on my project because we’ve had a rough weekend and that rings so true.
How lucky of you to get some pallet wood.
Love your cute little crate by the way.
If I should happen to be the lucky winner, I would tackle anything that isn’t moving; whether it be big or small. 🙂 (hubby Beware)
Thank You for this wonderful giveaway opportunity.
Take care, stay safe & stay healthy
Yes, around here it is plentiful for sure. Thanks! You sound like me. Such fun!! 😀
I love your crate project! I would use the sprayer for the DIY projects that have piled up waiting for me to paint or stain them 🙂
Awesome to hear! Thank you. Sounds like some fun to be had.
Your posts always make me smile
That just made my day, Stephanie. Thank you!
Cute crate! I would tackle a buffet in my dining room.
Thanks! Sounds like fun.
Wow, that pile of pallets is DIY heaven! I love how the crates turned out. I have never used a paint sprayer but would love to try
And that’s only a fraction of them. haha. At least we can make use of them. You’ll love it!
What a great project for autumn decorating. I can’t wait to make one of my own!
I seriously love crates. Thanks so much, Fiona!
Very nice! I love crates! I built a bunch a few years ago and they see constant use. I should build some more! They’re a great way to use scrap lumber. ?
Me too! It sure is a great, simple build that you can go crazy with. You are a kindred spirit, Becky.
Hello, I love the DIY crate! If I had a paint sprayer, I would paint the (4) chairs that are sitting in my garage right now. Chairs are so much easier to paint with a sprayer! Thank you for the giveaway!
Hi! 😀 Thank you, Michelle. Amen to that…chairs need sprayed…painting by hand stinks. haha!
Wonderful project!
Thank you, MaryAnn! 😀
I love how you take ‘new’ scraps and make them into something rustic-looking and useful! This has inspired me. My husband has a pile of weathered boards from a neighbors old fence and I have a box of antique rusty square nails that I got a yard sale b.c. (before covid!) and I think we could put them to use for one of the crates! Would love to have a sprayer to finish it off 🙂
Girrrrrrlll…you are speaking my language! 😀 Sounds like you have some fun headed your way. woot!
The way you made the crate looks so simple! You explain things so well that almost anyone could make one, even me! I love the old weathered look that the stain gives the wood. A Home Right sprayer of my very own would be so nice to have. Thanks, Larissa, for the chance to win one!
Your words truly mean so much, Janet. Thank you from this happy DIYer, junkin’ mama!
Clever idea with the pallets! So cute! Nice project for holidays…
Starting to paint some furniture and spray painting appears to give a really nice finished look…and especially with chairs!
?
Thanks! They’d be so cute filled with a Christmas tree too. Spraying is the ultimate for a fine finish for sure.
Once again you see things I would never have given a thought to create! Love the crate! And especially love how you made it look “old” and weathered when beforehand it was neither…wow! Thank you and HomeRight for an opportunity to win one of your well-loved tools 🙂 So generous!! Many blessings to you!
It is absolutely my pleasure to share with you, Mary. Thank you for making my day brighter.
I have the pallets, currently supporting the tiles that will go over the cracked cement of our “patio-turned-porch.” I have the need for an upcycled crate, to cover the propanr tank for our reclaimed bench tabletop firepit. I sure could use the HOMERIGHT SPRAYER…for all the painting that still needs to be finished on the clapboards, the ceiling panels, the soffit boards….?
Sounds like you are in DIY mode too. That is a sweet idea for covering the tank. Have fun with it and I hope you win! 😀
Love how you do you. Great project
Sending you hugs, Amy. Thank you!
Larissa … you never cease to amaze me!! I love this crate, it looks like an authentic vintage orchard crate, I am not sure what the first thing I would use the Homeright Sprayer for, it might be a side table that I have that needs a refreshed look!! Thank you for this opportunity … I love it when I get a new email from you!!
That just made my day, Michele. Thank you! It’s always a fun challenge to make sometime take on character. You’ve made me smile from ear to ear. 😀
I love the way your project turned out. I would paint my coffee table.
Thank you, Kelly.
First, I’m going to make a batch of rusty nails – who knew! And then I’m making this exact project! Crates for everyone! Can I use these for Holiday gift baskets too!?!
That’s the spirit, Kai! I love putting my Christmas tree in a crate. Plus, making them in all sizes is the best fun.
I love the fact that you can look at what someone else may see as a pile of junk and see something wonderful and useful. And it’s better for the earth for it to stay out of the landfill. It would be too cool to win the sprayer!
You get what I’m all about. Thank you so much!
Hi Larissa, what a great post! I have a pallet and would use the sprayer on my first crate. You know, I sure don’t expect everyone to be a DIY person but I would really like is that nothing usable goes to the dump! The dumps/landfills do no need any more “stuff”. Folks, everyone do your part NOT to dump and spread the word!
Sounds like fum! I’m with you on that one. 🙂
Wow, you made that look so easy. What would I tackle first – hmmm?? The possibilities are endless around my house !! I’m going to go with some furniture that has needed a makeover for a long, long time.
Thanks! It really is pretty simple and can be made any size you want for any holiday or gift. 🙂
Right now I don’t have anything to work on (quarantine kept me busy) but yard sales are starting up again by me so I’m sure i’ll find something soon.
I would do my picnic table which hasn’t been treated in years.
That sprayer is amazing! We live on a 250 year old homestead and have more projects to do than I care to admit . This sprayer would make the projects go much quicker!!
You are always so inspiring, I will use the sprayer on everything! Hope I get the chance! Thank you!
Thank you for the smile, Linda. 🙂
I love pallet wood. I use them a lot for sign making. I bet a sprayer would make sign making much faster and easier.
Your project is great I would do my porch its needs some much needed touch up
I love your crate. I wish I had a place to get scraps. I would use the sprayer for the 11 chairs I need to get painted. Makes me tired just thinking about it!
Thank you. Just start asking businesses that have a dock or check local Craigslist & Marketplace. I’m sure someone will have some. I hear ya on the chairs! oy.
Love the crate, but then I like all your projects. Quite a haul of pallets, lucky you. Would love to win the sprayer.
That makes my day, Janet. Thank you. I only took about one pallet’s worth of wood. 🙂
My heart went a flutter seeing that pallet jackpot. You and I are made from the same cloth. I can’t remember the last time I bought home decor from a typical box store. I can make the same thing for a fraction of the cost and it’ll have a story. Win-win in my books. Sweet DIY crate, Larissa, and love that you used rusty masonry nails!
We most certainly are, Marie! There’s just nothing better than creating a story-telling home. Hugs to my northern sister! 😀