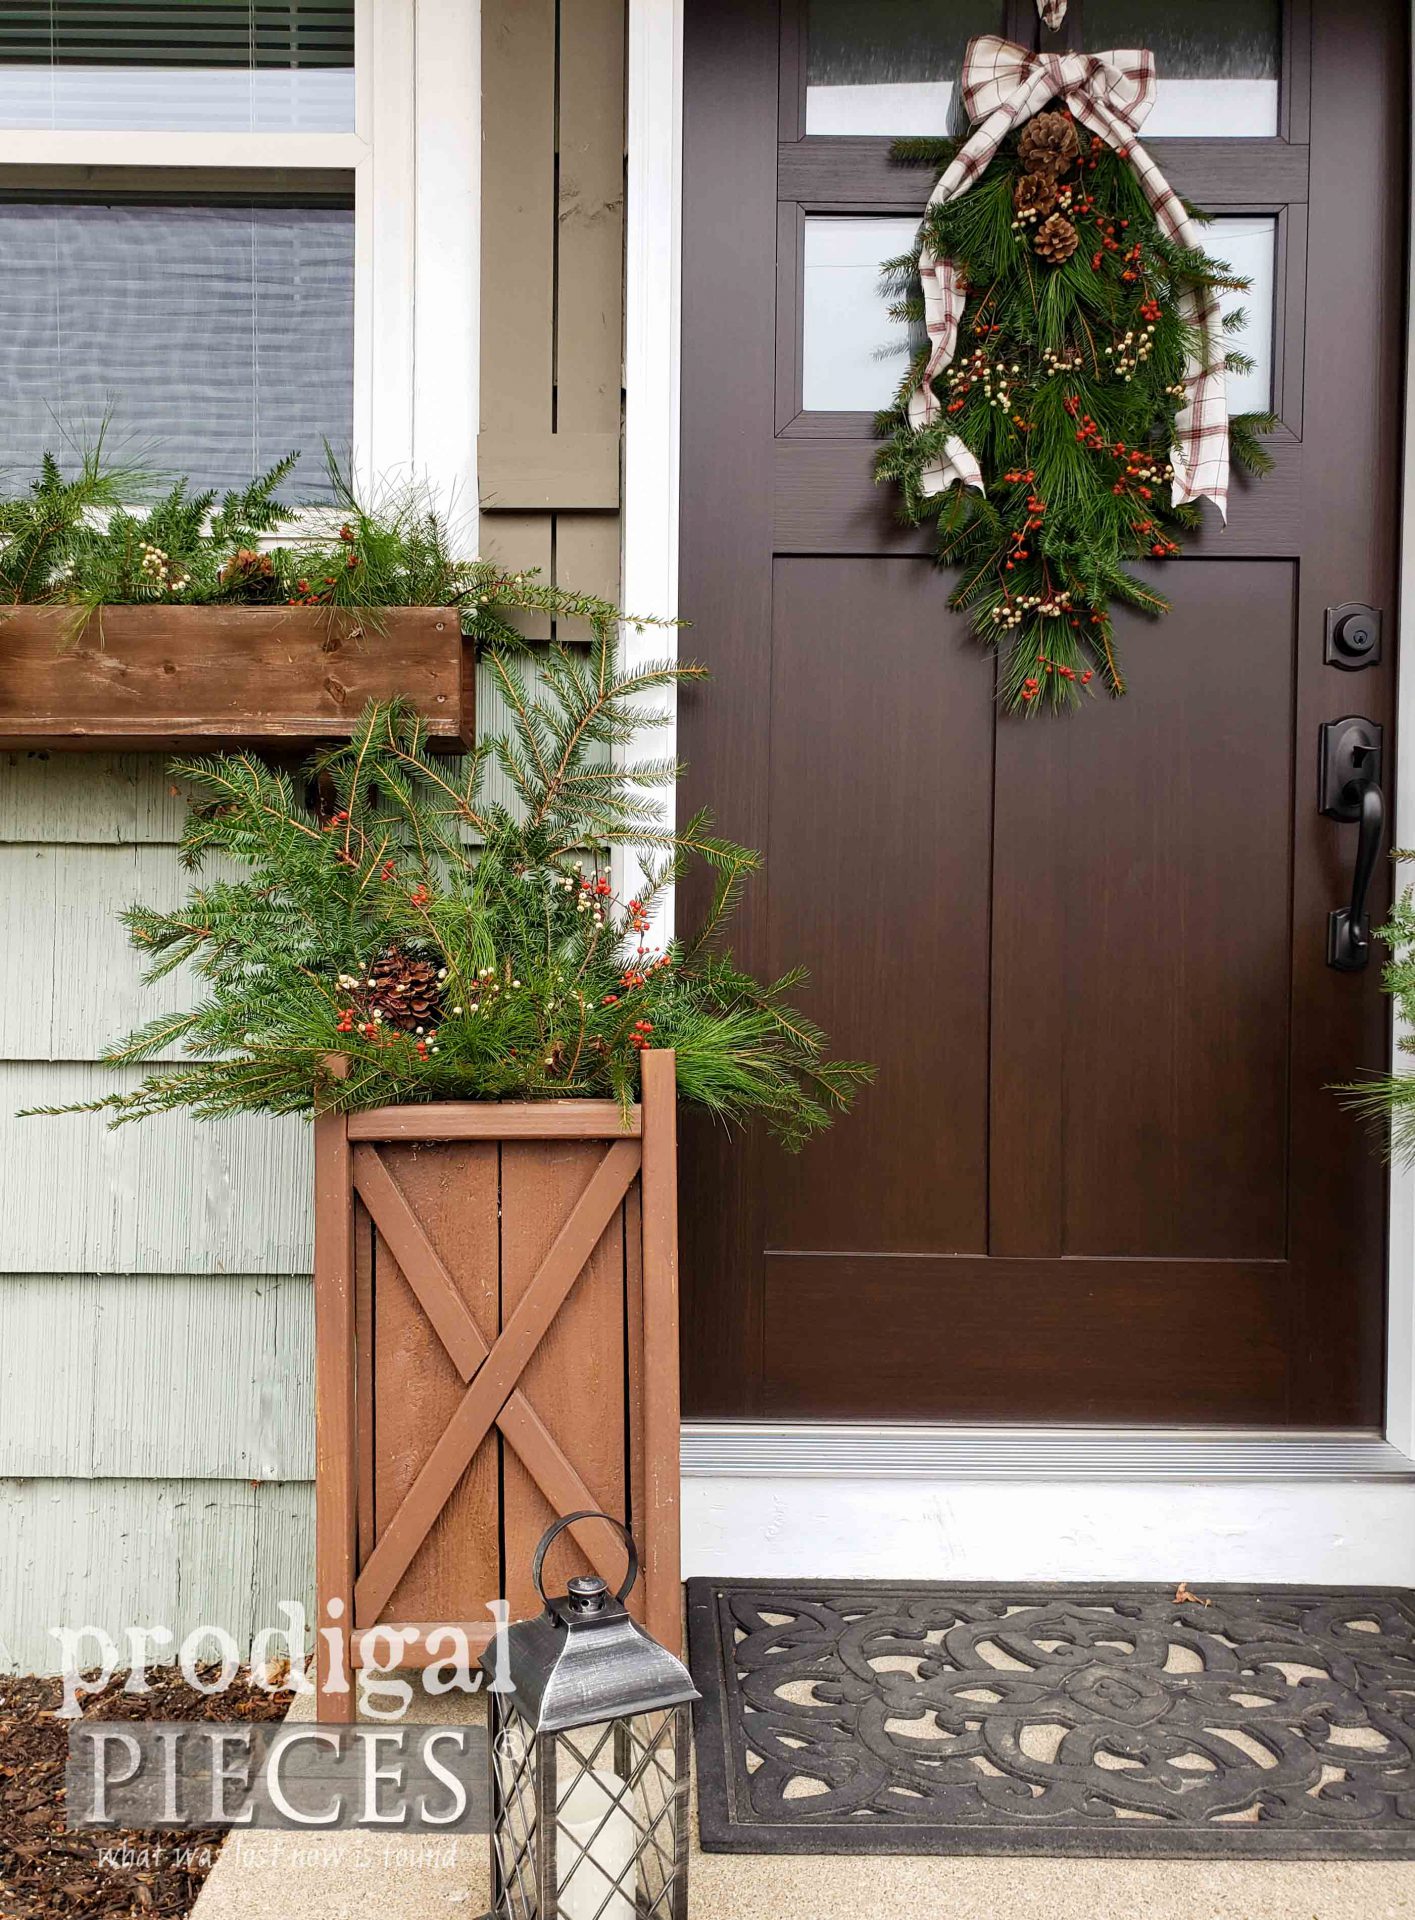
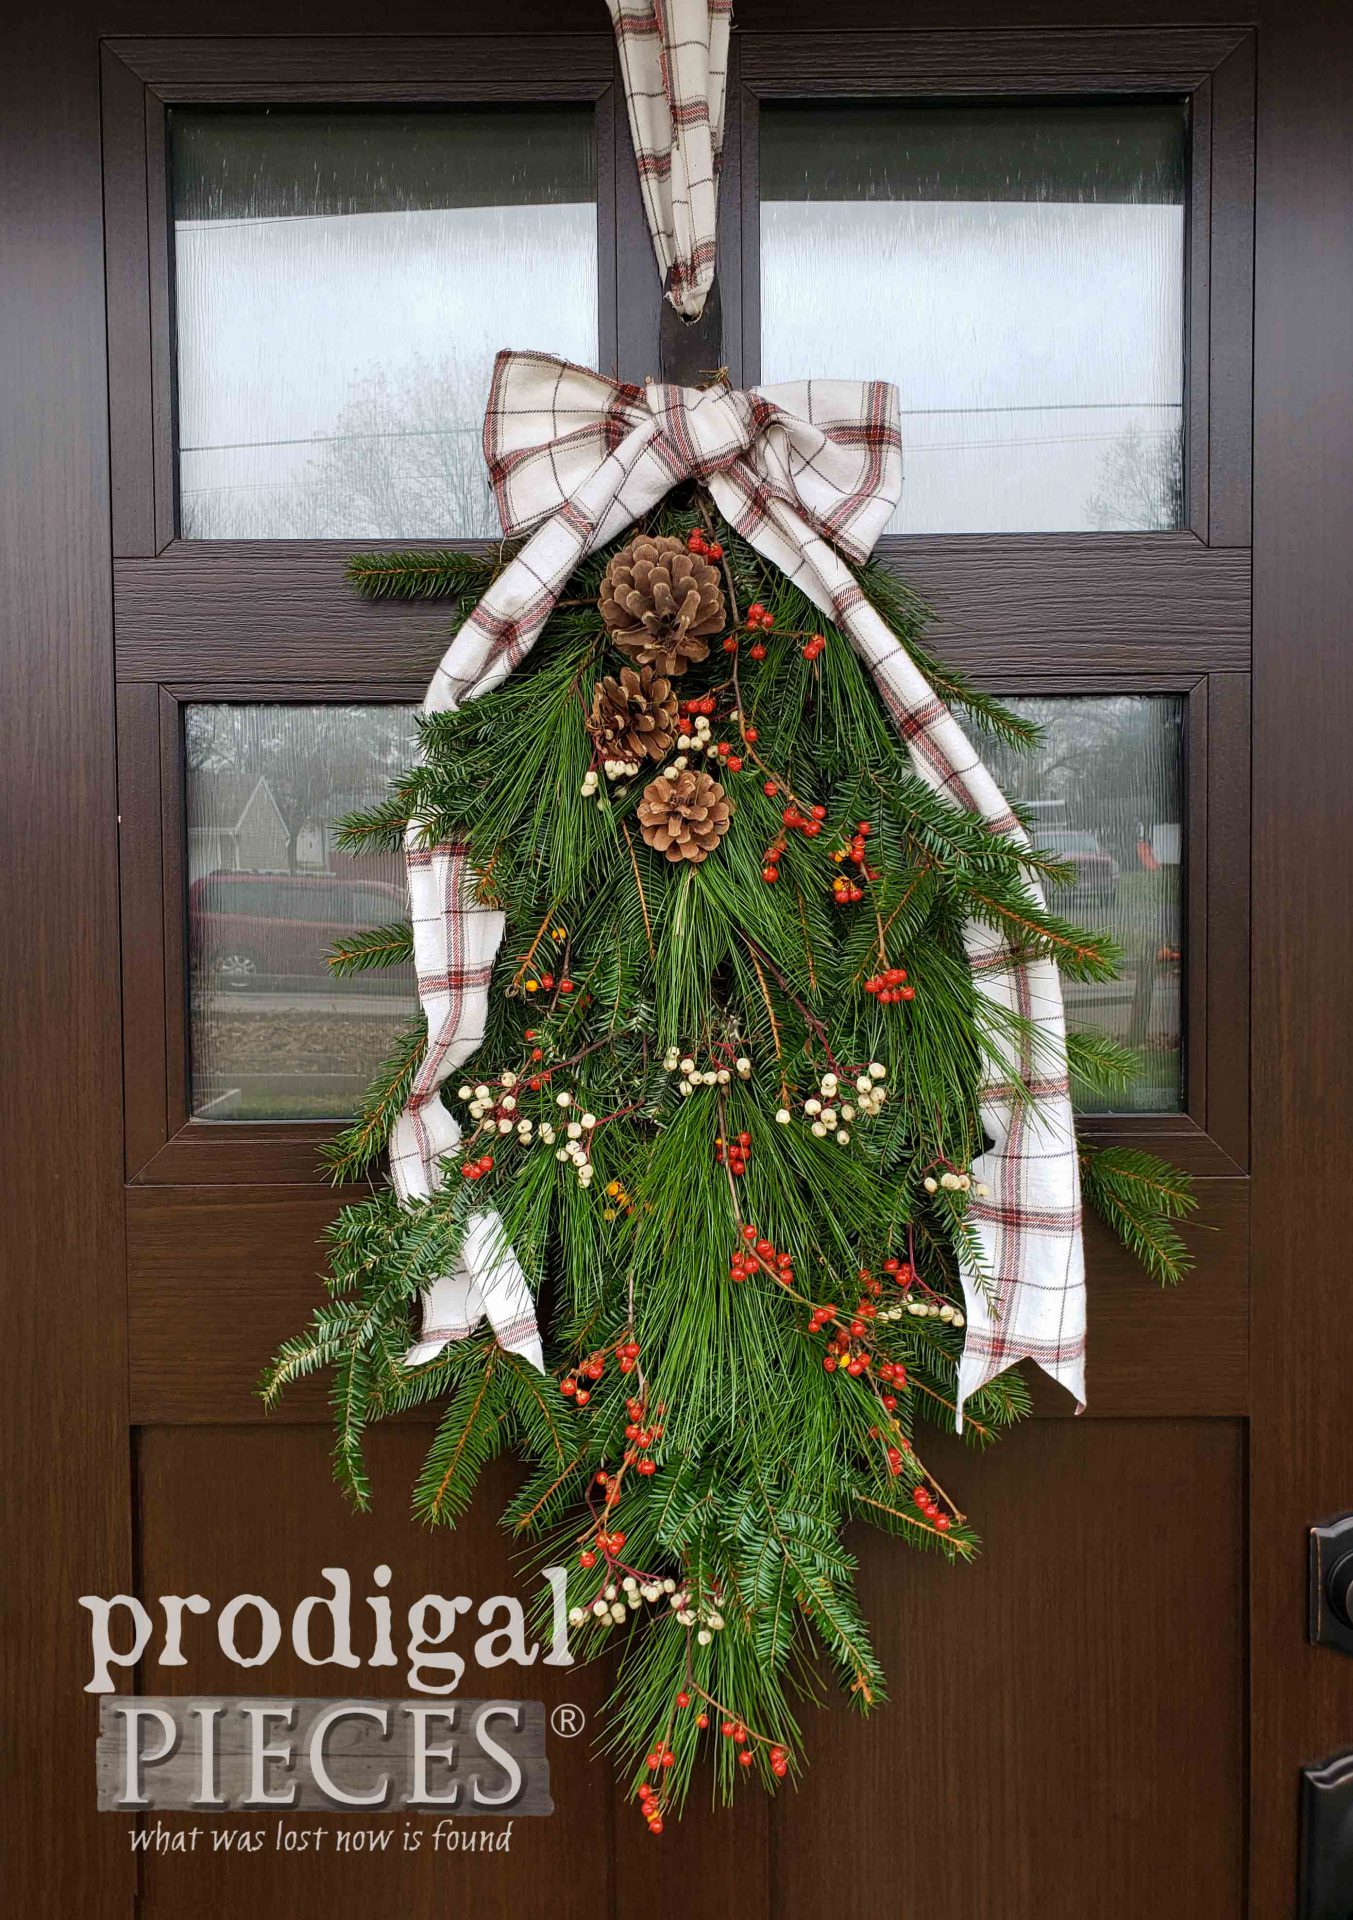
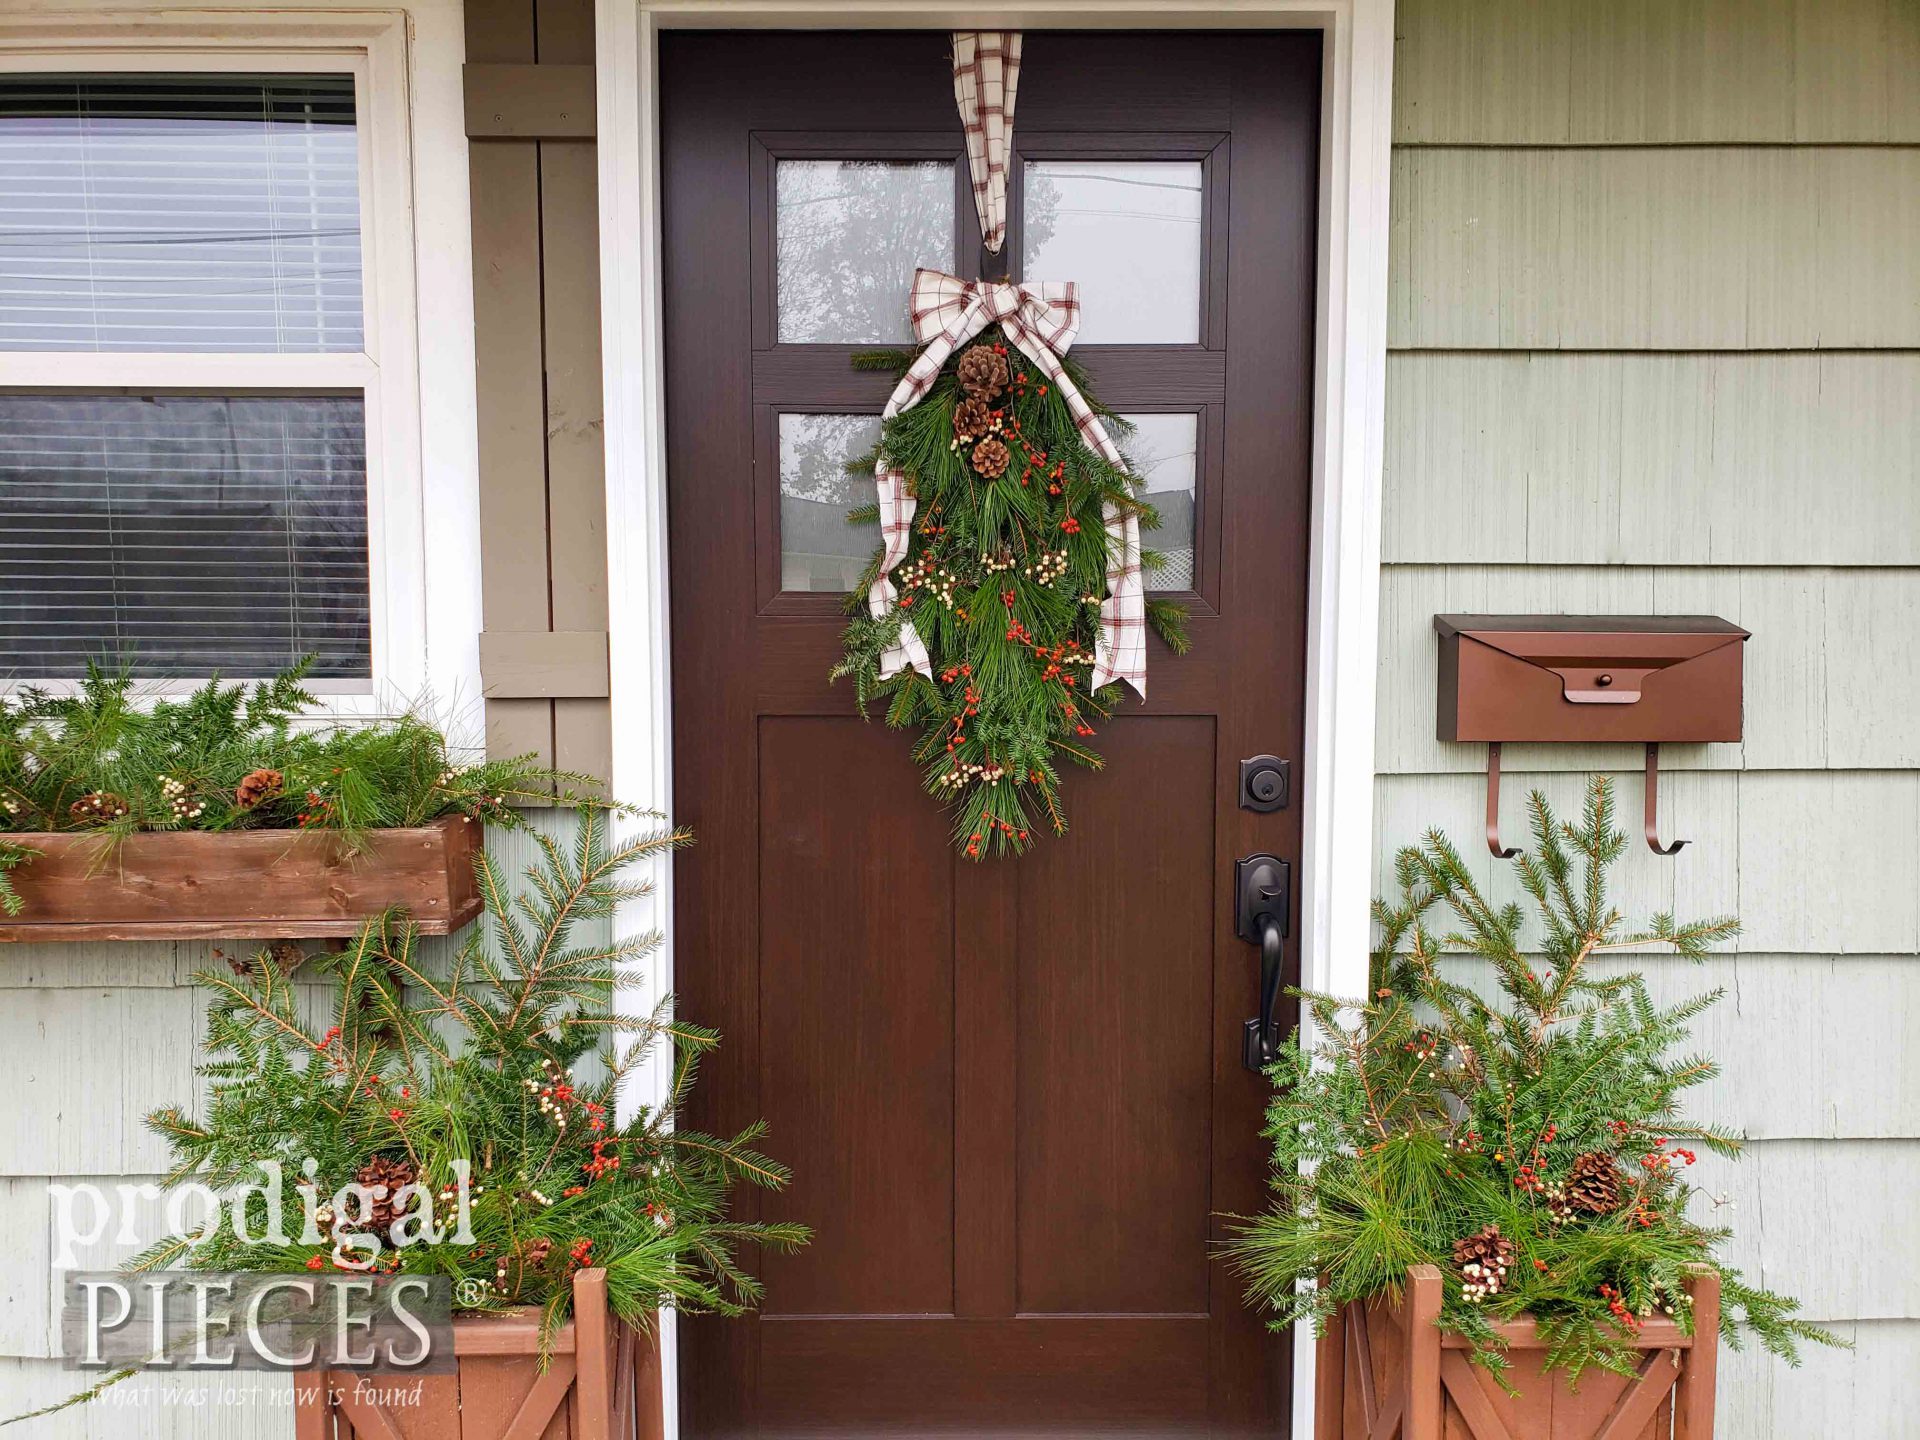
“It’s beginning to look a lot like Christmas…” Now that I have that stuck in your head, let’s talk about our Reduce, Reuse, REFASHION time. The last Tuesday of each month I take you on a journey with the intent to inspire. Today, I’m getting the holiday spirit rolling with a DIY Christmas swag and planters (1) created on a budget (2) super easy (3) and perfect for the entire winter season. (not just Christmas)
In order to do that, I’m making use of this super cozy, yet worn out flannel shirt. Don’t you just love a worn flannel? mmm…so soft.
One things that frustrates me this time of year is seeing folks worry about affording decorations for their home. Truly, there is no need as nature provides so many things we can make use of. Yes, I realize not all of us live in parts where fresh foraging is possible. However, there are nurseries, tree trimming companies, landscapers that have more fresh “waste” than they know what to do with. All you have to do is ask.
DIY TIME
However, even I don’t own enough property to forage what I need. But…I have friends and family that do and are more than eager to allow me to come have fun. What a blessing!
I’m on an adventure today to show you how easy it can be to create a DIY Christmas swag and have enough to fill planters and window boxes. Here at my parent’s house they have oodles of trees. However, only a few pine that I could pull from. Thankfully, that’s all I need. I’ve created a video tutorial down below of my fun , as well as the steps to put this all together. Also, I’ve outlined the steps here for you too.
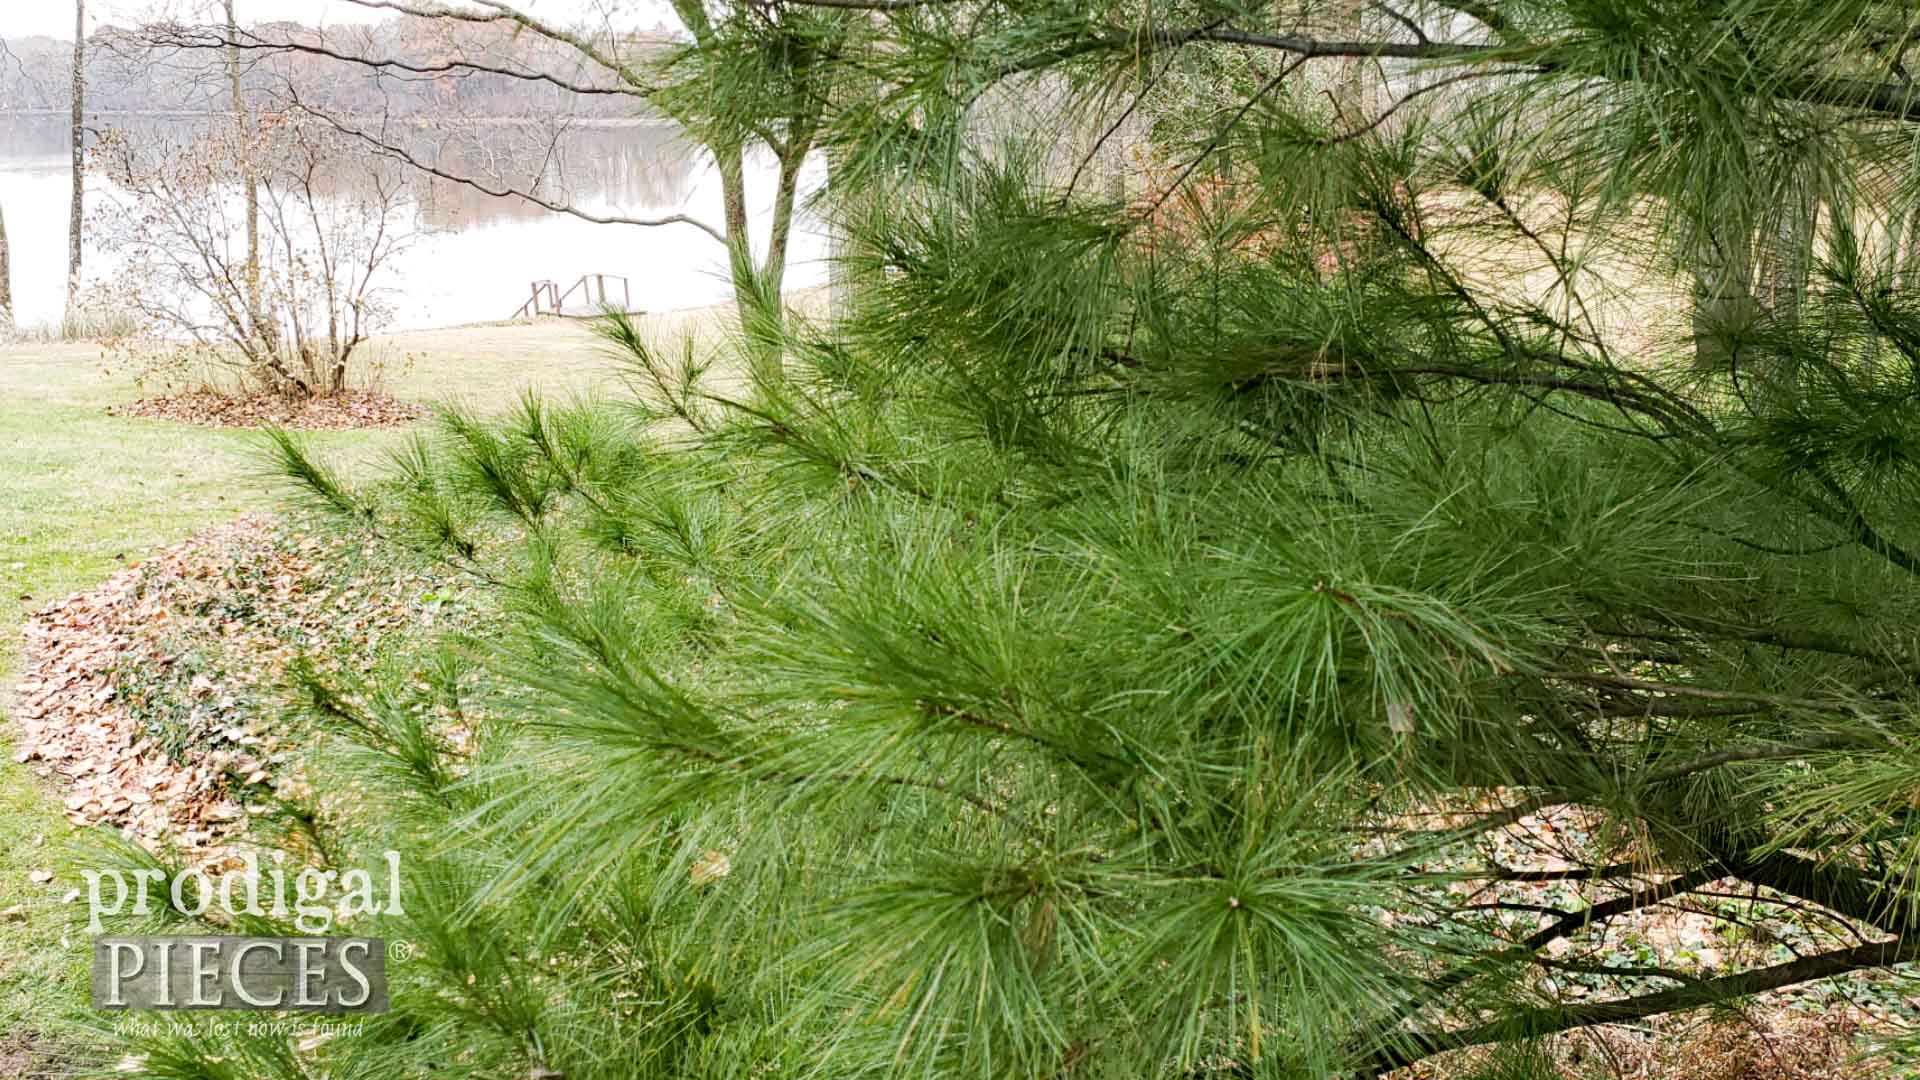
Isn’t their view gorgeous? Sigh…one day I will be back in the country.
STEP 1
First, my kids and I head out to see what we can find. Anything is fair game…evergreens, dried seed pods, branches, etc.
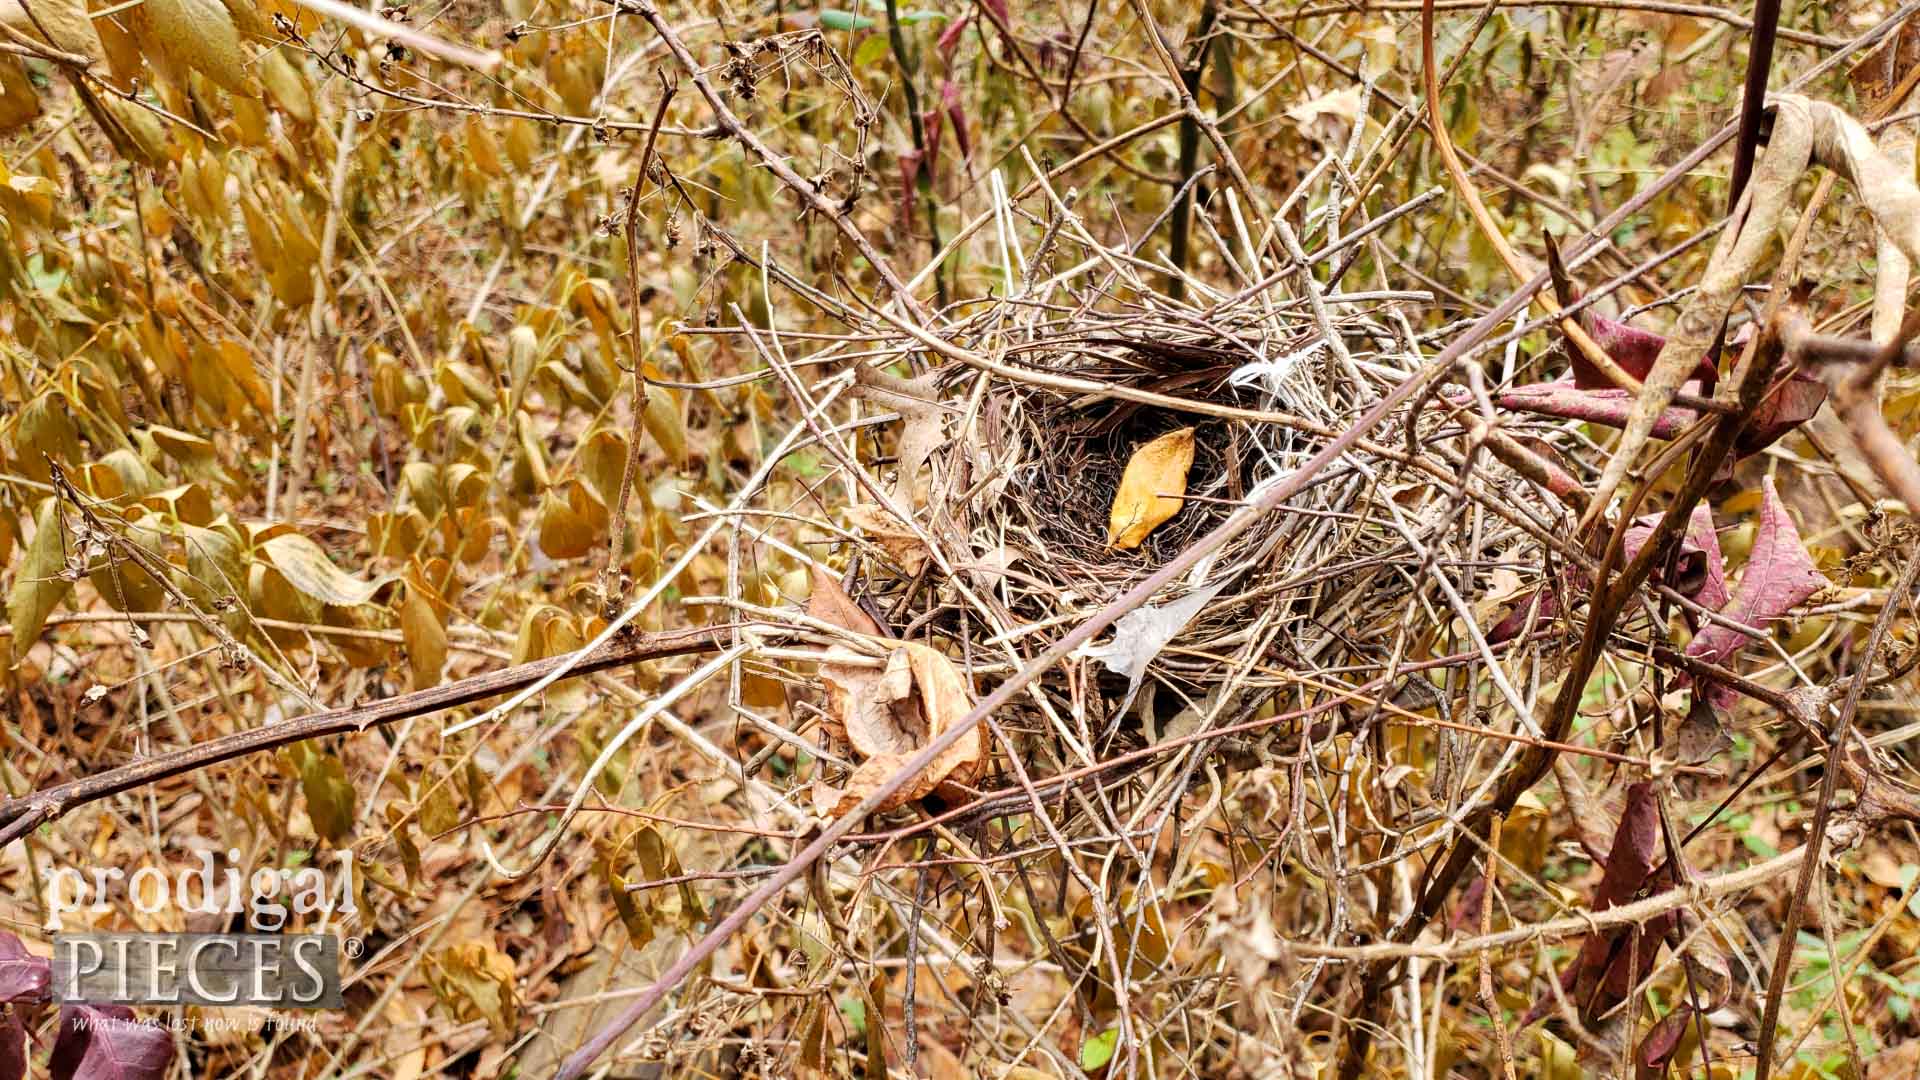
The one thing I want to caution you on is birds’ nests. They are not for the taking and it is actually illegal to remove them. They are beautiful, but let our winged friends have use of them. (my PSA for the day)
I explain in my video about how to select branches that will not harm, but benefit the tree. I’m snipping a few dense patches from this cultivated variety of tree my parent’s planted for privacy. The swooping soft branches will make great fill. Use a pair of loppers or a pole saw for making the easiest cuts for you and the tree.
In addition, I snip 2 or 3 branches off this gorgeous white pine. Their broom-like bristles as wonderful texture to an arrangement.
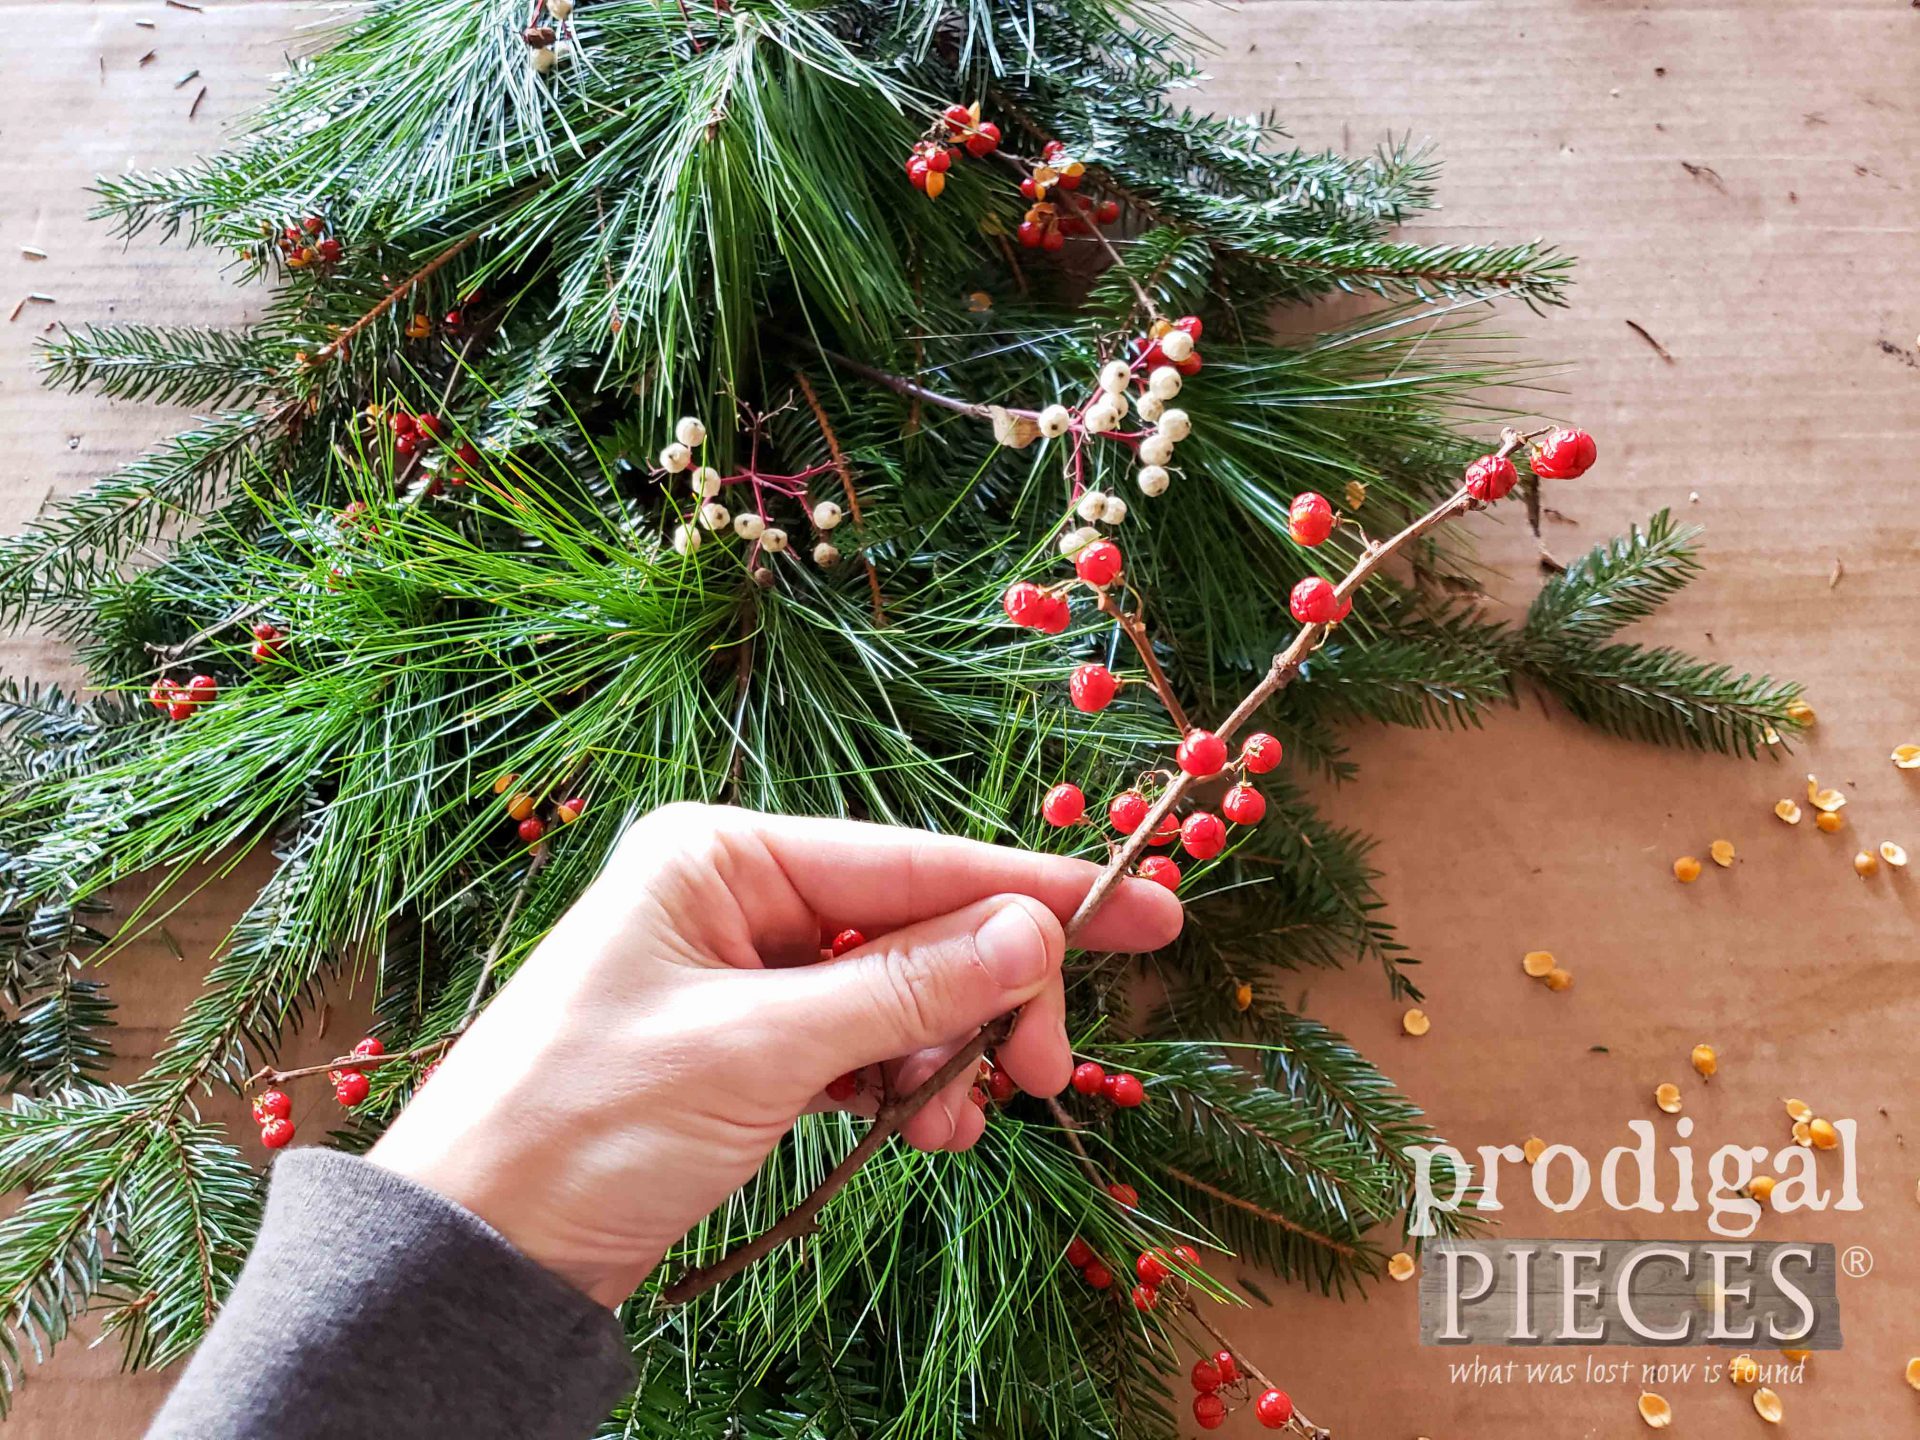
The highlight of the foraging was when I spied bittersweet in the brush. Score!! Those cheery bright red berries will be just the color pop I need.
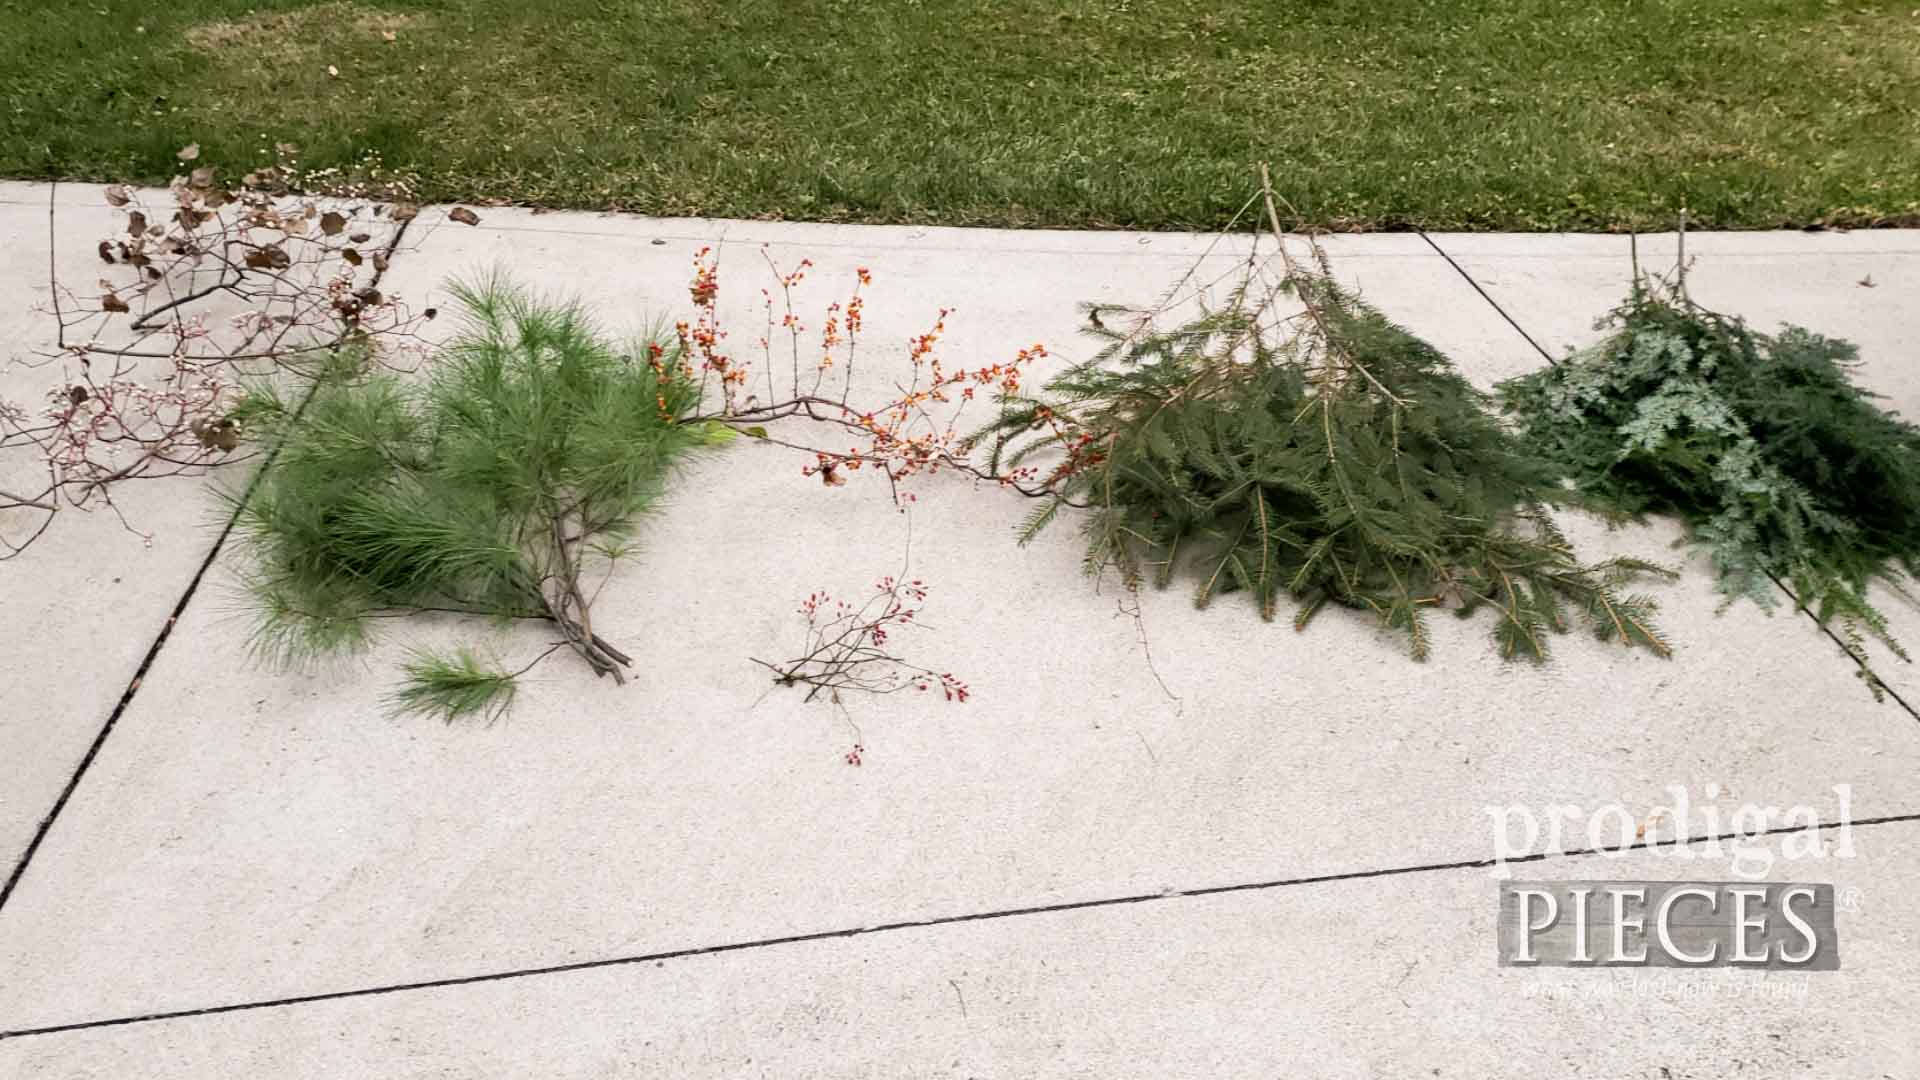
After a short bit of time, here is what we harvested. Plenty for a swag, two planters, and a couple of window boxes. There’re about 3 branches of each, including a flowering tree with white berries too.
STEP 2
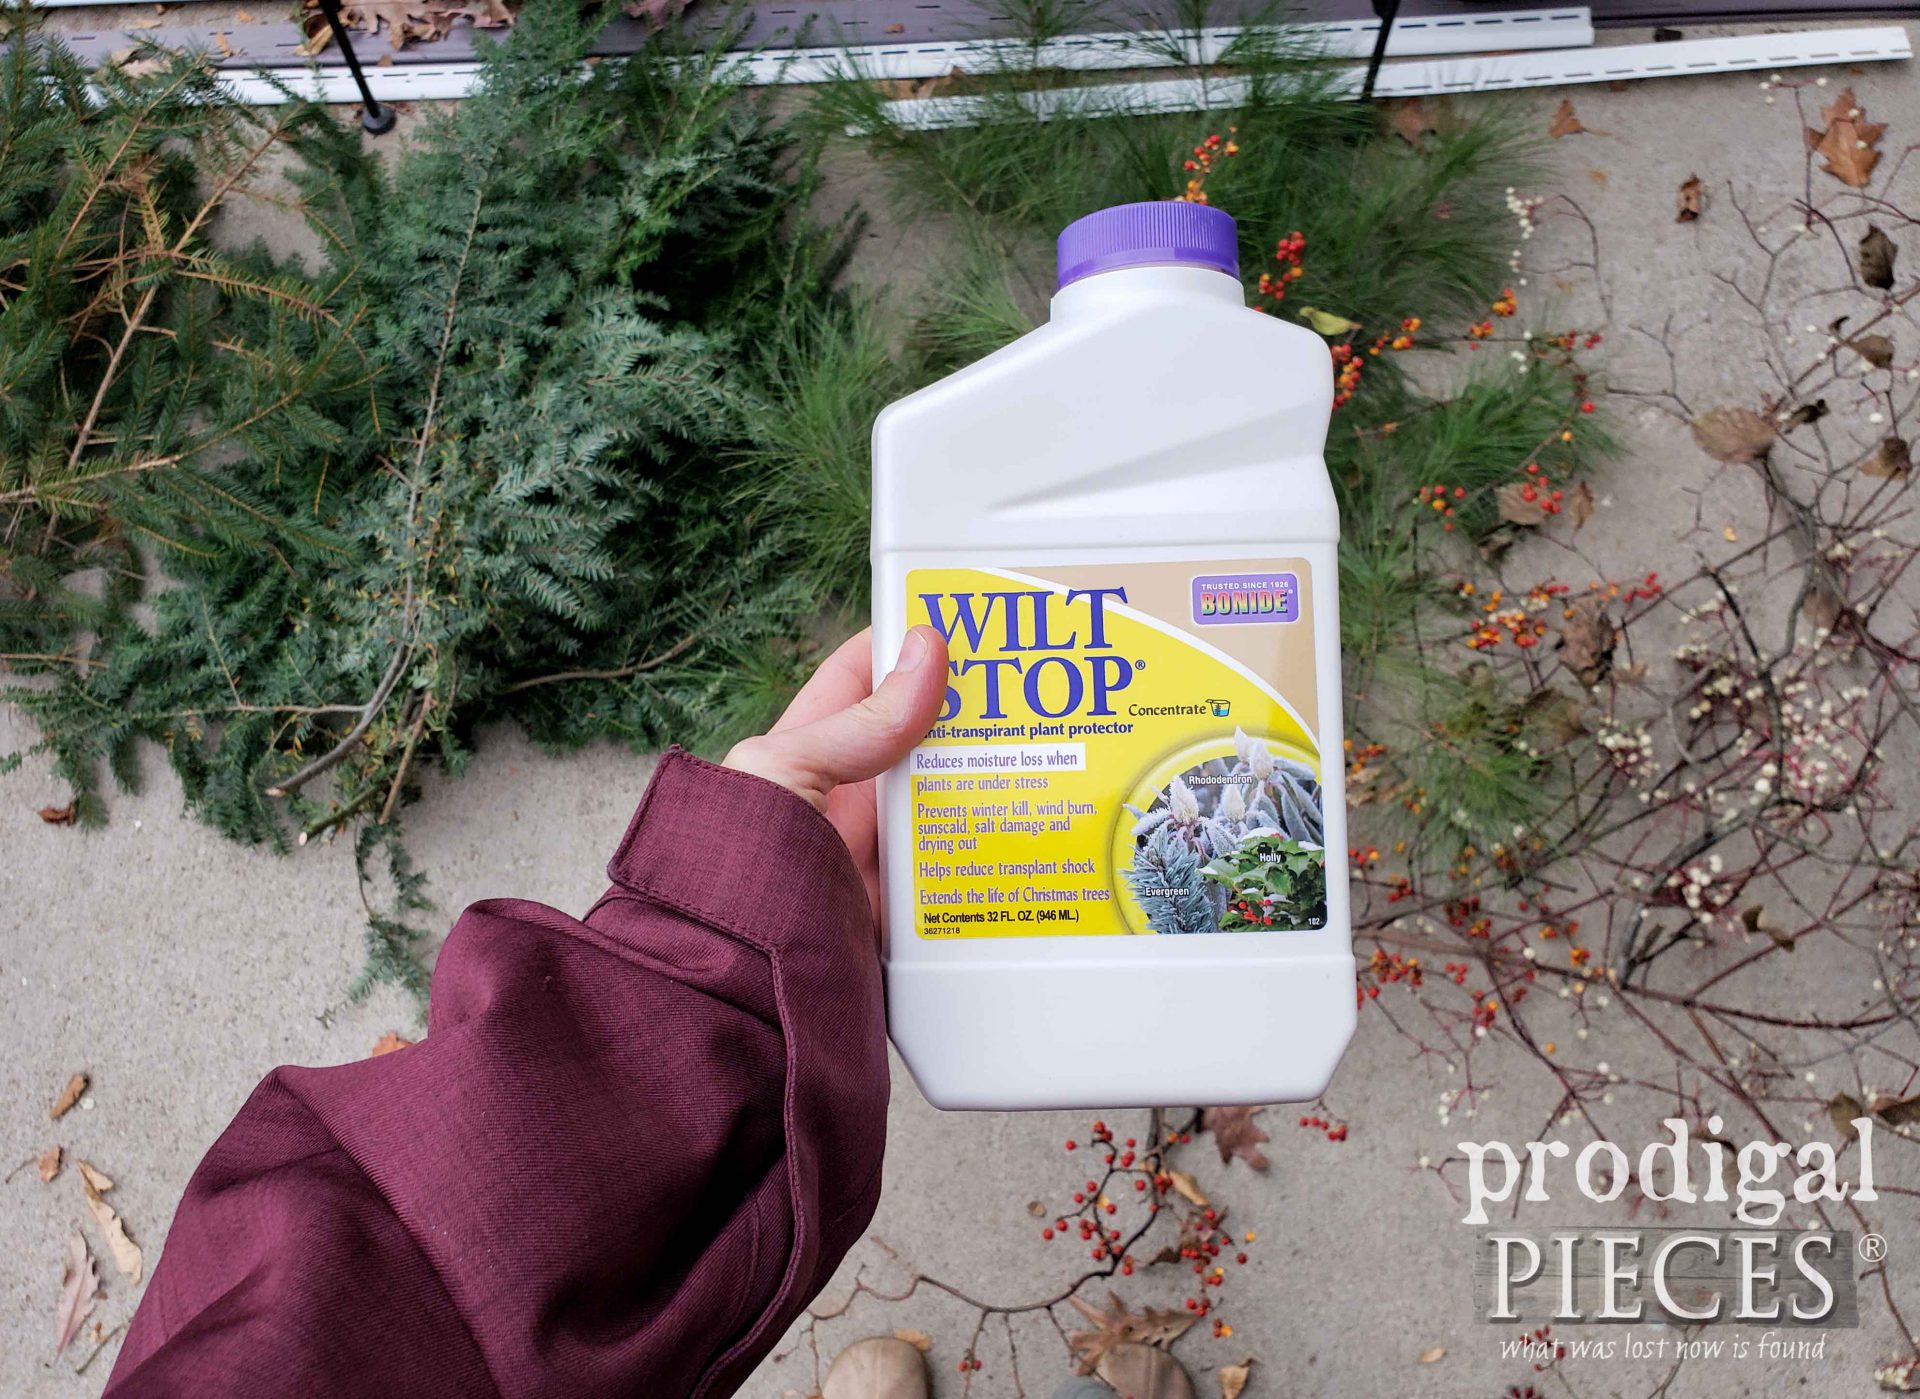
Once you have everything cut, it’s time to add Wilt Stop. This is a treatment for fresh cuts (including your Christmas tree), transplants, or as preventative for winter burn, sun scald, and the like. It will allow your fresh cuts to stay fresh longer and help prevent drying out.
You can buy it in spray bottle form, or like I have here, a concentrate. Just mix up and spray. The cuts will stay supple and retain color longer.
STEP 3
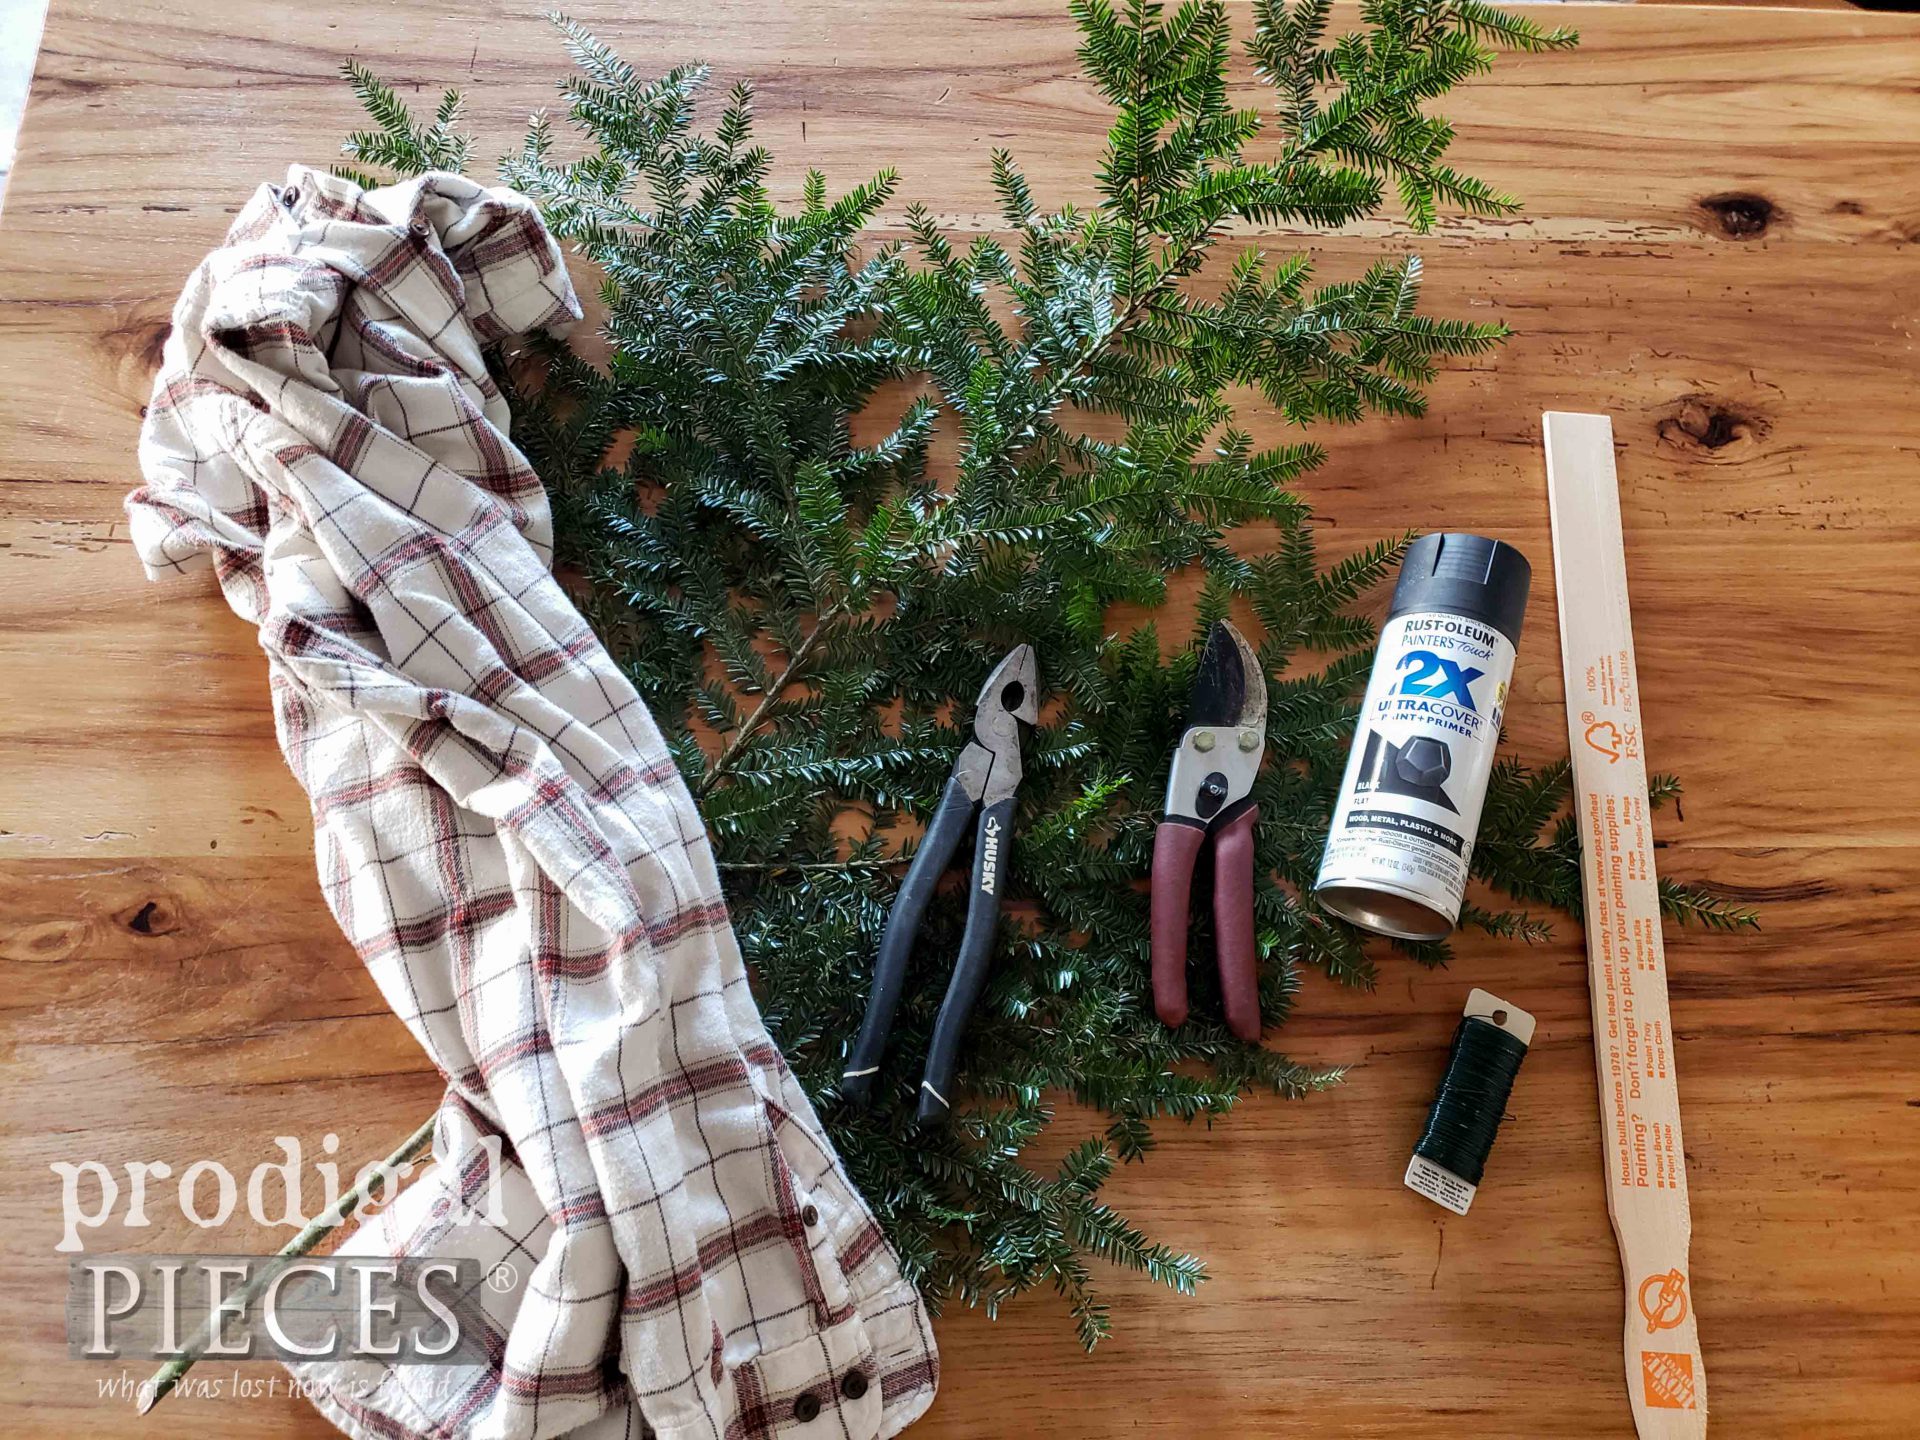
Now for assembly time. What you see here is:
- our foraged greens, berries, pinecones, and branches
- that old flannel shirt (sheets work good too!)
- pruning shears
- wire cutters
- 5 gallon stir stick (available at local home improvement stores – just ask)
- floral wire
- black spray paint (or green), whatever color you choose
- hot glue gun and hot glue rope> (optional)
- fabric shears>
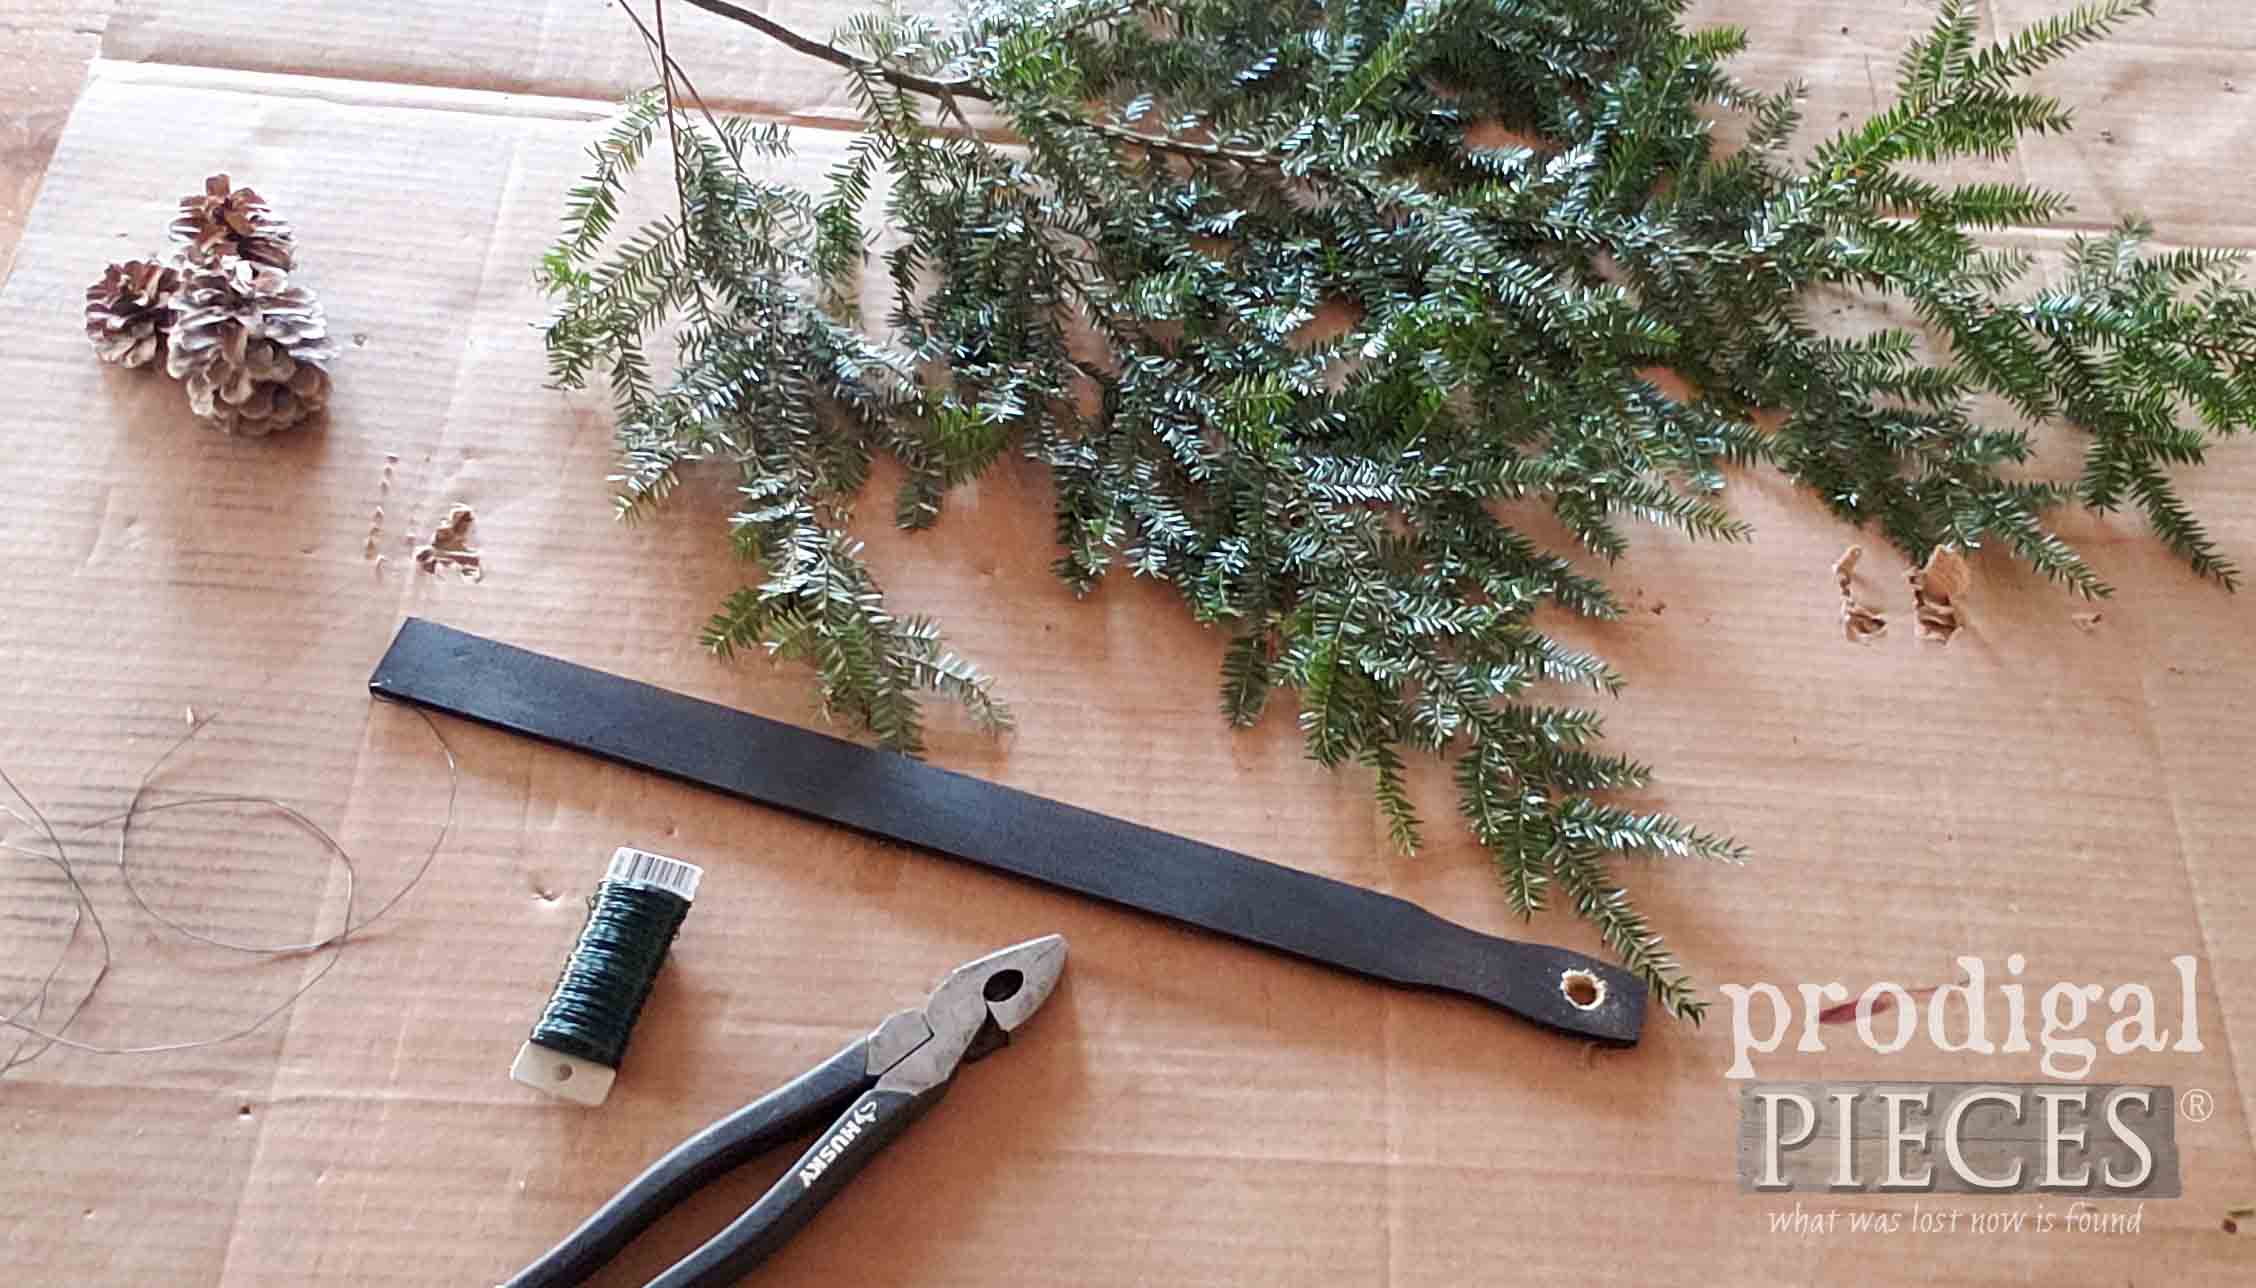
First, begin turning on some Christmas music. (you know you have to. tsk.) Then, spray paint that stir stick with the black paint. Let it dry, then use a ½” drill bit and drill to make a hole at the top. You could skip drilling and just glue it on, but this is a more secure way to start.
STEP 4
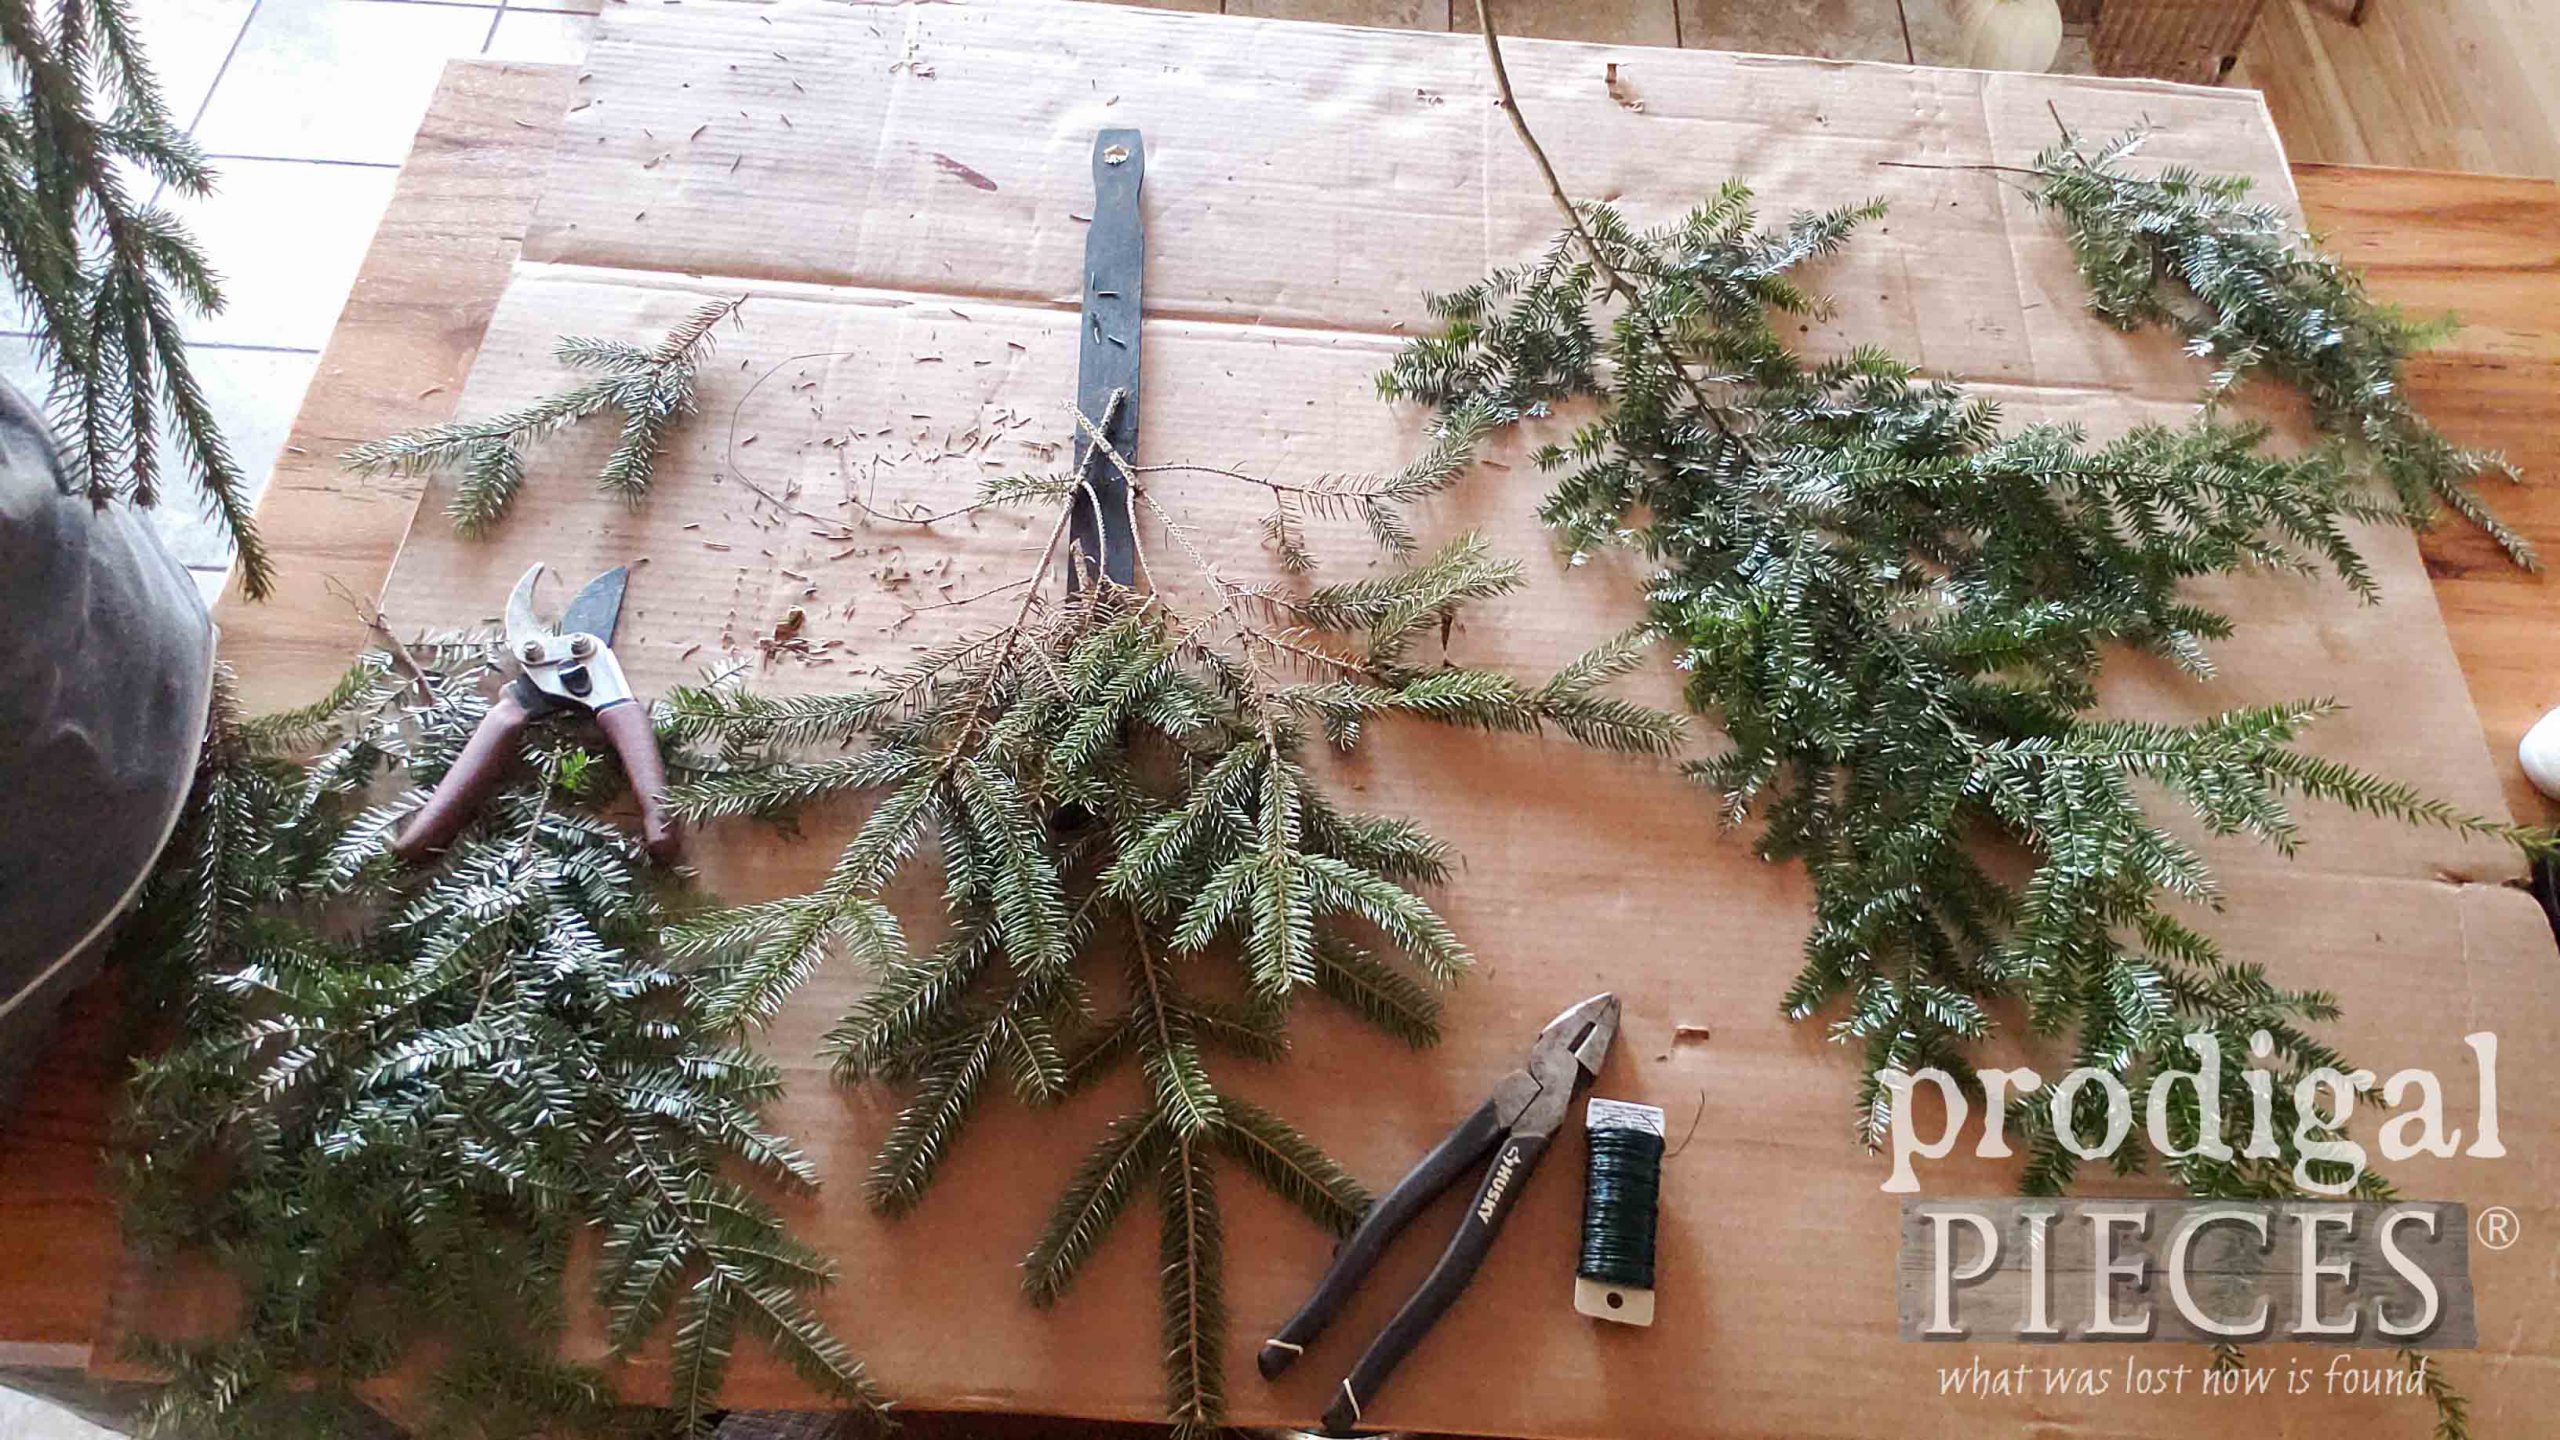
Next, we are going to snip off a few branches and wrap the cut end in wire. I like to wrap the branch, then attach it, but you can just wrap it on the stick too. Also, be sure the wire is twisted to the front so that no poky wires will scratch your door or wall when hung. (see video for example.)
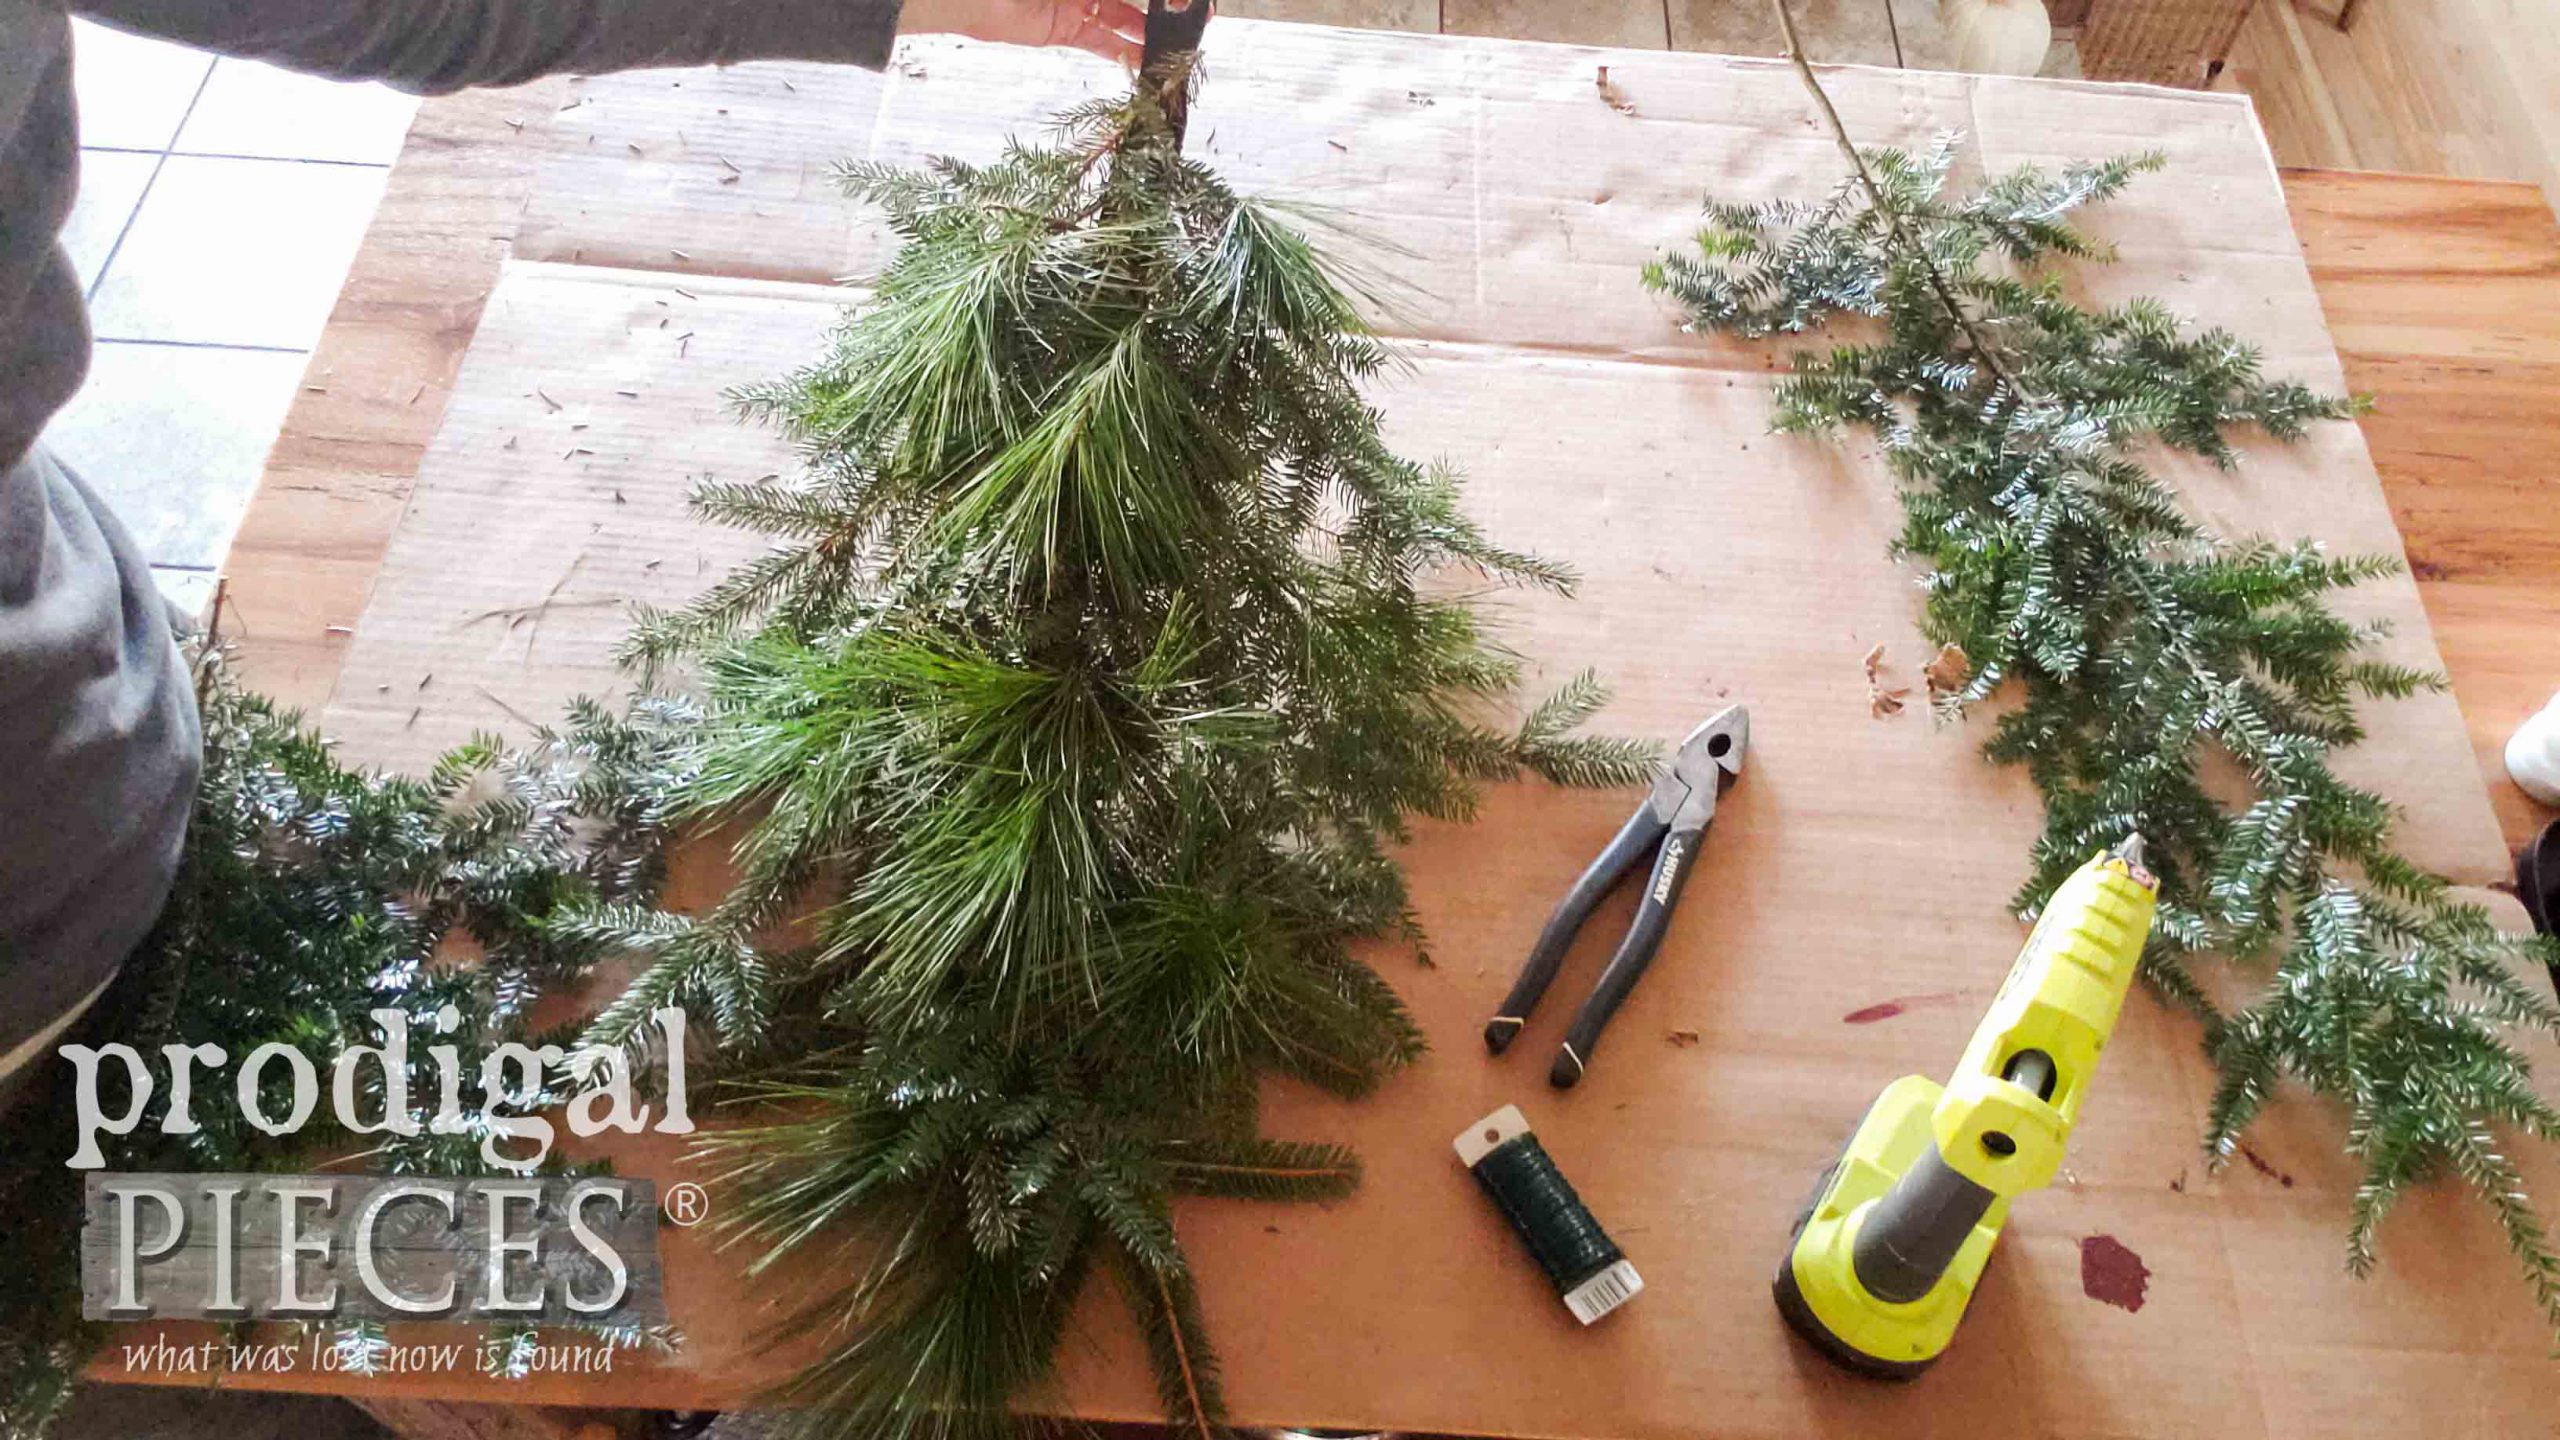
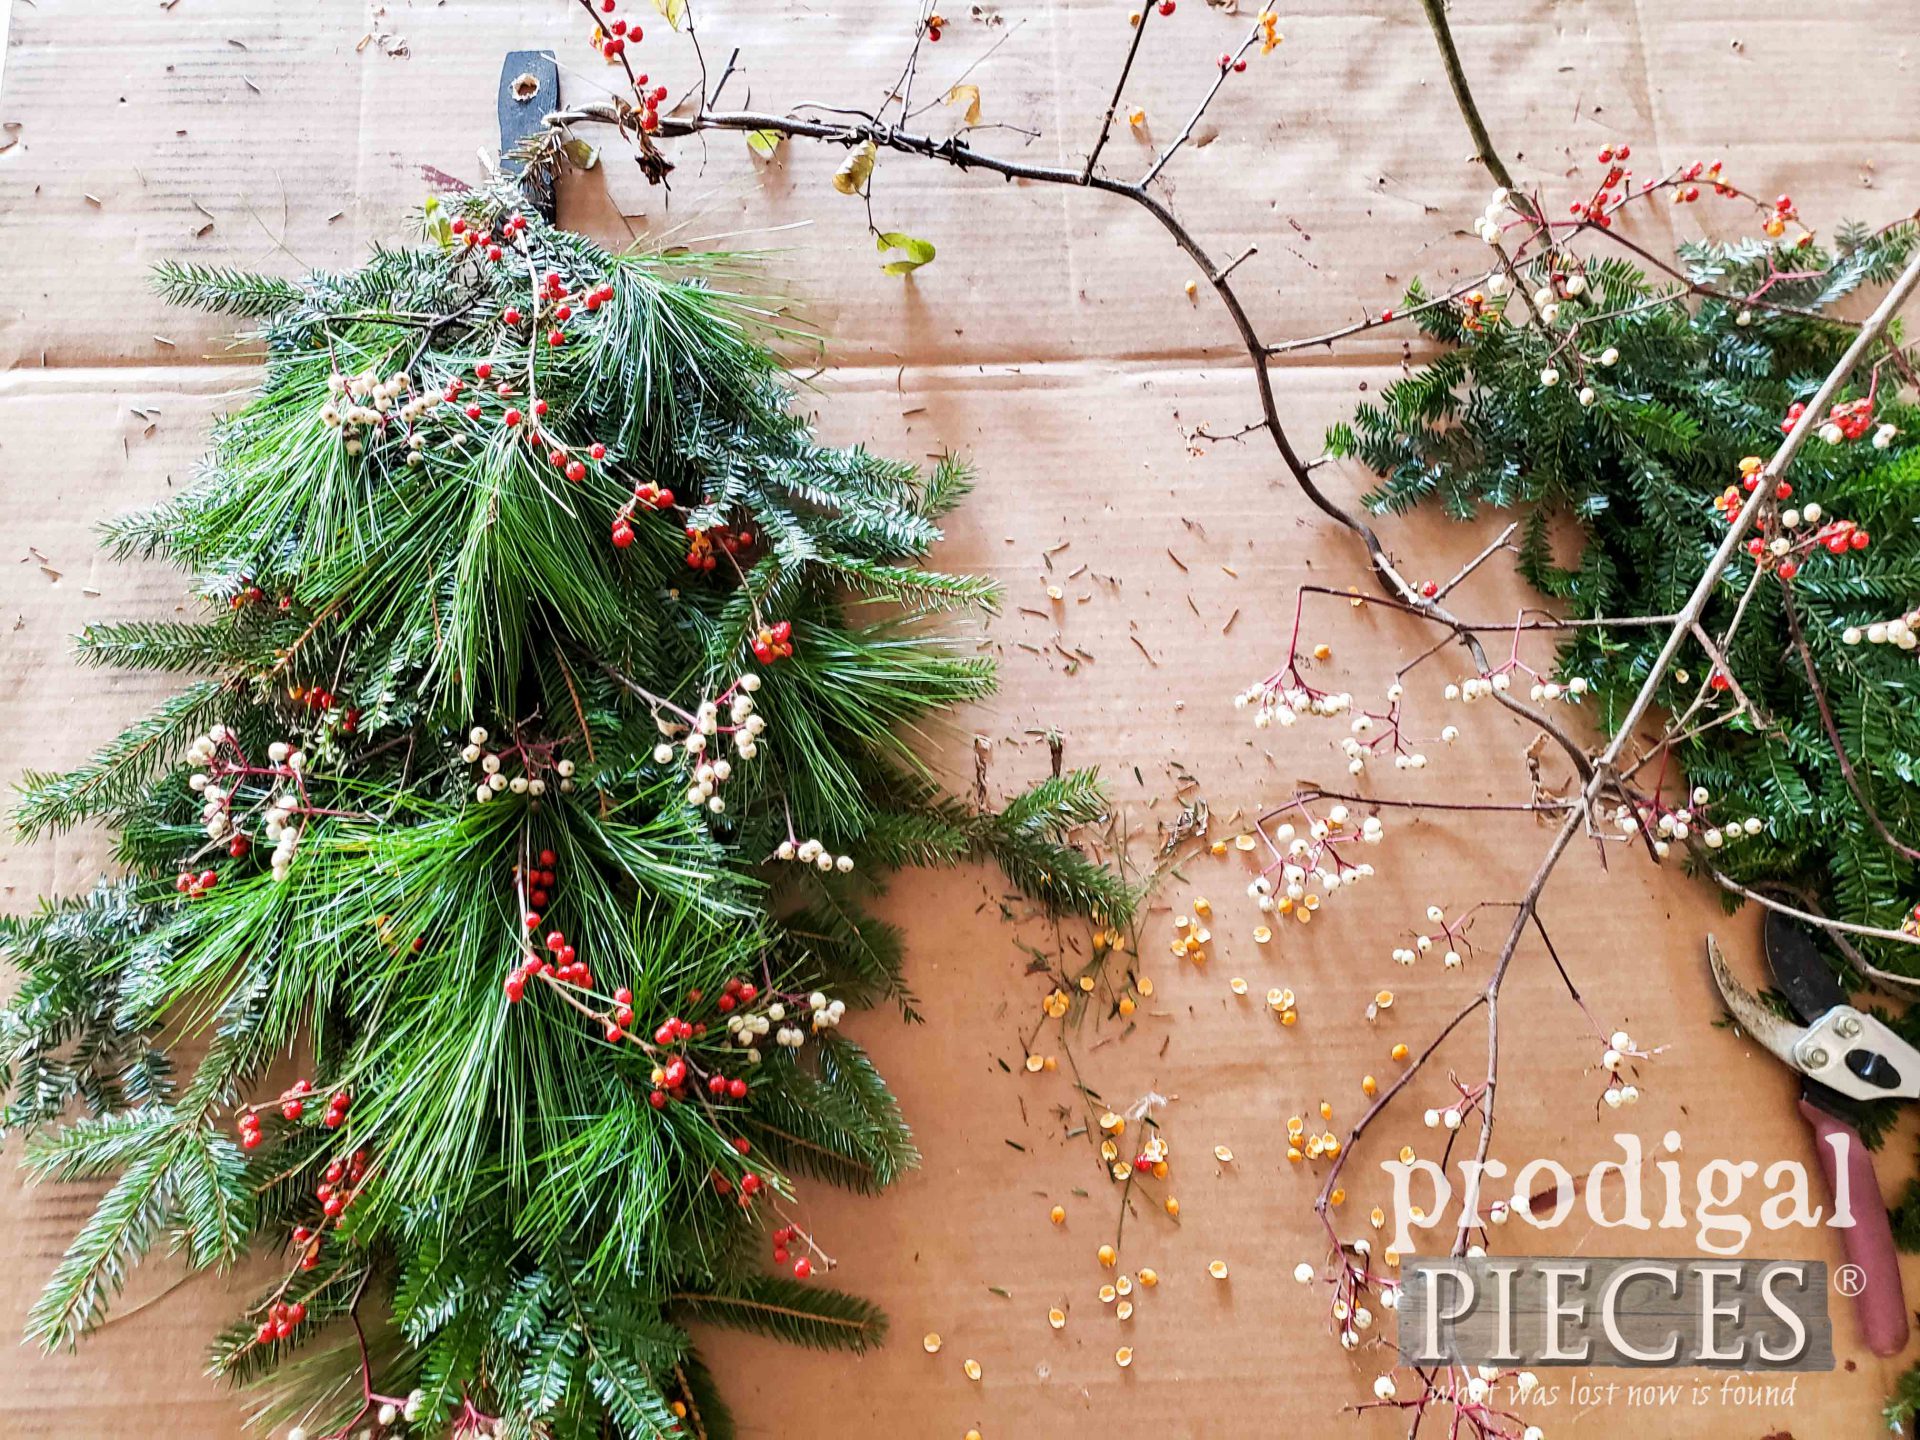
I like to begin by layering my heavier branches first. First one down the center, then the rest going off slightly to the left and right up the stick. Then, once I’m satisfied with my base, I like to start adding the lighter branches like the cultivated evergreen and the bushy white pine using my glue gun and hot glue. My video shows this best.
STEP 5
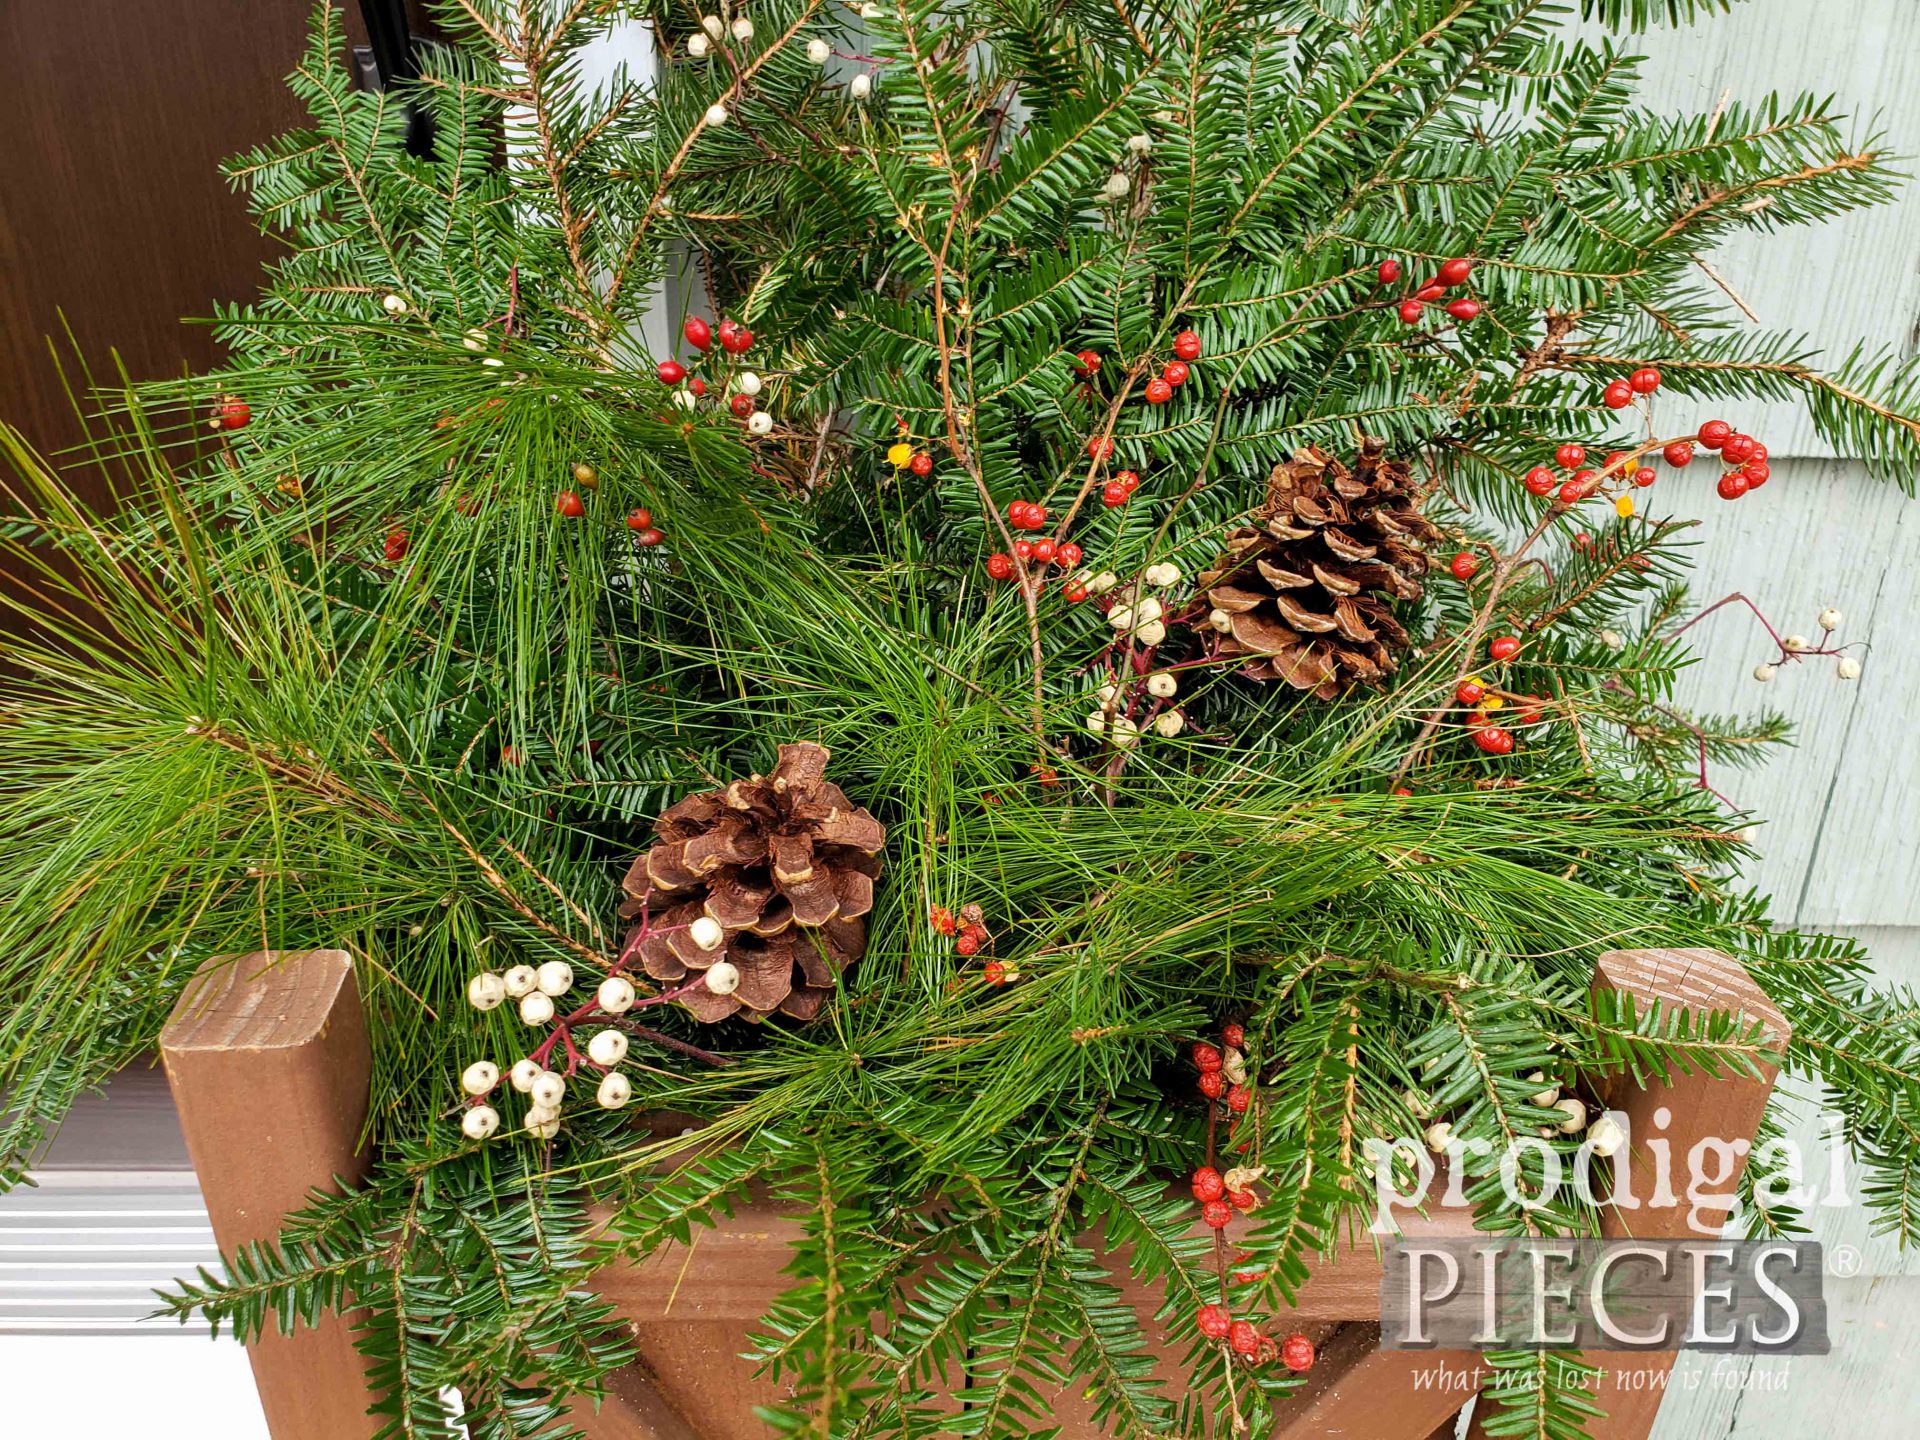
Then, once I like what I see, I begin to add in extra elements. The sky’s the limit on this one. For my DIY Christmas swag, I want to keep it rustic and simple. In addition to the evergreens, I add in some bittersweet and those “eyeball” berries I mentioned in my video. tee hee. I have to have something looking out for me.
Is this not the happiest mess ever? Sigh…the sight, the smell, and having my kids around to join in the fun. Blessings!
At this point I like to stop adding until I’ve looked at it with the final accessories.
STEP 6
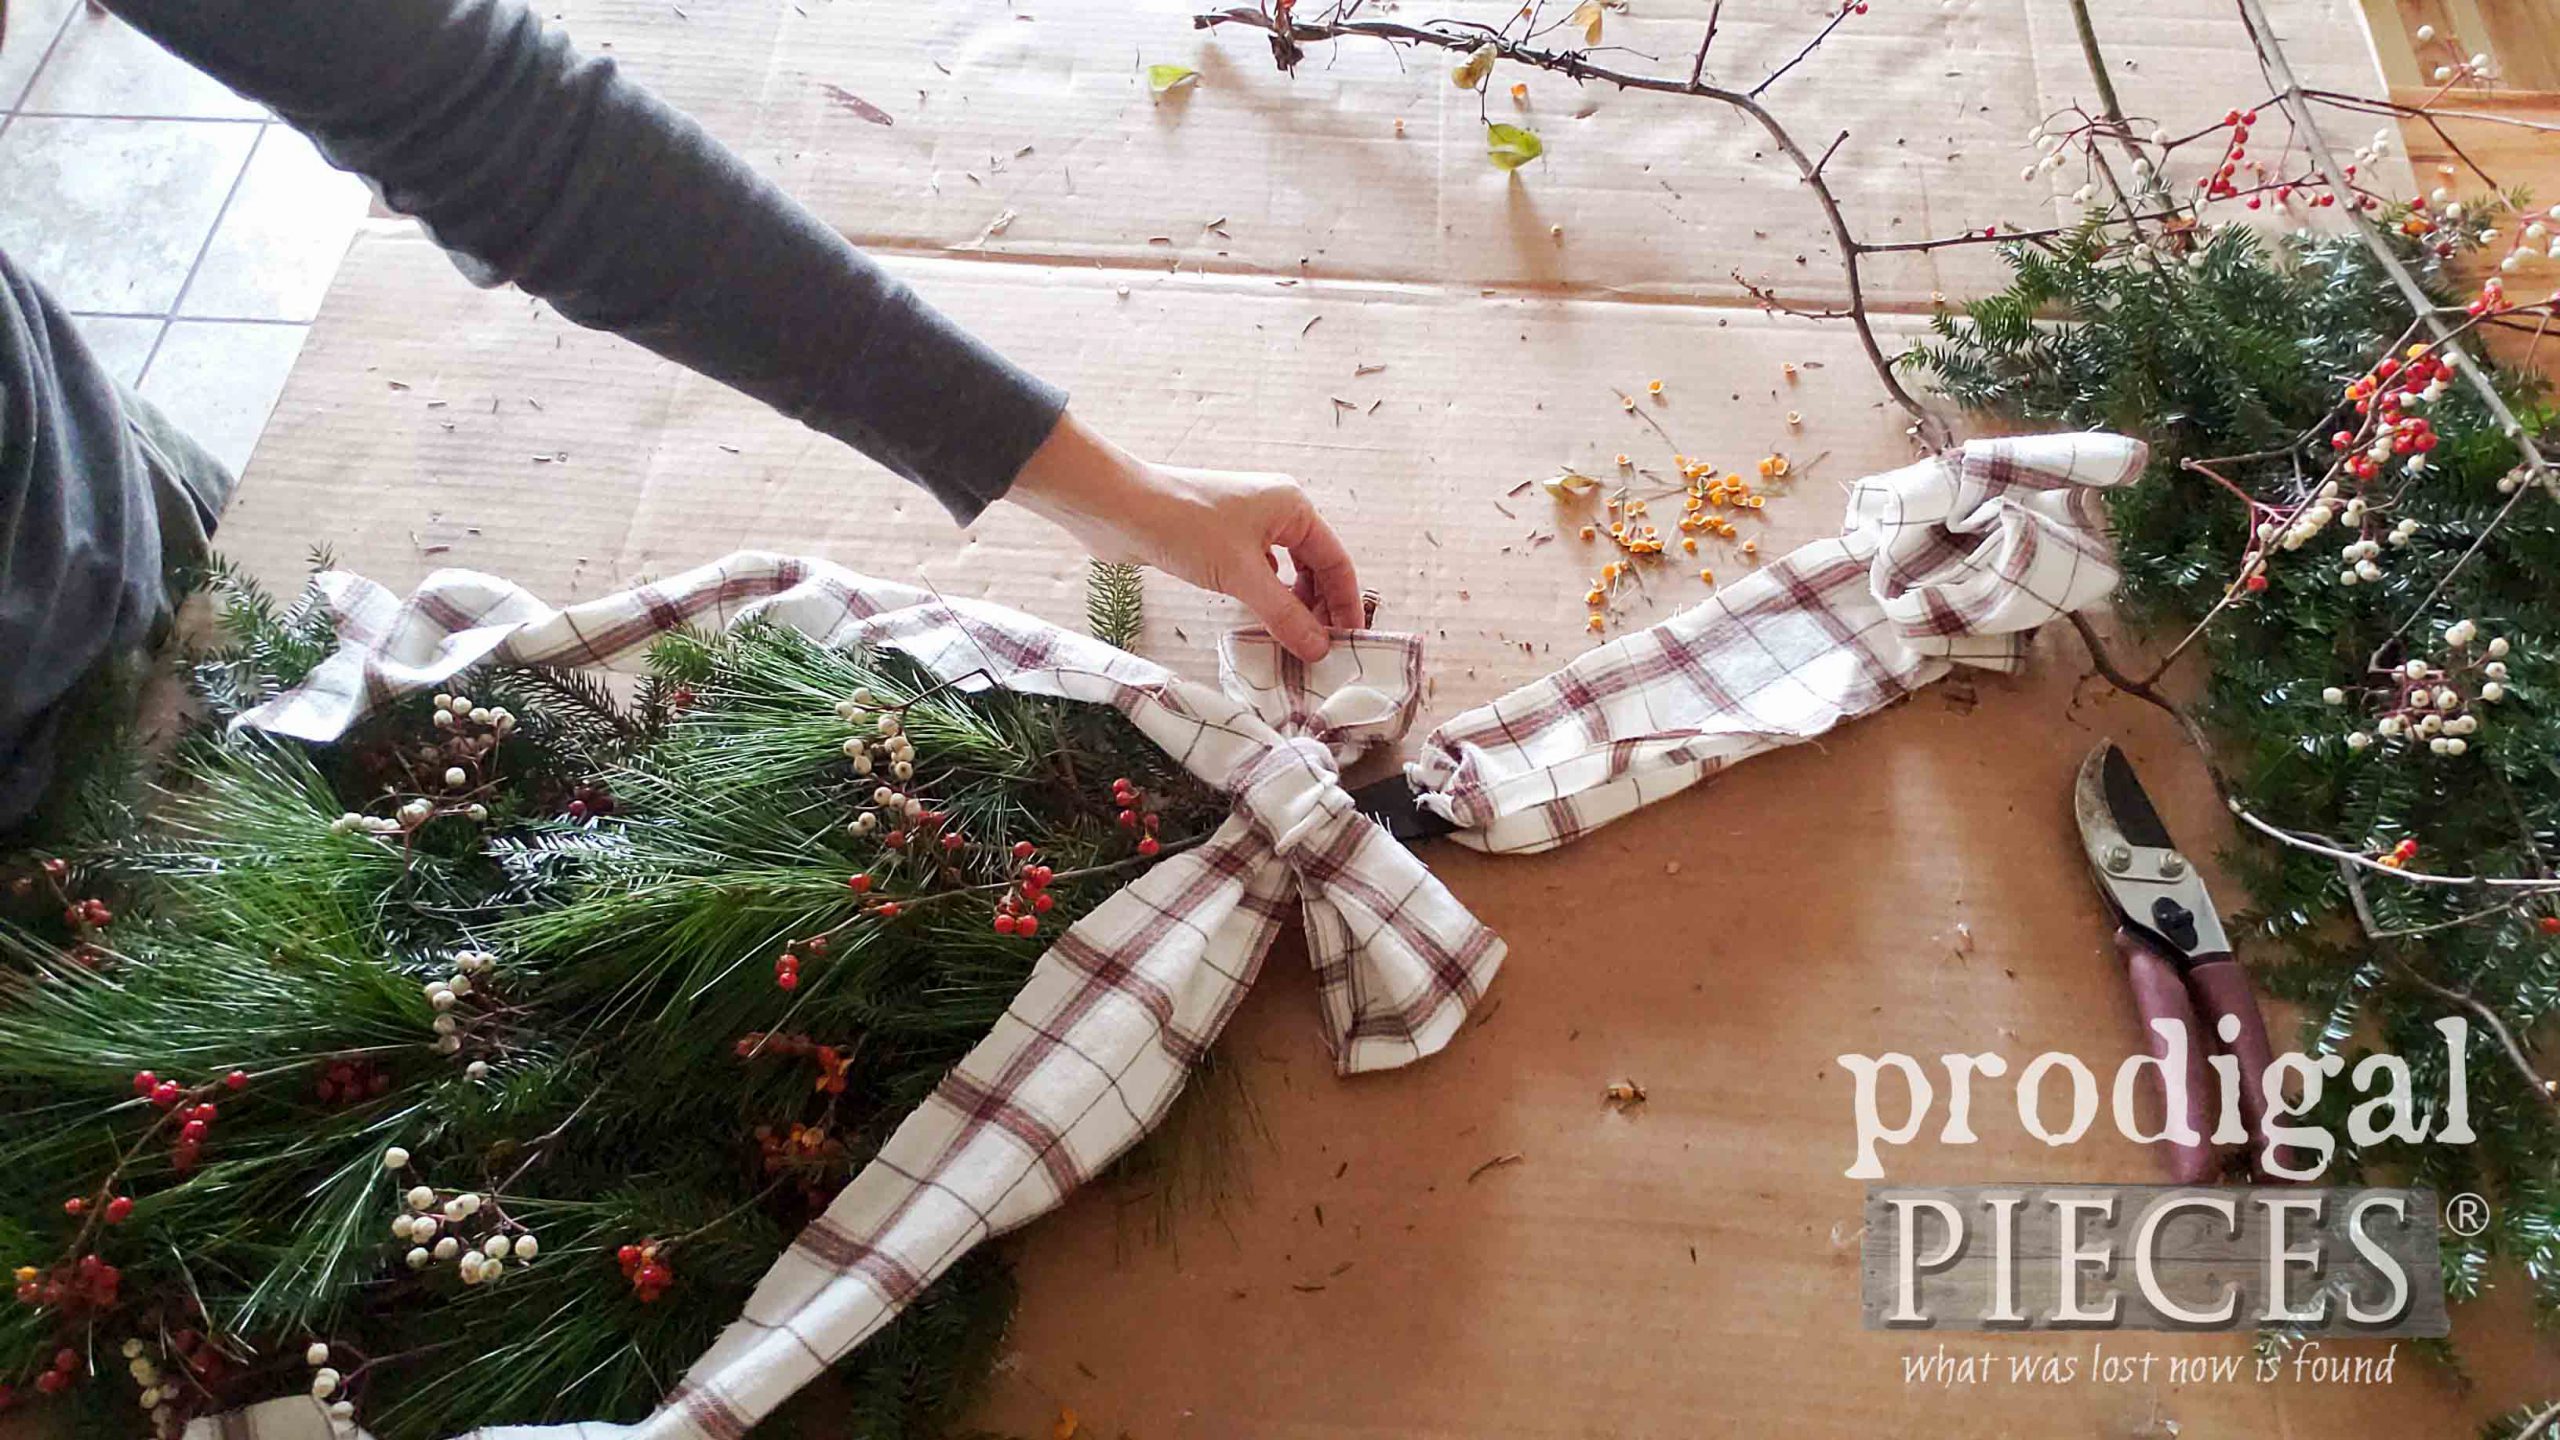
Before signing off on this project, it’s time to add a bow. You can go as BIG or little on this as you like. My own personal favorite is a simple, rustic bow. For some reason I have a scene stuck in my mind that I haven’t viewed for quite some time. It’s in the movie Little Women where the mother is adjusting the bow on their front door swag. Simple and so perfect.
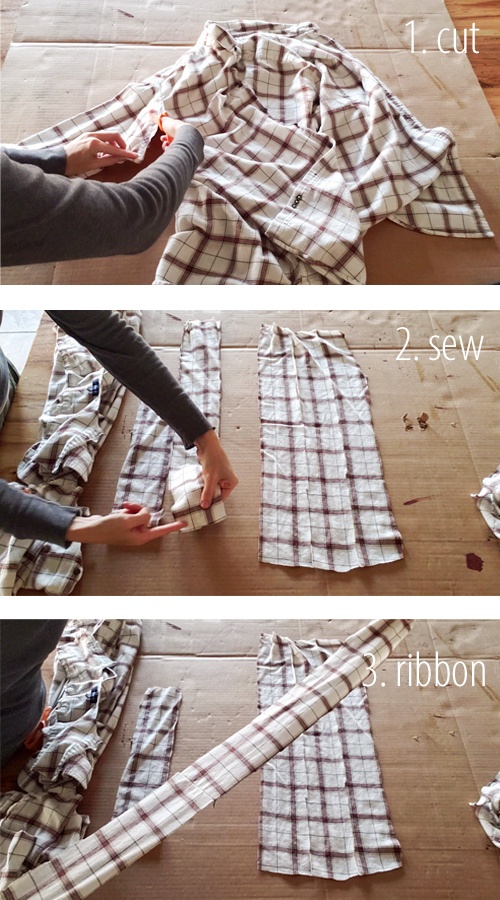
First, to make that bow, we are going to cut up that beloved flannel shirt. {{gasp}} Take a deep breath and have at it because it will pay off. Trust me.
- Cut off the sleeves, collar, and front panels. Then, cut the back into strips. Save the buttons (see our button art tutorial HERE), save the pocket, and, of course, save the scraps for later. See video for details.
- Sew 2 or 3 strips together on short ends for a bow. Sew a second set of 2 for the hanger. You can use a needle and thread or a machine. I would avoid glue as this will be our weight-bearing hanger too.
- Now we have our bow strip and our hanger strip. Time to assemble.
STEP 7
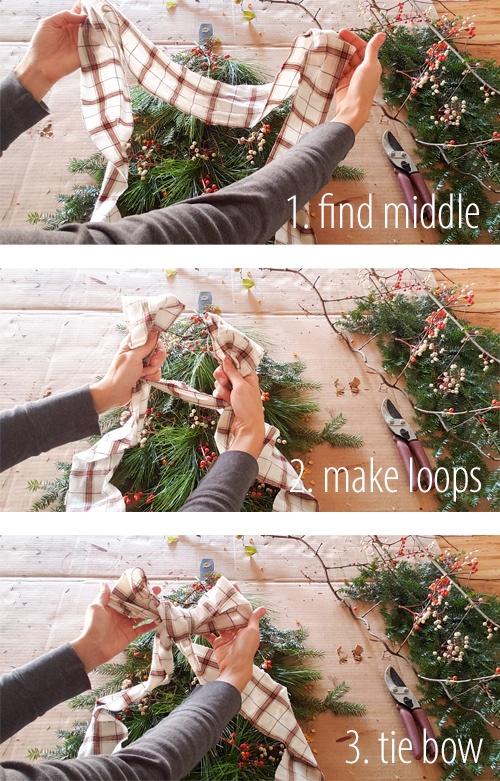
Time to tie it up.
- First, find center and hold it loosely.
- Second, make two “rabbit ear” loops on either side of center.
- Third, tie a simple over-and-under bow like you are tying your shoes.
I wanted to have long, trailing ends that add drama. If you fold the ends in half lengthwise, cut starting at the outer corner up at a 45° angle to the folded side to get a triangular notch.
Setting up the bow for a dry fit and placement test is always a good idea. This helps me create balance and placement of my pinecones. Last, thread your other stitched flannel pieces through the hole in the stir stick.
STEP 8
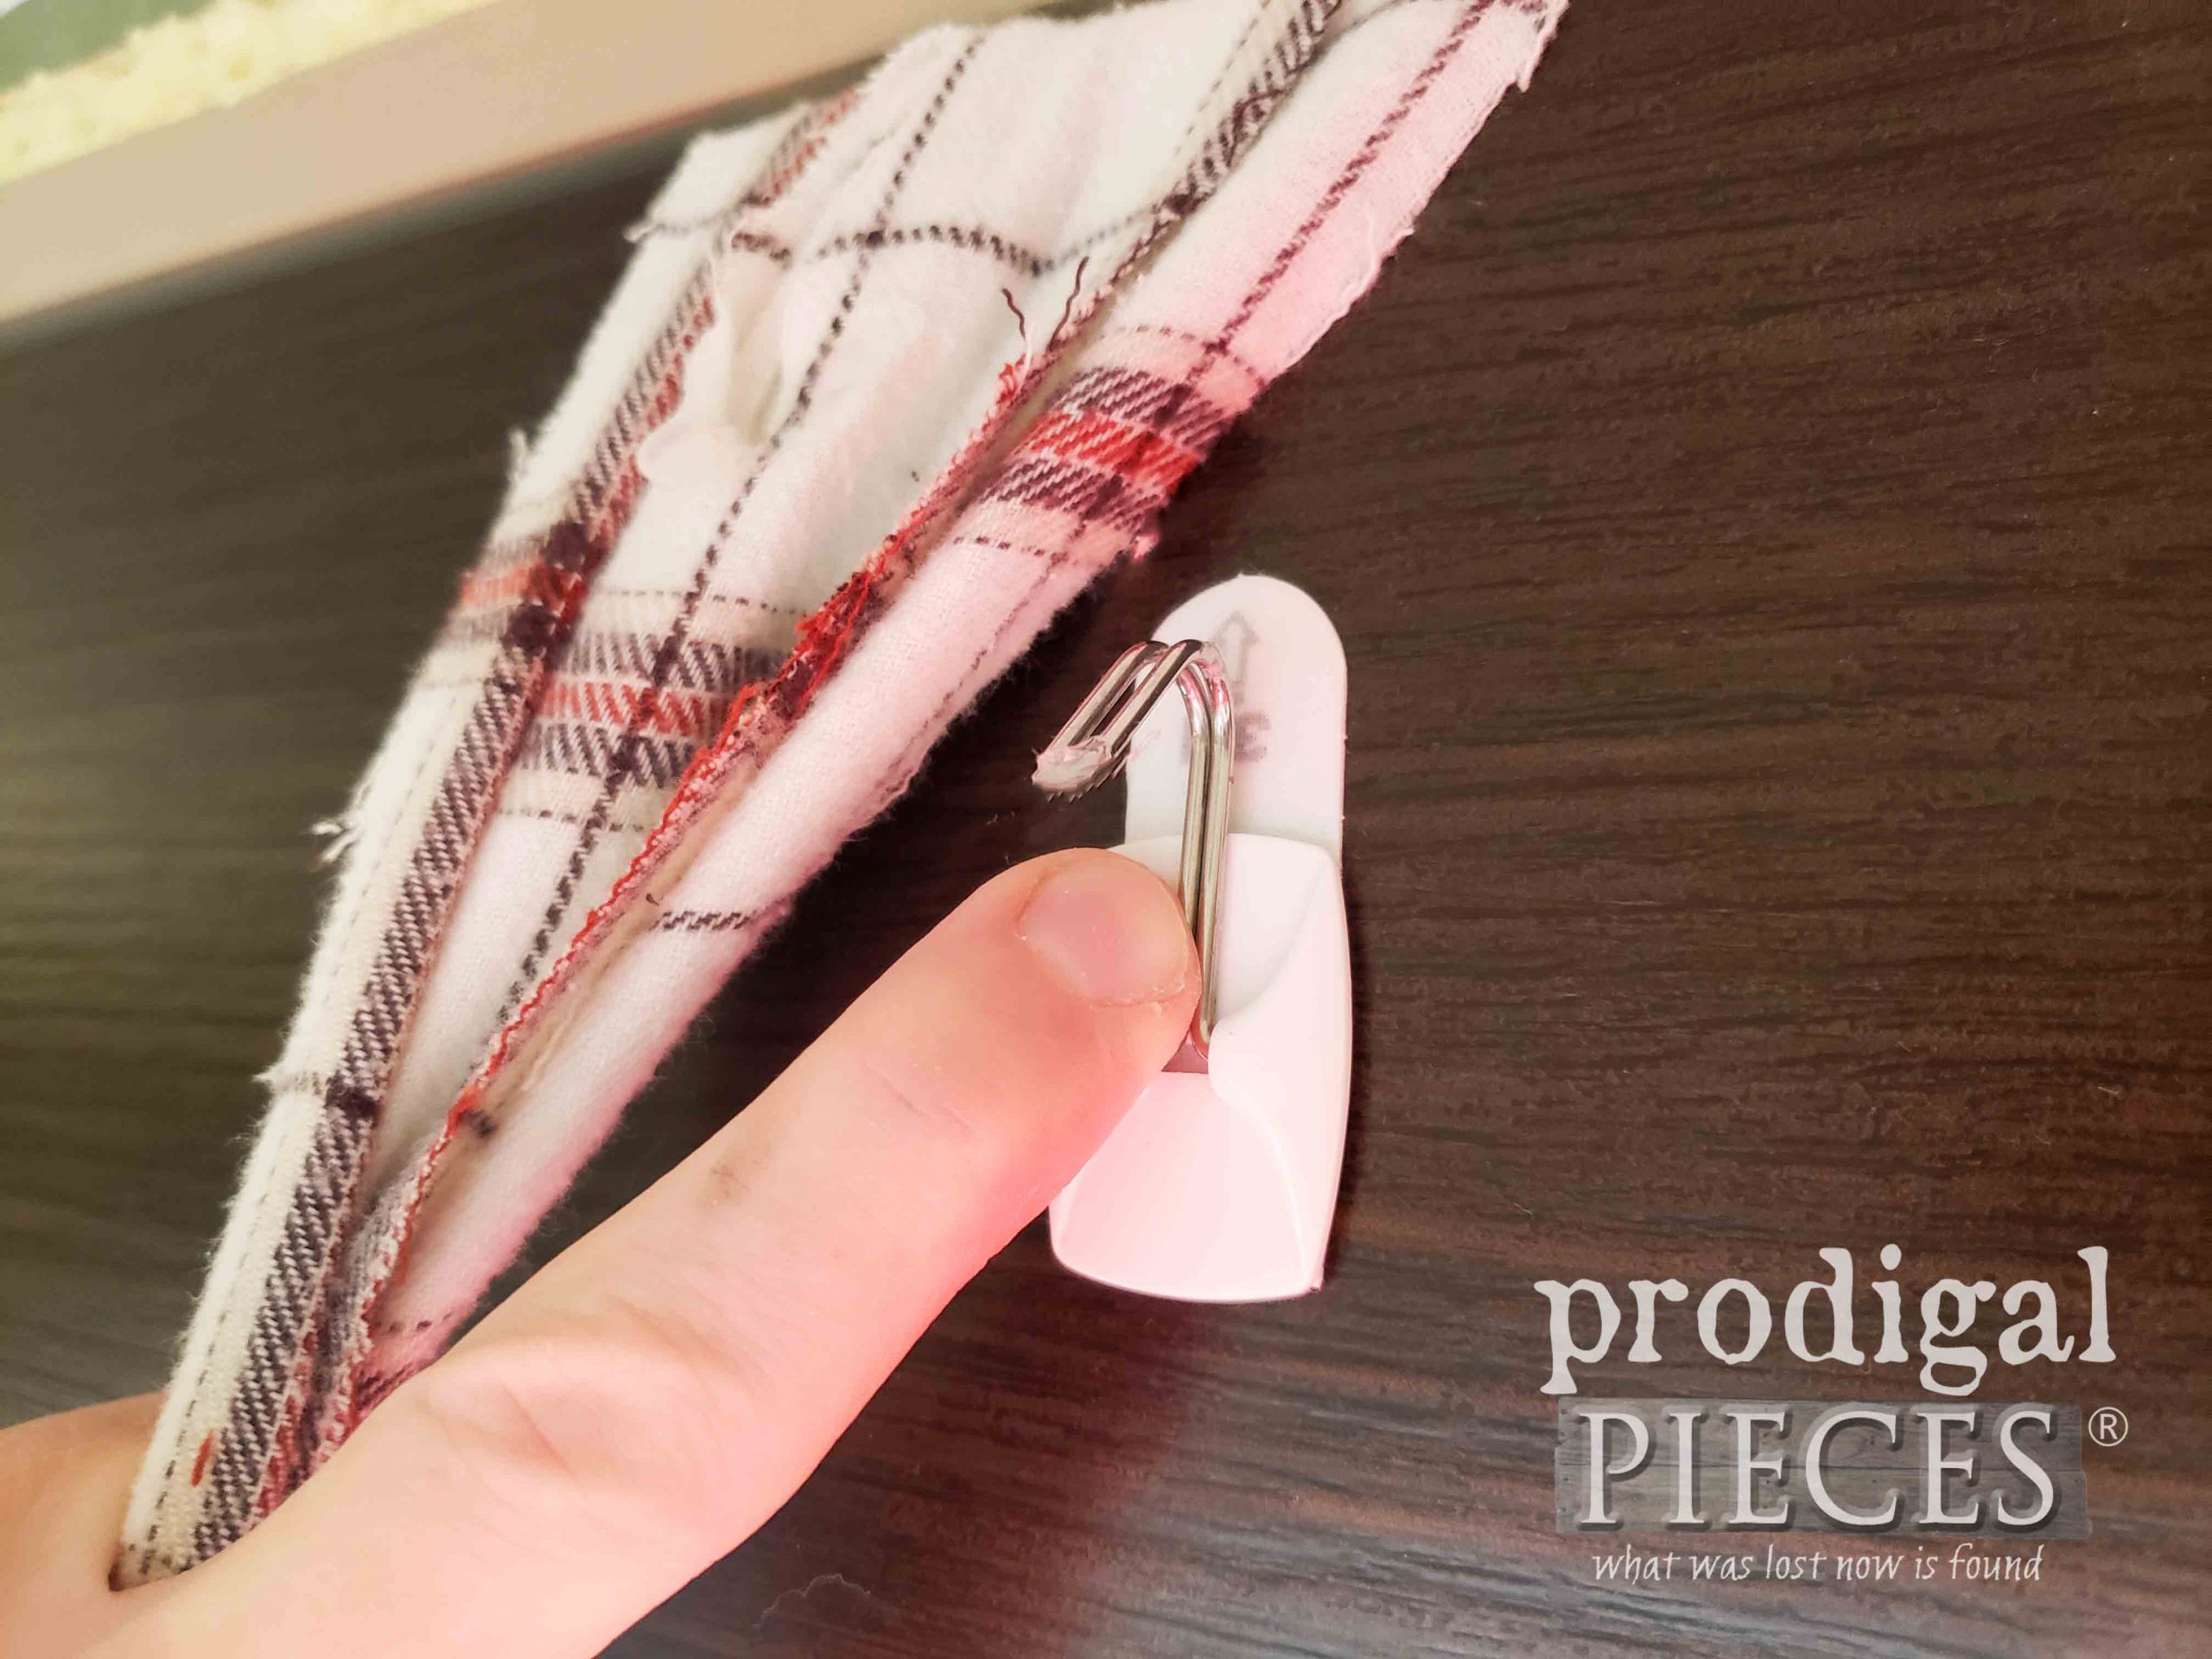
Hang time! In my video I demonstrate how I use an upside-down Command Hook on the back of my door to hang the swag from. I have used this for years as those metal or plastic over-the-door hooks damaged my doors. In addition, this makes it easy and is versatile too.
With my helper (aka. daughter), we find placement and then I cut notches through both pieces of the flannel tie and hang. For longevity, I also take down the swag for a minute and put a bead of hot glue around my cut so it prevents fraying. Again, the video demonstrates this.
ALL DONE
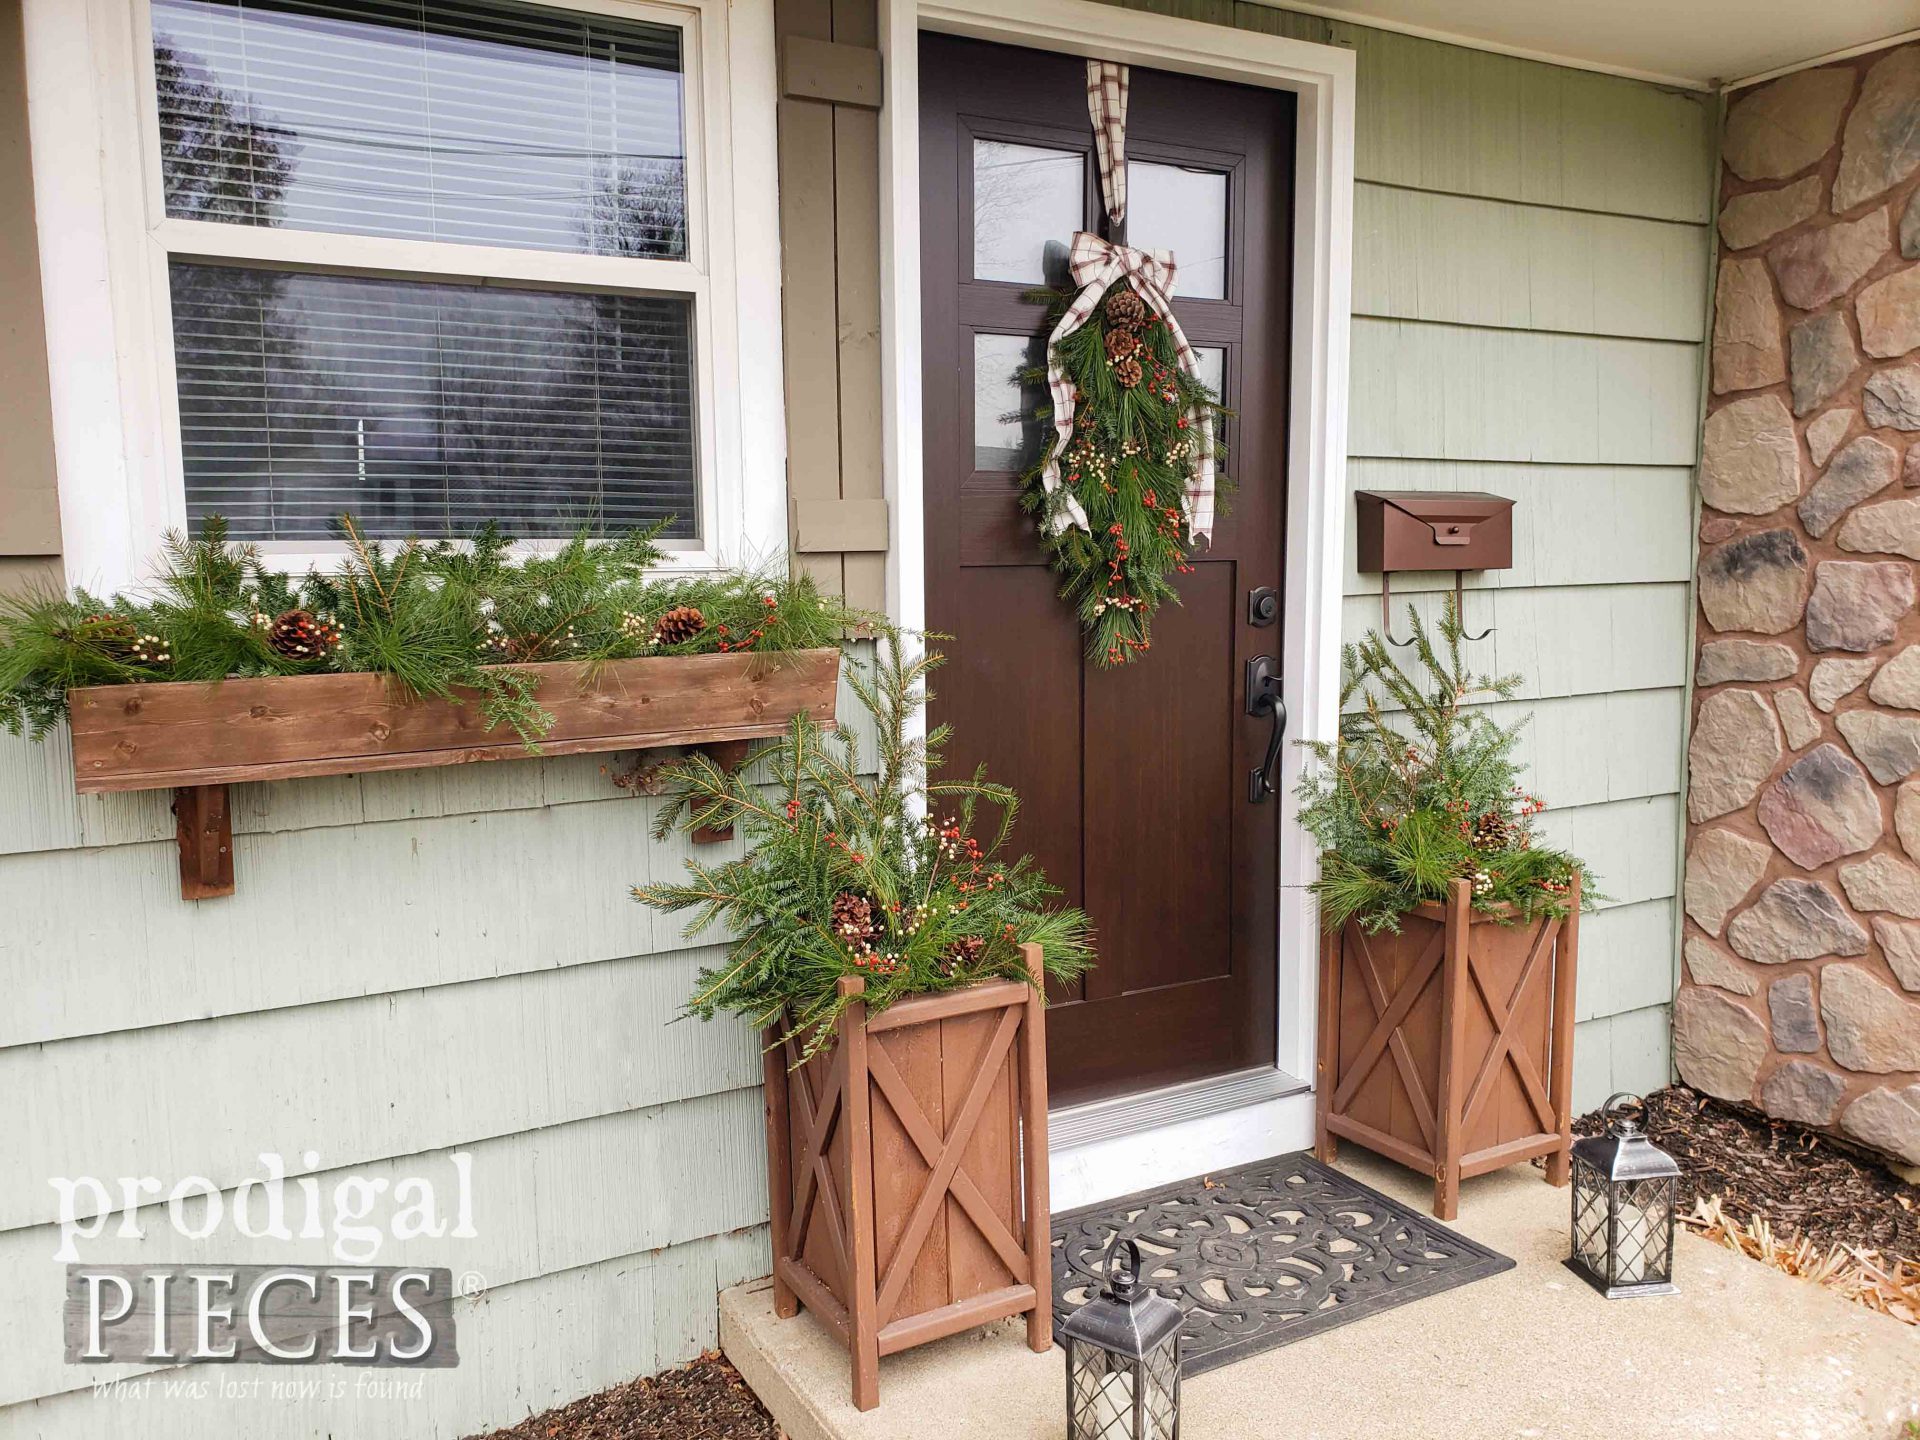
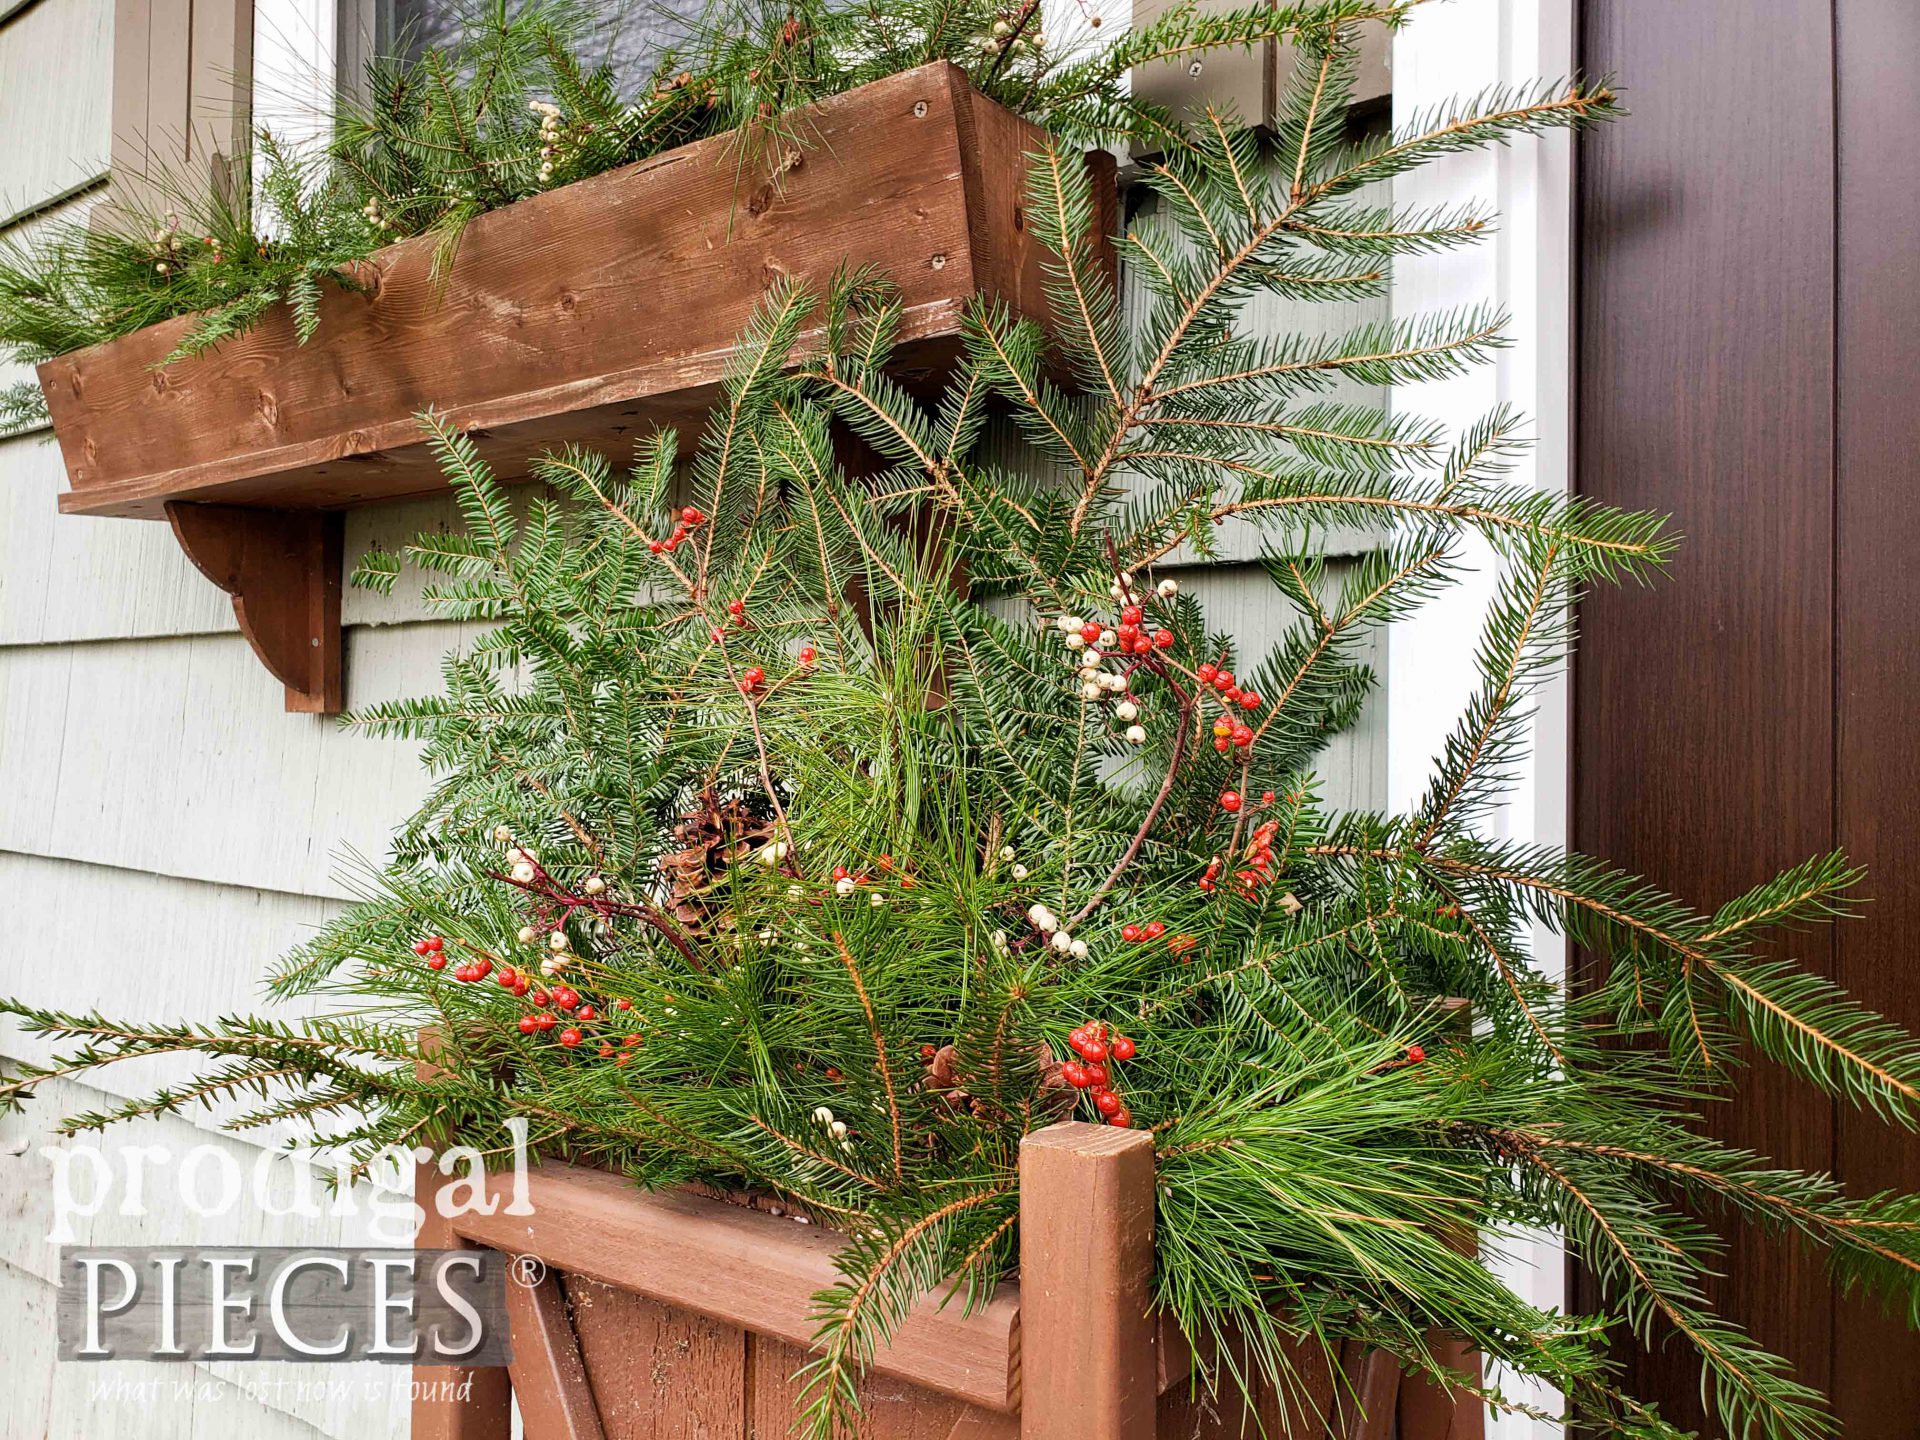
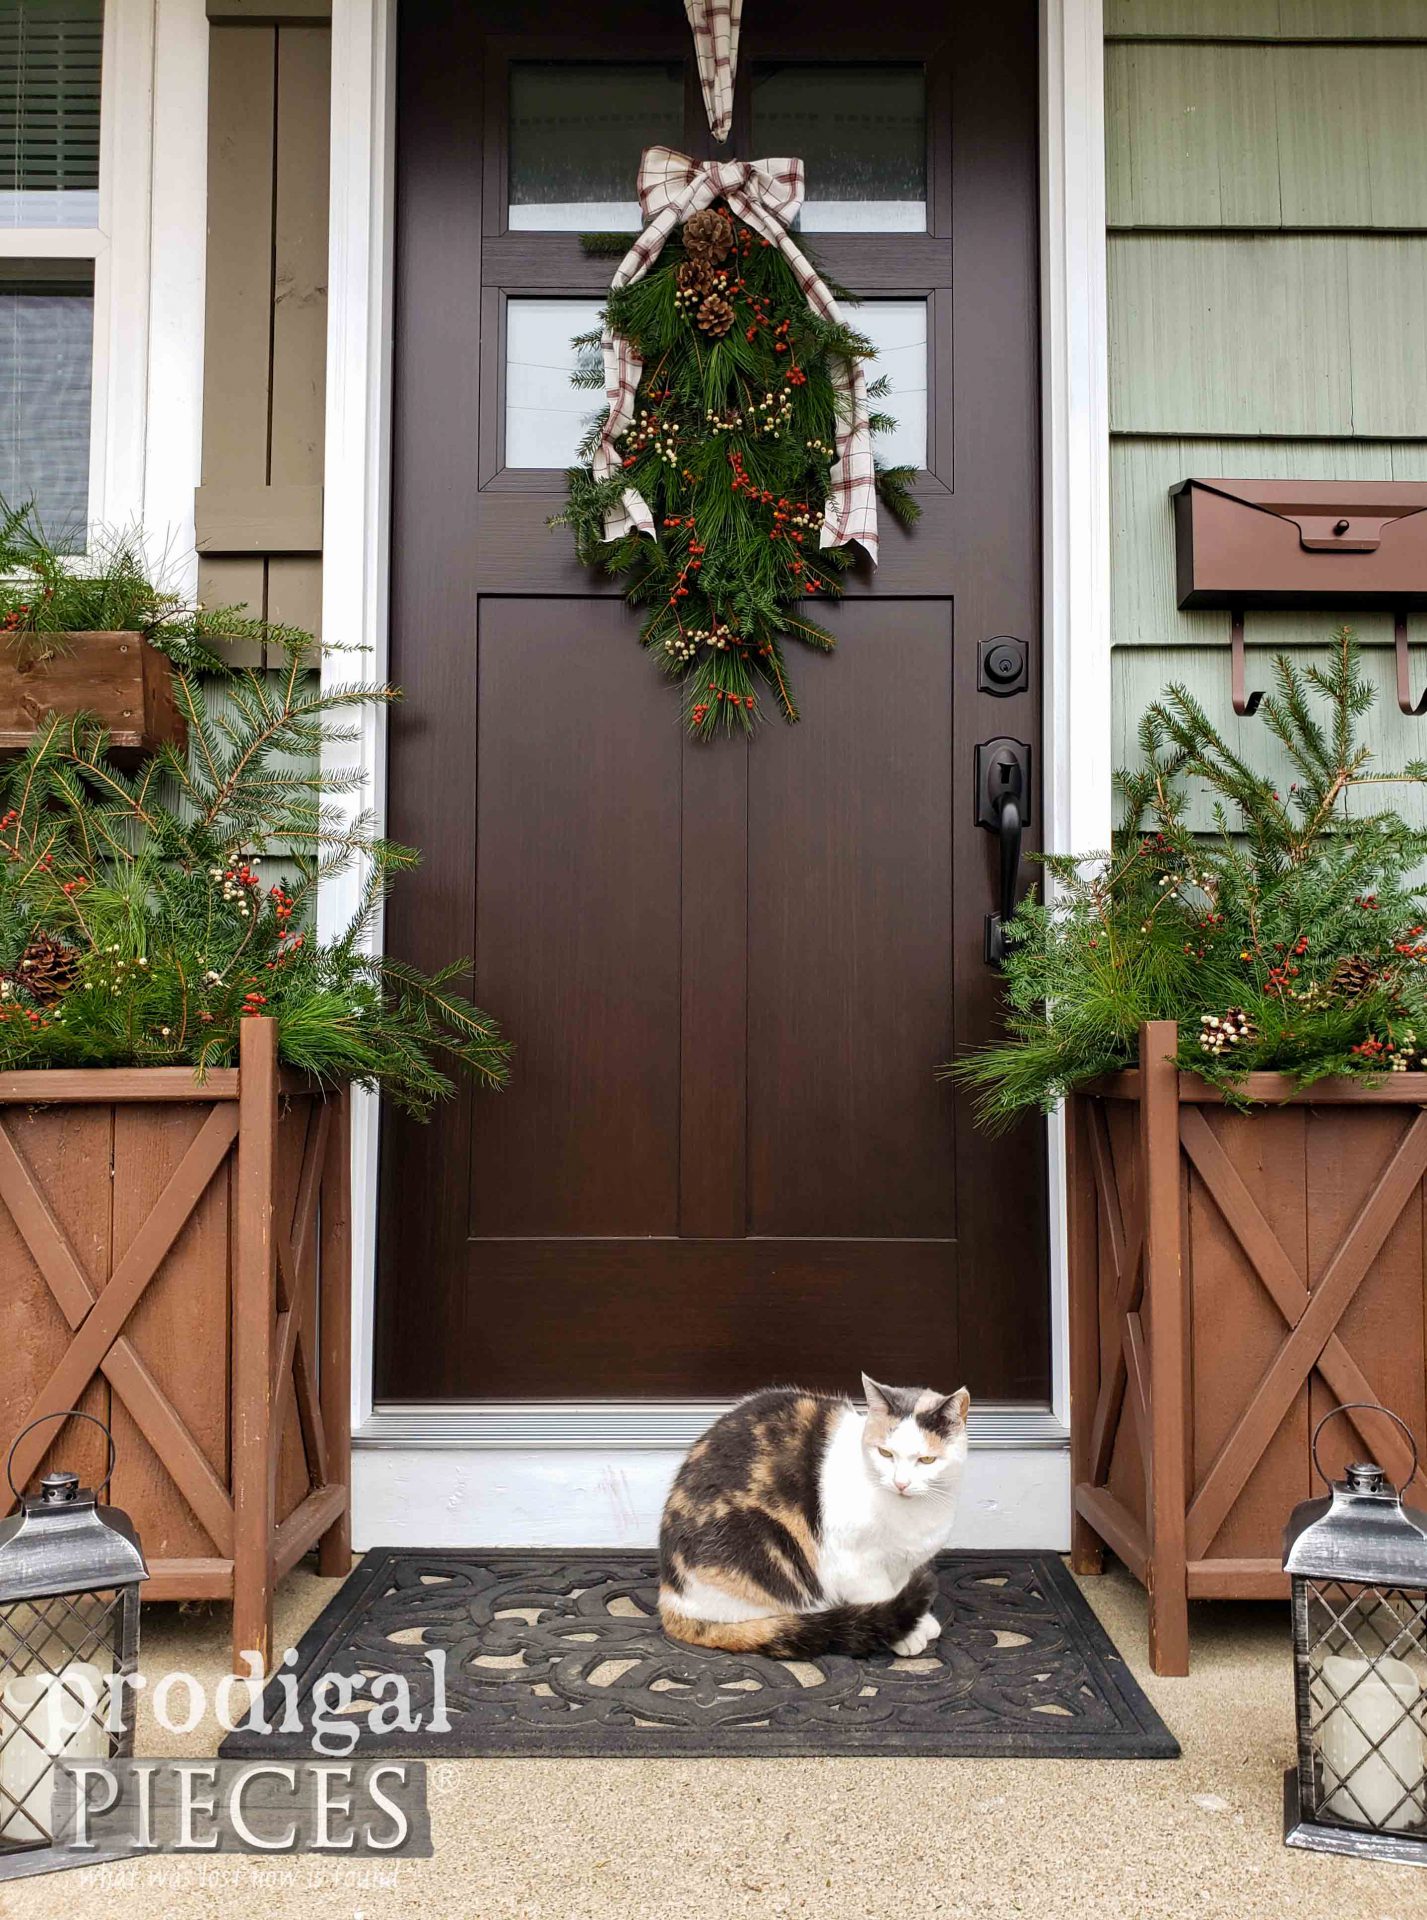
Last, but not least, I take my leftover cuttings and fill my window boxes and my two planters (DIY build plans for those HERE)
Do you love it? I couldn’t be happier with the outcome. Not only did it cost little to nothing to create, but it also got me outdoors with my family, and created the simple Christmas decor I so adore.
Oh, and did I mention the scent? mmm…heavenly! Pine goodness all in one place to greet your family and friends. Like a Christmas hug.
And then there’s my sassy girl, Lily, who just had to be front and center. She believes she’s the true star of the show.
Got questions? Please feel free to ask. However, I know many are afraid to try DIY, but this project couldn’t be any simpler. Likewise, if you mess up, it’s forgiving, just start over.
Before you go, pin and share this DIY Christmas and swag & planter tutorial. Unfortunately, so many think they have to fork out dough for box-store goods when nature’s already provided it all.
Up next, this sweet little vanity set will be receiving a makeover. Head HERE for the reveal.
What is more, to get these DIY tips & tricks in your inbox, be sure to sign up for my newsletter. Until next time!










Larissa,
Love the fresh cut decor. Where did you buy the Wilt Stop? We can definitely use that here in TX.
Thank you, Judy. I have the text link in my post as well as a picture link to it in my post too. I’ll add the link here – CLICK HERE.
Love that you foraged the evergreens for your door swag and planters – they all look so festive and pretty! Great door hanging tip too!
You know I miss my great outdoors. This felt so good. Thank you, Marie. Merry Christmas season!
That is adorable!
Thank you, Lorene. I had fun with it. 🙂
Using old clothes and nature together in one project? It doesn’t get any better than this!
Right? I thought of you… hugs!
I love your beautiful creations Larissa! We live in the woods and love foraging for outdoor decorating, thank you for sharing you flannel bow and hanger idea.
I envy you in all you have to work with. Thanks so much! 😀
Lovely! I especially like the planters!
Thanks! They really are a favorite build of mine.
Really nice, makes me homesick!
Me too. I ache for country living. 😀