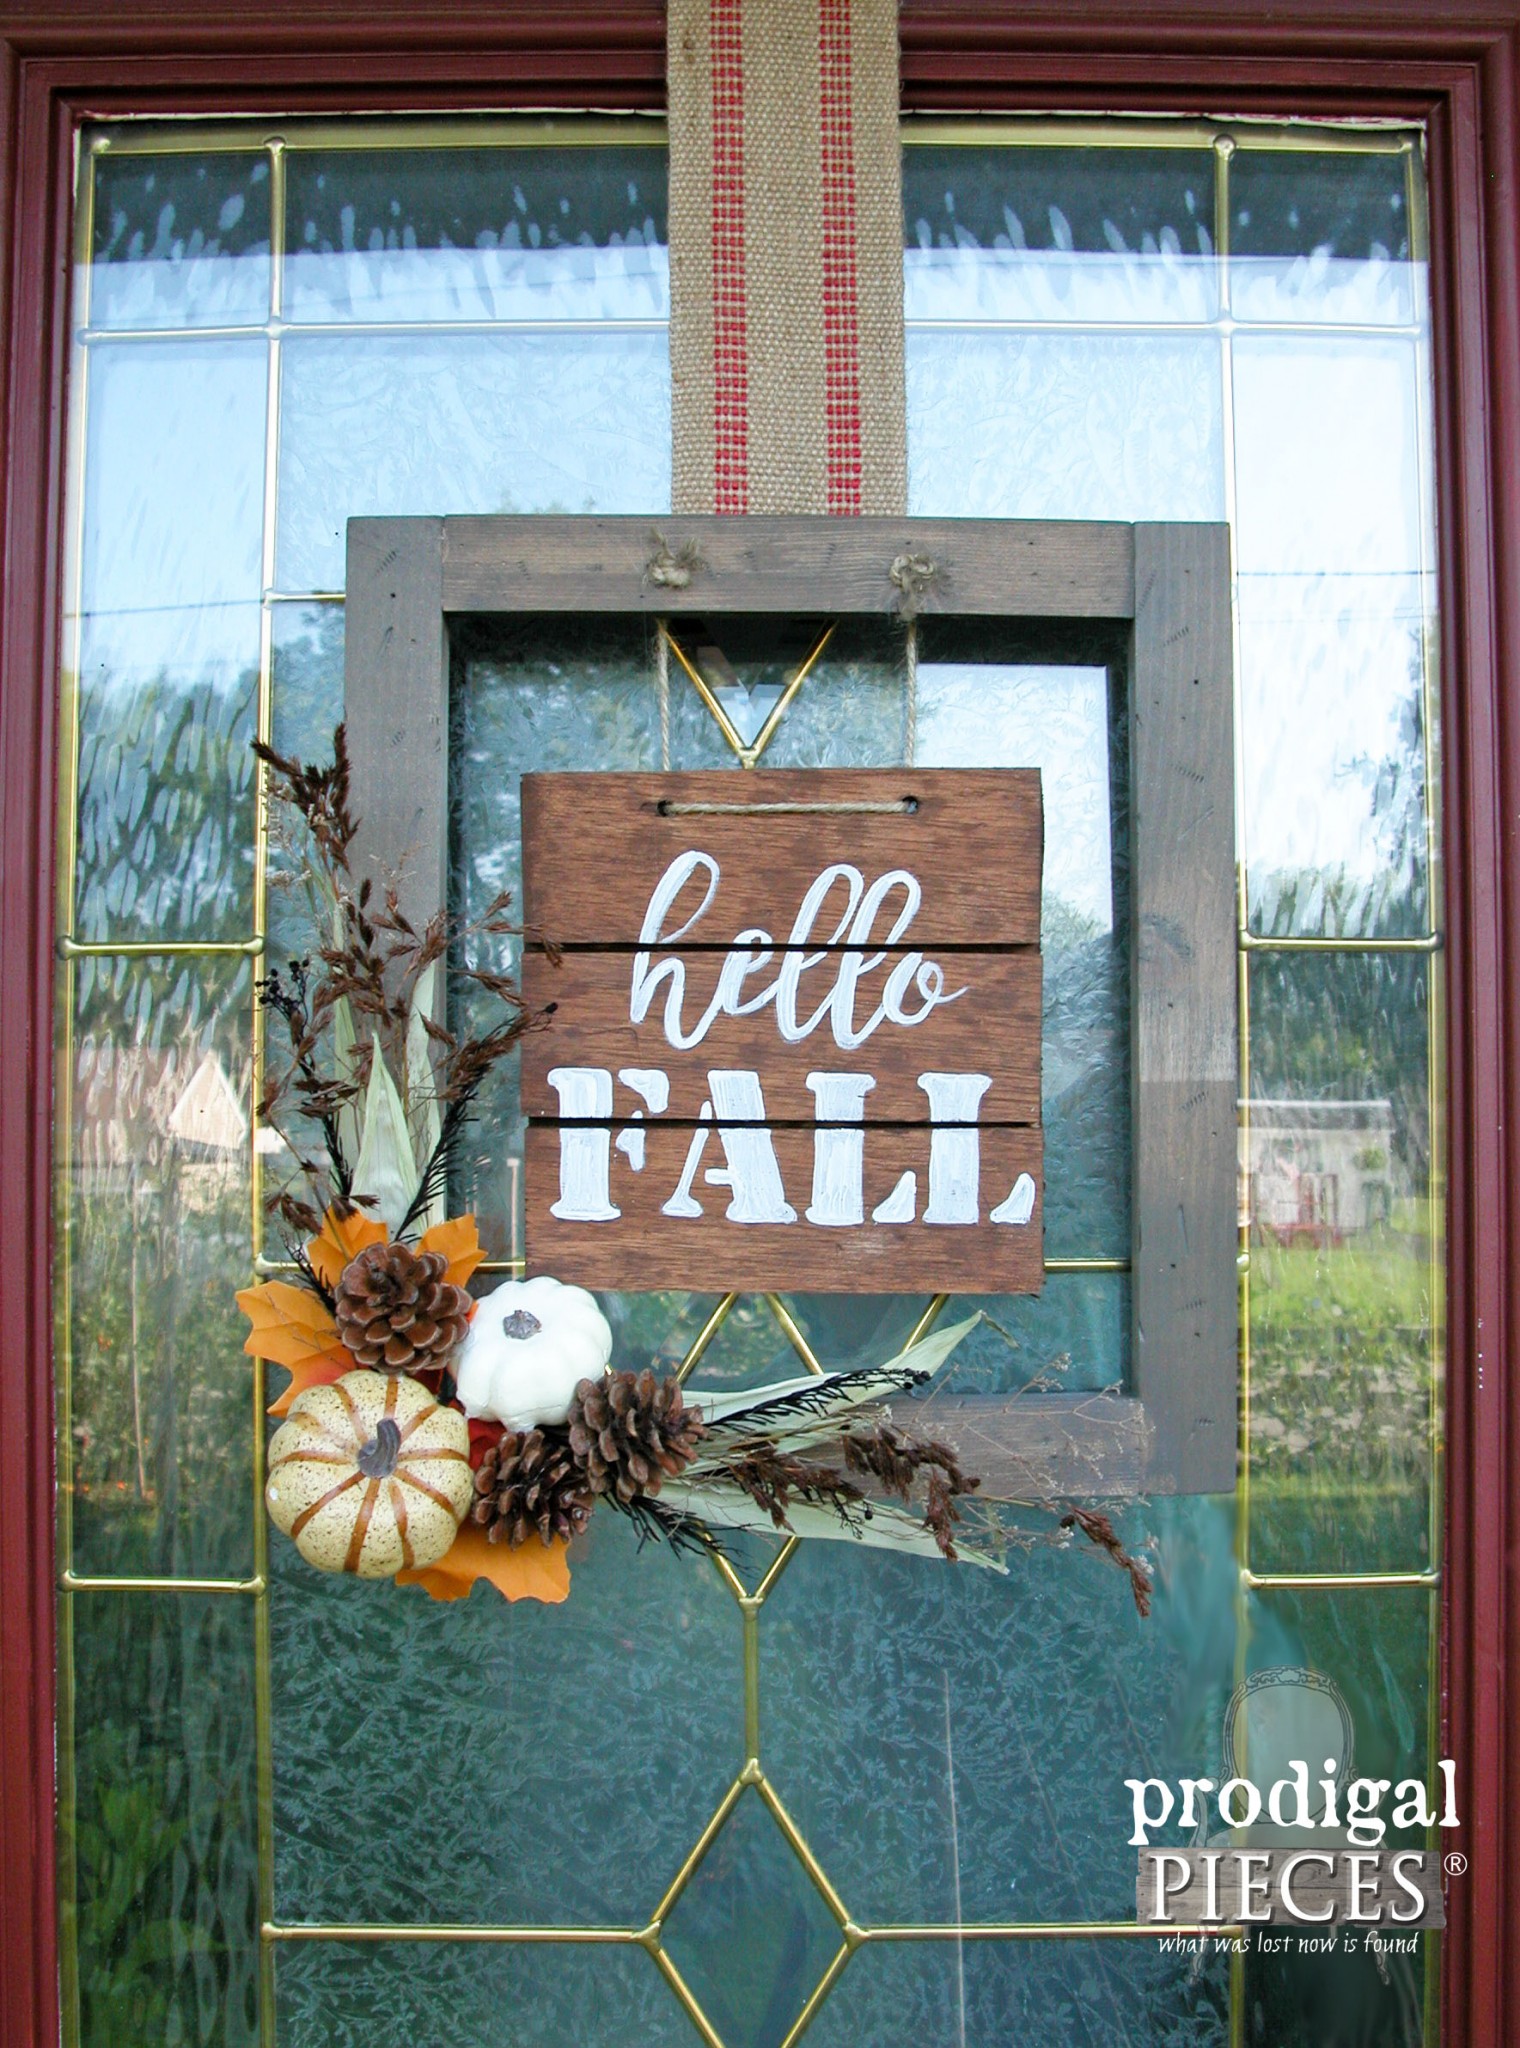
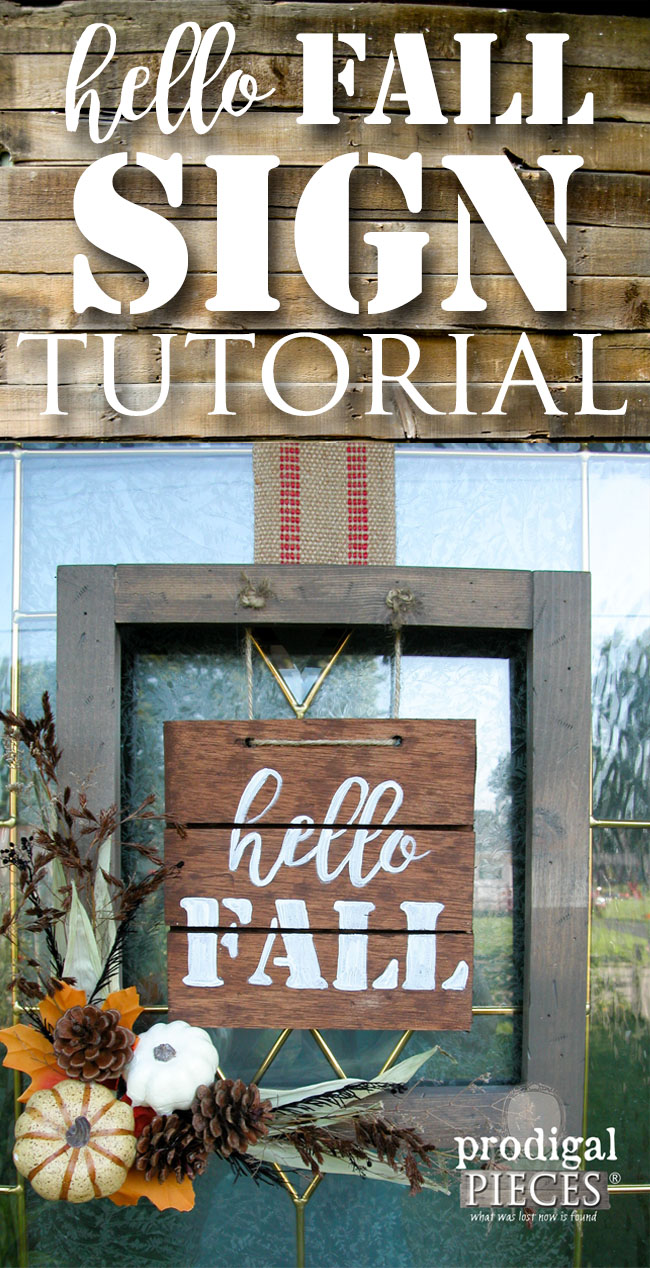
Happy Fall Y’all!! The fall season is here and what better way to kick off this wonderful time of year than with a DIY decor project? Today, I’m going to share with you the step-by-step process to create this Hello Fall sign for your very own.
Not only can you welcome your guests in style with this front door decor, but also hang on your wall to celebrate the season. Also, you can see it as I showed on my fireplace makeover.
DIY TIME
Ready to get started and make your own Hello Fall sign? First, here is what you’ll need:
Materials:
- wood – pine or similar
- 1″ x 4″ x 14″ – ripped in half lengthwise for two pieces
- 1″ x 4″ x 10″ – ripped in half lengthwise for two pieces
- One – 7 ½” x 7 ½” square of hardboard in 1/8″ thickness or similar
- 3 – ½” x 2 ½” x 7 ½” pieces of plywood or thinner
- white acrylic paint
- twine
- wood glue
- stain in two colors (see below for my choices)
- dried flowers, corn husk, etc.
- fall accents (faux gourds, leaves, pumpkins, pinecones, etc)
- “hello fall” graphic printed (see below)
- picture hanger or jute webbing (optional)
Tools:
- drill
- ¼” drill bit
- foam brushes
- 1 ¼” screws or finish nails
- Kreg Jig (optional)
- artist’s paint brush
- sandpaper
This project can easily be done in an afternoon and only requires simple supplies that you can possibly find in your scrap wood – I did. I even used somewhat painted wood that added to the worn effect. You can used reclaimed wood as well, or use the steps following to make you wood look time-worn and full of character.
Step 1:
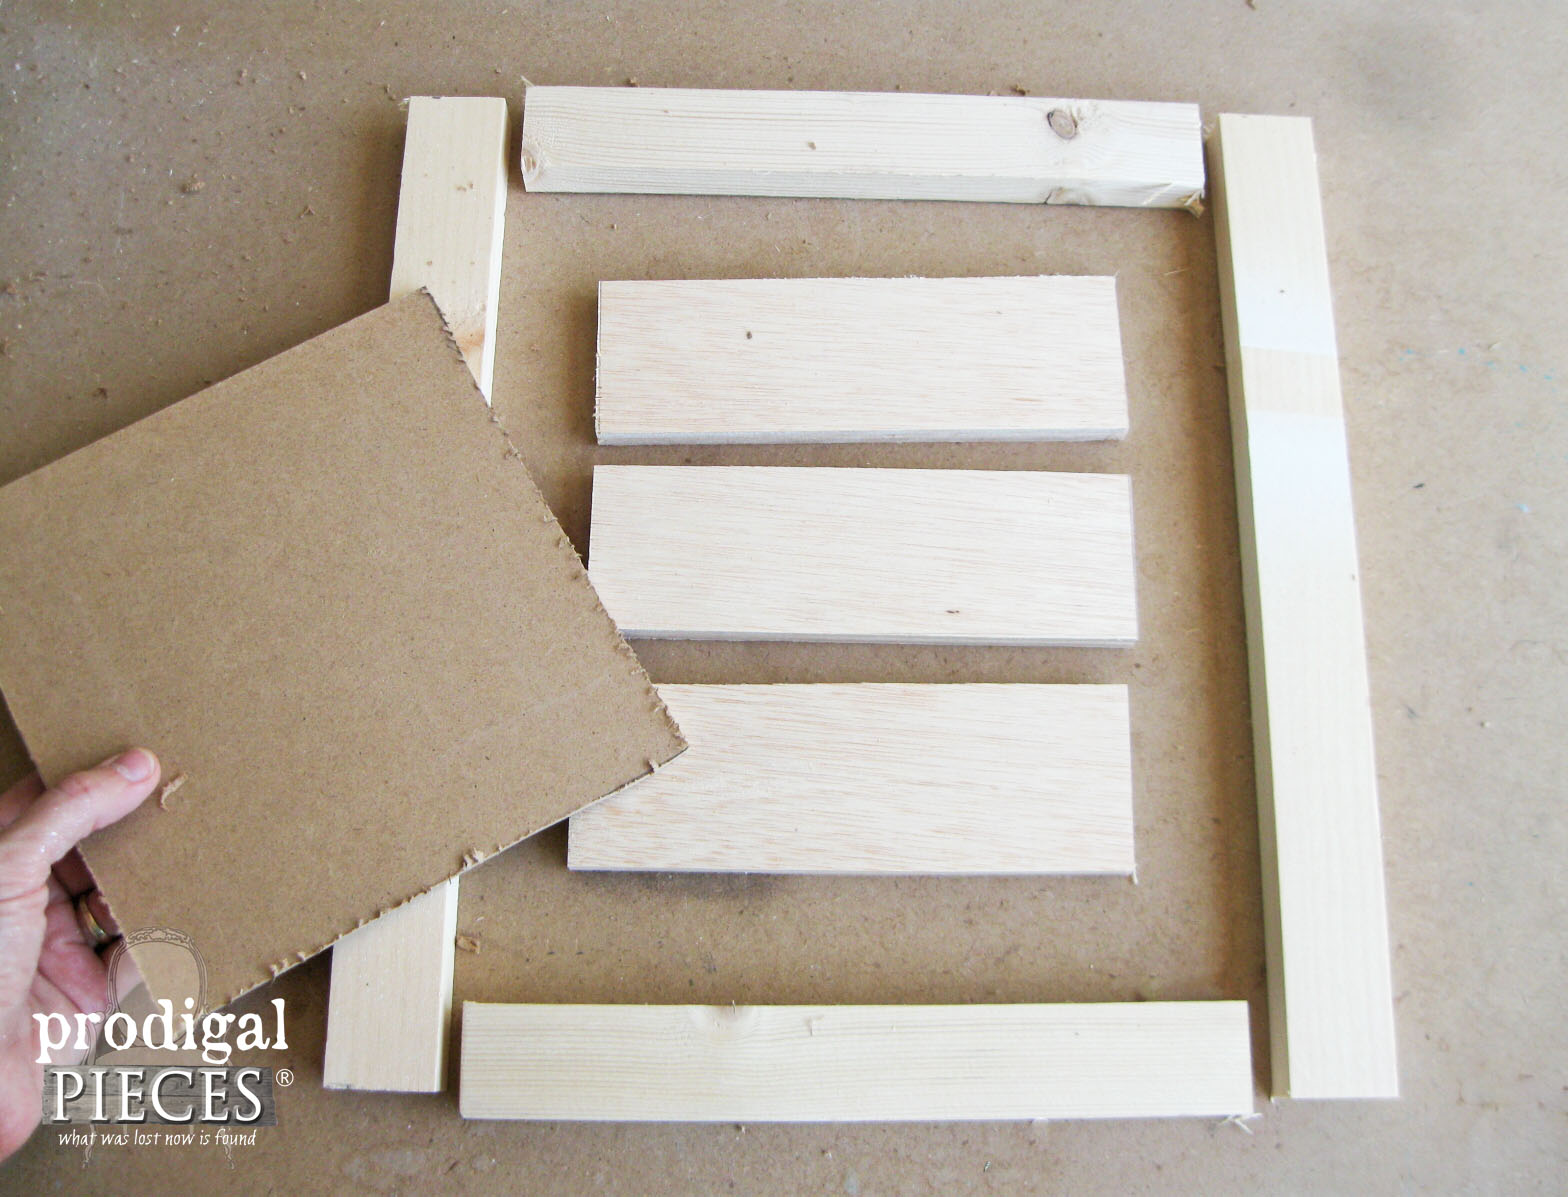
First,make sure all of your wood pieces are sanded and ready to assemble. Here is what your materials will look like.
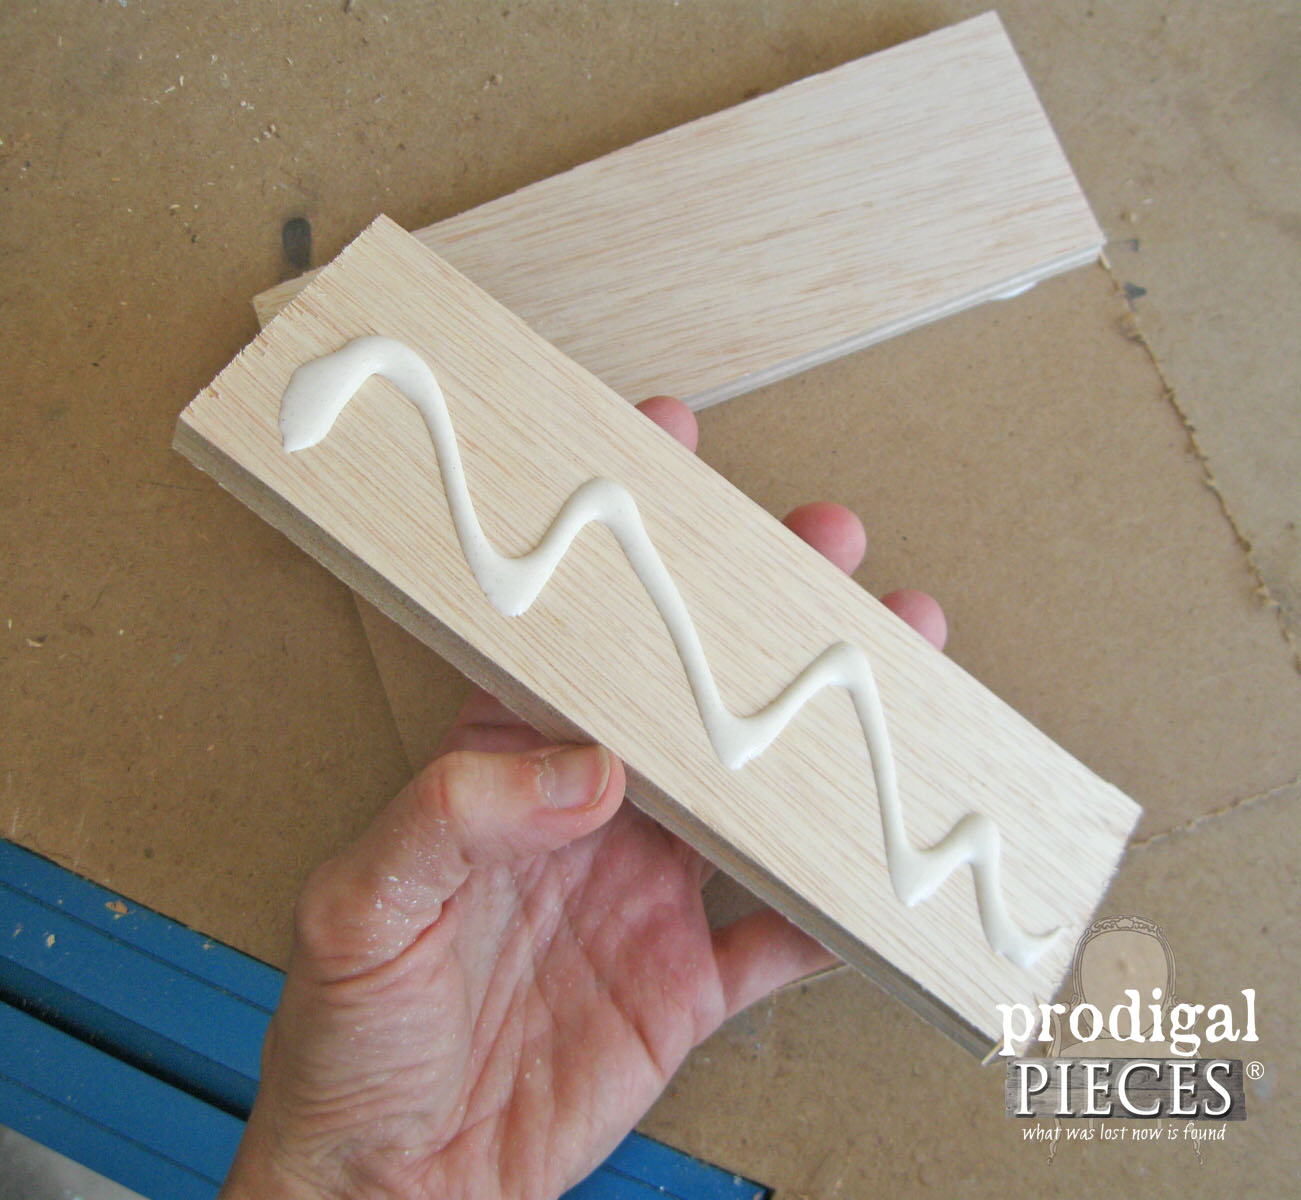
Then, begin by gluing your 7 ½” pieces of ply to the 7 ½” hard board square leaving and 1/8″ gap between them (or line up with edges leaving space between).
Next, set aside to dry and place a heavy item on top like a paint can, etc. or use clamps. Just make sure the pieces stay square.
Step 2:
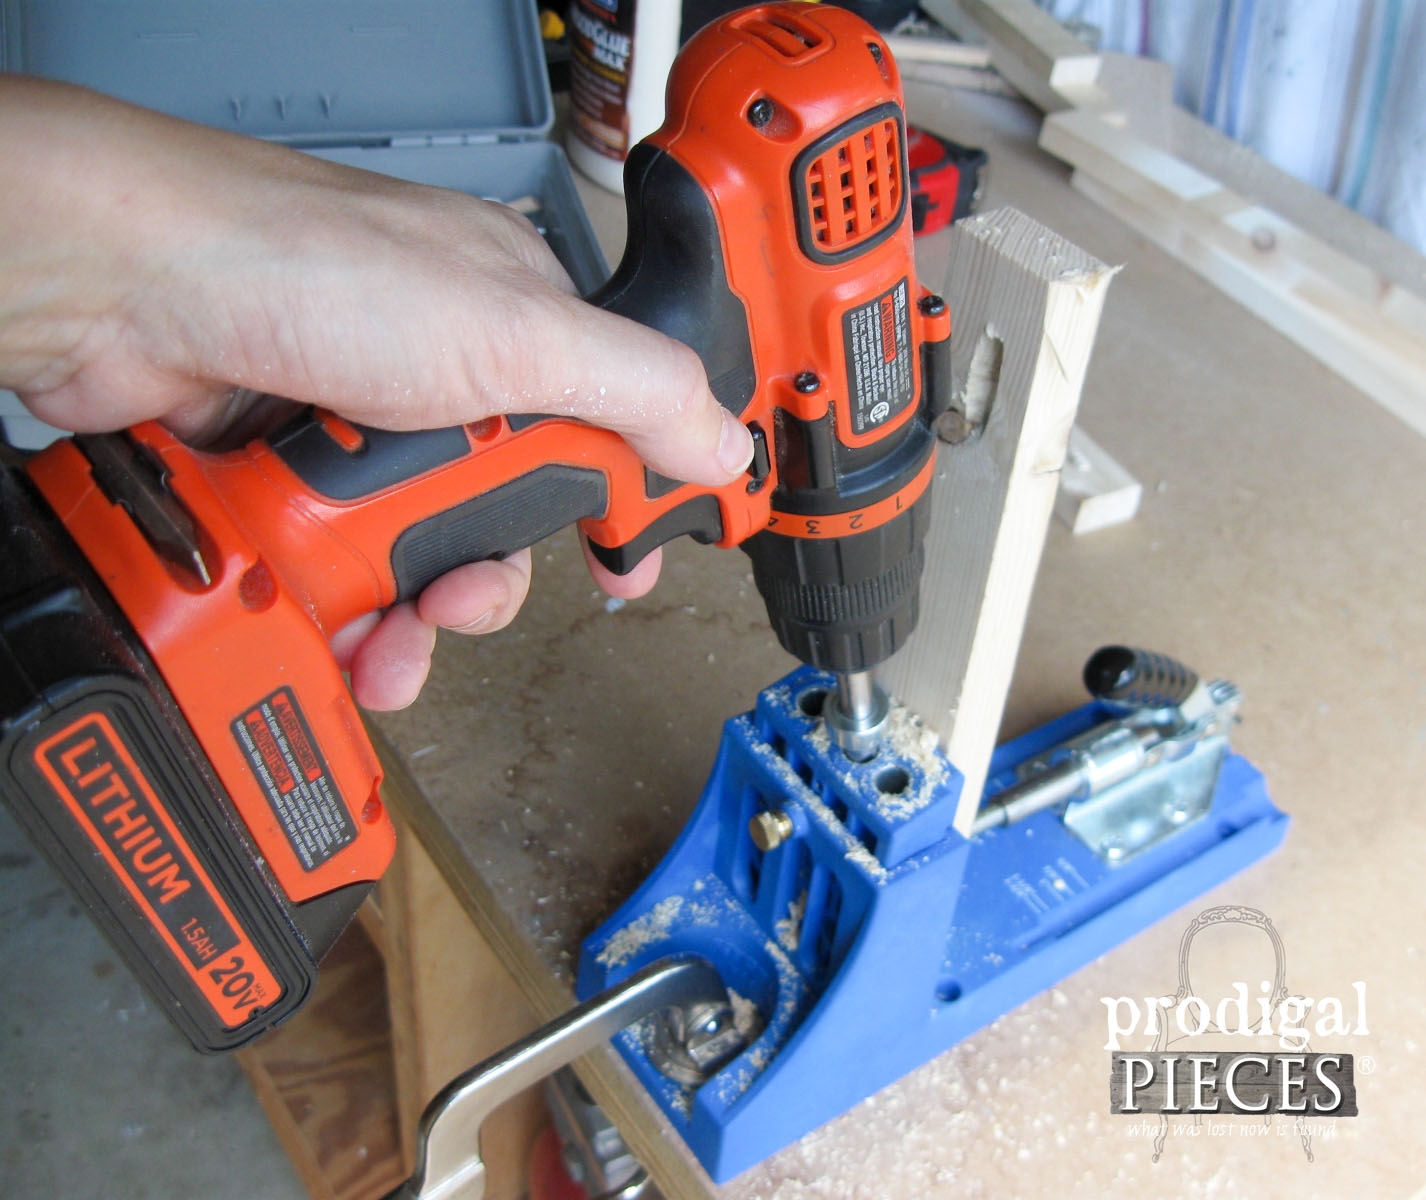
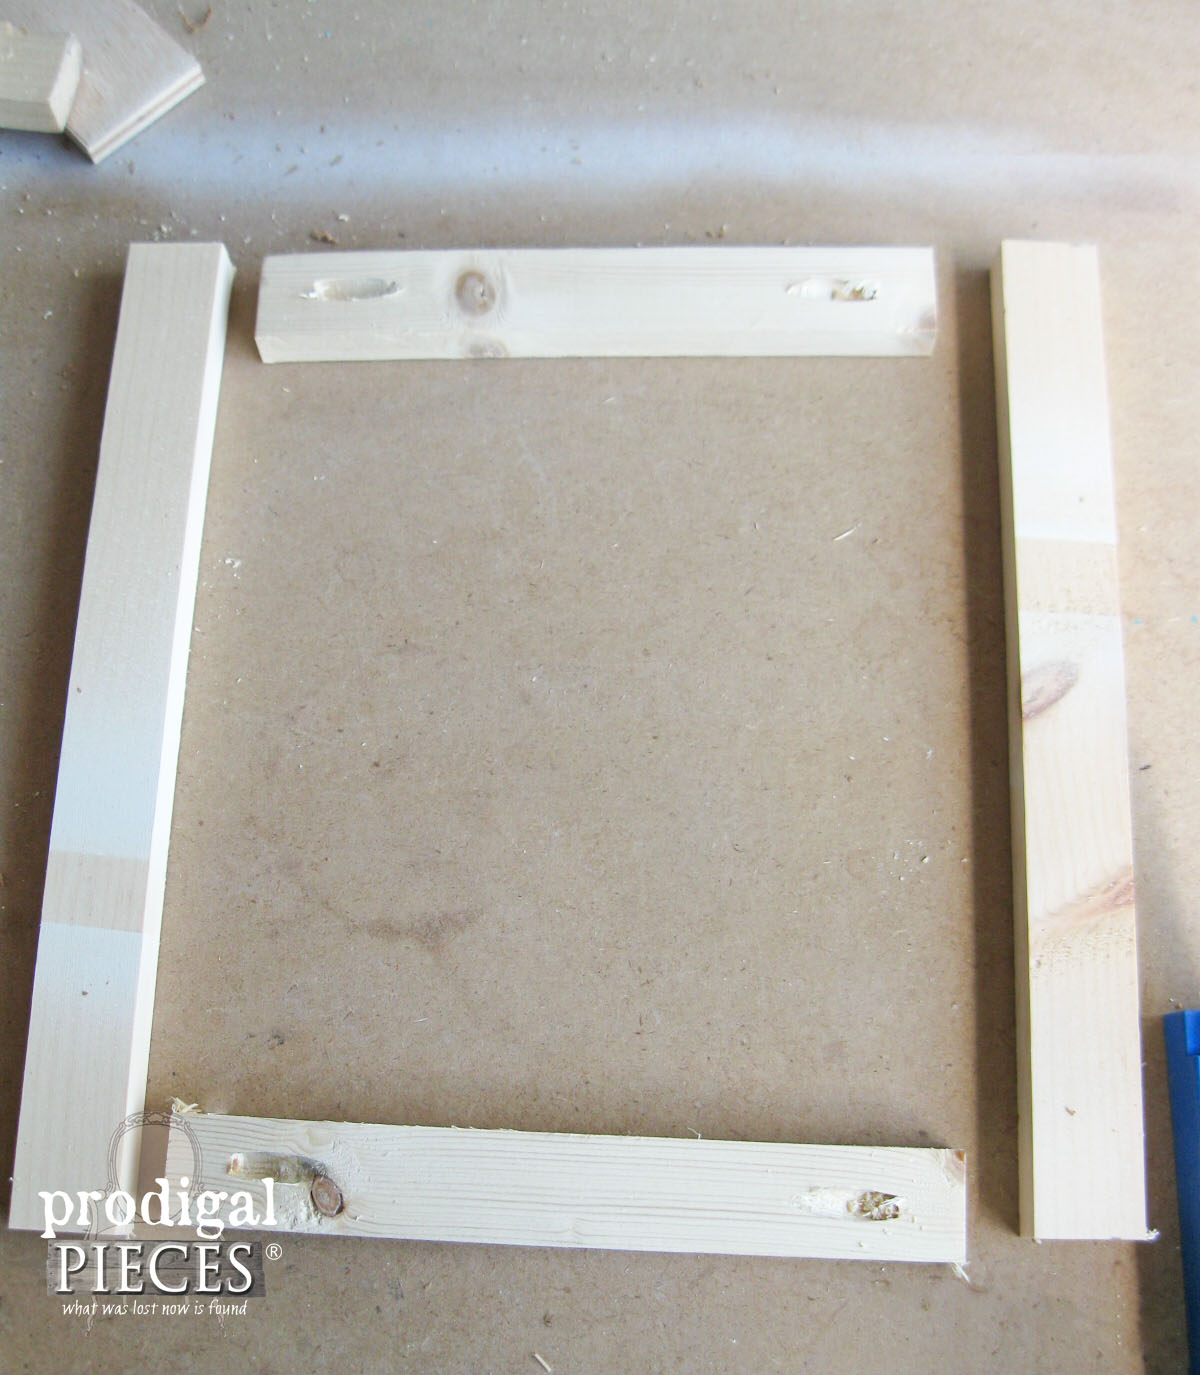
There are two ways to connect your frame. One, either take your two 10″ pieces for the outside frame or, two, either use a Kreg jig to make holes on short sides as shown.
Or use a drill and pre-drill holes into your 14″ side pieces. Then, measure ¾” down from the outer edge on both ends and drill. Next, use wood glue in between joints and attach with either screws in the pocket holes or nails in your pre-drilled holes.
Step 3:
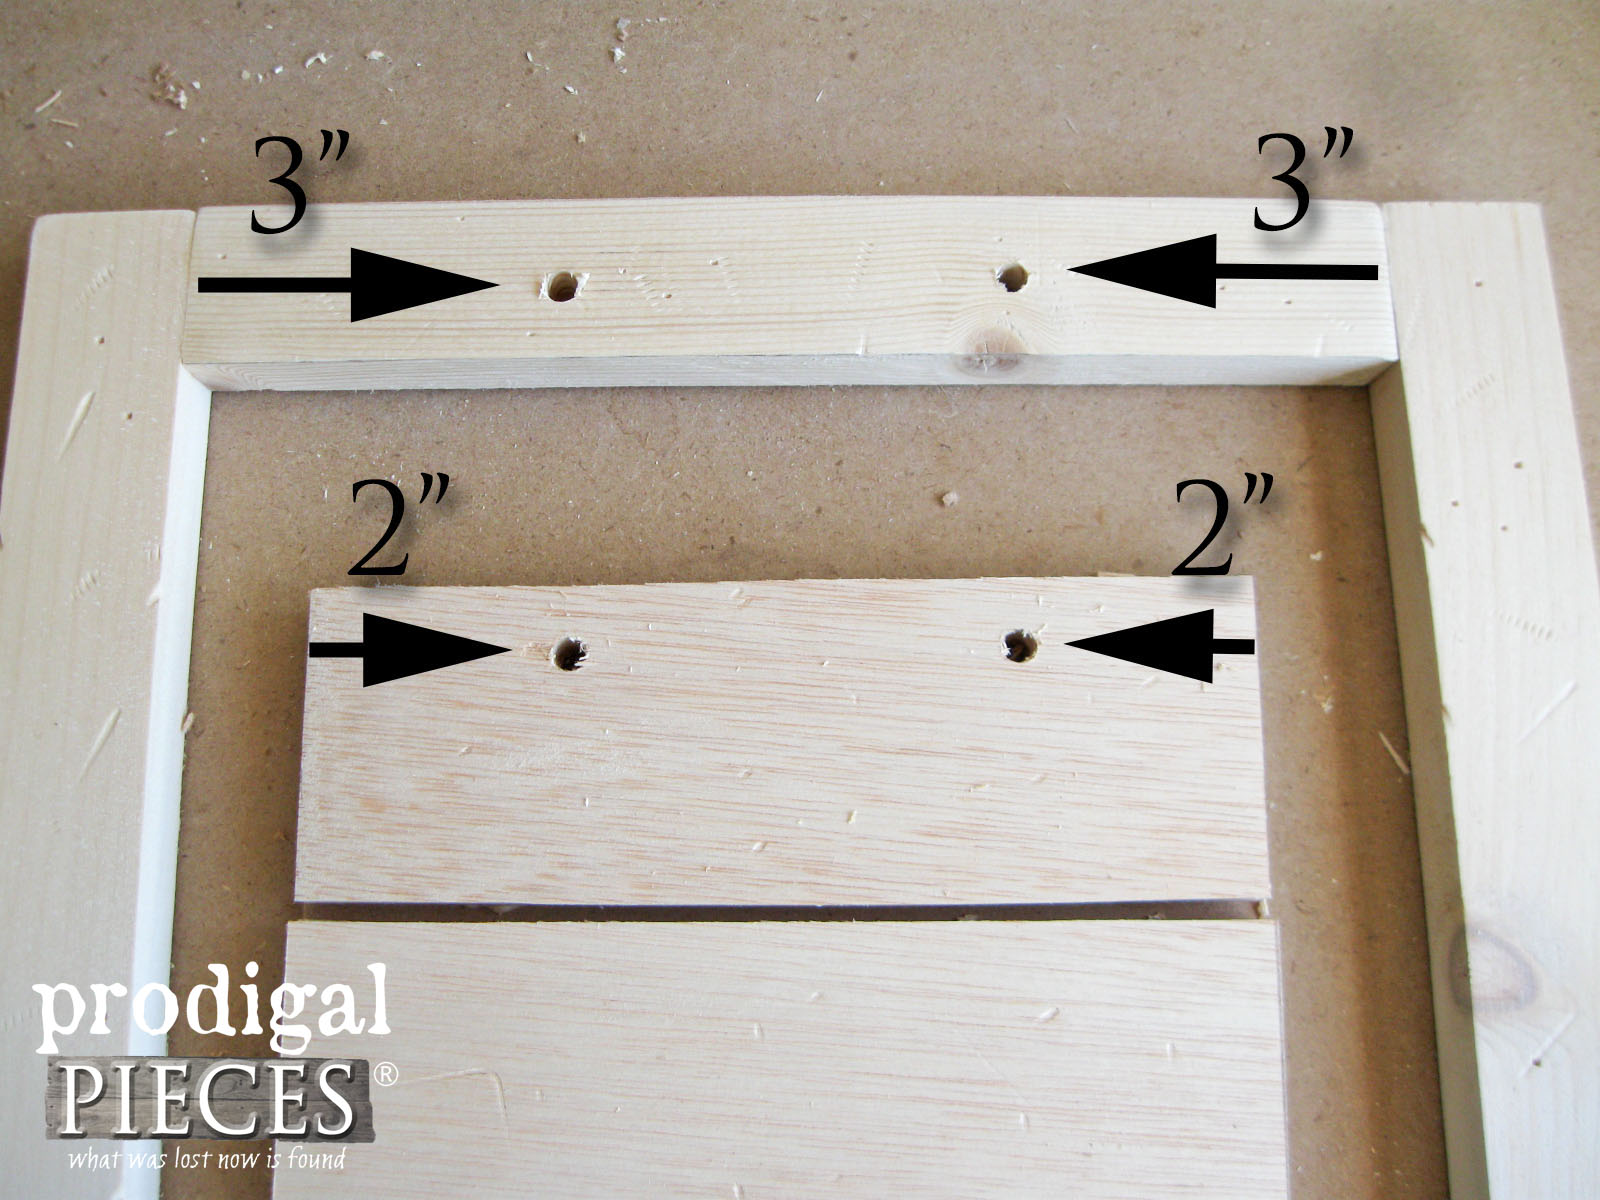
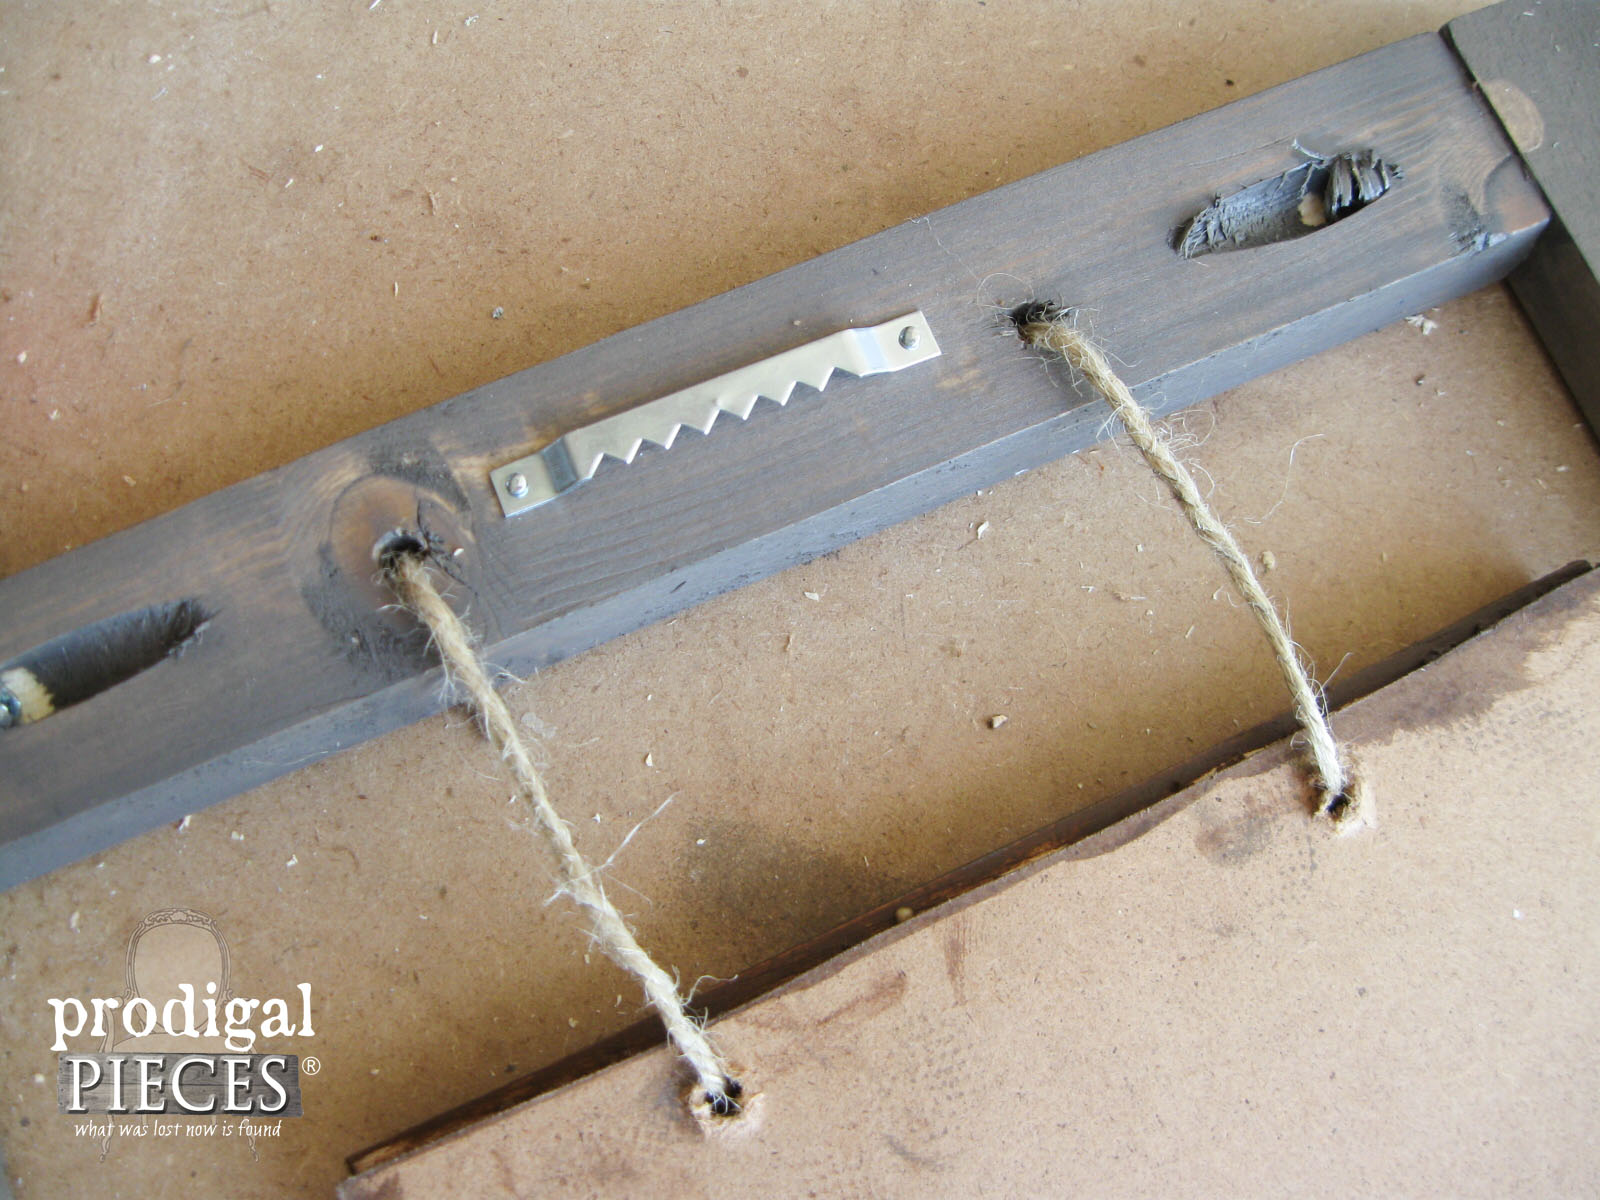
Then, once everything has dried, take the wood-slat square you made and the frame and using your ¼” drill bit and make holes as shown below.
Step 4:
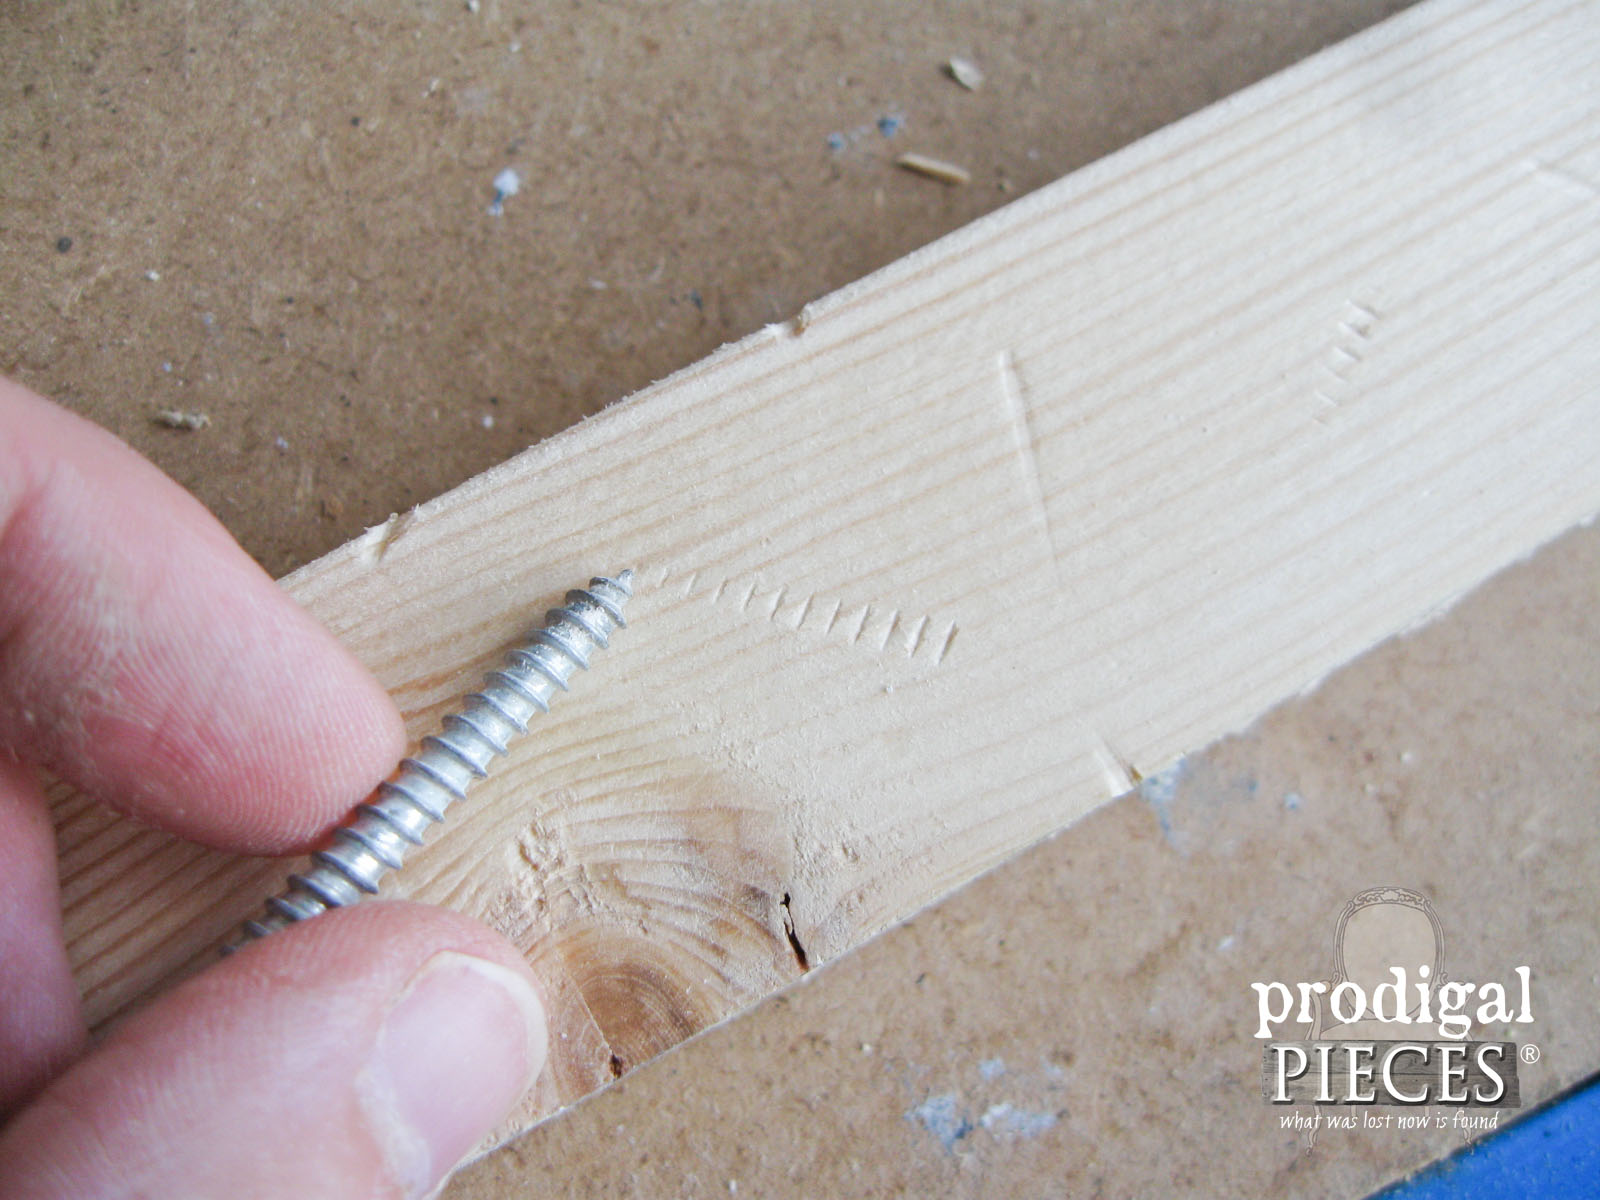
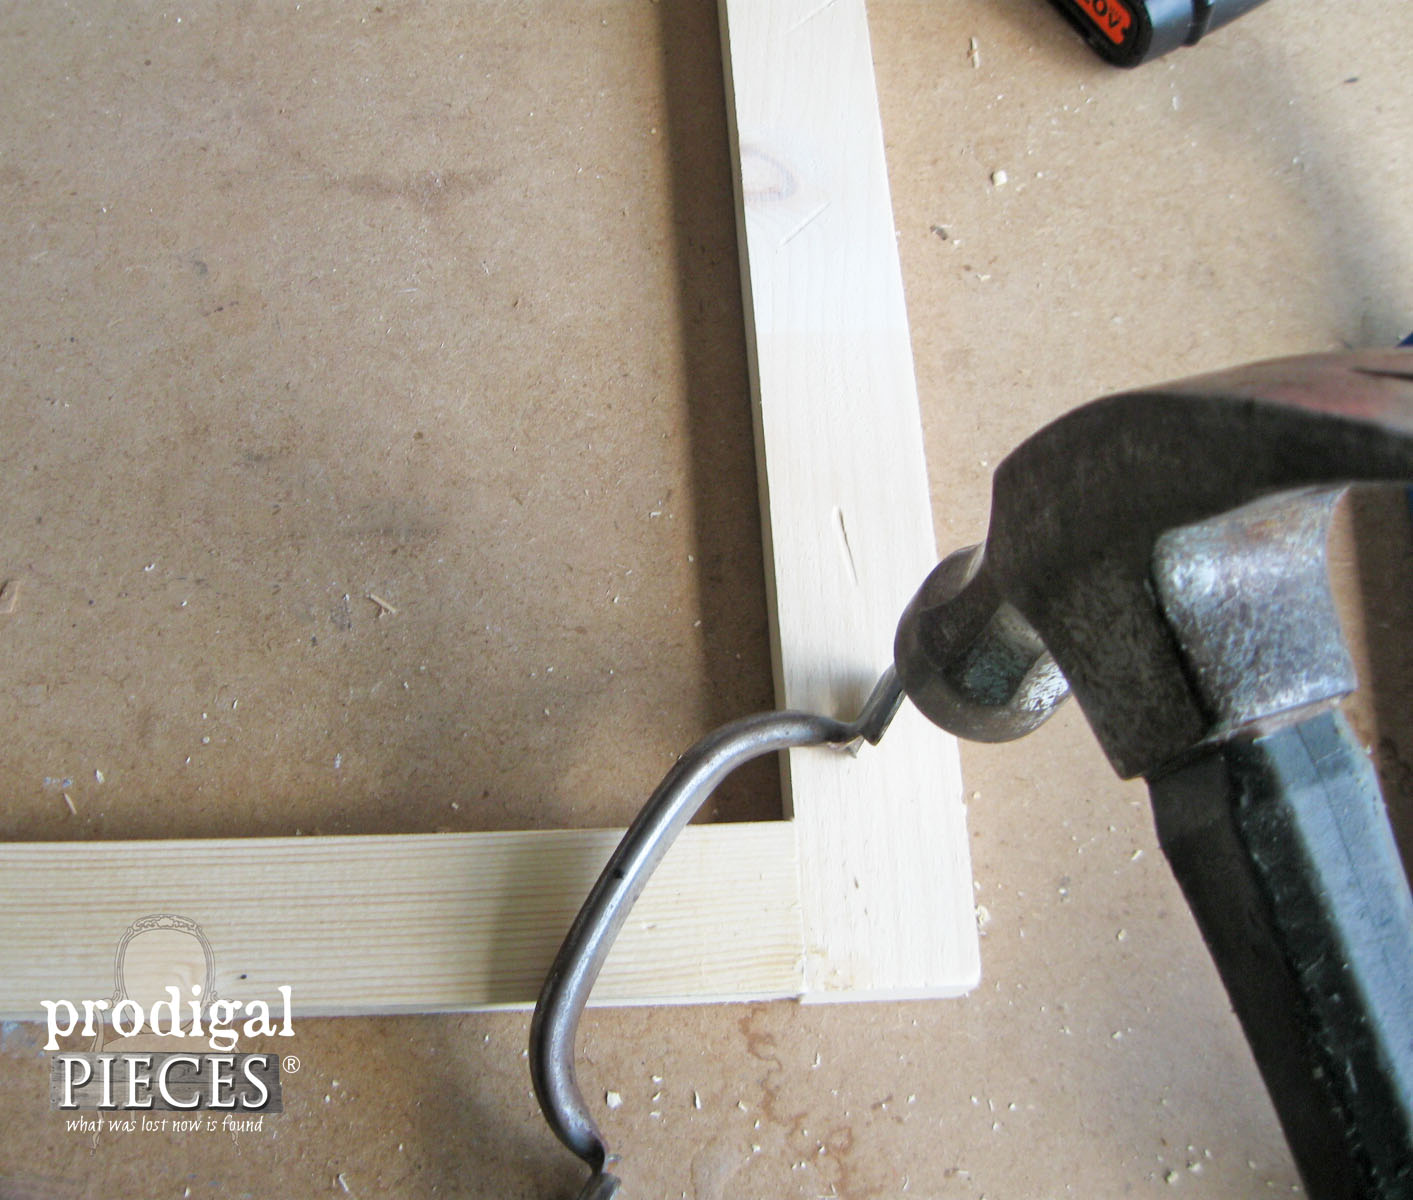
However, if a time-worn look is desired, use random objects to make marks in the wood as shown. However, you can use nails, screws, anything to make dents and dings and be random.
Step 5:
No only can you stain the frame and sign using contrasting stains to obtain the look shown (I used Early American and Briarsmoke), but you can also paint as you desire. Many options can be done with this sign.
Step 6:
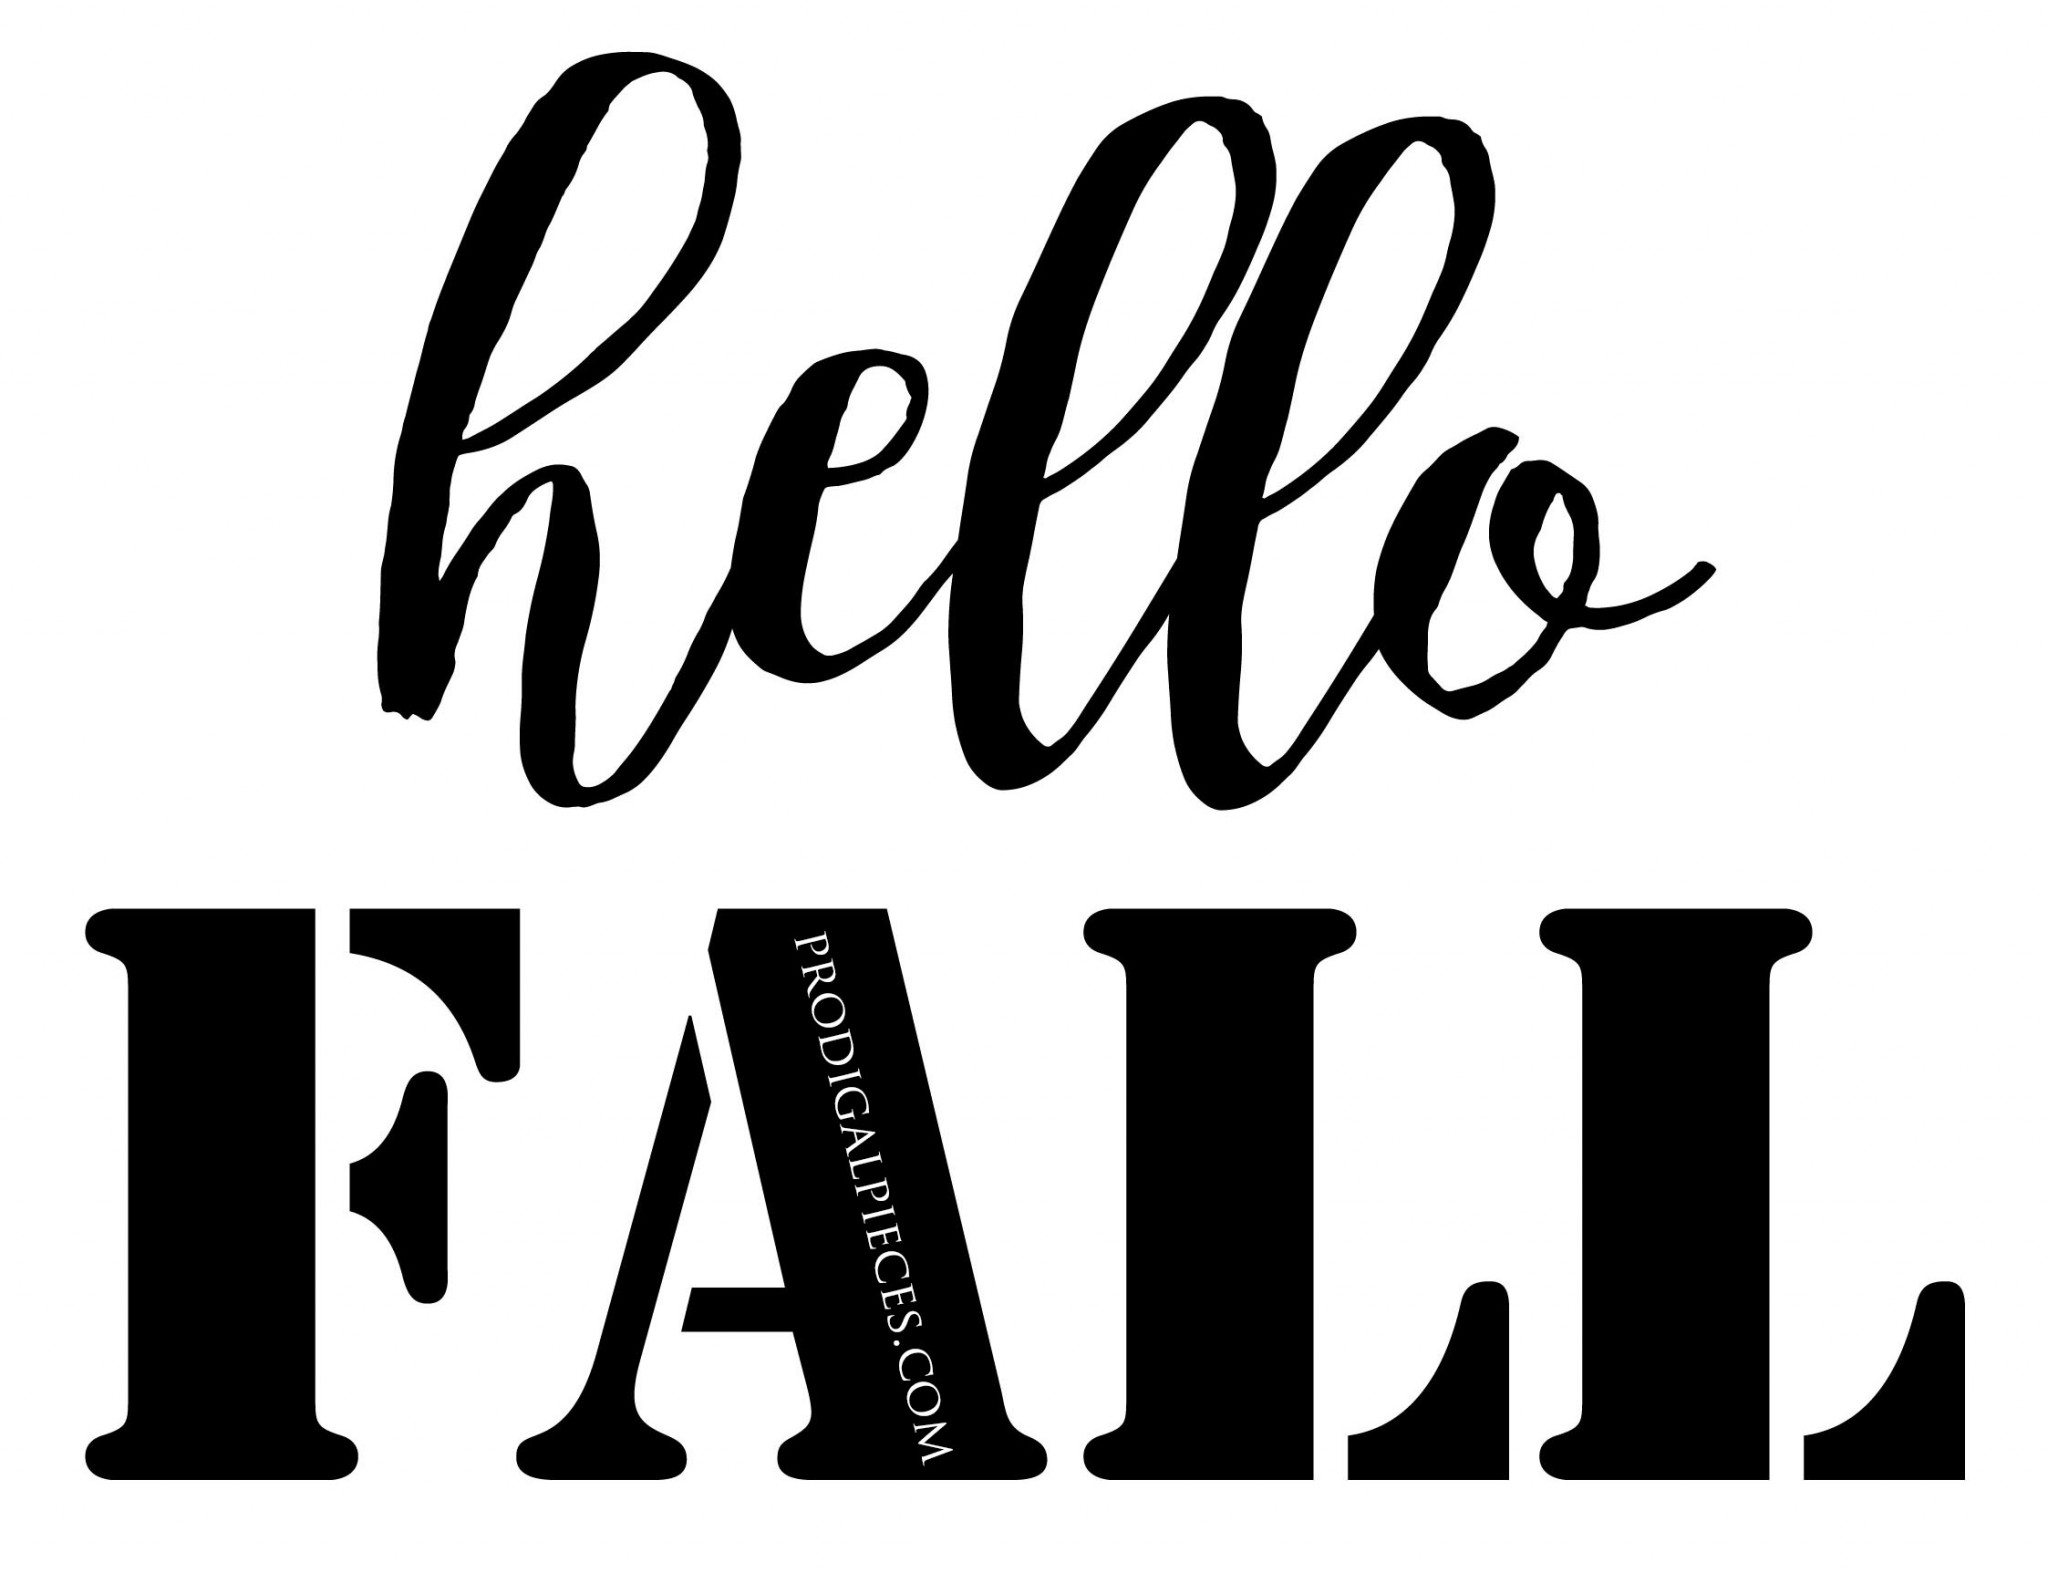
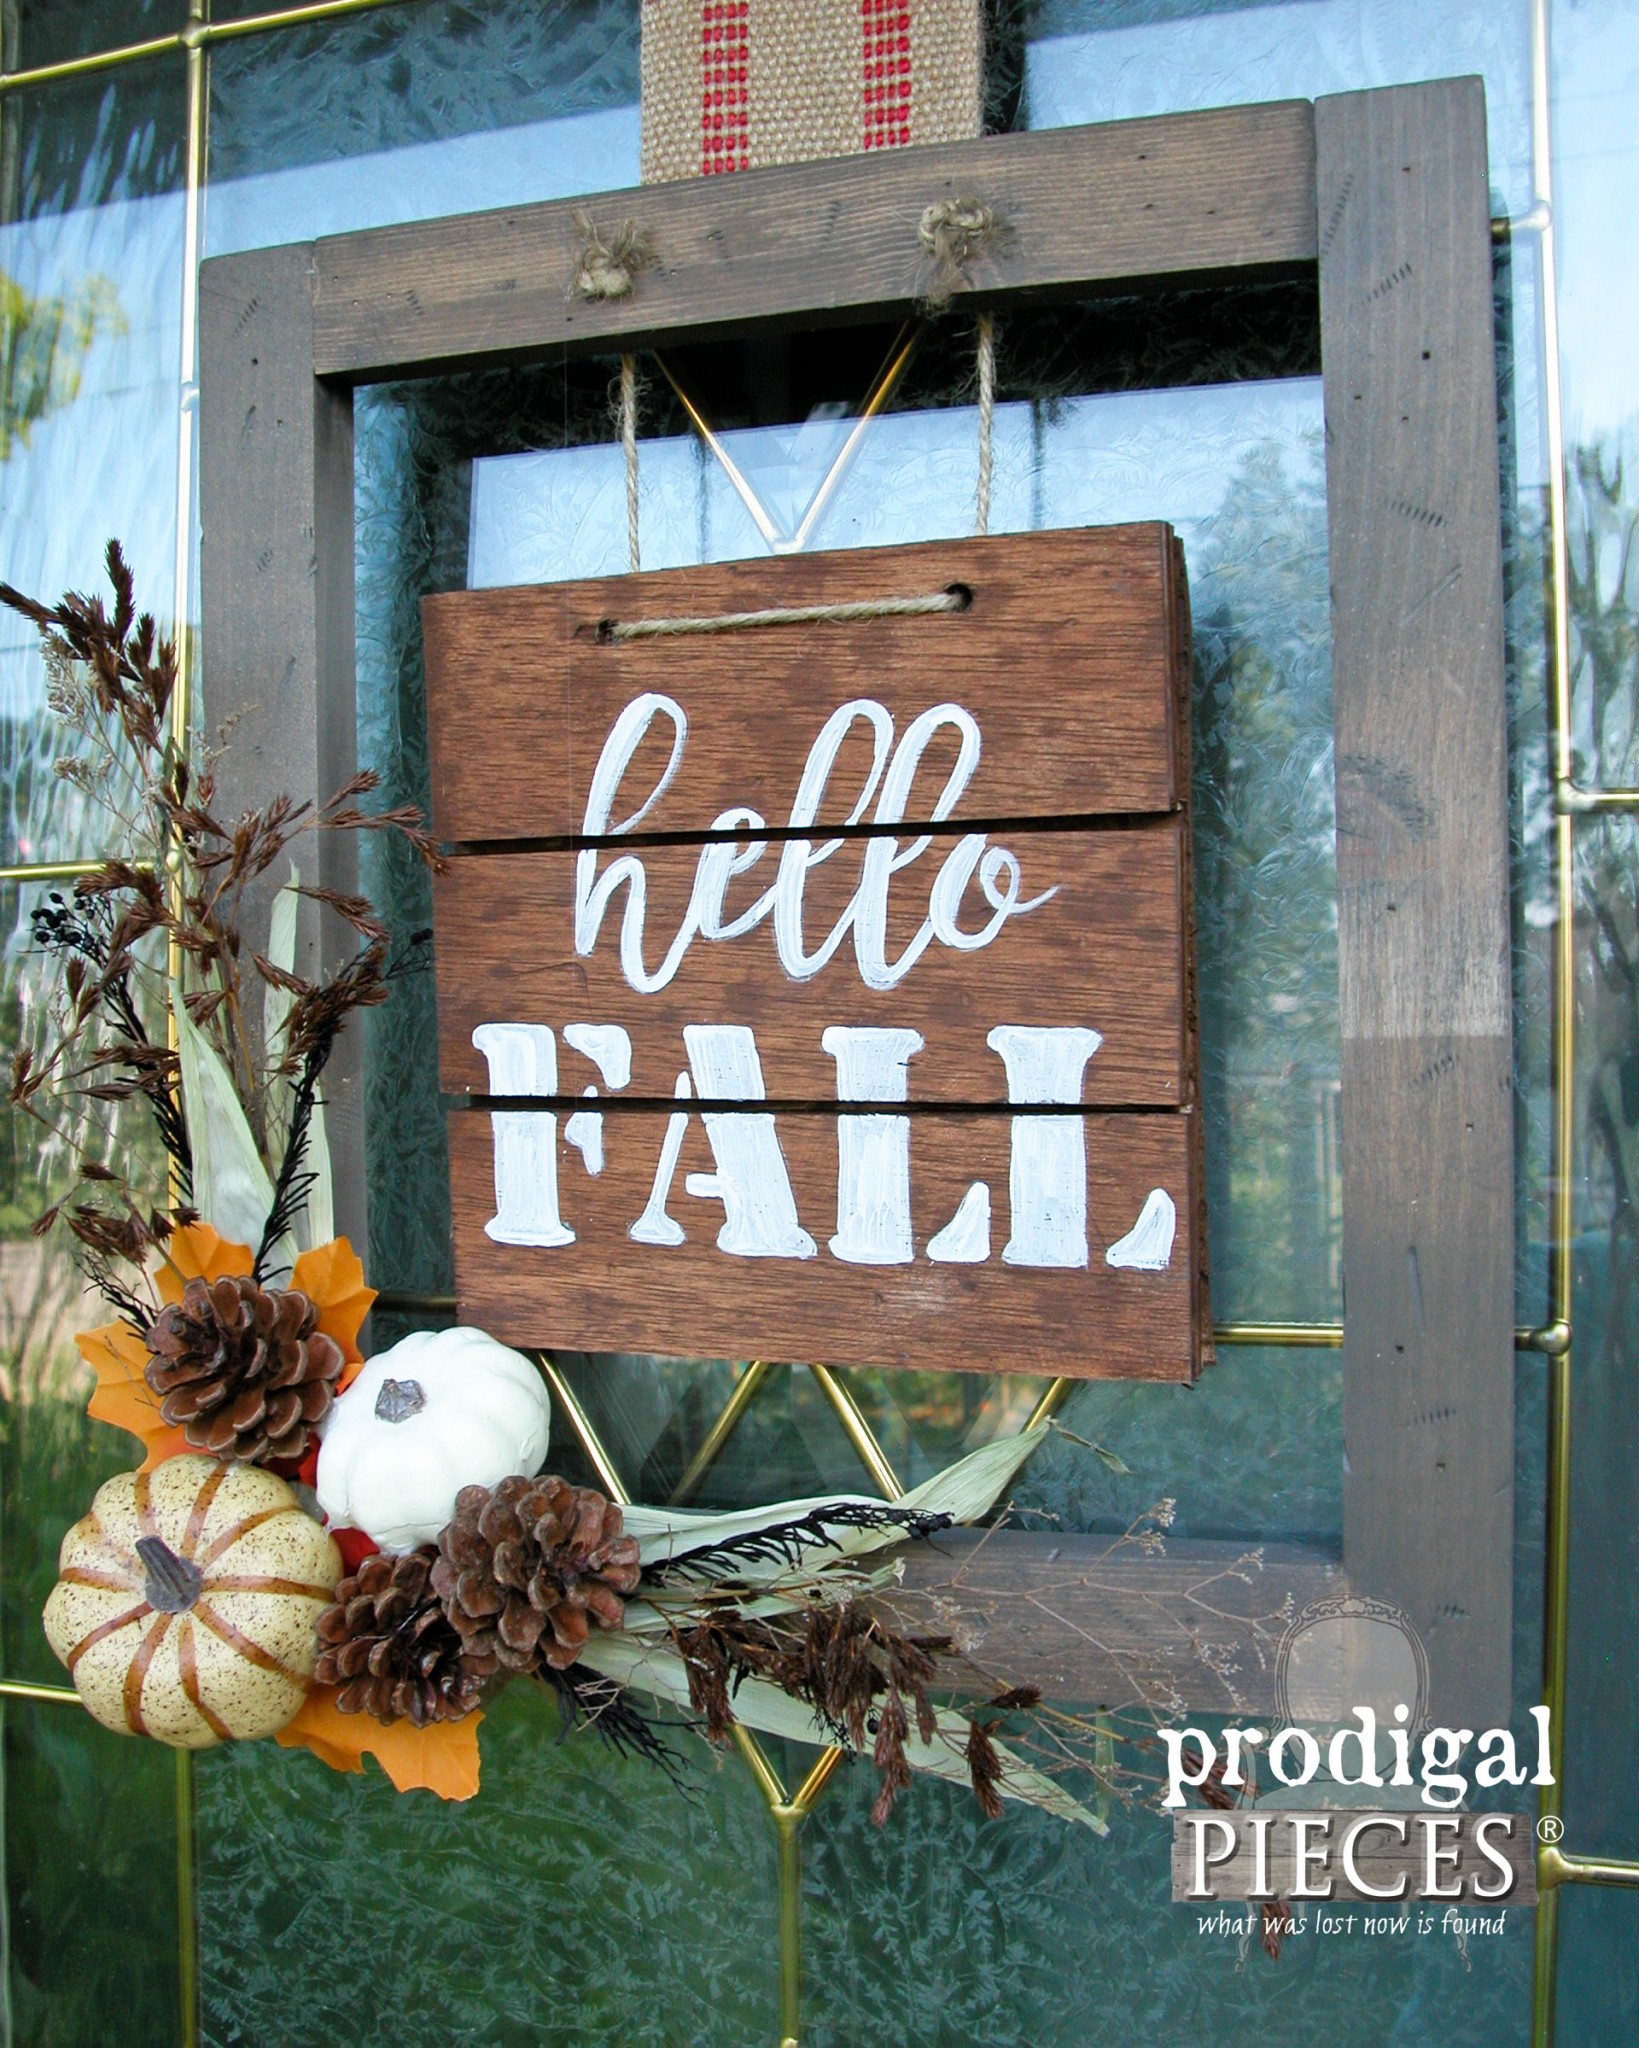
Last, paint graphic. At this point, you can make this for fall or any season, use another graphic such as a monogram or other art to showcase your style. To achieve the sign shown here: (1) print the Hello Fall sign graphic below (2) use my transfer method to transfer graphic on to wood (3) and paint in letters.
PRINT the graphic HERE
Step 7:
Then, add wall mount hardware if you choose to hang it on the wall.
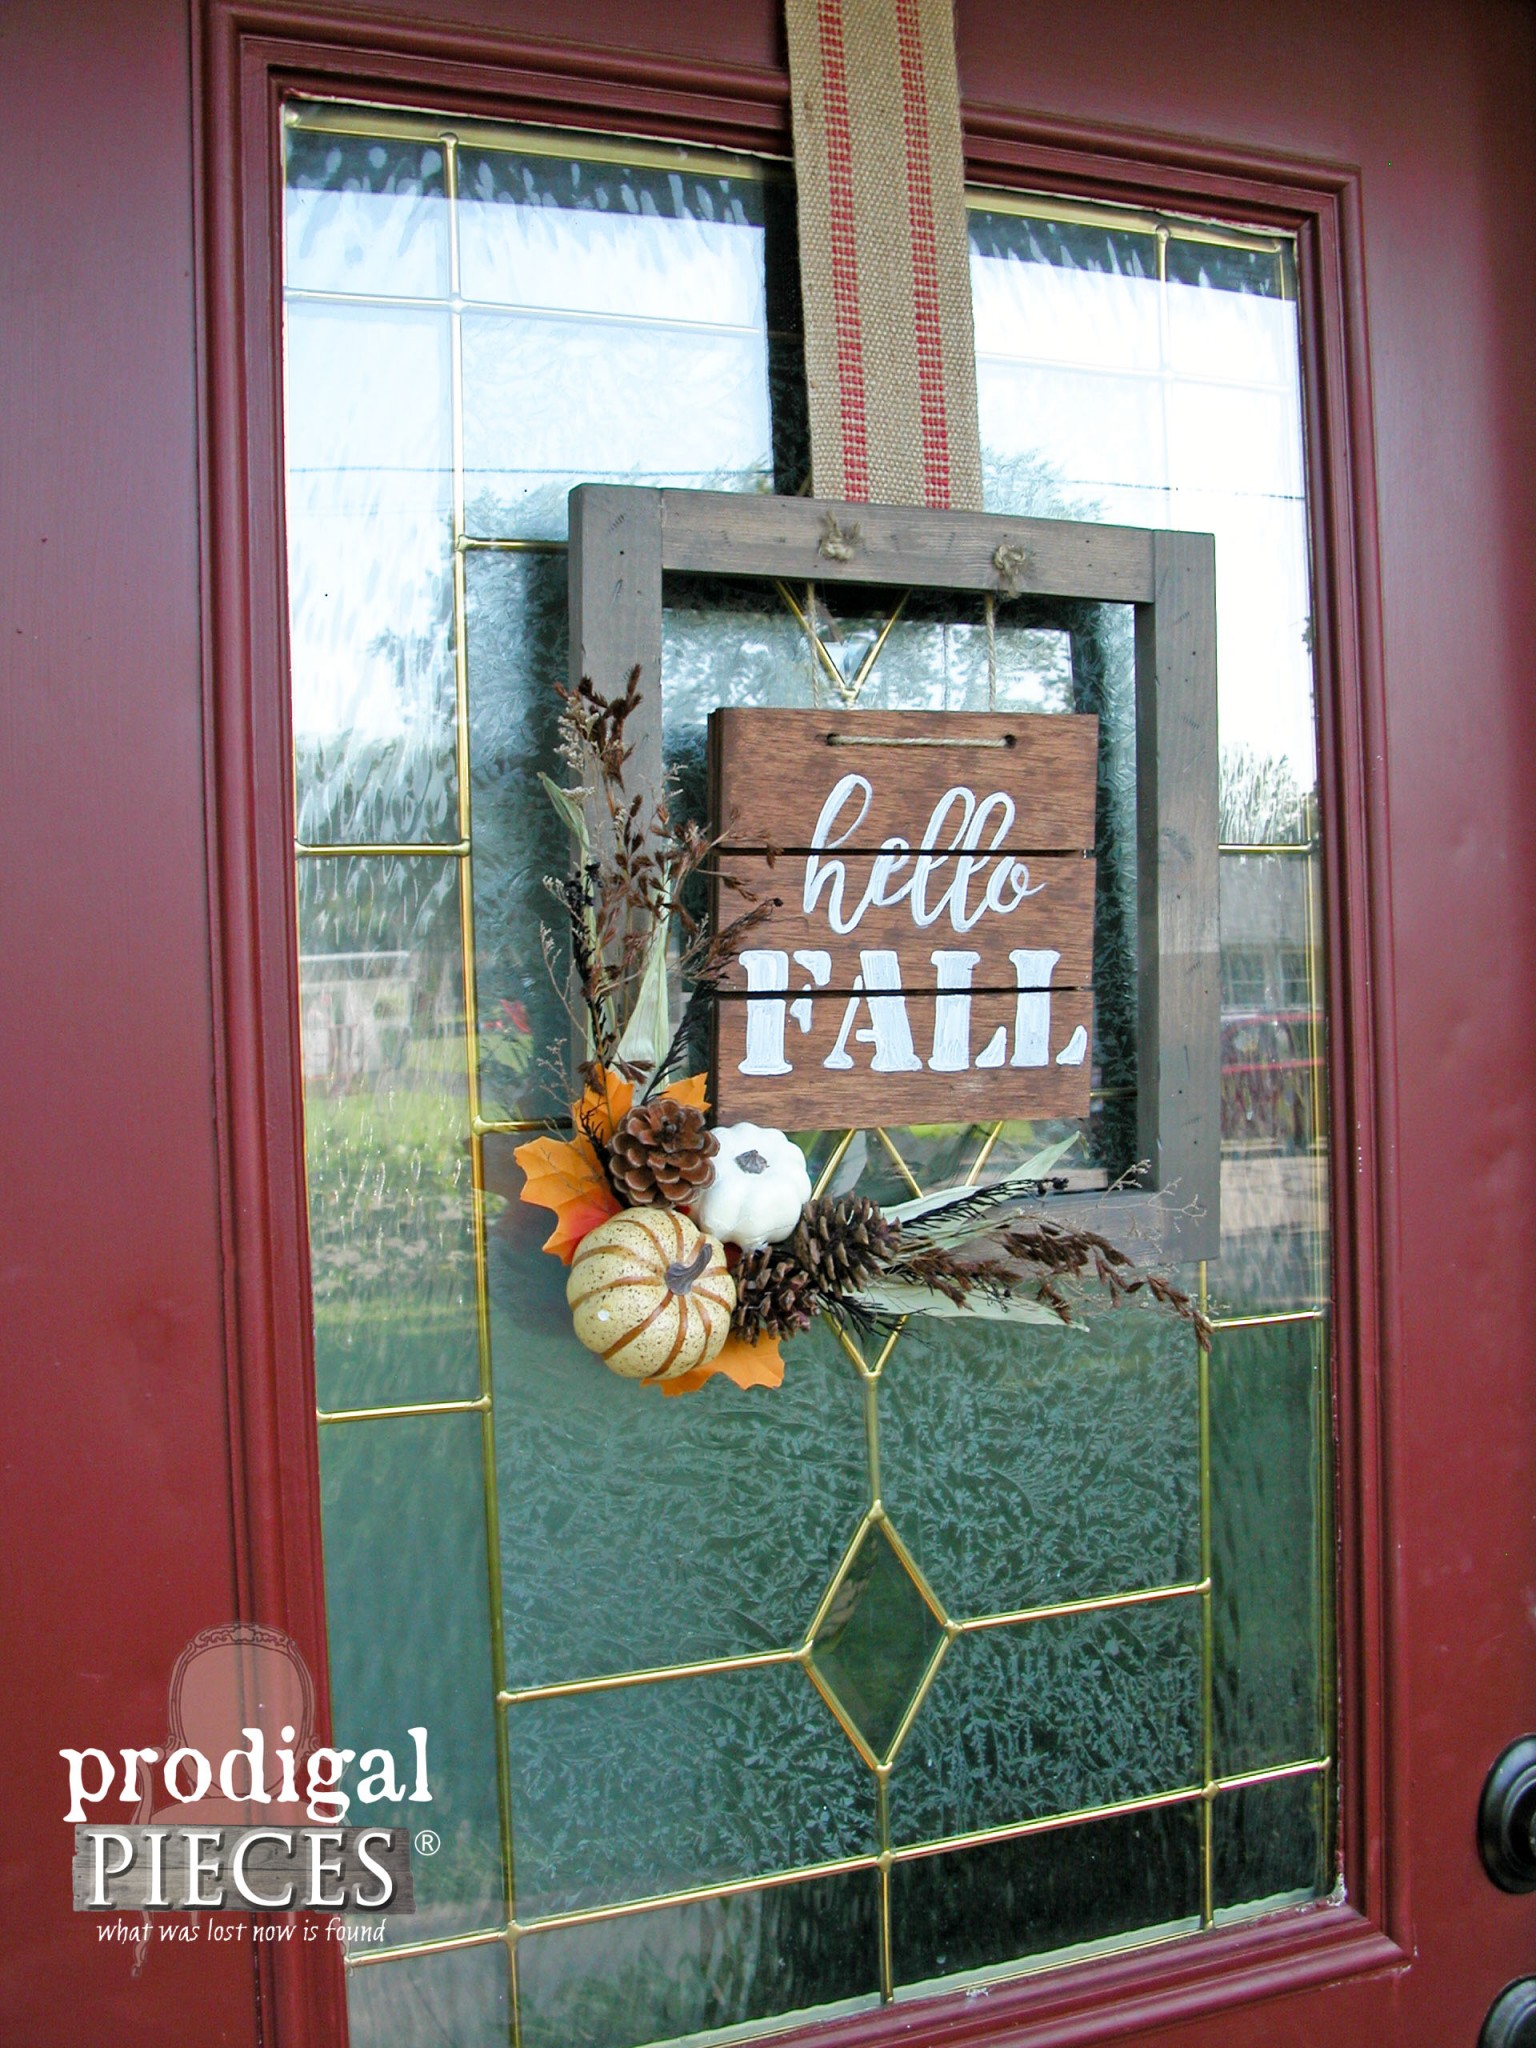
Or add jute webbing or ribbon to hang on your door as I did.
TIP: I use a Command hook applied upside down on the top inside edge of my door to hang wreaths, signs, etc.
THE REVEAL
Your guests will love the fall welcome they get when they visit while it adds curb-appeal charm to your door.
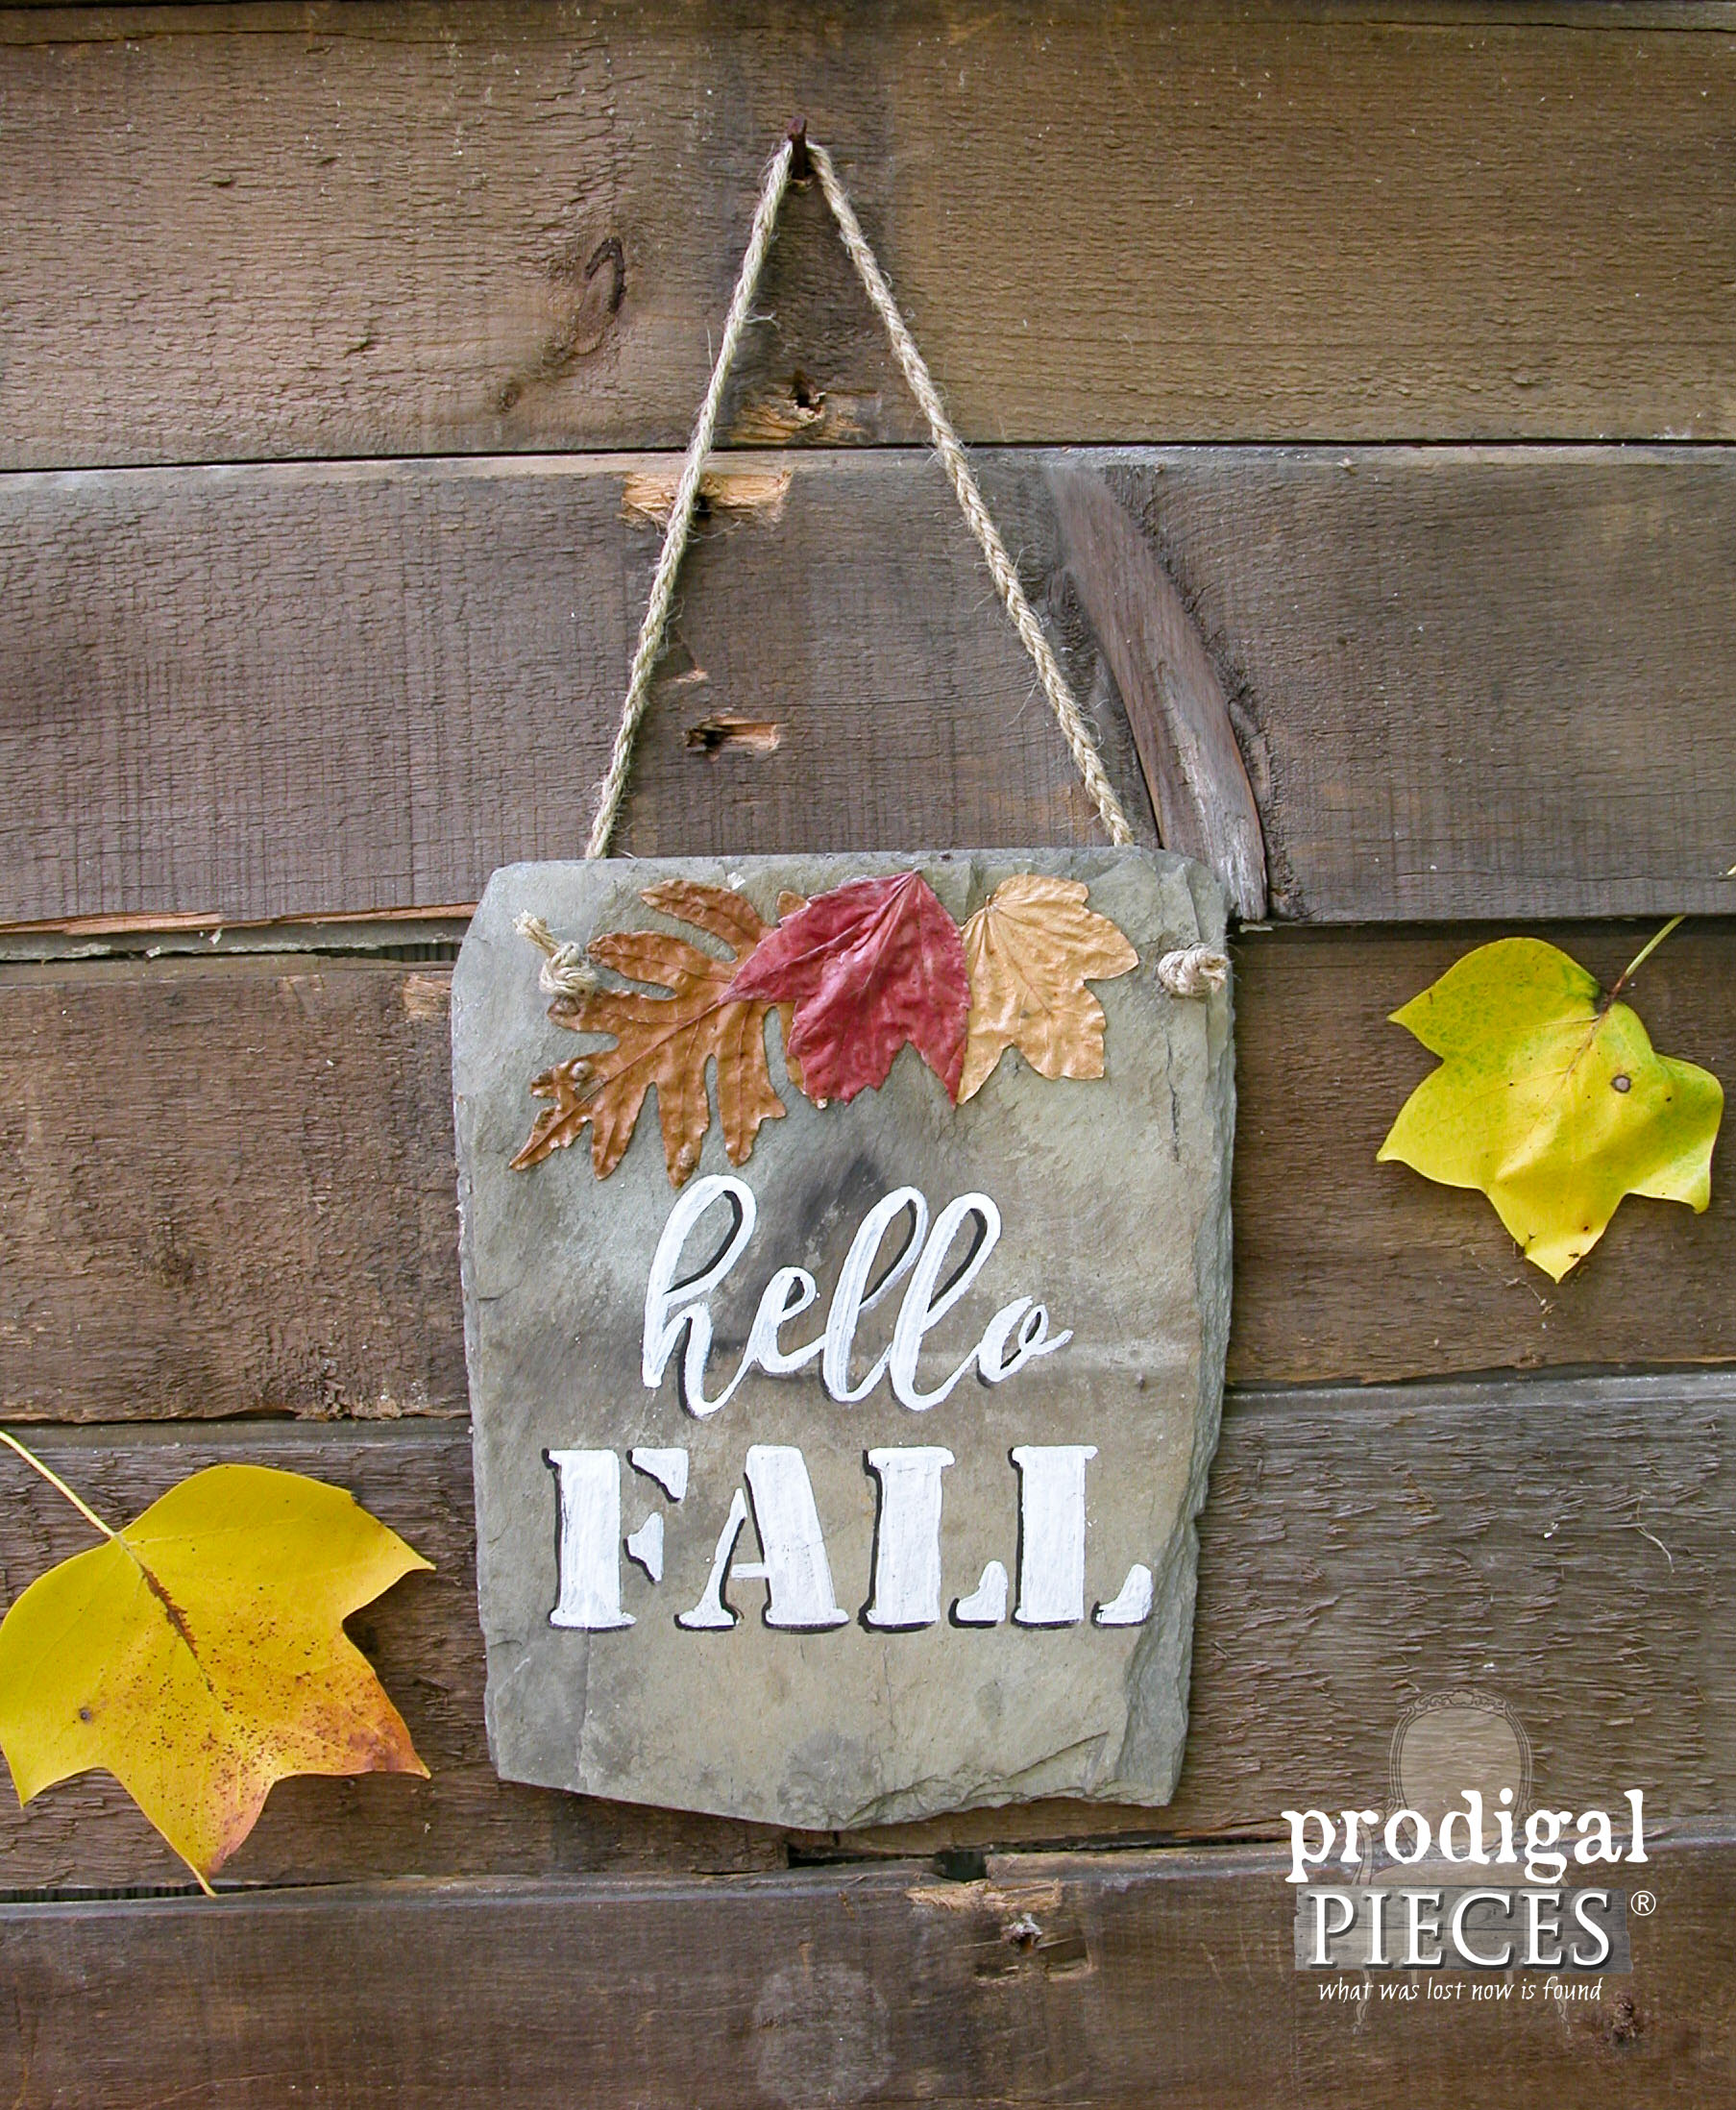
Also, you can hang it inside to showcase your love for this special season. If you love the look, but not into DIY, I do have a similar version available in my shop that I painted on an old barn roof slate shingle.
Likewise, the possibilities are endless with this sign for each season, as wedding gifts with monogram, silhouettes, and more. Feel free to ask questions if need be.
In addition, I would love it if you would pin and share my project so that others can get their craft on too!
Next week I’ll be sharing with you an update on how my DIY Faux Wood Garage Door (one of my most popular posts) has held up over the last 3 years of Ohio summers and winters. gulp. In addition, sign up for my newsletter to get updates in your inbox (see sidebar or bottom of this post) 😉



Such a pretty sign. Your instructions are easy to understand too! Thanks Larissa!
Thanks, Karen! 🙂