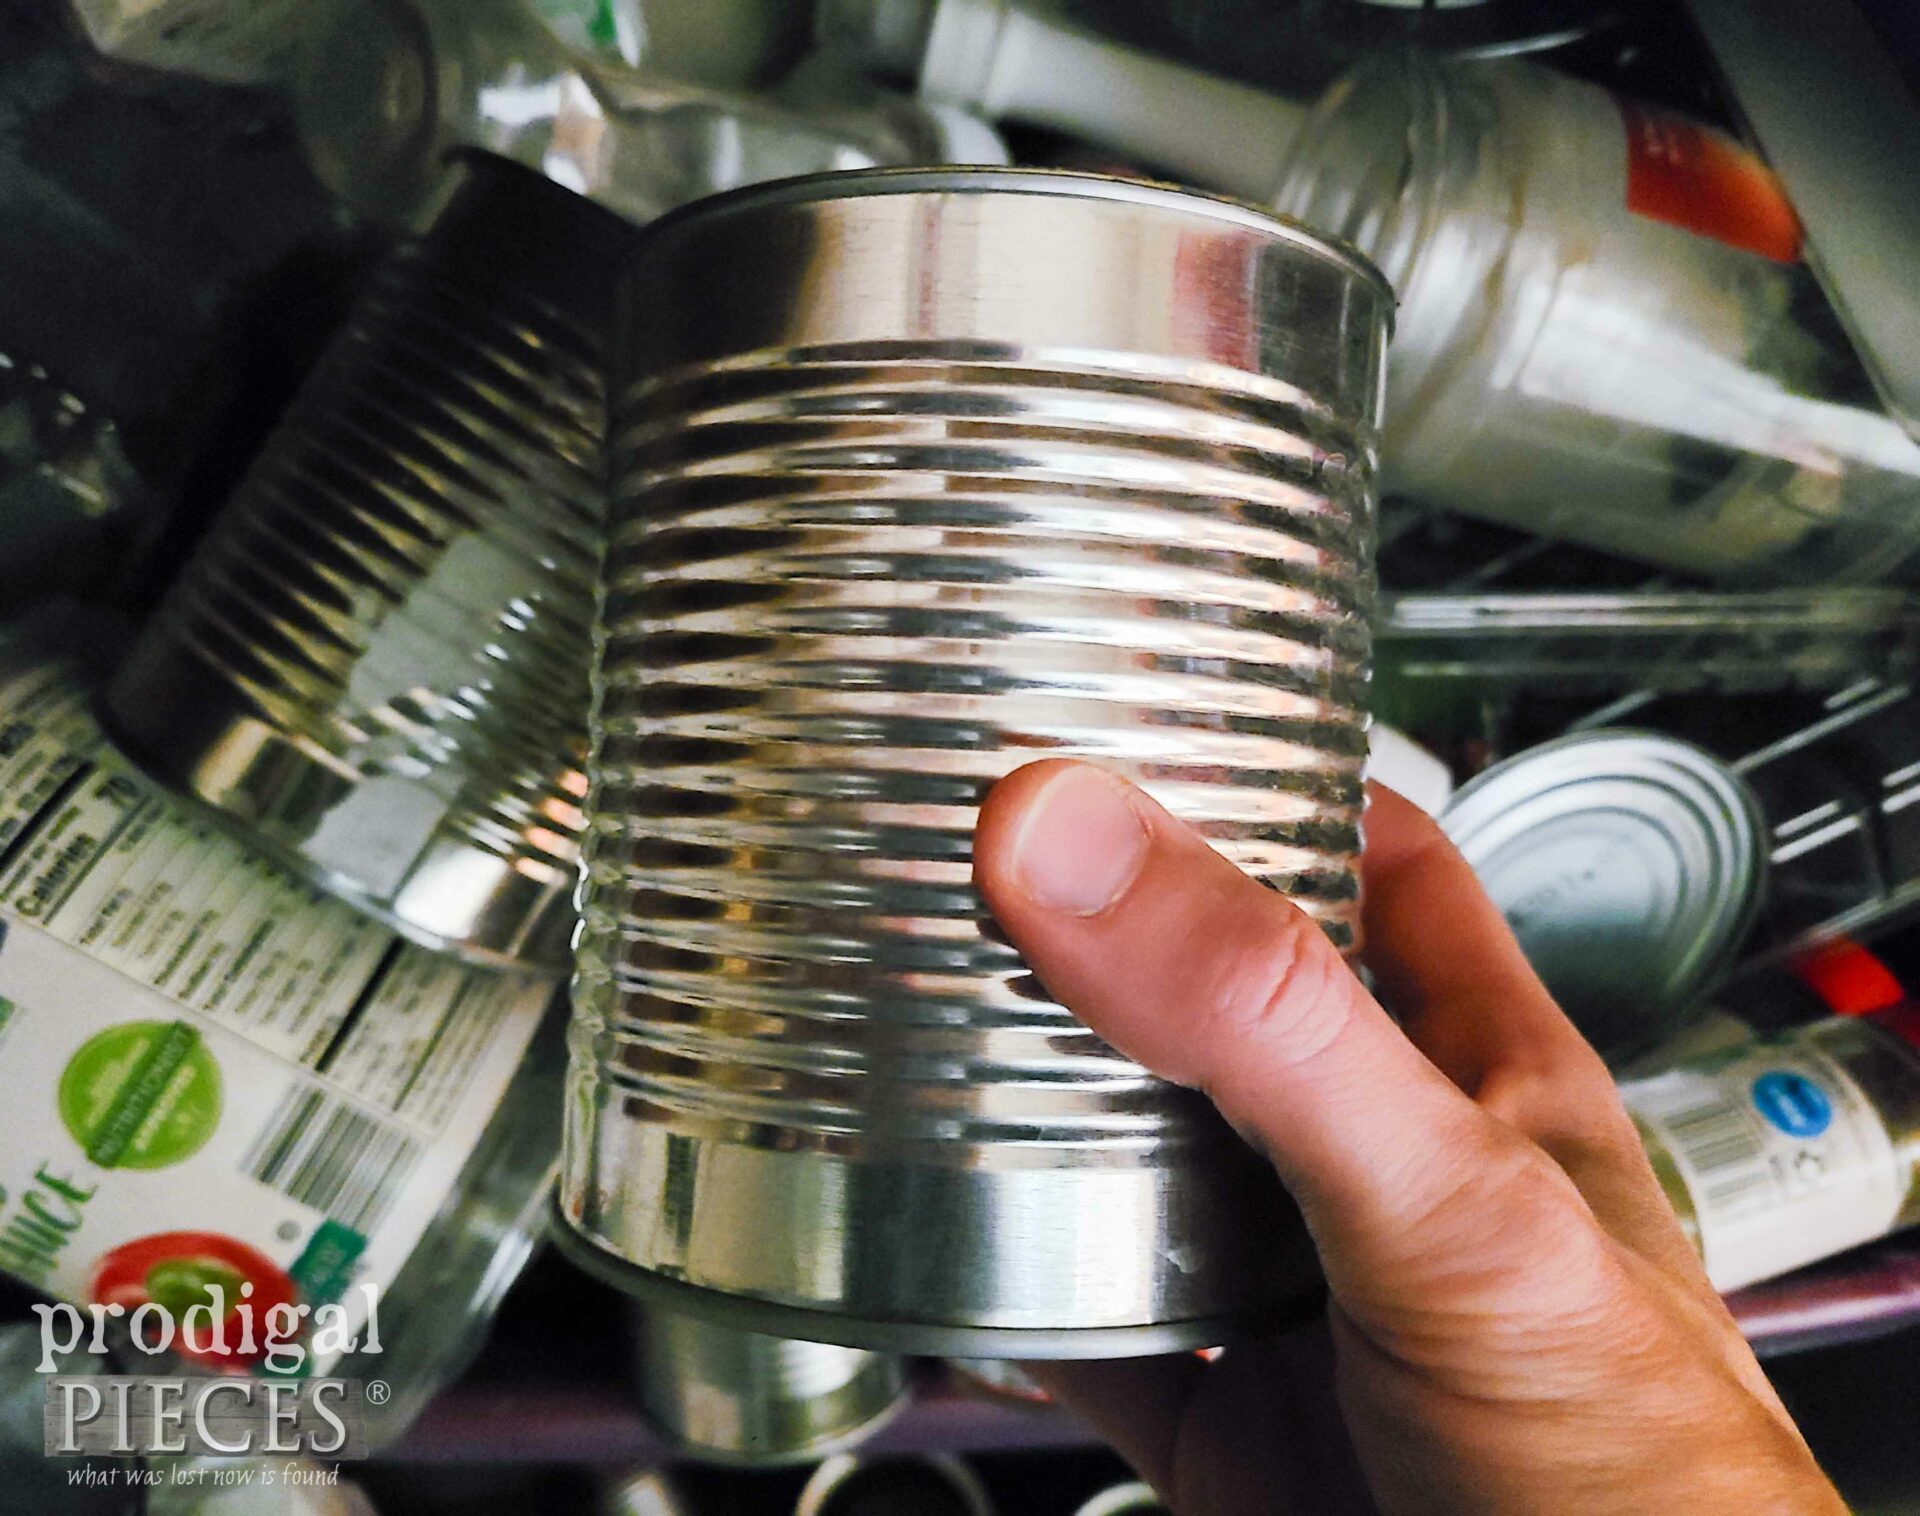
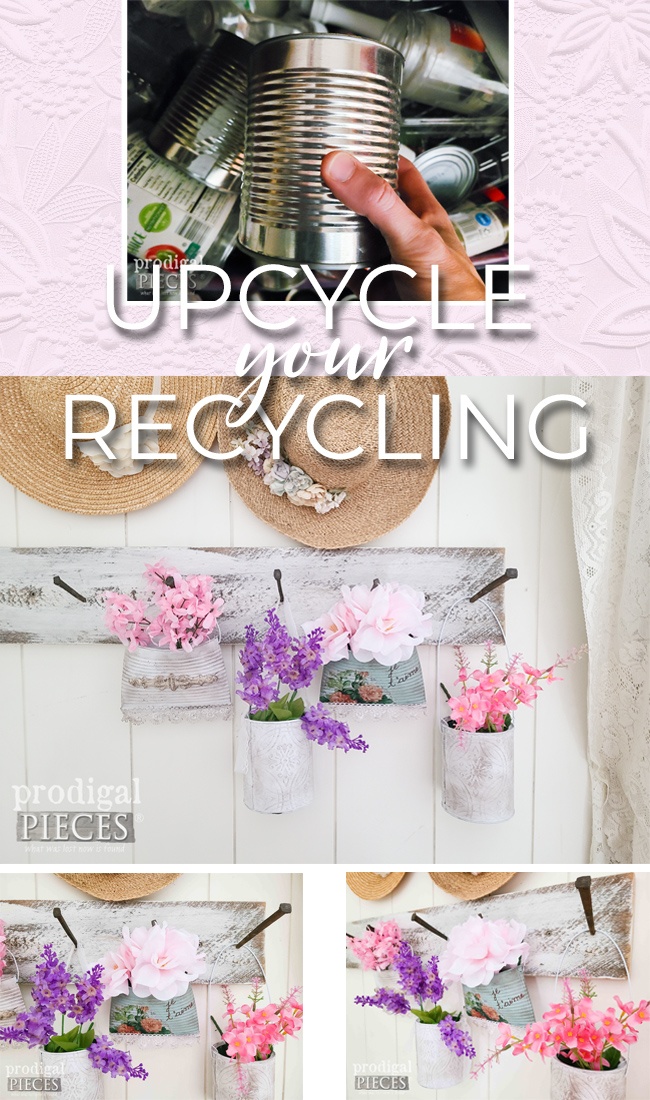
Why is it I can walk by my bin of recycling and come up with an upcycled tin can project? It’s affirmative, I’m a fun gal like that. tsk. On top of that, I even made a video tutorial for you to show you how absolutely easy and FUN this is! Meet my bean can. Yup, a bean can.
Incidentally, before you start asking why in the world would I want to make use of that? Well, they’re plentiful in most any home, they are made of metal (versatile), and they are free. {{mic drop}} Let’s get this crafty DIY party started!!
CRAFTING TIME
Okay, so if you want to give this a go on your own, here’s a list of what you’ll need:
- cans of any size (or other container you want to upcycle)
- can opener
- wire hanger or ribbon, twine, lace, etc.
- awl or drill
- wire cutters
- needlenose pliers and blunt nose pliers
- your choice of paint and waxes
- any extras like lace, decoupage paper (tissue paper and napkins work too!), buttons, embellishments galore!
- paint brush
- hot glue gun and glue or tacky glue
STEP 1
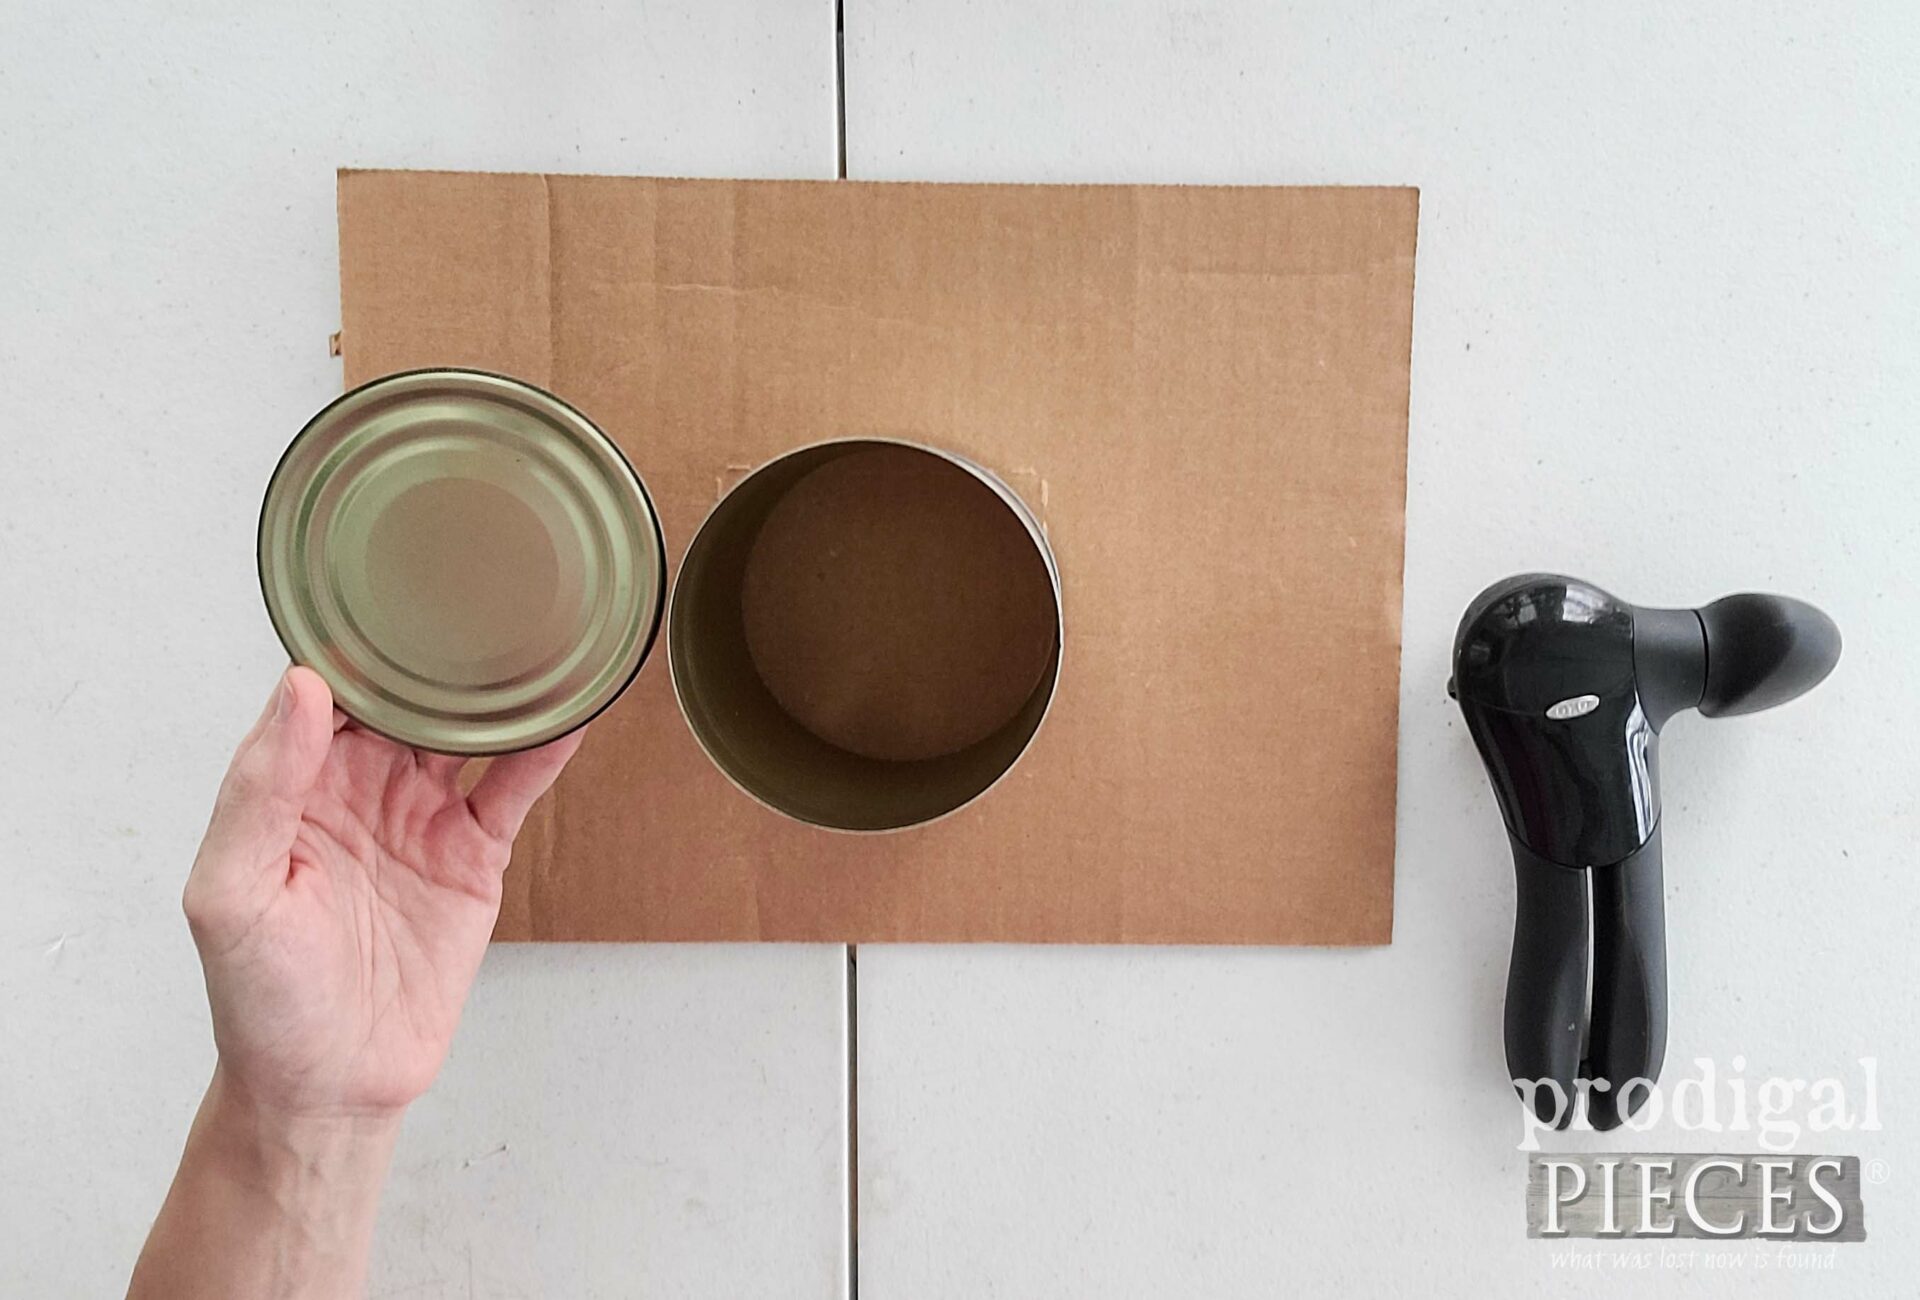
First, I use an already open can, making sure that the can is clean inside and out. I take my can opener and remove the bottom of the can. Also, do note that not all cans have the option to easily remove both ends. Recycle the bottom and let’s move on.
STEP 2
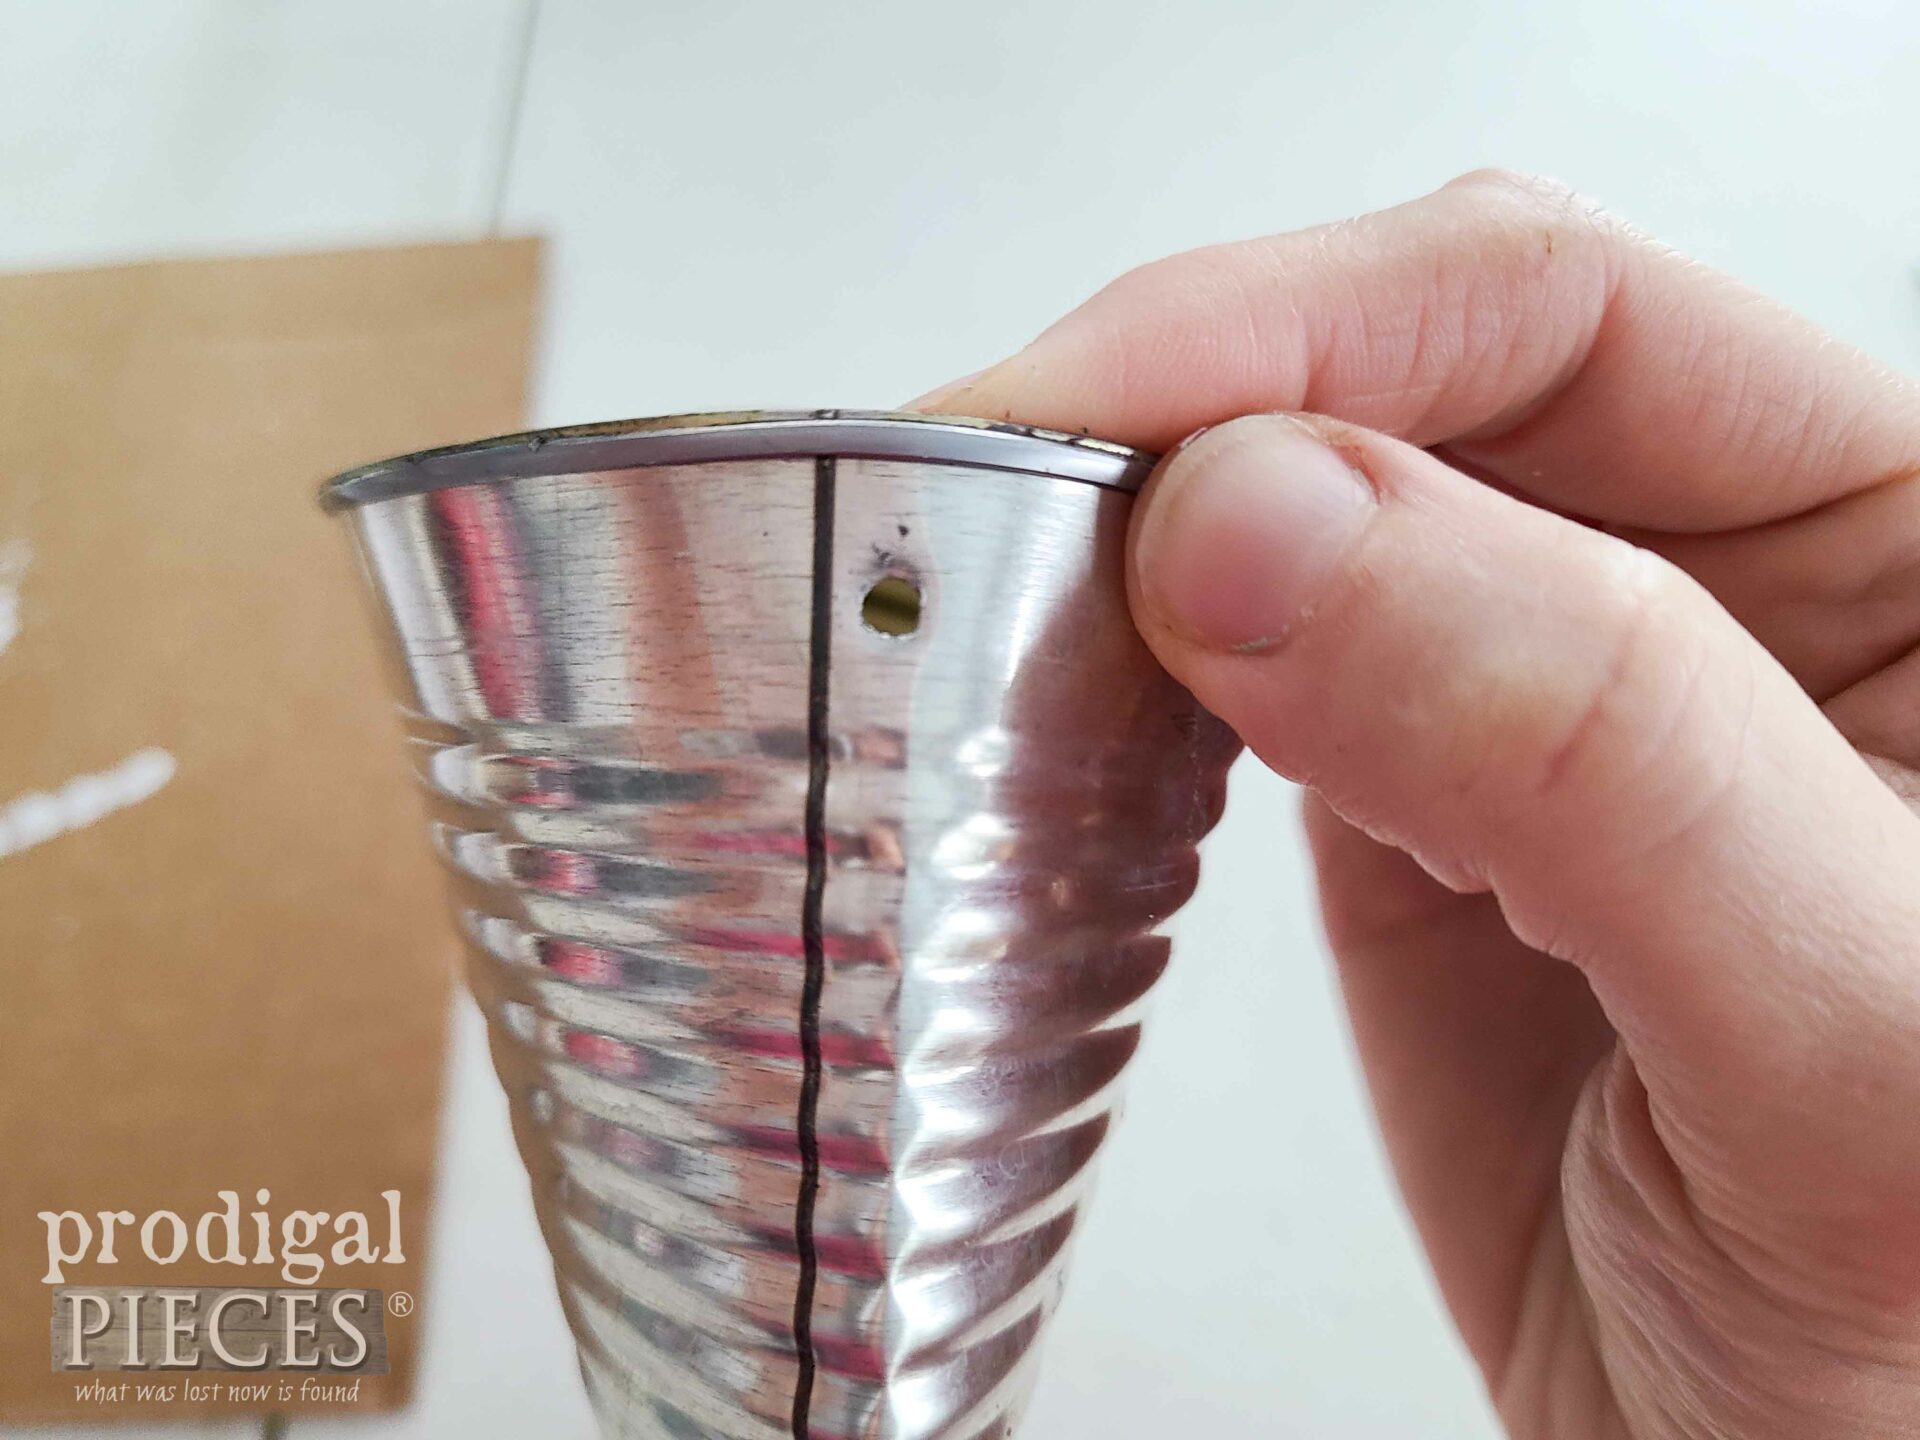
Then, we step it up a bit. Literally, step on one end of the can to smoosh it into a pocket. (see video for demo – and wear a thick soled shoe!!) Once you have it smooshed, you need to add holes for a hanger, if desired. Not only can I use my drill and self-drilling metal screw, but I also use an awl or hammer and thick nail too. To make it easier, I insert a piece of scrap wood while I make a hole.
At the same time, grab the blunt-nose pliers and bend up the pinched bottom of the can approximately ¼” toward and up against the back. Unfortunately, I kept getting pup-interruptions from Loula, so I forgot to take a picture of it, but you can see the idea in the video.
STEP 3
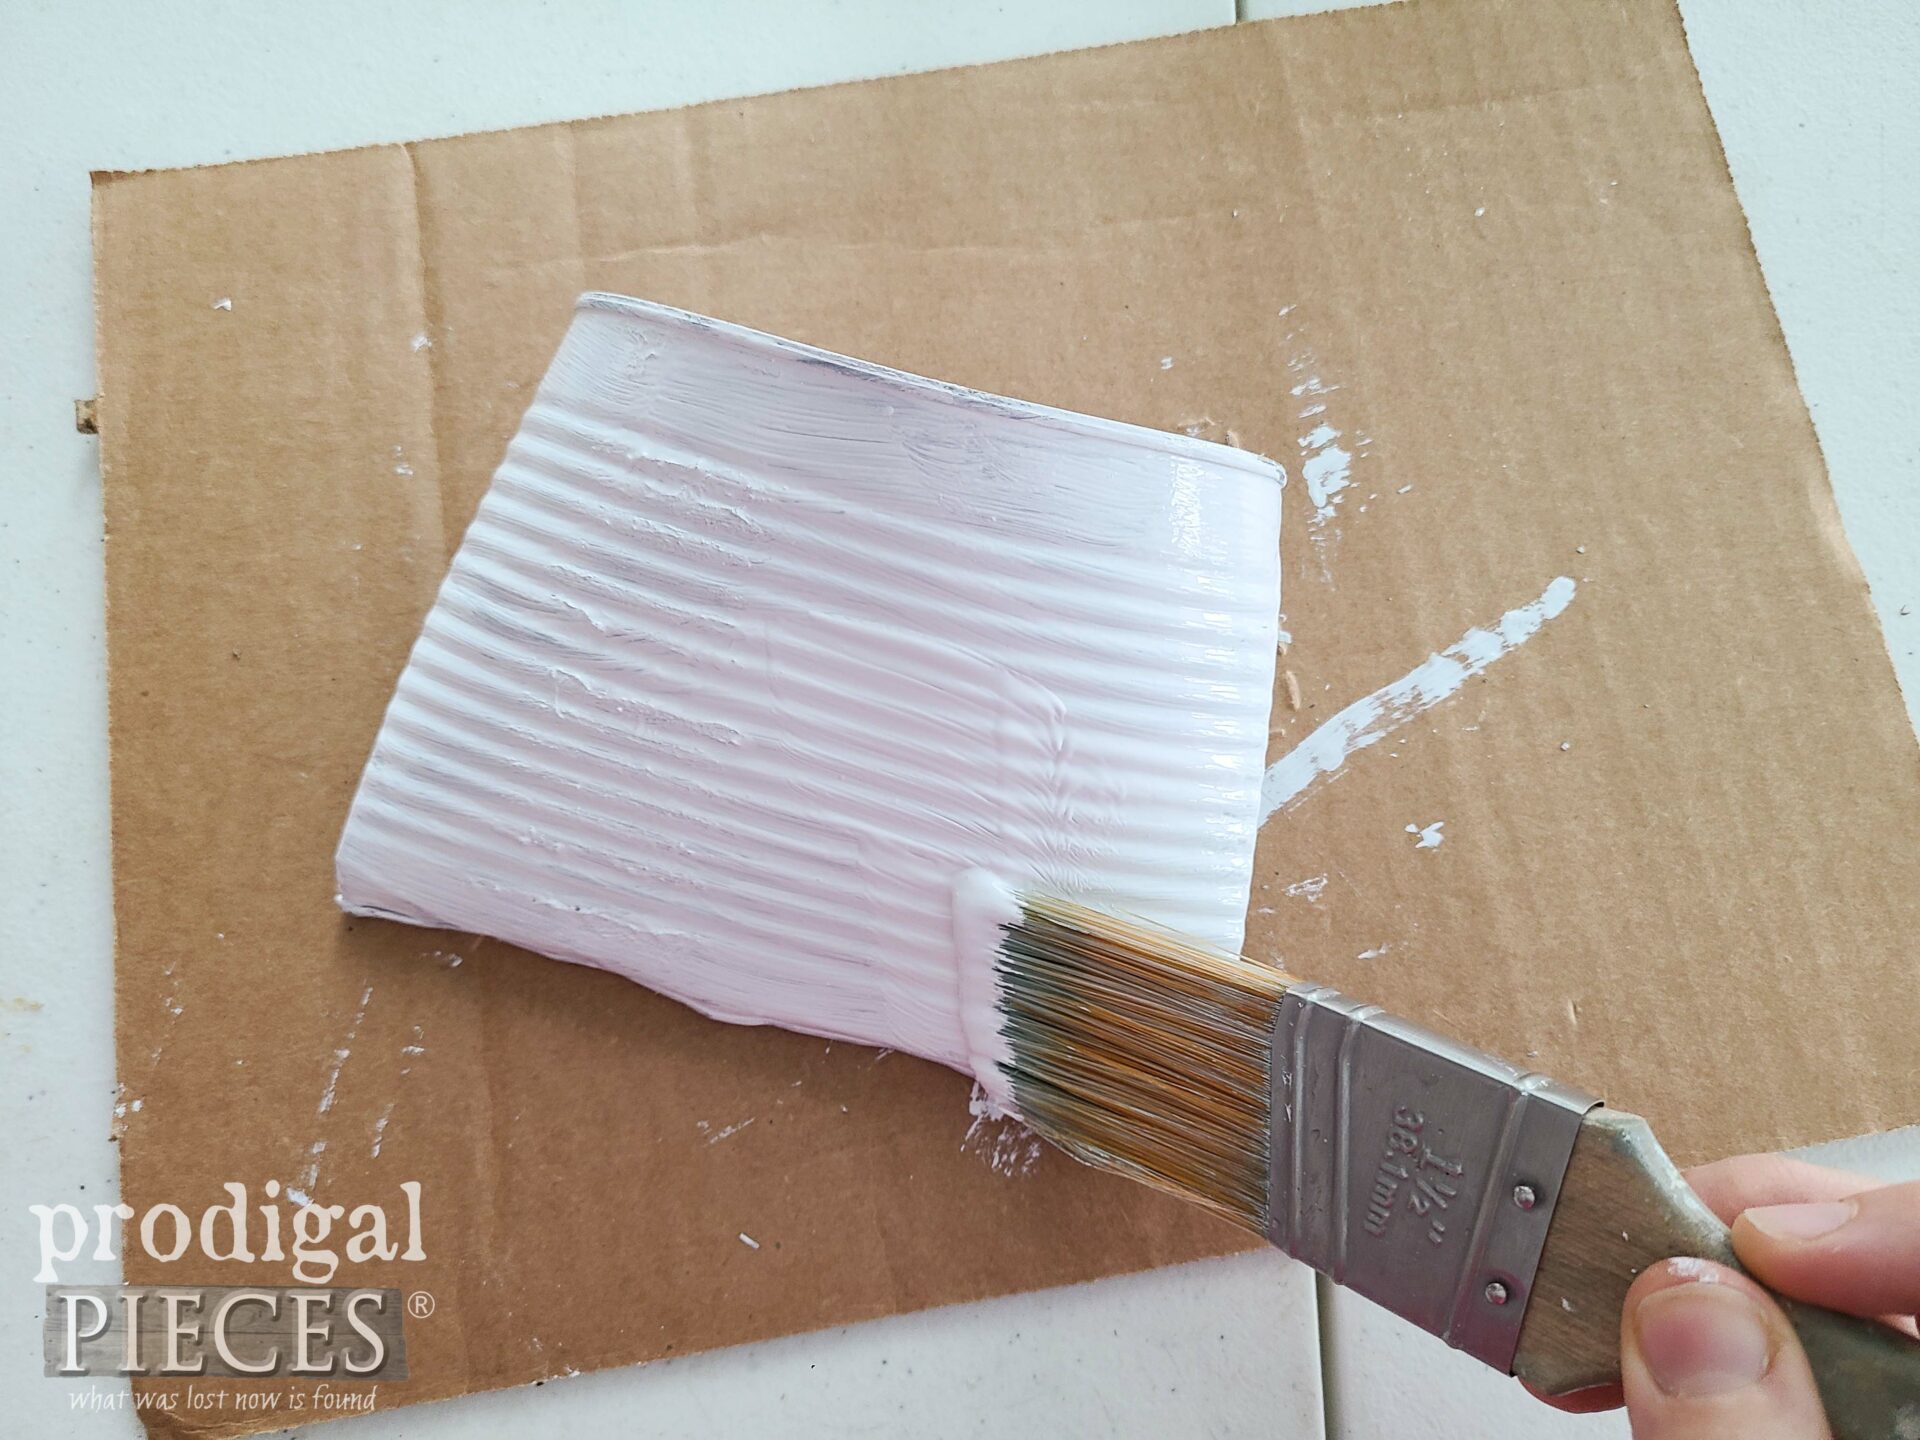
Next, let’s bring on the fun!! At this point, you can take this to wherever you want. Dress it up, make it rustic for guys, make it cute for kids…the potential is limitless. For me, I wanted to cure my cabin fever with a bit of spring. sigh…winter in Ohio is far tooooo loooooooong. I begin with painting my upcycled tin can pockets one coat of a basic flat latex or milk paint and let cure.
While curing, grab those needlenose pliers and cut the wire hanger to fit your size can. Not only can you make it any size you want, but consider coiling it as well or use ribbon, lace, twine. (see video for my cuts)
STEP 4
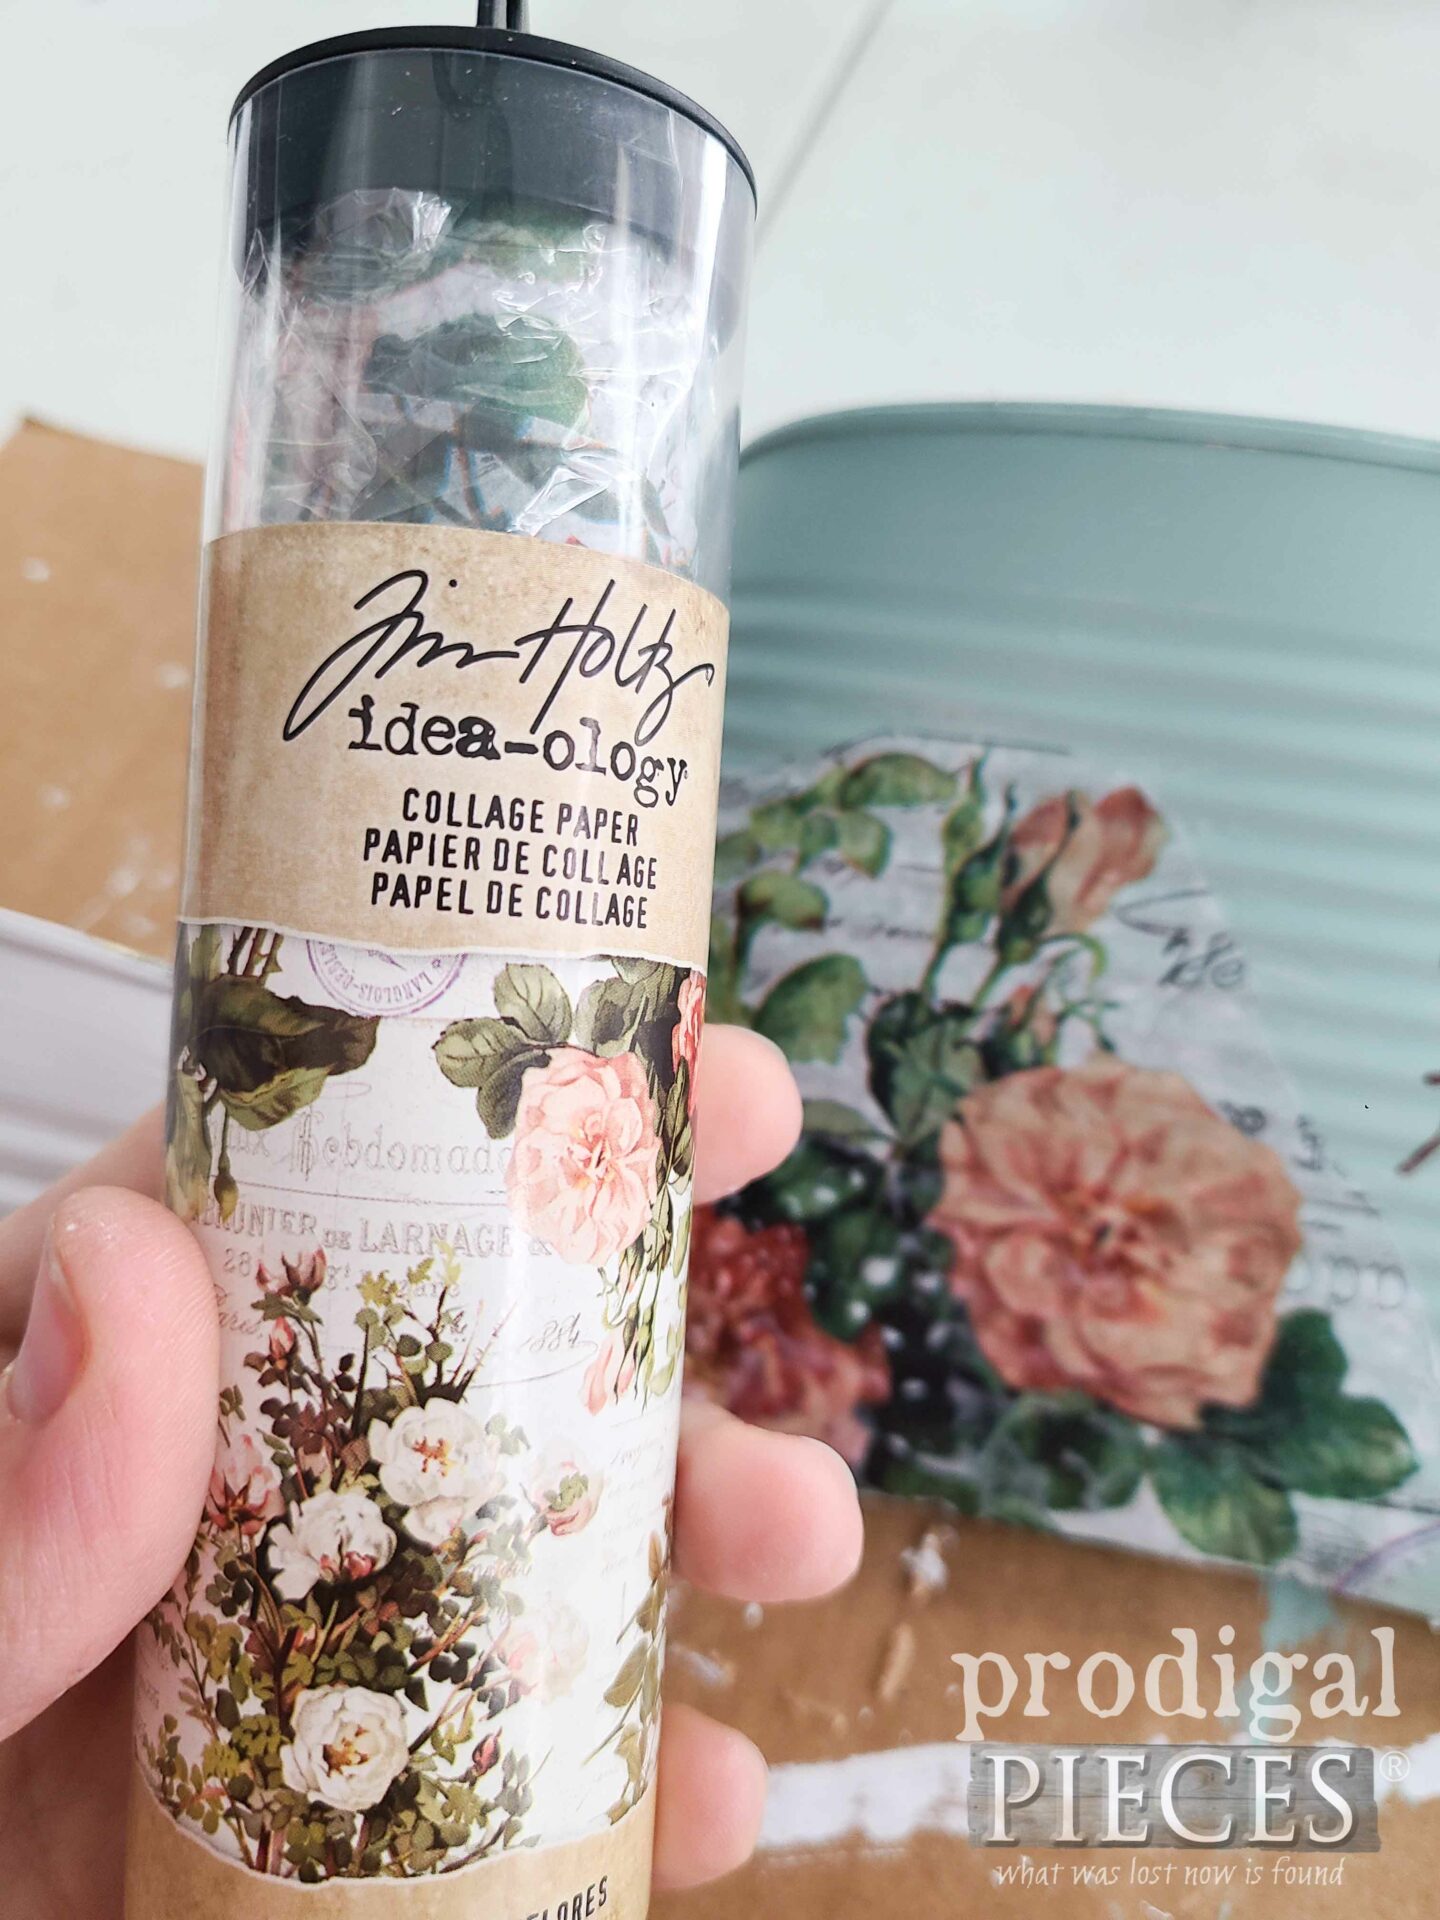
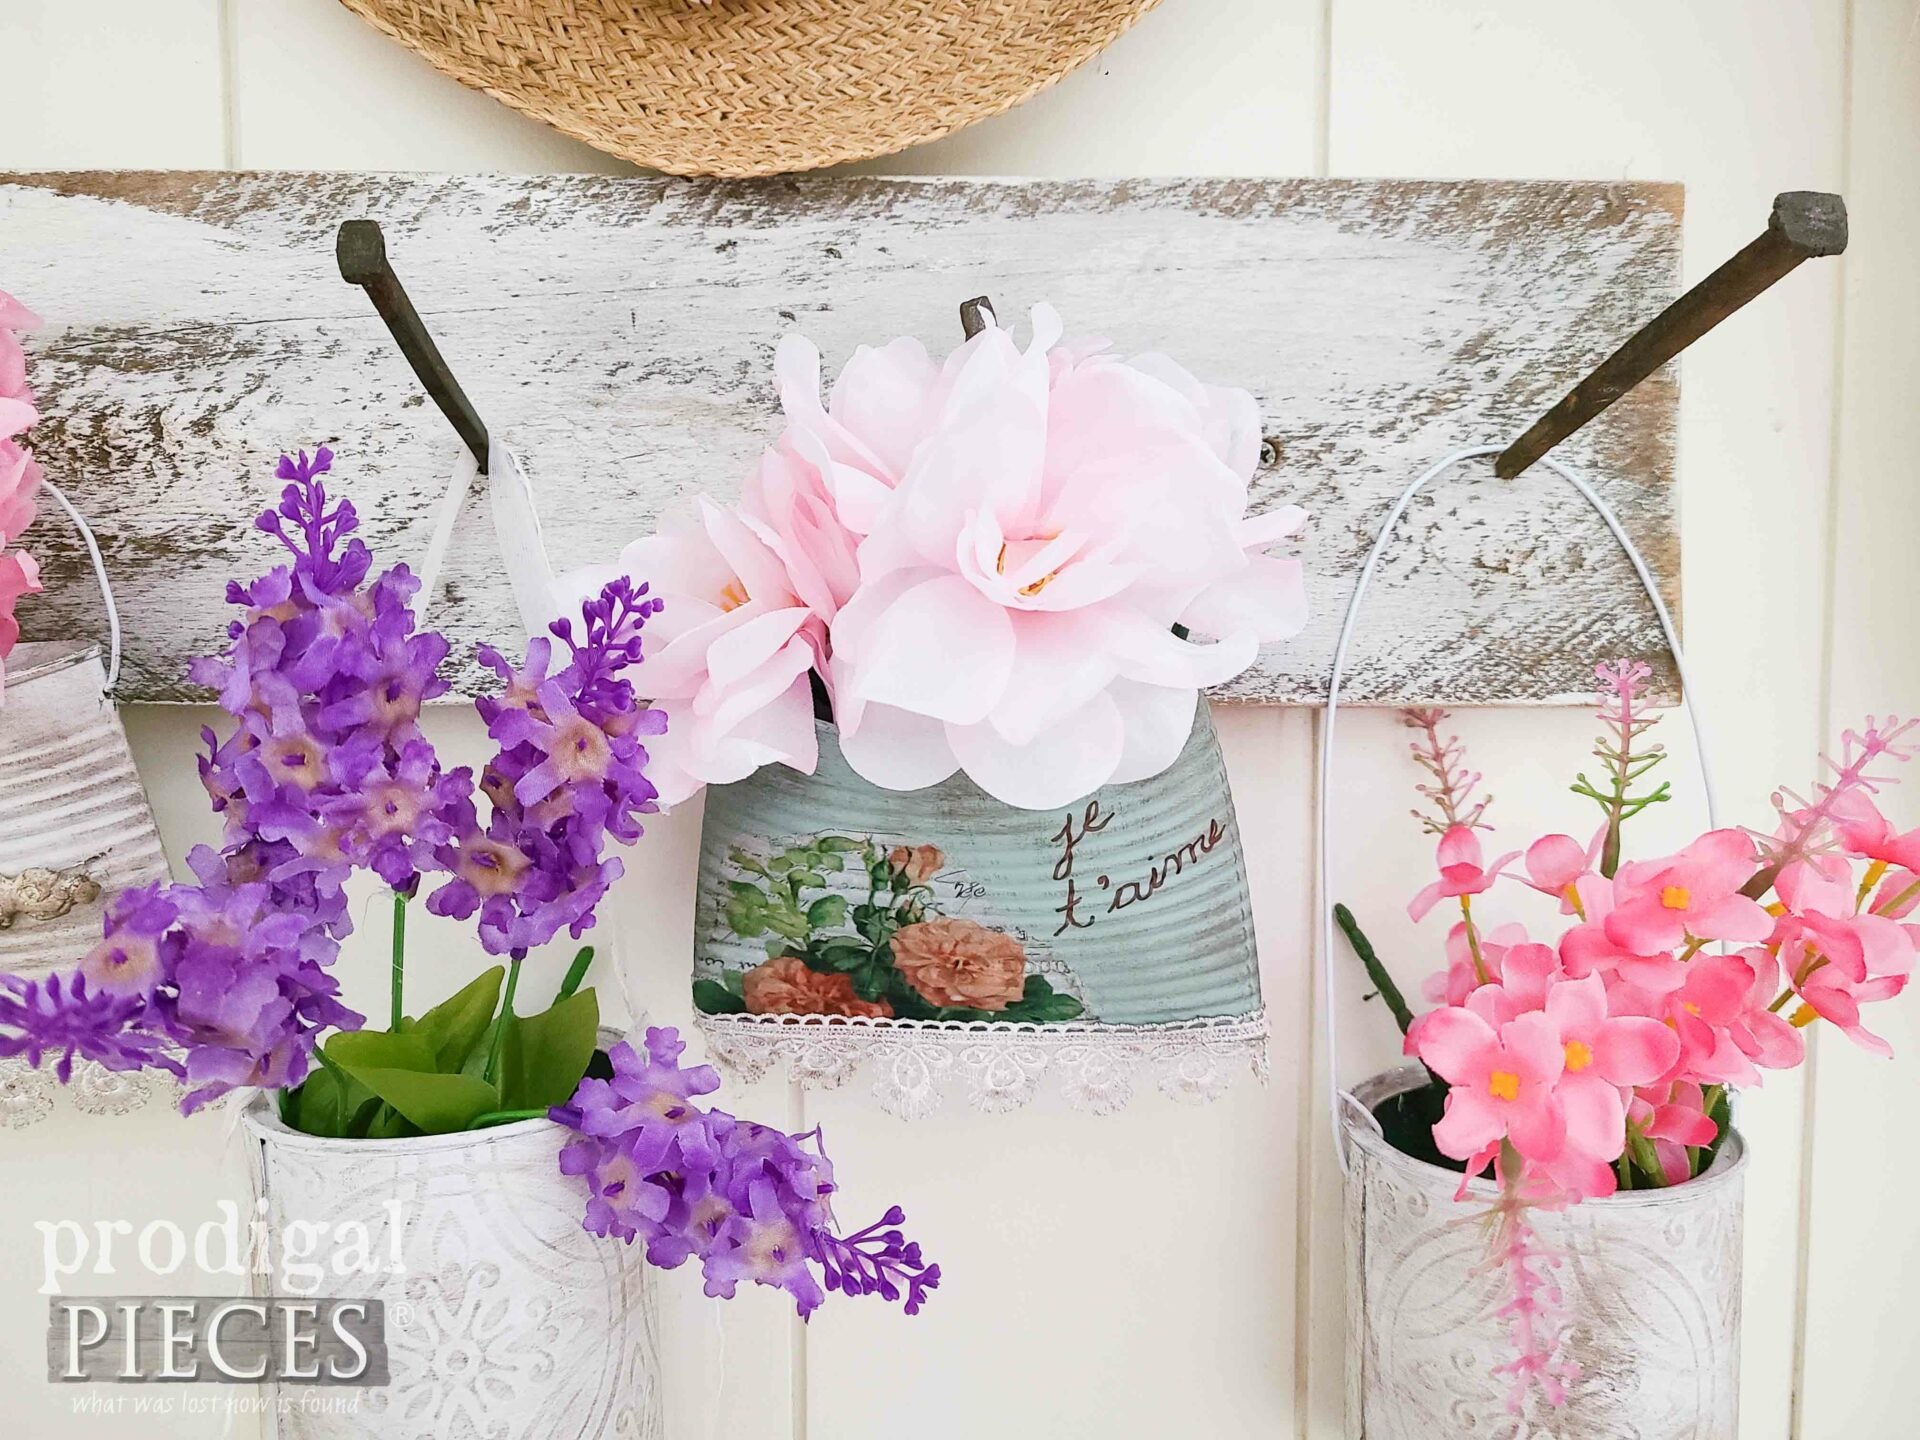
Last, but not least, we can decorate our pockets. For me, I use a bit of decoupage using these papers I’ve shown you on
- French Provincial desk
- my goose turned swan
- a coat rack
- a santa tin makeover
- drawer pulls
- a vintage bread box
- paperboard box
However, skip the pricey paper and also use napkins or tissue paper as I’ve shown you:
- curio cabinet tissue paper decoupage with tissue paper
- wooden shelf decoupage with tissue paper
- waterfall chest makeover with tissue paper
- waterfall chest makeover with napkins
- folding screen decorated with napkins
Additionally, you can add waxes, glitter, and other enhancements as well.
STEP 5
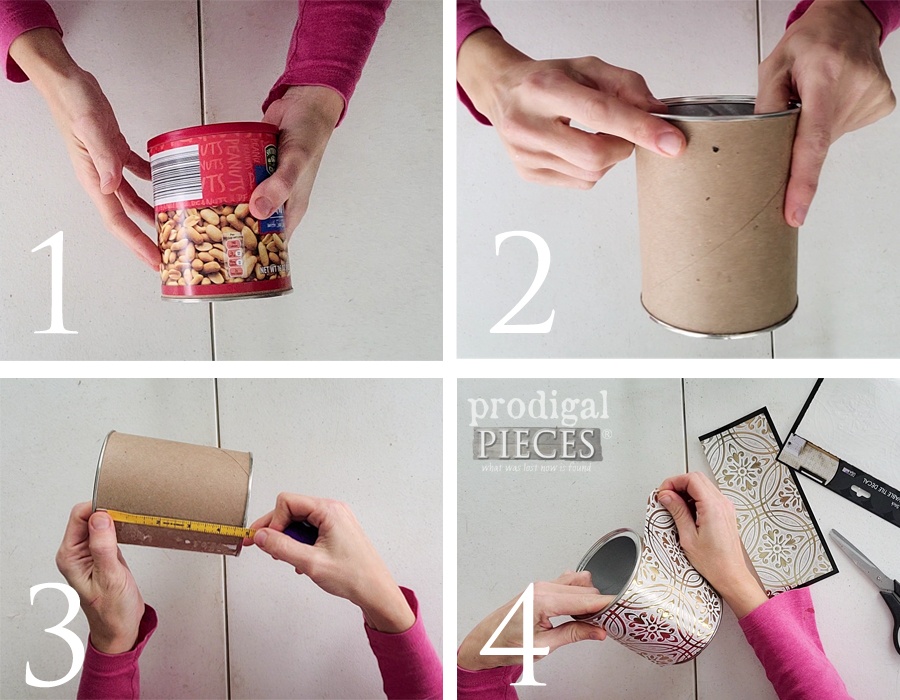
In addition to my tin can pocket, I also want to make use of my peanut containers. It bothers me that the lid recycles in my area, but not the paperboard container. In order to salvage more from the landfill, I have one more project for you. It’s the same process as the tin can, but even a smidge easier.
- remove the label and lid and clean
- punch a hole, if desired, in both sides
- measure the height and circumference of the canister. See my washboard makeover with them HERE.
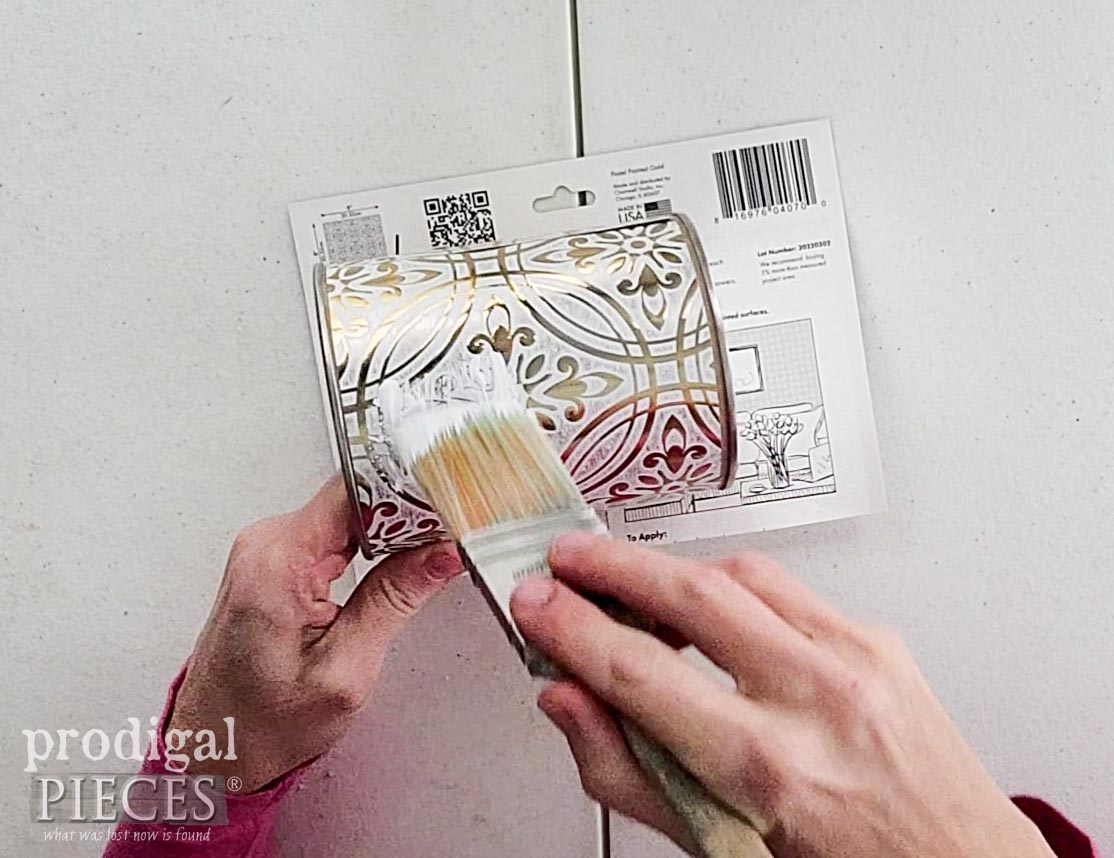
- cut faux tin tile to fit – you may need more than one piece as I show in my video.
- paint or leave as-is
- add wire from hanger remnant, if desired.
SPRING FEELING
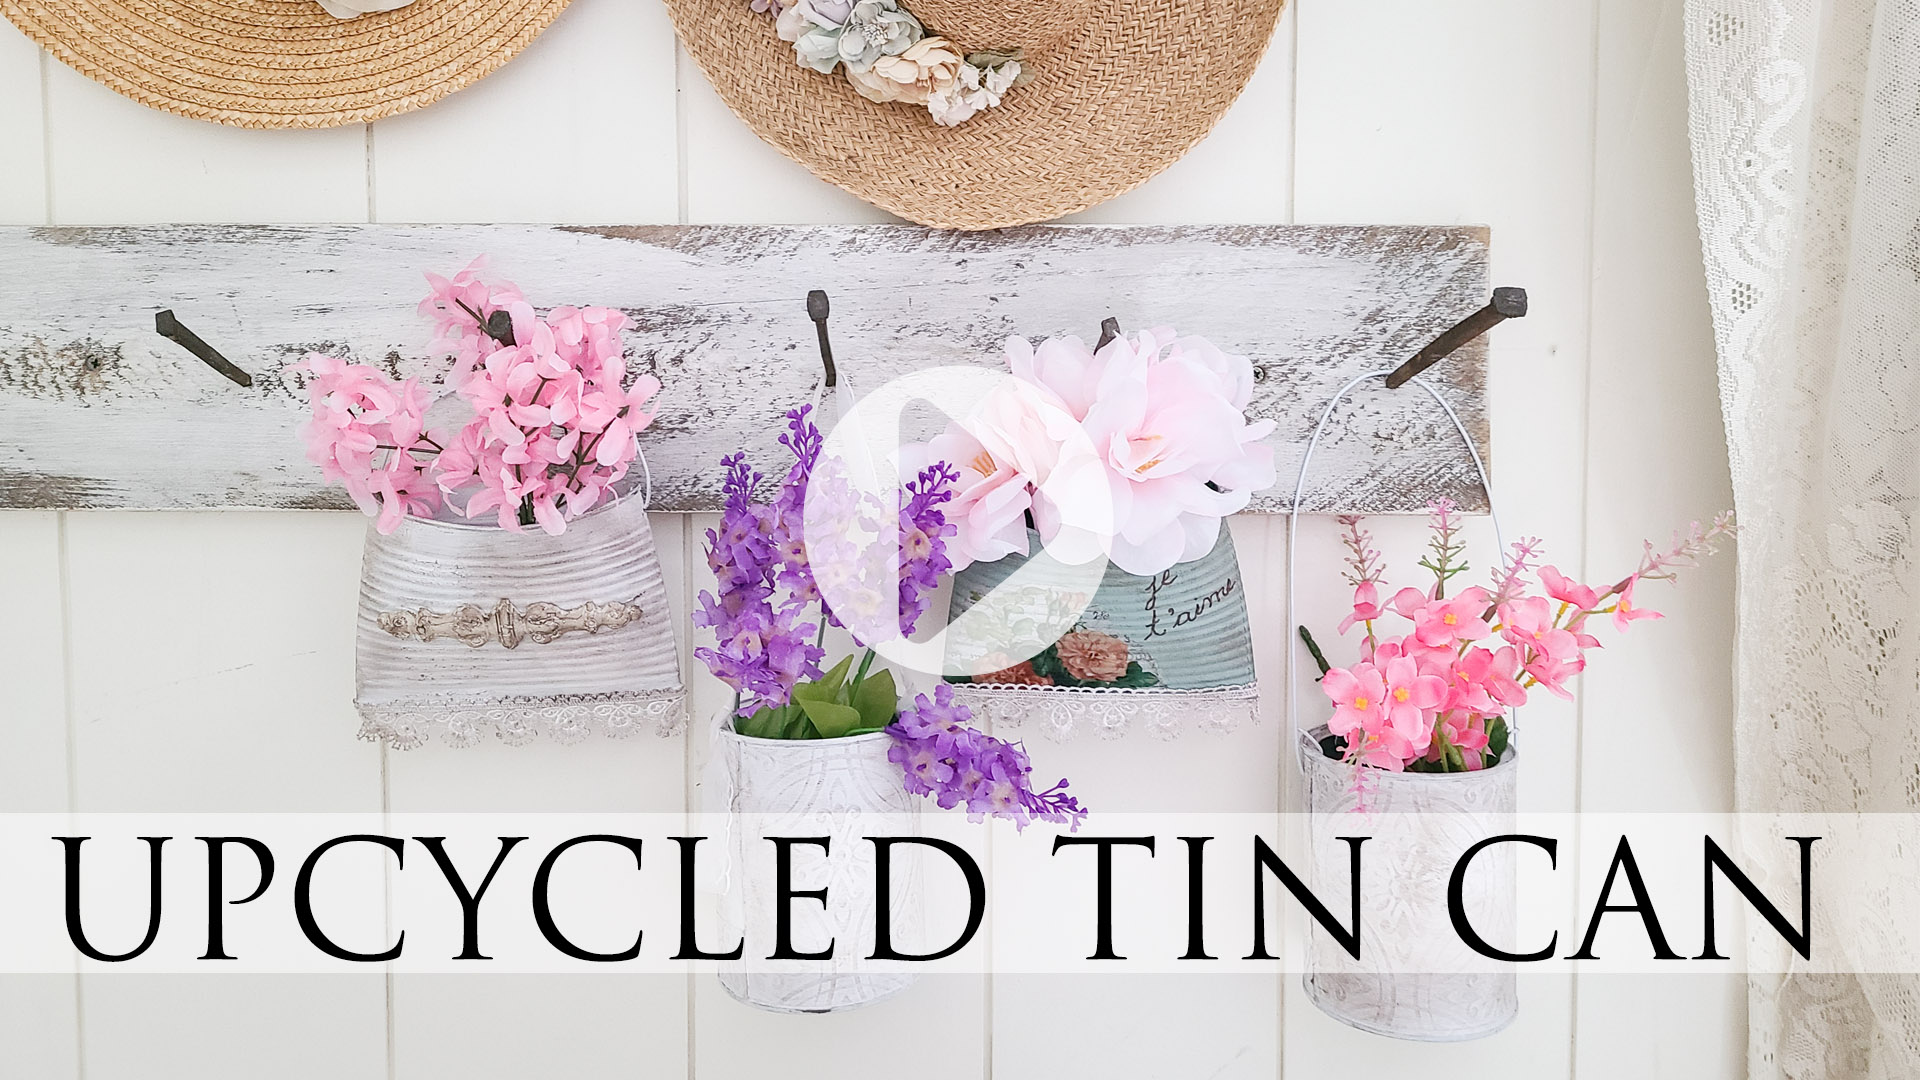
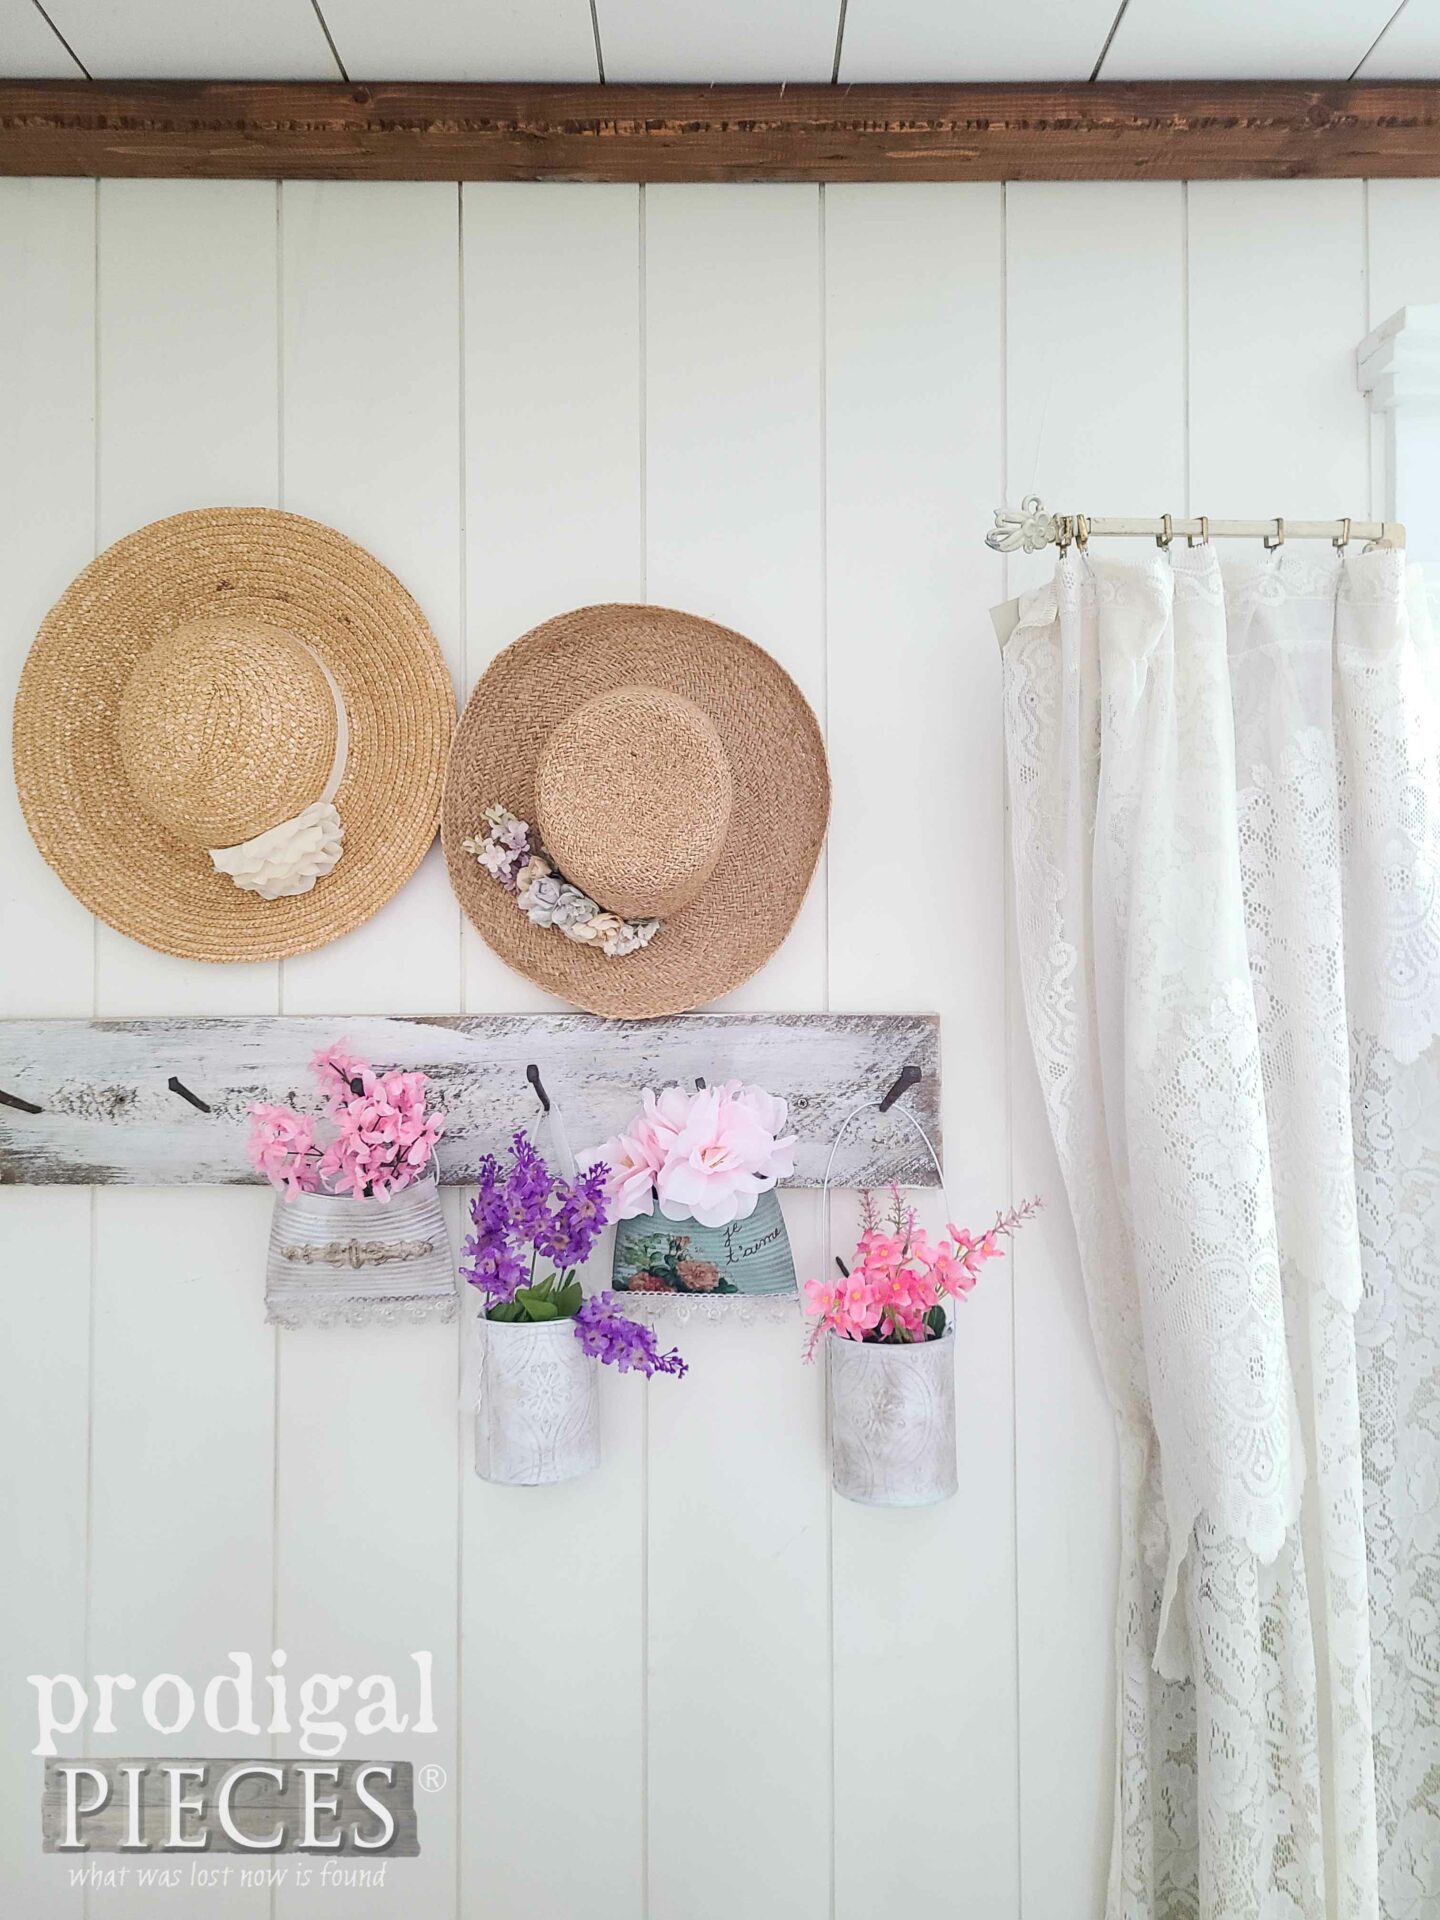
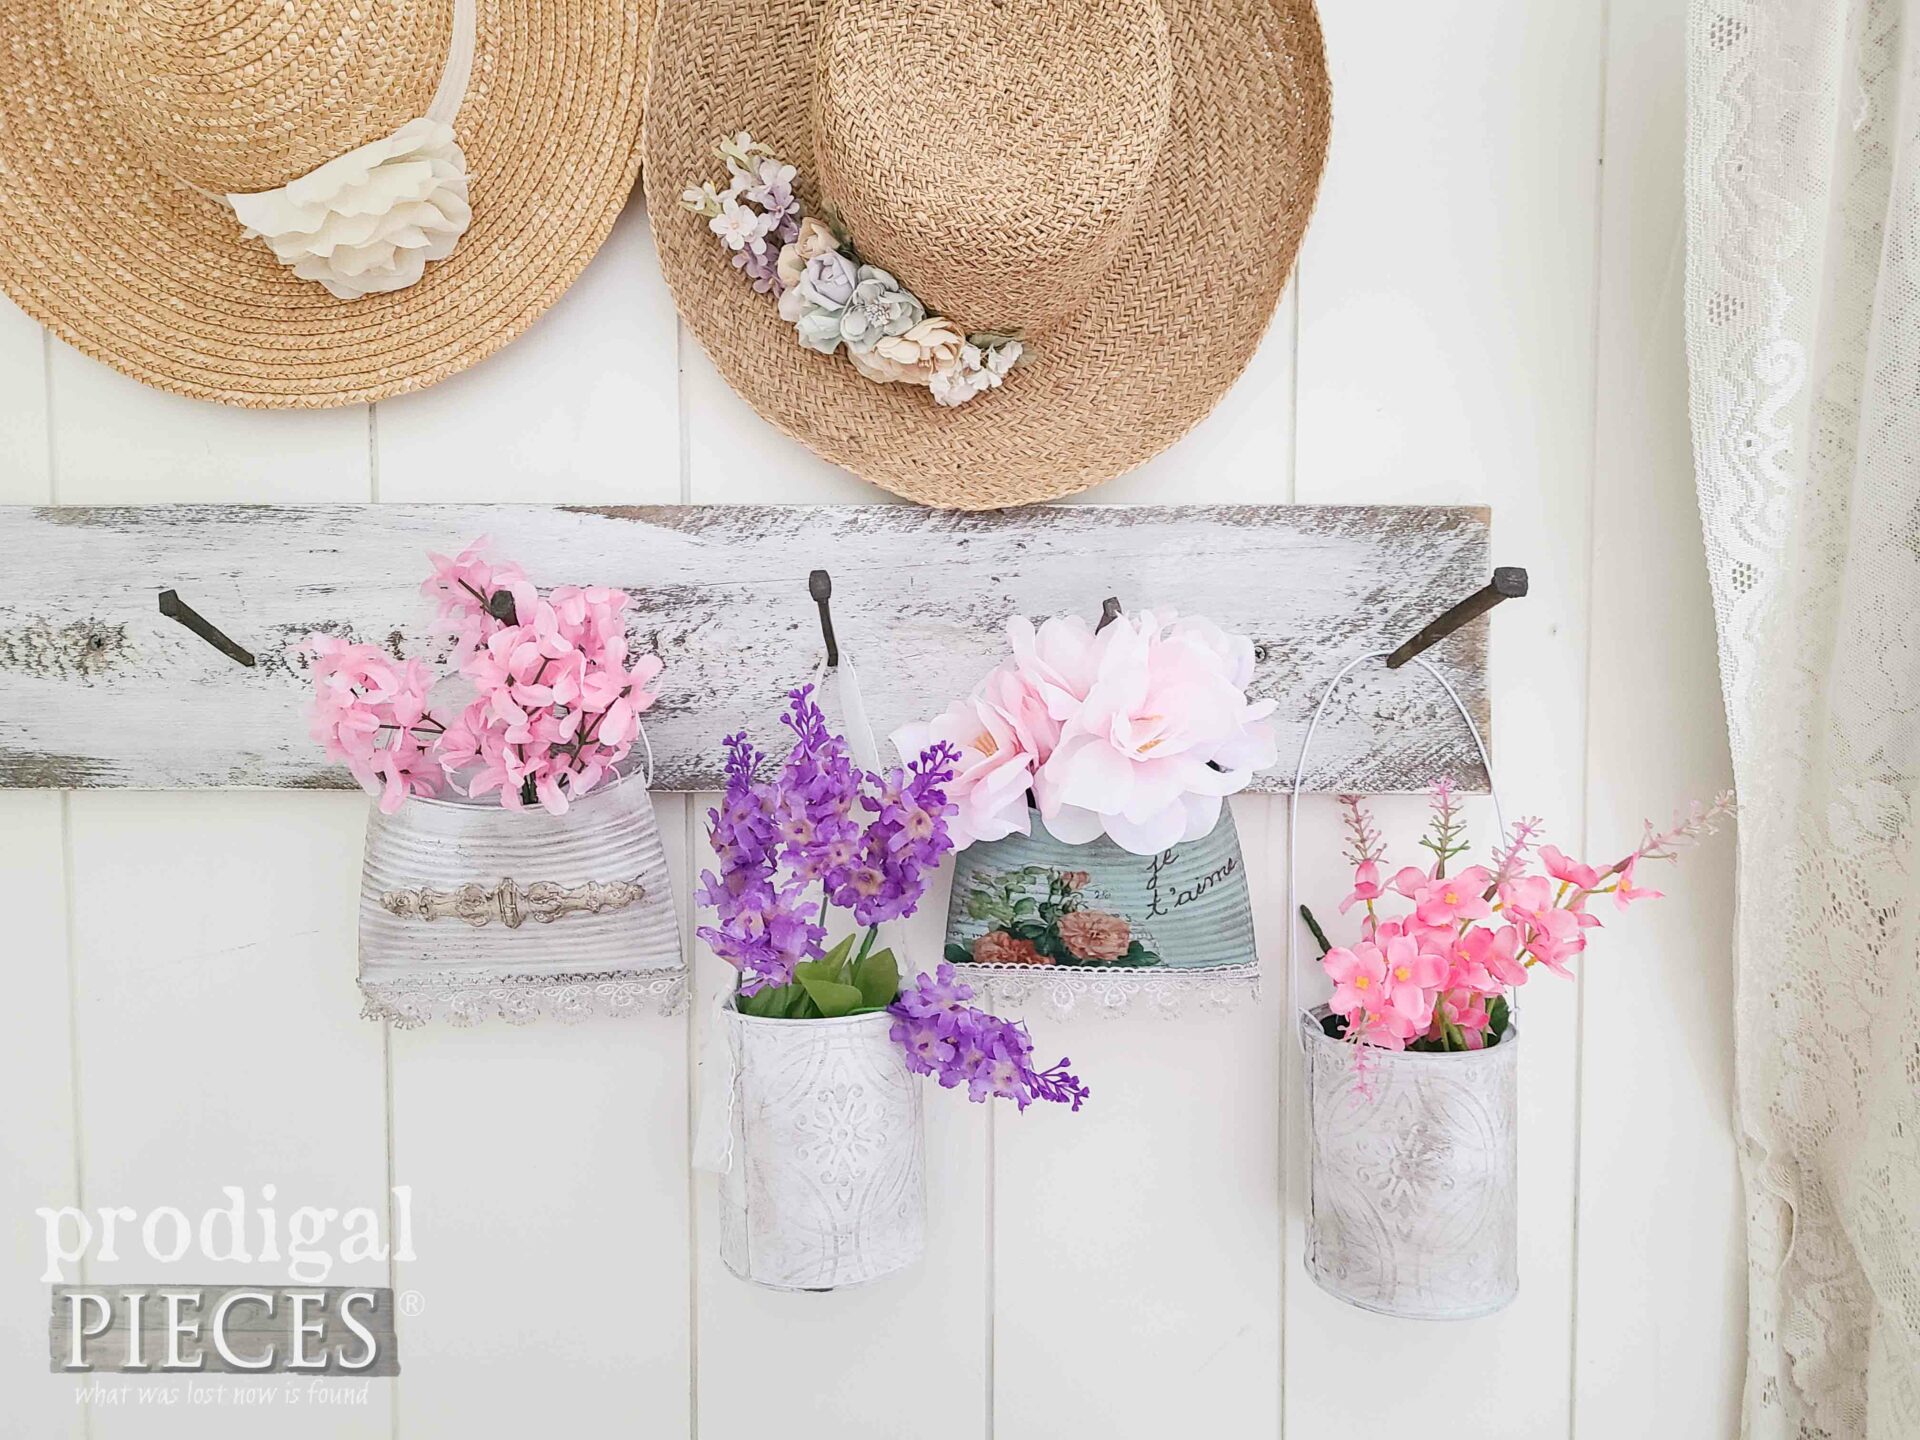
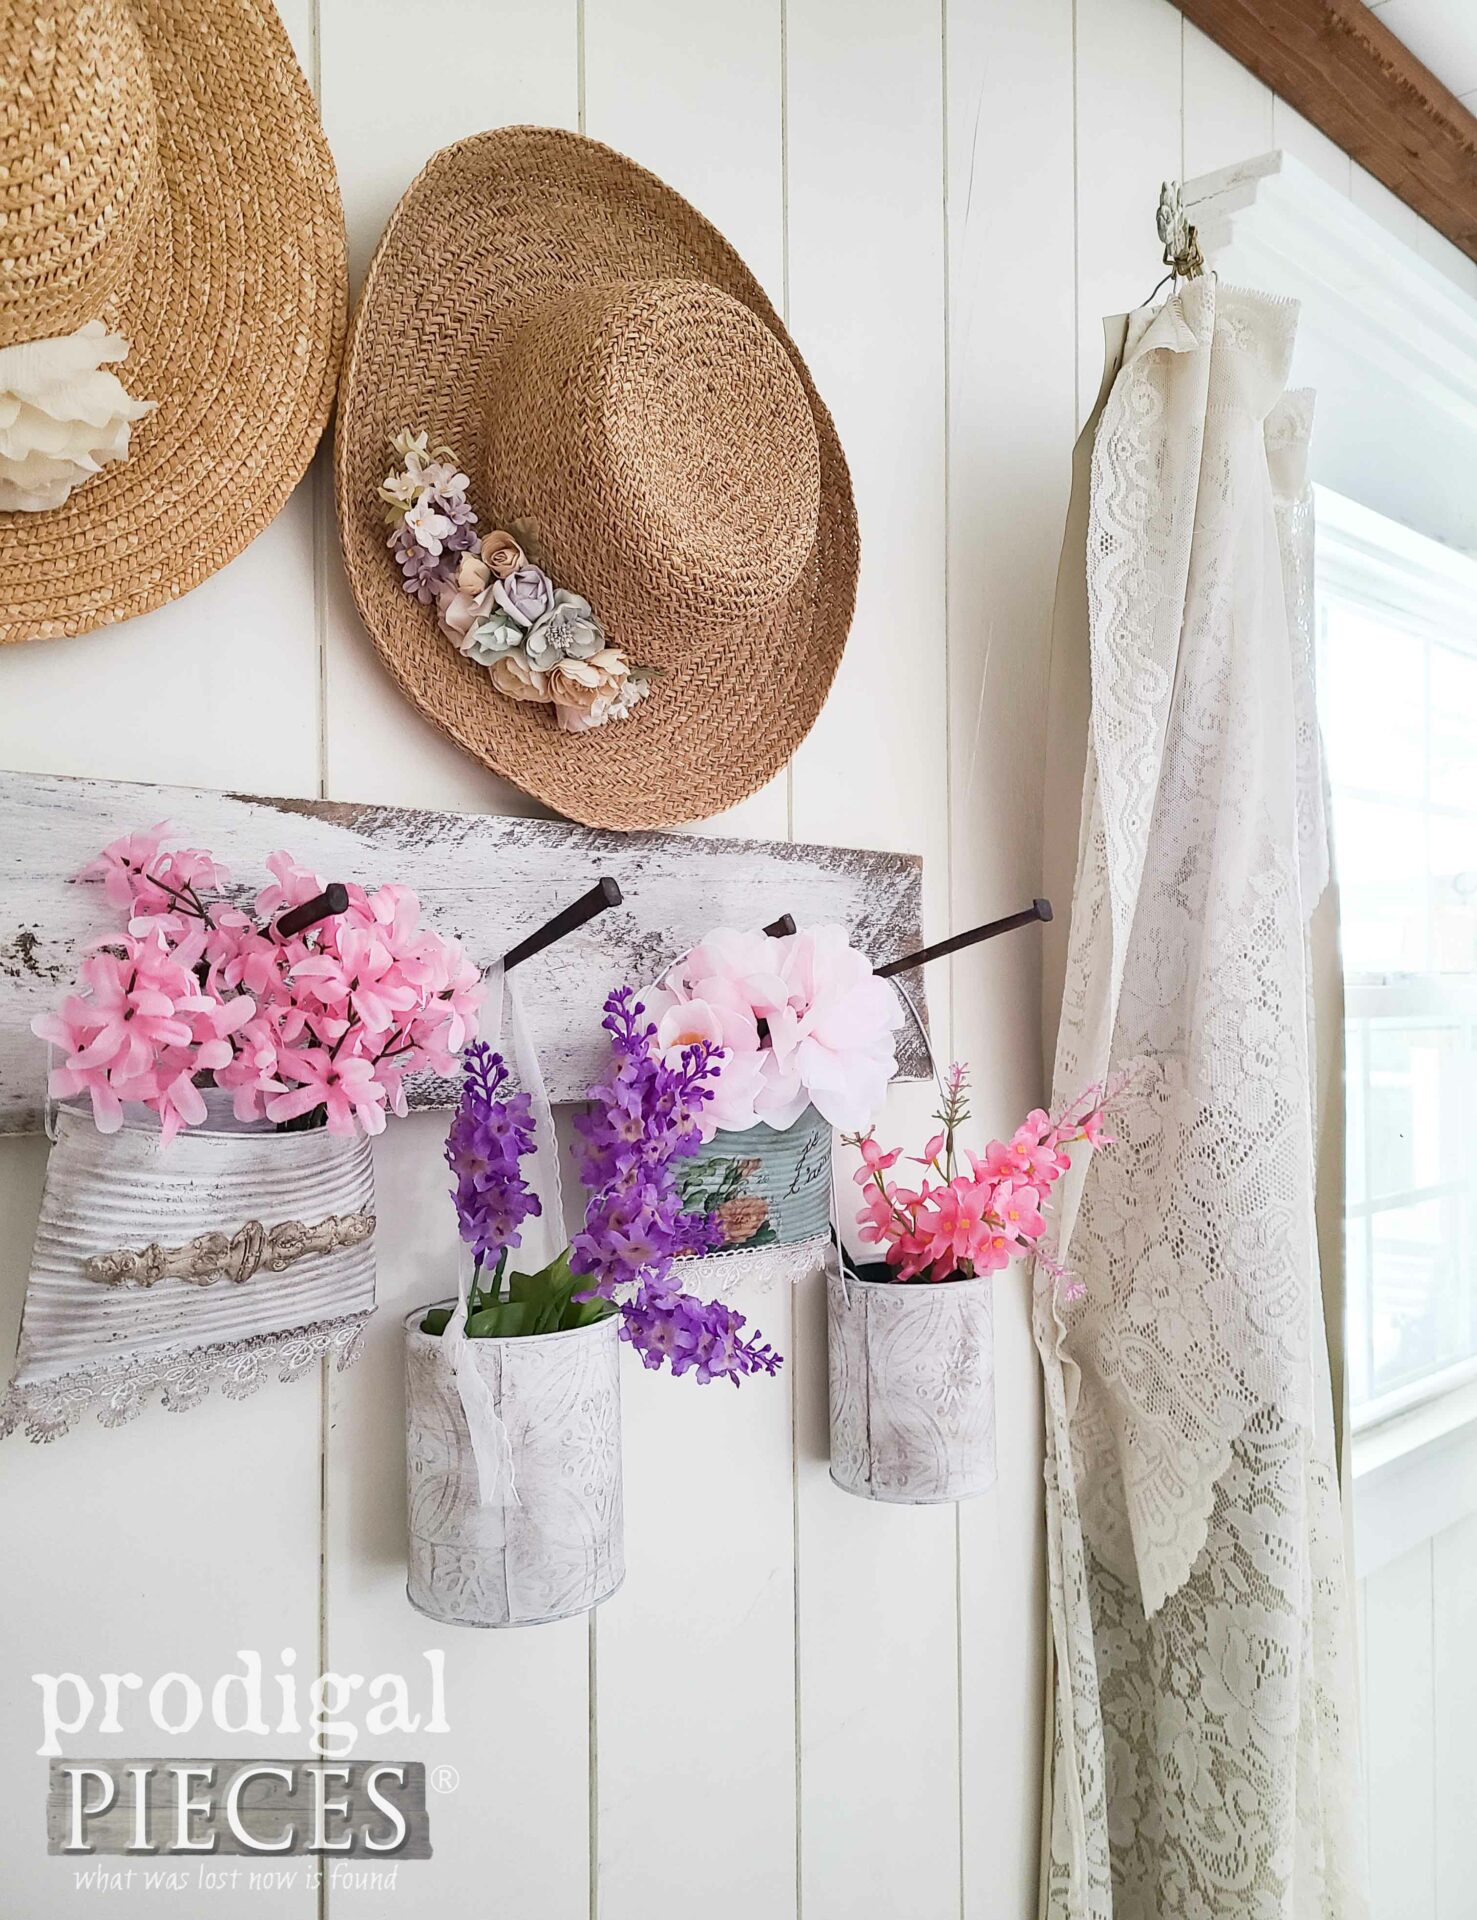
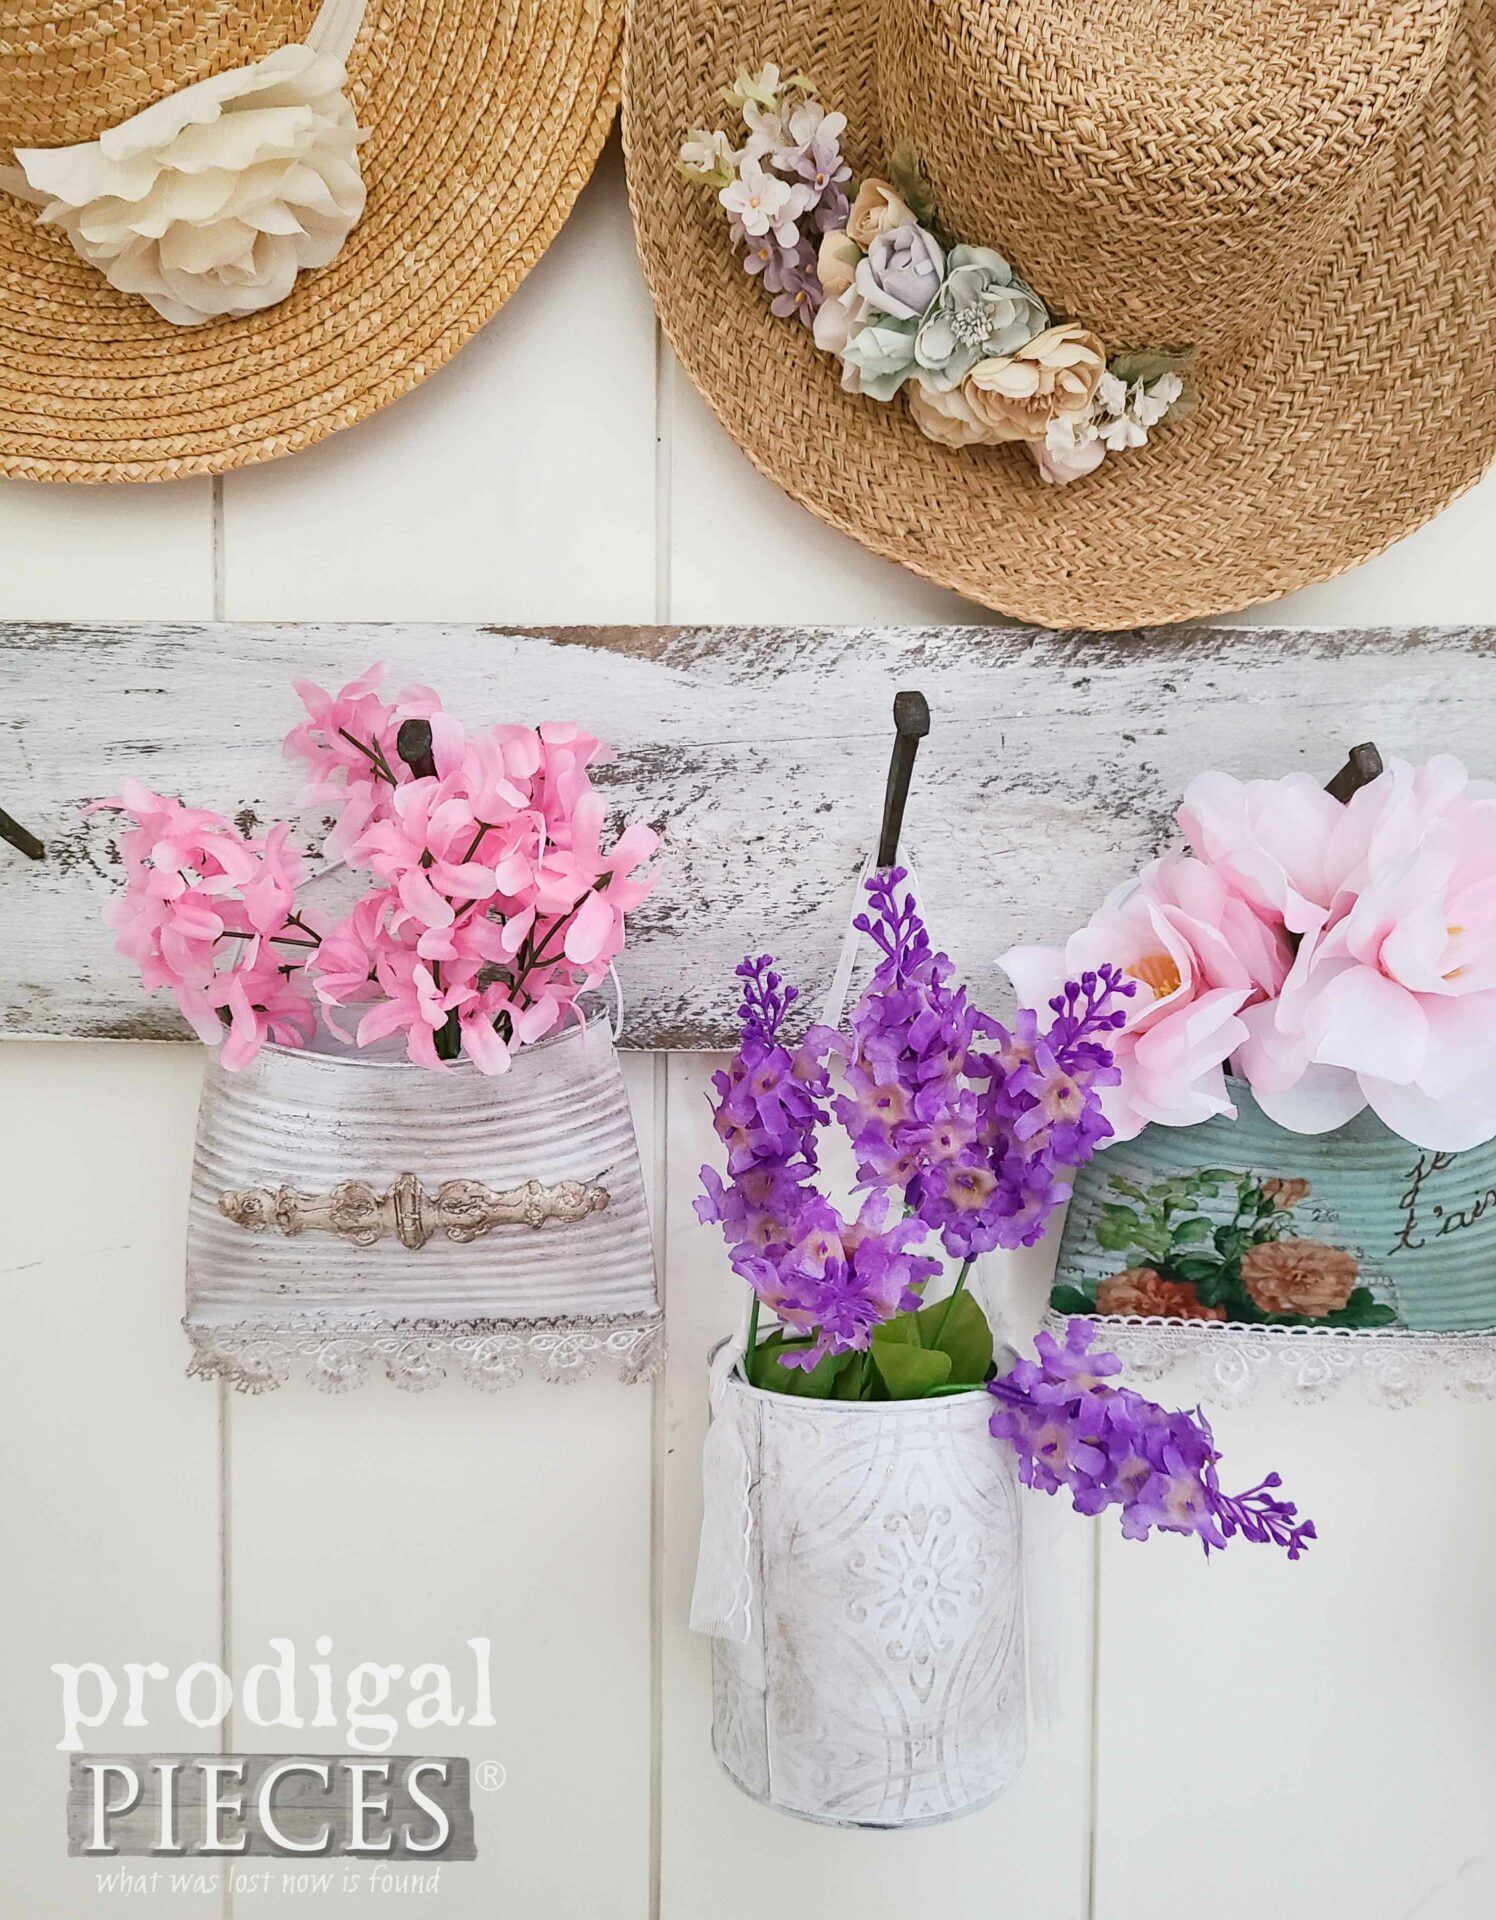
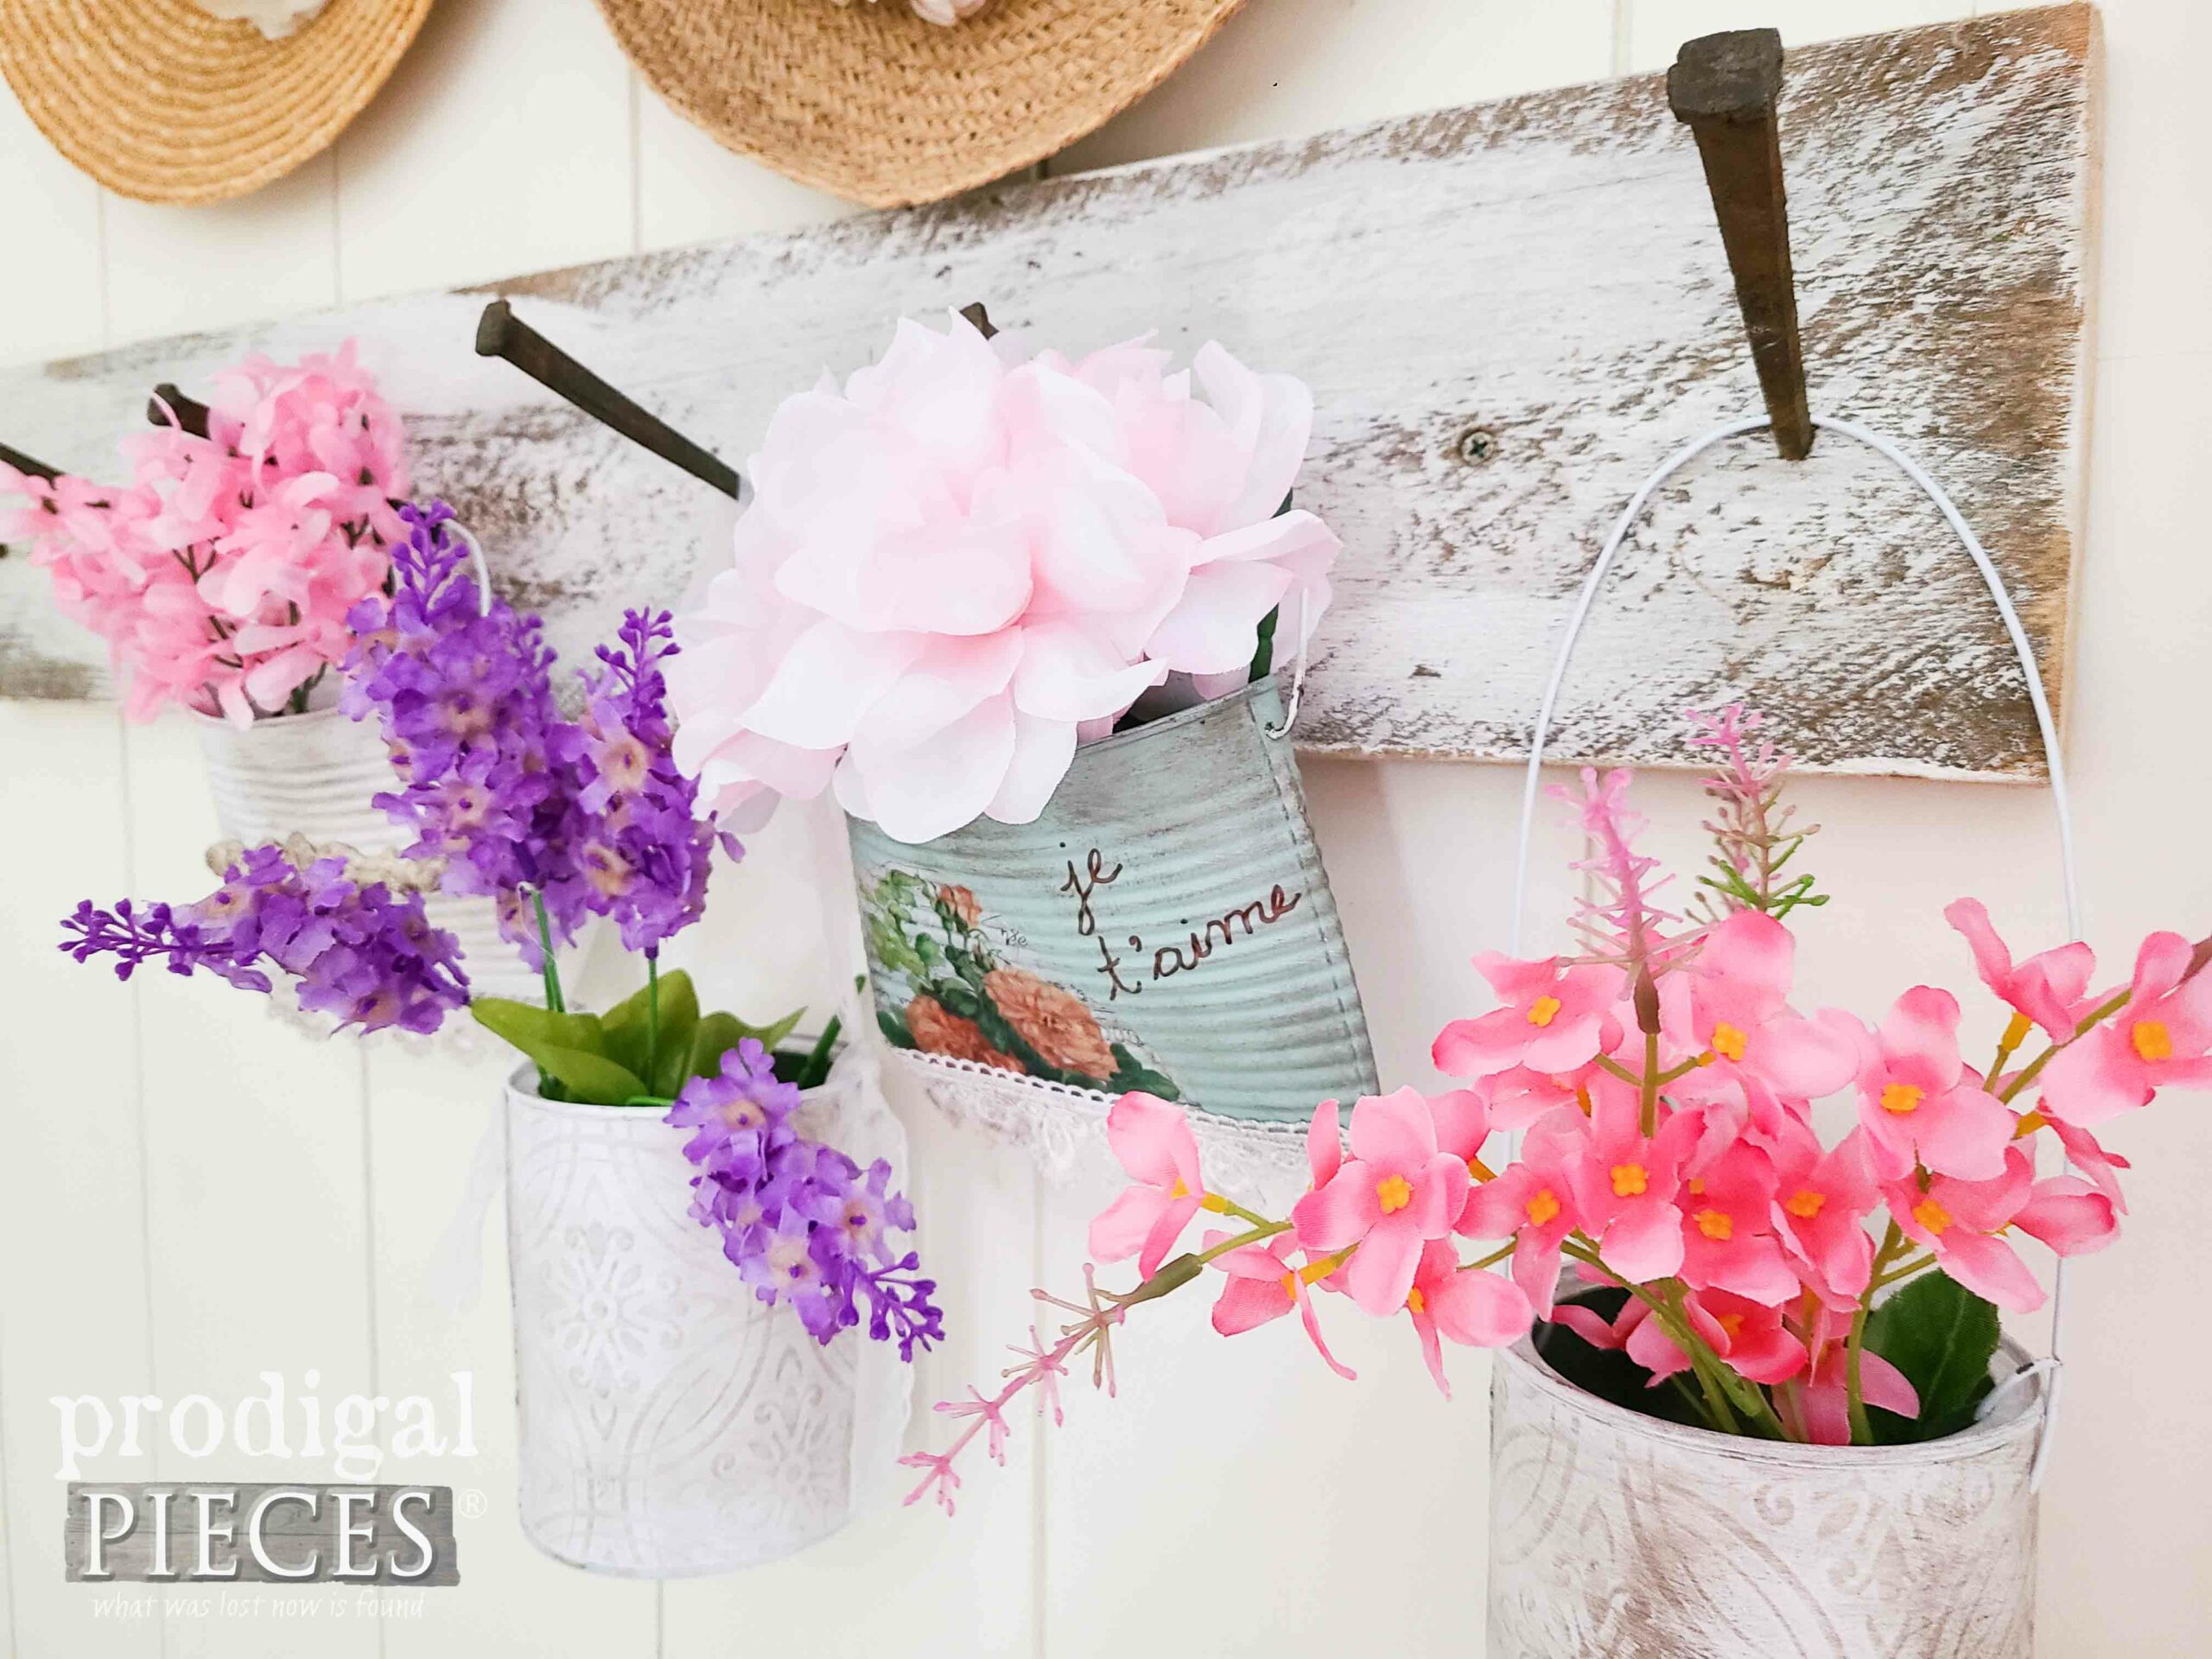
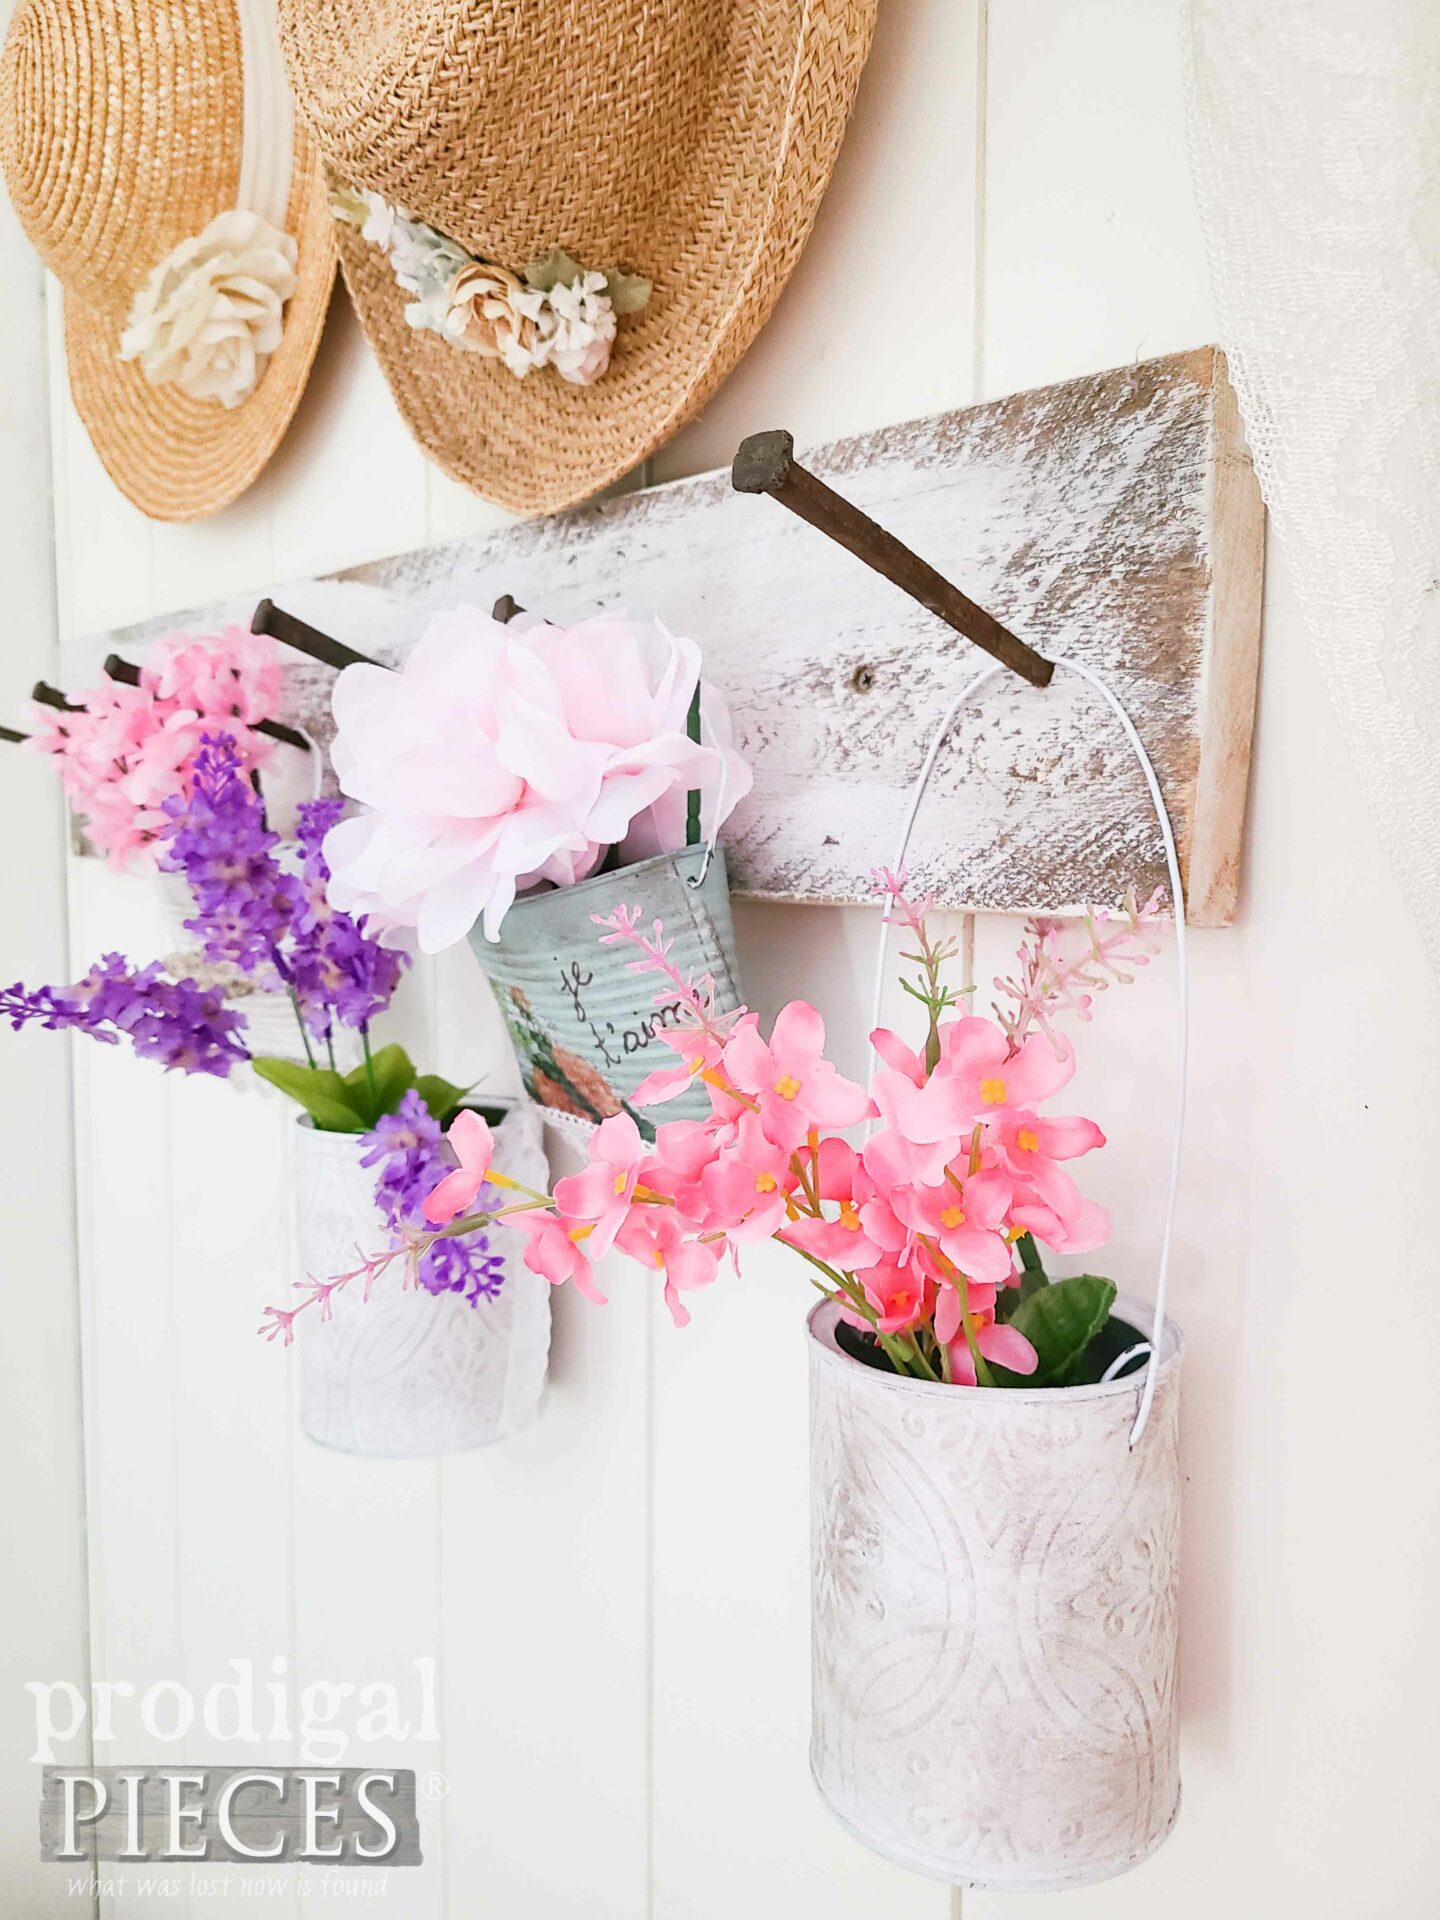
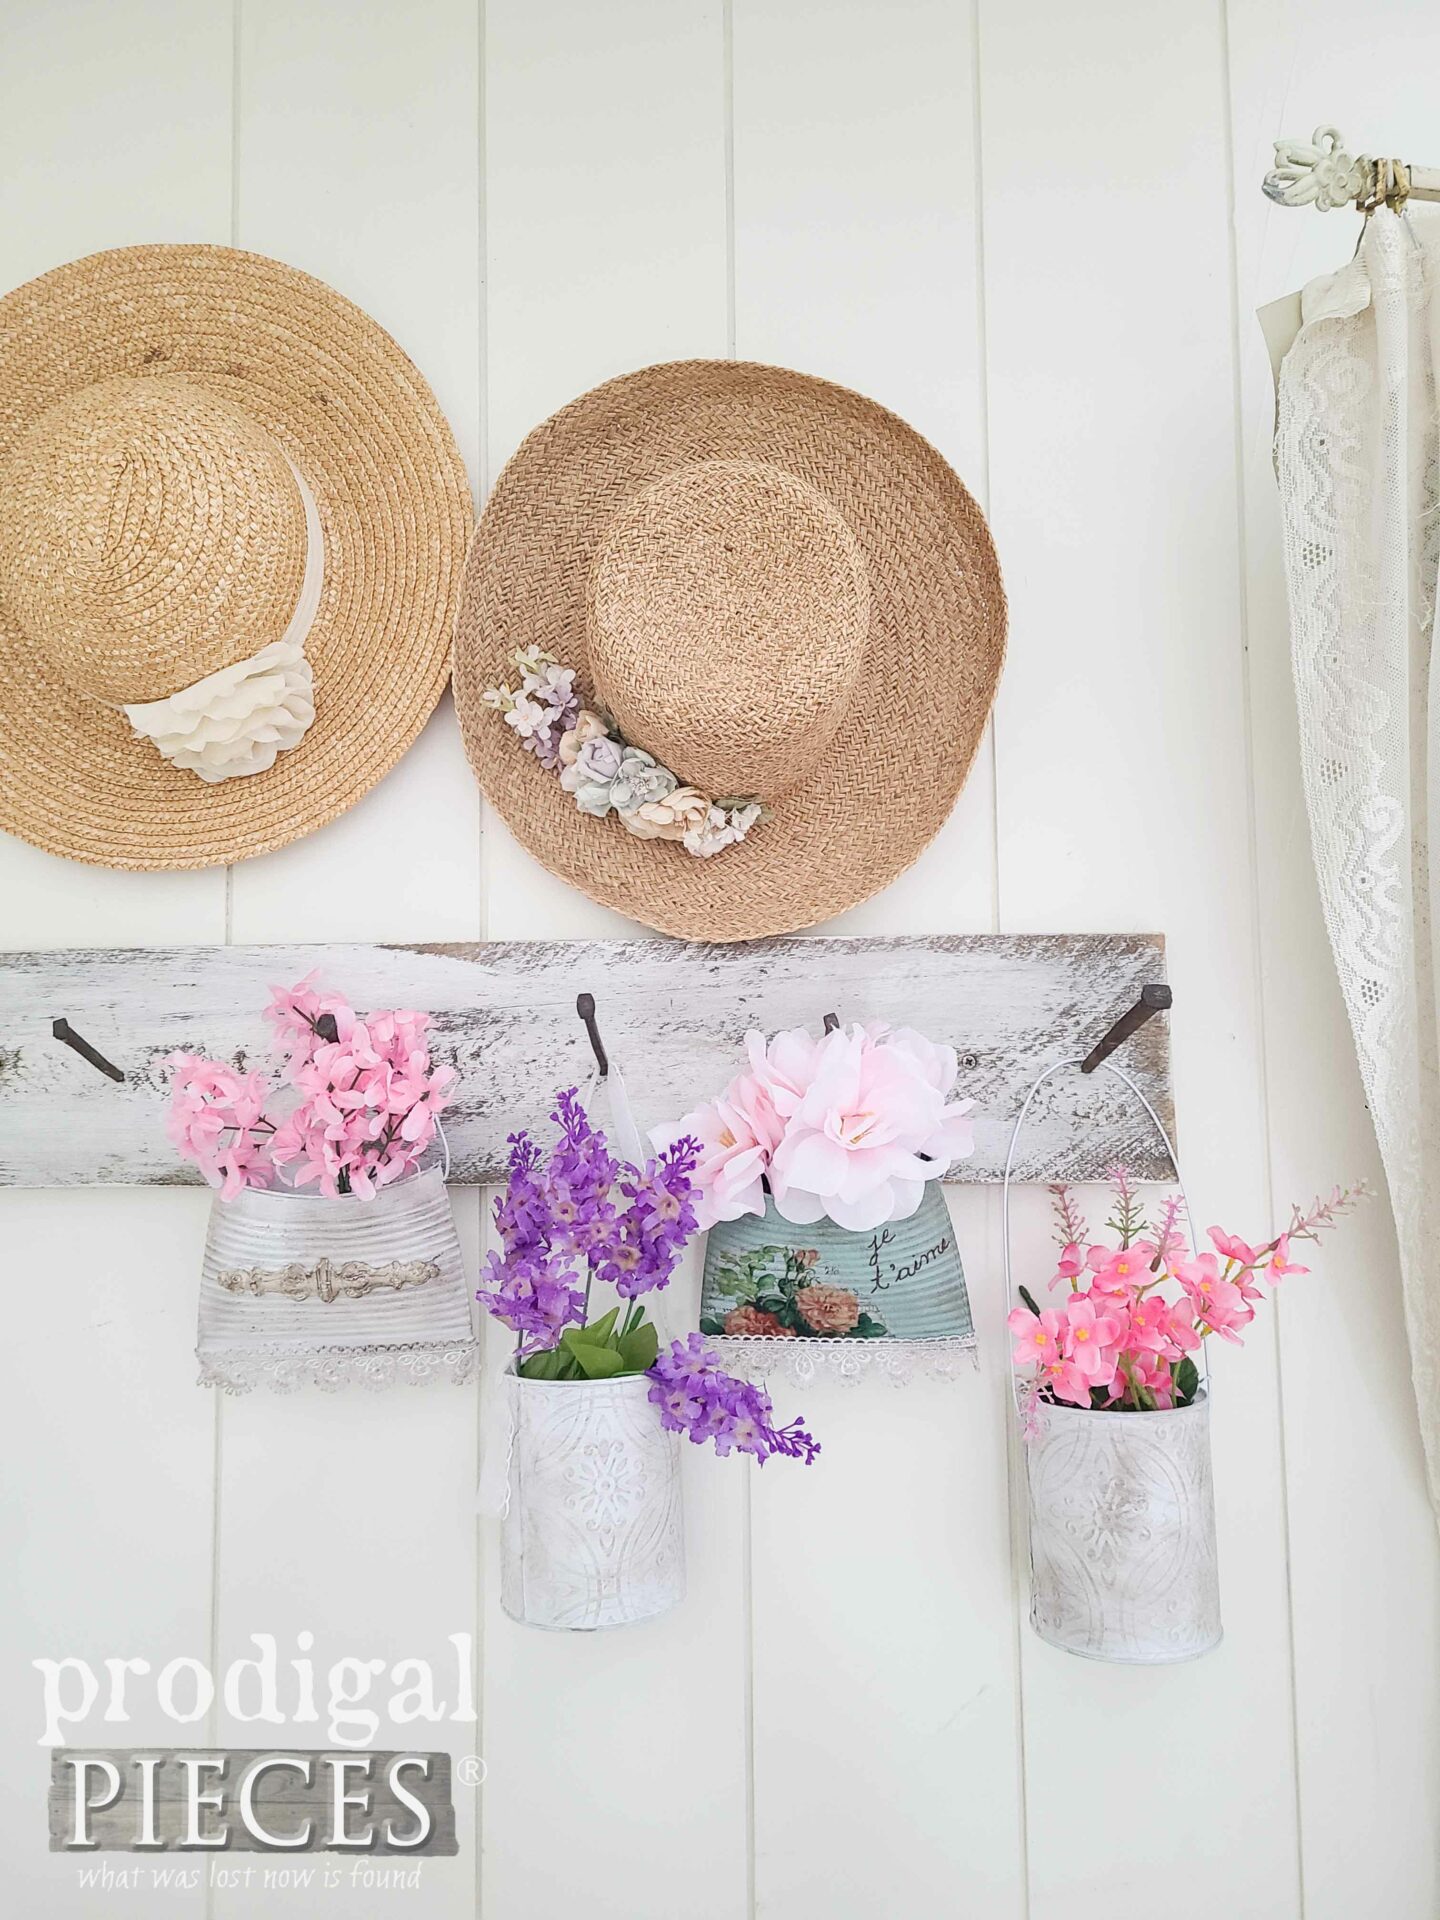
Finally, here is the result of my digging into the recycling bin for my upcycled tin can adventure. I love it!
They’re whimsical, versatile, easy on the eyes, and oh so fun, don’t you agree?
Furthermore, by themselves, I see them adding texture to a wedding, perfect for May Day, gifts for Mother’s Day, or even just because. However, I don’t need a reason to gift fo’ sho, especially when it’s to self. tee hee!
Alright, y’all. I hope you not only recycle but are eager to create your own upcycled decor. Seriously, skip the big box store and create! If you’re not in the crafty mood, you can find this set (and much more) available in my online store.
SHARE
Likewise, take a second to leave comment love below. In addition, pin and share to inspire others too.
Also, before you go, sign up for my FREE newsletter as I’m headed to the chopping block. See the “new” me HERE.





I love recycle crafts. These cans are no so cute. 🙂
I’m wondering… If the cans could hung outside – maybe on the fence…?
Might make a nice seed starter grouping.
Thanks for the ideas.
p
Me too! (obviously) haha. Yes!! They are good for any spot in or out. 😀 You’re welcome.
So cute! I really like both ideas Larissa. I don’t think I have a picture of them anymore but I made baby formula cans into flower arrangements centerpieces for a womens retreat I decorated. I use the one I kept for a marker holder now.
Thanks! They really have endless uses, don’t they? I have a ton of purposes floating around in my head. tee hee!
Those squished up ones are so stinkin’ cute!
tee hee! Thanks so much, Susan. I hope you can tell I had fun with this…(pun intended) 😀
Hi Larissa…I can’t wait to get my grubby little hooks into my cans! Right now I’m in the middle of a reorganization in my home. I have a 1300sq.ft. Attic that is packed from stem to stern with nothing but my crafting supplies! It’s ridiculous how much I have accumulated but I also save, glass jars, toilet paper and paper towel rolls and massive amounts of tin cans! I just don’t have the heart to get rid of any of the cans because I know there are so many beautiful things that can be done with them.
I will be moving within the next 1-2 years as hubby will be retiring and we are moving closer to some family, so I really need to downsize everything upstairs as well as an almost 3 car garage which also houses my wood, tools and a whole lot more!, large tin cans included! There were definite plans for all of it but about 12 years ago my health took a turn and I wasn’t able to do any of it. Well my health has greatly improved so I’m almost ready to get cracking on some of those wonderful cans!
The ones you’ve made here are wonderful and definitely inspiring! Pinterest also has plenty of aw-inspiring can crafts. It really surprised me as to how many ways they can be used. I don’t have a blog but I do have an Etsy store that I will be opening in the future and I plan on making plenty of tin can crafts! Hope all is well in your world and keep up the excellent work! 🙃
You are too fun, Shirley! I am overjoyed your health journey is on a better turn. Yay for you! I’d love to see what you do with yours. Congrats on the new store too!